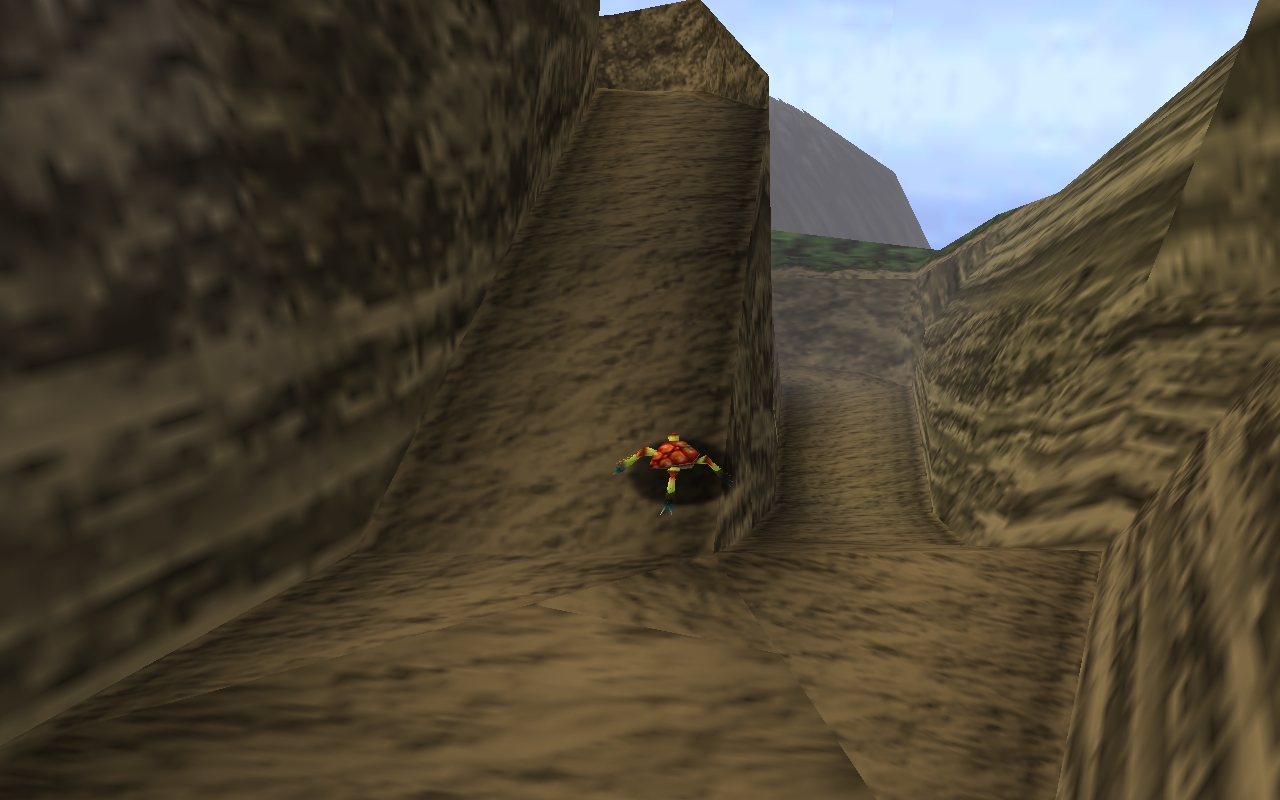

This solution applies to the normal version of The Legend of Zelda: Ocarina of Time on Nintendo 64 and to Ocarina of Time 3D. The Master Quest version has partly different dungeon puzzles and receives a separate solution.
After defeating Phantom Ganon in the Forest Temple and handing over the Forest Medallion, the next sage awaits on the Death Mountain. However, before we go directly to Goron City, we use the now existing Hookshot for two Gold Skulltulas on the Zora’s River. Our 100% route then leads via Kakariko to the Death Mountain Trail, where another Piece of Heart can be reached thanks to a previously planted Magic Bean.
In Goron City we finally find out why the city is almost completely deserted. Ganondorf had the Gorons kidnapped in the Fire Temple and resurrected the legendary fire dragon Volvagia. Darunia’s son gives Link the Goron Tunic, with which we can stay in the hot death crater indefinitely. There we meet Sheik again, learn the Bolero of Fire and prepare two important 100% finds for later before entering the Fire Temple.
Quick Overview
| Found item or event | Location |
|---|---|
| Gold Skulltula | Zora’s River – high rock face on the central plateau |
| Gold Skulltula | Zora’s River – behind the suspension bridge |
| Piece of Heart | Above the entrance to Dodongo’s Cavern |
| Gold Skulltula | Rear of the central platform in Goron City |
| Goron Tunic | From Darunia’s son in Goron City |
| Bolero of Fire | From Sheik in Death Crater |
| Gold Skulltula | Magic Bean hole in the death crater as young Link |
| Piece of Heart | On a rock formation in Death Crater over the Magic Bean |
In front of the Death Mountain: Two Skulltulas at the Zora’s River
Before you set off for the Death Mountain, it is worth taking a short detour to the Zora’s River. During our first visit as young Link, we were able to collect the Skulltula in the tree at the entrance and the night spider near the large waterfall. As an adult Link, two more Gold Skulltulas now appear, which are located high on the rock walls. The short Hookshot is sufficient for both; The Longshot, which will be available later, just makes the hits a little more comfortable.
Both spiders only appear at night. Since the time of day on the Zora’s River itself does not continue normally, you should move from the Hyrule Field to the area when it is dark. If you are still on the steppe during the day, you can play the Sun’s Song and only then enter the Zora’s River. This saves you an unnecessary return trip.
Gold Skulltula – rock face on the middle plateau
Follow the river from the entrance to about the middle of the area. There is the large raised plateau on which, among other things, there was a chicken during Link’s childhood. If you followed our 100% route, you planted a Magic Bean next to the Magic Bean dealer back then. The fully grown plant can comfortably carry you to the upper area. If you haven’t planted it, the find is still accessible: Swim through the narrow branch of the river and look for the ladder that leads from there up to the plateau.
At the top, go left from the ladder and look at the high rock face. The first Gold Skulltula crawls there at night. Target them with the Hookshot, defeat them and then drag the remaining symbol directly to Link. You don’t have to wait for a later item or return again. You can look up other Locations at any time in our overview of the 100 Gold Skulltulas.
Age: adult link
Time: Night
Requires: Hookshot
Now available: yes
Gold Skulltula – behind the suspension bridge
Continue upstream towards the large waterfall, behind which is the entrance to Zora’s Domain. After you have crossed the wooden suspension bridge, you look up at the left rock wall. The Zora’s River’s second adult Skulltula is located there. From normal ground, the short Hookshot only barely or not reliably reaches the spider. So climb onto the nearby fence and target them from there.
Defeat the Skulltula with the Hookshot and drag its symbol to you as well. The Longshot, available later in the Water Temple, has a significantly longer range, but is not suitable for this find required if you’re on the fence. You have now collected all Gold Skulltulas of the Zora’s River that are regularly accessible at this point.
Age: adult link
Time: Night
Requires: Hookshot and elevated position on the fence
Now available: yes
Return to Death Mountain
Return to Kakariko across the Hyrule Field and leave the village through the northern gate. We already know this path from the chapter Kakariko and Goron City as well as from our visit to Dodongo’s Cavern. Seven years later, however, the Death Mountain Trail has become more dangerous. In several sections, large boulders roll down the slope and can knock Link back a long way if hit.
Therefore, first observe the direction of movement of the rocks and use the side ledges as cover. Wait there until a chunk rolls past you, then run to the next safe area. Most obstacles can be completely avoided with a little patience. However, your first destination is not yet Goron City, but the entrance to Dodongo’s Cavern.
Piece of Heart over Dodongo’s Cavern
Right in front of the entrance to Dodongo’s Cavern, as young Link, we planted a Magic Bean. She has now grown into a flying plant. Climb onto the leaf and let it carry you upwards. The plant moves onto the raised ledge above the large cave entrance, which we deliberately did not use a trick to reach during Link’s childhood.
Open
Jump onto the ledge and collect the Piece of Heart lying there. This find is available regardless of day or night and only requires the Magic Bean that was planted at the time. If you have forgotten the bean in an earlier chapter, you can only prepare the Piece of Heart after traveling back in time: Return as young Link, plant the Magic Bean and then travel forward seven years again. You can also find all 36 Pieces of Heart in our overview of the Pieces of Heart in Ocarina of Time.
Age: adult link
Prerequisite: Planted the magic pea in front of Dodongo’s Cavern as a child
Requires: adult Magic Bean plant
Open Two Skulltulas on the Death Mountain Trail still remain
There are two more Gold Skulltulas on the Death Mountain Trail as an adult Link, but we can’t collect them at the moment. Both are hidden behind or under particularly resilient red rocks. Normal bombs do no damage to these stones. Only the Megaton Hammer from the Fire Temple can destroy it.
The first later Skulltula is above Dodongo’s Cavern, roughly in the same place where we used the Bomb Flower to open the dungeon entrance as a child. The second is waiting further up the Death Mountain Trail in the area of the former rock rain. Both only appear at night. We therefore deliberately leave them lying around and collect them with the Megaton Hammer immediately after the Fire Temple, when we are on the Death Mountain again anyway. This way we avoid an additional climb.
Goron City seven years later
Follow the Death Mountain Trail further up and enter Goron City. After just a few steps it becomes clear that something is wrong. The normally lively homeland of the Gorons is almost completely deserted. Most of the doors are open, but there is no sign of the residents. Before we address the only remaining Goron, let’s first get another Gold Skulltula.
You can collect this Skulltula in the interior of Goron City regardless of the time of day. Go to the upper level and balance on one of the ropes to the central platform where the Goron’s Ruby was displayed during Link’s childhood. Stand on one of the side ropes and turn the camera towards the back of the stone base. The Gold Skulltula is located there. With the Hookshot you can reach both the spider and the symbol from a safe distance.
Age: adult link
time: any time
Requires: Hookshot
Optional: The fragile Goron sword
Medigoron also lives on the upper level of Goron City. He sells an extra large Goron sword that deals about twice as much damage as the Master Sword for 200 Rupees. However, the apparent advantage has a significant disadvantage: after a few hits, the blade breaks and all that is left is a short, significantly worse stump.
It’s not worth buying for our 100% route. We have already started the exchange quest for the permanent Biggoron sword in the previous section and currently have the recipe for King Zora. The quest continues after Ice Cavern. The Biggoron Sword also does tremendous damage but never breaks.
Stopping Darunia’s son
On one of the middle rings of Goron City, a small Goron rolls in circles continuously. This is the only resident who was not abducted to Fire Temple. As long as he’s rolling, you can’t talk to him. Jump onto his level, first observe his path and then place a bomb on the track so that it explodes directly in front of or next to him.
The little Goron tries to avoid Link, which is why a single poorly placed bomb easily misses. A simple method is to position yourself at a narrow point in the walkway and drop the bomb just before he arrives. Alternatively, you can place several bombs one after the other on his path. As soon as an explosion hits him, he stops and you can talk to him.
The Goron turns out to be Darunia’s son. His father named him after the hero who saved the people from Dodongo’s Cavern seven years ago. Speak to him several times and ask about both the missing Gorons and the dragon. Only when you address both topics does he tell the whole story.
Ganondorf has captured almost all of the Gorons and taken them to the Fire Temple. There they are to be thrown to the resurrected dragon Volvagia to show the other peoples Hyrule’s what happens to anyone who opposes Ganondorf. Darunia has already set out on his own to Fire Temple, although he lacks the legendary weapon that his ancestors once used to defeat Volvagia.
The Goron Tunic
After you have completely questioned Darunia’s son, he will give you the Goron Tunic. The red tunic protects adult Link from extreme heat and allows him to stay indefinitely in Death Crater and the particularly hot areas of the Fire Temple. Without the armor, when you enter such areas, a countdown appears, the duration of which depends on Link’s current health or number of hearts. If time runs out, Link can no longer withstand the heat.
The Goron Tunic can alternatively be purchased for 200 Rupees in the Goron Shop once it is accessible again. However, that would be a complete waste since Darunia’s son will give it to you for free. After the conversation, he also opens the Goron shop and the previously locked door to Darunia’s chamber on the lowest level of the city.
New item: Goron Tunic
Equip the Goron Tunic before entering Death Crater or Fire Temple. It can only be worn by adult Link and provides lasting protection from the extreme ambient heat. You can find an overview of other important equipment in our Ocarina of Time walkthrough.
The secret path through Darunia’s chamber
Go to the lowest level of Goron City and enter Darunia’s chamber. You still know the room from Link’s childhood, when Darunia was only ready to talk to us after Zelda’s lullaby and Saria’s song. There is now a large Goron statue on the back wall. Stand directly in front of it, grab it and pull it backwards. A hidden tunnel appears behind the massive stone image.
Put on the Goron Tunic now at the latest and go through the tunnel. The passage leads directly into the Death Crater and saves you the long walk over the summit of Death Mountain. Access only works for adult Link, as young Link cannot move the heavy statue in Darunia’s chamber.
The Death Crater
On the other side of the tunnel you find yourself on a previously unreachable level of the death crater. We already visited the upper area of the crater as a young Link when we collected the Gold Skulltula in the wooden box and the Piece of Heart in the rock wall after Dodongo’s Cavern. Thanks to the Goron Tunic we can now move around this part of the volcano without time pressure for the first time.
Turn left from the exit and follow the narrow rocky path. After a short while you will reach a destroyed bridge. The distance is too great for a normal jump. On the opposite side, however, a strong wooden beam or a remnant of the bridge structure protrudes from the rock. Target him with the Hookshot and pull yourself over the abyss. Then walk a bit over the remaining bridge.
The Bolero of Fire
Sheik appears again and speaks to Link about the power of friendship and the task ahead inside Death Mountain. He then teaches you the Bolero of Fire. Like the Minuet of Forest, this melody is also one of the six warp songs. If you play the Bolero, Link will teleport directly to the Triforce pedestal in the lower death crater directly in front of the Fire Temple.
The song is not just a convenient shorthand for the adult link. It allows us, for the first time, to bring young Link directly into this lower area of the crater. That’s exactly what we’re taking advantage of for our 100% route, because there’s another magic pea hole next to the warp pedestal. Both a Gold Skulltula and the preparation for a later available Piece of Heart are waiting there.
New song: Bolero of Fire
The Bolero of Fire teleports Link directly into the Death Crater in front of the Fire Temple. You can also find all the warp songs and their Locations in our guide to the ocarina songs.
100% side trip as a young link
Since we unlocked time travel after the Forest Temple, we’re doing the open Magic Bean find right now. First play the Cantata of Light and return to the Temple of Time. Insert the Master Sword into the Pedestal of Time to turn Link into a child again. For the Skulltula you will need a bottle of beetles and for the planting site you will need a Magic Bean that has not yet been used.
If you don’t have any beetles with you, you can easily find new specimens under many small stones or in suitable secret caves. Catch them with a free bottle. Then play the newly learned Fire Bolero as young Link. Although Link would not be able to reach the lower Death Crater through normal means, the Warp Song takes him directly to the Triforce Pedestal.
Gold Skulltula – Magic Bean Hole in Death Crater
There is soft earth immediately next to the warp pedestal. First let the beetles crawl out of your bottle onto the hole in the ground. After a short time a Gold Skulltula jumps out of the ground. Defeat them and collect the symbol. This Skulltula can only be reached as a young Link and is reached via our regular route with the Bolero of Fire. As a child, you can return directly to the warp pedestal and don’t have to walk through the dangerous crater.
Age: young link
time: independent of day and night
Requires: Bolero of Fire, Bottle and Beetle
Plant magic pea in death crater
After the Skulltula is dealt with, plant a Magic Bean in the same hole in the ground. This prepares another one of our ten Magic Bean spots. The plant only grows in the following seven years and can therefore only be used by the adult Link. We’ll do exactly that right away so that we don’t have to return to the death crater later.
Play Cantata of Light again, return to the Temple of Time and pull the Master Sword from the Pedestal of Time. Then you play the Bolero of Fire again. As an adult Link you land again in front of the Fire Temple – now there is a fully grown Magic Bean plant next to the warp pedestal.
Piece of Heart about the magic pea in the death crater
Open
Climb onto the flying plant and stand on it as it makes its rounds through the death crater. She flies over the lava and eventually rises to one of the tall smoking rock formations in the center of the crater. At its top there is clearly visible a Piece of Heart. Jump from the leaf onto the rock at the right moment and collect it.
If you missed the earlier Piece of Heart in the climbing wall alcove during Link’s childhood, you can also reach this via the magic pea route. However, on our previous Walkthrough we have already collected it after Dodongo’s Cavern, which is why we are not treating it twice. With the new find, the Death Crater preparation in front of the Fire Temple is complete.
Age: adult link
Prerequisite: Magic Bean planted as a child in Death Crater
Requires: Bolero of Fire and Mature Magic Bean Plant
The Great Fairy in the death crater remains locked
There is also another source of Great Fairy in the Death Crater. It lies behind particularly resilient red rocks. Normal bombs cannot destroy these obstacles, which is why the fairy spring is currently not accessible. Only after we have found the Megaton Hammer in the Fire Temple can we smash the rocks.
We return here immediately after the dungeon. The Great Fairy doubles Link’s magic bar, making it one of the game’s most important optional upgrades. You can also find all fairy sources and rewards in our guide to the Great Fairies and fairy sources.
The entrance to the Fire Temple
After the collection round, play the Bolero of Fire again if you are no longer near the warp pedestal. From the Triforce symbol, follow the footbridge or bridge to the end and turn left. A deep shaft leads down into the rock face. Climb down the long ladder and go through the cave entrance at the bottom.
The Fire Temple begins behind the passage. Darunia is already somewhere inside, trying to save his trapped people. In addition to numerous Gorons, five more Gold Skulltulas, several Small Keys, the Megaton Hammer and finally the resurrected fire dragon Volvagia are waiting for us.


What else is waiting for the Death Mountain after the Fire Temple
Using the Megaton Hammer from the next dungeon, several currently blocked Locations become immediately accessible. That’s why we’re planning a quick follow-up session after the Fire Temple, rather than revisiting these areas much later. On the Death Mountain Trail we smash the two red rocks with the missing night Gold Skulltulas. In Death Crater we also open access to the Great Fairy, which doubles Link’s magic bar.
This return point is particularly efficient because after Volvagia’s defeat we end up back on Death Mountain anyway. After that we can move on to the next major storyline, which takes us to the completely frozen Zora’s Domain and finally to the Ice Cavern.
Continue in Fire Temple
With the Goron Tunic, Link can permanently survive the heat of the mountain and with the Bolero of Fire we have a direct connection to the Death Crater. The most important open collectibles are also prepared, so we can now fully concentrate on rescuing the Gorons.
In the next chapter we explore the Fire Temple room by room. We free all the captured Gorons, collect all five Gold Skulltulas, find Dungeon Map, Compass and Boss Key, defeat the Flaming Dervishes, get the powerful Megaton Hammer and finally face Volvagia.
Frequently Asked Questions about Death Mountain Trail and Death Crater
Do I need the Longshot for the two adult Skulltulas at Zora’s River?
No. Both can already be achieved with the normal Hookshot. At the second Skulltula near the suspension bridge you have to climb the fence so that Link is high enough. With the later Longshot the find would just be easier.
How do I get the Piece of Heart via Dodongo’s Cavern?
If you followed our route, as young Link you planted a magic pea right in front of Dodongo’s Cavern. As an adult Link, climb onto the fully grown plant and let it carry you to the ledge above the dungeon entrance. There is the Piece of Heart.
How do I stop Darunia’s son?
Place a bomb on his path and cause it to explode while the little Goron rolls forward right next to it. After the hit he stops. Then ask him about both the Gorons and the dragon so that he will give you the Goron Tunic.
Do I have to buy the Goron Tunic?
No. Darunia’s son gives them away for free after you stop him with a bomb and question him completely. It is therefore not necessary to purchase it from the Goron Shop for 200 Rupees.
Why do we go back to young Link before the Fire Temple?
Only young Link can plant the Magic Bean in the lower death crater and lure the Gold Skulltula out of the soft hole in the ground. The Bolero of Fire takes him straight there. Since we can already switch between time periods according to the Forest Temple, this is the most efficient time for both tasks.
Can I already visit the Great Fairy in Death Crater?
Not yet. The entrance is blocked by red rocks that can only be destroyed with the Megaton Hammer. We get this in the Fire Temple. Immediately after the dungeon we return to the source and get the magic bar doubled.
Which Skulltulas remain open on Death Mountain?
After this section, two Gold Skulltulas remain open on the Death Mountain Trail. Both hide behind red rocks and appear at night. After the Fire Temple, we destroy the obstacles with the Megaton Hammer and collect both spiders in a short follow-up round.