

The Gerudo Training Ground is a fully optional bonus maze in Ocarina of Time. The Ice Arrows are not needed for the Spirit Temple or for completing the main story. For a complete 100% route, we still take the challenge with us.
After we have freed all four carpenters in the Gerudo fortress and received the Gerudo pass, Link has access to the Gerudo Training Ground for the first time. Unlike the large temples, this area does not have a Dungeon Map, a Compass, a Gold Skulltulas, or a boss. Instead, a series of small combat, time and skill tests awaits us, in which we gradually collect several Small Keys.
Total are in the training arena nine Small Keys hidden. For the shortest route to the ice arrows However, we only need seven of them. Two additional keys are located in optional side rooms and serve only as reserves: one requires the Silver Gauntlets from the later Spirit Temple, the other activated the Scarecrow’s Song. Since we have already taken the direct route before Spirit Temple To conclude, we will treat these two keys separately.
Requirements for the Gerudo Training Ground
For the main path described here you should have the Fairy Bow, the Longshot, the Lens of Truth, the Megaton Hammer, the Hover Boots, the Iron Boots, the Zora Tunic and the Song of Time. If you followed our previous Walkthrough, you have already received all these items in Forest, Fire, Water and Shadow Temple.
The Fire Arrows may be helpful in some rooms, but are not required. You only need the Silver Gauntlets from the Spirit Temple for one of the two optional keys. The Scarecrow’s Song is also only necessary for an additional key and can be ignored for the direct route to the ice arrows.
Important for the direct route:
Collect the seven keys described in the main route and only open the doors on the left route in the final key maze. Then you can reach the Ice Arrows without Silver Gauntlets and without the optional scarecrow key.
Version: This route applies to the normal training arena. For the different rooms and keys in Master Quest, use our solution for the Master Quest training arena.
Quick Overview
| exam | Reward |
|---|---|
| Two Stalfos in quicksand | Small Key 1/7 |
| Four eyes of the statue hit | Small Key 2/7 |
| Statue room with Megaton Hammer | Small Key 3/7 |
| Lake of Fire and Song of Time | Small Key 4/7 |
| Underwater Rubies | Small Key 5/7 |
| Dinofols and Armos | Small Key 6/7 |
| Hidden chamber in the key maze | Small Key 7/7 |
| Optional: strength gloves | Additional key |
| Optional: Scarecrow’s Song | Additional key |
| Key Maze | Ice Arrows |
Enter the Gerudo Training Ground
Within the Gerudo Fortress, go to the entrance to the training arena and talk to the white-clad Gerudo in front of the bars. Since you already have the Gerudo Pass, you are allowed to enter the exams. Pay 10 Rupees, after which the gate will open and Link can enter the arena.
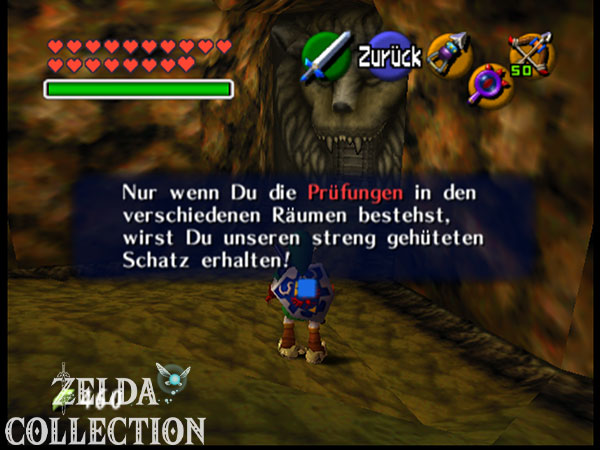
Behind the entrance is a round hall with three large doors framed by stone lion heads. The middle door leads directly into the final key labyrinth and thus towards the Ice Arrows. Since we don’t currently have a Small Key, we’ll start with the tests on the left side and work our way systematically through the arena from there.
Before you open the left door, you turn back towards the entrance. There is a gold Eye Switch above the door. Hit him with the Fairy Bow to make a small Treasure Chest appear with five Rupees. Another chest in the entrance hall contains arrows and can replenish your supply.
Fairies in the training arena:
If the navigation system lights up green at a certain point, the anthem of the storm is often worth listening to. This allows a fairy to appear. Some coats of arms above doors also release a fairy after being hit with the bow.


Small Key 1/7 – Stalfos in Quicksand
Go through the left door. As soon as you completely enter the first exam room, a time limit of one minute starts. Within this time you have to defeat two Stalfos Knights. Most of the ground is quicksand, which slowly drags Link down. Therefore, keep moving as much as possible or put on the Hover Boots to move more easily over the dangerous area.
Always concentrate completely on one of the two Stalfos. Aim at him, have your shield ready and wait for his sequence of hits or his jump attack. As soon as he opens cover, immediately attack with the Master Sword or the Biggoron Sword. The Biggoron Sword makes this test particularly easy because just a few good hits are enough.
If you defeat both opponents within the time limit, a small Treasure Chest appears. Open it and take the Small Key 1/7. Then go through the next door.
Five silver rubies in the fire maze
Time is also running against you in the next room. You have one minute and 30 seconds to collect a total of five silver rubies. Rolling rocks, invisible fire walls and a devil’s claw make the path difficult. The Lens of Truth is particularly important here.
Activate the eye and first run into the left corridor. This makes the invisible fire walls visible and you can see which passages are actually open. You will find a silver ruby at the bottom of the slope, another on the higher side. Then follow the clear path through the labyrinth and use the grappling hook targets under the ceiling to pull yourself over individual fire barriers and reach more Rupees more quickly.
Stay on the move as much as possible. As soon as you hear a whizzing noise and a growing shadow appears under Link, the devil’s claw will try to grab him from the ceiling. Keep running until your hand lands on the ground. You don’t necessarily have to defeat them for this test. Once all five silver rubies have been collected, the door at the back of the room will open.
The Wolfsheimers and the secret exit
In the next room several Wolfsheimers attack. Only target one opponent at a time and avoid hectic frontal attacks, as Wolfsheimers block many blows. Wait until one of them attacks themselves or has their back turned to Link, and counter immediately afterward. Fights are over quickly with the Biggoron sword. After the victory, a small chest with arrows will appear.
The obvious door on the wall is just a dummy and doesn’t lead anywhere. Activate the Lens of Truth and look above the false door. A hidden corridor becomes visible there, in which there is a target for the Longshot. Pull yourself up and hit the switch next to the door. This opens additional access. Then go through the door in the hidden alcove and continue following our main route.


Optional Key: Use the Silver Gauntlets
Silver Gauntlets
This key is not required for the Ice Arrows.
If you don’t yet have the Silver Gauntlets from the Spirit Temple, simply skip this section. The seven keys of our main route are completely sufficient.
There is a huge black block on one wall of the Wolfsheimer room. Later you can move it with the Silver Gauntlets from the Spirit Temple. Push it deep into the passage until it clicks into its designated recess. Another door appears behind it. The switch found previously in the hidden niche above the false door will cancel the lock.
There are several predatory slimes waiting in the room behind. Keep your distance so they don’t swallow Link’s shield or armor. arrows and Longshot are particularly suitable for fighting from a safe distance. Four Treasure Chests are distributed across the room, one of which is only with the Lens of Truth becomes visible. You will find one in the chests additional Small Key, five Rupees and a gold one Rupee worth 200 Rupees. The chest on the raised pedestal, on the other hand, is just an ice trap.


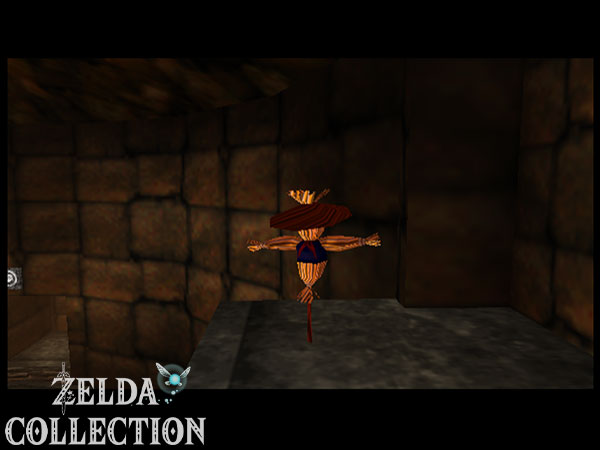
Small Key 2/7 – the statue with four eyes
Go through the hidden exit of the Wolfsheimer room and enter the large round room. Below you lies a lava pool, in the middle of which is a stone statue with four eyes. Jump to the lower ring on the left. Once Link lands there, the entire platform will begin rotating around the statue.
Pull the fairy bow and try to hit all four eyes one after the other while rotating. An eye that has already been hit remains closed, so that you then only have to concentrate on the remaining targets. There is no need to shoot frantically. It’s better to wait for a clean angle and hit each eye safely.
Once all four eyes are closed, the rotation stops and a small Treasure Chest appears at the base of the statue. Open it and take the Small Key 2/7.
Optional key with the Scarecrow’s Song
This key is also not necessary.
You don’t need the scarecrow or the high side chamber to go directly to the ice arrows.
In the upper area of the round hall, Navi lights up green at a certain point. Play the Scarecrow’s Song there. Balzac appears on a high ledge. Use the Longshot to pull yourself up to him and go through the door next to the scarecrow.
In the small chamber there is a Treasure Chest with another additional Small Key. If you want to fully explore the training arena into every optional side room, you can take it with you. For our direct route it remains untouched. Then return to the round room and take the door on the opposite side on the lower level.


Small Key 3/7 – the statues with the Megaton Hammer
In the next room, a voice tells you to look for a hidden secret. First get rid of the Torch Slug and fire flutters so that you can work undisturbed. There are several large statues on the walls that you already know from the Fire Temple.
Knock out the statues with the Megaton Hammer. Behind them several hidden elements appear: a small Treasure Chest, a gold Eye Switch and a Floor Switch. You will find arrows in the small chest. Then enter the Floor Switch. This will extinguish the flames surrounding a larger chest in the center of the room.
Run to the chest and open it before the flames appear again. Inside is the Small Keys 3/7. Then shoot the golden eye with the fairy bow to unlock the next door.
Small Key 4/7 – the lake of fire
Another silver ruby test awaits in the next chamber. A total of five silver rubies are spread out on narrow platforms above a lava pool. The Hover Boots are very helpful here. They extend your jumps, but have little traction. Therefore, stand briefly after each landing and switch back to normal boots if necessary.
One of the silver rubies is surrounded by a pillar of fire. Find the switch in the room and activate it. The flames only disappear for a limited time, so you should run straight to Rupee. You can reach the remaining silver rubies via the platforms and sometimes using the grappling hook.
There is also a Small Key clearly visible on an elevated platform, but at first there seems to be no way up to it. Stand near the pedestal and play the Song of Time. Two blue time blocks appear, forming a staircase to the higher platform. Climb up and collect the Small Key 4/7.
As soon as you have also collected all five silver rubies, the door to the small chamber on the opposite side of the lake of fire opens.


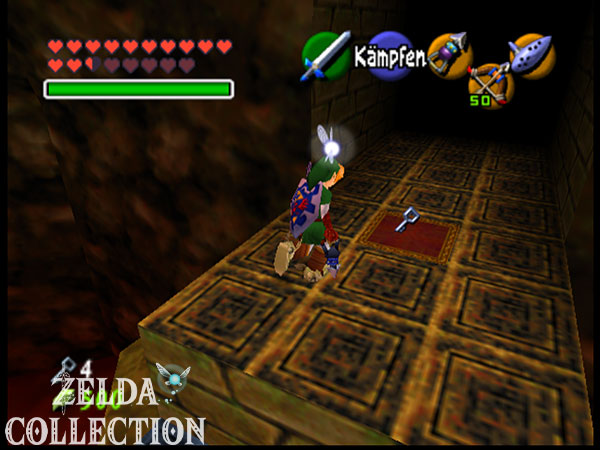
Small Key 5/7 – the water basin
Go through the door that opened after collecting the silver rubies. In the next room, several blue time blocks block access to a deep pool of water. Play the Song of Time to make the blocks disappear, then equip the Zora Tunic and the Iron Boots.
Five silver rubies are waiting underwater again. Several killer shells and a rotating blade make the path difficult. Target the killer clams with the Longshot and wait for their shells to open. A hit on the unprotected body eliminates them immediately. Some silver rubies are lying directly on the ground and can be collected with the iron boots. To float higher Rupees you have to take off your boots briefly and climb up.
As soon as the fifth silver ruby has been collected, a small Treasure Chest will appear above the basin. Put on the normal boots, swim up and open the chest. Inside is the Small Keys 5/7.


Small Key 6/7 – Dinofols and Armos
Return to the Lake of Fire and enter the previously missed door, which is accessible via a short flight of stairs. As soon as you enter the following chamber, a time limit of starts again one minute and 30 seconds. Within this time you have to defeat two Dinofols and an Armos statue.
First activate the Armos statue with a sword slash. She then jumps across the room and tries to ram Link. Bombs are particularly effective and can quickly destroy the statue. Then take care of the two Dinofols one after the other. Wait for their jumping attacks and counter immediately after landing. With the Biggoron sword, just a few hits are enough.
If you defeat all three opponents in time, the Treasure Chest appears with the Small Key 6/7. Then follow the short hallway and go through the door. You will return to the entrance hall of the training arena.
Small Key 7/7 – the crucial secret room
In the entrance hall, turn right and enter the middle door opposite the arena entrance. Behind it begins the actual key labyrinth. From now on the order is crucial. Only open the left door and initially ignore all doors and junctions on the right side. They only lead to additional supplies and would use up keys unnecessarily.
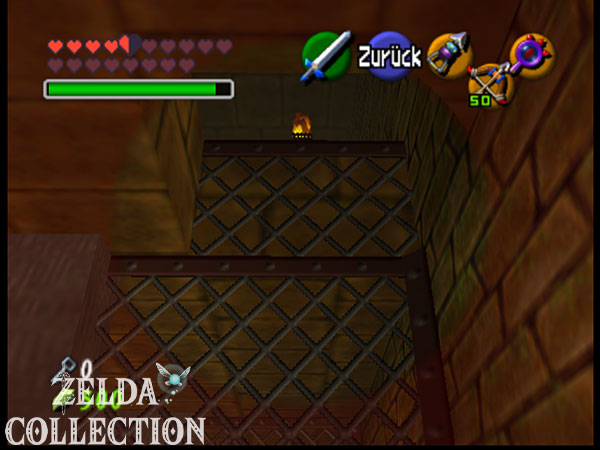
In the first section there is a metal grille that reaches to the ceiling. At first glance it appears to be just an obstacle. However, activate the Lens of Truth and look up. A hidden opening becomes visible in the ceiling.
Climb up the grate and pull yourself into the secret chamber. There is a small Treasure Chest. Open it and take the Small Key 7/7. This easily overlooked key is the crucial find for our shortcut.
Crucial Key:
With this seventh key you can reach the Ice Arrows without having to enter the Power Gauntlet room or the optional Scarecrow room.
The information 7/7 counts the seven key finds on our route. You have already used one of them for the first left door. At this point you don’t have to have seven keys in your inventory at the same time. After finding it, go back down and stay on the left route you started.
The key maze
Climb back to the lower level and open the next locked door on the left route. Then follow this path consistently and only use your remaining keys for the doors that are directly in front of you one after the other. Keep right-hand junctions closed, even if they look tempting.
On the way there are several small Treasure Chests with supplies. Inside you will find, among other things, a red Rupee worth 20 Rupees, a purple Rupee worth 50 Rupees and additional arrows. These chests can be opened easily because they do not consume any additional keys themselves.
If you follow the left route without deviation, your key supply will be exactly enough to open the last necessary door. Behind it you finally reach the center of the labyrinth and the large Treasure Chest of the Gerudo.
The Ice Arrows
Open the large Treasure Chest in the center of the key maze. Inside are the Ice Arrows, the second type of magical arrow next to the already received fire arrows.
Each shot consumes magic and can completely freeze numerous normal enemies for a period of time. The Ice Arrows are not absolutely necessary for any further dungeons and do not solve any puzzles in the Spirit Temple that cannot be solved in any other way. They are still part of the equipment for a complete game.
New item: Ice Arrows
The Ice Arrows consume magic and freeze many enemies. They are optional for the main plot, but are part of a complete 100% route.
Leaving the Gerudo Training Ground
With the ice arrows, the main task of the Gerudo Training Ground is completed. In contrast to the regular temples, there is neither a Dungeon Map nor a Compass, Gold Skulltulas, a Heart Container or a boss. The Ice Arrows are the only unique item in the bonus maze.
If you followed our direct solution with seven keys, some doors in the key maze as well as the two optional key rooms will remain unopened. However, you won’t miss out on any other unique items. These areas only contain additional Rupees, supplies and the two unneeded keys.
Return to the entrance hall through the already opened doors and exit the training arena. This completes our 100% task in the Gerudo Fortress and we can get back to the main plot.




Continue through the Haunted Wasteland
With the Ice Arrows the last major optional challenge within the Gerudo Fortress is completed. Return to the western gate and have the Gerudo guard open it if you haven’t already done so.
In the next chapter we cross the Haunted Wasteland. First we overcome the sand river with the Longshot and then follow the flags through the dense sandstorm. With the Lens of Truth we finally make an invisible Poe visible, which leads us to the desert colossus. There we learn the Requiem of the Spirits from Sheik and prepare the special double visit to the Spirit Temple as young and adult Link.
Frequently asked questions about the Gerudo Training Ground
Is the Gerudo Training Ground mandatory?
No. The entire training arena is optional. The Ice Arrows are not required for either the Spirit Temple or the Ganondorf’s lock or for completing the main story.
How many Small Keys are there in the Gerudo Training Ground?
There are a total of nine Small Keys. However, you only need seven for the shortest route to the ice arrows. Two keys are located in optional side rooms and require the Silver Gauntlets and Scarecrow’s Song respectively.
Do I need the strength gloves for the Ice Arrows?
No. The Silver Gauntlets are only needed to move the large black block in the Wolfsheimer room and reach an additional key room. If you follow the route described here, you can get the Ice Arrows before the Spirit Temple.
Do I need the Scarecrow’s Song?
Also no. The Scarecrow’s Song only leads to a high side chamber with an additional key. The key is not needed for the main route.
Which key is most often overlooked?
The seventh key in the final key labyrinth is particularly easy to miss. In the first section, activate the Lens of Truth and look at the ceiling above the tall metal grate. There is a hidden opening with a small Treasure Chest.
What do the Ice Arrows do?
The Ice Arrows consume magic and can freeze many normal enemies. They are primarily an optional combat upgrade and are not required for any important main story quest.
Is there Gold Skulltulas in the training arena?
No. There is no Gold Skulltulas, no Heart Container and no boss in the Gerudo Training Ground. The unique completion item is exclusively the Ice Arrows.