
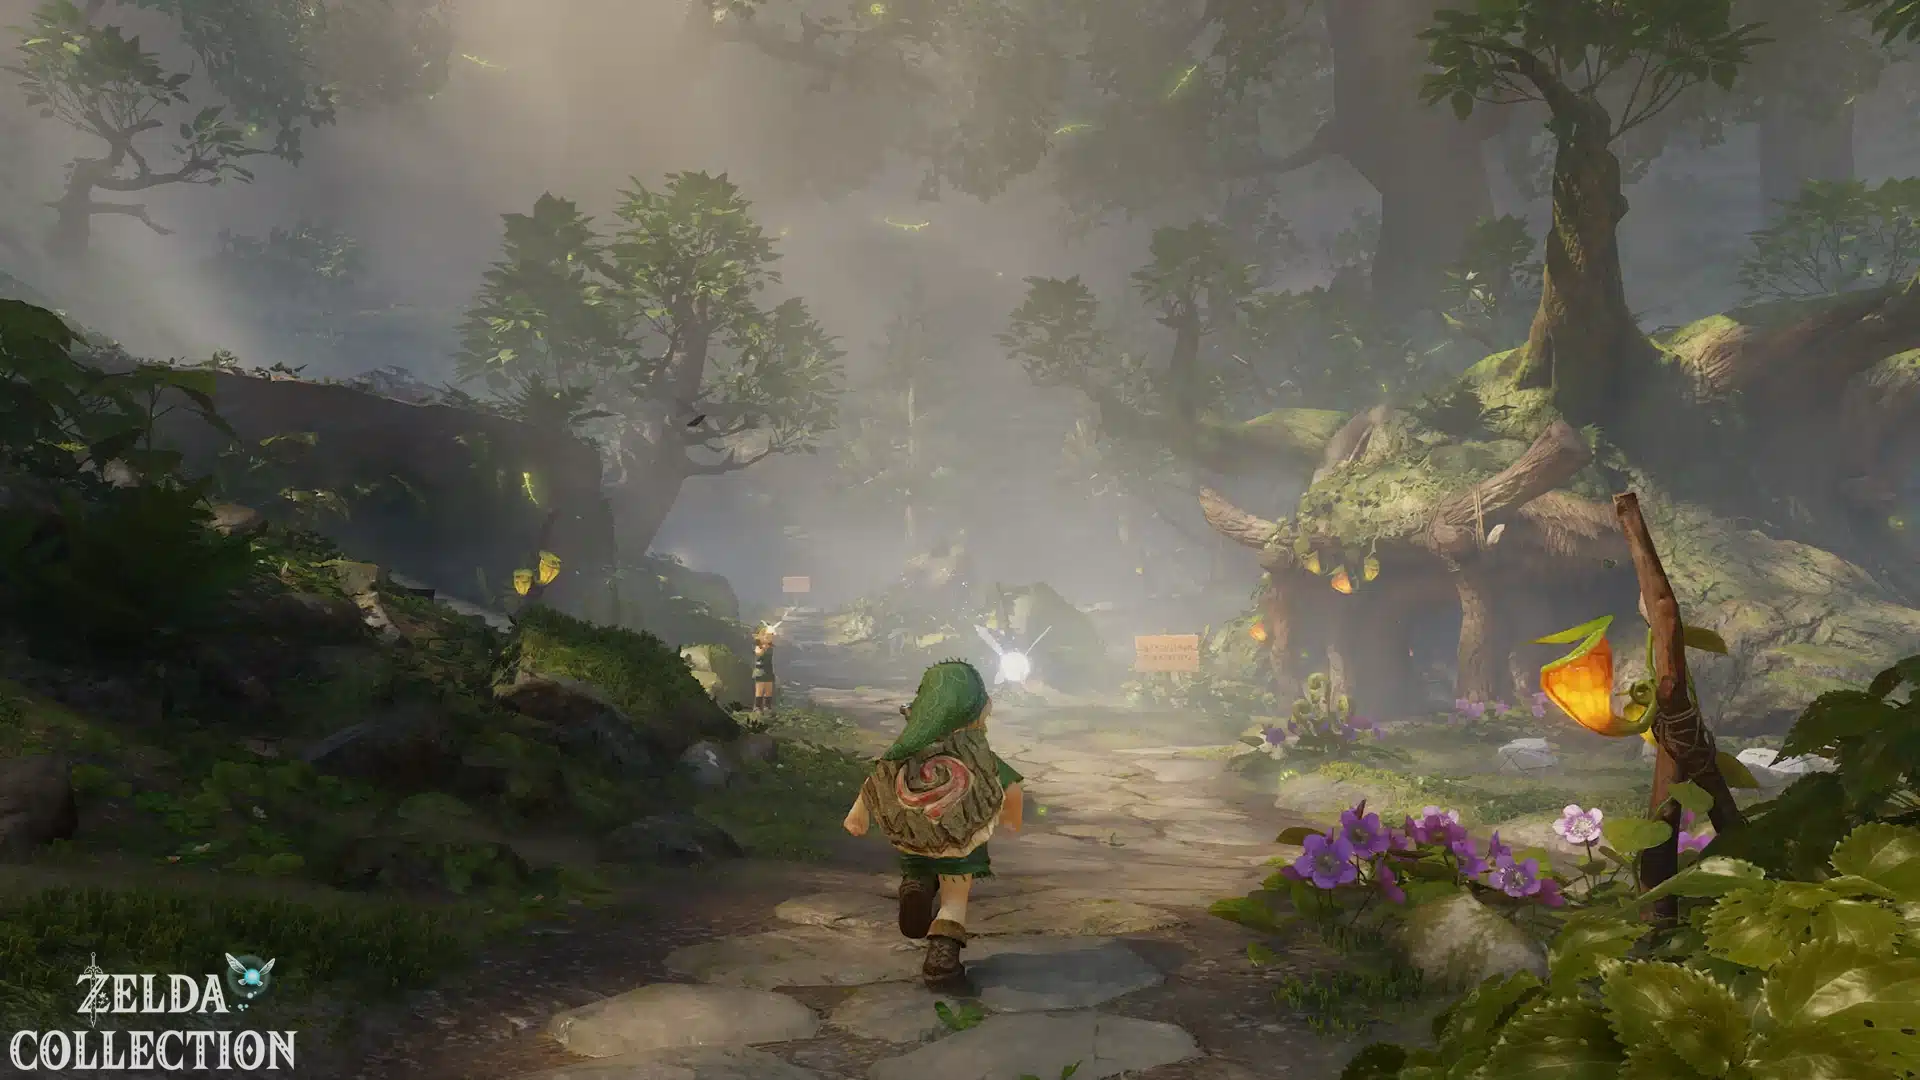
Kokiri Forest – Get the sword and shield
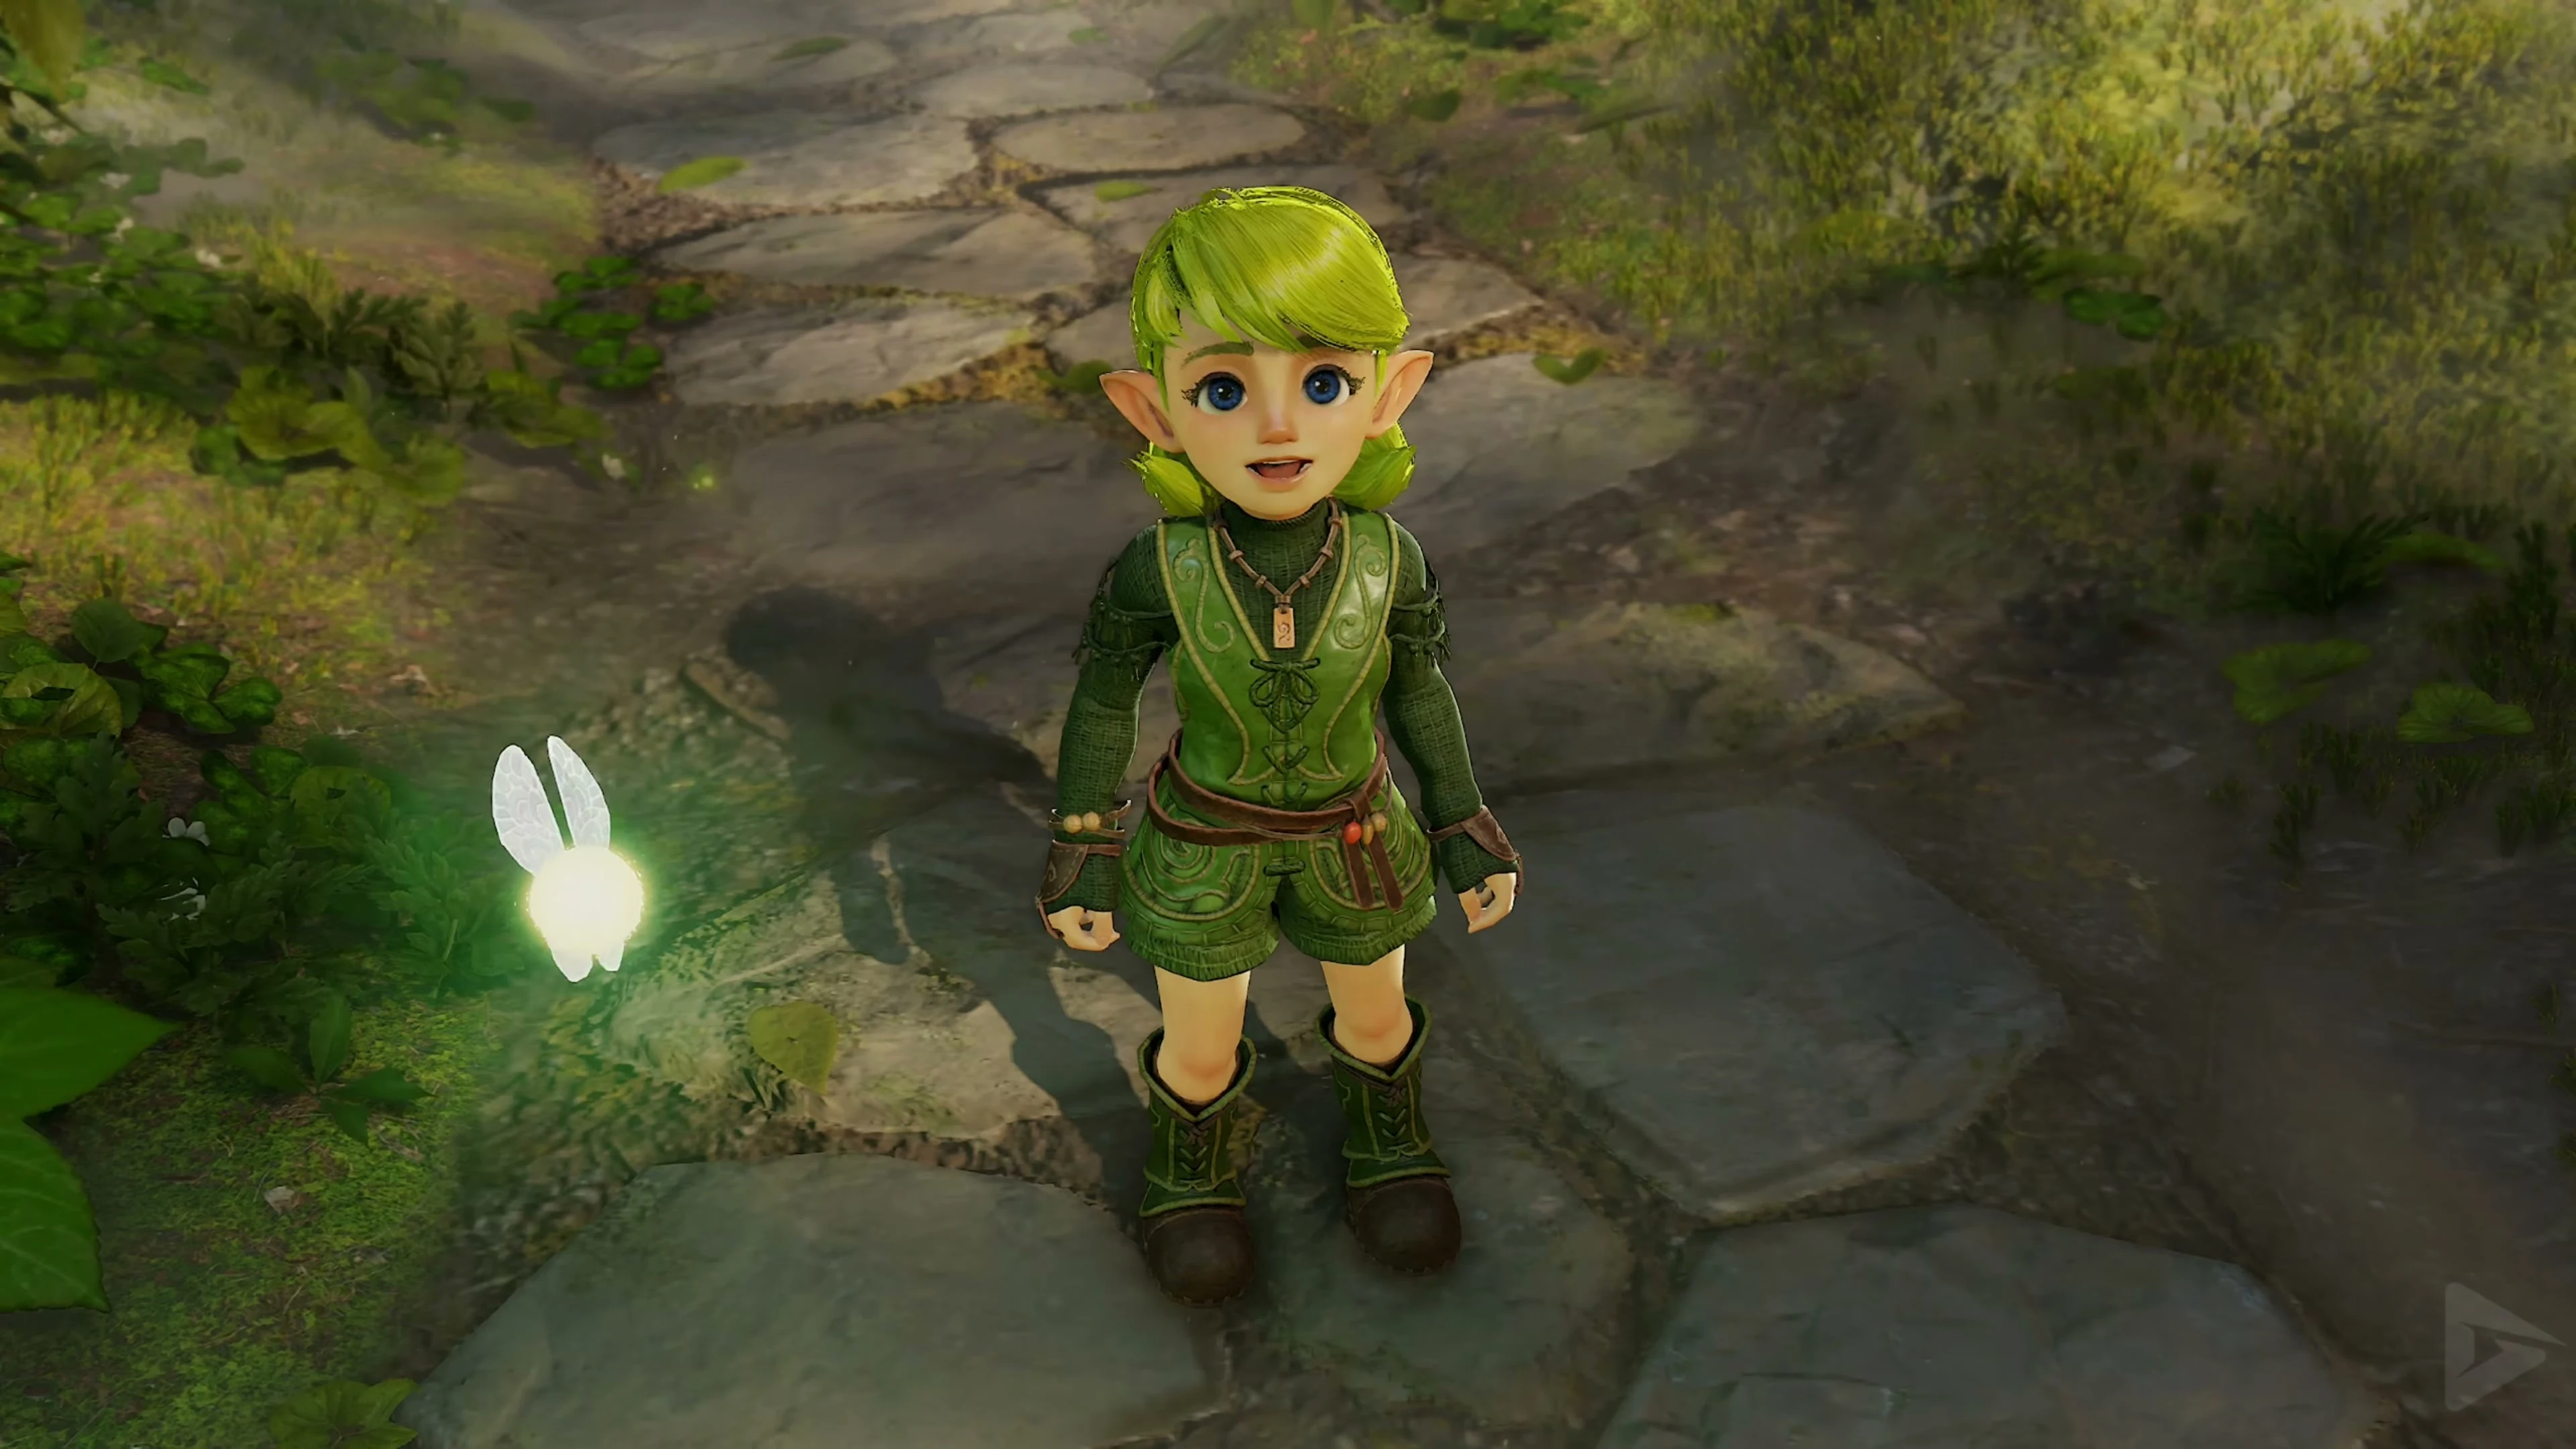
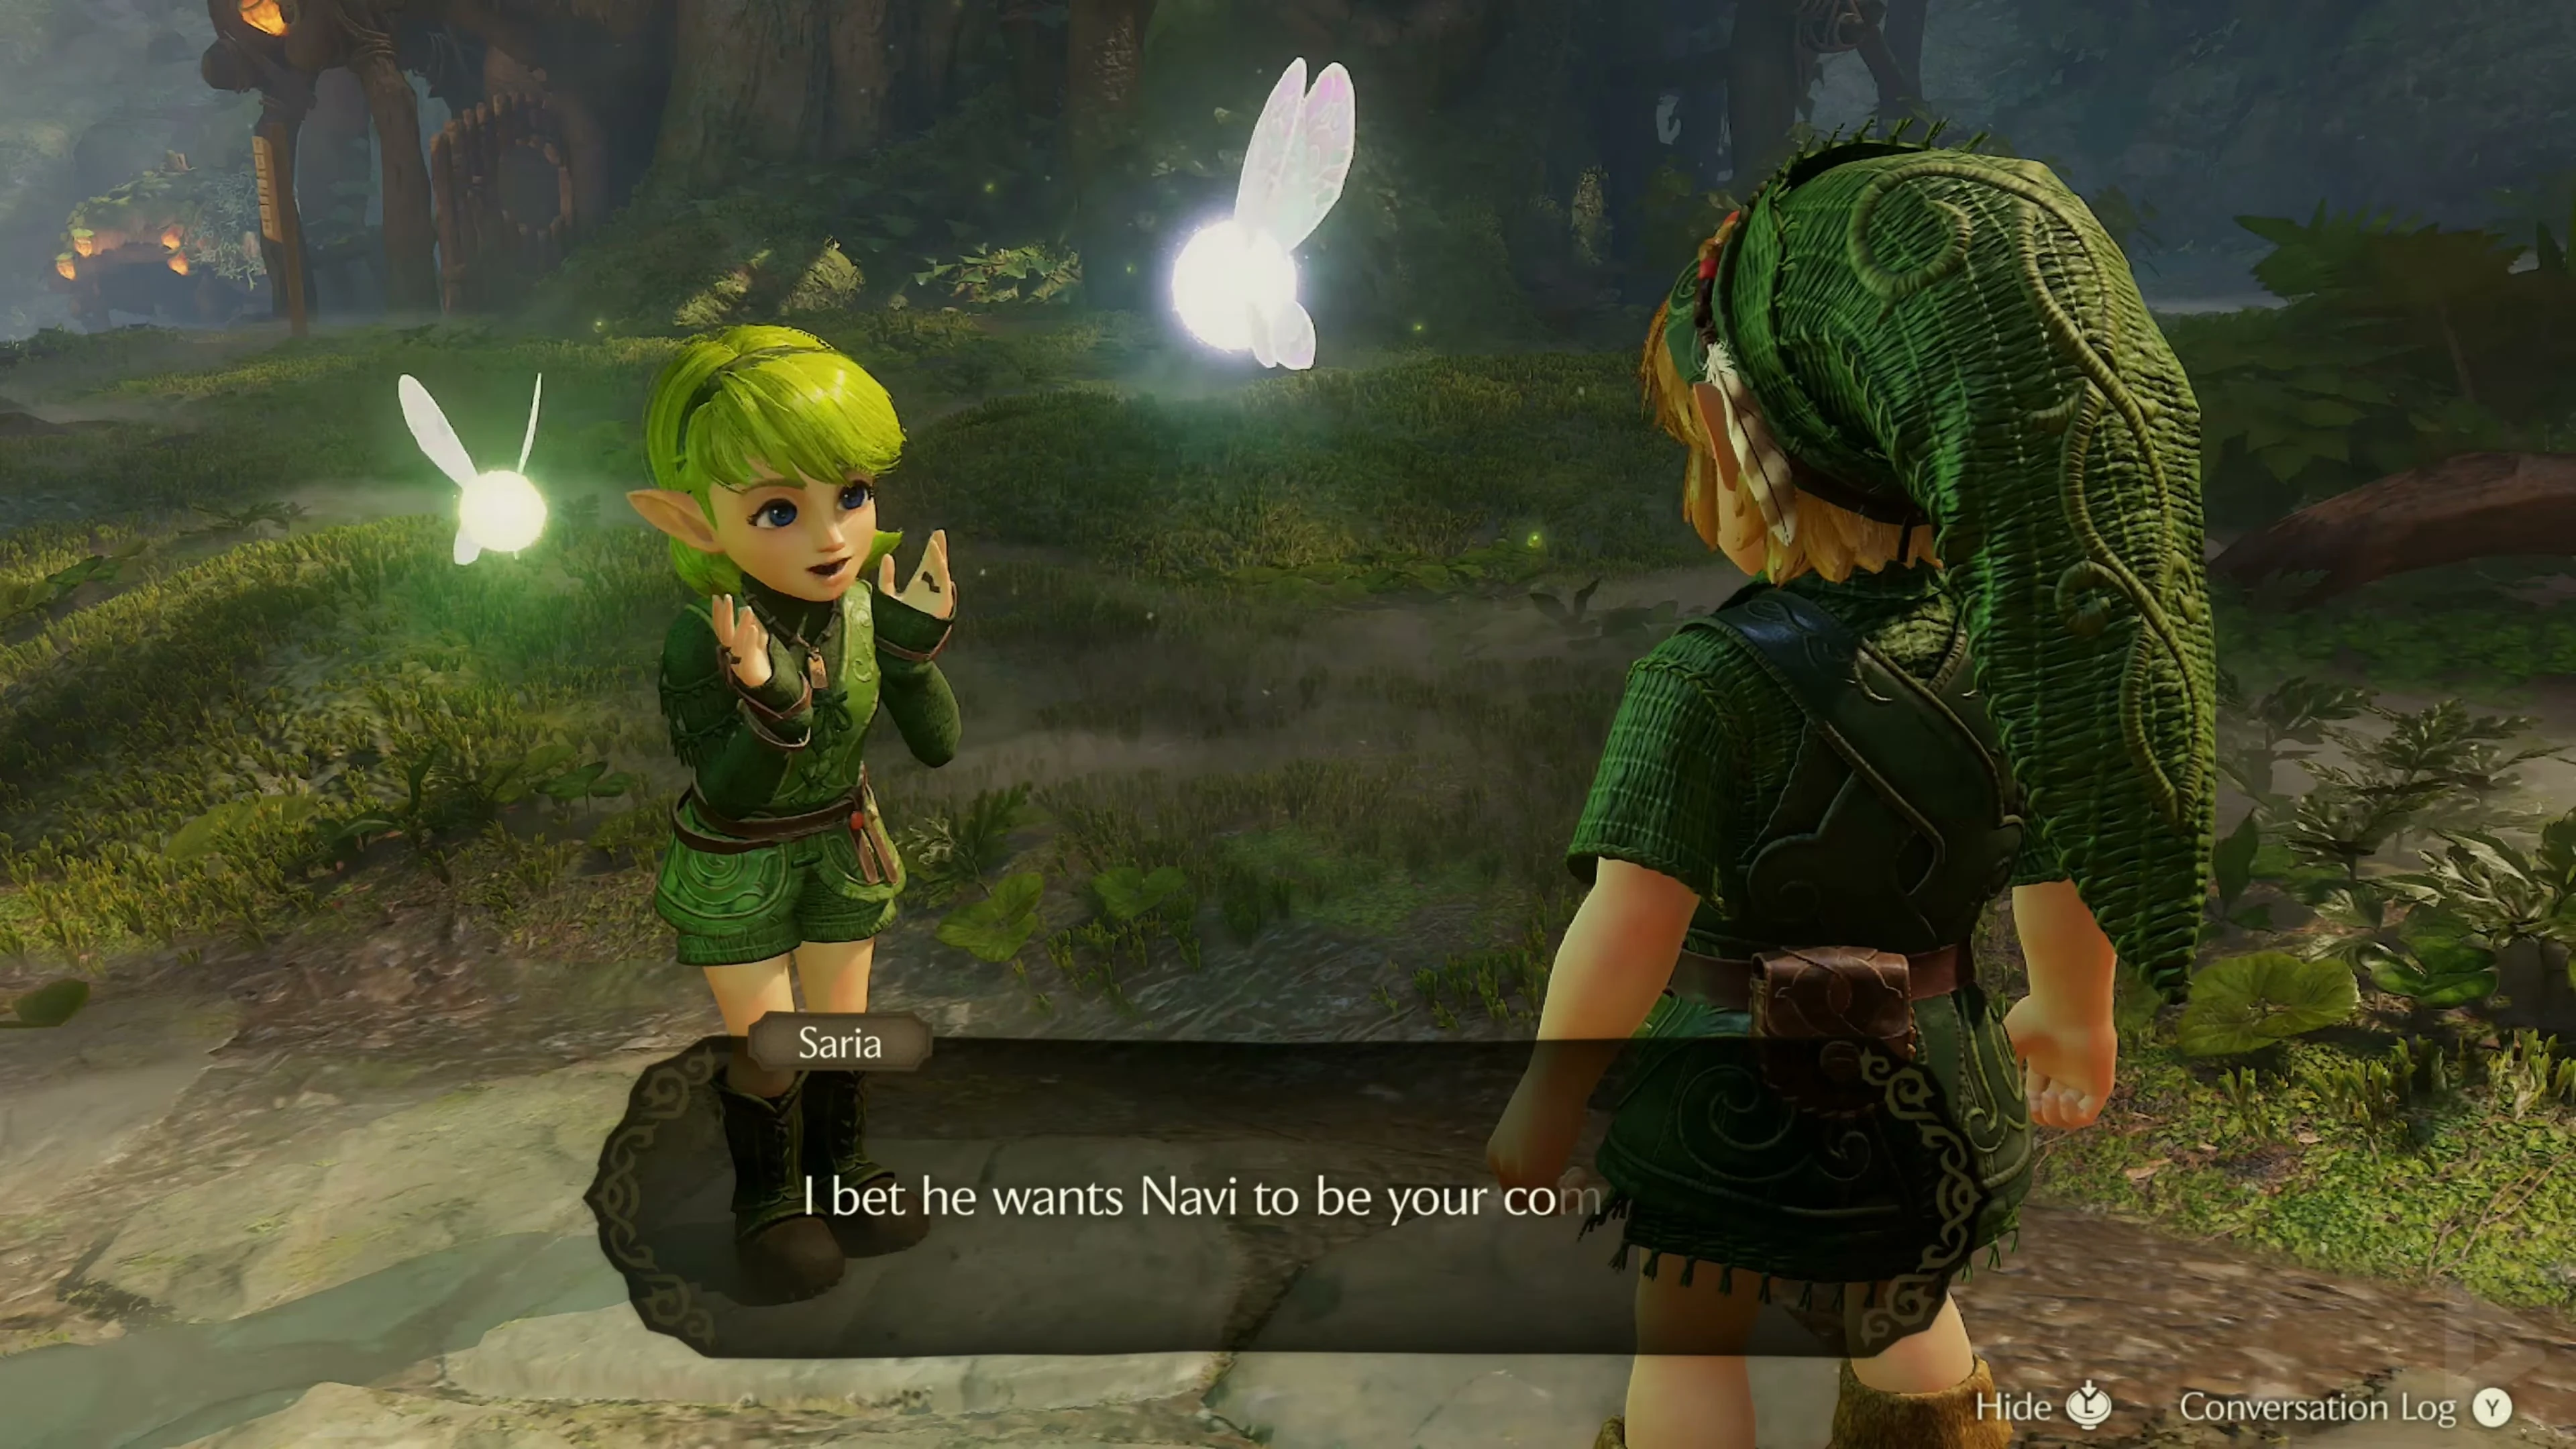
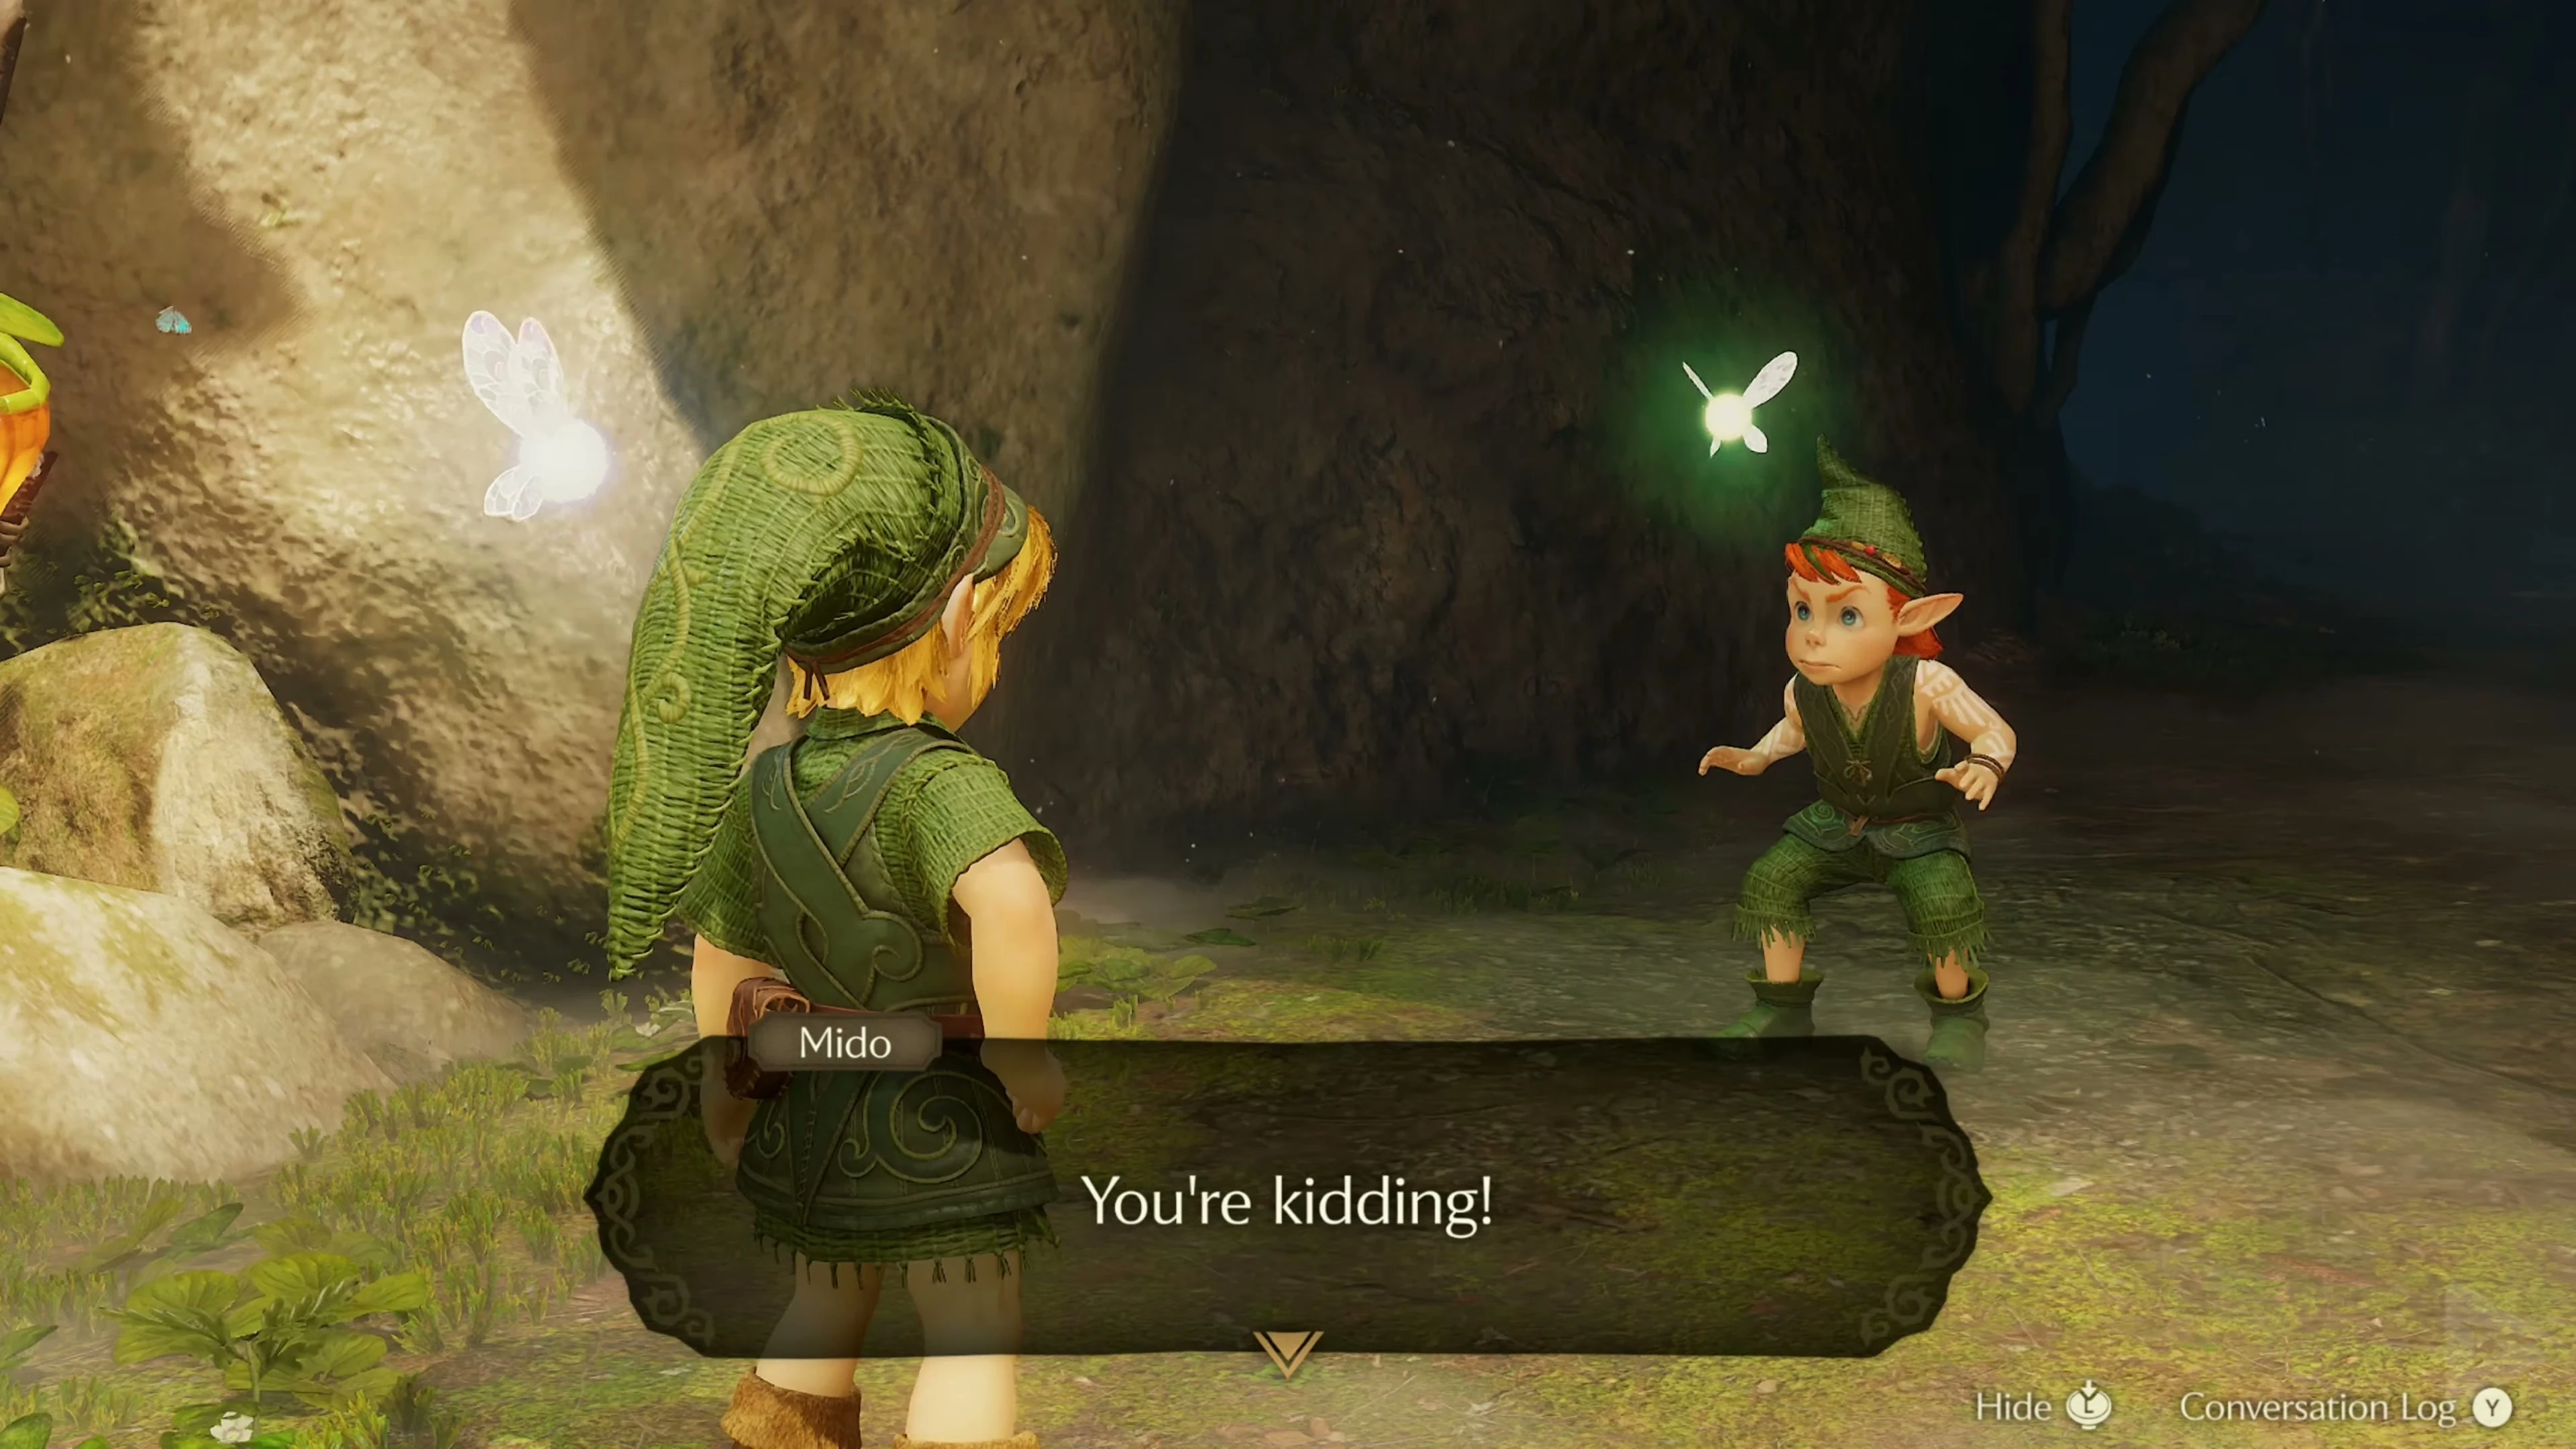
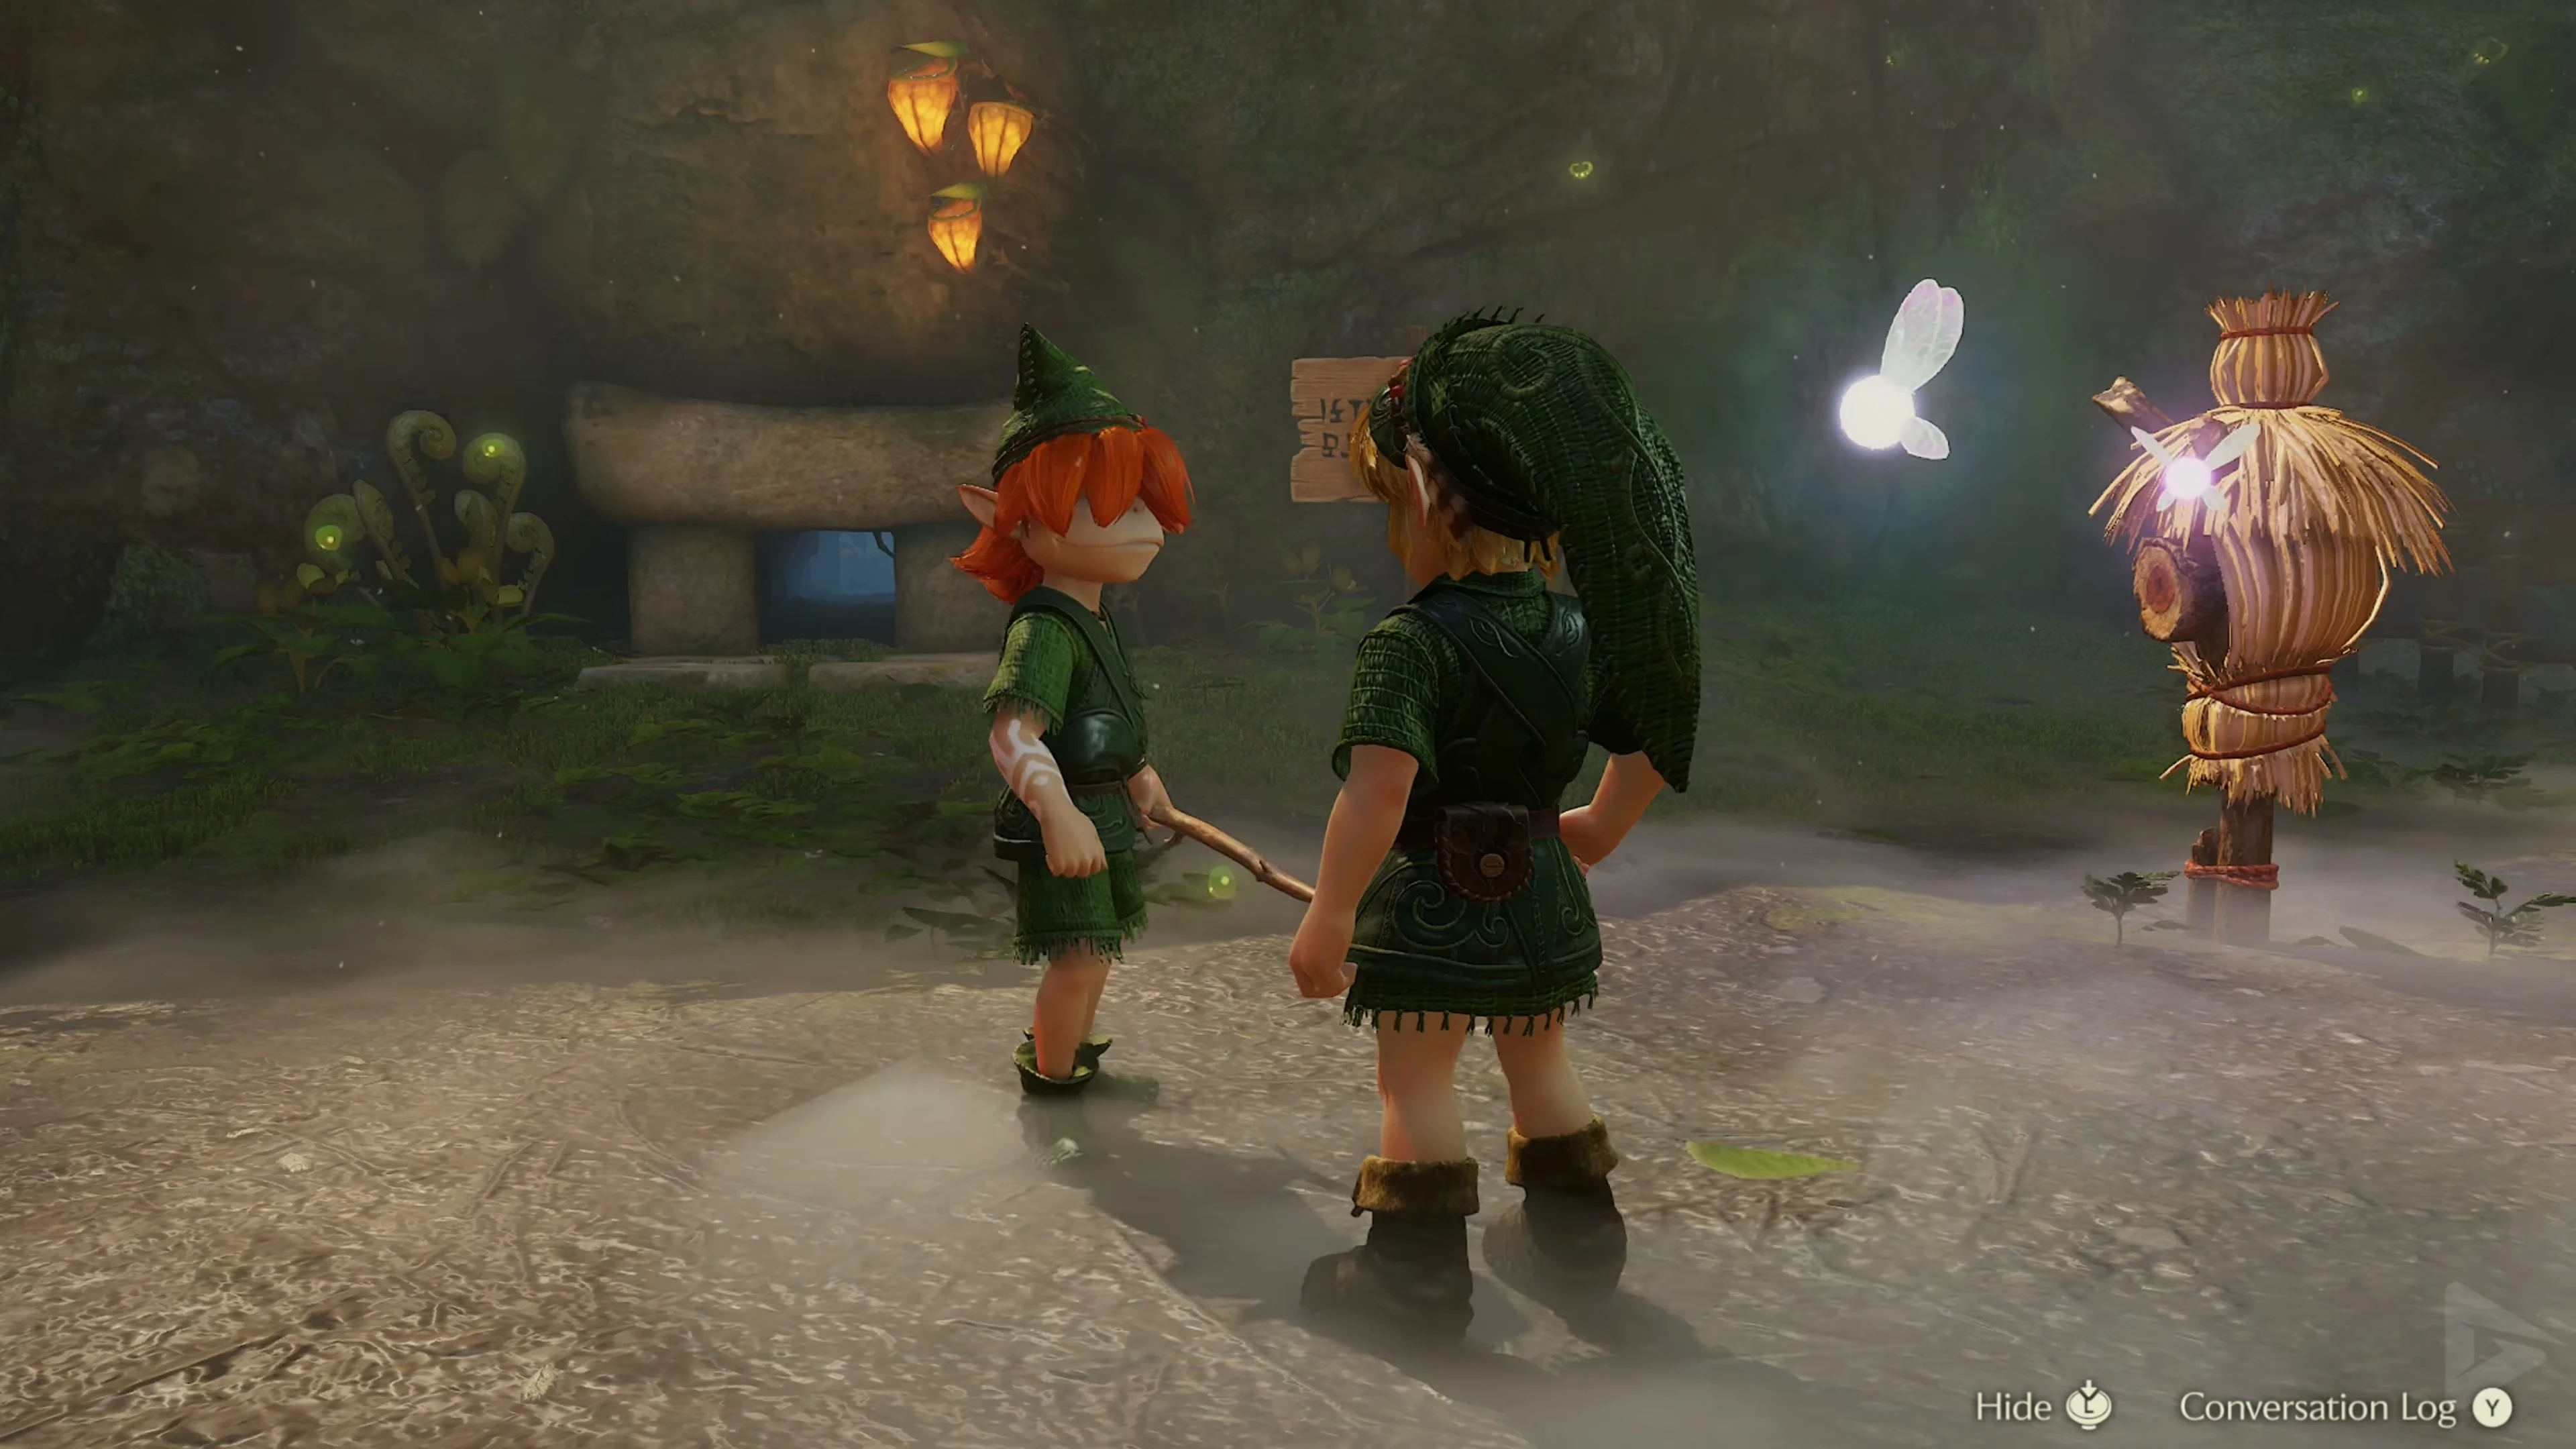
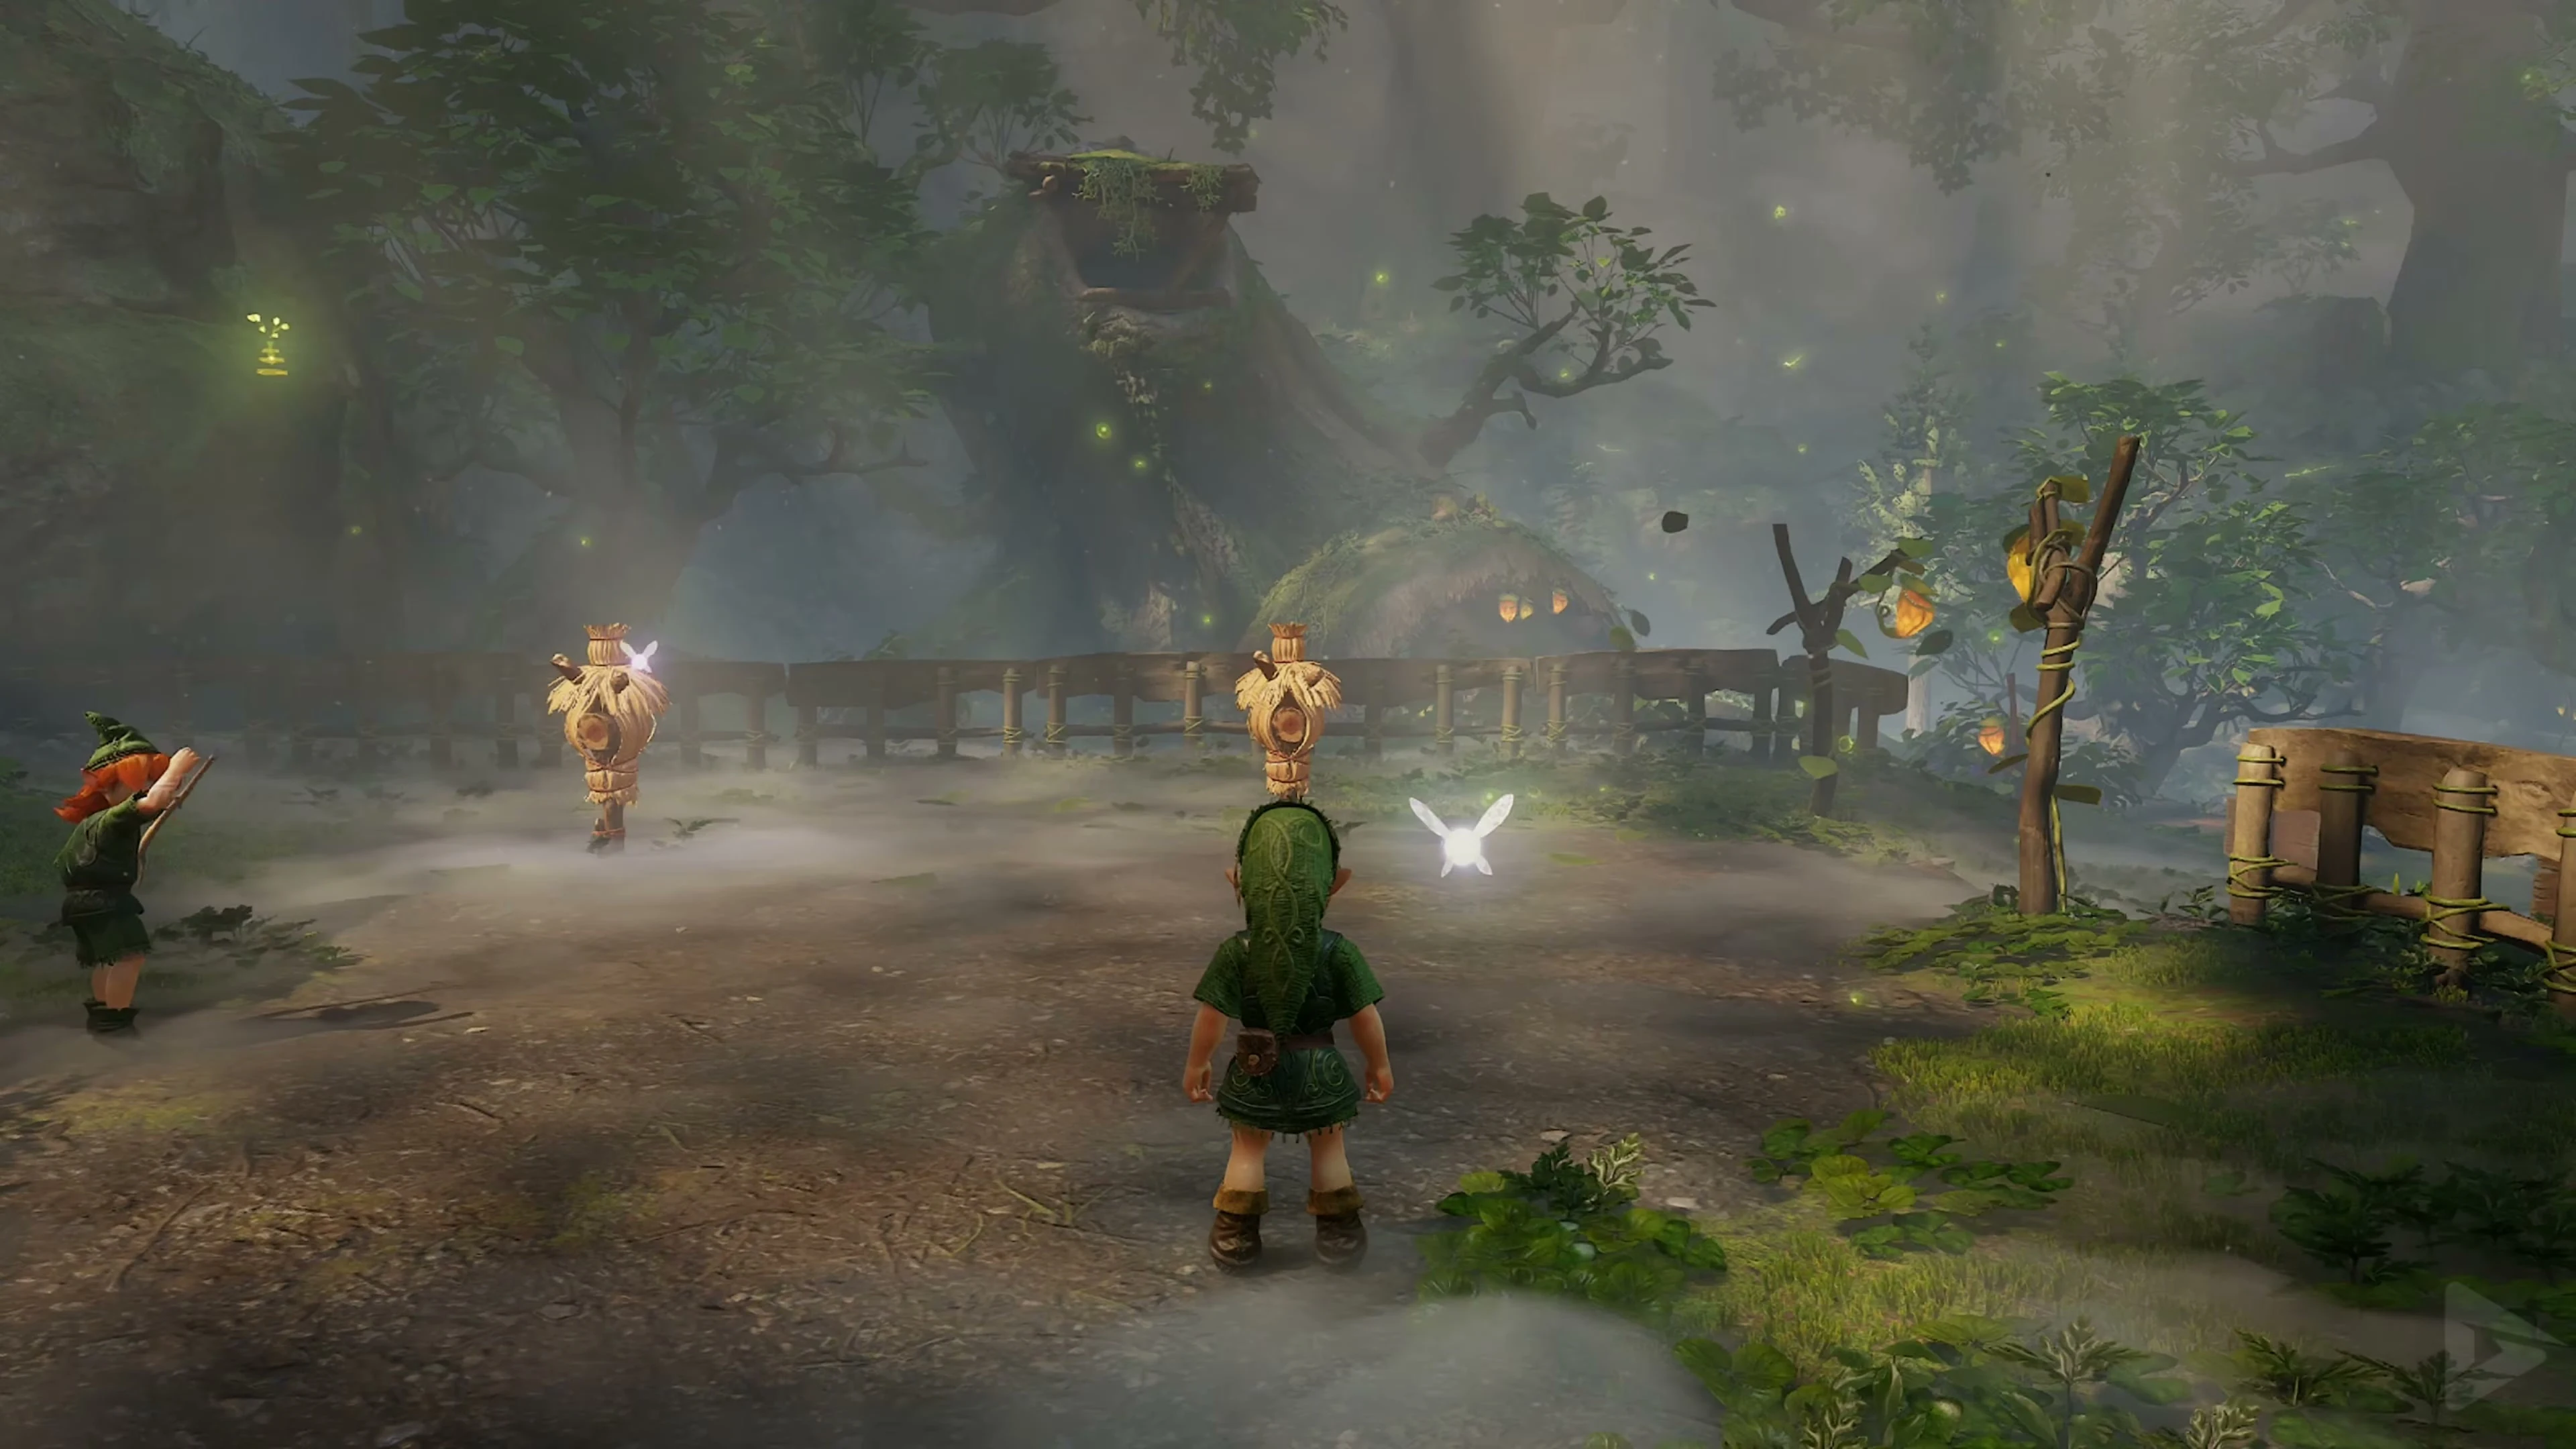
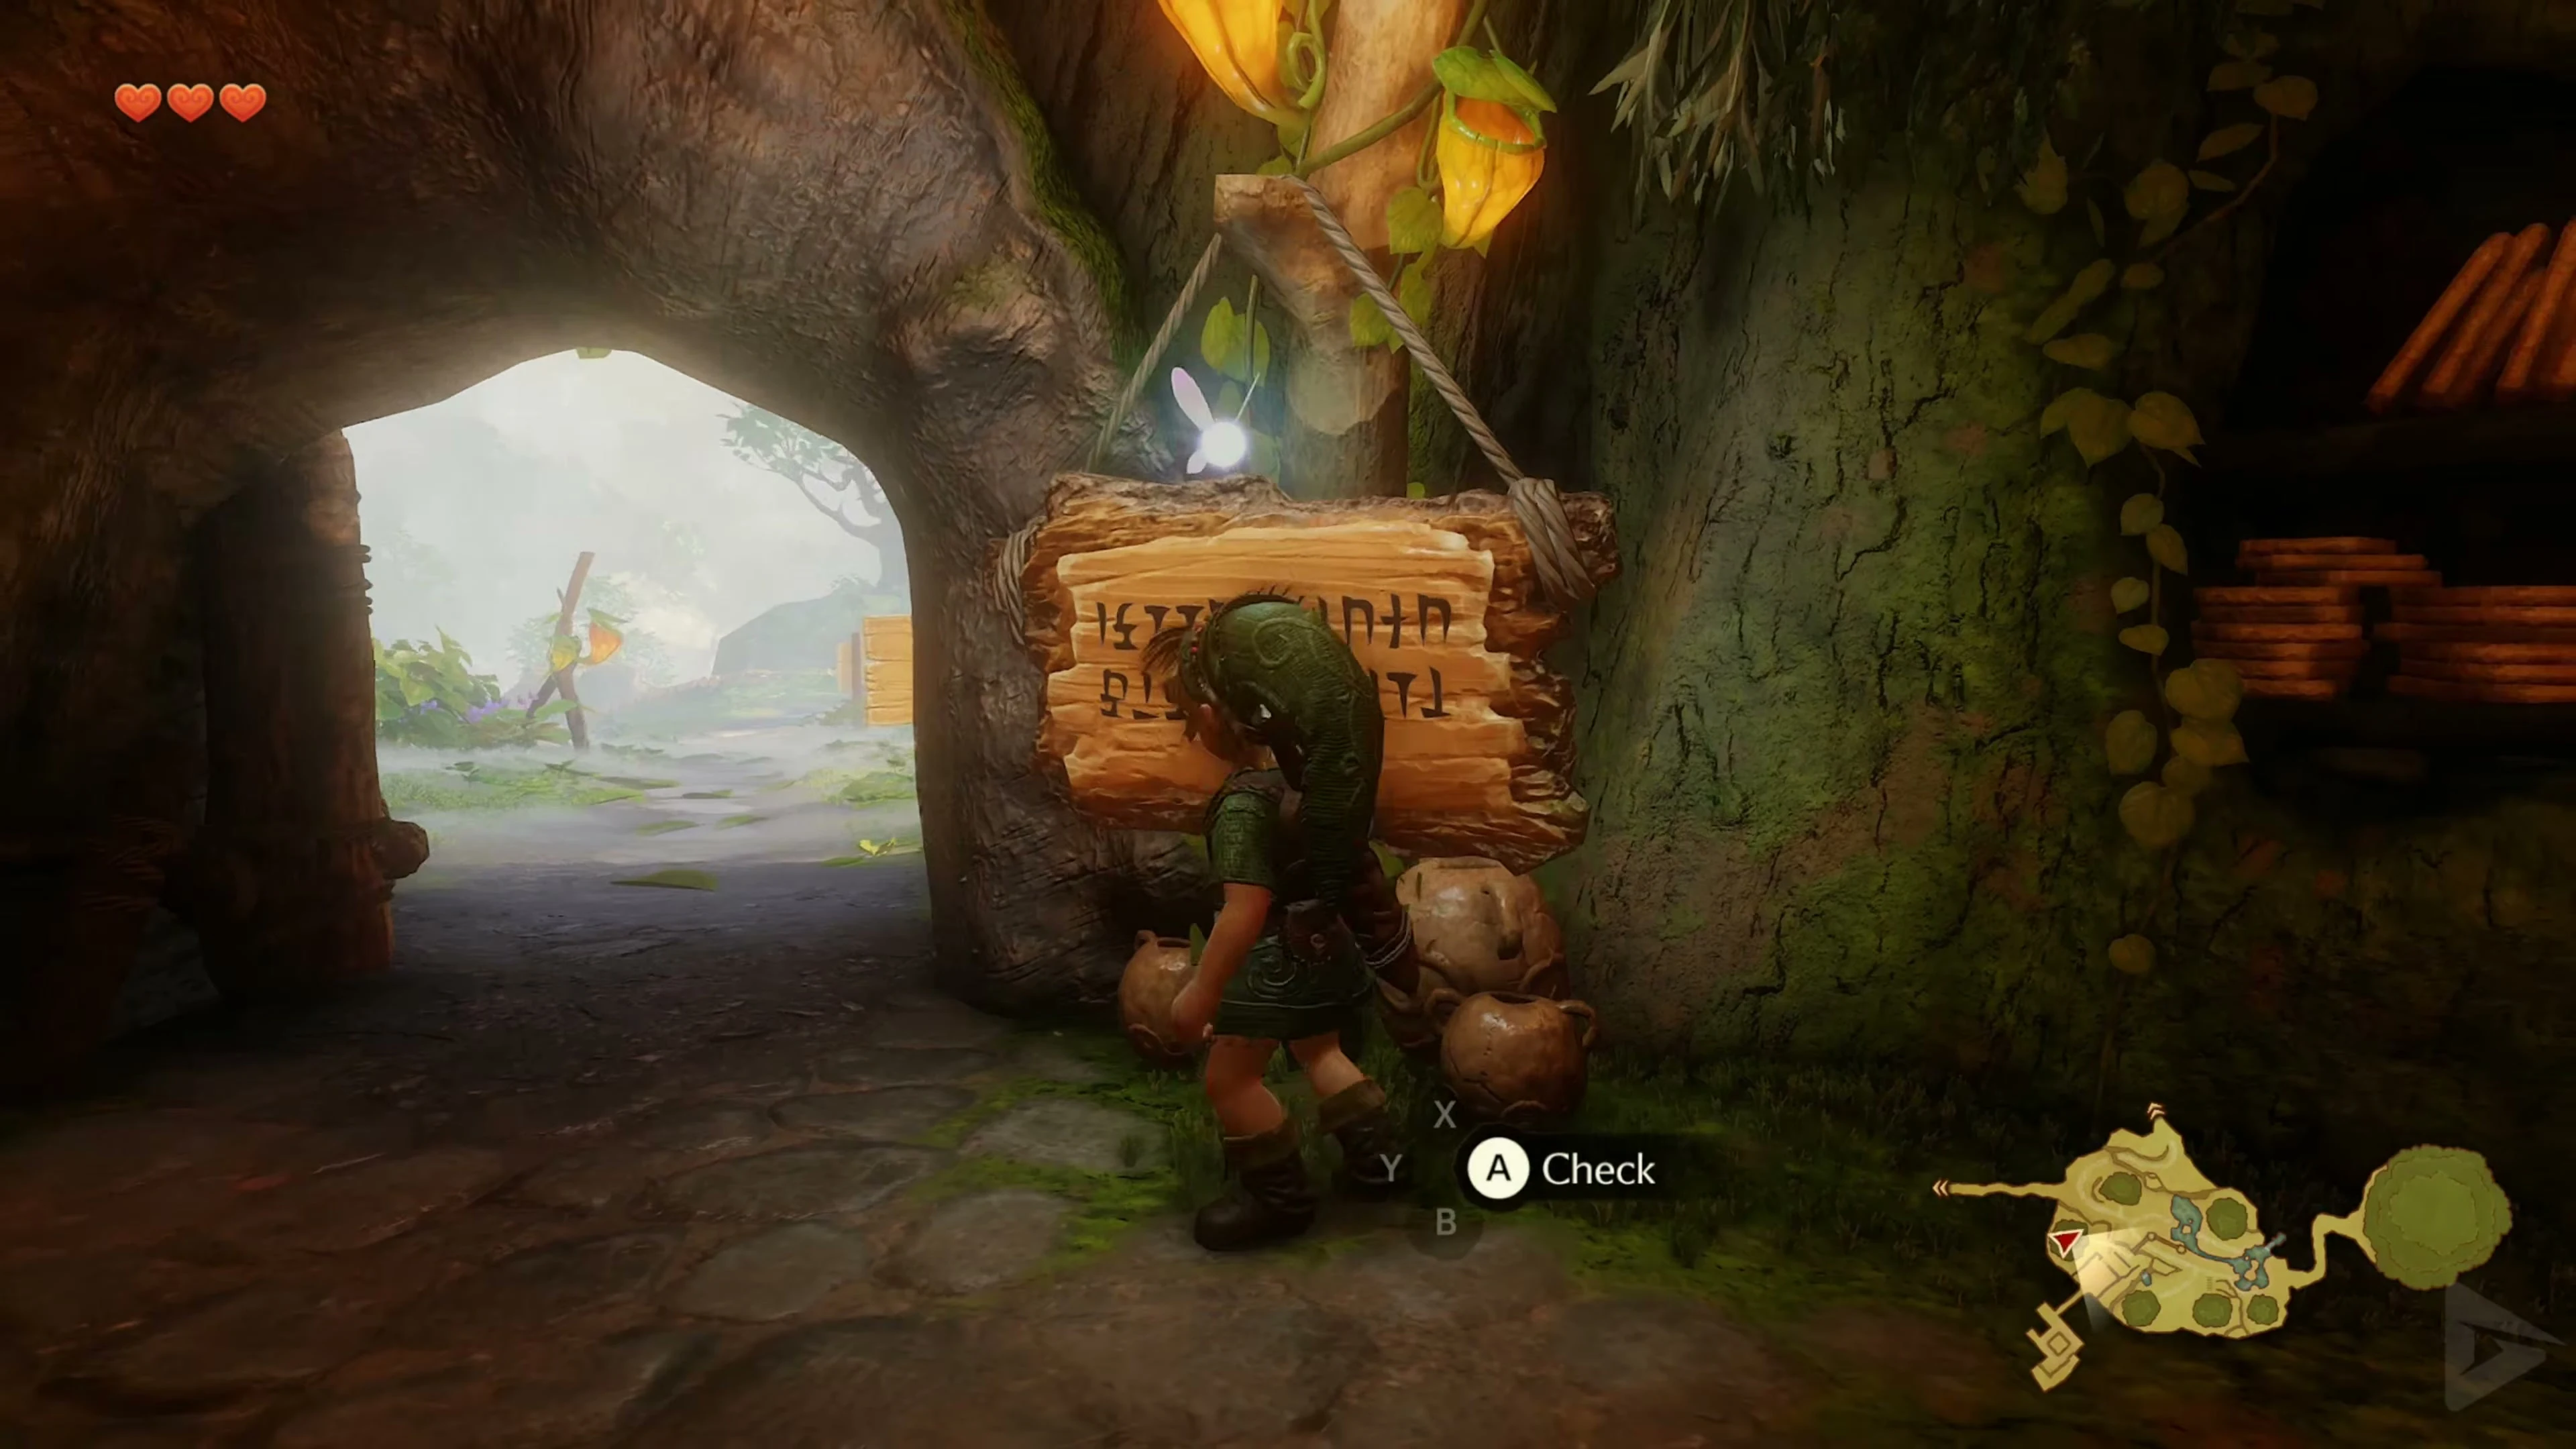
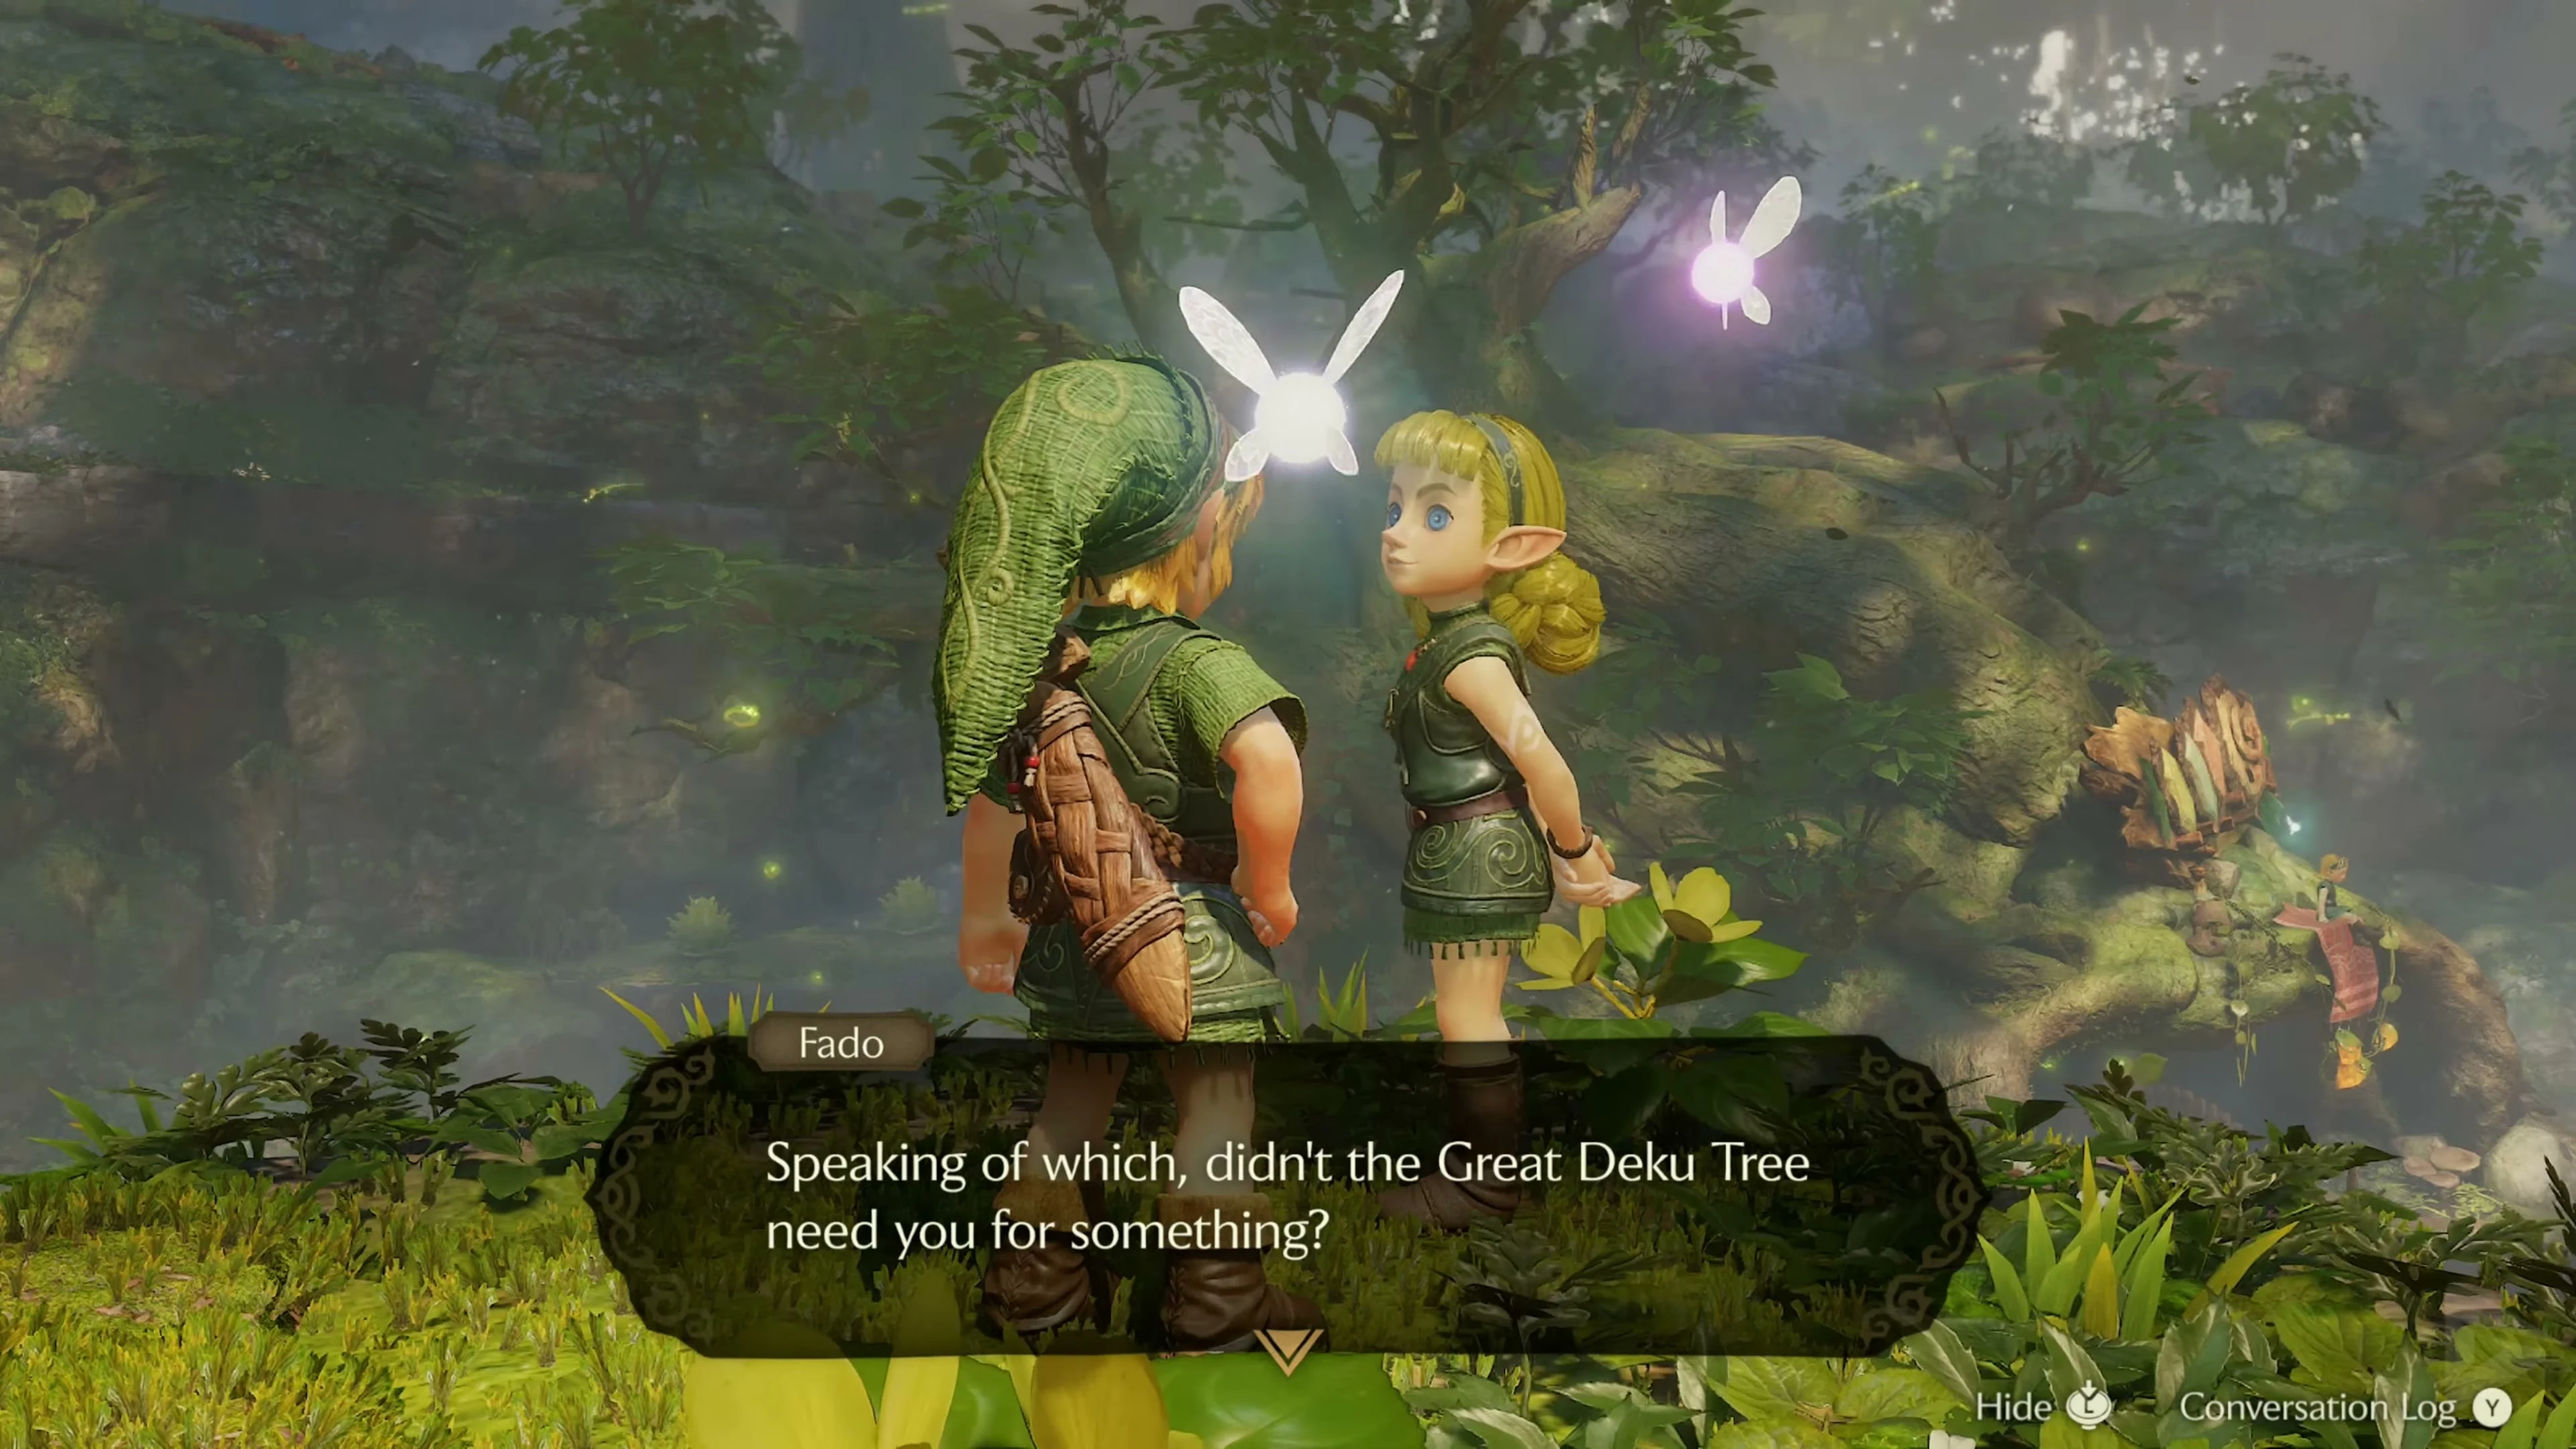
Climb down the ladder in front of Link’s house and talk to Saria. From the village square, the eastern corridor leads to the Great Deku Tree; Mido stands guard in front of it. He doesn’t want to let Link pass until his sword and shield are equipped. First turn to the fenced training area in the southwest of the village. The path to the free Kokiri Sword begins there.
Find the Kokiri Sword
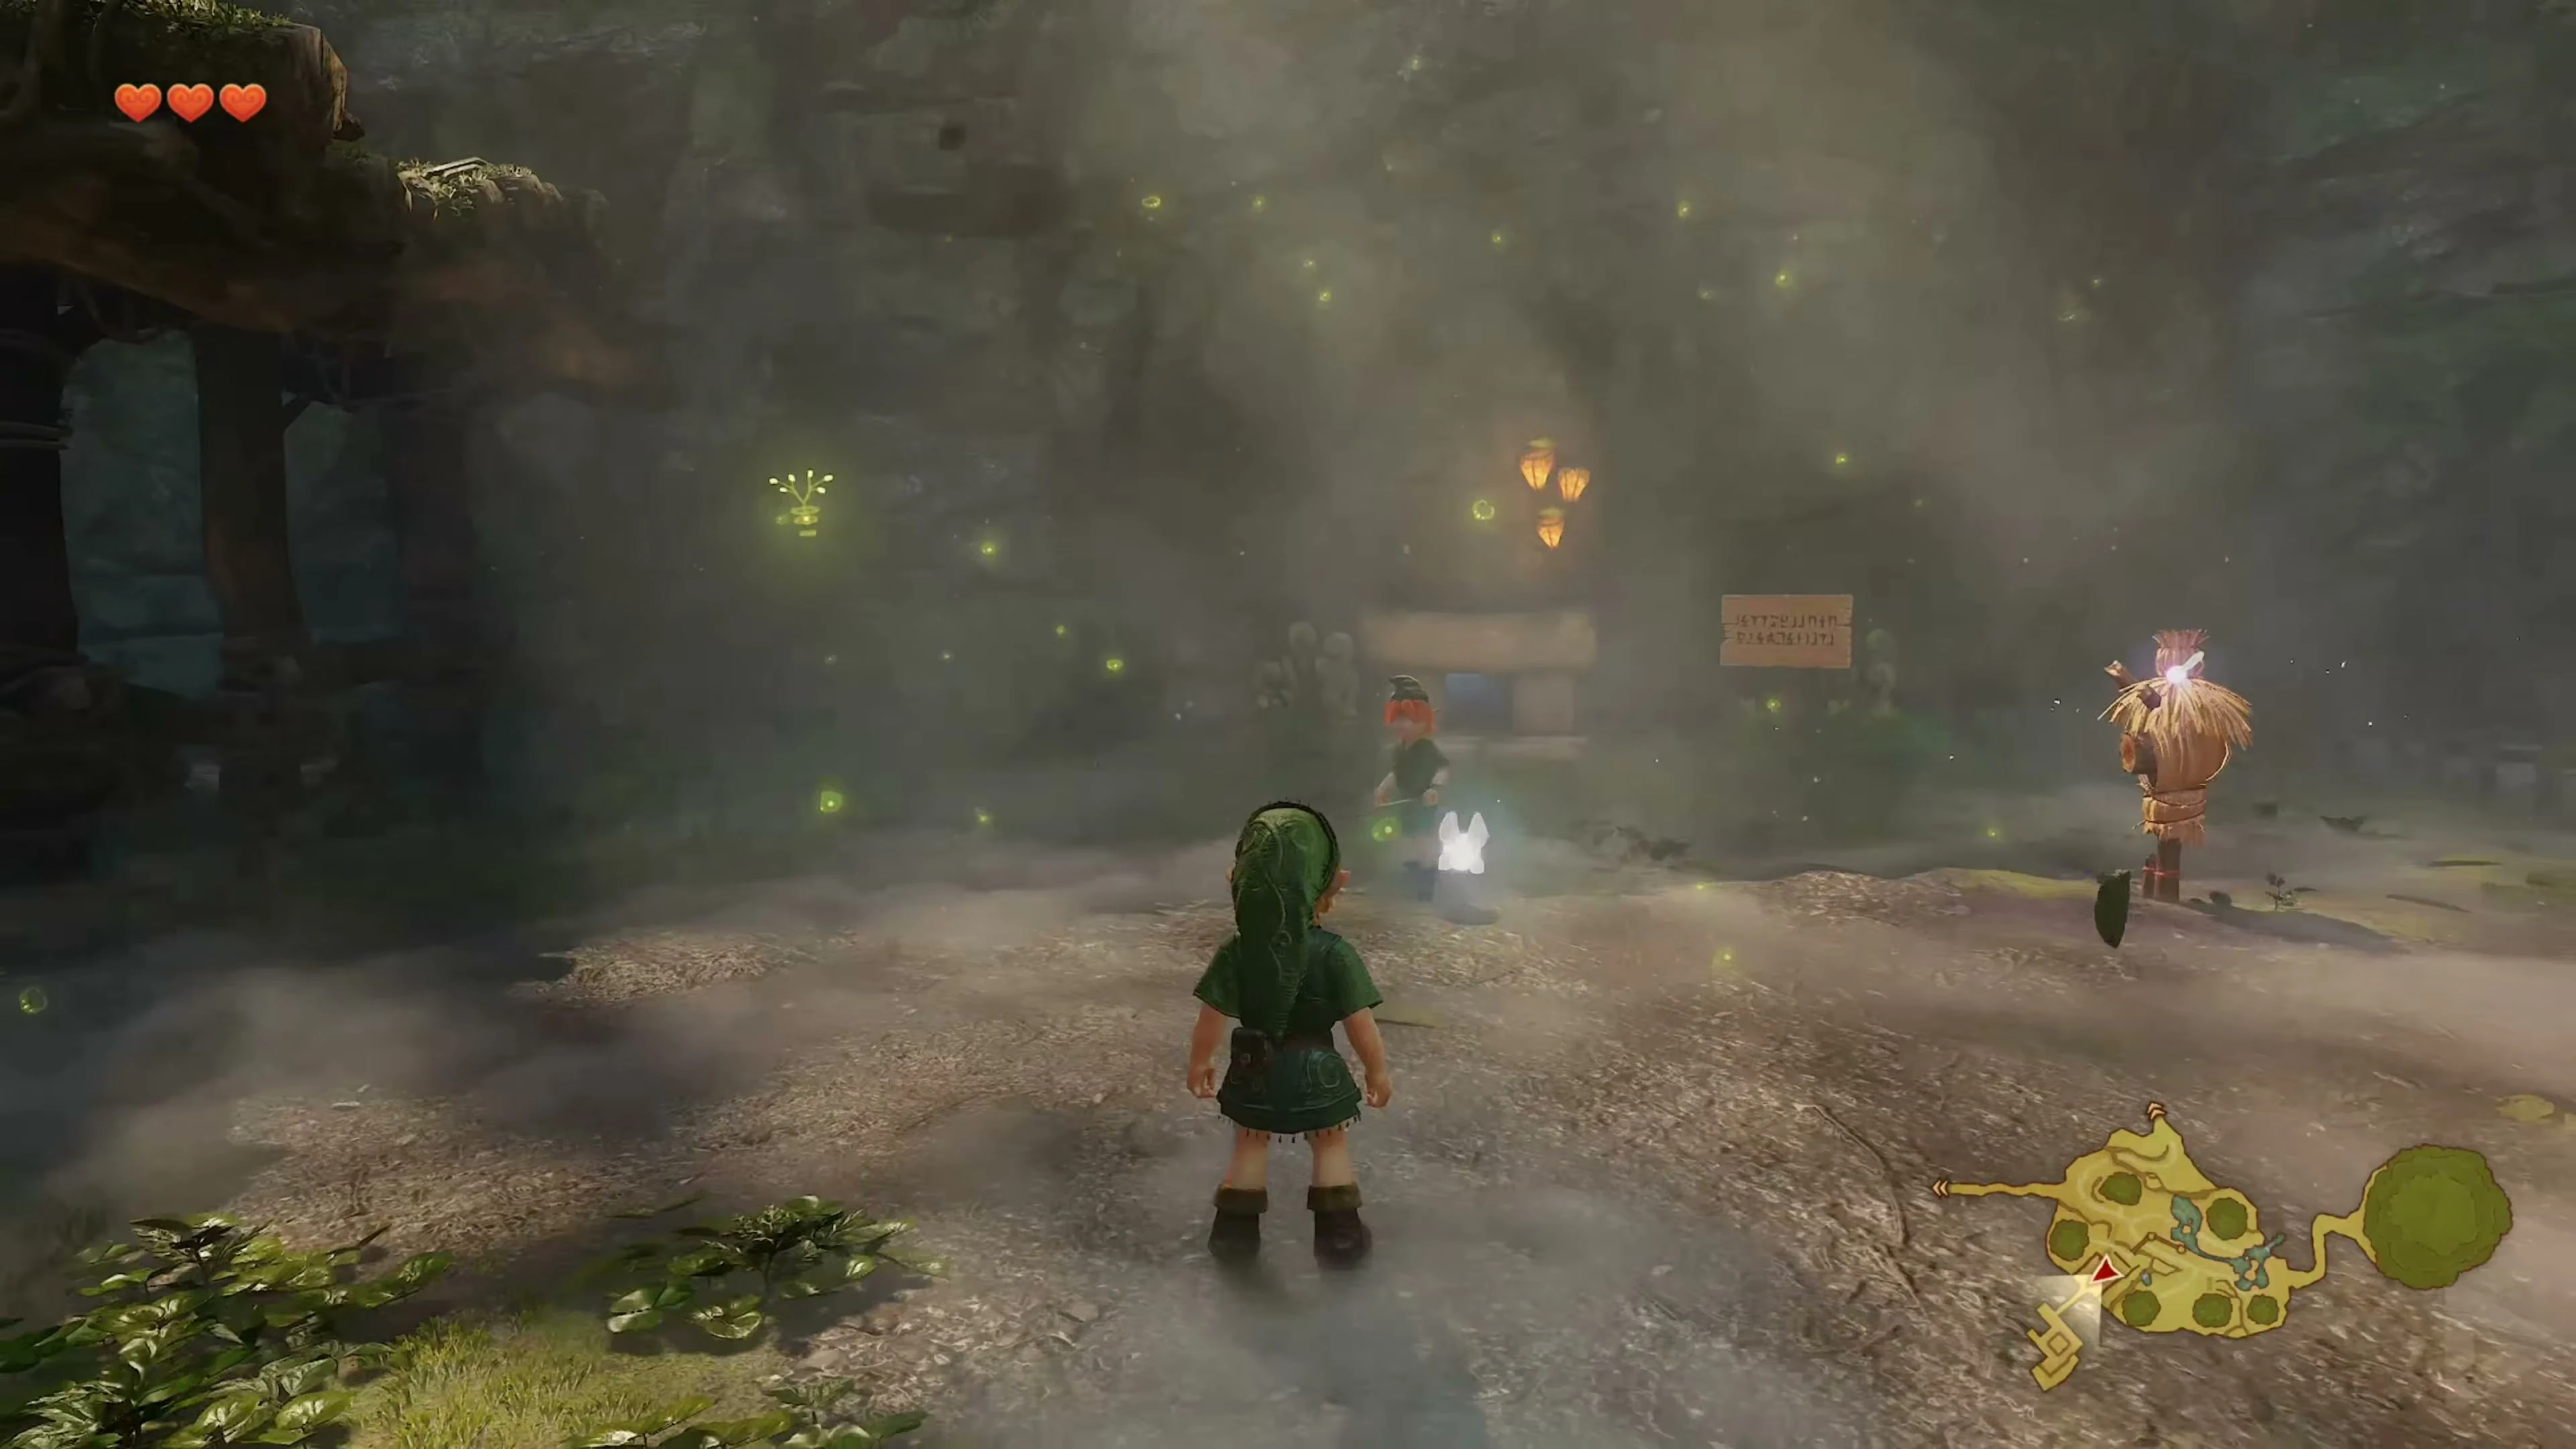
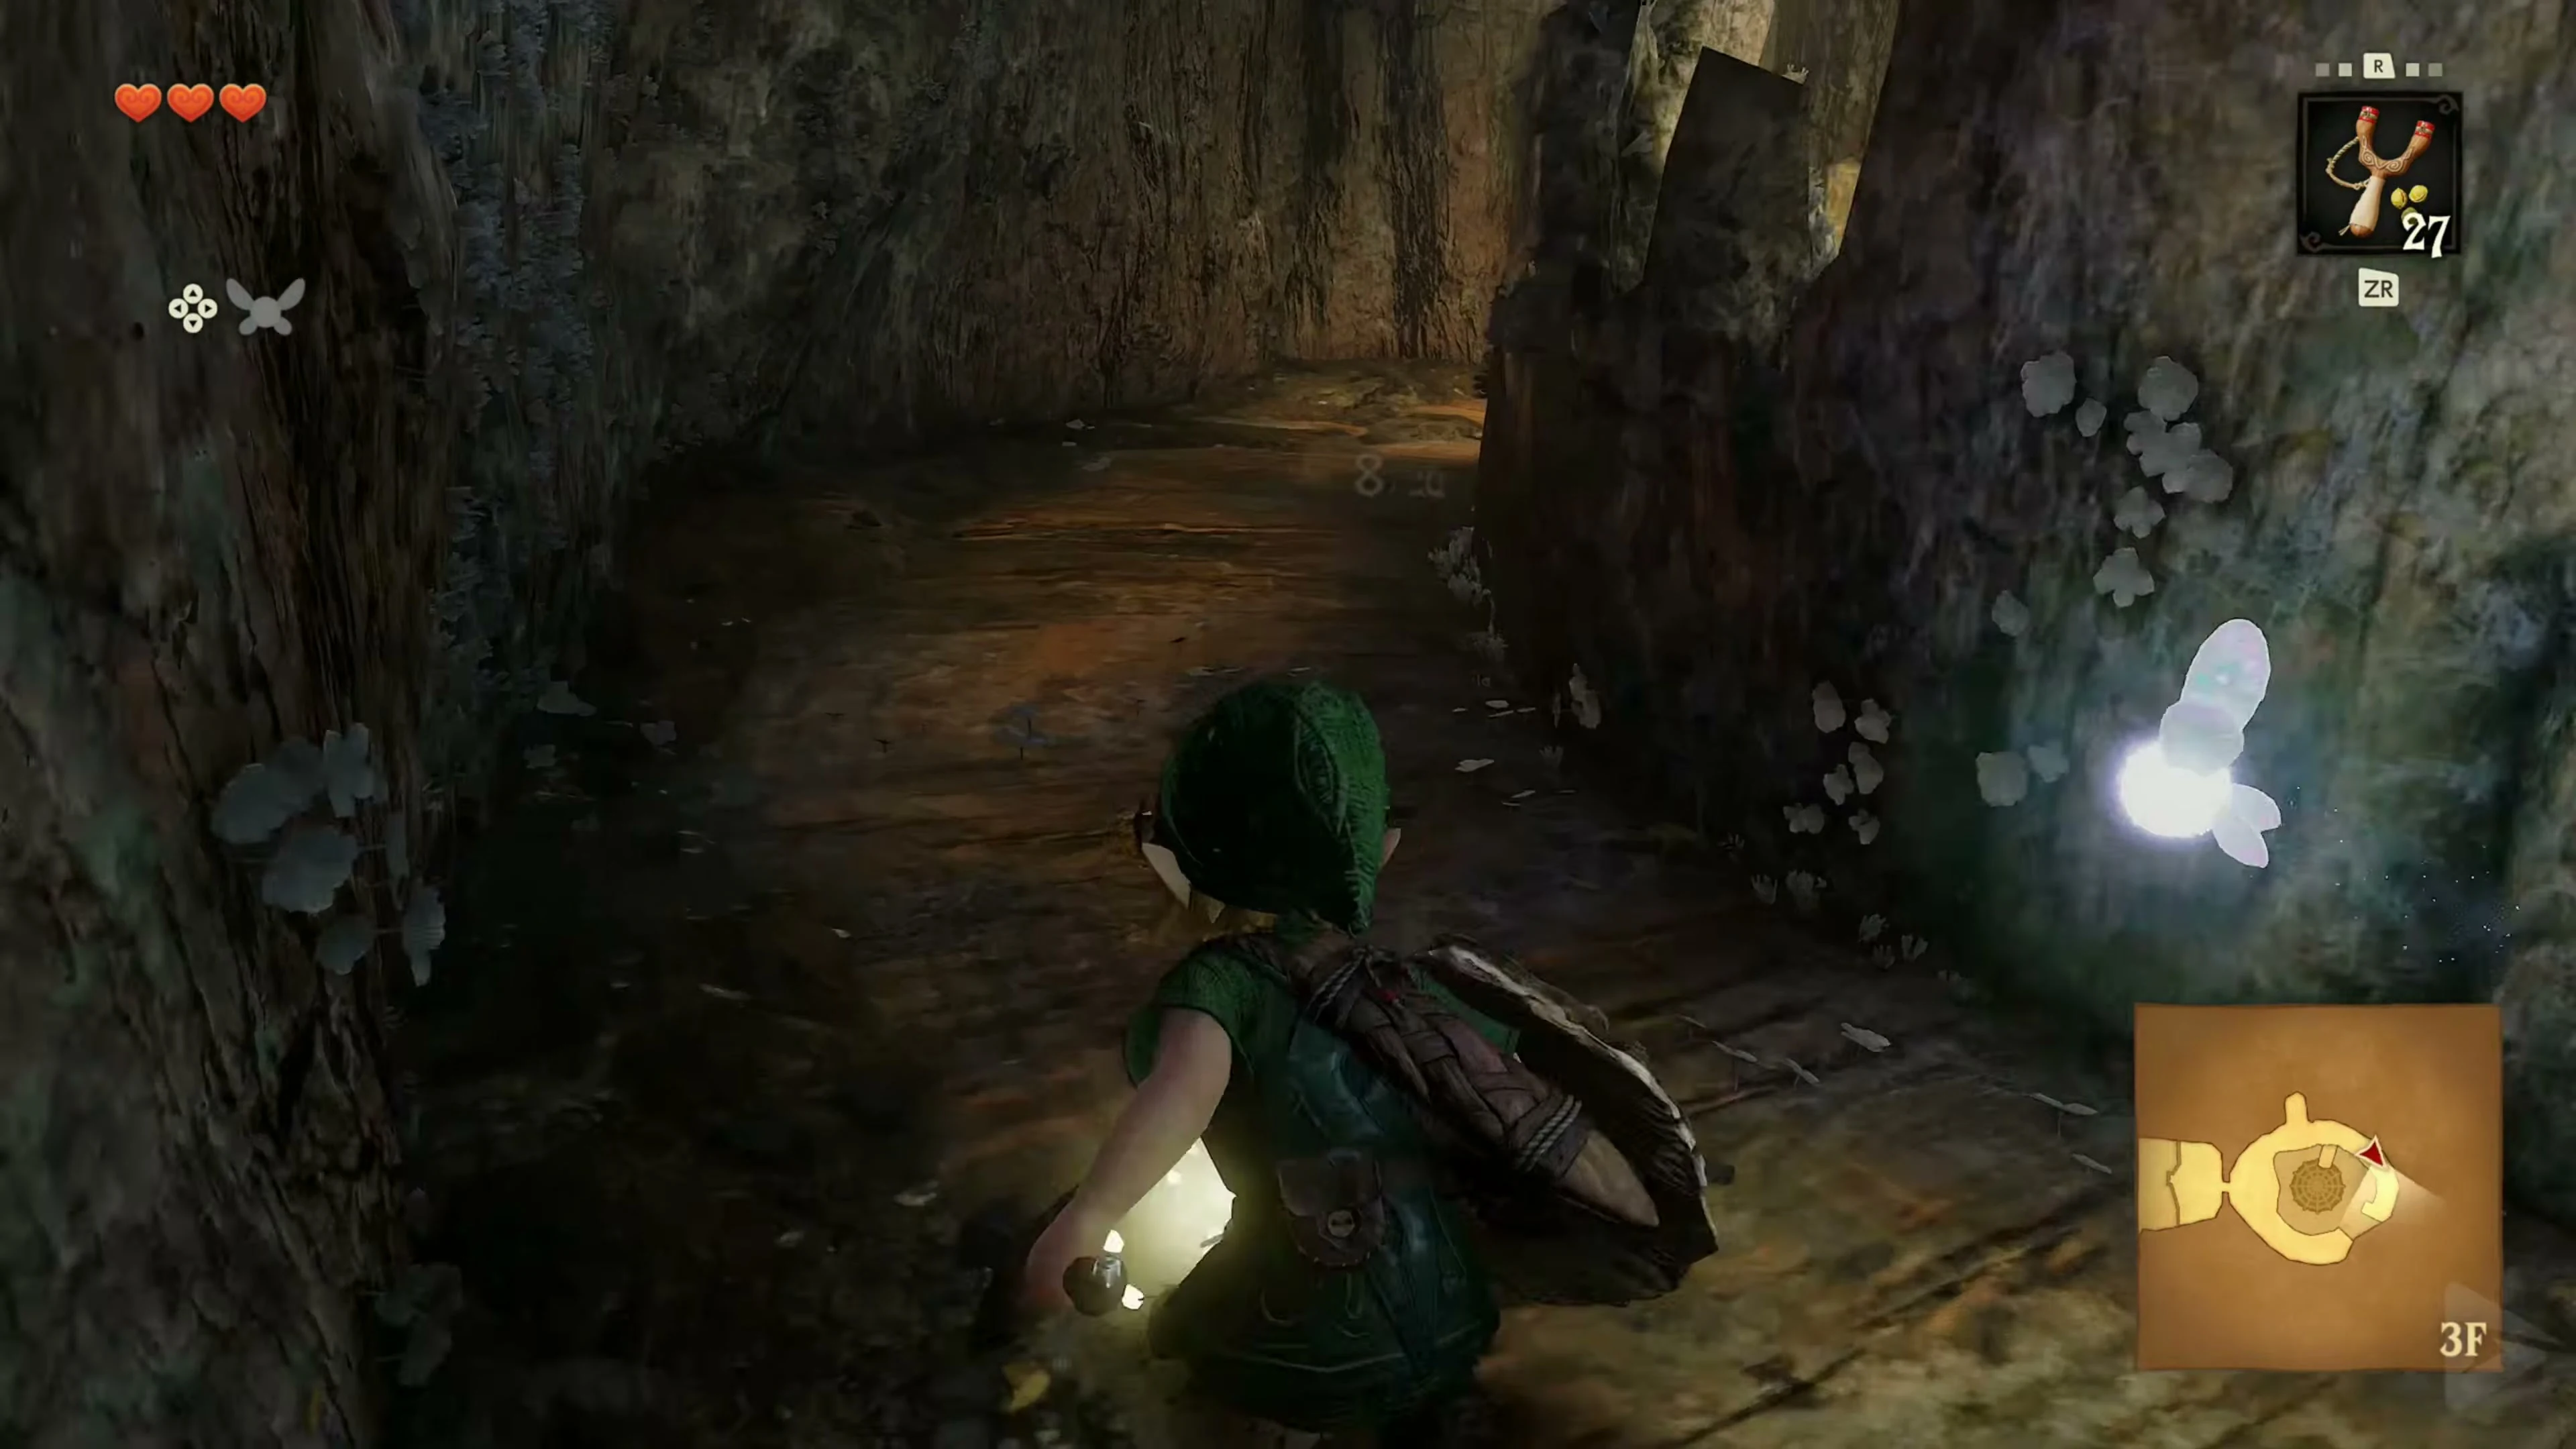
Speak to the Kokiri at the training site and carry out the requested exercises. Behind the fences there is a low passage in the rock face. Crawl through and stop briefly before the tour: a large rock rolls through the narrow passages. Let him pass and follow him to the junction with the ladder. Climb up and jump to the raised ledge with the large chest. Inside lies the Kokiri Sword . Equip it and collect the blue rupees on the way back. Wait in the niches at the junctions until the rock opens the way.
40 Rupees for the Deku Shield
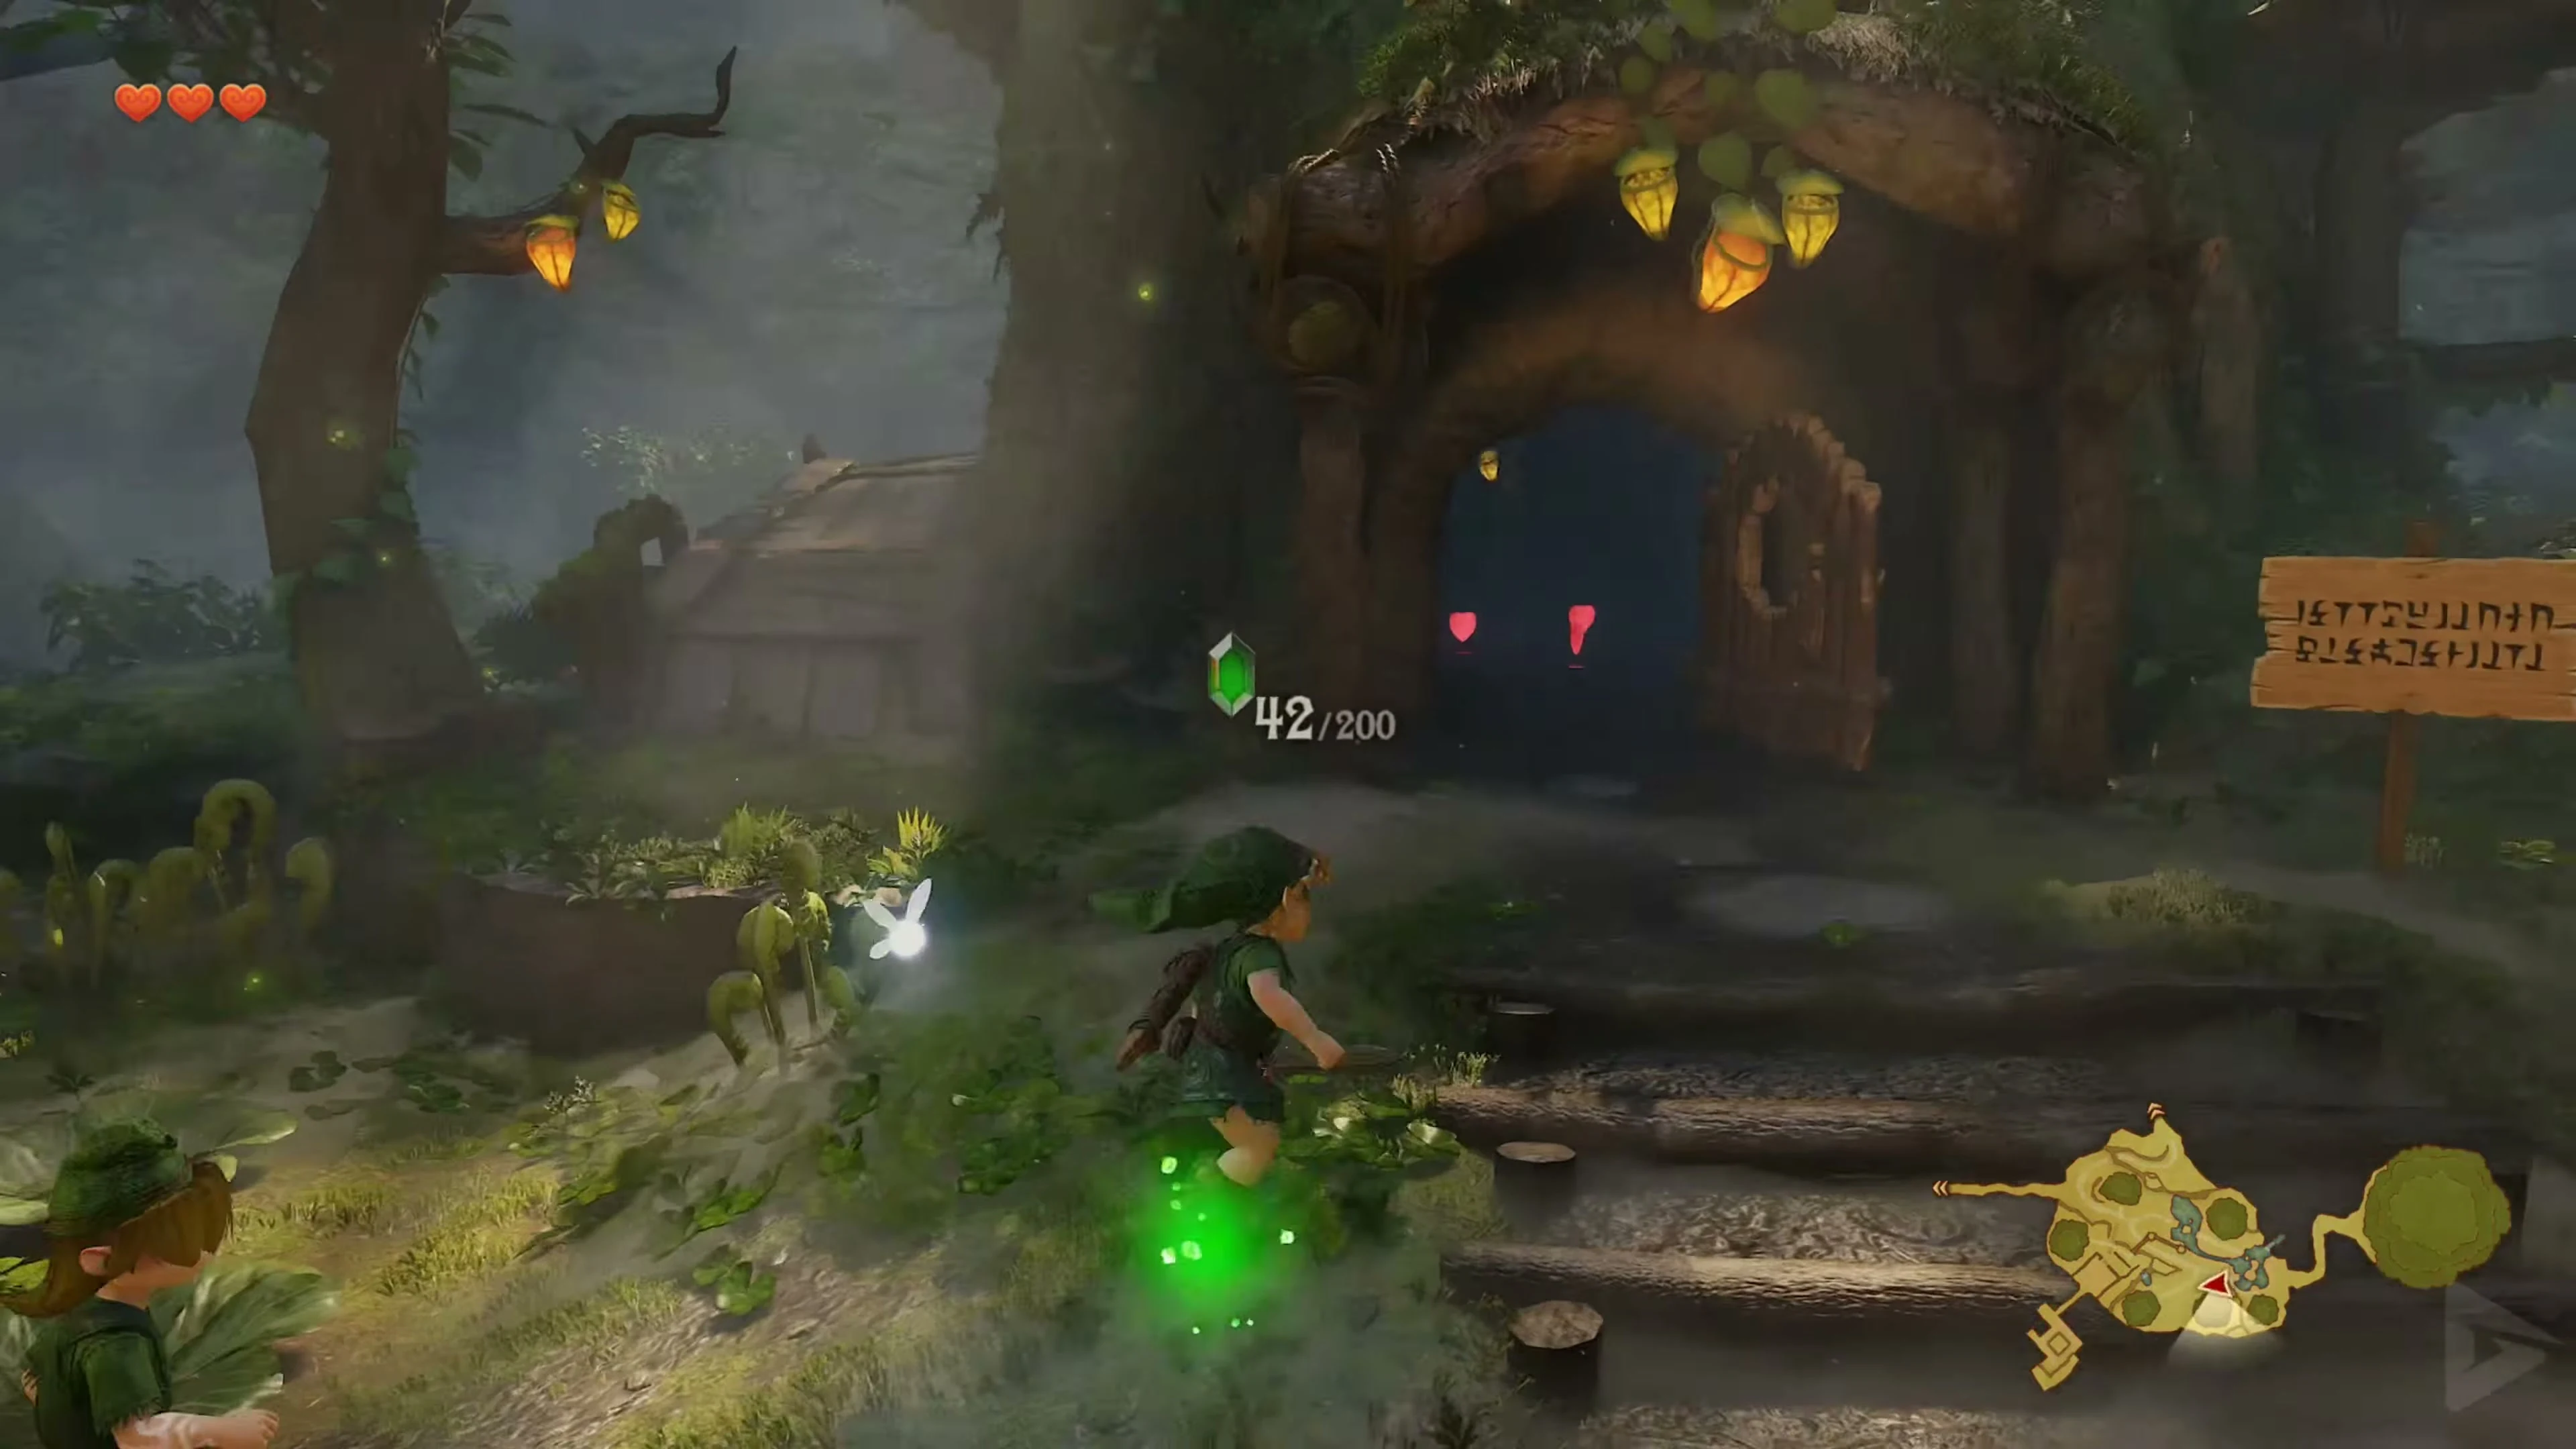
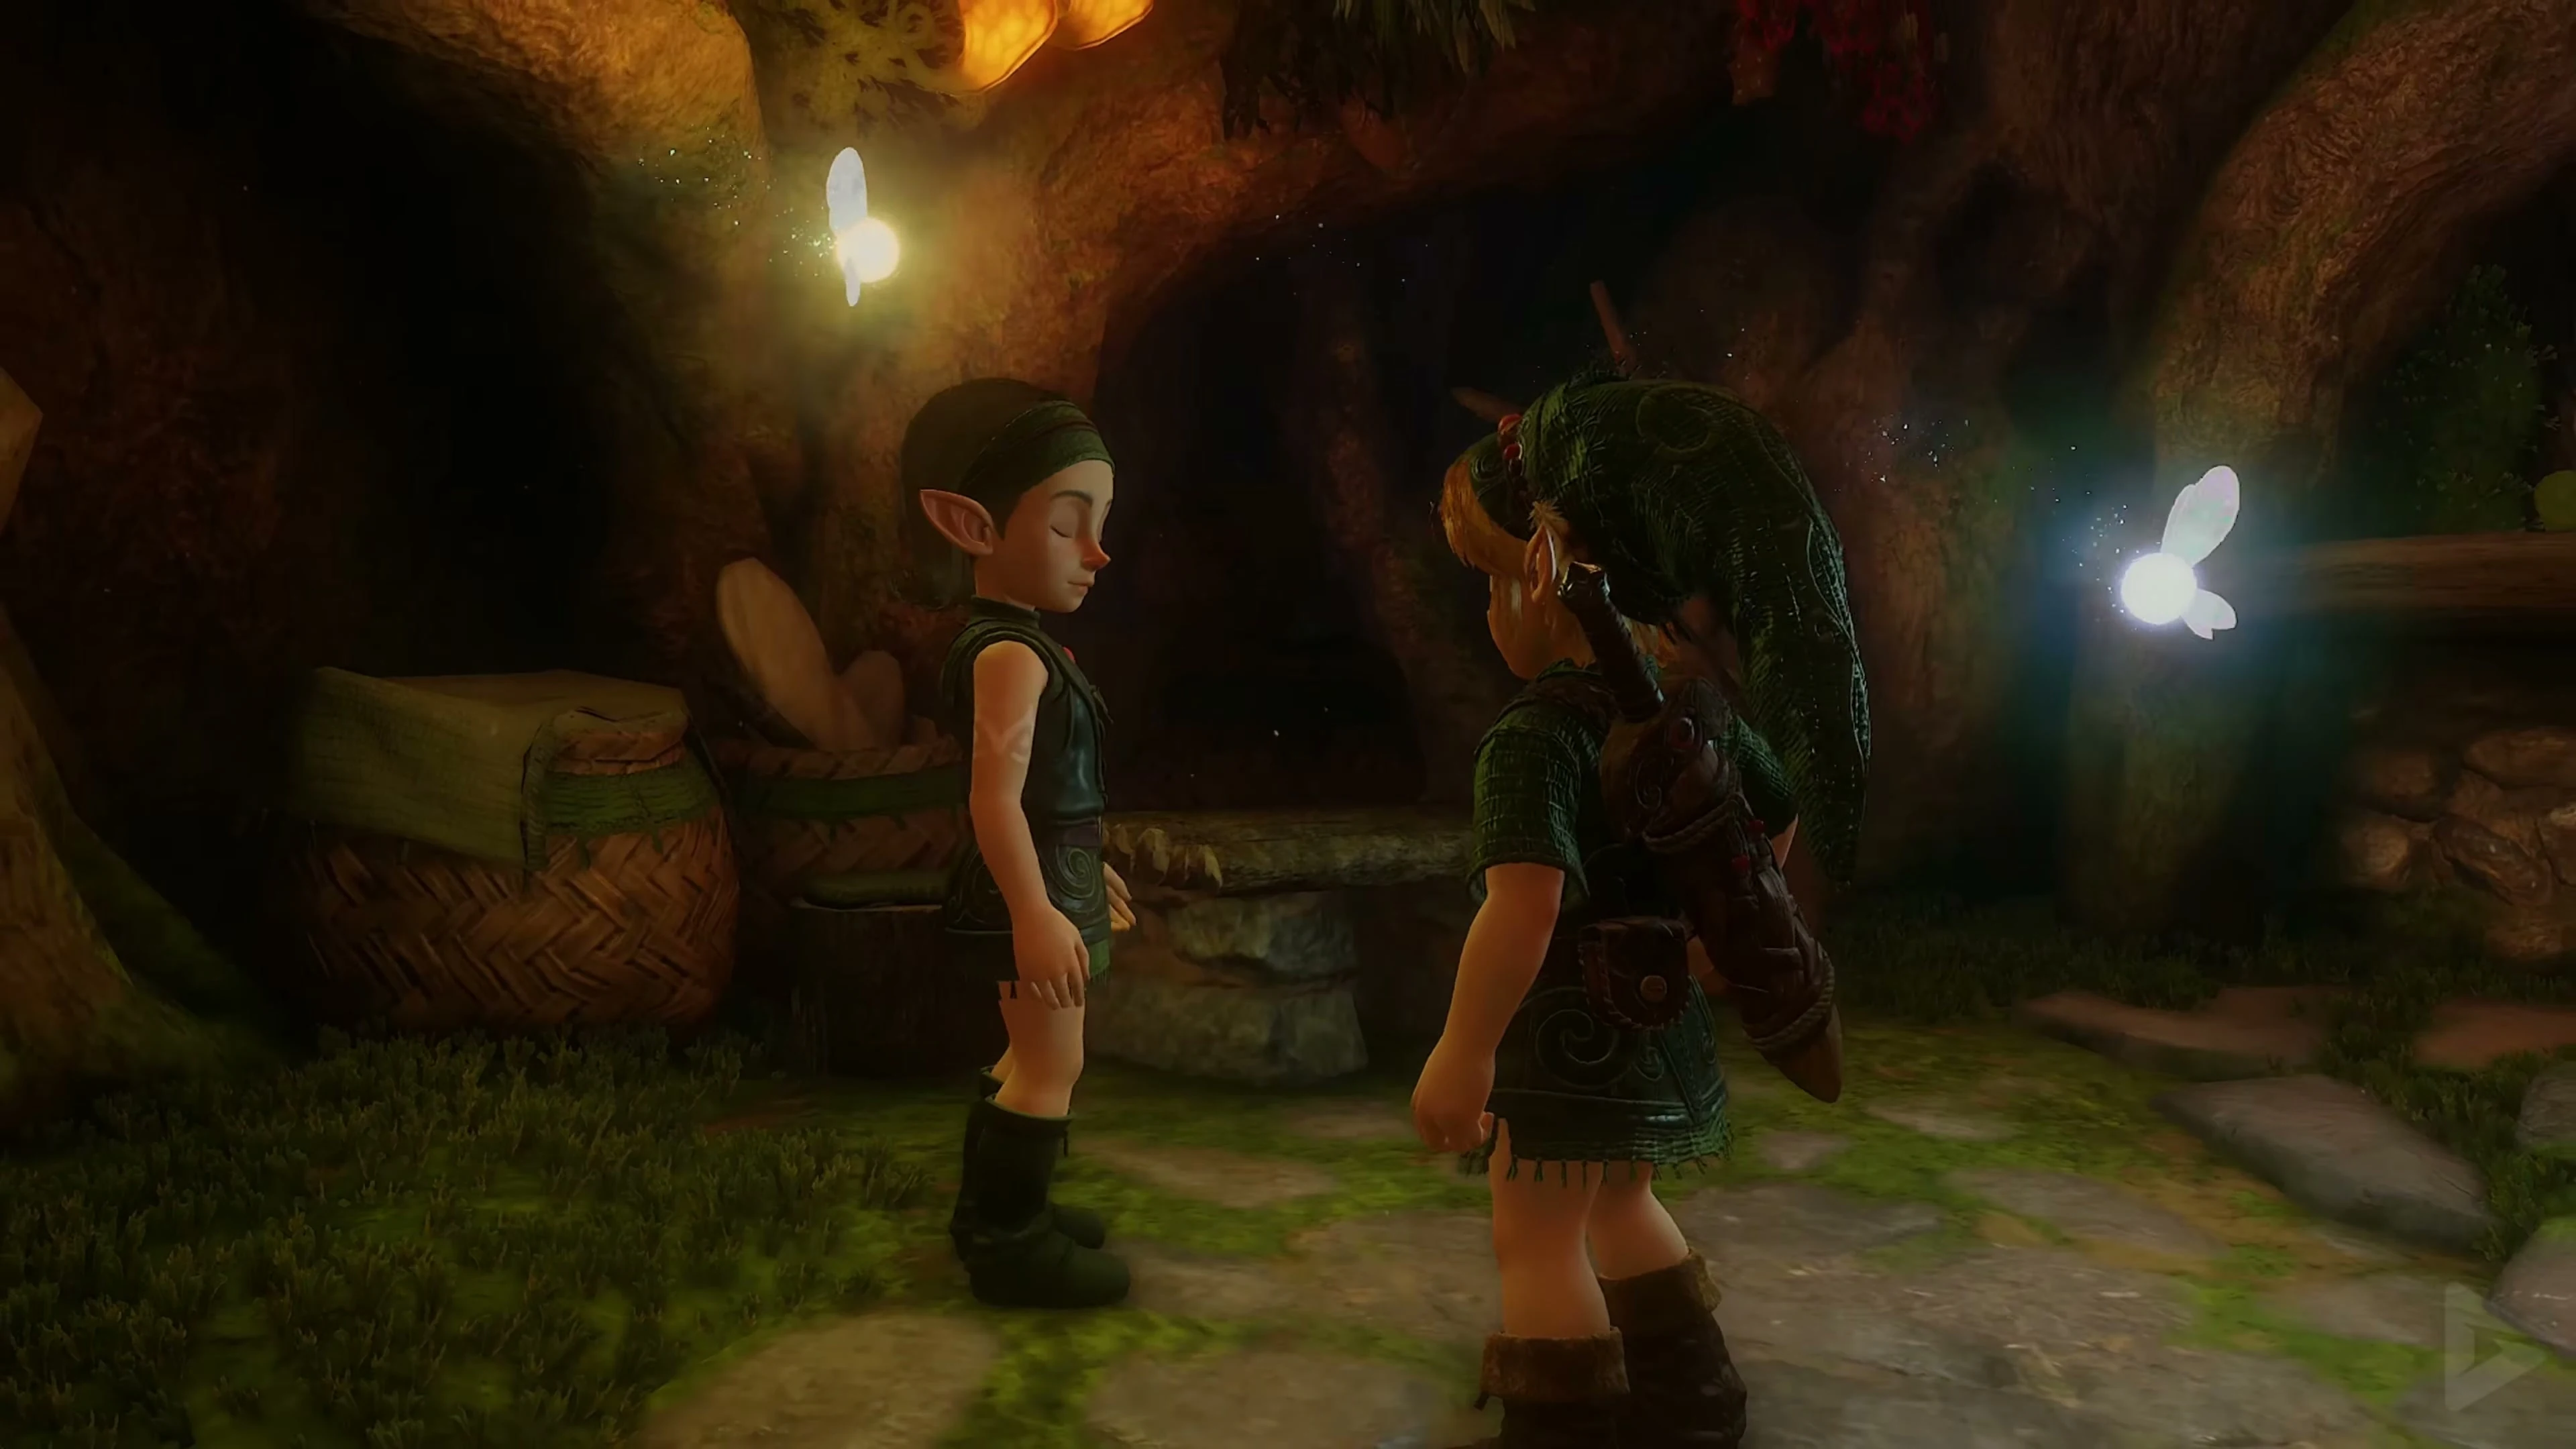
Visit Mido’s house on the western side of the village and open the small chests. More rupees lie in the labyrinth near the sword, between the houses and on raised ledges. Lift the small stones and cut the grass with the sword until you have 40 Rupees . The Kokiri shop is to the east, north of Mido’s passage. Buy the Deku Shield there and equip it in the equipment menu.
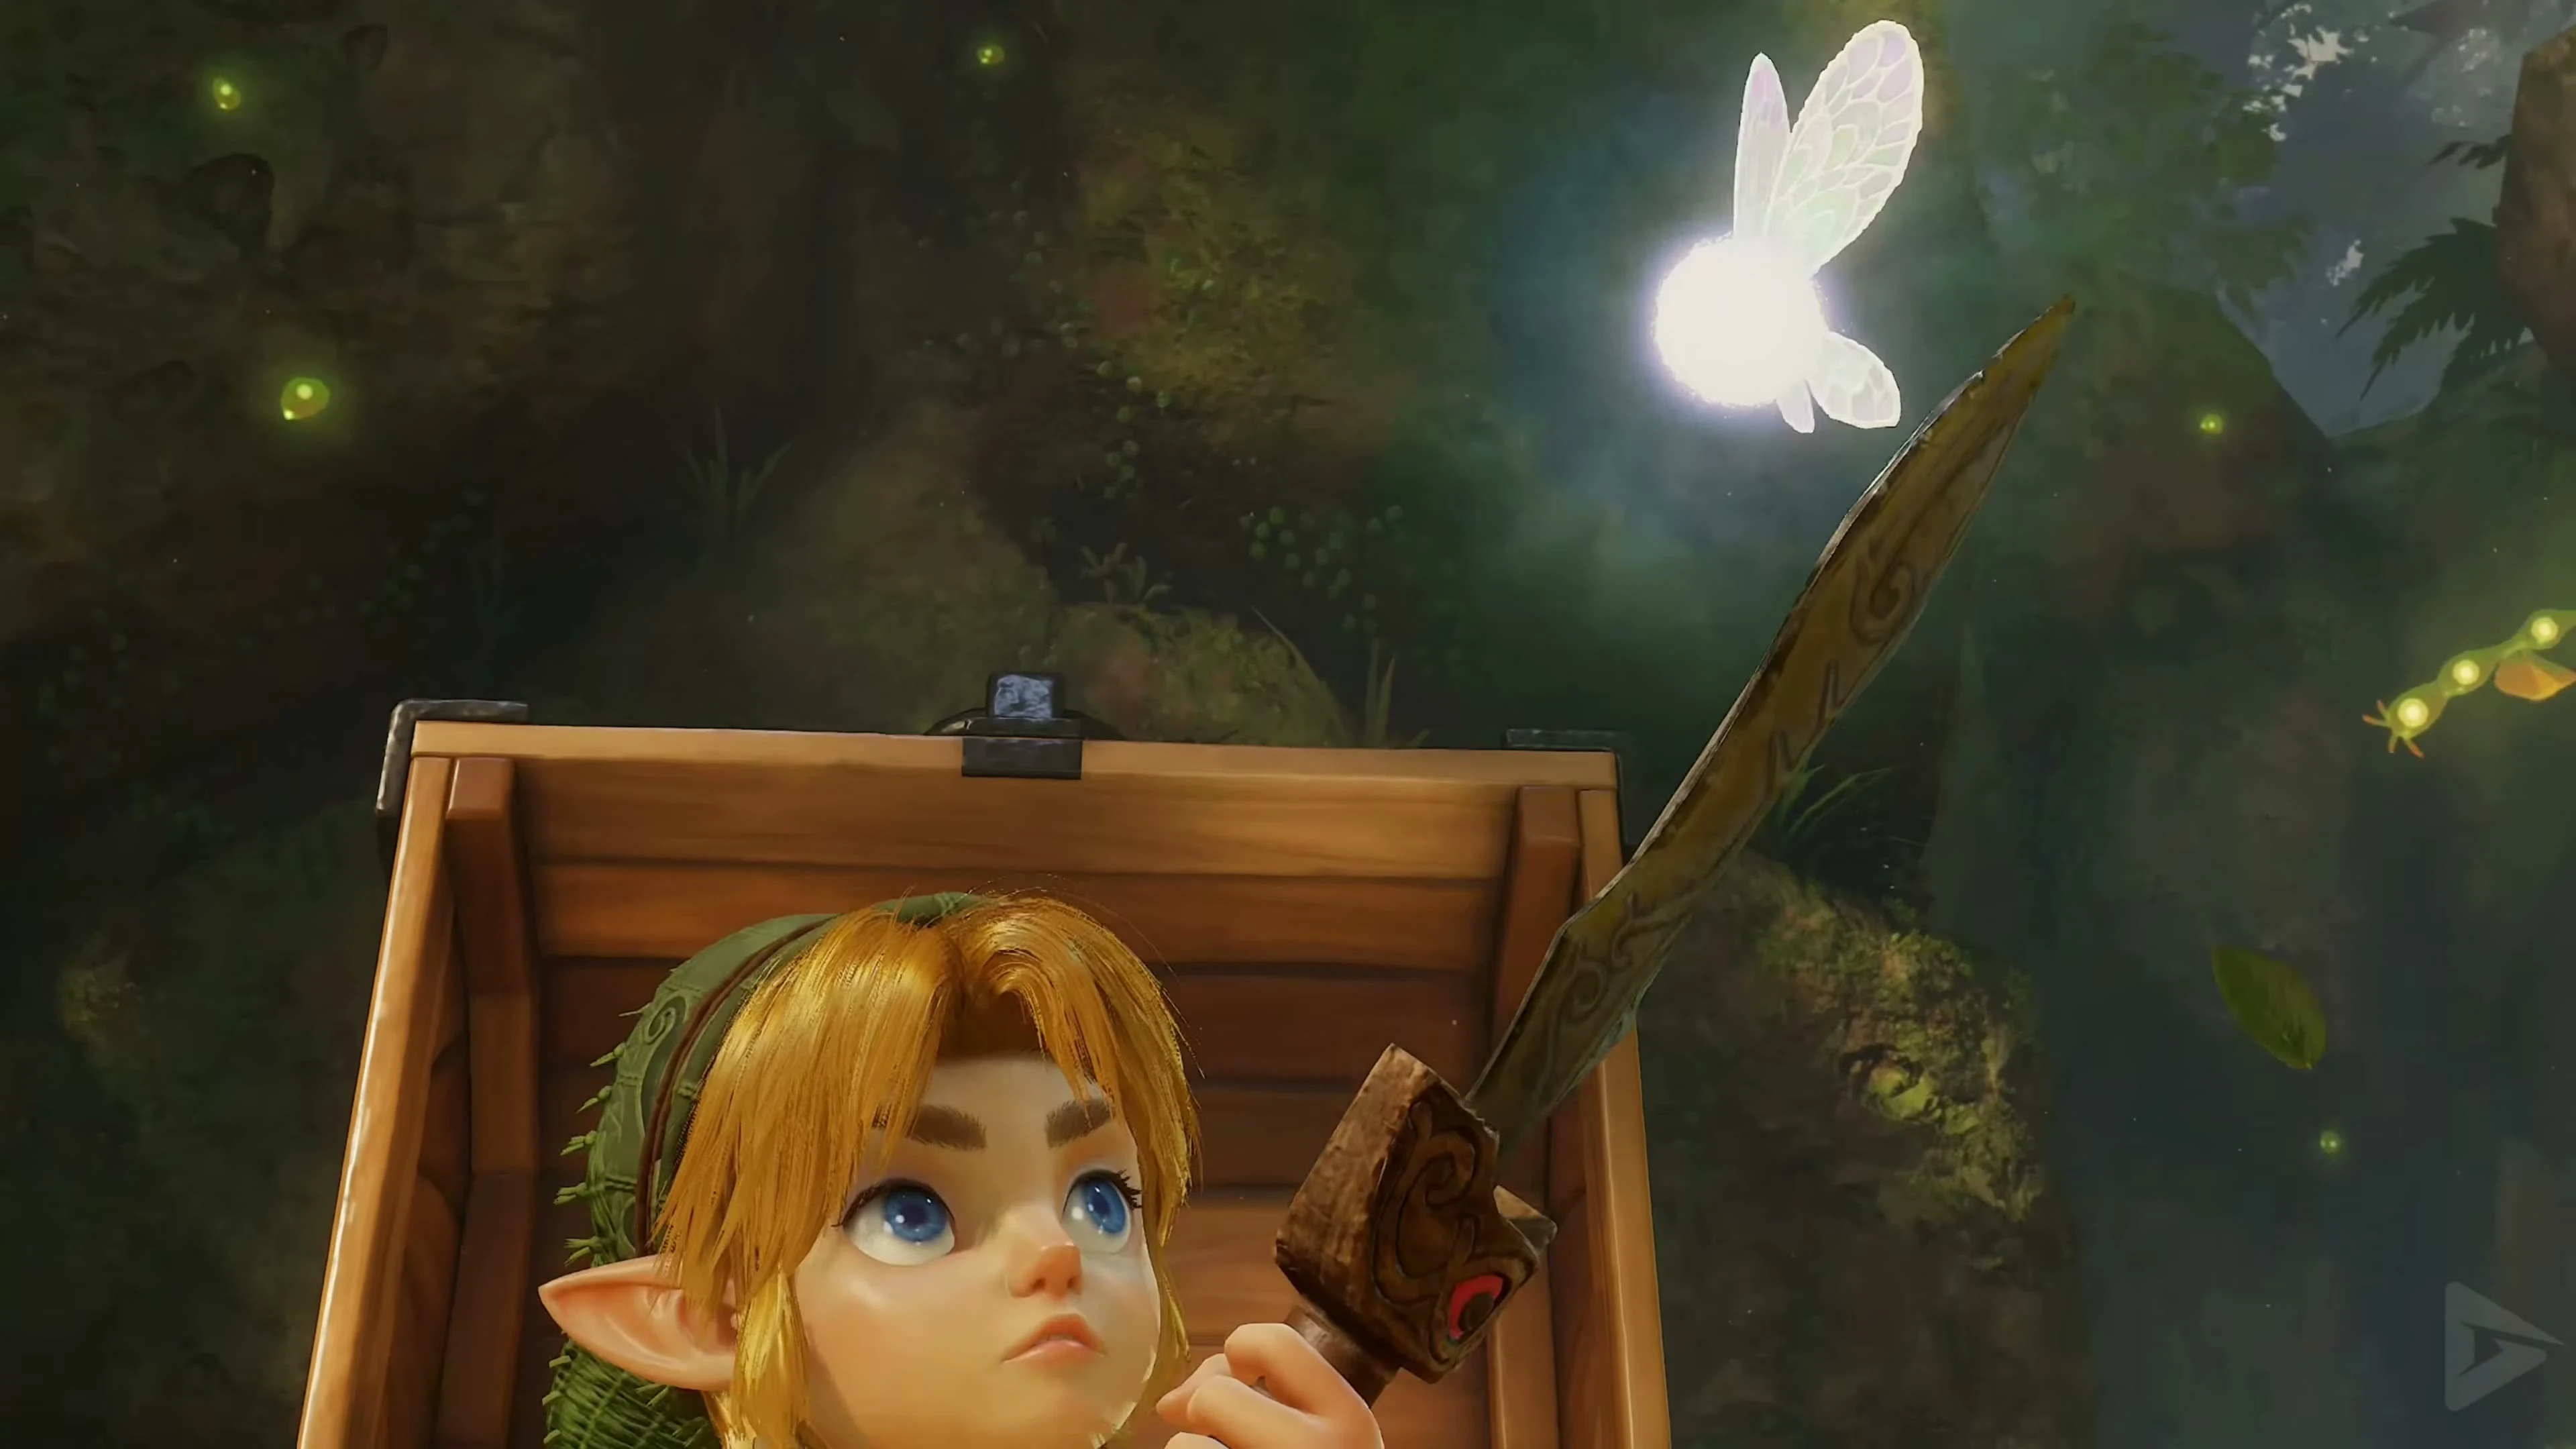
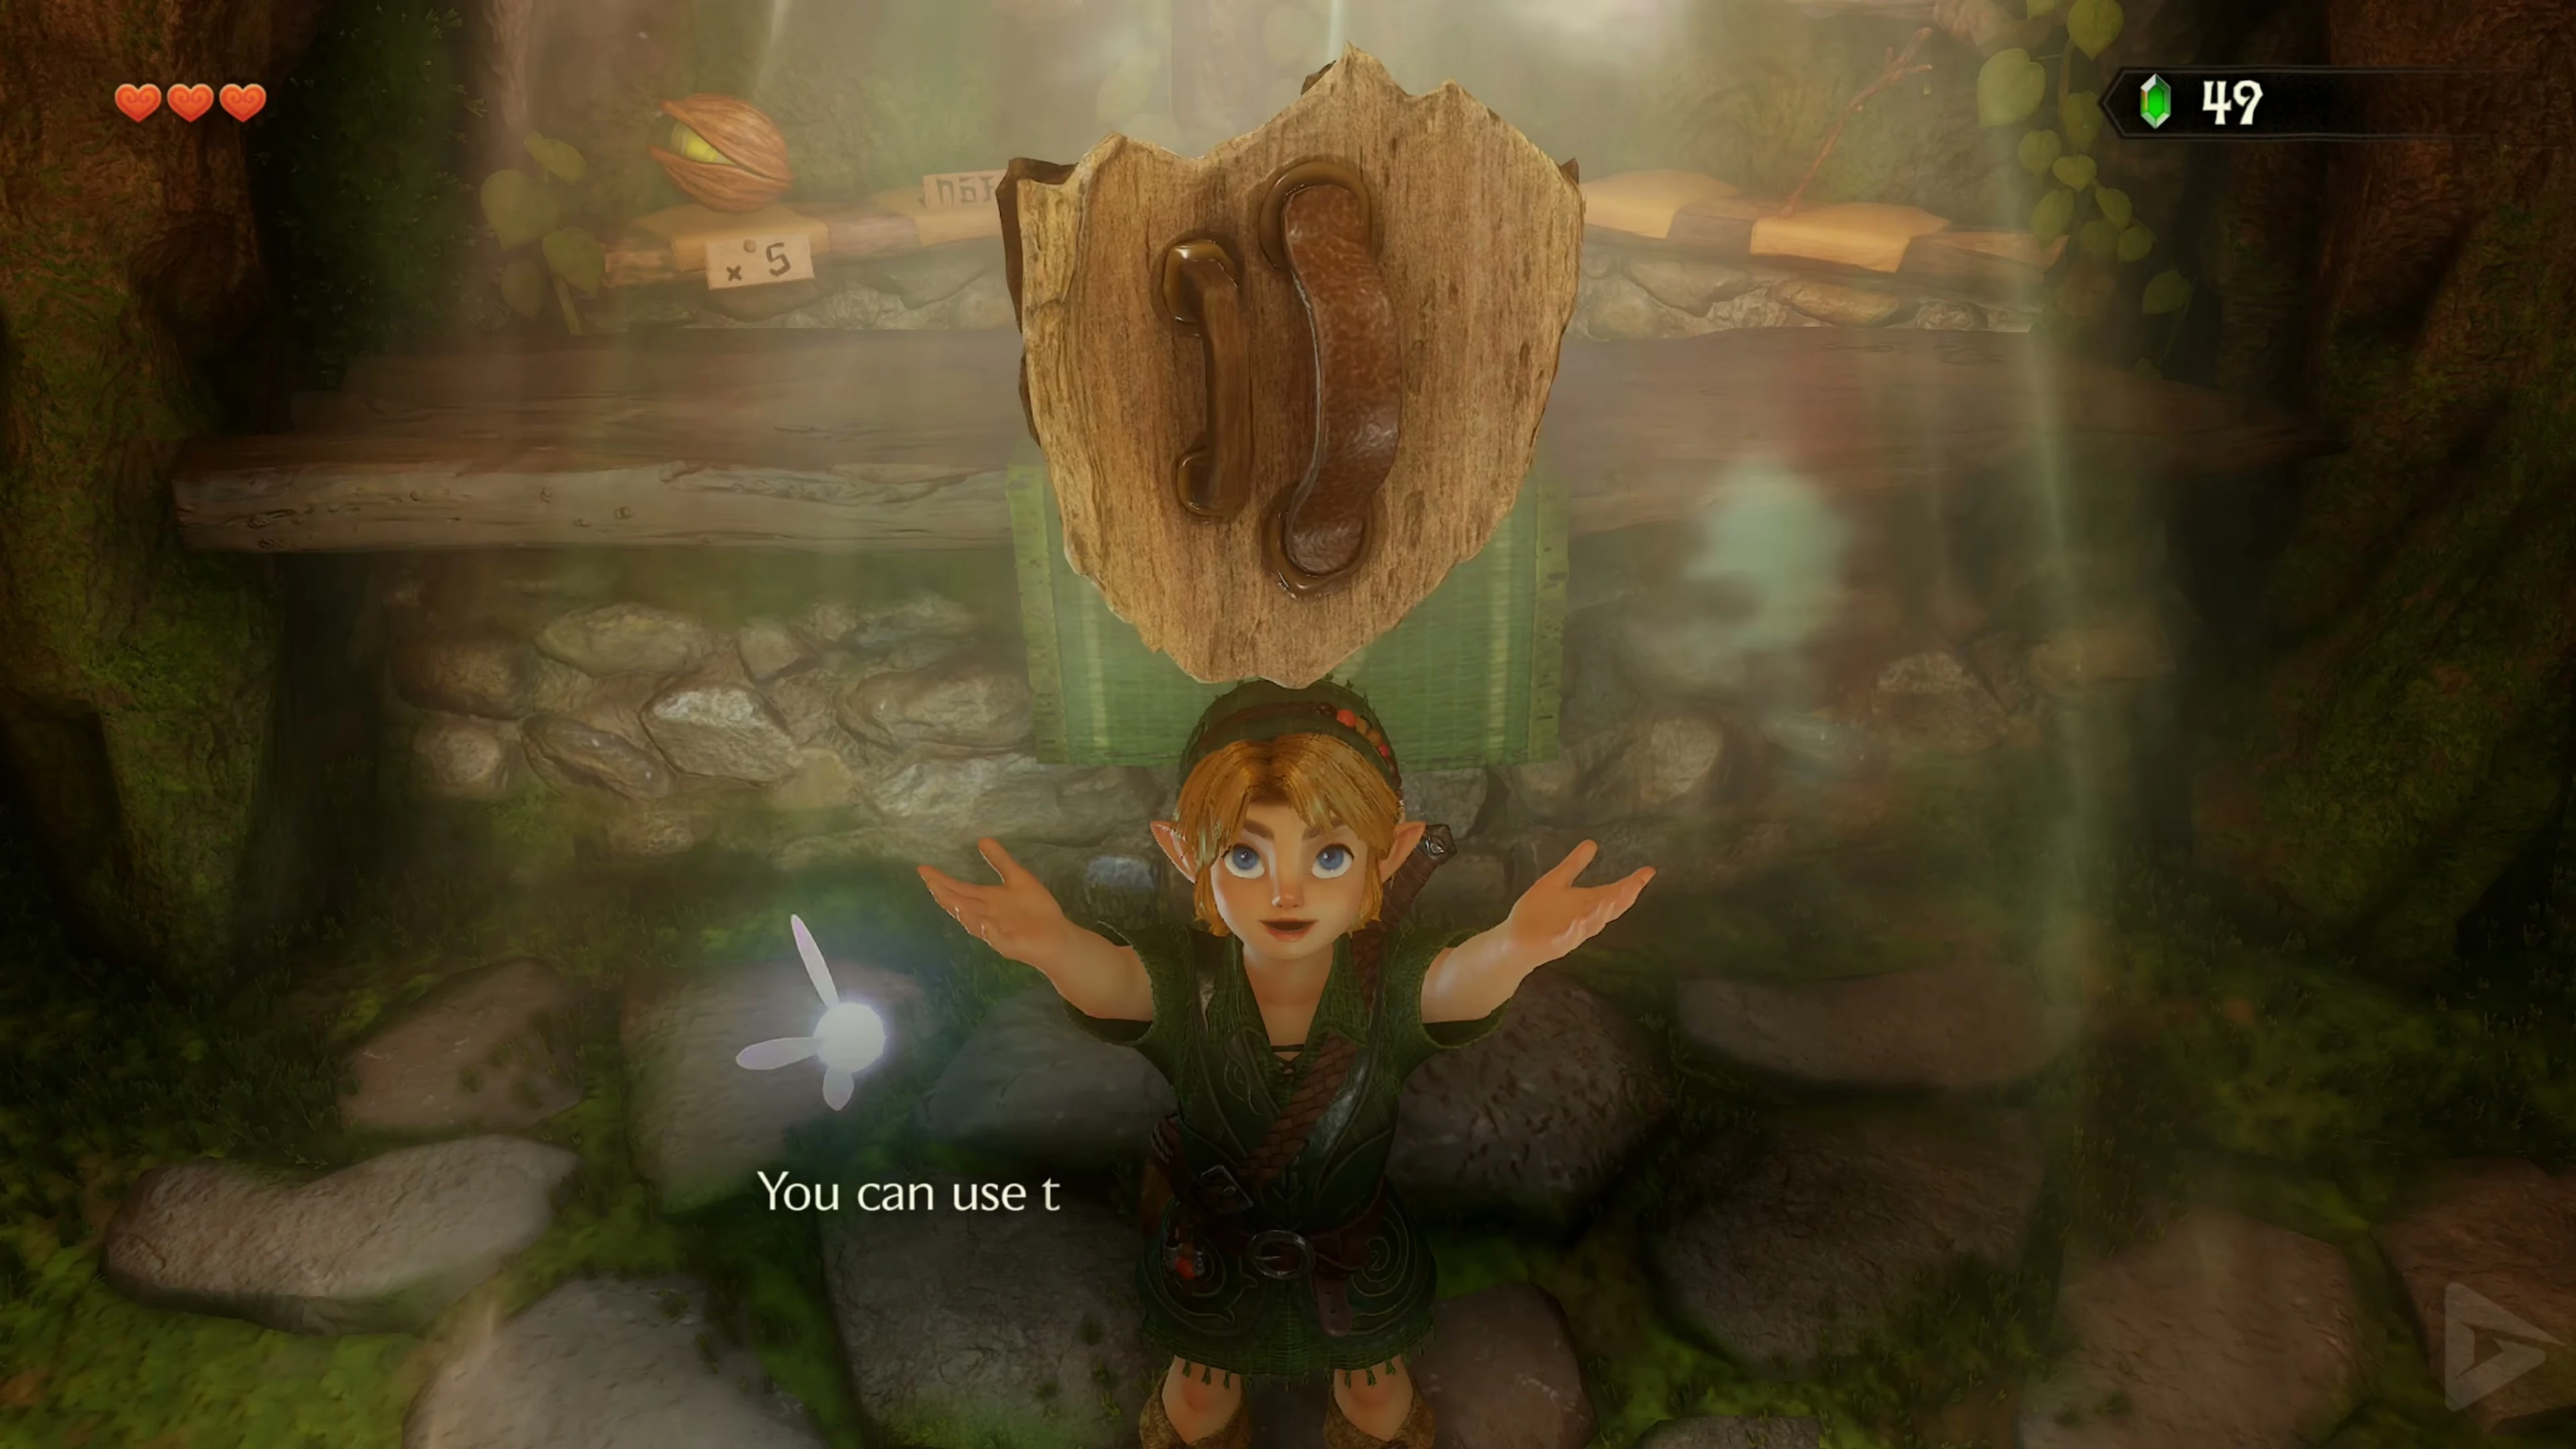
With the Kokiri Sword and Deku Shield equipped, return to Mido at the eastern village exit.
The path to the Great Deku Tree
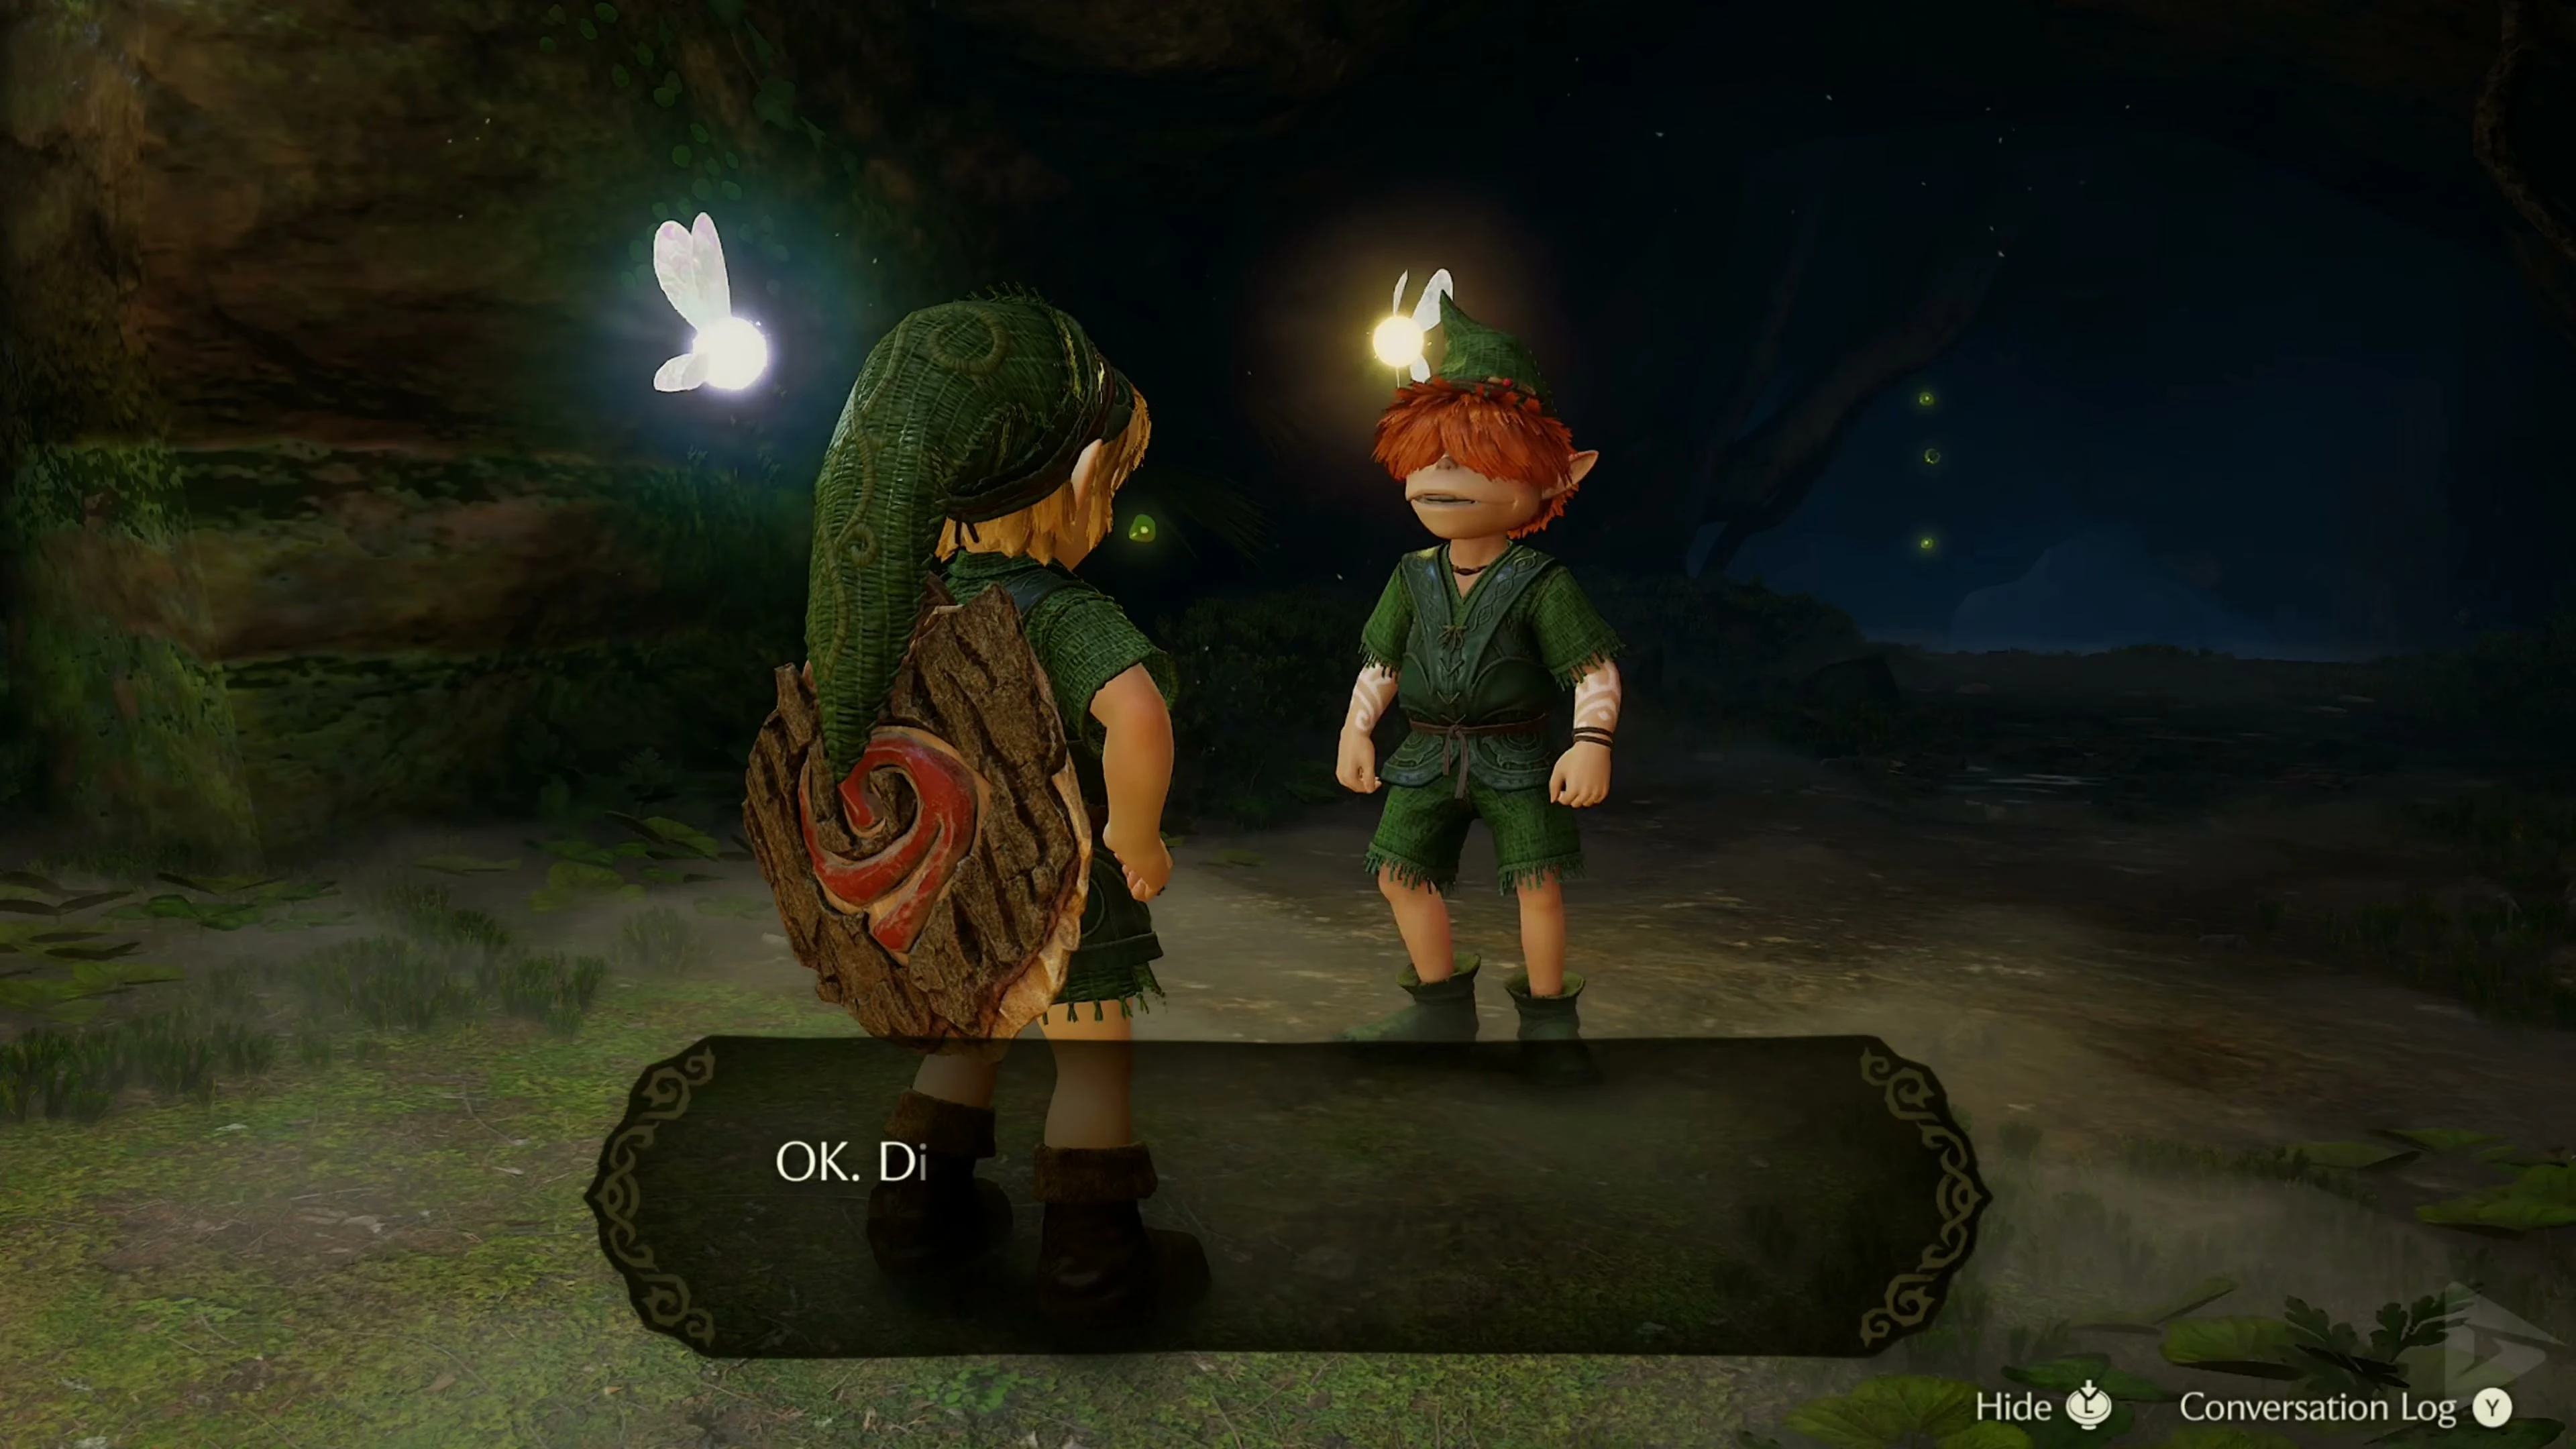
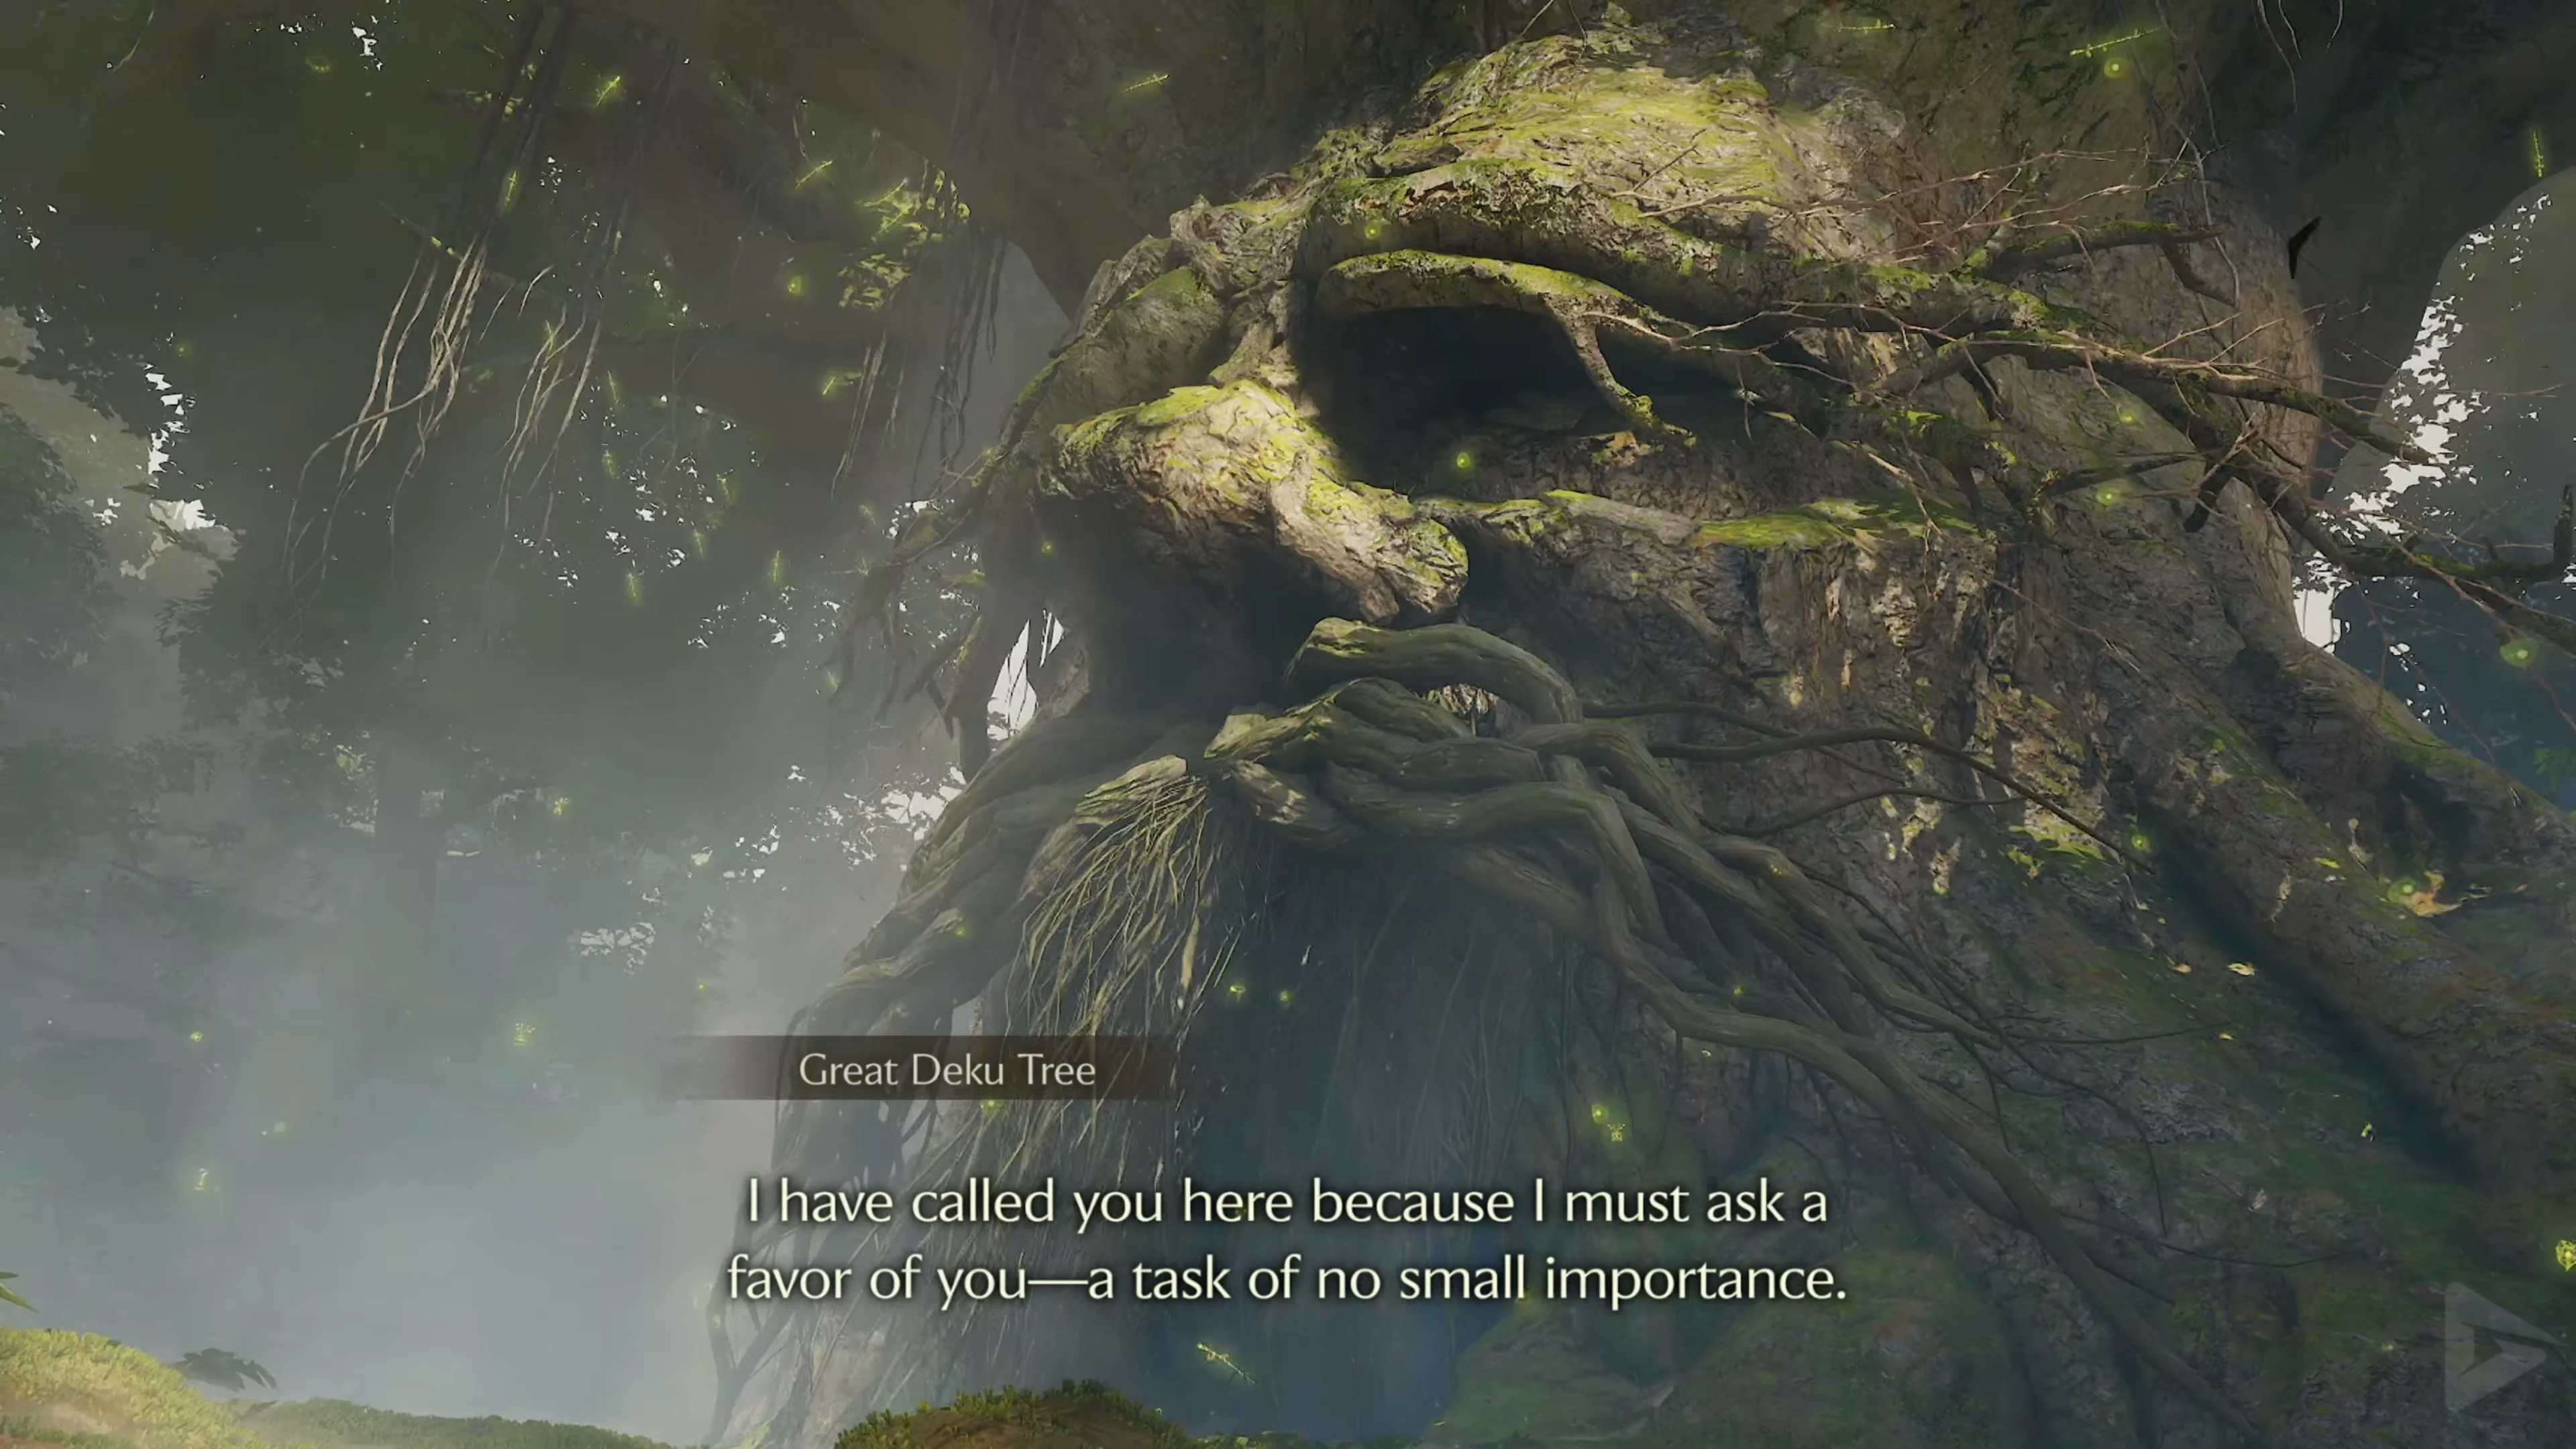
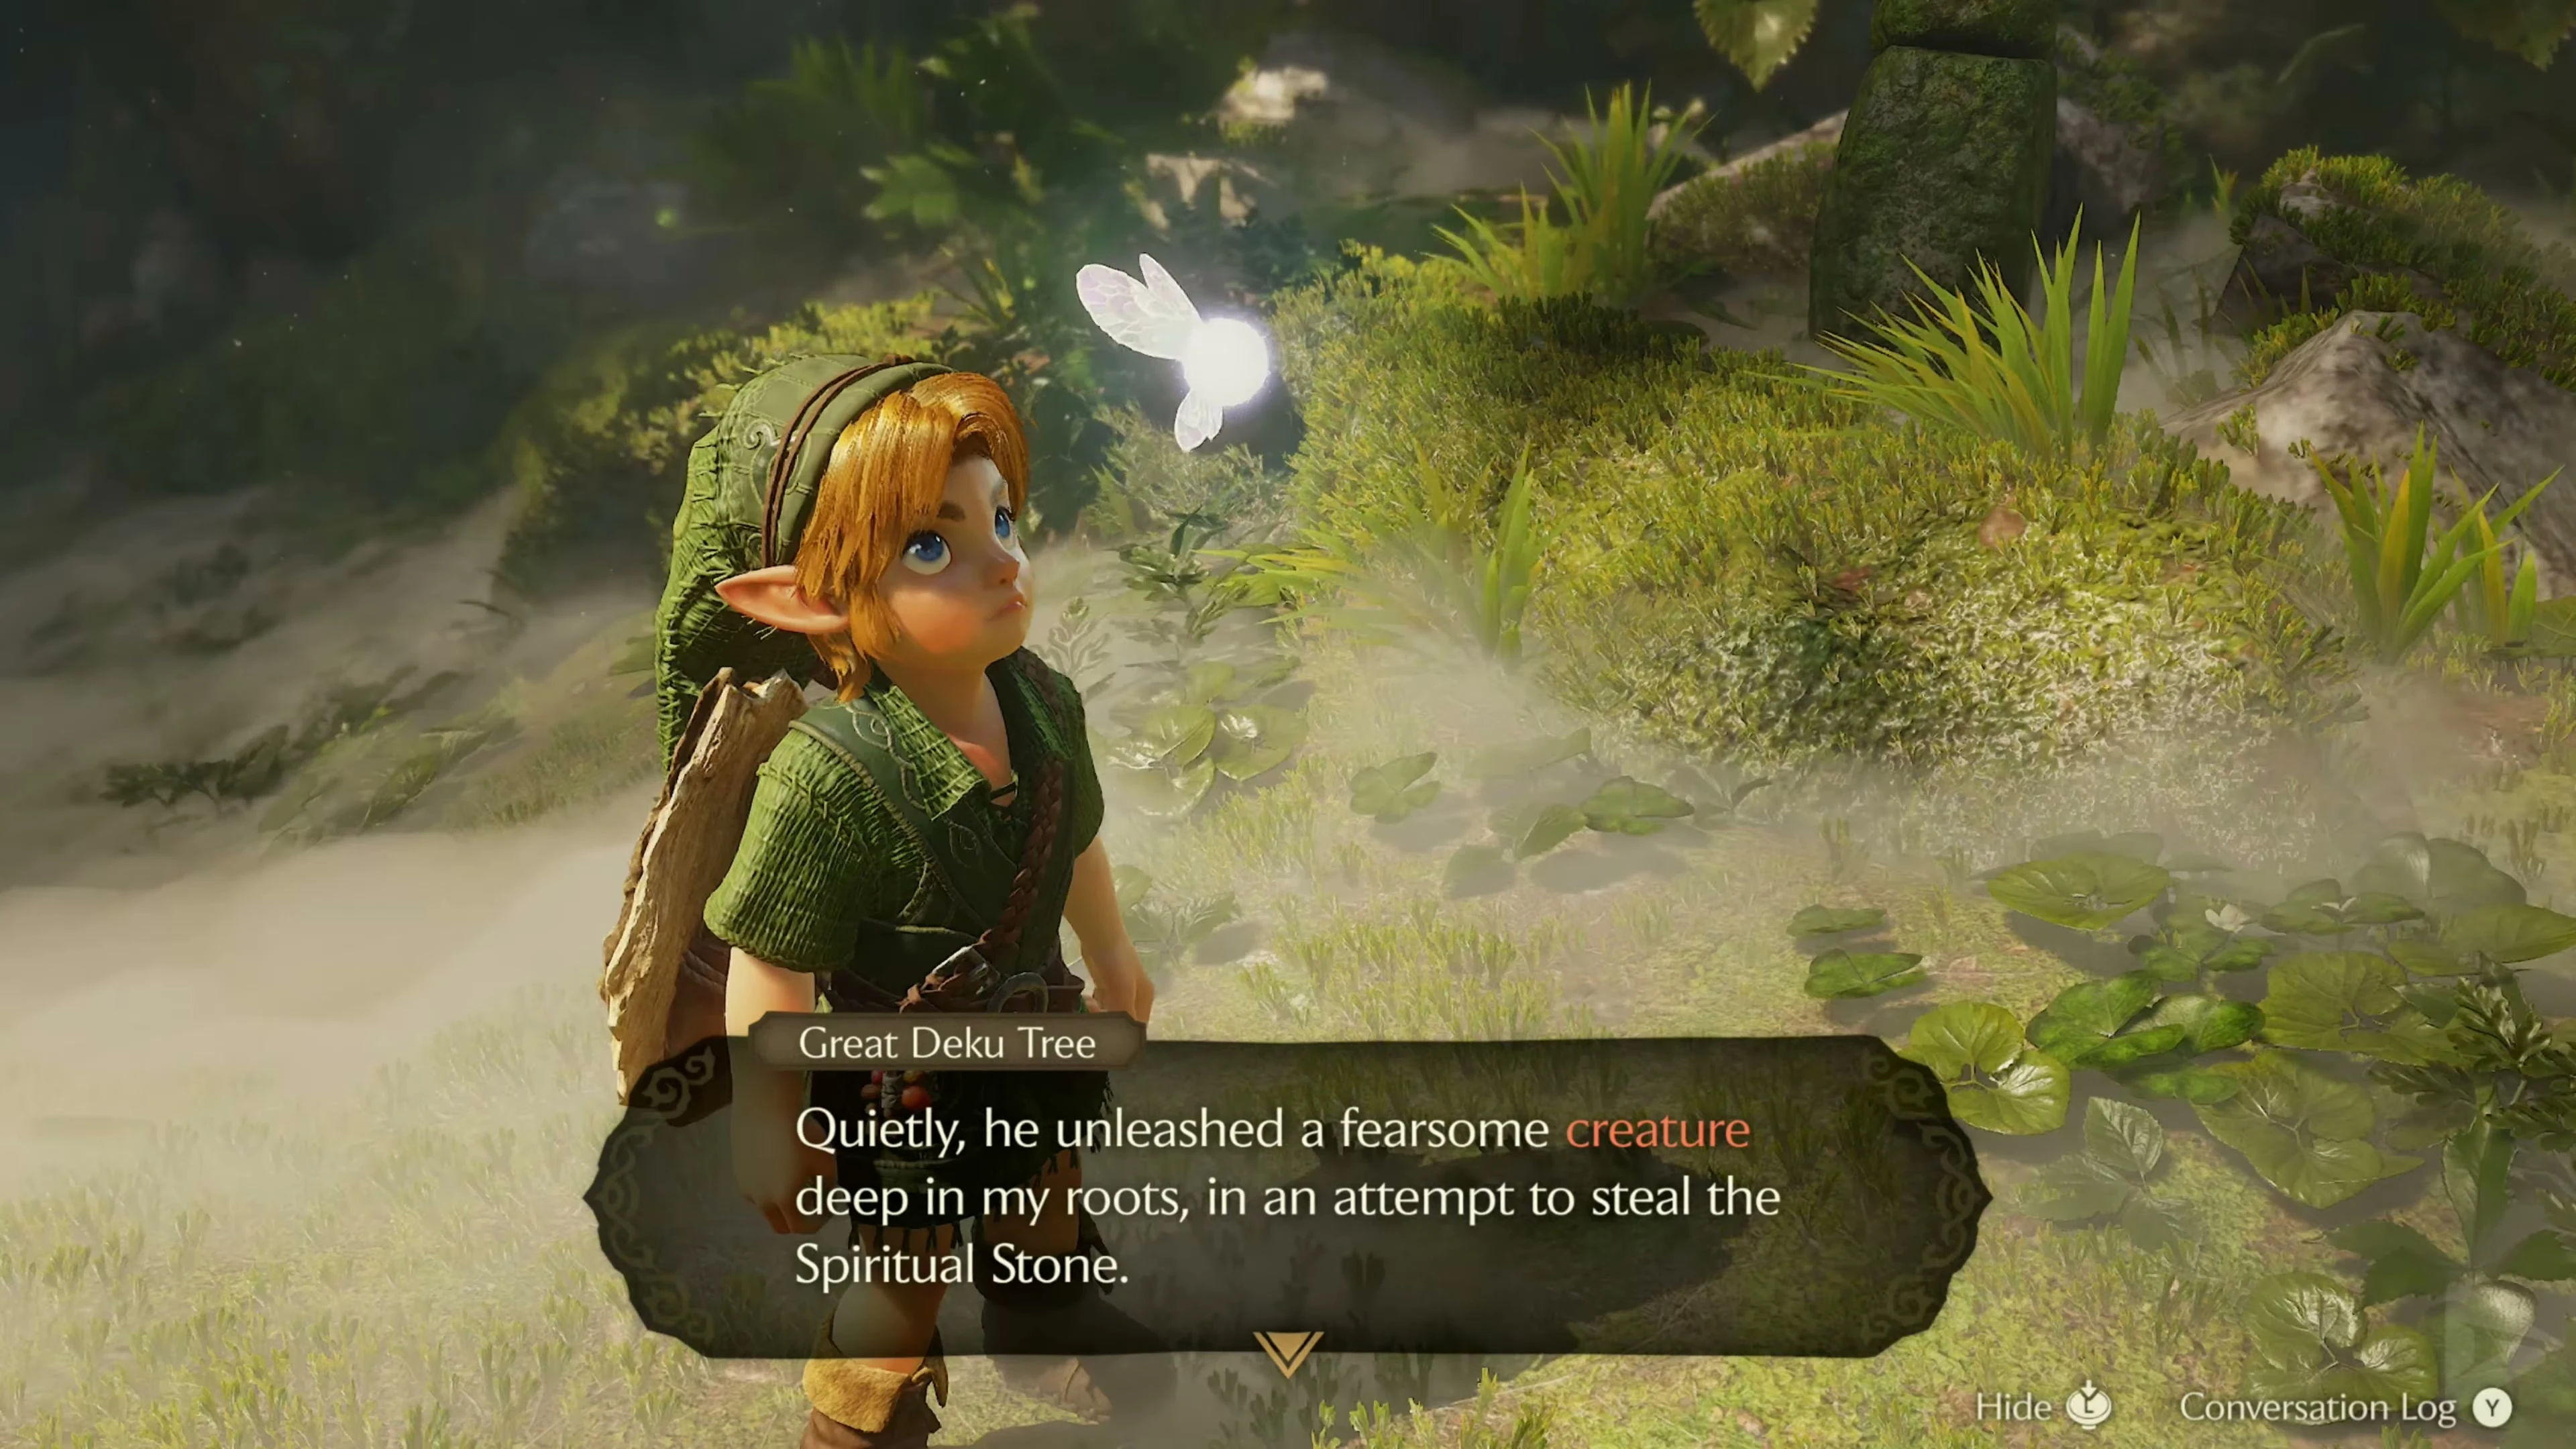
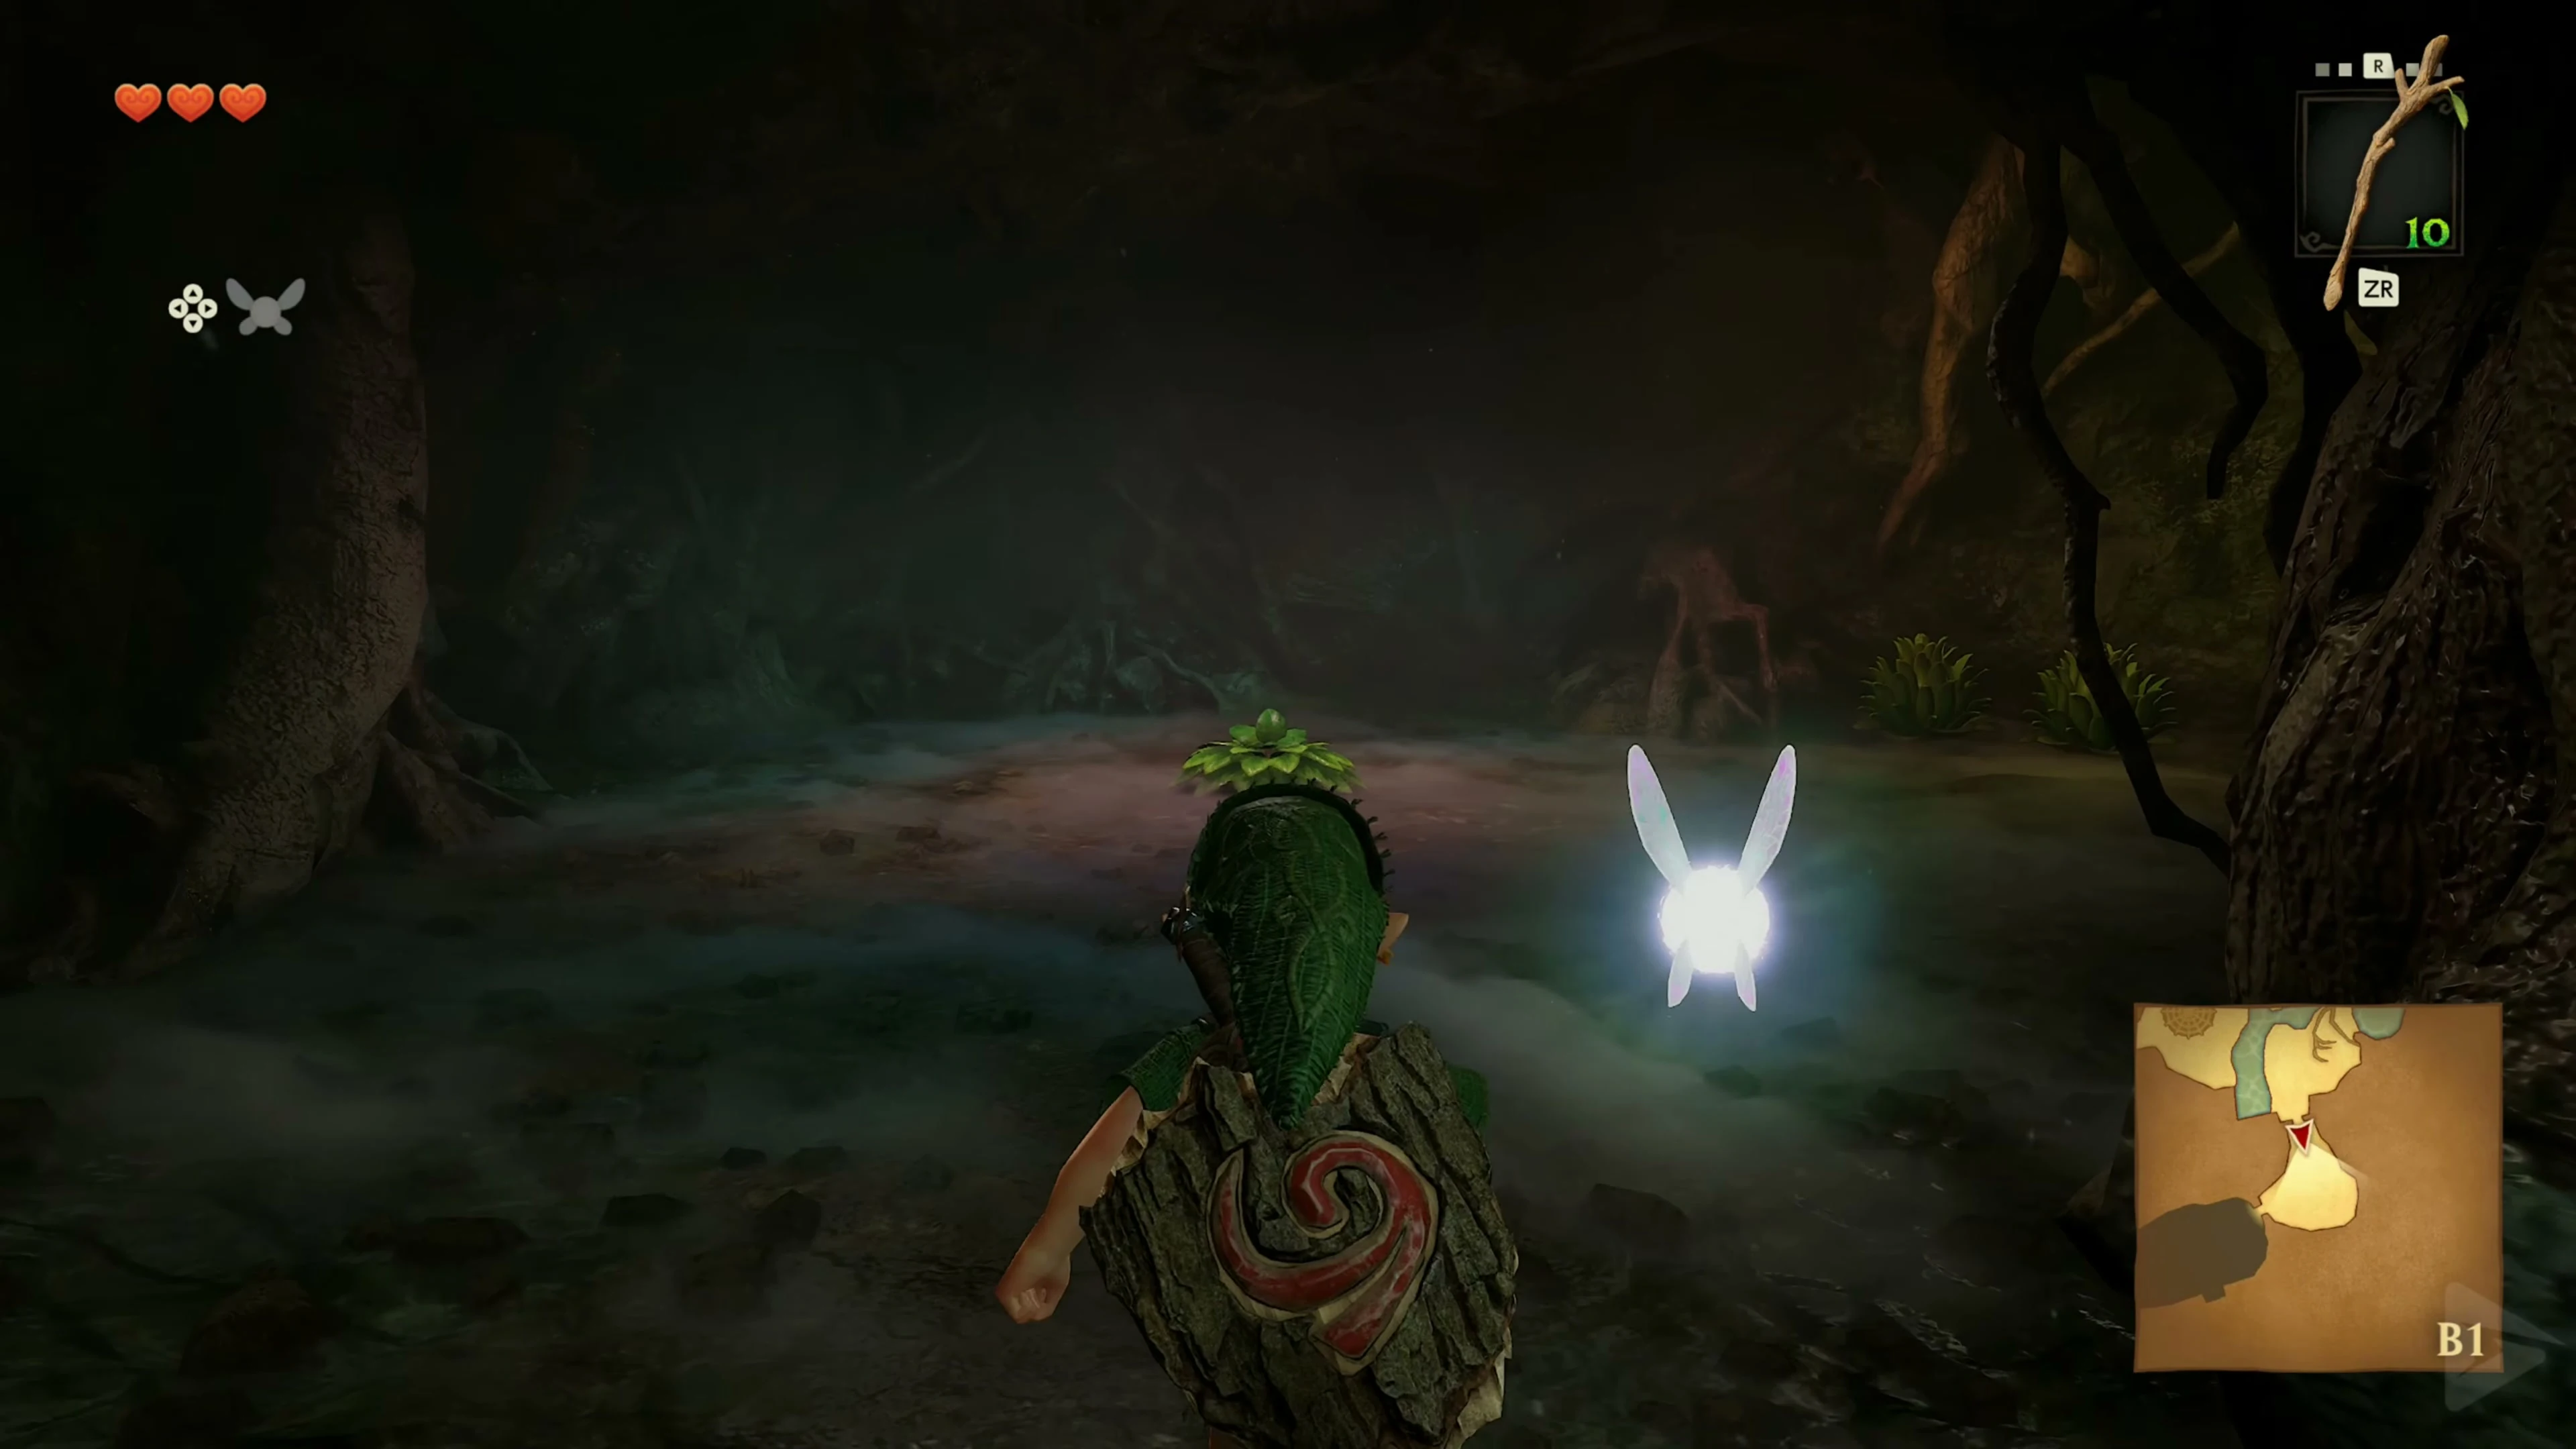
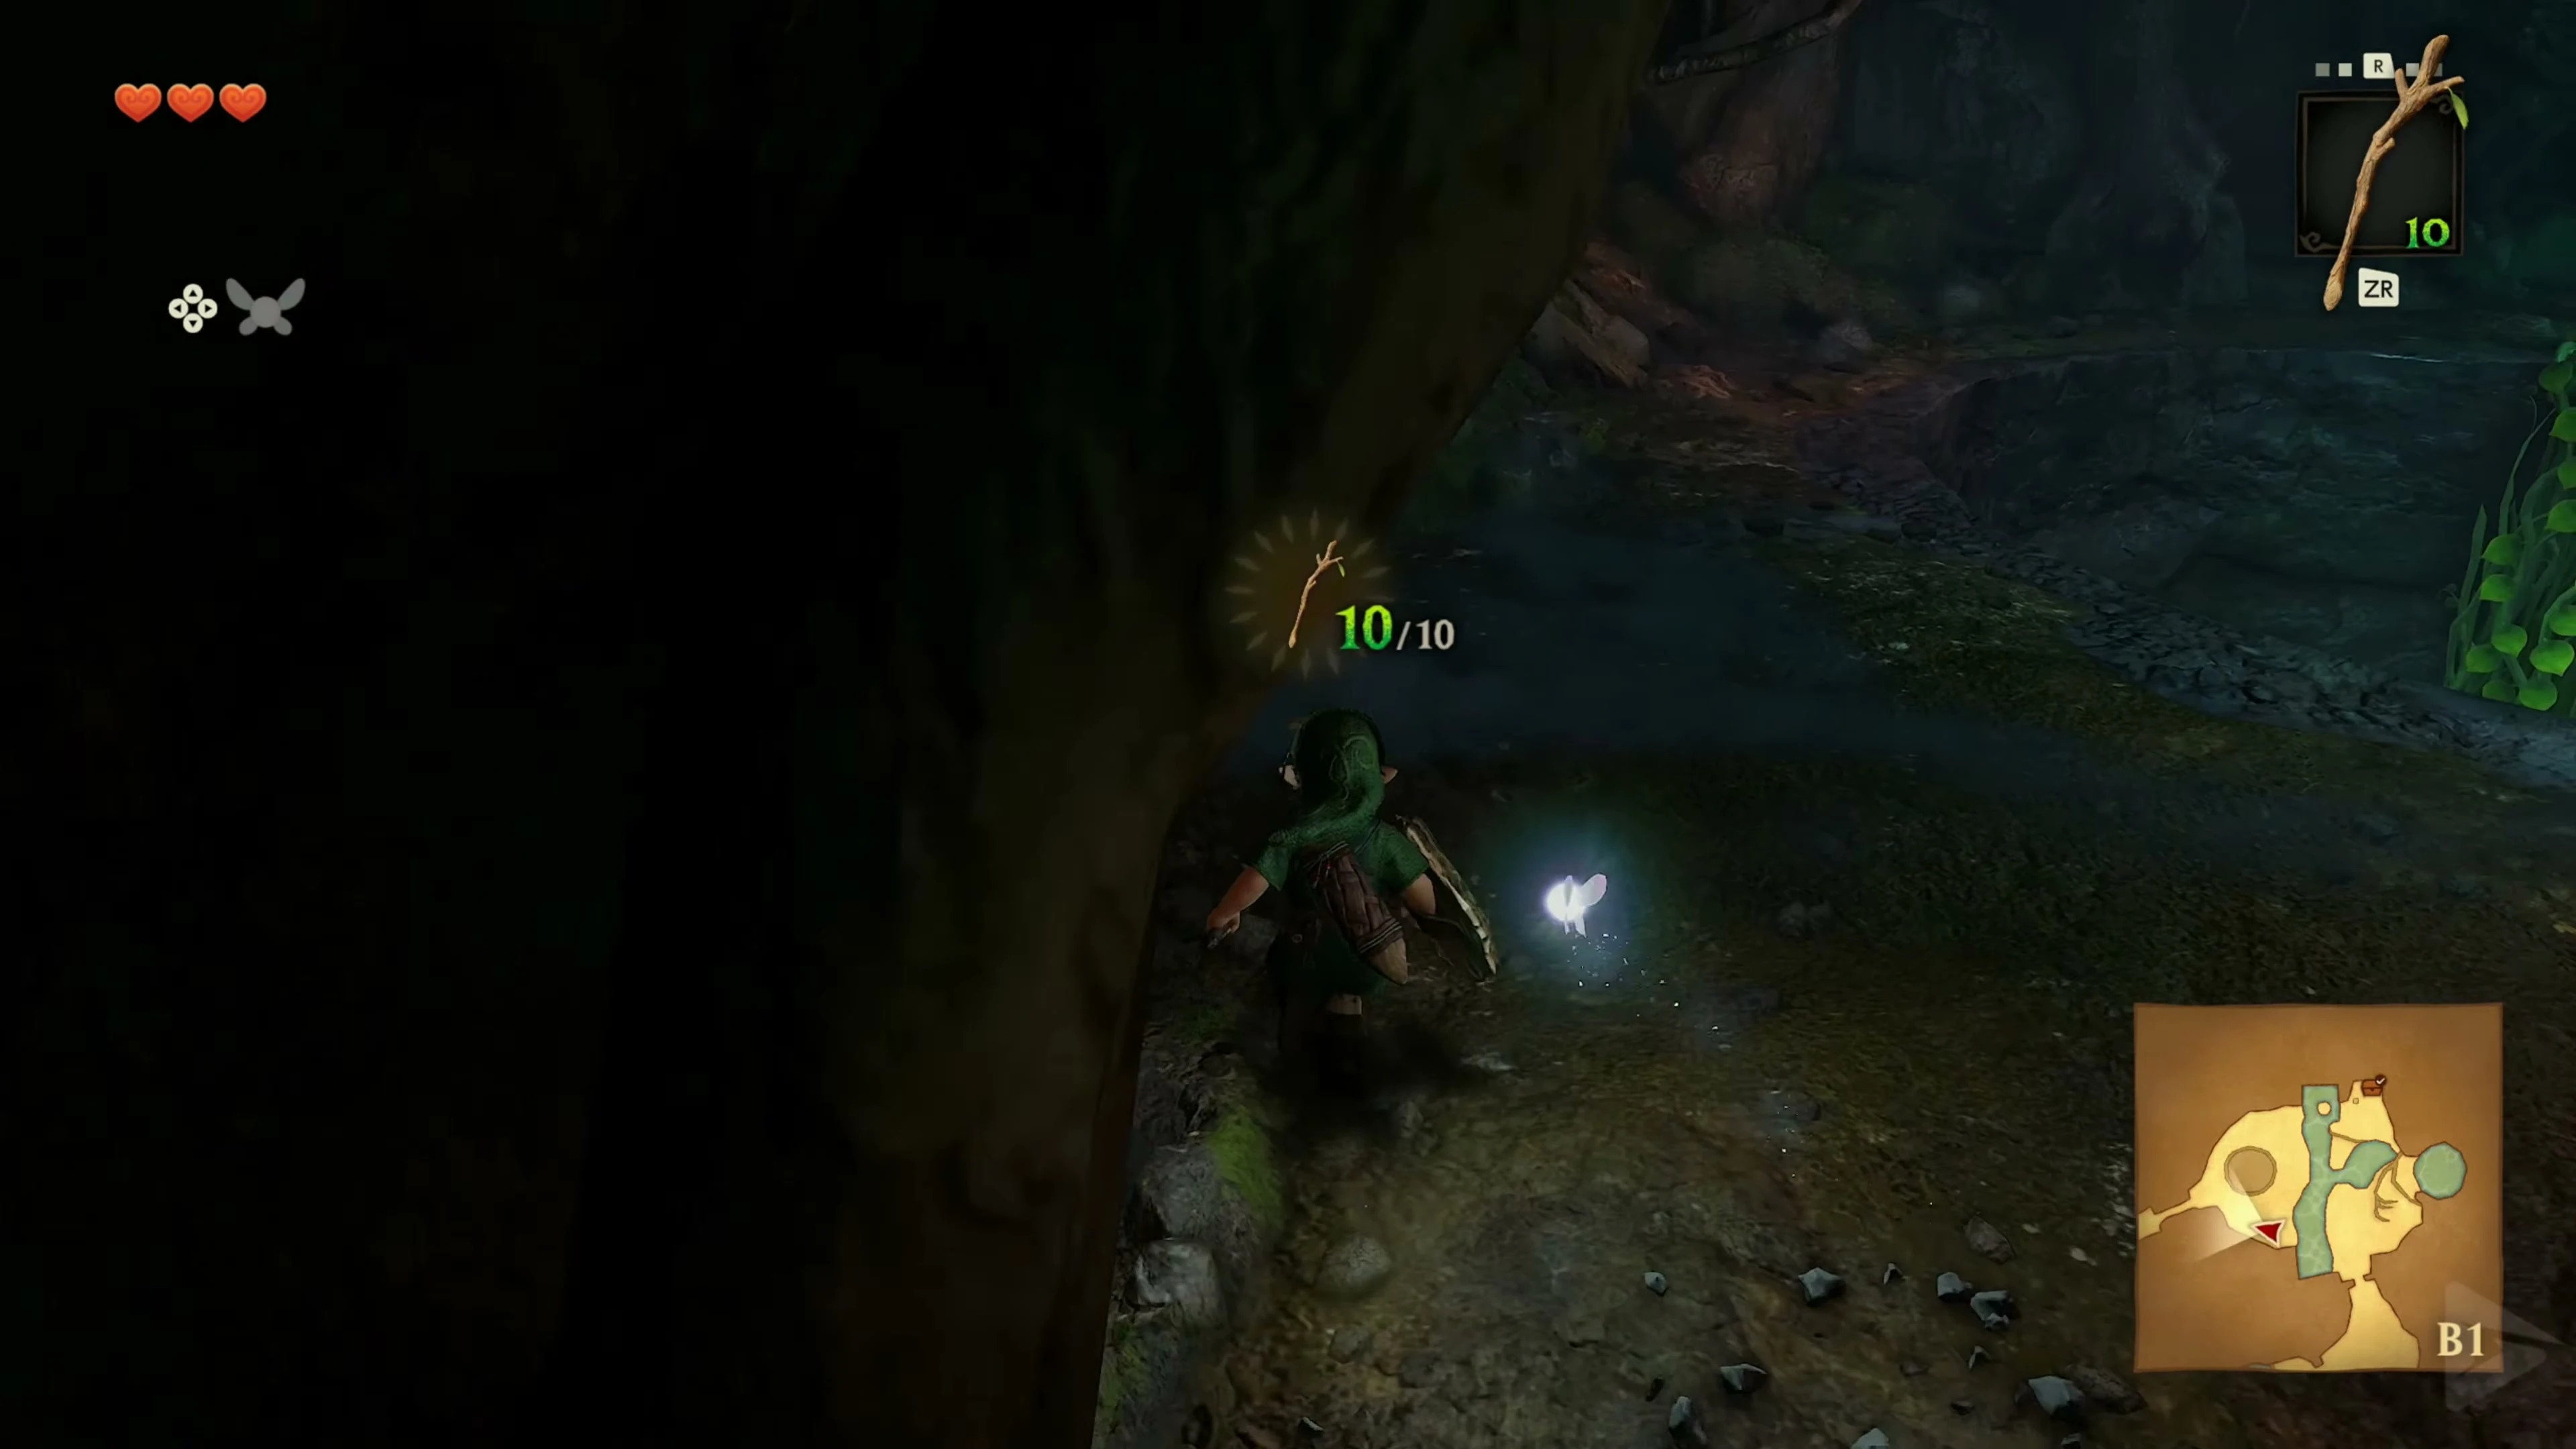
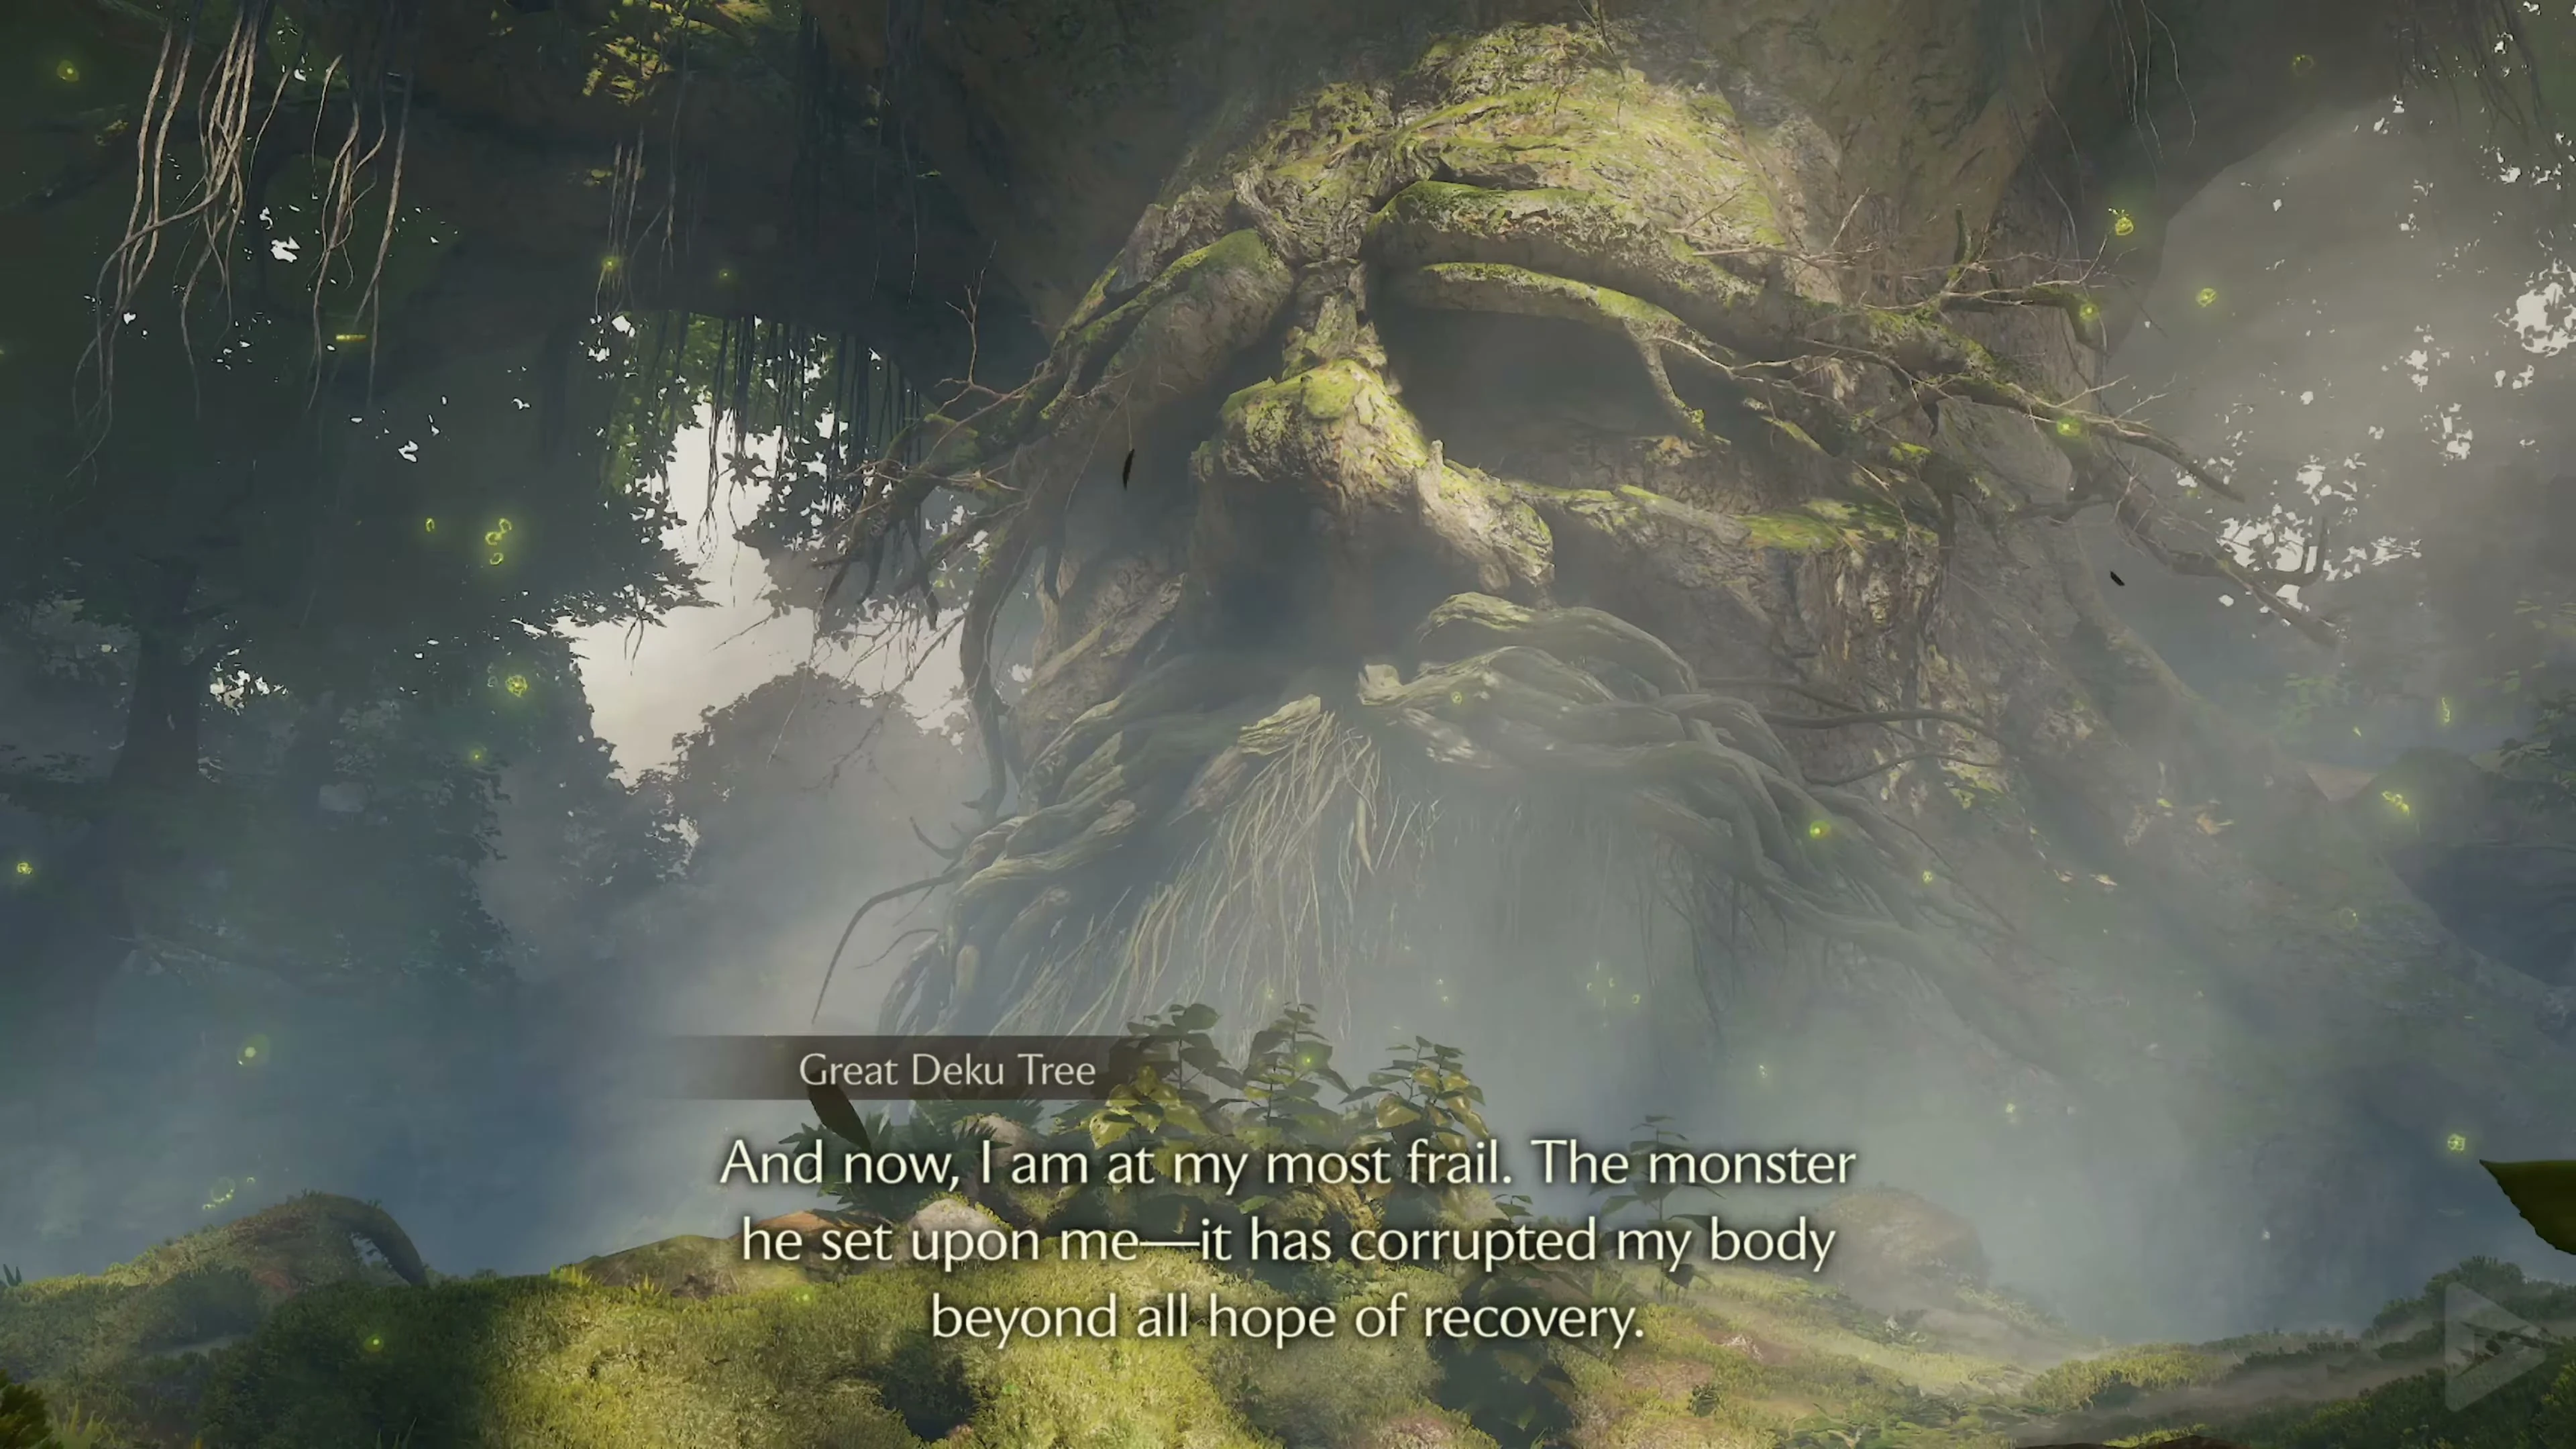
Mido checks your equipment and releases the passage. Defeat the red Deku Babas between the roots and collect their Deku Sticks . Take several with you because you will need them to transfer fire. The Great Deku Tree awaits in the large clearing. Listen to him and agree to fight the curse within him. As soon as his mouth opens, you can enter.
In the Great Deku Tree – the Dungeon Map
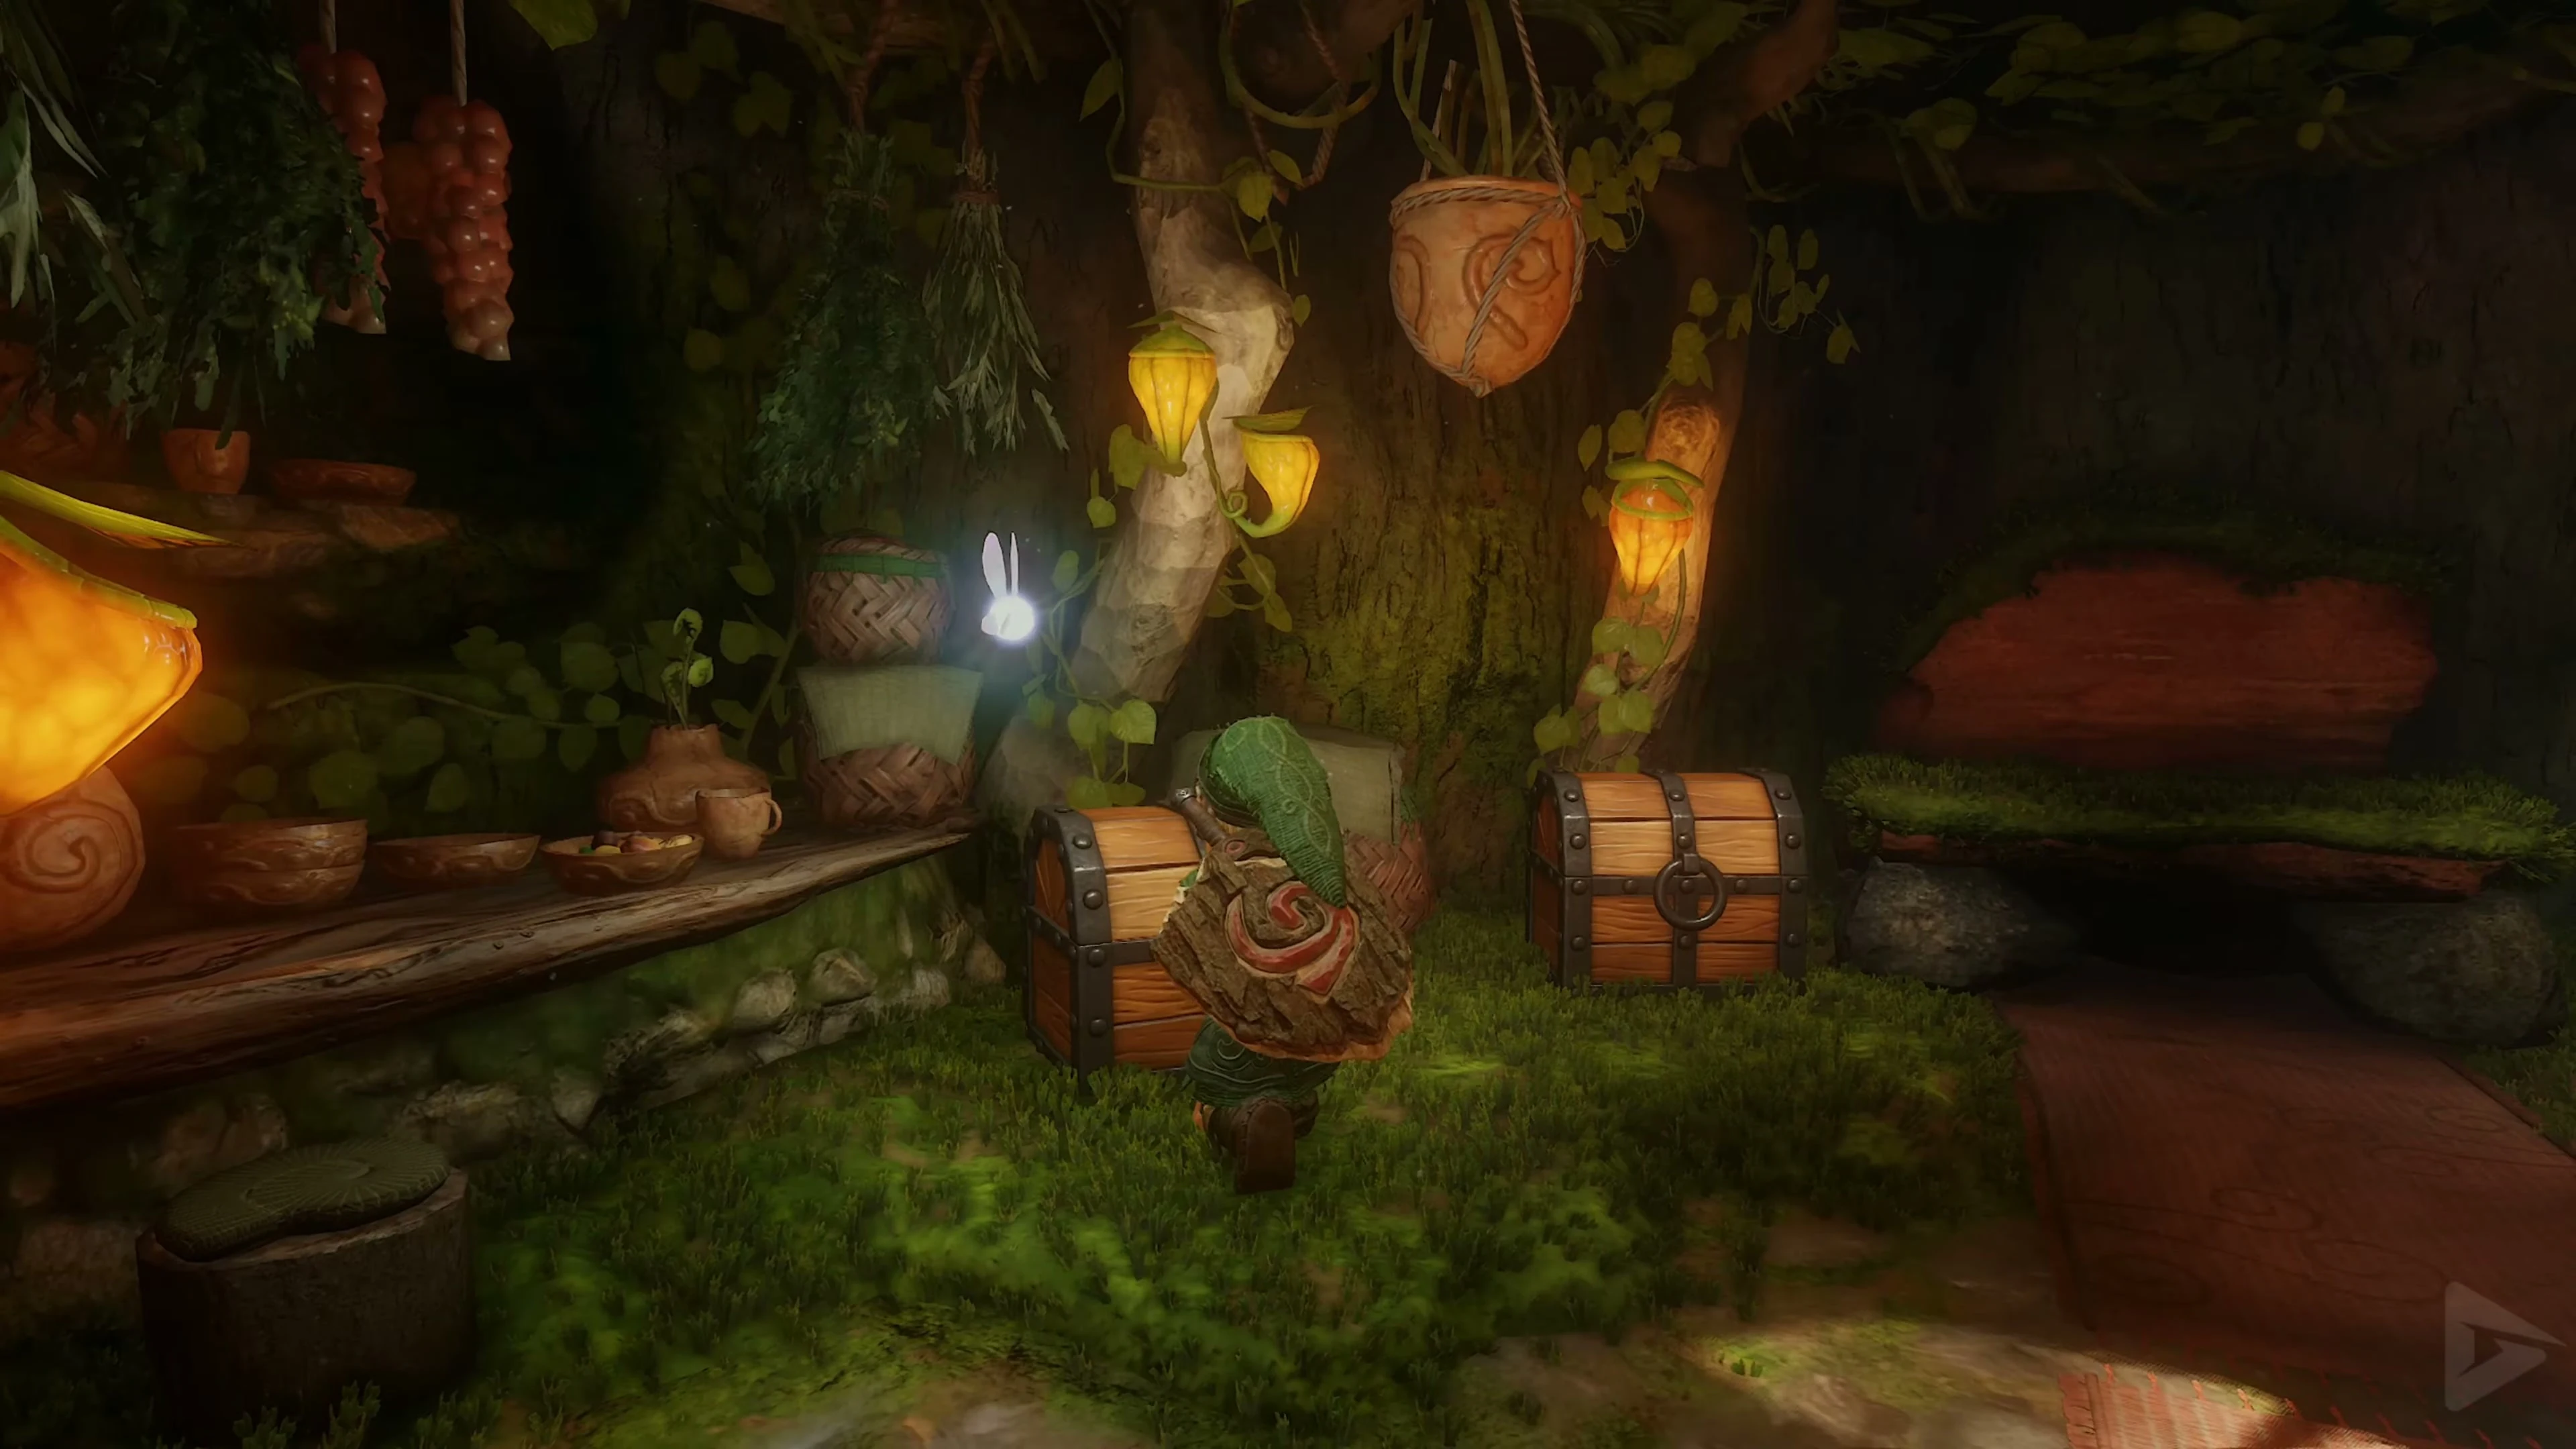
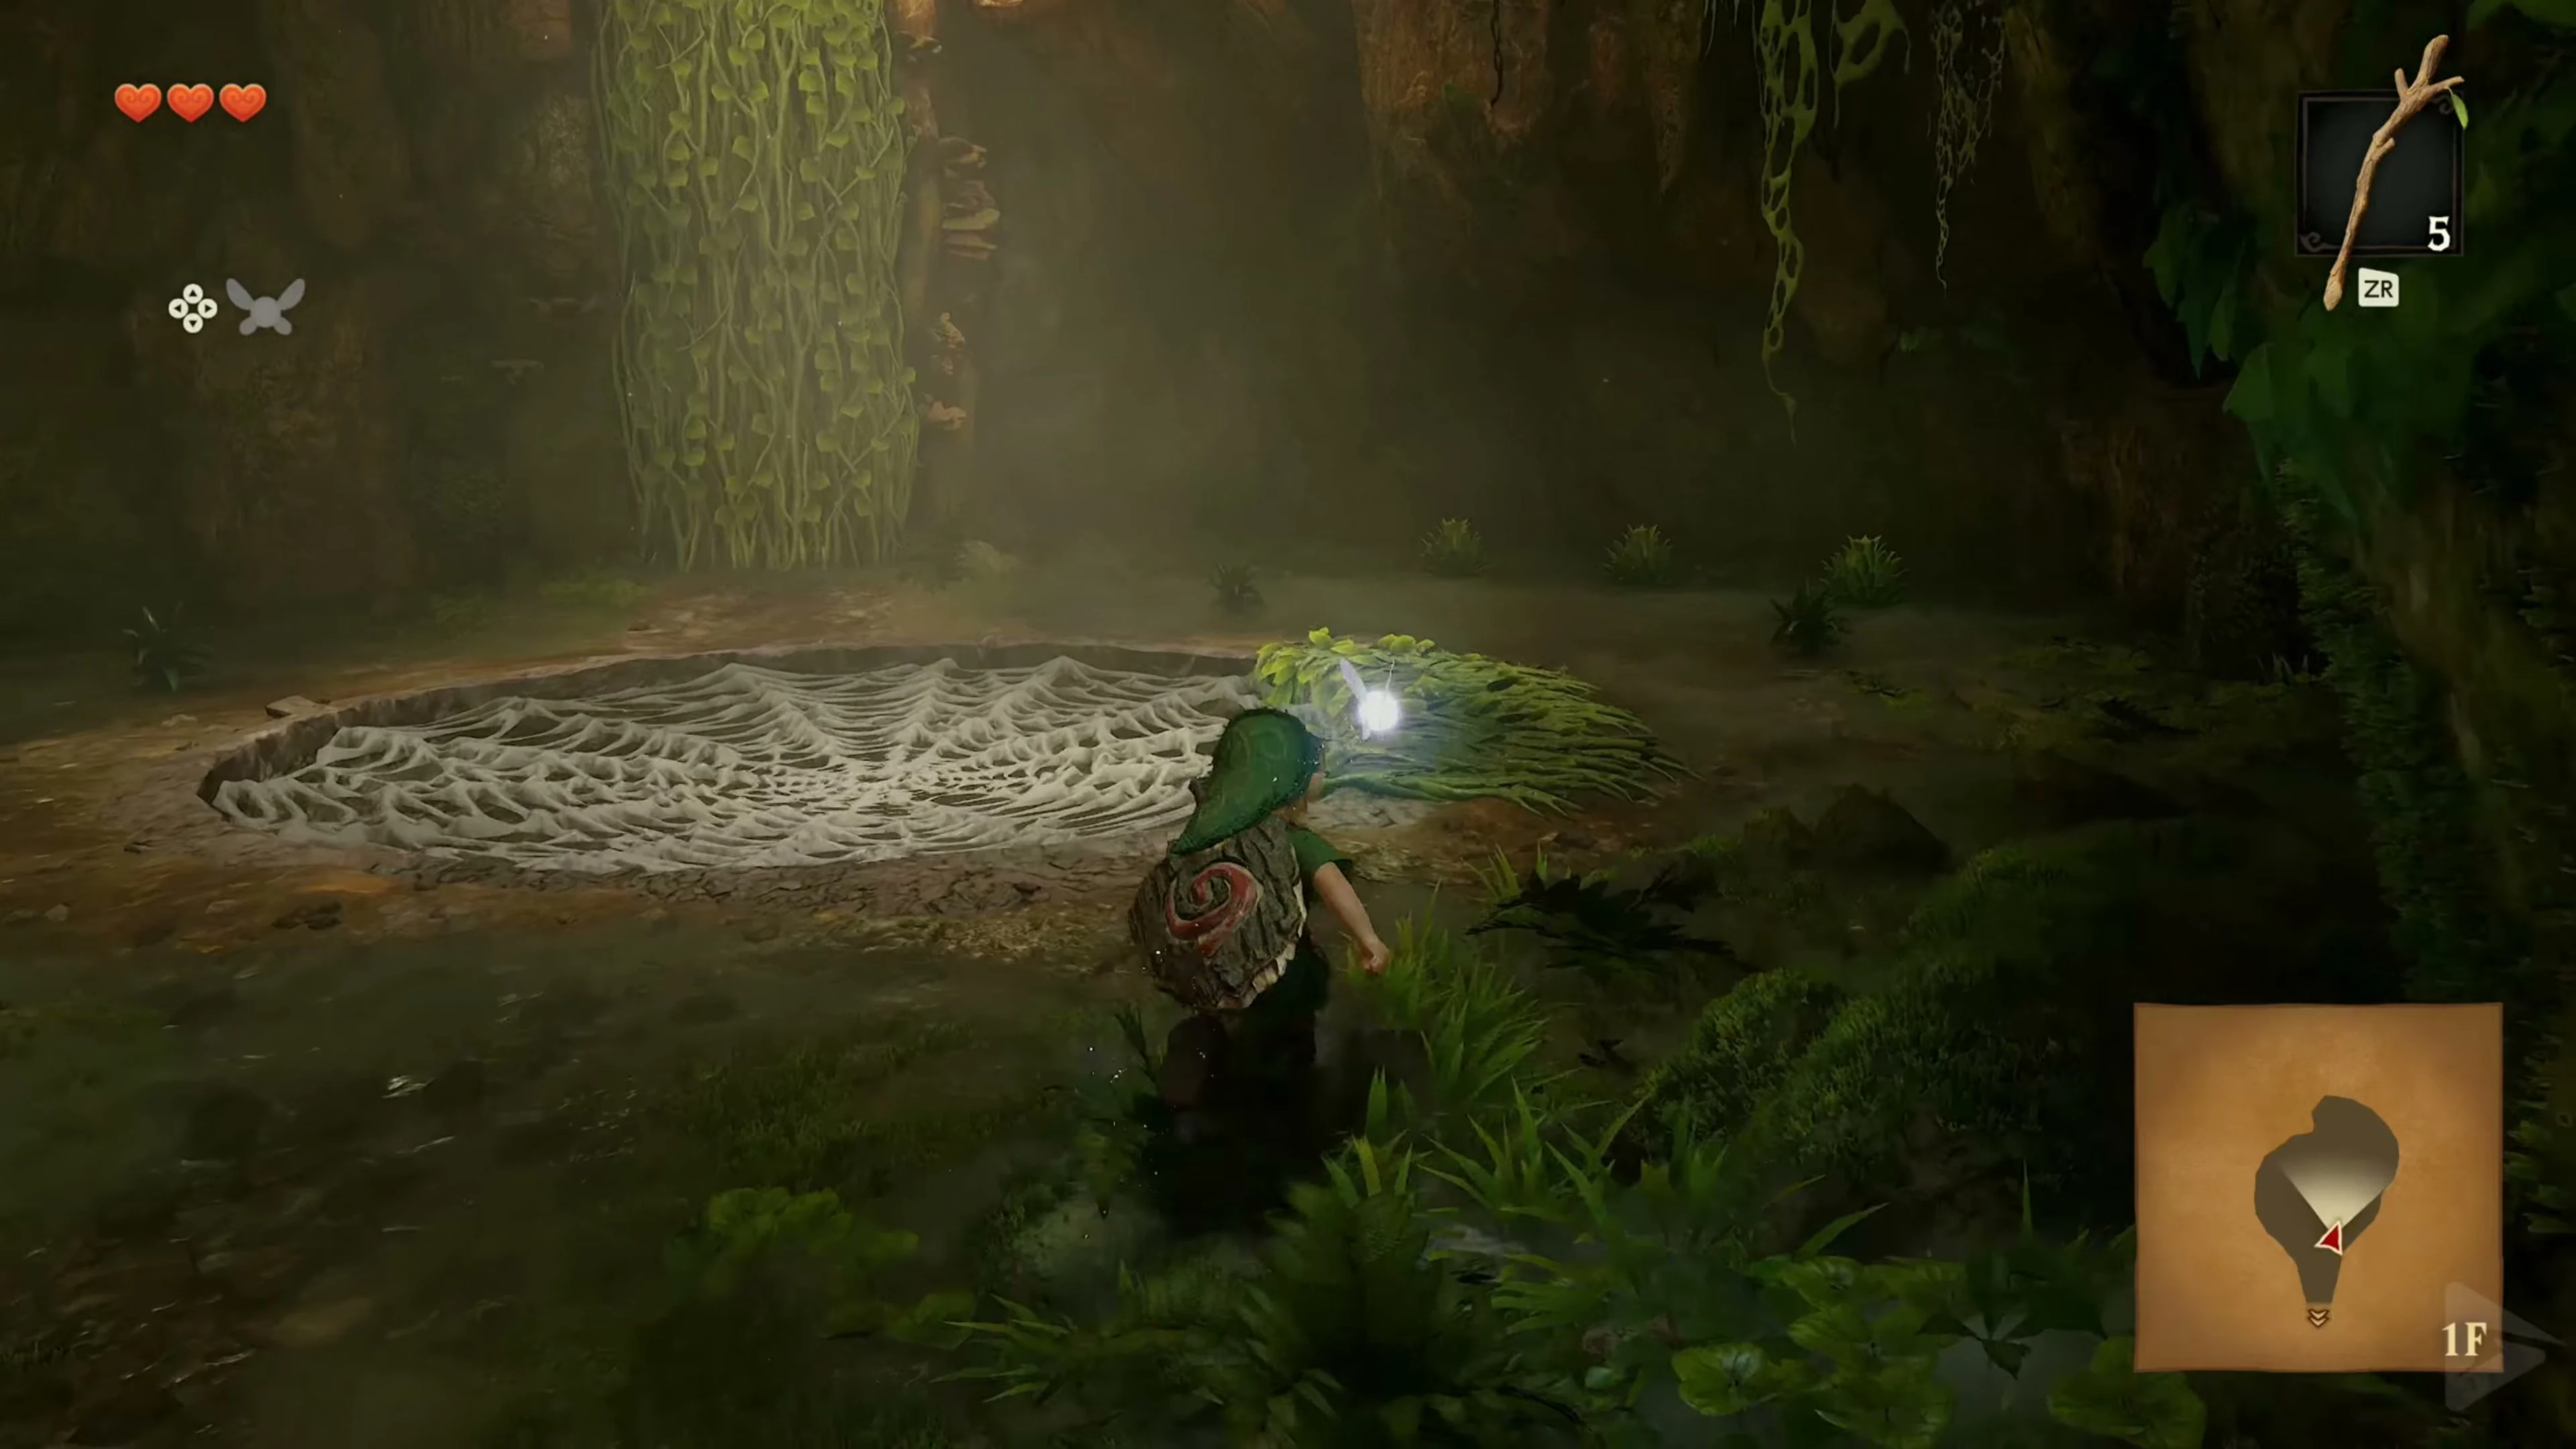
In the main trunk a large spider web covers the ground. Leave it there for now and climb the ladder or vines to the first circular path. Follow it to the large chest on the high climbing wall and take the Dungeon Map . You can eliminate the spiders on the vines above from a distance. First, continue on the same level to the side stone door.
The first Deku Scrub
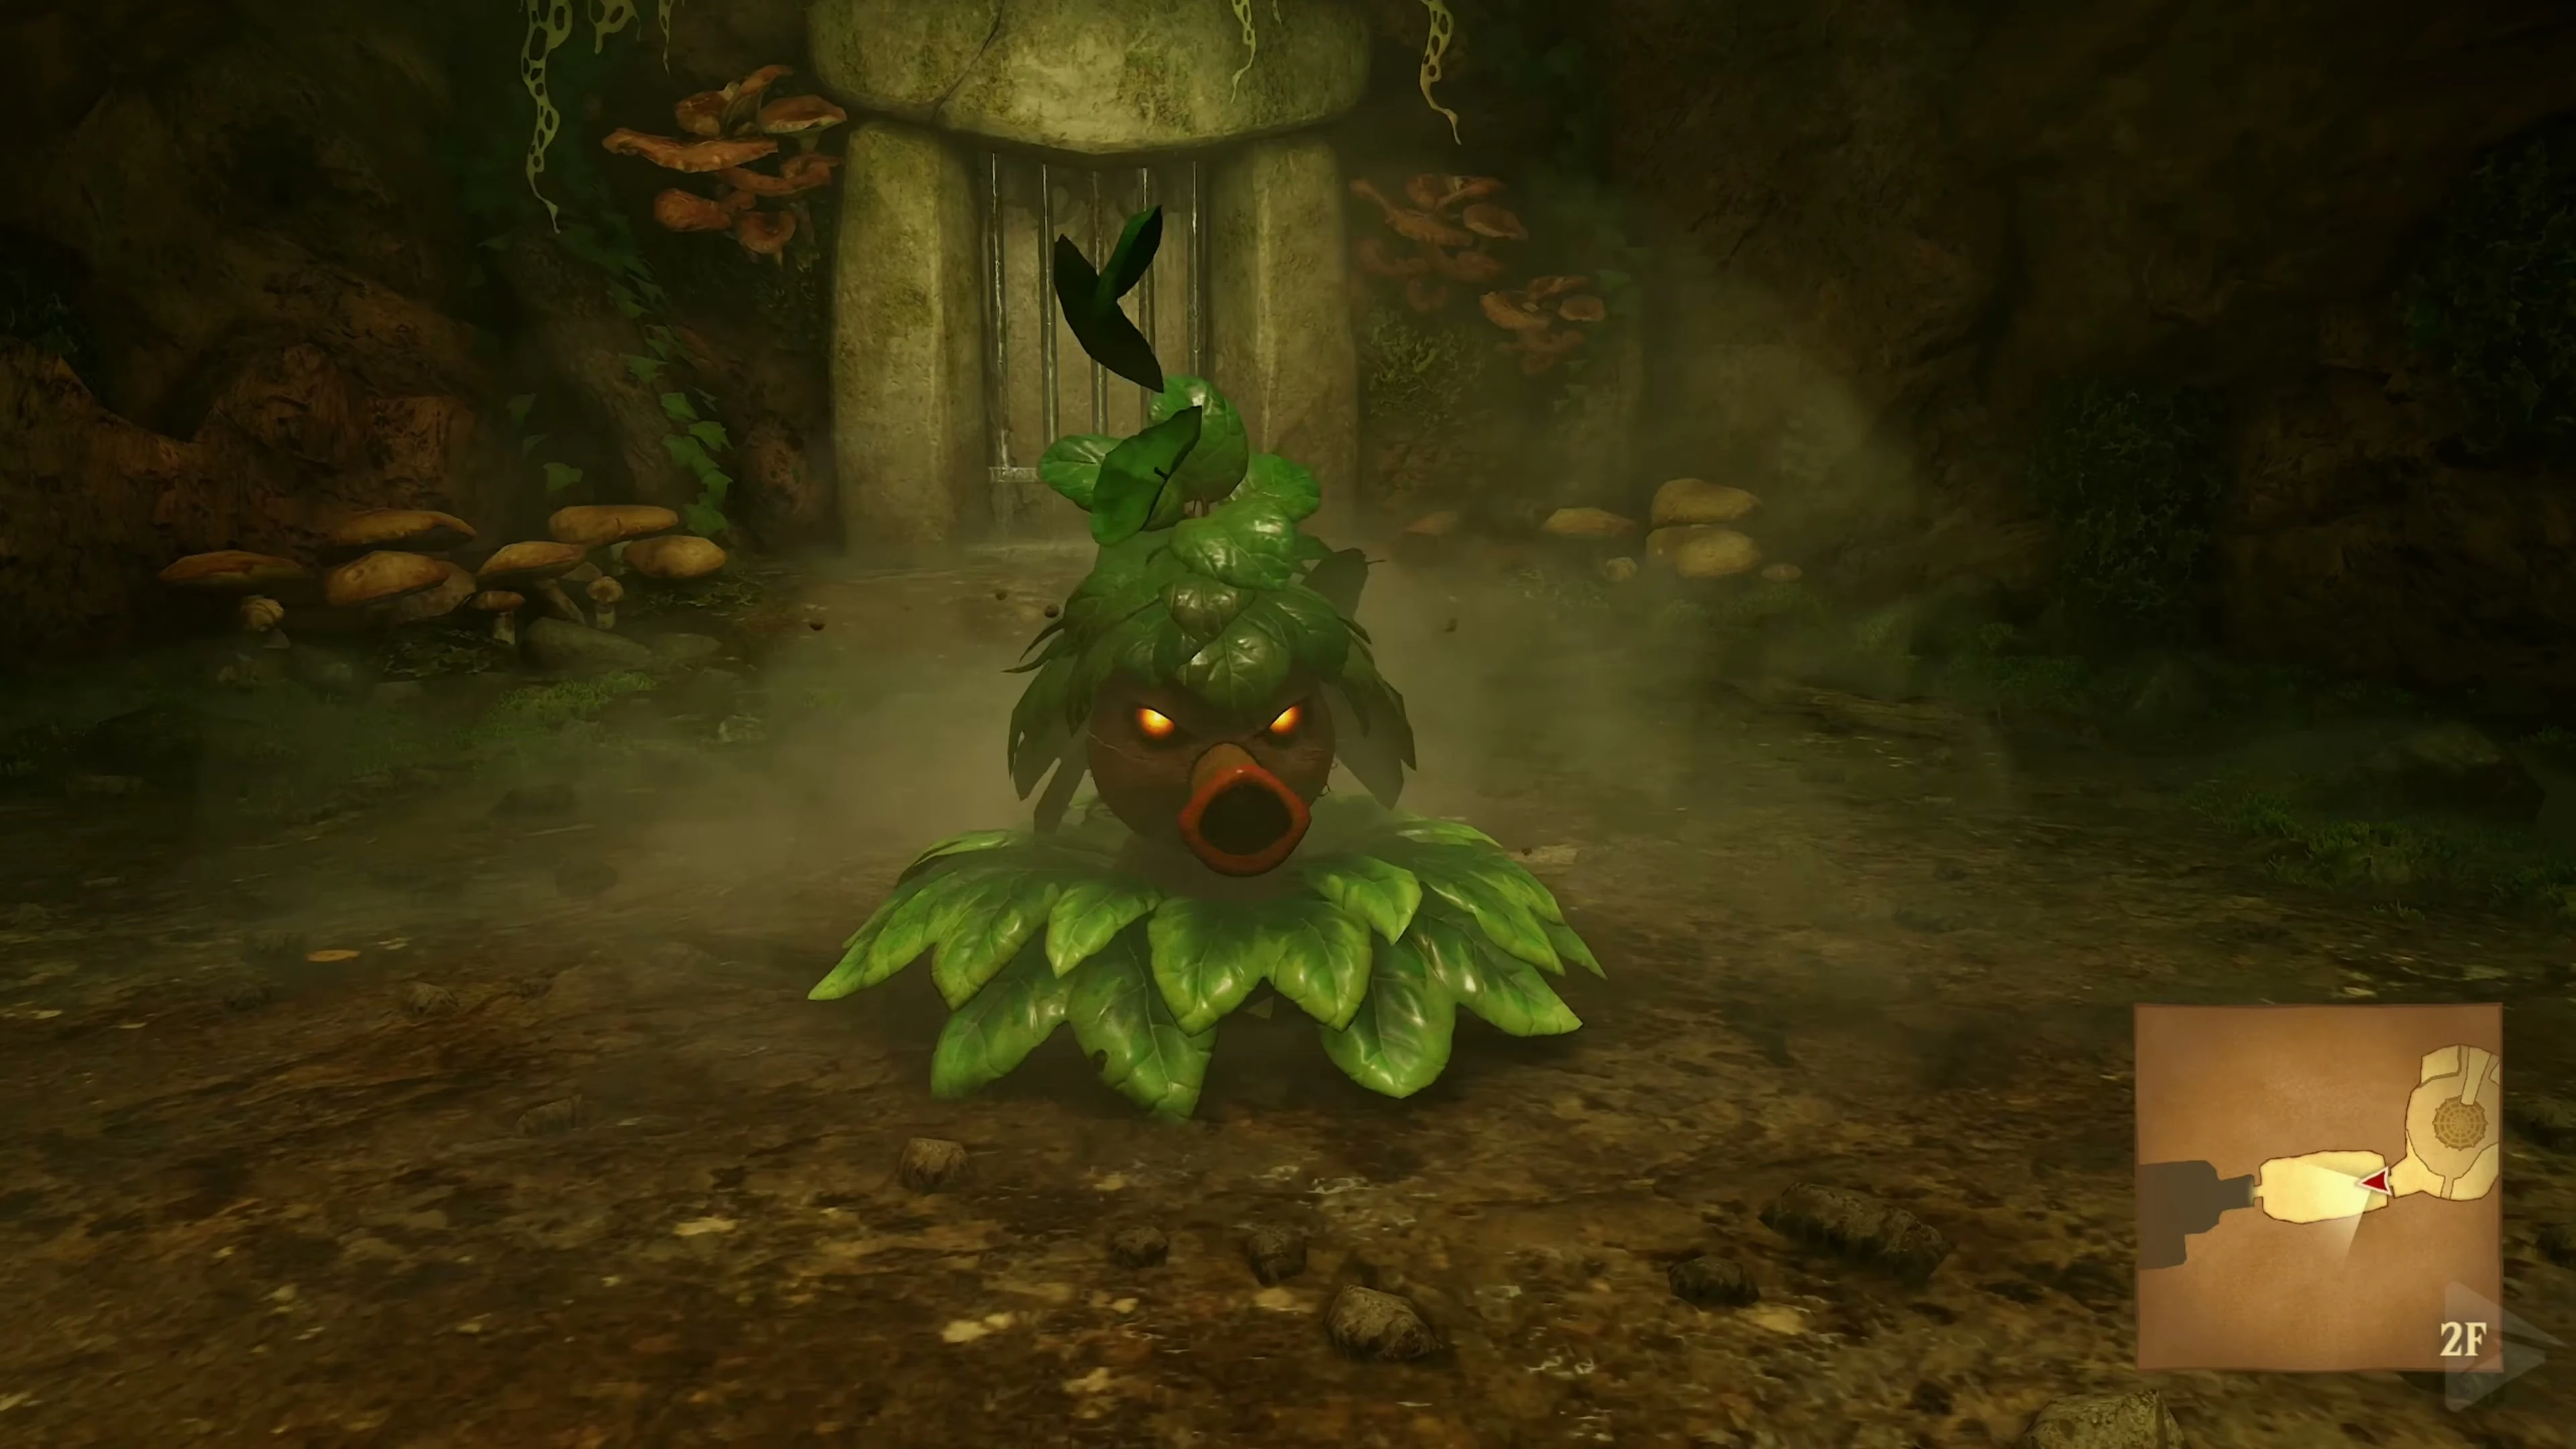
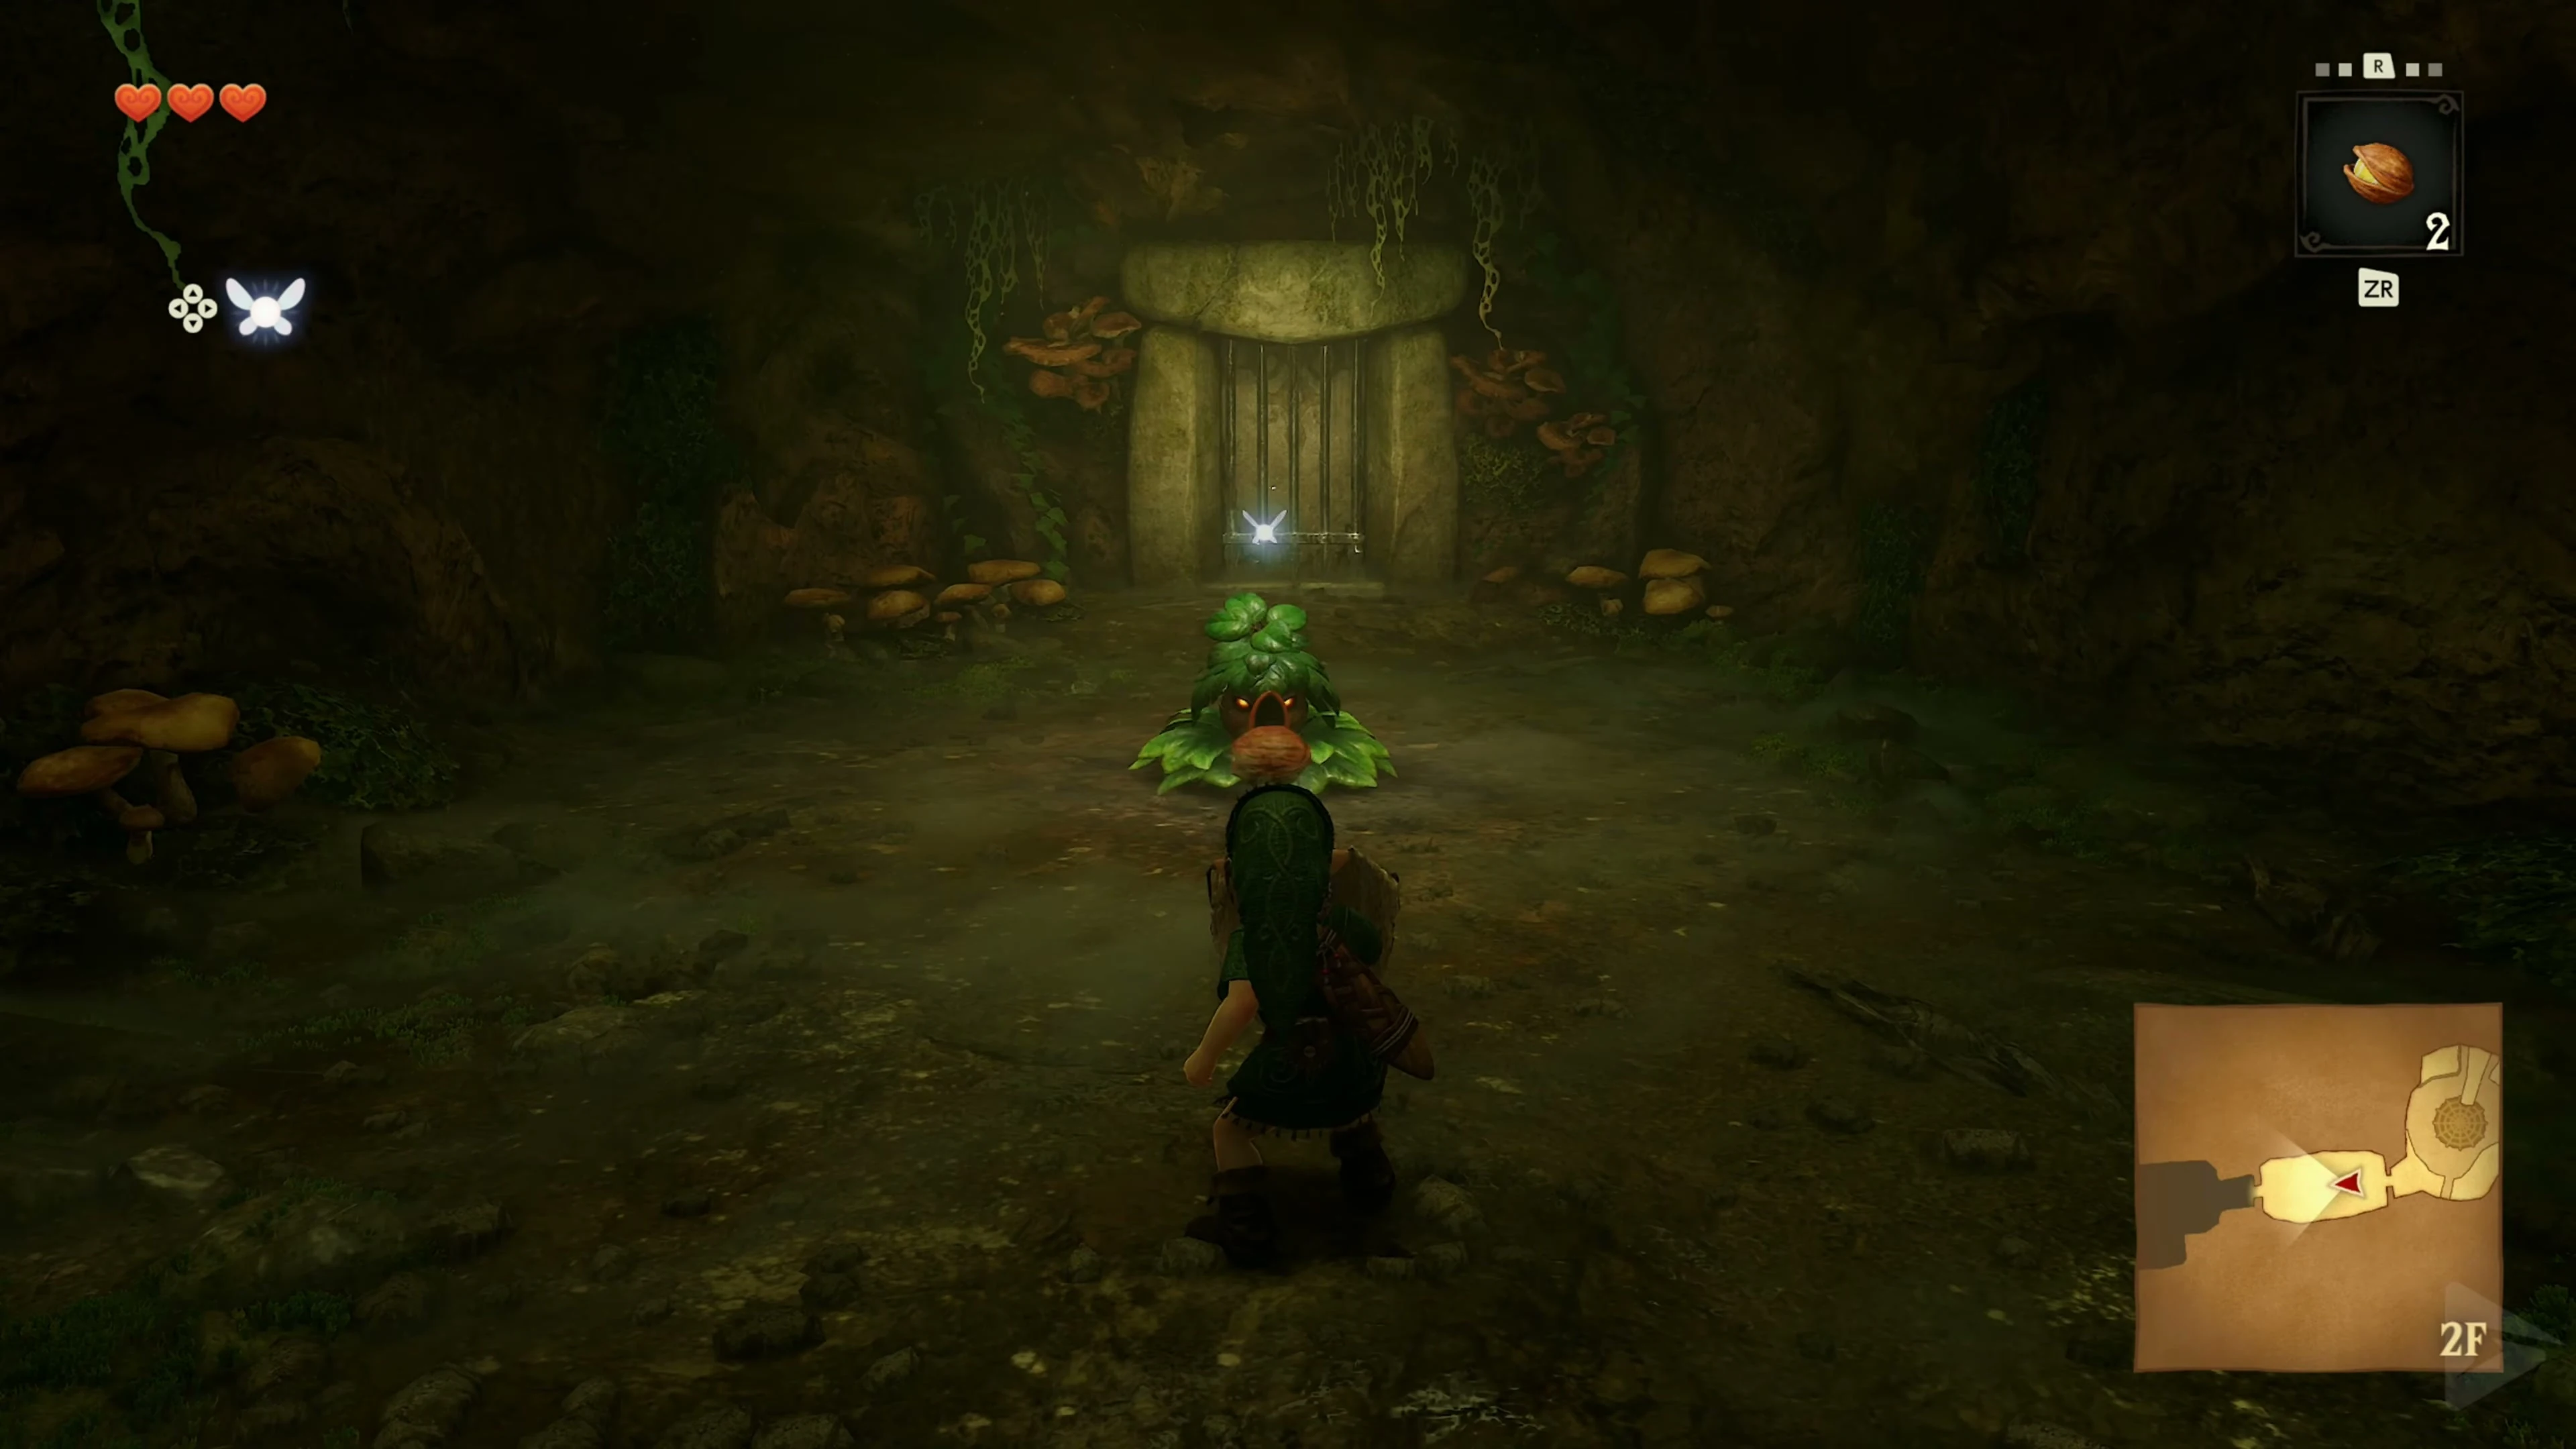
Target the Deku Scrub and hold the Deku Shield in front of you. His nut rebounds and hits him. As soon as he leaves his flower, cut him off and talk to him. You can then continue through the next door.
The Fairy Slingshot
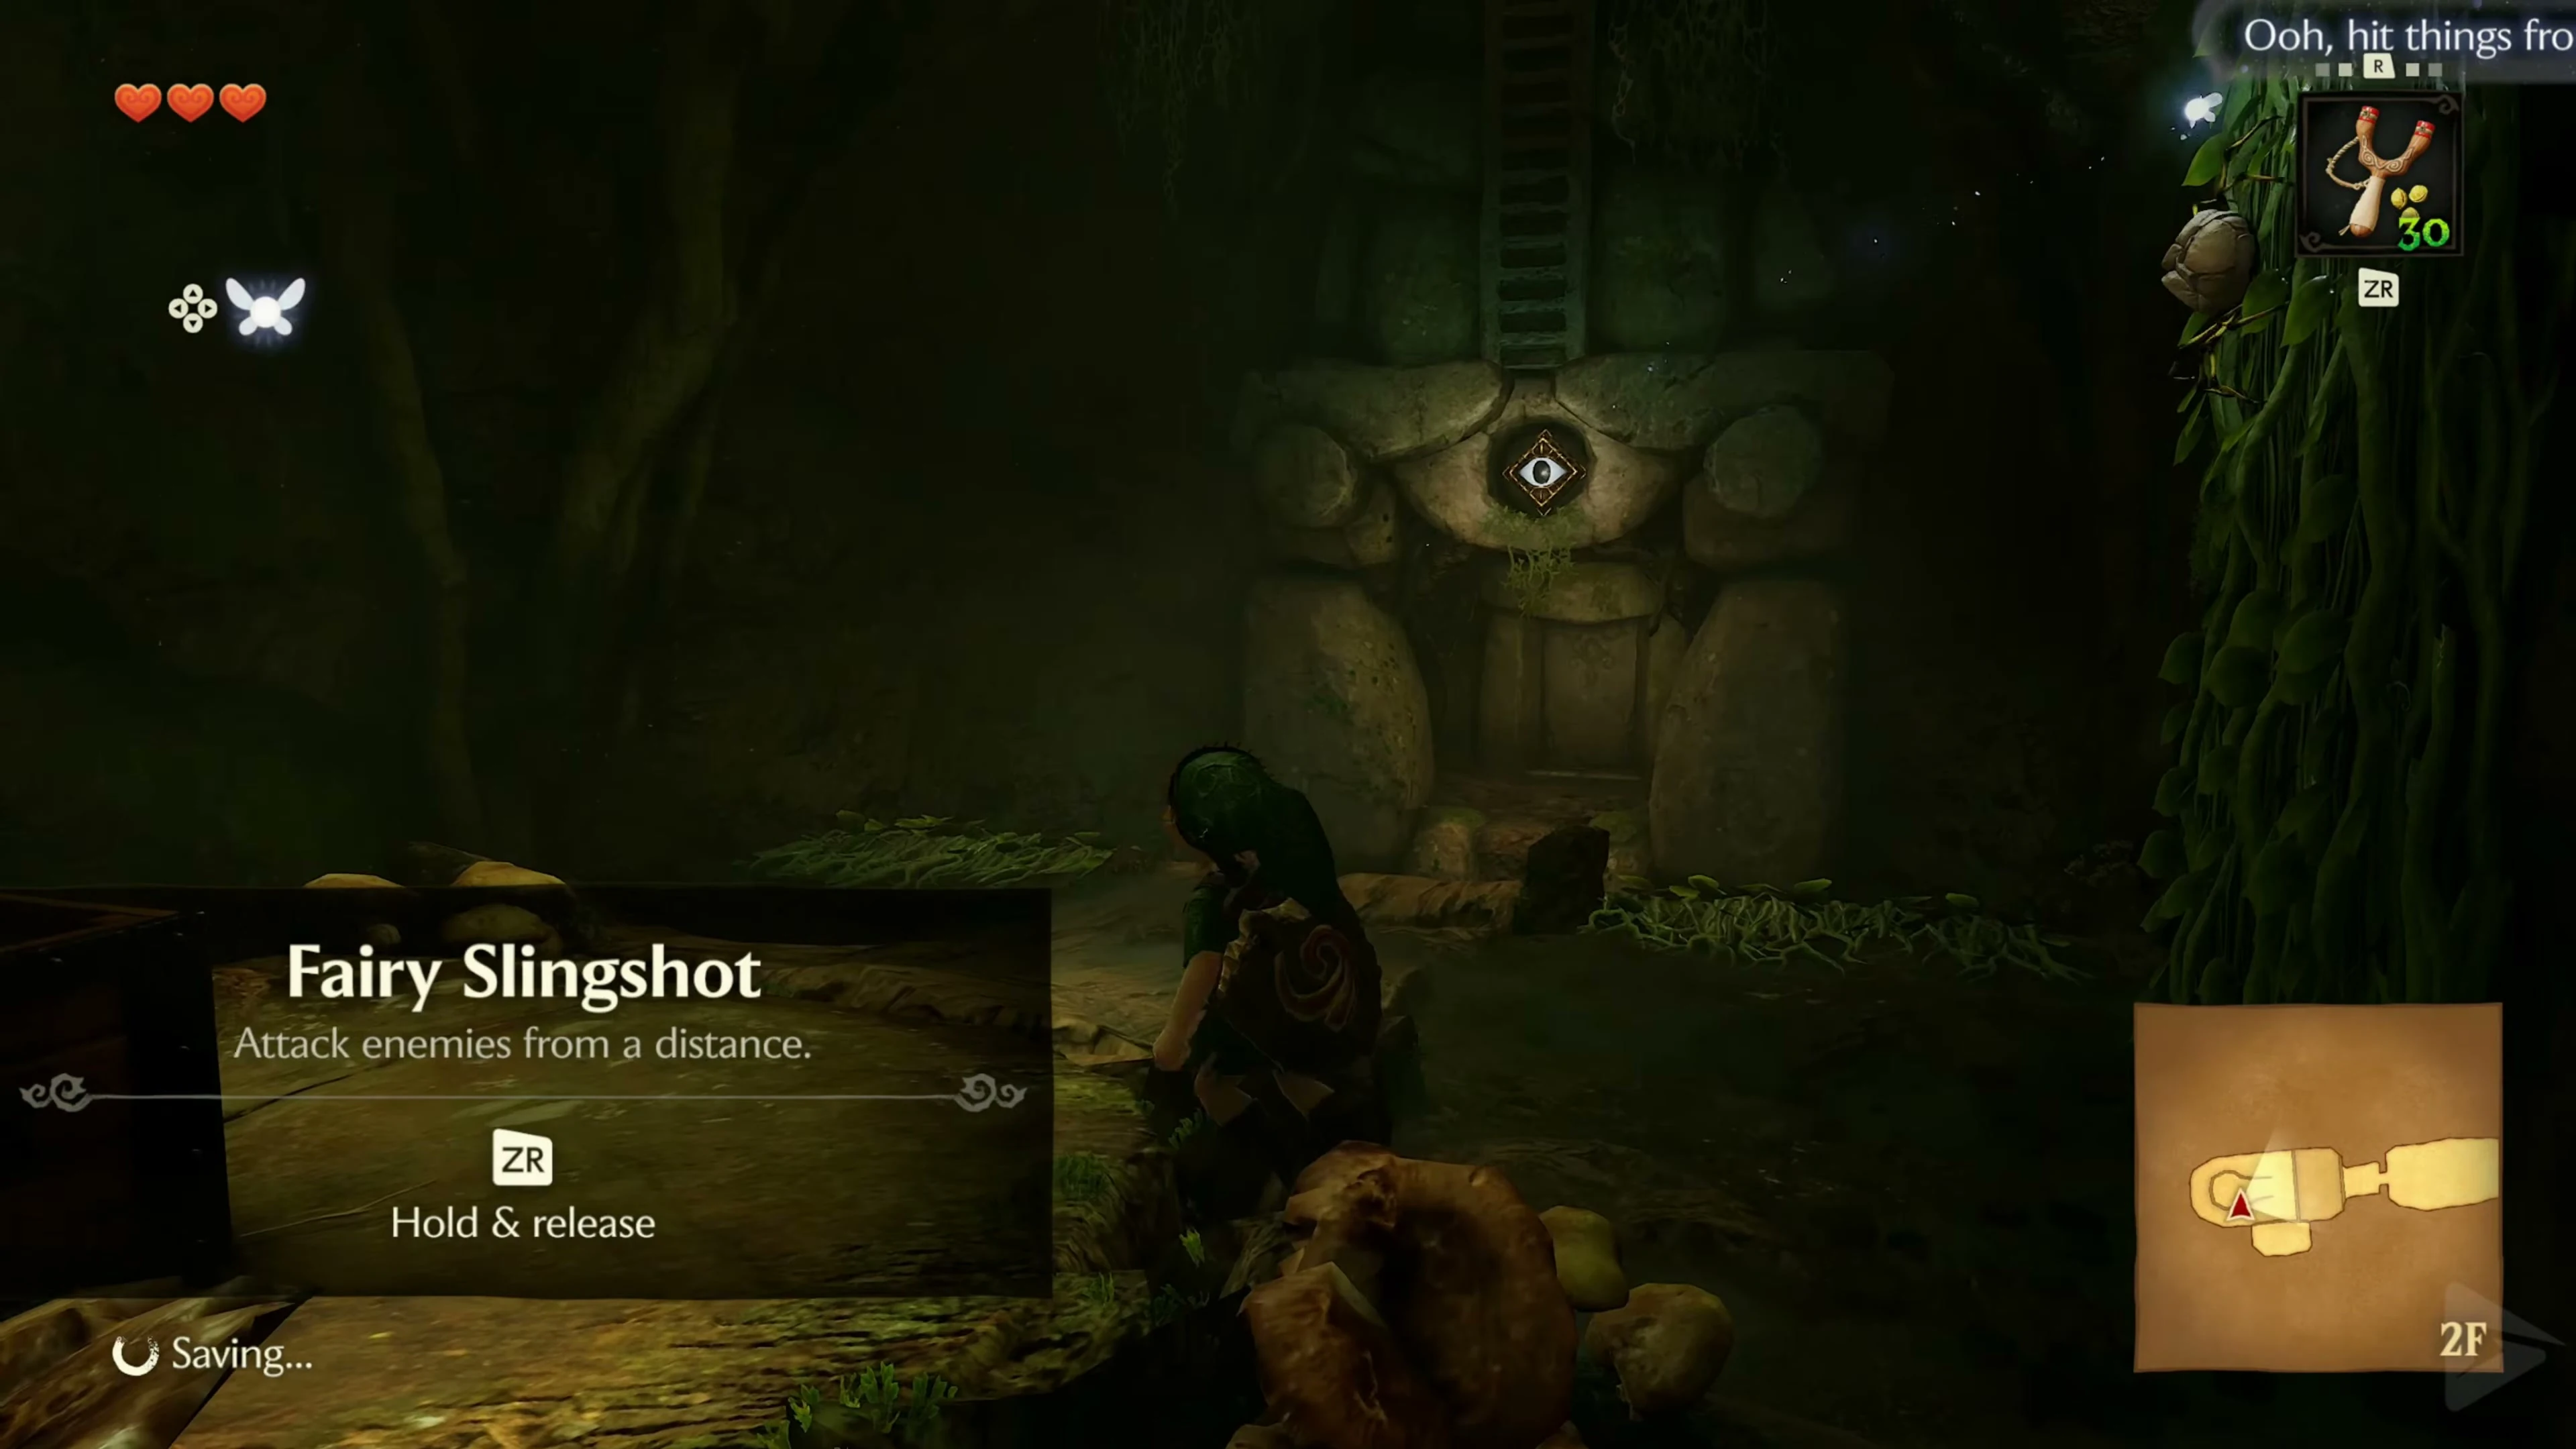
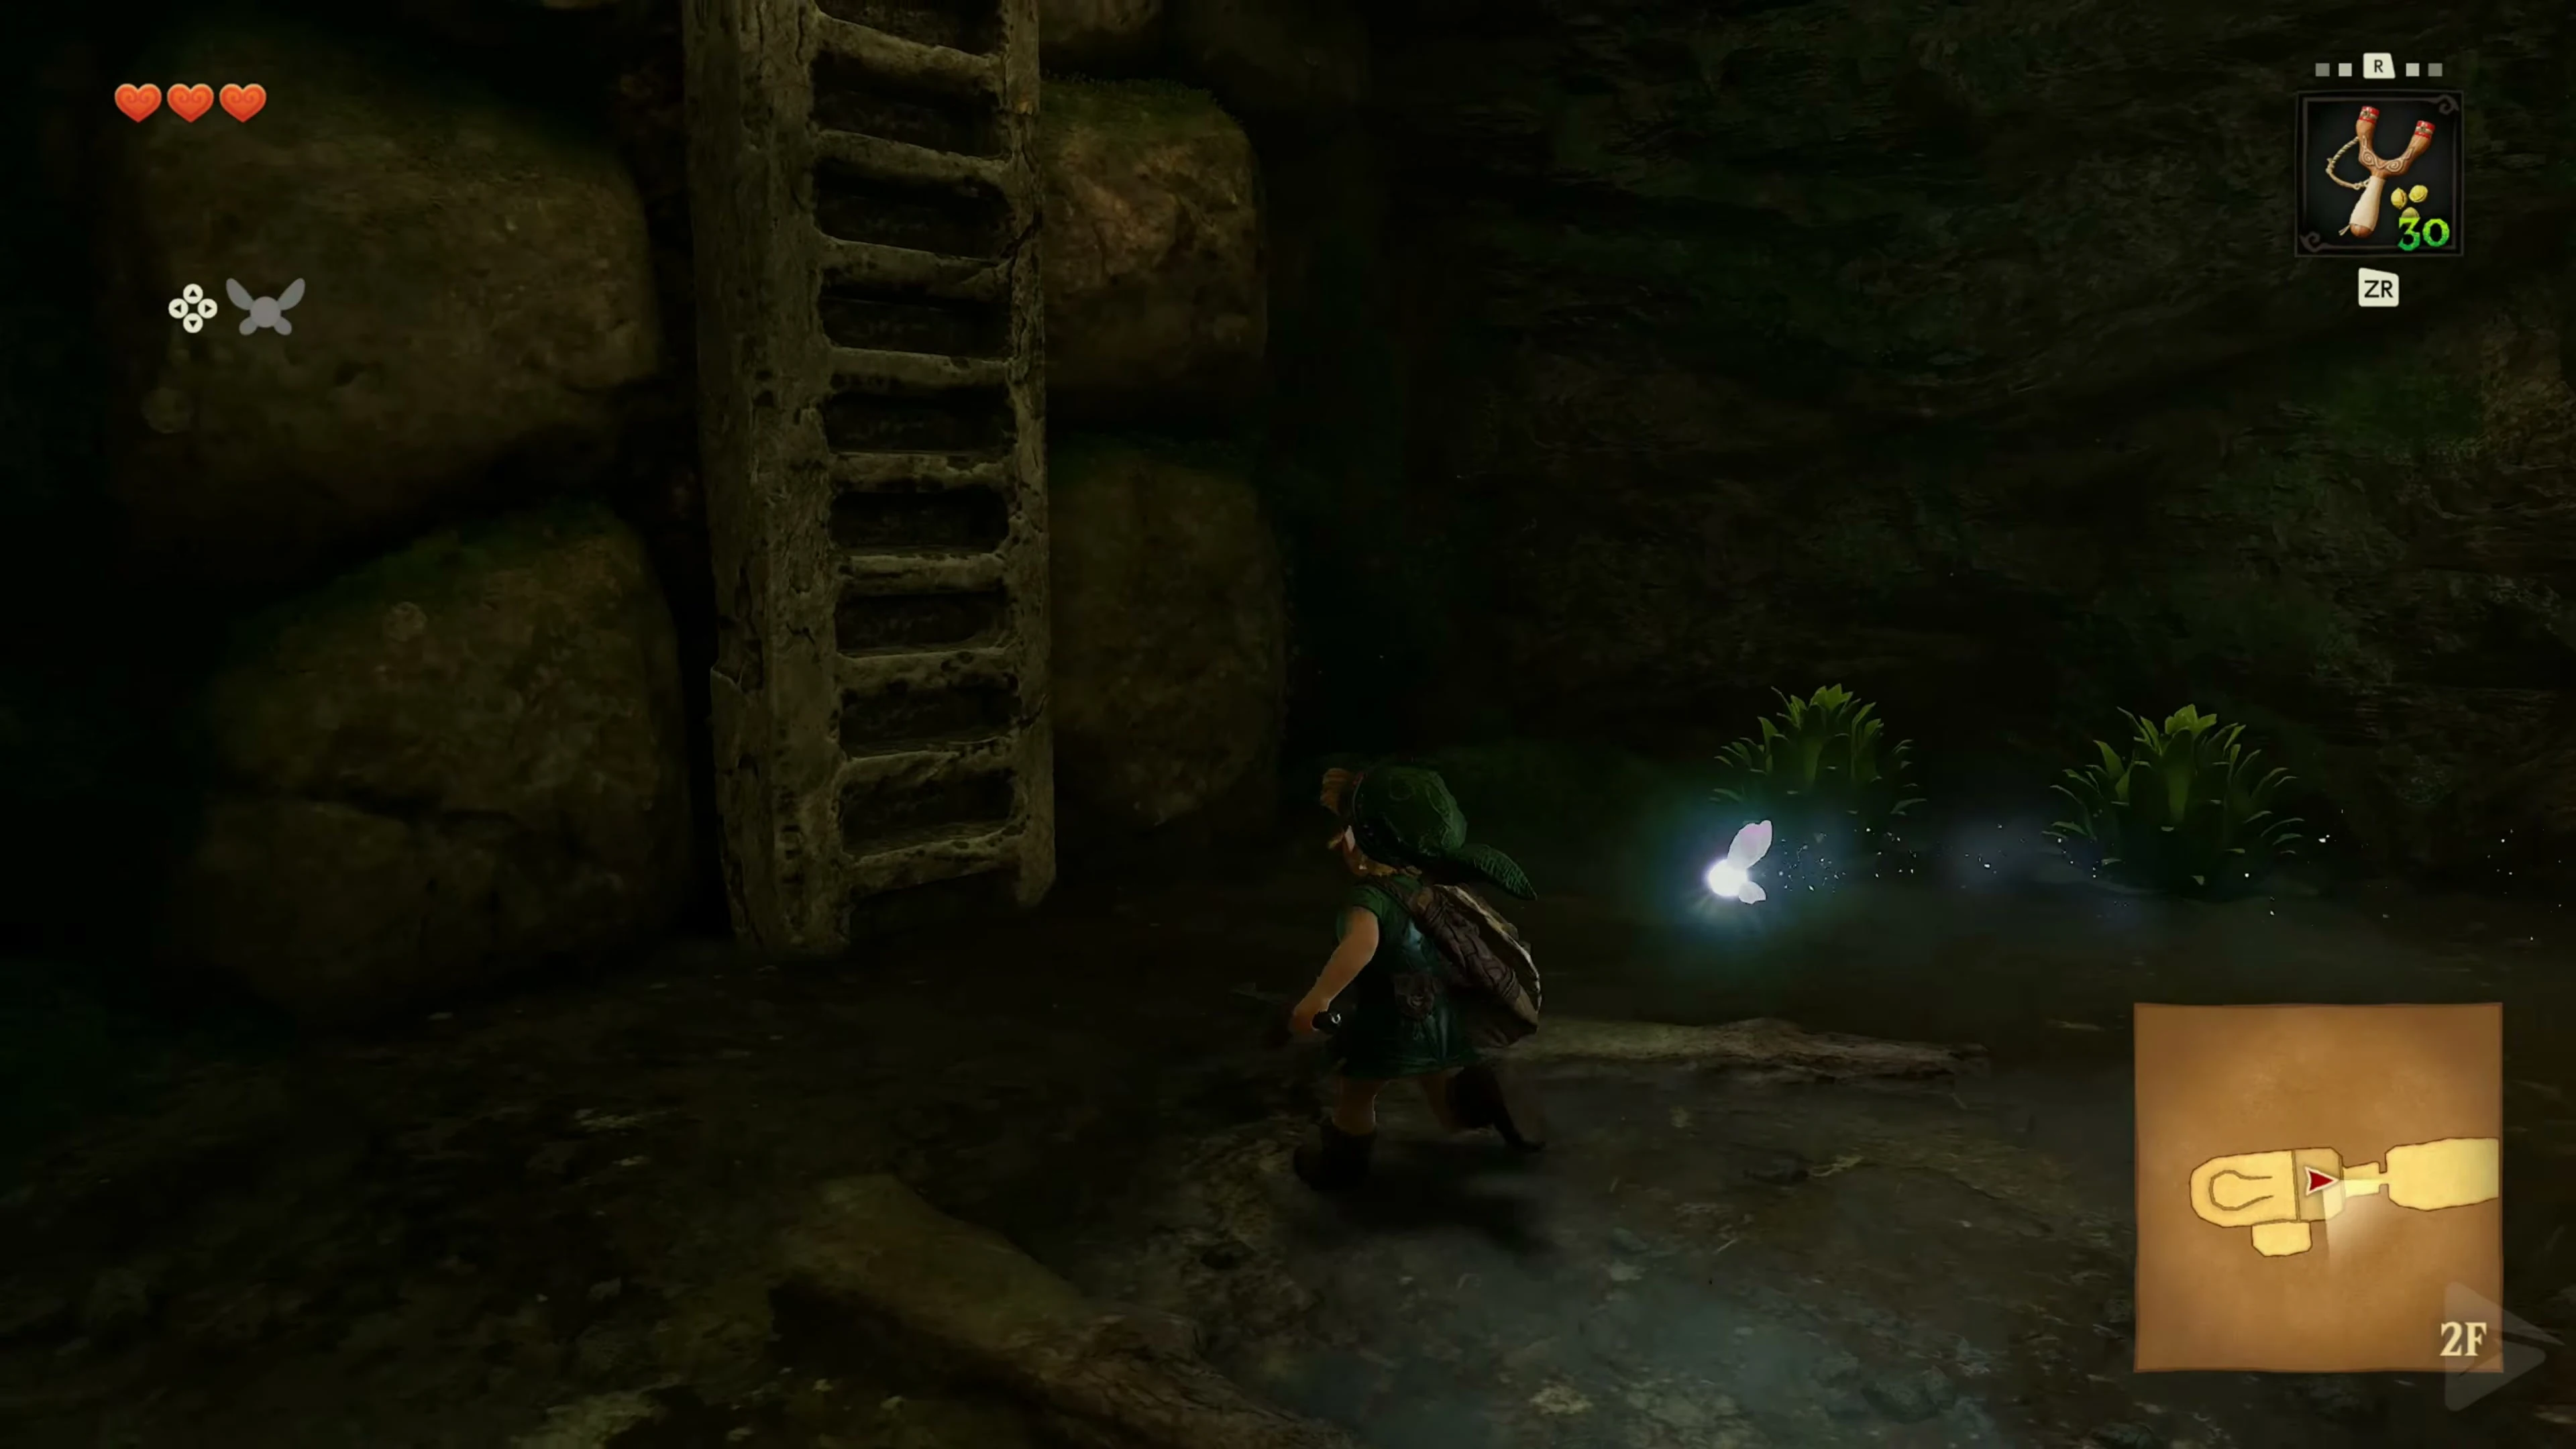
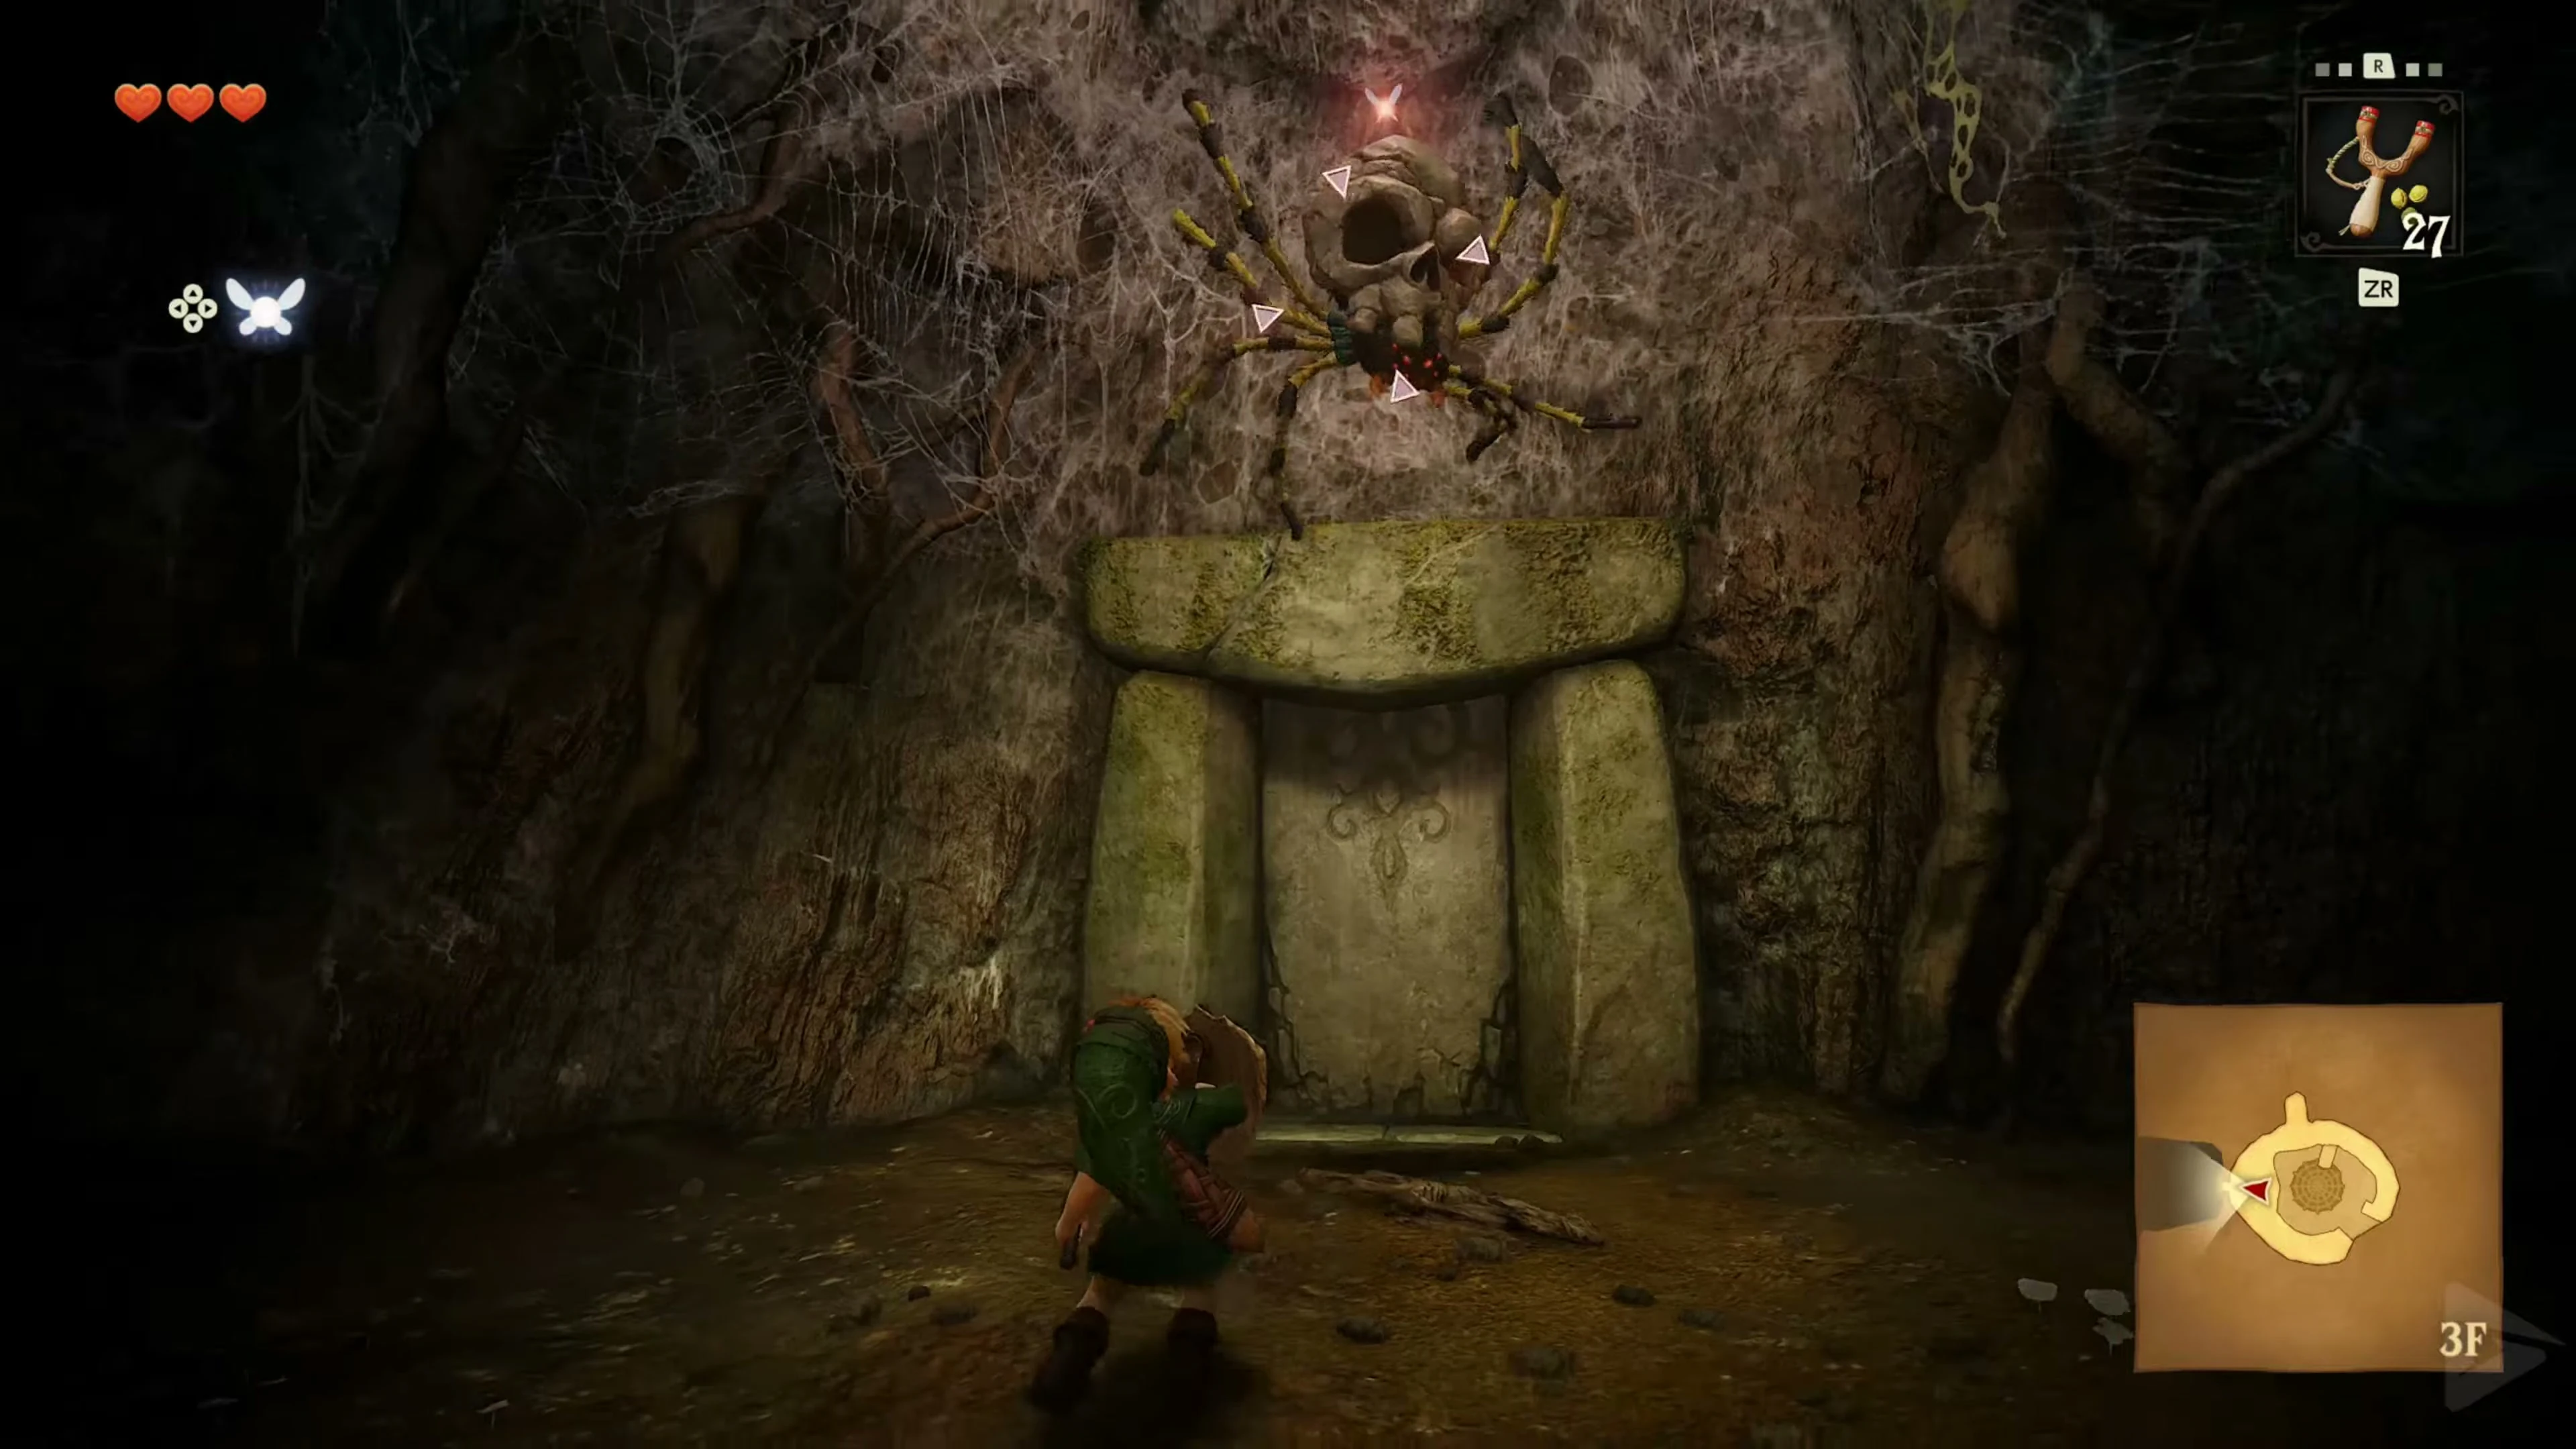
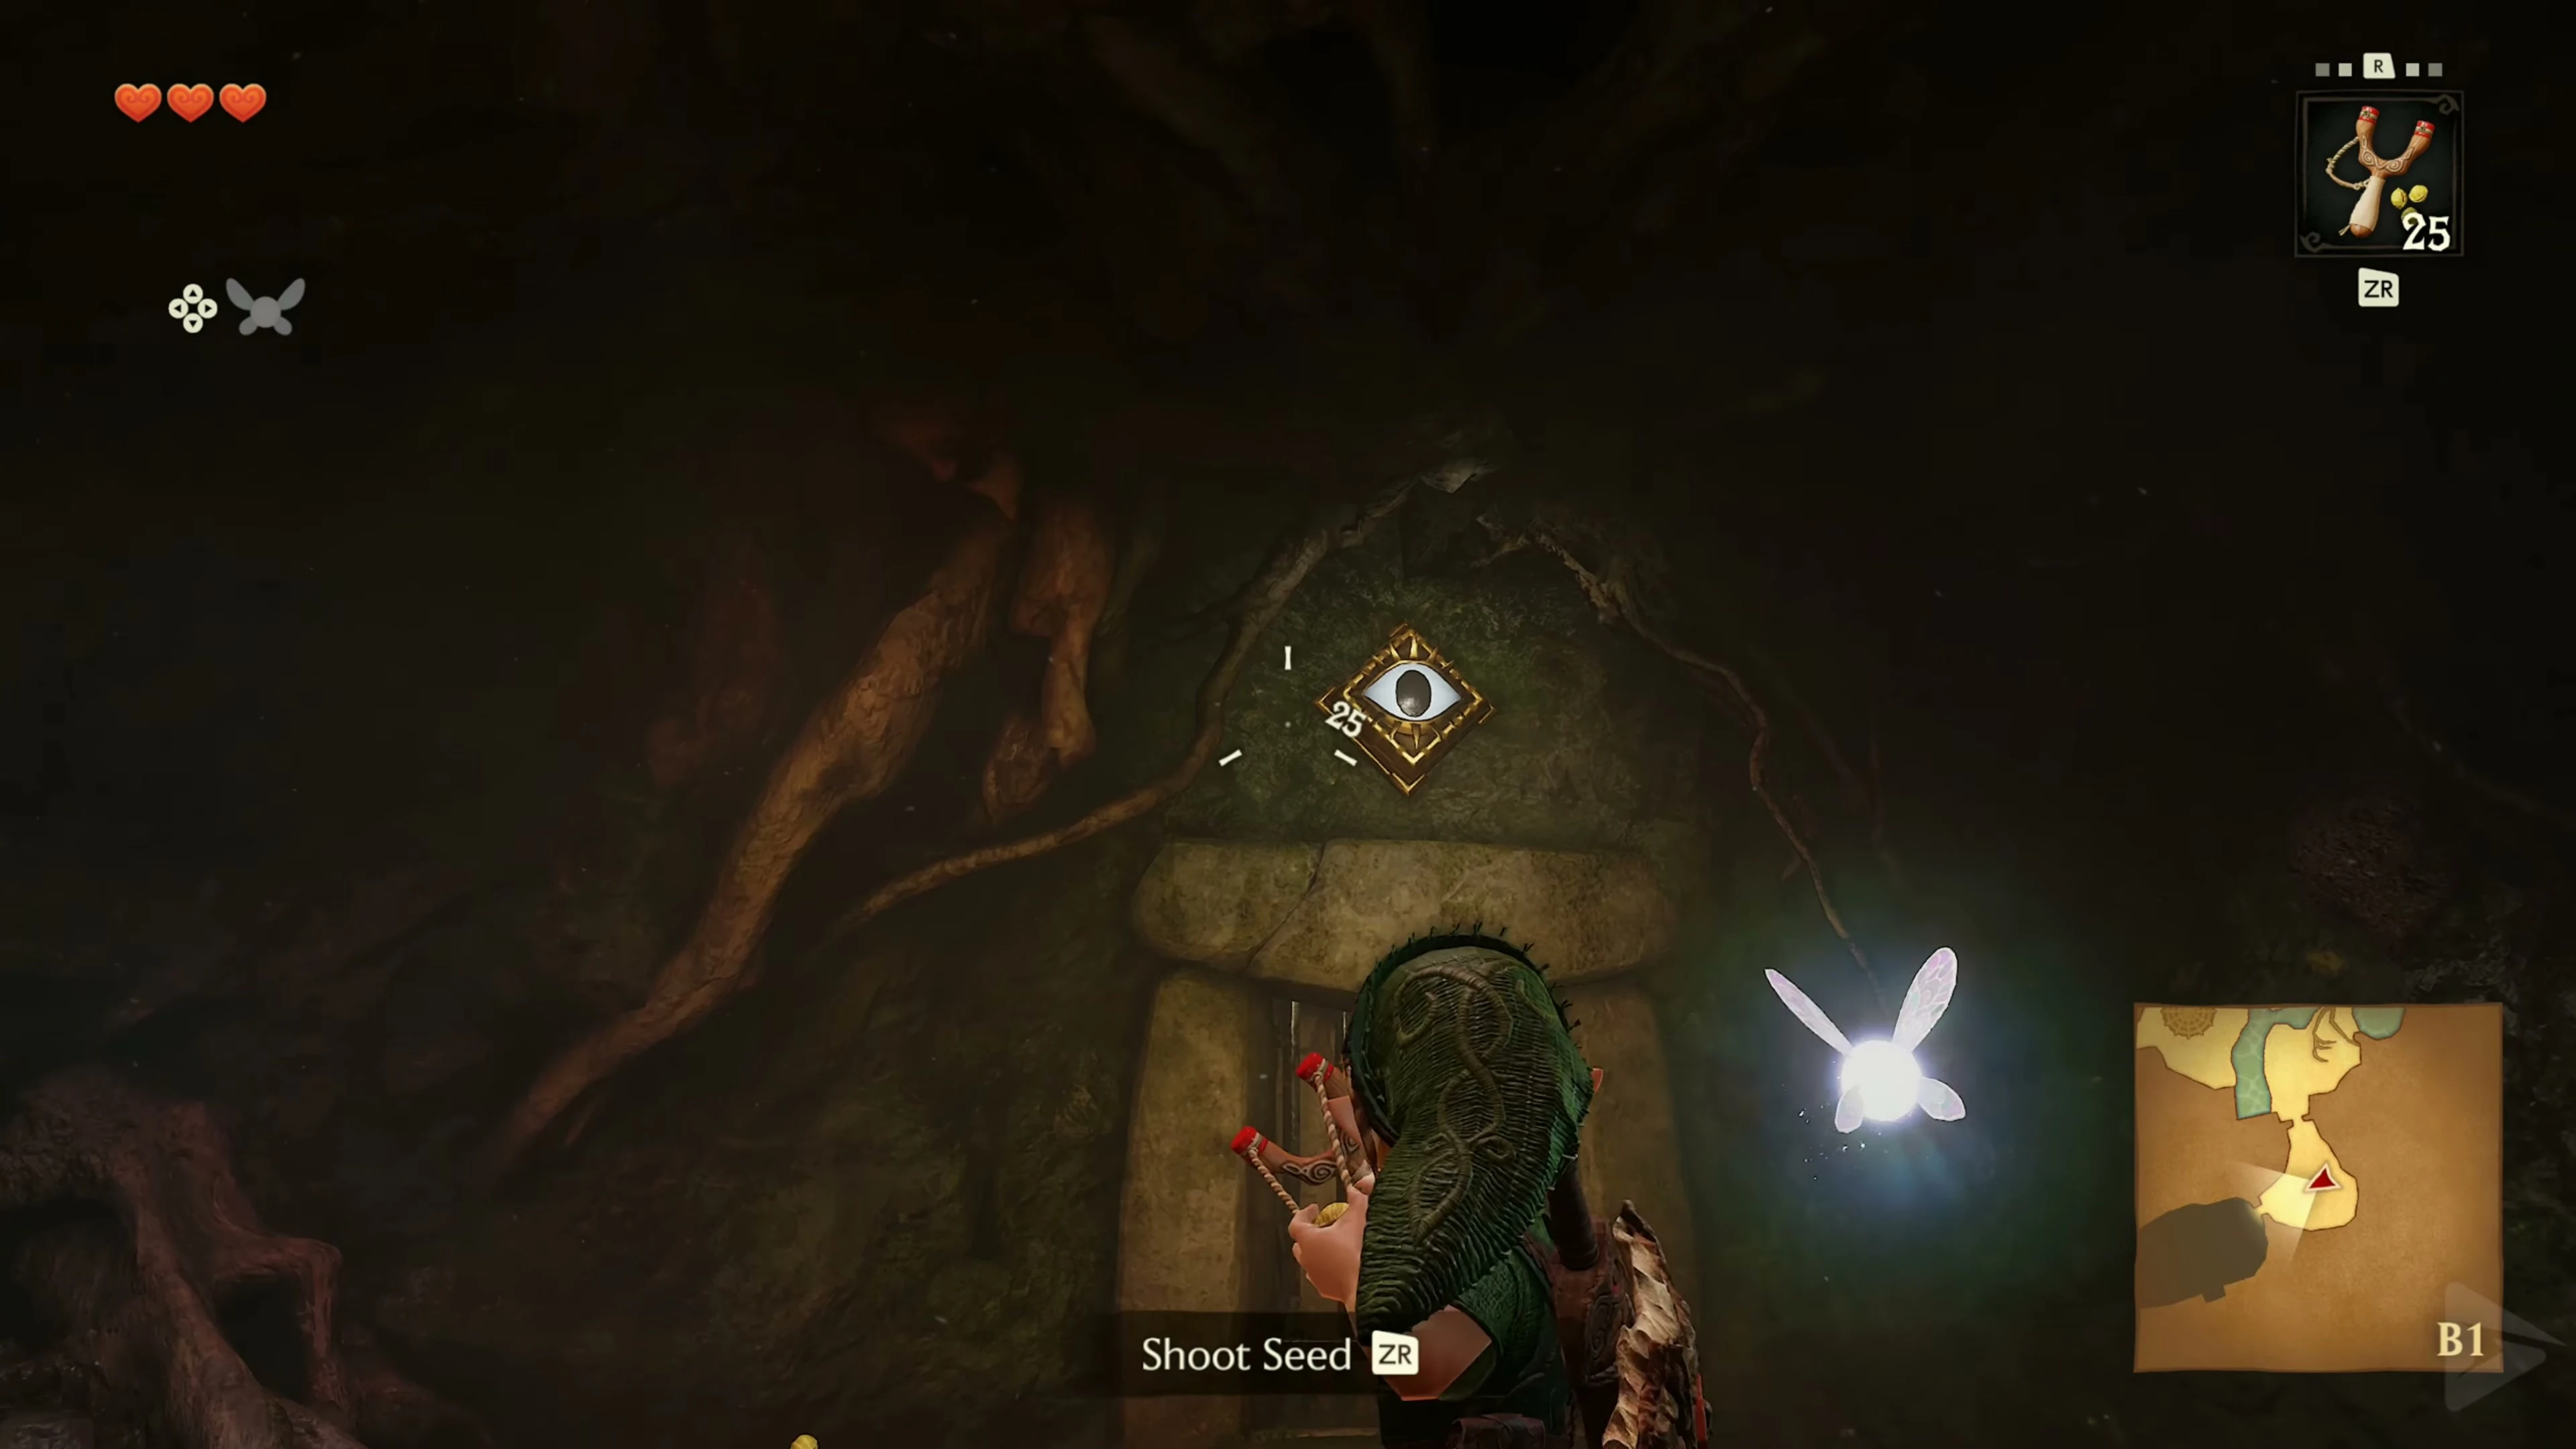
Cross the narrow wooden walkway. He collapses beneath Link; if you fall down, climb the vines to the large treasure chest. Open it for the Fairy Slingshot . You can also reach a chest with Deku nuts via the small overgrown wall next to the chest. Turn to make your way back to the front door. Hit the eye above the door with the slingshot. This will cause the ladder to fall down. Climb up and return to the main trunk.
To the top floor of the Deku Tree
Shoot the Skullwalltulas from the high vine wall next to the card chest and climb to the top. Follow the circular path to the side door. The large hanging skulltulas protect their front with a shell. One hit causes them to spin; then hit the exposed stomach. In this way, clear the passage to the door.
Compass and first Gold Skulltula
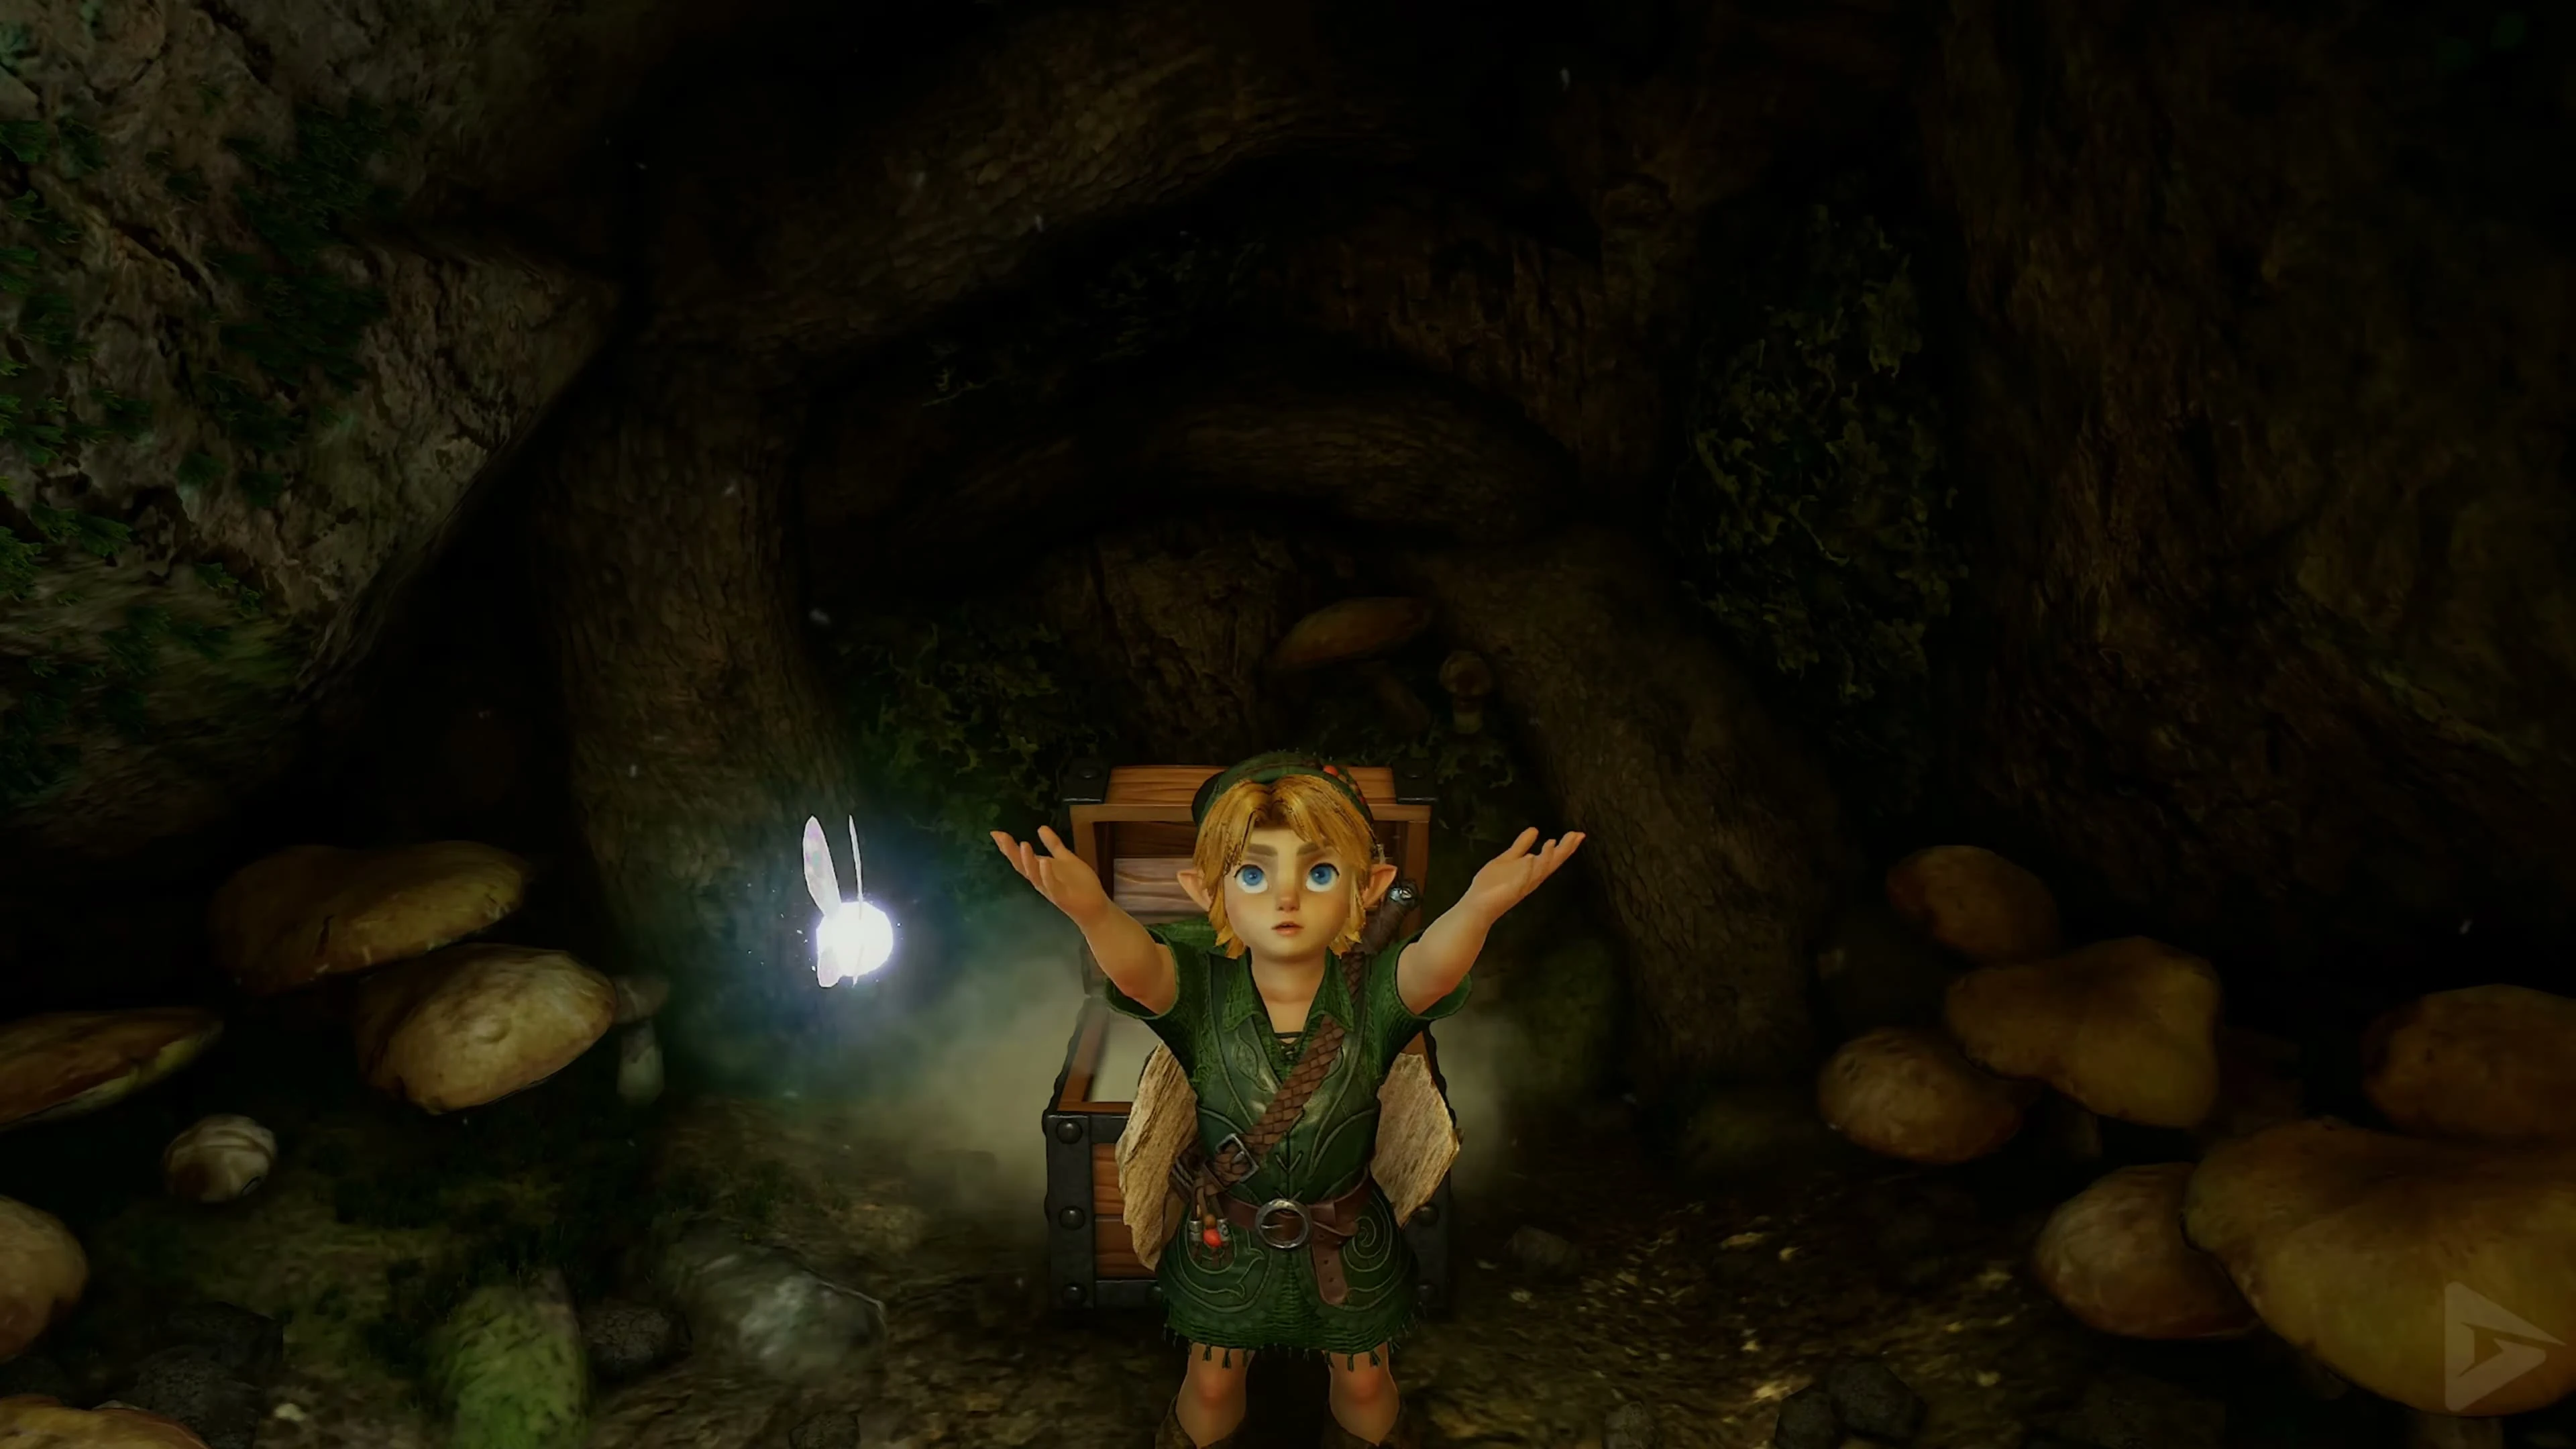
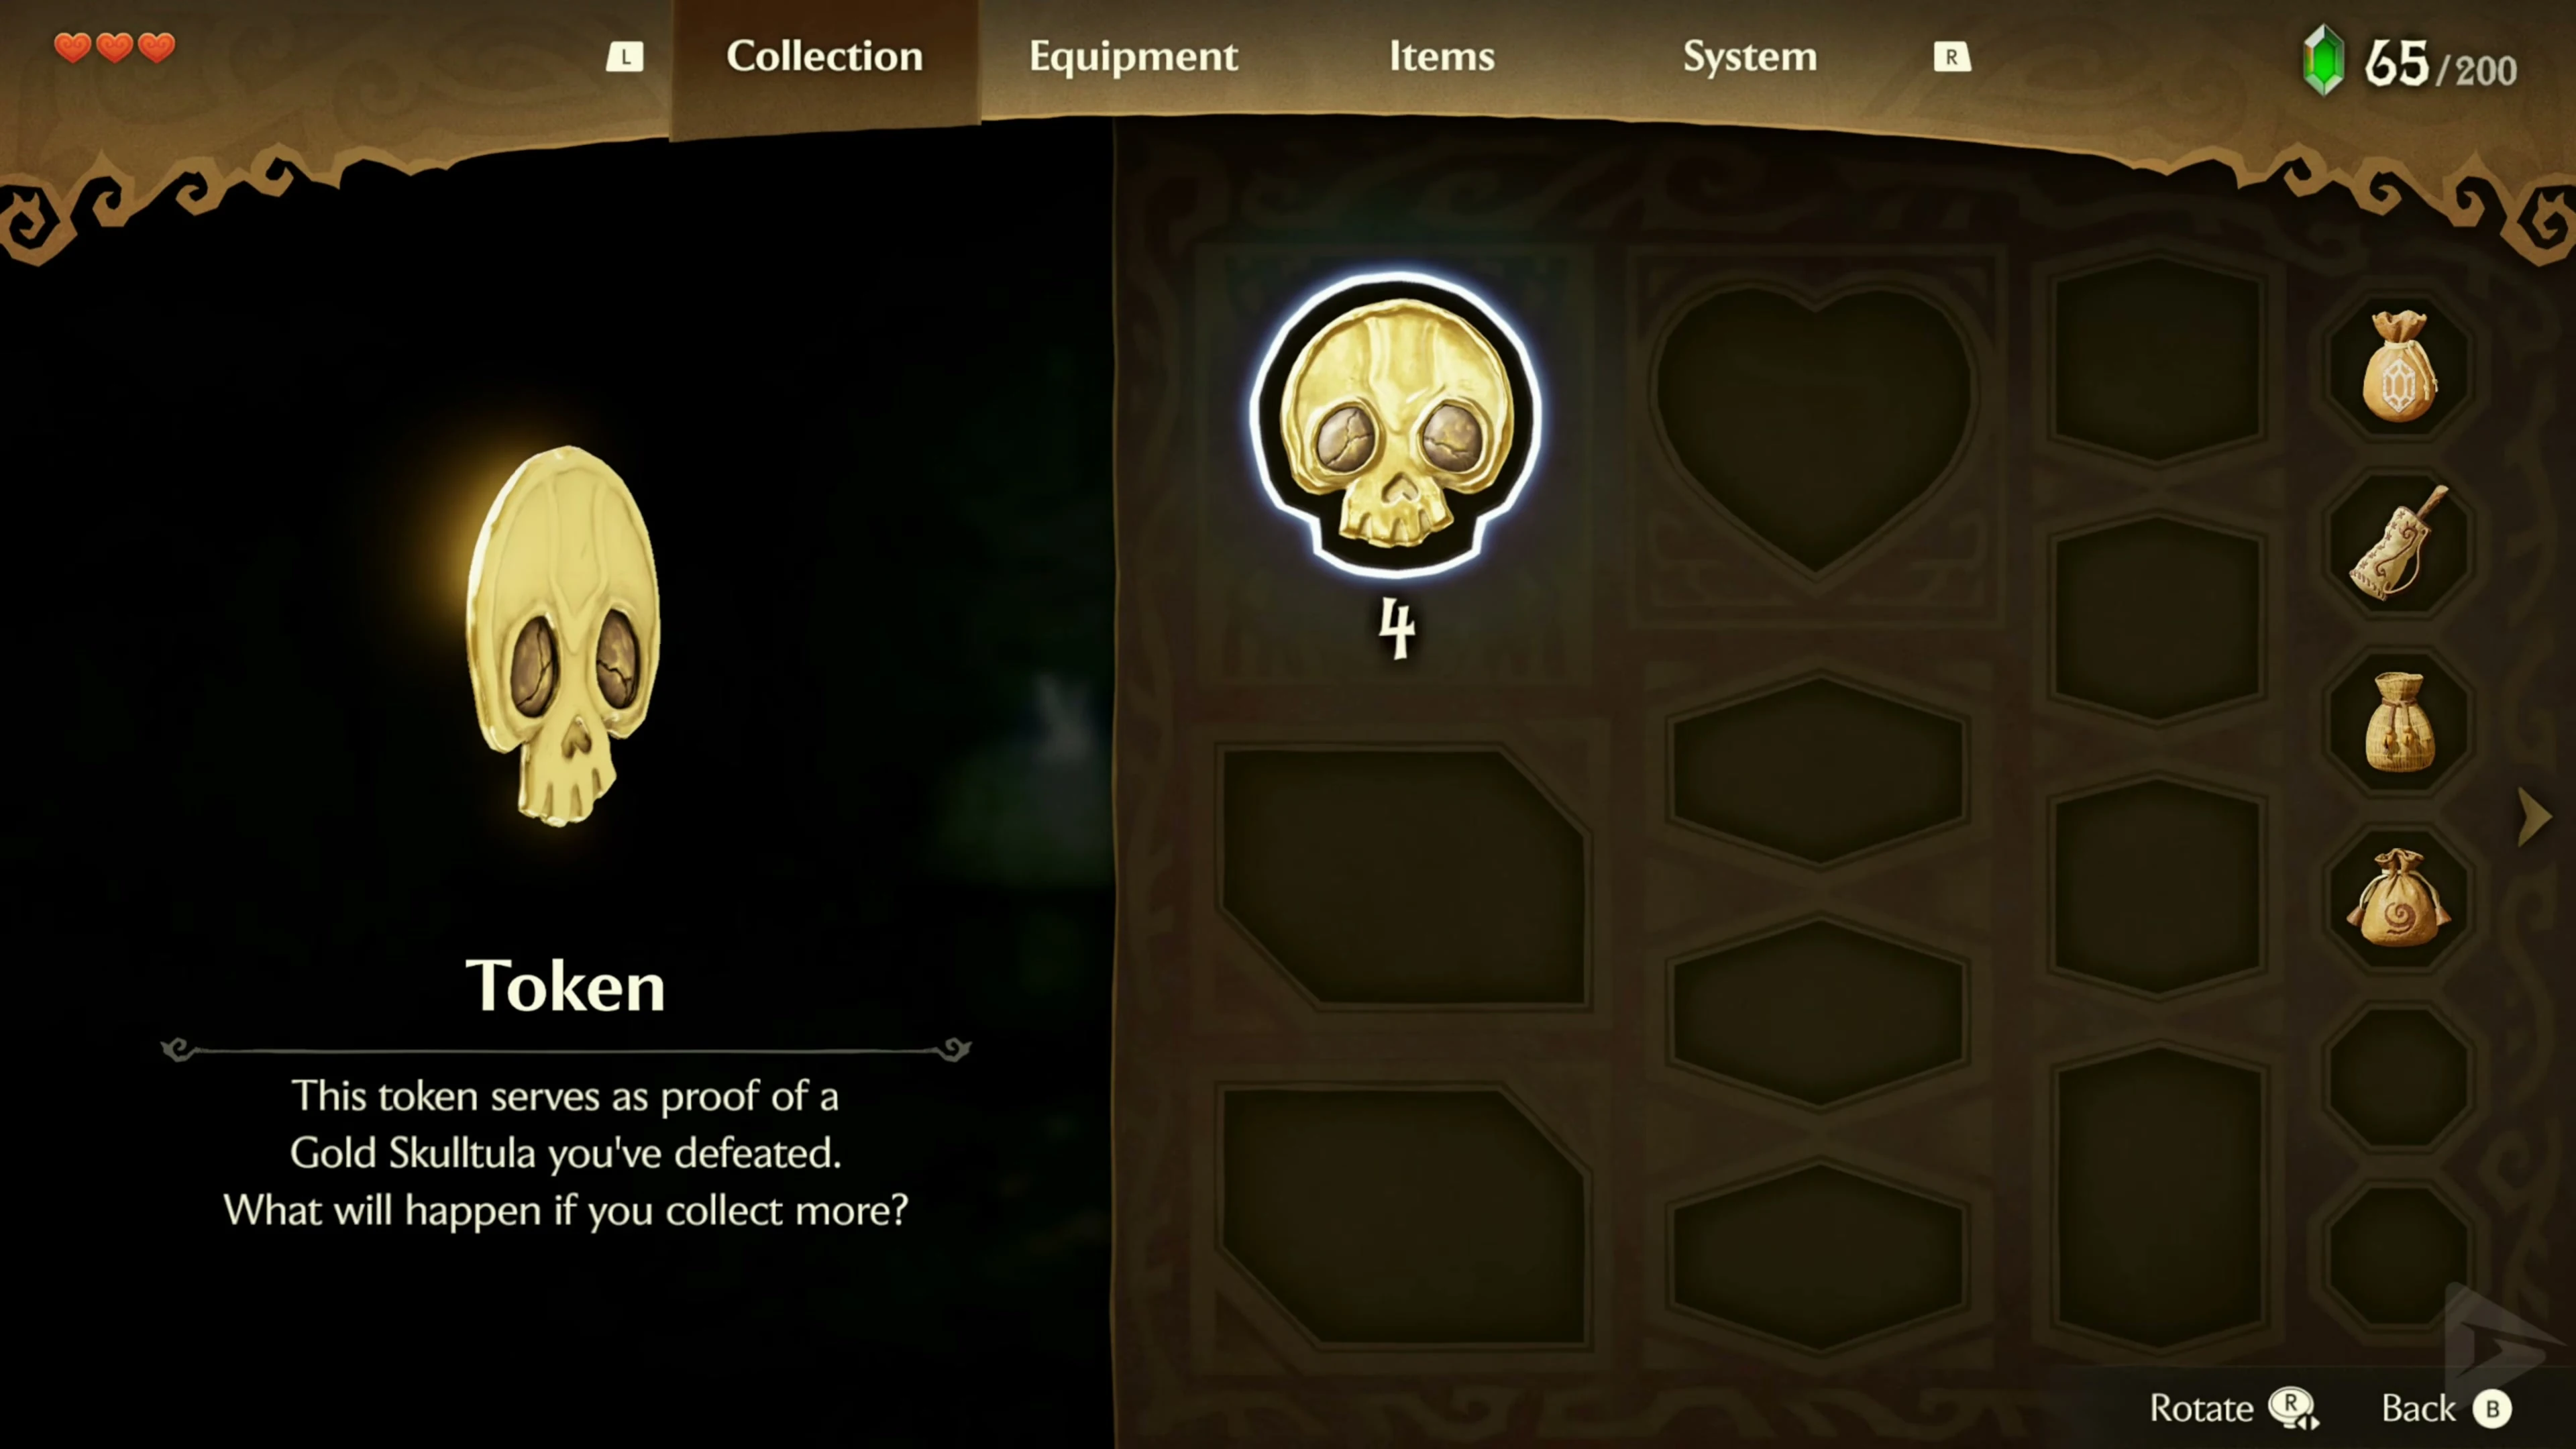
Step on the floor switch in the side room. The platforms rise and allow you to jump to the large chest on the opposite side. Inside is the Compass . Behind the chest, a crawlspace leads to more Deku Nuts. Return to the switch, activate it again and this time jump into the left alcove. Defeat the common Skulltula in front of the hideout and then the Gold Skulltula 1/4 on the back wall. Touch her token. You can then leave the room directly through the entrance door. You can also look up the other locations in the Skulltula Guide .
Through the large spider web into the depths
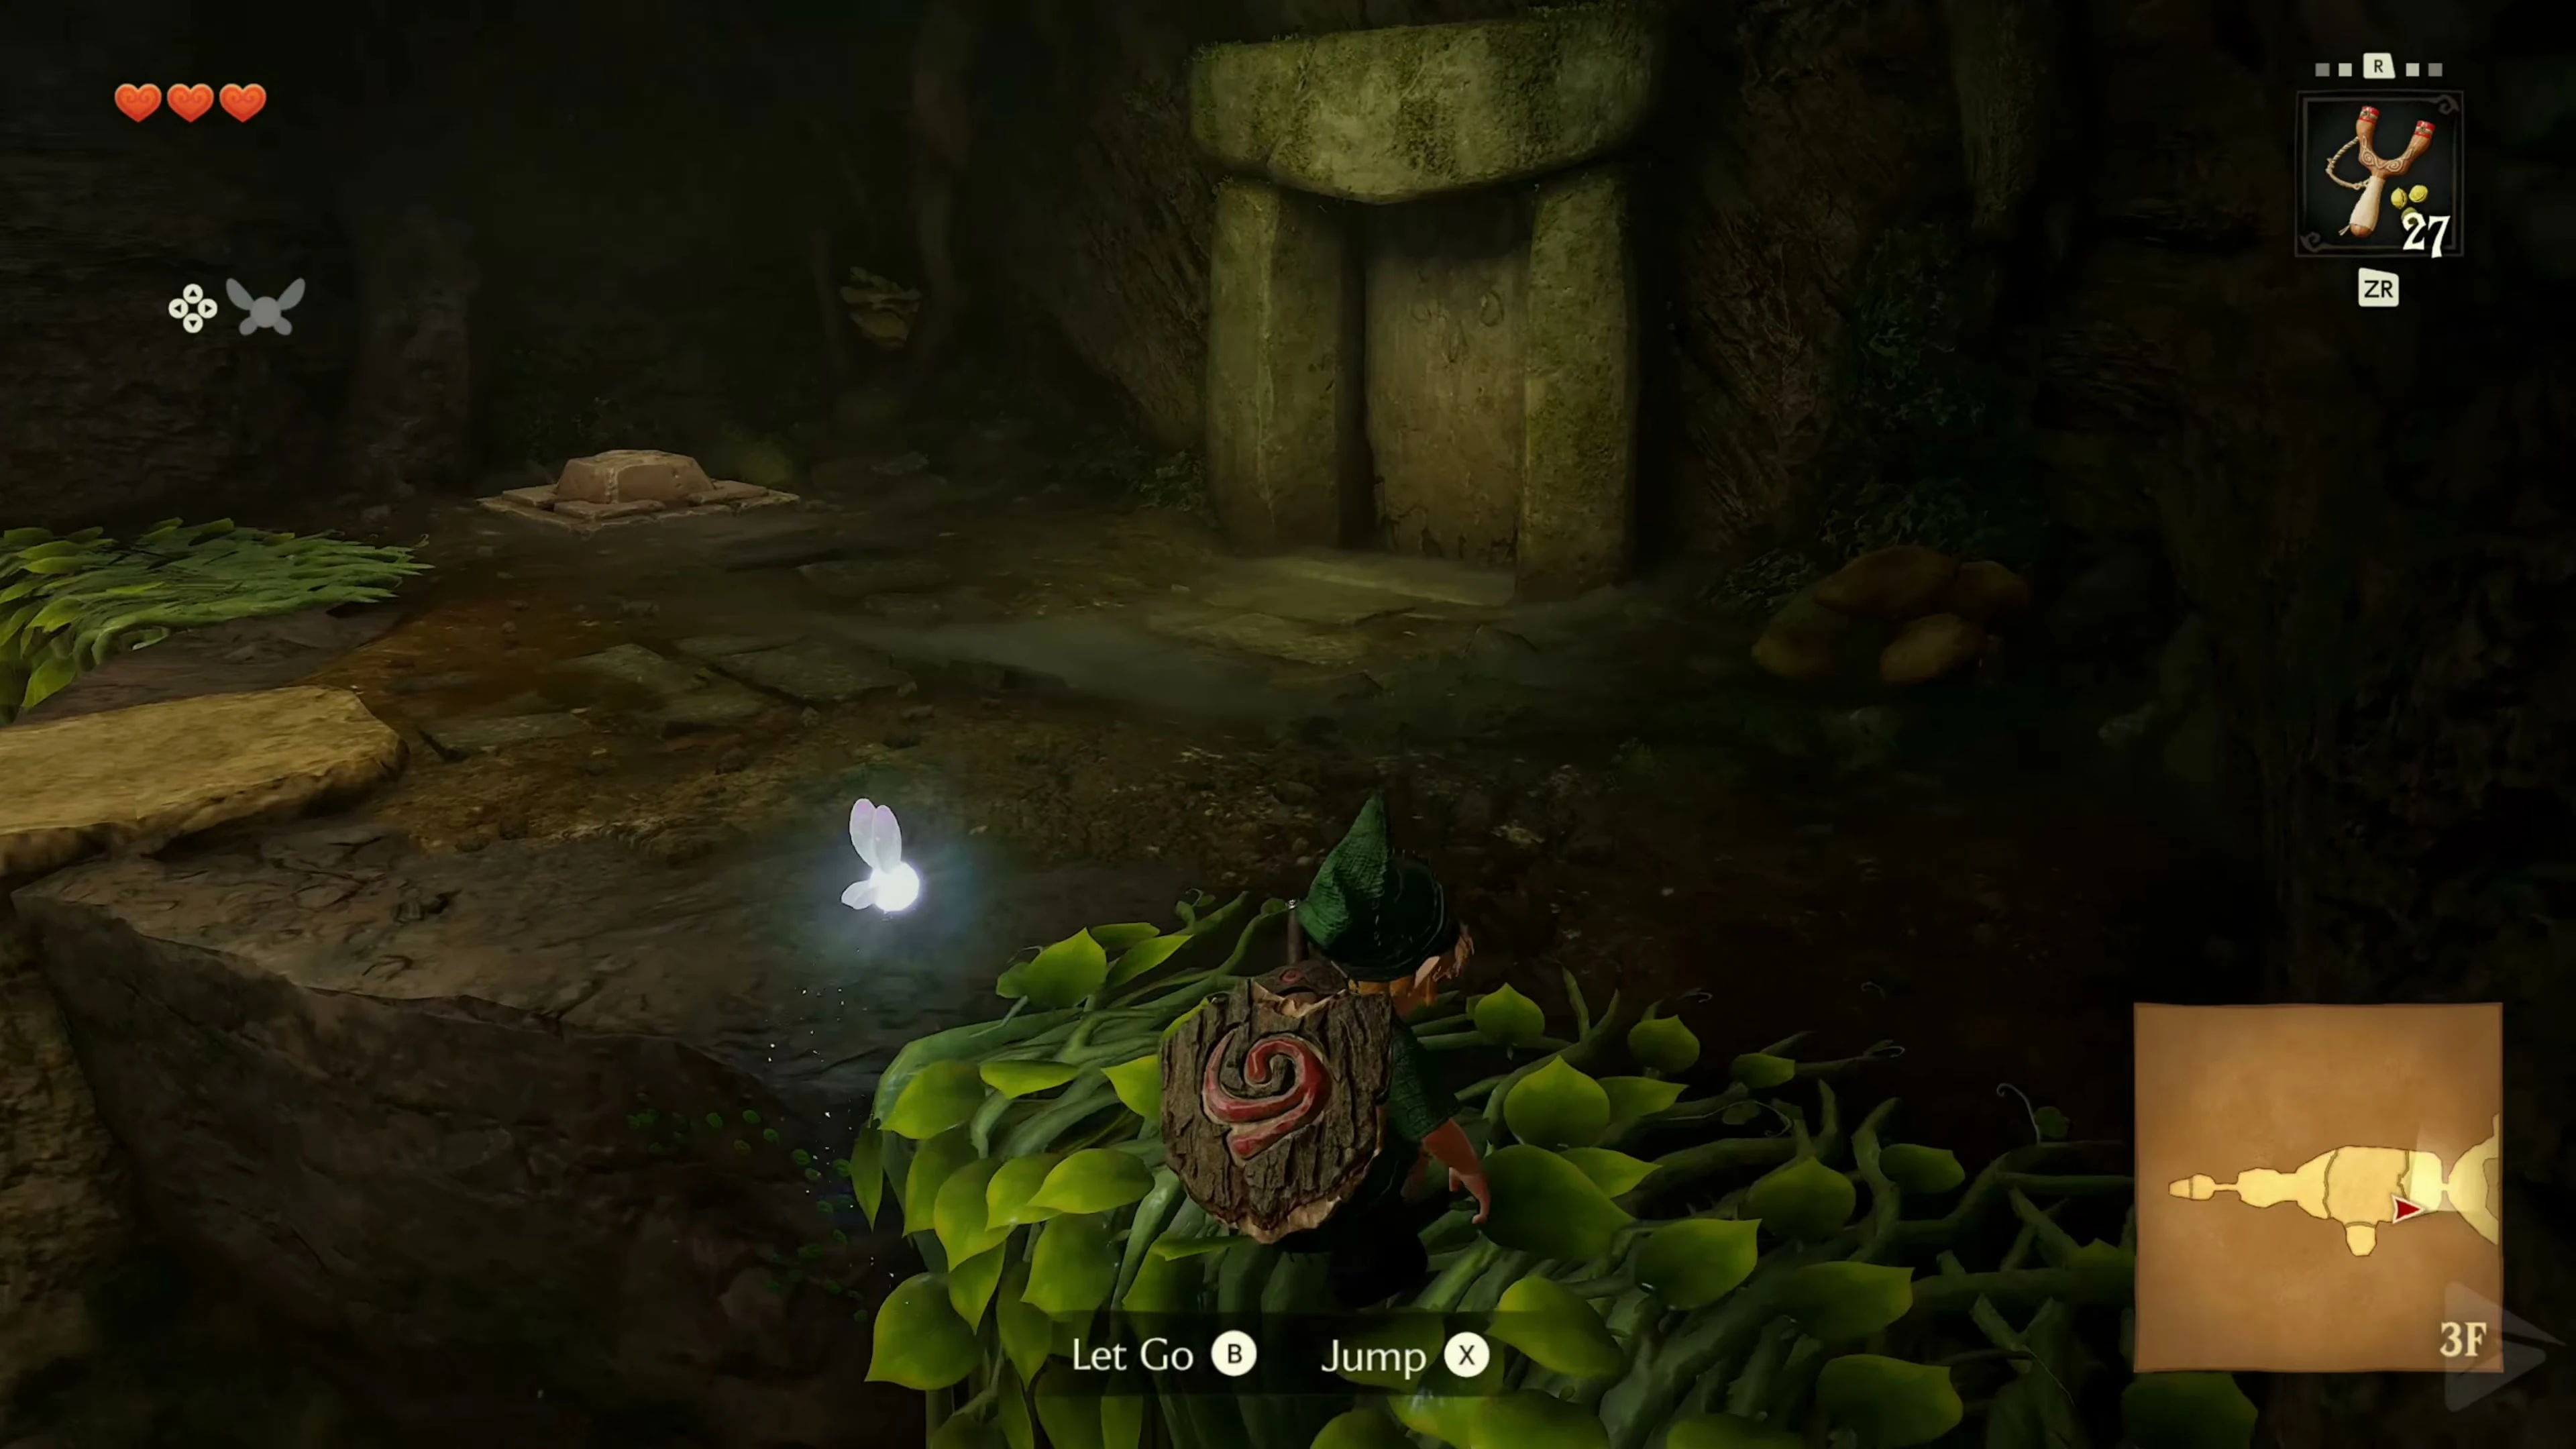
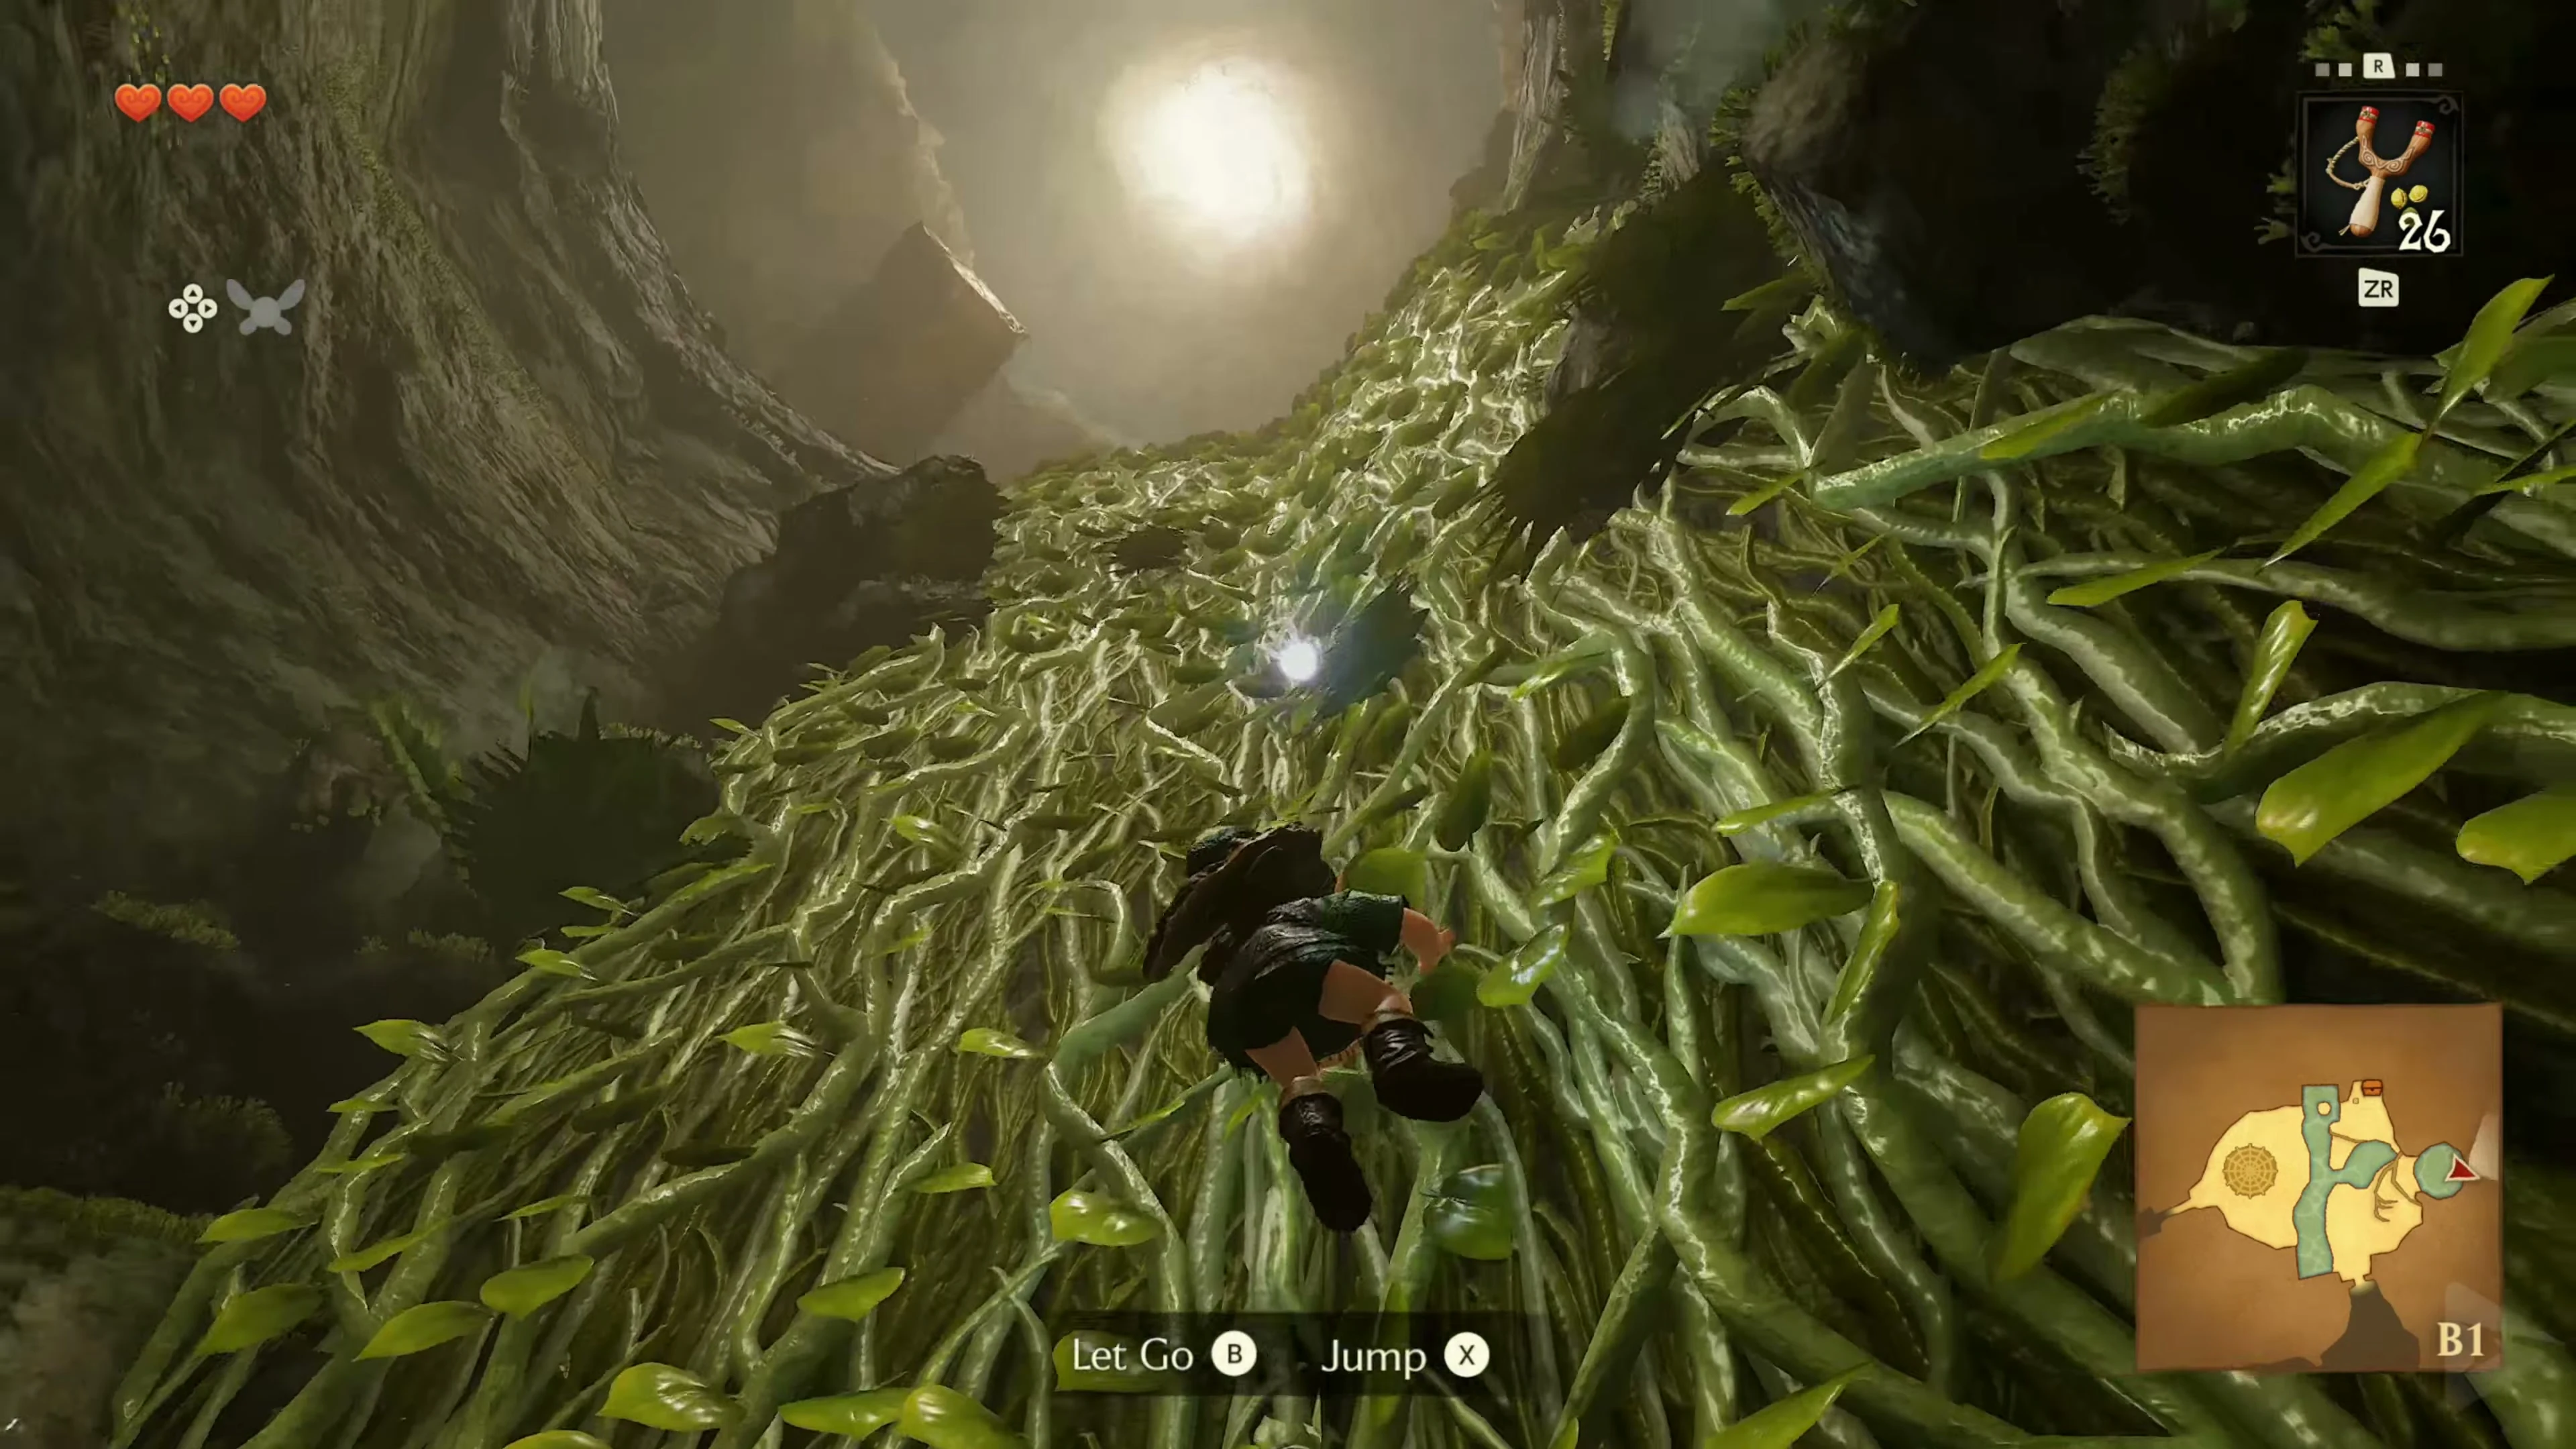
Back in the main trunk, follow the ascending path to the highest jump point. Eliminate the spiders blocking the climb and aim the camera at the large web on the ground. Take a running jump right in the middle of it. The height of the fall causes the net to tear and Link falls into the water room in the basement.
Gold Skulltulas on vines and trellis
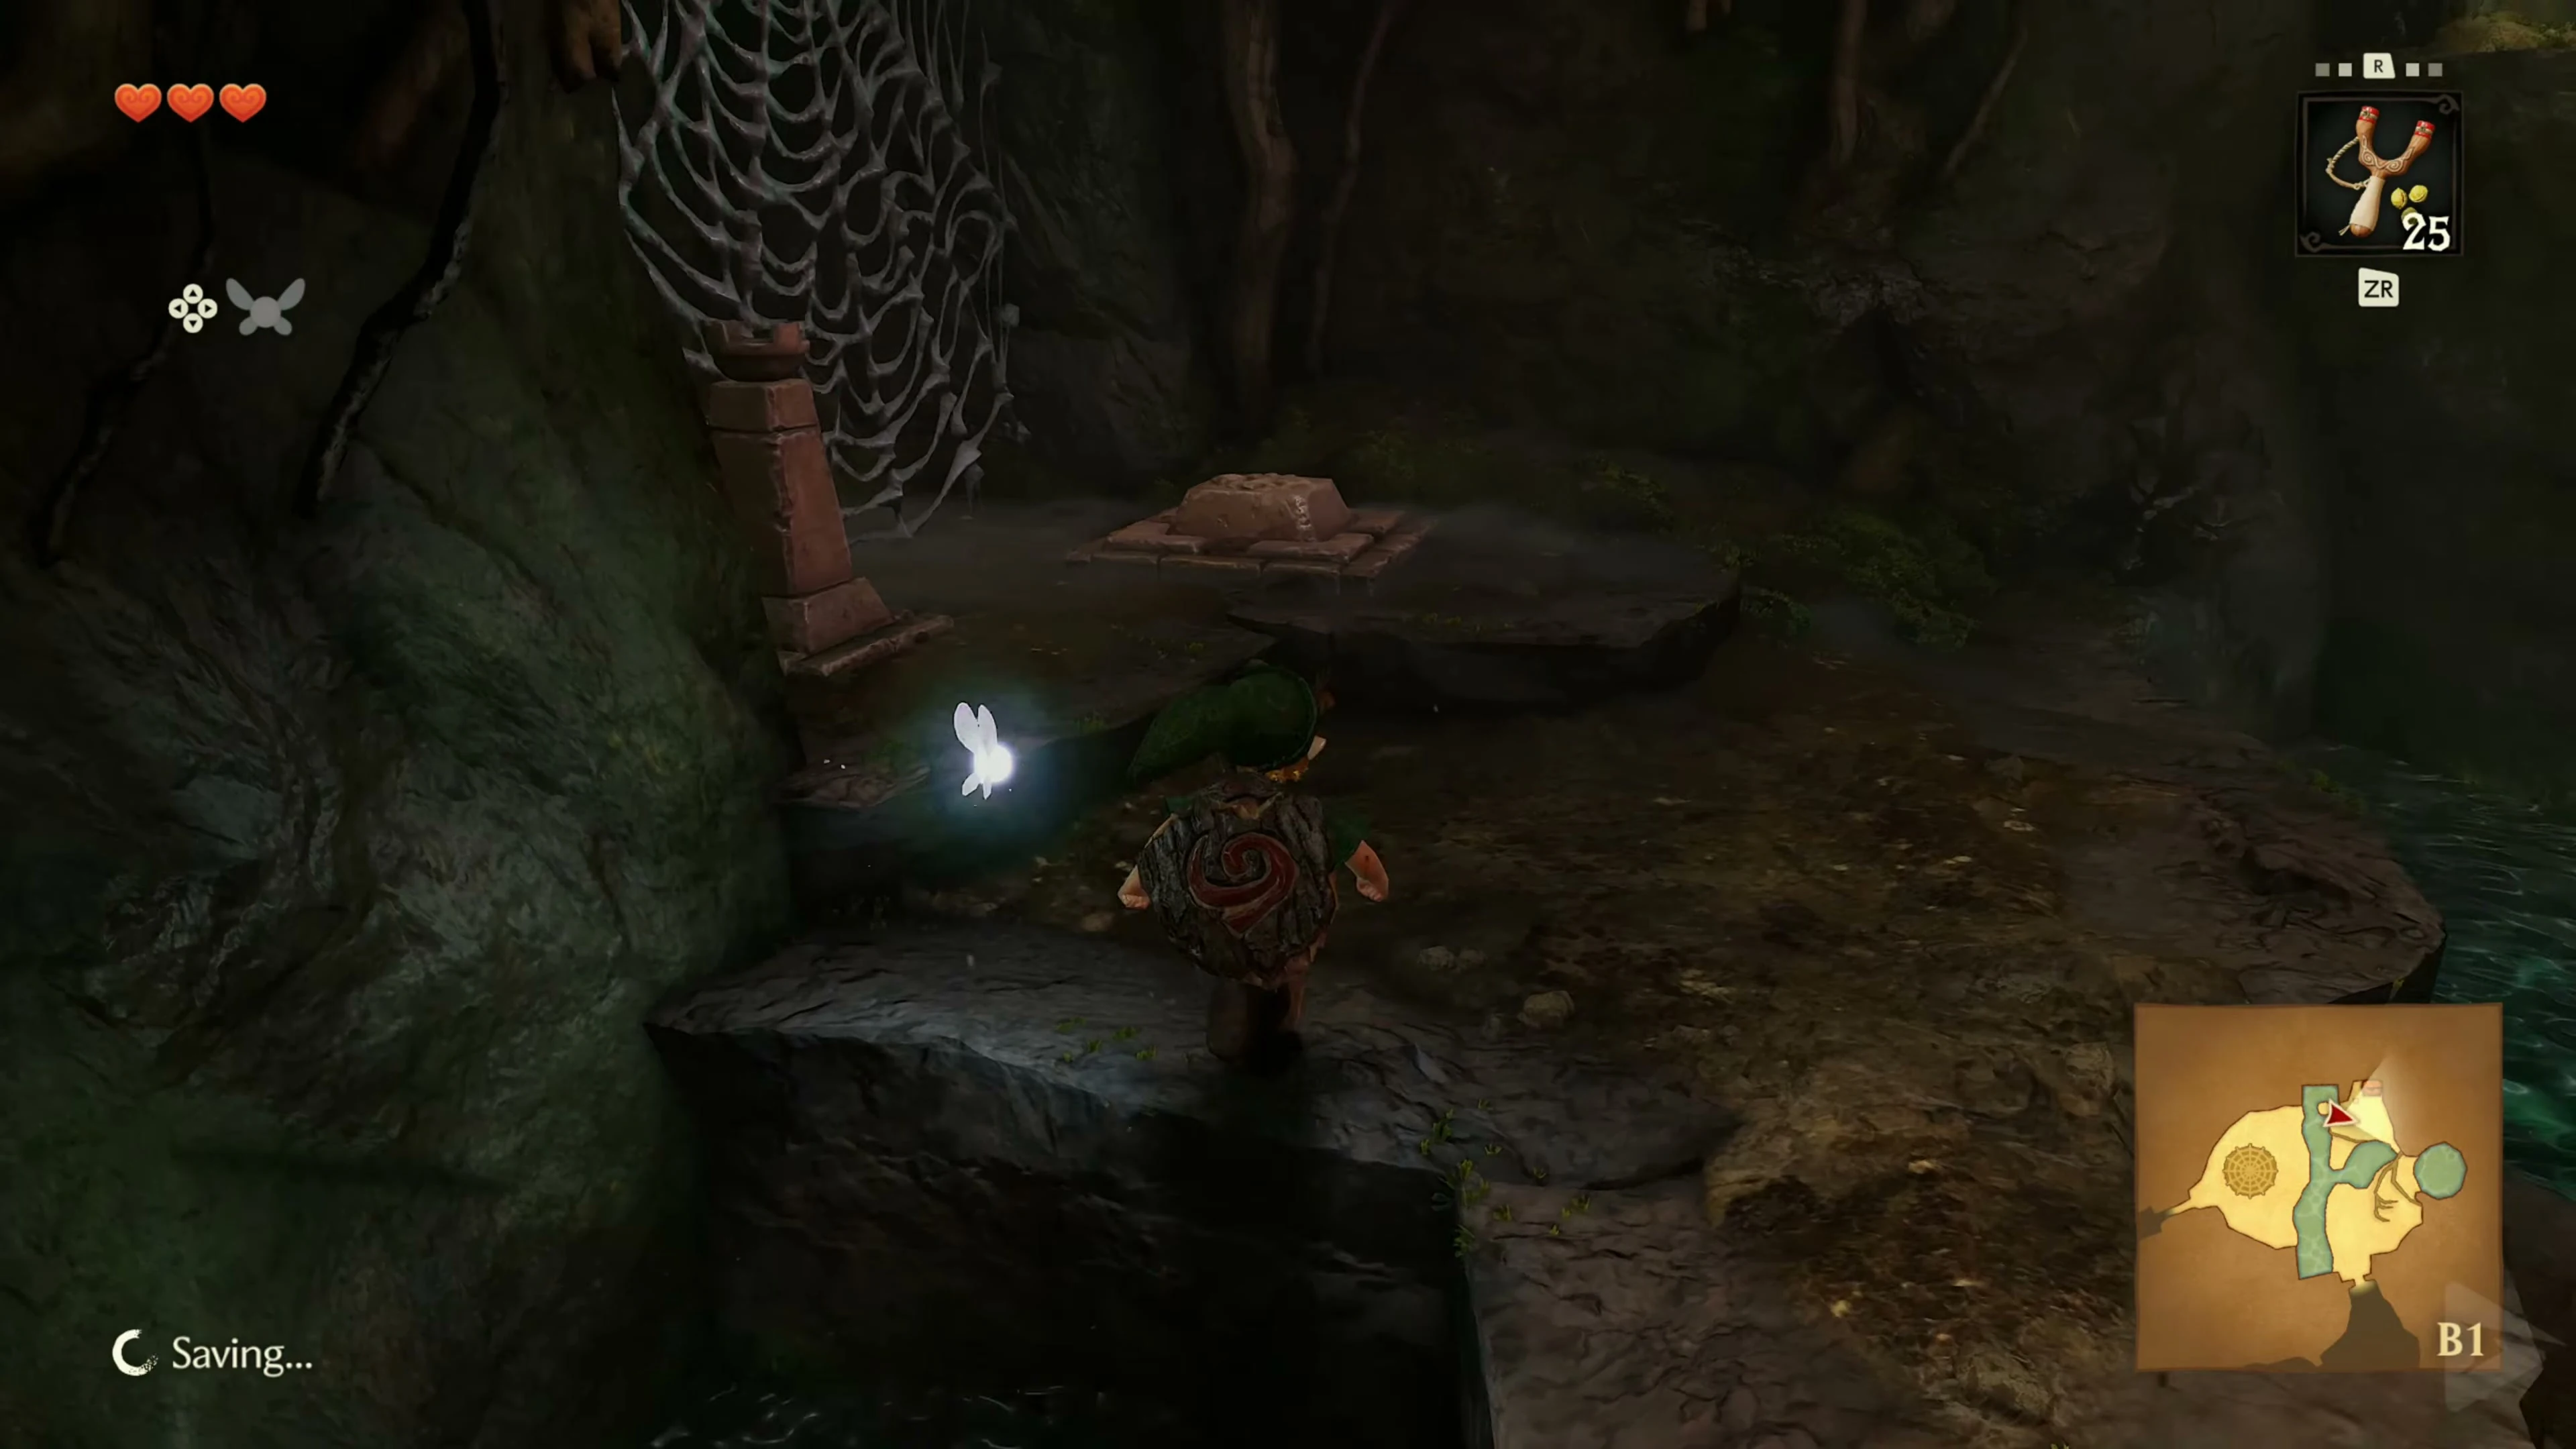
After landing, turn around to face the vines where you can climb back to the entrance. Gold Skulltula 2/4 sits there. Shoot them and climb to the token. The third Skulltula is crawling on the grate near the water in the northern part of the room. Defeat them with the slingshot, climb onto the adjacent ledge and jump from its edge to the golden token. Collect both tokens before leaving the water room.
Burn the first spider web
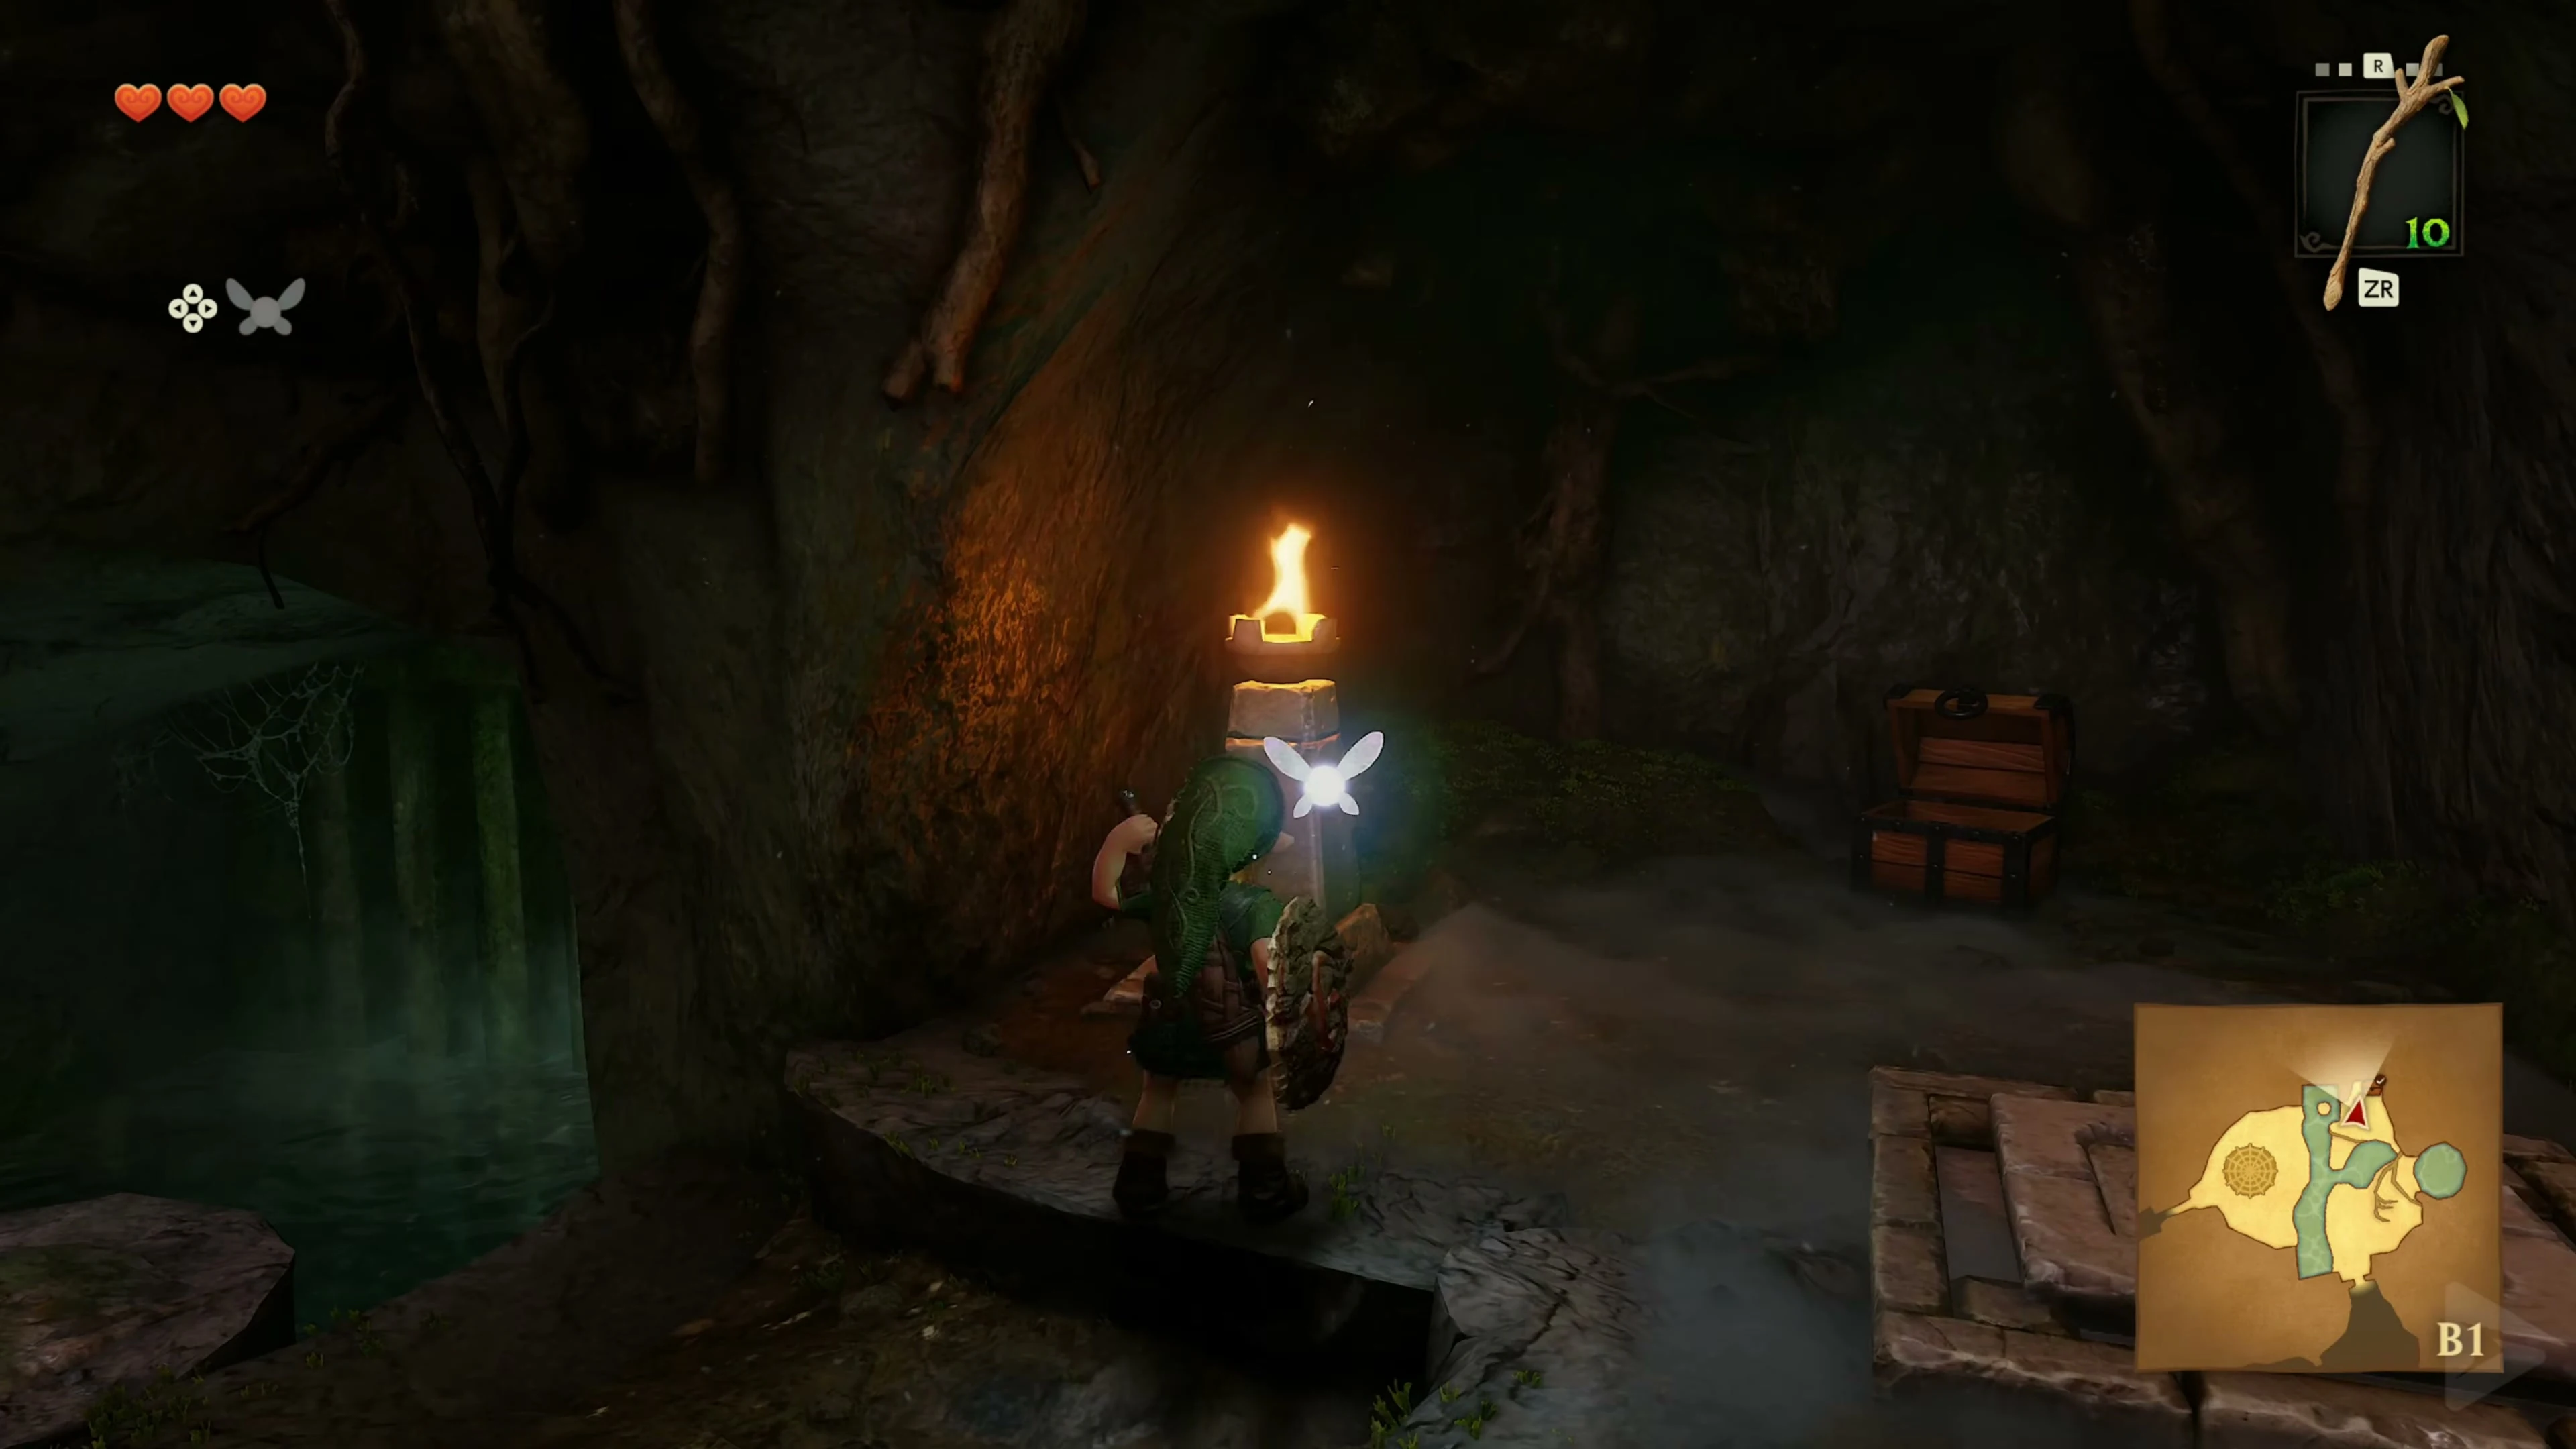
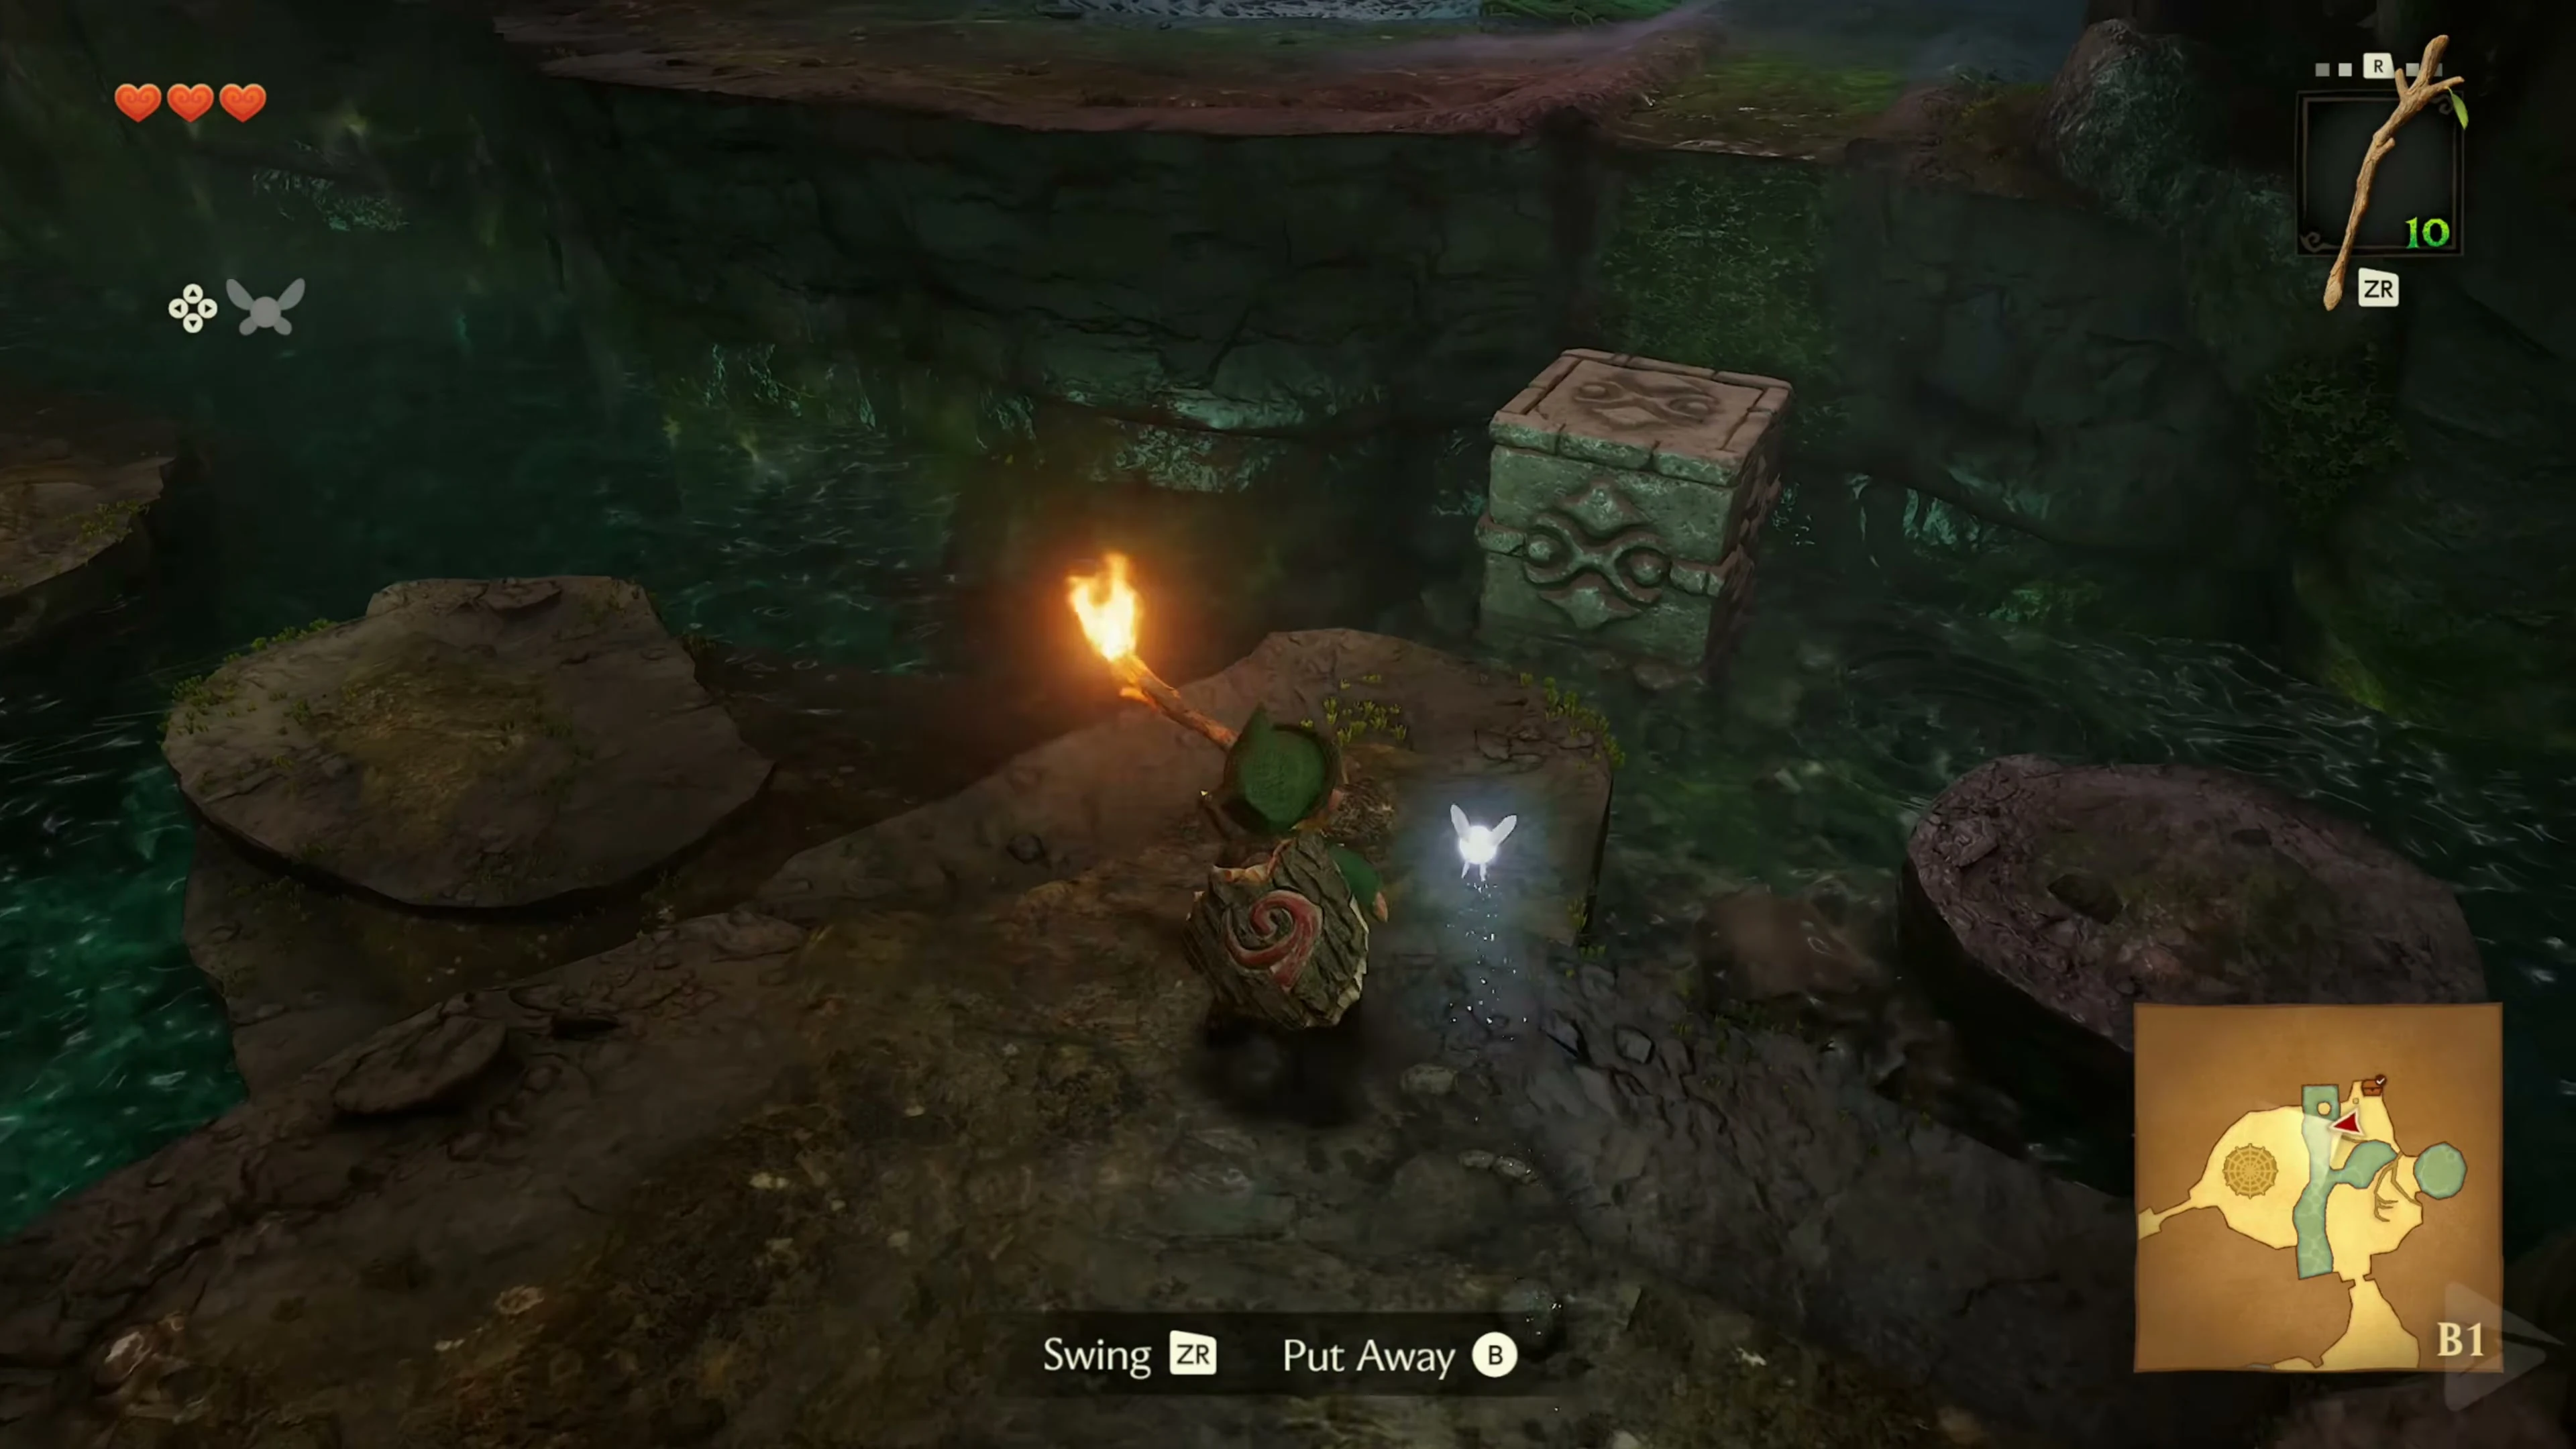
Step on the switch next to the extinguished torch. The fire burns the small net and reveals the chest containing Deku Sticks. Light a branch from the torch and carry it across the flats and small islands to the web-covered door on the other side. Stay out of the deep water so the flame doesn’t go out. Touch the web with the burning branch and go through the exposed door.
The note 2-3-1
Reflect the next Deku’s nut with the Deku Shield. After the conversation you will know the order 2–3–1 . This means the positions from left to right: middle, right, left. Remember them for the puzzle in front of the boss room. Then shoot the eye above the other door.
Under the spiked roller
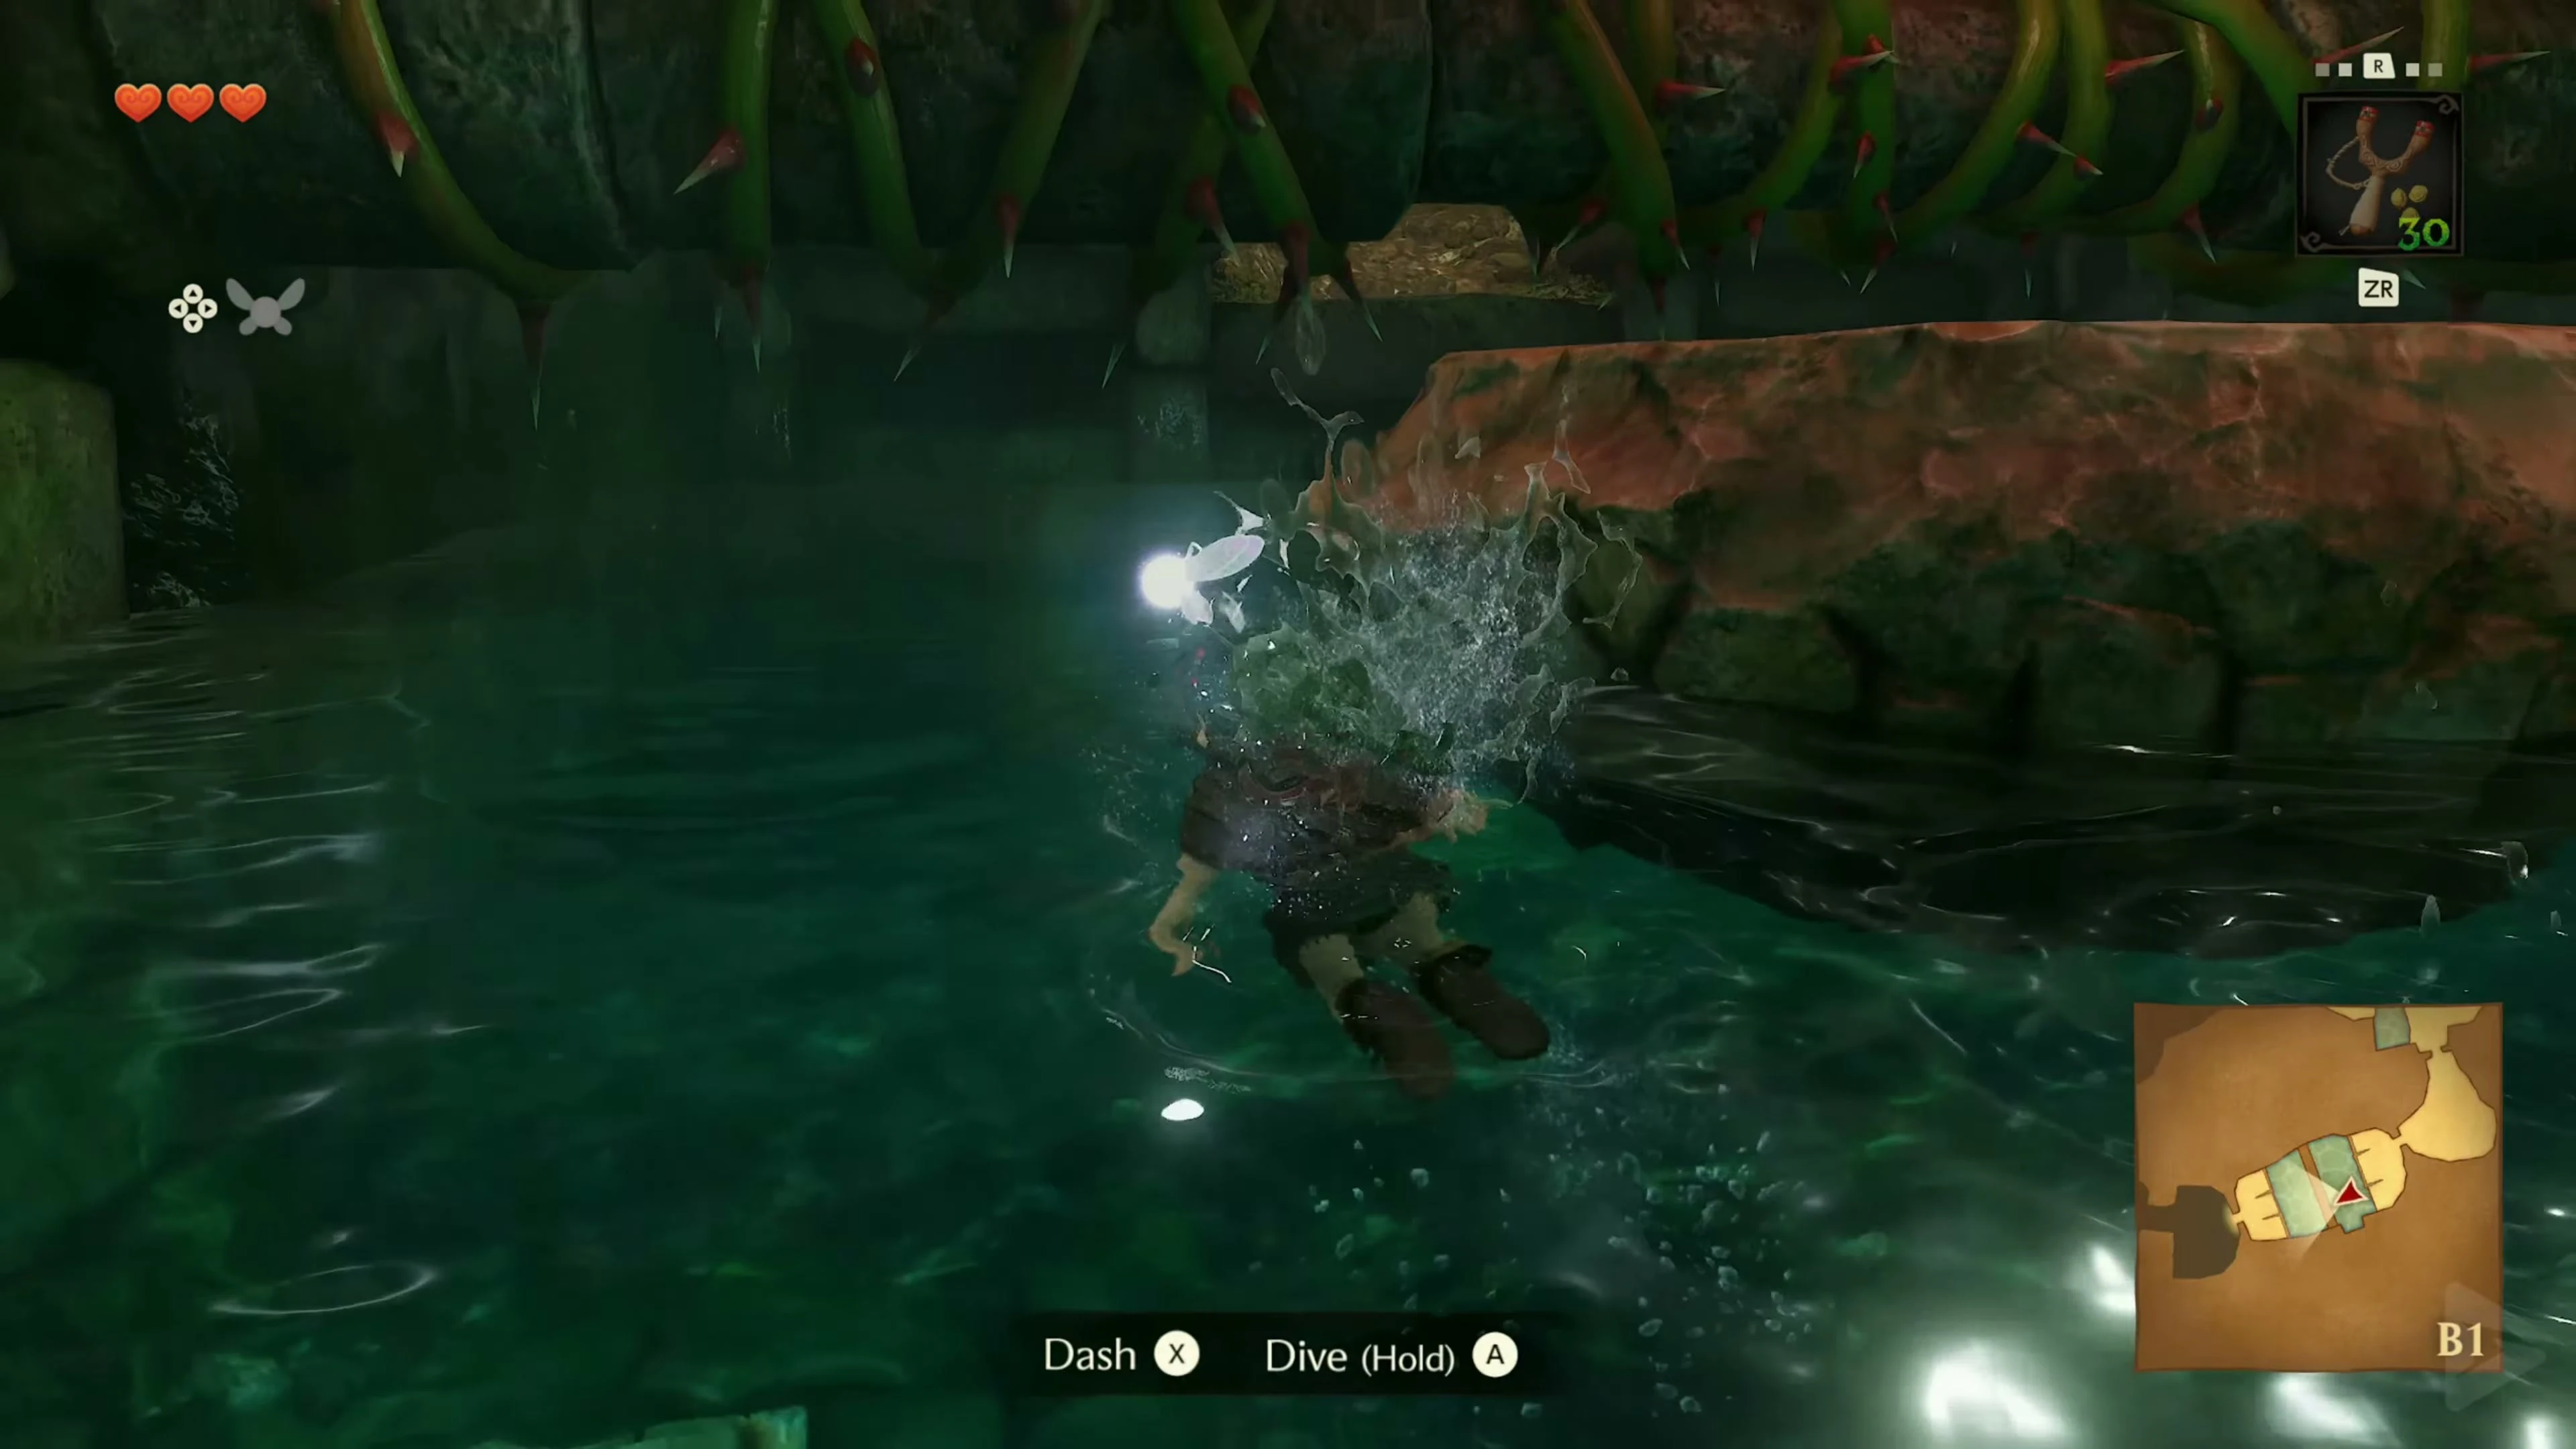
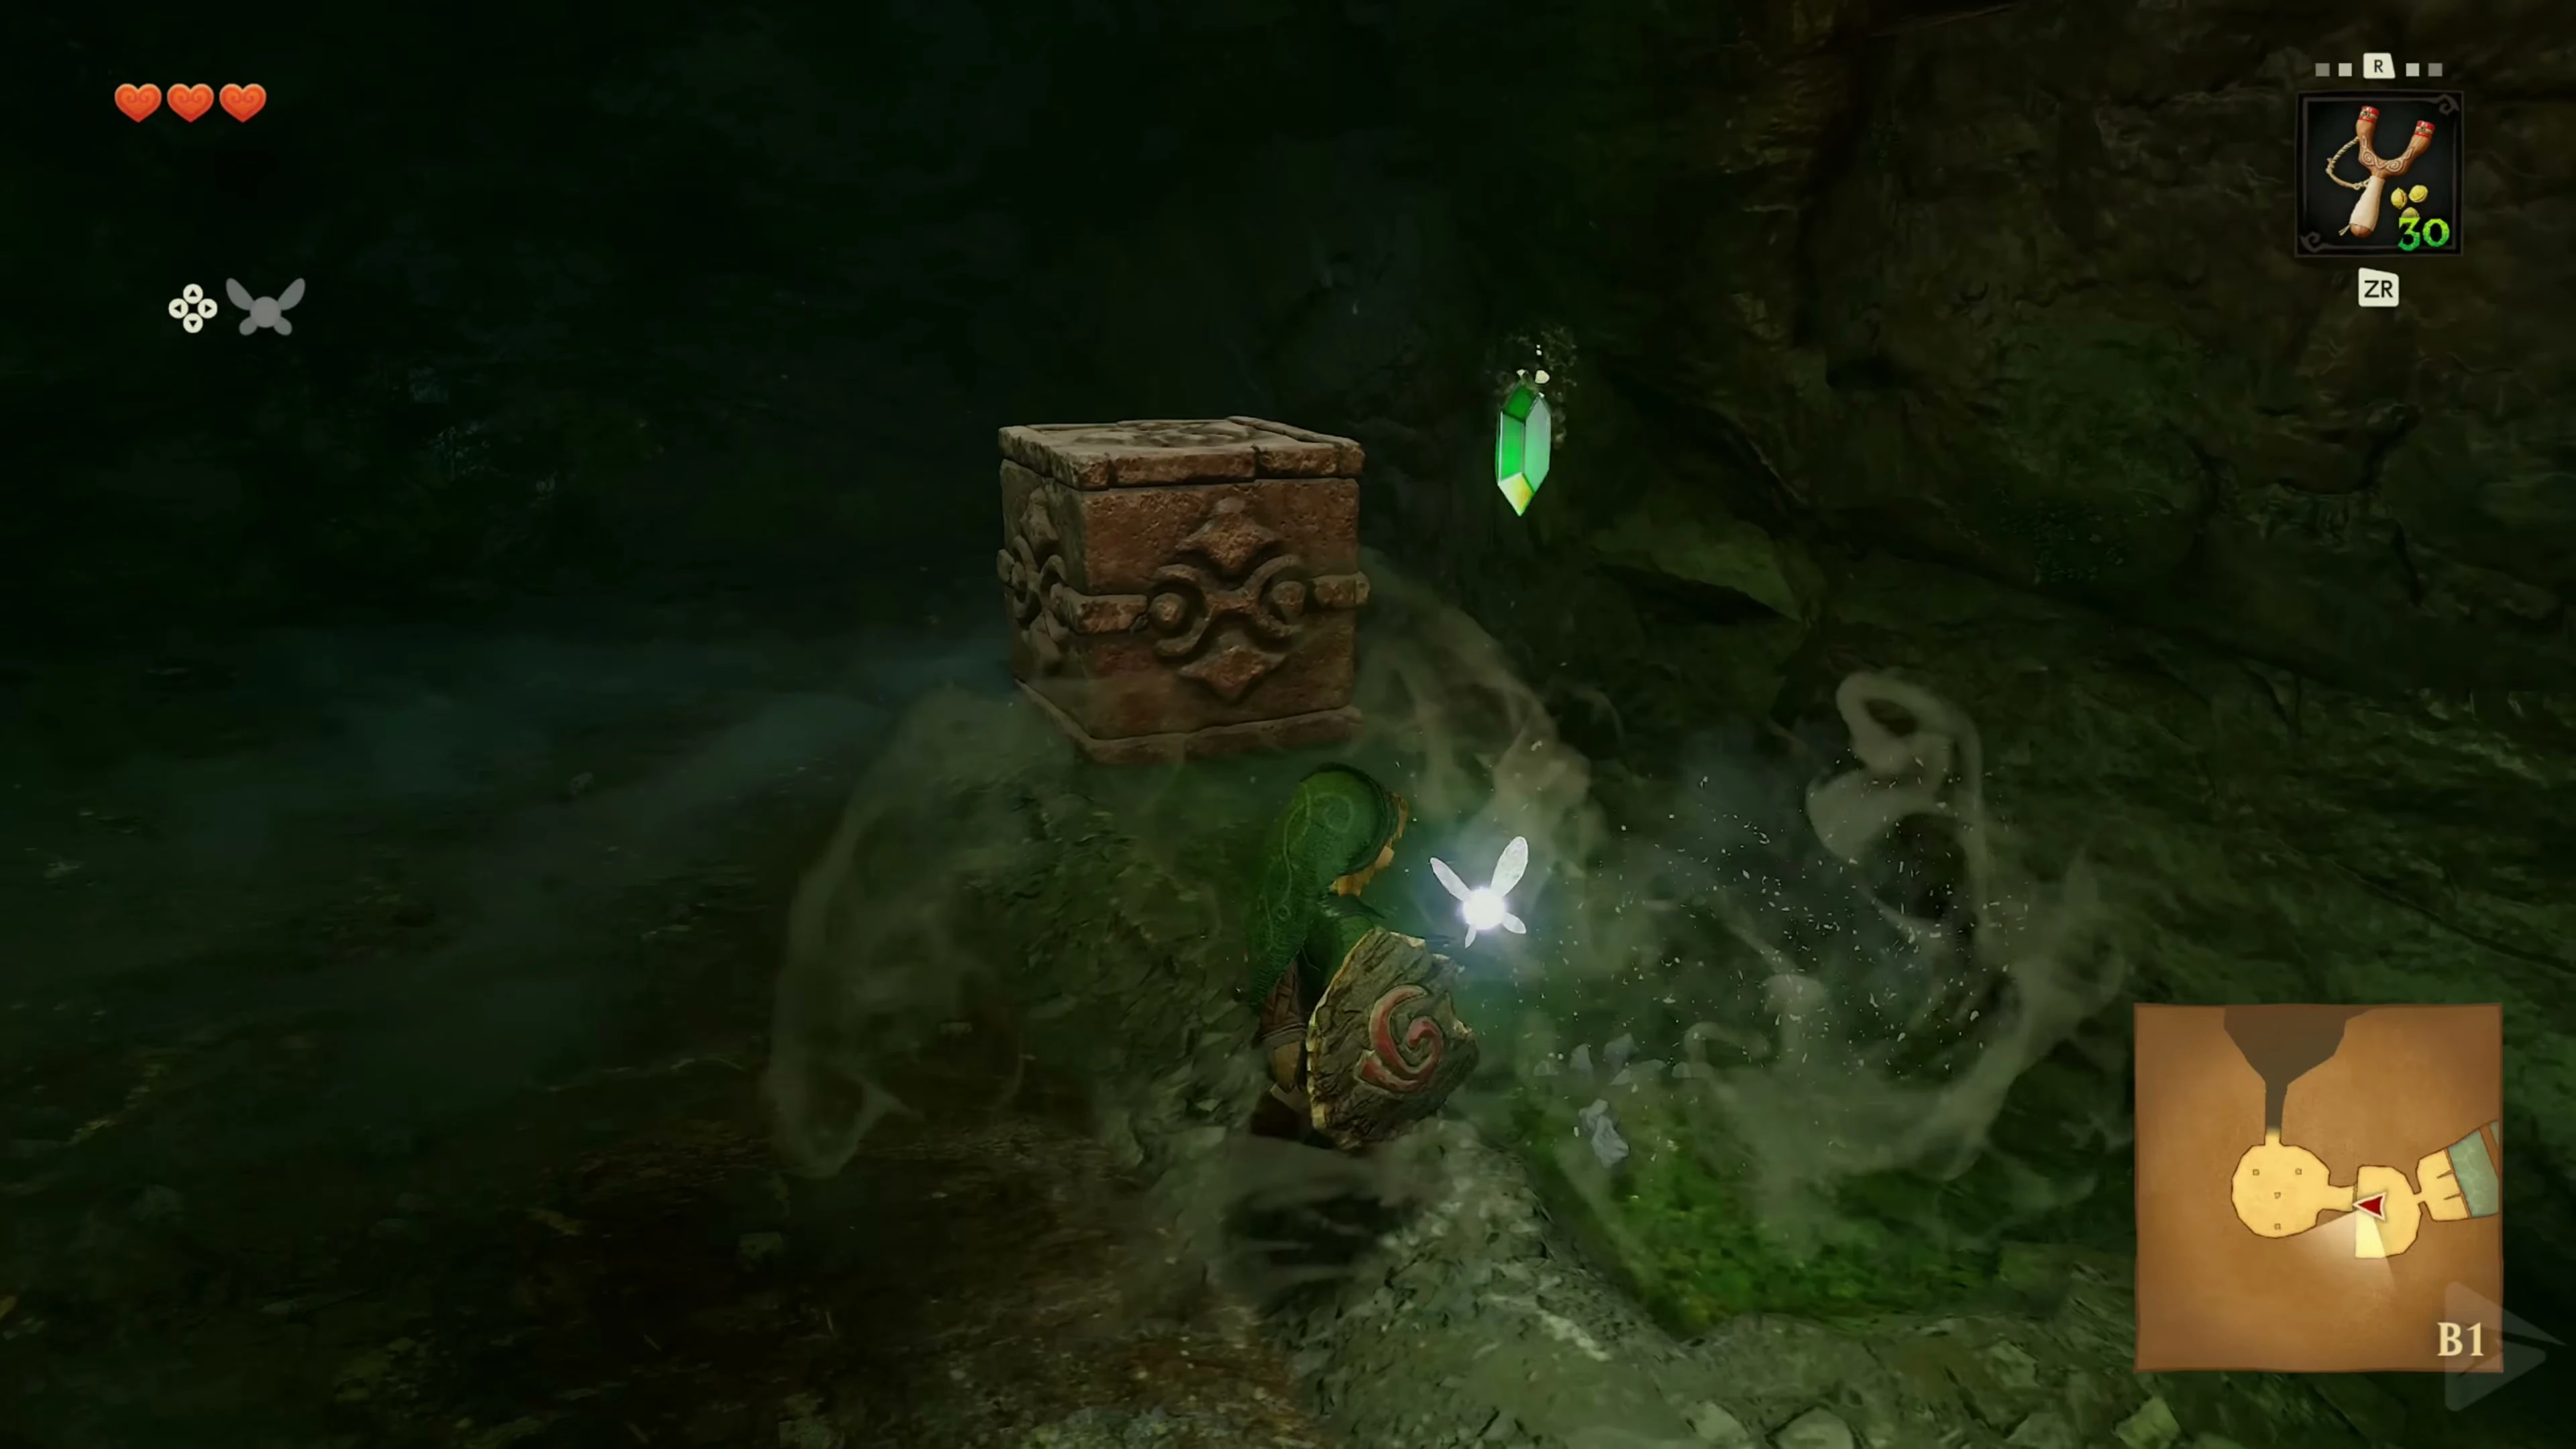
Jump into the pool in the water room and look for the sunken switch to the left of the entrance. Dive on it to lower the water level. Return to the home page and step onto the moving platform. It will now carry you under the thorny roller. On the other side, remove the Skulltula, pull the stone block under the high ledge and climb up to the next door.
The two torches
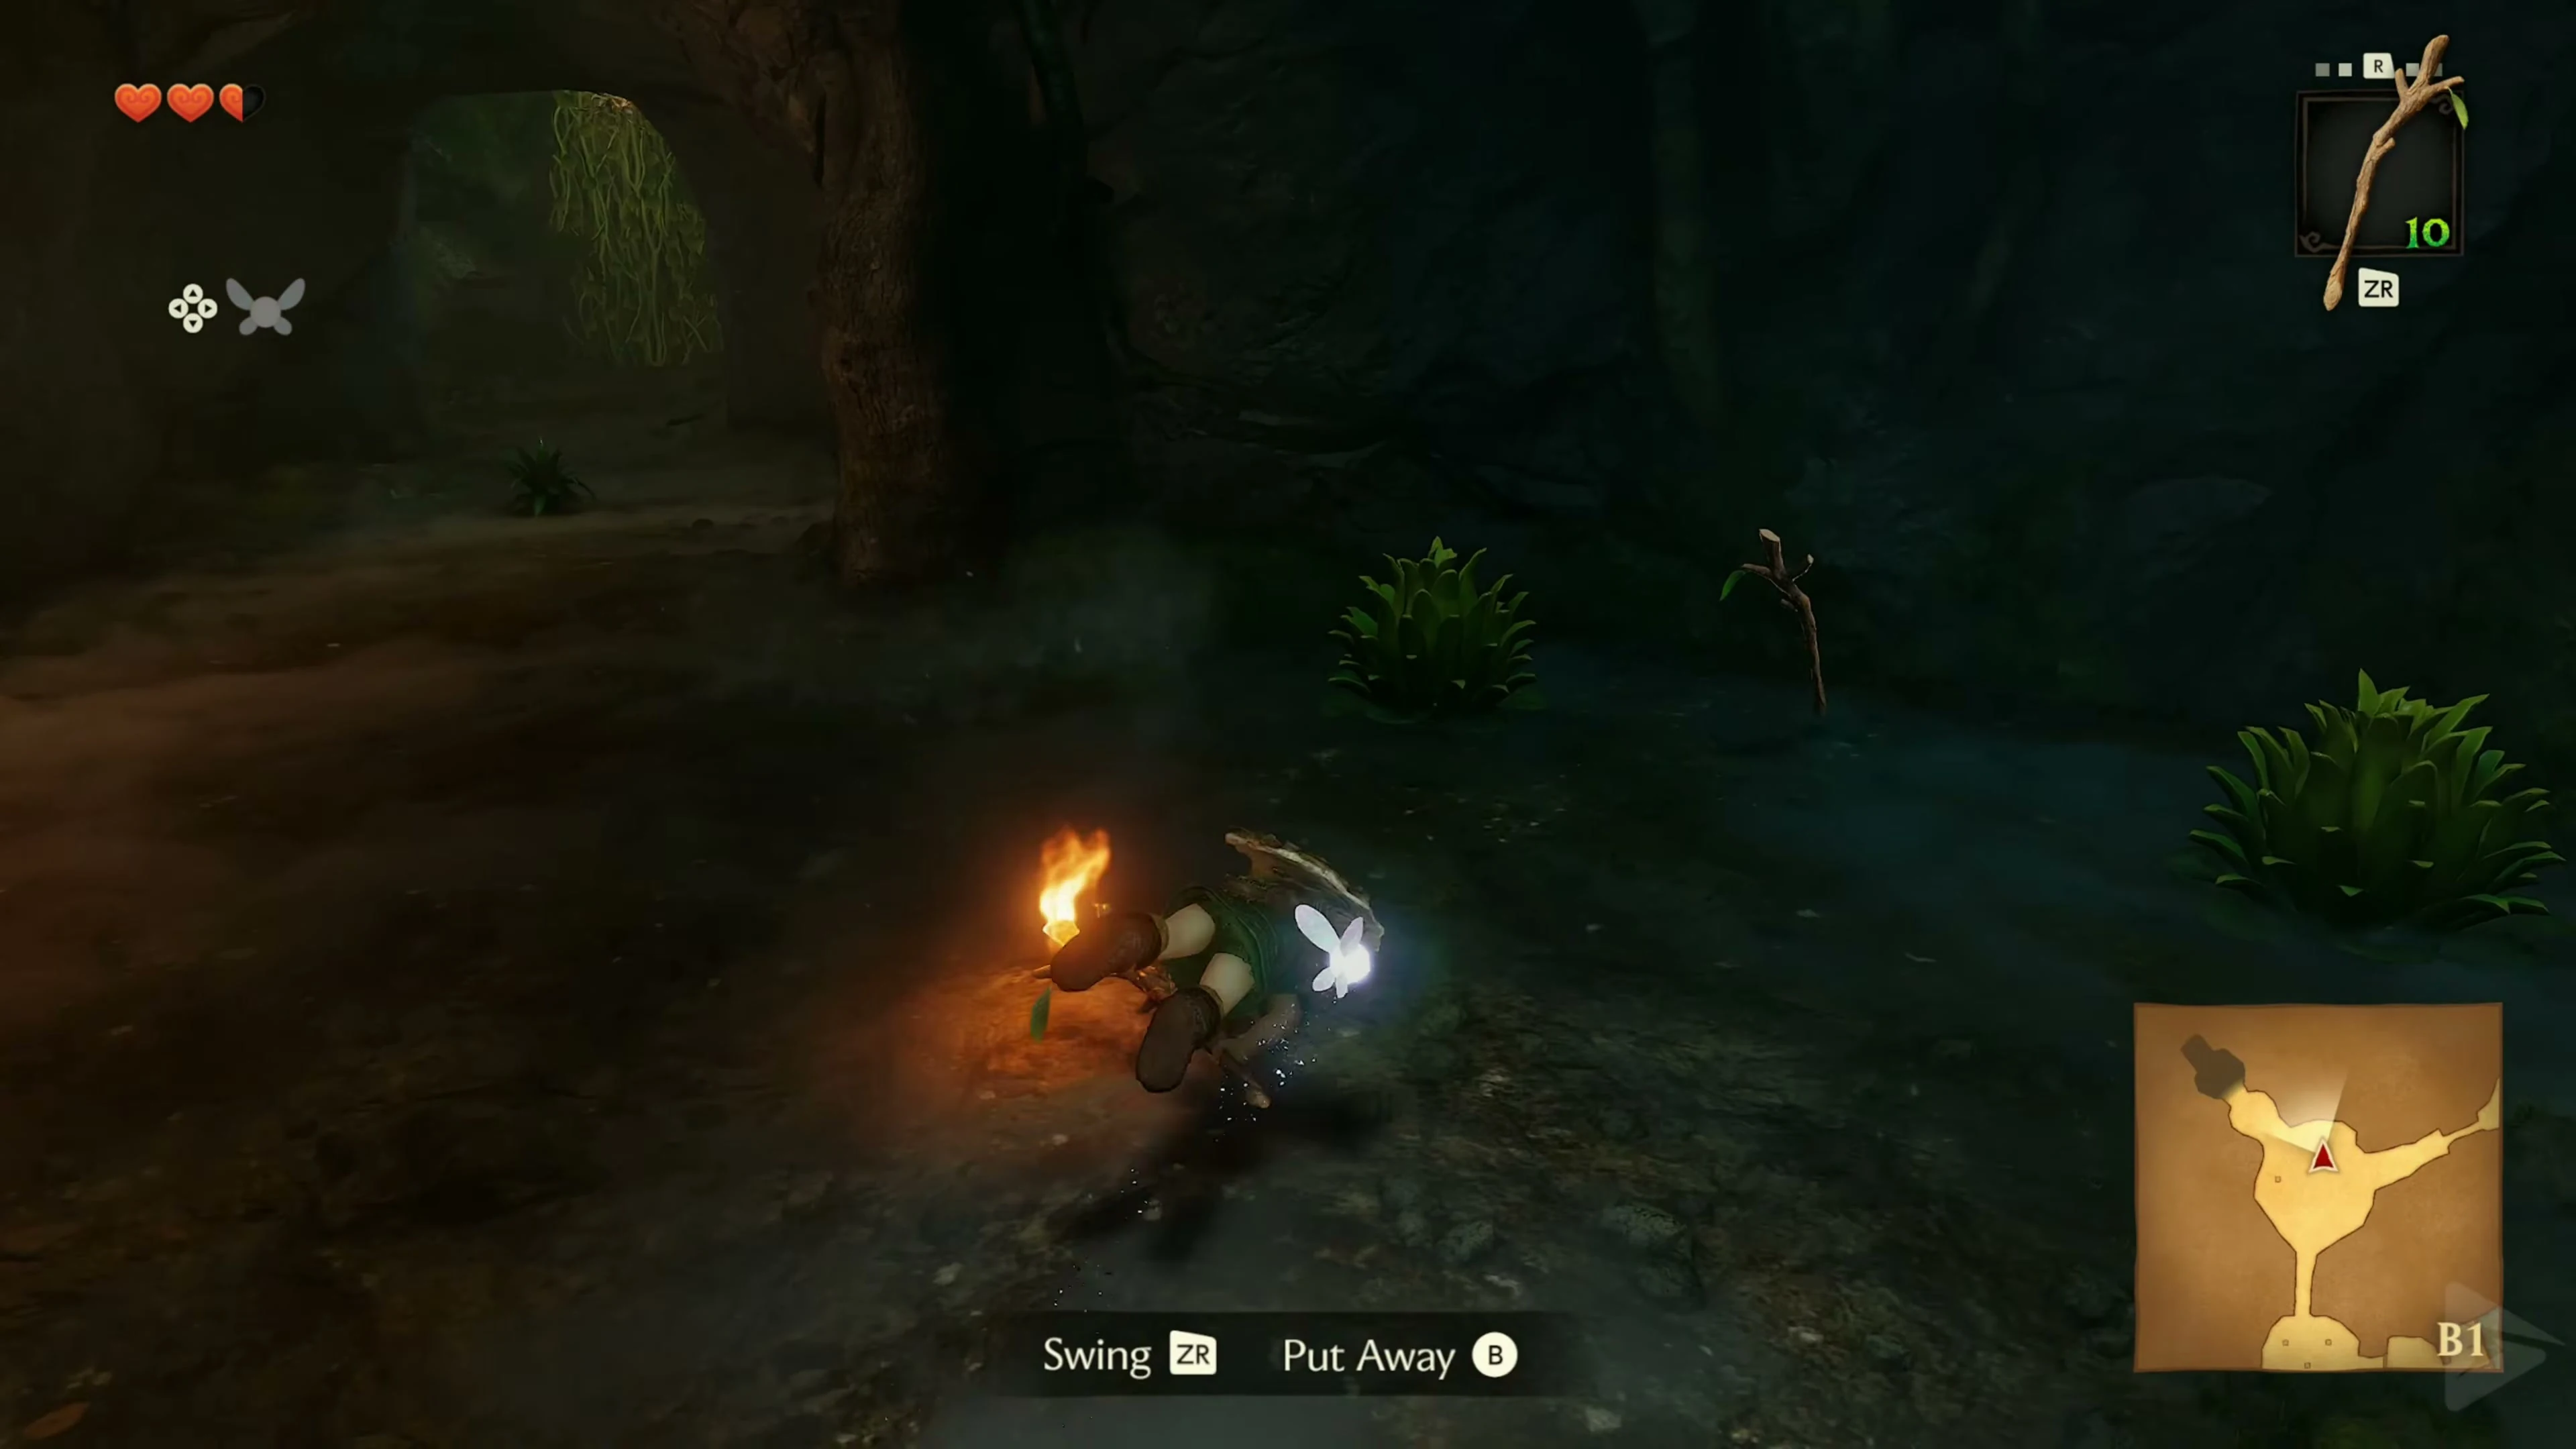
Clear the Deku Babas out of the way and light a Deku Stick on the burning torch. Quickly carry the flame to both of the extinguished candlesticks. When they burn, the grate opens. Then put the branch away as long as it hasn’t burned yet and move on.
Gohma babies and the fourth Gold Skulltula
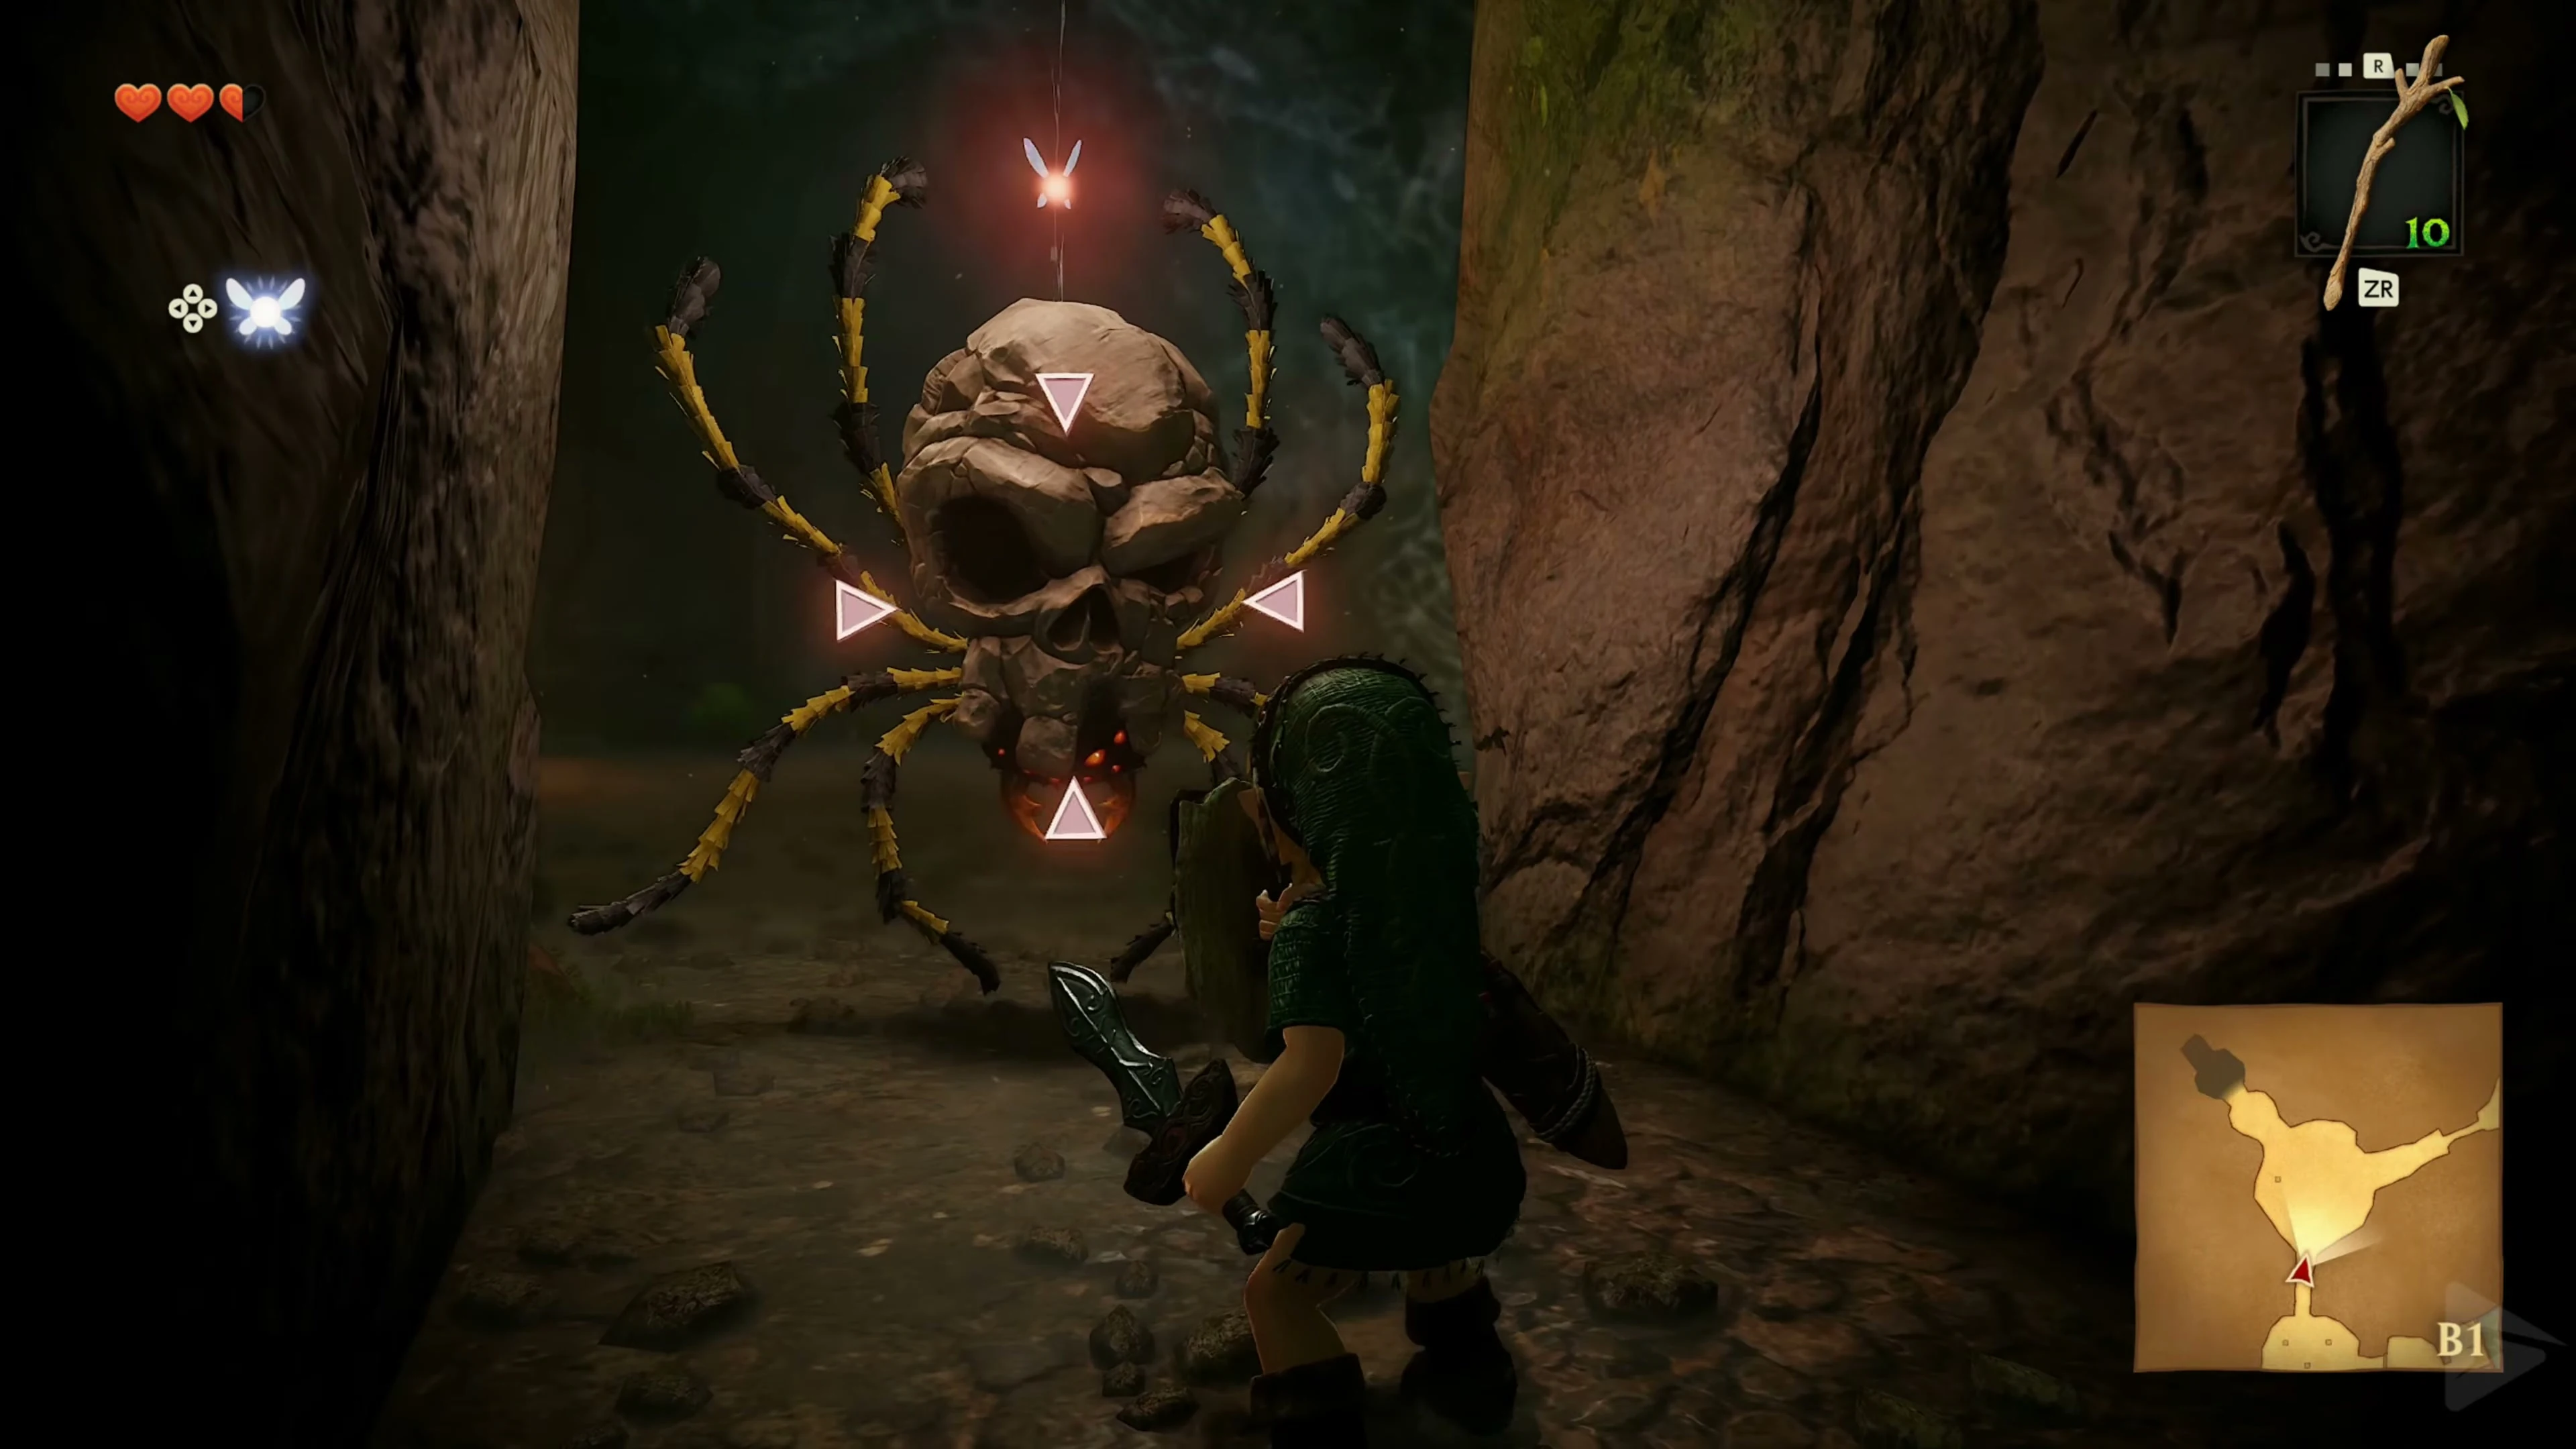
In the following room, Gohma babies fall from the ceiling. Have the slingshot ready and, if possible, destroy the eggs before they hatch. If the larvae are already on the move, wait for them to attack and hit the open eye. Also eliminate the large Skulltula. Then light a branch and burn both wall nets. First take the northwest side path without a crawlspace . Behind the common spider you will find Gold Skulltula 4/4 on the vines. Shoot them and climb to the token. All four dungeon skulltulas have been collected. Return and crawl through the other passage.
Burn the second spider web
The crawlspace leads to the high ledge in the first water room. Push the stone block over the edge; it now connects the lower platforms with your location. Jump down to the familiar torch, light a Deku Stick and return up the block. Roll the burning branch over the ground net. It catches fire and opens the shaft to the deepest room.
The Three Dekus – Solution 2-3-1
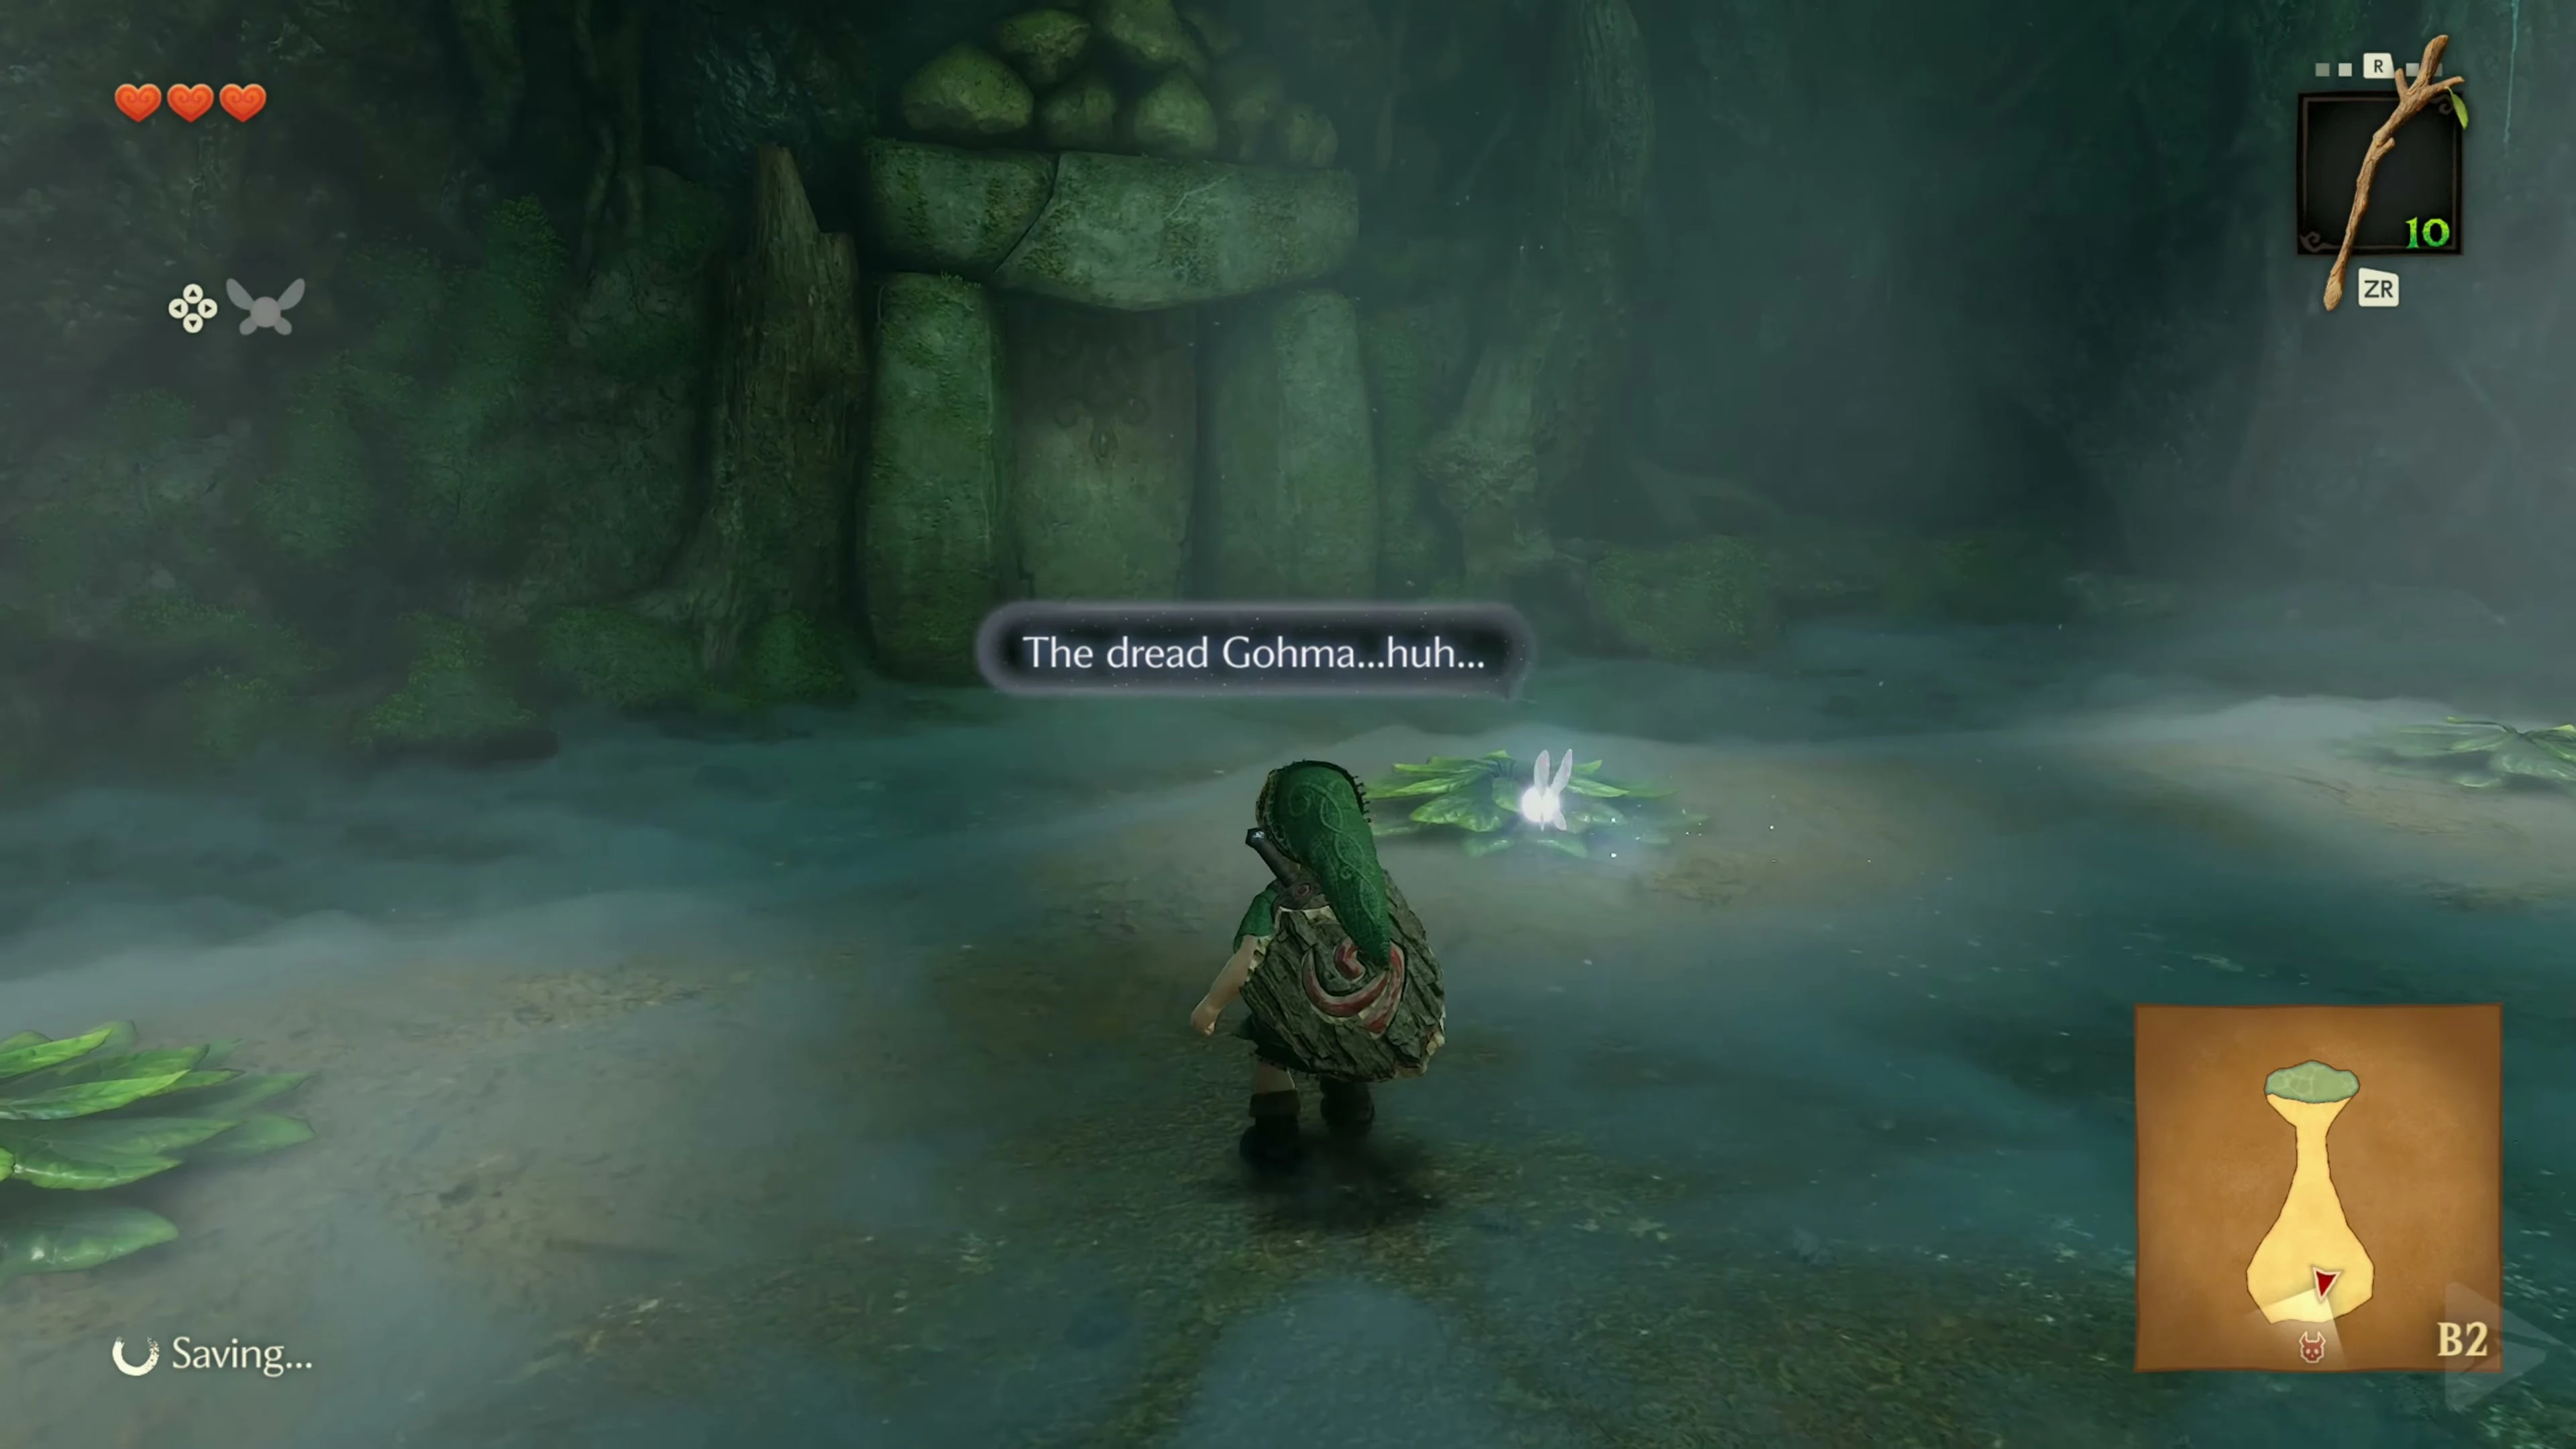
Swim to shore and face the three Dekus. Use the Deku Shield to first deflect the nut of the middle , then that of the right and finally that of the left Deku. After the last hit, the left opponent leaves his flower. Intercept him and talk to him so he opens the door to Gohma. If necessary, add hearts and slingshot ammunition from the plants beforehand.
Boss: Armored Spider Parasite Gohma
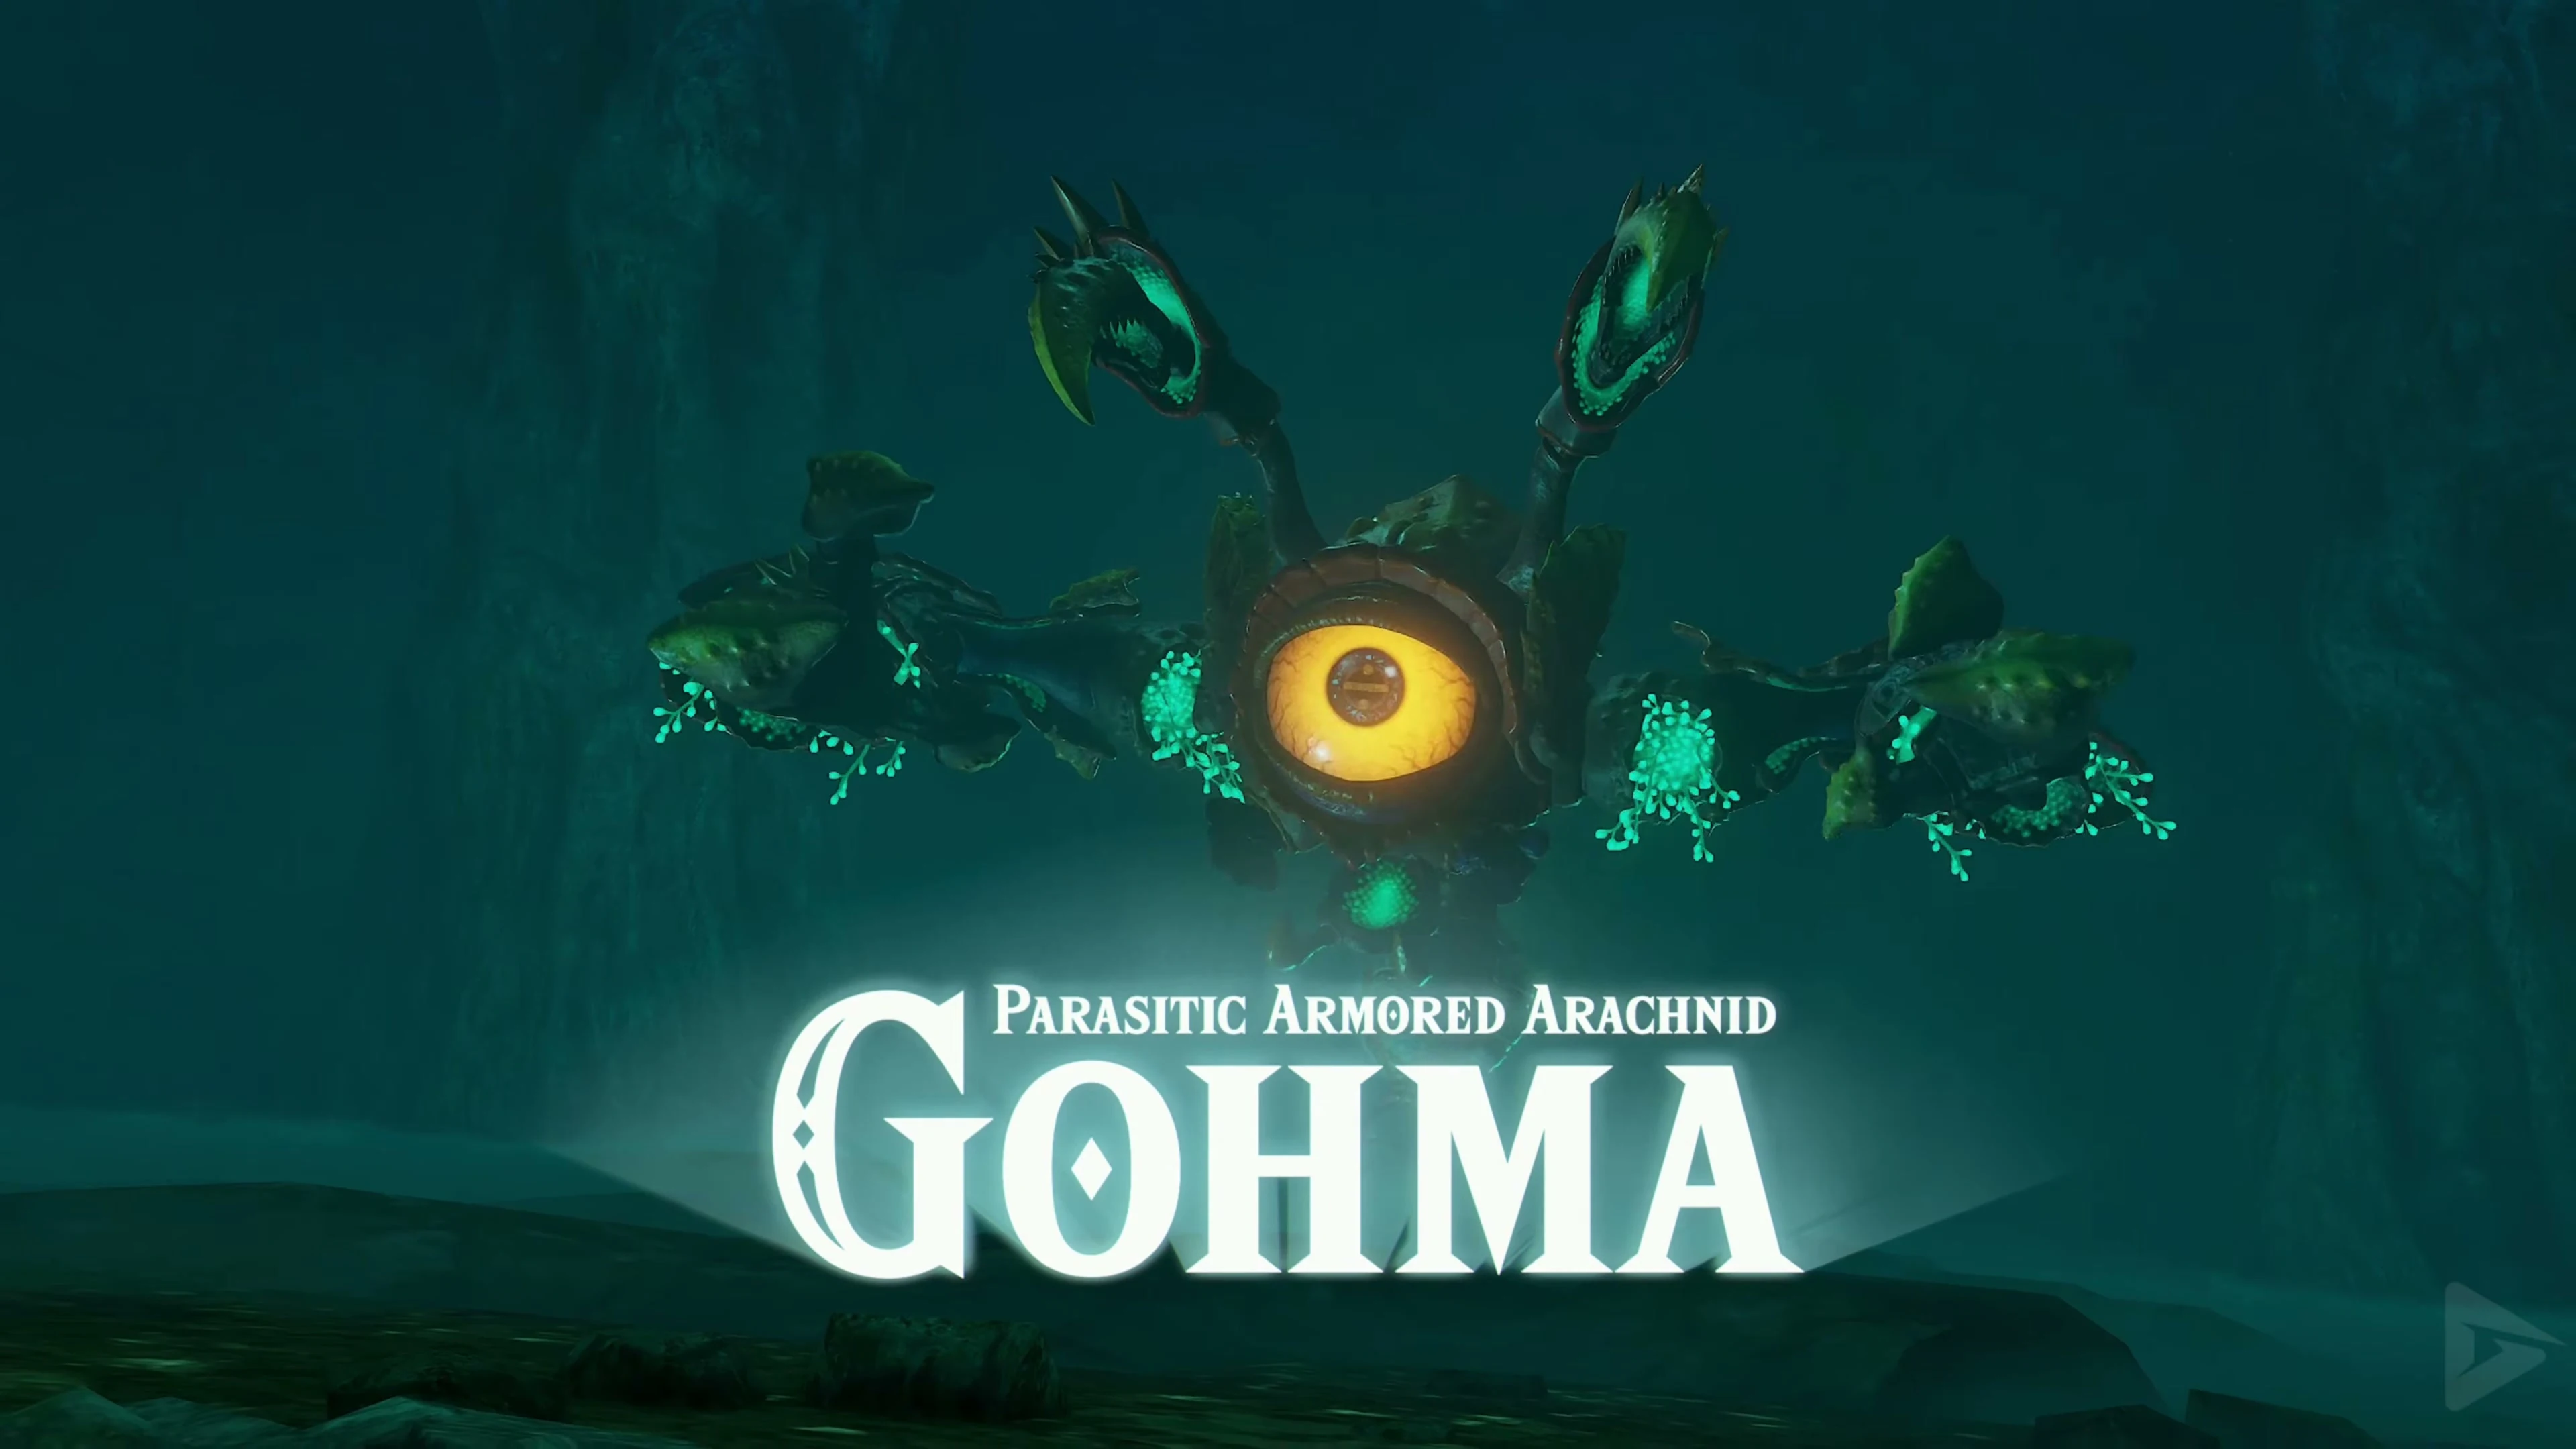
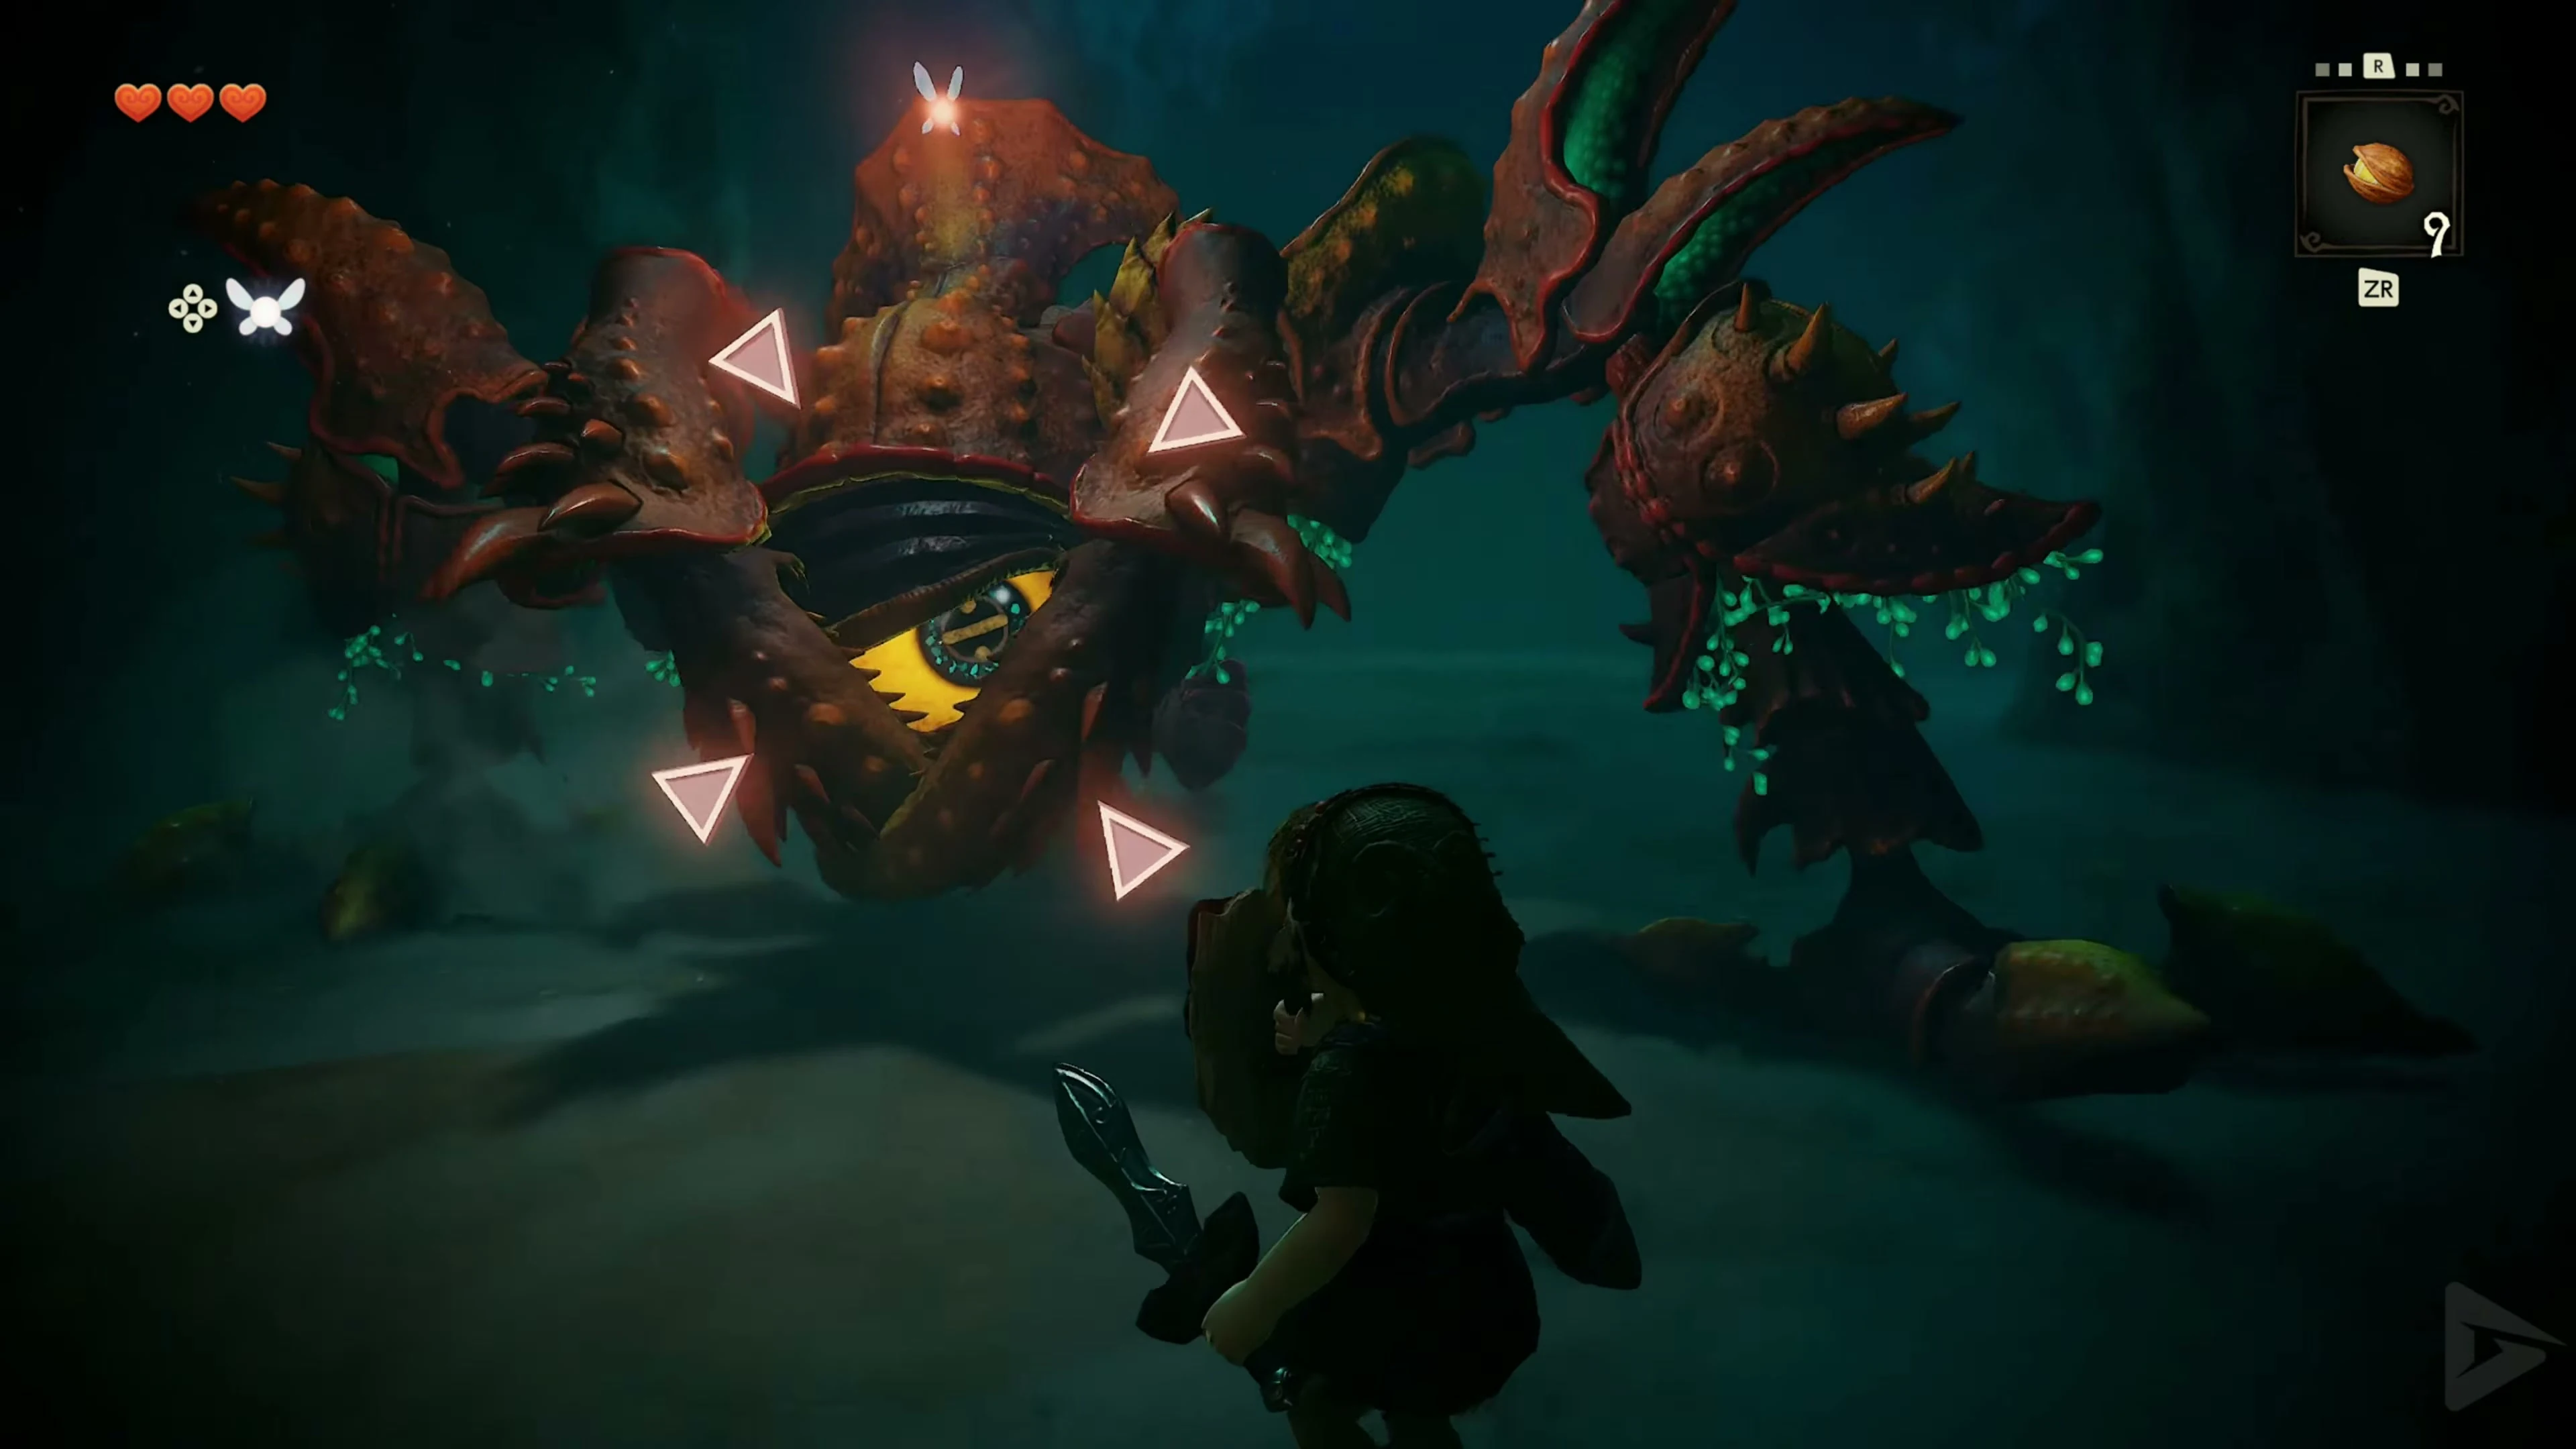
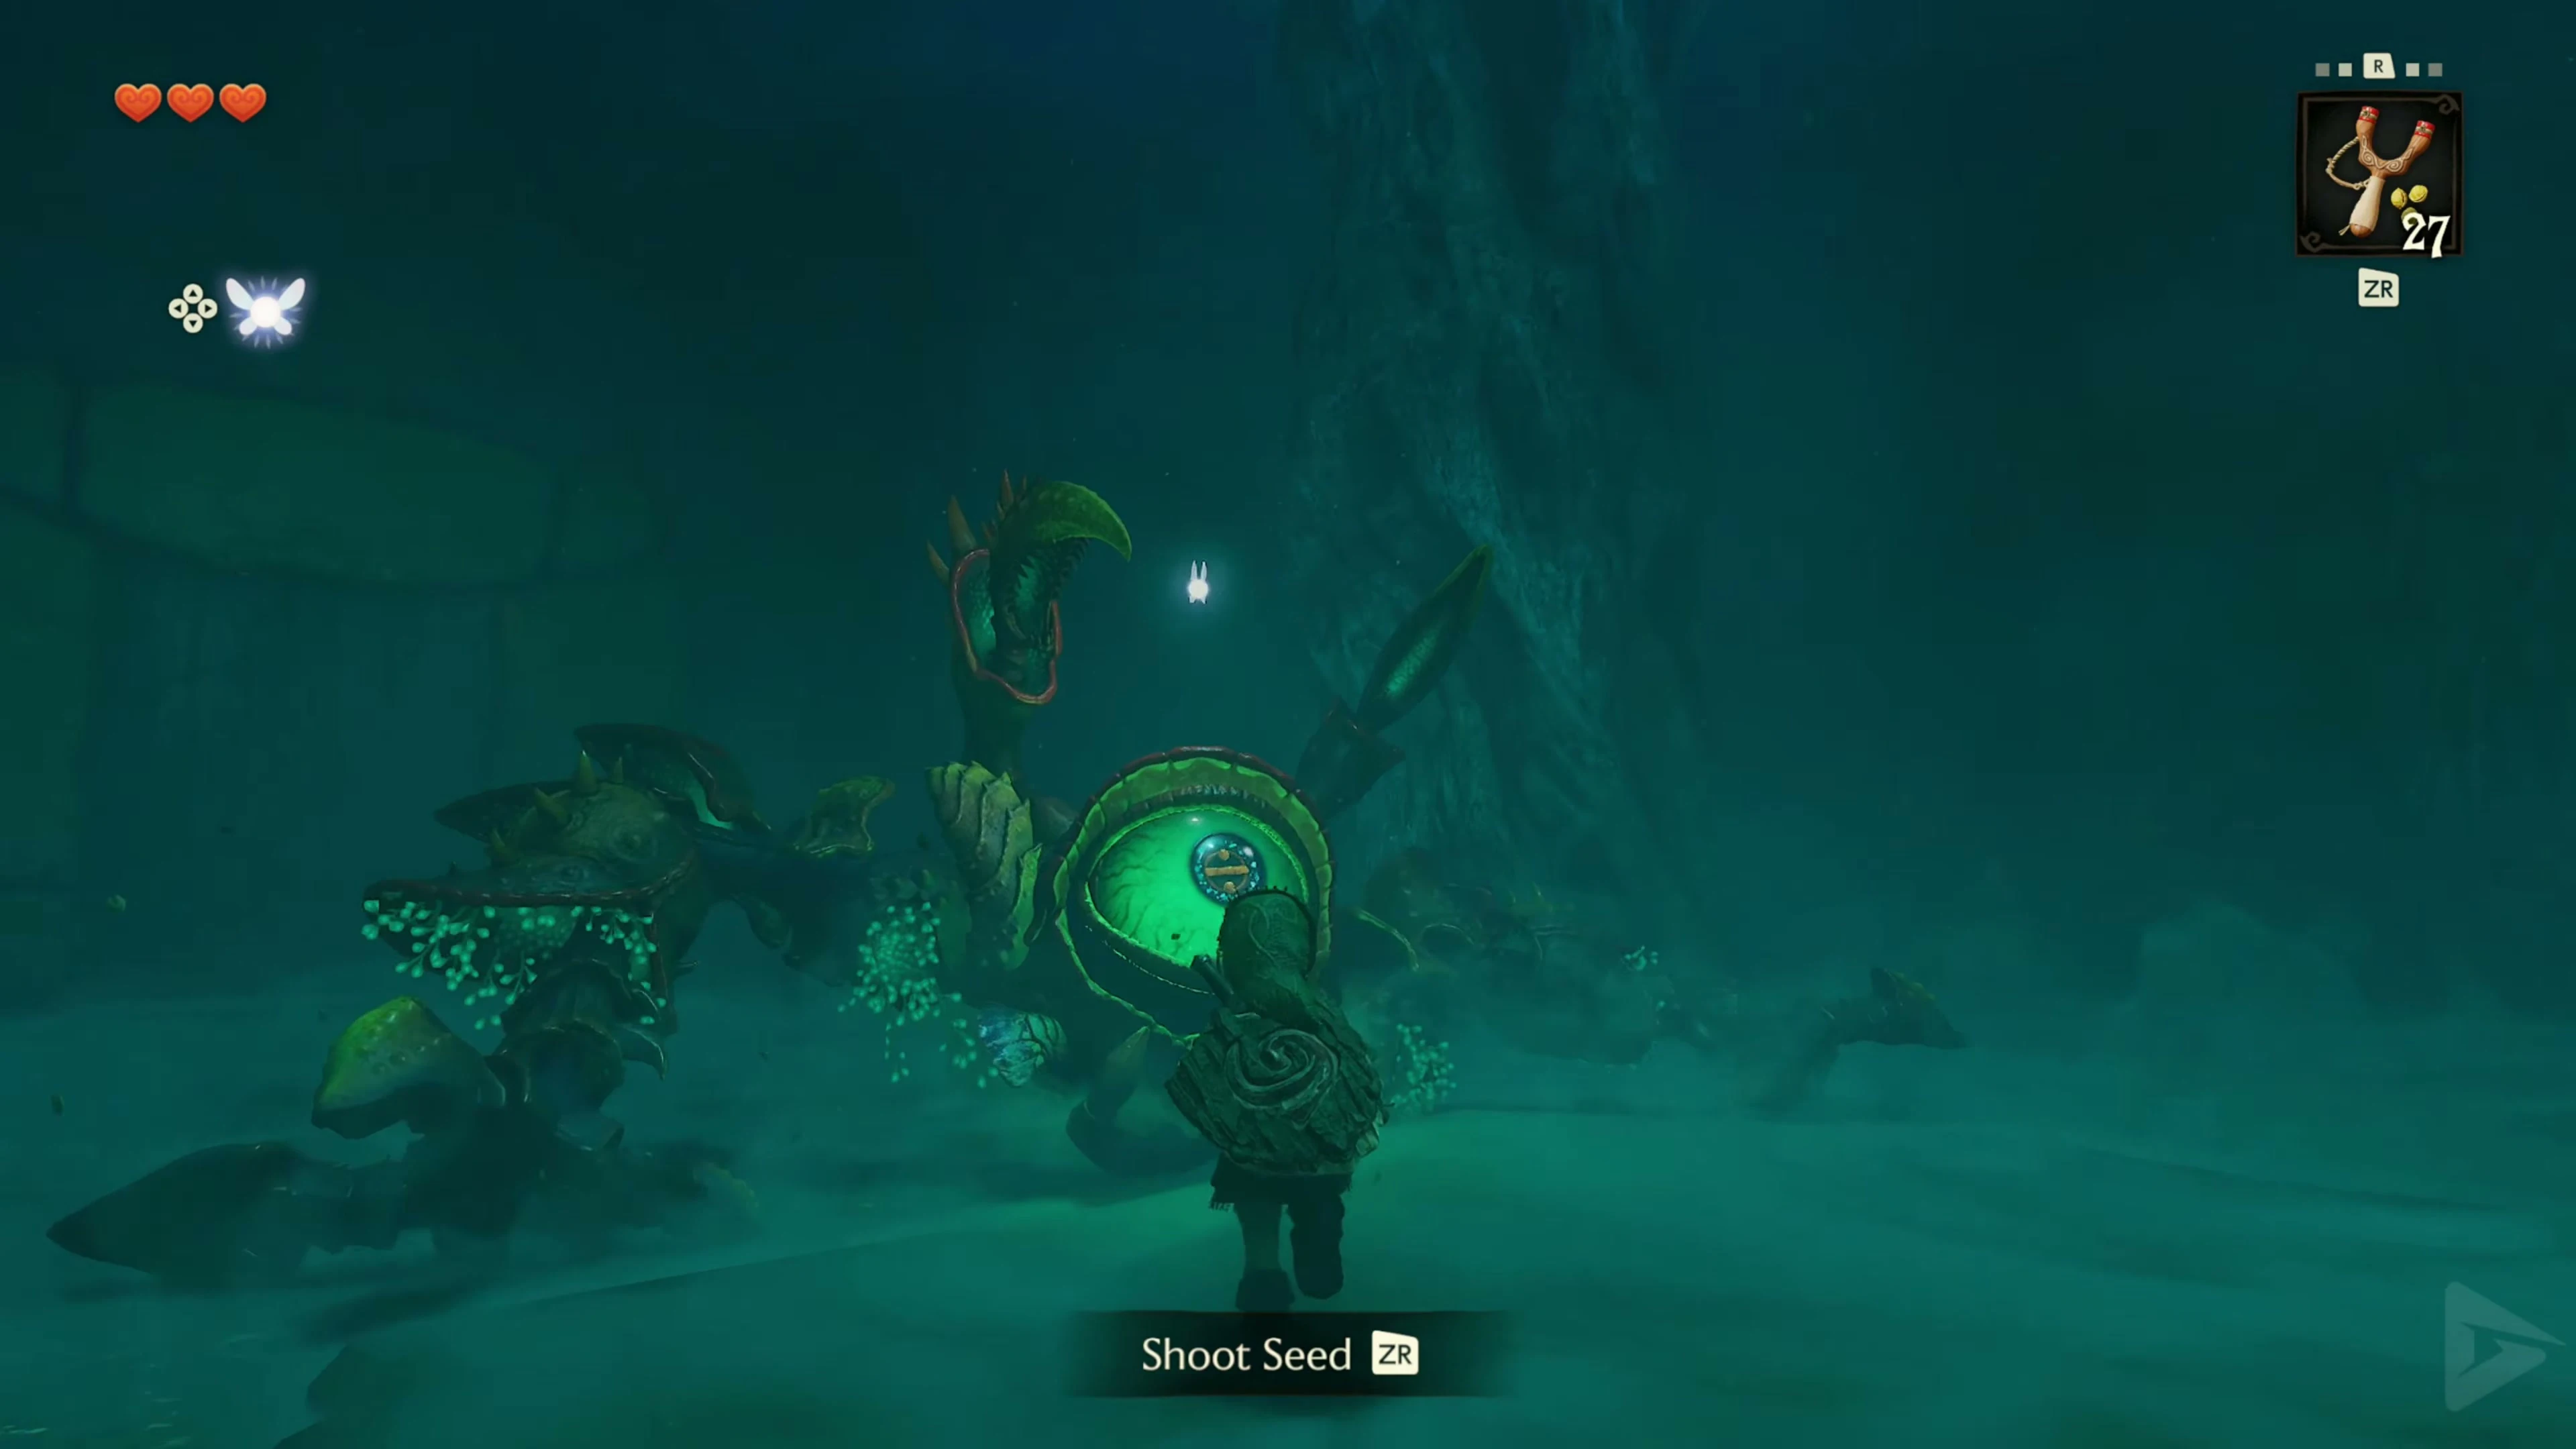
Enter the dark hall and look at the ceiling until you catch Gohma’s eye. She then drops into the arena. Aim at her and pay attention to the limbs in front of her eye. As long as they cover the eye, you can’t stun Gohma there. Keep your distance and wait for her to spread her protective limbs to attack.
Stun Gohma on the ground
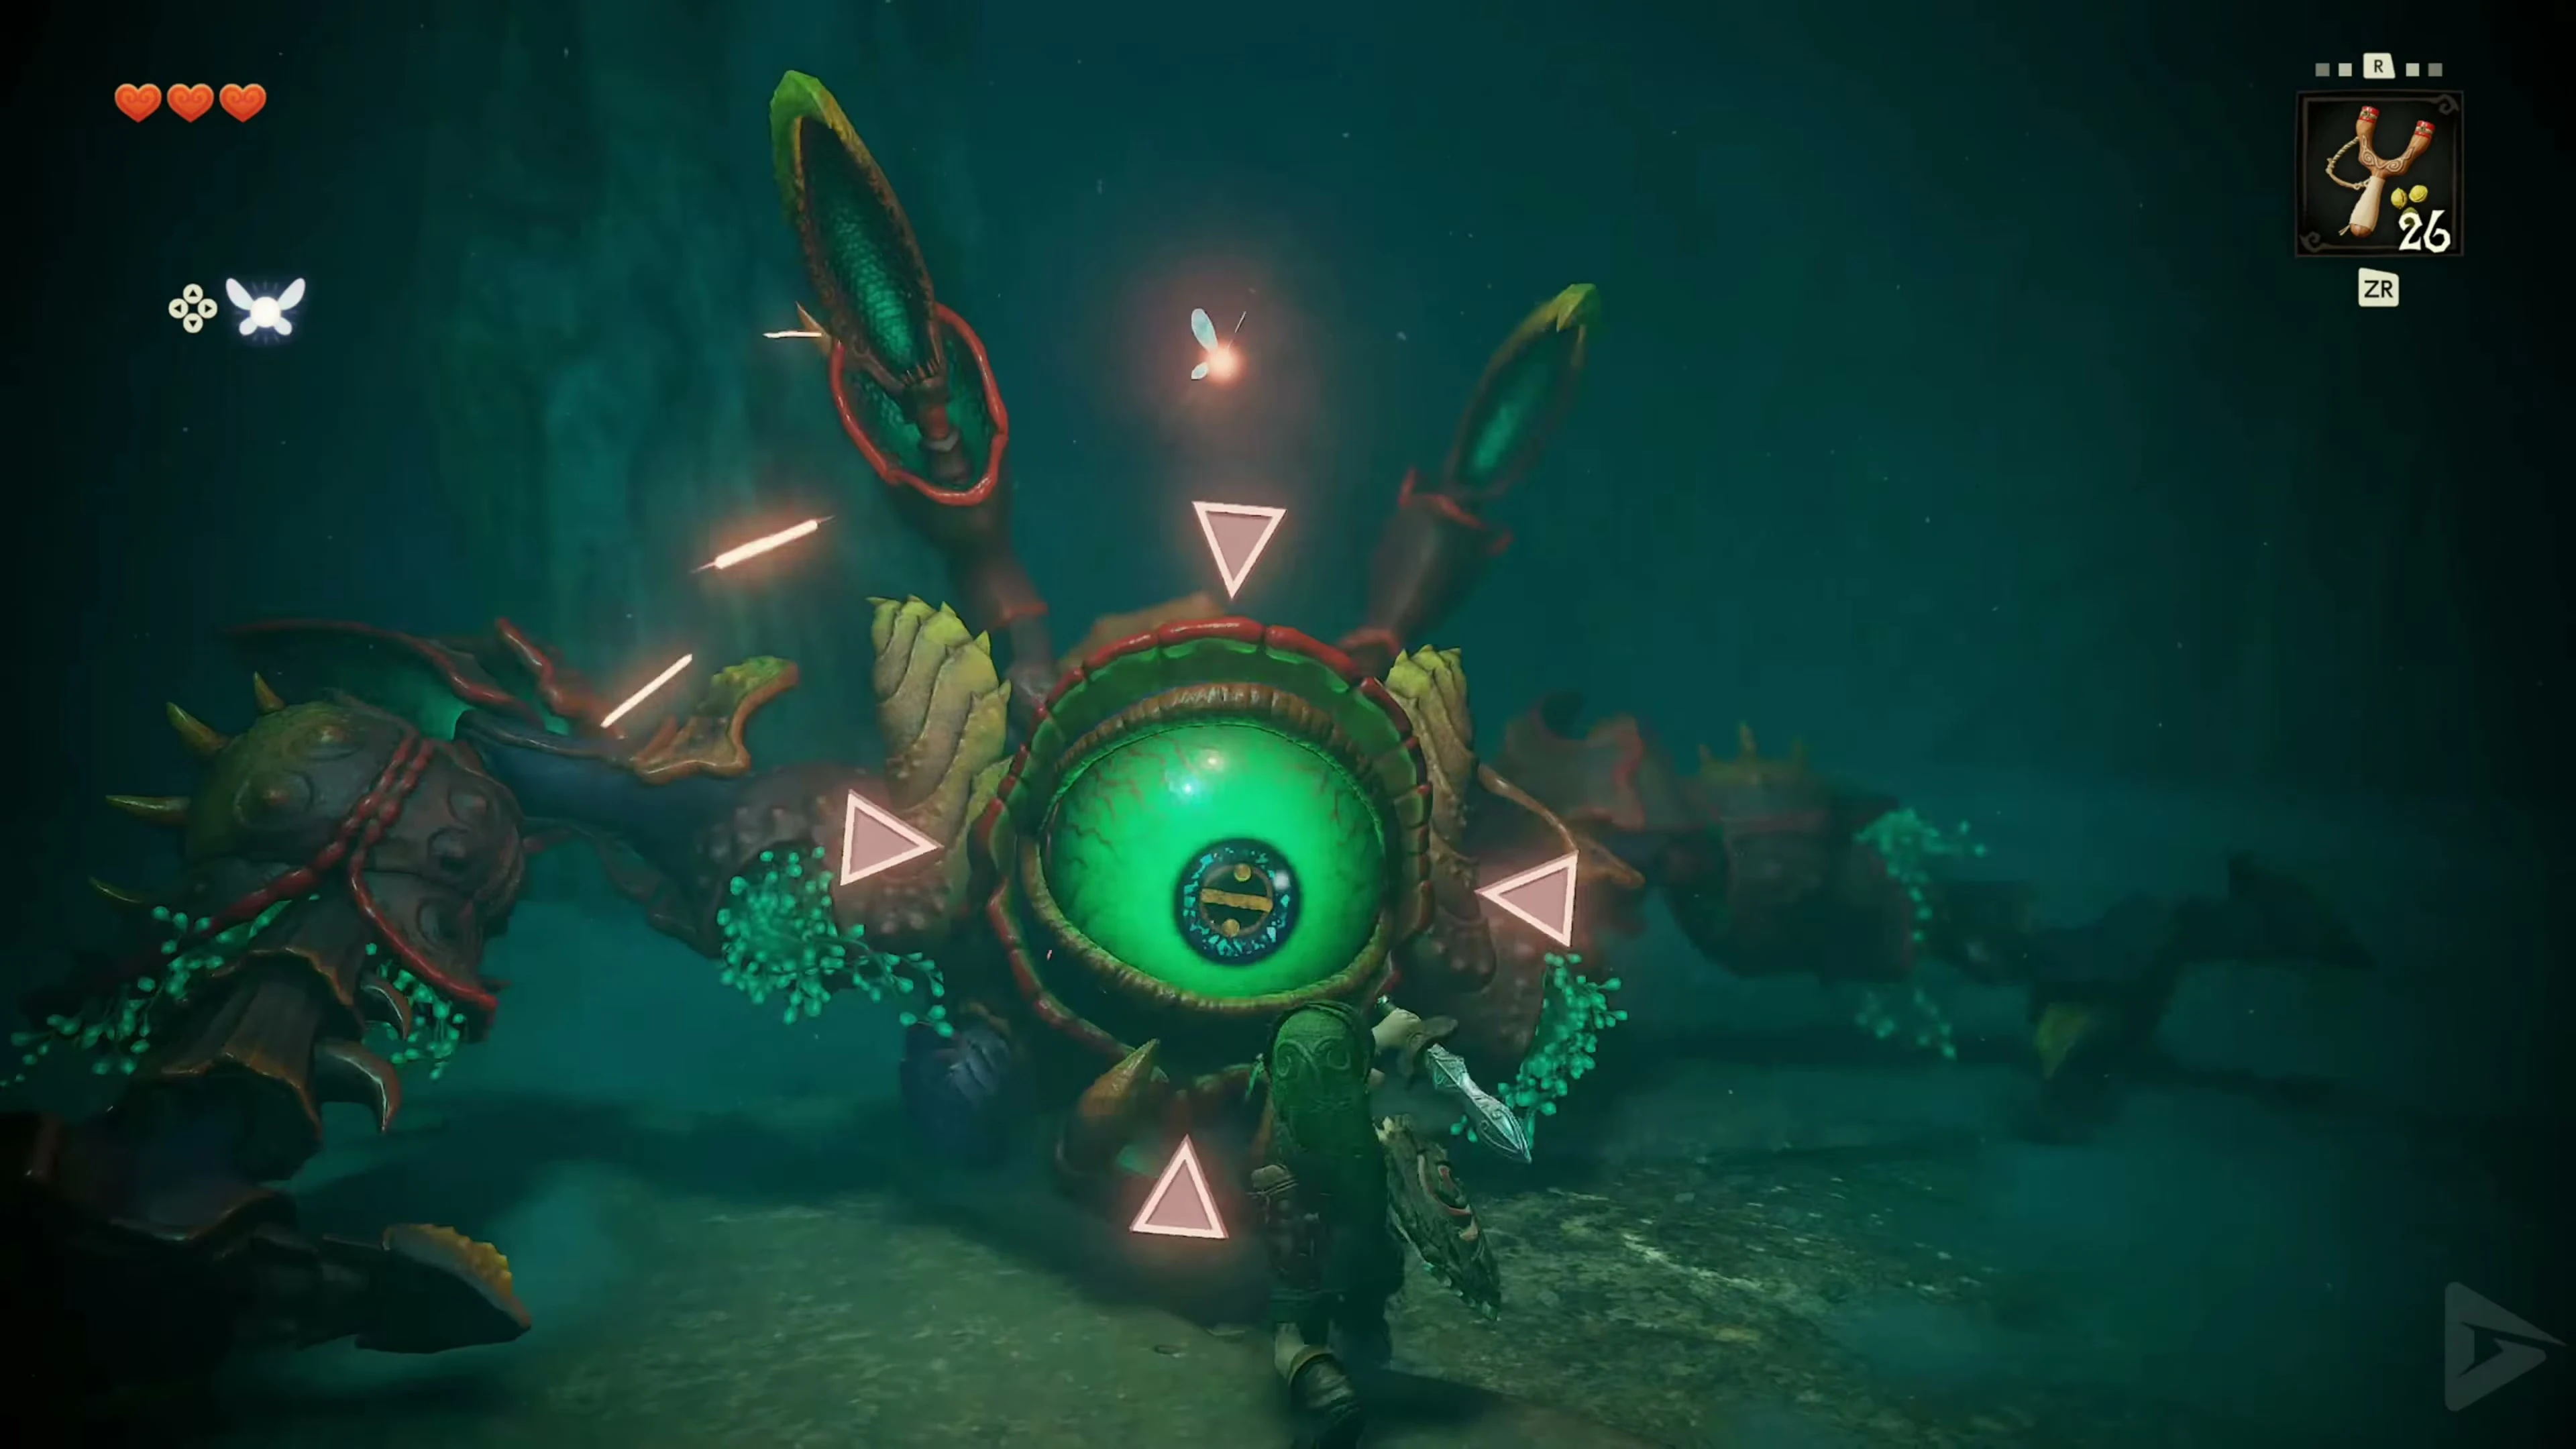
Approach Gohma until she prepares to attack, then retreat. Shoot the Fairy Slingshot into her now exposed eye . As soon as she collapses, run up and strike her eye with the Kokiri Sword. A jump attack is a good first hit; follow up with more strikes while she’s stunned. Back off as soon as Gohma stands up and protects her weak point again.
Meet Gohma on the ceiling
Follow Gohma with the camera as she climbs to the ceiling. If the eye becomes exposed while preparing the eggs, hit it immediately with the slingshot. It falls down and you can attack with the sword again. If you miss the opening, destroy the falling eggs before larvae hatch from them. First clear the enemies that have slipped out of the way and then point the camera back at Gohma.
The next attack windows use
Repeat the alternation of dodges, slingshots, and sword strikes. What is crucial is the unprotected view of the eye; Don’t shoot until there are no more tank parts in front of you. If you need more ammunition and hearts, you can find them in the plants at the edge of the arena.
Heart Container and Kokiri Emerald
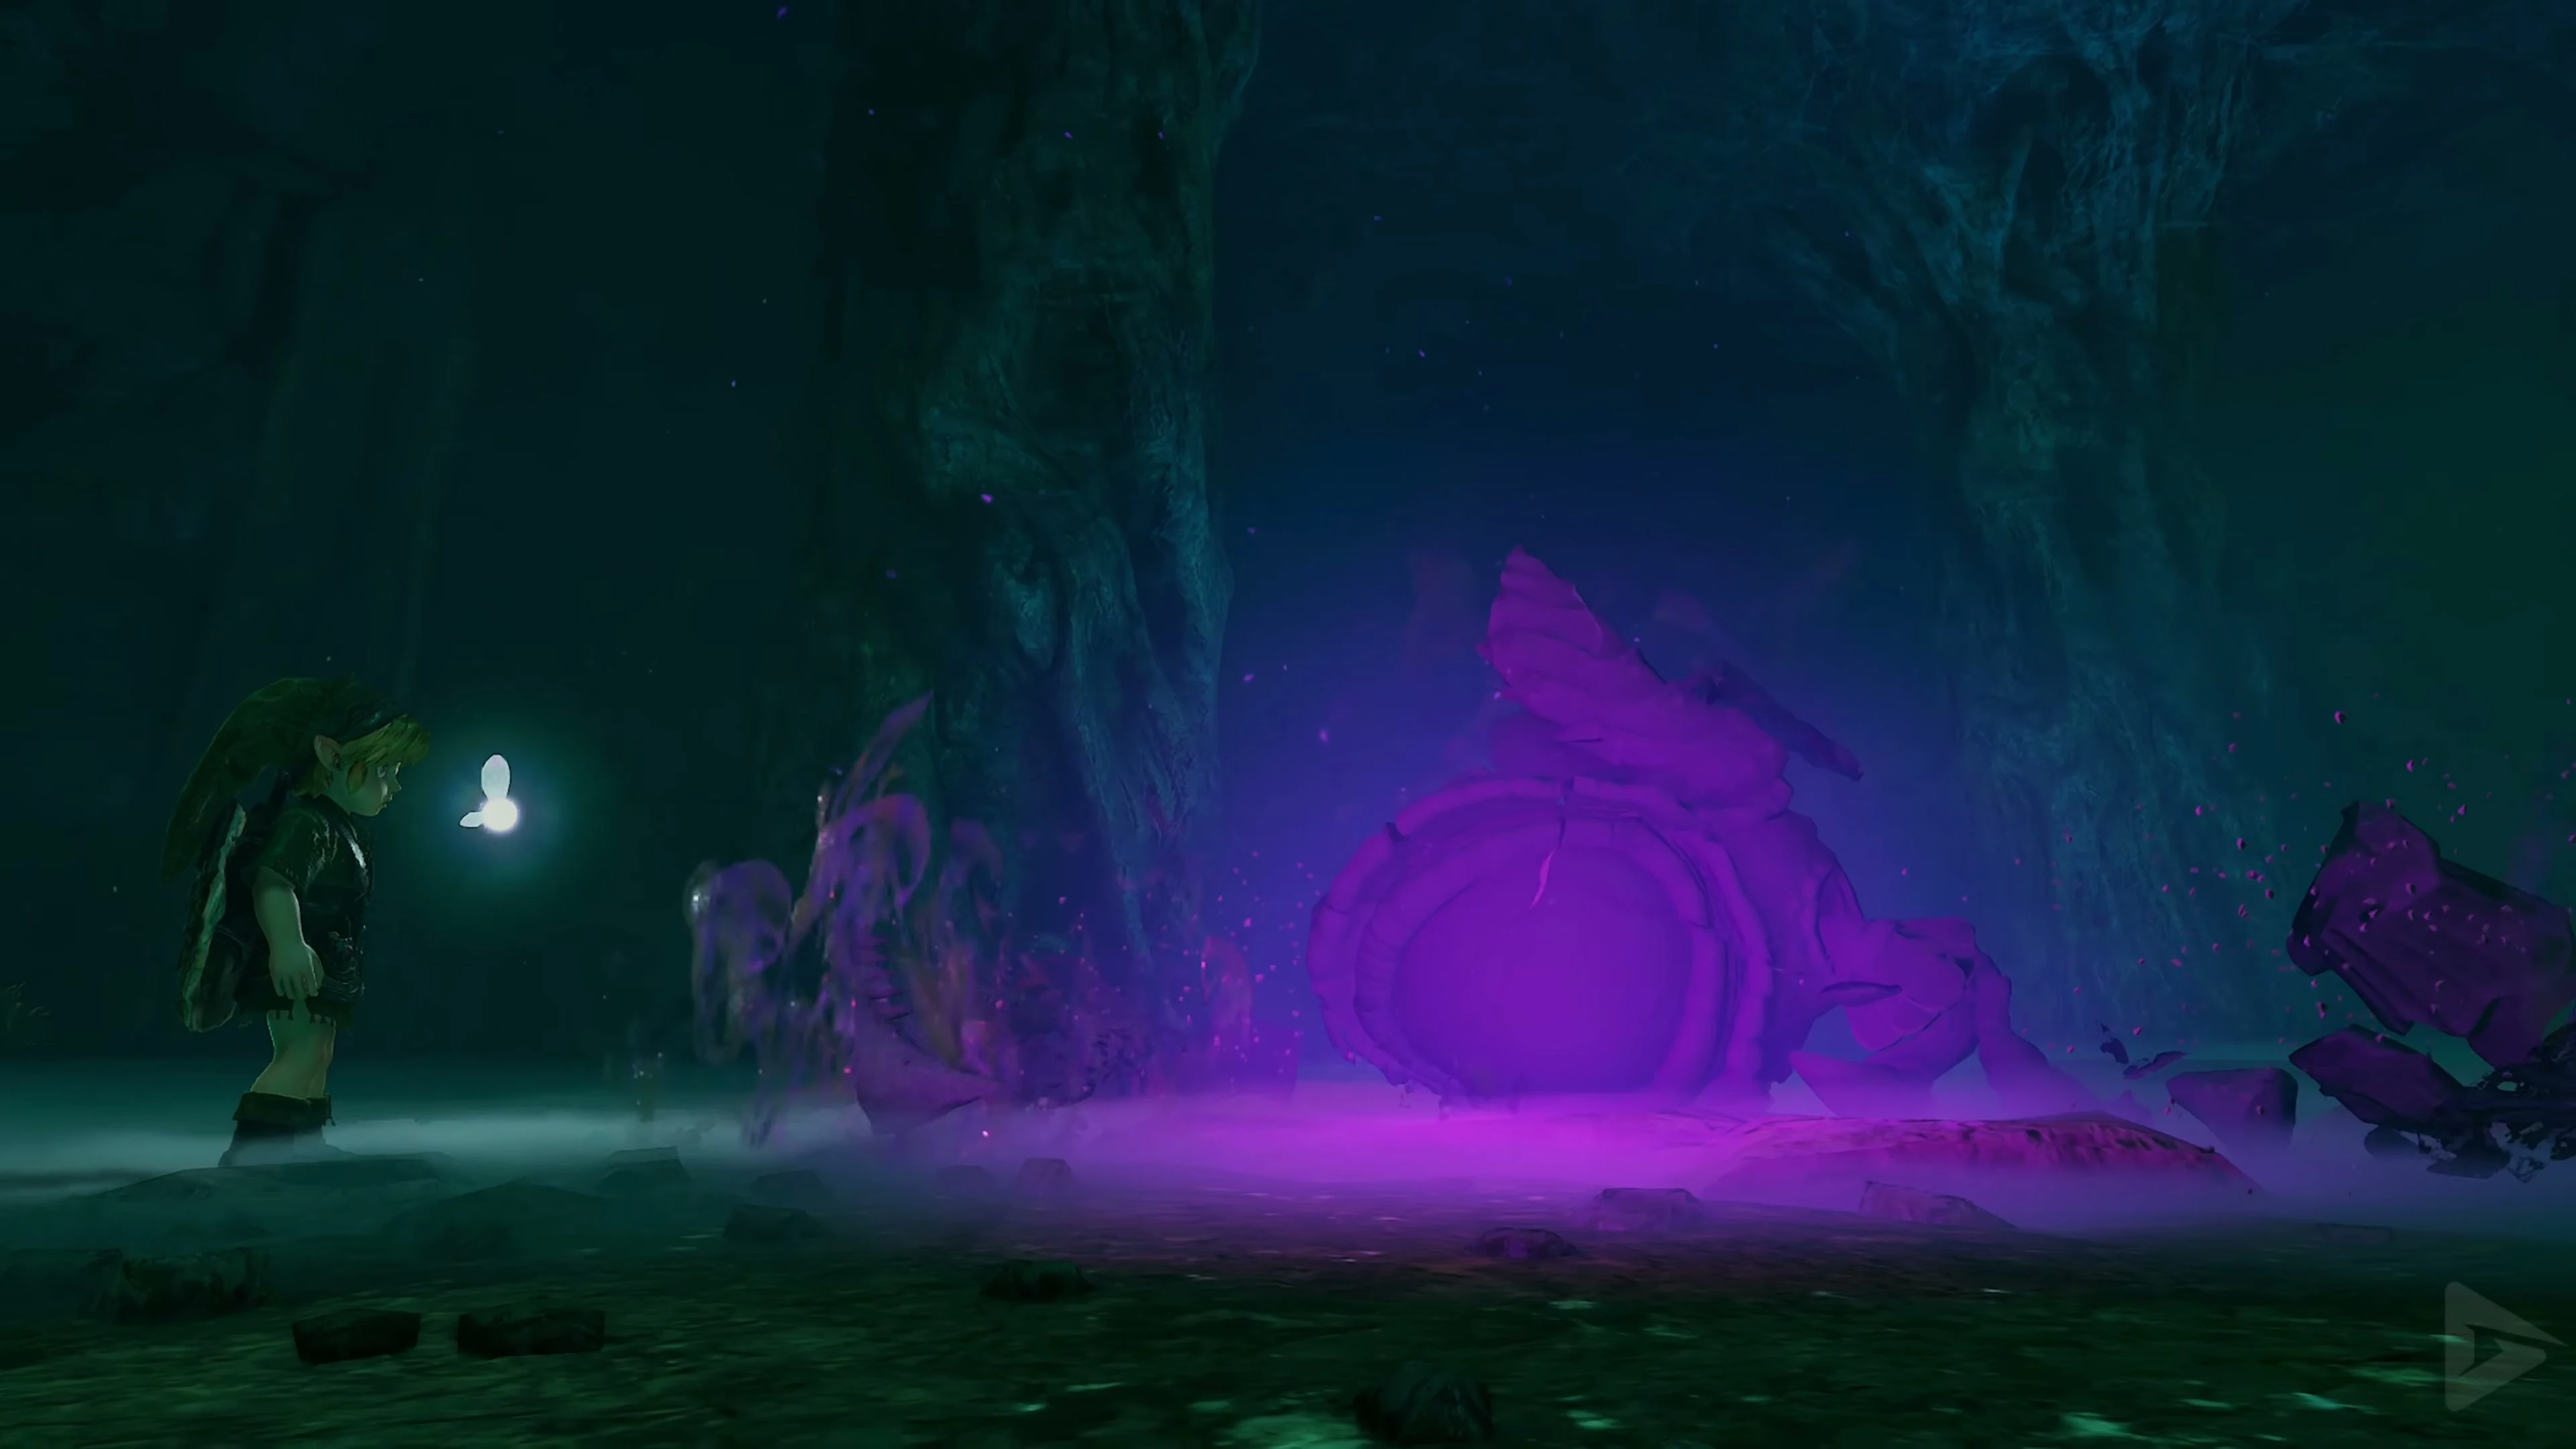
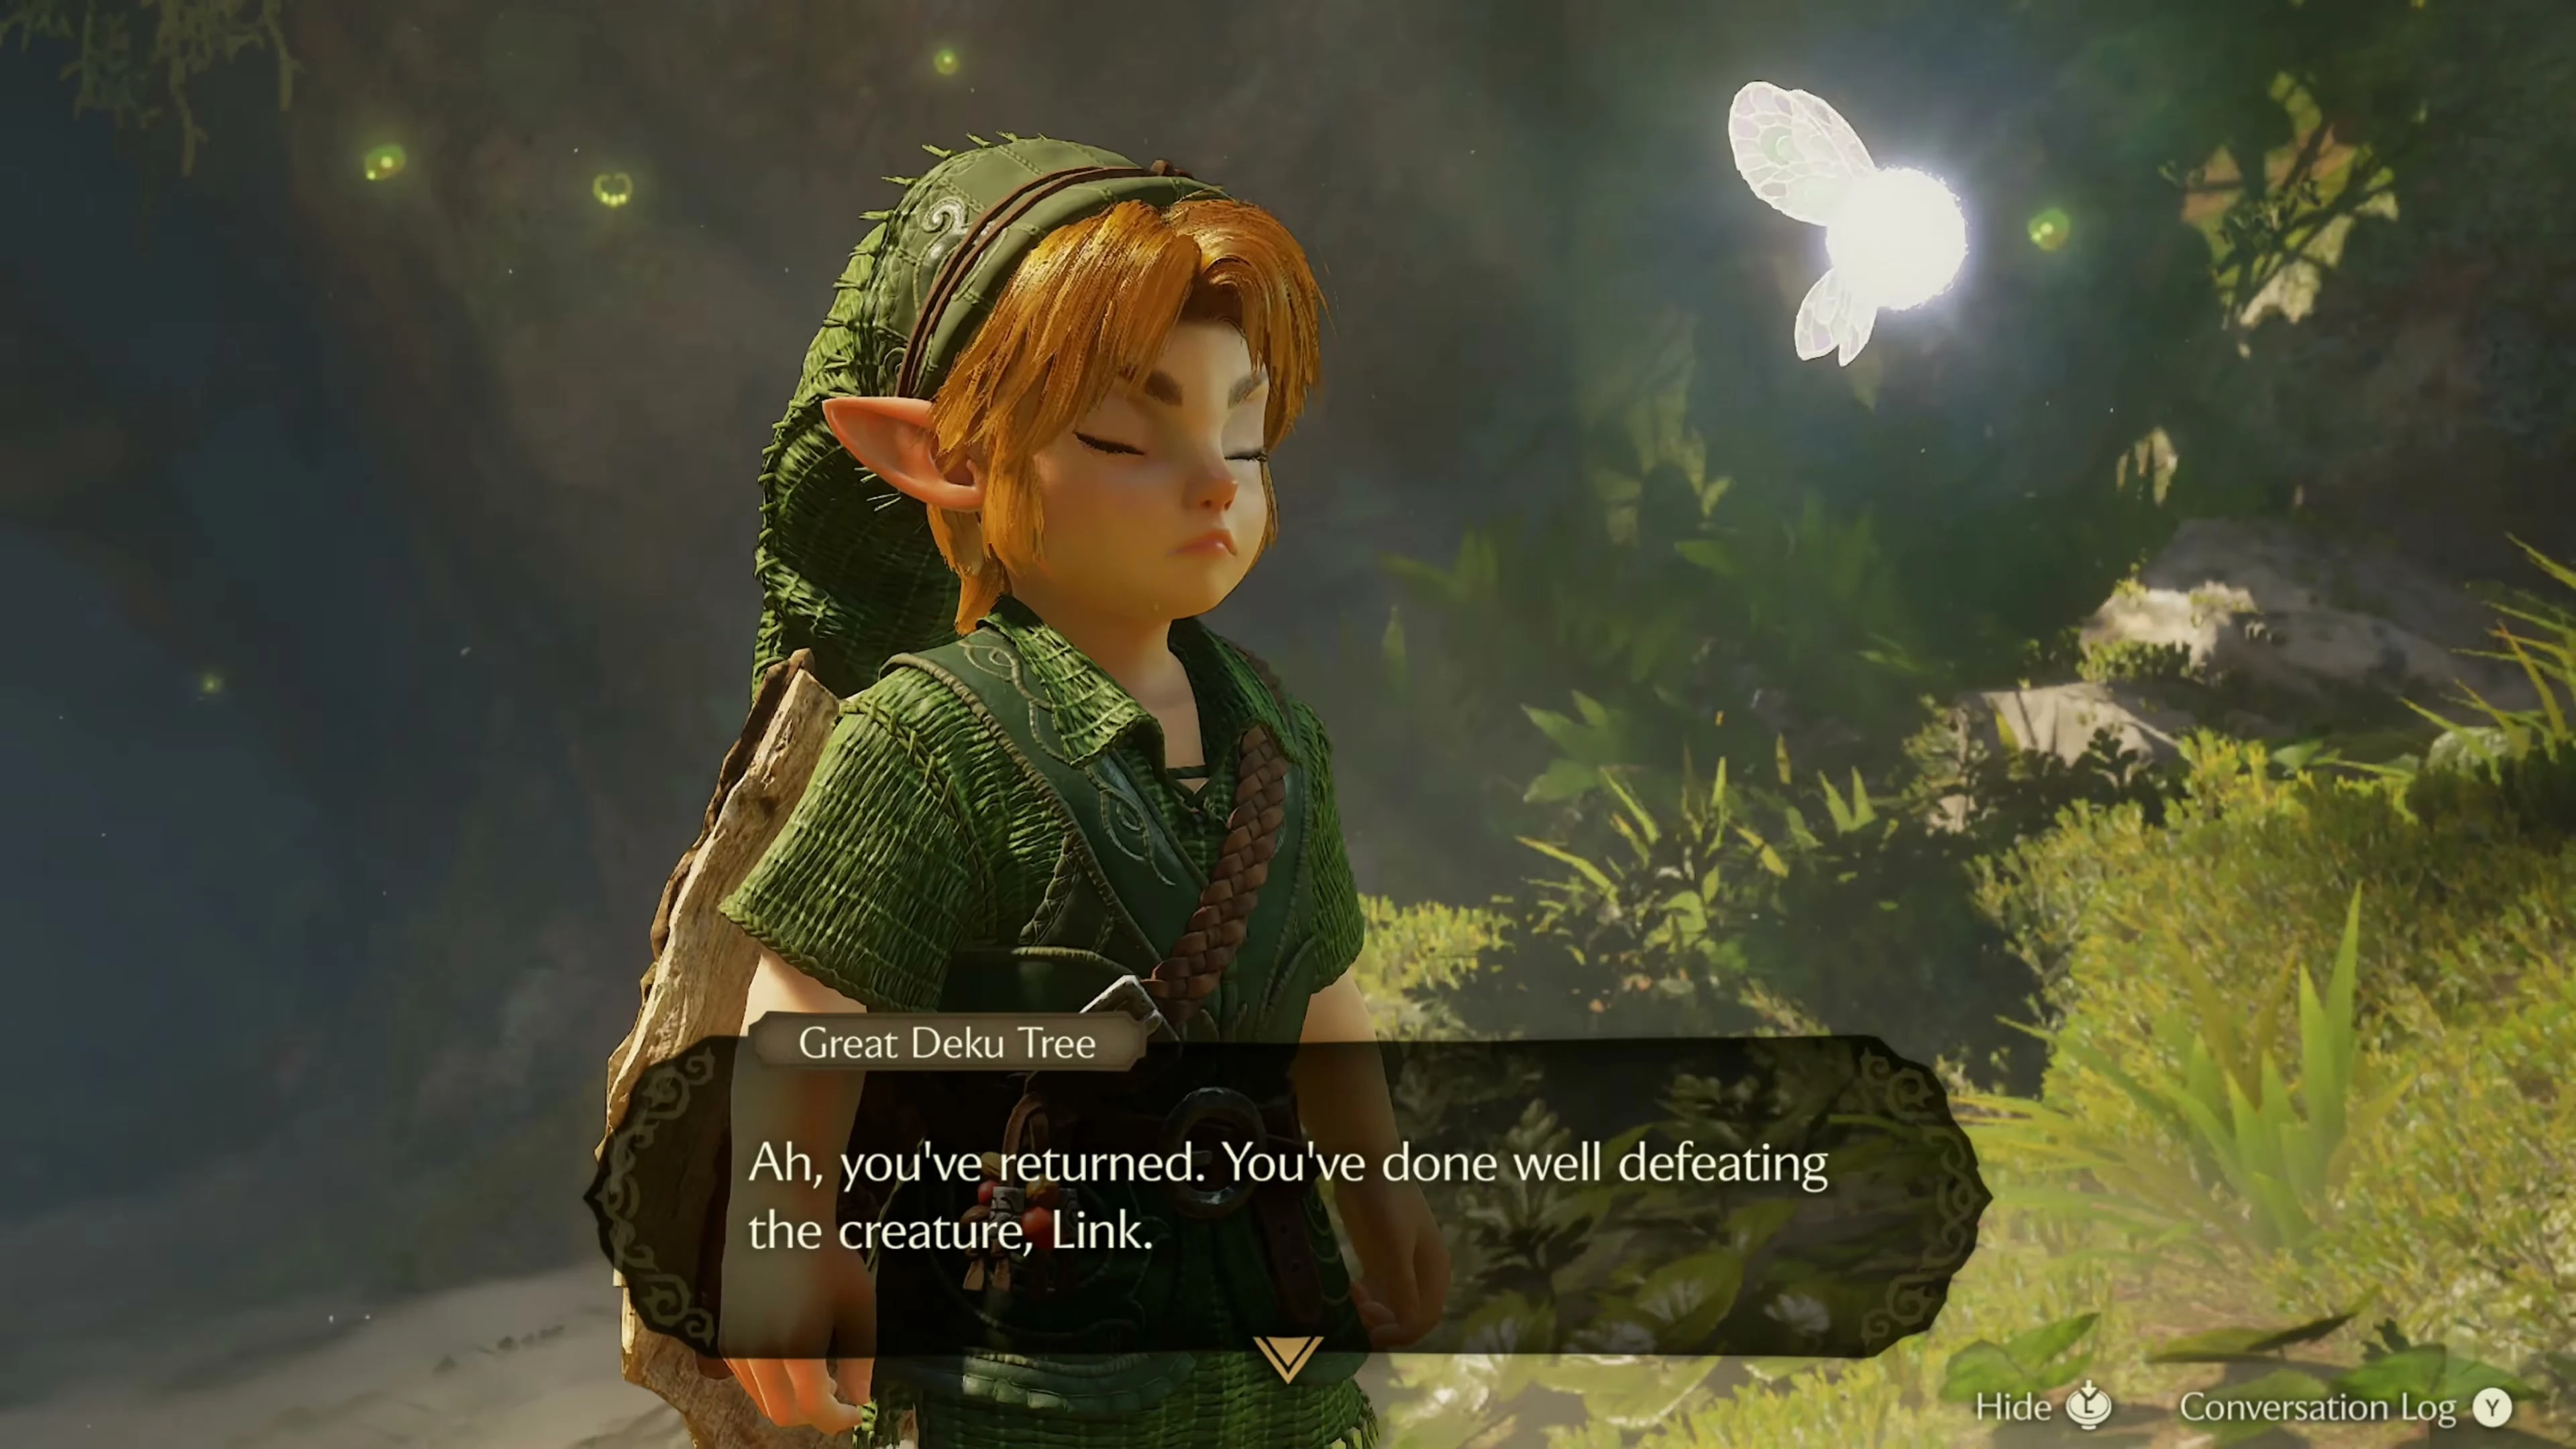
After Gohma’s defeat, pick up the Heart Container and climb into the blue light. Your life energy now encompasses four whole hearts. Outside, the Great Deku Tree tells you about Ganondorf and the goddesses. He gives you the Kokiri Emerald and sends you to Princess Zelda.
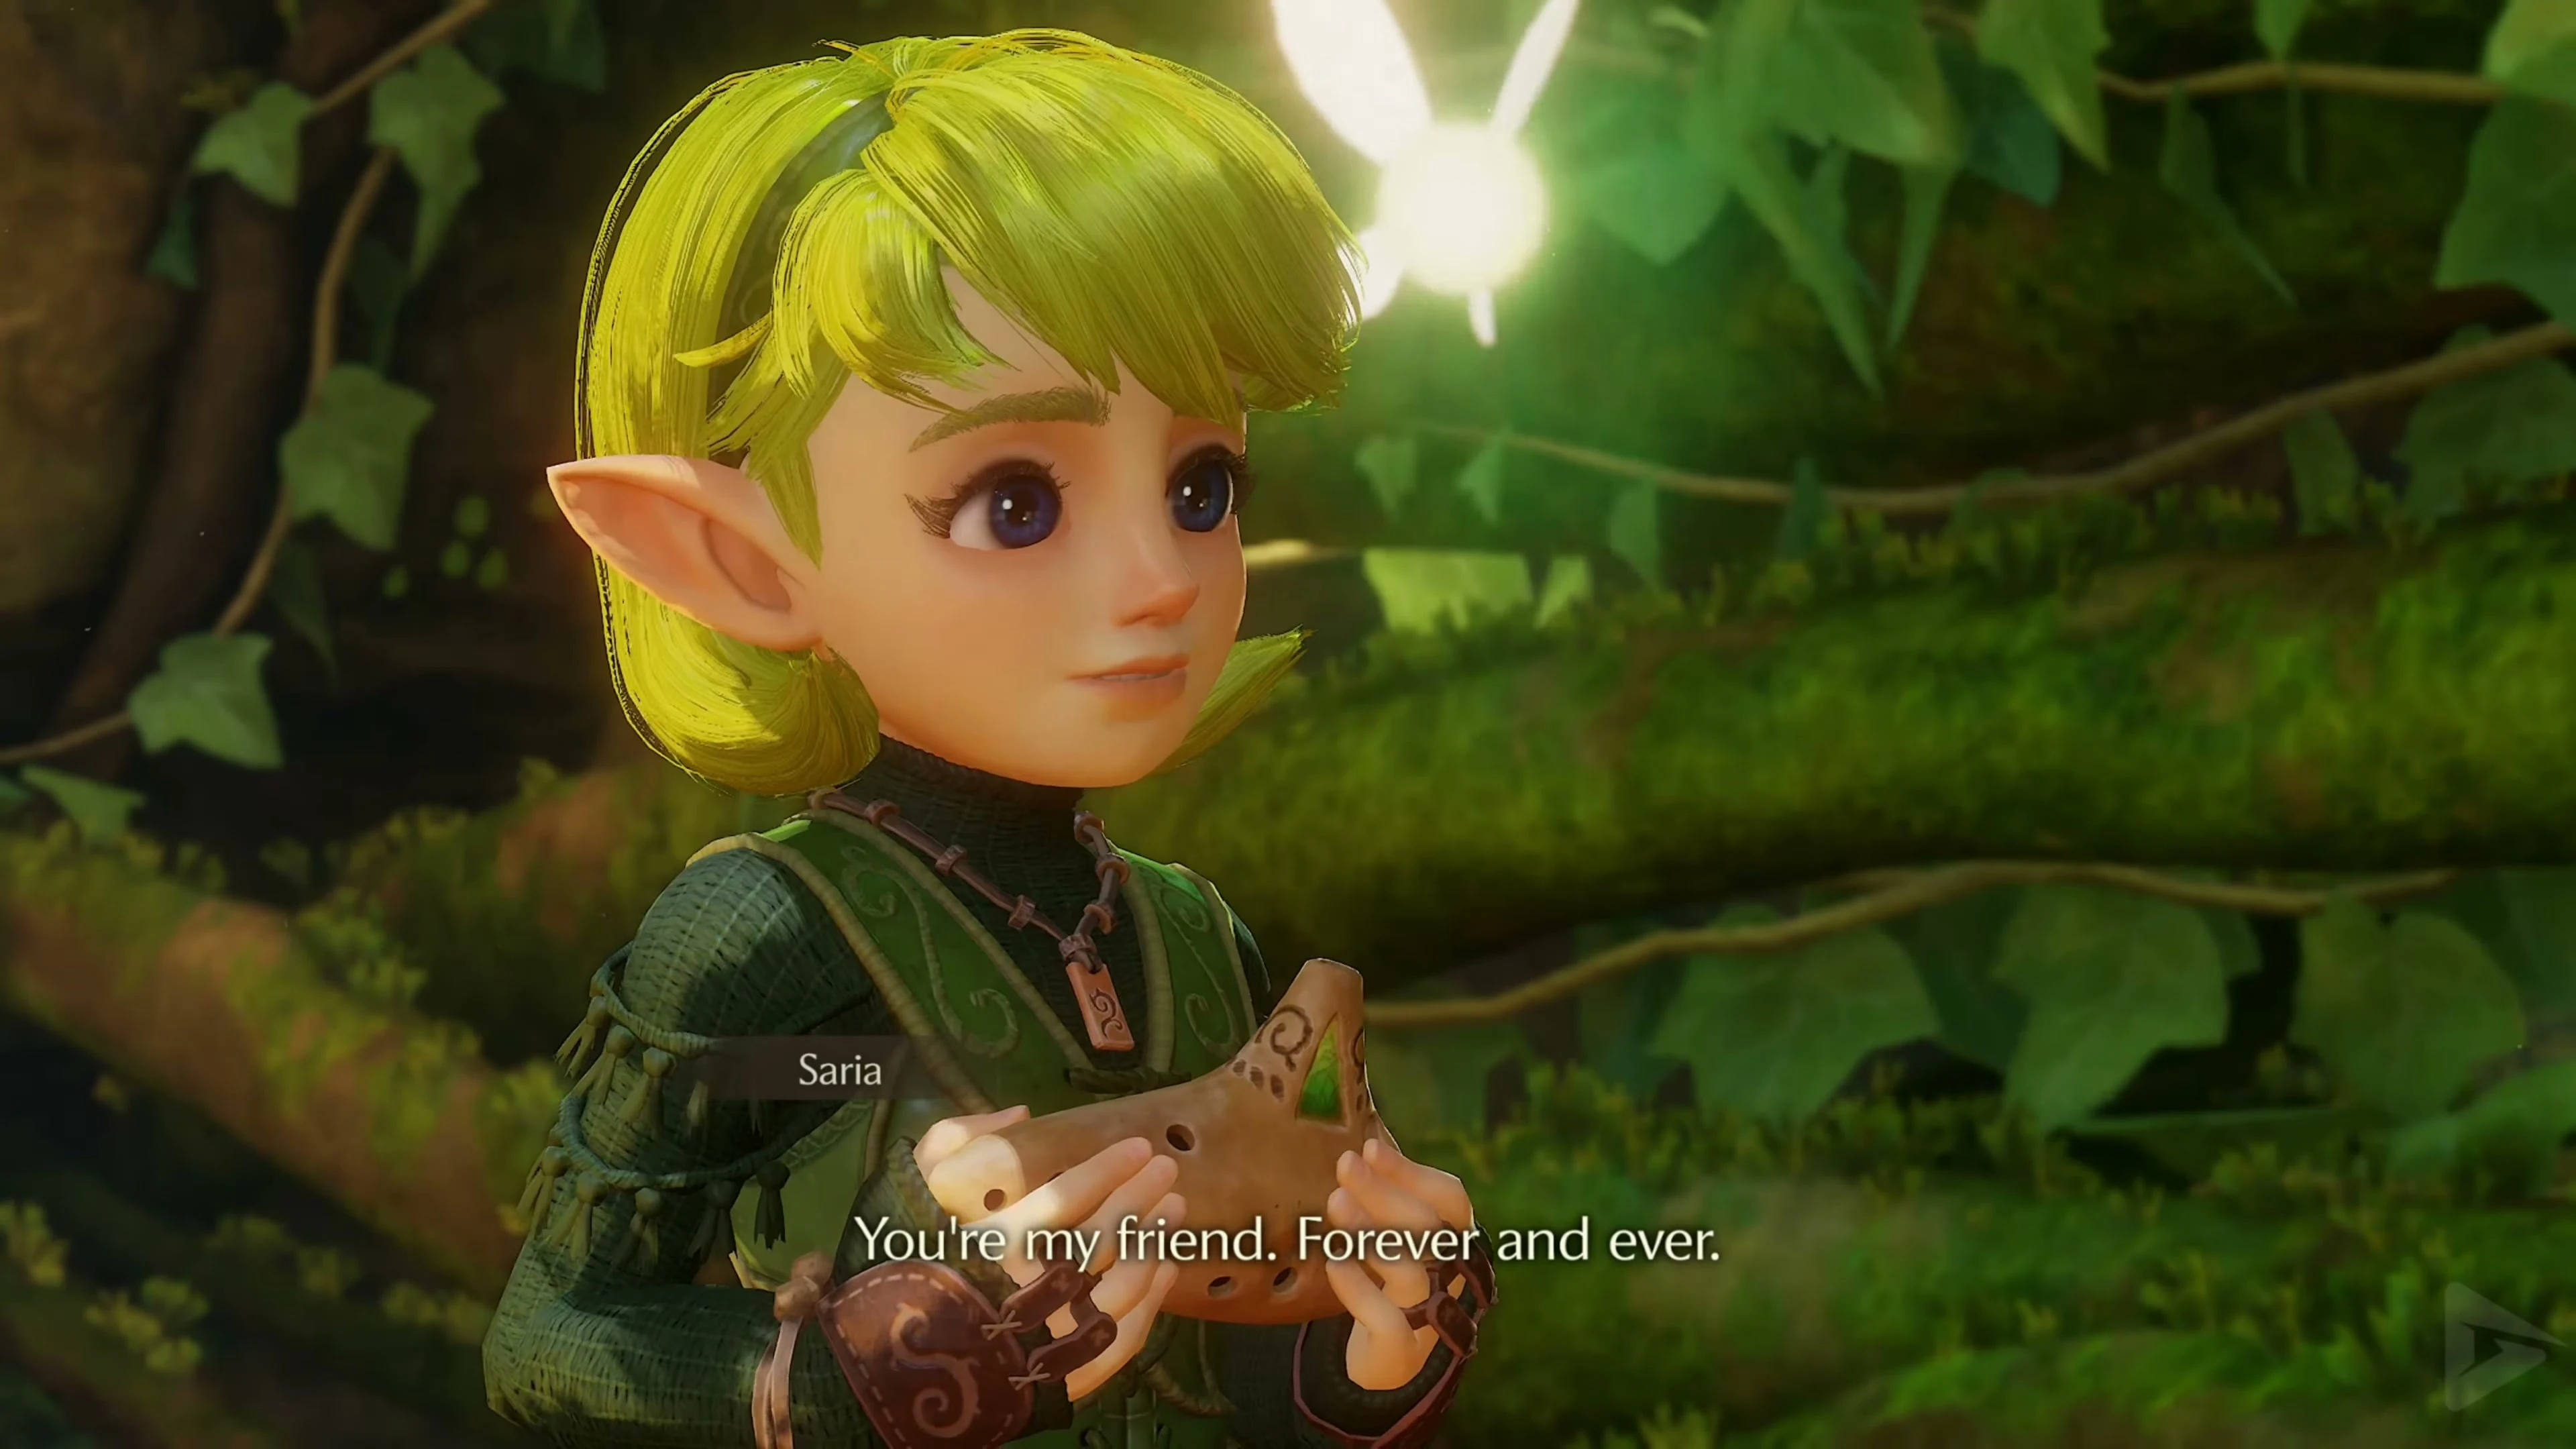
Saria and the Fairy Ocarina
Leave the clearing, go past Mido into the village and take the western exit. Saria is waiting on the bridge. She gives Link the Fairy Ocarina . After saying goodbye, you reach Hyrule Field and follow the path to Hyrule Castle Town.
Chests and their contents
View all 6 chests
| Floor | Quantity | Contents | Note |
|---|---|---|---|
| 1st basement | 1 | 3 Deku Sticks | |
| 1st floor | 1 | 3 Deku Nuts | |
| 1st floor | 1 | Dungeon Map | |
| 1st floor | 1 | Fairy Slingshot | |
| 2nd floor | 1 | 3 Deku Nuts | |
| 2nd floor | 1 | Compass |