
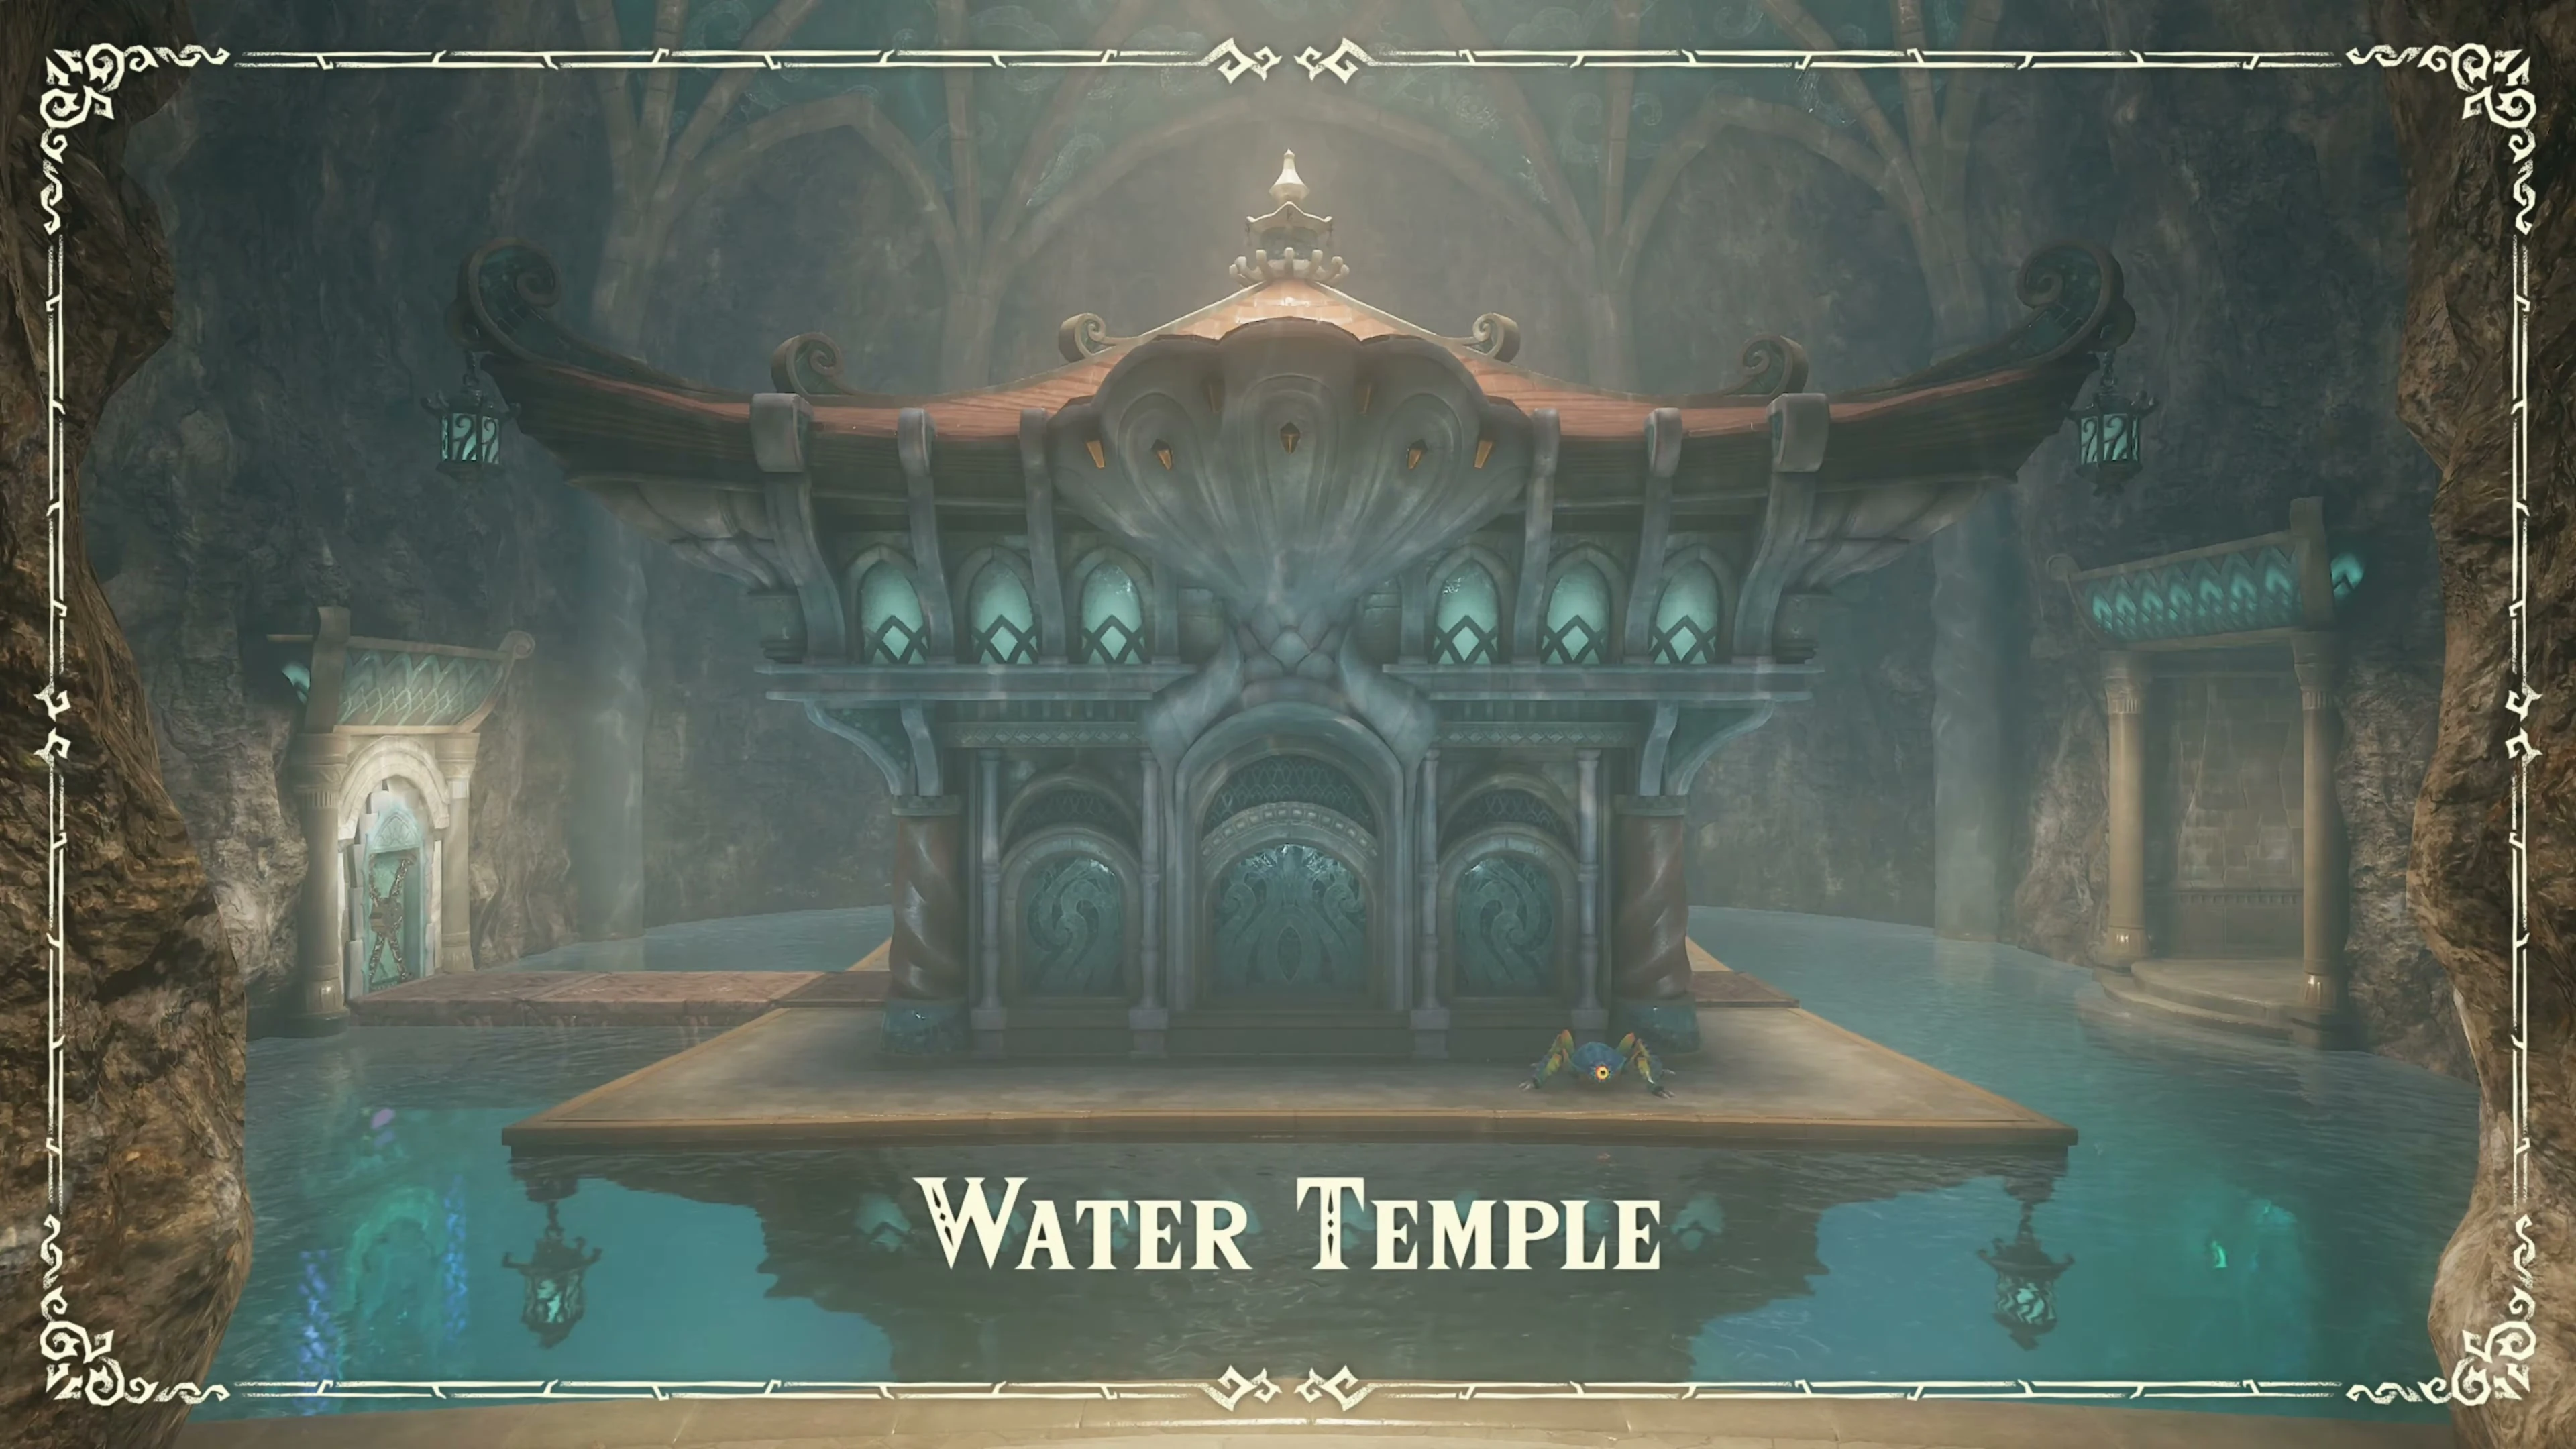
The entrance to the Water Temple
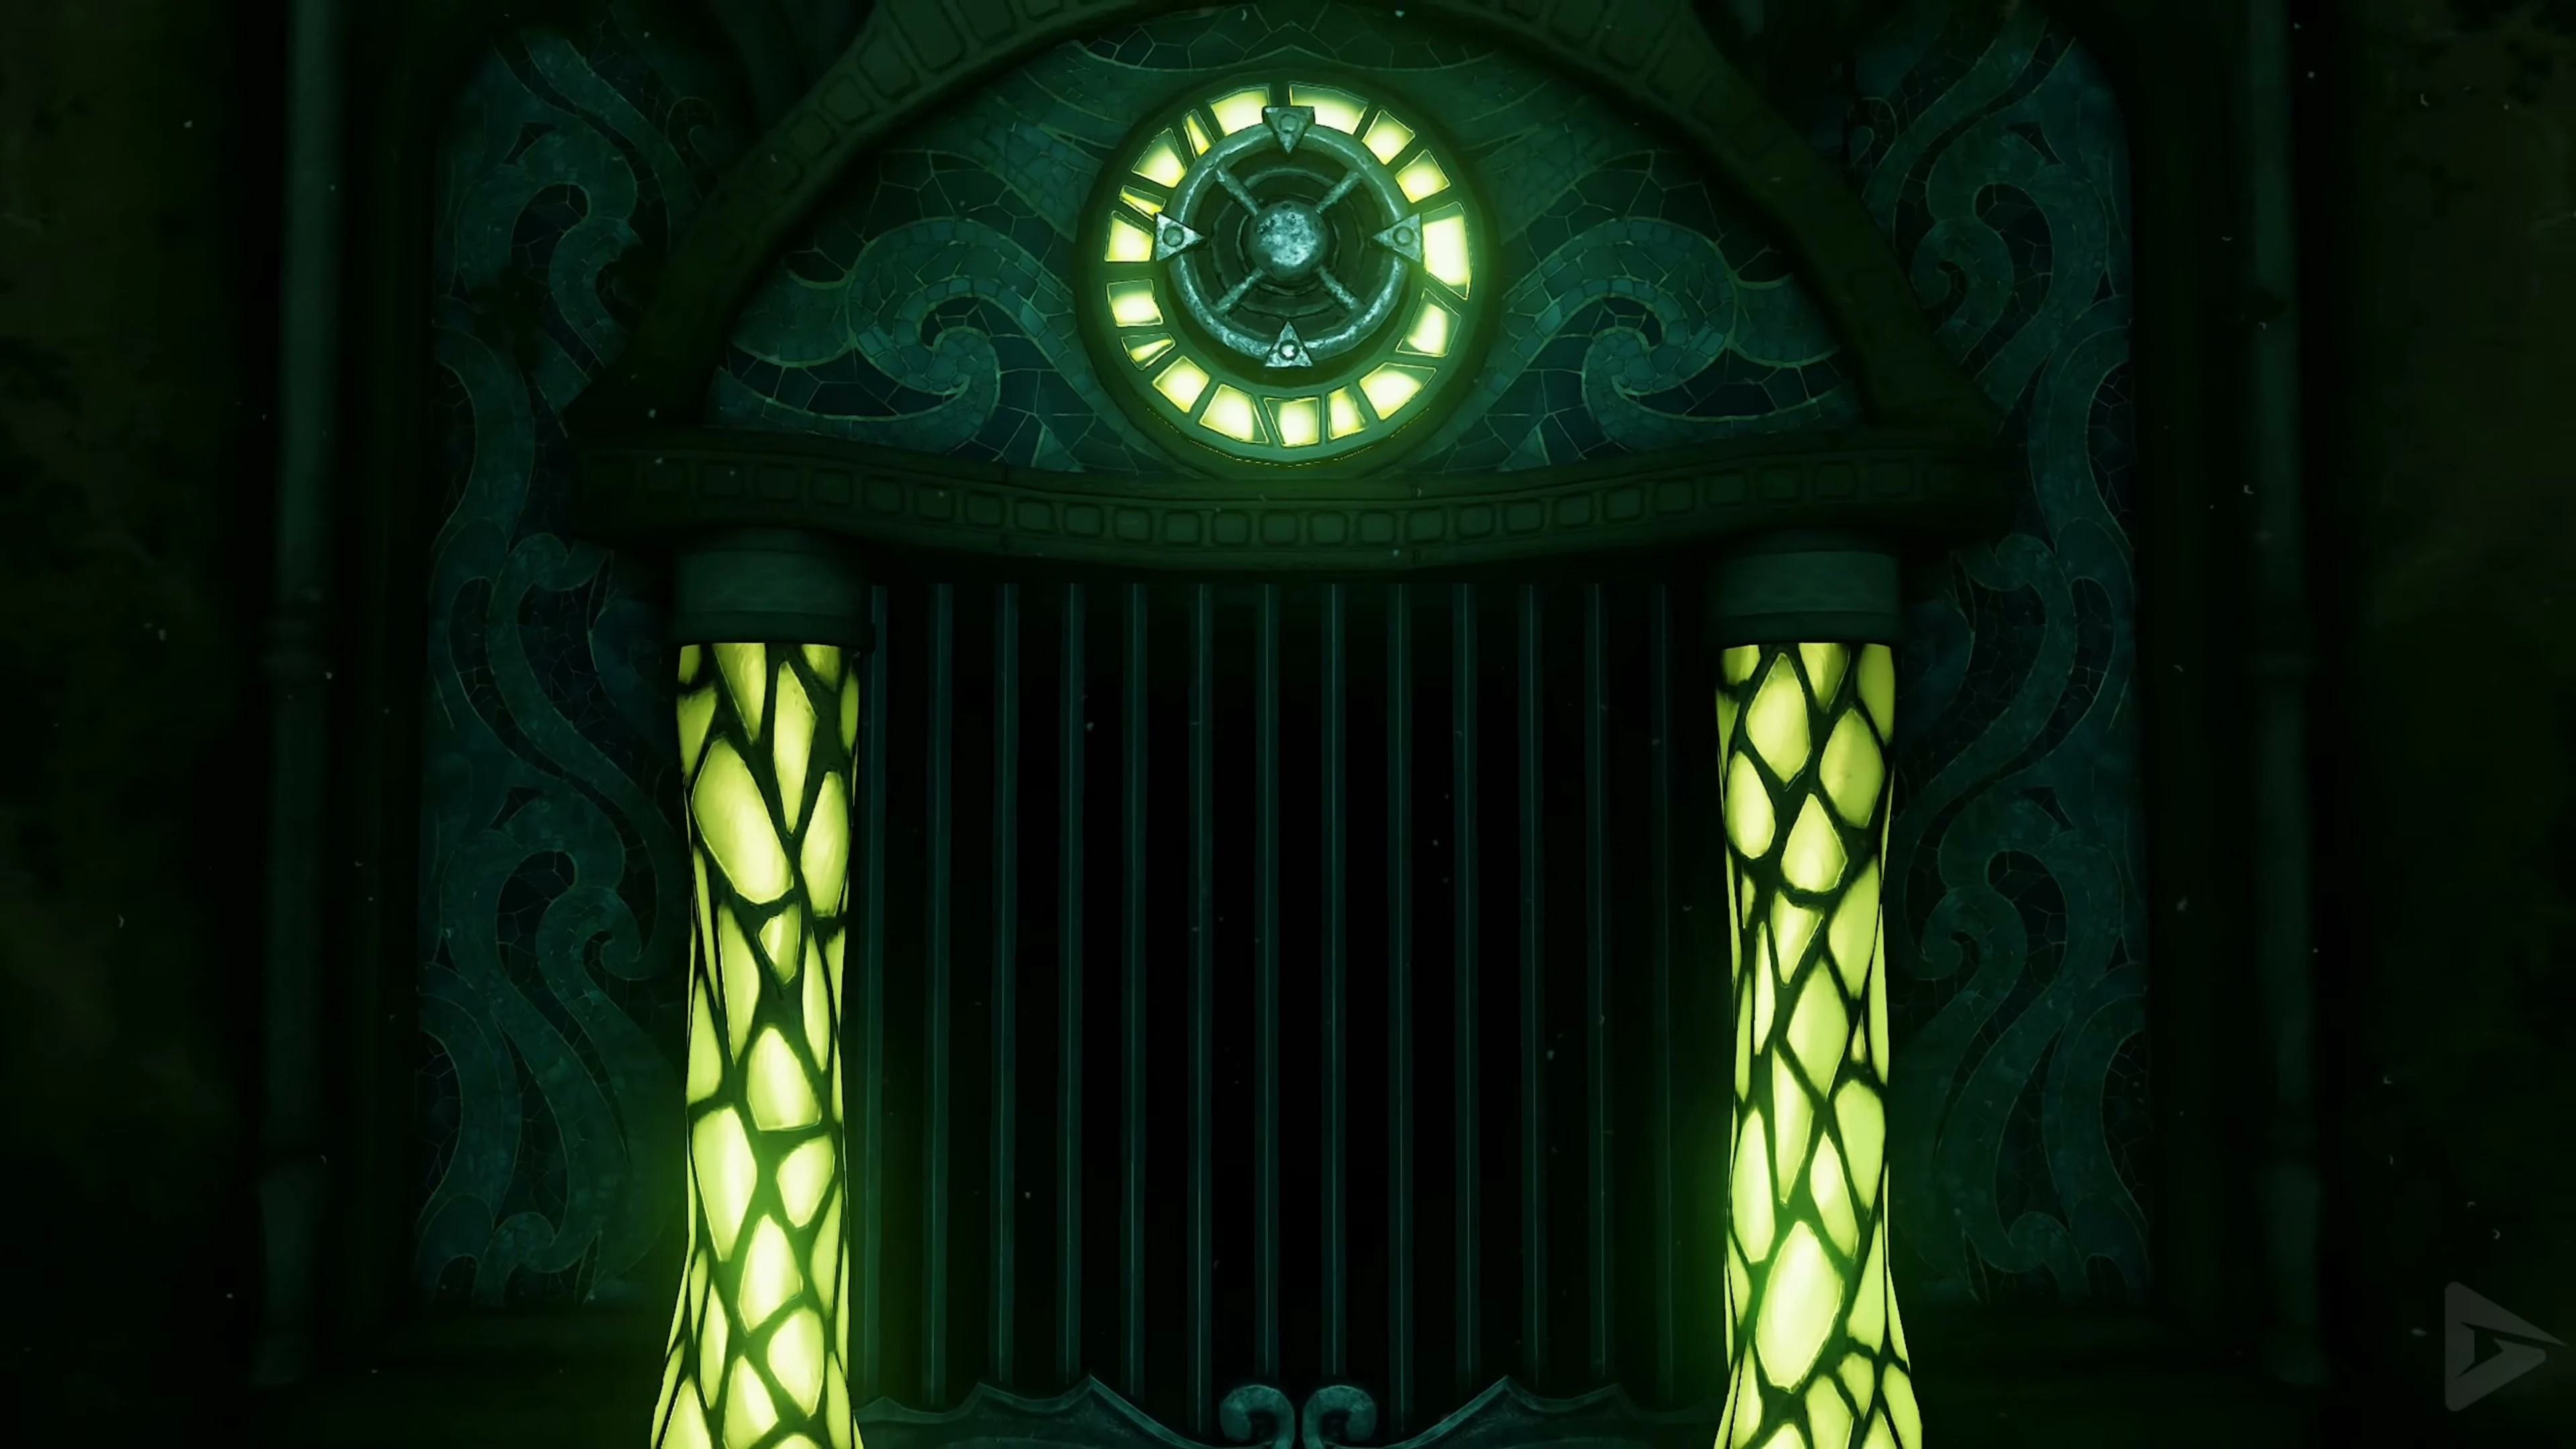
Play the Serenade of Water and travel directly to Lake Hylia. As long as the Water Temple is not yet completed, the lake is almost completely dry. Only around the small island with the warp pedestal is there still a deep pool of water. Jump in and equip the Zora Tunic and the Iron Boots . Link sinks to the bottom and lands directly in front of a locked gate. There is a blue crystal switch above the gate. While you can’t use the Master Sword or Fairy Bow normally underwater, the Hookshot still works. Aim at the crystal and shoot it. The gate will open, and you can enter the Water Temple .
Put your normal boots back on after entering and ascend the shaft to the large main hall. The temple consists of three levels stacked on top of each other and a tall tower in the center. This central tower is your most important landmark. If you lose your bearings during the dungeon, return to this main hall and use the doors around the tower as your guide.
Princess Ruto and the Dungeon Map
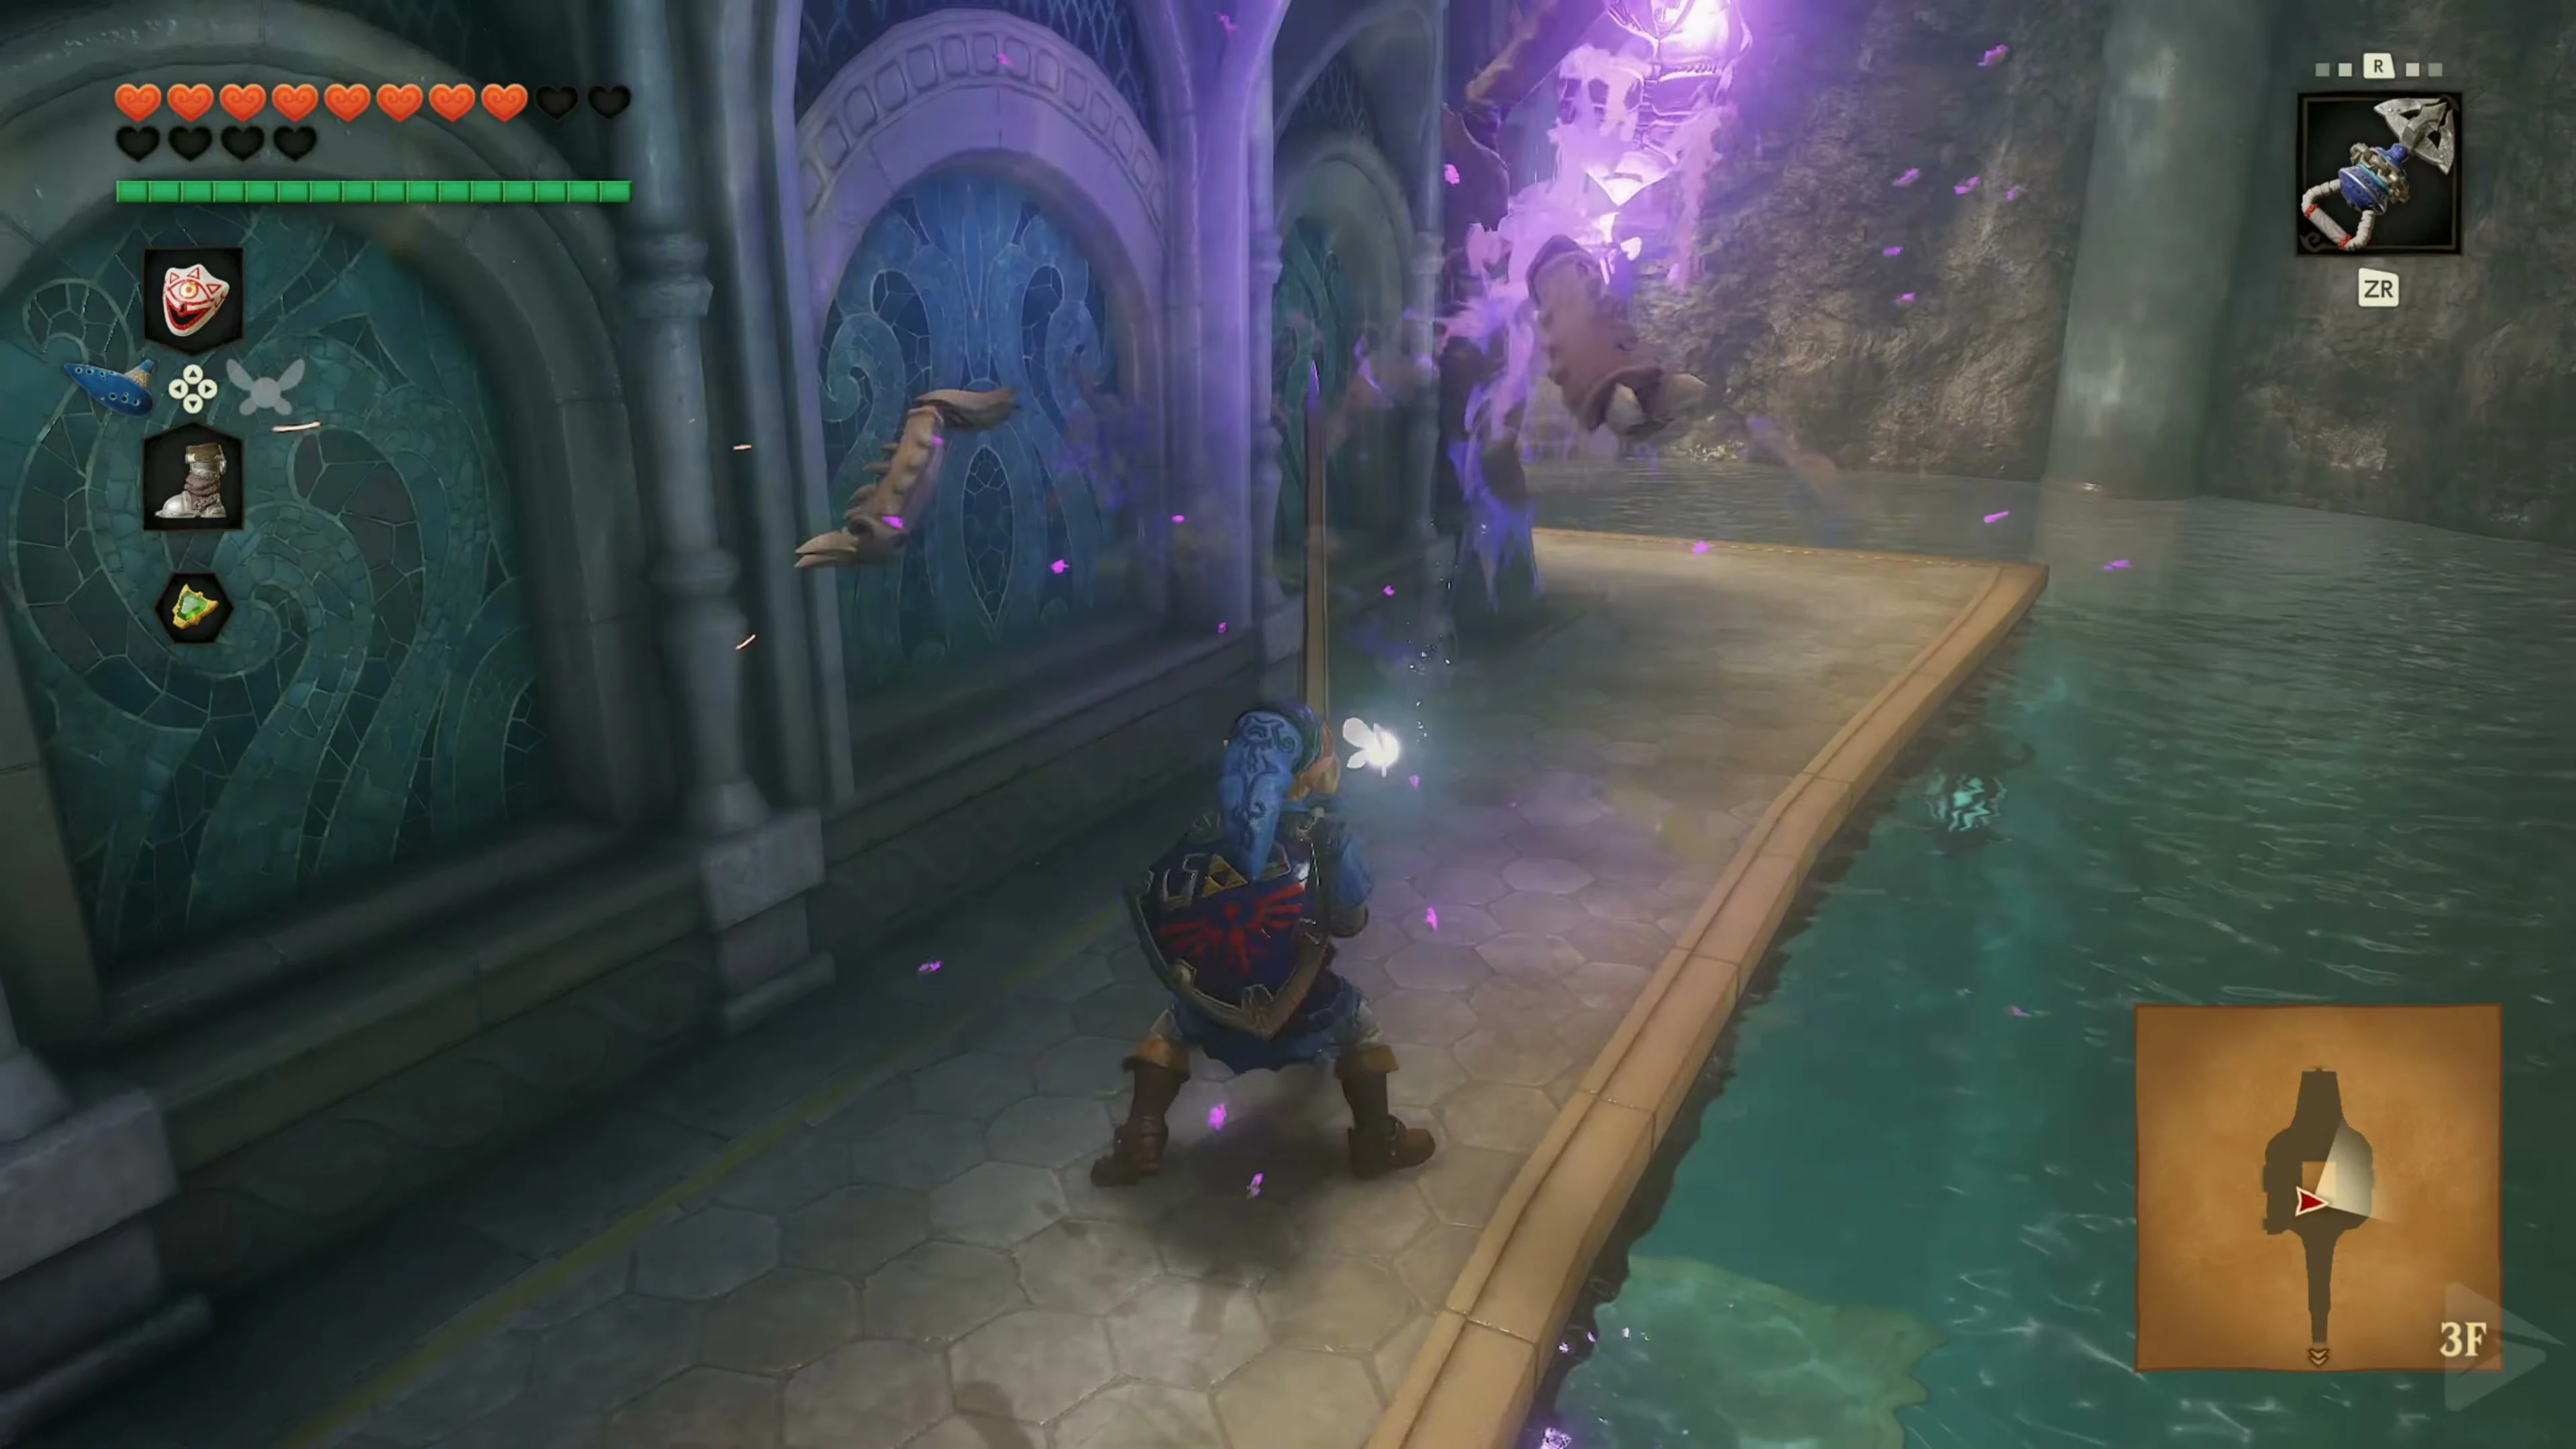
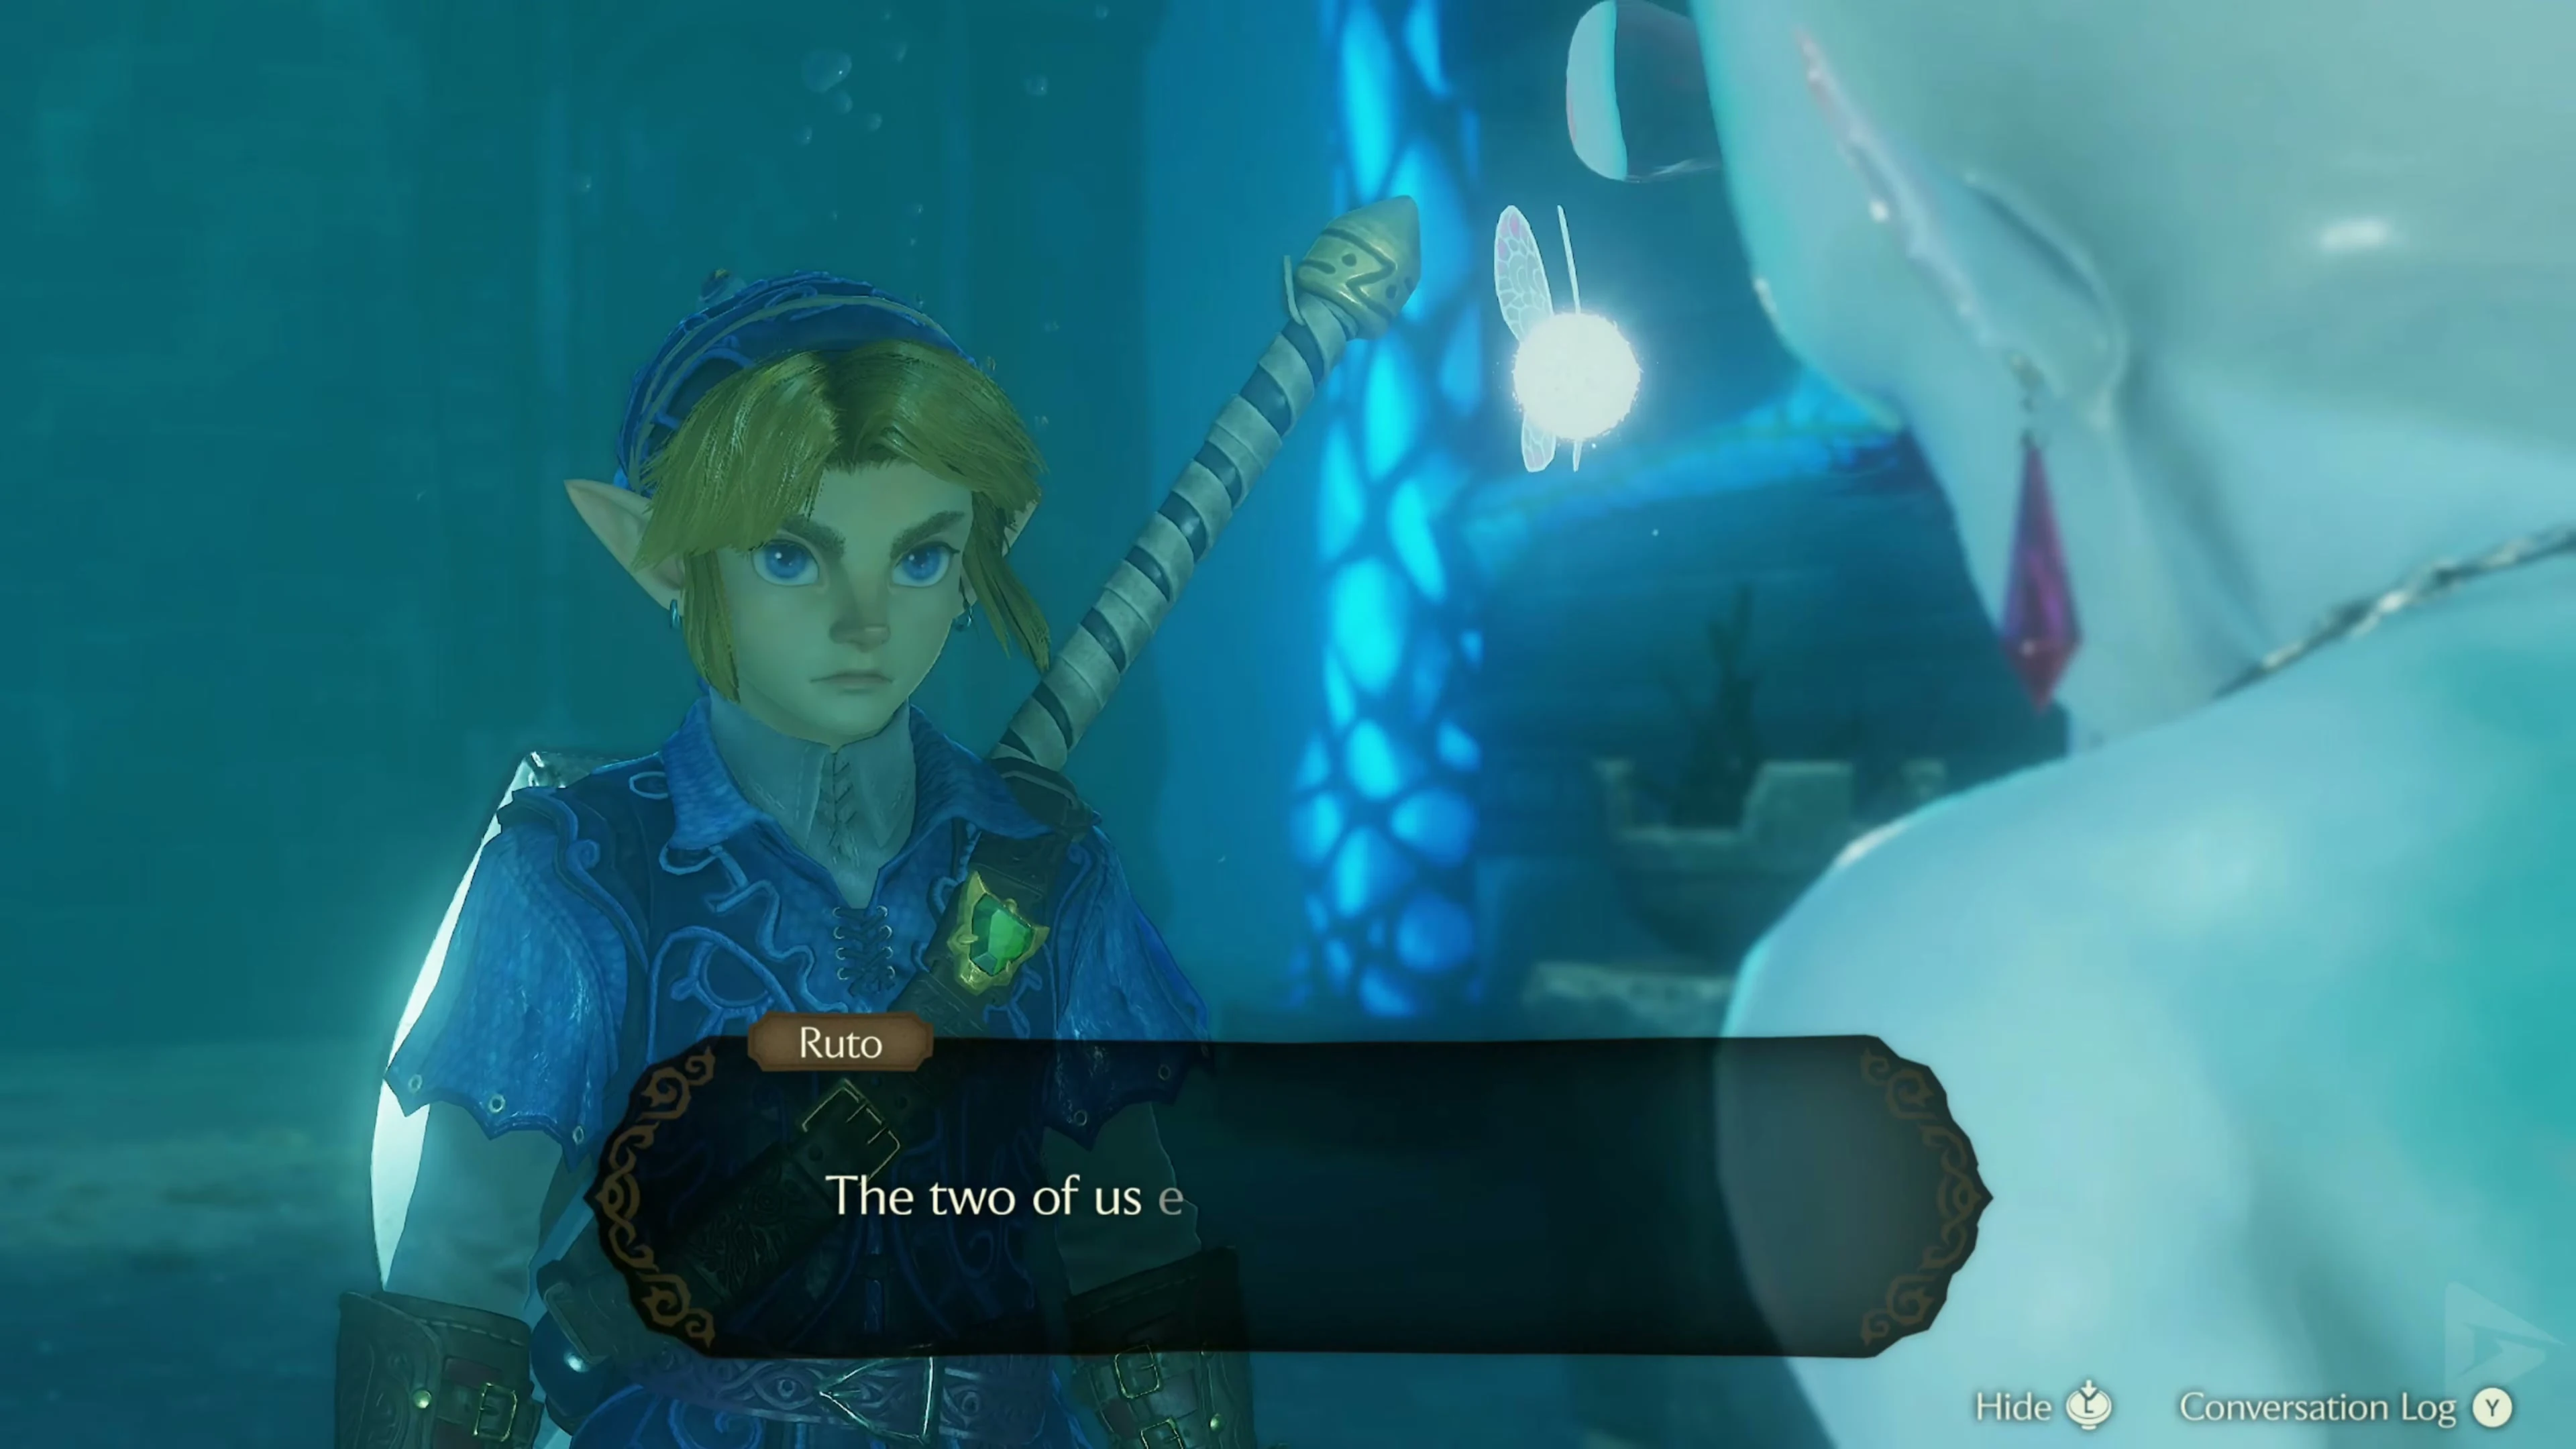
Put on the Iron Boots in the main hall and sink to the bottom. Take the blue-marked East Passage to Ruto. After she swims up the shaft, take off the boots and follow her. At the top, step onto dry land and go through the door.
Open the large chest containing the Dungeon Map. The Triforce Tablet for the lowest water level is located at the top of Ruto’s shaft.
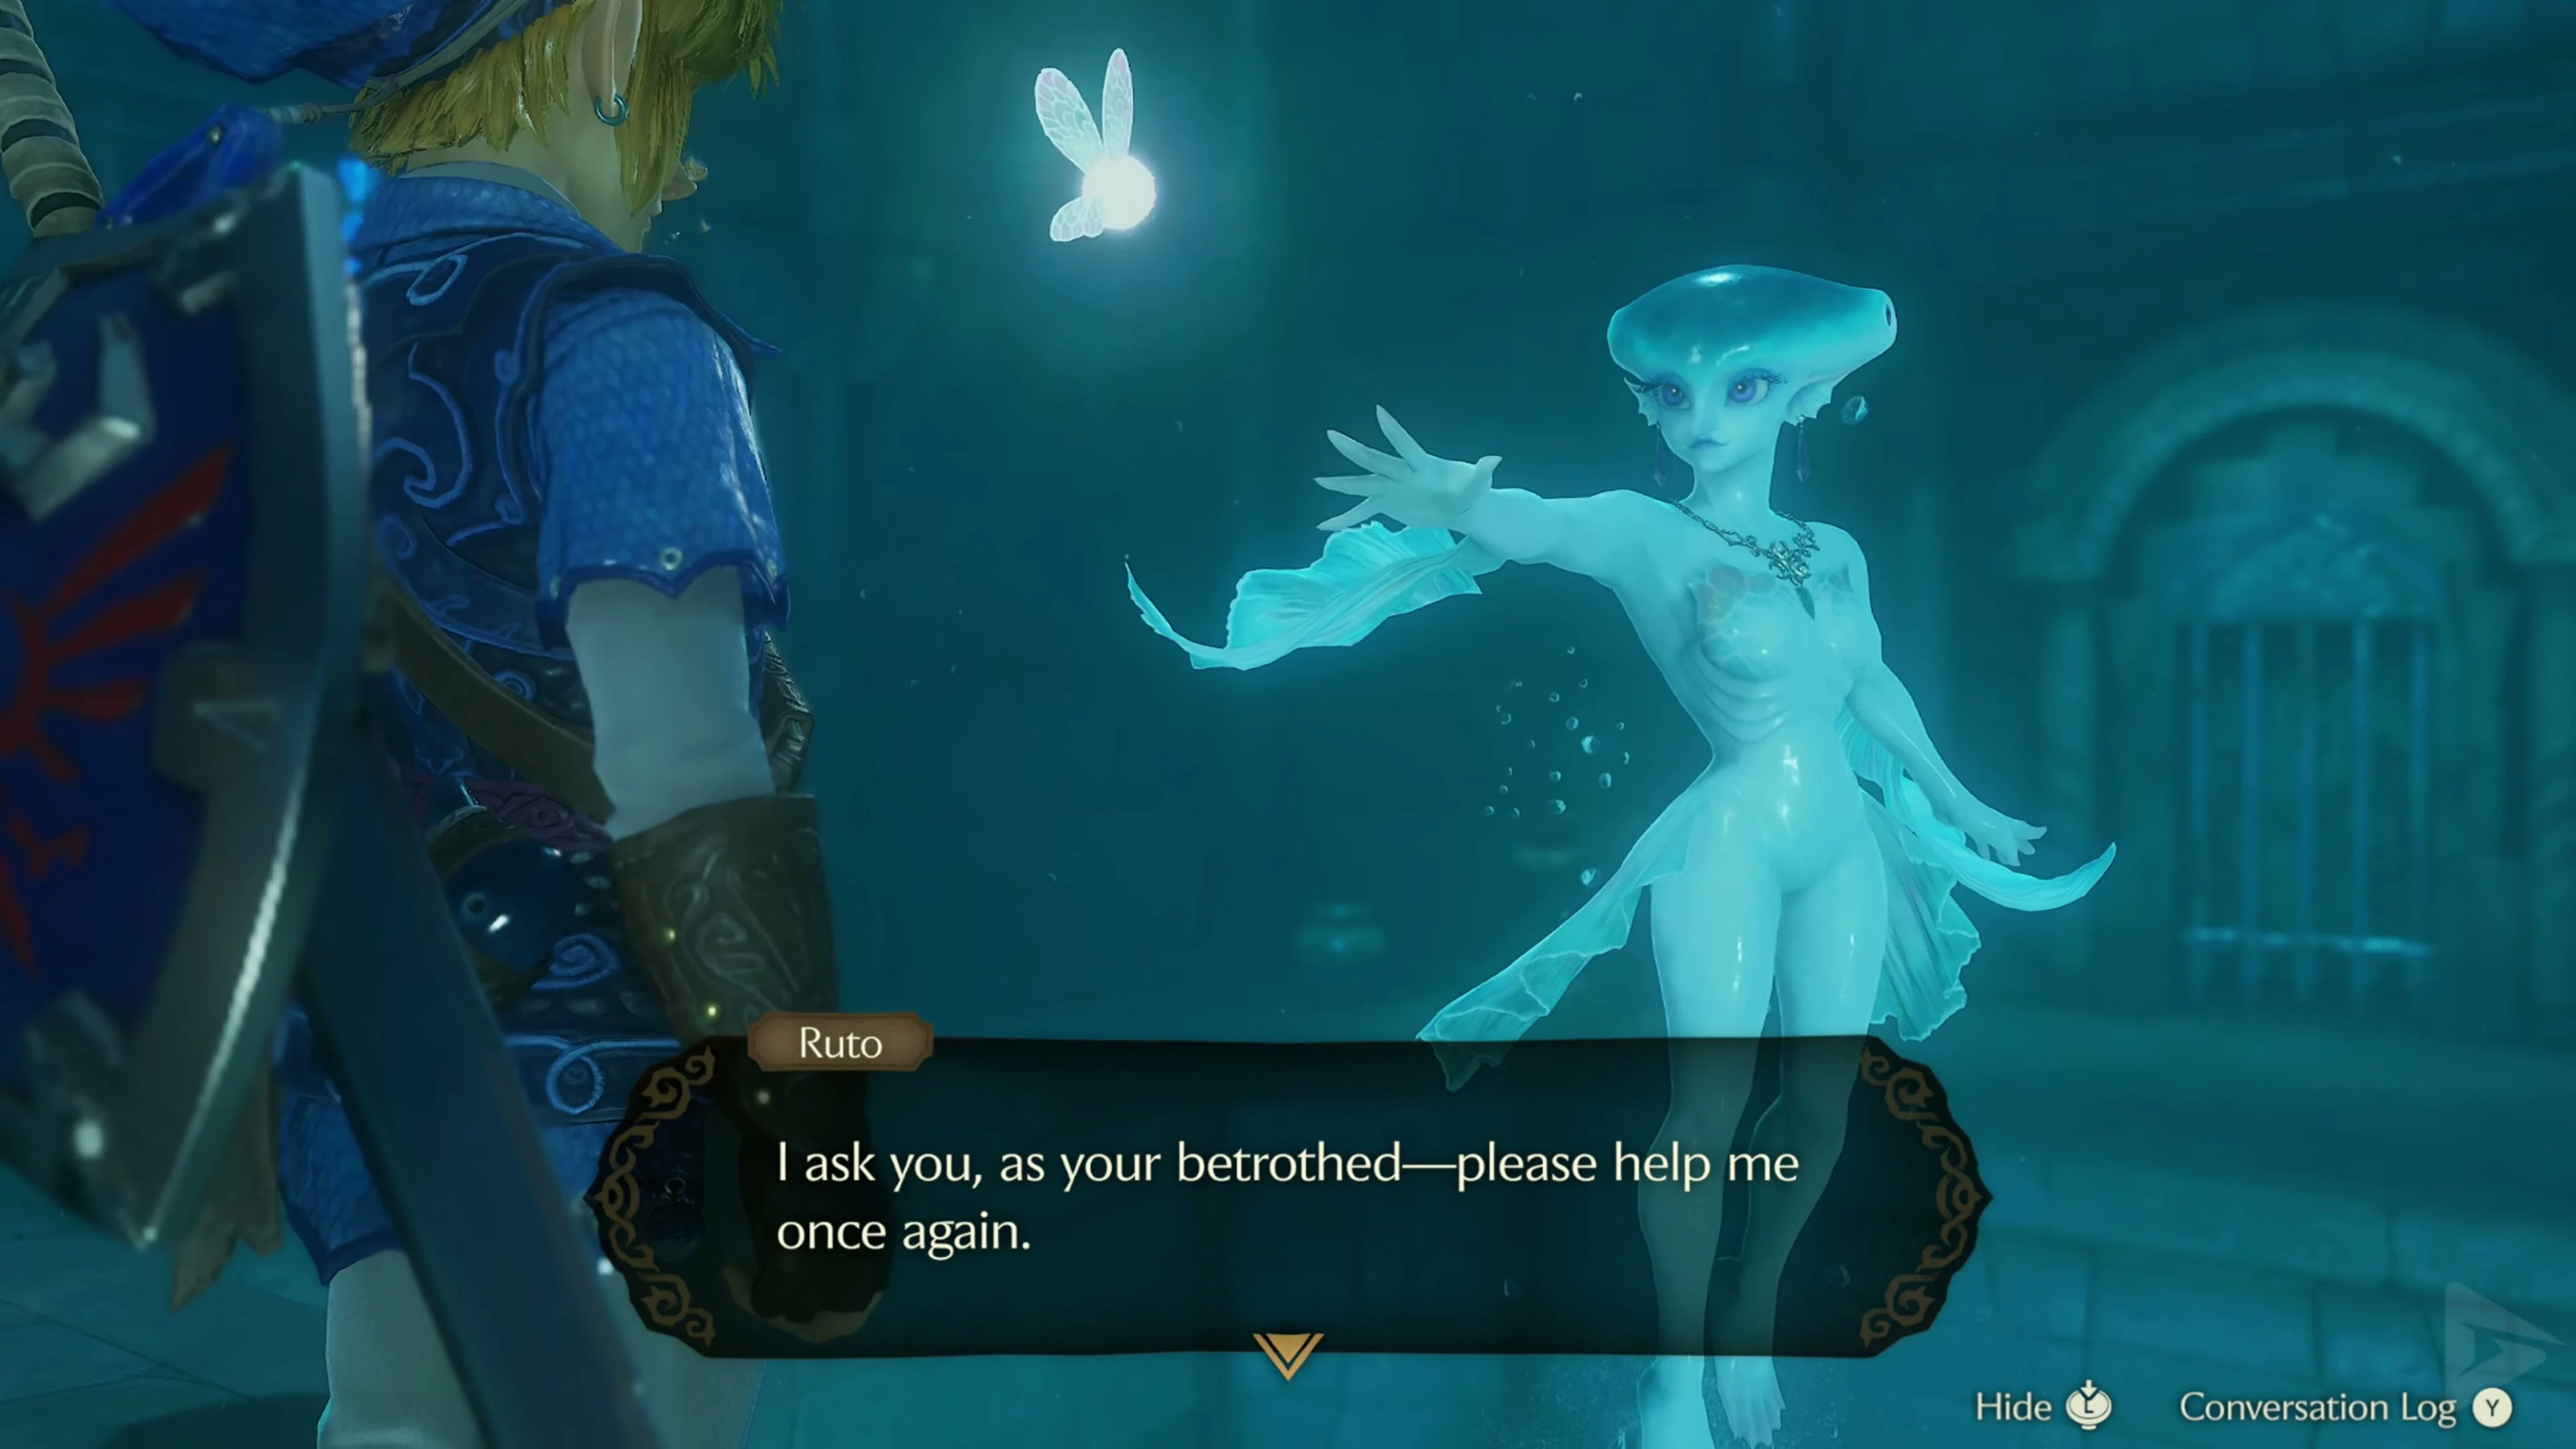
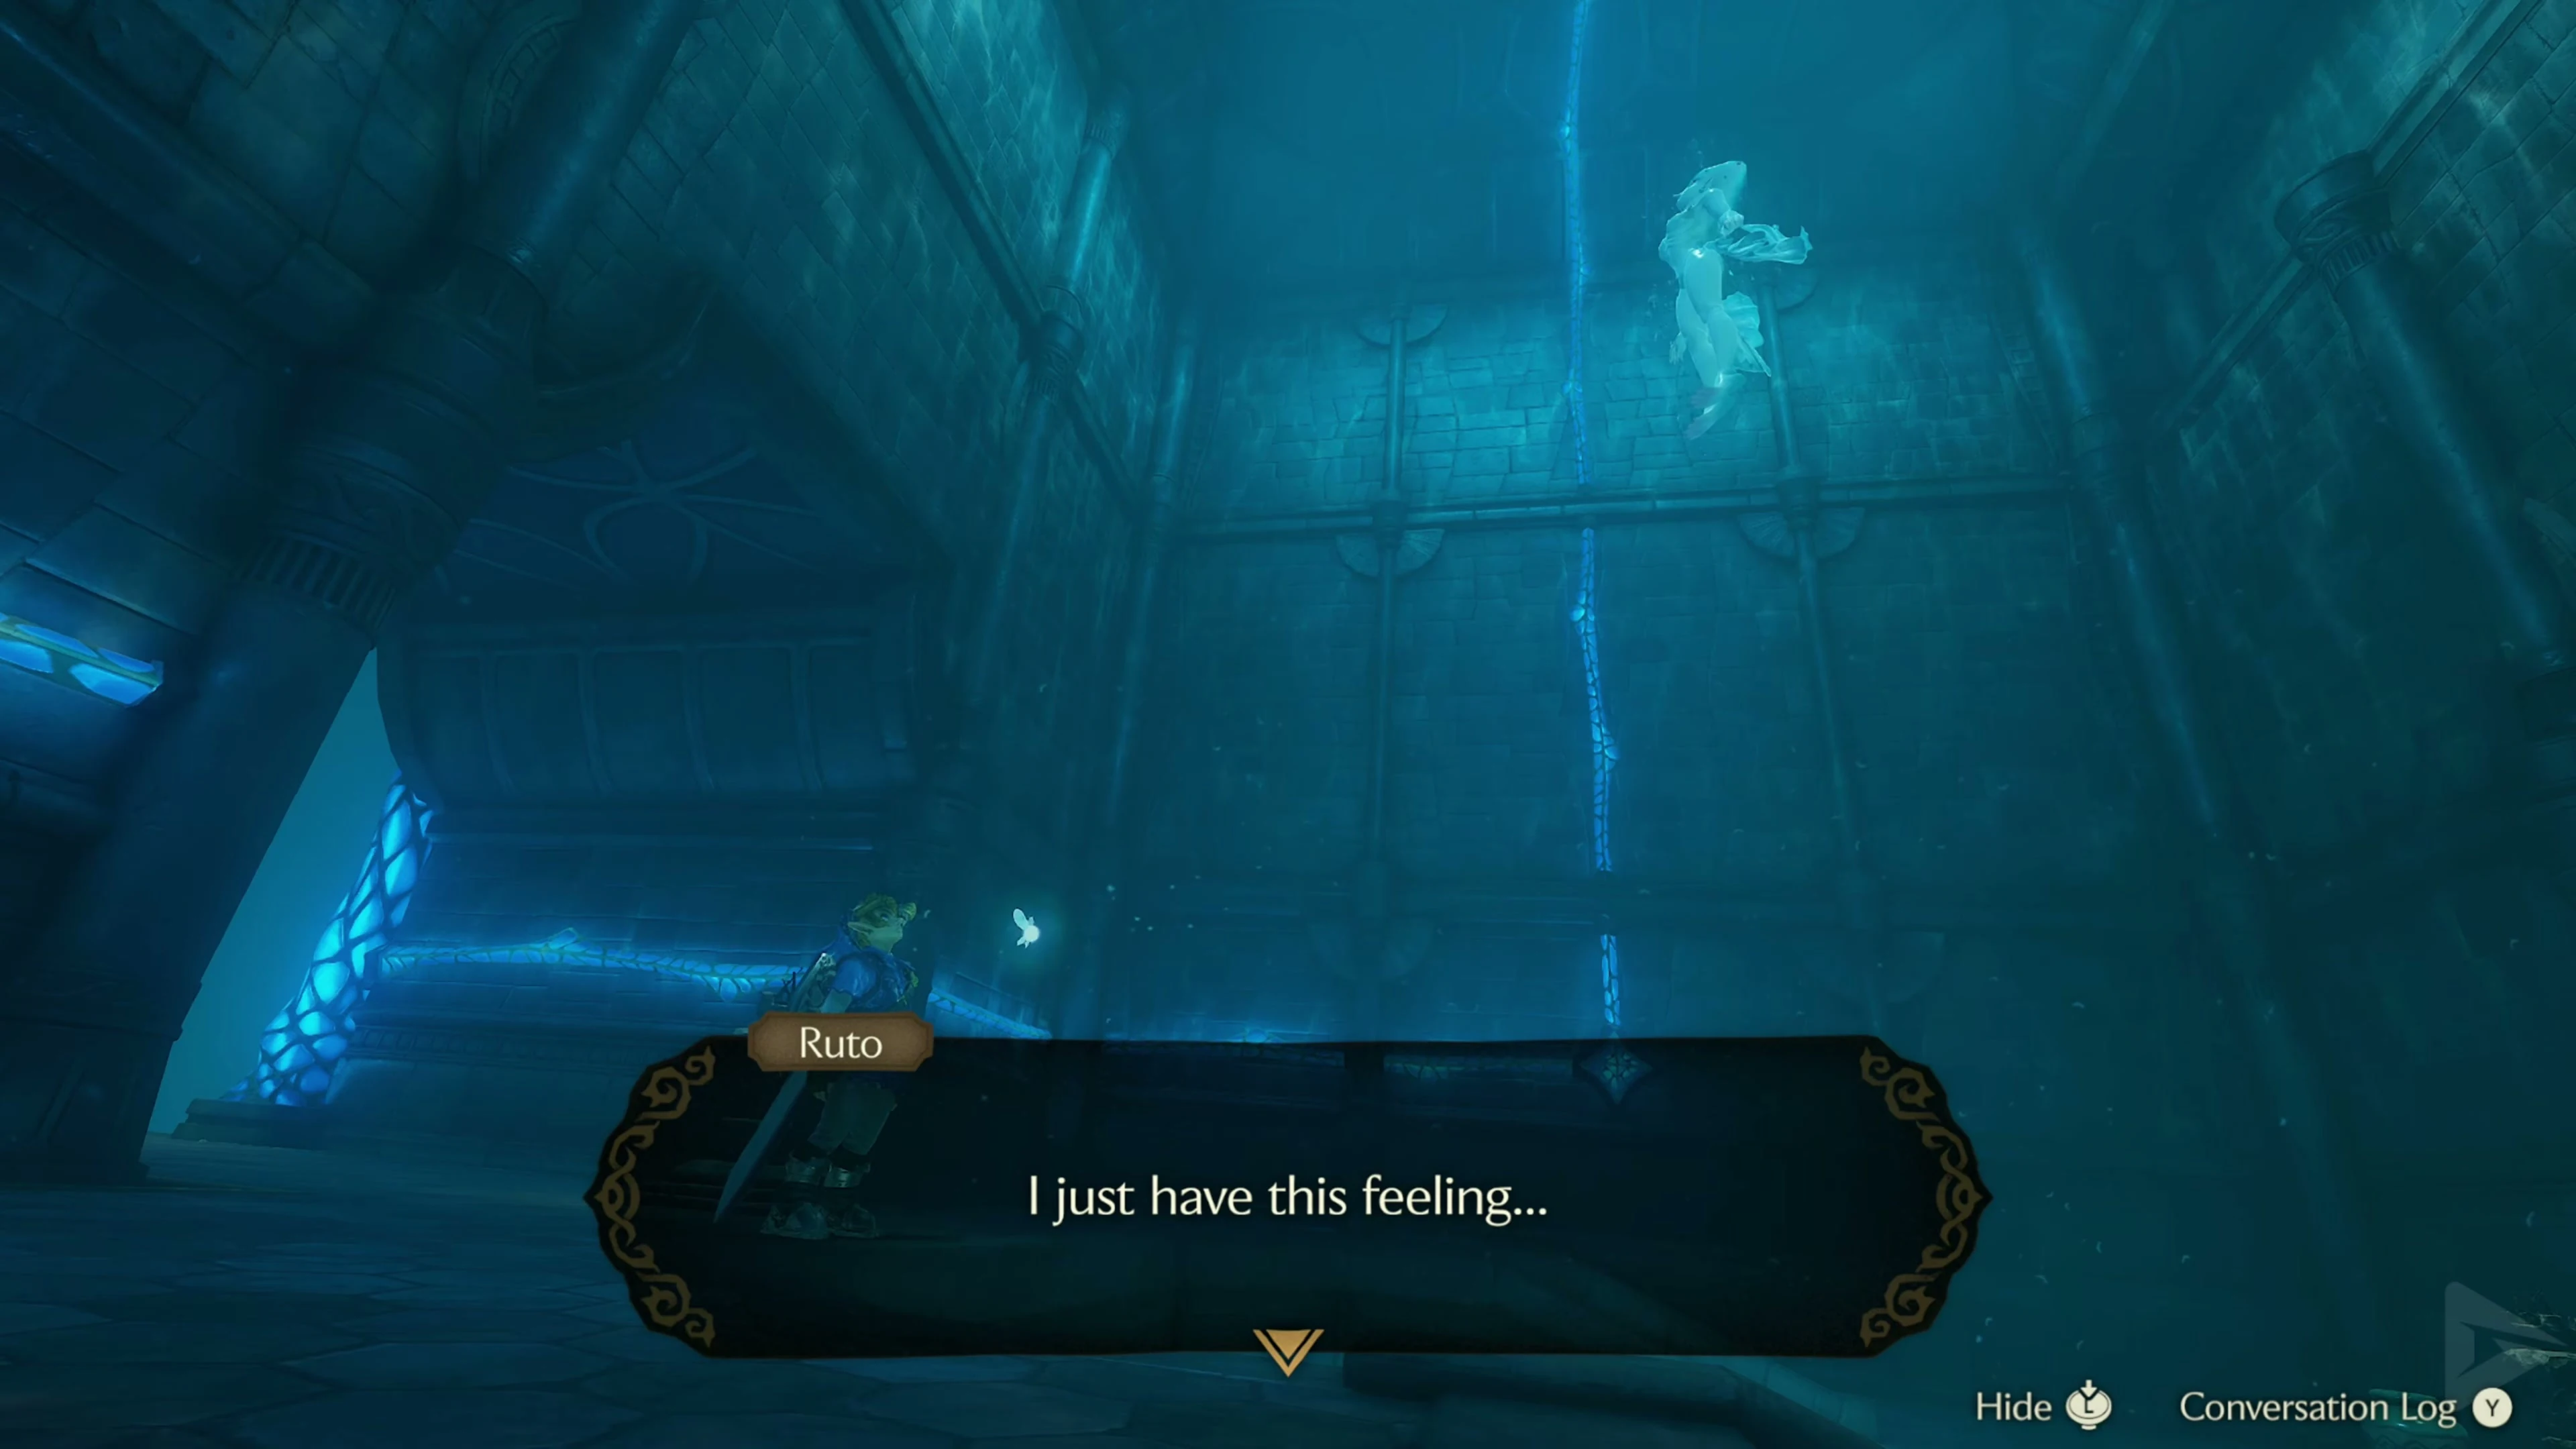
Water Level 1: Lower completely.
Return to the shaft you followed Ruto through. The first Triforce tablet is on the wall. Stand in front of it and play Zelda’s Lullaby . The water almost completely disappears from the temple and sinks to the lowest level. Then jump down the shaft. This jump is intentional and causes no fall damage. At the bottom, in the center of the room, is a lit torch. The two torches next to the locked door are extinguished. Position yourself so that you can see the flame between Link and one of the unlit torches, and shoot an Arrow through the fire. Repeat this process on the other side. Once both torches are lit simultaneously, the door will open. Alternatively, if you want to conserve Arrows, you can stand between the three torches and use Din’s Fire .
First Small Key
Behind the torches, three spiked stones roll towards you. Hold up your shield and wait until the first ball hits it and retracts its spikes. Give it a quick sword strike at that moment. Repeat this with the other two. After that, the small chest containing Small Key 1/4 will appear.
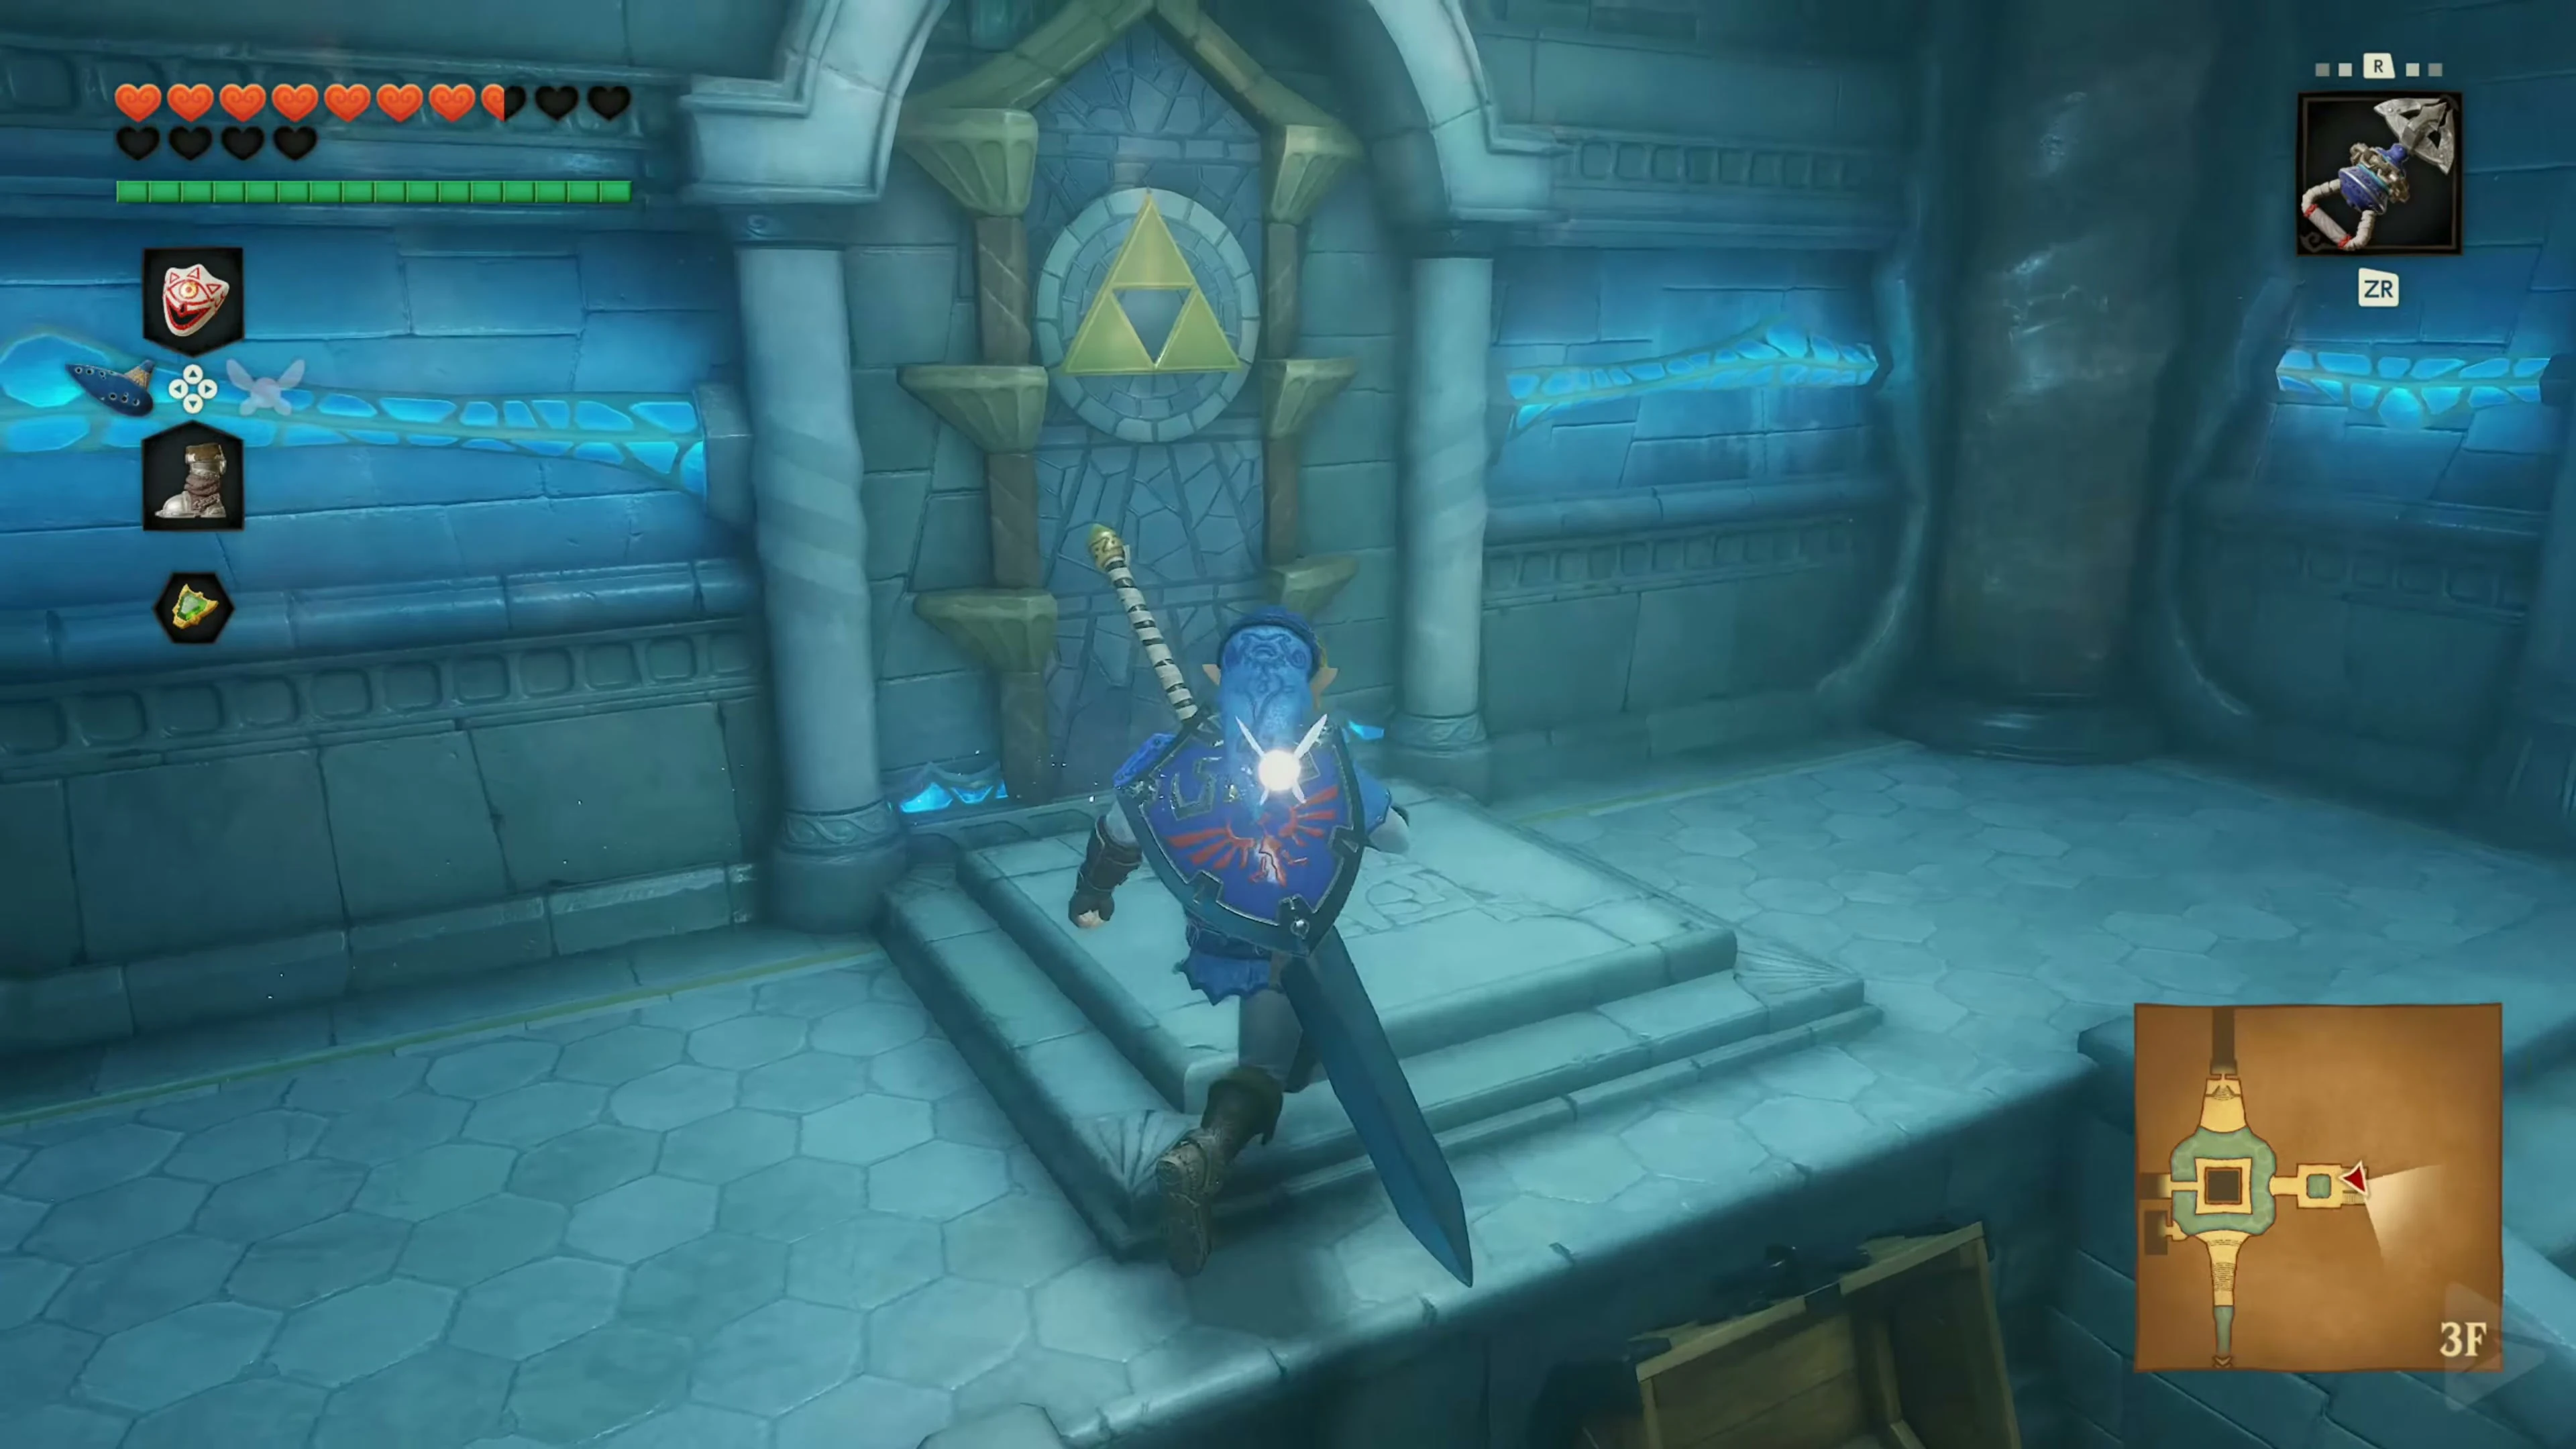
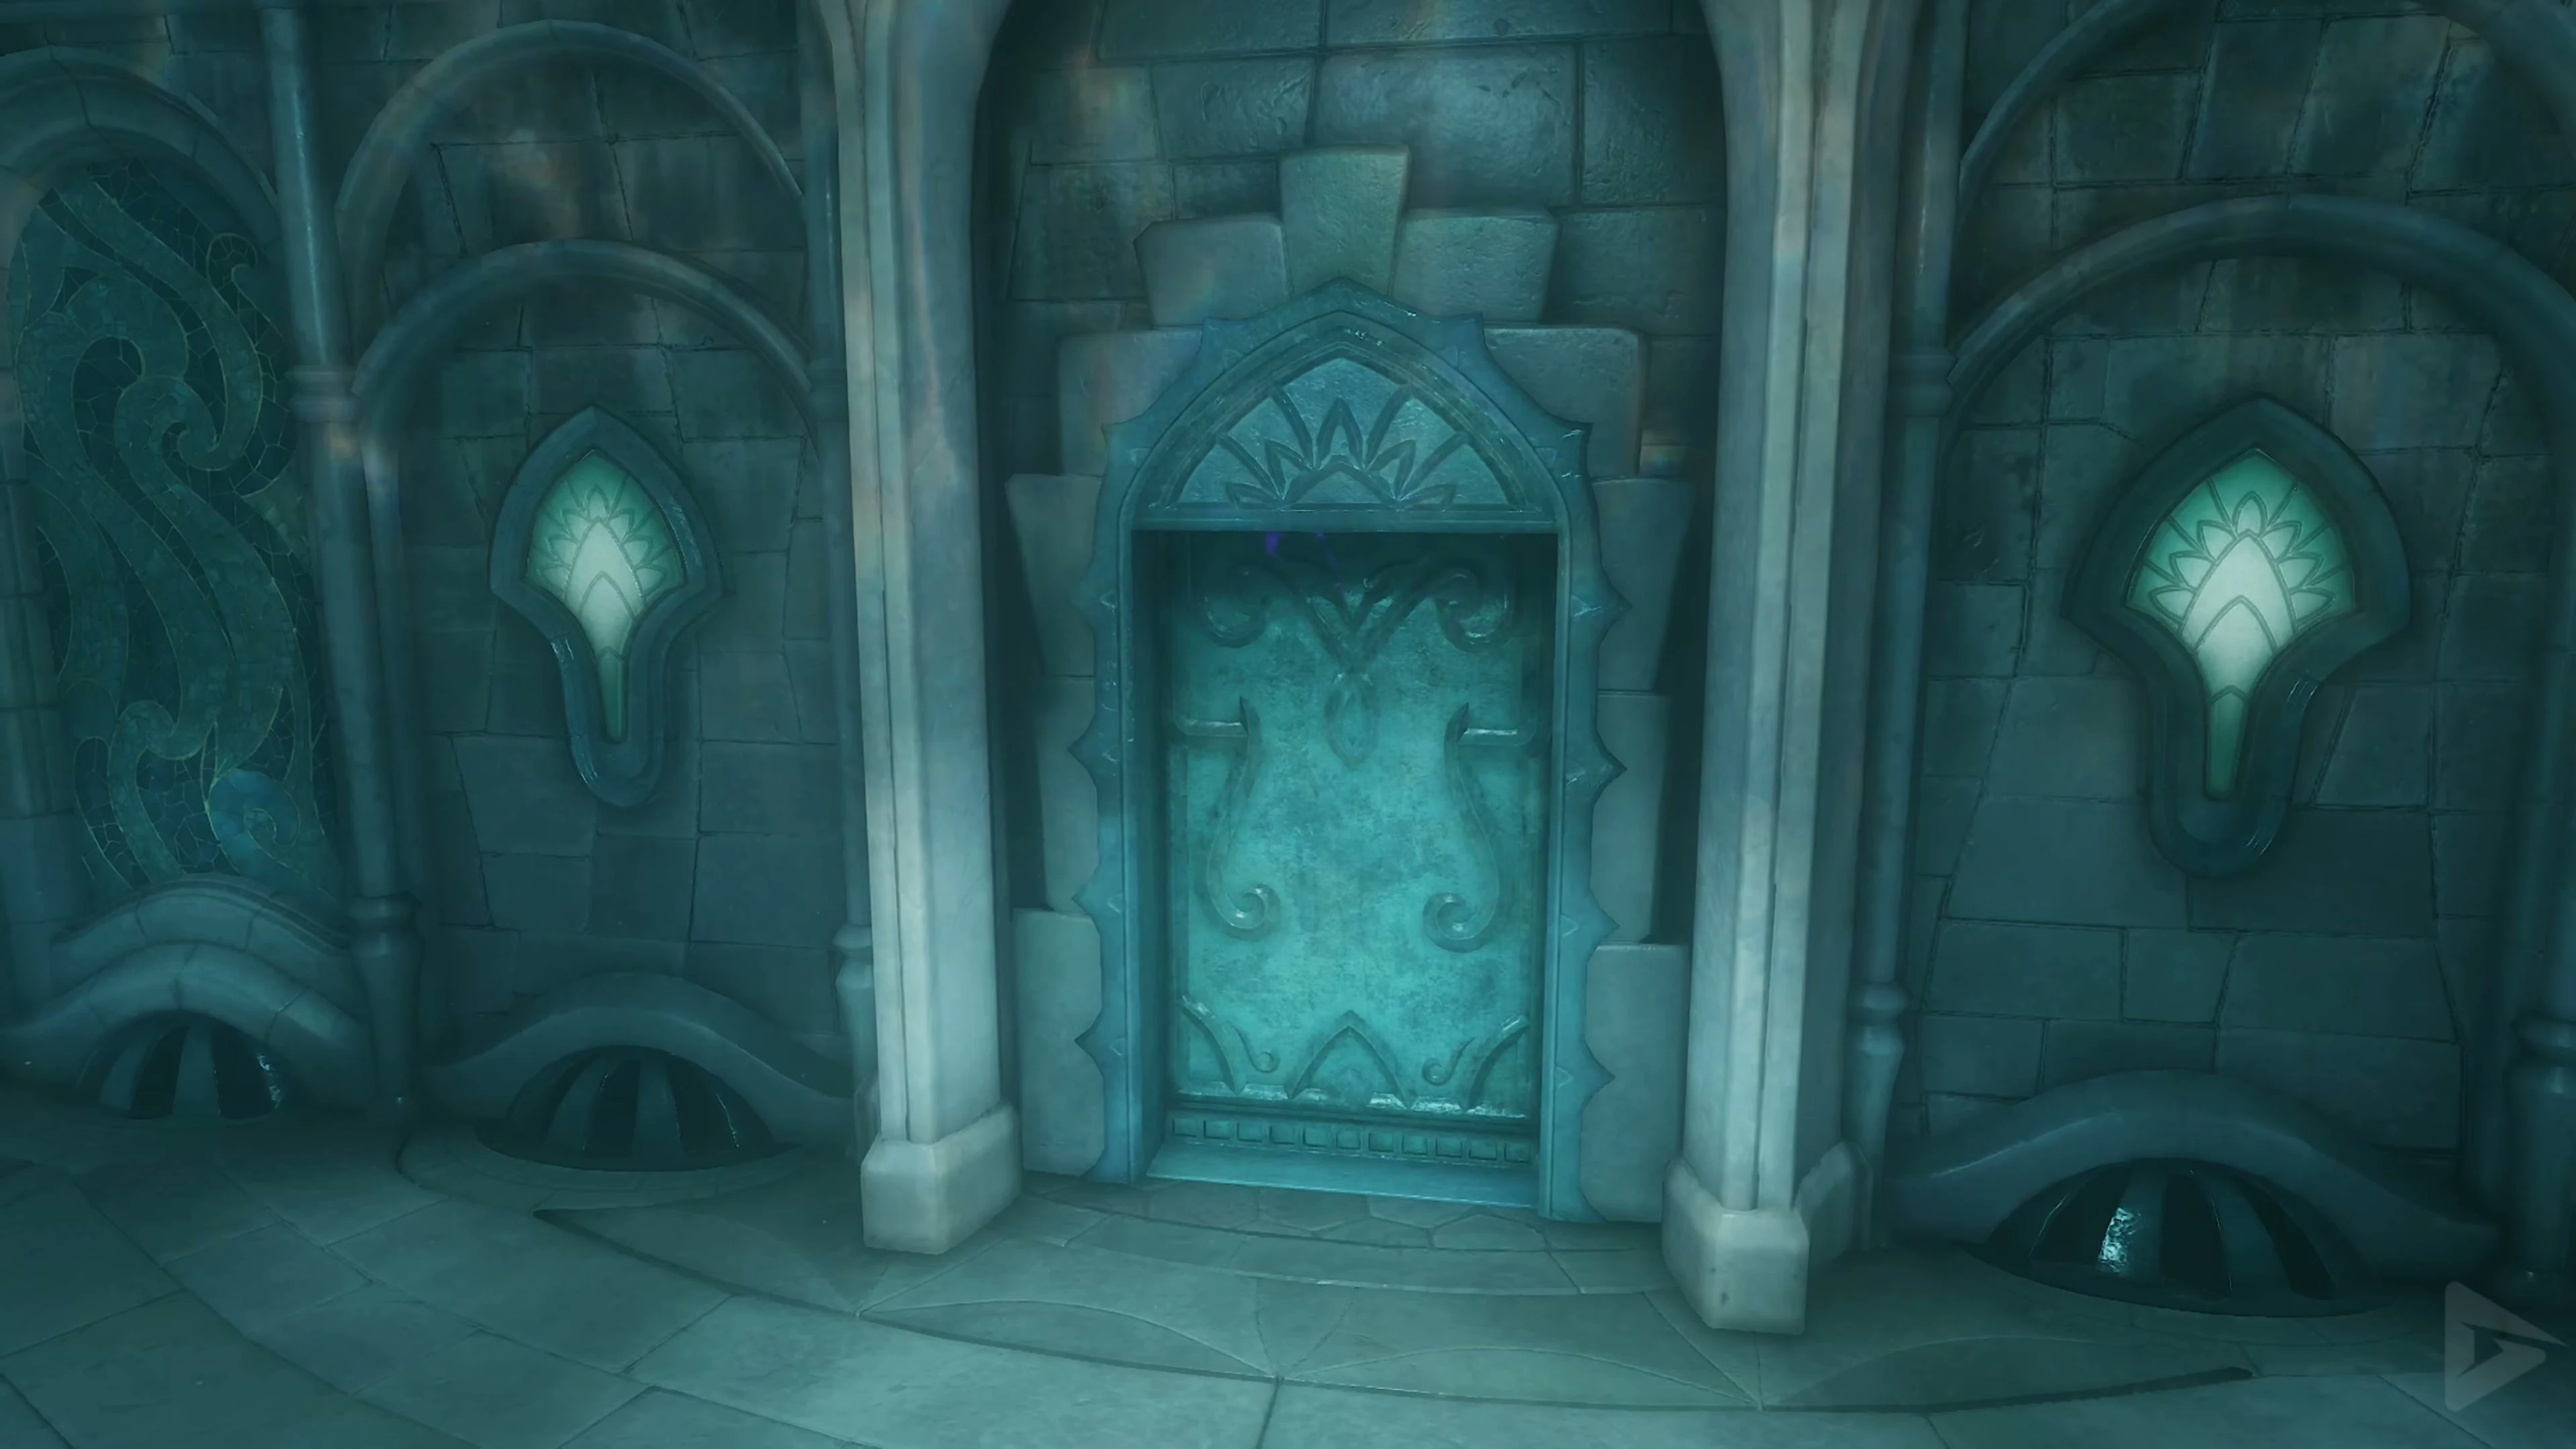
South passage to the Compass and West passage to the Stone Serpent
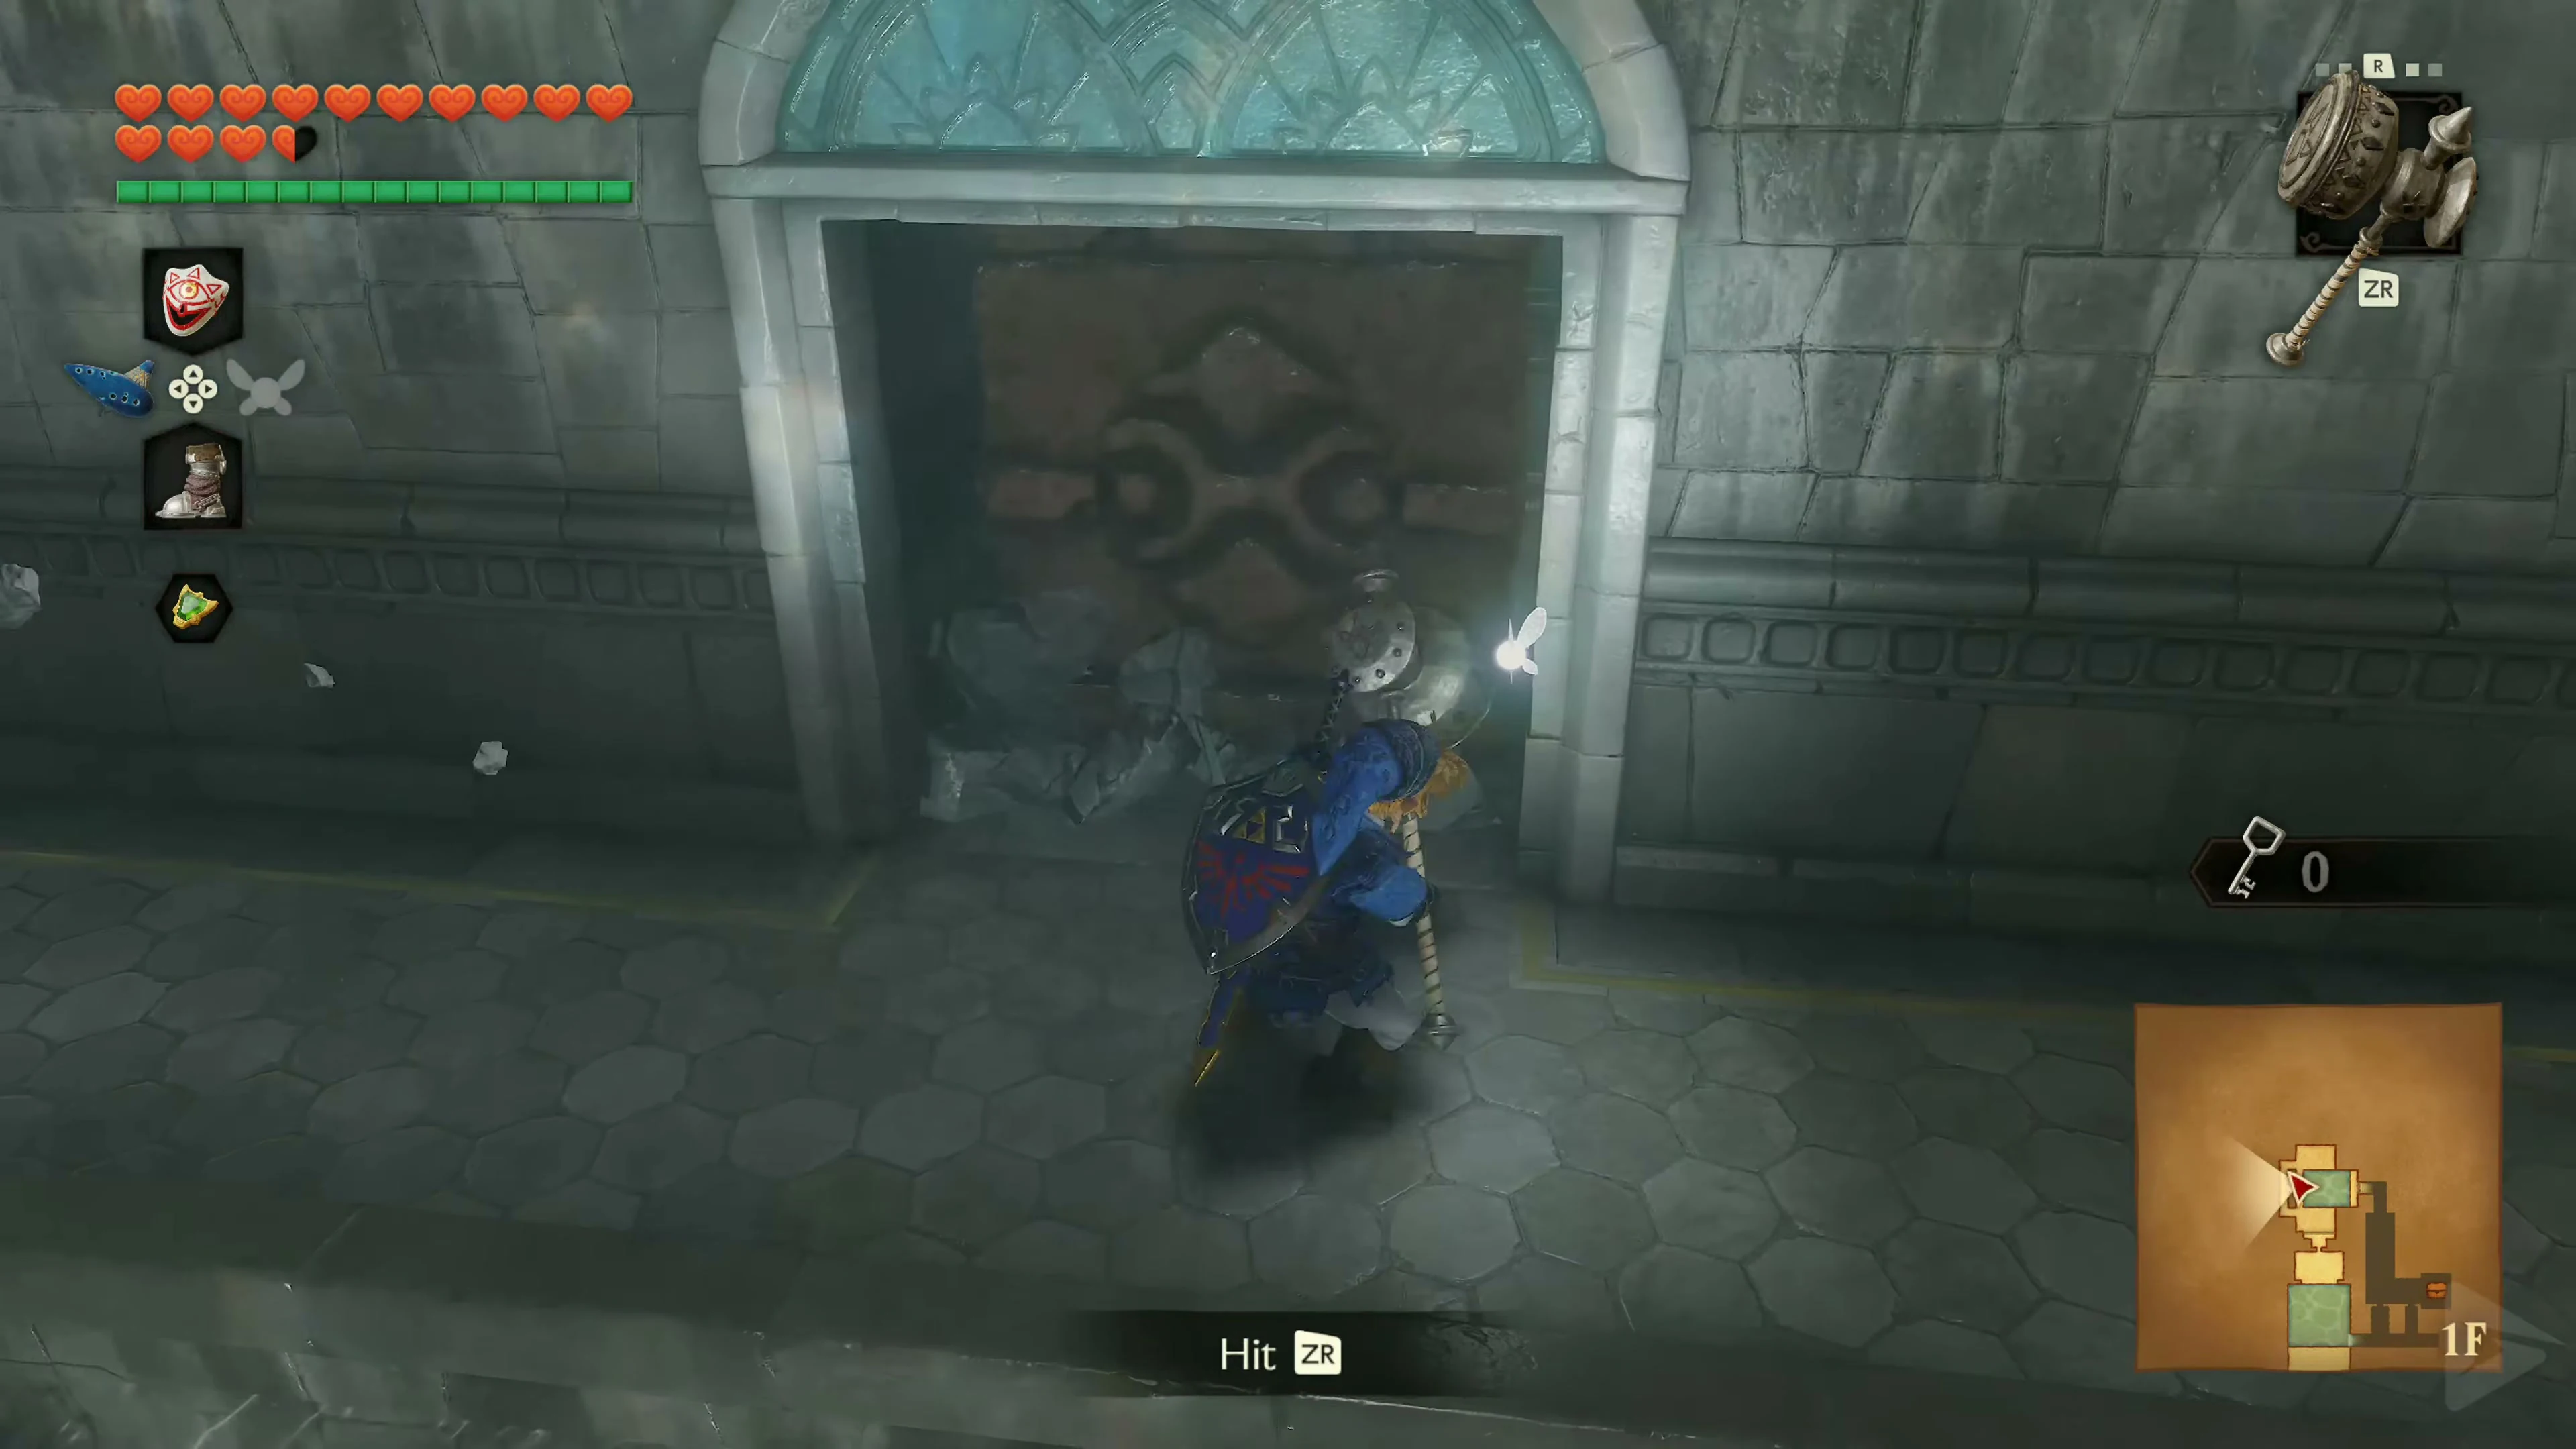
Go back to the main hall and blast the crumbling south wall at the bottom. . Sink into the pool wearing the Iron Boots and hit the shell with the Hookshot as soon as it opens. Climb out of the water at the end and step on the switch. Use the raised anchor to pull yourself towards two crabs. Clear them out and use one of the two western anchors to reach the large chest containing the Compass . A quick strike followed by a backflip will help you get to the Like Like.
Return to the main hall the same way you came. In the West Passage , push the brown block over the edge and dive after it. When the shell opens, hit it with the Hookshot. At the end of the passage, take off your boots and surface in the pool with the stone snake. Float across the snake’s body and sink back down using the Iron Boots.
From the snake’s body, hit the crystal in its mouth with the Hookshot. As soon as the gate opposite rises, take off the boots and swim across. If the current threatens to push you away, briefly put the boots back on. Defeat the two shells behind the gate, climb up the west wall, and take the Small Key 2/4 from the chest.
Water Level 2: to the middle level
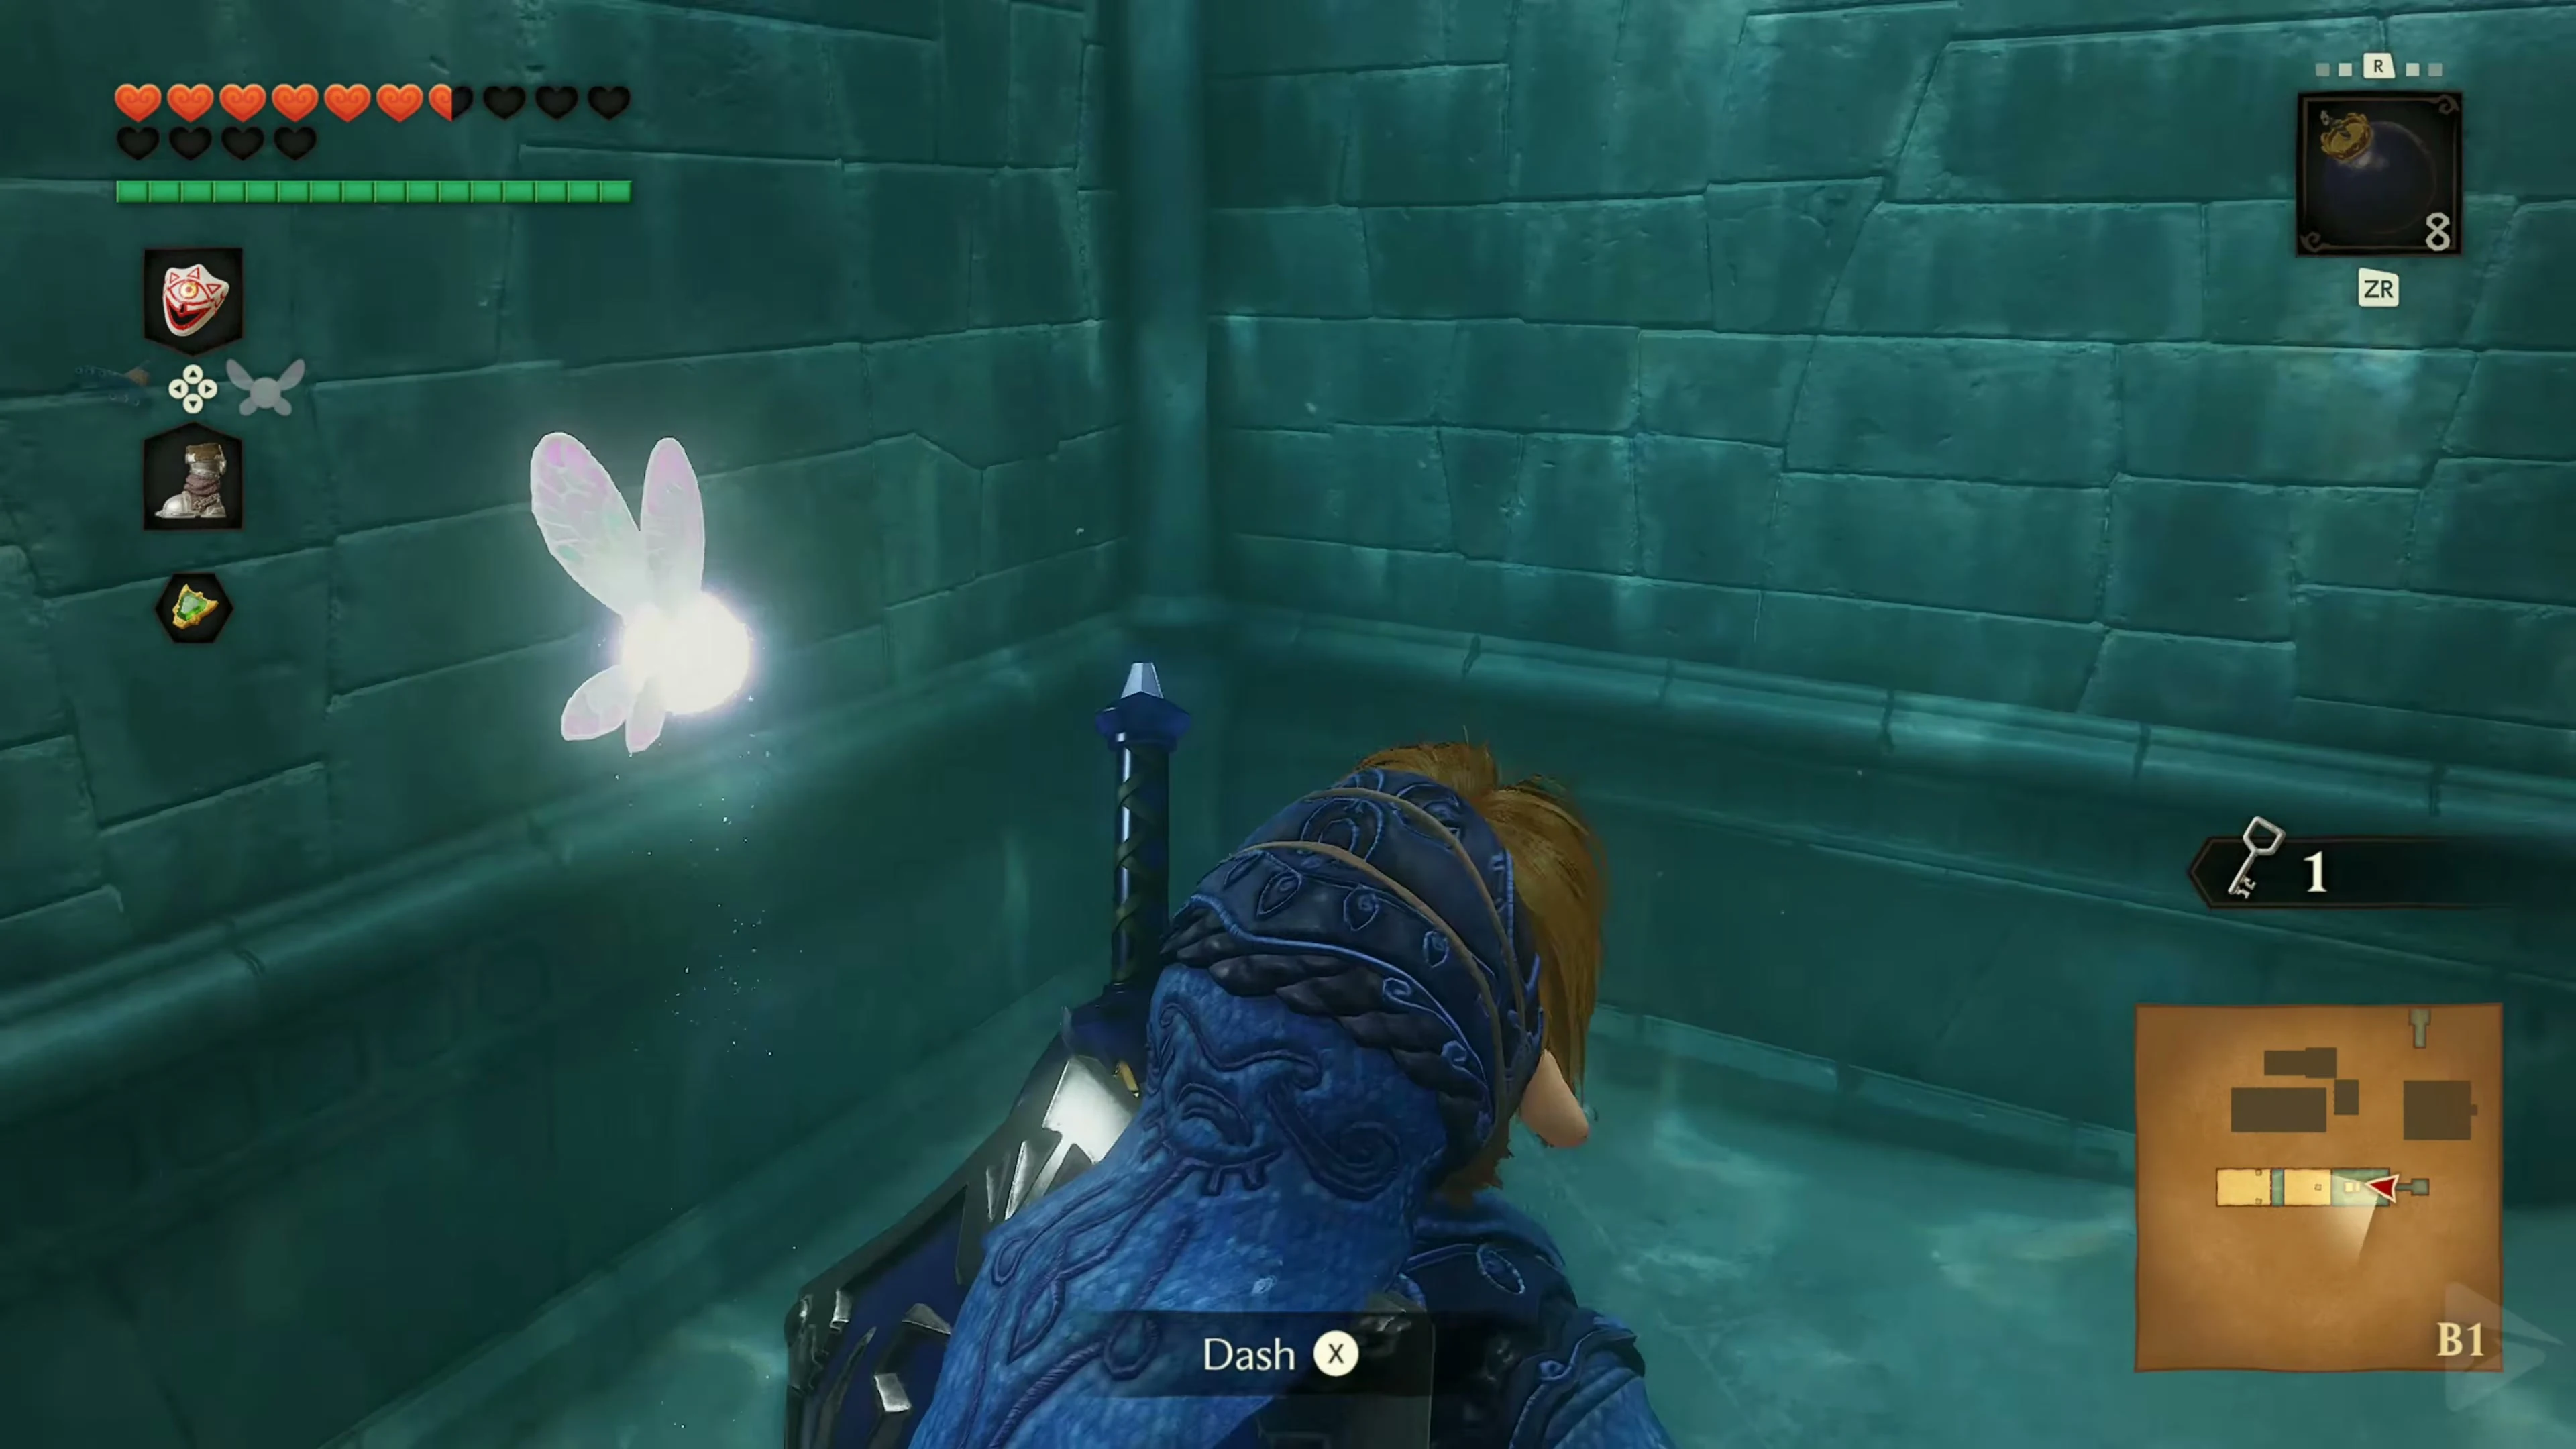
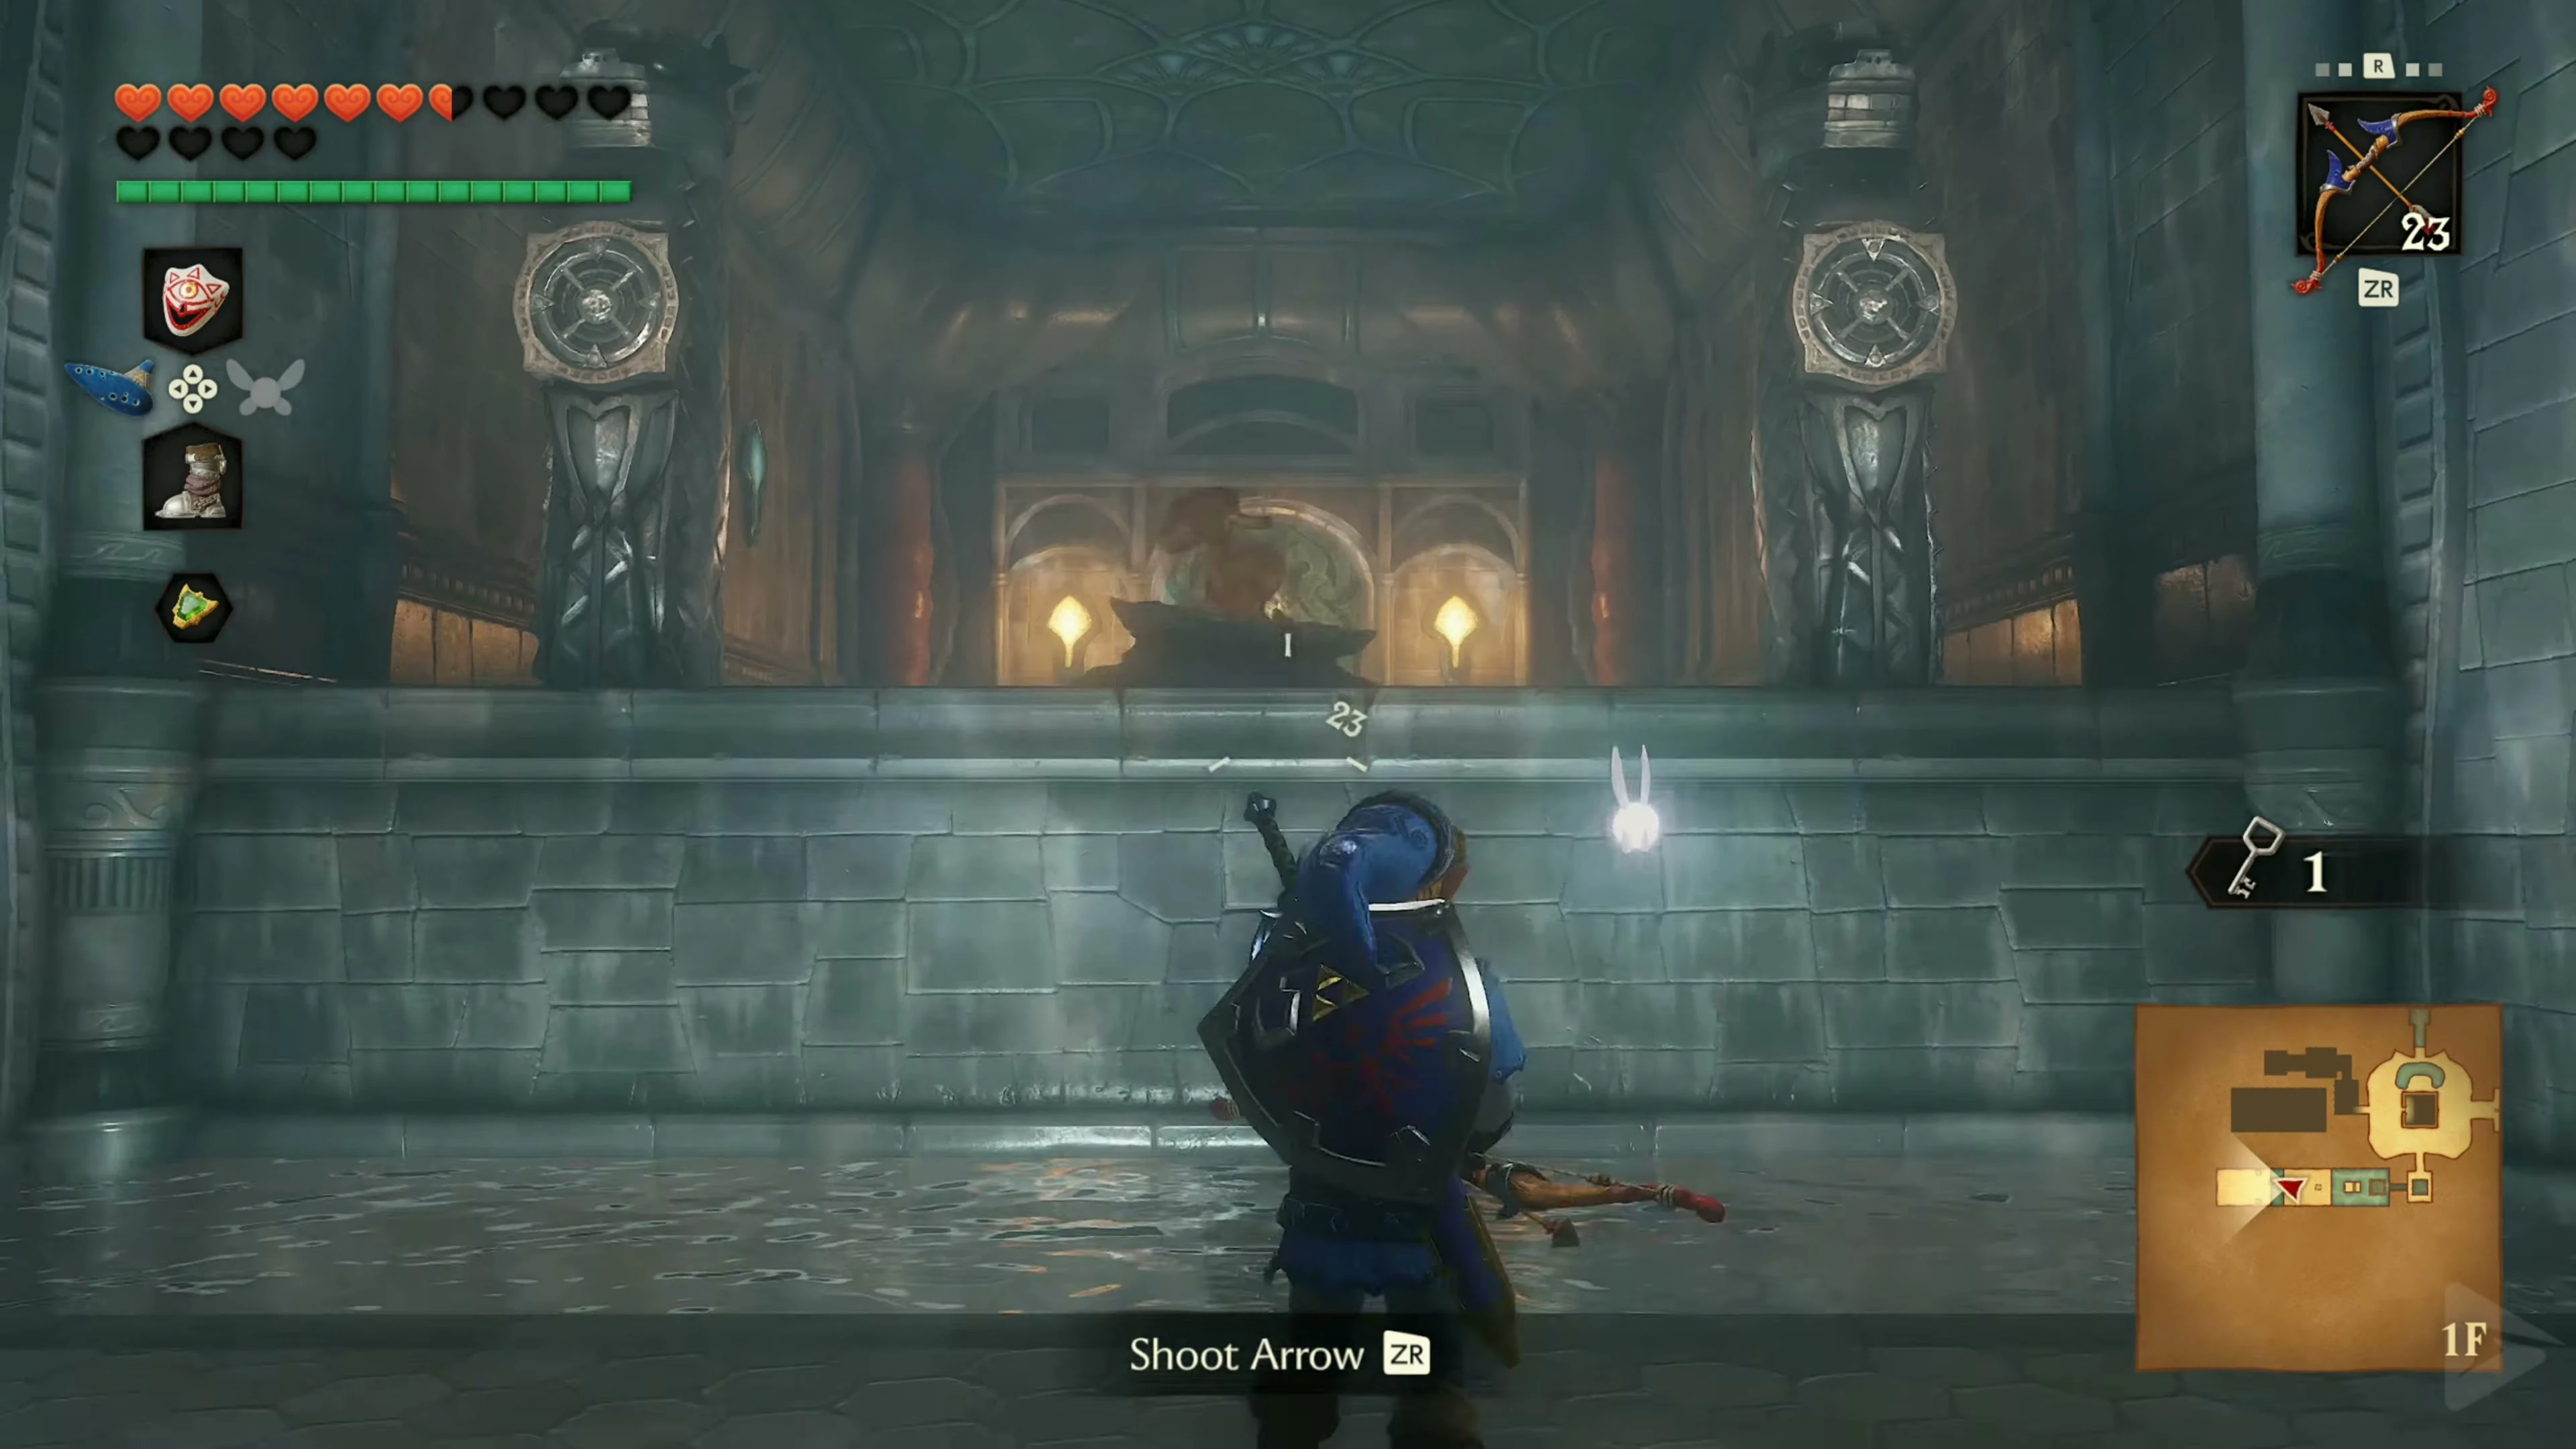
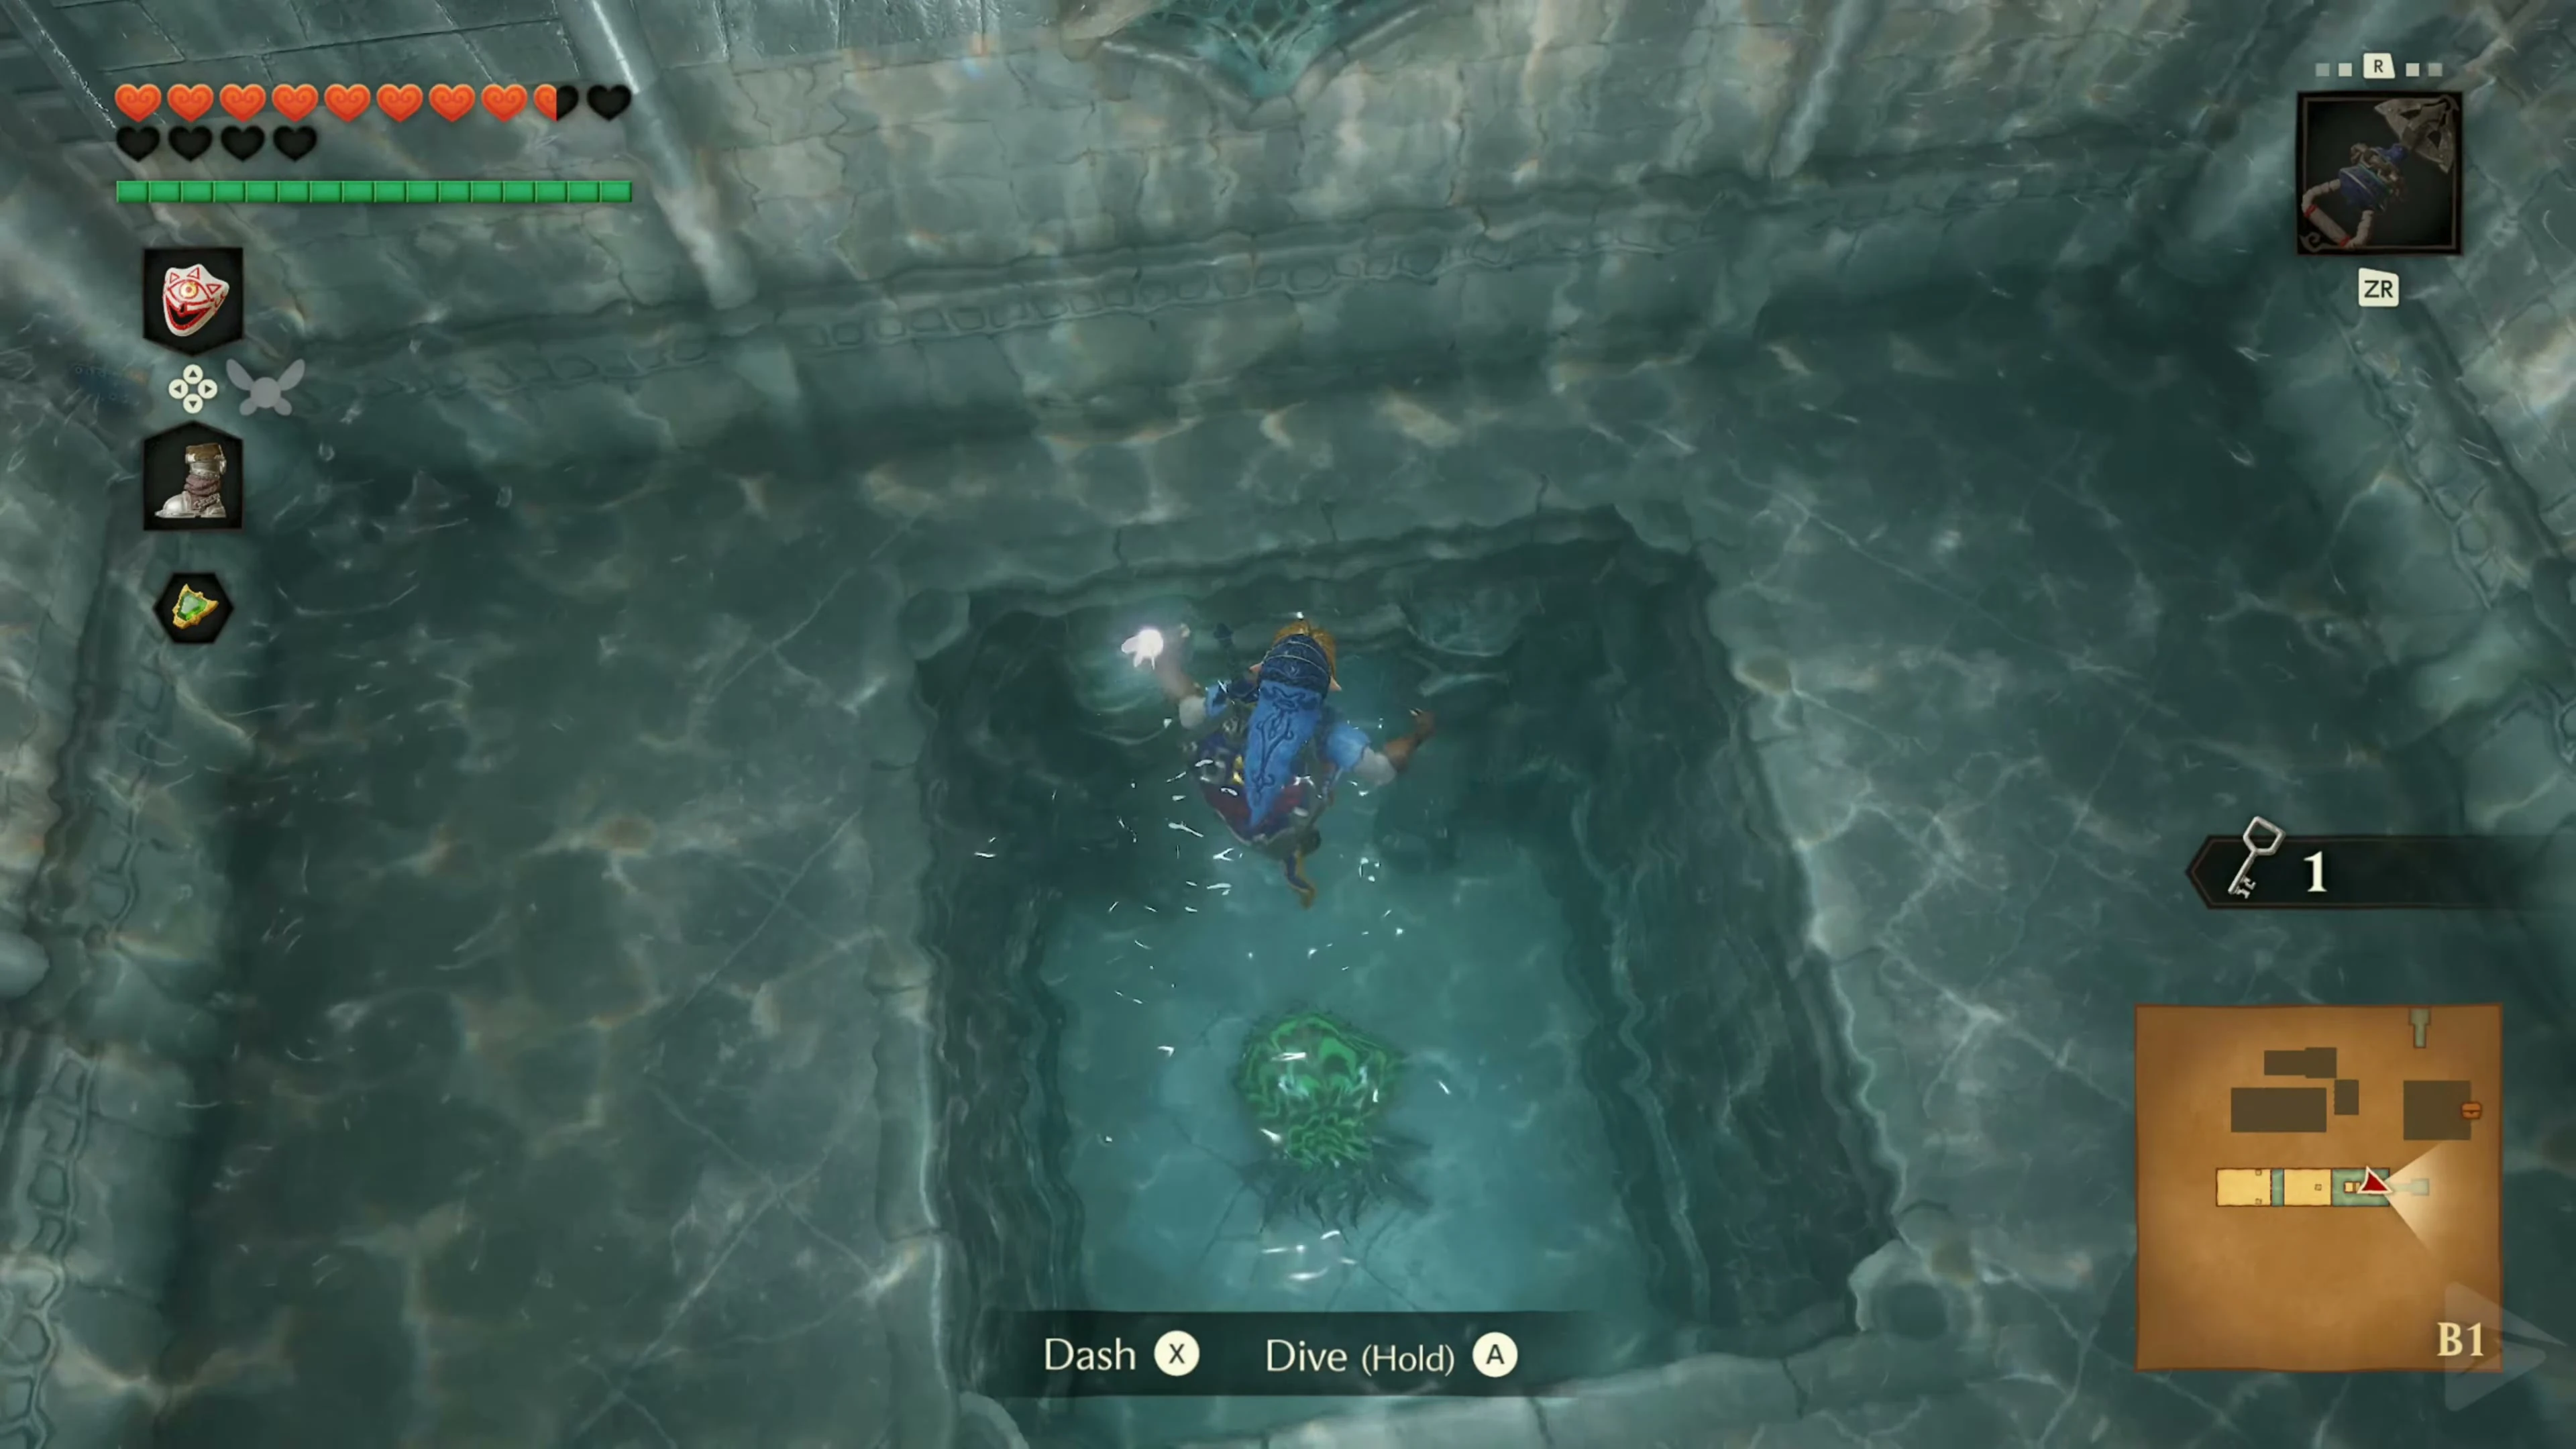
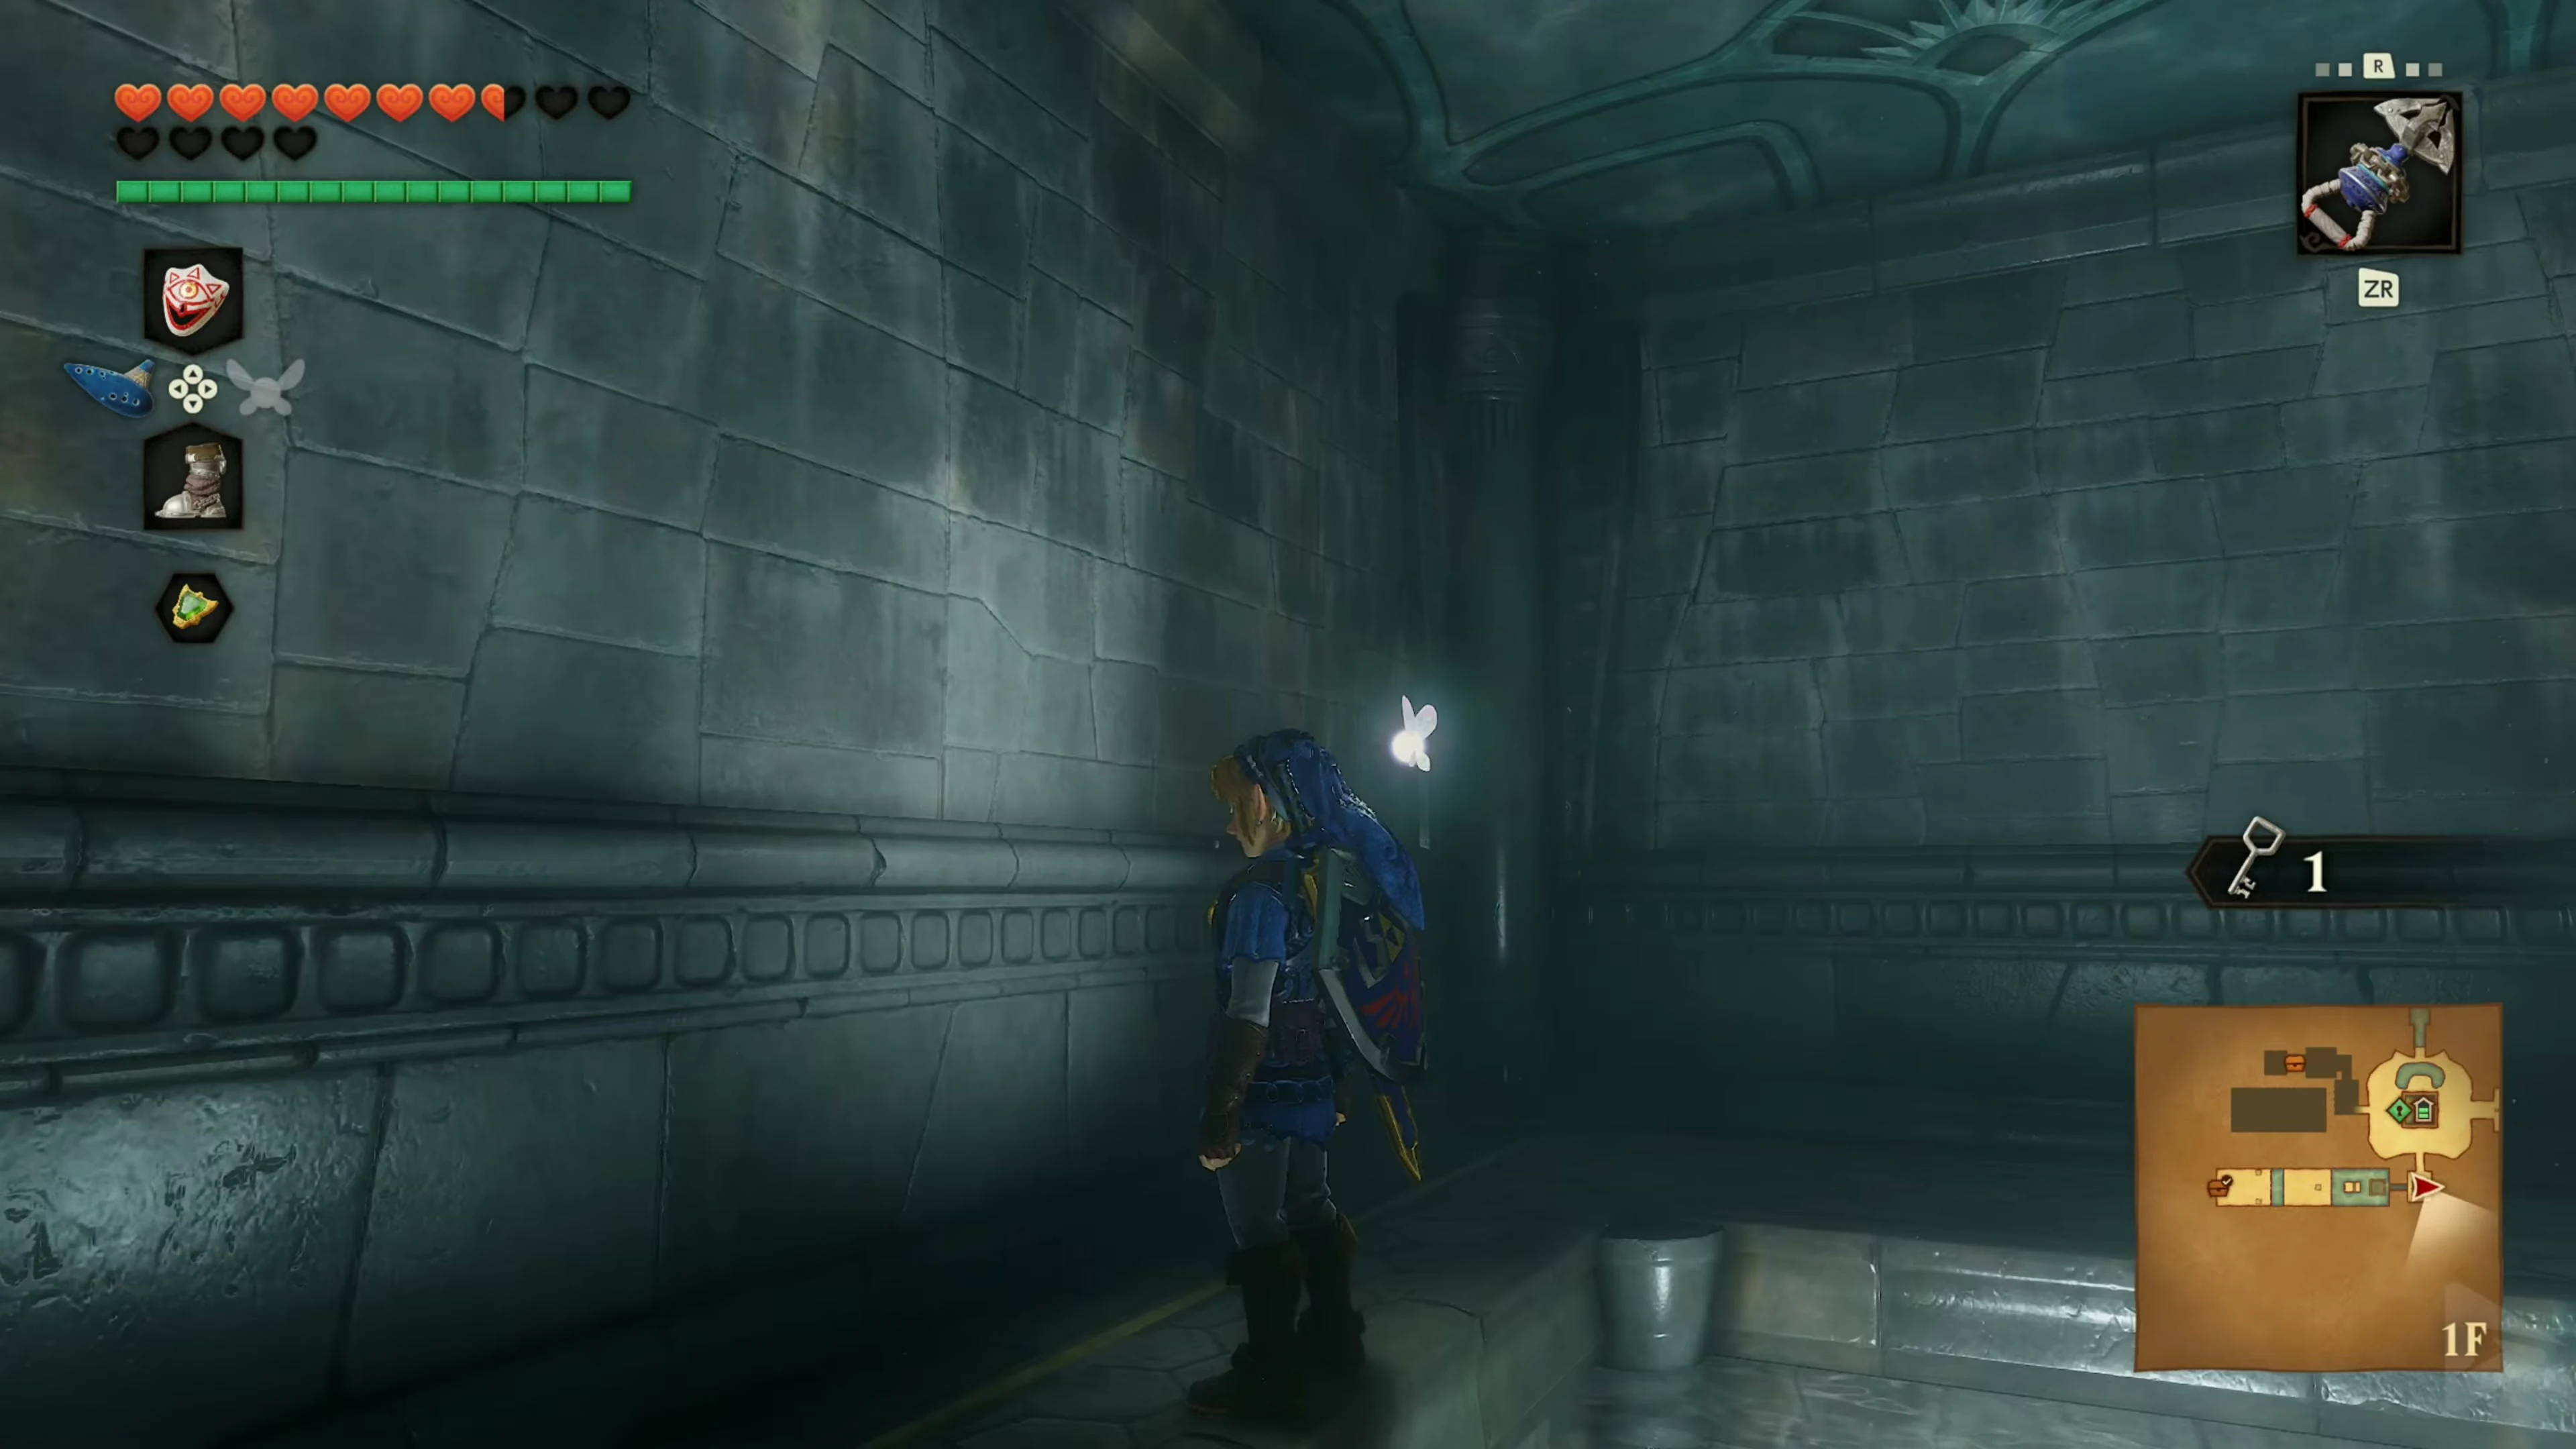
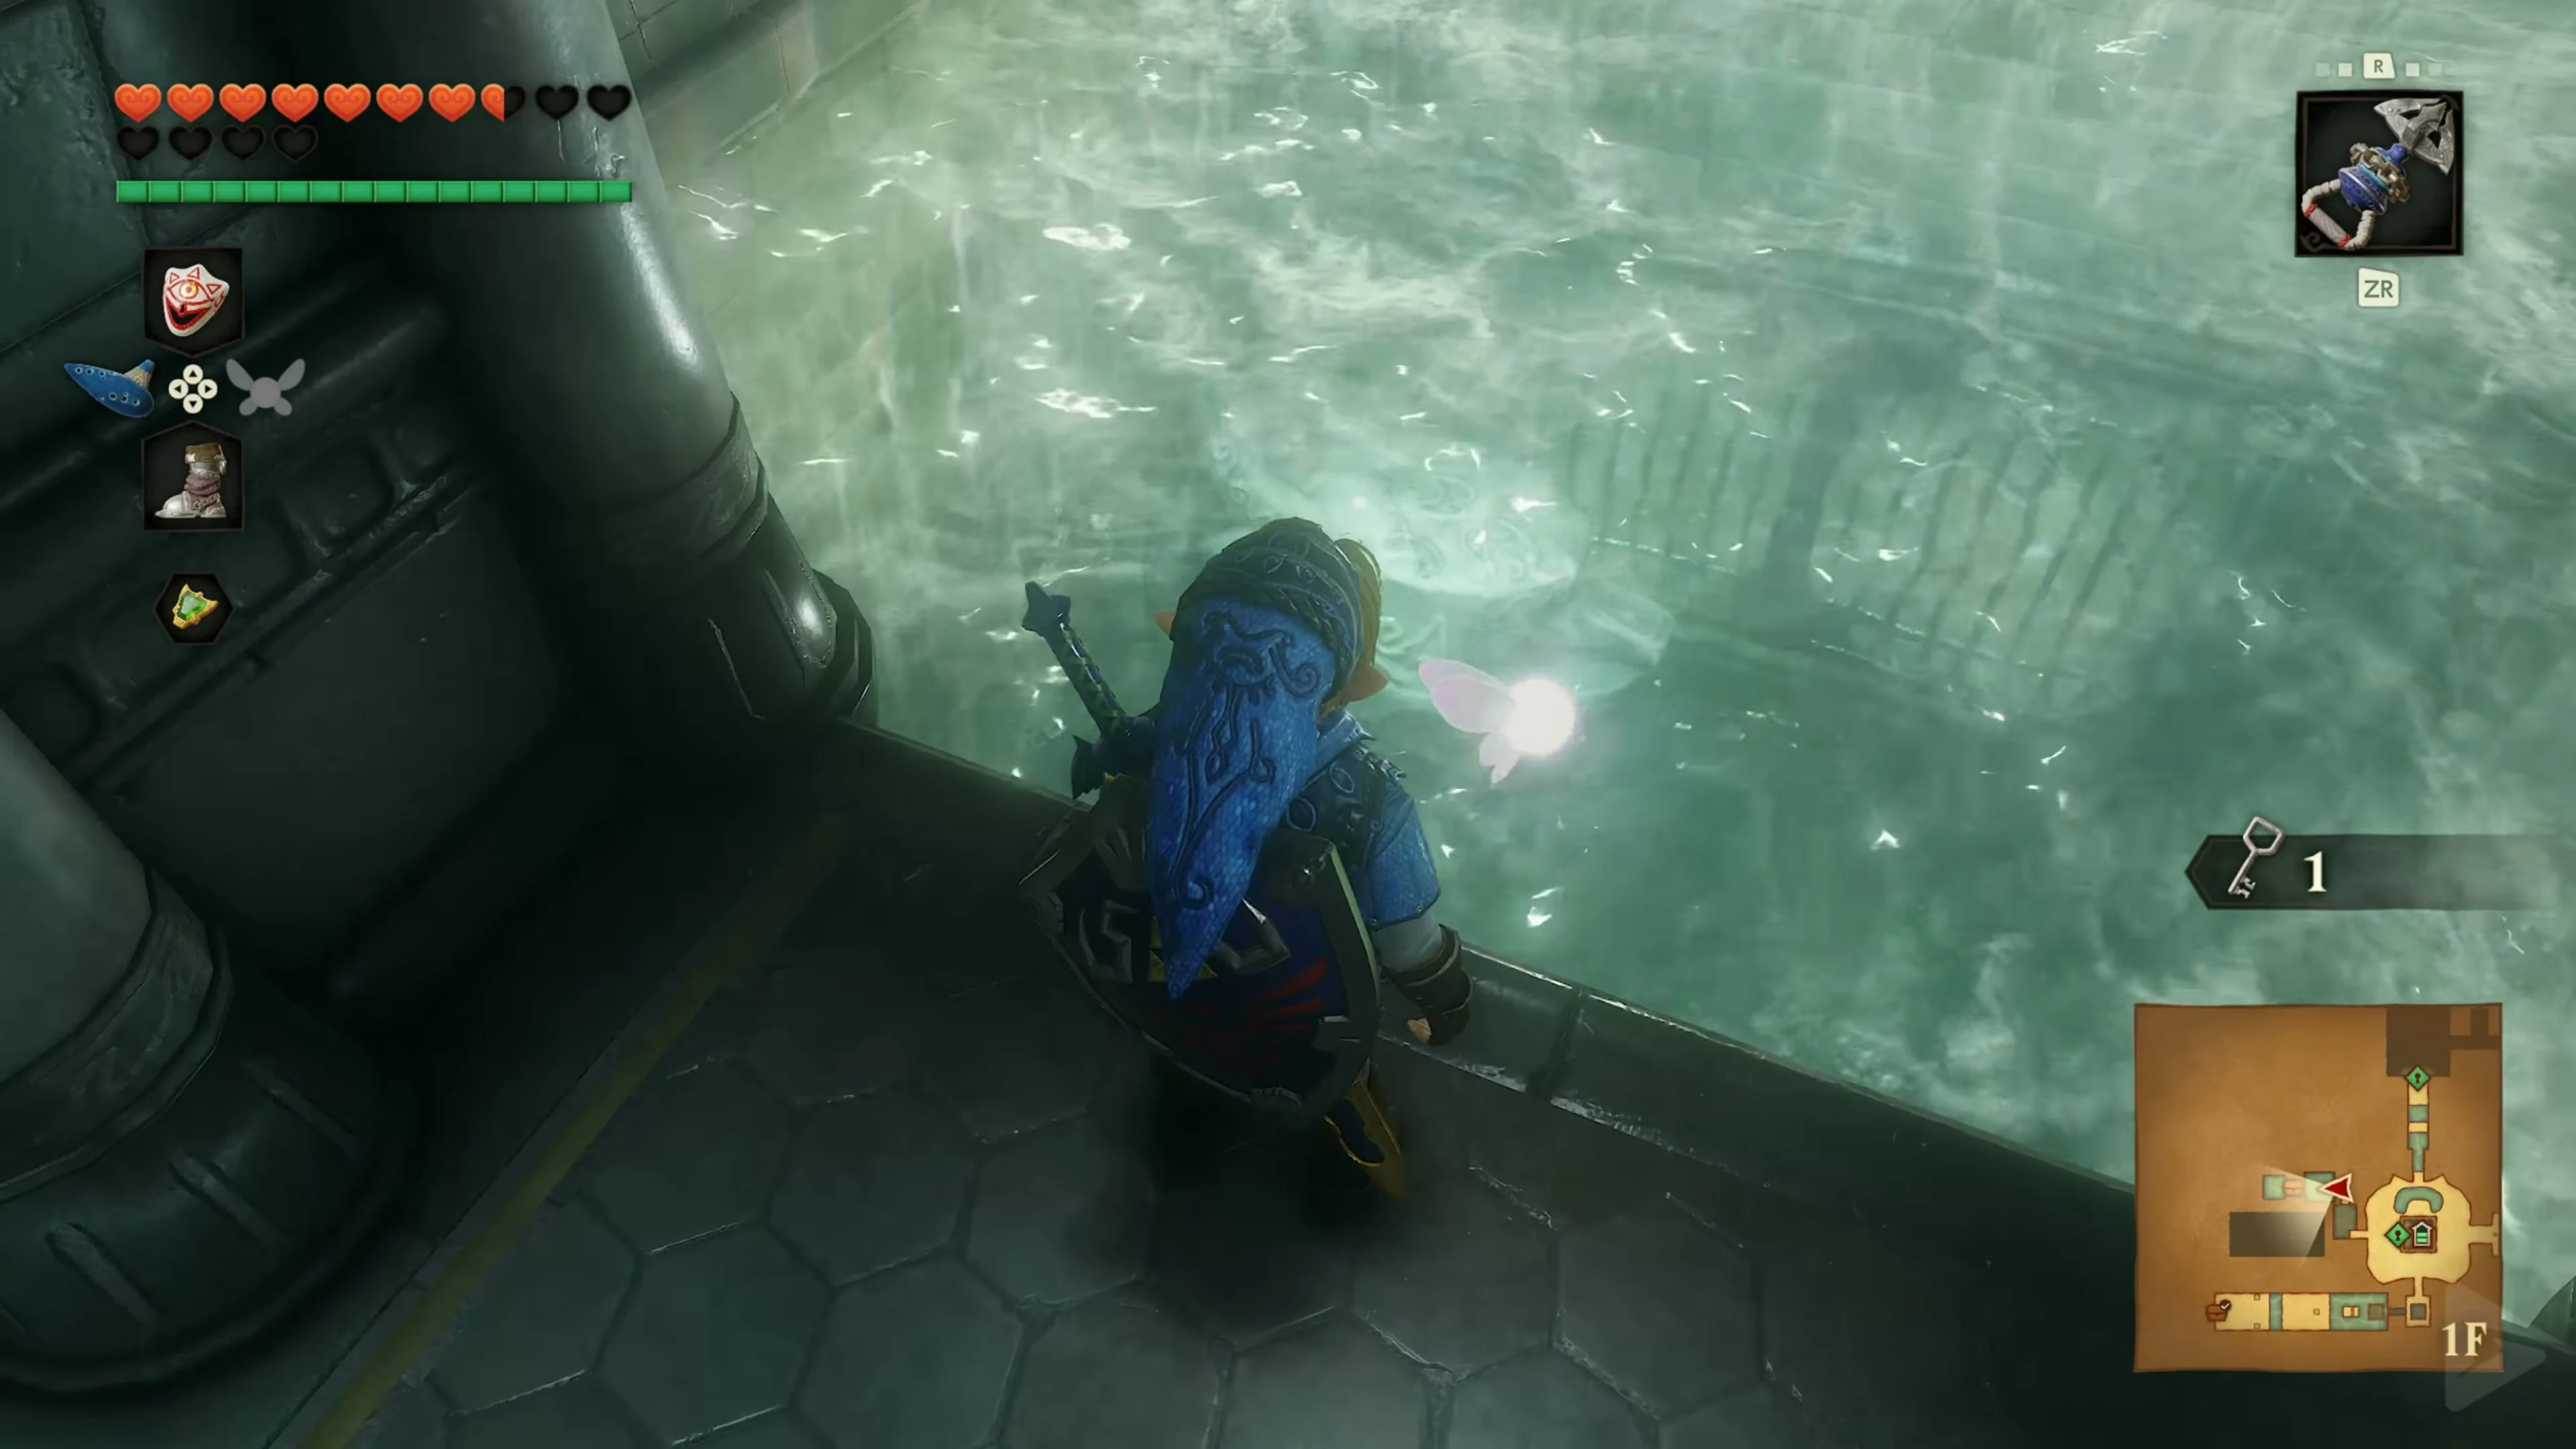
Return to the main hall and use Small Key 1/4 to open the door at the base of the central tower. Walk to the end of the short walkway and turn around. Use the Hookshot on the target above you, then stand at the second Triforce tablet and play Zelda’s Lullaby. The water rises to the middle level, lifting the large brown block inside the tower and revealing a shaft beneath it.
Gold Skulltula 1/5 under the central tower
Sink through the shaft revealed by the floating block to U1. Clear the three spiked stones and hit the green crystal above you with the Hookshot. A shell falls from the grate. Once it’s dealt with, stand under the opening and take off the Iron Boots. Upstairs you’ll find a chest containing 20 Rupees . Defeat Gold Skulltula 1/5 on the west wall and retrieve it Token with the Hookshot .
Small Key 3/4 behind the fountain in the east passage
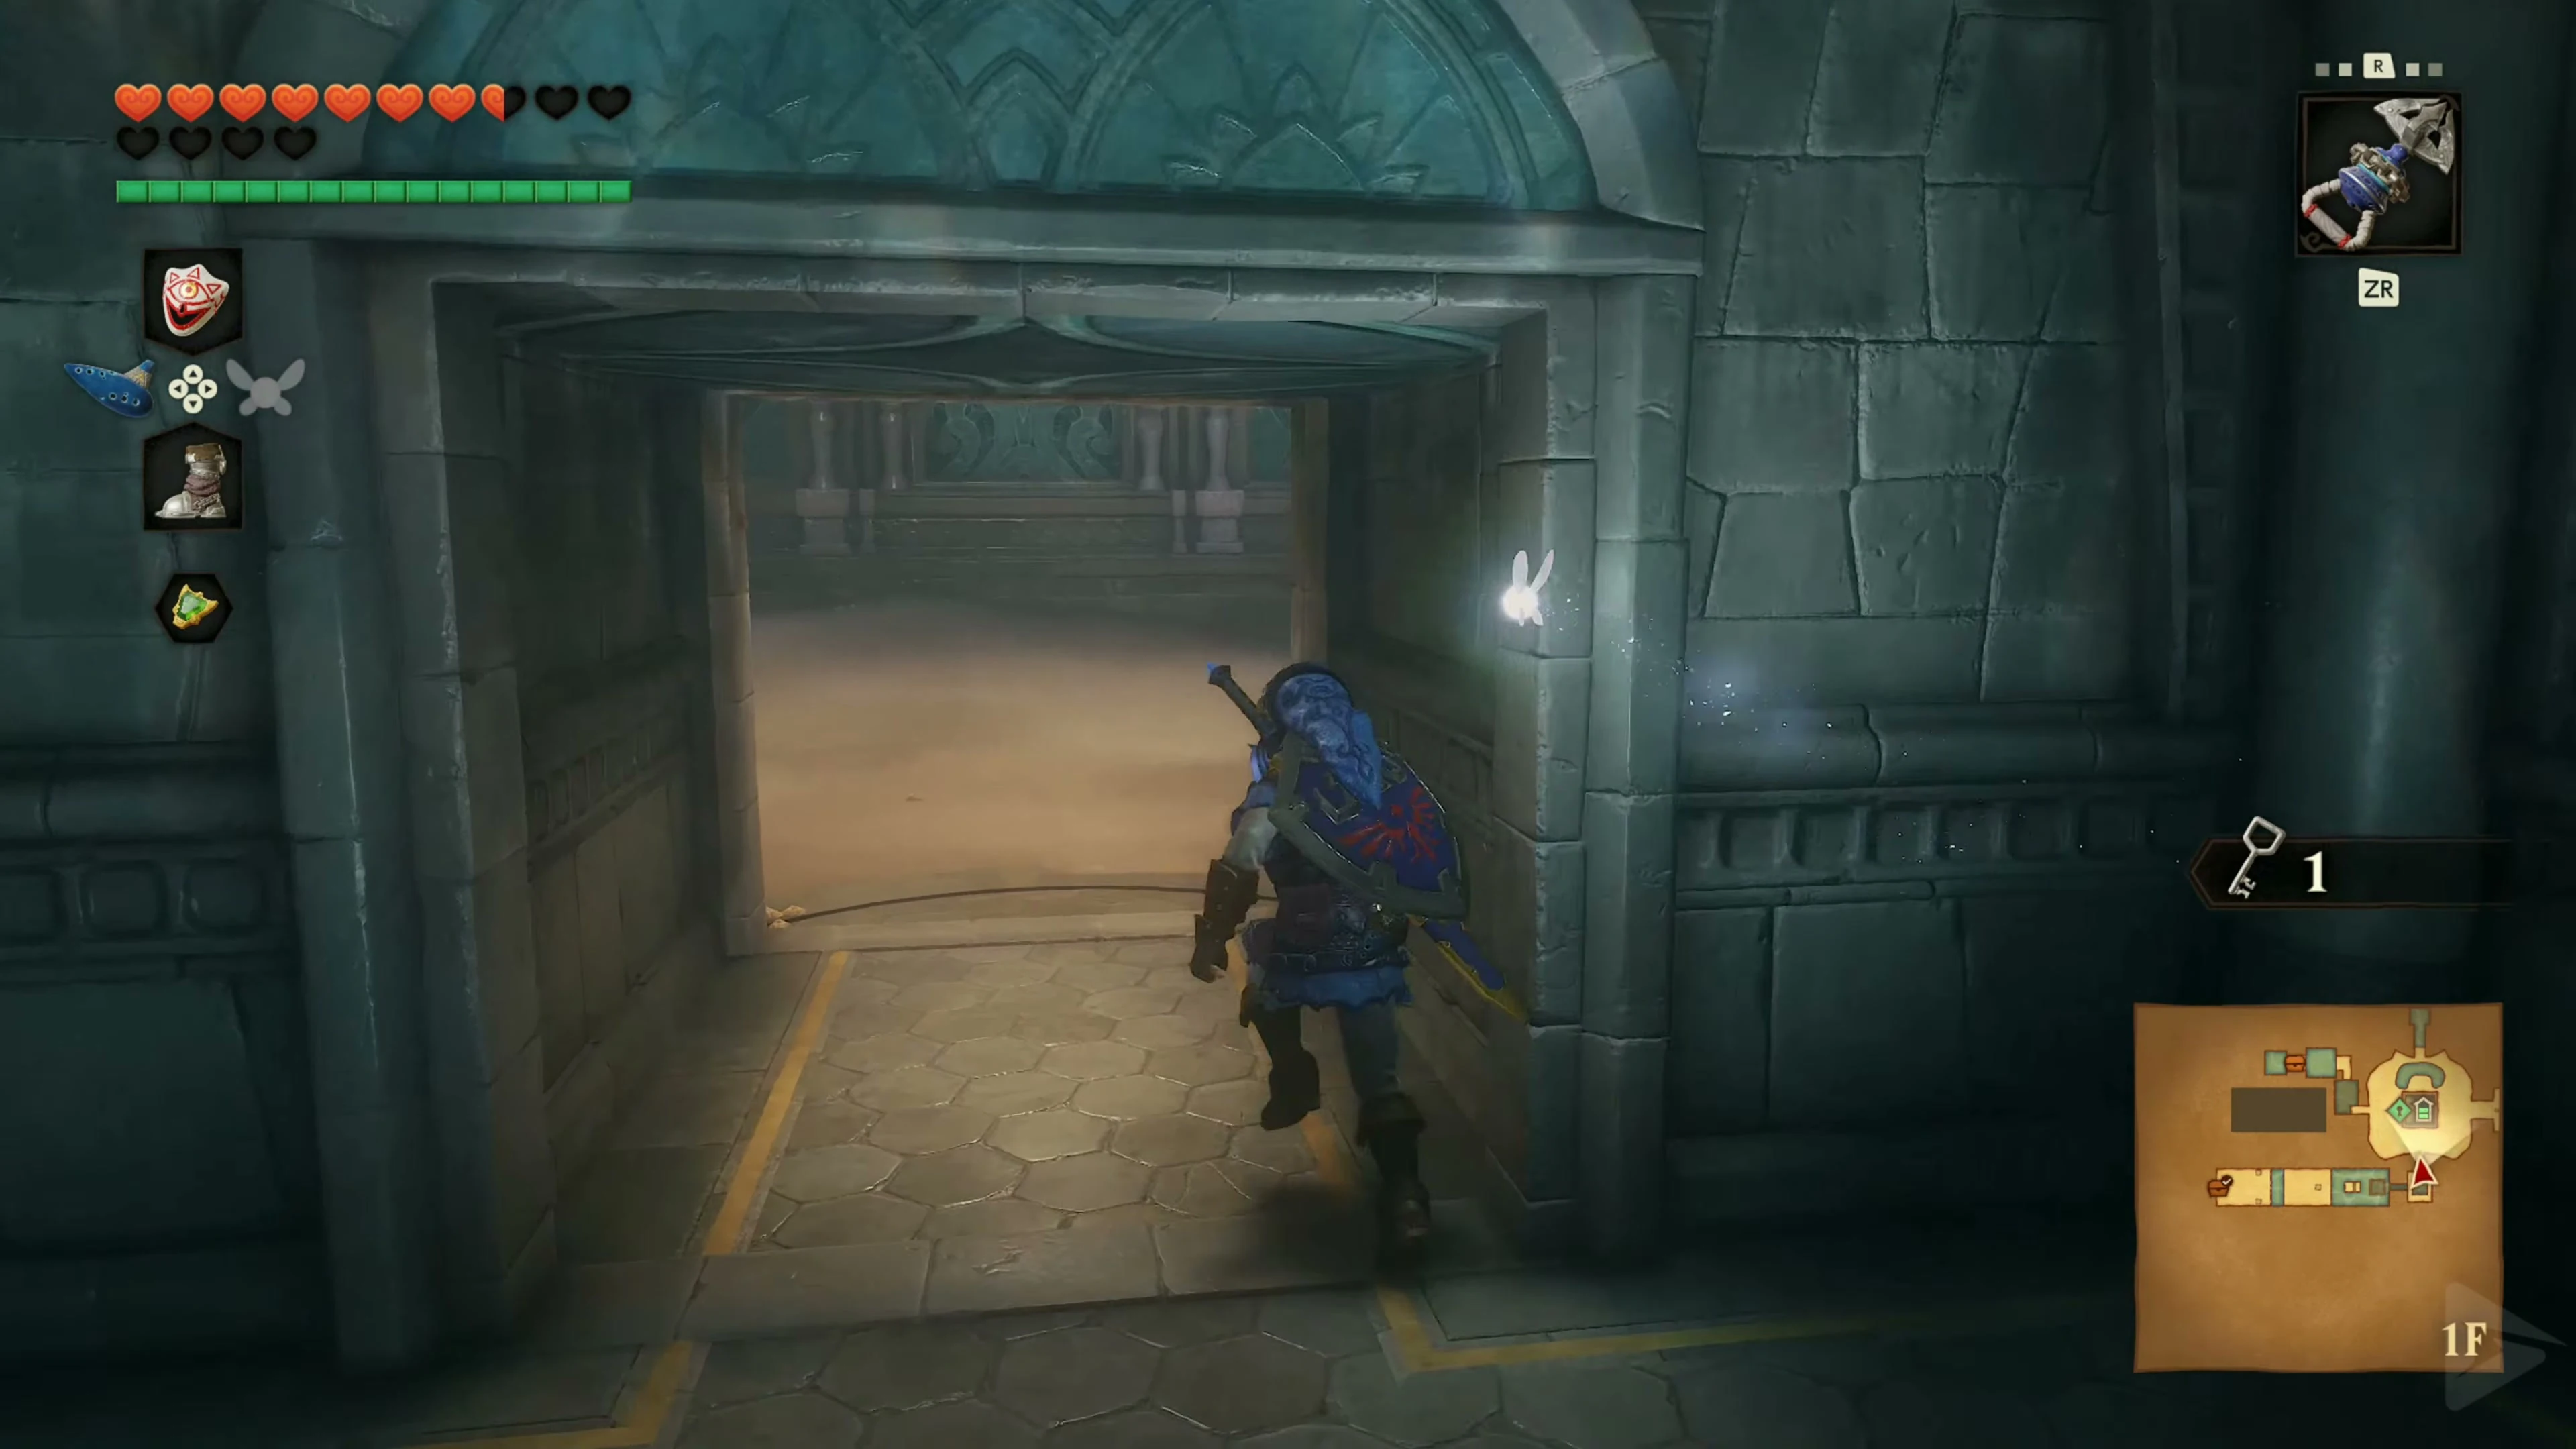
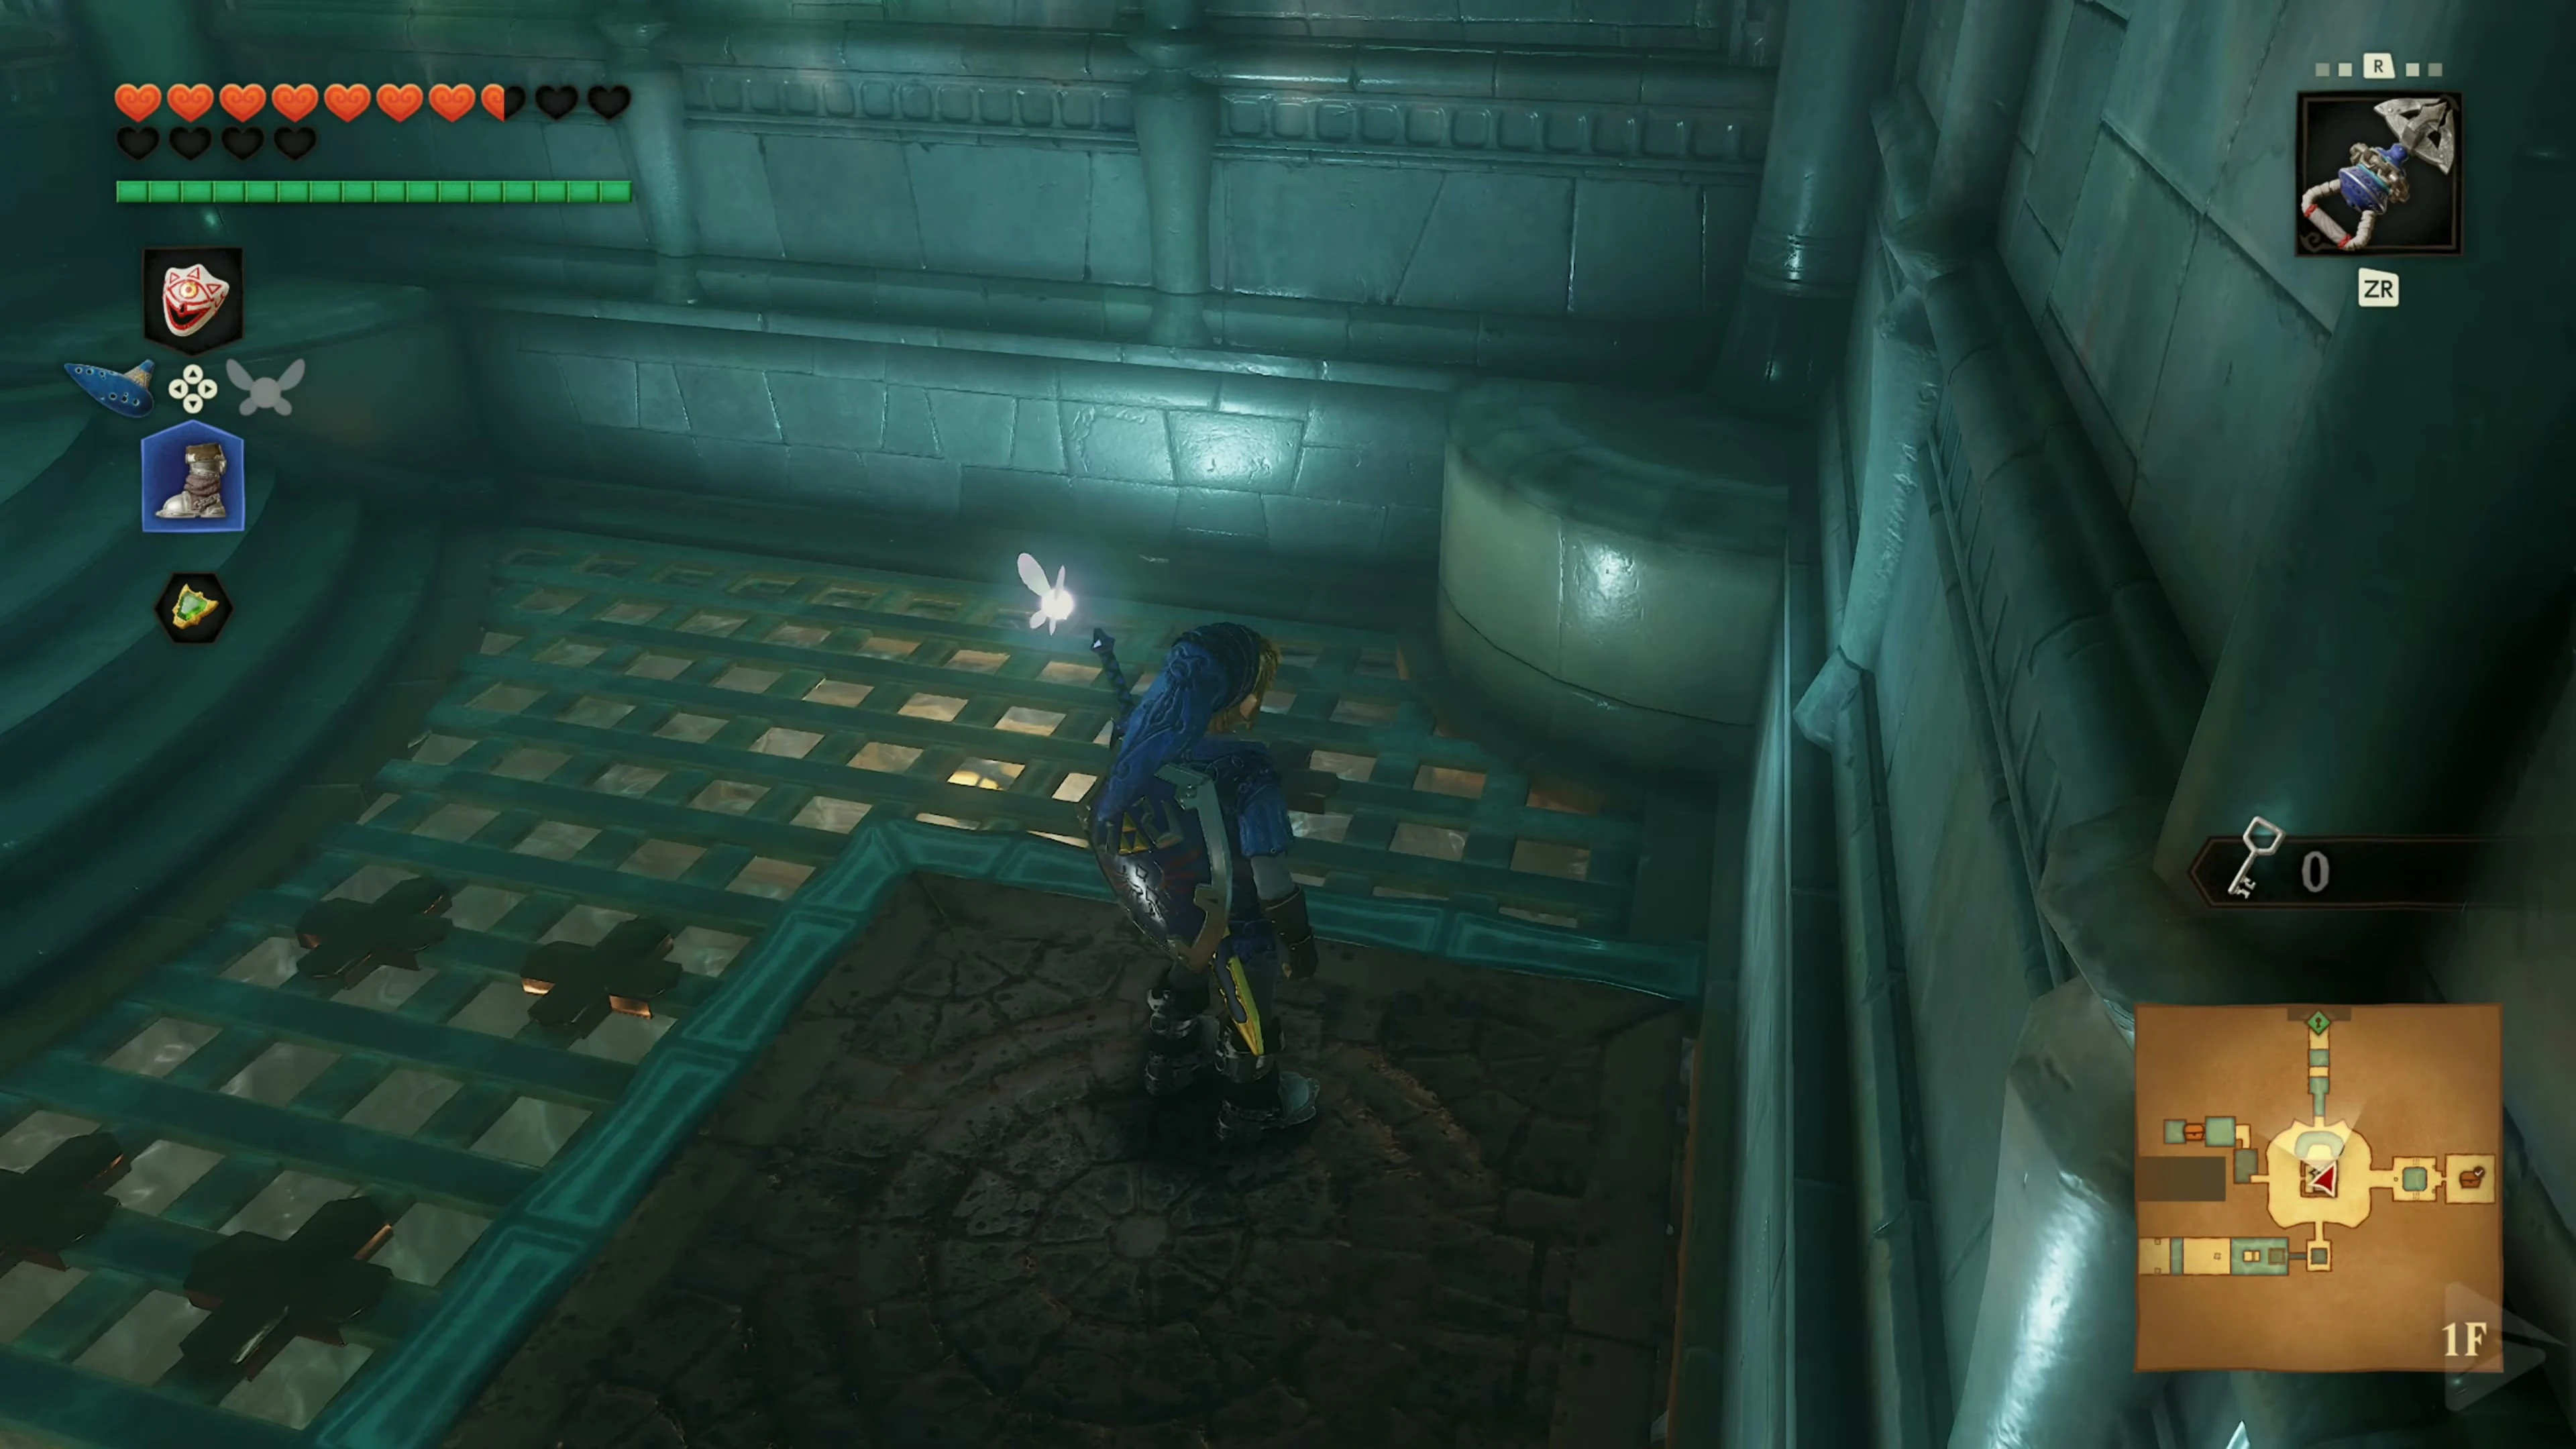
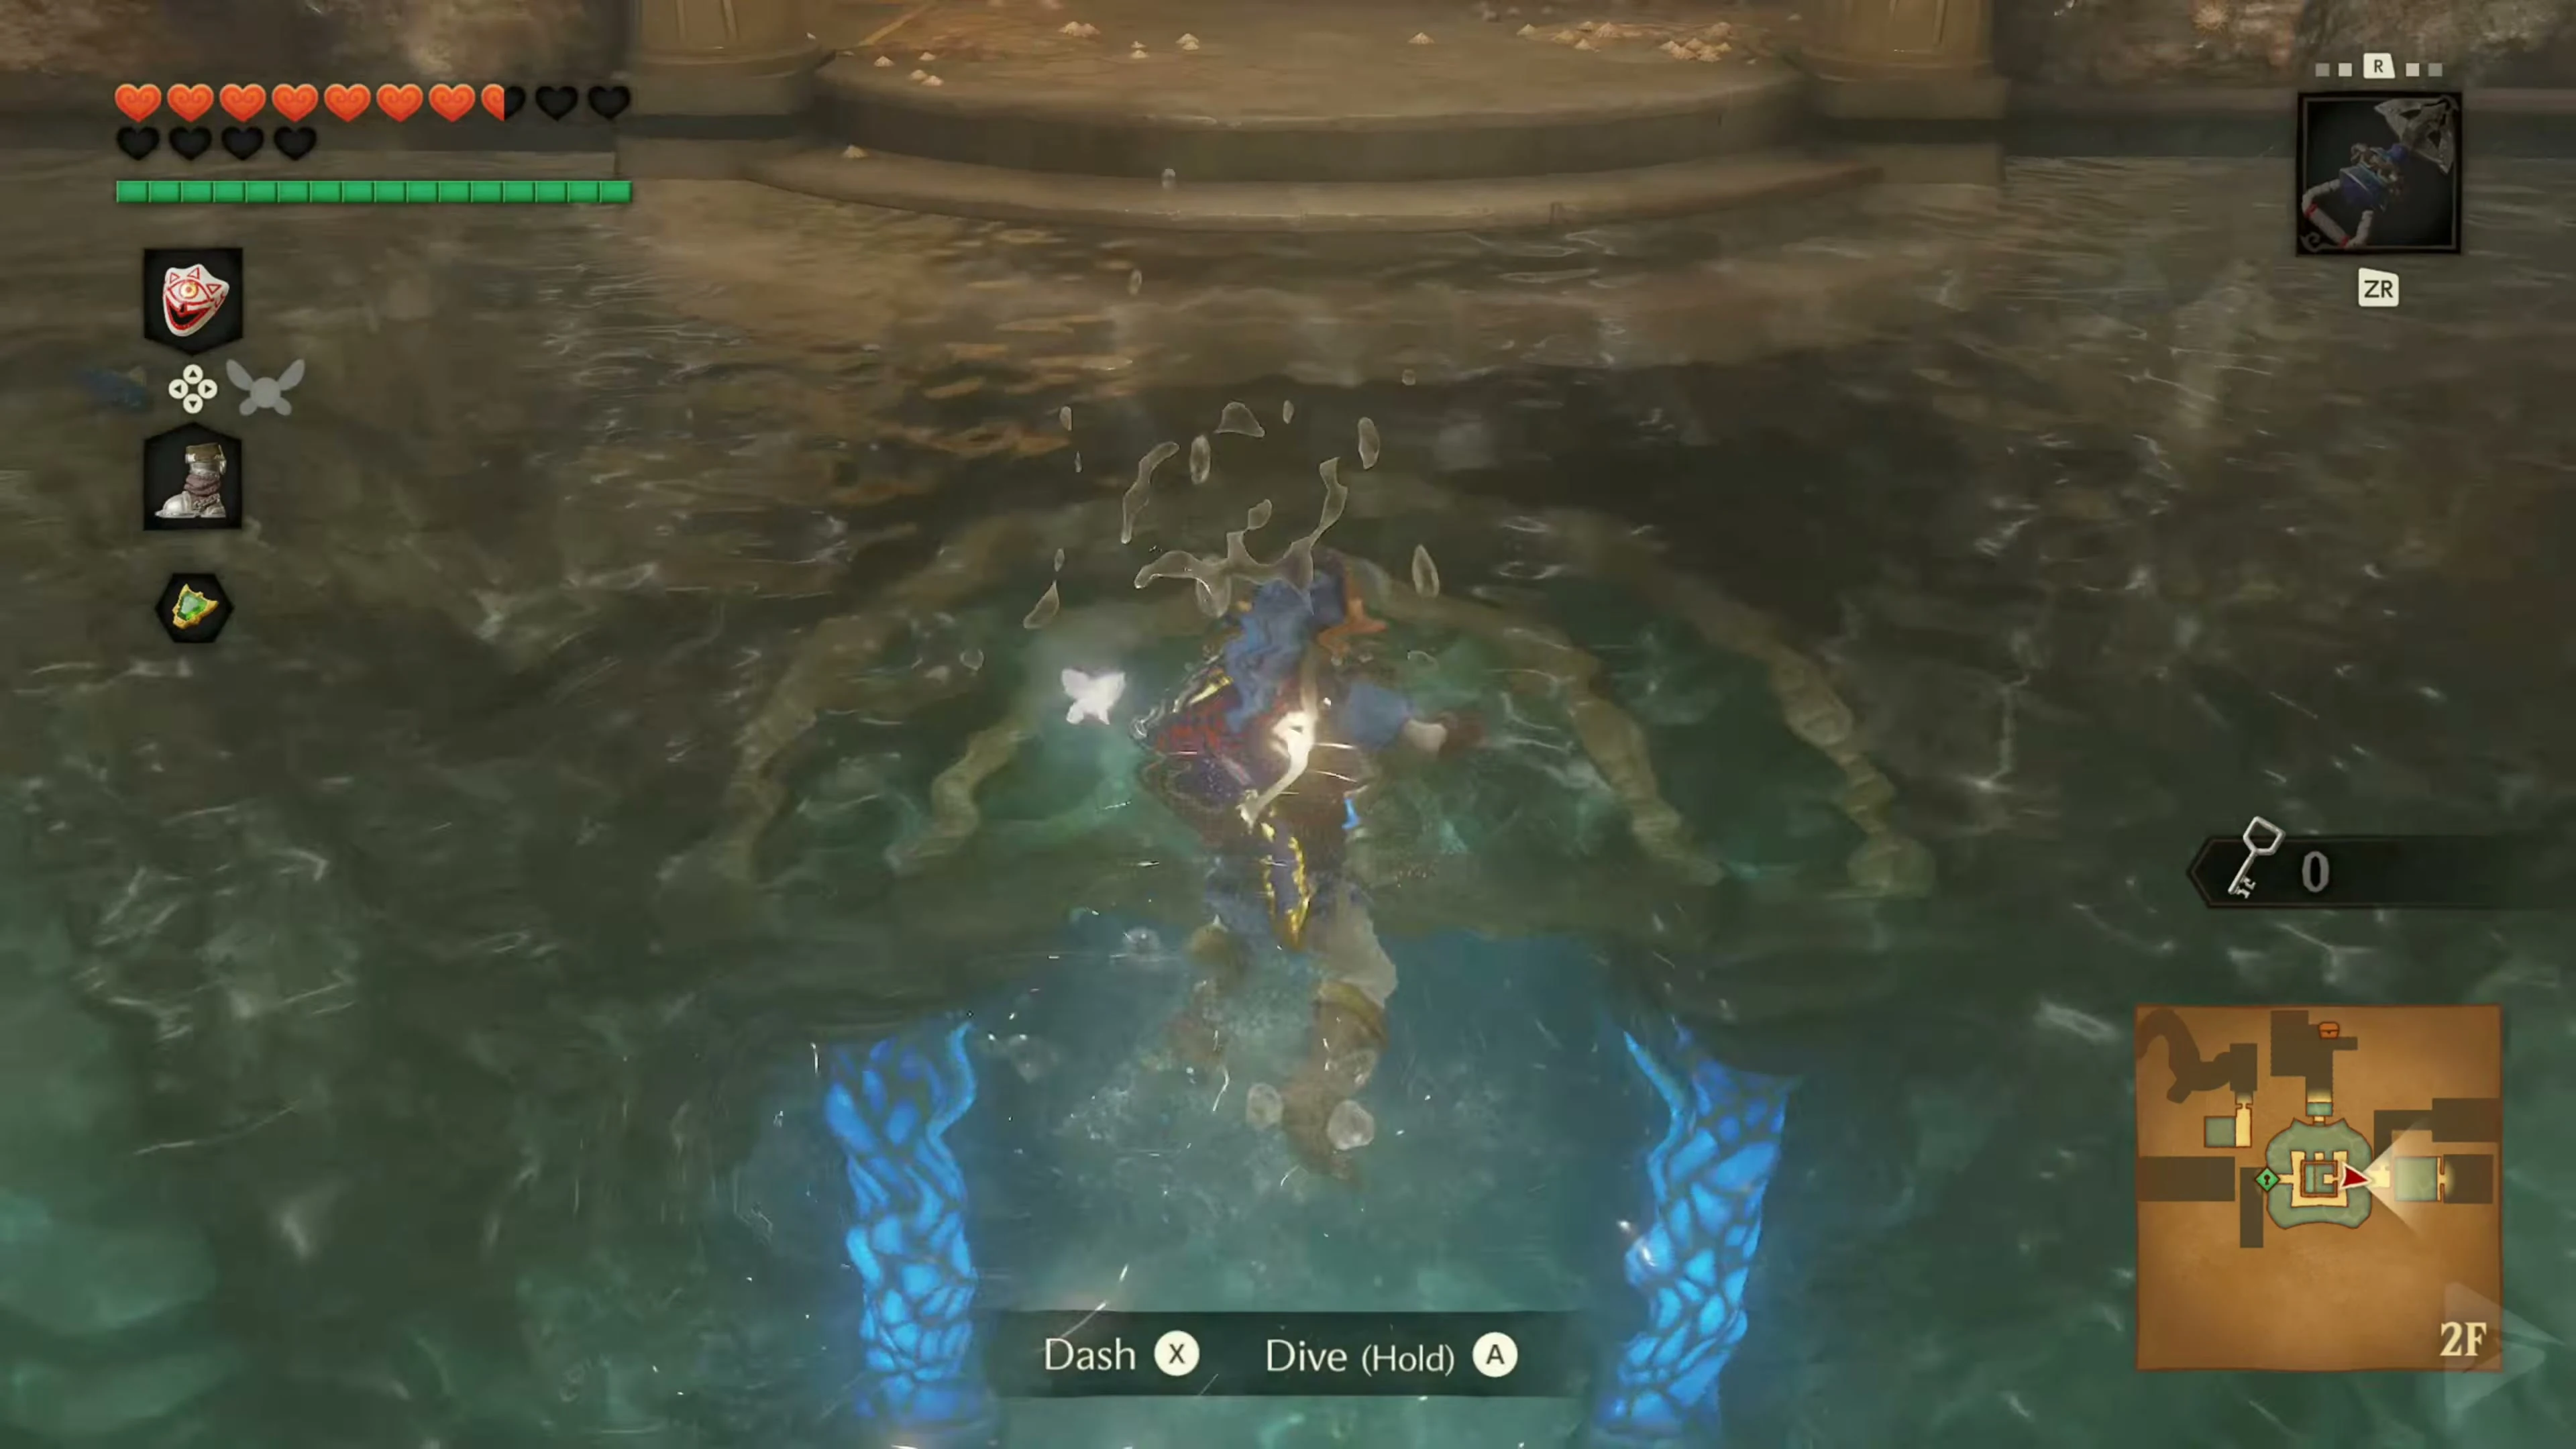
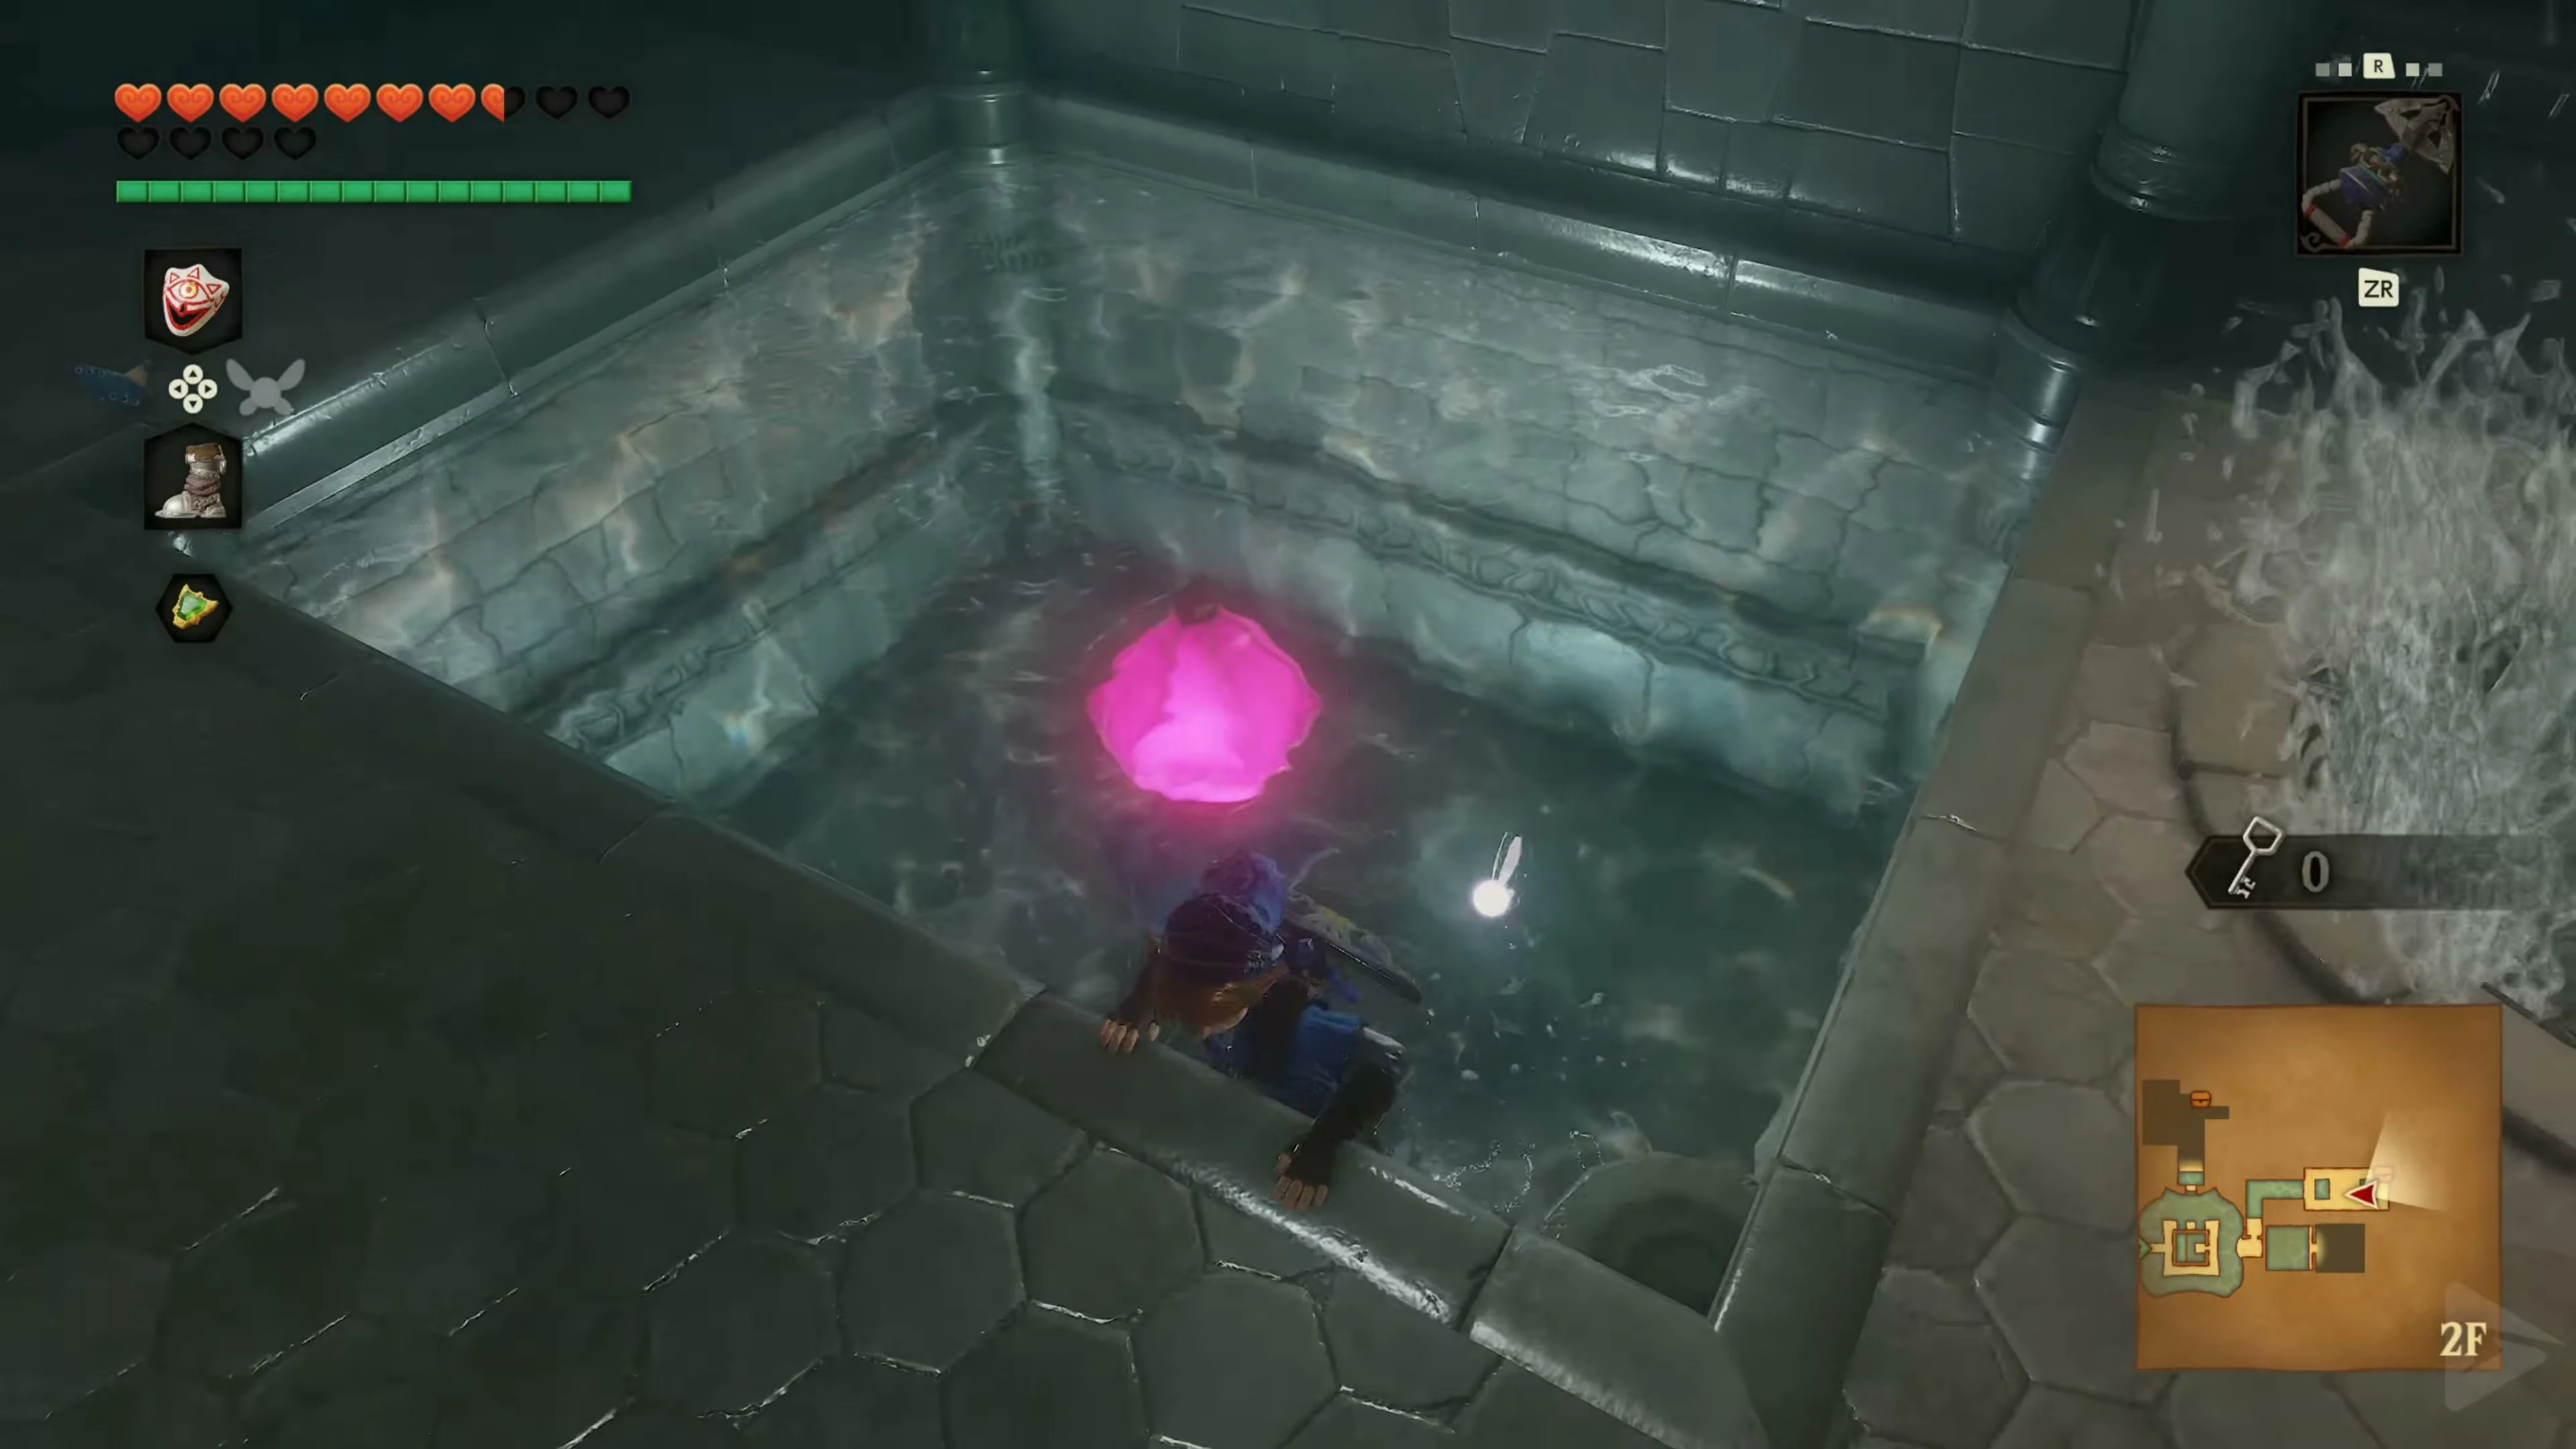
Swim back to the central tower, climb onto the floating block, and exit on the middle level. From the main hall, swim east and blast the cracked wall. Go through the tunnel with the fish until you reach the water fountain. Aim the Hookshot at the crystal on the left underwater. The fountain will sink. Step onto its platform and hit the crystal again. This will take you to the small chest containing Small Key 3/4 .
Gold Skulltula 2/5 in the blue-marked East Shaft.
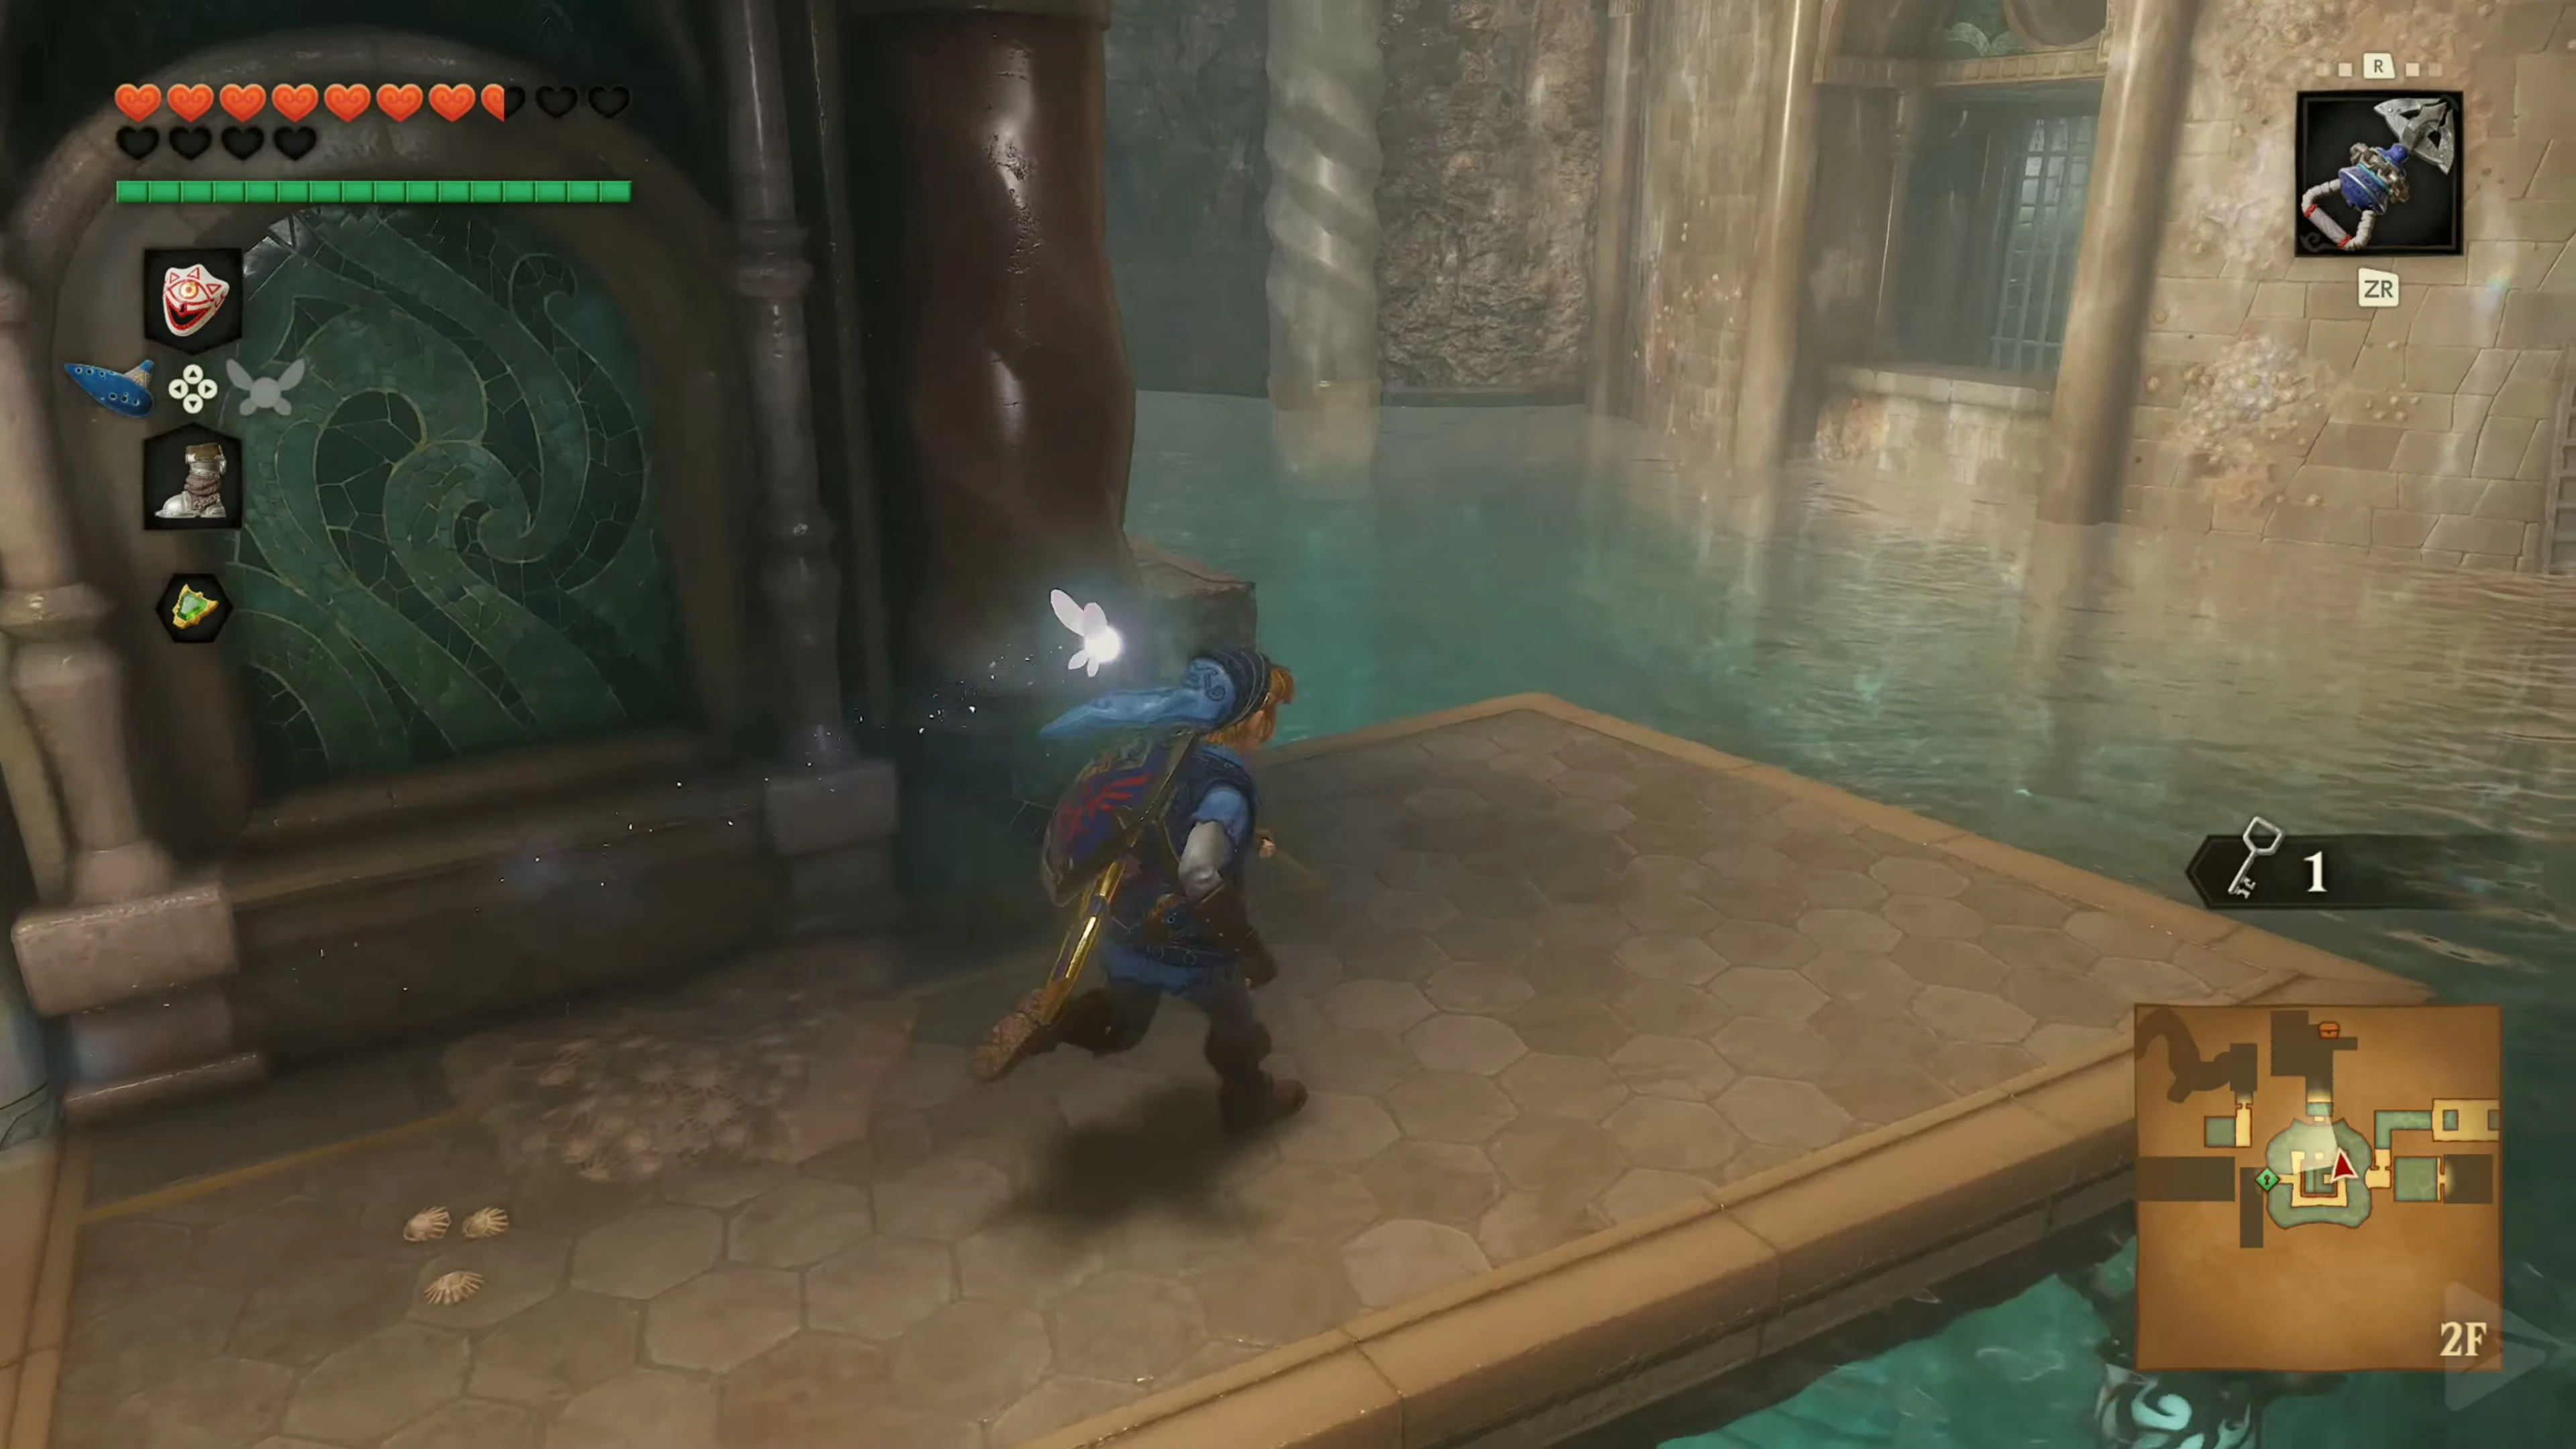
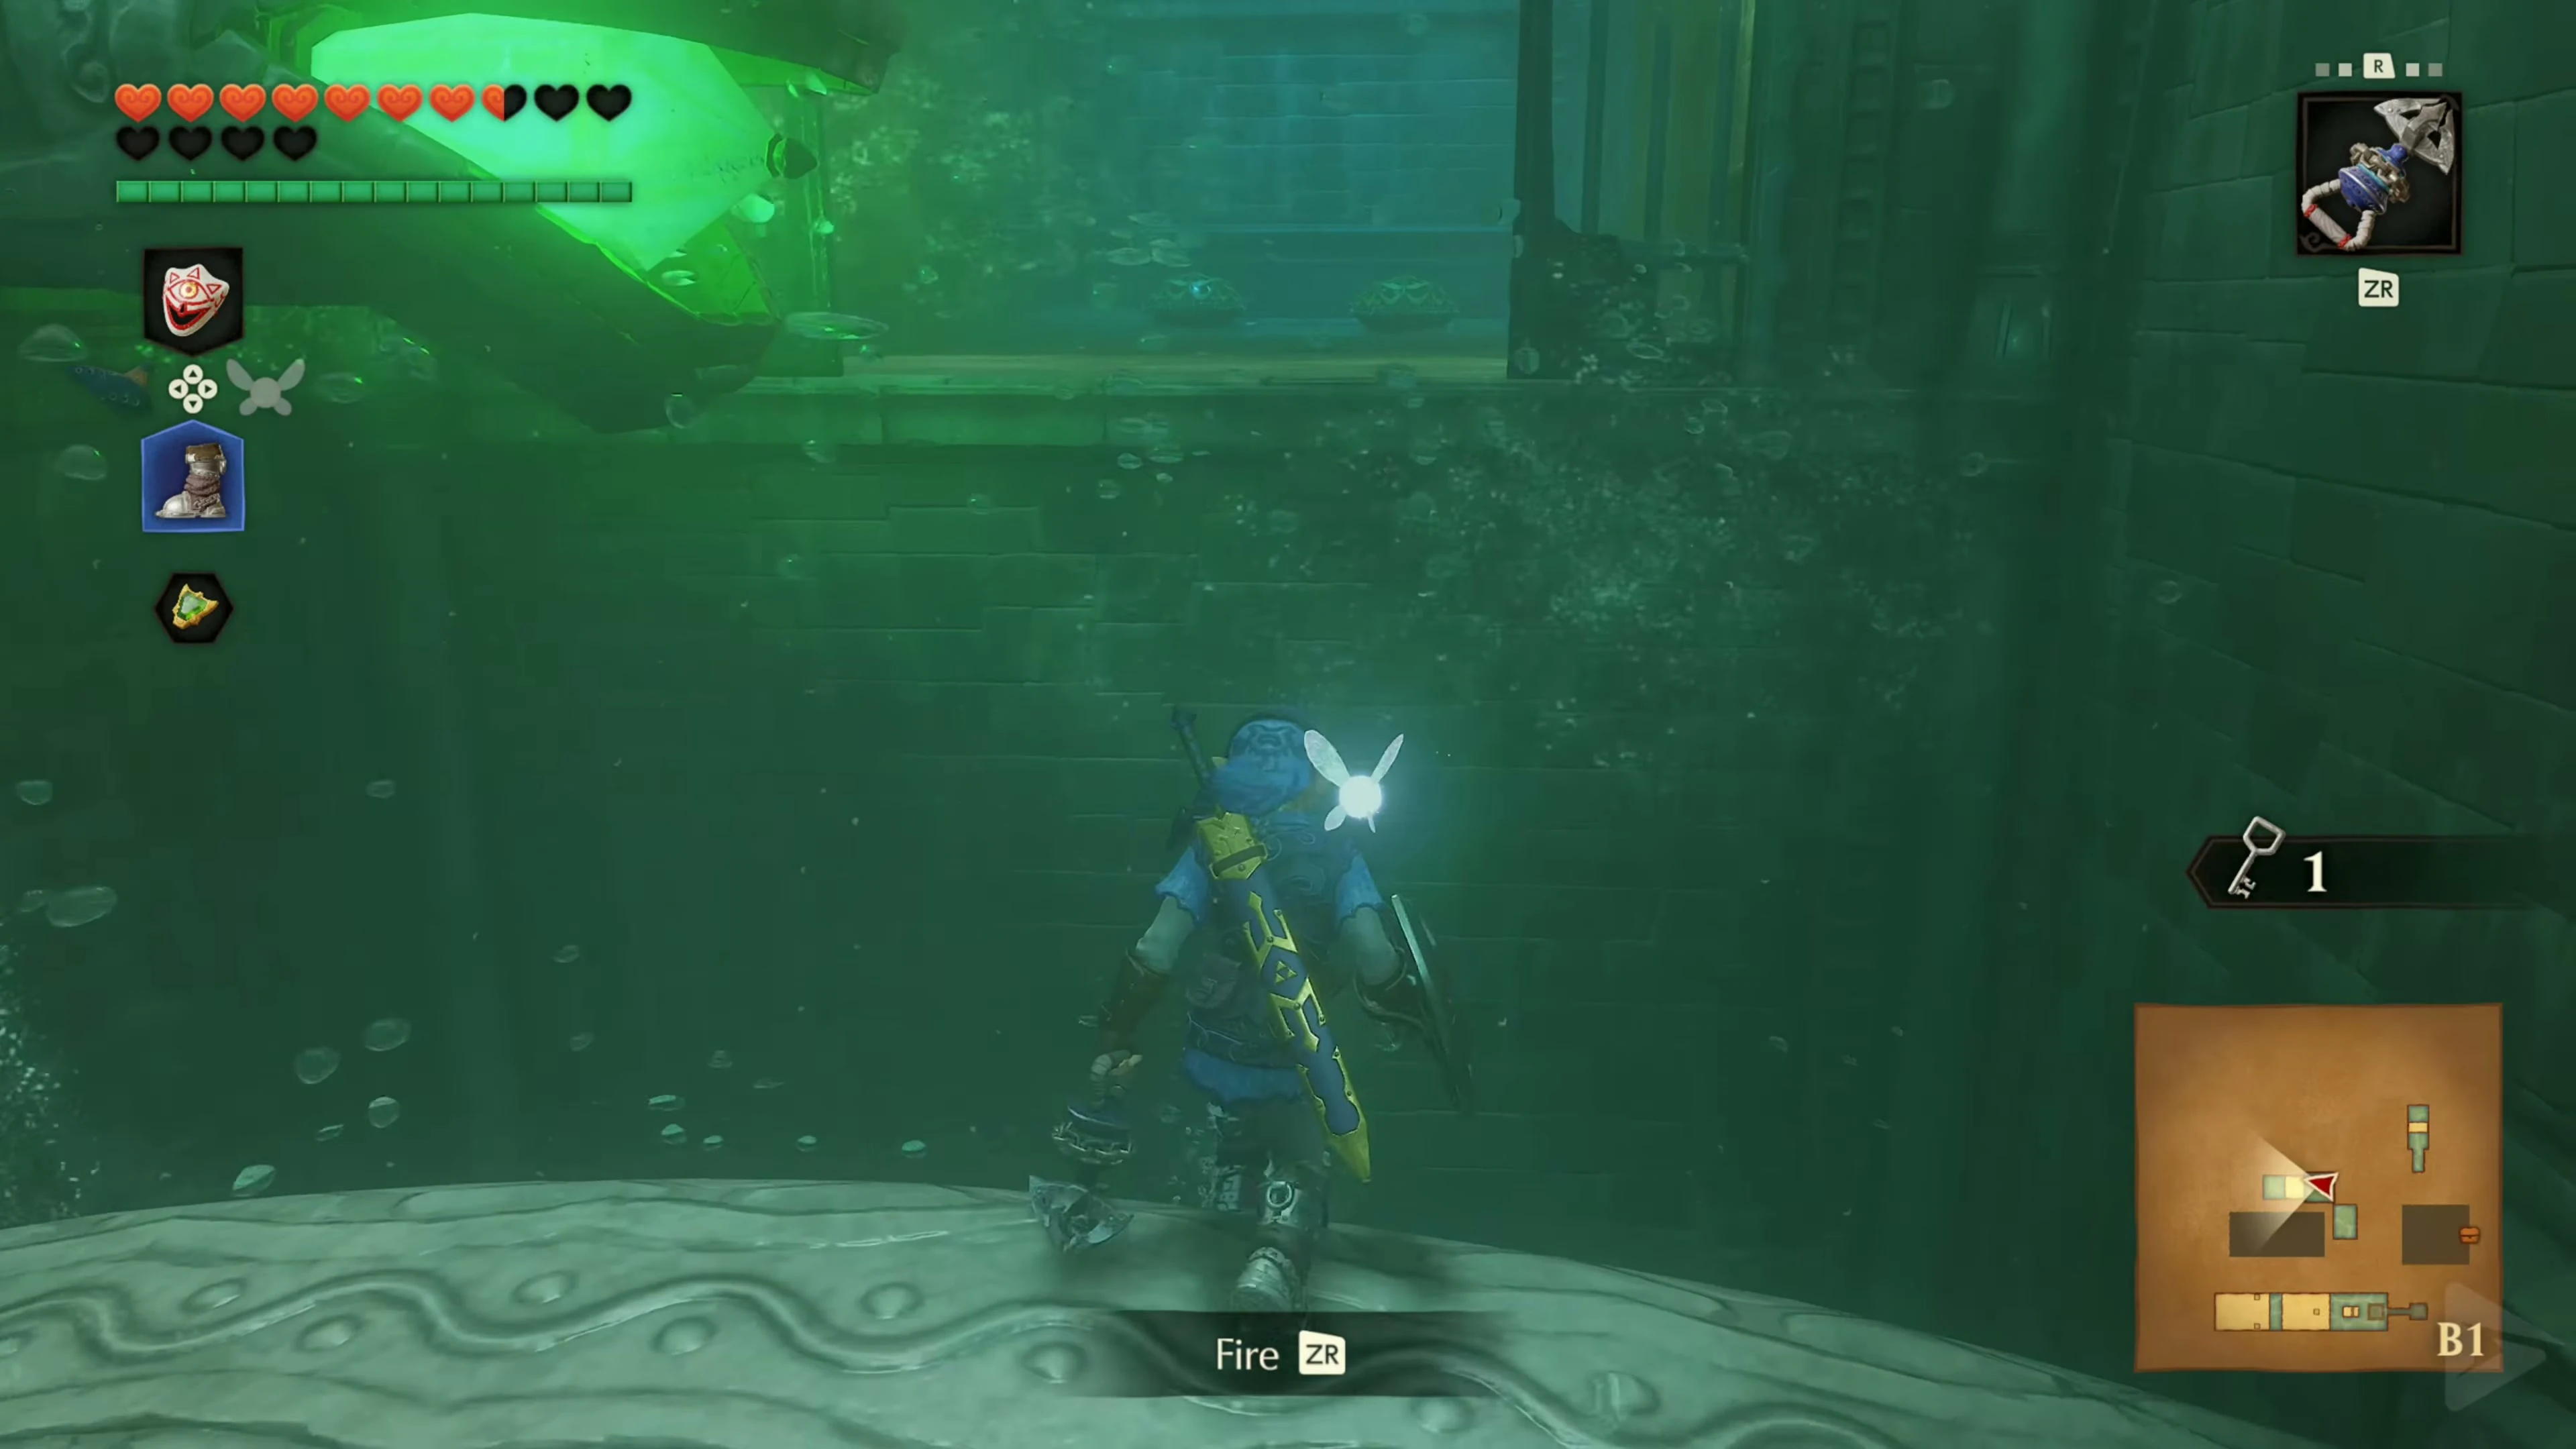
Return to the main hall and descend on the east side to the blue-marked entrance to Ruto’s shaft. Swim back up and blast the crumbling wall on the east side. Eliminate the three shells and defeat Gold Skulltula 2/5 . Pull its token off the wall with the Hookshot . Then return to the main hall.
Water Level 3: Fully Raise
With Small Key 2/4 at medium water level, open the red-marked door to the west . Hit the crystal on the right to lower the fountain and defeat the crab. Step onto the lowered platform and use the Hookshot on the crystal again. The fountain will carry you to the upper exit. On the balcony, play Zelda’s Lullaby at the Triforce tablet to reflood the main hall completely.
The Path to Dark Link
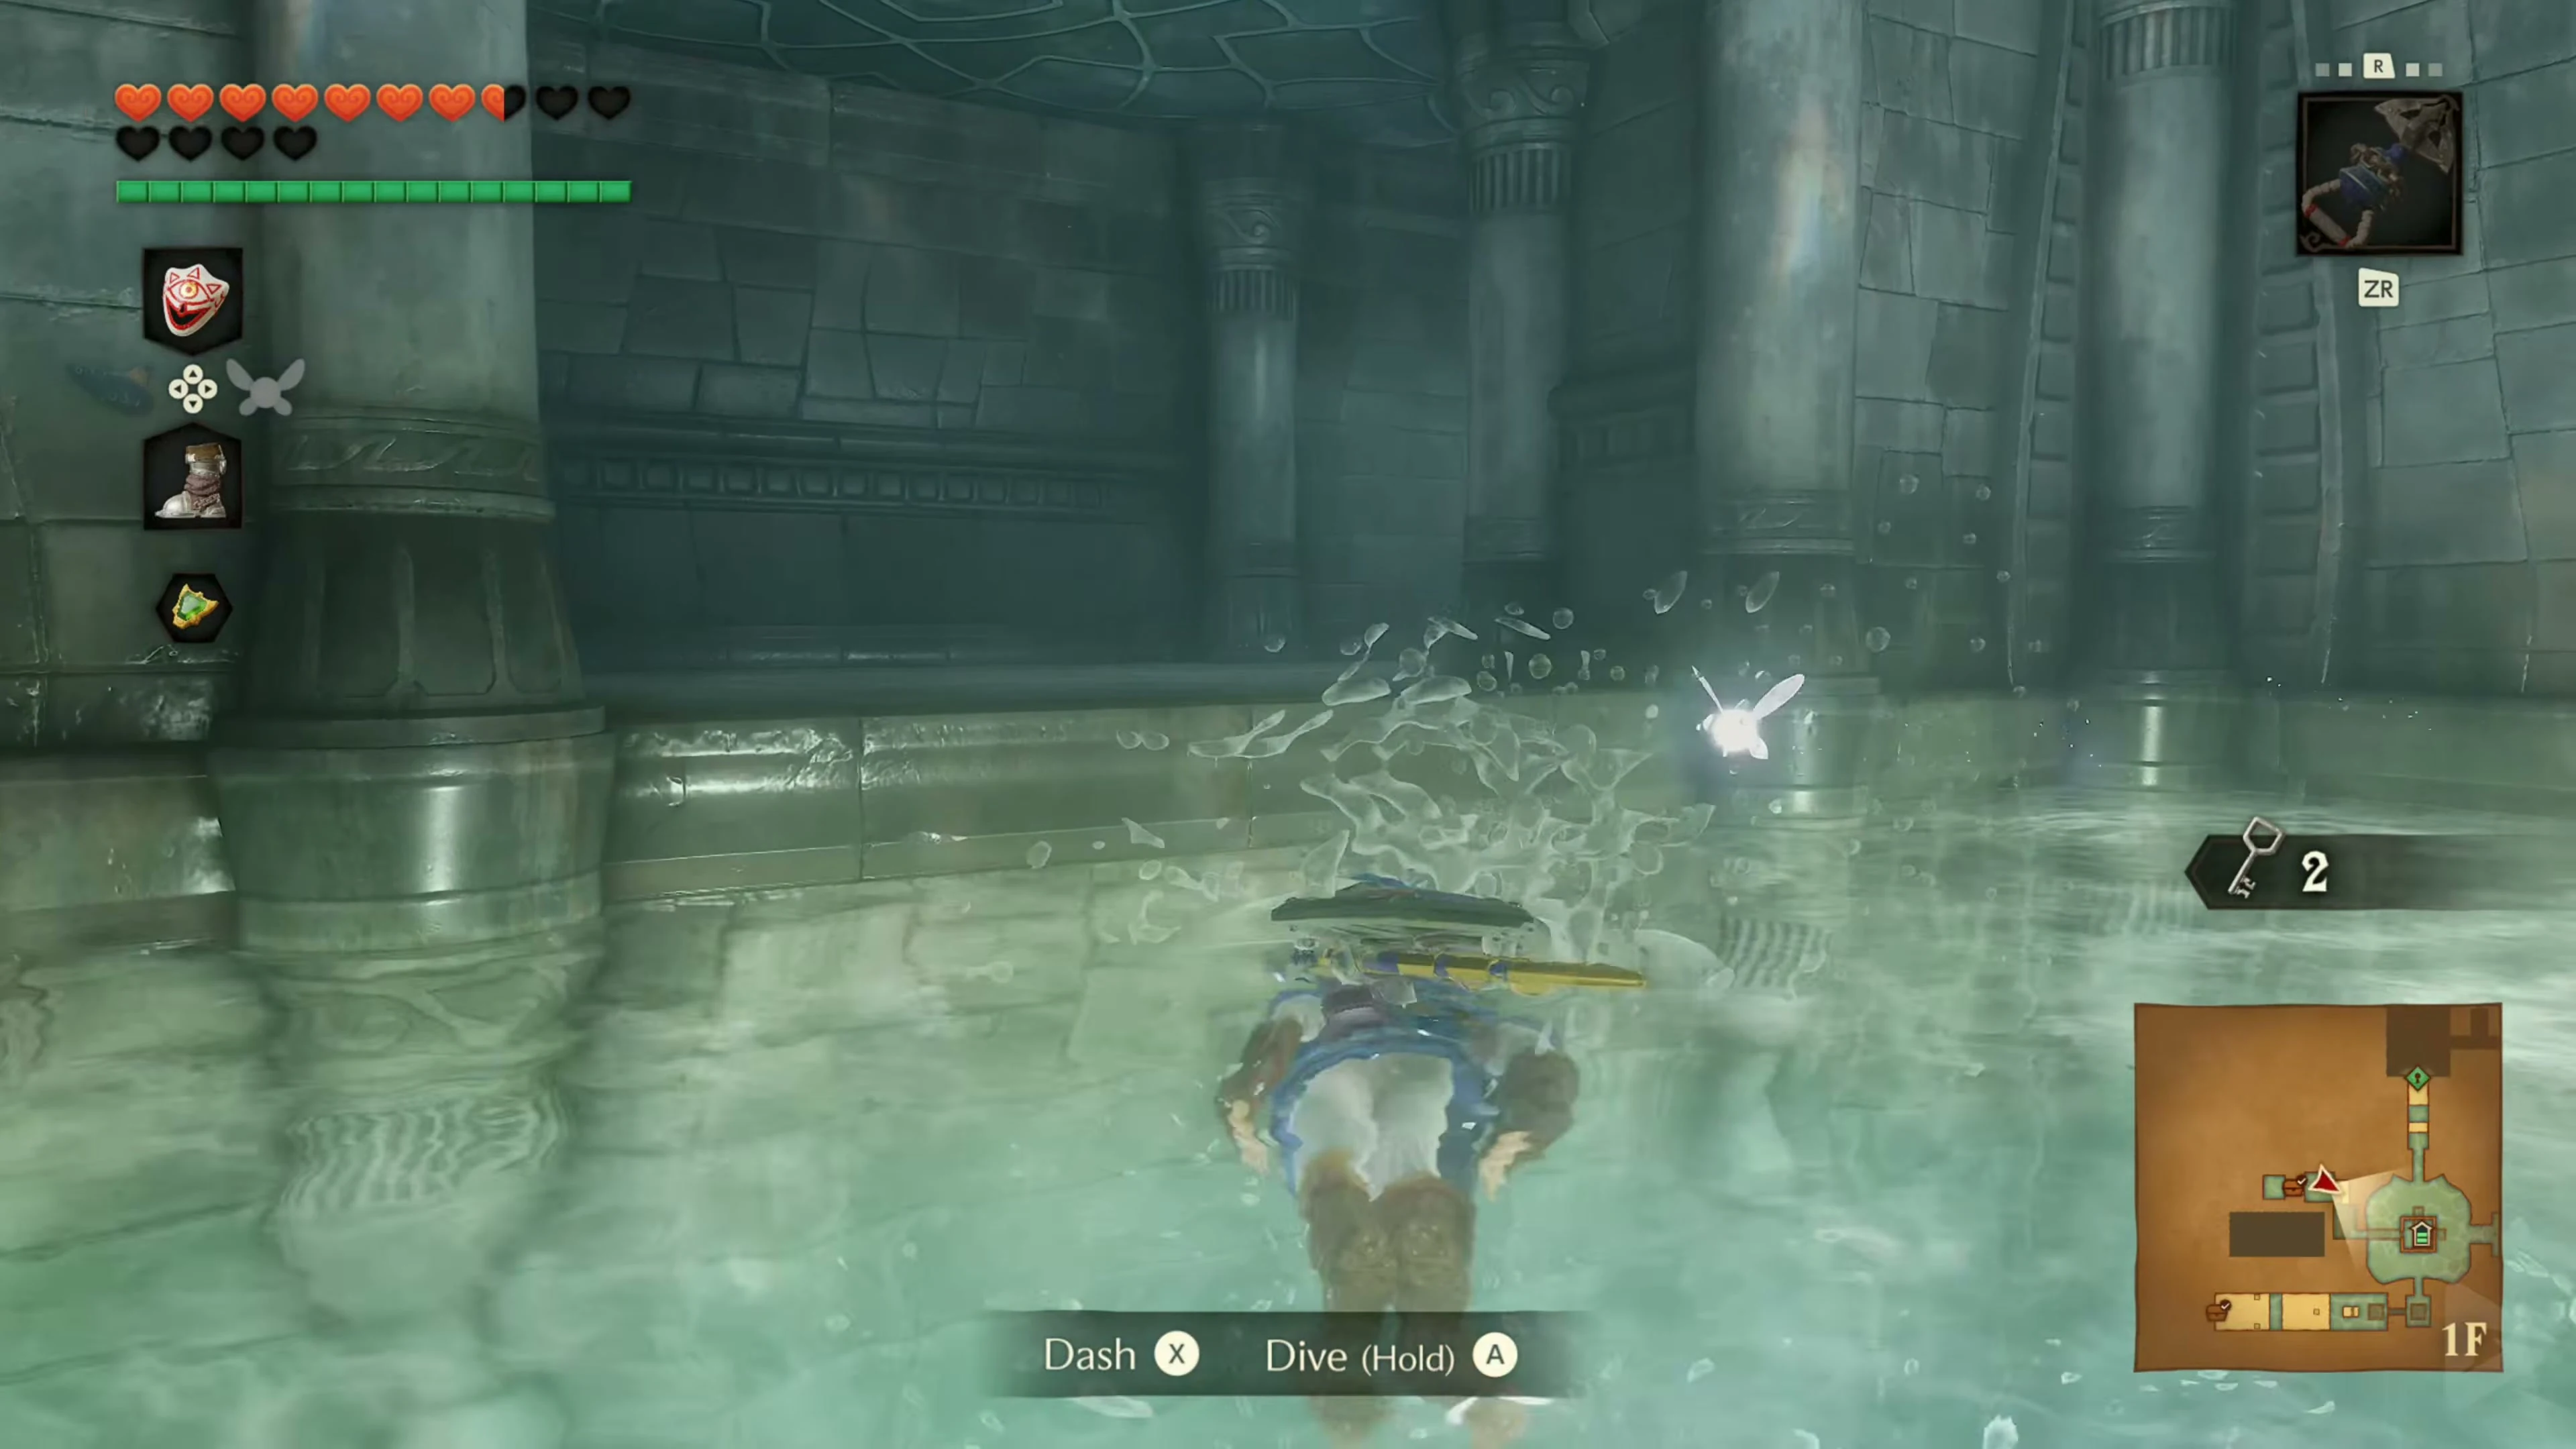
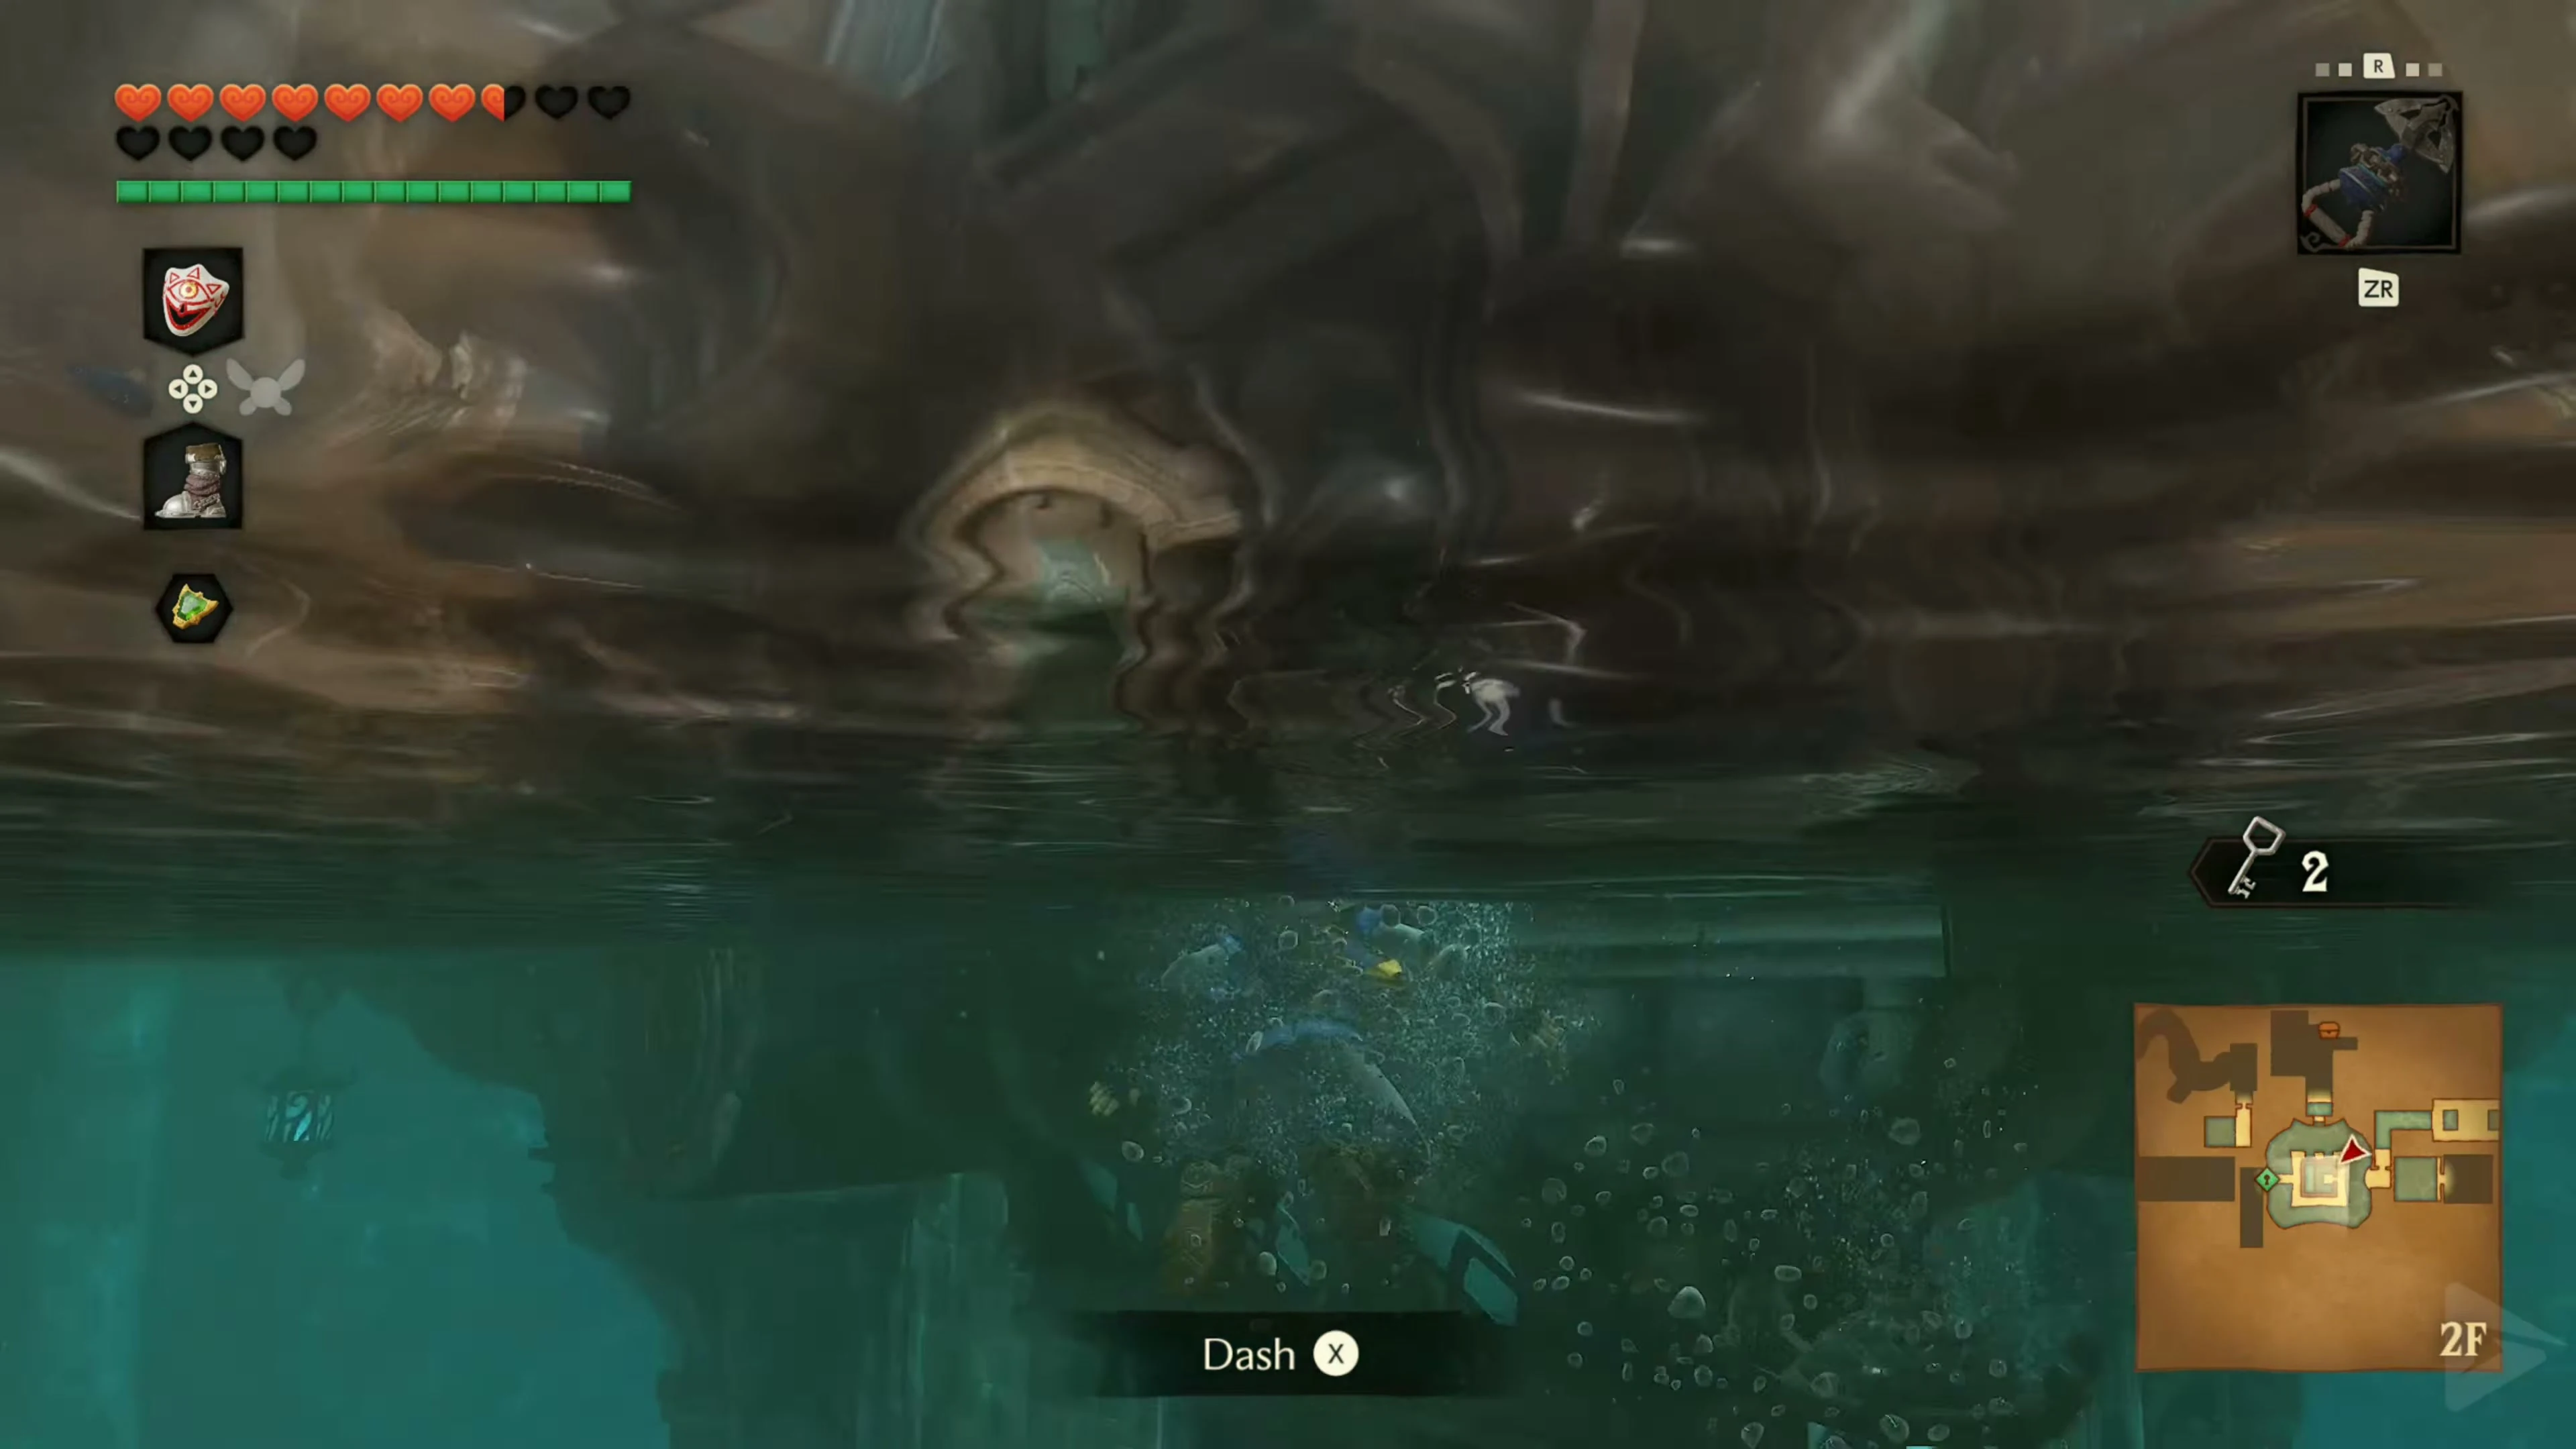
Swim to the locked door in the west when the water level is high. Open it with Small Key 3/4 . Behind the door, a platform will move up and down directly in front of you. Jump onto it and wait until it’s almost at the bottom. From there, use the Hookshot to grapple to one of the platforms to the west. They all move downwards, so after each landing, immediately aim for the next higher platform until you reach the door at the top.
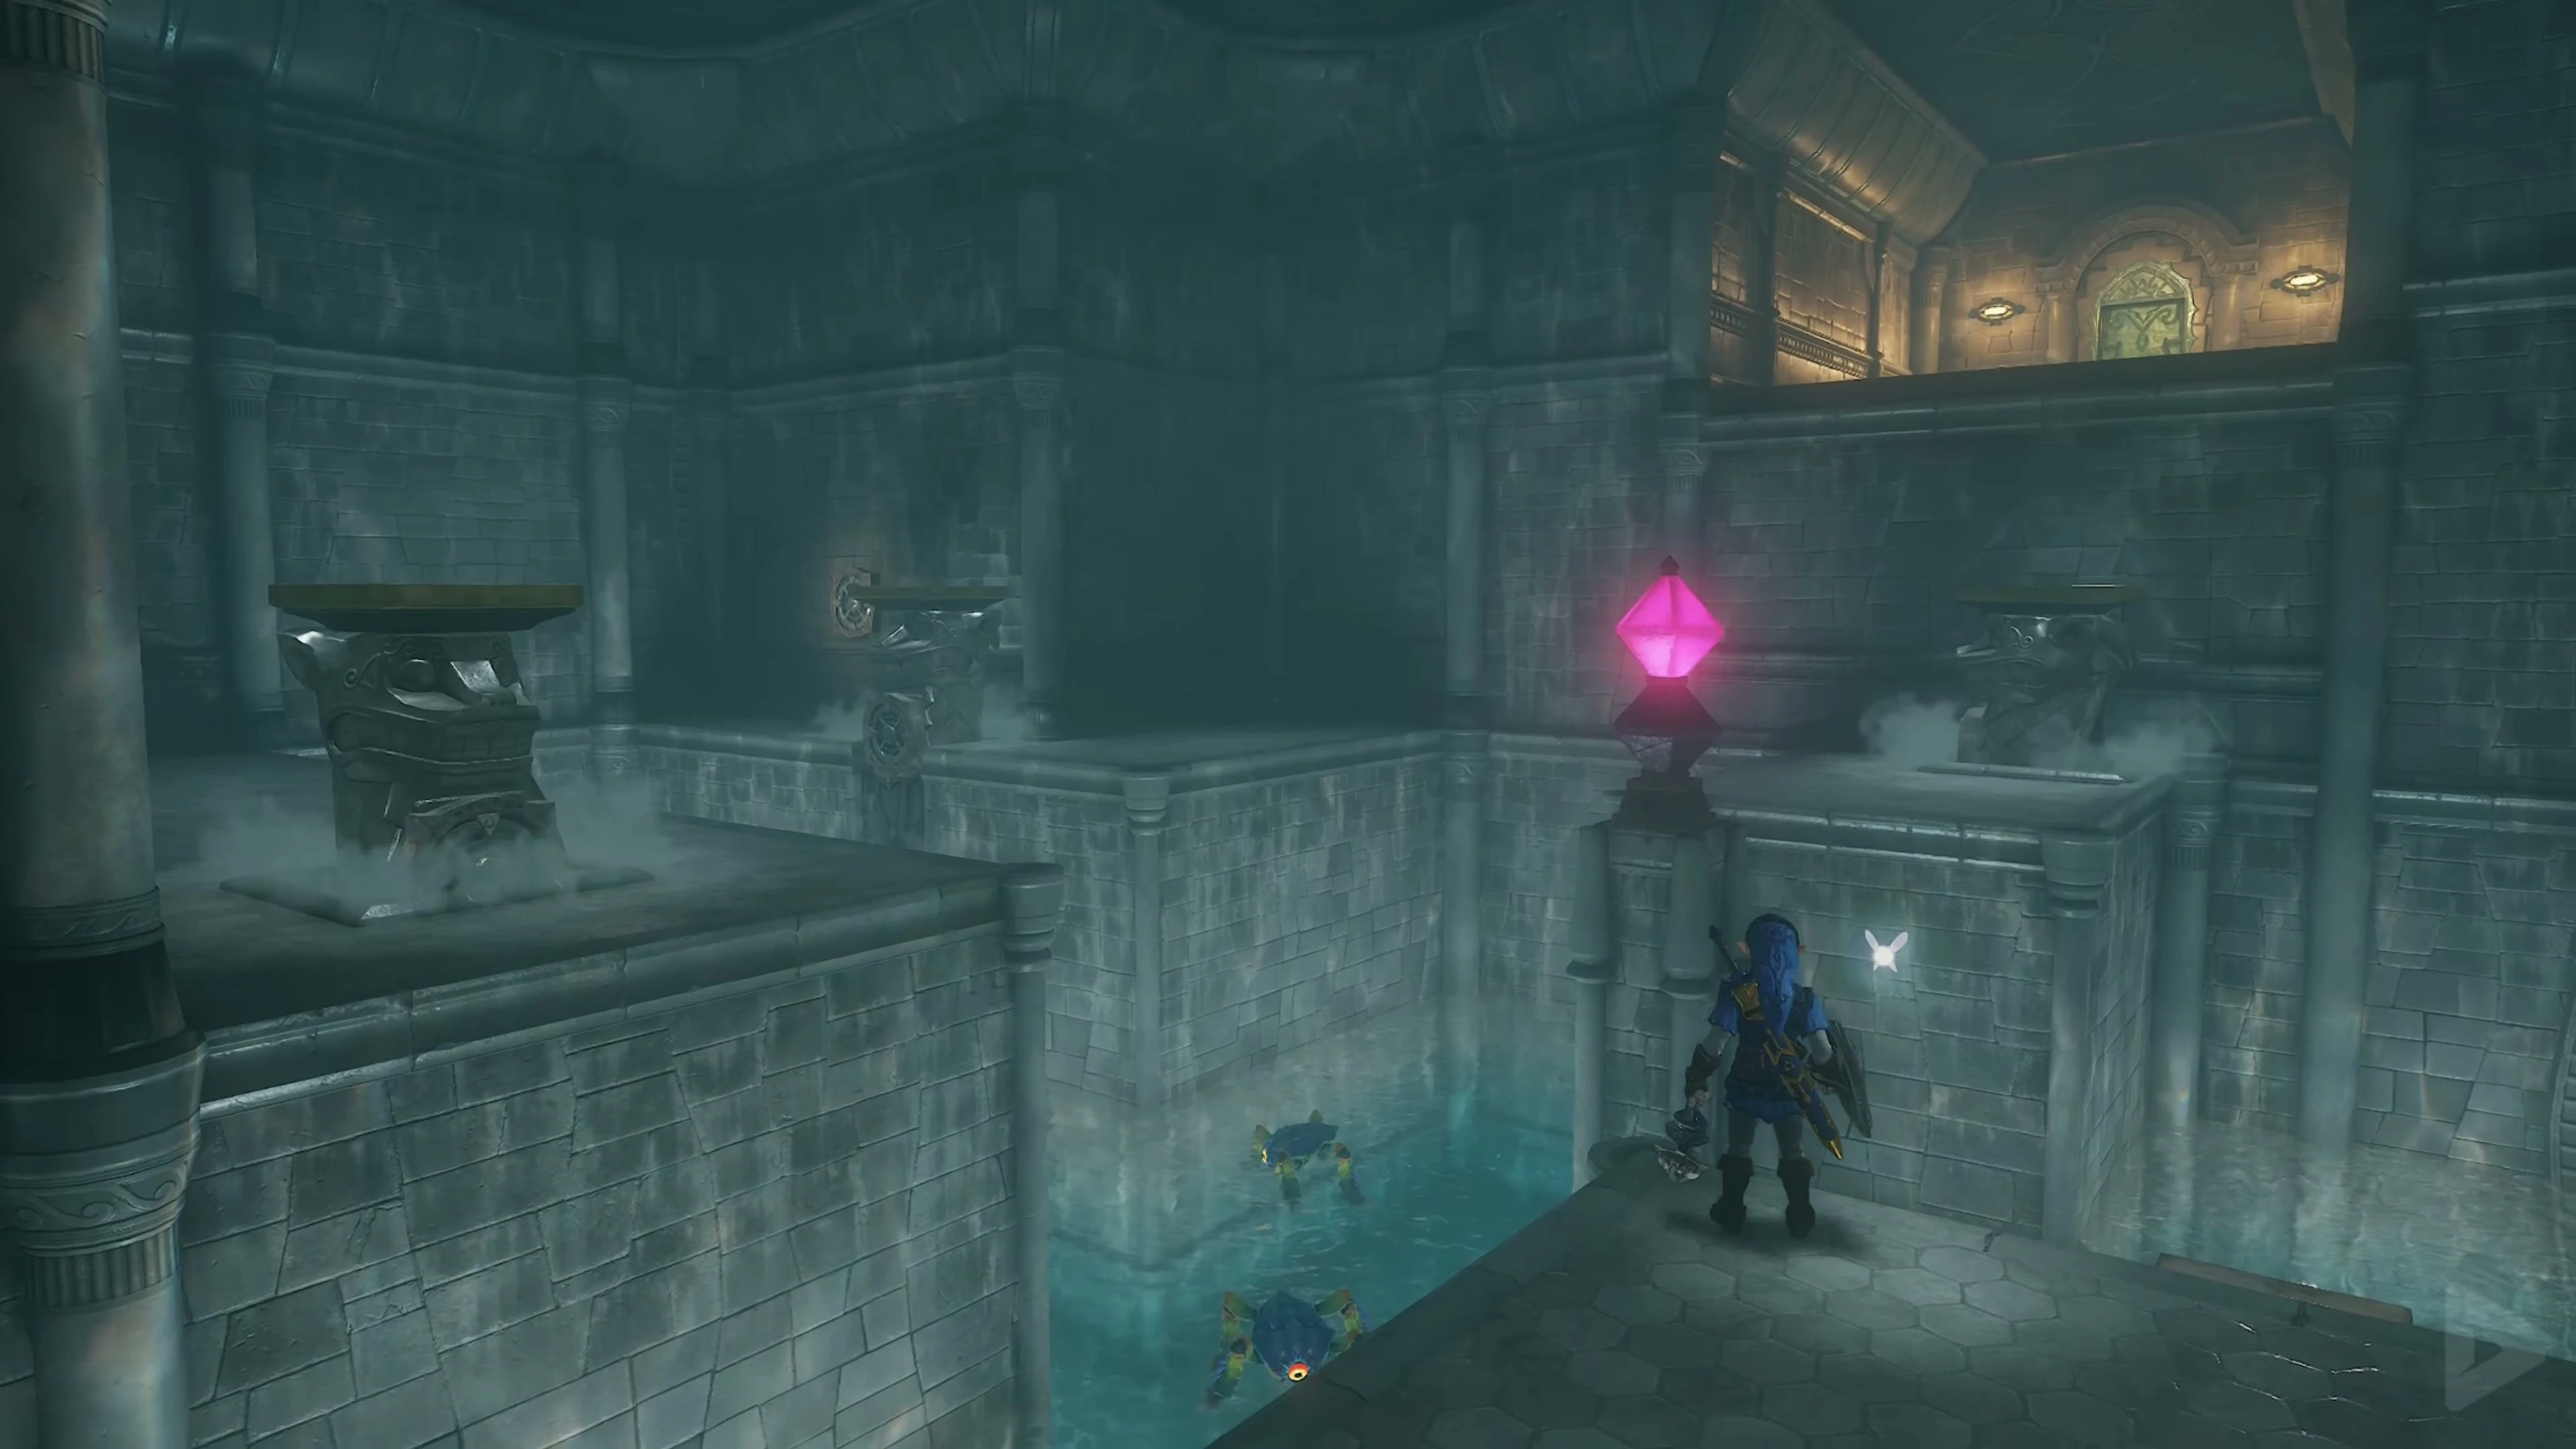
Drop down behind the next door on the right and take out the crabs while you can stand in the shallow water. Retreat to the entrance and hit the crystal with the Hookshot. Aim for the first extended anchor to the west. Lower the pillars again, grapple to the left of the two targets to the north, and climb over the pillar to the east. Raise the northeast pillar and grapple to it. Lower it once more, climb onto it, and hit the crystal one last time. The pillar will lift you to the door to the north.
Go through the northern door into the fog chamber.
Miniboss: Dark Link
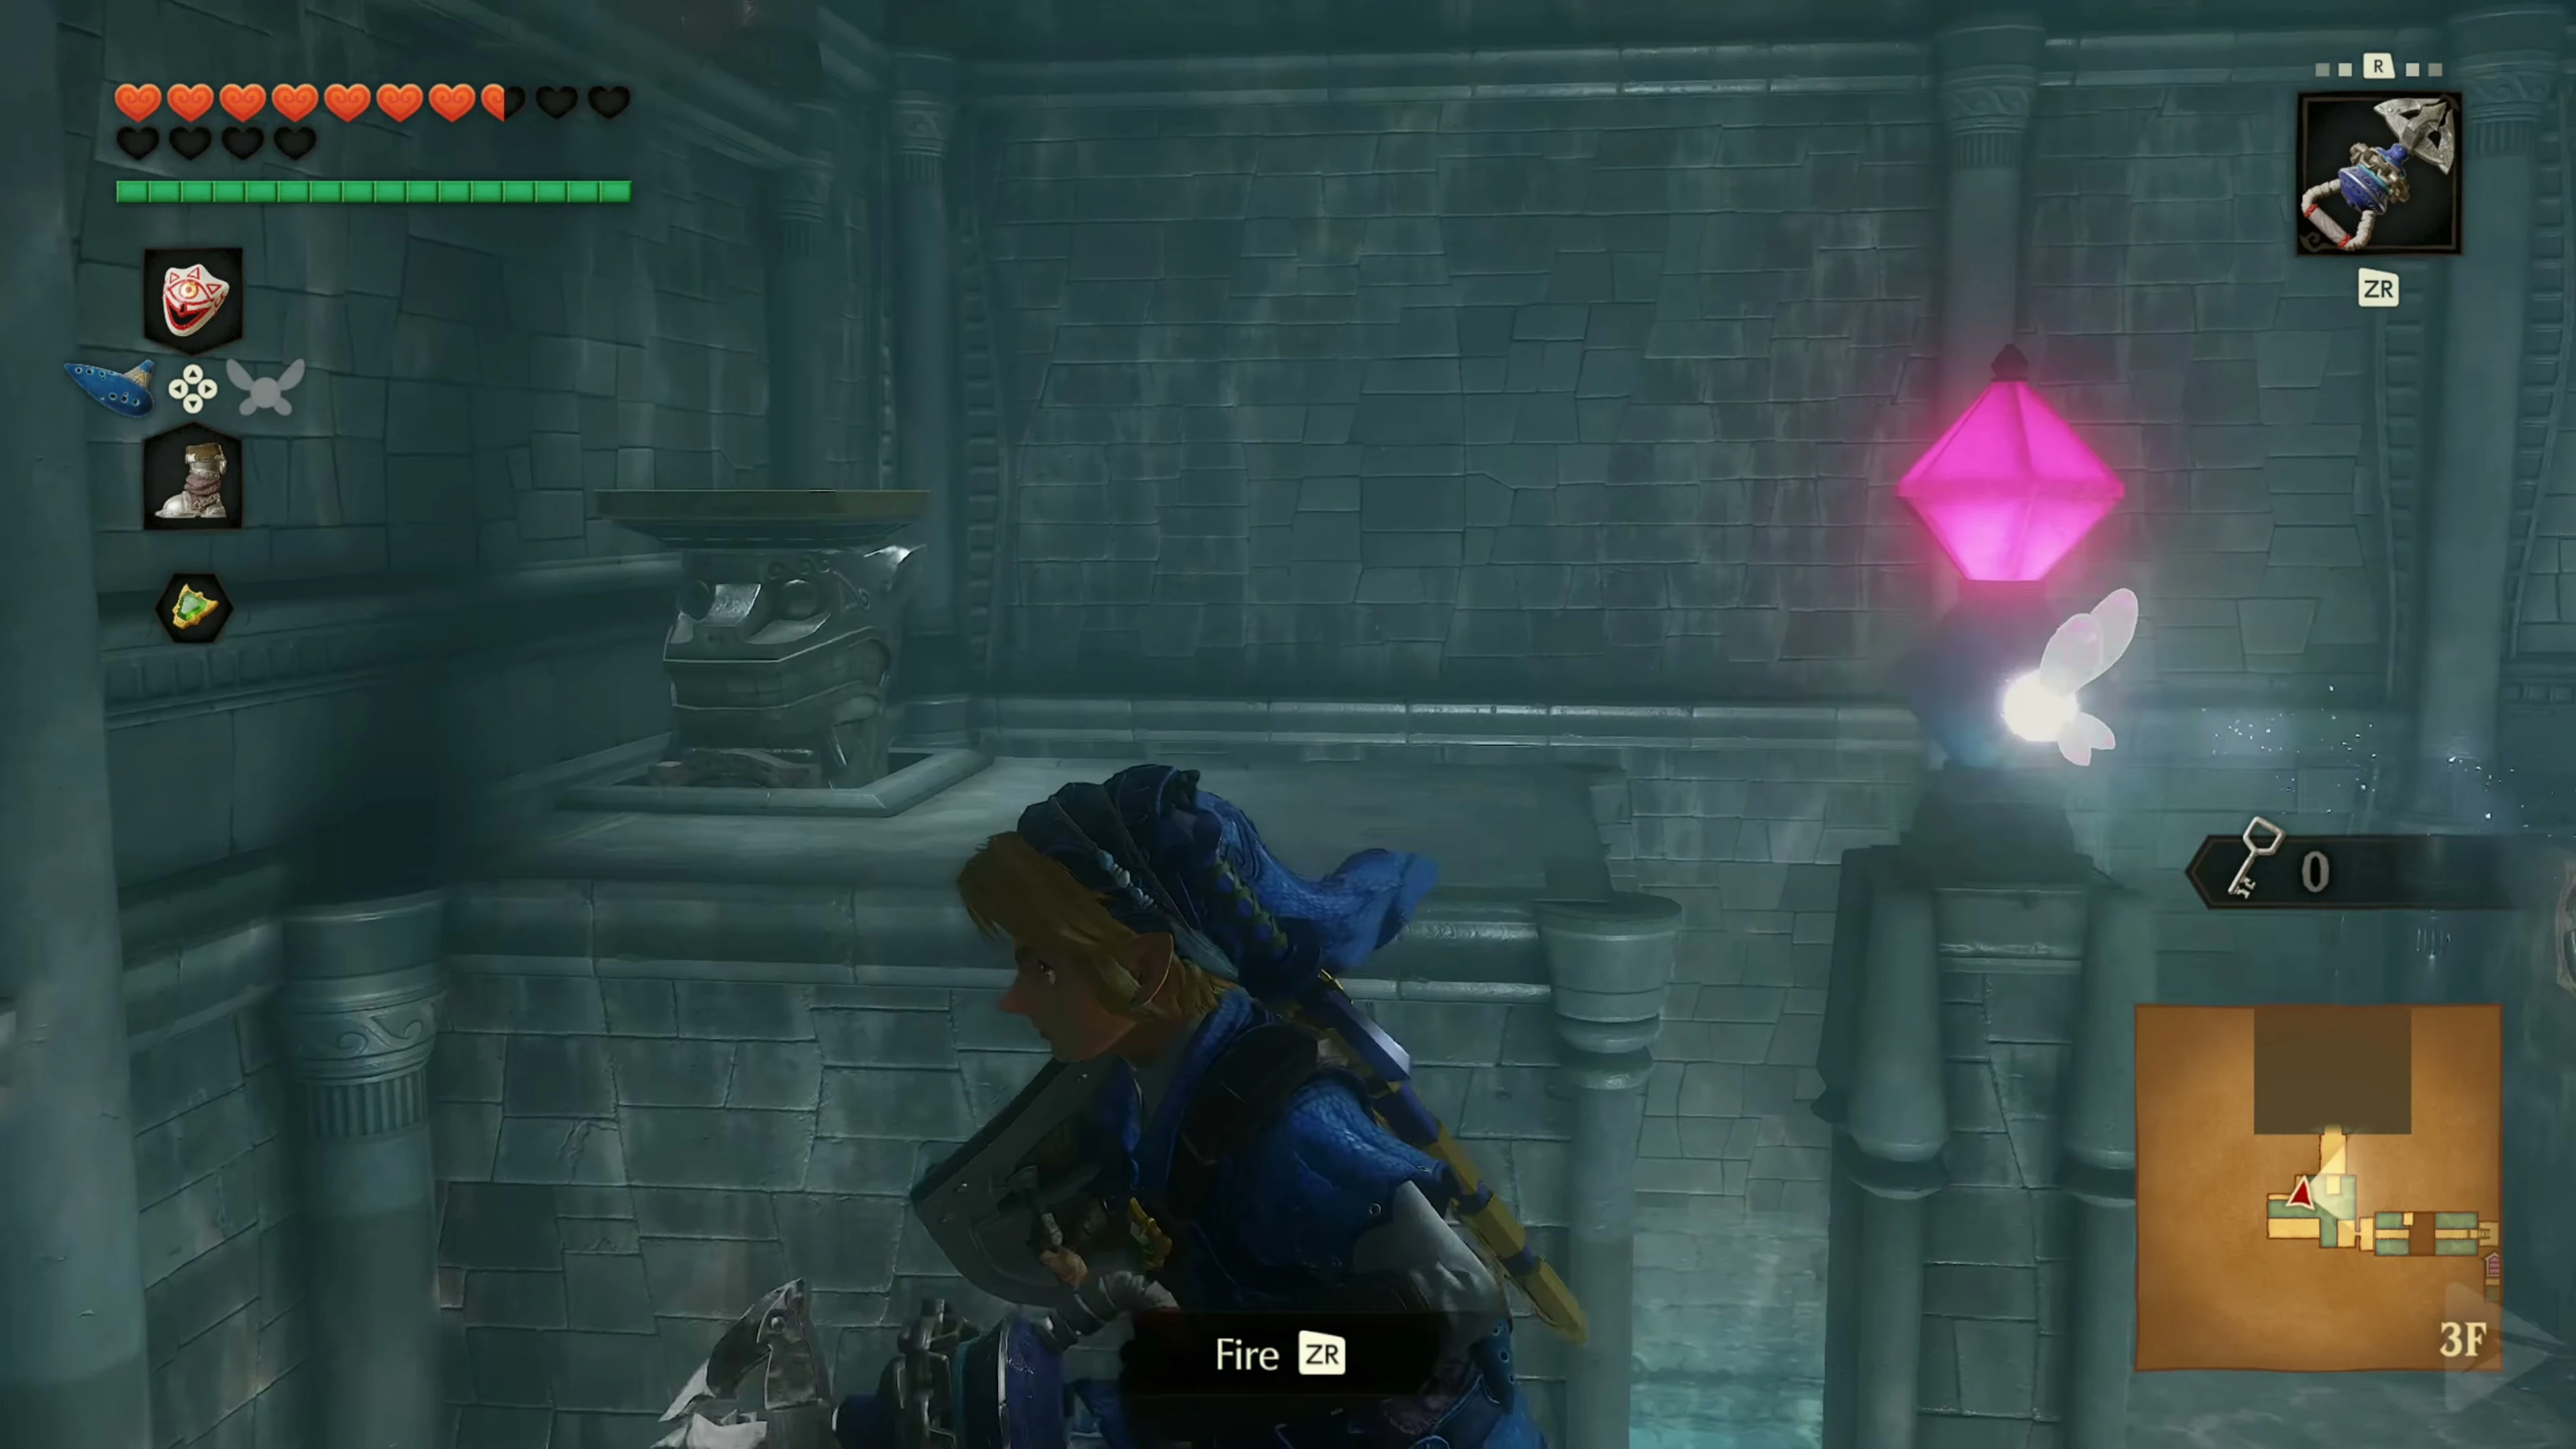
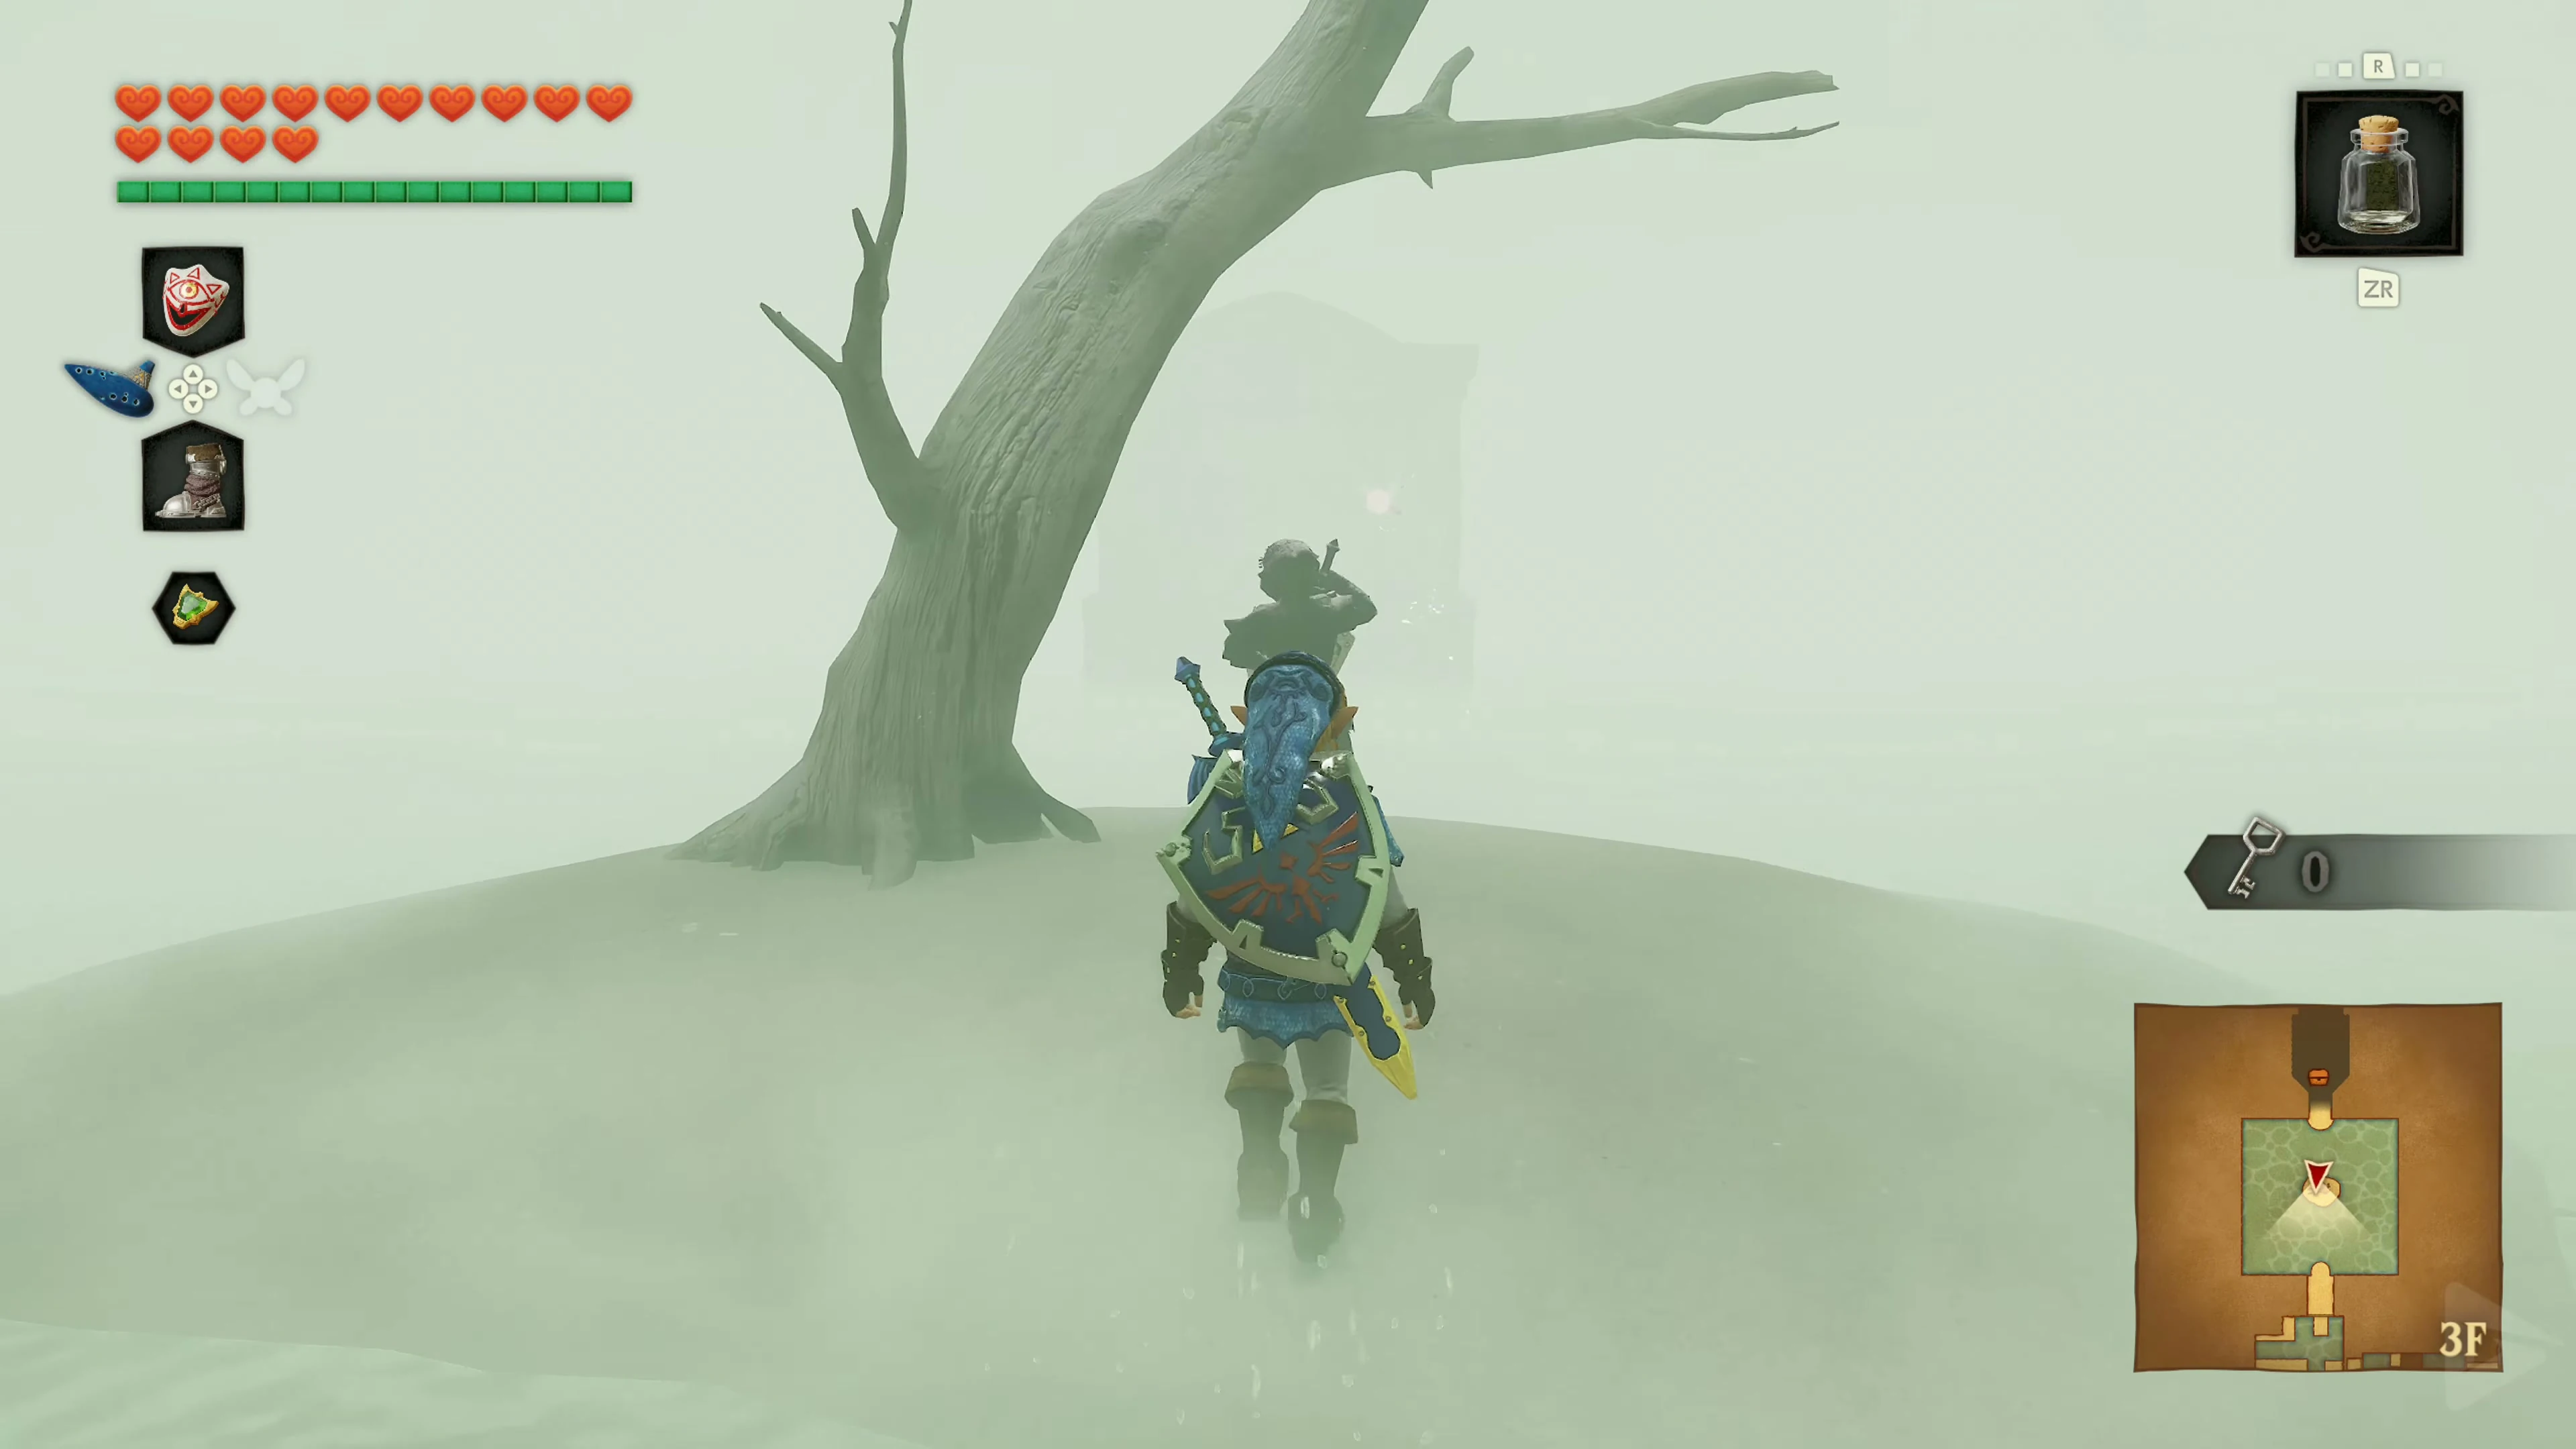
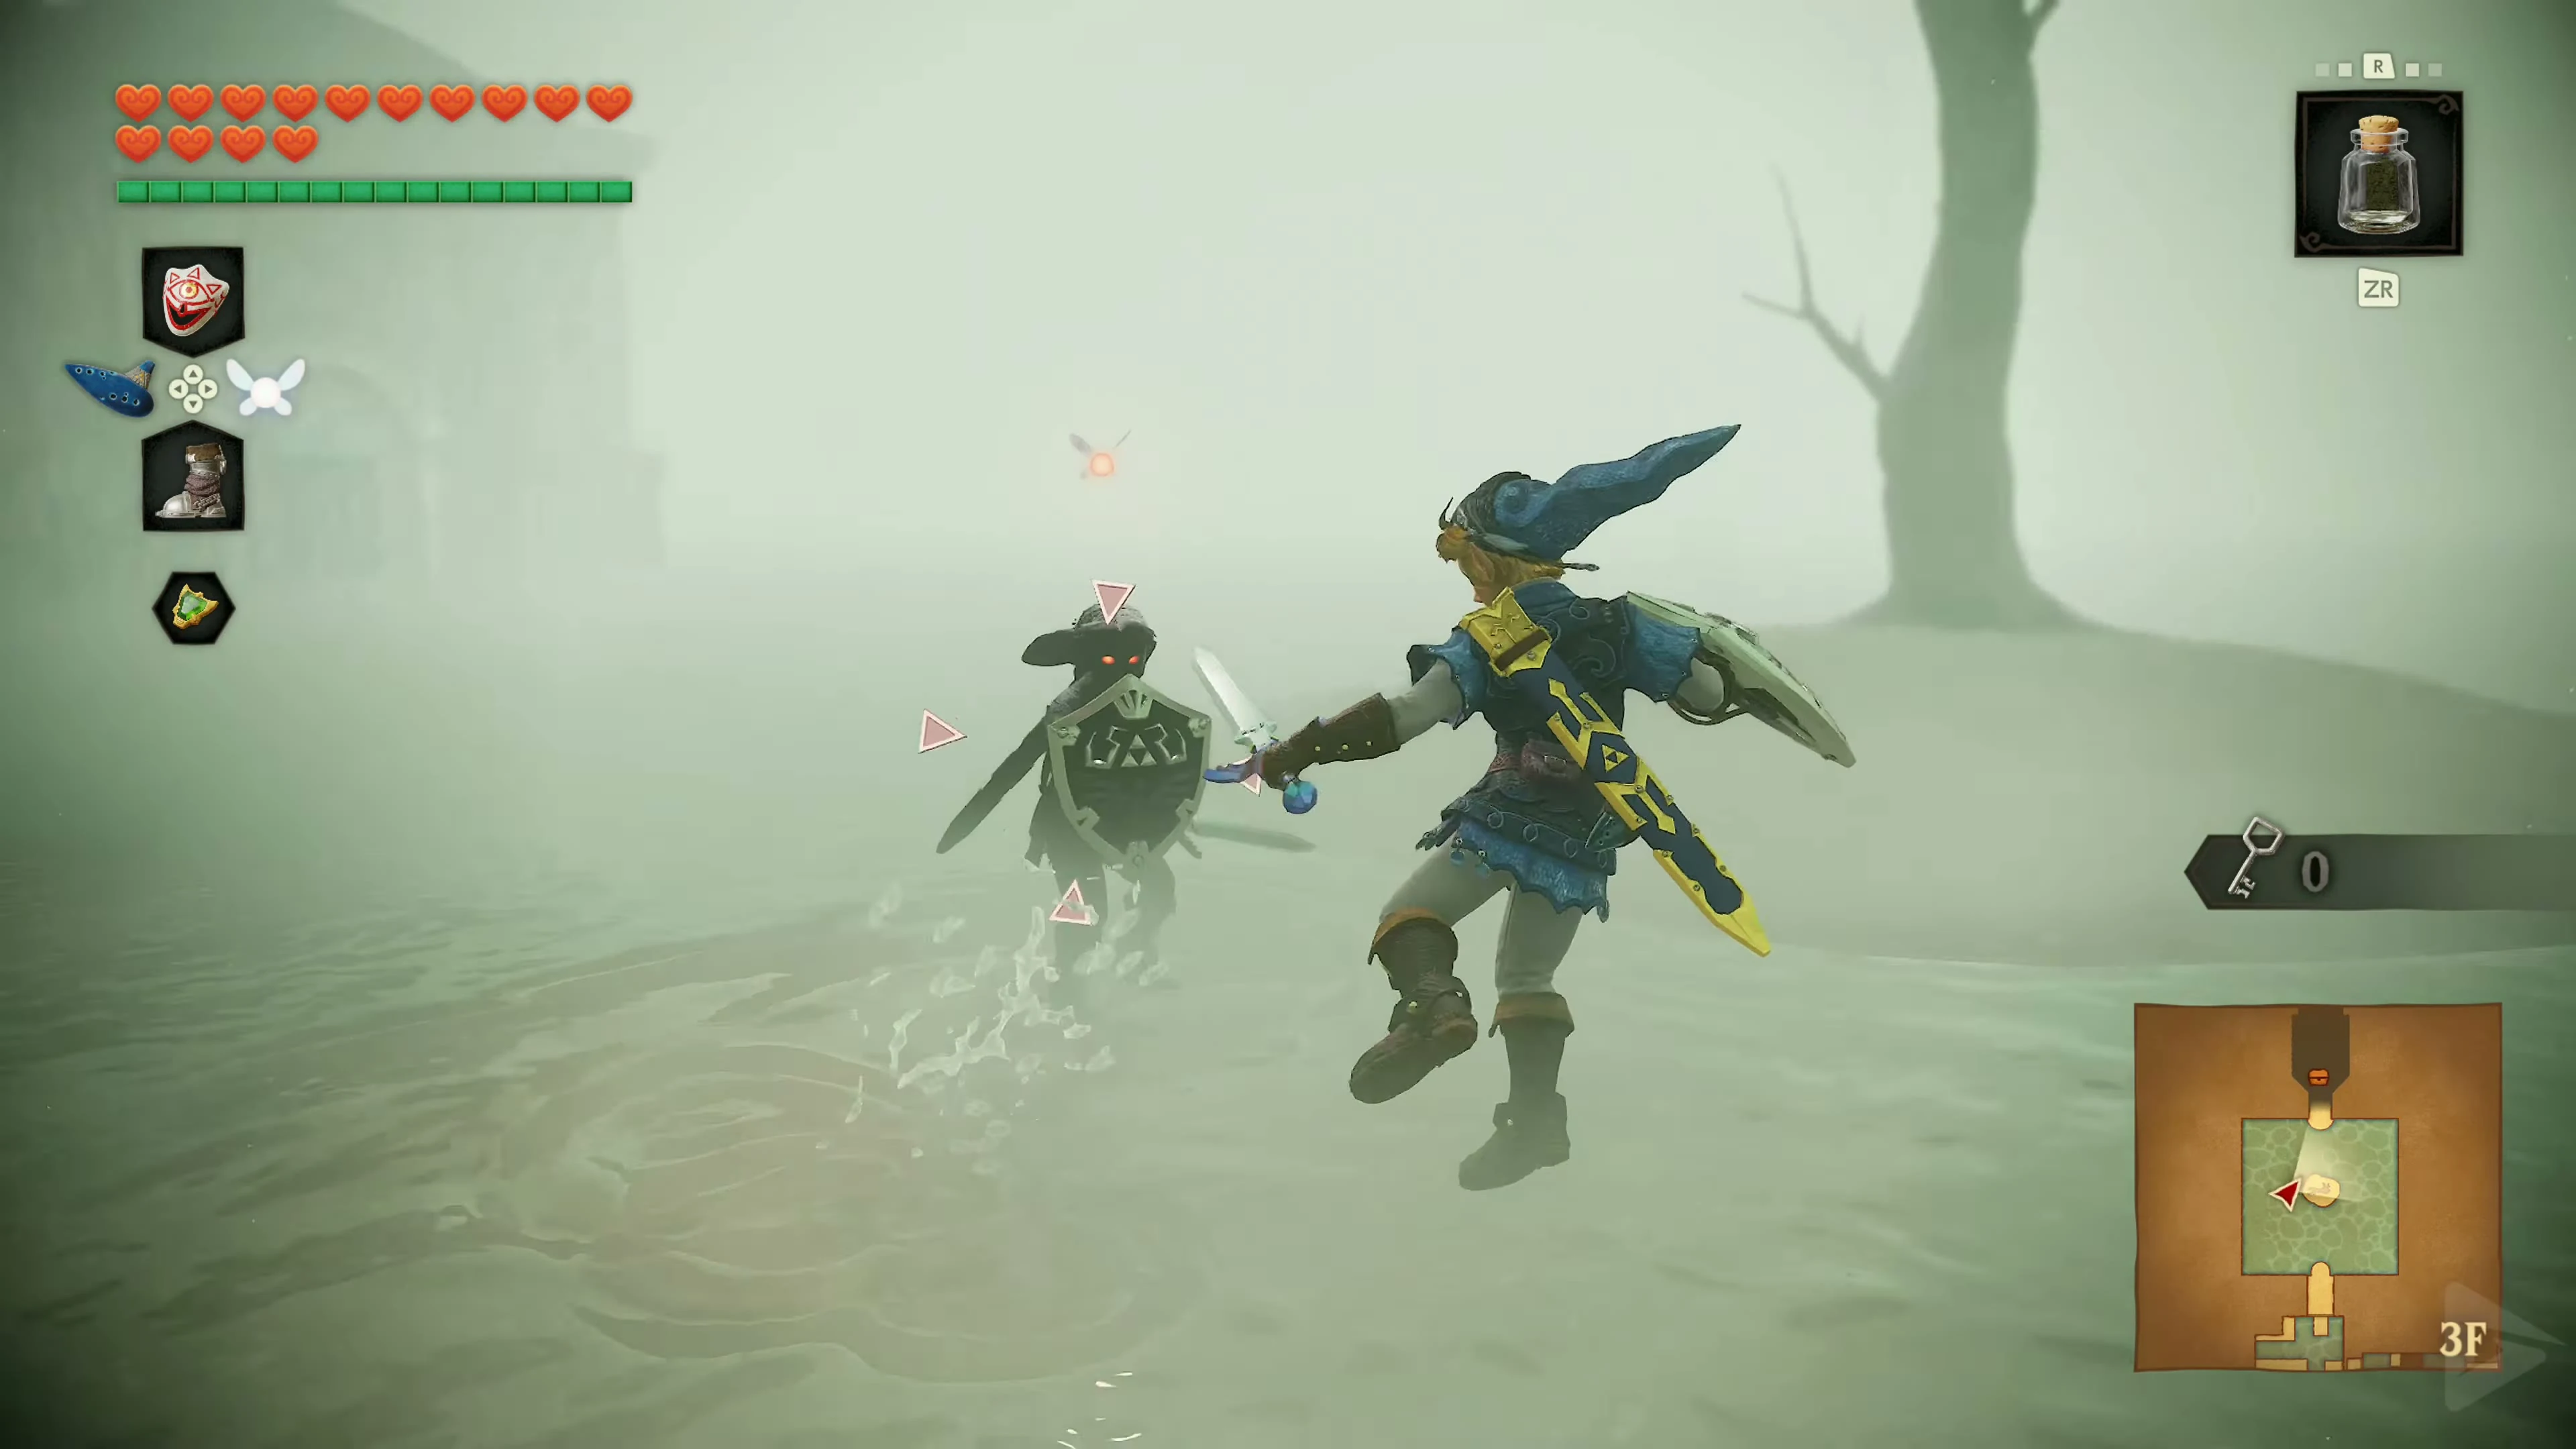
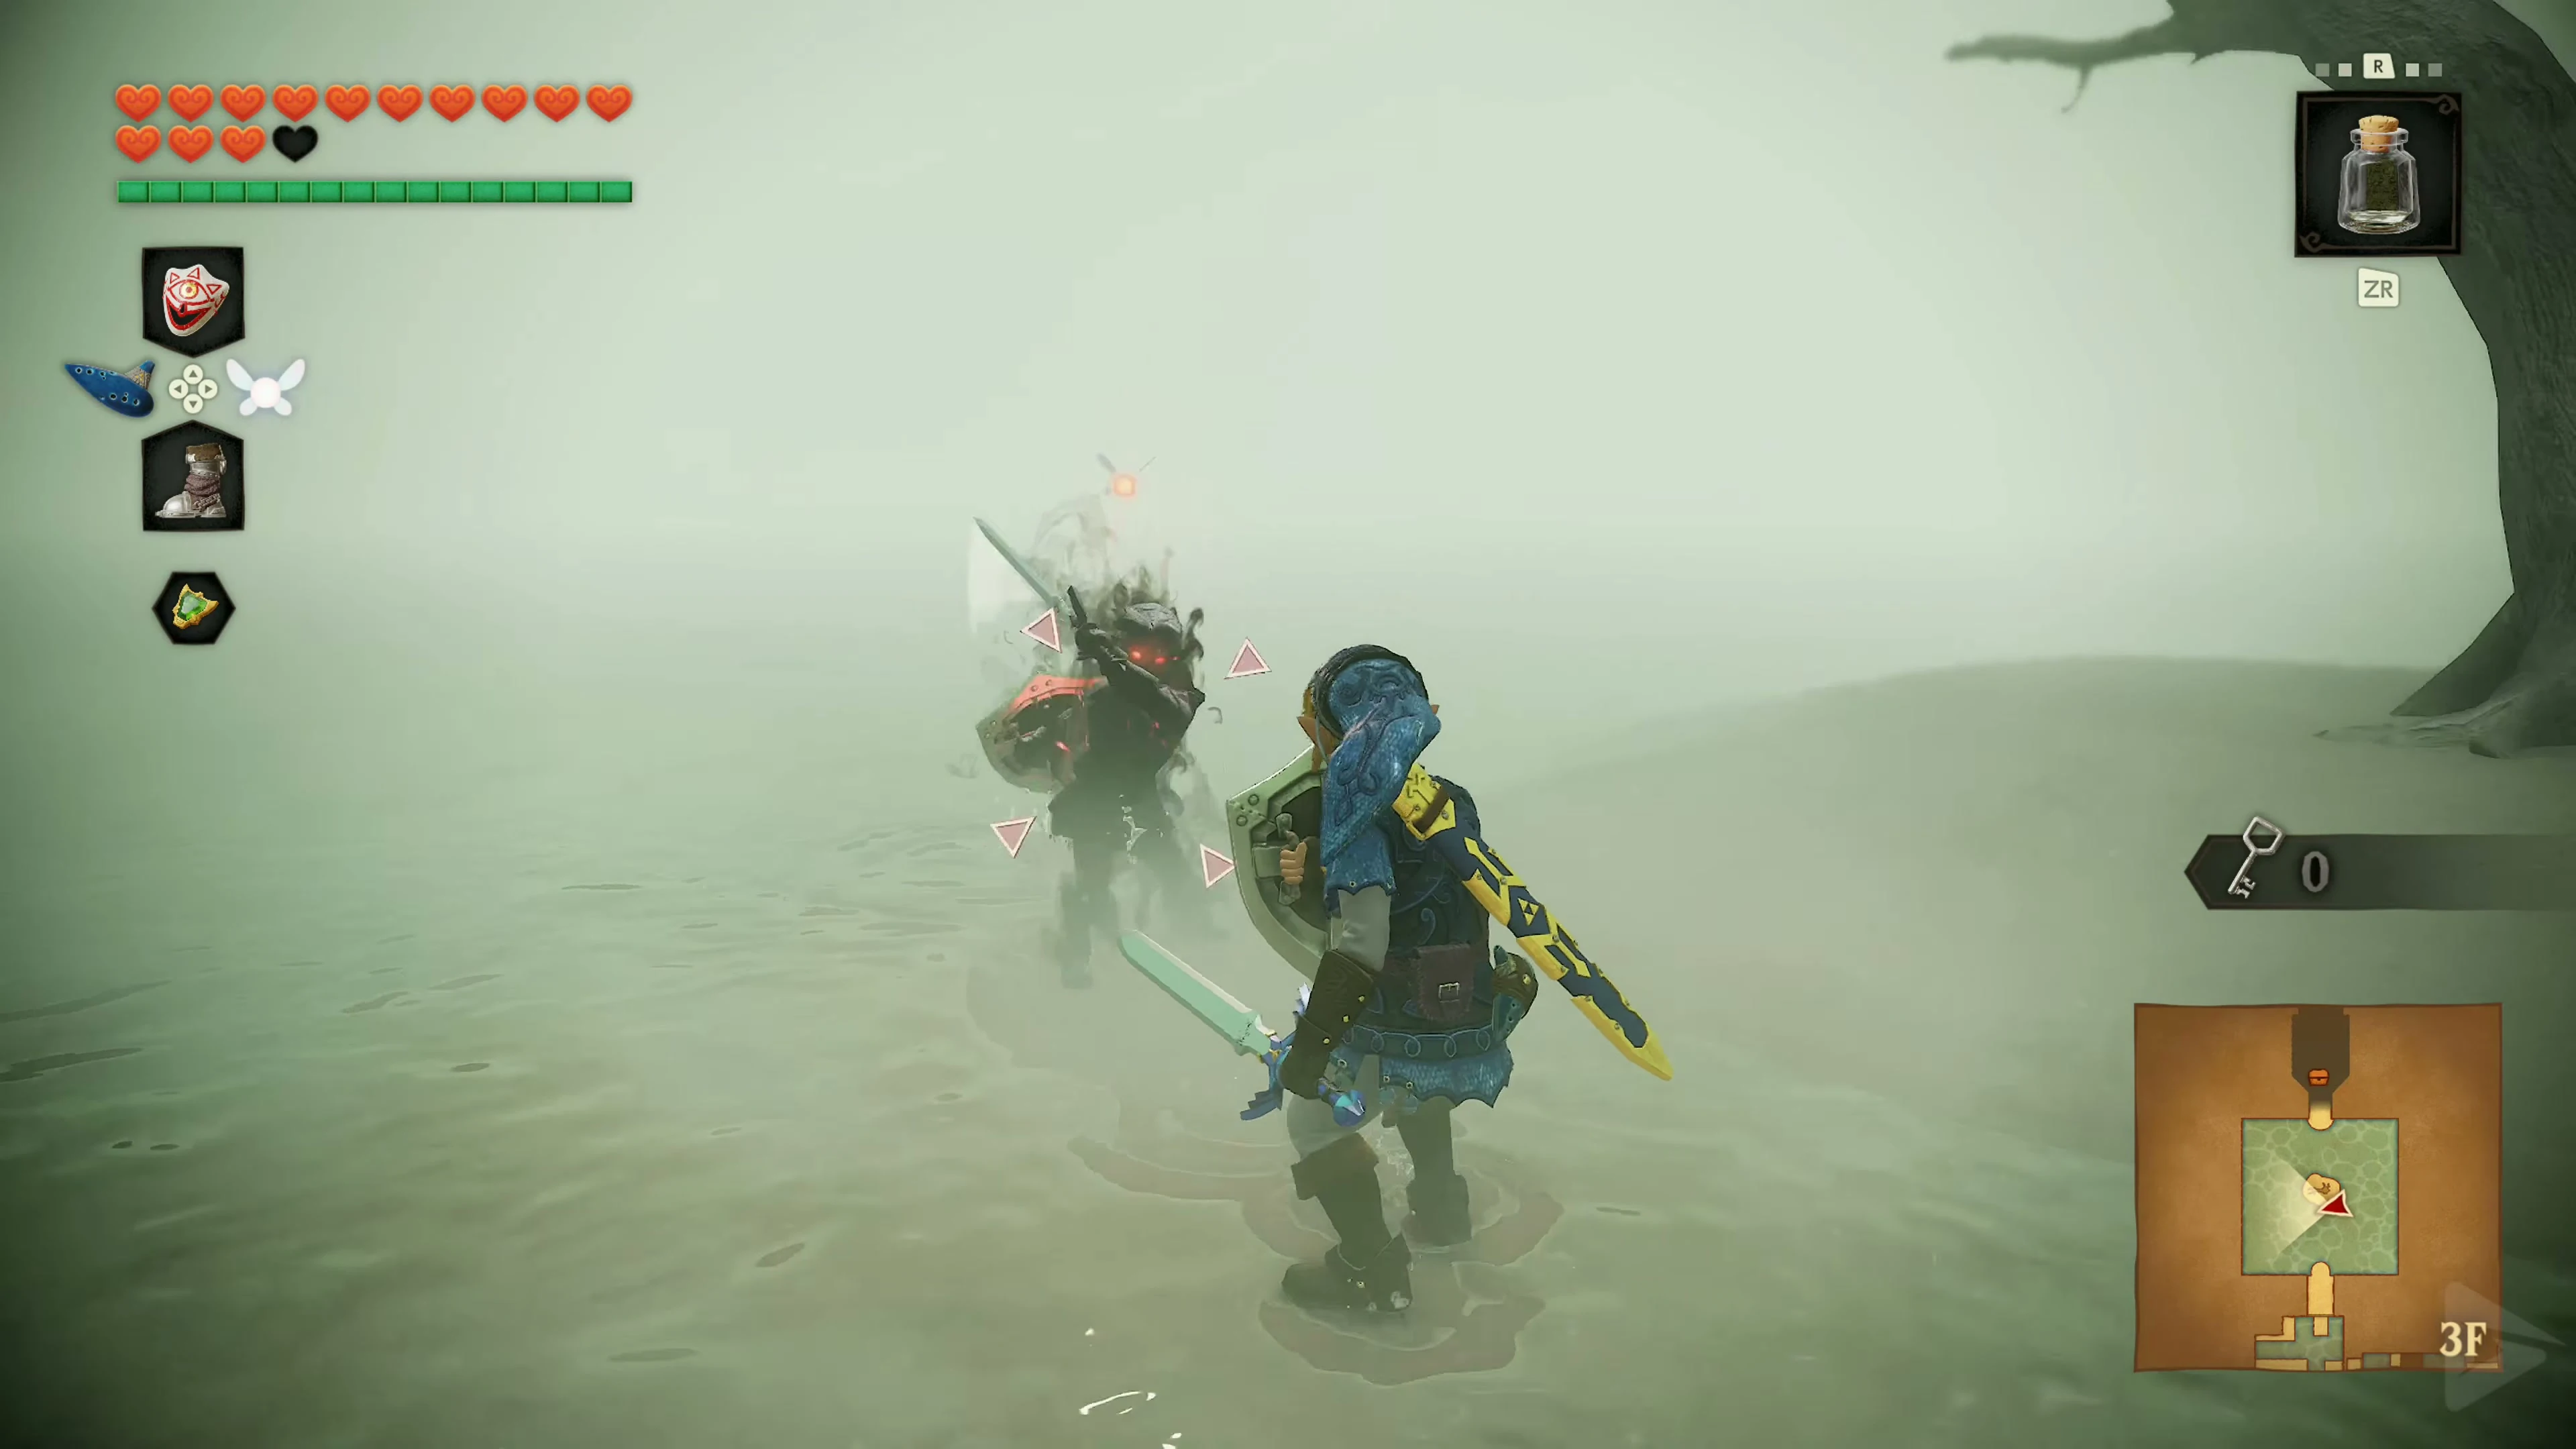
Behind the next door, the environment changes completely. Instead of the stone rooms of the Water Temple, you see a seemingly endless expanse of water shrouded in mist. In its center stands only a small island with a bare tree. First, run to the locked door at the far end and then return to the tree. As soon as you approach the center again, a dark shadow appears beneath Link, slowly rising to become his double. Dark Link copies many of your movements and reacts particularly reliably to ordinary sword attacks. If you thrust the Master Sword head-on, he can even jump onto Link’s blade and completely block the attack. The longer the battle lasts, the more independent and aggressive the doppelganger becomes.
Simple strategy with the Megaton Hammer
Target Dark Link and attack with single Megaton Hammer blows . Wait for him to dodge and then follow up. Alternatively, you can use the Biggoron Sword to take advantage of its greater reach.
Din’s Fire
Another straightforward approach is to use Din’s Fire . Let Dark Link approach, then cast the spell. He cannot copy its expanding ring of fire with his sword. Repeat while your magic lasts. If you collected the doubled Magic Meter after the Fire Temple, you can severely weaken him this way and may almost finish the fight. To fight with the Master Sword alone, avoid targeting for most of the battle and use horizontal swings. Wait for Dark Link to attack, dodge, and counter while moving. Avoid repeatedly thrusting at him.
The Longshot
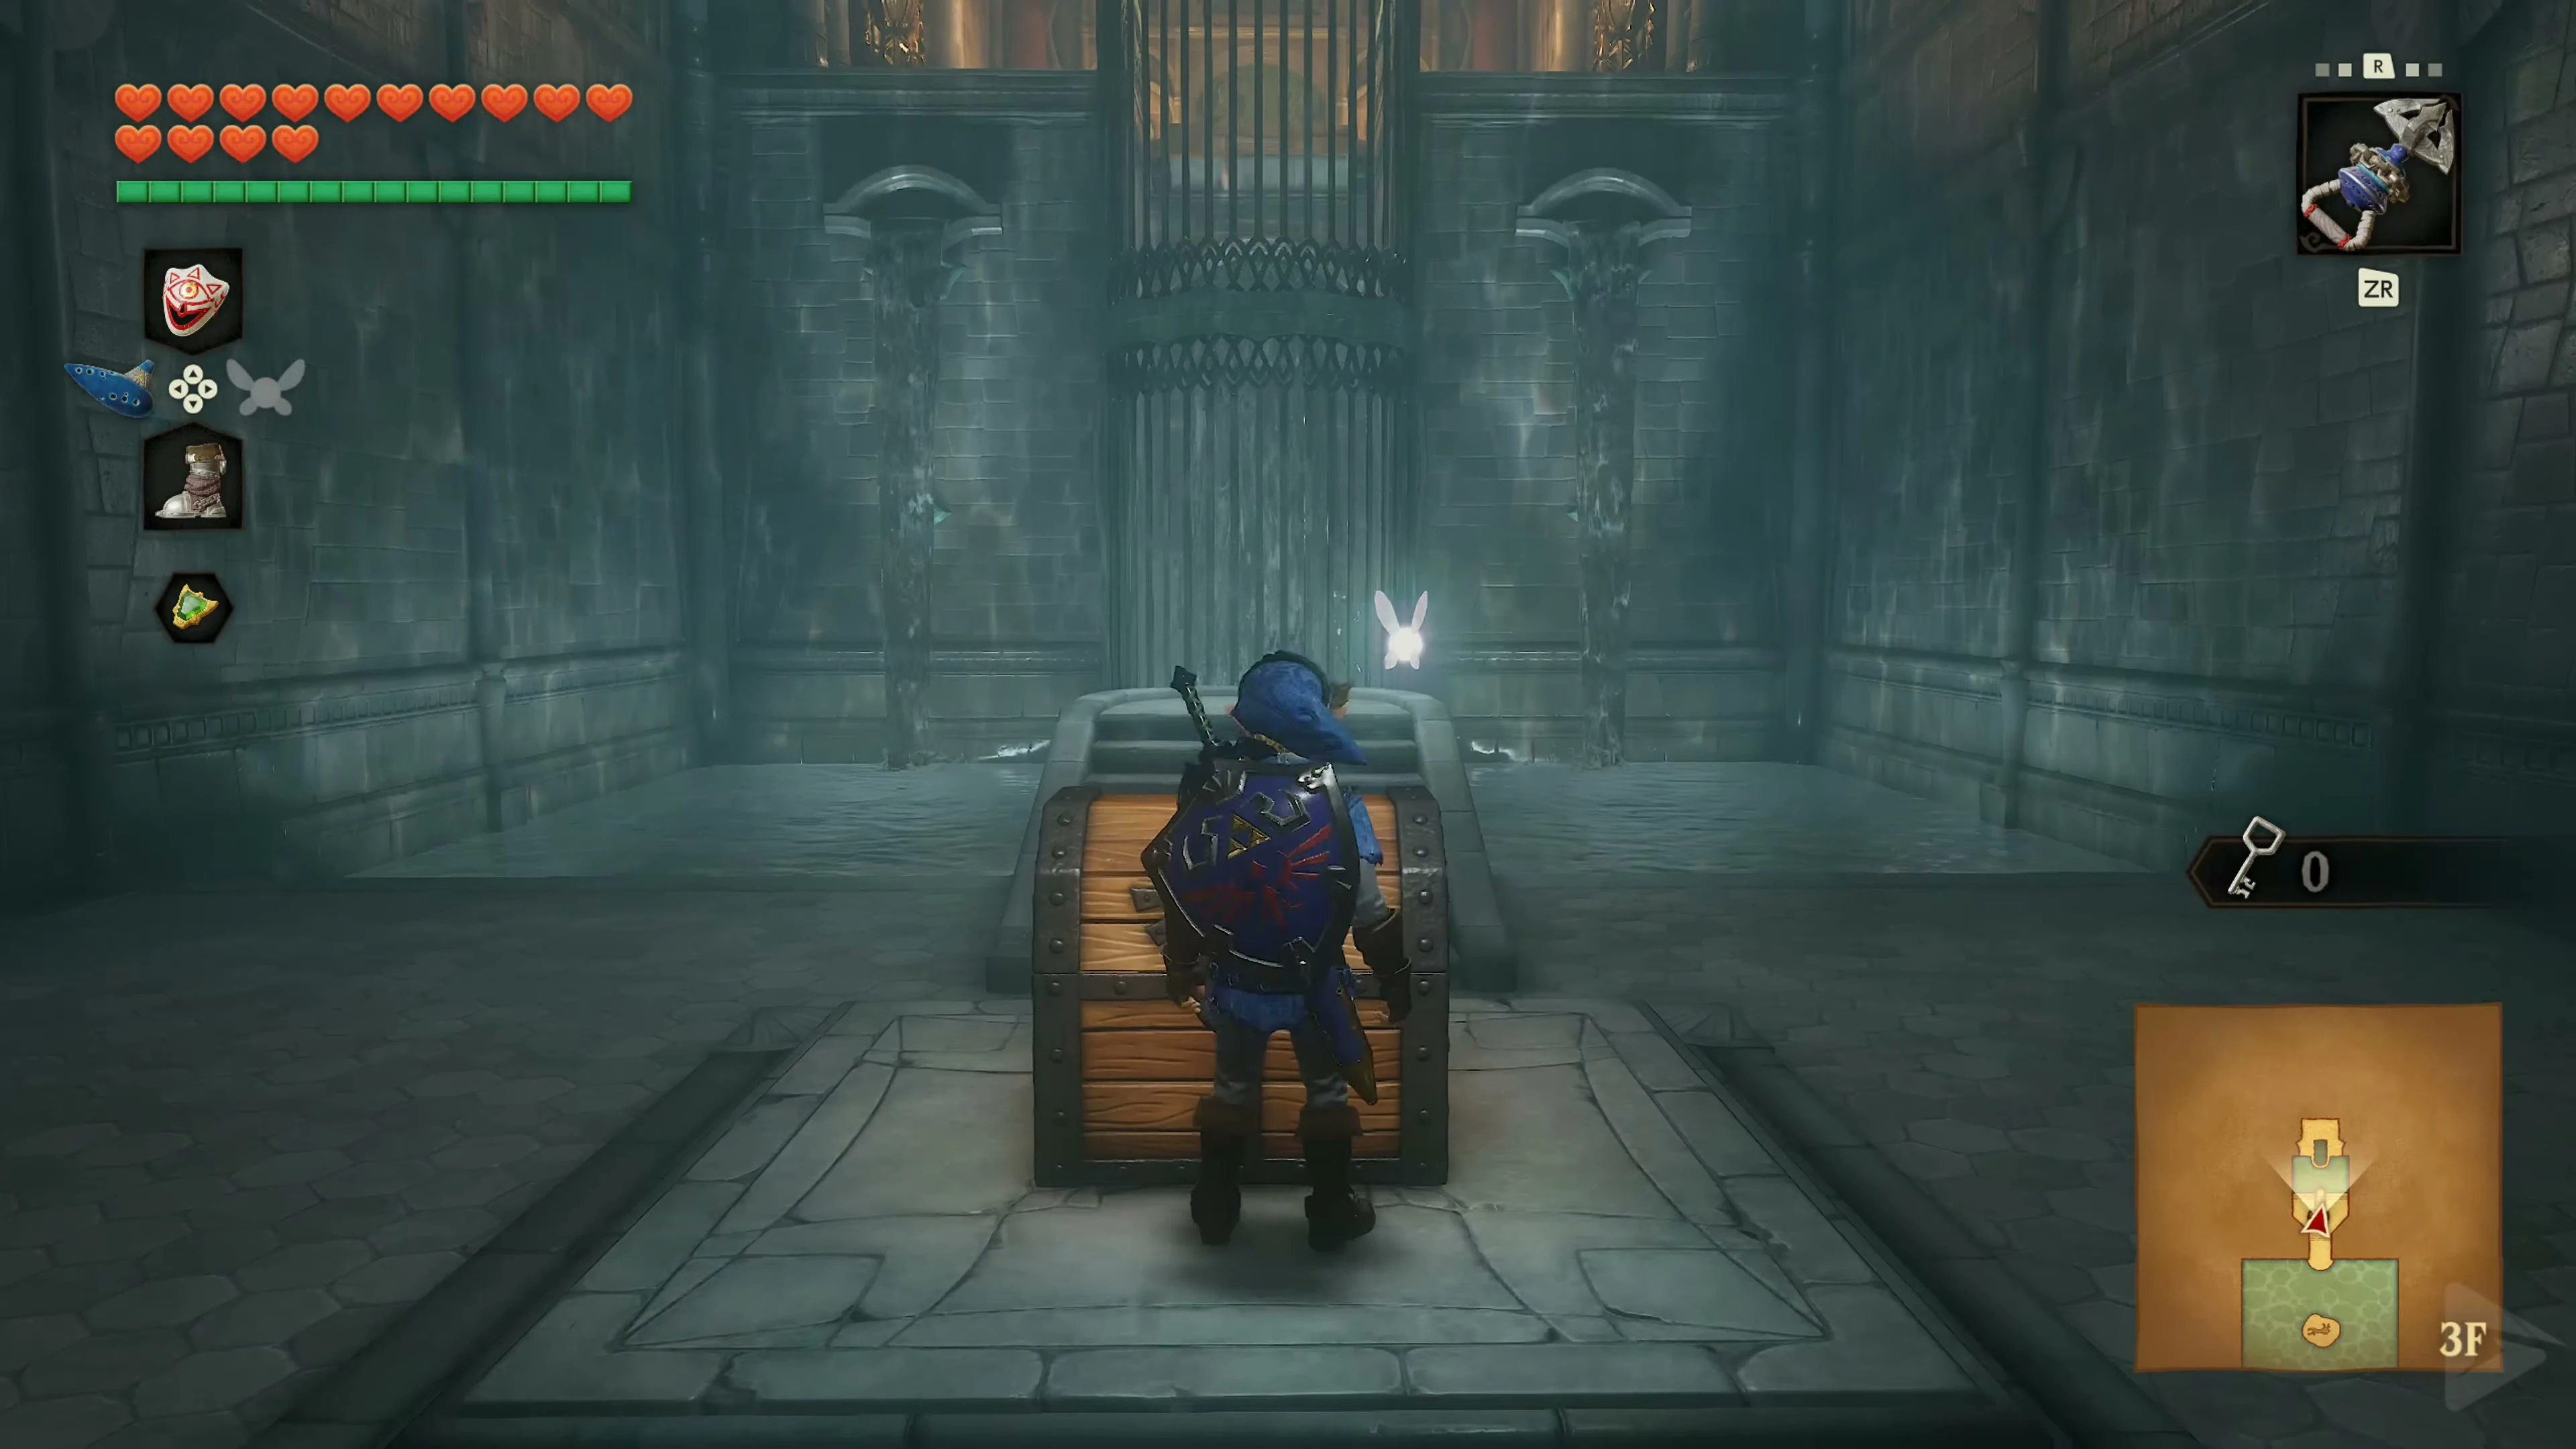
After Dark Link’s defeat, the misty landscape disappears, and the normal room of the Water Temple reappears. The door on the opposite side opens. Go through it and open the large treasure chest. Inside is the Longshot . It completely replaces the previous Hookshot and has approximately double the range. With it, we can now reach much farther away targets, treasure chests, and Gold Skulltulas. This increased range is essential for the second half of the Water Temple.
The Whirlpool Room and the Gold Skulltula
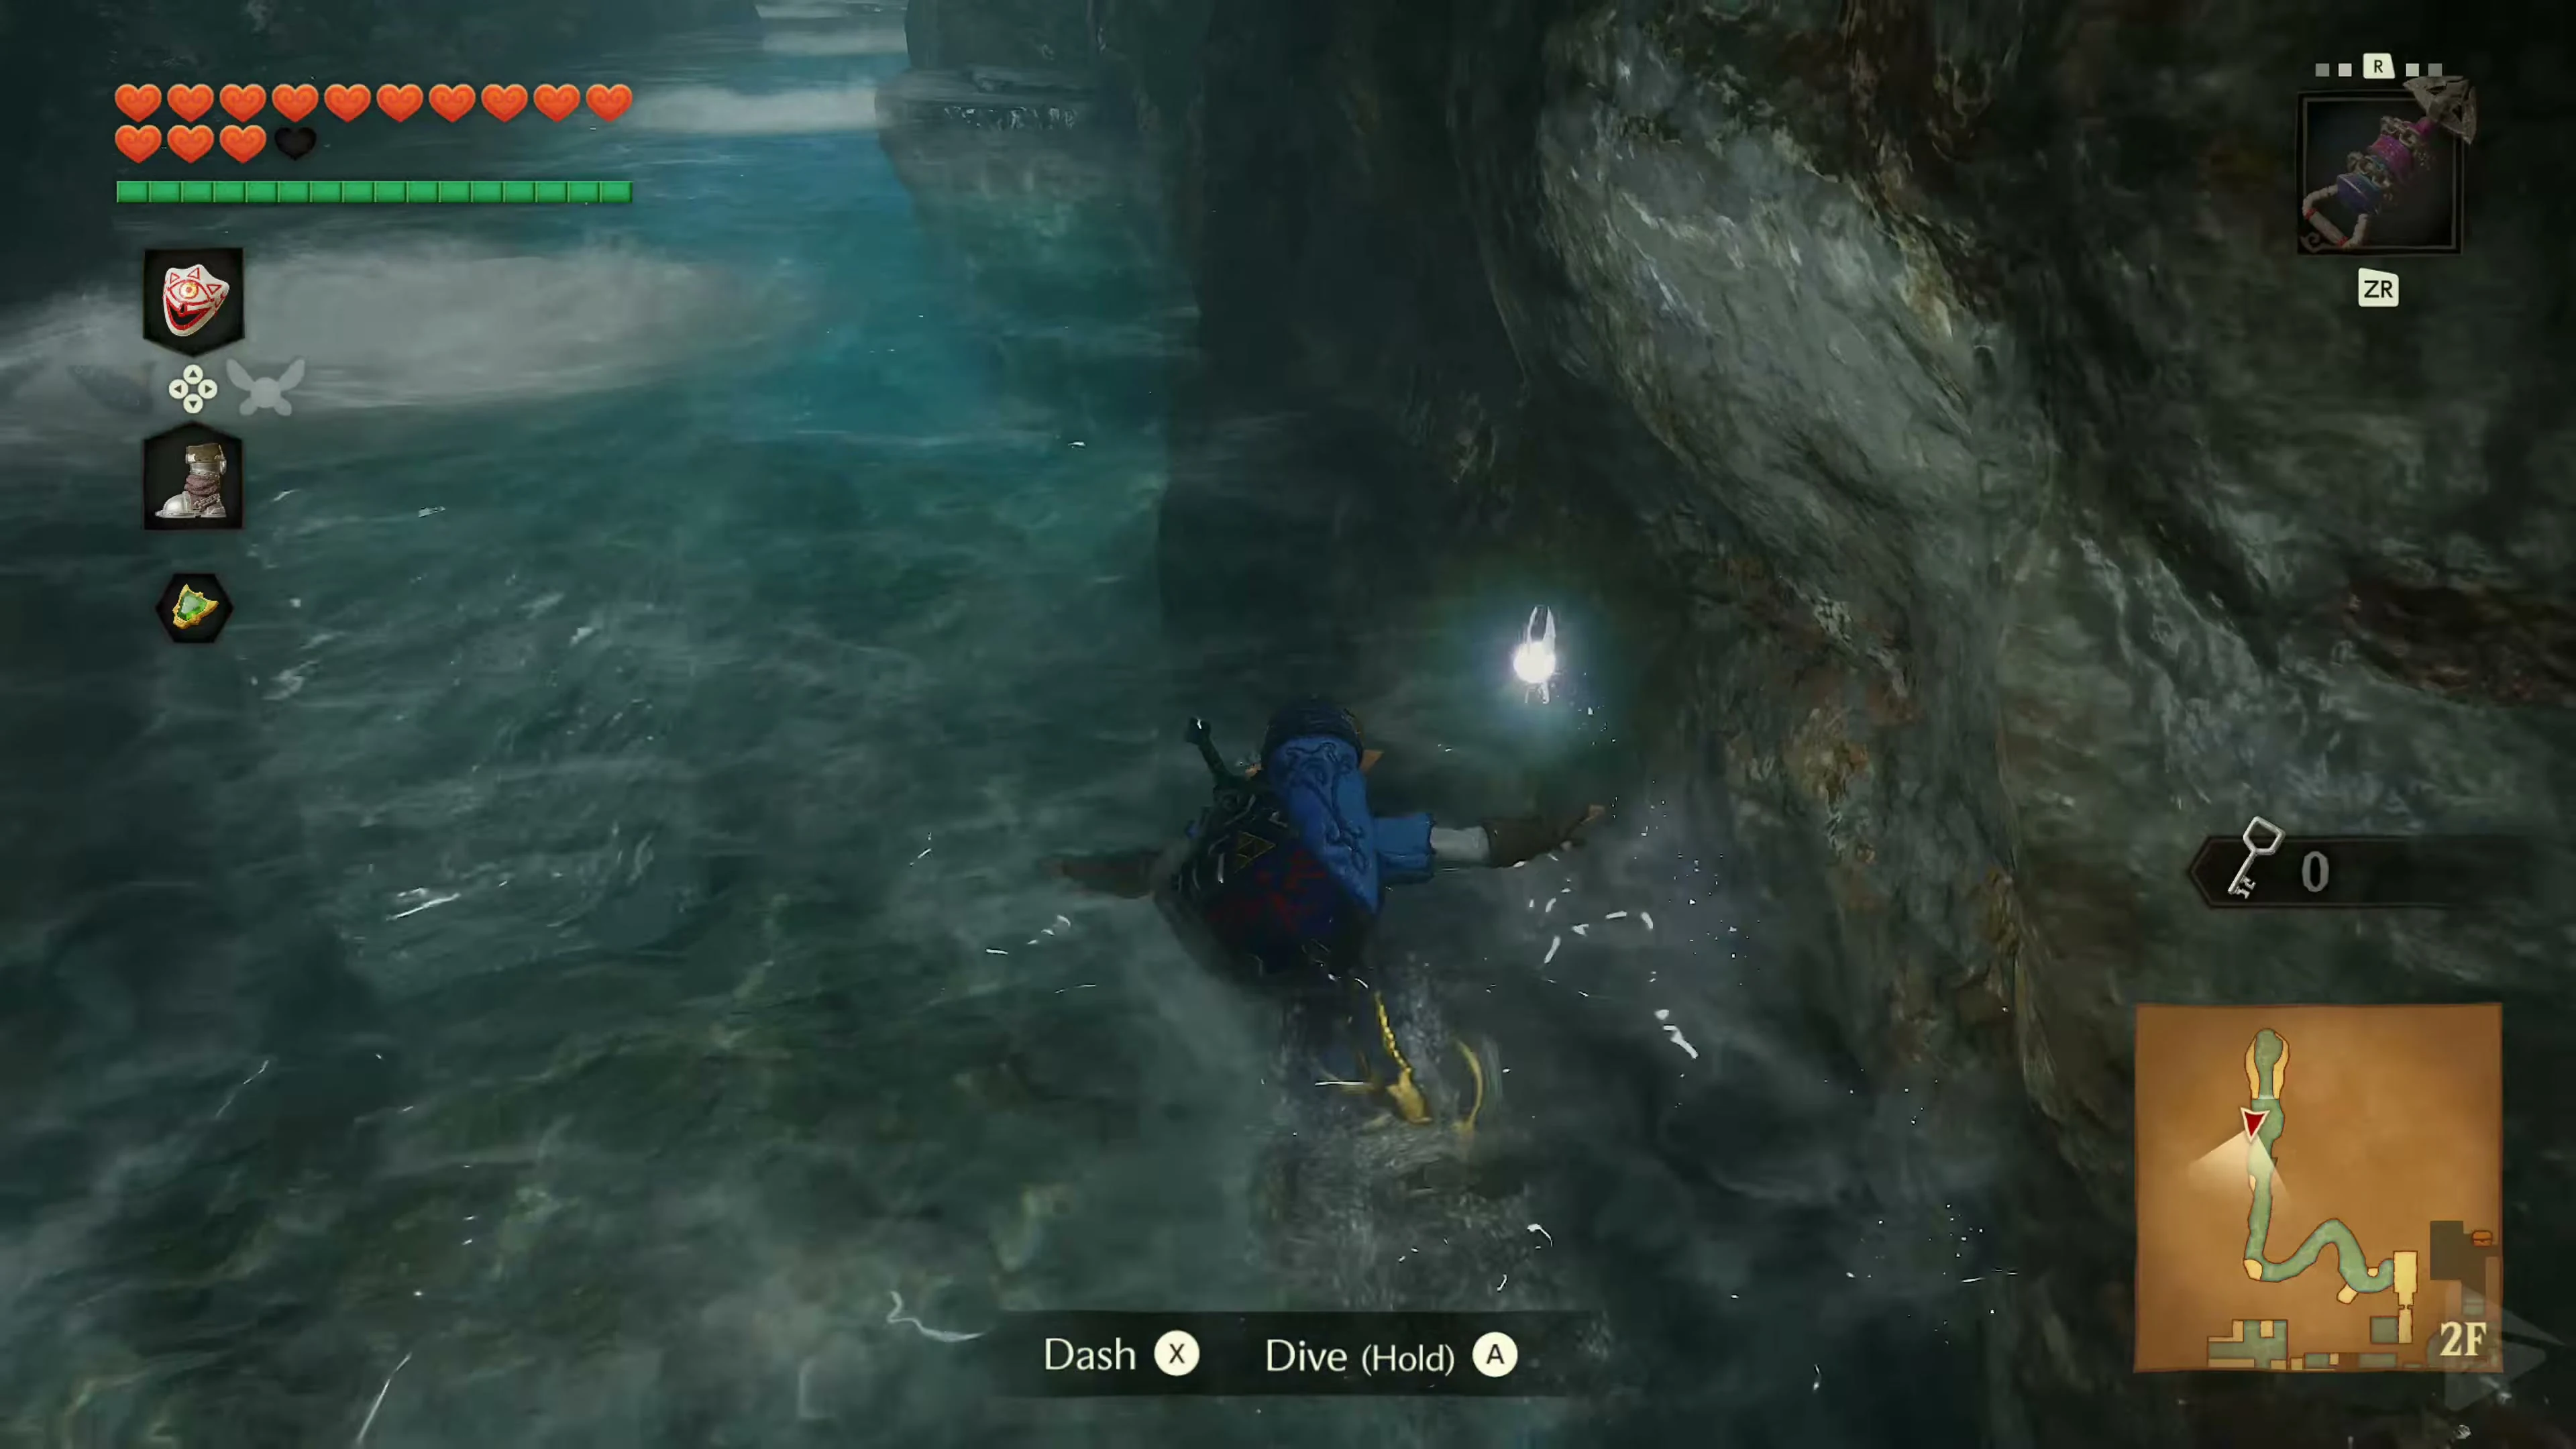
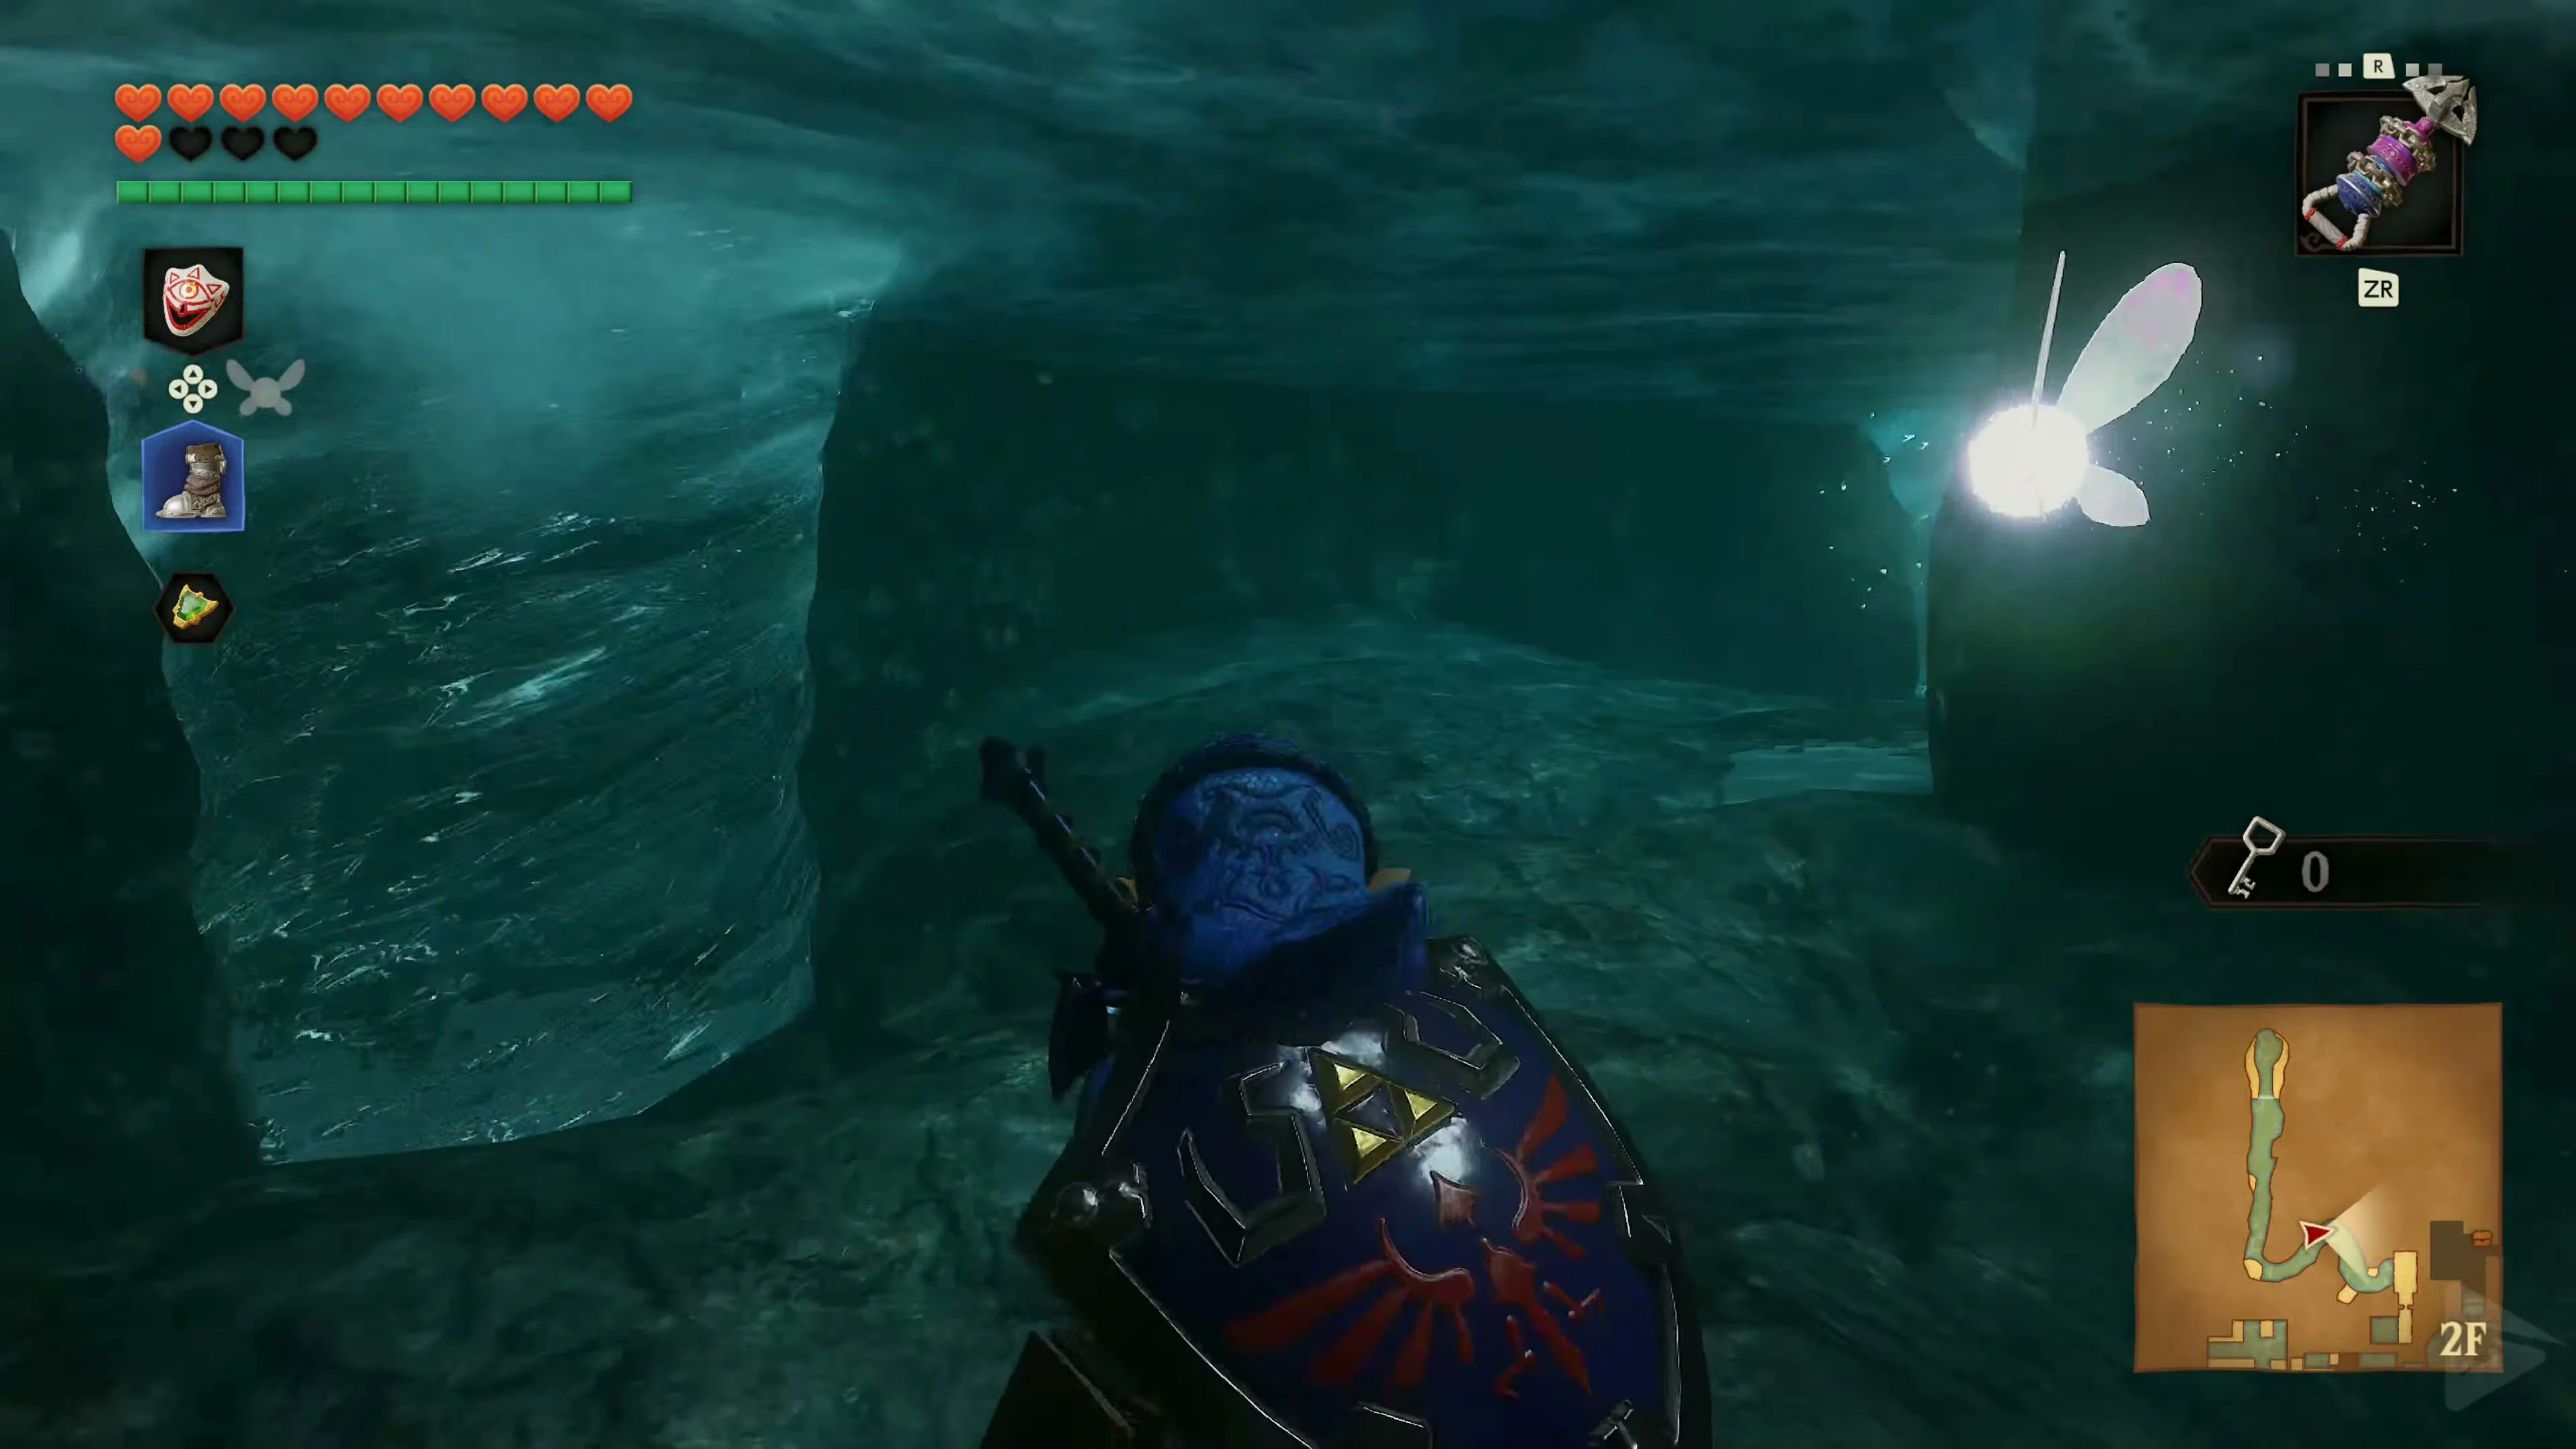
Go behind the remote Hookshot chest to the Time Block and play the Song of Time. Jump through the opening to the underground river. Equip the Iron Boots before going through the S-curve and keep your distance from the whirlpools at the bottom. Climb out of the water at the first ledge. From there, defeat Gold Skulltula 3/5 on the high north wall and collect its token with the Longshot .
Through the grate at the end of the whirlpool room
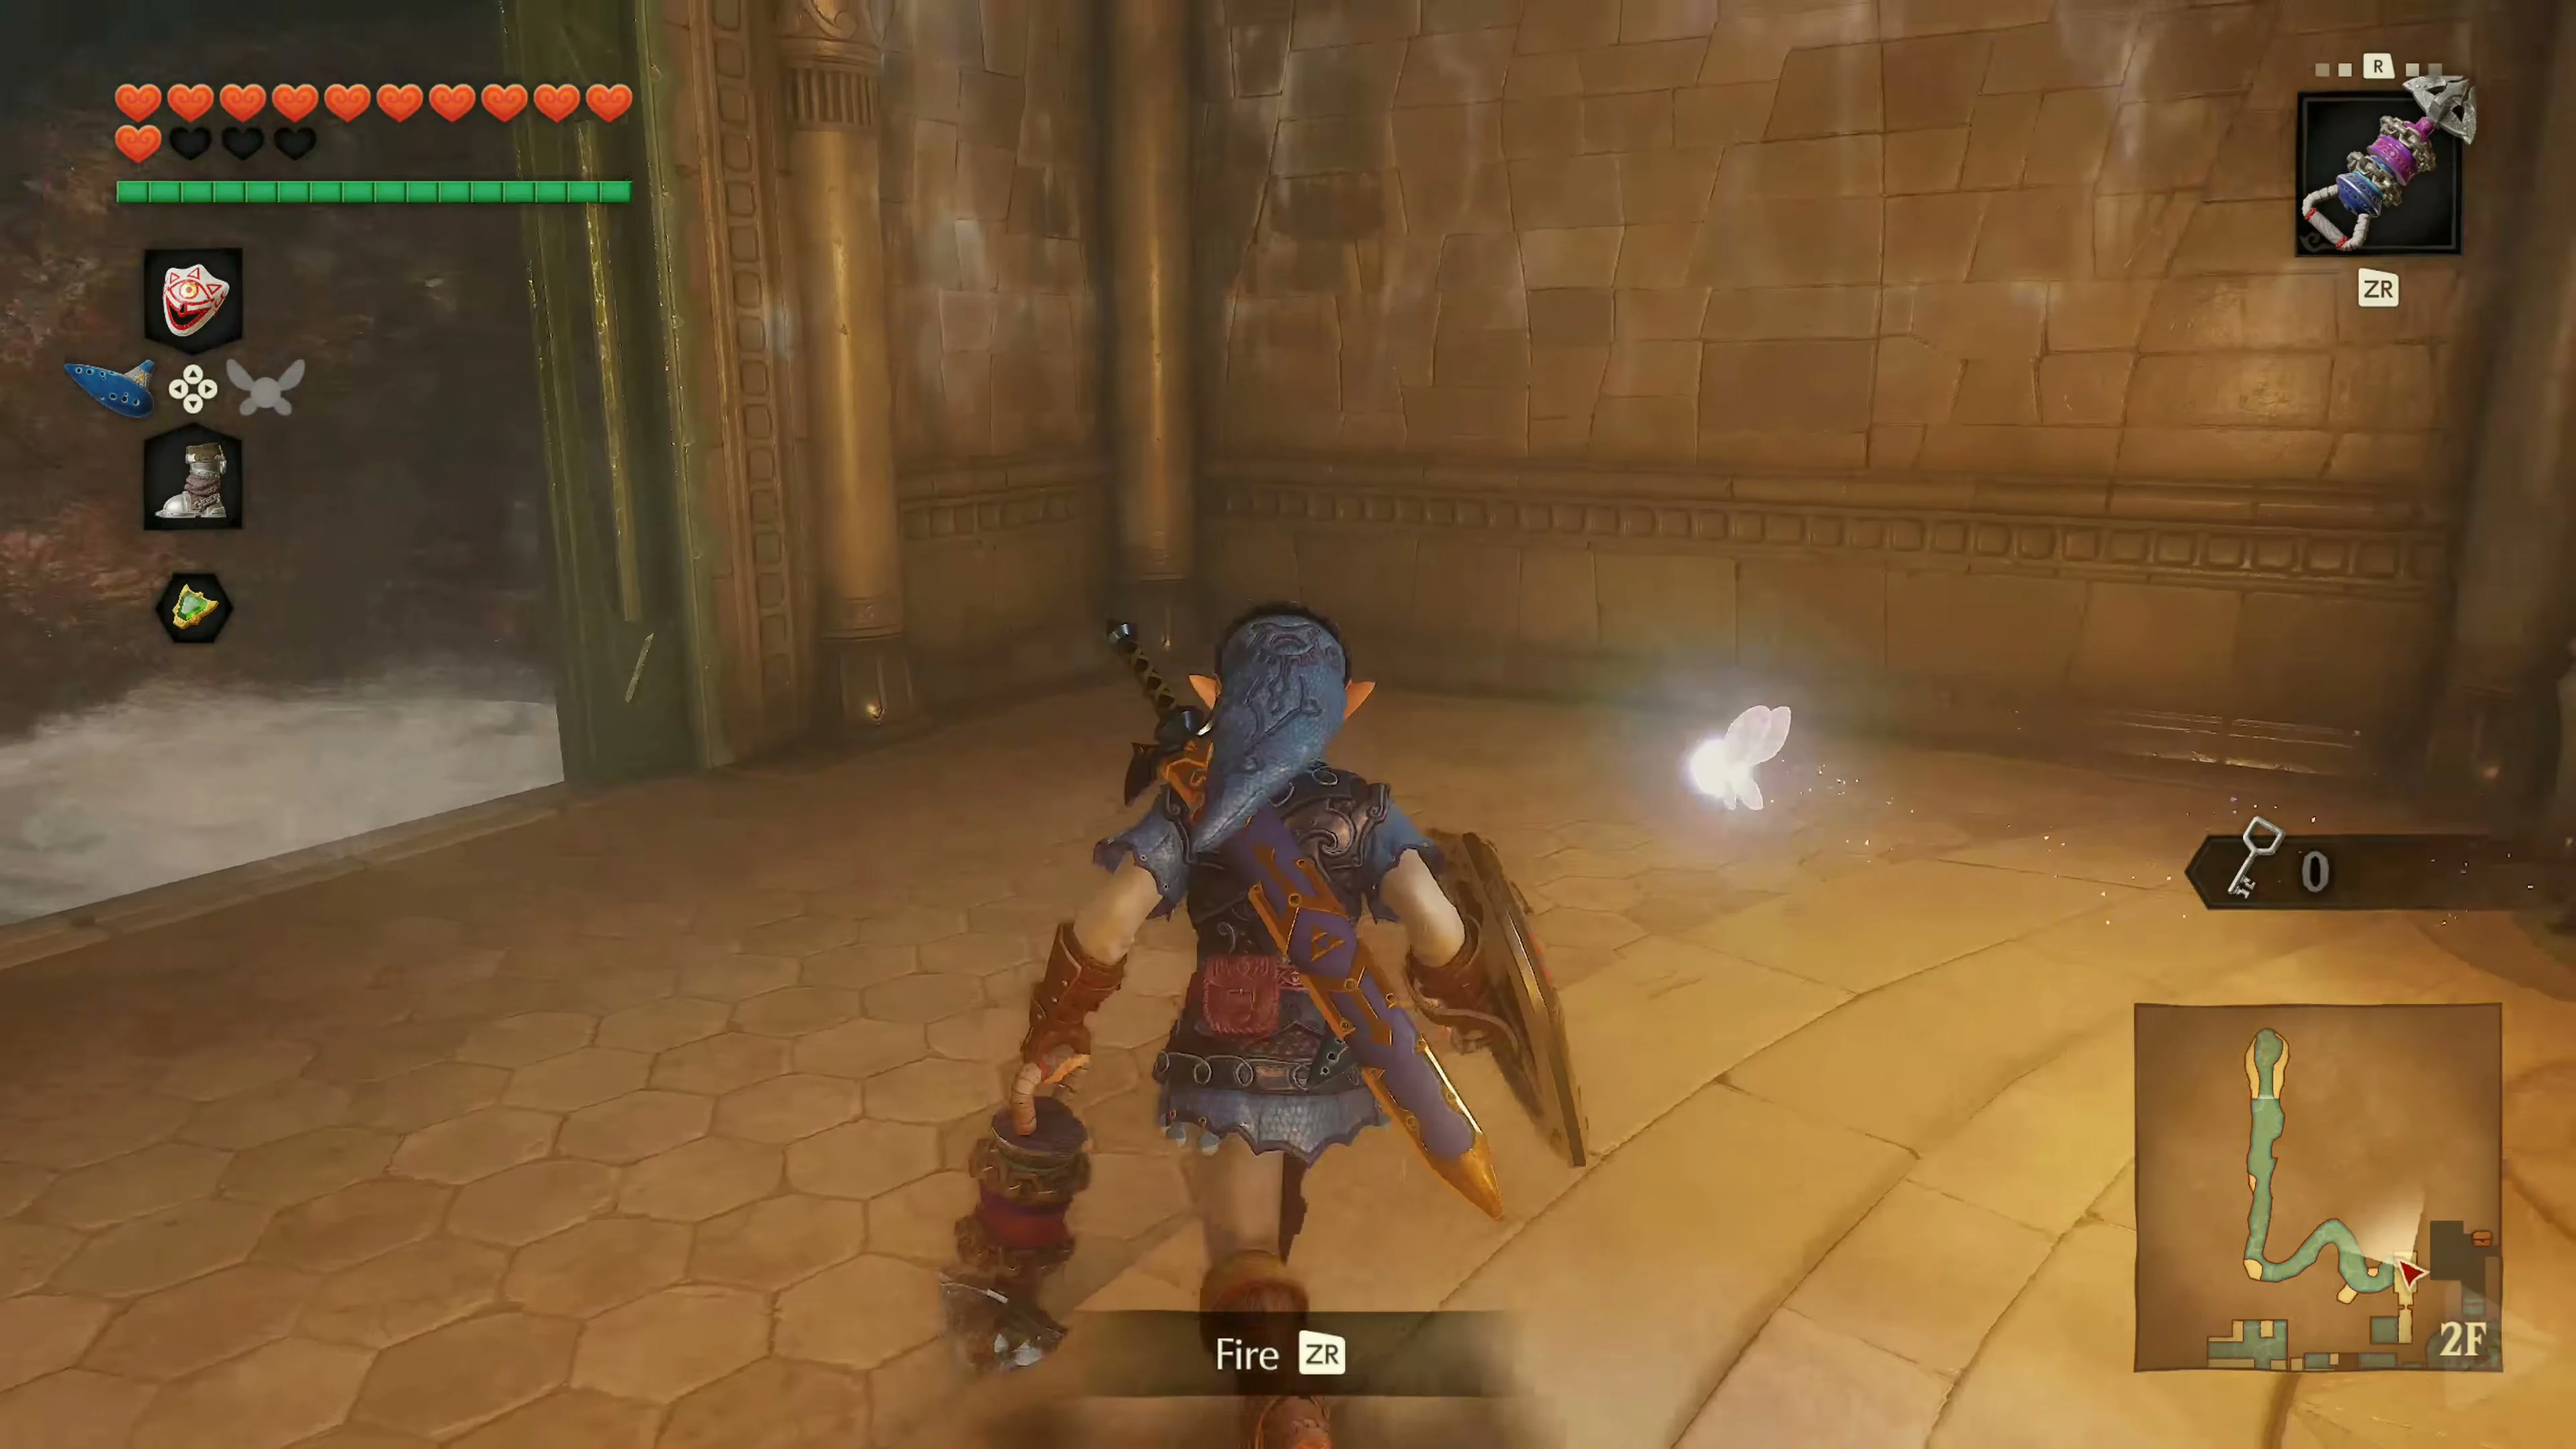
On the next dry section, a fairy is trapped in a jar. If necessary, capture it in an empty bottle . From there, look over the grate opposite. Hit the eye and immediately aim the Longshot at the anchor behind the gate. You must pull yourself across before it closes again. The passage leads back to the pool with the Stone Snake.
Lower the water level again.
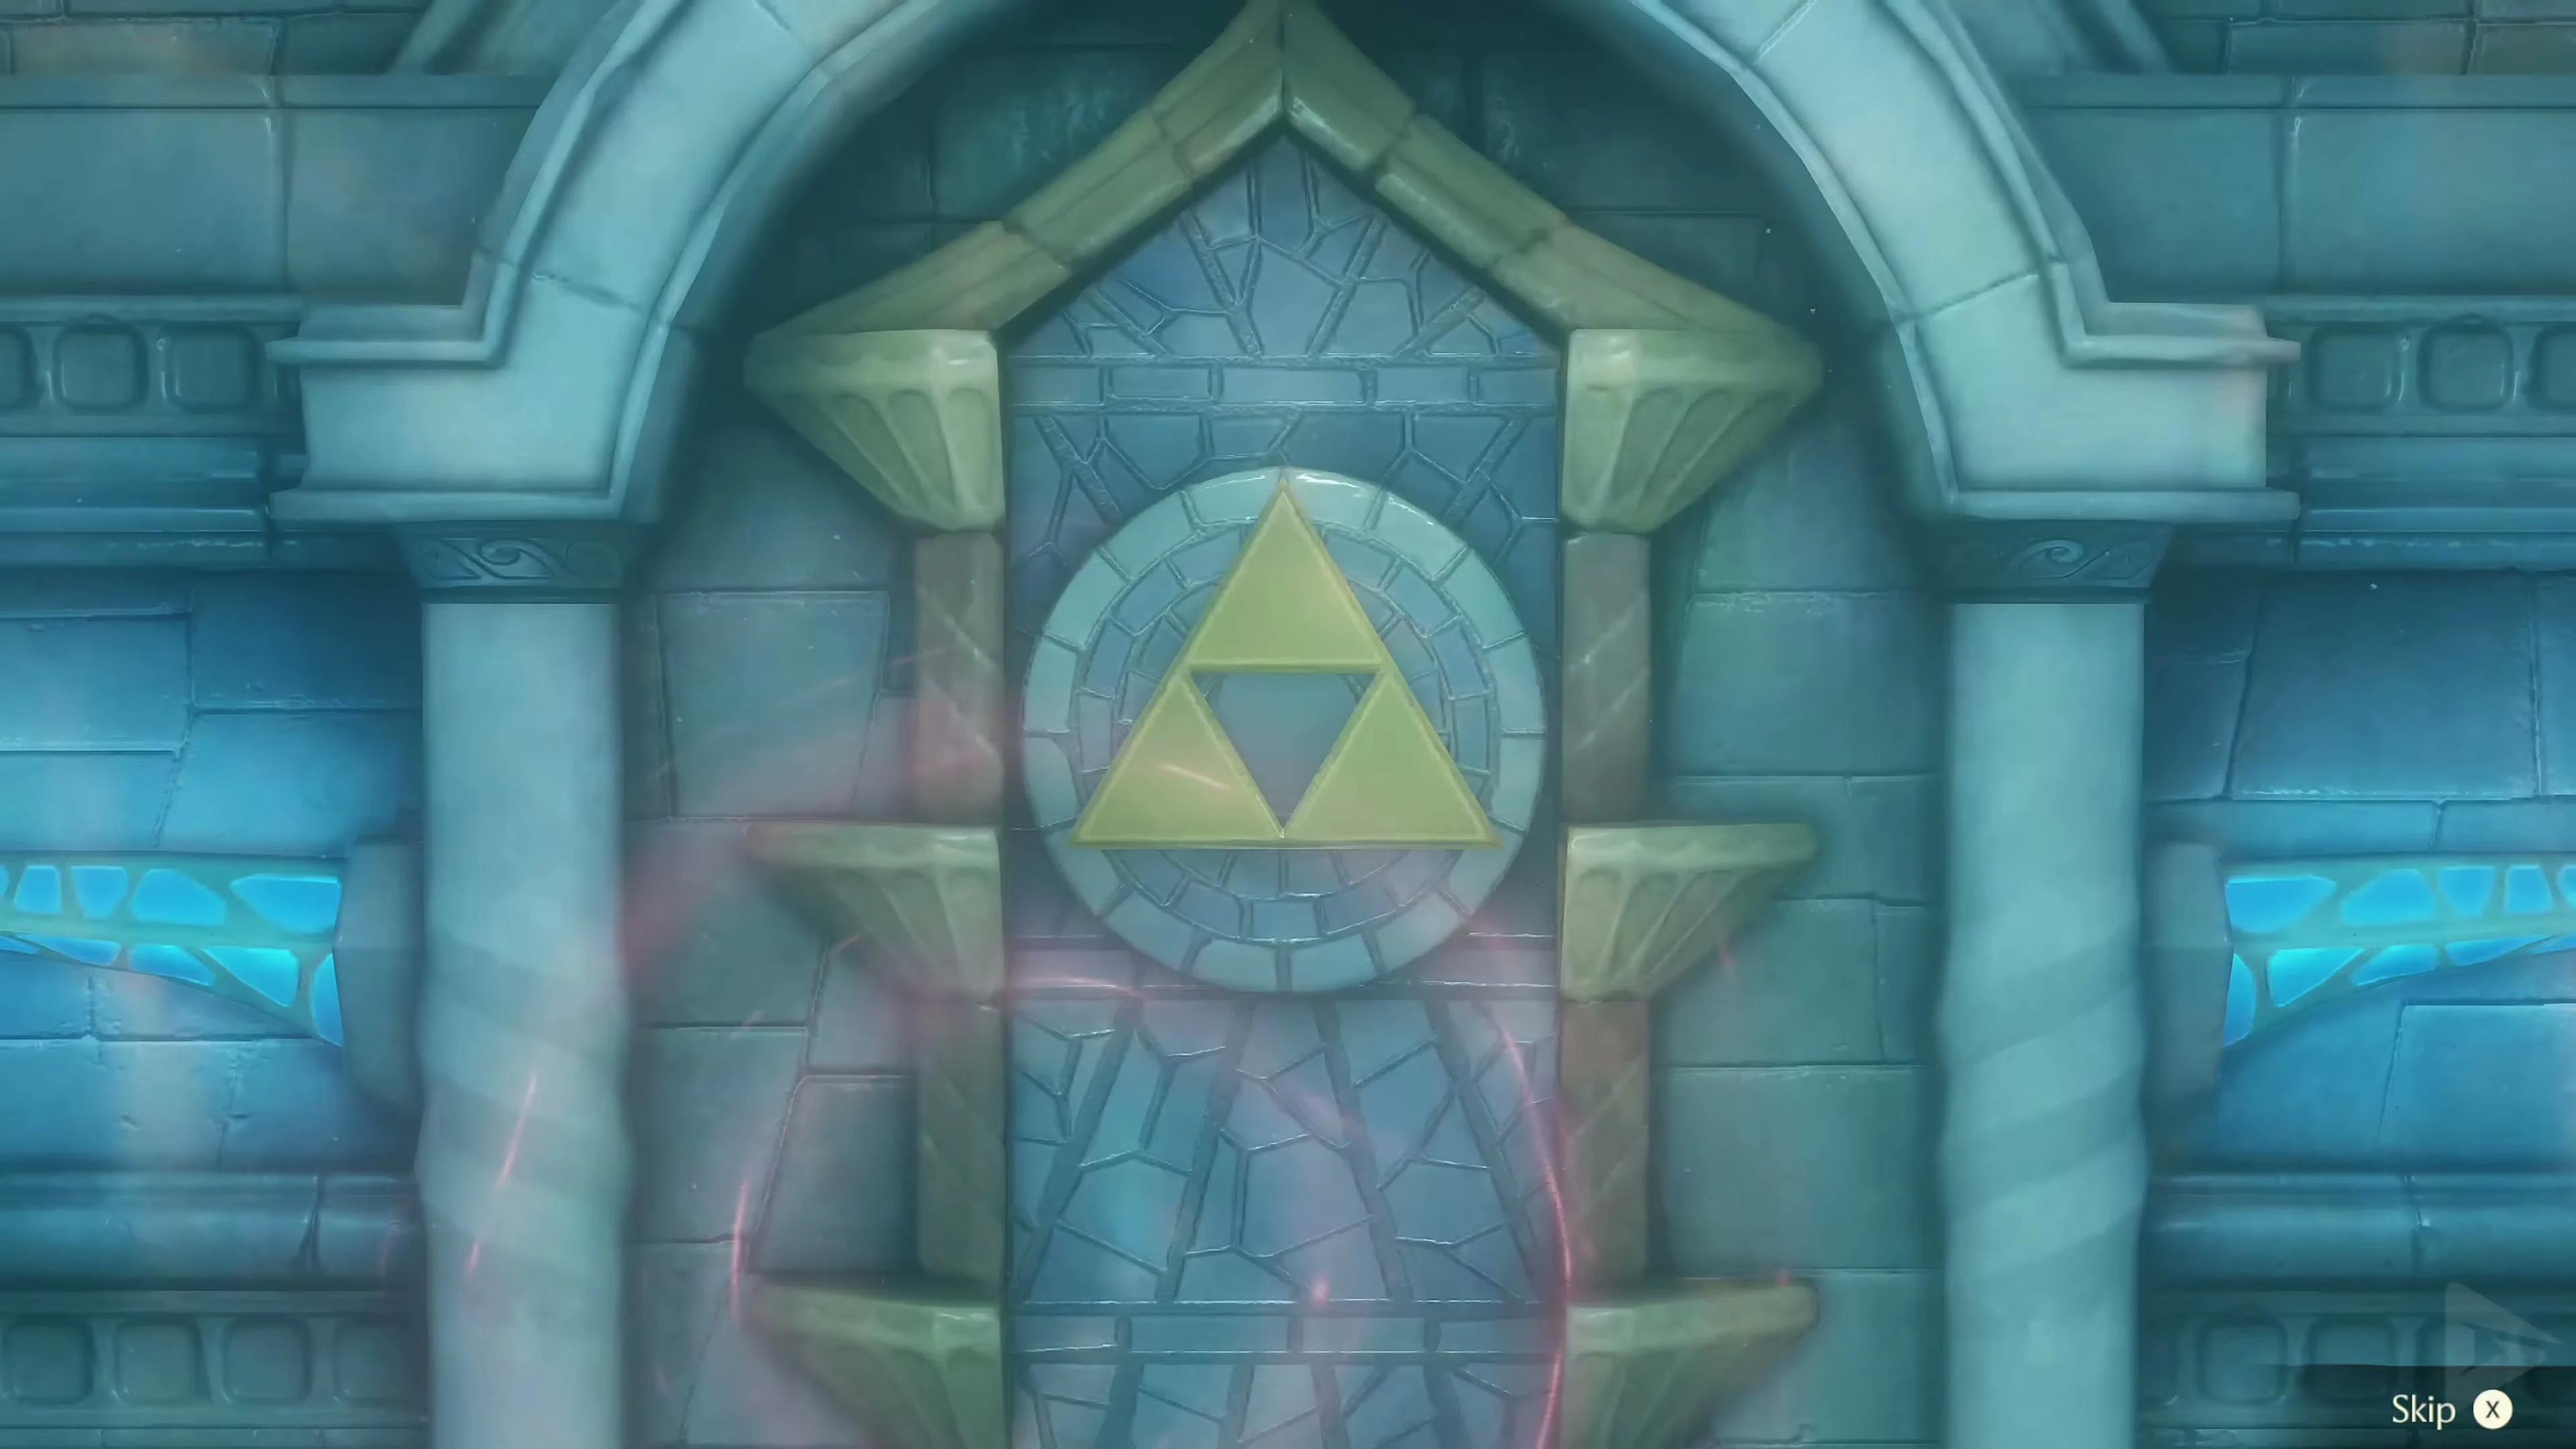
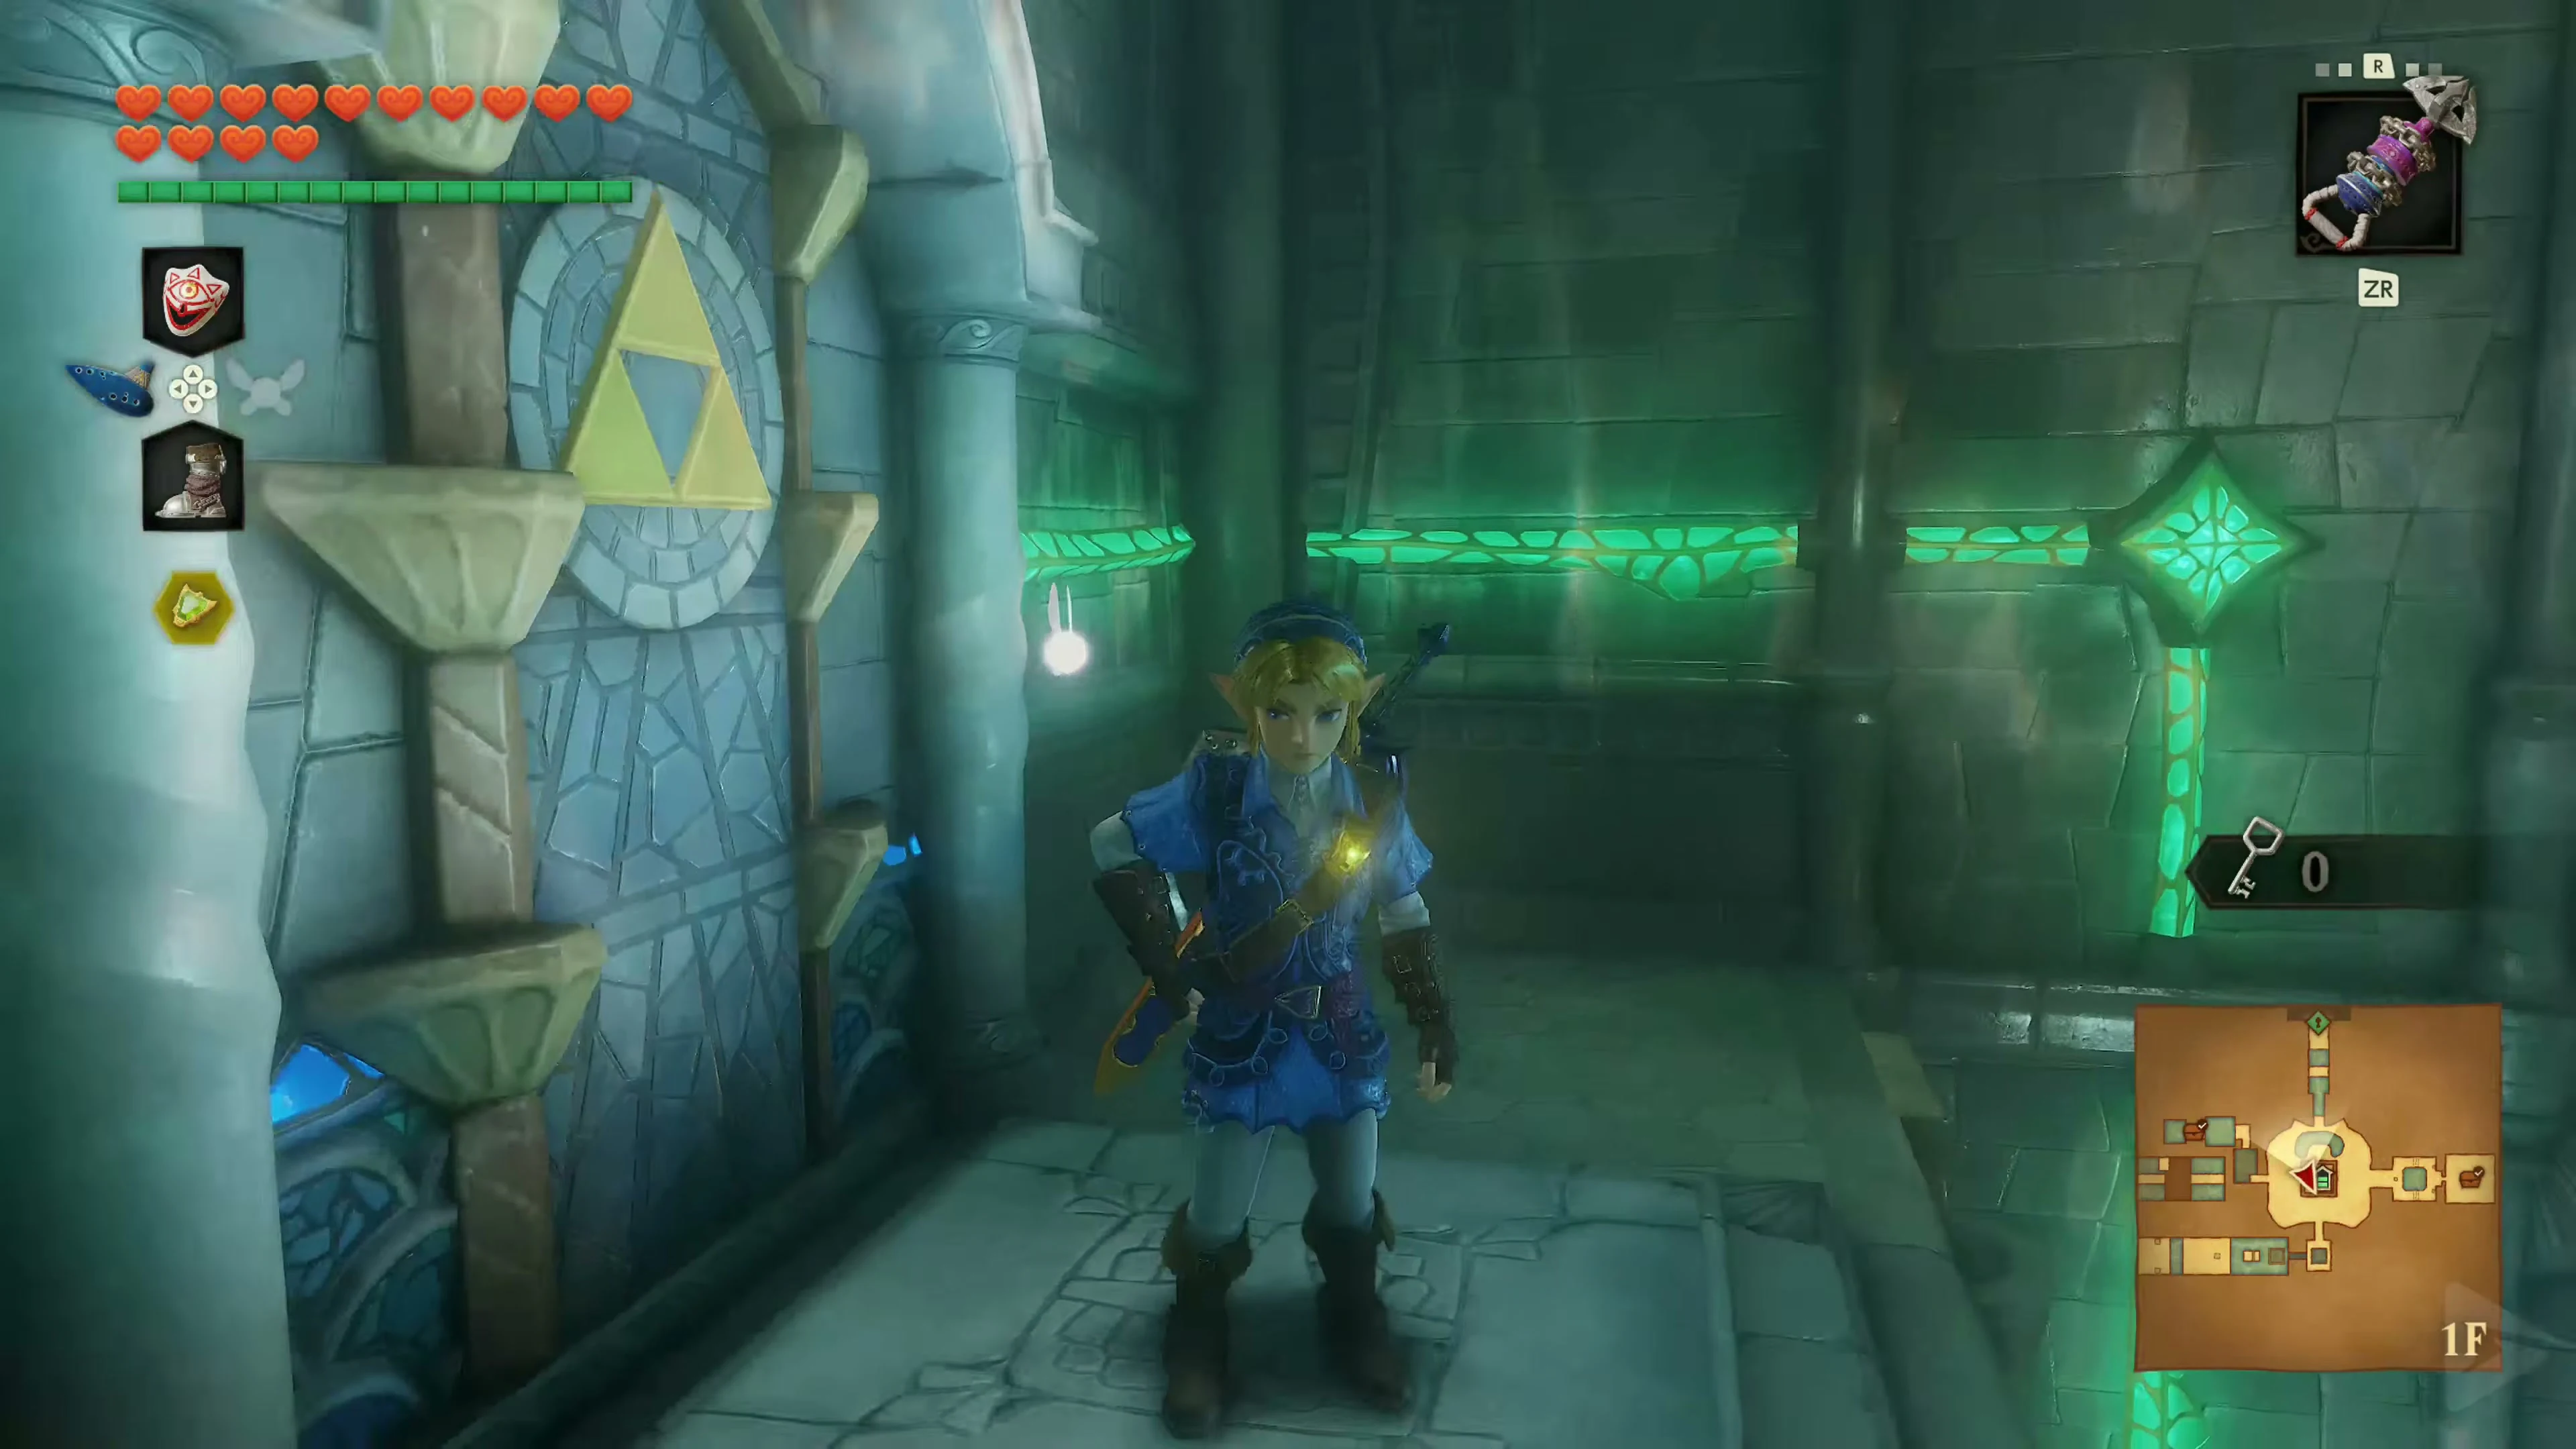
Briefly drop into the water in the snake pool, climb to the eastern shore, and return to the main hall. Sink all the way down there with the Iron Boots and take the blue-marked eastern passage. Play Zelda’s Lullaby at the top of the first tablet to lower the water level. Then go to the central tower and pull yourself up to the second tablet. Wait here to play the song until you’ve collected the next Skulltula symbol.
Gold Skulltula 4/5 in the central tower
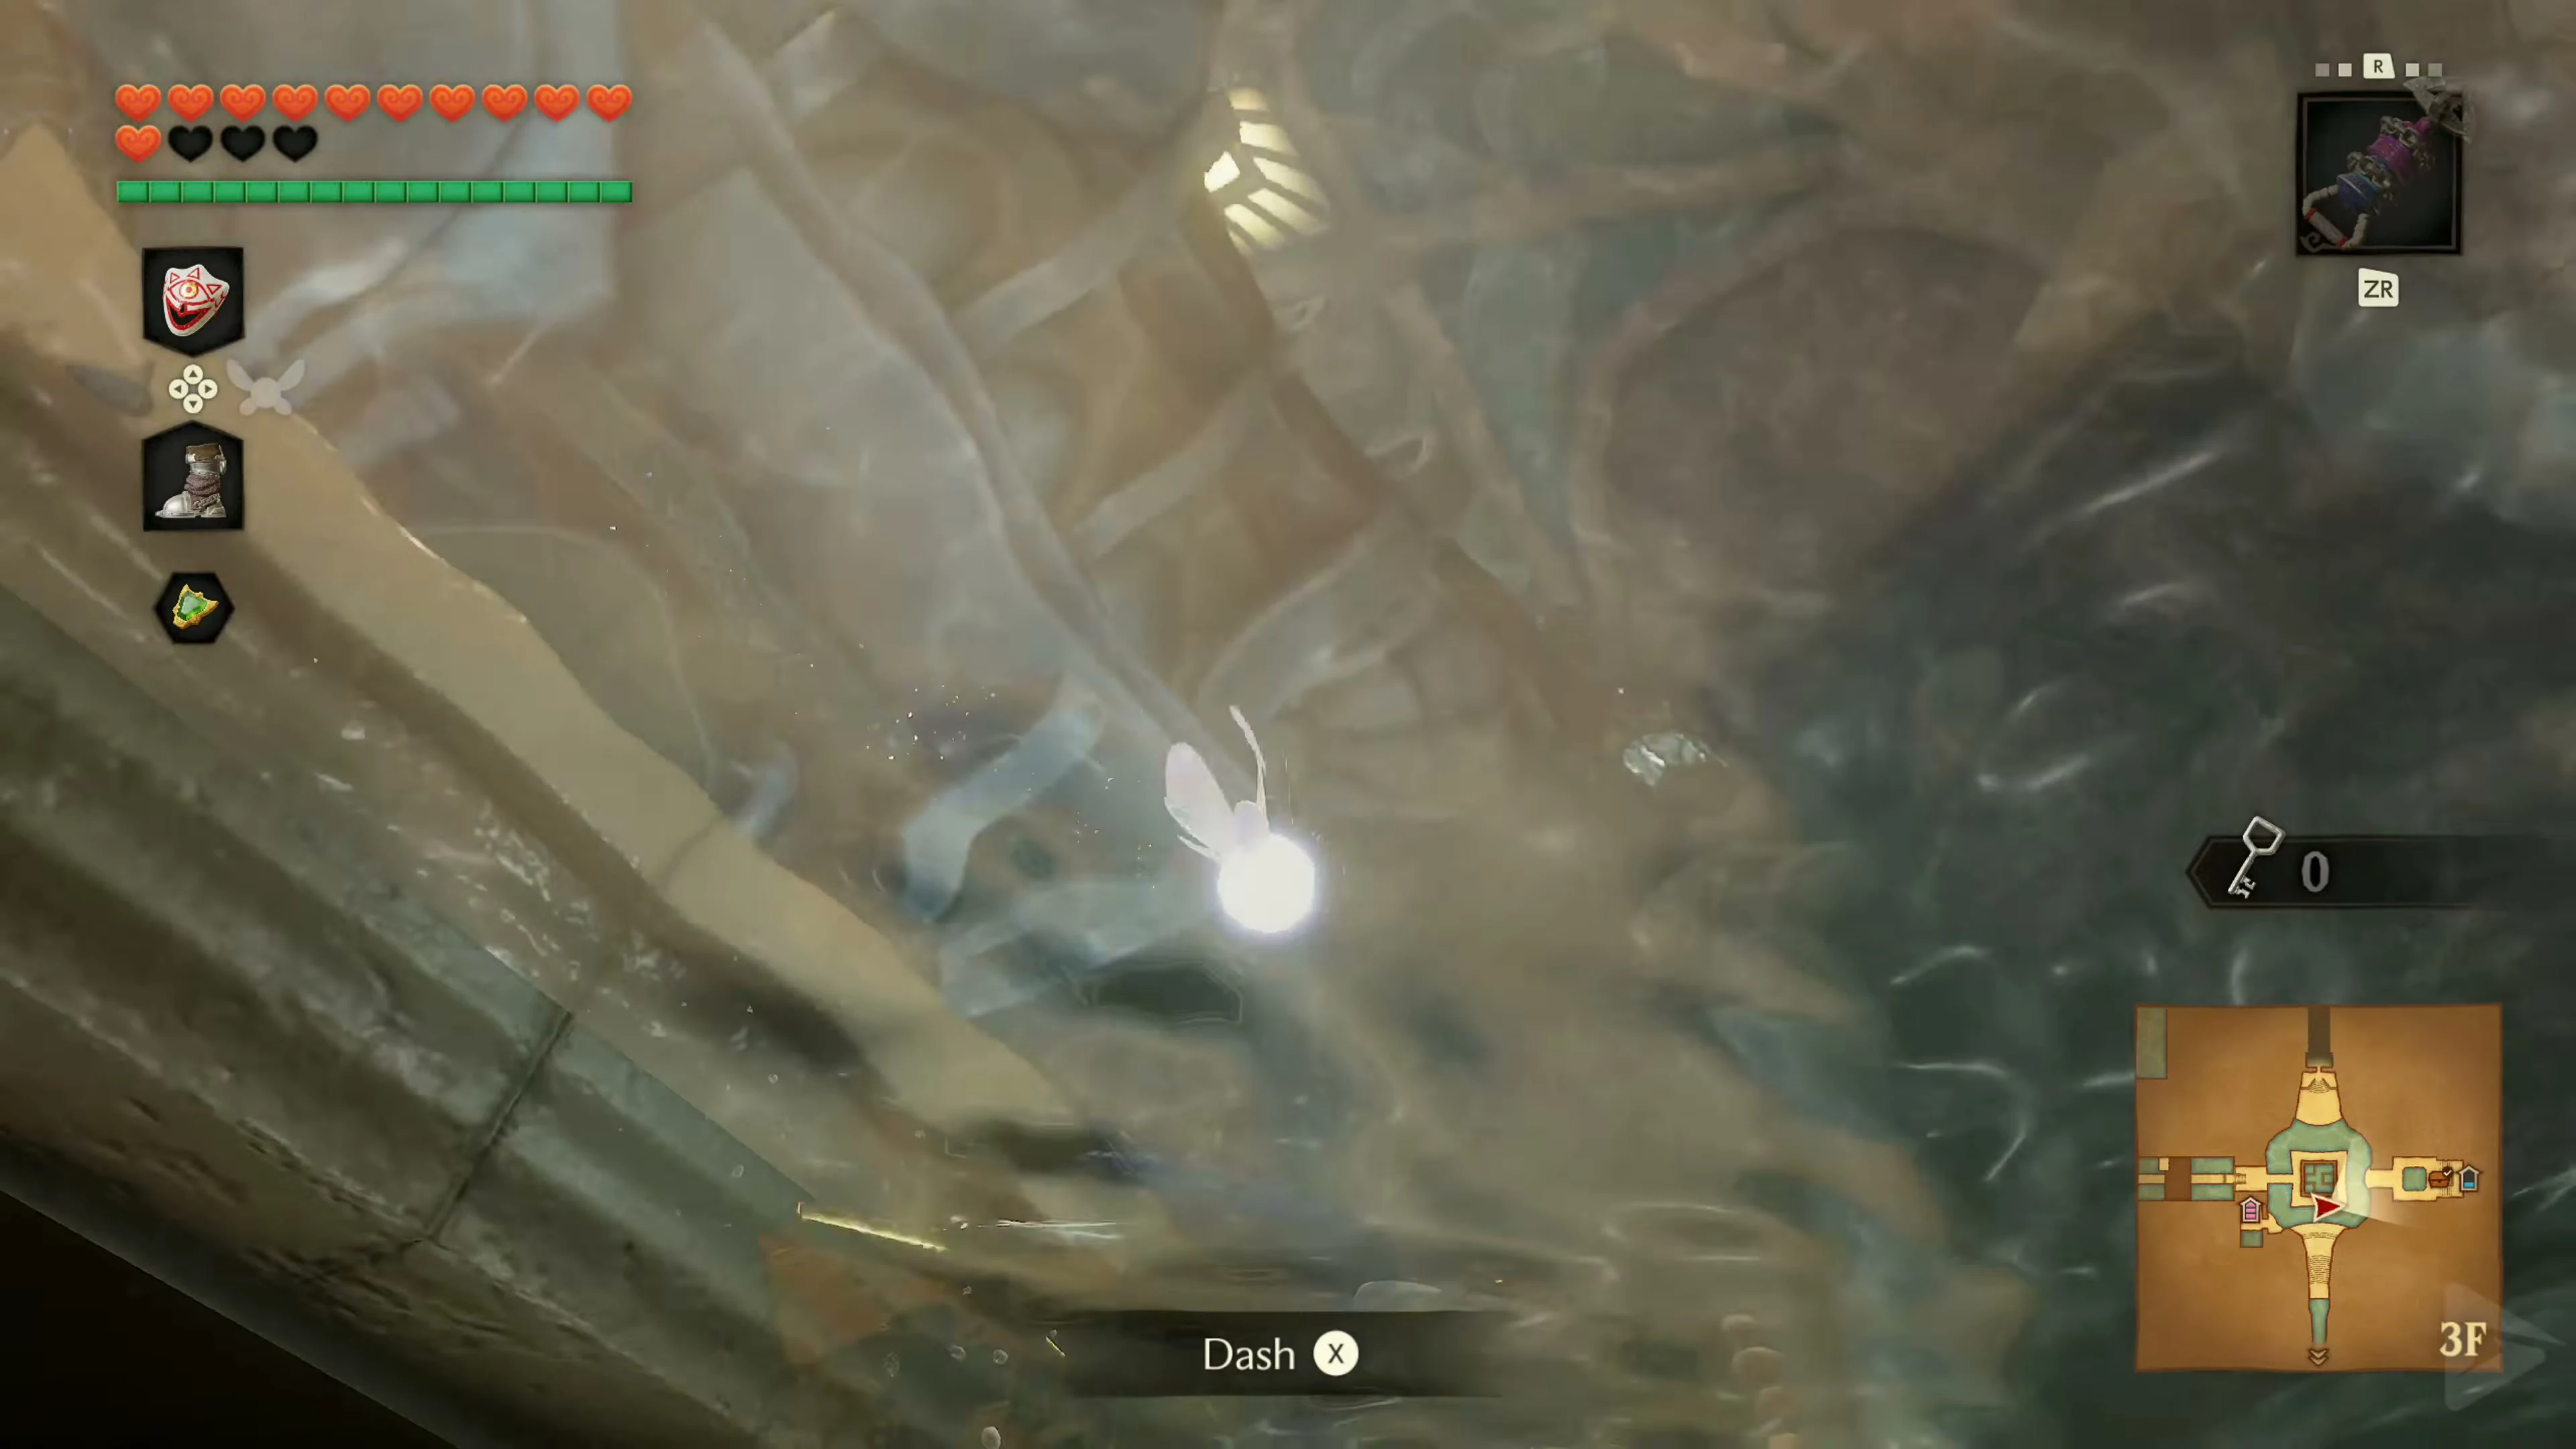
Return to the central tower and aim the Longshot at the anchor high on the ceiling Pull yourself up to the upper level. The Gold Skulltula is in the opposite corner. Defeat Gold Skulltula 4/5 and retrieve its Token with the Longshot before heading to the next Small Key. If you lowered the water level for the return trip, raise it back to the middle level at the green tablet.
Small Key 4/4 behind the northern gate
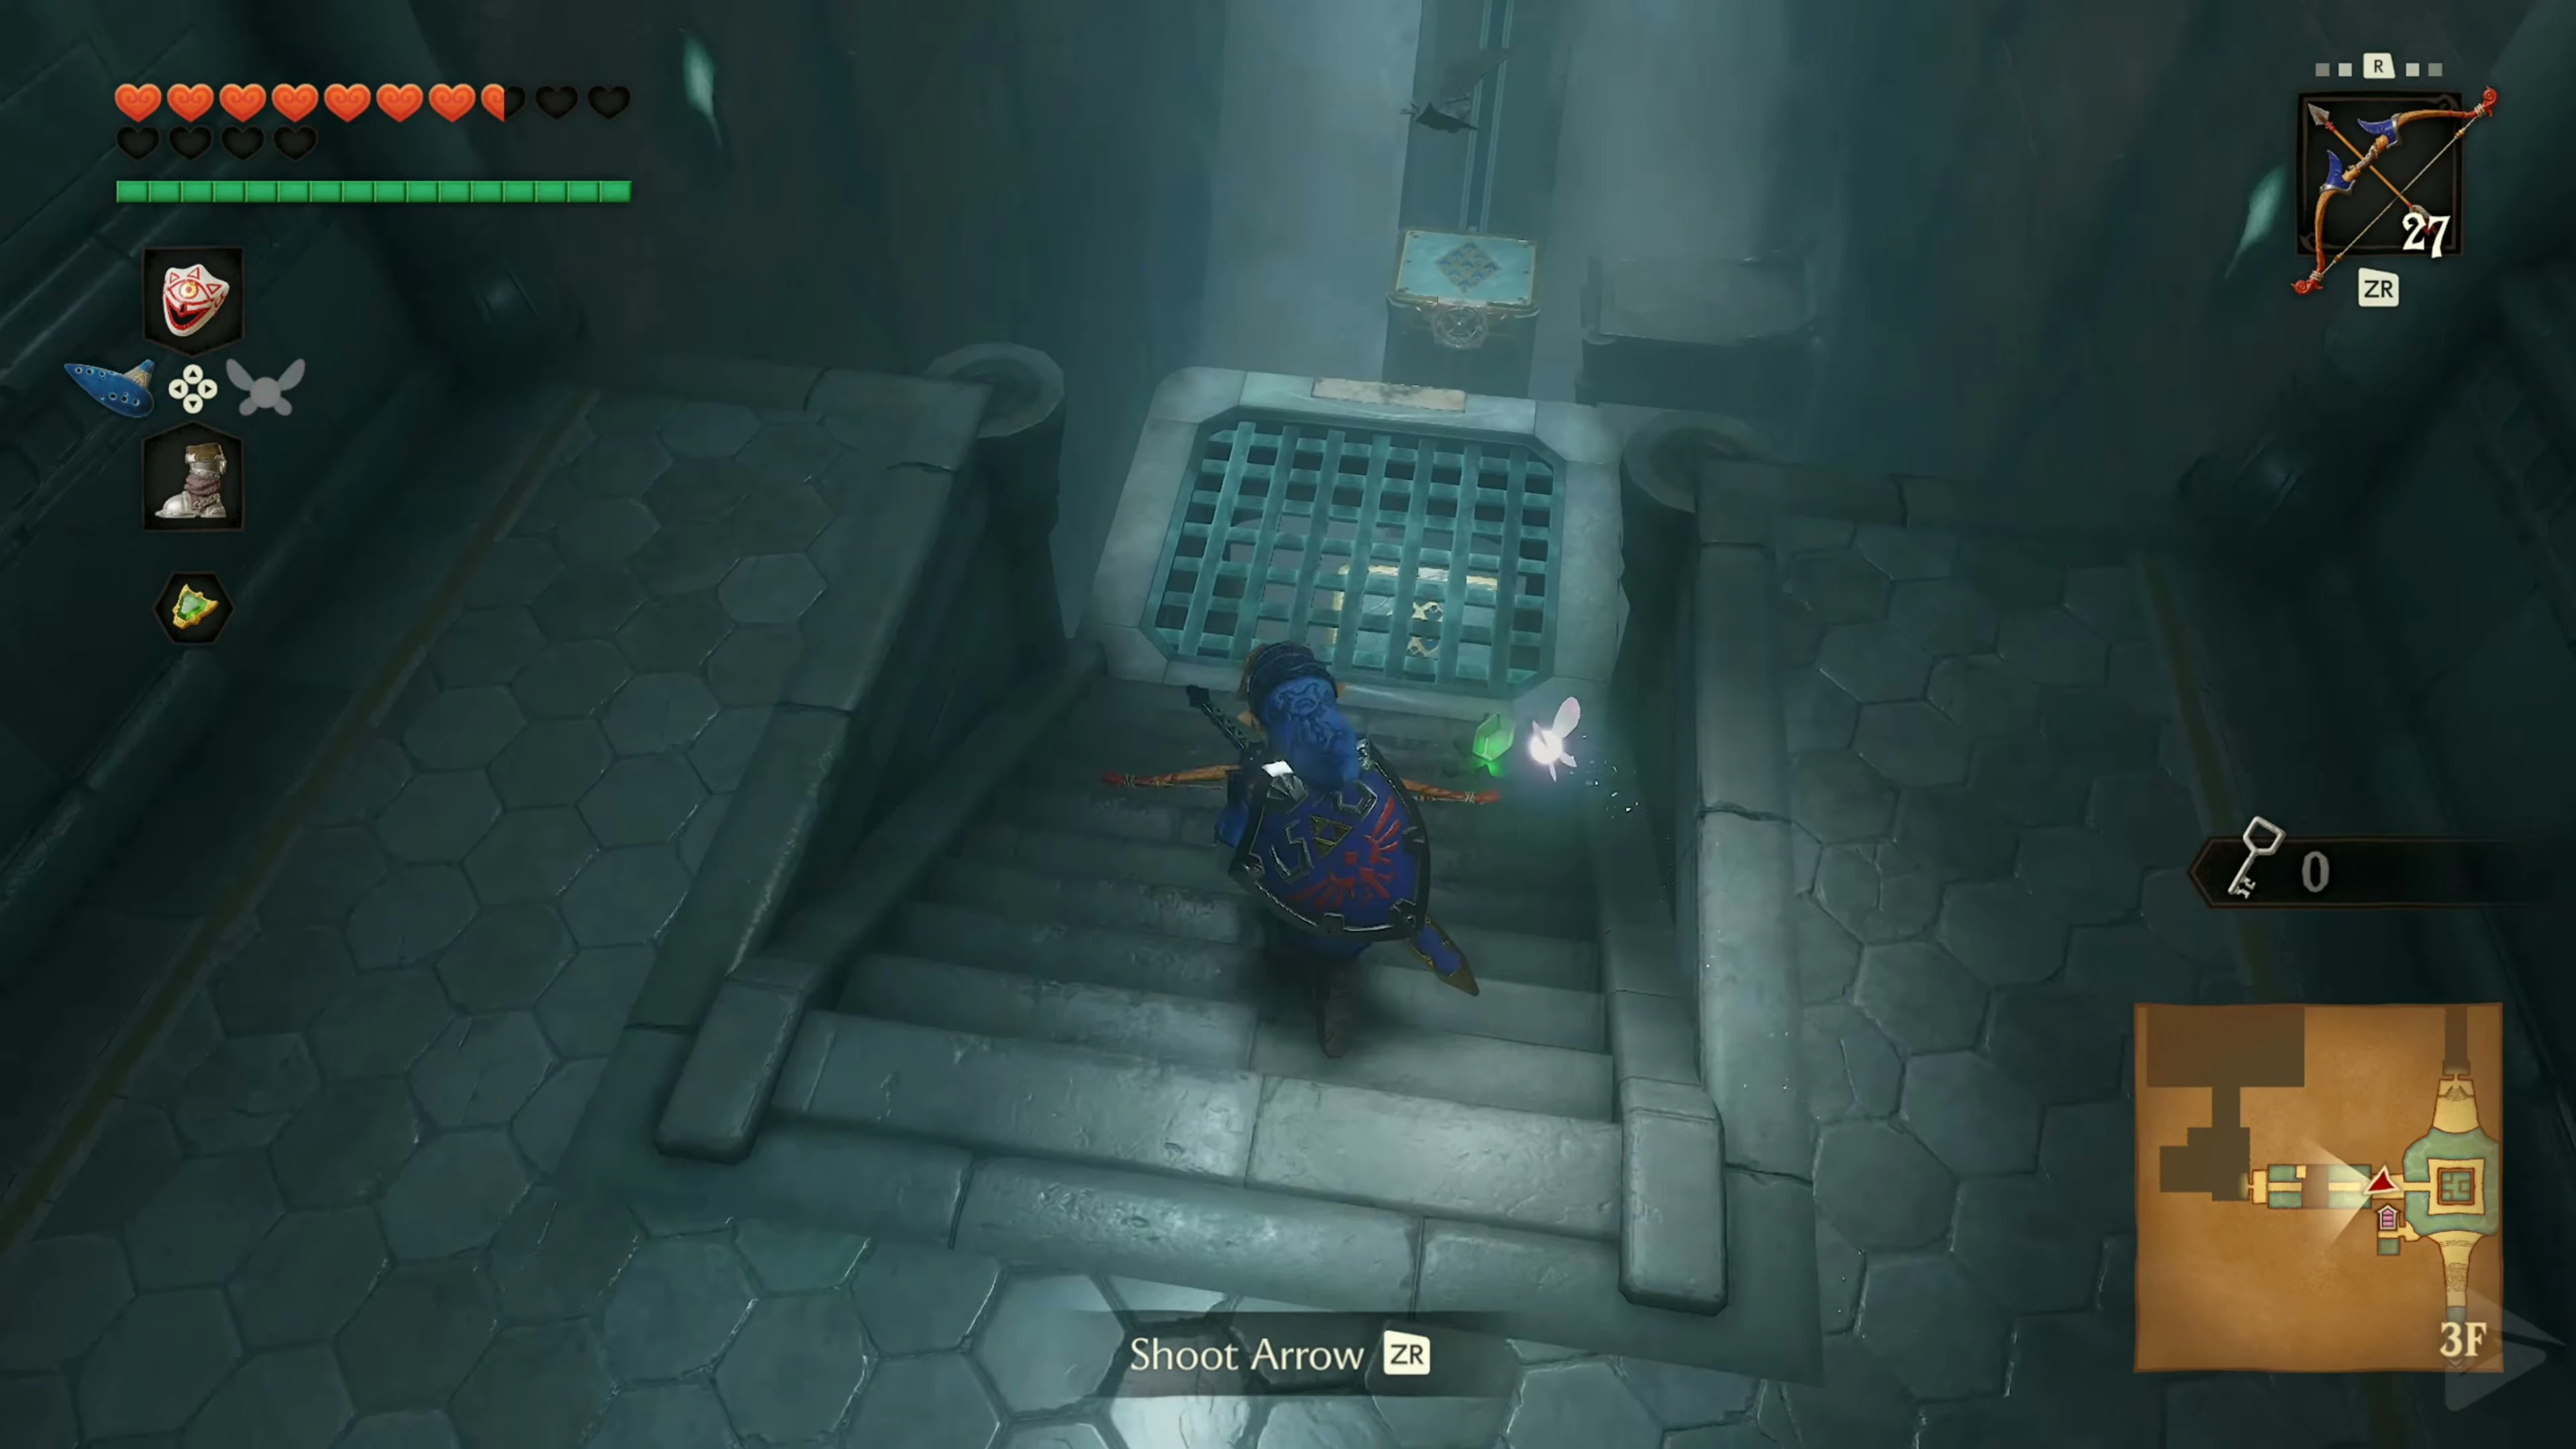
At the middle level of the main hall, face the north passage. Shoot the eye above the gate and quickly use the Longshot to reach the anchor beyond it. Sink into the water on the left and pull the block back from that side. Swim to the ledge, then grapple to the ceiling anchor in the eastern alcove. Drop into the water there and push the block aside from the opposite side. Dive to the chest on the right and open it for Small Key 4/4. Return to the main hall.
The Path to the Boss Key
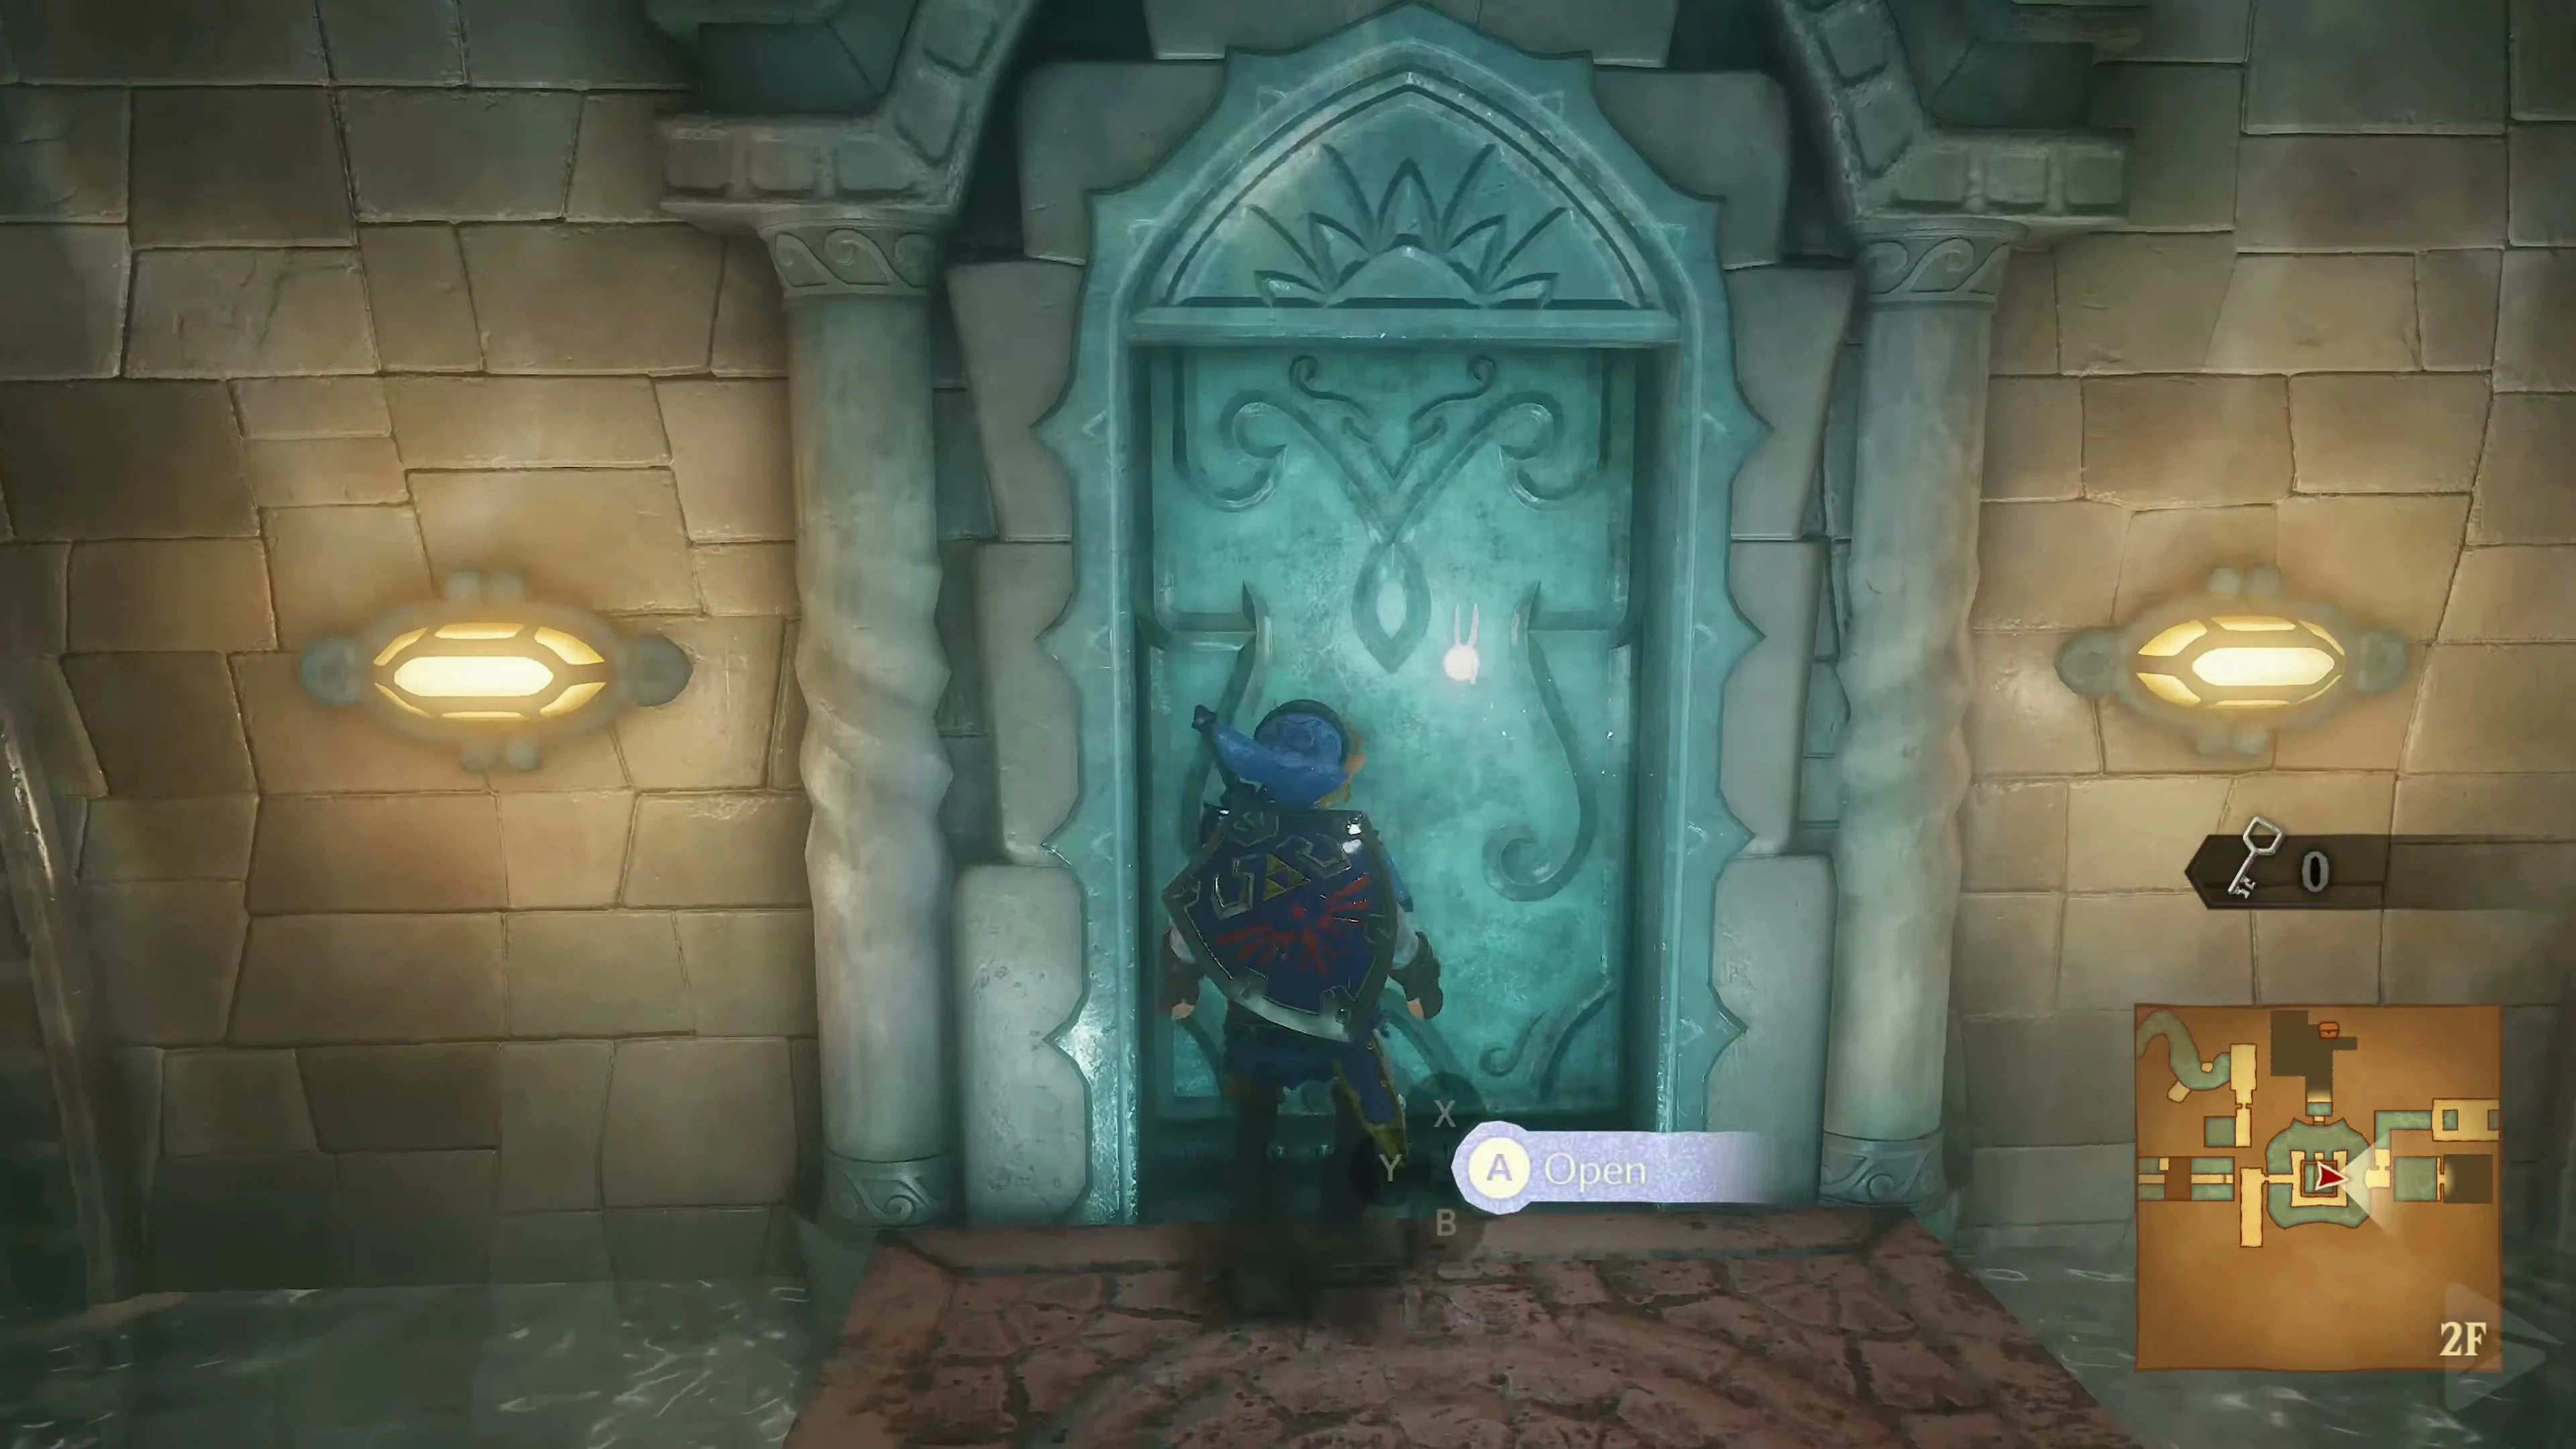
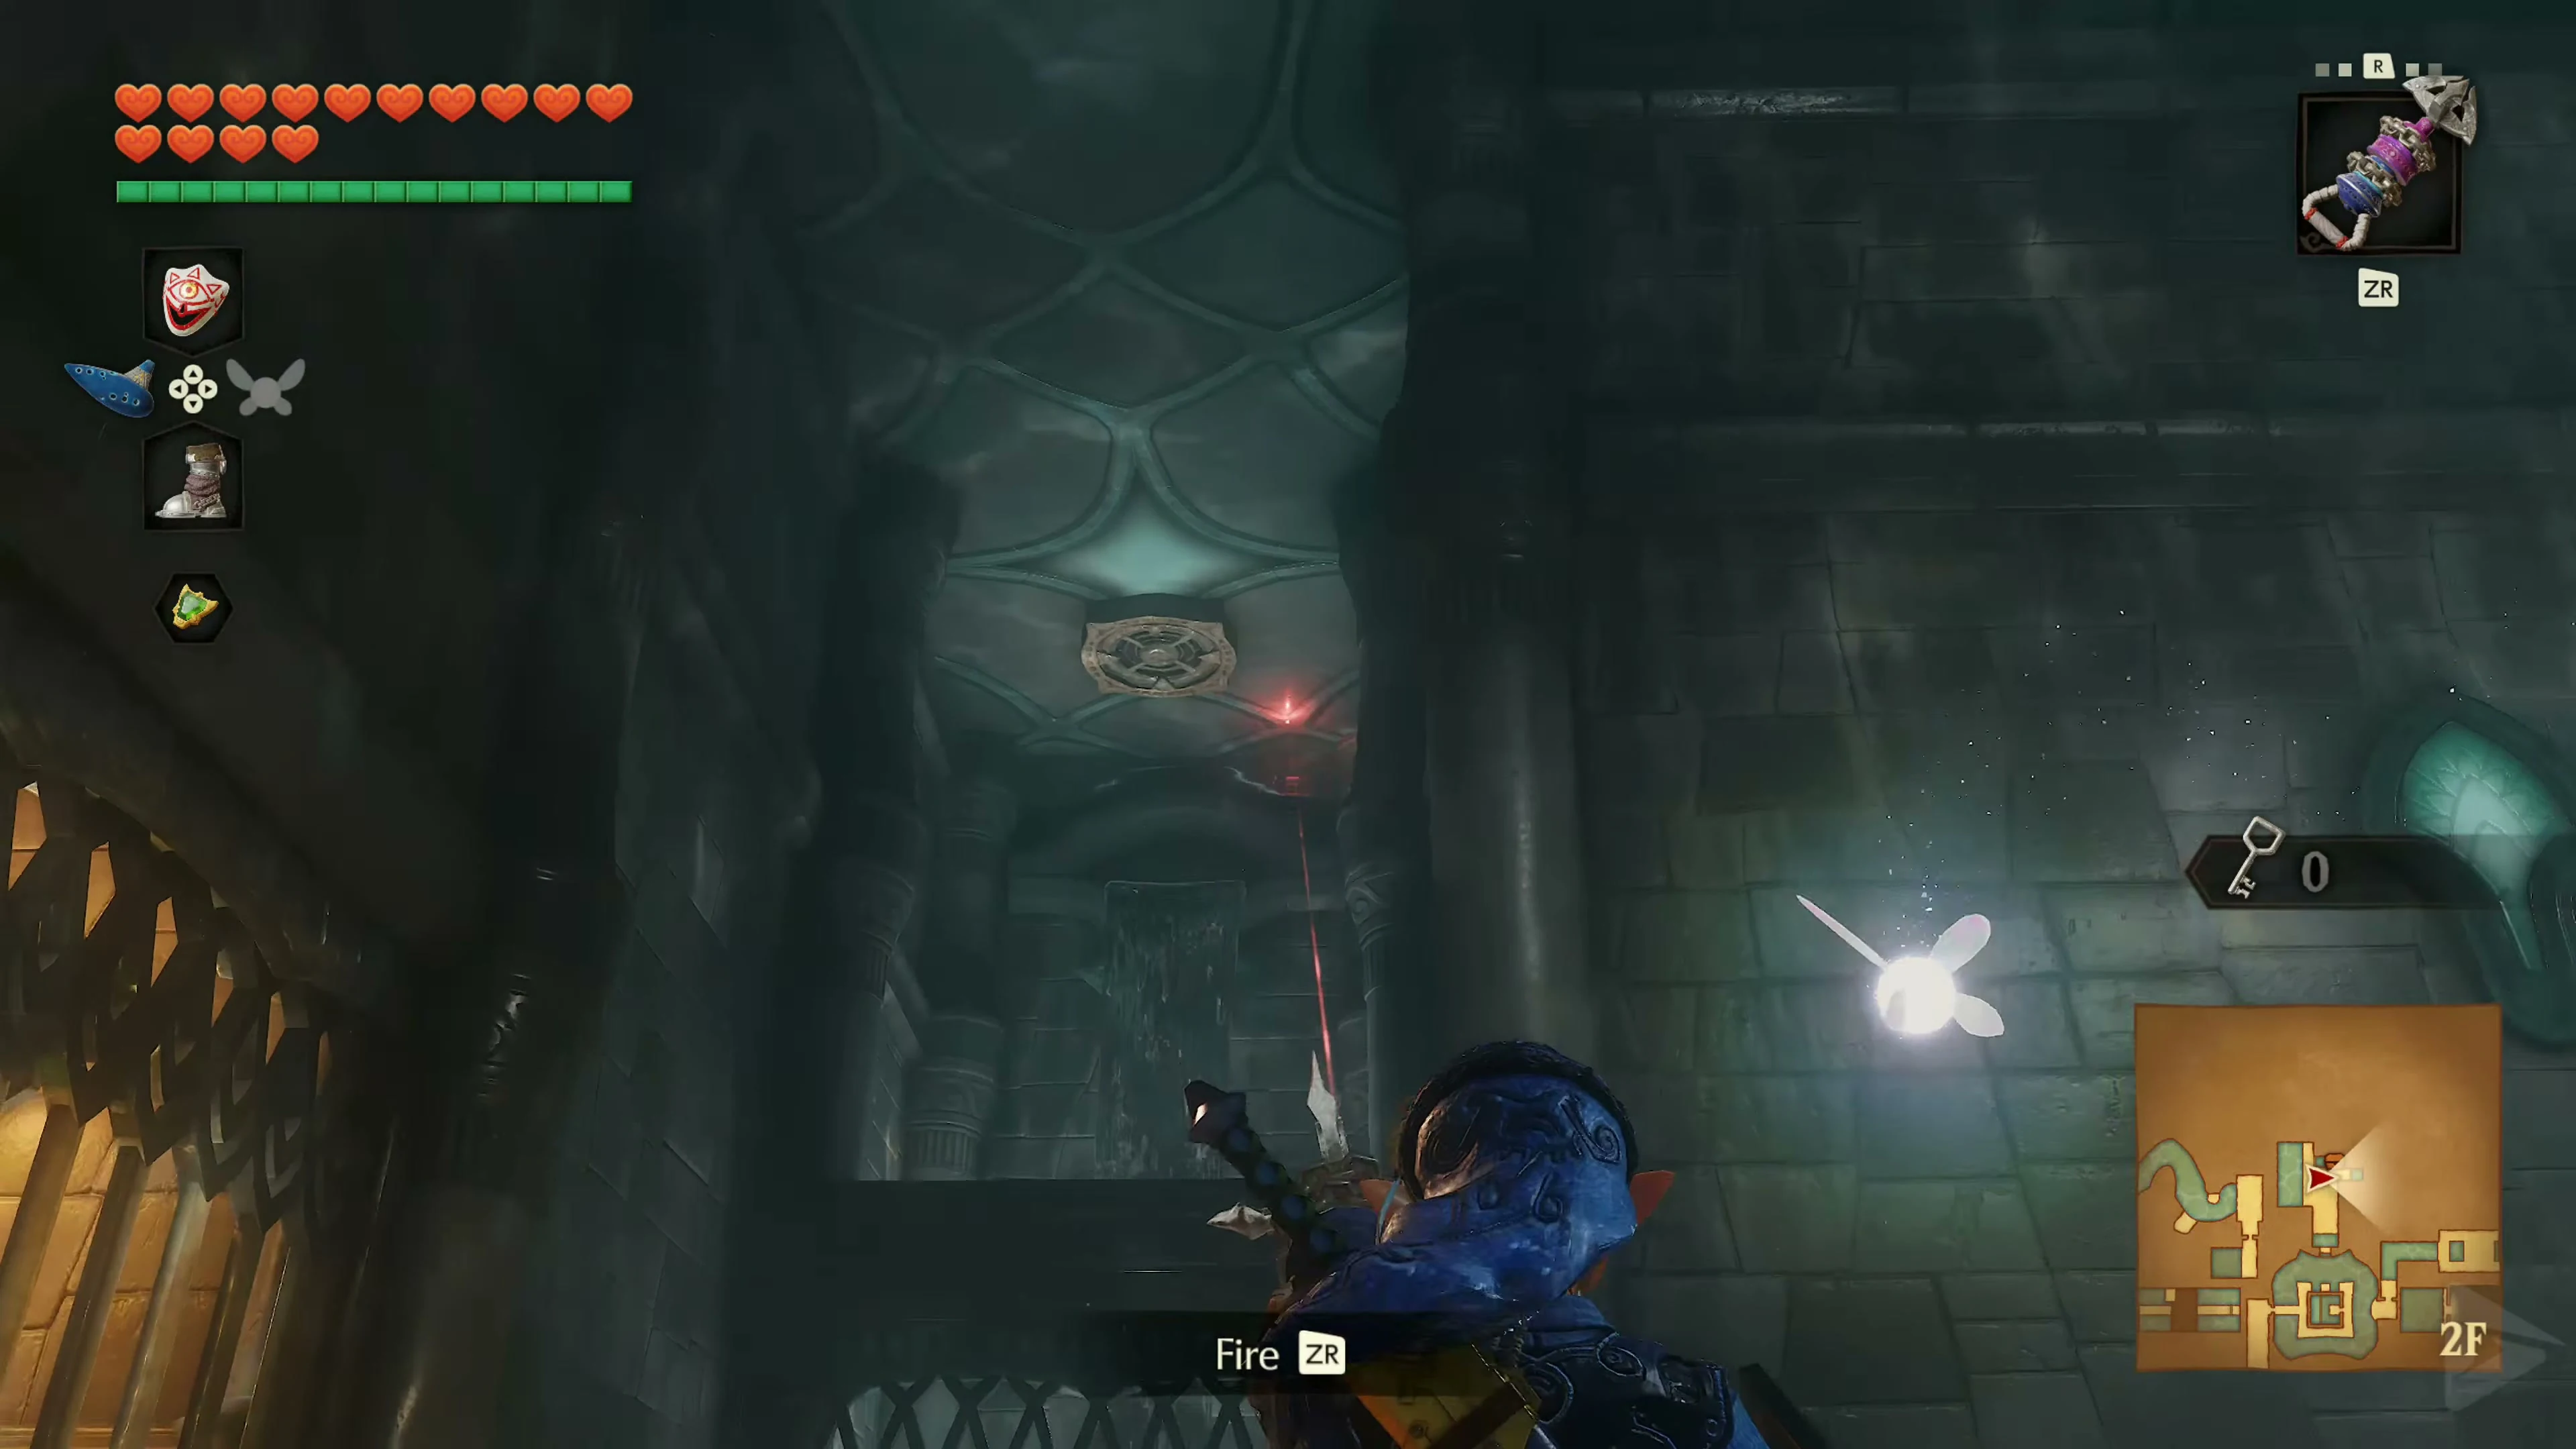
Leave the water at the middle level and descend into the lower north passage . Dive down at the end, wait for the clam shell to open, and hit it with the Longshot. Swim back up at the northern end. From the ledge, use the Longshot to reach the anchor above the locked door.
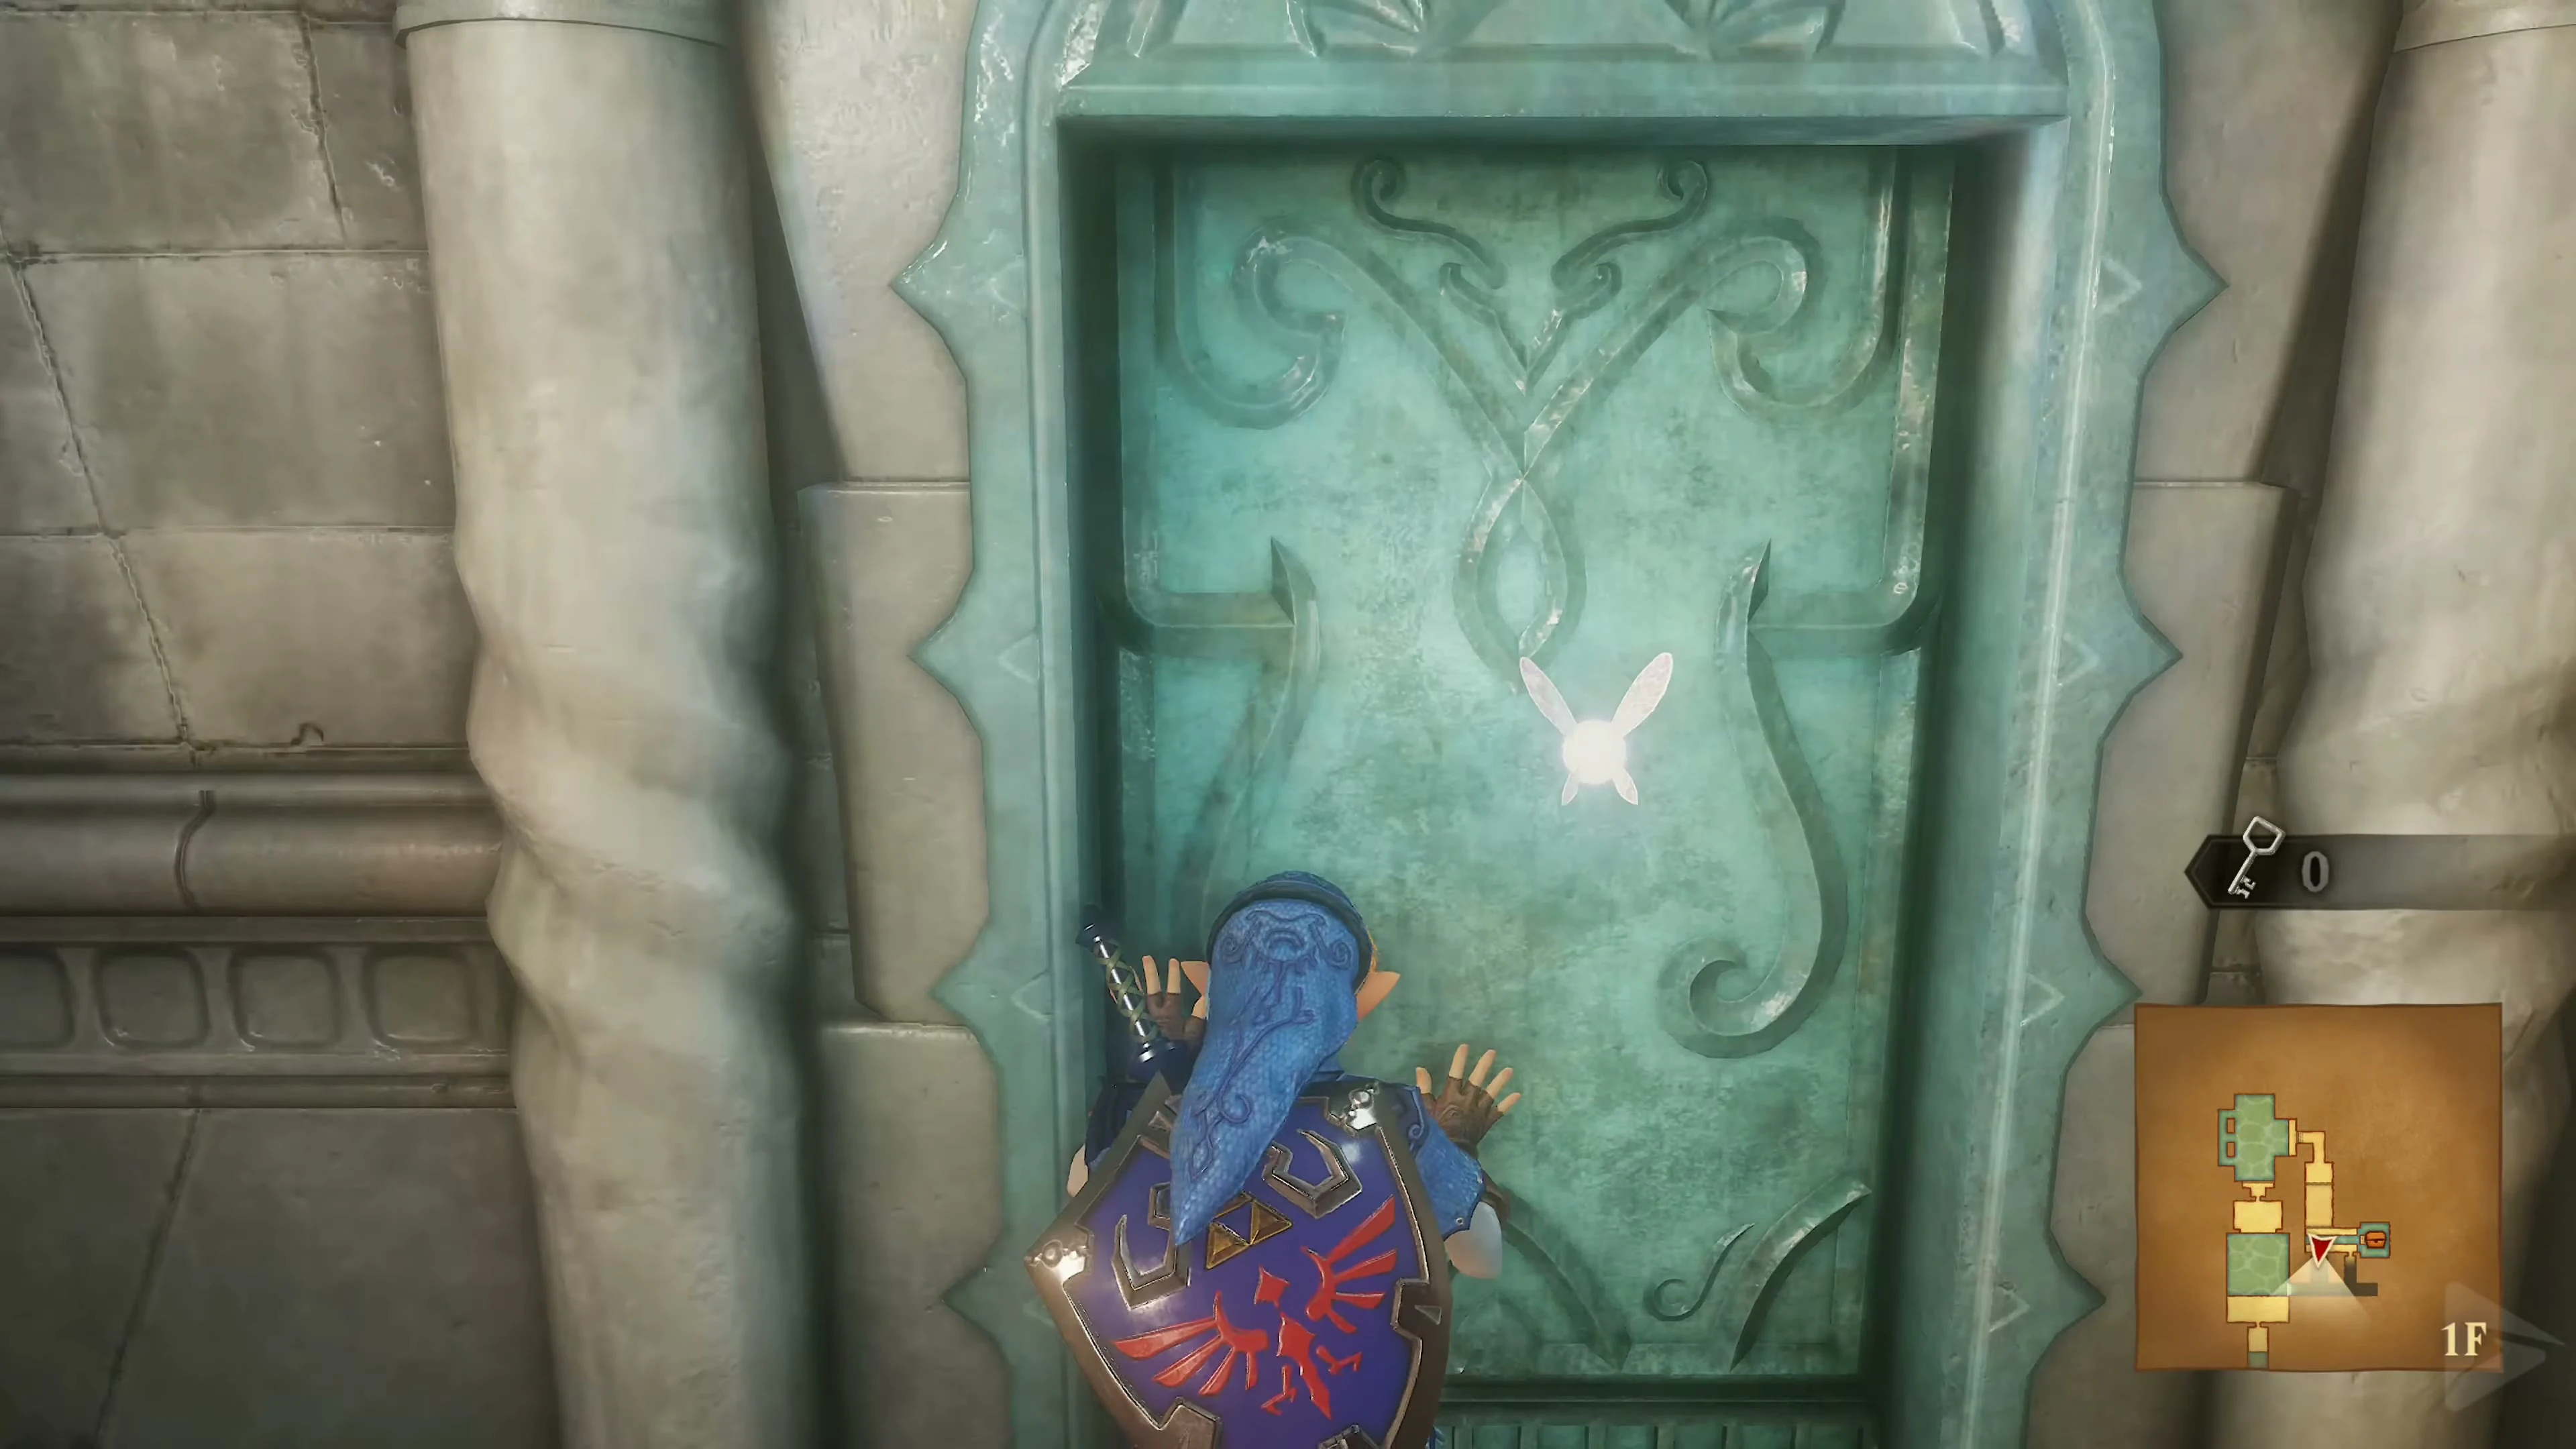
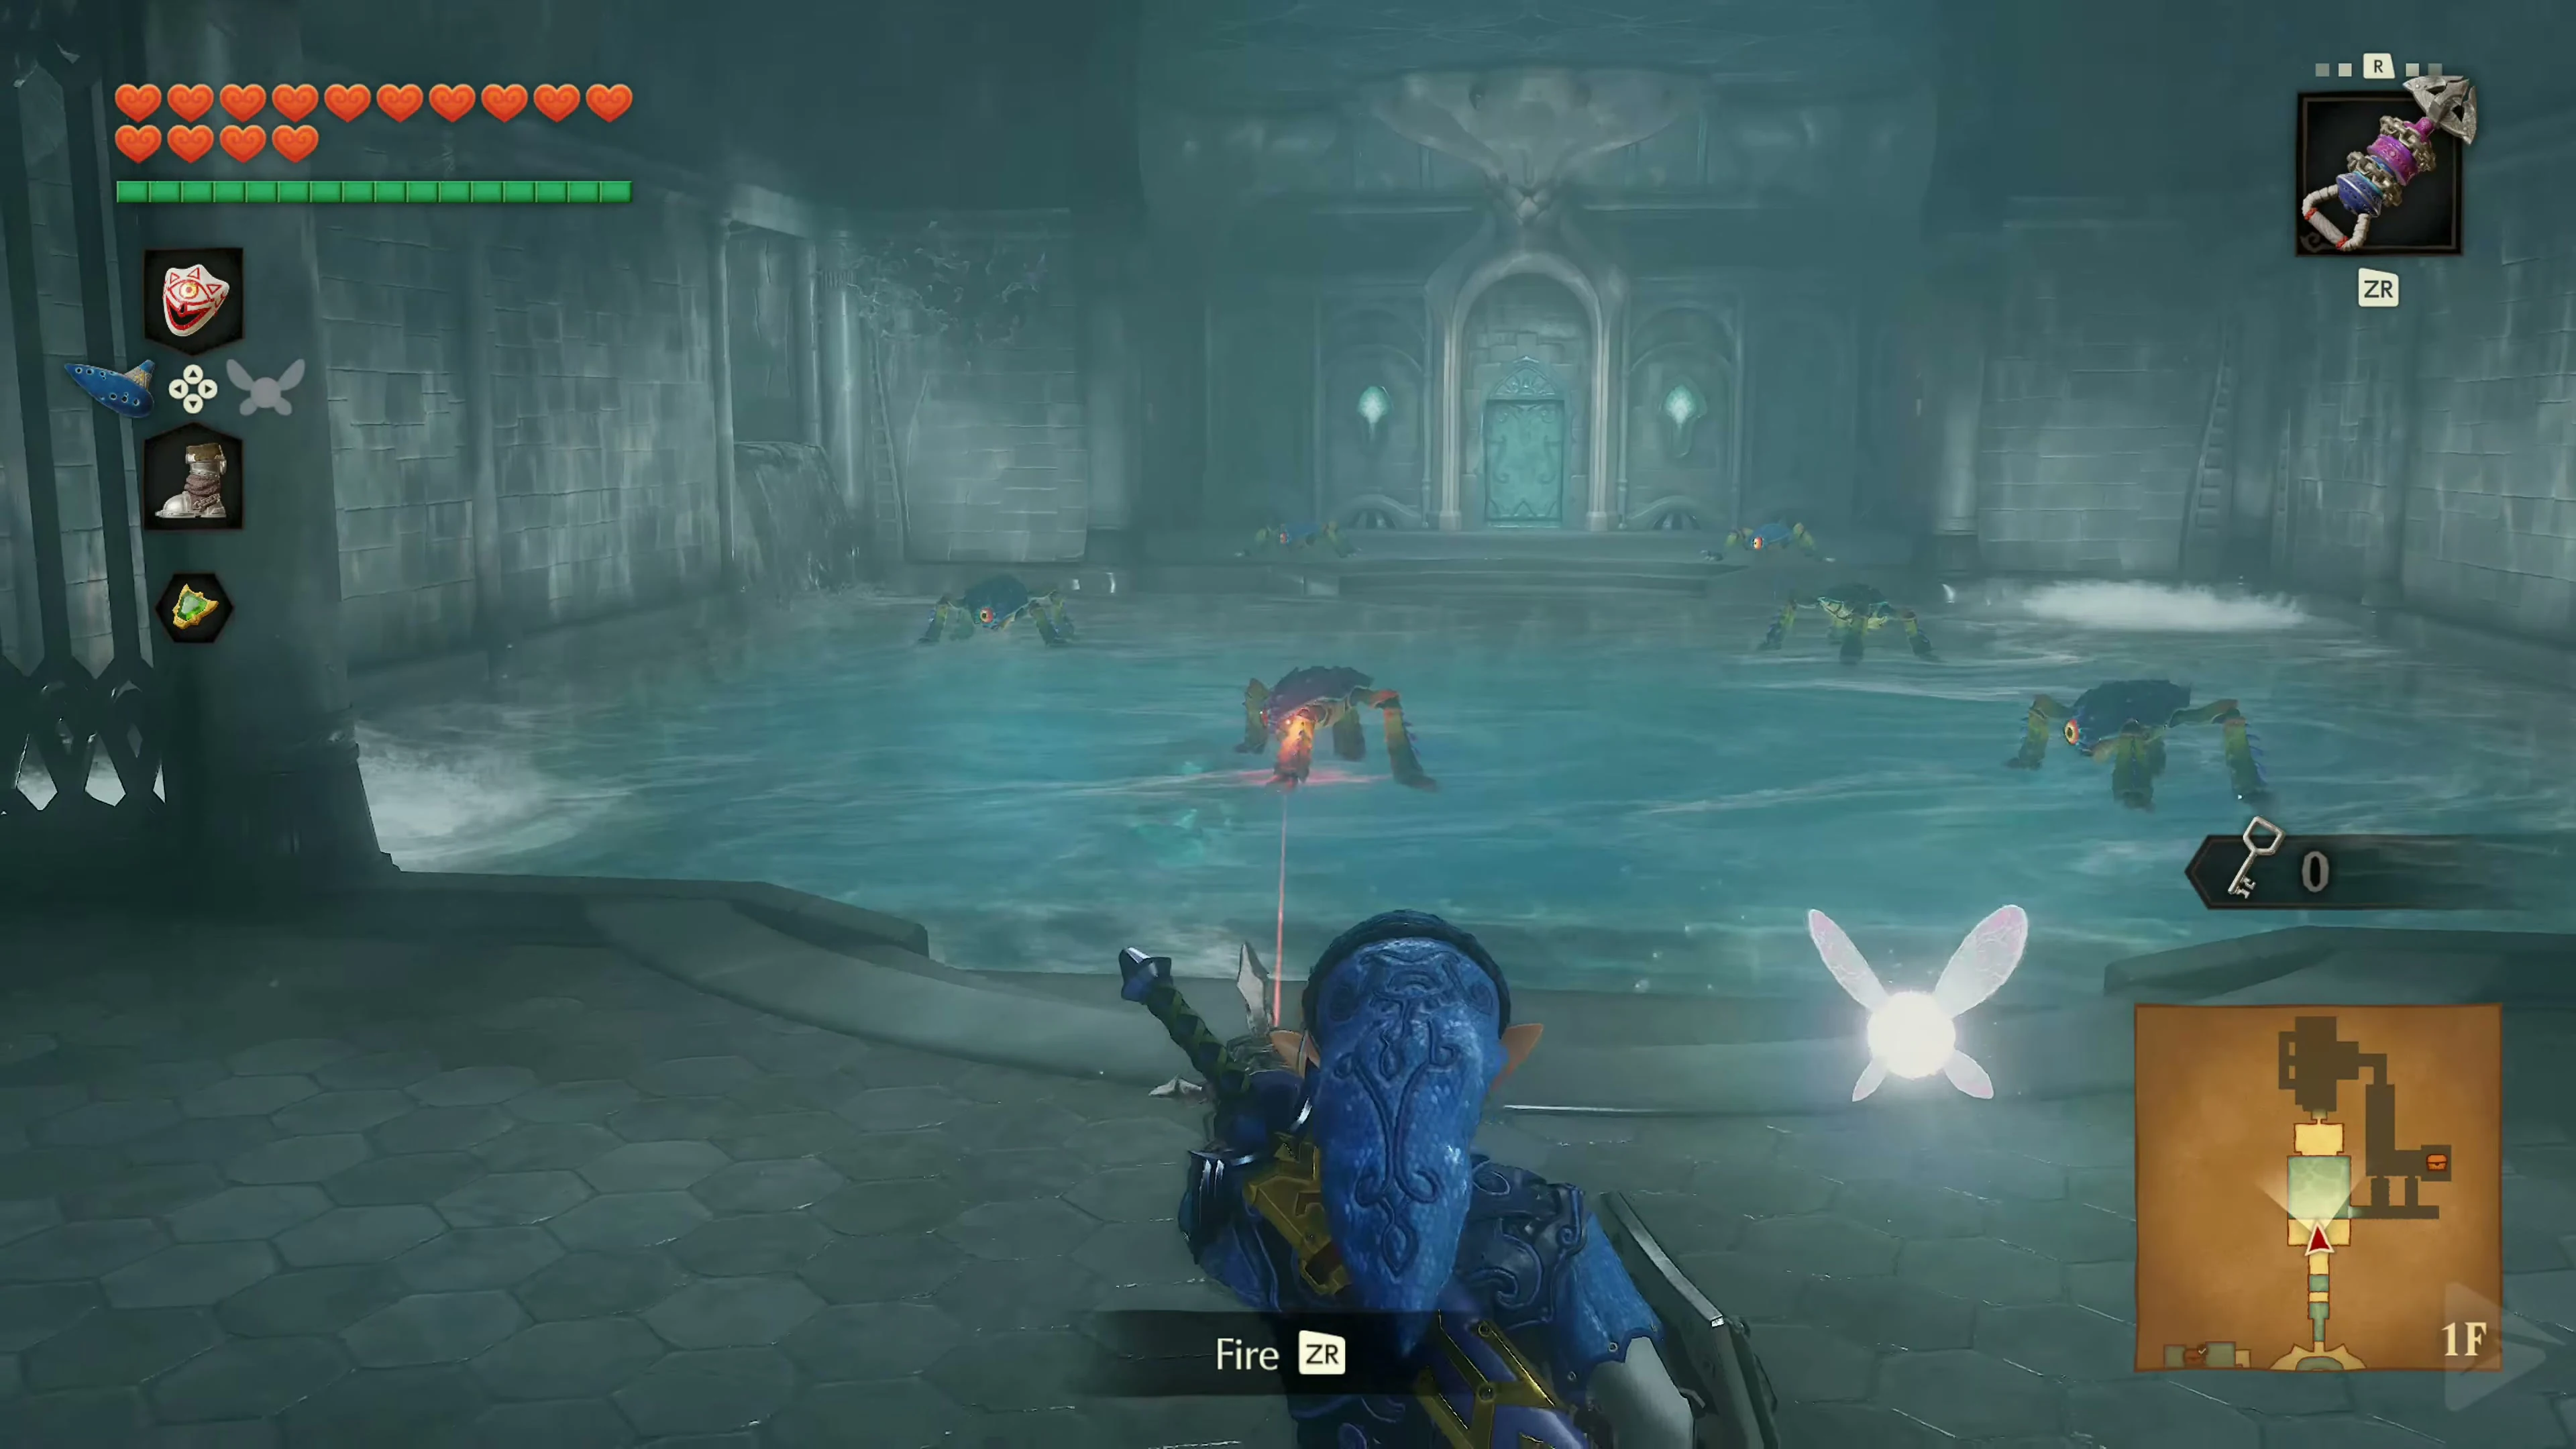
Open the door with Small Key 4/4 . Lure the crabs to the shore with the Longshot before venturing into the pool. Take off your Iron Boots for the crossing. This will make it easier to avoid the whirlpools. Head towards the opposite shore and go through the door to the north.
The Underwater Block Puzzle
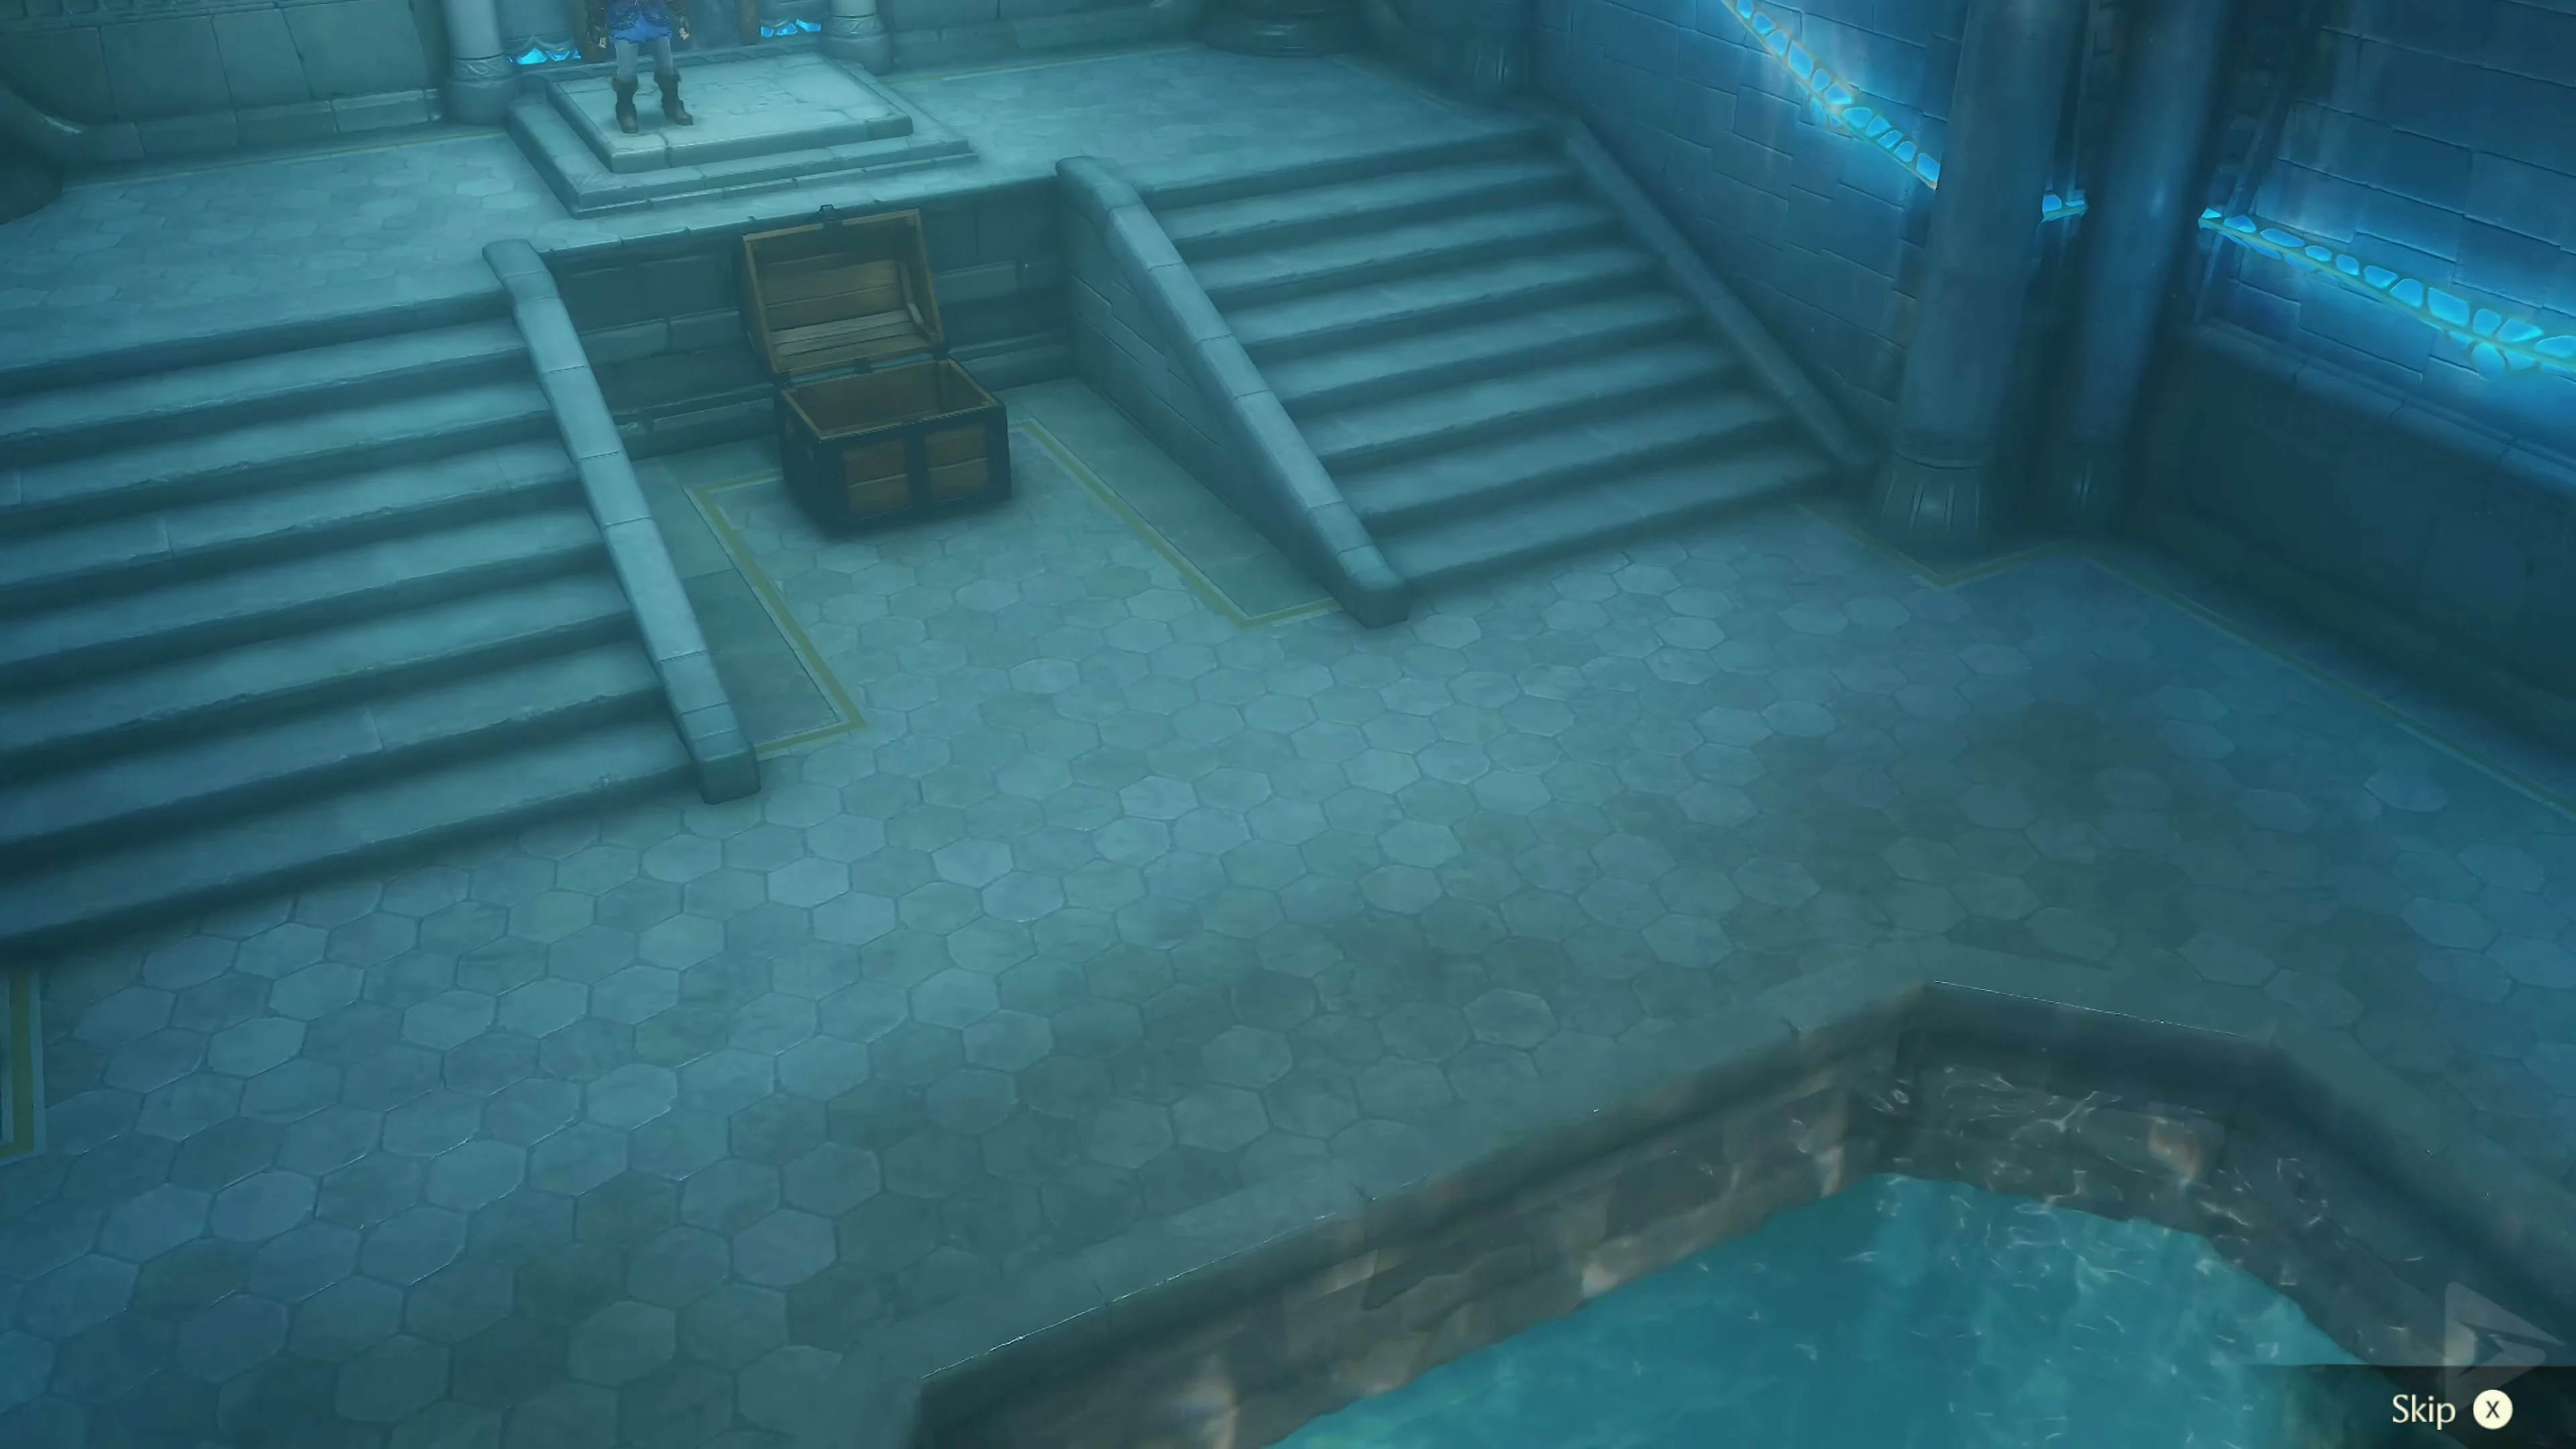
Eliminate the fish in the next pool and blast open the two blocked passages on the left. There’s a block behind one of them. Push it from one side and pull it from the other if necessary until you can knock it over the edge into the water. It will land on the switch below and raise the water level.
Leave the room through the east door. Step on the switch in the next room until the three platforms rise. Wait until the crab comes to you and defeat it. Jump across the platforms to the door to the south.
Gold Skulltula 5/5 at the waterfall
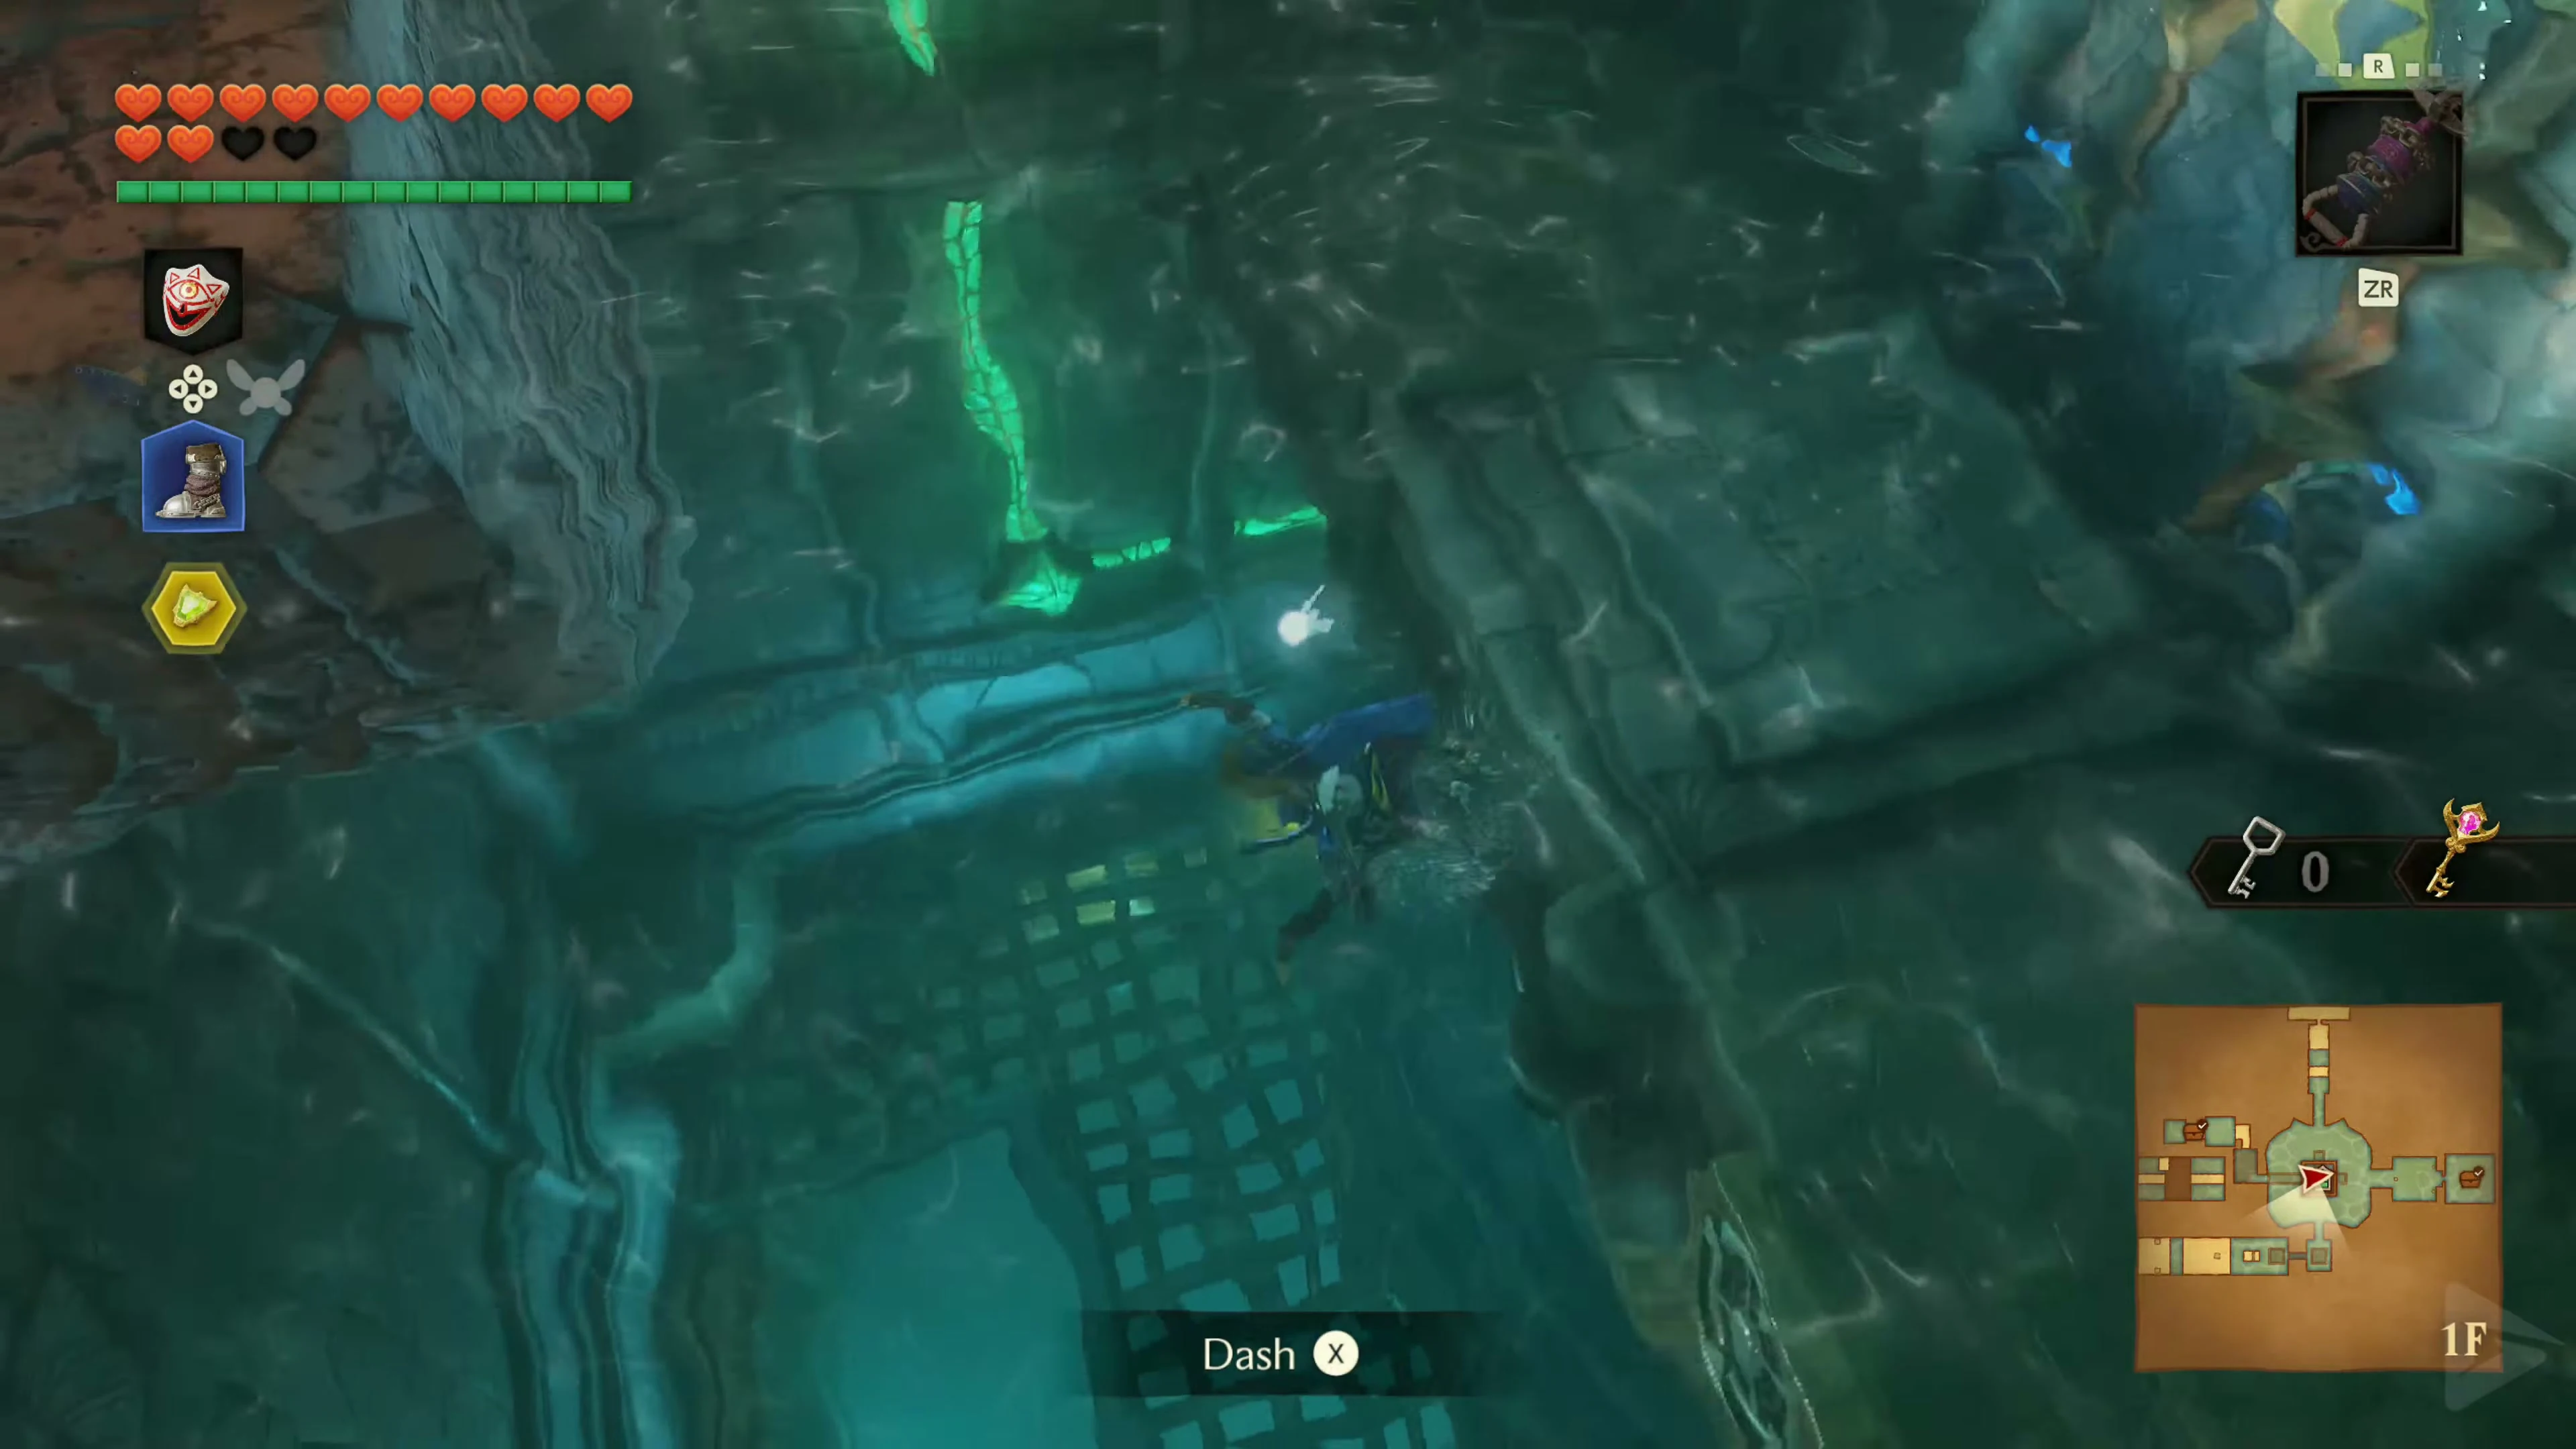
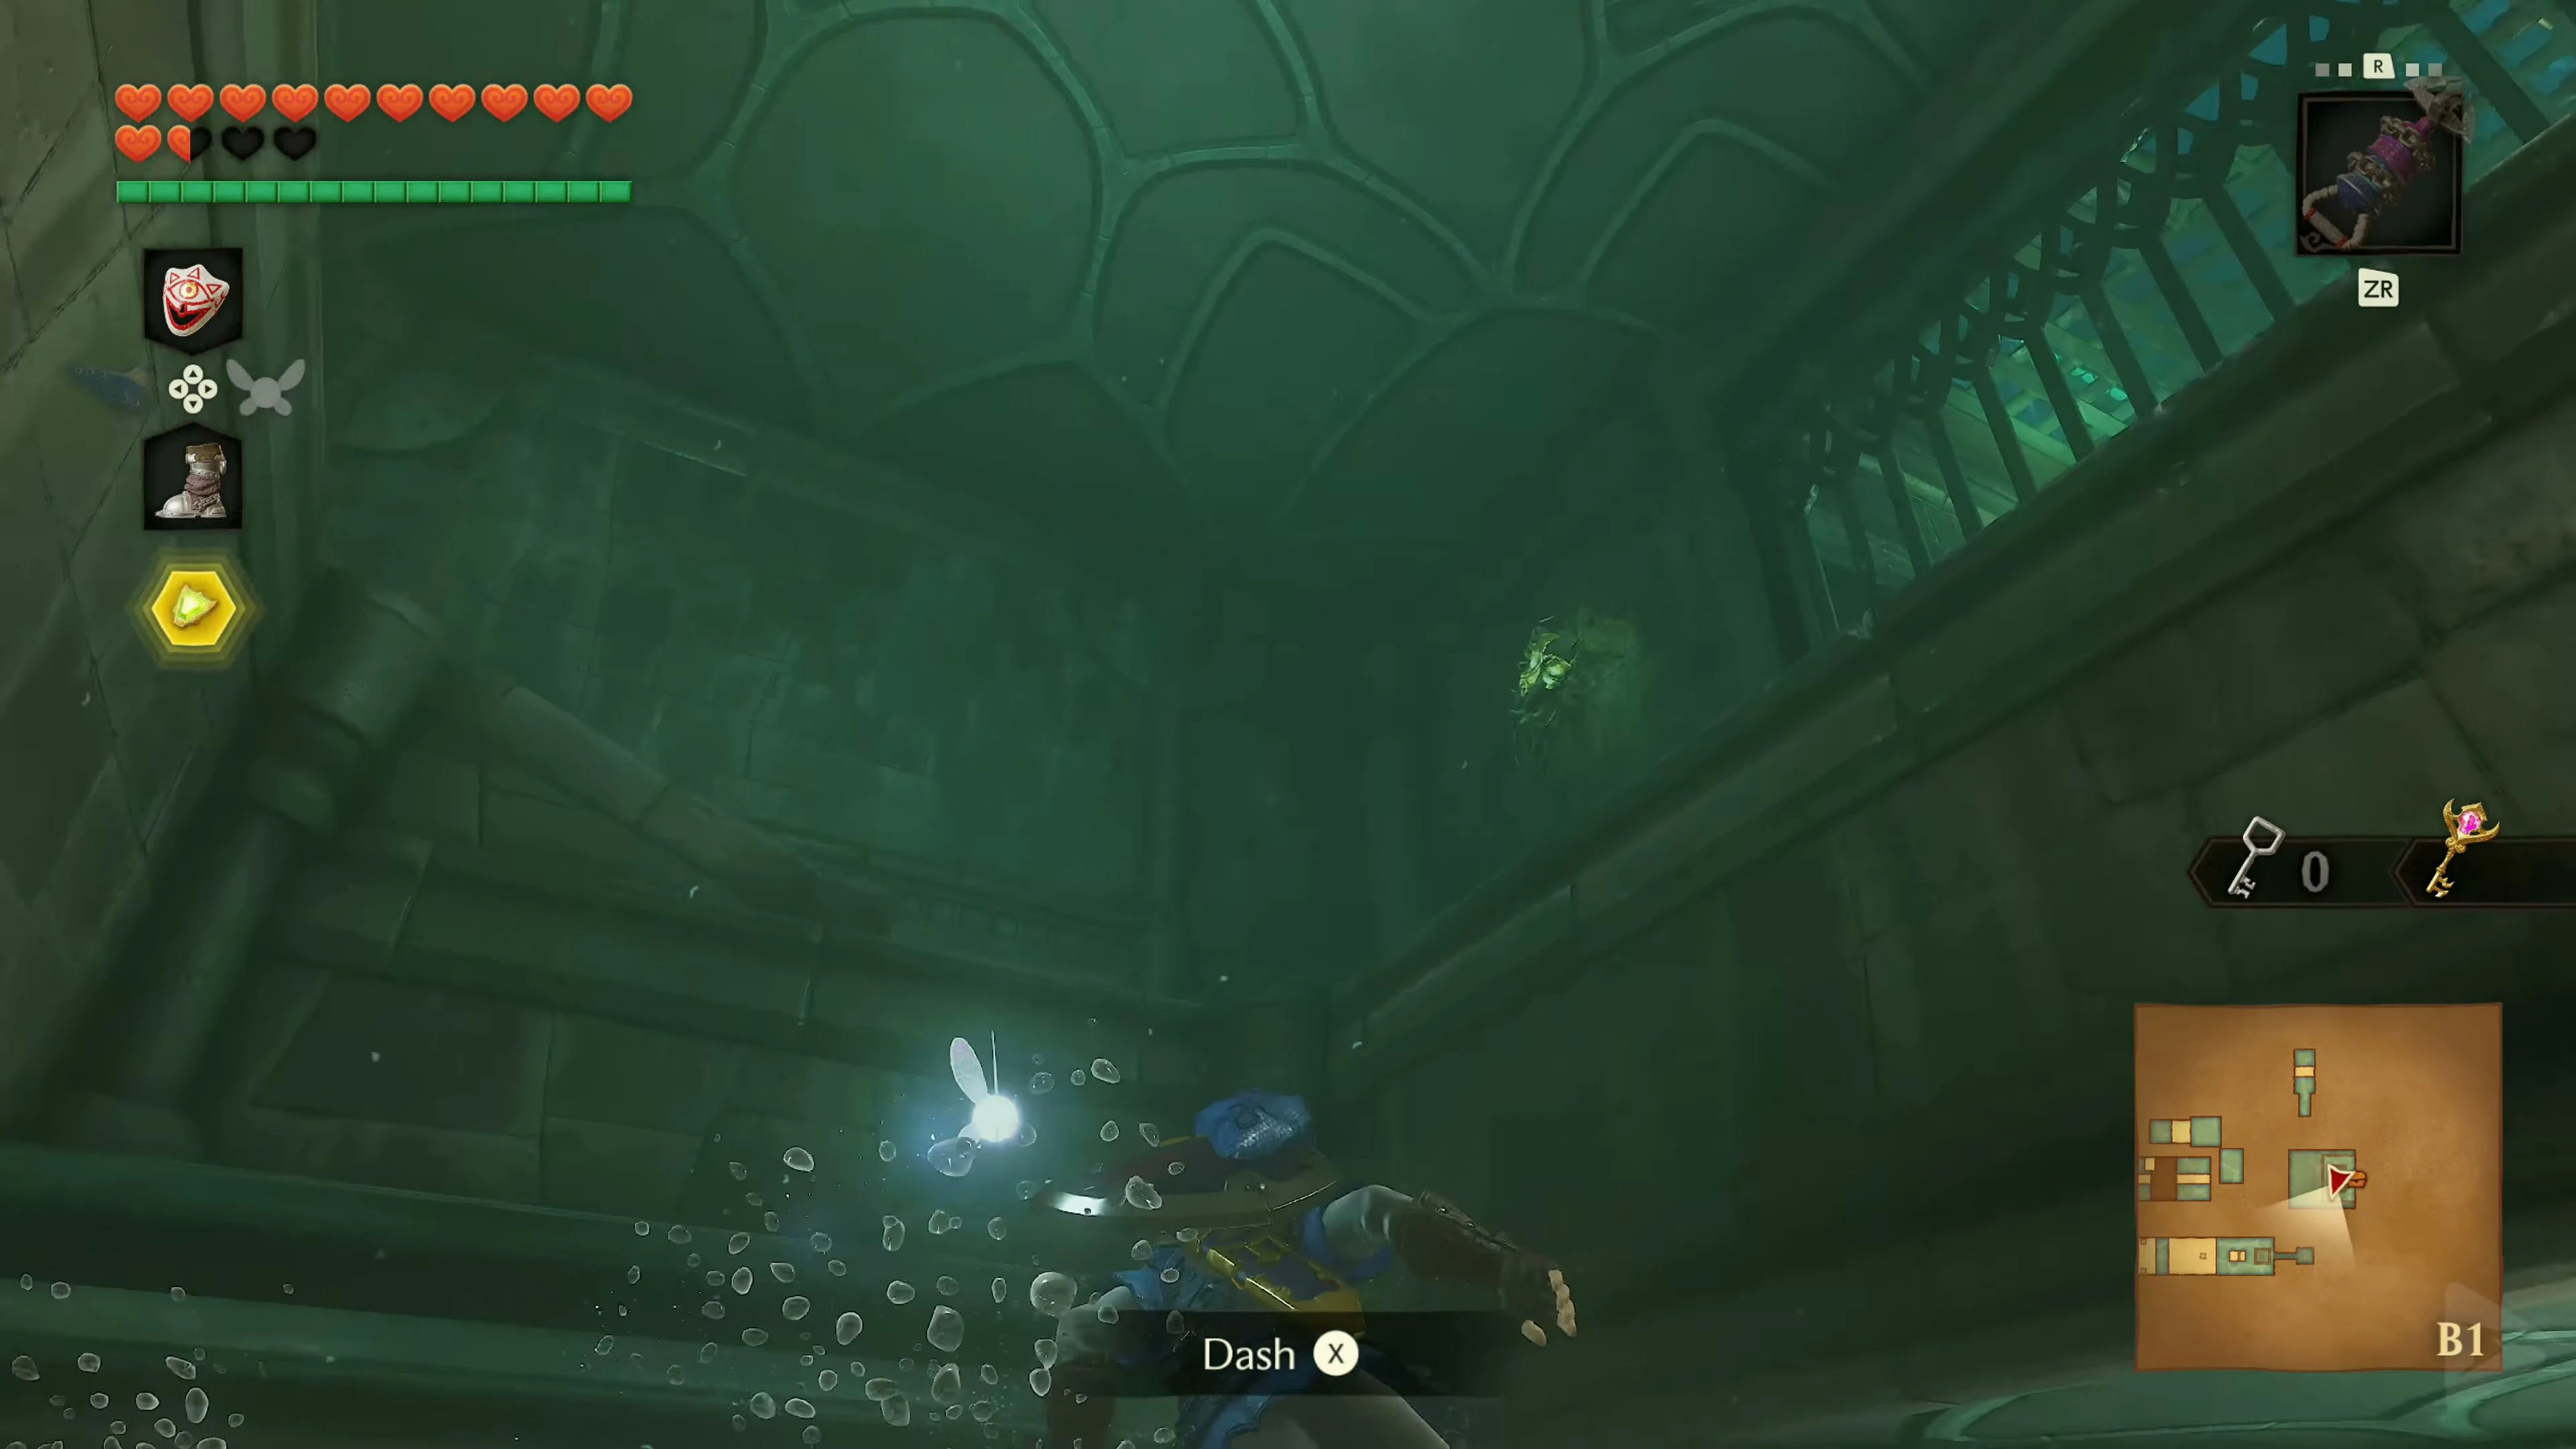
Jump into the narrow channel and look west toward the waterfall. Climb up, defeat Gold Skulltula 5/5, and collect its token with the Longshot. Turn east. Rocks roll down the middle of the passage, so keep close to the left wall. Climb out of the channel directly behind the waterfall, heading north.
The Boss Key
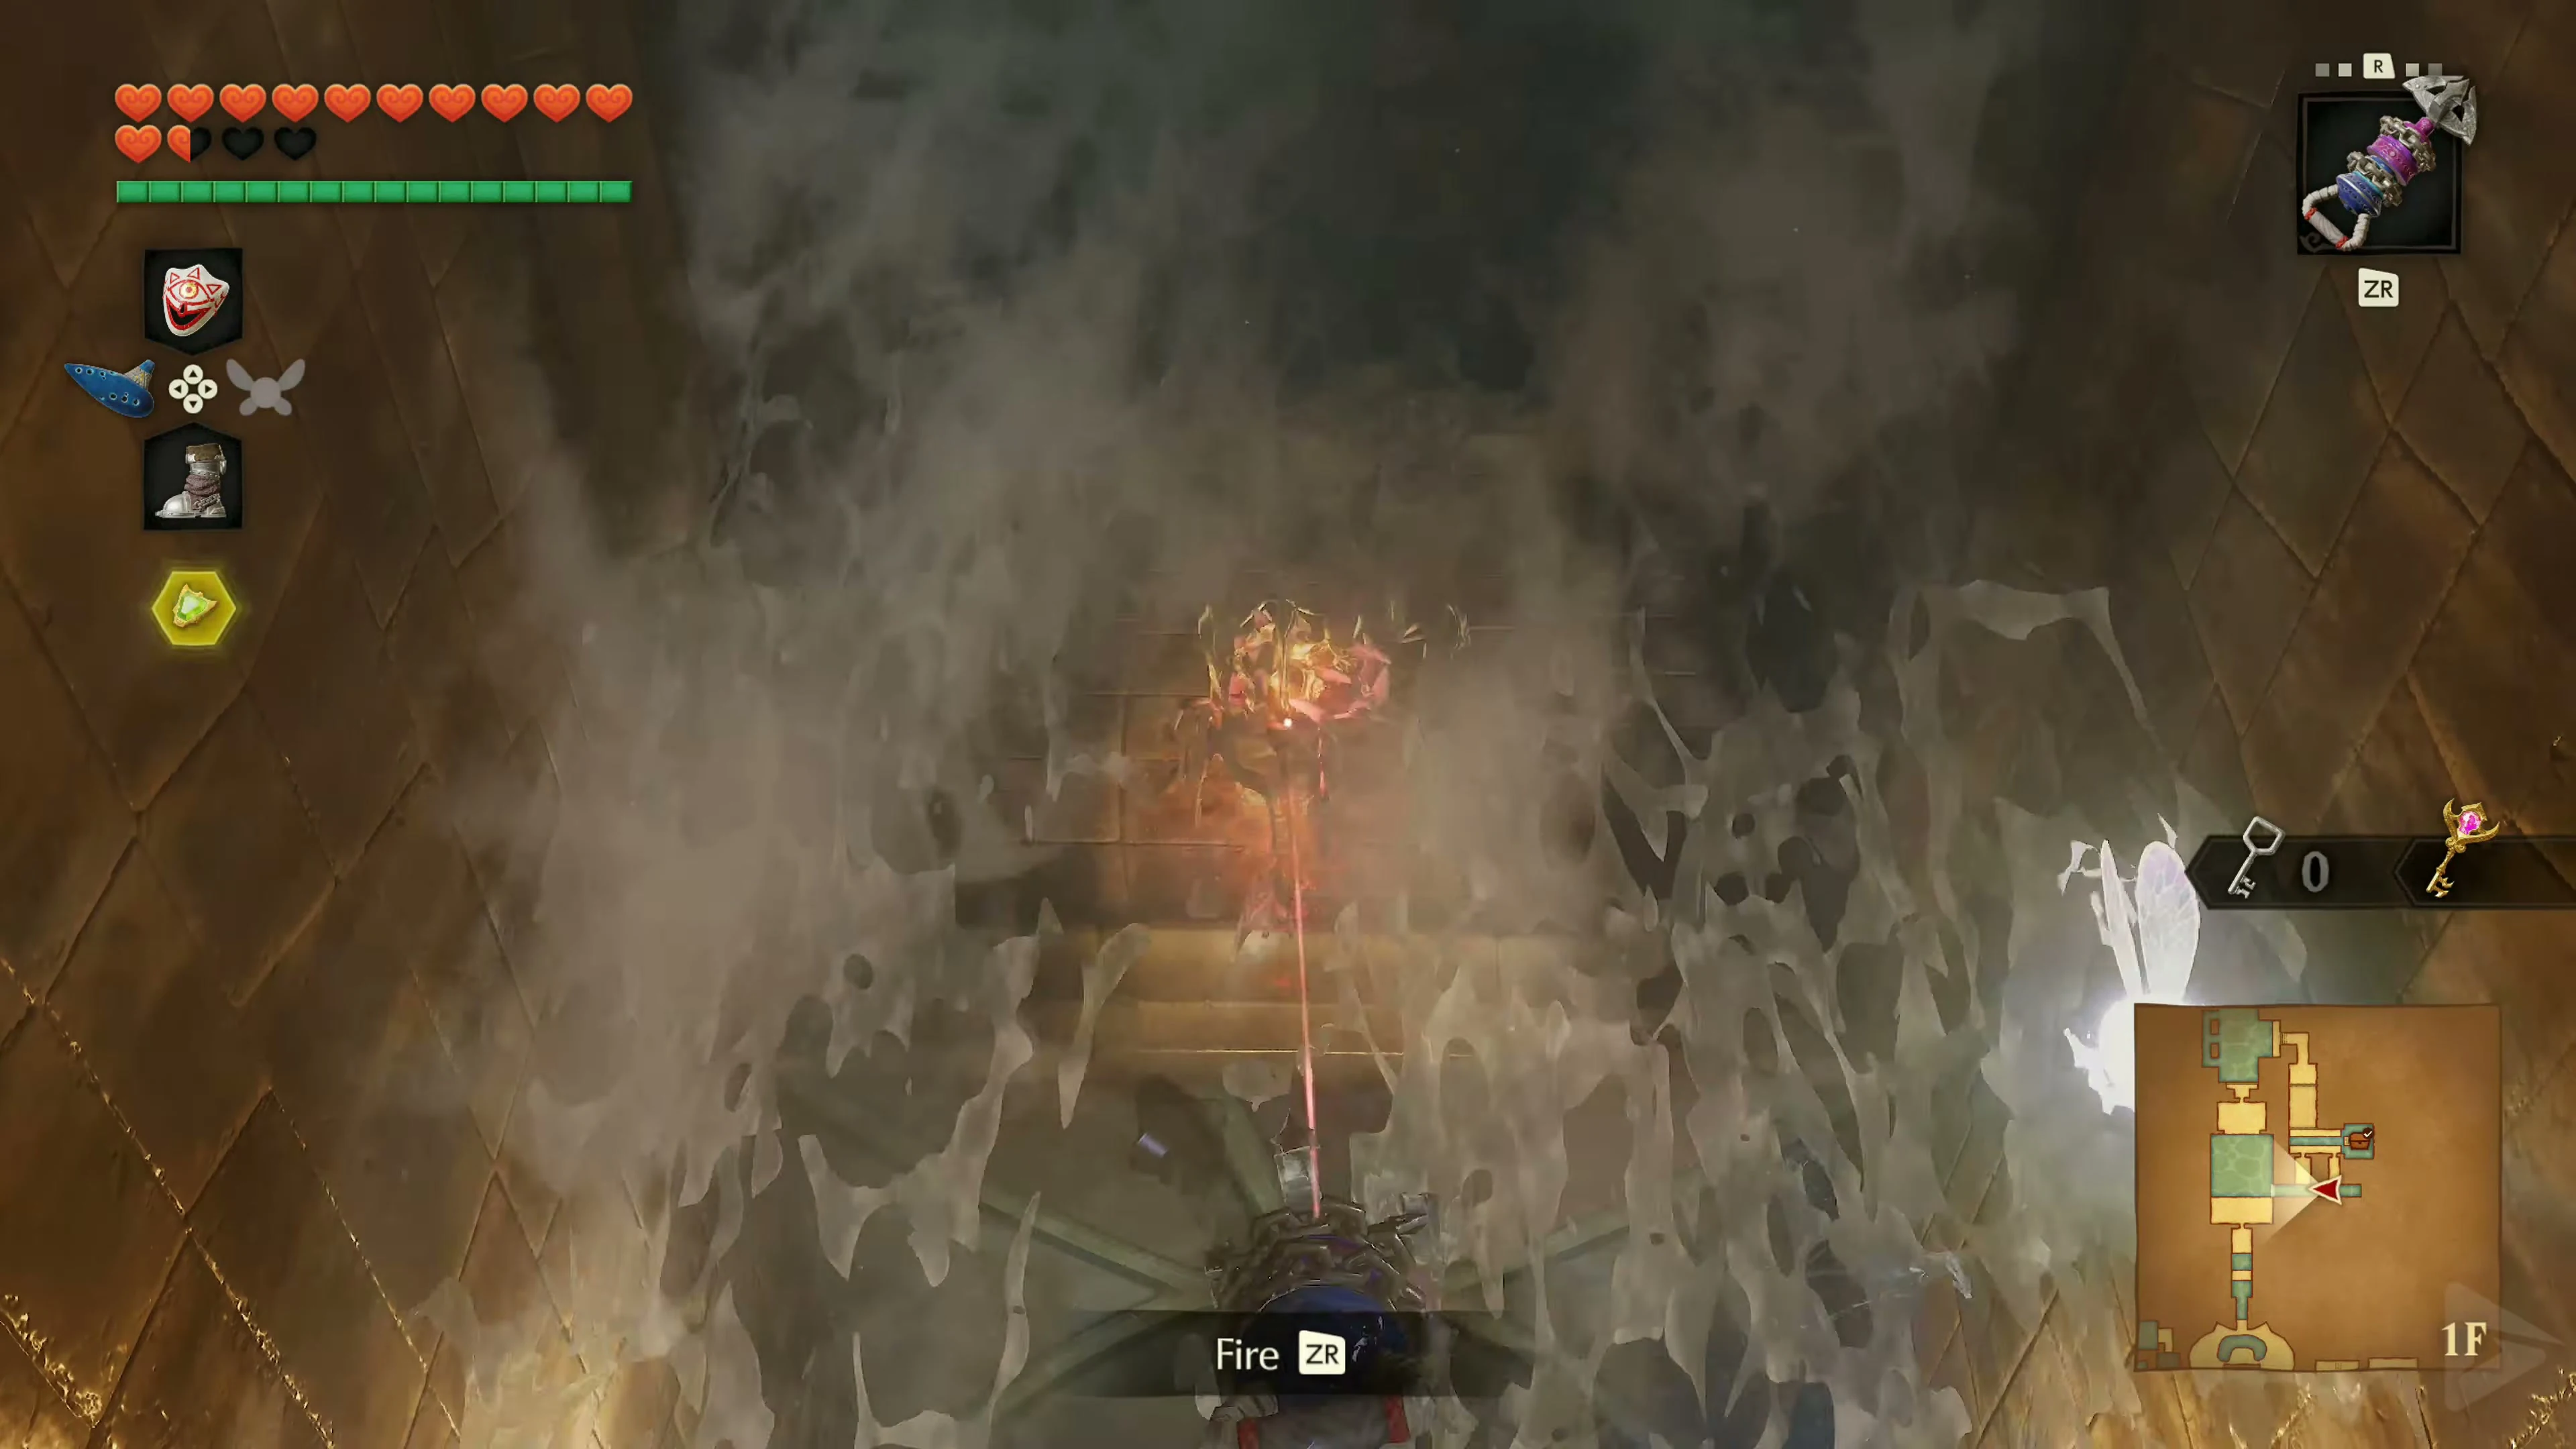
Behind the short climb is the large chest containing the Boss Key. Return to the canal and follow the water into the main hall. Then, carry the water back up to the top via the red-marked door and the fountain in the west.
The way to Morpha
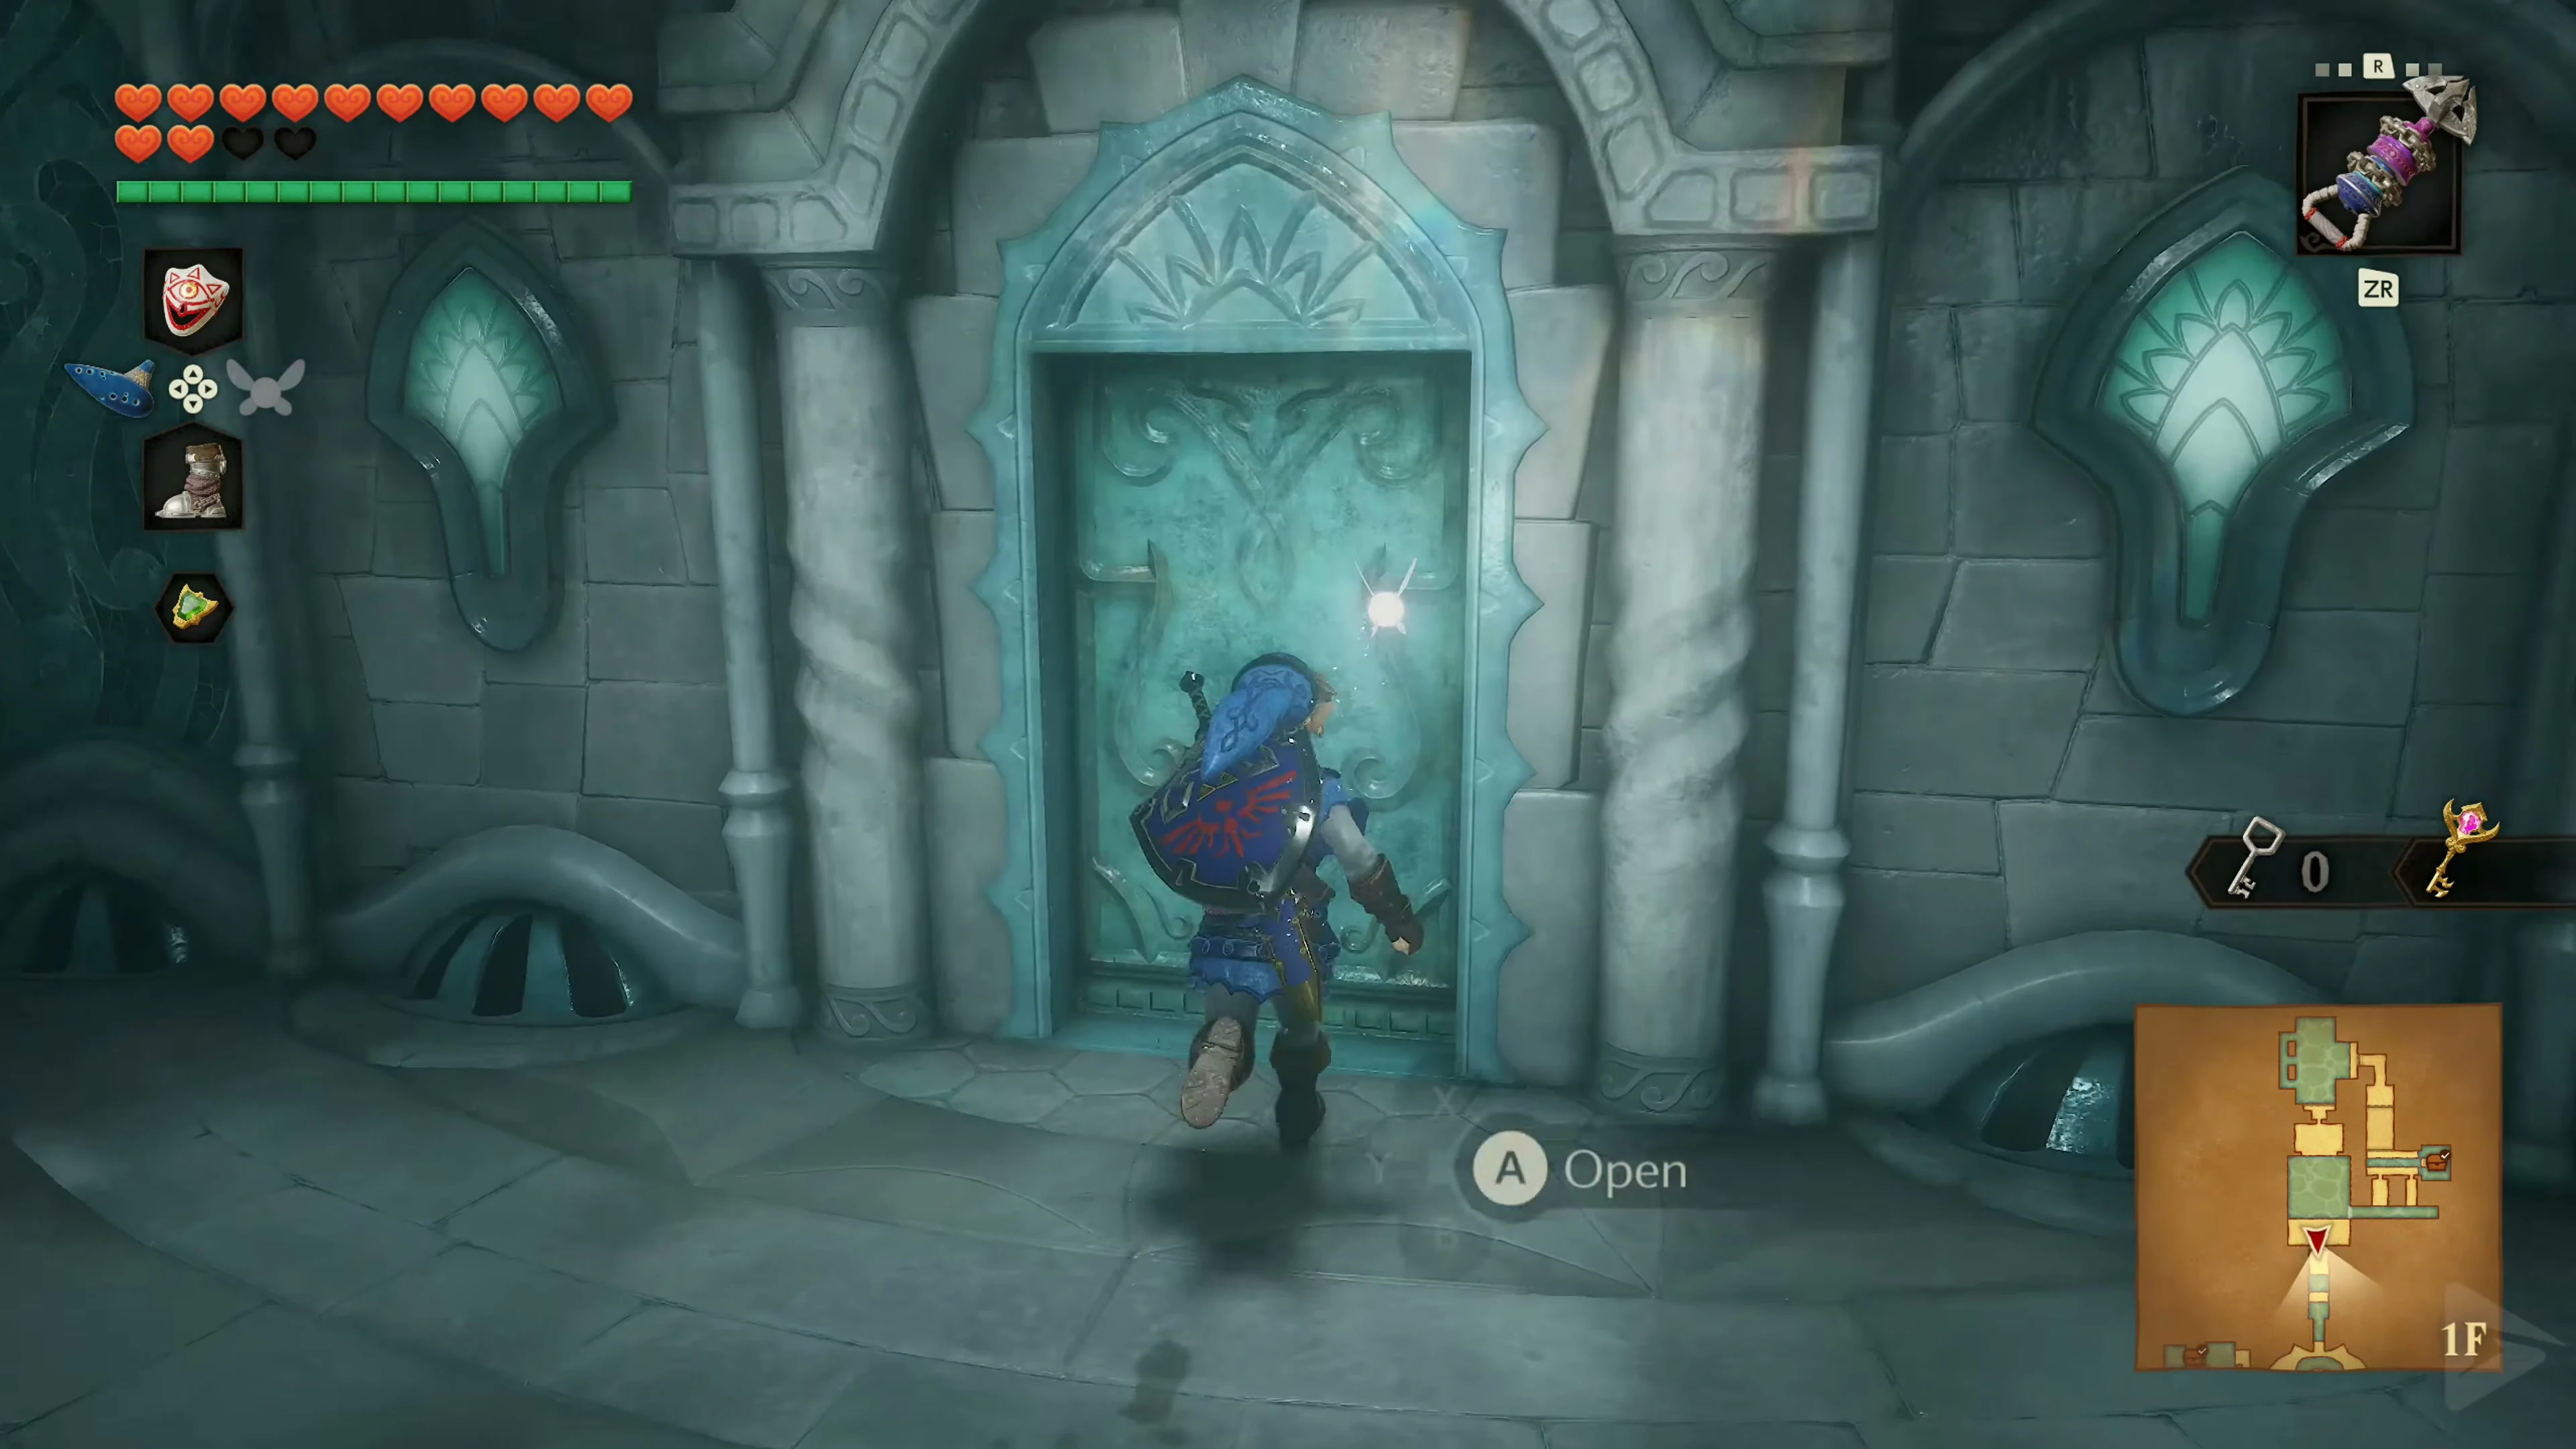
At high water, look from the main hall north to the elevated anchor. Use the Longshot to pull yourself up and go to the ramp. Smash the jars before the final passage if you’re short on arrows or health.
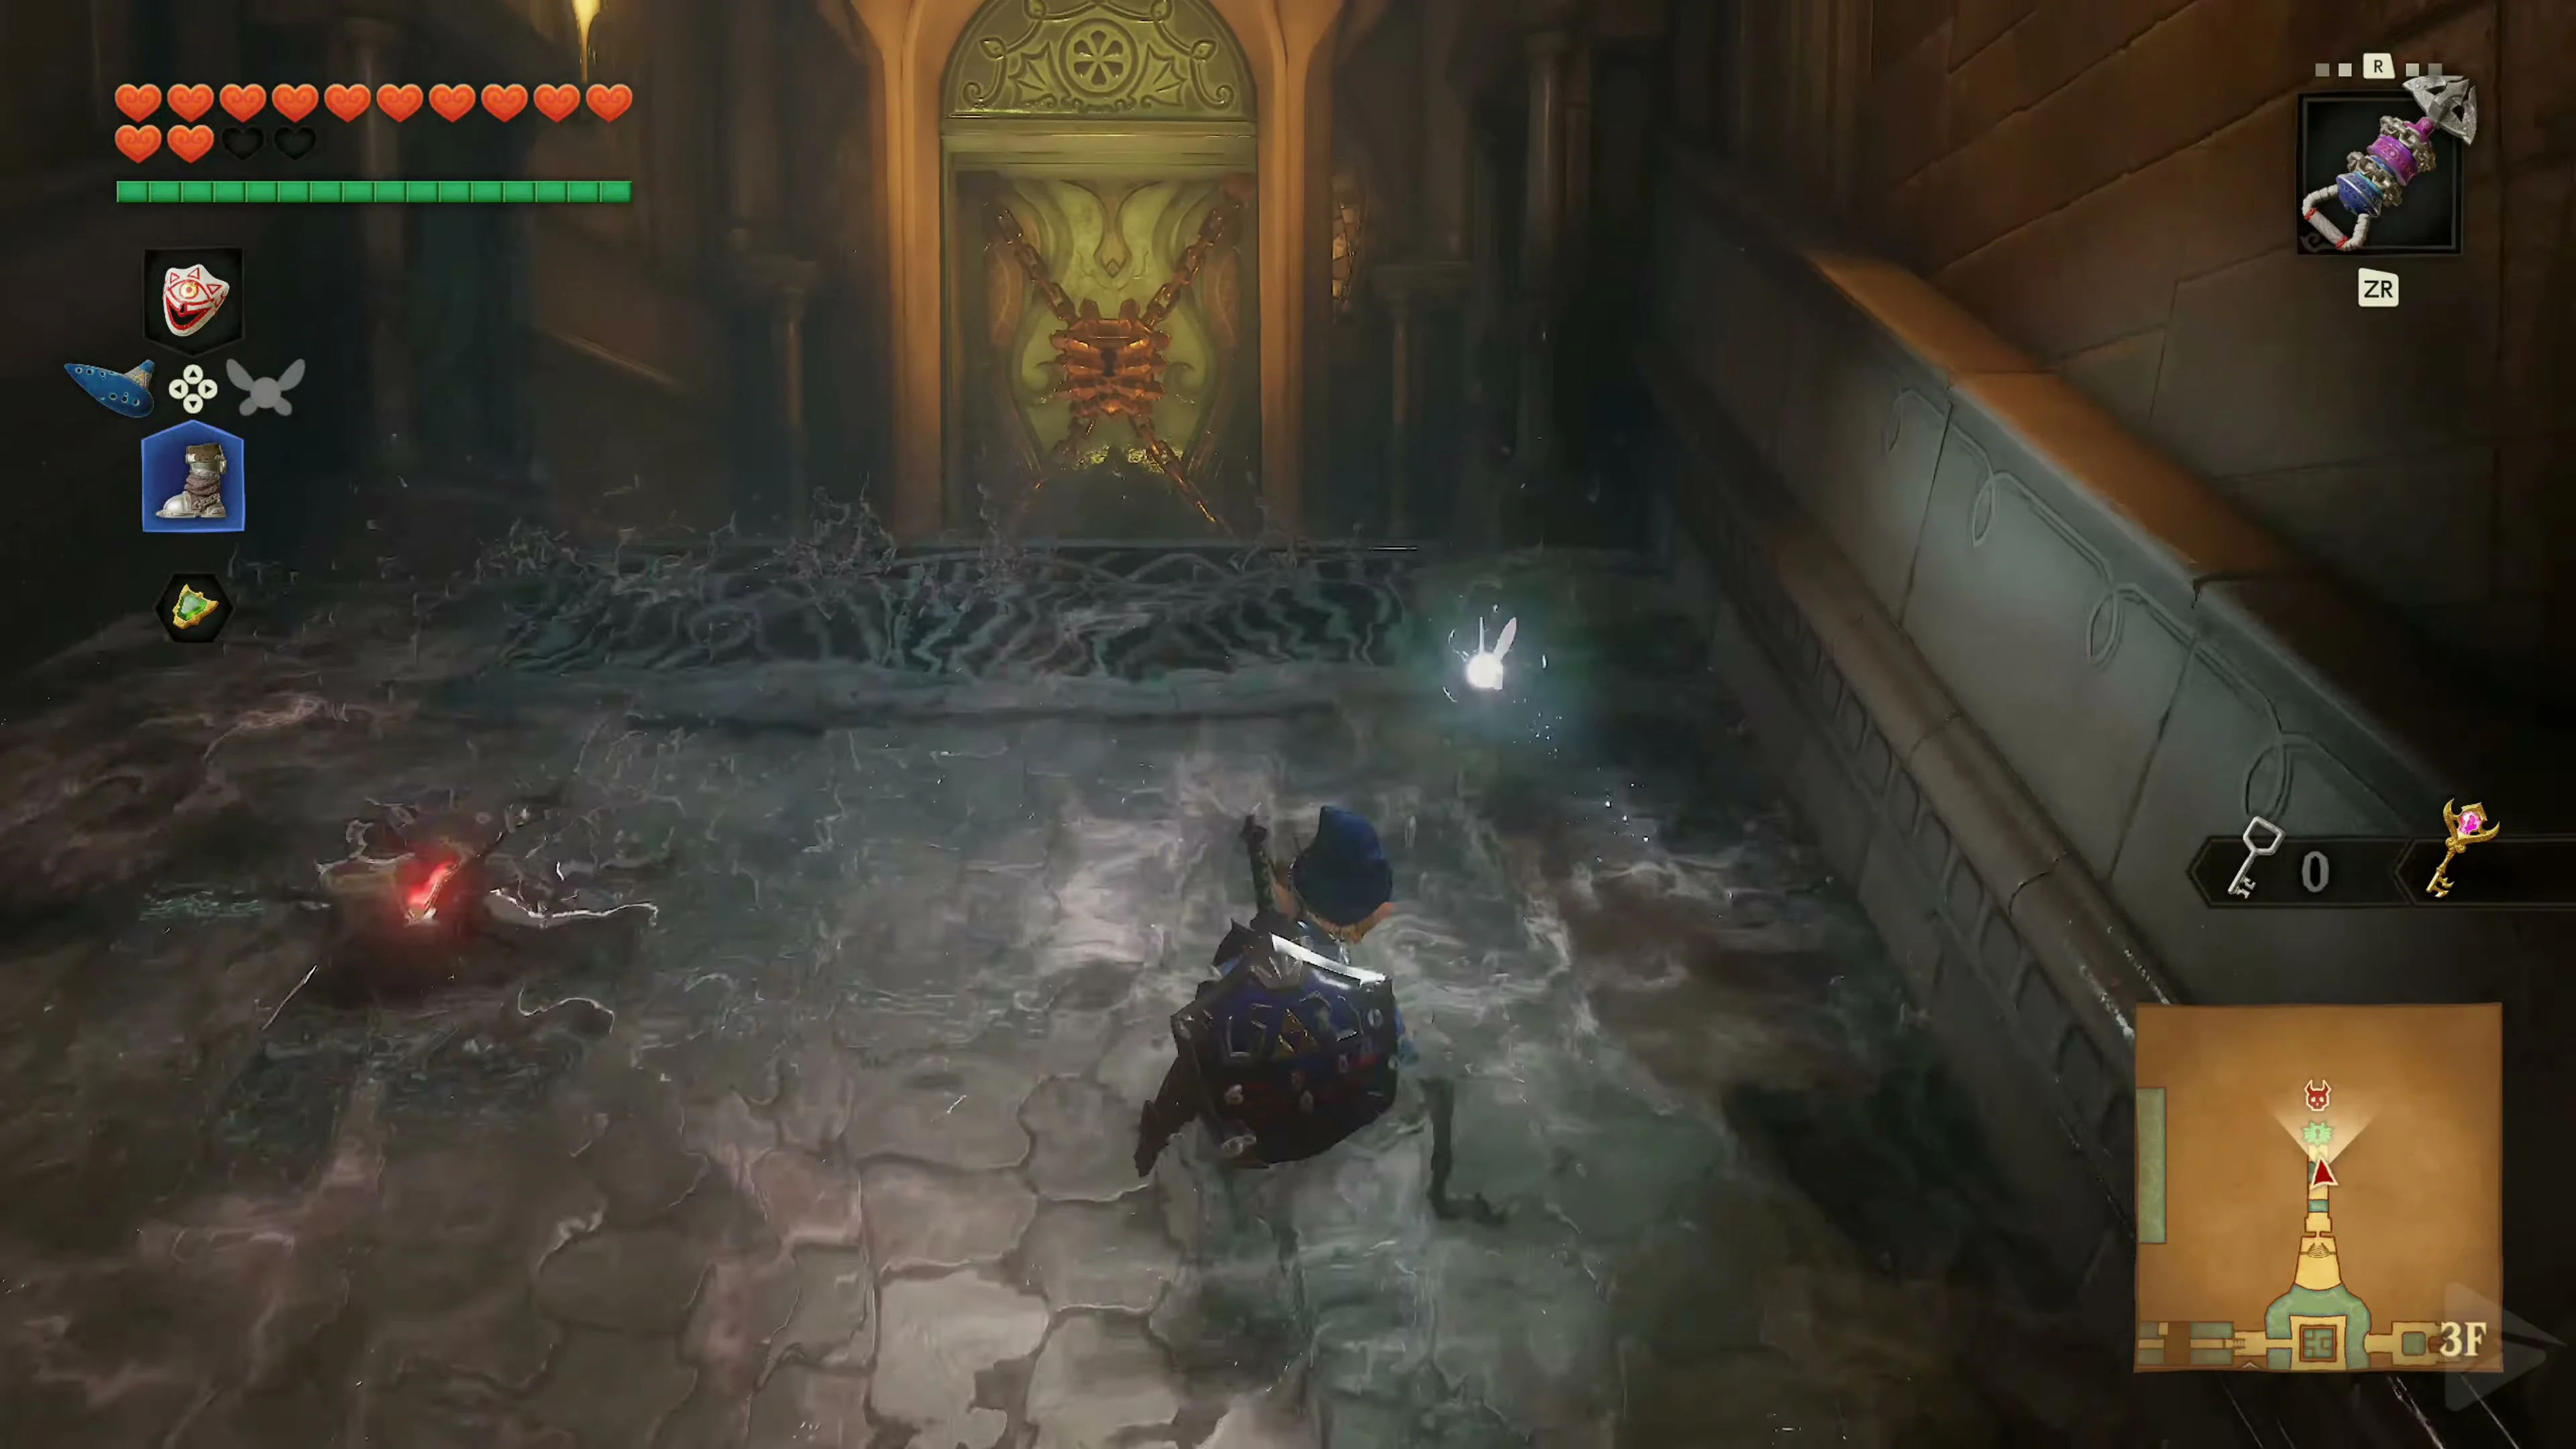
Equip the Iron Boots on the wet ramp. Wait until the first scythe slides to the side and use the gaps between the blades to climb. At the top, use the Boss Key to open Morpha’s door.
Final Boss: Morpha
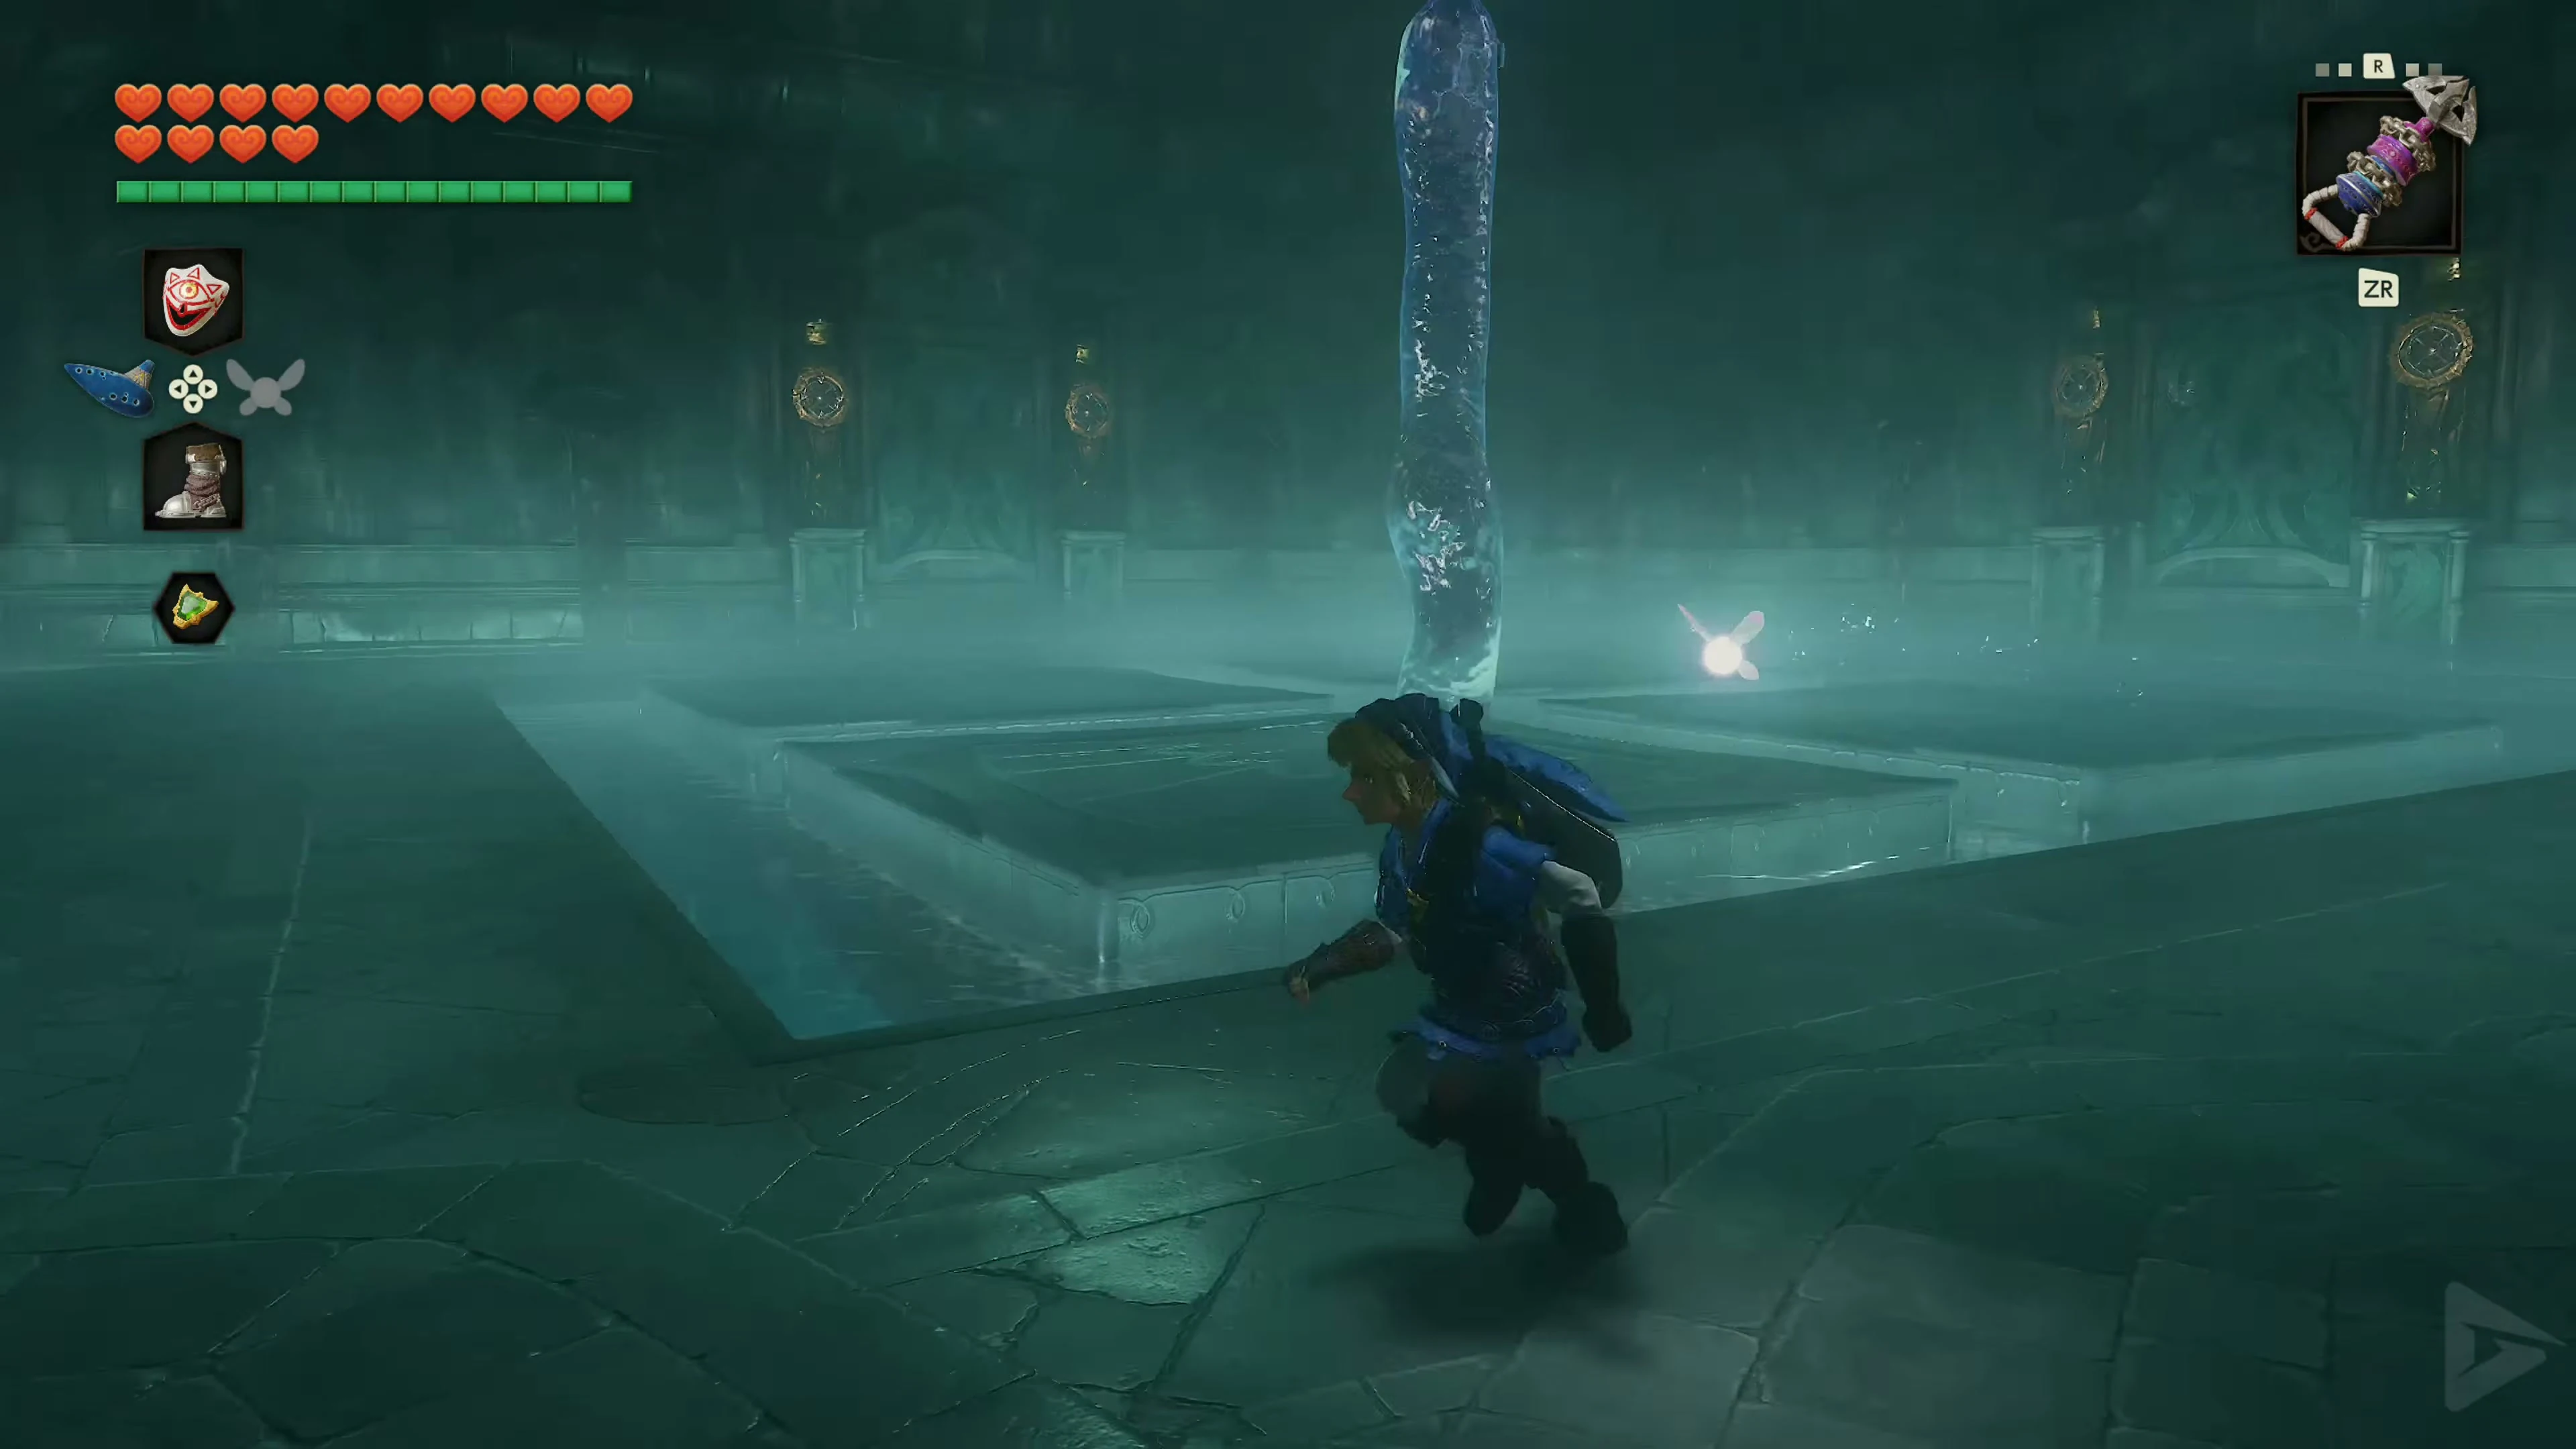
The boss arena consists of a large, square pool of water with several small platforms in the center. Jump onto one of these platforms. A cutscene will begin, and a small red nucleus will rise from the water. It will connect with the liquid and generate long, movable tentacles. This will begin the battle against the gigantic water amoeba nucleus. Morpha The crucial item is the Longshot It can pull Morpha’s red nucleus out of the water tentacles and hurl it onto dry ground. Also, have your strongest sword ready. If you have the Biggoron Sword, you can defeat the boss particularly quickly.
Fight at the edge of the arena
At the start, jump back from the small islands to the wide edge of the pool as soon as possible. There you have significantly more space and are less likely to get caught between the tentacles and the water. The corners of the arena are particularly advantageous. Morpha’s tentacles can still reach Link there, but they have to extend further out of the pool. Observe the water and look for the small red core. It moves up and down inside one of the tentacles. As soon as it rises high enough, aim at it with the Longshot.
Pull the core out with the Longshot.
Hit the red core with the Longshot. If successful, it will be ripped from the water tentacle and thrown to the ground in front of Link. Immediately run to it and attack with the Master Sword or Biggoron Sword. Try to knock the core towards a corner or away from the water’s edge. The longer Morpha stays on dry land, the more hits you can land before the core jumps back into the pool. With the Biggoron Sword, only a few successful attack phases are necessary.
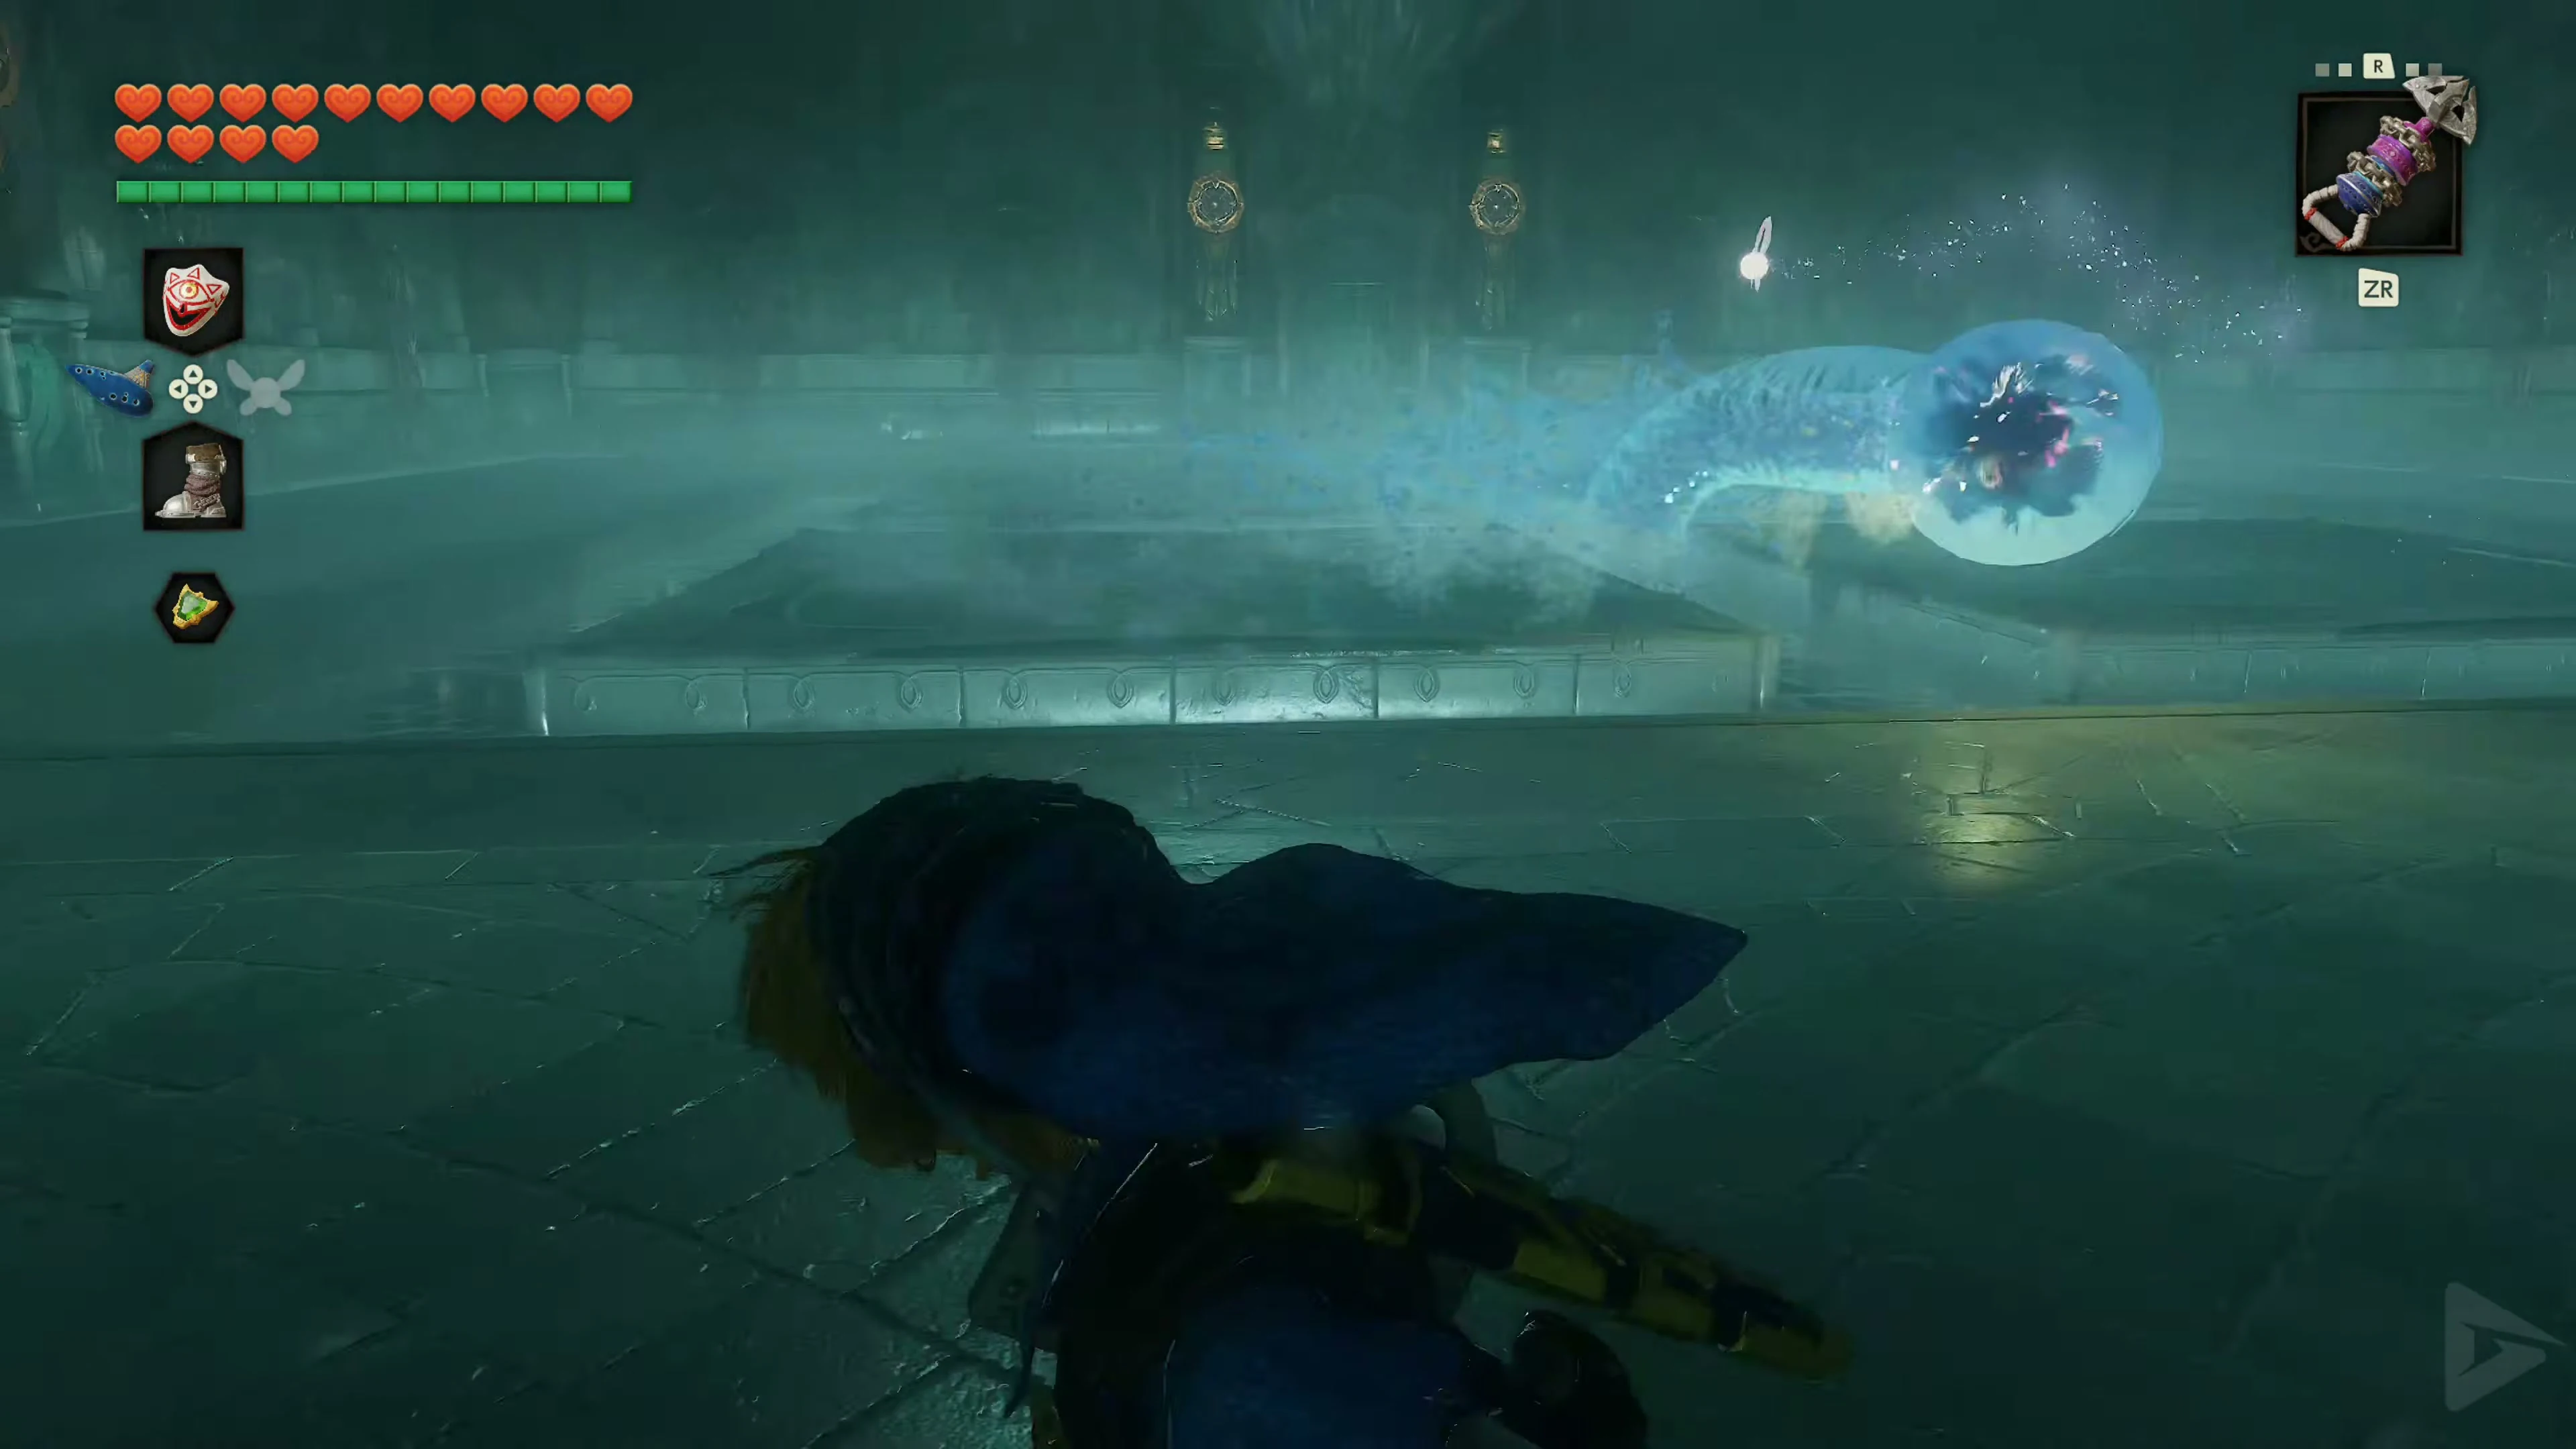
Dodge the tentacles.
At the beginning, Morpha creates a single tentacle. Later, two appear simultaneously. Only one of them contains the actual core. The tentacles try to grab Link. If successful, it will be lifted into the air, hurled around, and then thrown to the ground or into the water. Therefore, keep moving and watch which tentacle contains the red core. If a tentacle leans towards Link, move sideways. As soon as the core is visible again high enough in the water, stop briefly, use the Longshot, and attack again. Repeat this process until Morpha has no health left. After the final hit, the creature loses control of all the water in the room and dissolves completely.
Heart Container and Water Medallion
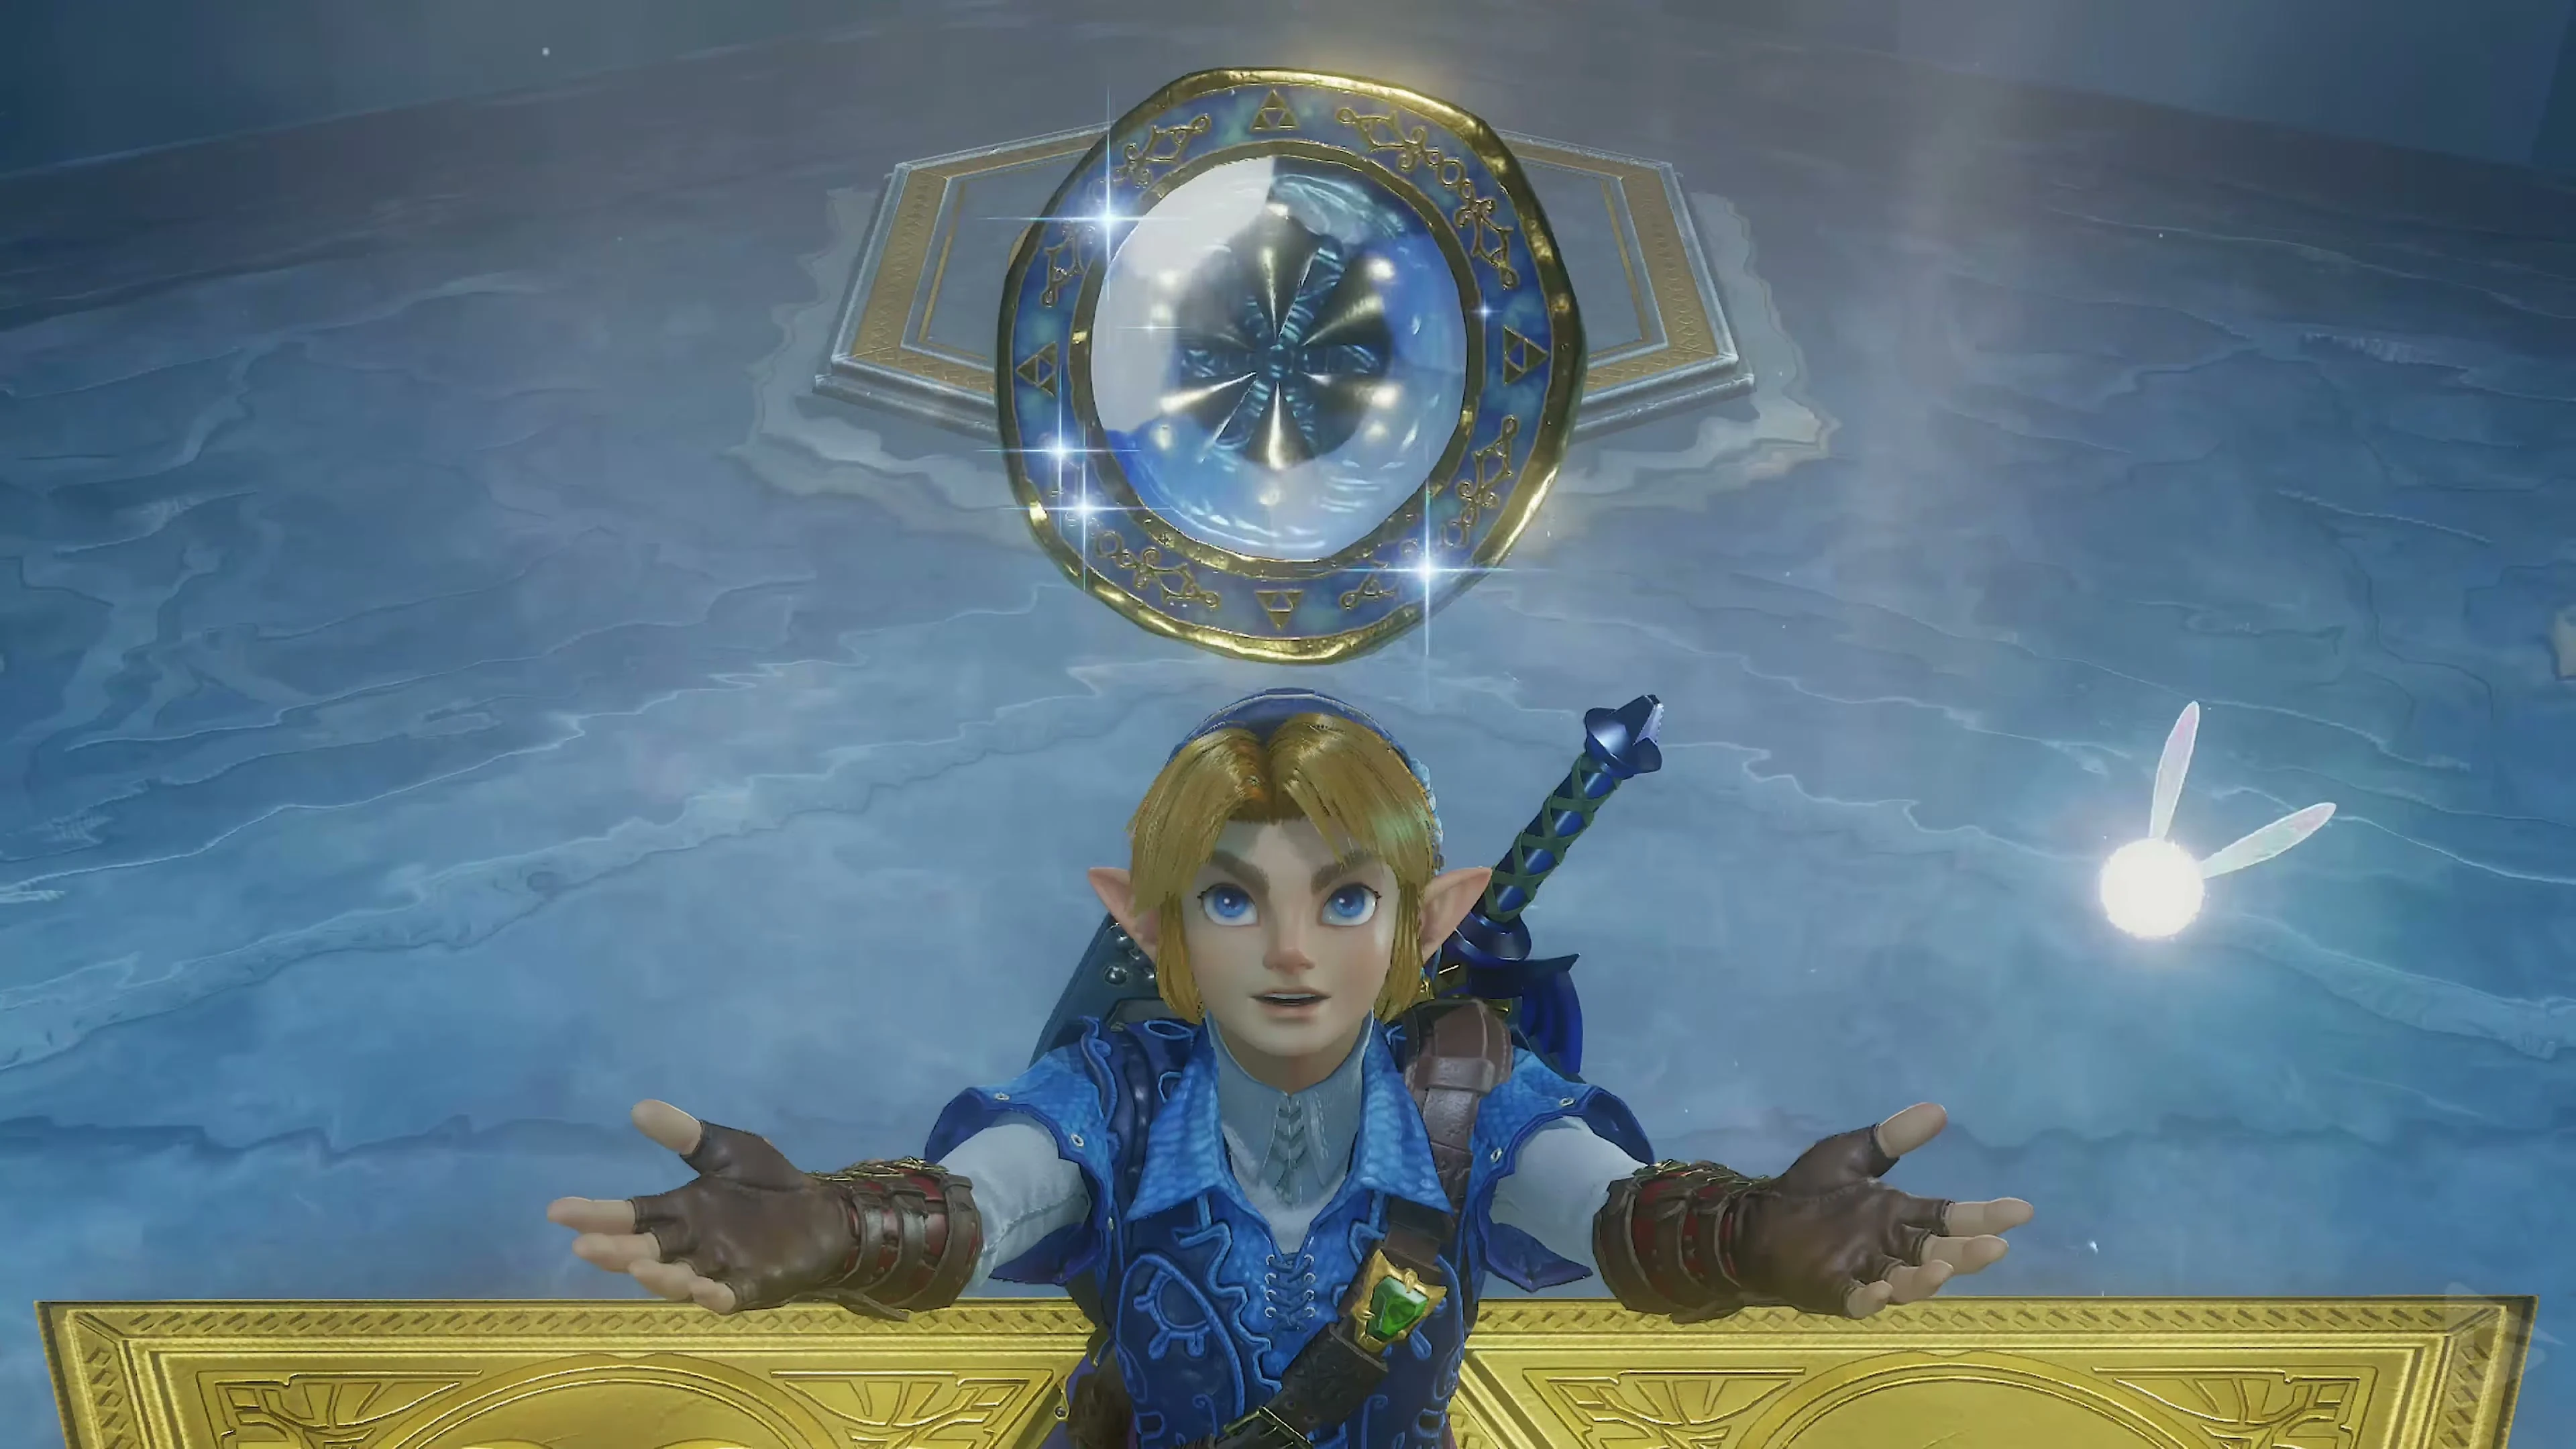
After Morpha’s defeat, a Heart Container appears on the arena floor. Be sure to collect it. Link’s maximum health will permanently increase by one heart. You can find a complete overview of the additional health in our guide to the Piece of Hearts . Then enter the blue light. Princess Ruto awaits you in the Chamber of Sages. She reveals herself as the Sage of Water and explains that she must now take her place among the sages. As a token of her support, she gives Link the Water Medallion . Back at Lake Hylia, the effects of Morpha’s defeat are immediately apparent. The previously almost completely dried-up basin refills with water, and the lake returns to its former state. Sheik reappears and, together with Link, observes the return of the water before disappearing over the surface.
The Fire Arrows
Before leaving, collect the Fire Arrows for the spiderweb behind the ghost ship in the Shadow Temple. On the Warp Platform island, go to the small stone pedestal at the edge of the lake and wait until sunrise. If it’s the wrong time of day, play Sun’s Song and wait until the next morning. As soon as the sun appears just above the horizon, take the Fairy Bow and shoot a regular arrow directly into the rising sun. If the timing is right, a special item will fall from the sky onto the small island opposite: the Fire Arrows . Swim to the small island and collect the Fire Arrows .
Gold Skulltula at Lake Hylia
Wait at the Warp Platform on Lake Hylia until nightfall . Use the Longshot to pull yourself onto the vines of the dead tree . Defeat the Gold Skulltula at the top and collect its token.
Chests and their contents
Show all 9 chests
| Floor | Quantity | Contents | Note |
|---|---|---|---|
| 1st Basement | 1 | 20 Rupees | |
| Ground Floor | 1 | Boss Key | |
| Ground Floor | 2 | Small Key | |
| Ground Floor | 1 | Compass | |
| 1st Floor | 2 | Small Key | |
| 2nd Floor | 1 | Dungeon Map | |
| 2nd Floor | 1 | Longshot |