
Darunia in the Fire Temple
Equip the Goron Tunic and go up the wide staircase in the entrance hall. Defeat the Fire Keese with Hookshot or a bow. At the top, go through the open door on the left.
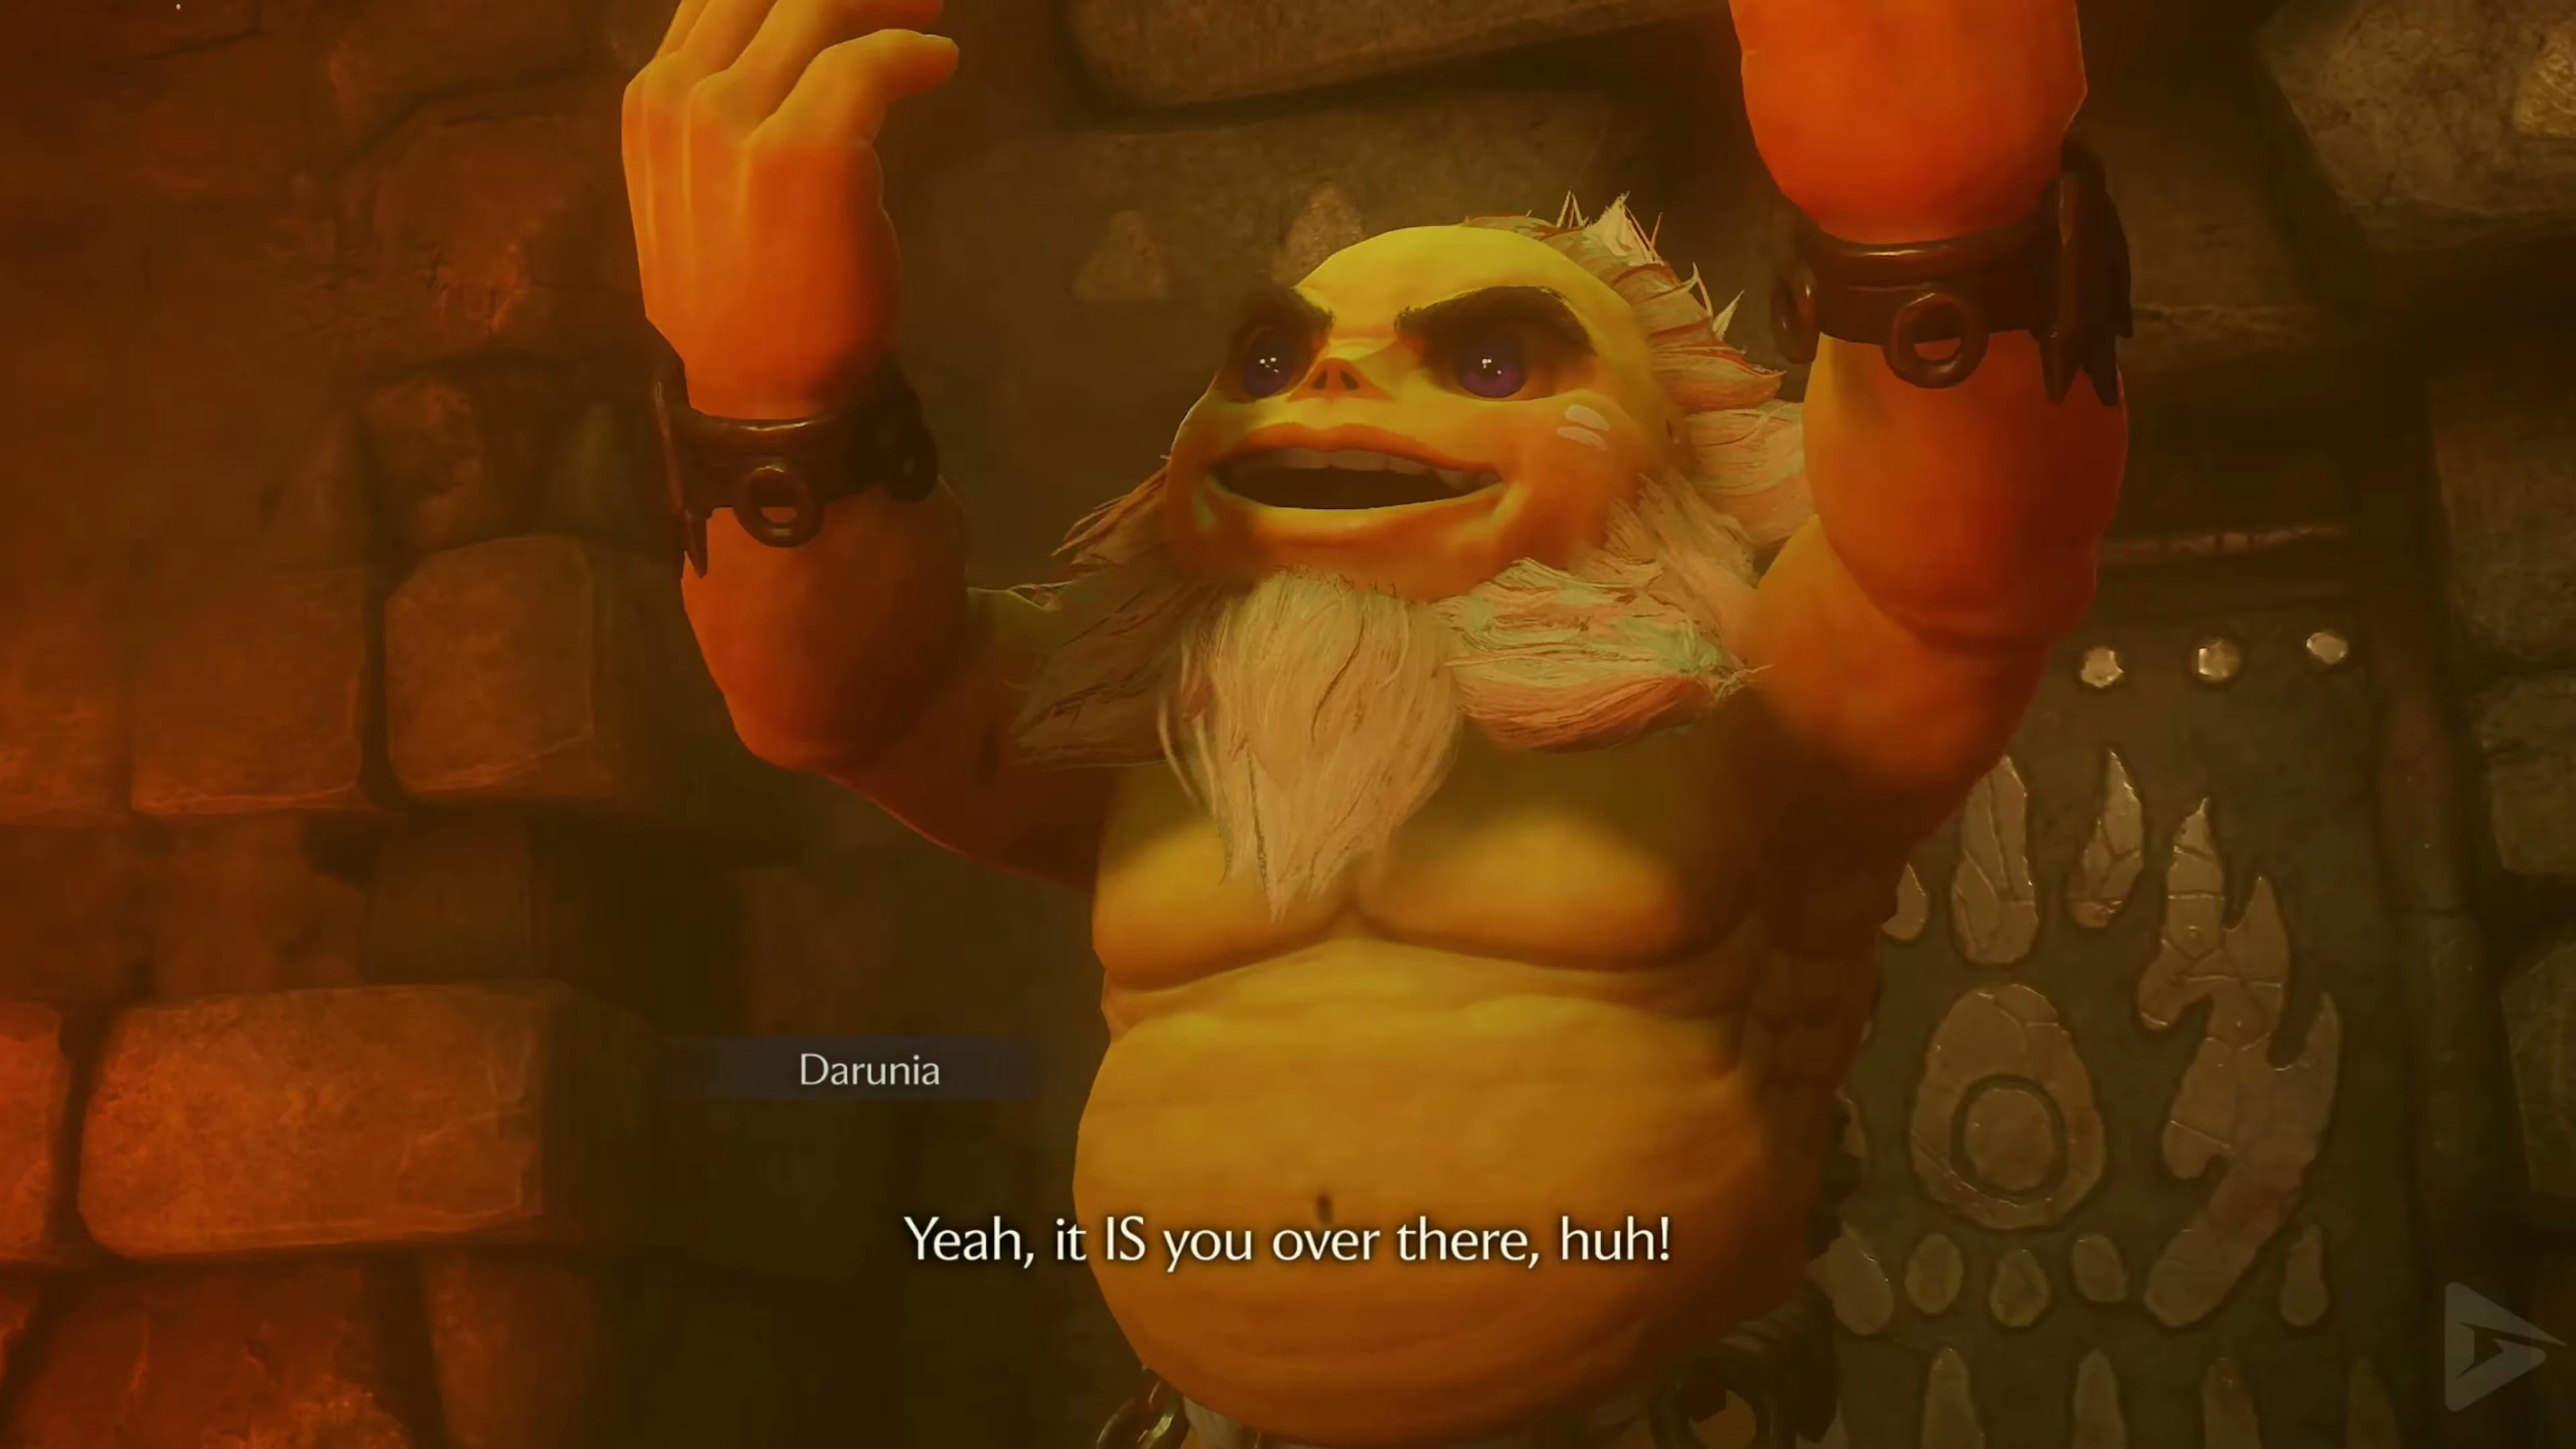
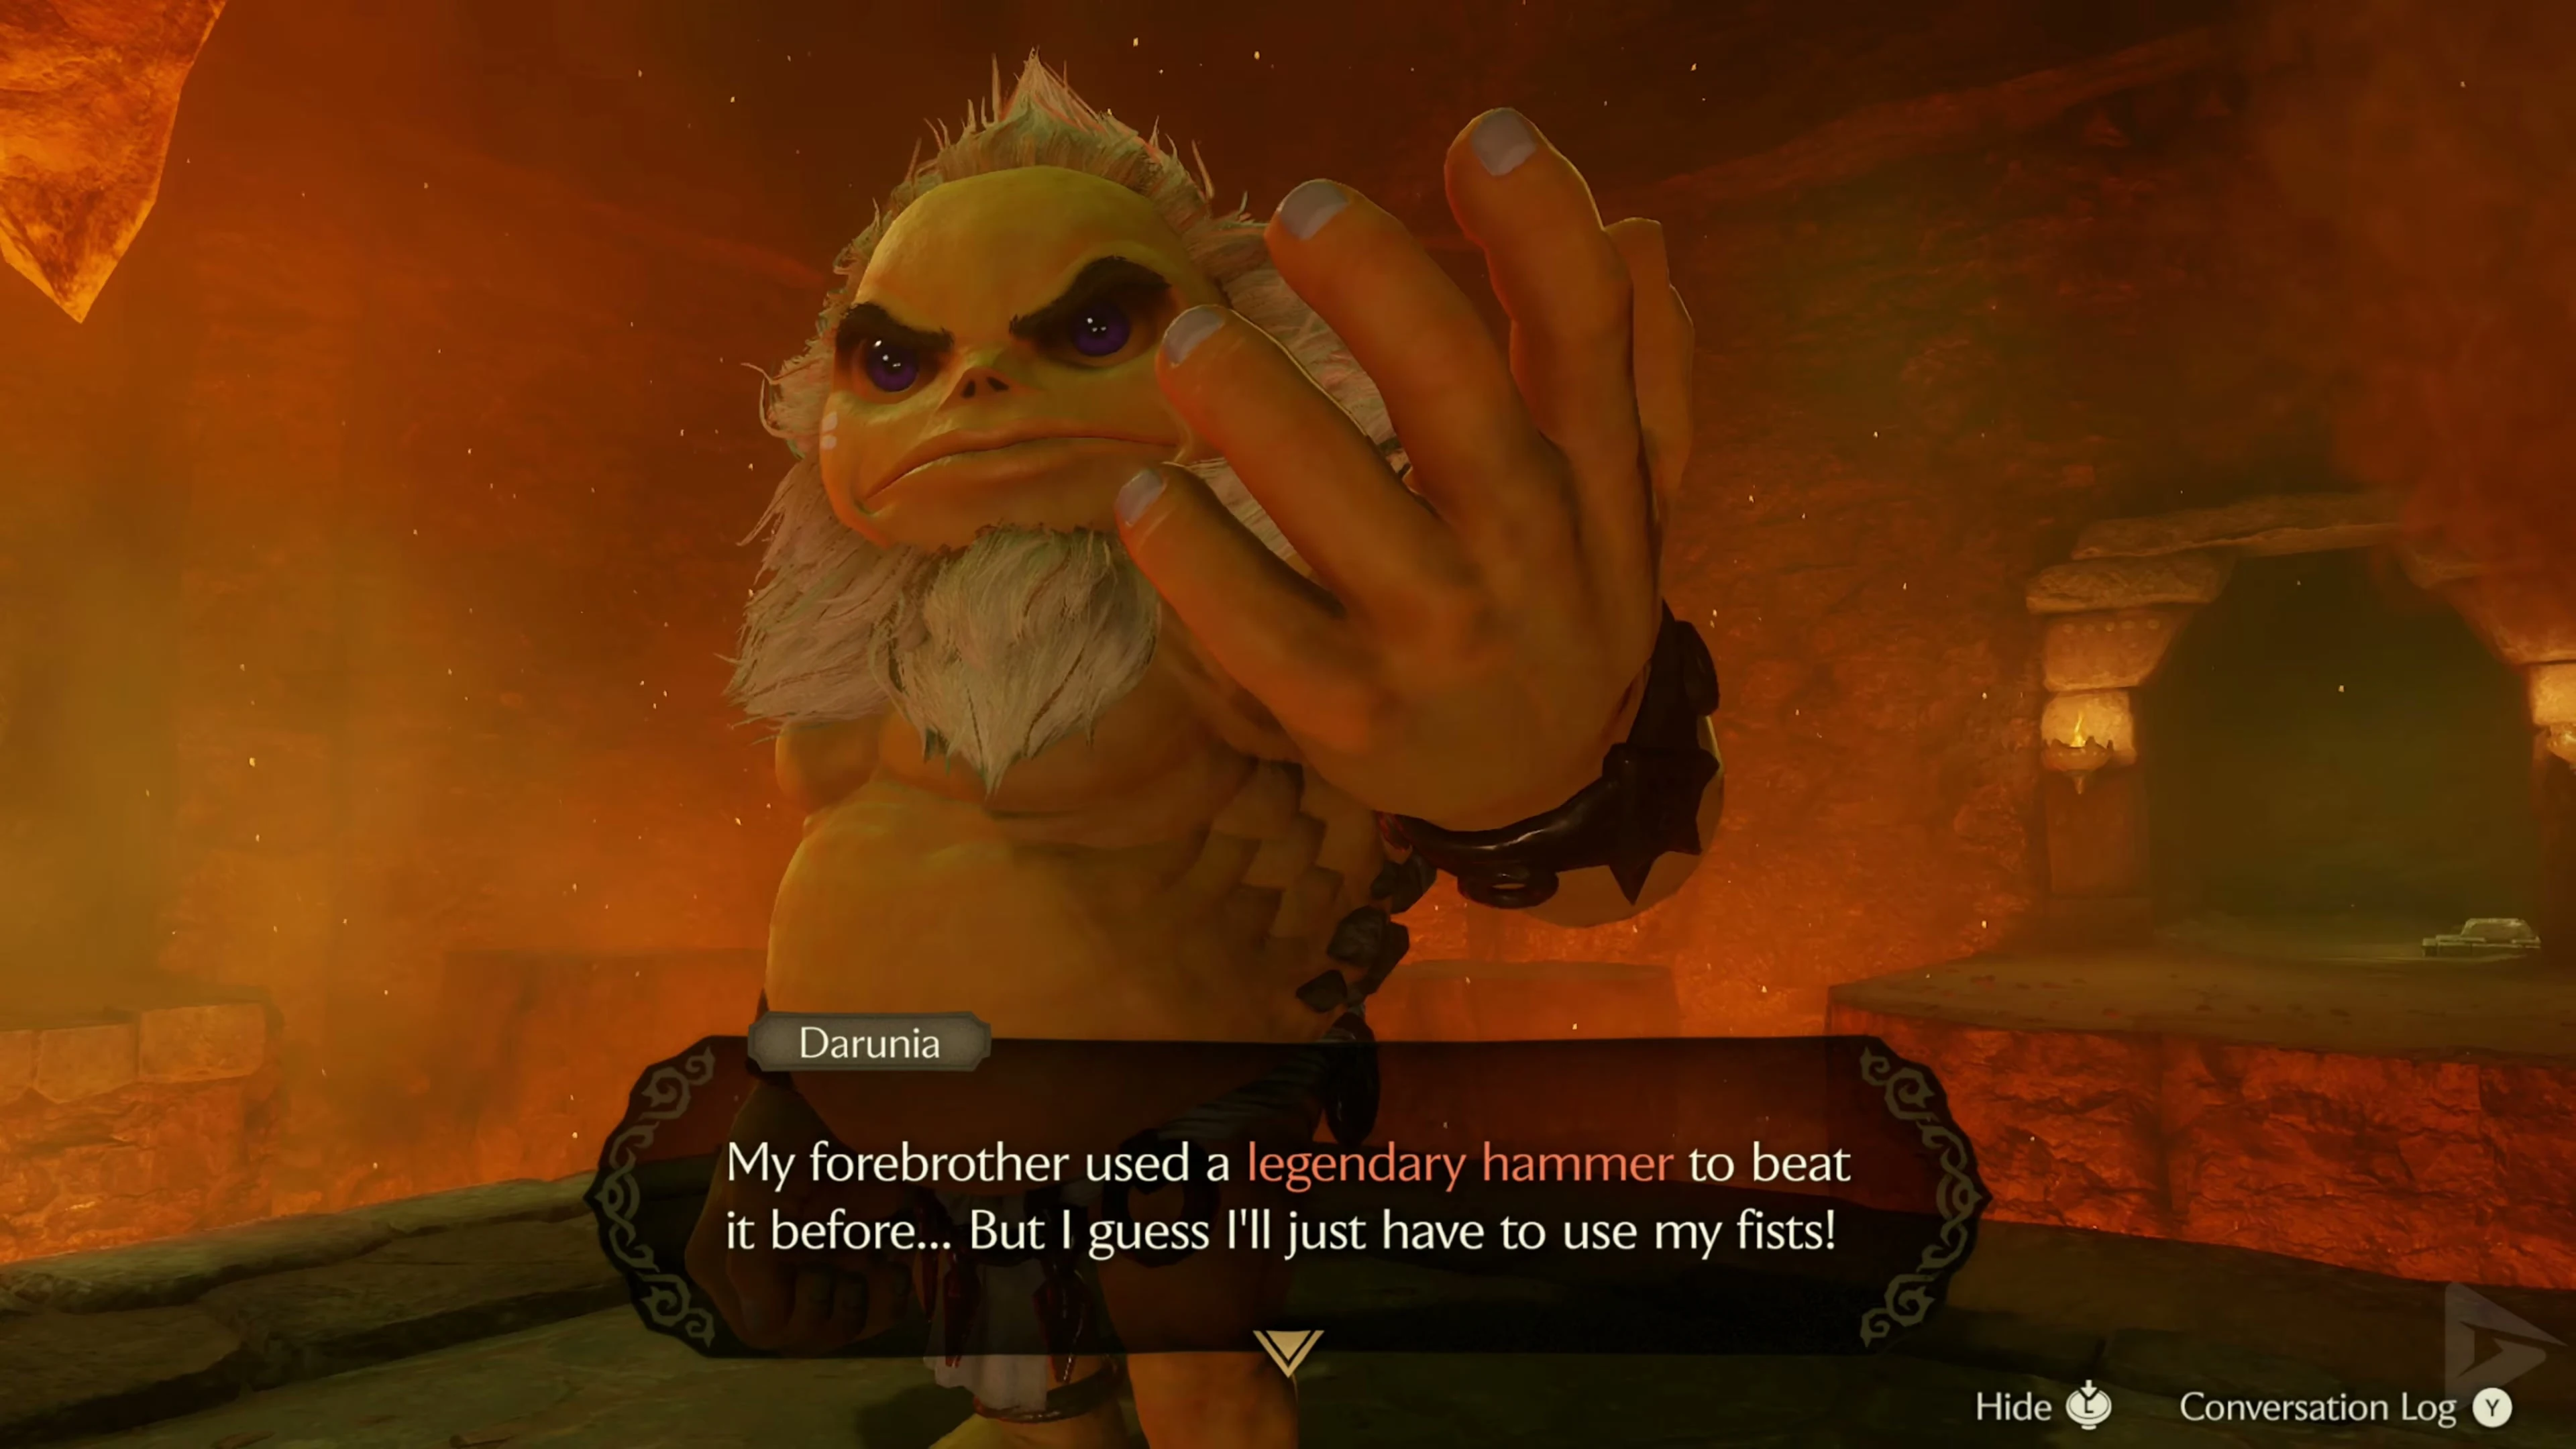
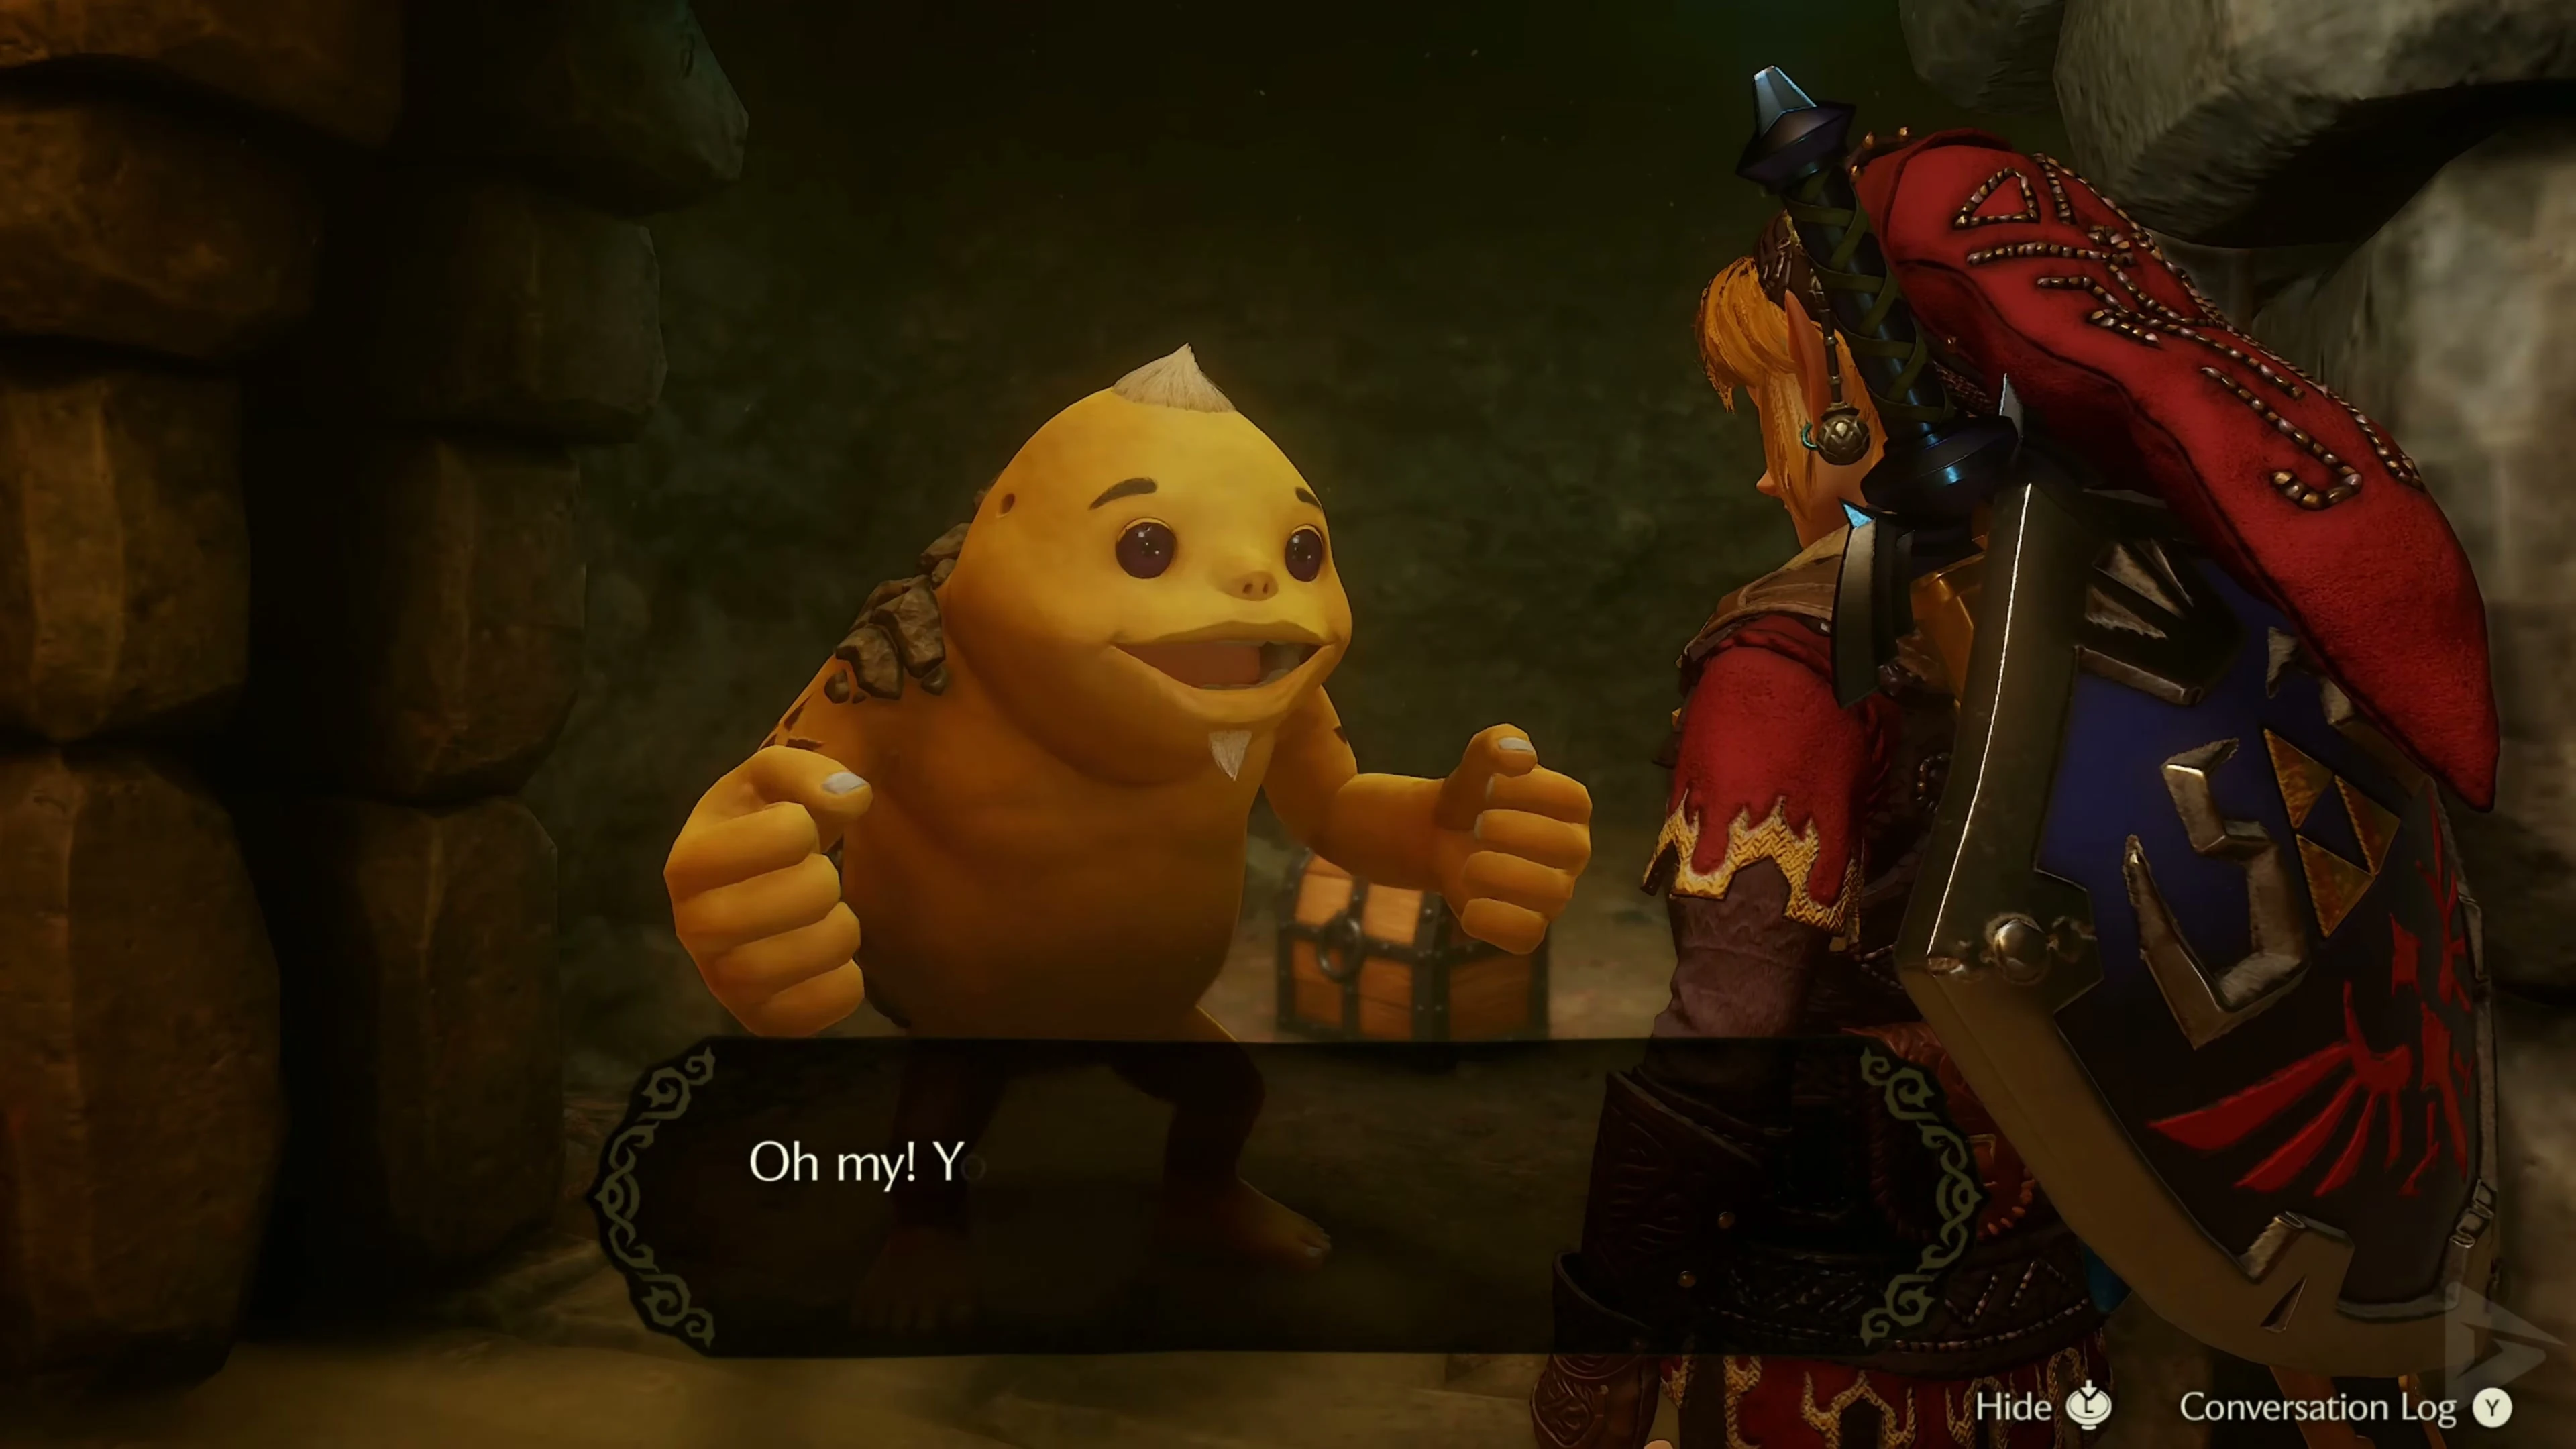
Speak to Darunia in the lava room. She goes ahead to Volvagia and asks you to free the imprisoned Gorons.
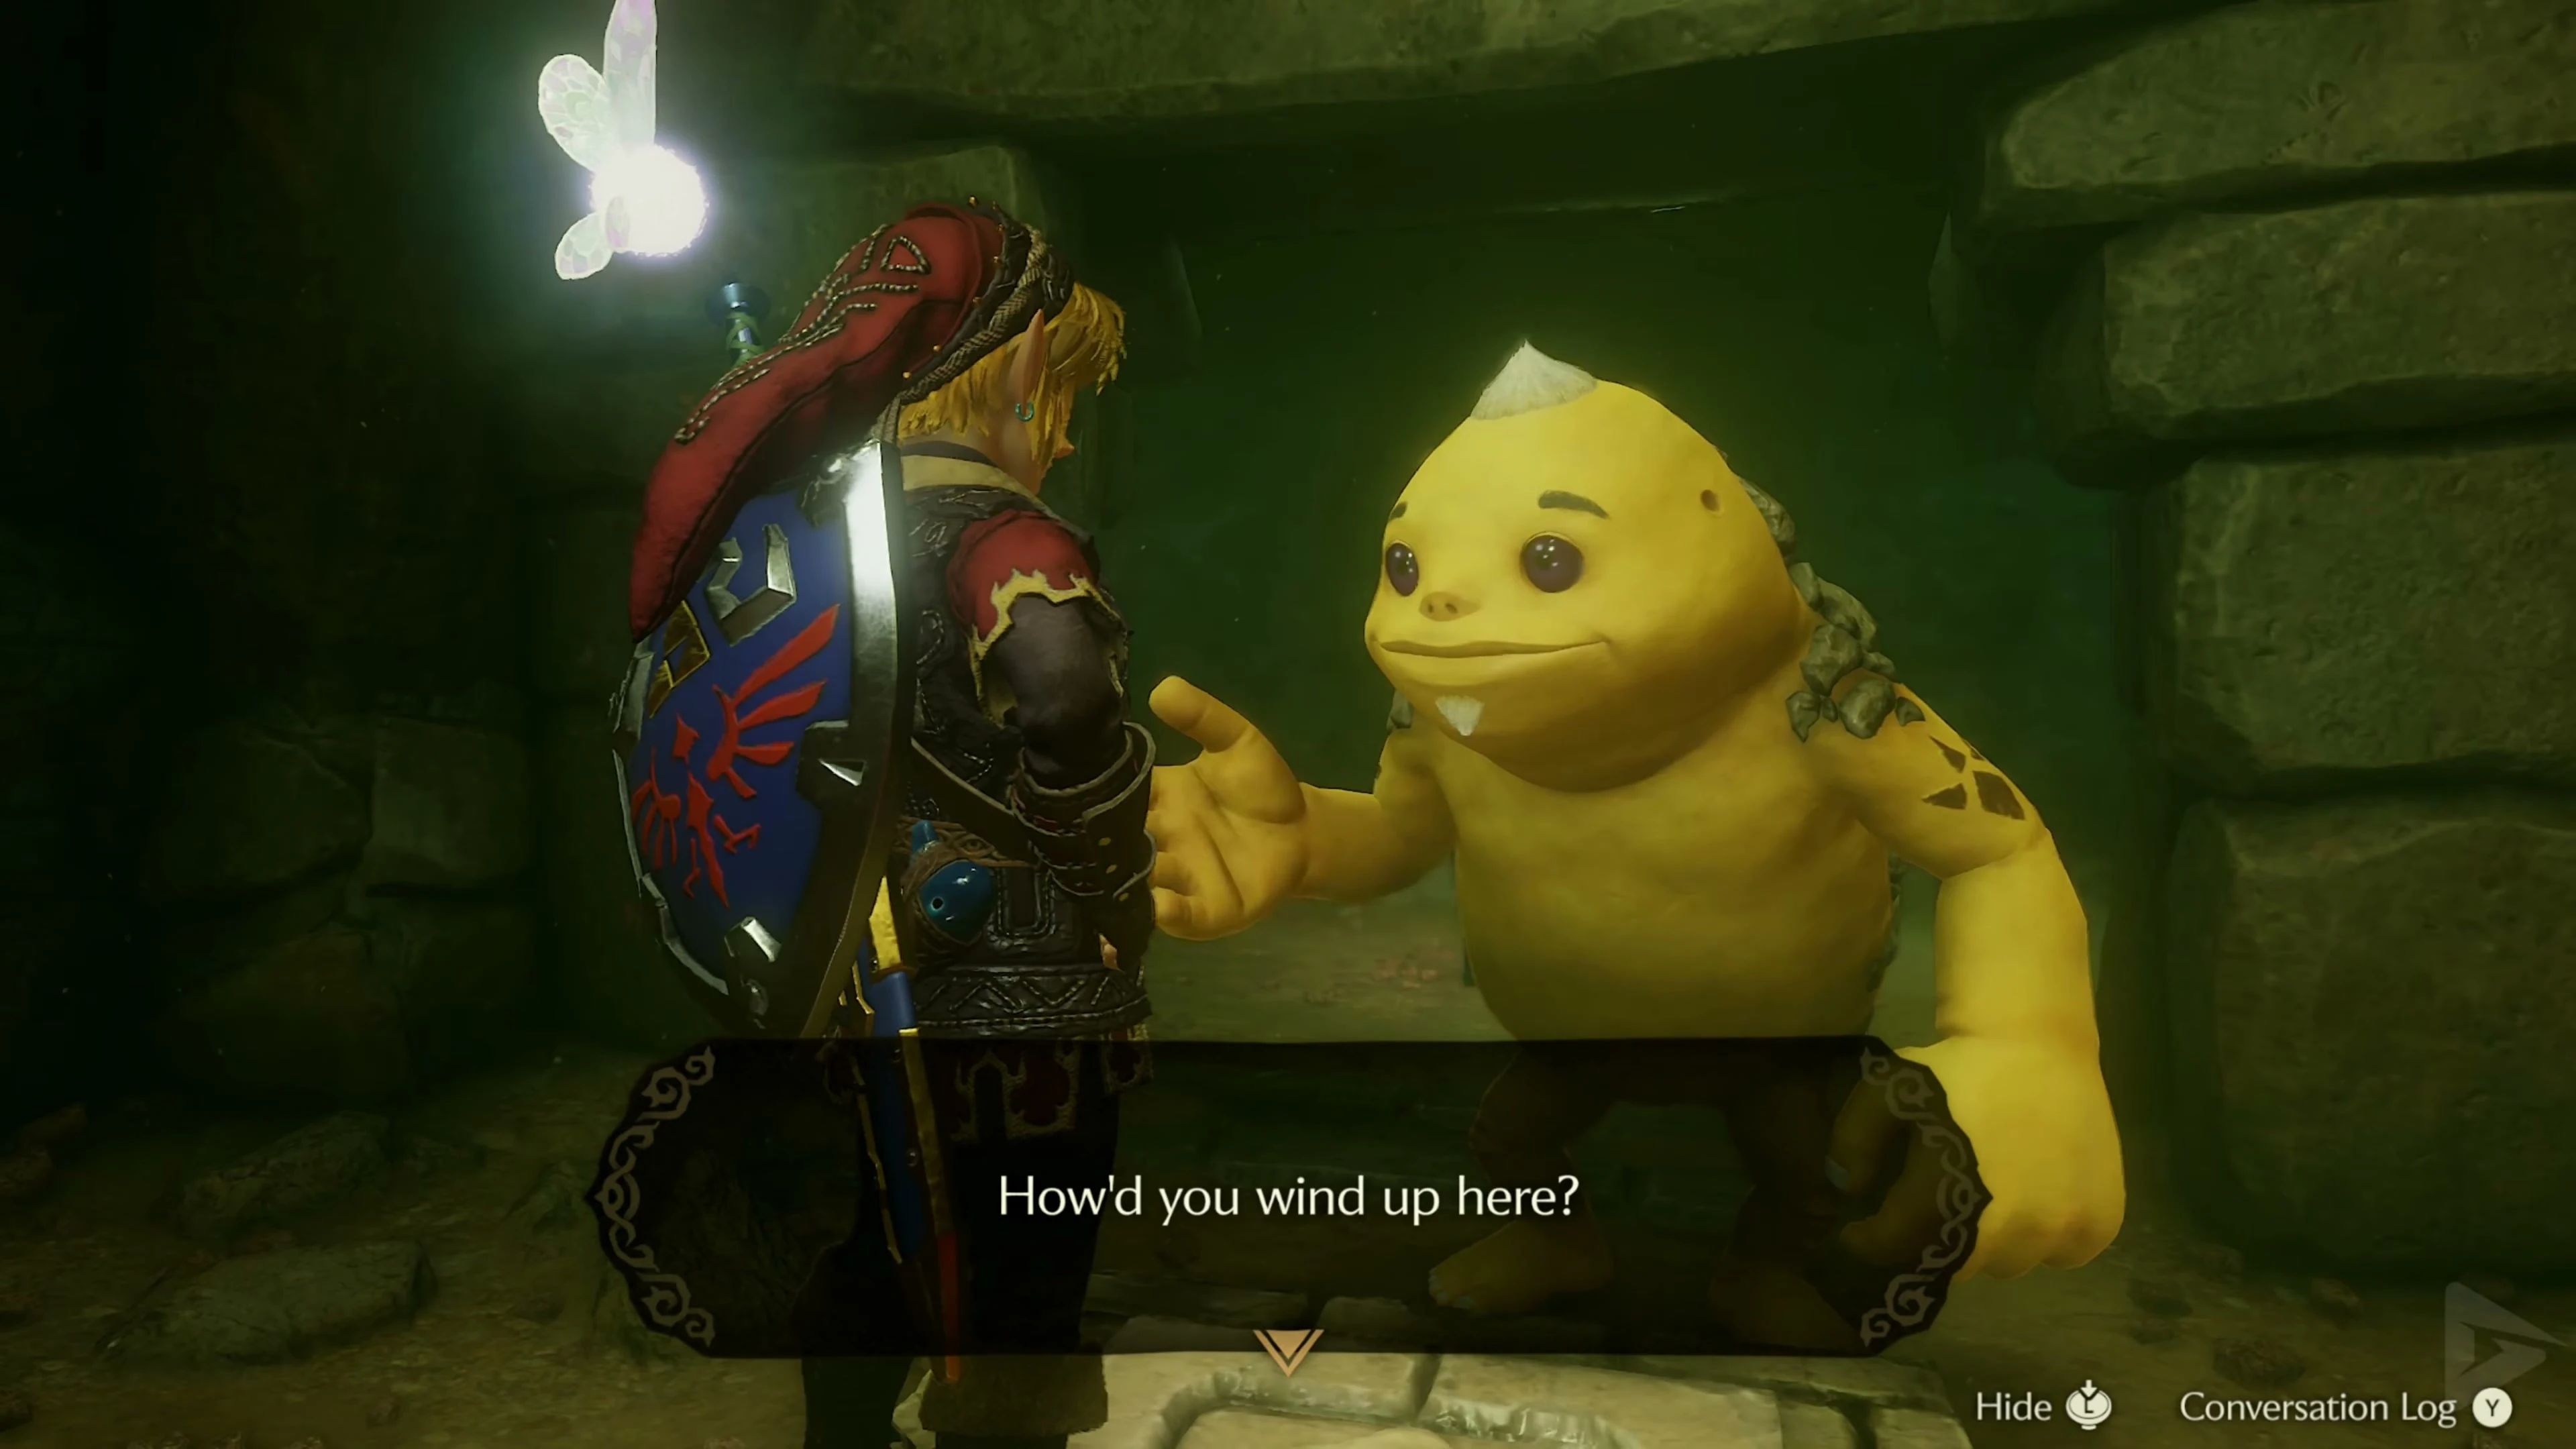
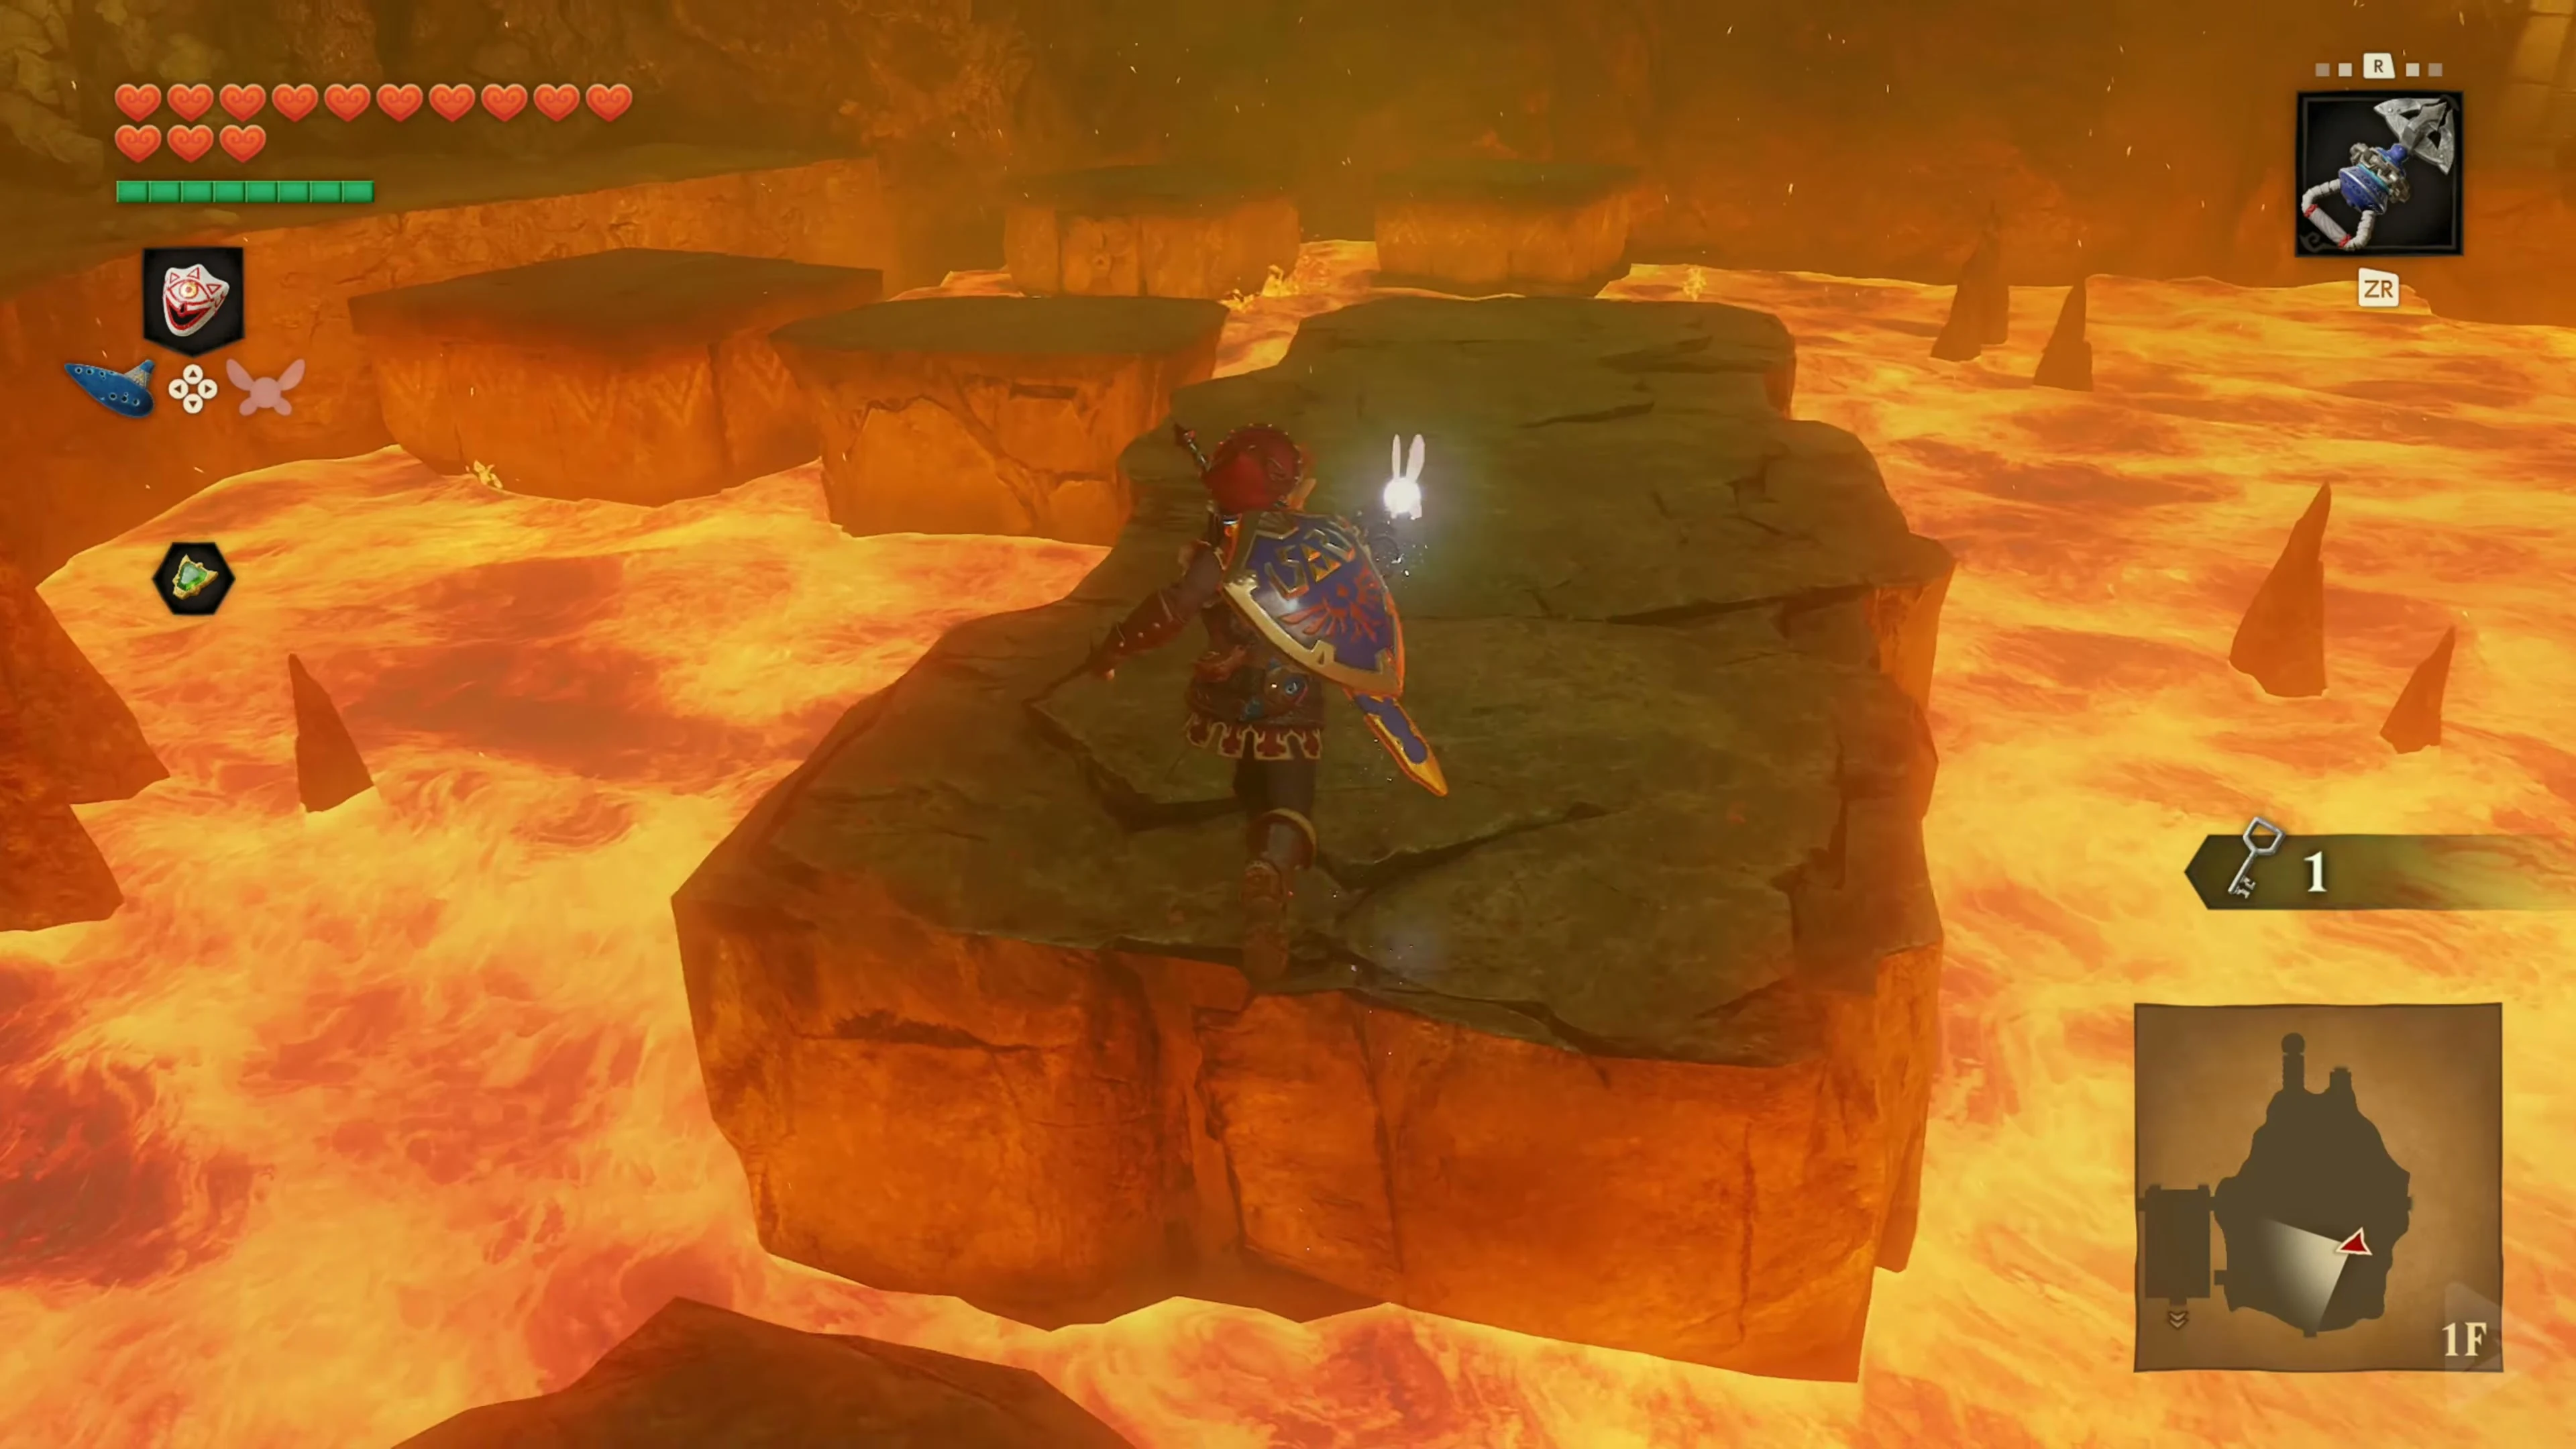
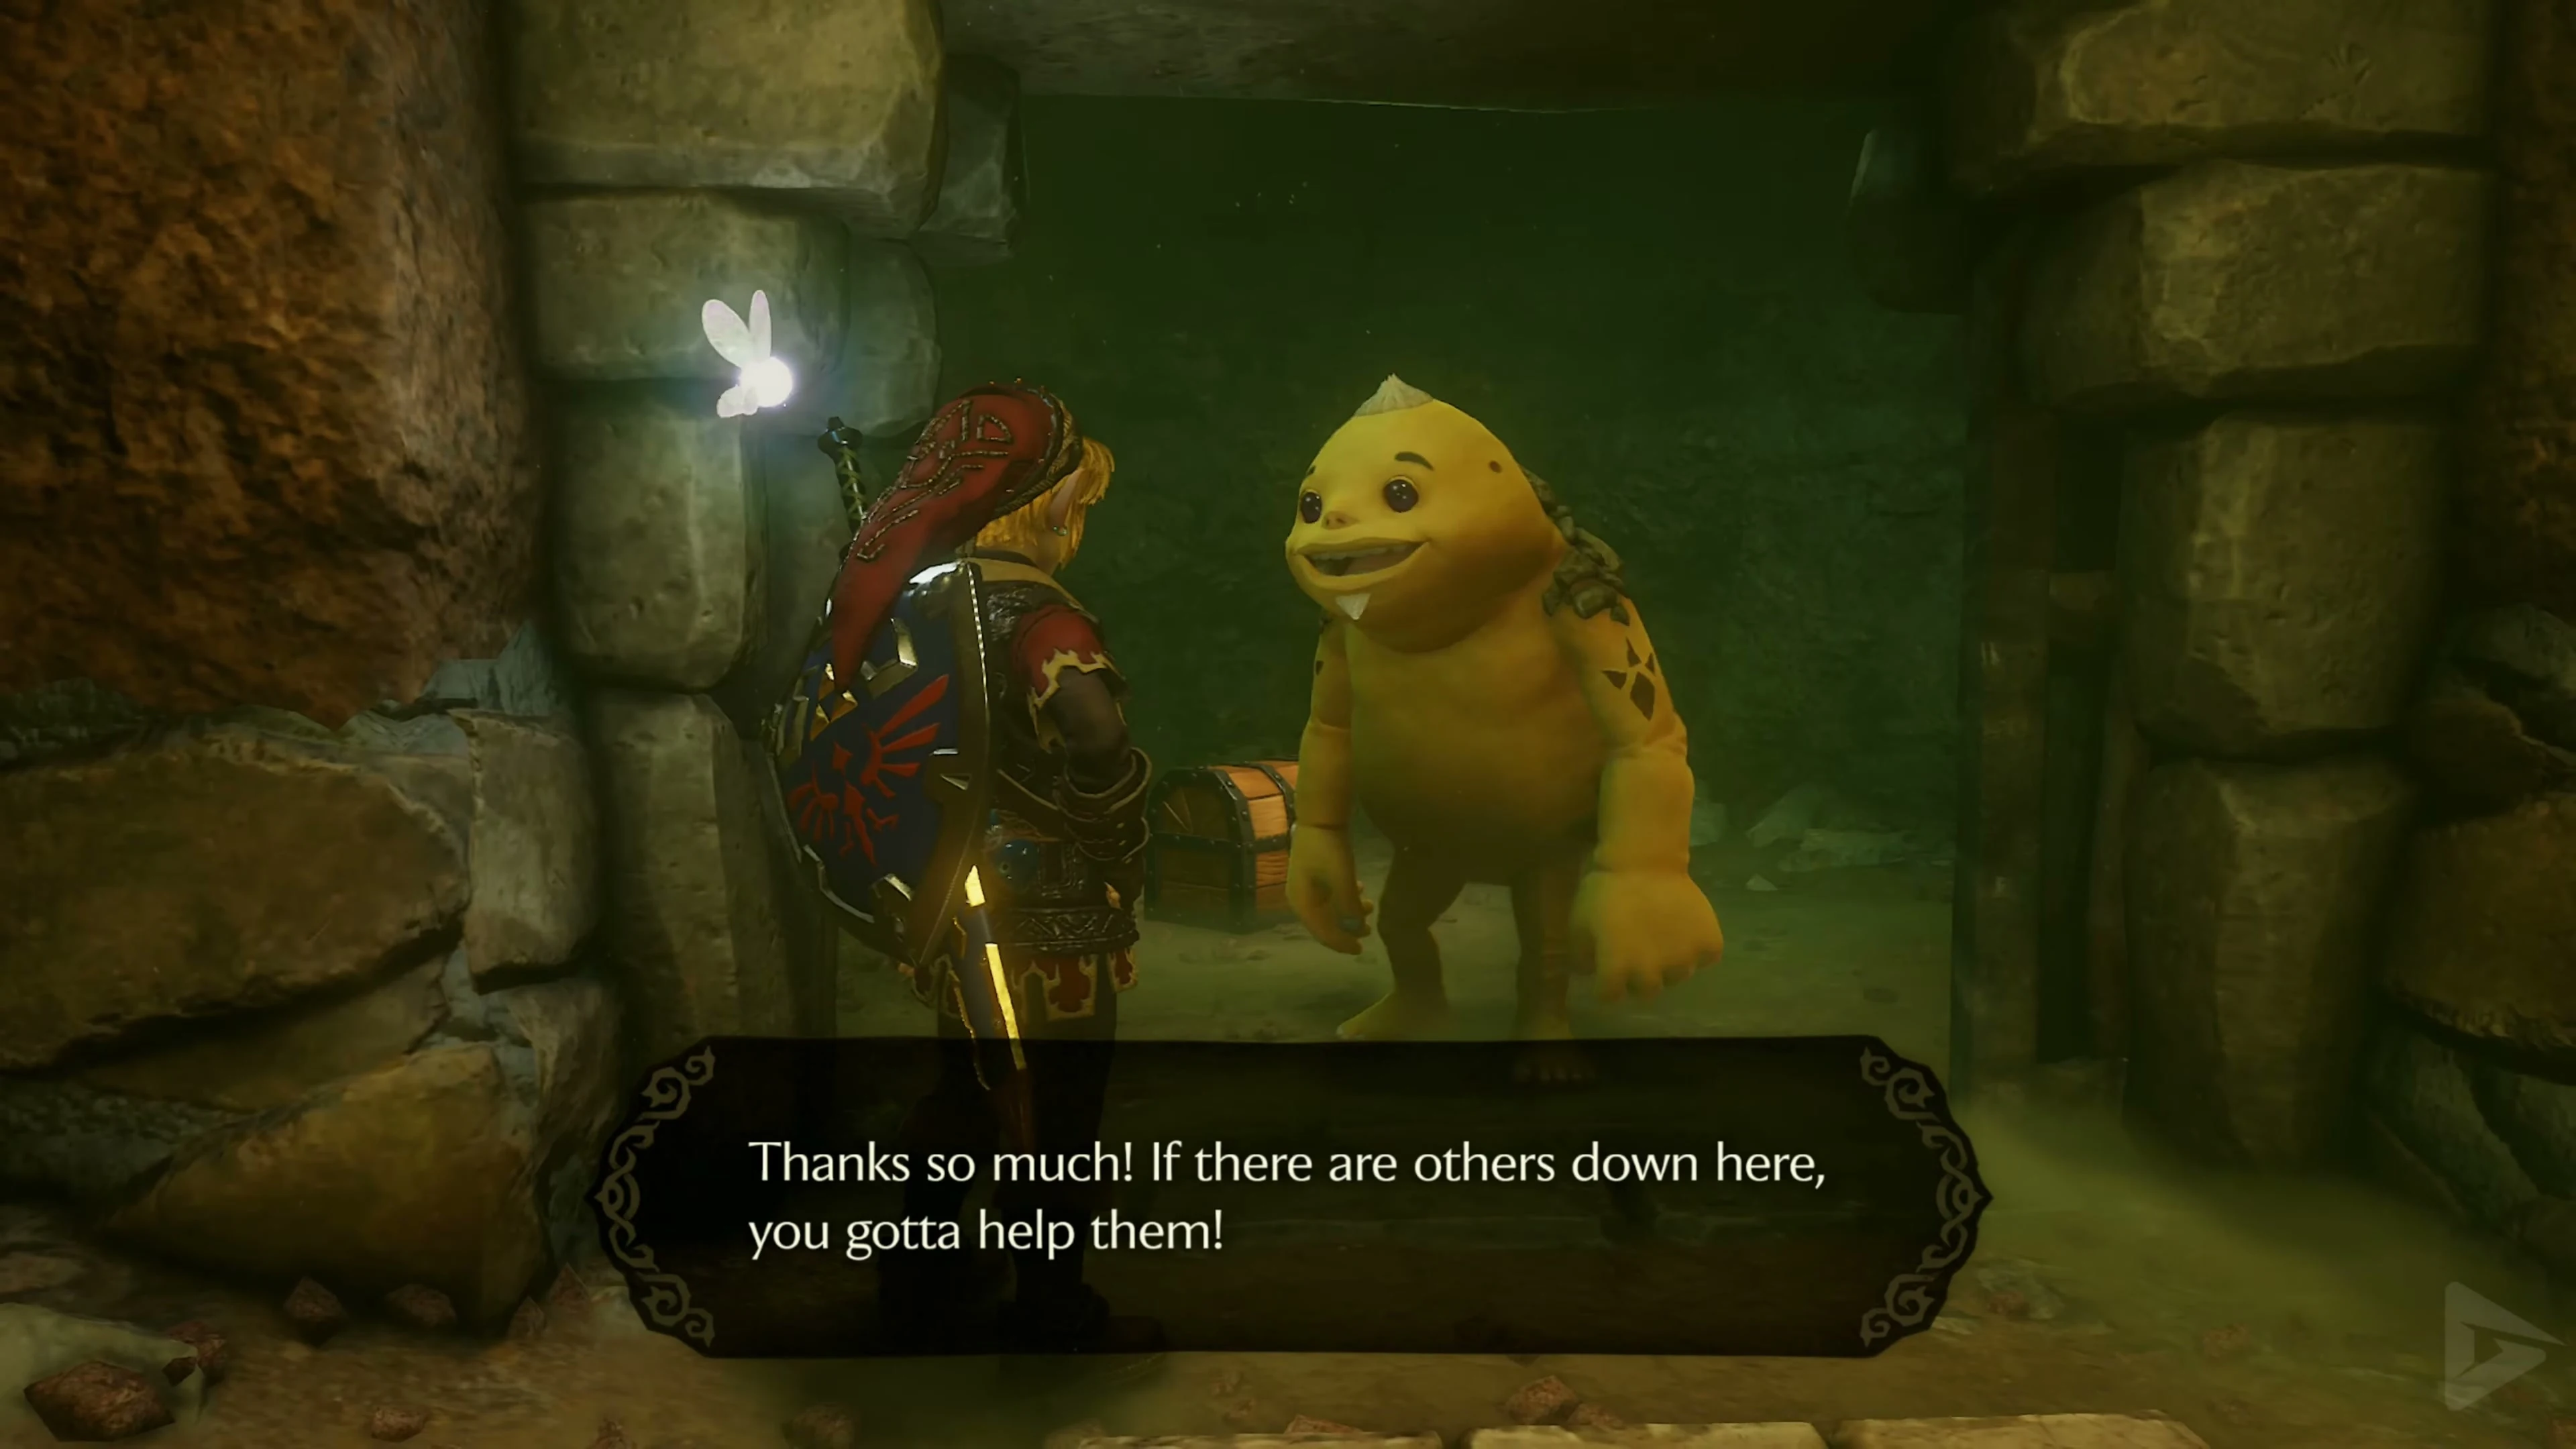
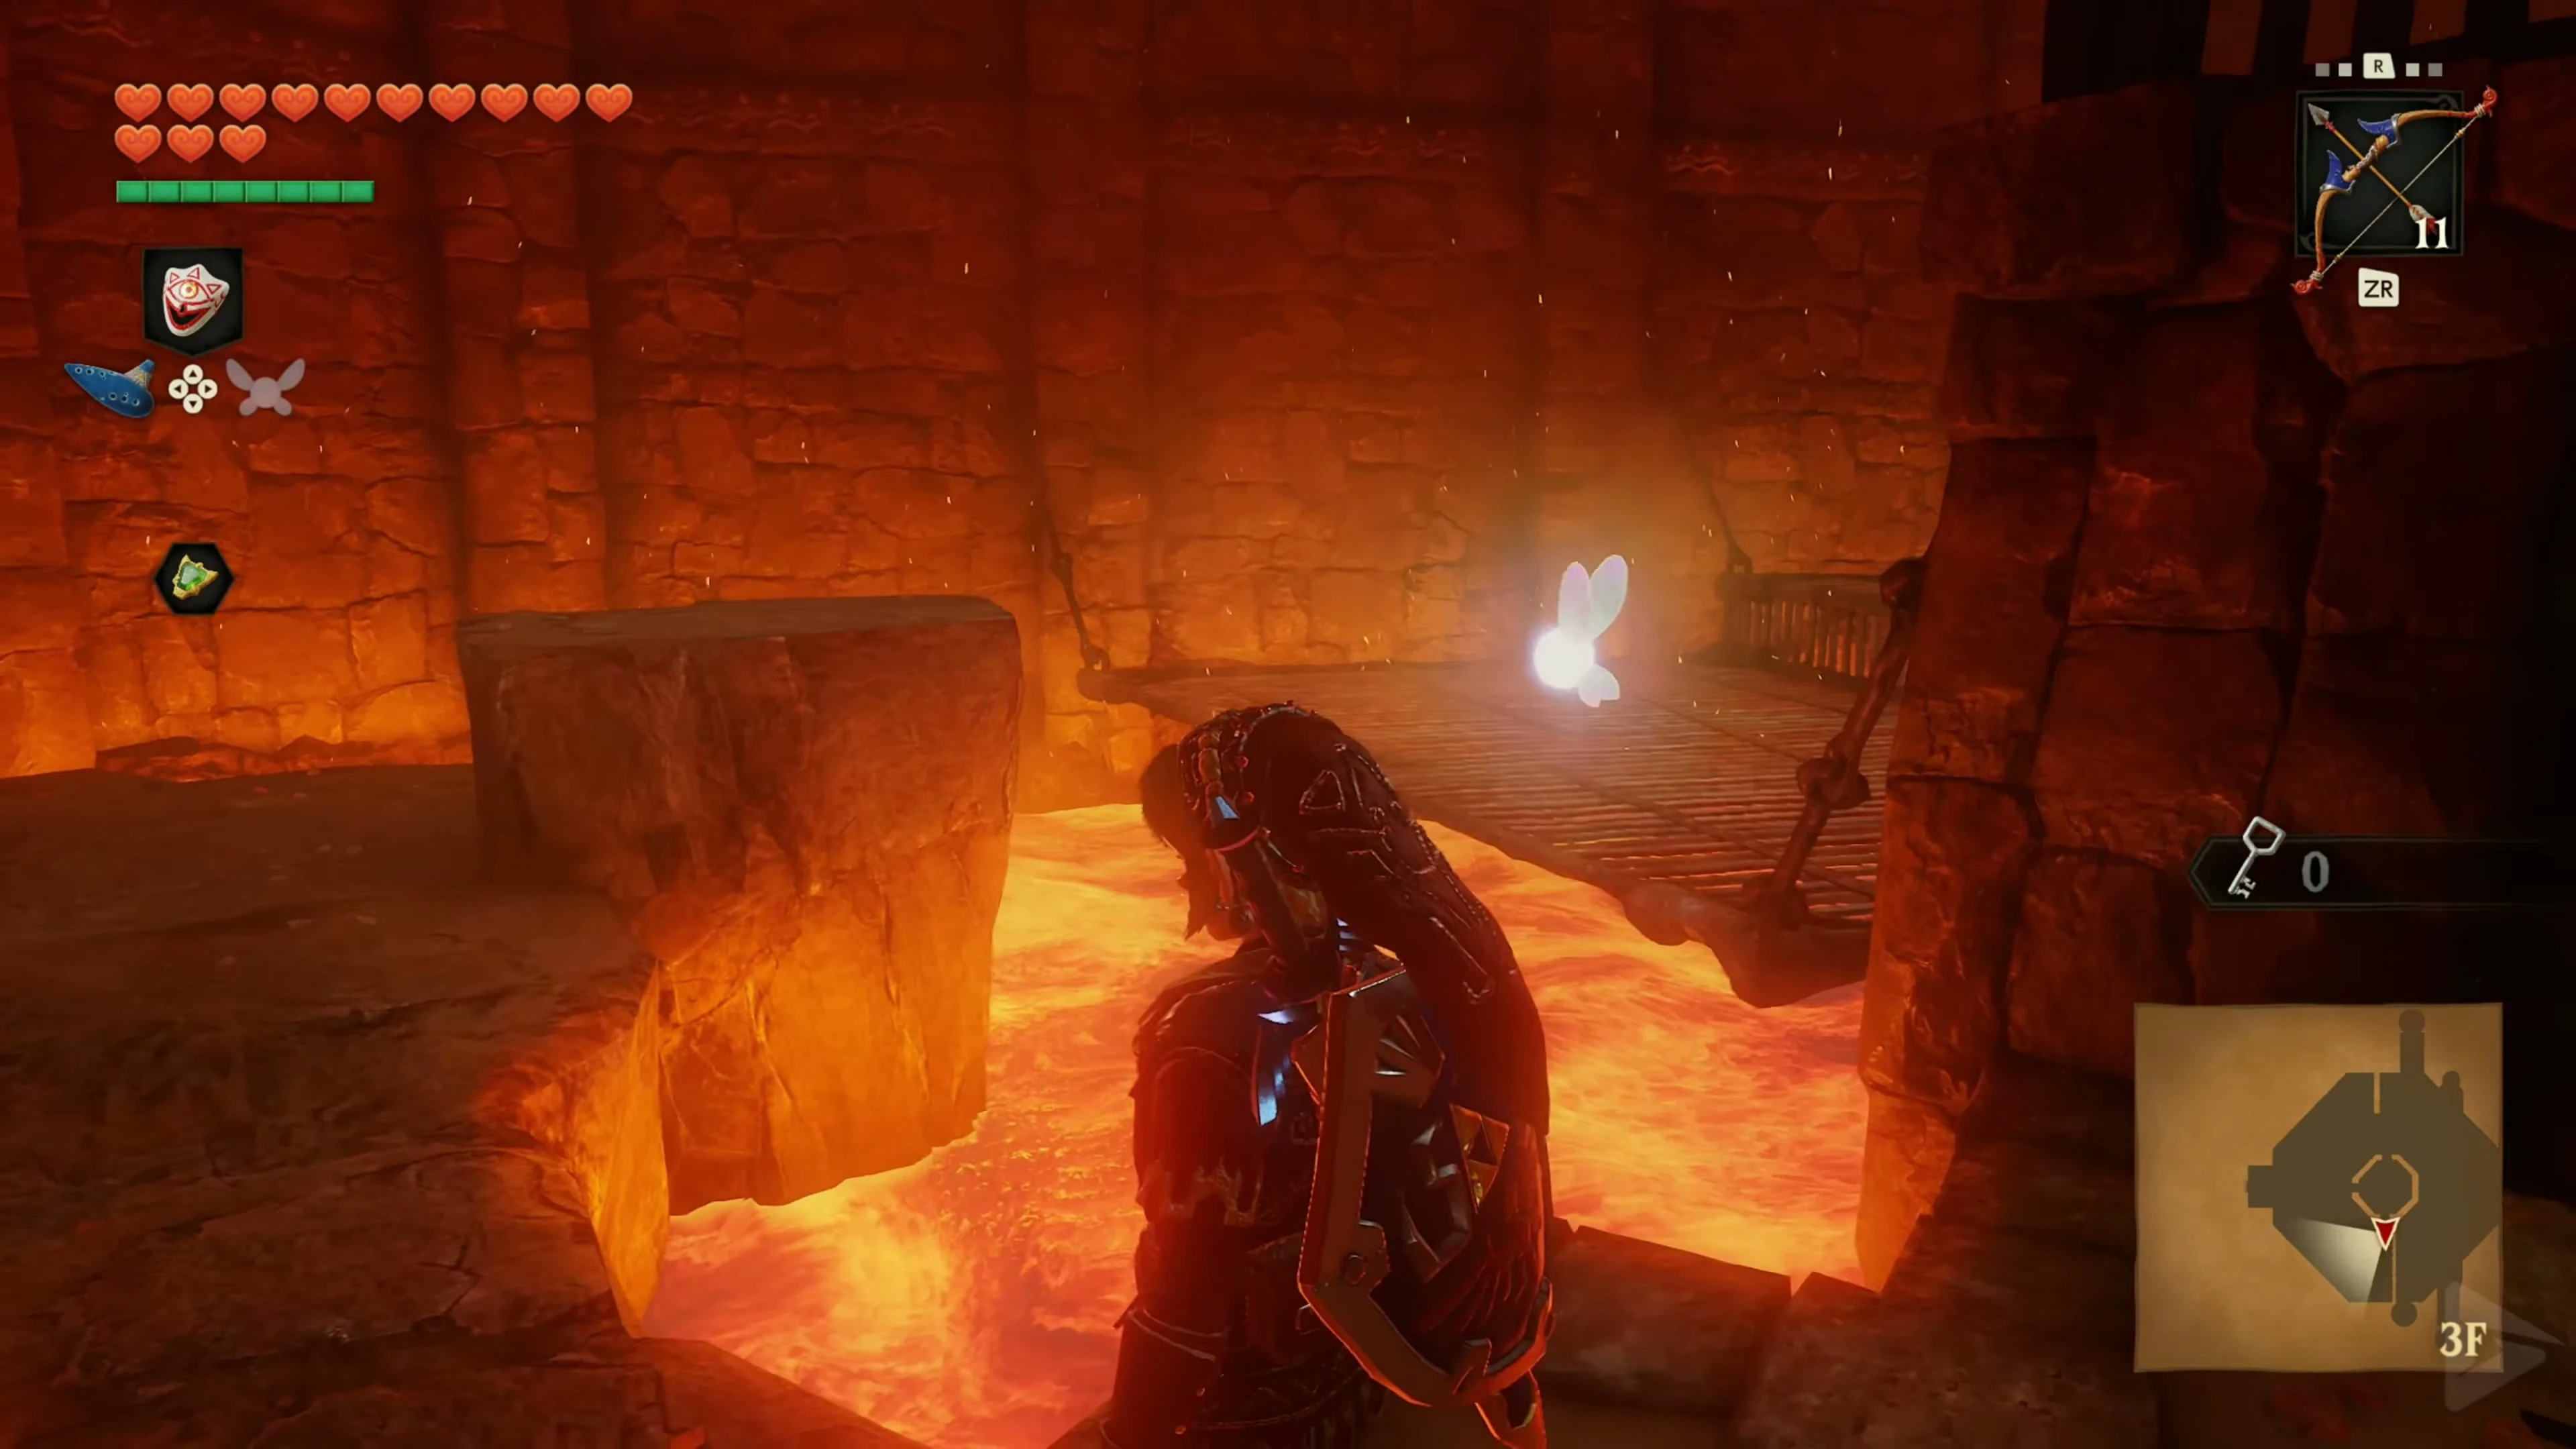
Jump across the rock platforms to the left until you reach the back corner. Step on the floor switch in front of the cell and talk to the Goron. Take the Small Key 1/8 from the chest.
In the opposite corner are several jars. Capture the fairy hidden inside in a free Bottle and return to the entrance hall through the east door.
The large lava hall
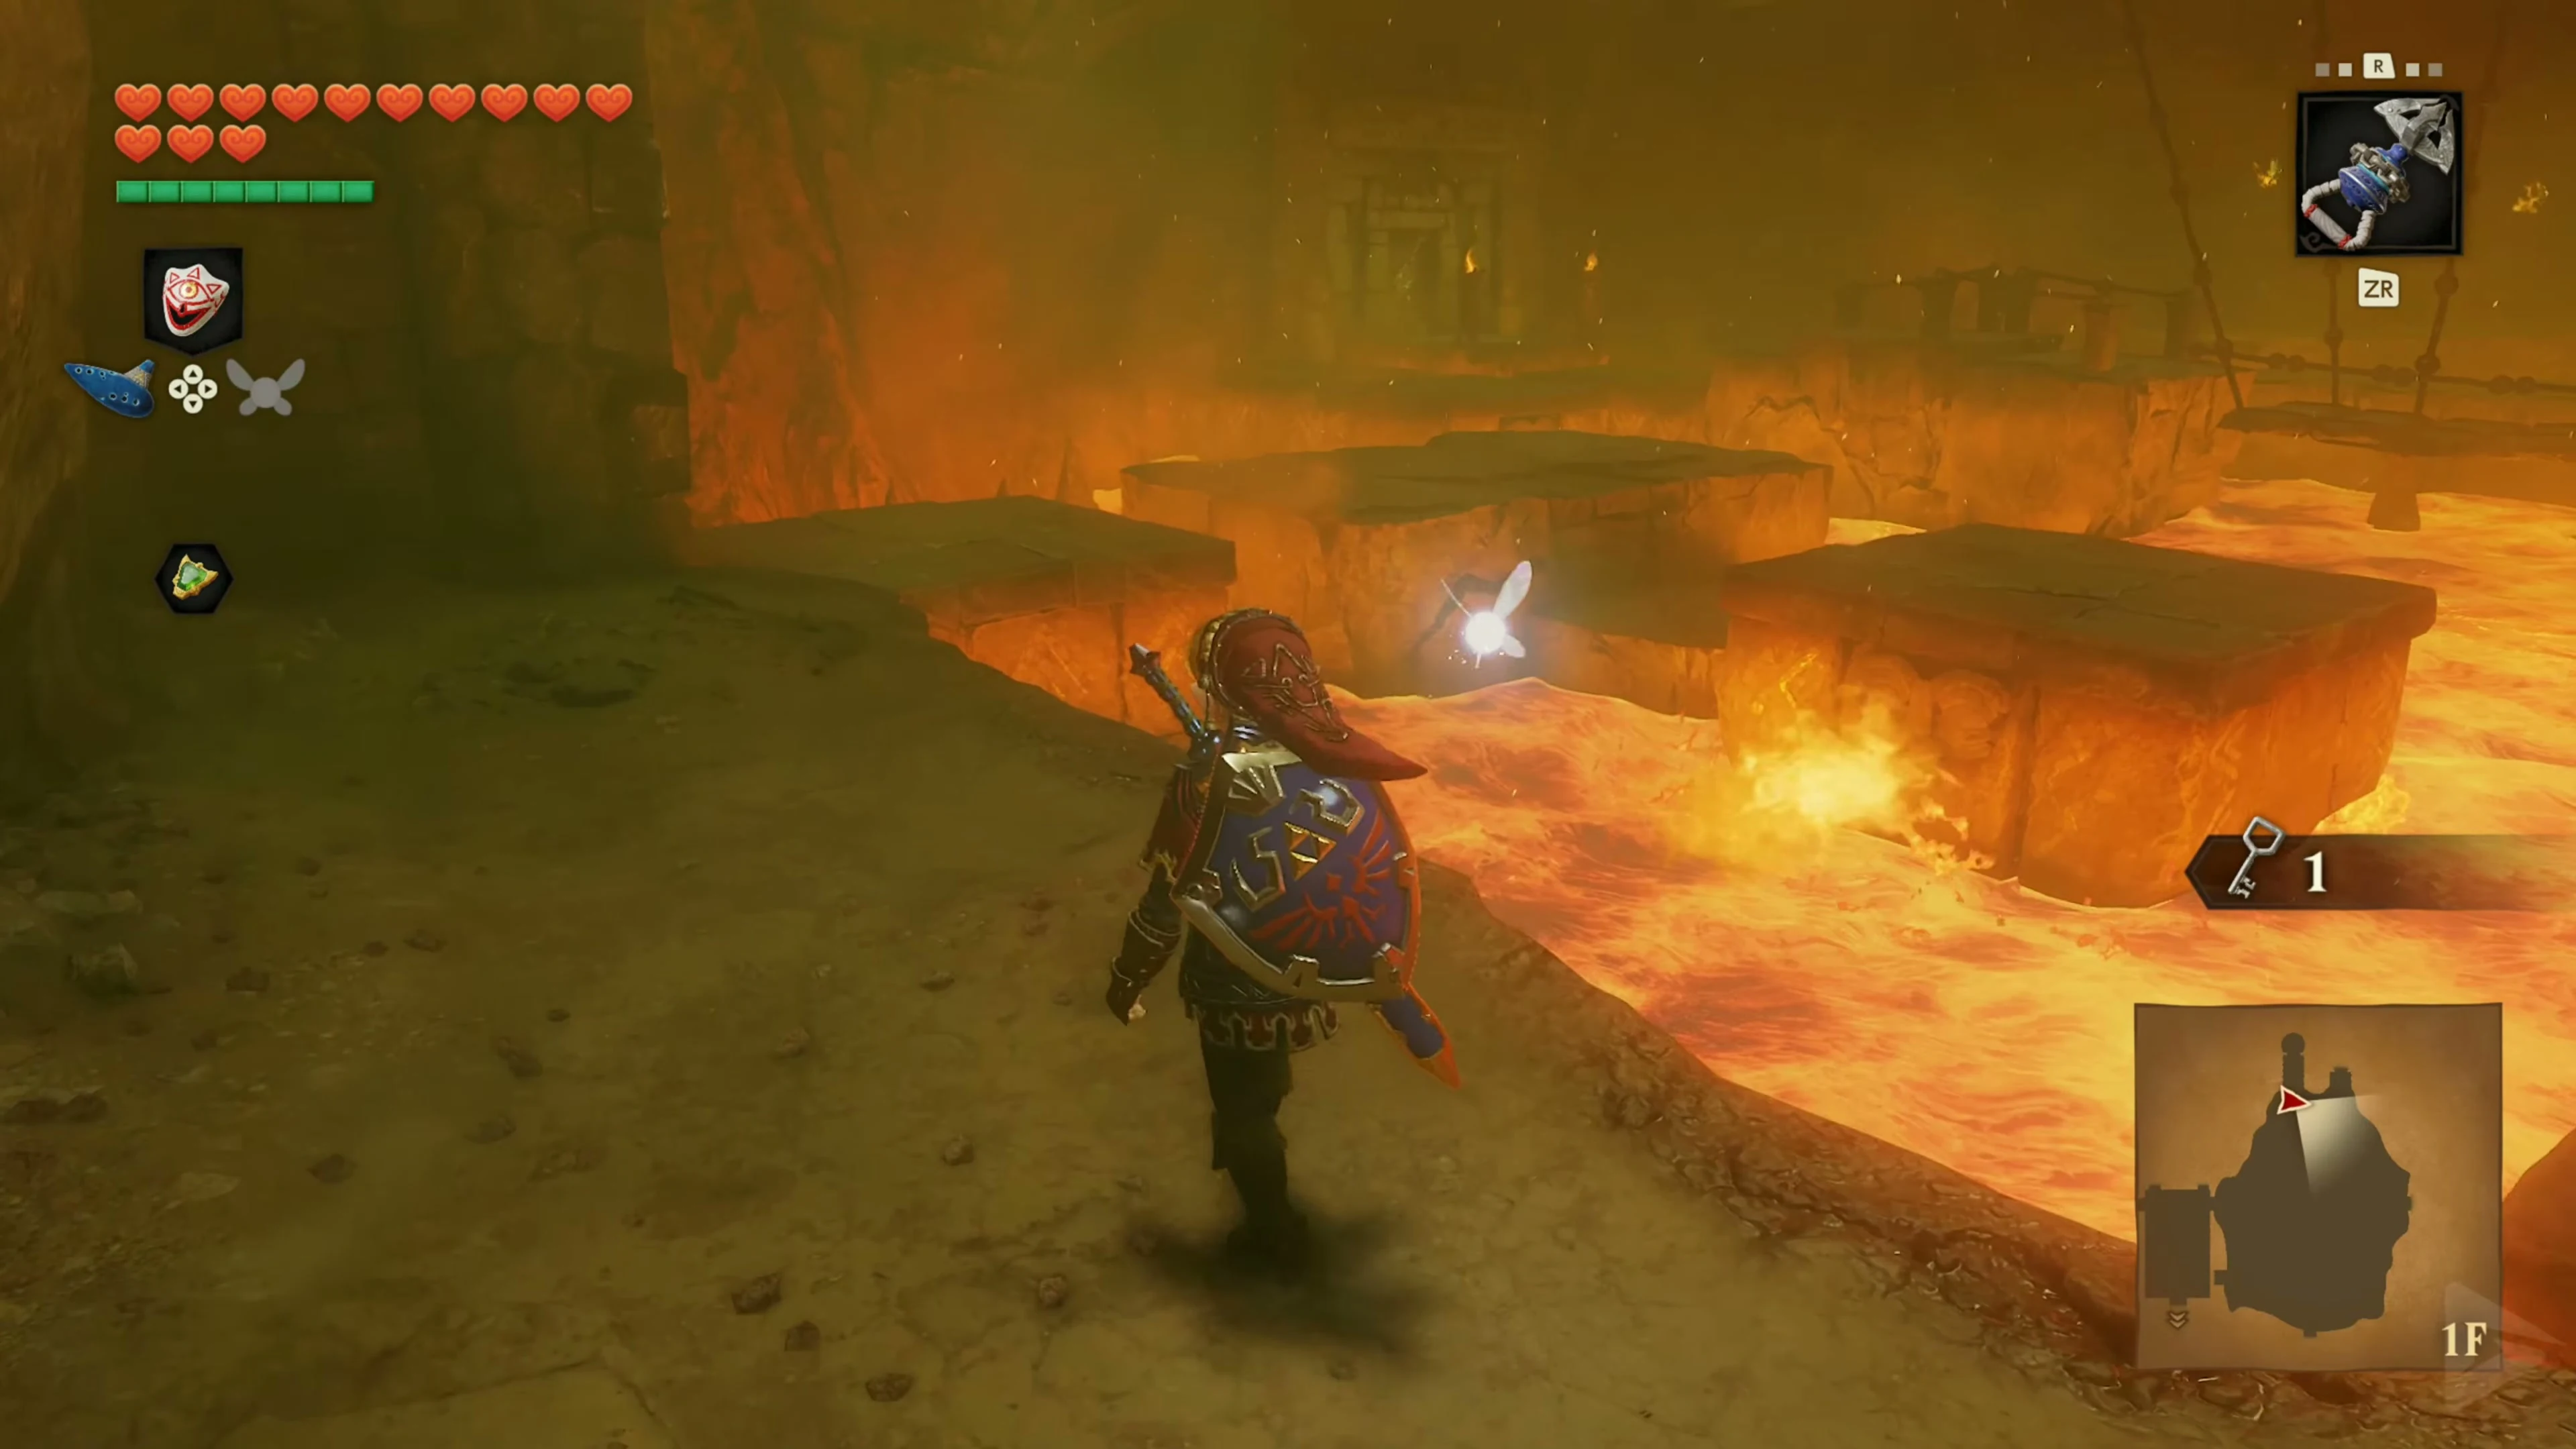
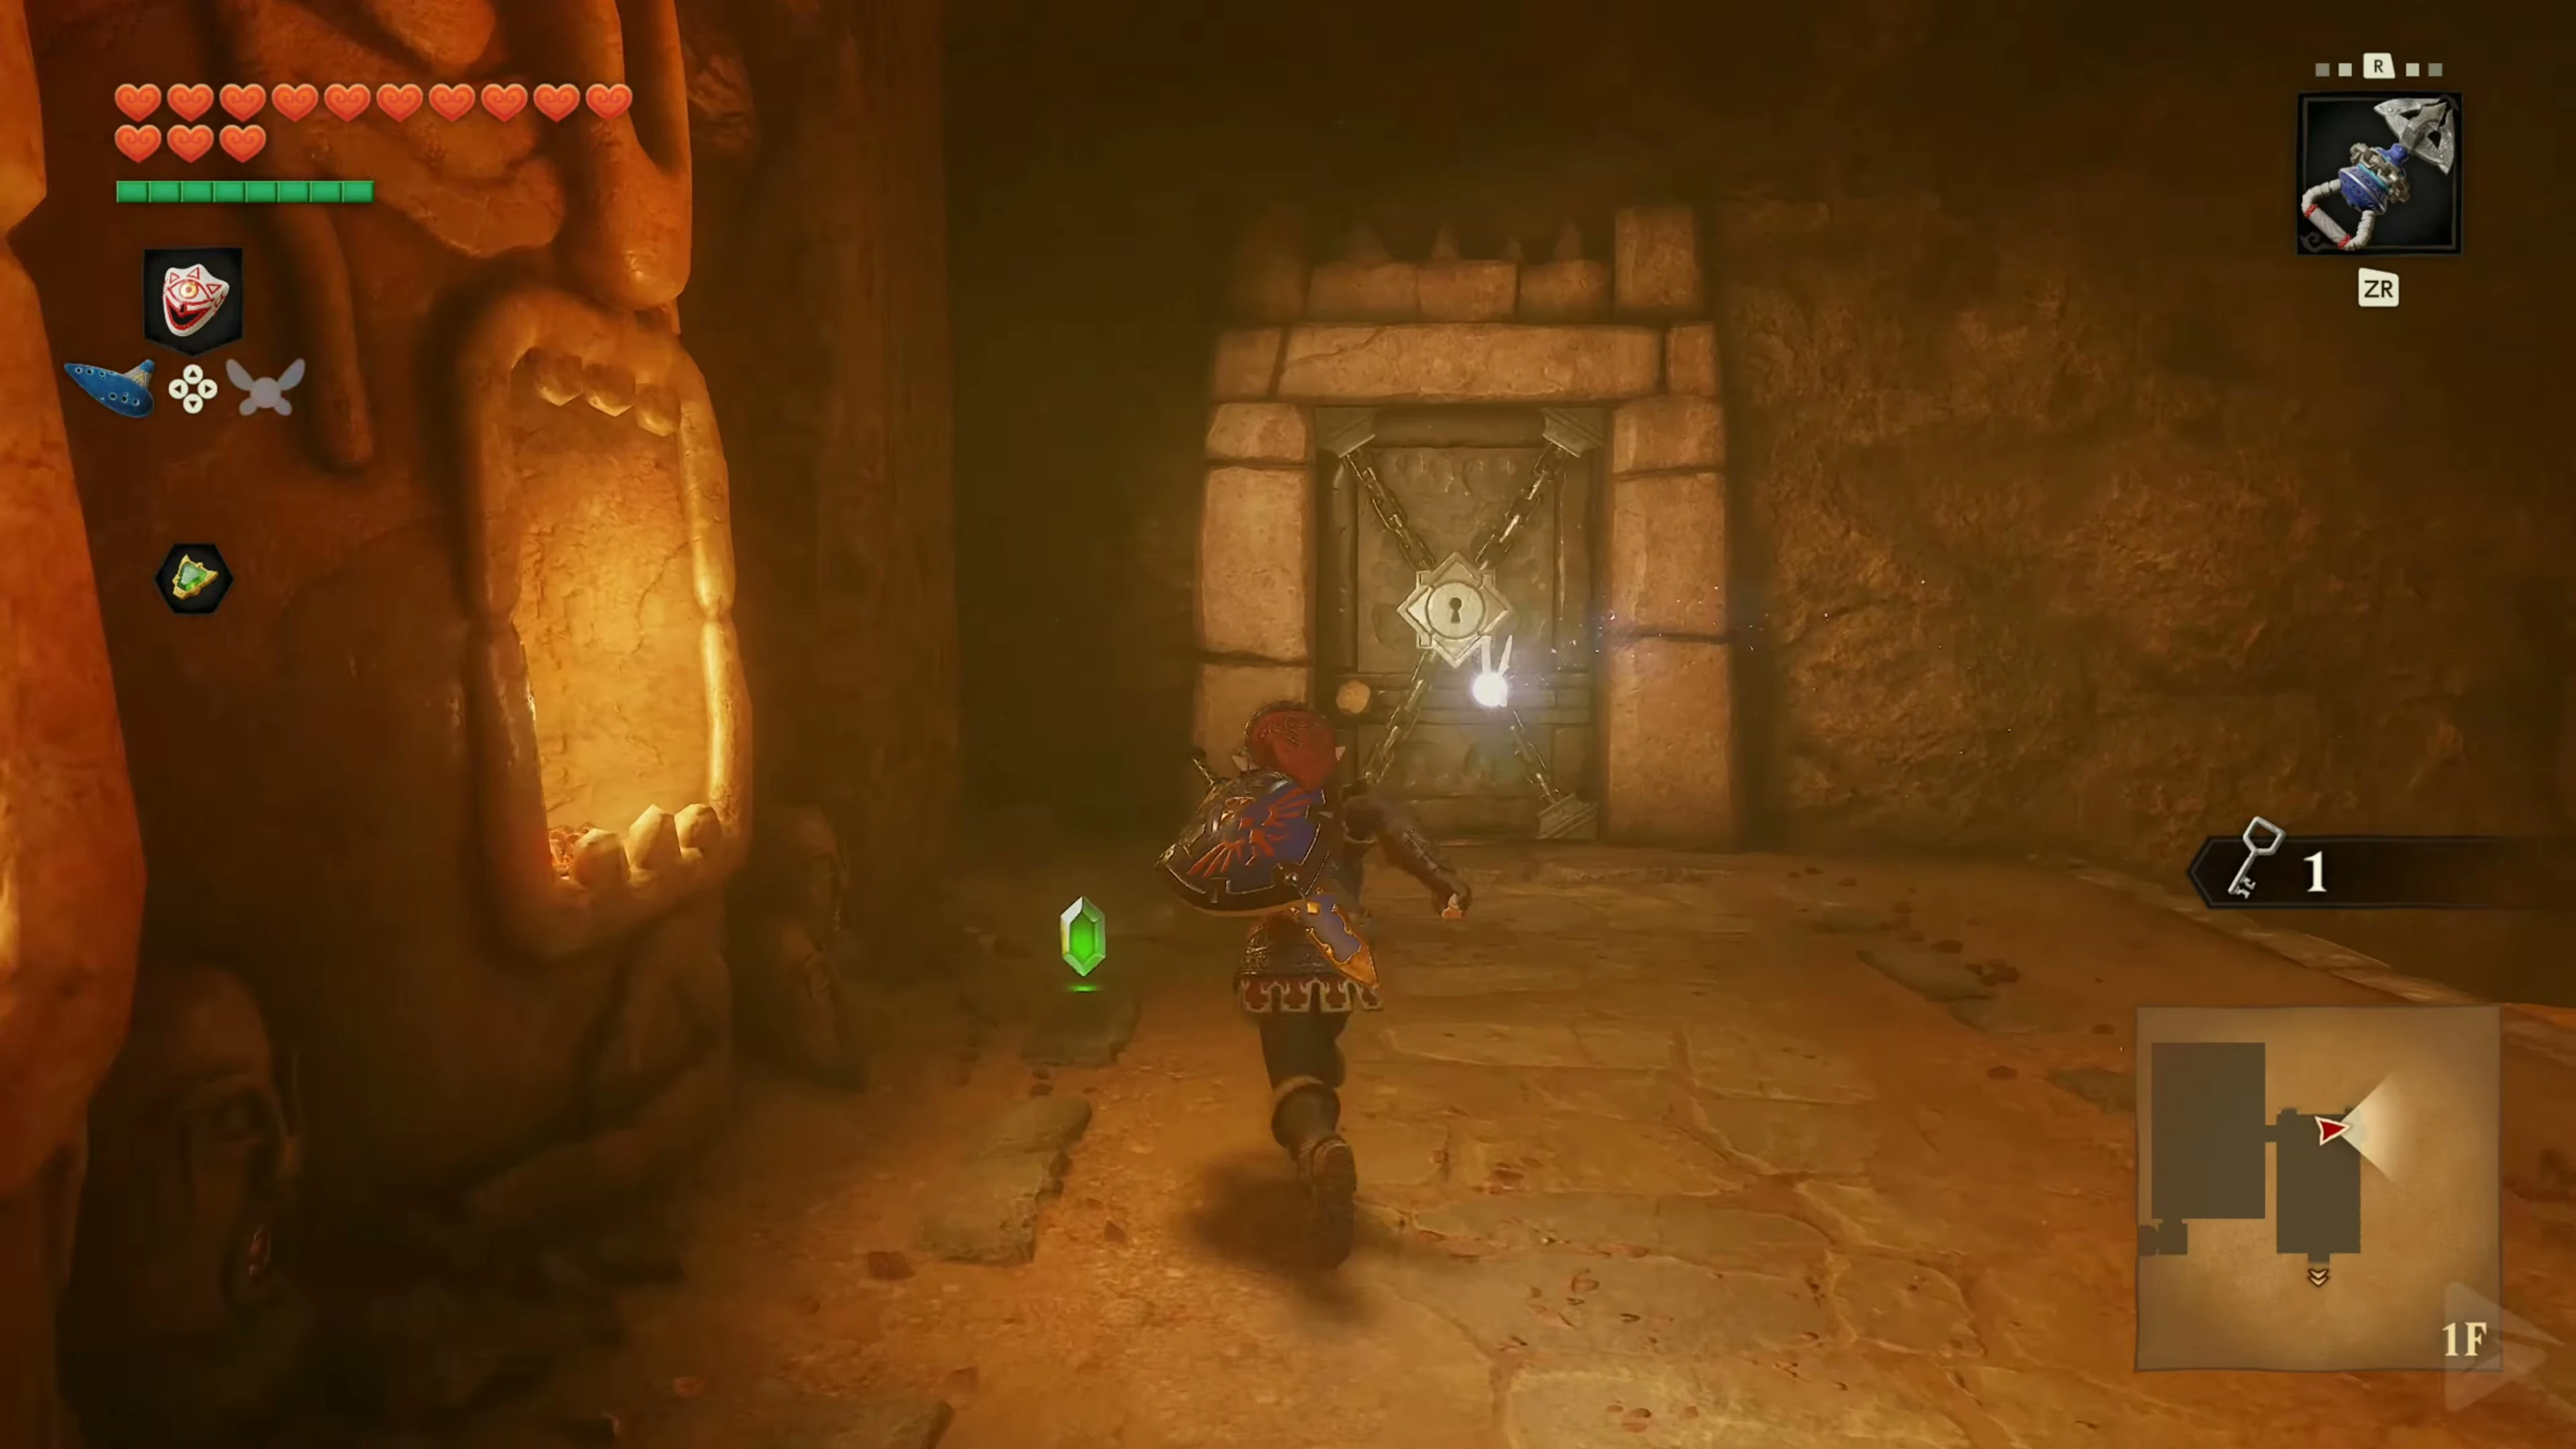
At the top of the stairs, open the opposite, east door with Small Key 1/8 . You enter the large lava hall with the rope bridge. Turn right at the entrance and jump across the solid platforms along the southern edge. The Goron Tunic protects against the ambient heat; direct contact with lava still costs hearts.
Small Key 2/8 – behind the breakable wall
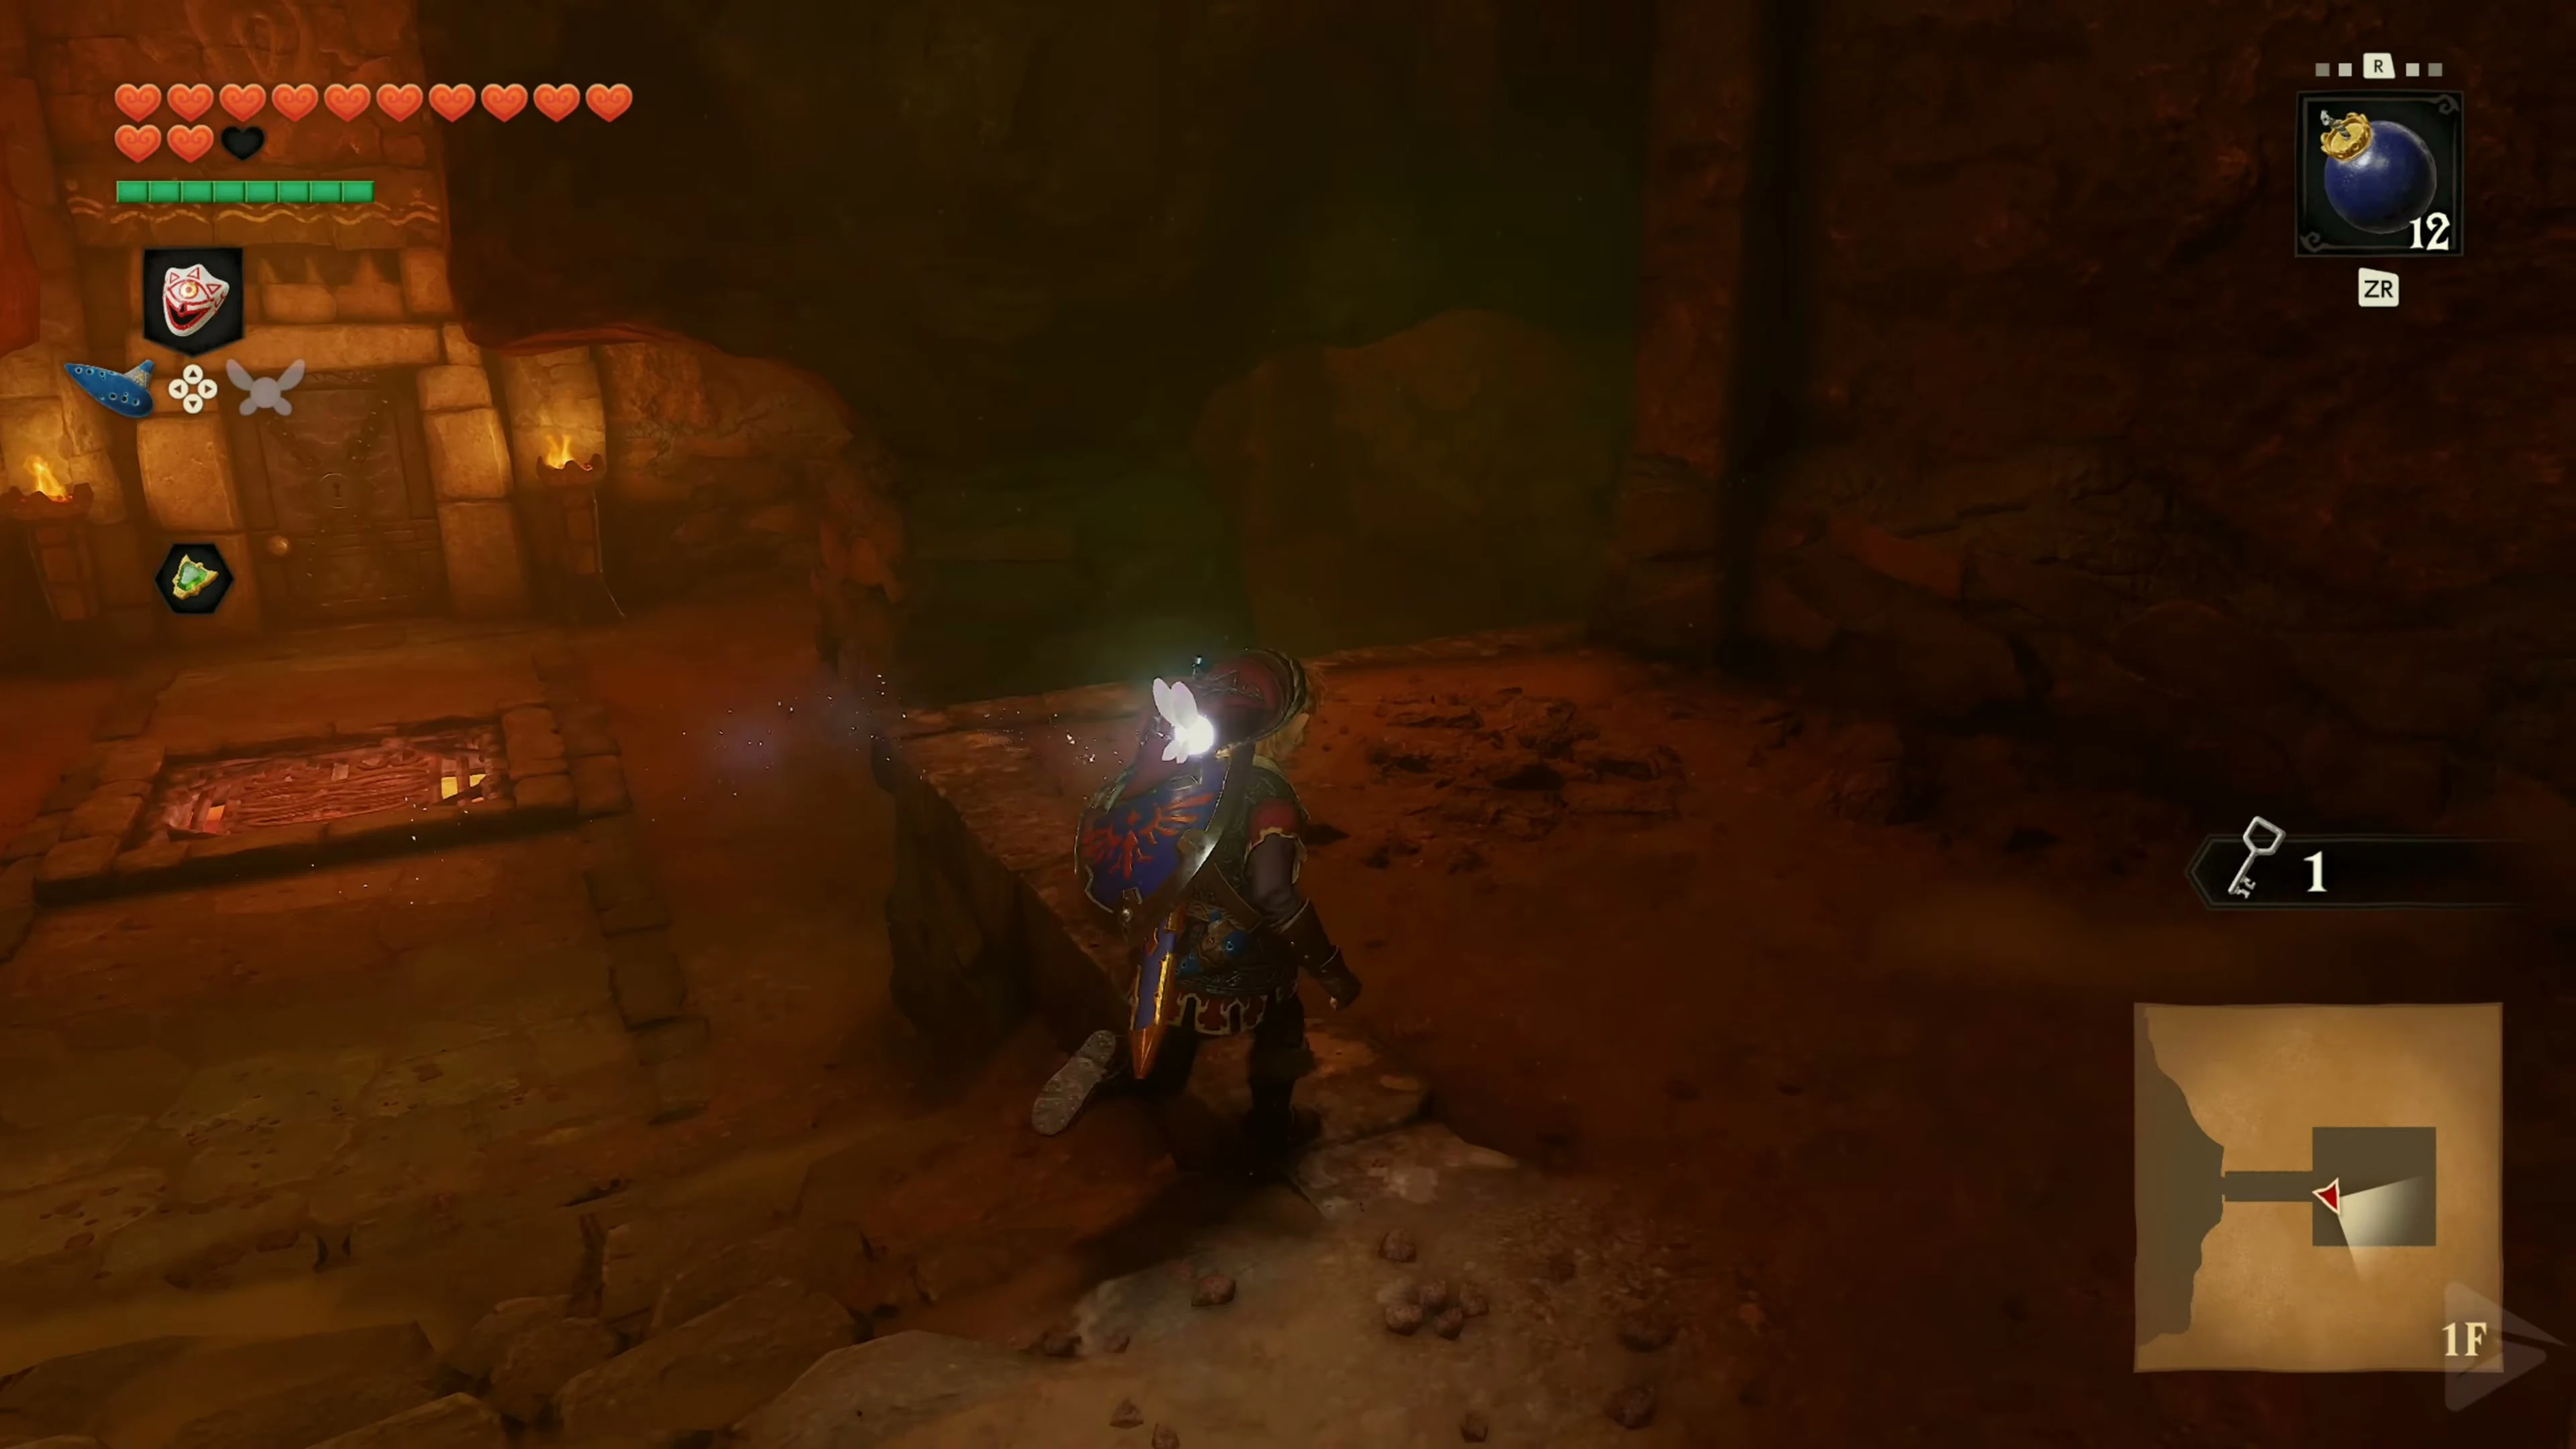
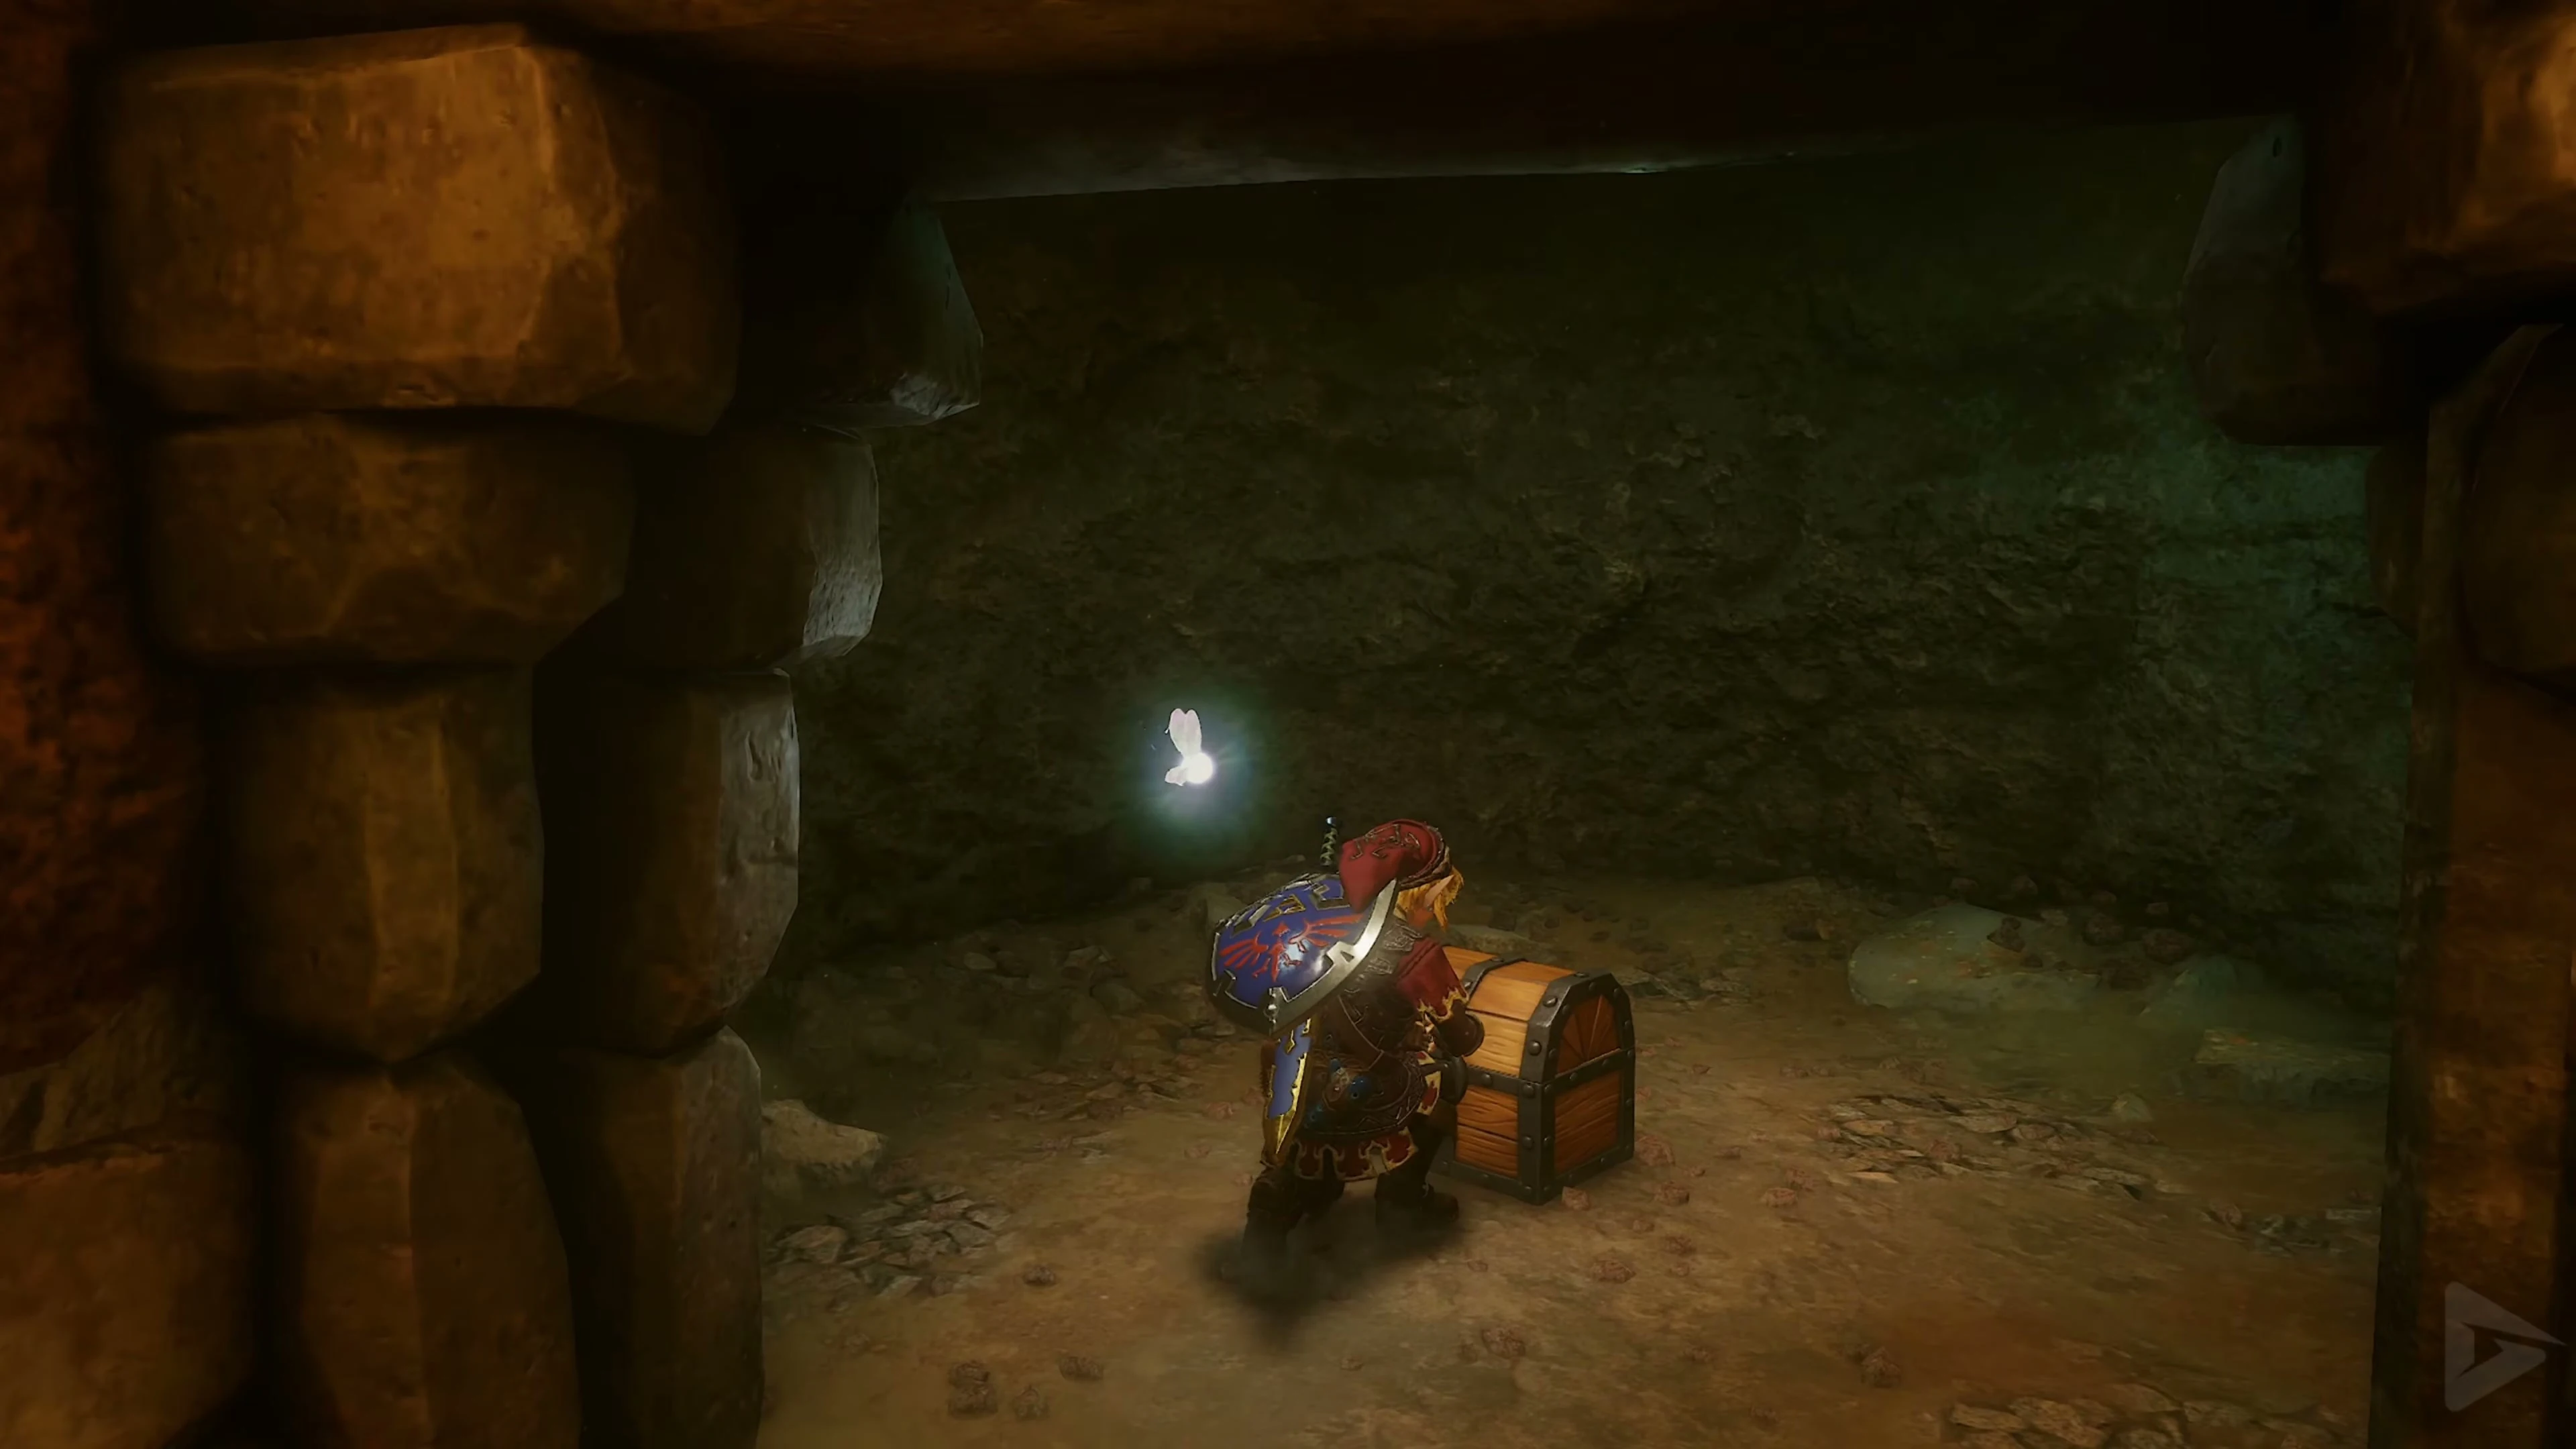
Blow up the suspicious wall at the southern end of the room and go through the exposed passage. Step on the floor switch in front of the cell, talk to the Goron, and open the chest with Small Key 2/8 . Return through the passage to the lava hall.
Small Key 3/8 – Northern Cell
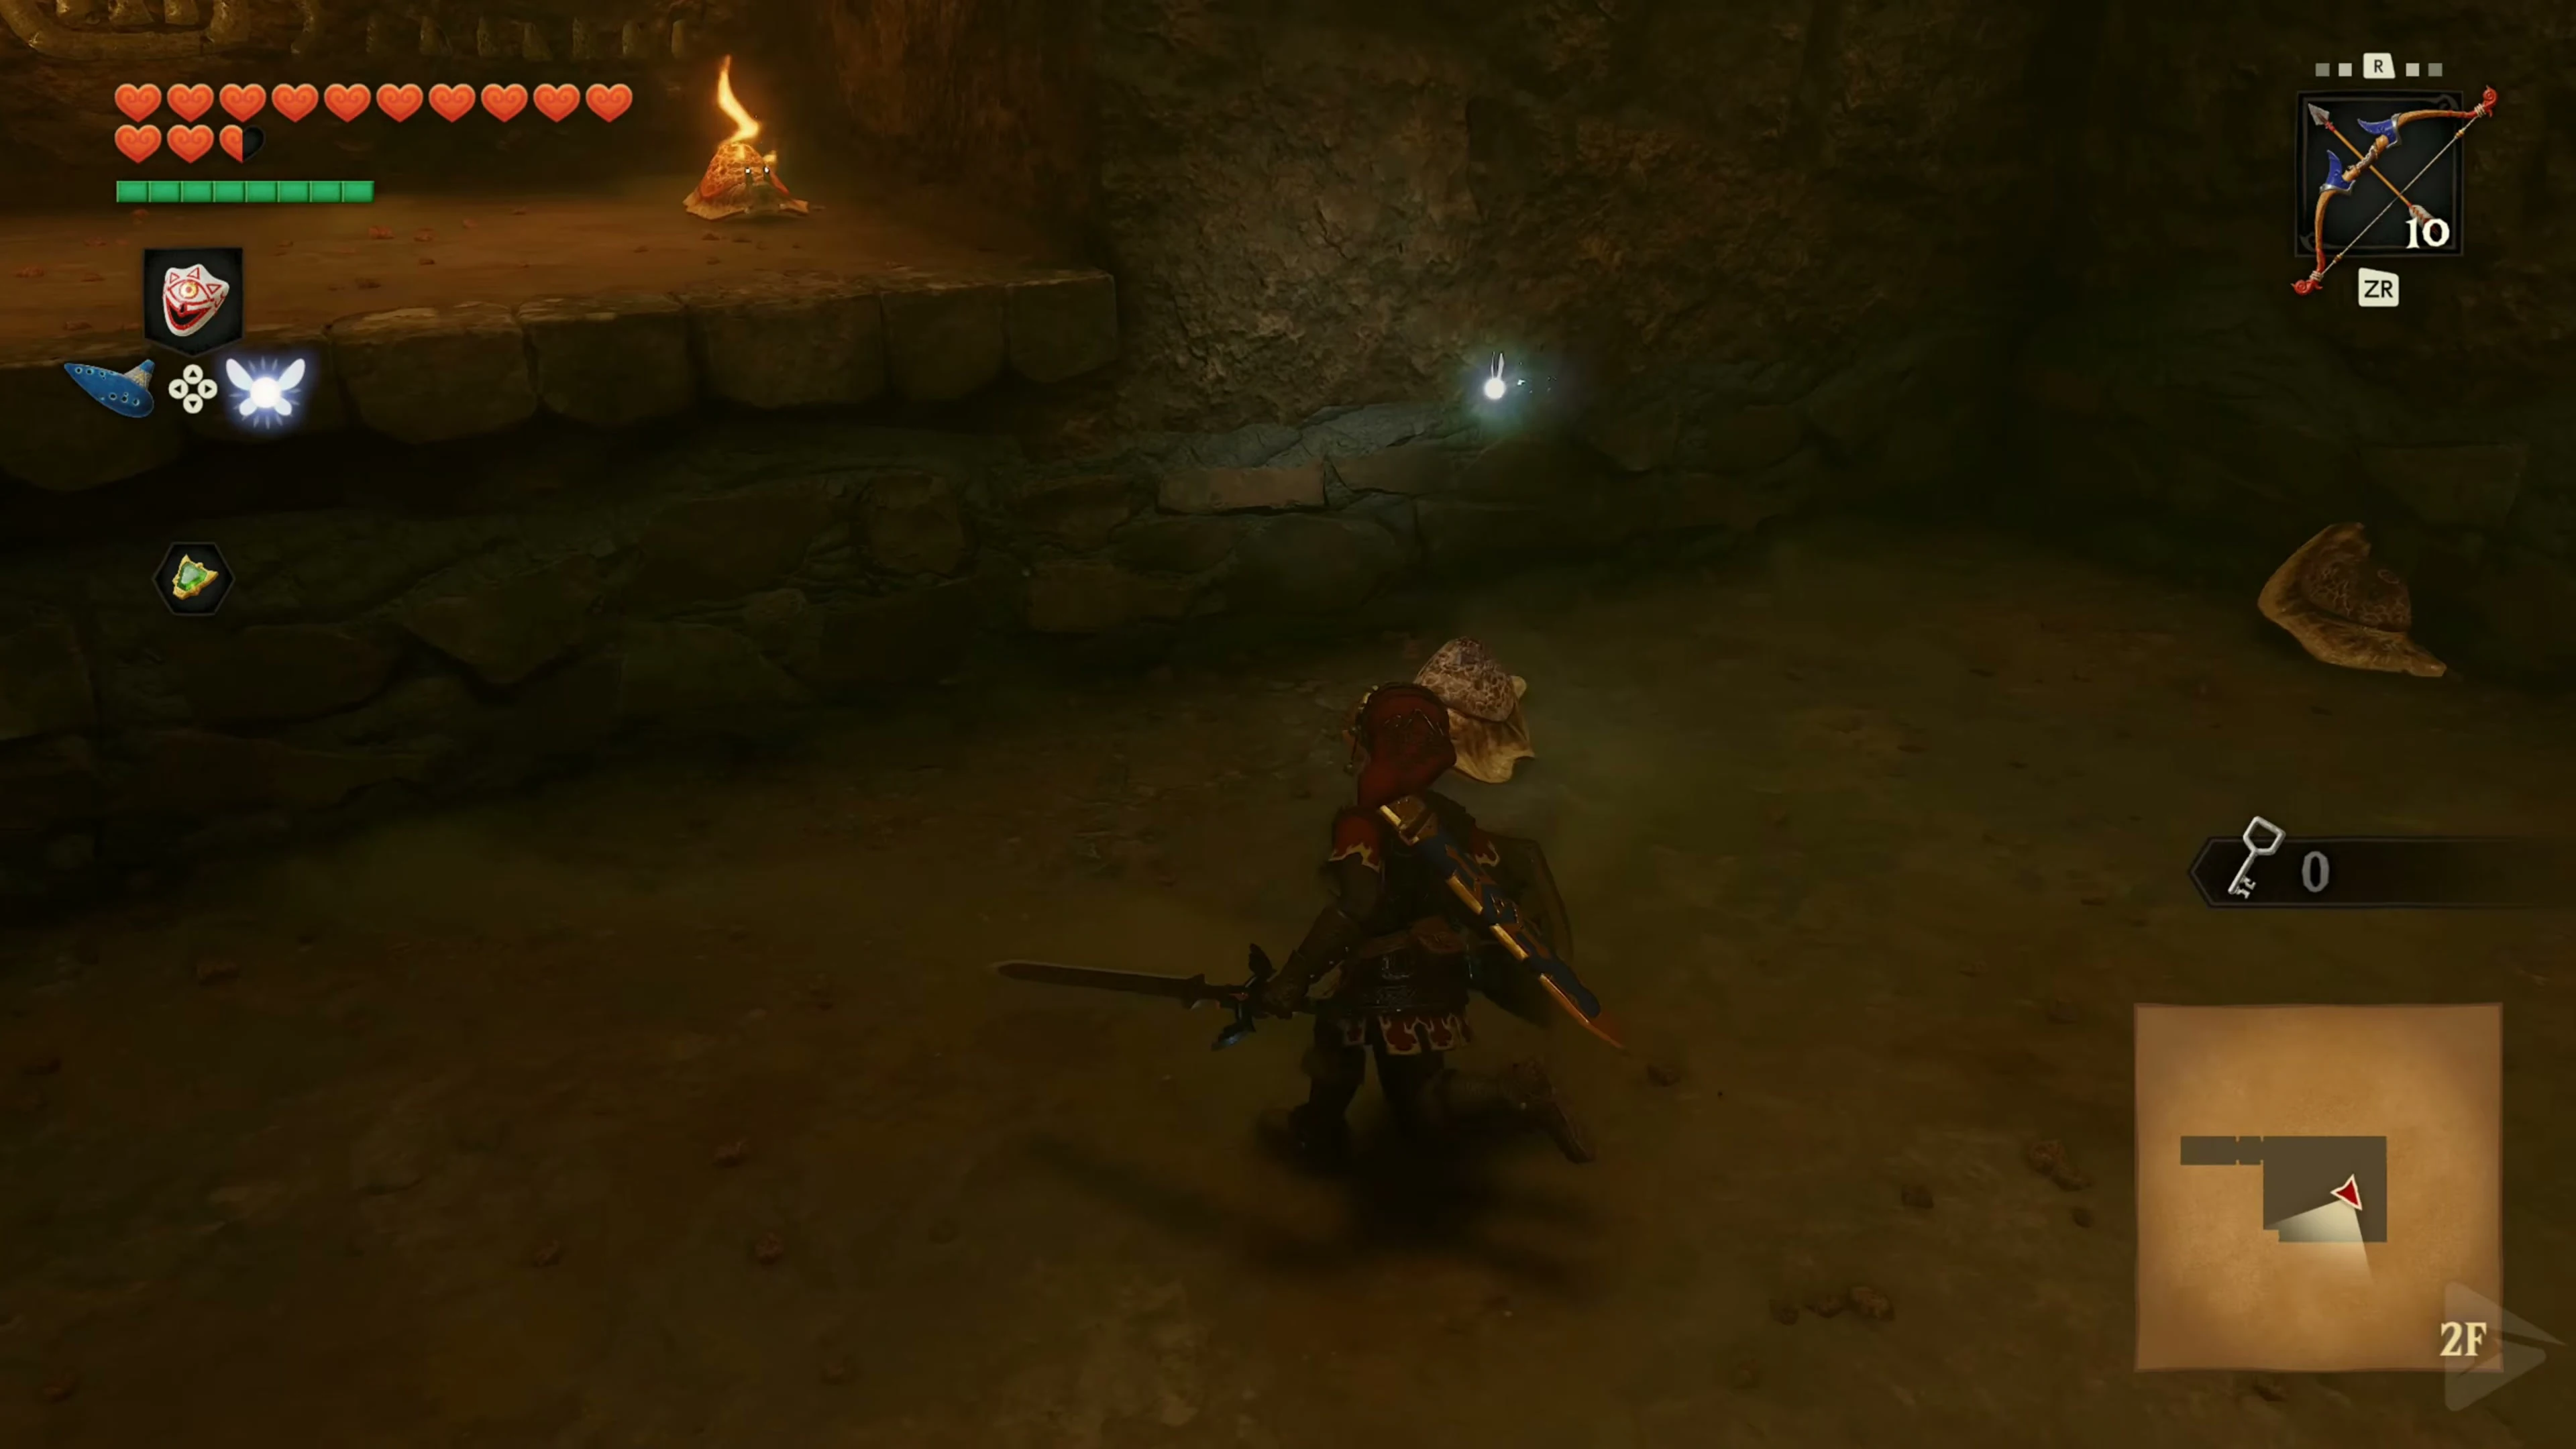
Now follow the platforms on the western edge northwards. Enter the side door under the raised ledge. Use the floor switch to open the Goron cell and take Small Key 3/8 from the chest. Go back out to the platform in front of this passage.
Gold Skulltula 1/5 – above the side passage
Take the platform up to the ledge in the northeast, right next to the northern side passage. Play Song of Time in front of the blue block and go through the revealed door. In the next room, block the flying plates with your shield. Then defeat the Like Like from a distance.
Defeat the Gold Skulltula 1/5 on the back wall with the Hookshot and pull its Token towards you. Return to the lava room platforms and go to the eastern end of the rope bridge.
The Lava Elevator
At the eastern end of the bridge, open the locked door with Small Key 2/8 . In the room with the fire pillar, walk around the lava and use Small Key 3/8 at the next locked door. In the subsequent elevator room, a wooden ramp leads down to the metal grate. Defeat the Fire Keese with a bow or Hookshot and climb the grate to the large stone block.
On the upper level, there’s a large stone block. Push it over the edge onto the opening from which a powerful fountain of lava erupts at regular intervals. The easiest way is to wait until the fountain has just subsided and then push the block over the edge. Then jump down yourself and stand on the block. With the next eruption, it will be carried like an elevator to the floor above. Jump down to safety in time and go through the upper door.
Block and crystal switch
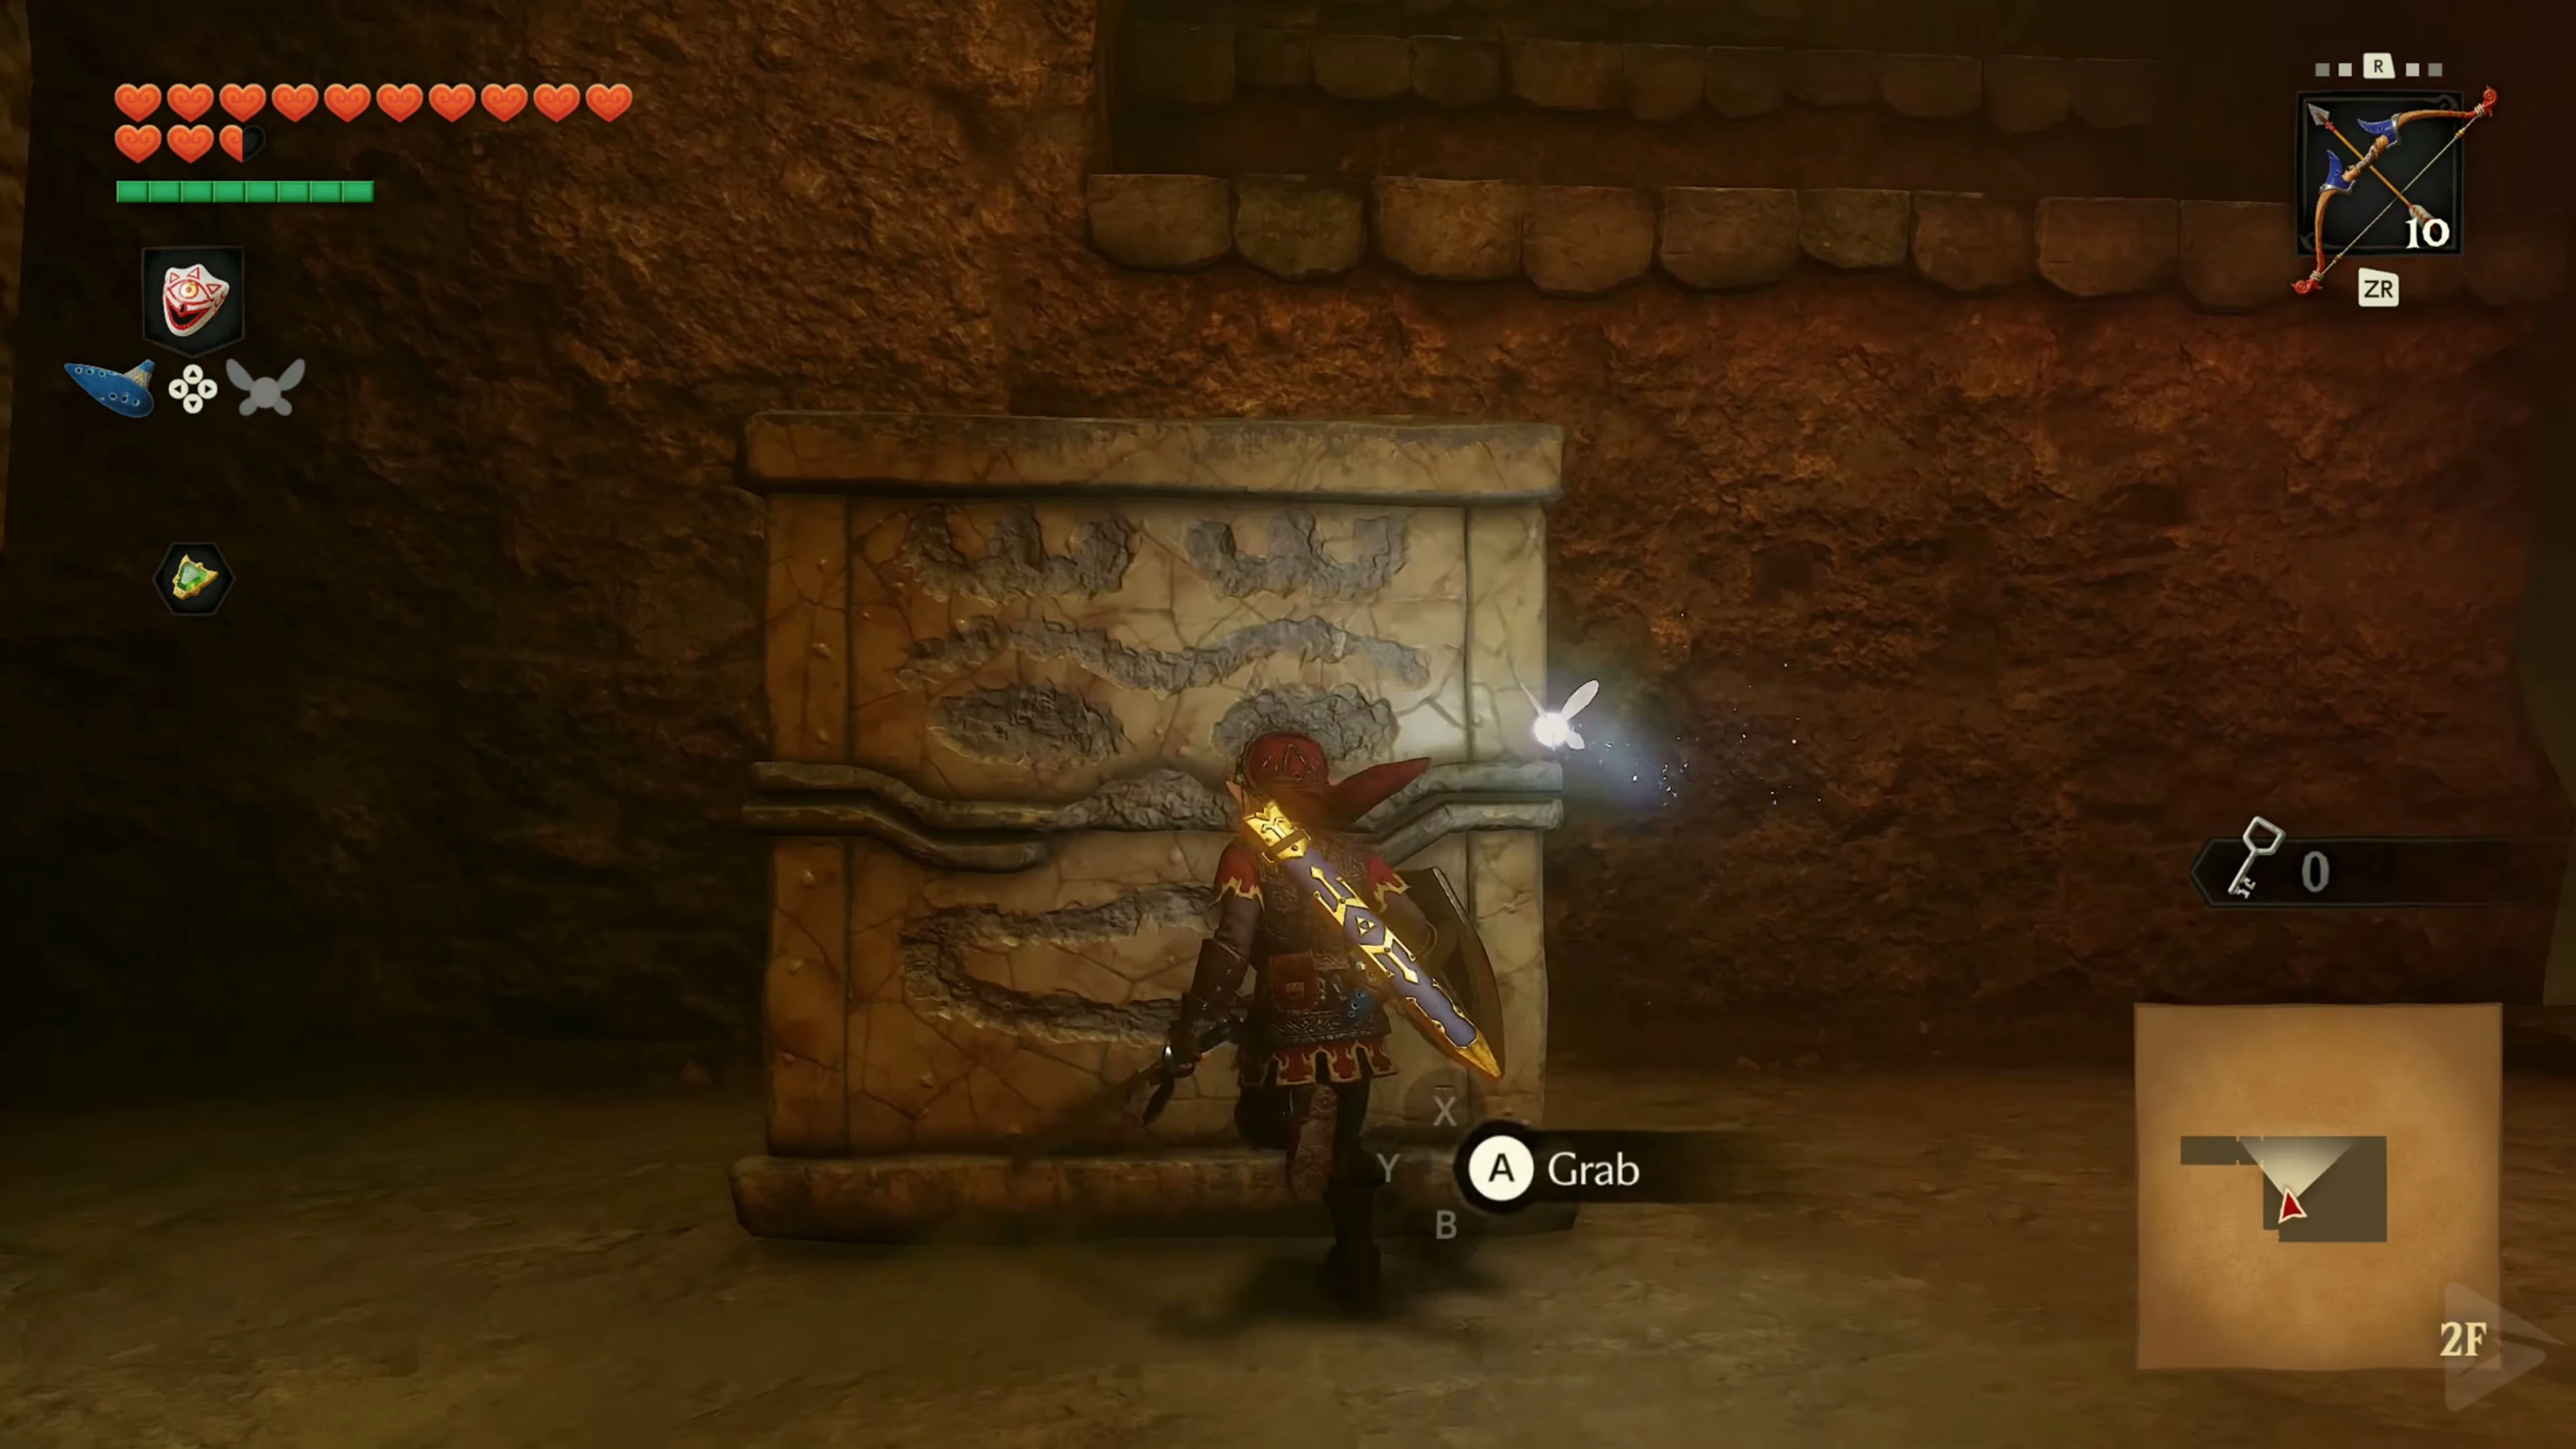
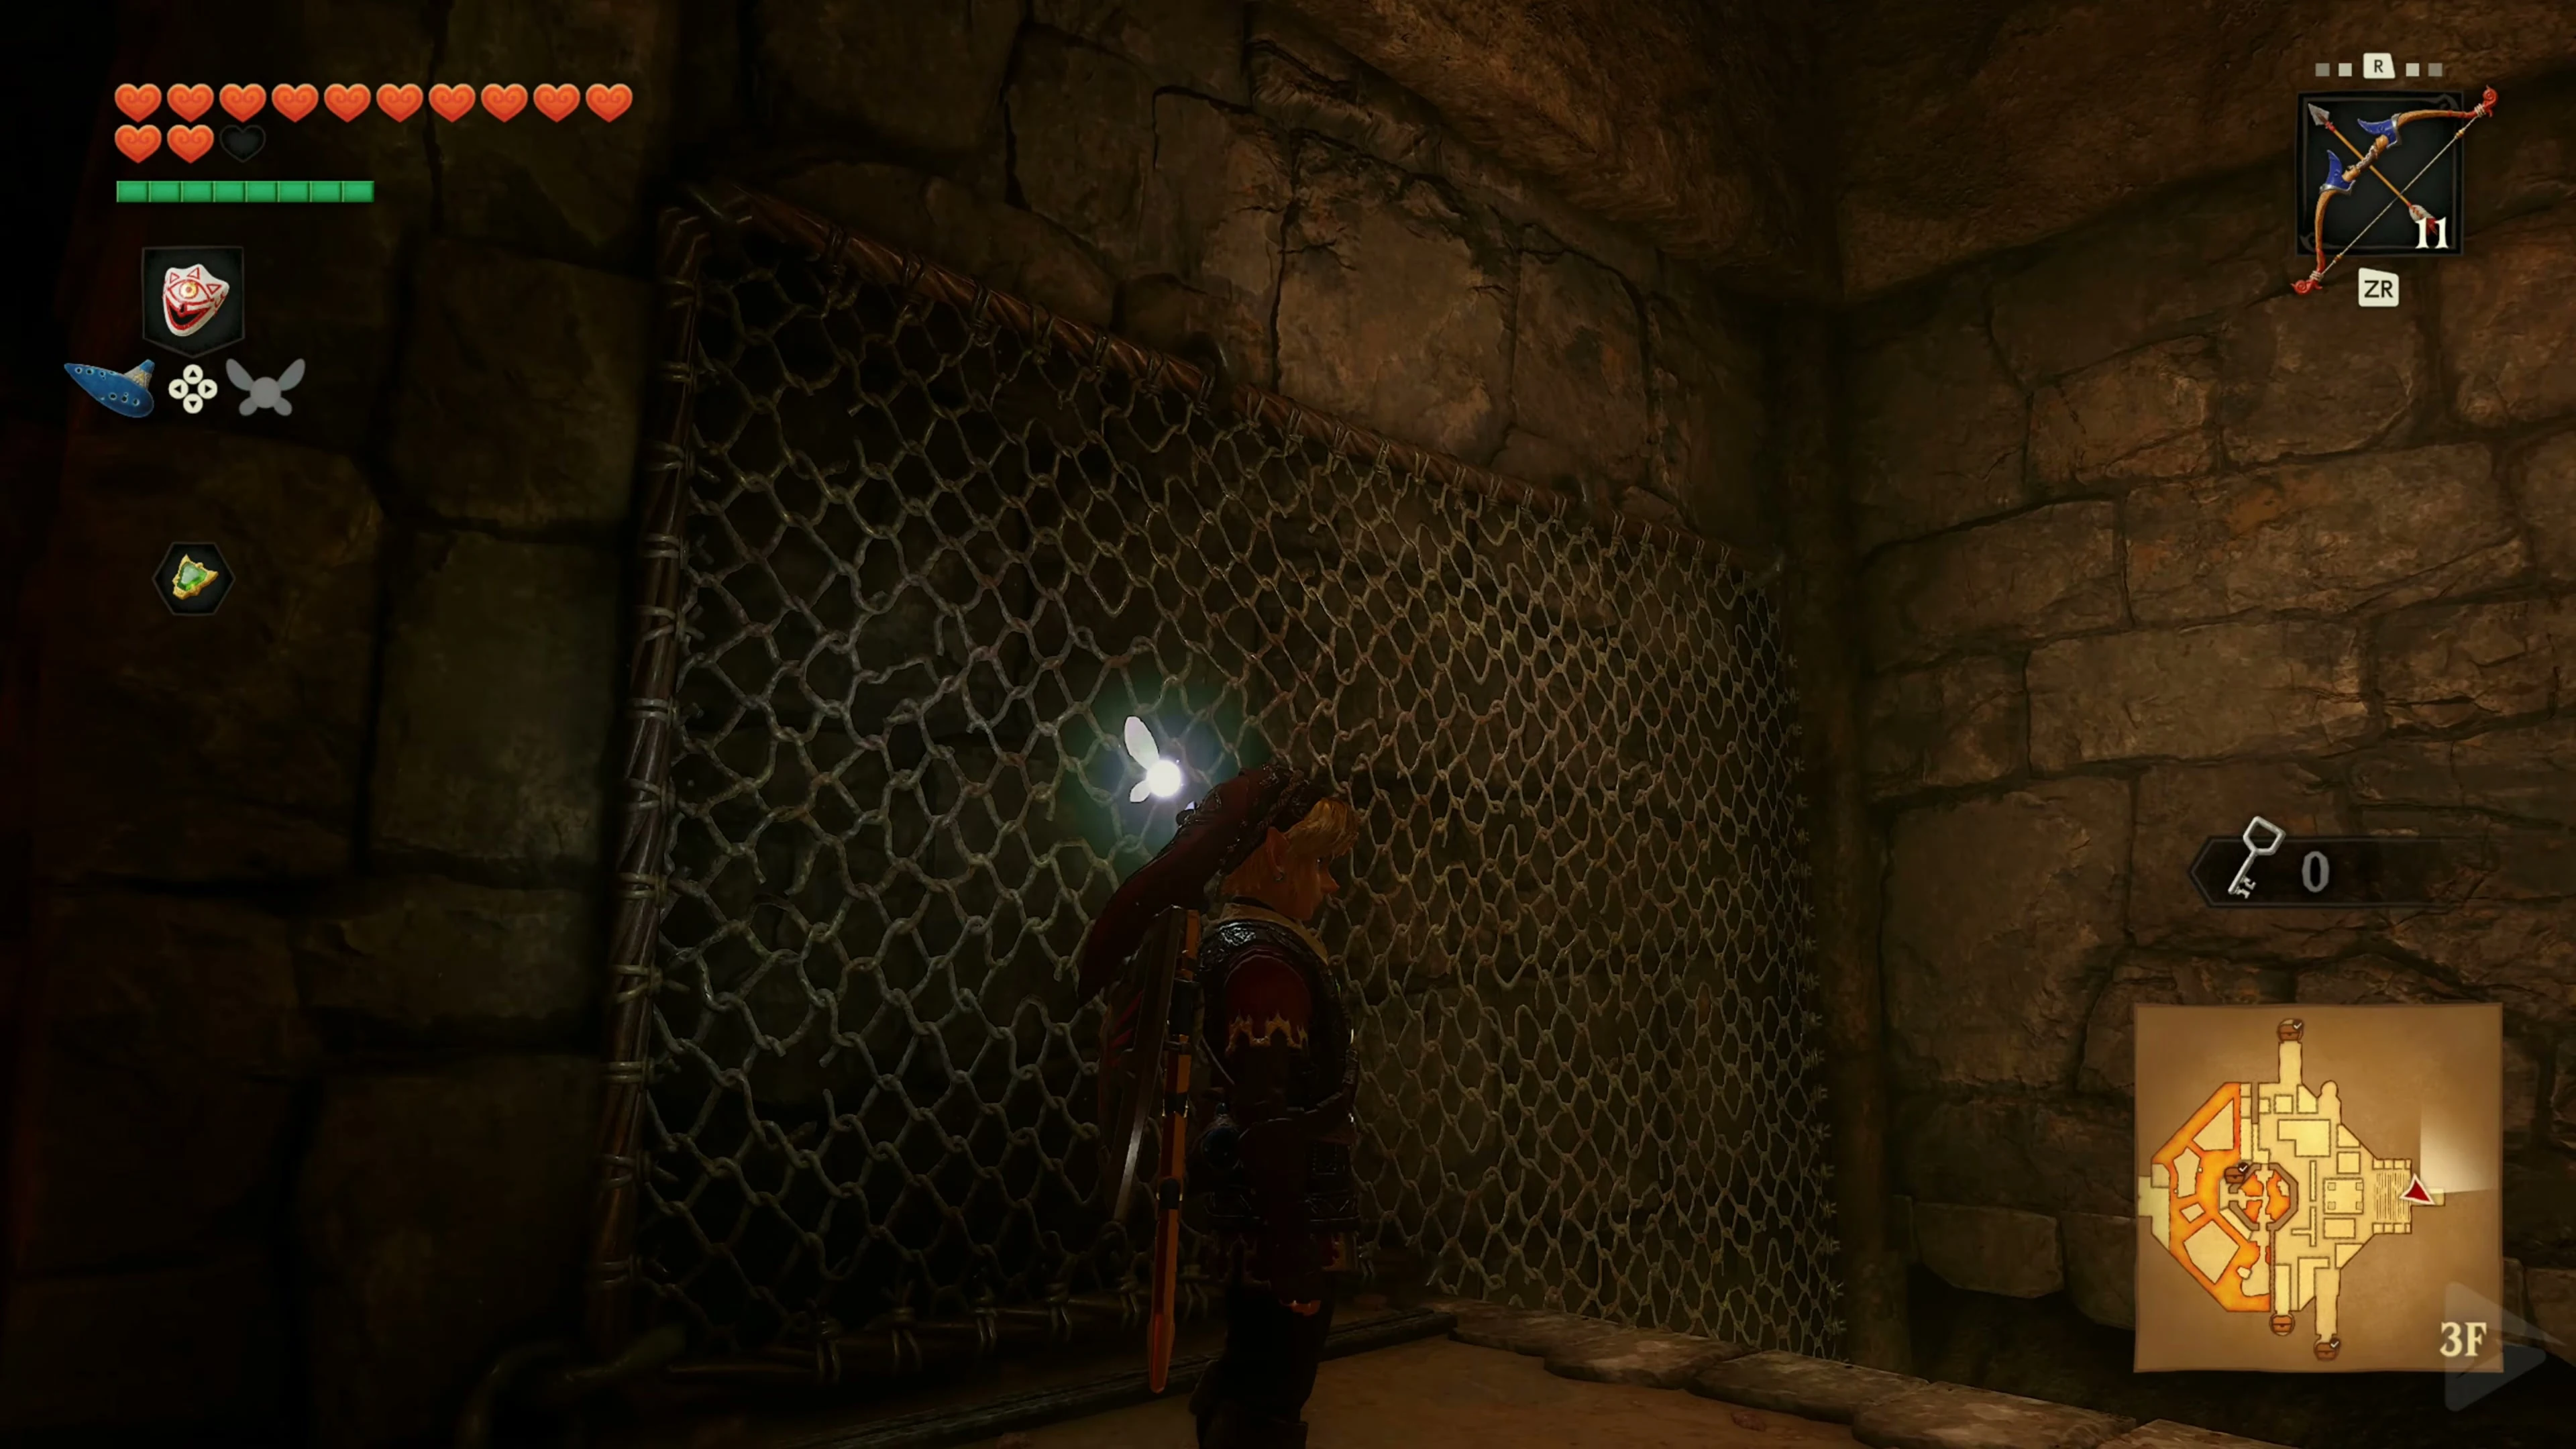
Follow the ledges past the Torch Slugs. An Arrow will extinguish their flames; then you can attack with your sword. Pull the large block out of its niche and push it against the wall opposite the crystal switch. Climb onto the block and the next ledge. Hit the crystal from above with Arrow or Hookshot. This will move the flame barrier, allowing you to climb up the grate into the rock labyrinth.
The rock labyrinth with the rolling balls
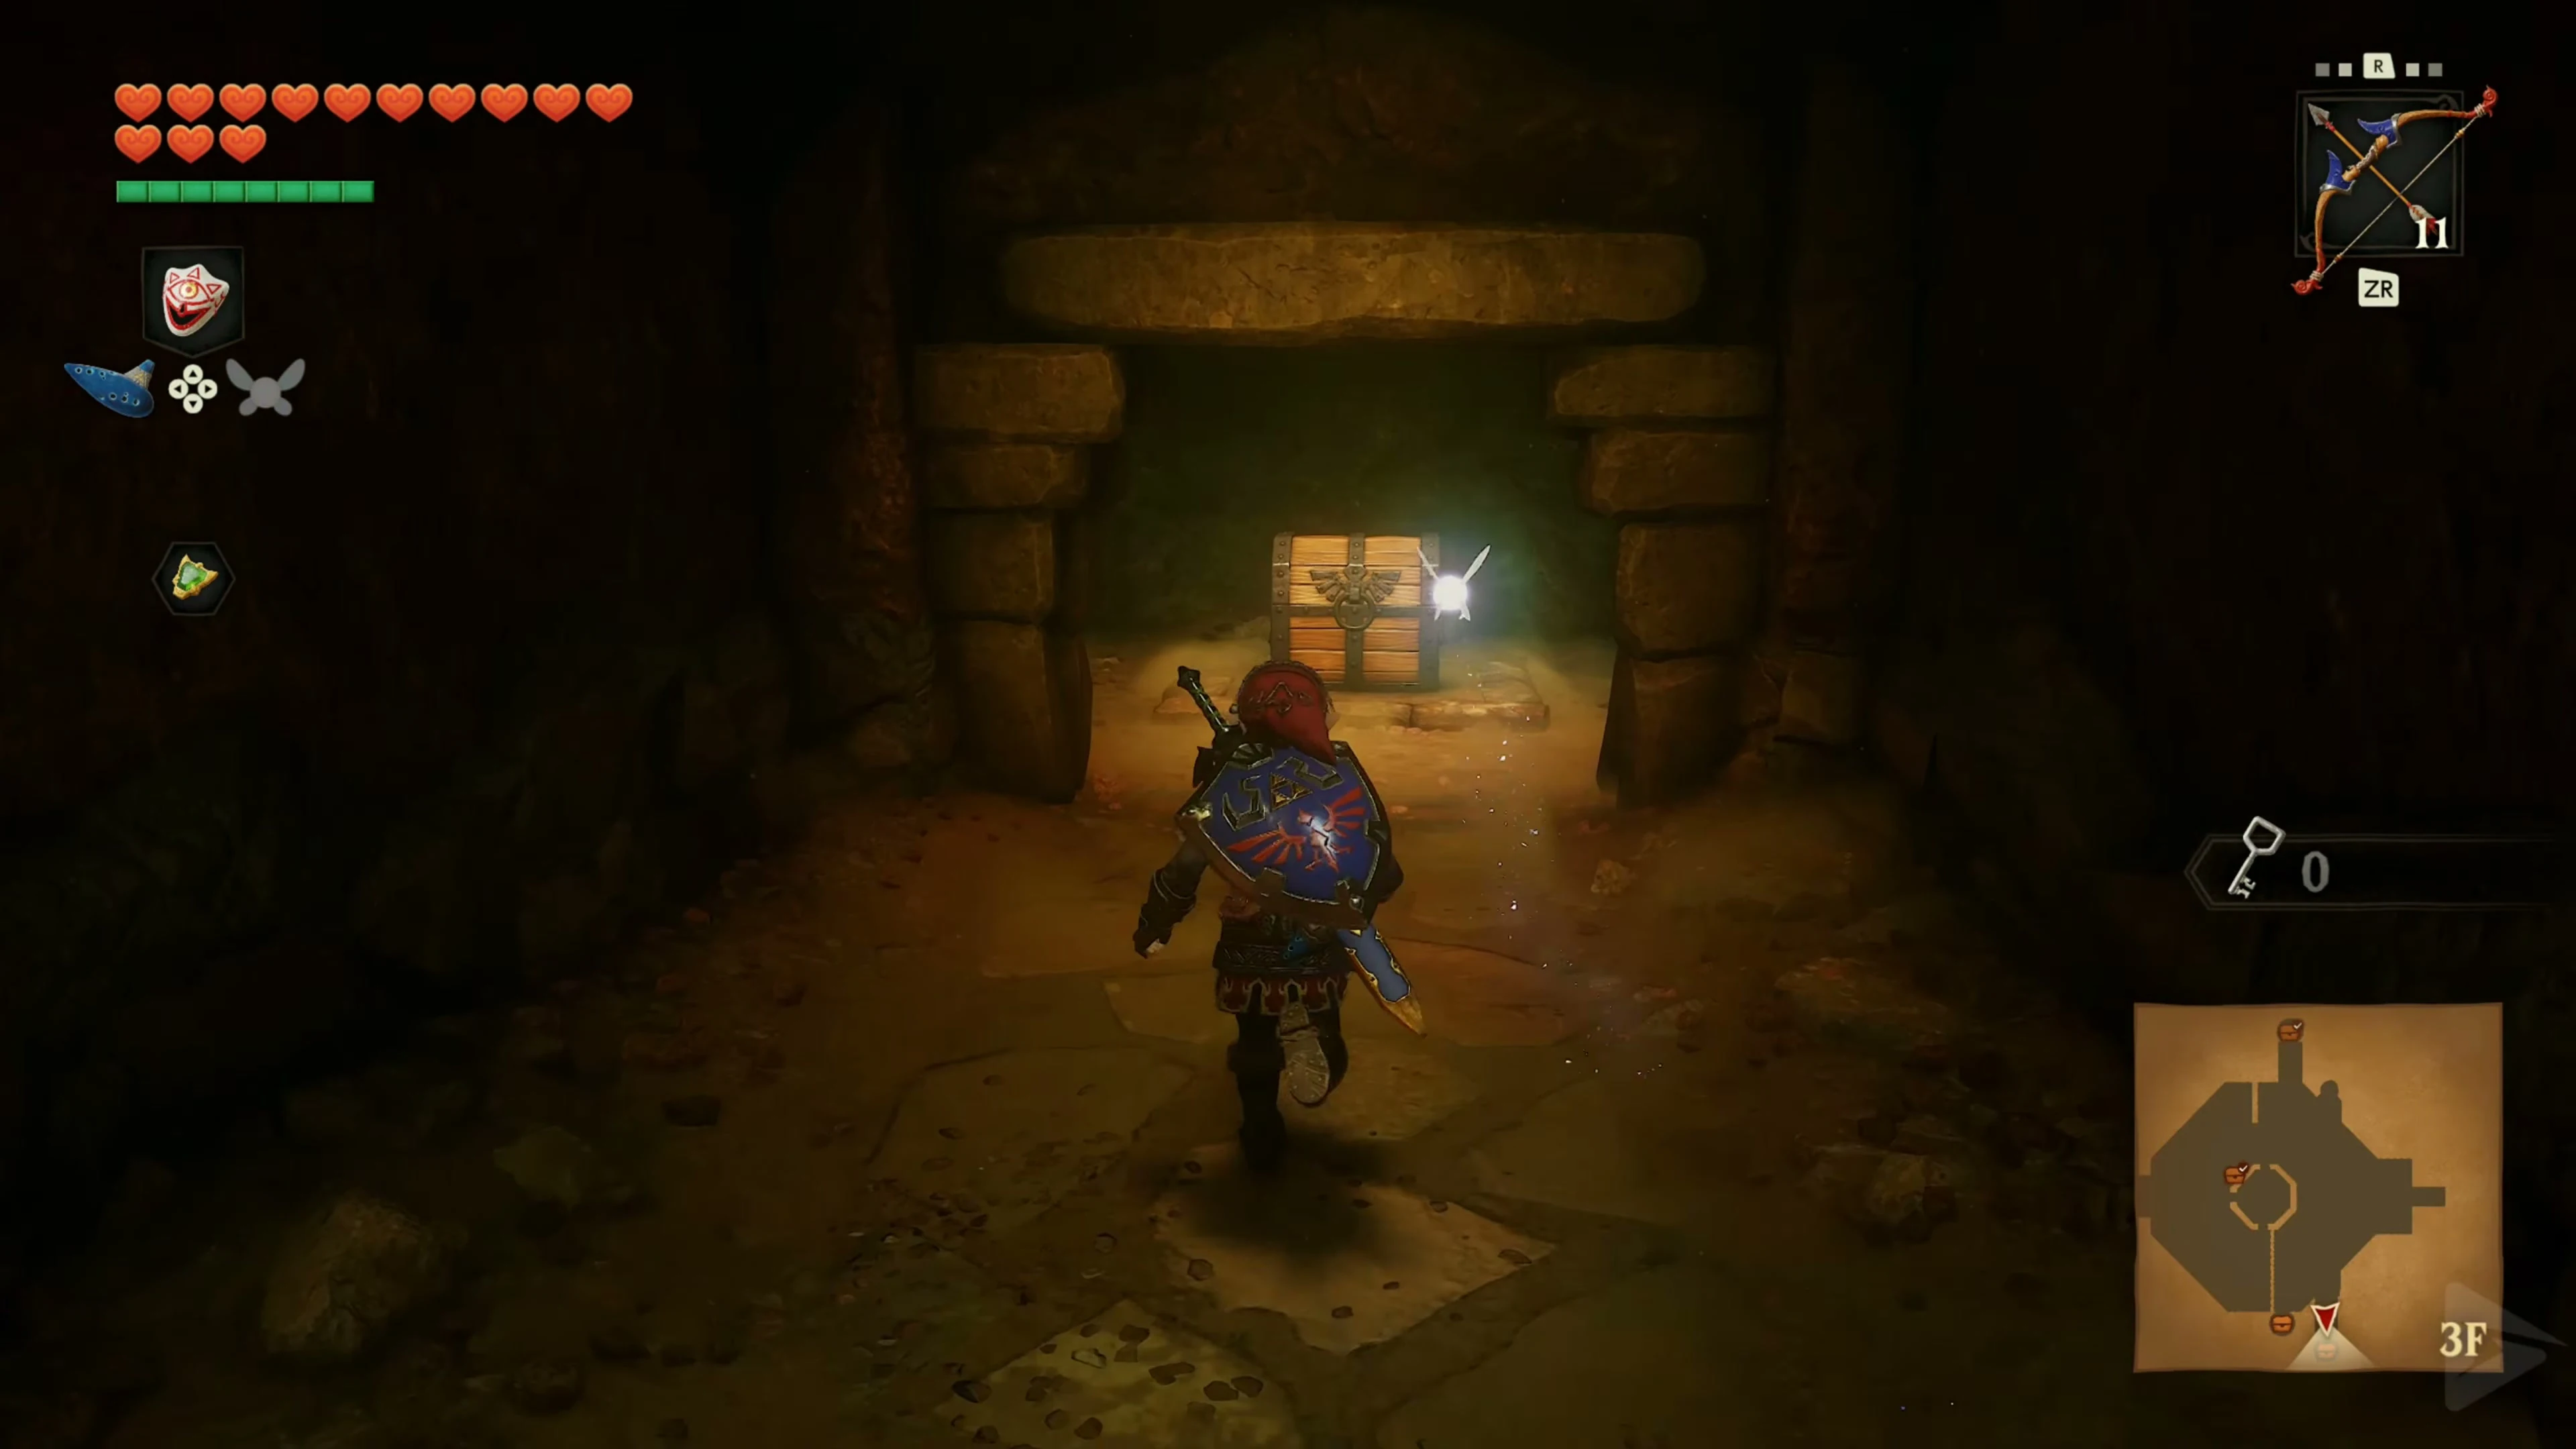
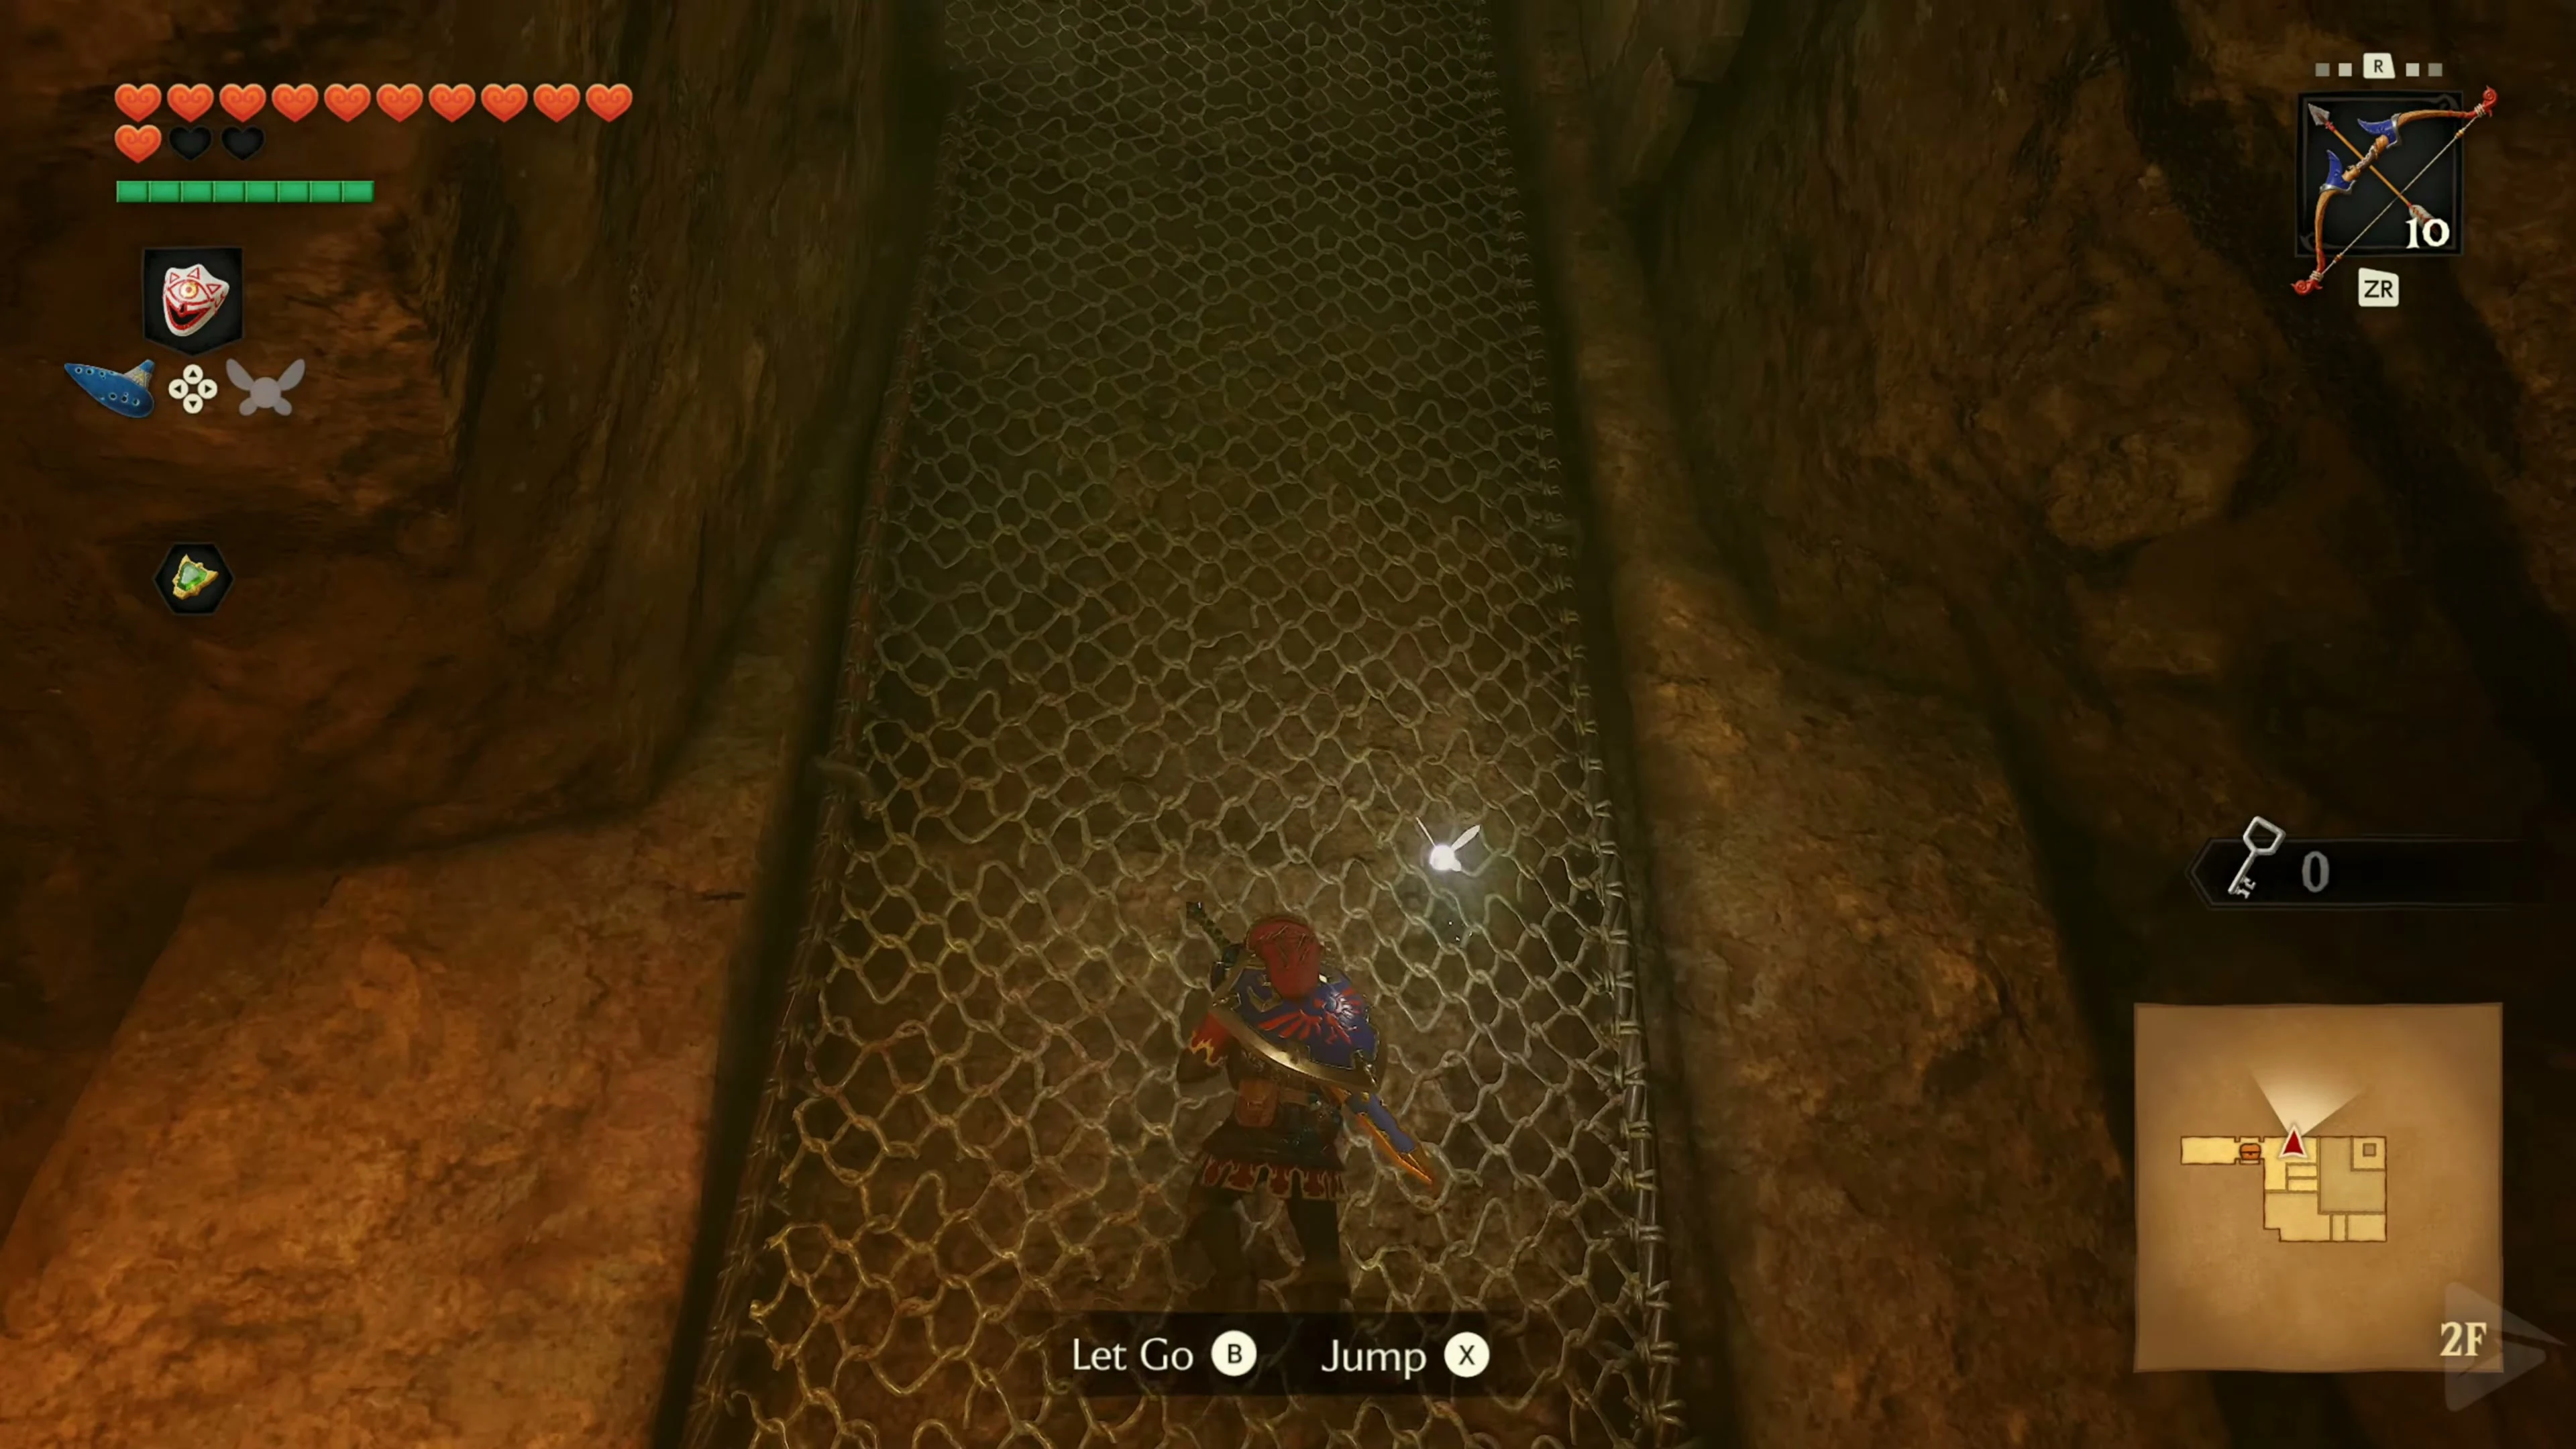
In the rock labyrinth, go into the alcoves to let the rolling balls pass. From the eastern entrance, follow the outer path south and open the large chest in the southeastern dead end containing the Dungeon Map . Return to the eastern outer wall and follow it north.
Gold Skulltula 2/5 – behind the false wall
In the northeast, a short passage ends at a cracked wall. Place a bomb in front of it. Defeat the Gold Skulltula 2/5 with the Hookshot and collect its Token . Return to the outer passage and continue west along the northern wall.
Small Key 4/8
At the northern edge, step on the floor switch outside the next Goron’s cell. Open the bars, speak to the Goron, and take Small Key 4/8 from his chest. Follow the outer path west and south to the locked door in the western wall. Unlock it with this Small Key.
The Wandering Wall of Fire
In the room behind the western maze door, you will first encounter the eye on the right wall . The open side alcove contains the Compass. Return to the narrow path and go through the front door. In the large gated room, a moving wall of fire appears behind Link. Walk in front of it to the steps at the far end. The locked door on the left remains closed for now. Push the block over the edge at the top to reach the upper level of the rock labyrinth.
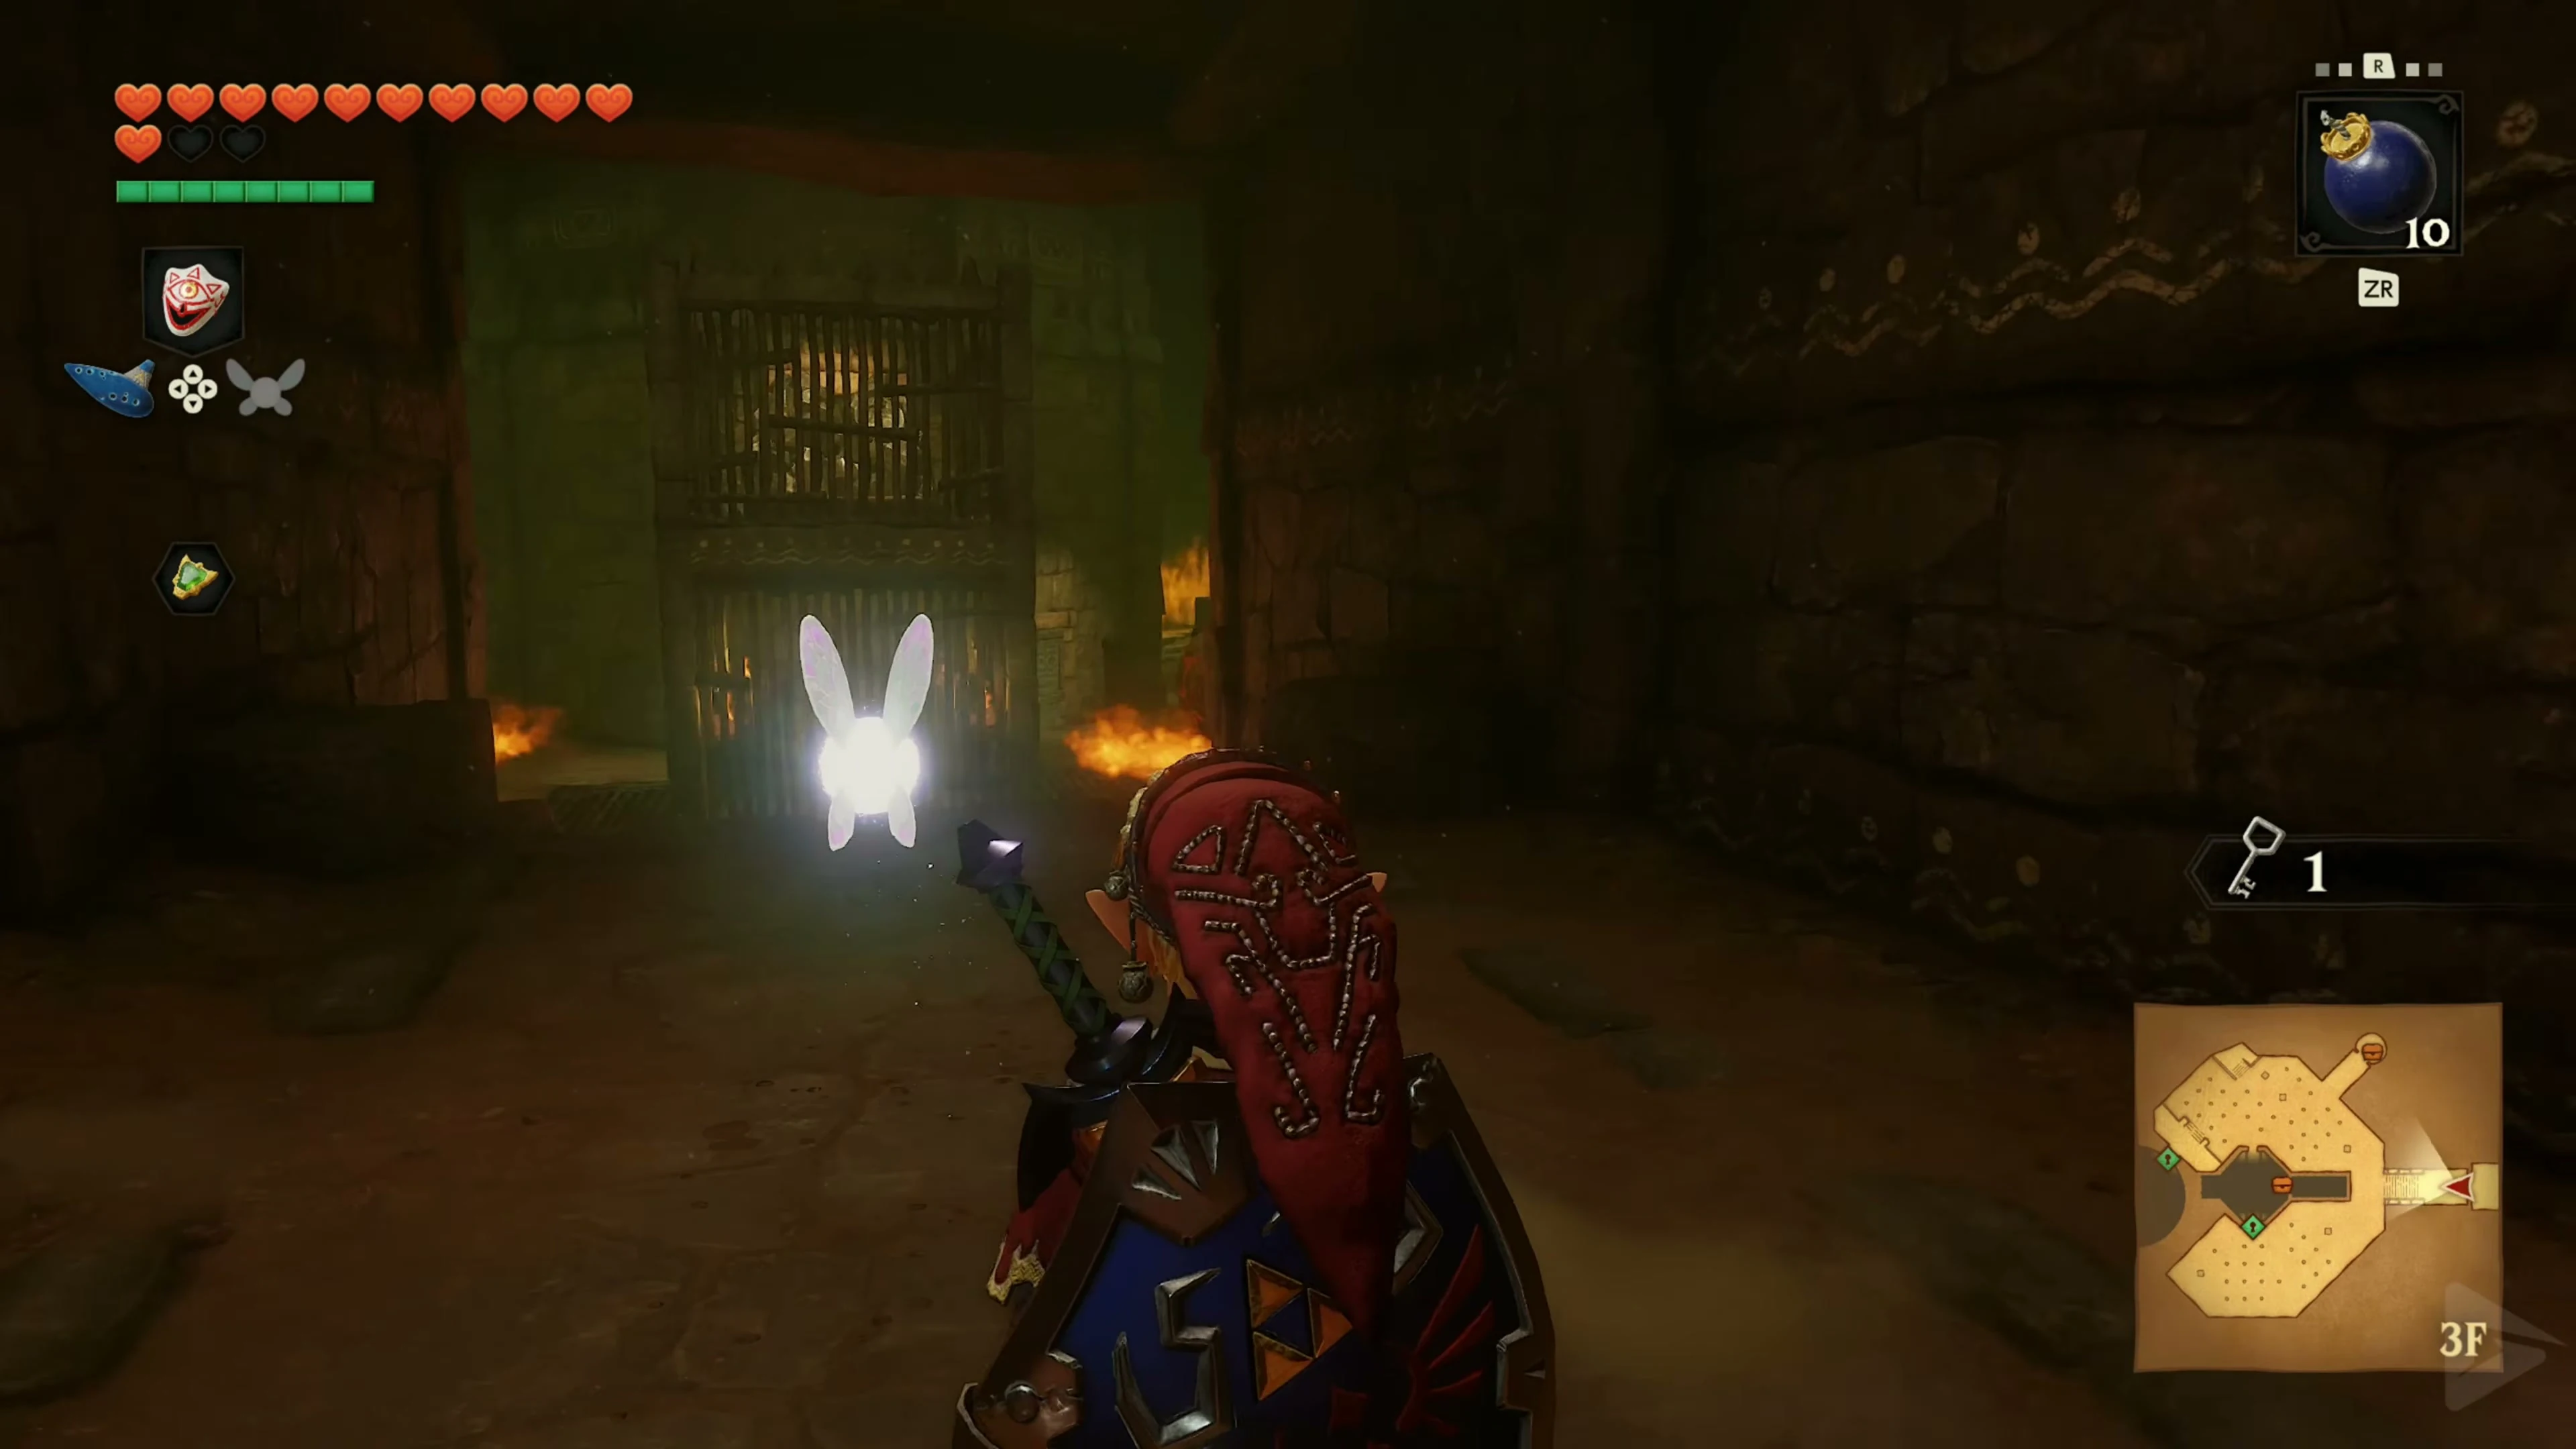
The upper walls of the rock labyrinth
You are now standing on top of the walls of the rock labyrinth. Stay by the door you came through: Navi is glowing green on the high ledge next to it.
Gold Skulltulas 3/5 and 4/5 – Scarecrow Song
Play the Scarecrow Song on this ledge, which you learned at Lake Hylia and validated as an adult. Pierre will appear above you.
Use the Hookshot to pull yourself up to Pierre. Turn around on the ledge and aim at the circular Hookshot target on the moving platform. Grapple across and ride it up to the hidden door.
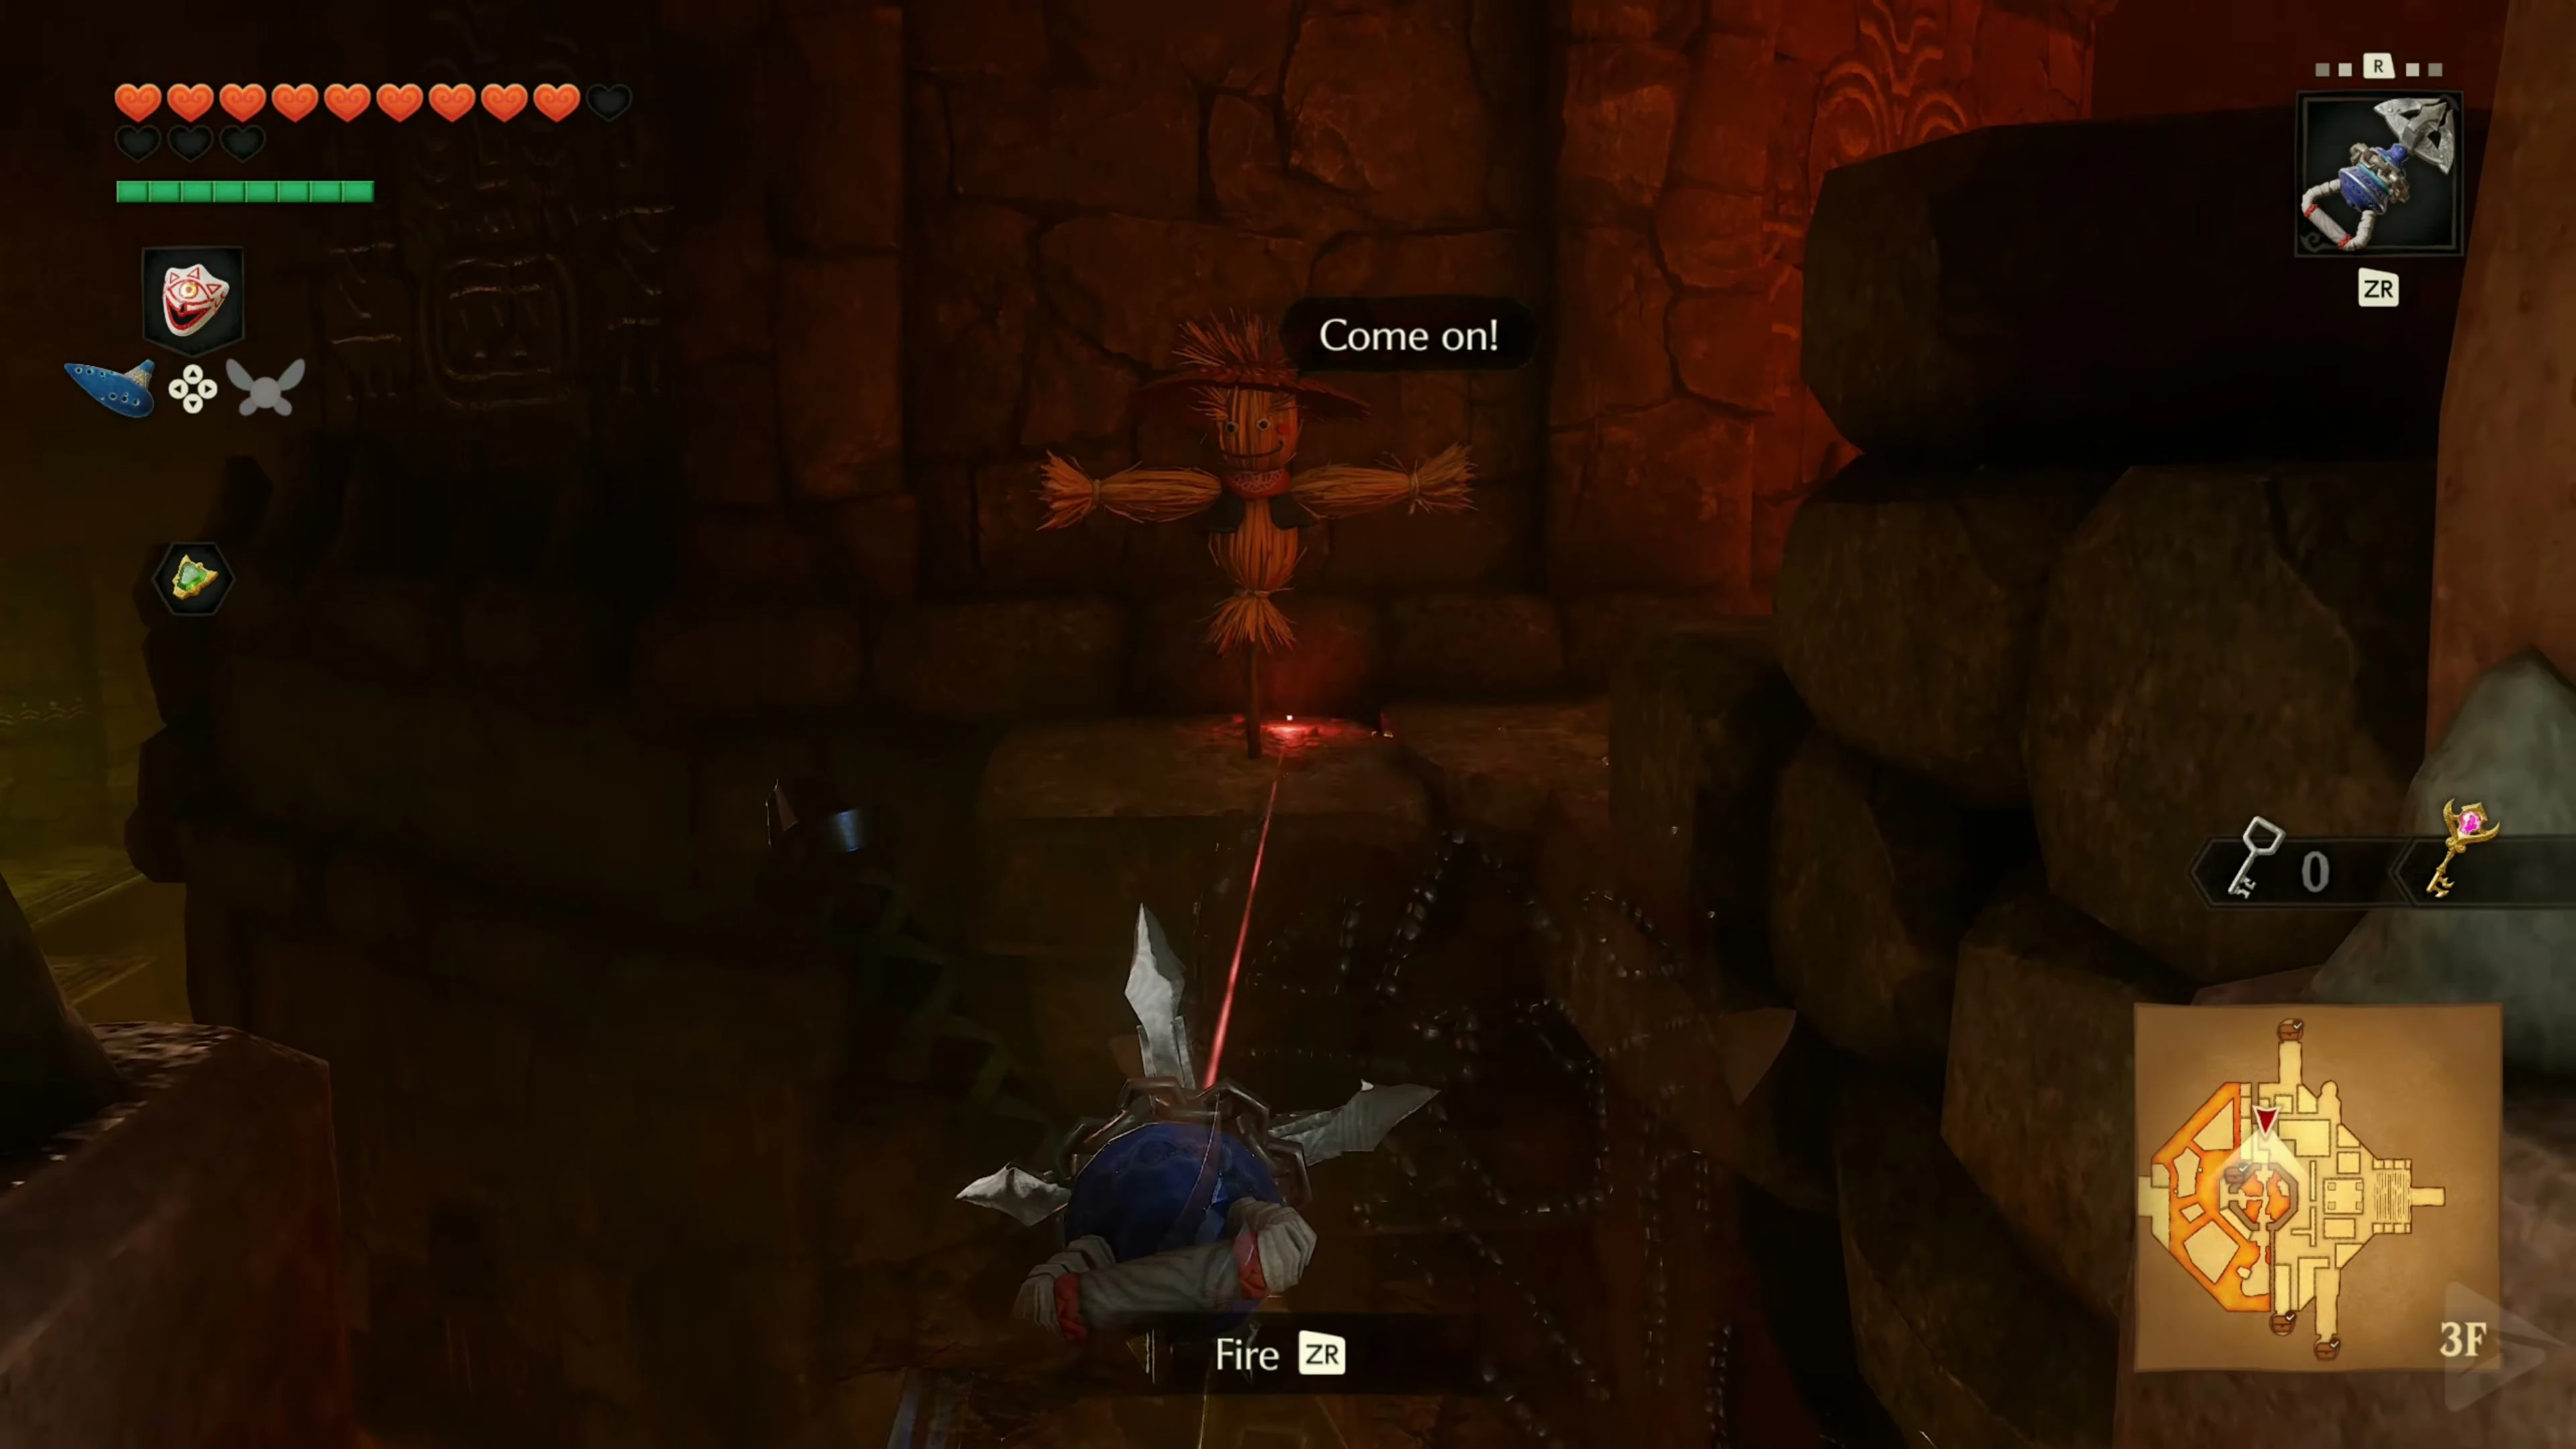
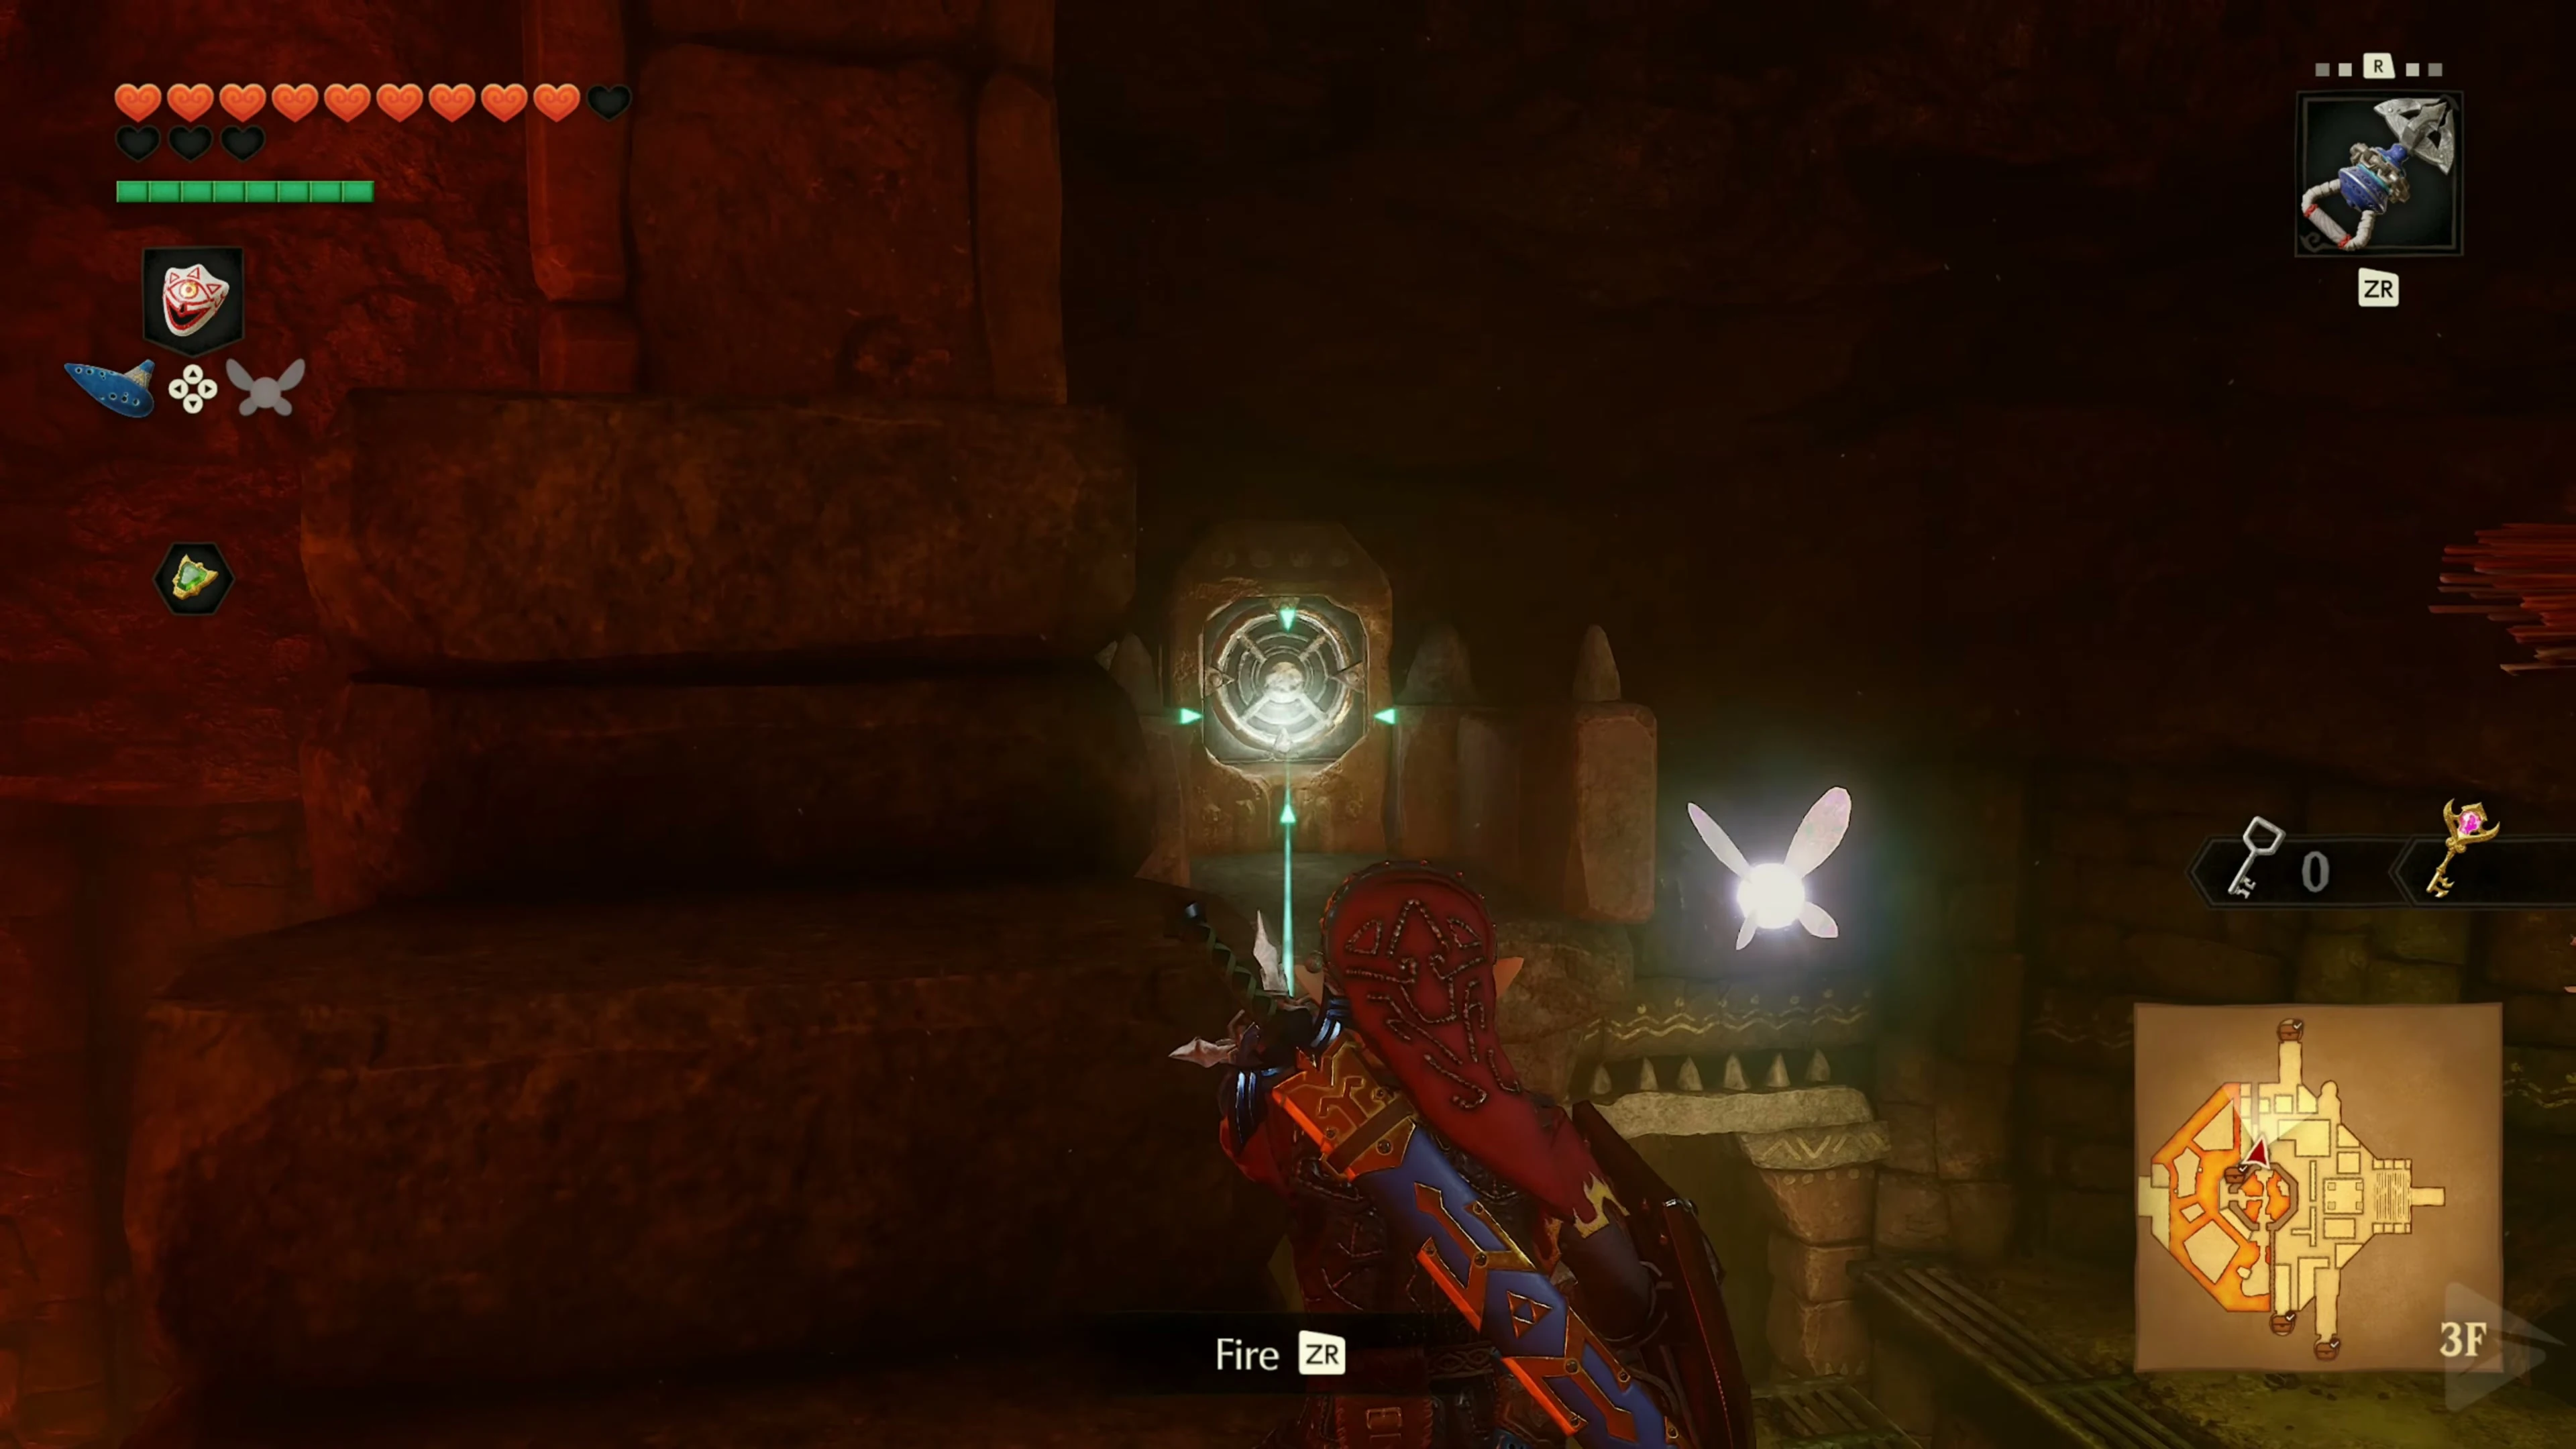
Gold Skulltula 3/5 – in the hidden tower
After the elevator ride, climb the metal walls. Turn around at the top in front of the door to the fifth floor. Defeat the Gold Skulltula 3/5 on the wall behind you and pull its Token towards you with the Hookshot . Then go through the door.
Gold Skulltula 4/5 – top floor
Go to the top circular room and turn the corner. Defeat the Gold Skulltula 4/5 above the lava and retrieve its Token using the Hookshot. Then activate the switch that temporarily makes the Hookshot anchor points appear. Quickly grapple to the three chests and open them all. 20 Rupees, 20 Rupees, and 50 Rupees . Activate the switch again when the timer runs out. Go back through the same door, climb down the grates, and take the platform back to the upper rock labyrinth.
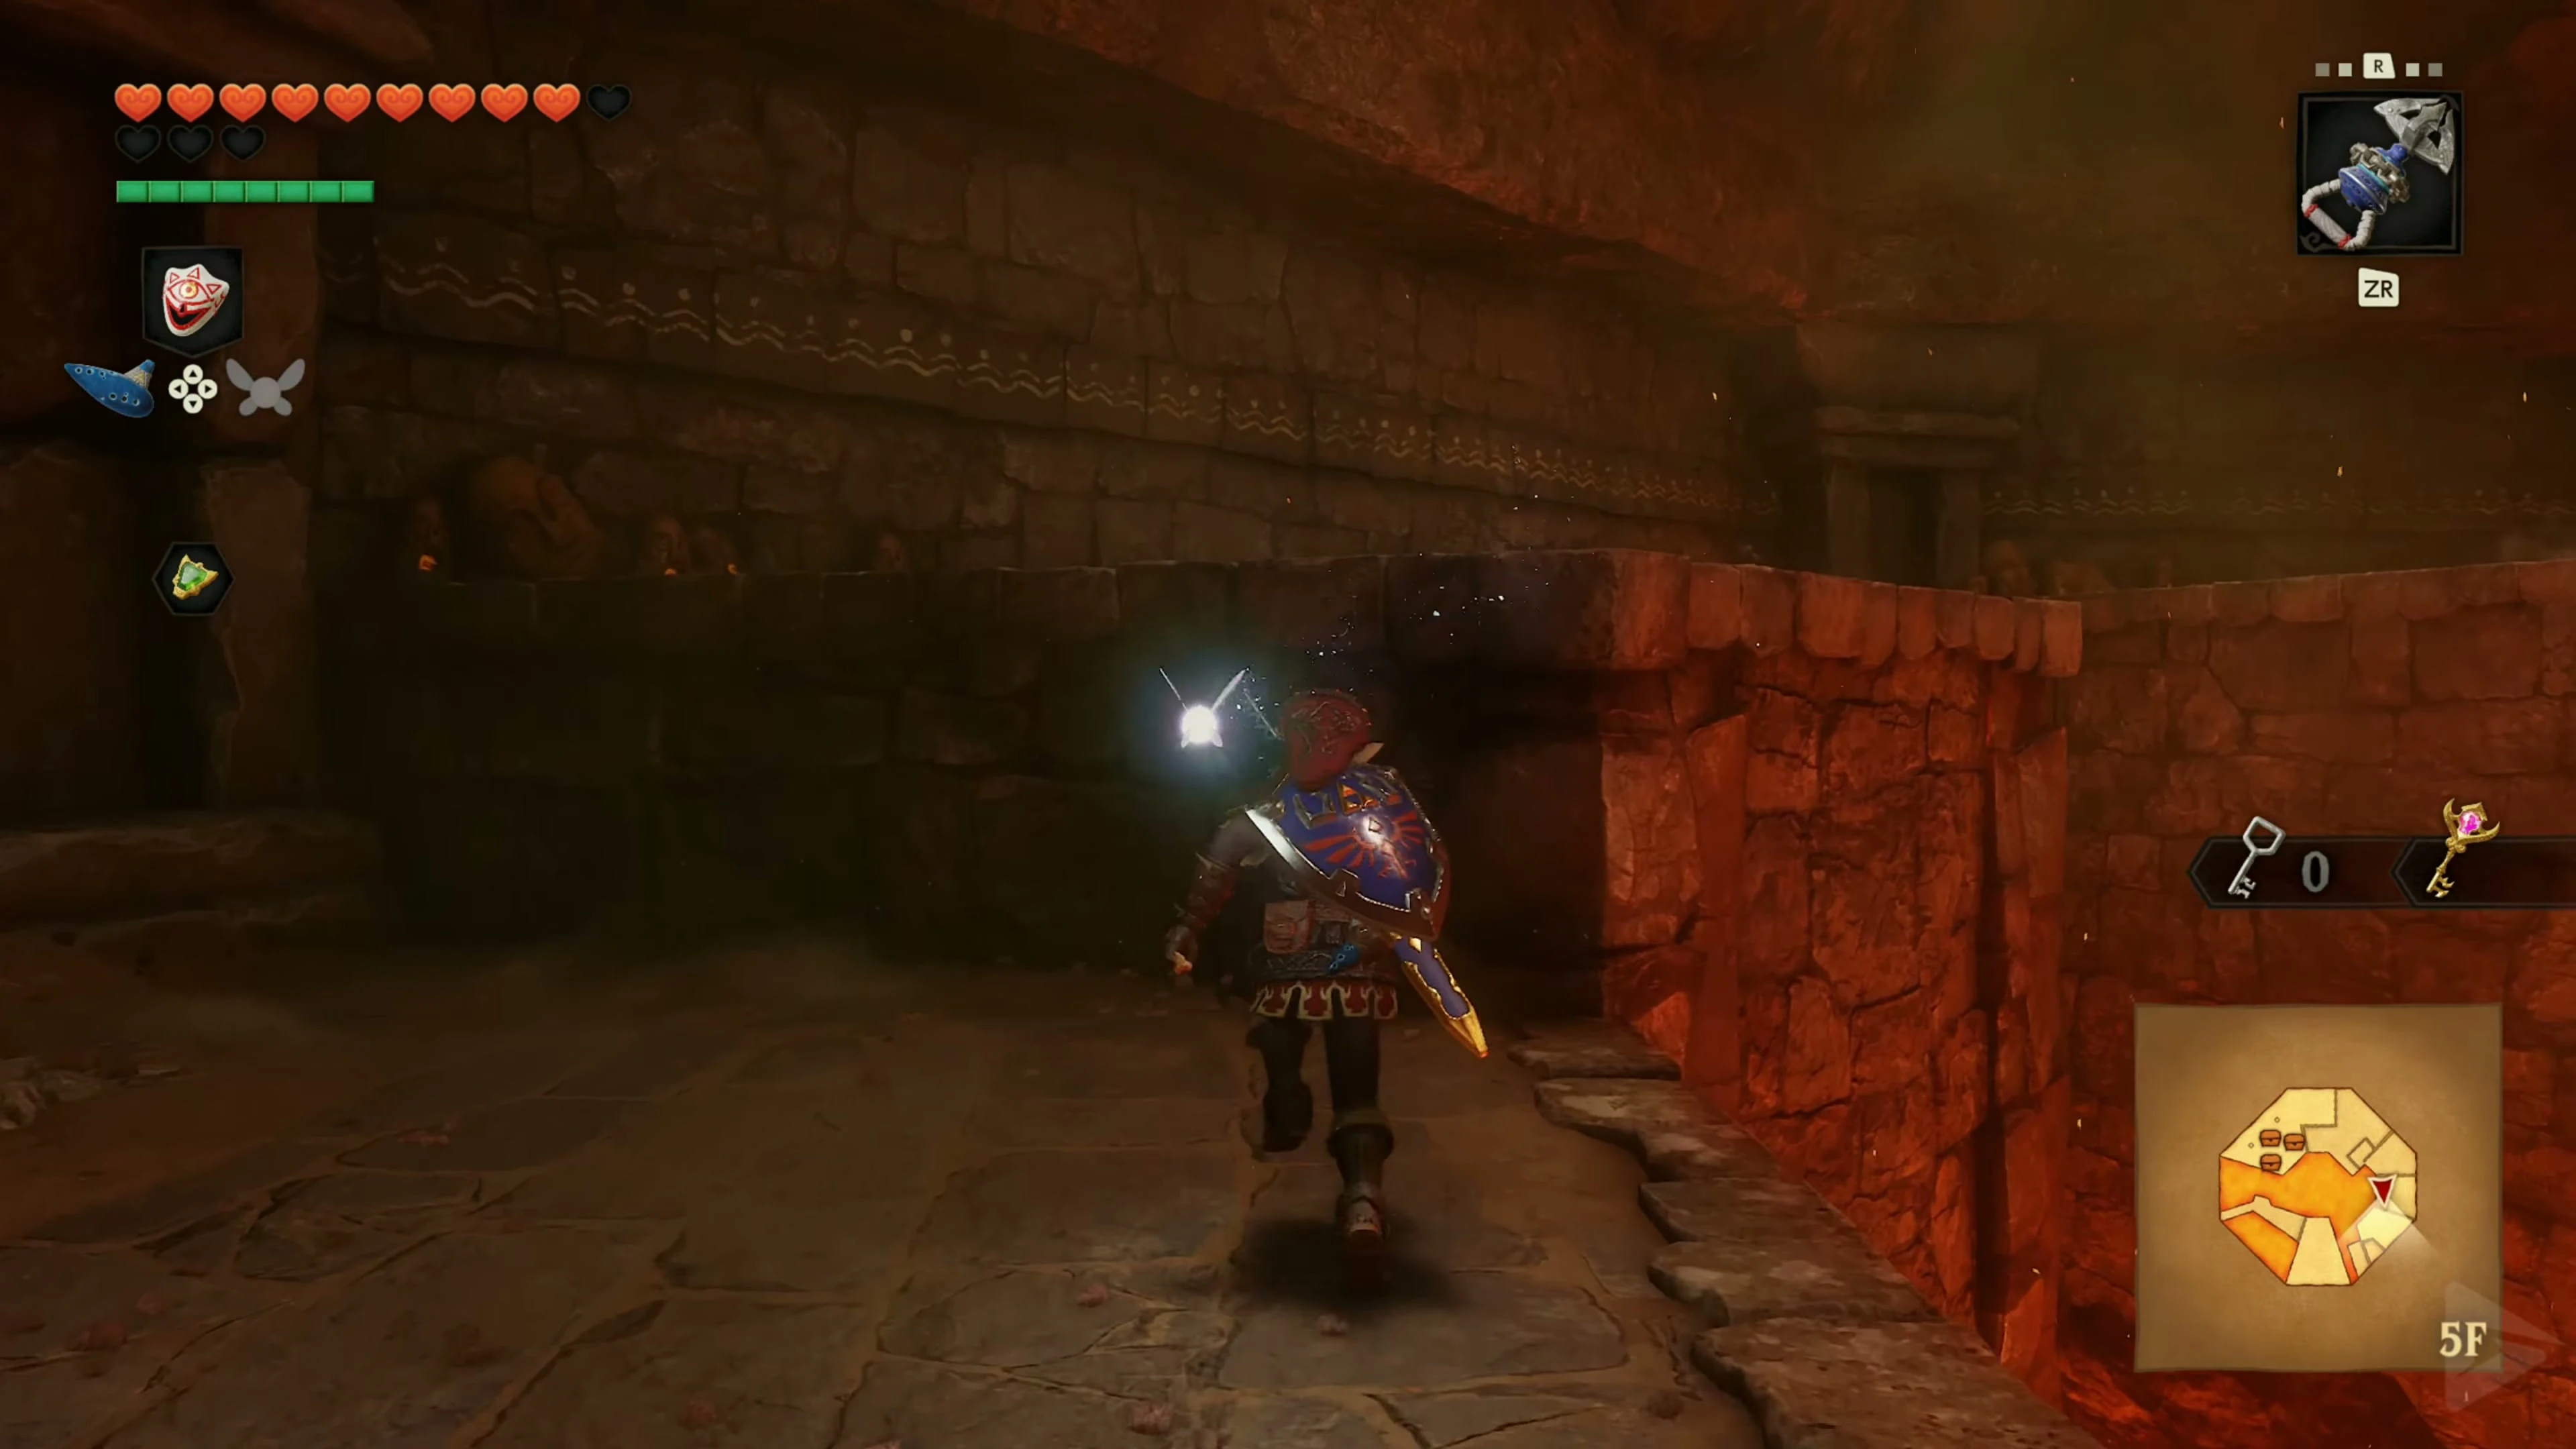
Small Key 5/8 – the floor shaft
From the return point, jump over the walls to the platform with the Torch Slug. Defeat it and blast the cracked floor panel. Climb down the grate through the shaft to the lower cell, activate the switch, and open the chest with the Goron containing Small Key 5/8 . Climb back up the same grate so you remain on the upper walls.
Small Key 6/8 – upper cell
On the upper level, activate the floor switch in the southwest. Jump over the walls to the cell that opens, talk to the Goron, and take Small Key 6/8 from the chest. Go along the upper walls directly to the western door and through it back into the gated room with the moving wall of fire. You have two Small Keys with you.
The Labyrinth of Invisible Fire Walls
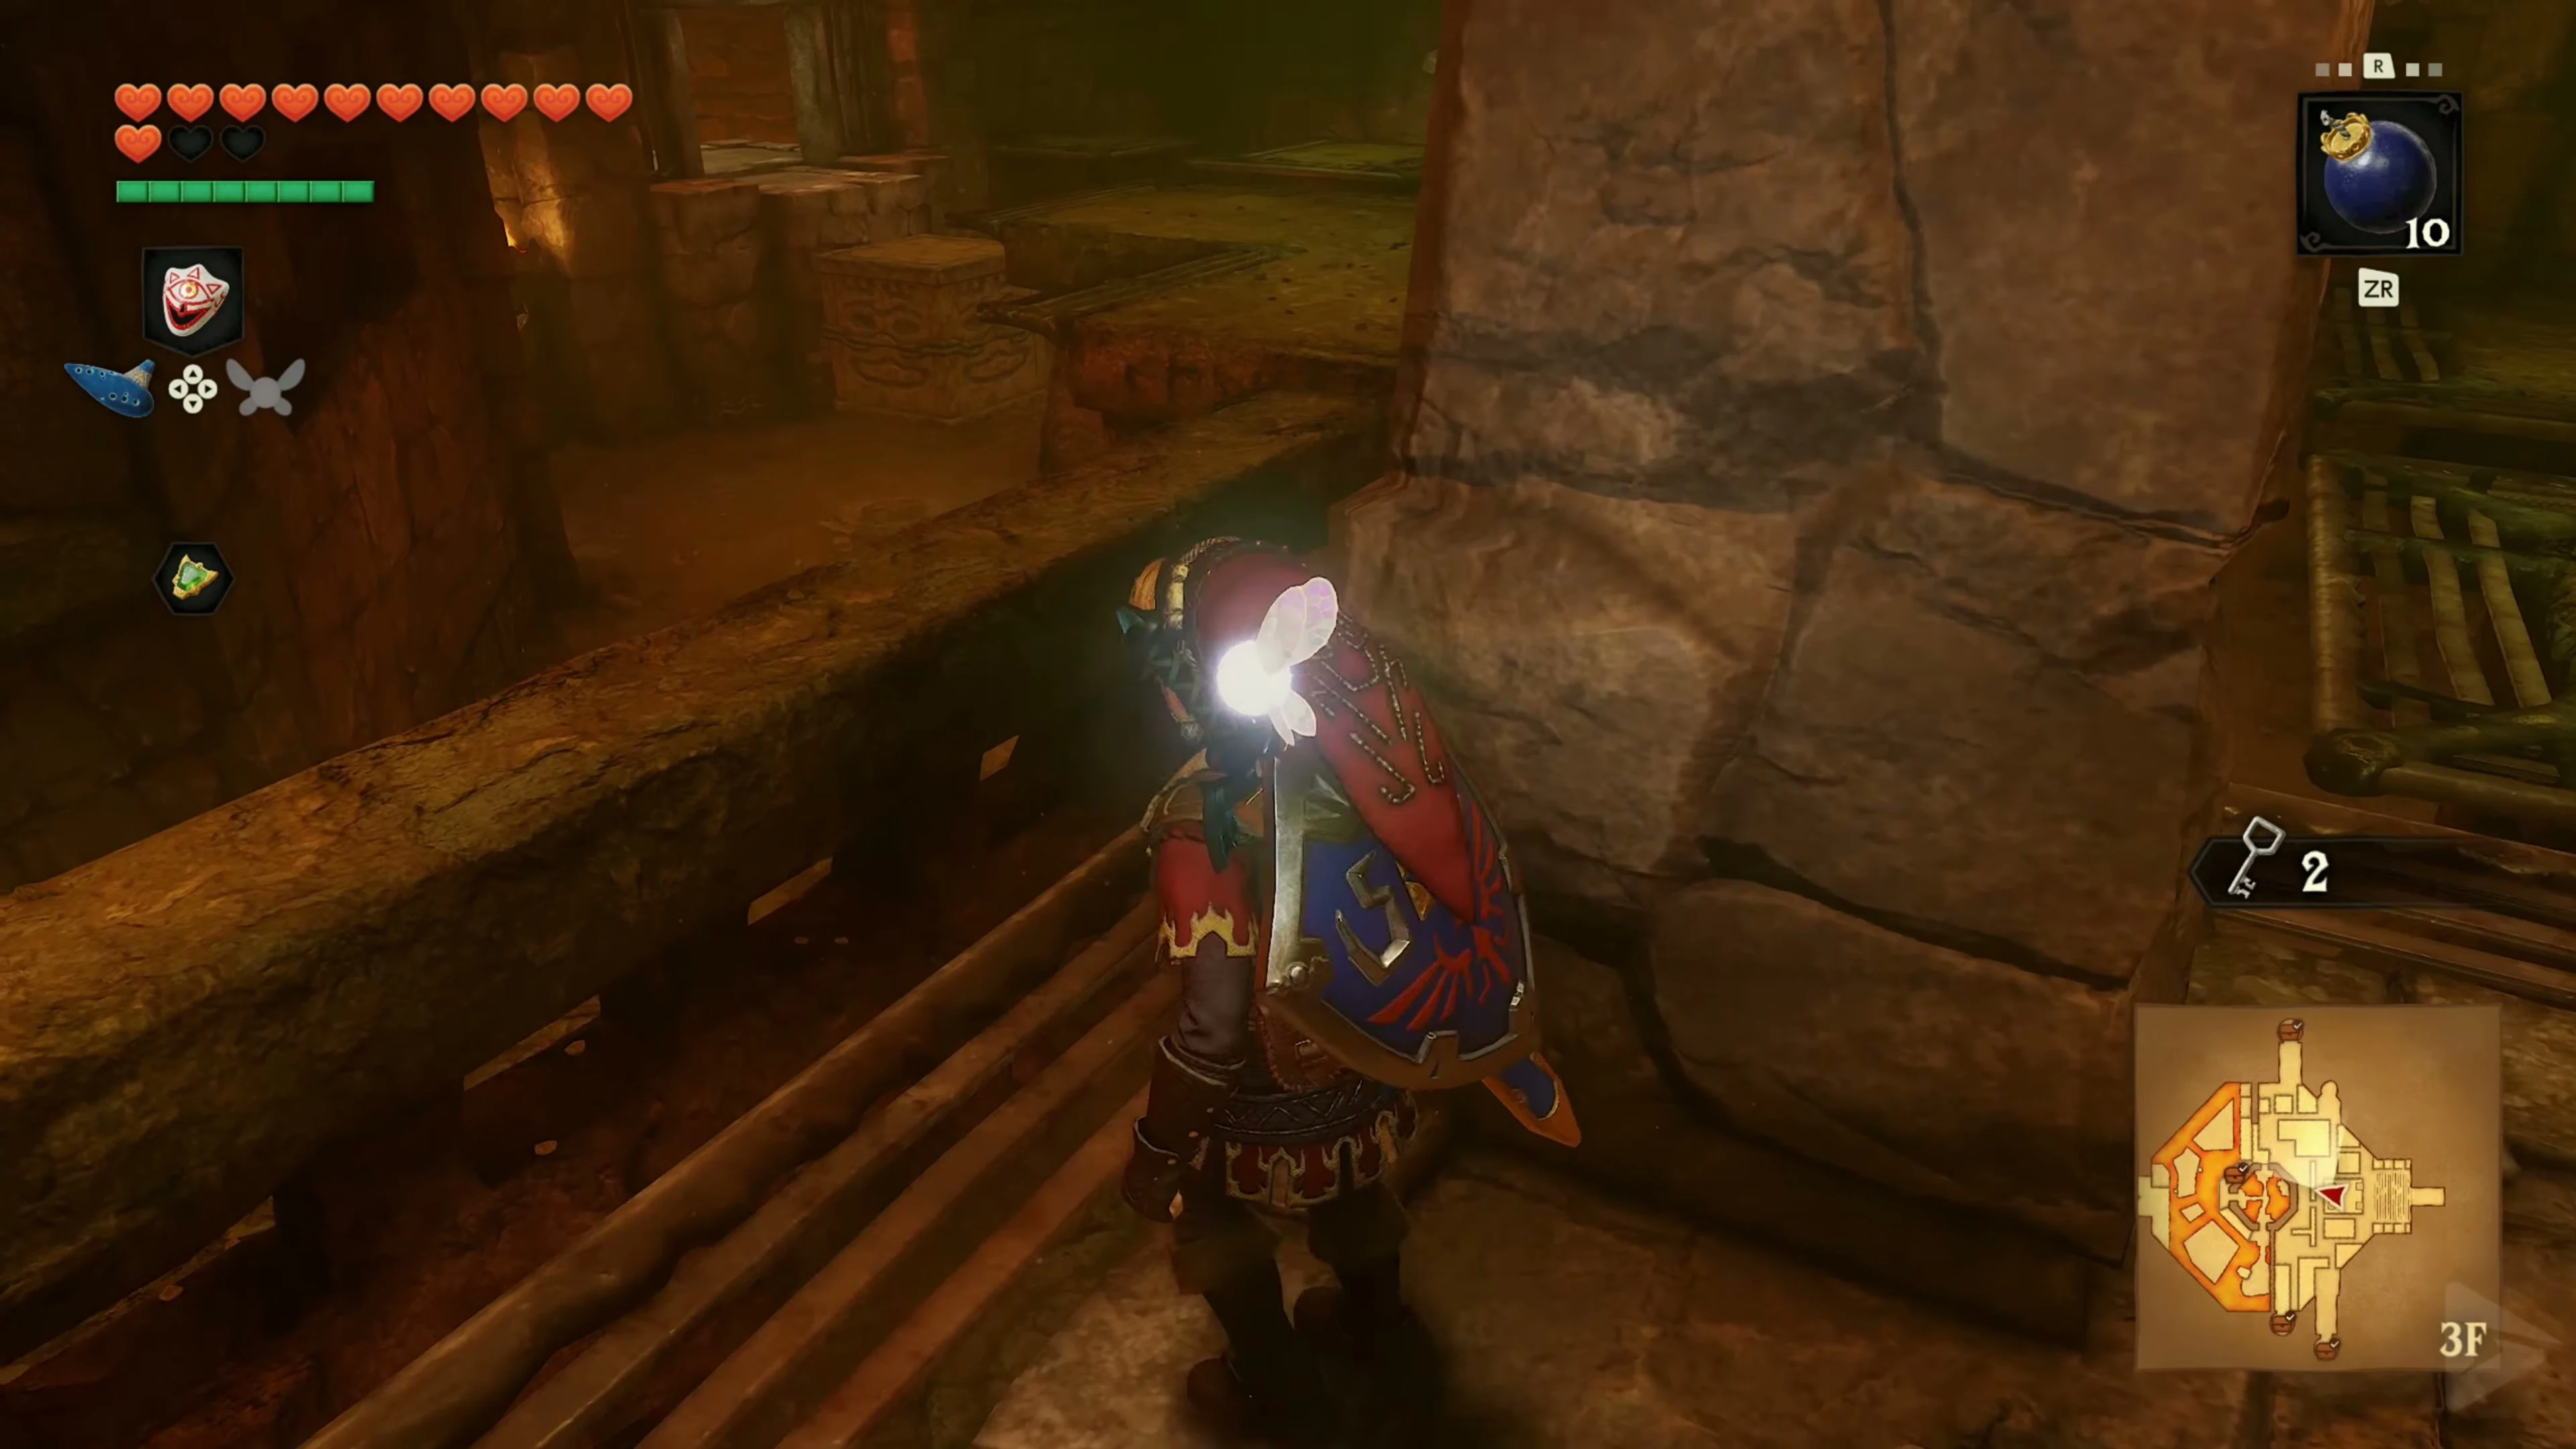
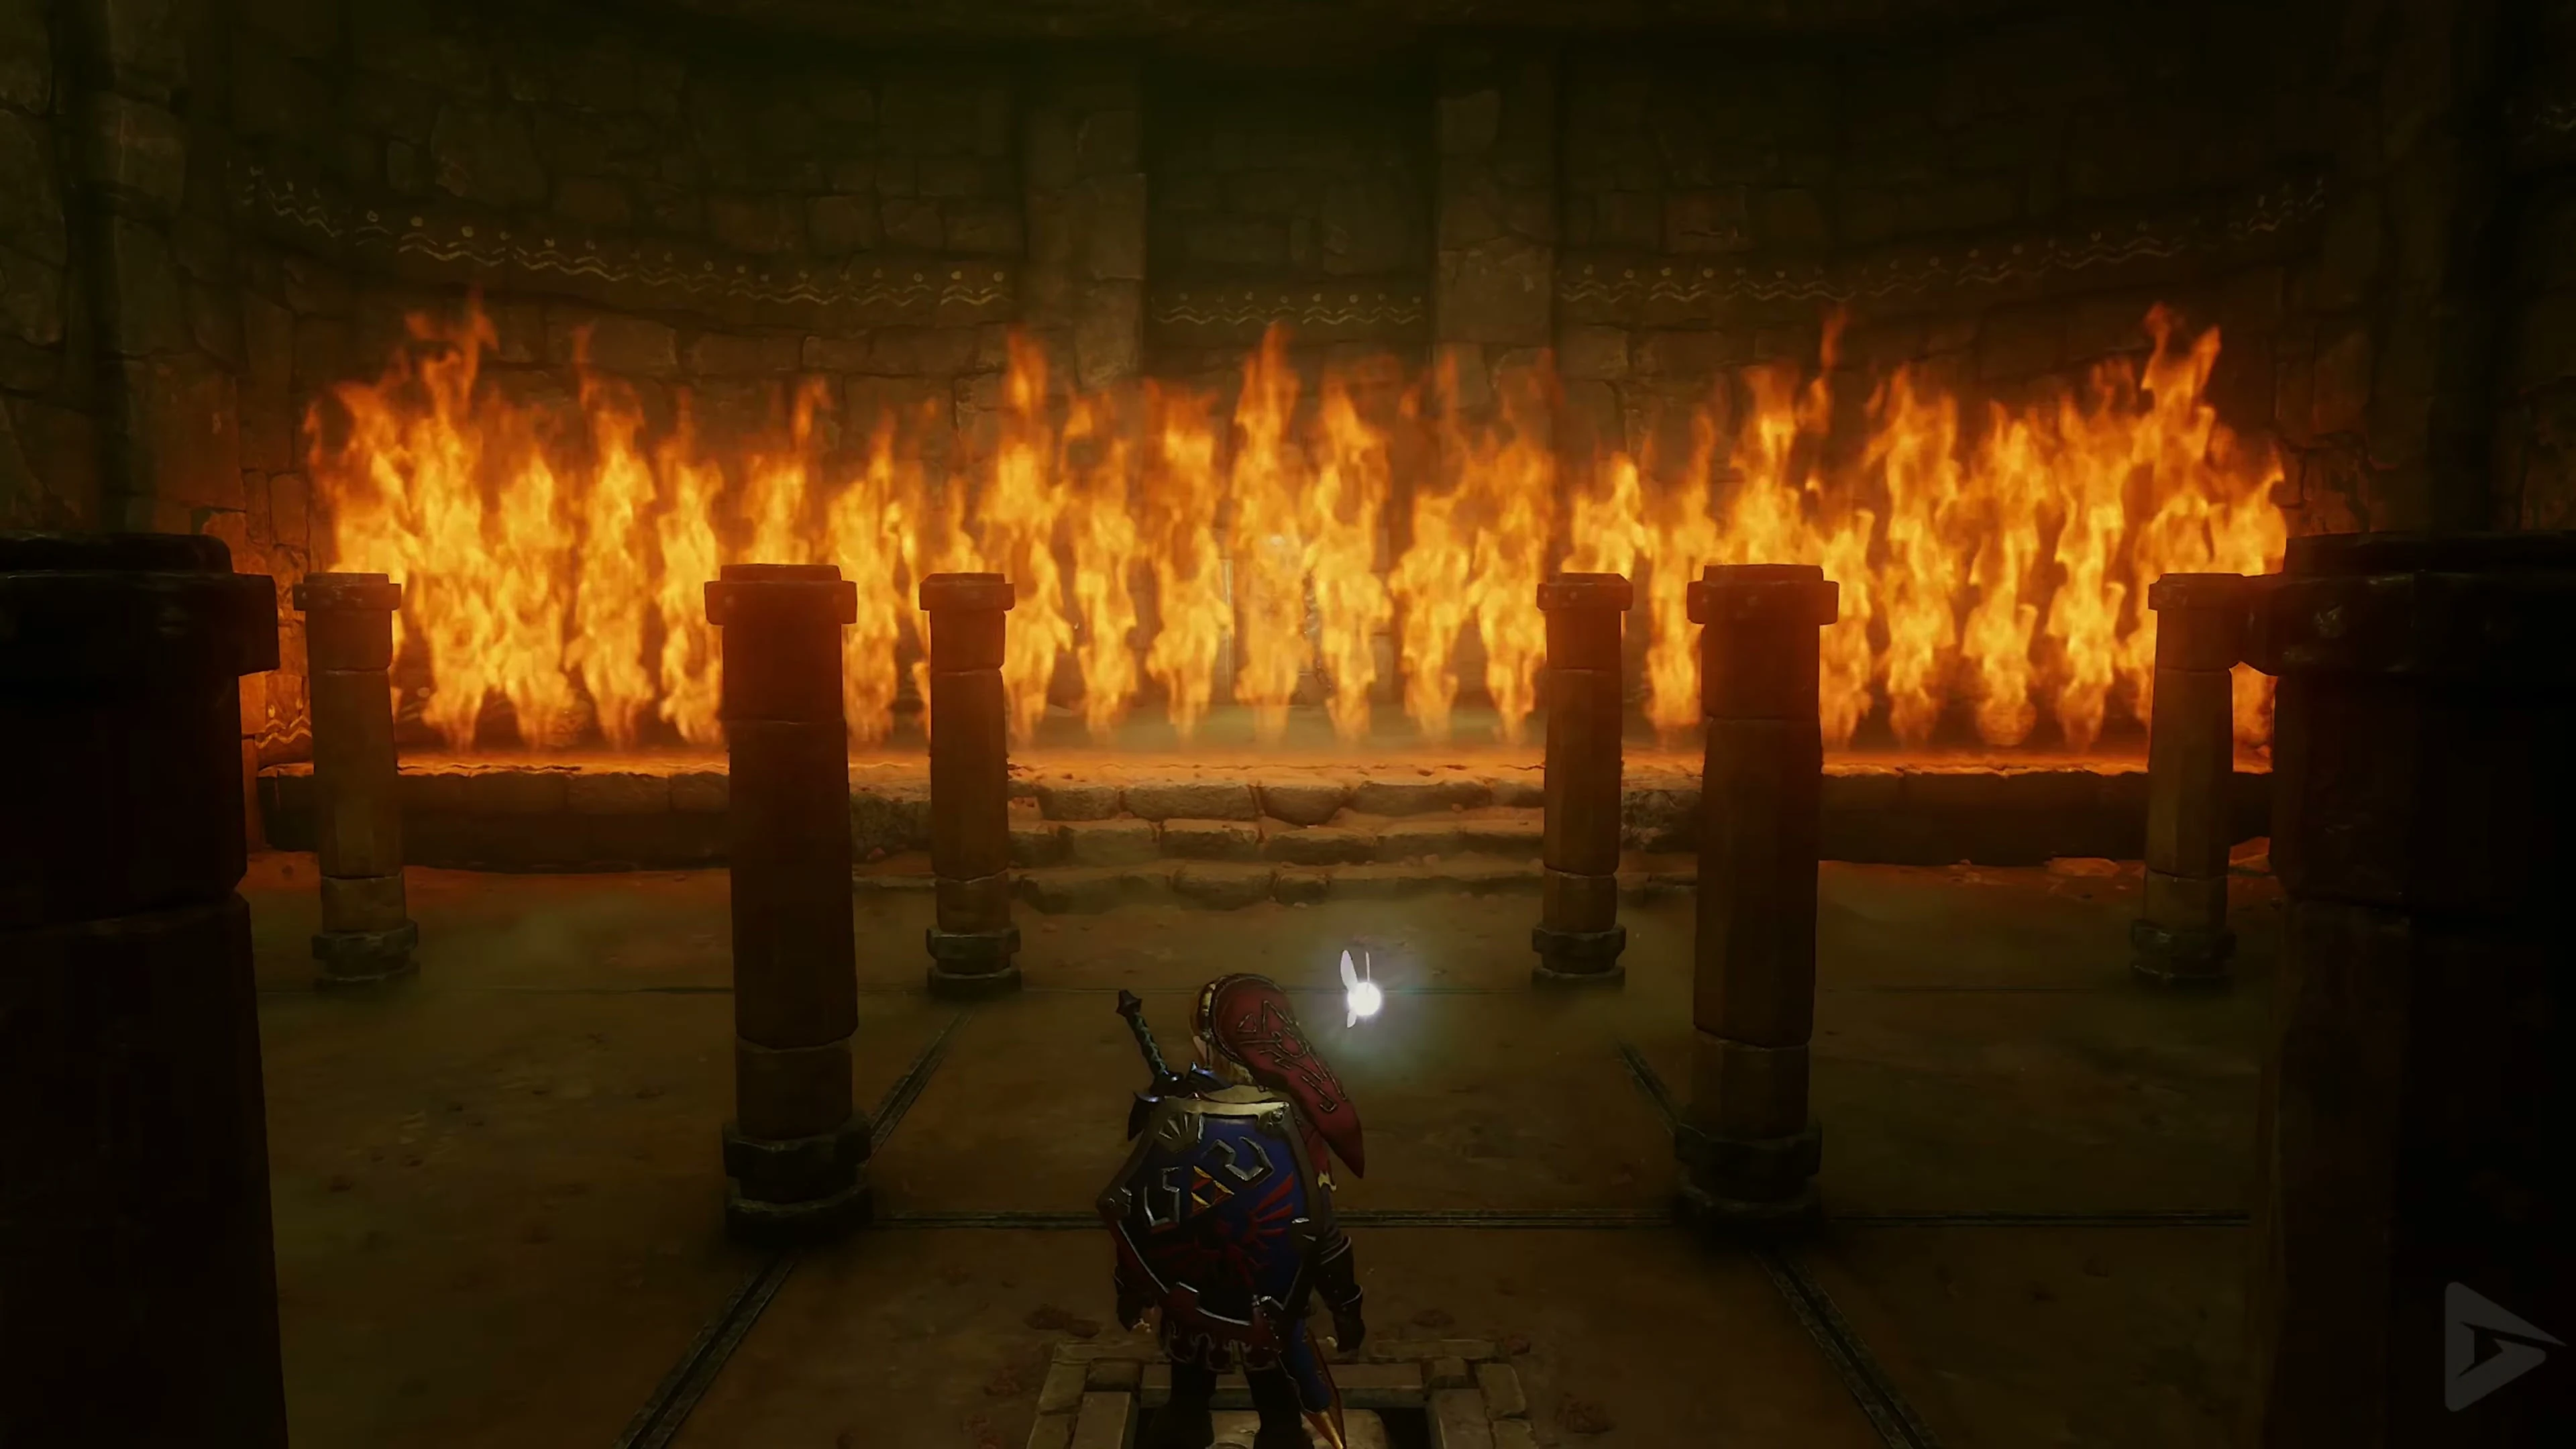
In the gated room, jump across the raised sections to the side ledge with the locked door. Open it with Small Key 5/8 and follow the passage into the fire labyrinth. Take out the Fire Keese with the bow. Feel your way forward between the pillars: The invisible fire walls will appear as soon as you get close enough. First, follow the open passages along the outer edge to the northern side door.
Small Key 7/8 – northern cell
In the large fire labyrinth, find the northern side door . Free the Goron behind it and take Small Key 7/8 from his chest. Return and follow the open passages along the outer edge to the locked inner door to the south.
Through the second fire maze
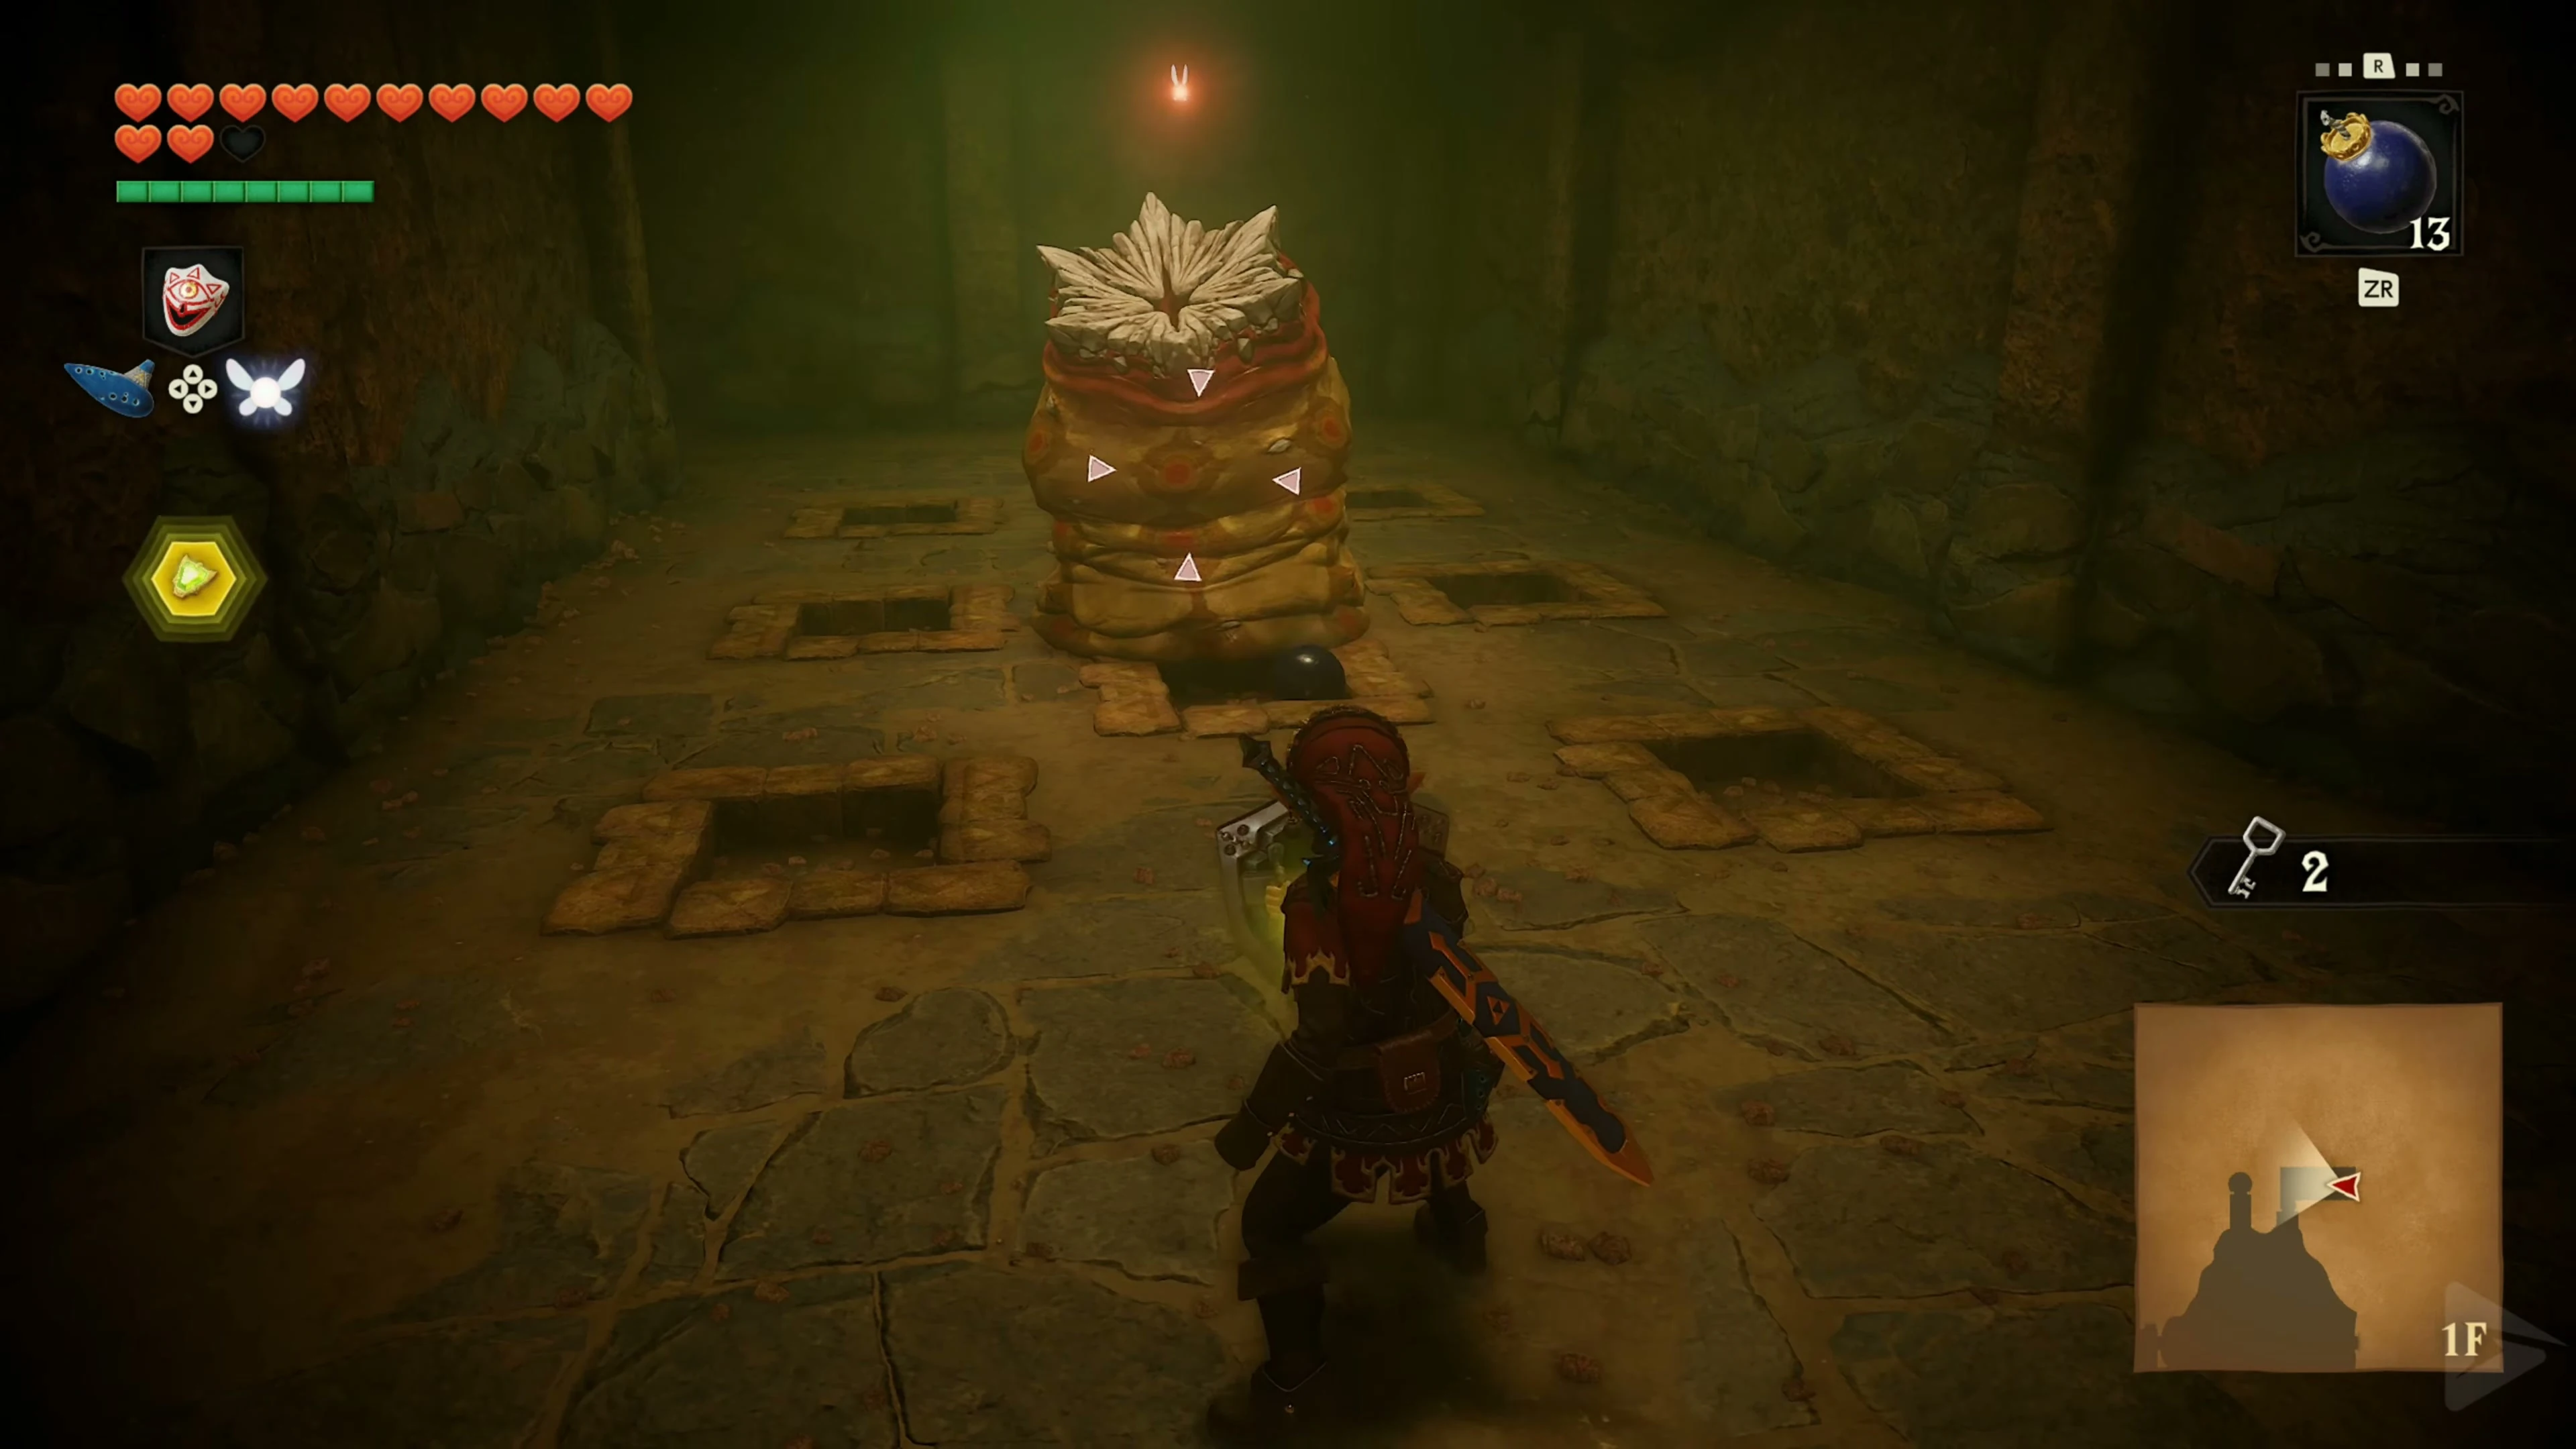
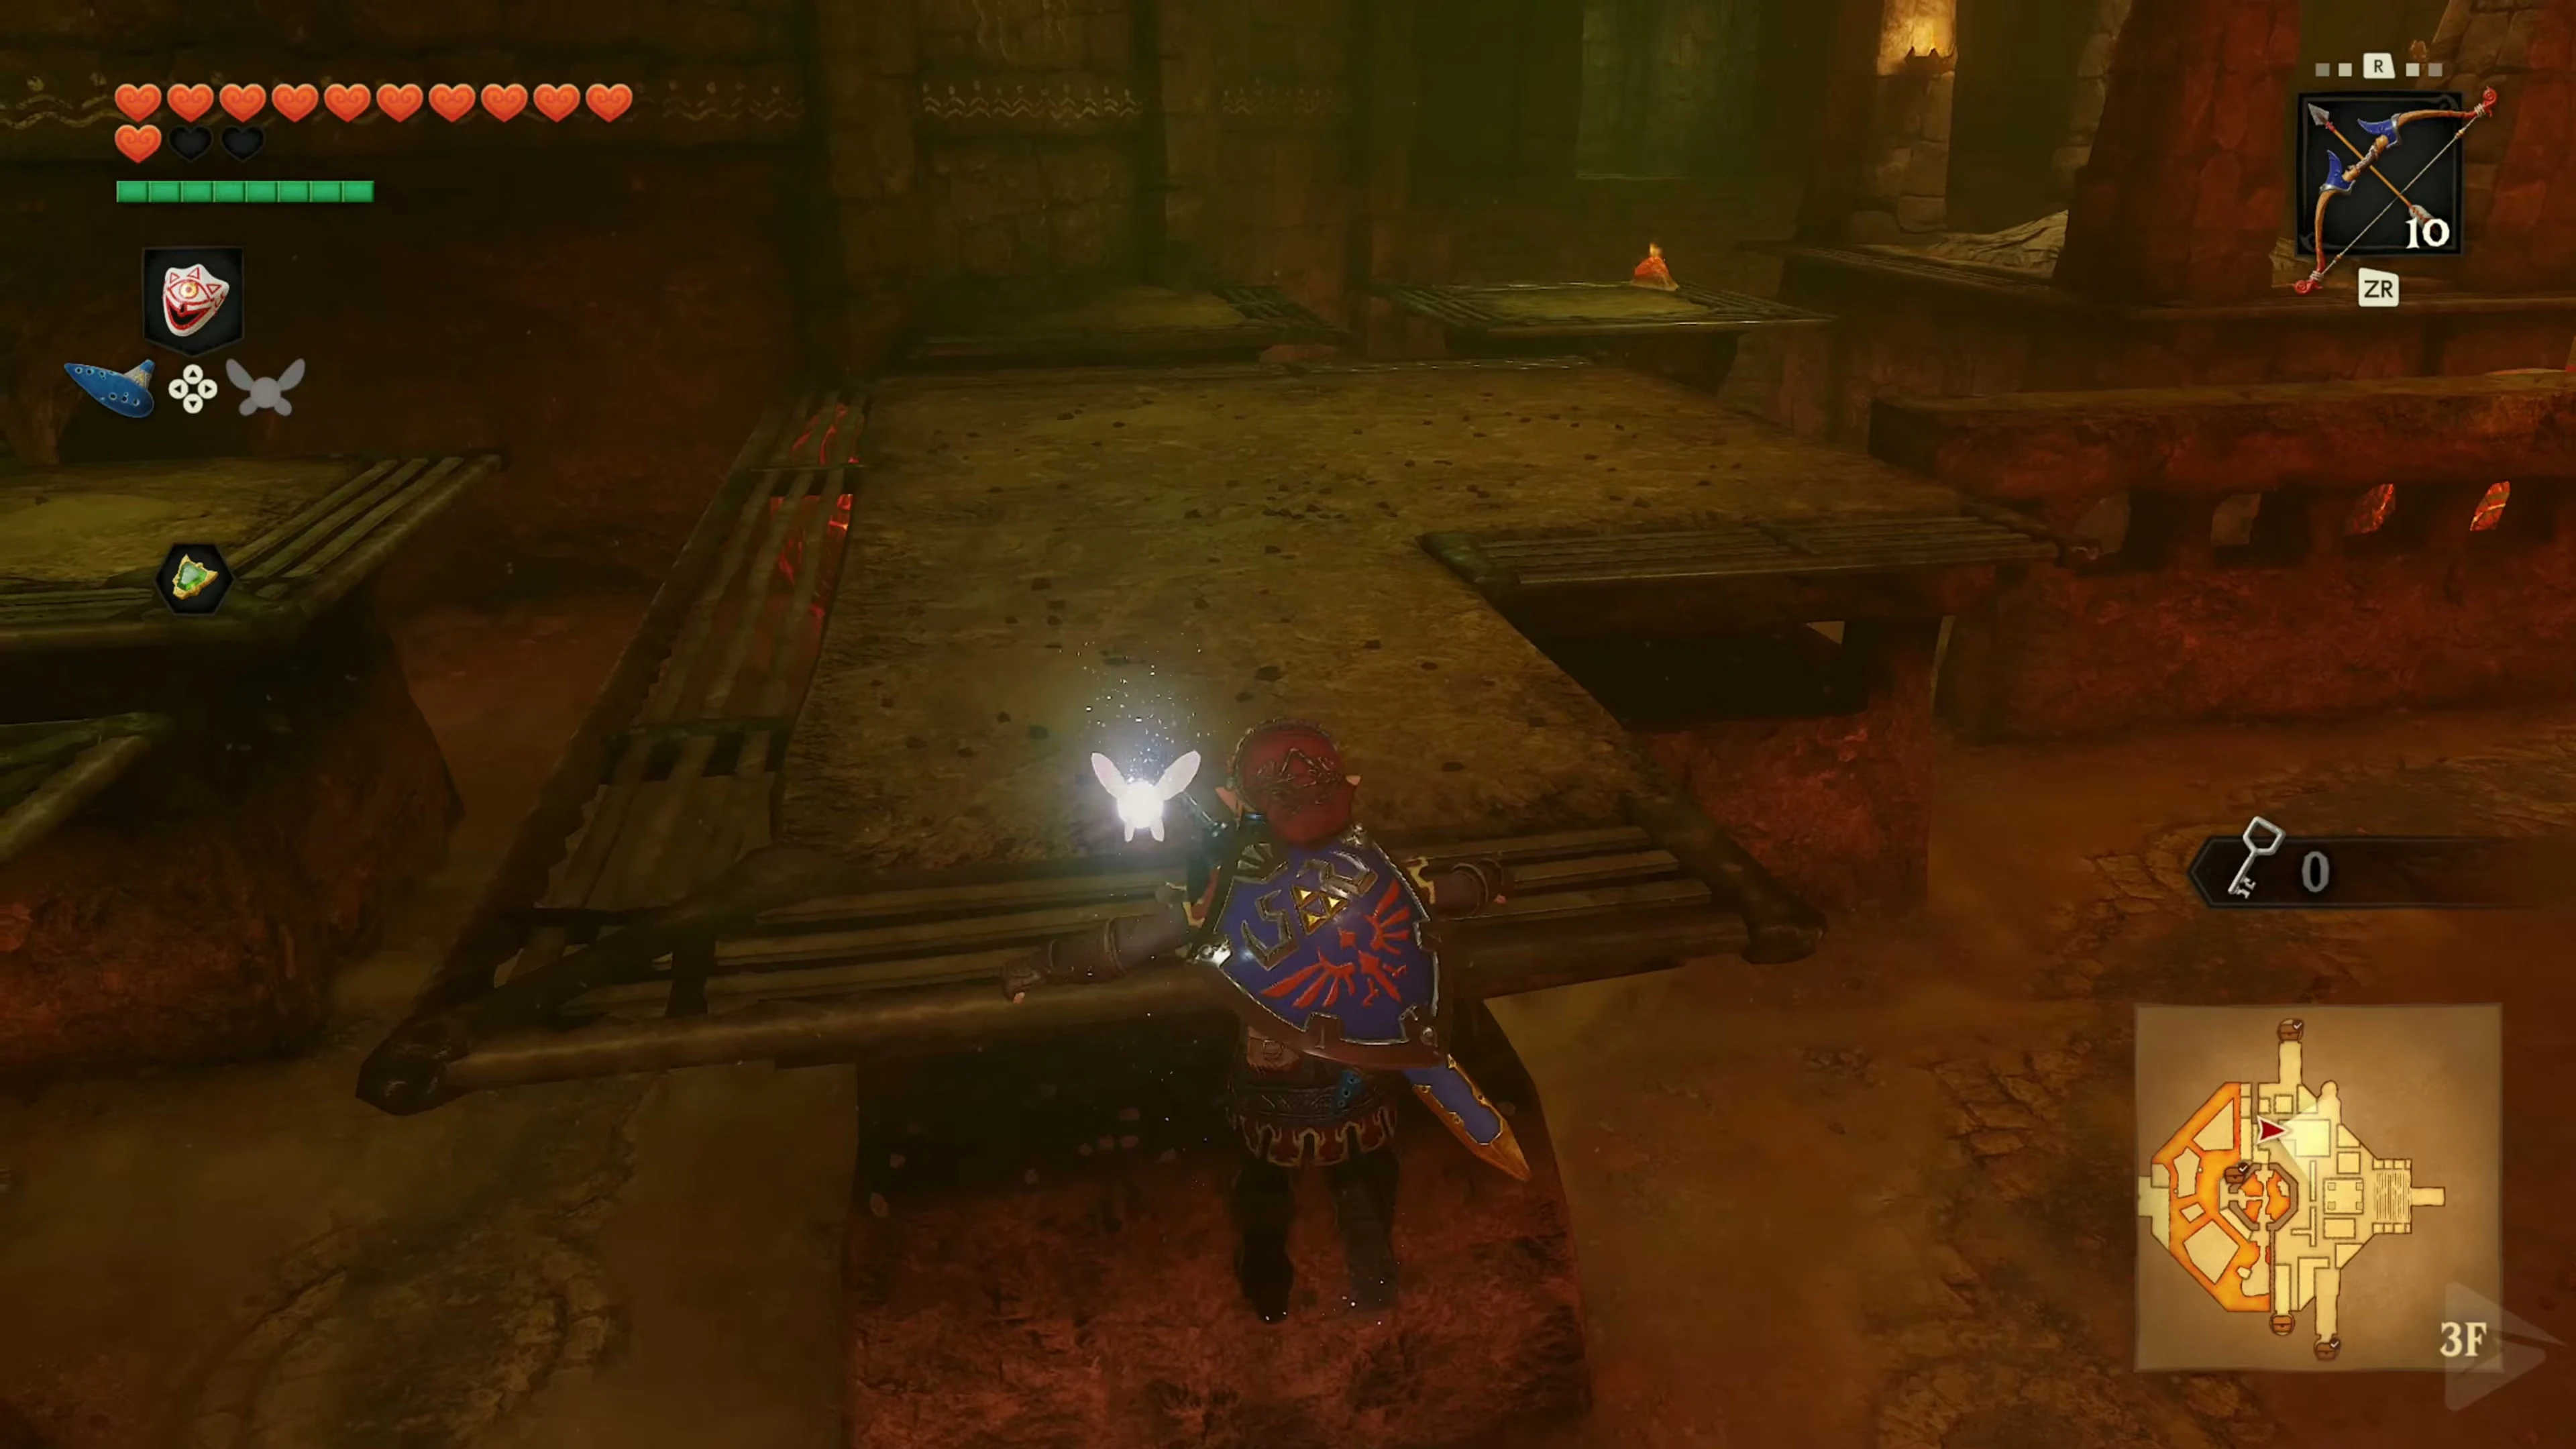
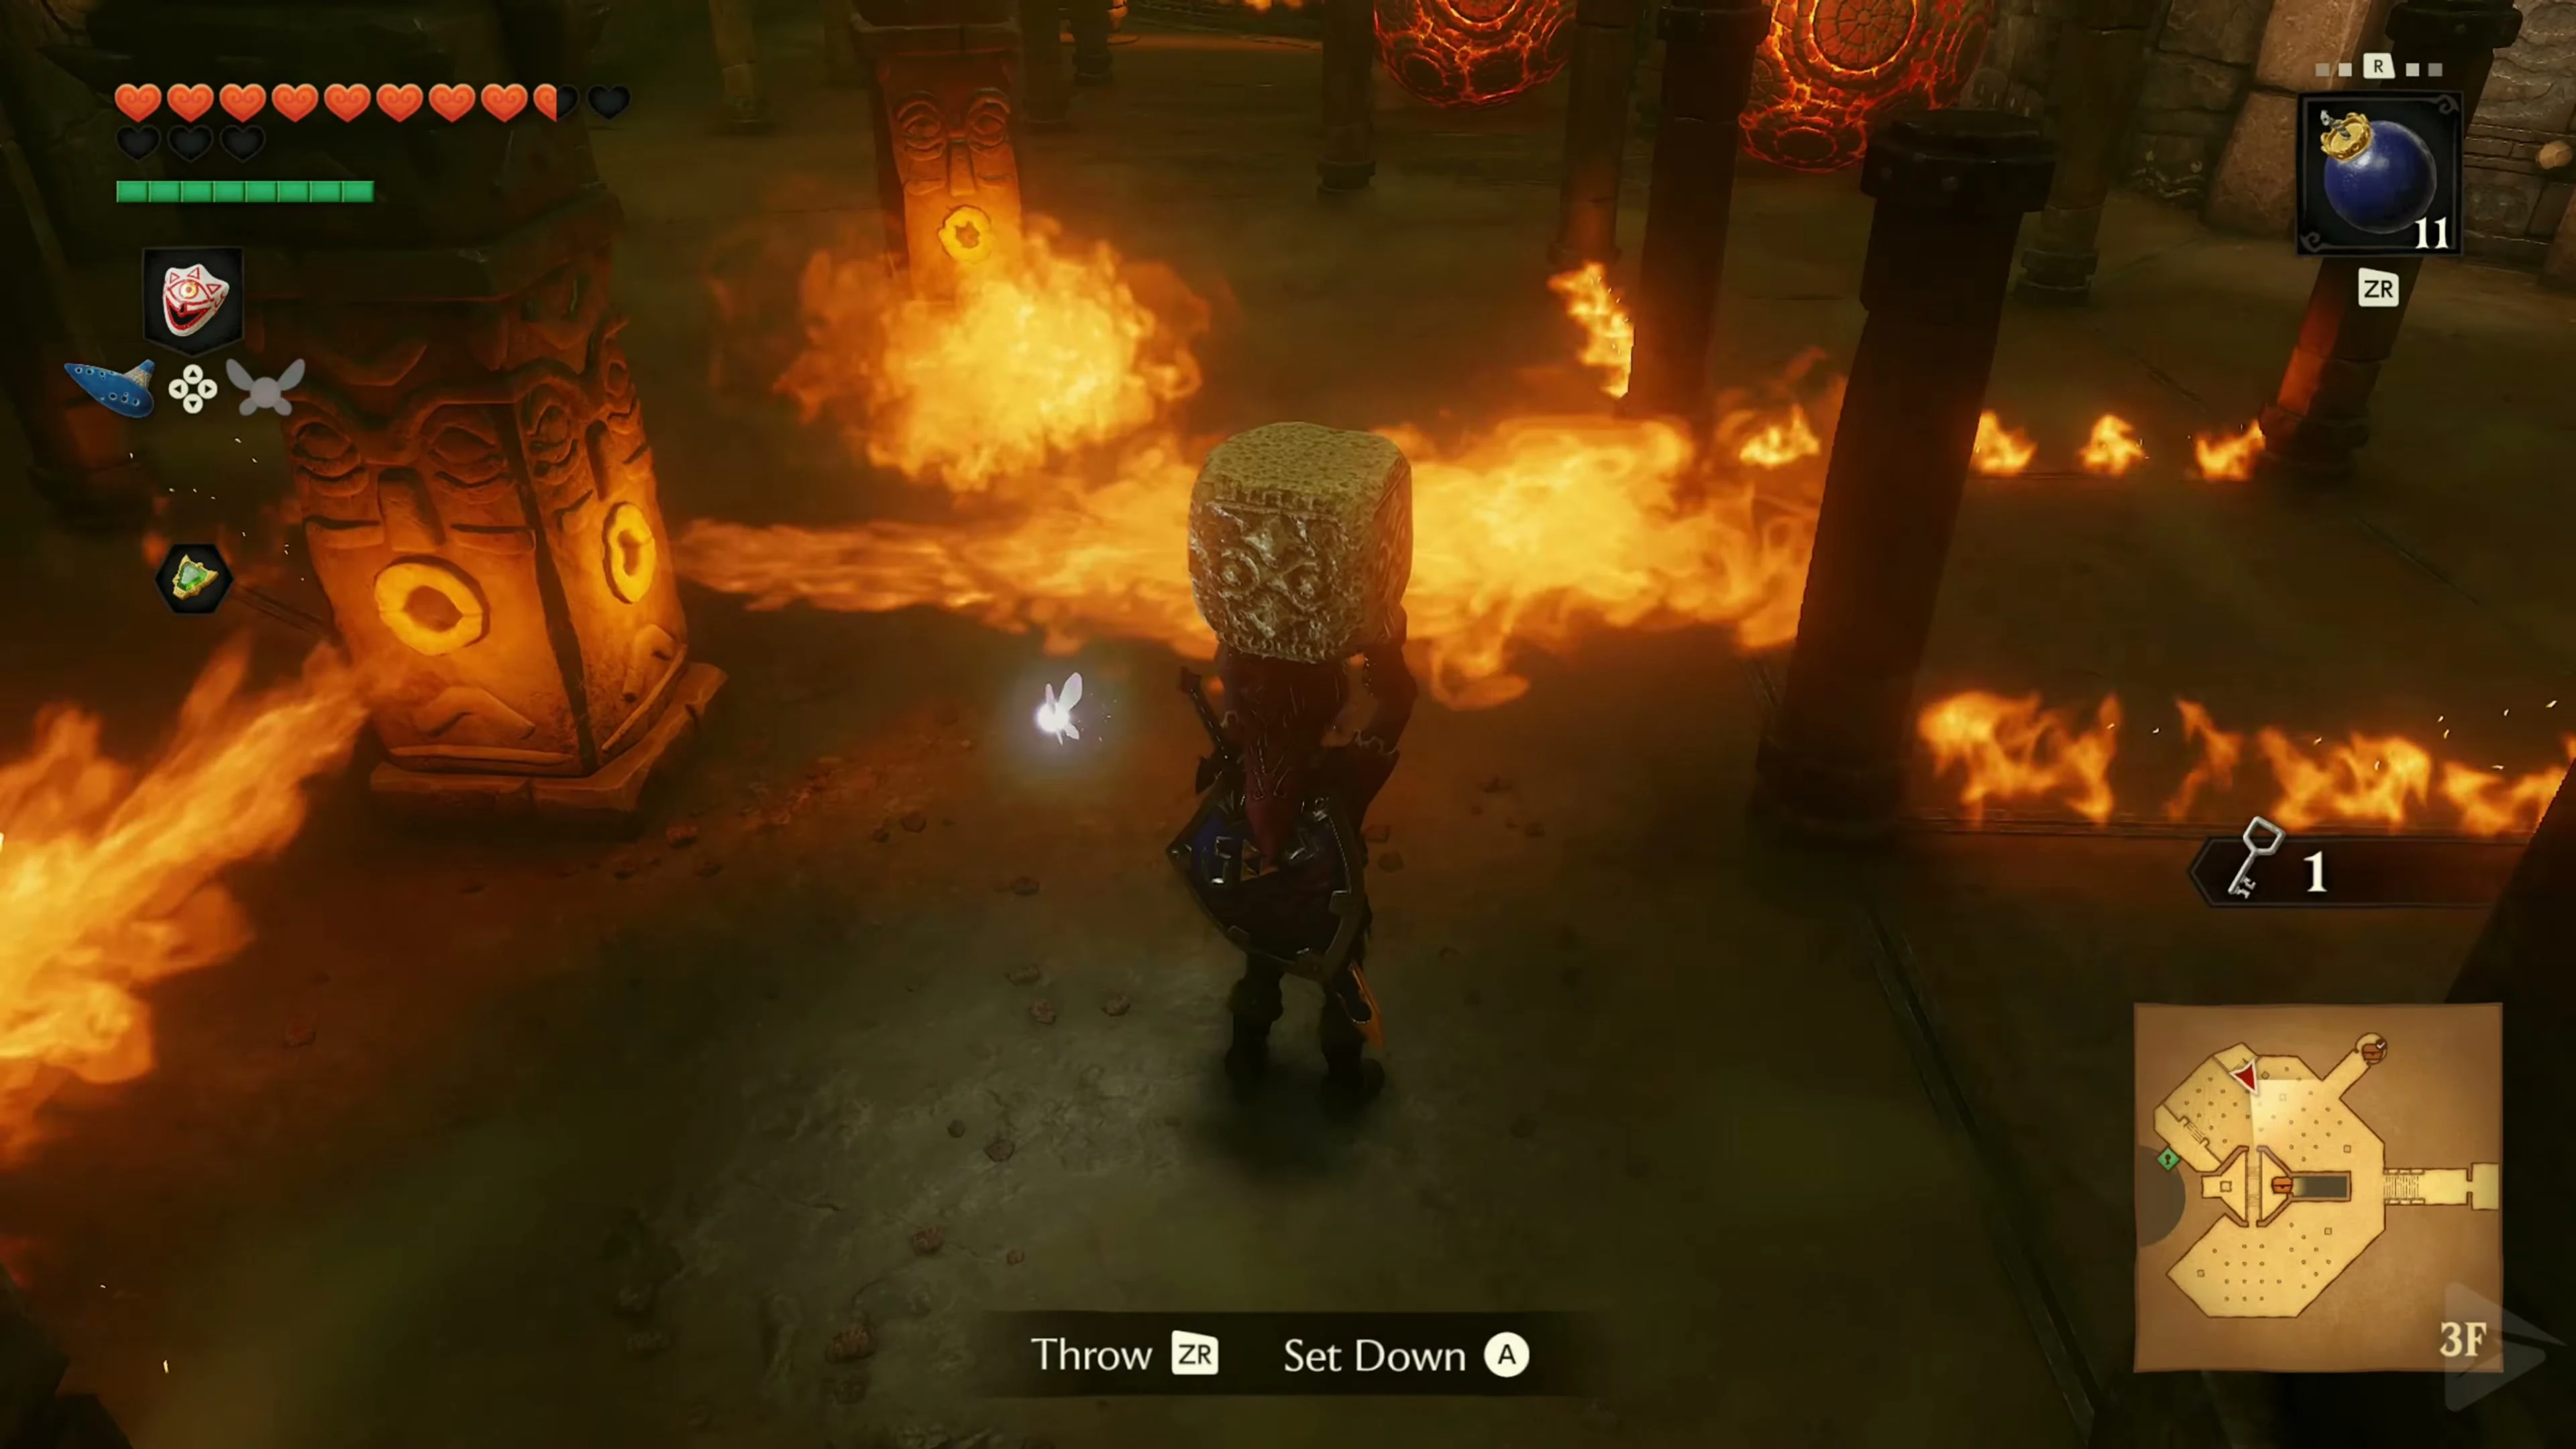
Open the inner door with Small Key 6/8 and go past the temporarily locked Goron cell into the other half of the fire maze. Find the floor switch and a portable stone block . Carry the stone through the open passages and place it on the switch. The large wall of flames will now remain lowered. Go to the locked door behind it and use Small Key 7/8 .
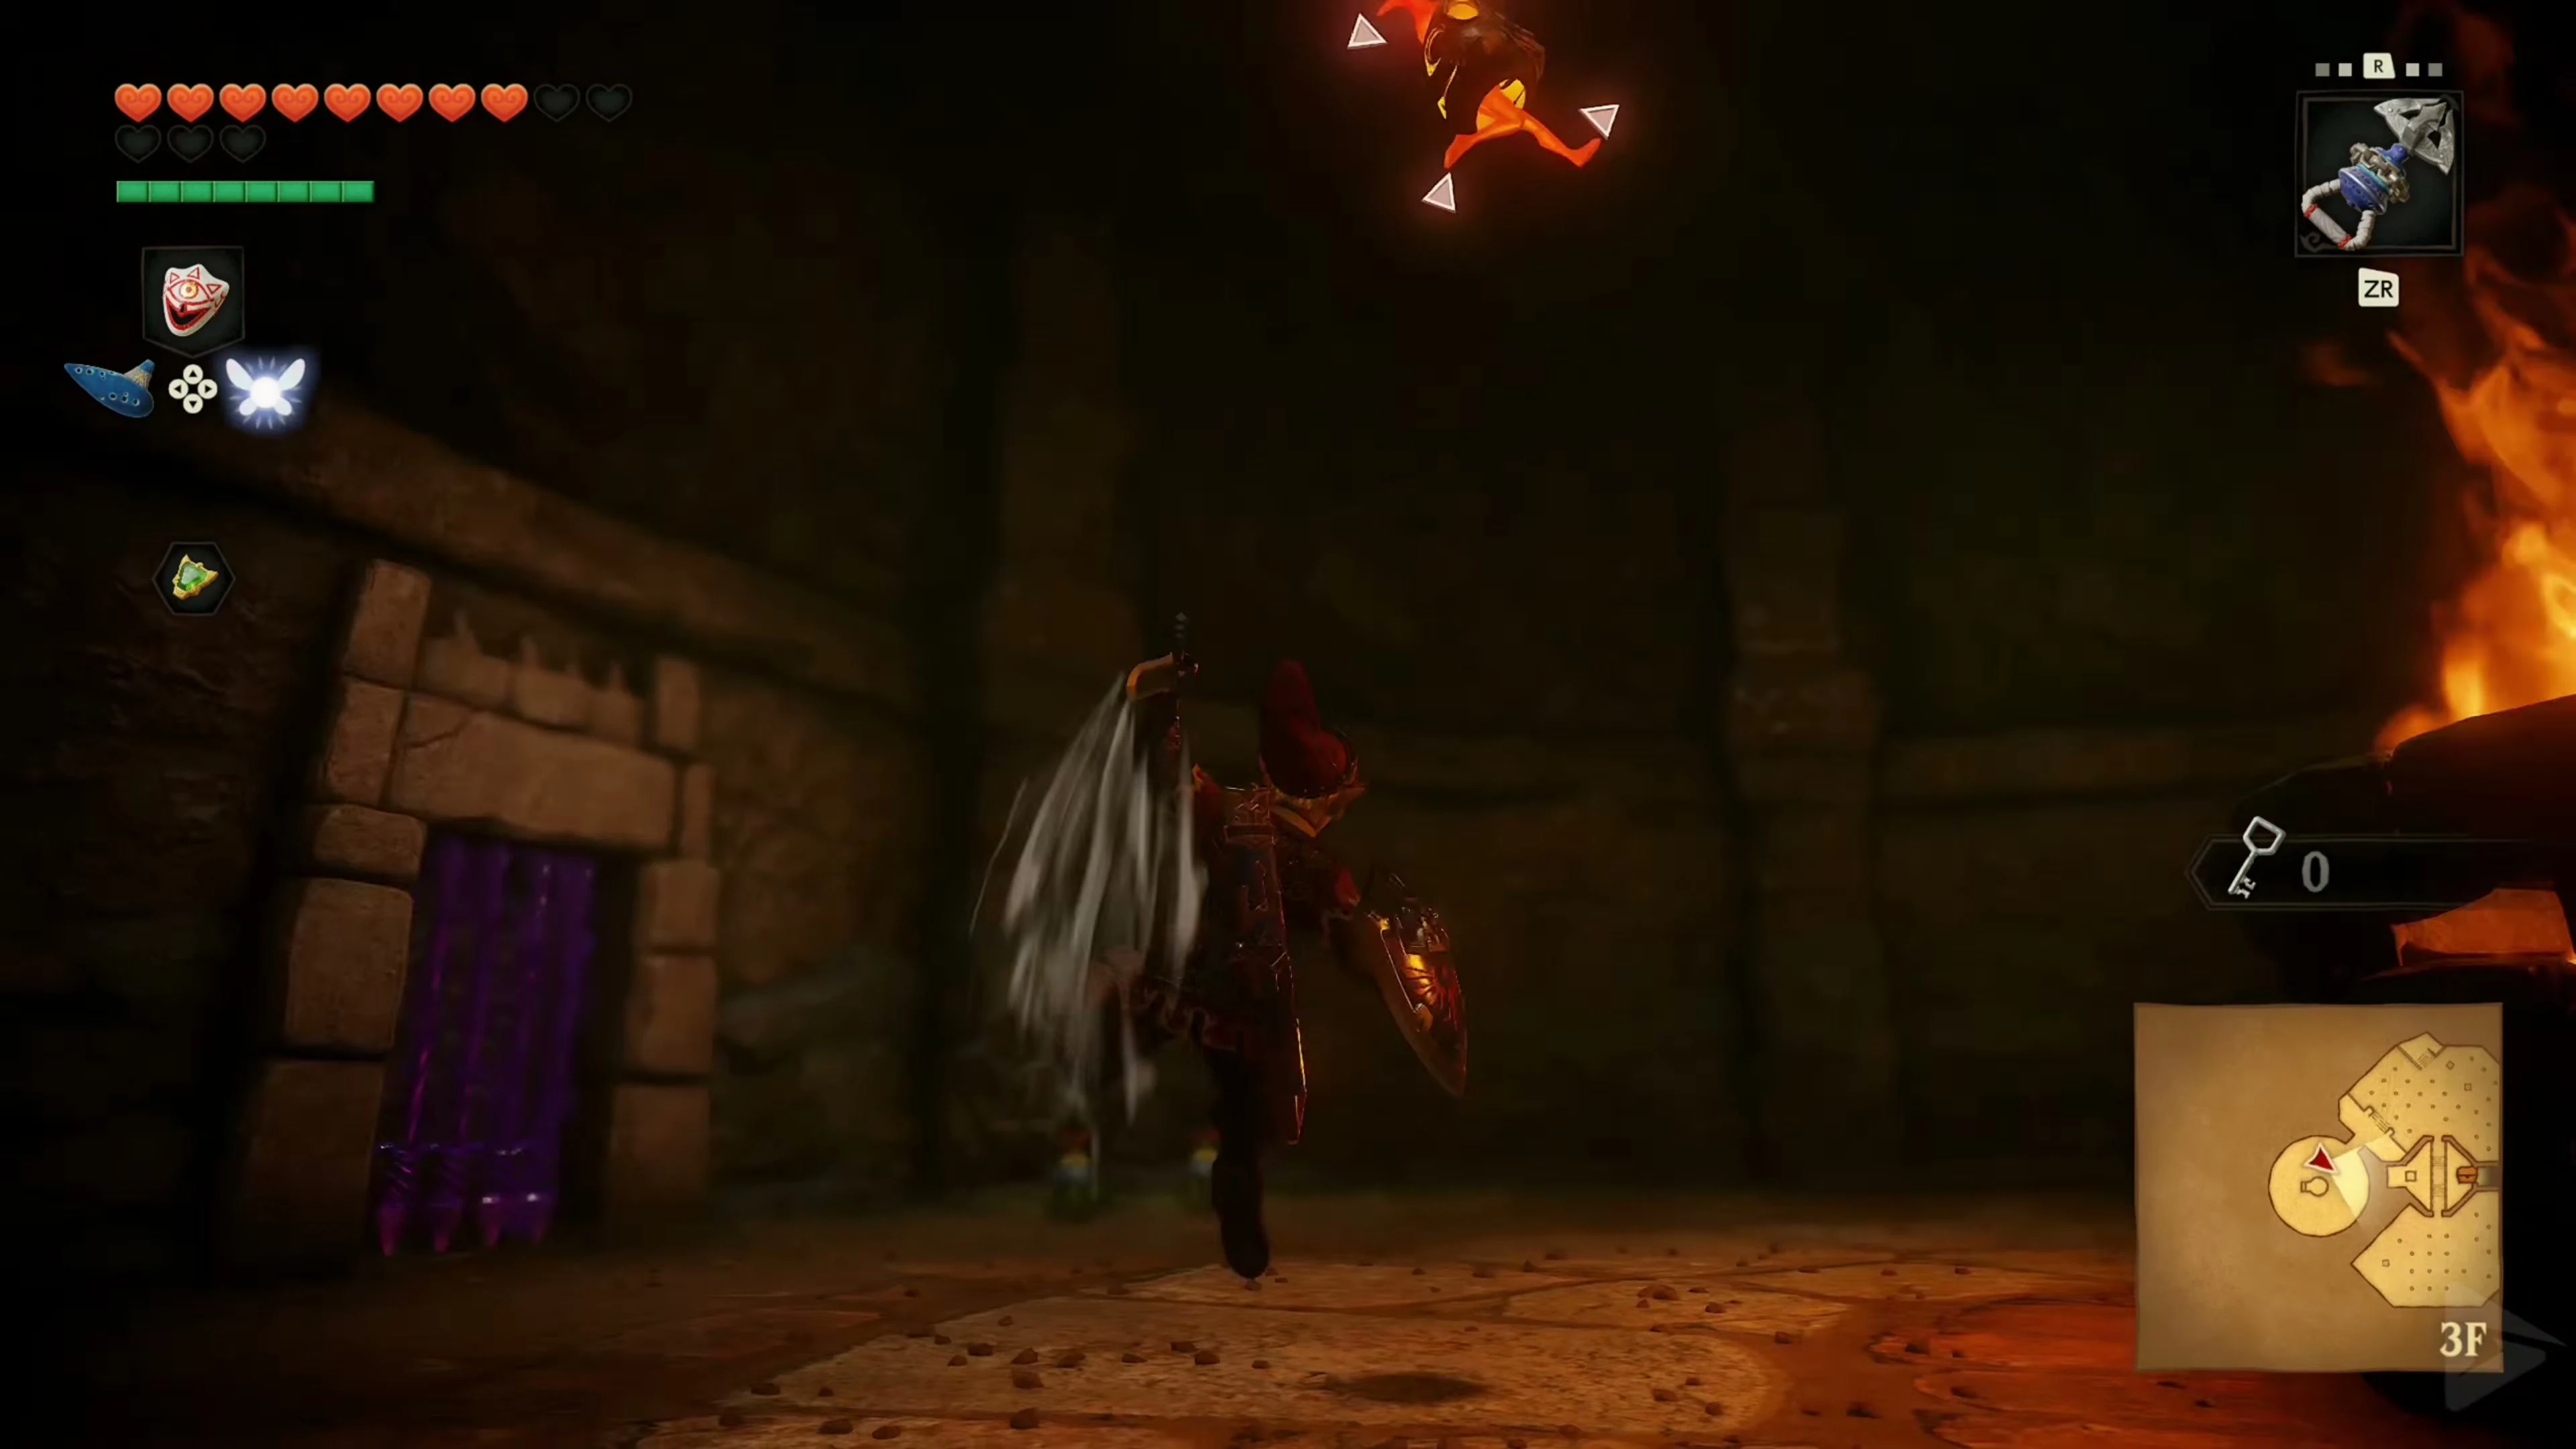
Miniboss: Flare Dancer
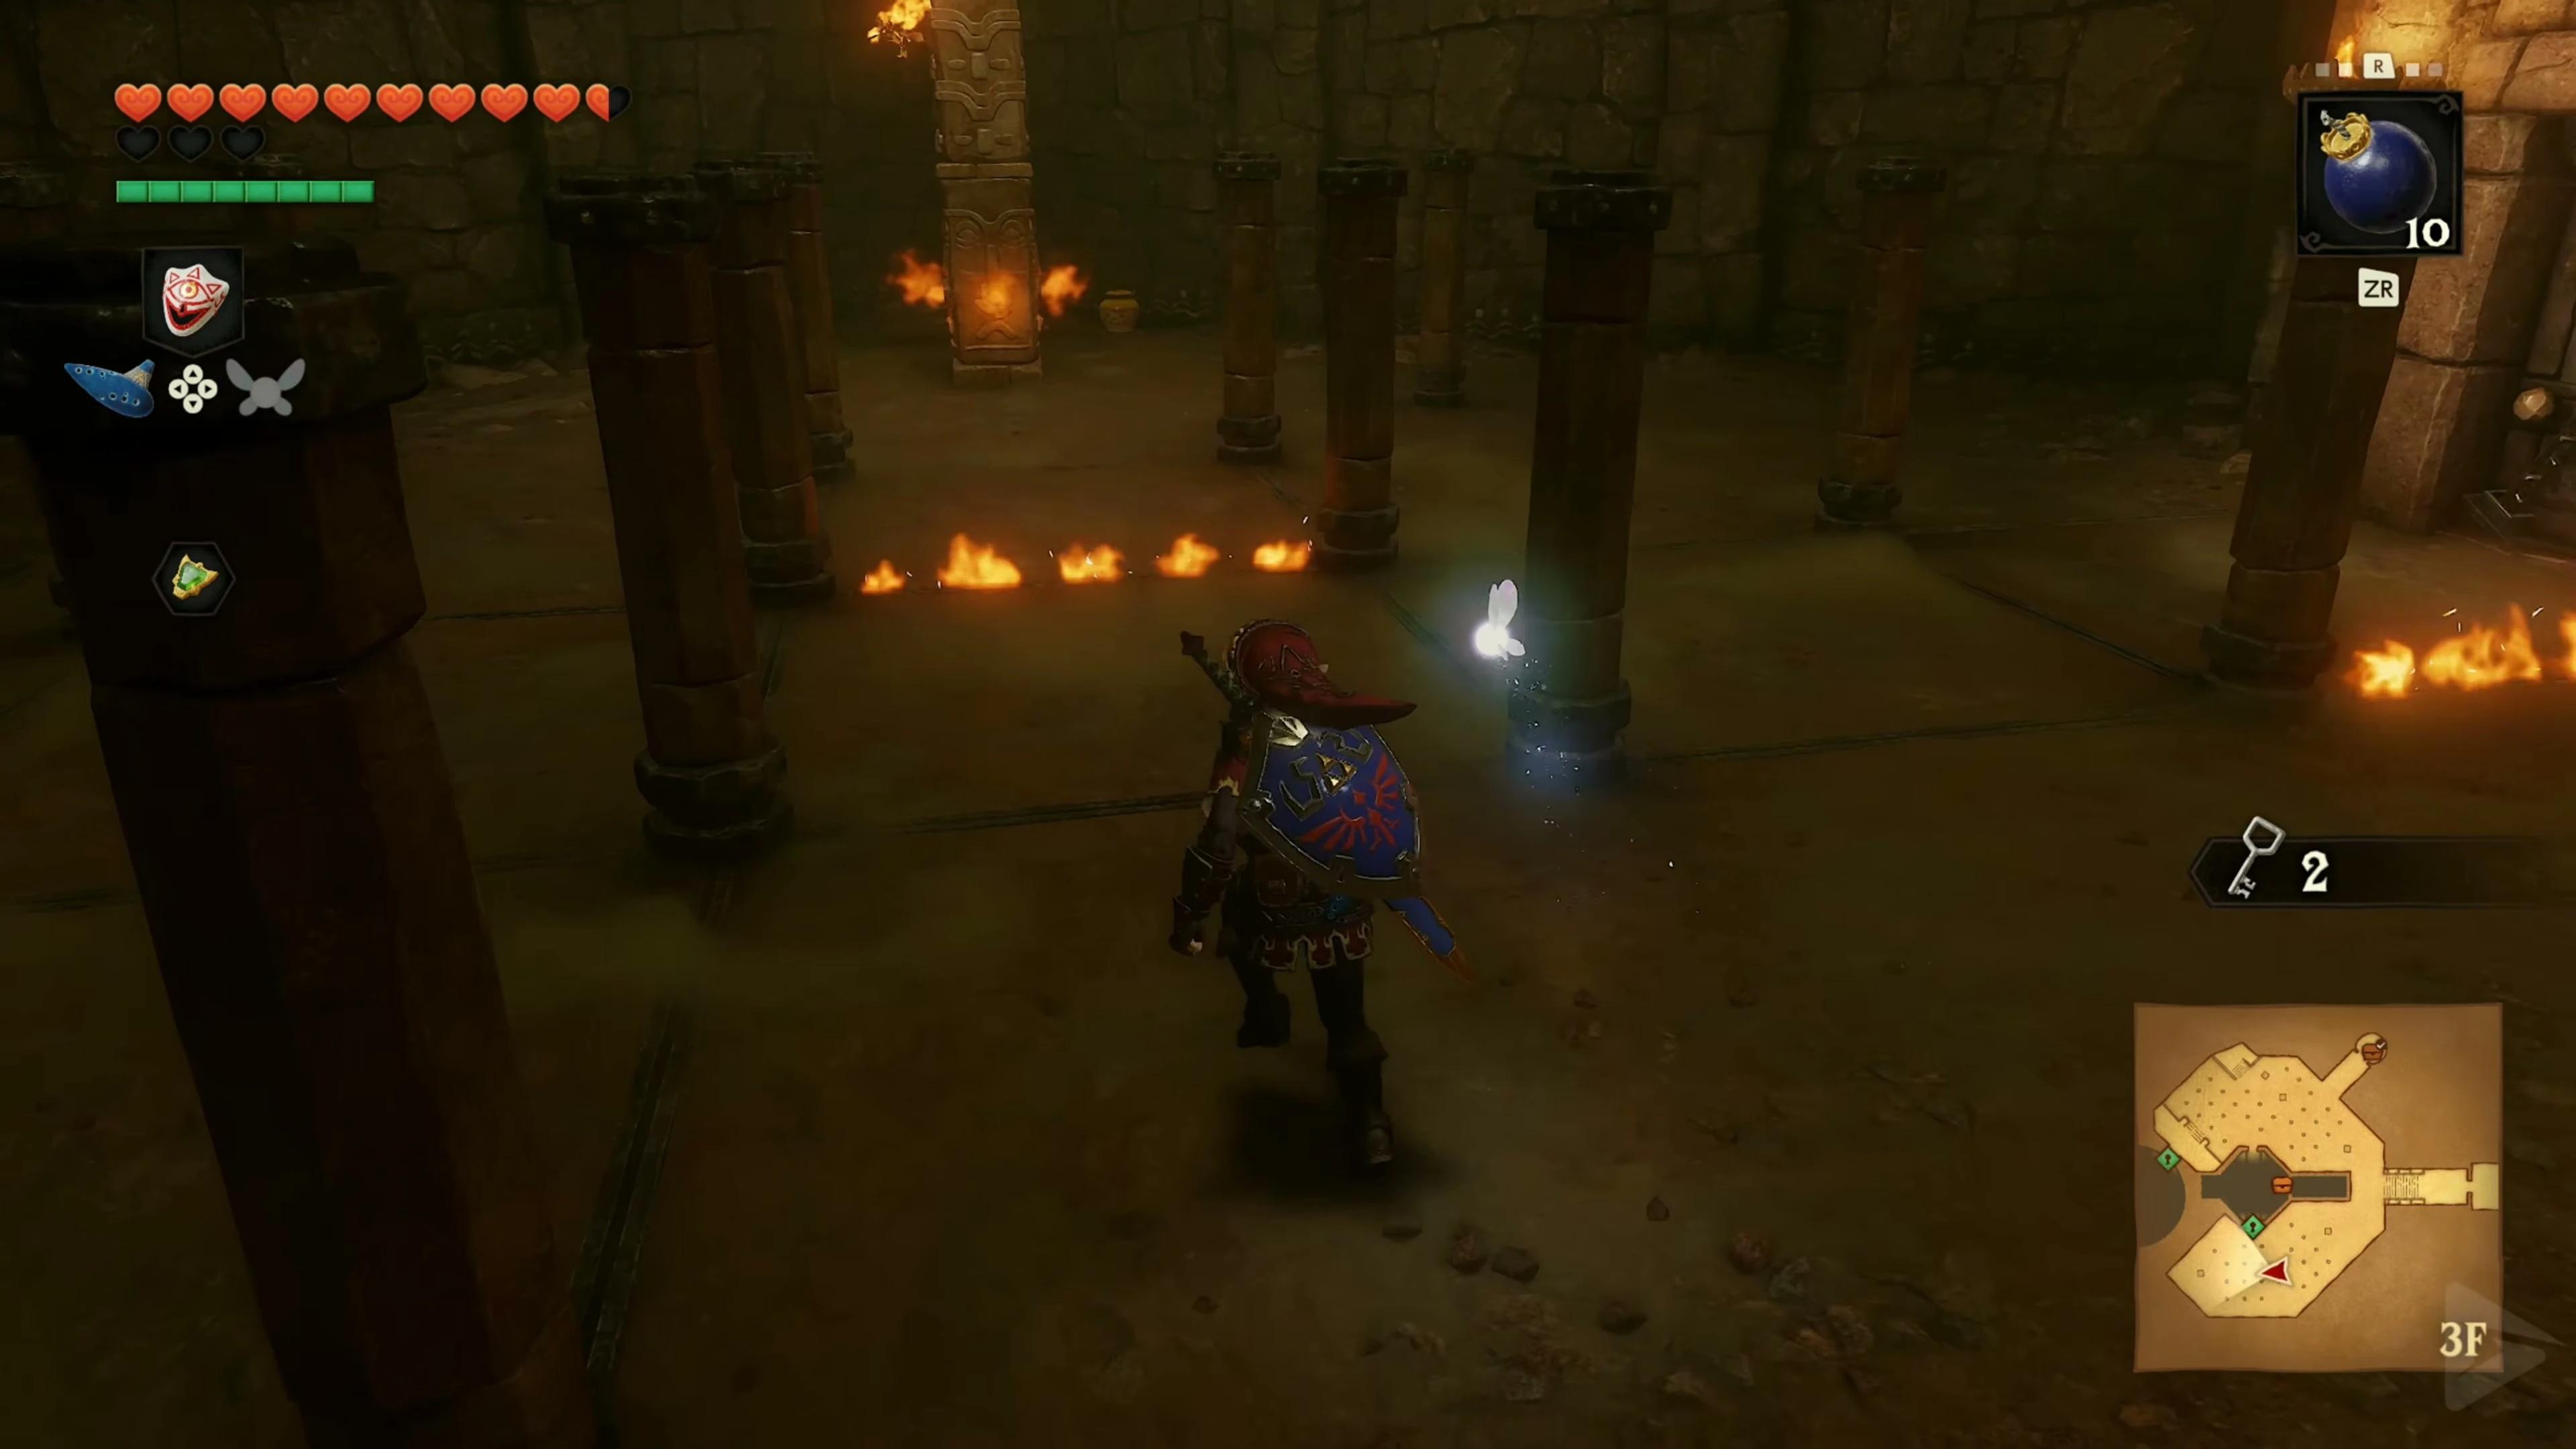
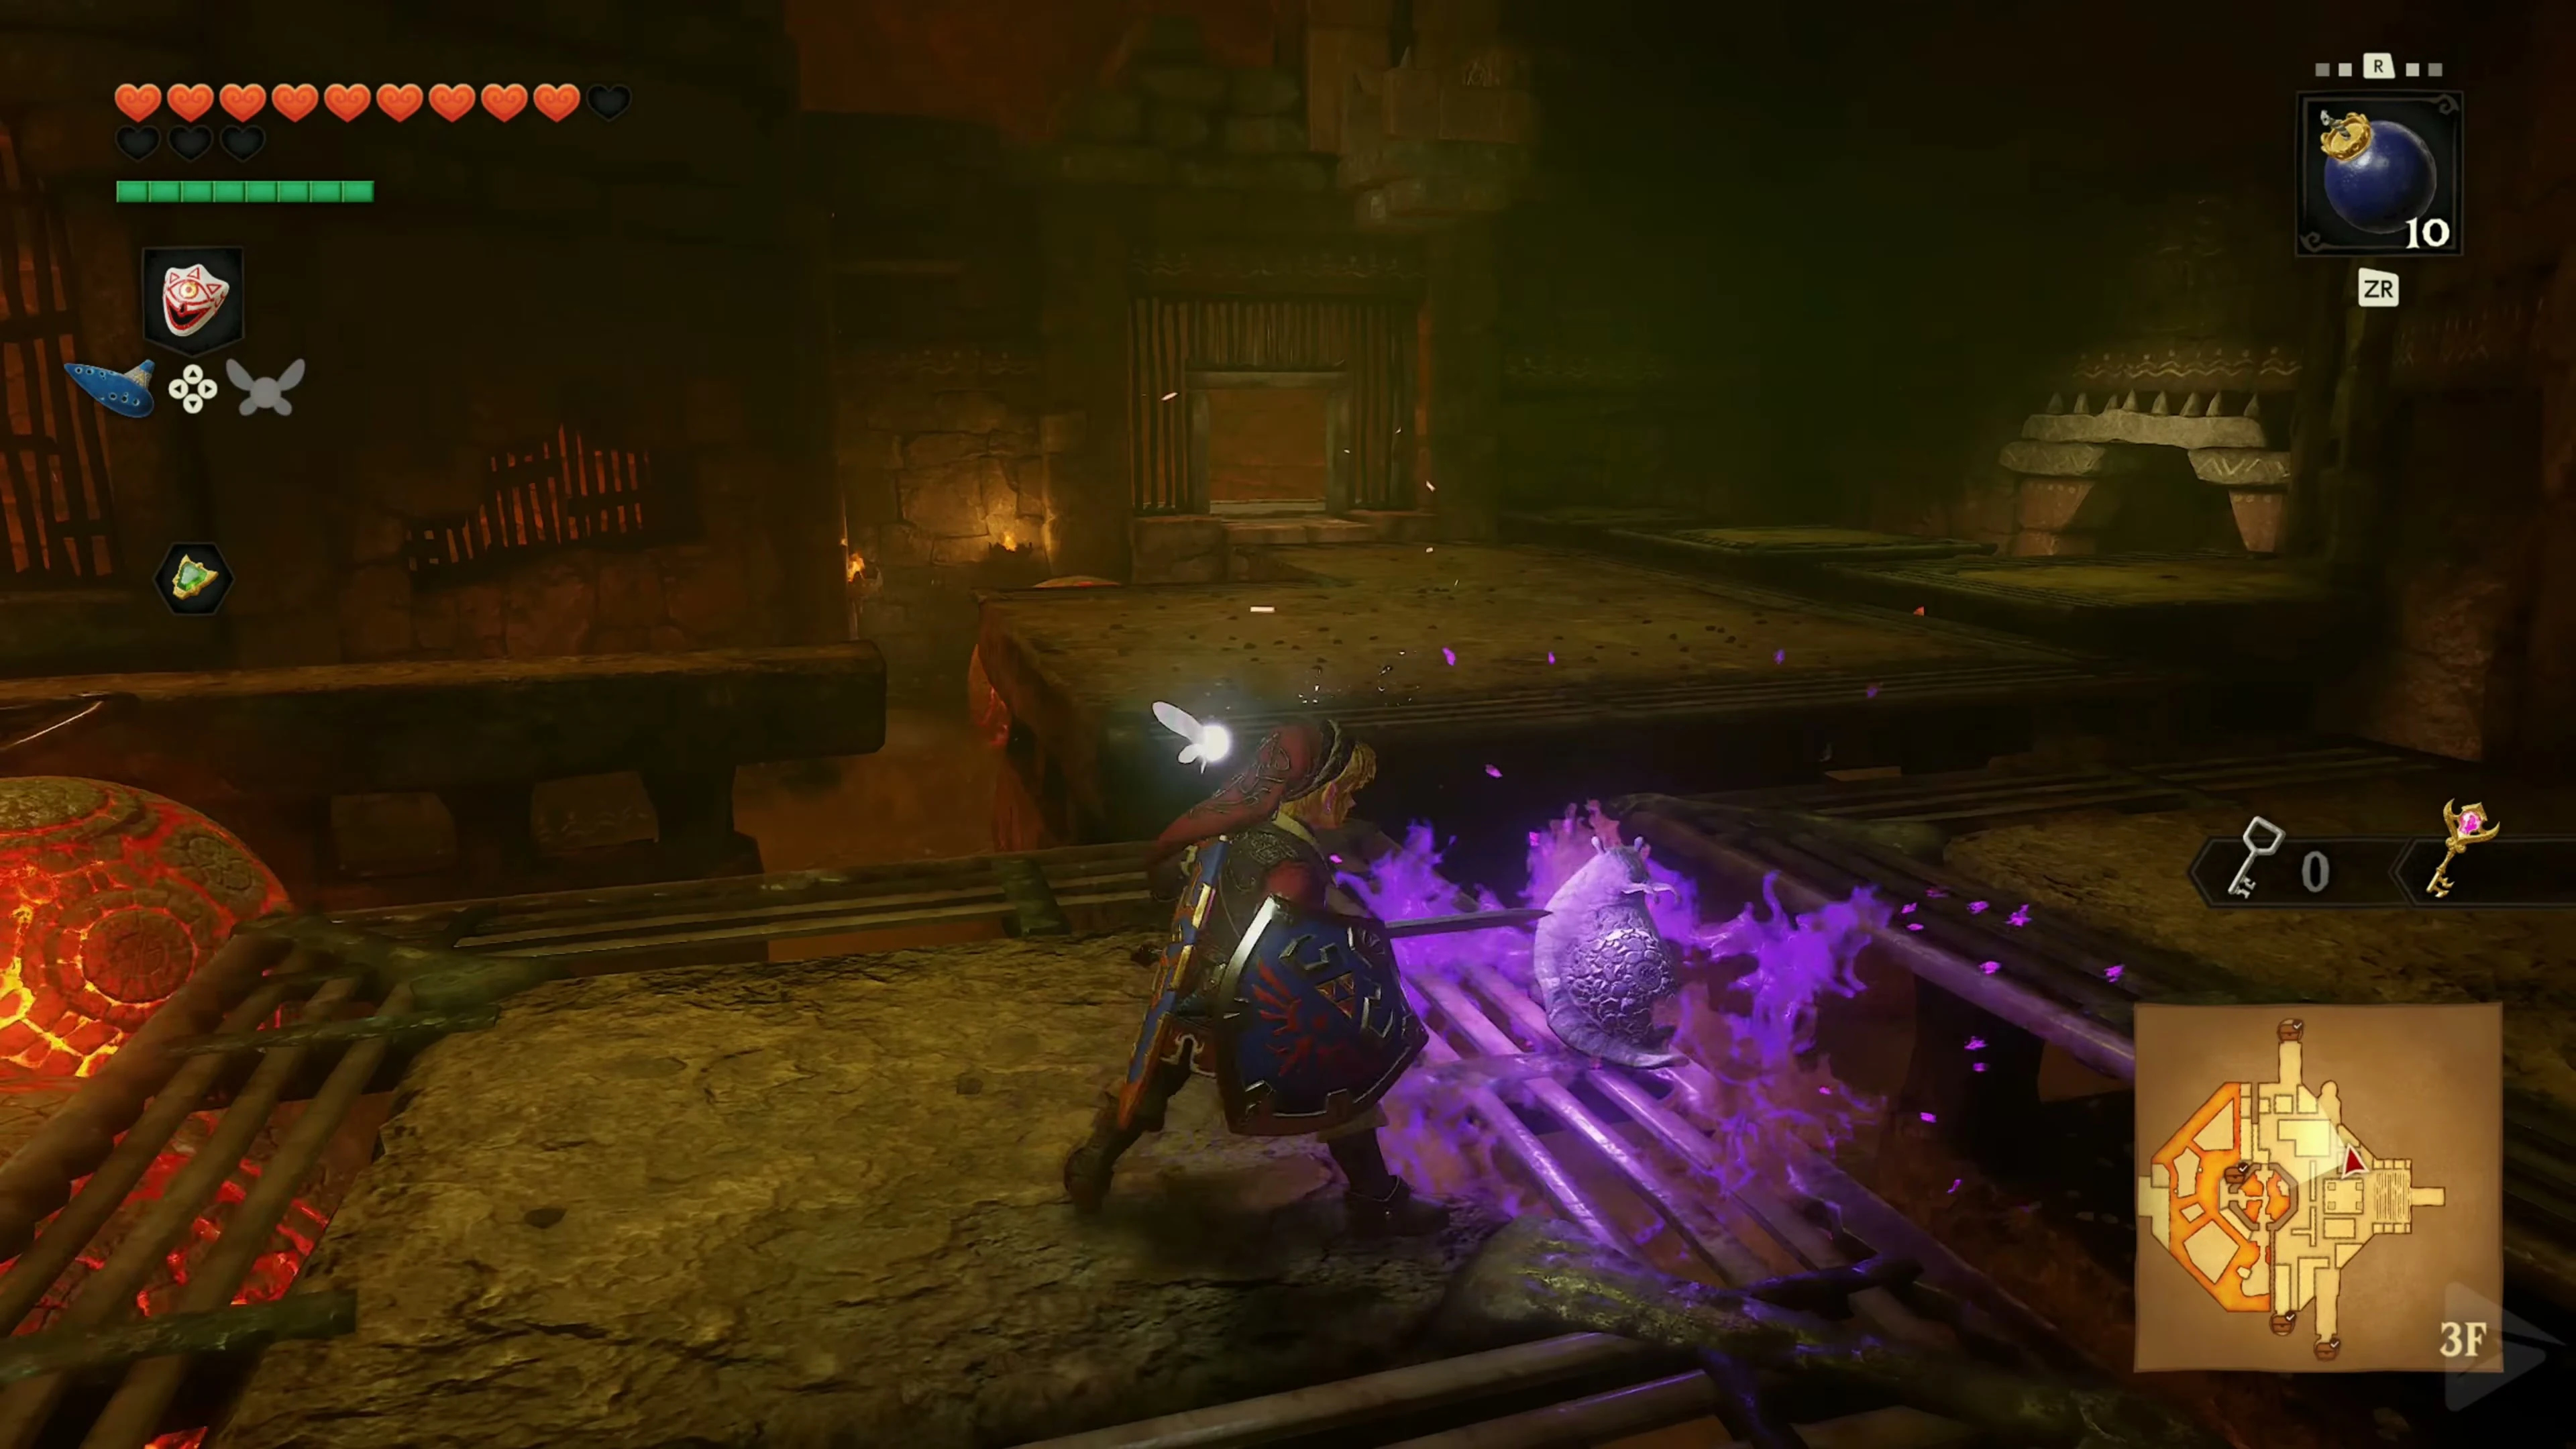
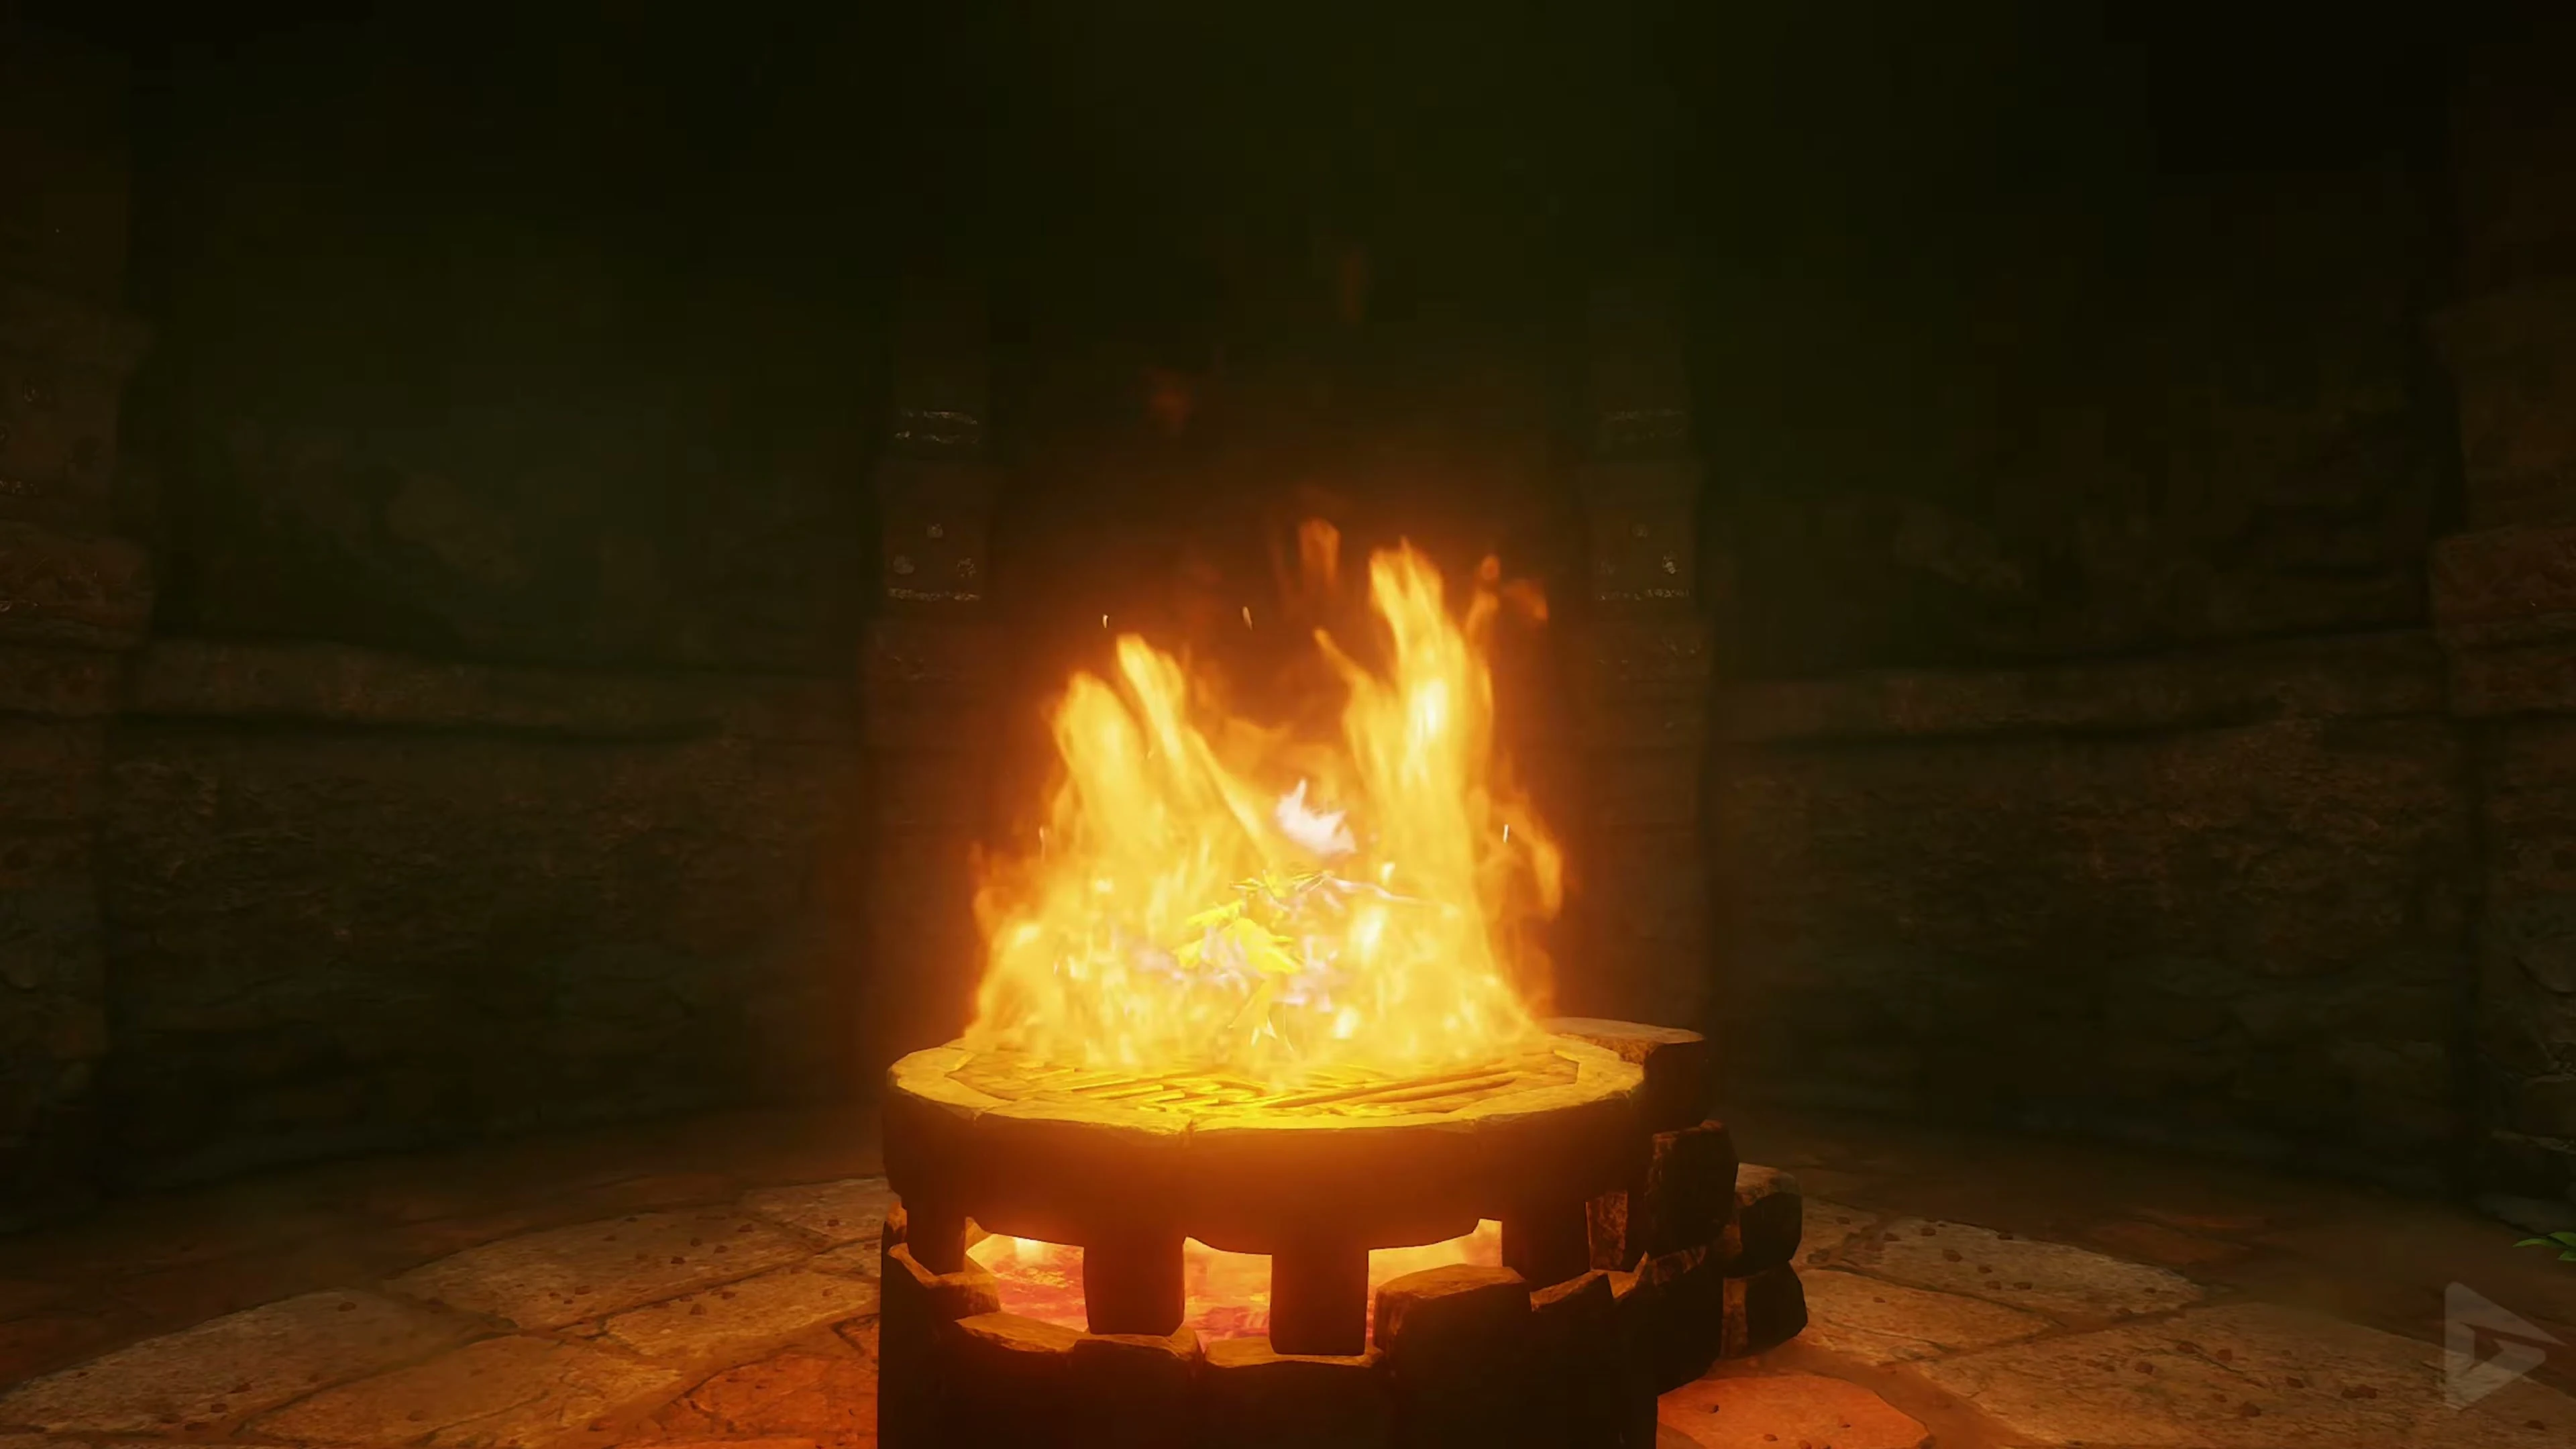
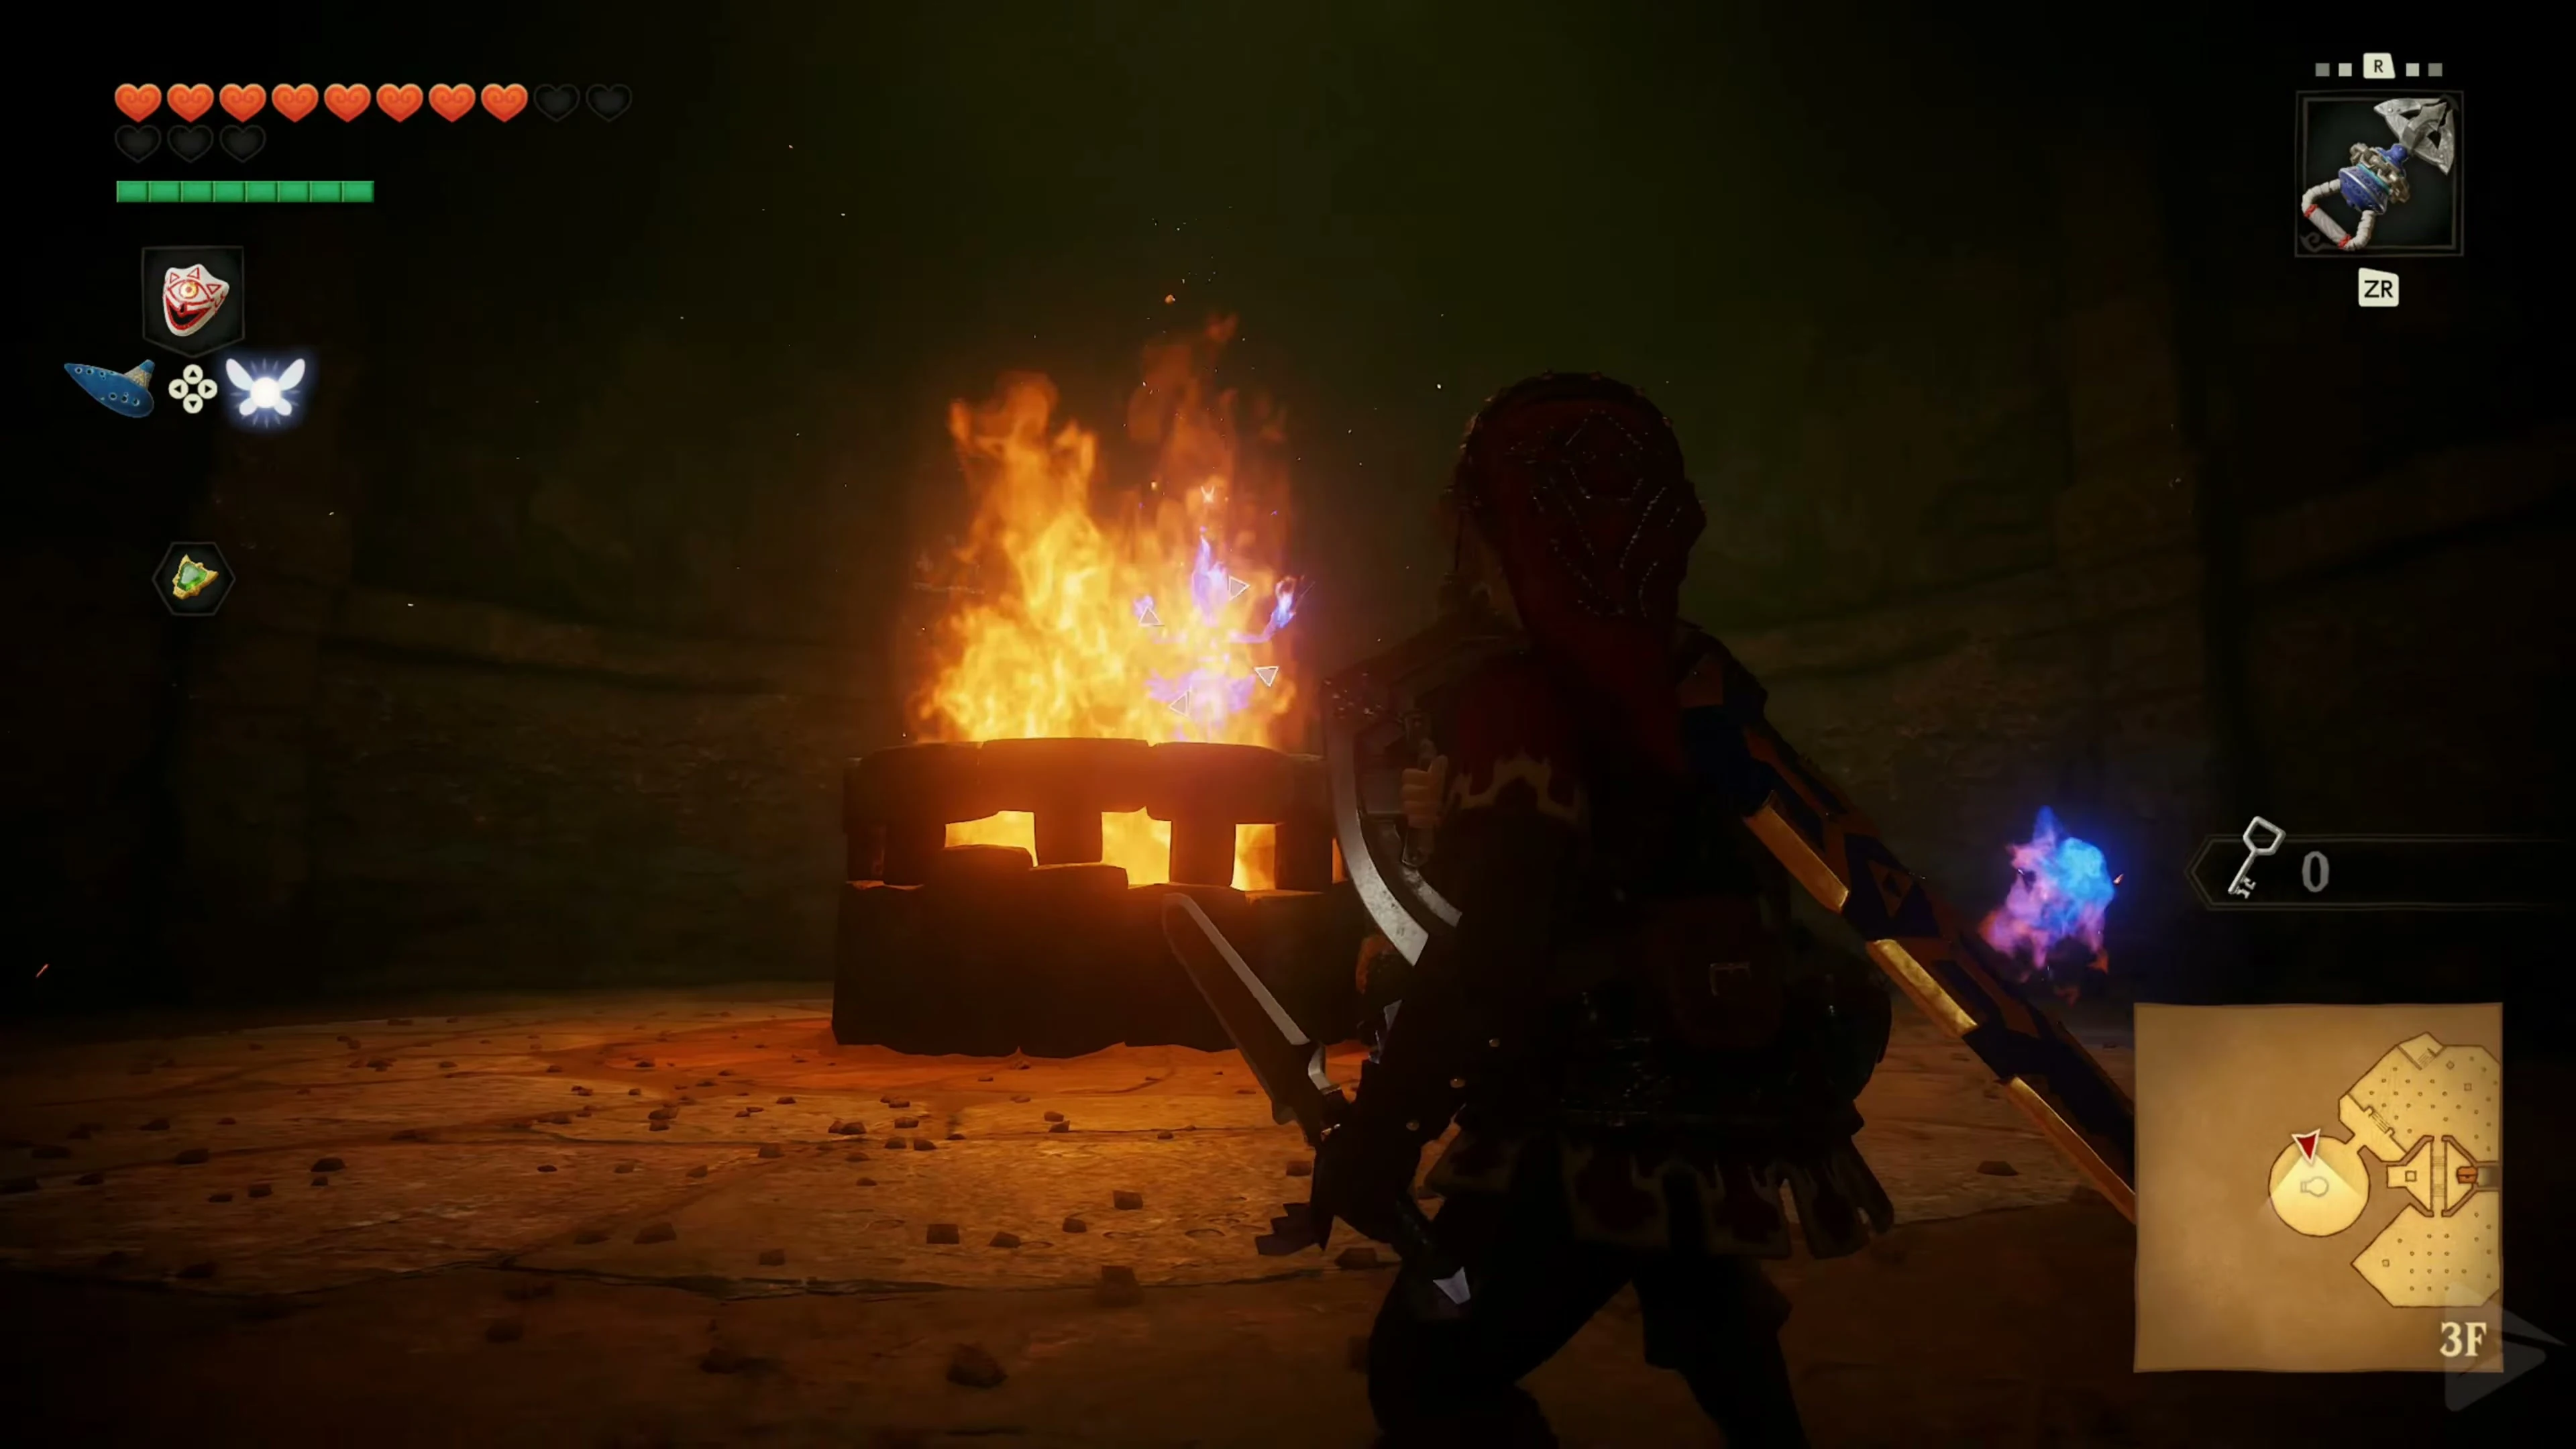
Target the Flare Dancer and use the Hookshot to pull the metal lump from its chest . This will extinguish its fiery shell. Alternatively, you can detonate a bomb close enough to the enemy. Attack the exposed body, which is running along the edge of the arena, with your sword.
Run towards the body to intercept it and use quick sword strikes or a jump attack. As soon as it returns to the fire fountain, pull it out of the fire shell again. Repeat this process until you win. Then, step onto the newly available platform in the center of the room and ride it upwards.
The Path to the Megaton Hammer
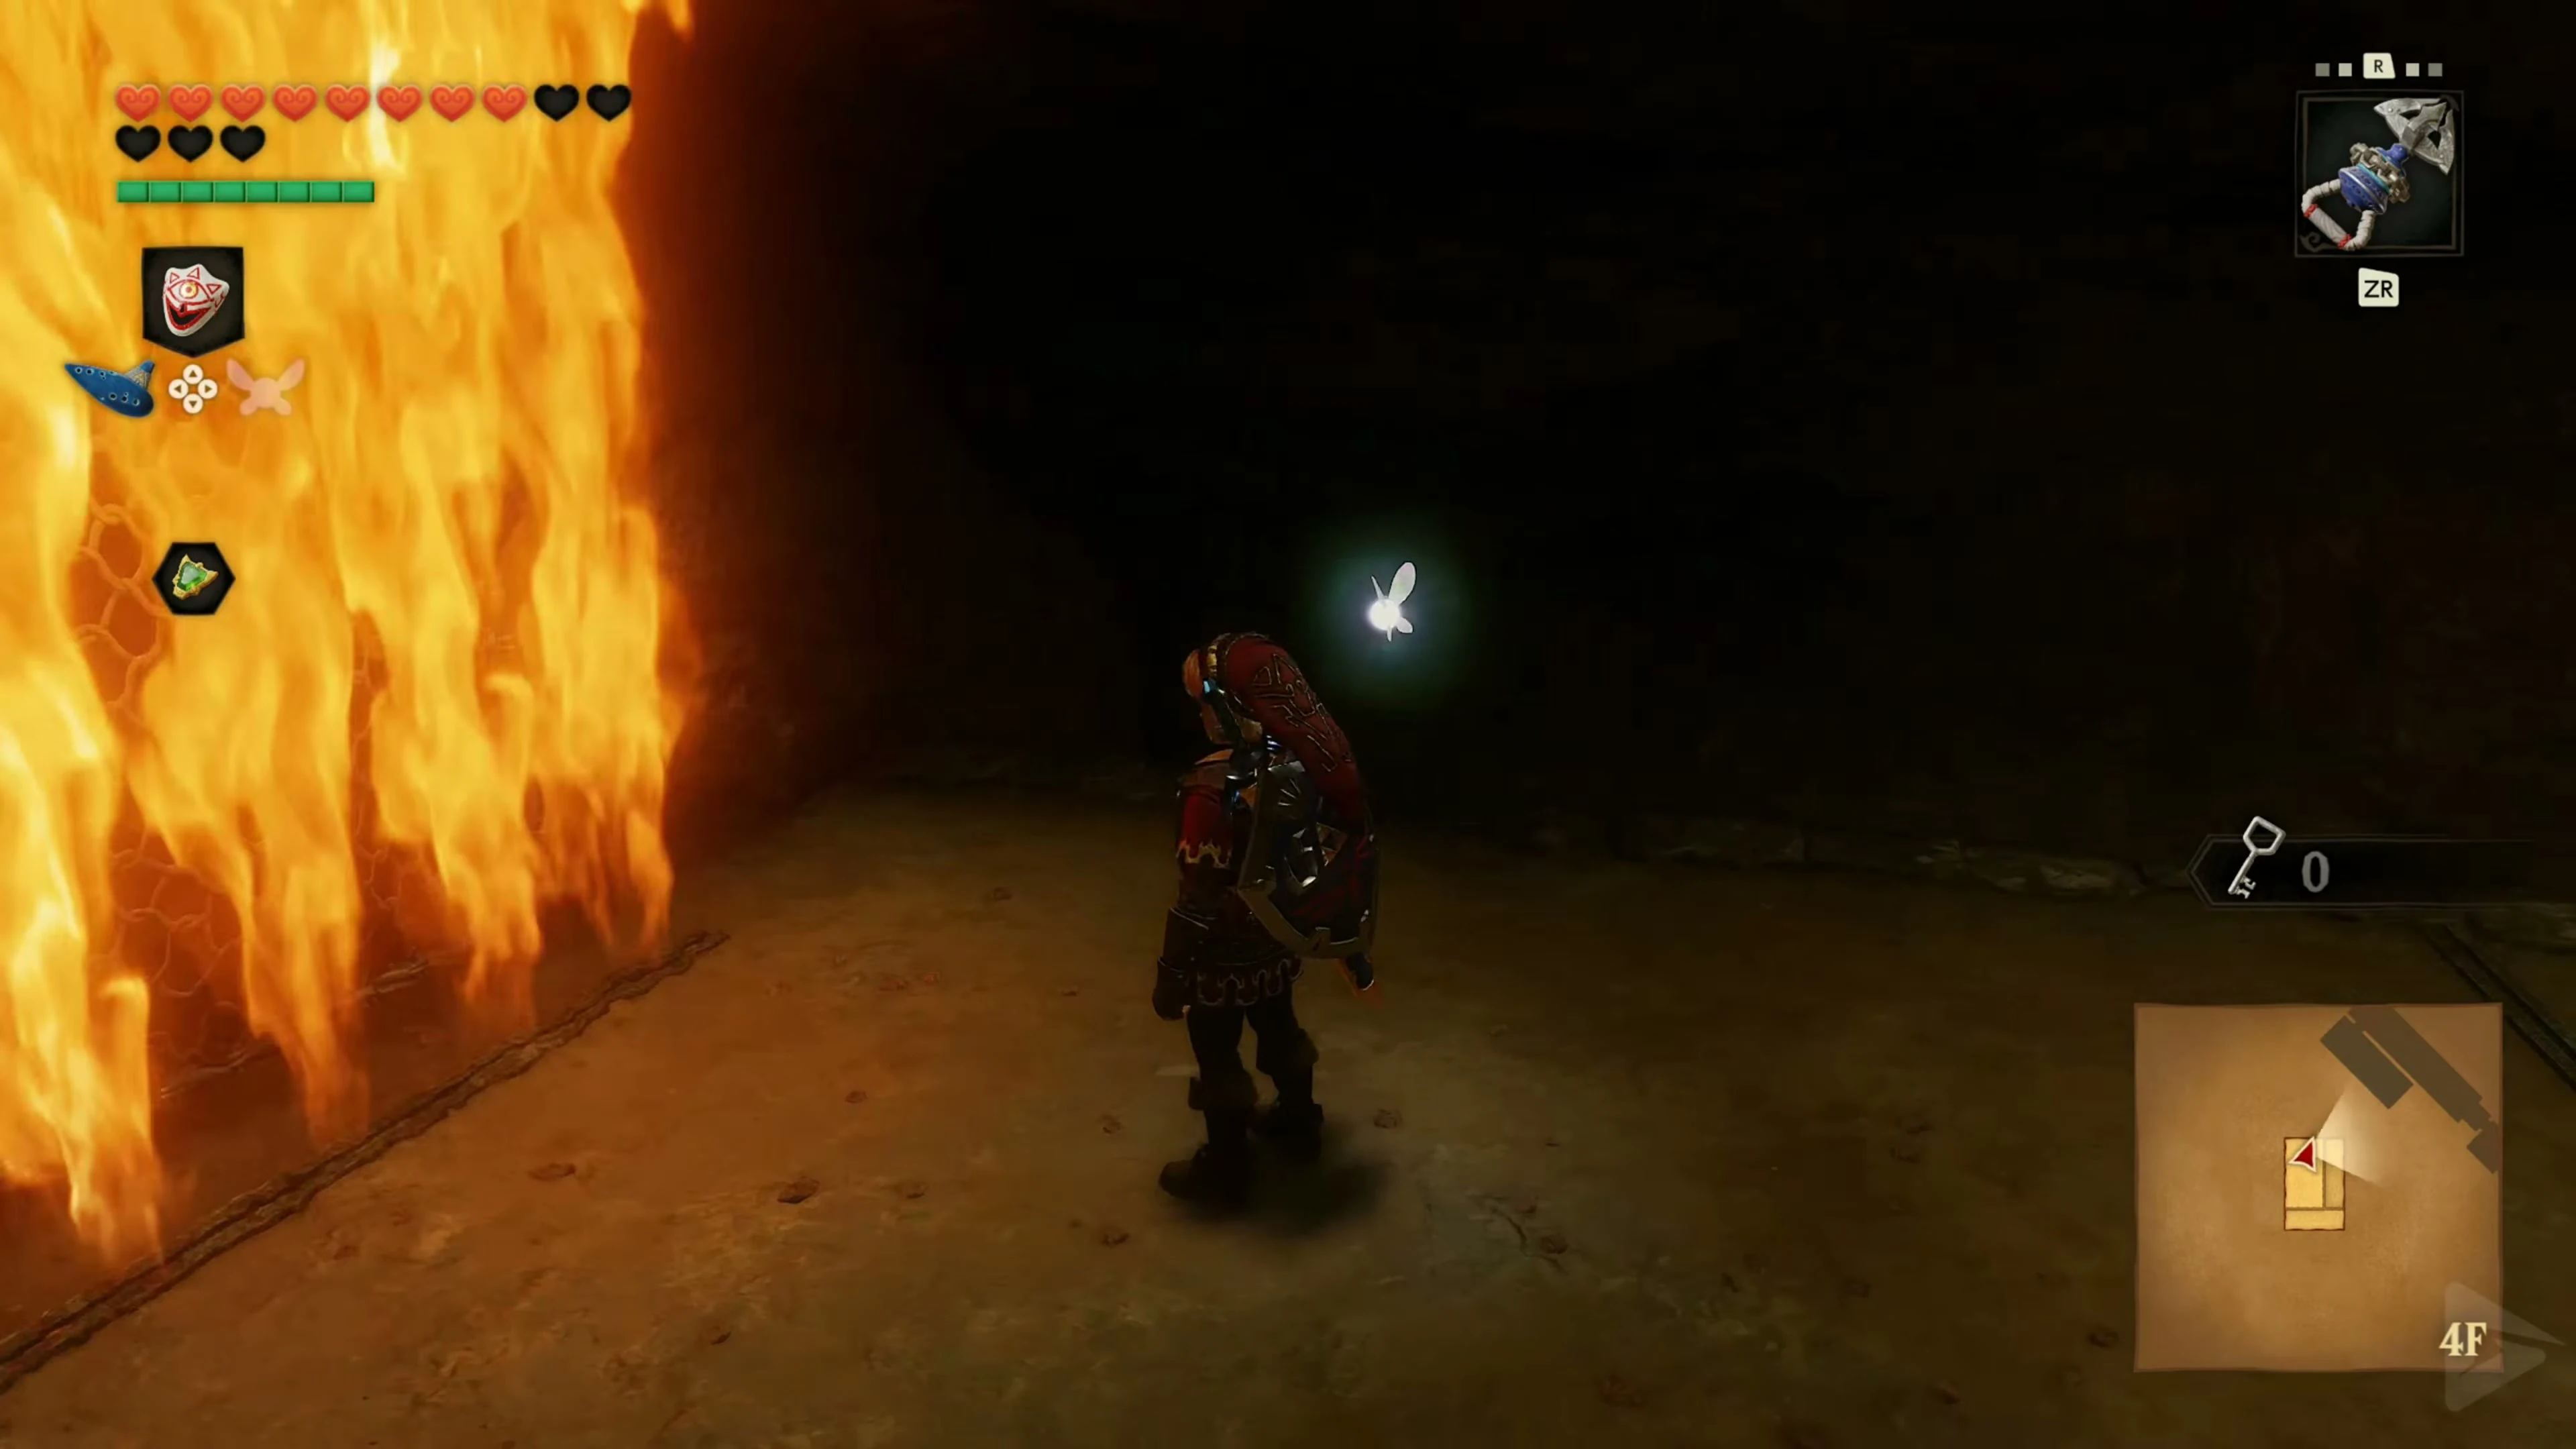
Go through the next door and climb up the narrow shaft using the metal grate on the side. As in a previous puzzle, the path is blocked by a wall of flames, which can only be temporarily deactivated by a crystal switch. Position yourself above the switch and drop a bomb over the edge. While the fuse burns, run to the grate. As soon as the explosion hits the switch, the fire will disappear, and you can climb up. Behind the next door, you will reach a massive circular hall on one of the highest levels of the Fire Temple. A deep shaft gapes in the center, while an extremely narrow path spirals to a large treasure chest. The chest is surrounded by flames. A floor switch on a raised platform deactivates the fire for only a few seconds.
Defeat the Fire Keese before the sprint and memorize the curves of the narrow path. For a retry after a fall, you can use Farore’s Wind at the room’s entrance to set a return point.
The Megaton Hammer
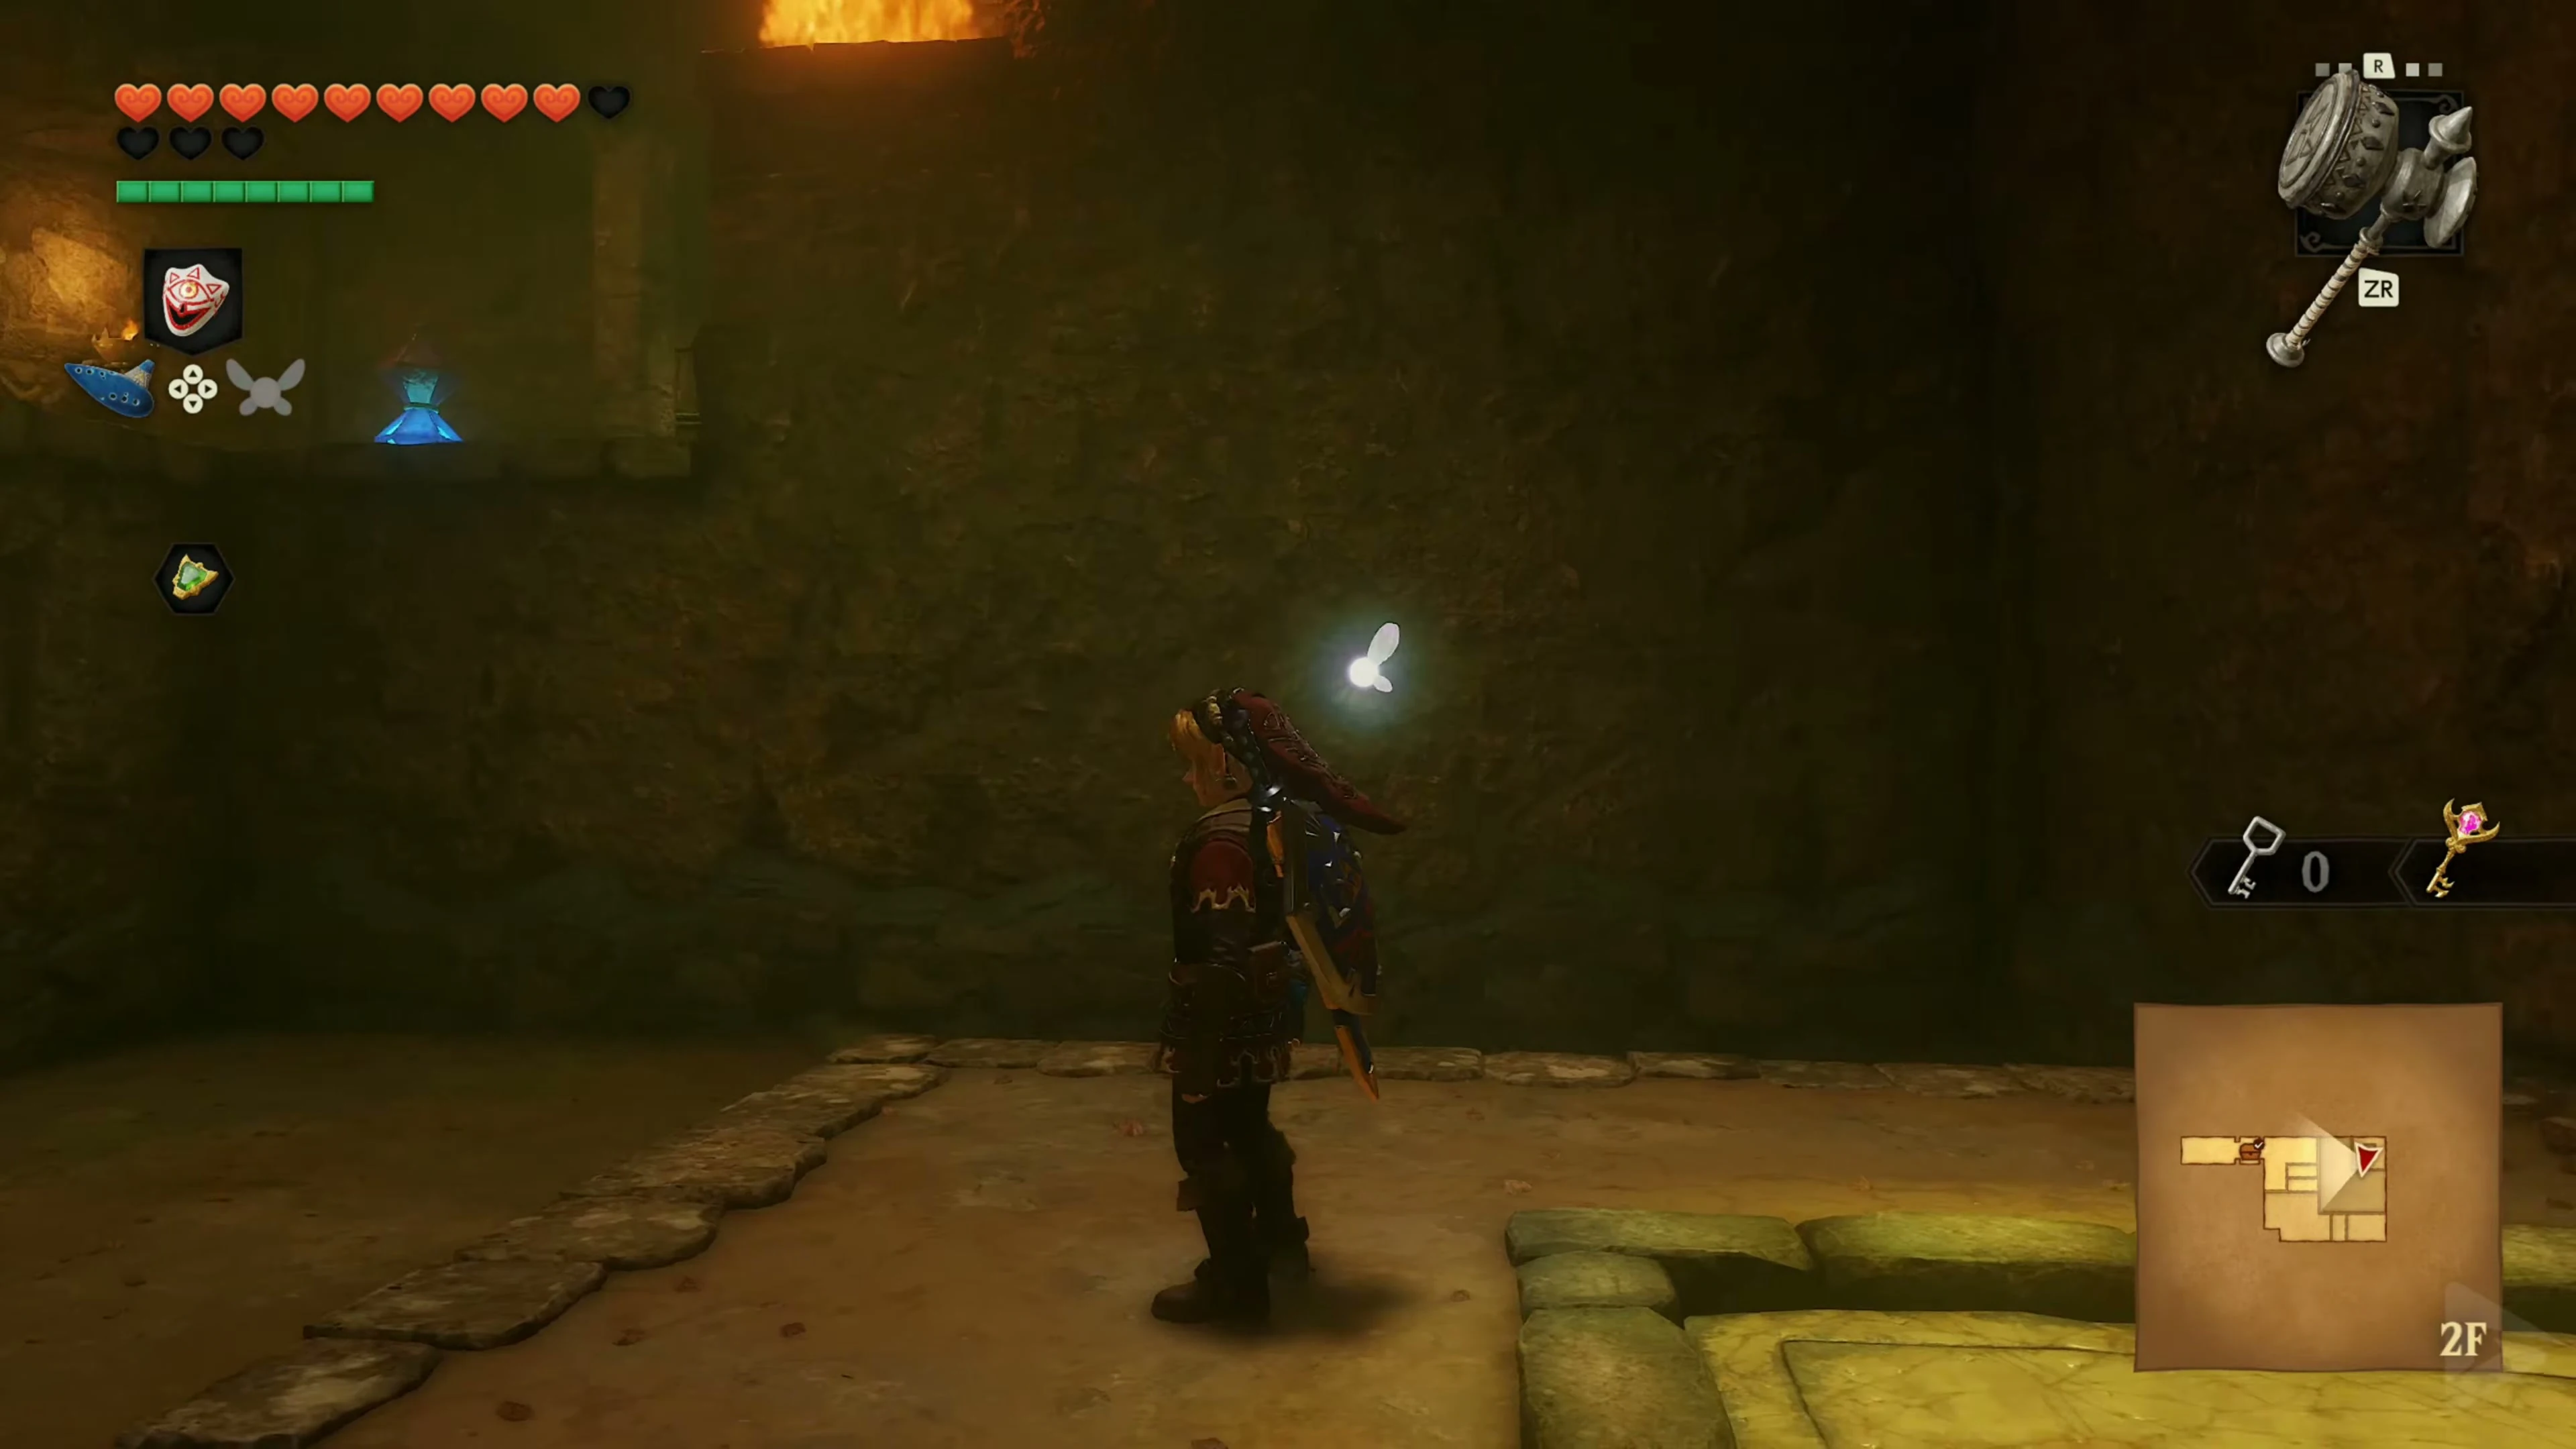
Step on the floor switch and immediately run along the narrow path to the large chest. Watch the curves to avoid falling into the shaft. Open the chest while its flame barrier is lowered and take the Megaton Hammer
Return down with the Megaton Hammer
From where you found the hammer, return to the large marked switch near the entrance to the roundhouse. Hit it down with the Megaton Hammer and jump into the new shaft. Smash the side barriers blocking the door. In the next room, striking the floor switch with a hammer will create a staircase. Follow it down to the next large floor panel.
Back to the third level
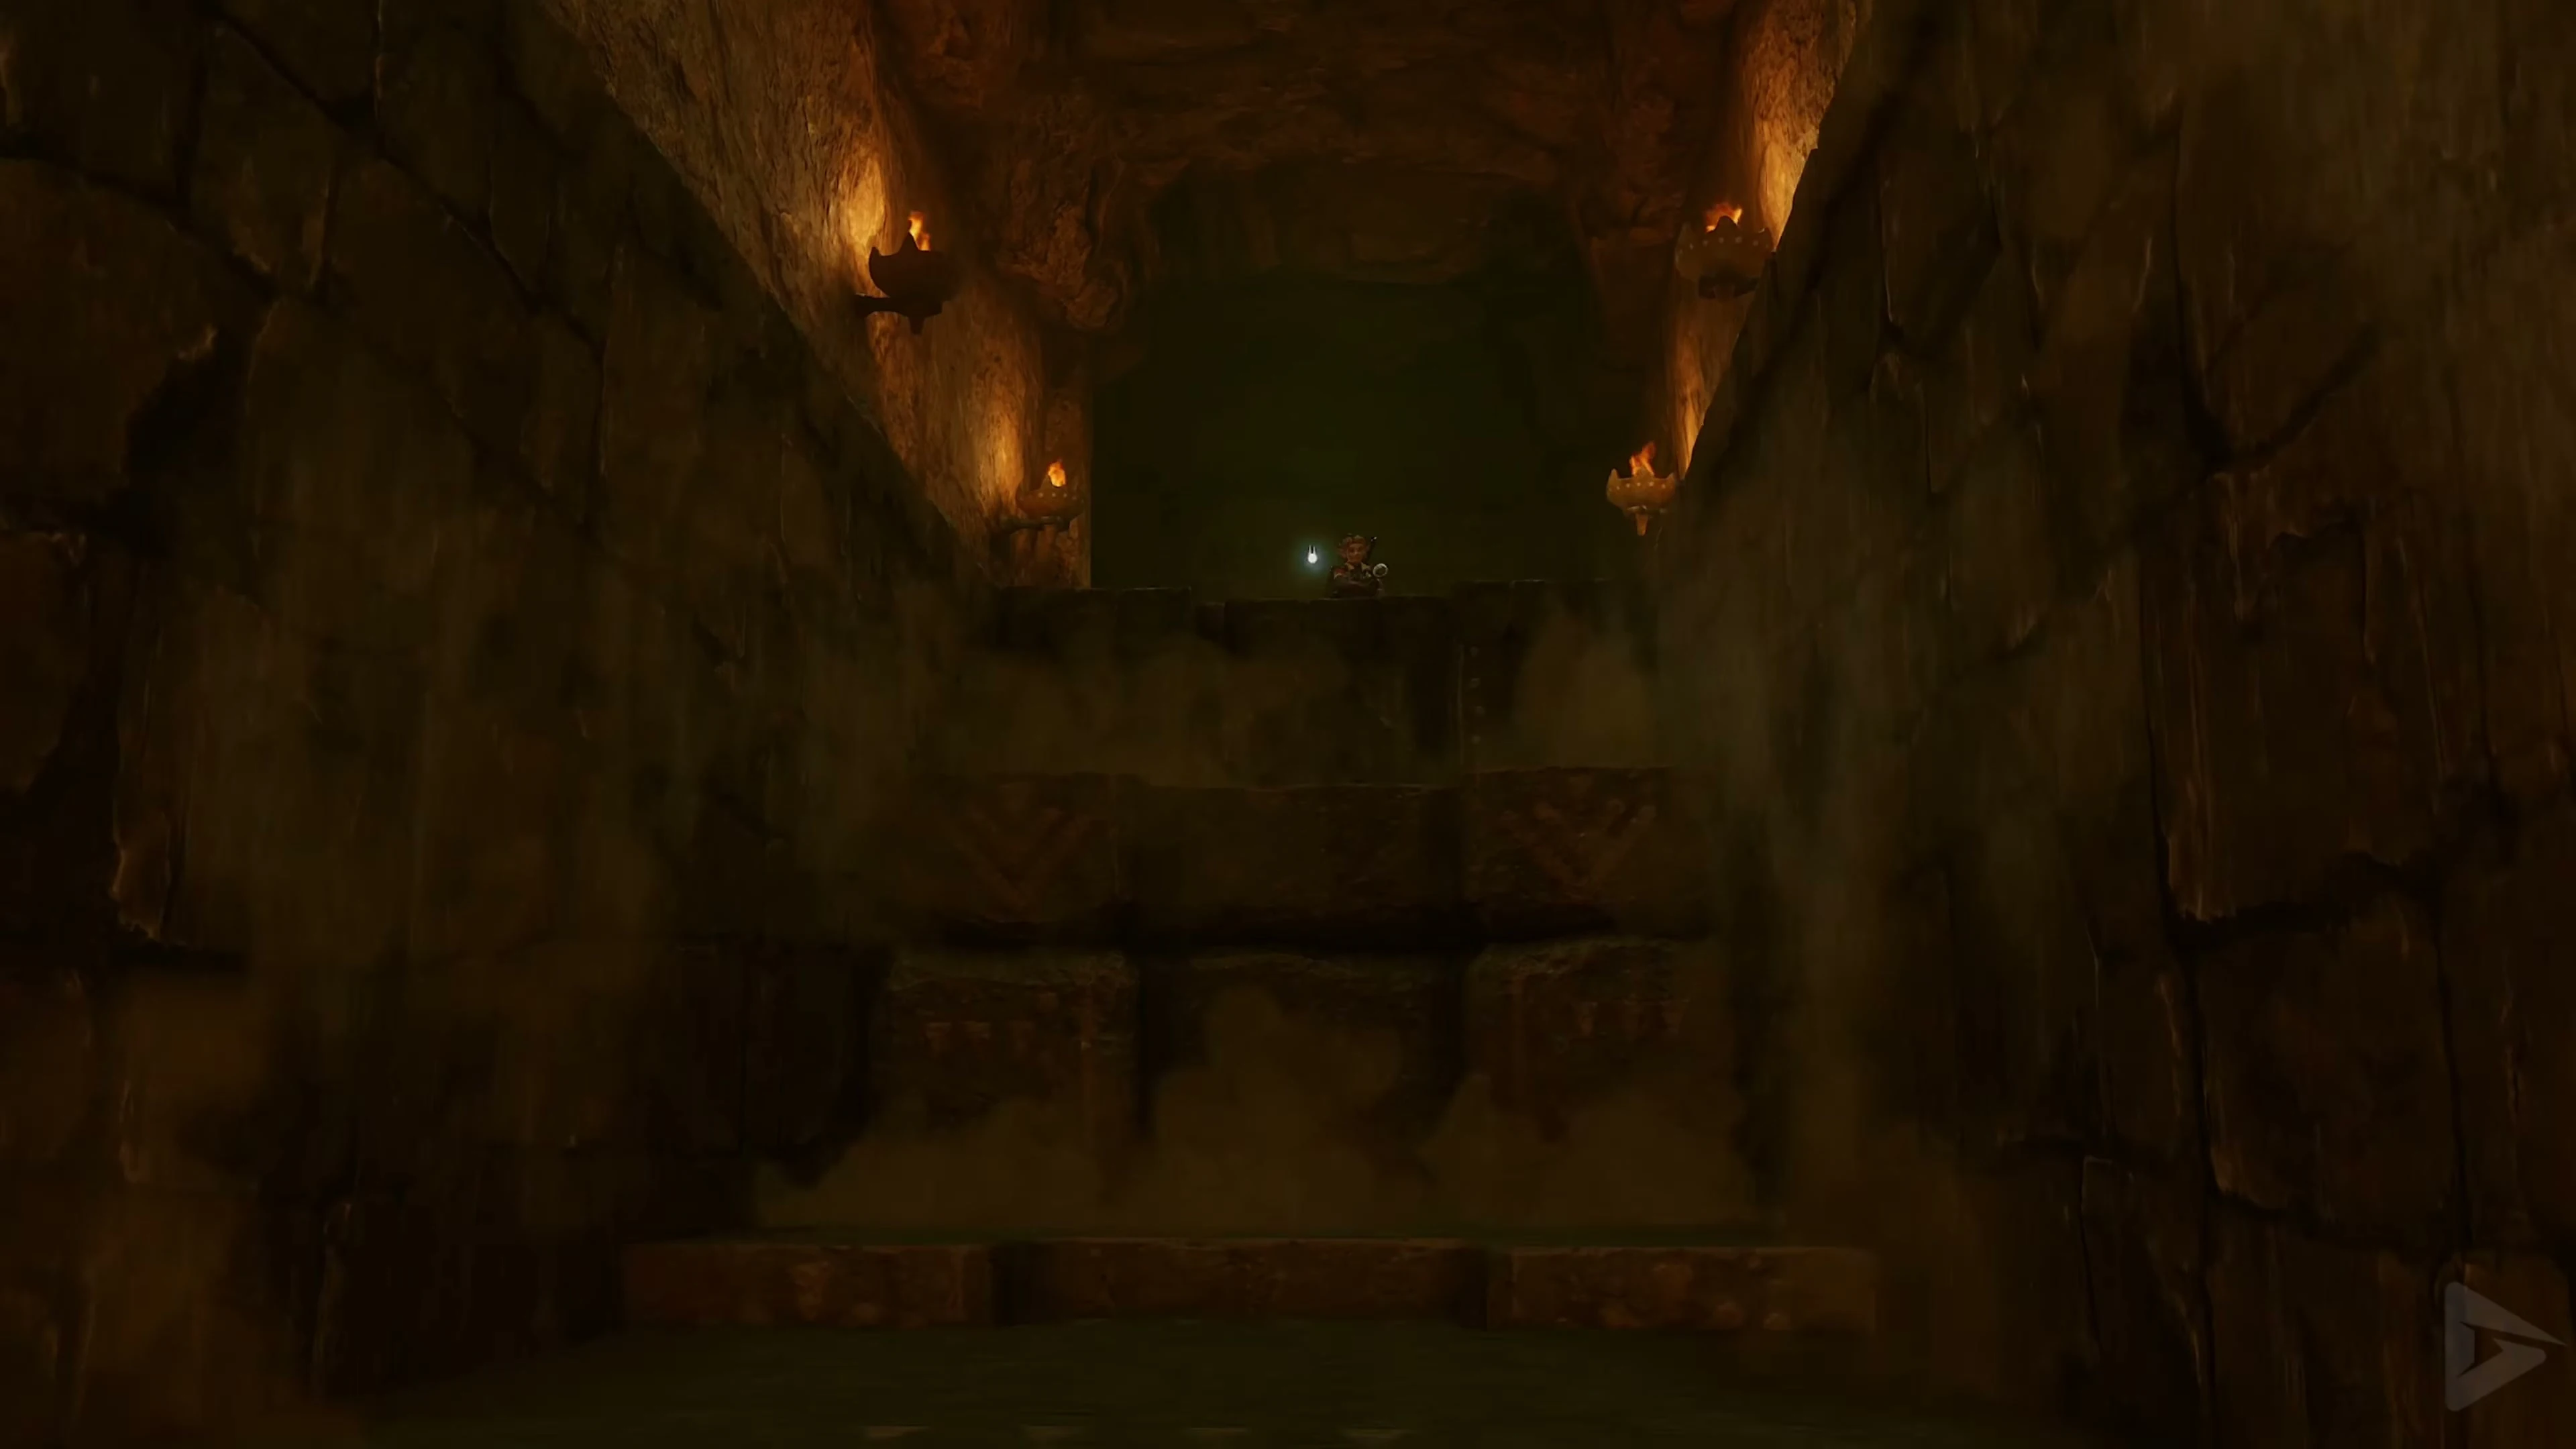
Use the Megaton Hammer to knock down the large floor panel at the bottom of the stairs. You’ll land on the third level of the Fire Maze. Smash the rock wall behind you to reach the room with the blue Time Block. There, you’ll immediately open the second-to-last Goron cell.
Small Key 8/8
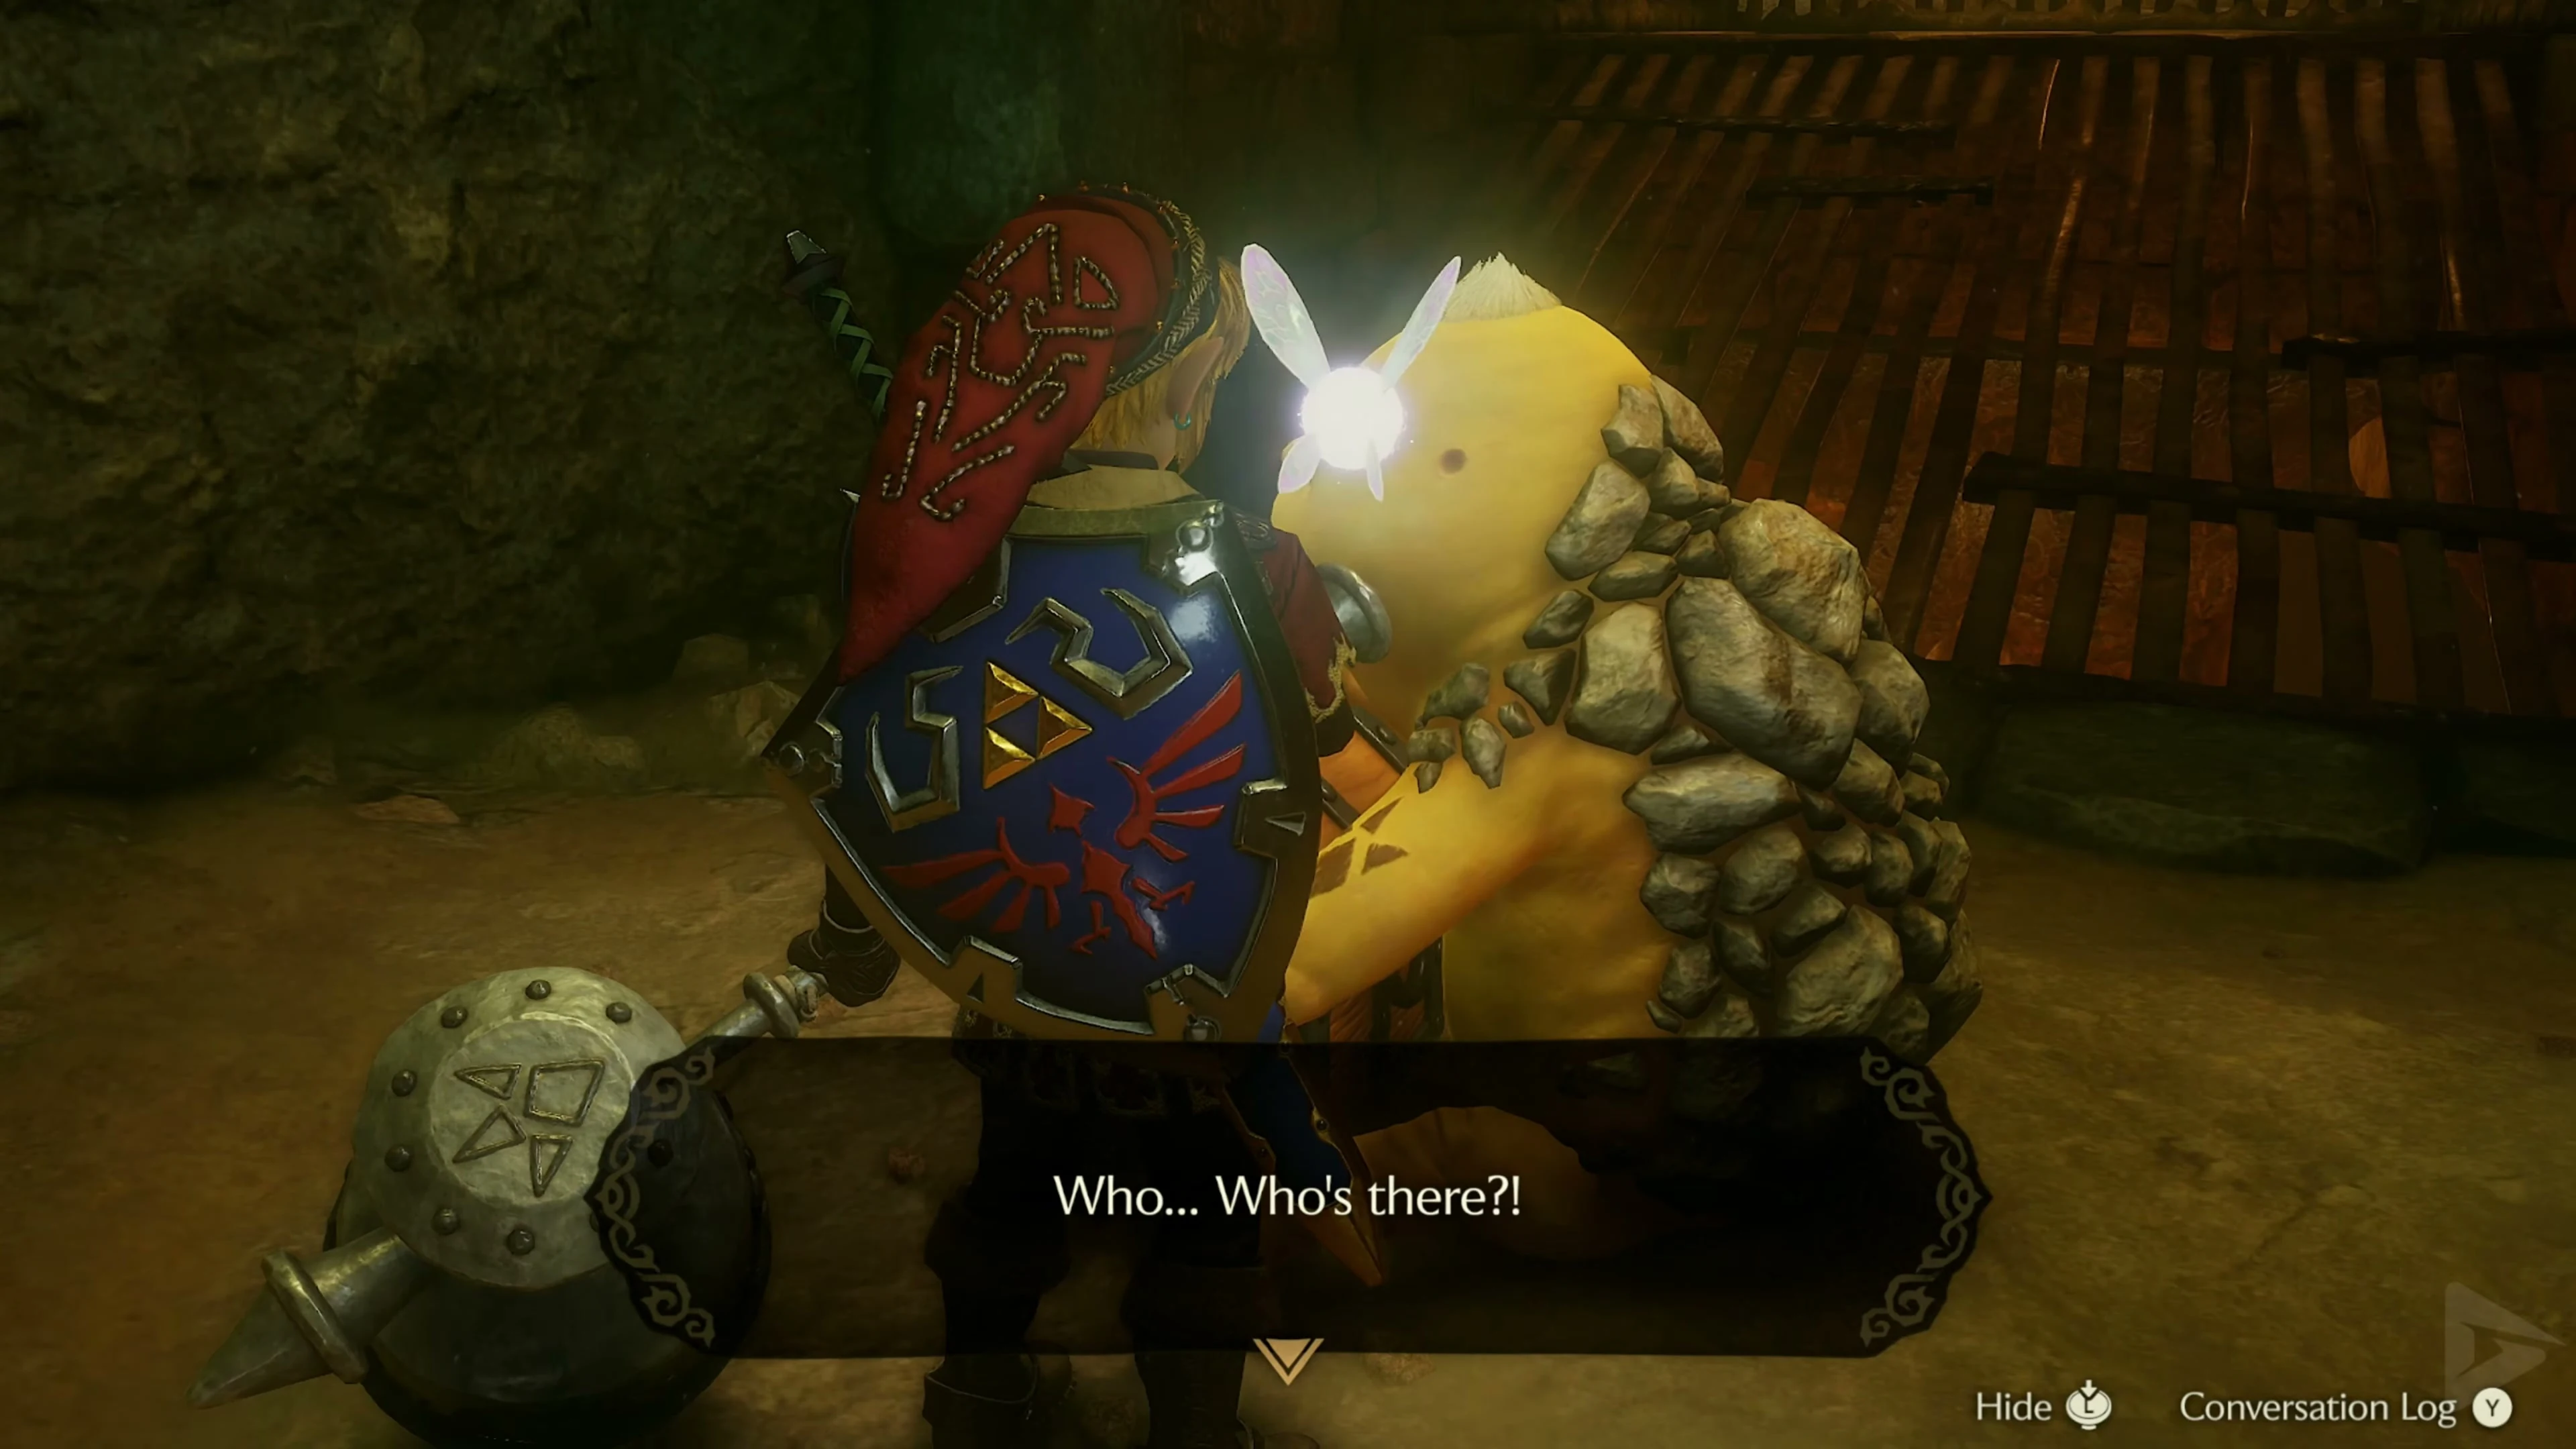
Play the Song of Time at the blue time block to change its position. Use the newly opened path to the rusted switch and strike it with the Megaton Hammer. Go into the opened Goron cell, talk to the prisoner, and take Small Key 8/8 from his chest.
Smash down the giant pillar
Go to the end of the cell with Small Key 8/8 and hit the round floor panel with the Megaton Hammer . You fall down the pillar into the lava room where you met Darunia. Leave through the east door to the entrance hall and go down the wide staircase.
The Path to the Boss Key
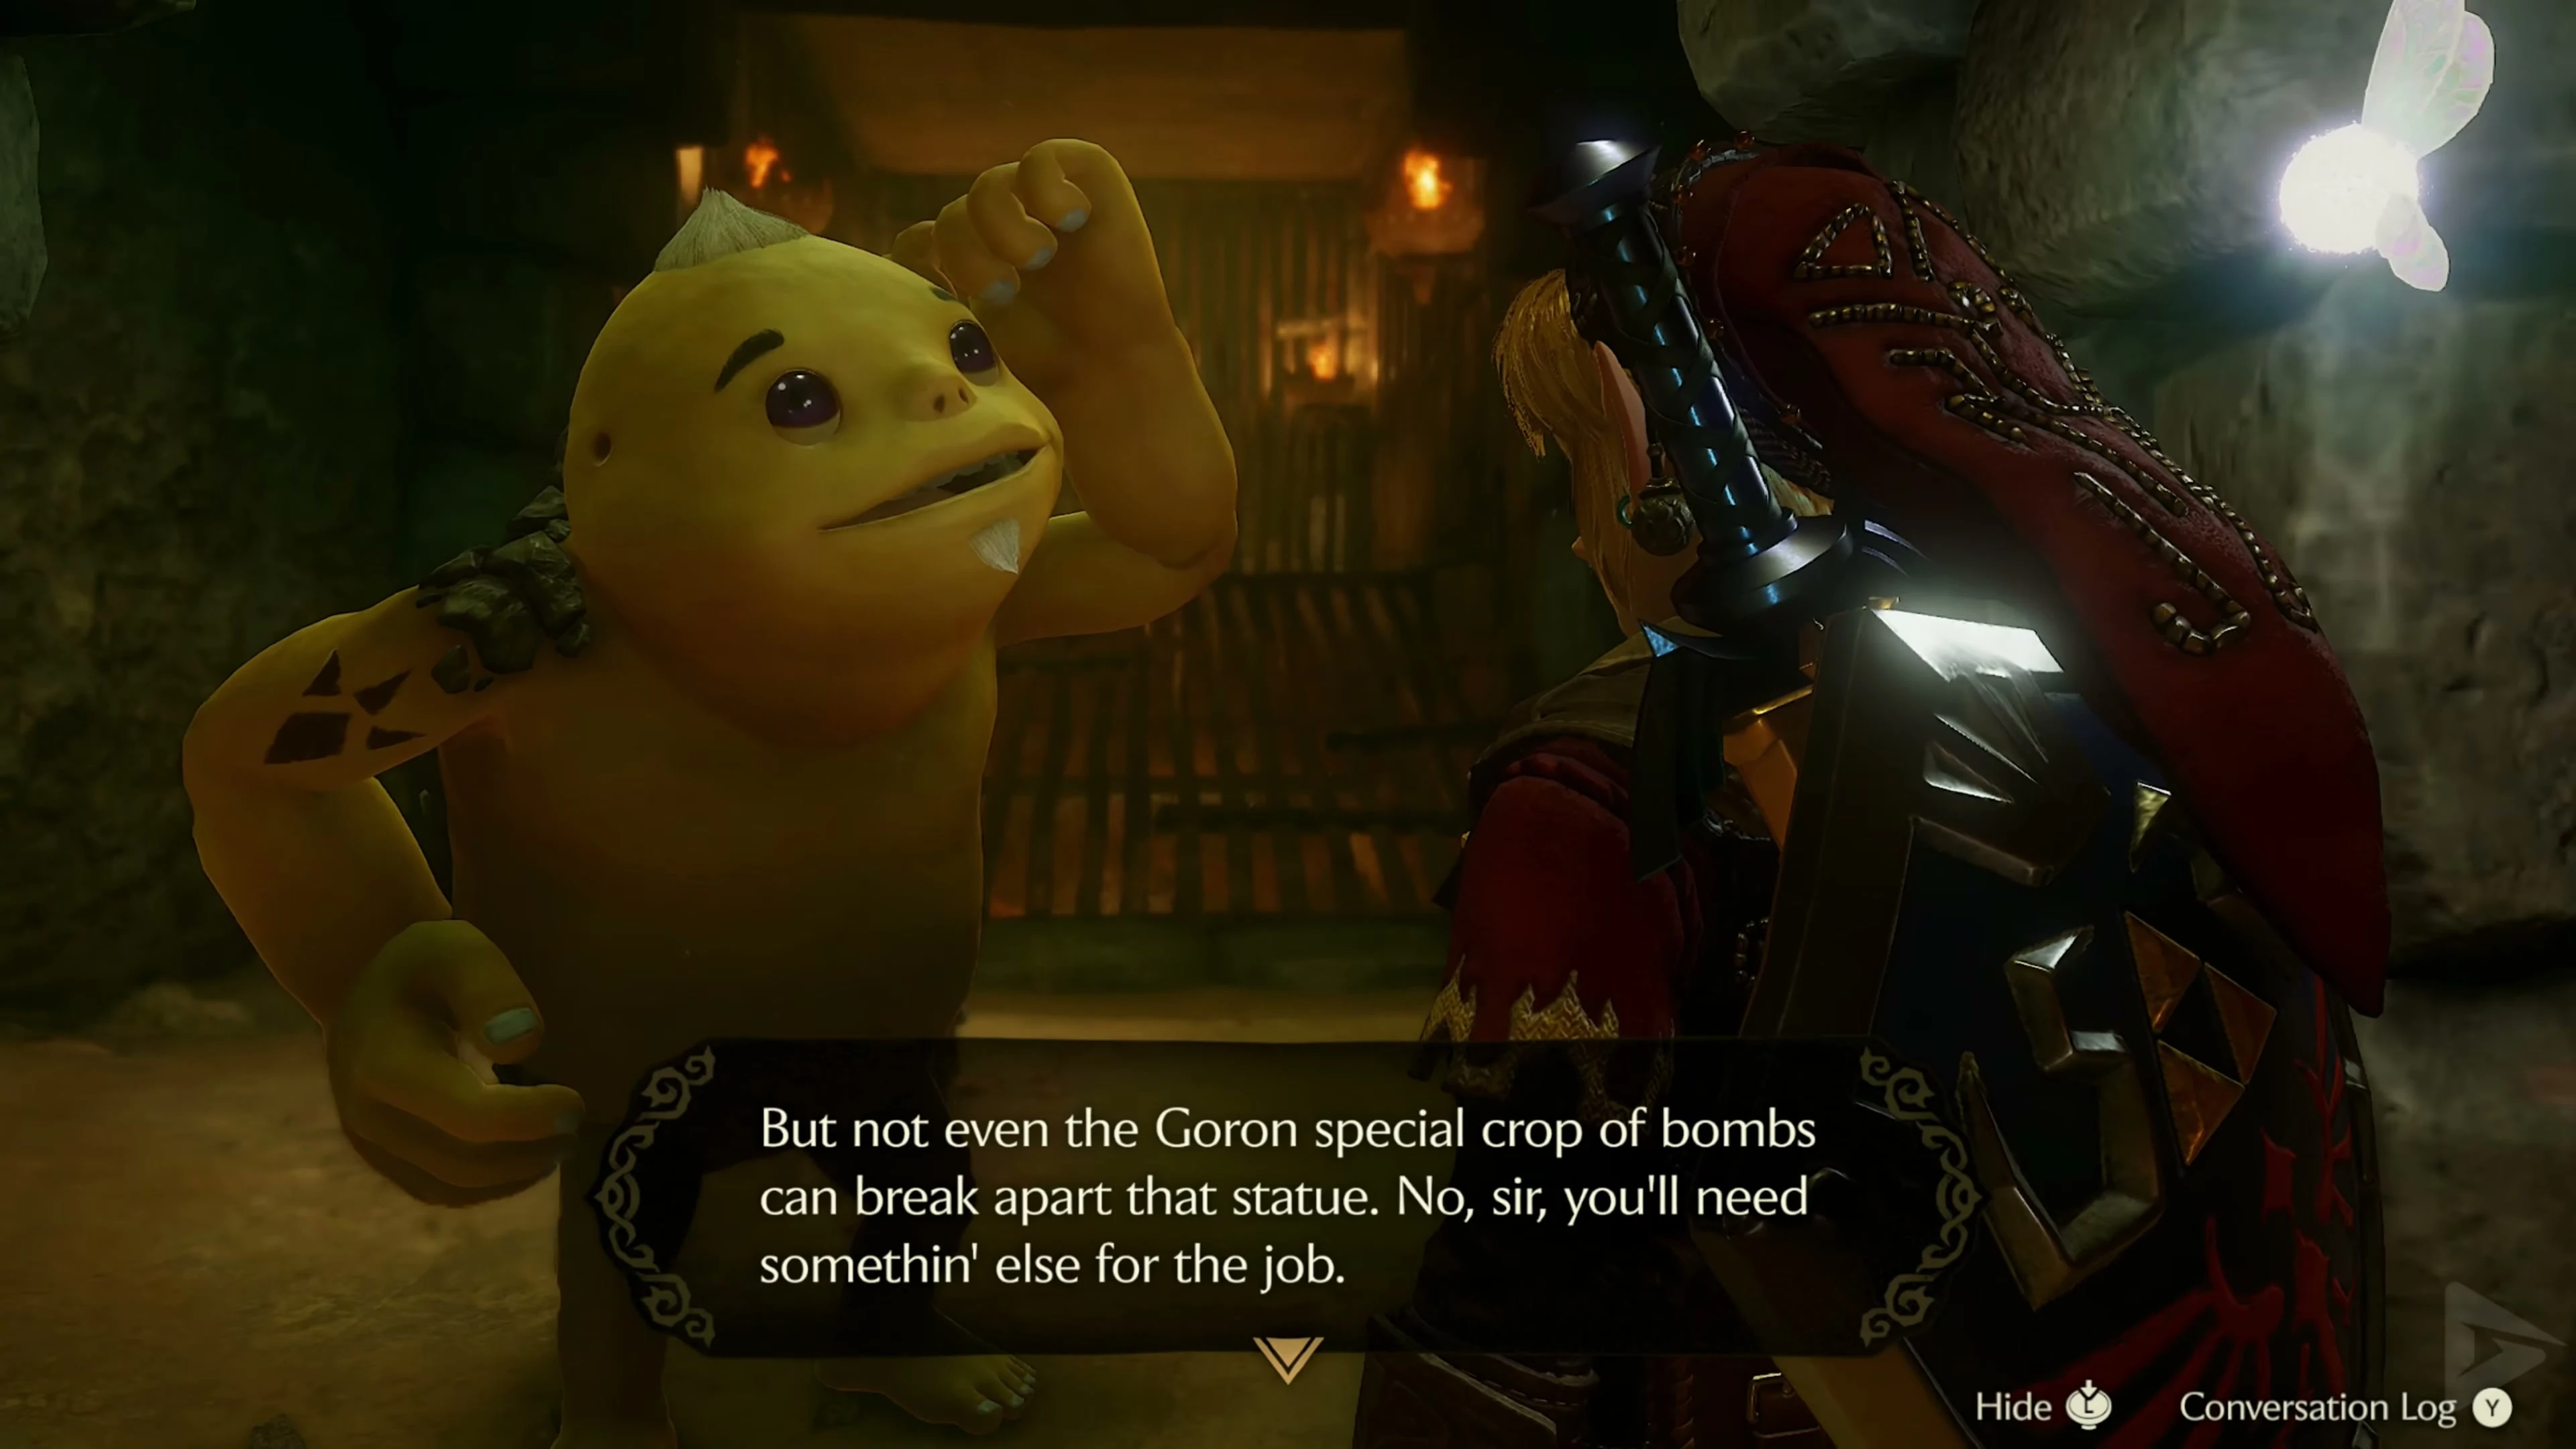
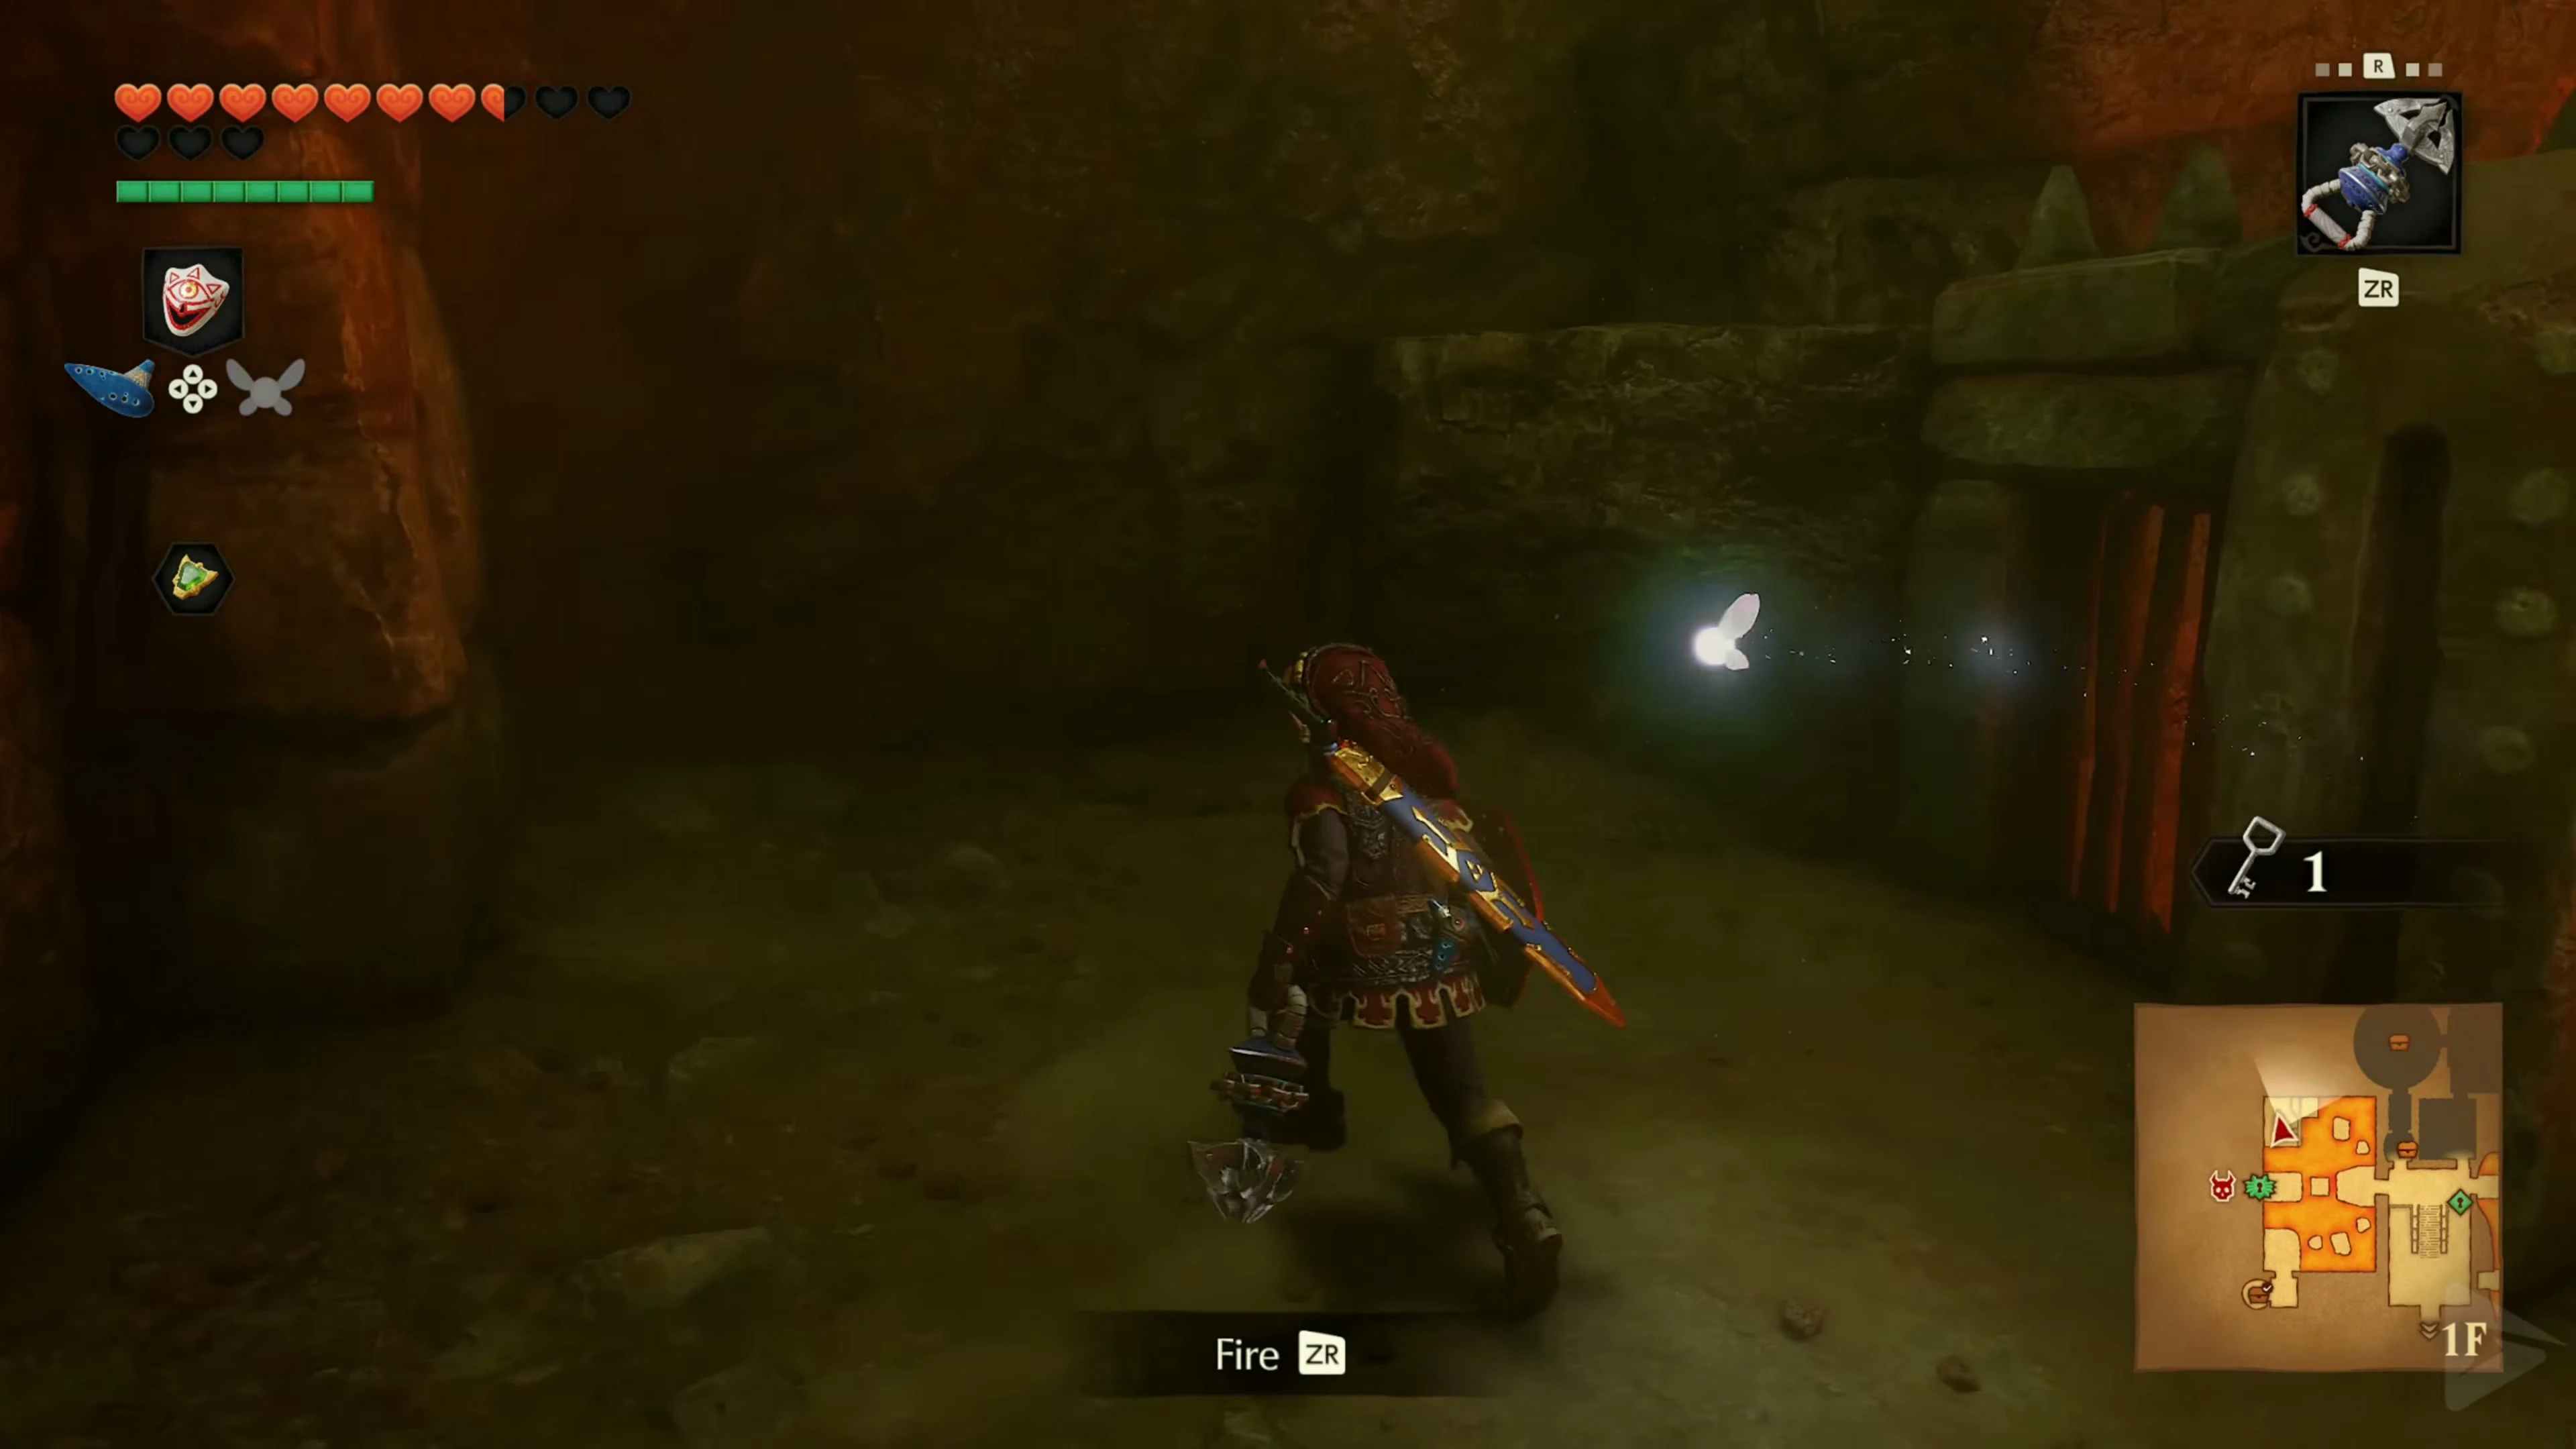
Smash the three-part Goron statue at the bottom of the east side of the entrance stairs with side hammer blows. Open the door behind it with Small Key 8/8 . Defeat all Fire Keese and Torch Slugs in the first room to open the next door. Use the Megaton Hammer to extinguish the Torch Slugs’ flames; then finish them off with the sword.
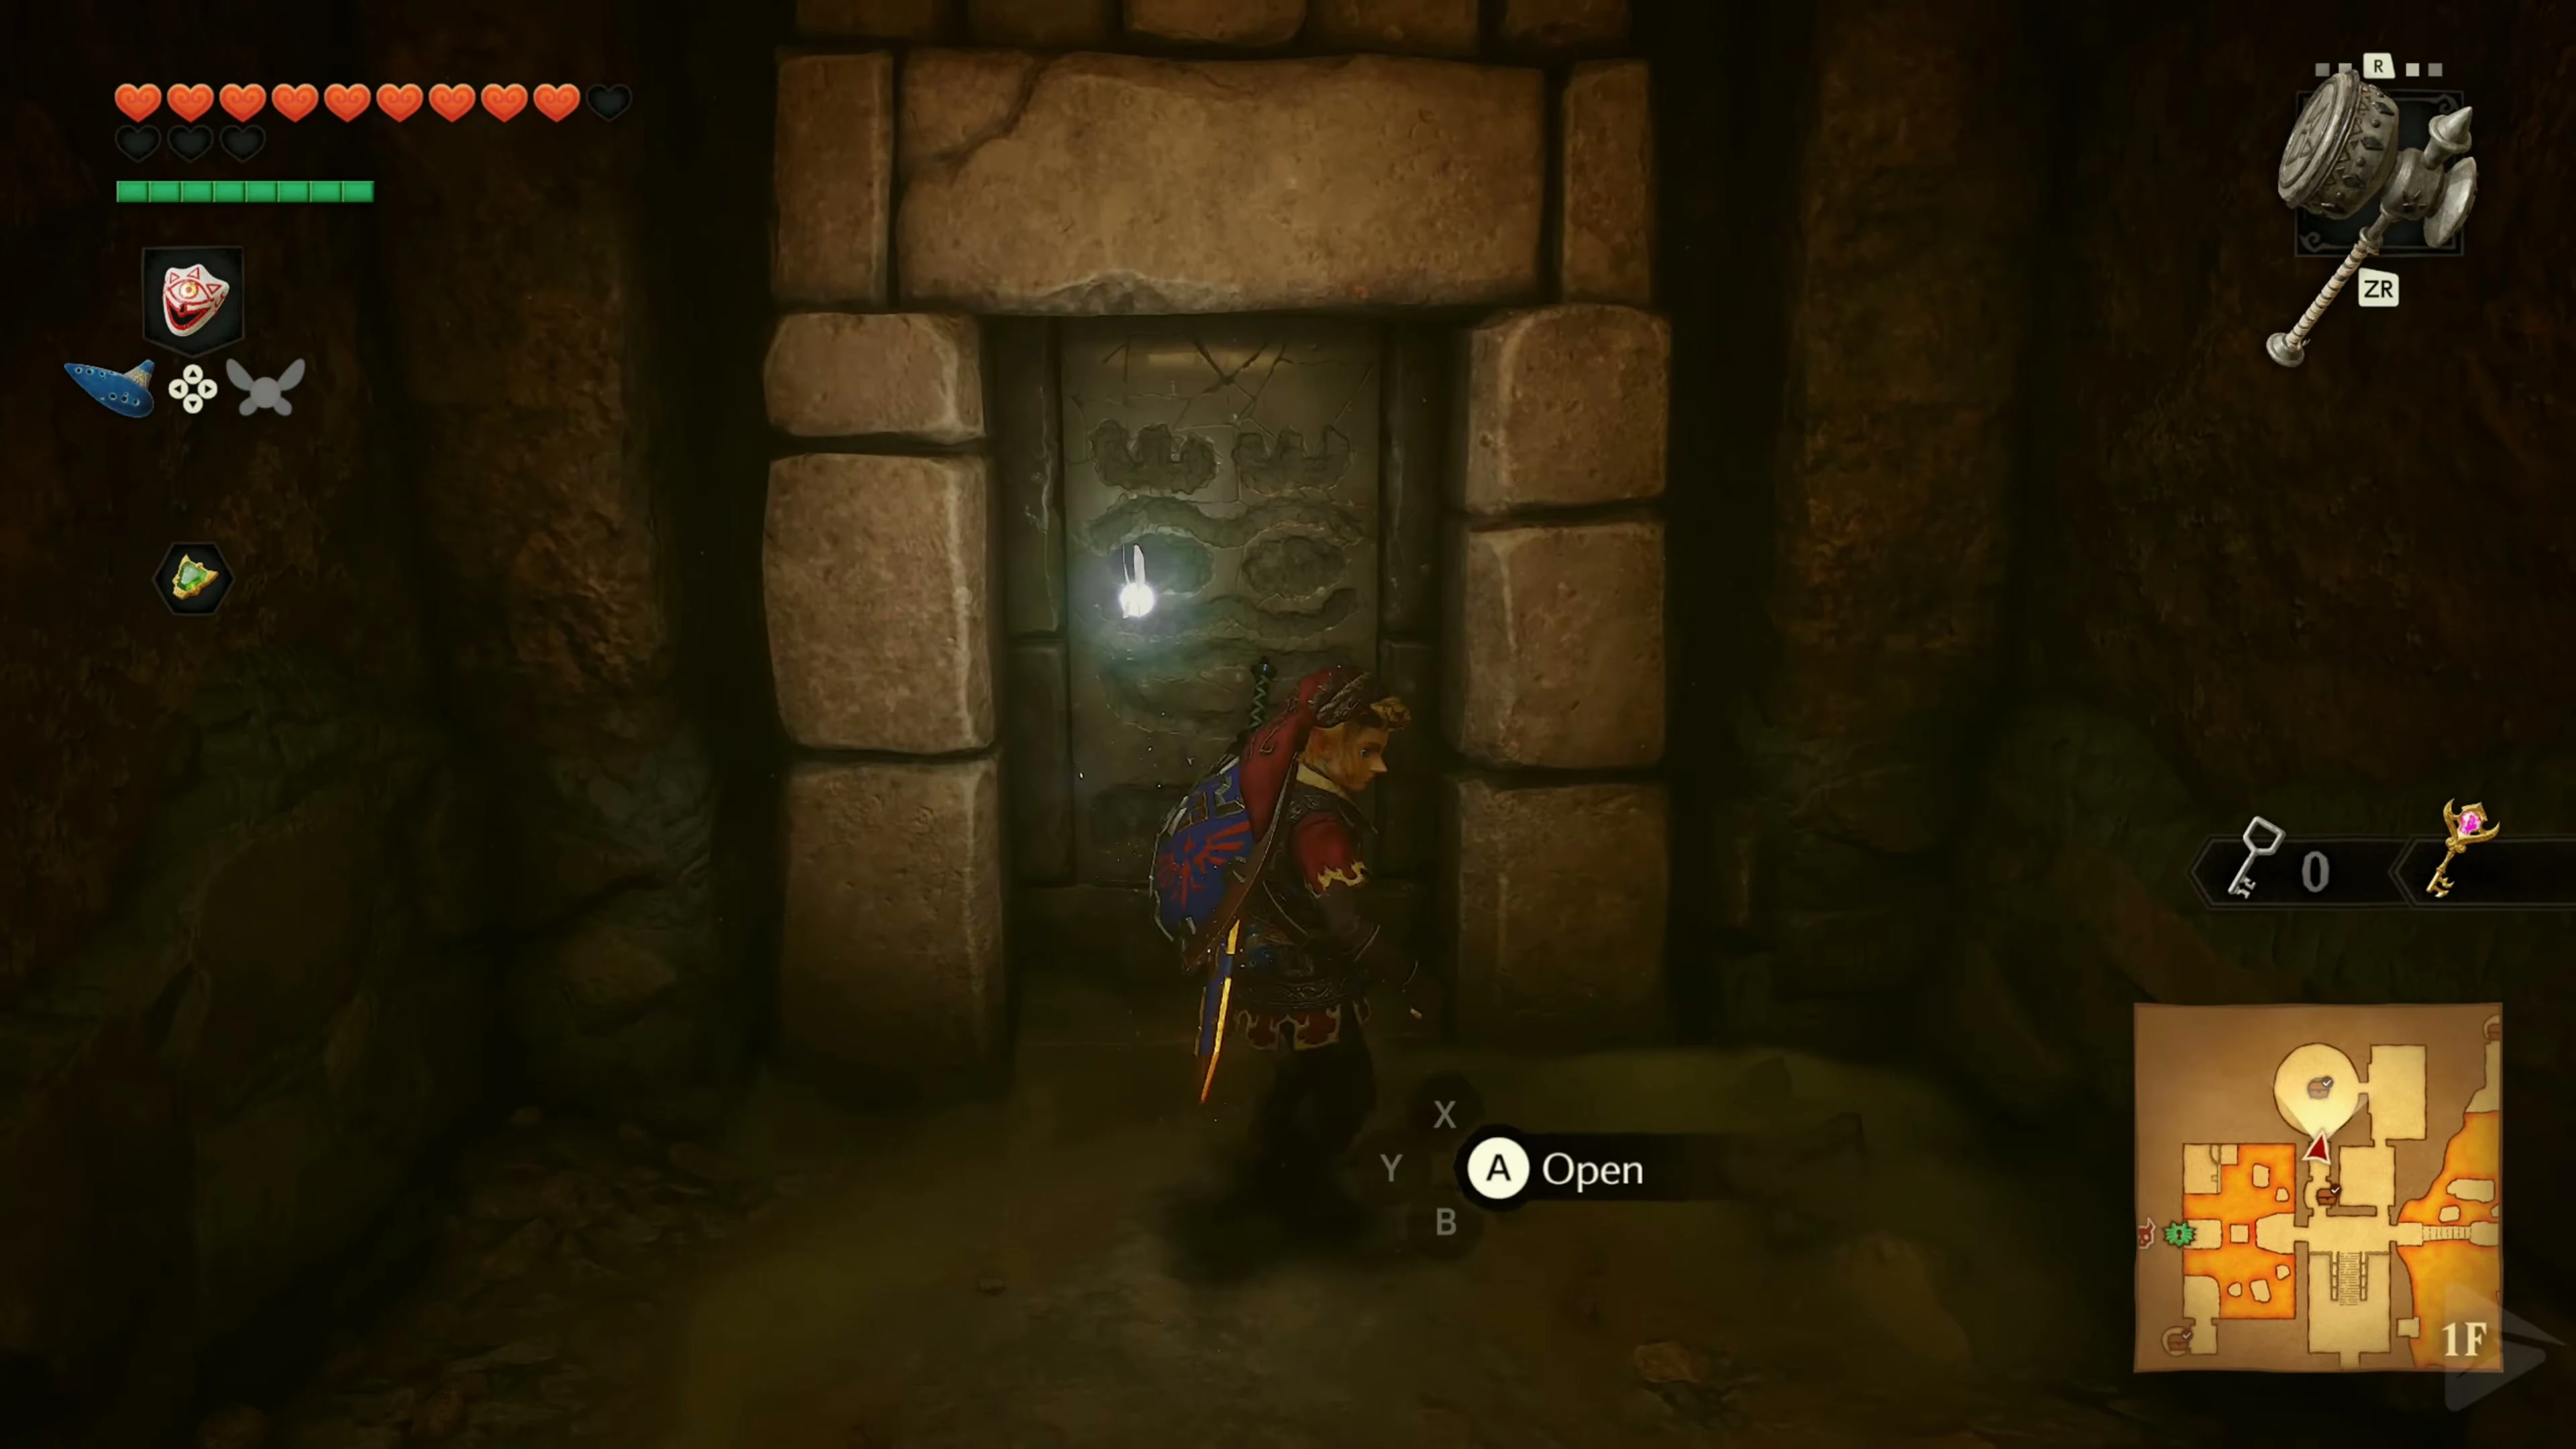
In the next room, floor tiles will again fly towards Link. Hold up the Hylian Shield and let them shatter. Afterward, another Like Like will remain. Keep your distance and defeat it with arrows or Hookshot so that it doesn’t steal your shield or Goron Tunic.
Gold Skulltula 5/5
After defeating the Like Like, find the ore rock in the room and smash it with the Megaton Hammer. Defeat Gold Skulltula 5/5 and collect its token. Continue to the second Flare Dancer.
Second Flare Dancer
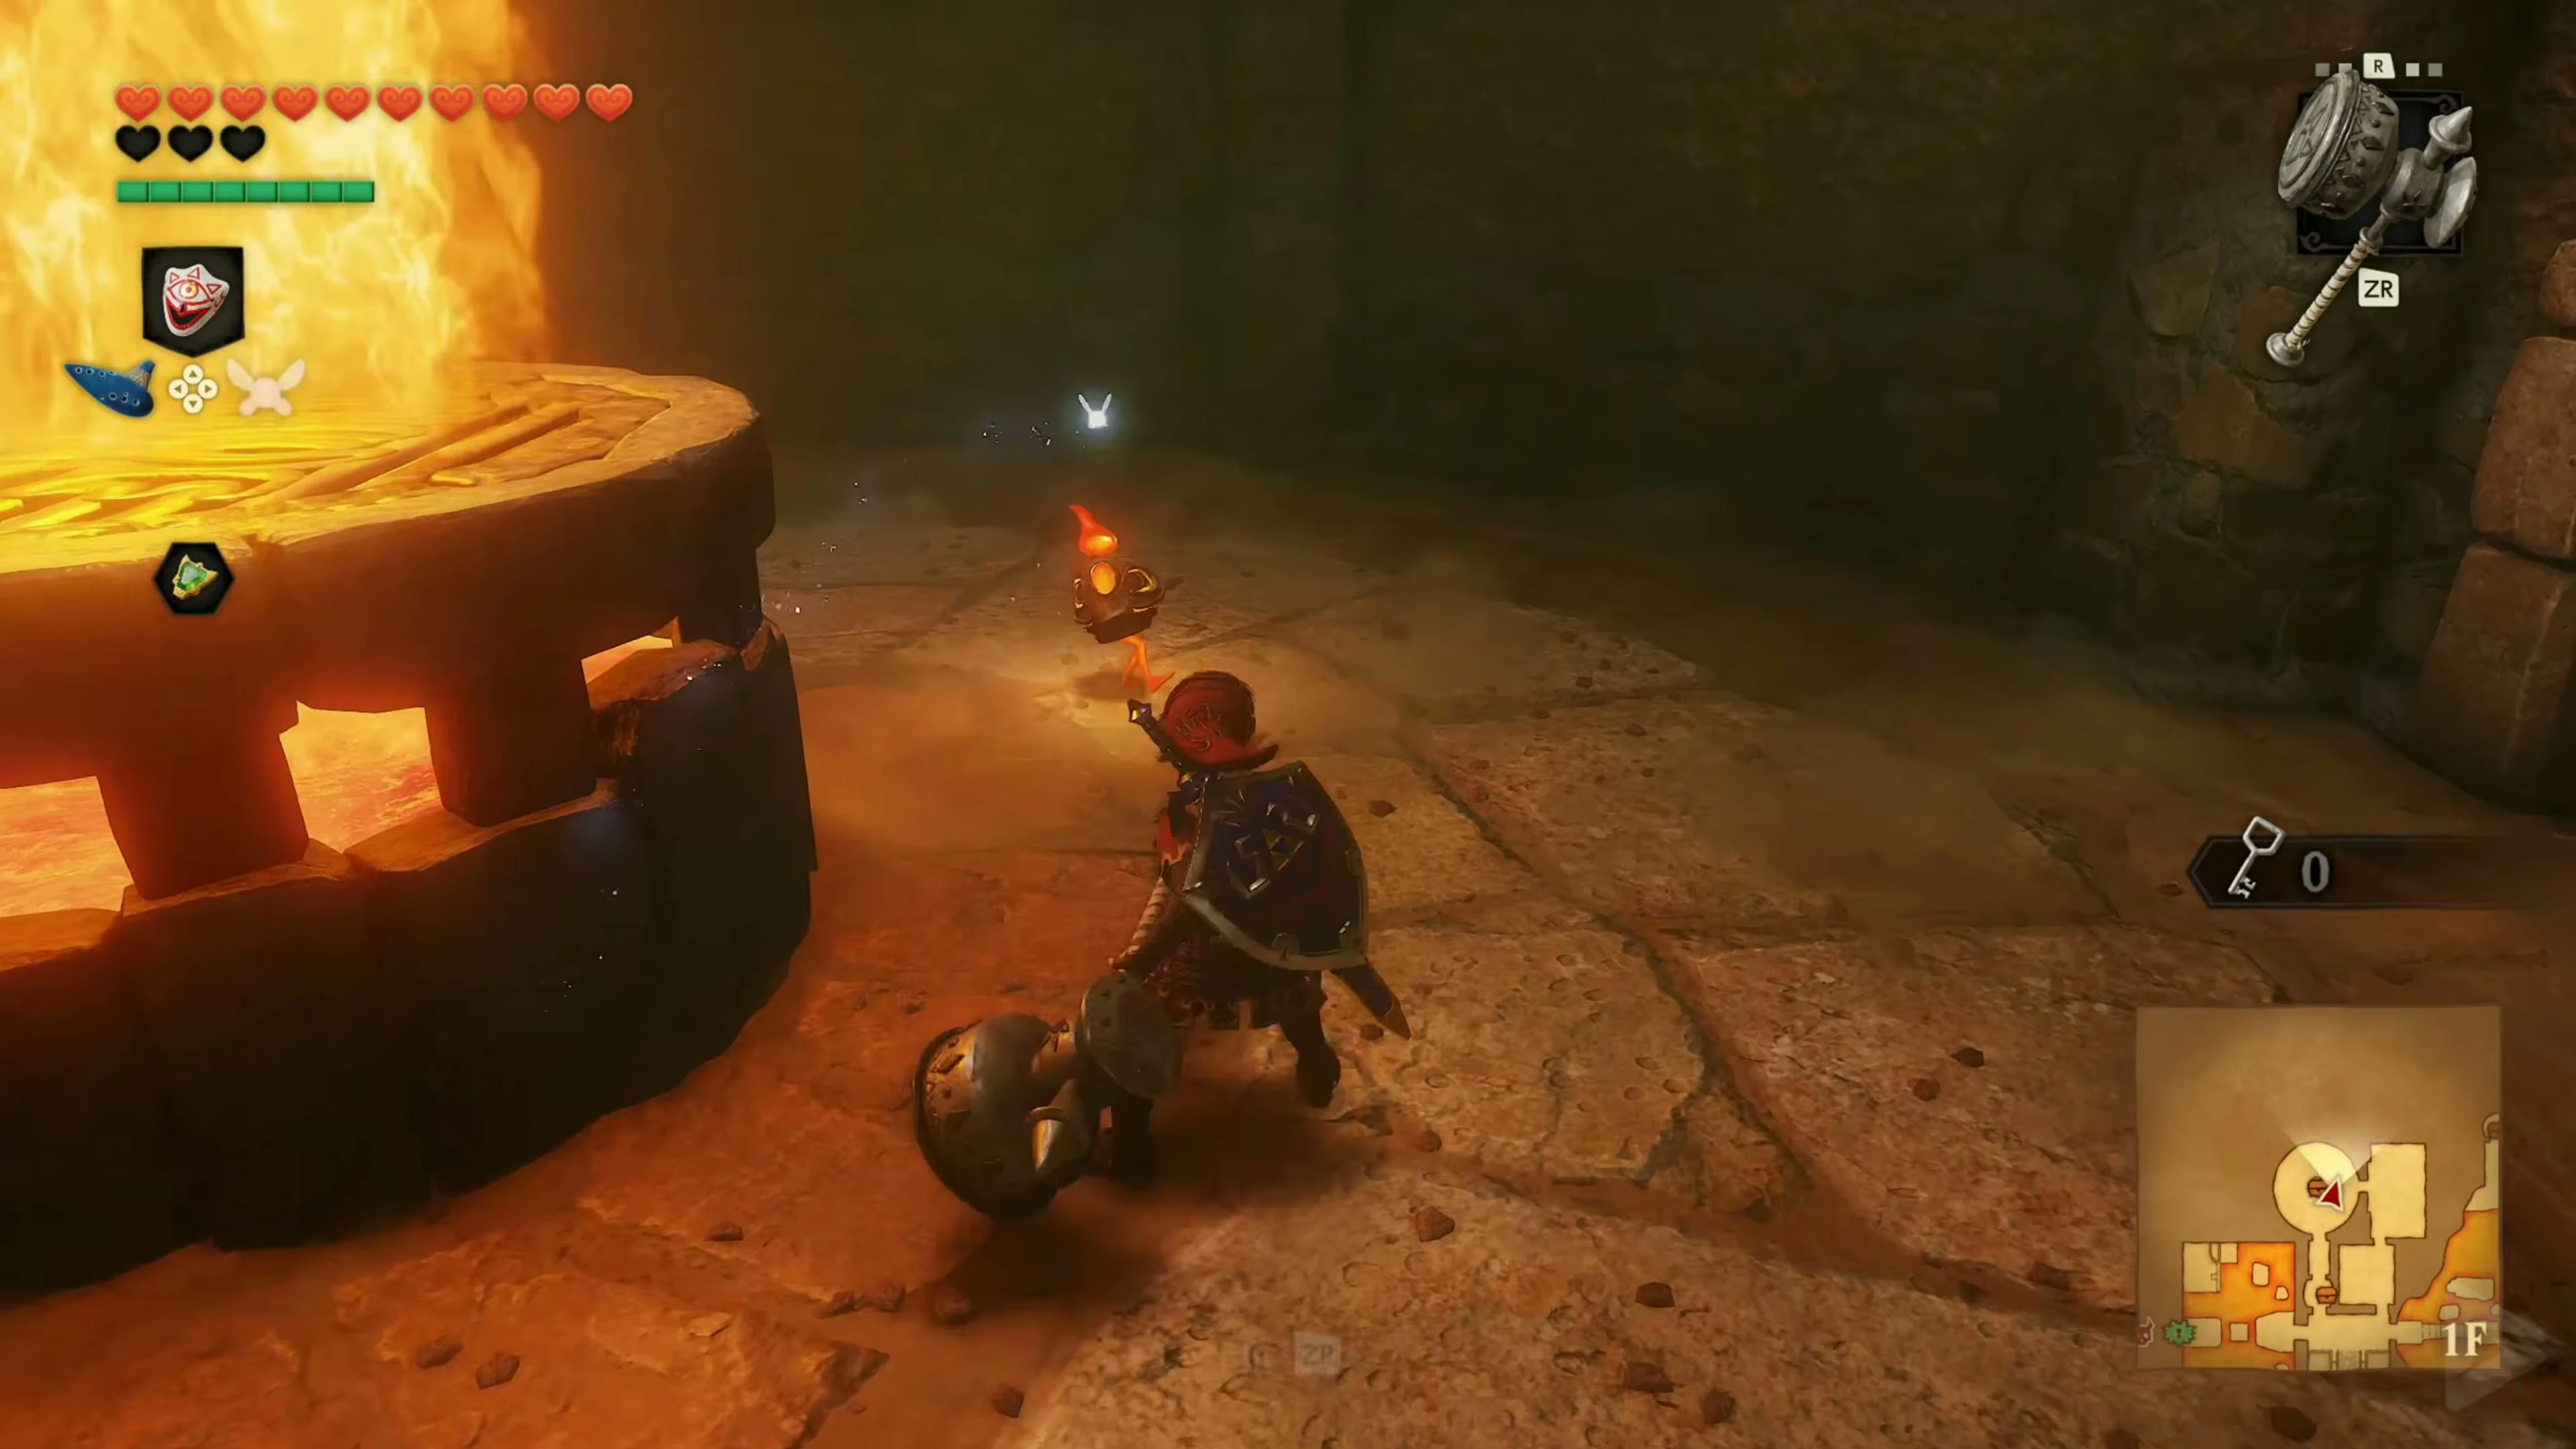
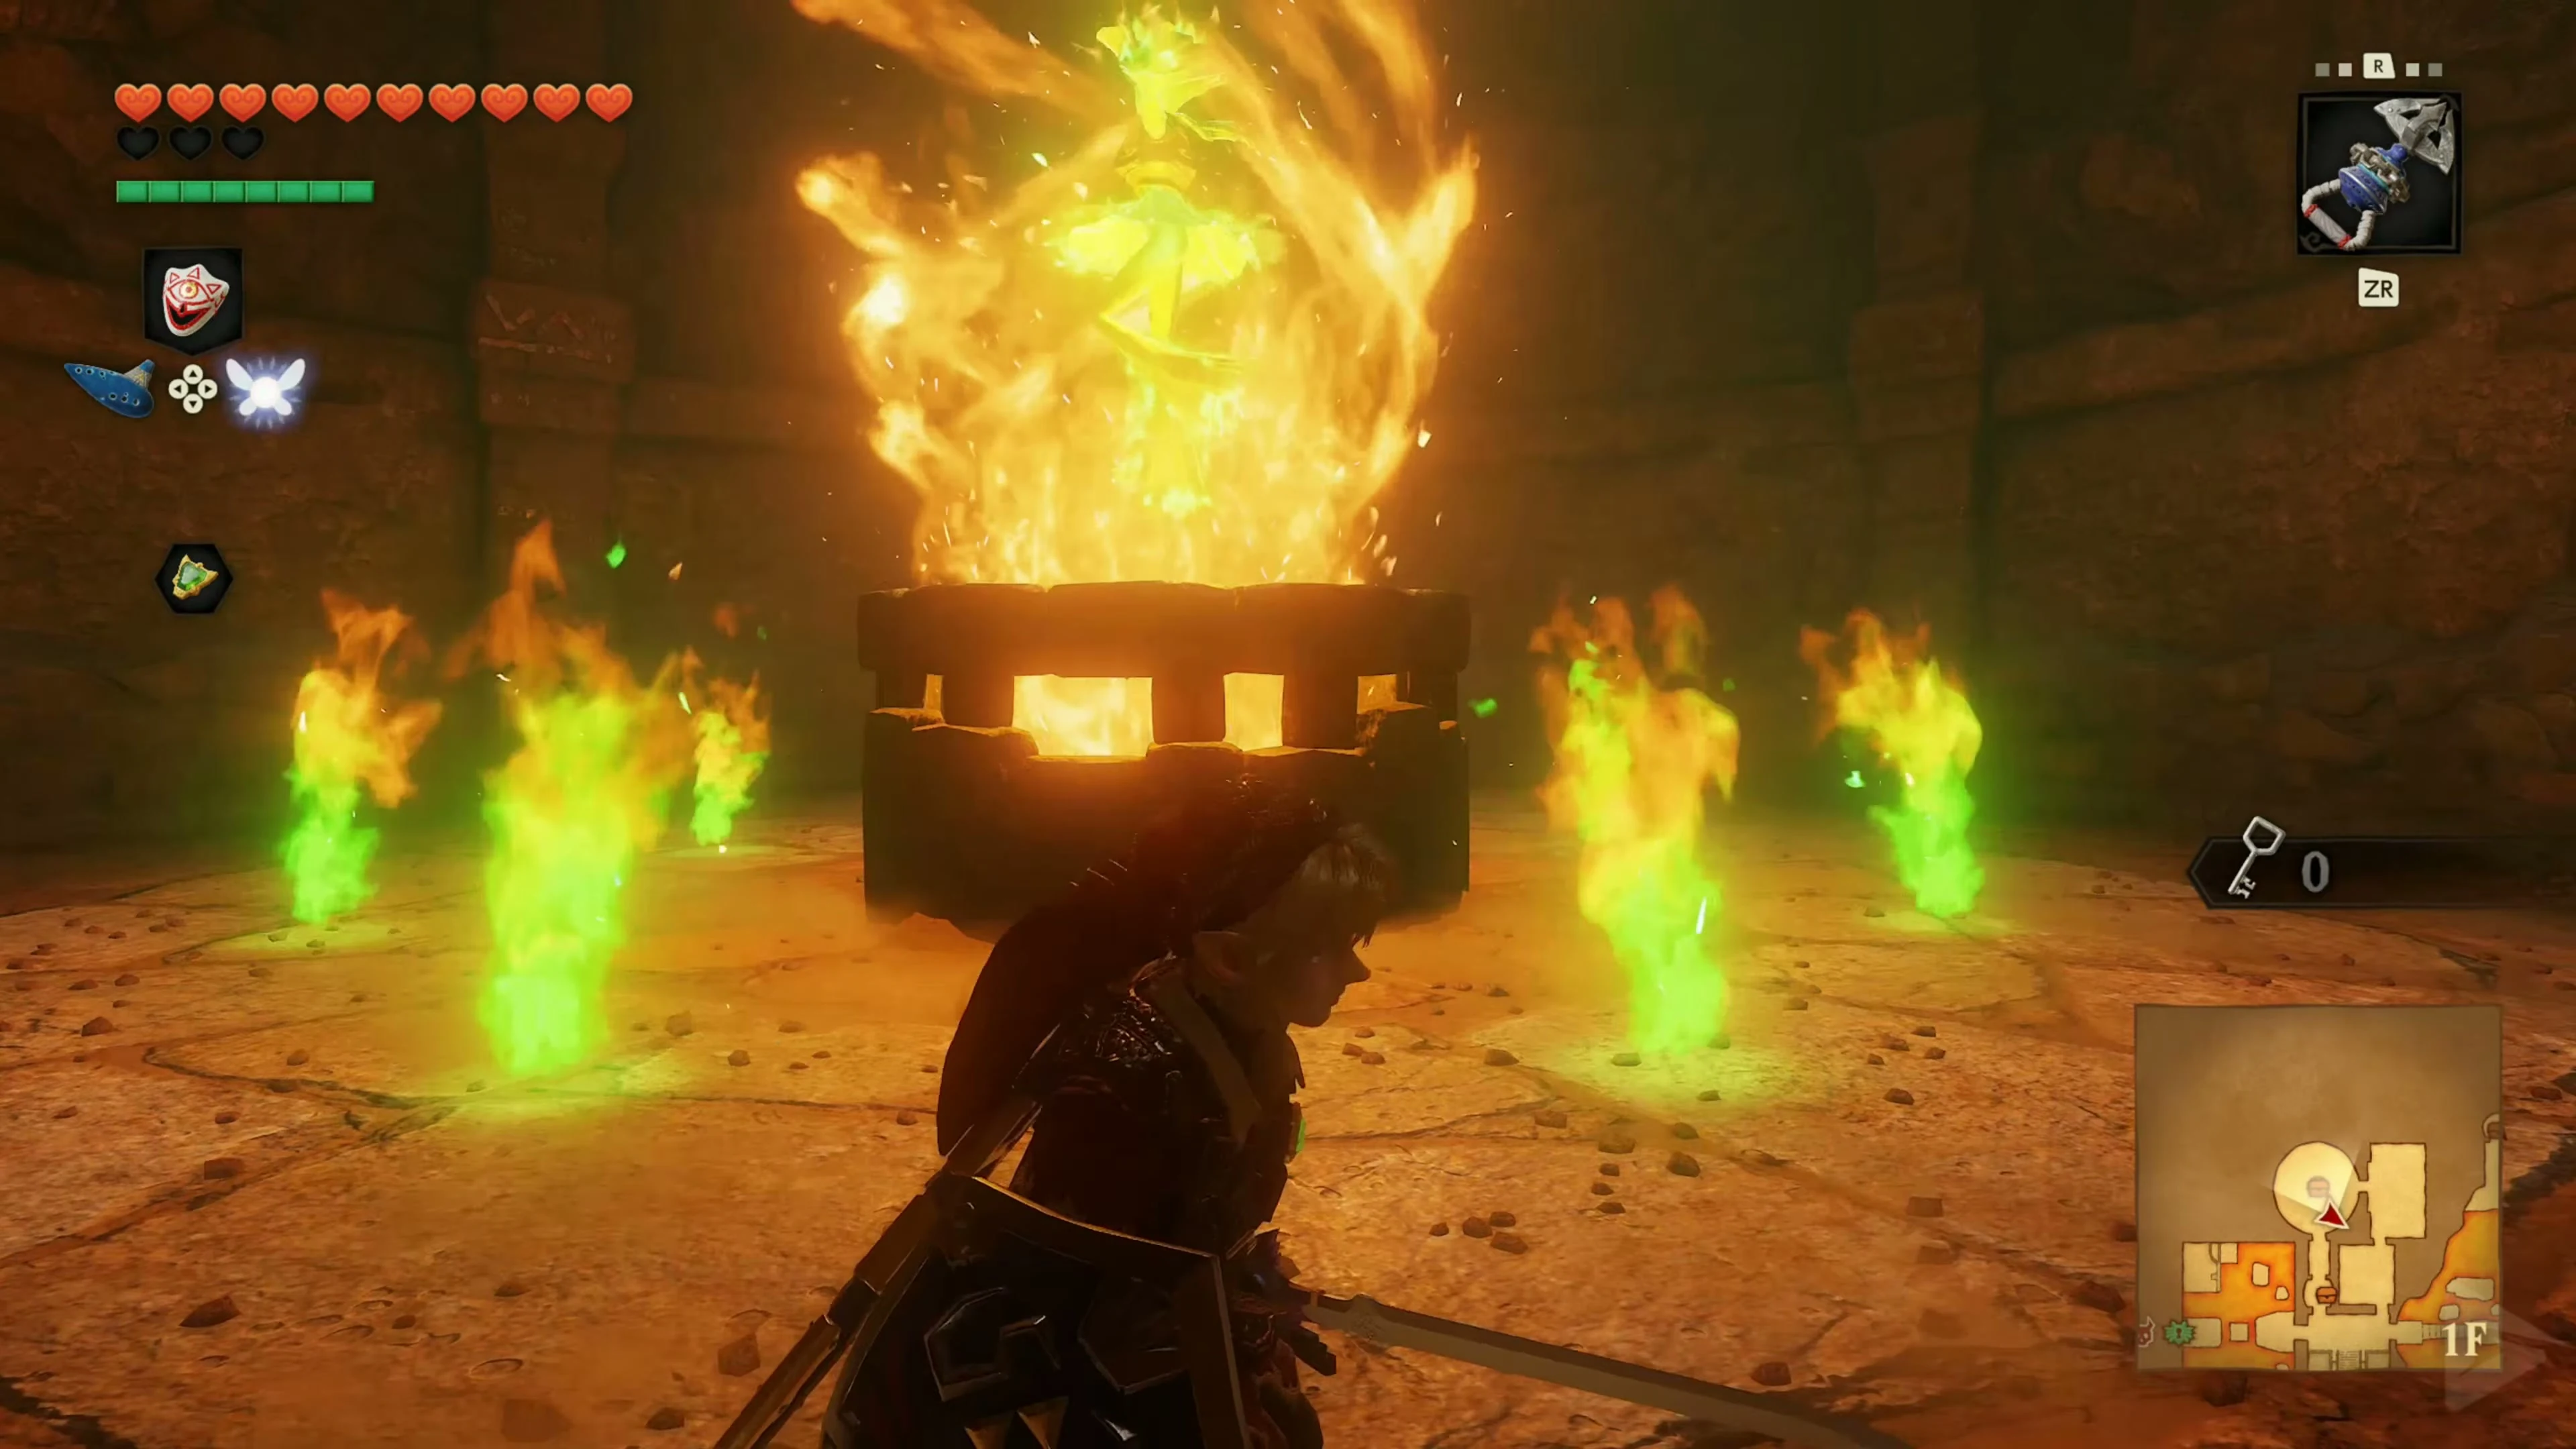
Strike the ground near the second Flare Dancer with the Megaton Hammer. . The impact will release the body from its fiery shell. Catch it at the edge of the arena and attack with the Master Sword. Repeat this process until you win. Open the chest that appears with 20 Rupees .
The Boss Key and the Last Goron
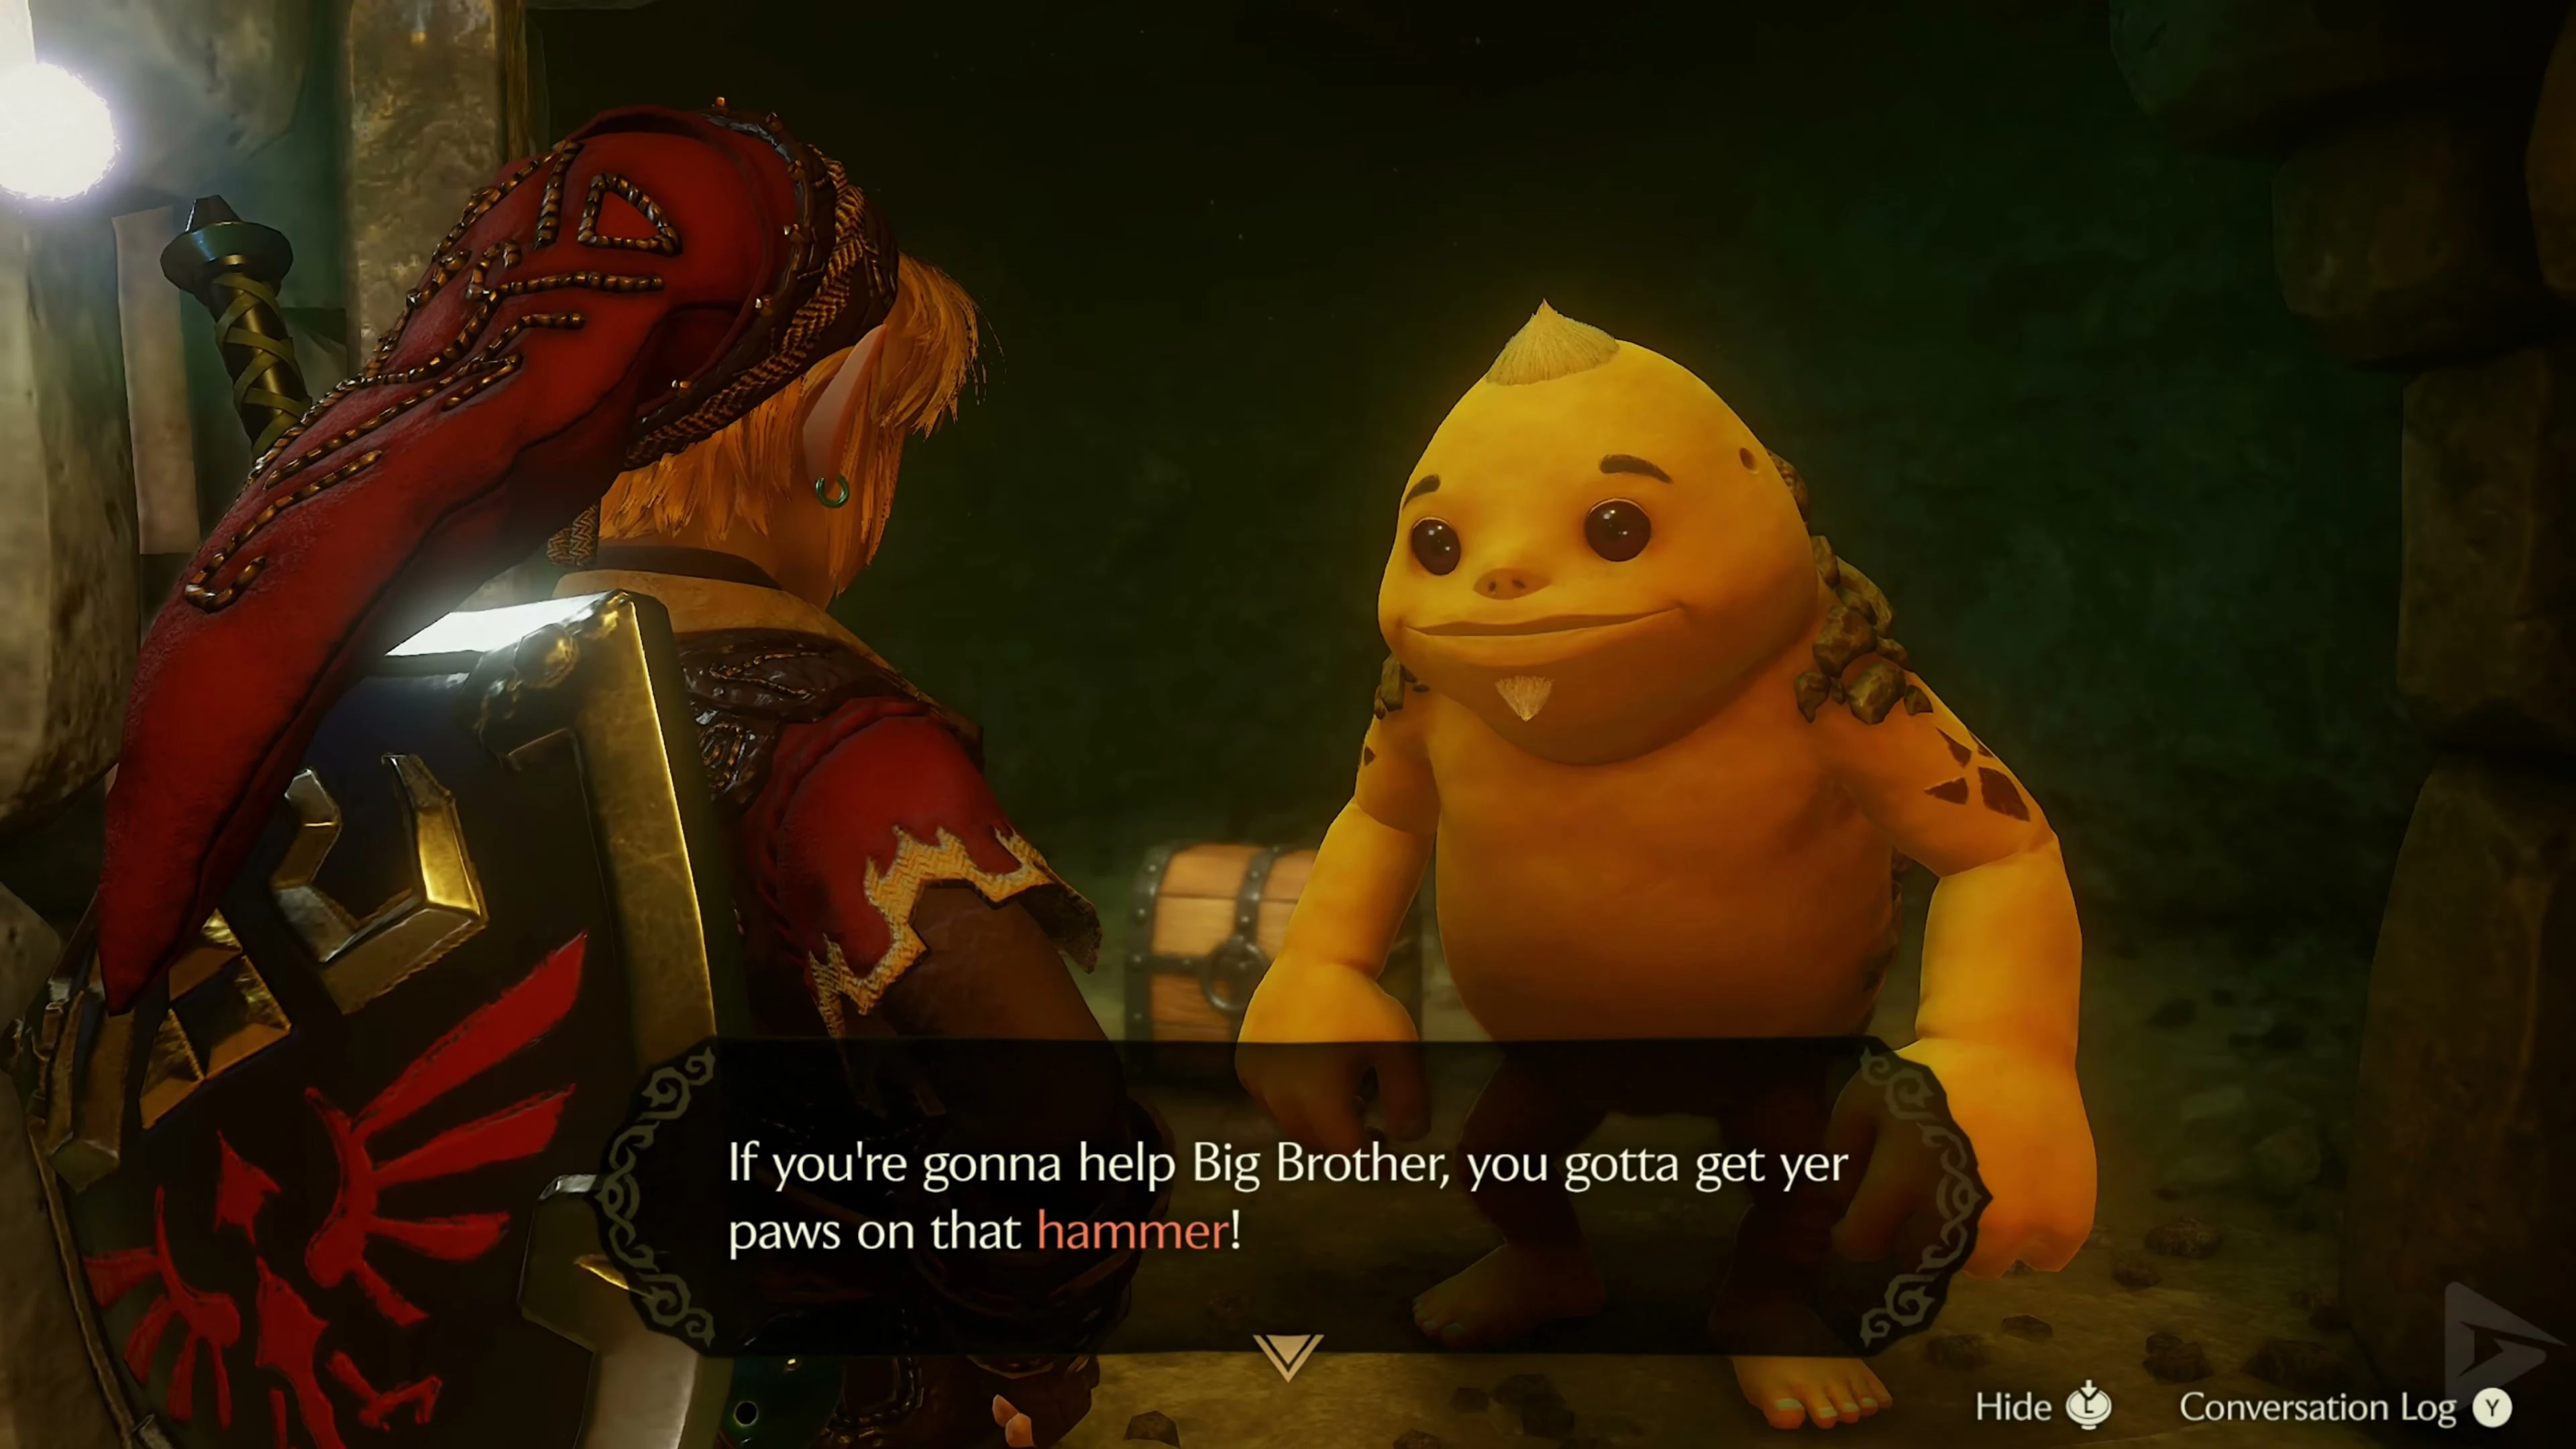
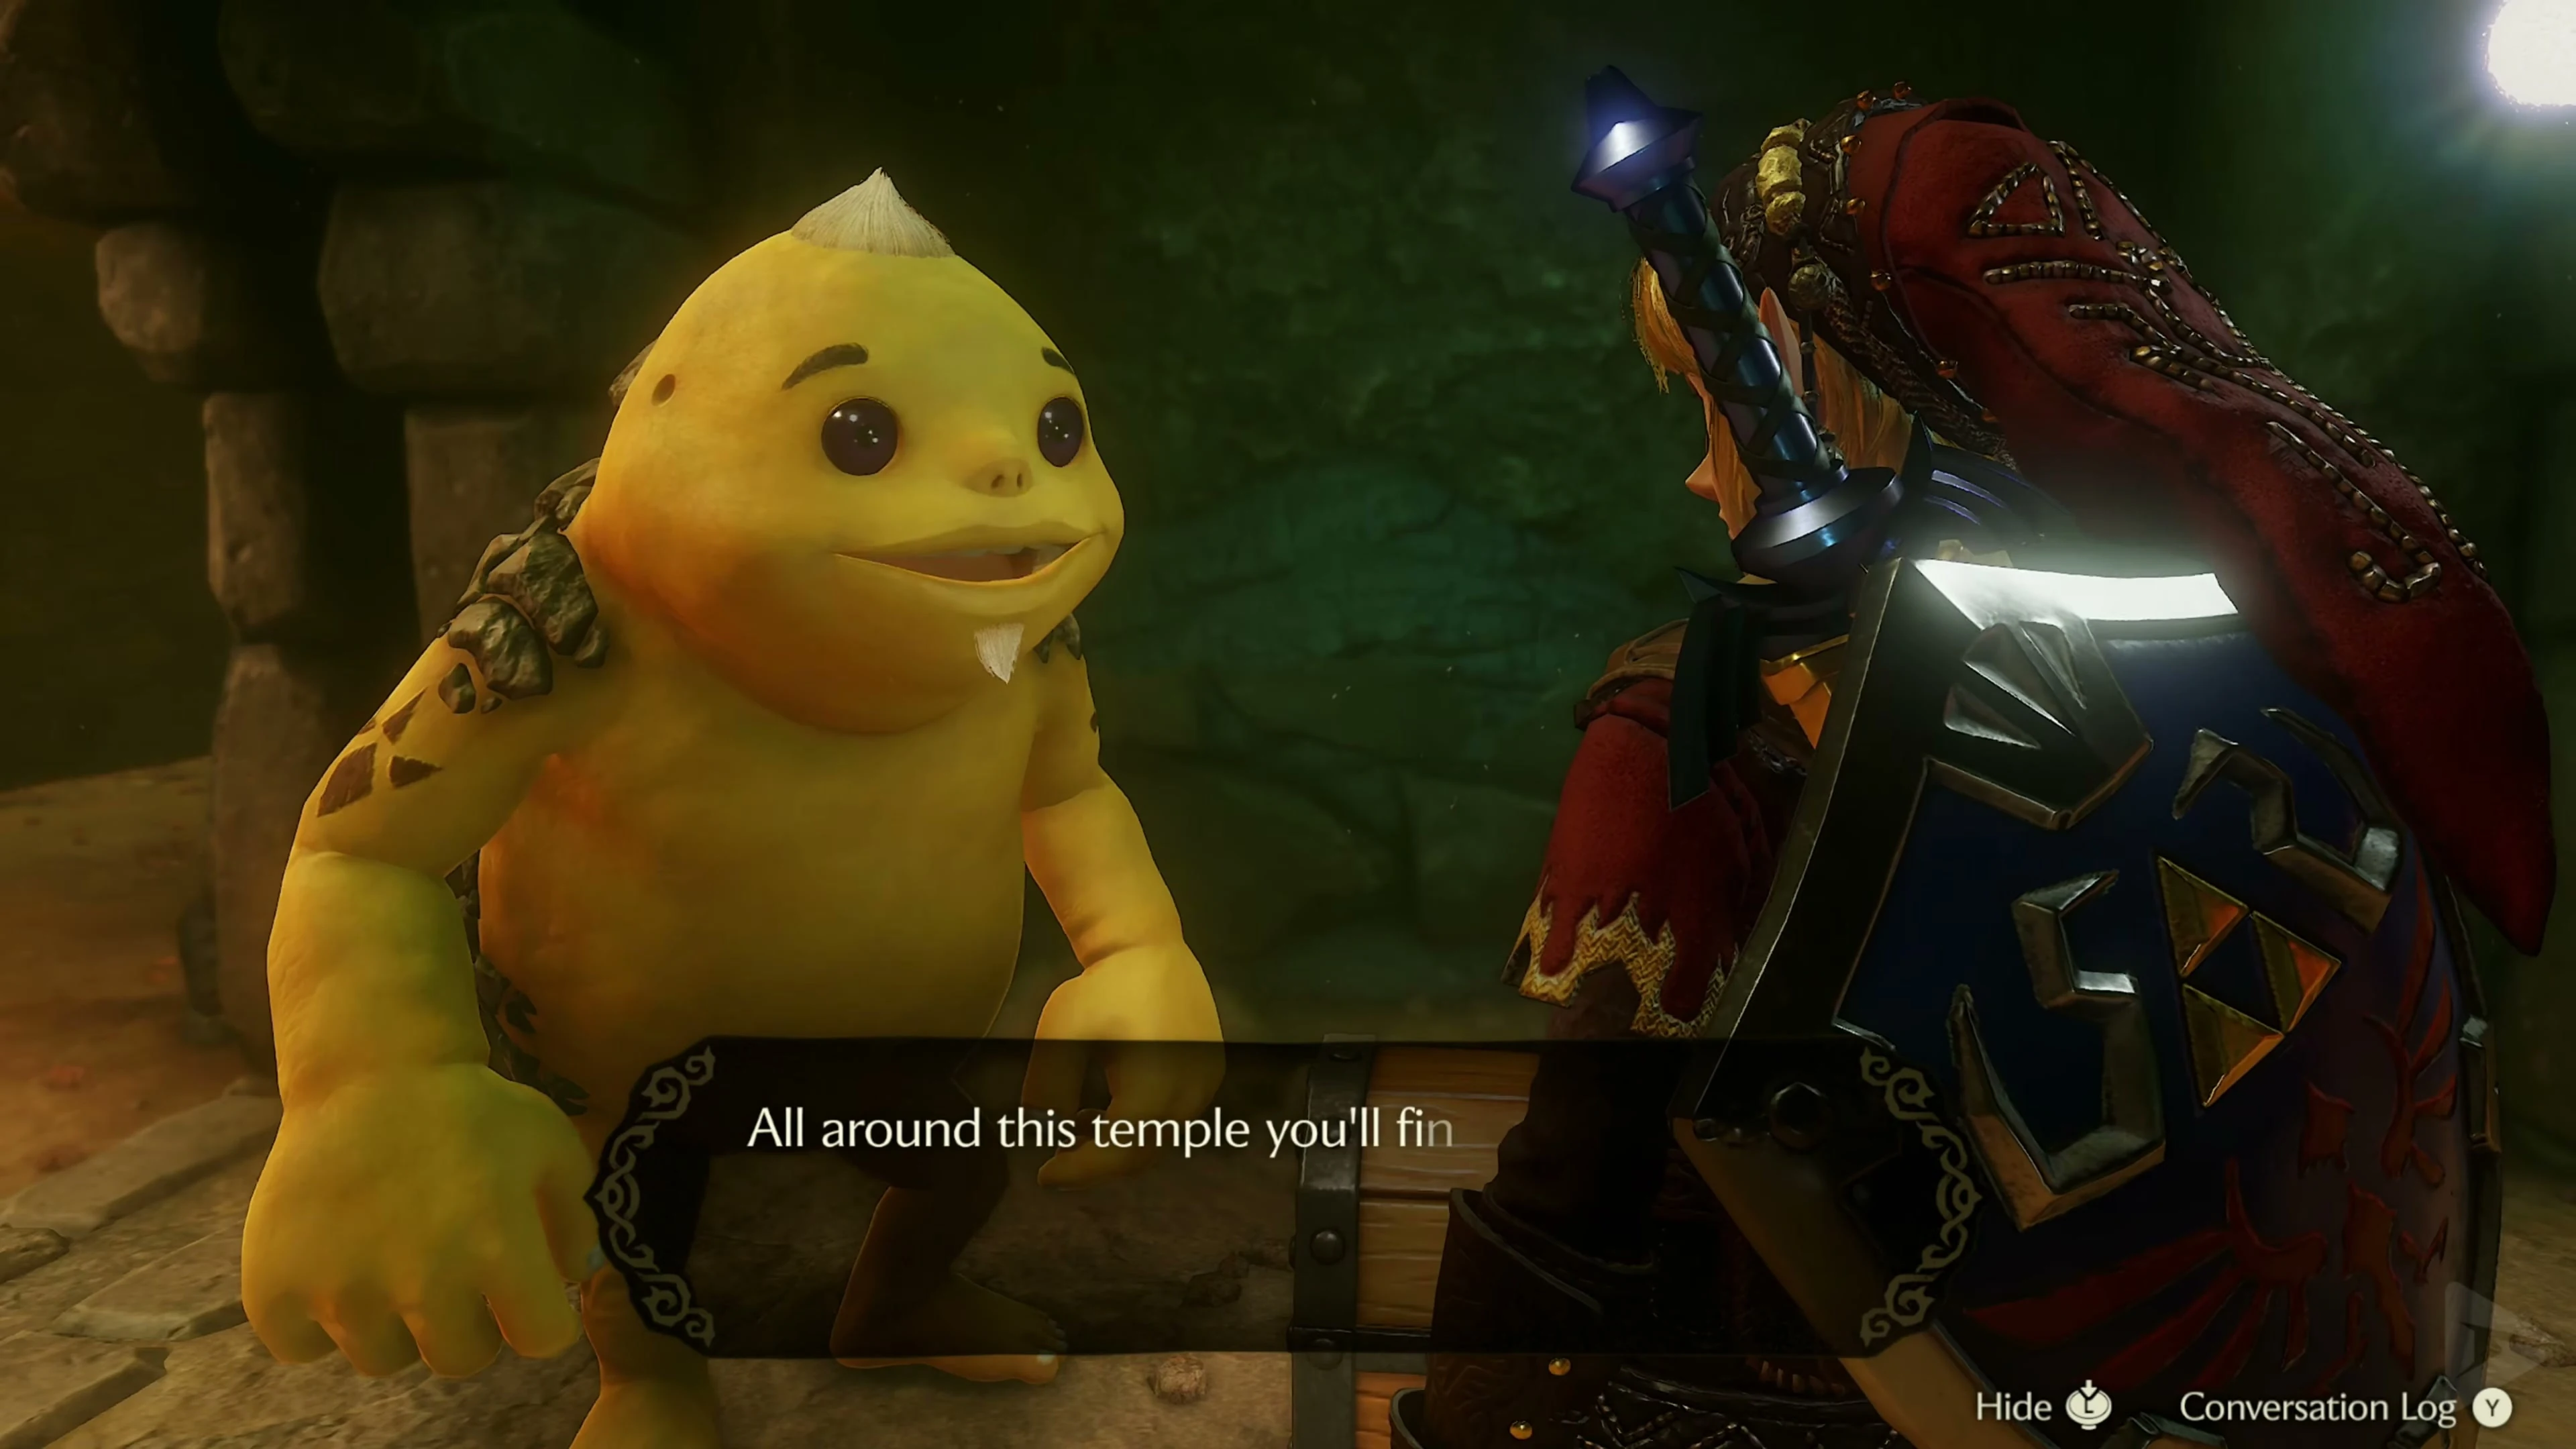
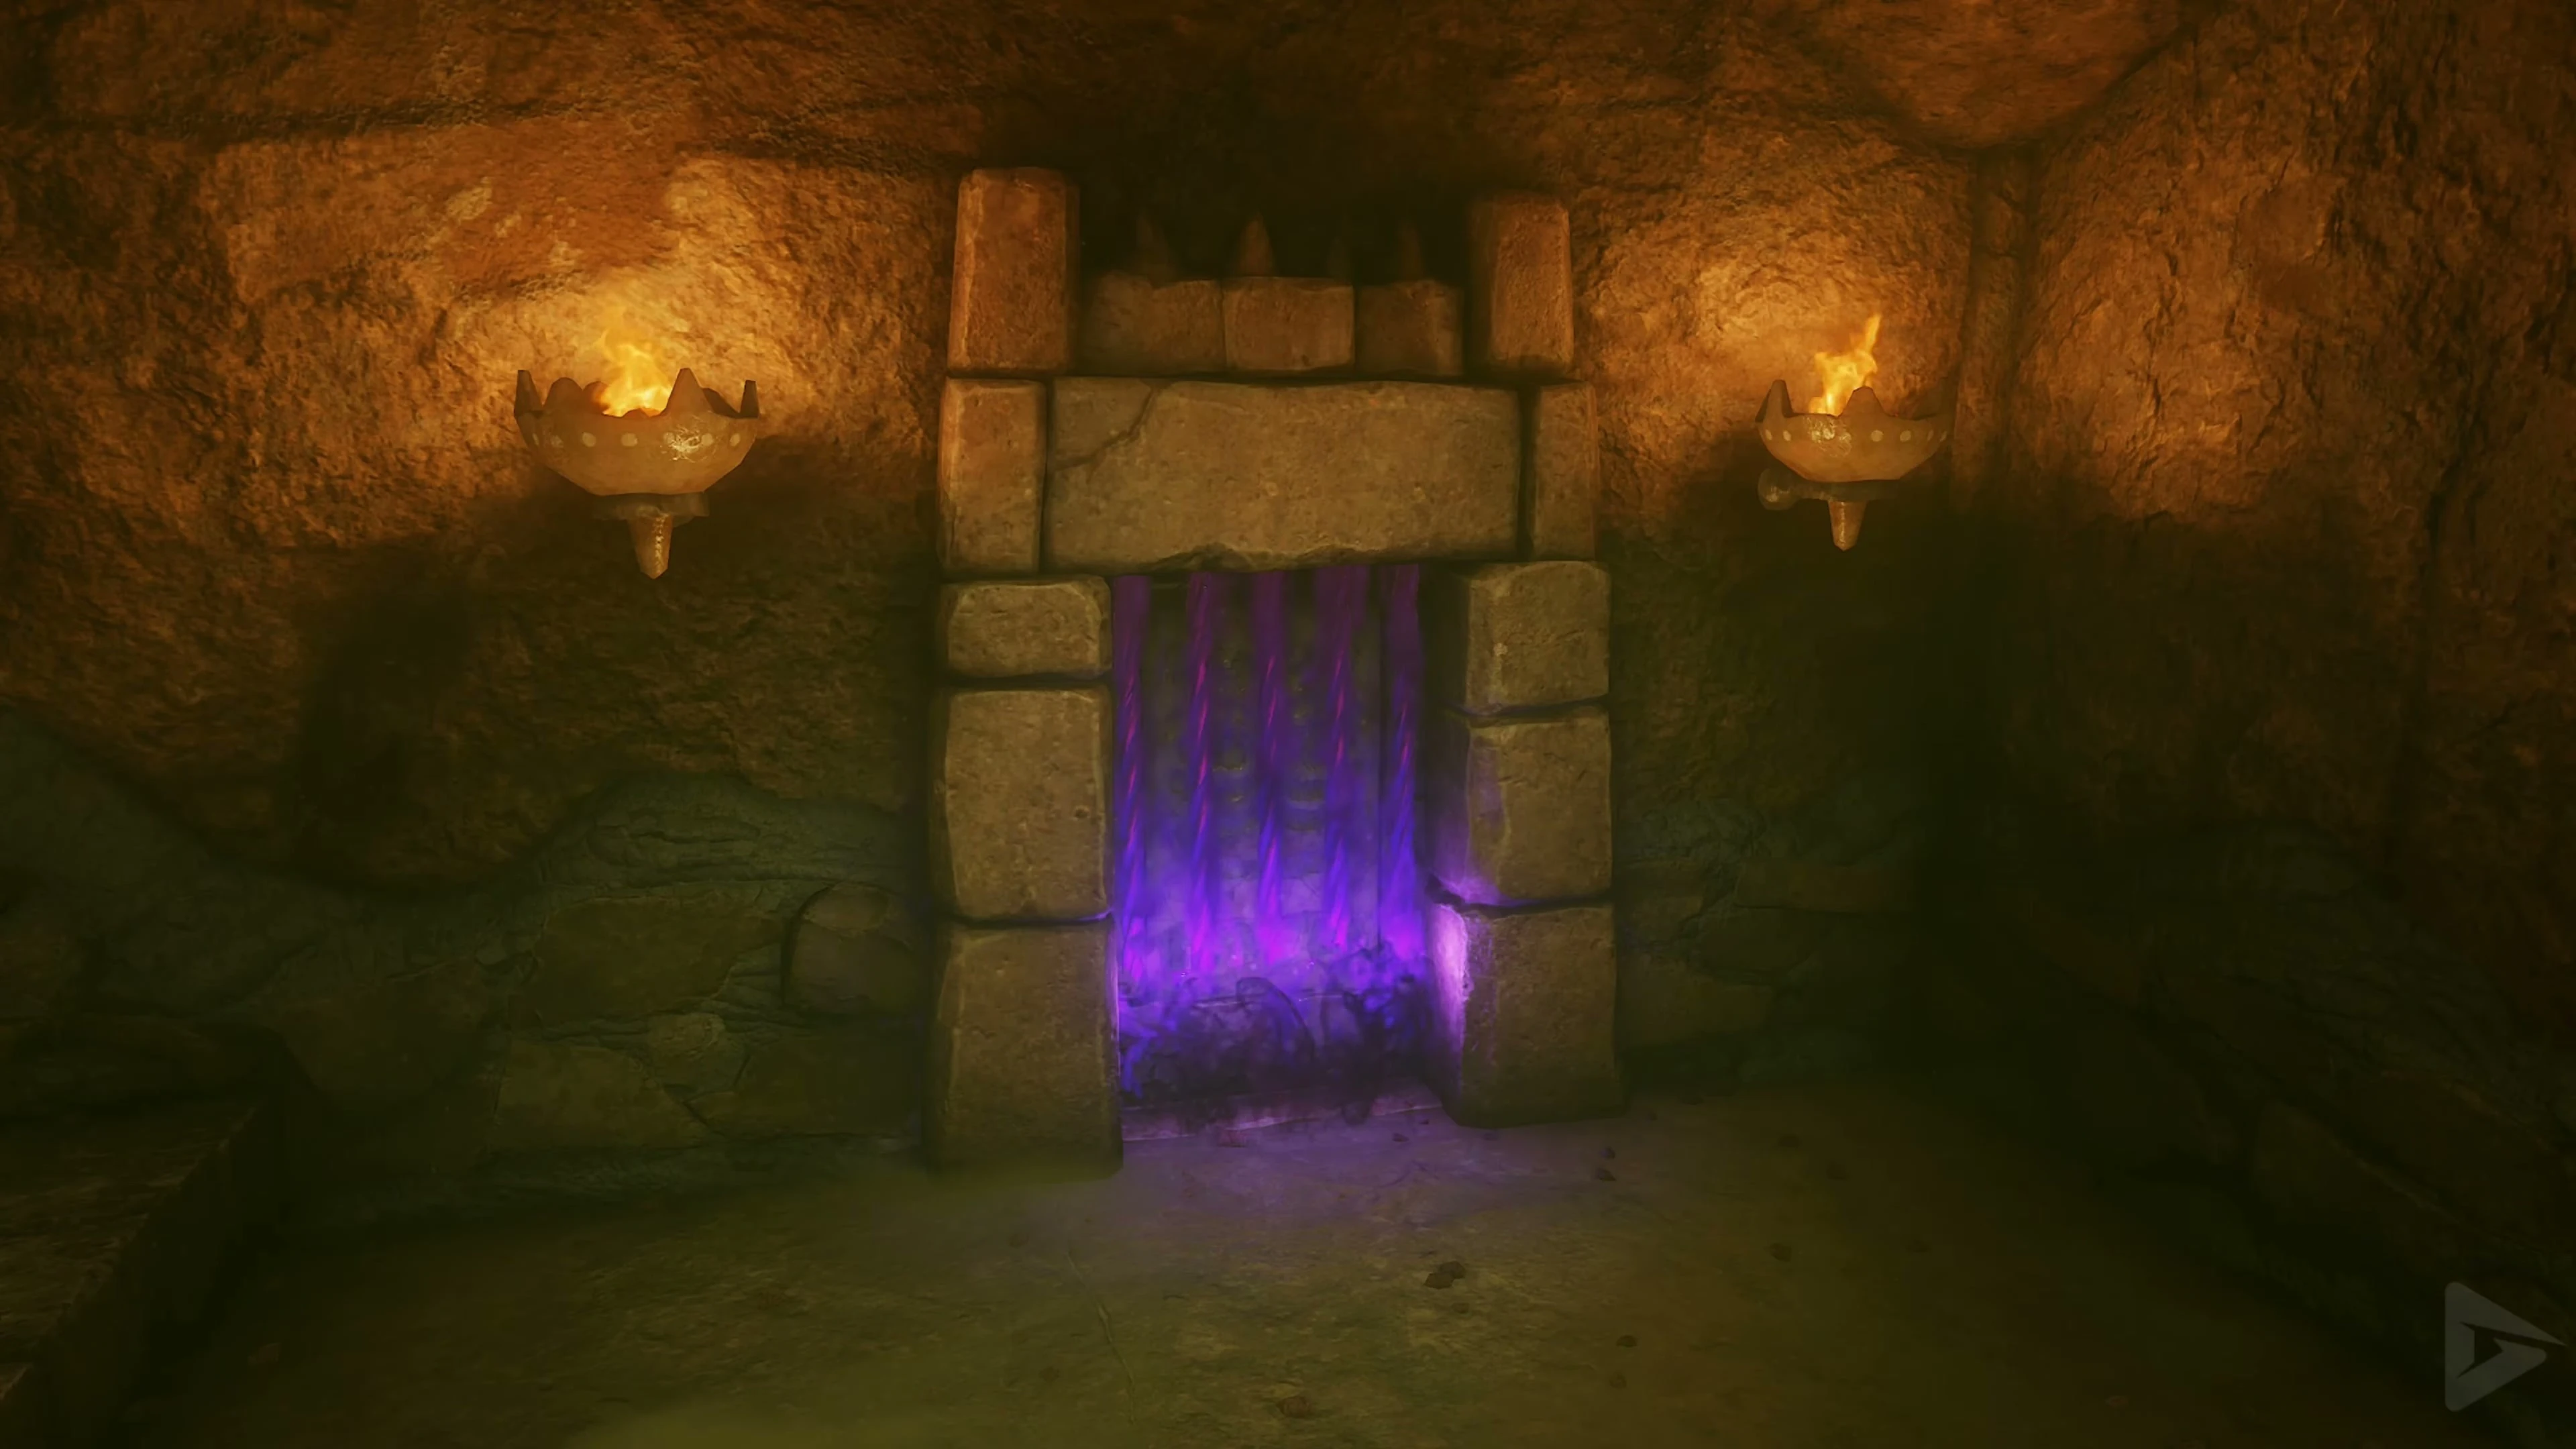
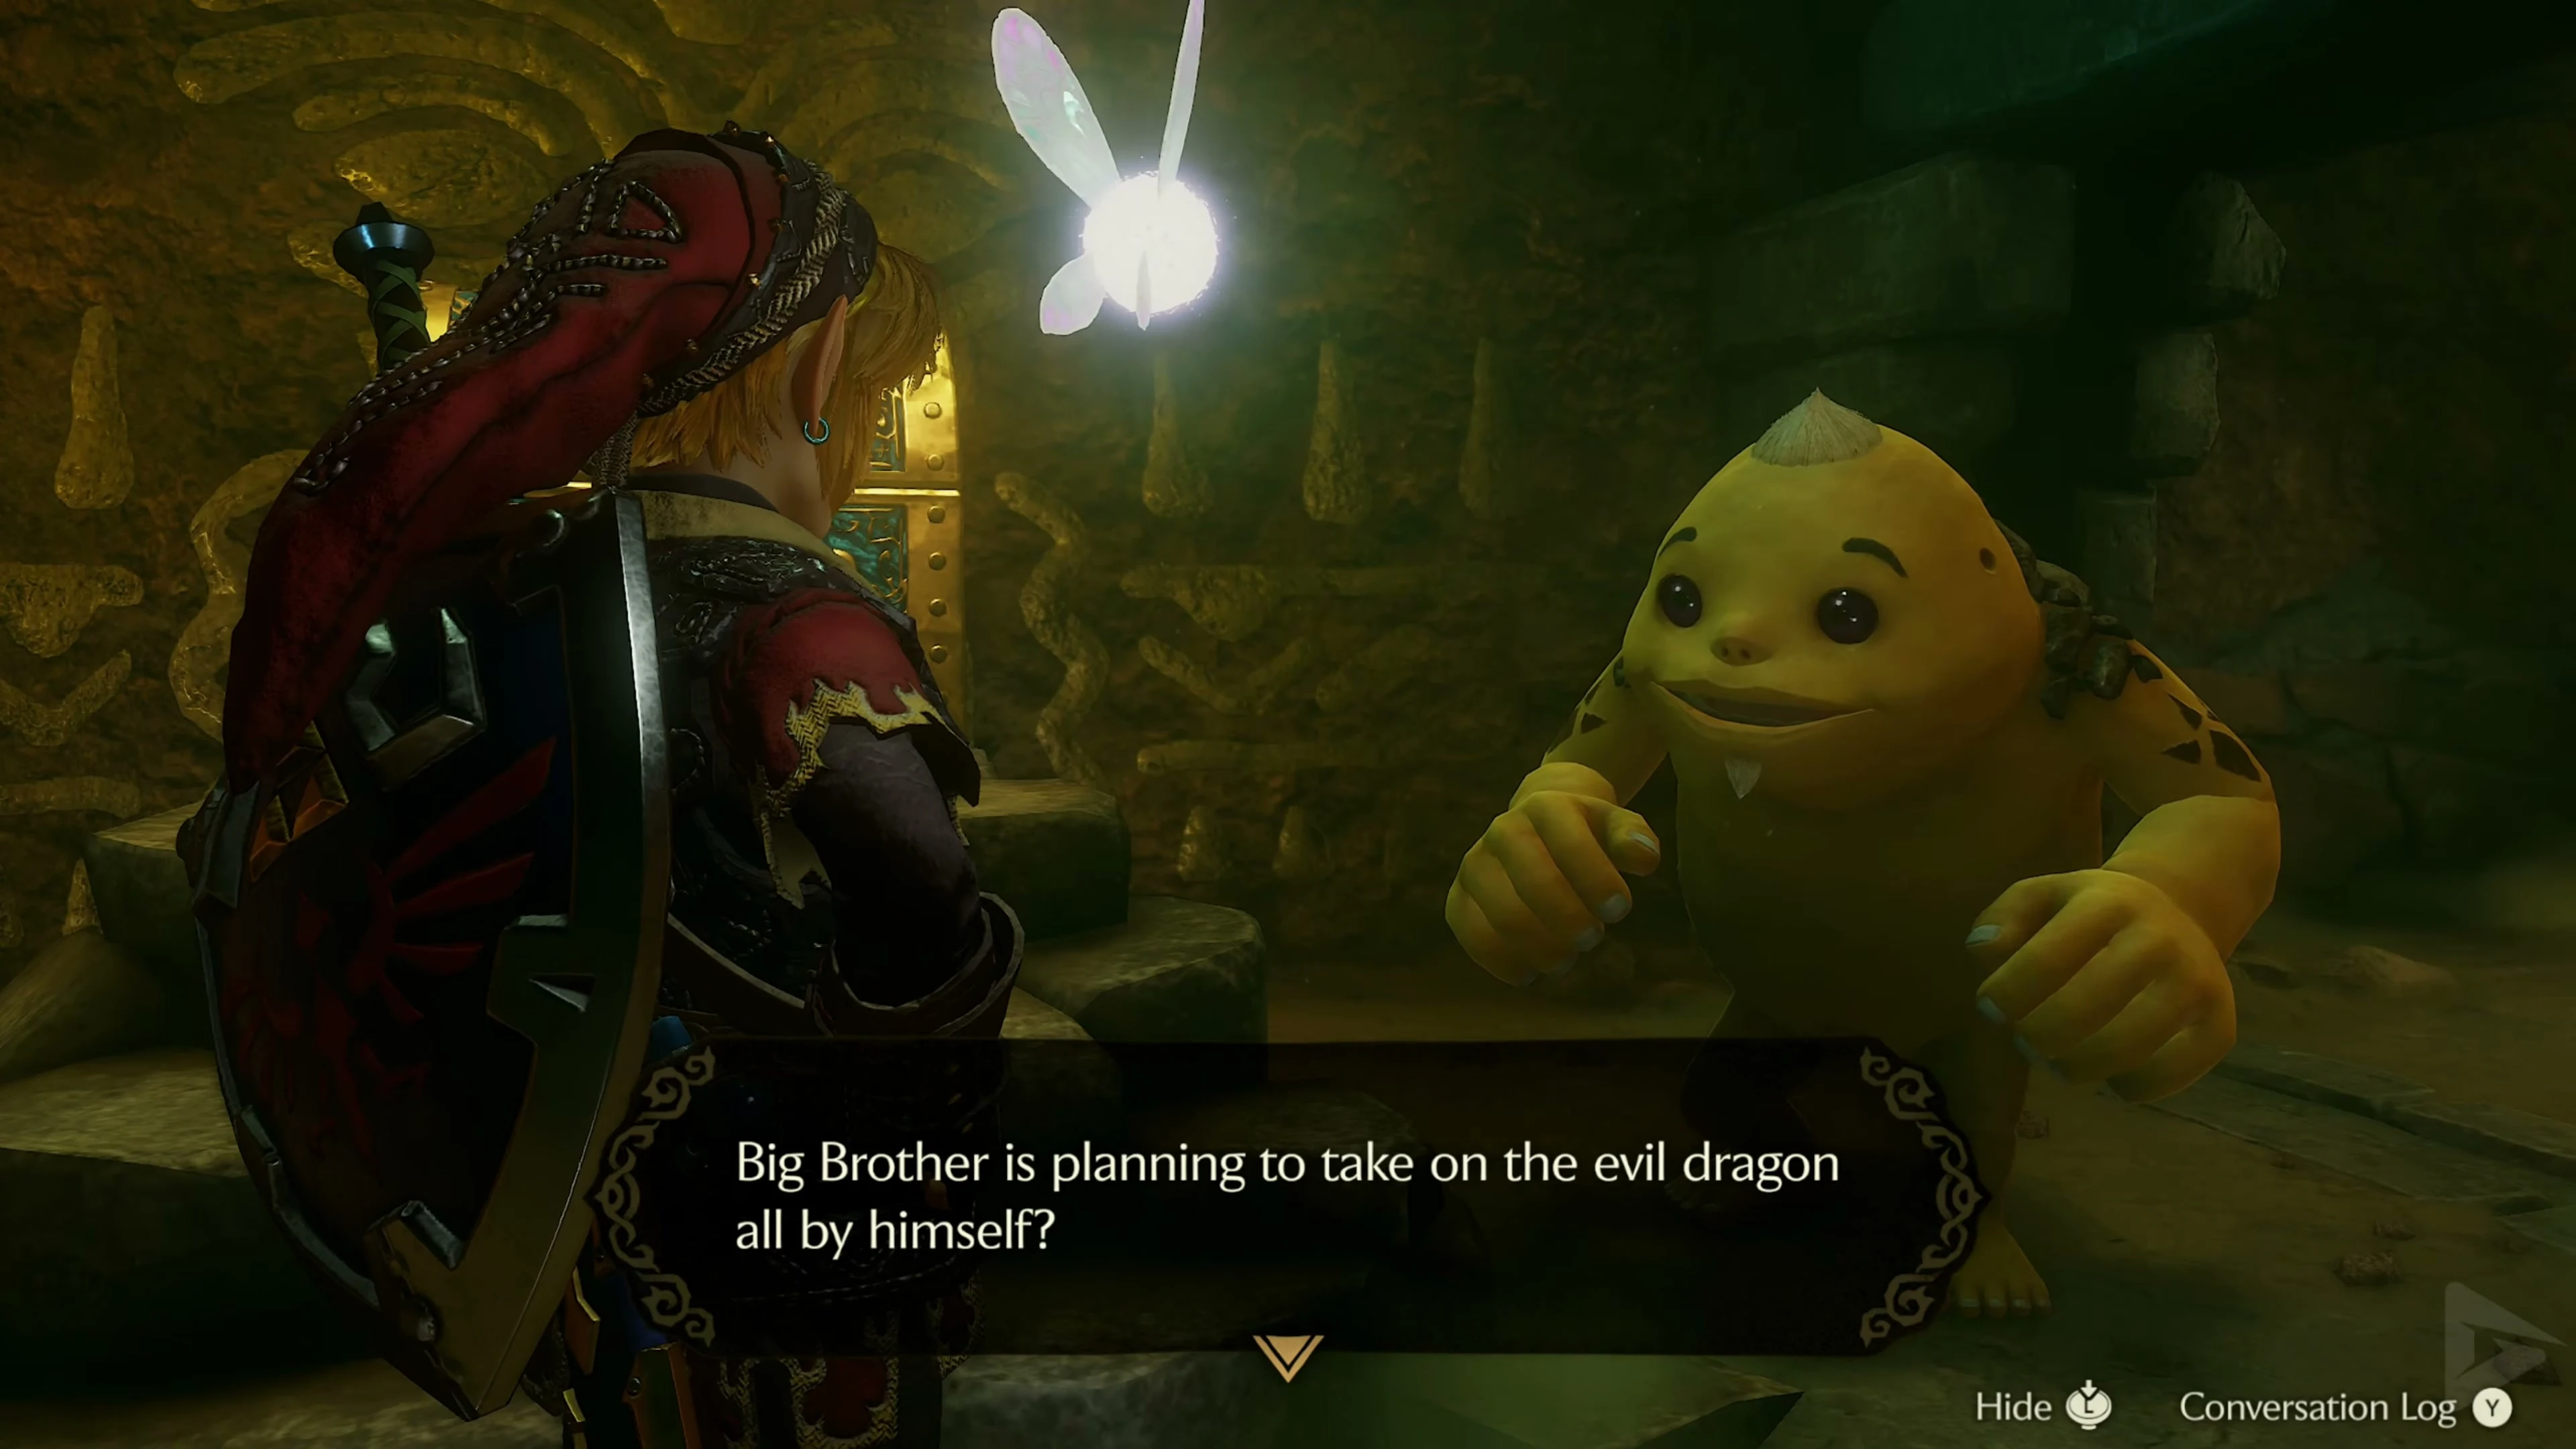
Go through the next door and smash the rusted switch in front of the last cell with the Megaton Hammer . Talk to the Goron and open the large chest with the Boss Key . Leave the cell via the connection to the entrance hall.
Preparing for Volvagia
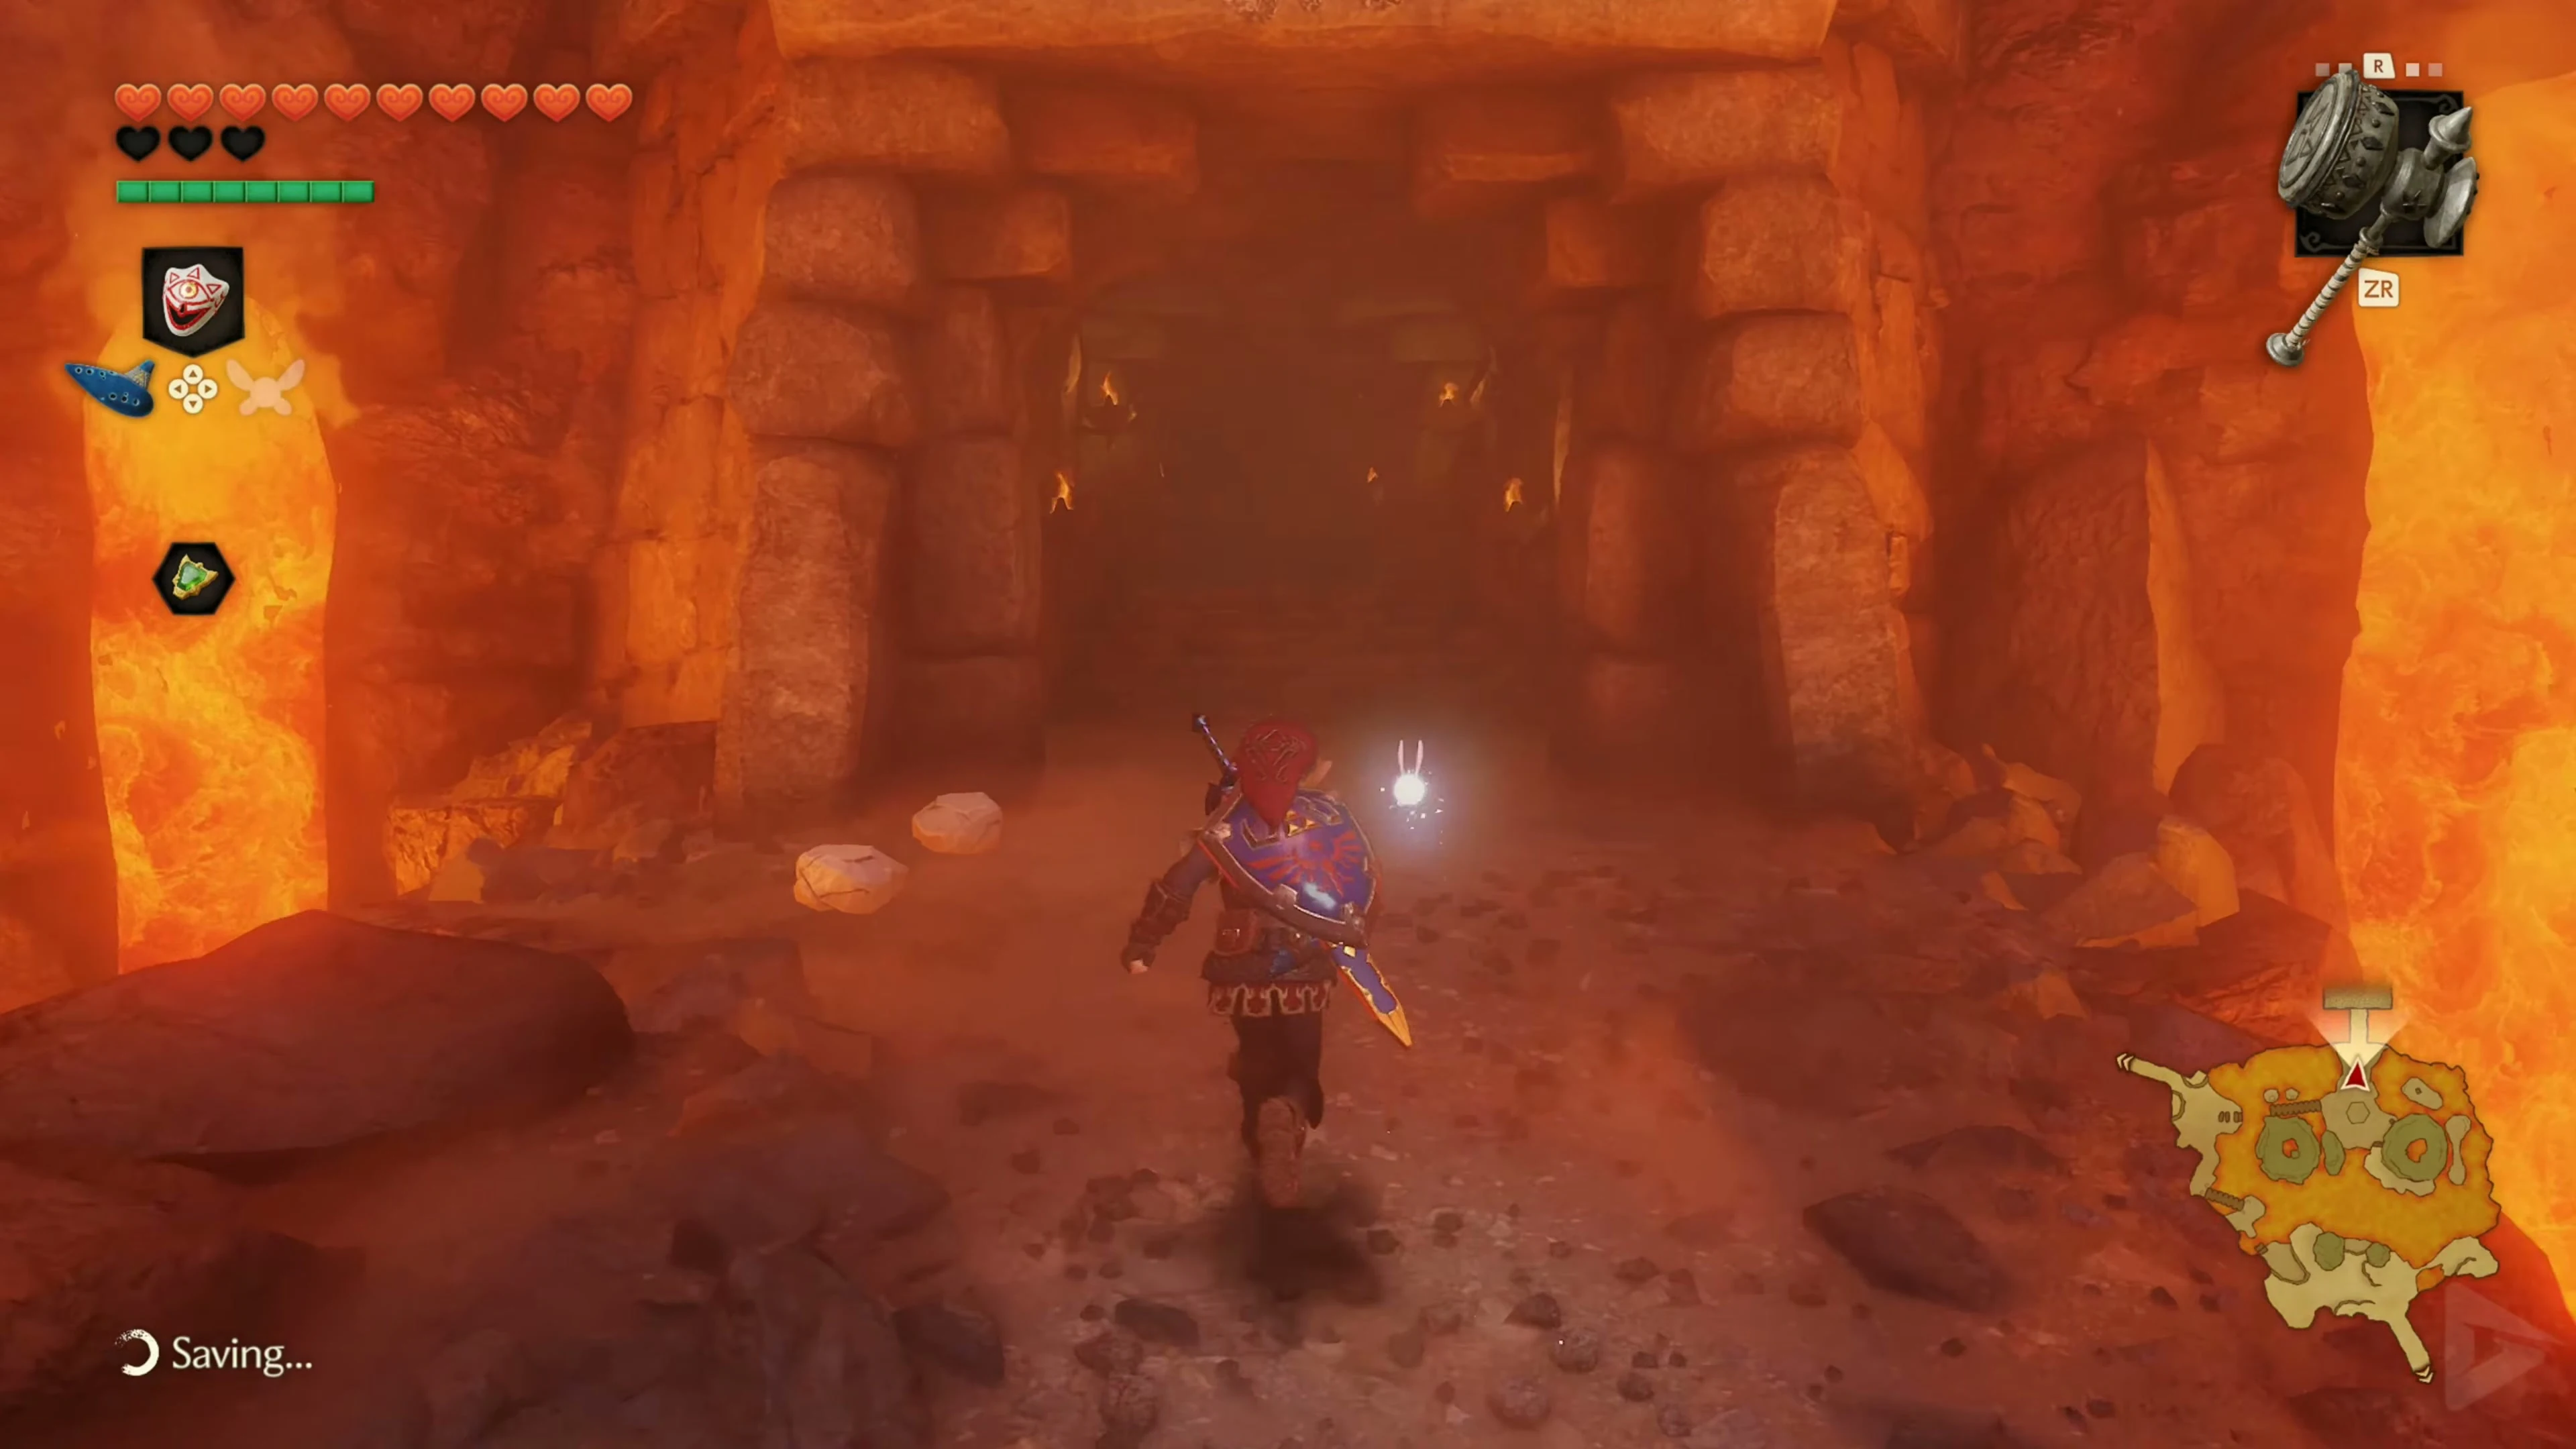
In the entrance hall, go up the stairs and through the west door back into Darunia’s Lava Room. Replenish your hearts at the jars and, if necessary, capture the fairy in an empty Bottle . Jump over the fallen pillar to the boss door and open it with the Boss Key . Have the Megaton Hammer and the Master Sword ready.
Boss: Subterranean Lava Dragon Volvagia
Behind the door, you first enter a small antechamber and then a vast lava cave. Jump across the small platform onto the large stone battle arena in the center. The path behind Link sinks into the lava, and the resurrected fire dragon Volvagia rises from one of the numerous holes. The battle consists of several repeating phases. Volvagia repeatedly disappears into the lava holes and either attacks directly from the ground or flies over the arena. The key is not to immediately chase after every lava hole that flares up. Especially later on, Volvagia will feign its appearance several times.
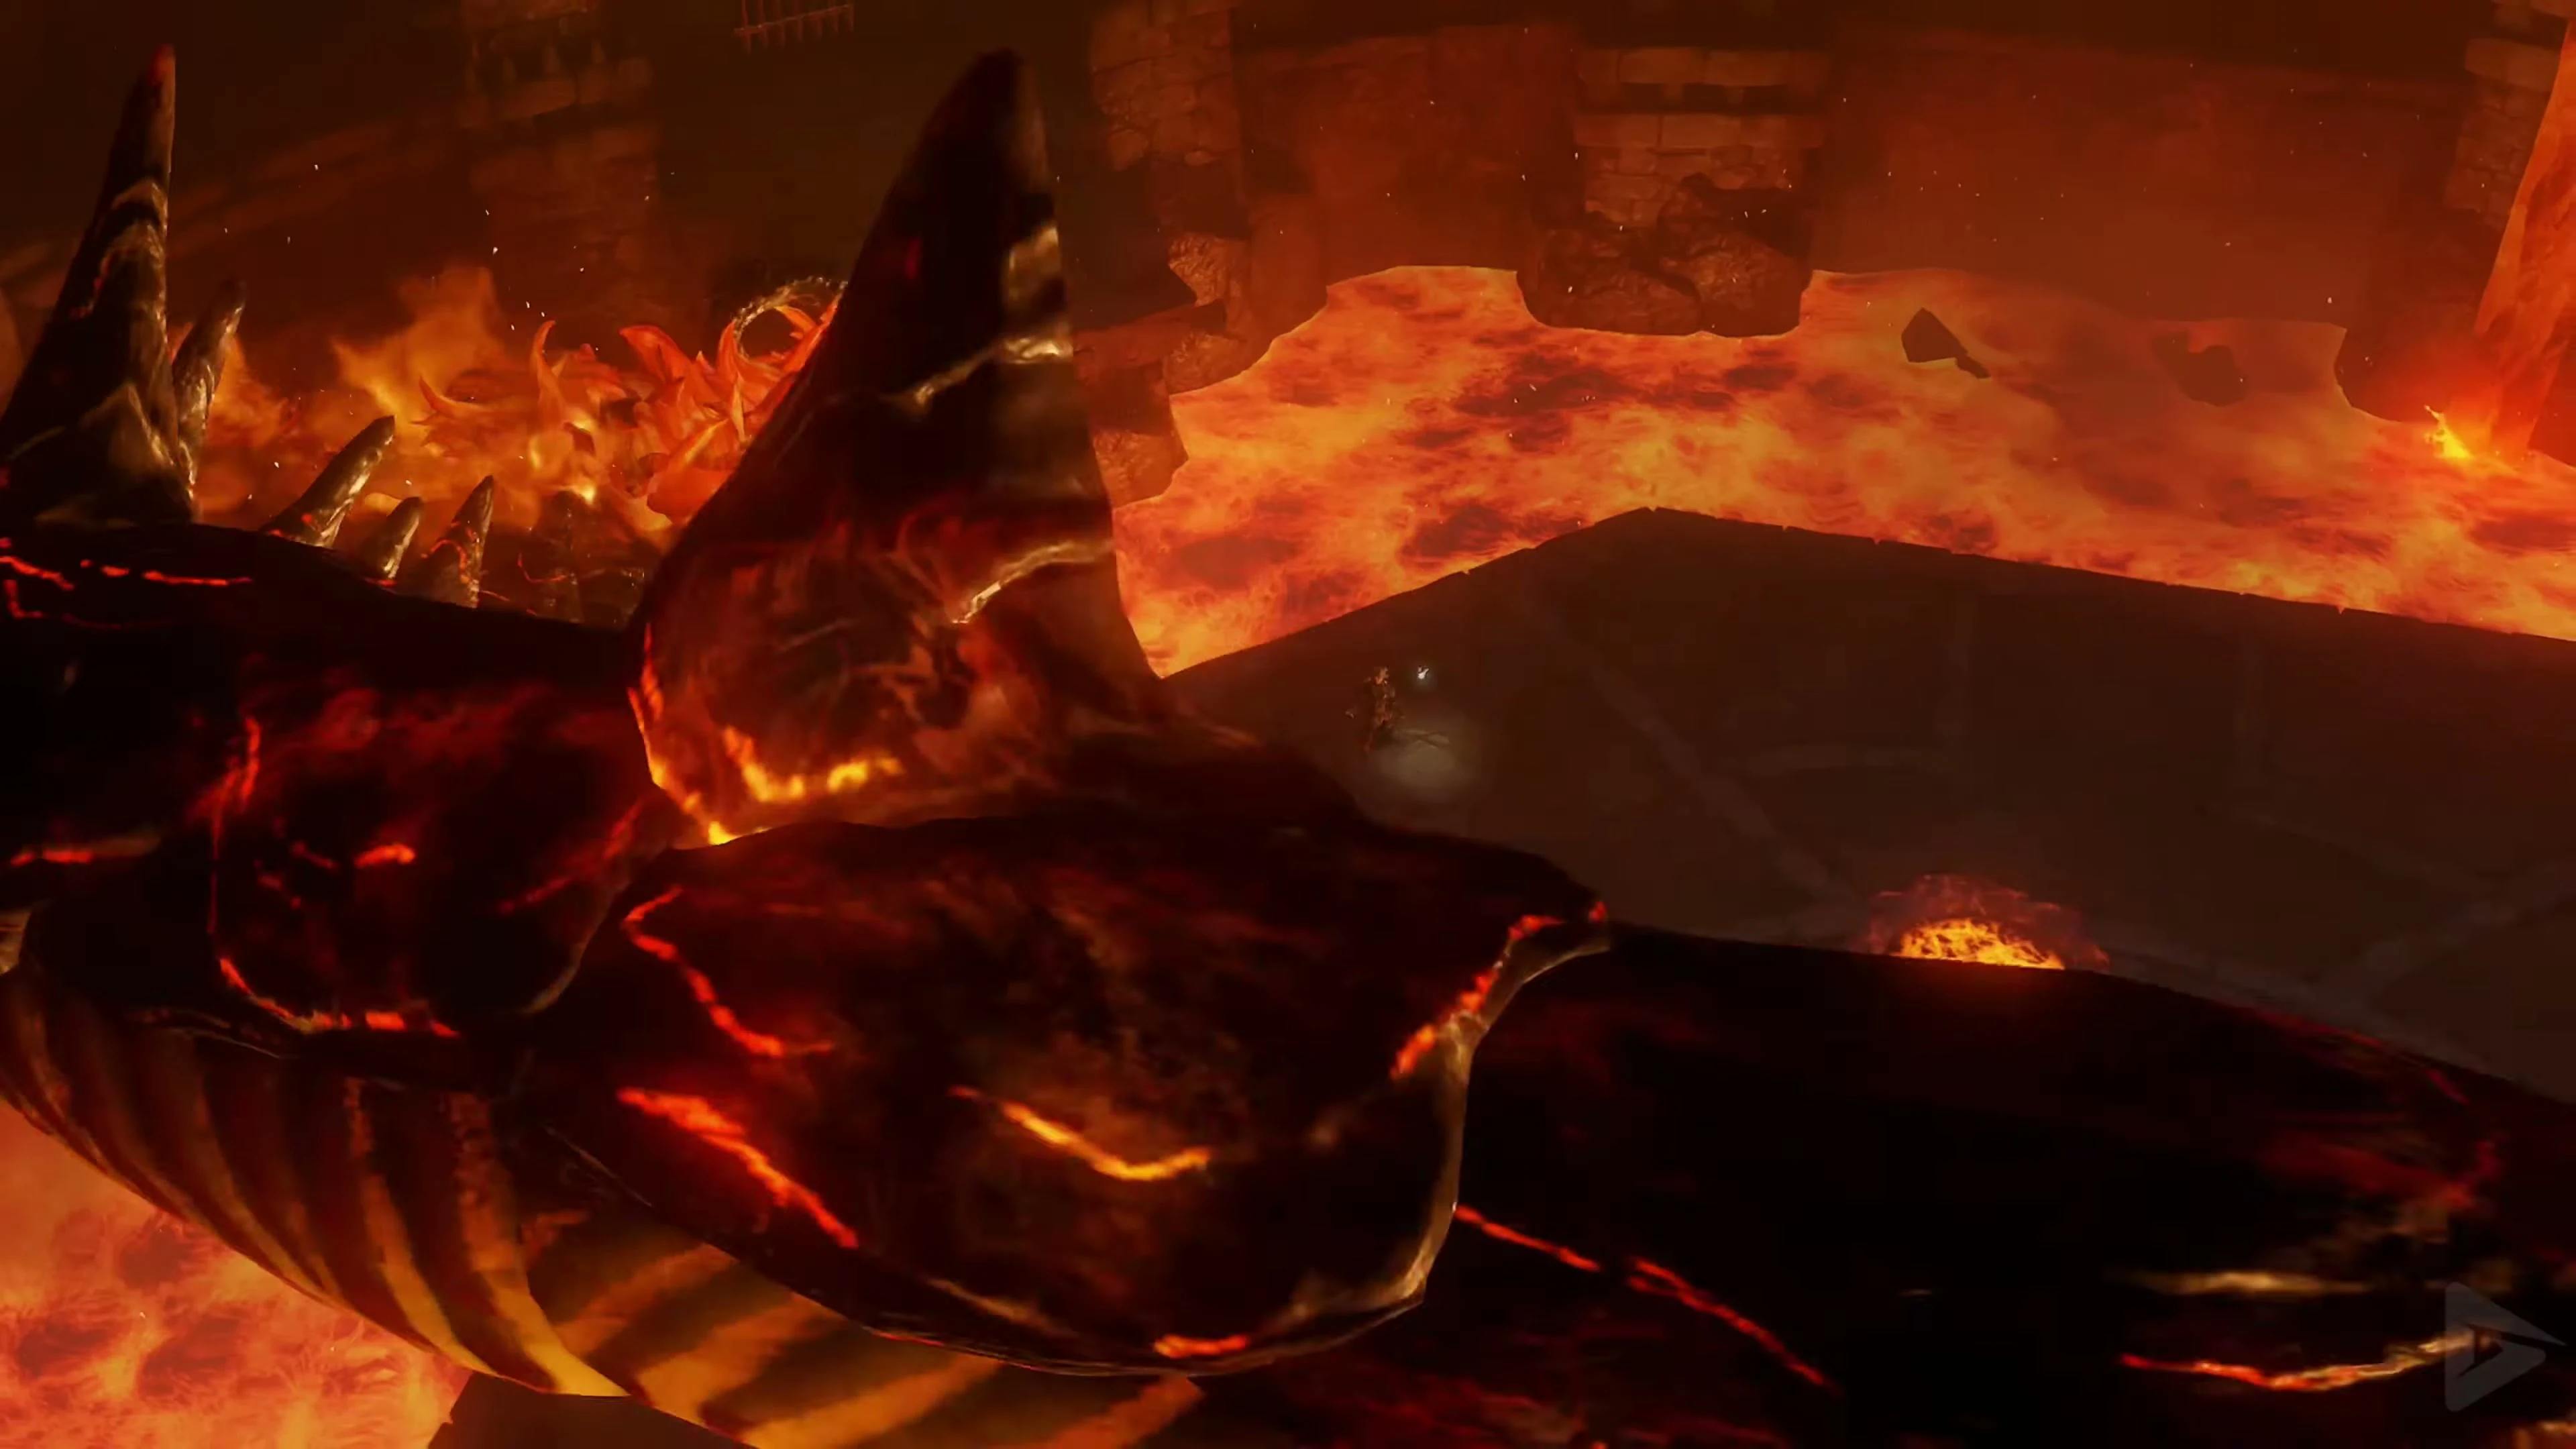
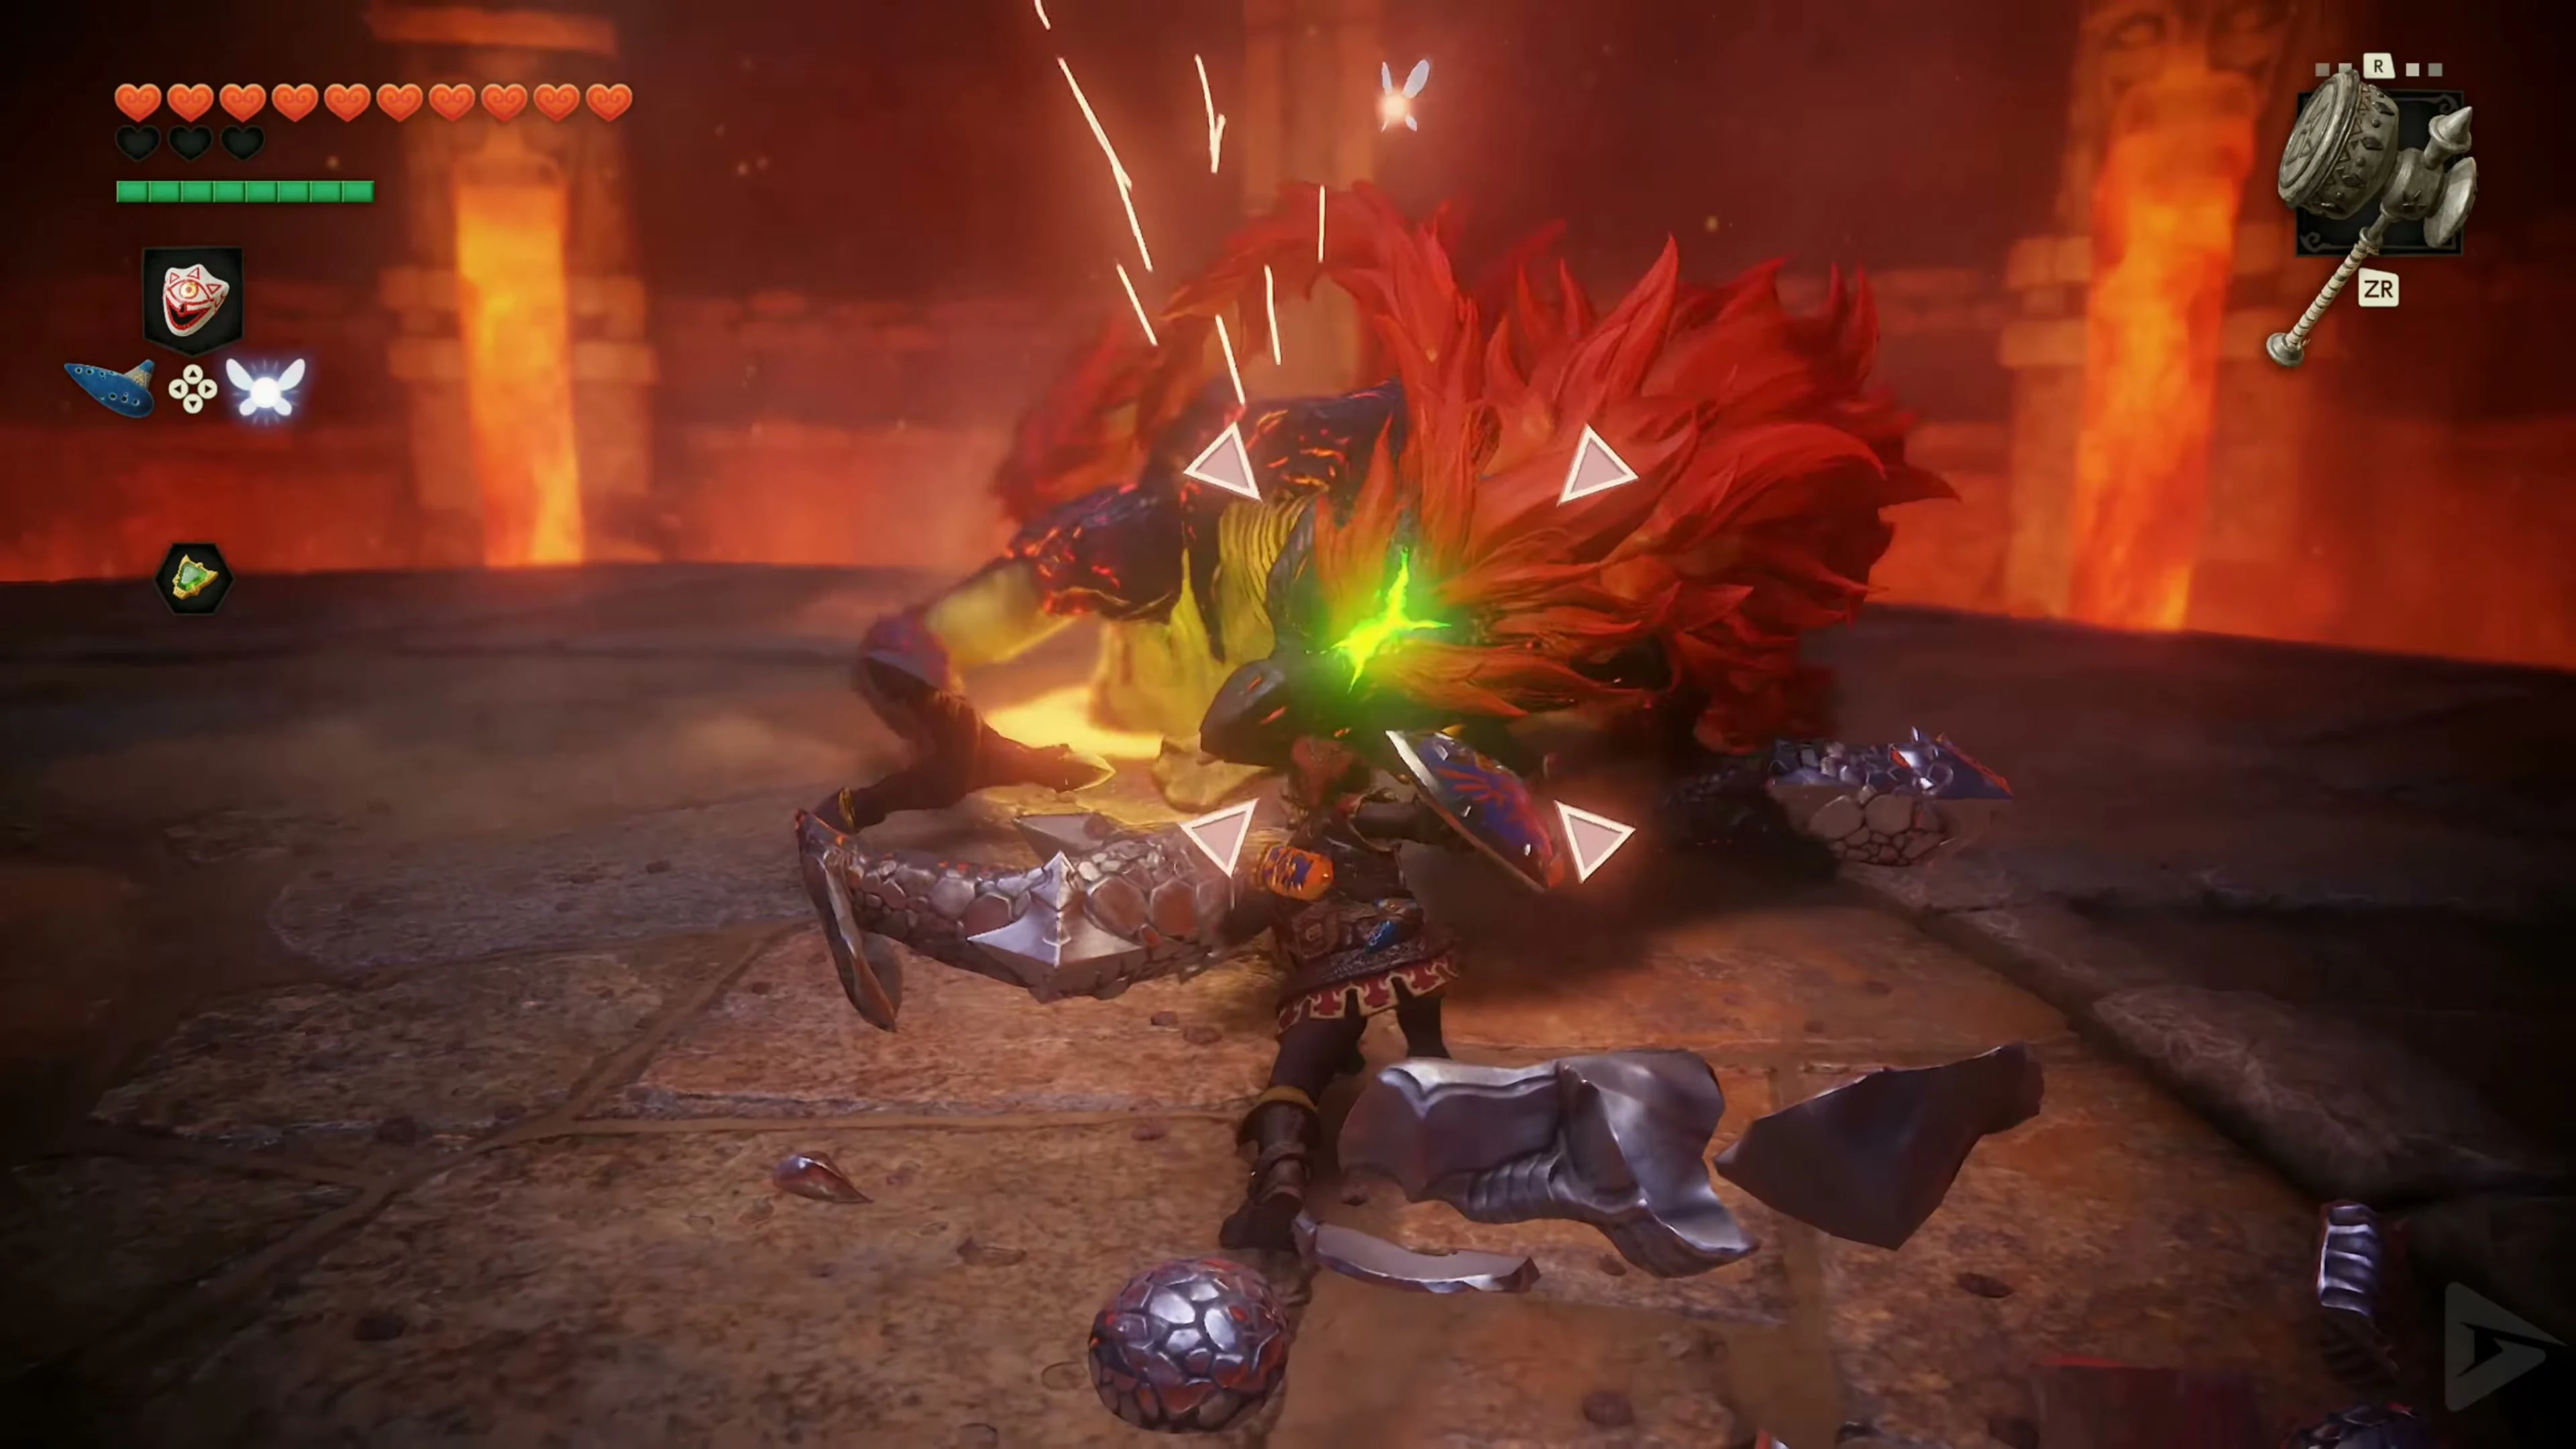
Stun Volvagia with the Megaton Hammer.
Stay roughly in the middle of the platform and watch the holes. Shortly before Volvagia actually appears, fire will erupt from the corresponding opening. During later rounds, several holes may light up in succession without the dragon actually appearing. Therefore, only start running when you can see Volvagia’s head. As soon as the dragon emerges from the lava, stand in front of it and strike it with the Megaton Hammer on his head. The hit stuns Volvagia and causes him to sink onto the platform. Immediately attack his head with the Master Sword. A jump attack will deal particularly high damage. Afterward, Volvagia retreats back into his hole and begins one of his flying attacks.
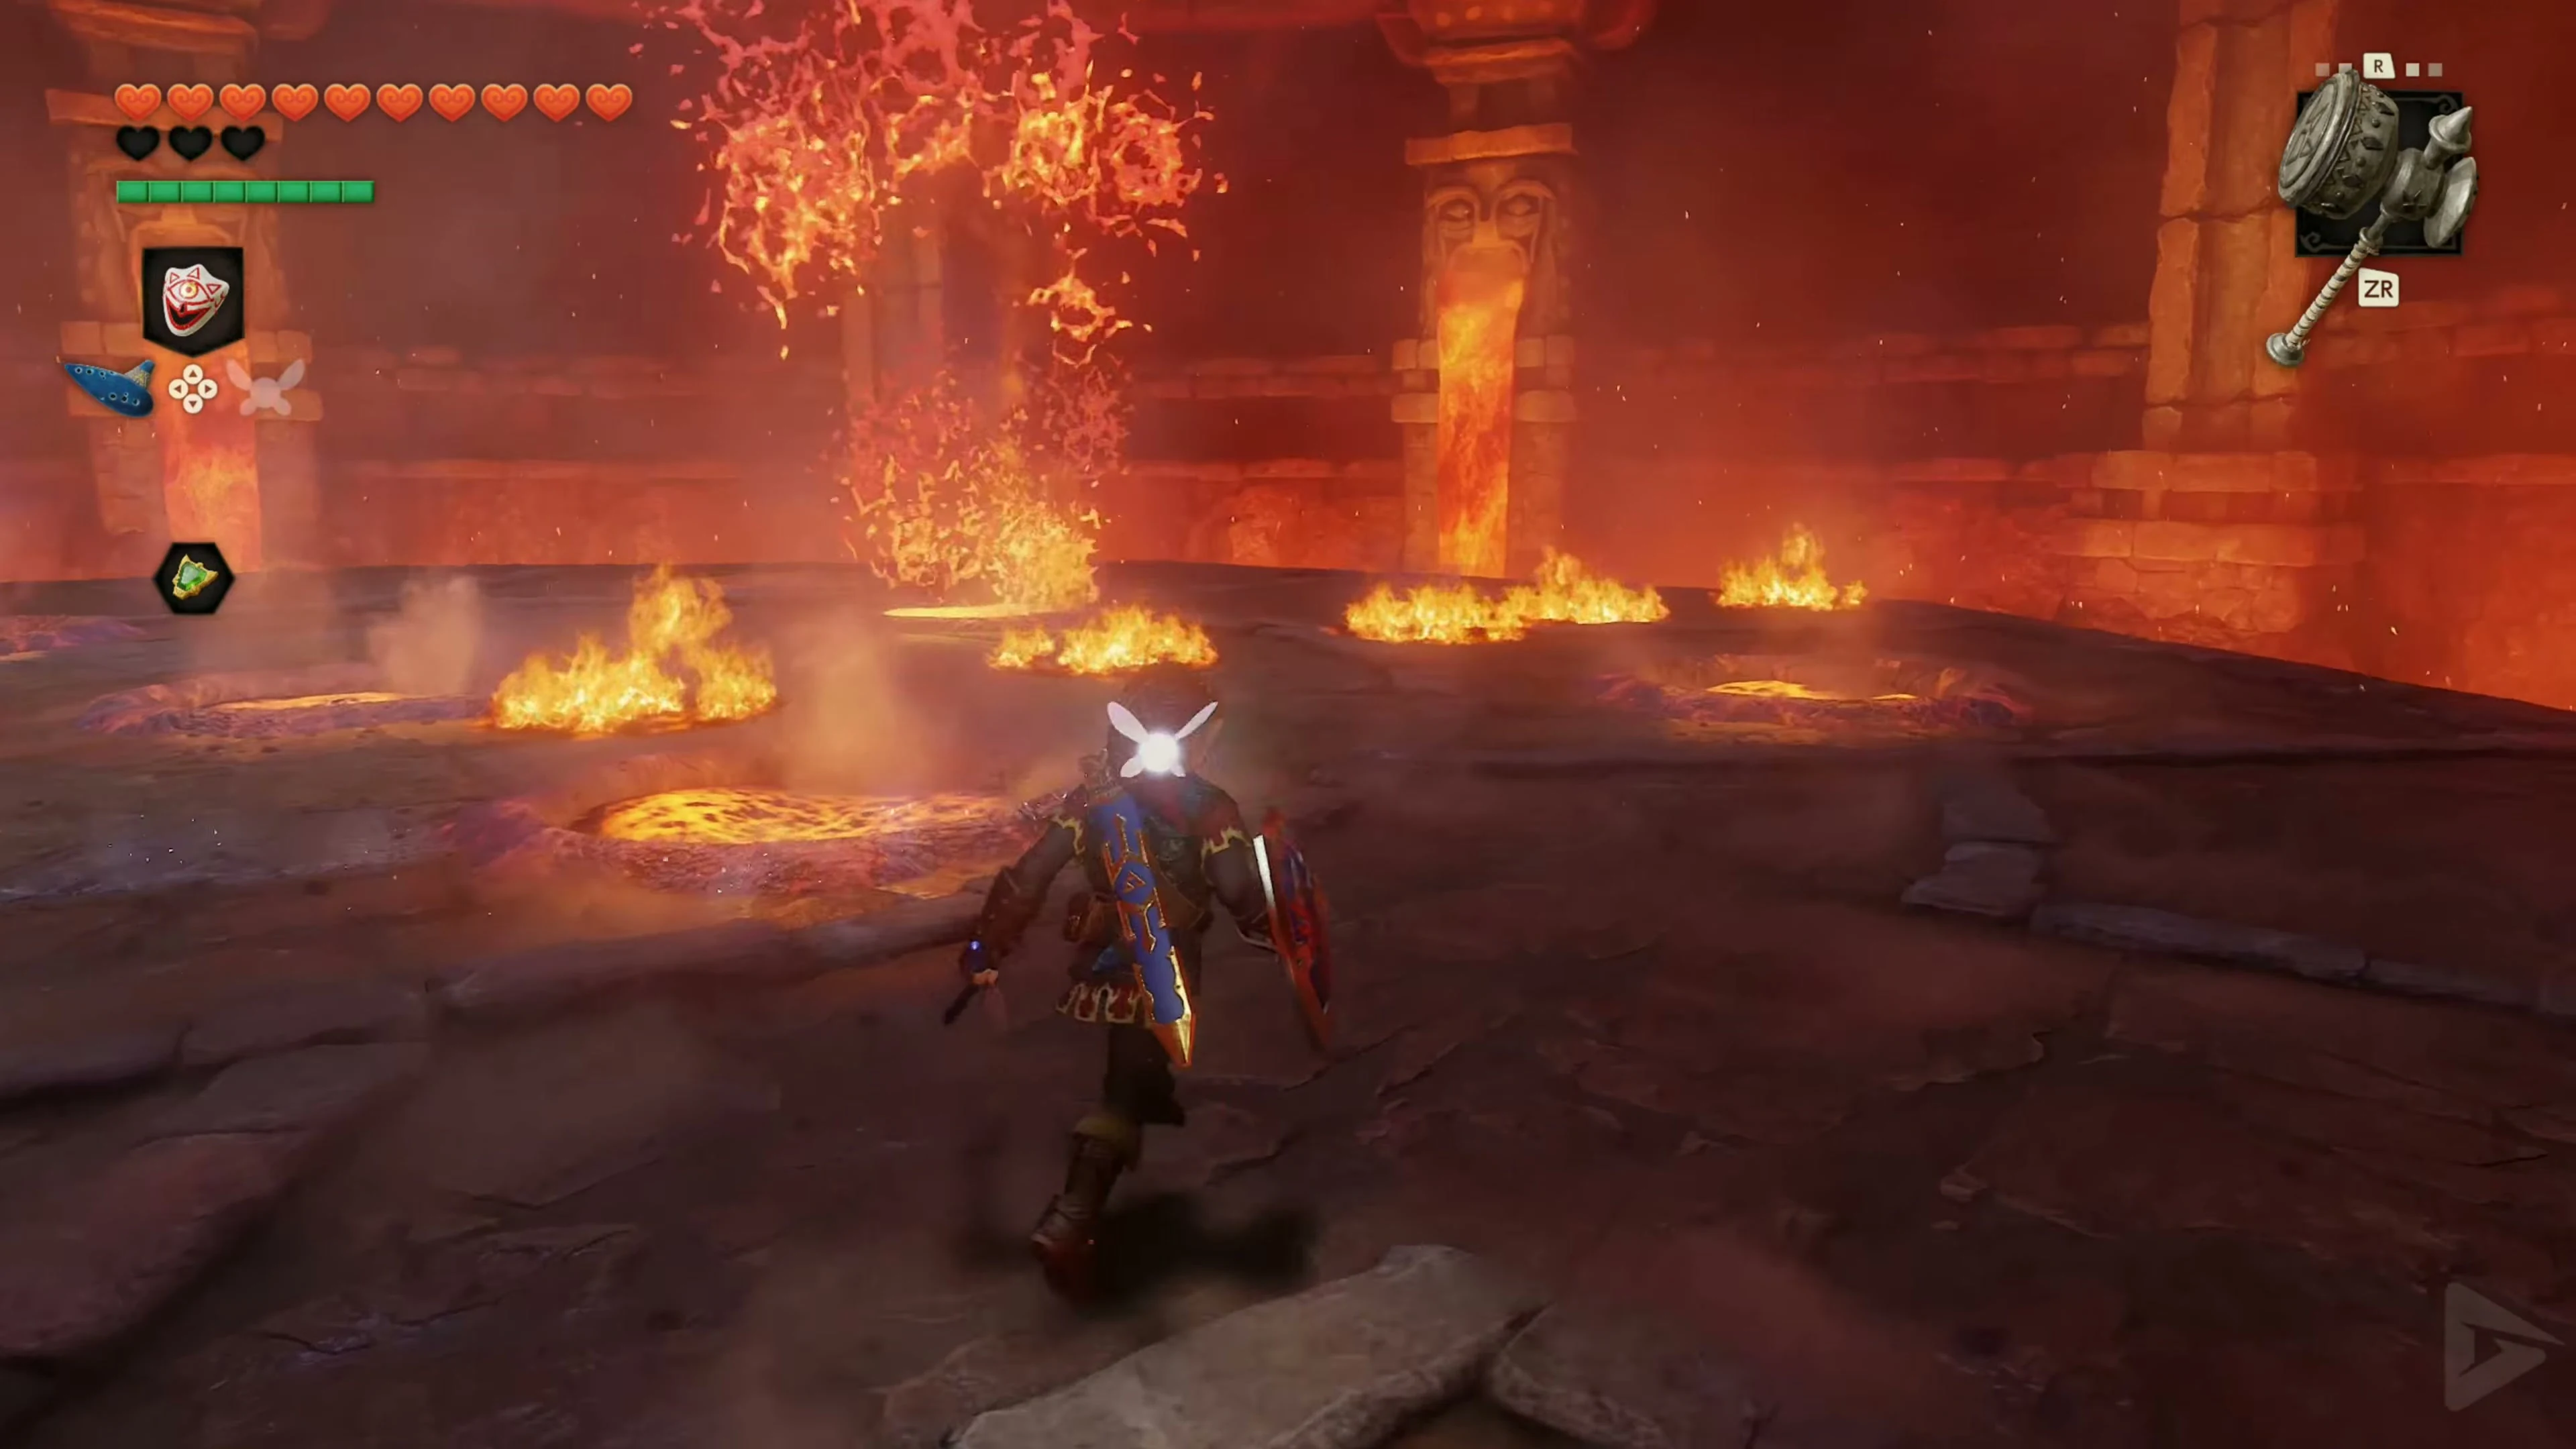
Dodge the fire breath.
During a possible flight phase, Volvagia will fully rise from the lava and pursue Link above the arena. The dragon will breathe a long stream of fire. Run in a large, steady arc across the platform and avoid unnecessarily changing direction. Volvagia has a relatively large turning radius and has difficulty following a Link who is constantly moving sideways. Another safe option is to stand on the outer edge of the platform or hang from the edge briefly. While Link is hanging from the outer edge, the fire breath usually won’t reach him. Pull yourself back up as soon as Volvagia finishes its attack and returns to the lava.
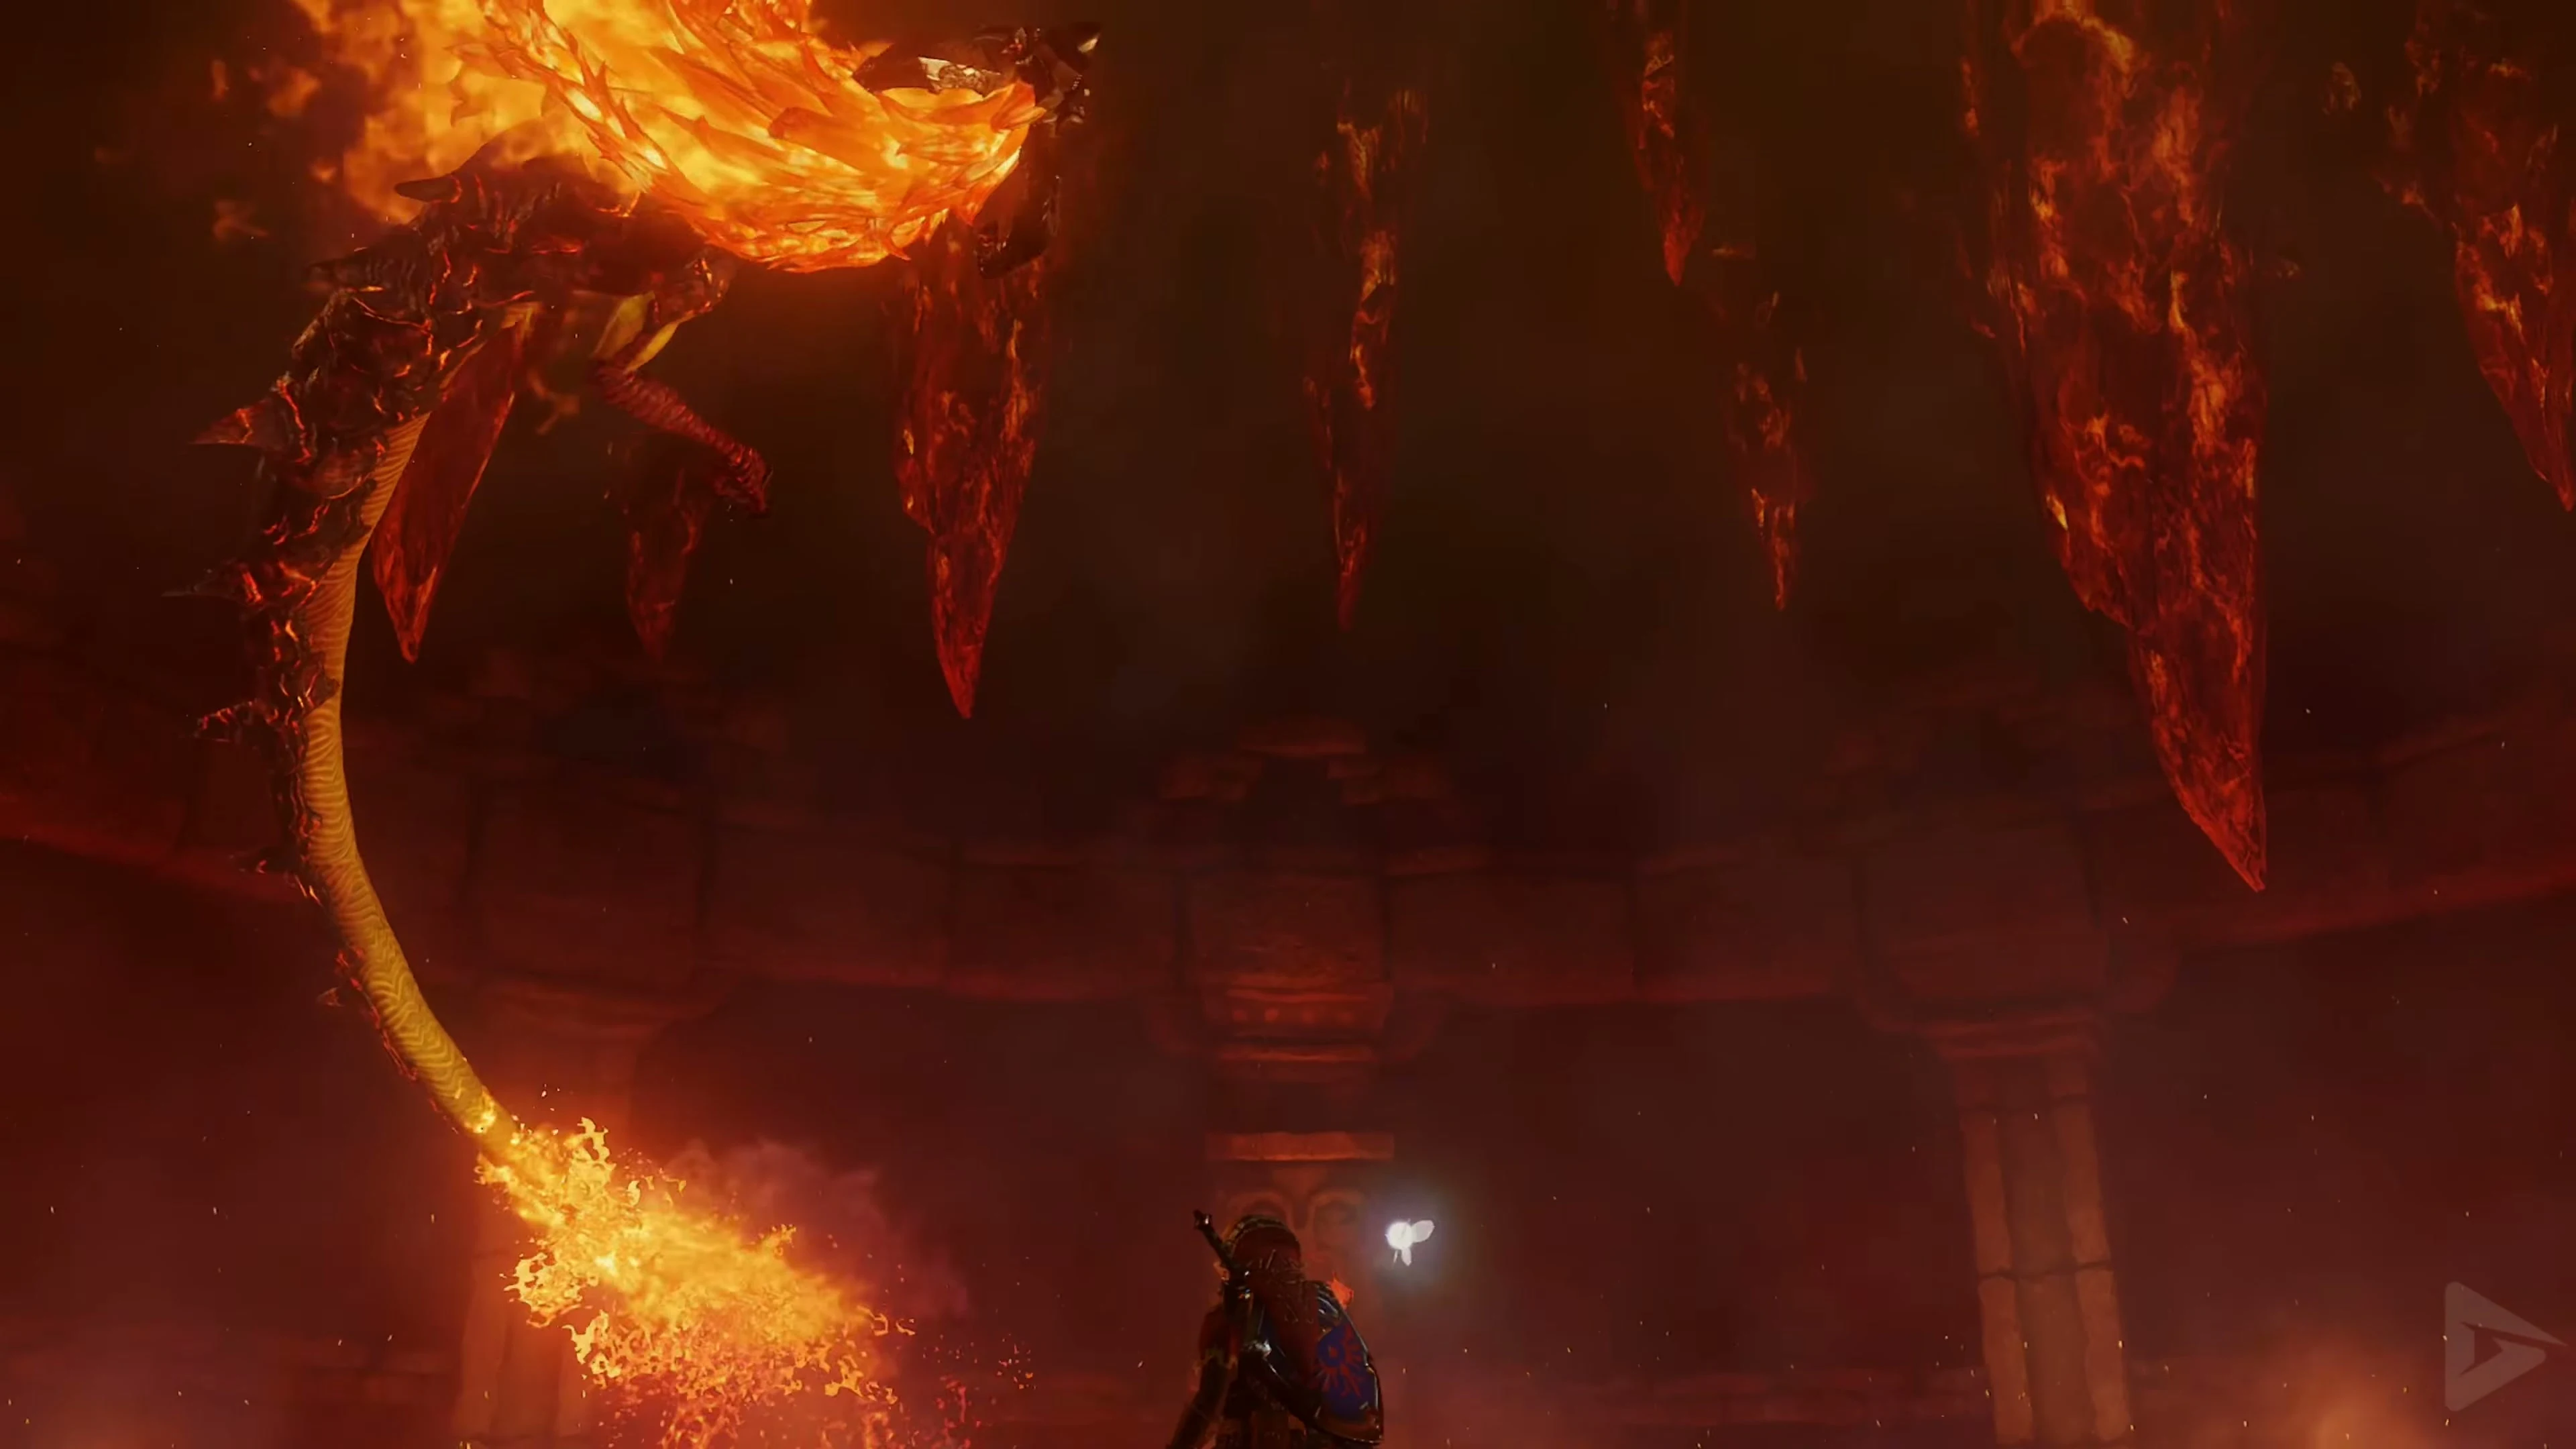
Escape the falling rocks.
During the second major flying attack, Volvagia rises to the ceiling of the cave and drops massive boulders onto the arena. Watch the shadows on the ground and keep moving. The rocks fall primarily where Volvagia flies over the arena. Therefore, run to the opposite side and avoid abrupt changes of direction. The outer edge is also a very safe position here. If you hang from the side of the large platform, most of the falling rocks will miss you. Wait there until the barrage of rocks is over, and then pull yourself back up.
Heart Container and Fire Medallion
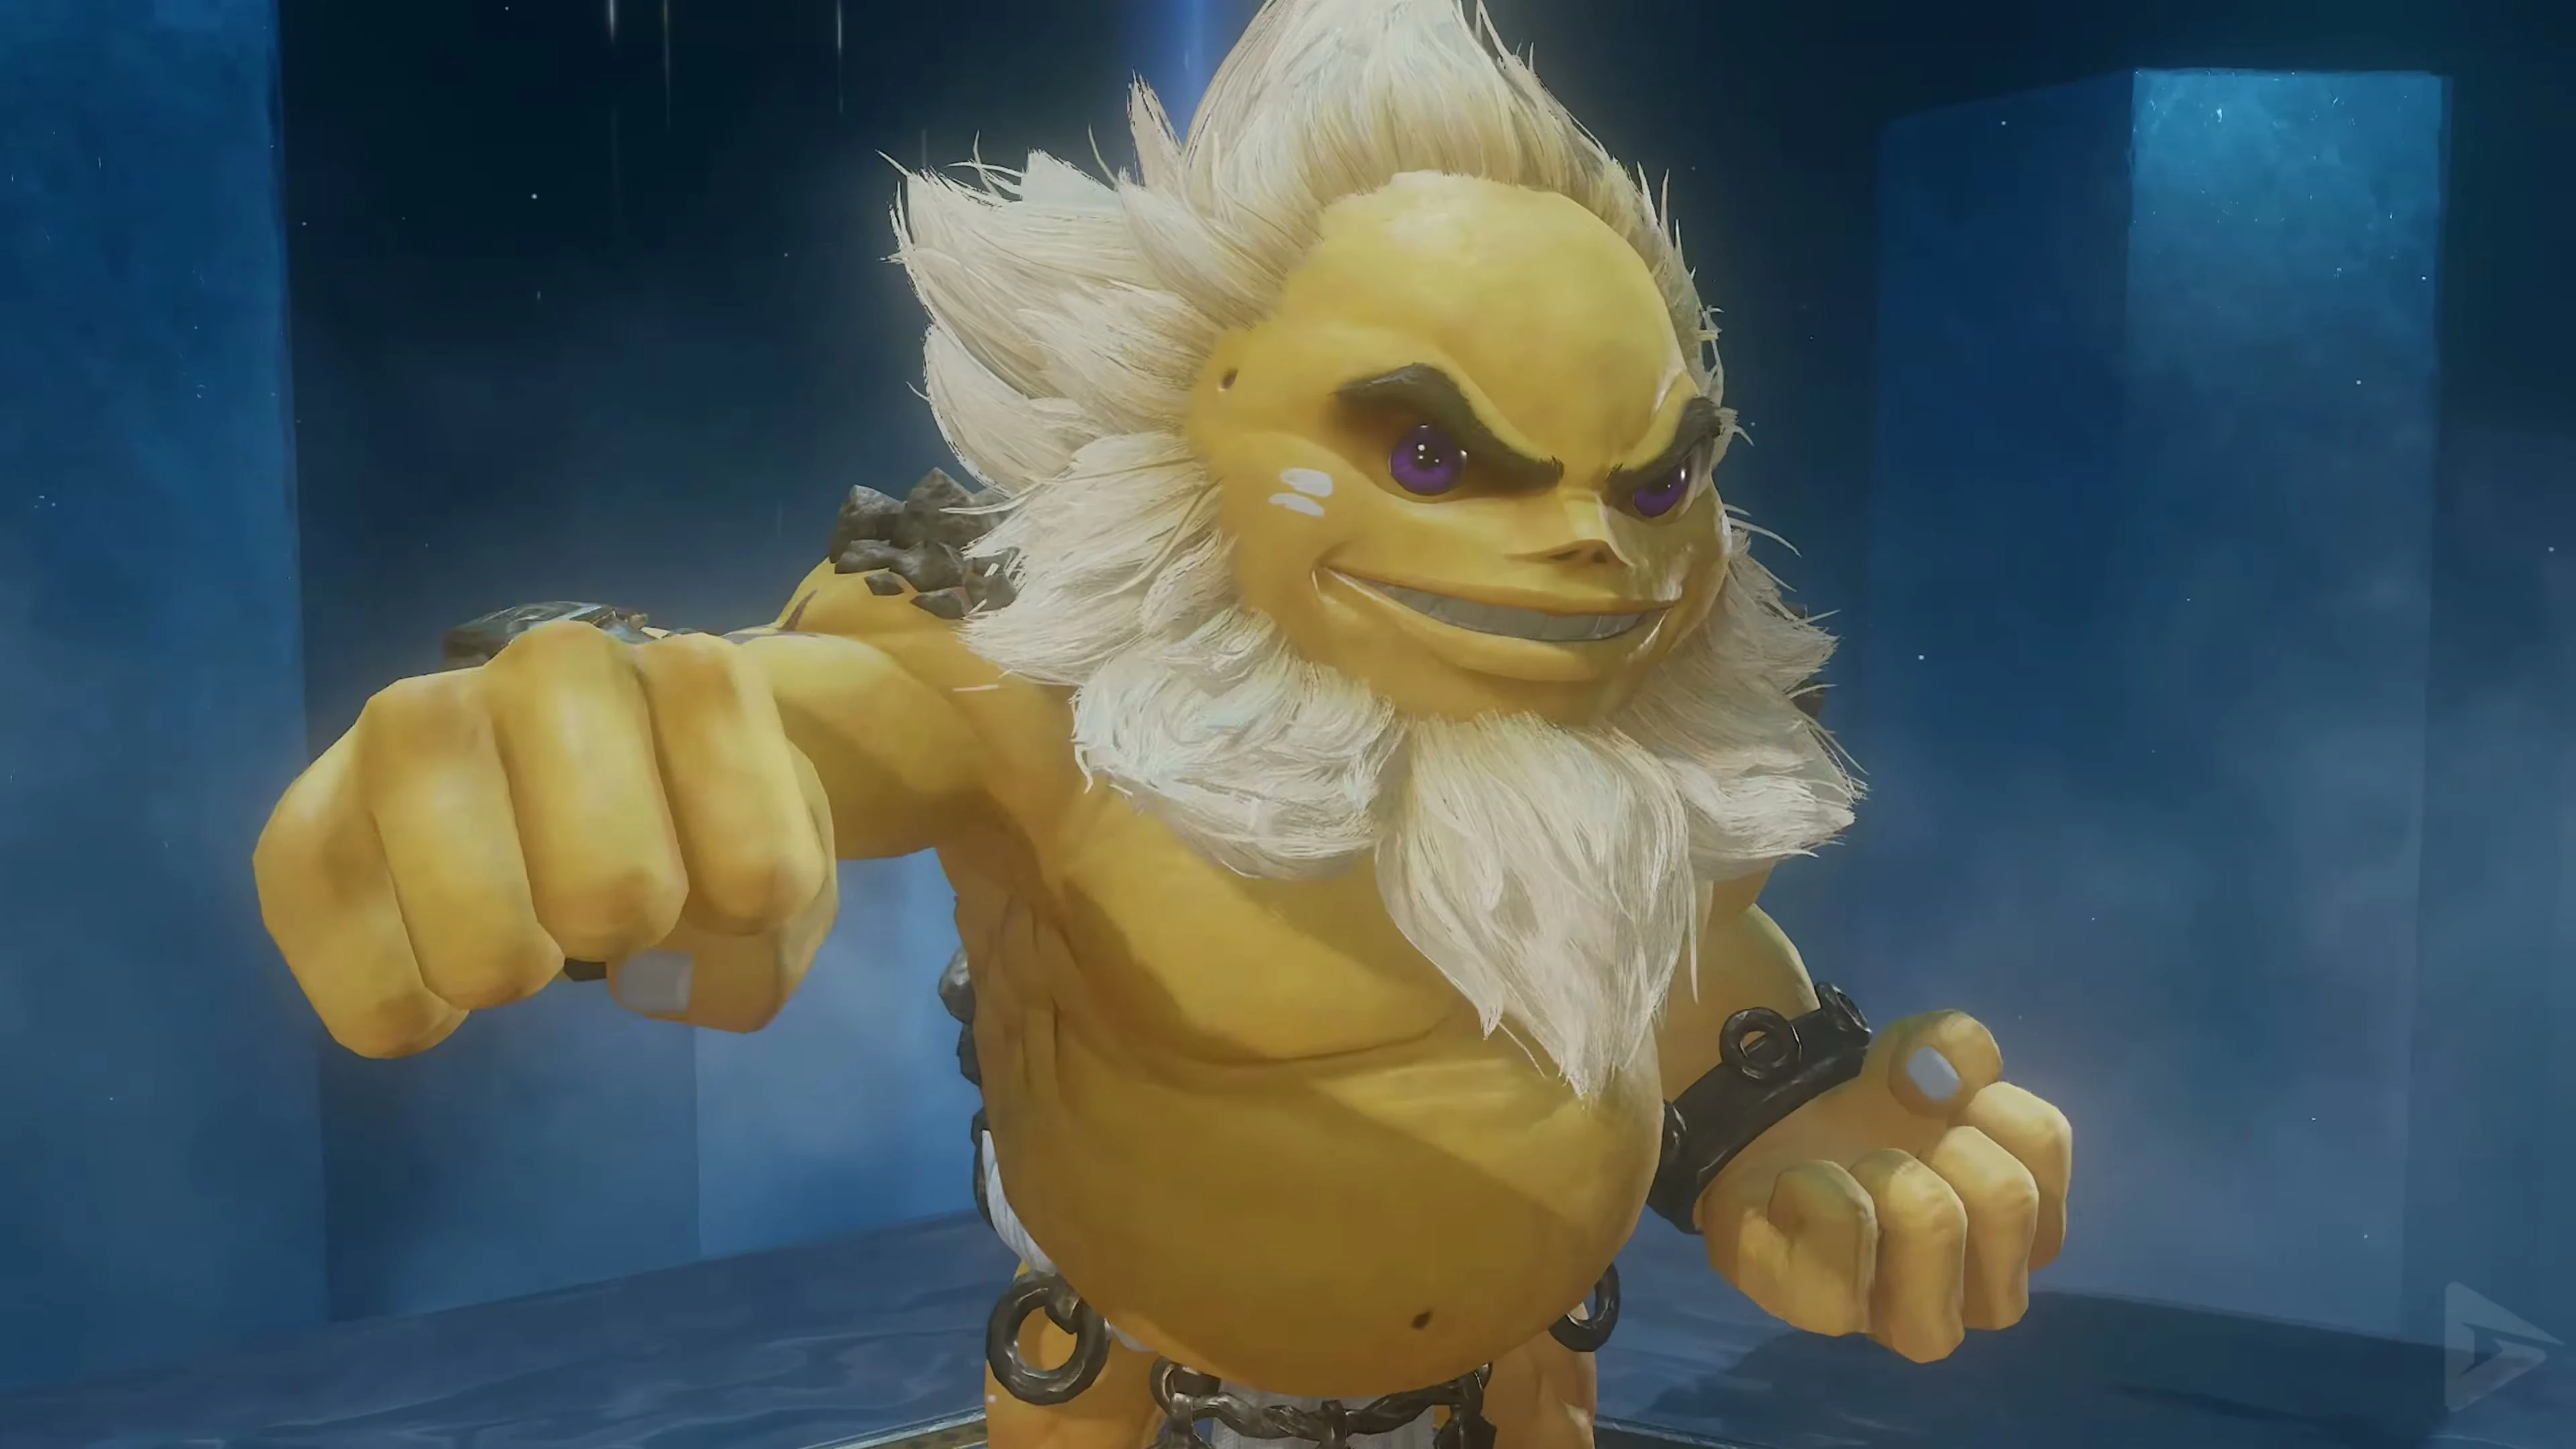
After the battle, collect the Heart Container and only then enter the blue light. In the Chamber of Sages, you will receive the Fire Medallion from Darunia . You will then be back at the pedestal in Death Mountain Crater.
After the Fire Temple: Double Magic Gauge
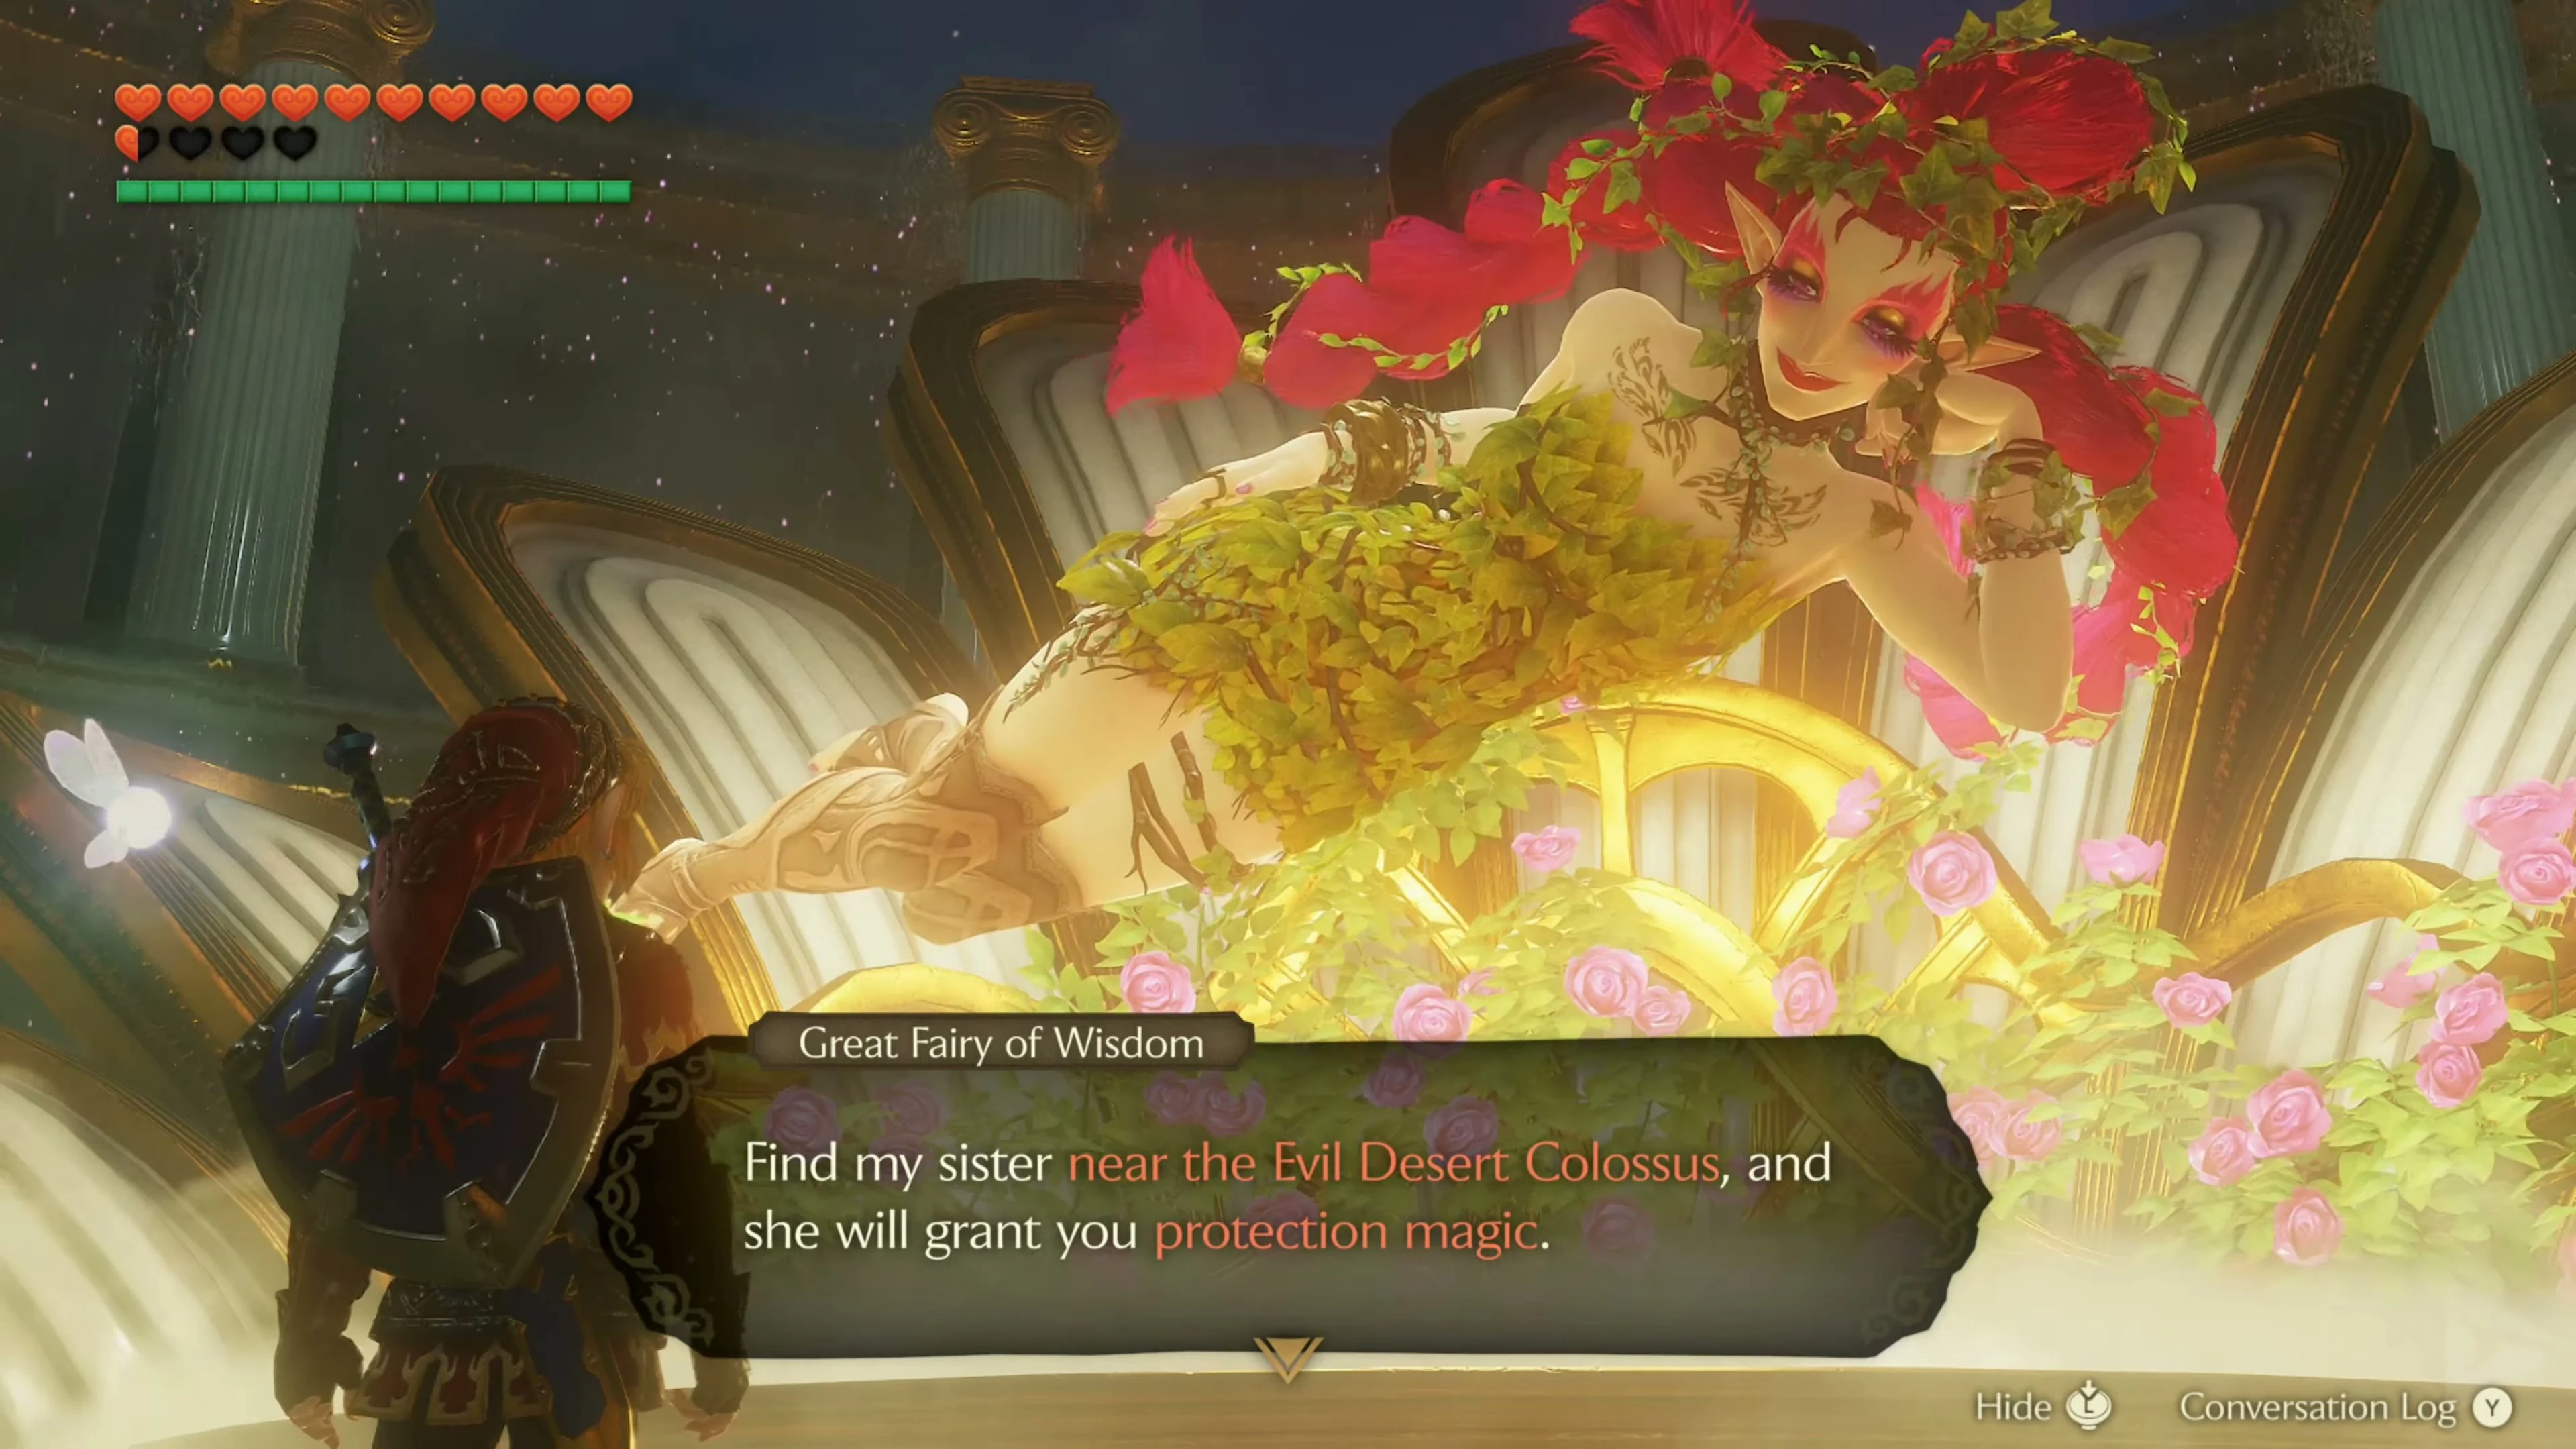
After the blue light, you’ll be back at the lower pedestal. Cross the chain bridge to the west and follow the shore towards Goron City. Use the Megaton Hammer to smash the two piles of ore chunks in front of the Fairy Fountain. Inside, play Zelda’s Lullaby on the Triforce symbol and pay 200 Rupees . Your magic gauge will then be doubled.
Two Gold Skulltulas on the Death Mountain Trail.
Leave Death Mountain Crater via the exit to the summit of Death Mountain and make sure it’s nighttime. The following two Skulltulas only appear after dark. If necessary, play the following before entering the mountain trail: Sun’s Song . Both spiders are hiding behind gray ore chunks that we couldn’t destroy before reaching the Fire Temple.
Gold Skulltula on the upper Death Mountain Trail
Climb down the long net from the summit, then turn back toward it. The hard rocks to the right of the net’s base, beside the rock arch, conceal a Skulltula. Smash them with the Megaton Hammer, defeat the spider, and collect its Token.
Gold Skulltula – above Dodongo Cavern
Follow the Death Mountain Trail downhill to the railing above Dodongo Cavern, at the turnoff to Goron City . Smash the gray ore chunks on the rock face there with the Megaton Hammer. Defeat the Gold Skulltula hidden underneath and take its token .
Reward for 50 Gold Skulltulas
Go along the path through Kakariko Village to the Skulltula House Show 50 golden symbols and take the Piece of Heart from the freed family member. You can check your inventory. Missing locations can be found in our Gold Skulltulas Overview .
Chests and their contents
Show all 16 chests in route order
| Order | Floor | Location | Contents |
|---|---|---|---|
| 1 | Ground Floor | First cell in Darunia’s lava room | Small Key 1/8 |
| 2 | Ground Floor | Southern side passage behind the Blastable Wall | Small Key 2/8 |
| 3 | Ground Floor | North Side Passage in the Great Lava Hall | Small Key 3/8 |
| 4 | E2 | Southeast Dead End of the Lower Rock Labyrinth | Dungeon Map |
| 5 | E2 | Northern Cell in the Lower Rock Labyrinth | Small Key 4/8 |
| 6 | E2 | Side Niche Behind the Eye Switch | Compass |
| 7 | E4 | Hidden Roundhouse Above Scarecrow Ascent | 20 Rupees |
| 8 | E4 | Hidden Roundhouse Above the Scarecrow Climb | 20 Rupees |
| 9 | E4 | Hidden Round Hall above the Scarecrow Climb | 50 Rupees |
| 10 | E1 | Cell under the explosive floor shaft | Small Key 5/8 |
| 11 | E2 | Cell opened by the switch on the upper walls | Small Key 6/8 |
| 12 | E2 | Northern Side Cell in the Fire Maze | Small Key 7/8 |
| 13 | E4 | Chest at the end of the narrow path behind the flame barrier | Megaton Hammer |
| 14 | E2 | Cell behind the time block and the hammer switch | Small Key 8/8 |
| 15 | EG | After the second Flare Dancer | 20 Rupees |
| 16 | EG | Last Goron Cell | Boss Key |
The levels correspond to the game map: Ground Floor, Level 1, Level 2, Level 3, and Level 4.