
All 100 Gold Skulltulas in Ocarina of Time
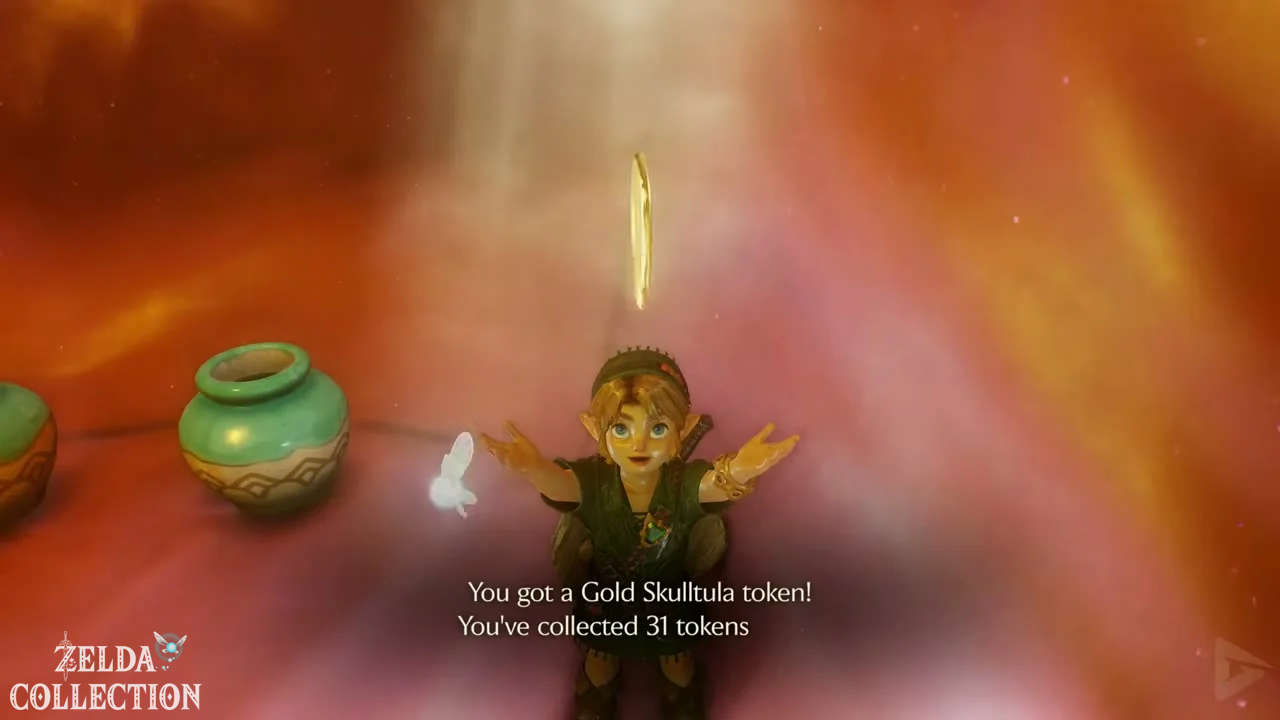
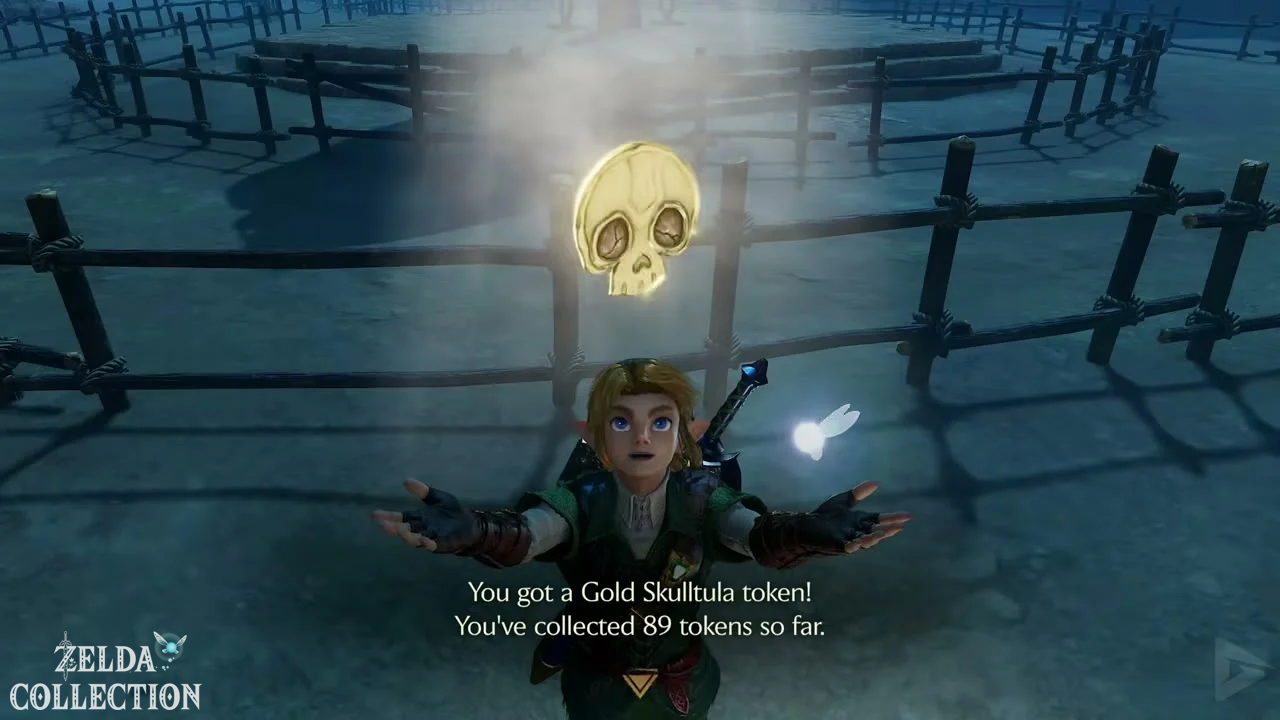
In The Legend of Zelda: Ocarina of Time , the Nintendo Switch 2 version contains a total of 100 Gold Skulltulas hidden in Hyrule and its various labyrinths. Each time you defeat one of the golden spiders, a Skulltula symbol will remain. Only when you collect this token will the find be added to your total.
Many Gold Skulltulas appear exclusively at night, while others can only be reached as Young or Adult Link. Some locations also require specific items, songs, or prepared Magic Beans. Therefore, listen for the distinctive scratching sound a Gold Skulltula makes nearby.
Map Control: Once you’ve found all the Gold Skulltulas in an area or maze, a small Skulltula icon will appear next to the area’s name on the map. This allows you to pinpoint the location of any missing Skulltulas.
Rewards in the Skulltula House
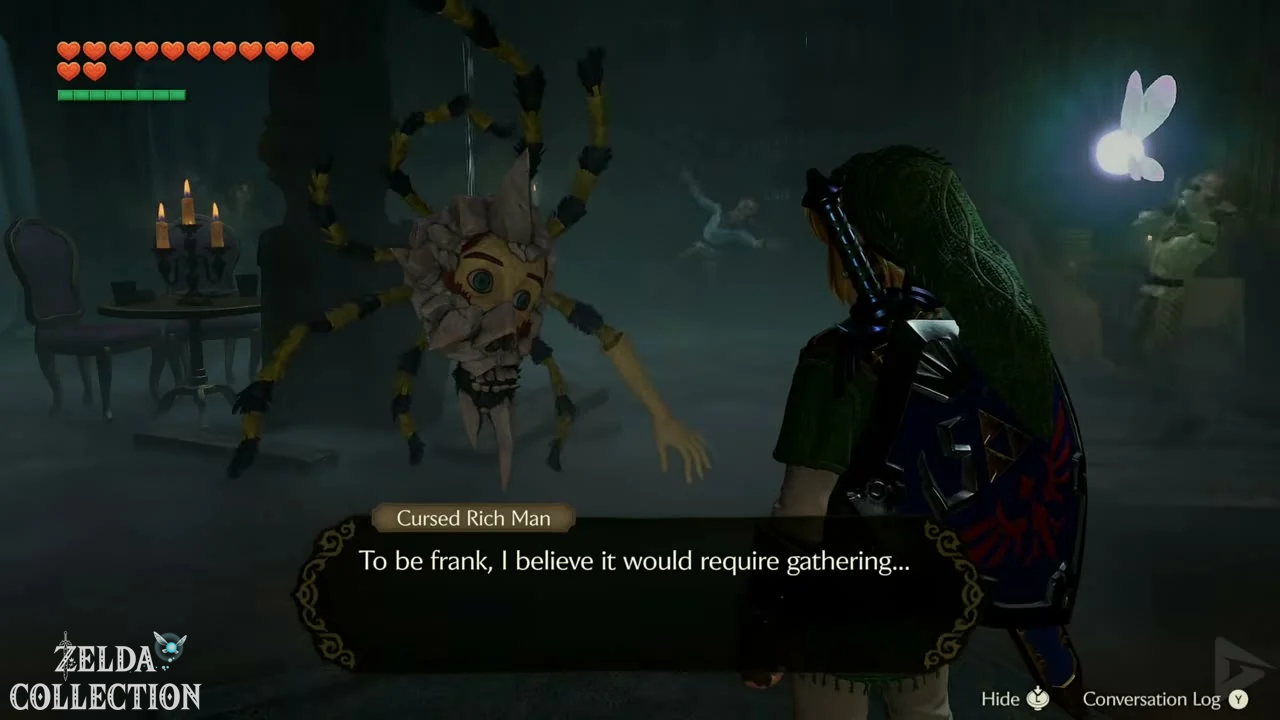
The collected symbols gradually break the curse of a wealthy family in Kakariko Village. Regularly visit the House of the Skulltulas and speak to the family members who have already been freed from the curse to receive the following rewards:
- 10 Gold Skulltulas: Adult’s Wallet for up to 500 Rupees
- 20 Gold Skulltulas: Echo Gem – alerts you to nearby Gold Skulltulas with light, sound, and vibration. It also reacts during the day to spiders that only appear at night.
- 30 Gold Skulltulas: Giant’s Wallet for up to 1,000 Rupees
- 40 Gold Skulltulas: 20 Bombchus
- 50 Gold Skulltulas: One Piece of Heart
- 100 Gold Skulltulas: Repeatable reward of 200 Rupees
Reward for all 100 Skulltulas: After completely breaking the curse, speak to the family patriarch. You will receive a Gold Rupee worth 200 Rupees. Leave the house and re-enter to collect the reward as many times as you like.
Navigation by area
- Zora River, Zora Domain and Zora Fountain
- Lord Jabu-Jabu’s Belly and Ice Cavern
- Kokiri Village, Great Deku Tree and Lost Woods
- Sacred Grove and Forest Temple
- Kakariko Village, Graveyard and Well
- Shadow Temple
- Death Mountain Trail, Goron City and Death Mountain Crater
- Dodongo Cavern and Fire Temple
- Hyrule Field, Marketplace and Castle
- Lon Lon Ranch and Lake Hylia
- Water Temple
- Gerudo Valley and Gerudo Fortress
- Mirage Desert and Evil Desert Colossus
- Spirit Temple
Zora River – 4 Gold Skulltulas
Show Location and Solution
As a child, let a bottle beetle into the soft The dirt is crawling right next to the Magic Bean vendor. Defeat the Skulltula as soon as it jumps out of the hole.
Show location and solution
At night, jump to the lower level at the eastern end of the river, in front of the waterfall. The Skulltula is sitting on the pillar where the ladder leads back up.
Show location and solution
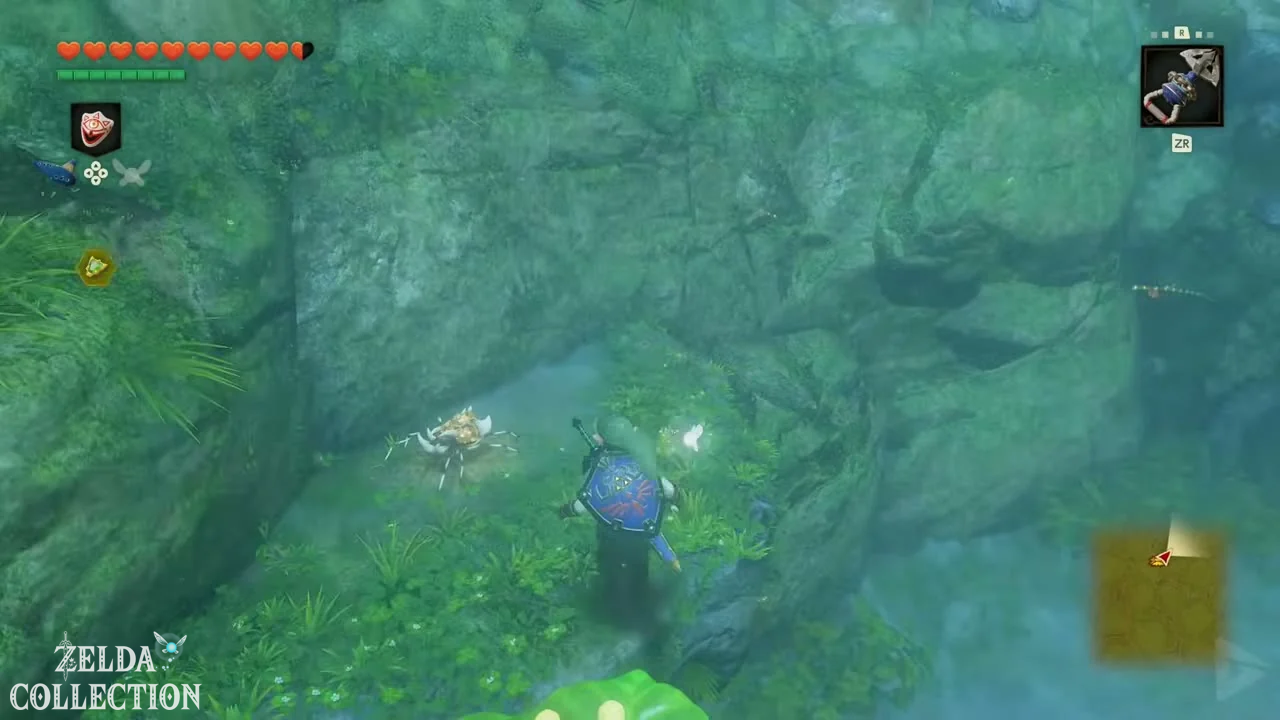
Look southeast from the former seat of the Magic Bean vendor. Climb up the back onto the flat rock in the middle of the river and retrieve the token with the Hookshot. You can also reach it from the base of the wall with the Longshot.
Show location and solution
Go upstream through the stone gate in front of the waterfall and look up at the high rock face directly behind it.
Zora Domain – 1 Gold Skulltula
Show location and solution
Look over the edge at the upper stream in Zora Domain at night. The spider is on the wall next to the waterfall and can be reached with the Hookshot.
Zora Fountain – 3 Gold Skulltulas
Show location and solution
Roll against the lone tree southeast of the spring. Defeat the Skulltula that falls out before proceeding.
Show location and solution
At night, search the high wall on the south side of the spring. Retrieve the token from the rock face with the boomerang.
Show location and solution
Lift the heavy rocks in the southeast and go through the tunnel. Use the Lenses of Truth to see the invisible spiders. Climb the vines at the back and retrieve the Gold Skulltula from the ceiling at night.
Lord Jabu-Jabu’s Belly – 4 Gold Skulltulas
Show location and solution
Jump with the Boomerang through the northern hole in the room where you first met Ruto. Look up at the bottom of the north wall and retrieve the golden token with the Boomerang.
Show location and solution
Defeat the parasite tentacles and drop through the now-open hole in the floor. In the tunnel ahead, in front of Big Octo, the Skulltula is perched on the ceiling. Aim the Boomerang upwards.
Show Location and Solution
In the southeastern map room, activate the switch that raises the water level. Swim to the west wall and climb the vines there.
Show location and solution
In the last large room before Barinade, search the back of the tall meat pillar. Manually aim the Boomerang upwards at the Skulltula on the vines and retrieve the token.
Ice Cavern – 3 Gold Skulltulas
Show location and solution
Keep your distance from the rotating ice blade and look for the Skulltula at the top of the southwest wall.
Show location and solution
Look straight up in the western room with the movable ice block. The spider is on the ceiling.
Show location and solution
Check the small niche next to the compass chest in the eastern side room. Use the Hookshot to pull the token out of the recess.
Kokiri Village – 3 Gold Skulltulas
Show location and solution
As Young Link, wait until nightfall and go to the back of the house. Defeat the Skulltula with the Fairy Slingshot. Then, use a backflip from the raised edge or a jump from the fence to reach the token.
Show location and solution
Go to the twins’ treehouse in the southeast at night. Search high up on the back wall and pull the token down with the Hookshot.
Show location and solution
Catch a bug in a bottle and, as young Link, let it crawl into the soft patch of ground next to the Kokiri shop. Shortly after, the Gold Skulltula will emerge from the ground.
In the Great Deku Tree – 4 Gold Skulltulas
Show location and solution
Activate the platforms in the top side room of the Deku Tree. Get the Compass and then jump across the platforms to the side alcove. Defeat the common spider in front of the hiding place and collect the Gold Skulltula behind it.
Show Location and Solution
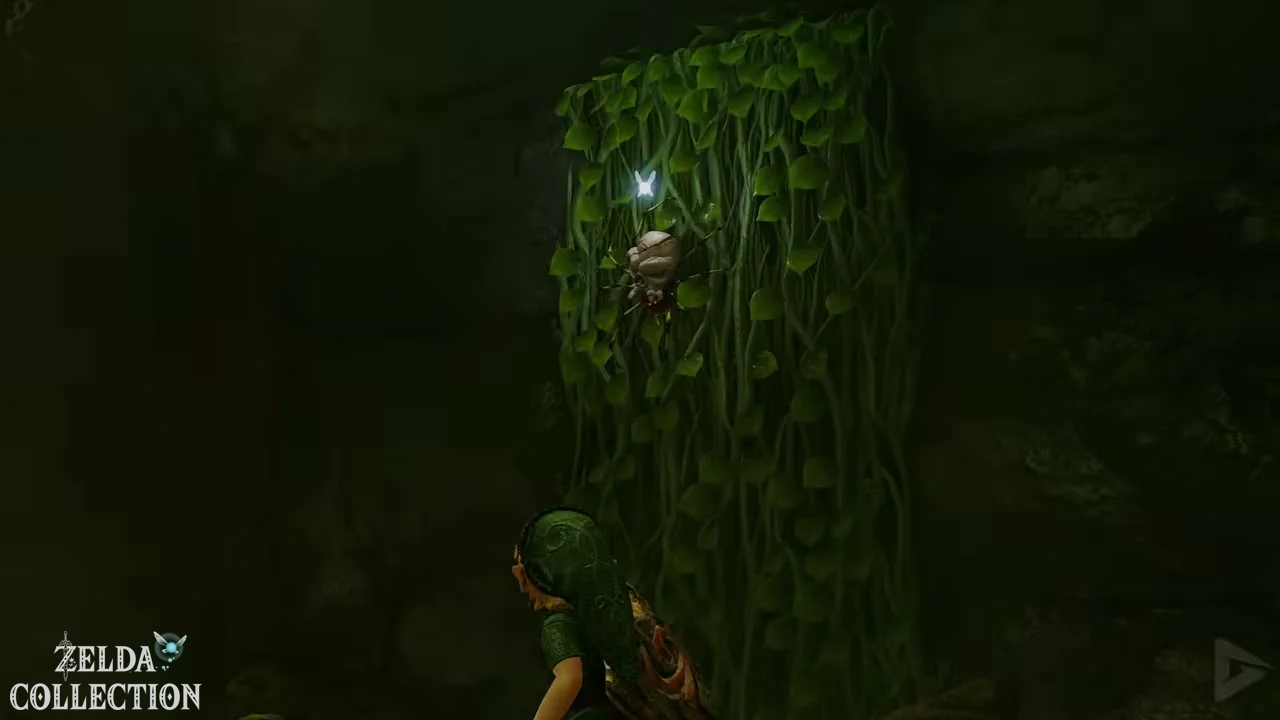
In the large basement room, overgrown walls lead back to the upper level. A Gold Skulltula hangs from the climbing plants; defeat it with the Fairy Slingshot.
Show Location and Solution
Another Gold Skulltula is crawling on the bars above the water in the large basement. Defeat it with the Fairy Slingshot and swim or jump to its token.
Show location and solution
Light a Deku Stick in the northwest basement and burn the wall web in the corner of the room with the Gohma babies. Eliminate the large spider in front of the hiding place. You can collect the Gold Skulltula behind it on your first dungeon visit.
Lost Woods – 3 Gold Skulltulas
Show location and solution
From the entrance, follow the path right, left, right, left, and left again. In the clearing, you’ll find a soft patch of ground. Let beetles walk into it to lure out a Gold Skulltula.
Show location and solution
From the entrance, go left twice. Near the bridge, there’s another soft patch of ground. Let a bug crawl into it and defeat the Skulltula that appears.
Show location and solution
As a child, plant the Skulltula in the flowerbed near the forest stage; the forest route is right, left, right, left, left. As an adult, ride the leaf at night to the raised platform and retrieve the Skulltula.
Sacred Grove – 1 Gold Skulltula
Show location and solution
Enter Sacred Grove at night and search the high wall on the east side of the maze. Aim from below with the Hookshot.
Forest Temple – 5 Gold Skulltulas
Show location and solution
In the first room, climb the vines to the right of the tree. The Gold Skulltula is hanging on the overgrown wall and can be defeated with the Hookshot.
Show location and solution
Turn around in front of the north door in the large hall. High on the wall you’ll see the Skulltula, which you can reach with the Hookshot along with the token.
Show location and solution
Drop down into the courtyard through the hole next to the boss key chest. From the upper level, aim at the top of the south wall.
Show location and solution
In the room with the sloping ceiling, take the west side door to the courtyard. Outside, push the block down as a shortcut, turn around, and look over the entrance. Call Pierre and use the Hookshot to pull yourself up to the Skulltula.
Show Location and Solution
After the battle against the four ghosts, take the elevator down. In the revolving room, search the small chamber with the jars. Avoid the large spider that falls in front of the Gold Skulltula.
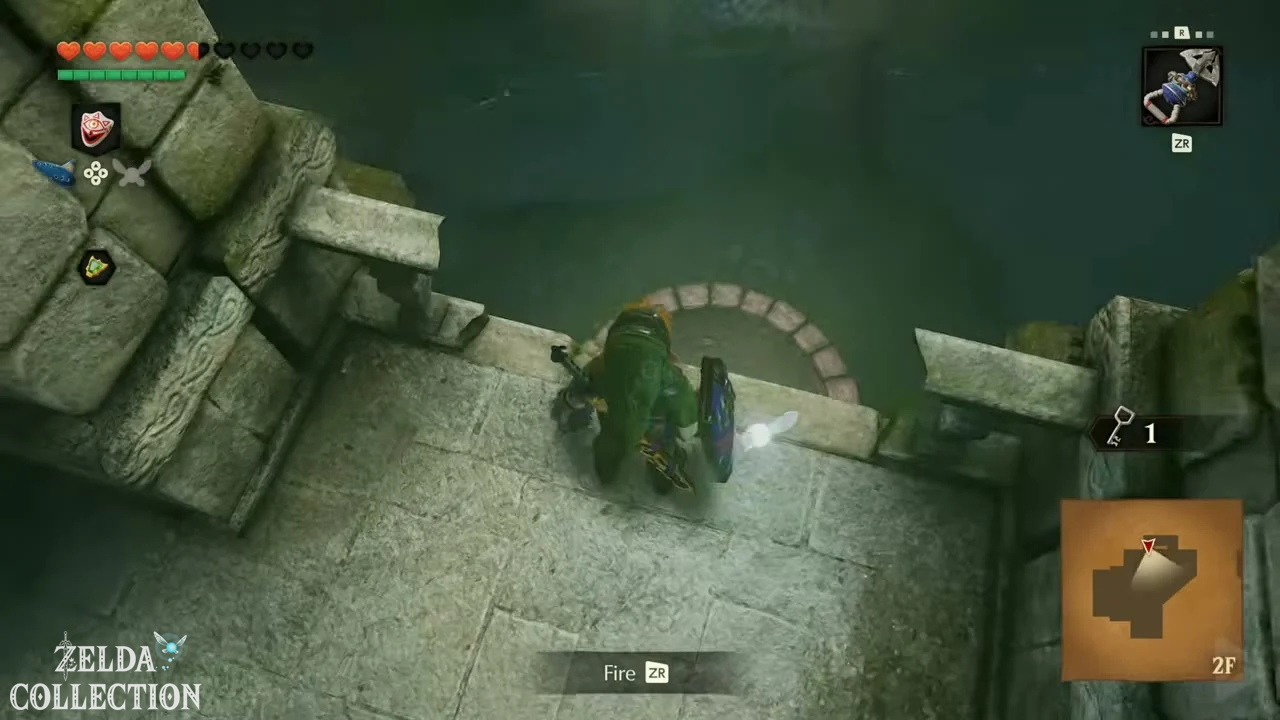
Kakariko Village – 6 Gold Skulltulas
Show location and solution
Enter Kakariko Village as young Link at night and roll into the large tree near the entrance gate. The Skulltula will fall to the ground right in front of you.
Show location and solution
As a child, search the facade directly next to the front door at night.
Show location and solution
As a child, climb the scaffolding of the unfinished house in eastern Kakariko Village at night. The Skulltula is sitting on the scaffolding; the stacks of bricks next to it are part of the Chicken Route.
Show location and solution
Go behind the house in the northwest, before the path to the Death Mountain Trail begins its ascent. The Skulltula appears at night on the back wall.
Show location and solution
Climb the ladder of the tall observation tower at night and look behind it. The Gold Skulltula is hanging high up on the ladder or the wooden structure.
Show location and solution
Pull yourself up to the tall vines next to the southern house, jump onto the roof, and from there aim at the wall behind the house.
Kakariko Village Graveyard – 2 Gold Skulltulas
Show location and solution
At night, the Skulltula sits on the wall behind the gravedigger’s hut. Retrieve the token with the Boomerang or Hookshot.
Show Location and Solution
To the left, behind the entrance to the graveyard, is a soft patch of ground. Let a bug from a bottle walk into it and defeat the Skulltula that emerges.
Bottom of the Well – 3 Gold Skulltulas
Show location and solution
Open the right of the two locked doors. The Lenses of Truth will show you the way across the chasm. Deal with the Keese and retrieve the token at the end with the Boomerang.
Show location and solution
Open the left door and defeat the Deku Baba. Then search the wall and use the Boomerang to pull the token towards you.
Show location and solution
Defeat the Like Like in the eastern room on U1 first. Now you can aim at the Skulltula on the wall without any trouble.
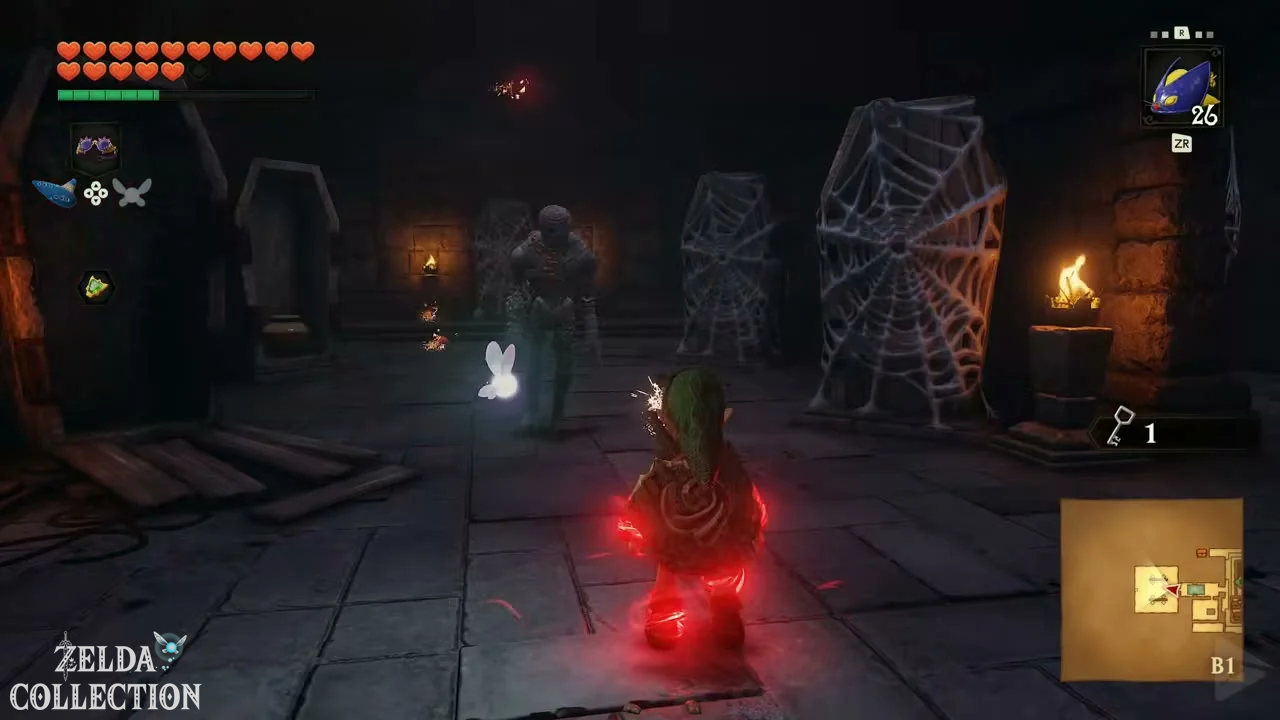
Shadow Temple – 5 Gold Skulltulas
Show location and solution
Enter the southeast room on U3 and make the rotating Grim Reaper statue visible with the Lenses of Truth. The spider is sitting near the two chests.
Show location and solution
Pull the block out of the camouflaged wall niche and push it under the traps. Climb up the other side and use the spiked plates as a platform to reach the spider.
Show location and solution
Stay in the wind gully in front of the wide gap and look down. Pull yourself across using the longshot on the ceiling anchor, turn around, and retrieve the token from the edge of the abyss.
Show location and solution
Climb onto the small stone block at the eastern dock and play the Scarecrow Song. Then, move to Pierre and collect the token.
Show Location and Solution
Go to the western room on U4 and throw bombs from above into the openings of the rotating skulls. This will reveal the Skulltula in addition to the Rupees.
Death Mountain Trail – 4 Gold Skulltulas
Show location and solution
Shortly after the gate of Kakariko Village, there is a crumbling wall. Blow it up with a bomb and enter the small cave. The Gold Skulltula awaits inside.
Show location and solution
Let the beetle crawl into the soft patch of ground directly in front of the entrance to Dodongo Cavern. The Gold Skulltula will appear immediately afterward.
Show location and solution
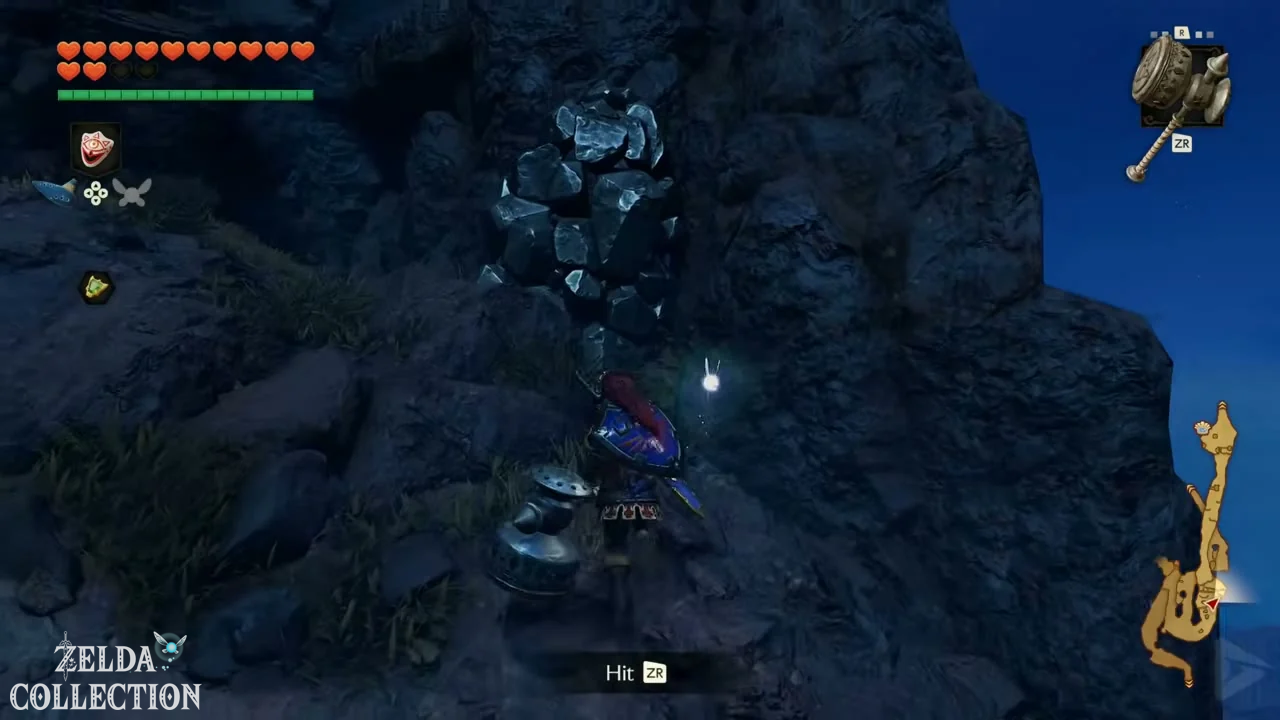
As an adult, go to the railing above Dodongo Cavern at night. It’s at the turnoff to Goron City, where you threw the Bomb Flower down as a child. Smash the rocks on the cliff face with the Megaton Hammer and retrieve the token.
Show location and solution
As an adult, go at night to the base of the long net leading to the summit. When you face the net, the hard boulders are on the right side of the rock arch. Smash them with the Megaton Hammer and retrieve the token.
Goron City – 2 Gold Skulltulas
Show location and solution
On the top floor, search the northwest room with the numerous rocks. Blast your way through the small maze. At the end, you’ll find a wooden crate containing the Gold Skulltula.
Show location and solution
As an adult, stand on the second-highest level of Goron City at night. Search the lower back of the large stone pedestal in the middle and retrieve the token with the Hookshot.
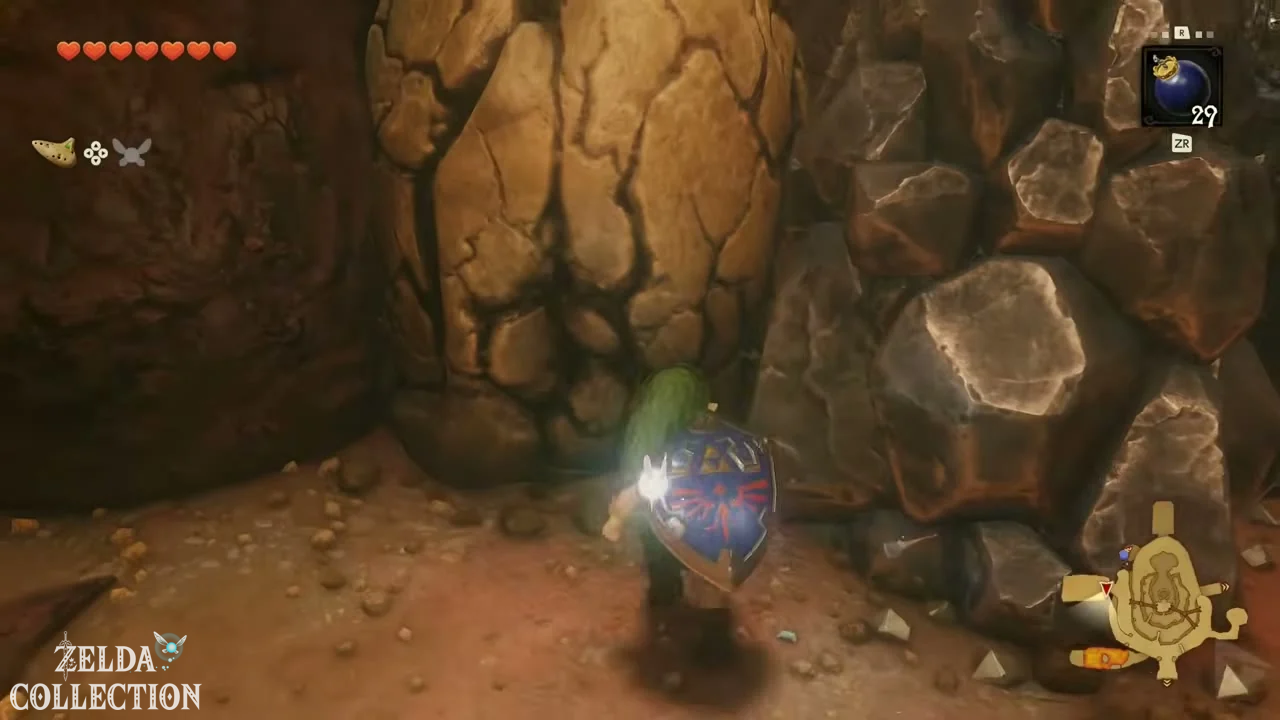
Dodongo Cavern – 5 Gold Skulltulas
Show location and solution
In the eastern Baby Dodongo corridor, there’s a crumbling wall on the right. Lure a Baby Dodongo directly in front of it and defeat it; its explosion will open the passage. Alternatively, you can use your own bombs later. Defeat the Keese and collect the token behind the side wall.
Show location and solution
After the explosion, go up the grand staircase and look back in front of one of the doors. Next to a Skullwalltula, the Gold Skulltula is sitting on the railing, which you can climb.
Show Location and Solution
In the block room behind the skull’s mouth, pull the large stone under the cracked west wall. Place a bomb on the block. Baby Dodongos and an Armos statue await behind the opened wall. Retrieve the Skulltula from the back wall before continuing to the normal puzzle by pulling the stone.
Show location and solution
Return as adult Link and play the Scarecrow Song in the long corridor. Pull yourself towards Pierre and then onto the high ledge with the Skulltula.
Show location and solution
Blast the cracked wall in the northeast of the upper level. Defeat the two Dodongos behind the opening and go around the rock.
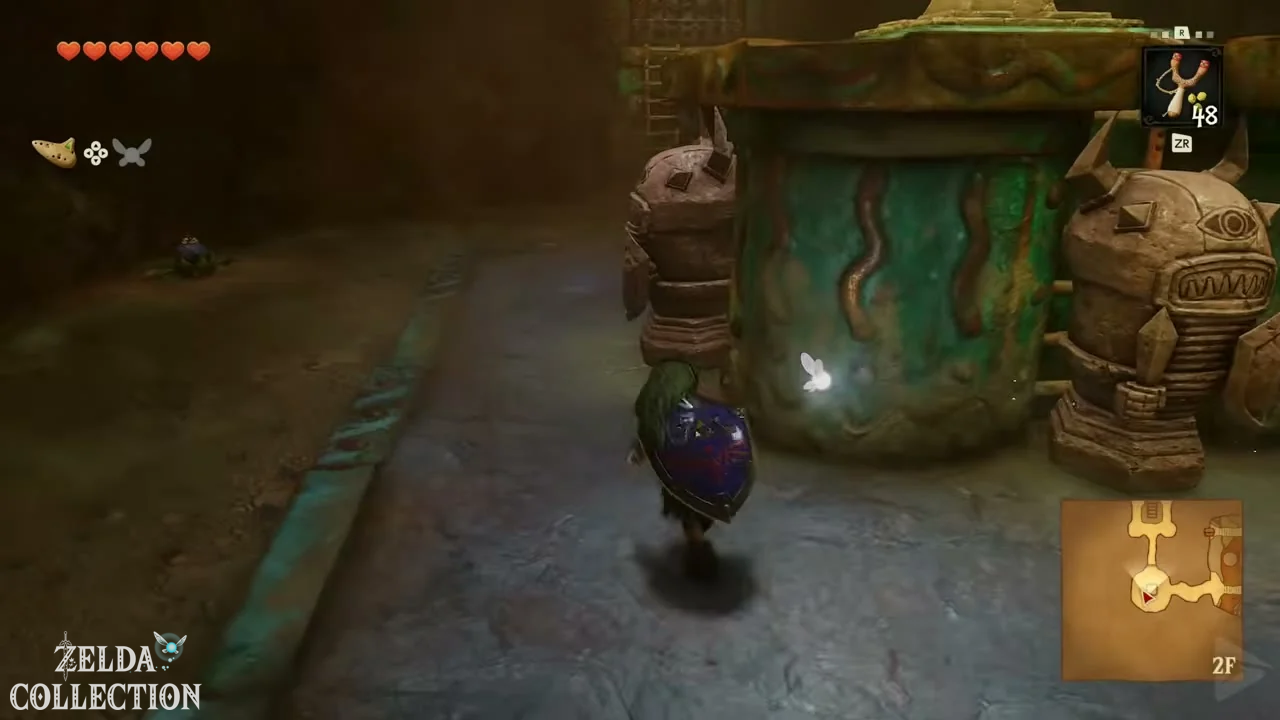
Death Mountain Crater – 2 Gold Skulltulas
Show location and solution
As a child, travel with the Bolero of Fire to the lower Death Mountain Crater. Let the beetle run into the soft dirt next to the warp pedestal and collect the Skulltula. Replenish your hearts beforehand and leave the heat quickly after finding it.
Show location and solution
Enter Death Mountain Crater as a child from the summit near Kaepora Gaebora. Roll into the rear of the two wooden crates on the left at the summit entrance , right next to the jug. Defeat the Gold Skulltula and take its token. Return to the Death Mountain Trail when your health is low.
Fire Temple – 5 Gold Skulltulas
Show location and solution
In the large lava hall, go up on the northeast platform. Play Song of Time in front of the time block and go through the revealed door. Defend against the flying plates, defeat Like Like, and retrieve the Skulltula from the back wall.
Show Location and Solution
In the room with the rolling rocks, follow the outer wall and listen for the scratching sound. Strike the suspicious wall and blow it up with a bomb.
Show location and solution
Call Pierre on the upper level of the rock labyrinth. Use the Hookshot to reach him and then the moving platform opposite. Climb the metal wall at the top and retrieve the Skulltula in front of the next door.
Show location and solution
After the previous Skulltula, go through the door to the top floor. The next Skulltula is just around the corner on the wall above the lava. Get the token with the Hookshot.
Show Location and Solution
After obtaining the Megaton Hammer, uncover the hidden door at the entrance. Go two rooms further and smash the ore chunks behind which the spider is sitting.
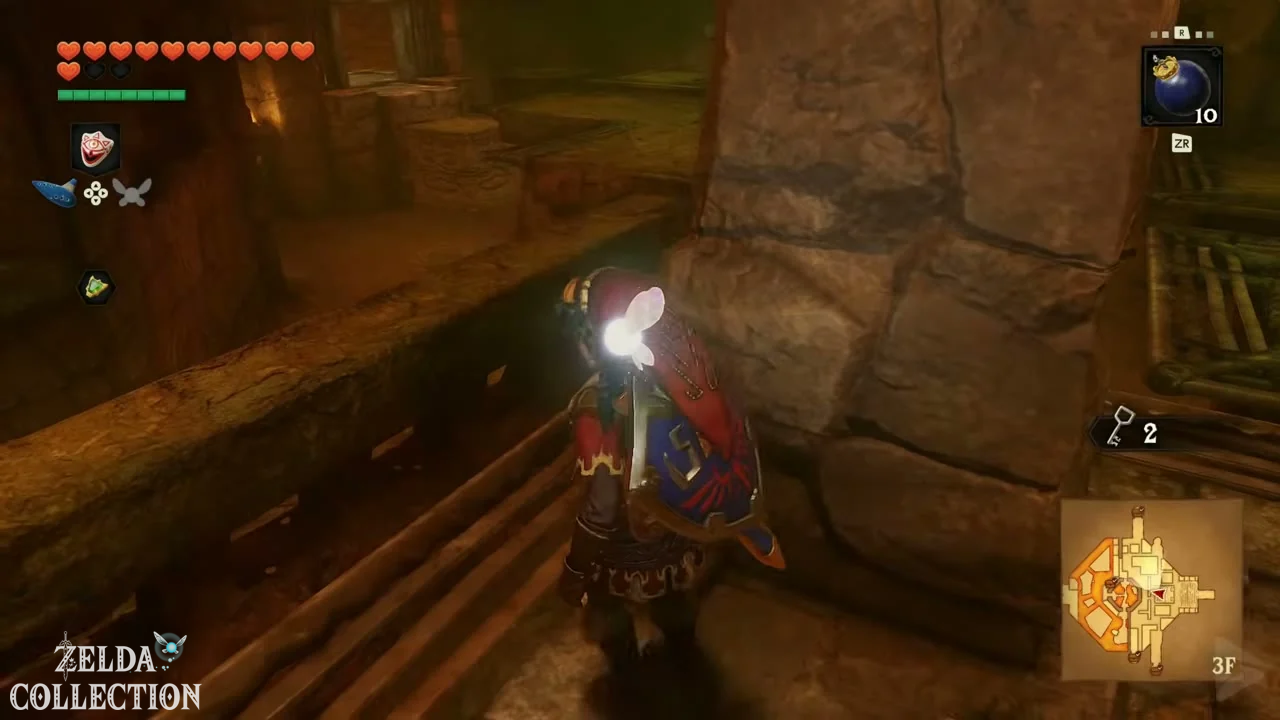
Hyrule Field – 3 Gold Skulltulas
Show location and solution
Follow the path from Kokiri Forest into Hyrule Field. Roll as a child against the lone tree west of the road, near the end of the small stream.
Show location and solution
Blast open the hole in the ground in the group of trees south of the farm. Retrieve the token from the wall inside.
Show location and solution
Blast open the crack in the swampy depression between Kokiri Forest and Lake Hylia. First, as a child, defeat the ordinary Skulltula at the bottom of the hole. Return as an adult and roll against the wobbly wooden crate to reveal the Gold Skulltula.
Hyrule Marketplace – 1 Gold Skulltula
Show location and solution
As Young Link, enter the guardhouse directly next to the drawbridge. Roll against the wooden crate on the back wall to reveal the only Gold Skulltula in the marketplace.
Hyrule Castle and Ganondorf’s Castle – 3 Gold Skulltulas
Show location and solution
In the first castle garden, bypass the guards and go to the vines at the end of the garden. Roll into the tree immediately to the right of these vines. The Skulltula will fall from the crown.
Show location and solution
As a child, go to the tree by the fence south of Talon’s former sleeping place by the castle moat. Play the Song of Storms and jump into the grotto. Blast the crumbling wall and retrieve the token with the boomerang.
Show location and solution
Look for the old archway in front of Ganondorf’s Castle. Go around the side of the ruin and get the token from the back.
Lon Lon Ranch – 3 Gold Skulltulas
Show location and solution
As a child, go behind the building where you played Talon’s Super Chicken game. Roll into the two trees until the Skulltula falls down. Defeat it and take its token.
Show location and solution
Enter the ruins at night and look up inside. Retrieve the token from the top.
Show location and solution
At night, a Gold Skulltula sits at a window of the apartment building. Aim at the facade from outside.
Lake Hylia – 5 Gold Skulltulas
Show location and solution
As a child, search for the narrow ledge on the southwestern shore of the lake. Crawl through the low opening in the wall there.
Show location and solution
Go around the outside of the lab at night and get the token from the back facade.
Show location and solution
Let beetles crawl into the soft patch of soil directly in front of the research institute. A gold skulltula emerges from the ground.
Show location and solution
At night, aim the Longshot at the vines high up on the tree. Pull yourself up and collect the token.
Show location and solution
Sink to the bottom of the pool using the Iron Boots. Roll into the wooden crate and defeat the exposed Skulltula with the Hookshot.
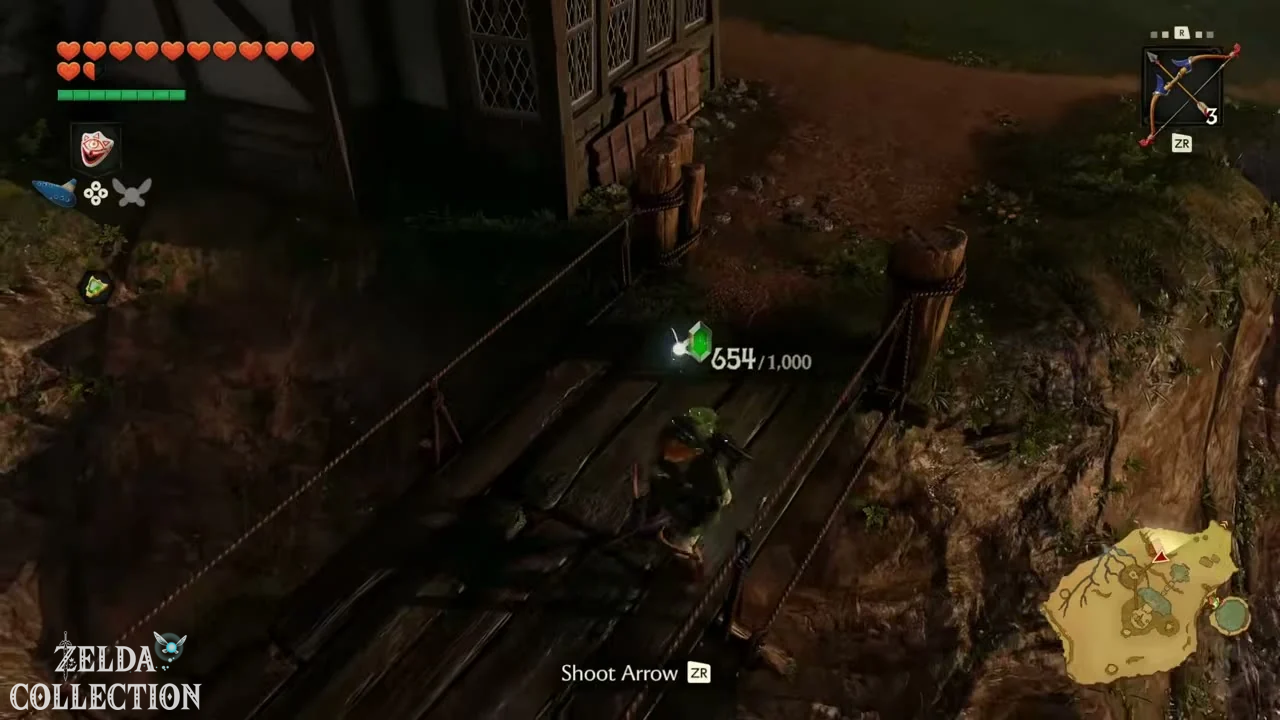
Water Temple – 5 Gold Skulltulas
Show location and solution
Enter the tower when the water level is low or medium. At medium water, you can use the Iron Boots to sink through the opening in the floor. Hit the crystal switch at the bottom and swim up through the open gate to the spider and the Rupee chest.
Show location and solution
After obtaining the Long-Range Hookshot, go through the flooded passage. Wearing the Iron Boots, walk along the bottom of the S-curve and look above the waterline. The Skulltula is sitting on the wall there.
Show location and solution
Set the water to the middle level and enter the central tower. Aim the Longshot at the high ceiling target and grapple up. The Skulltula is in the opposite corner.
Show location and solution
At medium water level, sink to the lower entrance in the main hall. Follow the blue-lit passage east, swim up one level, and blow up the crumbling wall.
Show location and solution
In the northern area, look in the ceiling hole in front of the door to the boss key, where the waterfall and rocks emerge. Collect the token from the safe edge using the Hookshot.
Gerudo Valley – 4 Gold Skulltulas
Show location and solution
At night, look directly under the narrow wooden bridge at the entrance to Gerudo Valley. Use the Boomerang to pull the token towards you.
Show location and solution
As adult Link, cross the destroyed bridge and go behind the carpenters’ tent at night. A Gold Skulltula is hanging on the rock face there.
Show location and solution
Cross the broken bridge on Epona or use the Longshot. Search the stone pillar on the other side at night.
Show location and solution
As young Link, jump into the ravine with the chicken and glide to the ledge with the Gerudo and the cow. Let the beetles crawl into the patch of ground there.
Gerudo Fortress – 2 Gold Skulltulas
Show location and solution
At night, search the outer ledge in front of the eastern fortress entrance to Jiro’s cell. If you face the door to the east, the Skulltula is on the right-hand side of the south wall. Retrieve the token with a longshot.
Show location and solution
After obtaining the Gerudo Passport, go to the archery range at night. Search the back of the rearmost target in the northeast.
Mirage Desert – 1 Gold Skulltula
Show location and solution
After the quicksand, follow the flags to the stone building. A ladder on the back of the ramp leads to the spider in the basement.
Evil Desert Colossus – 3 Gold Skulltulas
Show location and solution
Go to the northwest corner at night. The Skulltula is perched on the rock face where the Guays are circling.
Show location and solution
Play the Requiem of Spirit as young Link and let bugs crawl into the soft patch of ground in front of the temple.
Show location and solution
Plant a Magic Bean in the same spot. Return at night as adult Link and ride the floating plant to the high rock plateau. Jump off there and defeat the Skulltula.
Spirit Temple – 5 Gold Skulltulas
Show location and solution
In the children’s section, you need to collect five silver Rupees and lower a grate. Turn around after crossing. The Gold Skulltula is hanging on the grate or the wall behind it.
Show location and solution
Once you reach the main hall with the giant statue, search the wall in the northeast corner on the first floor.
Show location and solution
After pushing the Sun Block into the beam of light, enter the next stairwell. Turn around and look over the front door. The third Gold Skulltula is sitting there.
Show location and solution
In the eastern part of the temple, search for the niche in the northeastern rock chamber. The Song of Time alternates between an open and a closed niche.
Show location and solution
In the vast main hall, Navi glows green on a high ledge. Play the Scarecrow Song and pull yourself towards Pierre. The last Gold Skulltula of the game hangs on the wall near him.
All Gold Skulltulas found.
Once you have defeated all 100 Gold Skulltulas and collected their symbols, the corresponding Skulltula symbol will appear on every area map and next to every maze name. Then return one last time to the Skulltula House in Kakariko Village.
Speak to the fully redeemed family patriarch to receive a Gold Rupee worth 200 Rupees. This reward can be repeated as many times as you like by leaving and re-entering the house.
Congratulations – you’ve found all 100 Gold Skulltulas in The Legend of Zelda: Ocarina of Time!