
Open the Shadow Temple
After our collection run at Bottom of the Well , revert to adult Link and play the Nocturne of Shadow . You will be teleported directly to the high warp platform above Kakariko Village Graveyard. Turn around and descend the long staircase. At the bottom, you will reach a dark antechamber where numerous extinguished torches are arranged in a circle around a central platform. Stand in the center of the torch circle and use Din’s Fire . The wave of fire spreads throughout the entire room, igniting all the torches simultaneously. Once the last flame is lit, the massive stone gate in front of you opens, granting access to the Shadow Temple.
Inside the temple, follow the passage to the abyss and use the Longshot to reach the objective opposite. Go through the false wall behind the ledge into the room with the eagle statue. .
The Dungeon Map
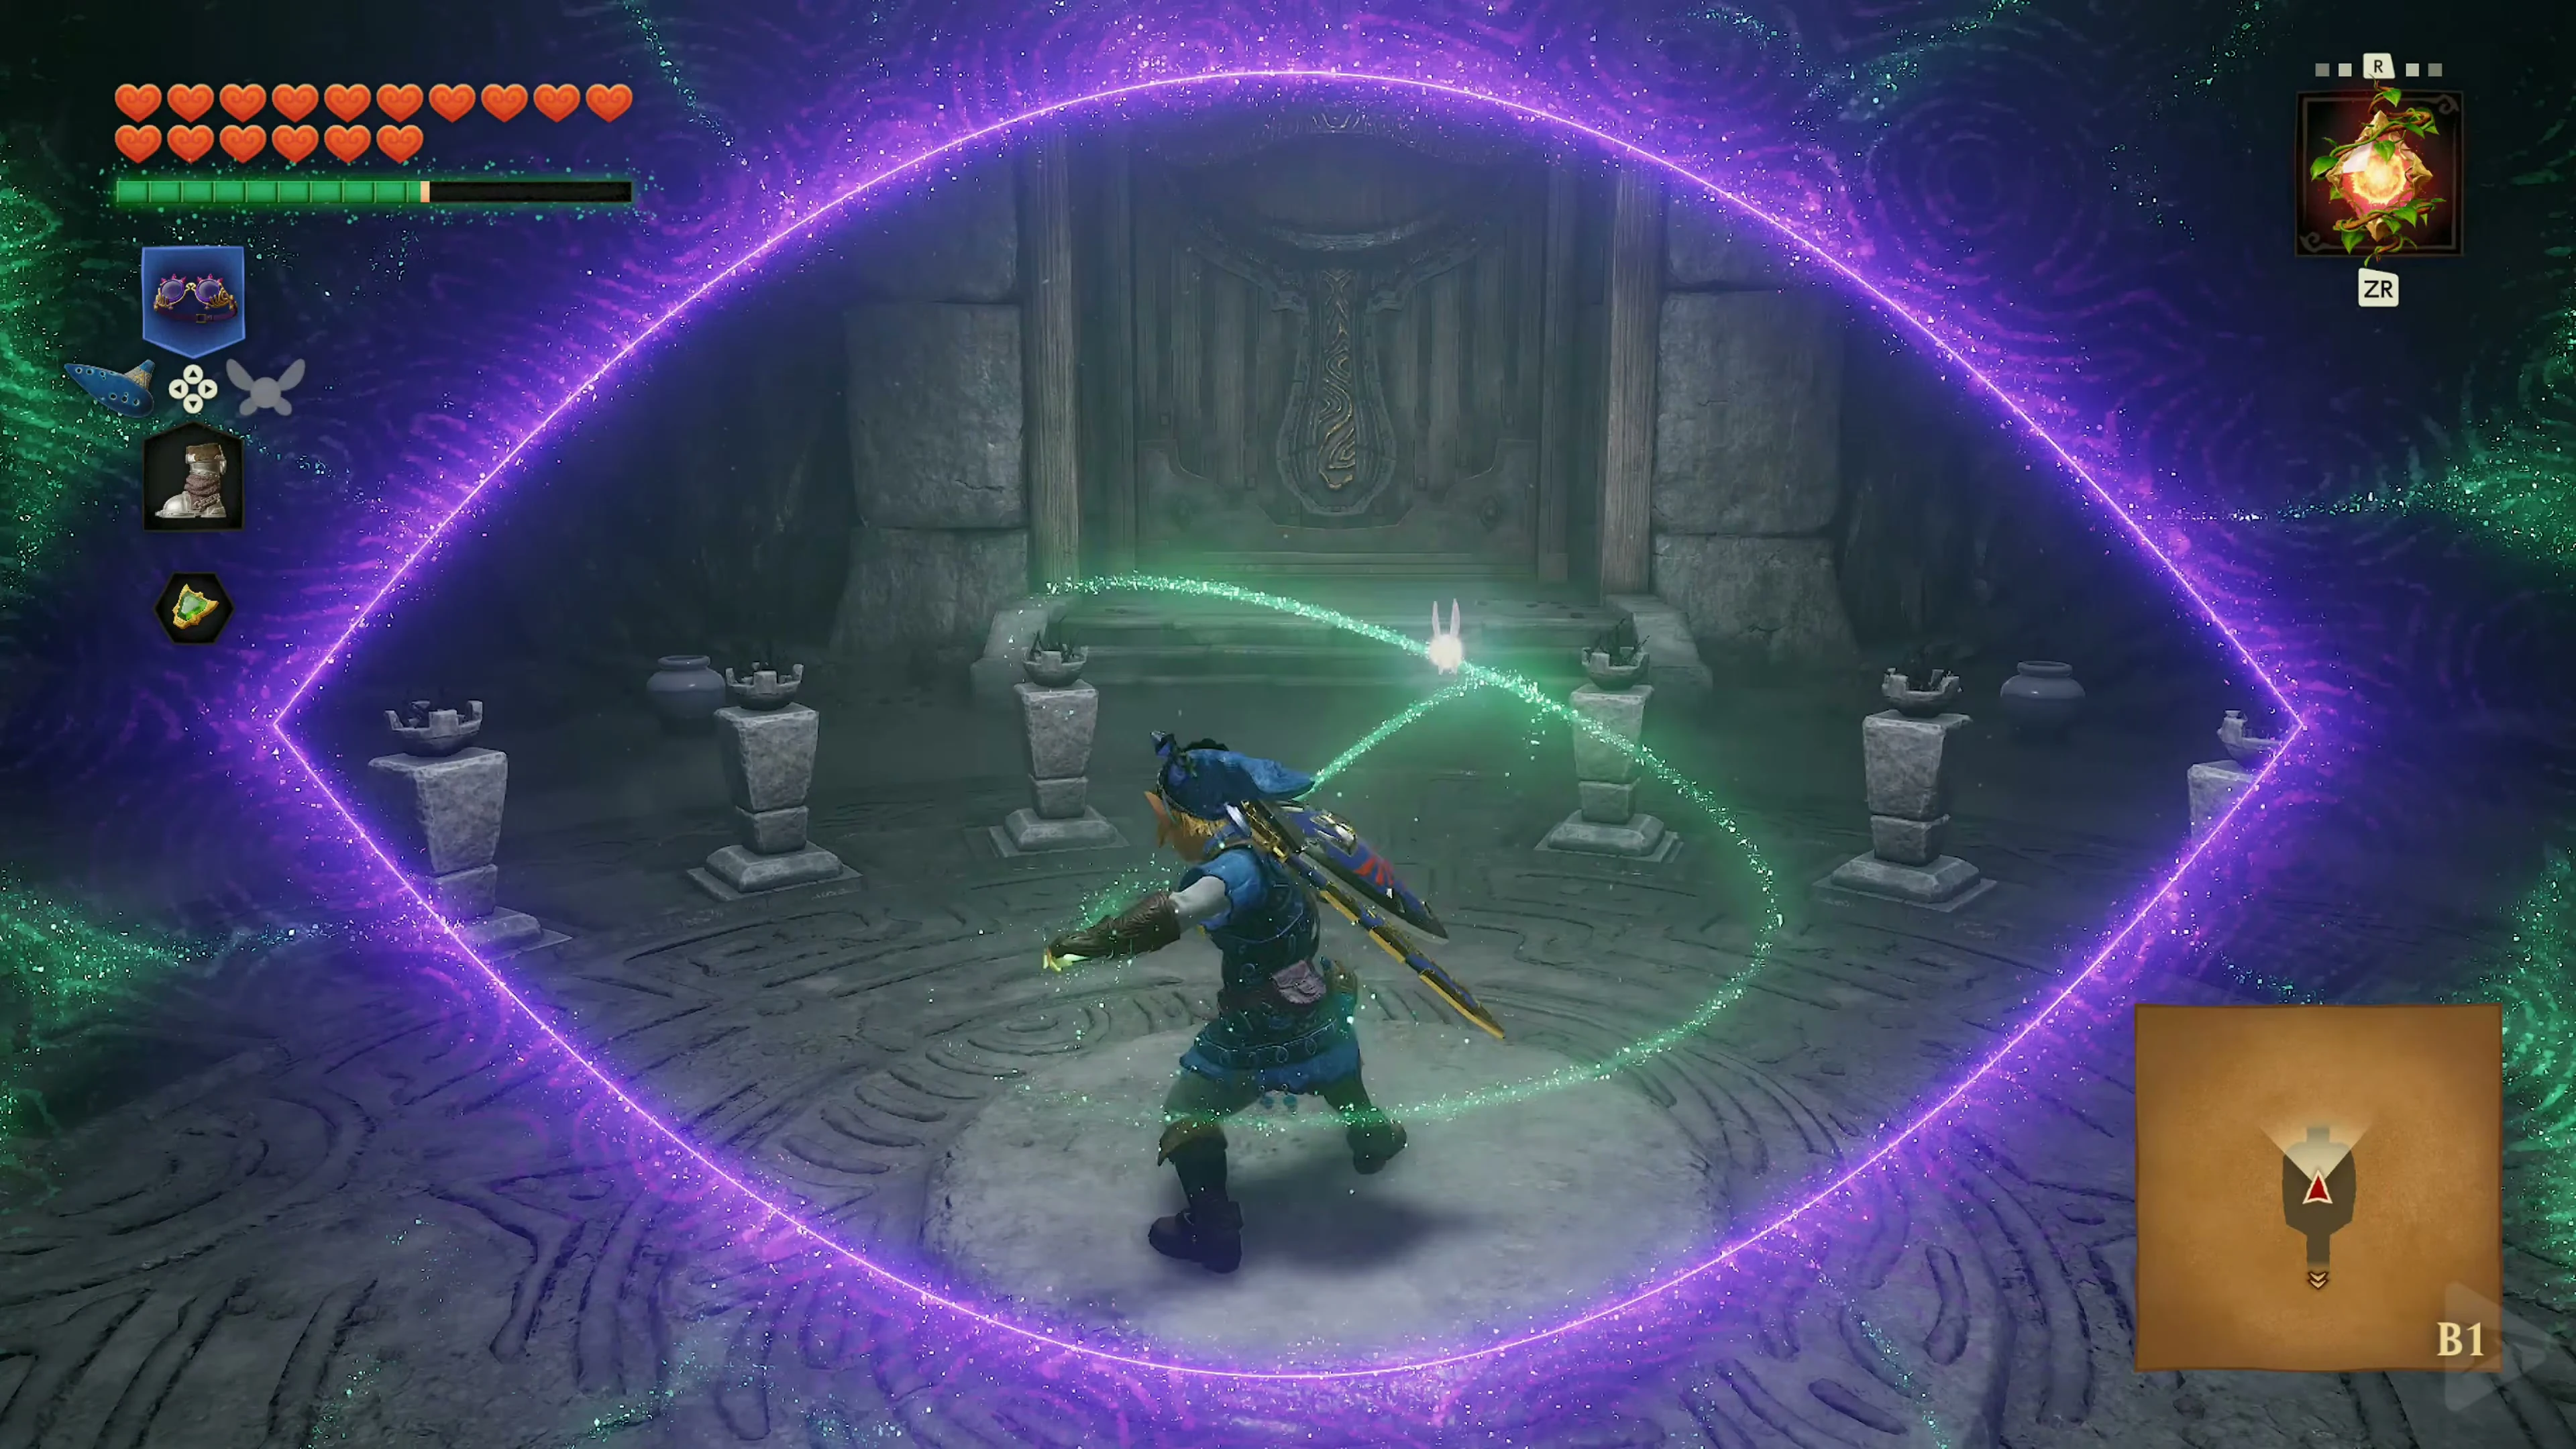
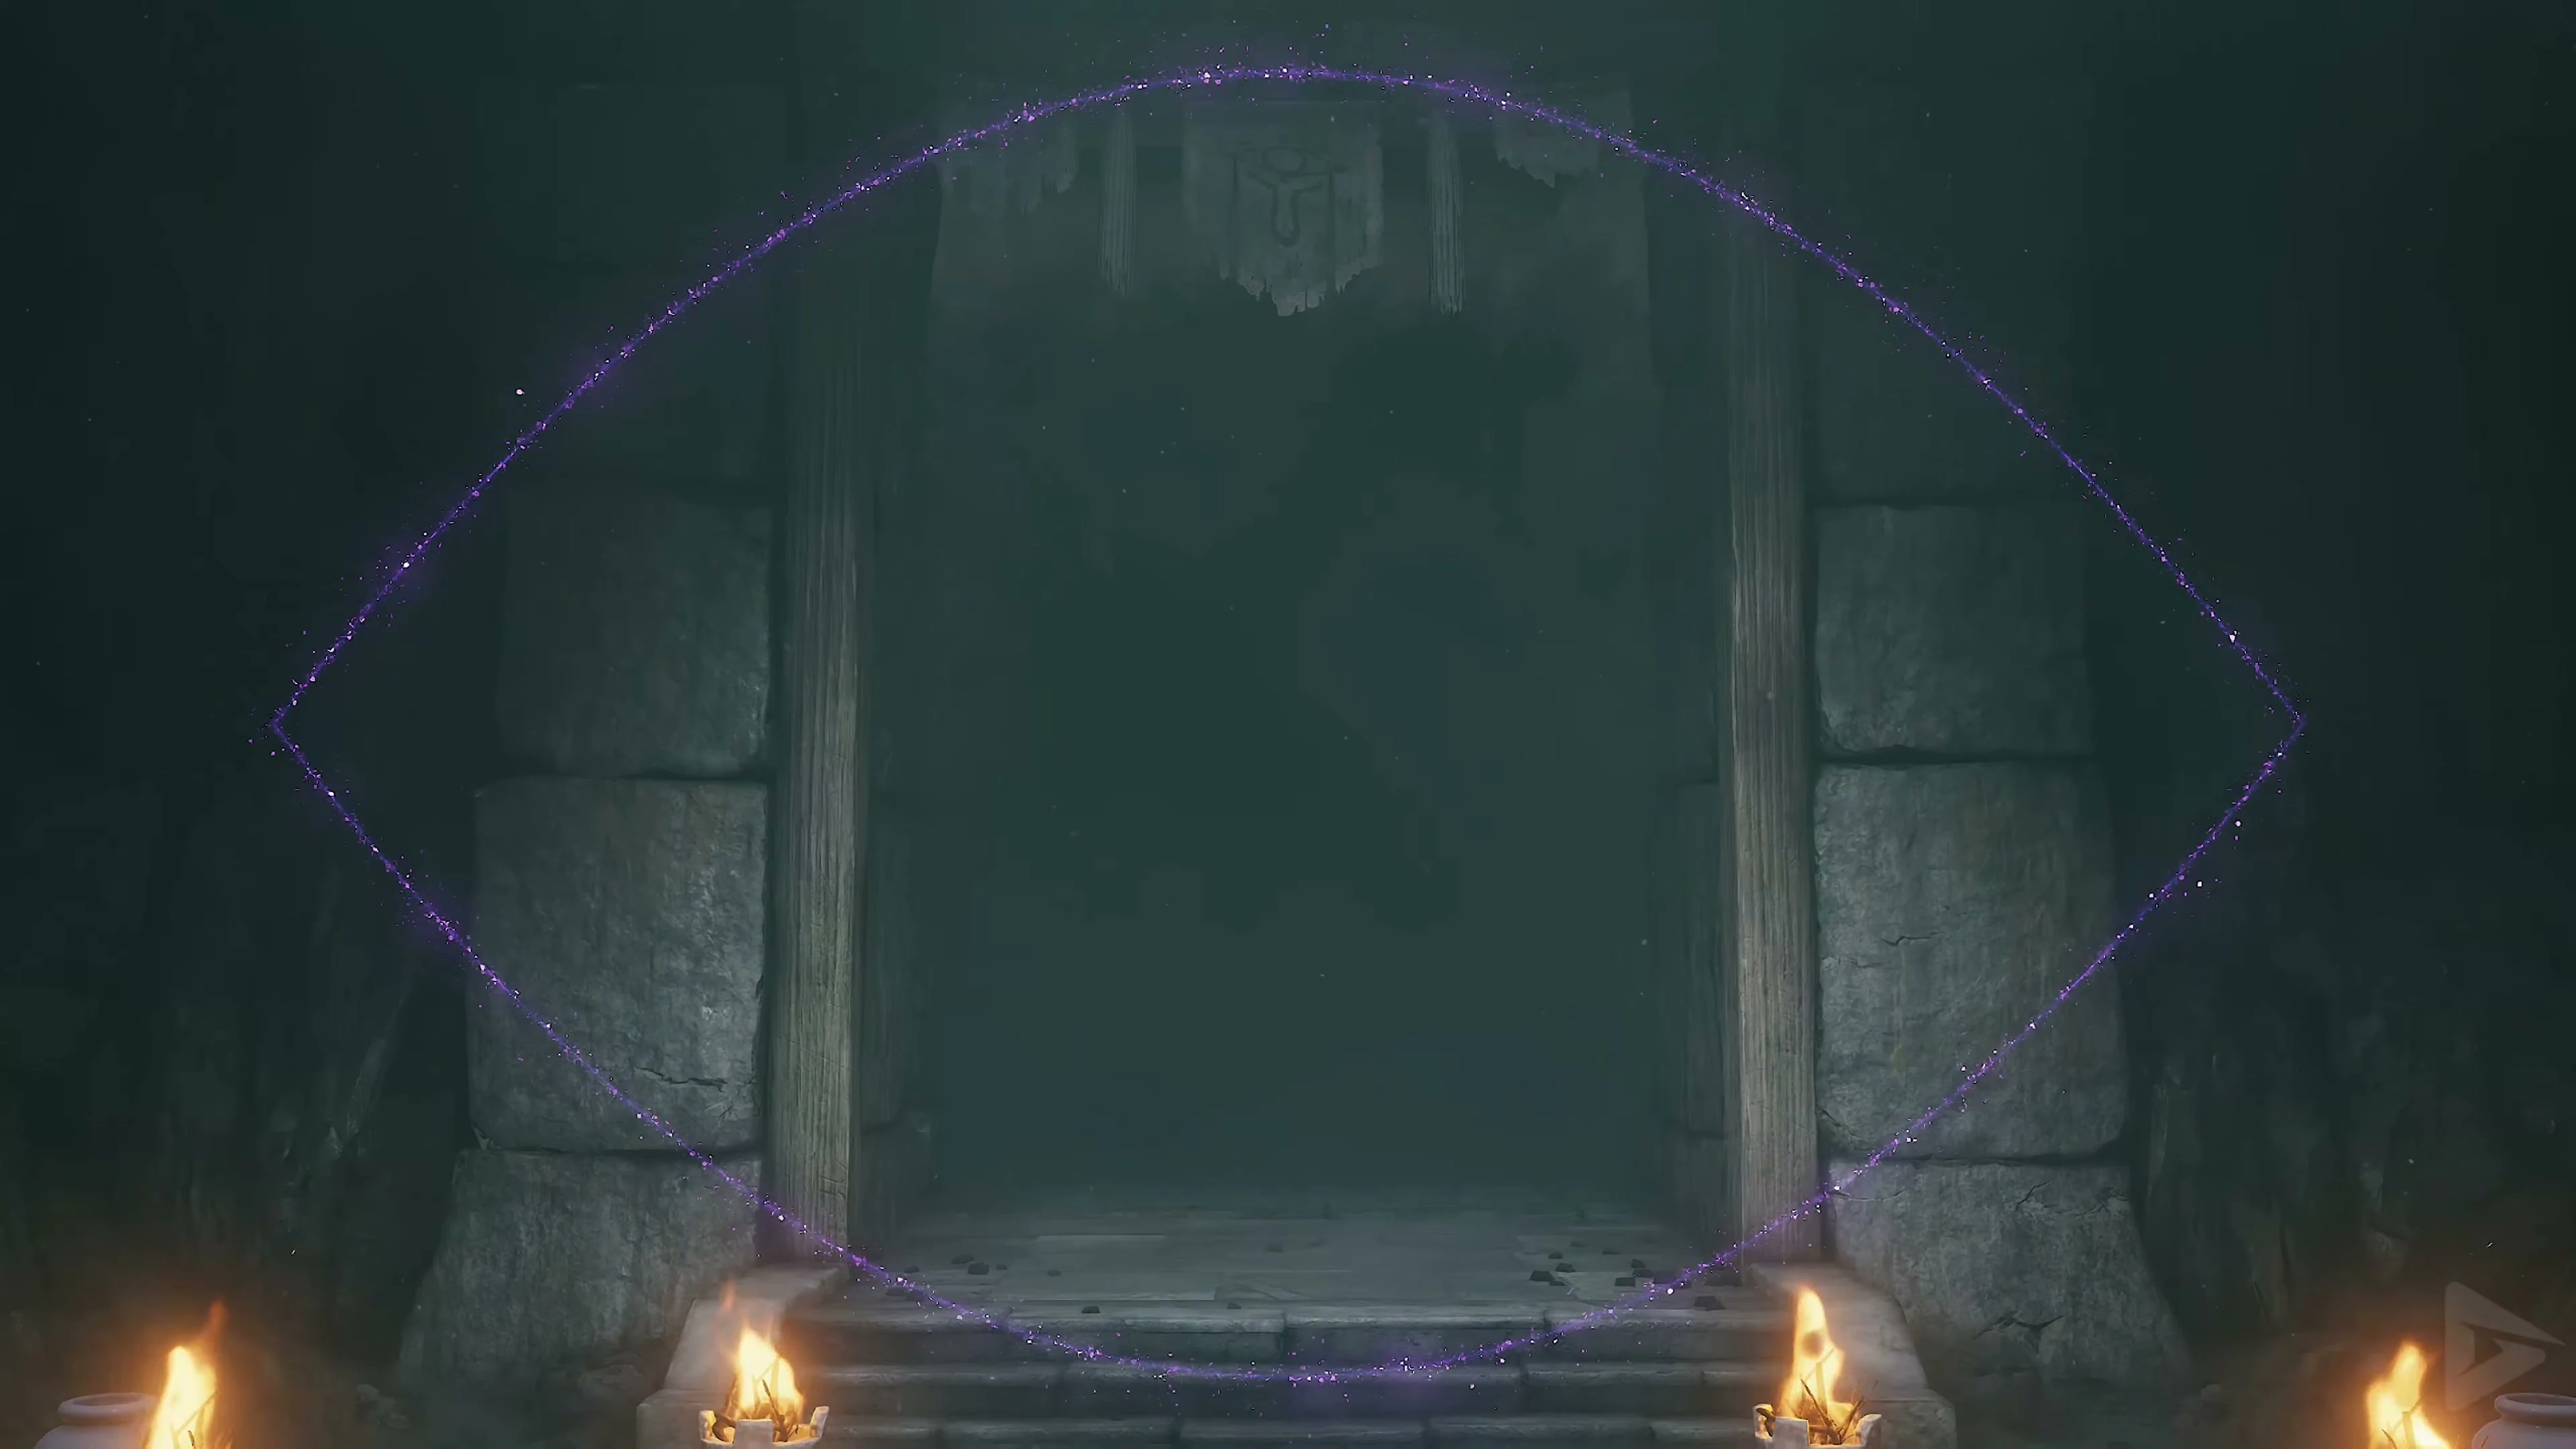
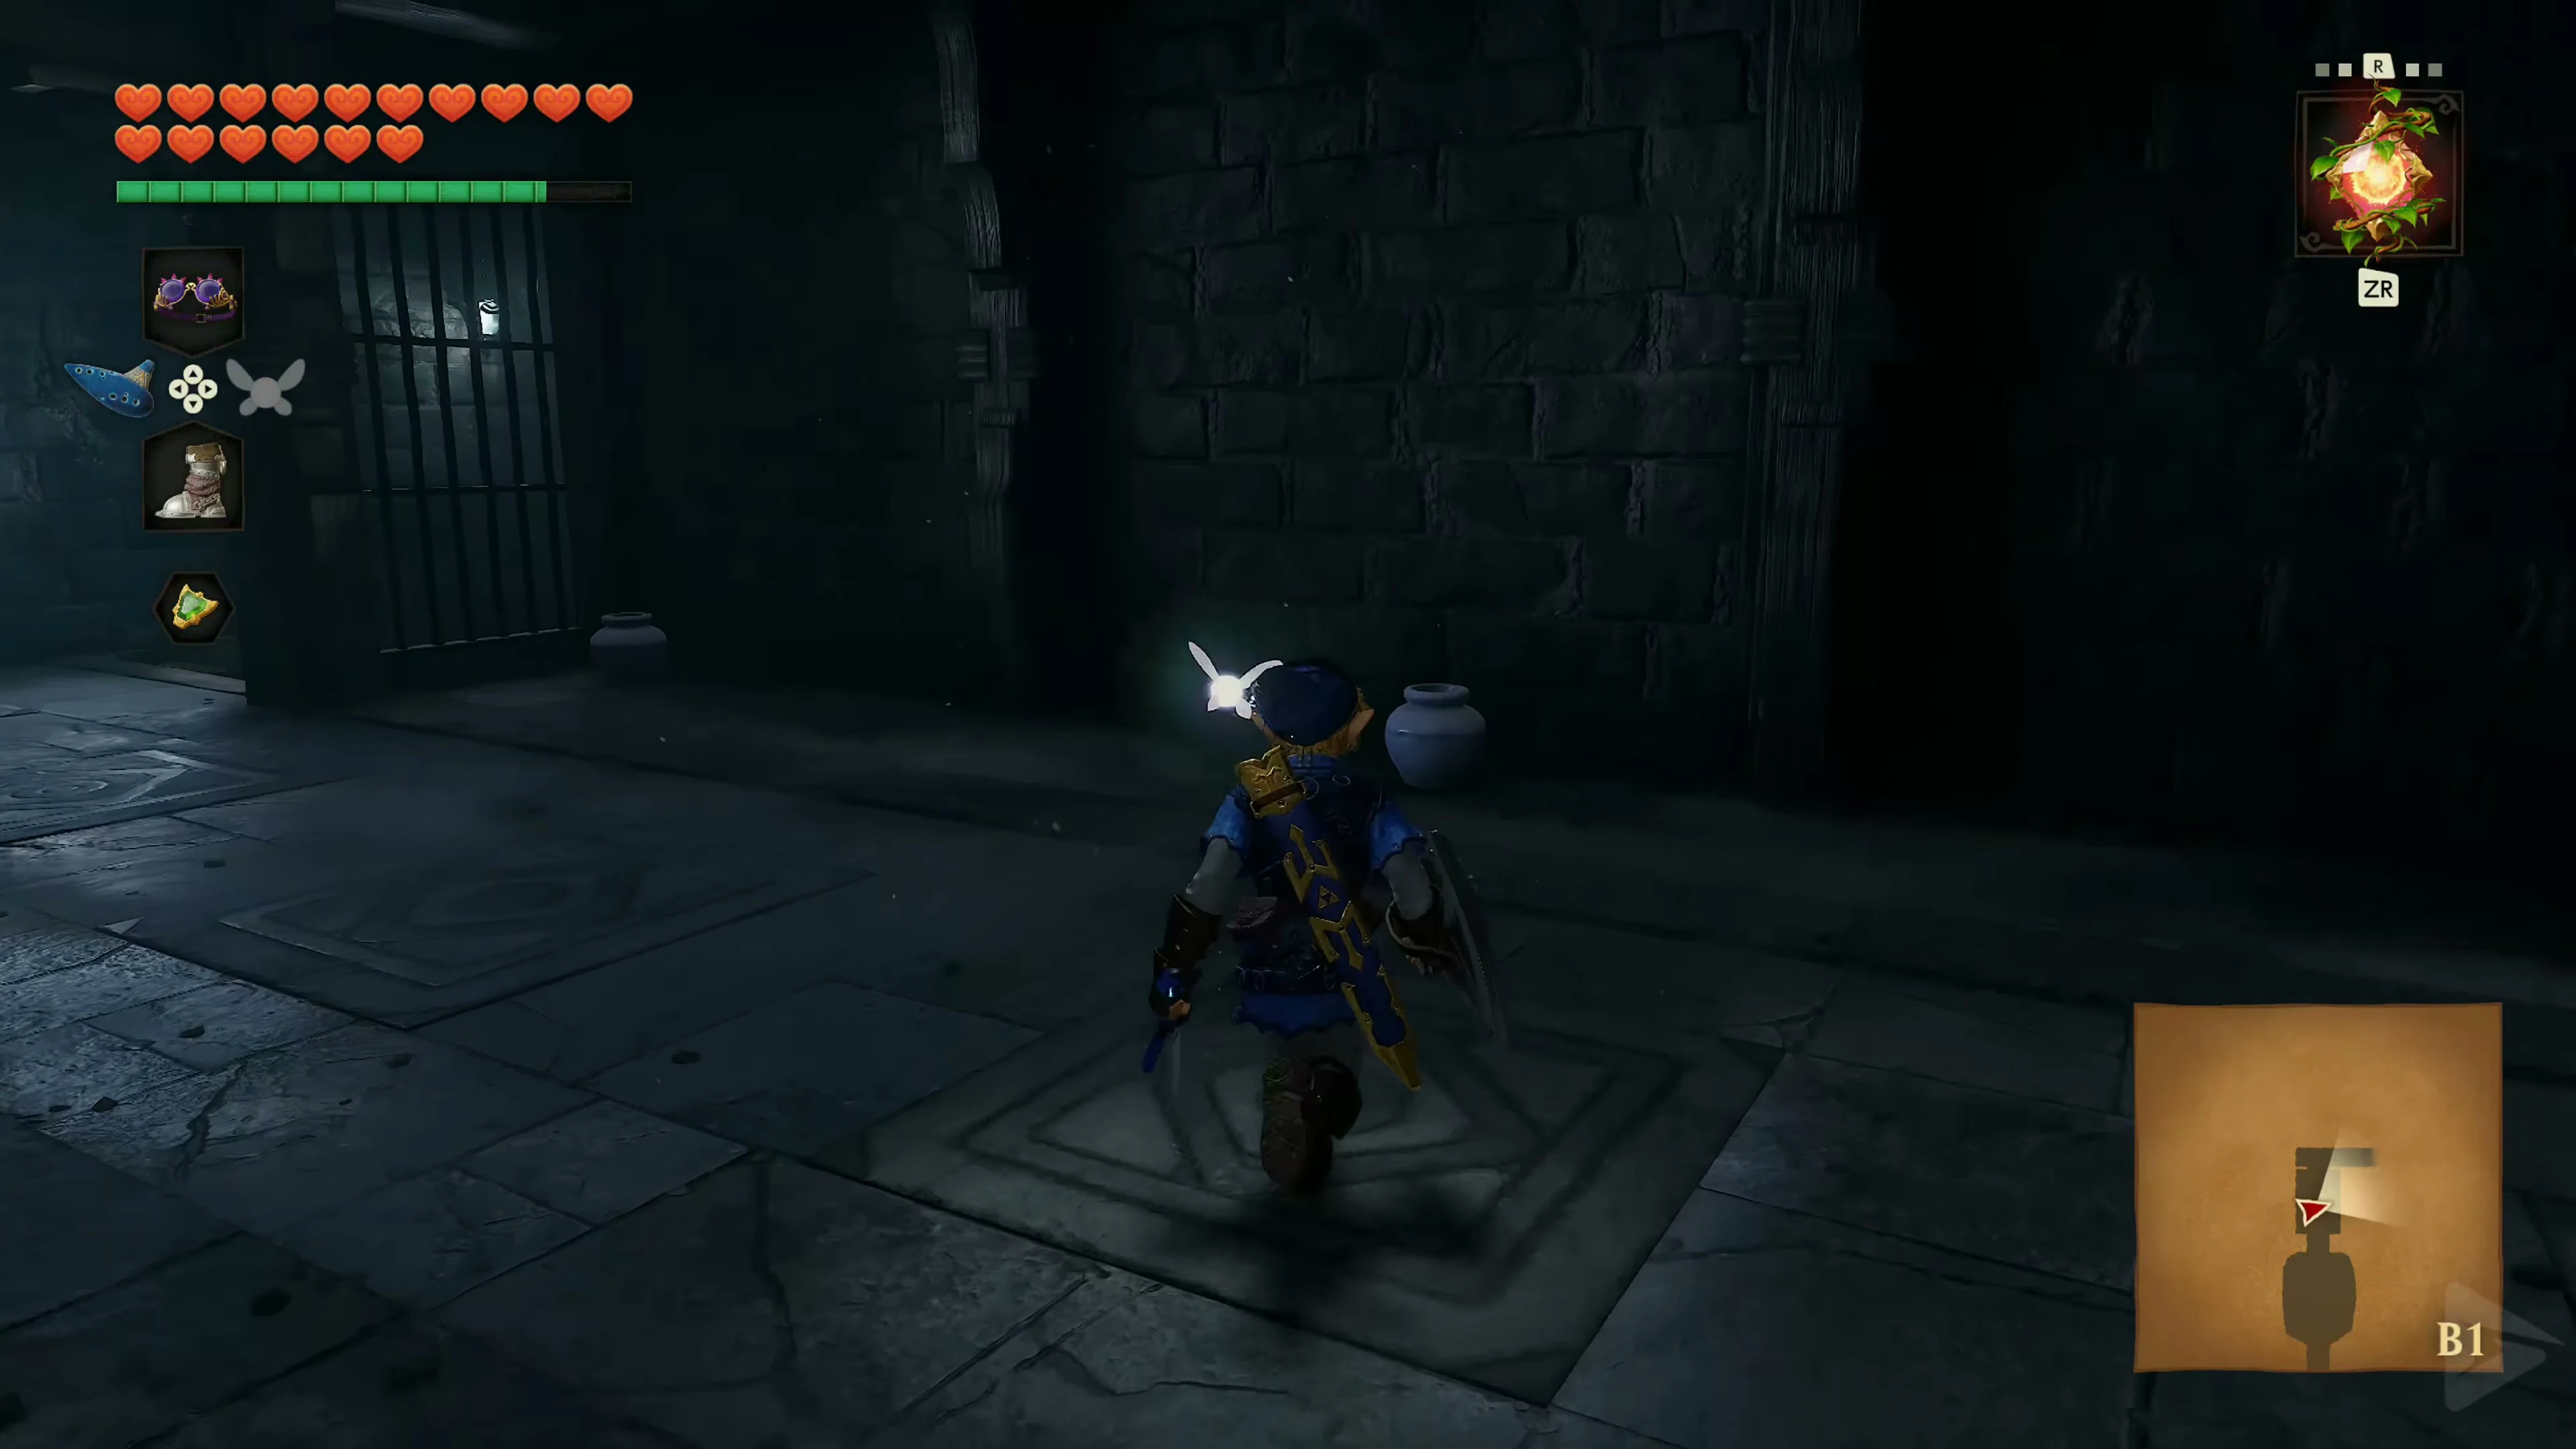
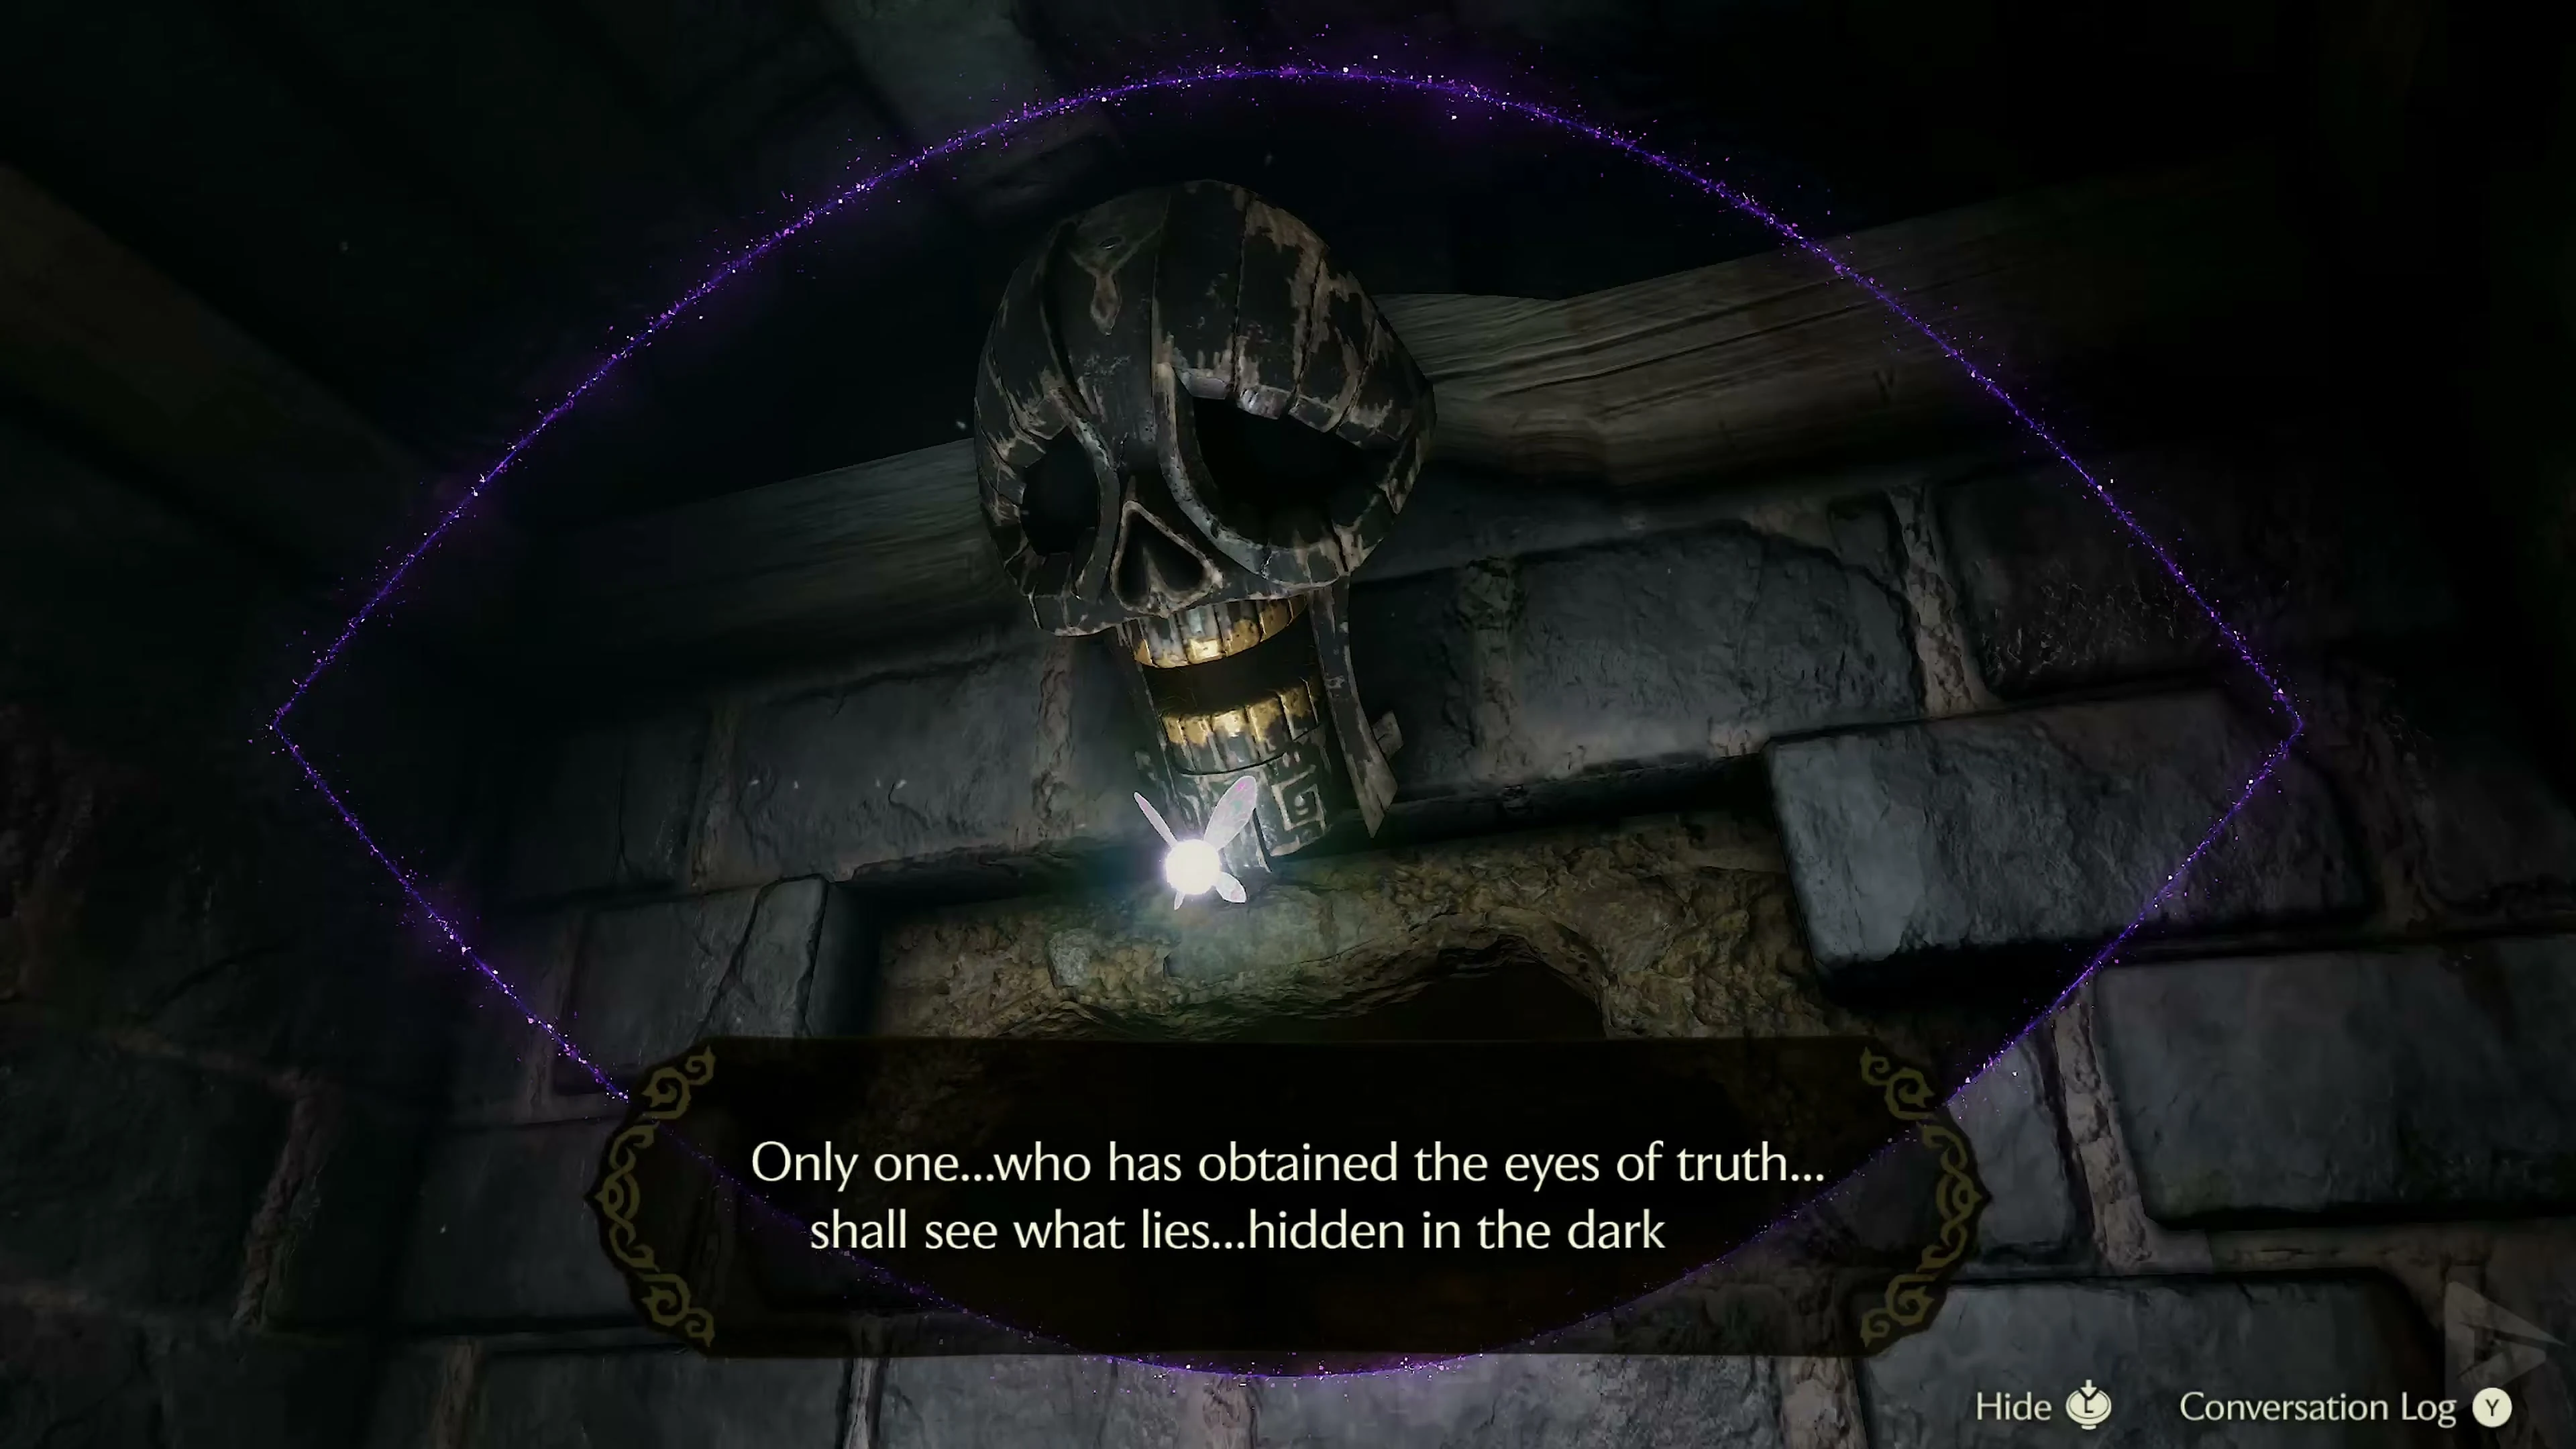
Go to the northwest corner of the Eagle Room and walk through the face on the west wall. Follow the passage through the door and through the next false wall under the skull. Keep to the right in the circular passage and take the passage under the northern skull.
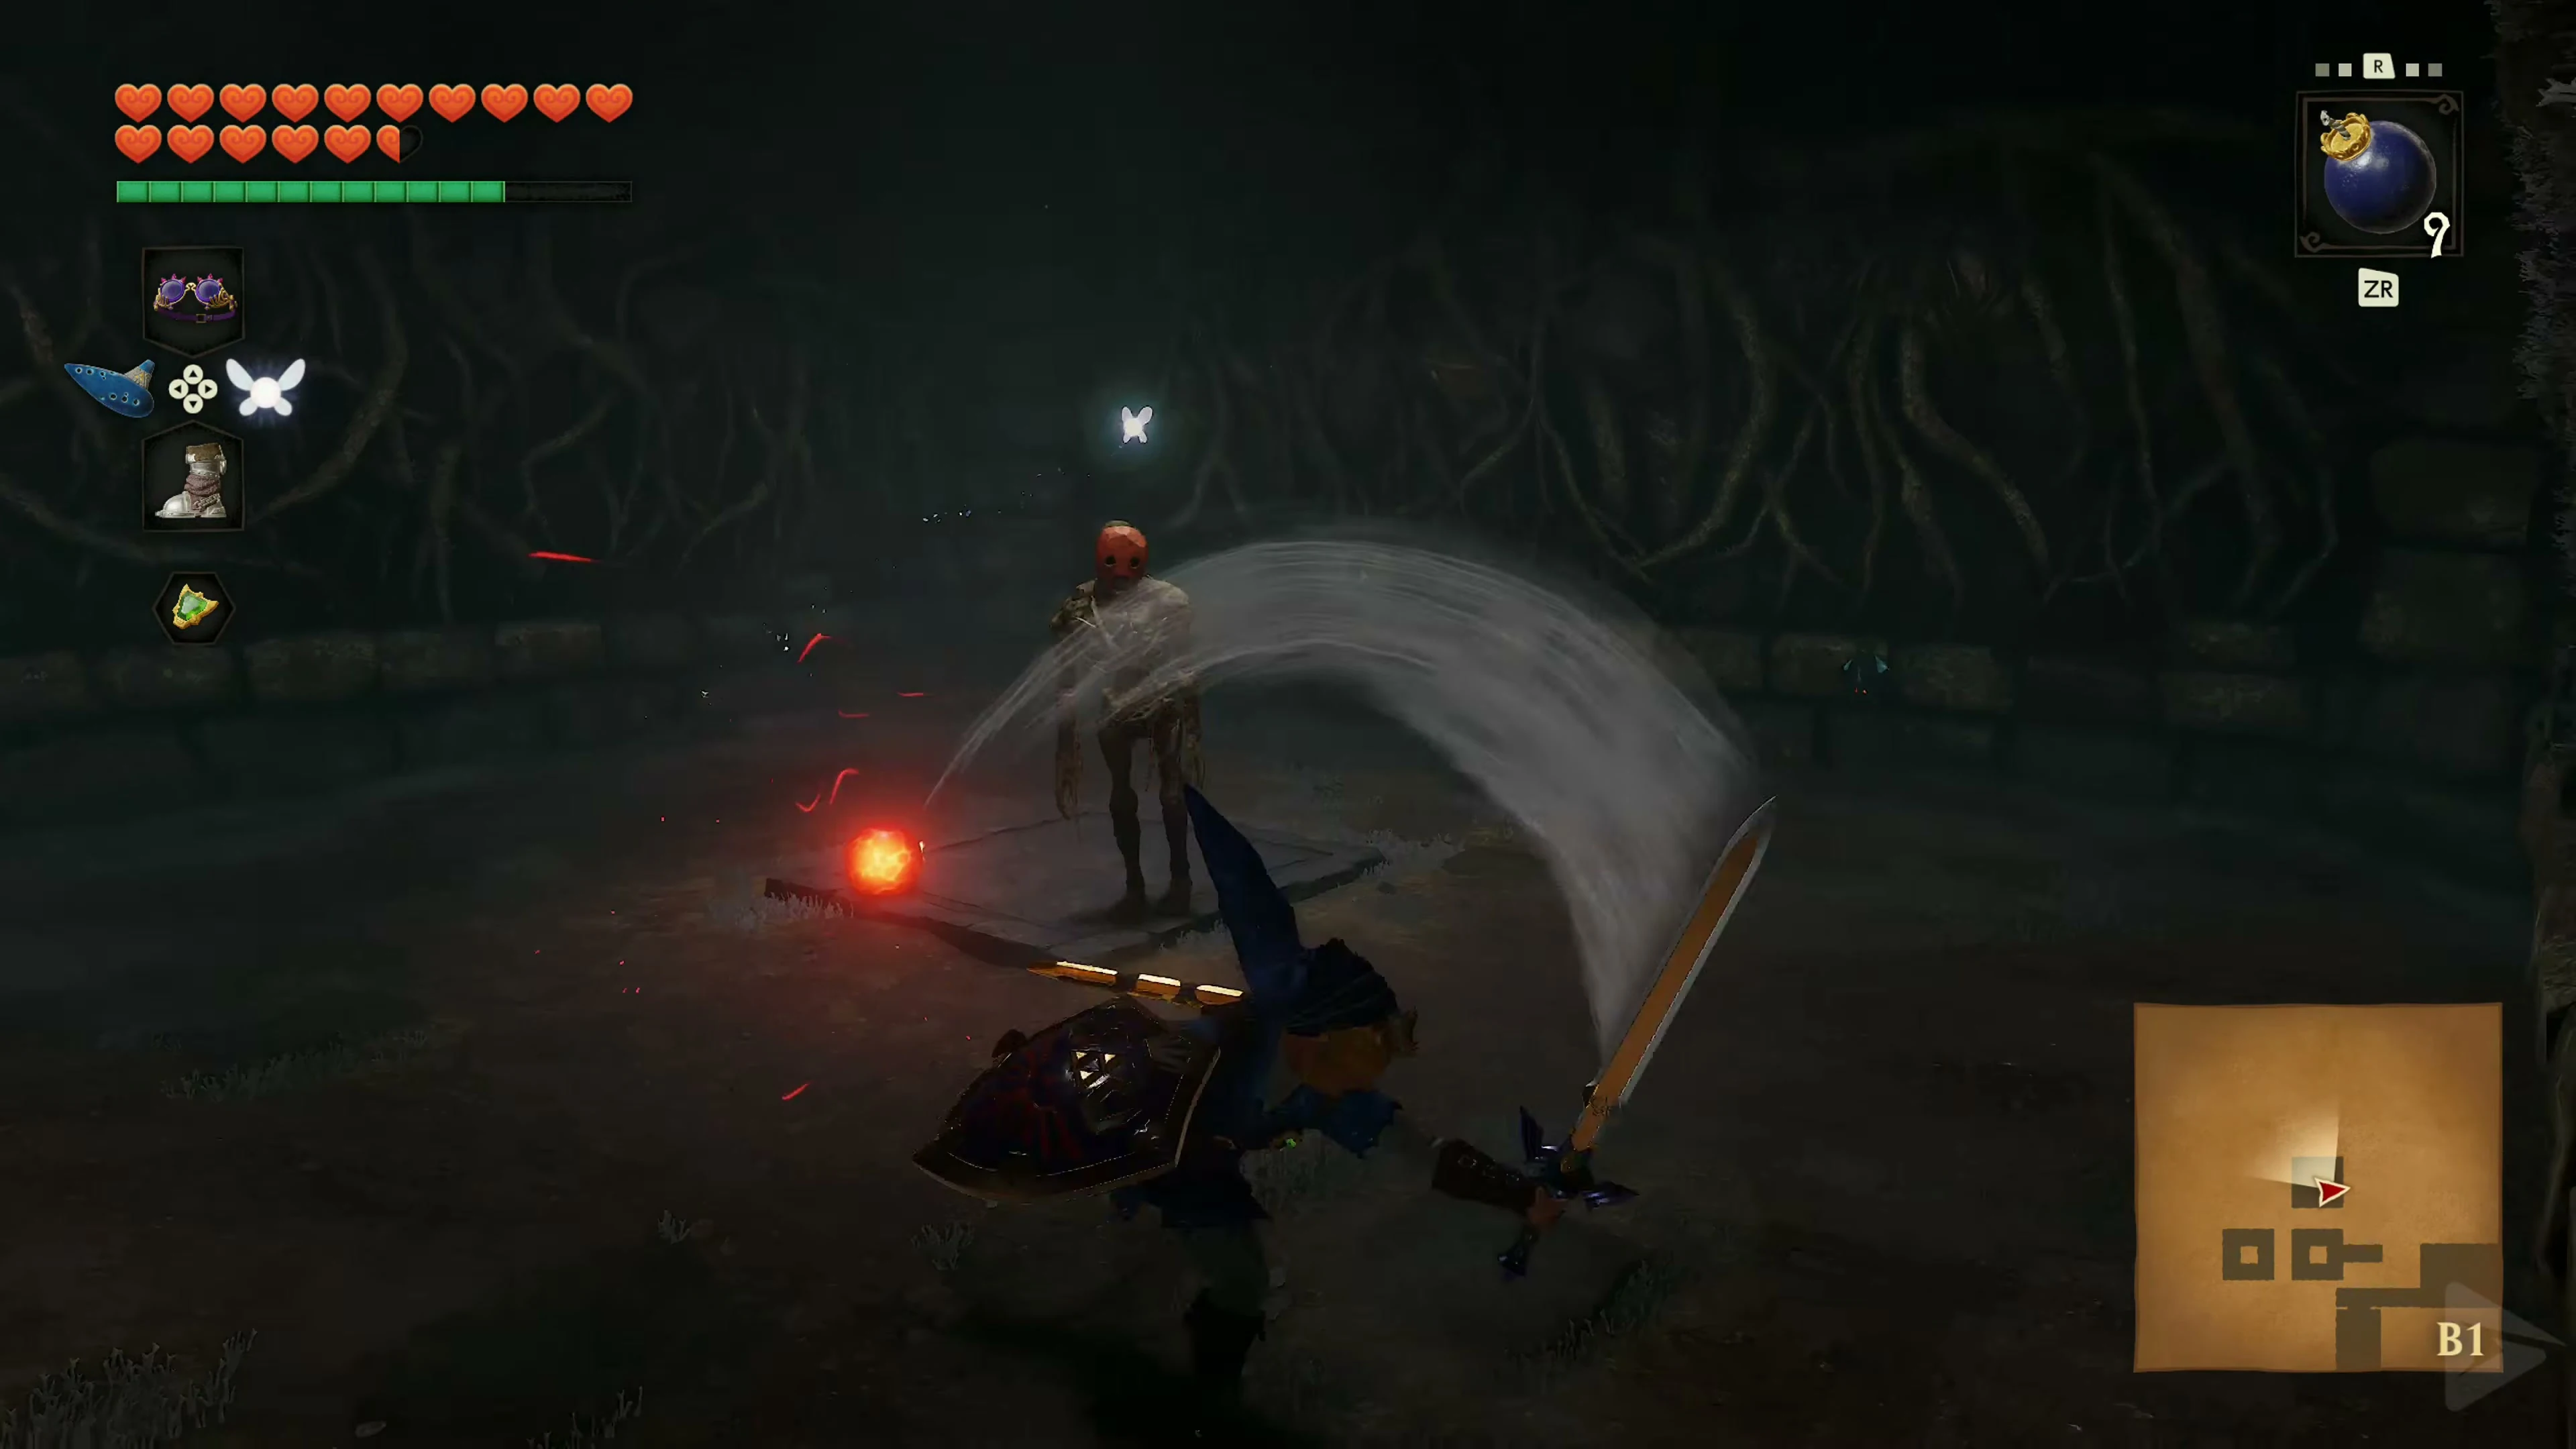
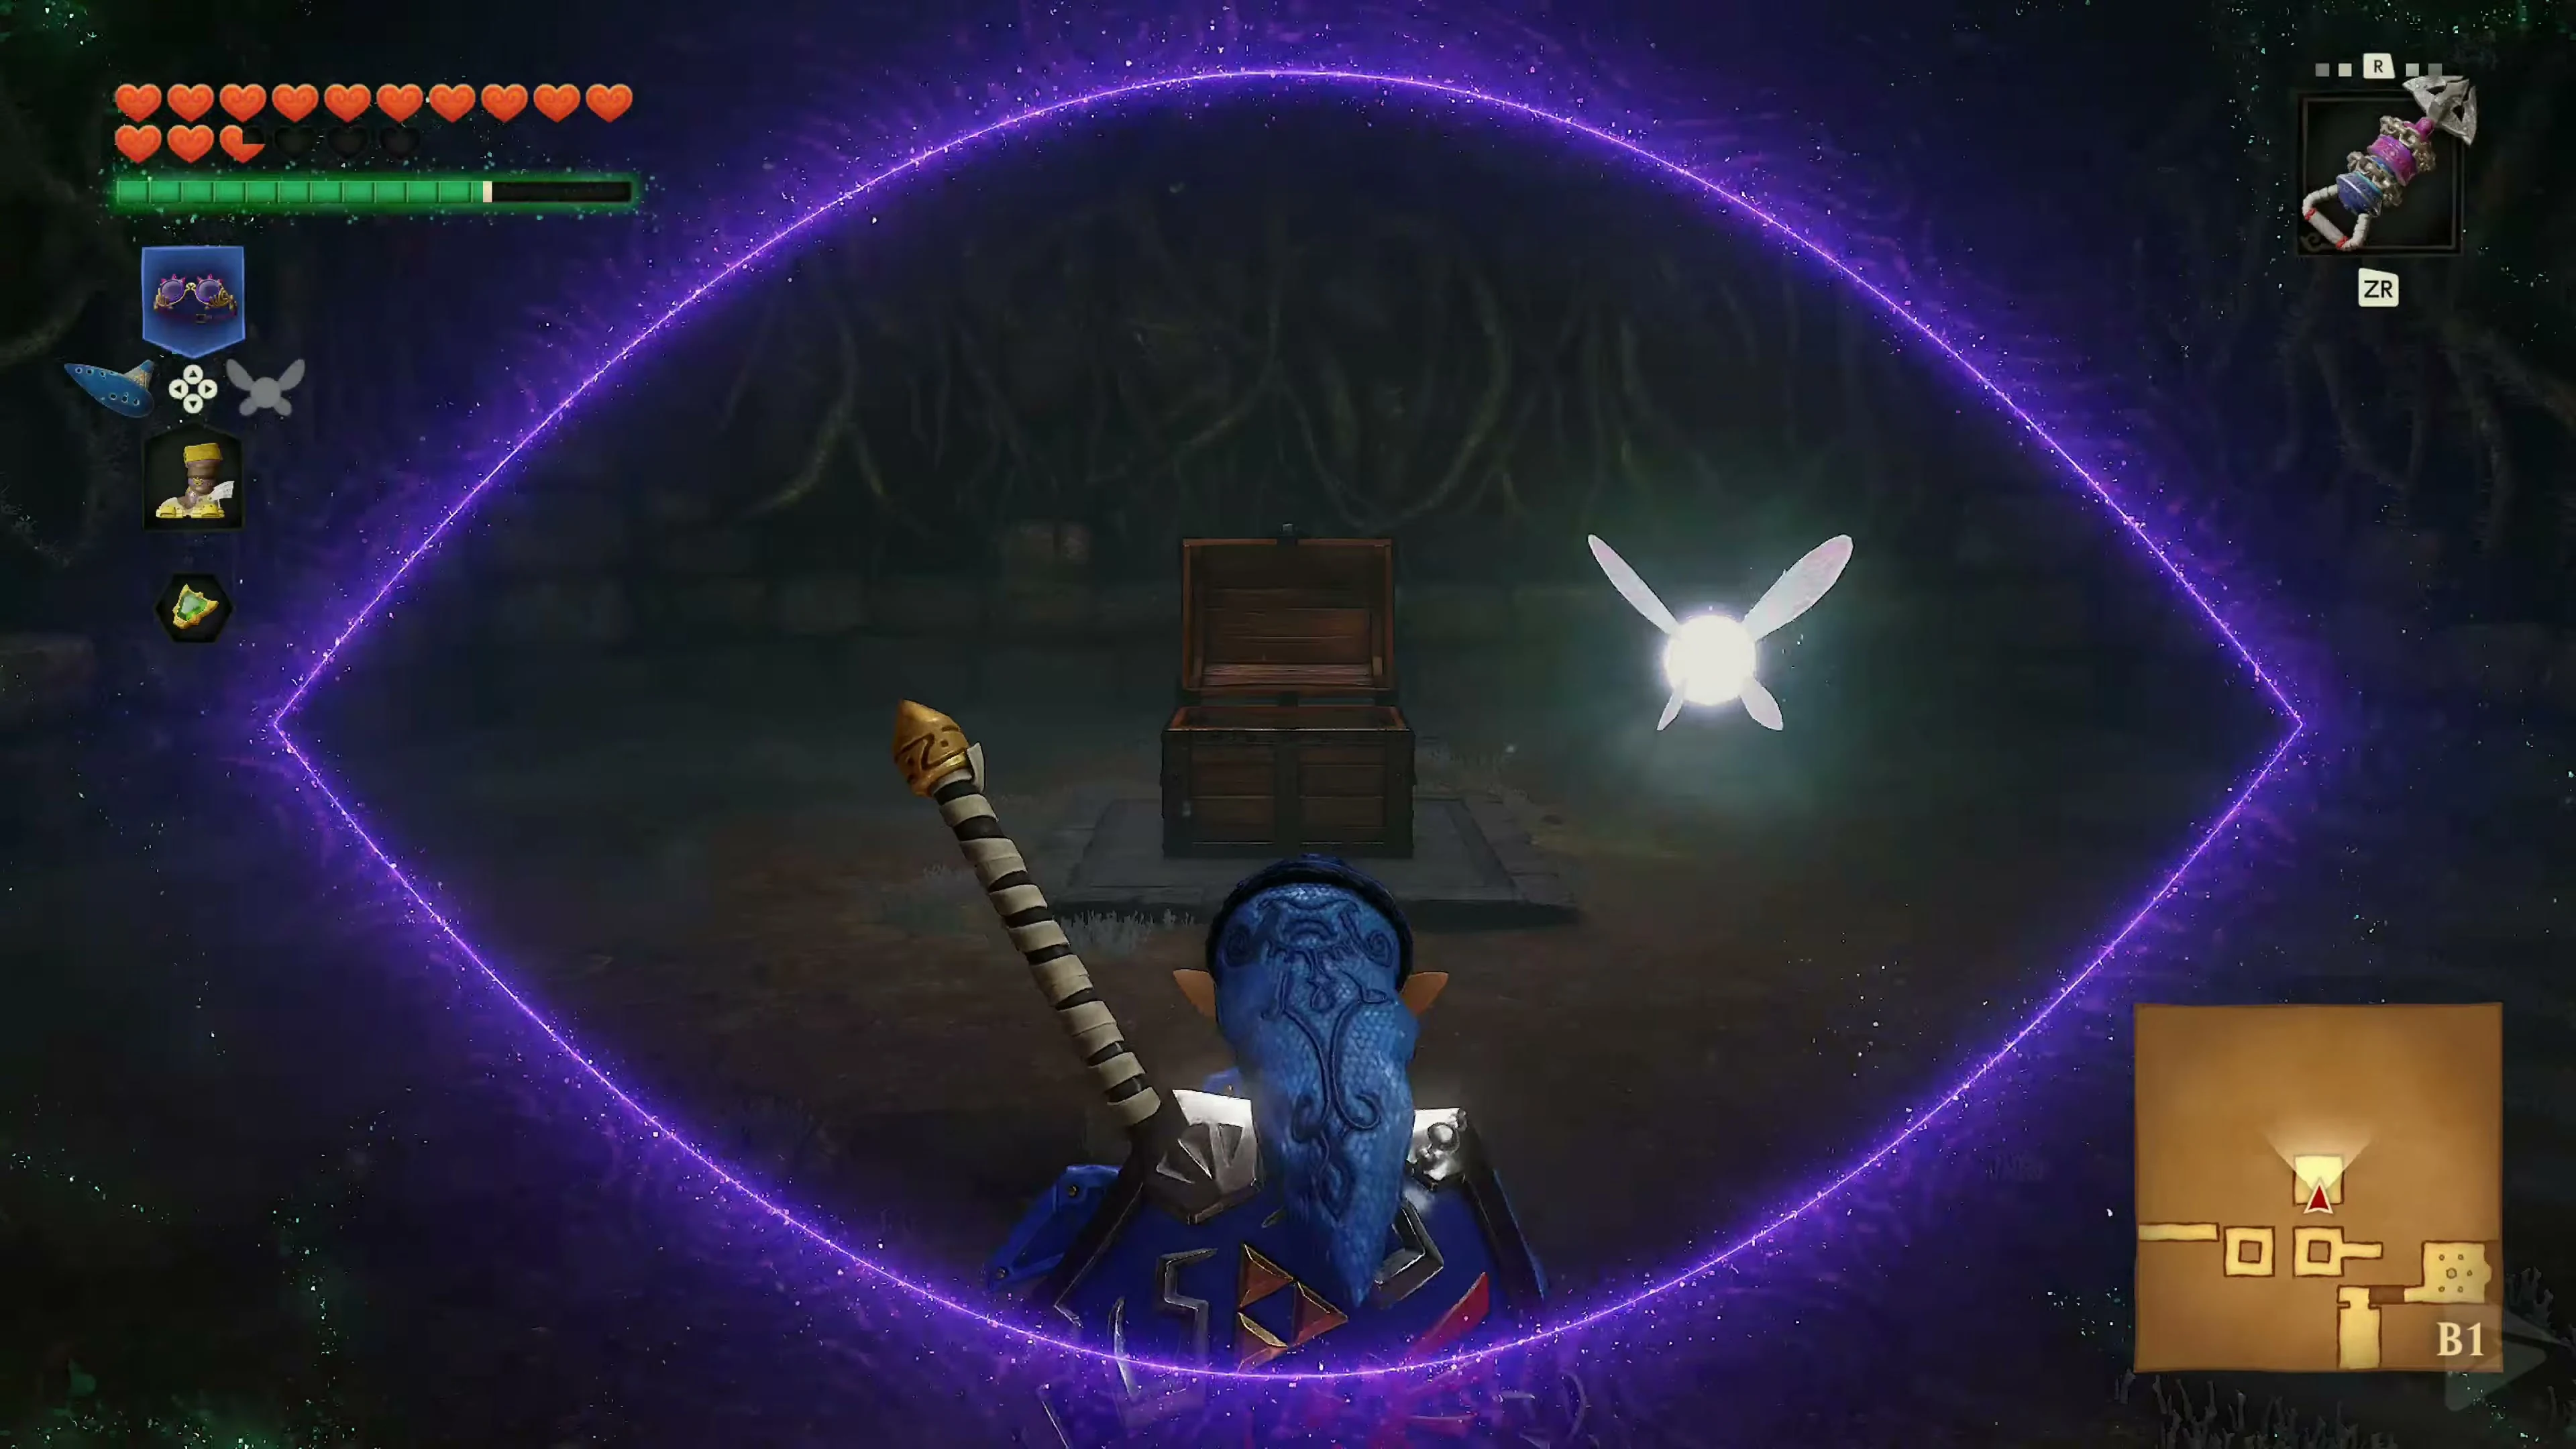
In the next room, several Keese and a ReDead await. If the undead are giving you trouble, play Sun’s Song . The ReDead becomes immobilized for a few seconds and can be attacked safely. Then defeat all the Keese. Once the last enemy is gone, a large treasure chest containing the Dungeon Map appears. .
The Hover Boots
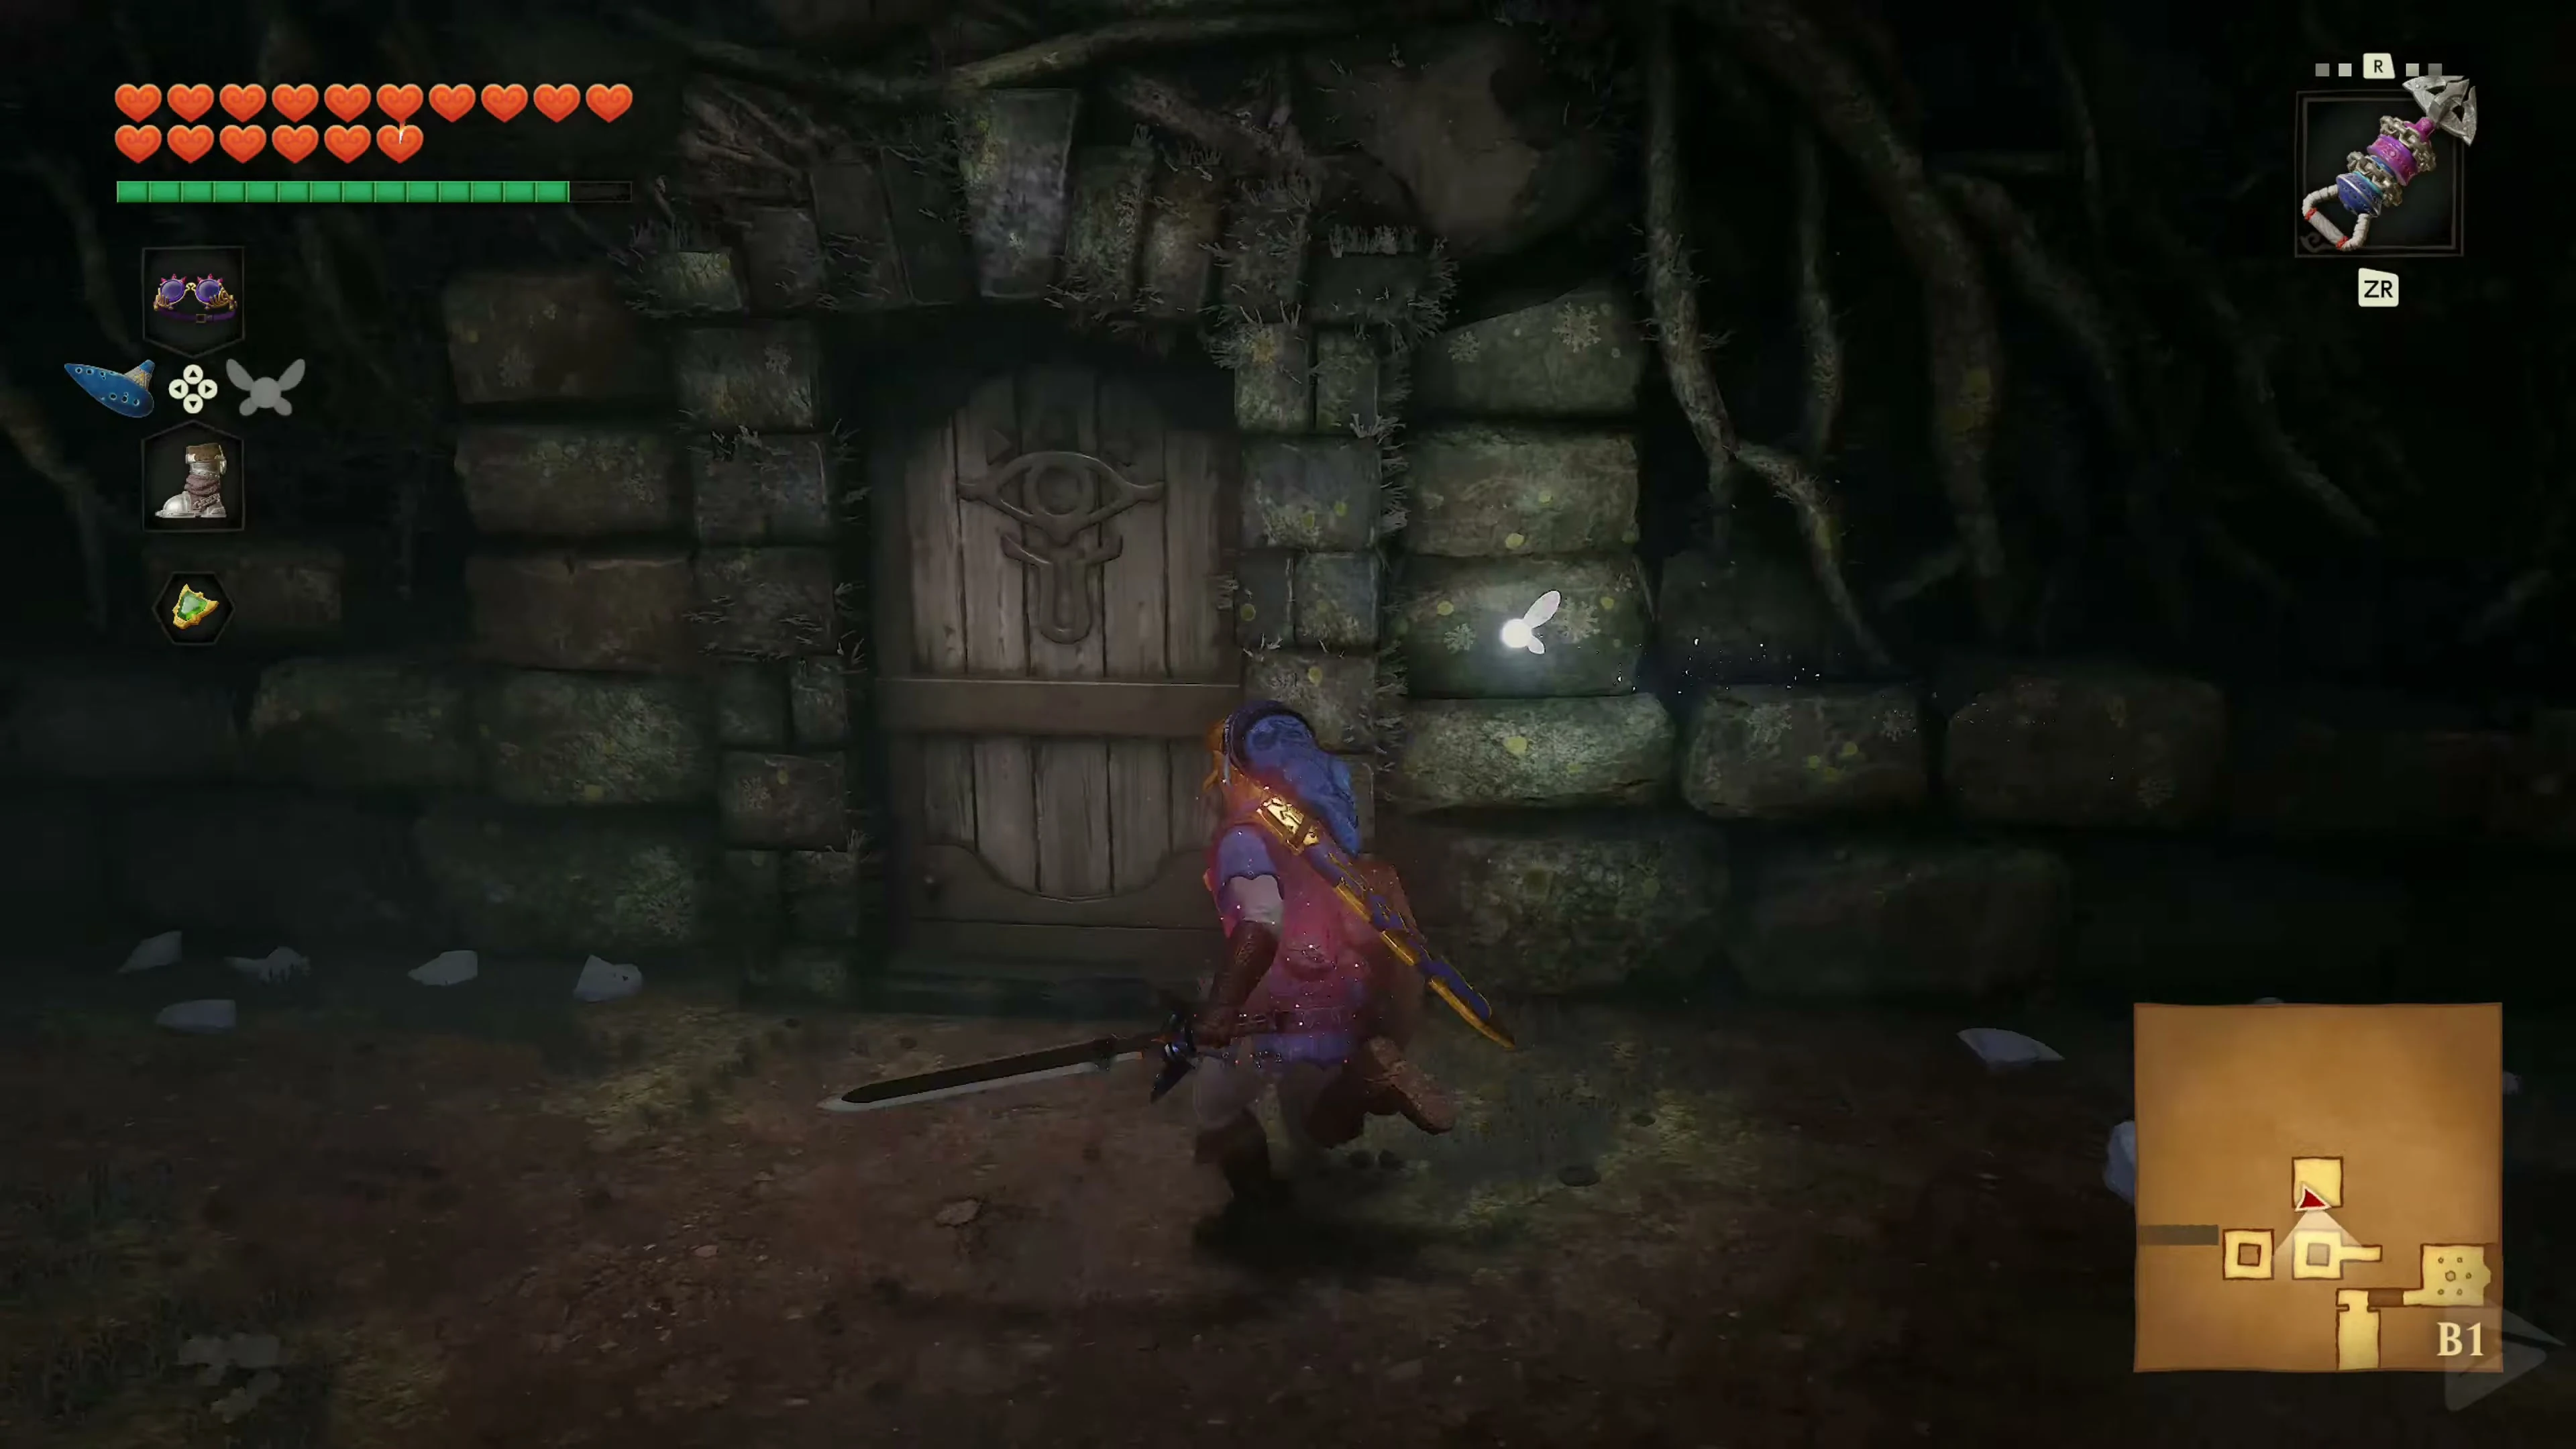
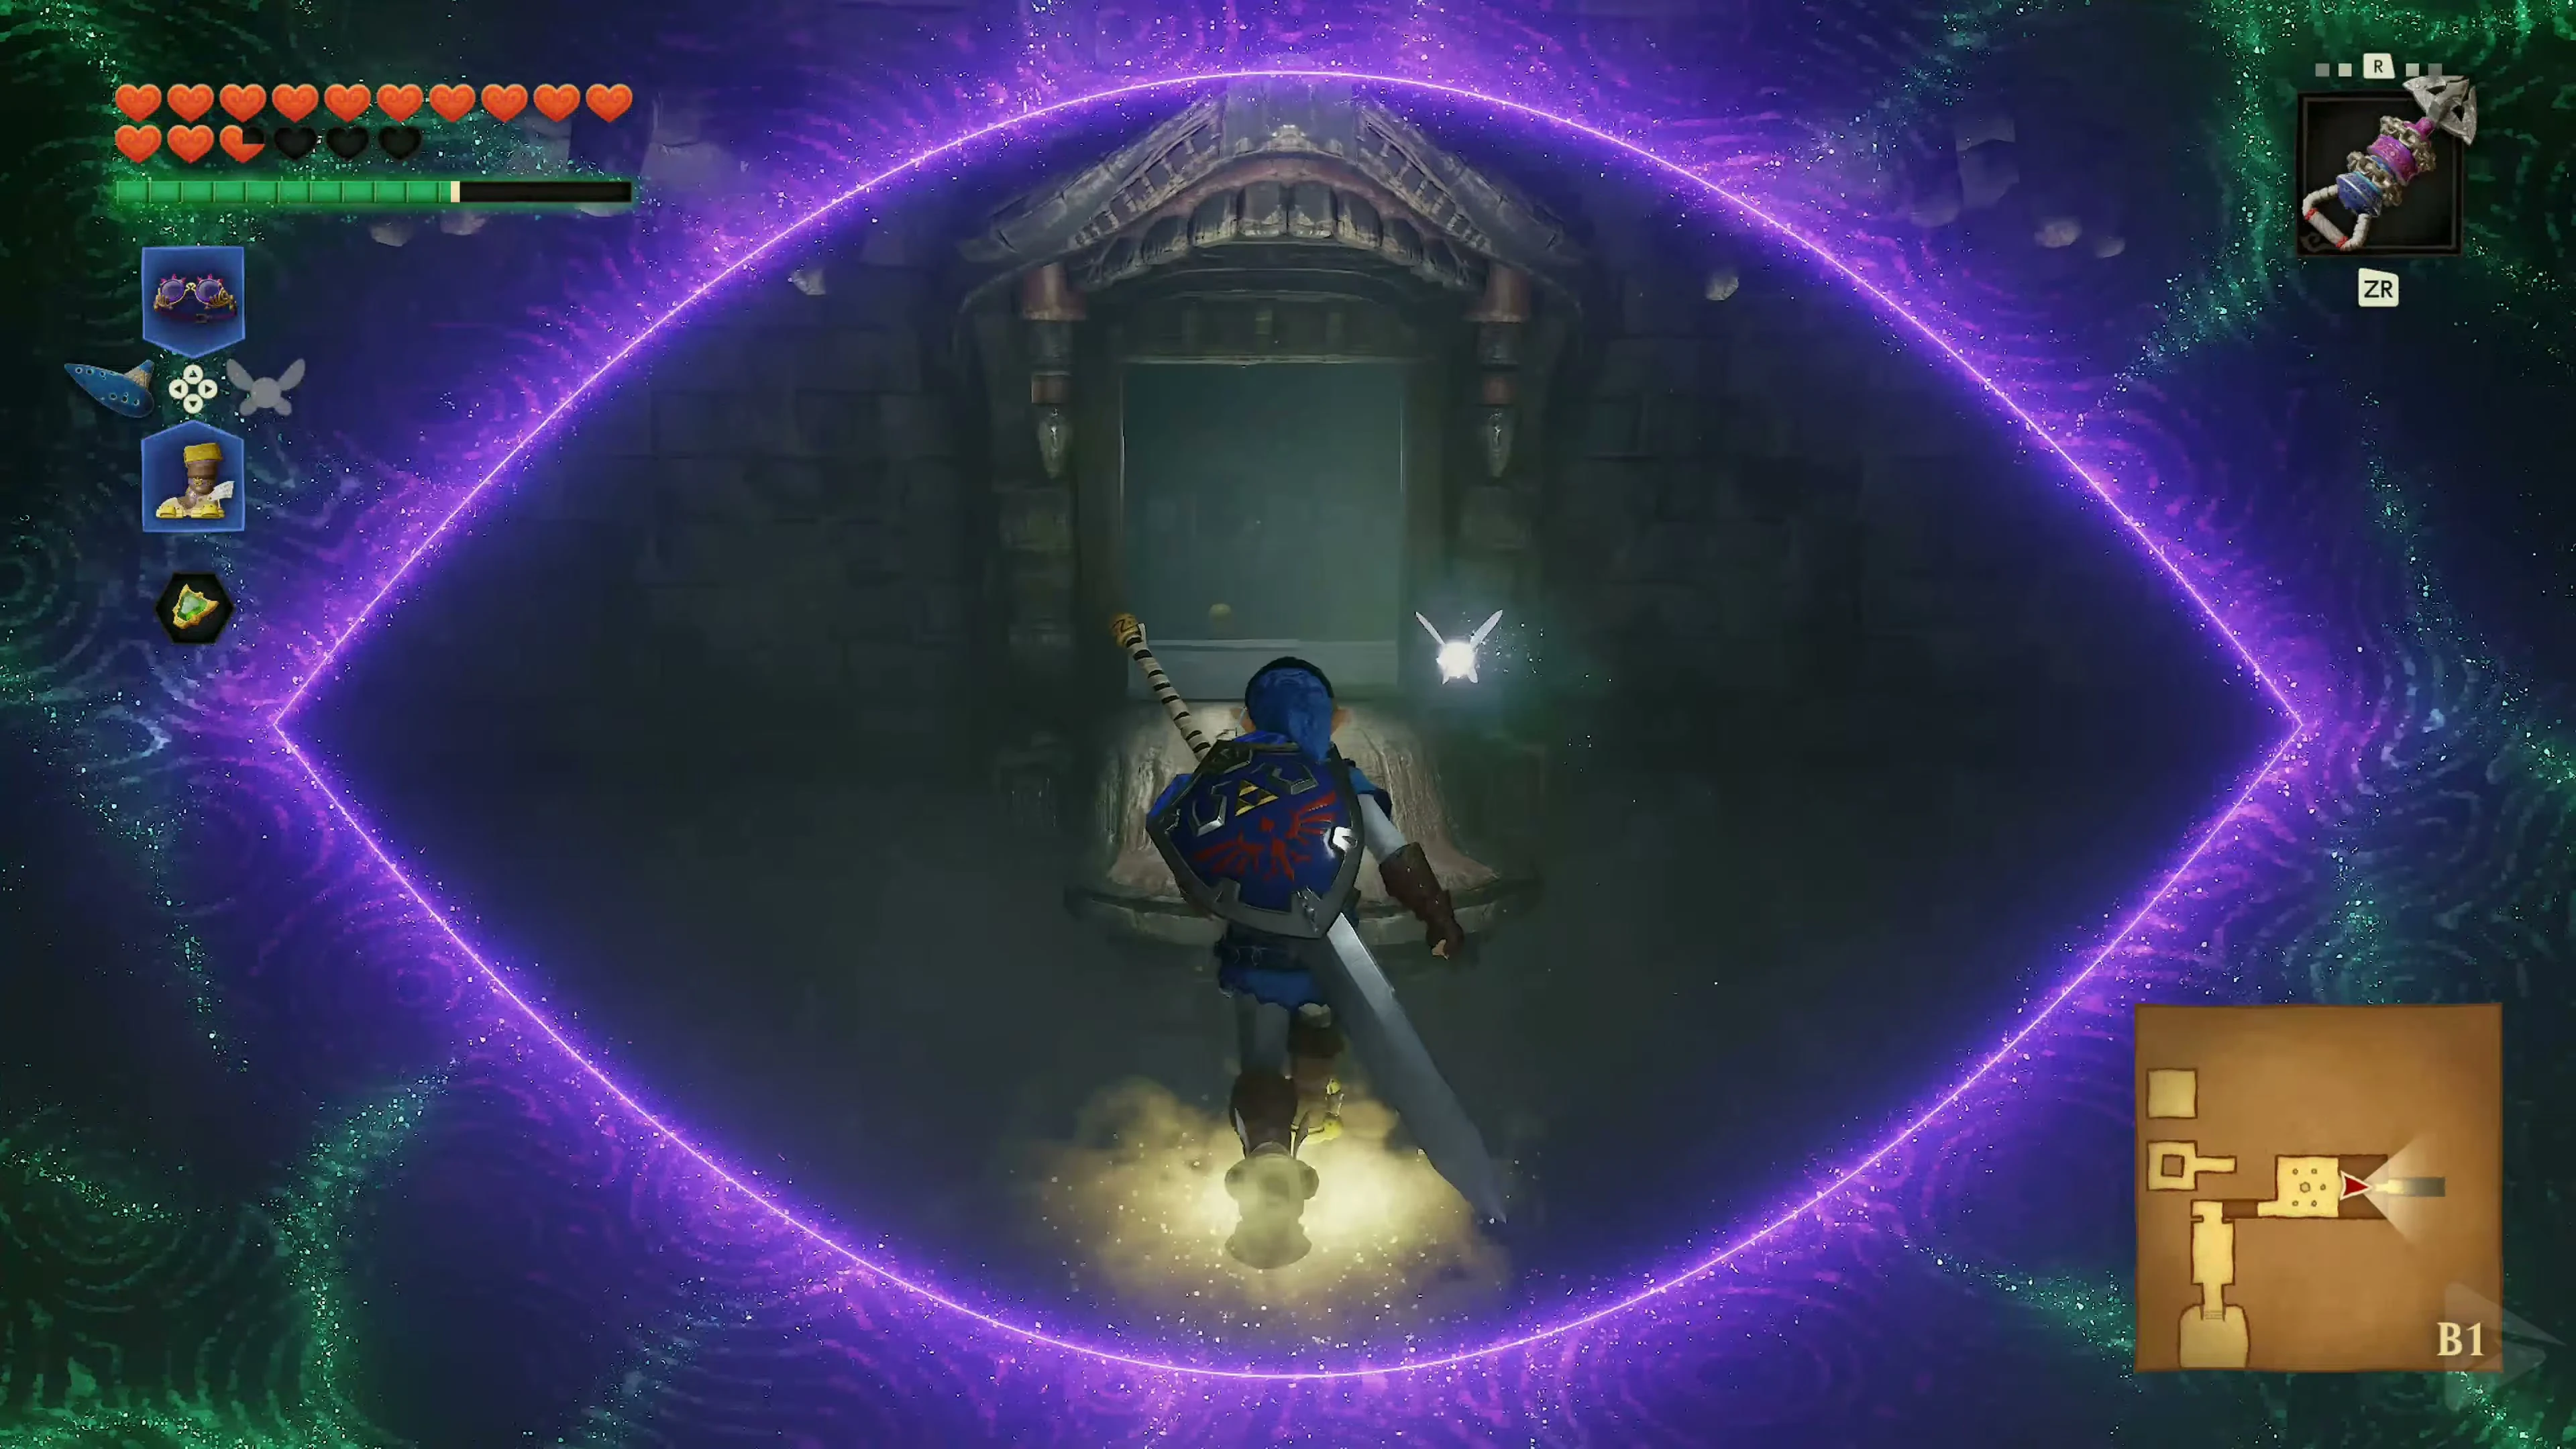
Return from the map to the walkthrough and go west through the false wall. Keep moving so the hand from the ceiling doesn’t catch you. The next false passage is in the northwest corner. Run quickly across the crumbling slab in the dark corridor and take the door to the west.
Miniboss: Dead Hand
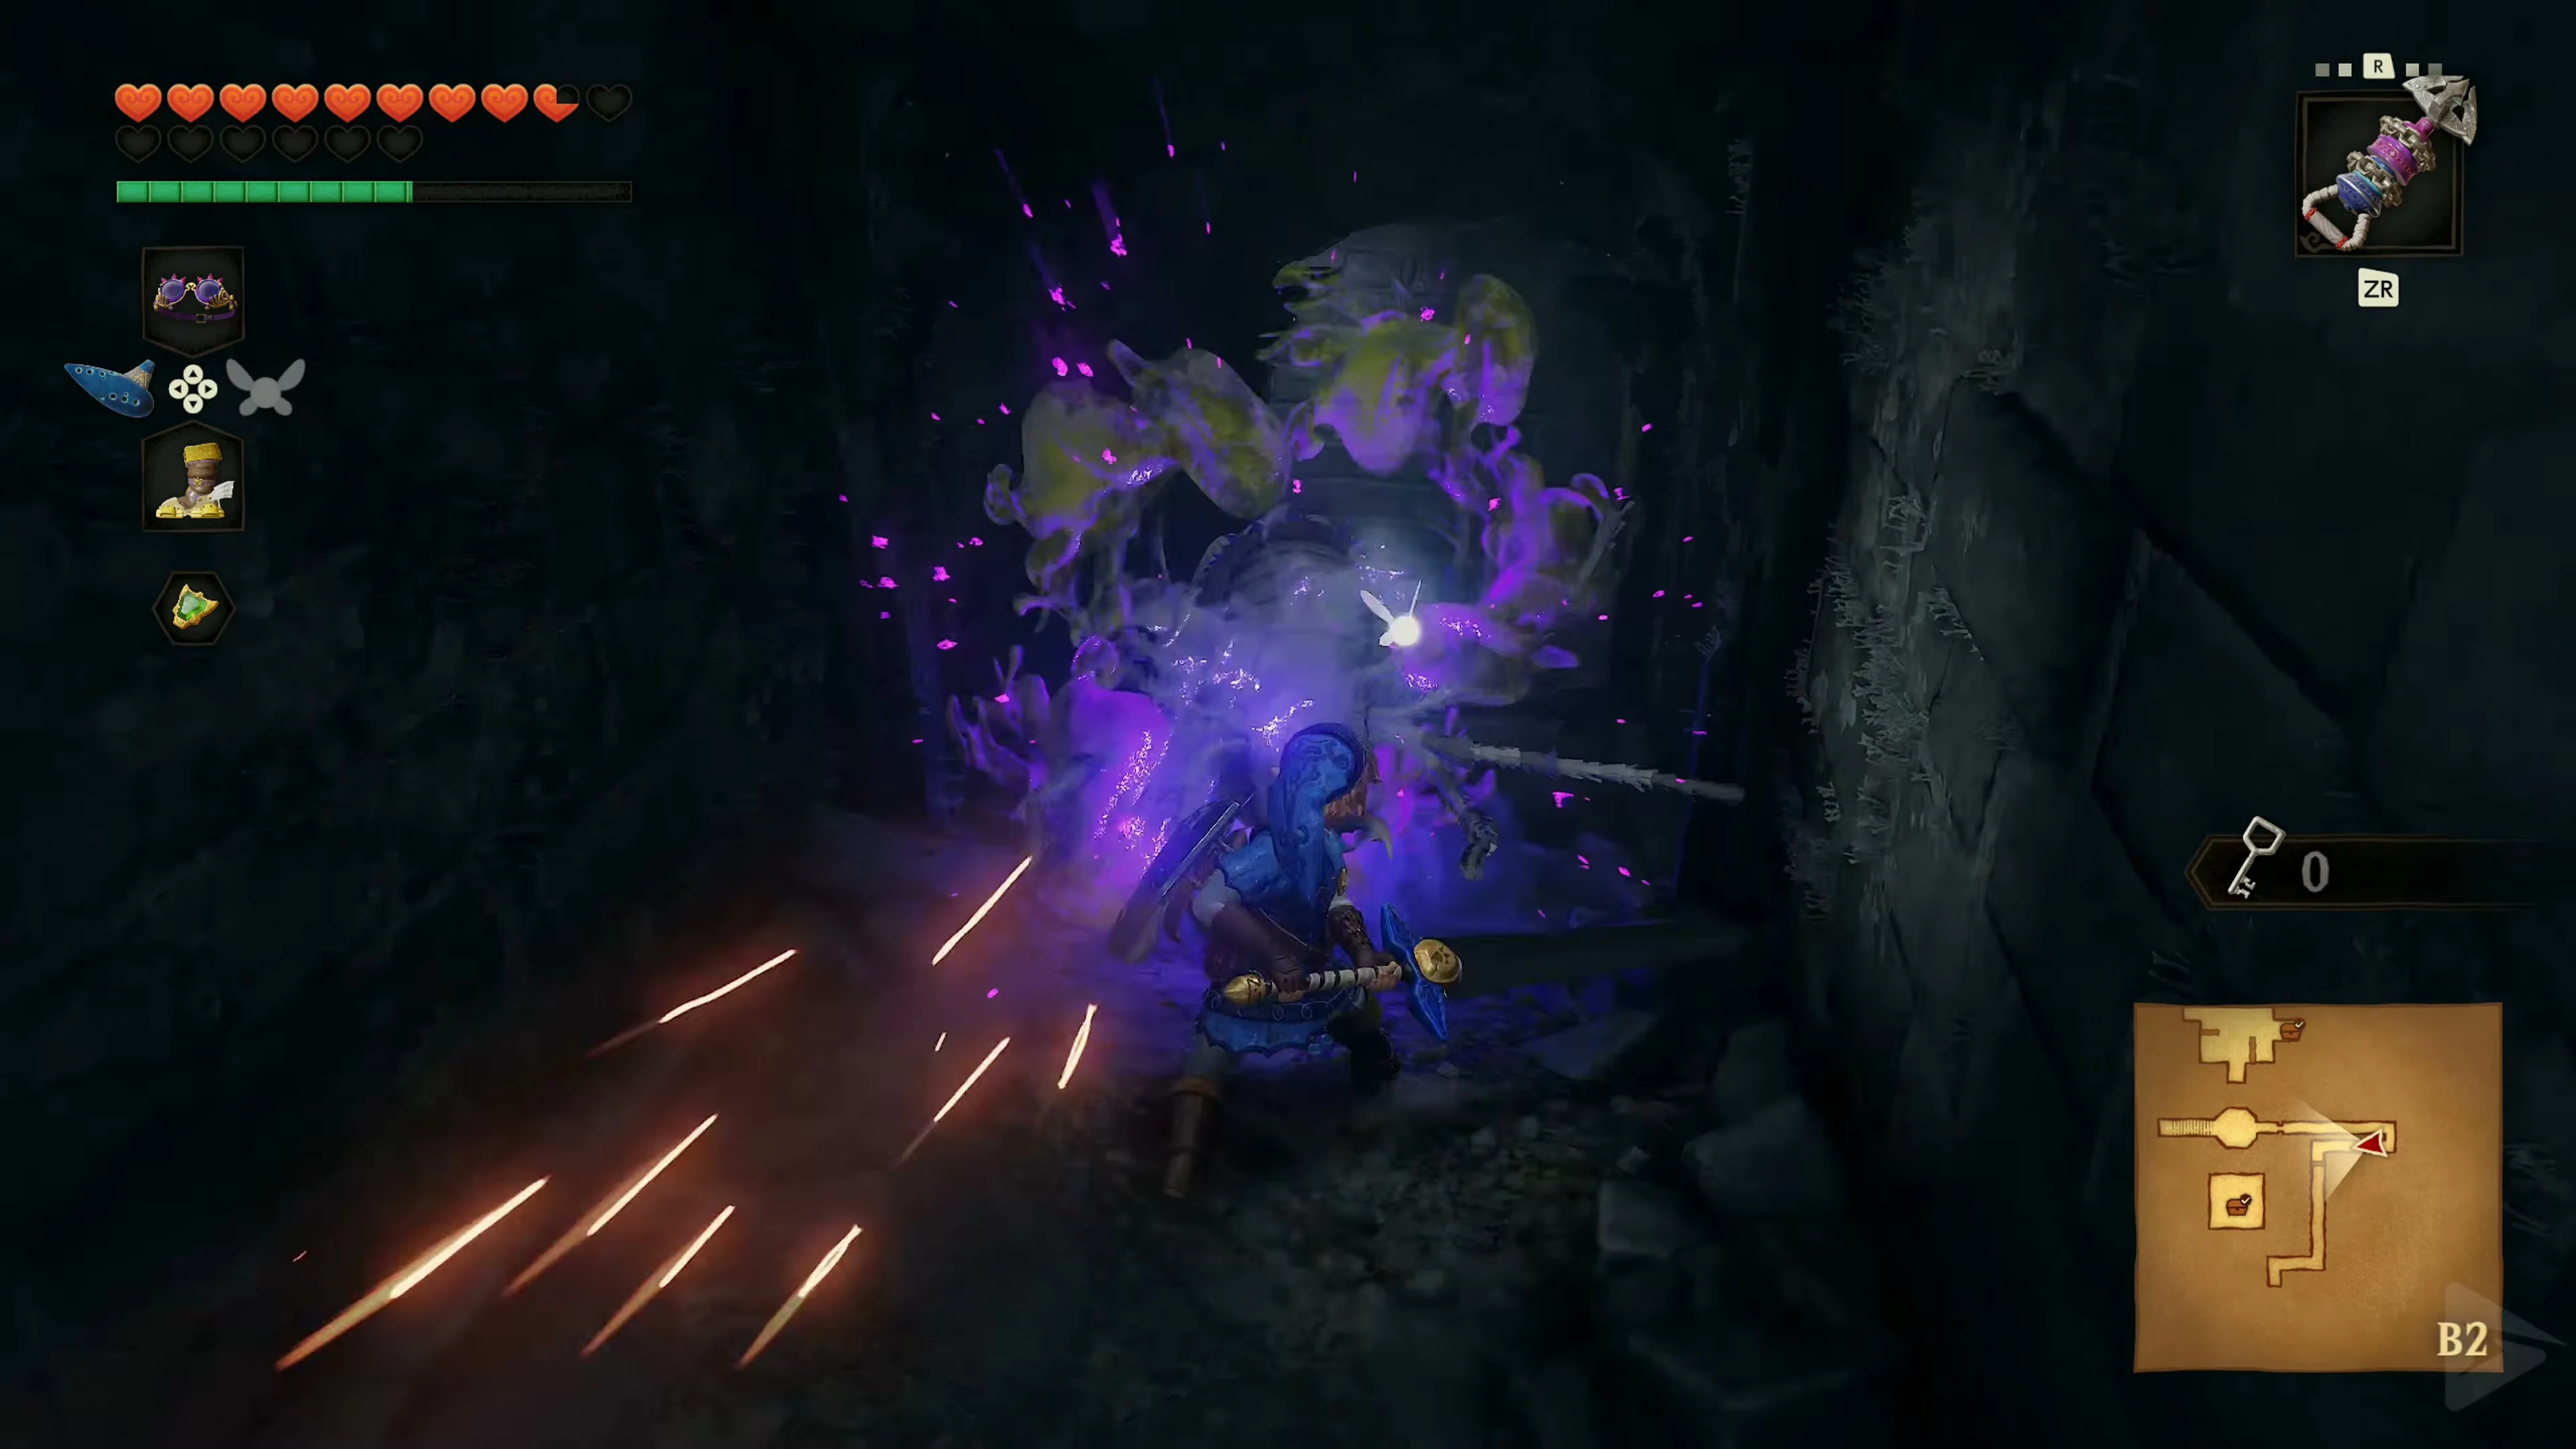
As in the Kakariko Village Well you pull the Dead Hand out of the ground by dodging a hand and hitting it with your sword as you jump back. Only approach its head when it lowers it to bite. Hit him a few times and then back off. If he dives, lure him out again using the same method. In the narrower chamber, it’s worth pulling the fight away from the other hands.
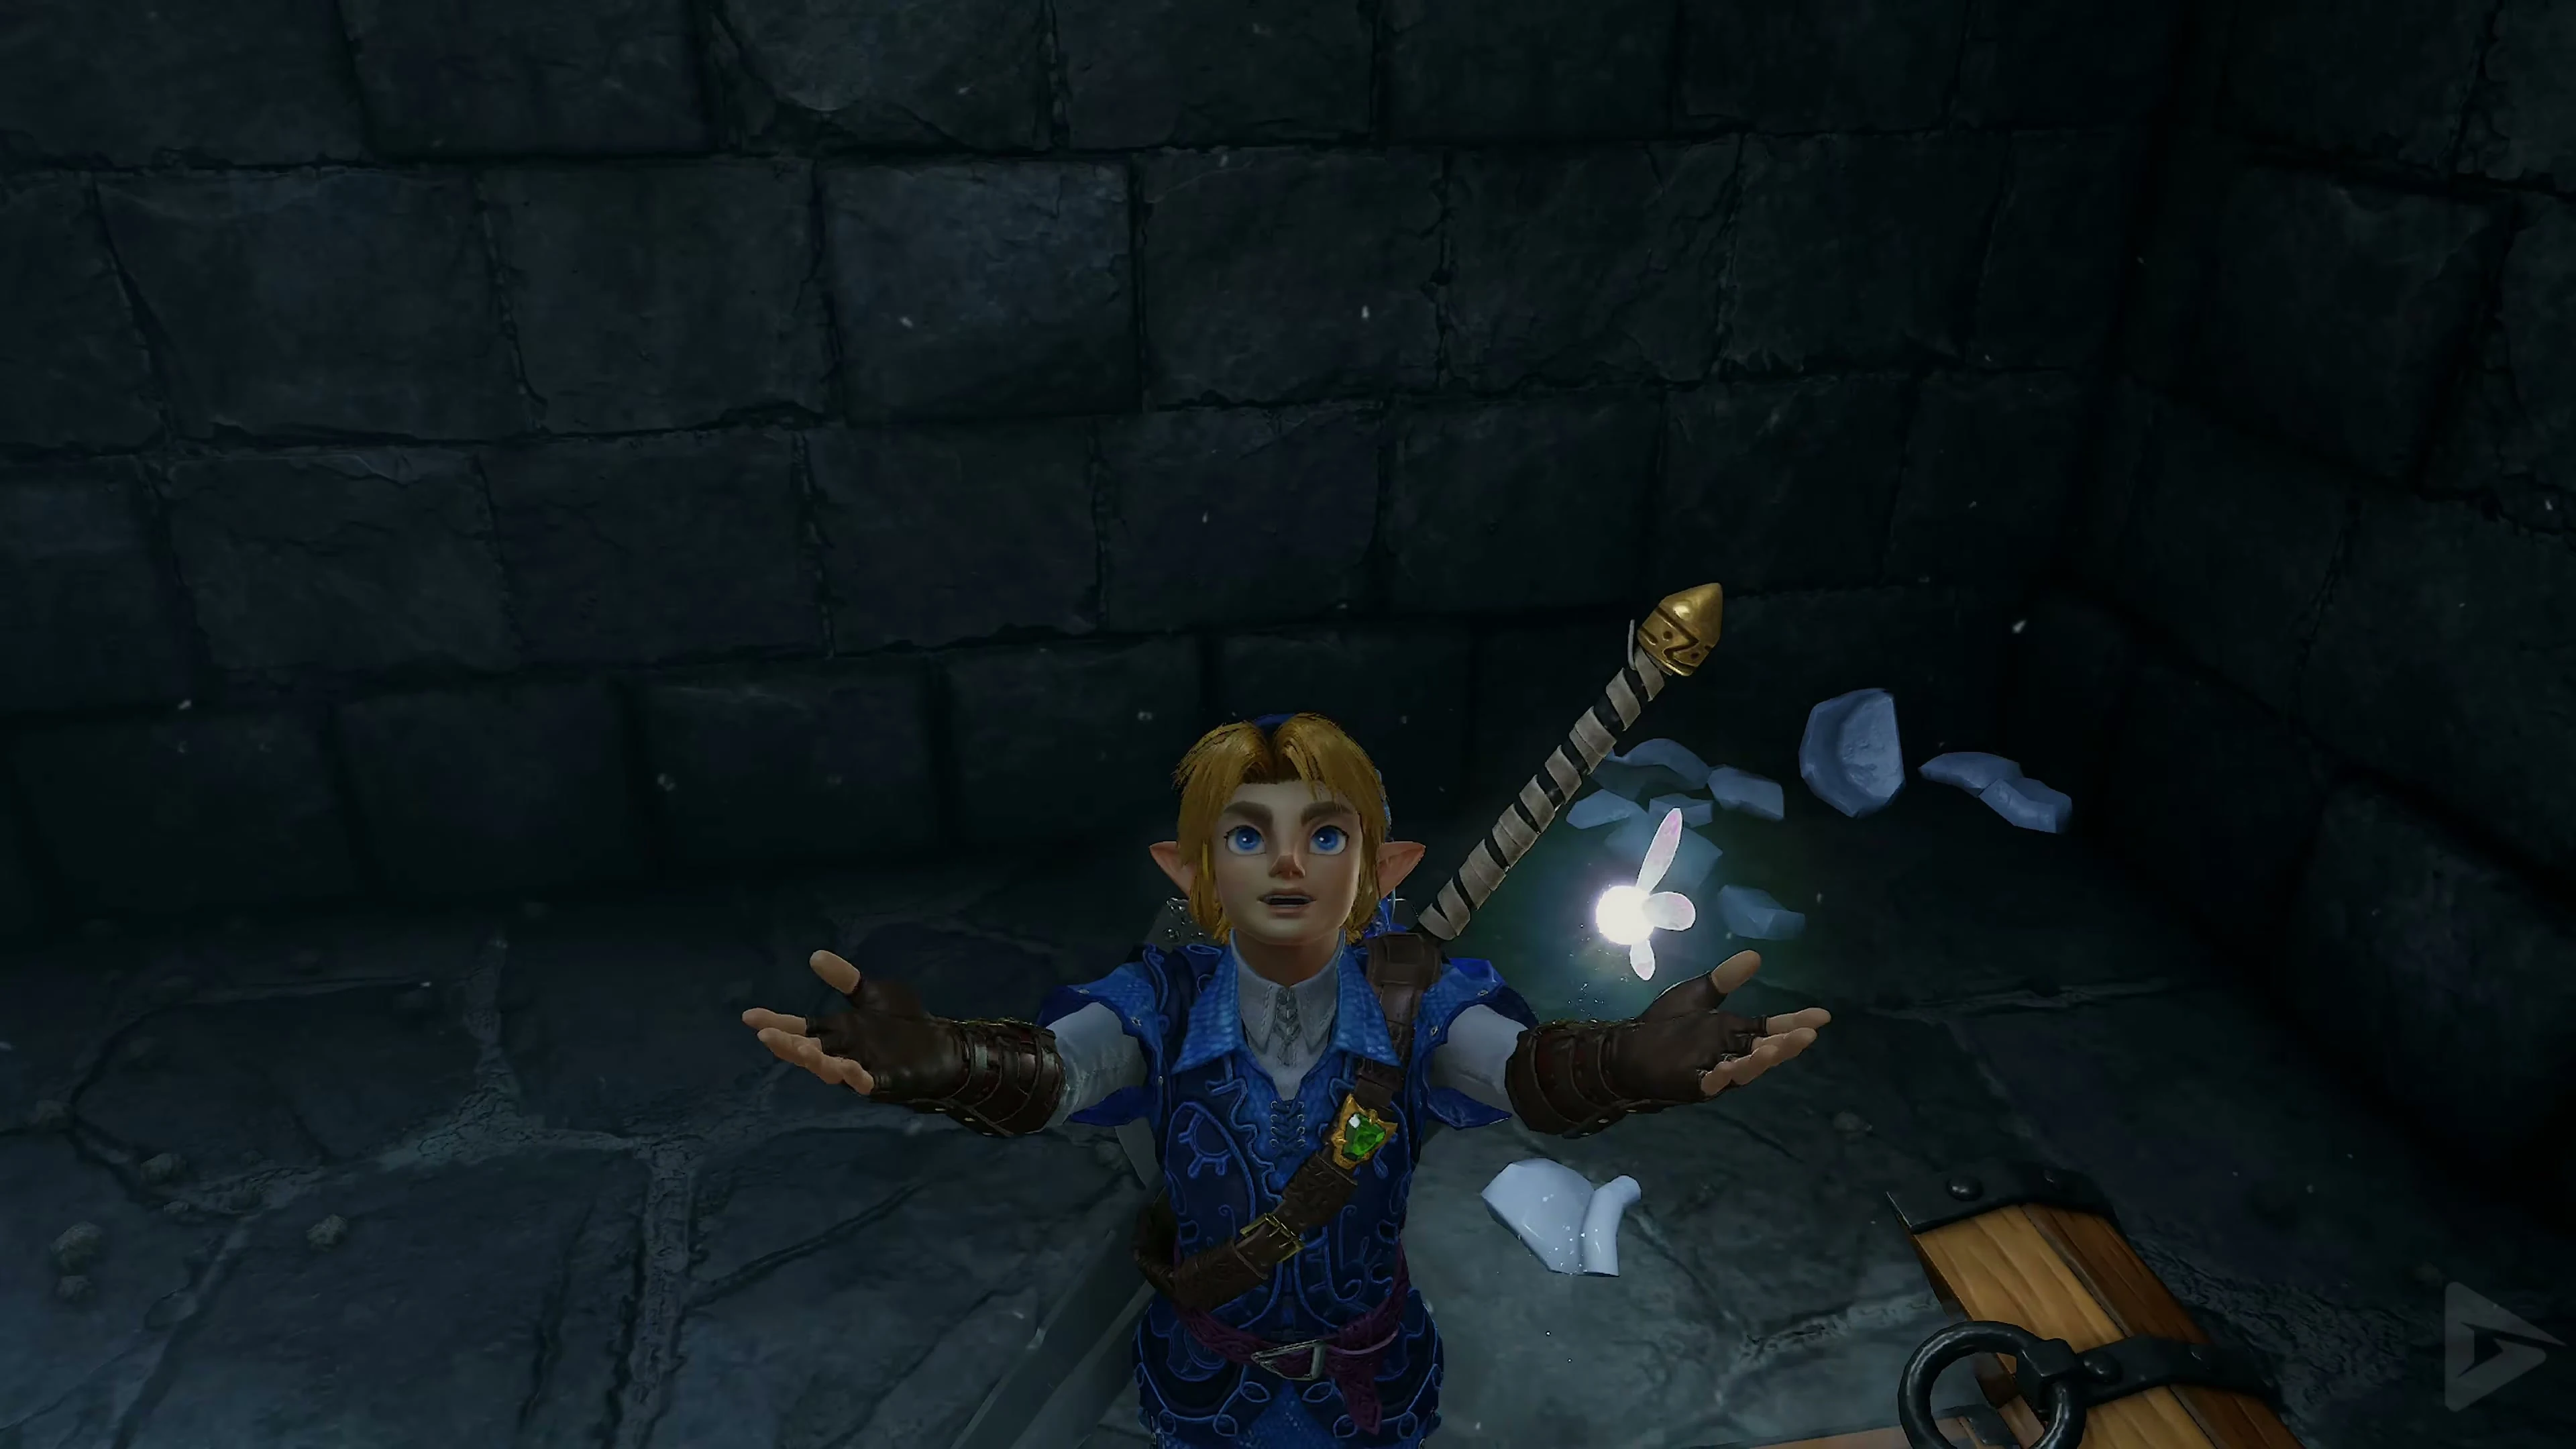
After the final hit, a large treasure chest appears. Open it and take the Hover Boots. With these special boots, Link gains extra propulsion for a few moments after leaving an edge, allowing him to cross short gaps that would be too wide for a normal jump. However, the grip is significantly worse on solid ground, and Link slips much like he would on ice.
The Eagle Statue Riddle
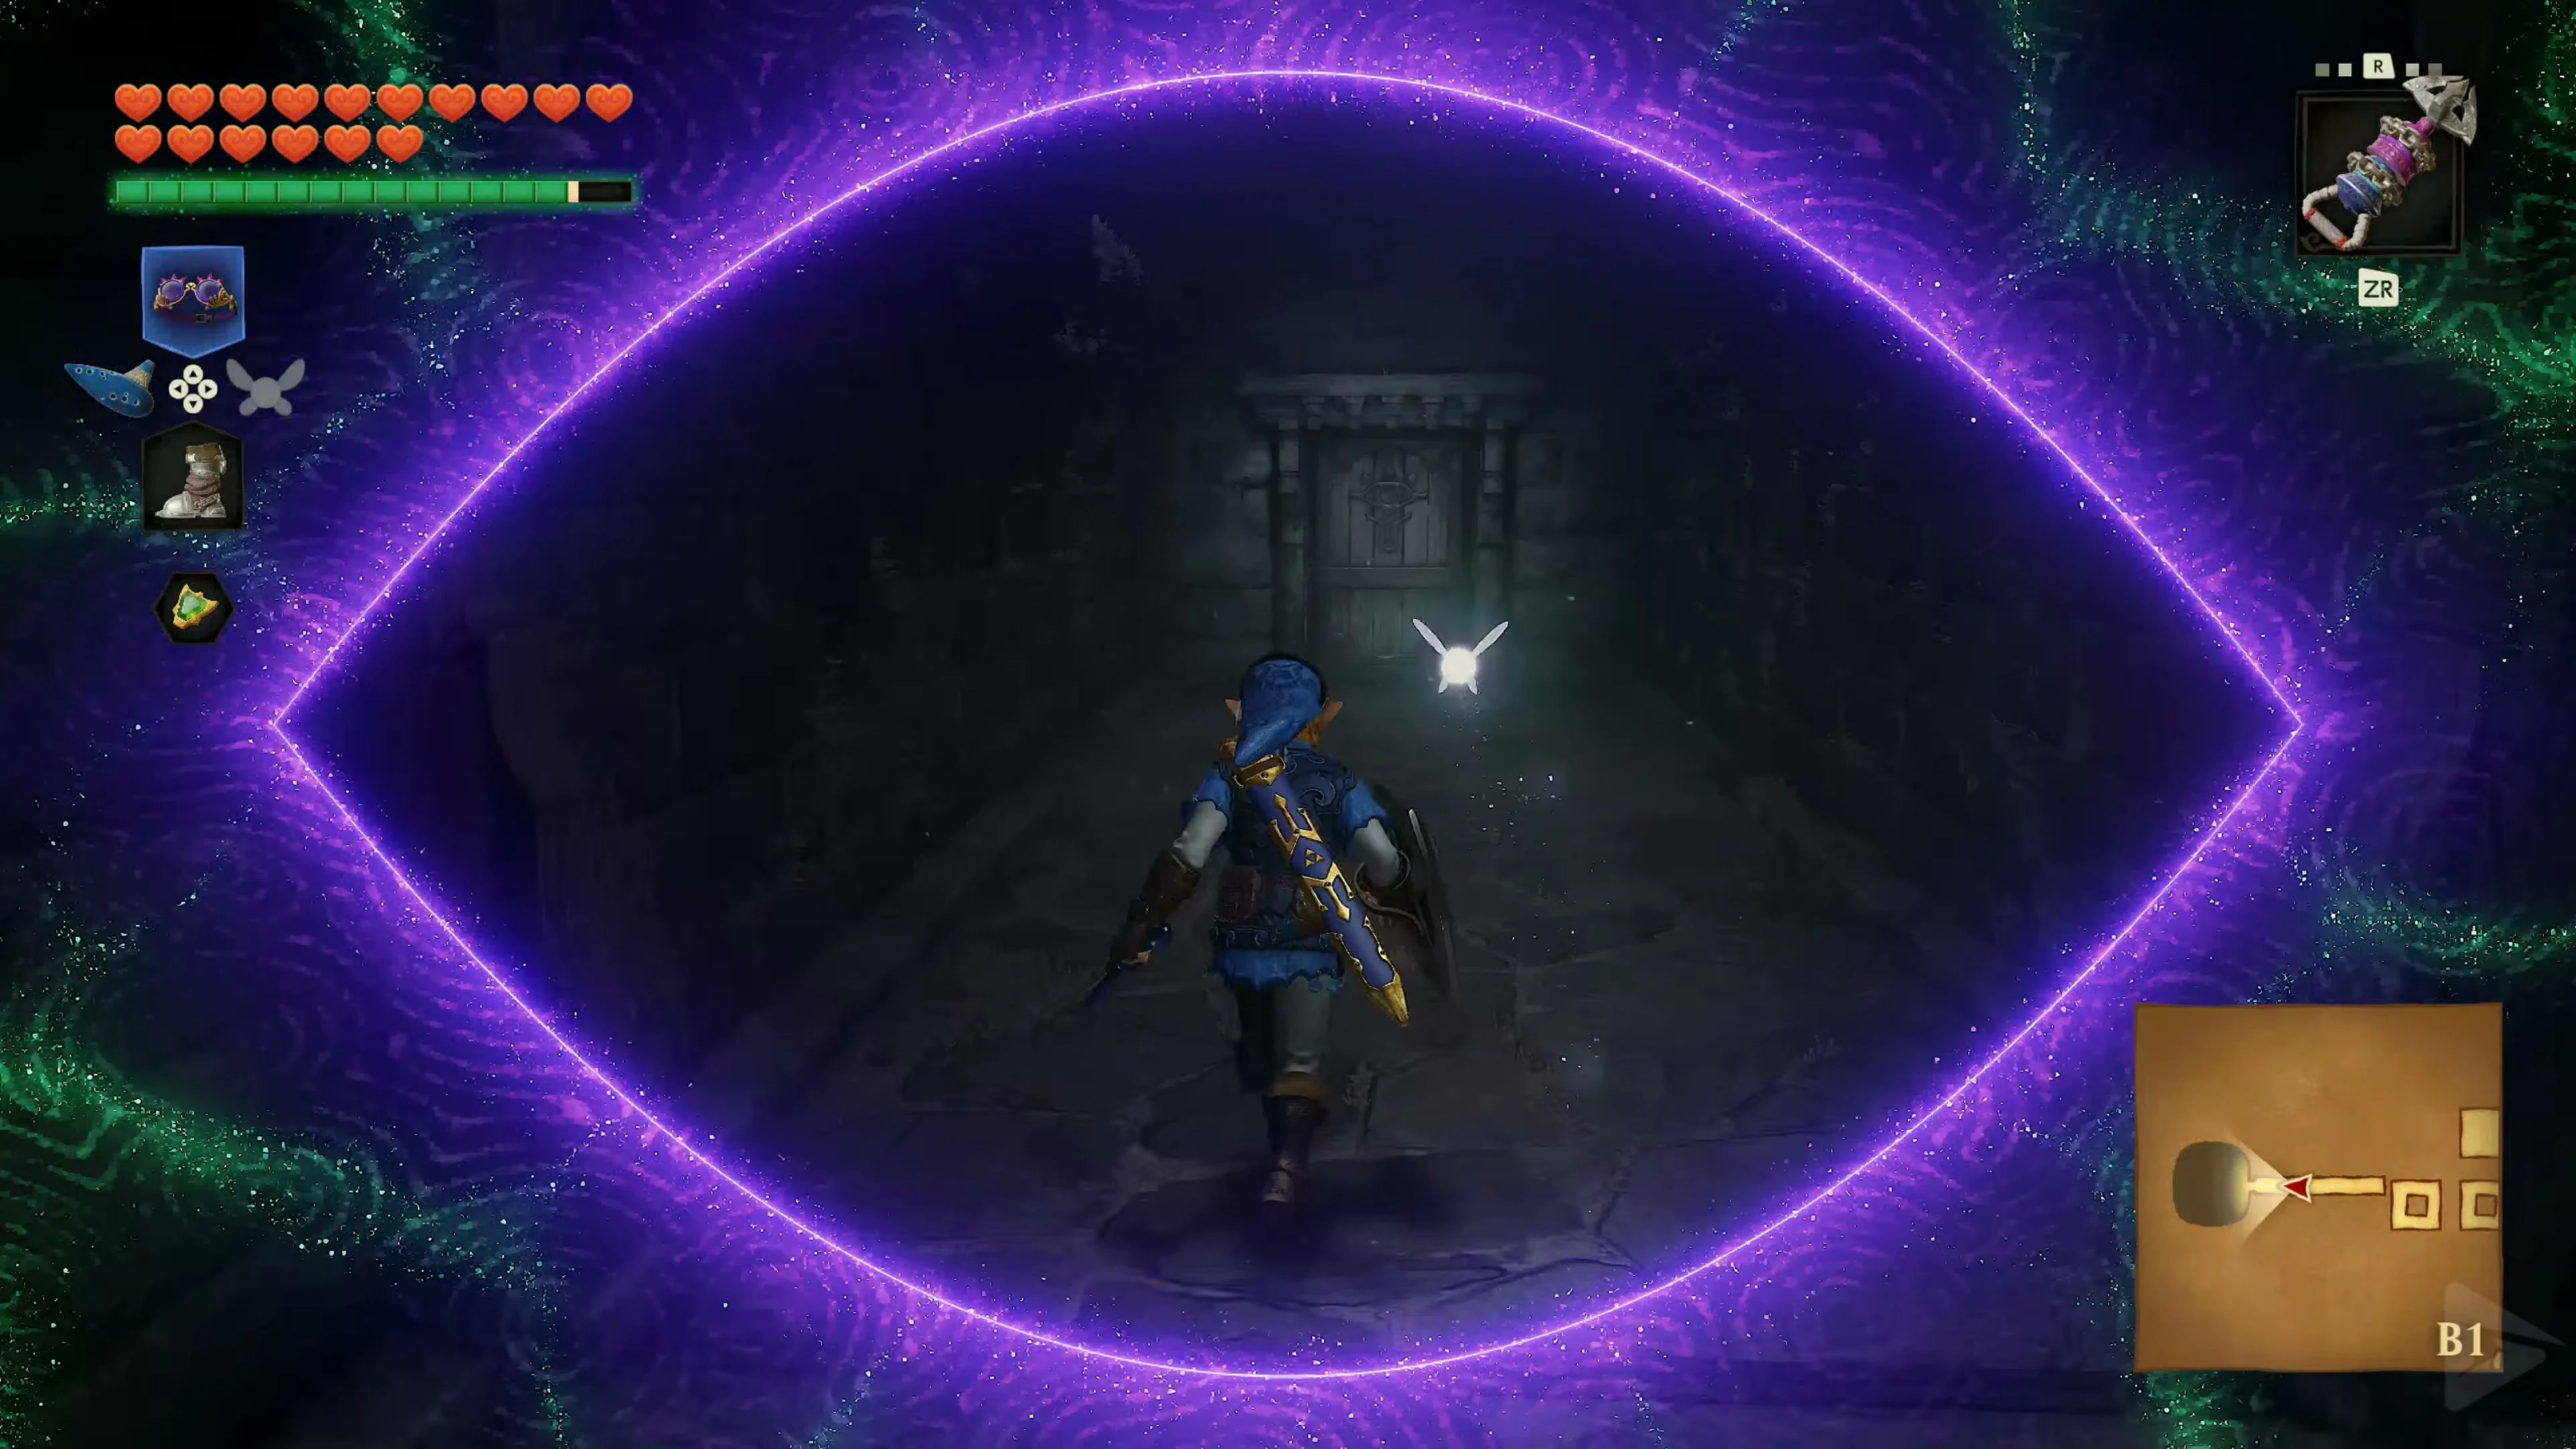
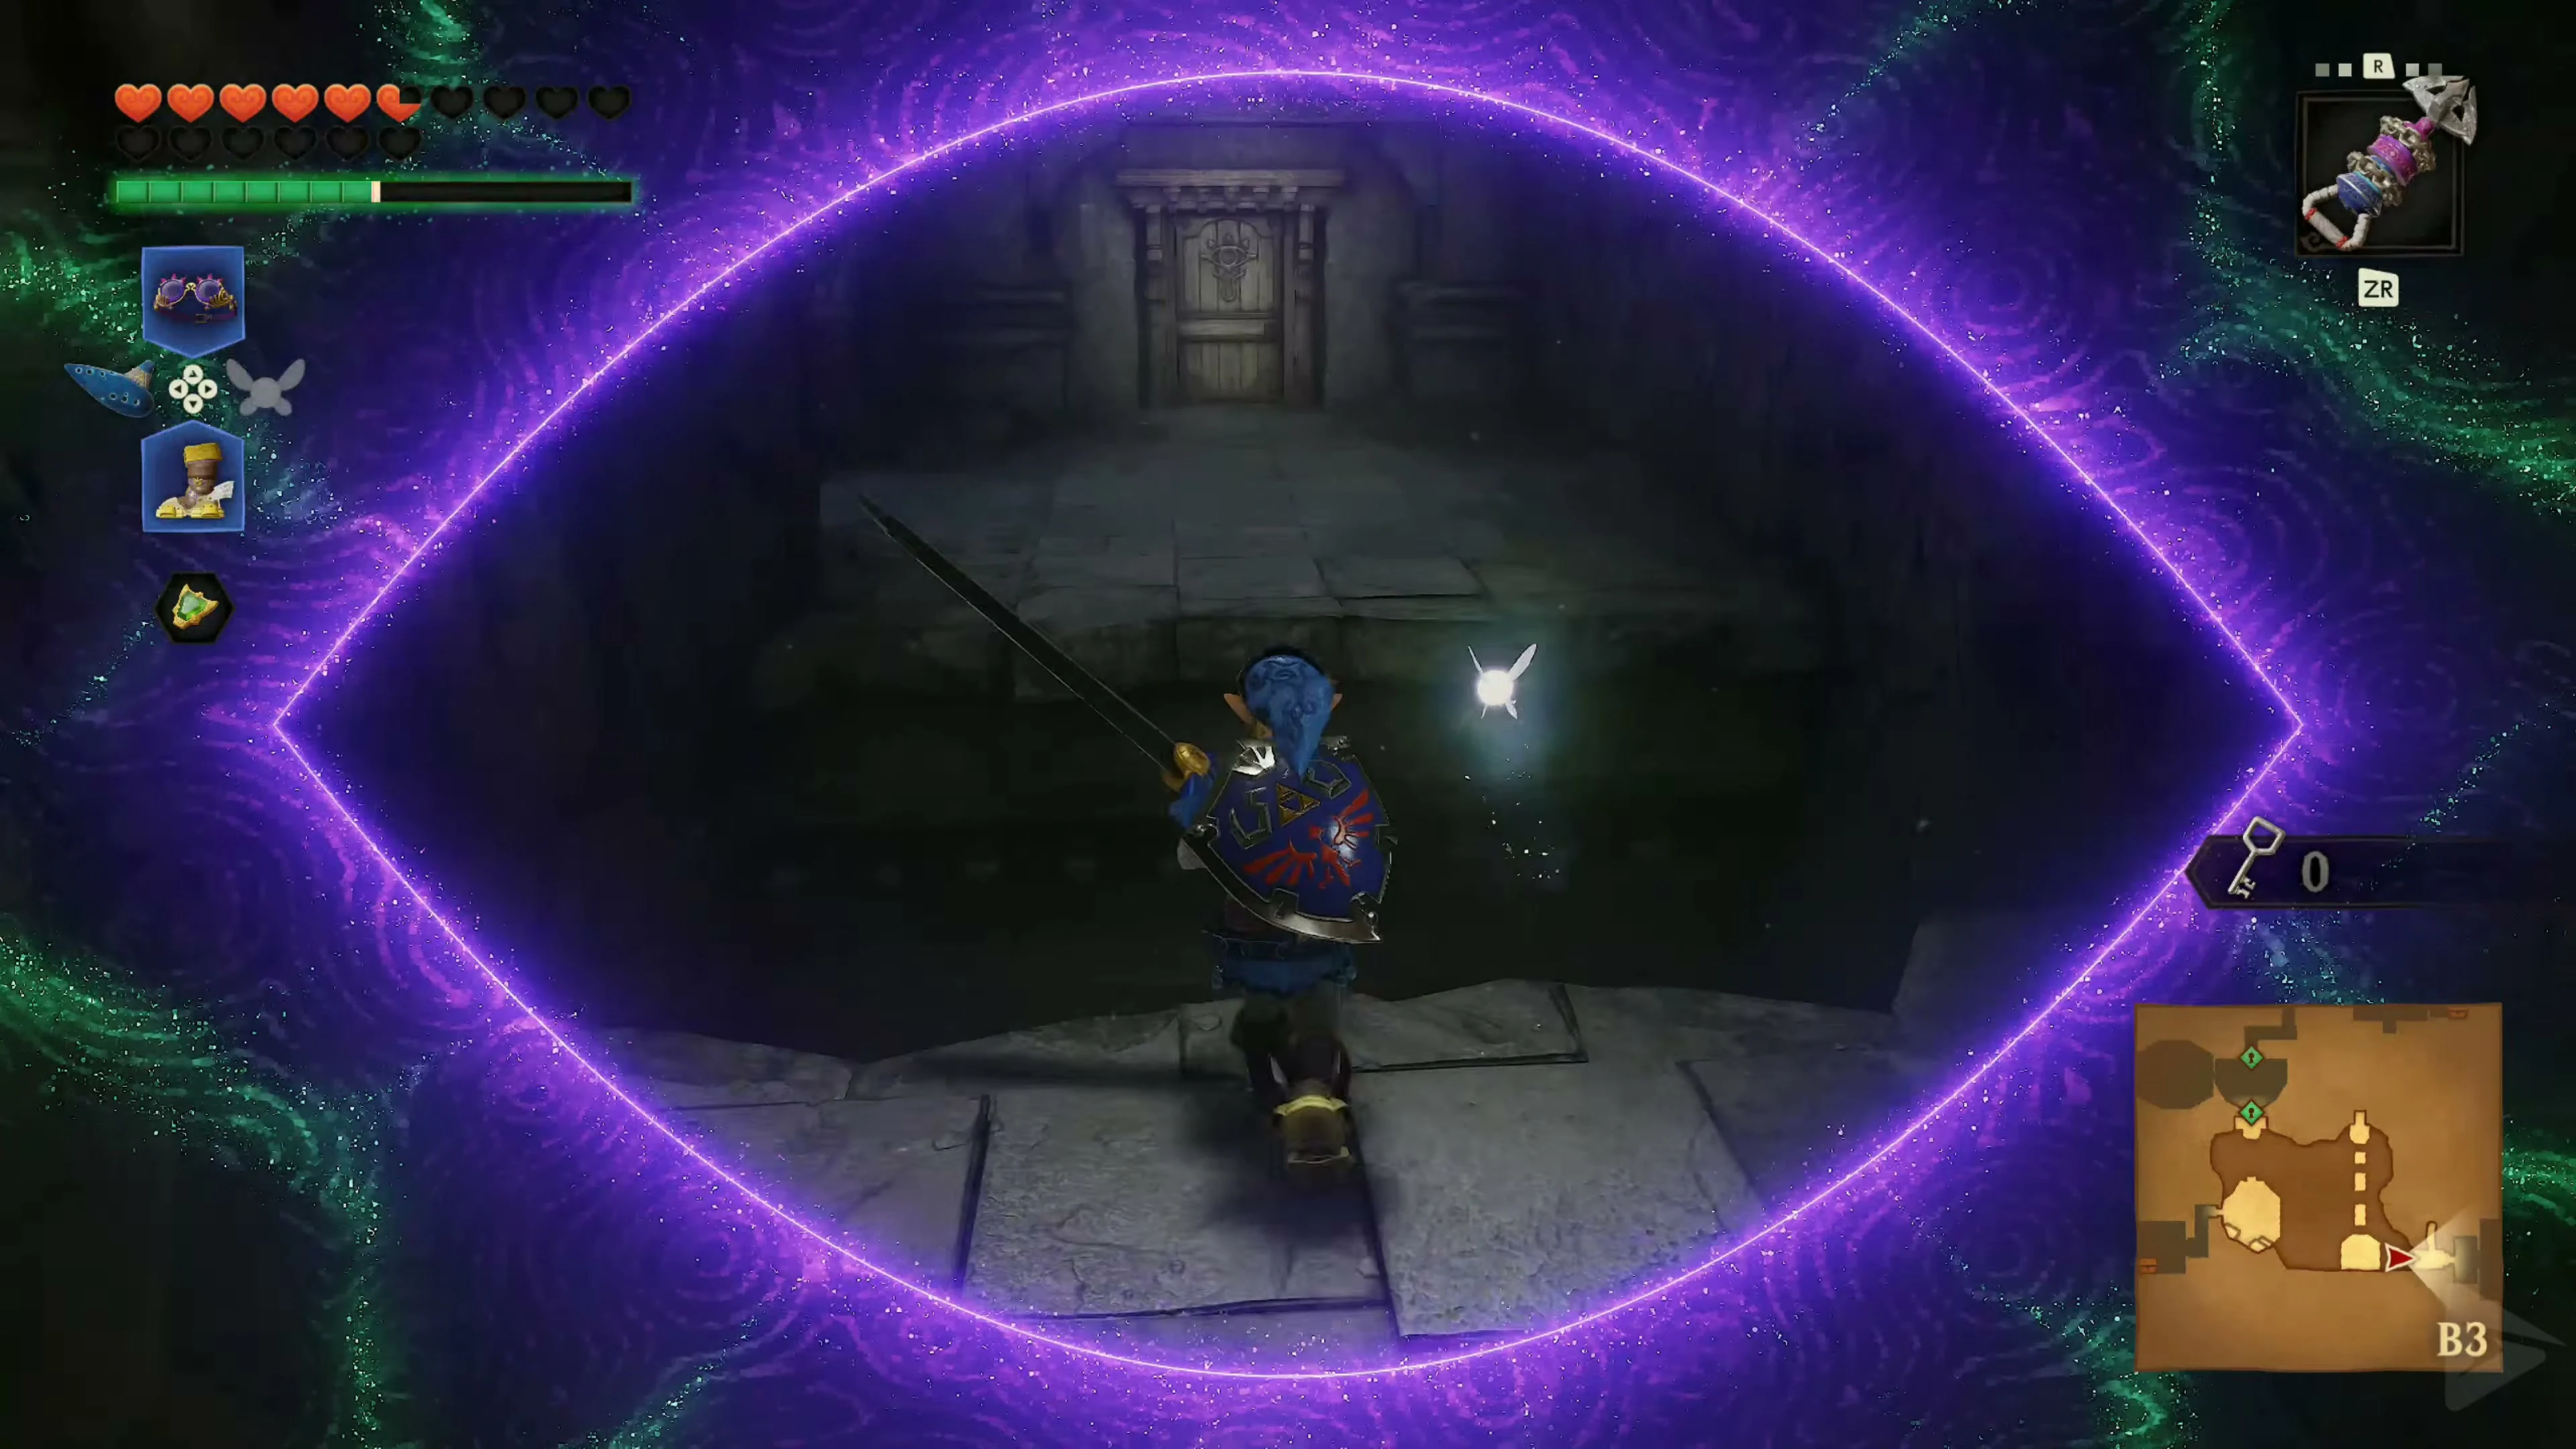
Return to the large room with the eagle statue. Several stakes stand around the statue, each resting on a skull. An inscription indicates that only one skull is real and that the eagle’s beak must point at it. Activate the Lenses of Truth . All the fake skulls will disappear from view, leaving only the actual stake visible. Go to the handle of the eagle statue and slowly rotate it. Align the beak precisely with the only real skull. Be careful: If you align the statue with the wrong post, the floor will open and Link will be transported back to the temple entrance. In the correct position, however, the large gate on the other side of the chasm will open.
Equip the Hover Boots and stand on the stone tongue at the edge. Take a running start and run straight ahead. After jumping, Link will glide a few meters across the chasm and should reach the opposite edge. Pull yourself up and immediately switch back to your regular boots. Then follow the stairs deeper into the temple.
The Compass and the first Small Key
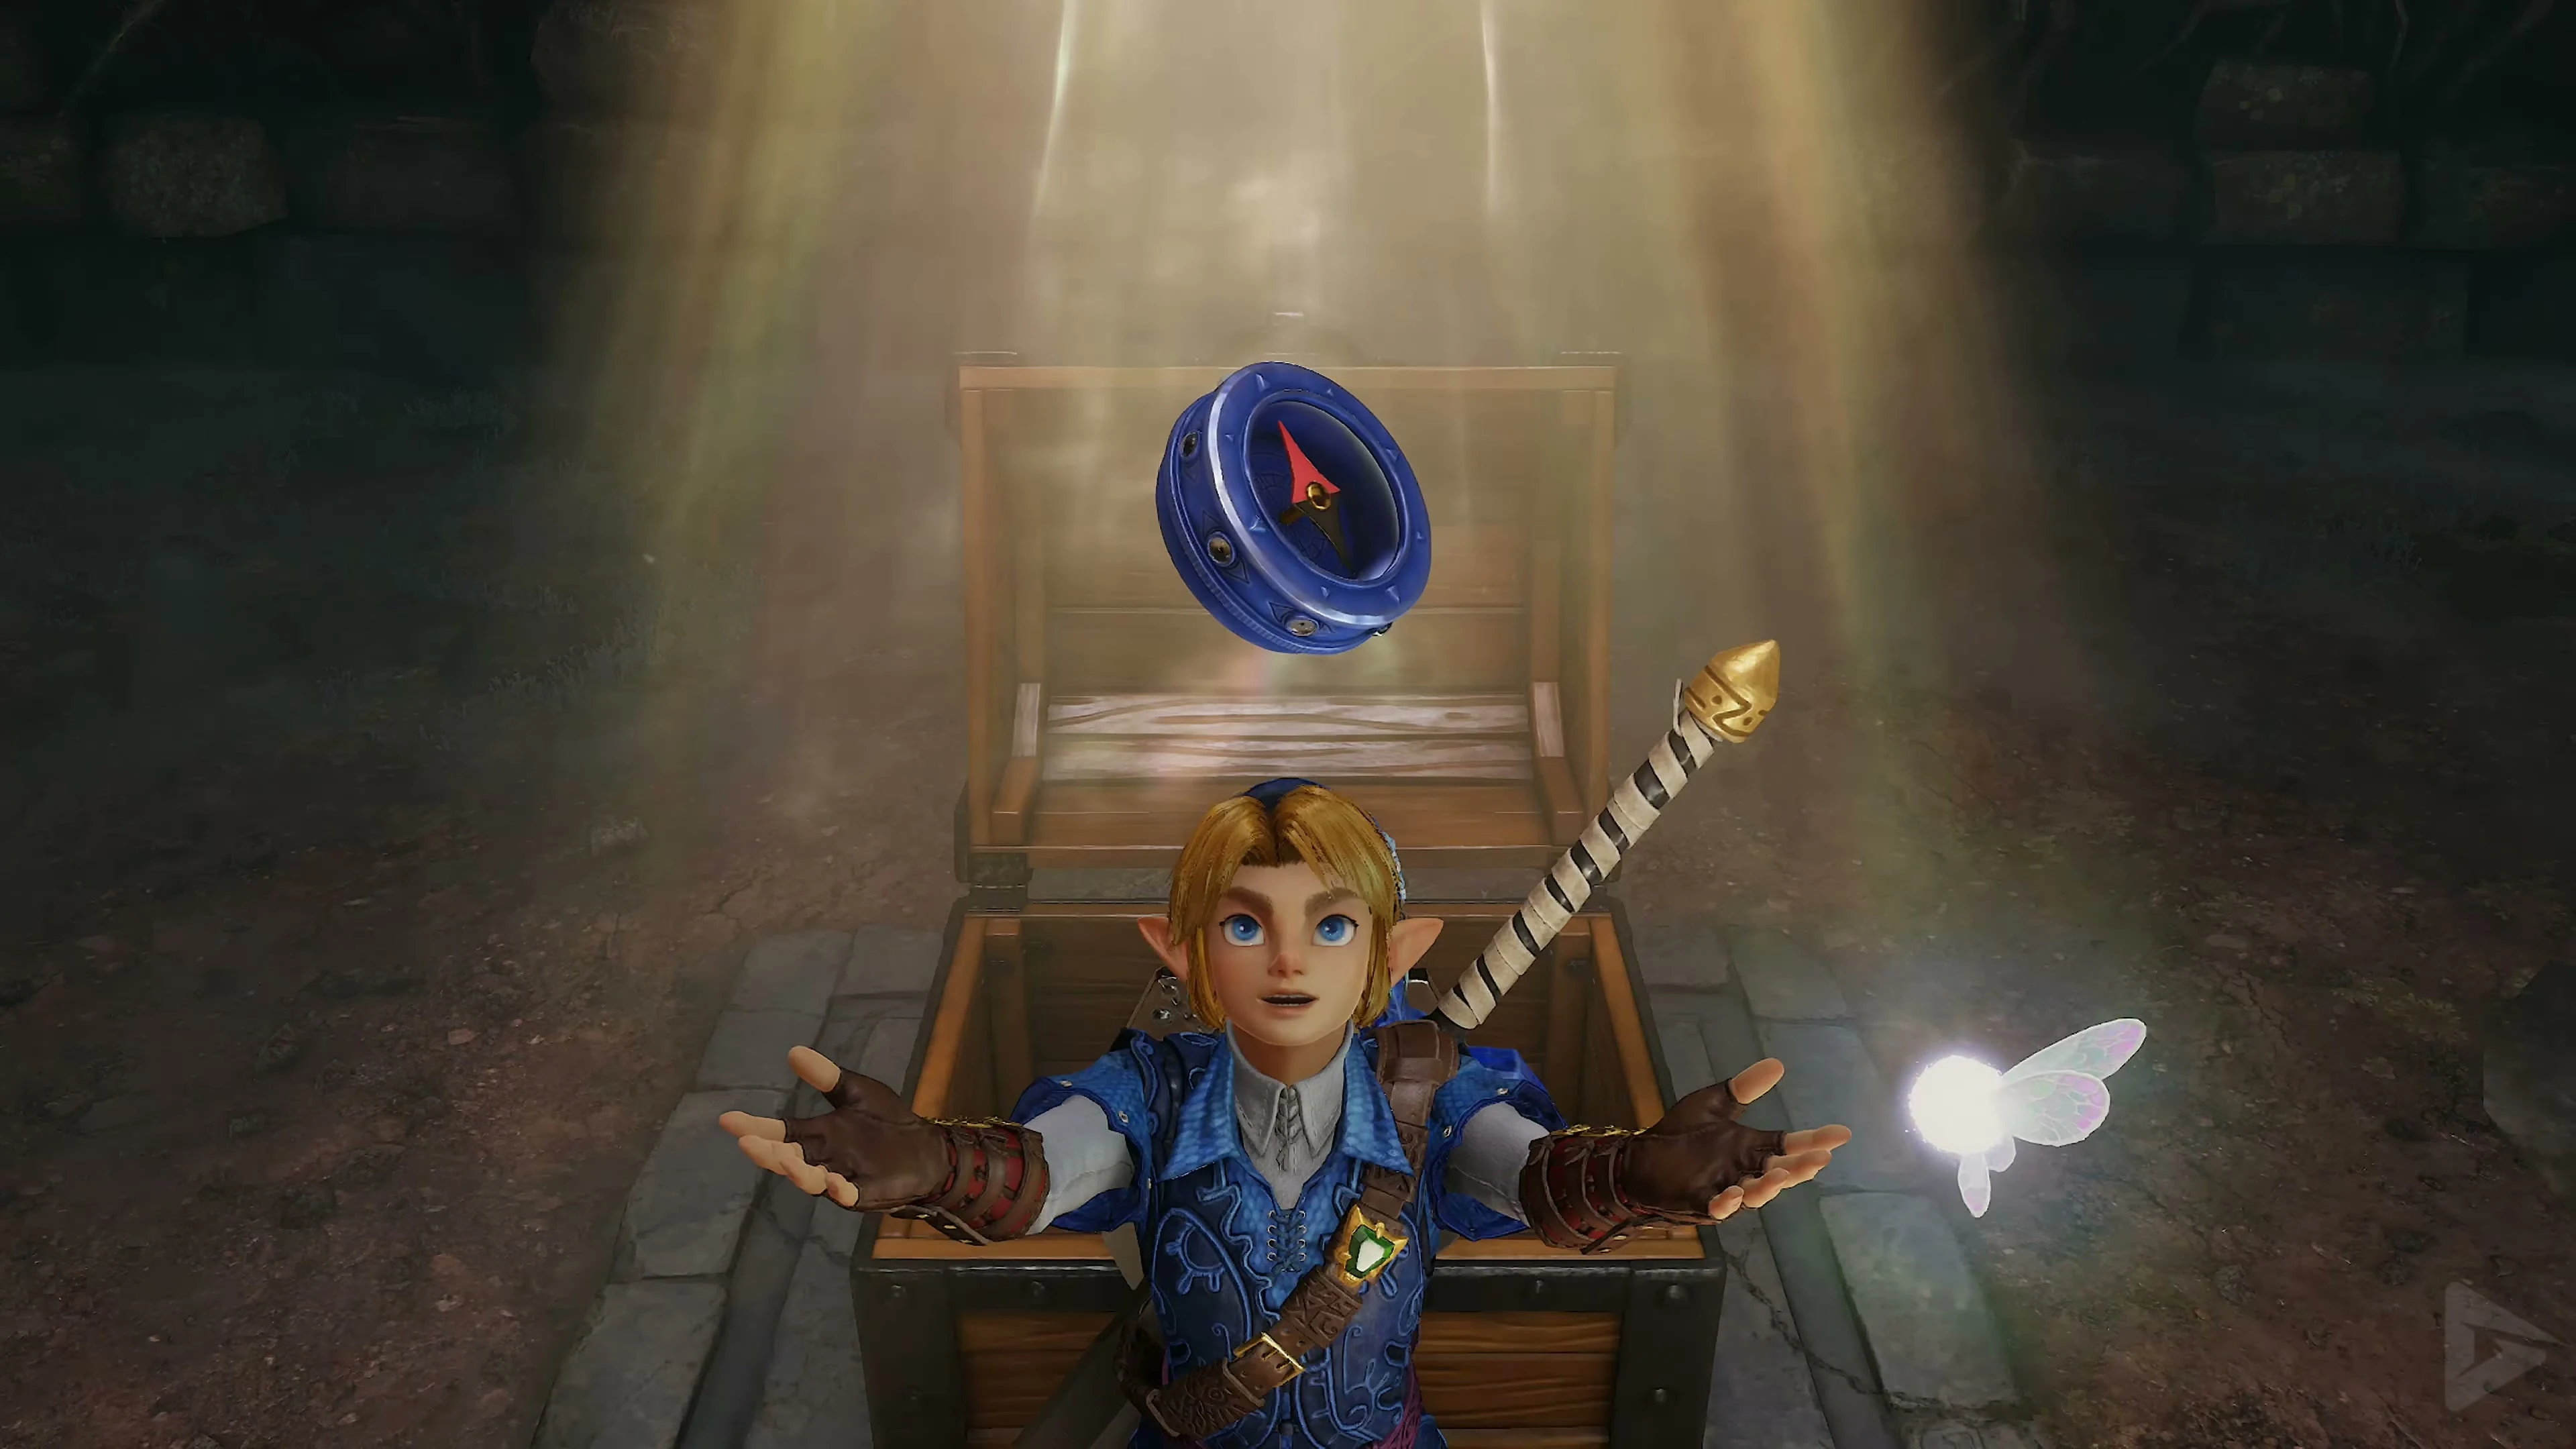
Blow up the Beamos with a bomb. Behind him to the east is a crumbling wall. Blow it up now so you can quickly reach the locked door behind it later. Go through the false wall to the south . Behind the door, play Sun’s Song against the two Gibdos and defeat them while they are frozen. The Compass is in the chest that appears.
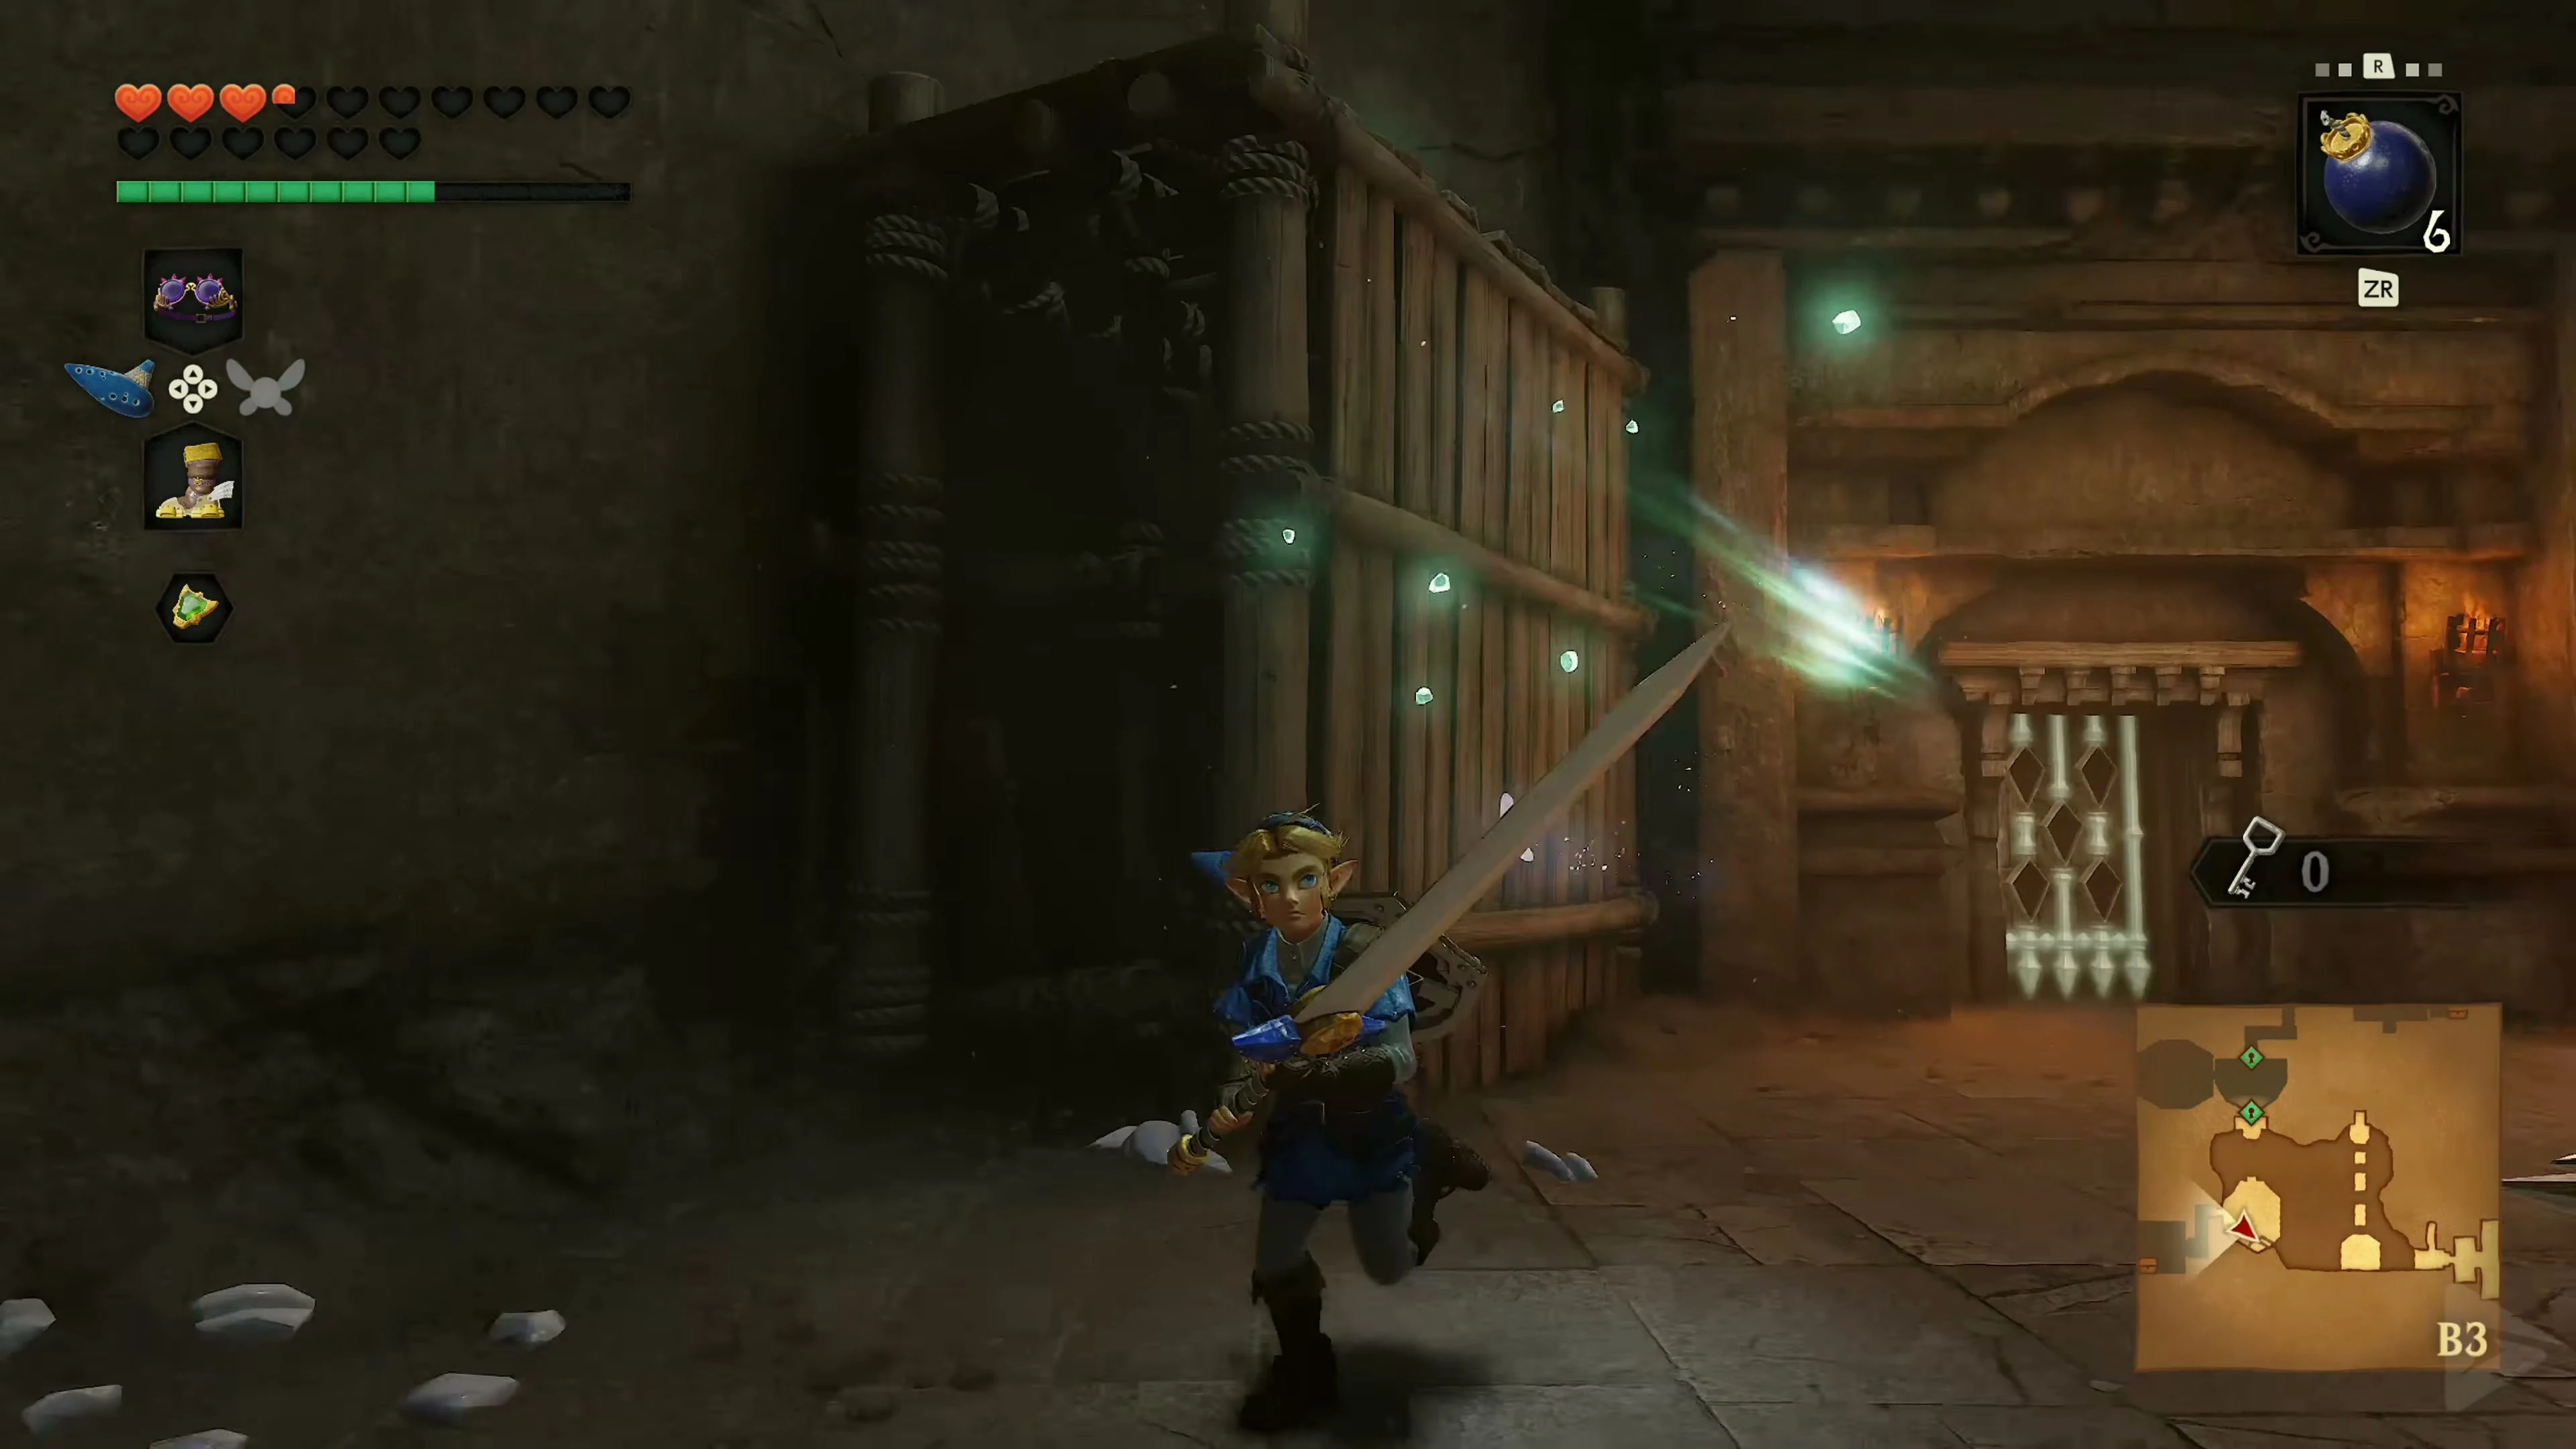
Return to the Beamos and walk through the false wall to the north. Collect the five Silver Rupees in the blade chamber: three are on the floor, one is on the wooden barricade, and the last is reached using the anchor in the northwest corner. Wait for the large blade to pass before moving. Collect all five to open the gate, then take Small Key 1/5 from the chest beyond.
The way into the guillotine cave
Open the eastern door behind the blown-up wall with Small Key 1/5 . Behind the first row of guillotines, a Skulltula hangs directly in your path. Stop briefly and take it out before venturing under the next guillotine.
After the first traps, Navi warns of a shadow falling from the ceiling. This is a Wallmaster As soon as you hear a whooshing sound and a large shadow forms around Link, keep moving. Dodge until the hand lands on the ground, then attack it with your sword. If Link is grabbed, the Wallmaster will carry him back to the entrance of the Shadow Temple.
Take the elevator down into the large cavern. Start running whenever the next guillotine is just rising again. A Stalfos will attack behind the third guillotine. Dodge its attack to the side and counterattack while it’s still hiding behind its shield.
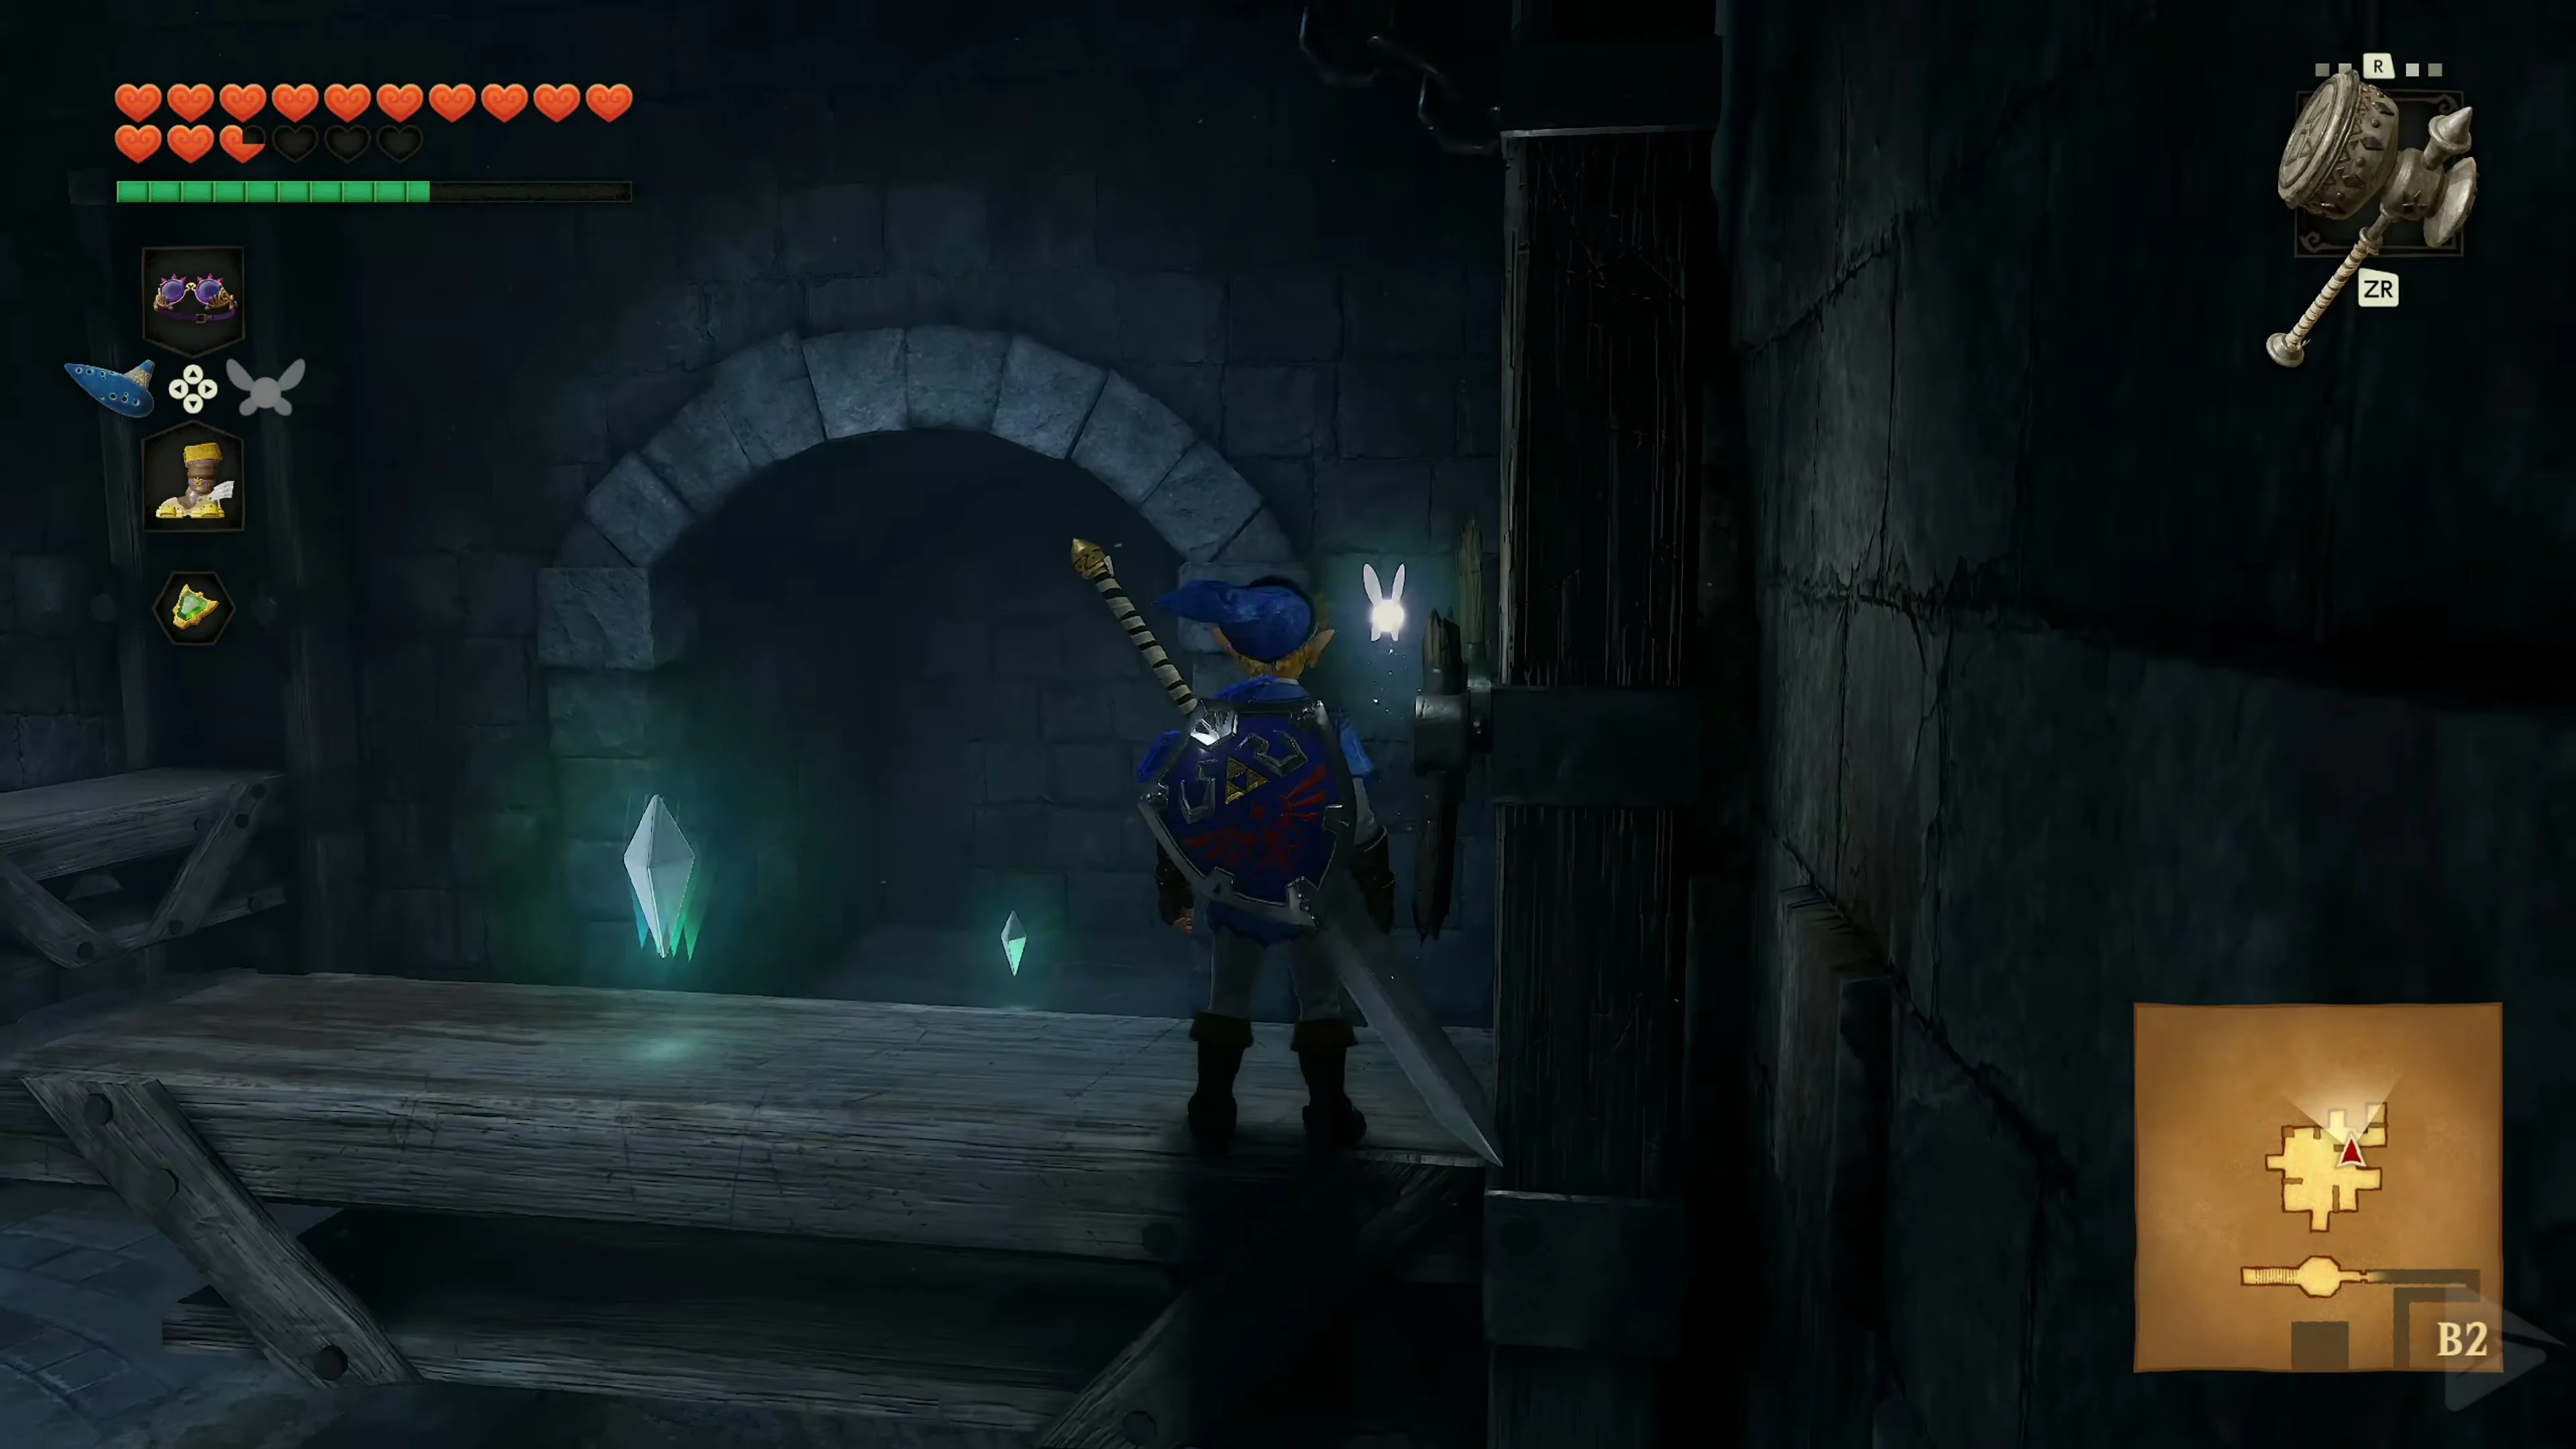
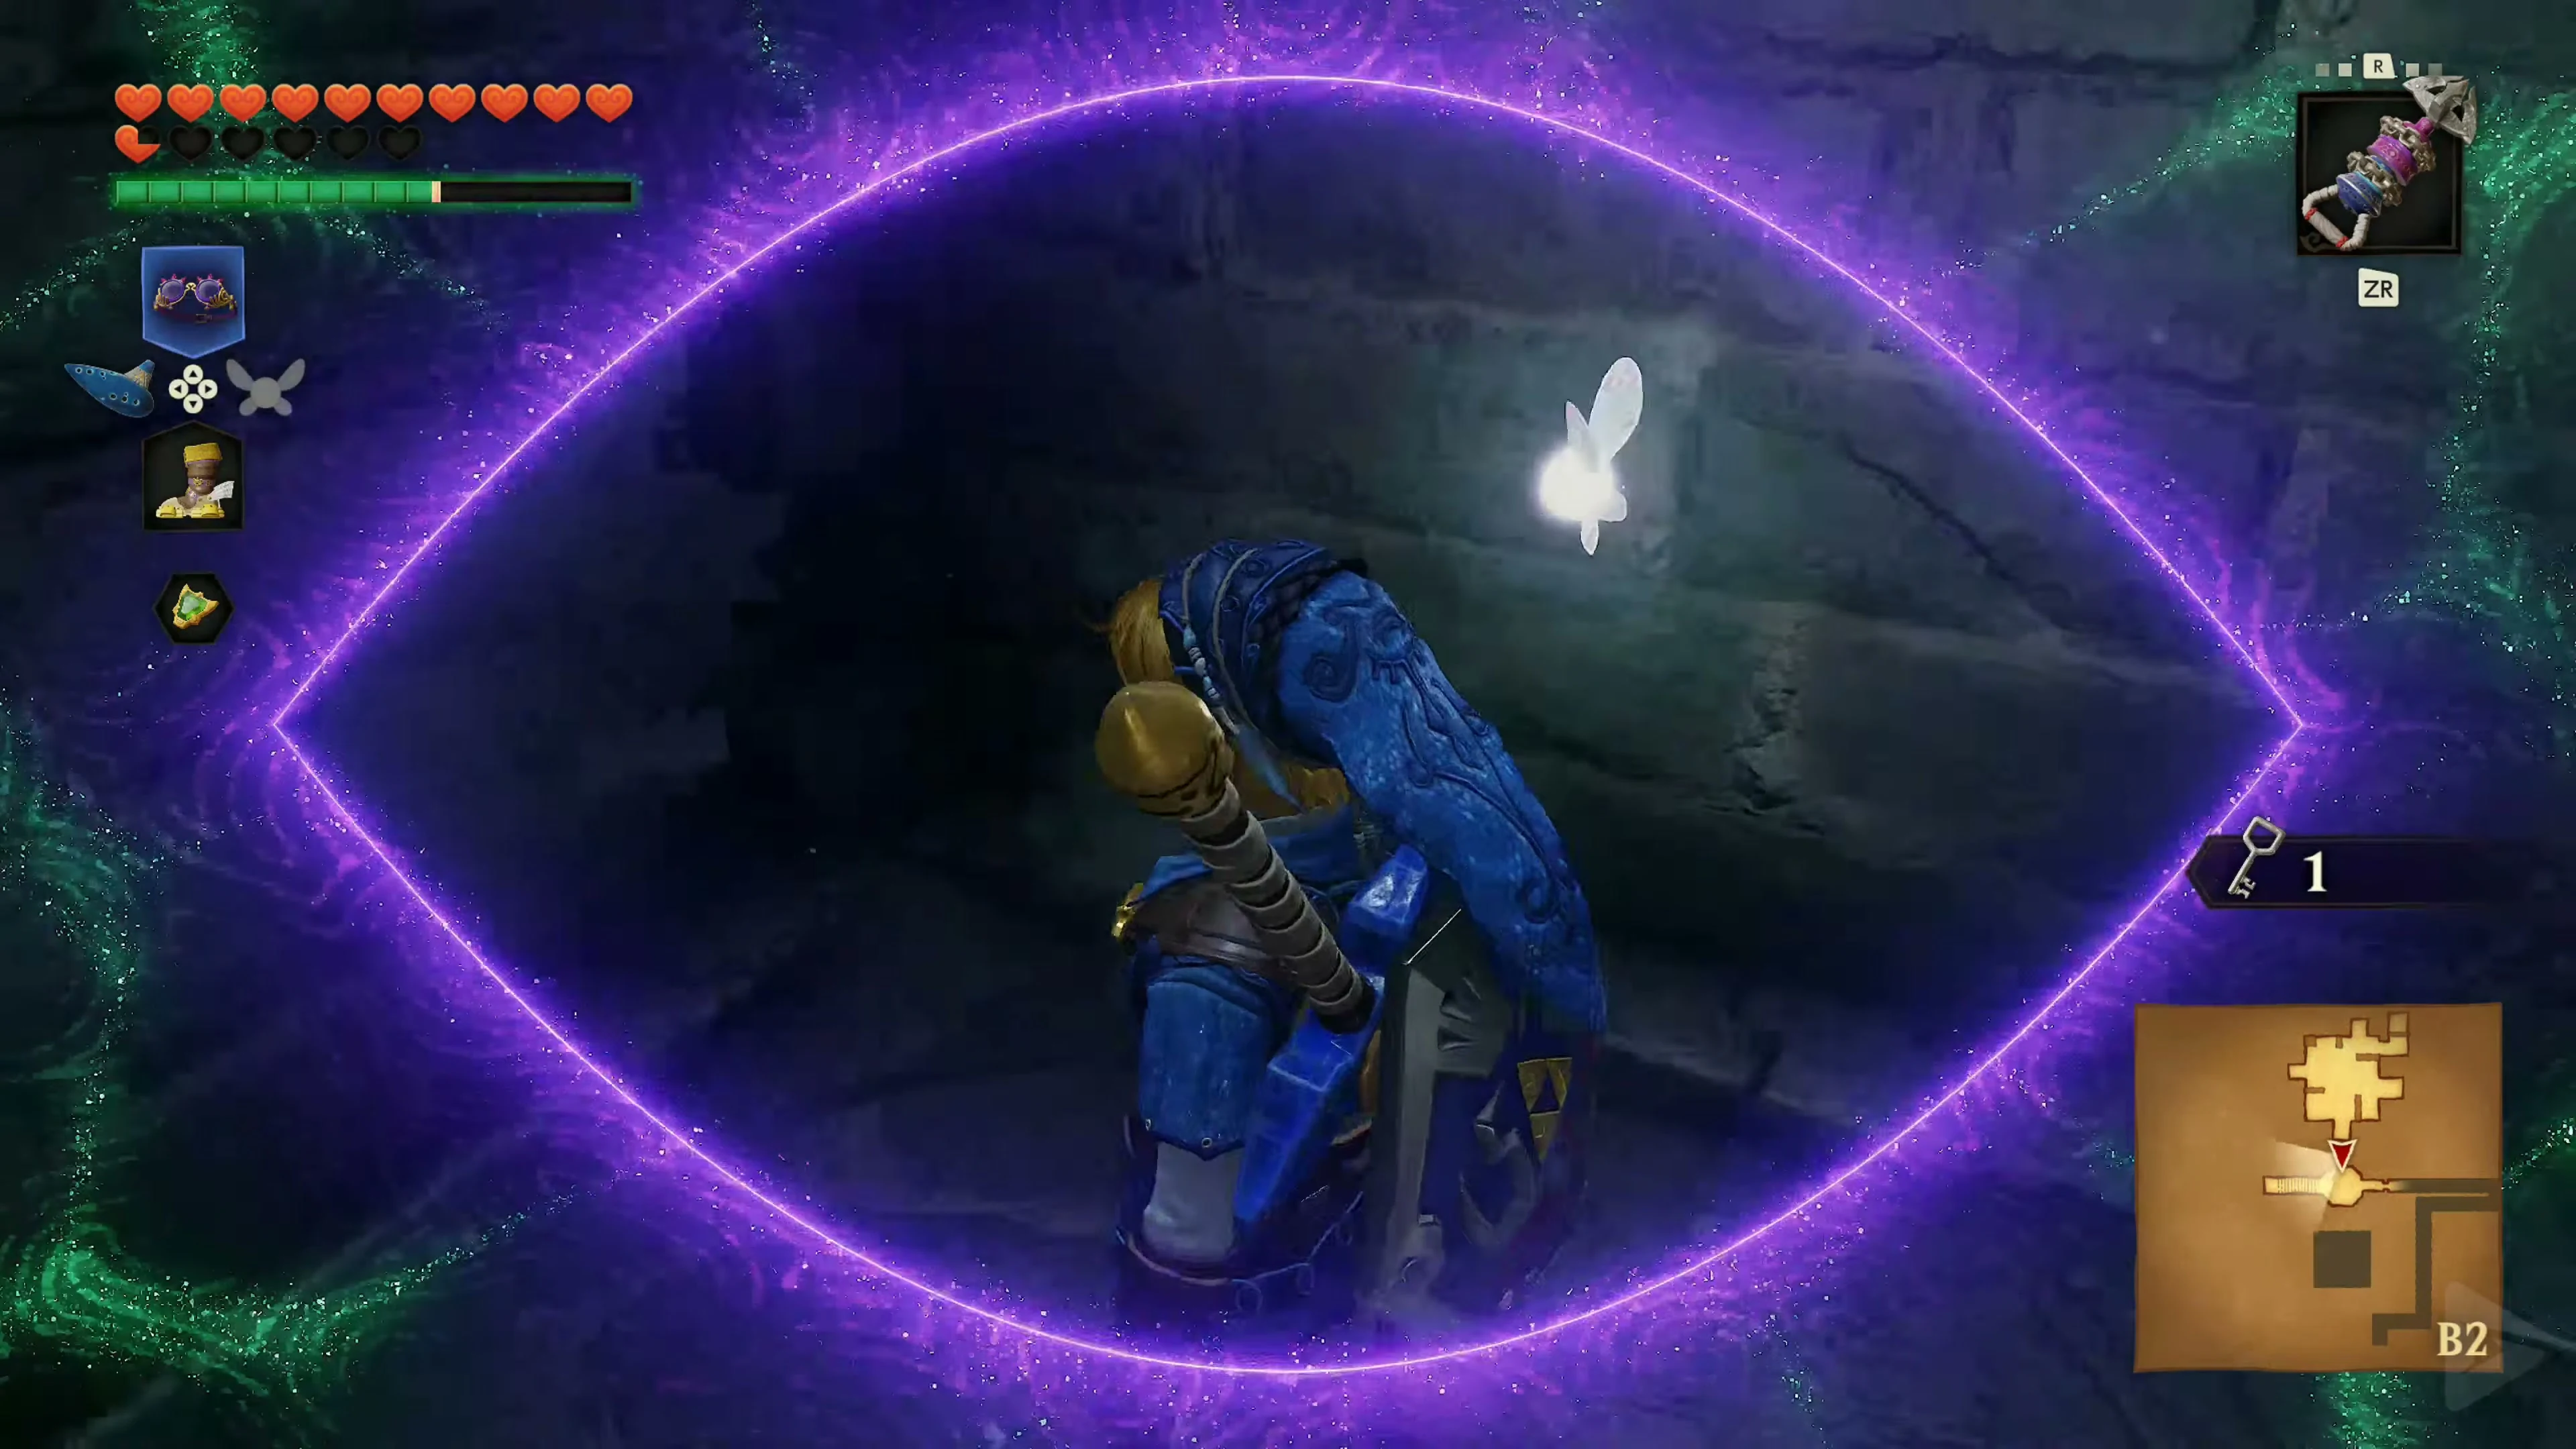
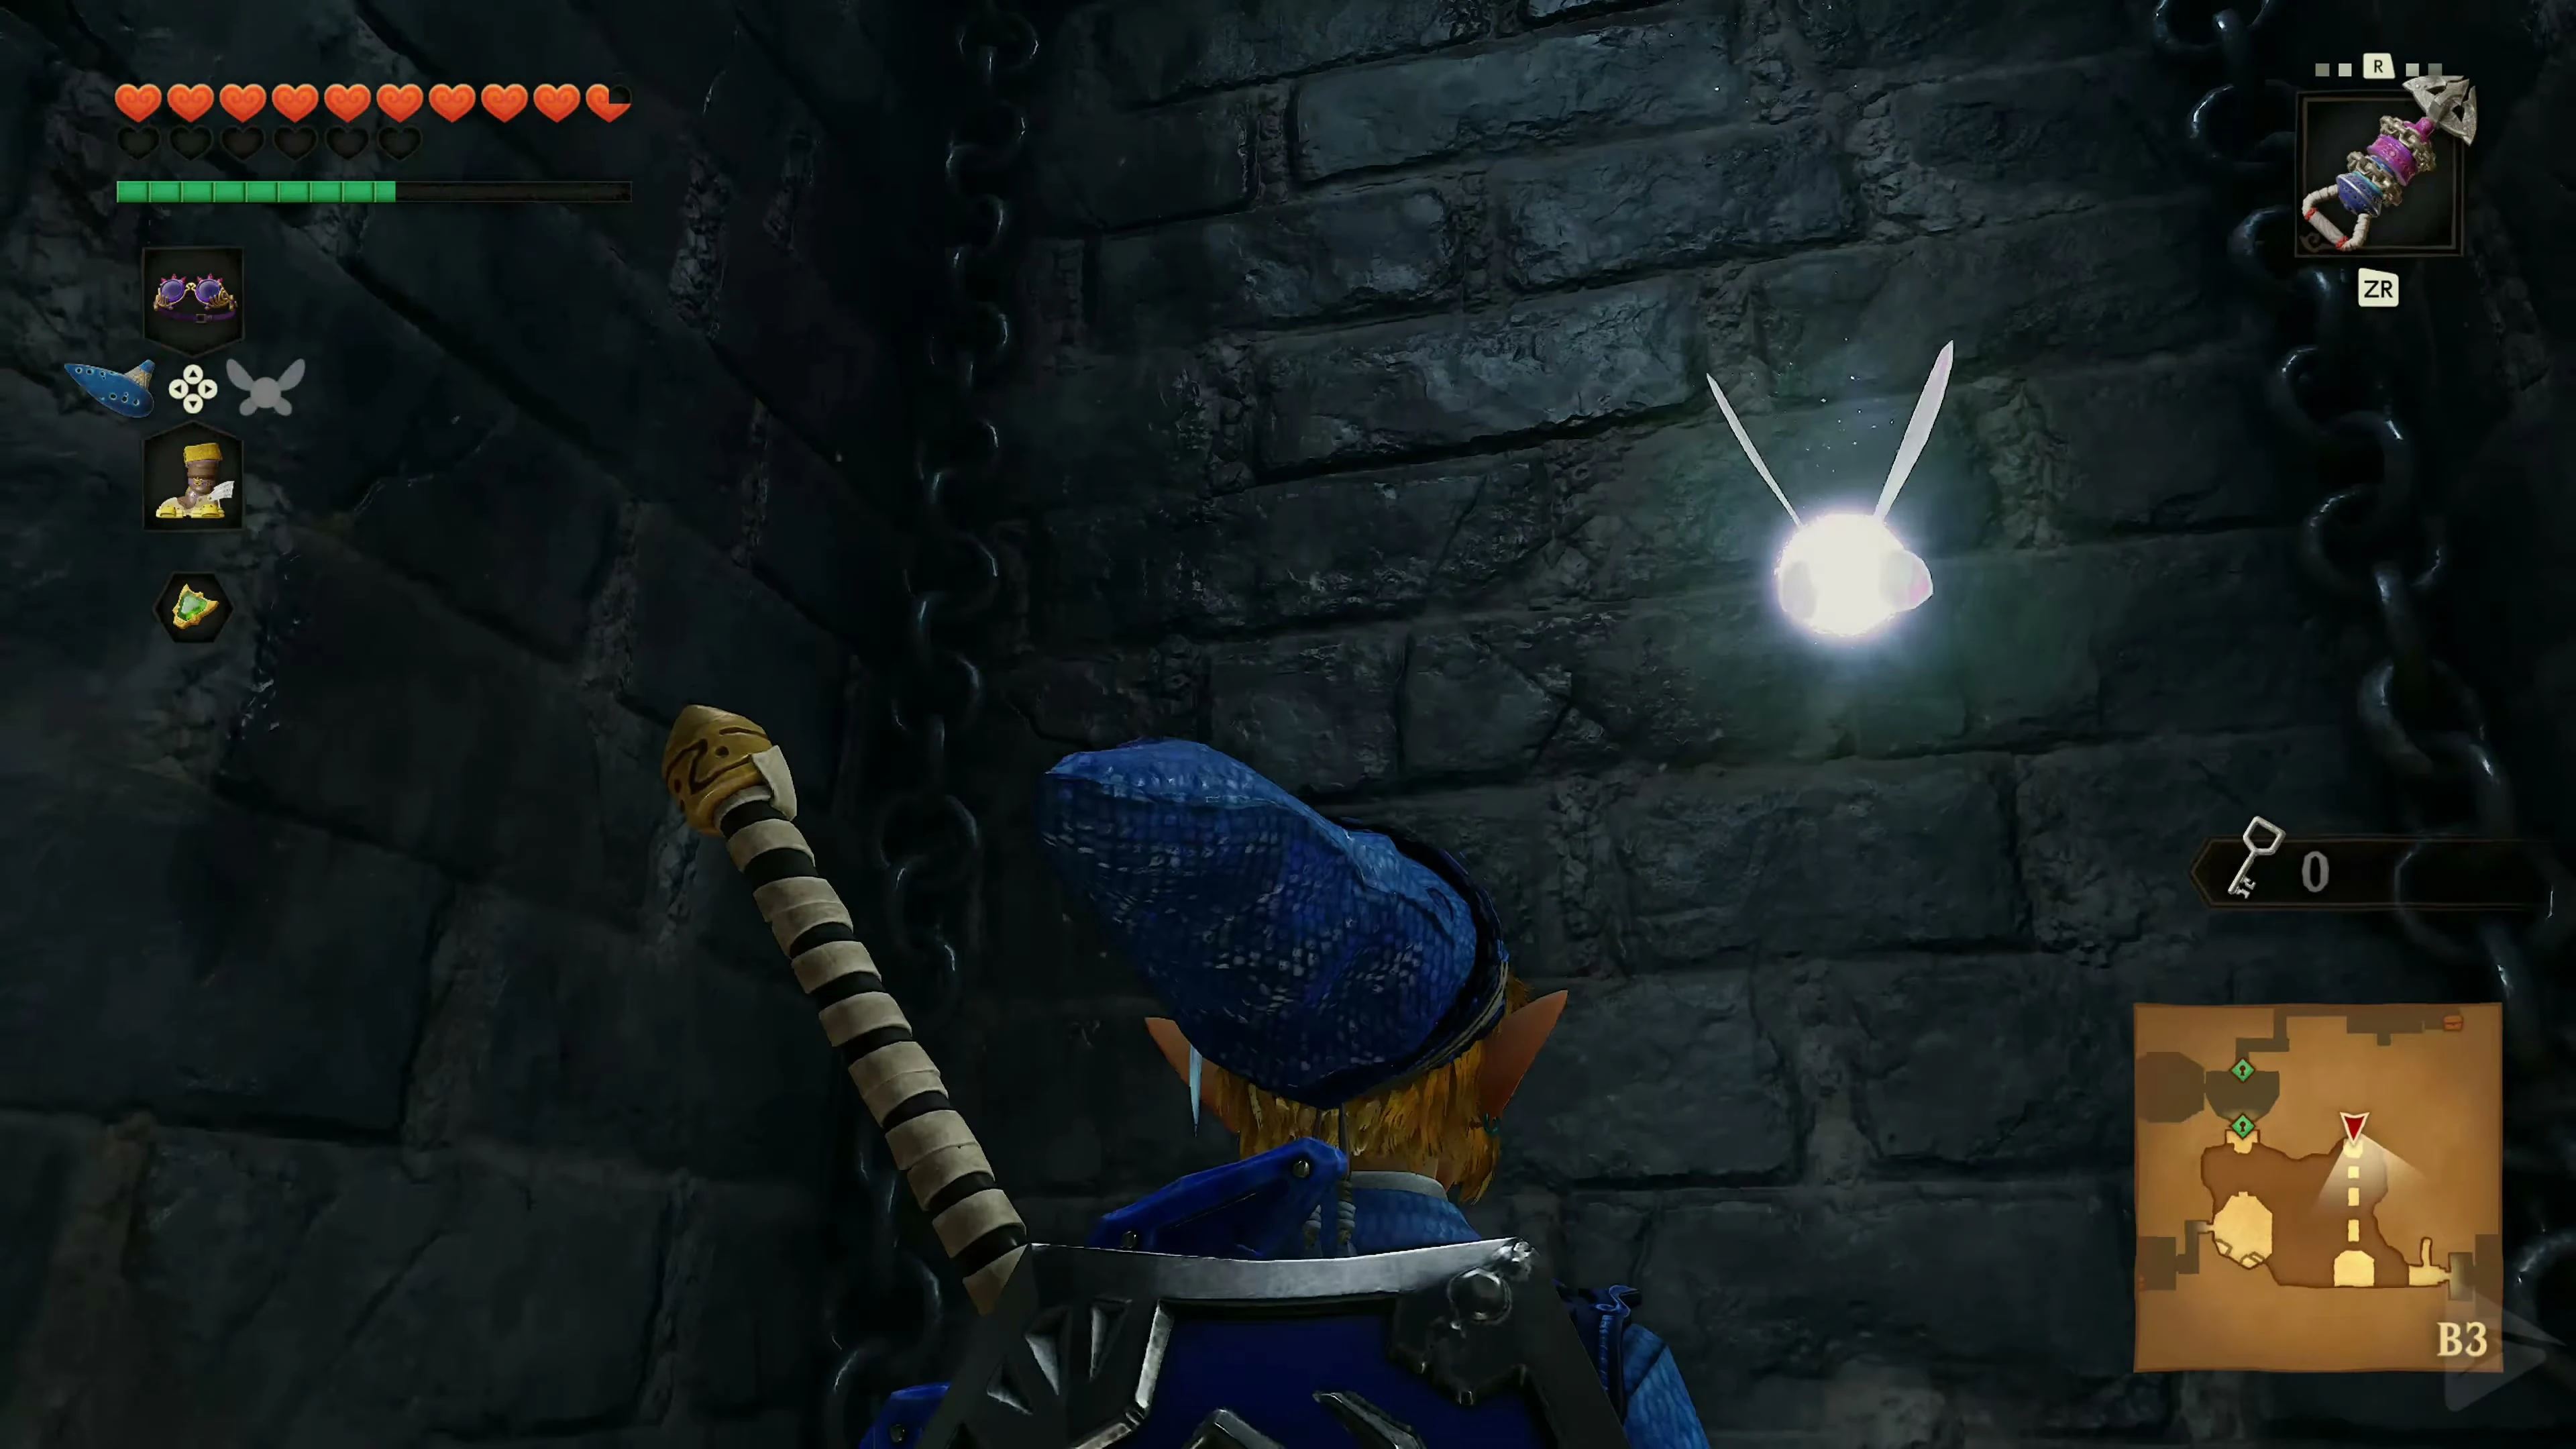
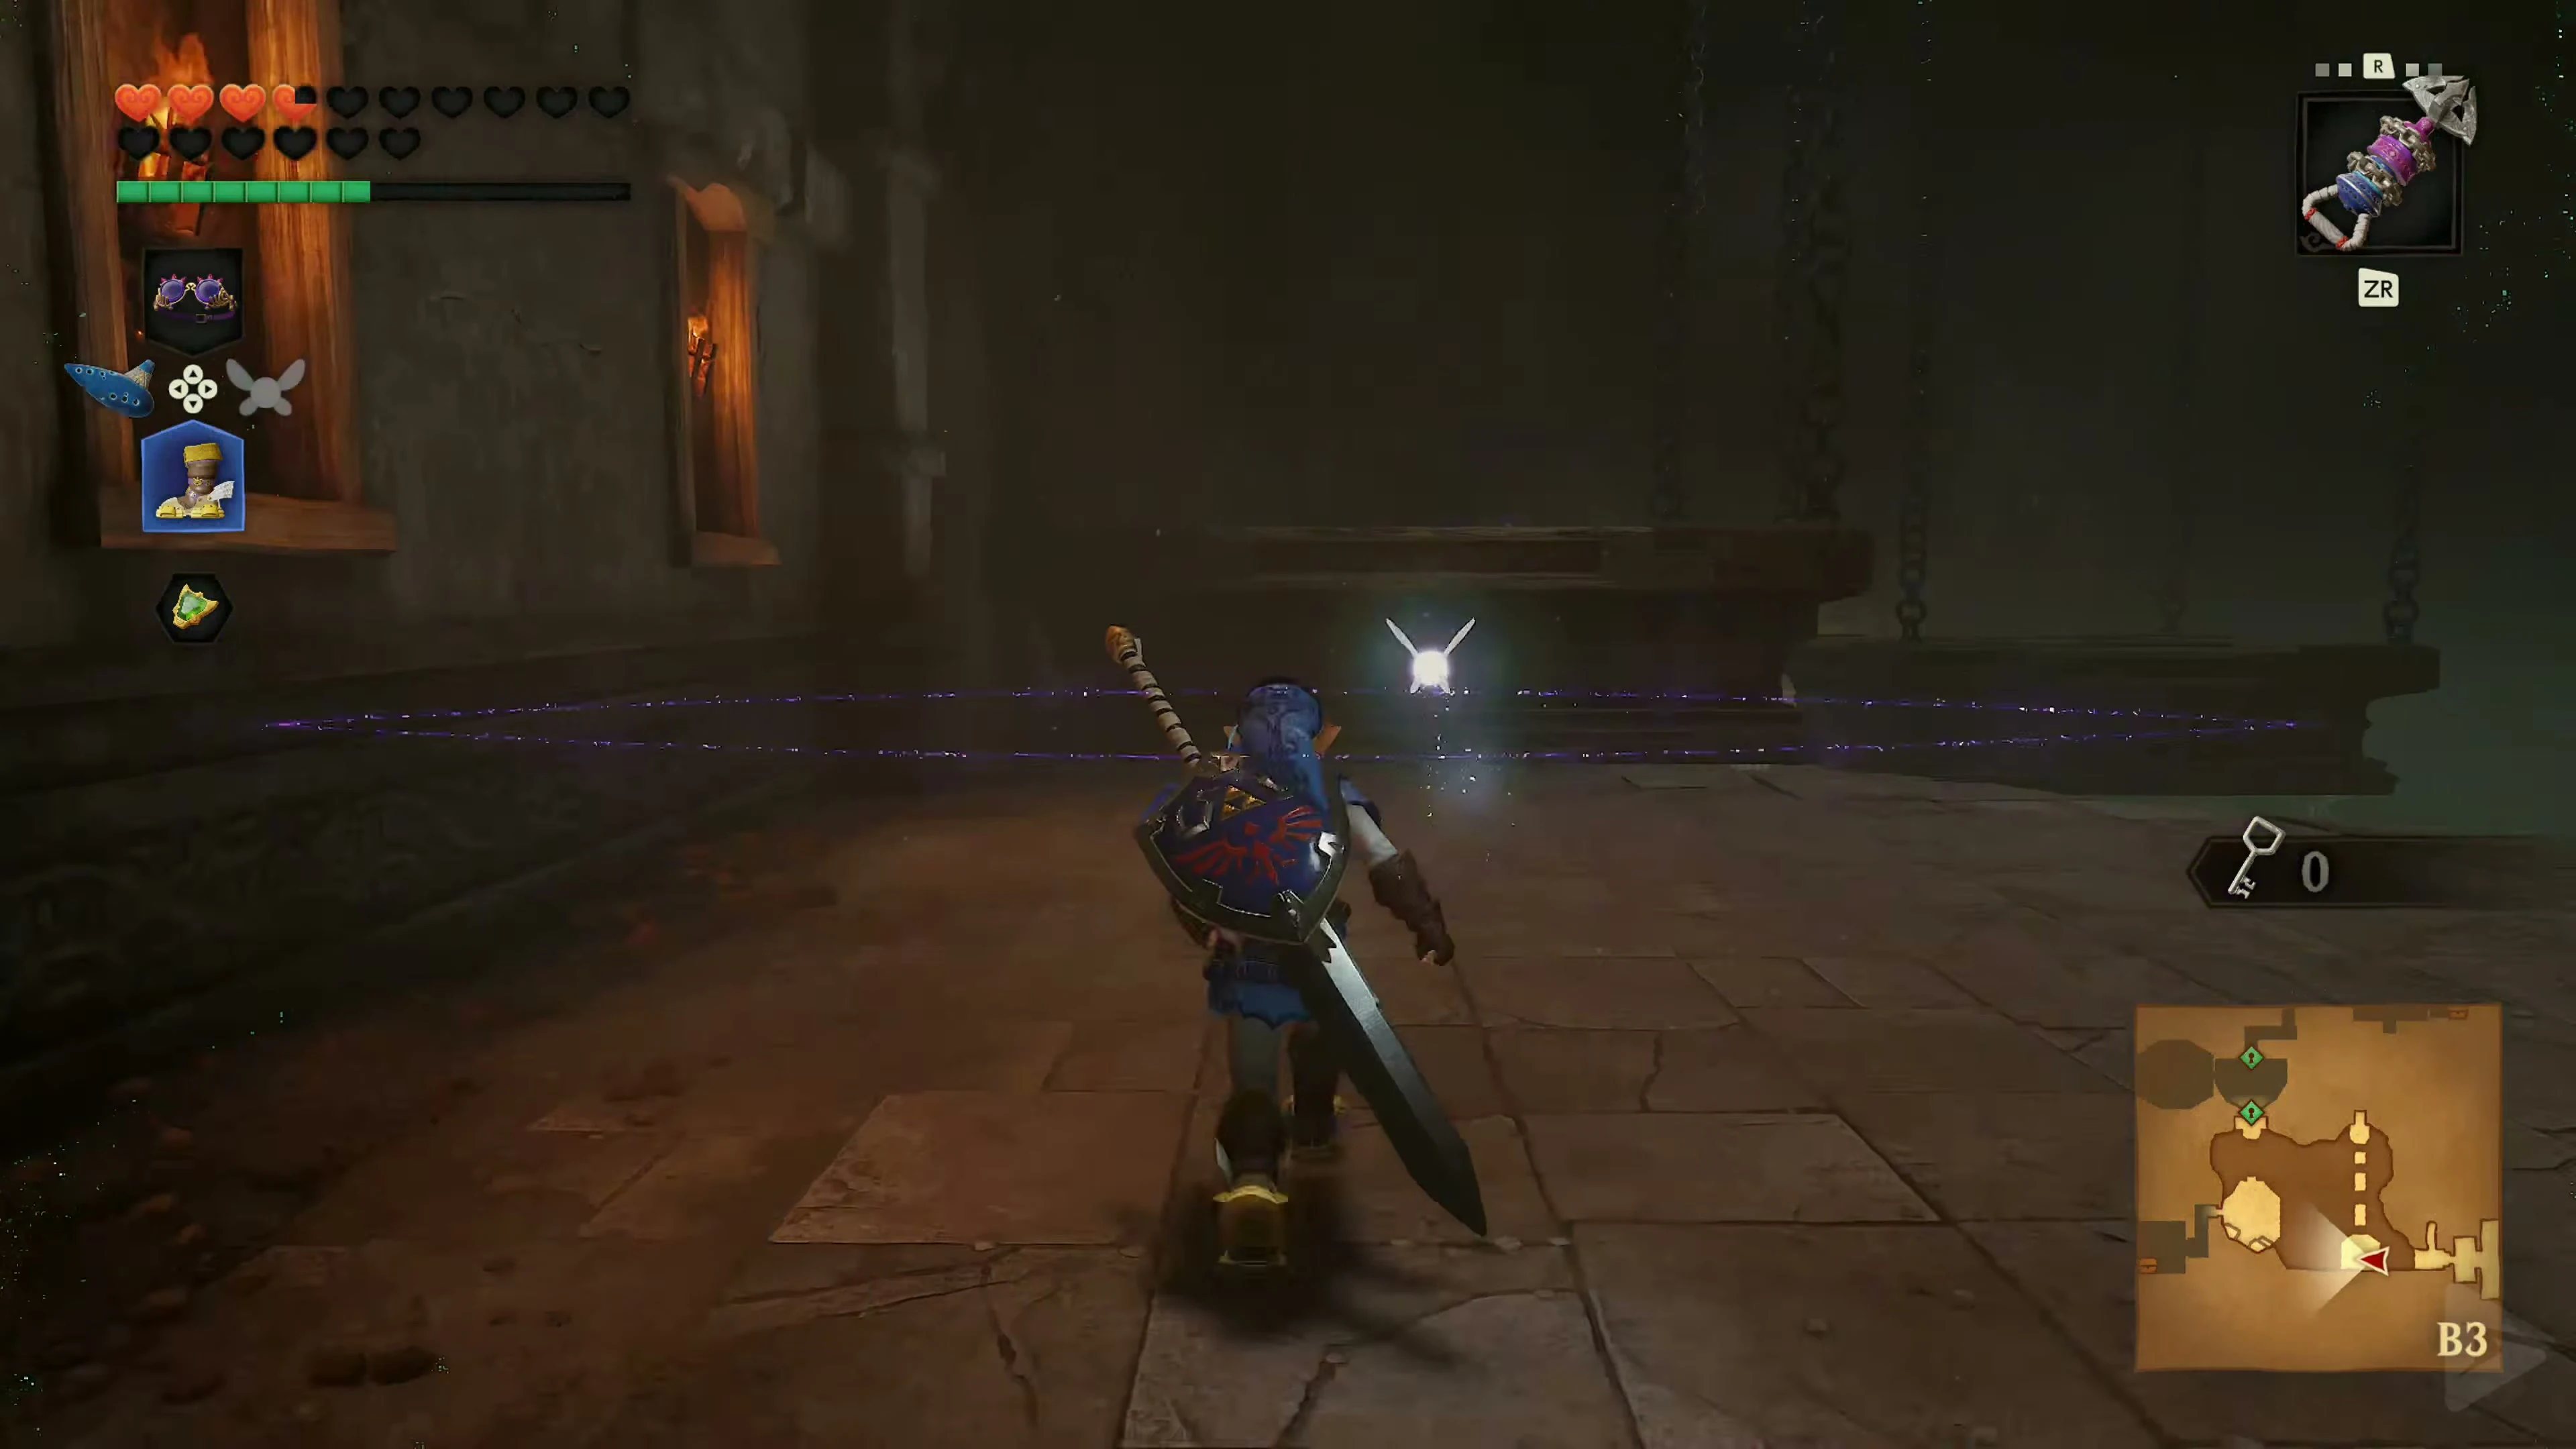
Gold Skulltula 1/5
From the Stalfos platform, use the Lenses of Truth to reveal the steps leading to the east door. In the room with the invisible blade, defeat the Keese and Like Like. Go through the east door and open the two chests, each containing 20 Rupees; use the Lenses of Truth to reveal the hidden chest. Defeat Gold Skulltula 1/5 and collect its token with the Longshot. Return to the large cavern.
The Falling Spiked Plates
Return to the large cave and this time take the moving platforms to the west.
. Bomb the Beamos before collecting the five crystals. Two are on the ground between the spike mines. You can reach the third via the wooden structure to the south using the Hover Boots, and the fourth via the northern lifting platform. The last one appears to be floating north above the chasm. Activate the Lenses of Truth there and glide to the invisible platform below it. The west door will then be open.
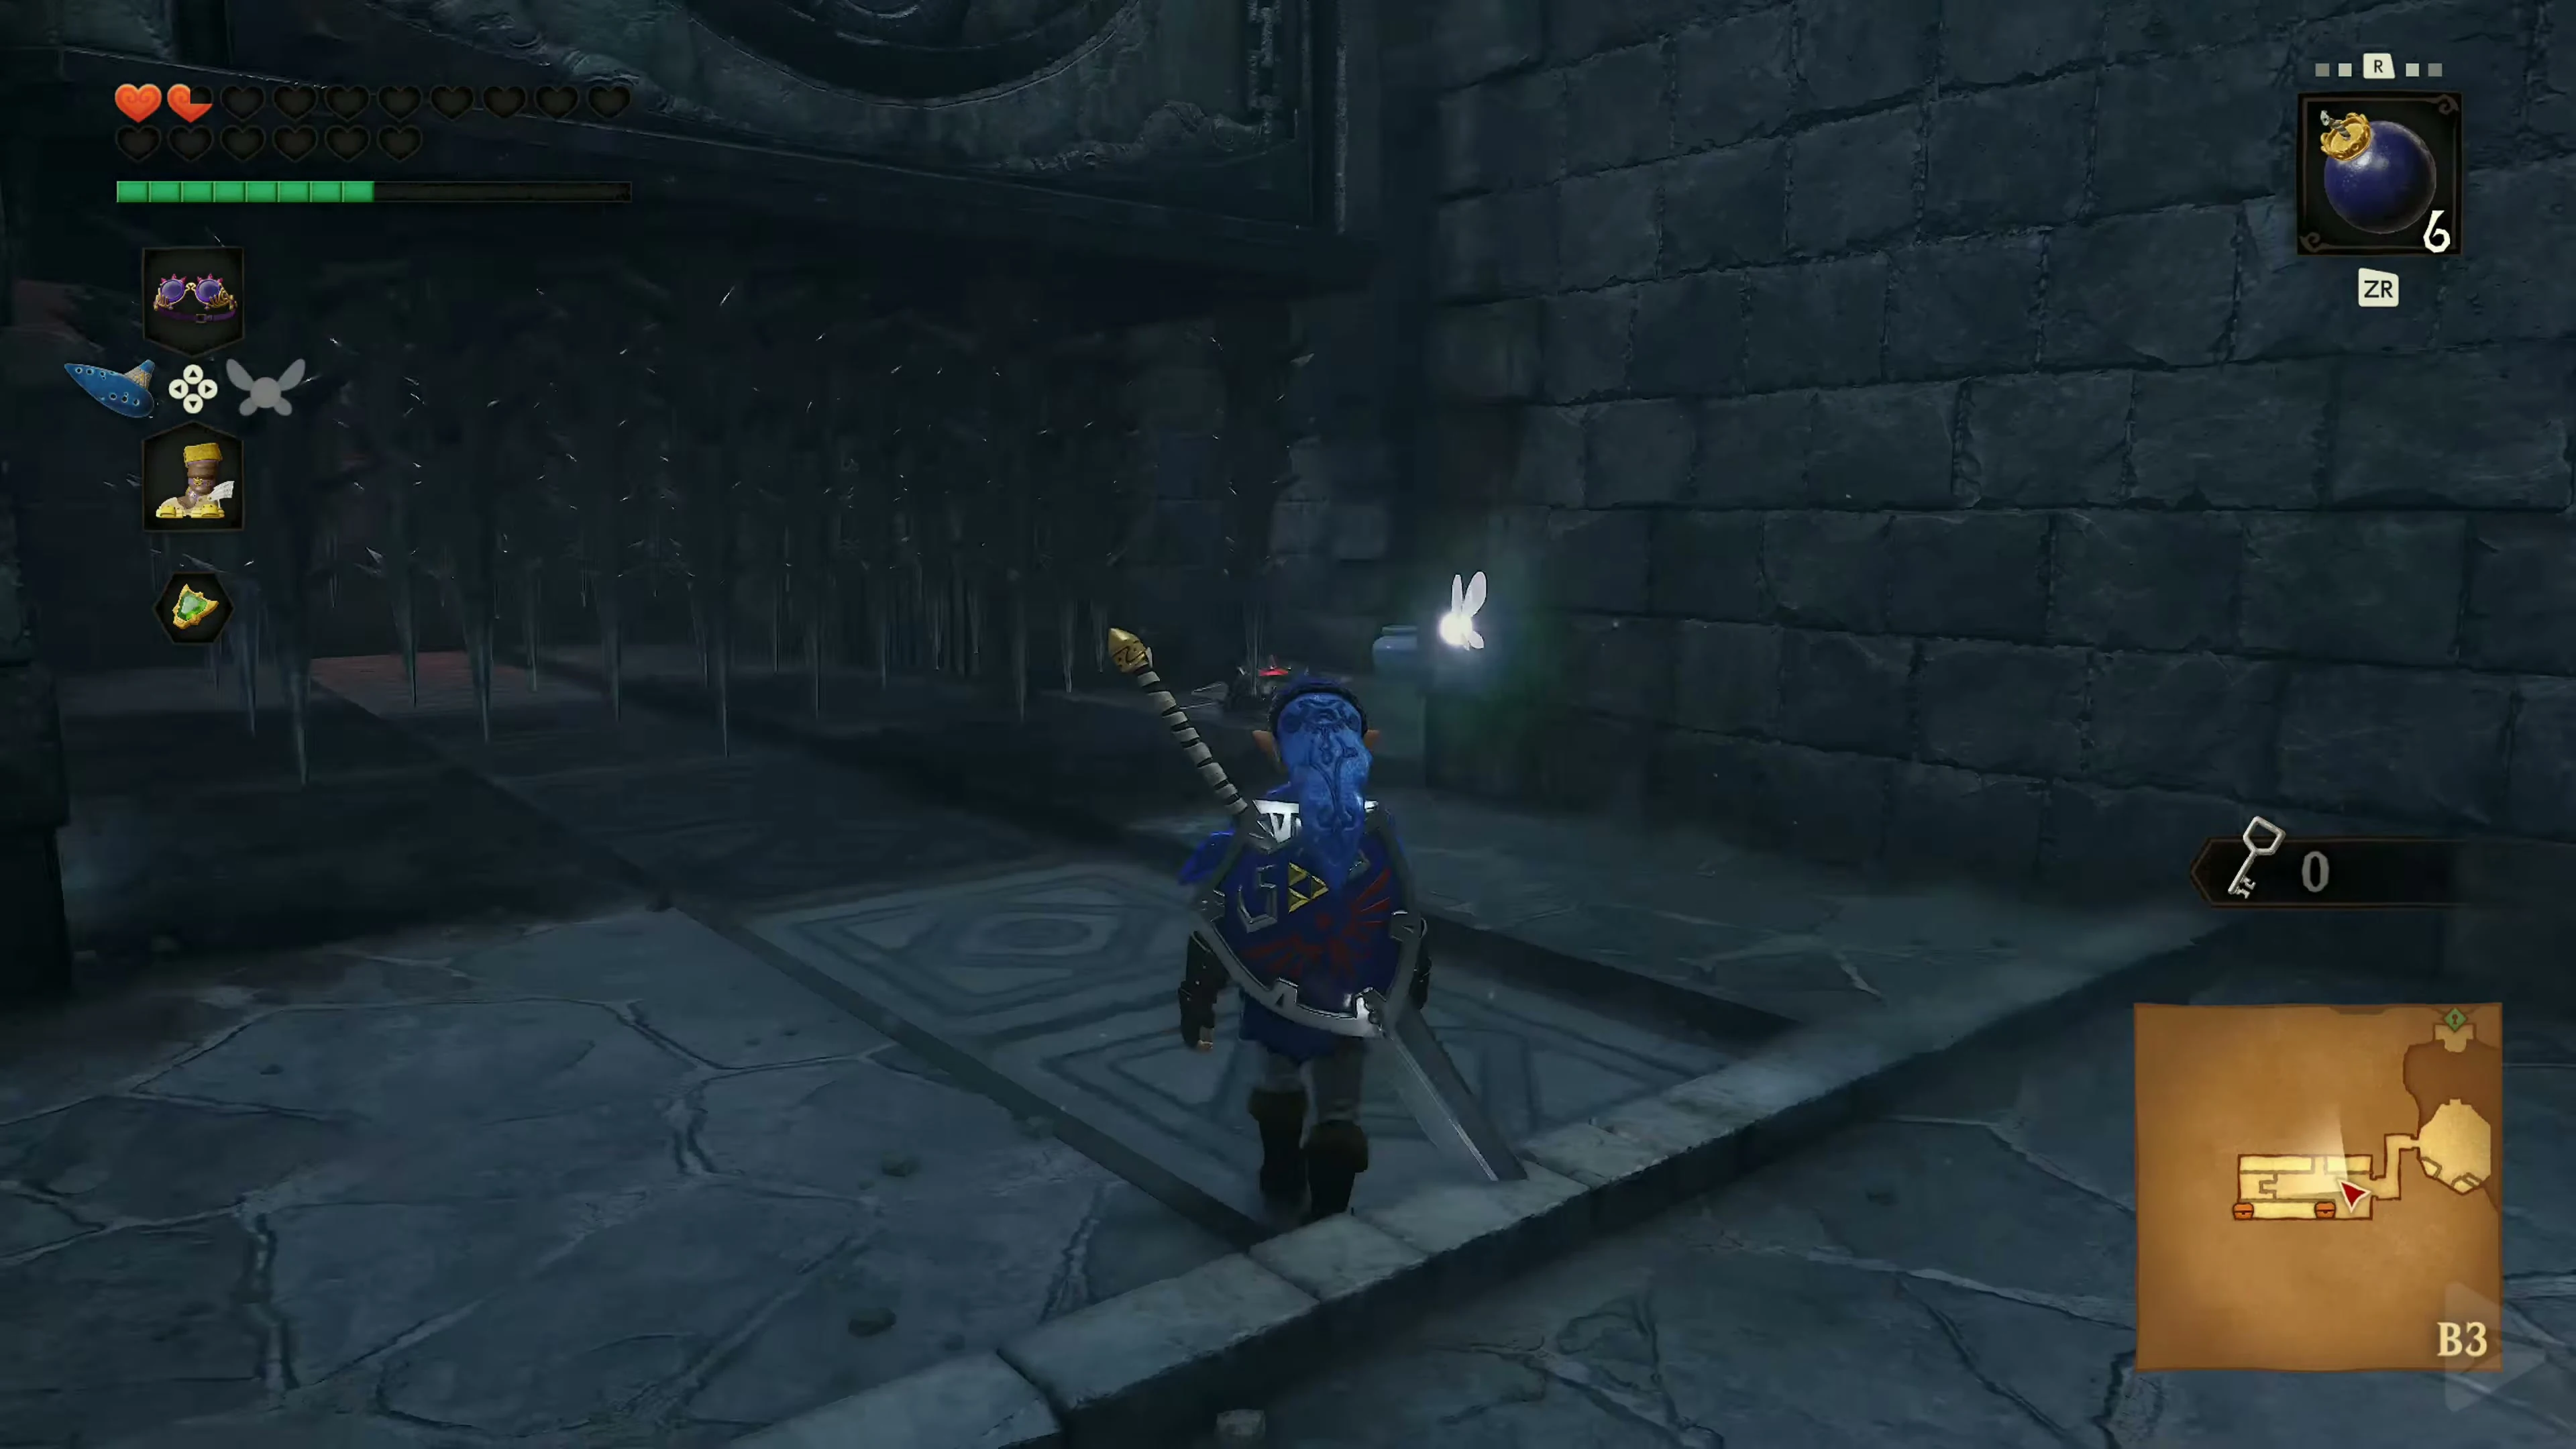
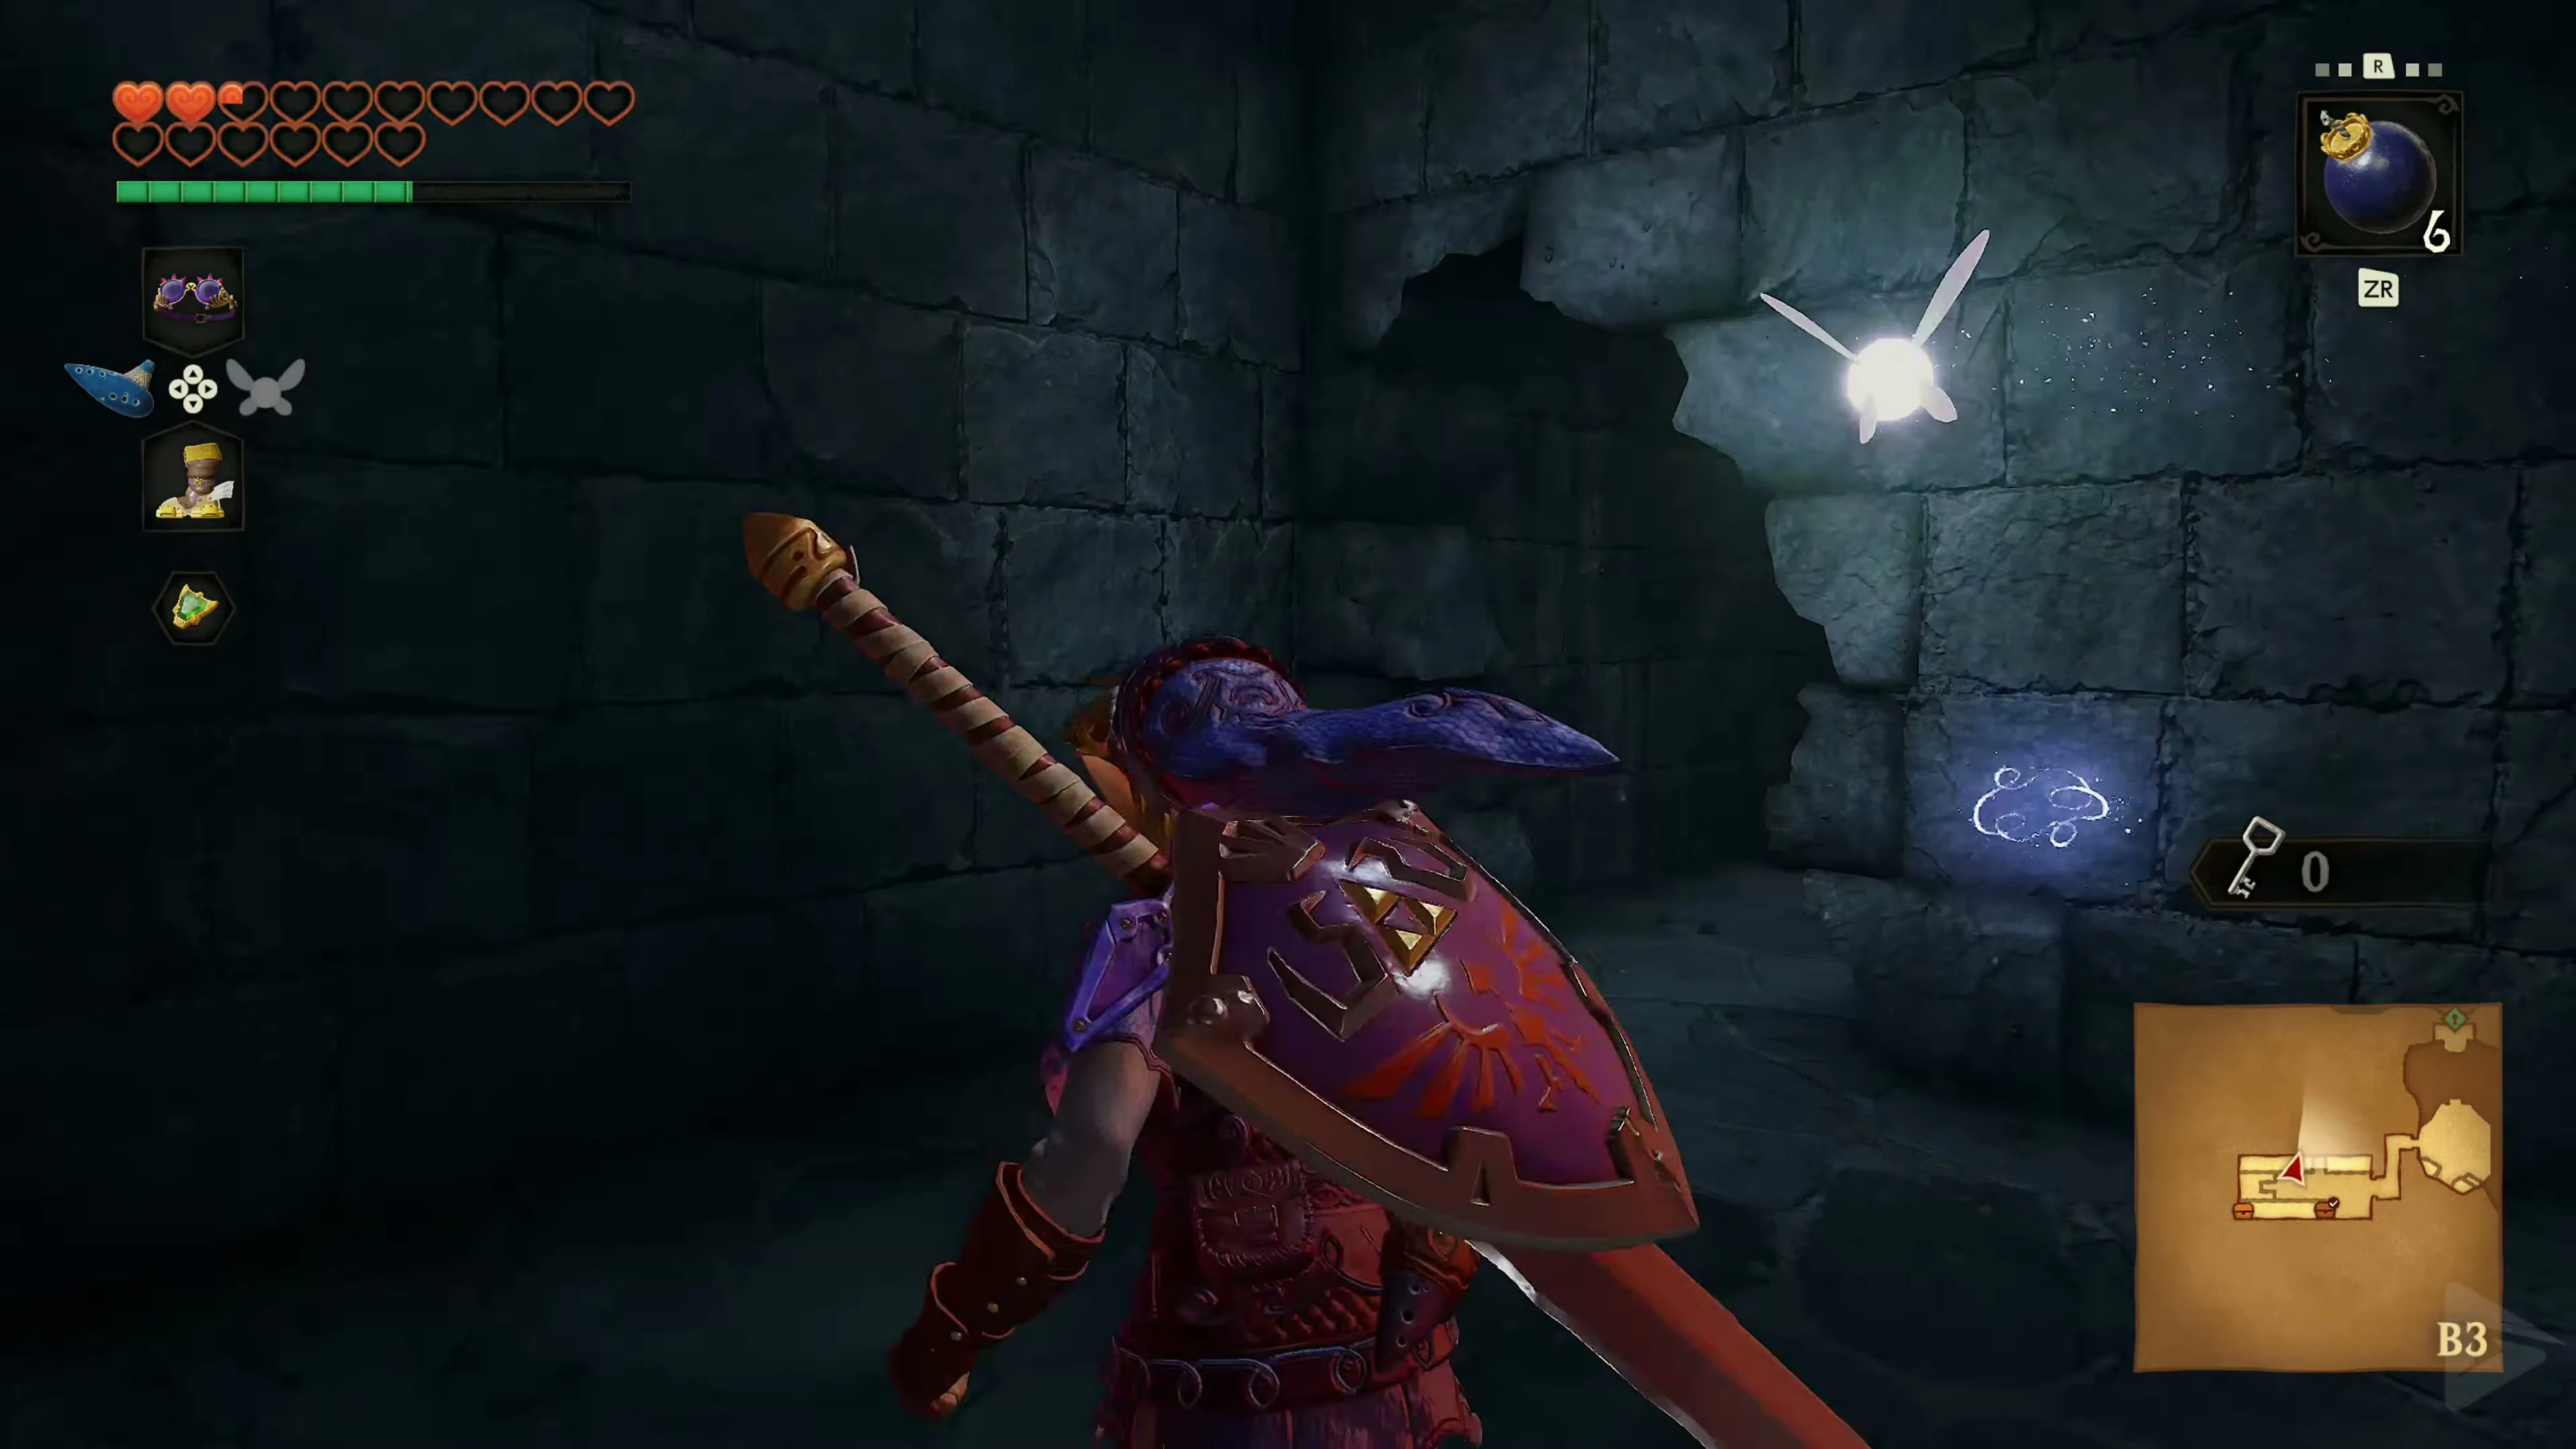
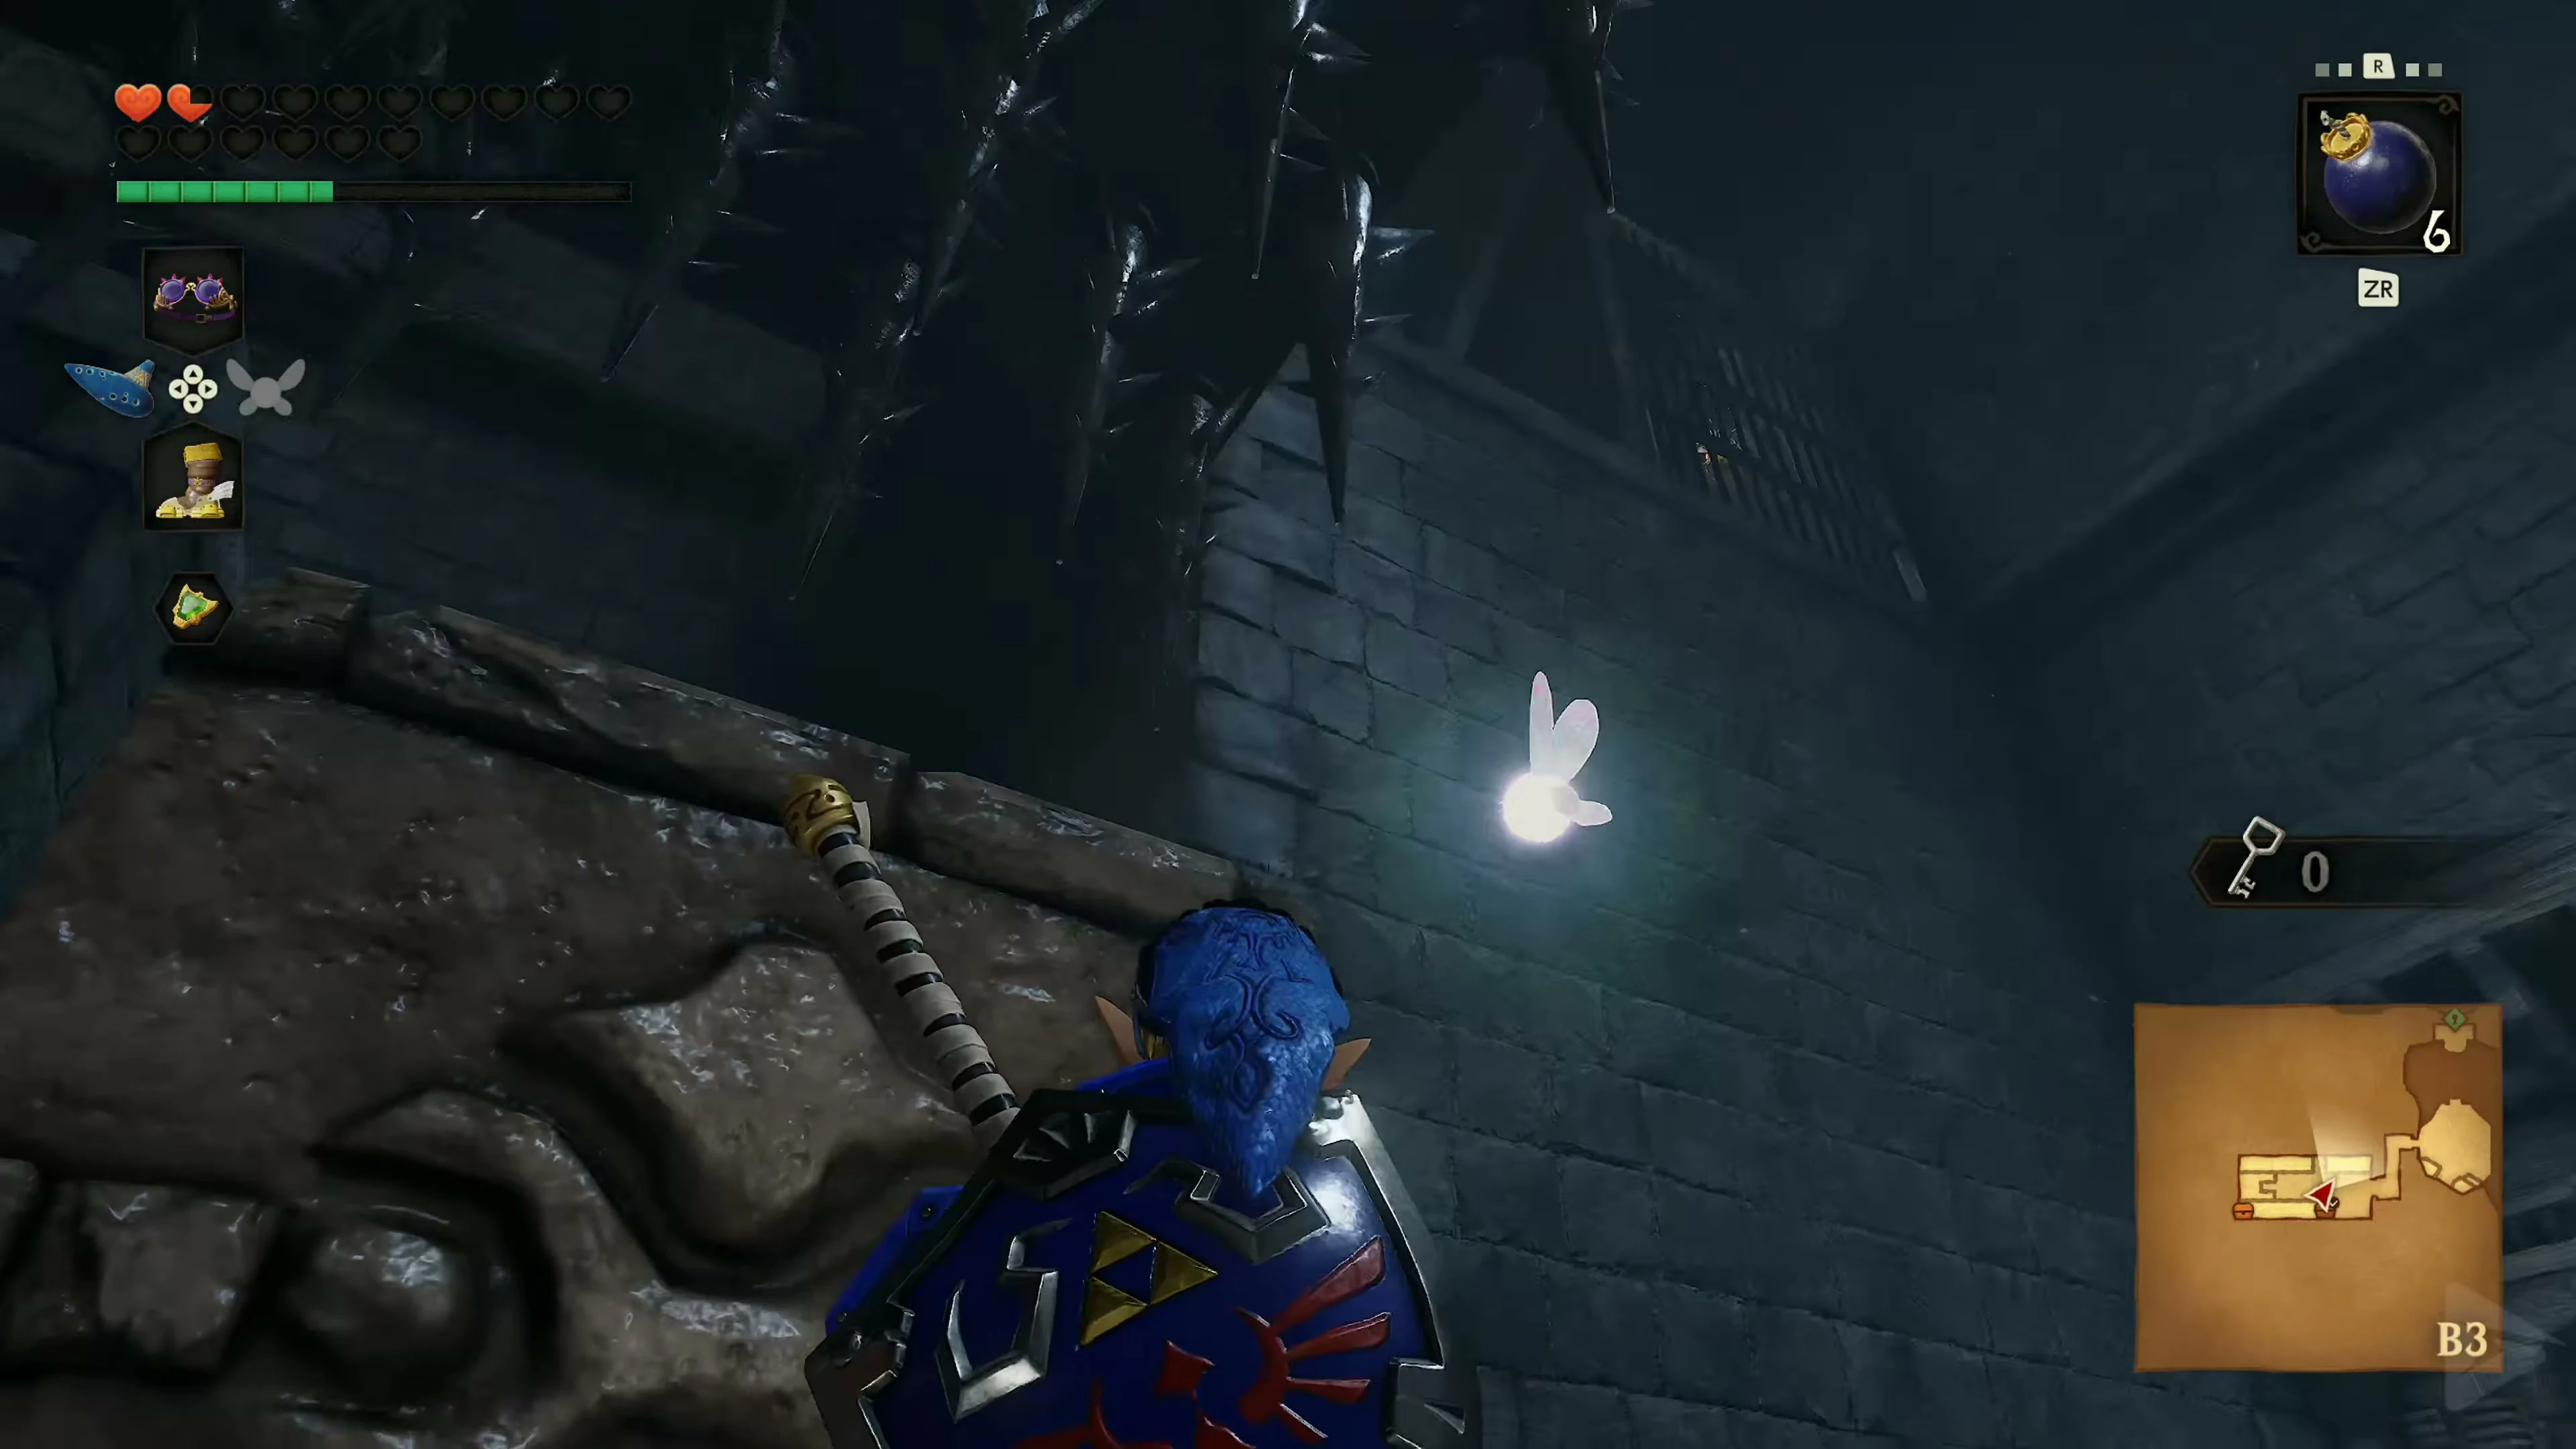
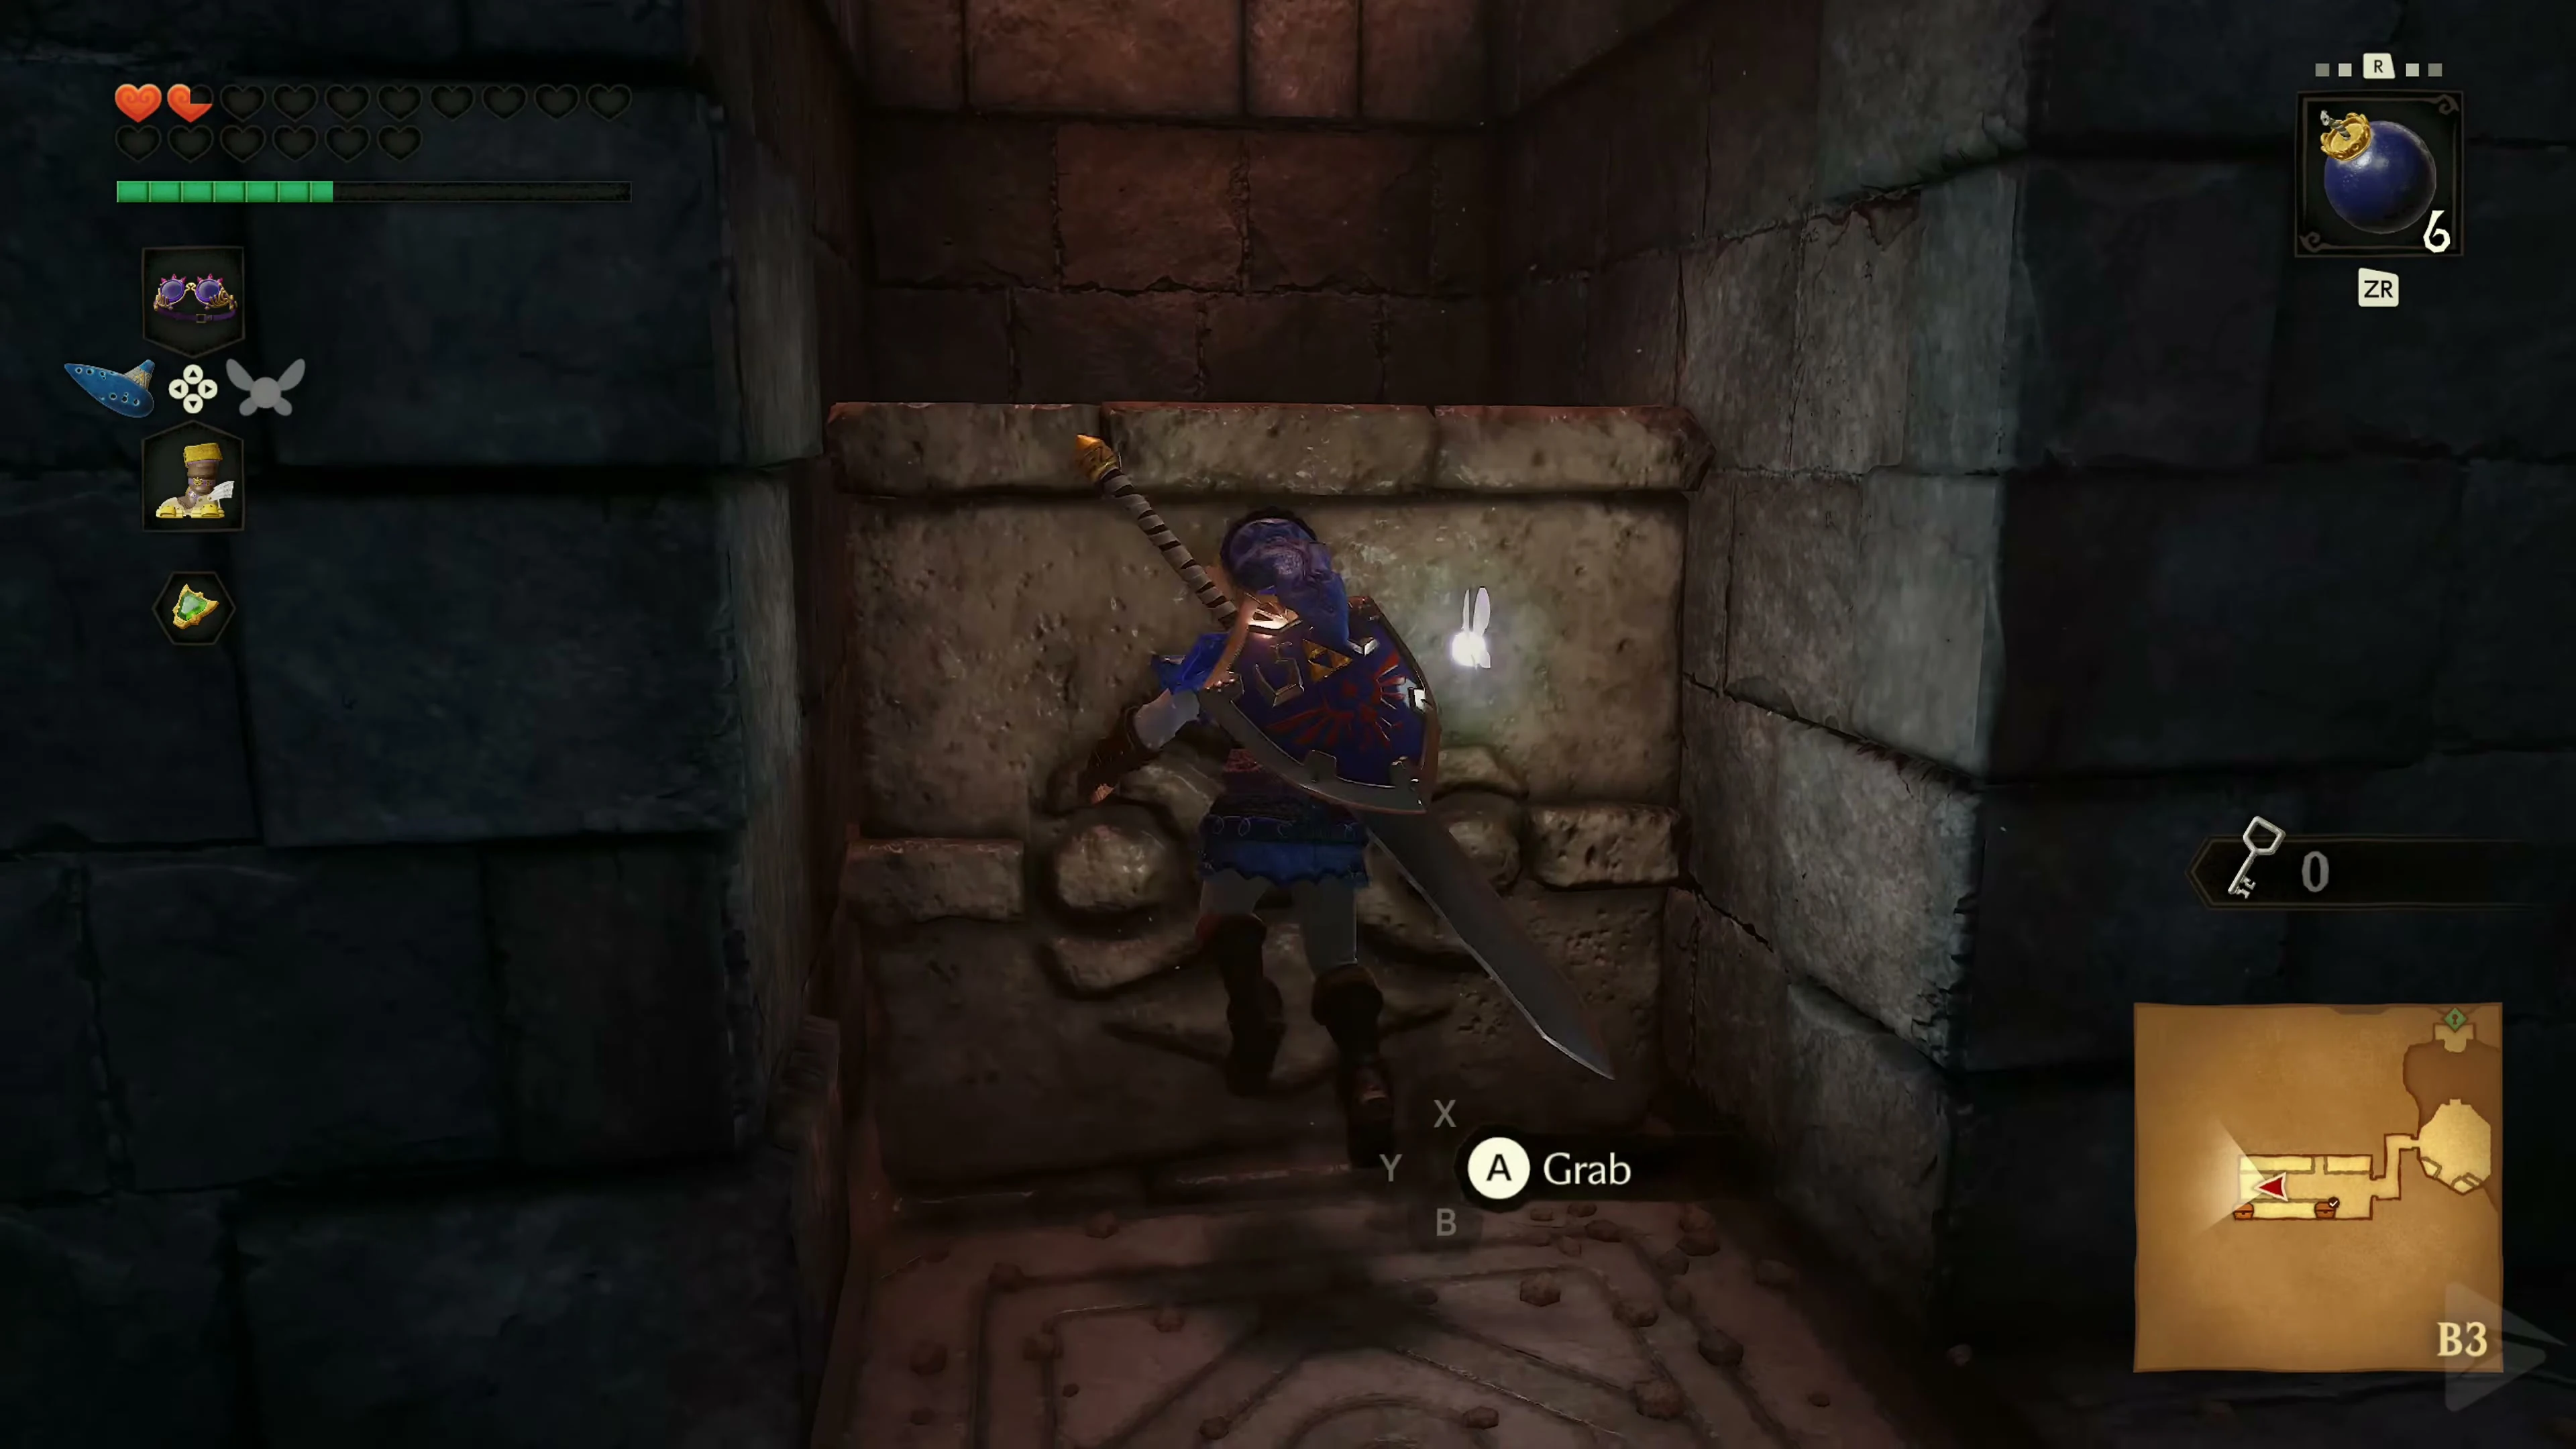
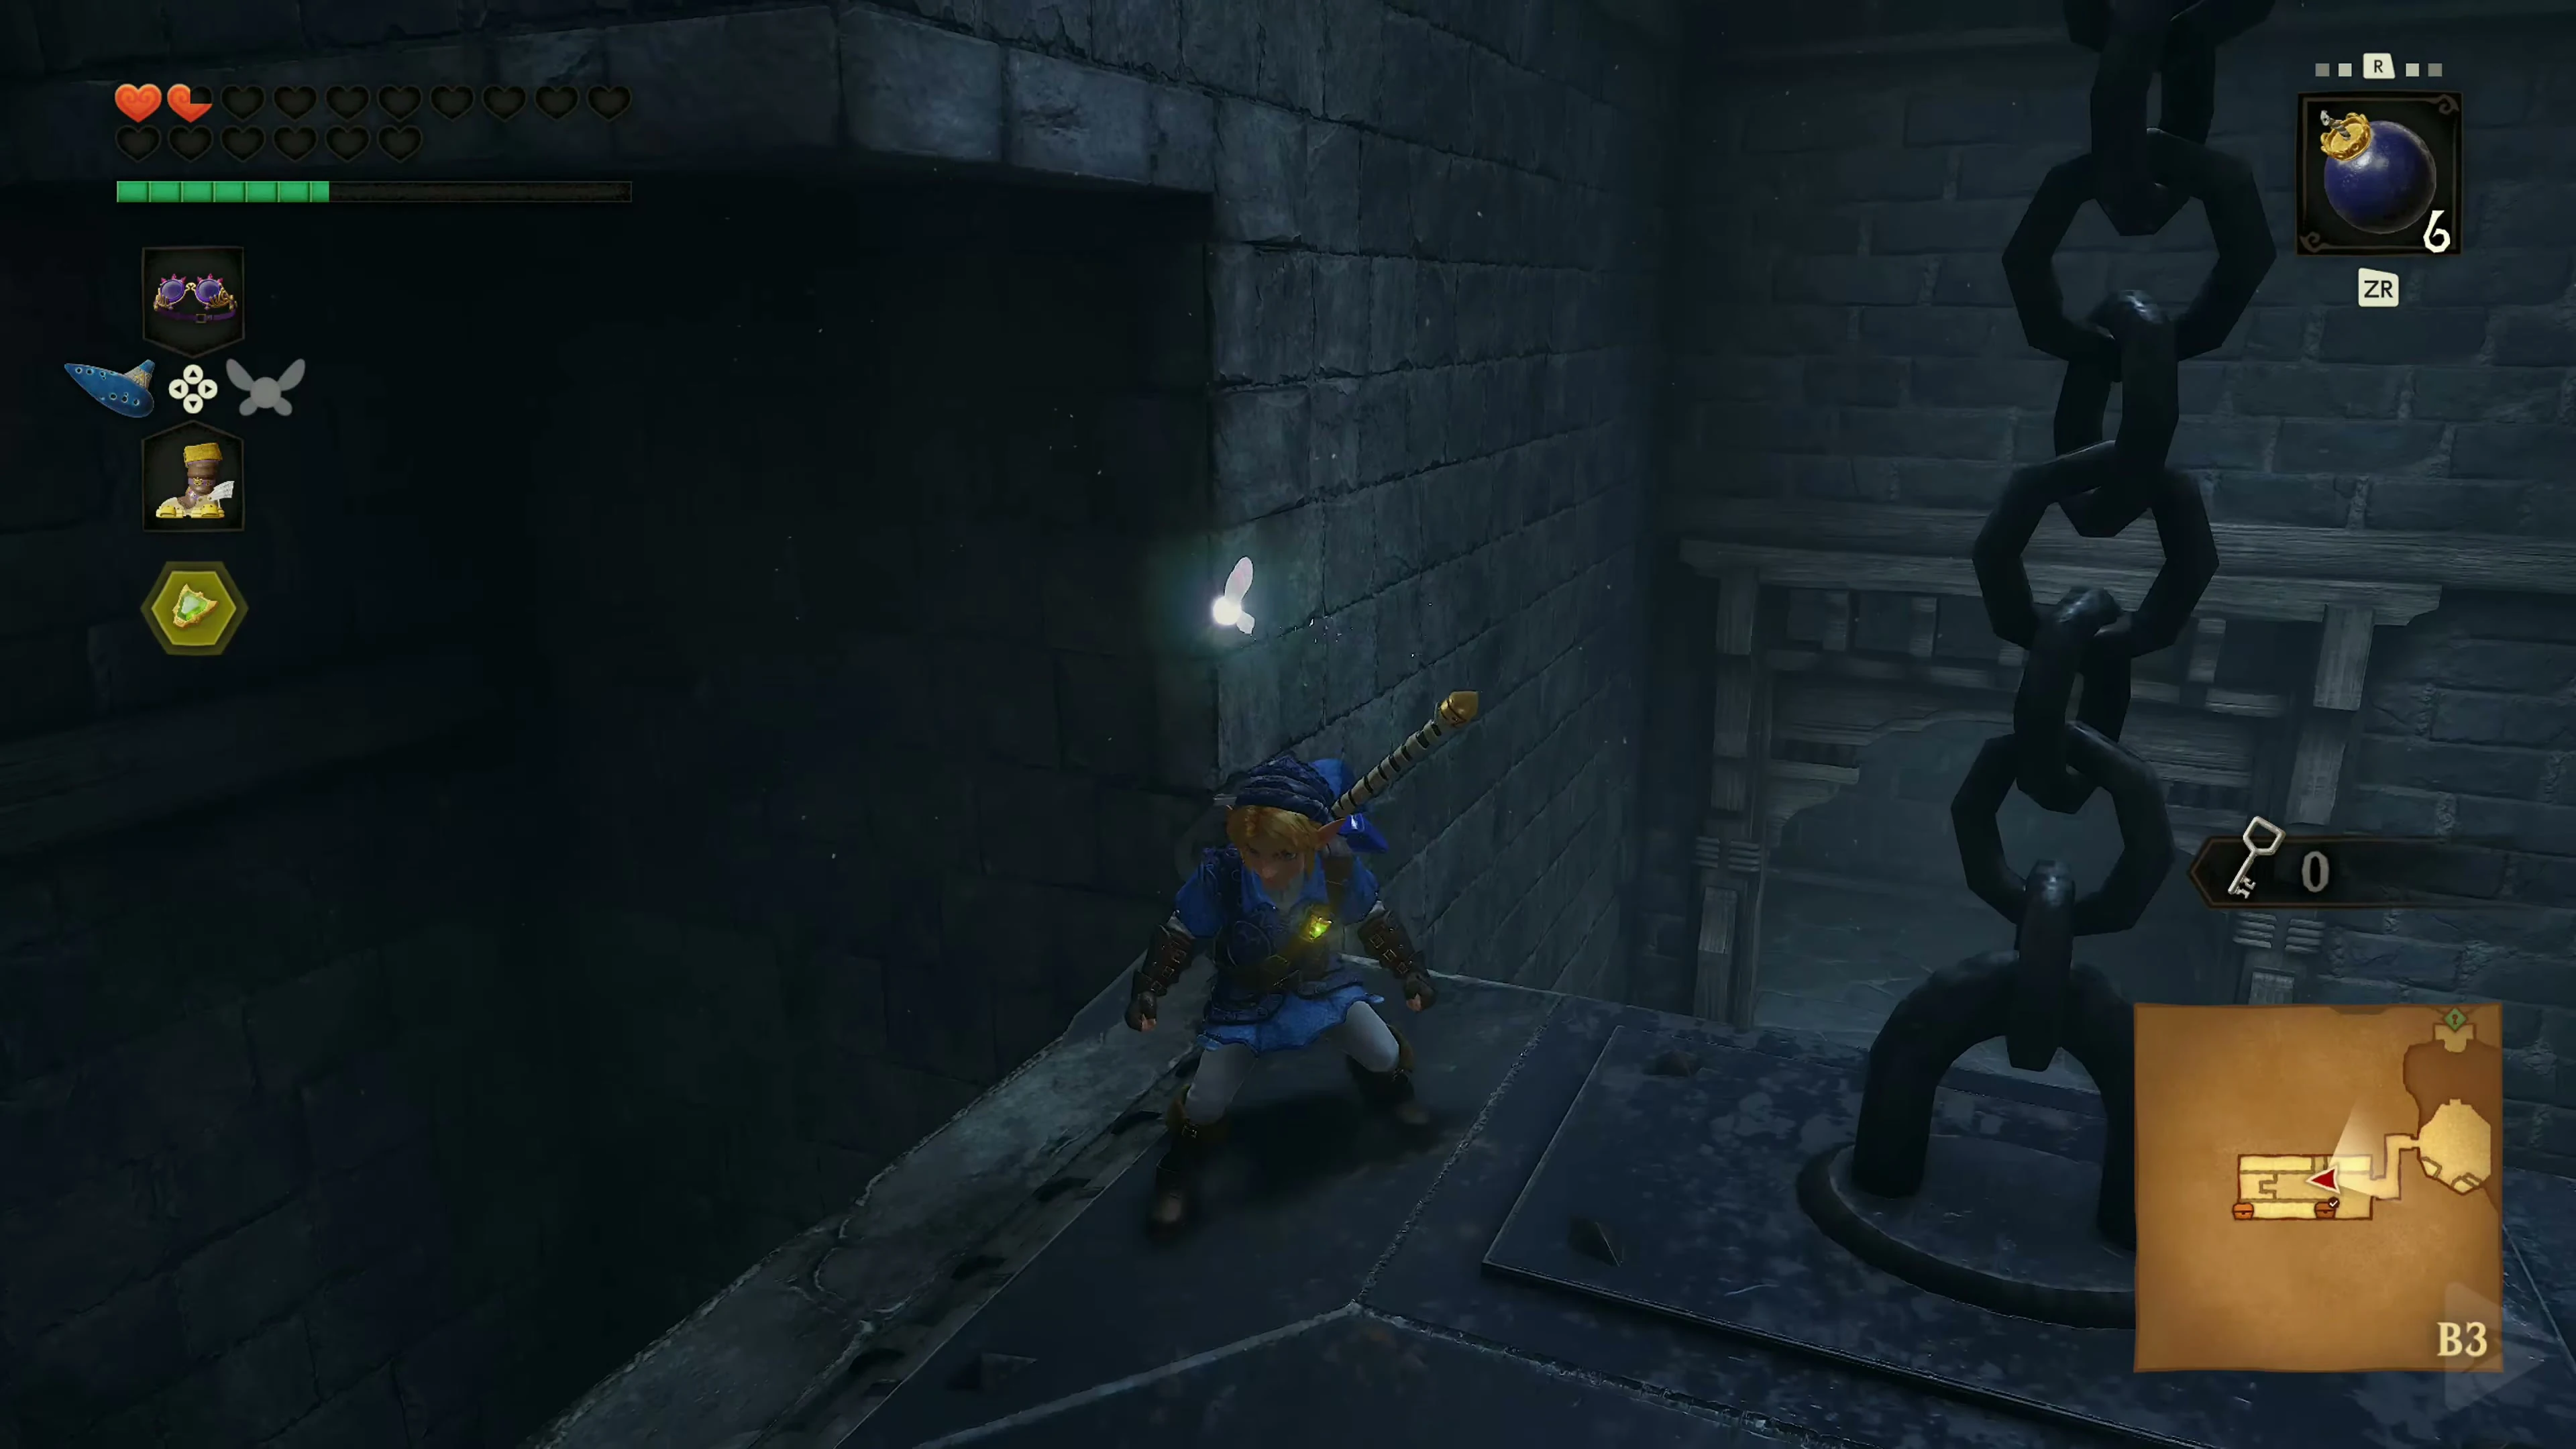
Behind the west door, the rails on the floor guide the way. Activate the Lenses of Truth and pull the hidden block out of the right wall. Push it under the two spike plates until it catches them. Go to the other side and pull the block further west. You can access the tops of the panels from the block.
Gold Skulltula 2/5
Climb onto the dropped spiked plates at the west end of the block. Search the Northeast Corner at the top. Defeat Gold Skulltula 2/5 and retrieve its Token with the Longshot .
Small Key 2/5
From the tops of the plates, go to the chest in the southwest corner. Inside is Small Key 2/5 . Return to the large cave with it.
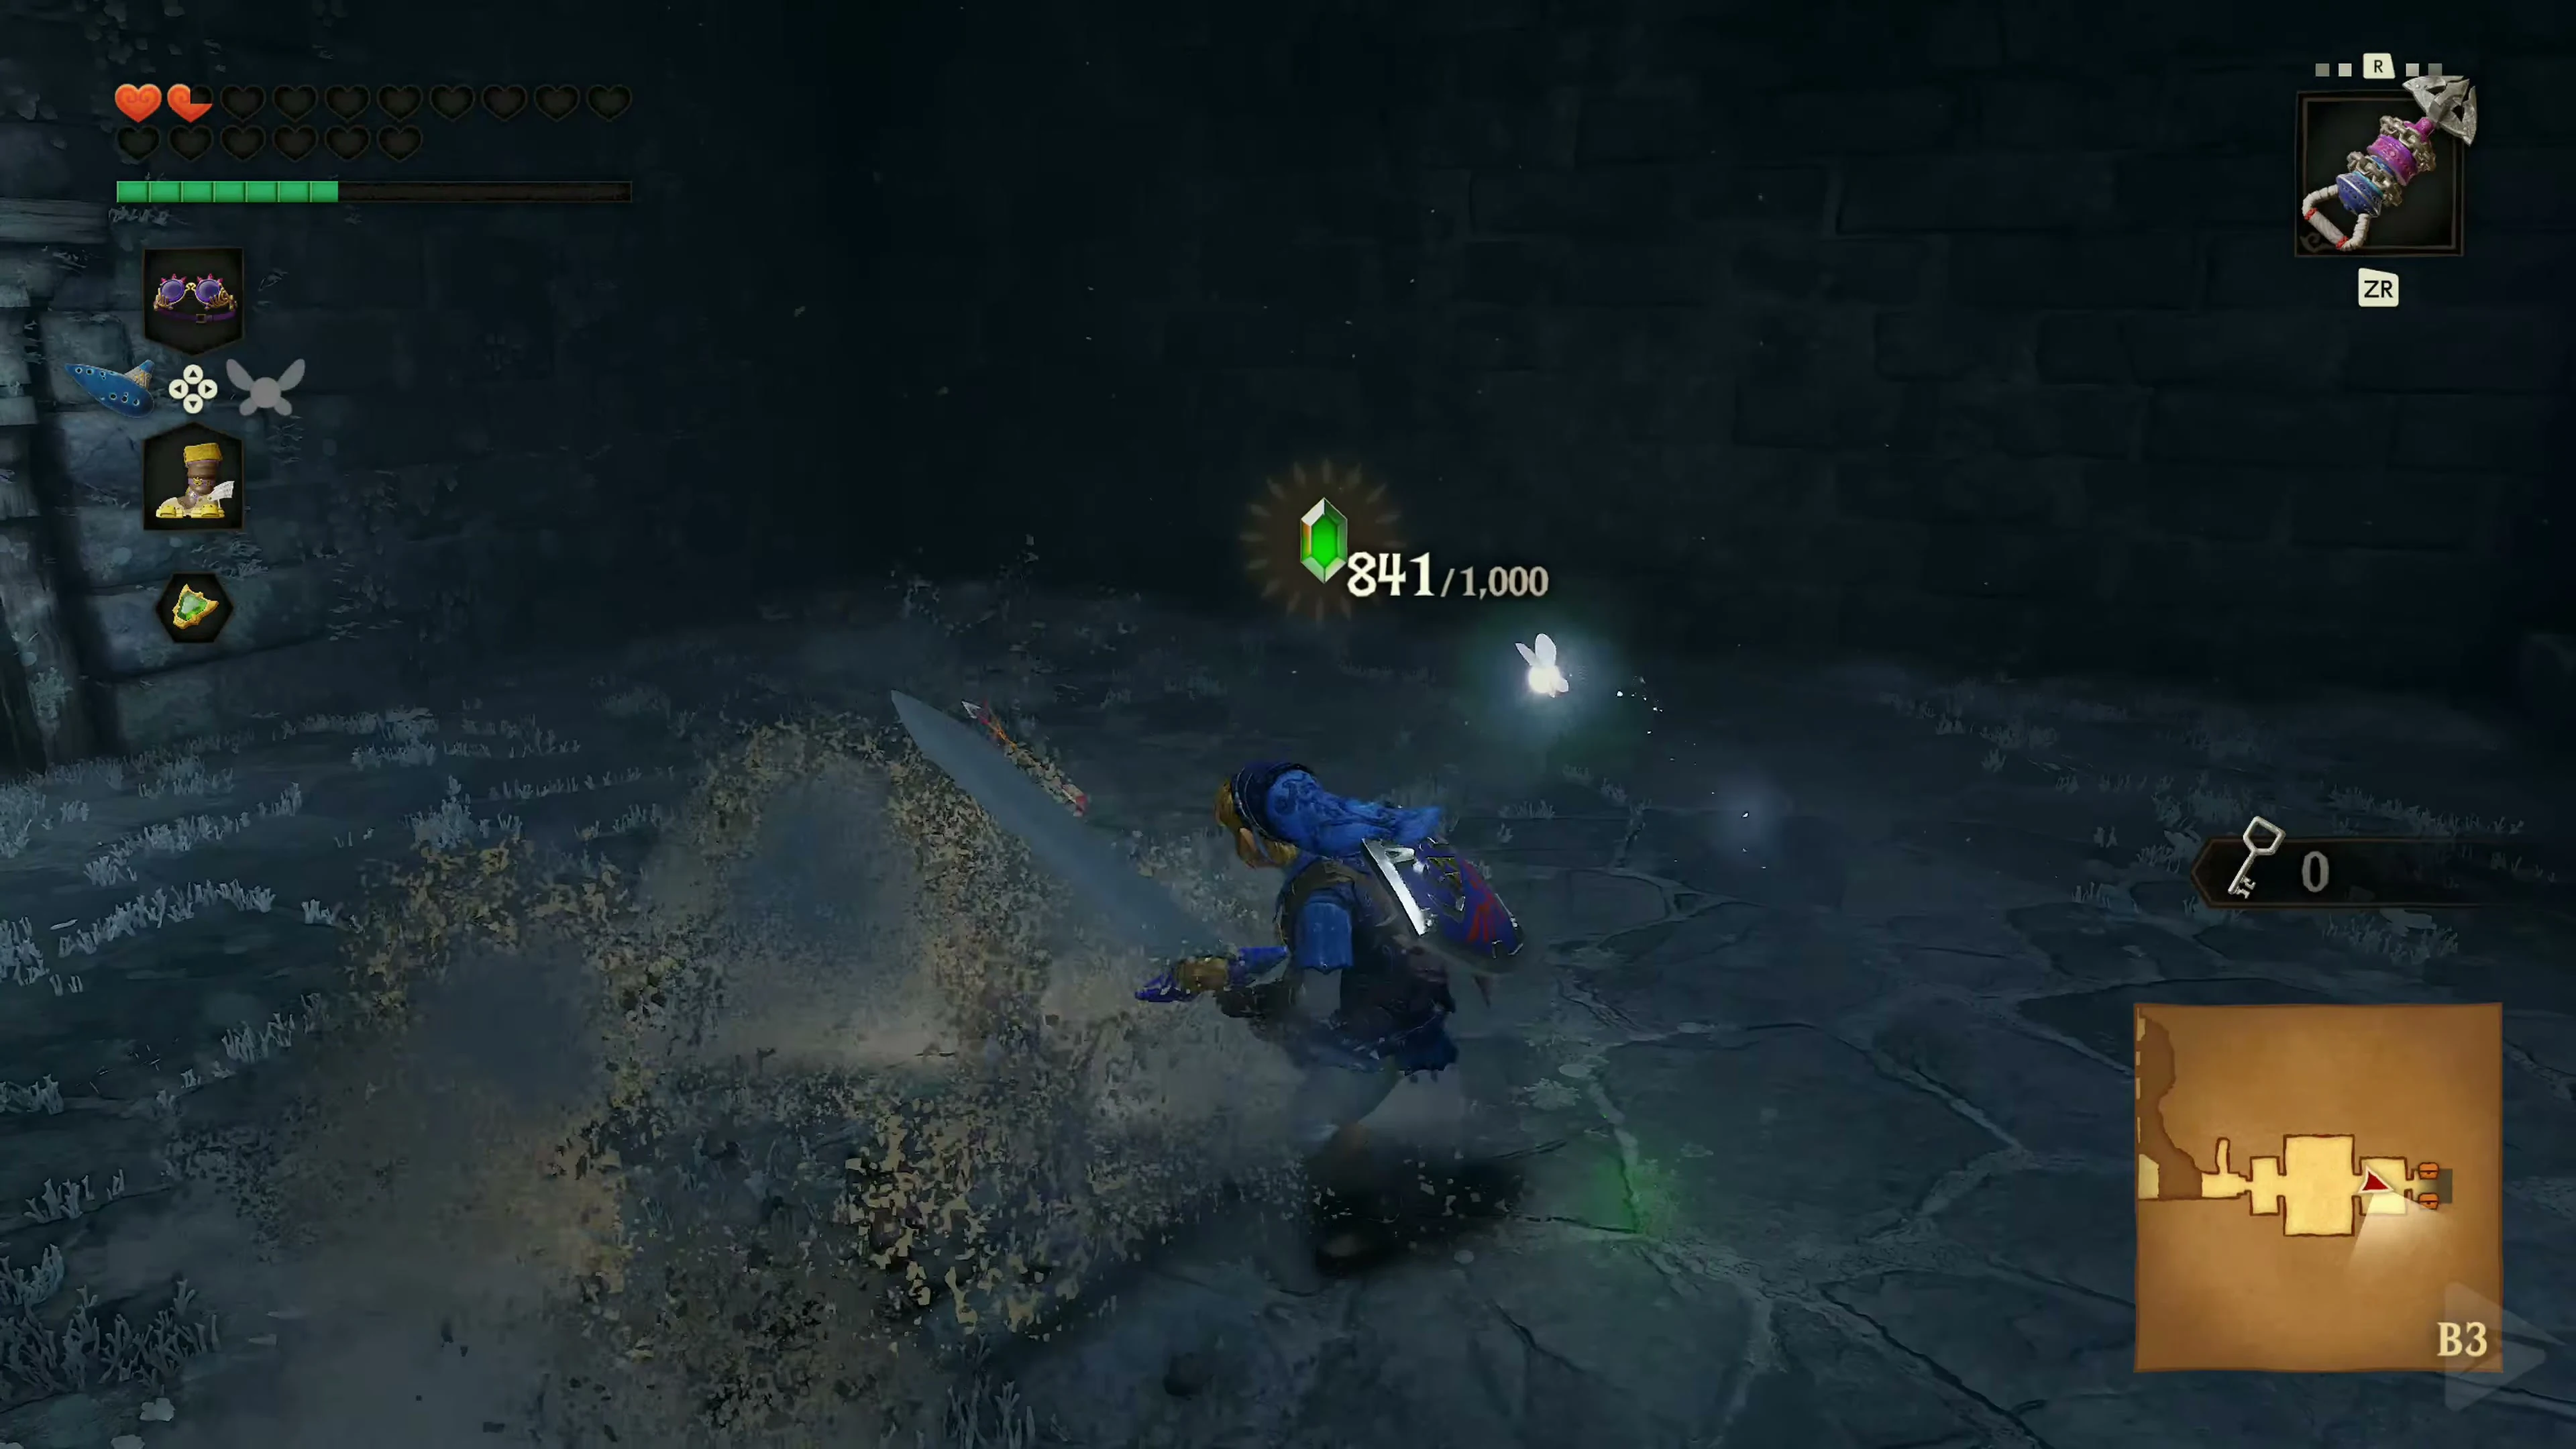
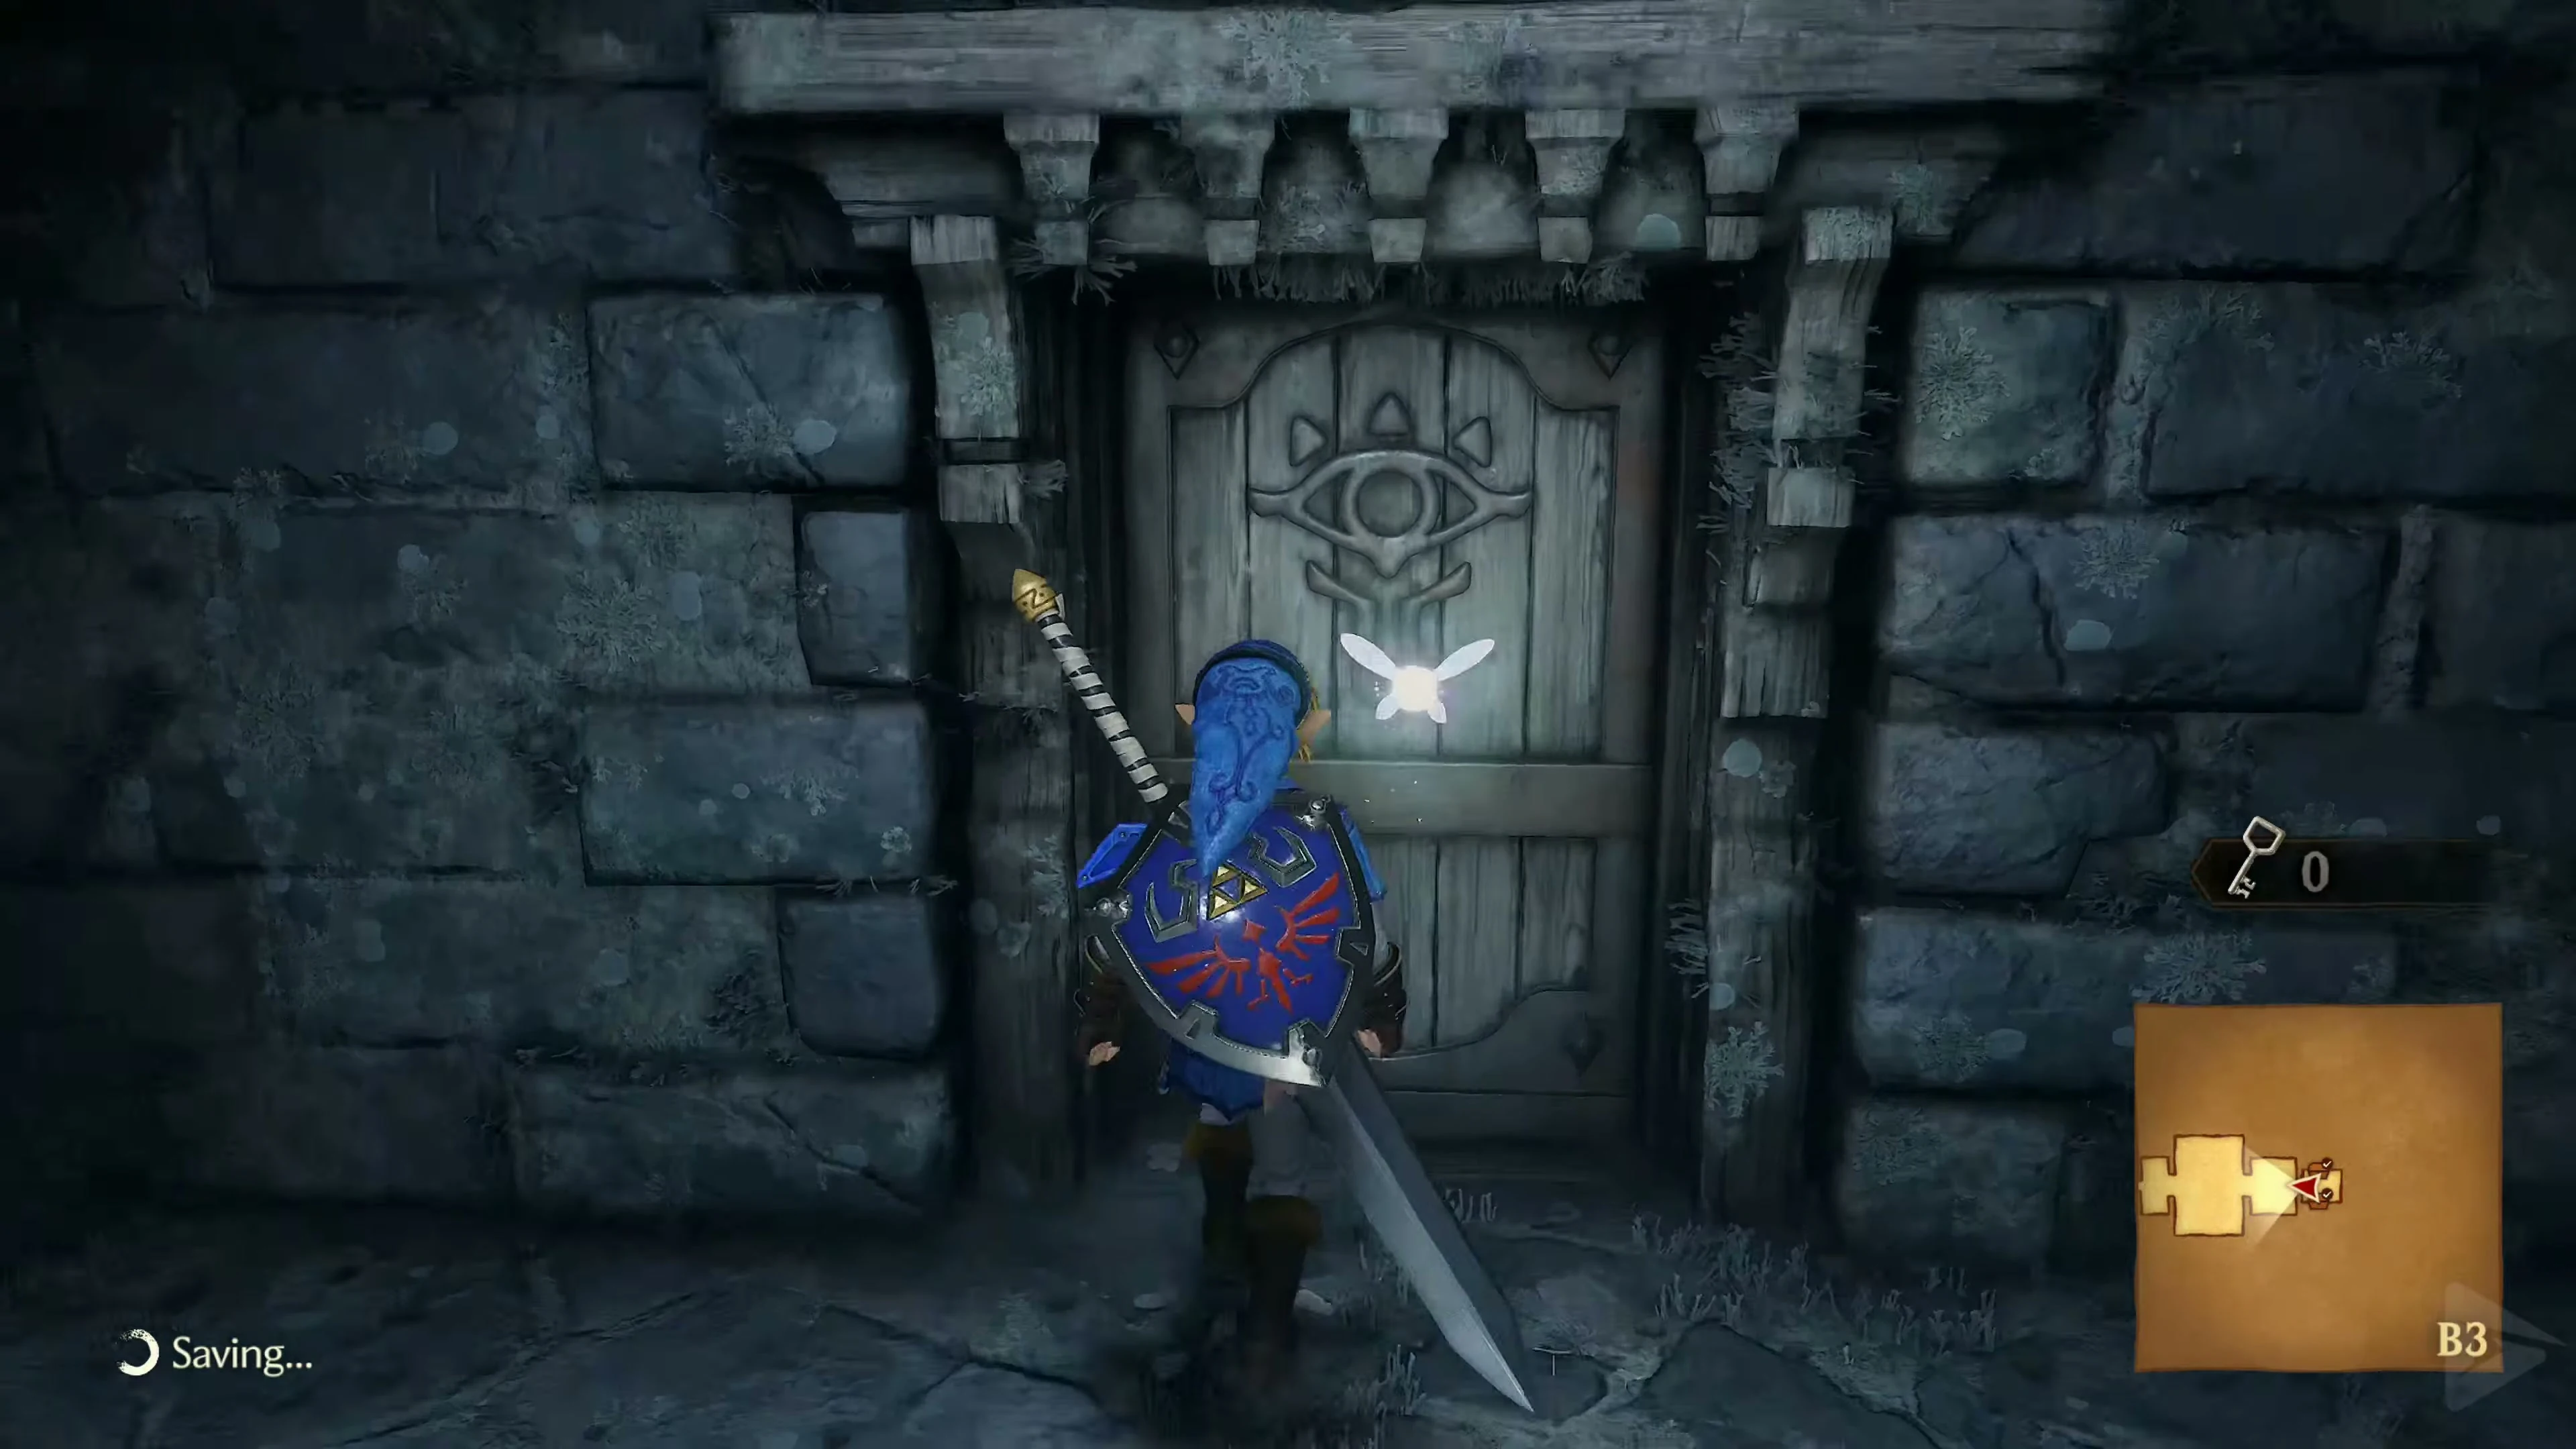
Invisible Platforms and Spikes
Go back to the northern edge of the cave where the last crystal hung over the chasm. With the Lenses of Truth, you can see the first platform and, behind it, the platform moved by two mechanisms. Glide to the first platform and jump onto the moving platform at the right moment. Open the locked door there with Small Key 2/5
Leave the Lenses of Truth activated behind the door so you can see the spikes. Play Sun’s Song and defeat the two Gibdos. Take the first crystal in the middle and use it to grapple to the anchor in the southeast. Collect the second crystal as you go. For the third, turn north. Aim for the anchor behind the invisible crate and land on it. Glide from the crate to the north platform, collecting the fourth crystal. The last one lies in front of another anchor, which is only revealed by the Lenses of Truth. Pull yourself there and then take the open west door.
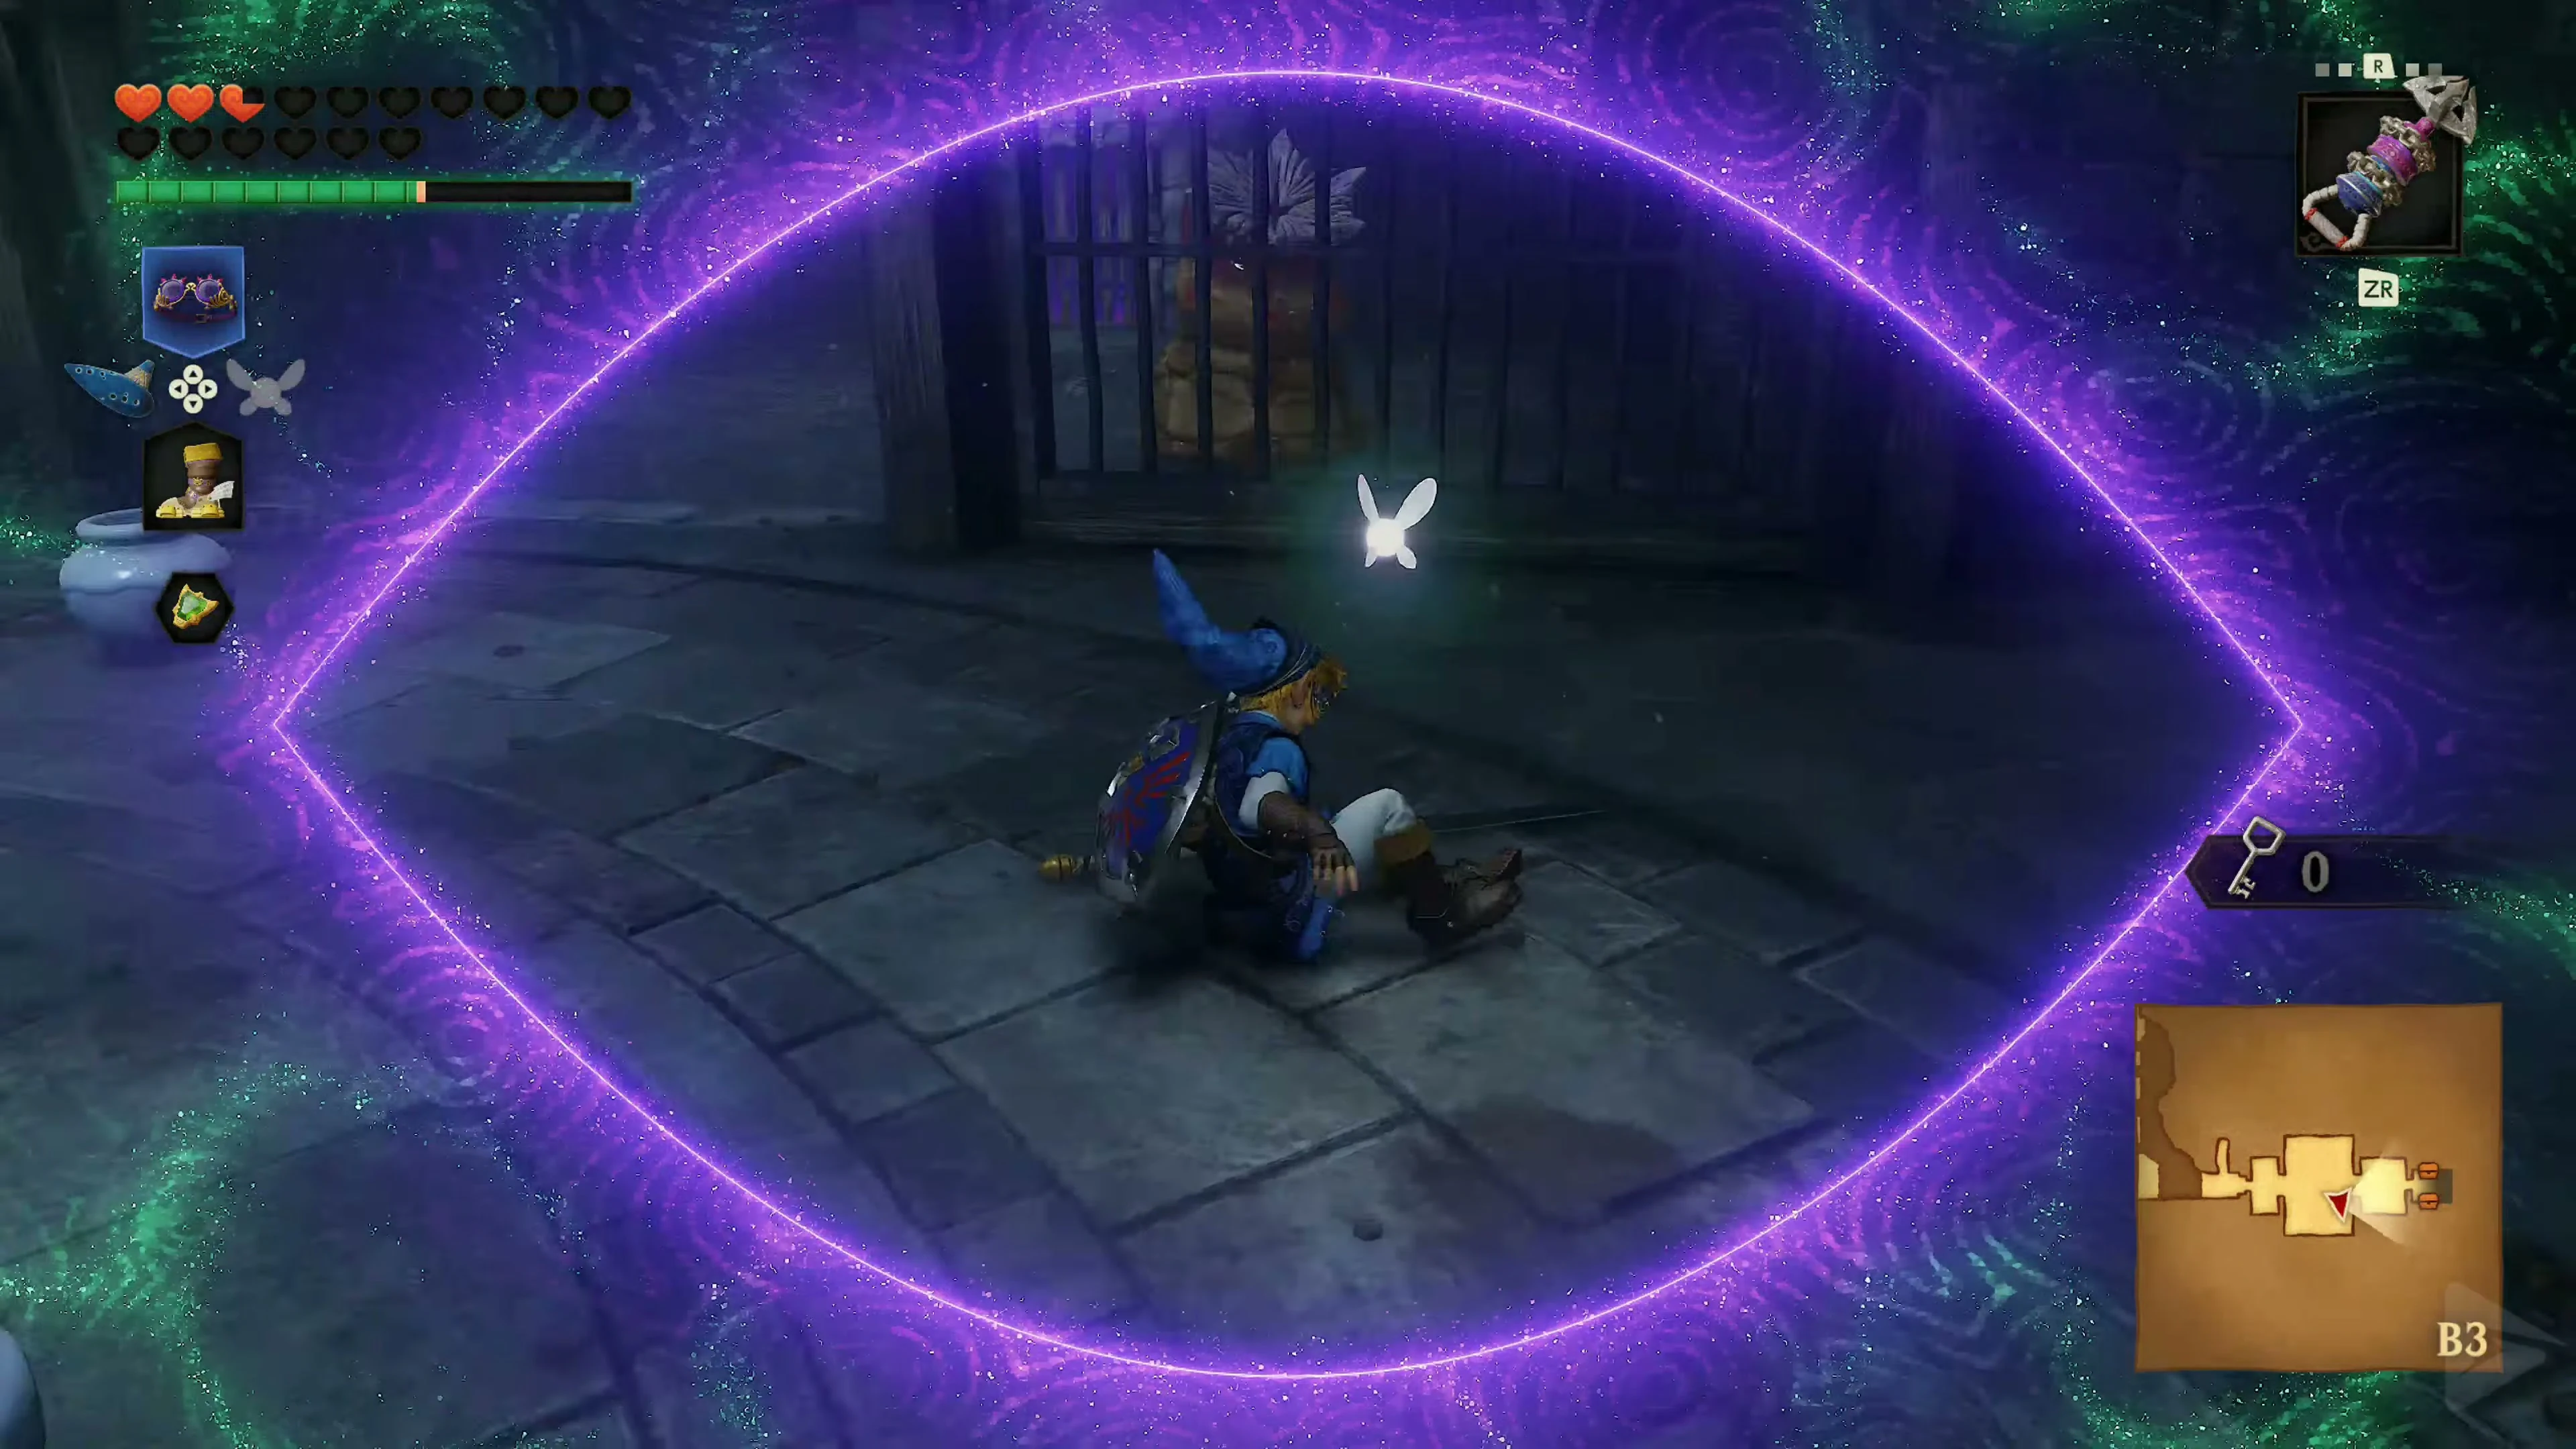
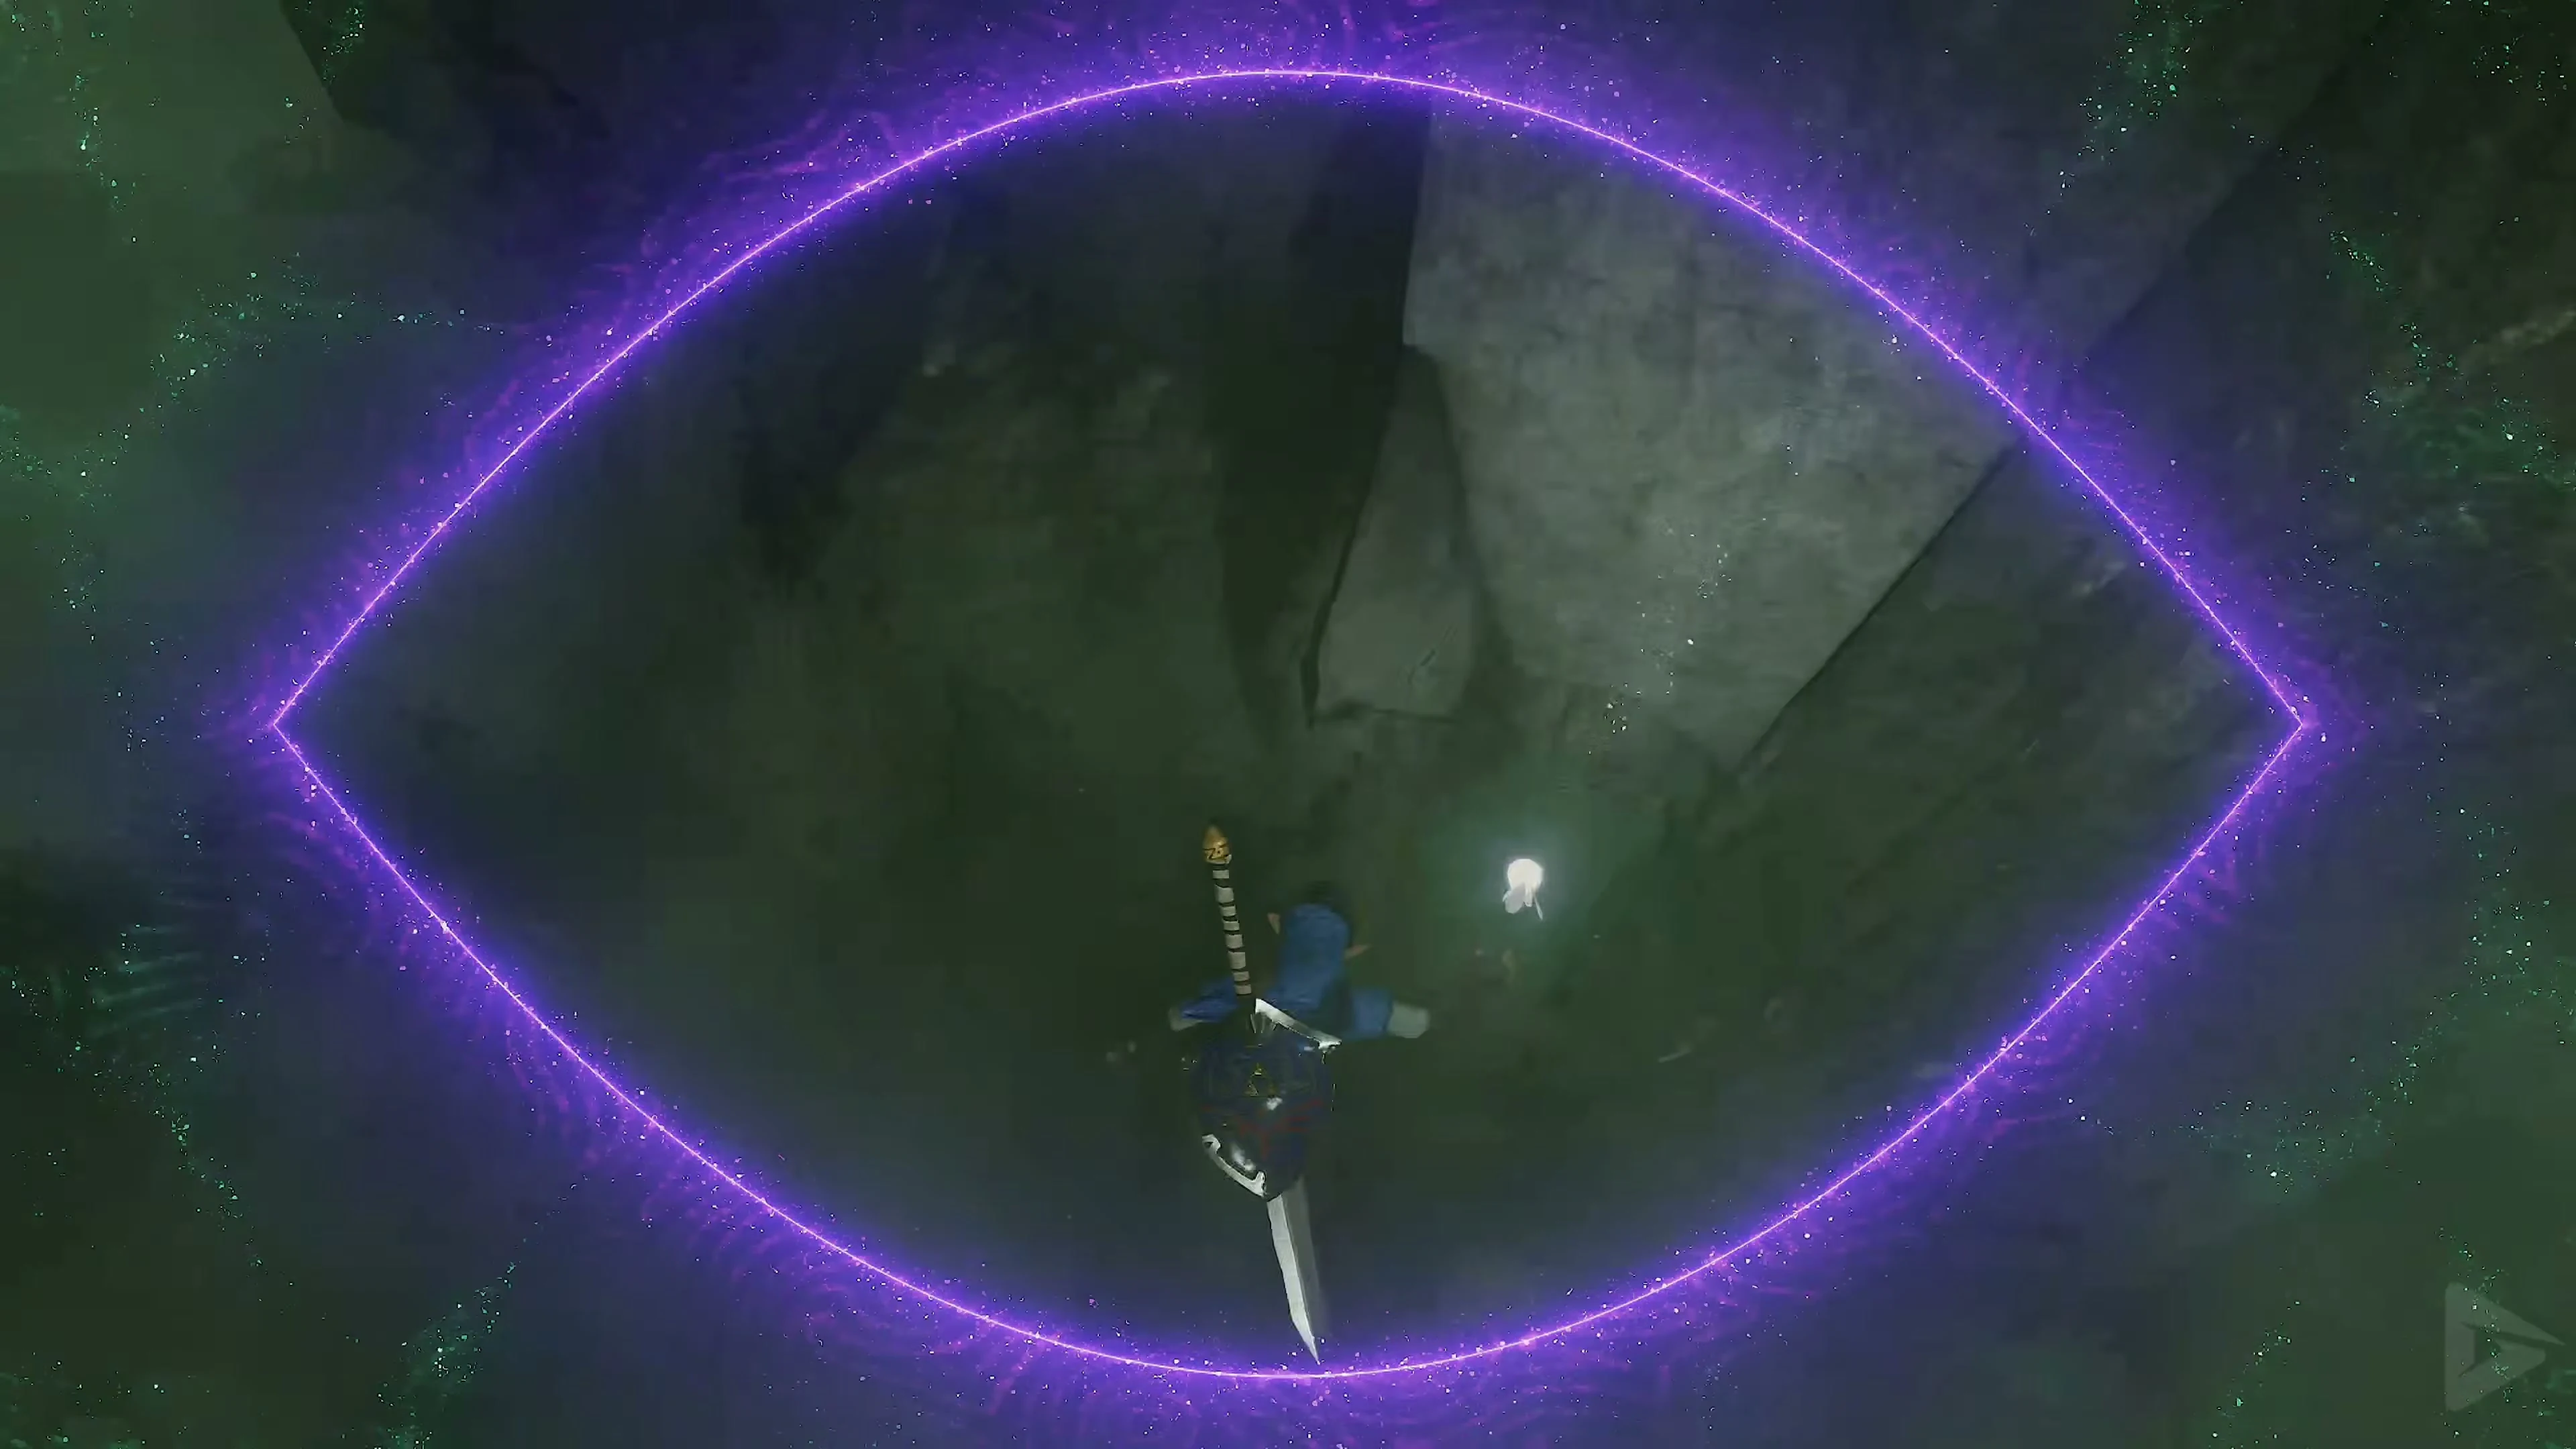
Small Key 3/5 inside the large skull
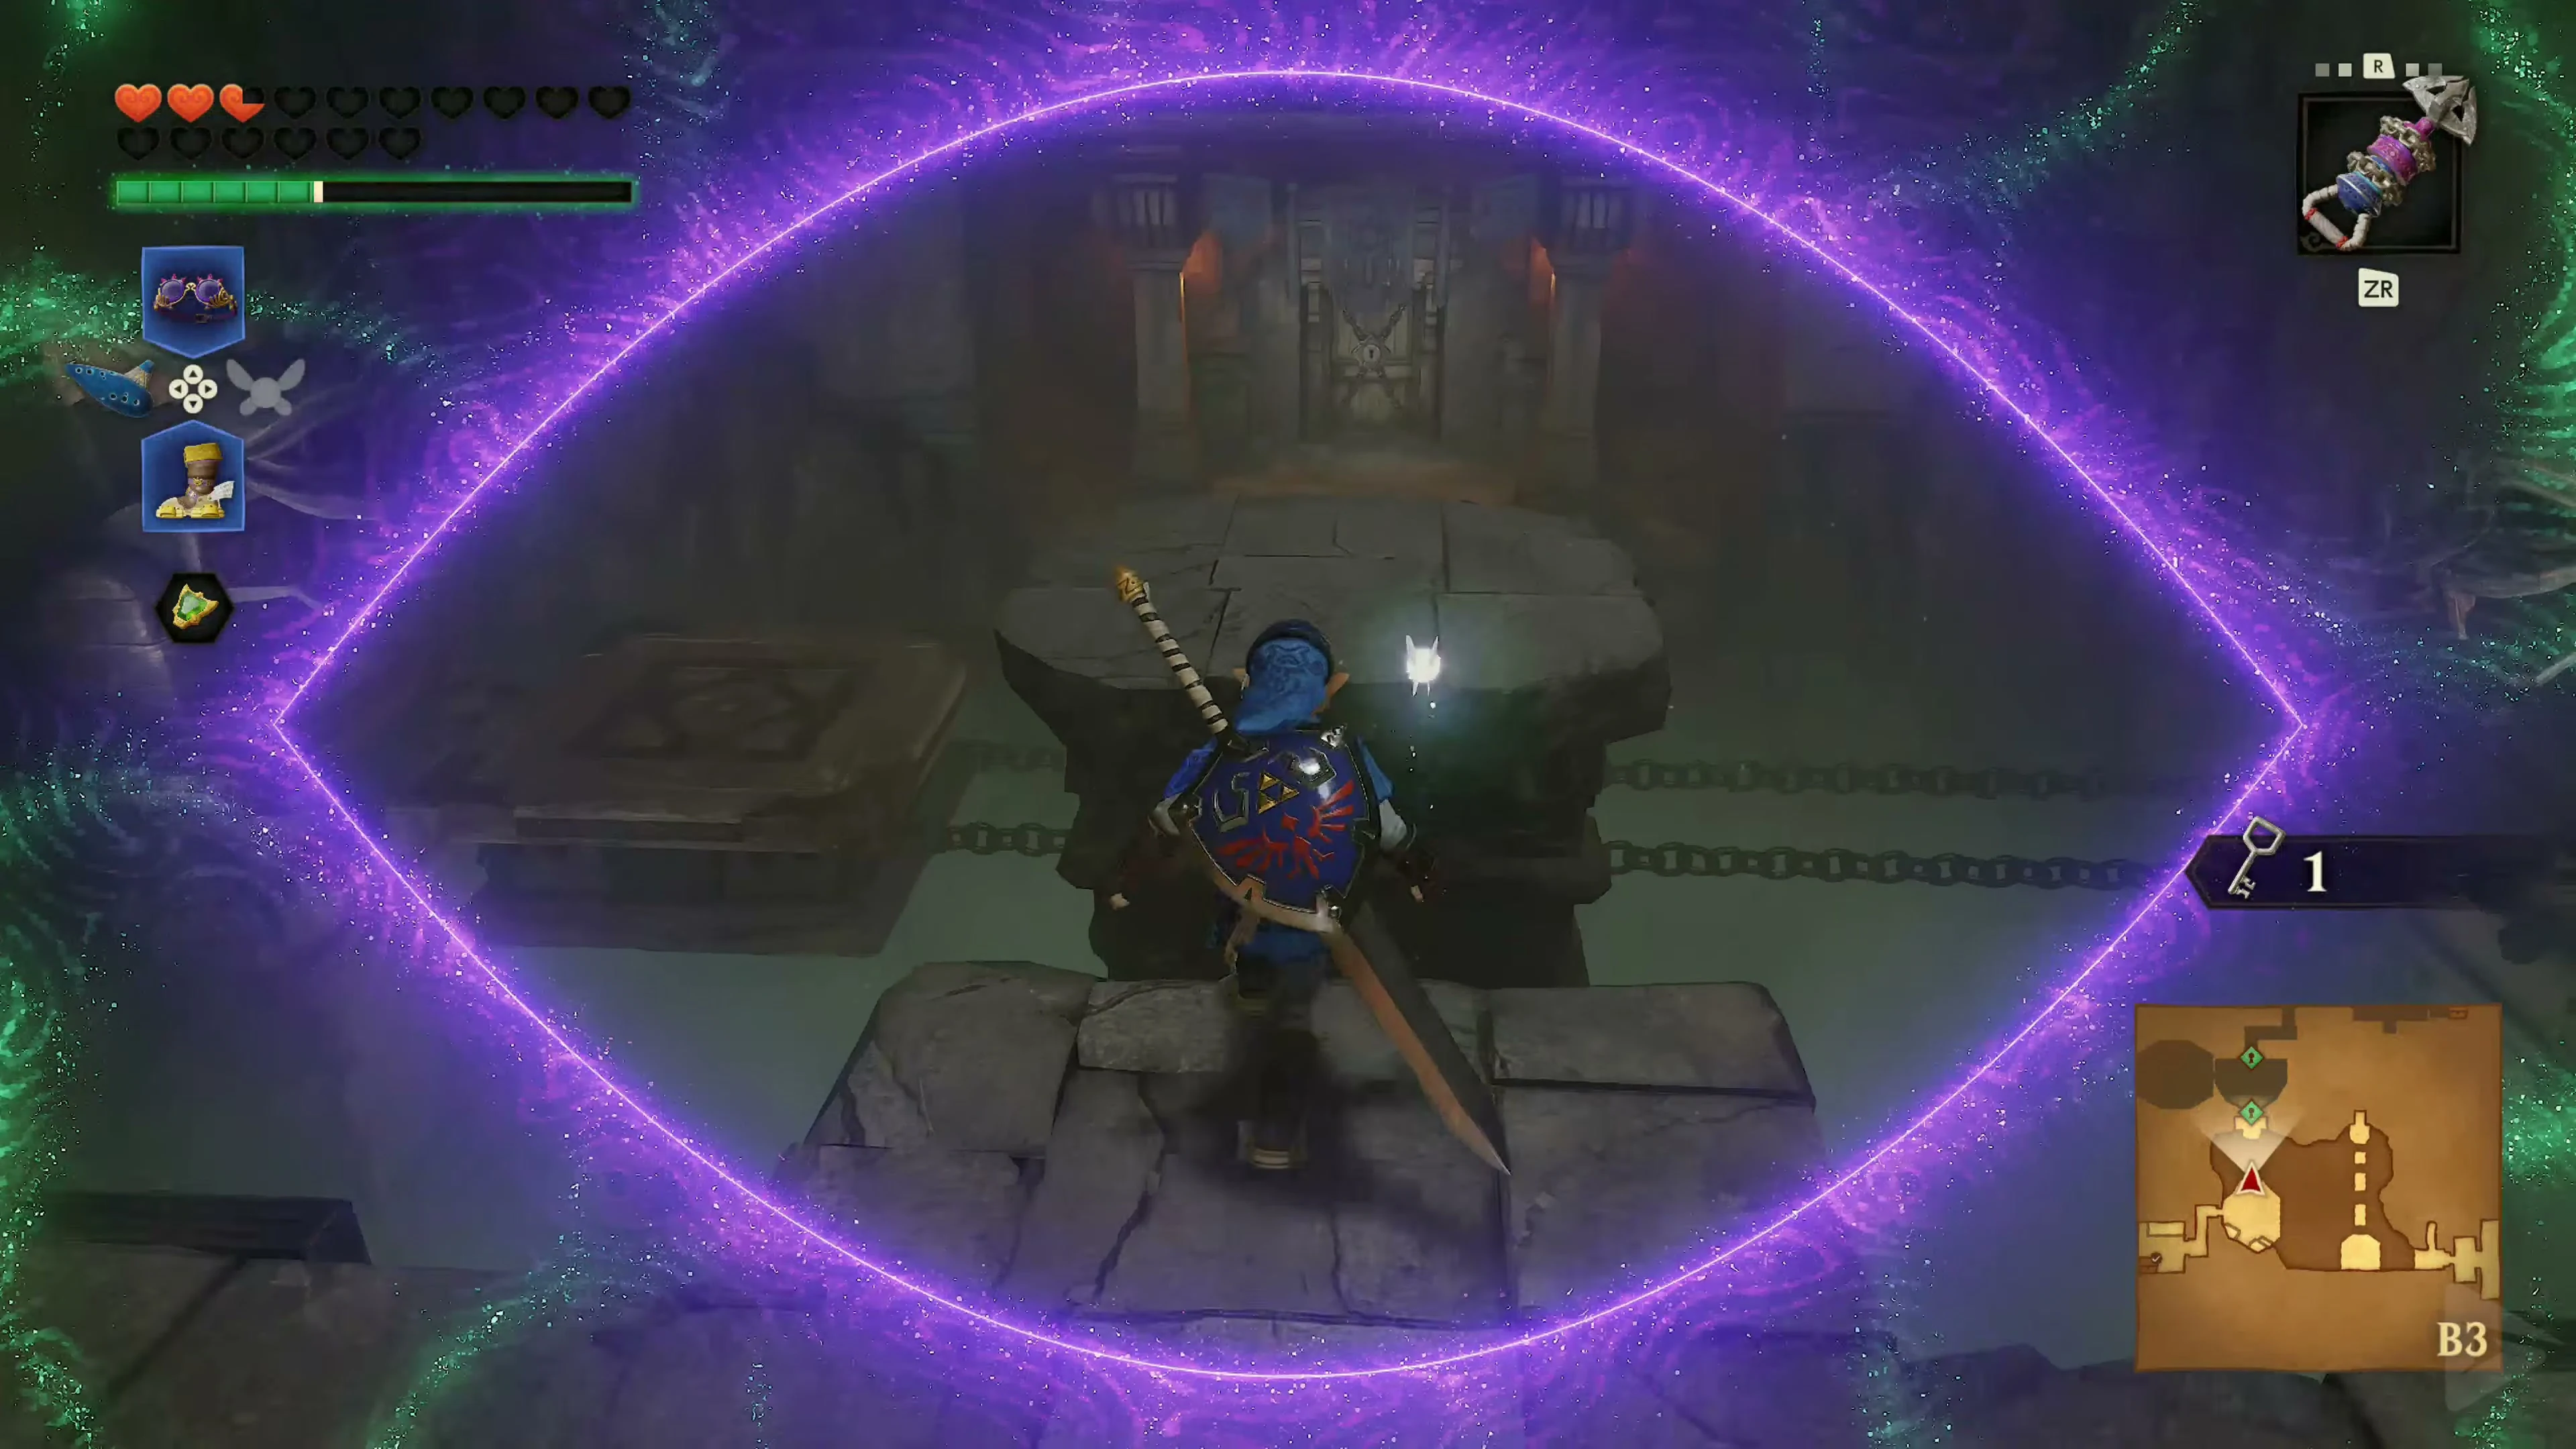
Defeat the Keese and climb the stairs next to the large skull. Throw a bomb into its upper opening. After the explosion, pick up Small Key 3/5 from below. Return, grapple up to the hidden anchor in the northwest corner, and open the north door with Small Key 3/5. .
The corridor with the fans
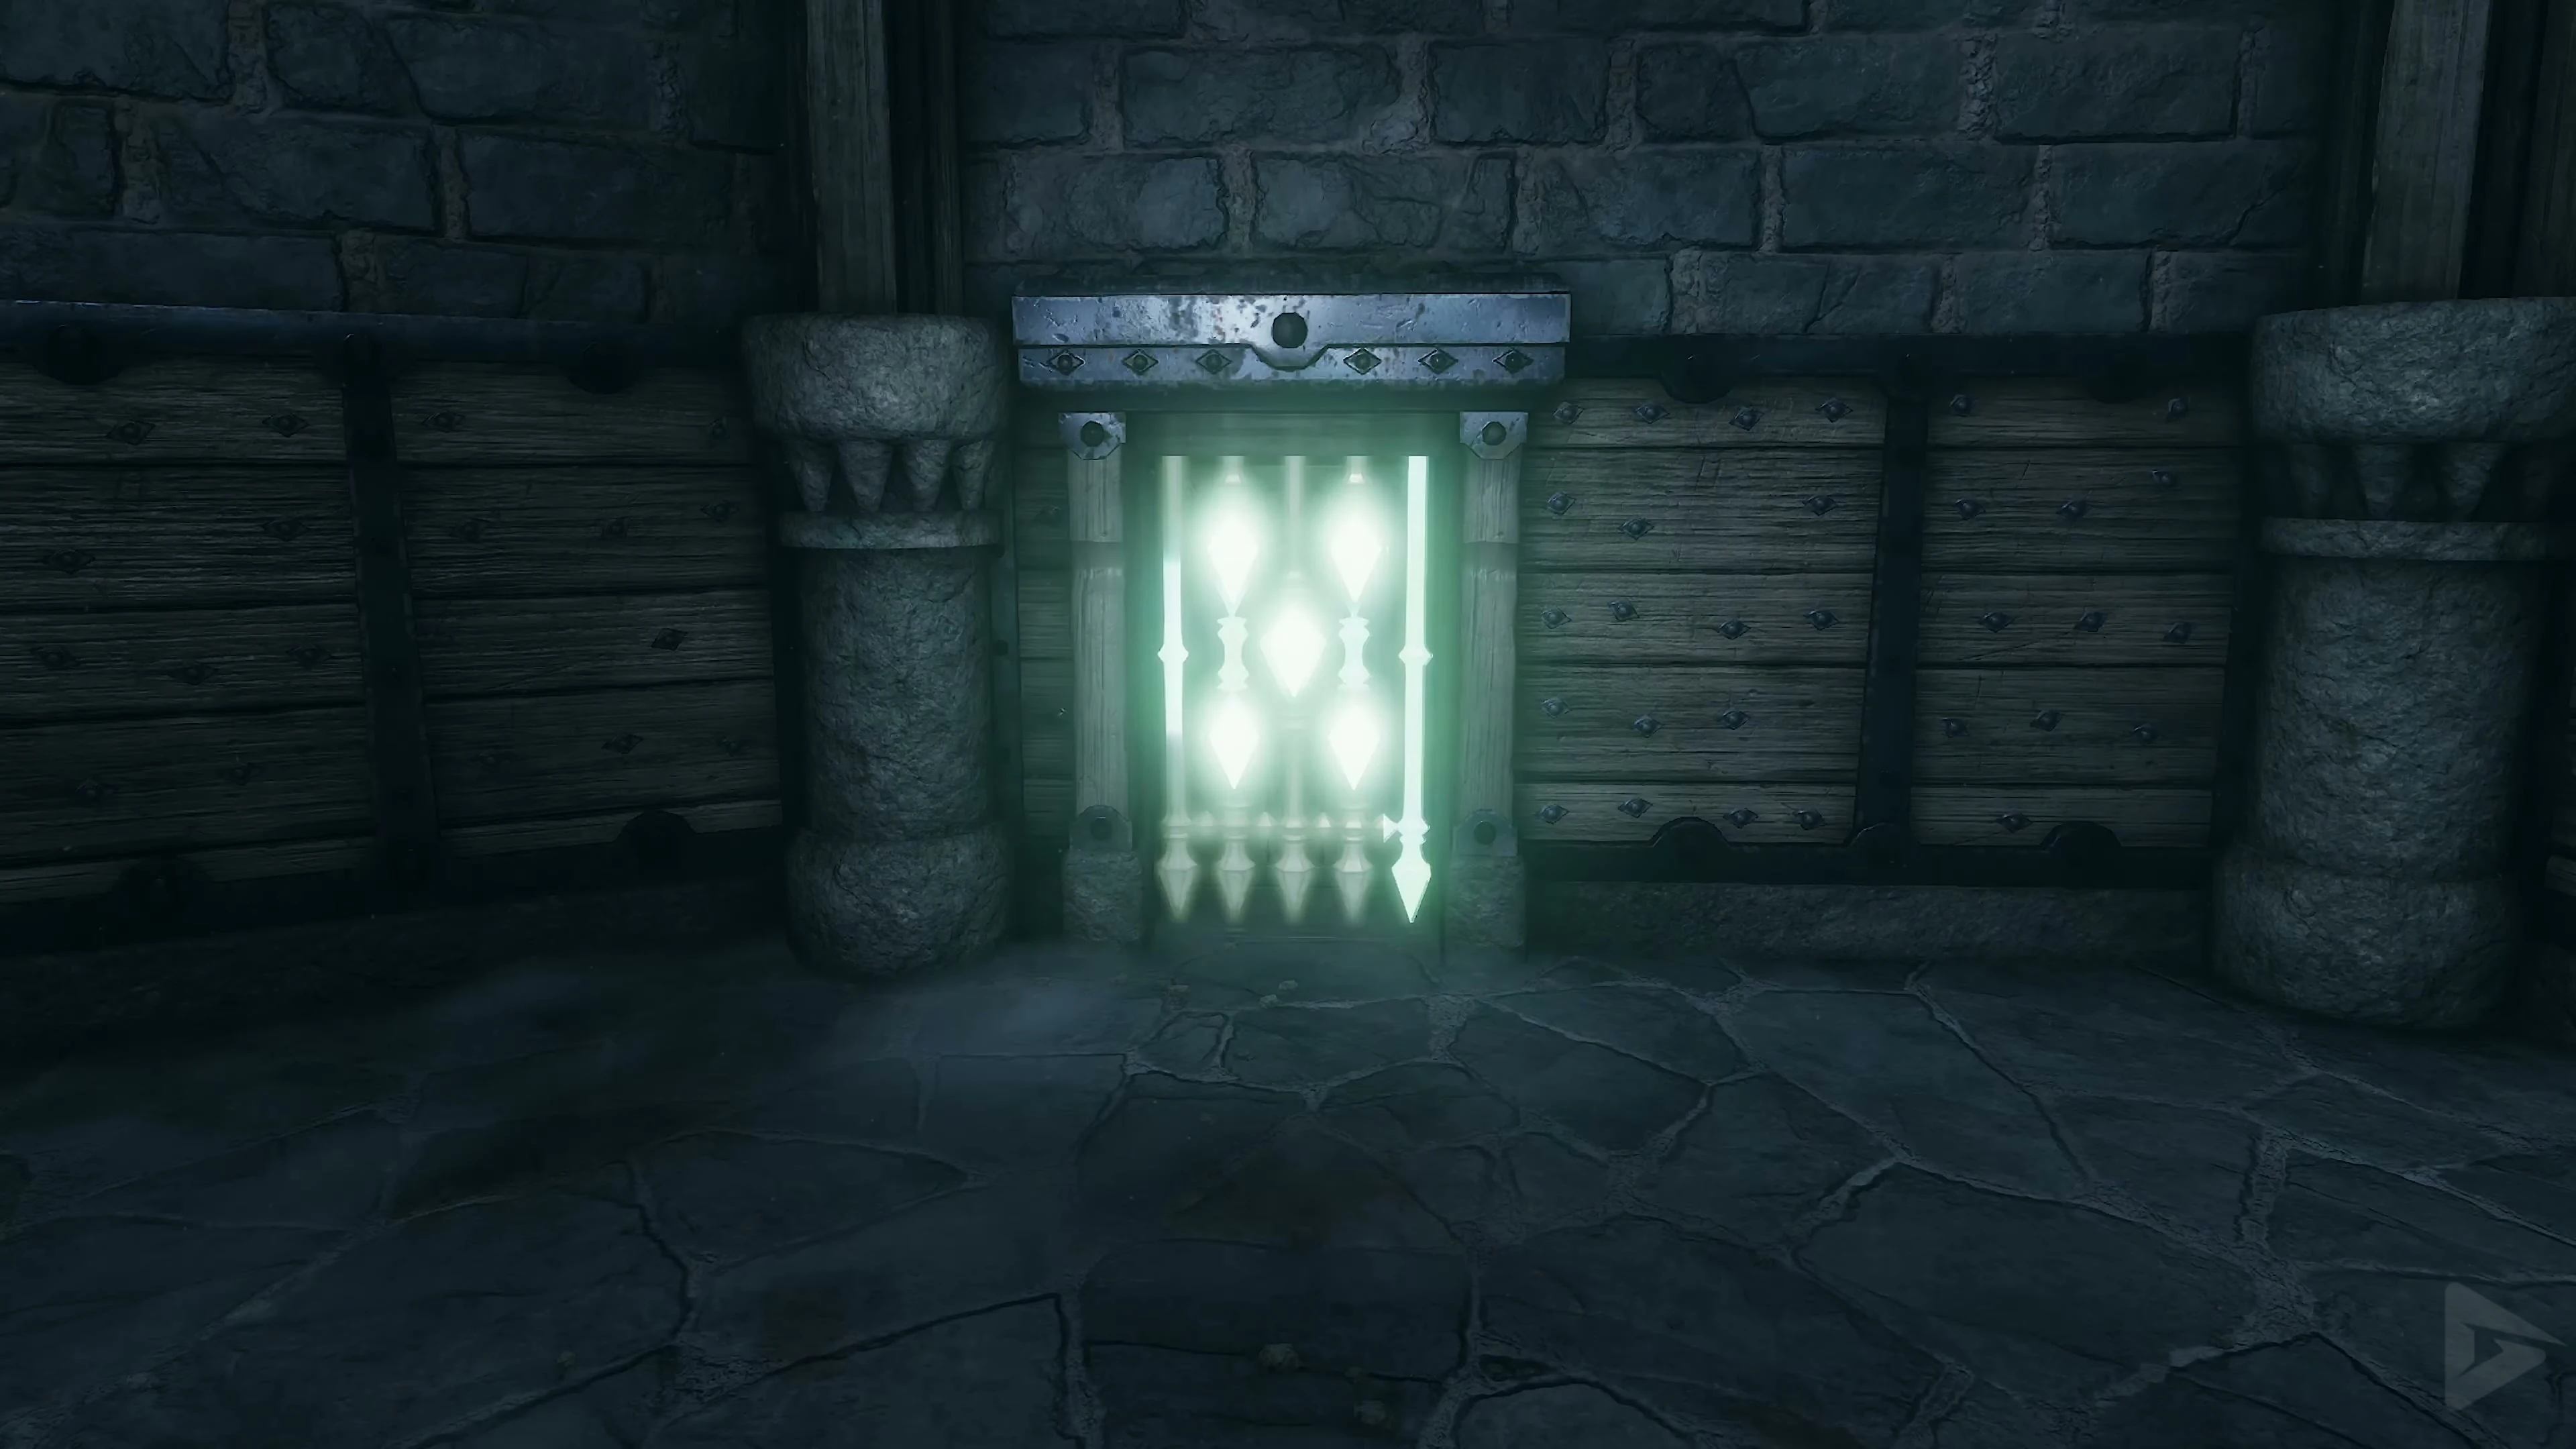
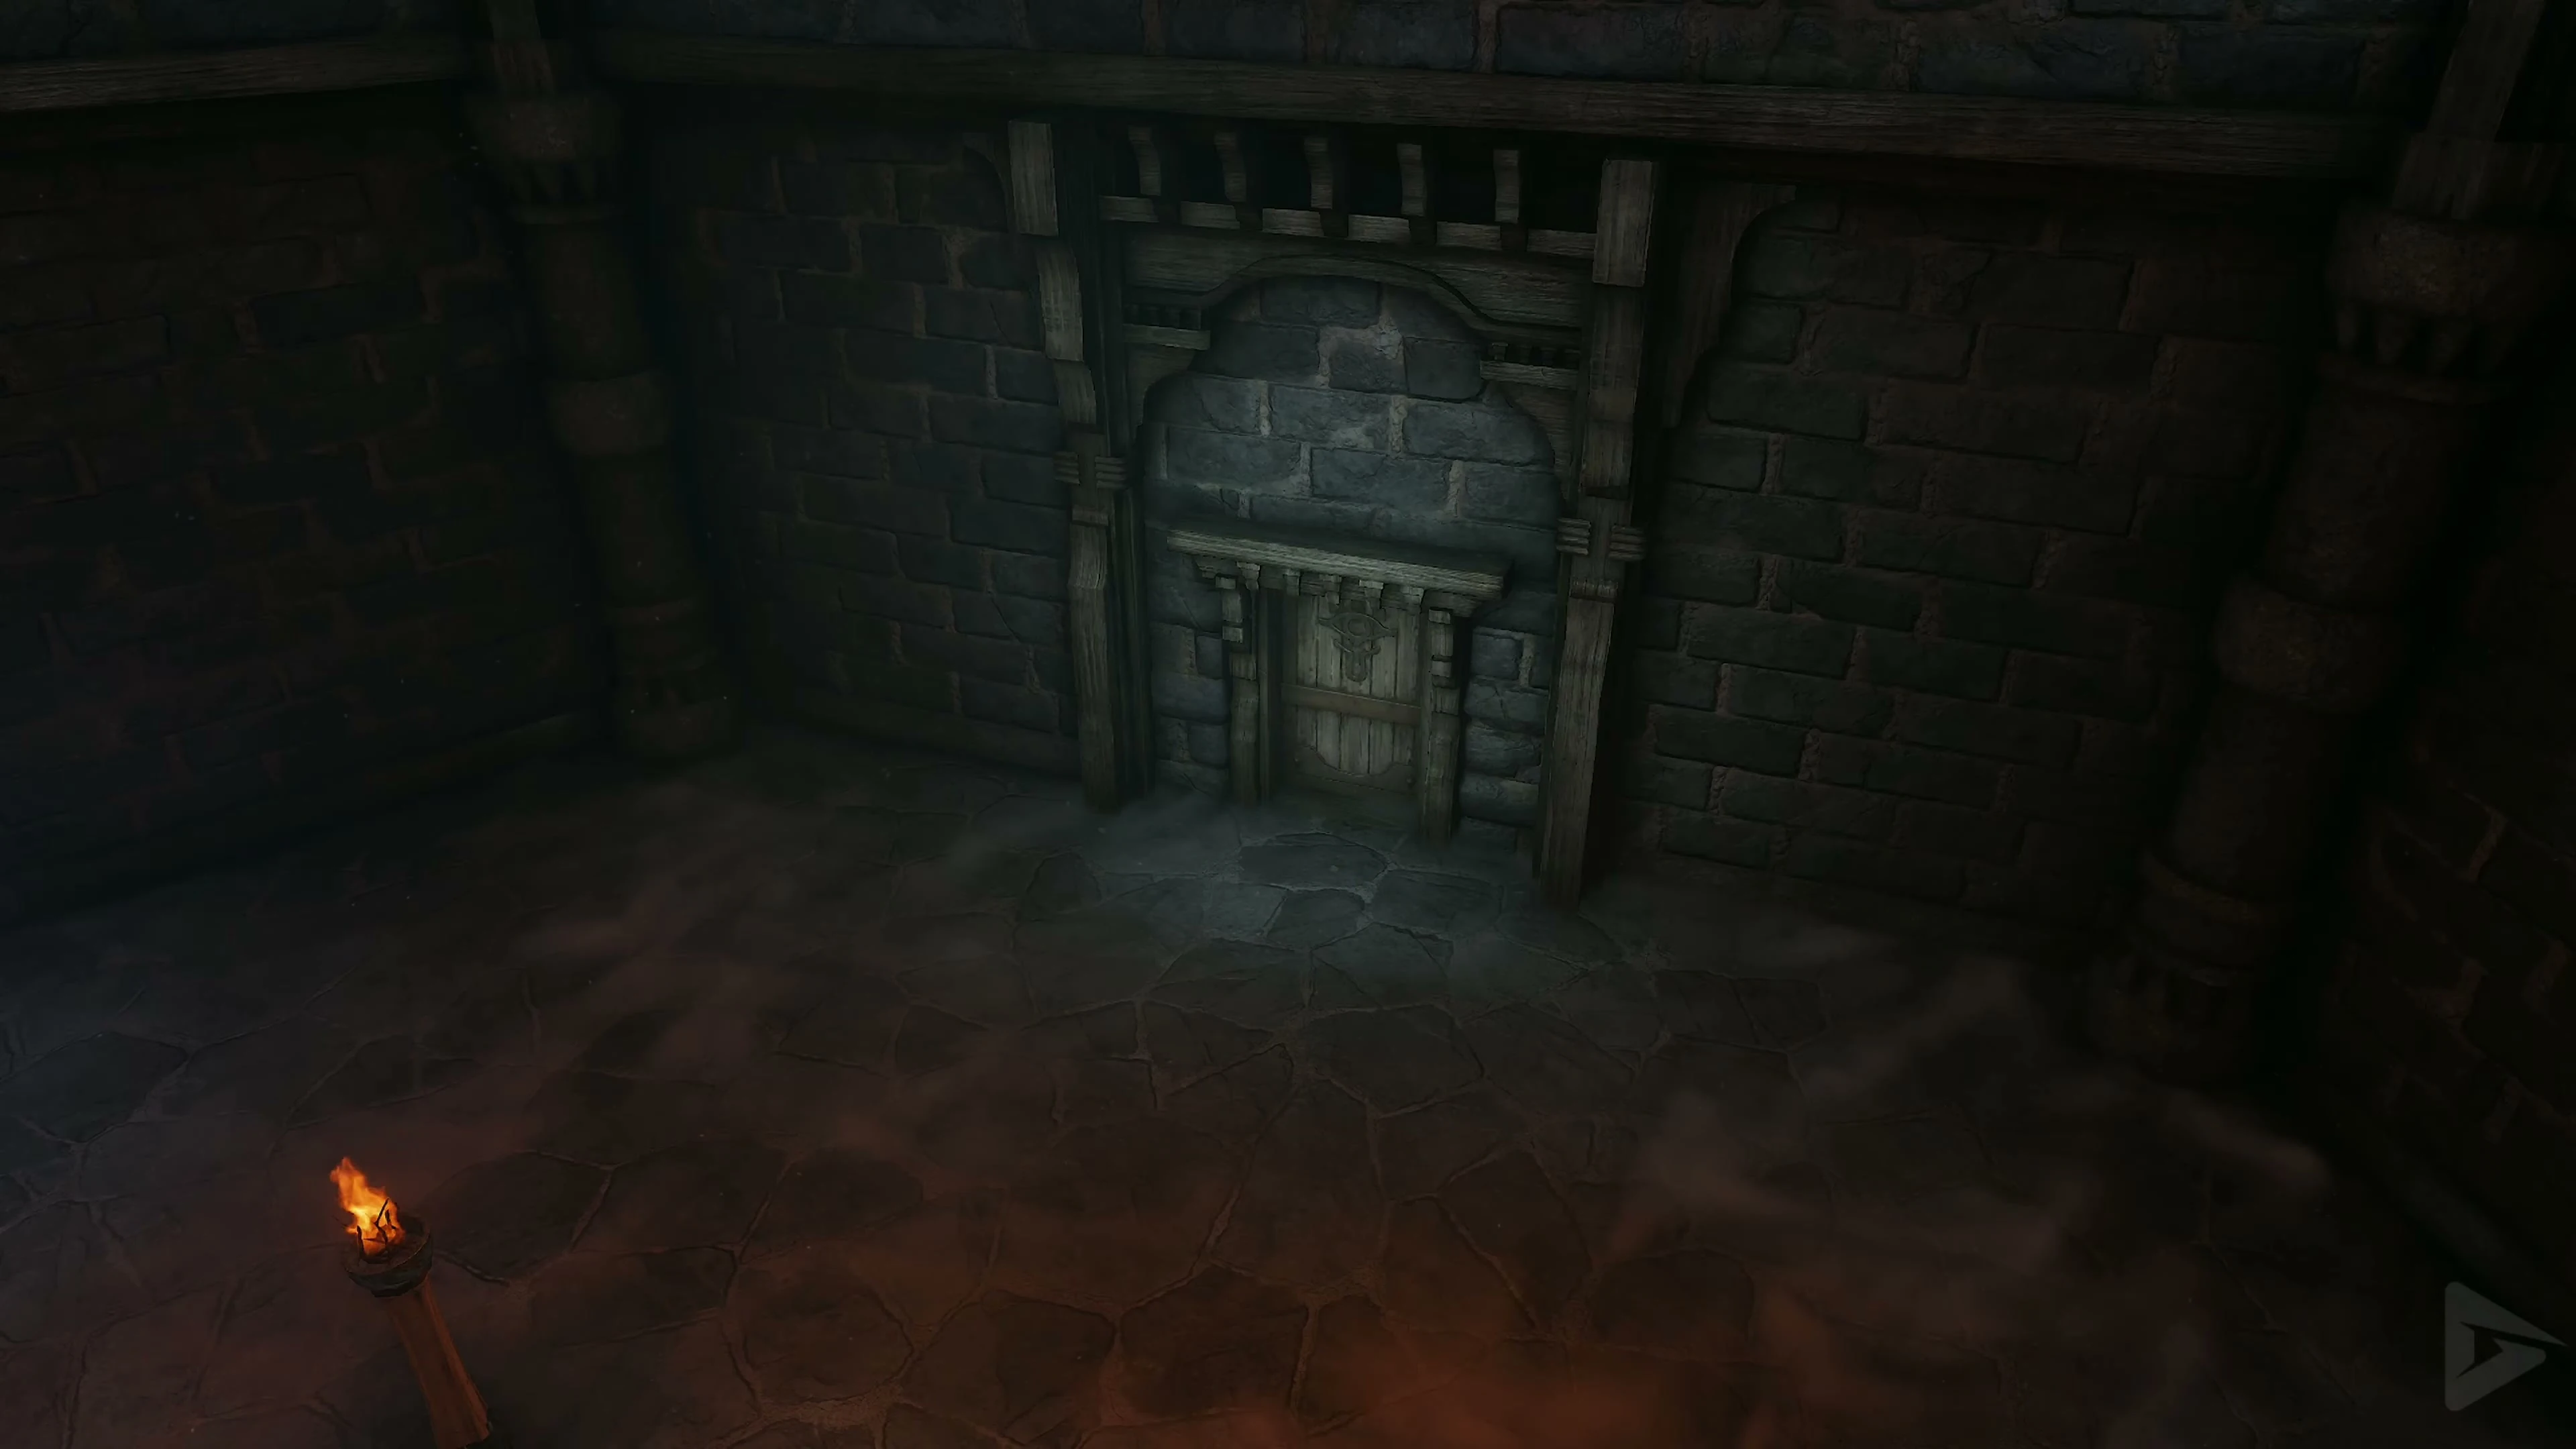
Wait at the first fan until the wind dies down, then run between the spike mines. Defeat the regular Skulltula around the corner. At the third fan, during the lull in the wind, use the ceiling anchor above the chasm. .
Gold Skulltula 3/5 – Fan Passage
After crossing the gap, turn around. At the edge of the chasm, defeat Gold Skulltula 3/5 and retrieve its Token with the Longshot . Head east to the chamber containing two Gibdos. An invisible chest on the right holds a Business Scrub Seed .
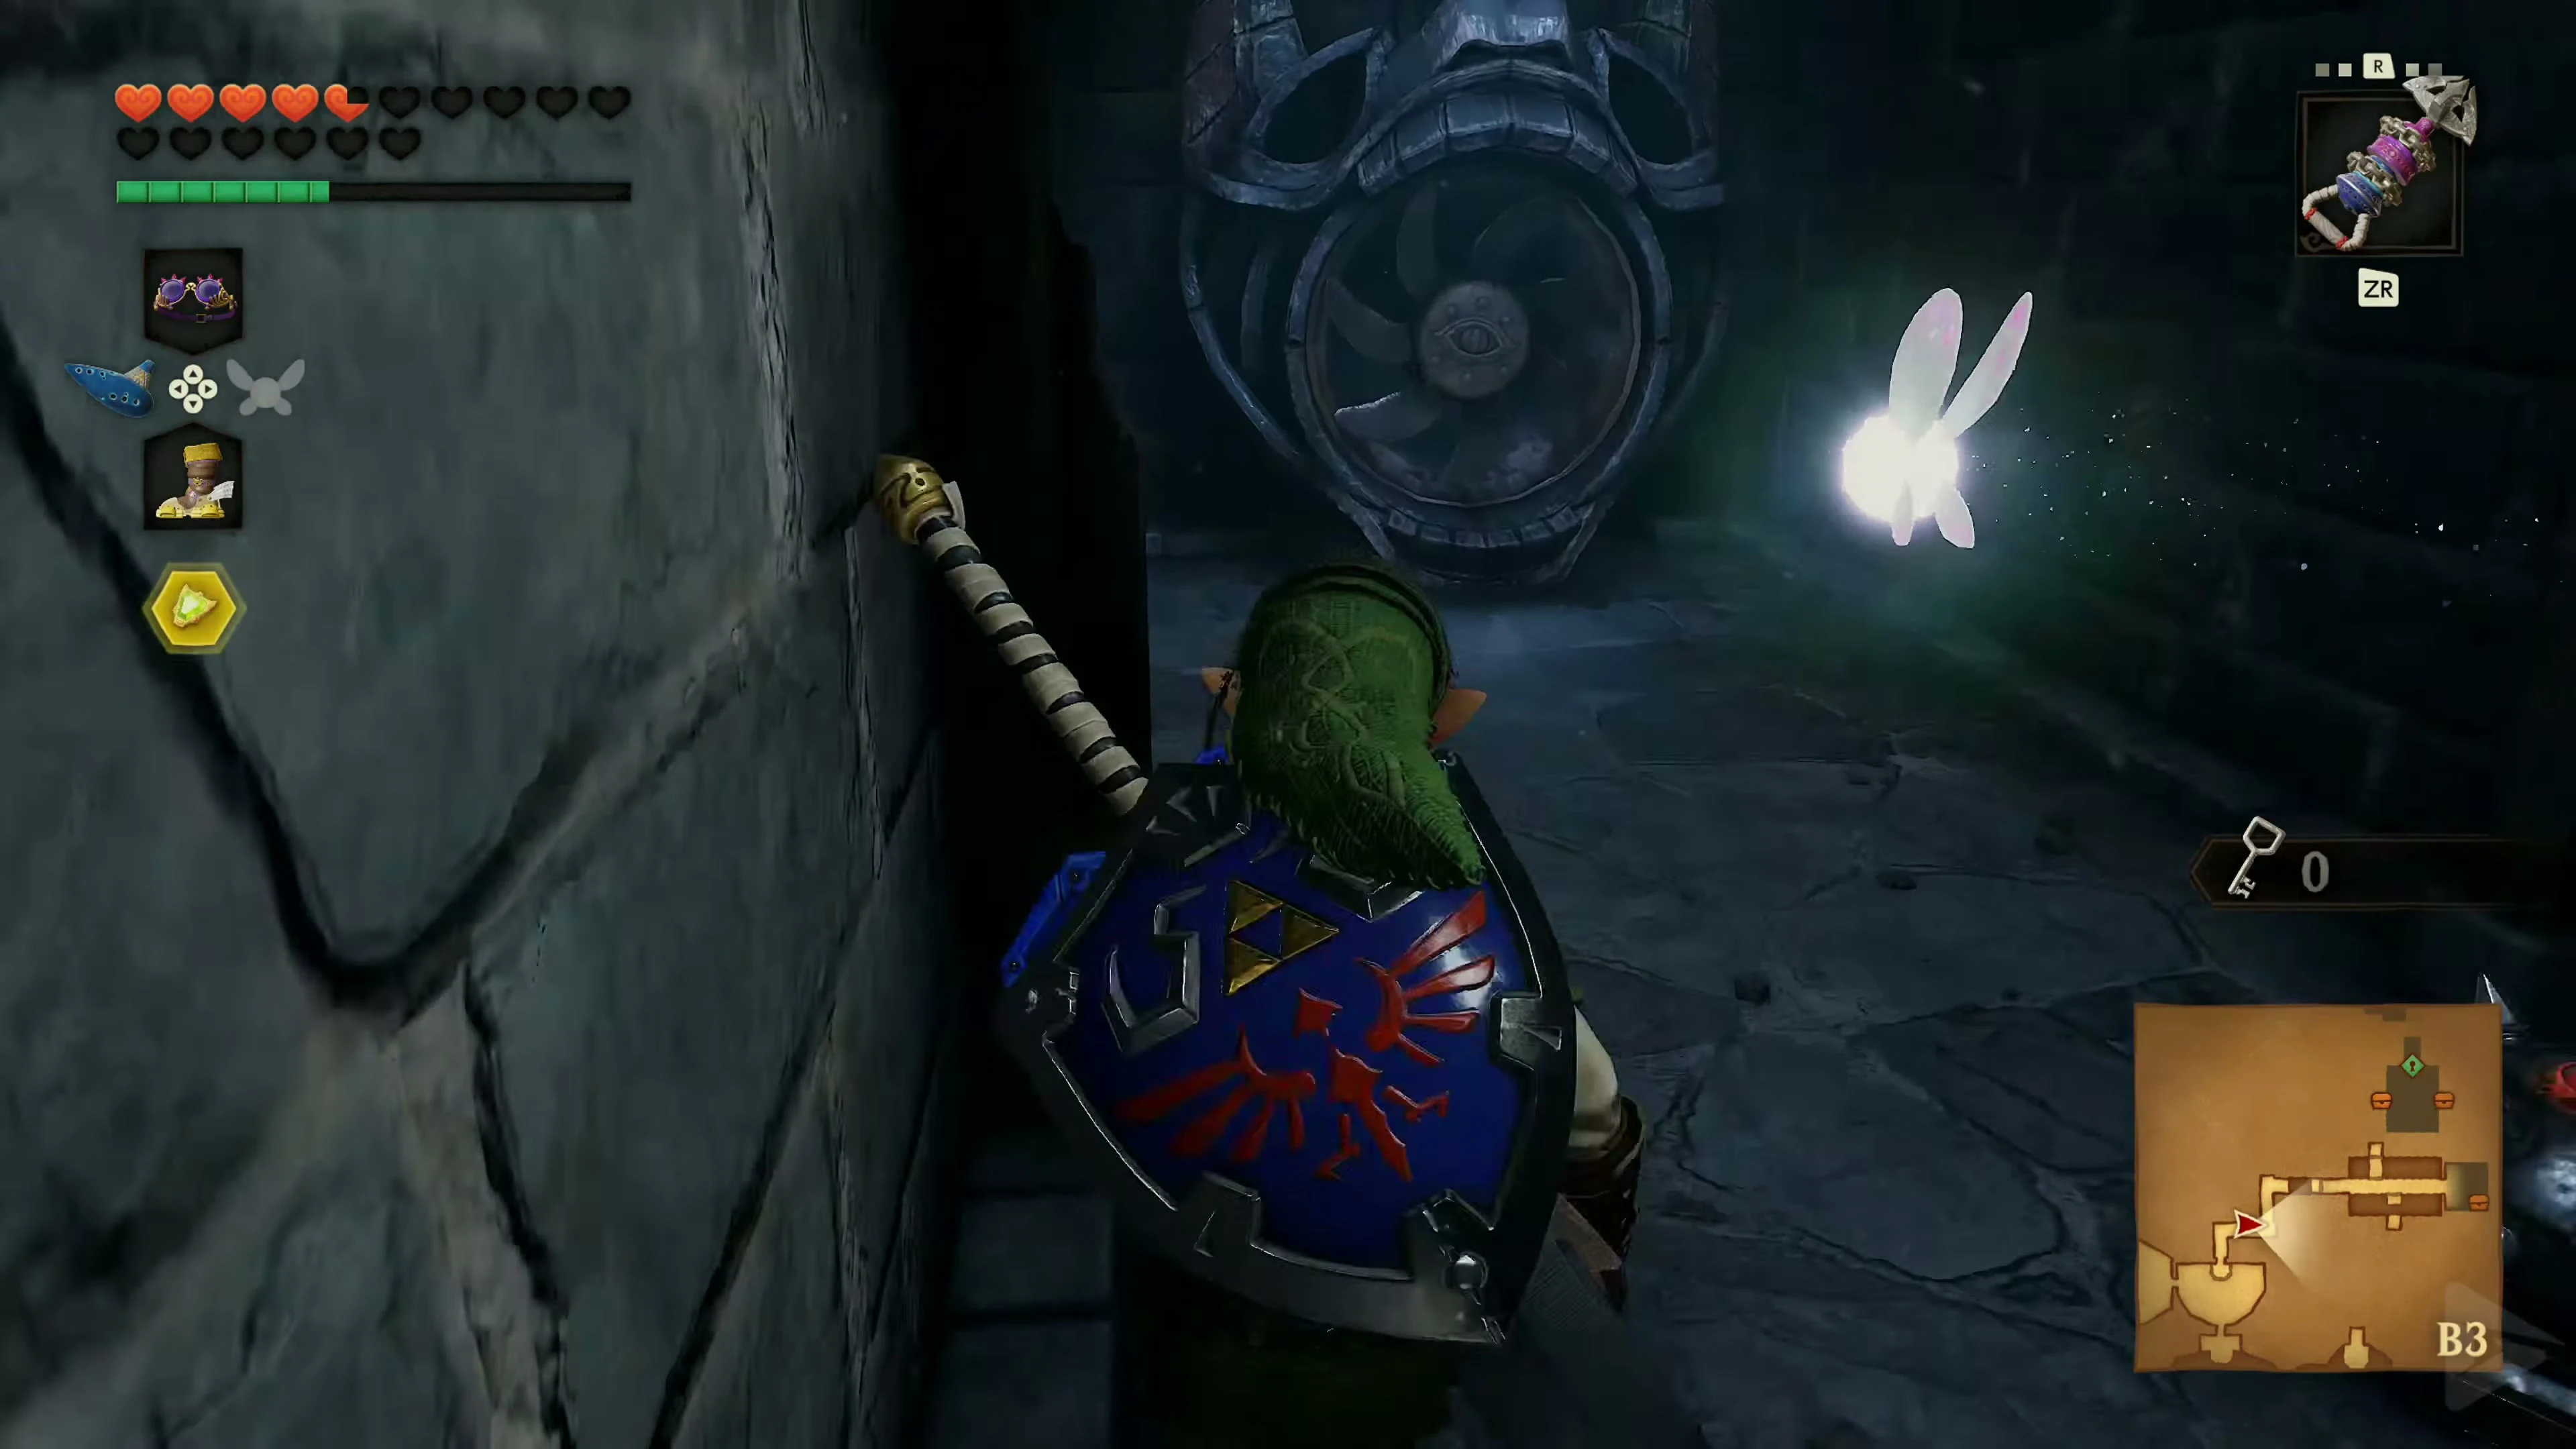
Return from the chamber with the Gibdos to the Wind Passage and use the Lenses of Truth to look to the right at the north wall. With the Hover Boots, position yourself in front of the fan so that the wind carries you into the visible side passage. Without a tailwind, the distance is insufficient.
Small Key 4/5
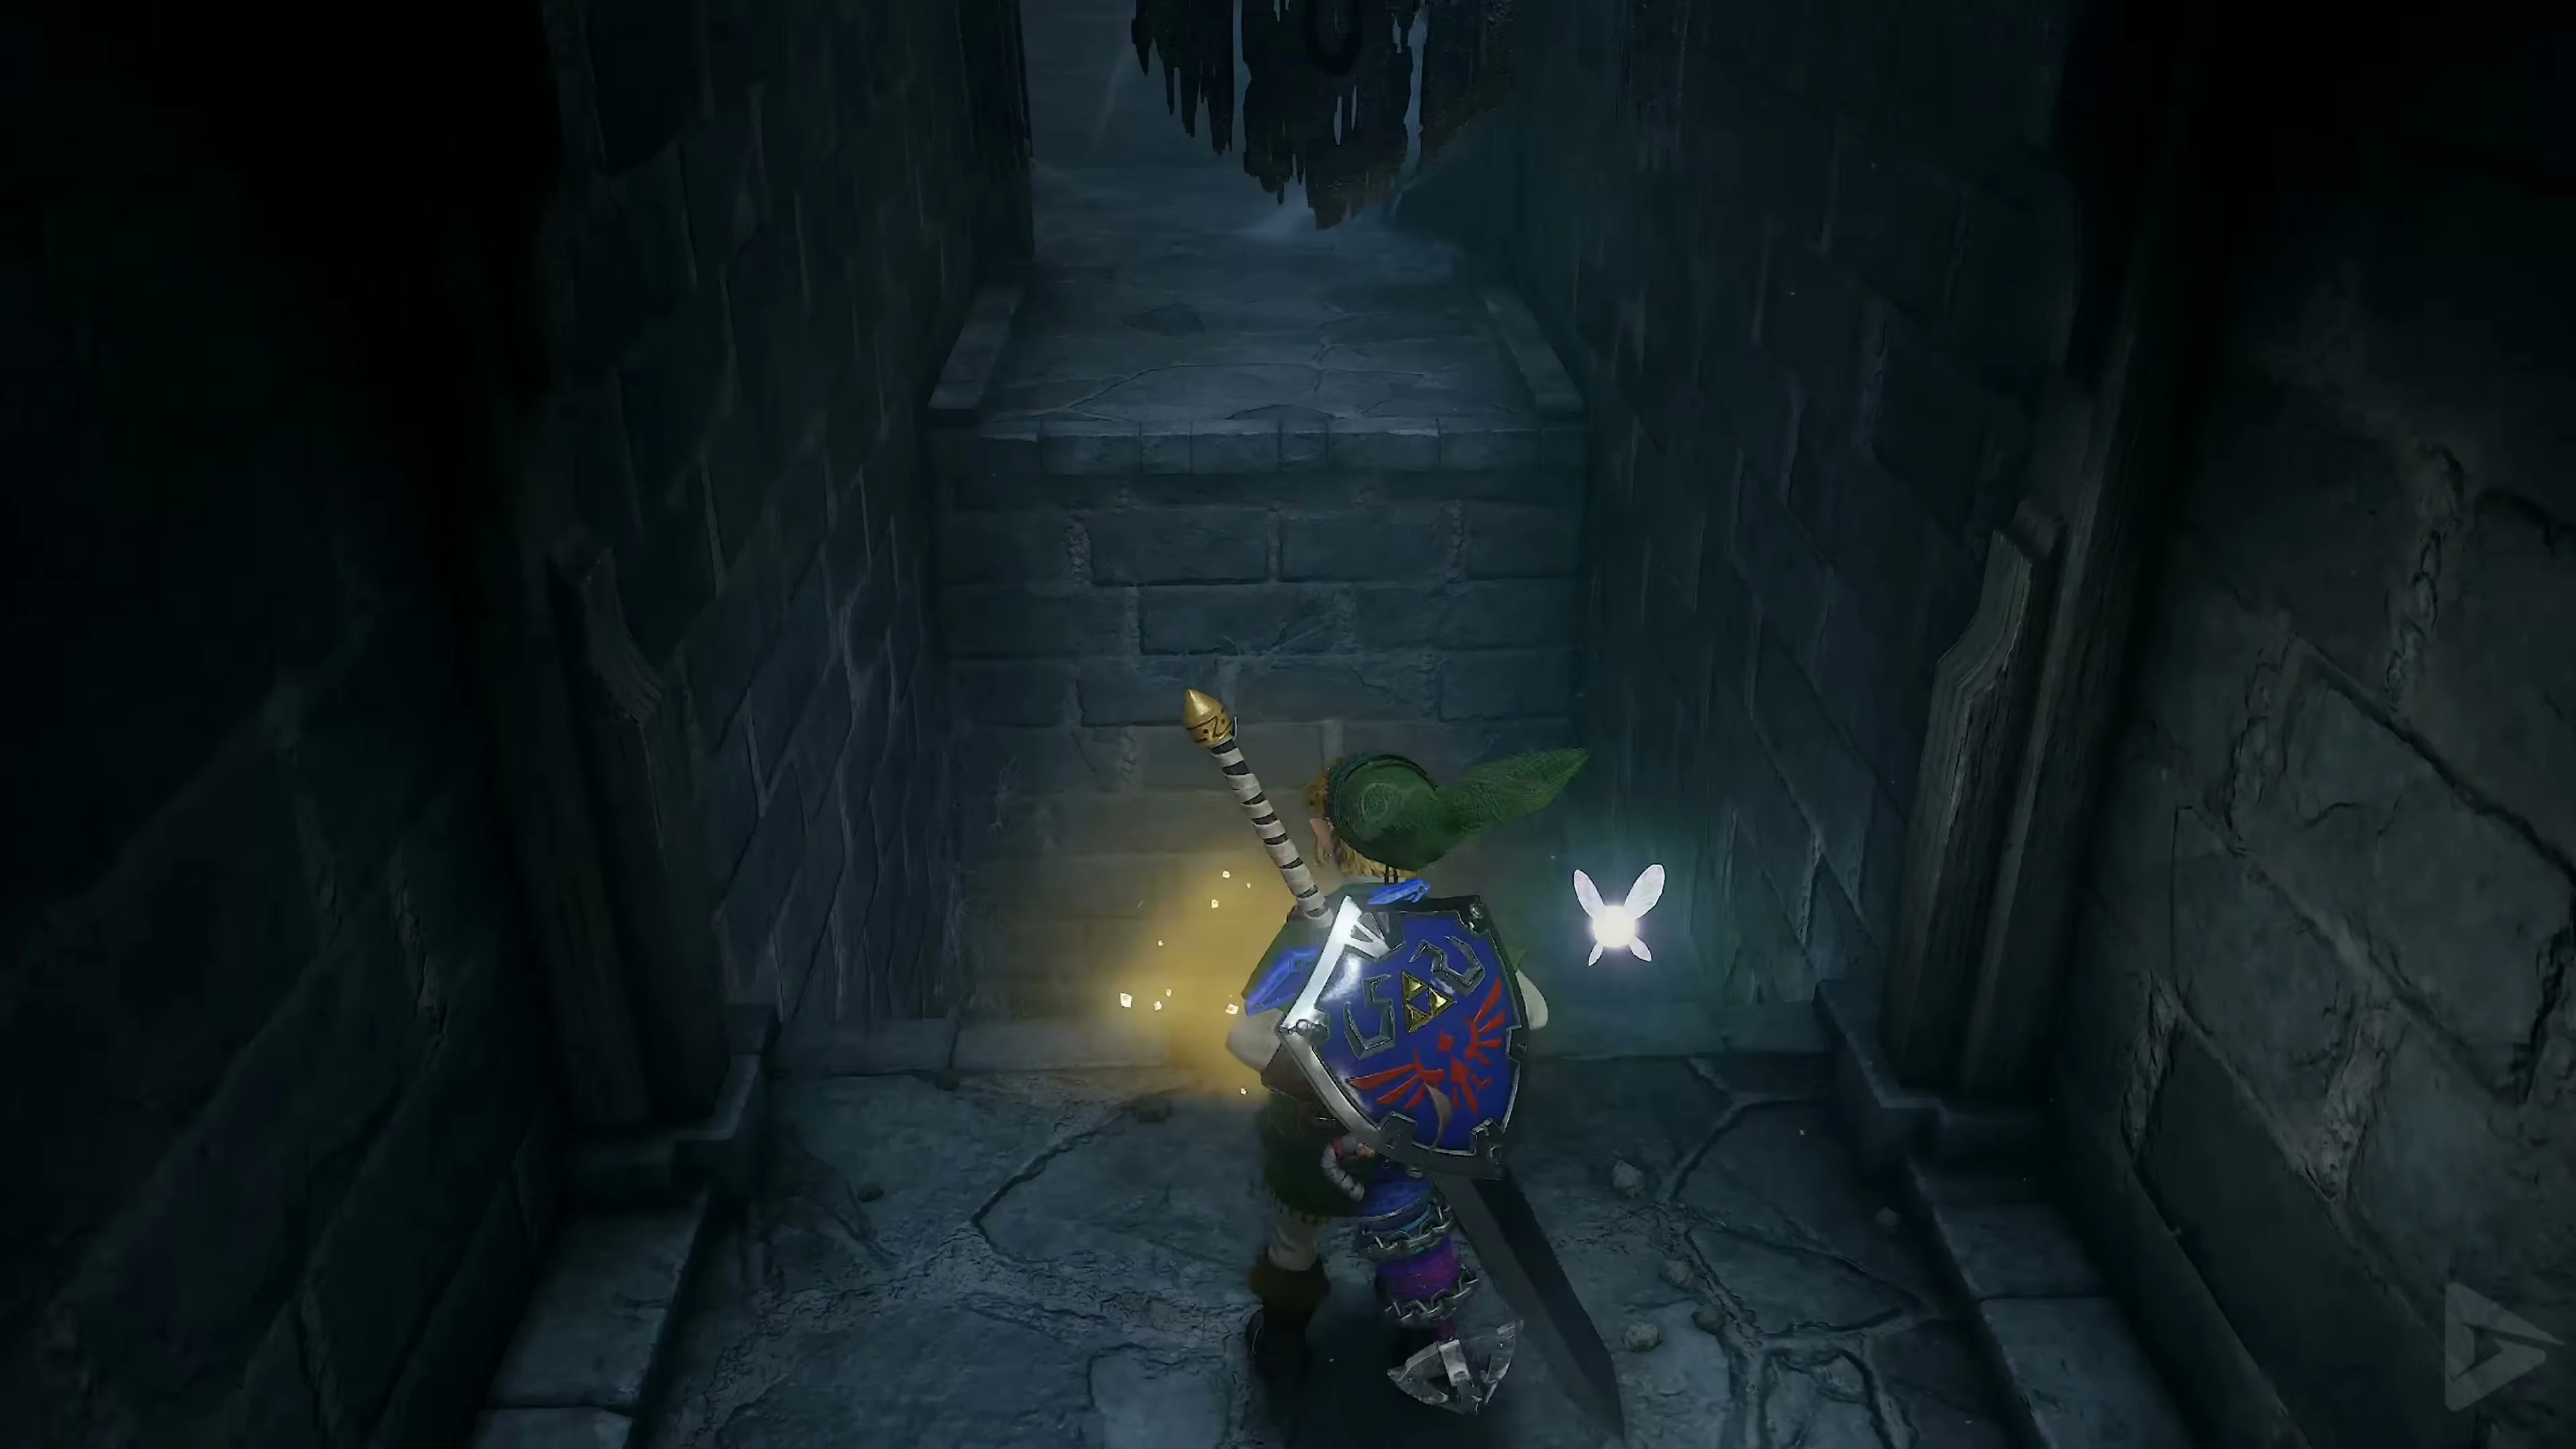
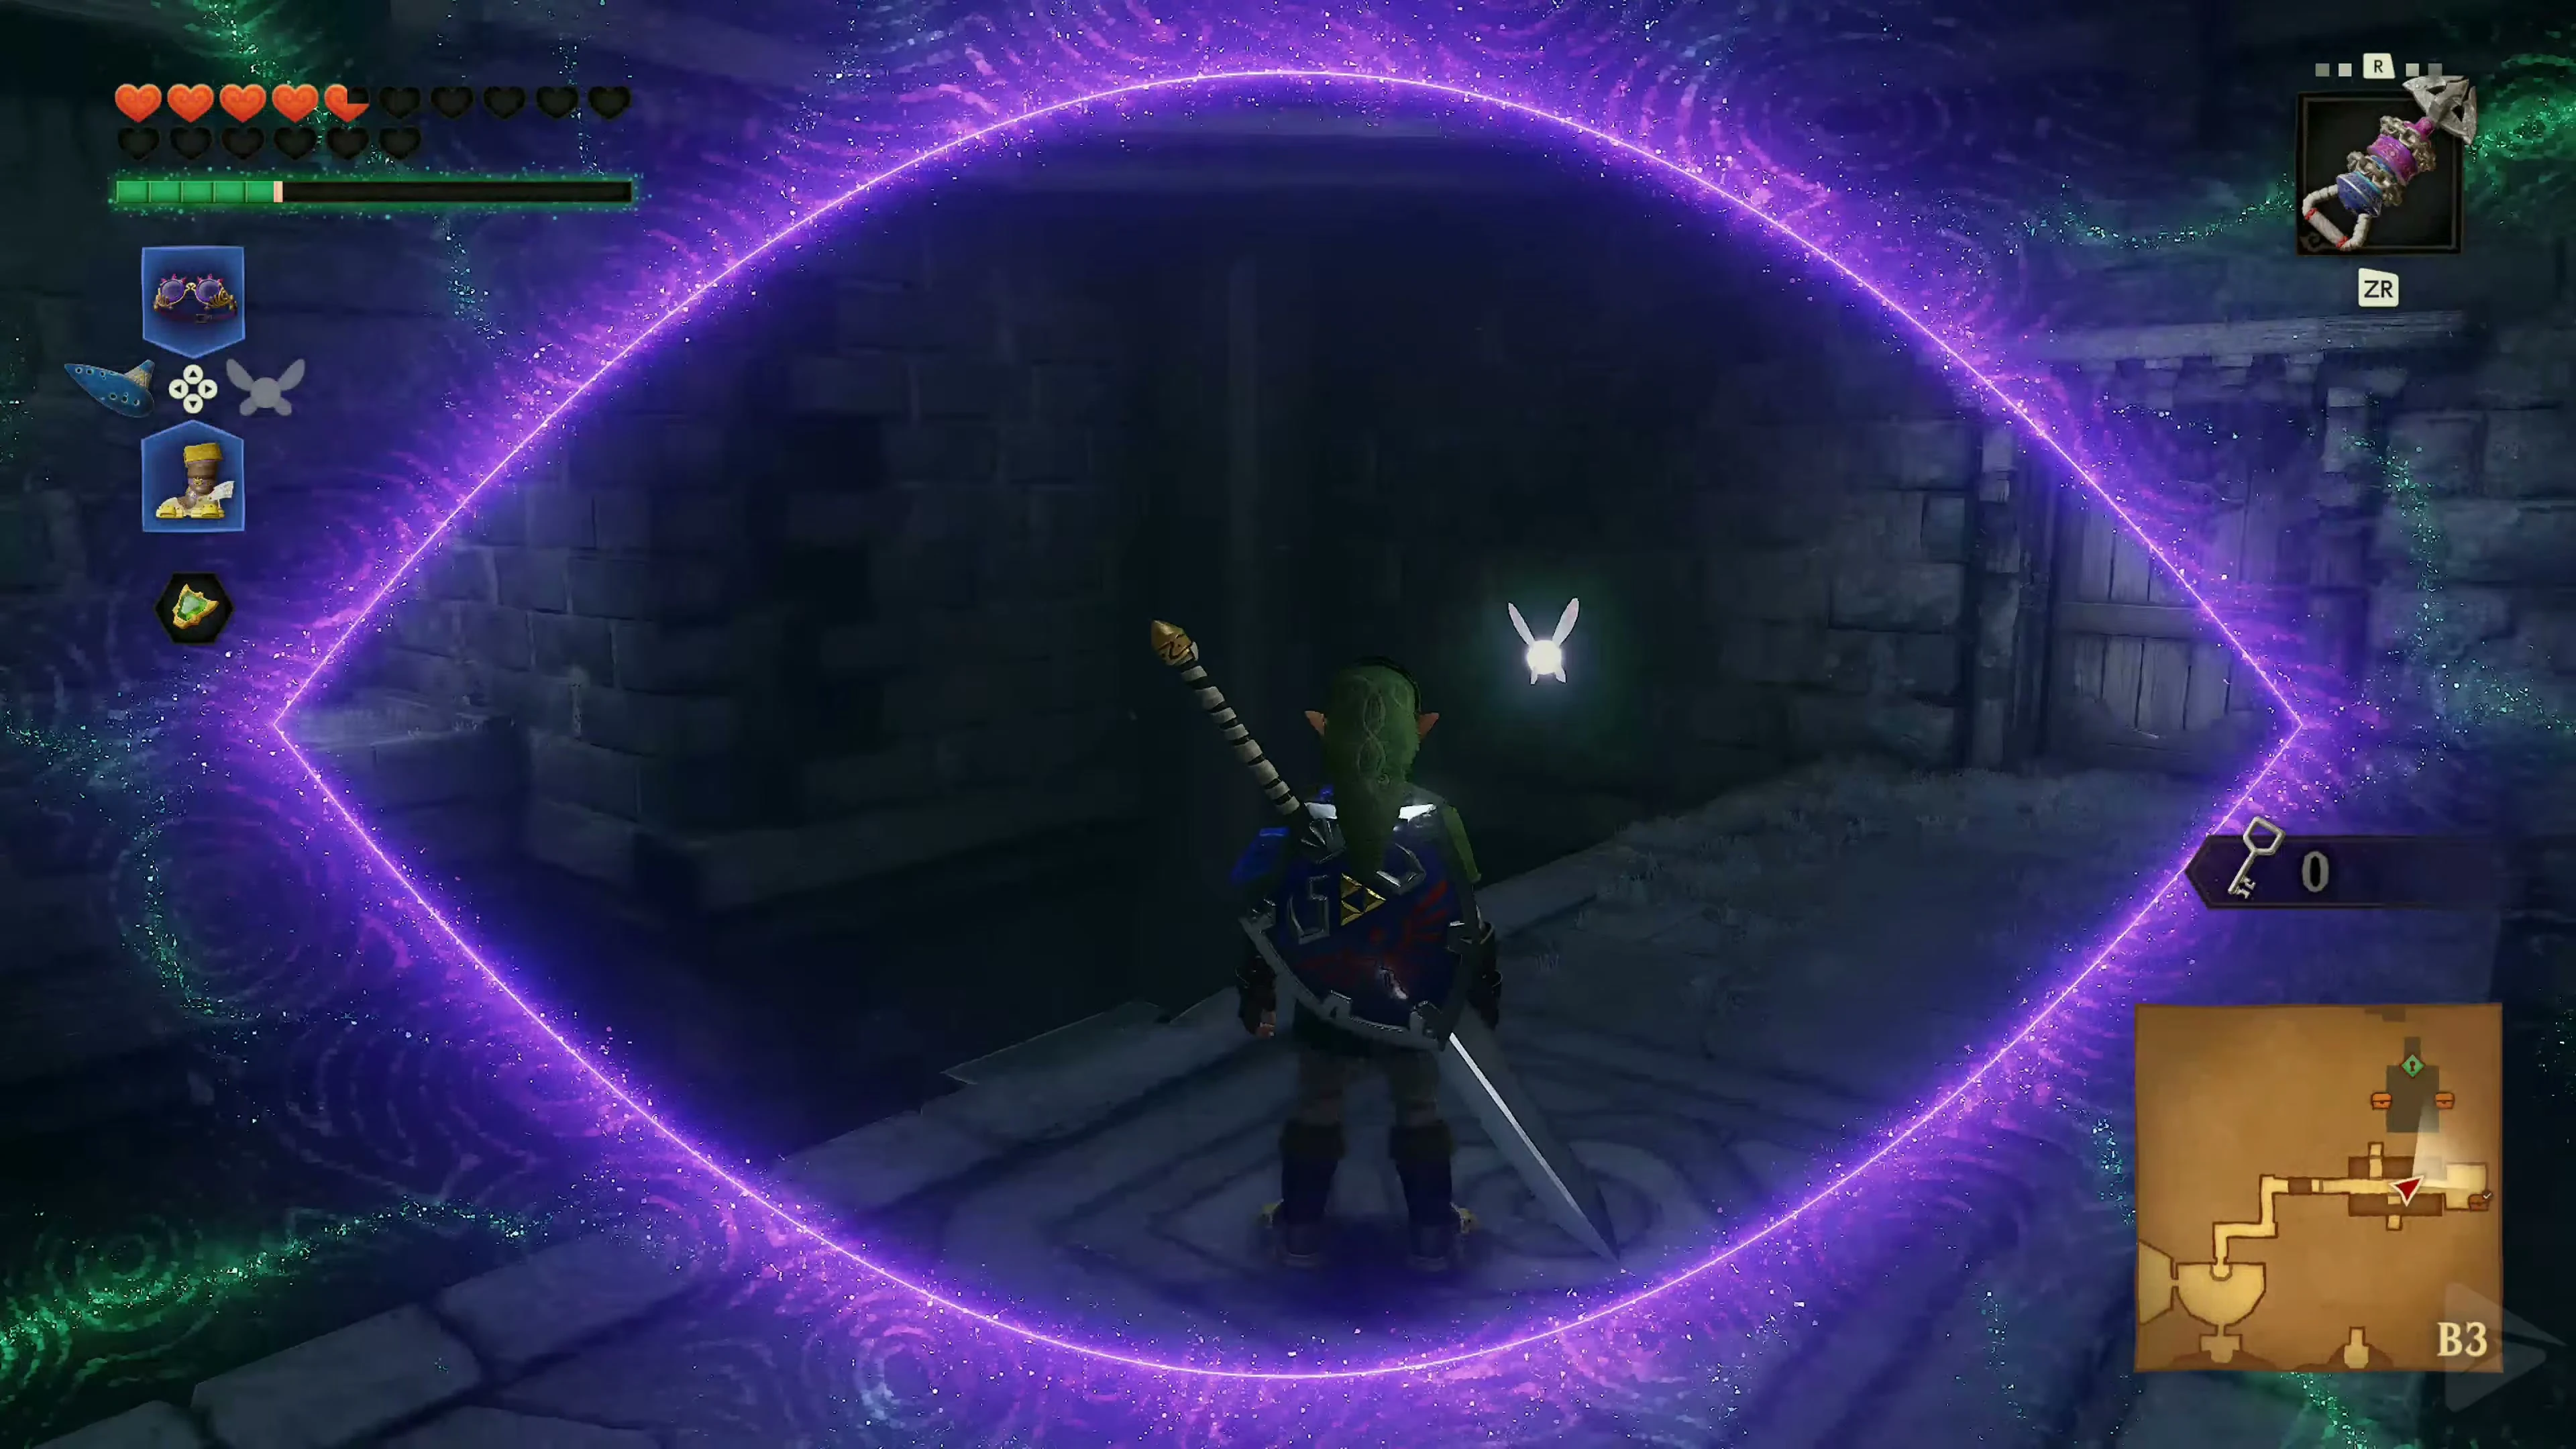
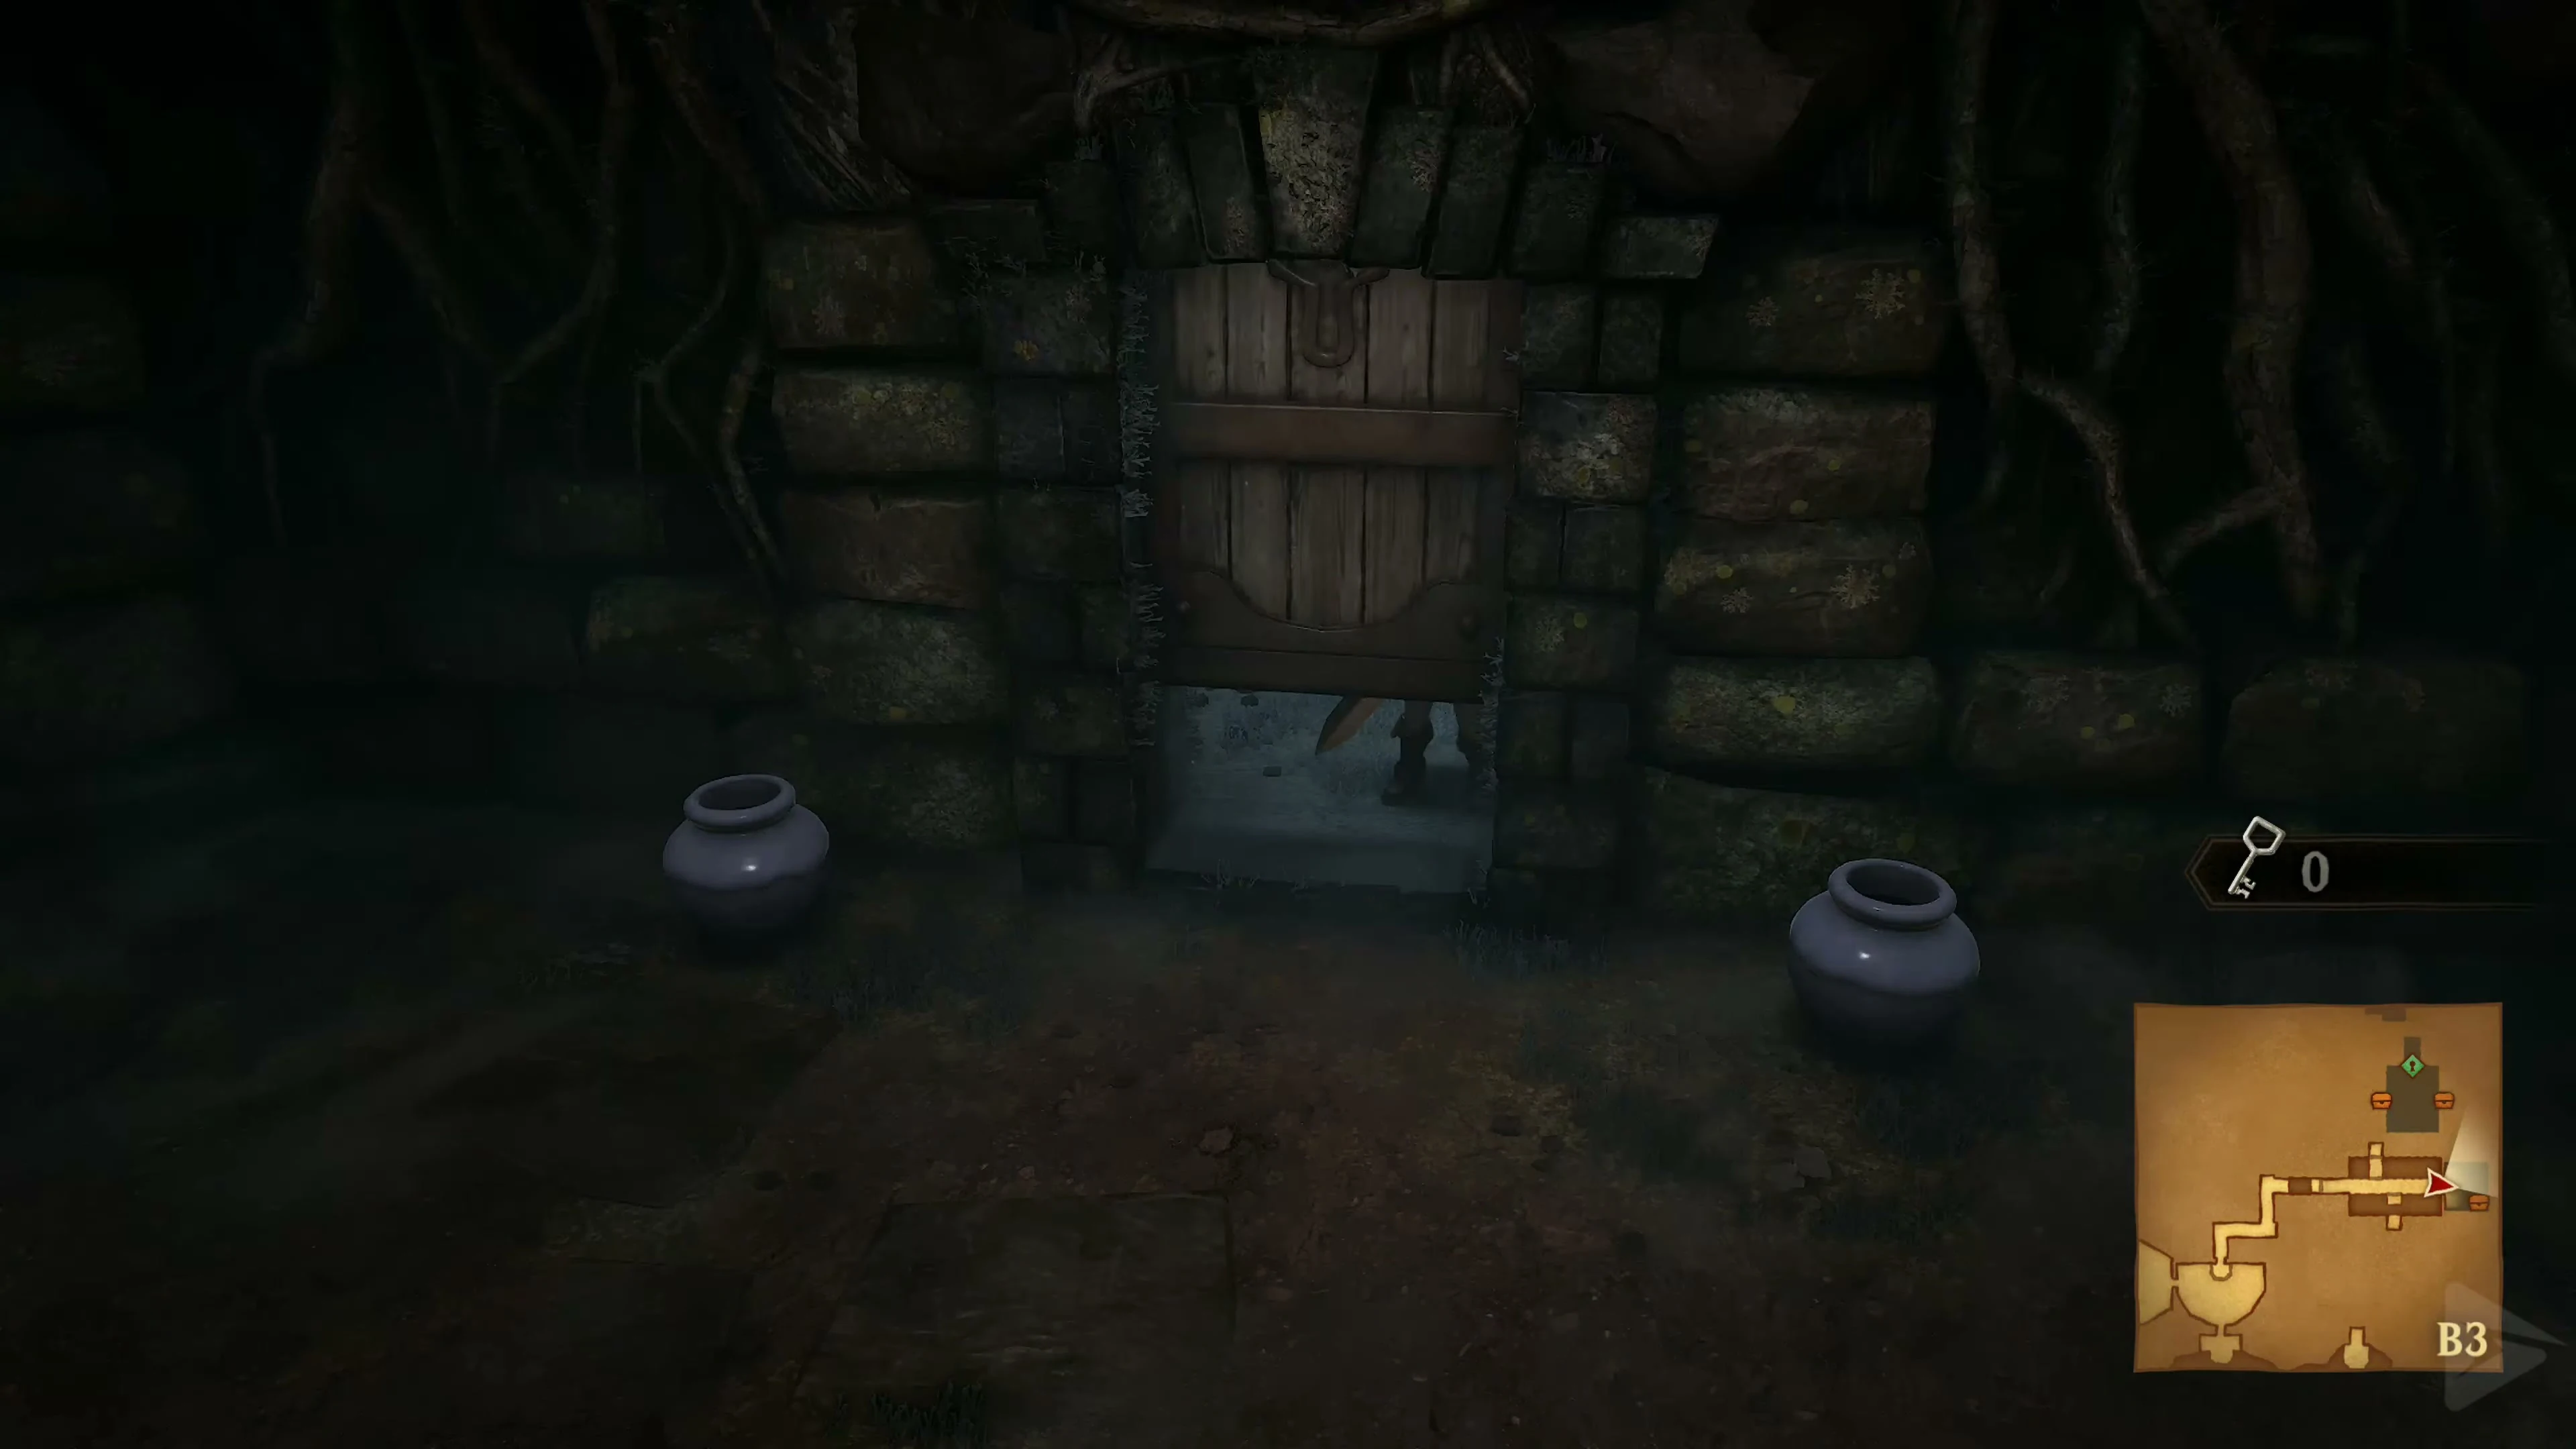
Paralyze the two Gibdos with Sun’s Song and defeat them. Open the visible chest with 20 Rupees . Blast through the east wall and use the Lenses of Truth in the alcove to open the invisible chest with Small Key 4/5 . Use it to unlock the north door and take the elevator down in the next room.
The Ghost Ship
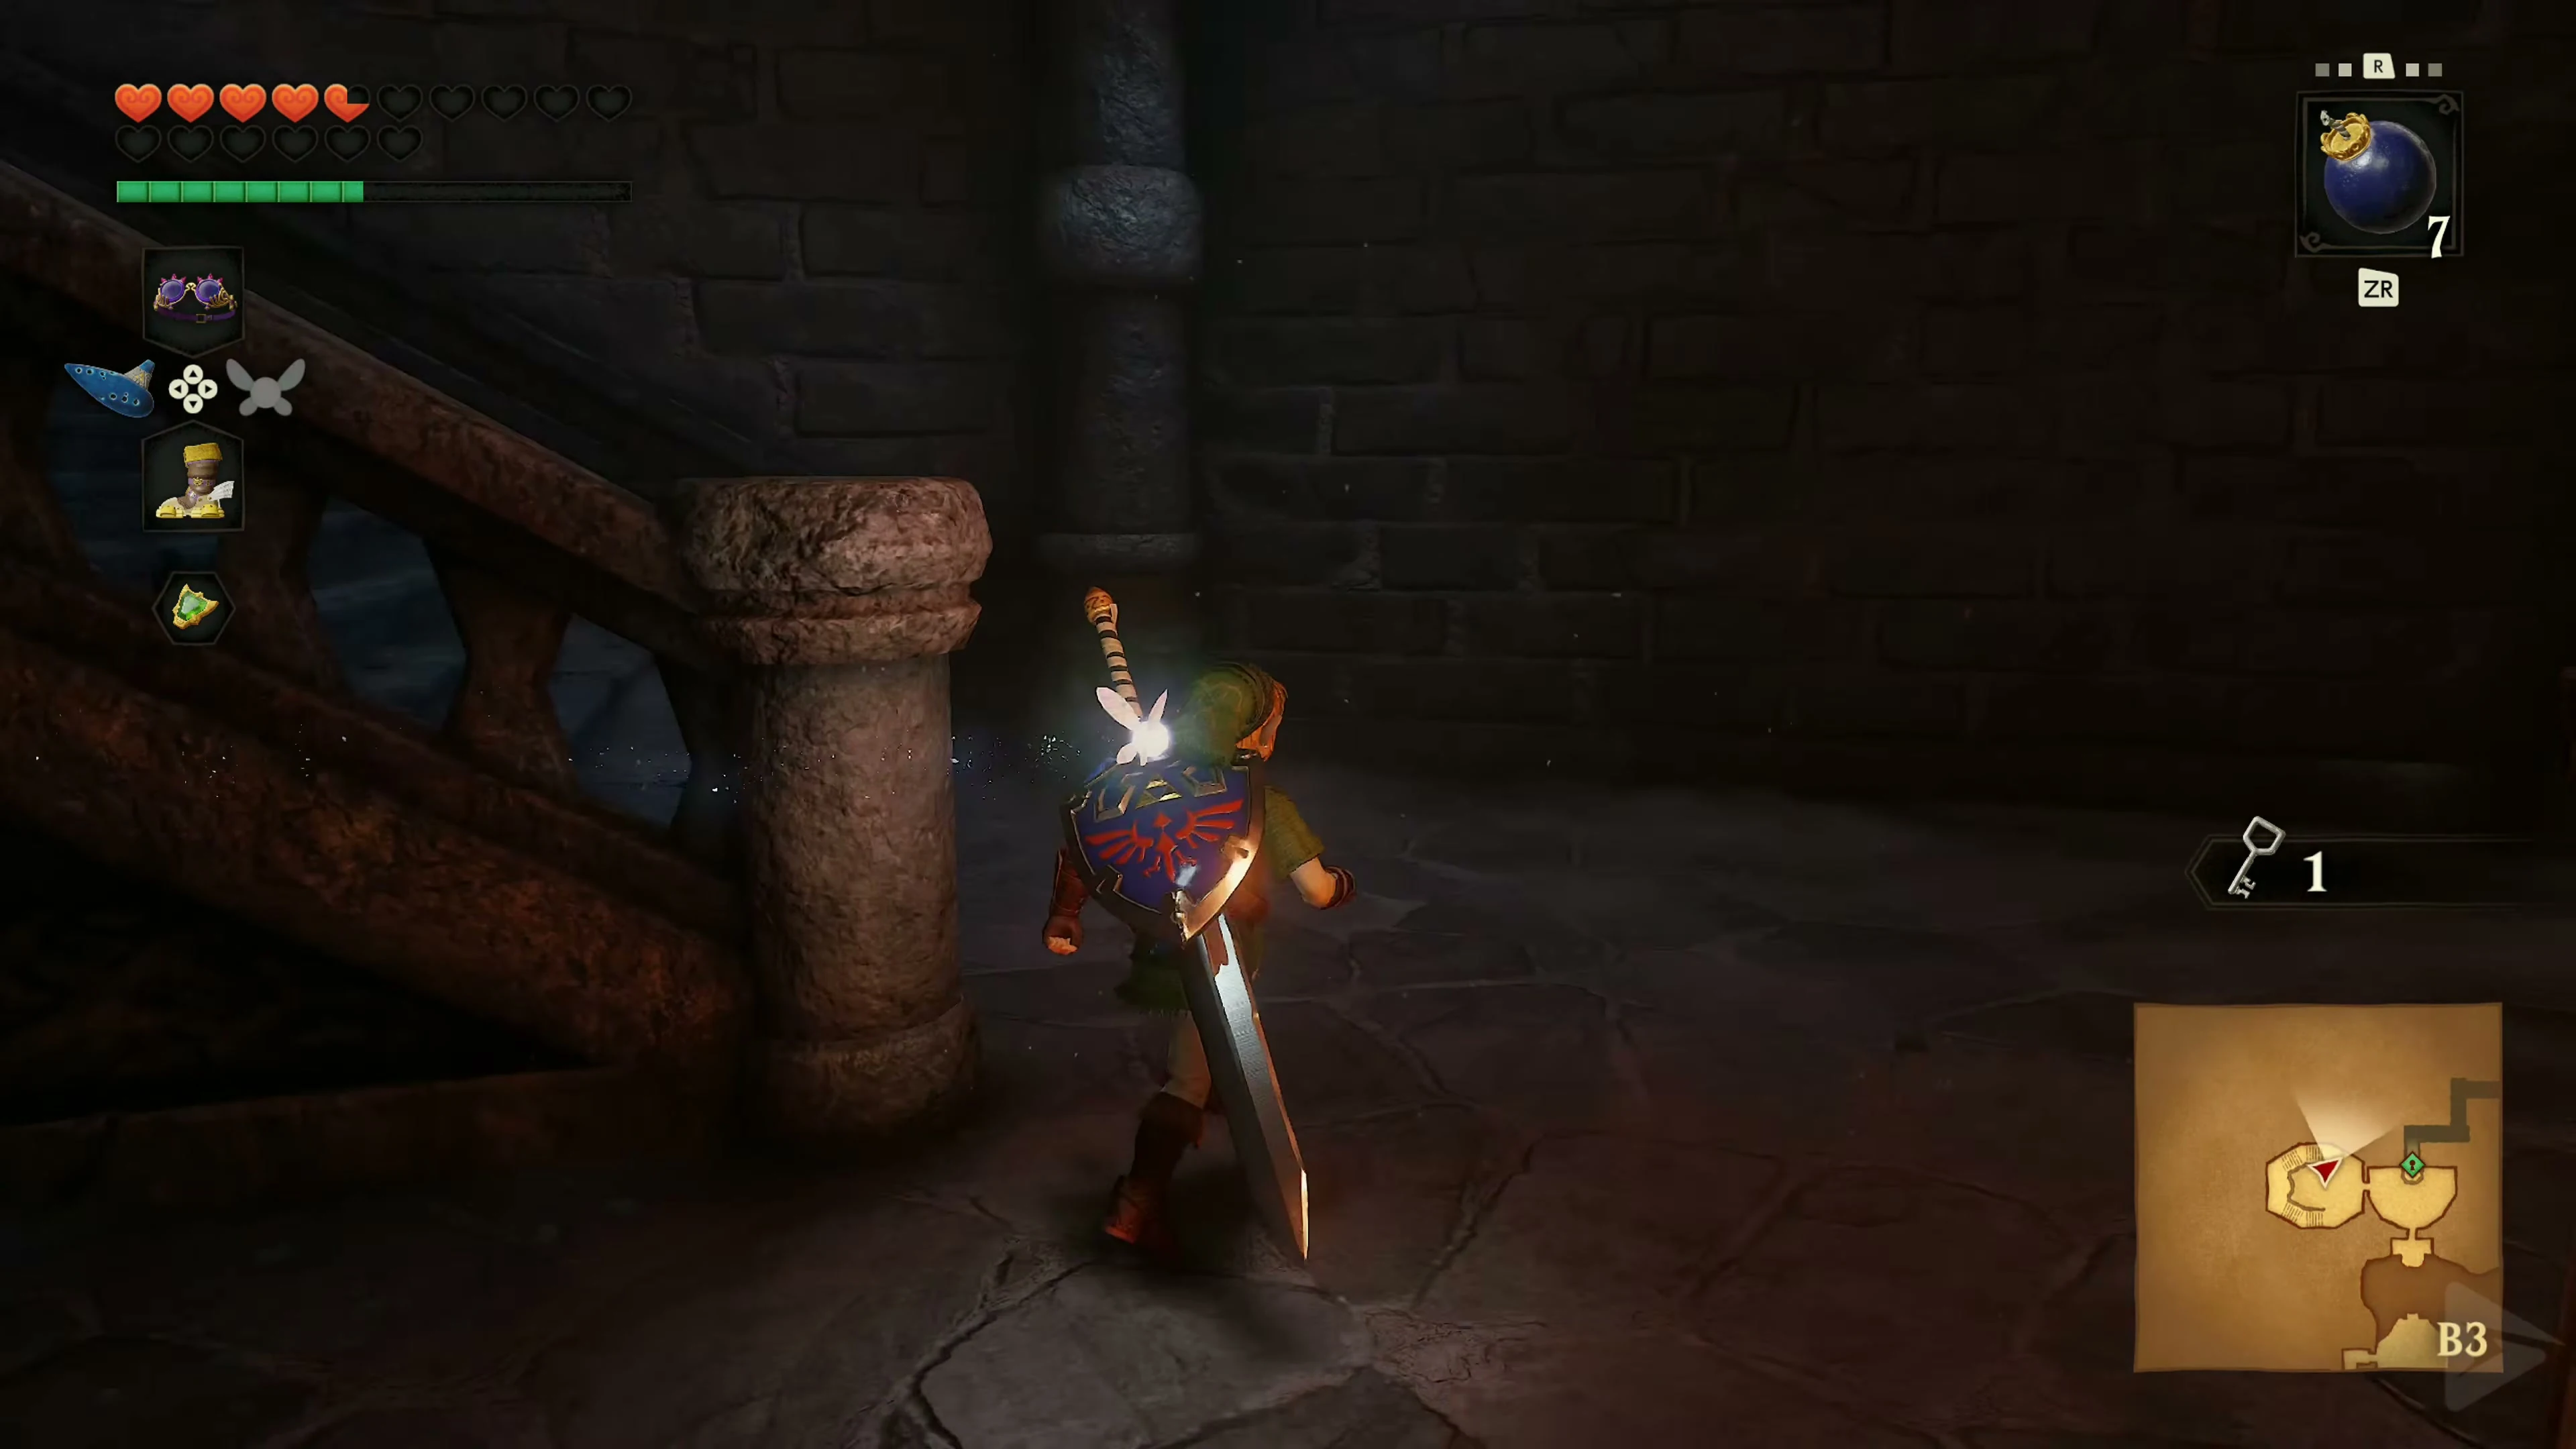
There’s a block stuck to the left at the bottom of the elevator. Pull it out to the end of its track. The revealed passage is a shortcut back to the first crescent room. Climb onto the block and from there onto the higher crate next to the elevator.
Gold Skulltula 4/5
Look west from the high crate to the air vortex next to the elevator and play the Scarecrow Song . Pull yourself towards Pierre with the Longshot. Defeat the Gold Skulltula 4/5 , take its Token and jump back to the dock.
With the Ghost Ship through the Catacombs
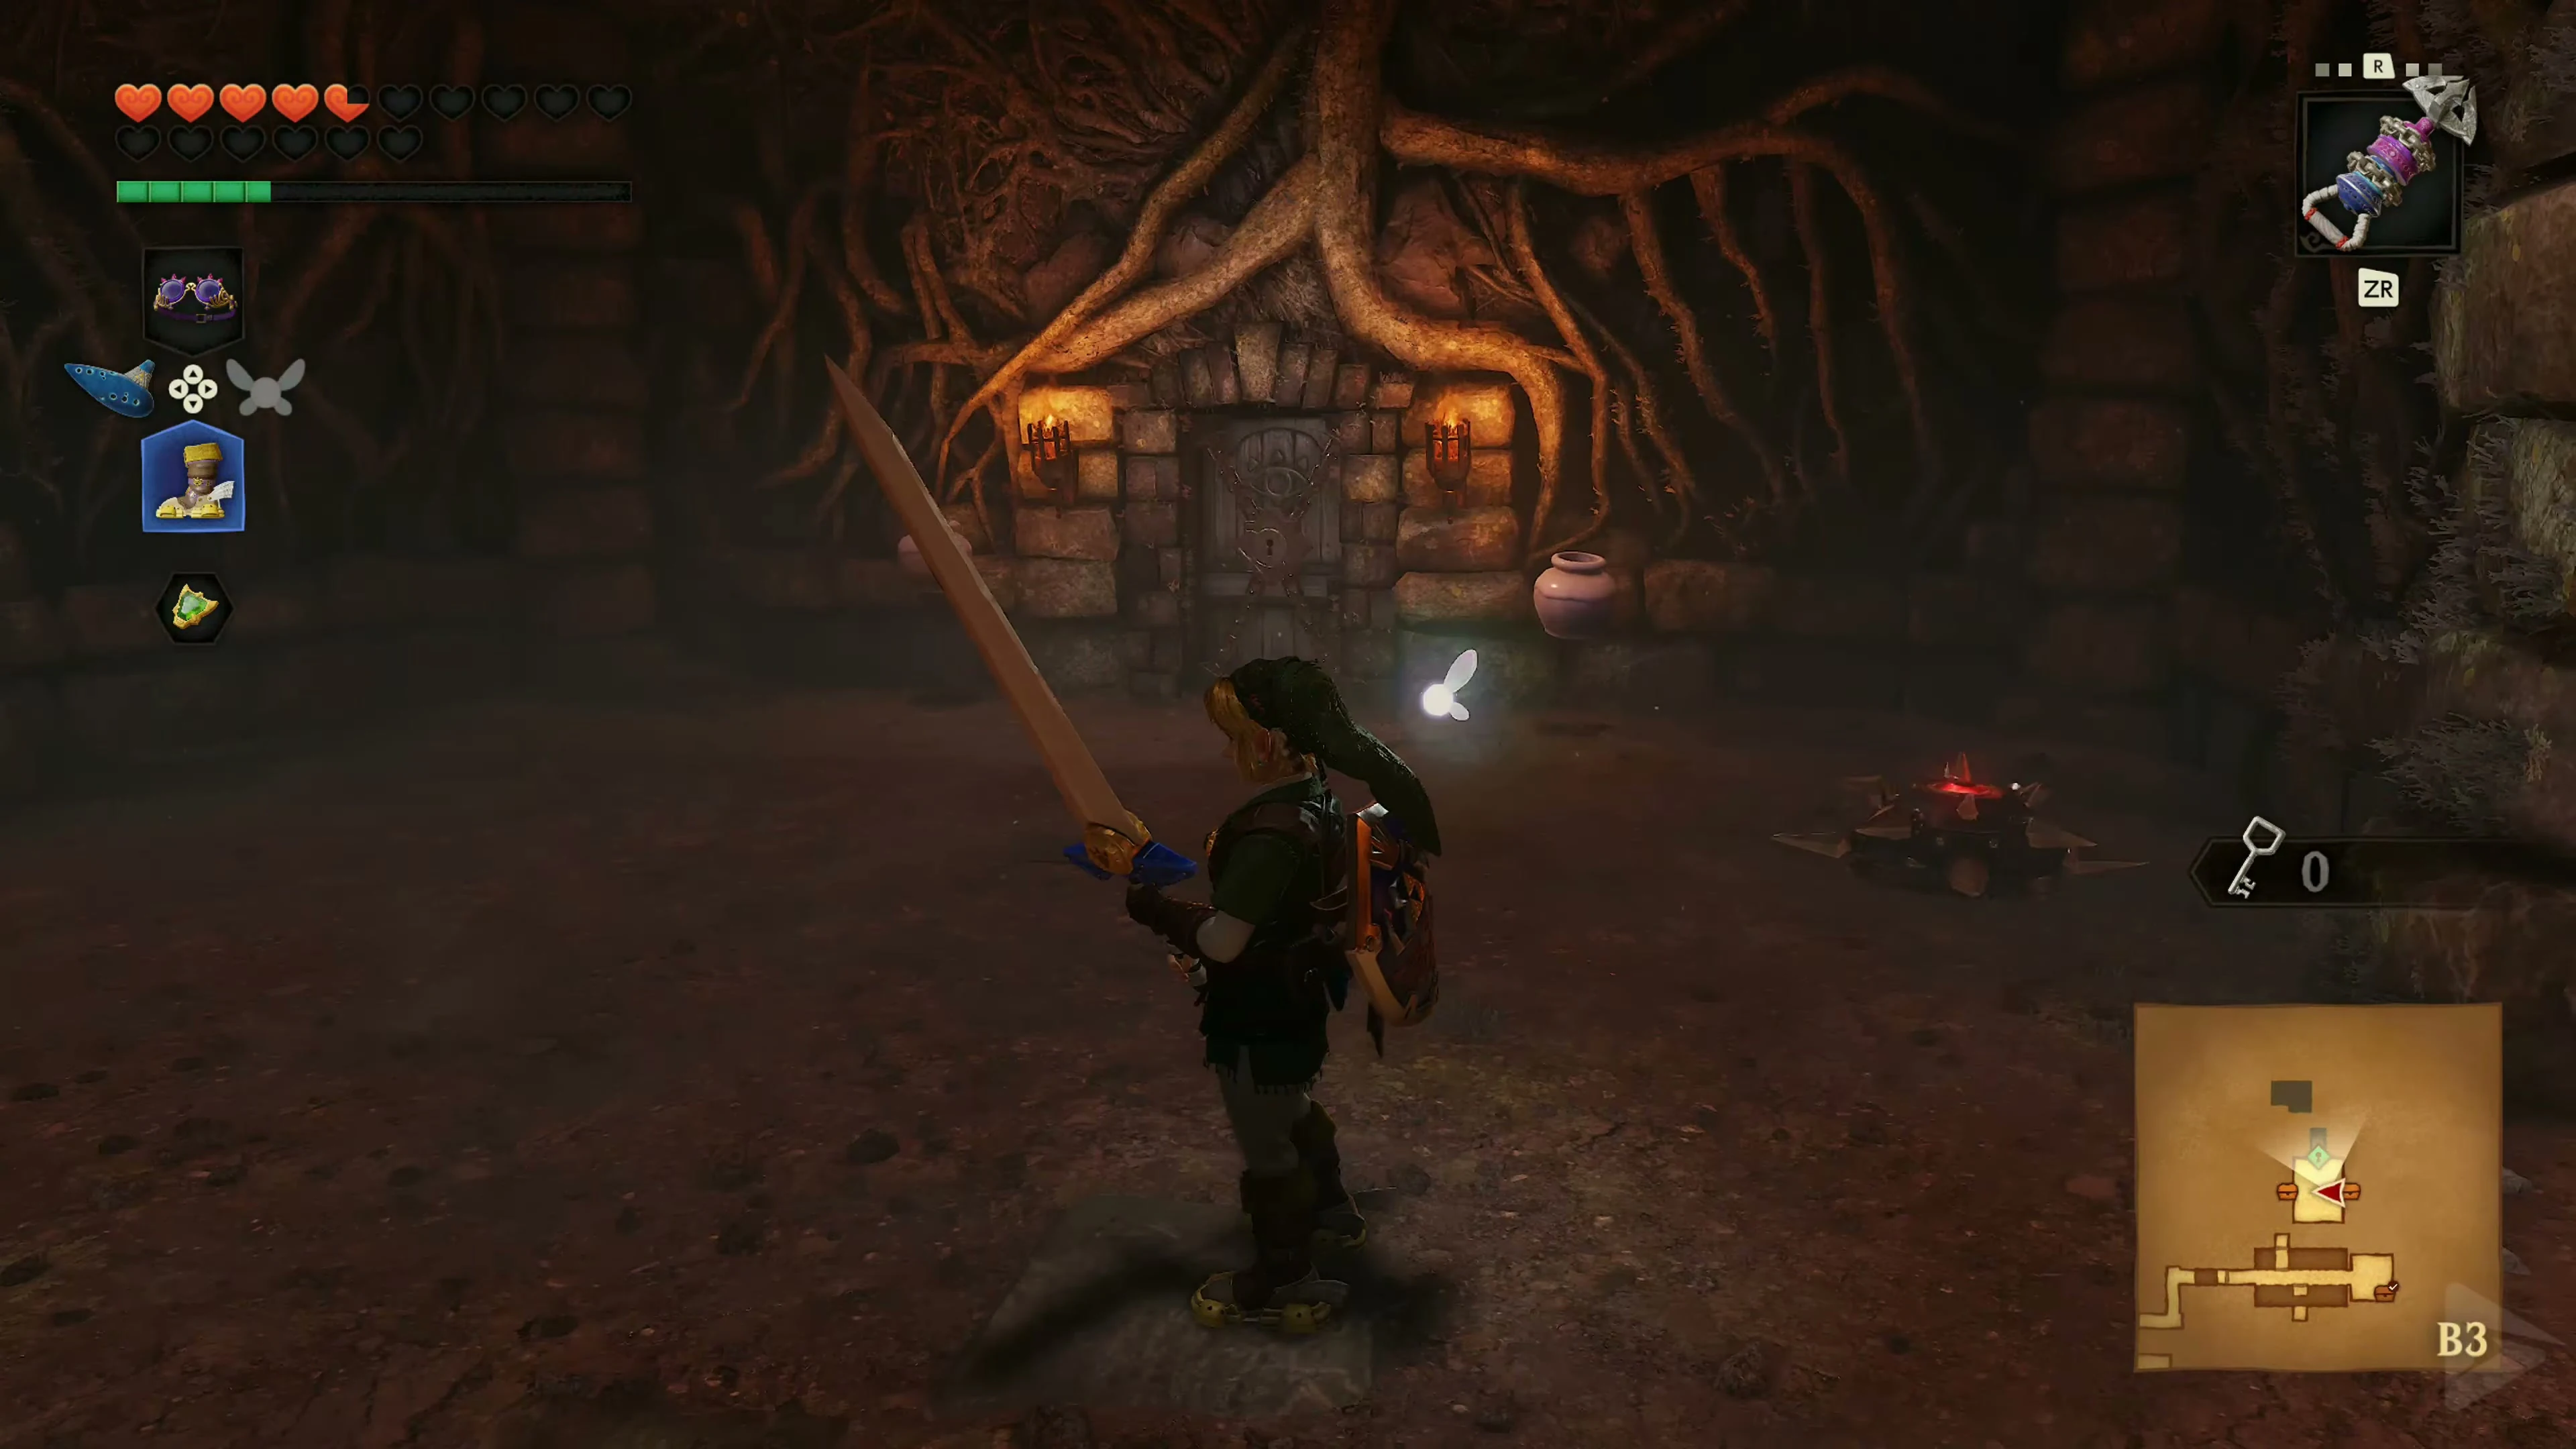
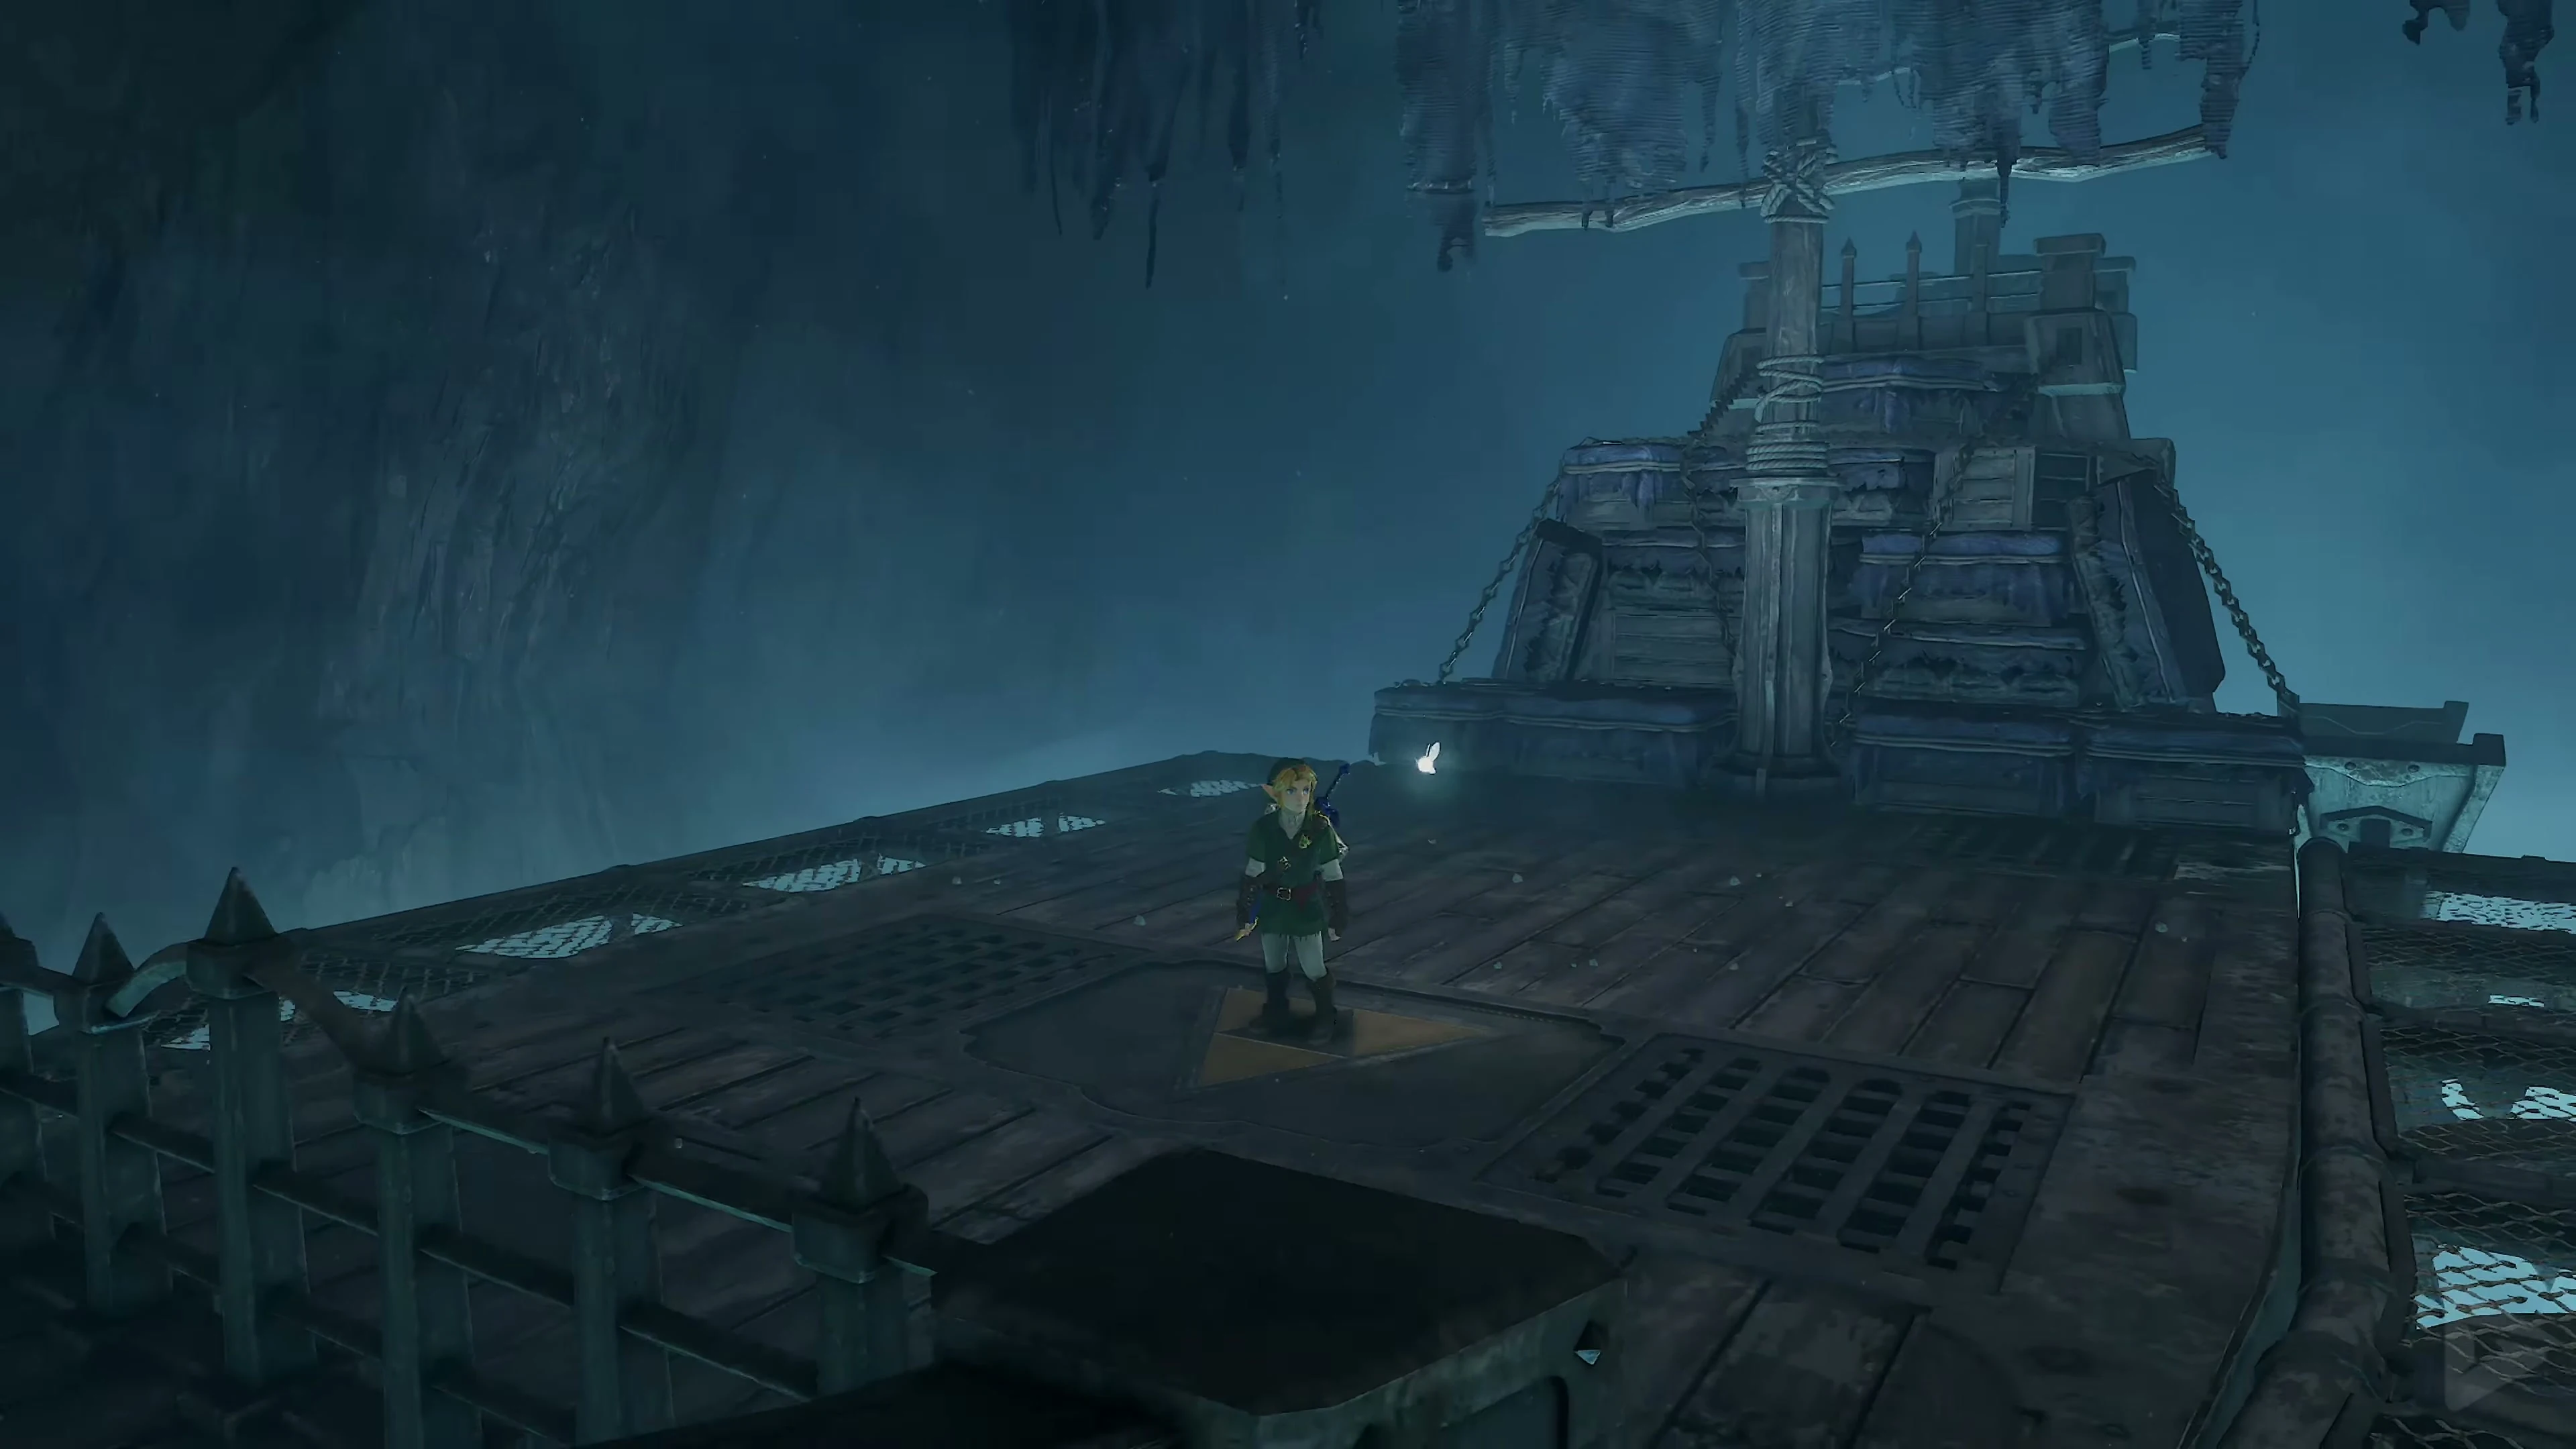
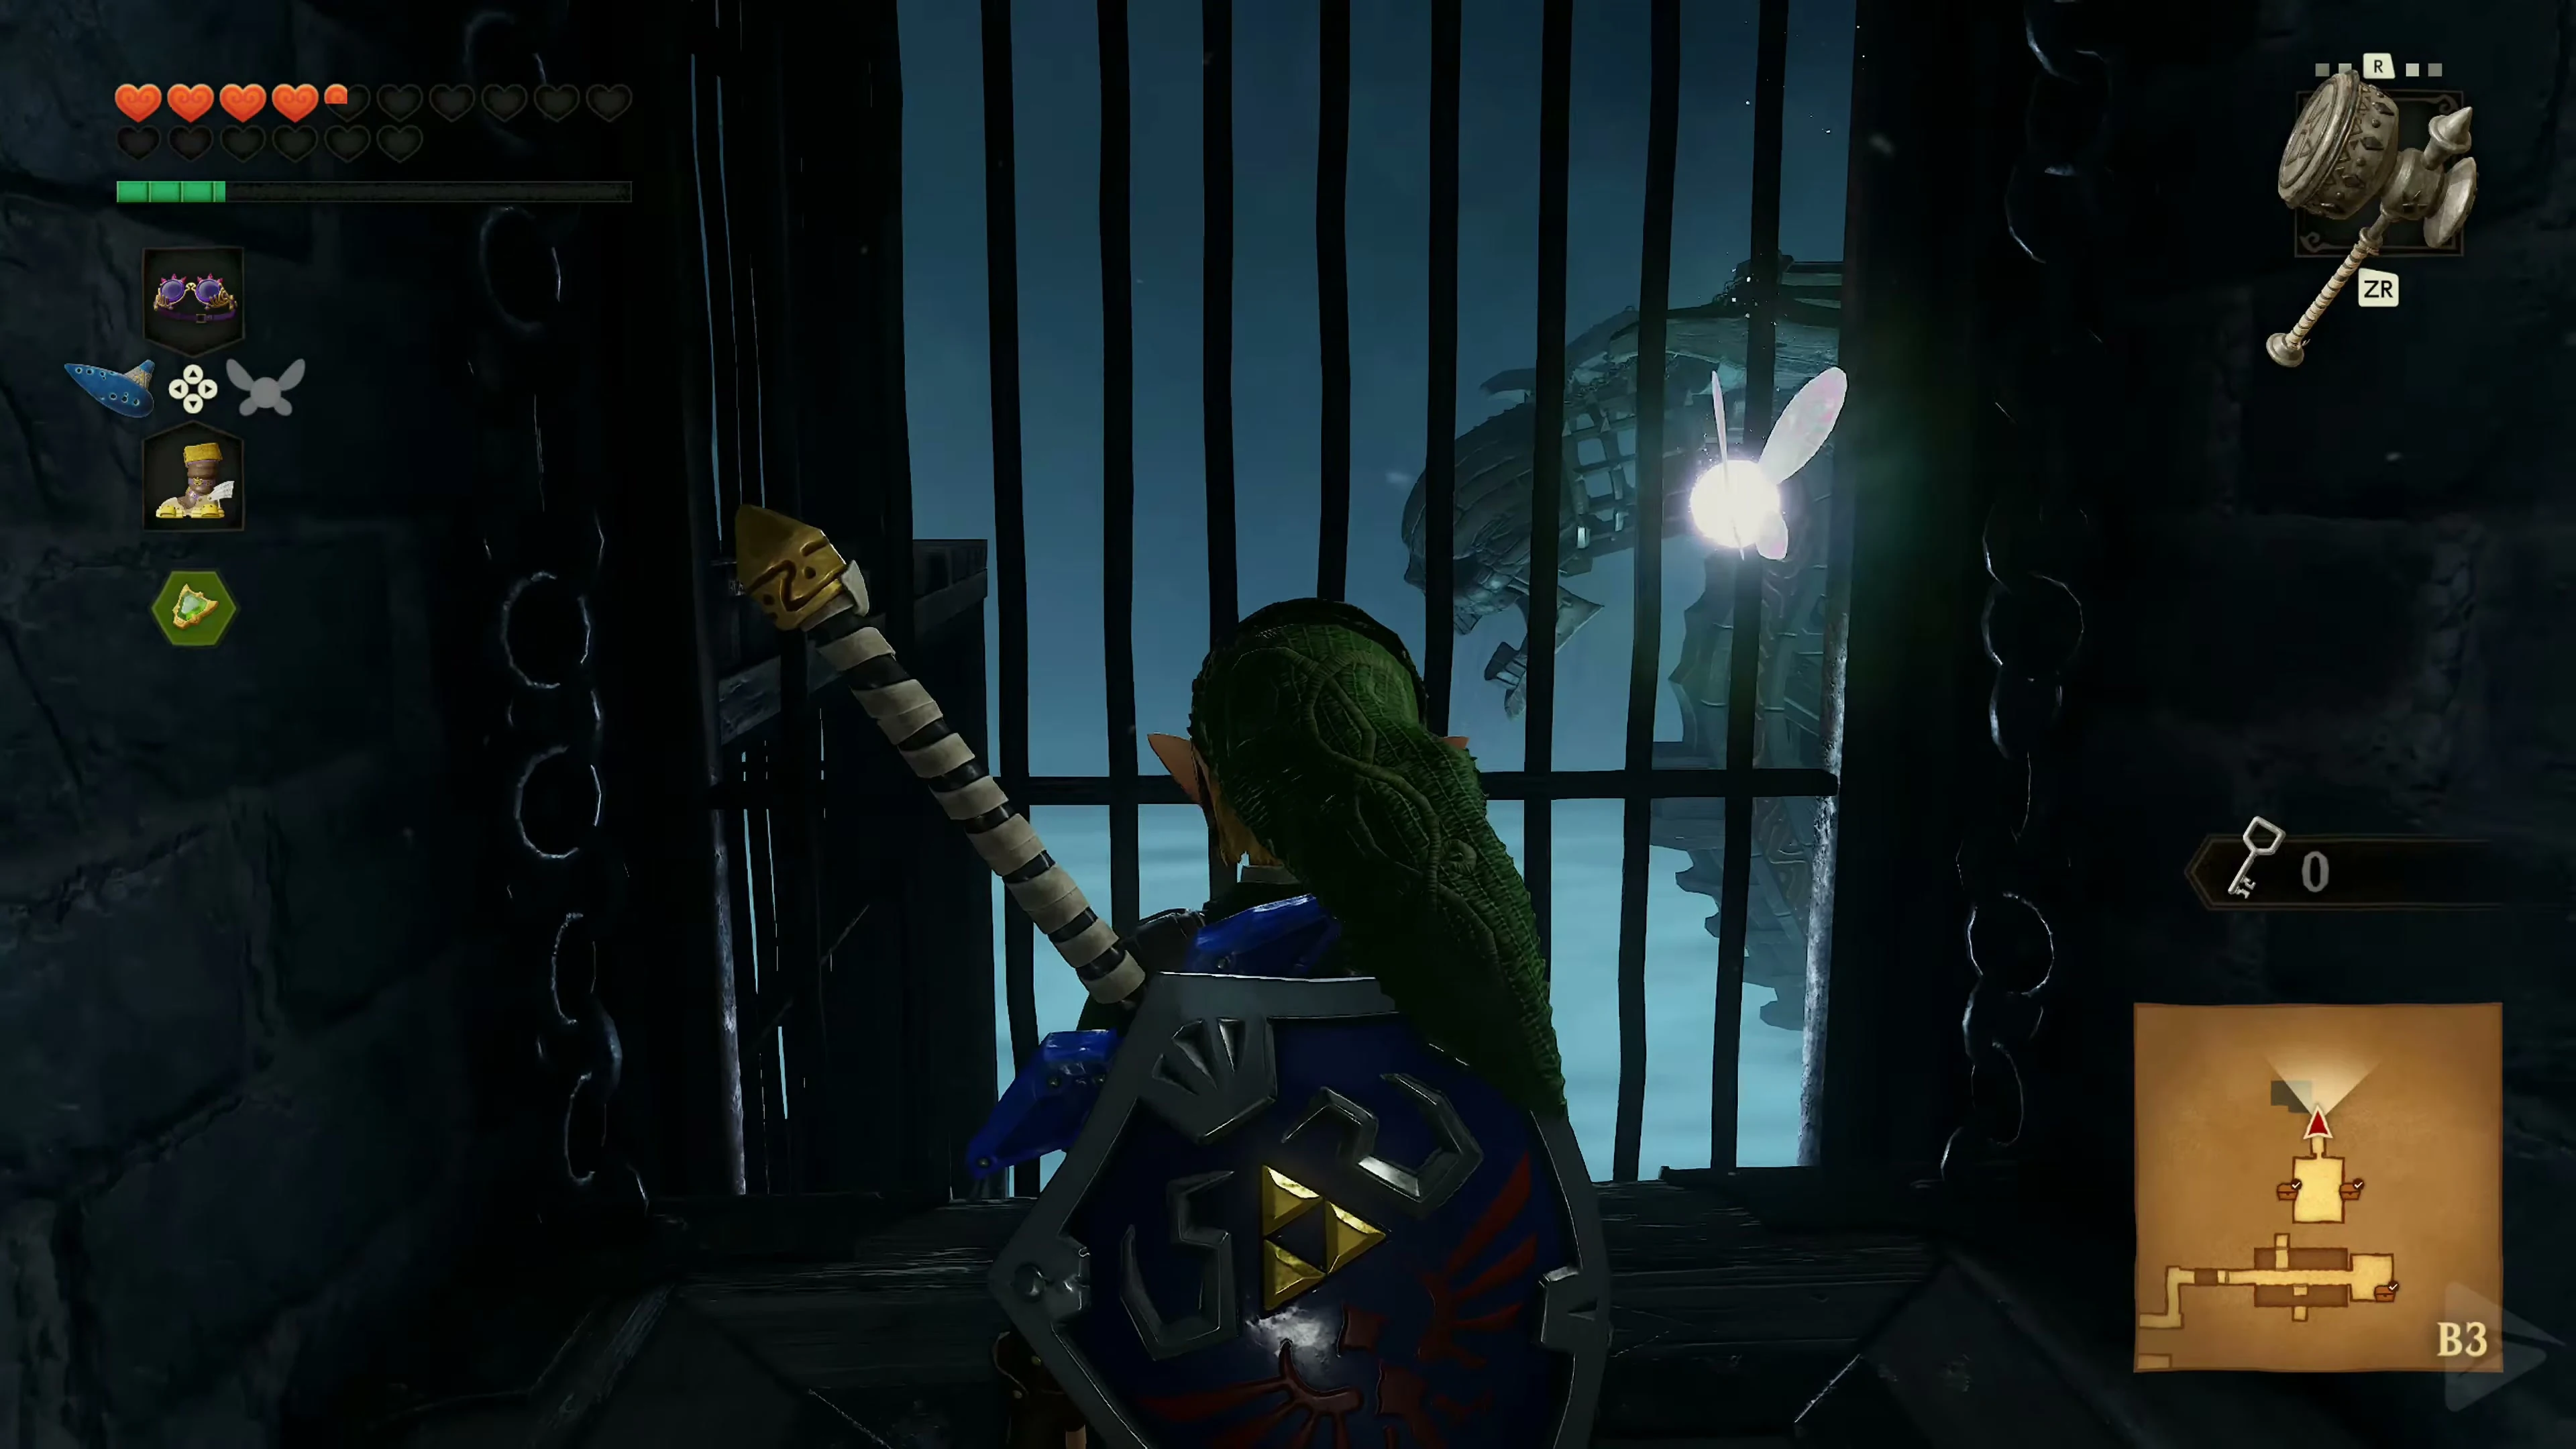
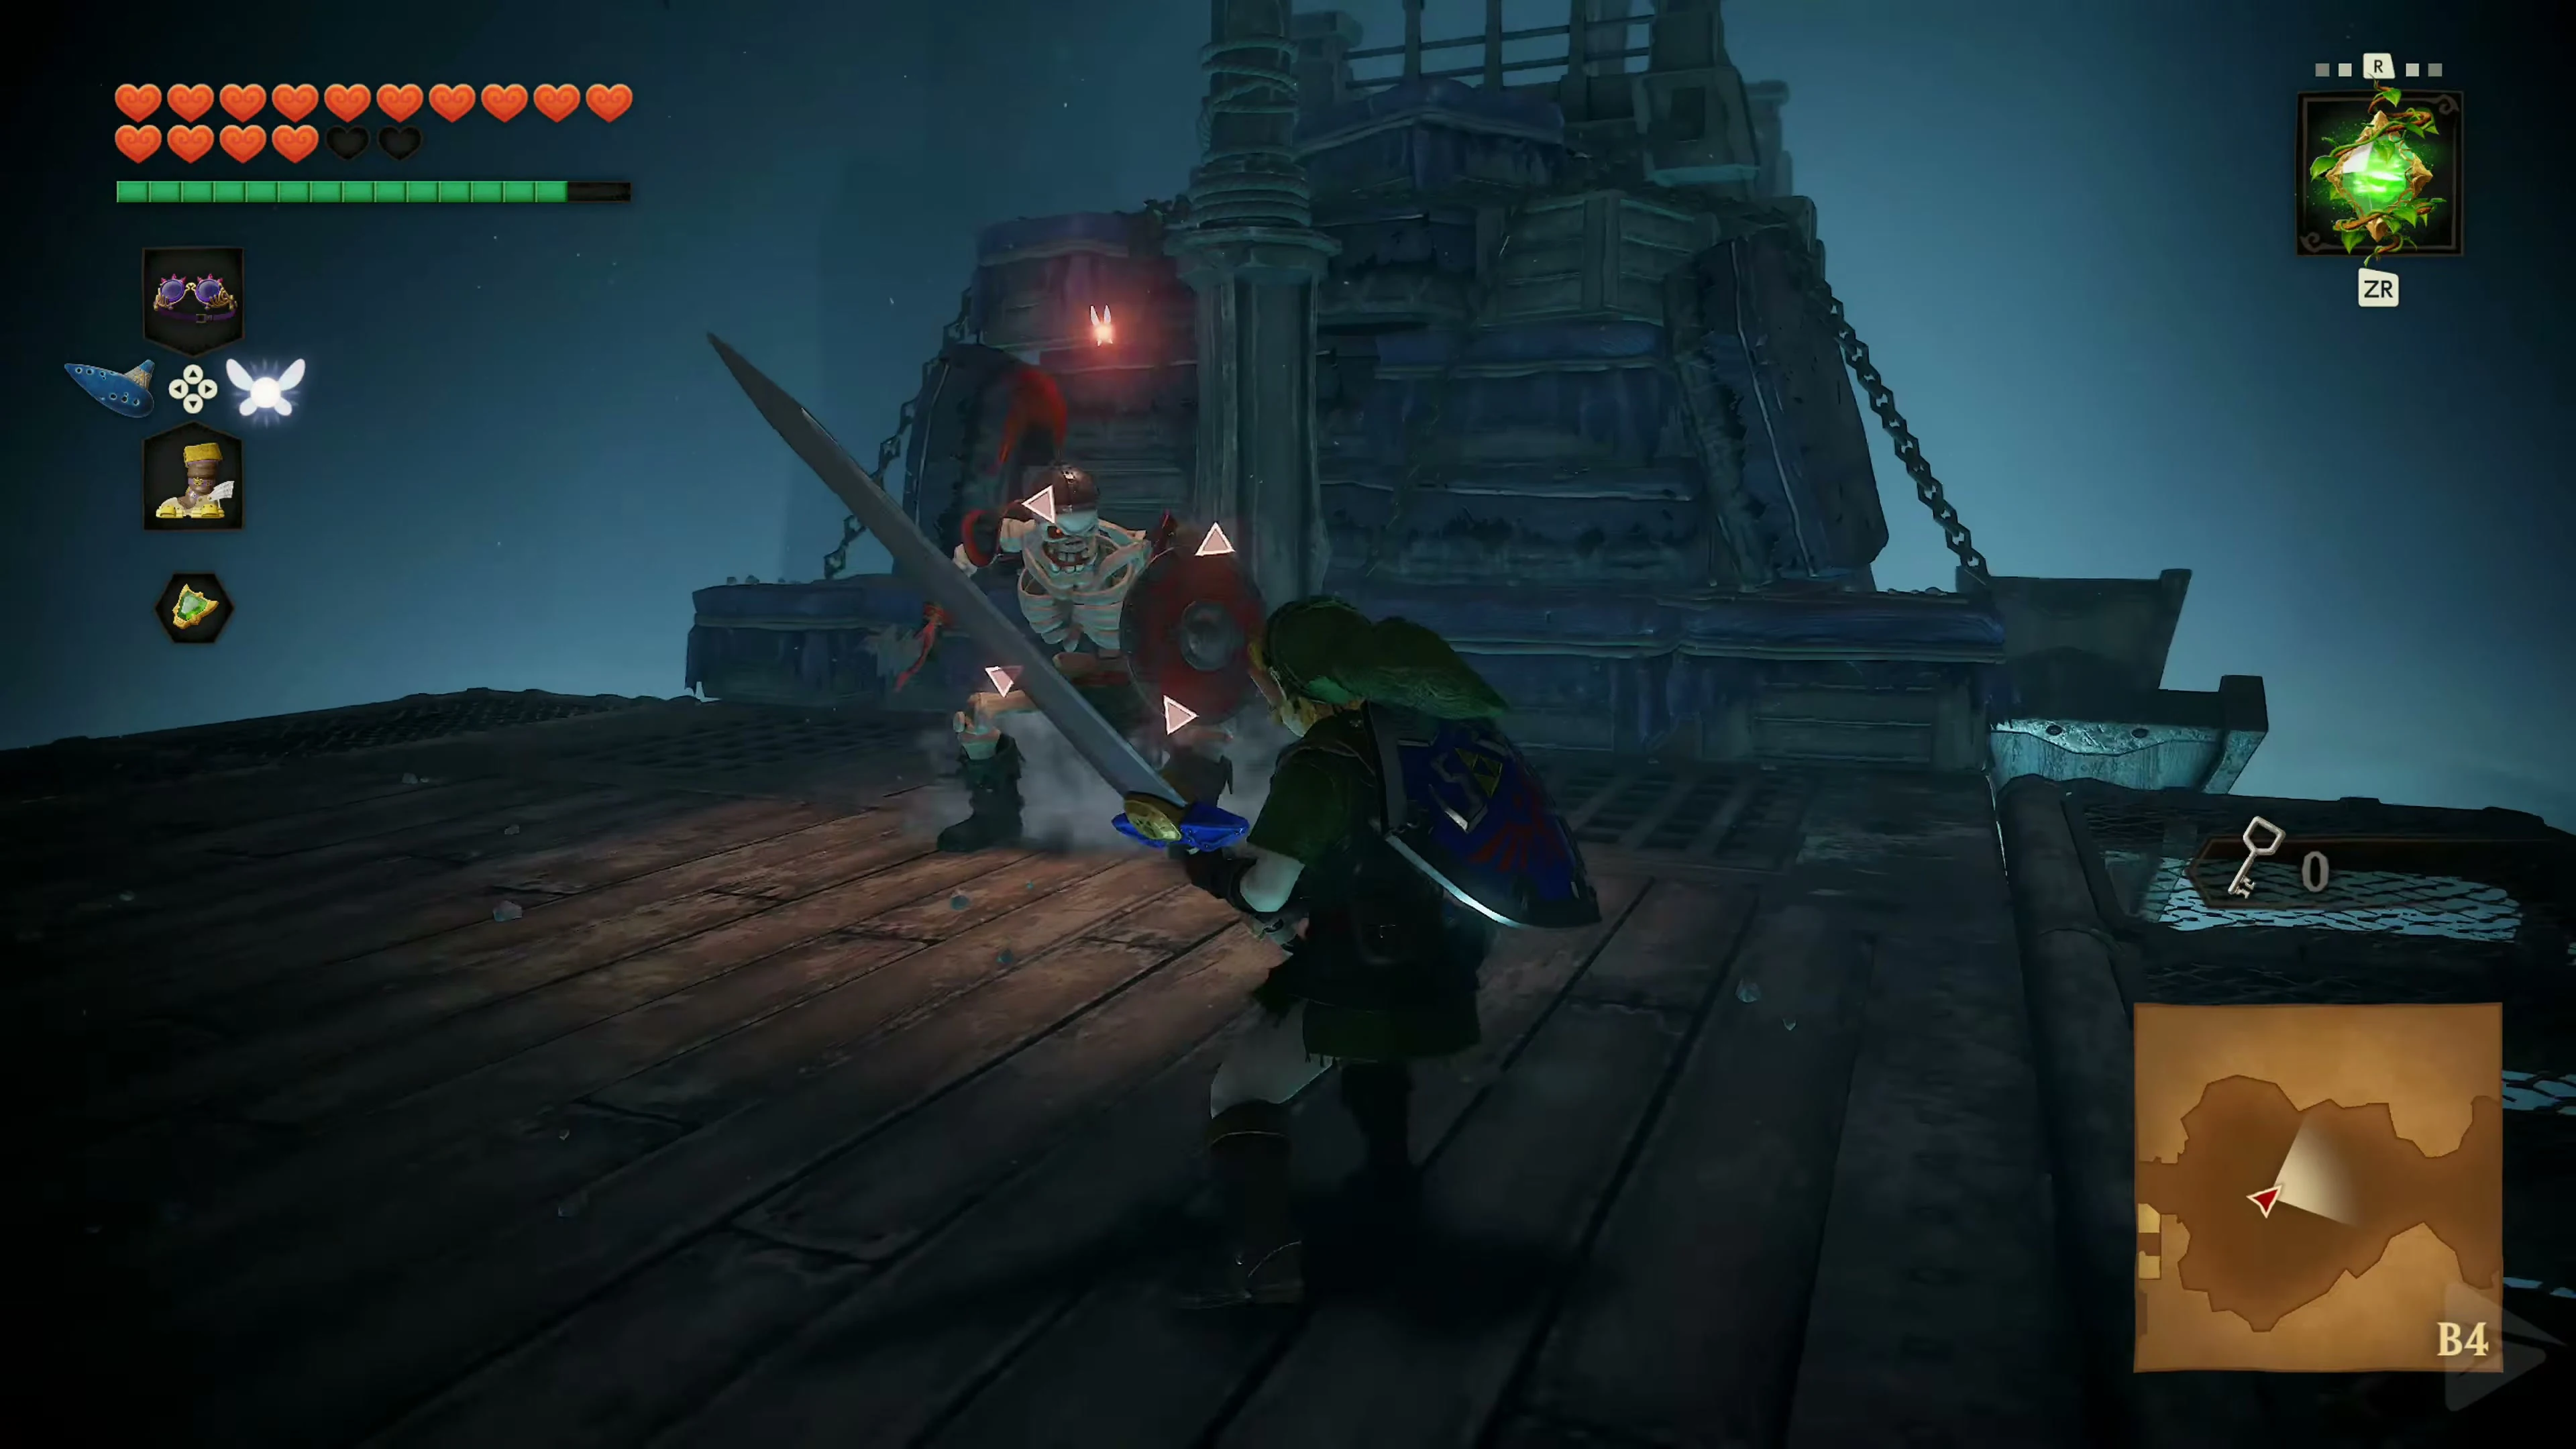
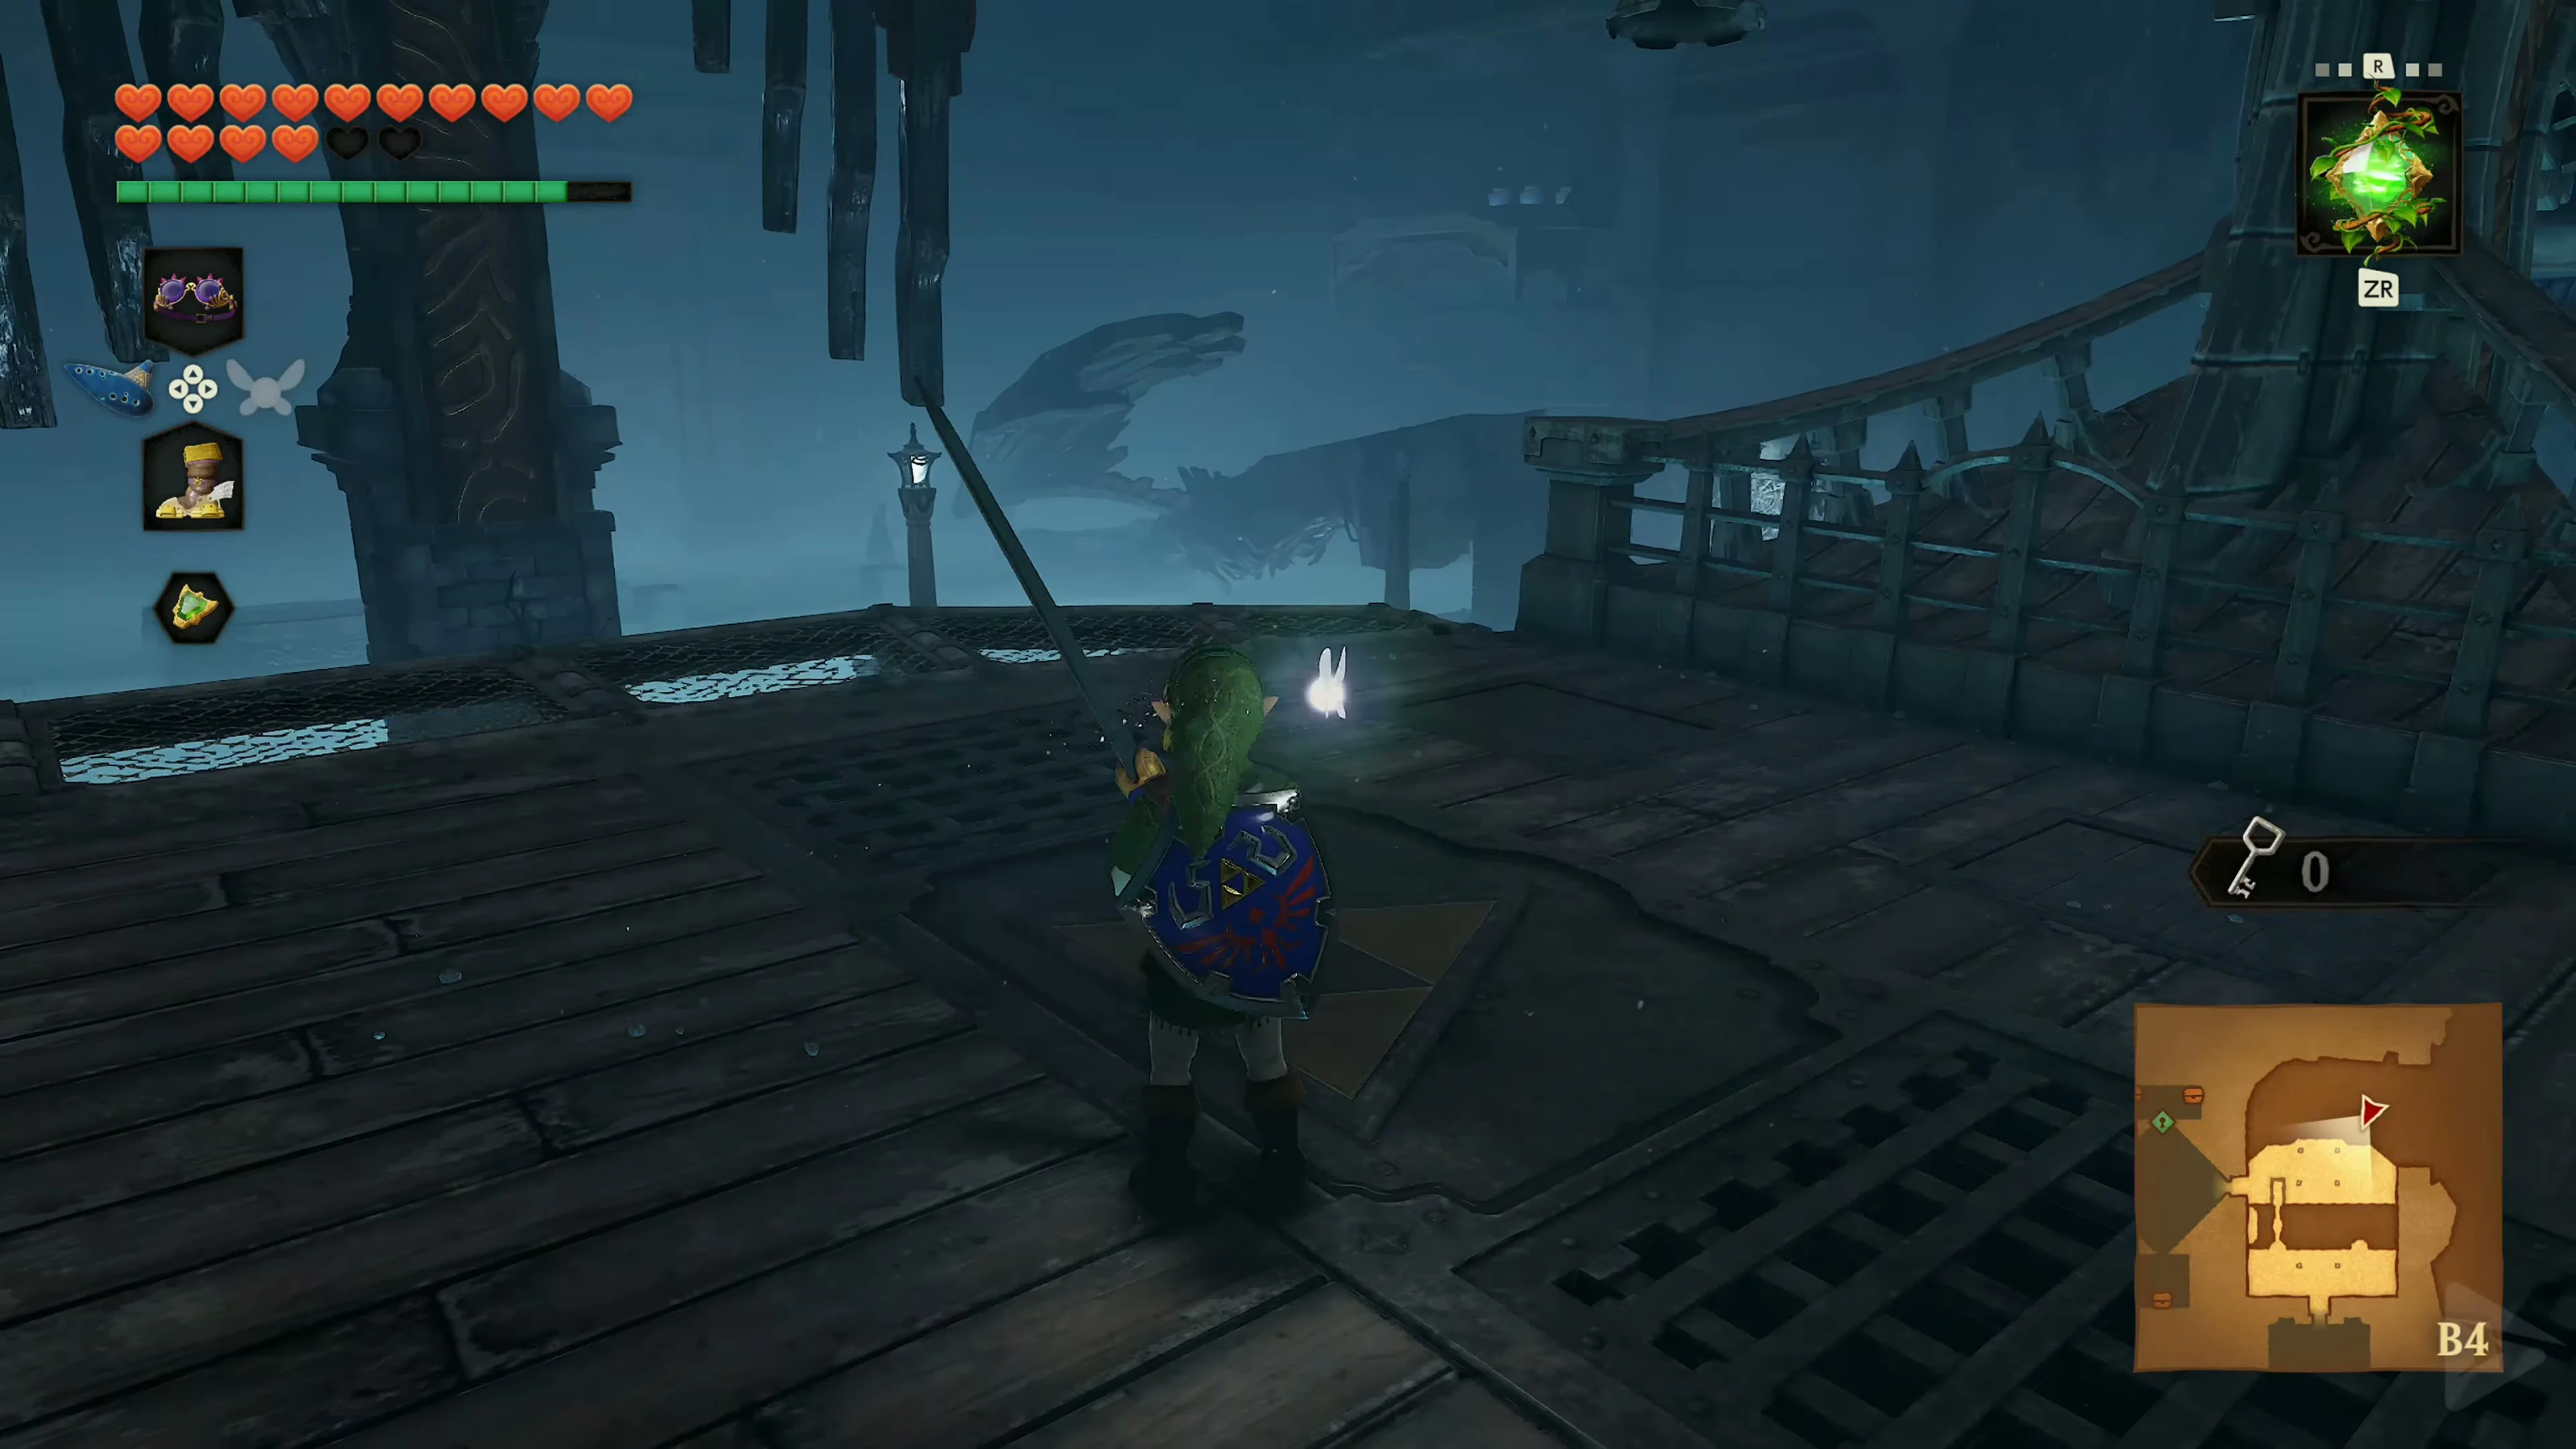
Jump onto the deck and stand on the Triforce symbol. Play Zelda’s Lullaby . The Ghost Ship slowly begins to move and travels through the underground catacombs. During the journey, two Stalfos will jump onto the deck one after the other. Fight the knights as close to the center of the ship as possible. A hit right at the railing can send Link plummeting into the abyss. If you have the Biggoron Sword , the two Stalfos can be defeated particularly quickly due to its high damage output. Watch the left side during the journey. As soon as a rocky bank appears, you must leave the ship. Jump onto the ledge in time. The ghost ship will continue for a few more meters and then plunge into the abyss along with the rest of its deck.
Small Key 5/5
After the ship ride, go from the shore to West and burn the net in front of the door with a Fire Arrow Follow the Lenses of Truth through the labyrinth to the southern chamber Defeat the invisible Floormaster and its three smaller offspring before they reunite. Open the chest that appears with Small Key 5/5 . Return to the labyrinth and use it to open the North Door .
Boss Key
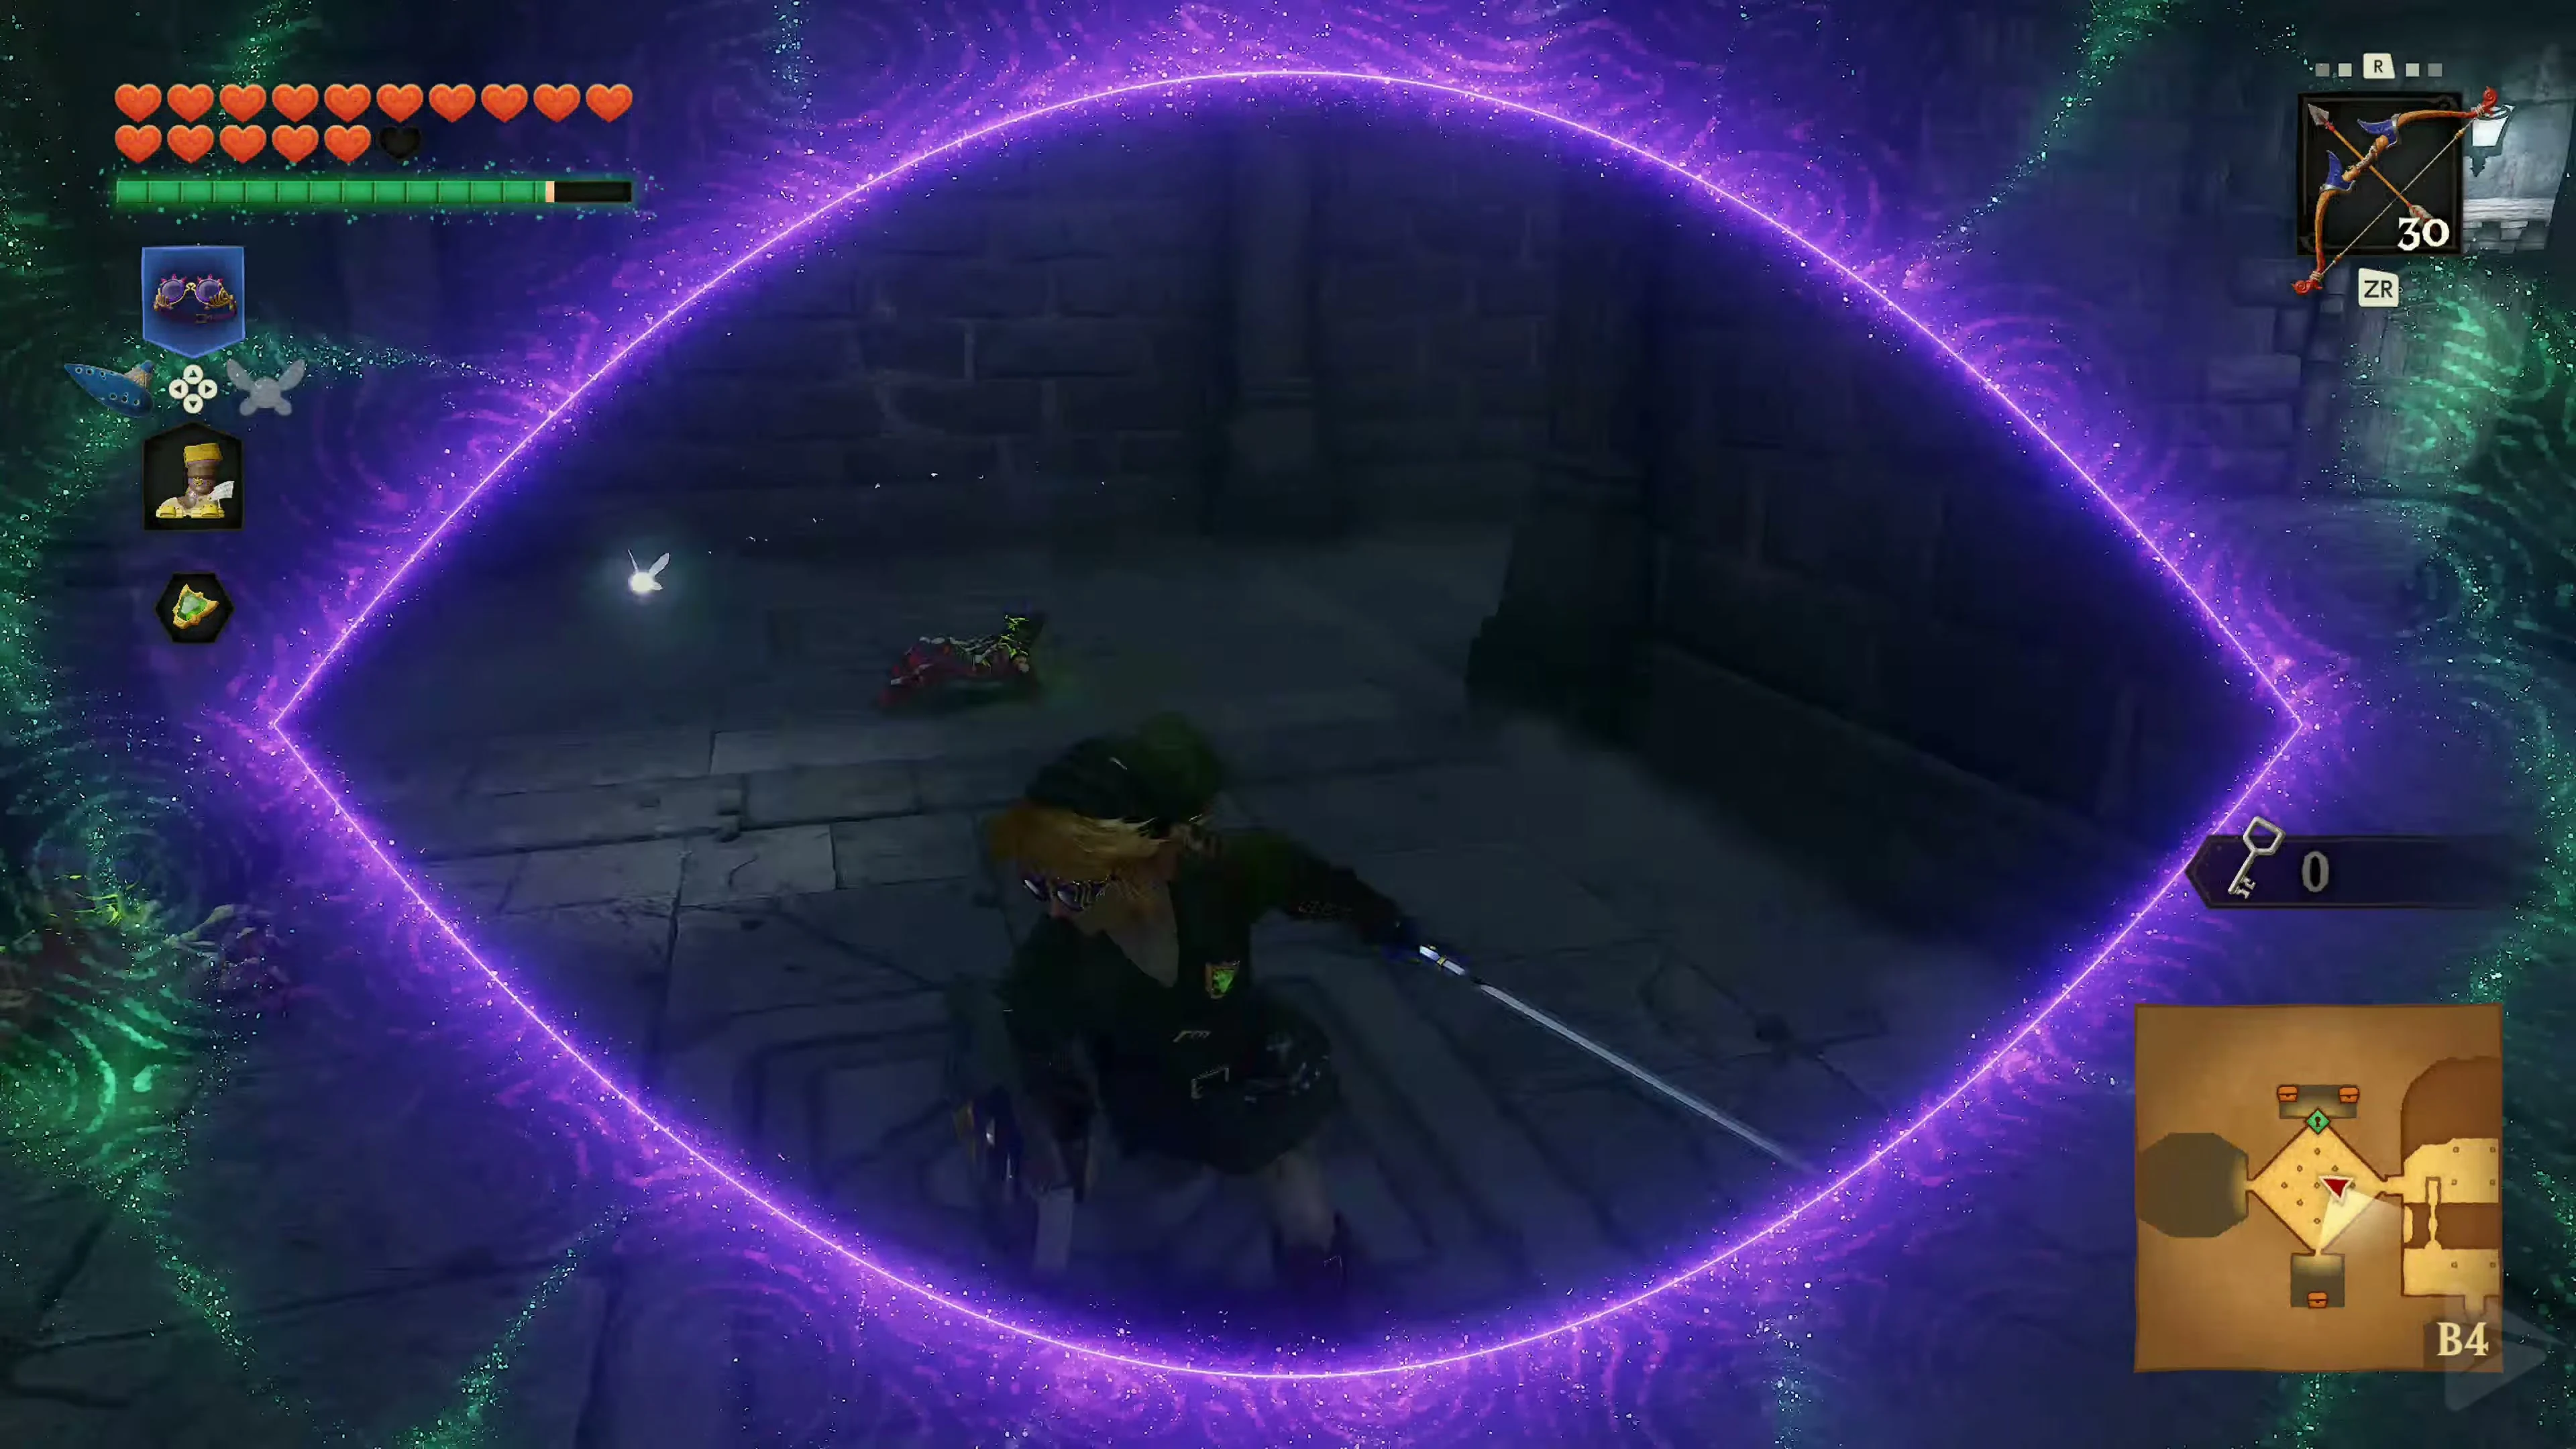
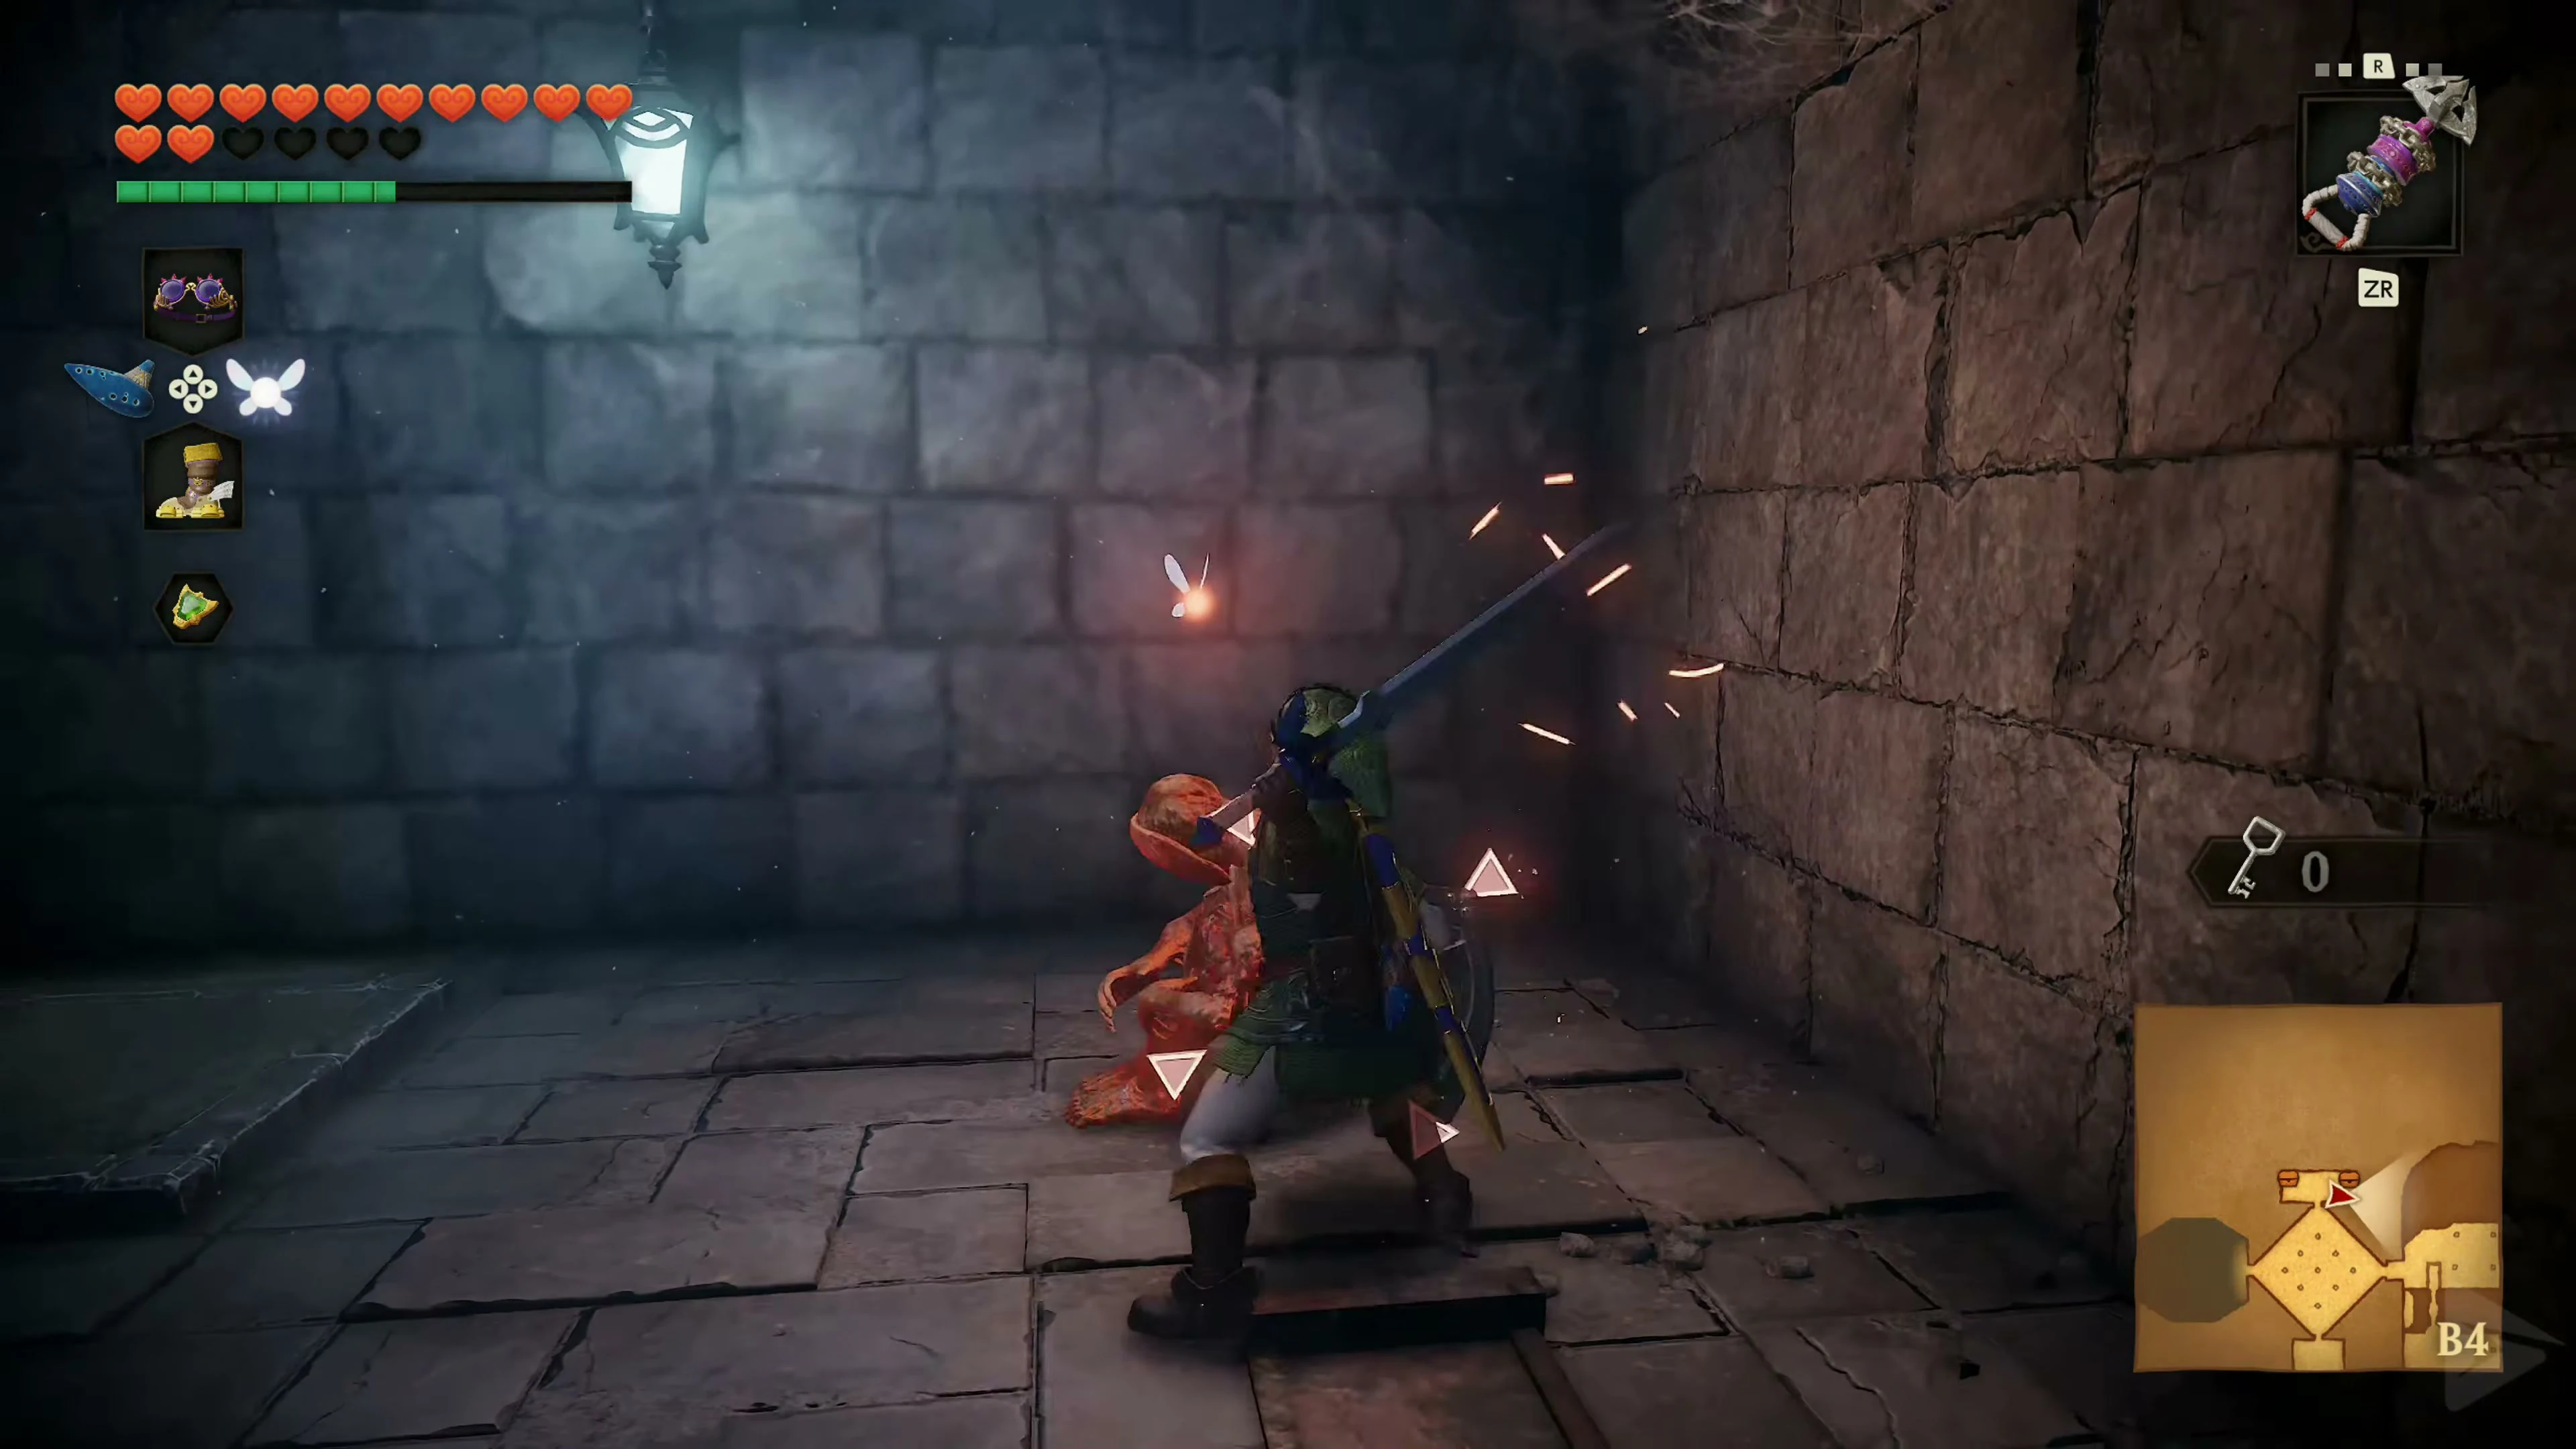
As soon as the spiked walls move towards you, throw one bomb to the left and one to the right to destroy both traps. Then play Sun’s Song so the two Gibdos don’t catch you while you’re opening the chests. The small chest contains magic, the large one the Boss Key.
Gold Skulltula 5/5
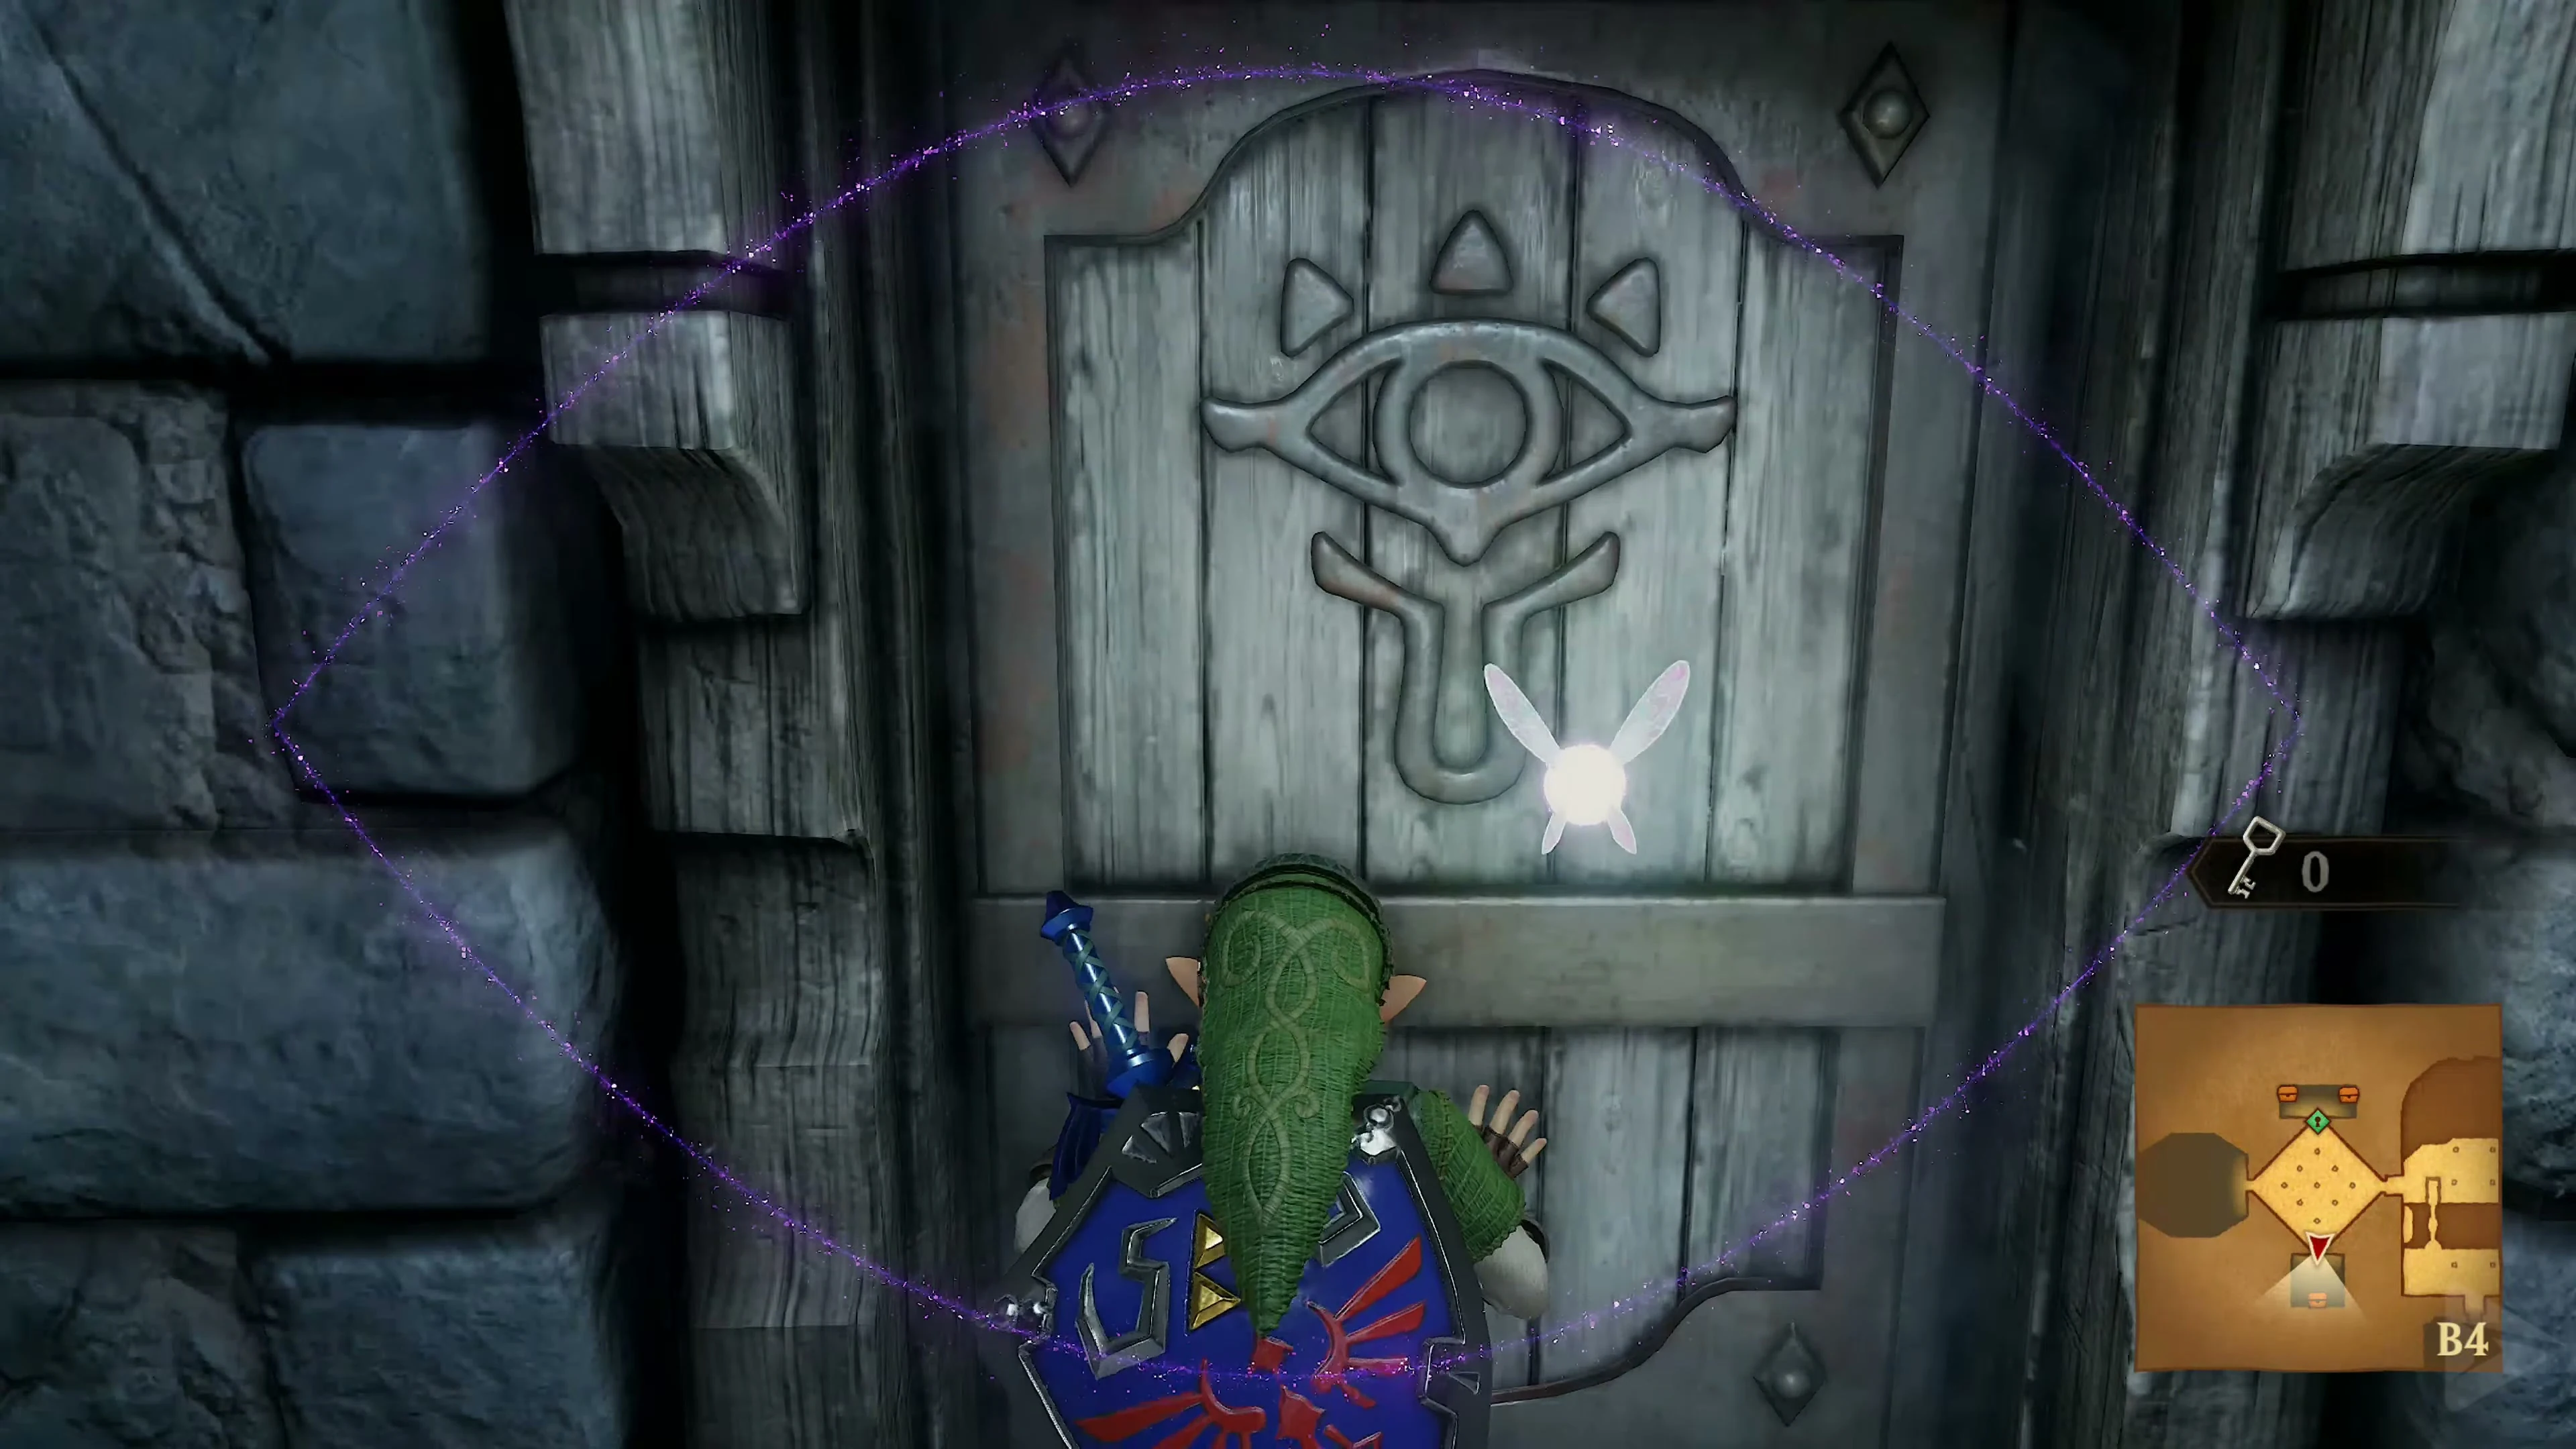
In the western side room, three skulls are rotating. Throw a bomb into each one from the stairs as the opening passes in front of you. After the third skull, Rupees and the token from Gold Skulltula 5/5 will remain. Collect the token.
The Bridge to the Final Boss
Return to the dock. Bring down the still-standing statue by detonating a bomb at its base or hitting the bomb flowers with your bow. The fallen statue will lead you across the chasm to the door to the south.
Equip the Lenses of Truth before entering the final room. Use the Hover Boots to reach the boss door via the now-visible platforms on the right. Remove the boots on a safe surface in case you slip when landing.
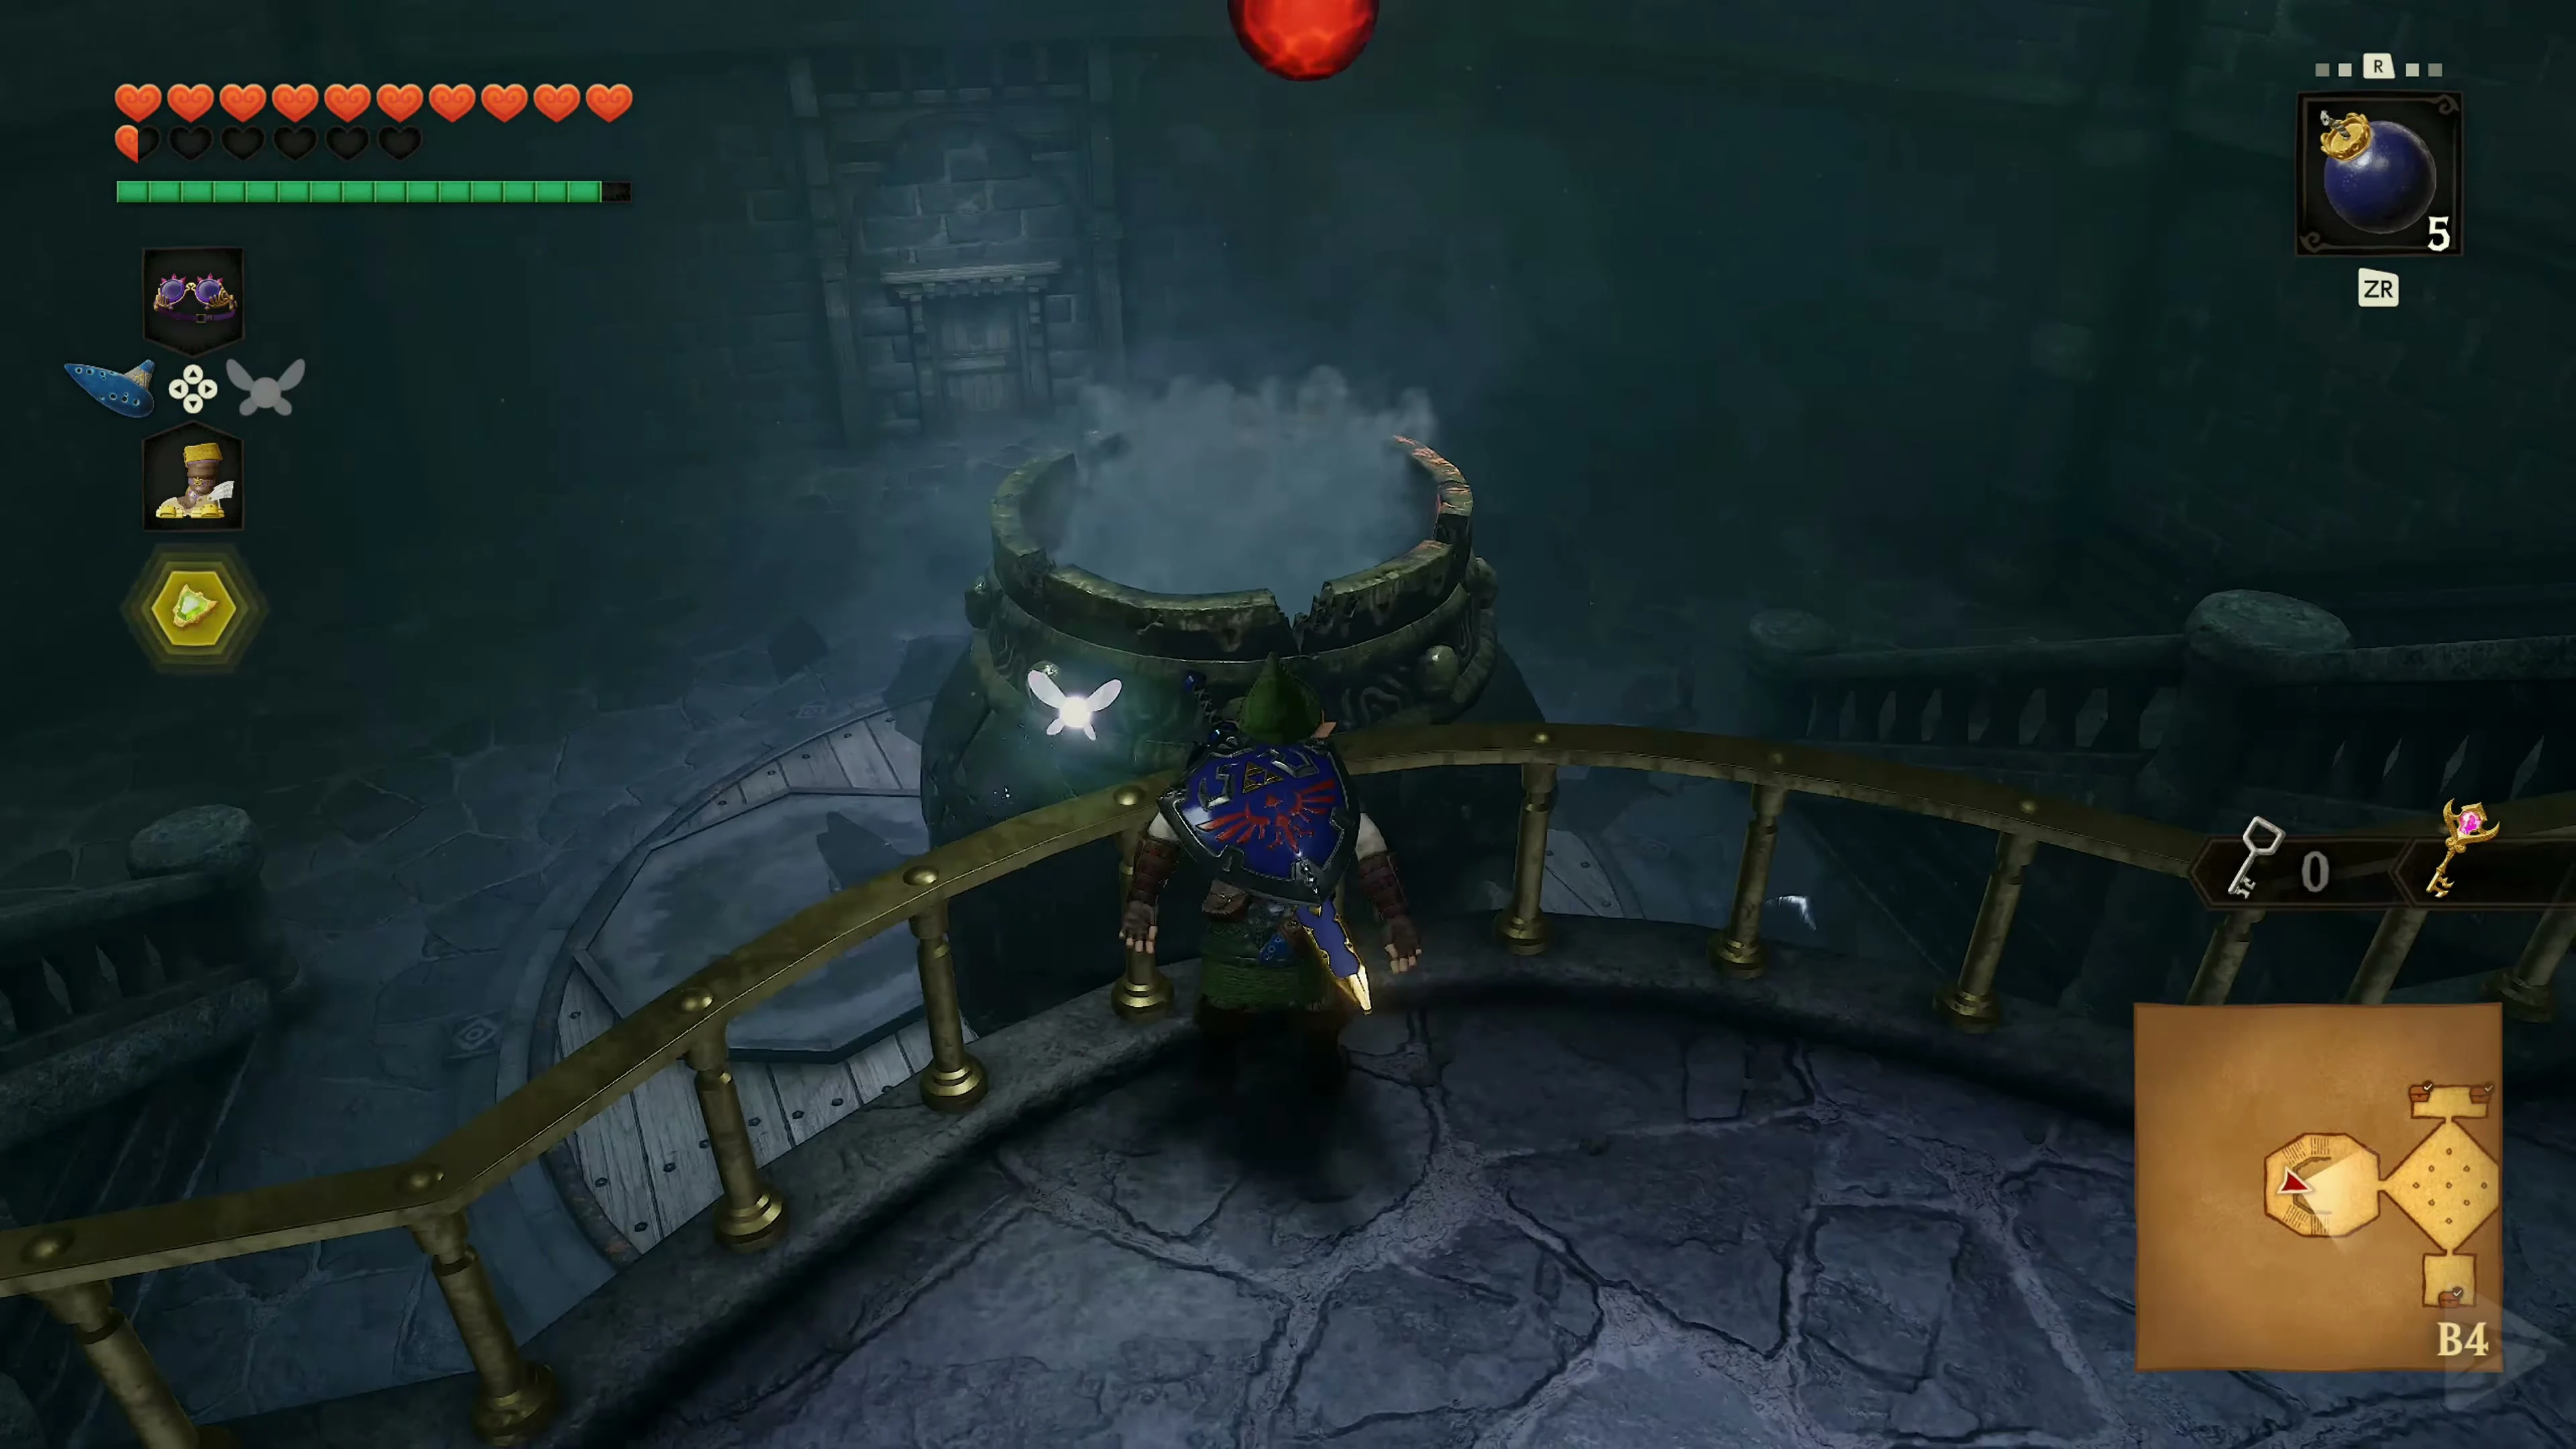
Final Boss: Bongo Bongo
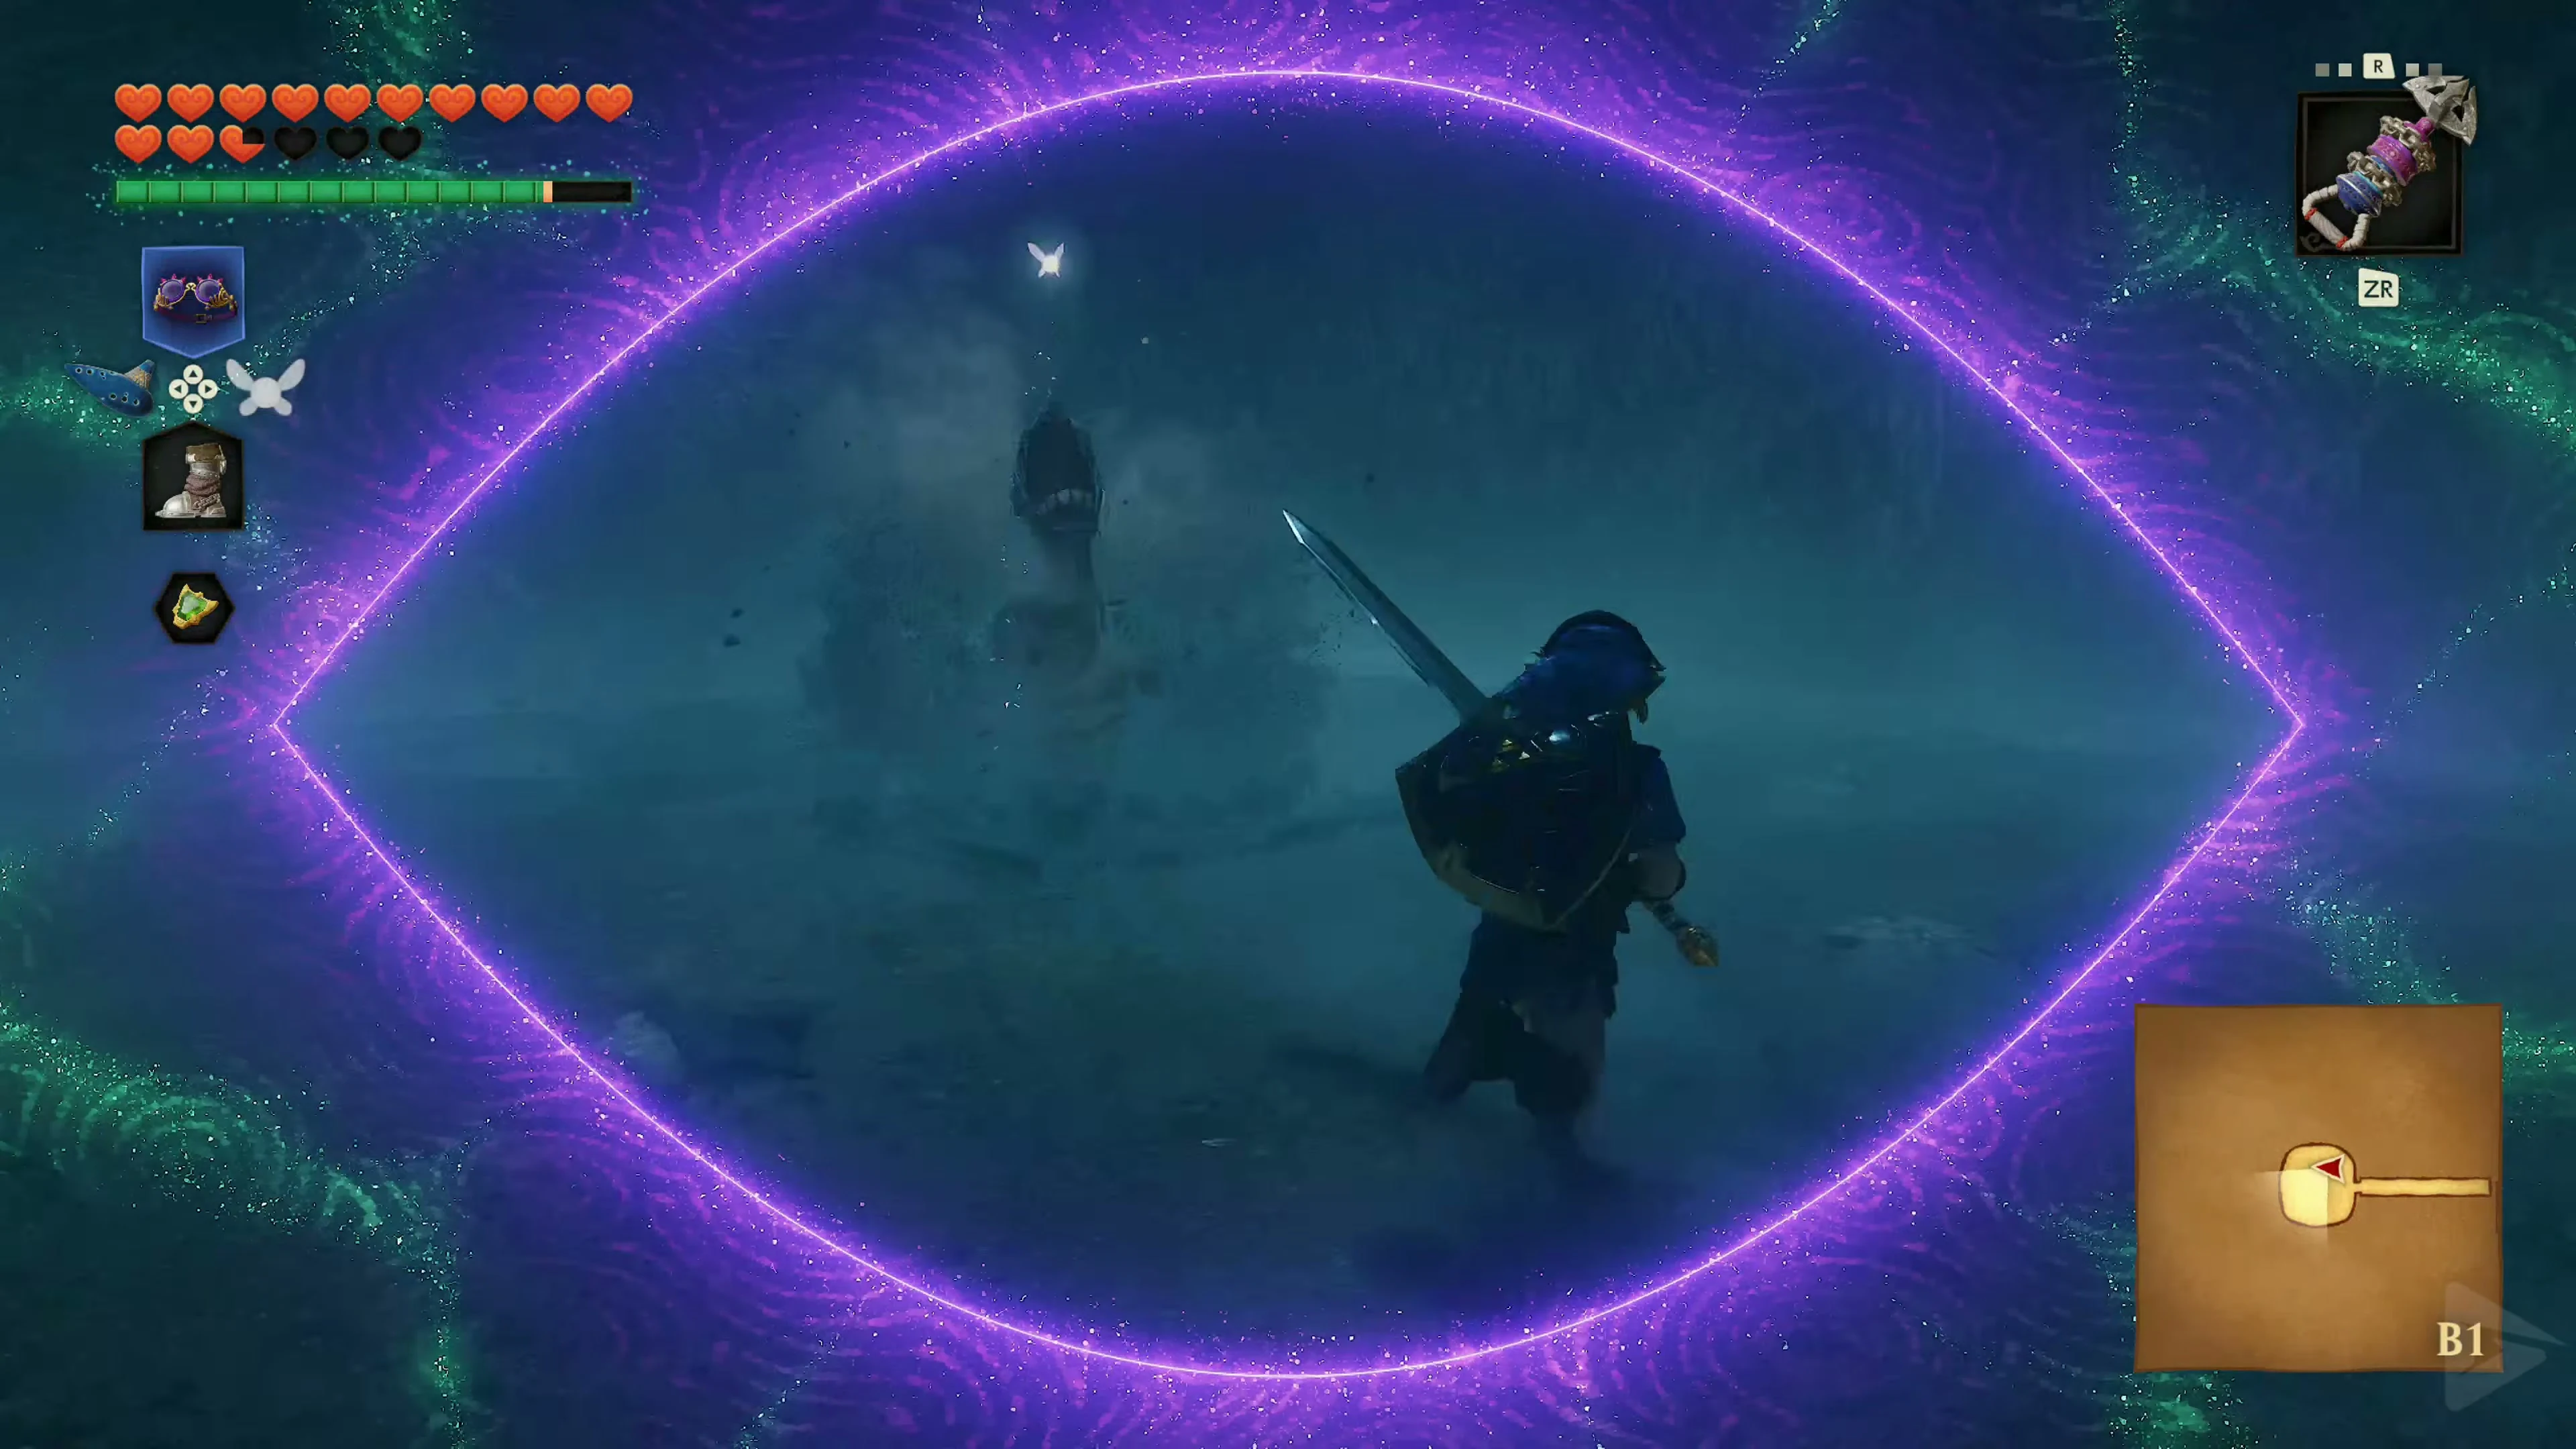
There’s no normal passage beyond the boss door. Link automatically runs into the large opening in the floor and falls deep into darkness. He lands on a giant drum floating above a toxic acid lake. Shortly after, the entire membrane begins to tremble, and the shadow creature Bongo Bongo appears. For the fight, you should equip the Fairy Bow , the Lenses of Truth , and your strongest sword. A well-filled magic gauge is also important, as Bongo Bongo’s actual body remains invisible. If you brought a fairy in a Bottle , it will serve as an additional backup.
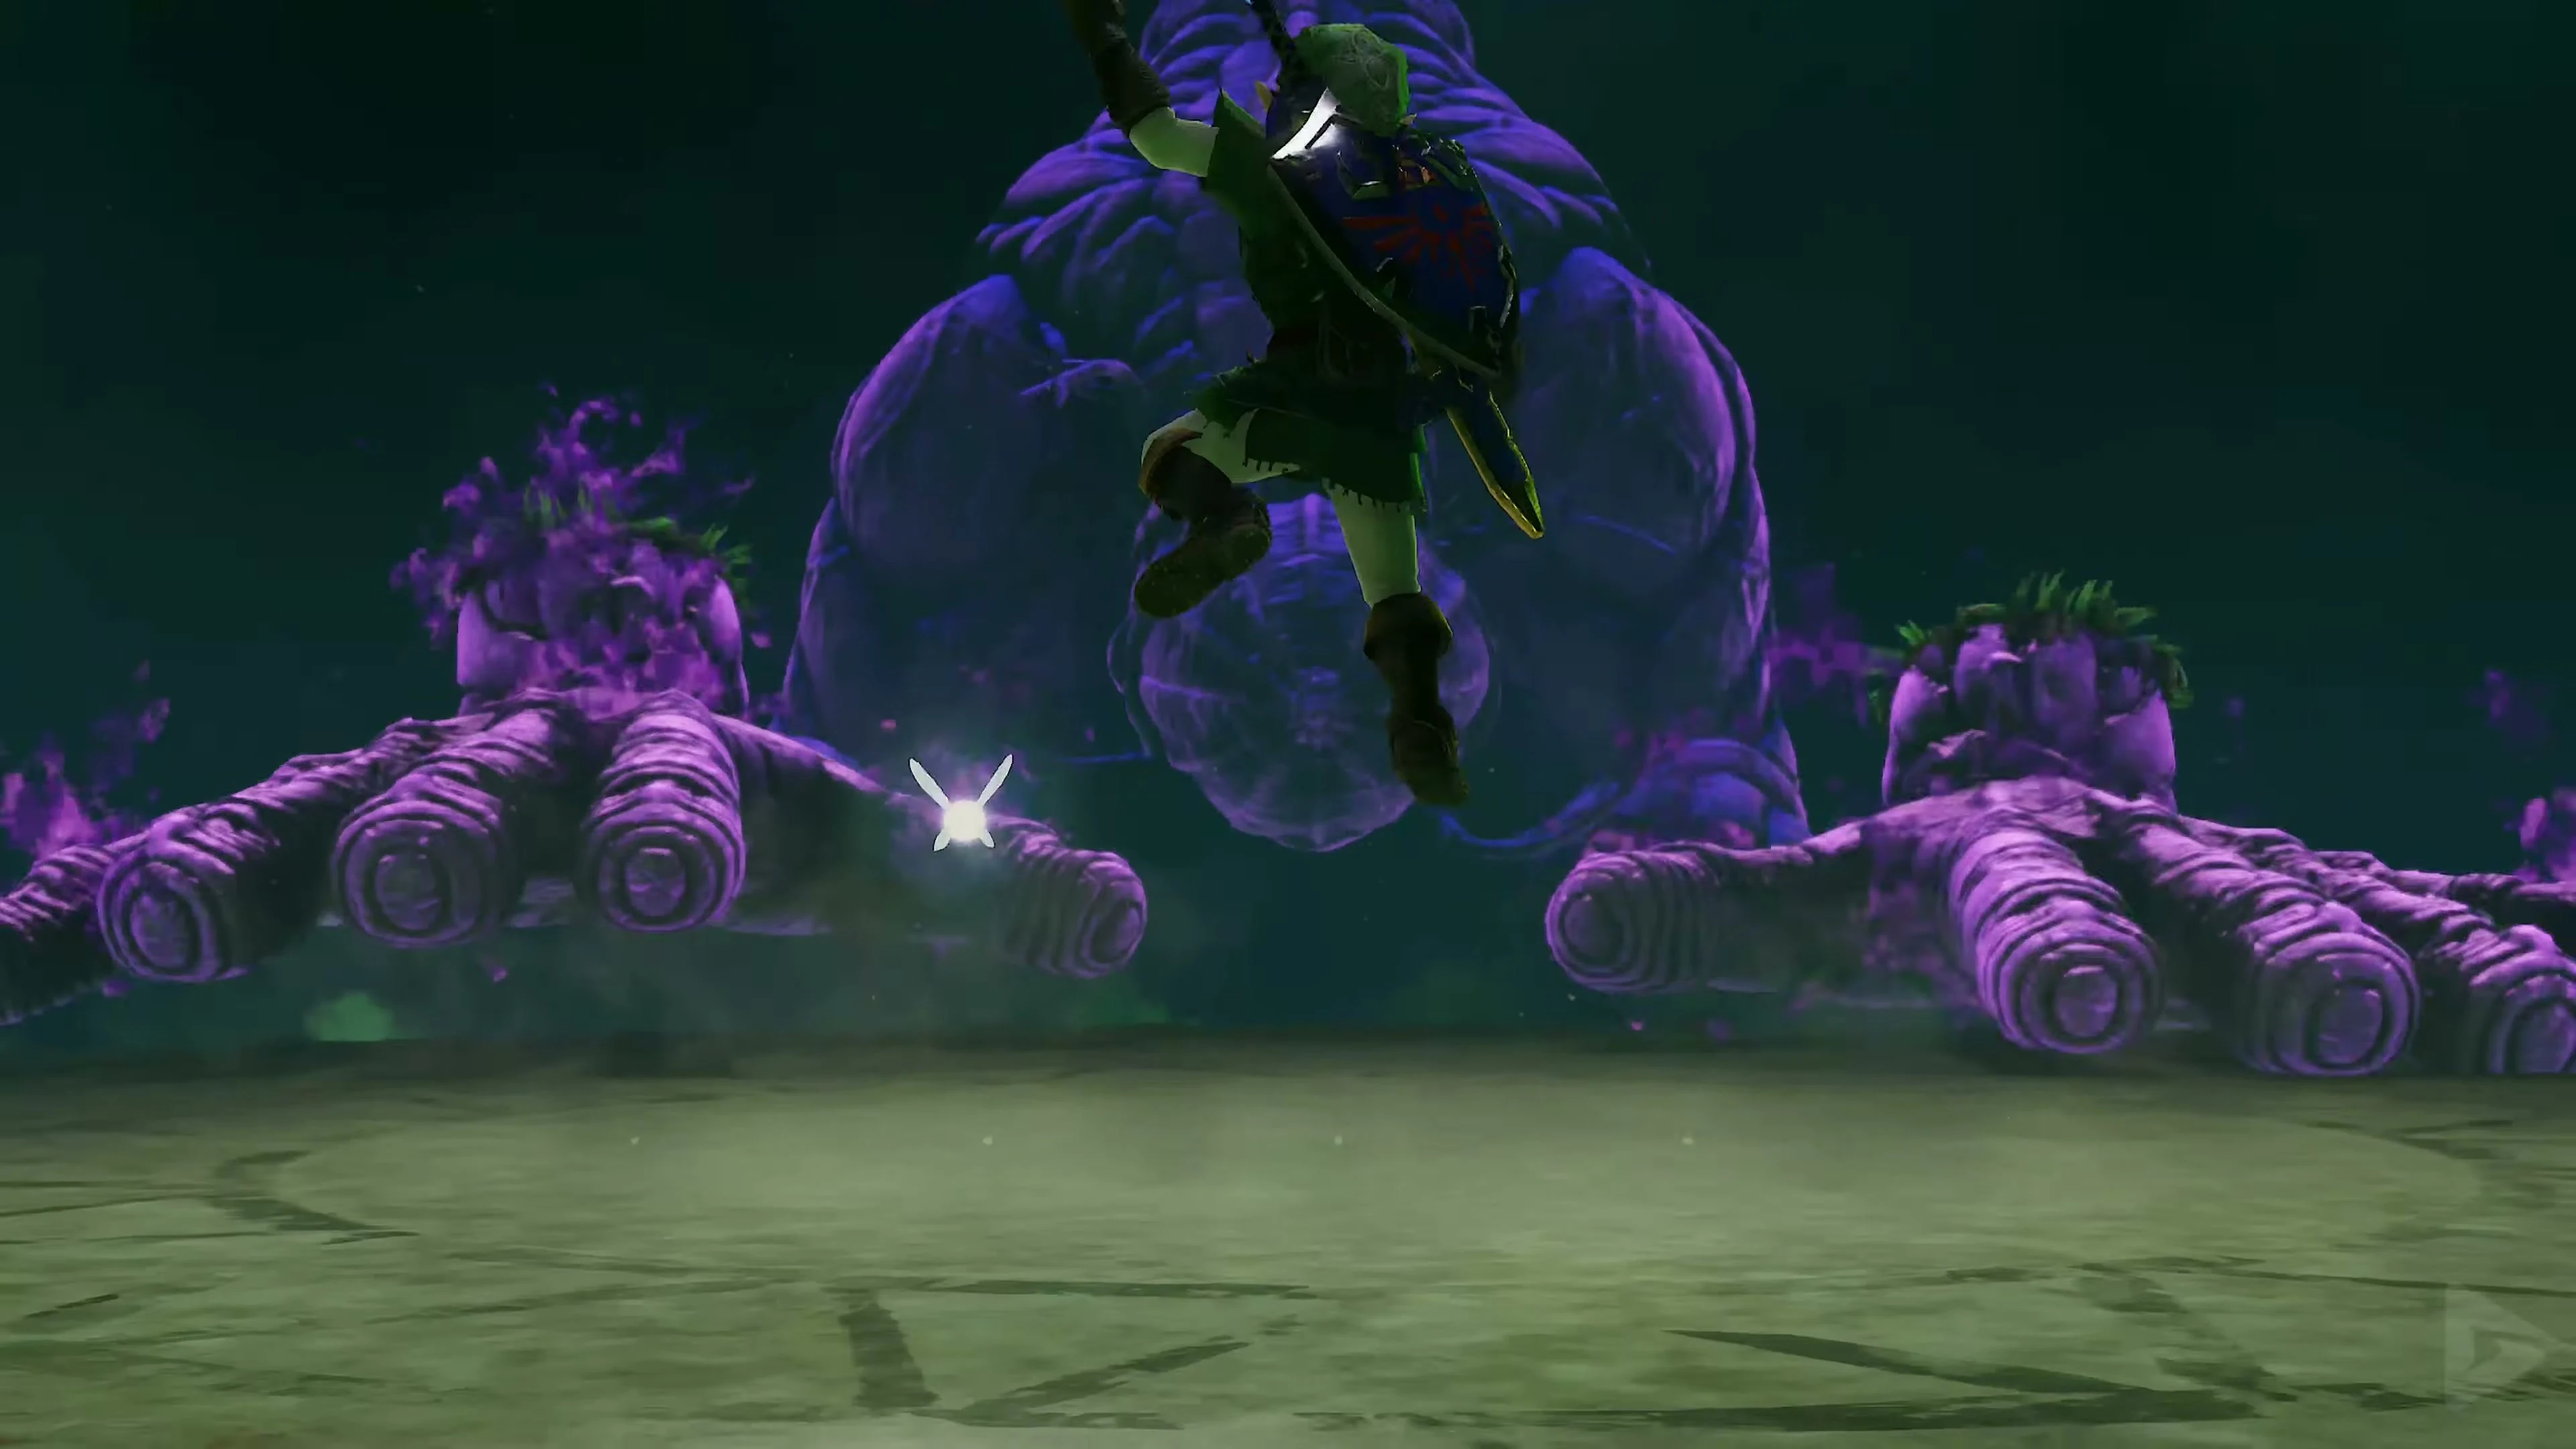
Phase 1 – Stun Both Hands
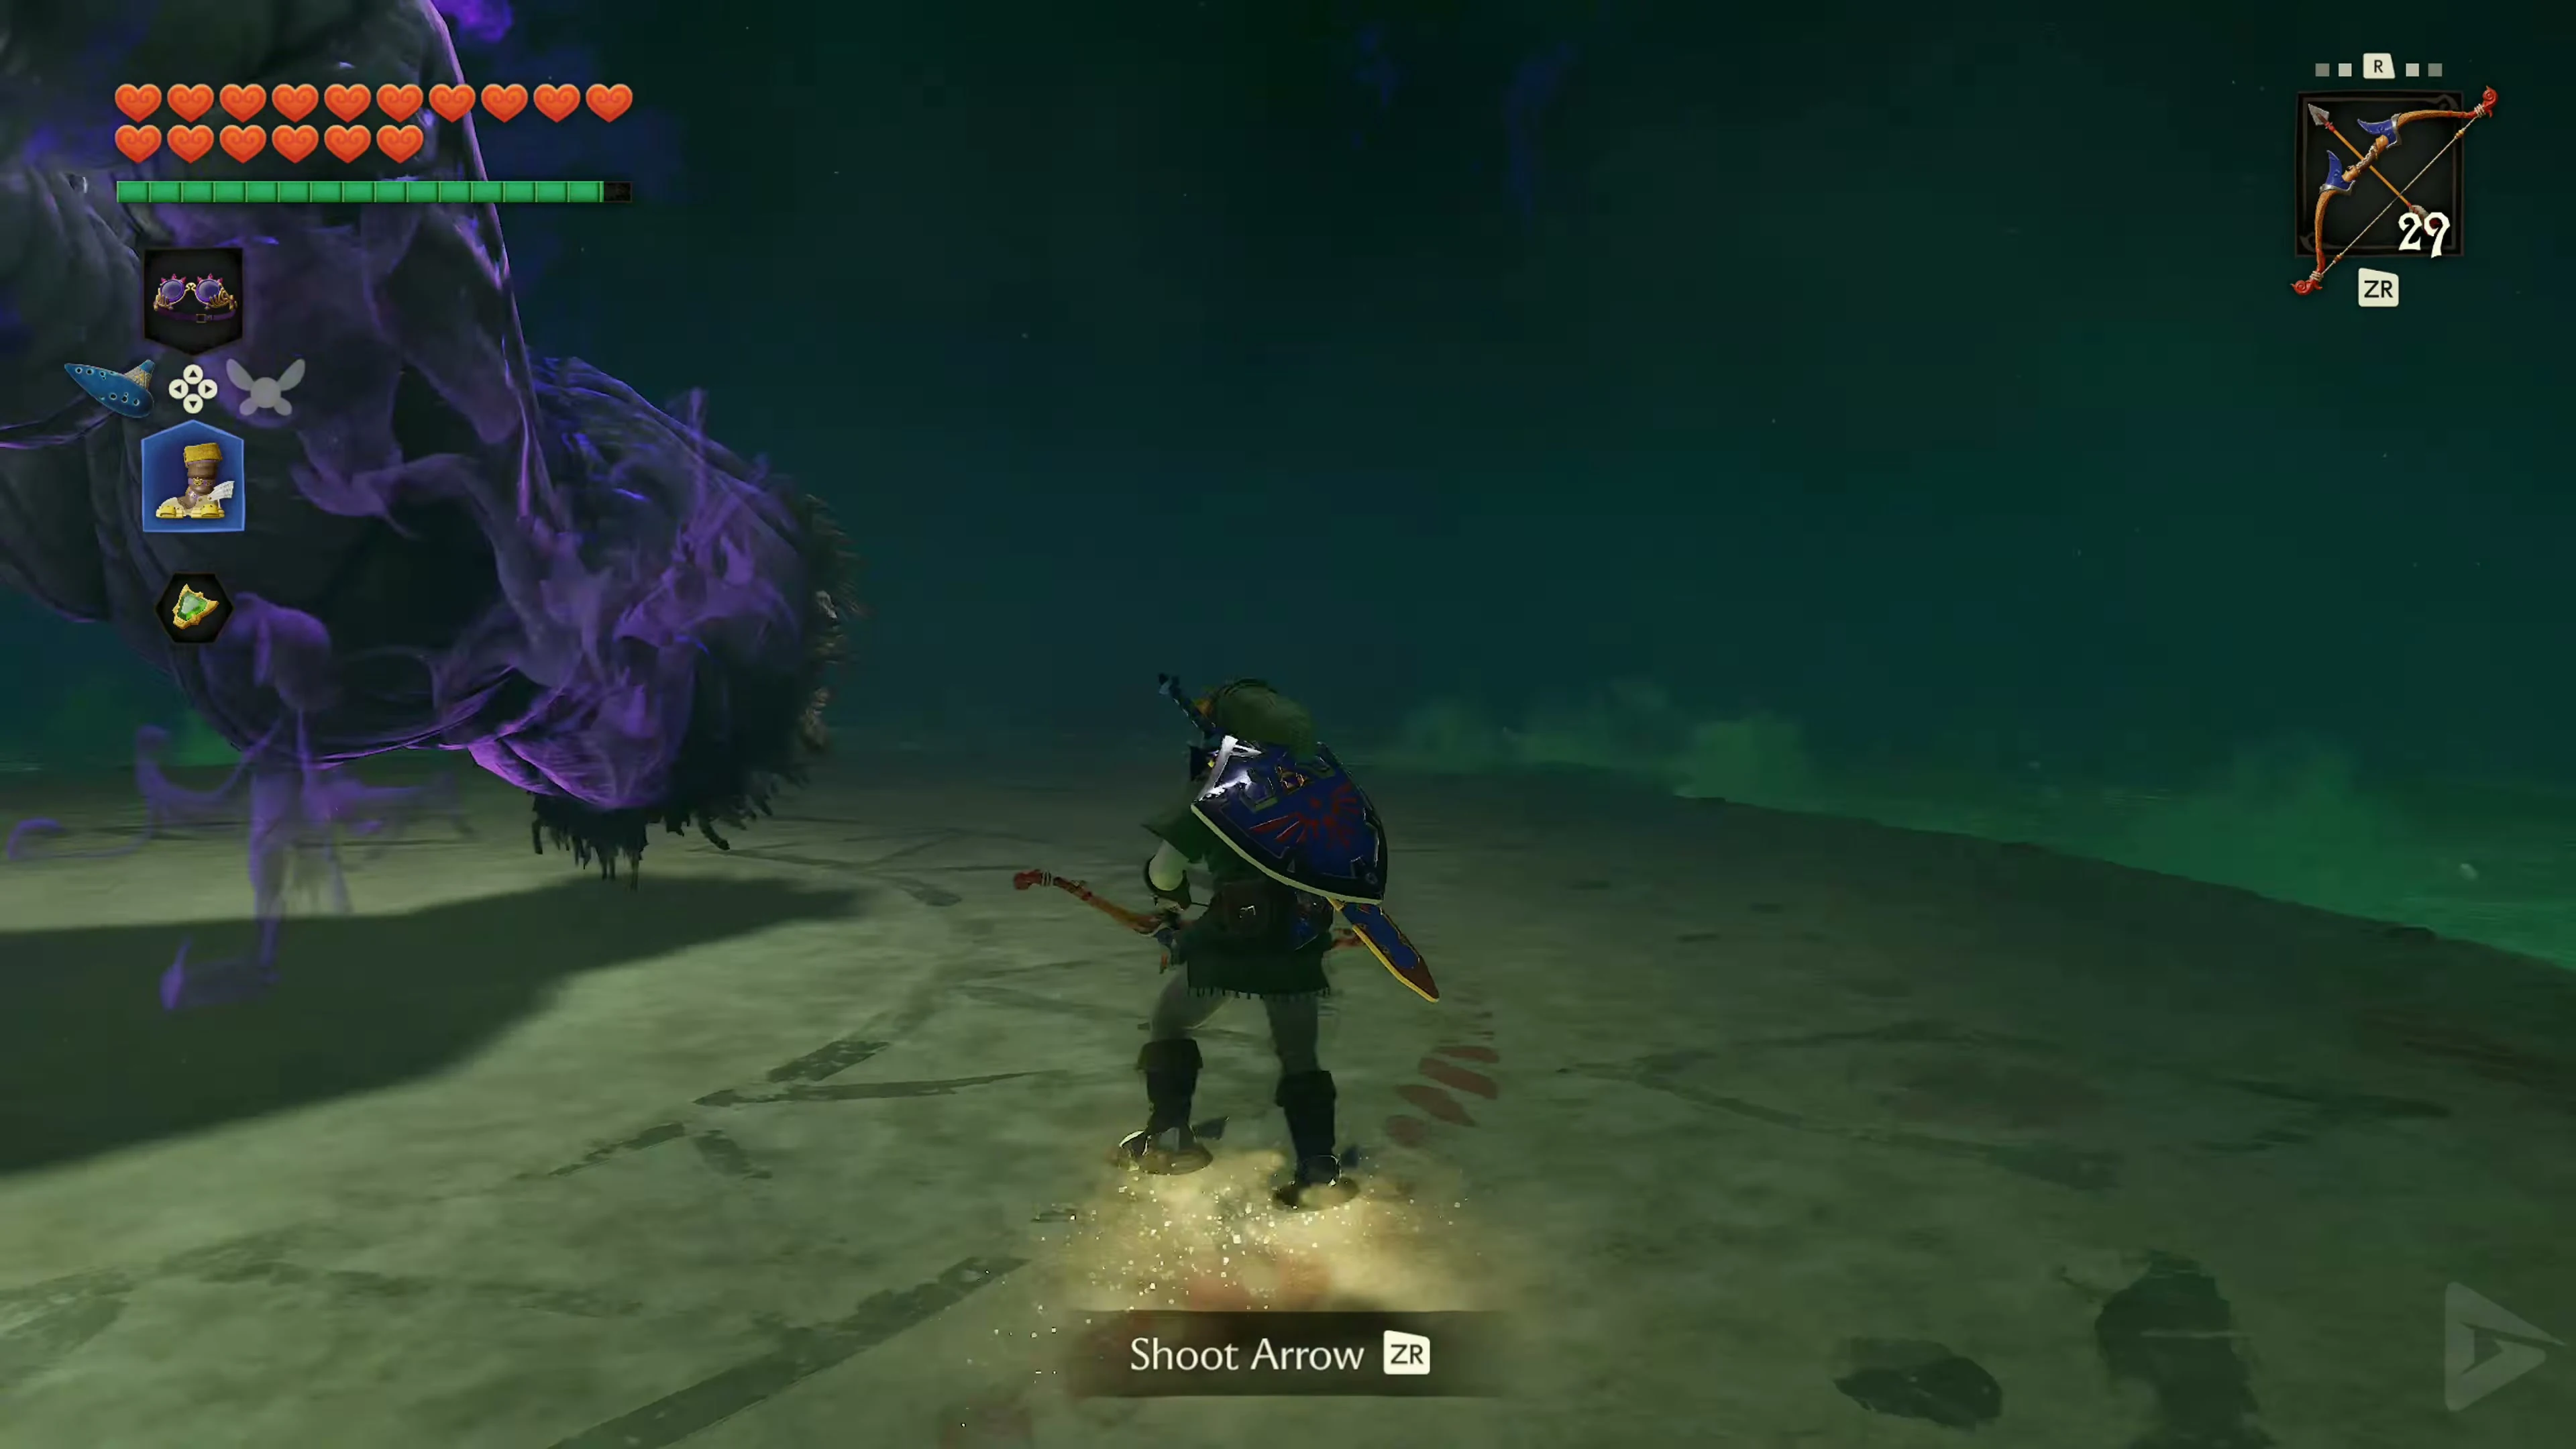
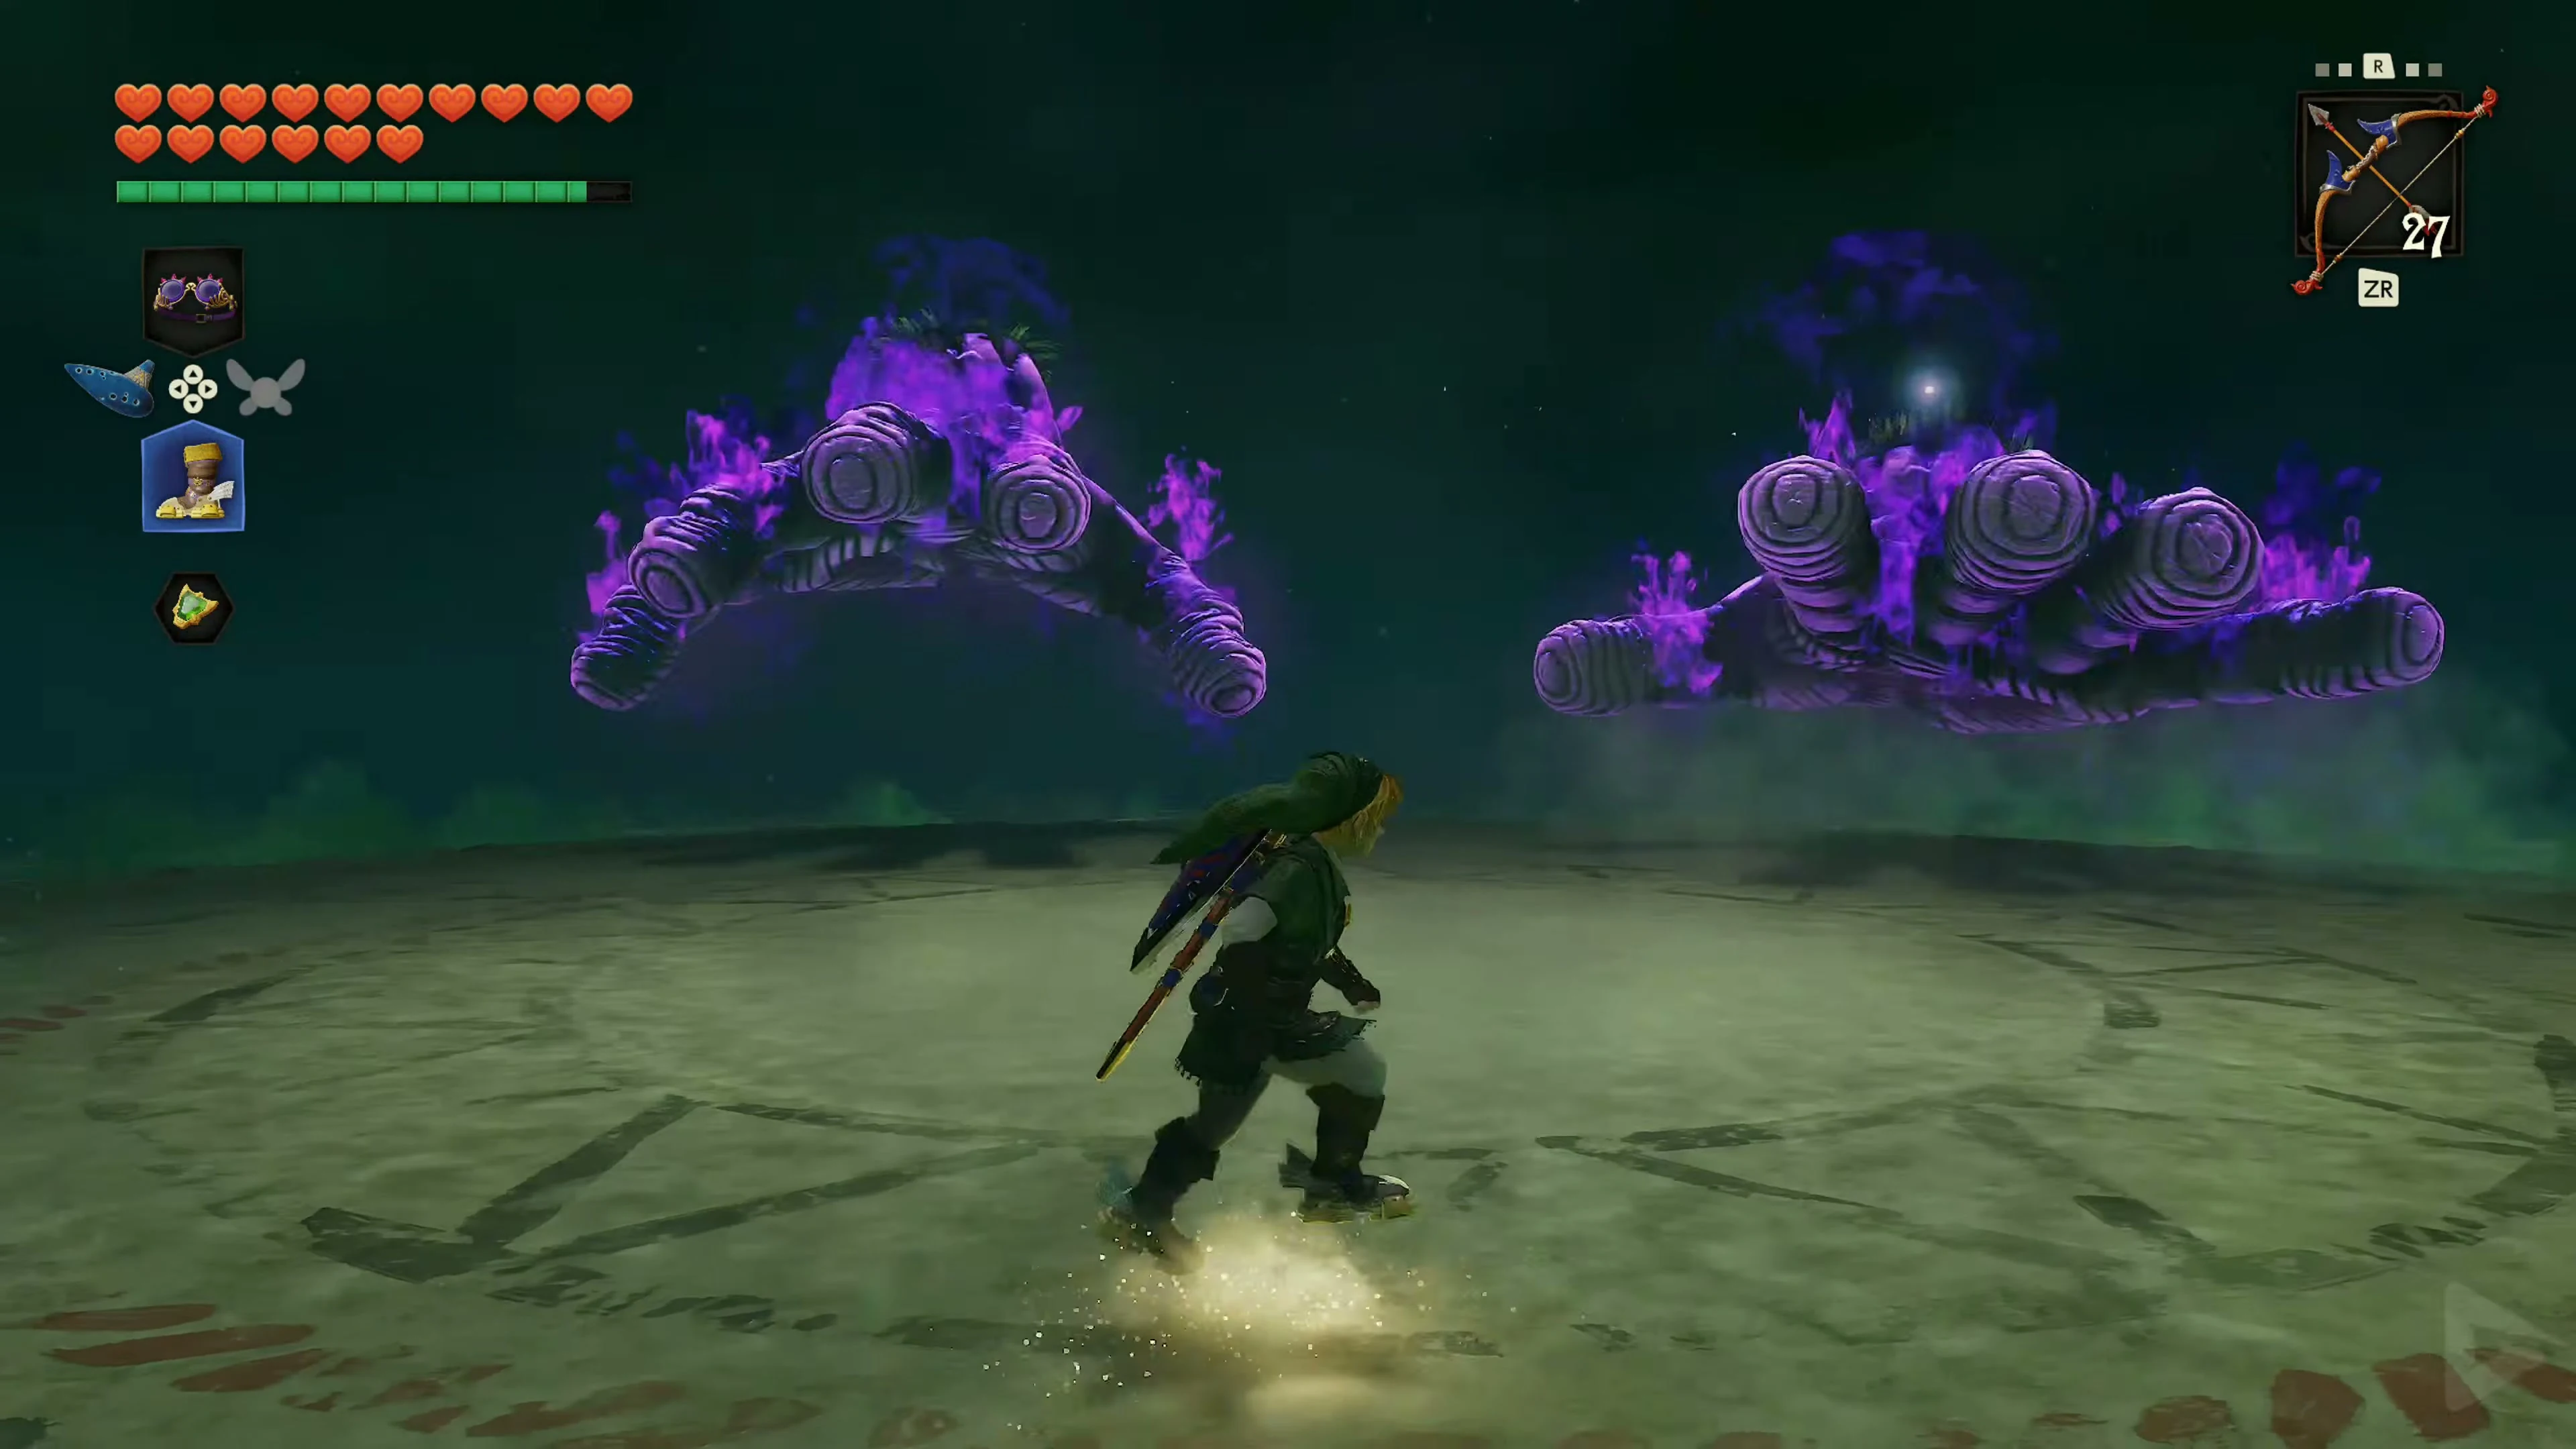
Bongo Bongo’s actual body is invisible, but you can see his two giant hands even without the Lenses of Truth. Stay as close to the outer edge of the drum as possible. With each strike from the monster, the taut surface is pushed upwards, and Link jumps slightly into the air, making aiming more difficult. First, aim at an open hand and shoot it with the Fairy Bow. If you hit it, the hand will turn bluish and remain immobilized for a short time. Immediately turn to the second hand and stun it as well. You can also use the Longshot, but arrows are usually faster and allow you to hit the hands from a greater distance.
Be quick between the two hits. Bongo Bongo has several attacks with his hands. He can grab Link, hit him over the drum, punch him with one fist, or slam both hands together like a giant slapstick. If Link is grabbed, move the joystick and press several buttons as quickly as possible to break free.
Phase 2 – Hitting the Invisible Eye
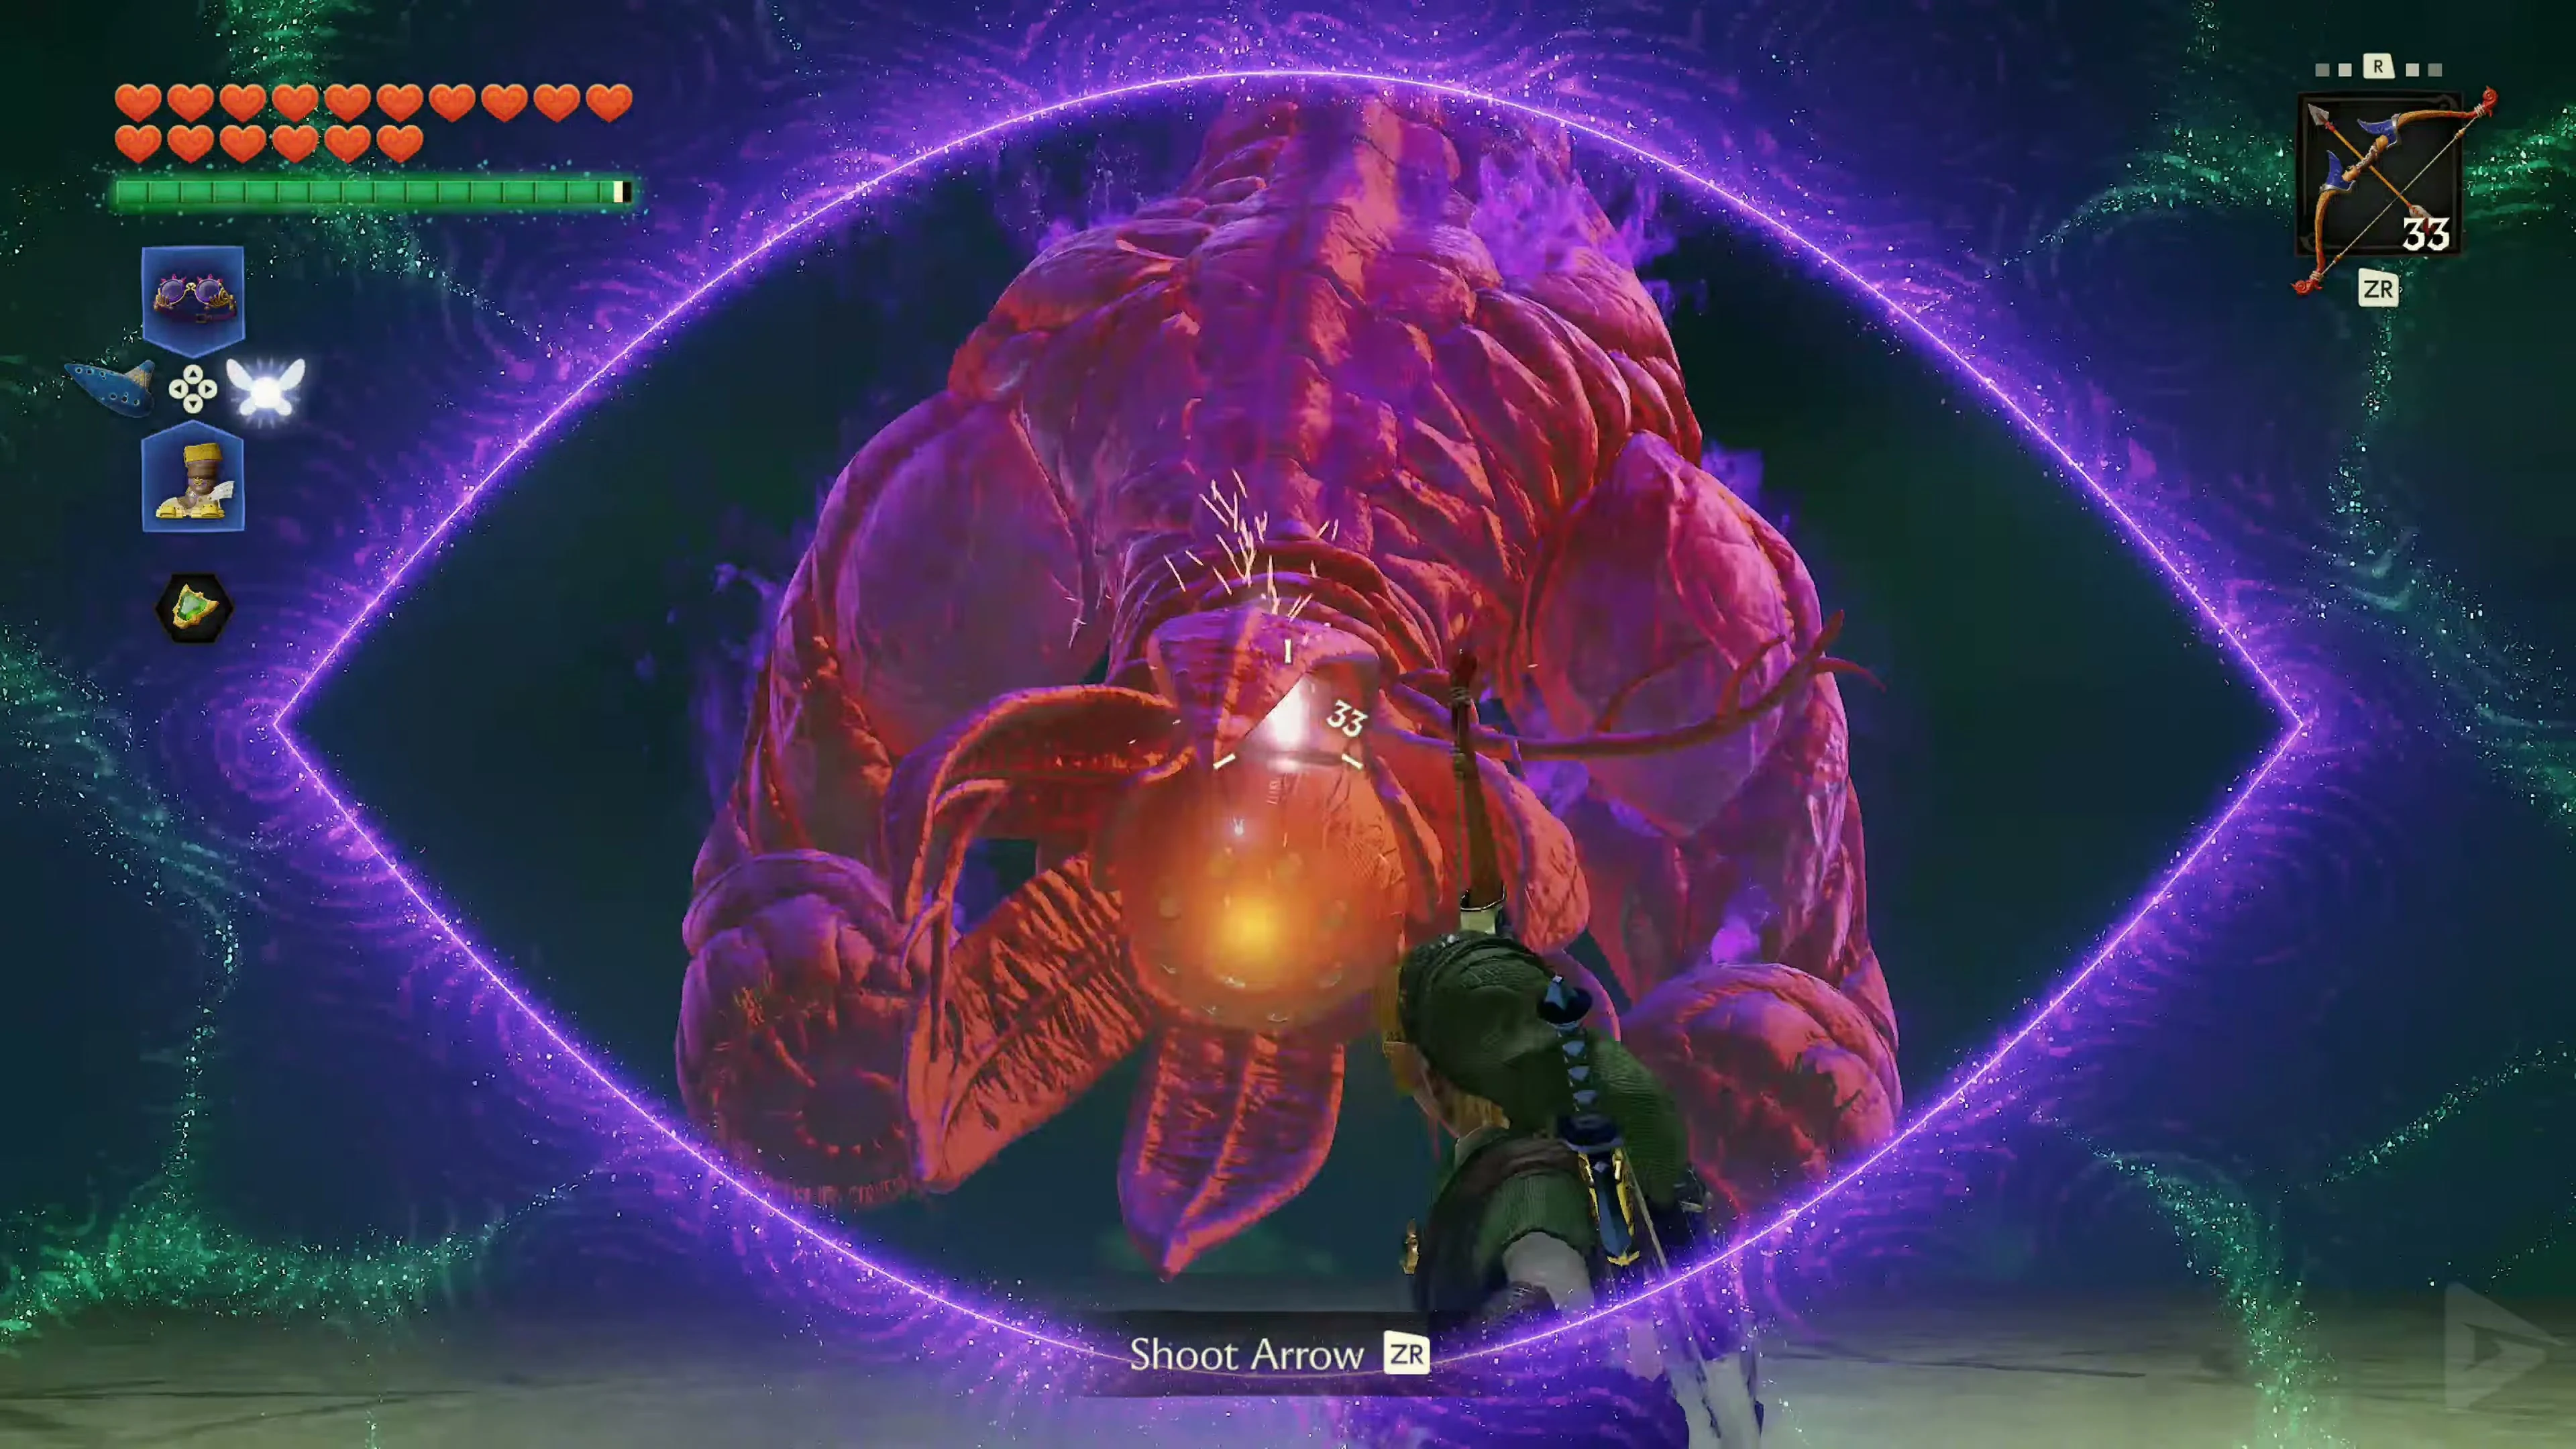
Once both hands are stunned, activate the Lenses of Truth . Now Bongo Bongo’s floating body becomes visible. A large eye opens between the two hands, and the monster charges directly at Link. Aim at the eye and shoot it with the Fairy Bow before Bongo Bongo reaches Link. A successful hit will cause the entire body to crash. The monster will then lie stunned on the drum for a short time. Run immediately to the eye and attack as often as possible with the Master Sword or the Biggoron Sword . A leaping attack deals high damage on the first hit. The Biggoron Sword allows you to exploit the vulnerable phase particularly effectively.
After a few seconds, Bongo Bongo rises again, and the process begins anew. Stun both hands with arrows, then activate the Lenses of Truth, strike the charging eye, and attack the collapsed body with the sword.
During the battle, arrows and magic jars may appear on the drum. Collect them when your supplies run low, but keep an eye on the monster’s hands. After several successful attack rounds, Bongo Bongo will strike the drum one last time, lose its form, and completely dissolve.
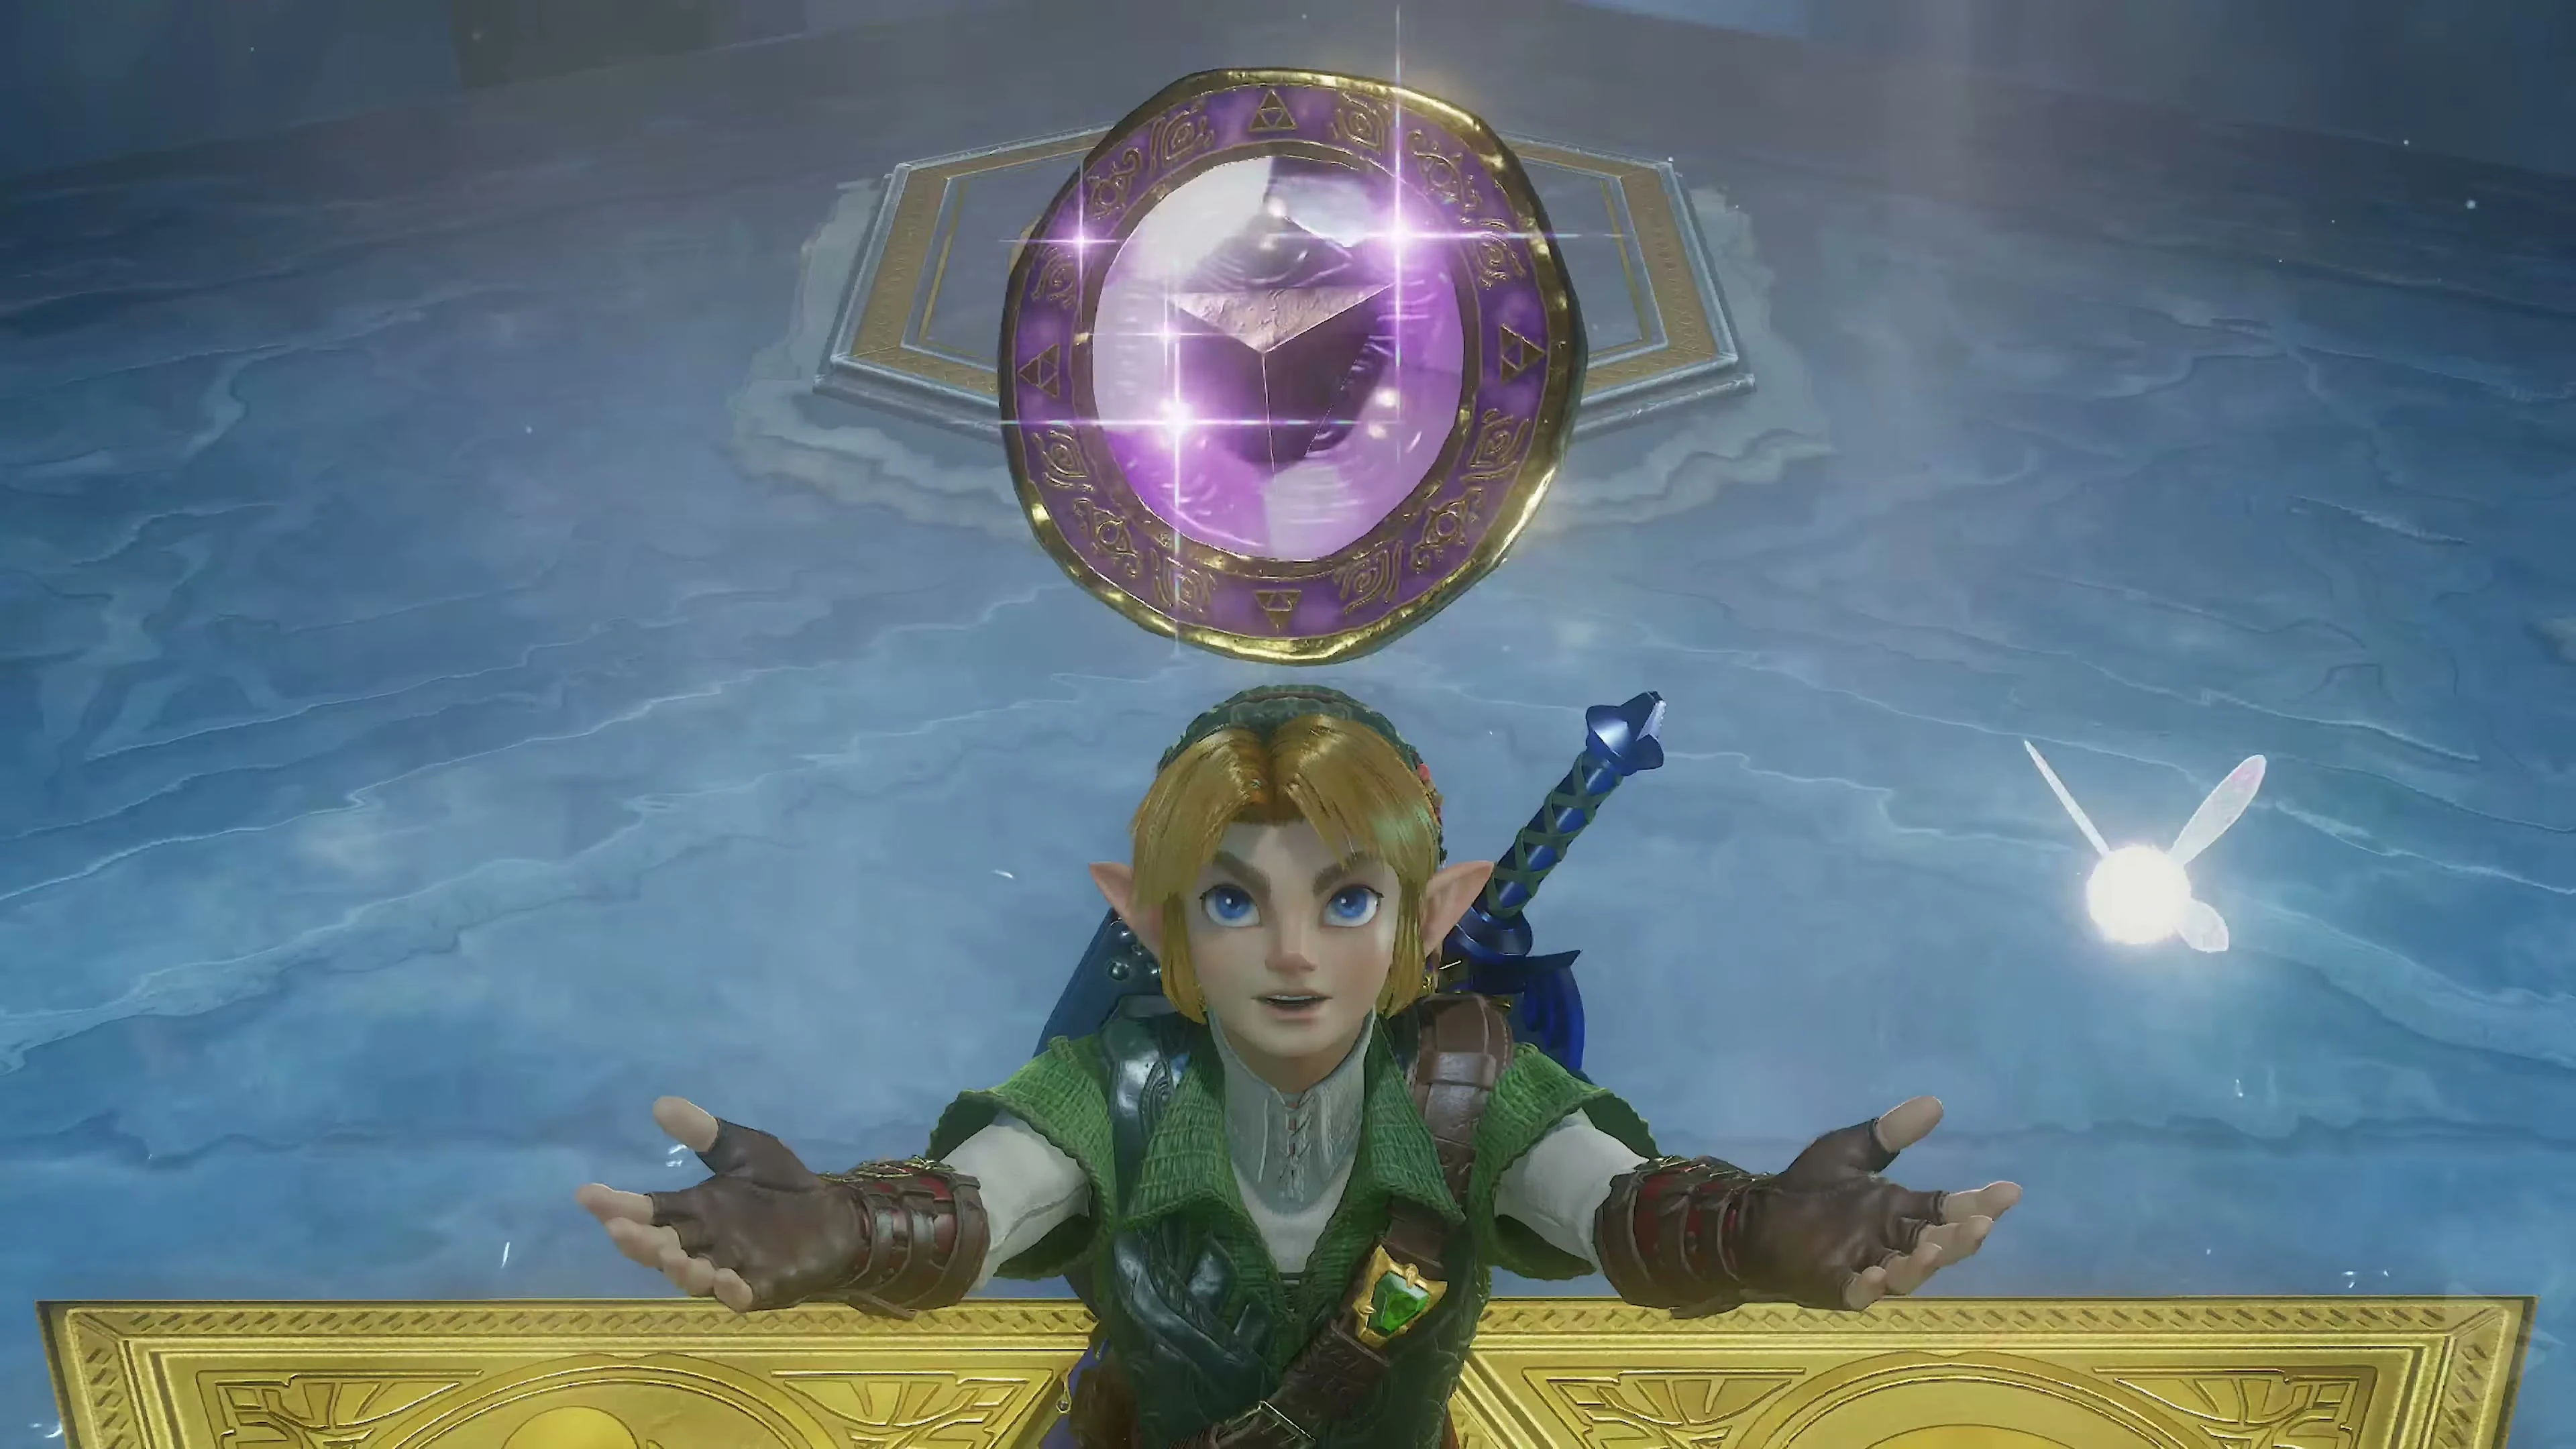
Heart Container and Shadow Medallion
Collect the Heart Container and enter the blue light. In the Chamber of Sages, Impa gives you the Shadow Medallion. Continue across Hyrule Field to Gerudo Valley.
Chests and their contents
Show all 14 chests
| Floor | Quantity | Contents | Note |
|---|---|---|---|
| 4th Basement | 1 | Large Magic Jar | |
| 4th Basement | 1 | Boss Key | |
| 4th Basement | 1 | Small Key | |
| 3rd Basement | 2 | 20 Rupees | |
| 3rd Basement | 1 | 20 Rupees | Lenses of Truth |
| 3rd Basement | 1 | Green Rupee | |
| 3rd Basement | 1 | Business Scrub Seed | Lenses of Truth |
| 3rd Basement | 1 | Small Key | |
| 3rd Basement | 1 | Small Key | Lenses of Truth |
| 2nd Basement | 1 | Small Key | |
| 2nd Basement | 1 | Compass | |
| 1st Basement | 1 | Dungeon Map | |
| 1st Basement | 1 | Hover Boots |