
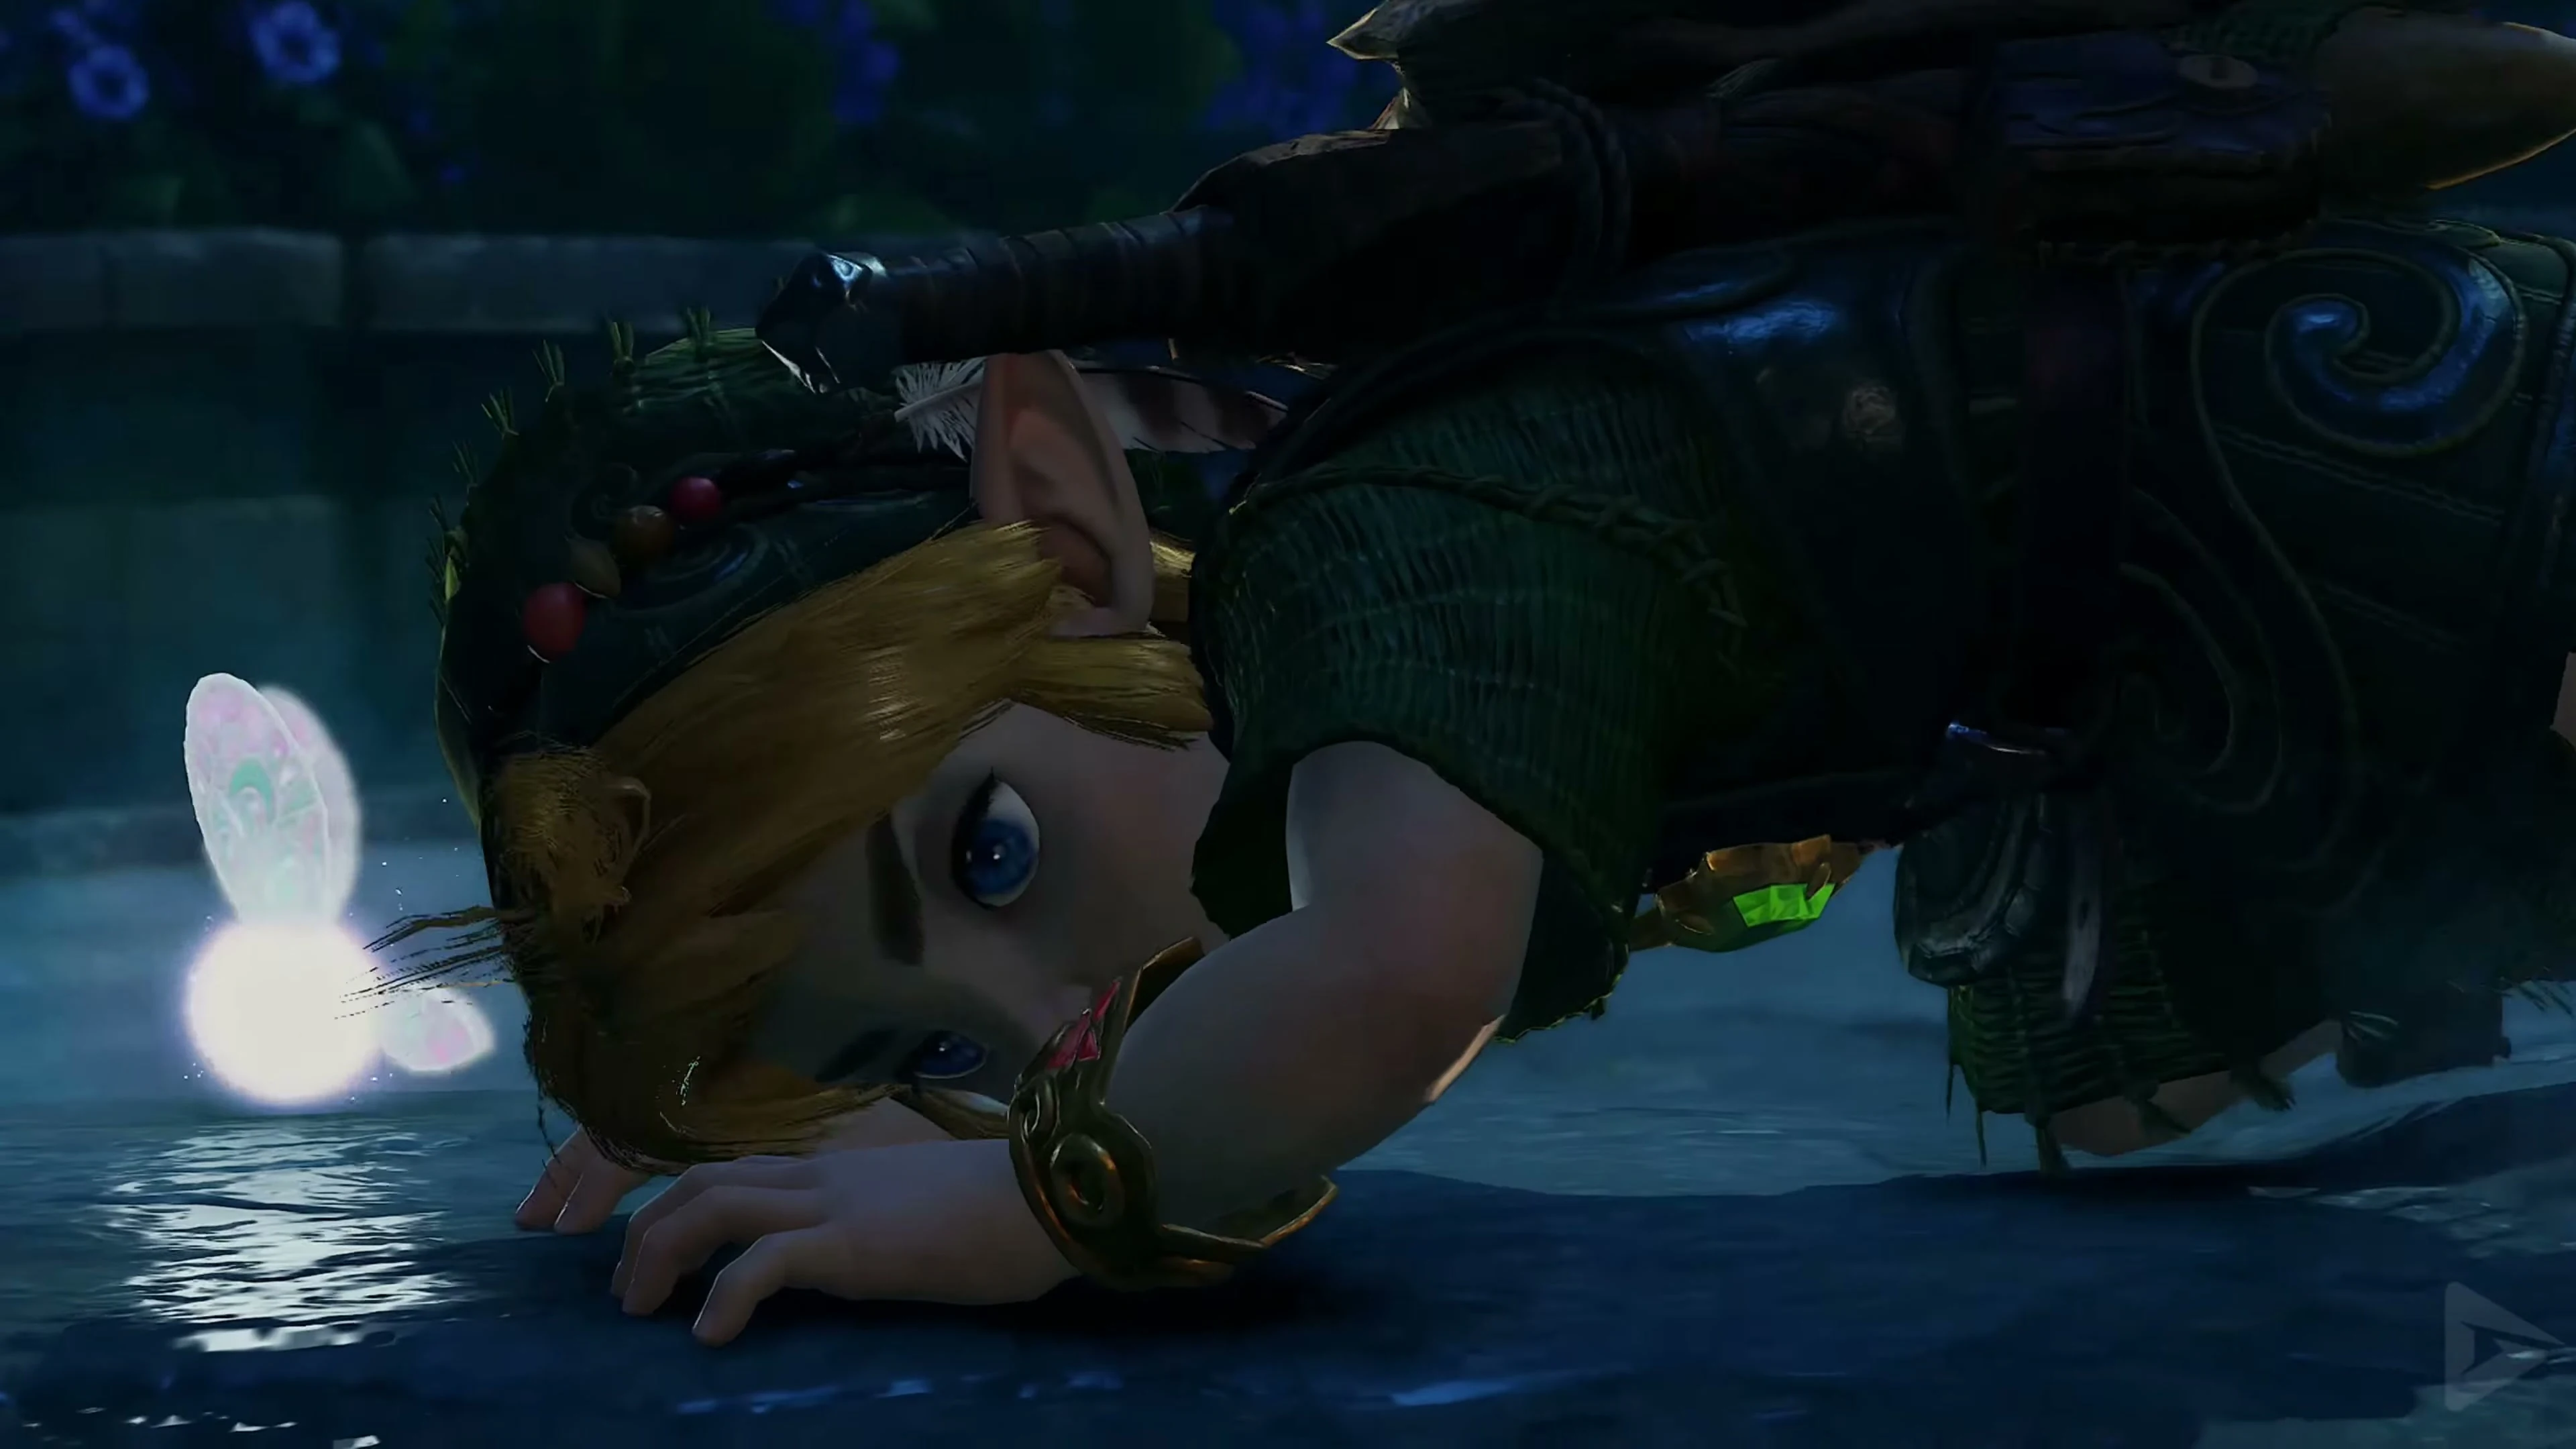
The entrance room
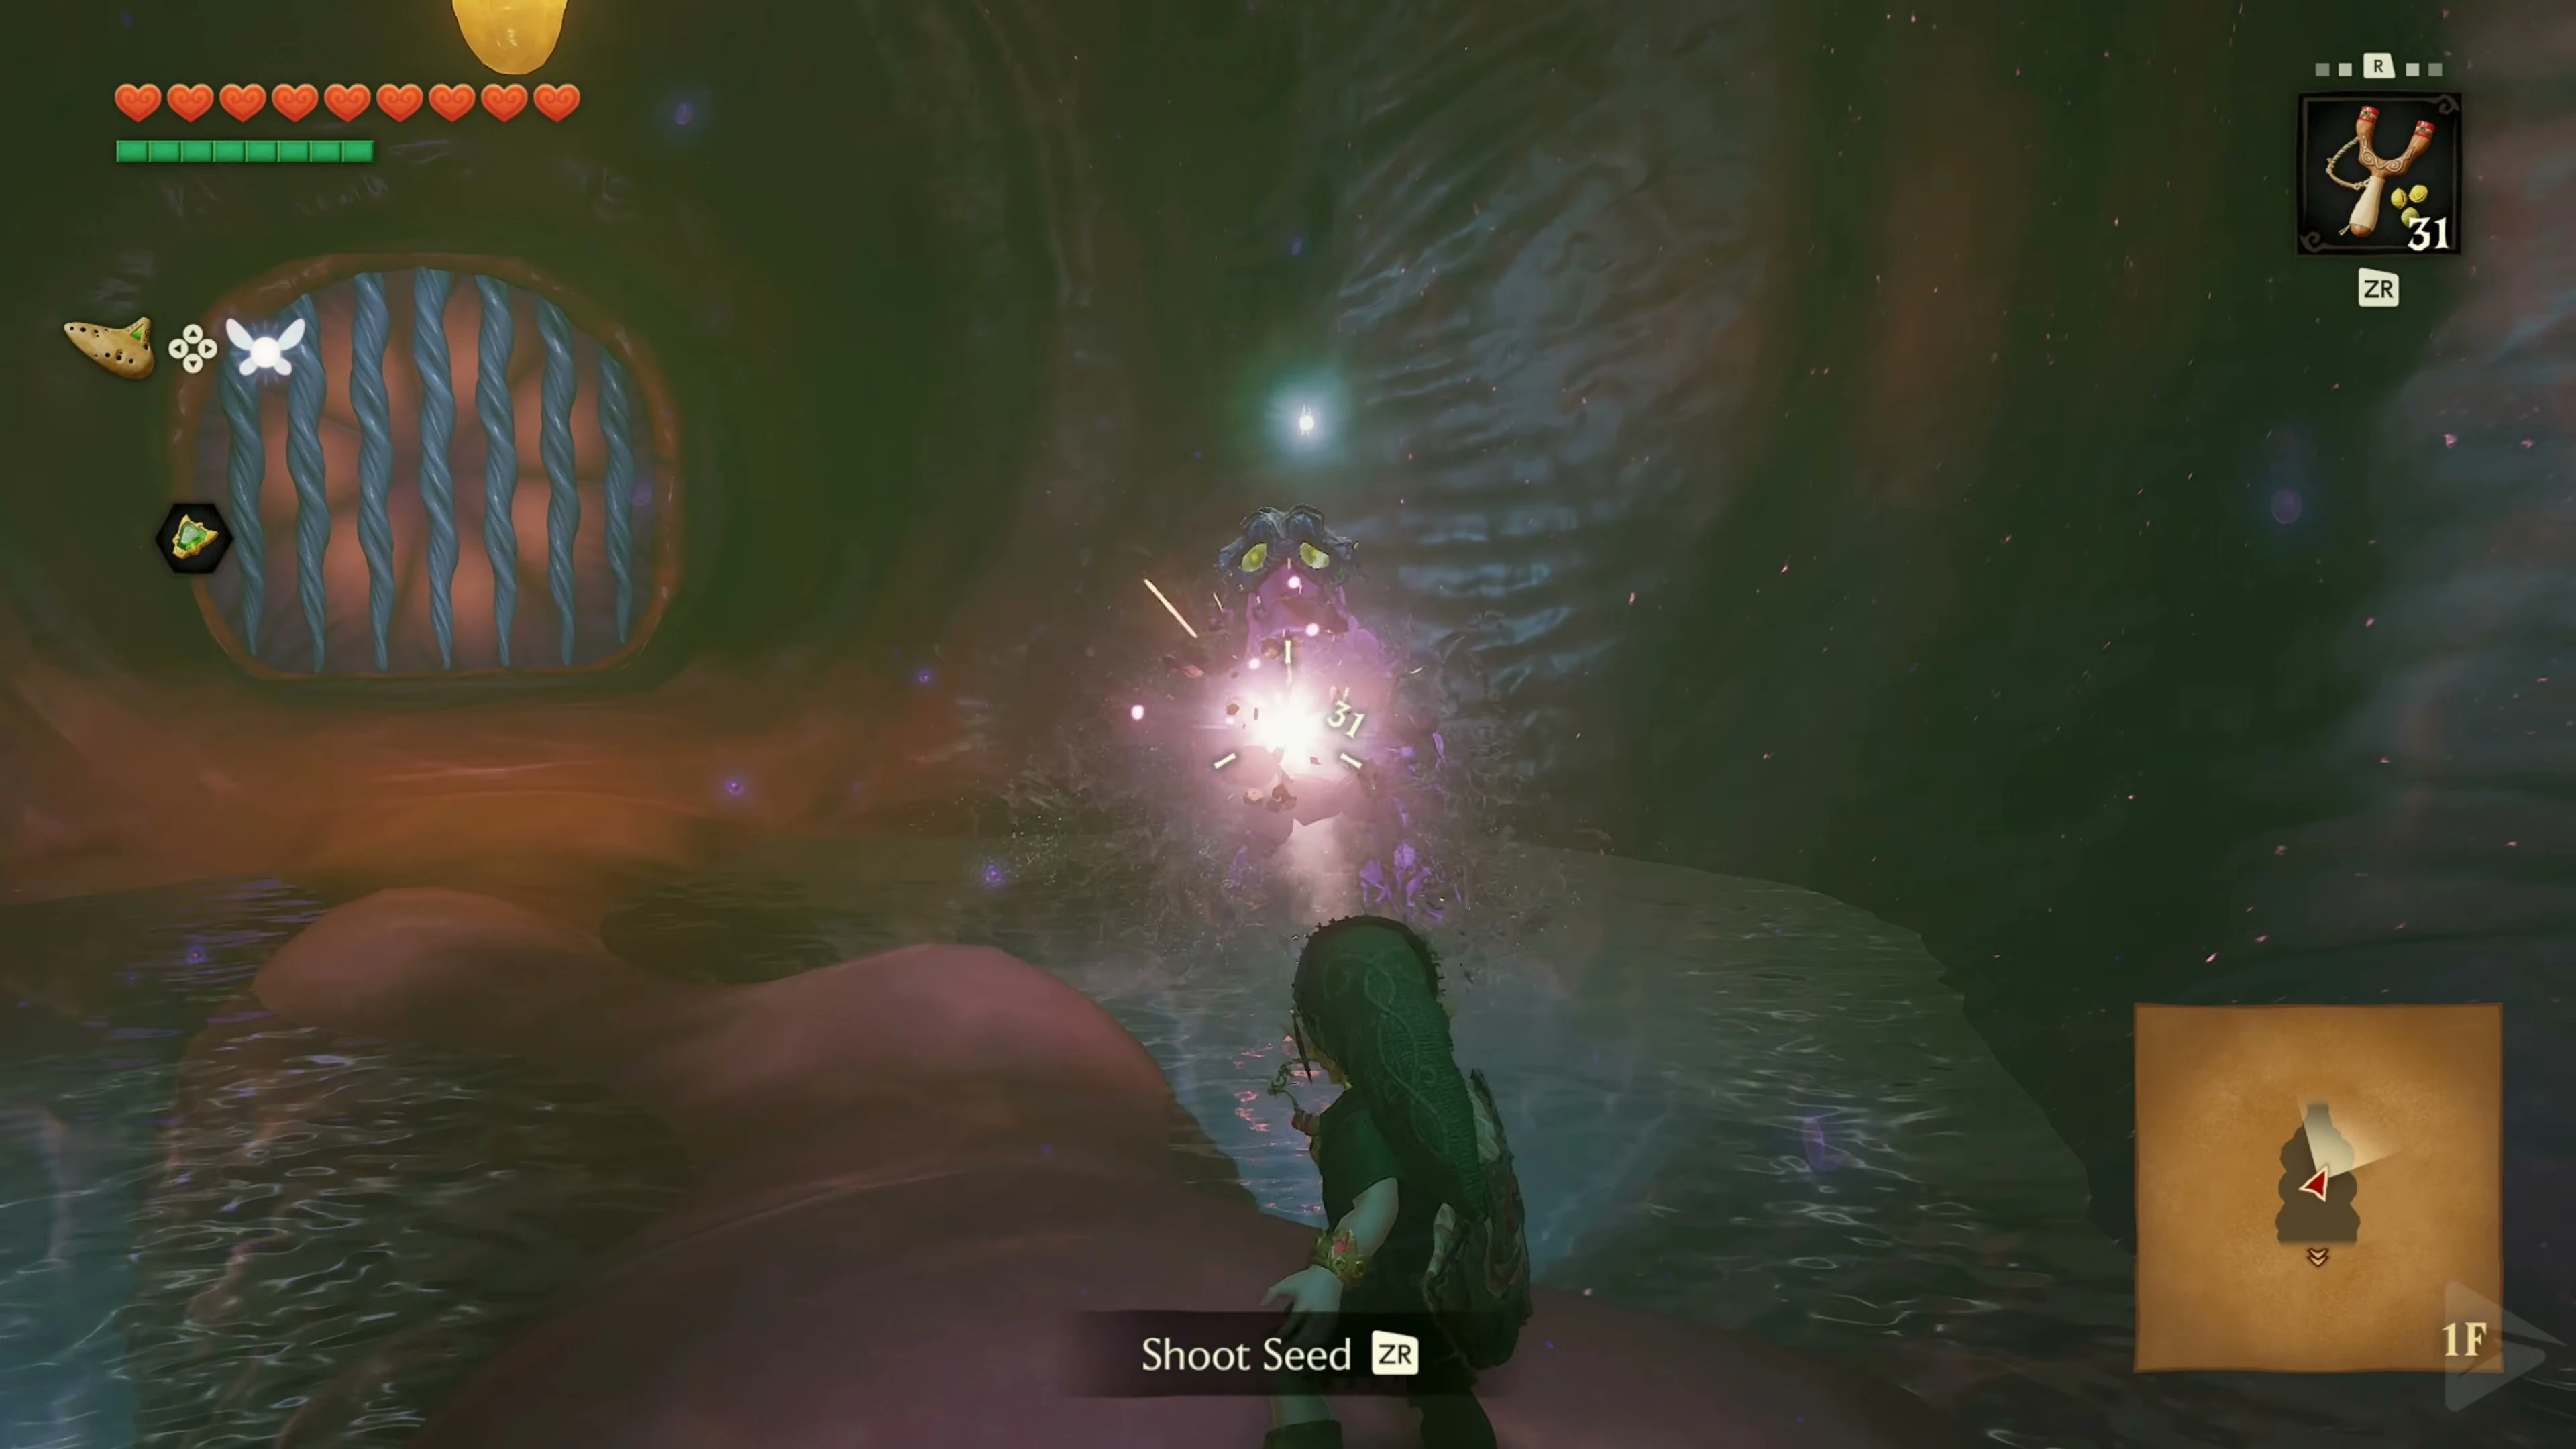
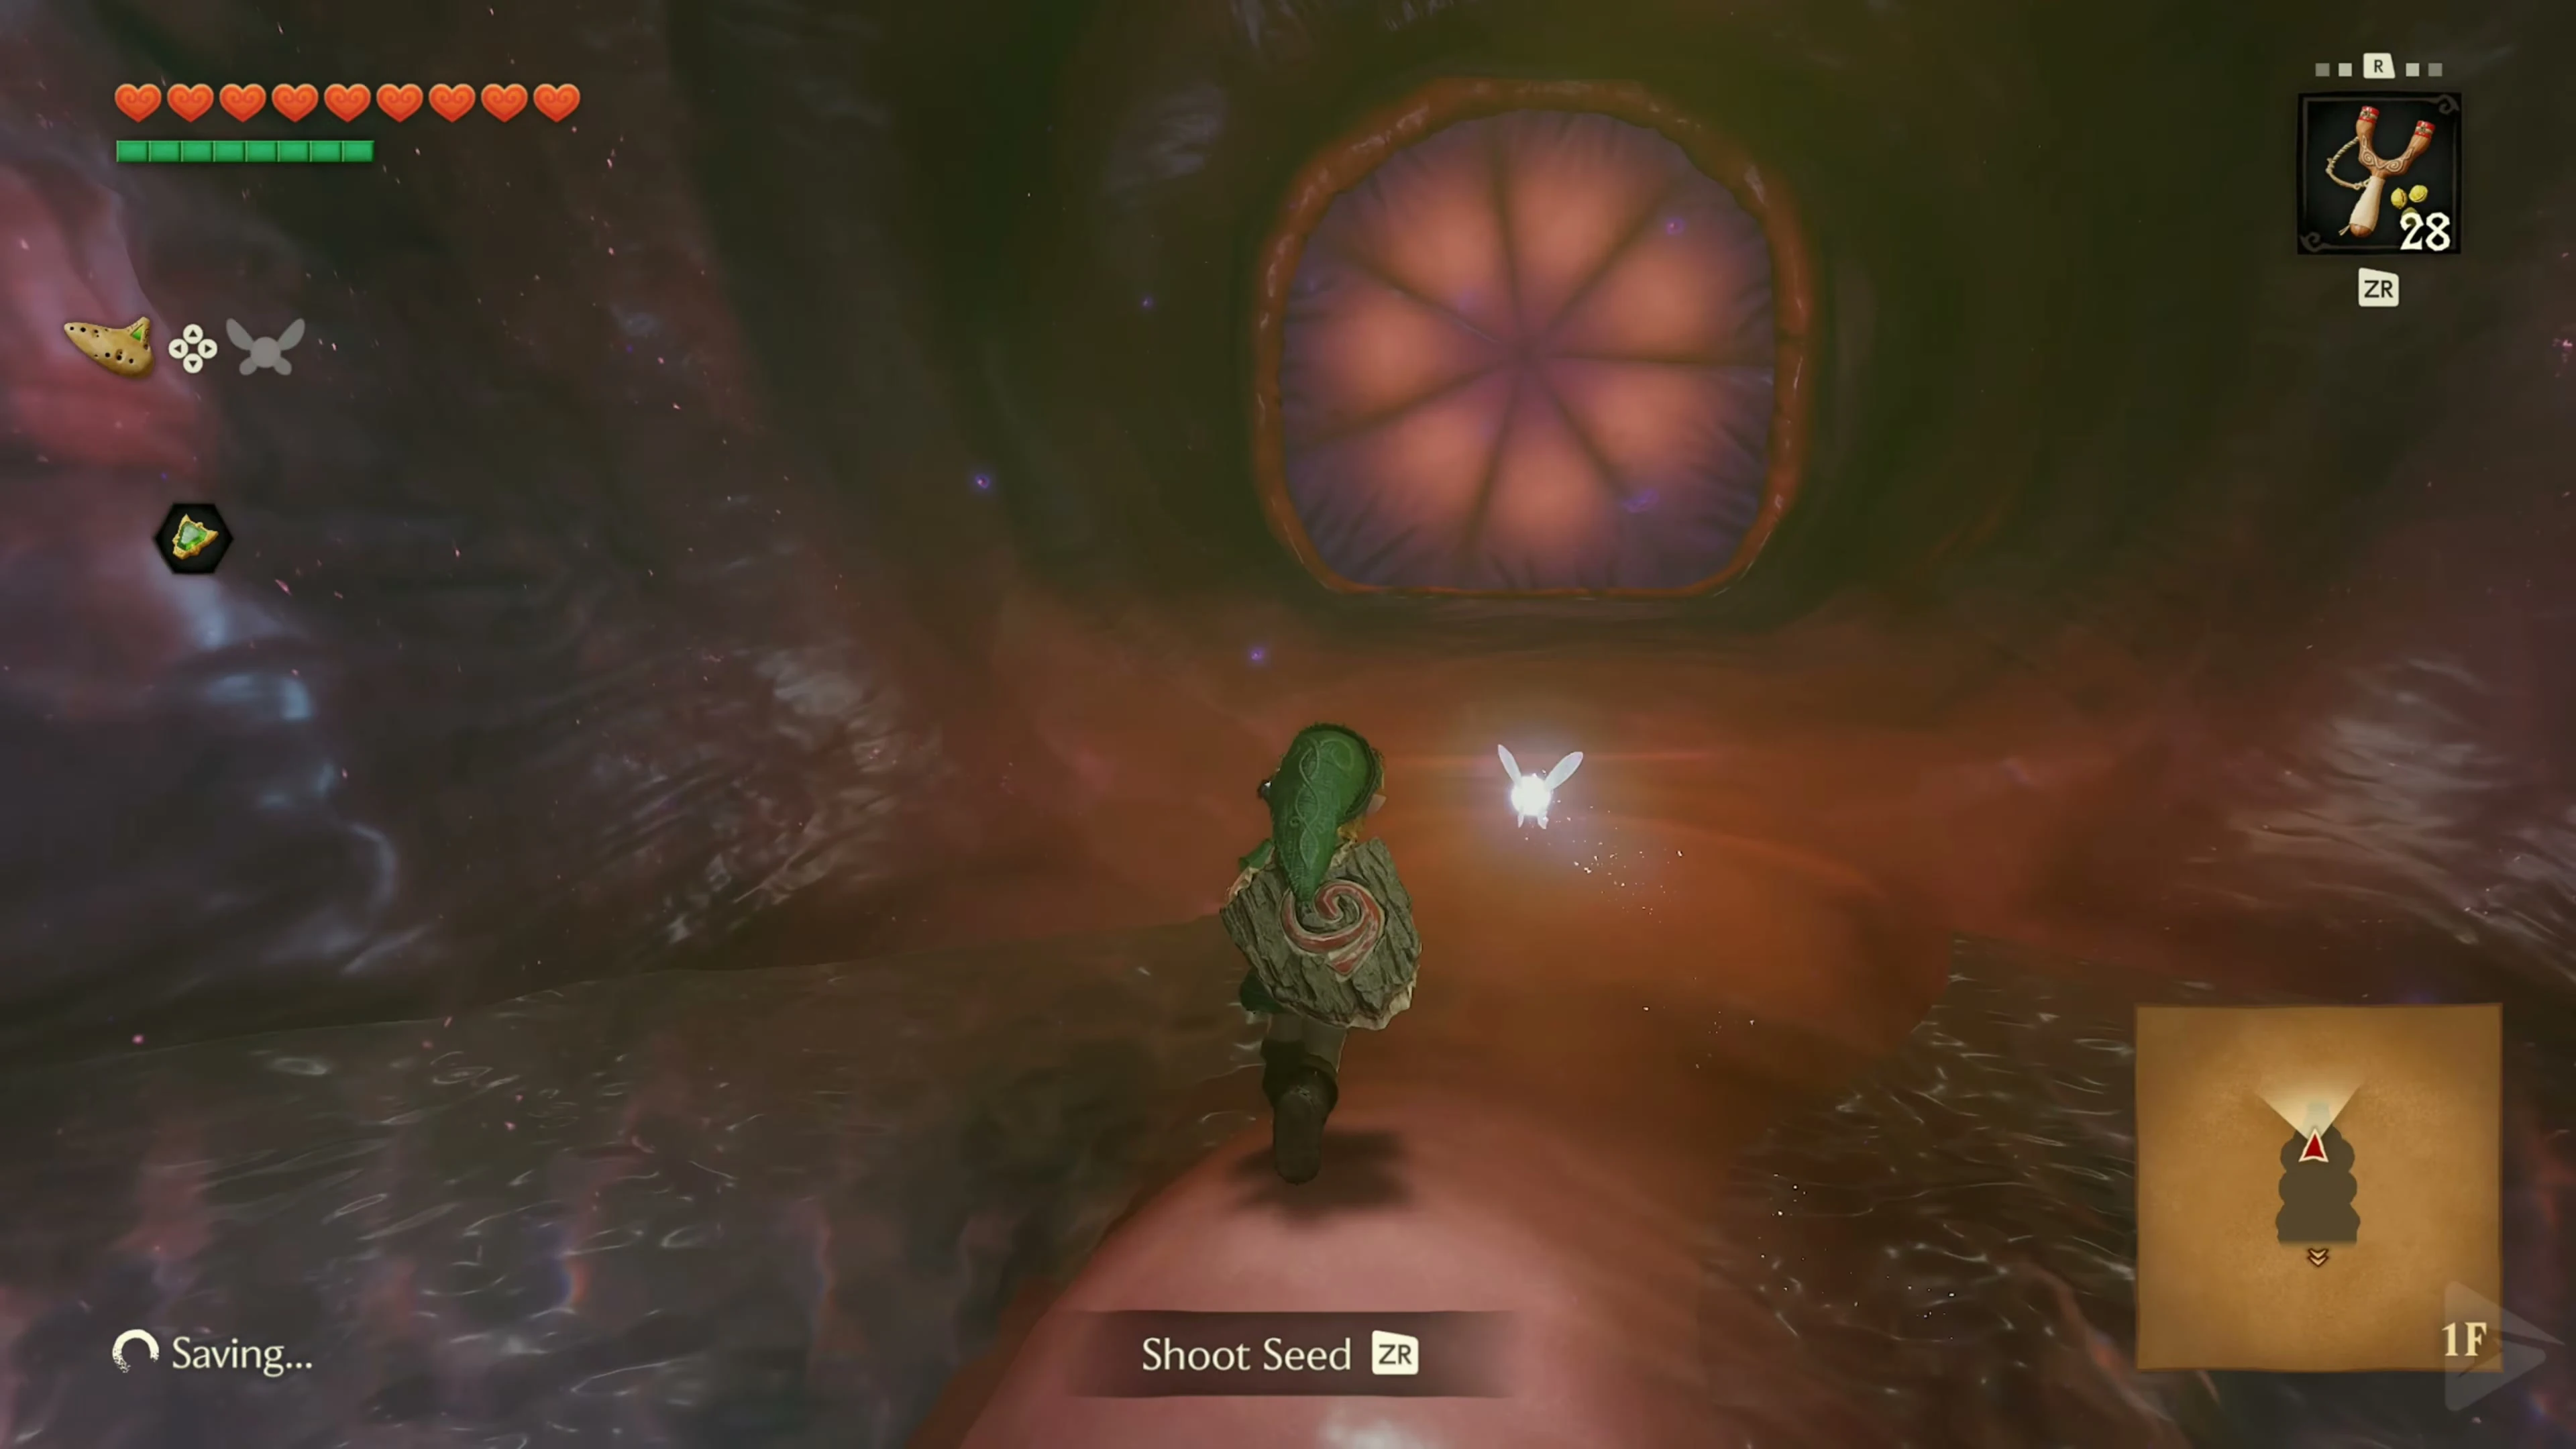
In the first room, two Octoroks appear from the water. Hold up your shield to make their projectiles bounce back, or shoot them directly with the Fairy Slingshot. Several bubbles float between them. Individual copies can be destroyed with the sword. If there are several close together, a Deku Nut is much safer. Then go to the end of the room and look up. Navi flies to a white switch on the ceiling. Hit the switch with the Fairy Slingshot . The organic membrane in front of the red door disappears and the path becomes clear.
The first Biri
In the next room you will encounter an electrically charged Biri for the first time. Don’t just attack them with the sword. As long as the opponent is electrified, the electrical charge can be transferred to Link. First, avoid the jellyfish or stun them with a Deku Nut. Once we have the Boomerang, they can be safely disabled from a distance. Follow the curved path and go through the door on the opposite side.
Find Princess Ruto
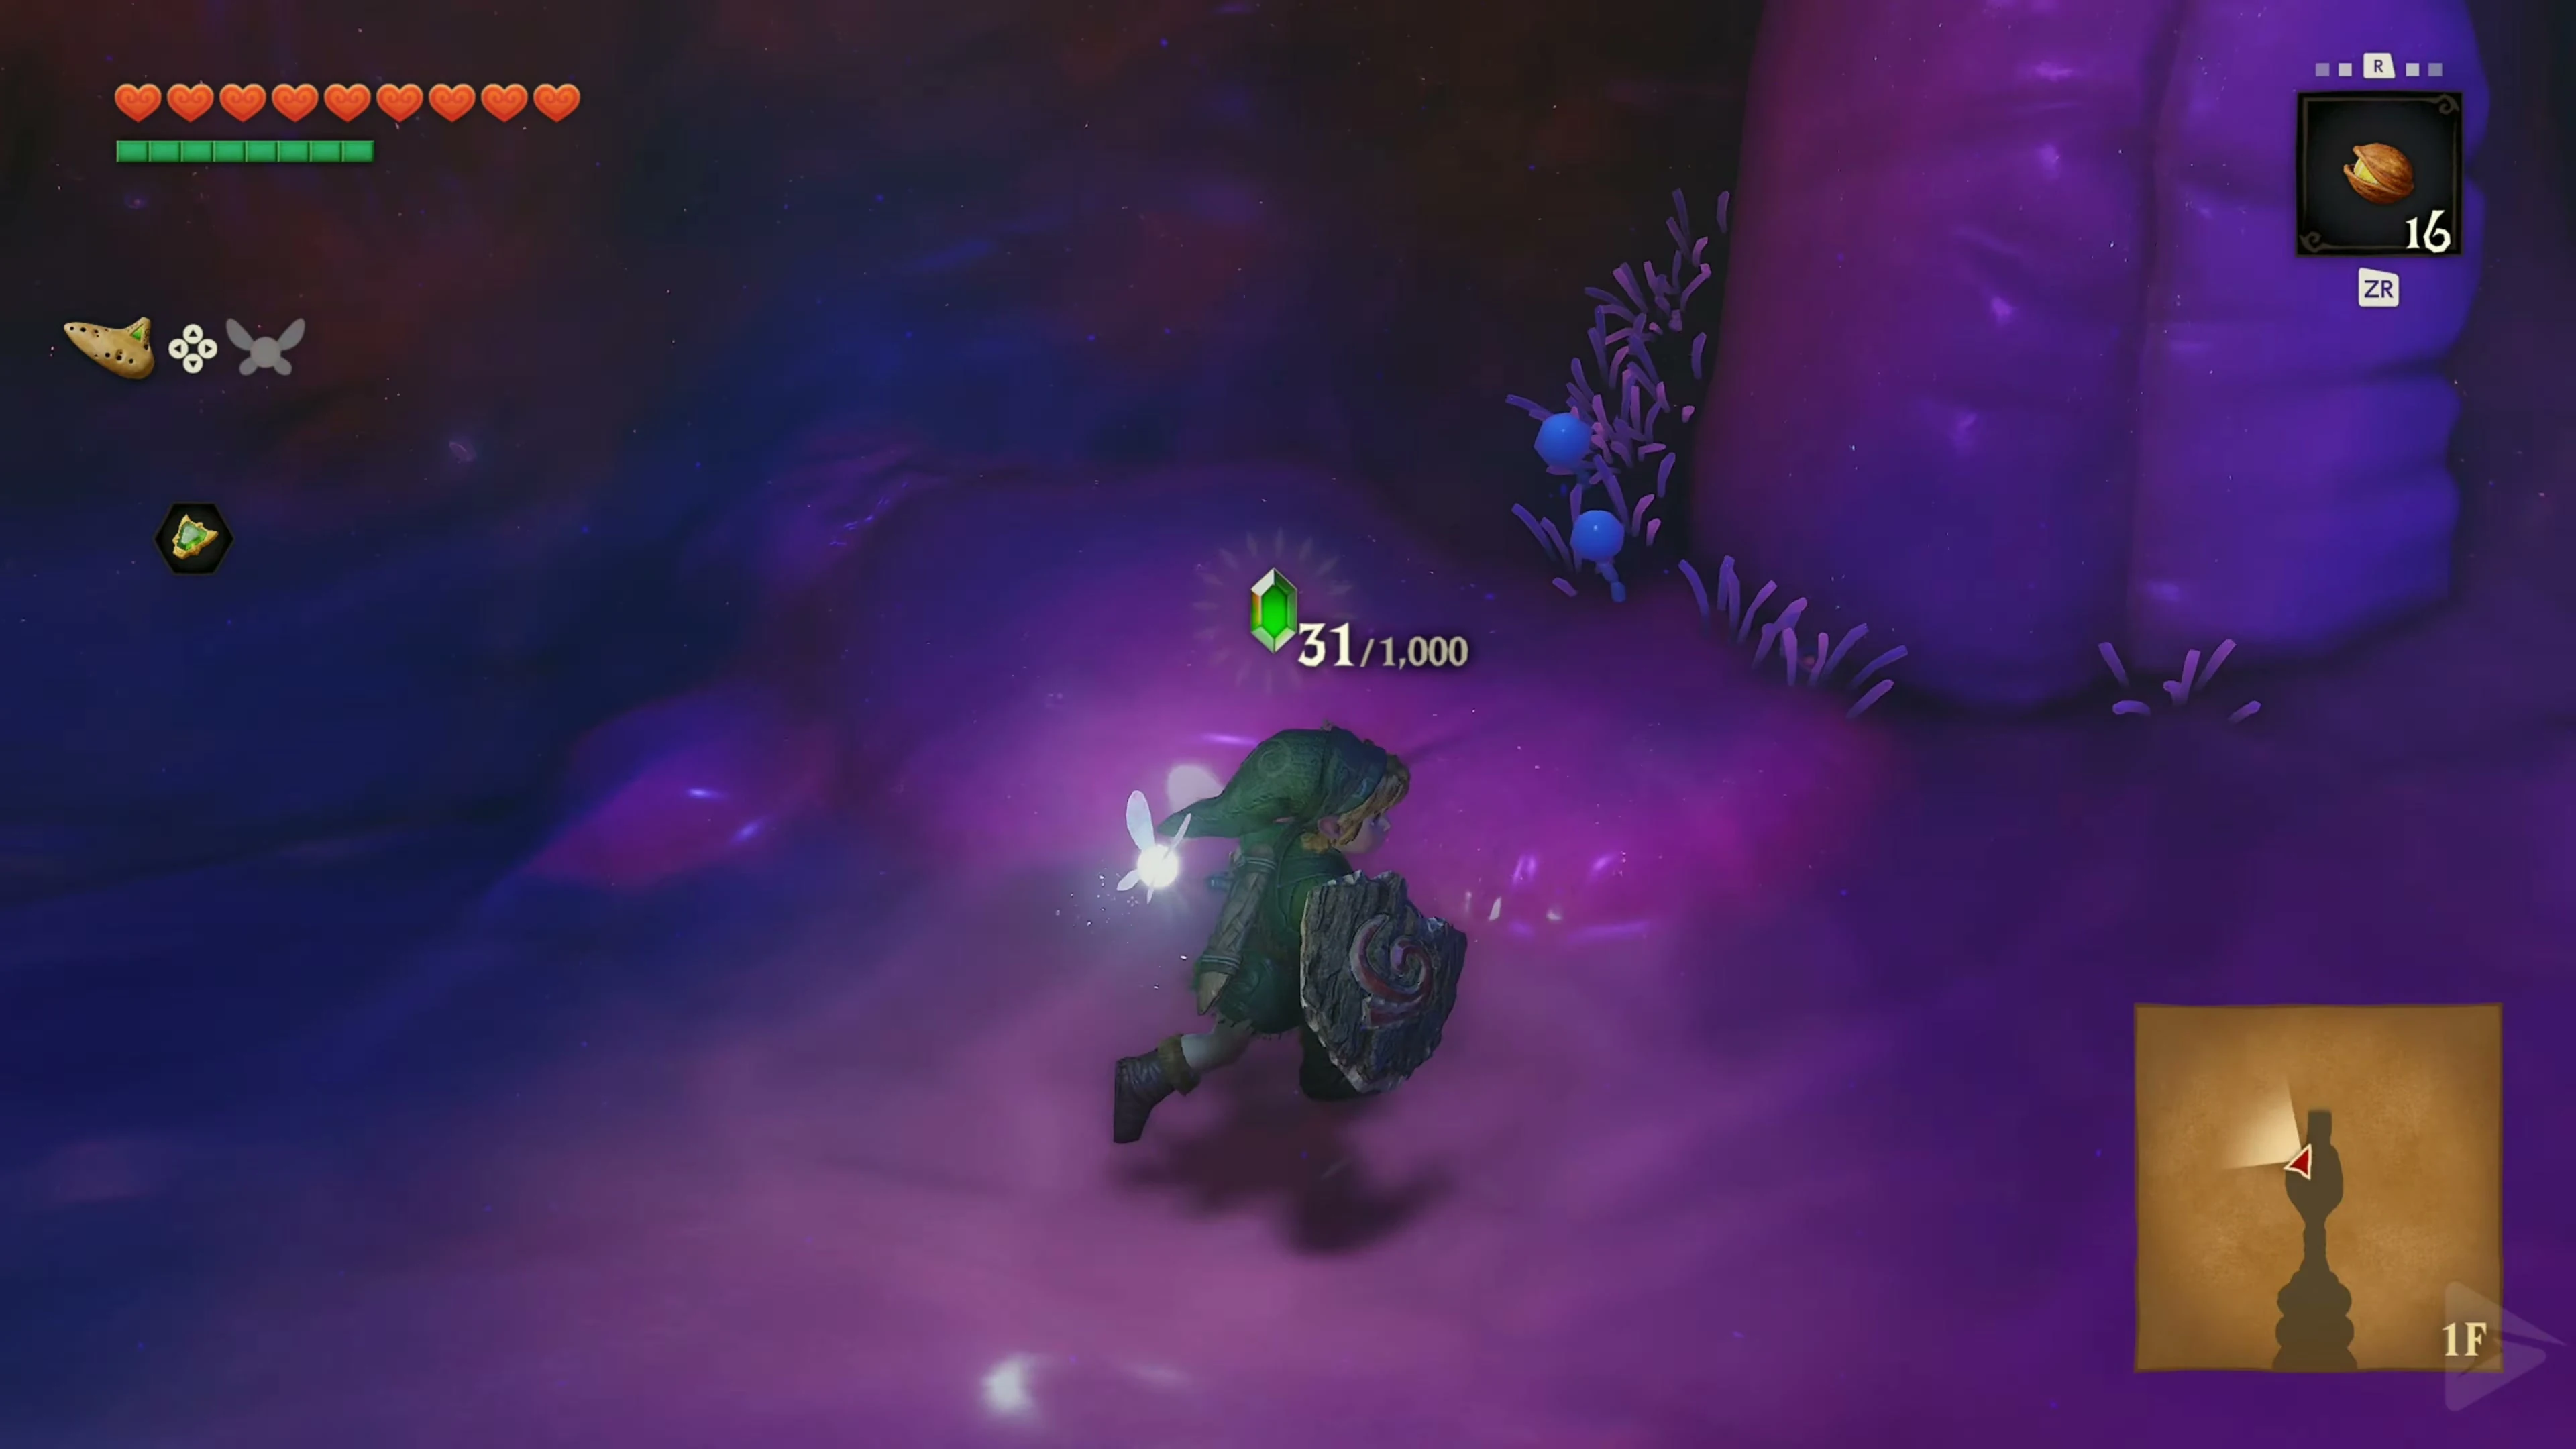
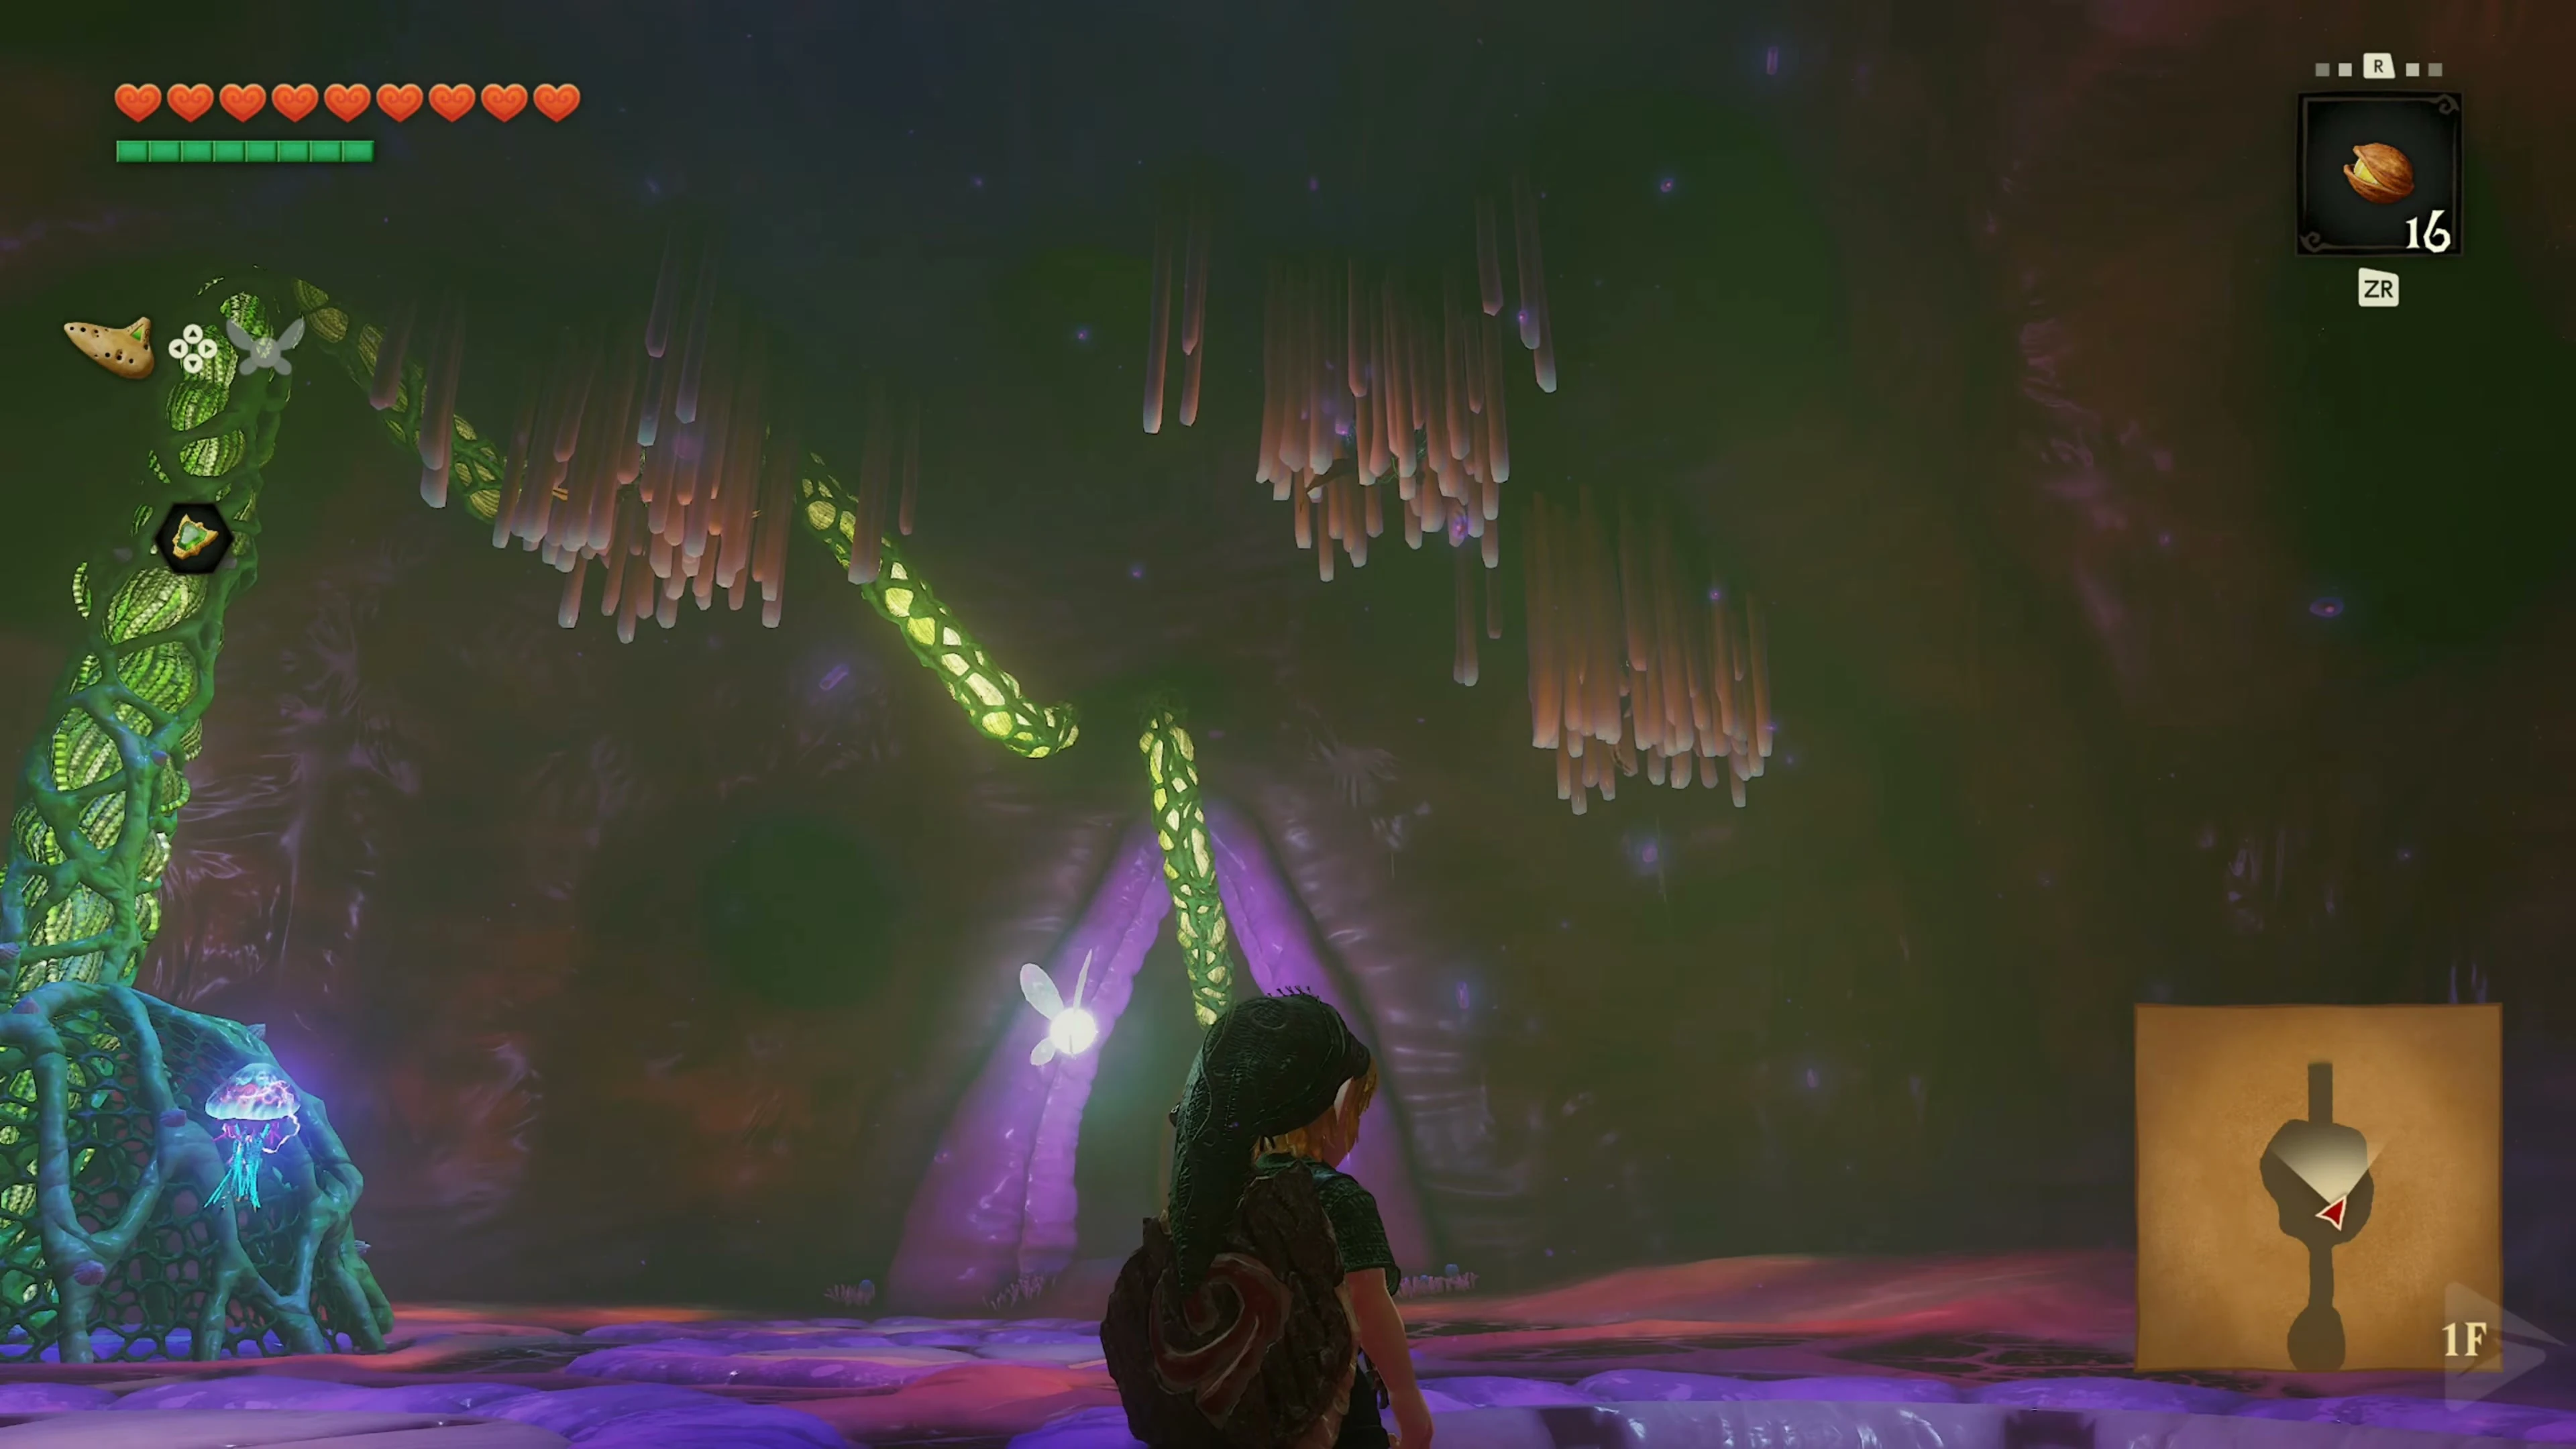
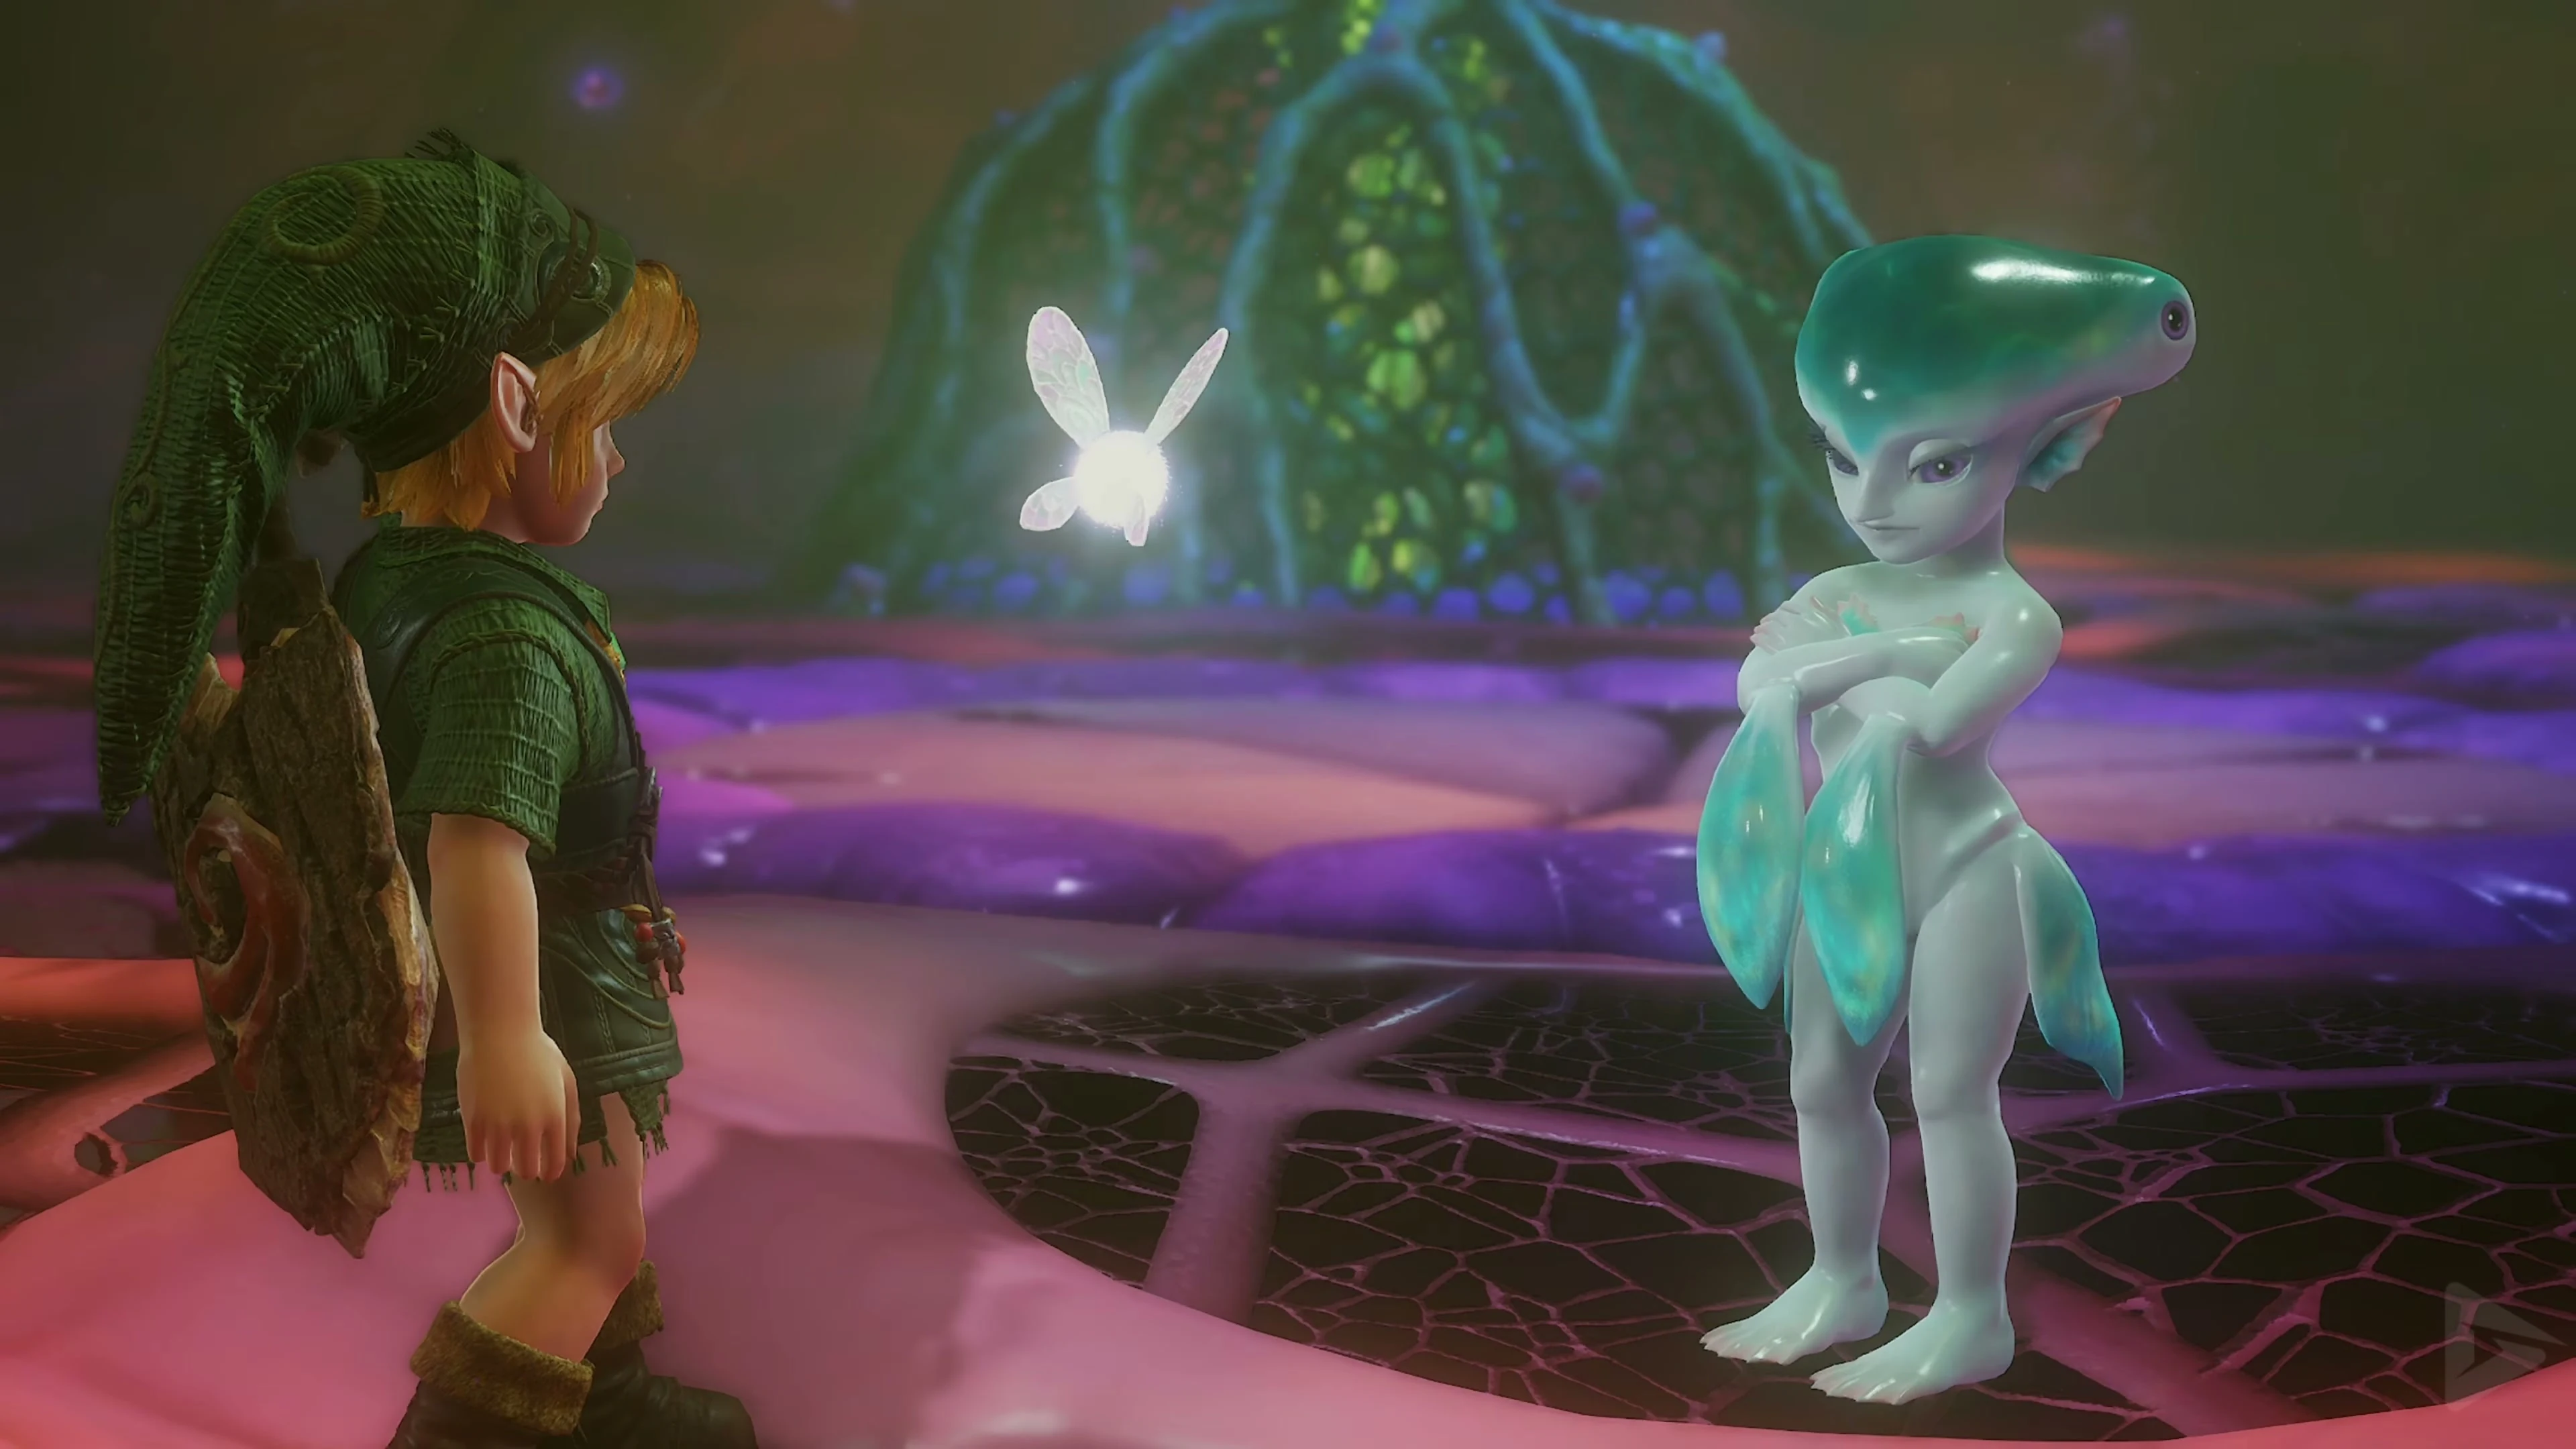
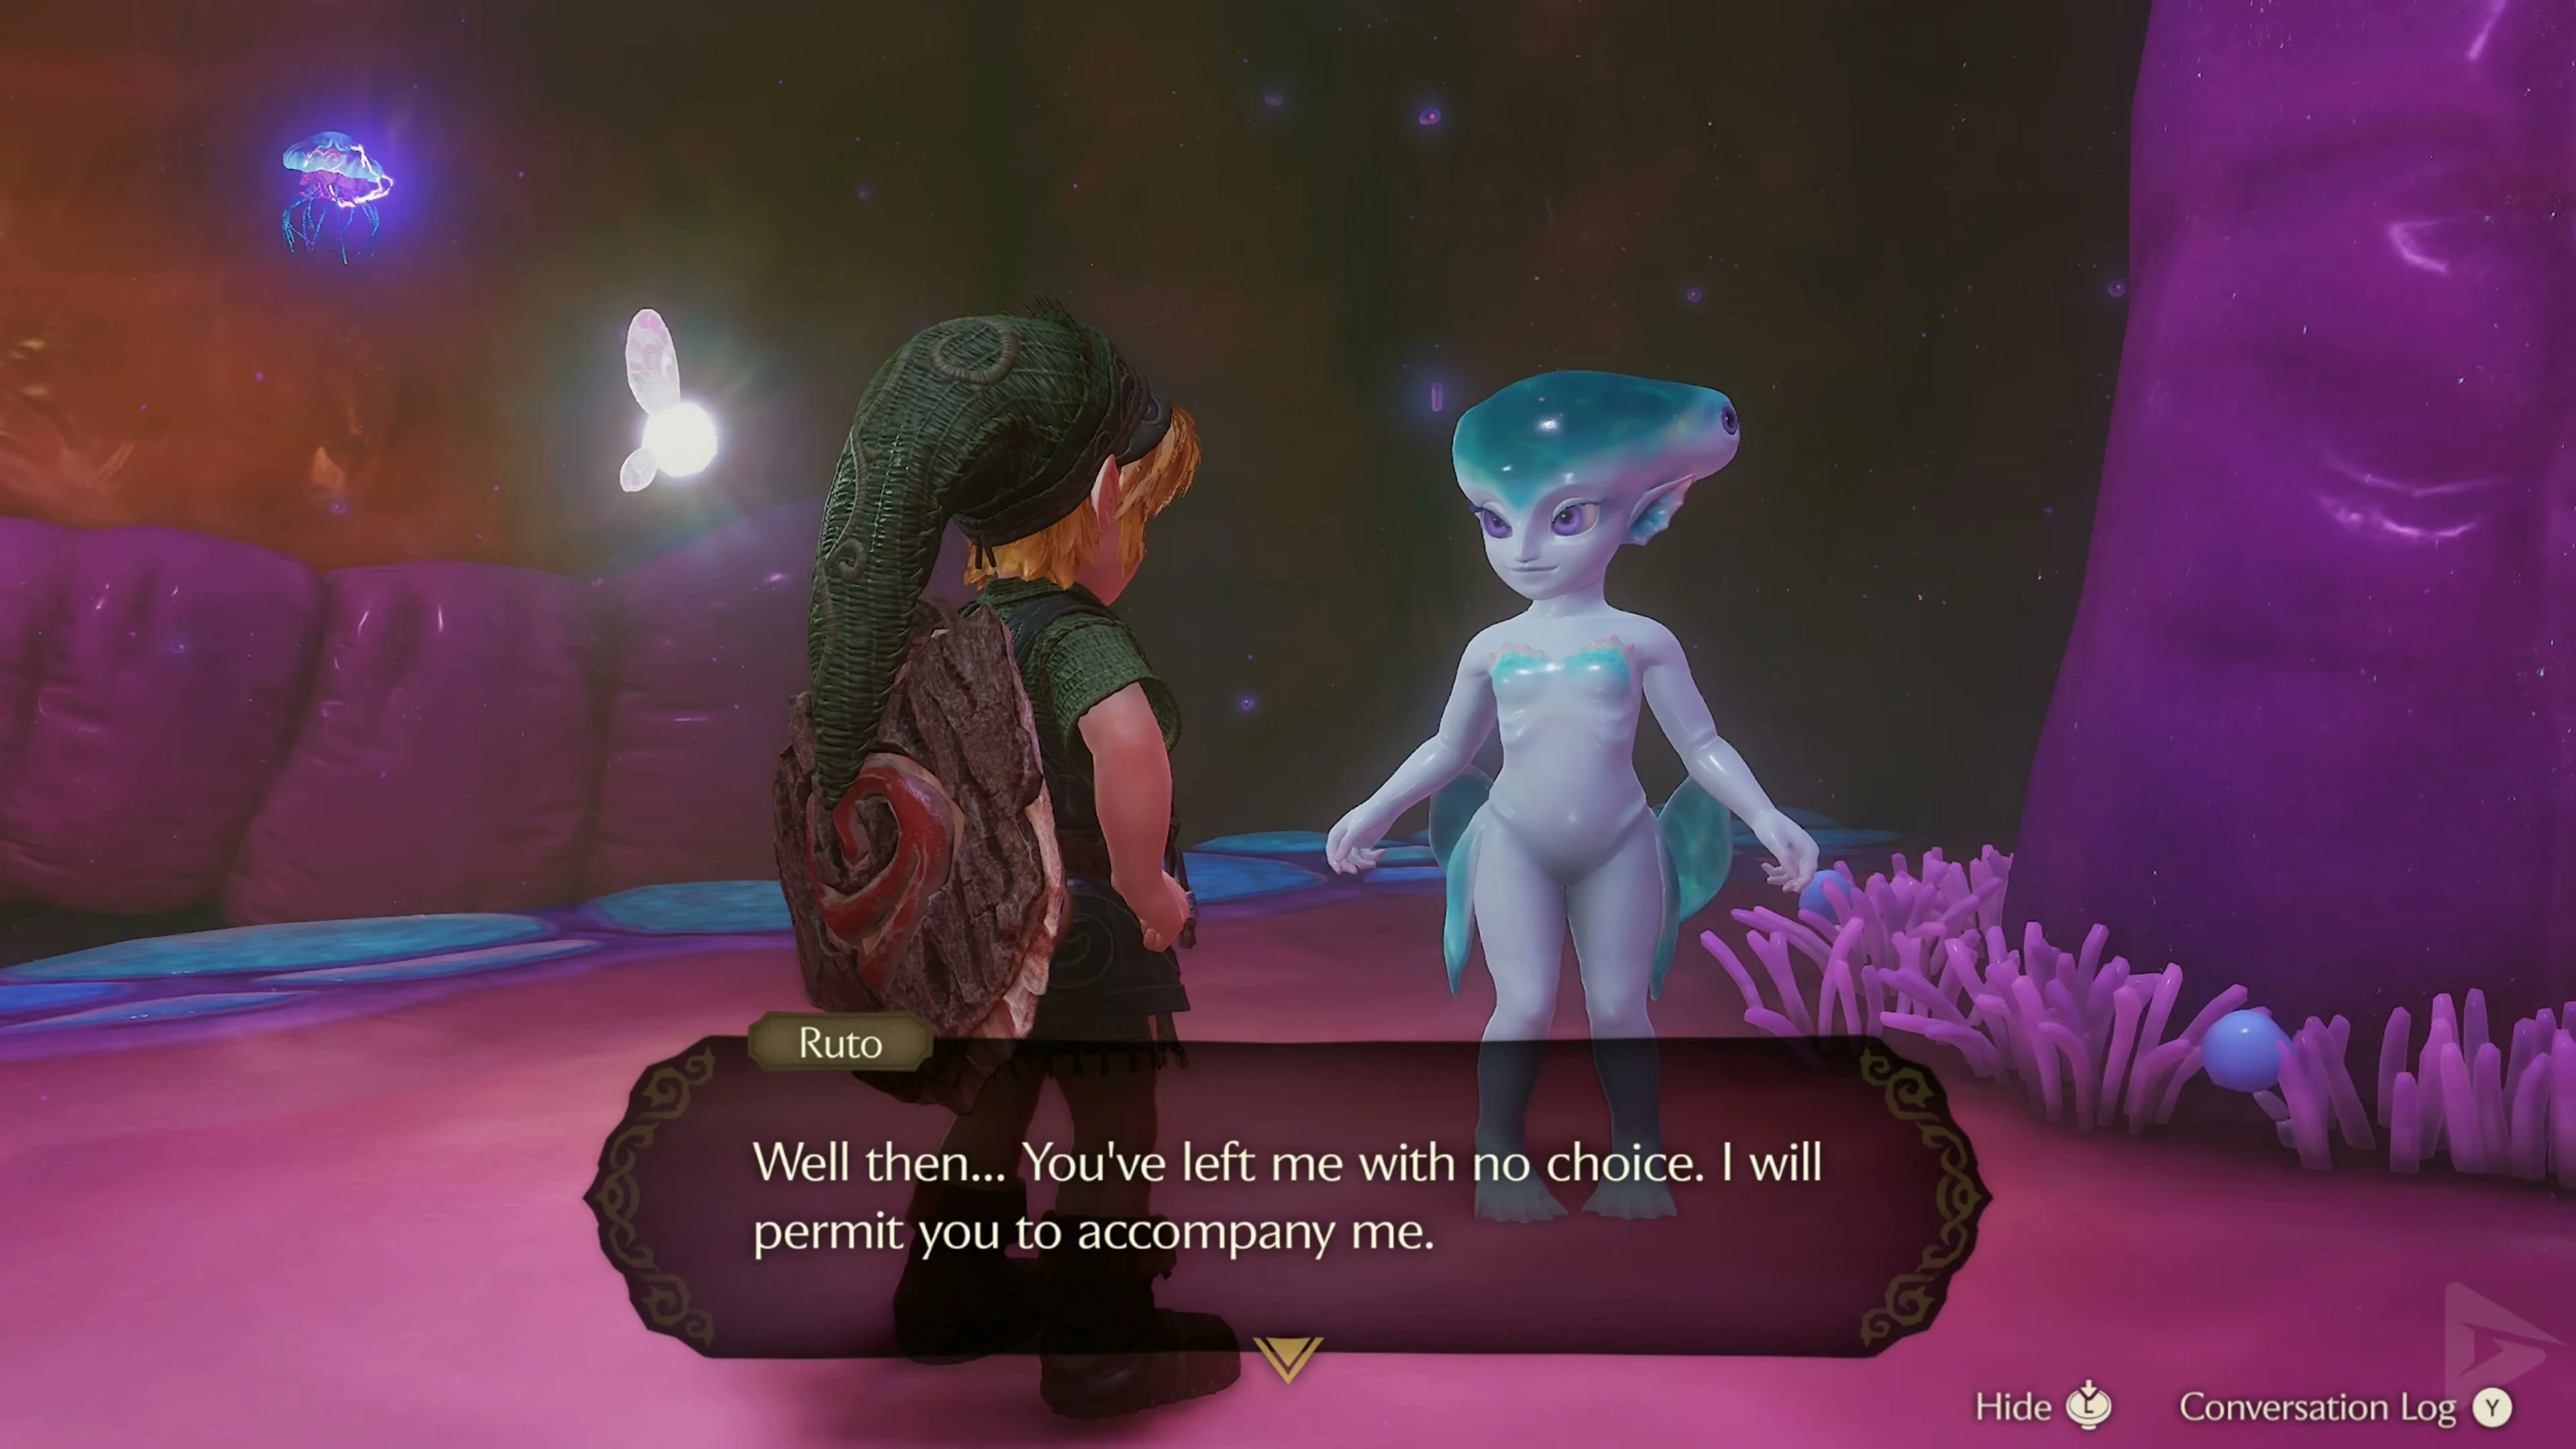
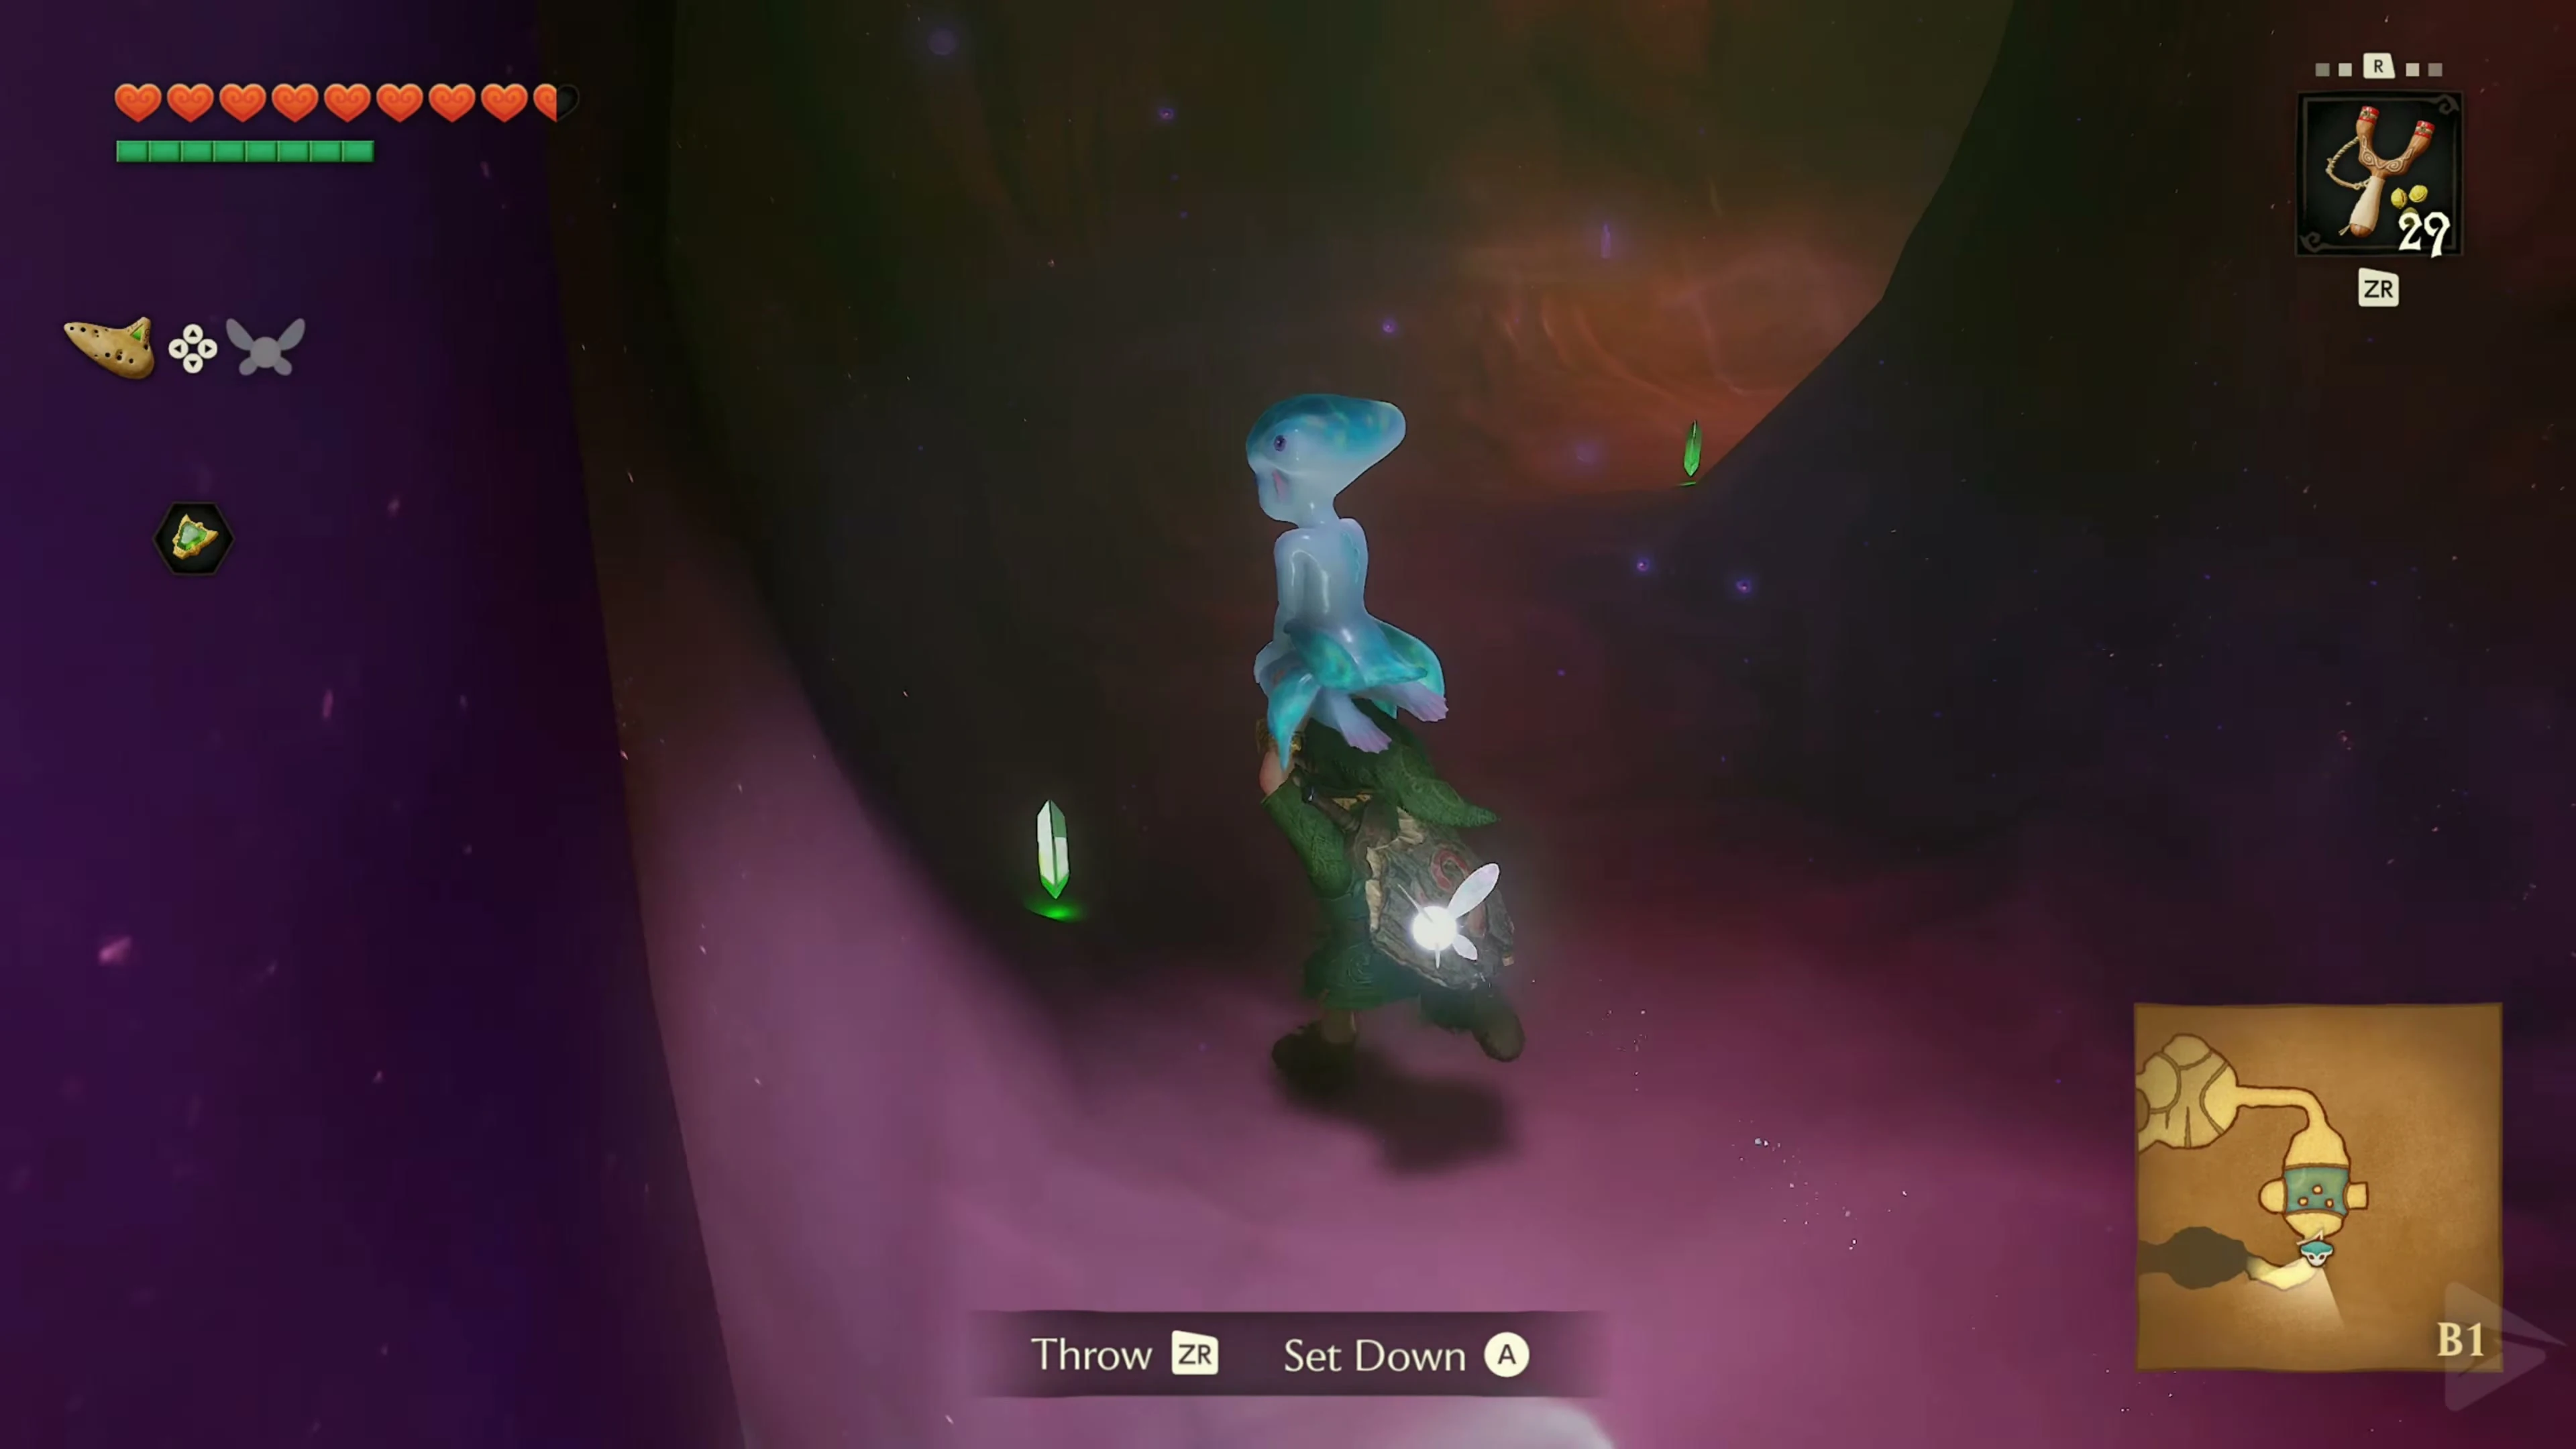
In the next large room you will see numerous holes in the floor. When you enter, a short sequence starts. Princess Ruto appears. Although she claims that she never wrote a cry for help, she runs away and promptly falls into one of the holes. Jump after it. When you get downstairs, you talk to Ruto several times. After some complaints, she finally agrees to accompany Link – but only on one condition: You have to carry her.

The room with the water level
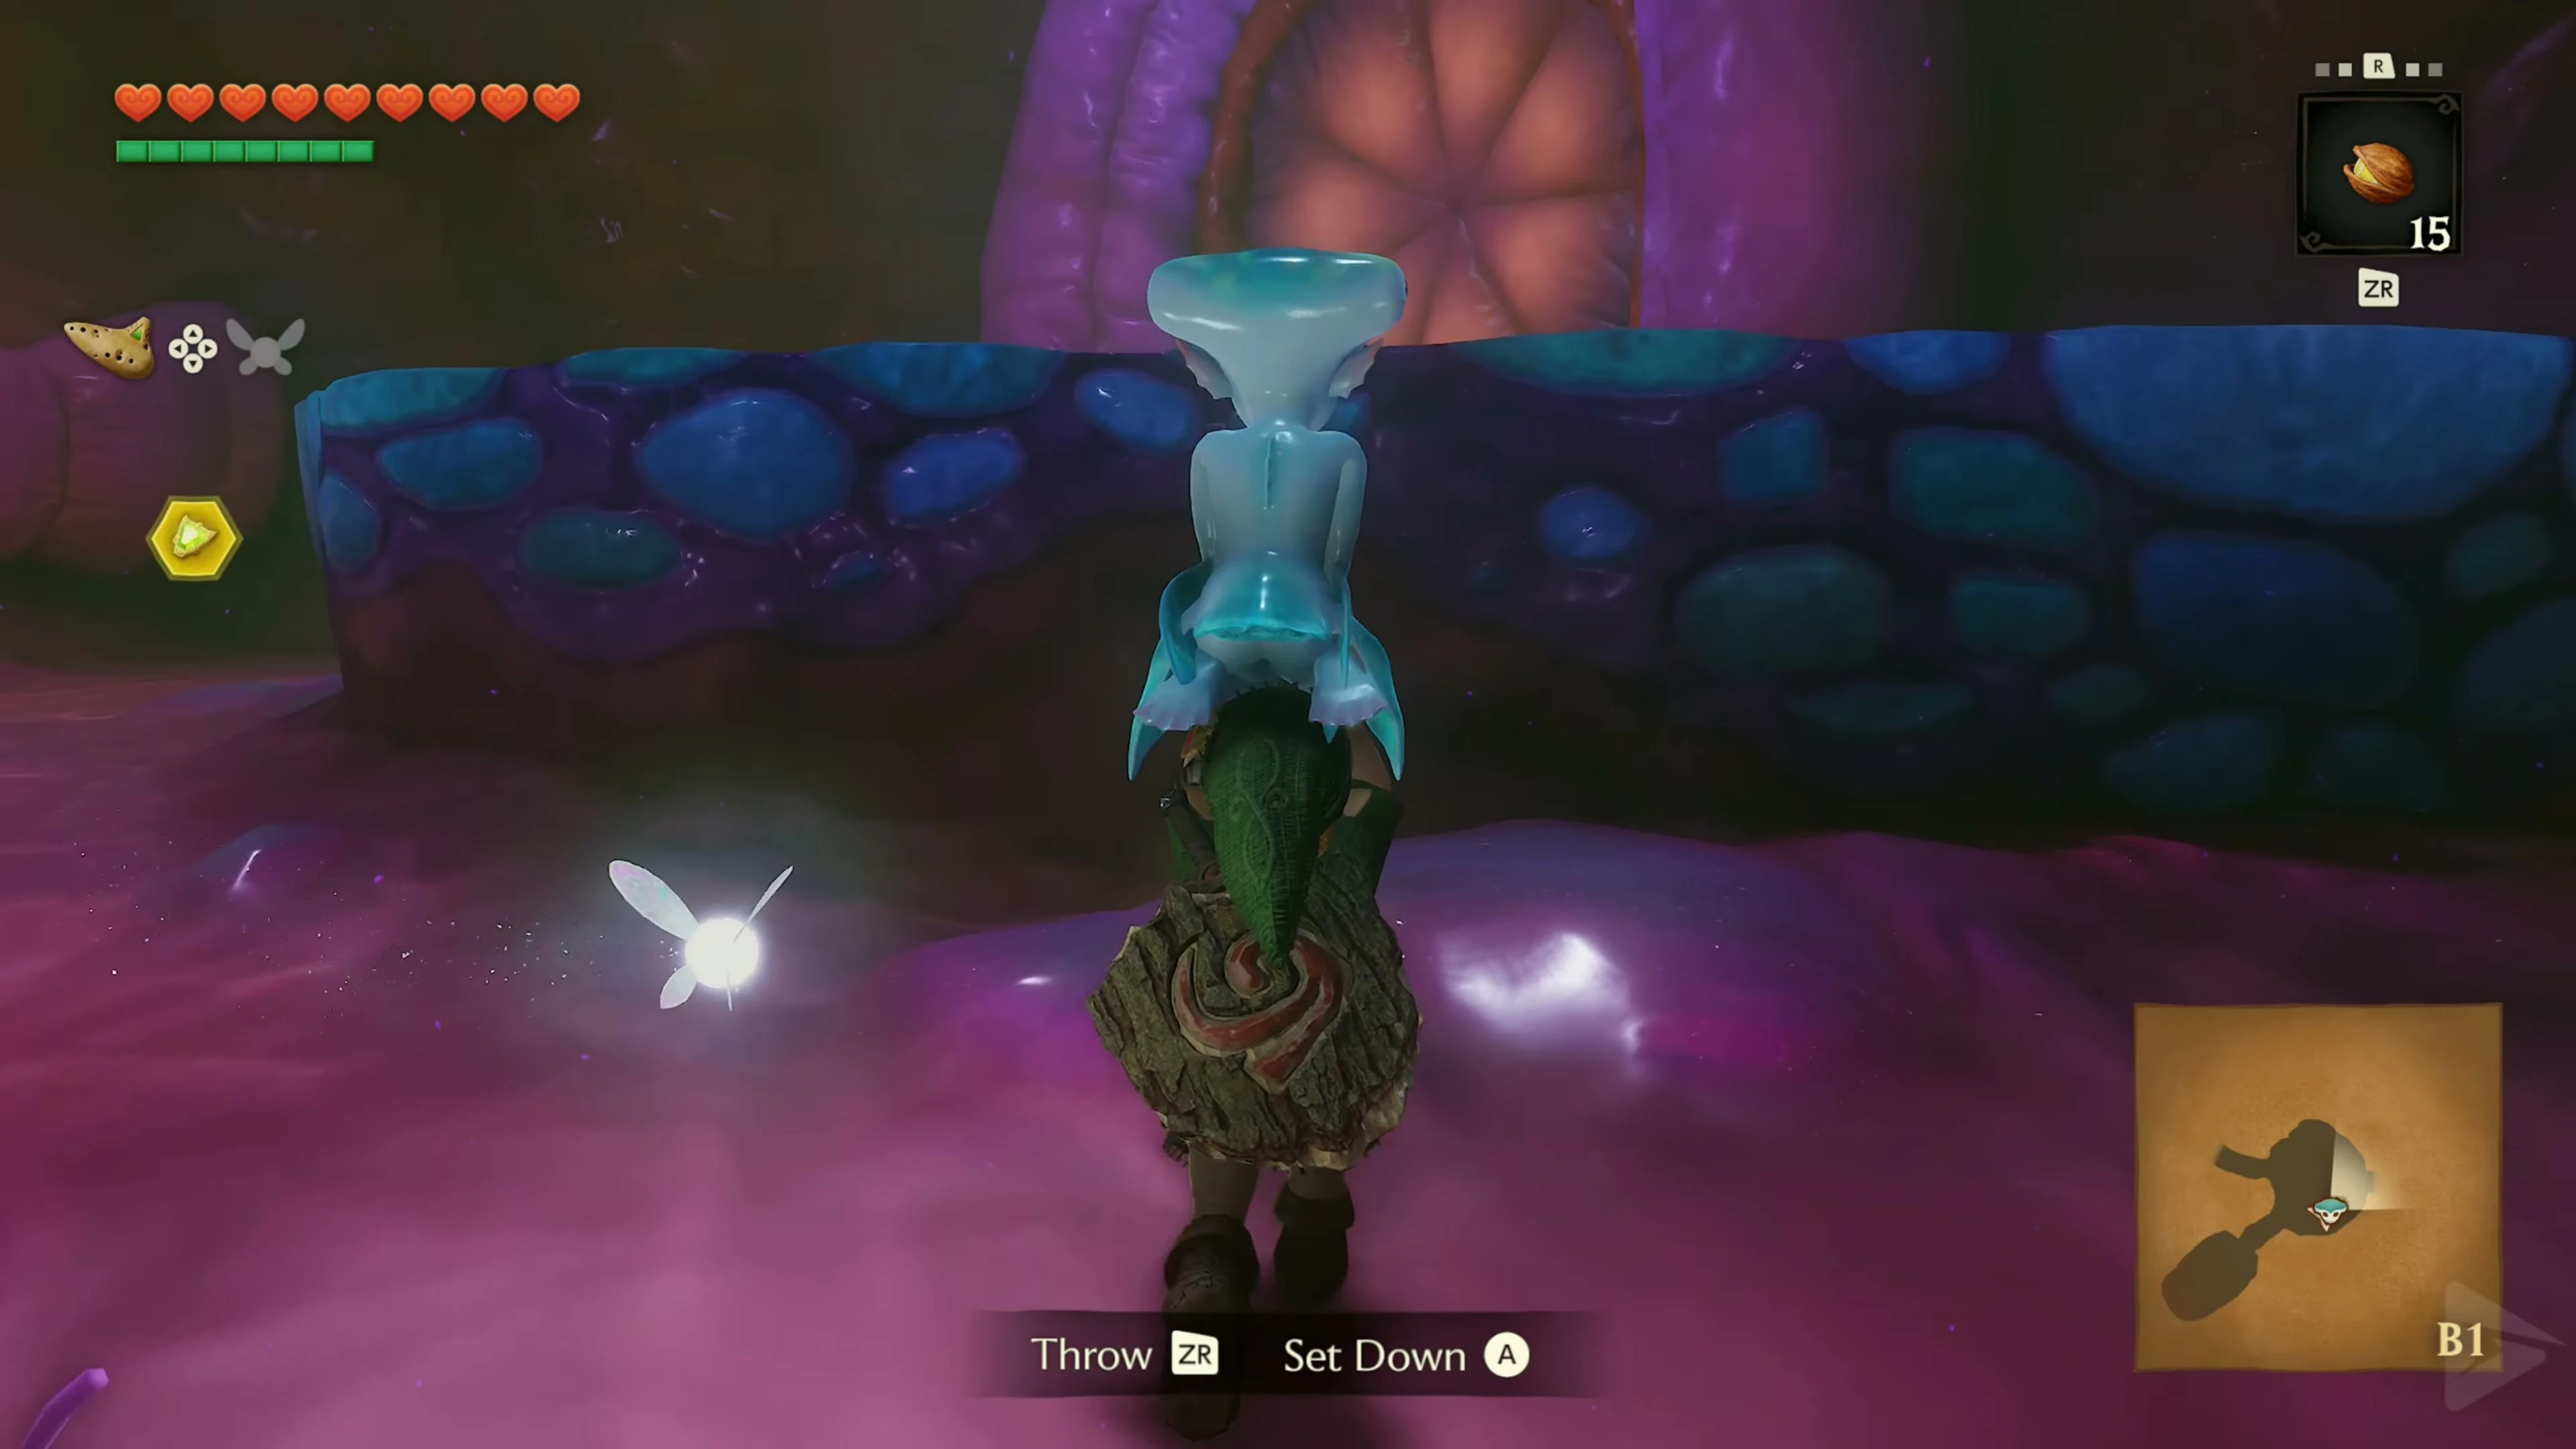
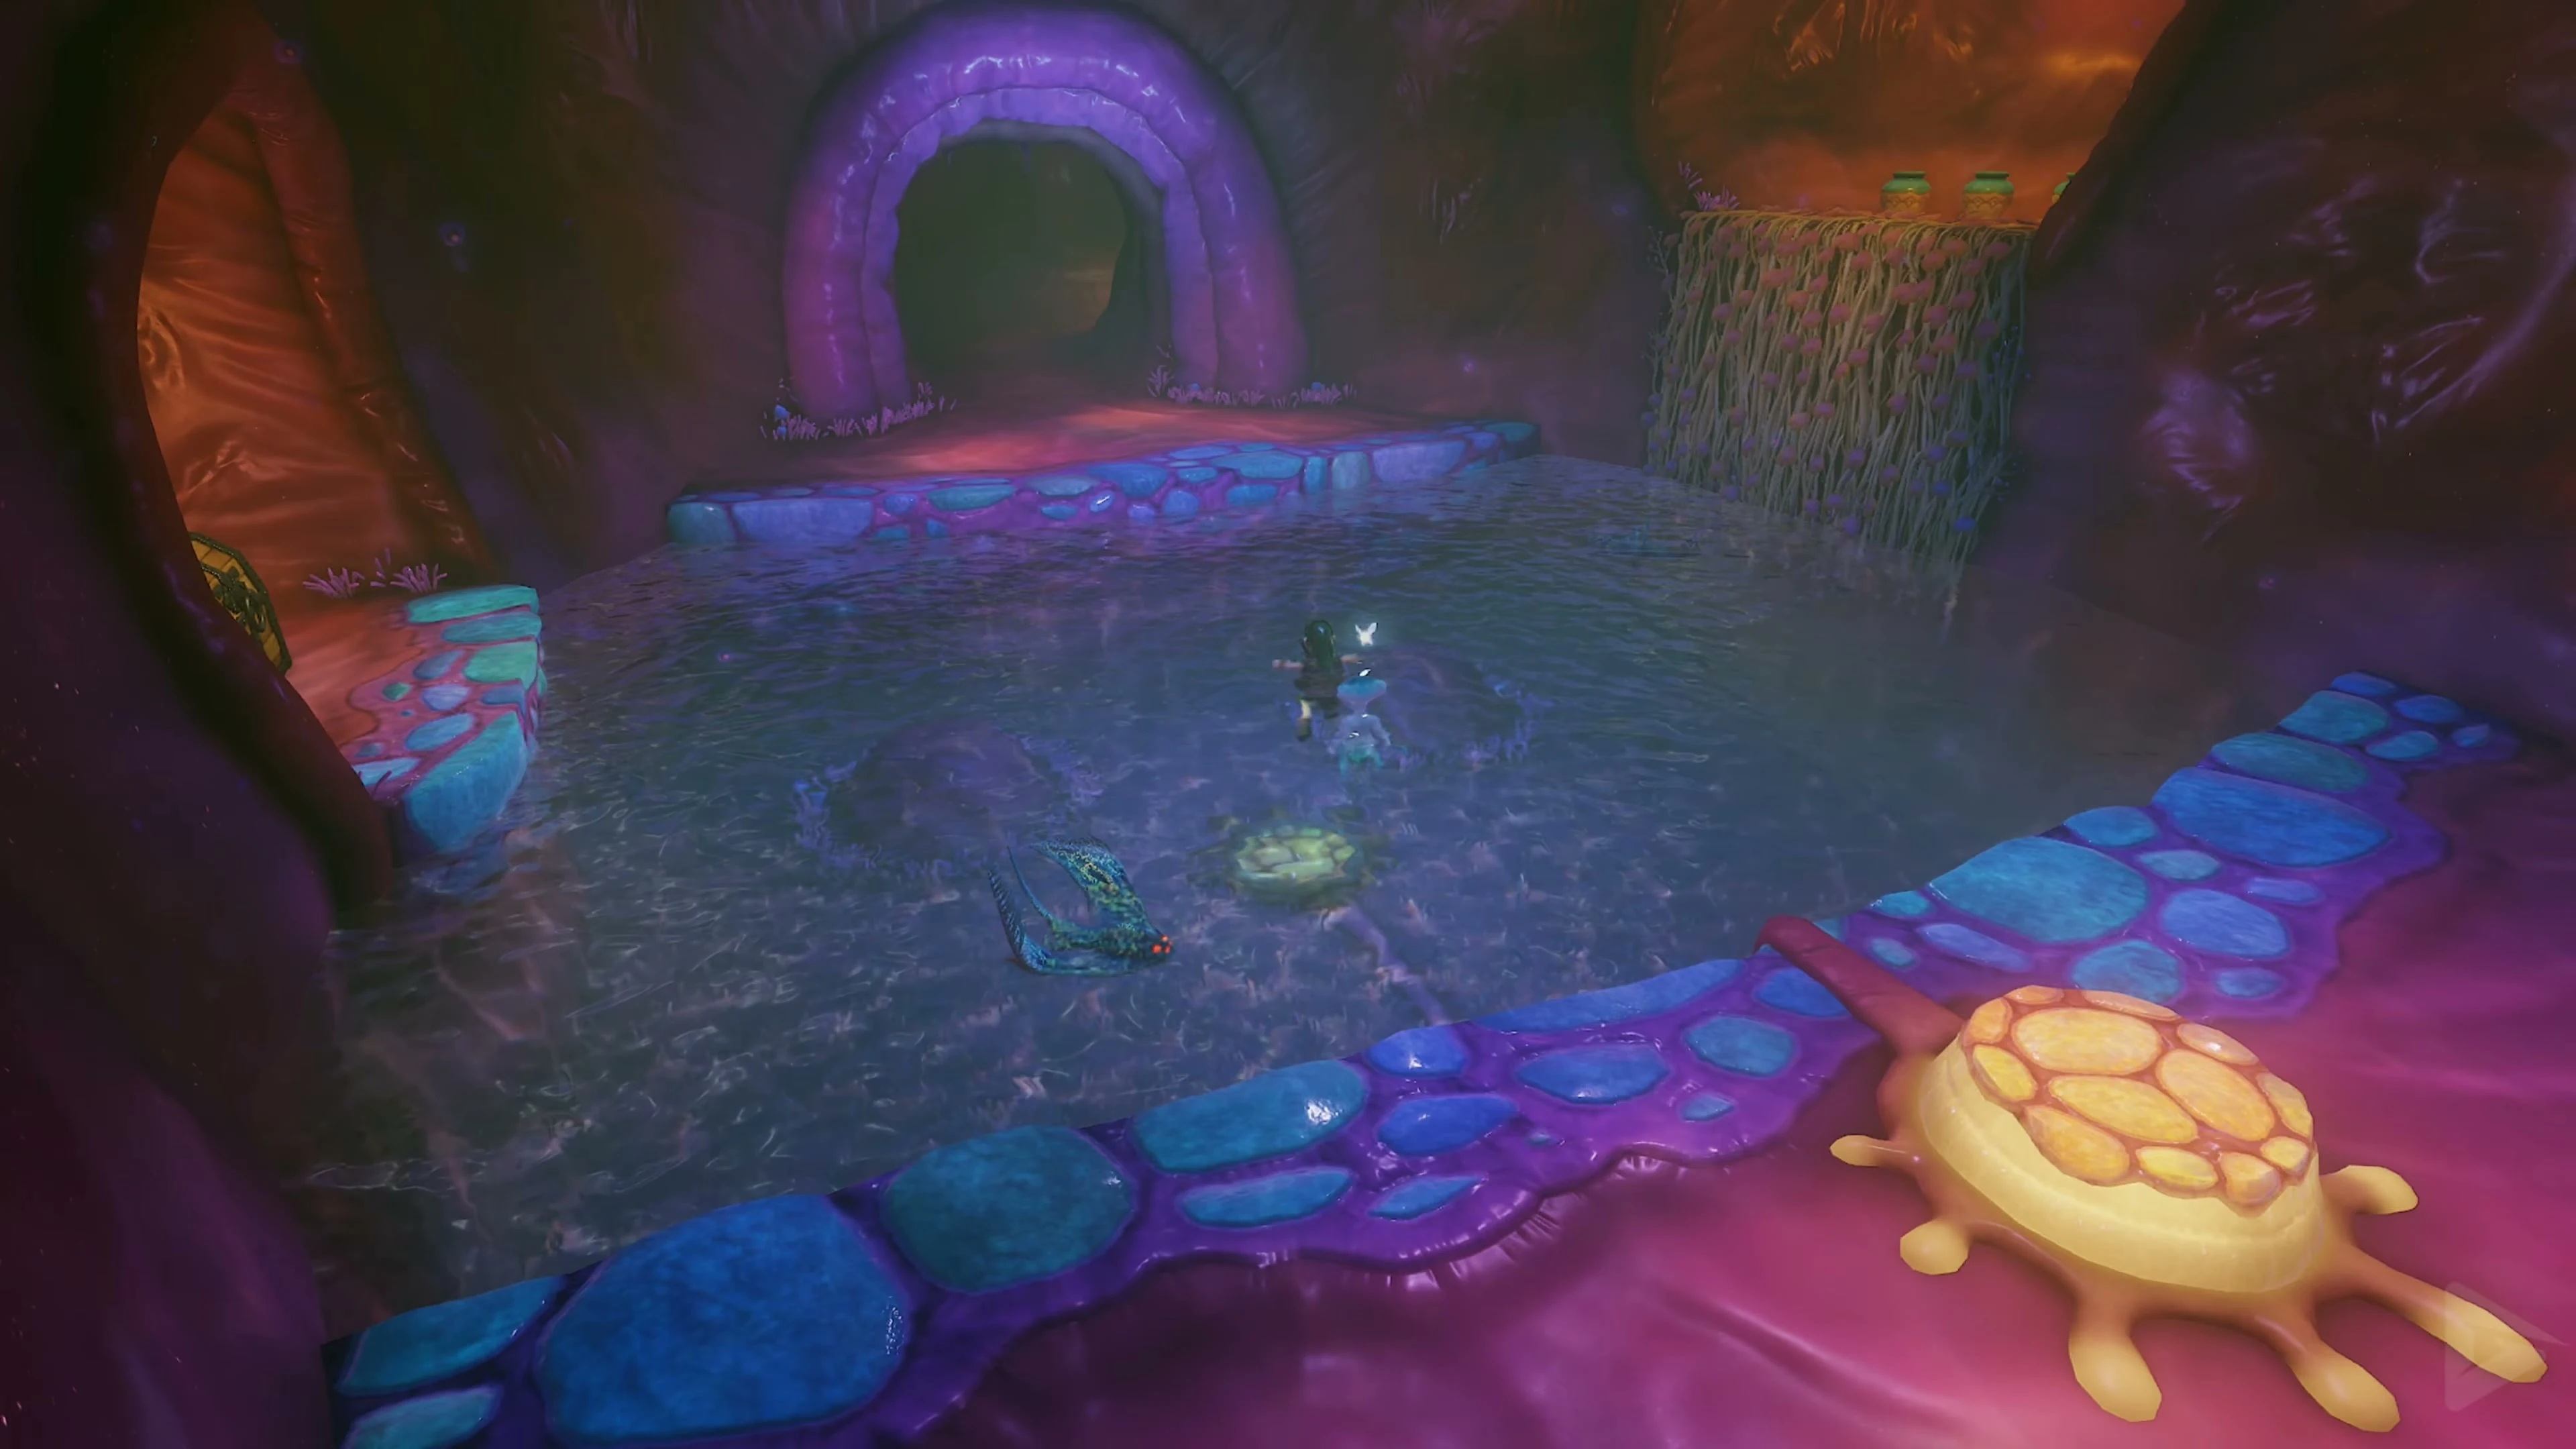
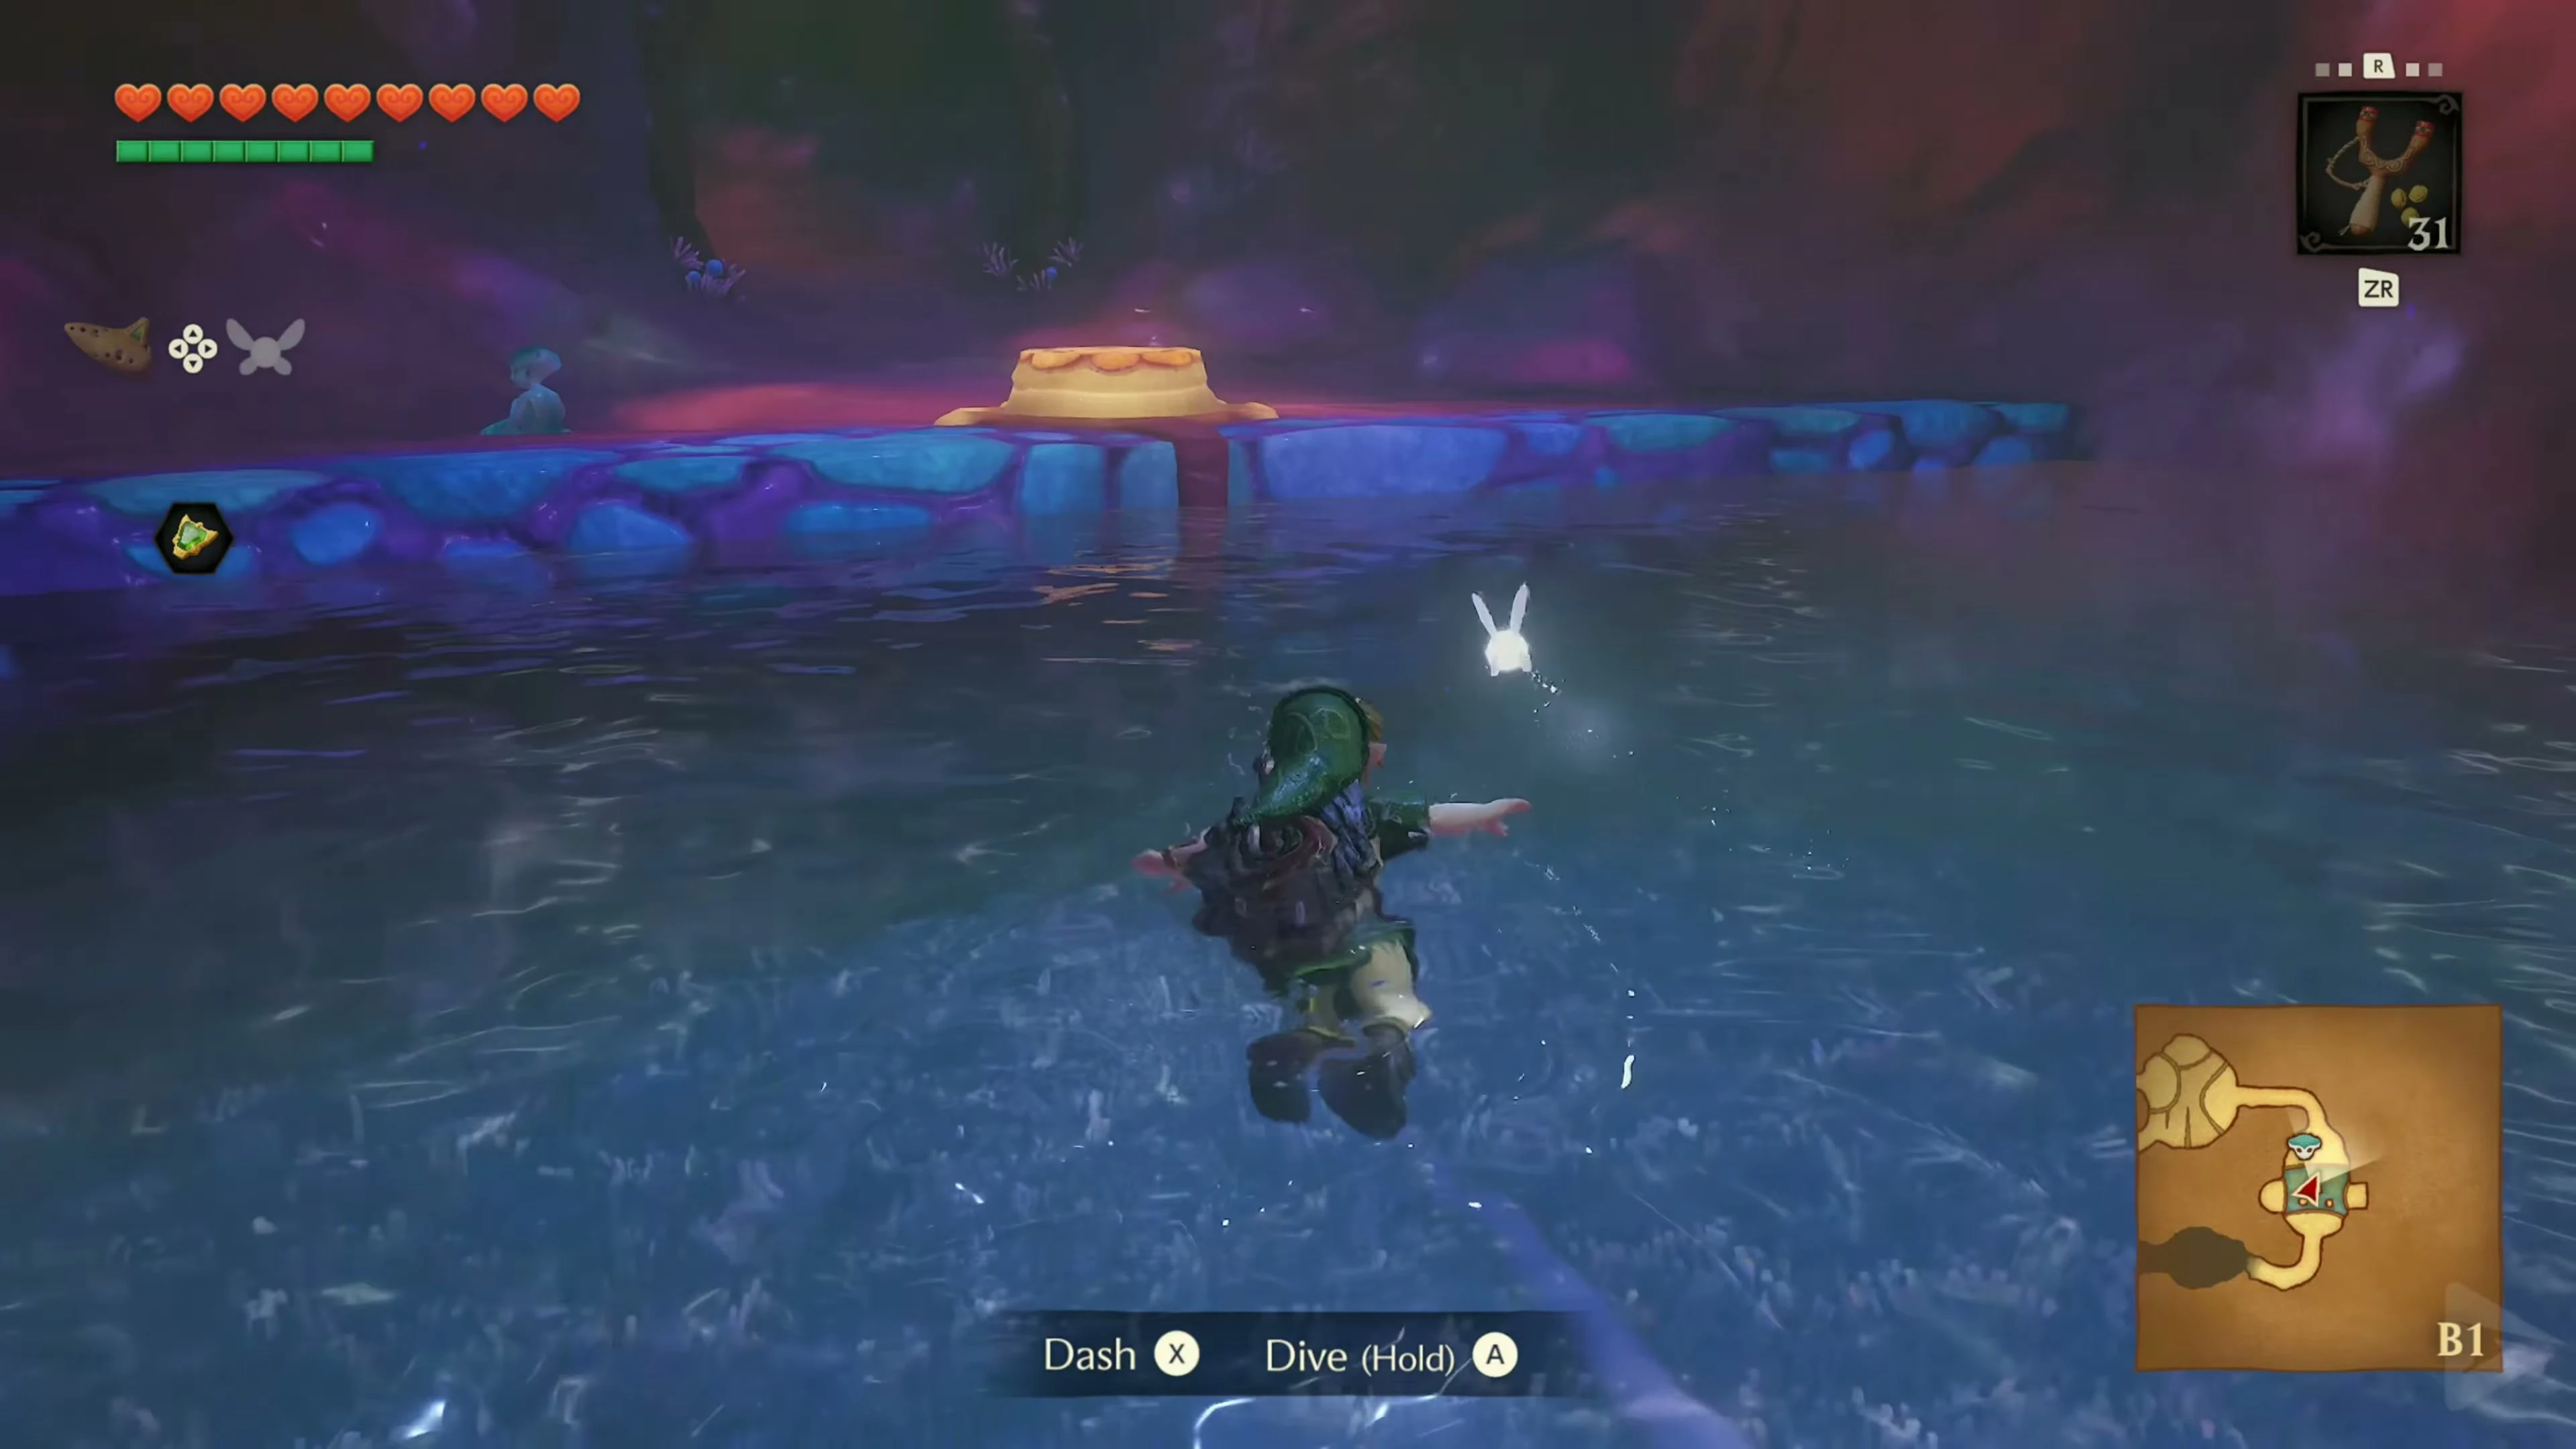
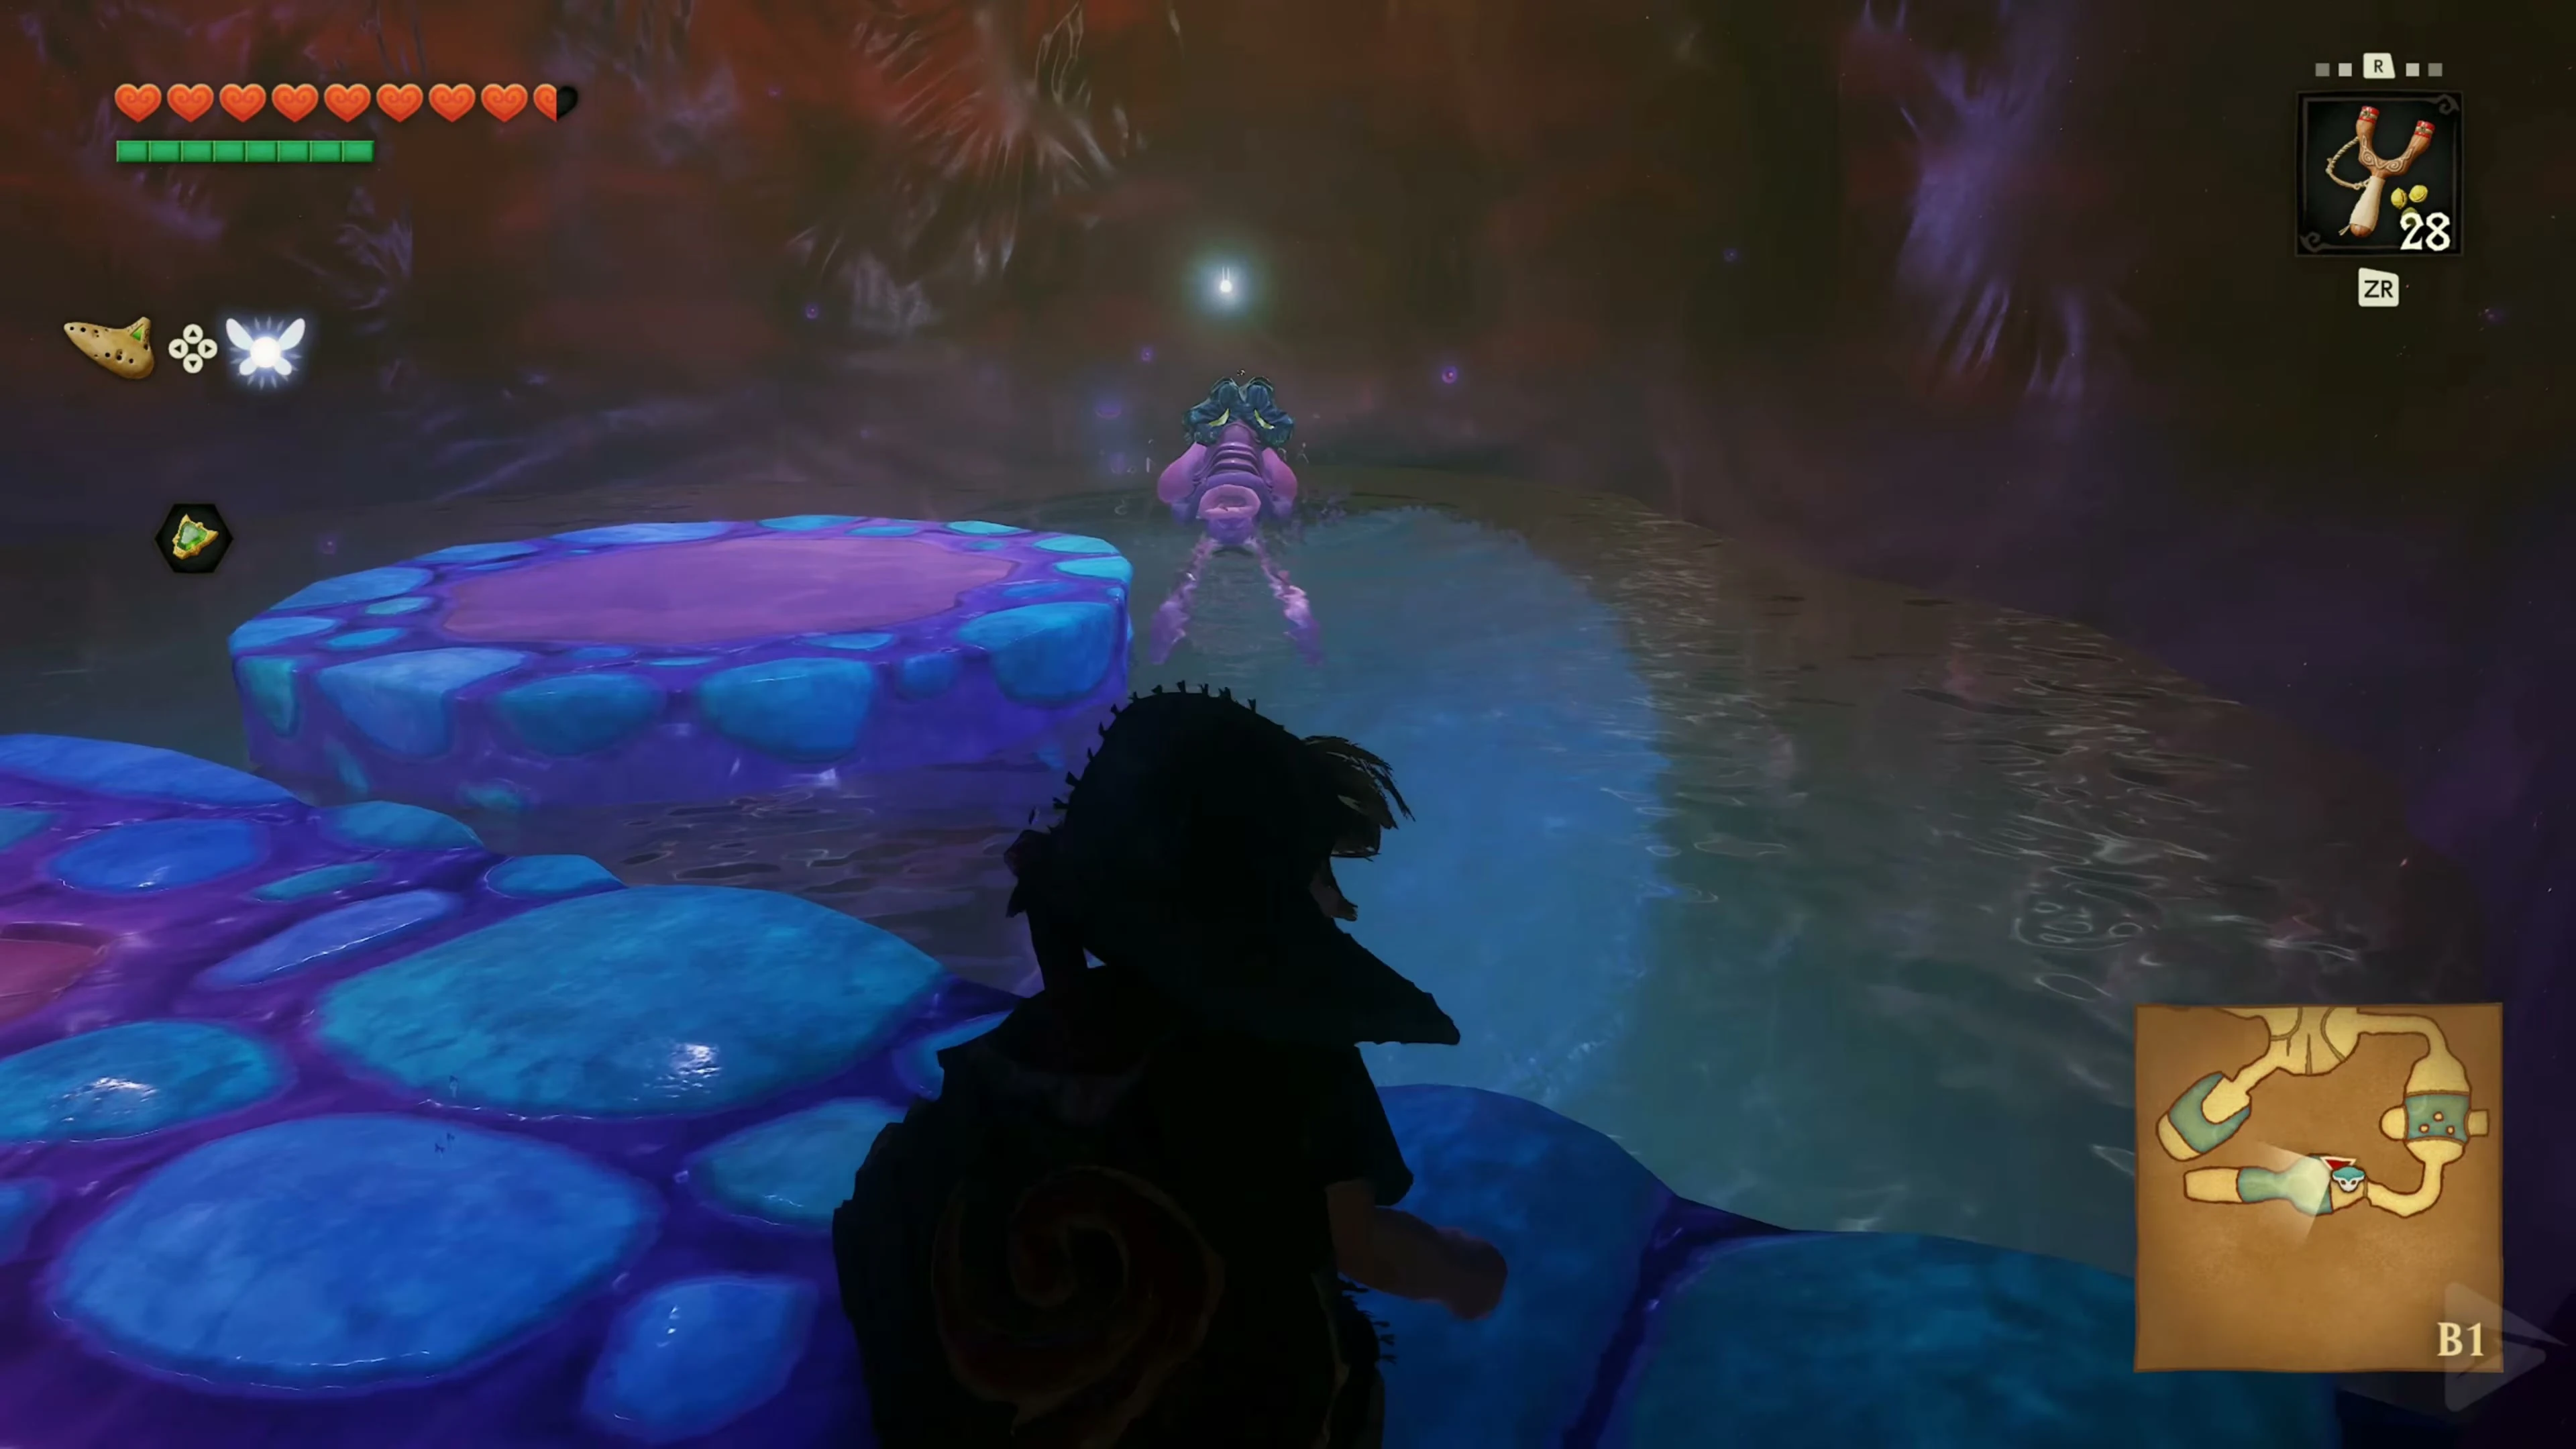
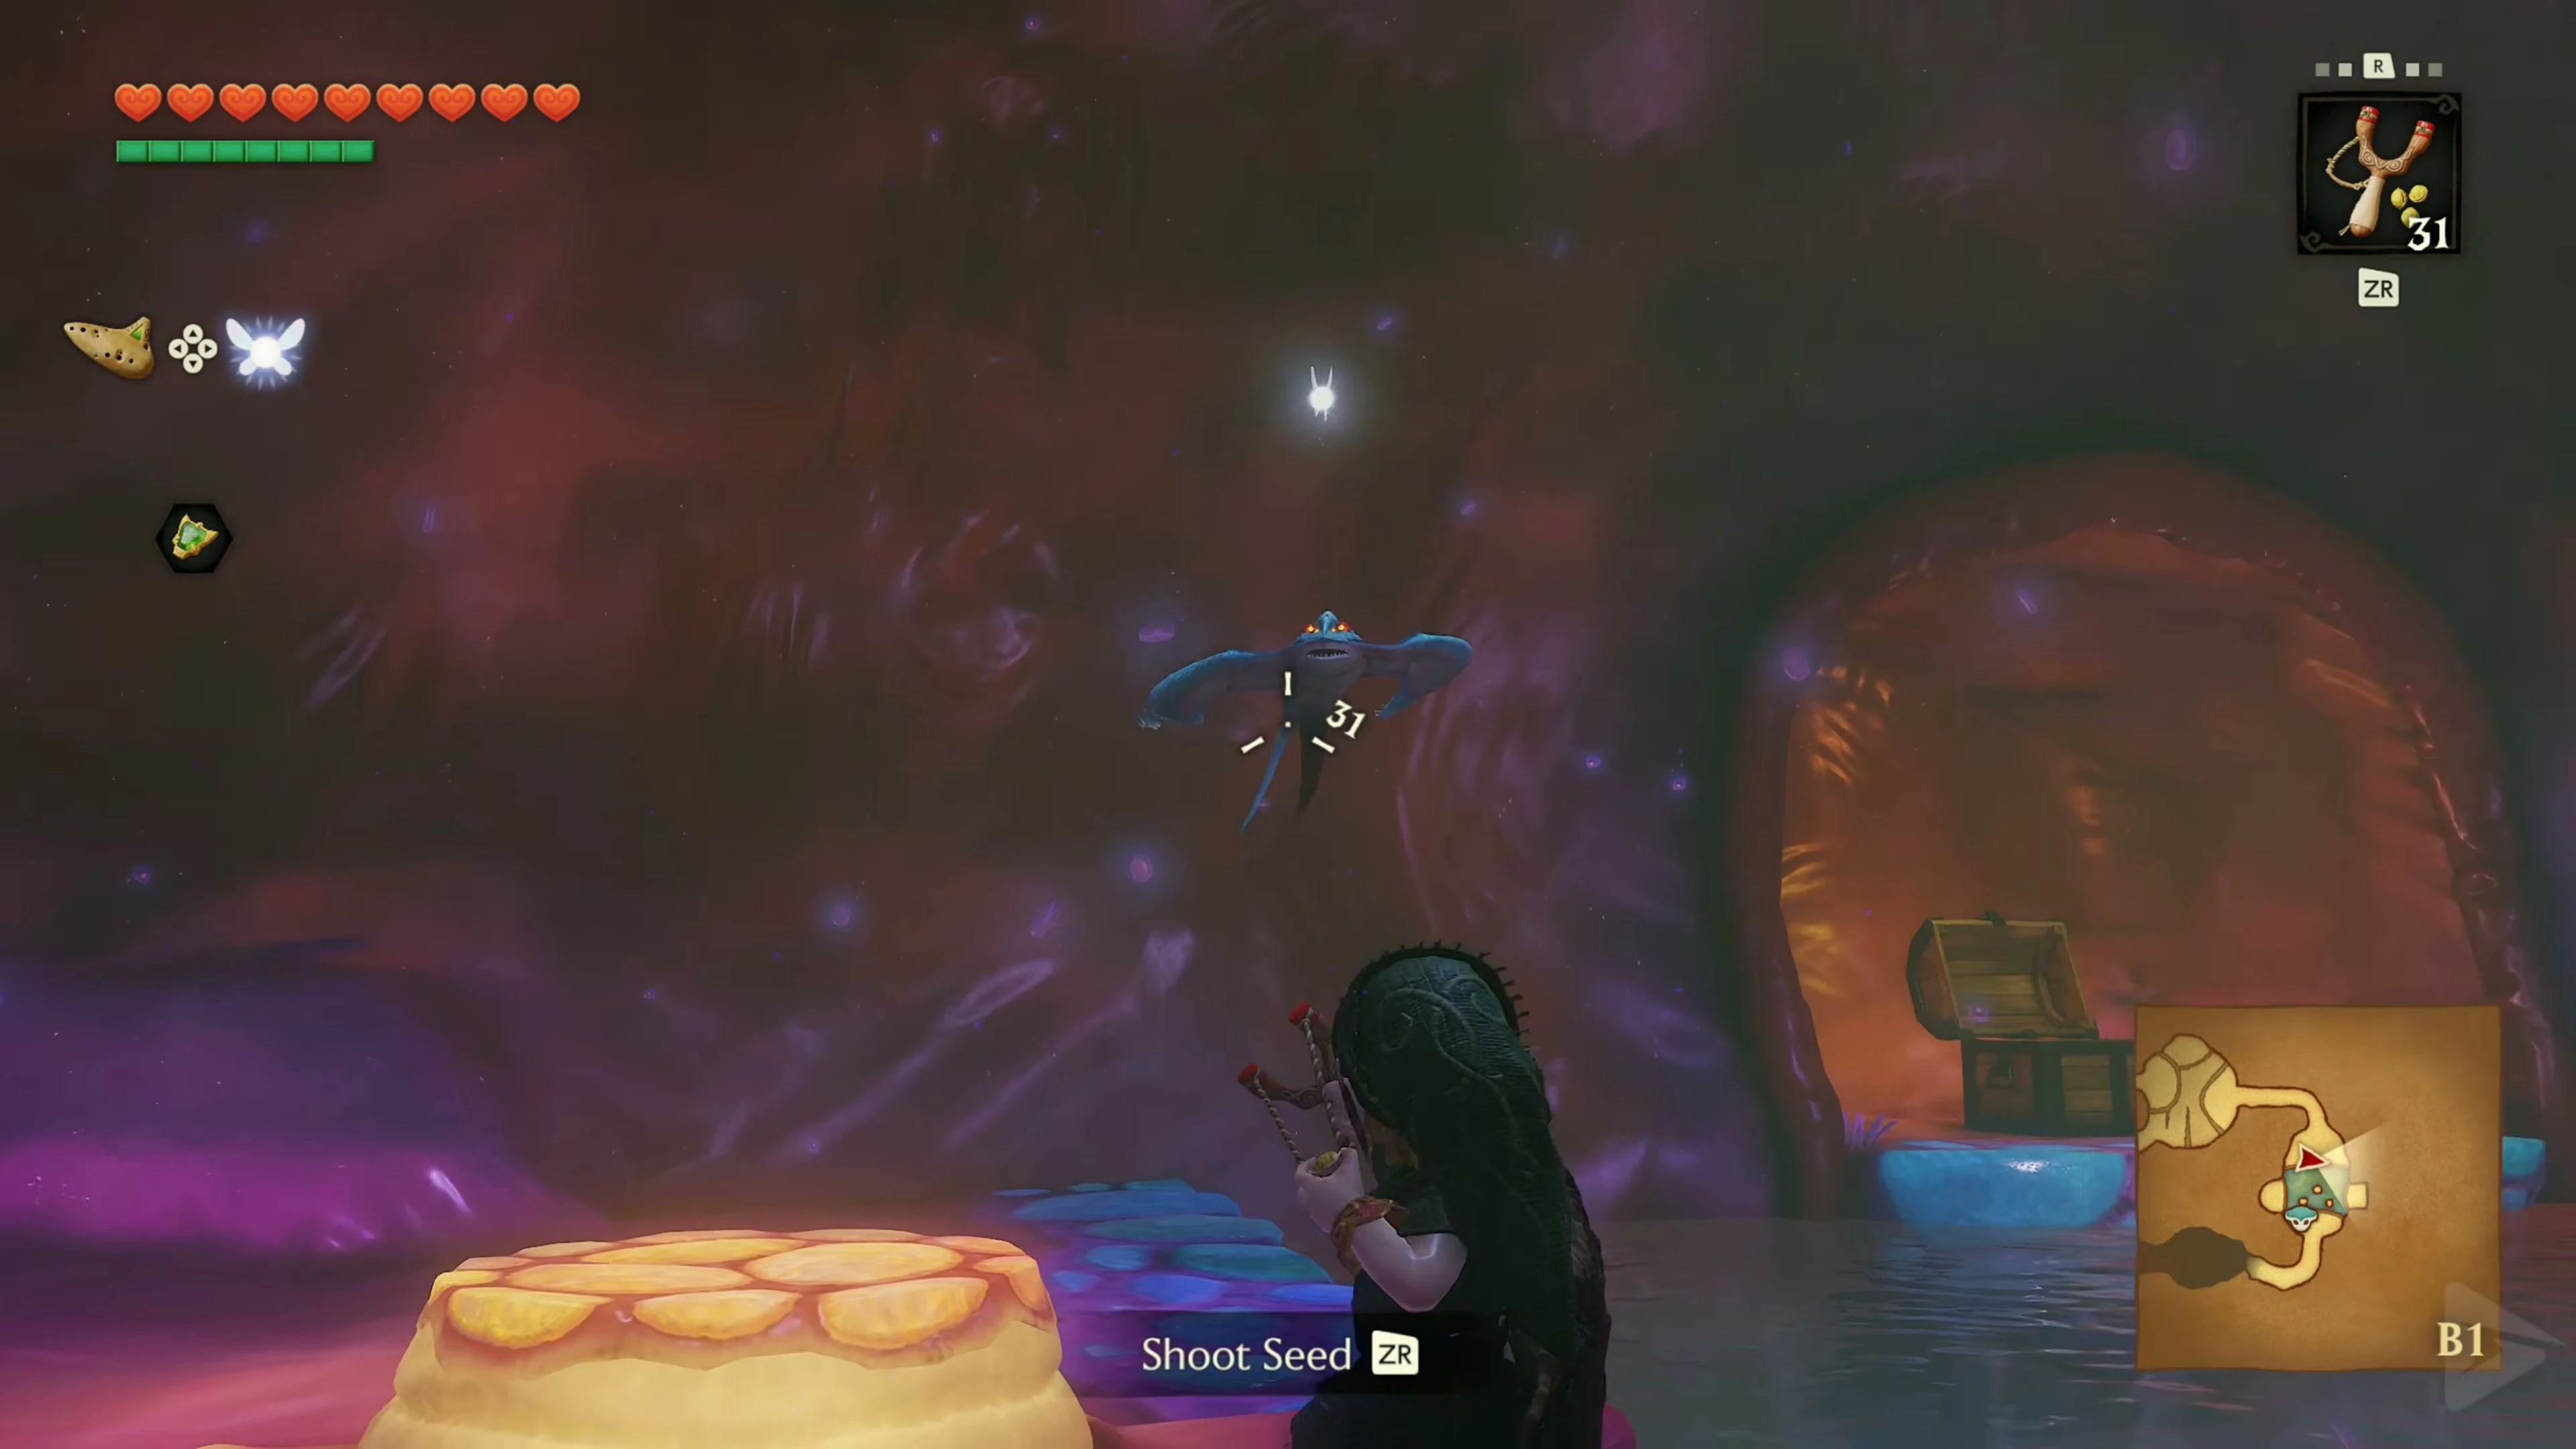
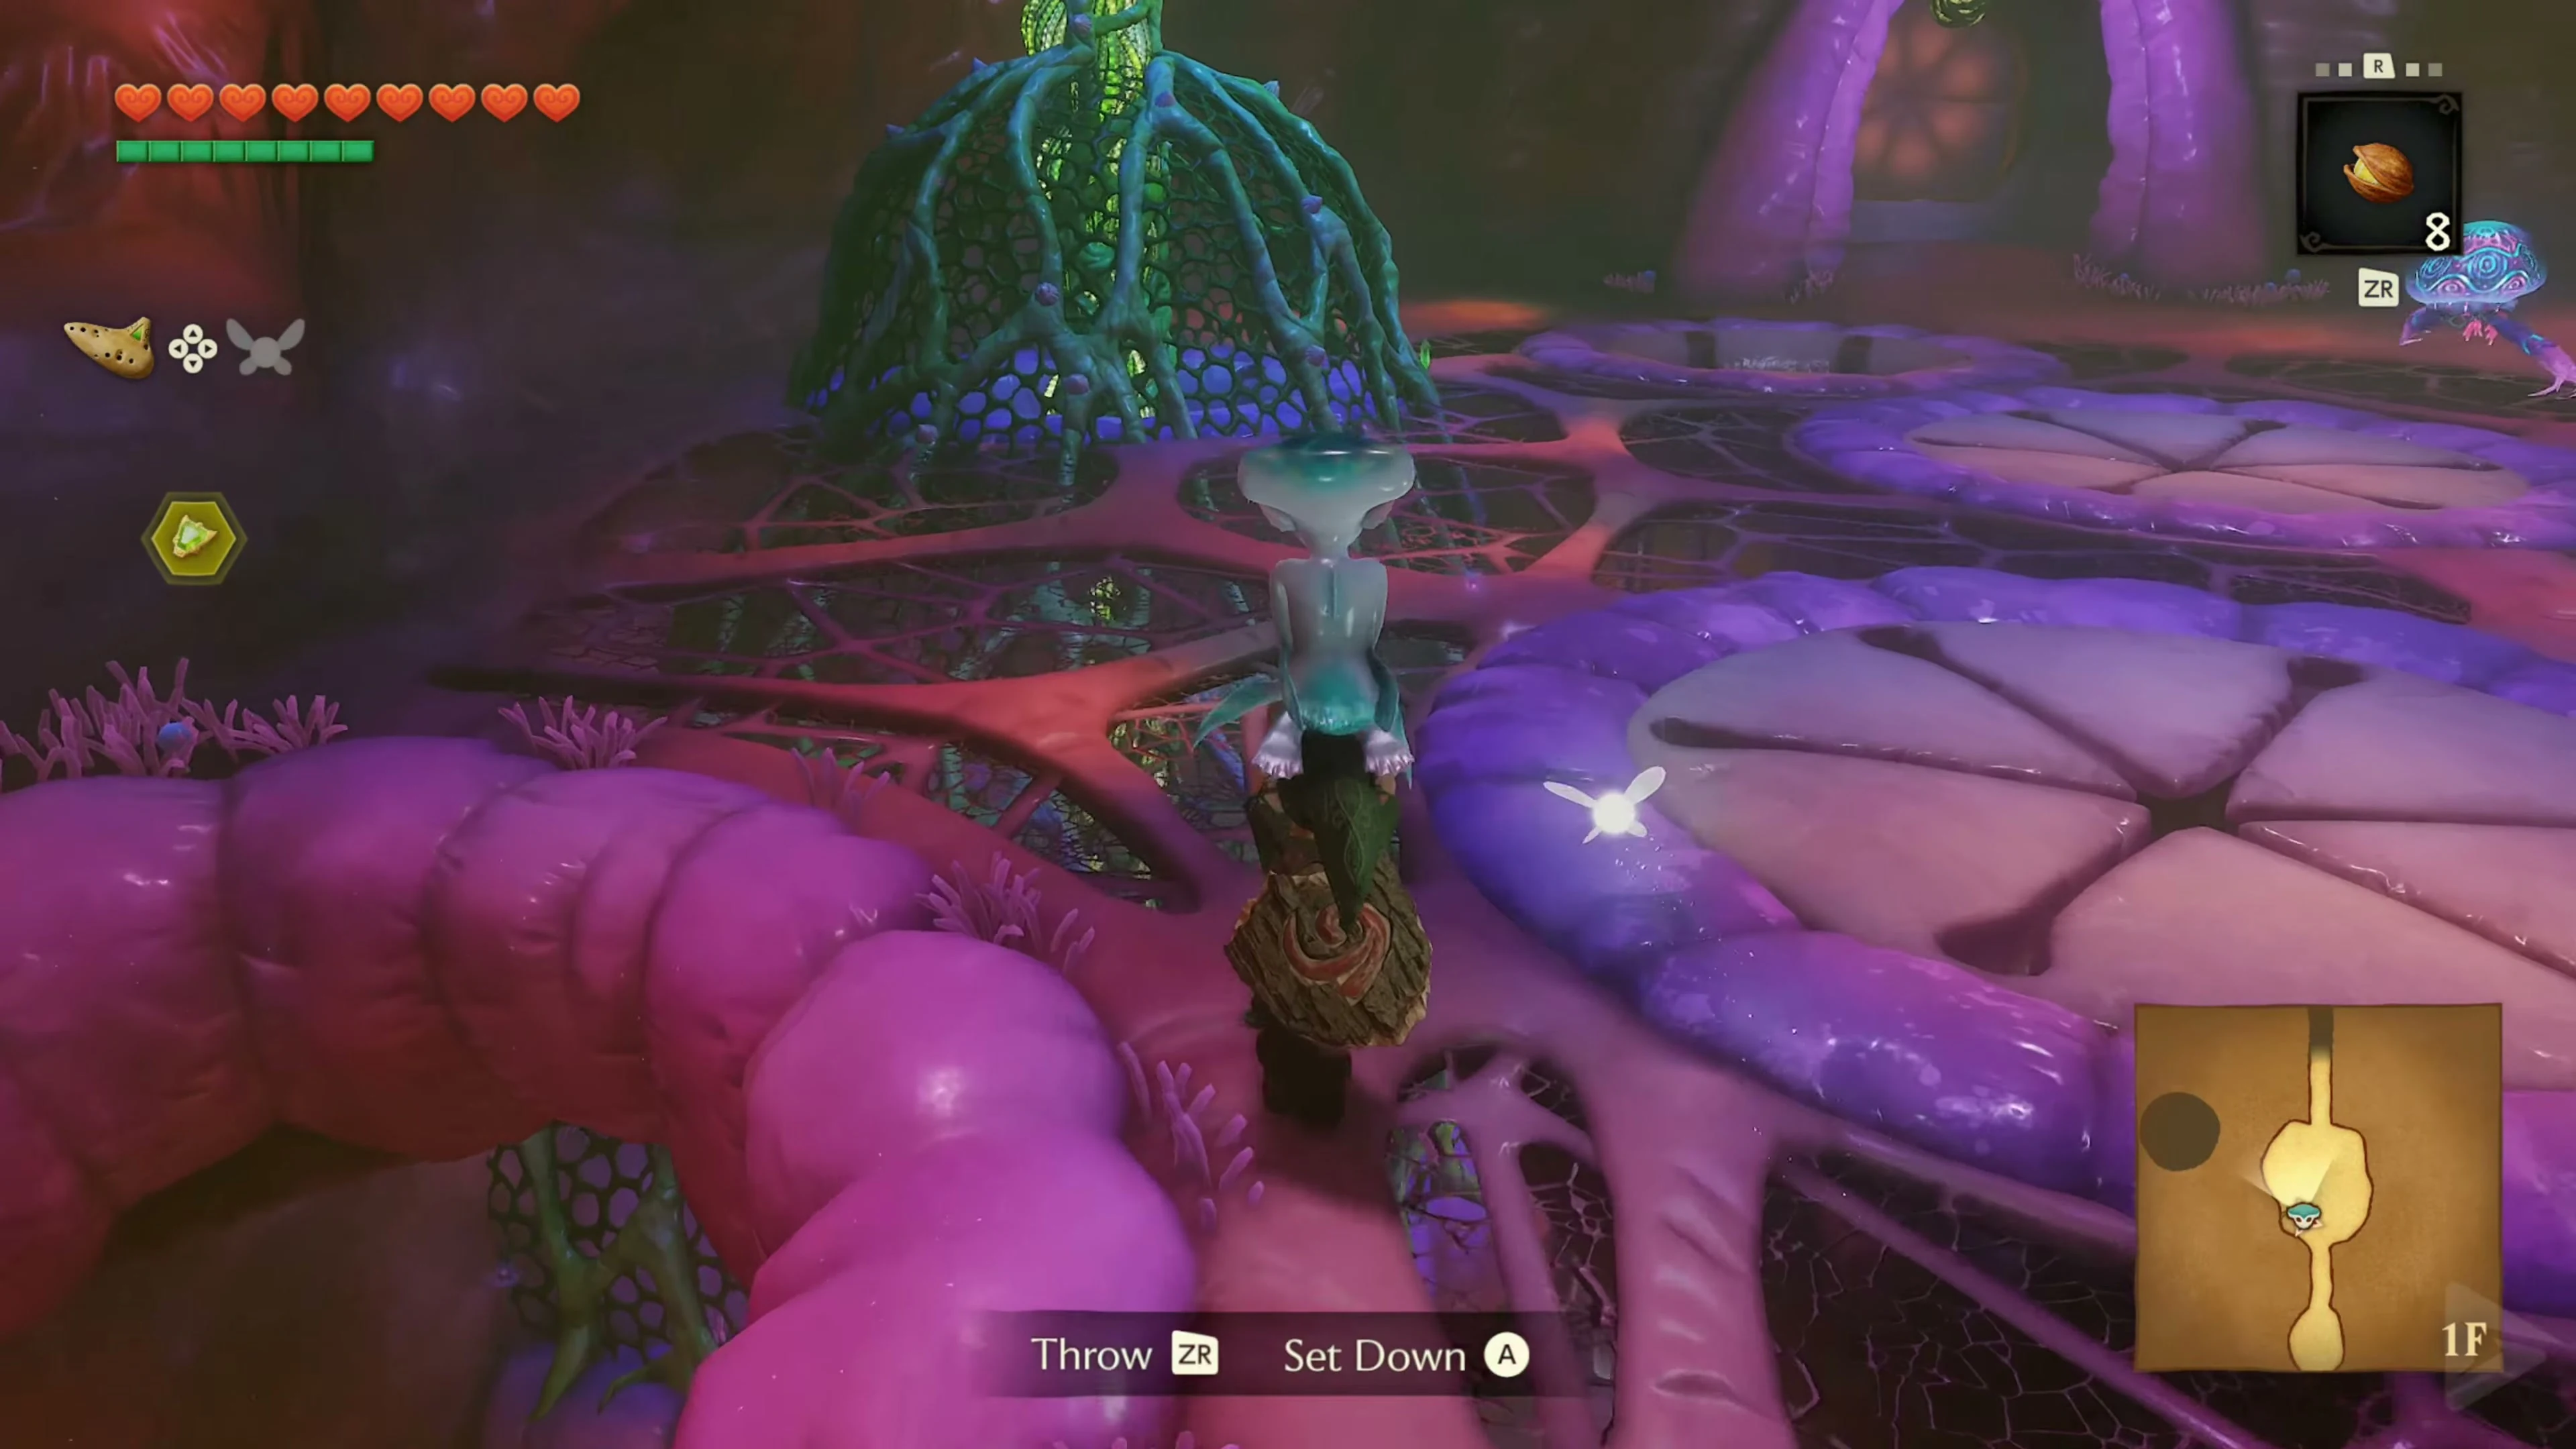
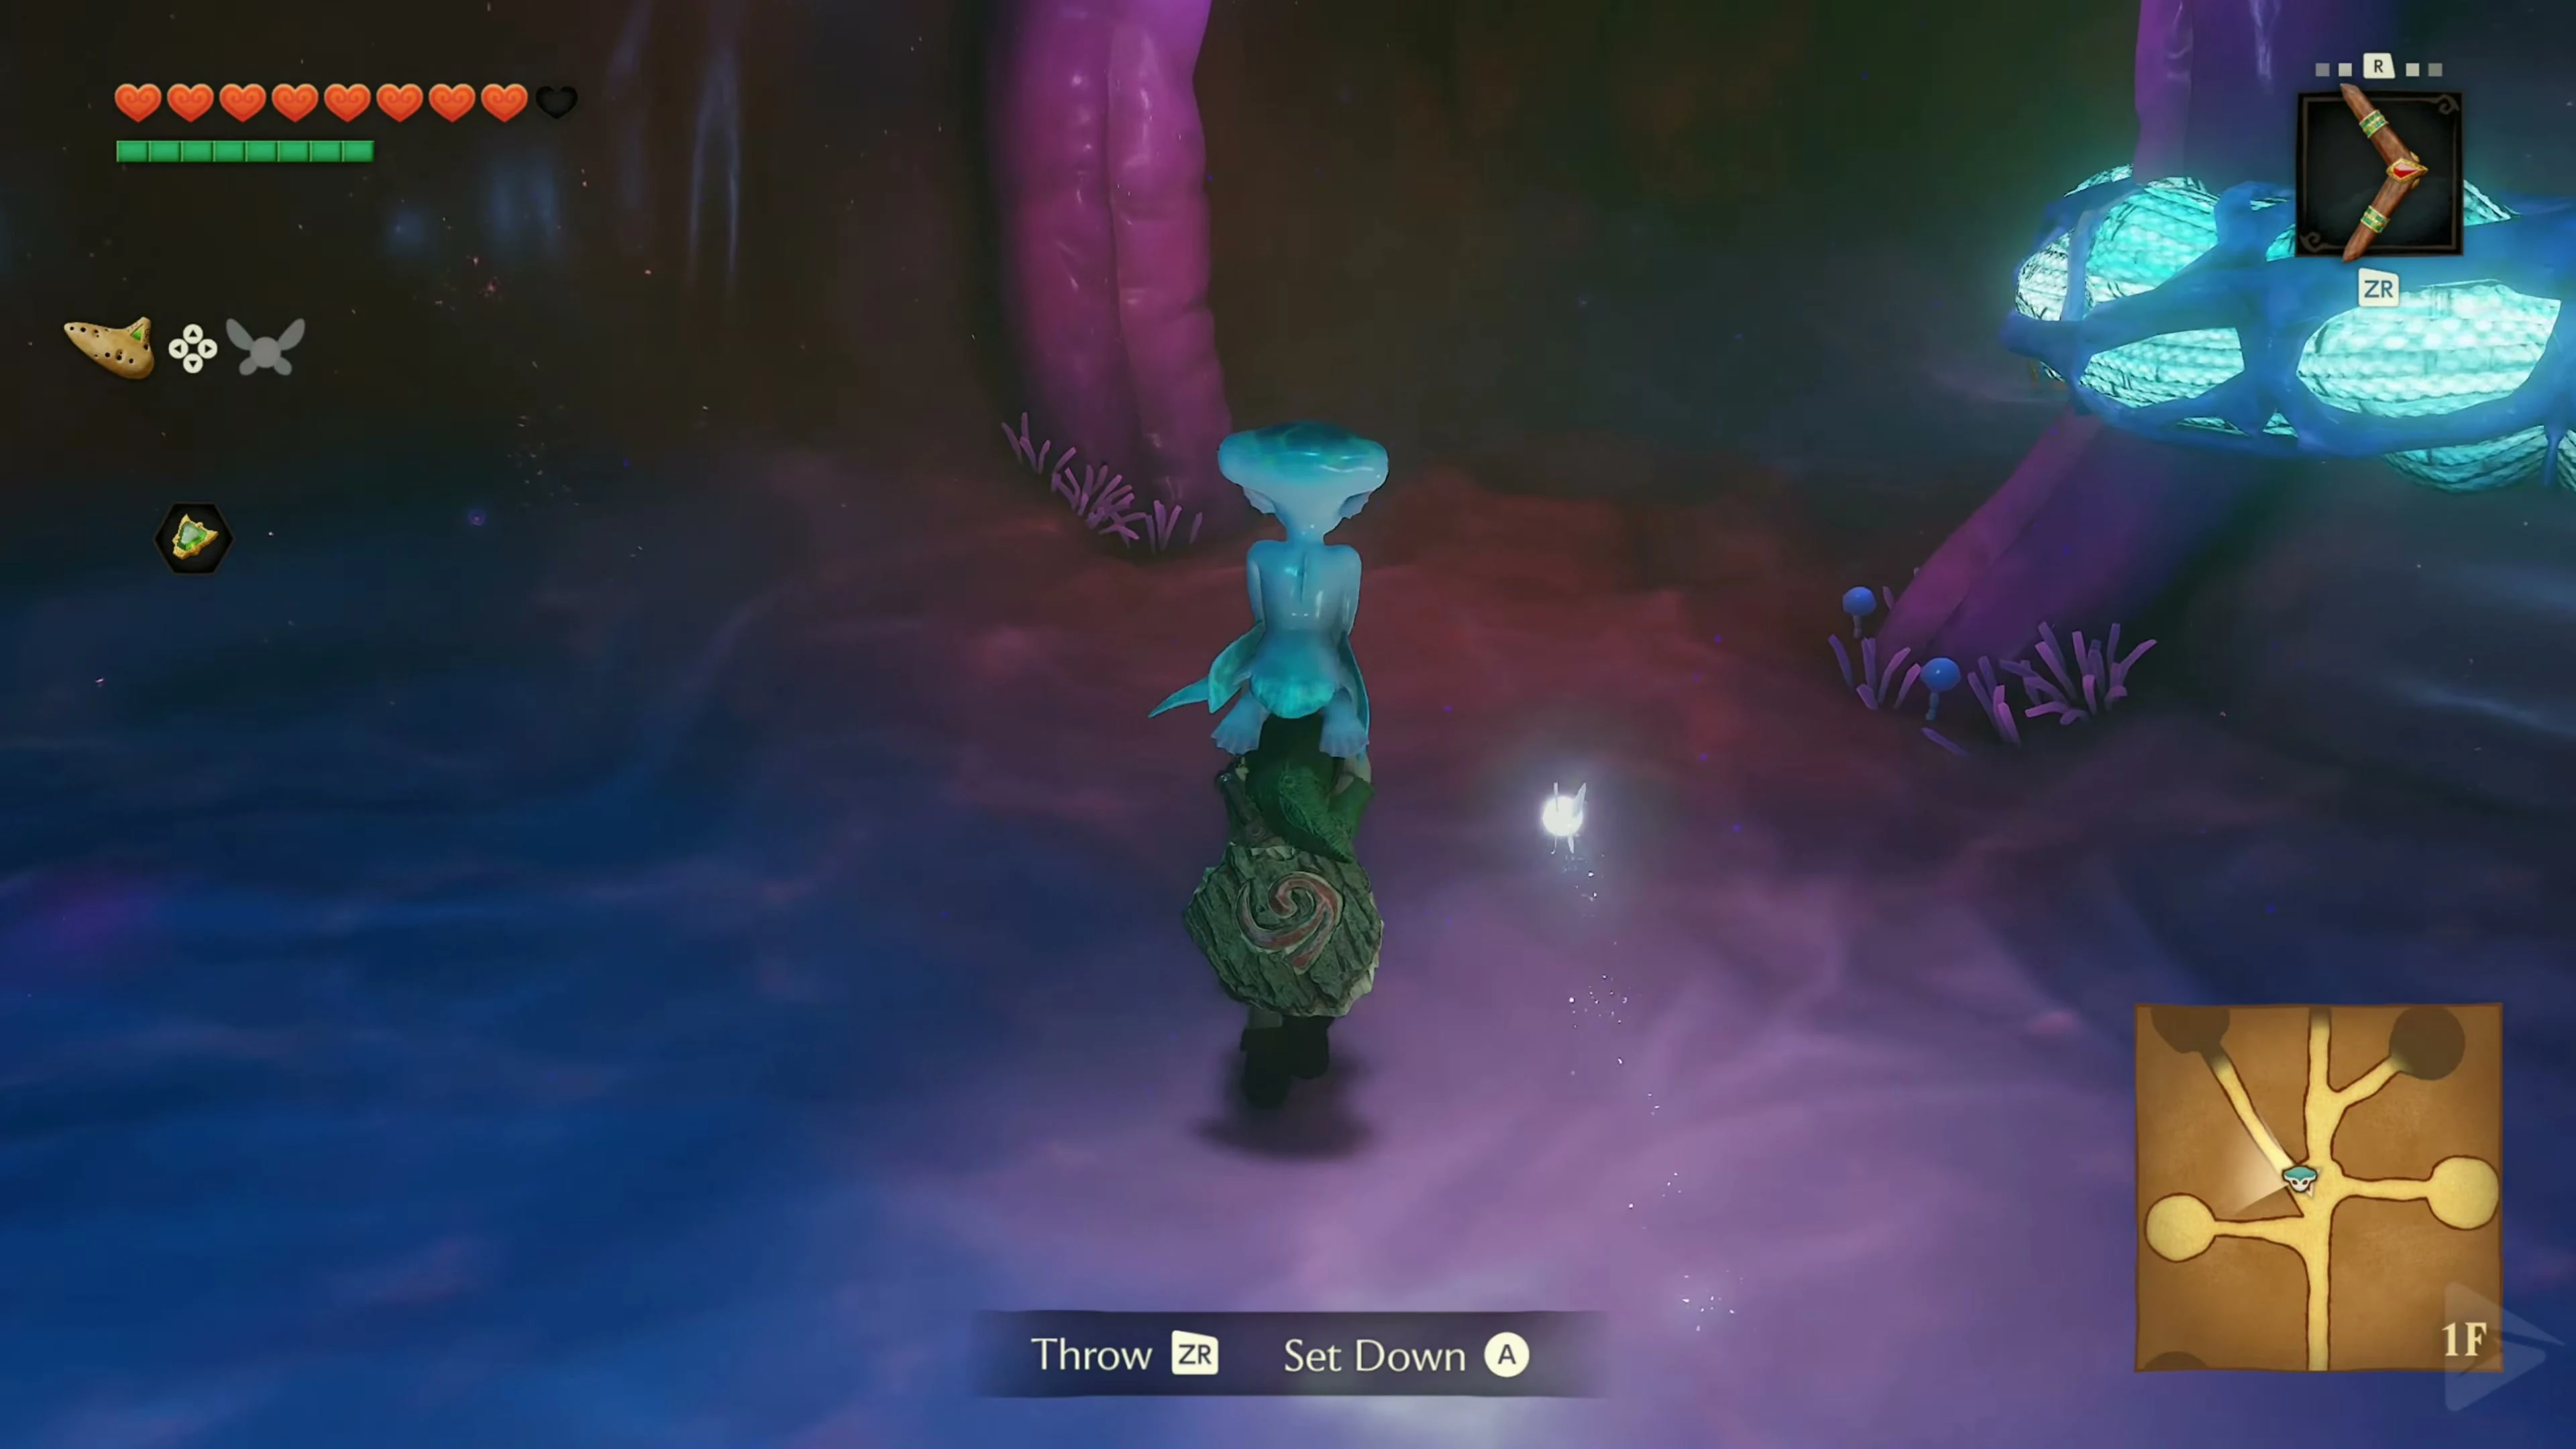
Carry Ruto through the southern door to the water room. Stand on one of the purple ridges below and first throw Ruto onto the opposite dry ledge . Then press the switch in the depression to make the water rise. In the side alcove, open the chest with the Dungeon Map . Then swim to the vines, climb to the ledge and pick up Ruto again.
Gold Skulltula 1/4
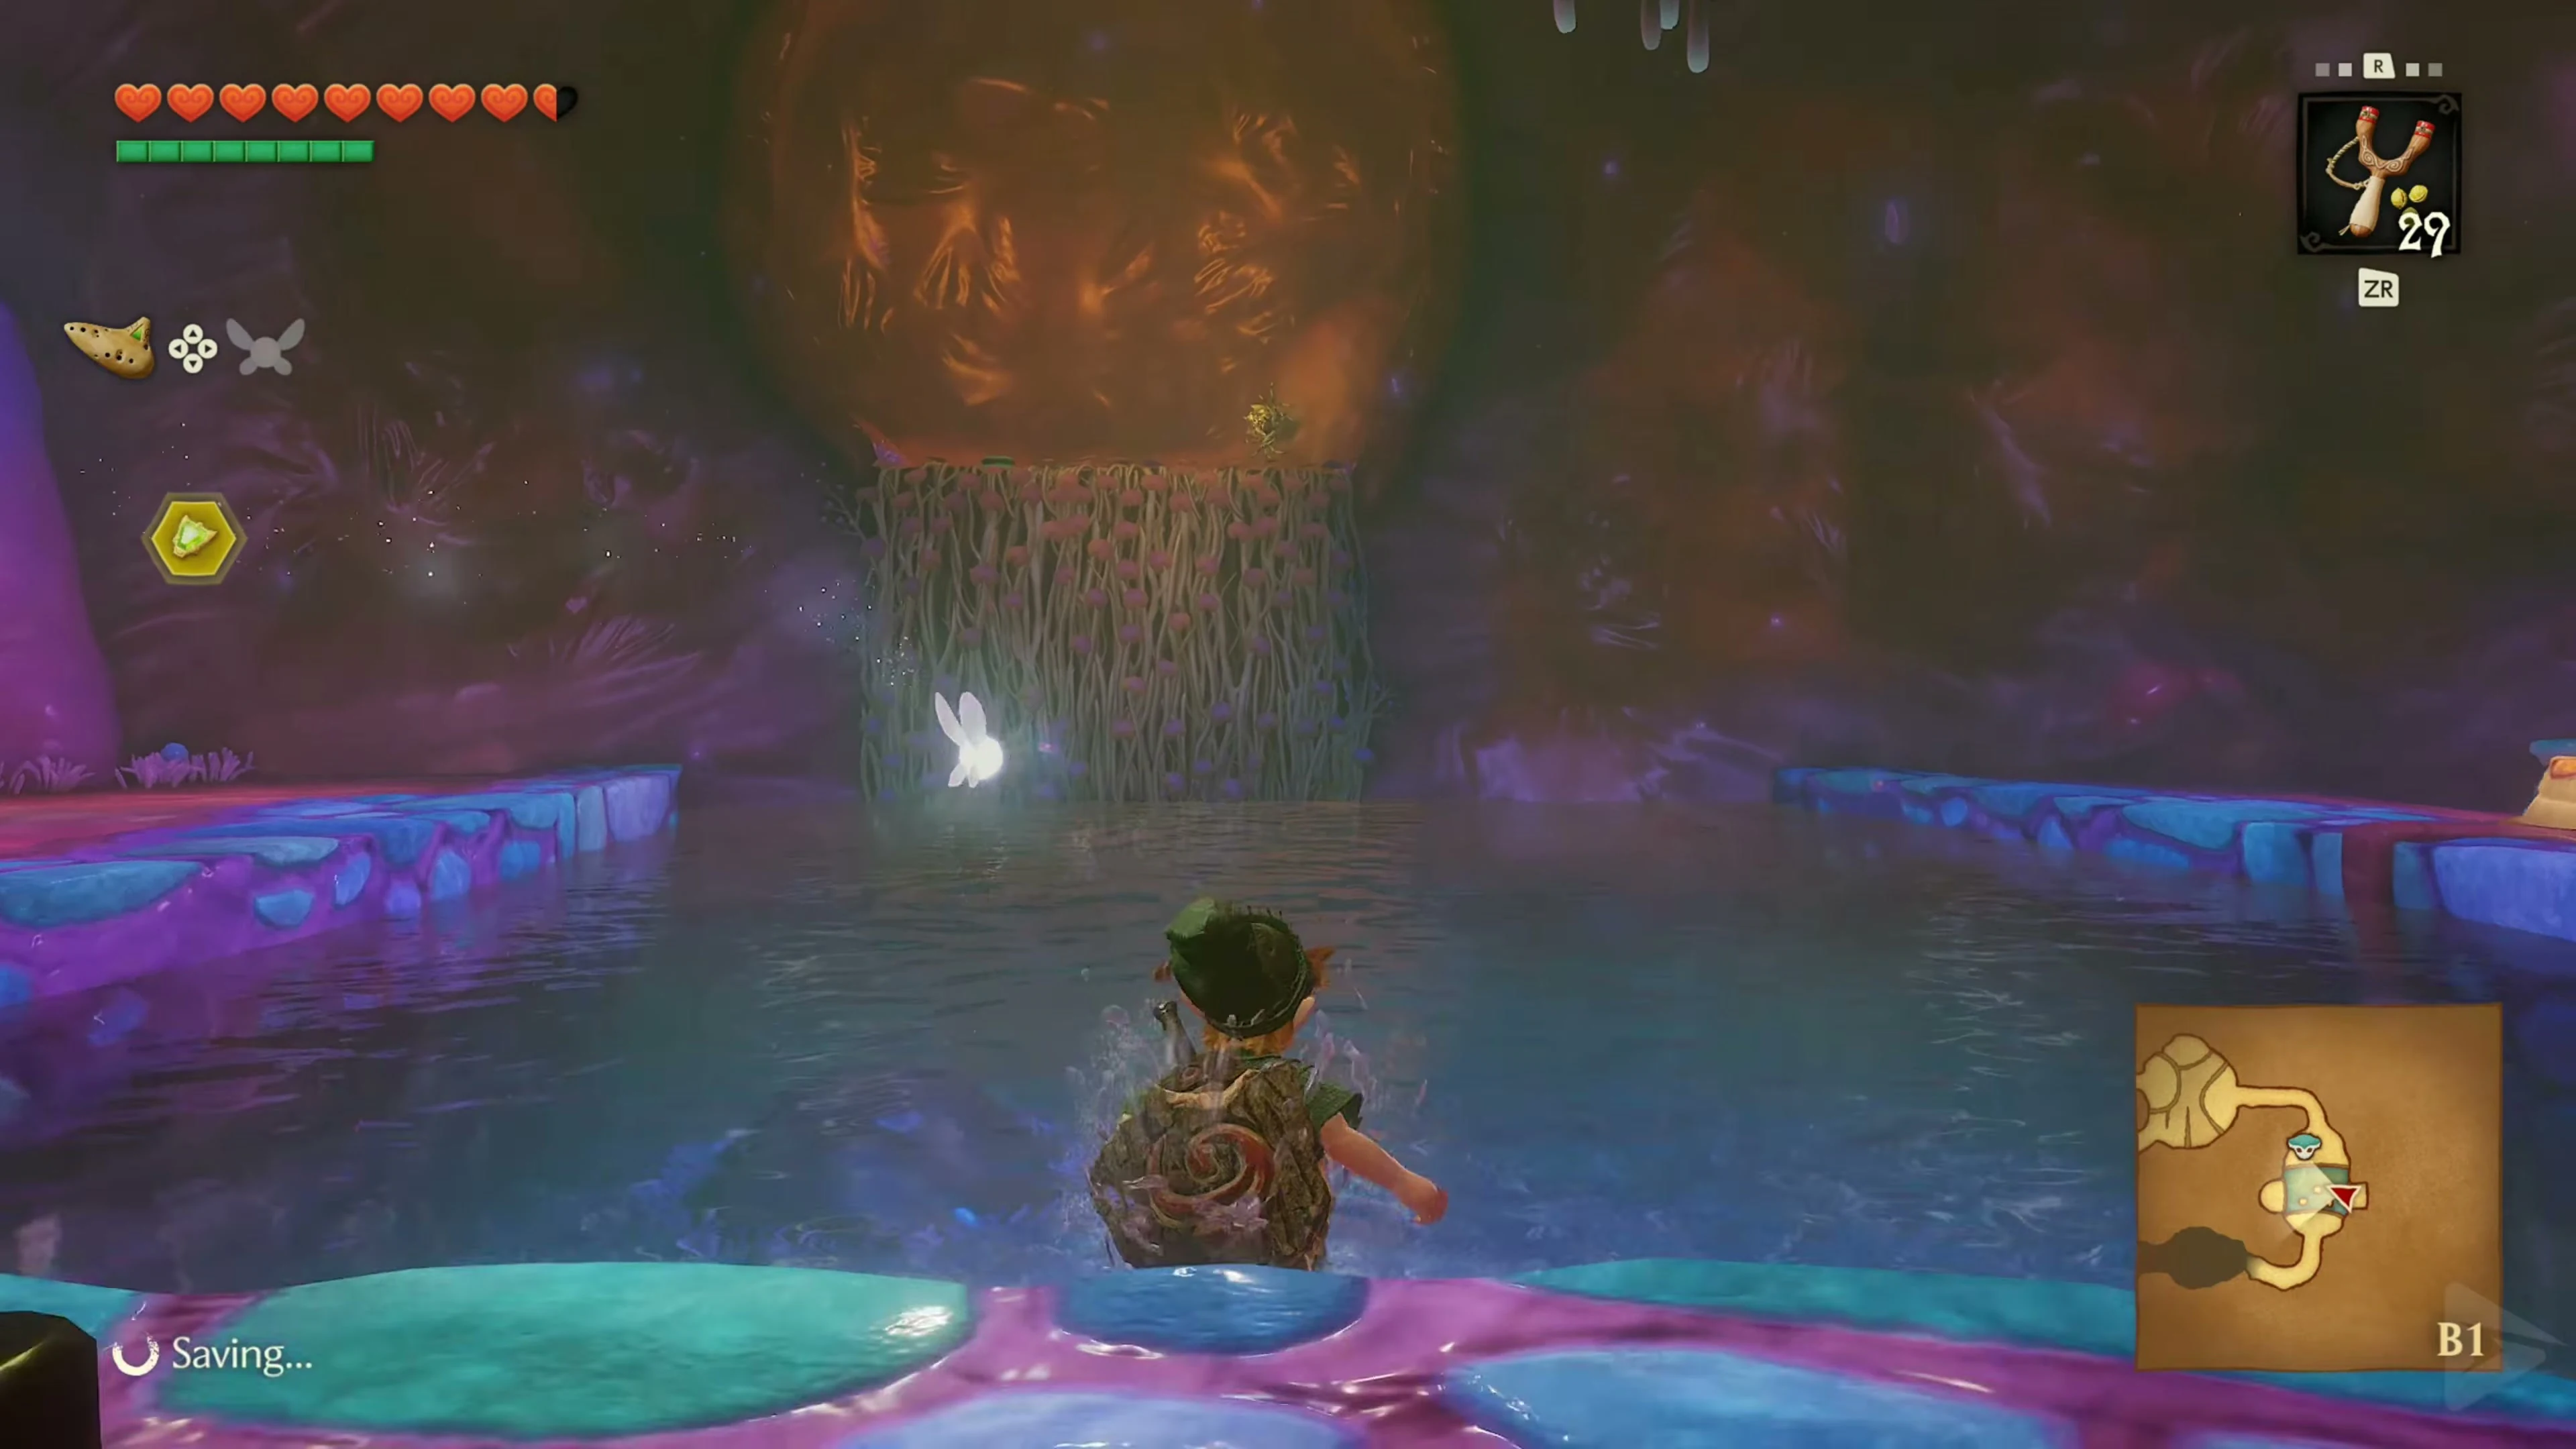
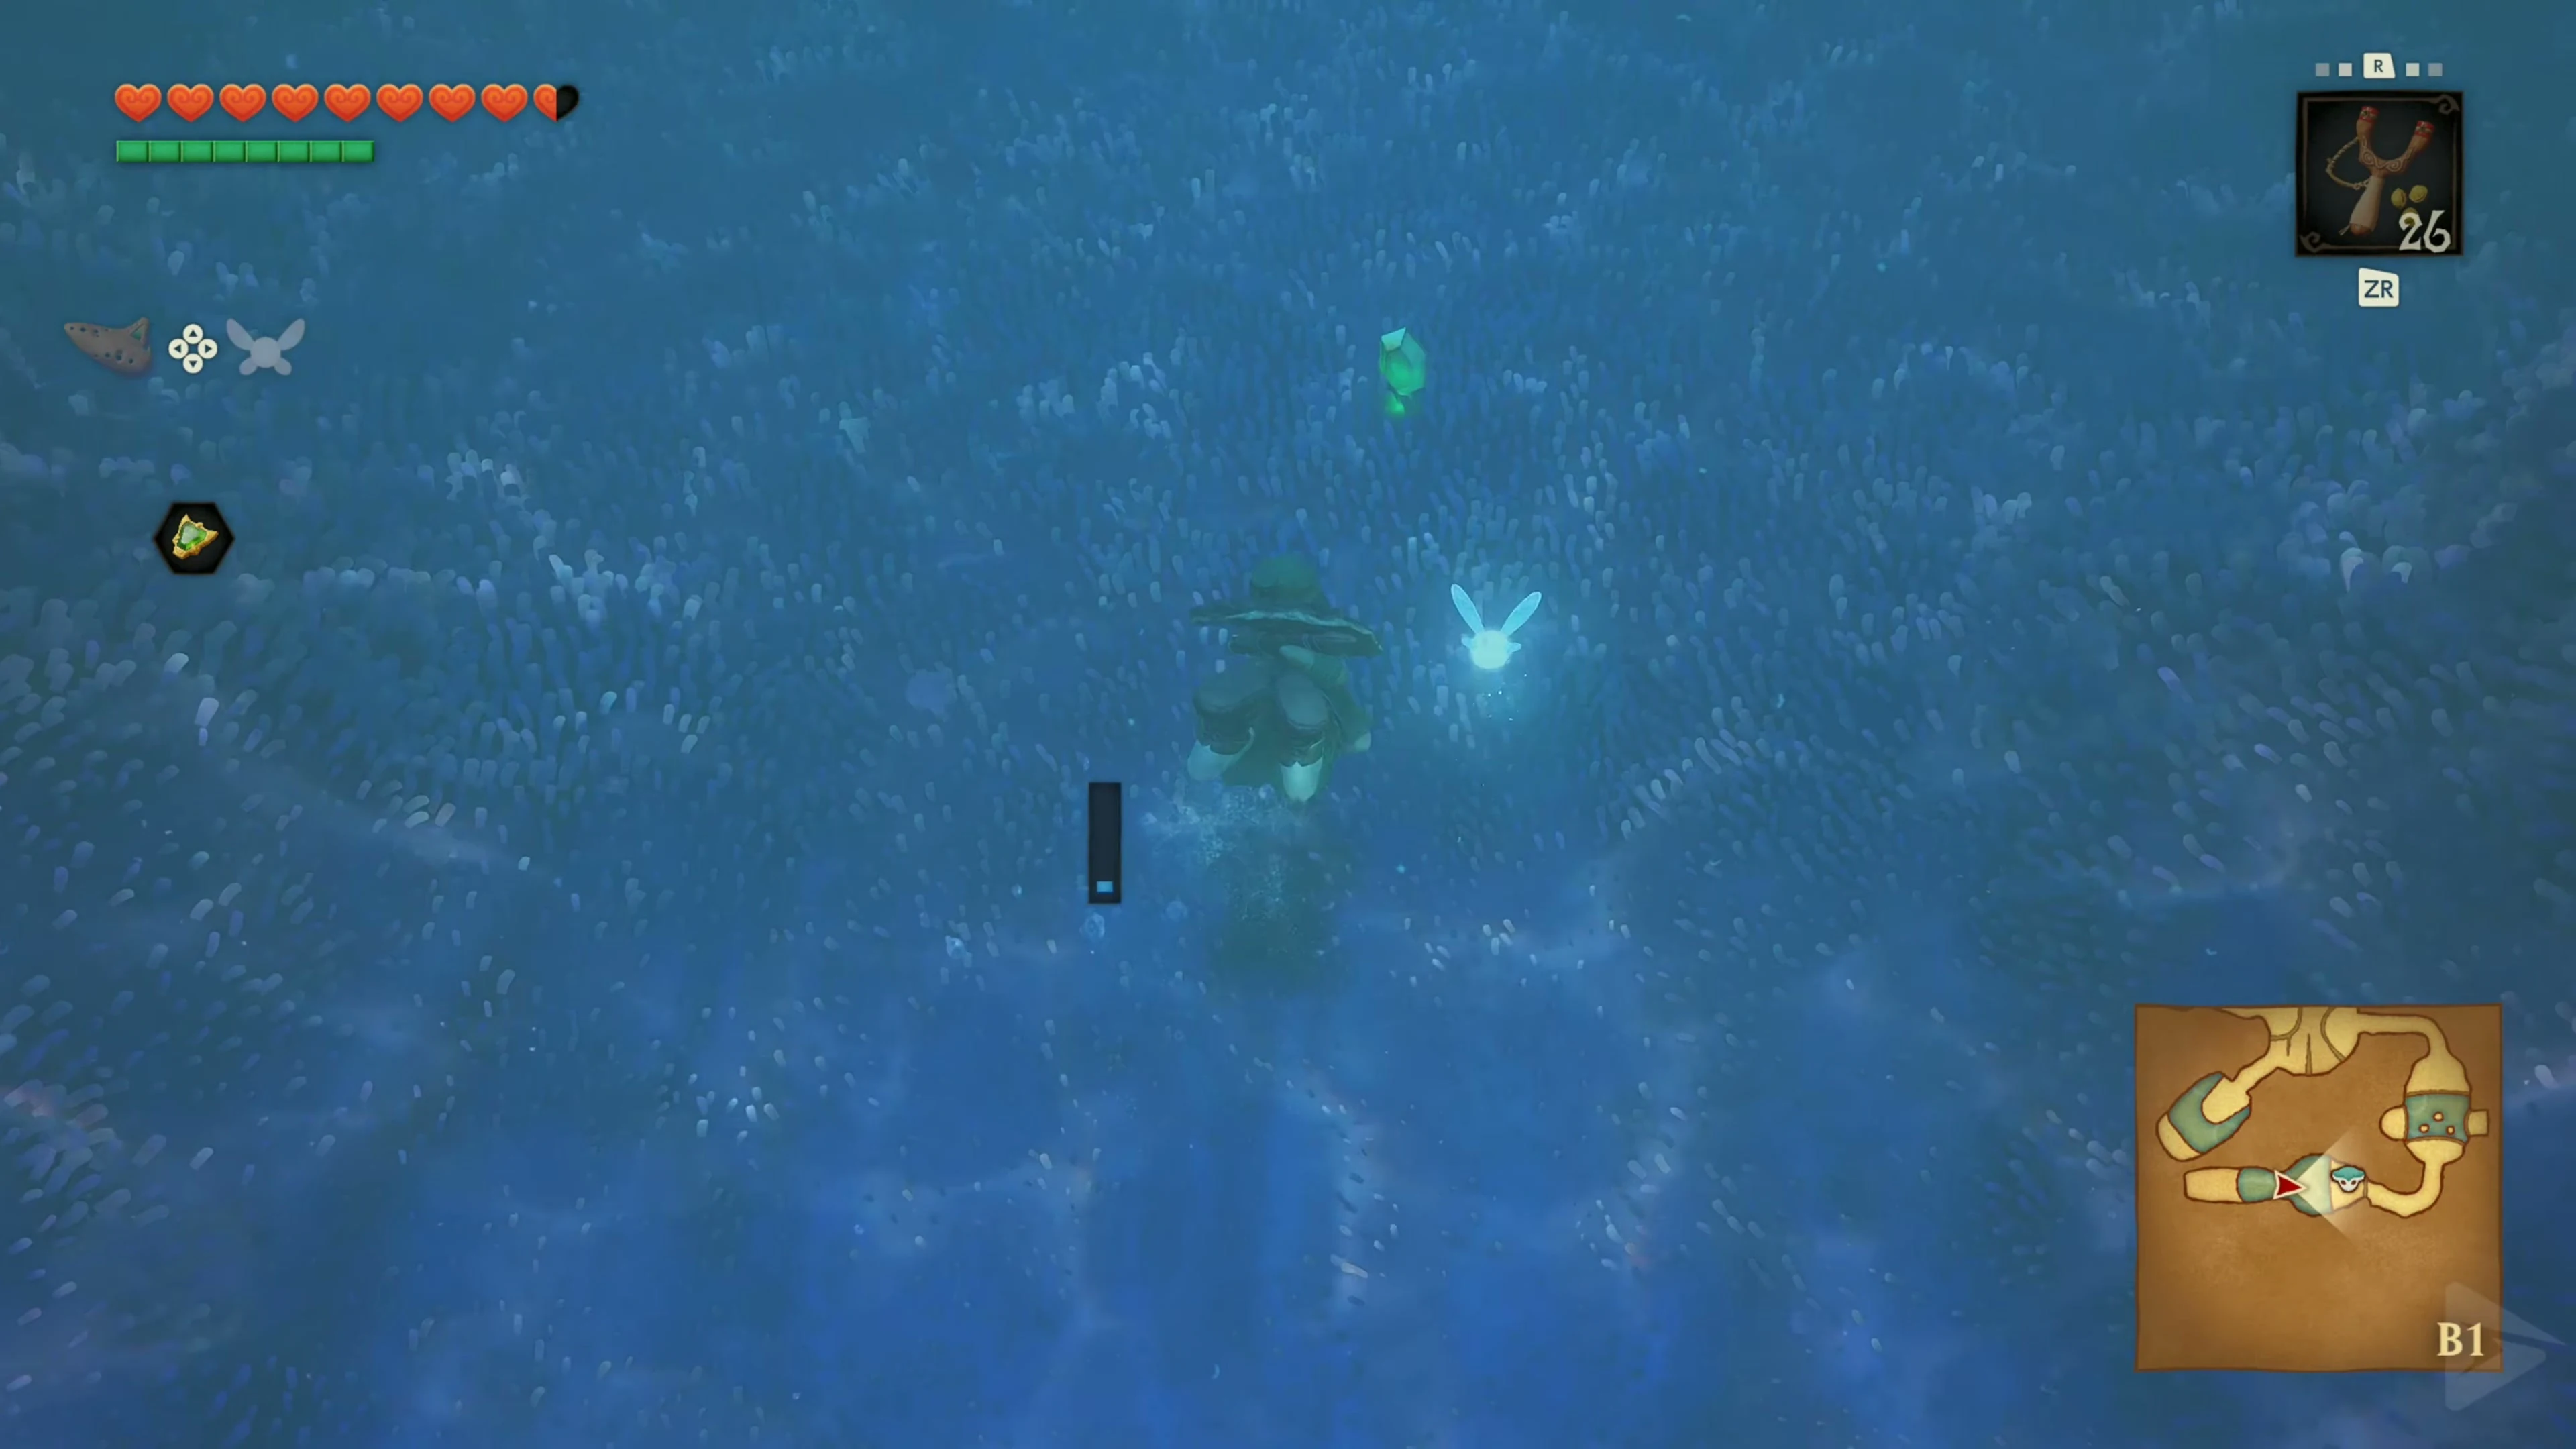
In the same water room, Gold Skulltula 1/4 sits on the vines opposite the card chest. Defeat them with the slingshot. When the water is raised, swim to the vines and climb to the token. Pick up Ruto again afterwards.
Return to the upper floor
Follow the aisle with Ruto. Hit the ceiling switch with the slingshot to open the membrane door. Defeat the Octorok in the elevator chamber. Climb onto the platform with Ruto when it reaches the bottom and ride to the upper walkway. Return to the room with the holes in the floor and go through the northern exit.
The path to the boomerang
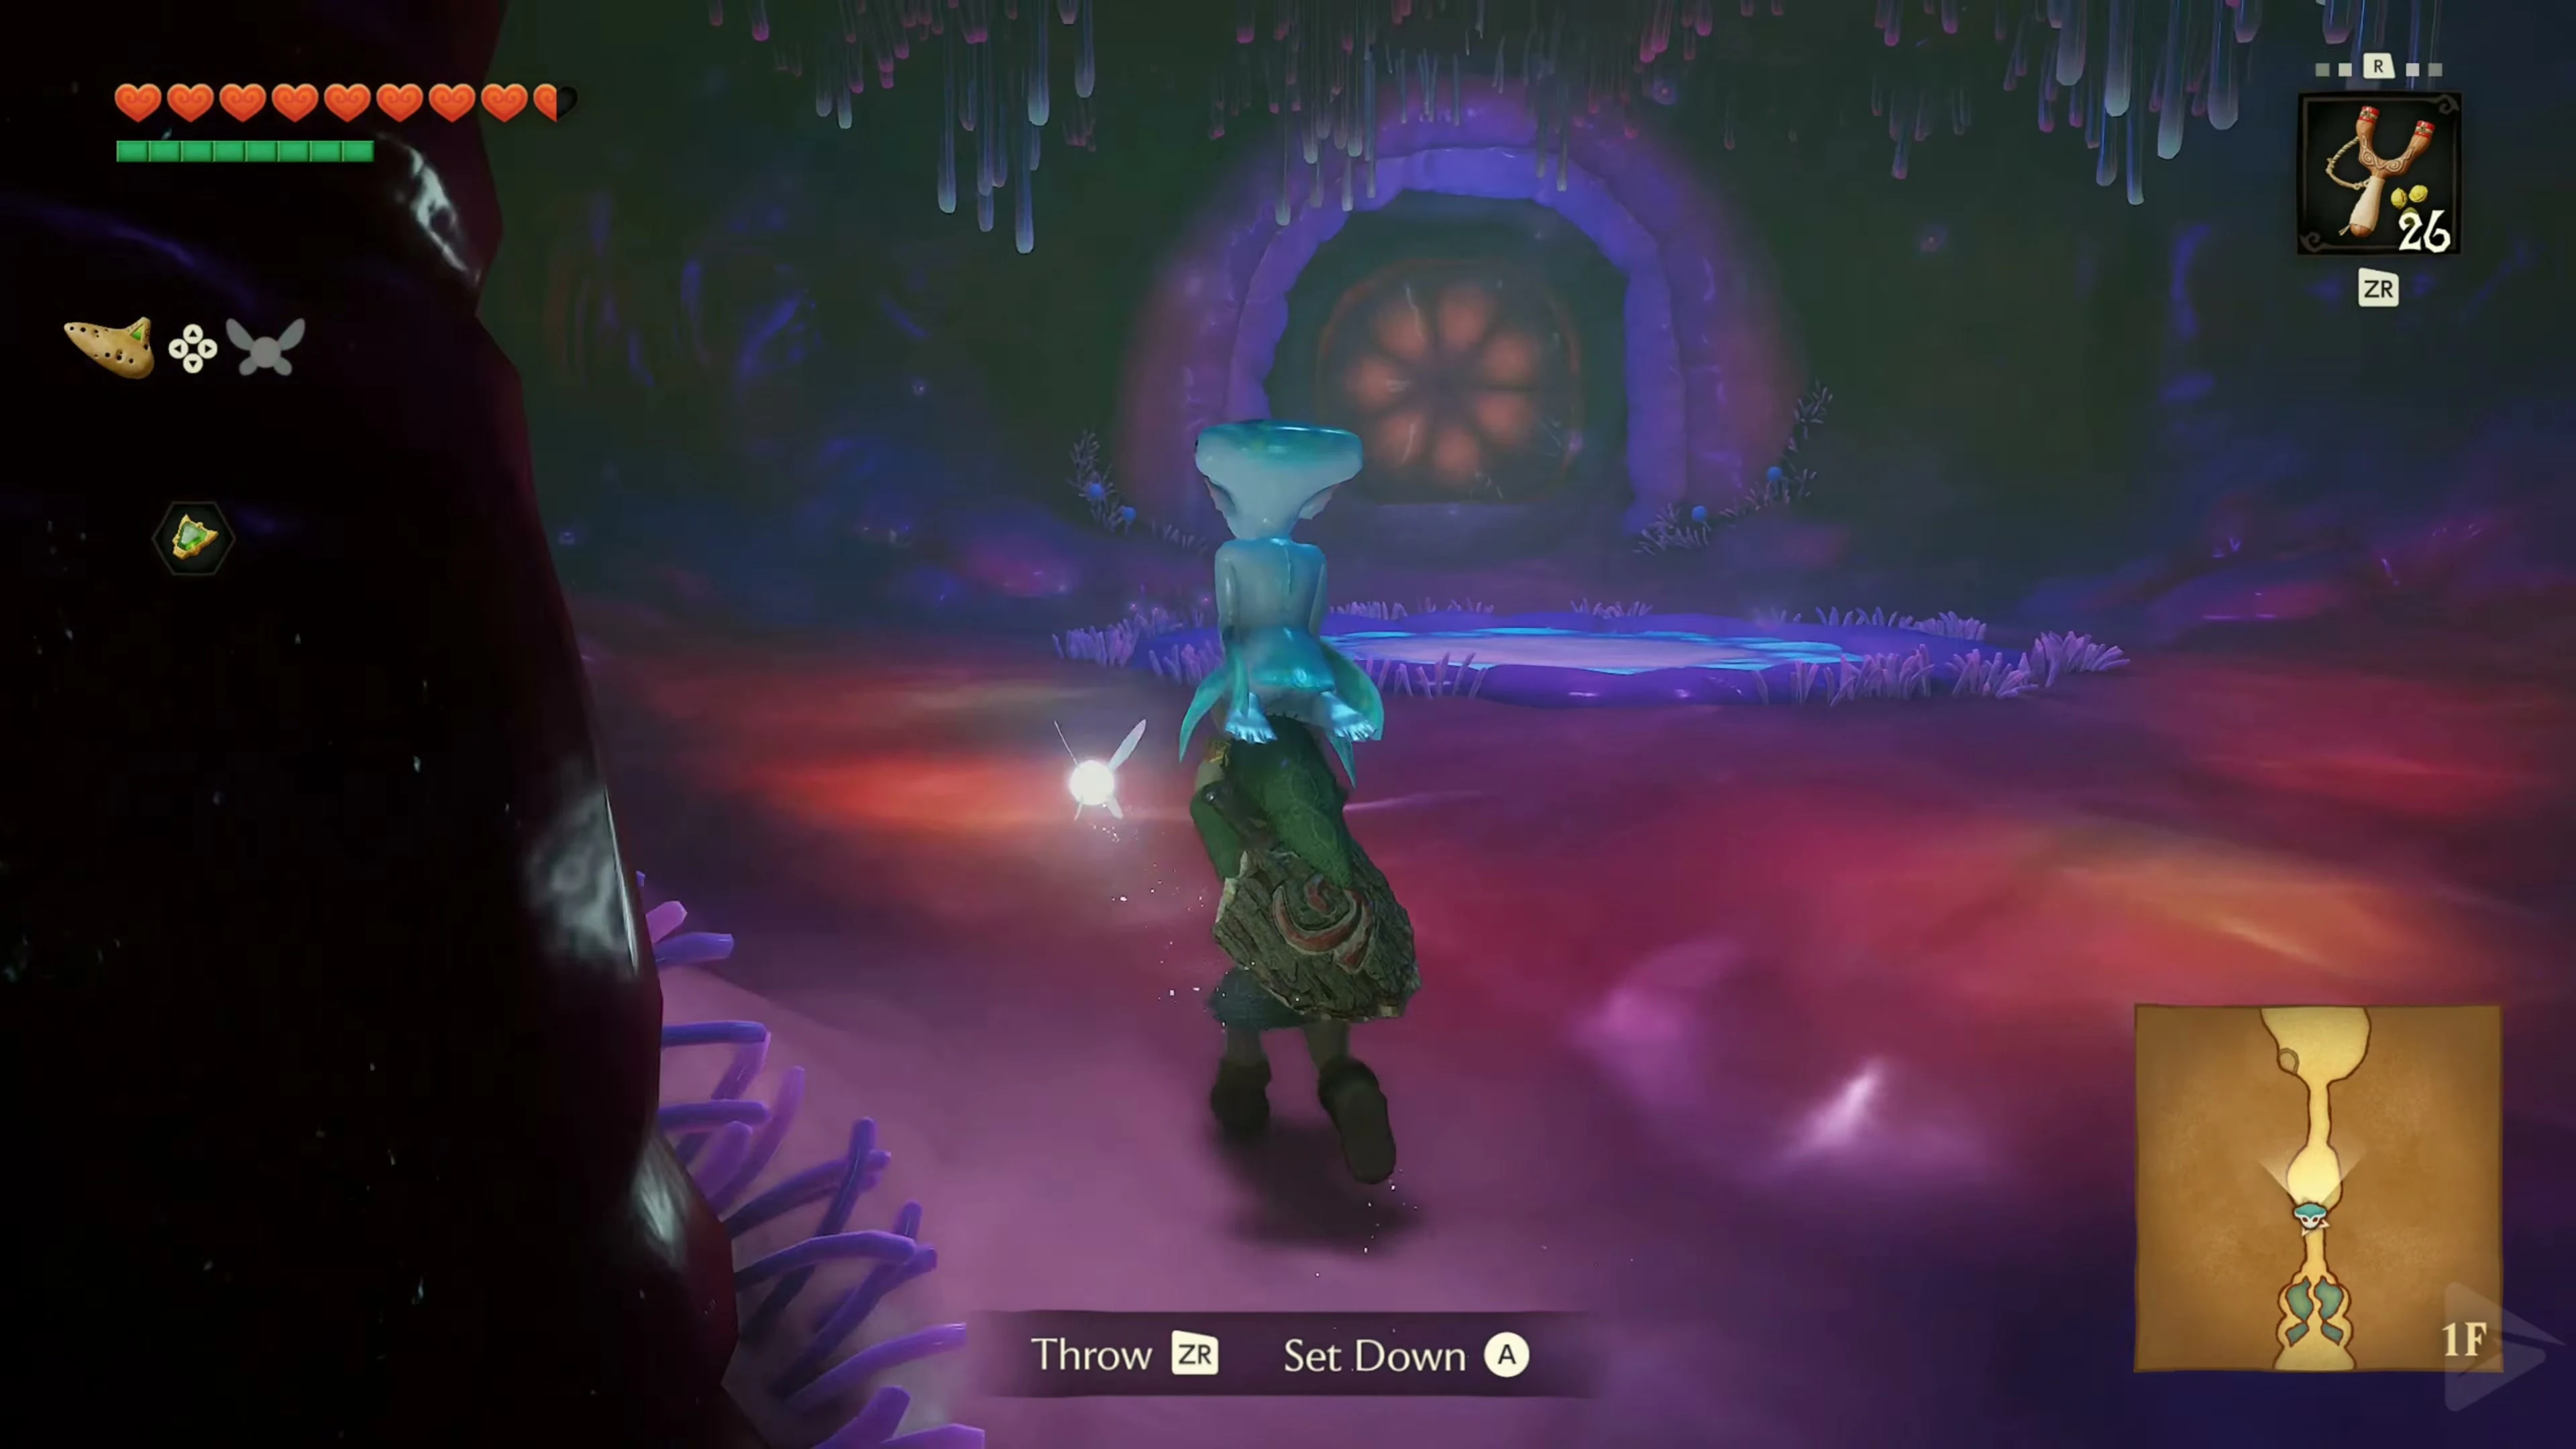
In the upper corridor, take the first side corridor left to the west . Stand on the floor switch with Ruto on your head. Your combined weight opens the door. Go through into the boomerang room and place Ruto at the edge.
The Boomerang
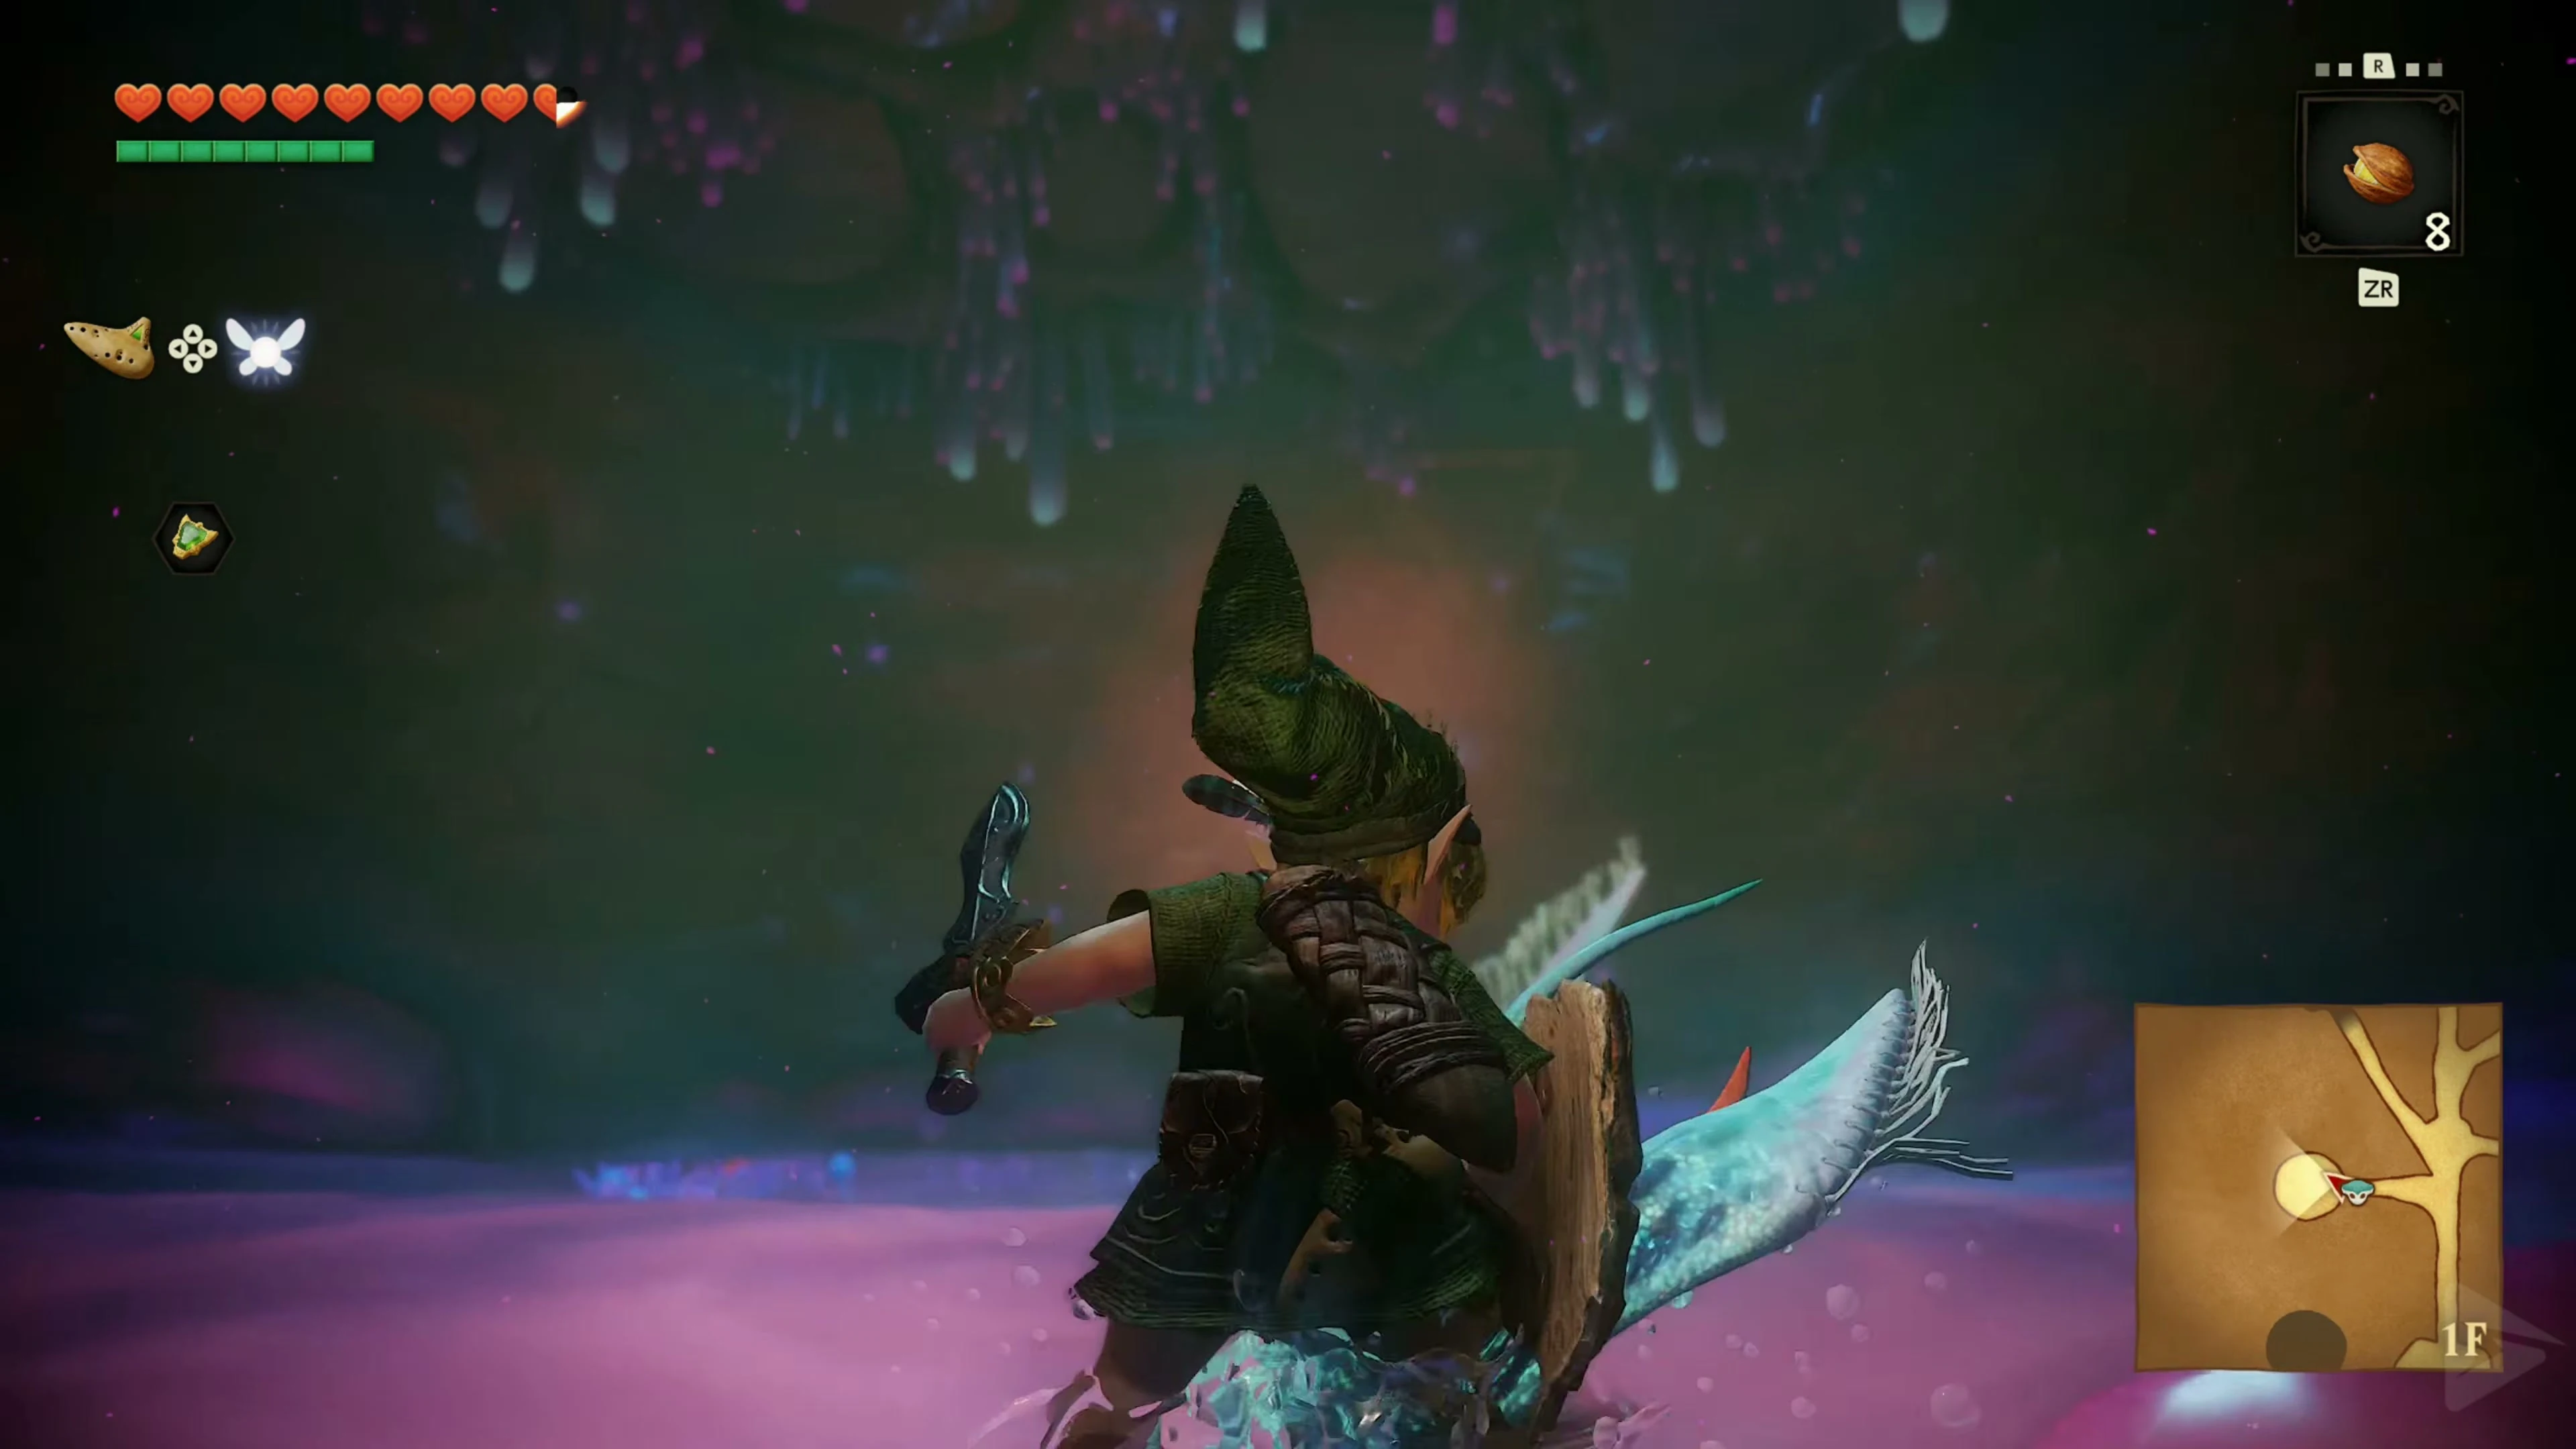
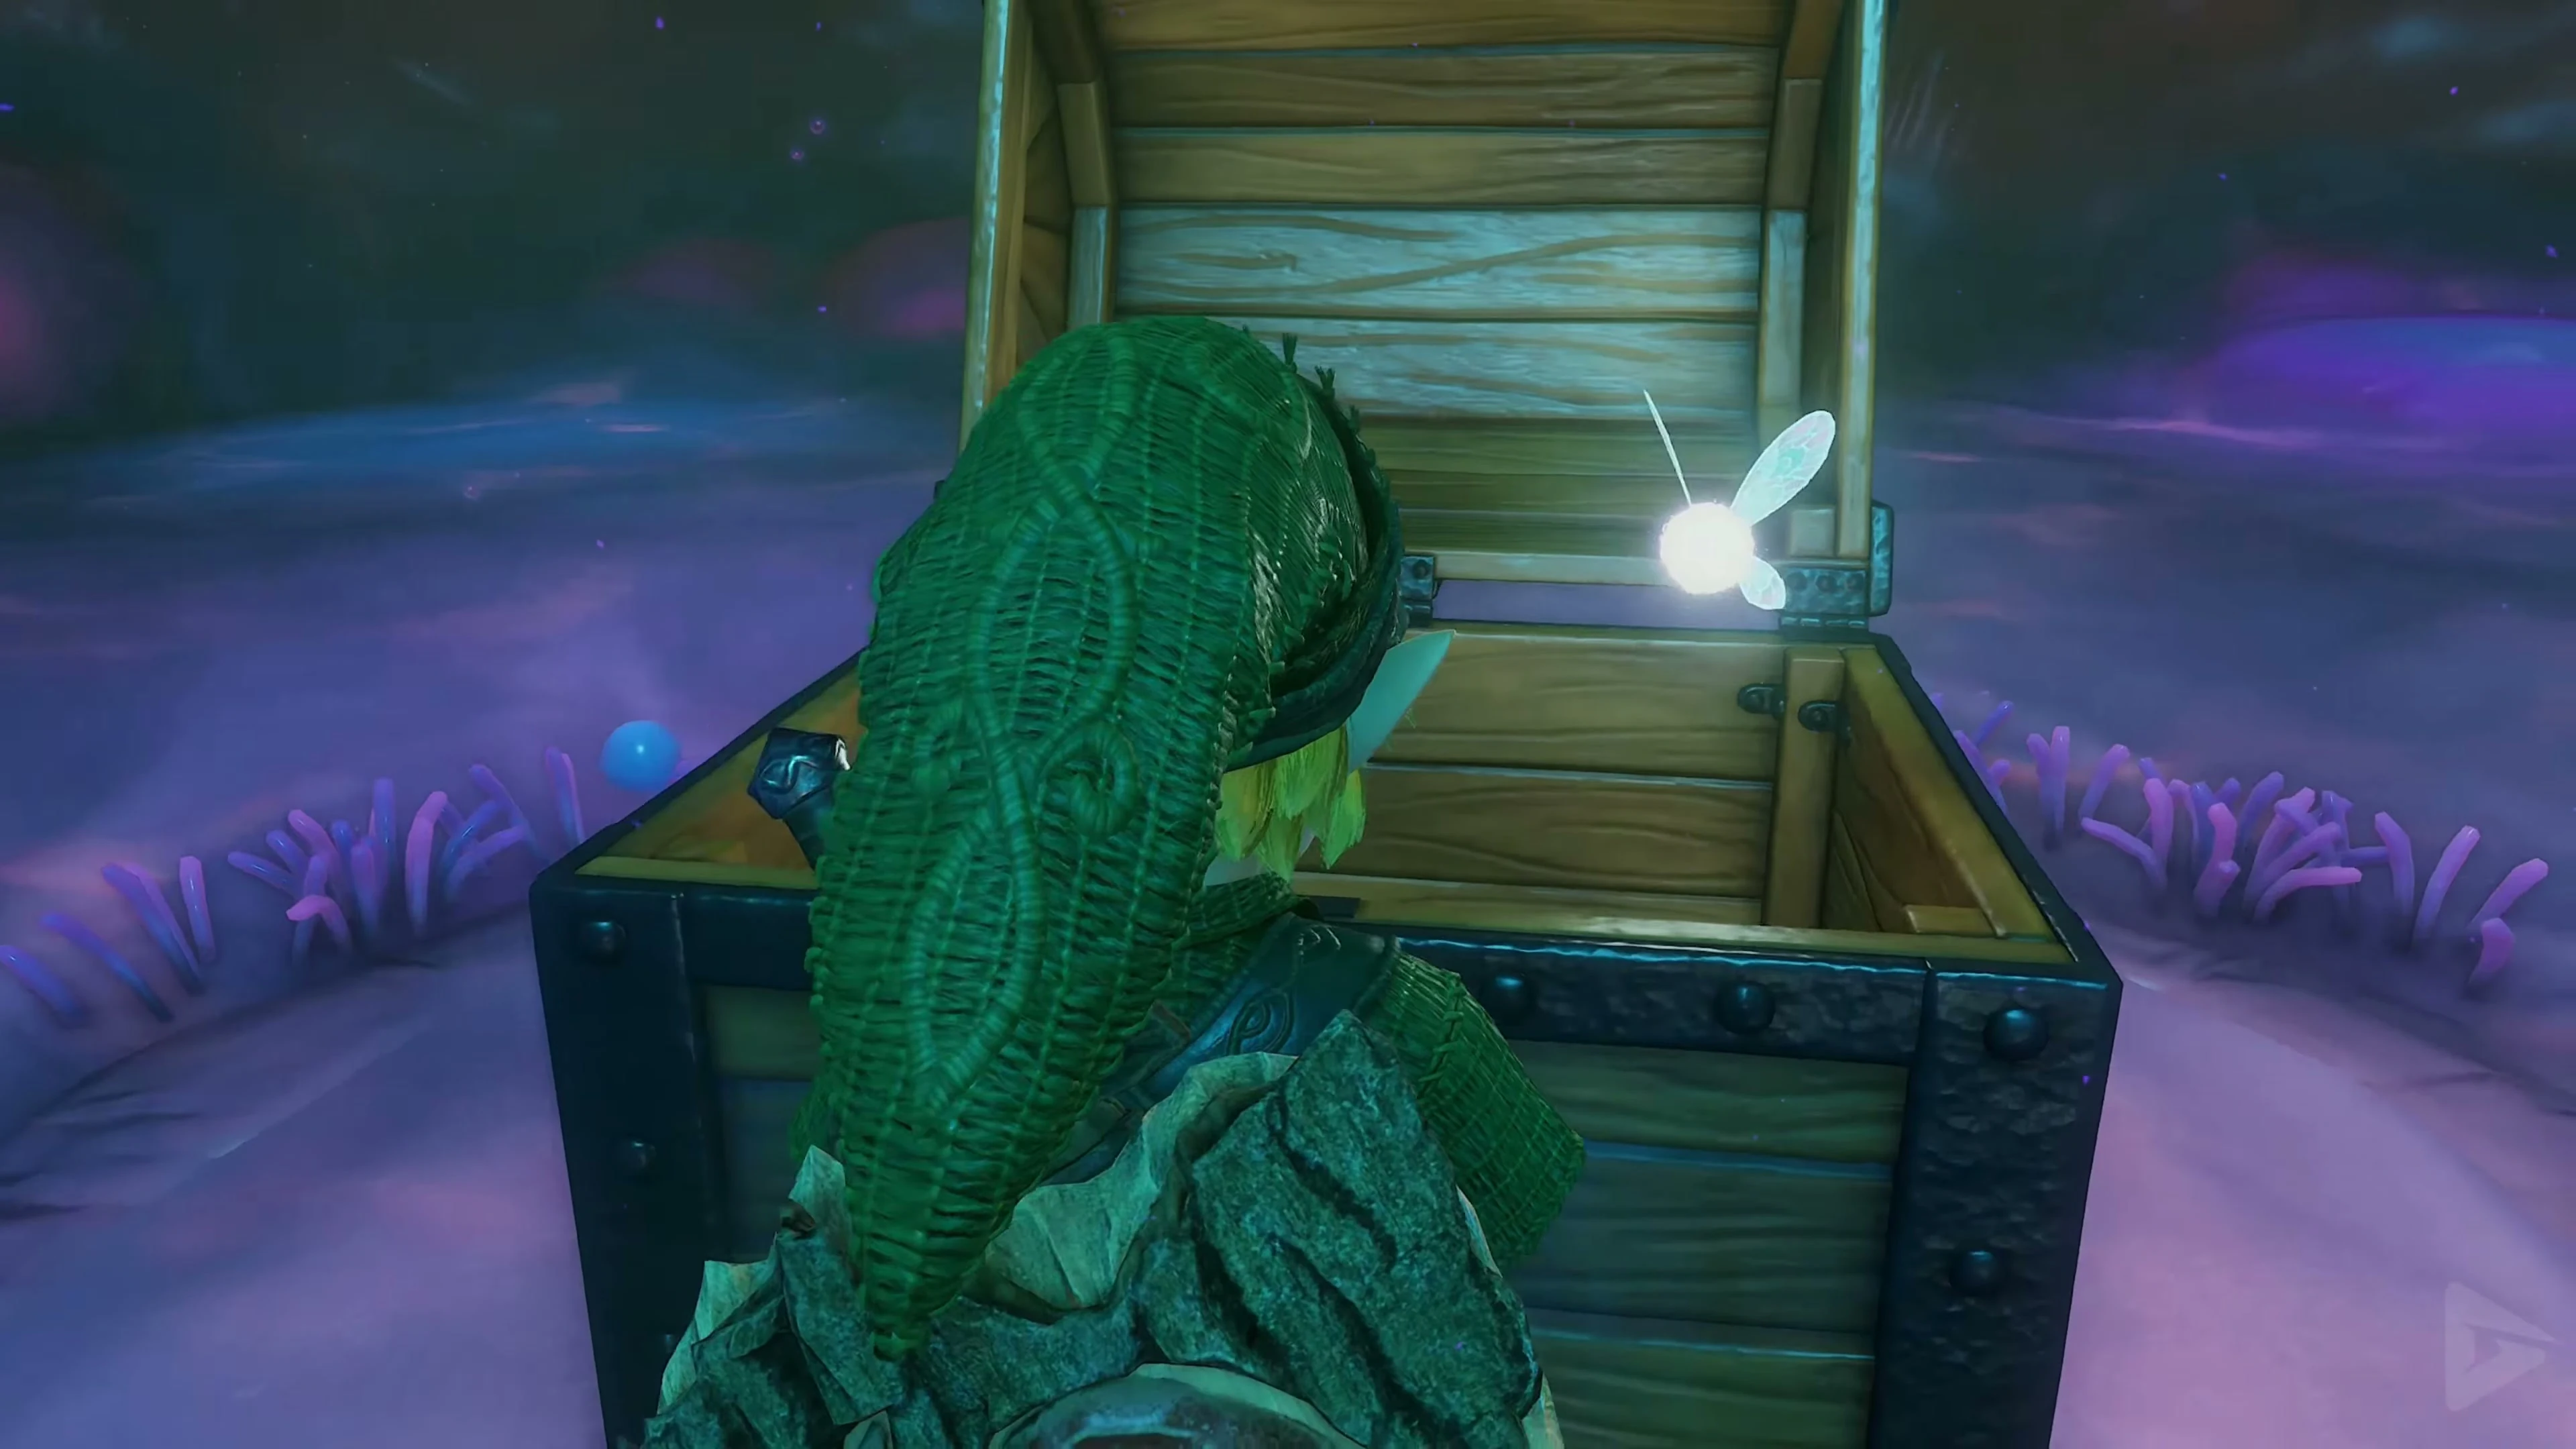
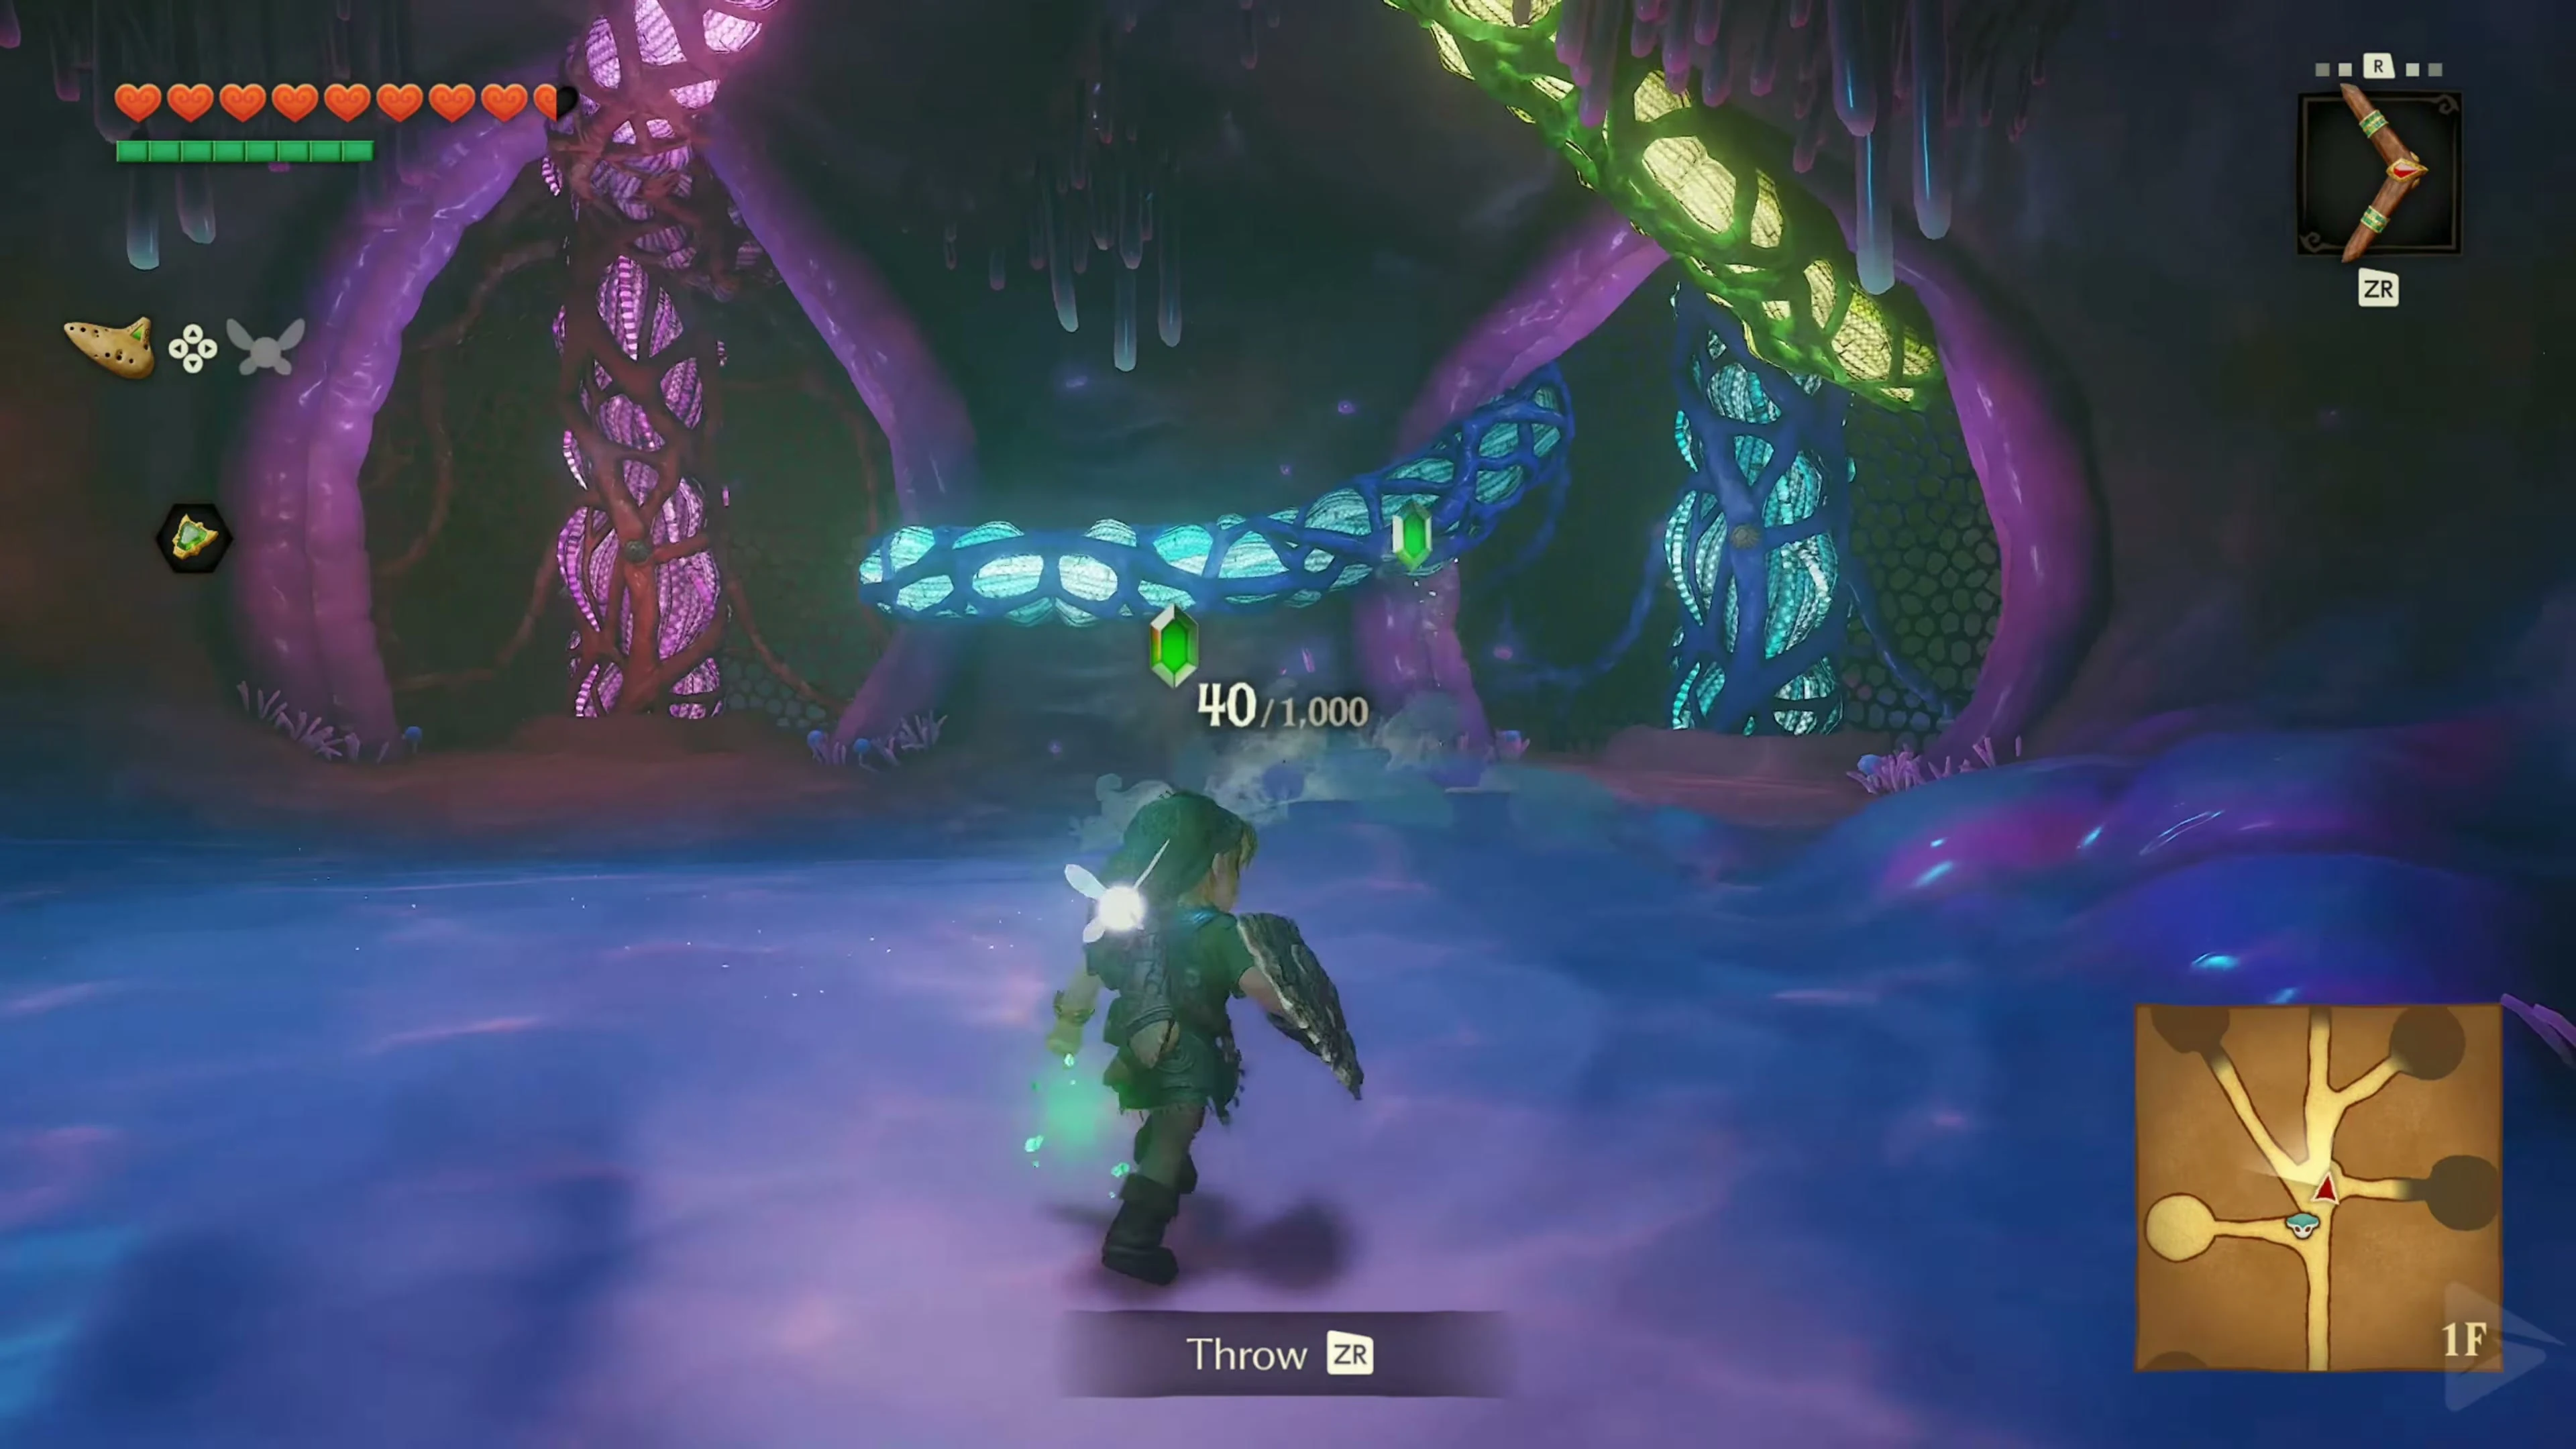
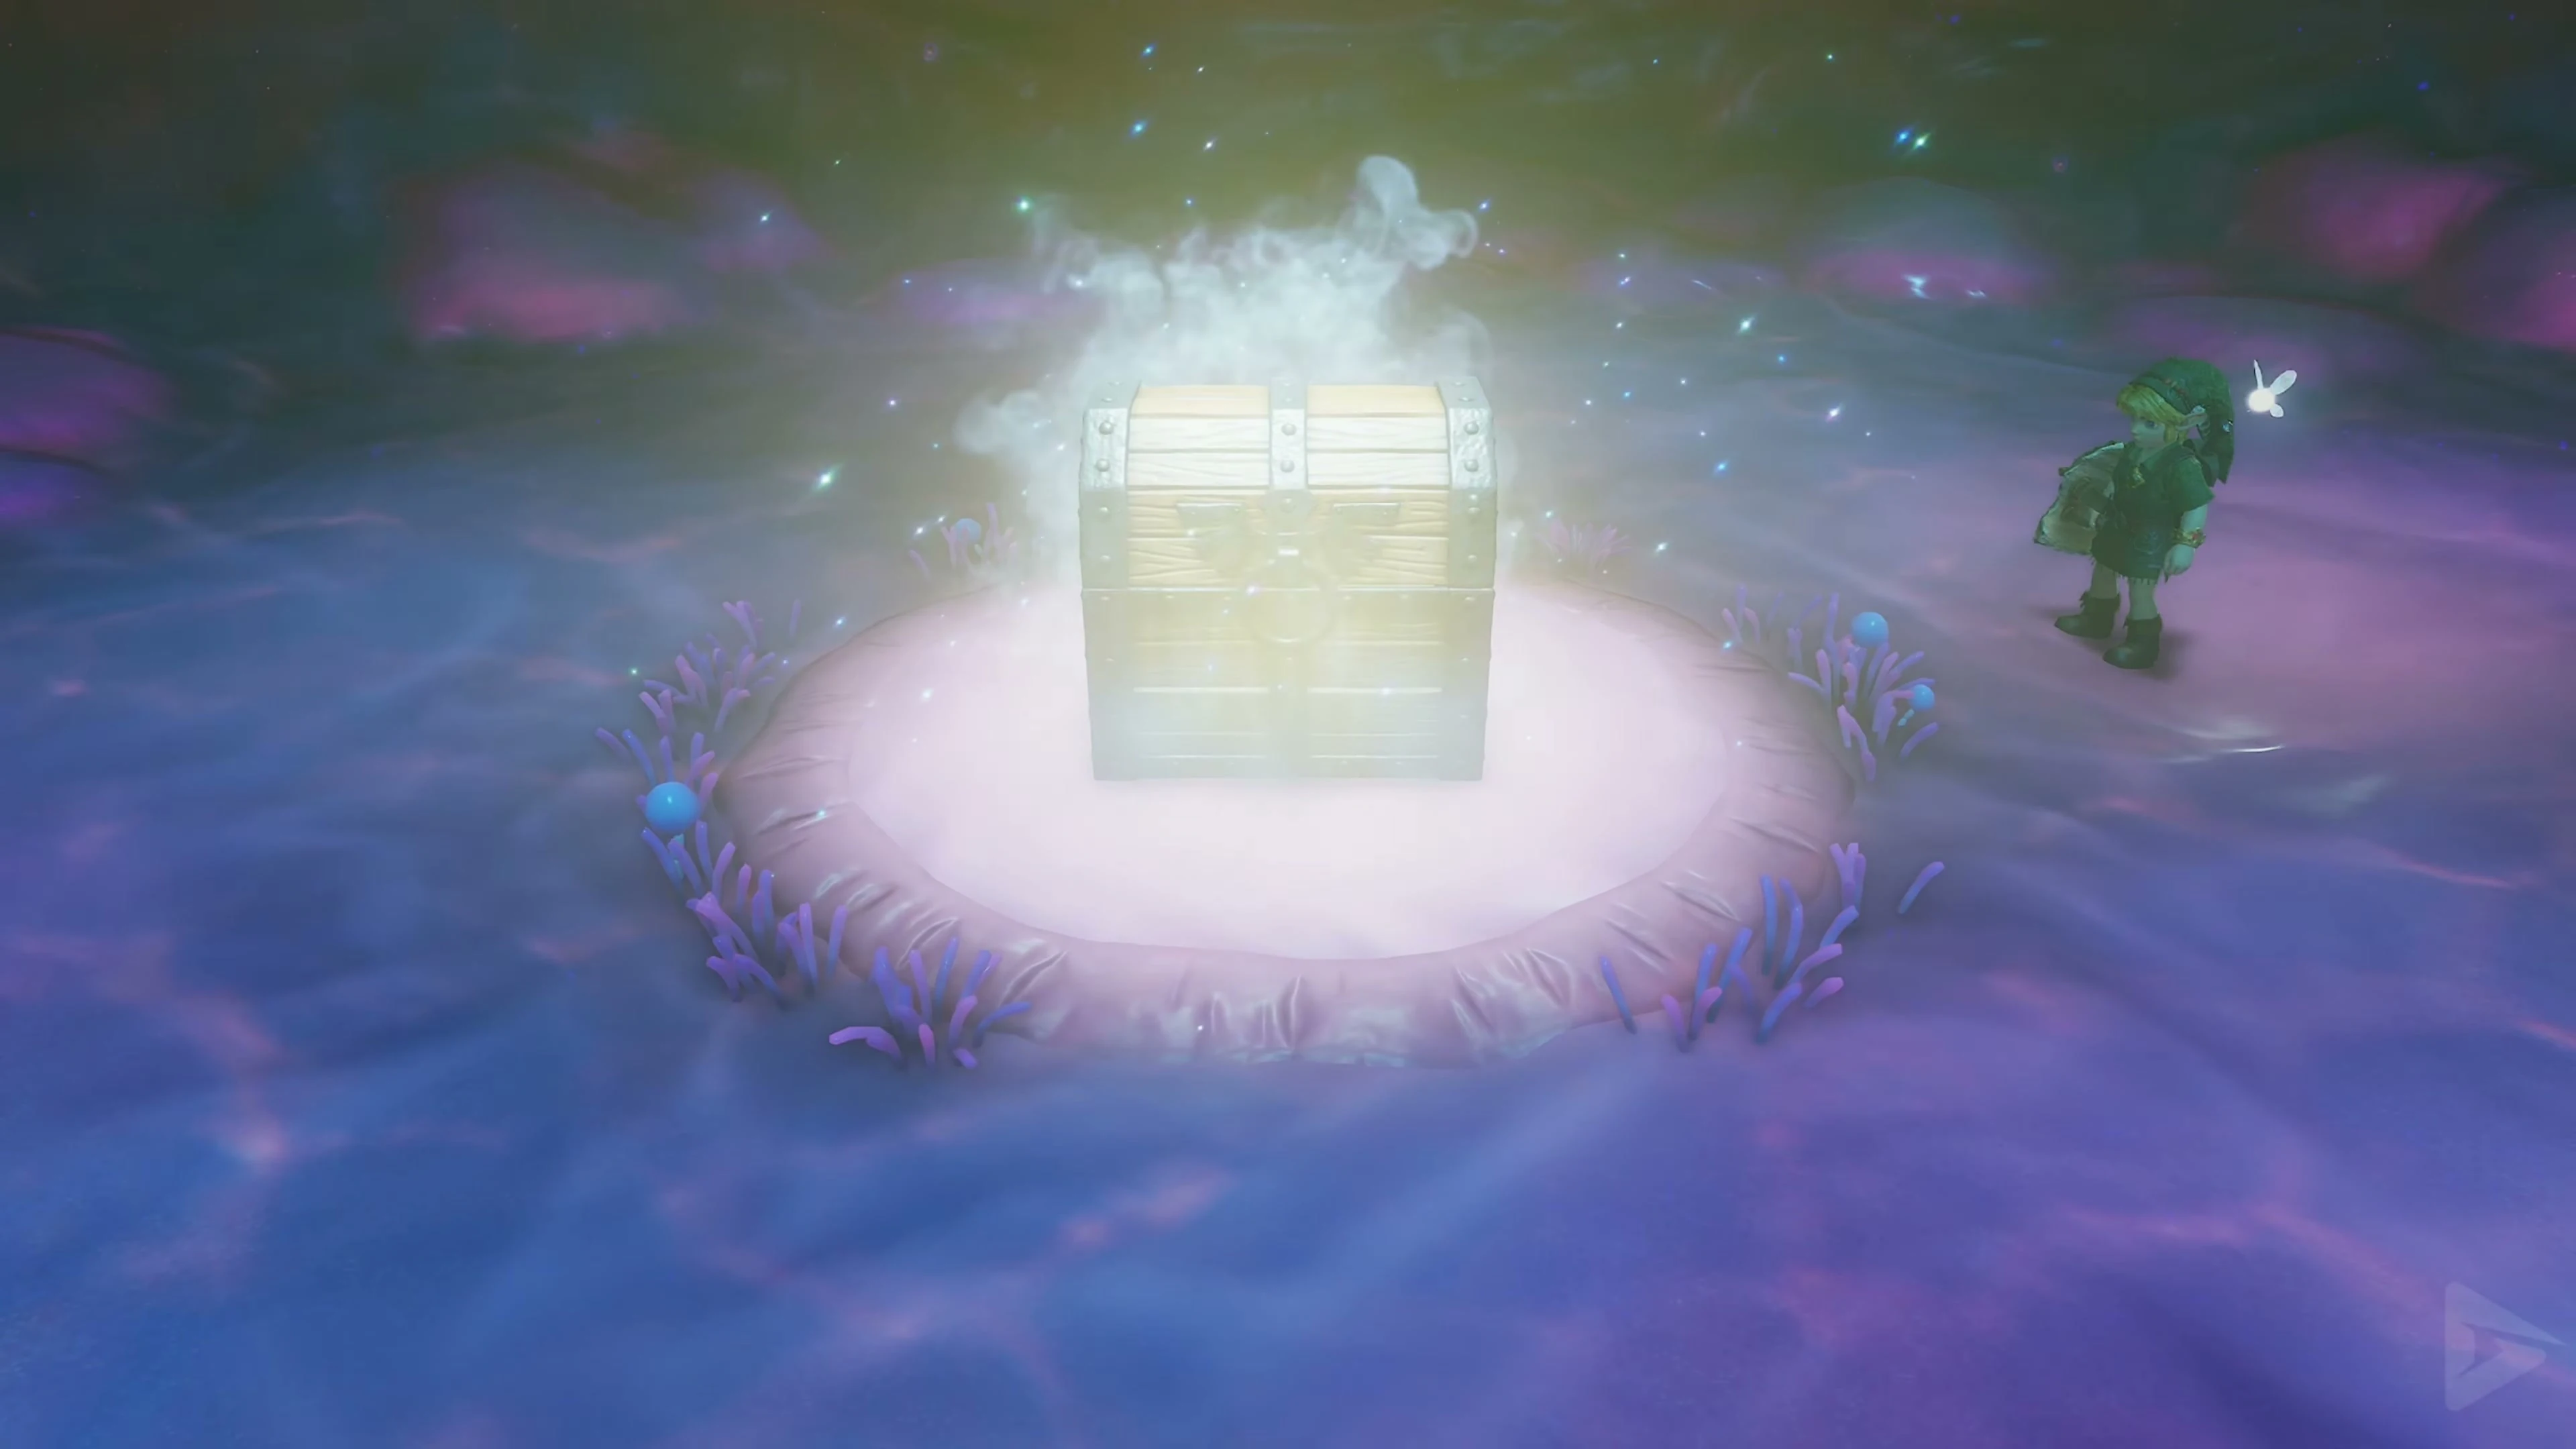
In the room beyond, four Stingers are hiding in the ground. Place Ruto at the entrance and slowly walk through the room. This causes the enemies to jump out of the ground one after the other. Hit them with the Fairy Slingshot or Sword as they glide through the air. After all four Stingers are defeated, a large treasure chest will appear. Open it and take the Boomerang . Equip it and pick up Ruto again.
The parasite tentacles
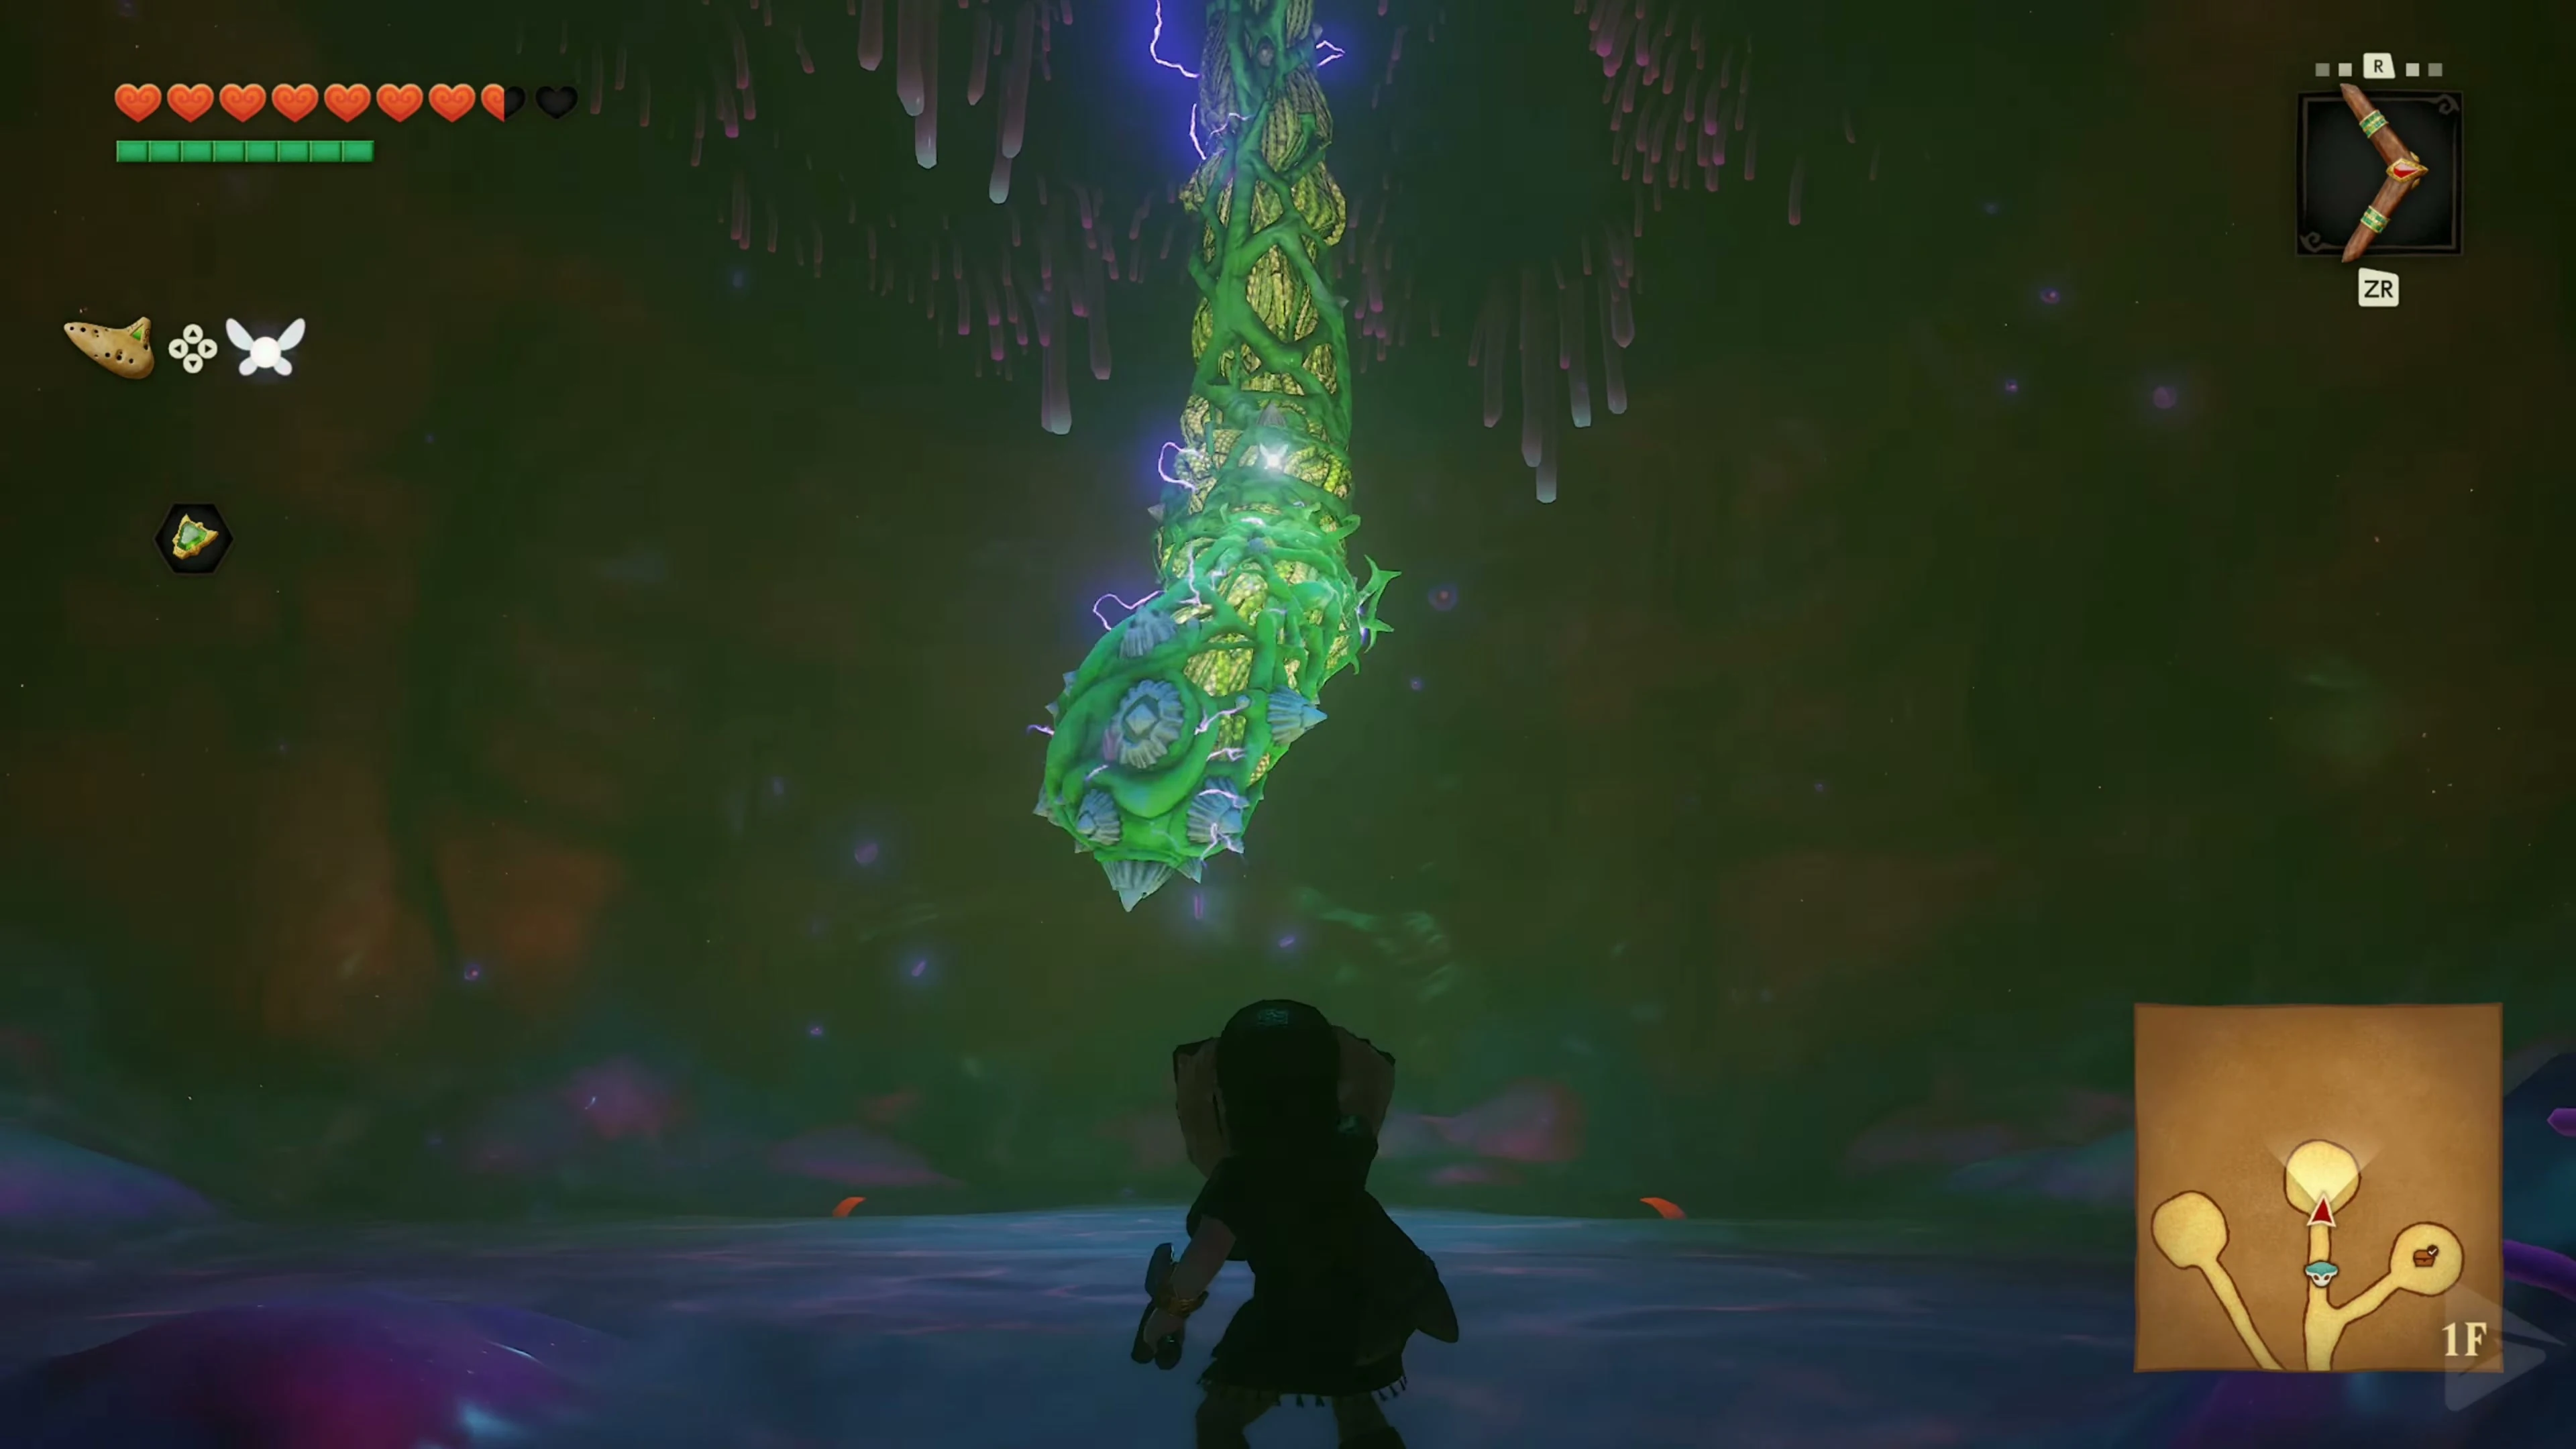
Return from the boomerang room to the upper corridor with Ruto. Go east to the red parasite tentacle .
Red Parasite Tentacle
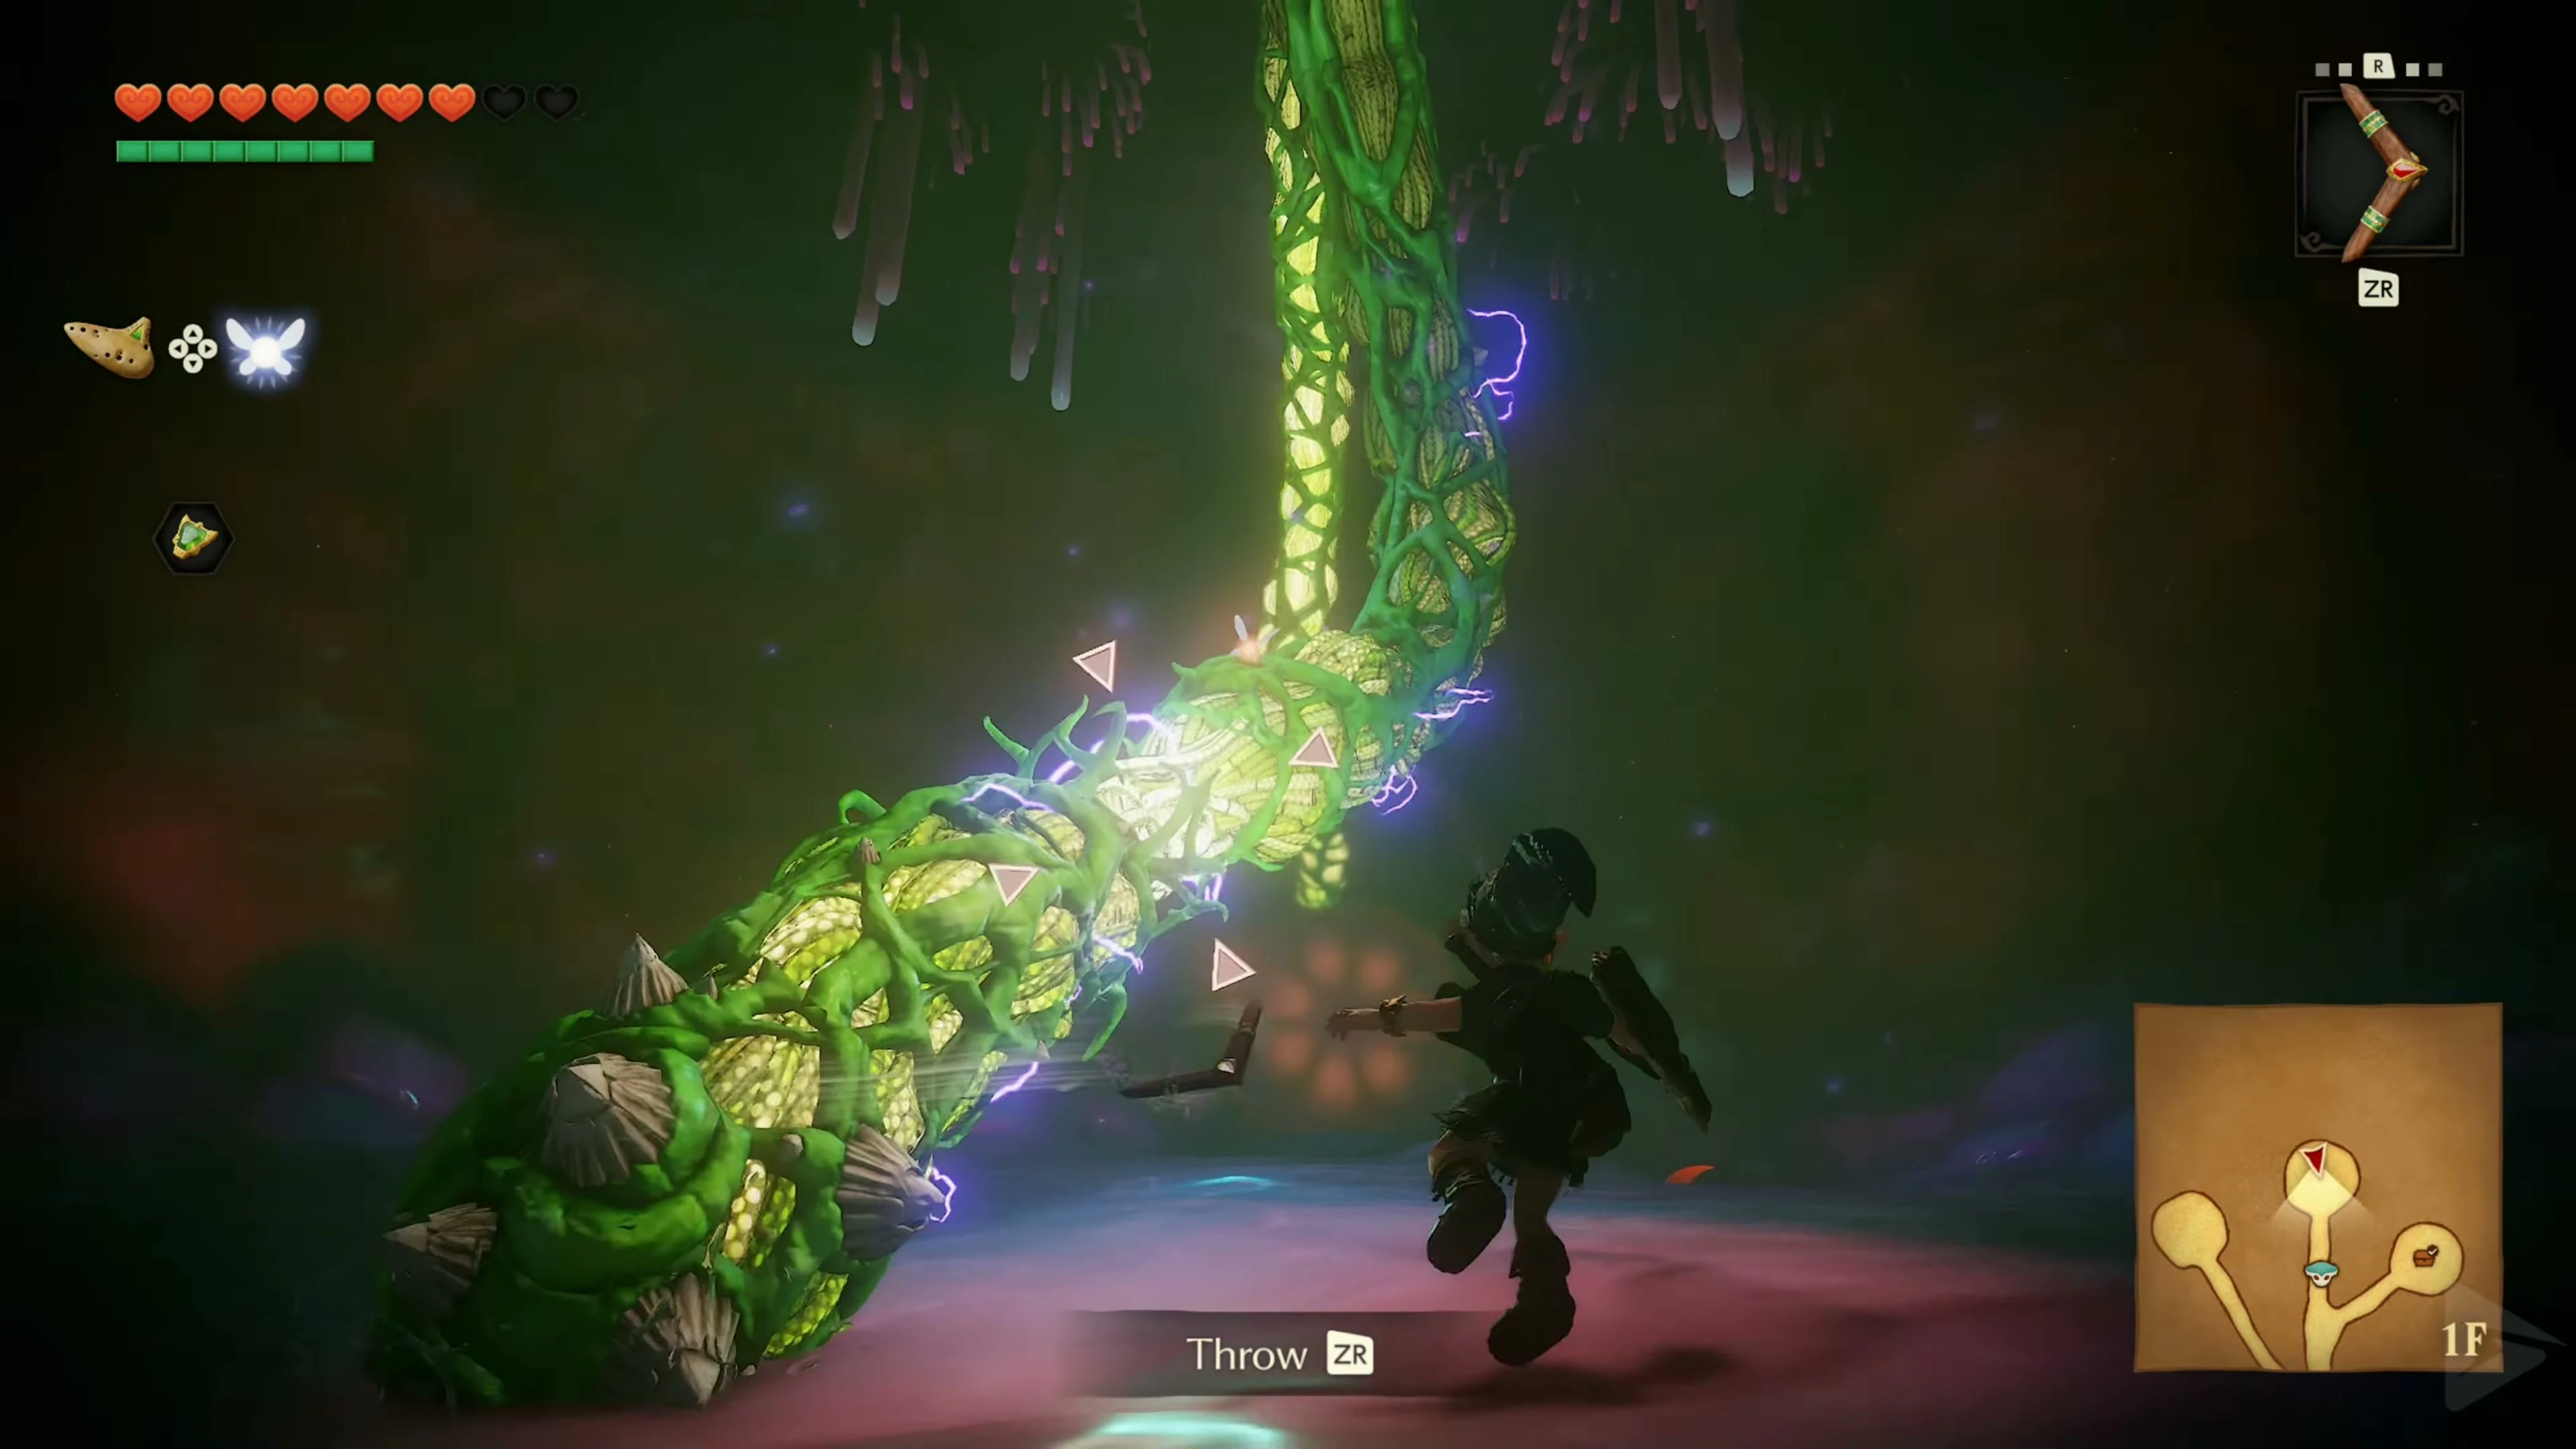
Carry Ruto to the switch in front of the entrance to the red tentacle and have her stand on it. Go in alone. Aim at the tentacle, approach it, and back away as soon as it reaches out towards Link. Hit the exposed narrow spot with the boomerang. Repeat until he withdraws completely. A connection in the upper corridor becomes available; take Ruto outside again.
Blue Parasite Tentacle
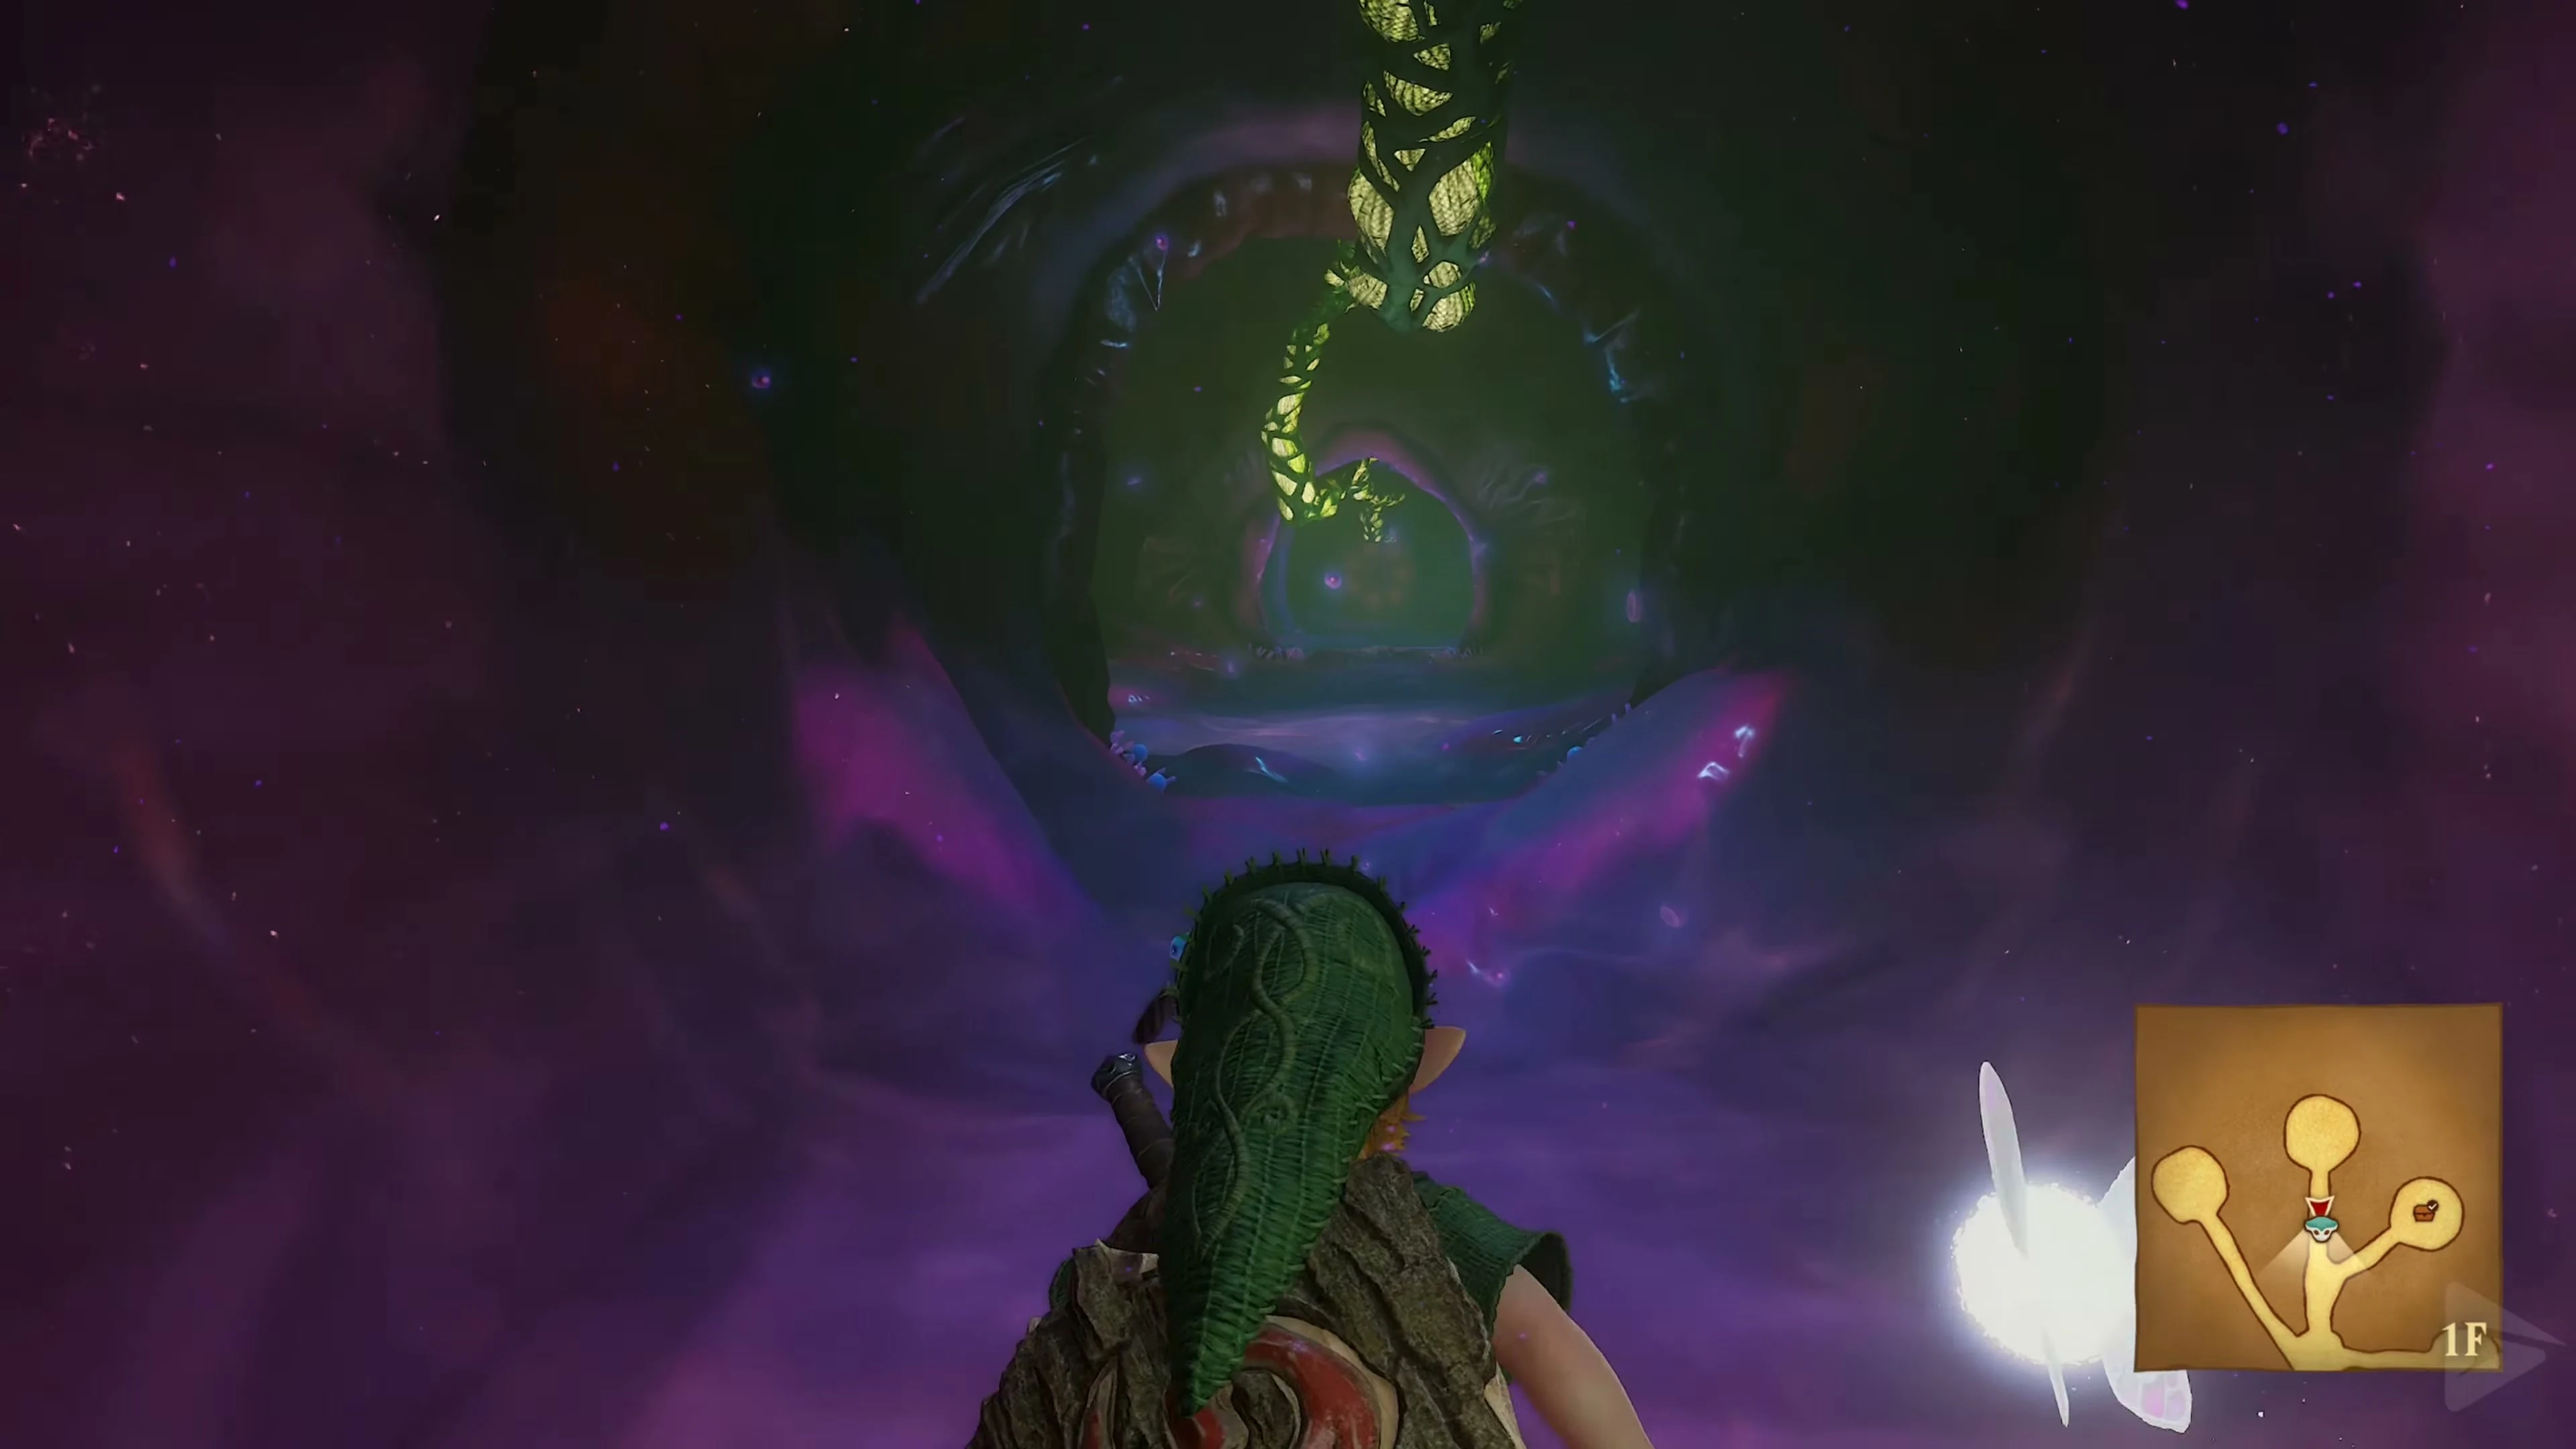
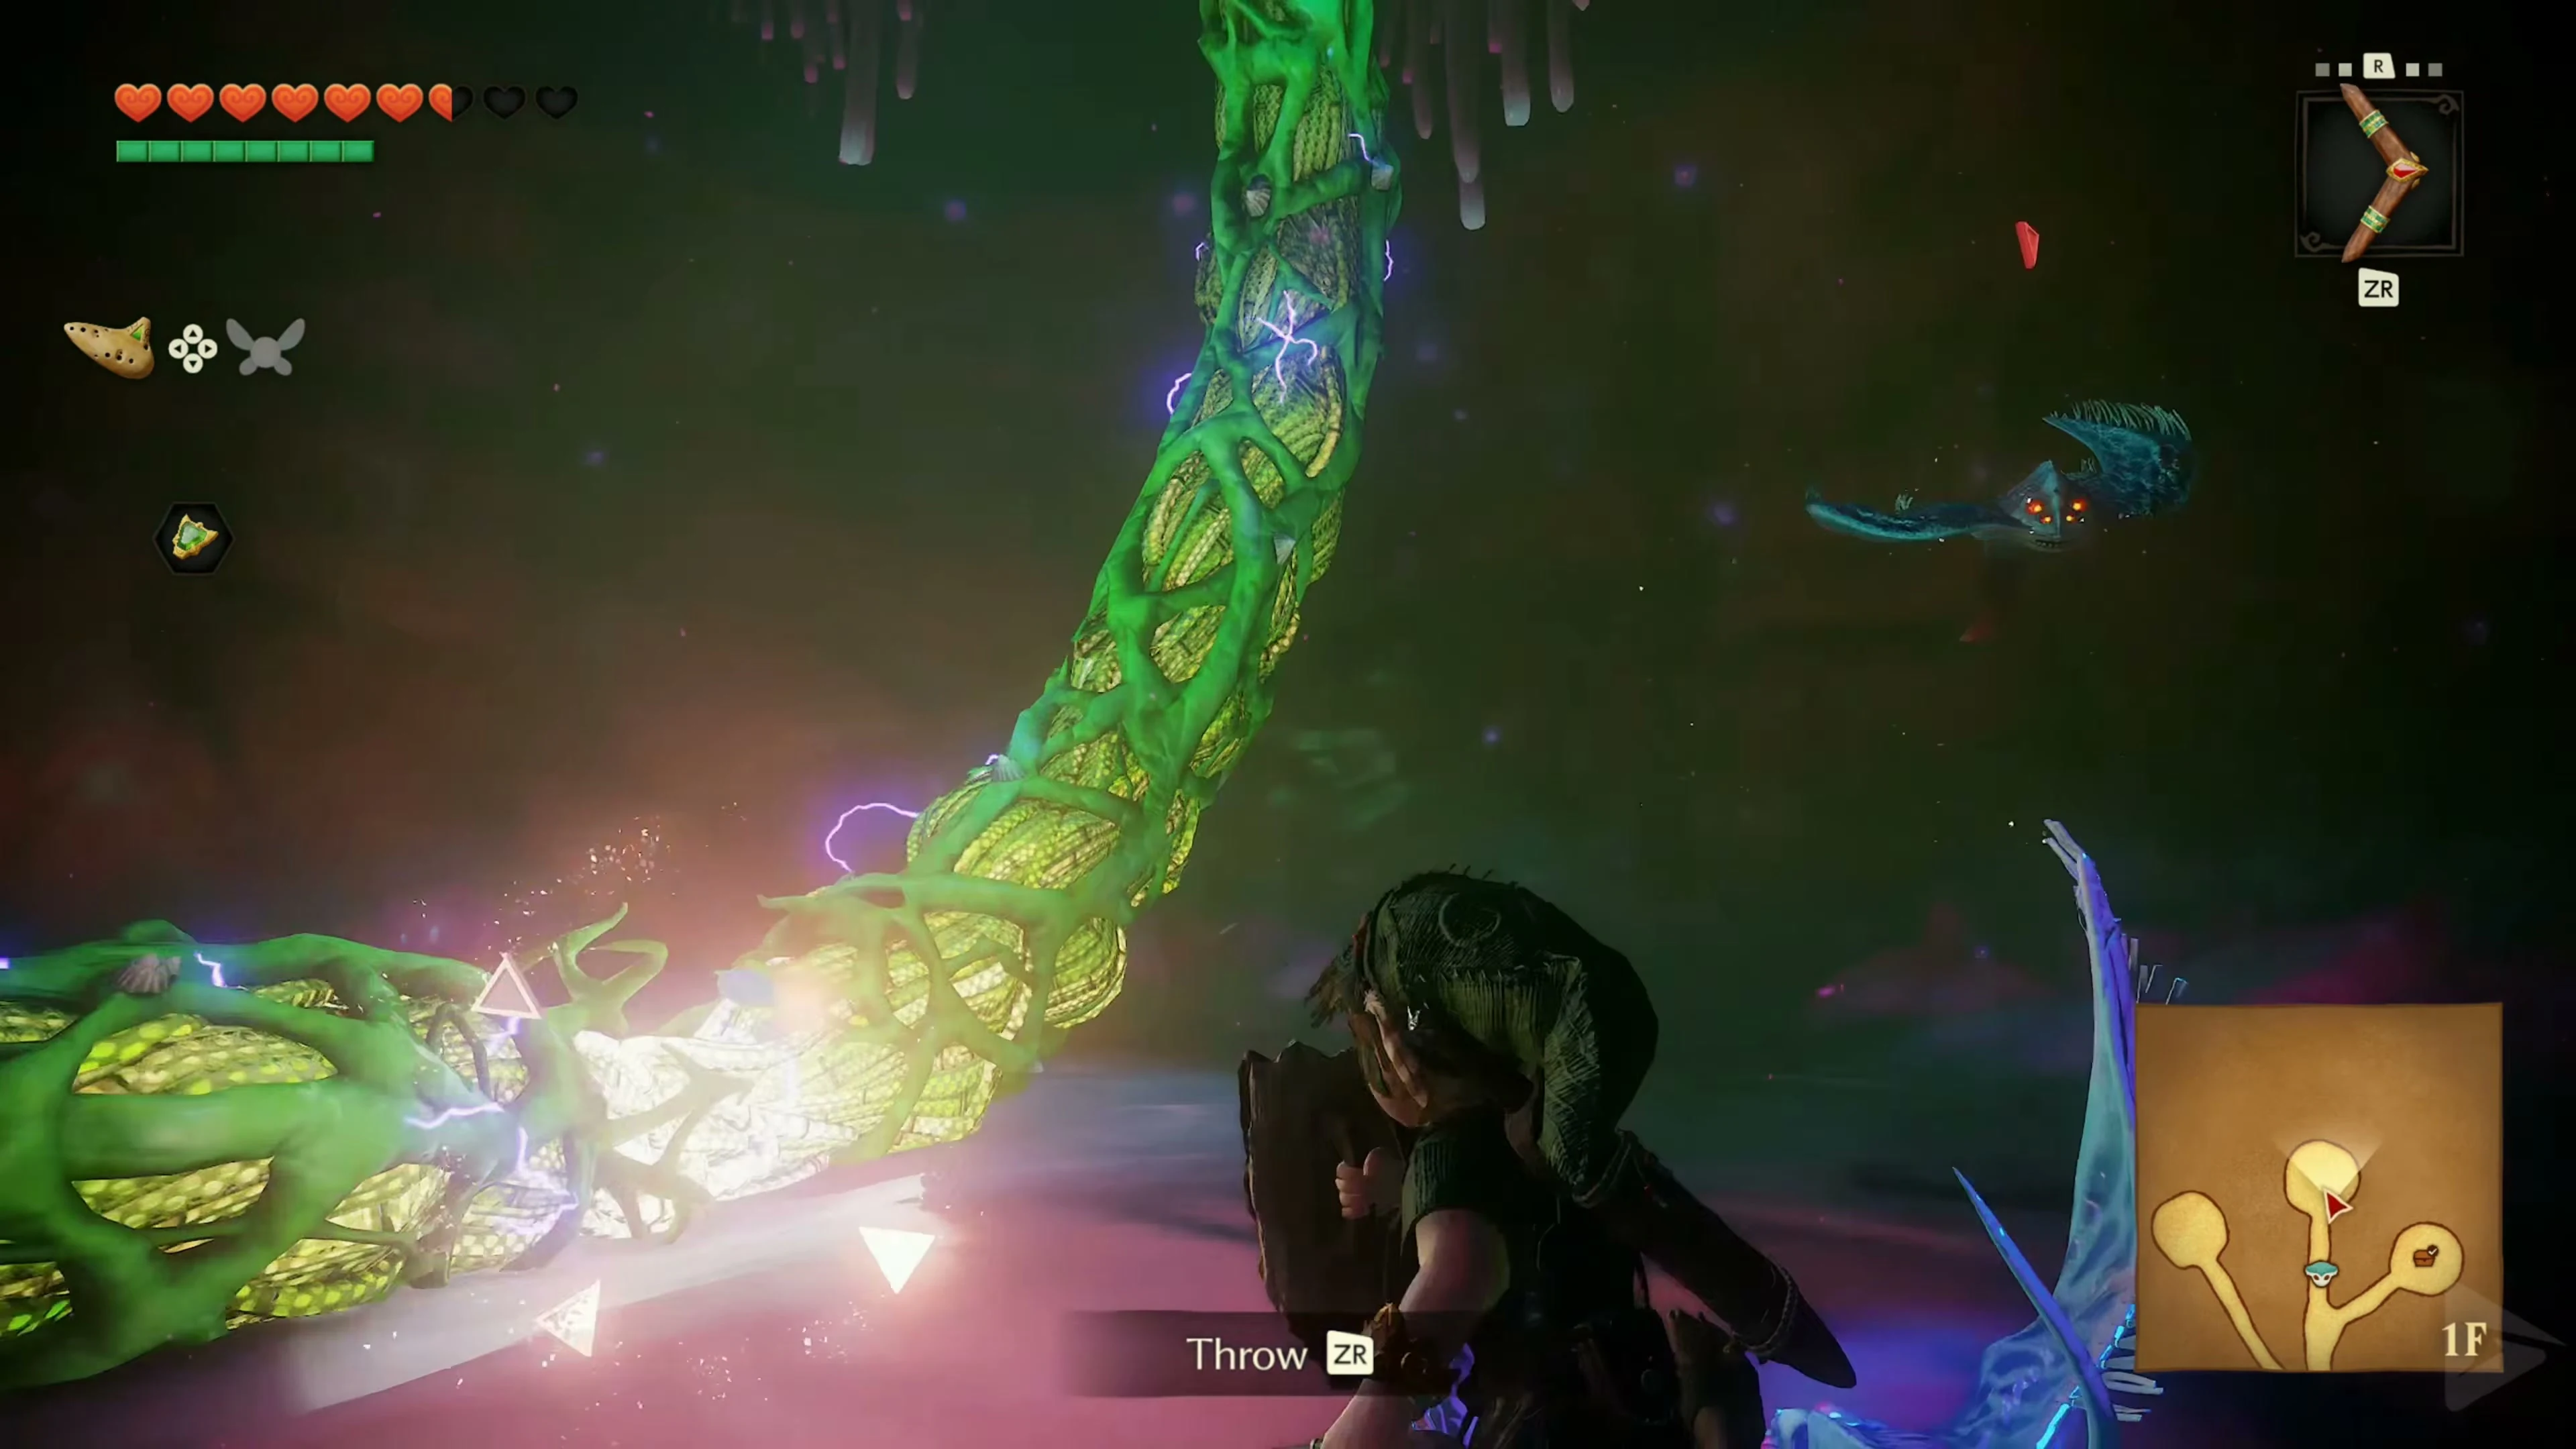
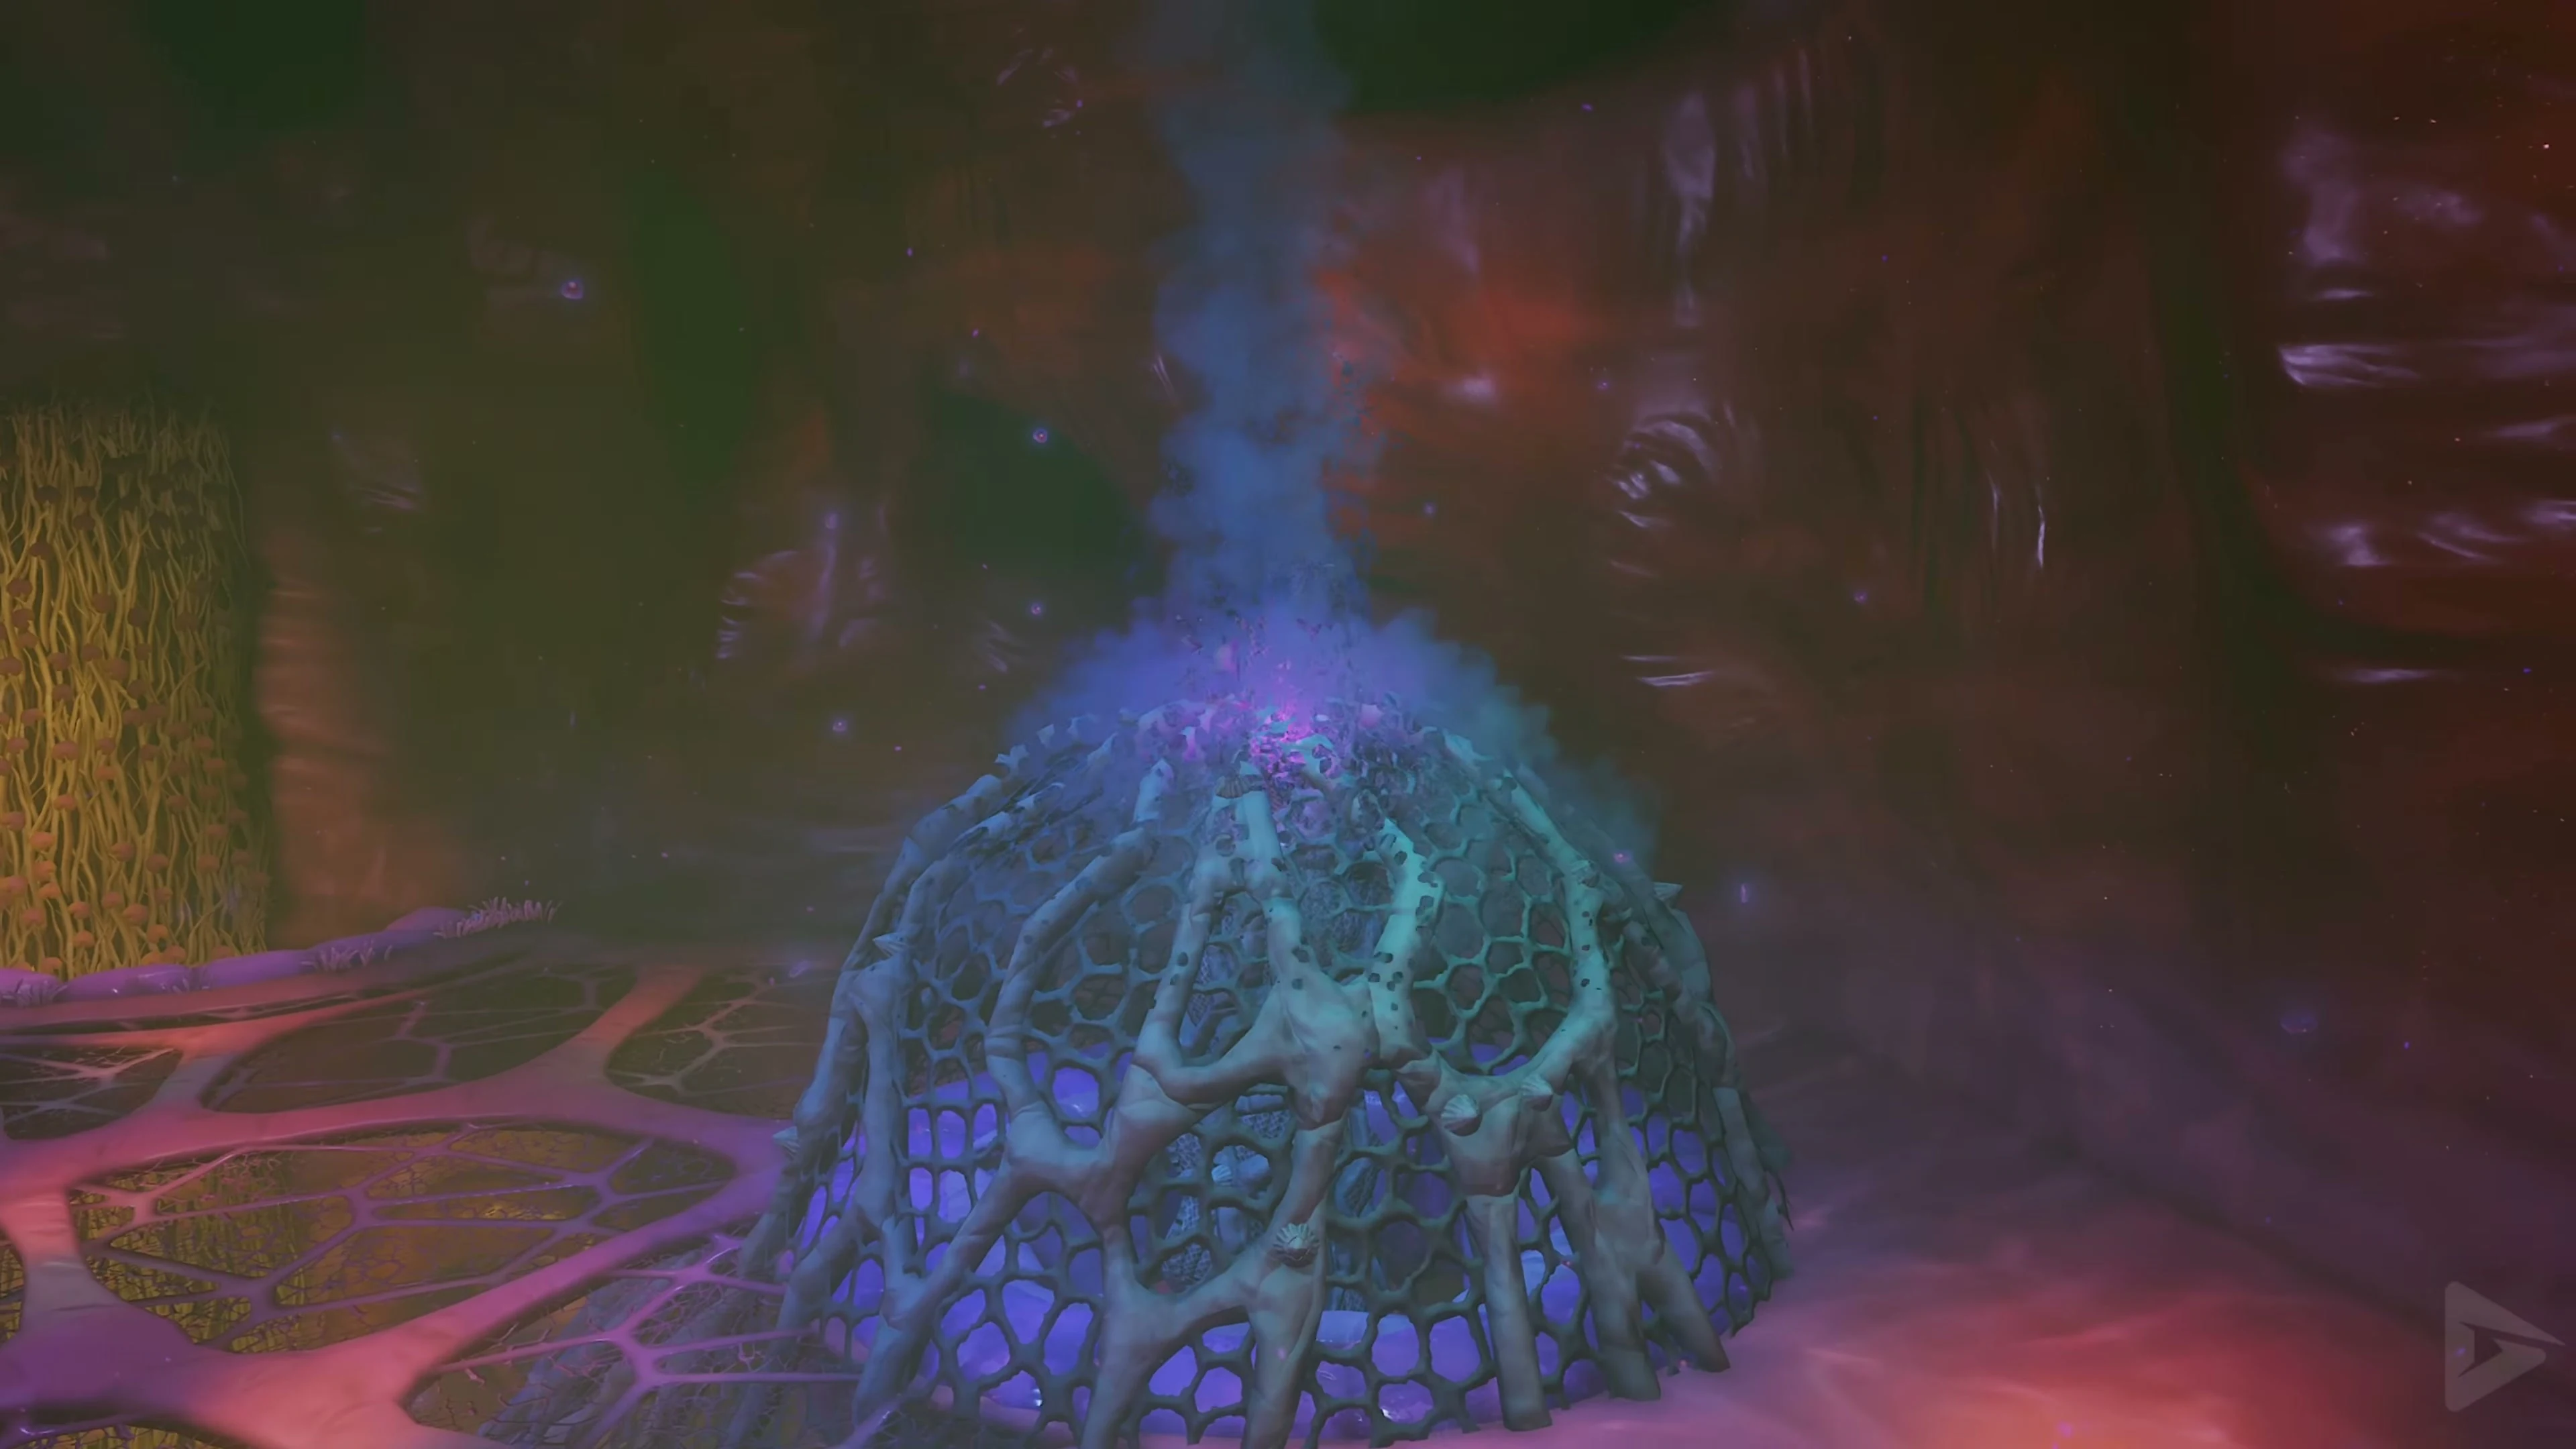
After the red tentacle, the northwest corridor is free. First, defeat the jellyfish with the boomerang while avoiding the blue tentacle’s blows. Then hit his narrow vulnerable spot with the boomerang until he disappears. This frees up the paths in the north and northeast.
The Compass
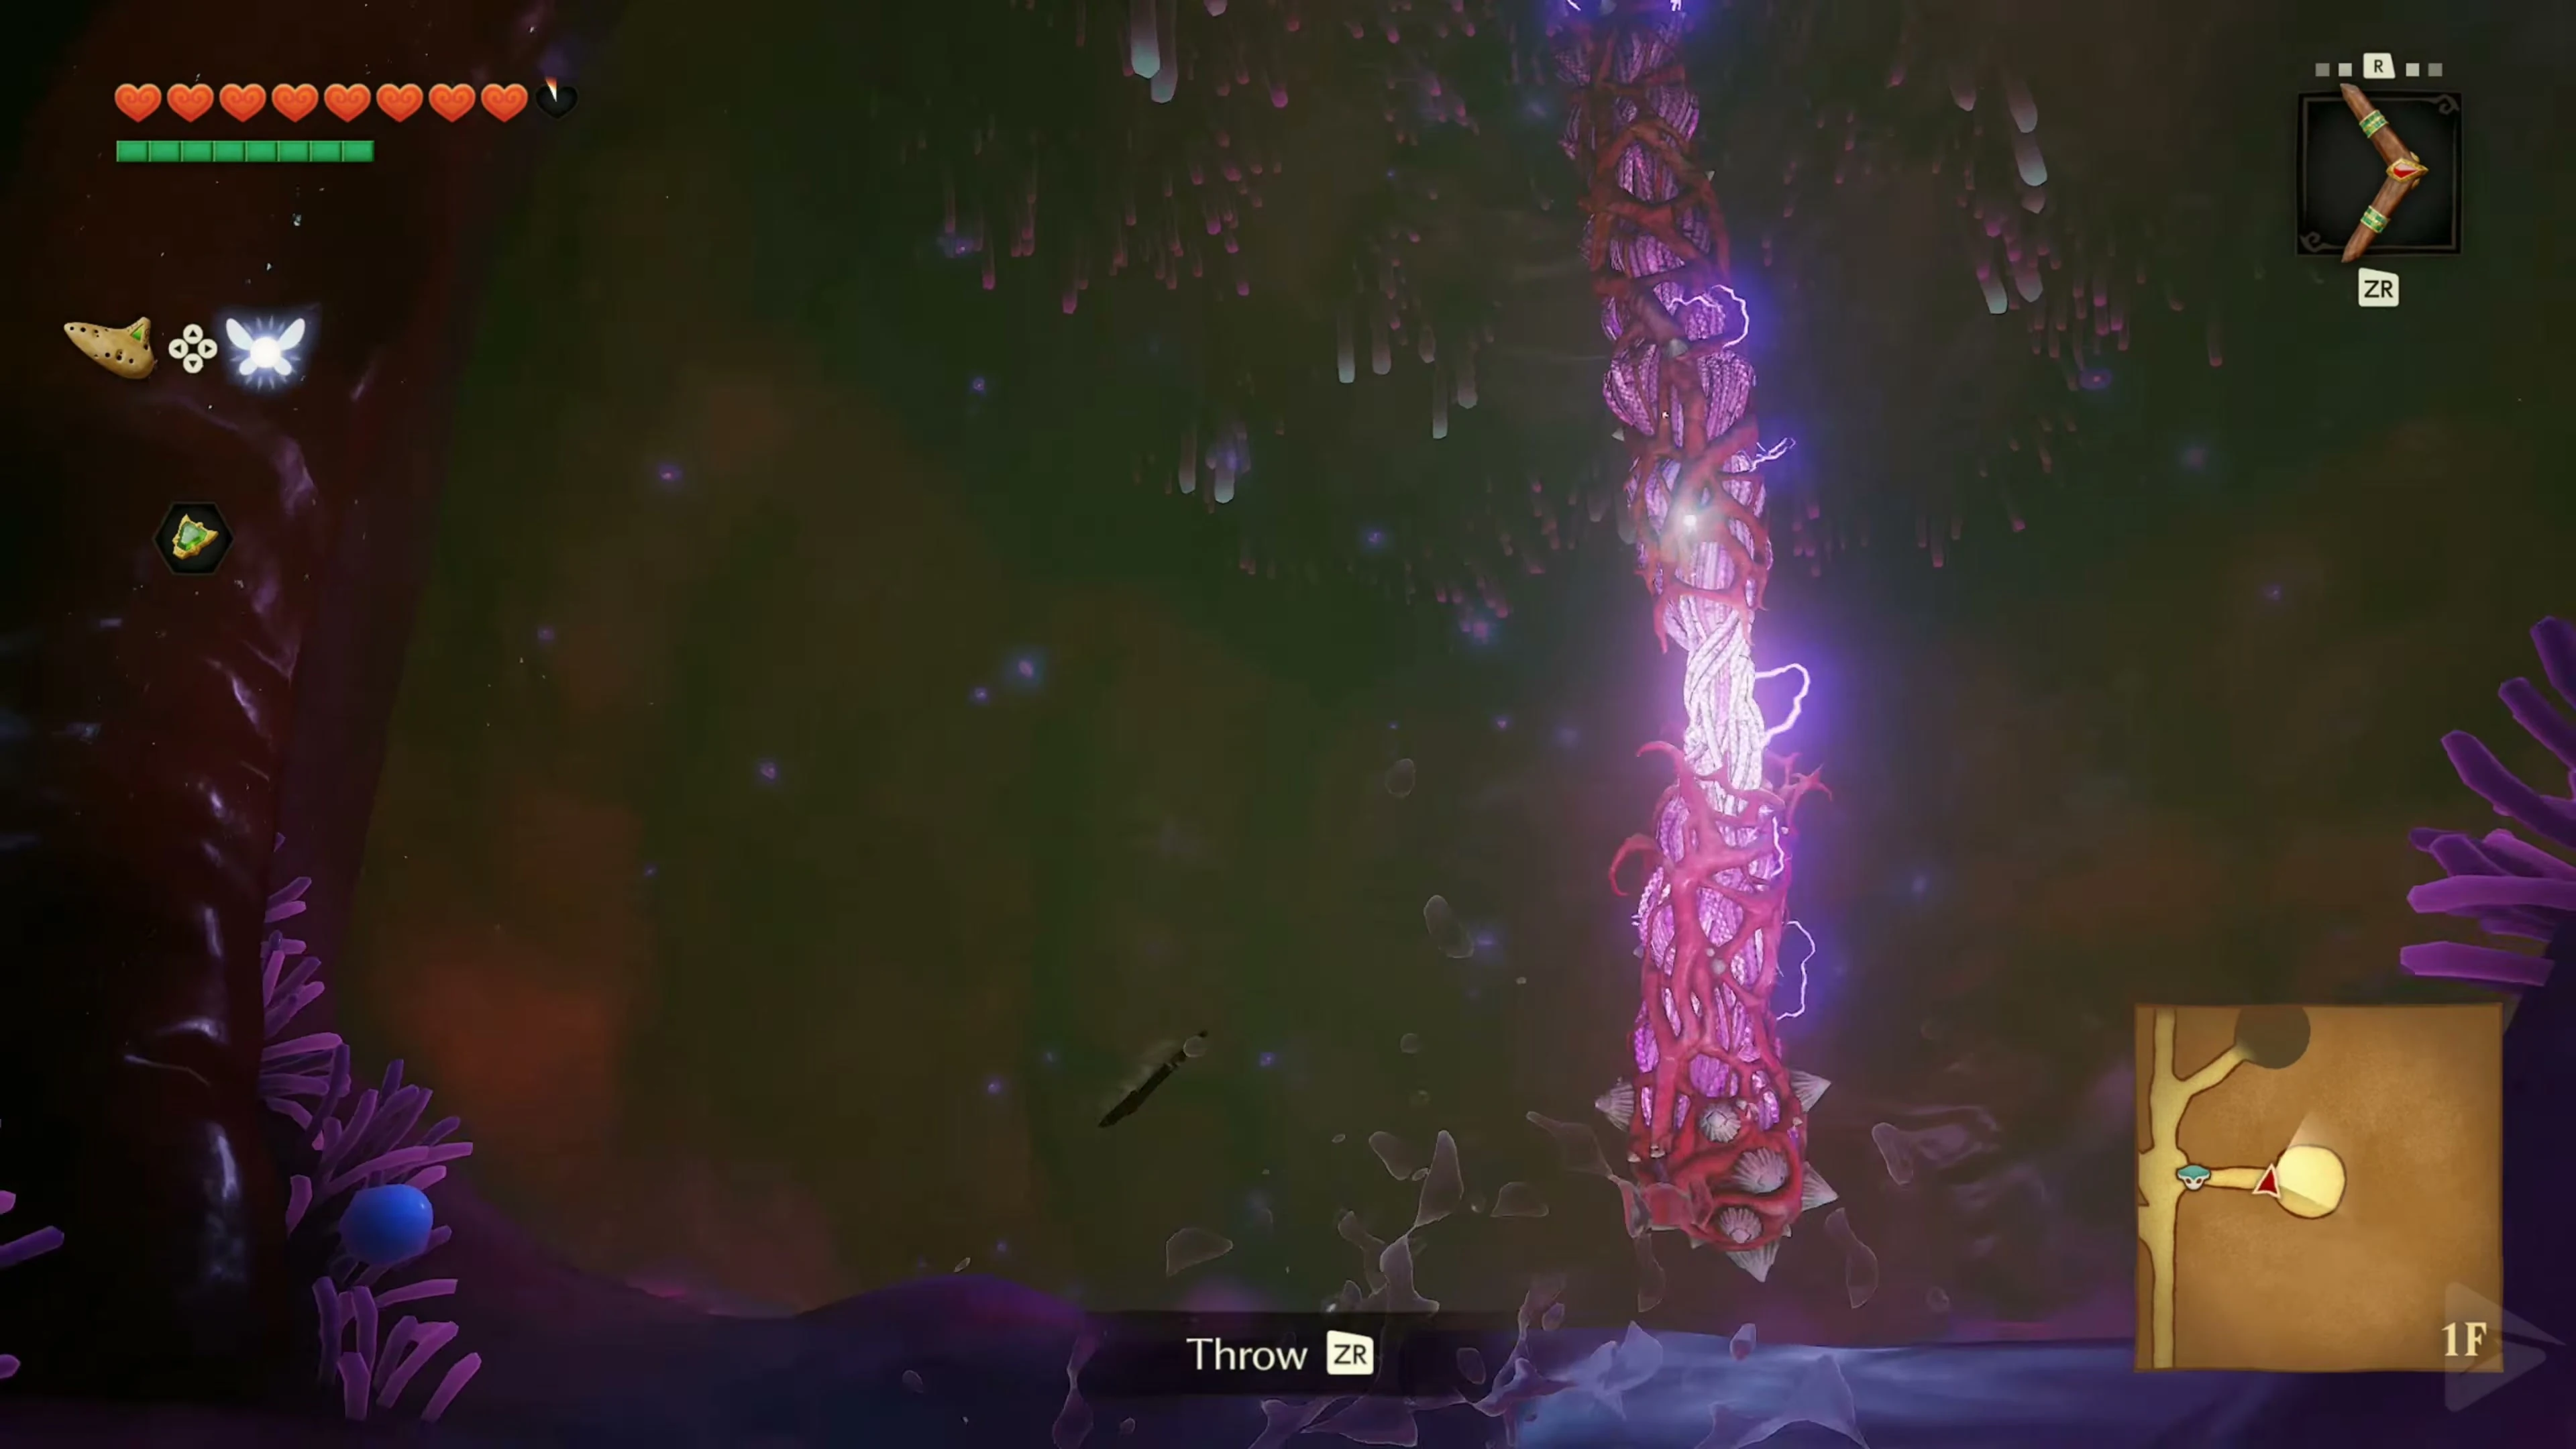
After the blue tentacle, go through the now free passage in the northeast . In the room beyond, destroy all the bubbles within the indicated time limit. Boomerang and Deku Nuts hit them from a safe distance. Open the chest that appears for the Compass . Then return to the central junction.
Green Parasite Tentacle
After the compass, take the north corridor . In the room beyond, the green tentacle and two flying fish are waiting. Defeat the fish with the boomerang and stay moving from the tentacle strikes. Hit the last tentacle until it disappears too. Pick up Ruto in the hallway and go back to the room with the holes in the floor.
Gold Skulltulas 2/4 and 3/4 in the drops
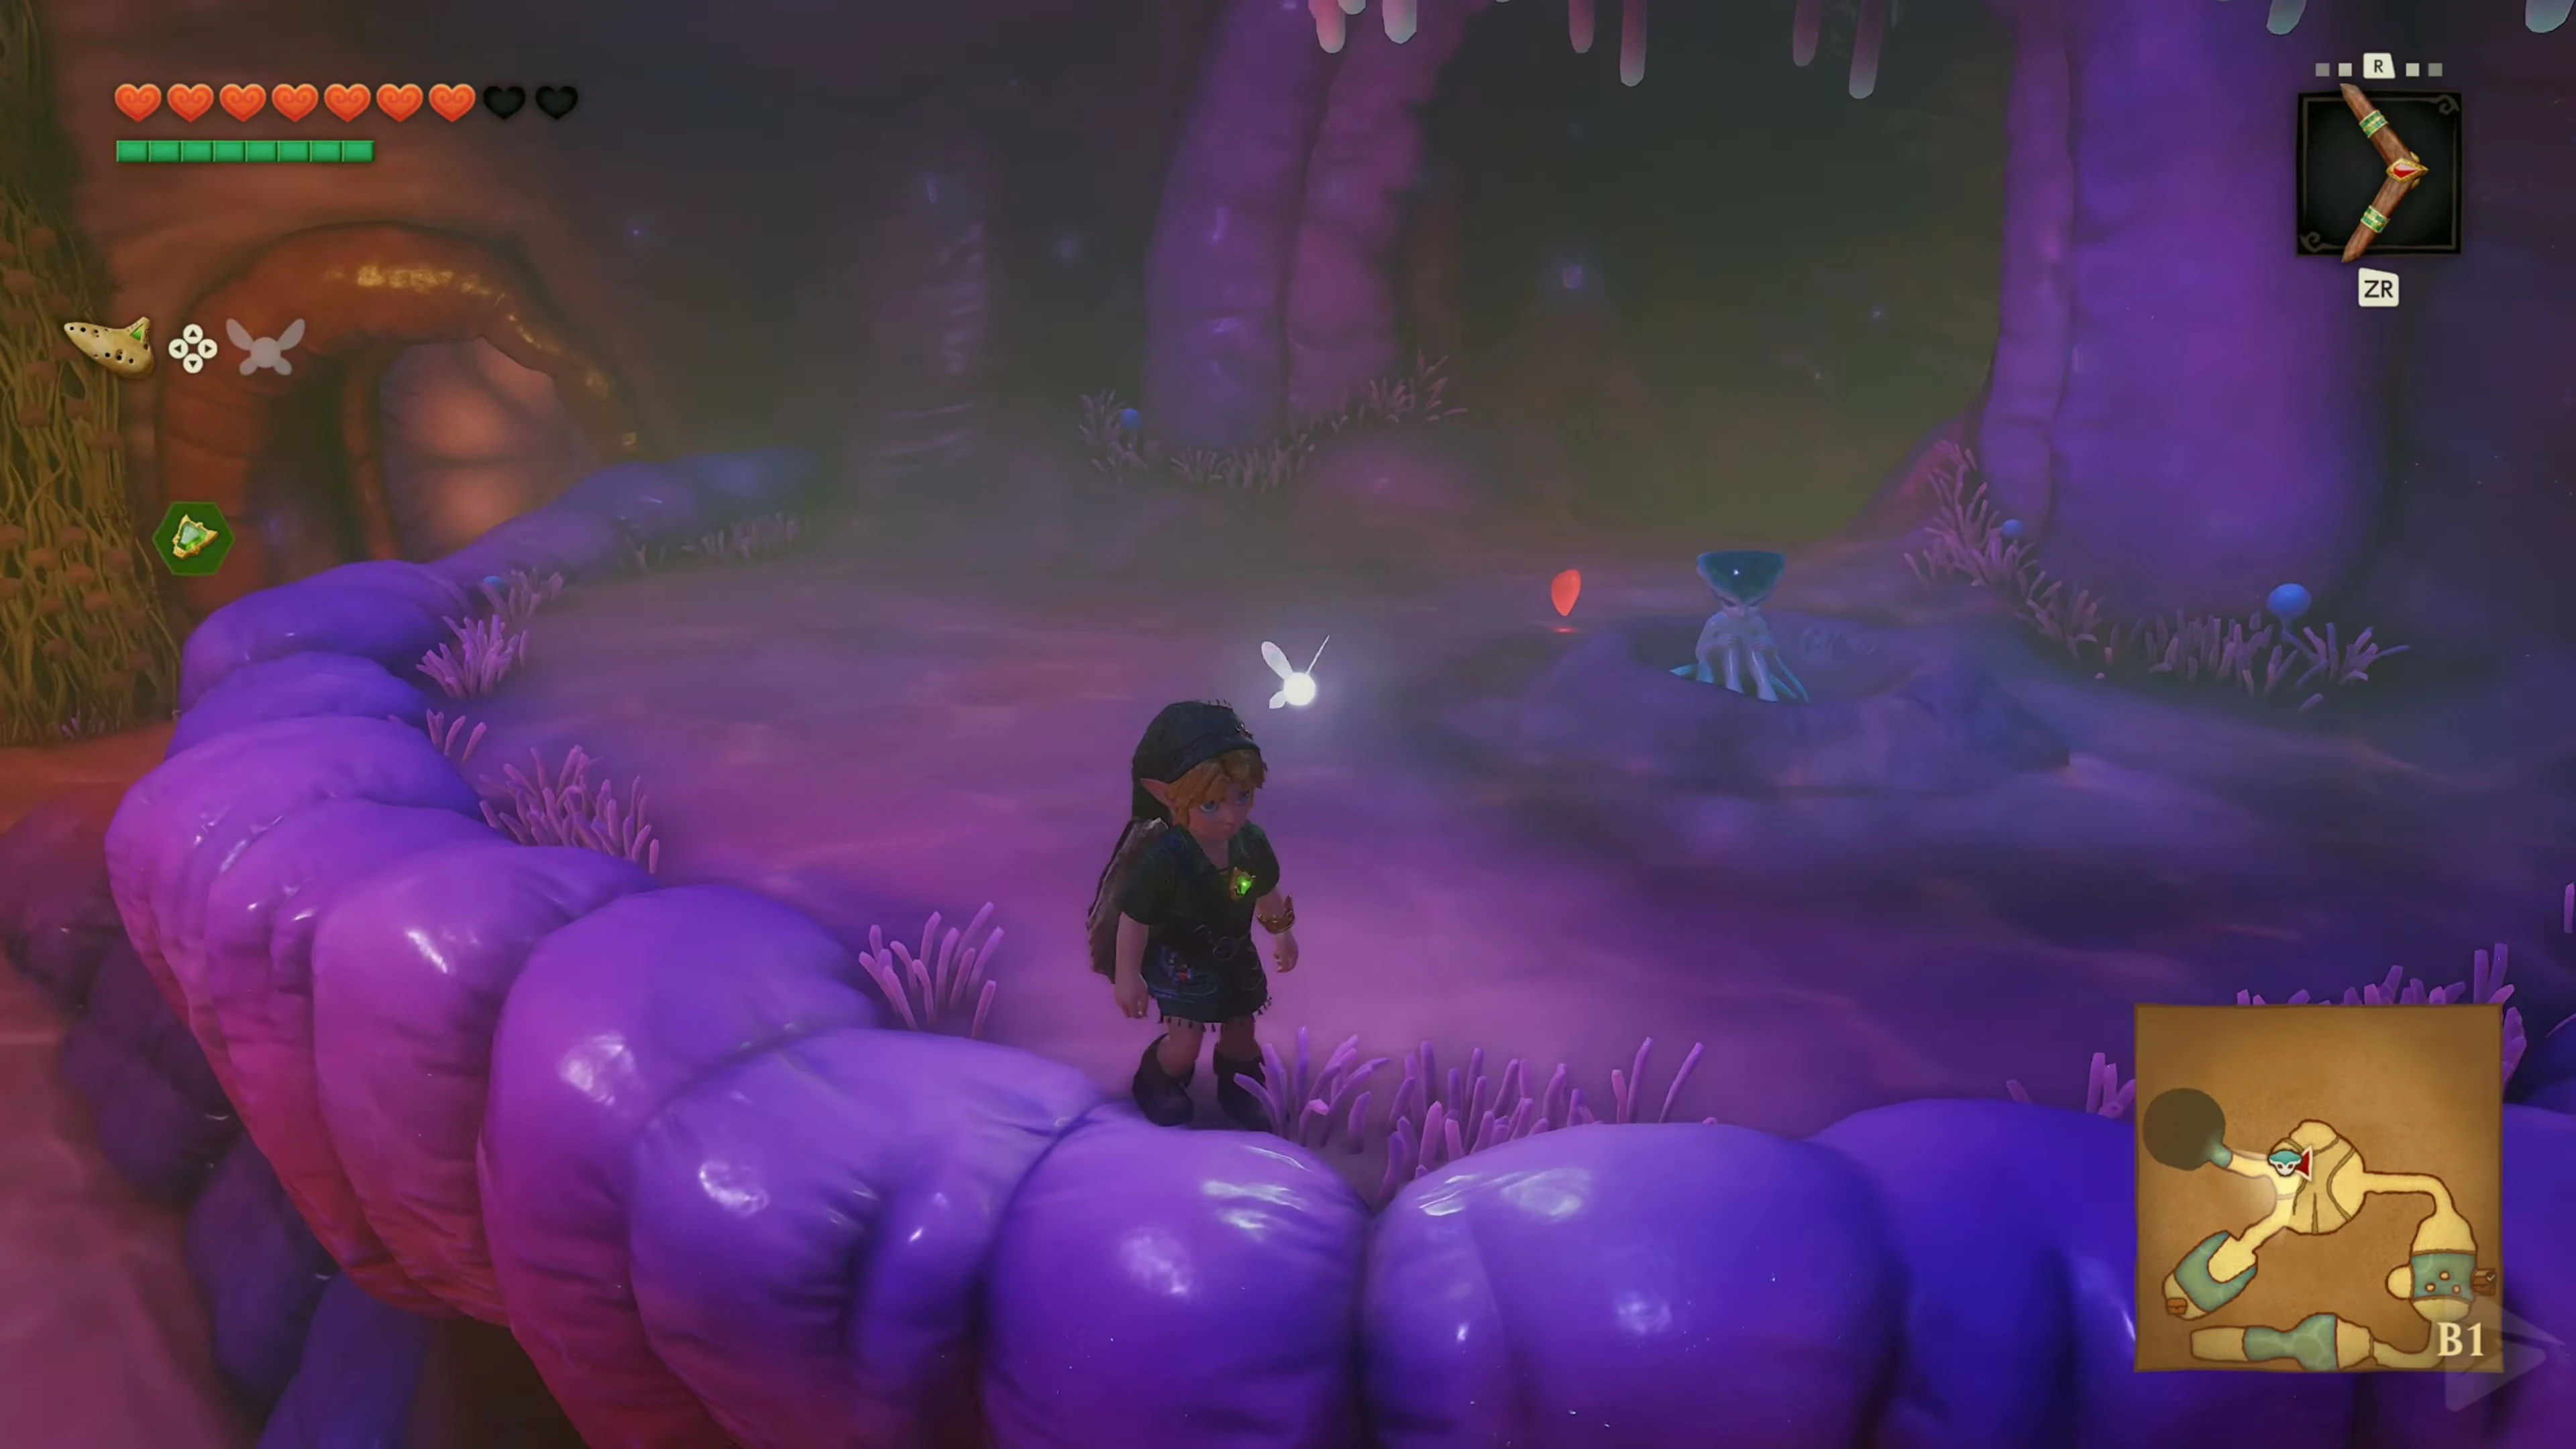
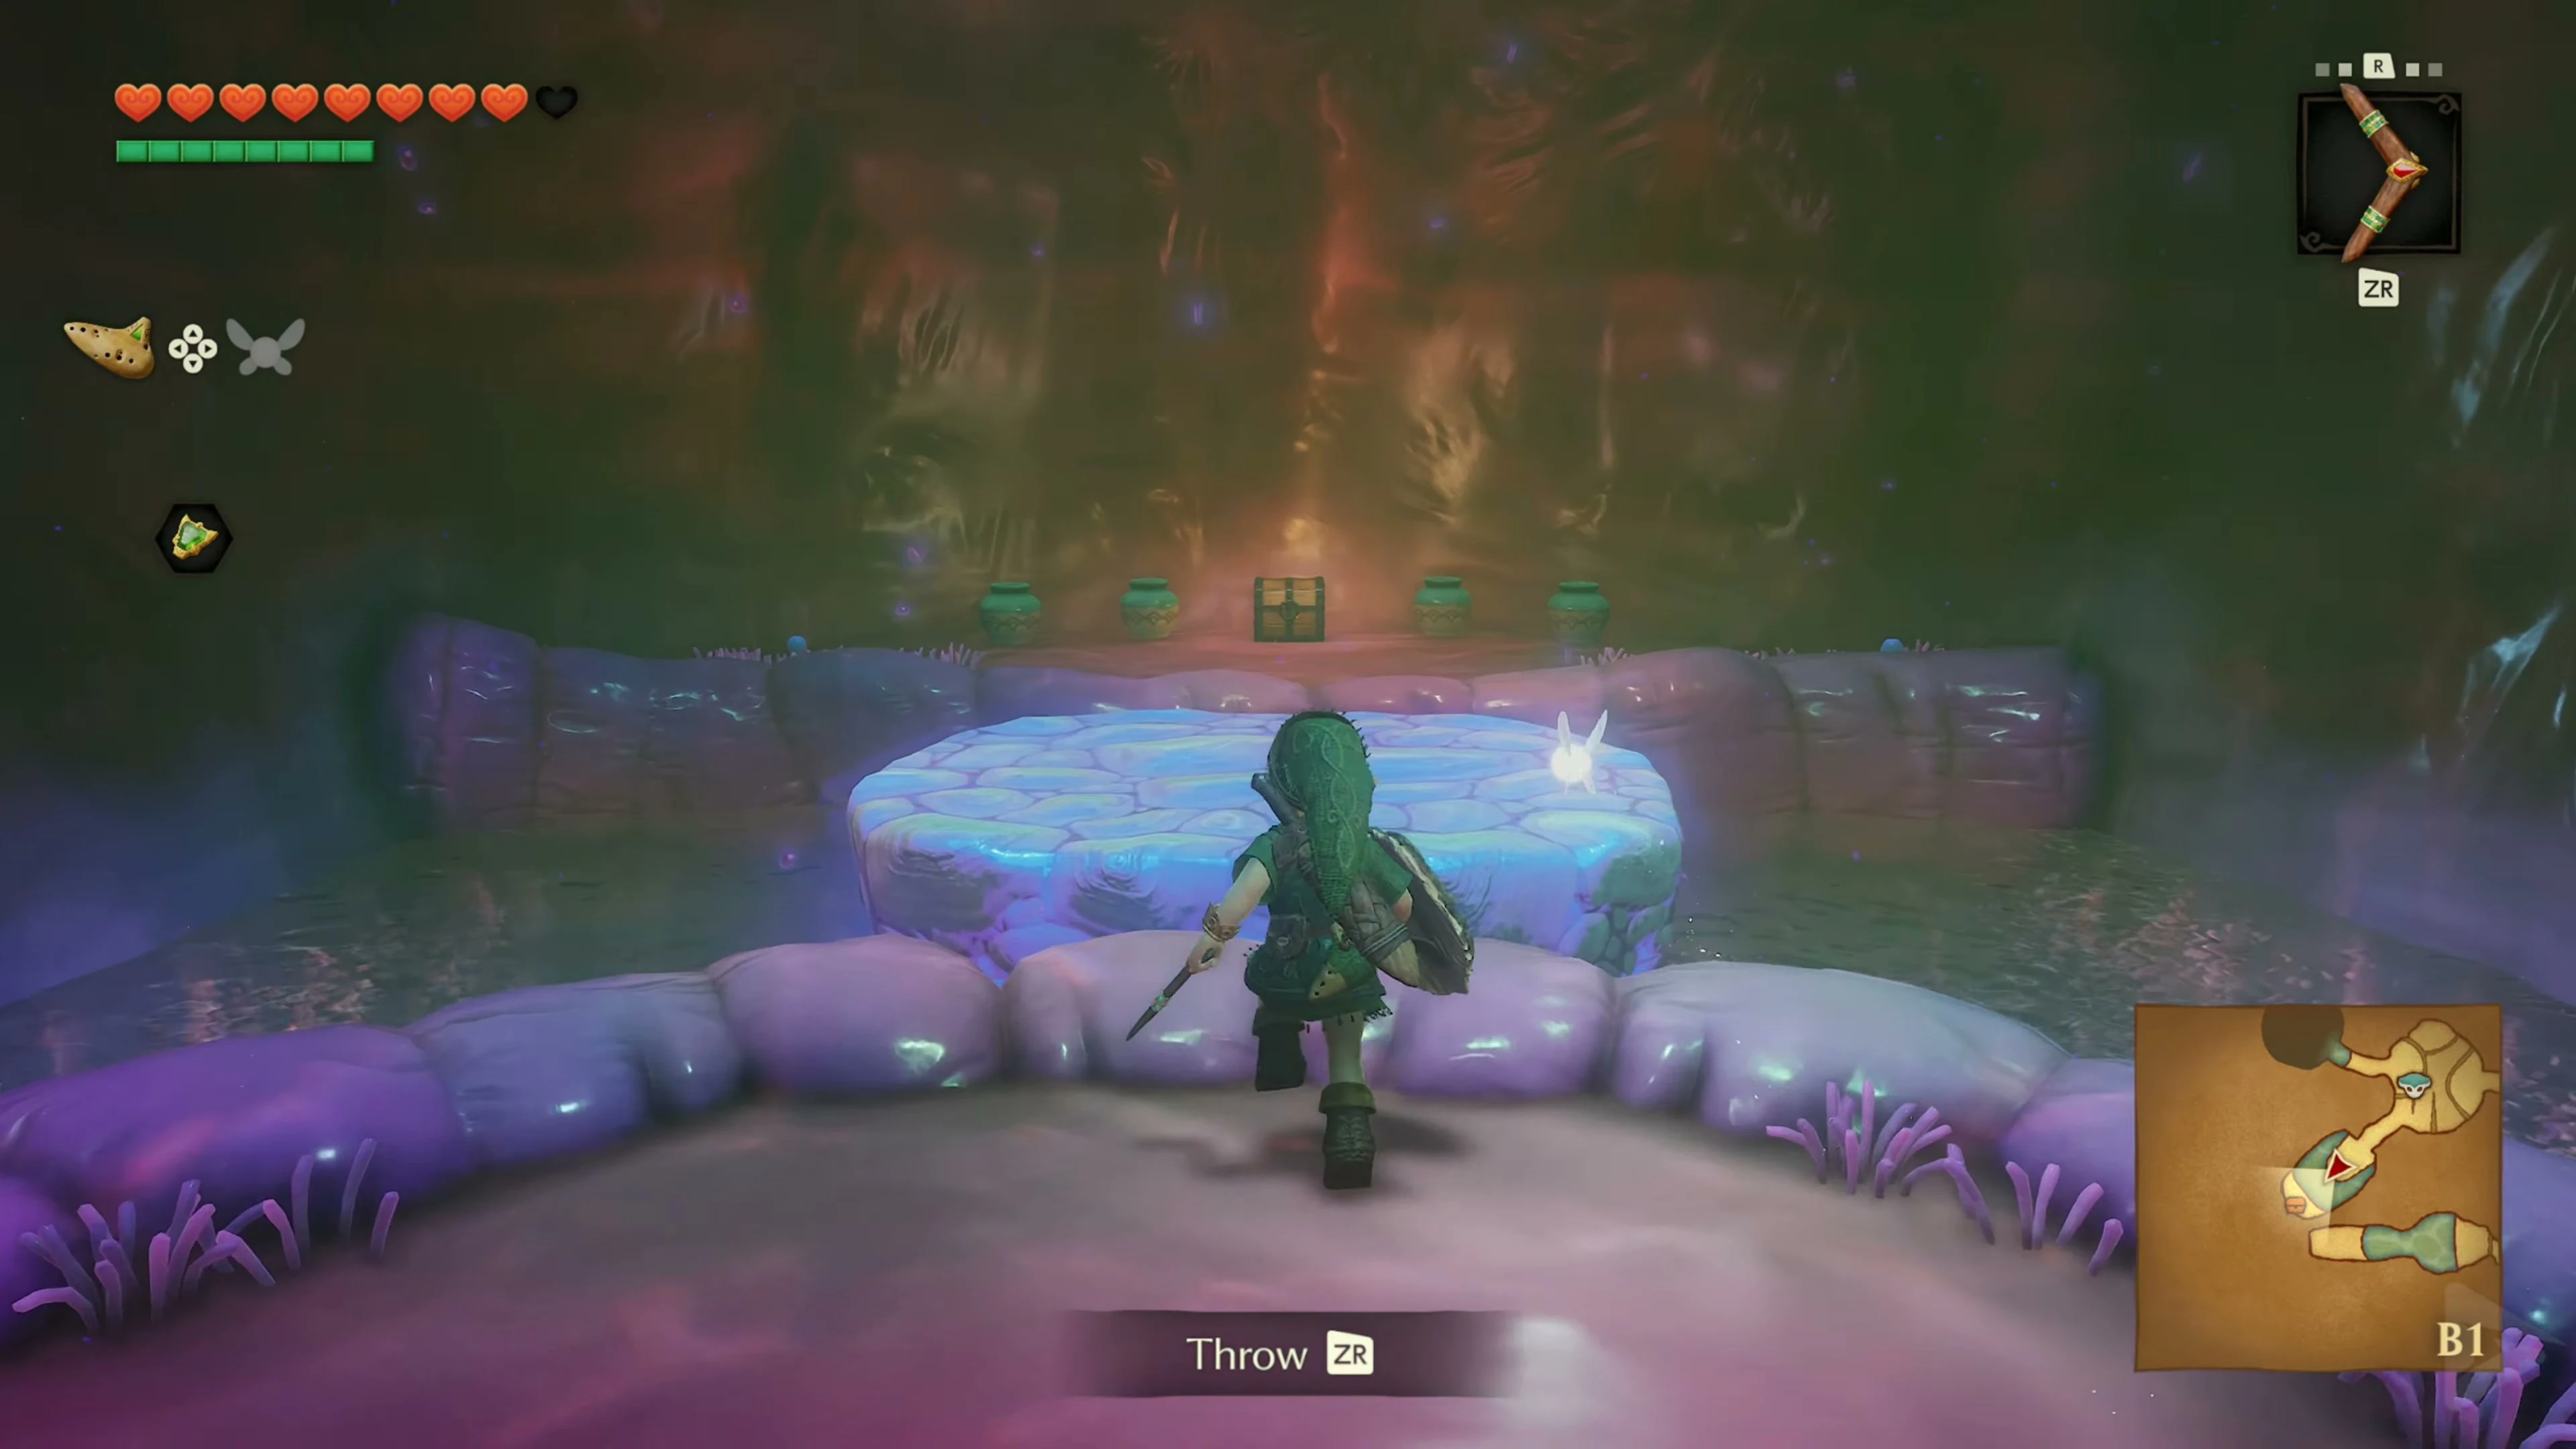
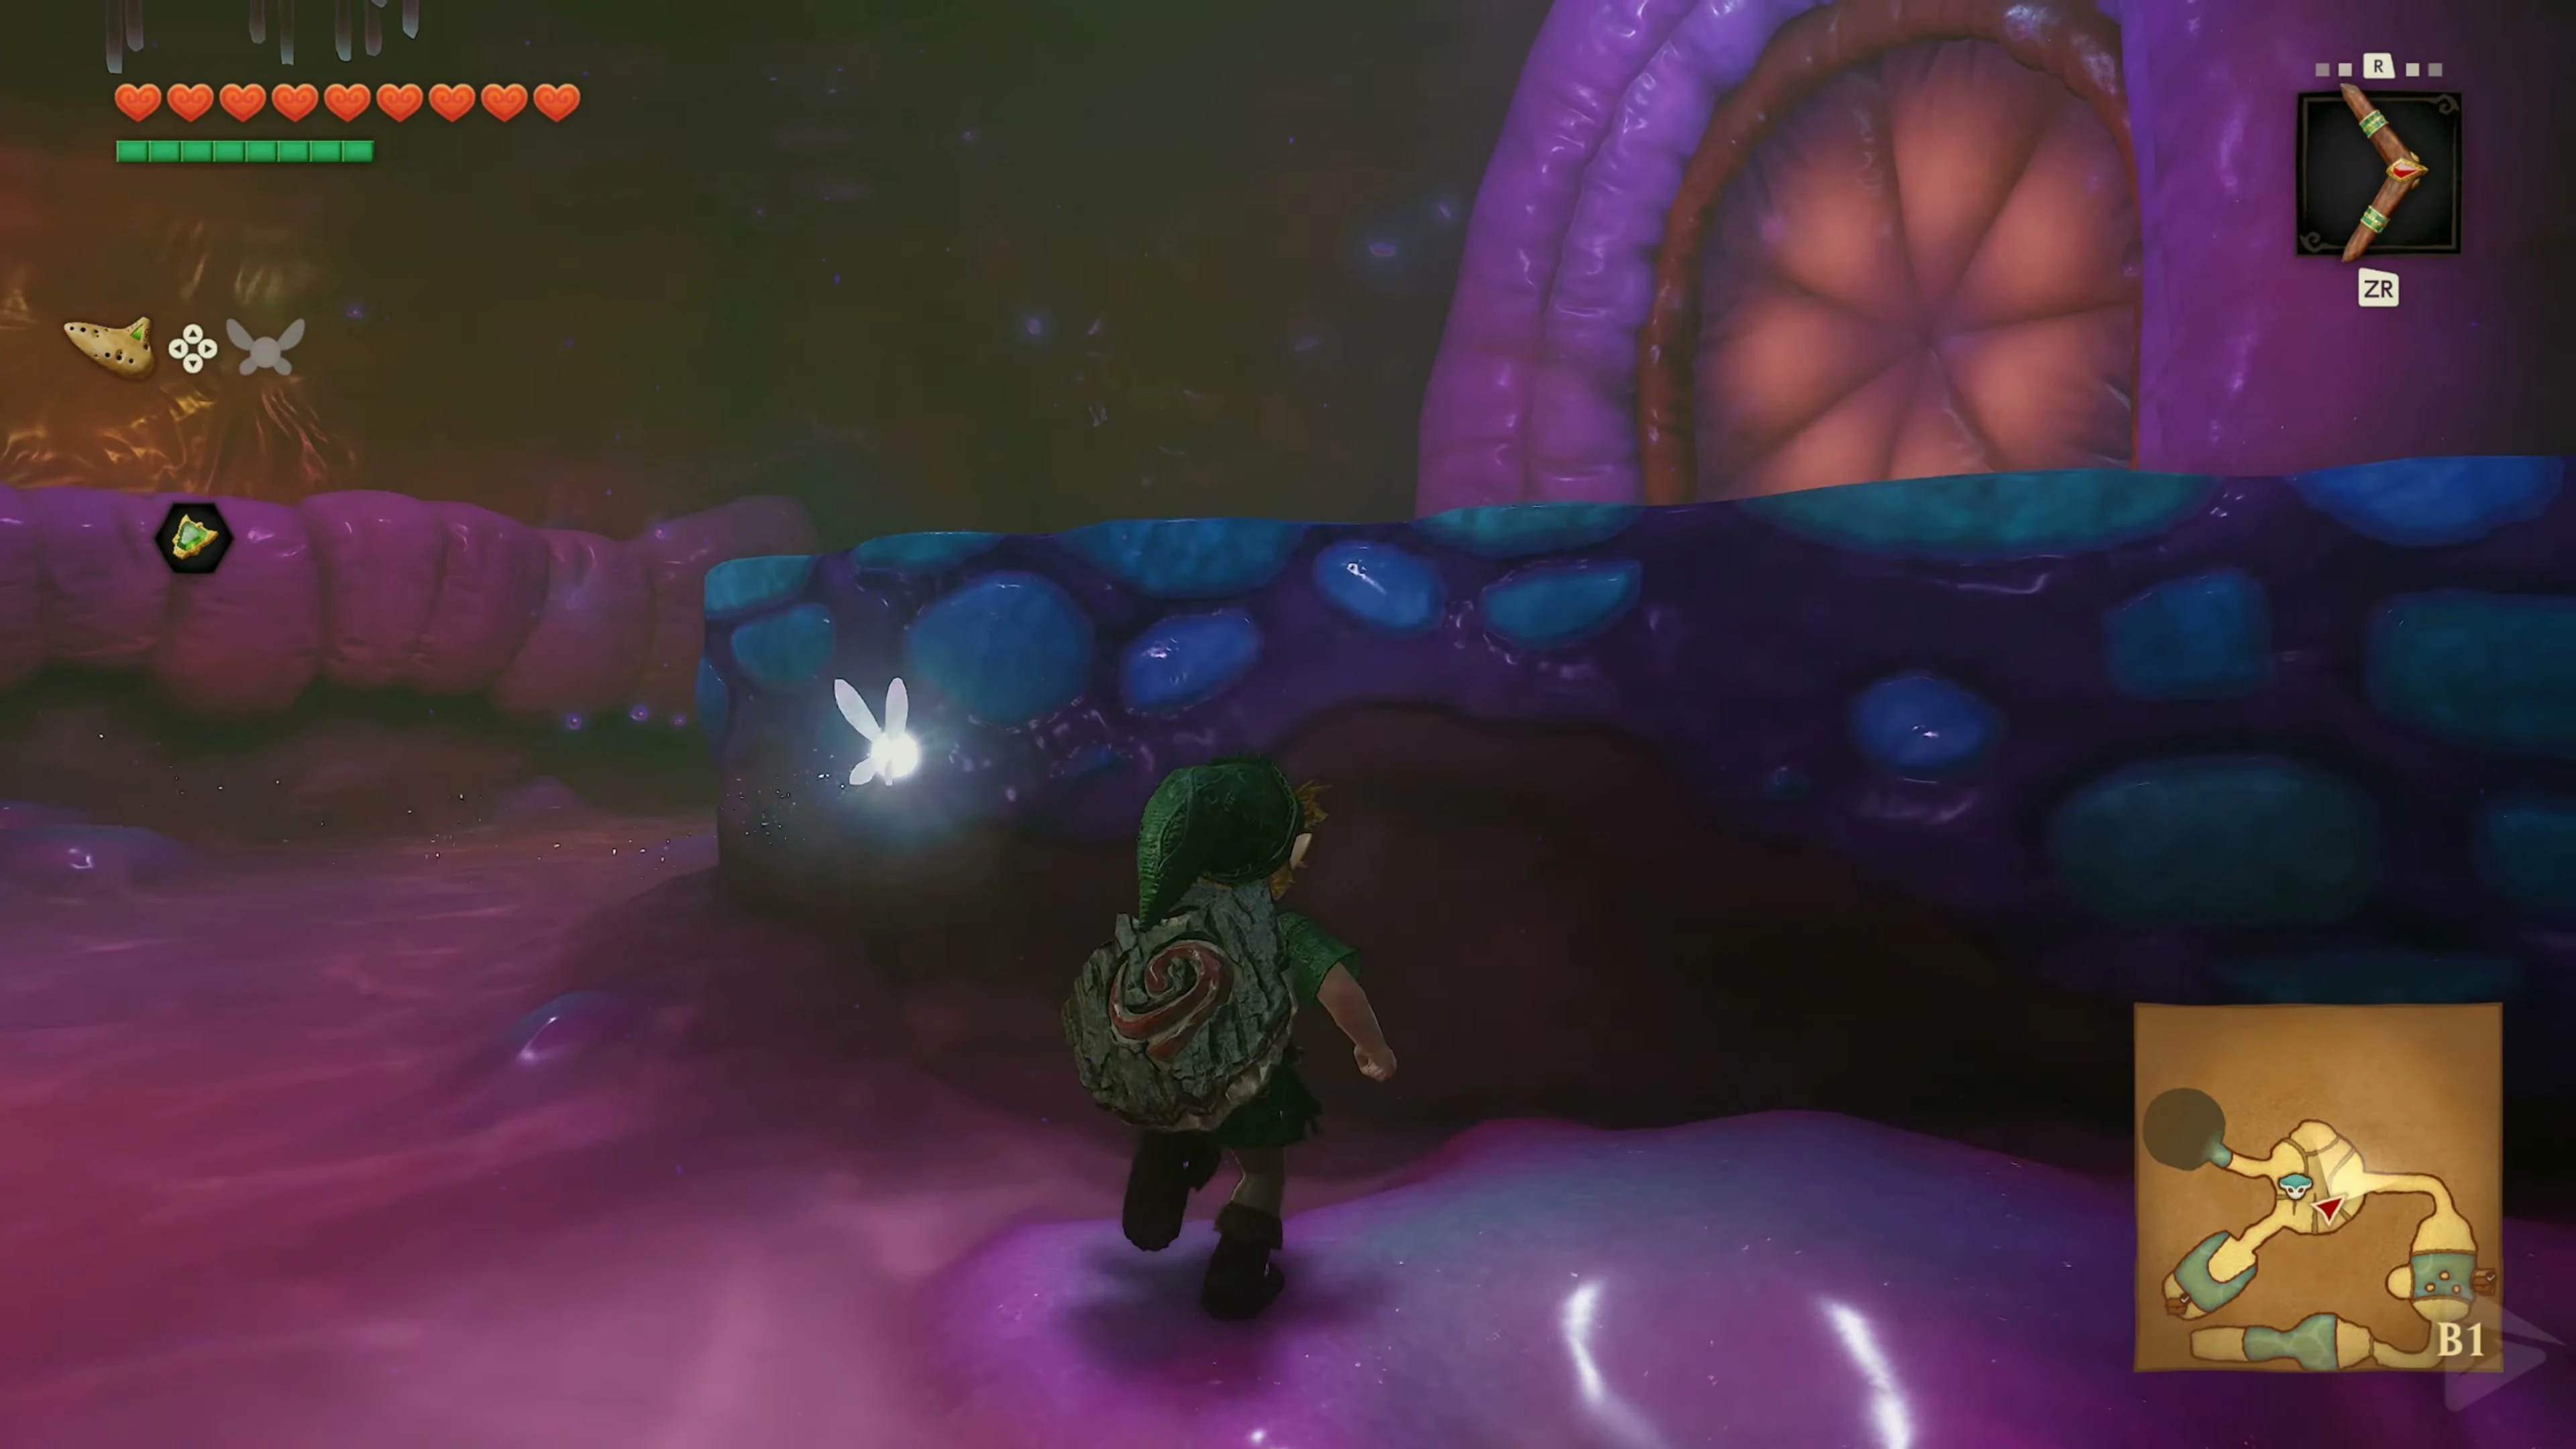
Go back to the room with the holes in the floor with Ruto after the green tentacle and jump through the now free northwestern hole . On the raised ledge, defeat Gold Skulltula 2/4 on the outer wall. Pull out her token with the boomerang. Follow the connecting corridor and get Gold Skulltula 3/4 and Token from its ceiling in the same way. Then carry Ruto through the door to the large platform.
Miniboss: Big Octo
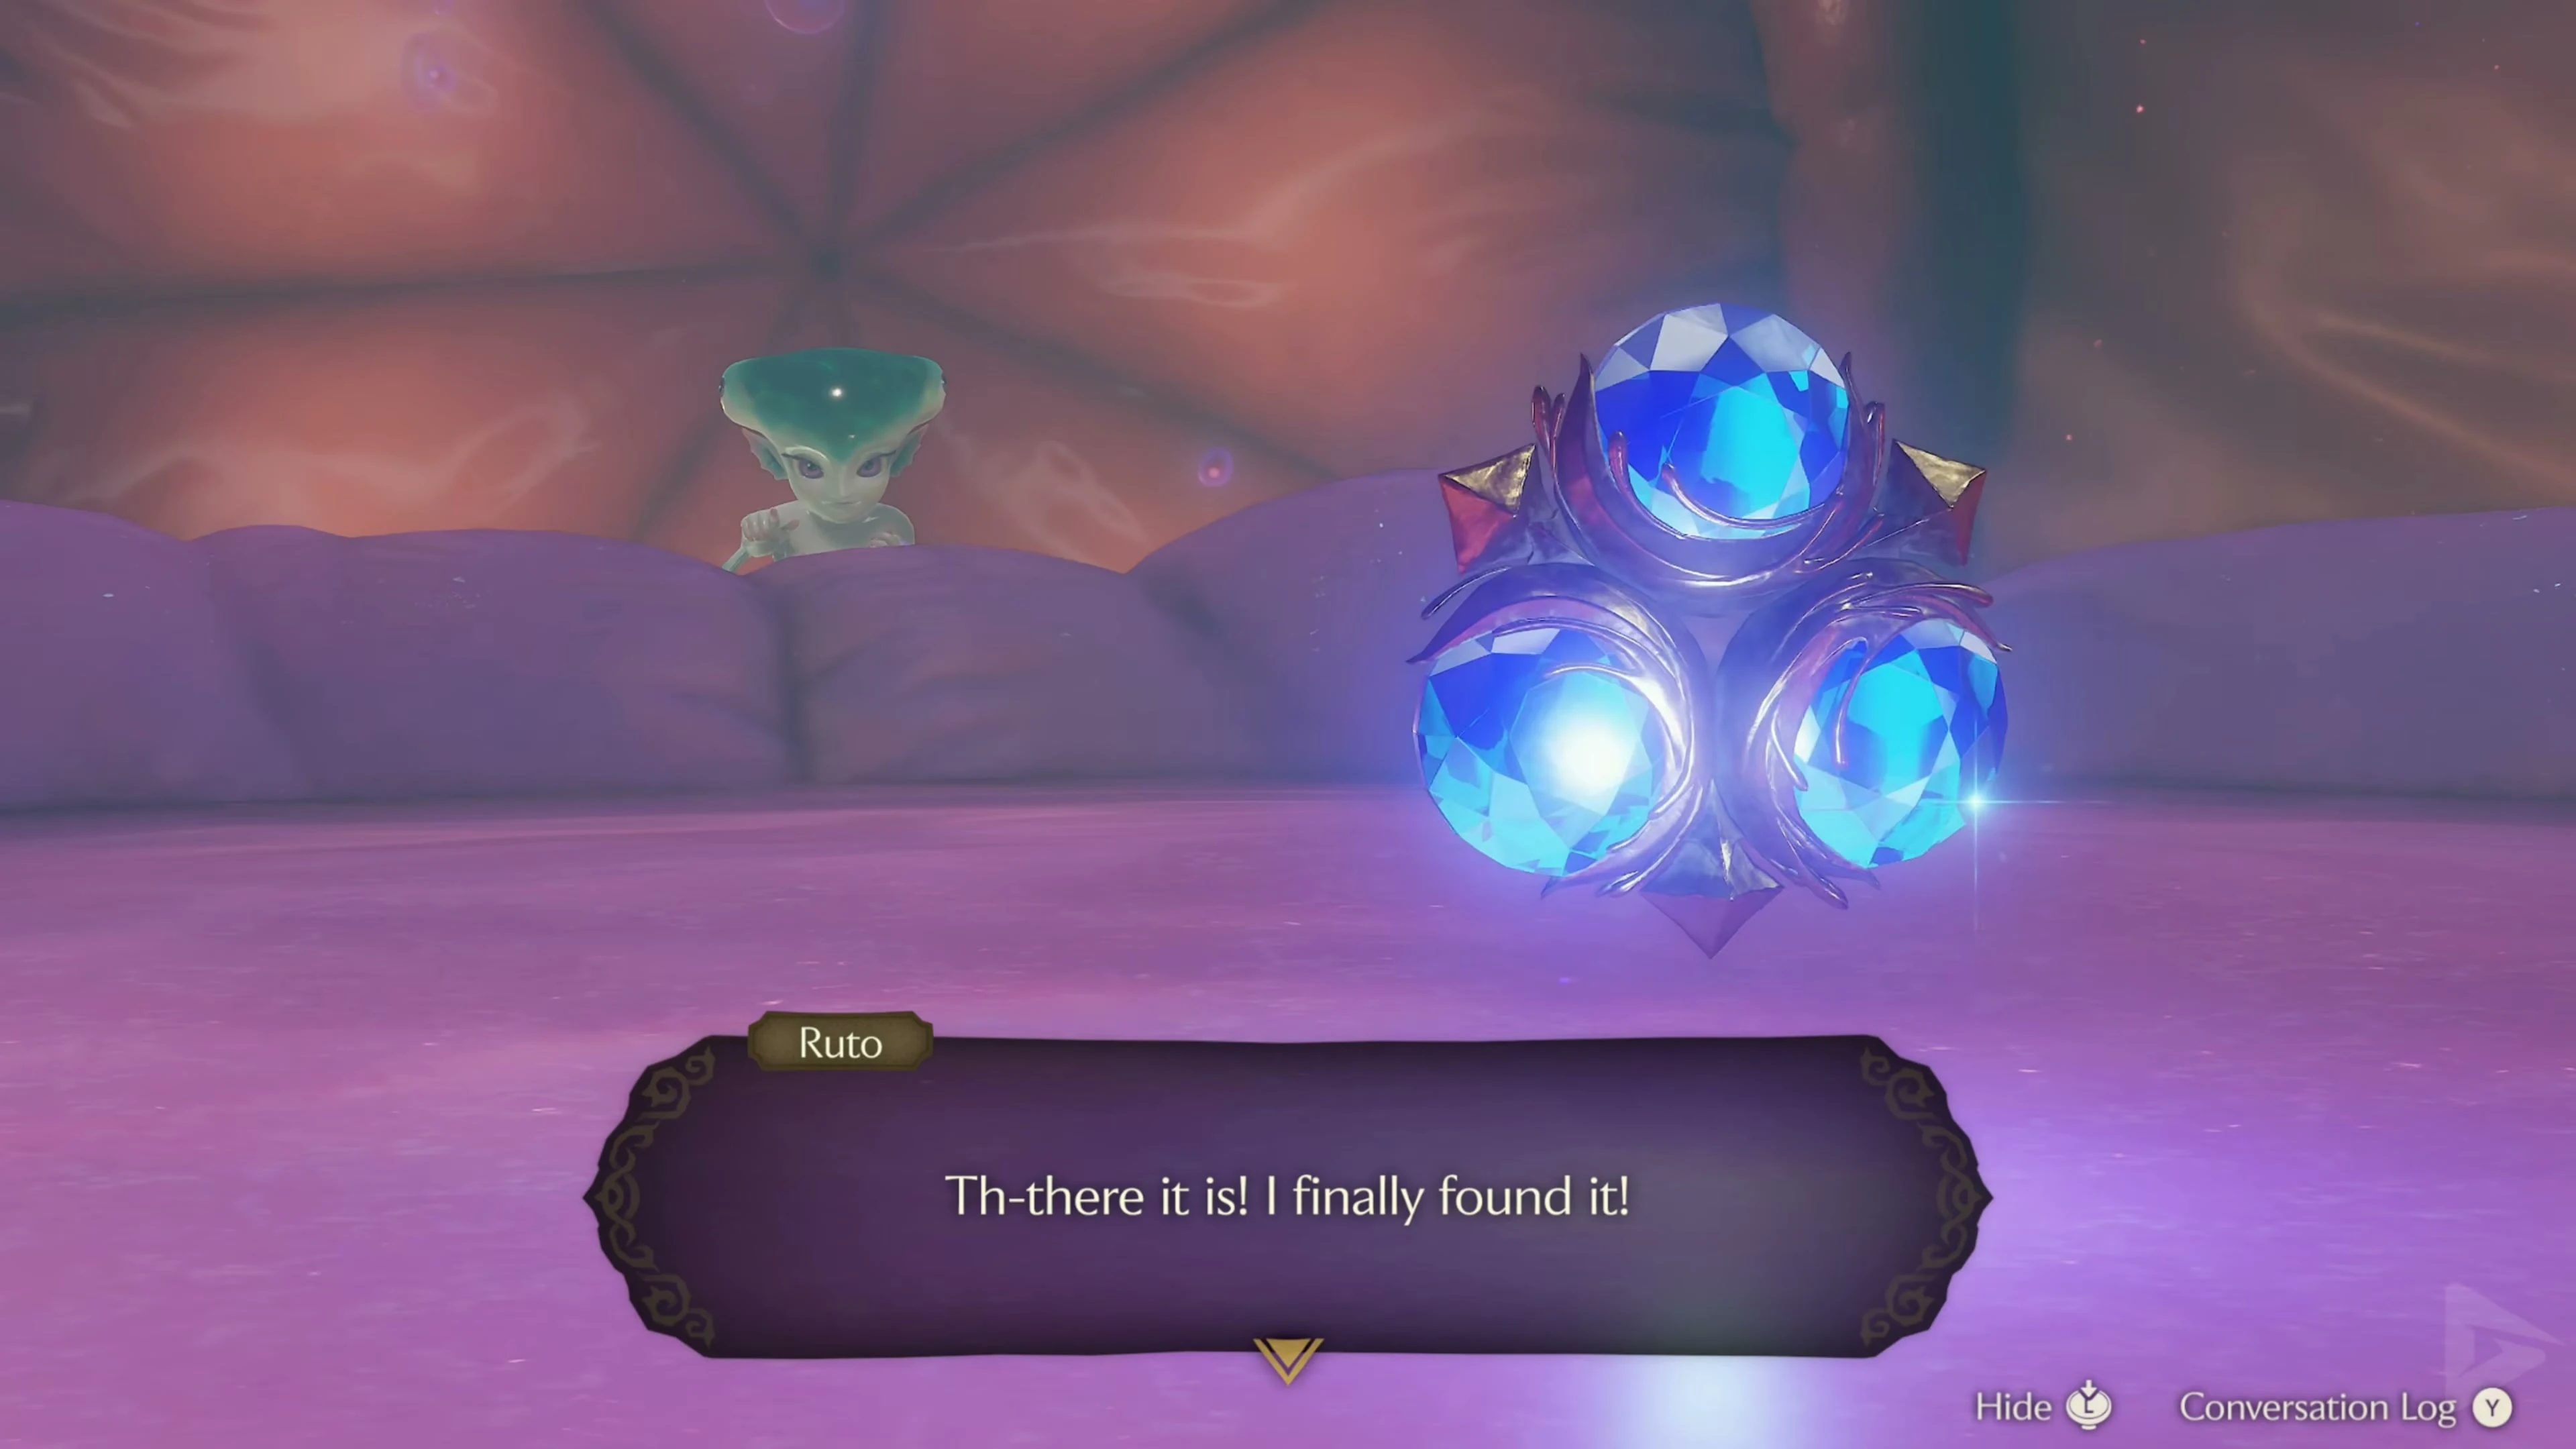
In the next room, Ruto finally discovers the Zora Sapphire . Throw the princess onto the platform in the middle. Ruto enthusiastically takes the holy stone. However, the platform suddenly moves up. Shortly afterwards it descends again – without Ruto. Instead, the giant octopus Big Octo appears.
Big Octo defeat
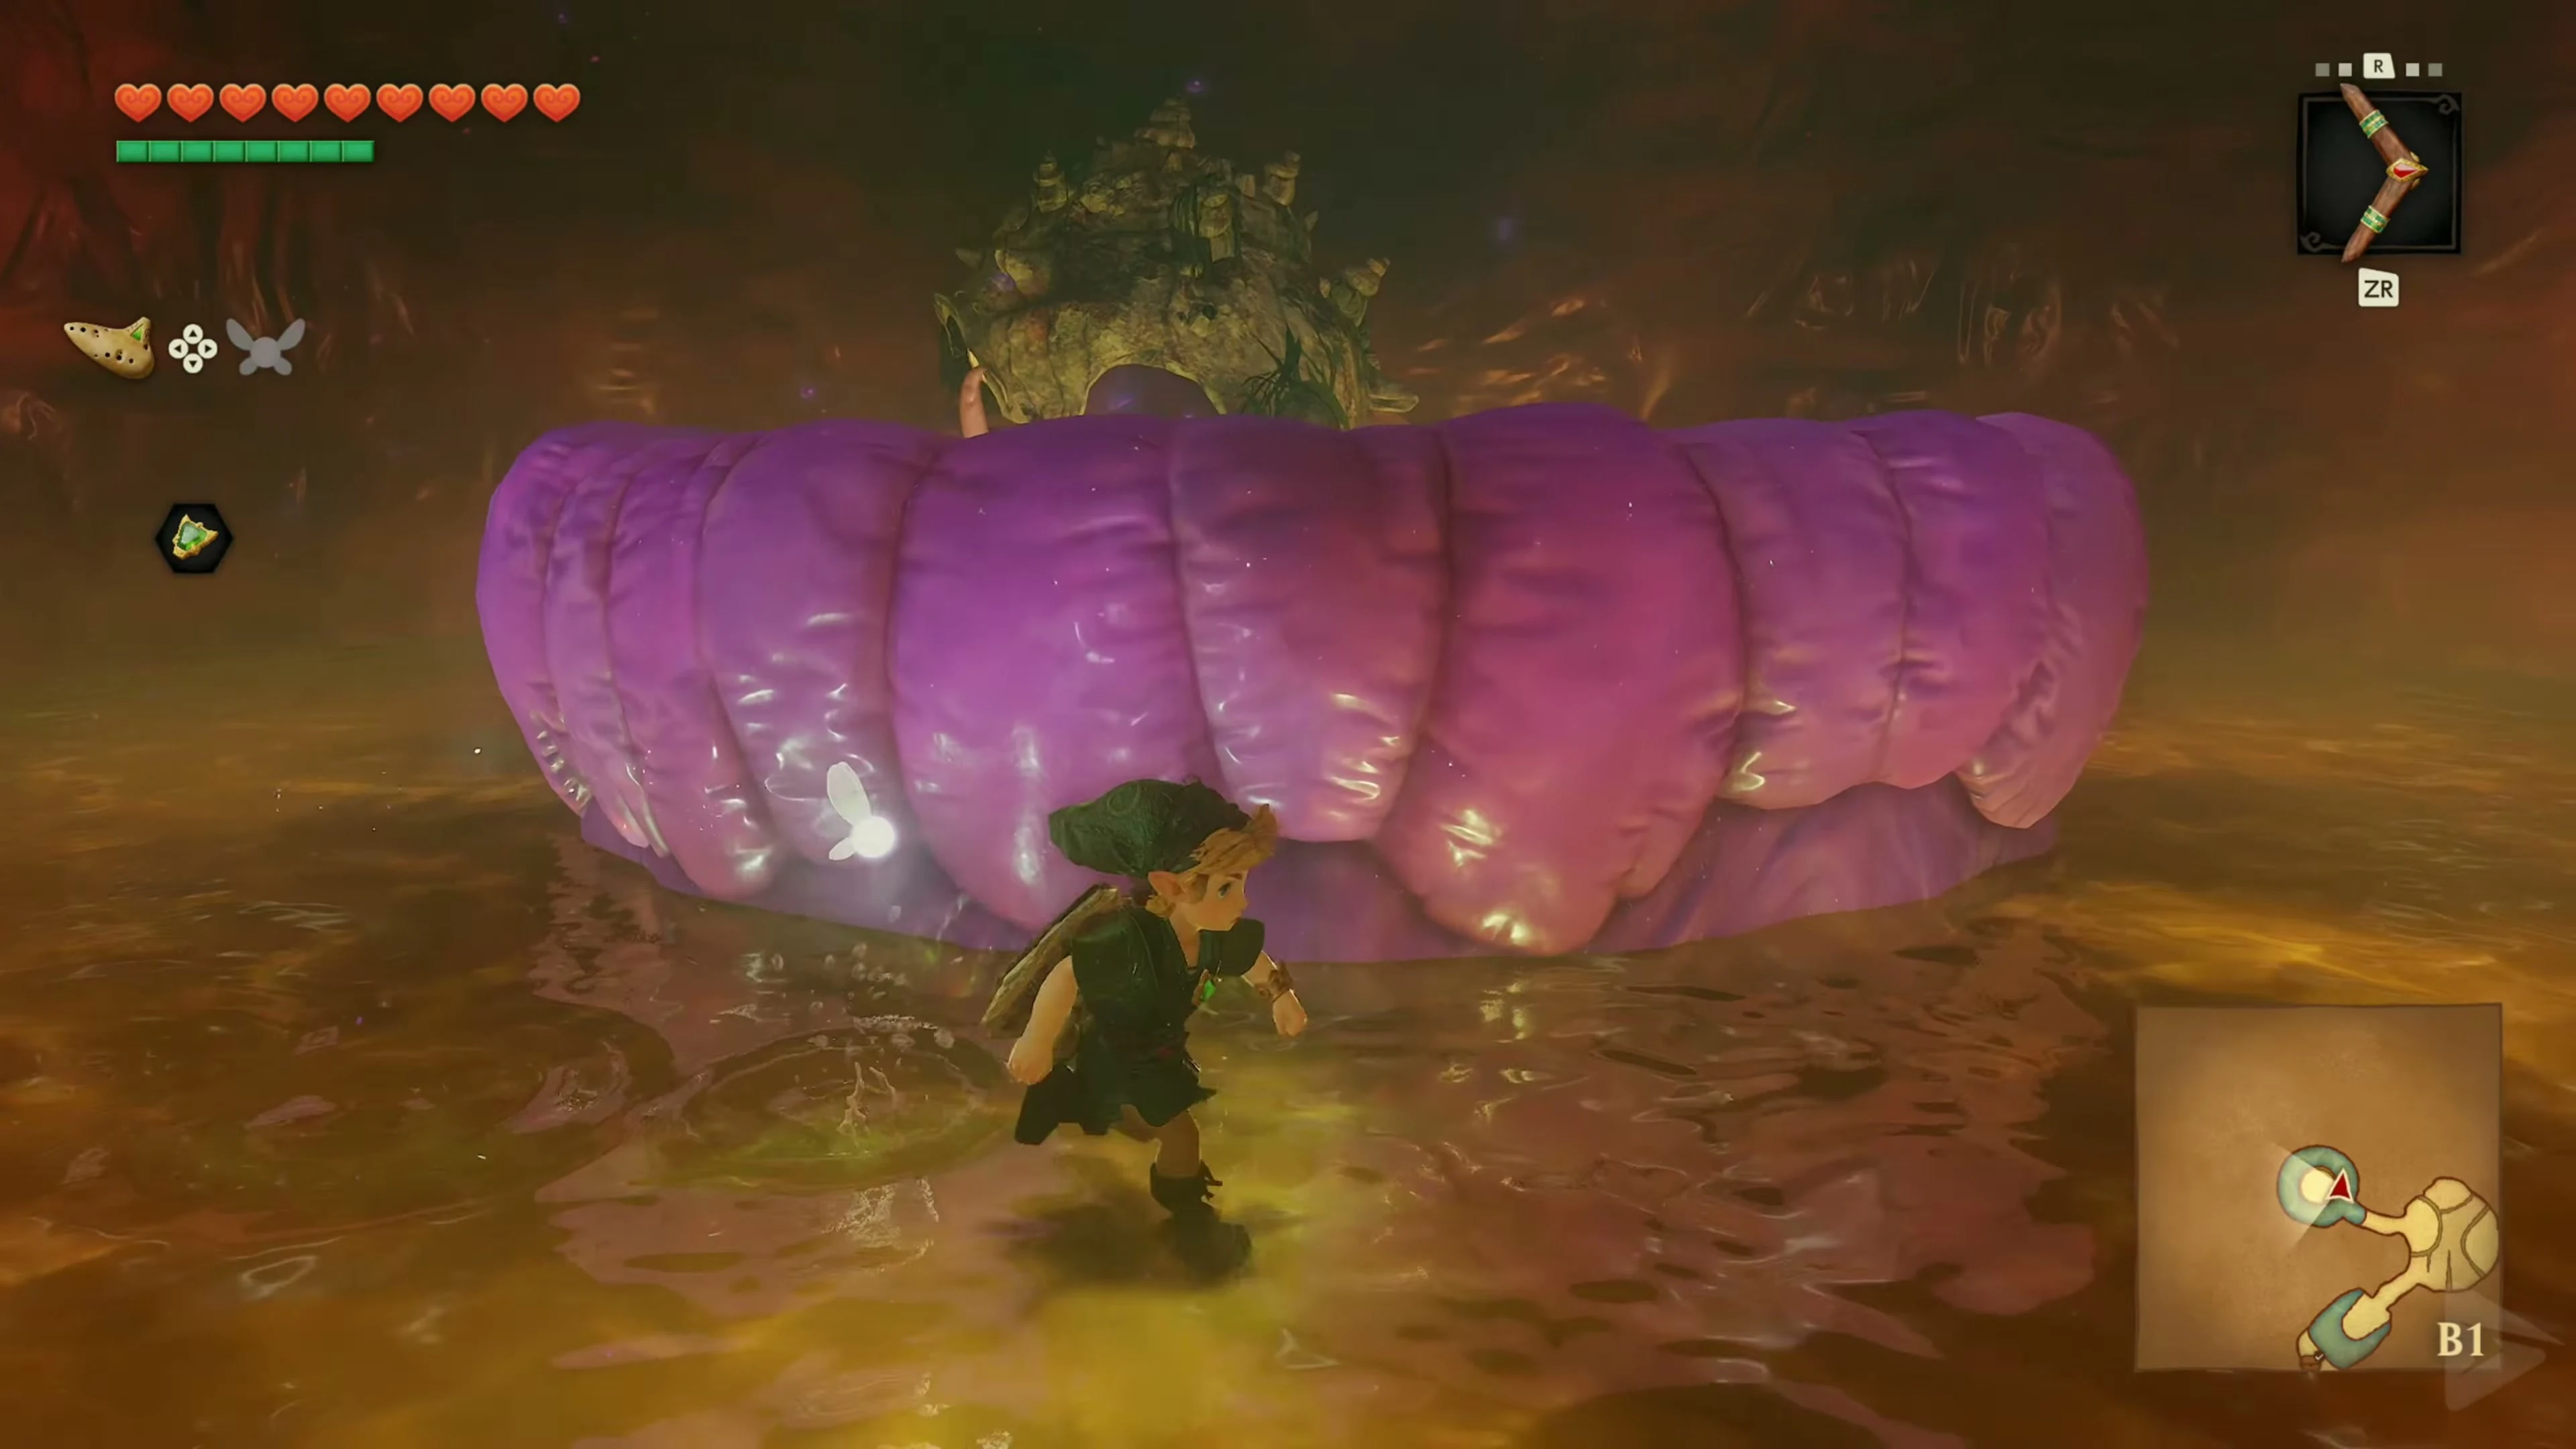
Big Octo runs around the middle platform. Target him, stun him with the Boomerang and attack the green spot on his back with the sword. Follow him along the inner circular path until you have a clear line of fire on his back. If he continues to show the front after being stunned, wait for him to continue running and stun him again. After the victory, you ride up on the central platform.
The path to the final boss’s chamber
After Big Octo, collect the hearts if necessary and go through the door.
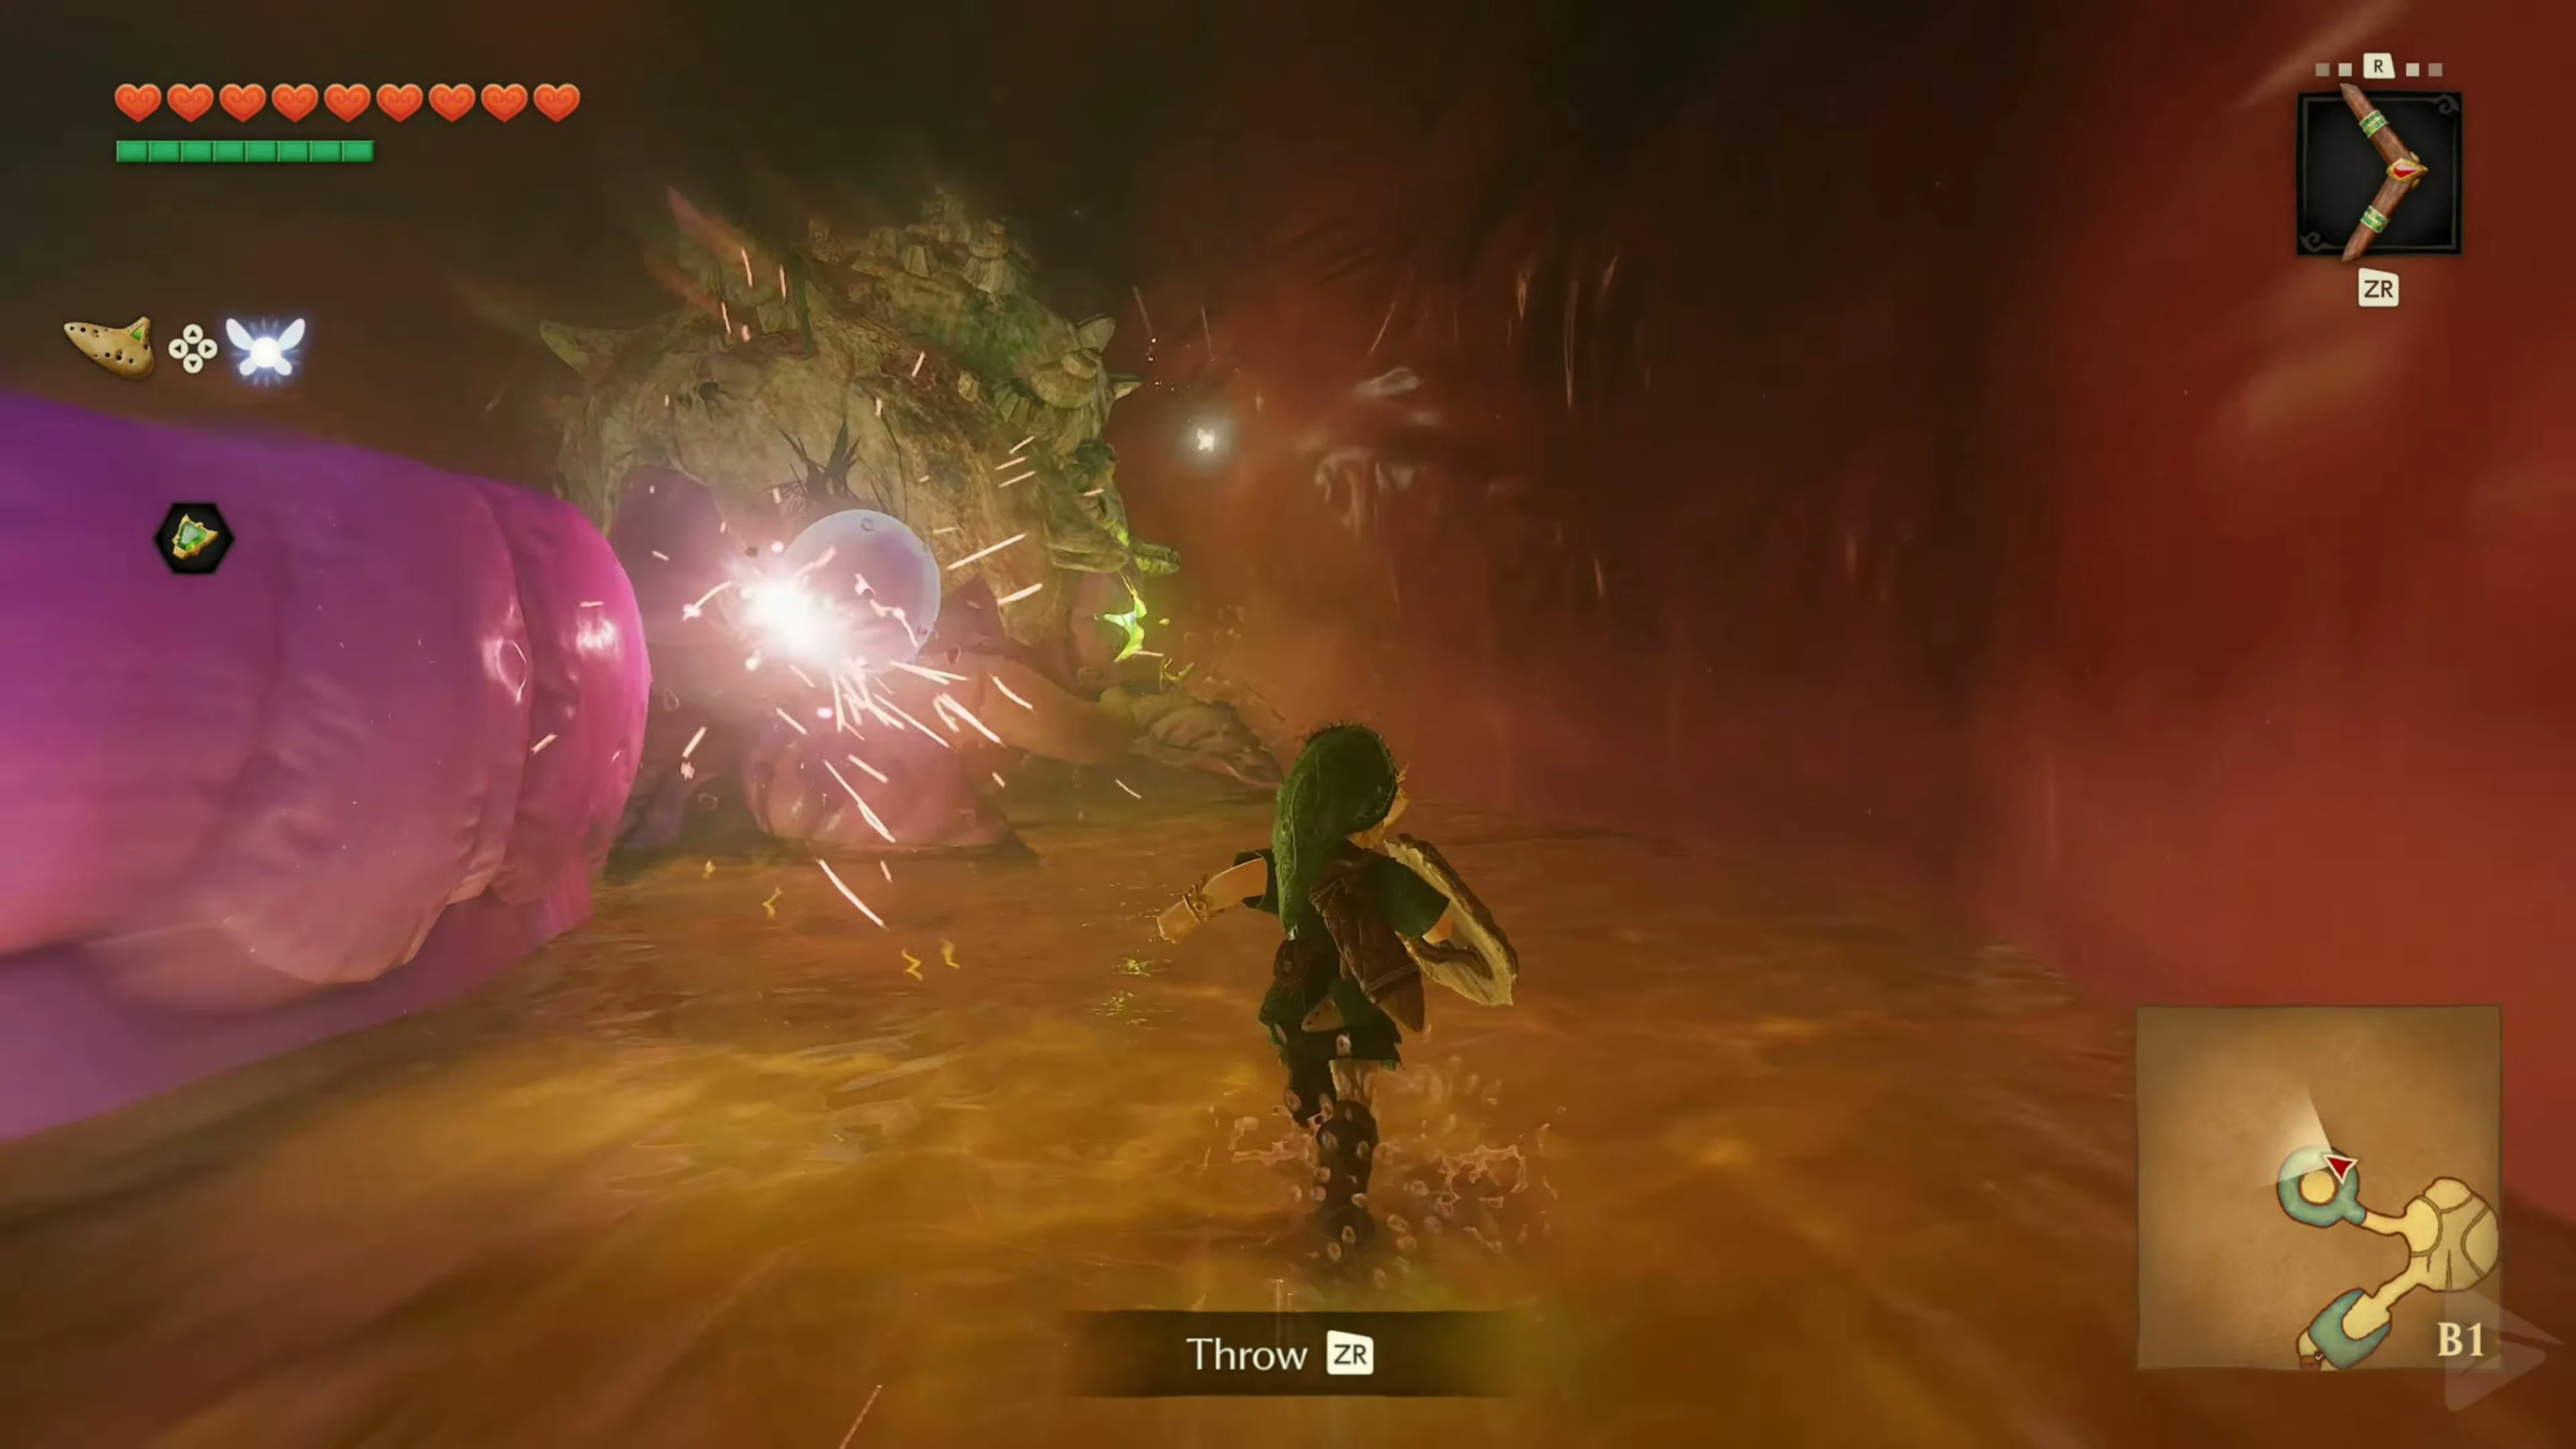
In the next room there are two red, electrically charged platforms moving. Hit the first one with the Boomerang . It freezes for a few seconds and can now be used as a safe platform. Jump onto it and stun the second platform from there. Then reach the opposite door.
Place the stone cube on the switch
After traveling to the last chamber, a stone cube is ready. Pick it up and place it on the floor switch. His weight keeps the door open. Go through and leave the stone on the switch.
Gold Skulltula 4/4
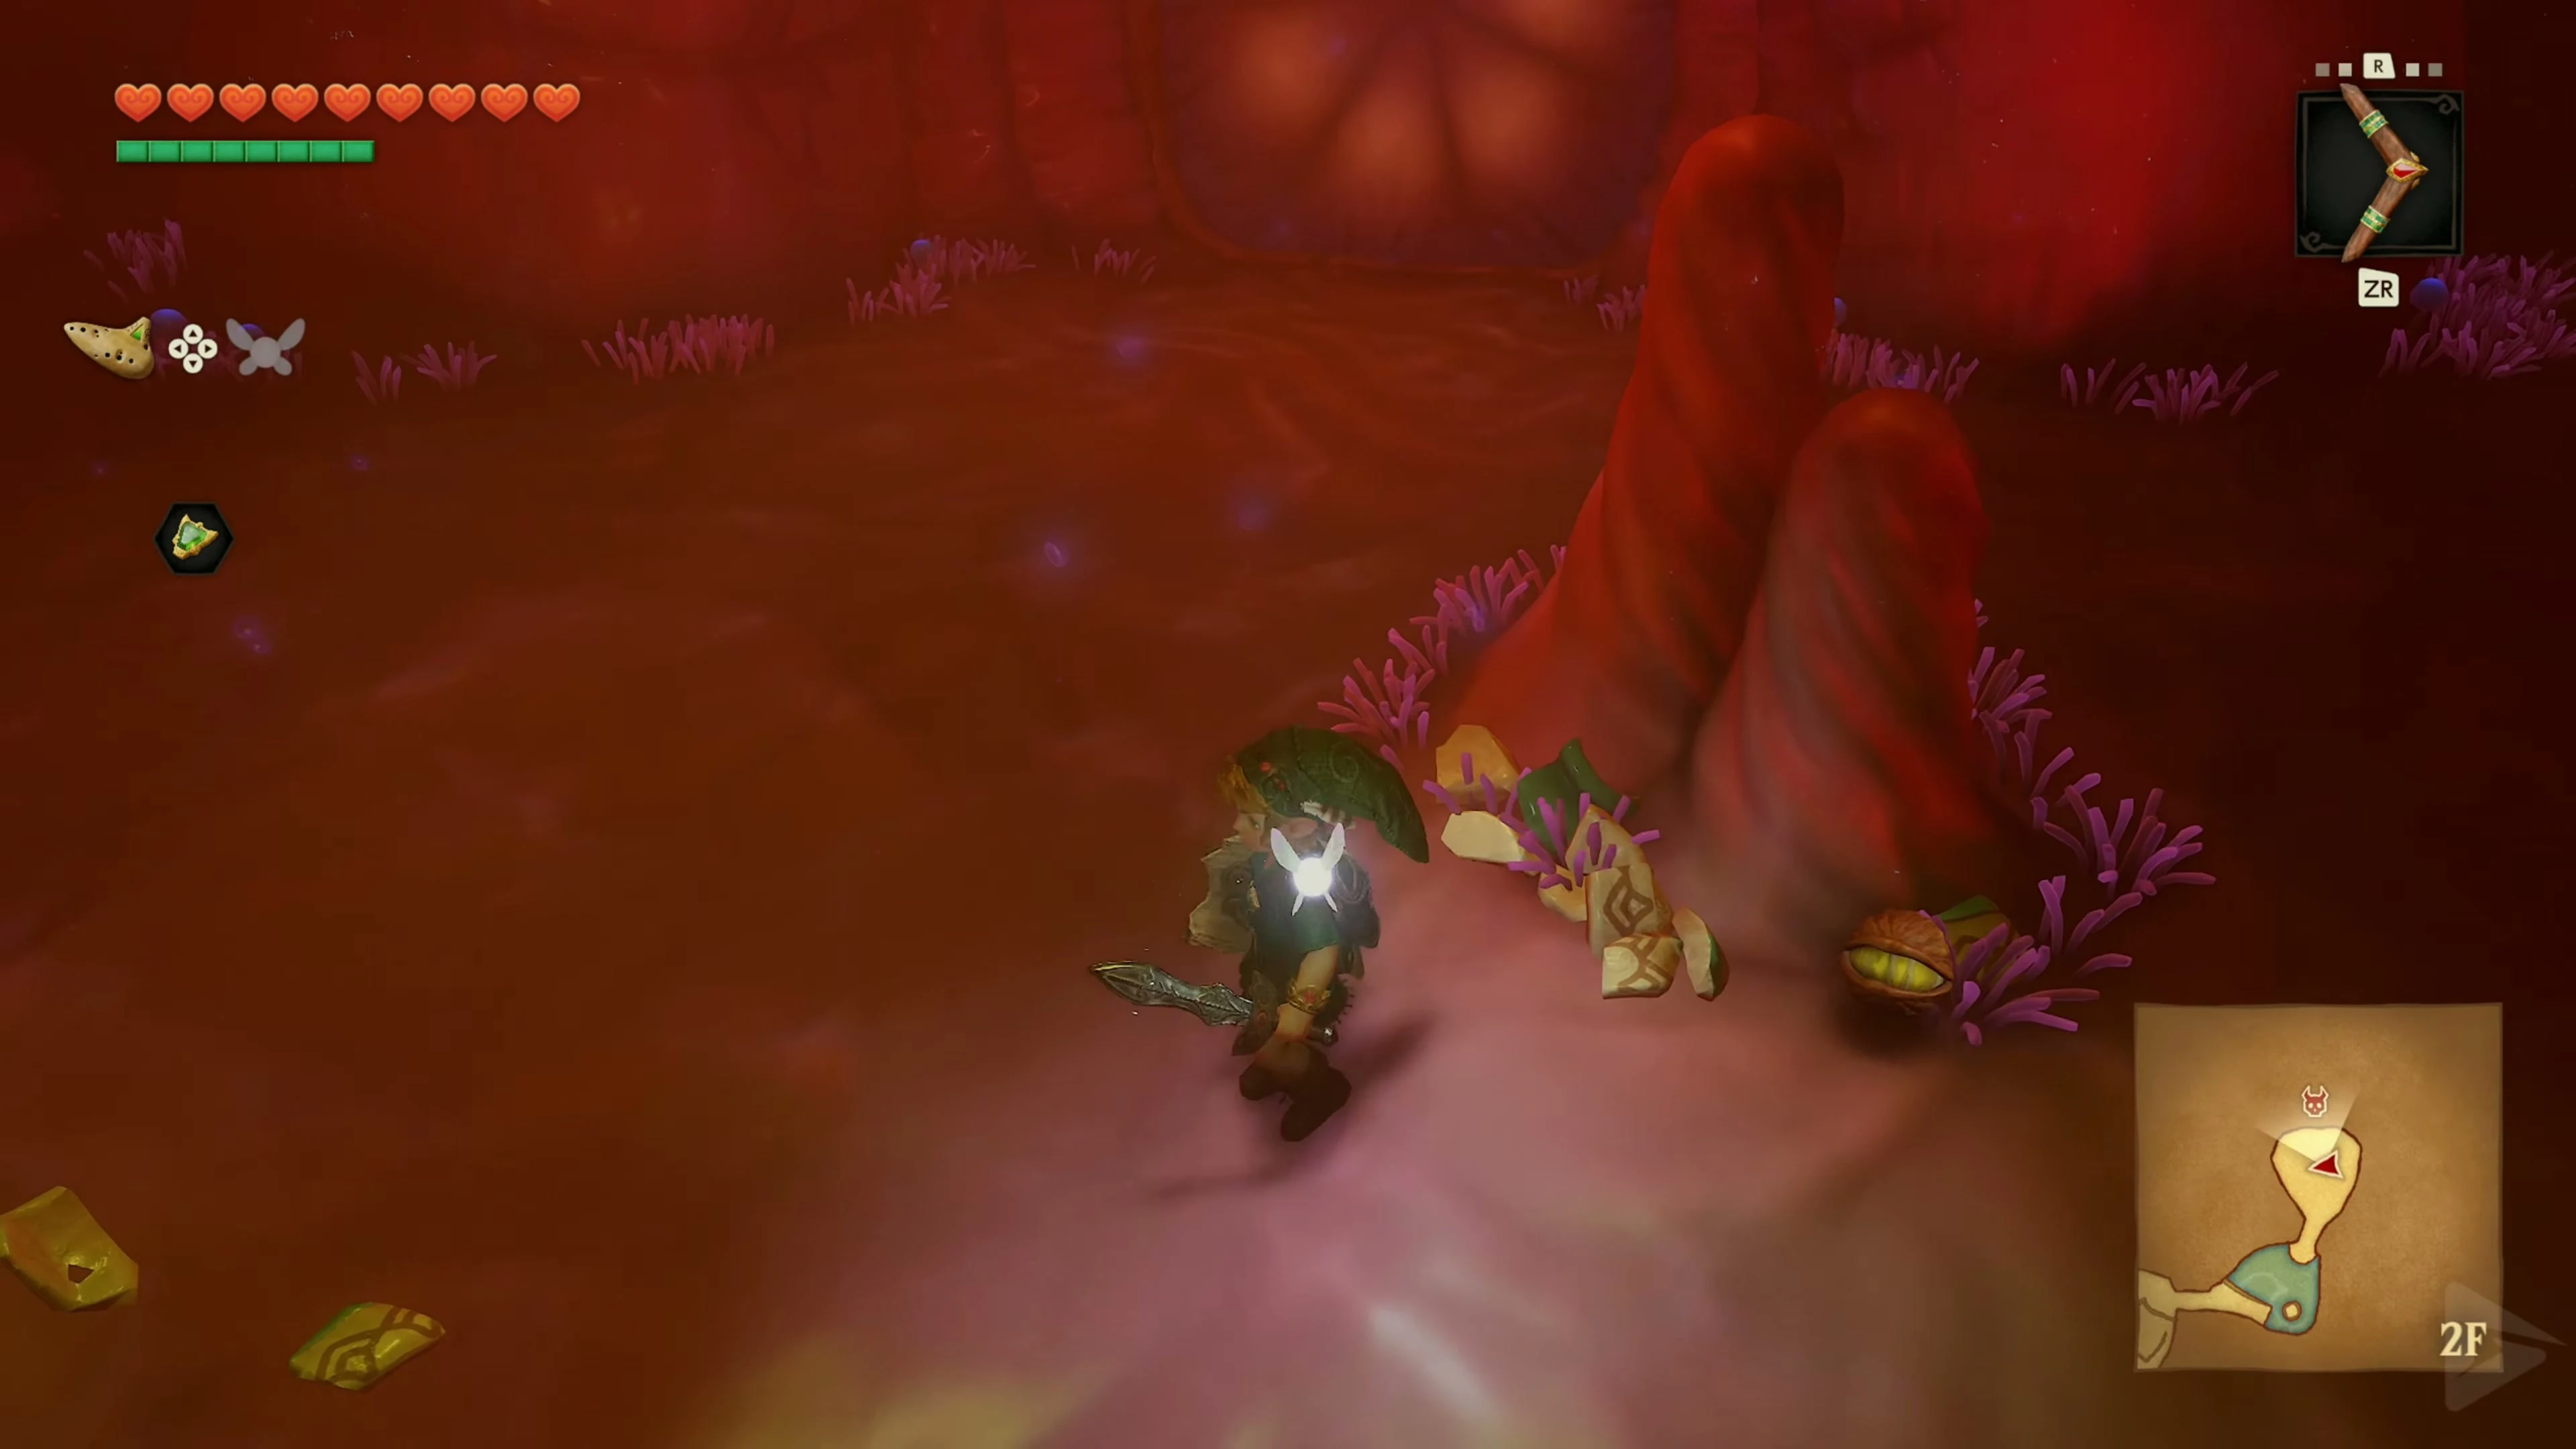
In the second to last room before Barinade, eliminate the Biri. The fourth skulltula sits on the tendrils of the fleshy column. Defeat her with the boomerang and use it to pull her token to you. This completes all four finds in Lord Jabu-Jabu’s Belly.
Hit the last switch
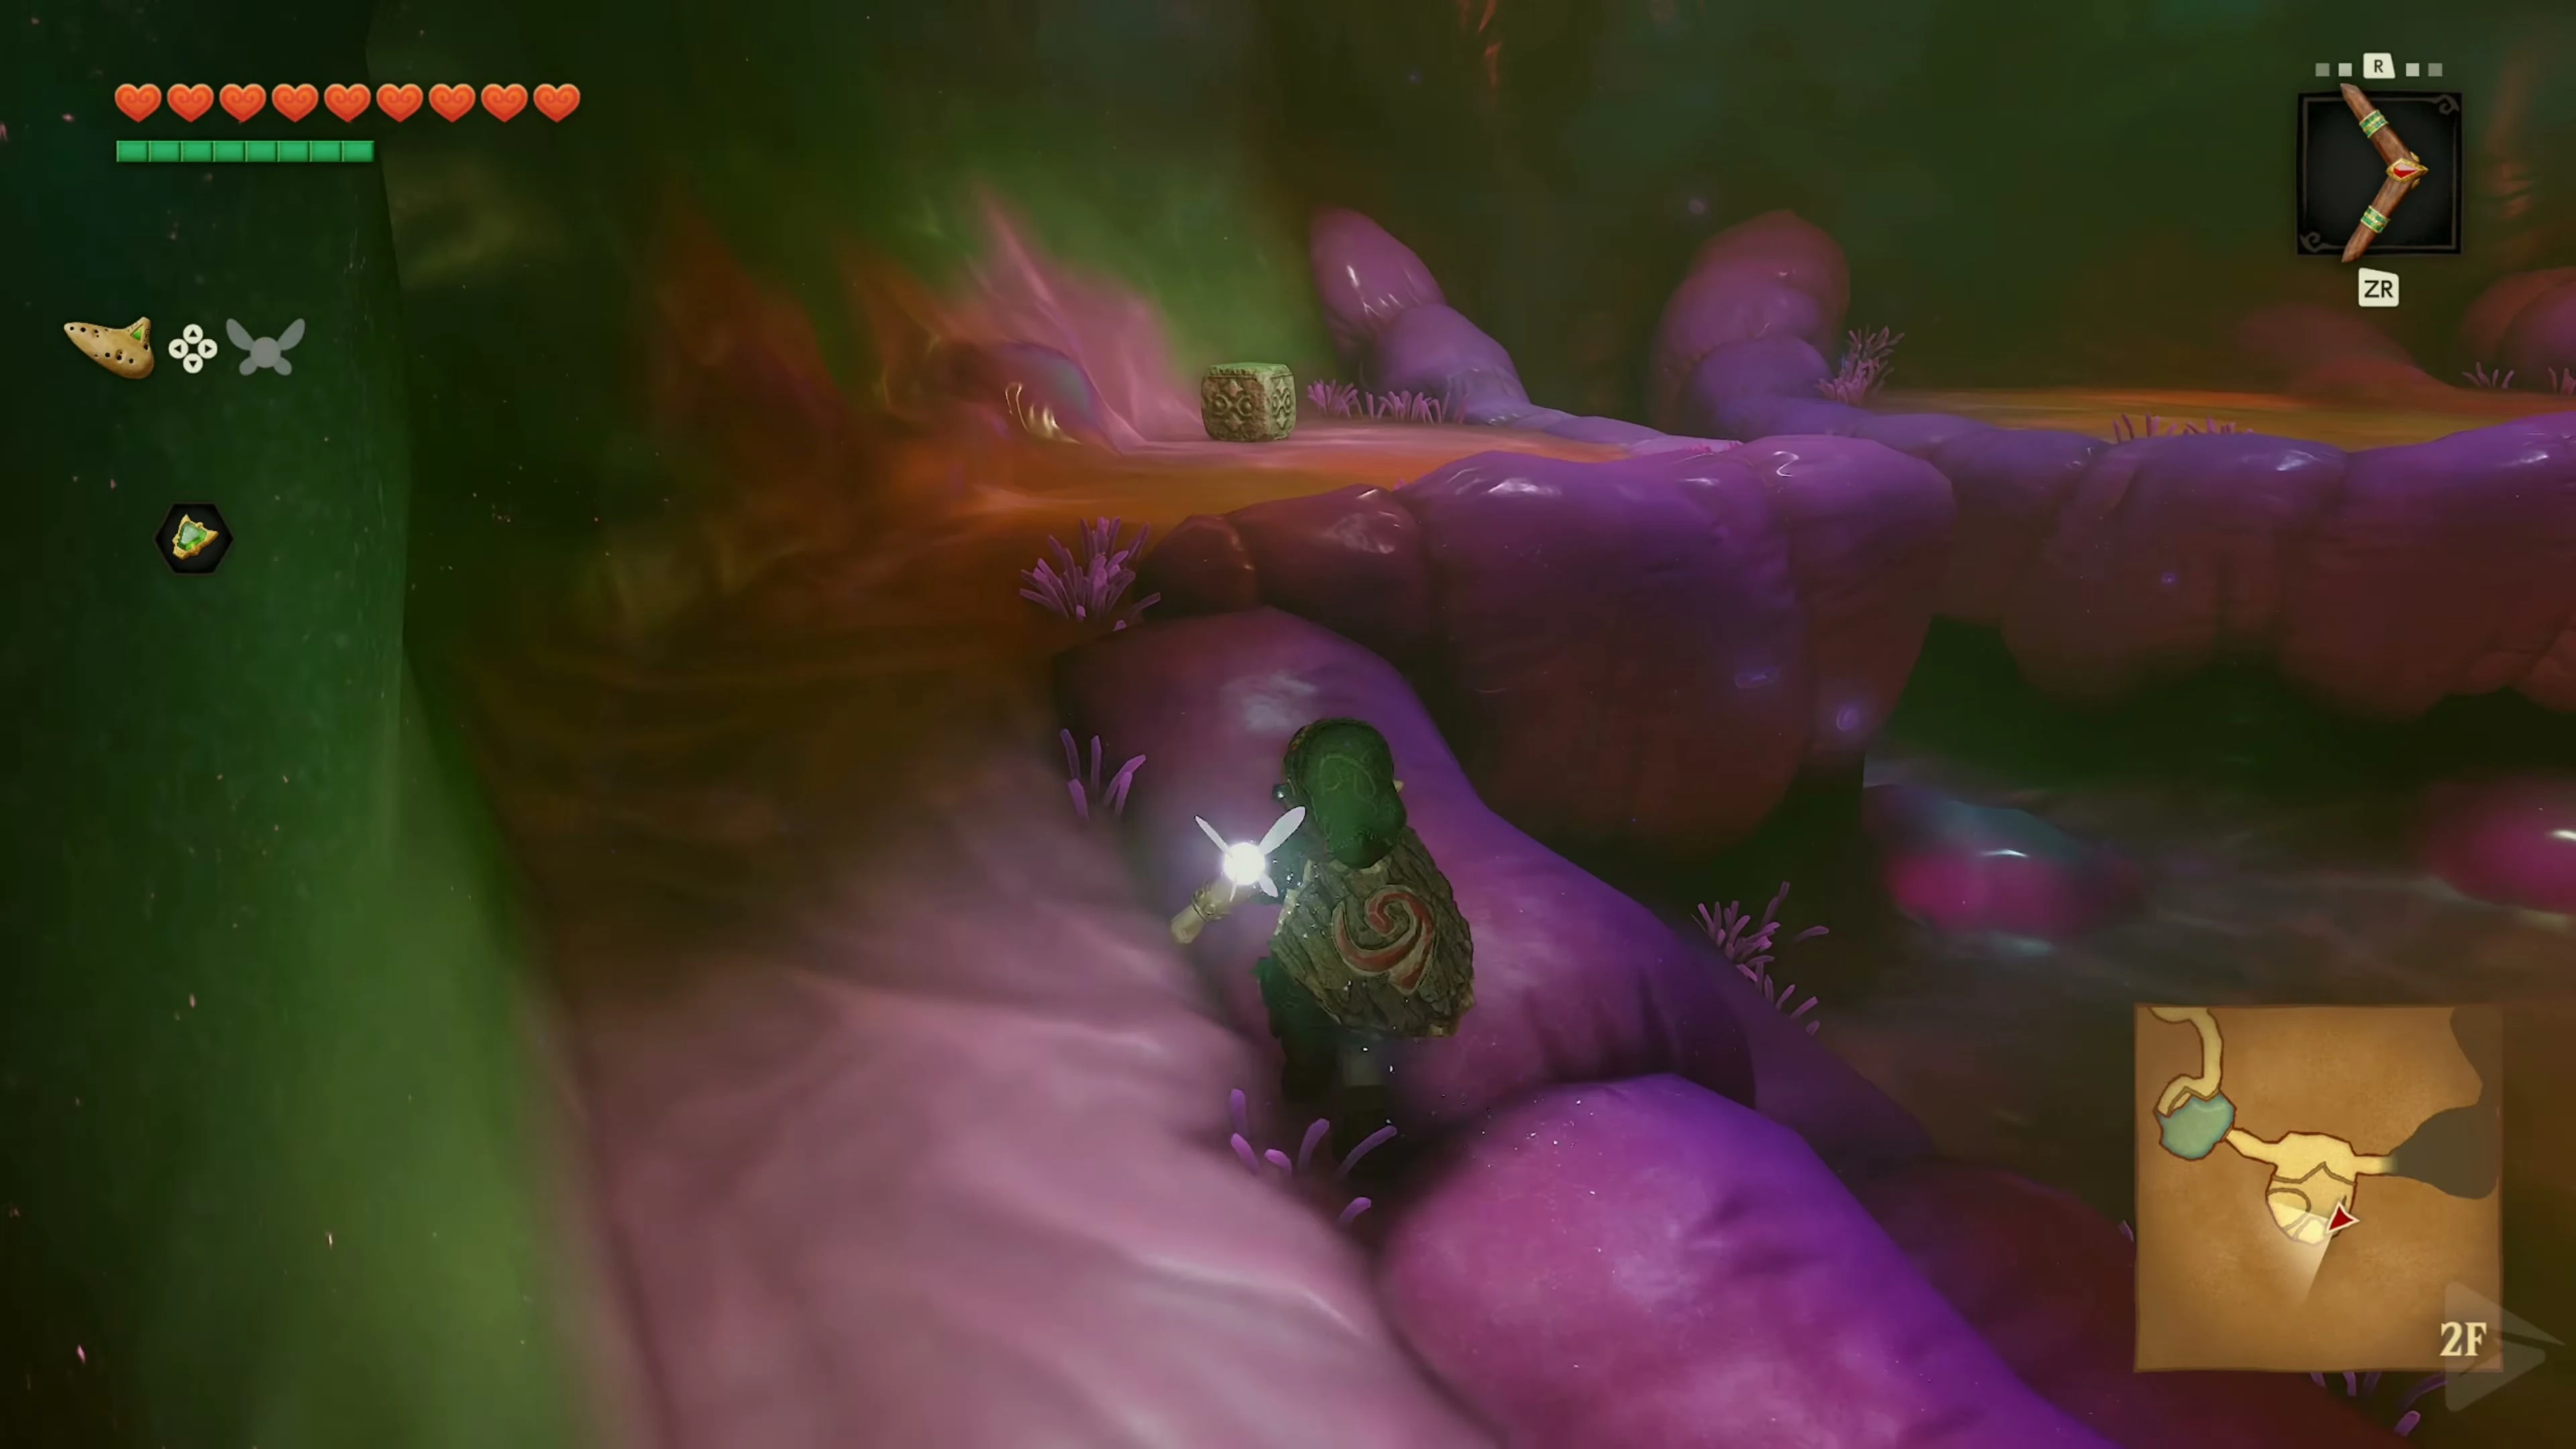
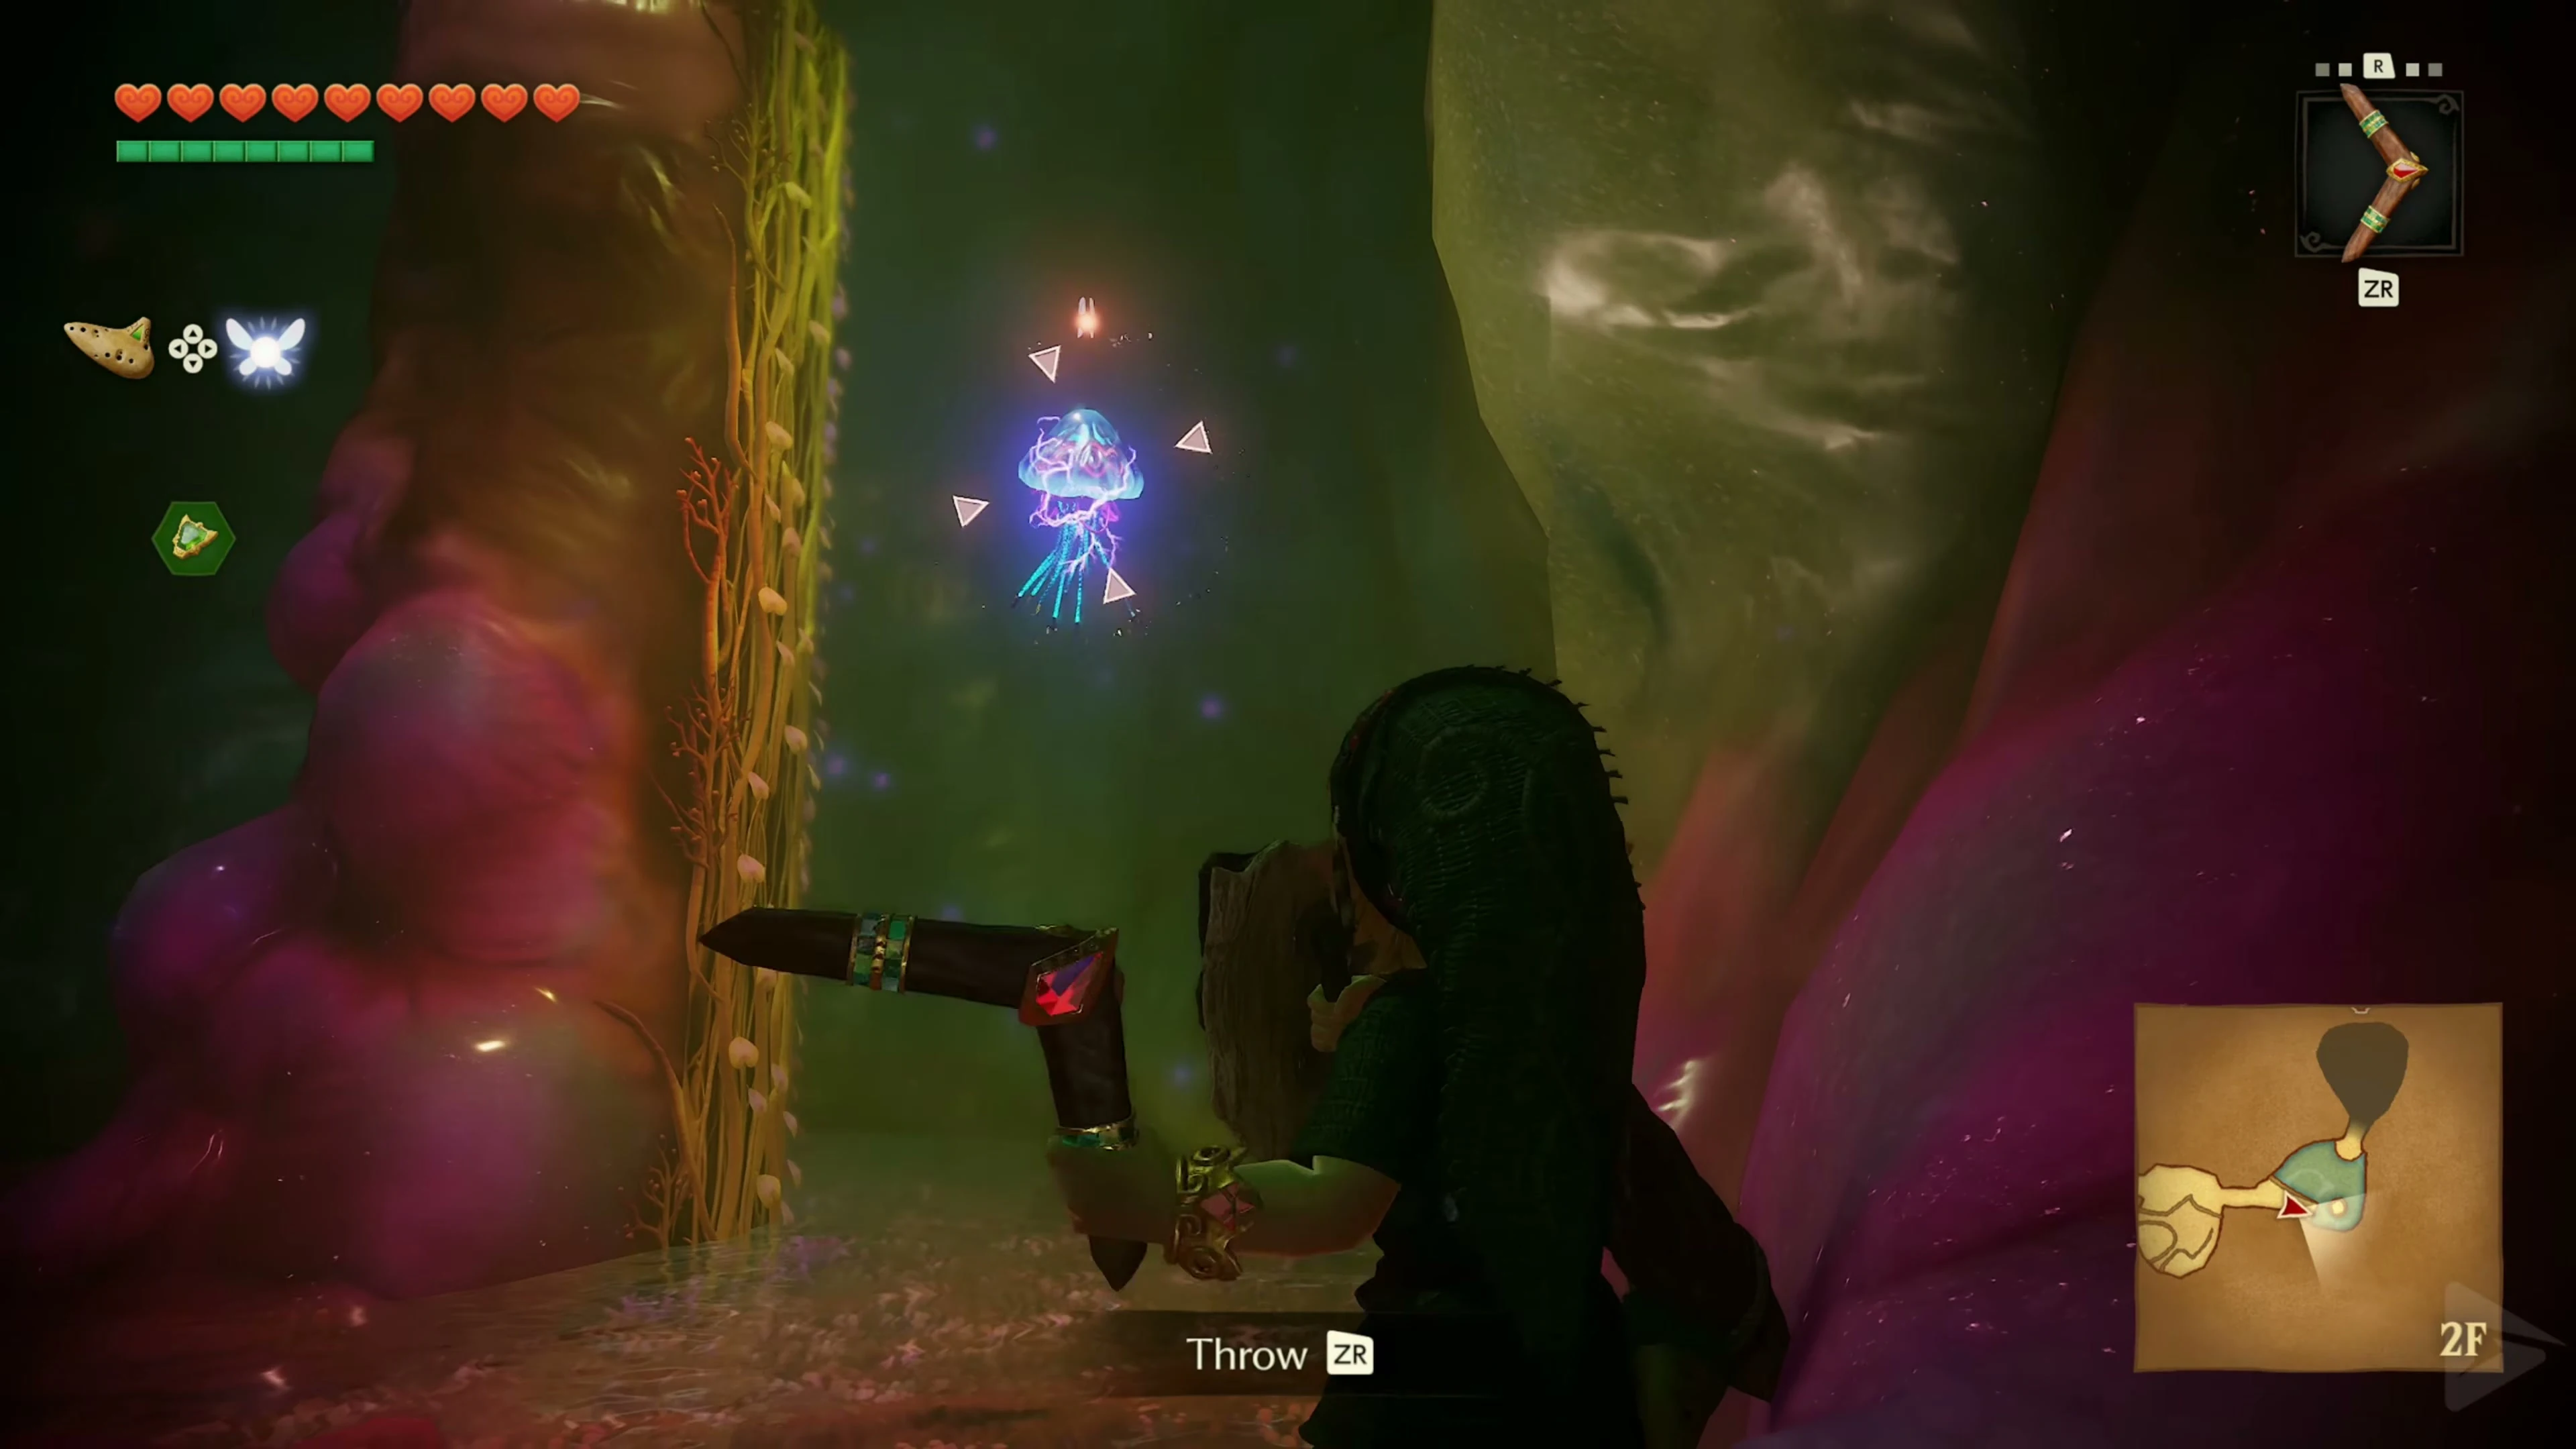
Climb up the vines on the wall. From there you will see a white switch on the ceiling behind an organic membrane. Aim at the switch and throw the boomerang so that it flies past the free side of the membrane. If the boomerang gets stuck on the fabric, change your position slightly and try again. Once the switch is hit, the door to the final boss’s chamber opens below.
Preparation for Barinade
Break the pots in front of the boss room and replenish your life energy. A fairy in a bottle is helpful, but not essential.
Electroterrestrial Biotentacle: Barinade
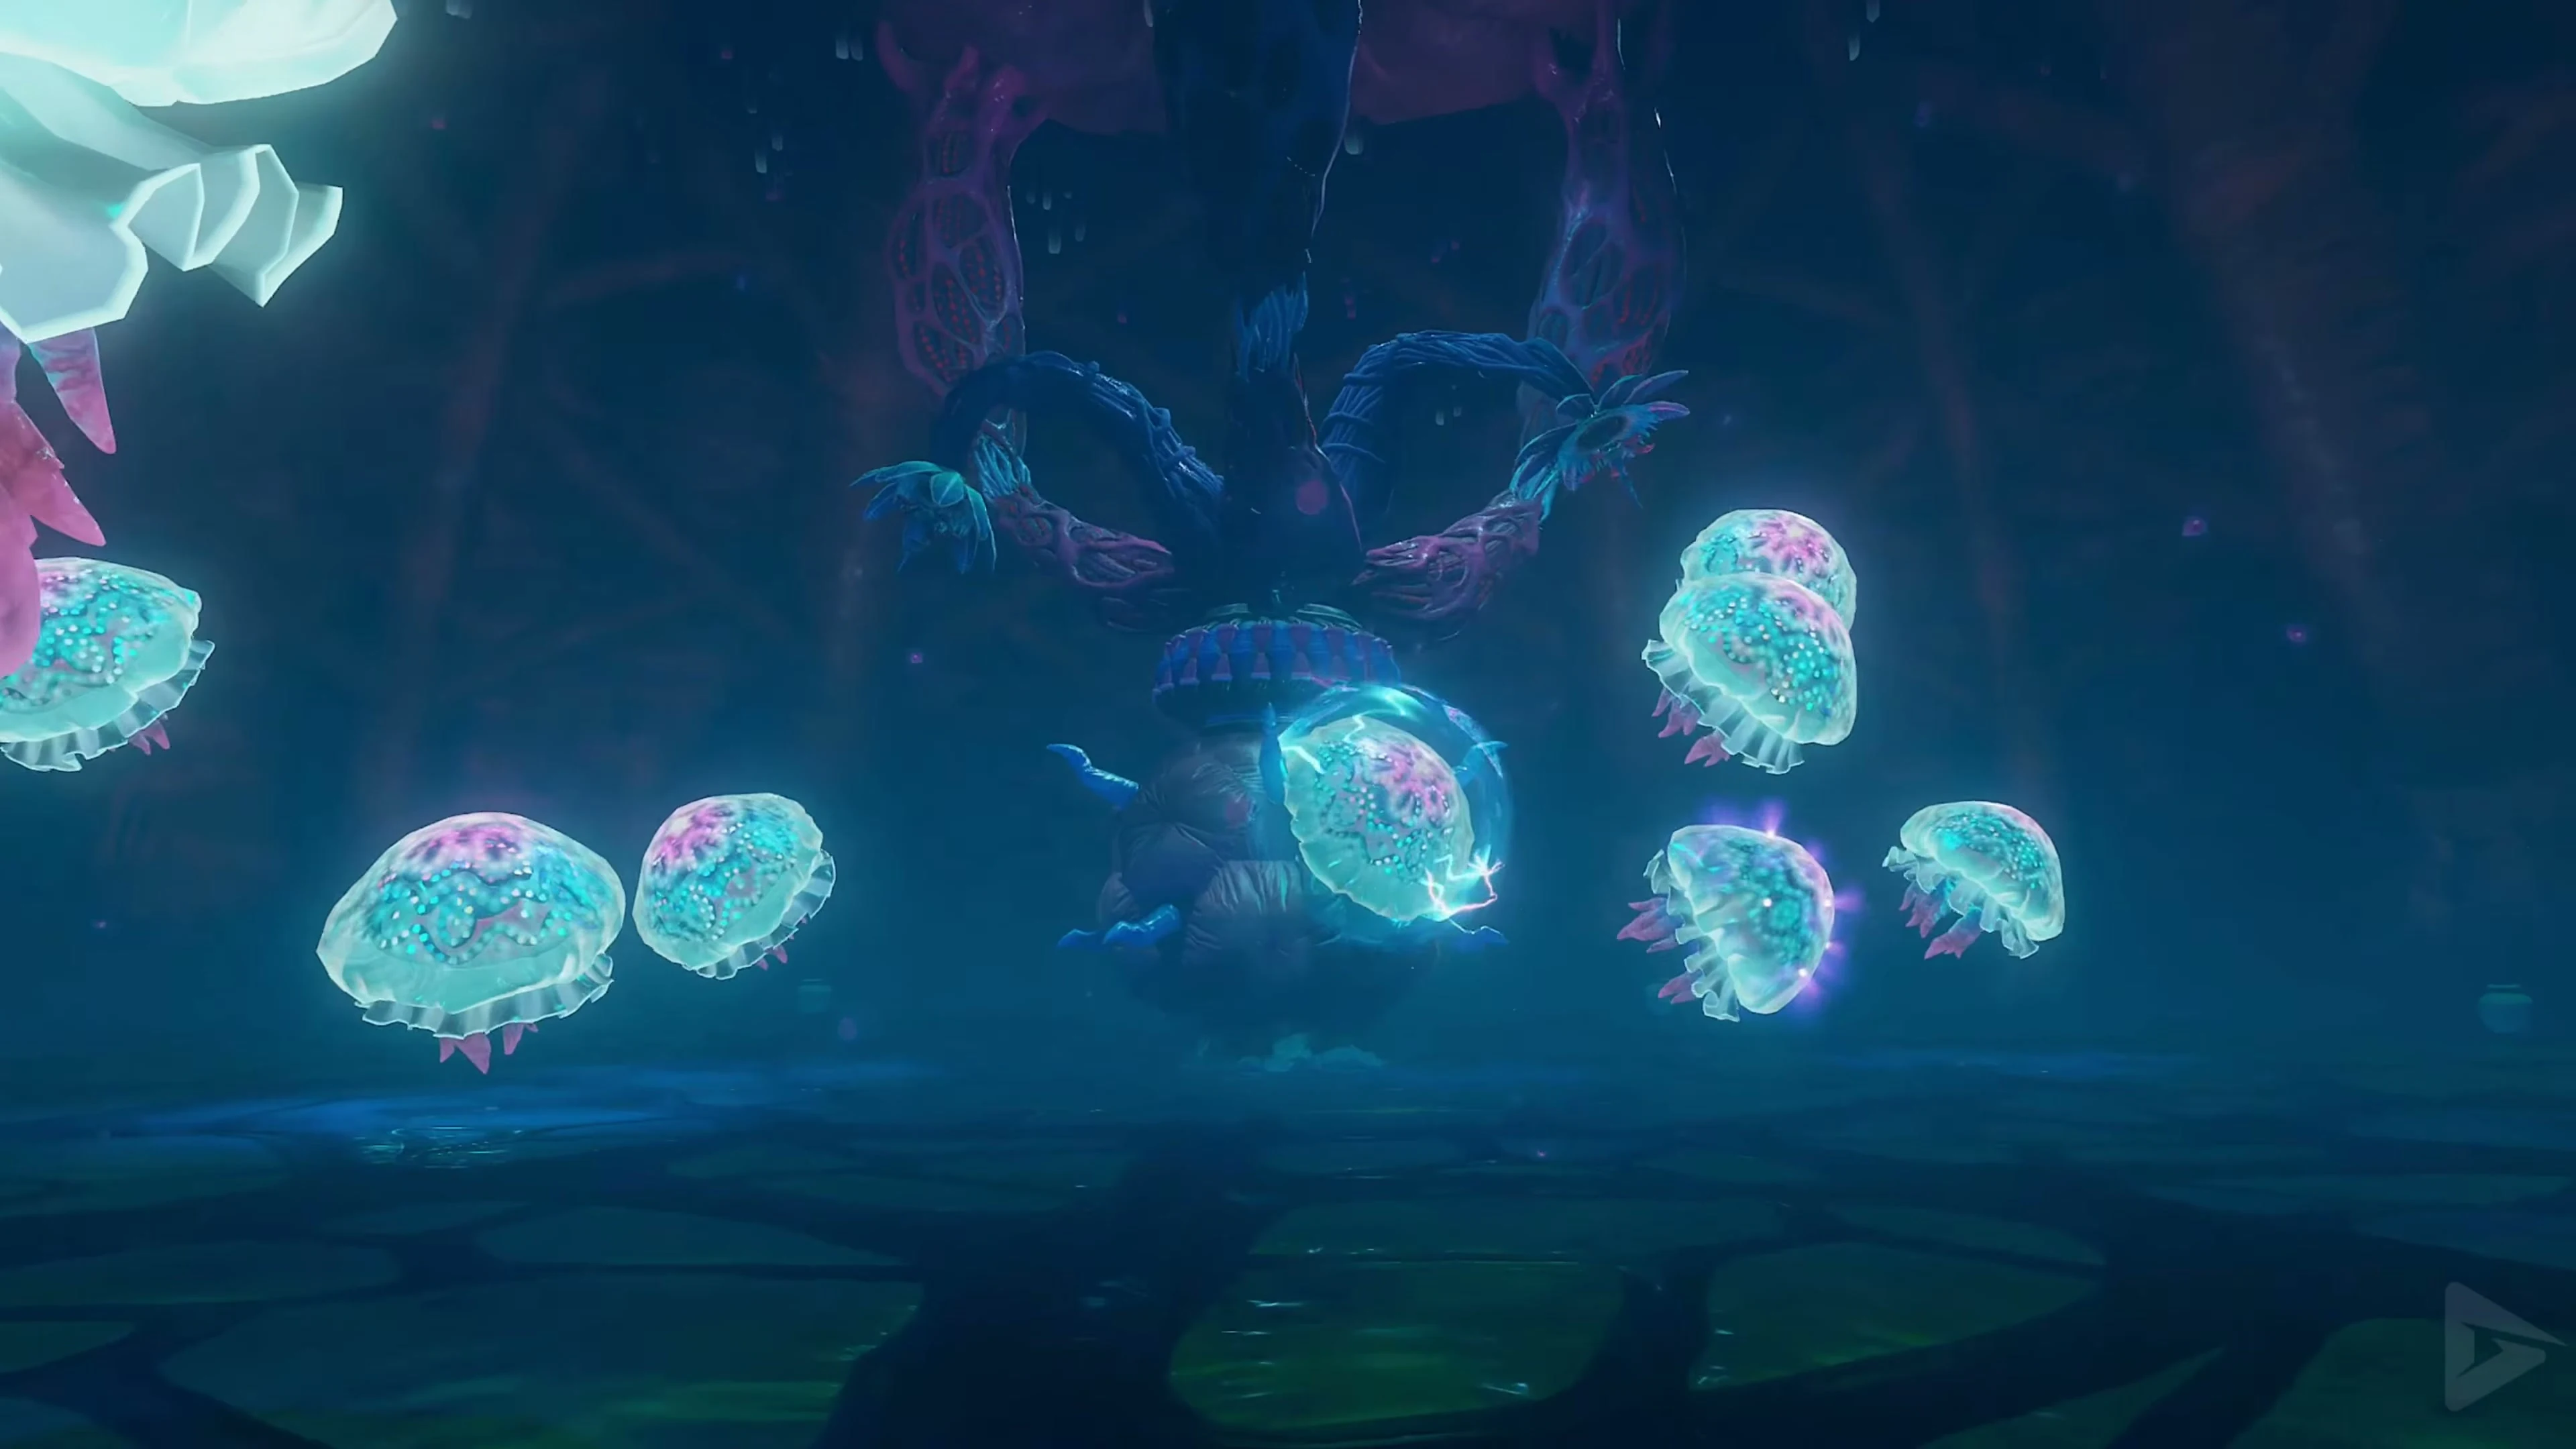
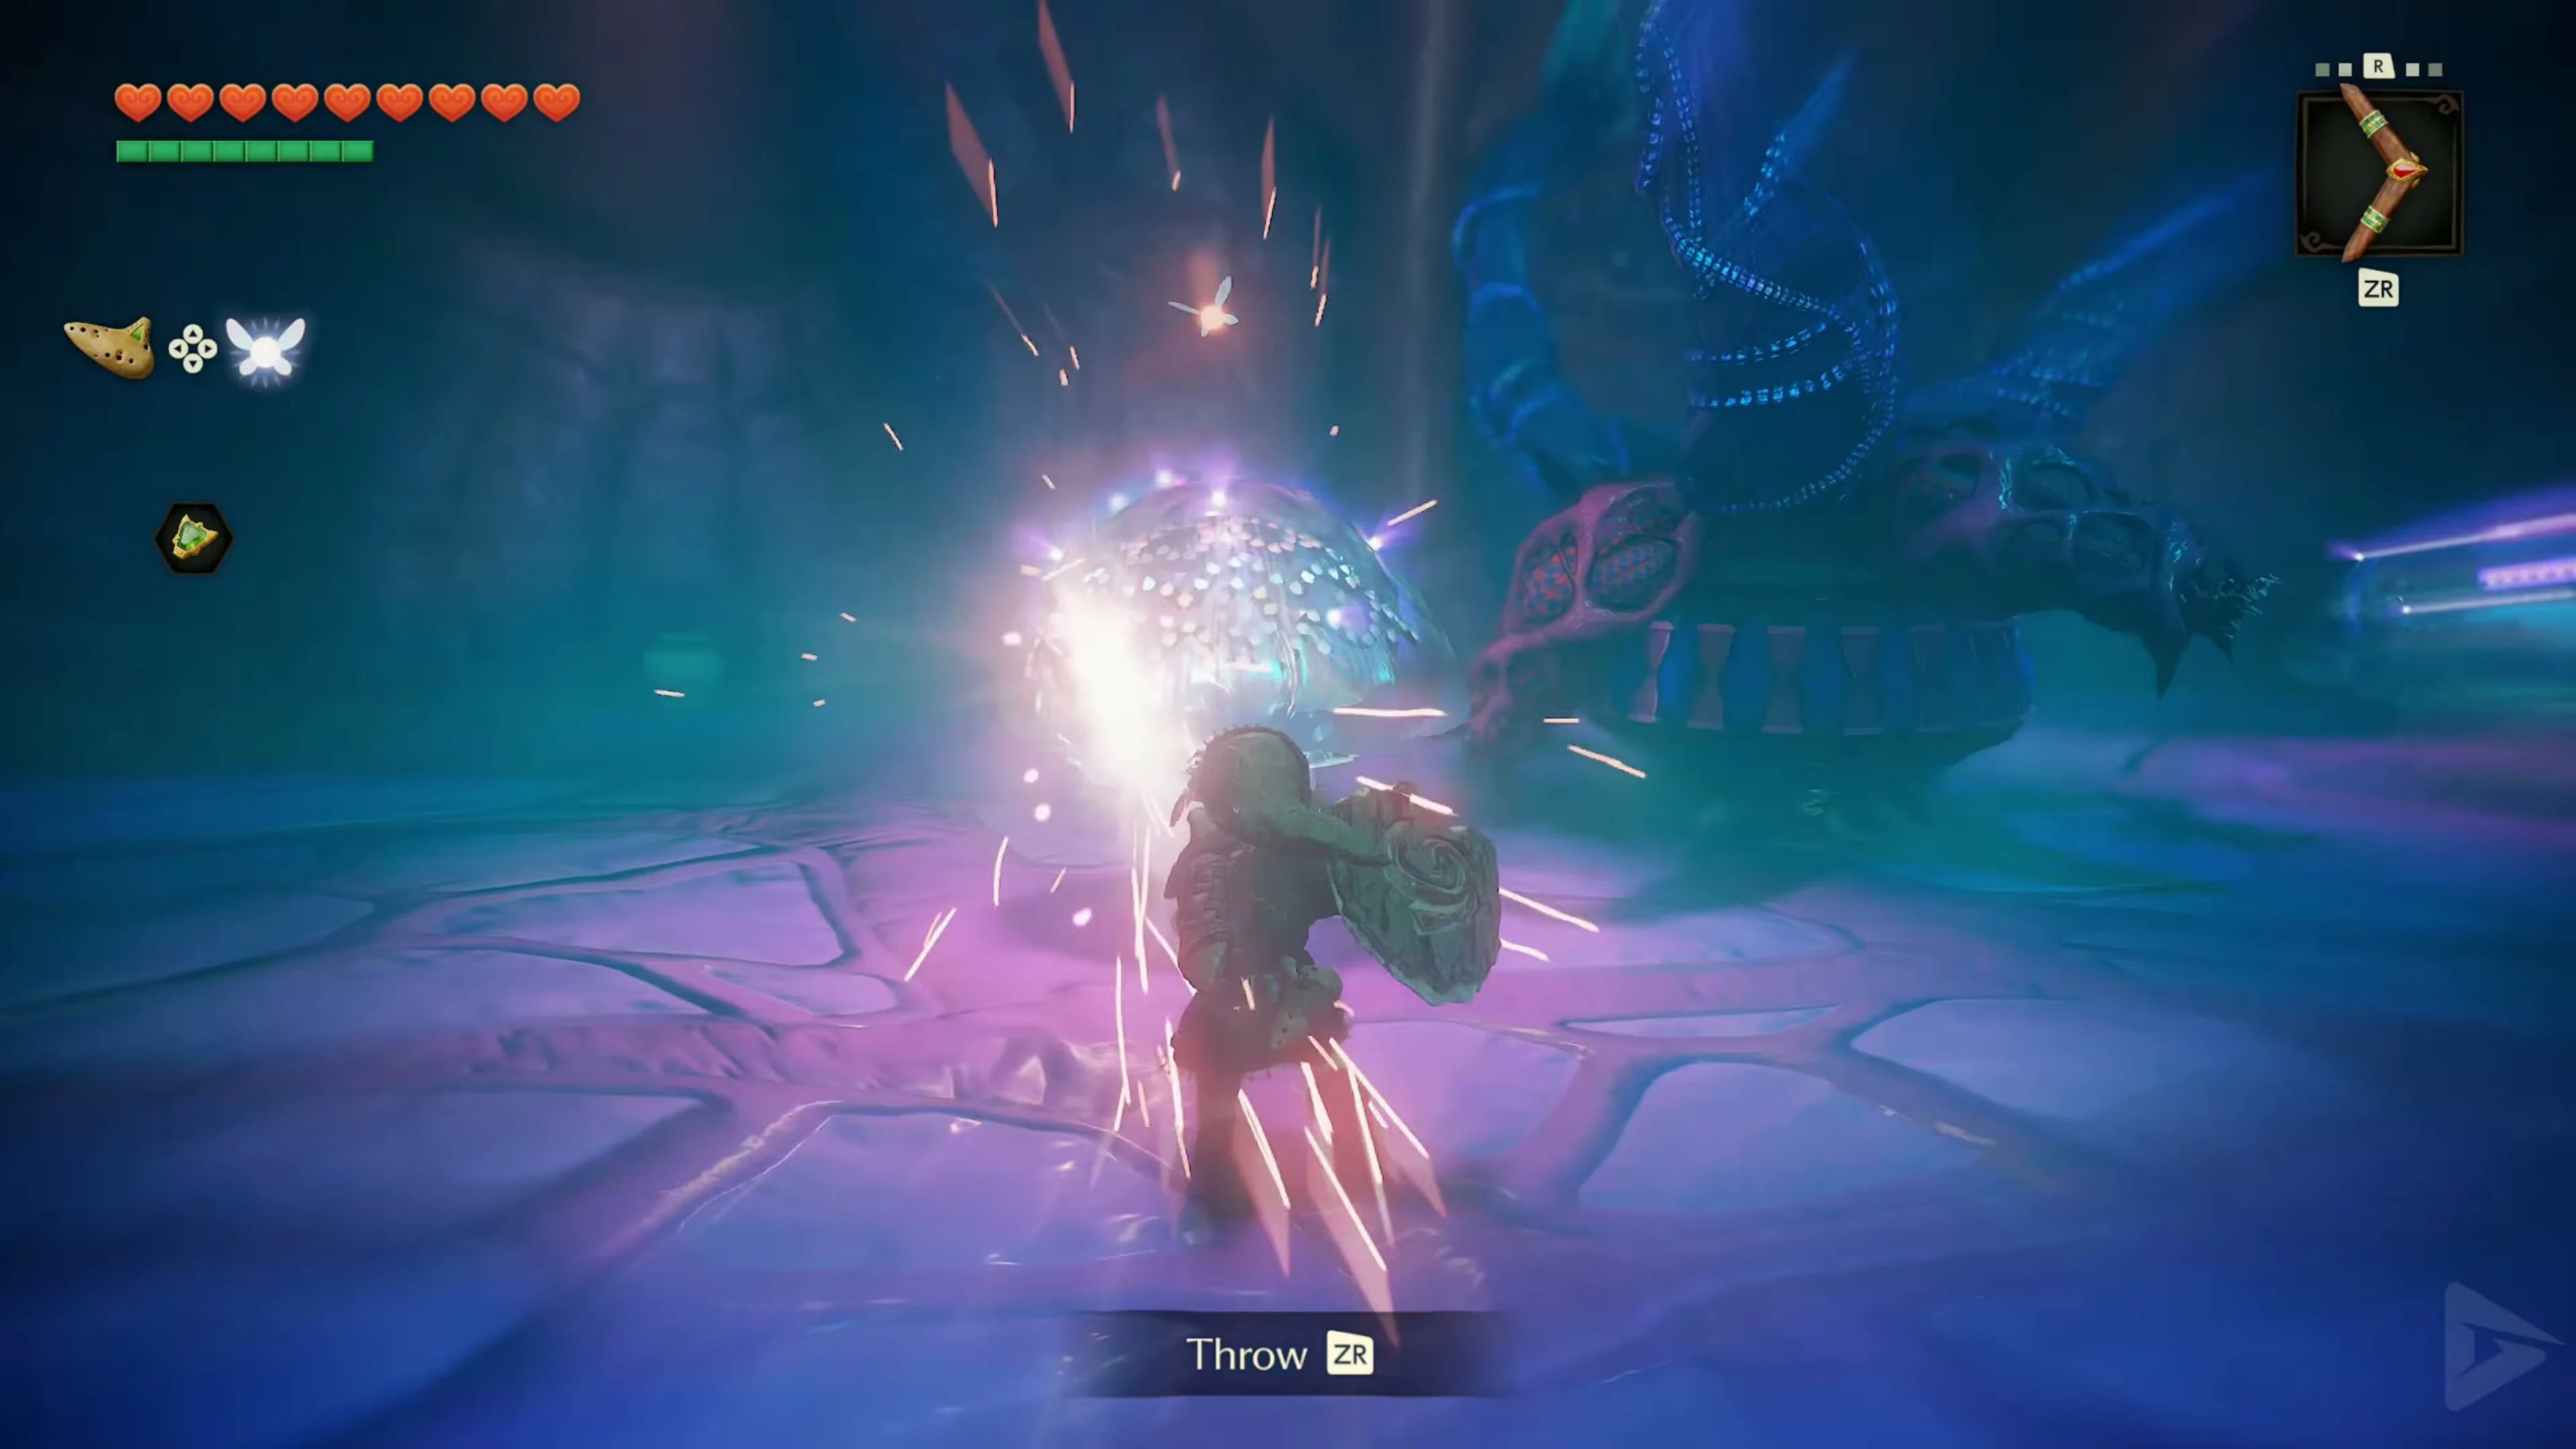
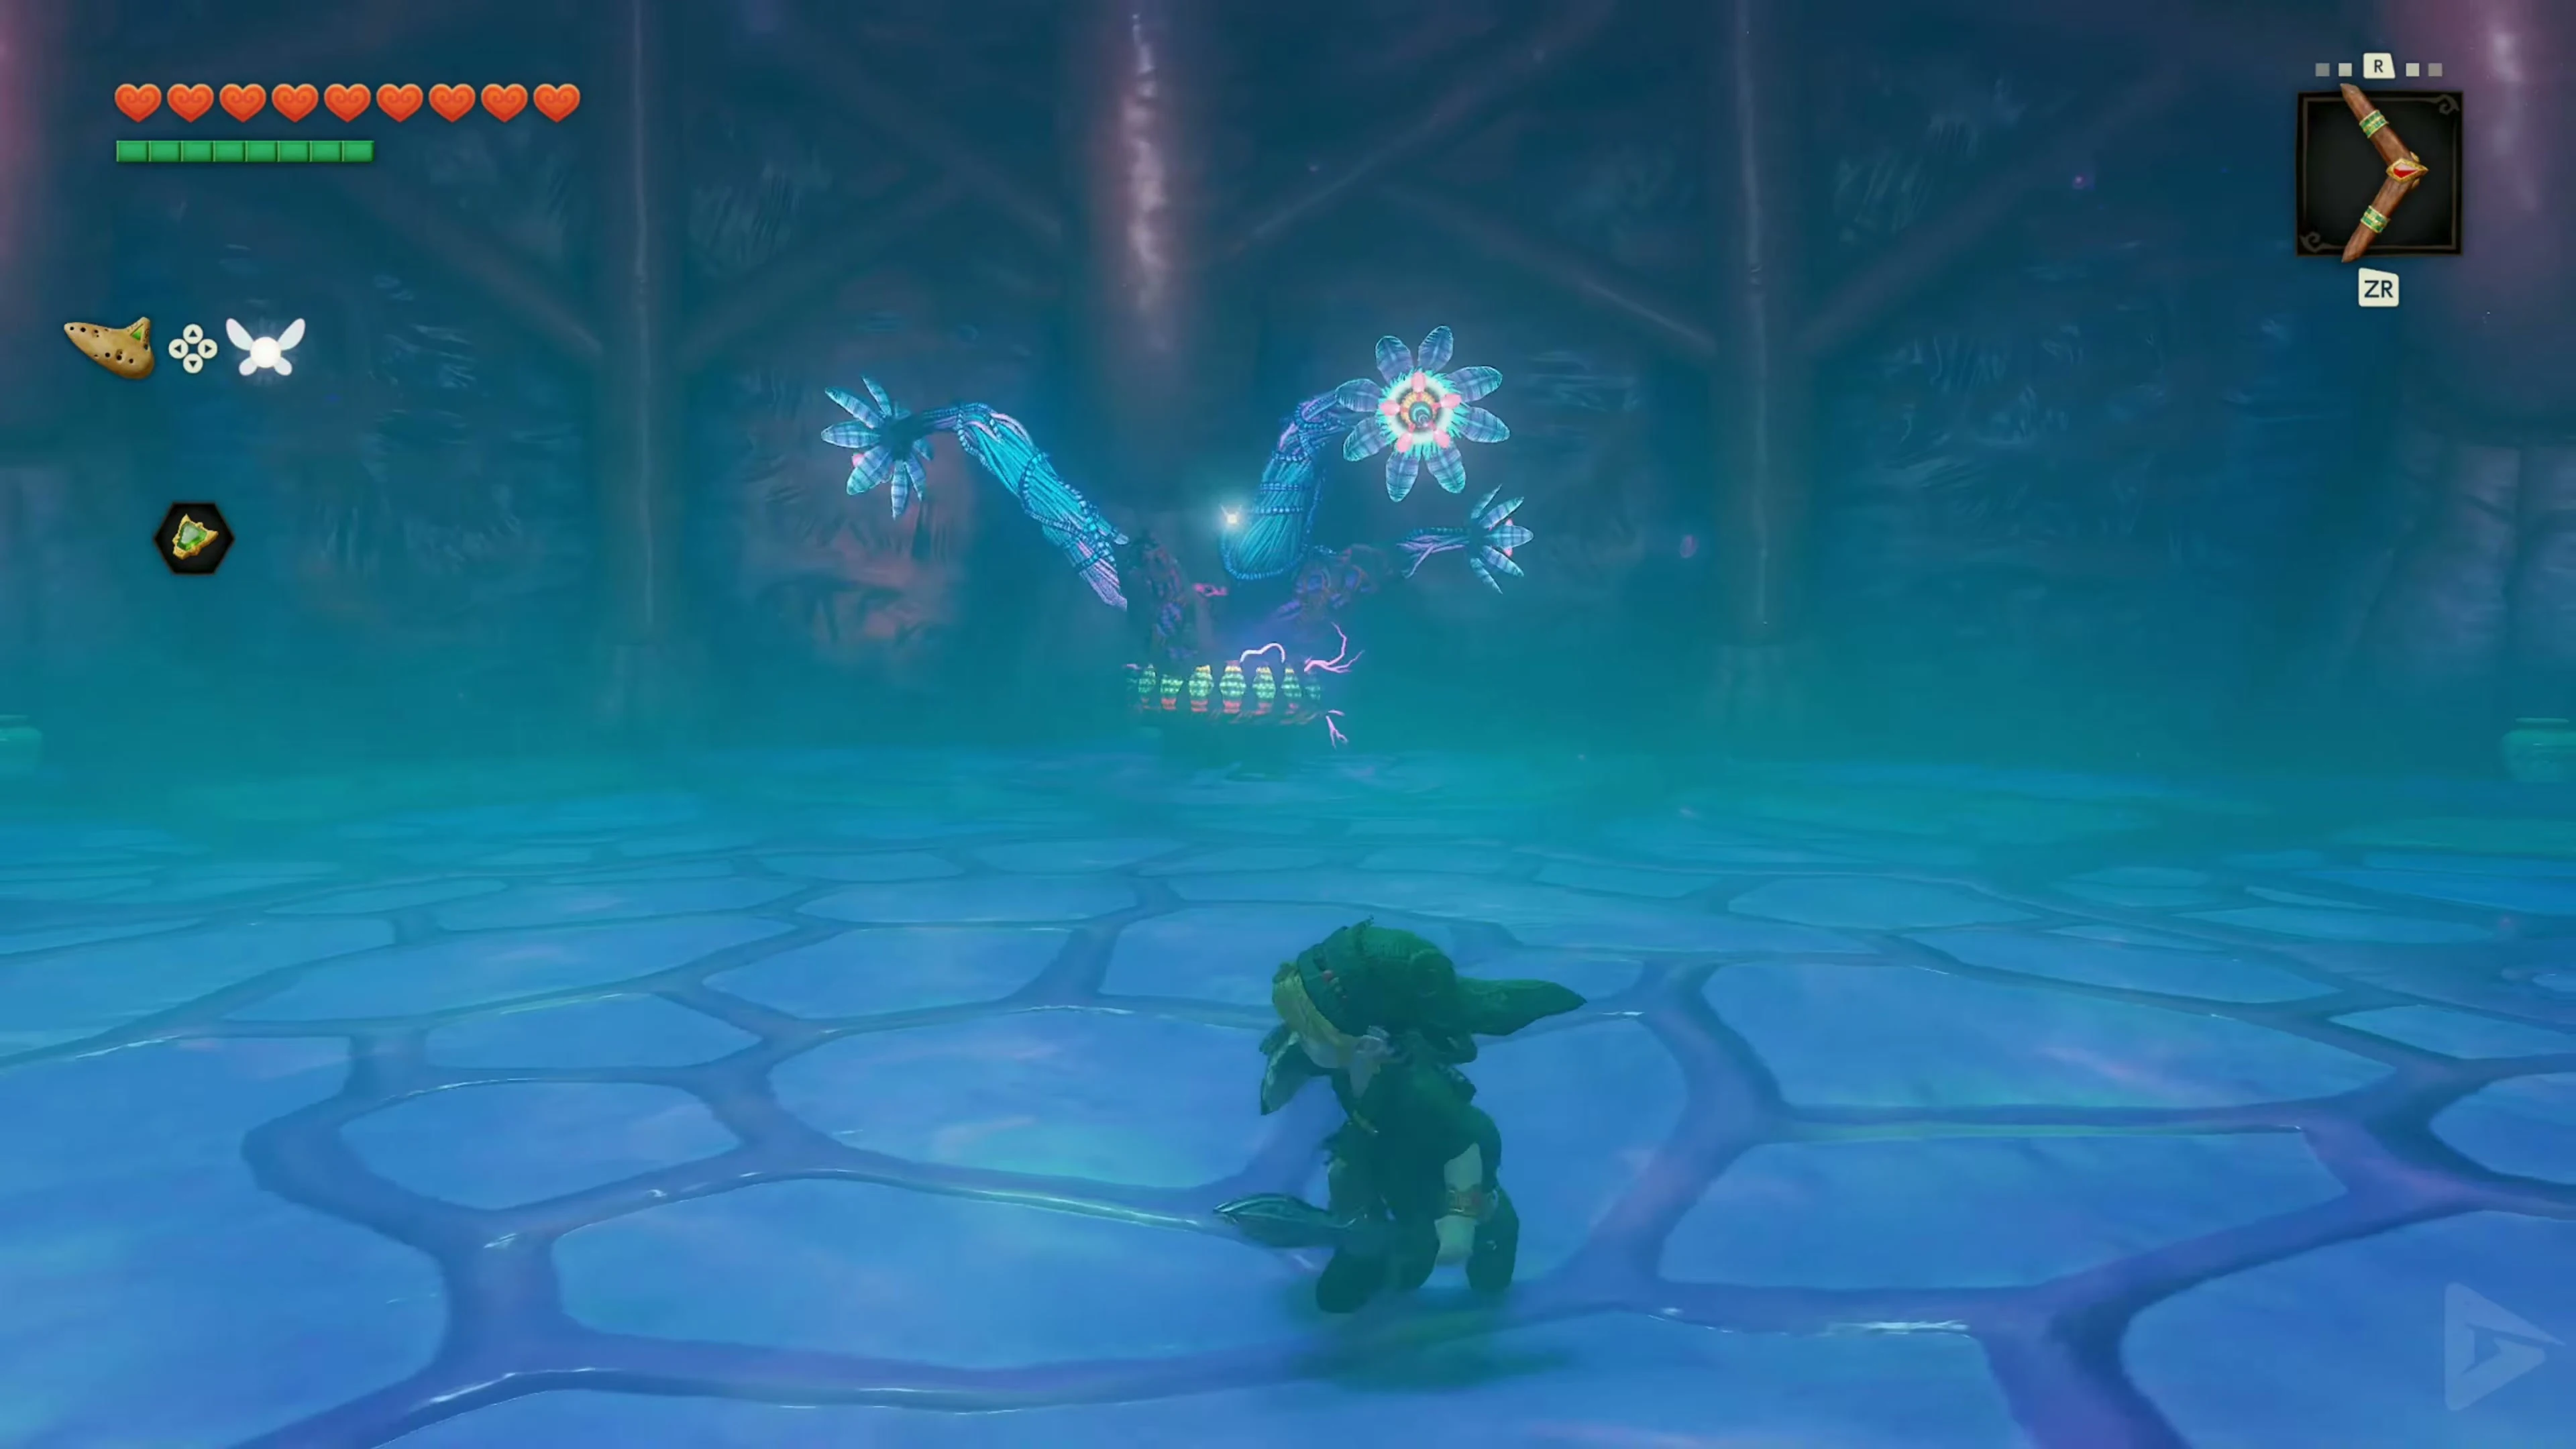
Barinade is the great parasite that weakens Lord Jabu-Jabu from within. At the beginning the creature hangs from the ceiling via three powerful tentacles. In addition, it is protected by electrically charged Biri. Stay moving as much as possible throughout the fight. Barinade’s electric attacks track Link and can hit you multiple times in a row if you stay in the same spot for too long.
Phase 1 – Cut connections to the ceiling
First, target the three large tentacles that attach Barinade to the ceiling. Run around the side of the boss and throw the boomerang at a tentacle as soon as you have a clear view of it. After each hit, you may have to change your position slightly to reach the next connection. Once all three tentacles are severed, Barinade falls to the ground. This is where the actual combat phase begins.
Phase 2 – switch off the Biri
Barinade is now surrounded by two rings made up of a total of ten Biri. As long as they are electrically connected to the main body, the jellyfish are protected. Stand a little distance and throw the boomerang through a gap in the ring at Barinade’s red body. If the main body is hit, the electrical connection breaks down for a short time. Take advantage of this opportunity and destroy individual Biri with the boomerang. Don’t walk into the middle of the rotating ring. Stay out of his reach and move with the boss. The first group is still rotating relatively slowly. Once she is eliminated, the second ring will begin rotating faster and Barinade will move around the arena at the same time. The same applies now:
- Stun Barinade’s main body with the boomerang.
- Interrupt electrical connection.
- Kill unprotected jellyfish with the boomerang.
- Keep moving and avoid the electric attacks.
One Deku Nut can hit several jellyfish that are close together, but it is not necessary.
Phase 3 – Attack Barinade directly
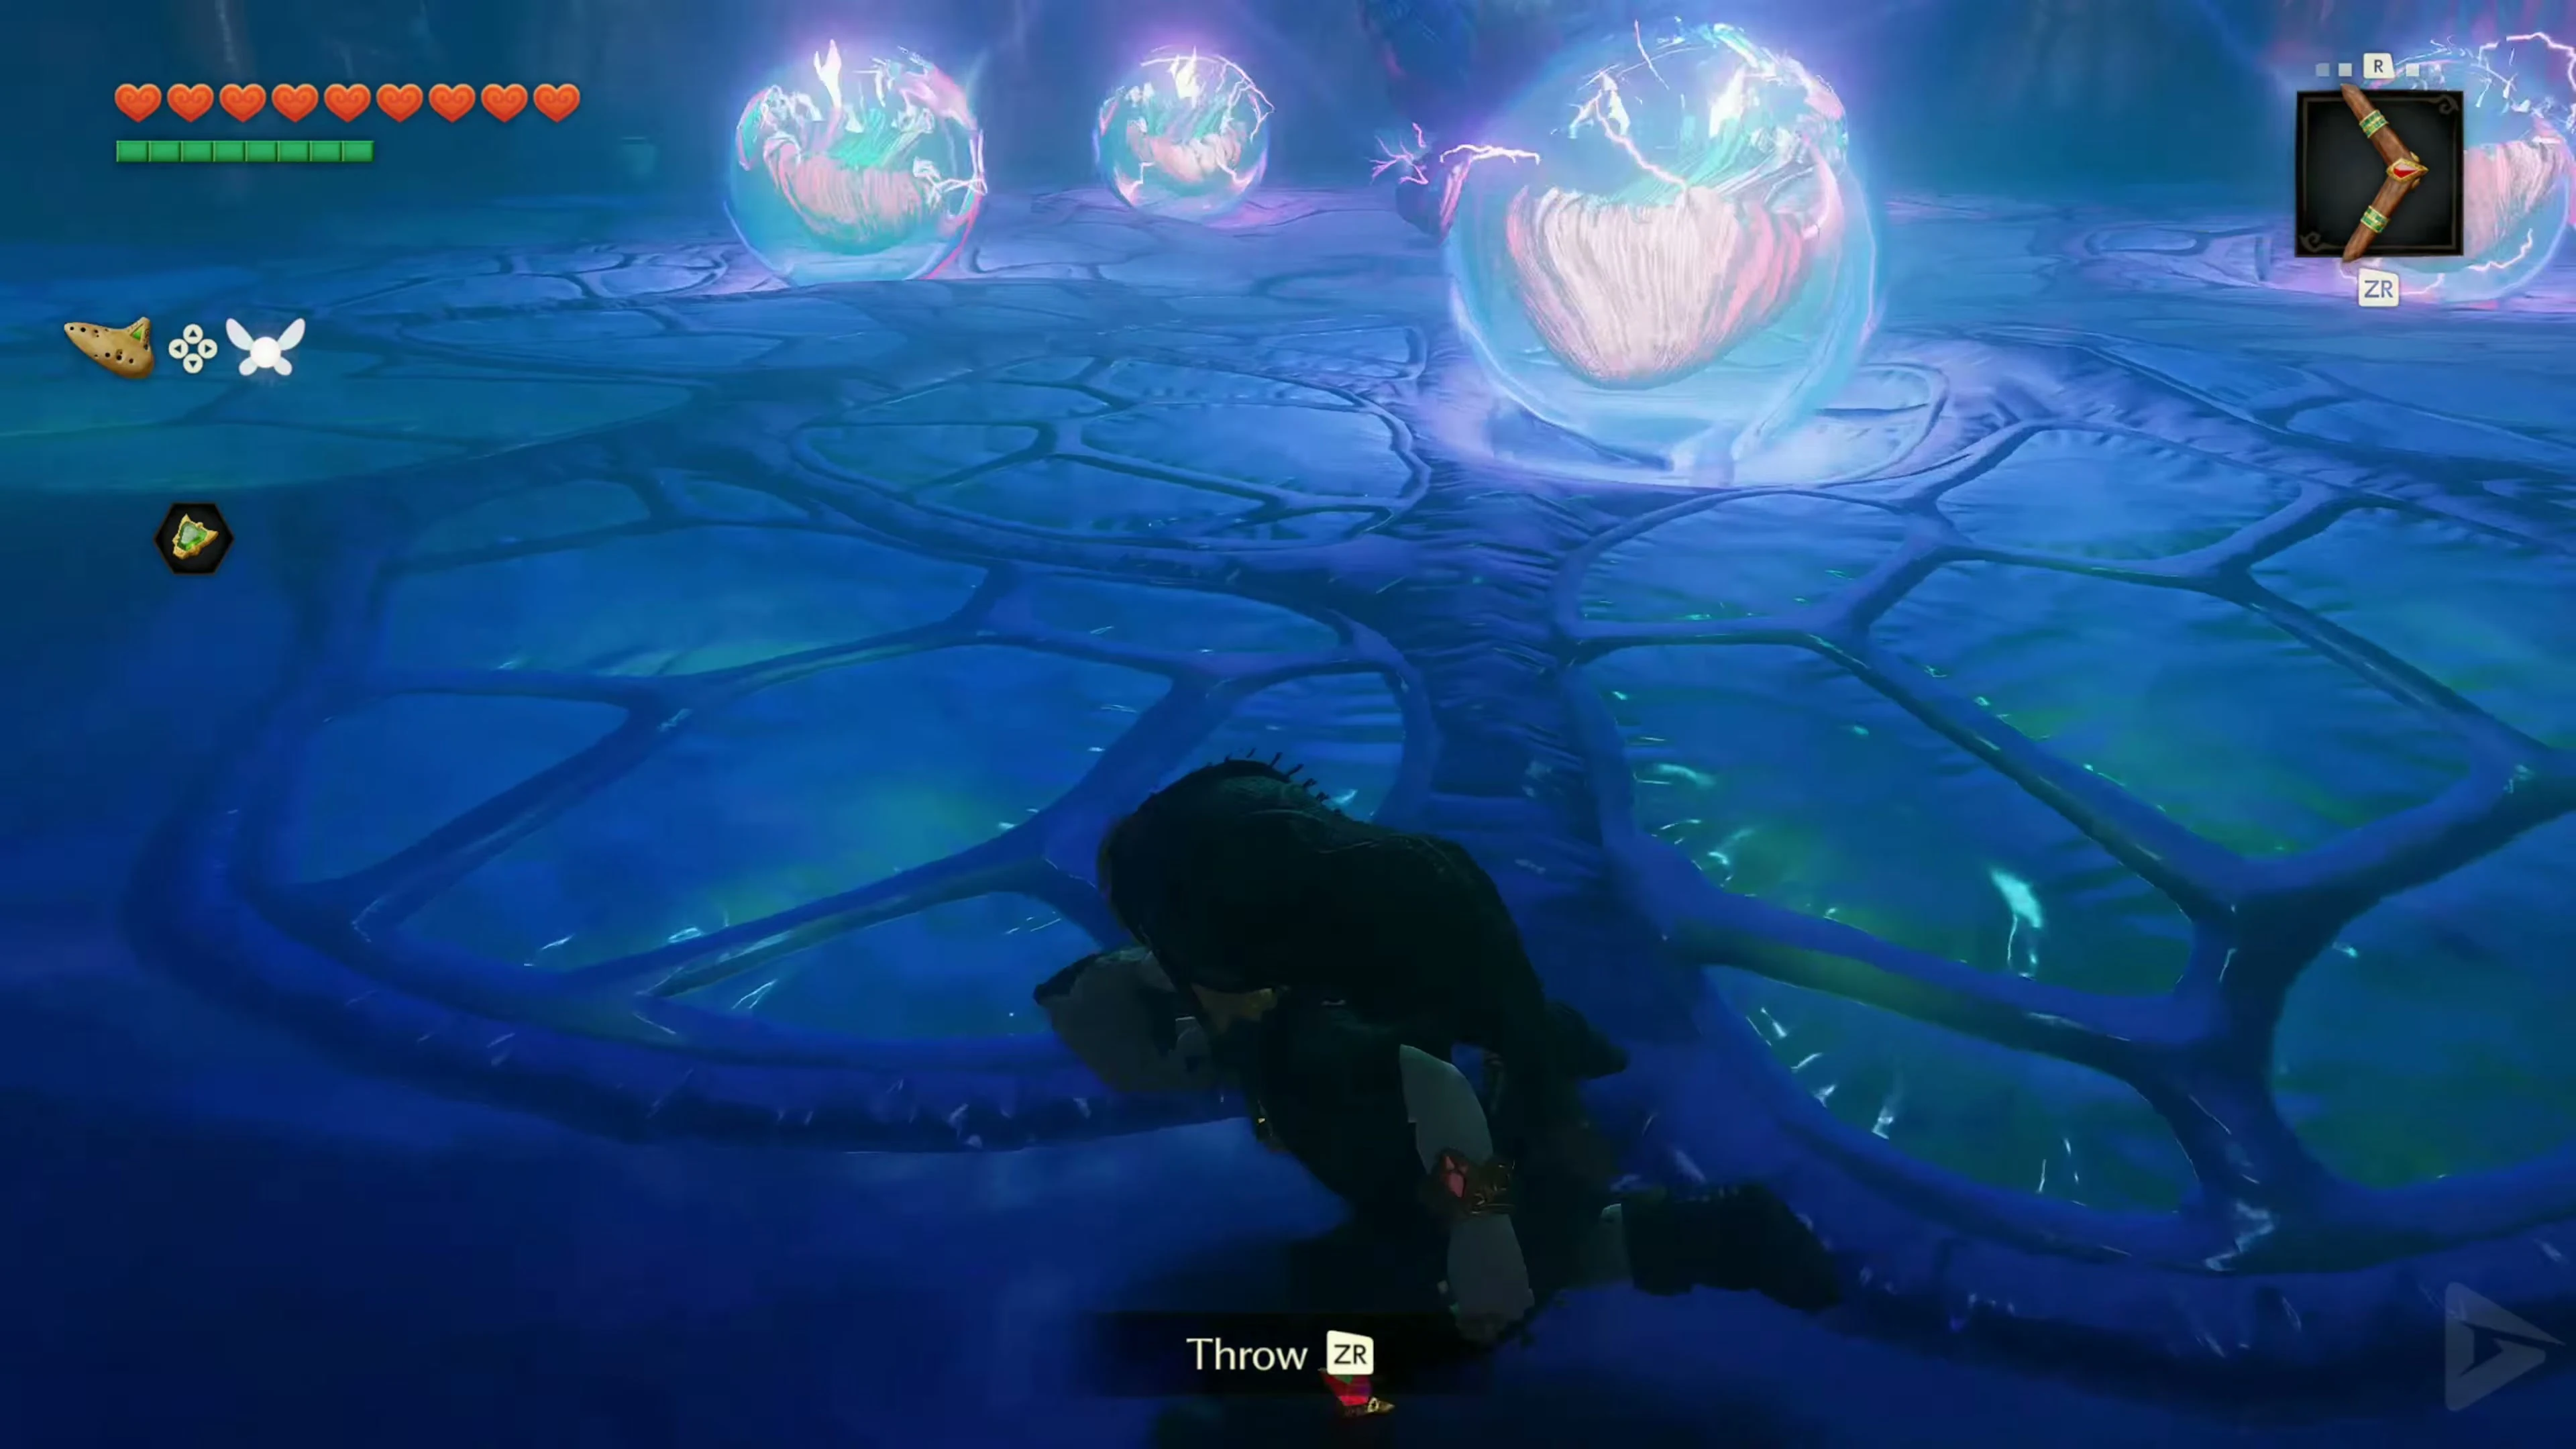
Once all the Biri are eliminated, Barinade’s main body will be exposed. The boss now moves faster through the arena, fires electric beams more frequently and retreats briefly into the ground after a few hits. Keep moving constantly and wait for a clear view. Throw the Boomerang at the red main body. After a successful stun, you immediately run to Barinade and attack with the Kokiri Sword. A jump attack or a strike with a Deku Stick causes more damage than a regular sword strike. However, don’t stay next to the opponent for too long. Get away in time before Barinade becomes active again. Repeat the process:
- Throw Boomerang at Barinade.
- Attack stunned boss with sword.
- Distance yourself immediately.
- Dodge electrical attacks.
- Stun again with the Boomerang.
After several successful attacks, Barinade finally collapses.
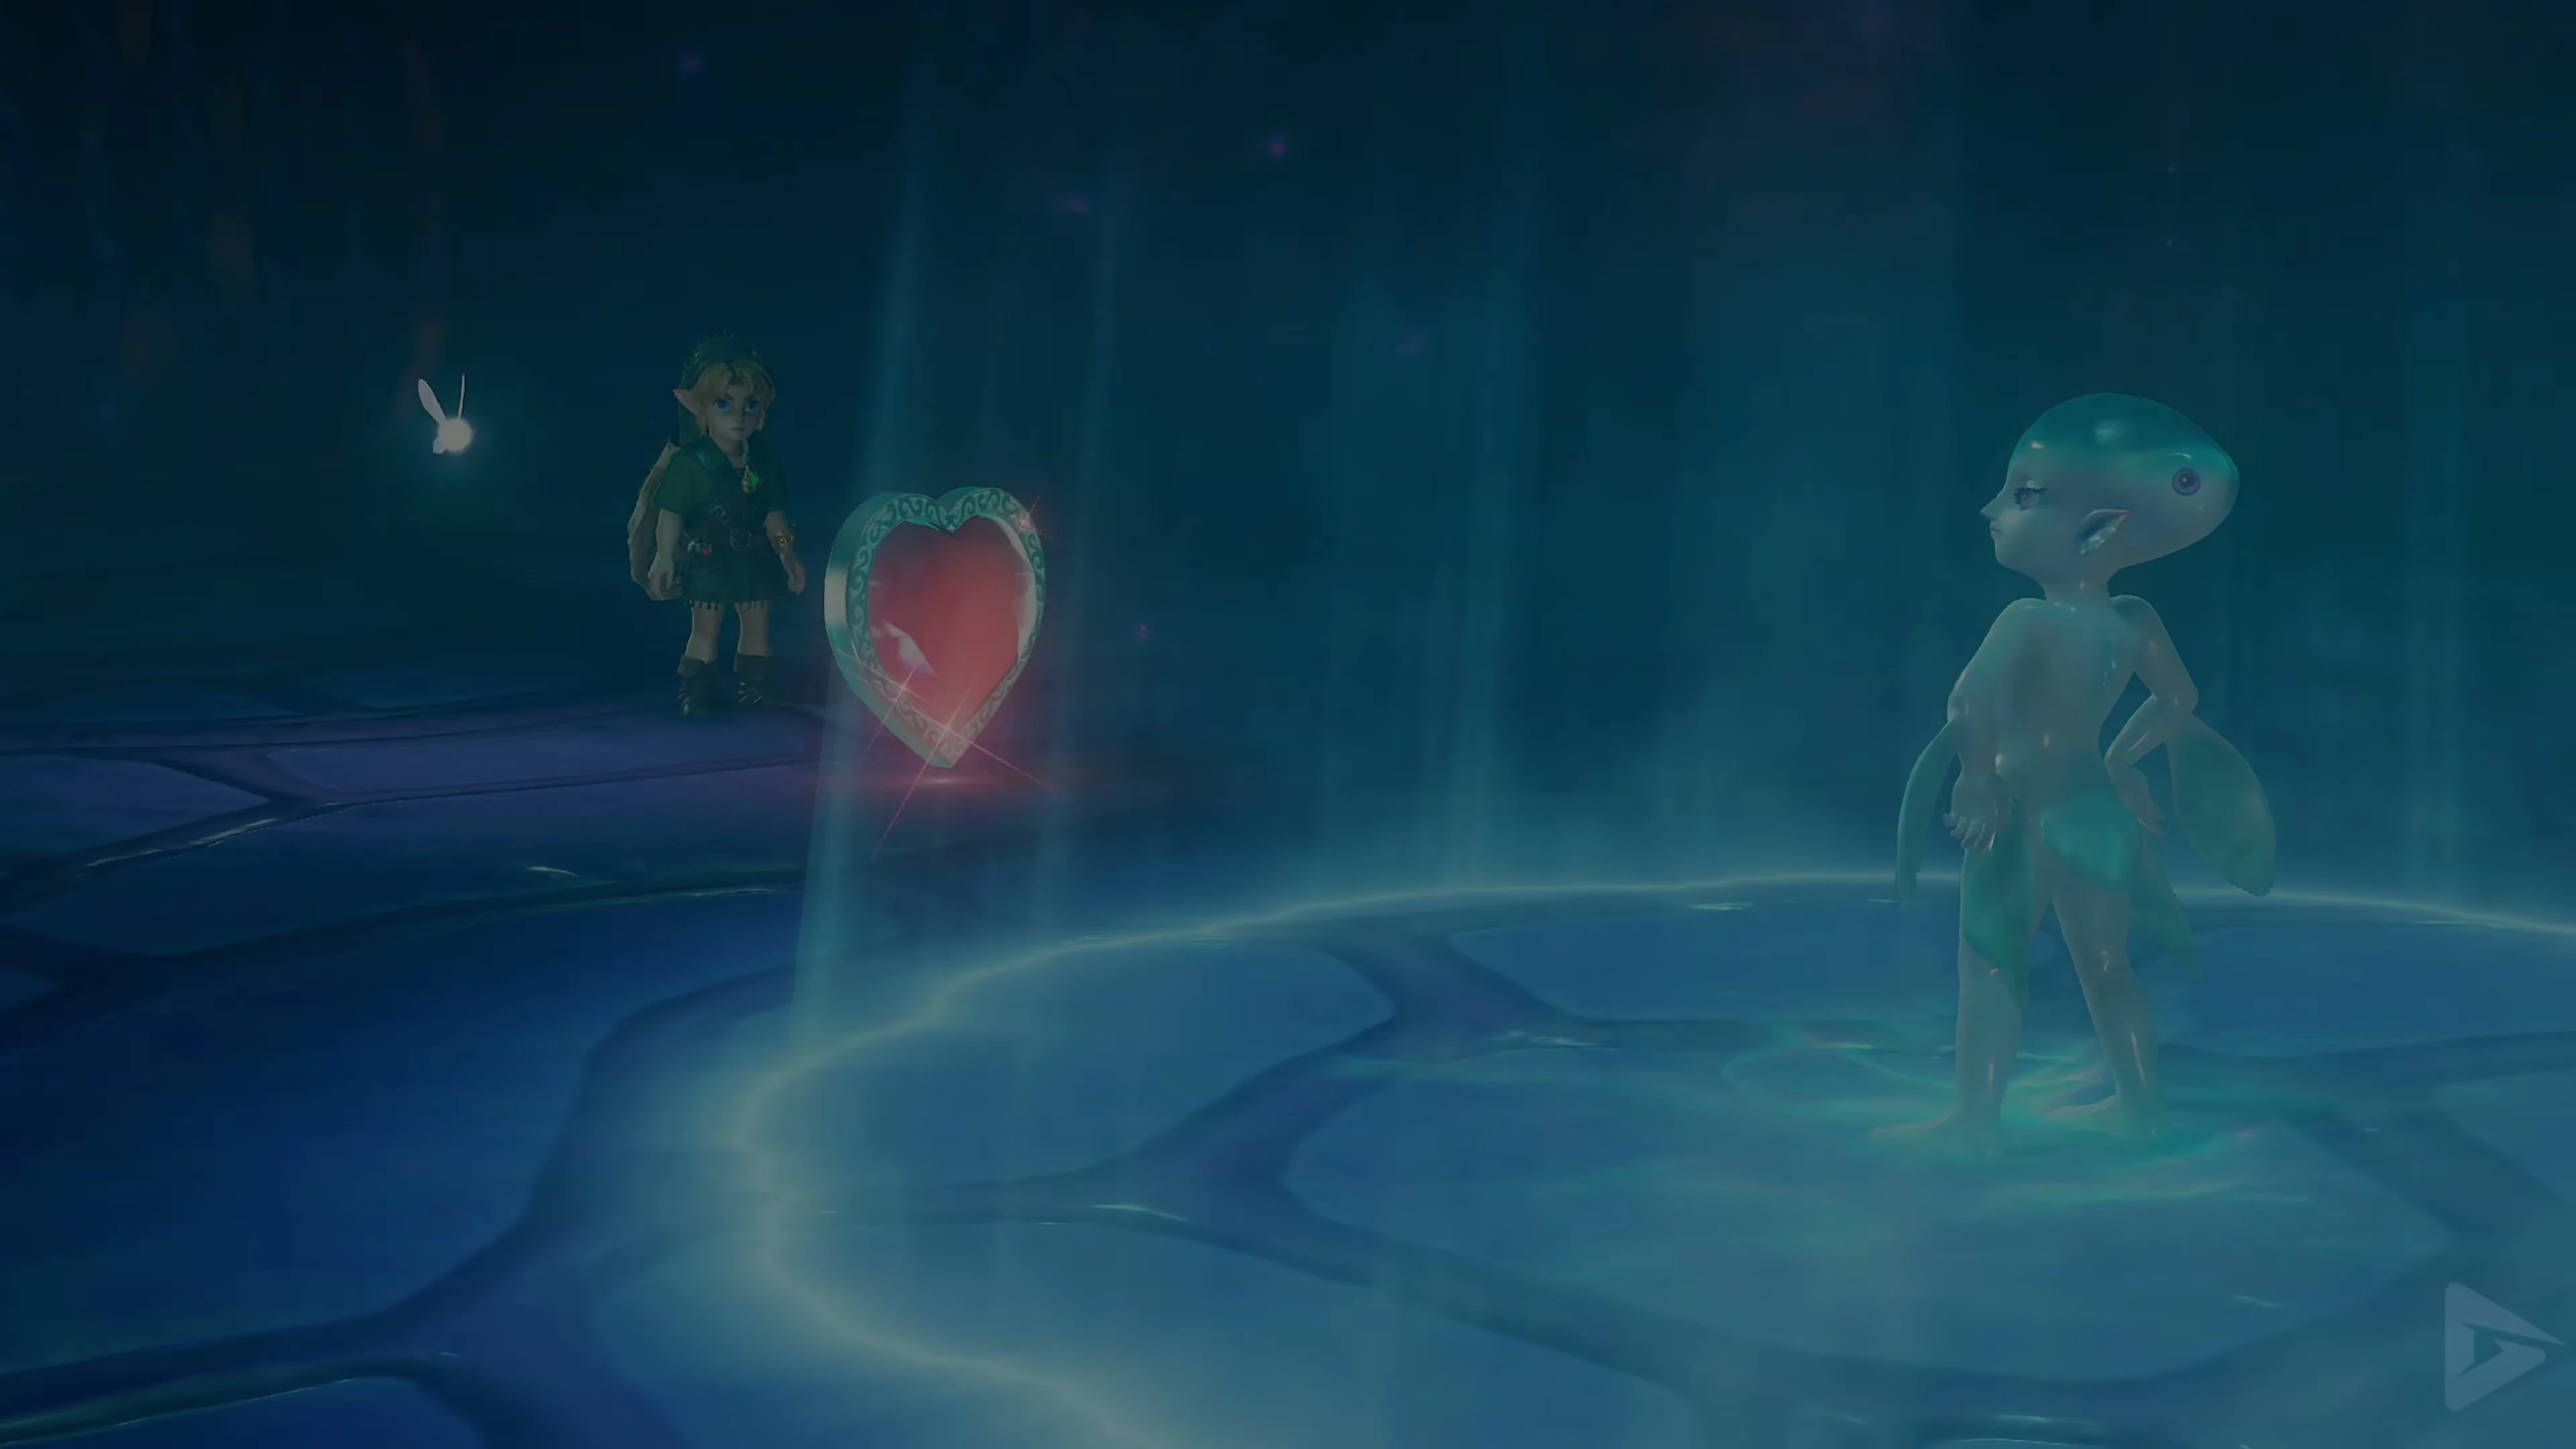
Heart Container and Zora Sapphire
Collect the Heart Container and enter the blue light. You meet Ruto again outside.
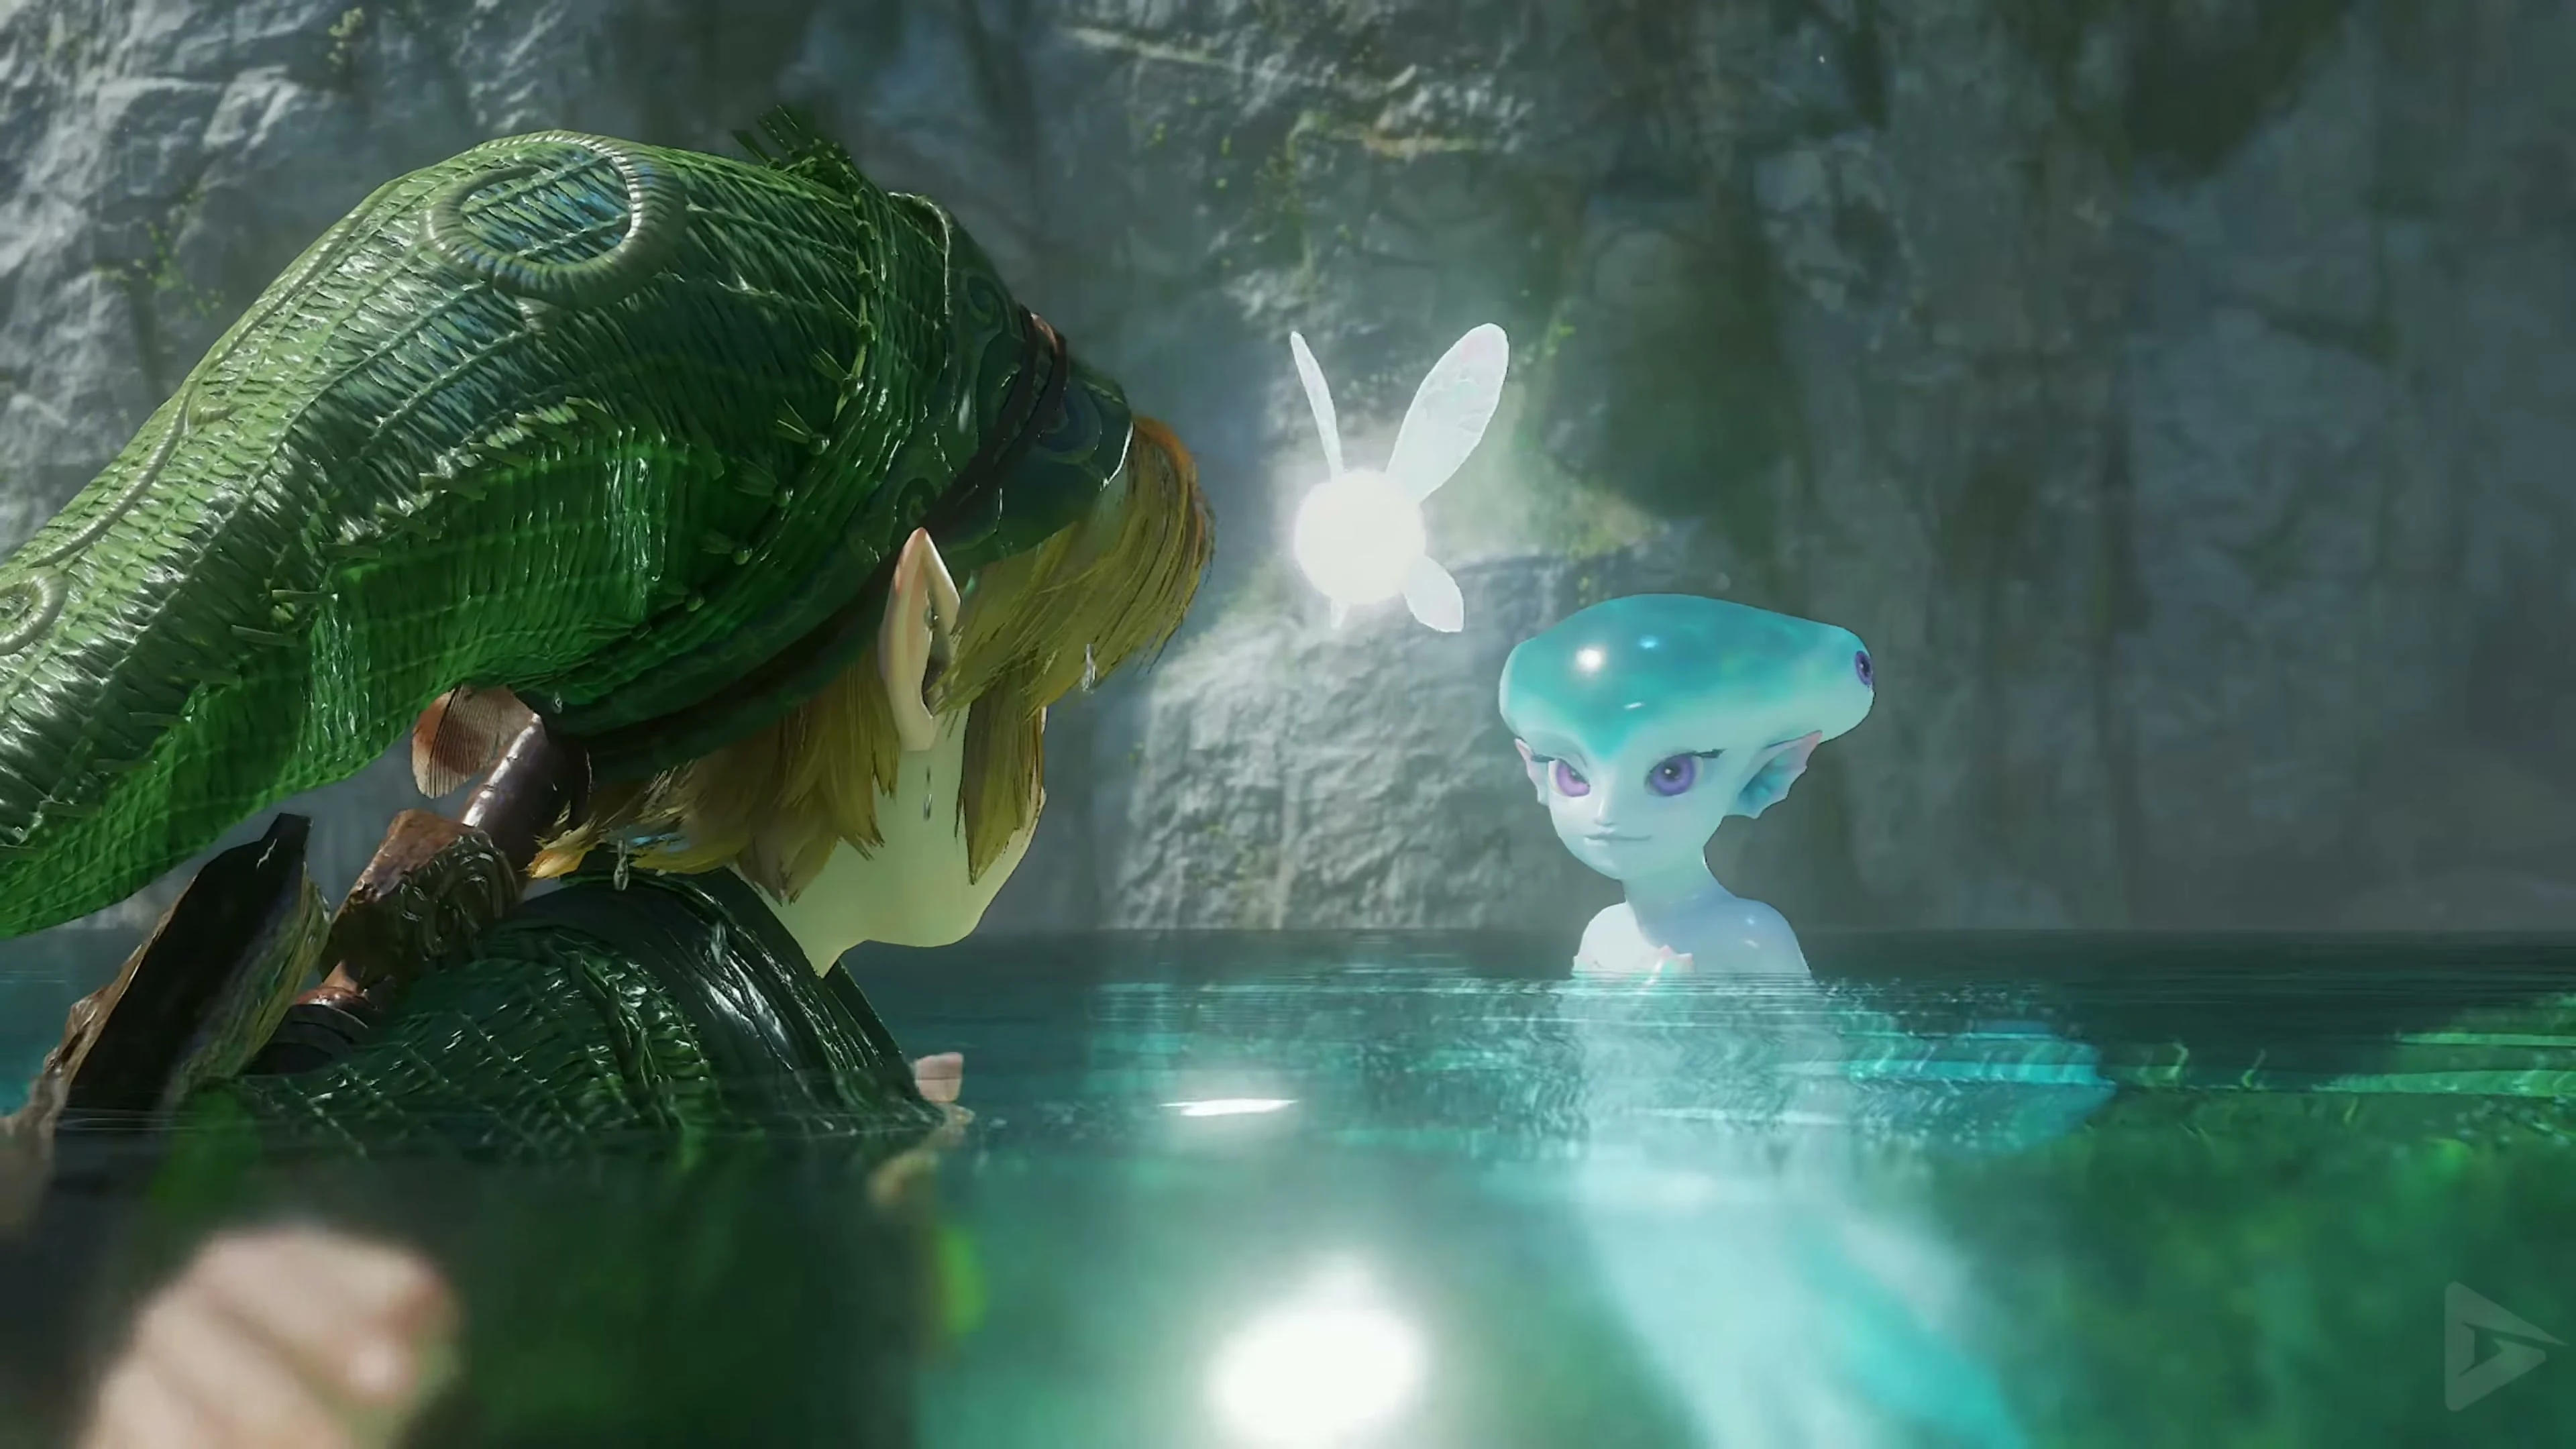
The Third Spiritual Stone – Zora Sapphire
Ruto gives you the Zora Sapphire . This means that all three Spiritual Stones are in your inventory.

Gold Skulltula in the Zora Fountain
In the Zora Fountain, play the Sun’s Song to create night. Search for the Gold Skulltula on the high south wall . First hit the spider and then its token with the Boomerang . Then leave the spring through Zora Domain and follow the Zora River back to Hyrule Field.
Chests and their contents
View all 4 chests
| Floor | Quantity | Contents | Note |
|---|---|---|---|
| 1st basement | 1 | 20 Rupees | |
| 1st basement | 1 | Dungeon Map | |
| Ground floor | 1 | Boomerang | |
| Ground floor | 1 | Compass |