
Enter the Gerudo Proving Grounds.
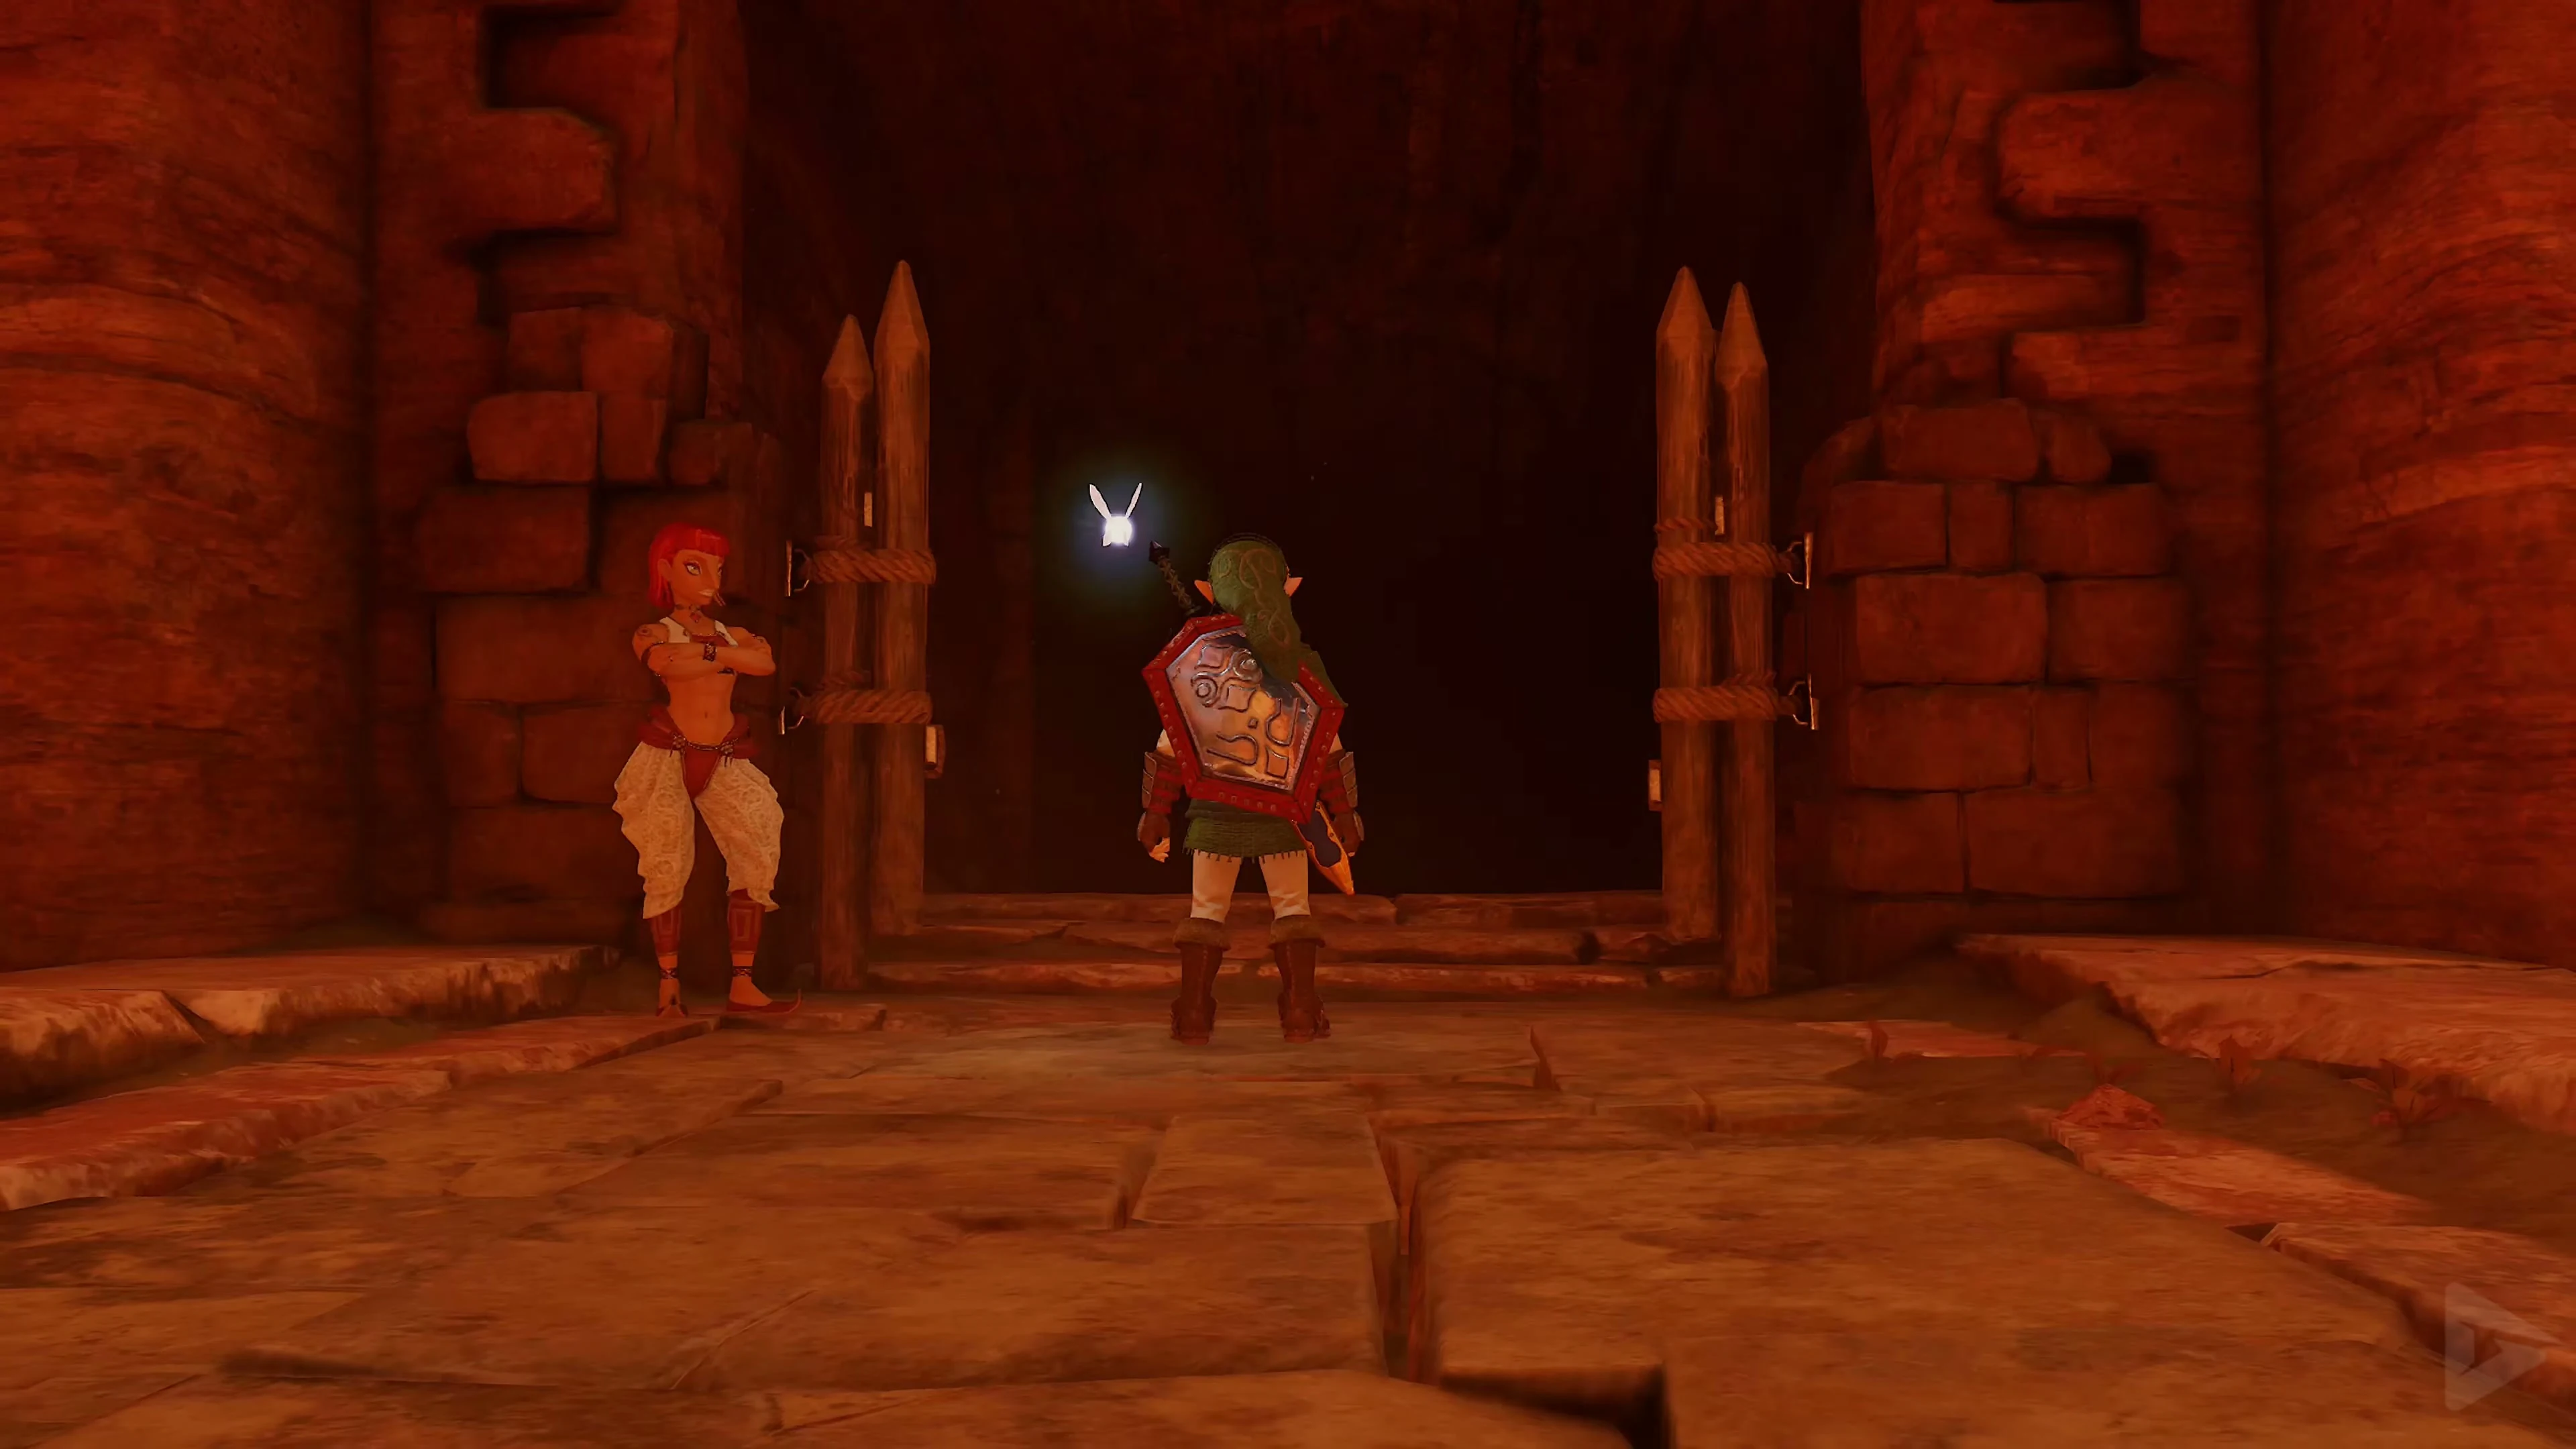
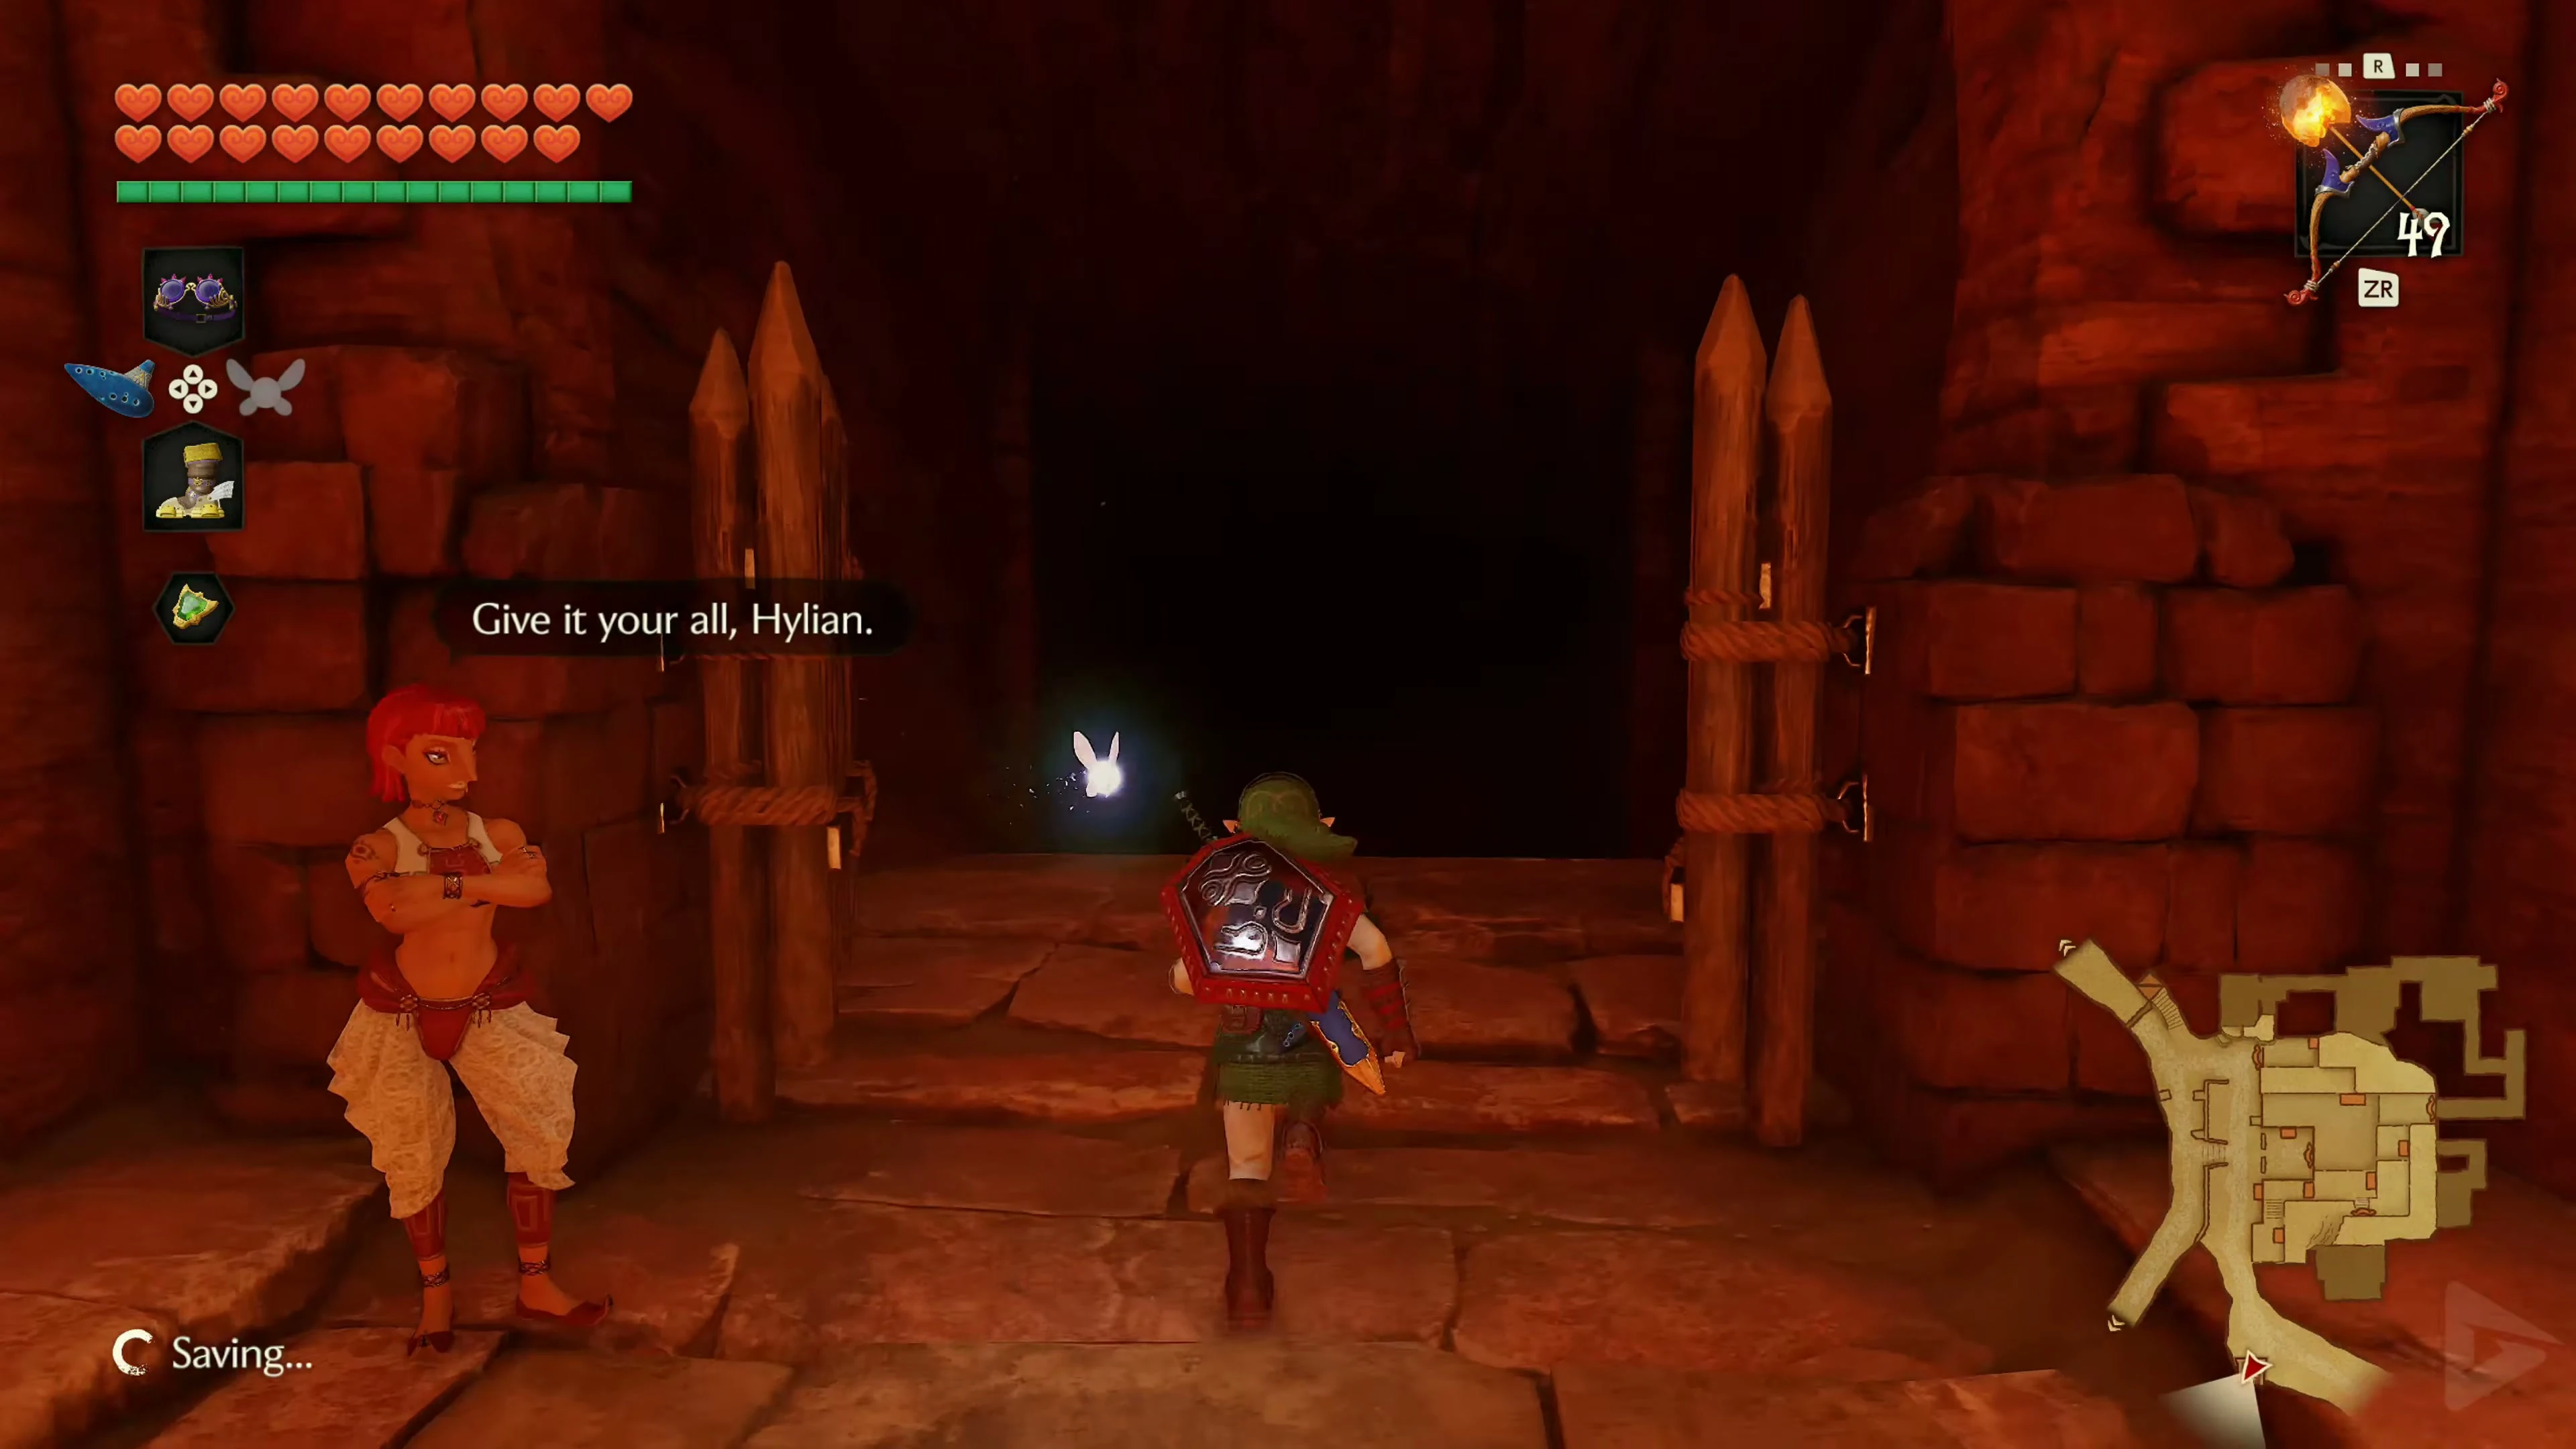
Speak to the Gerudo at the gate in front of the Training Arena in the Gerudo Fortress and pay 30 Rupees Go into the entrance hall. Begin the circuit through the left door .
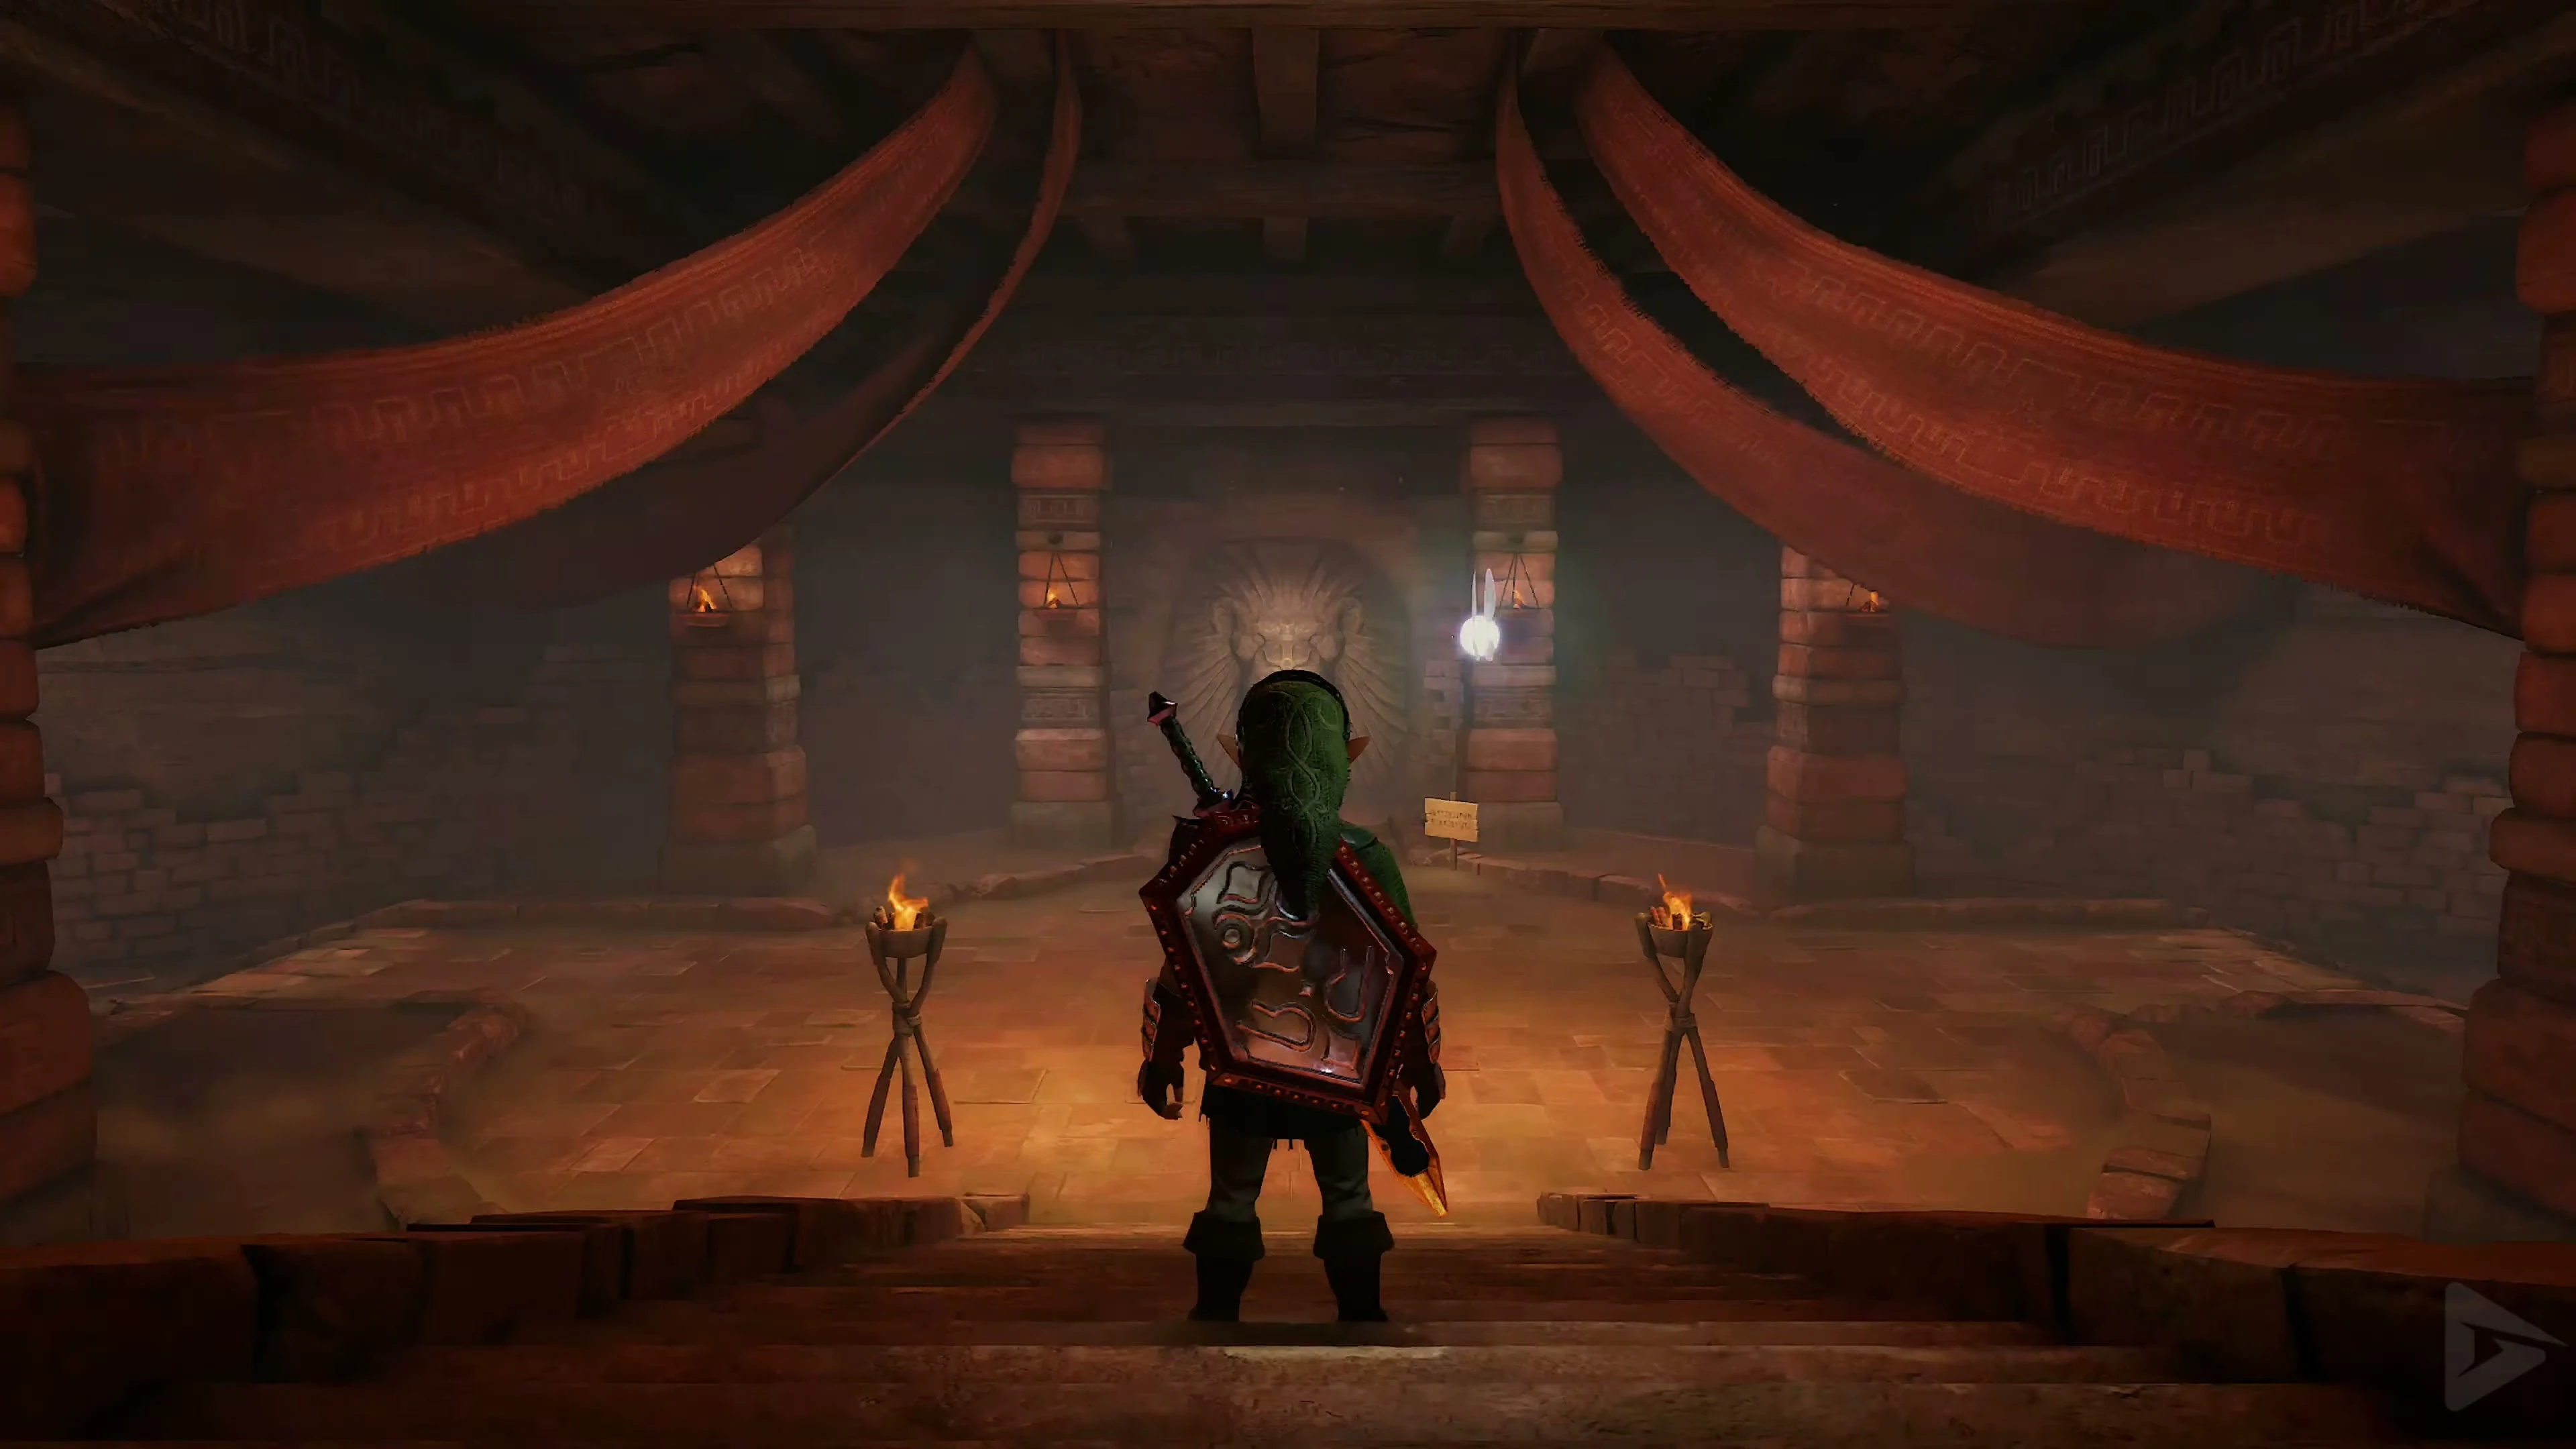
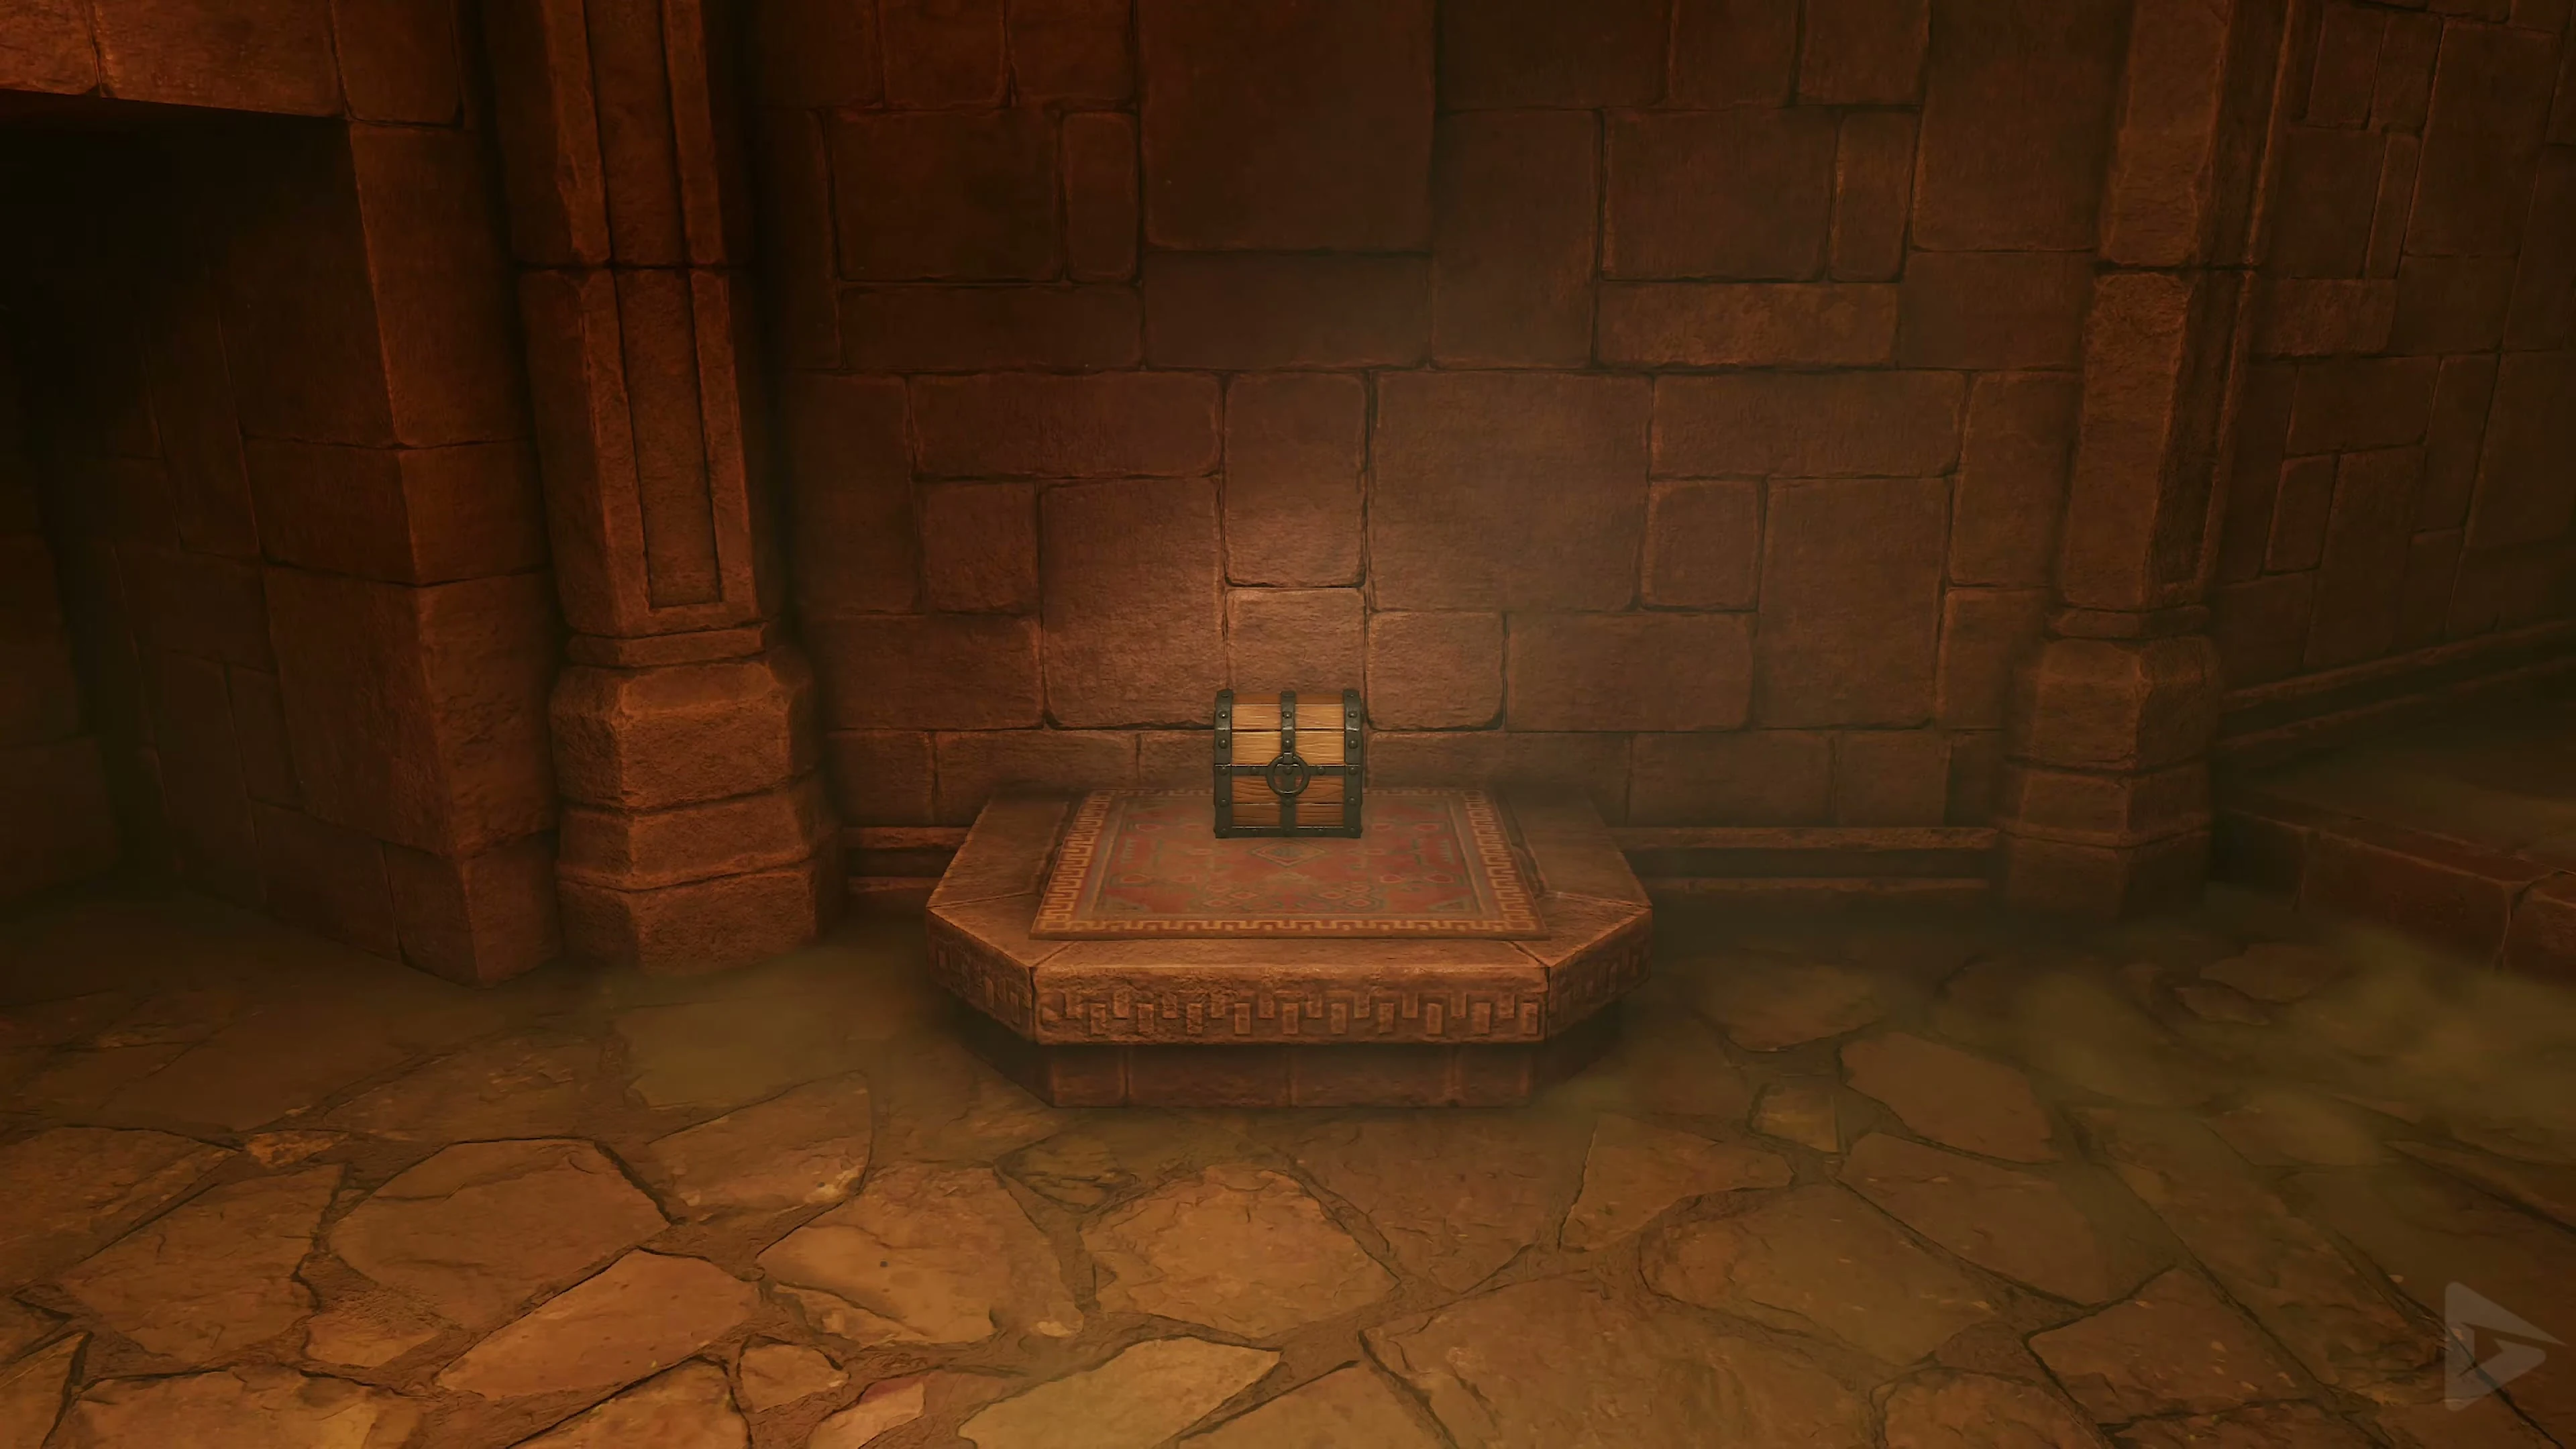
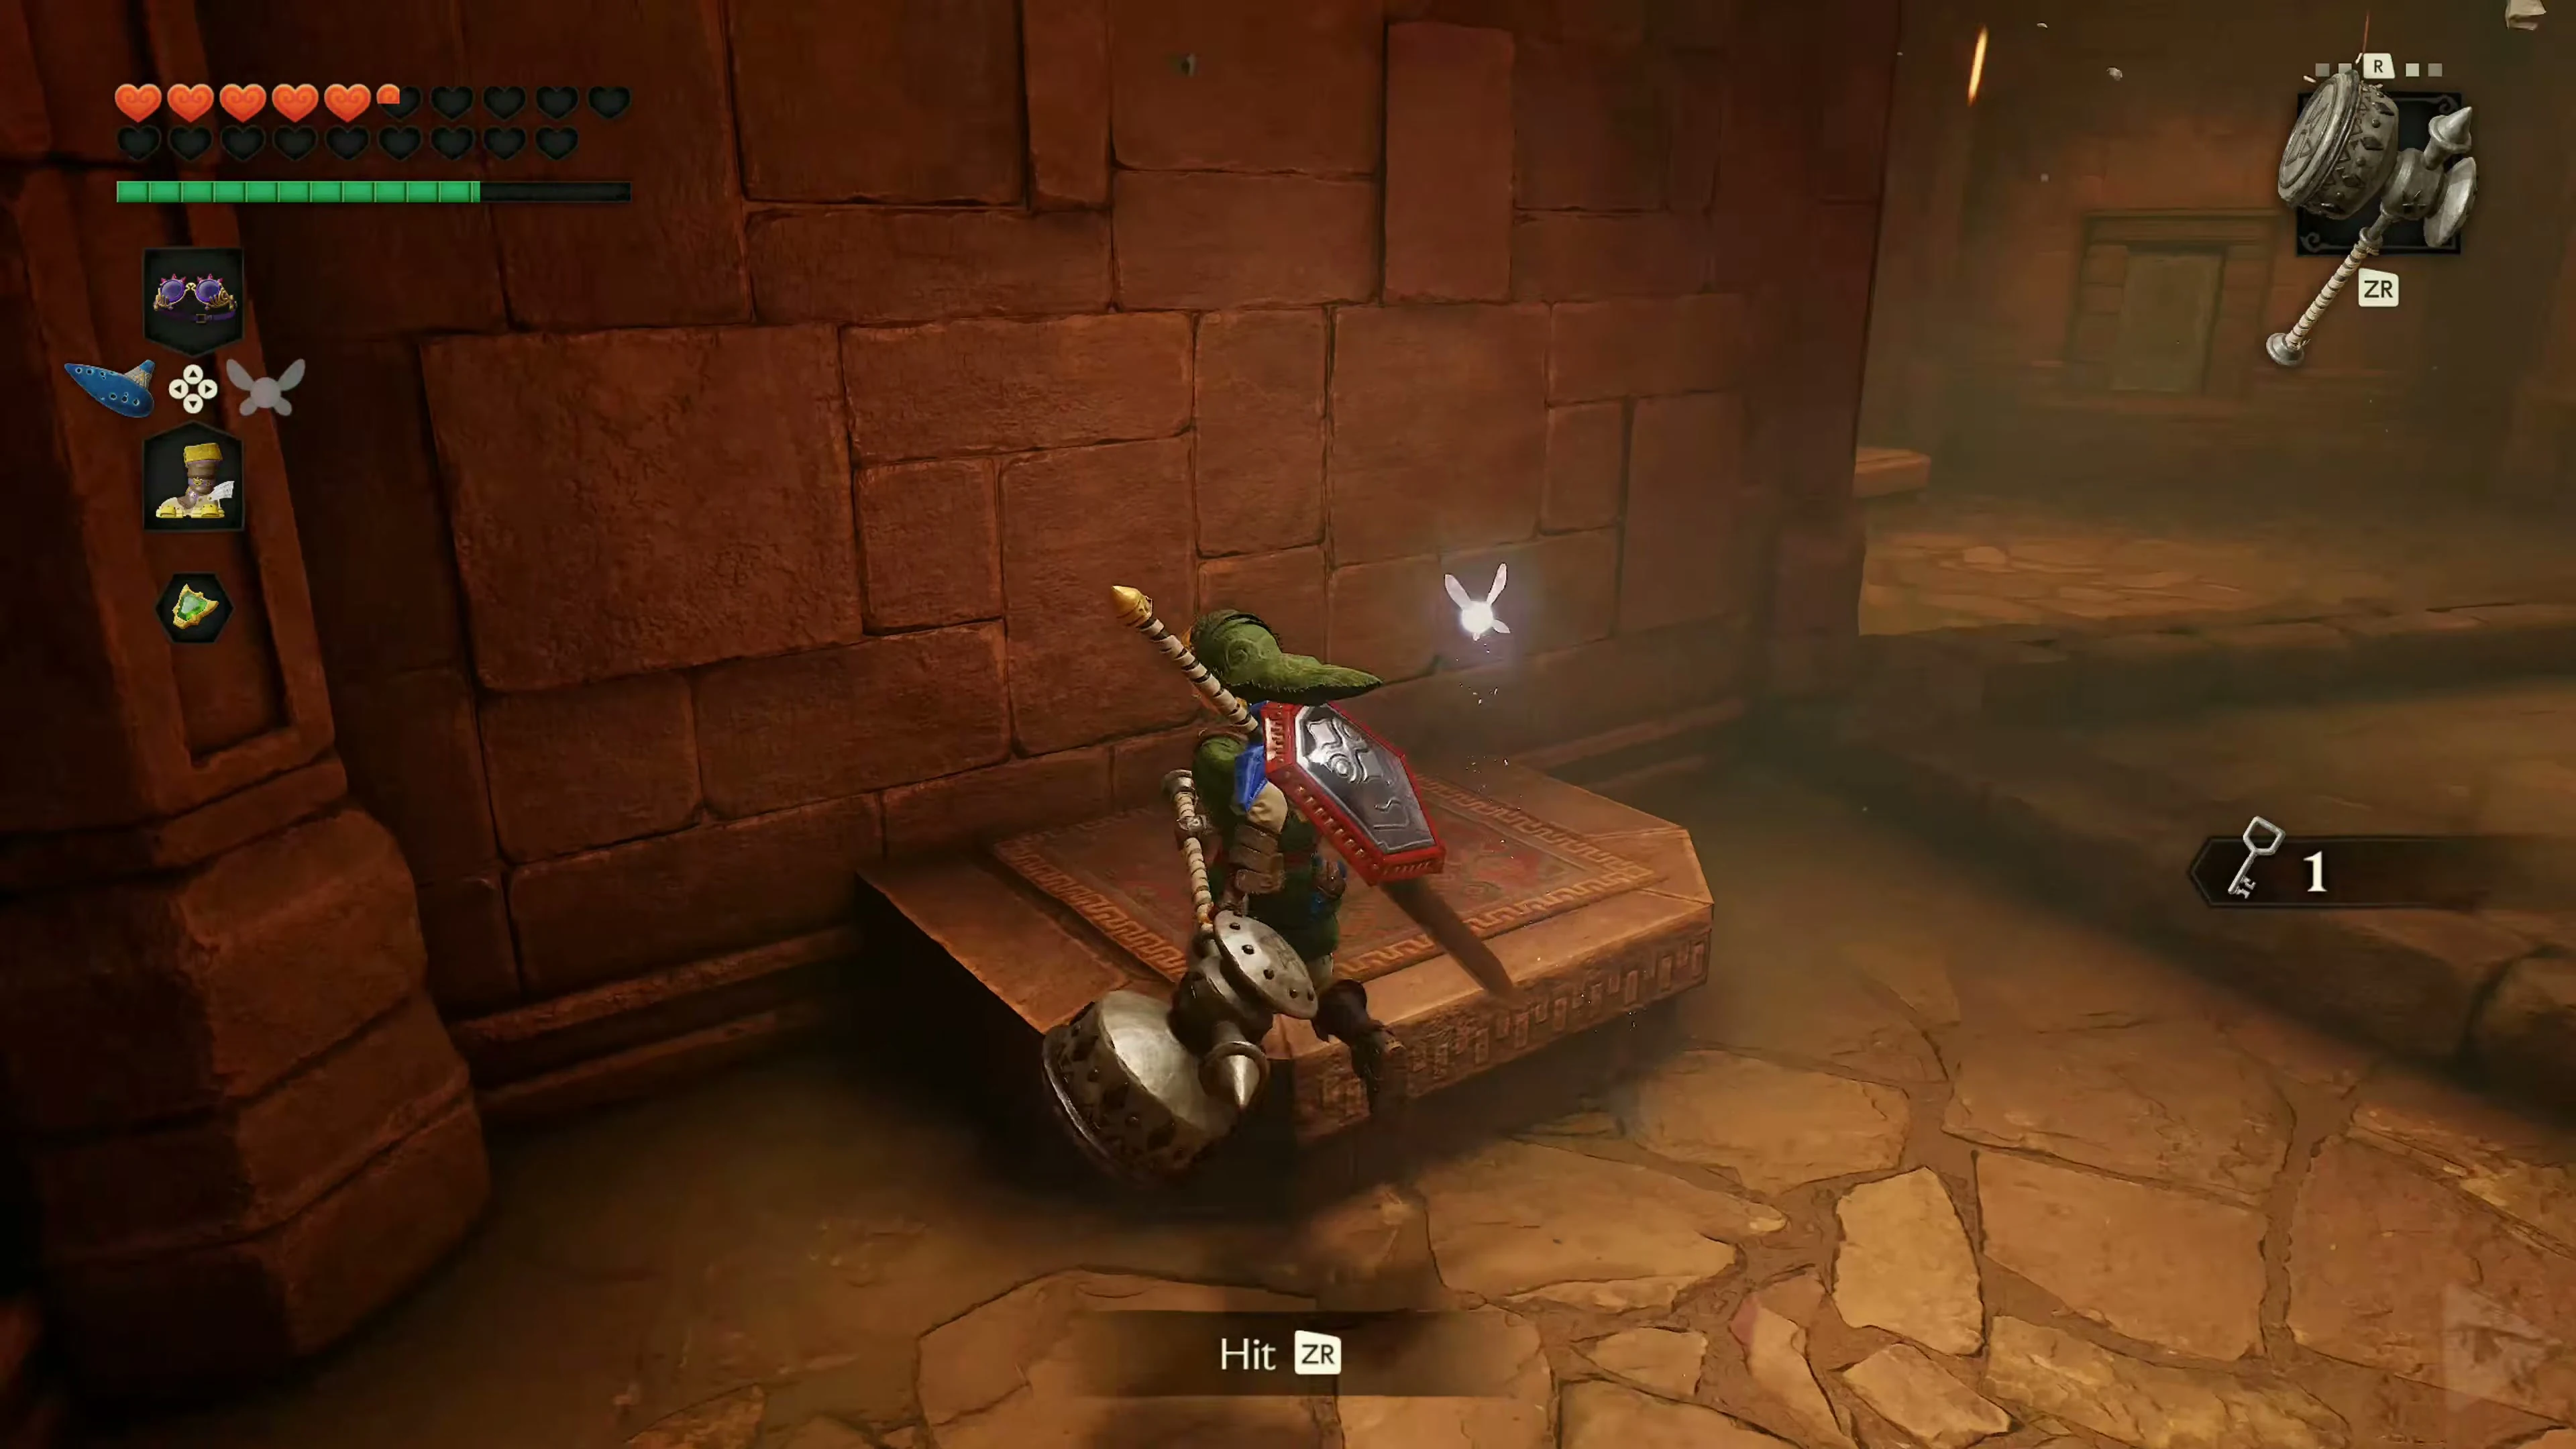
Before opening the left door, turn back towards the entrance. There is a golden eye switch above the door. Hit it with the Fairy Bow to make a small treasure chest containing five Rupees appear. Another chest in the entrance hall contains arrows and can replenish your supply.
Small Key 1 – Stalfos in Quicksand
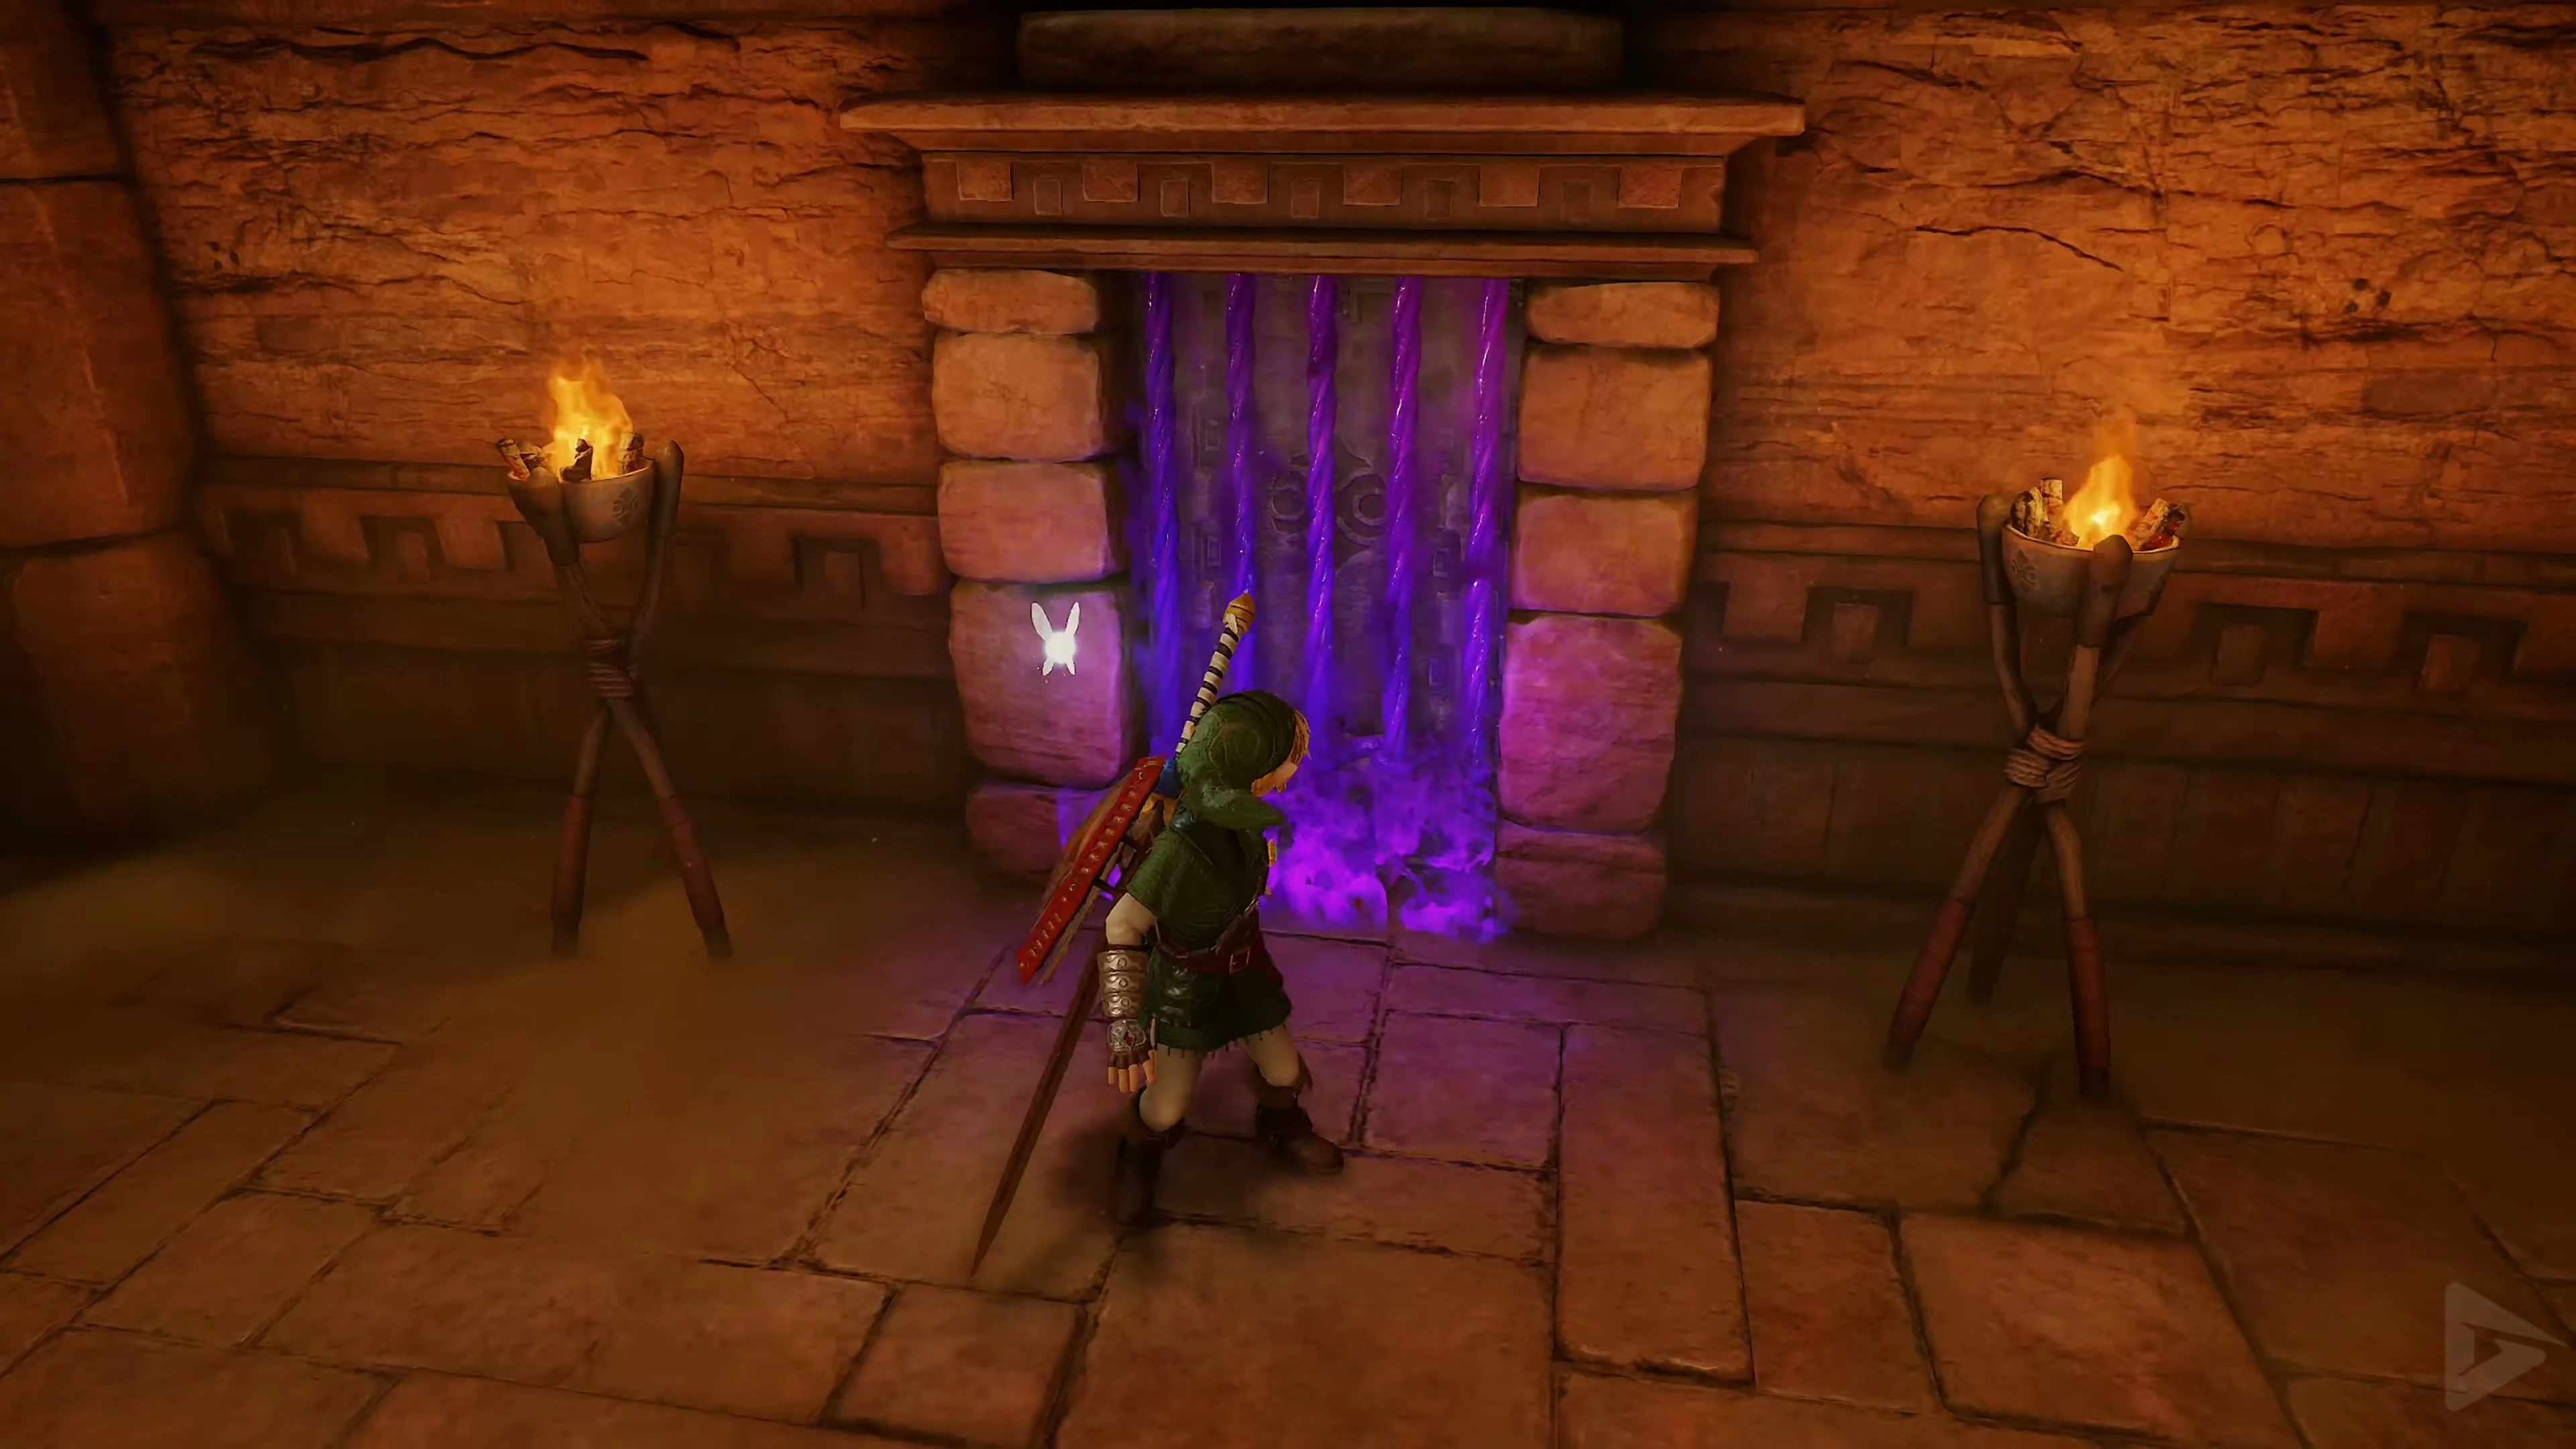
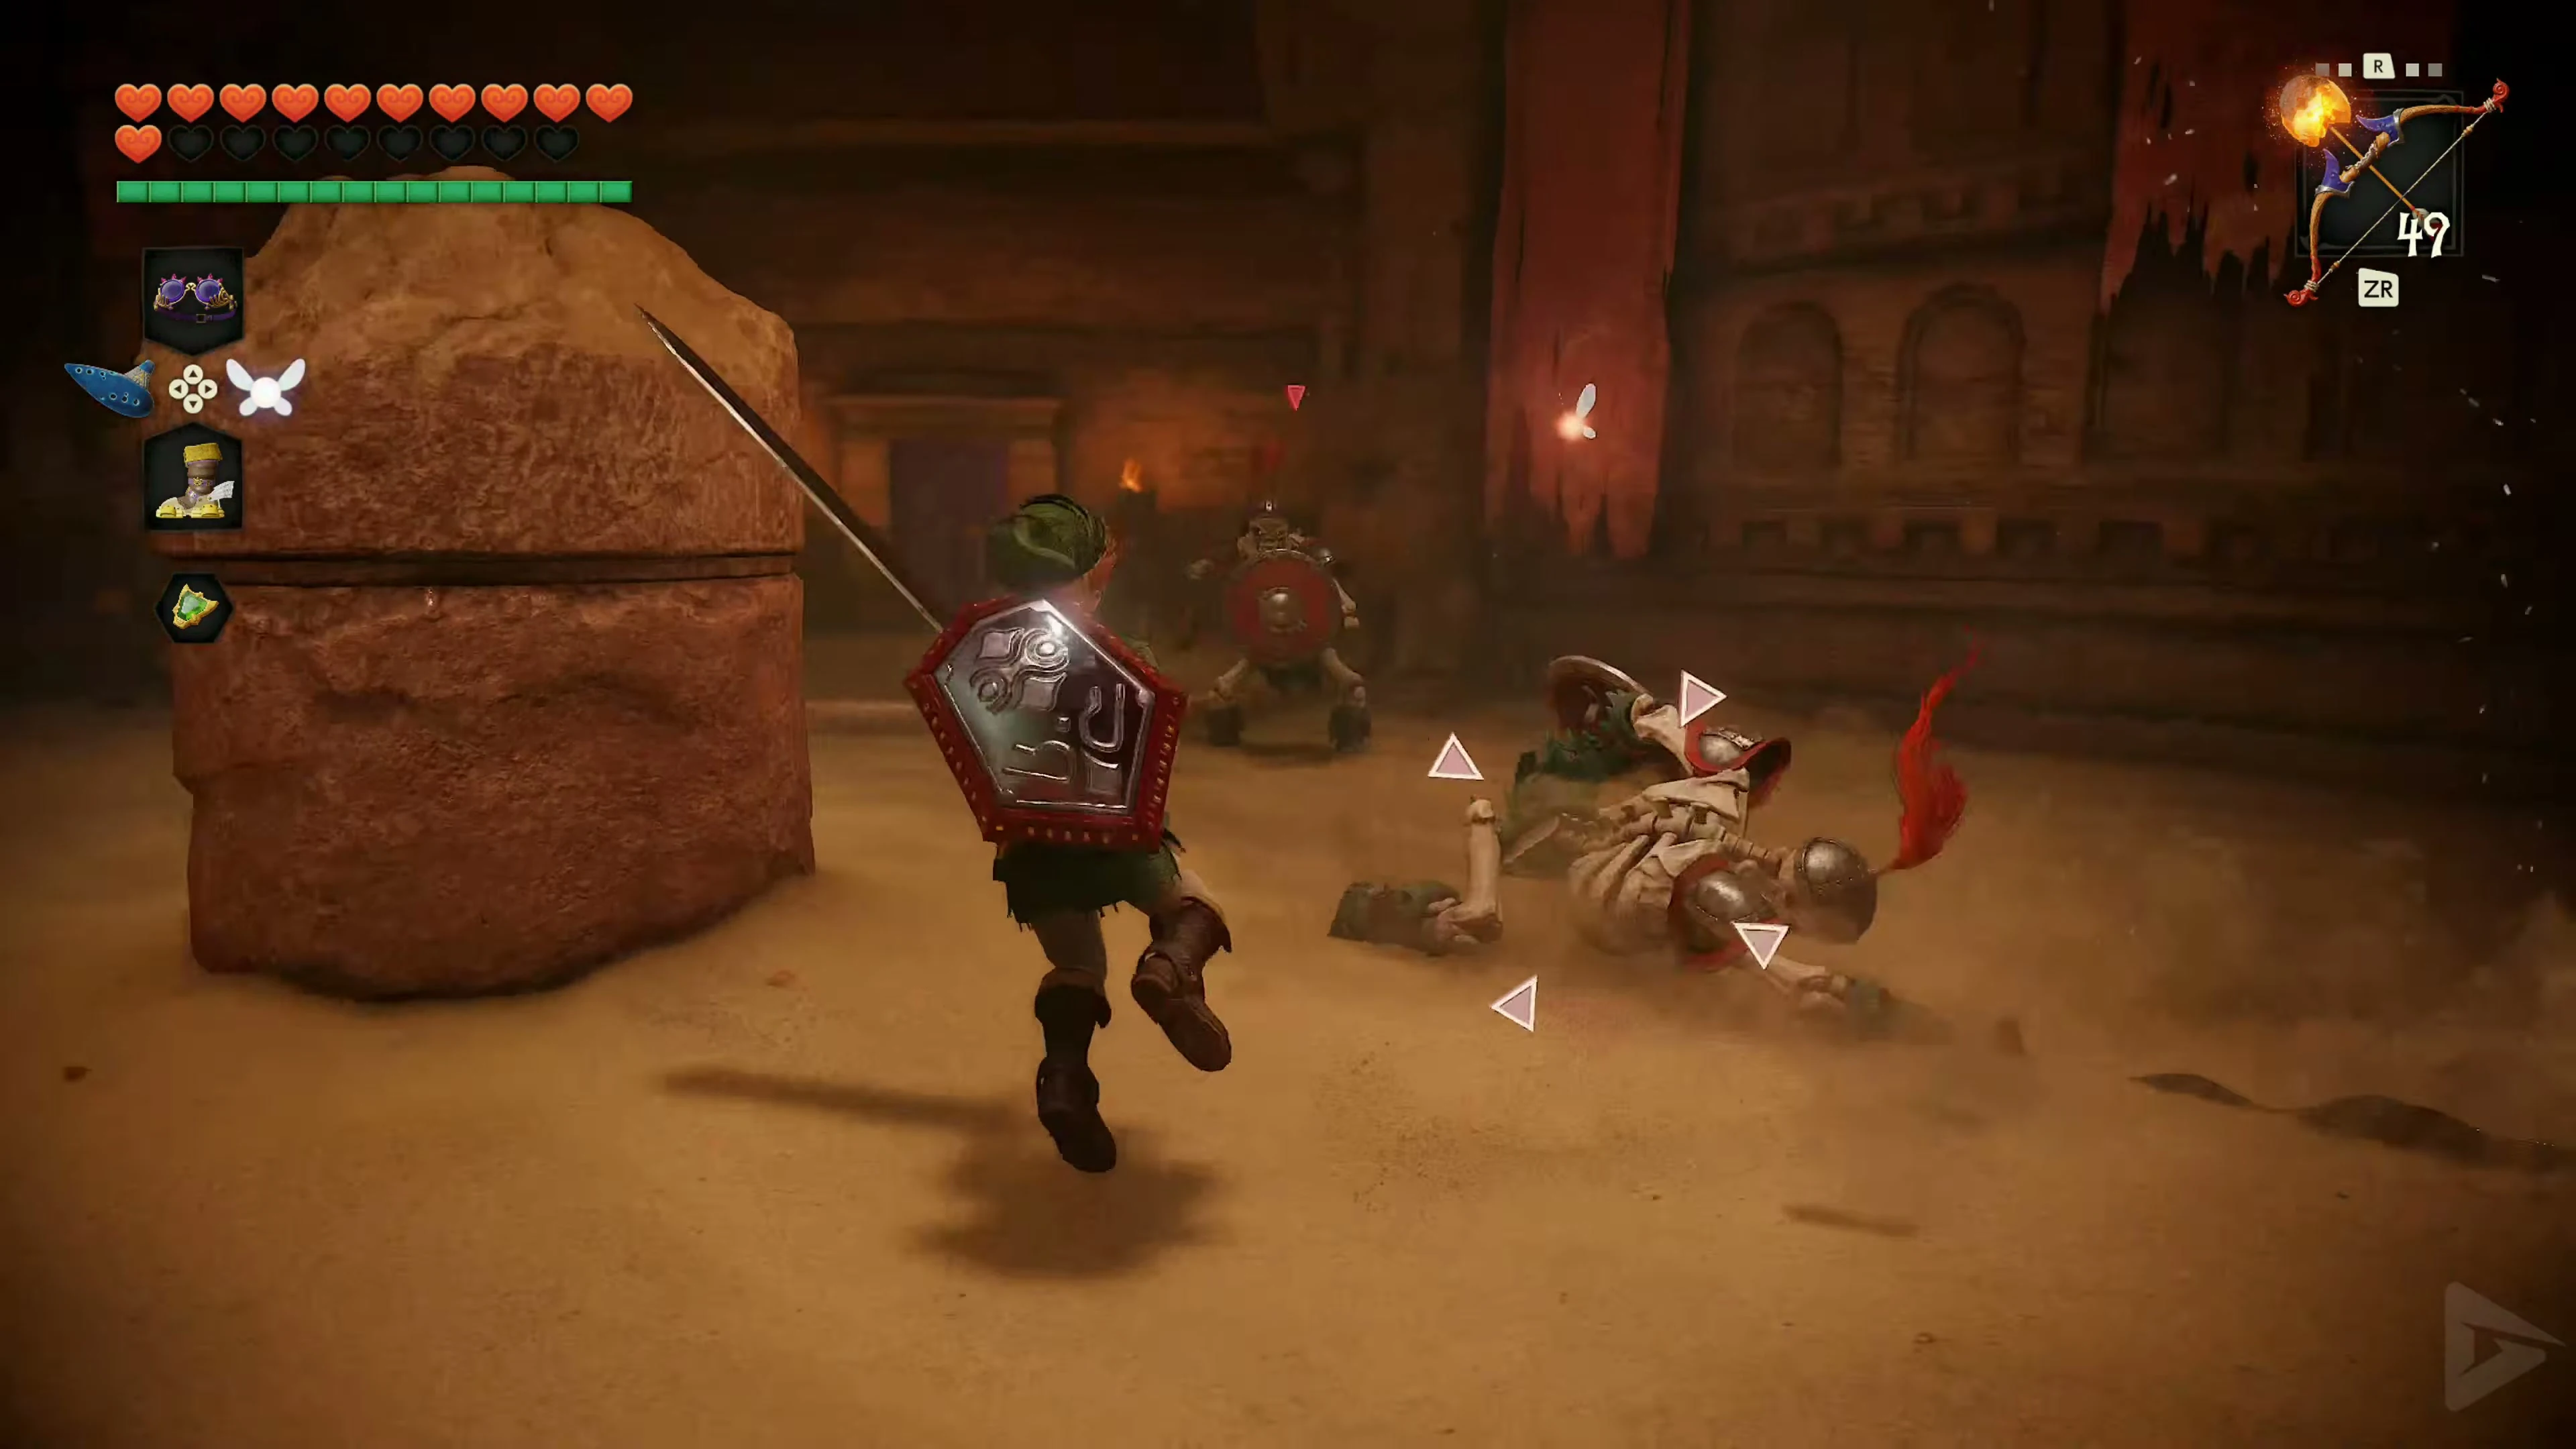
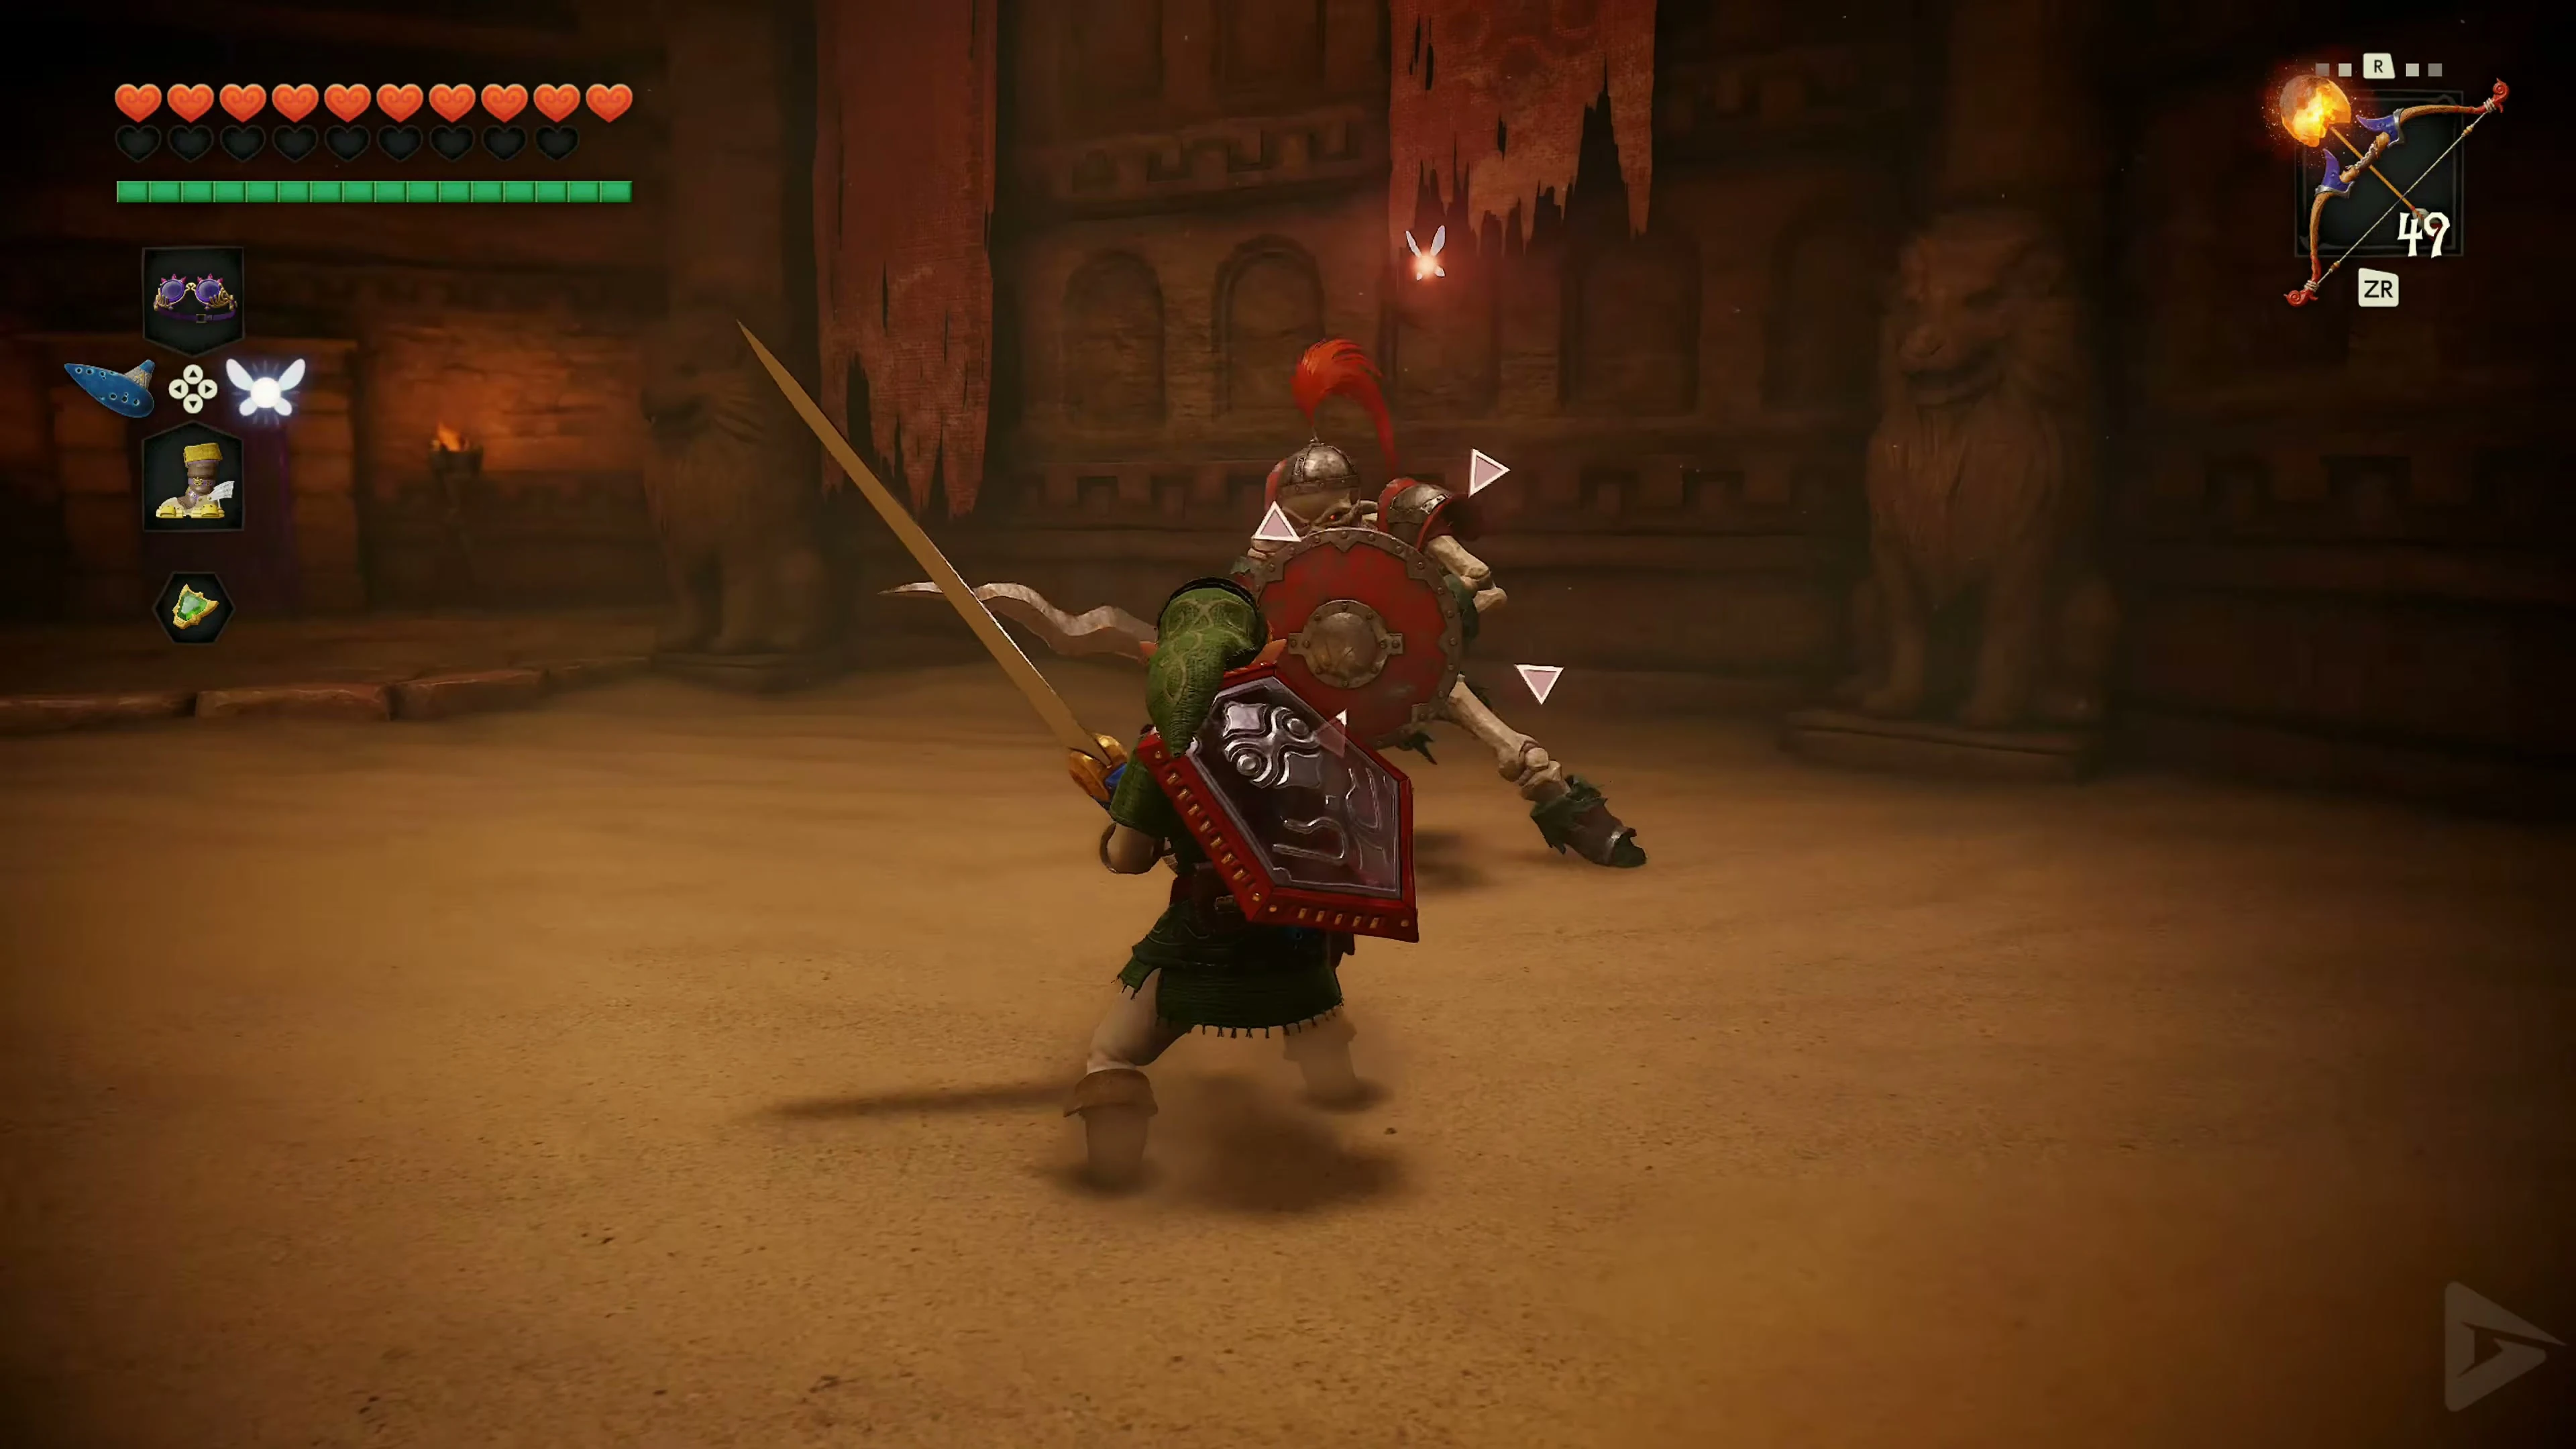
Go through the left door. As soon as you fully enter the first trial room, a time limit of one minute will begin. Within this time, you must defeat two Stalfos Knights. Most of the floor is made of quicksand, which will slowly pull Link down. Therefore, keep moving as much as possible or equip the Hover Boots to move more easily across the dangerous area. Always focus completely on one of the two Stalfos. Target it, keep your shield ready, and wait for its attack sequence or jump attack. As soon as it opens its guard, attack immediately with the Master Sword or the Biggoron Sword. The Biggoron Sword makes this trial particularly easy, as just a few well-placed hits are enough.
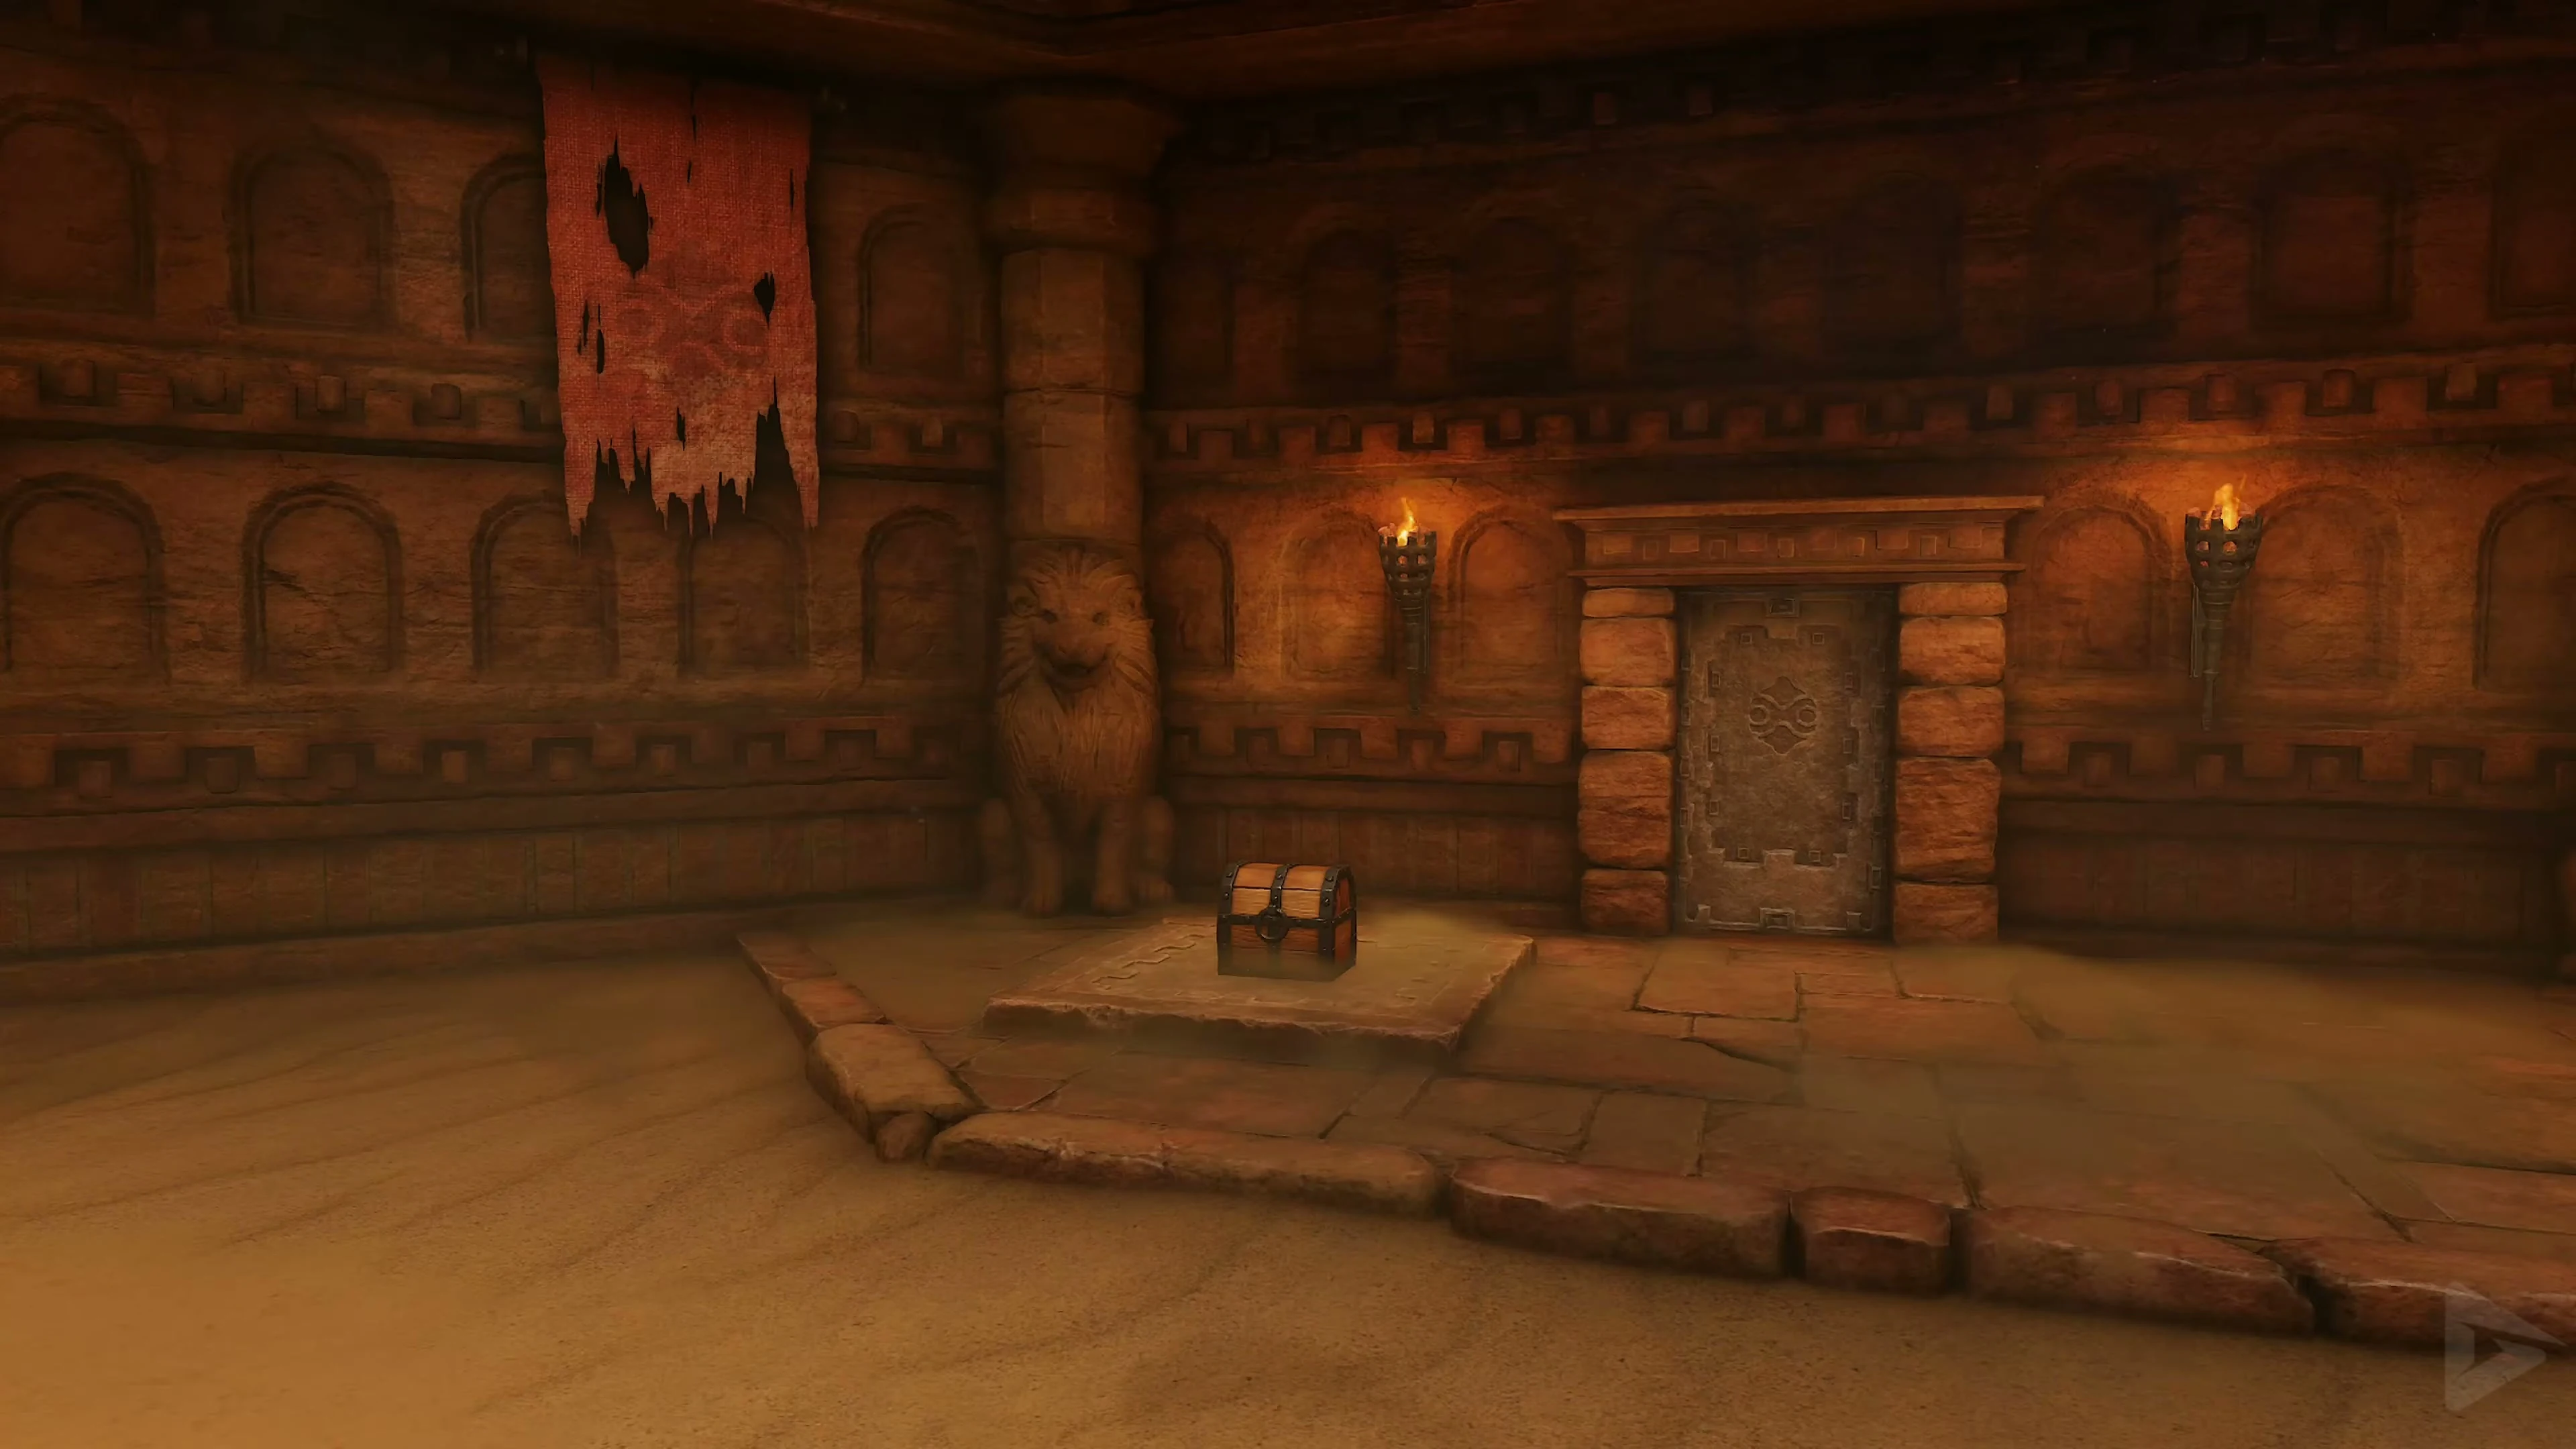
If you defeat both enemies within the time limit, a small treasure chest will appear. Open it and take the Small Key 1 . Then go through the next door.
Five crystals in the fire labyrinth.
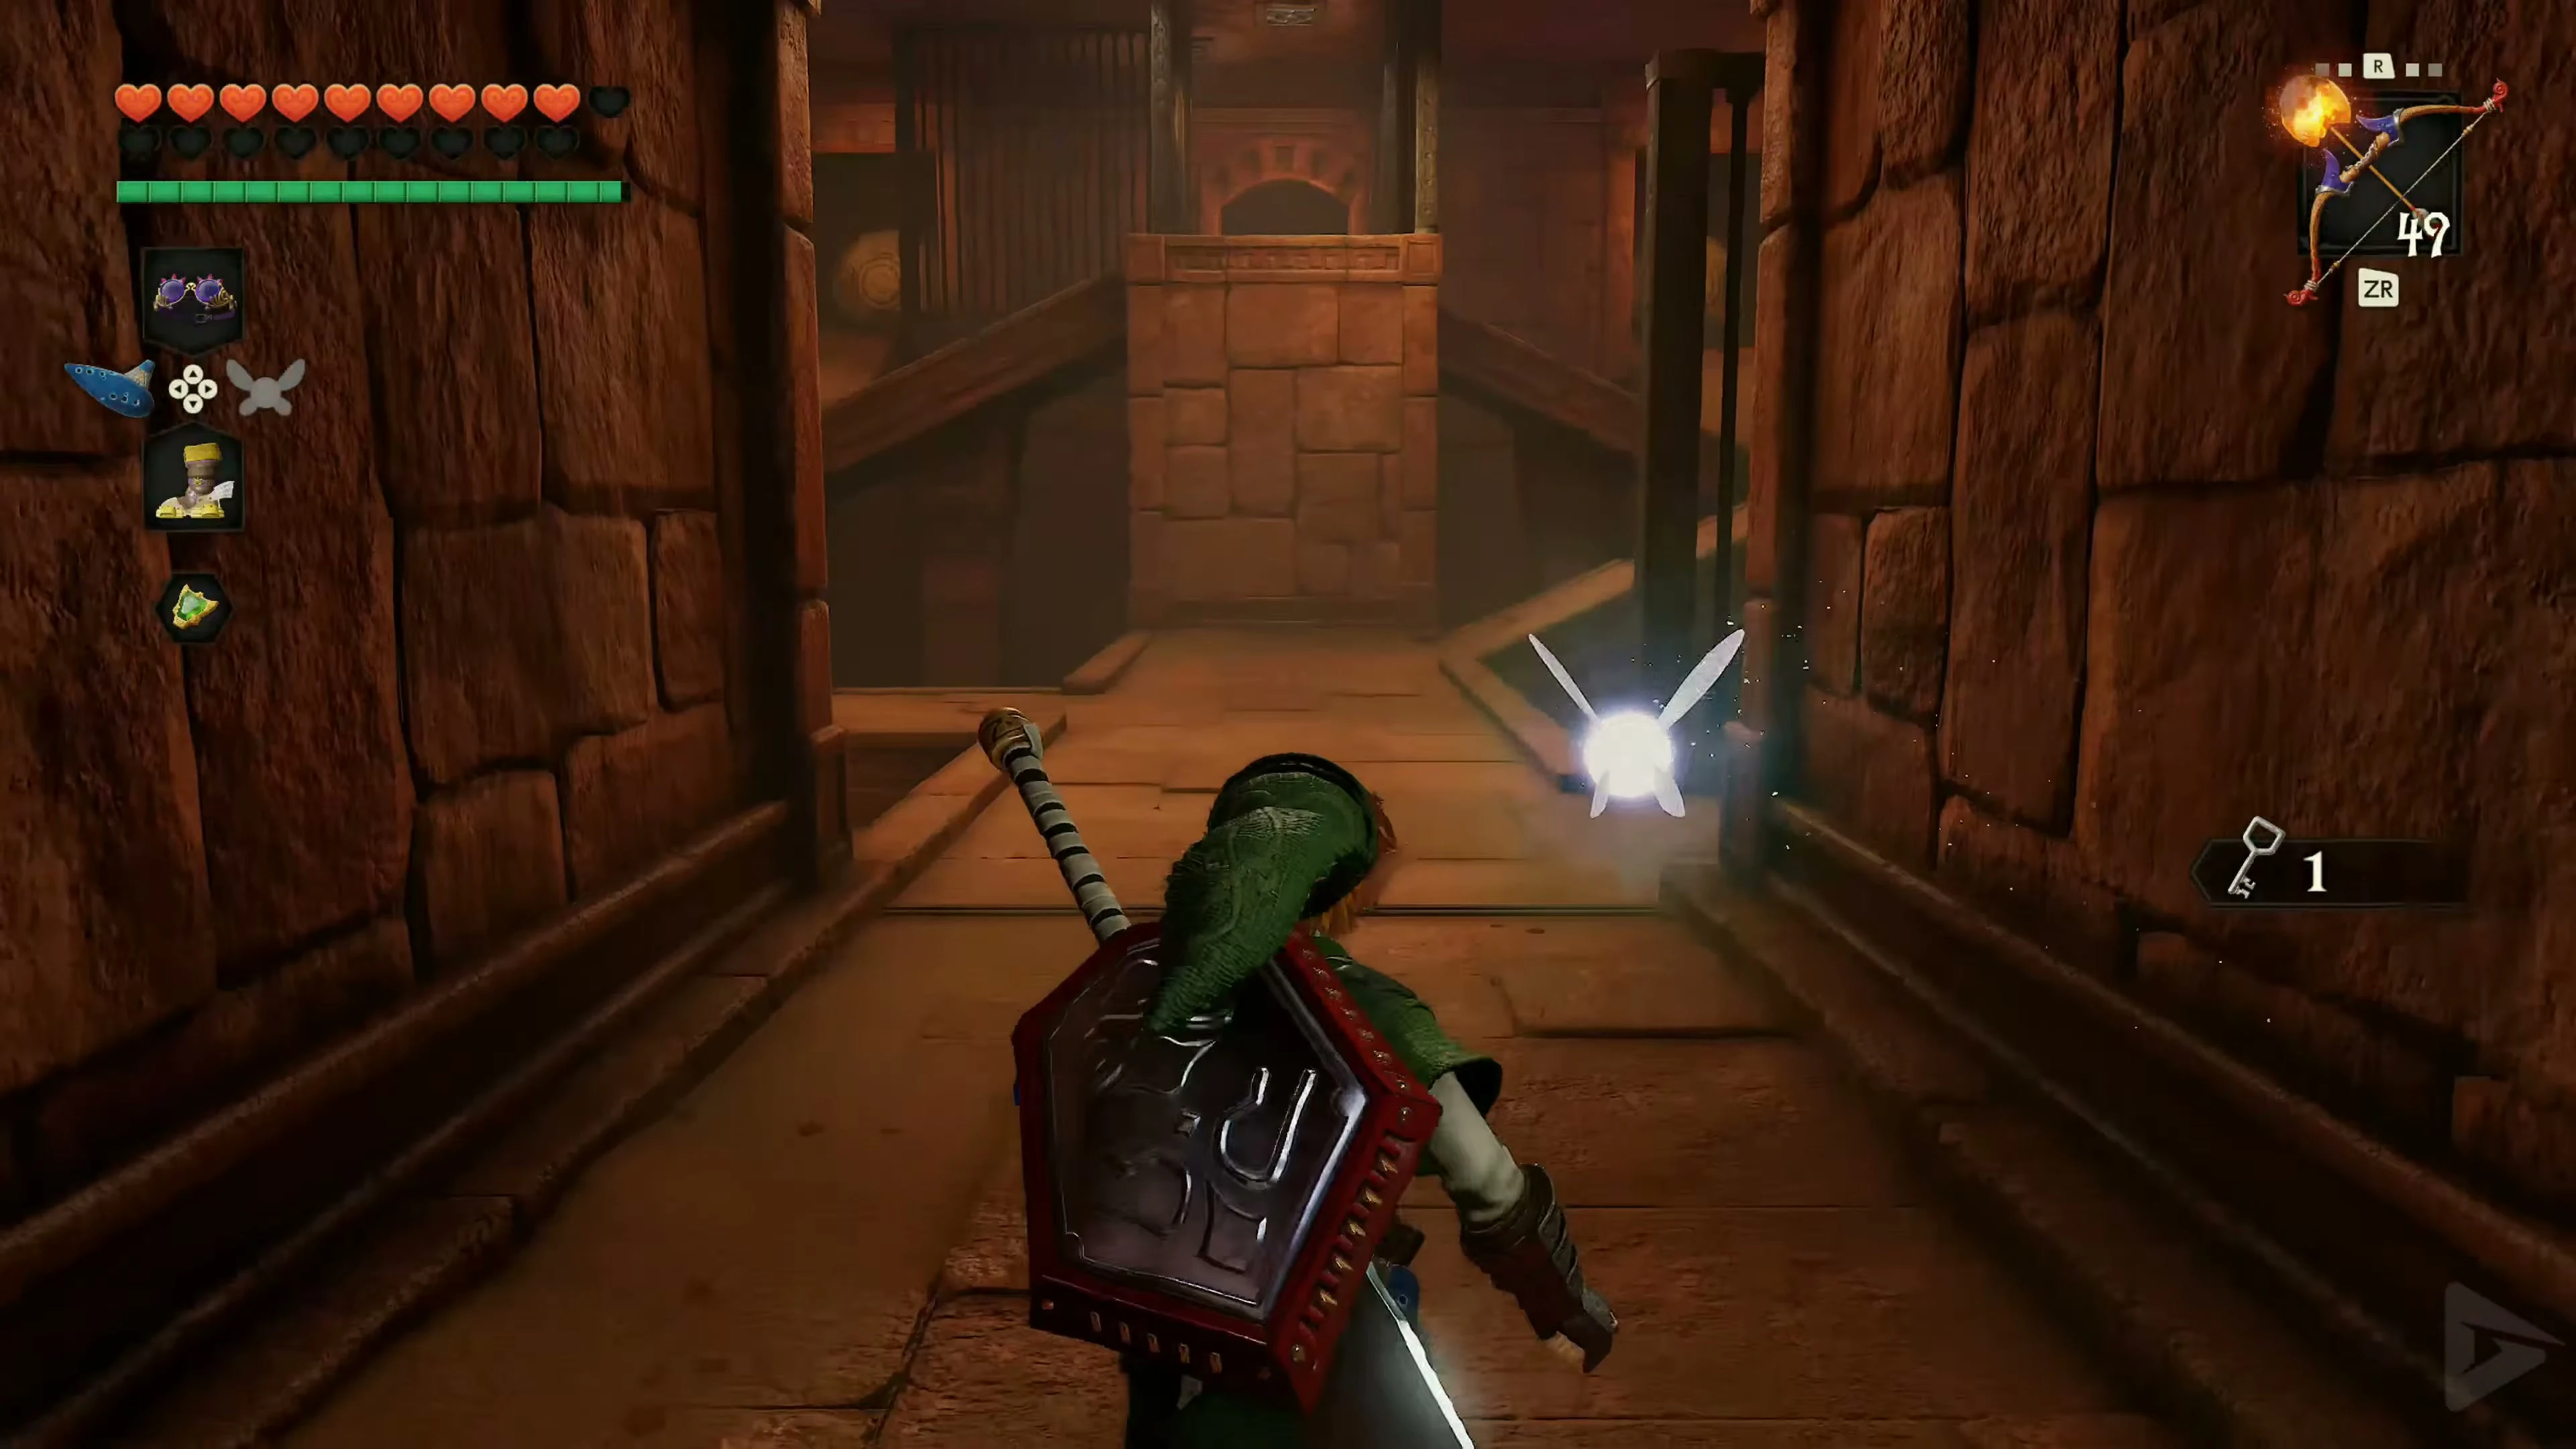
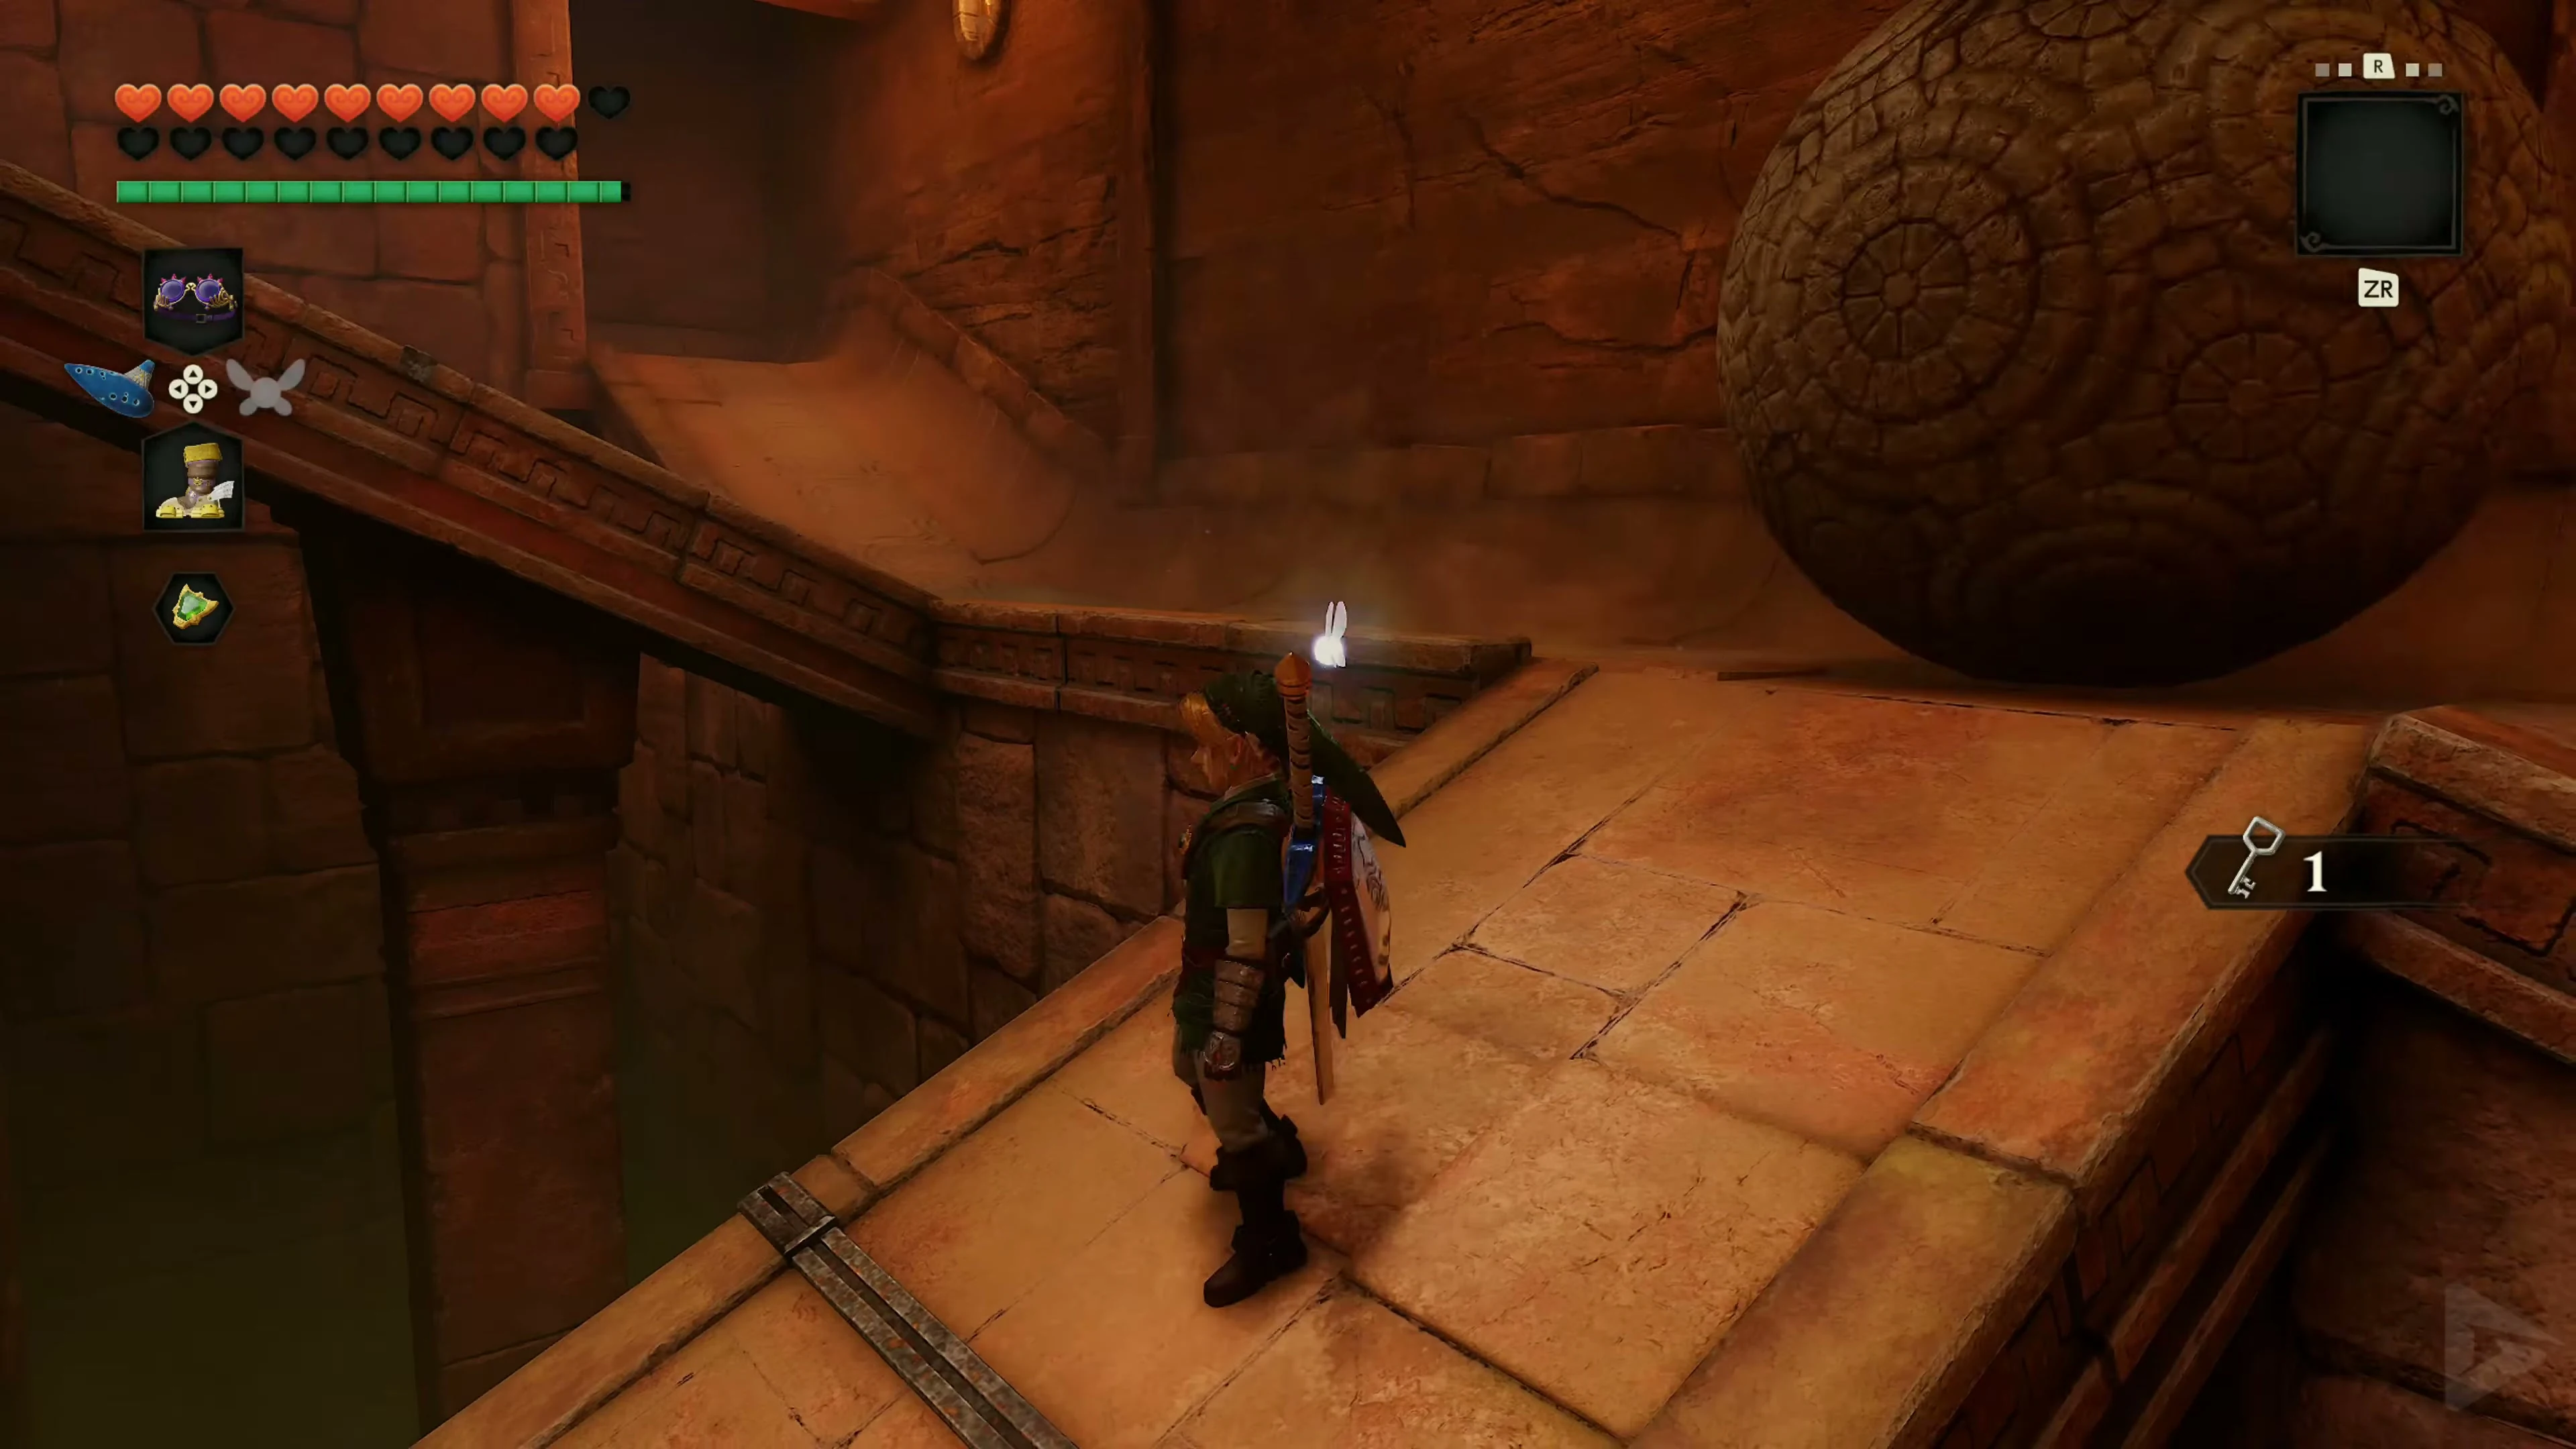
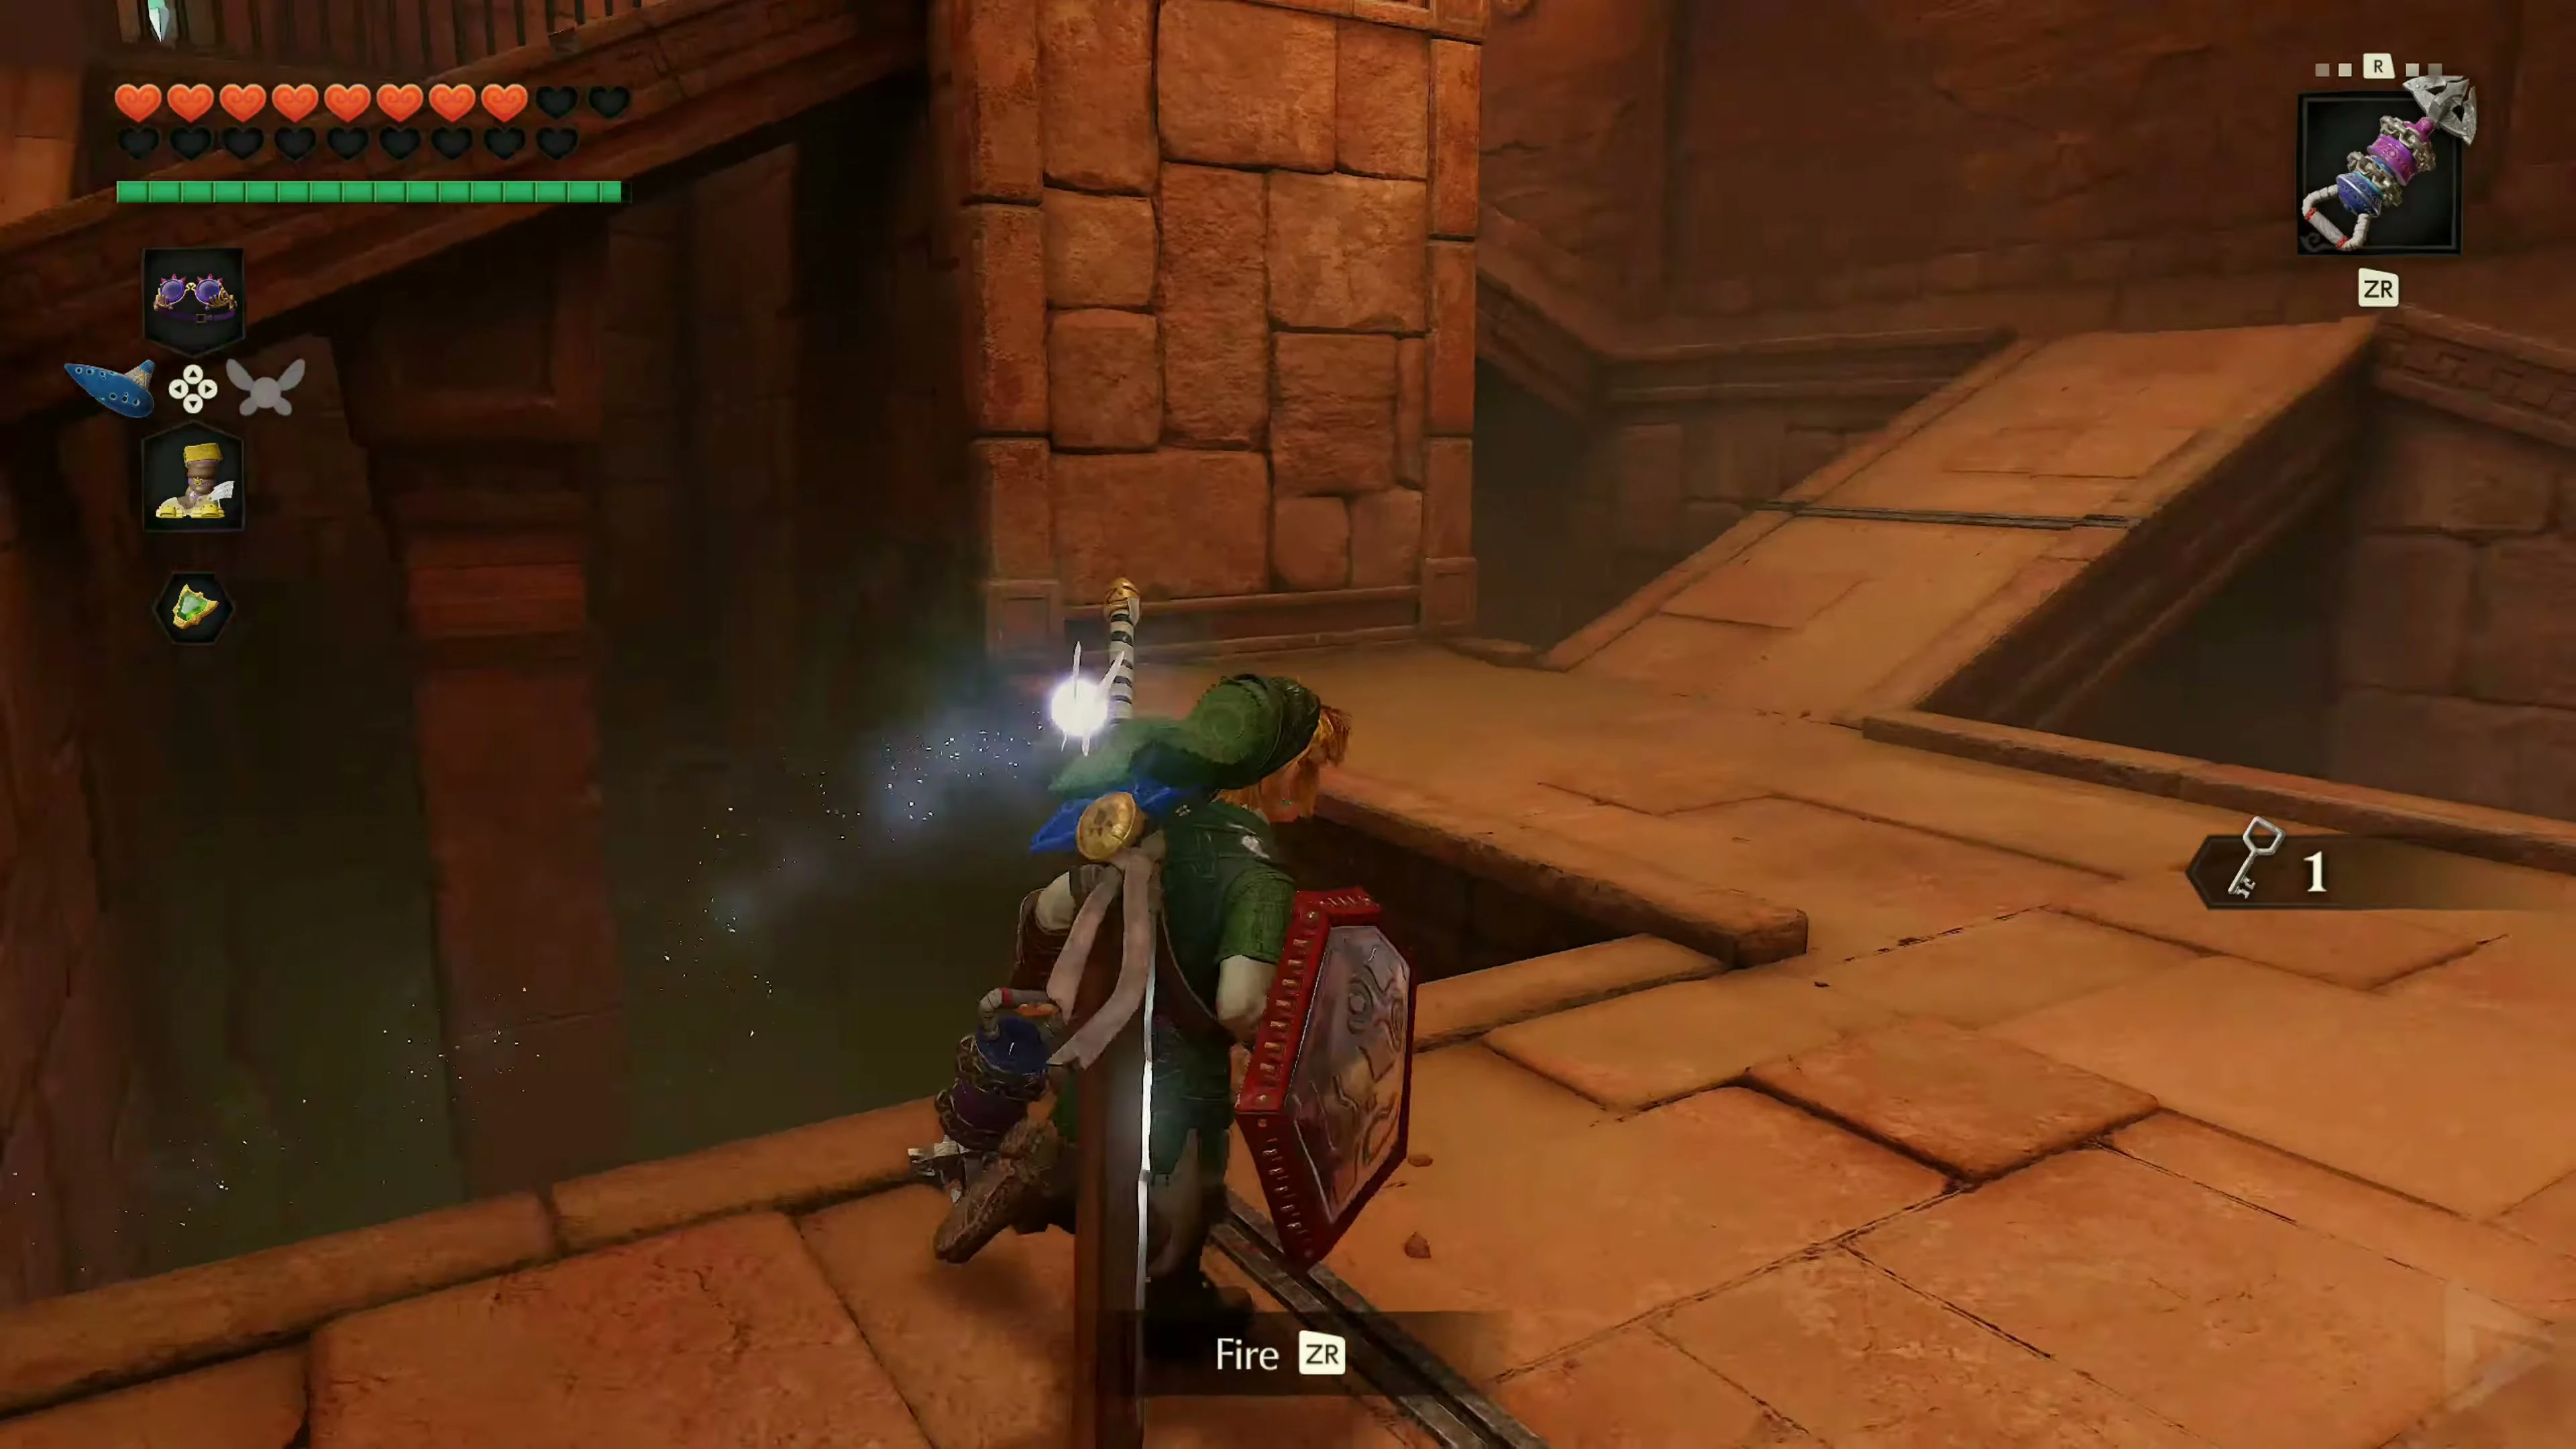
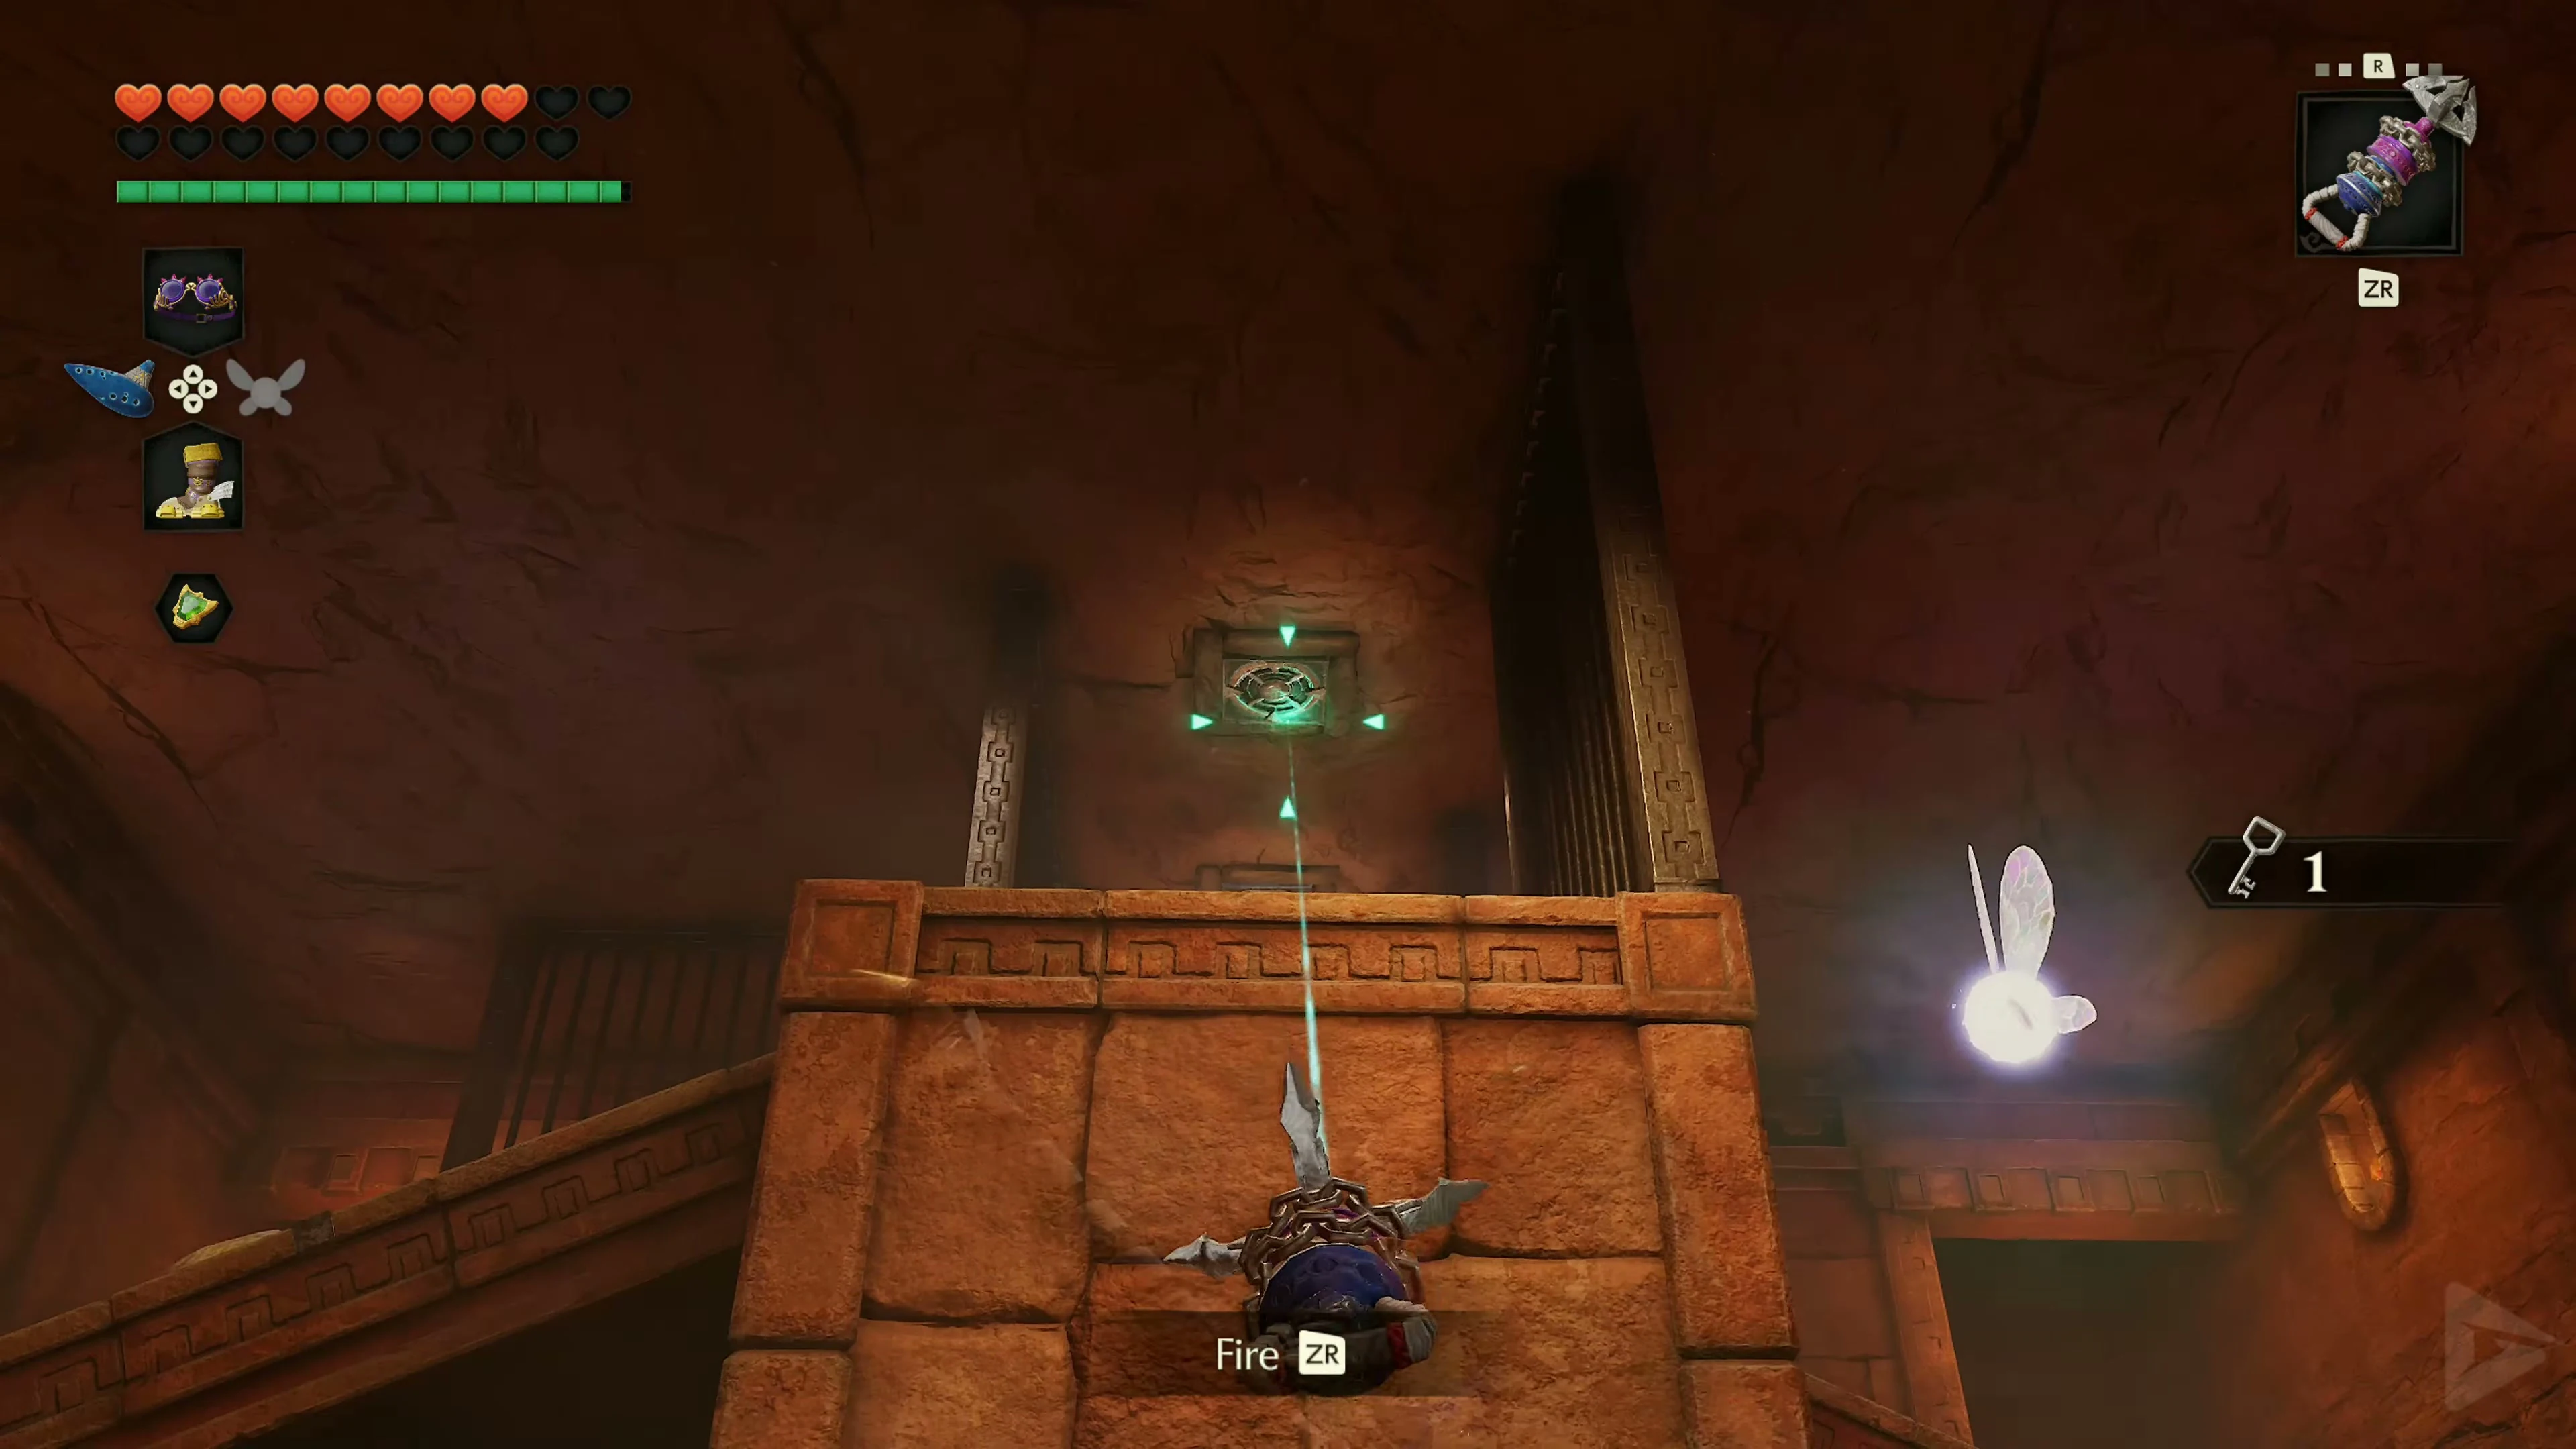
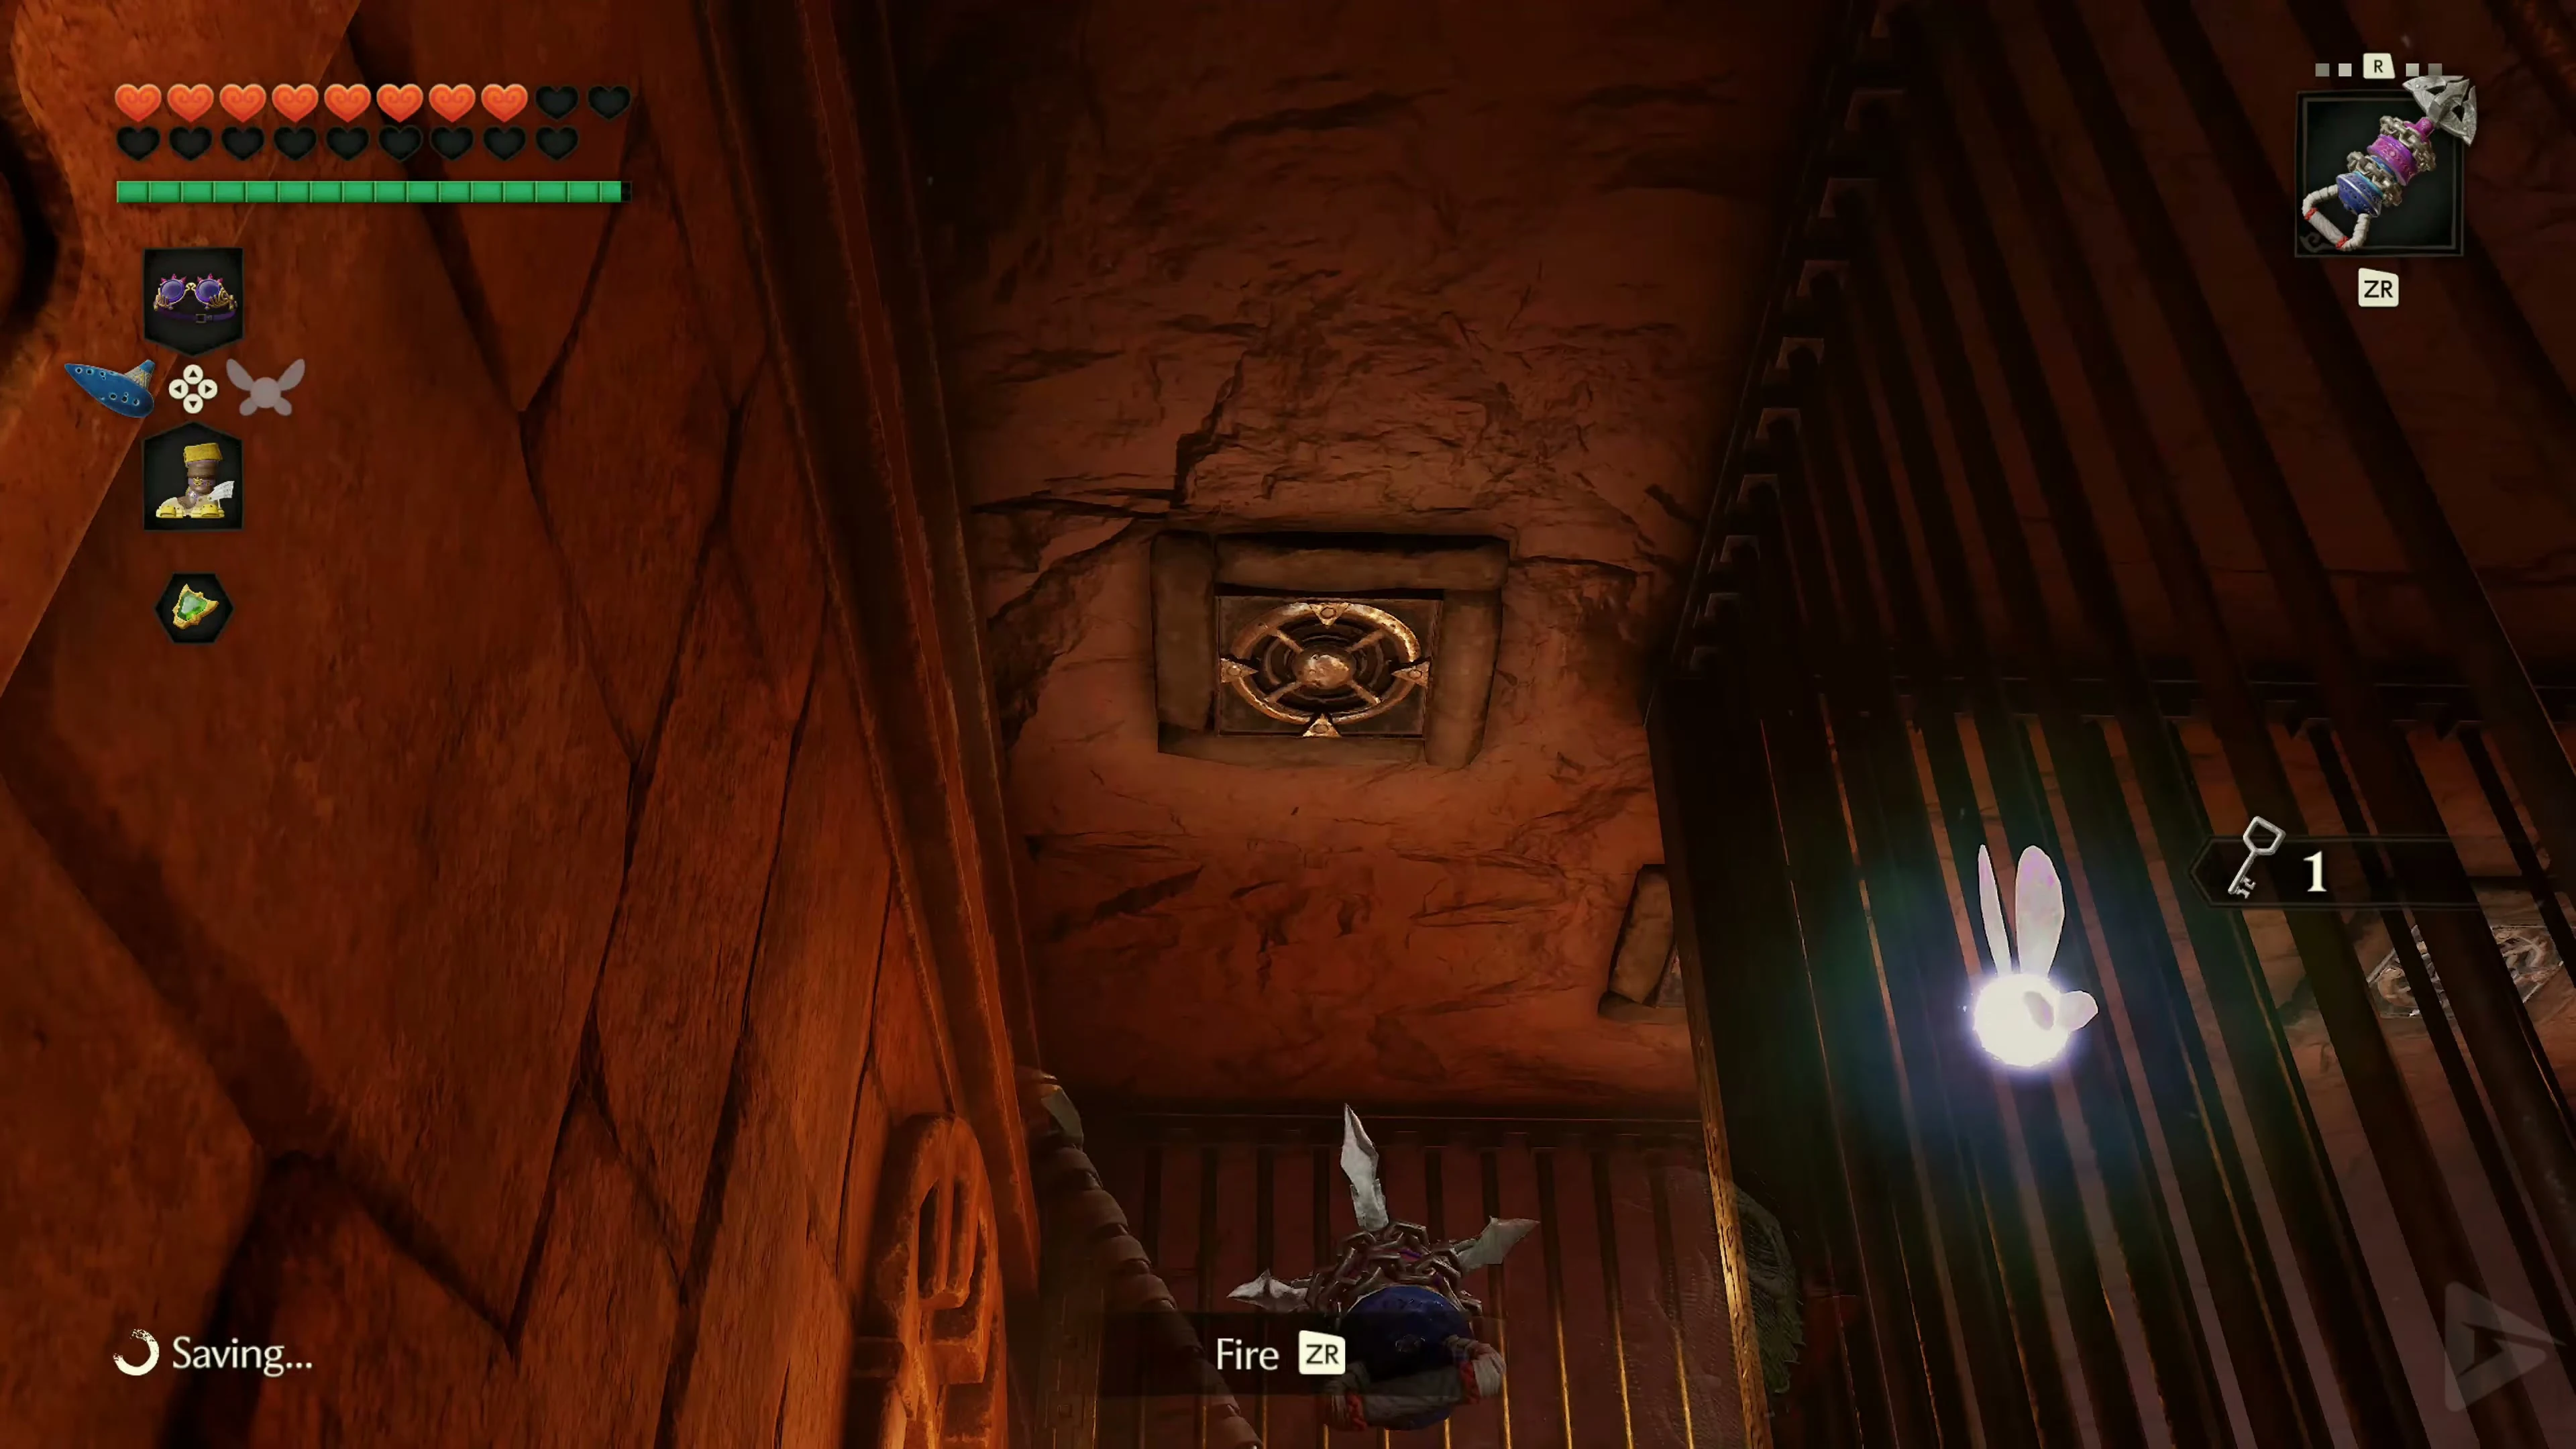
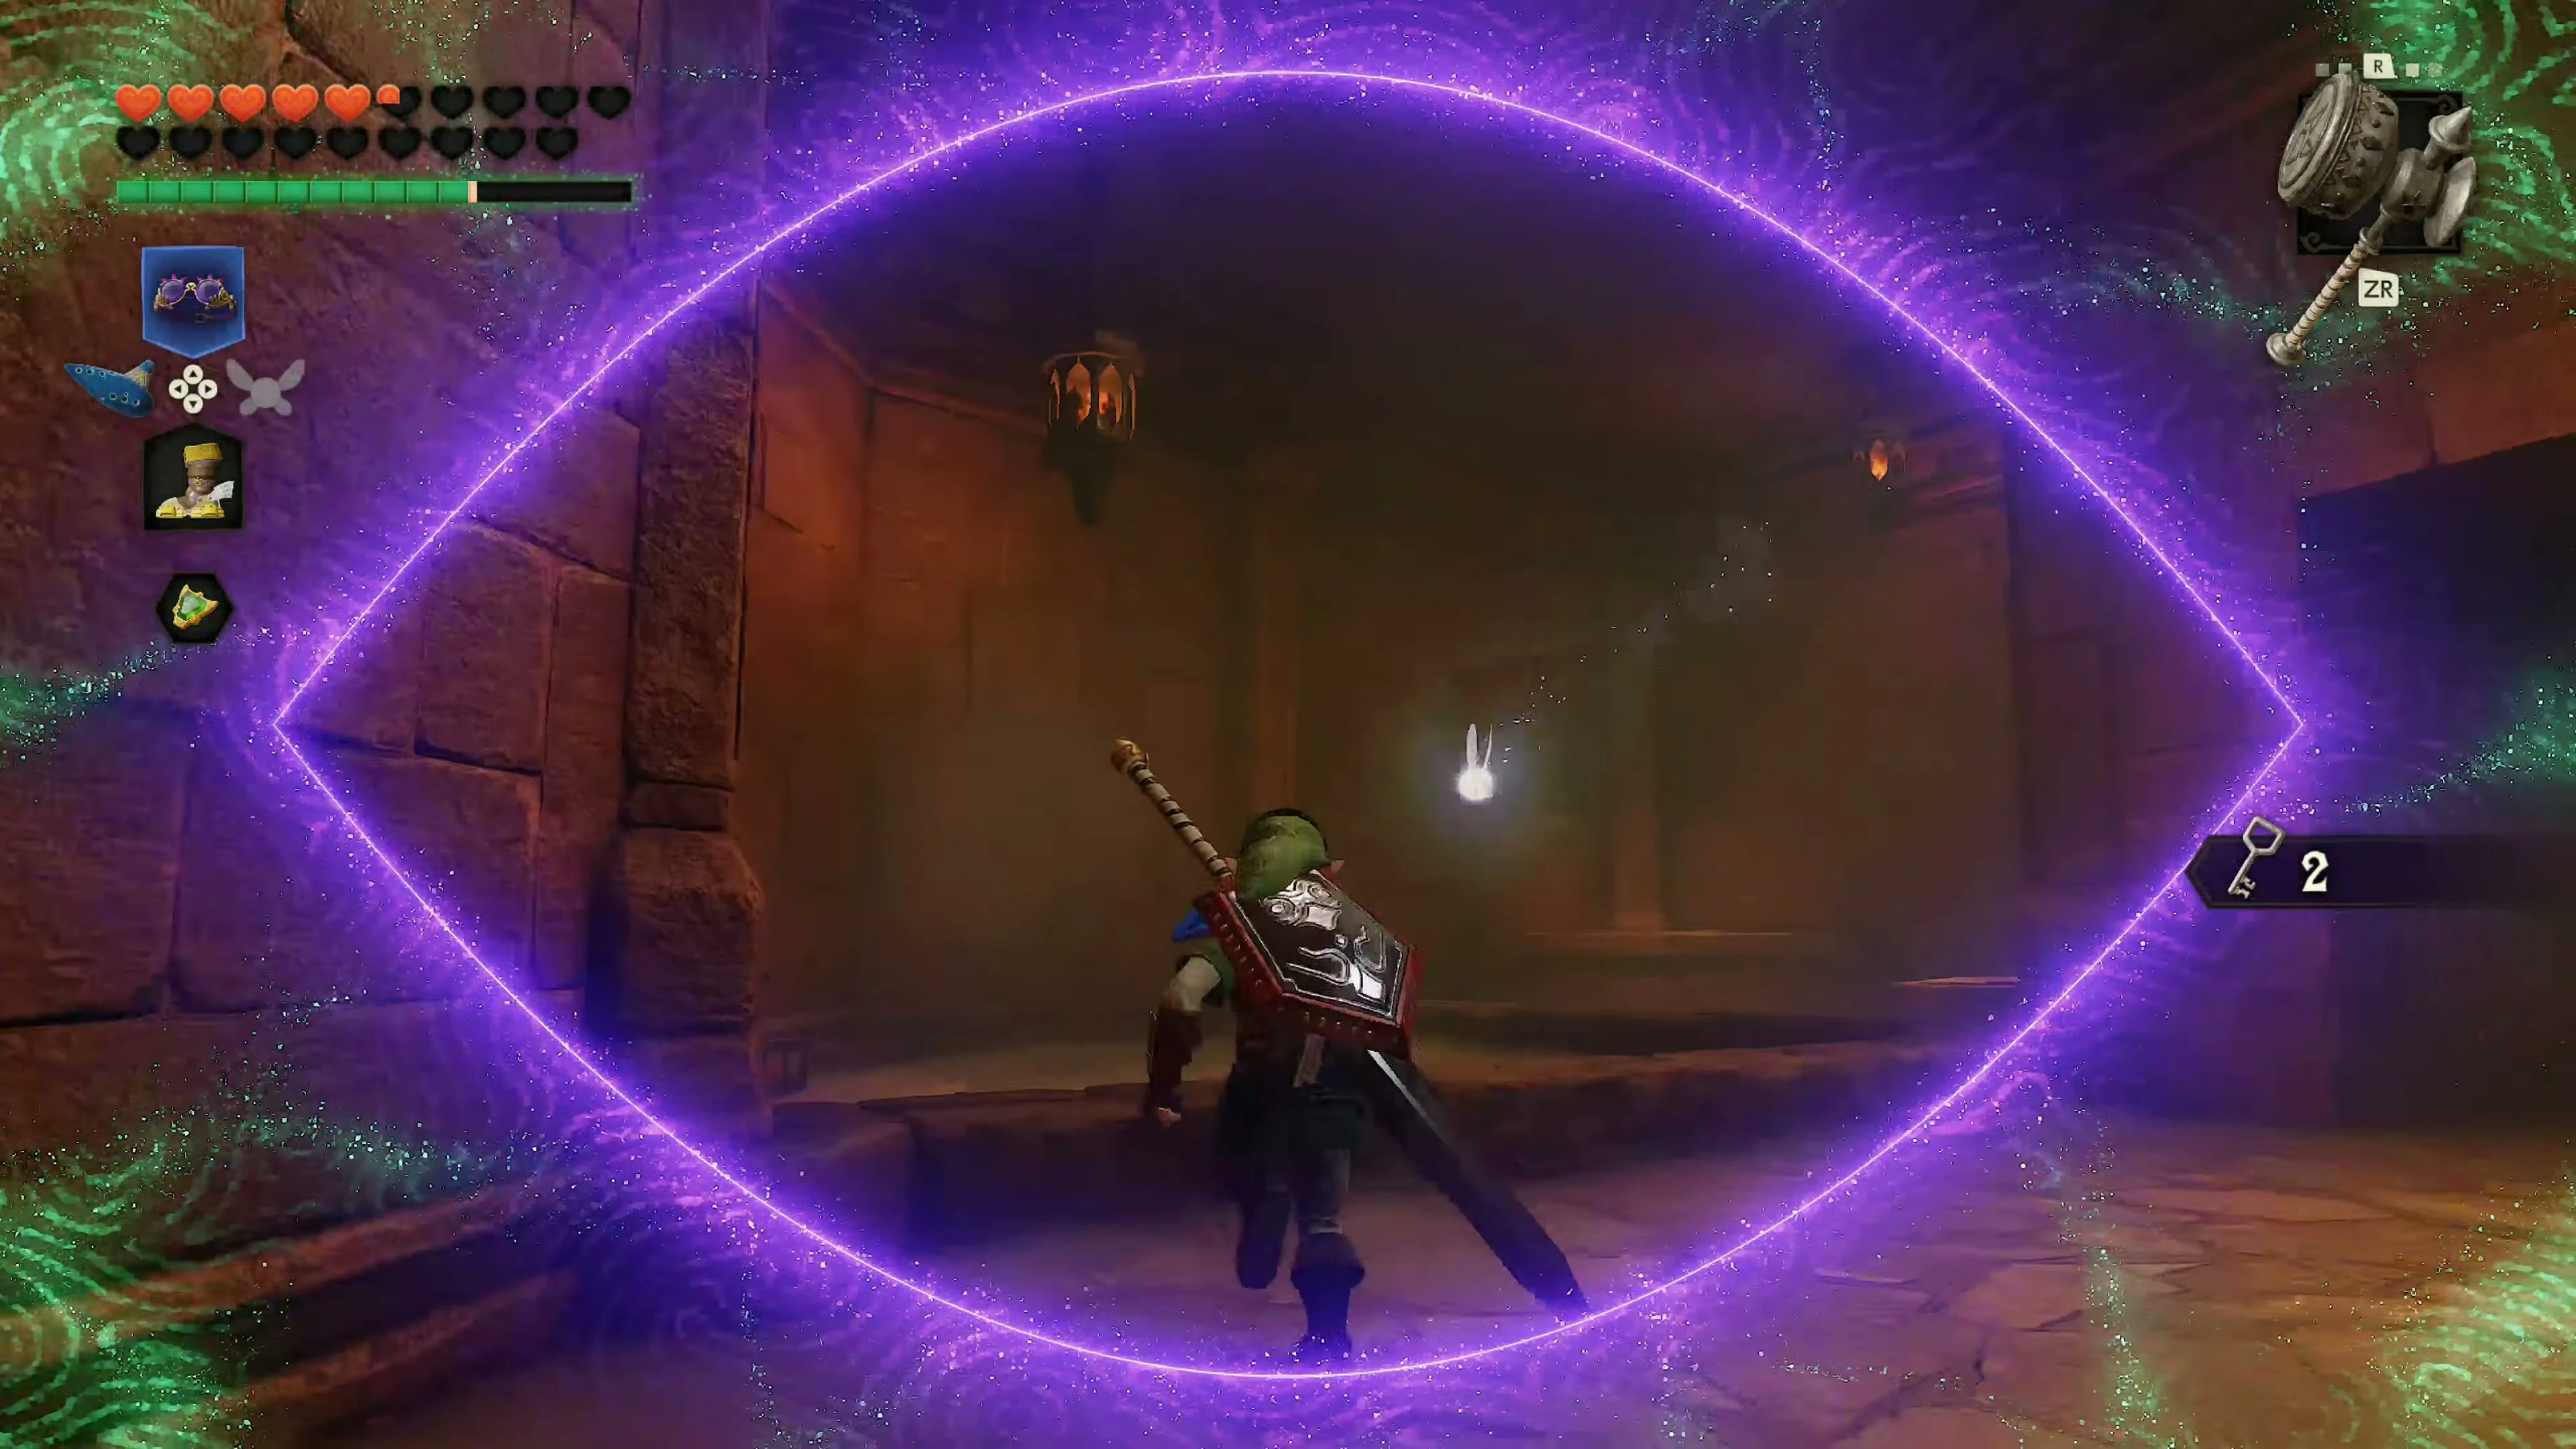
Time is also against you in the next room. You have one minute and 30 seconds to collect a total of five crystals. Rolling boulders, invisible fire walls, and a Wallmaster make your path difficult. The Lenses of Truth are particularly important here. Equip the Lenses of Truth and first run into the left passage. This will make the invisible fire walls visible, allowing you to see which passages are actually open. You’ll find one crystal at the bottom of the slope and another on the higher side. Then follow the clear path through the labyrinth and use the long-range Hookshot targets on the ceiling to pull yourself over individual fire barriers and reach more Rupees faster.
Keep moving as much as possible. As soon as you hear a whooshing sound and a growing shadow appears beneath Link, the Wallmaster will try to grab him from the ceiling. Keep running until the hand lands on the ground. You don’t necessarily have to defeat her for this trial. Once all five crystals have been collected, the door at the back of the room will open.
The Wolfos and the Secret Exit
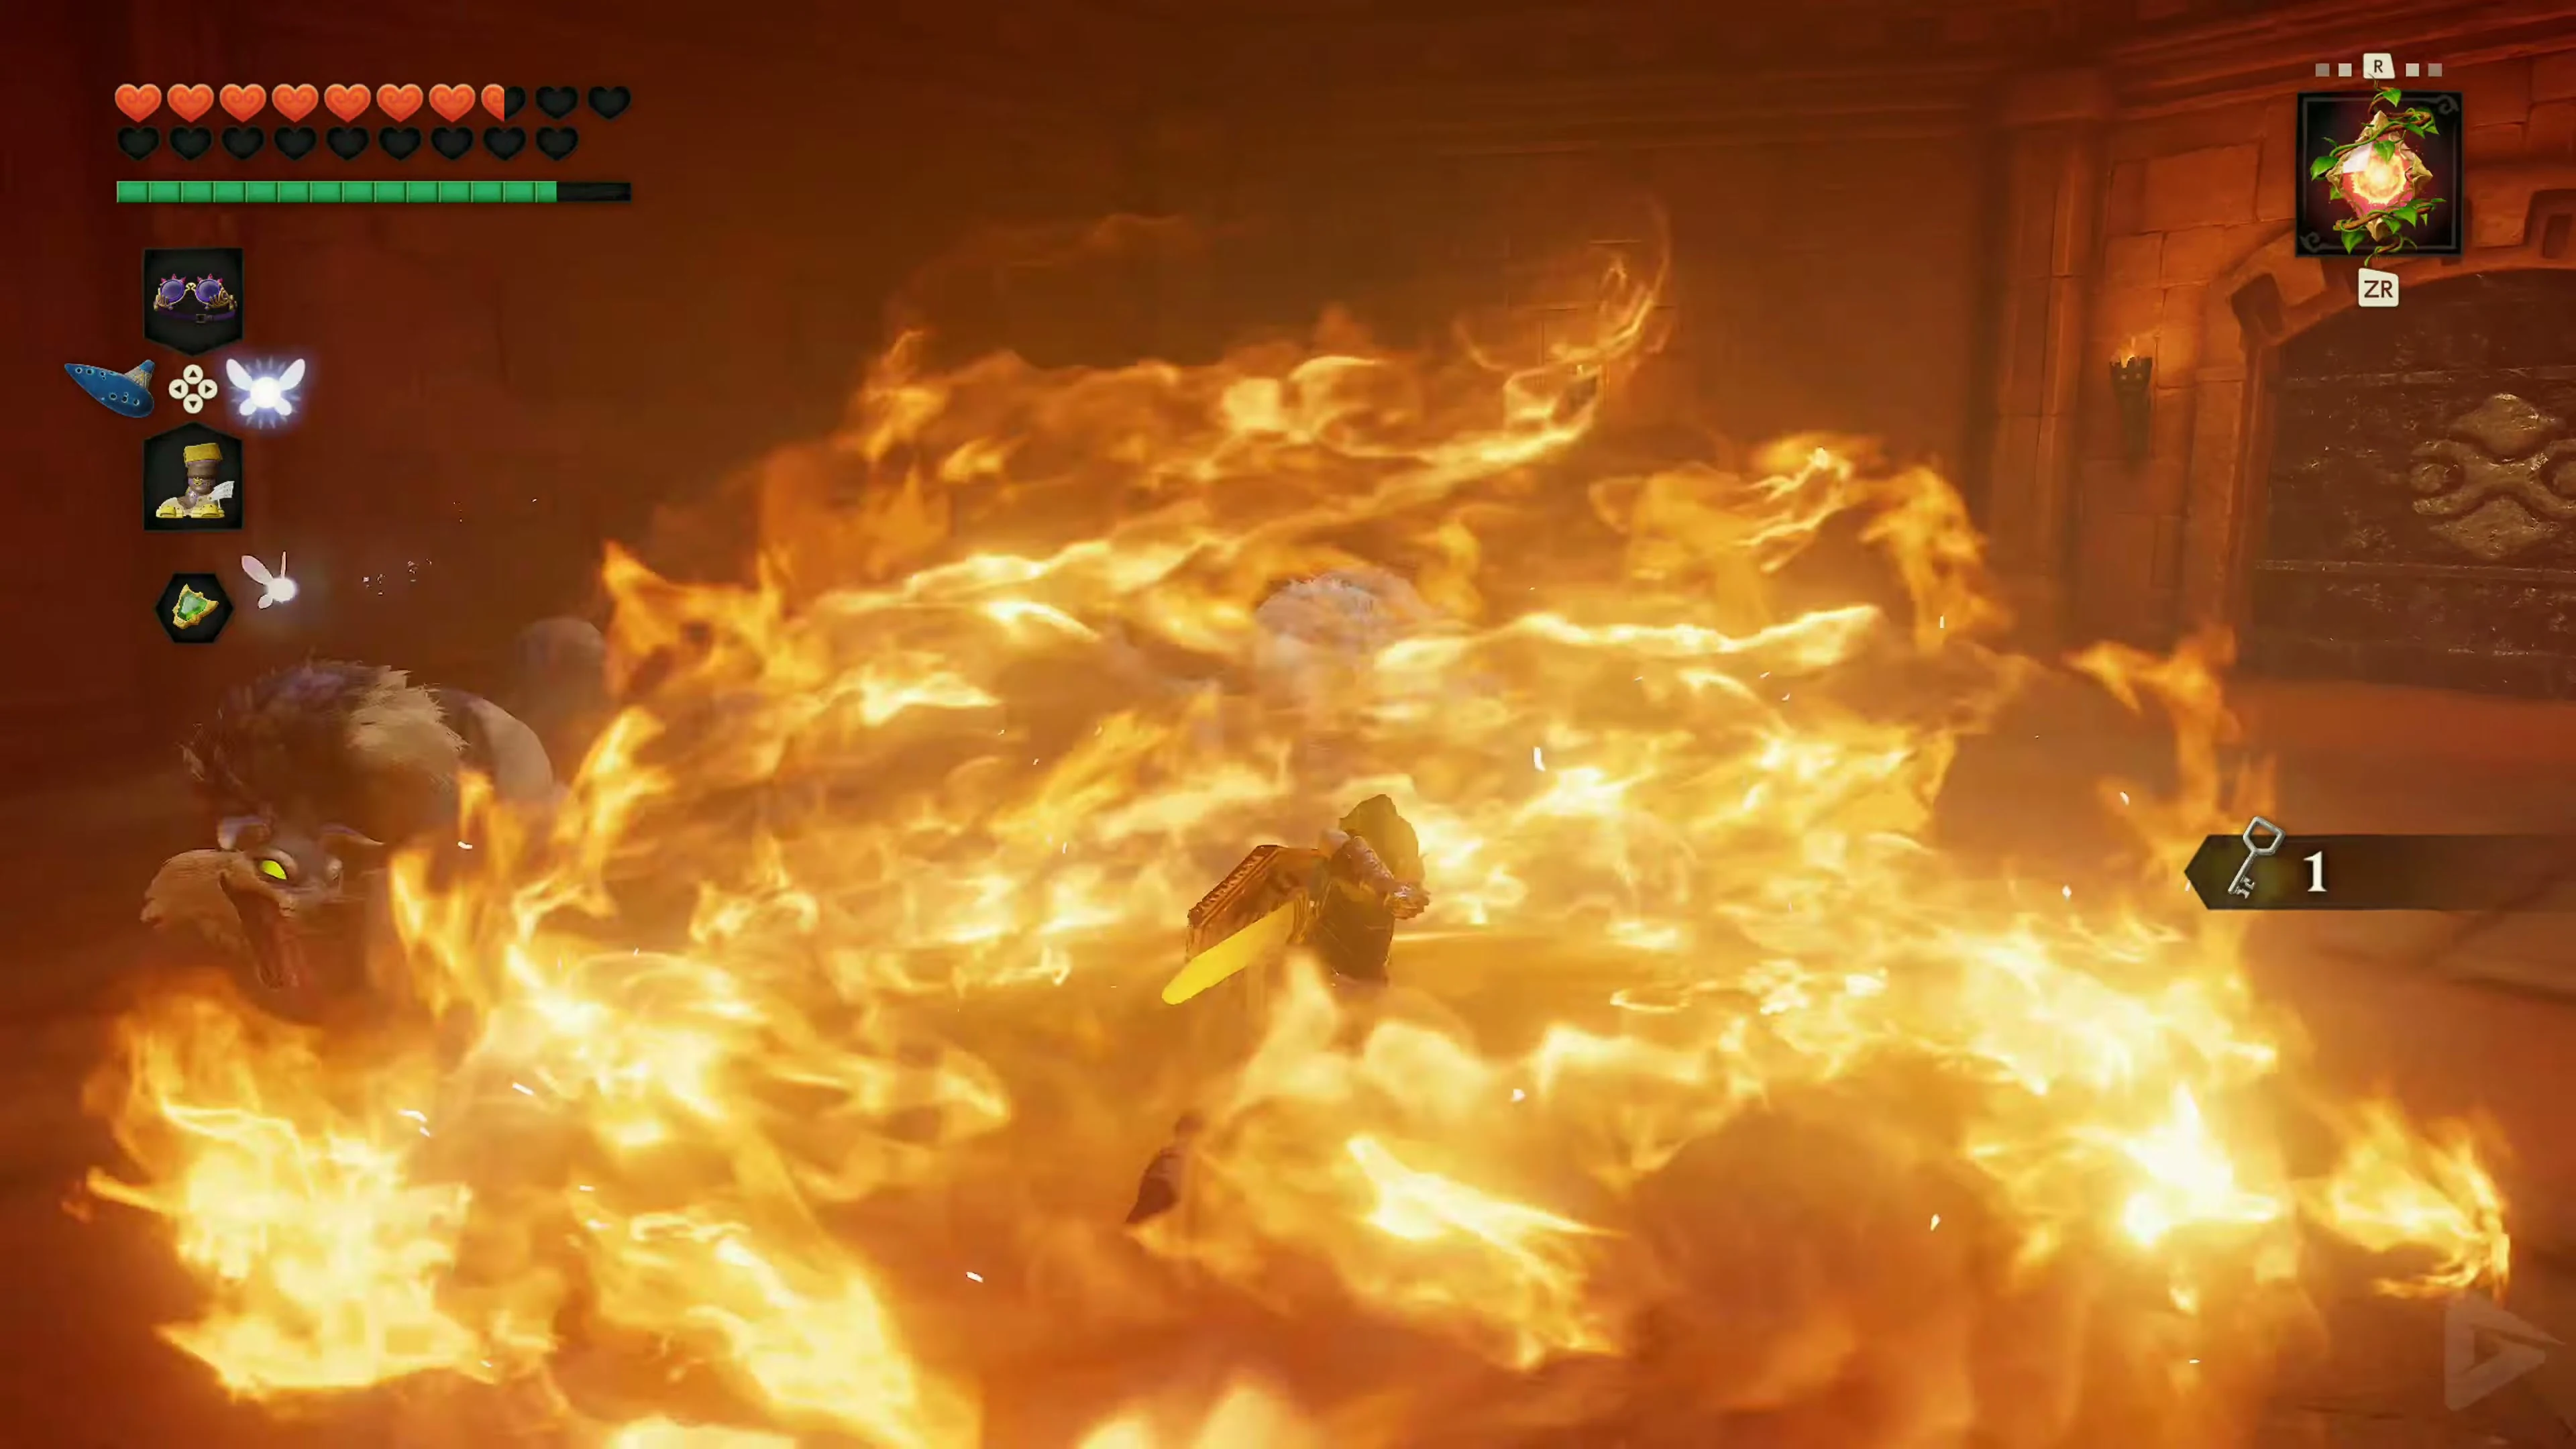
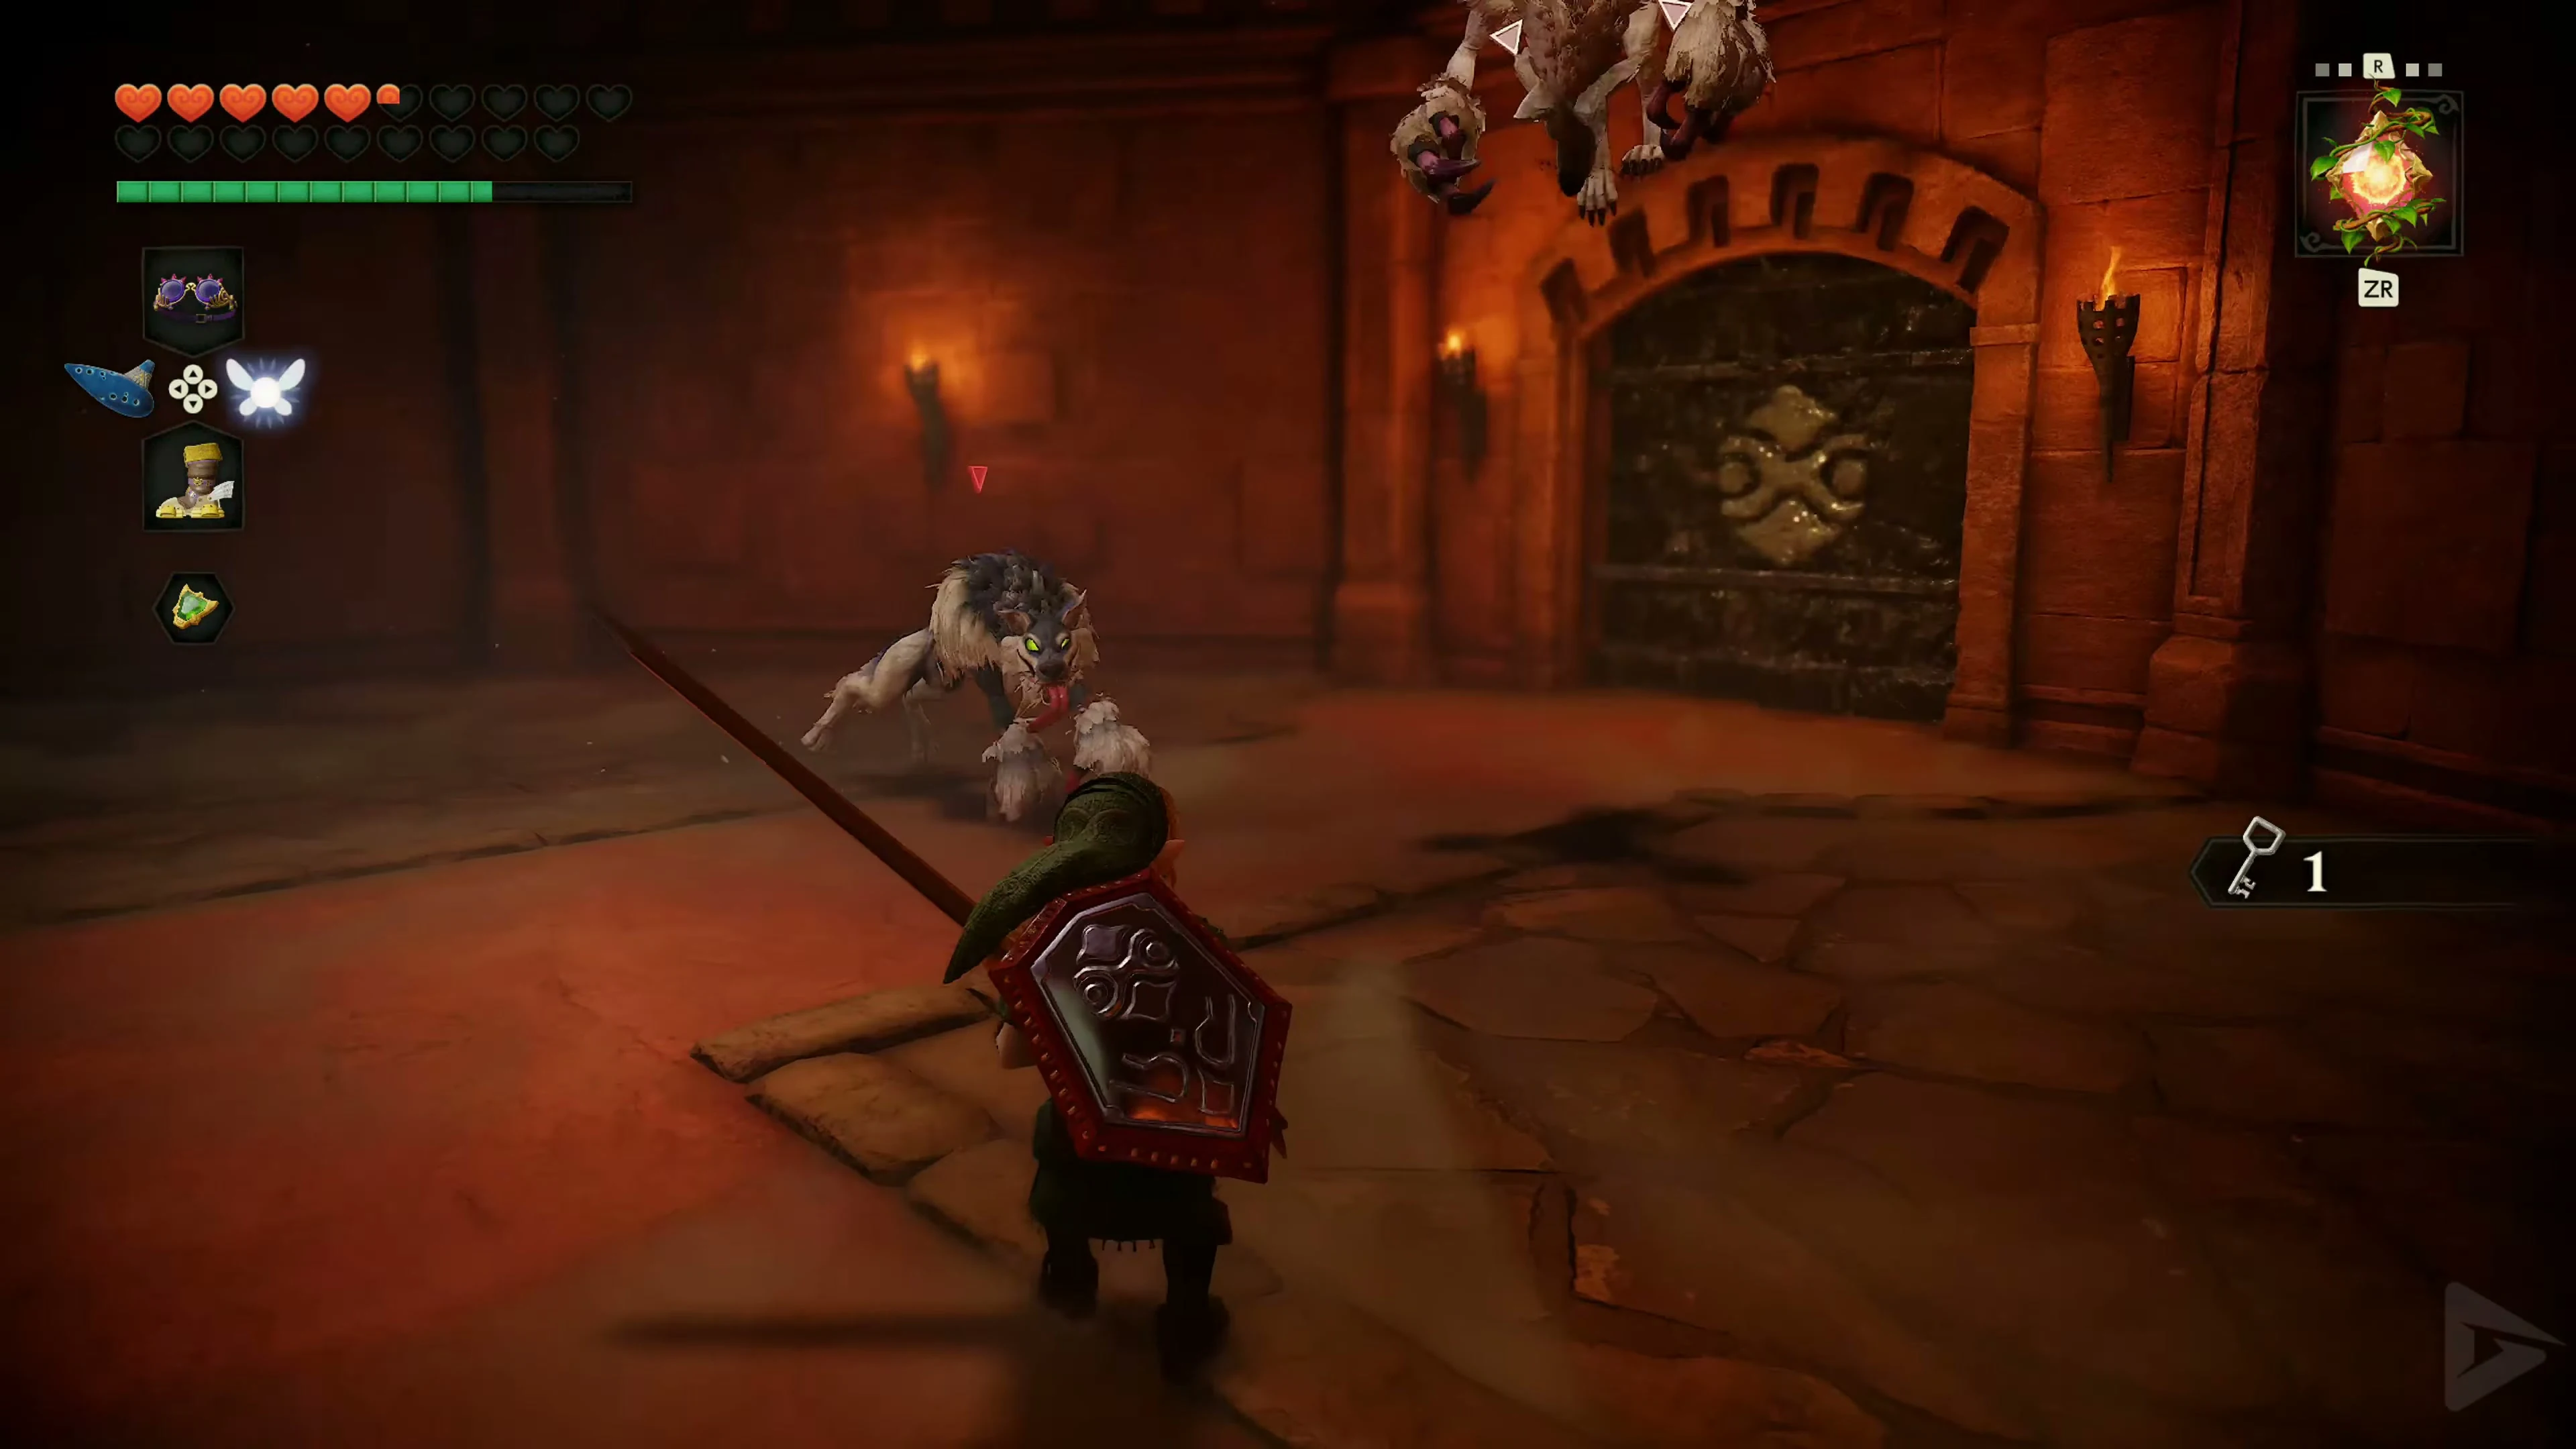
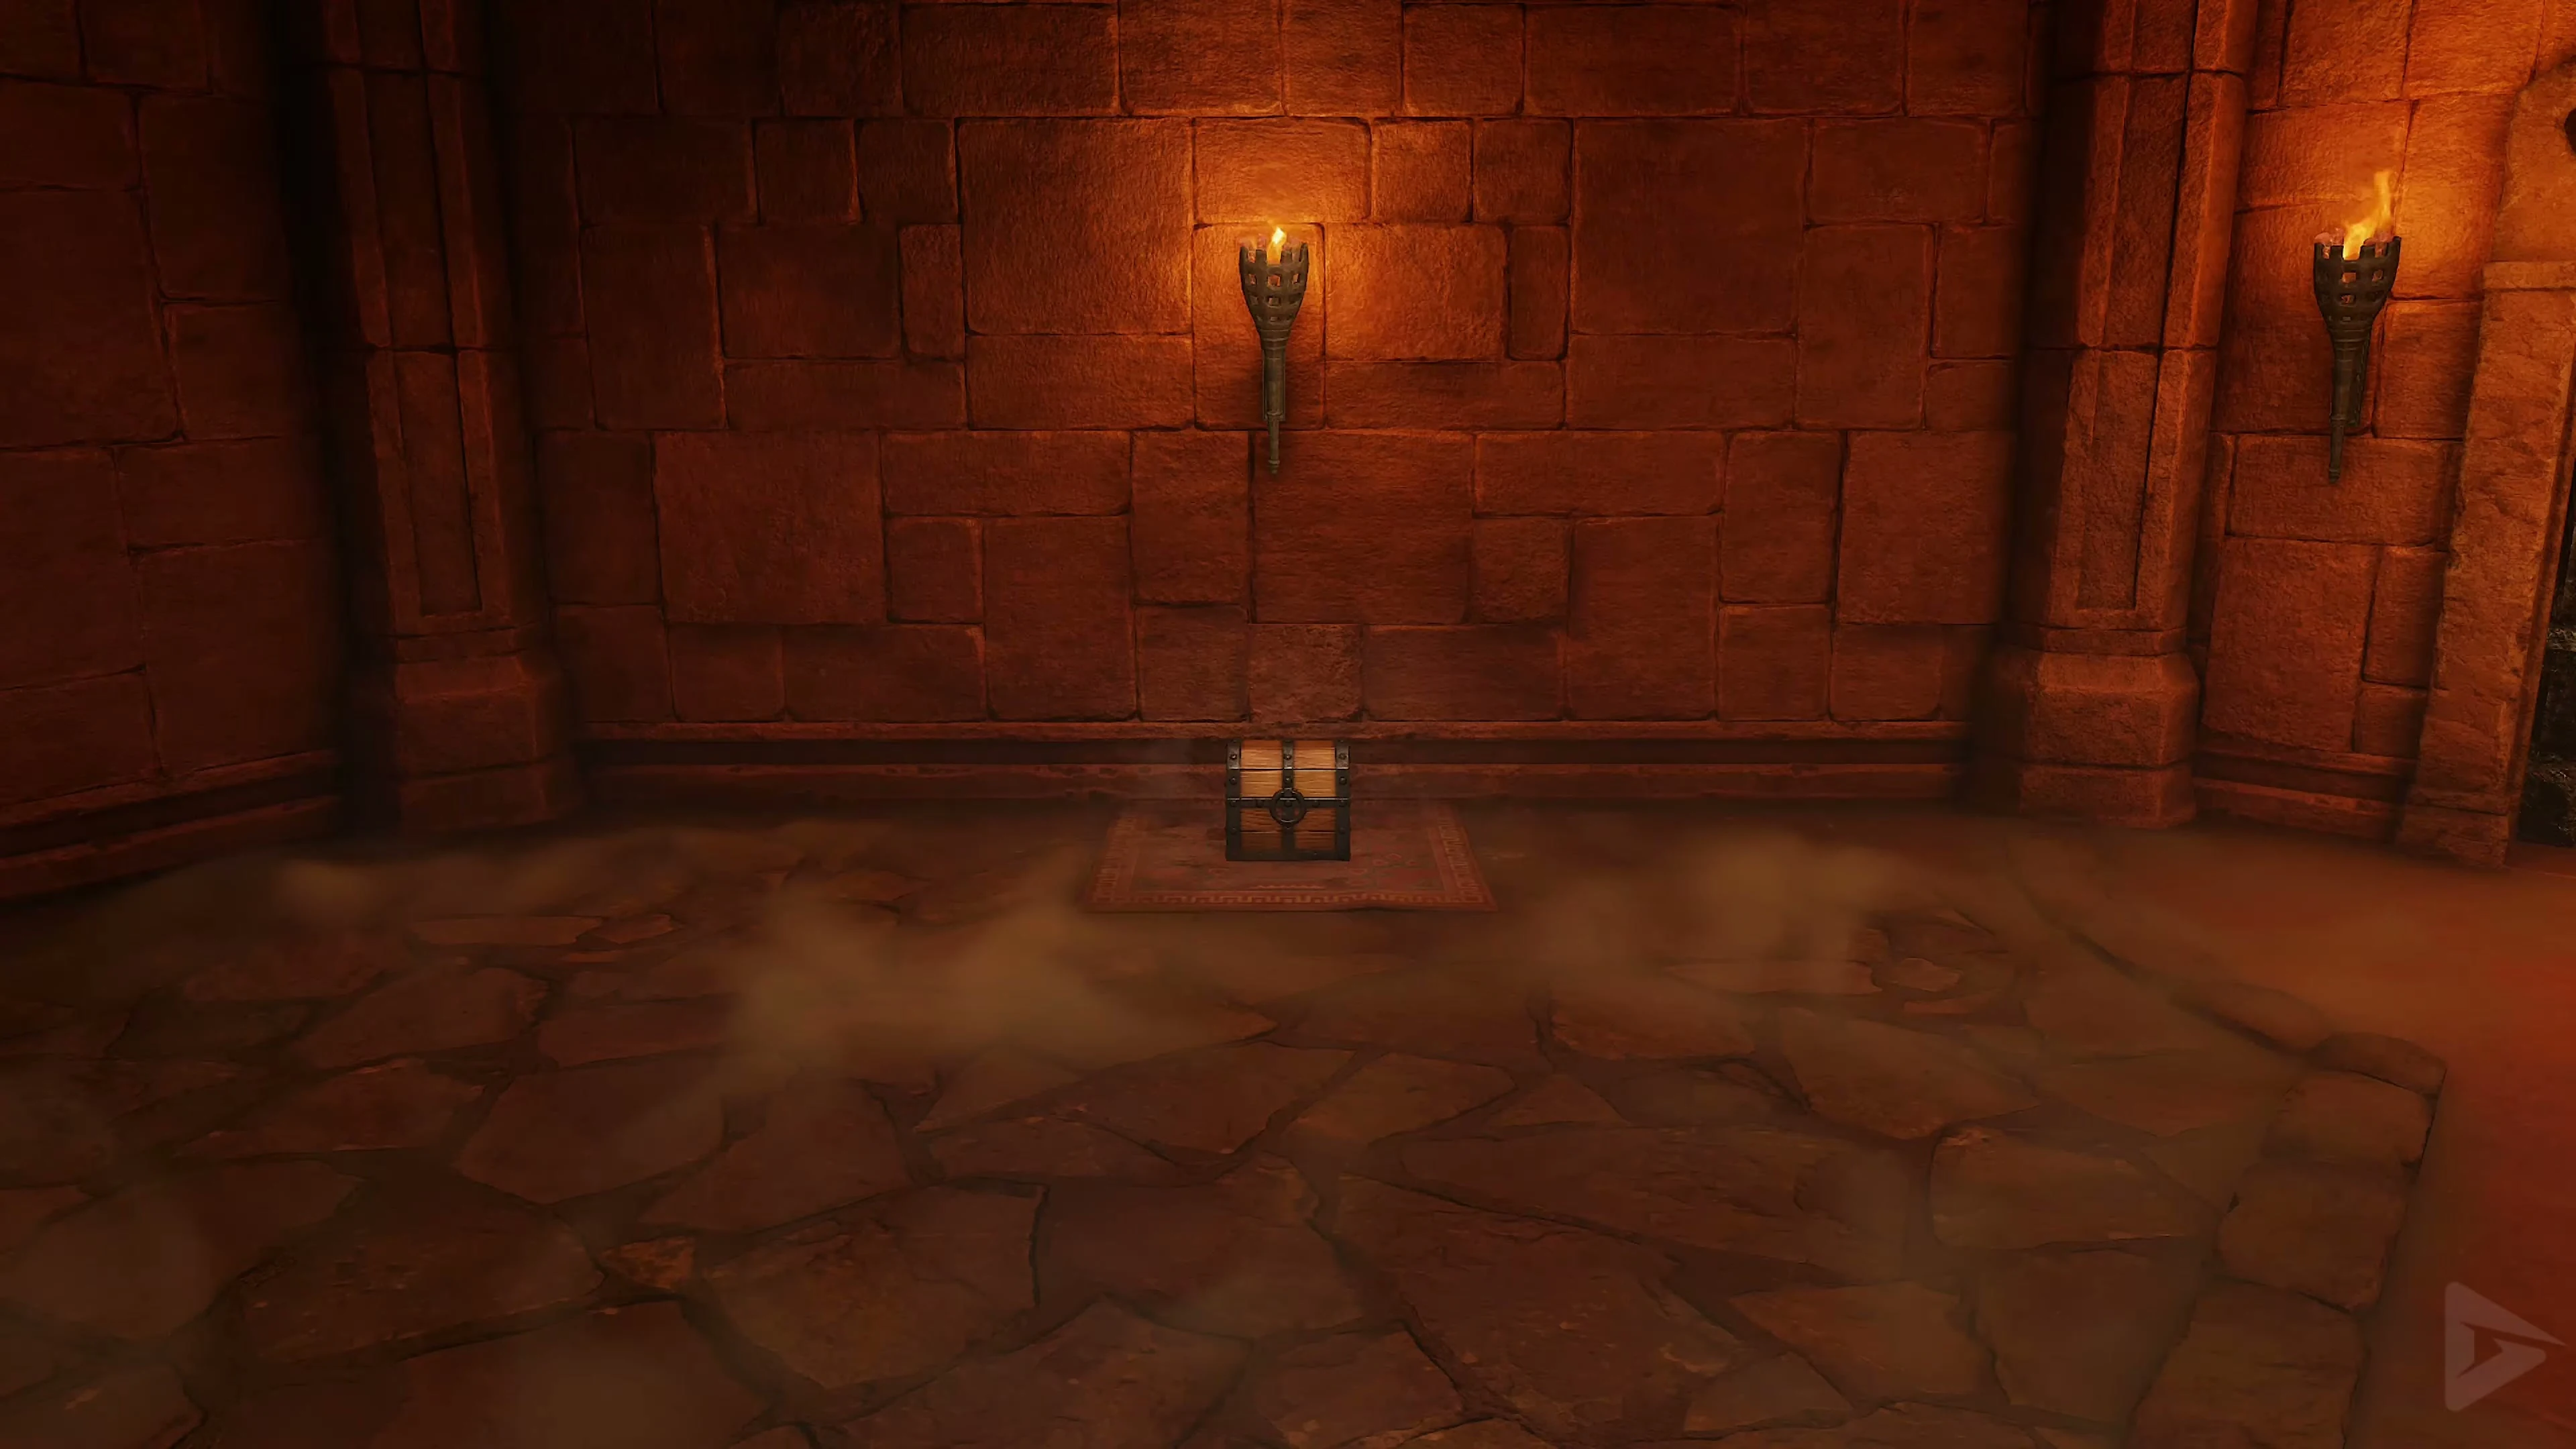
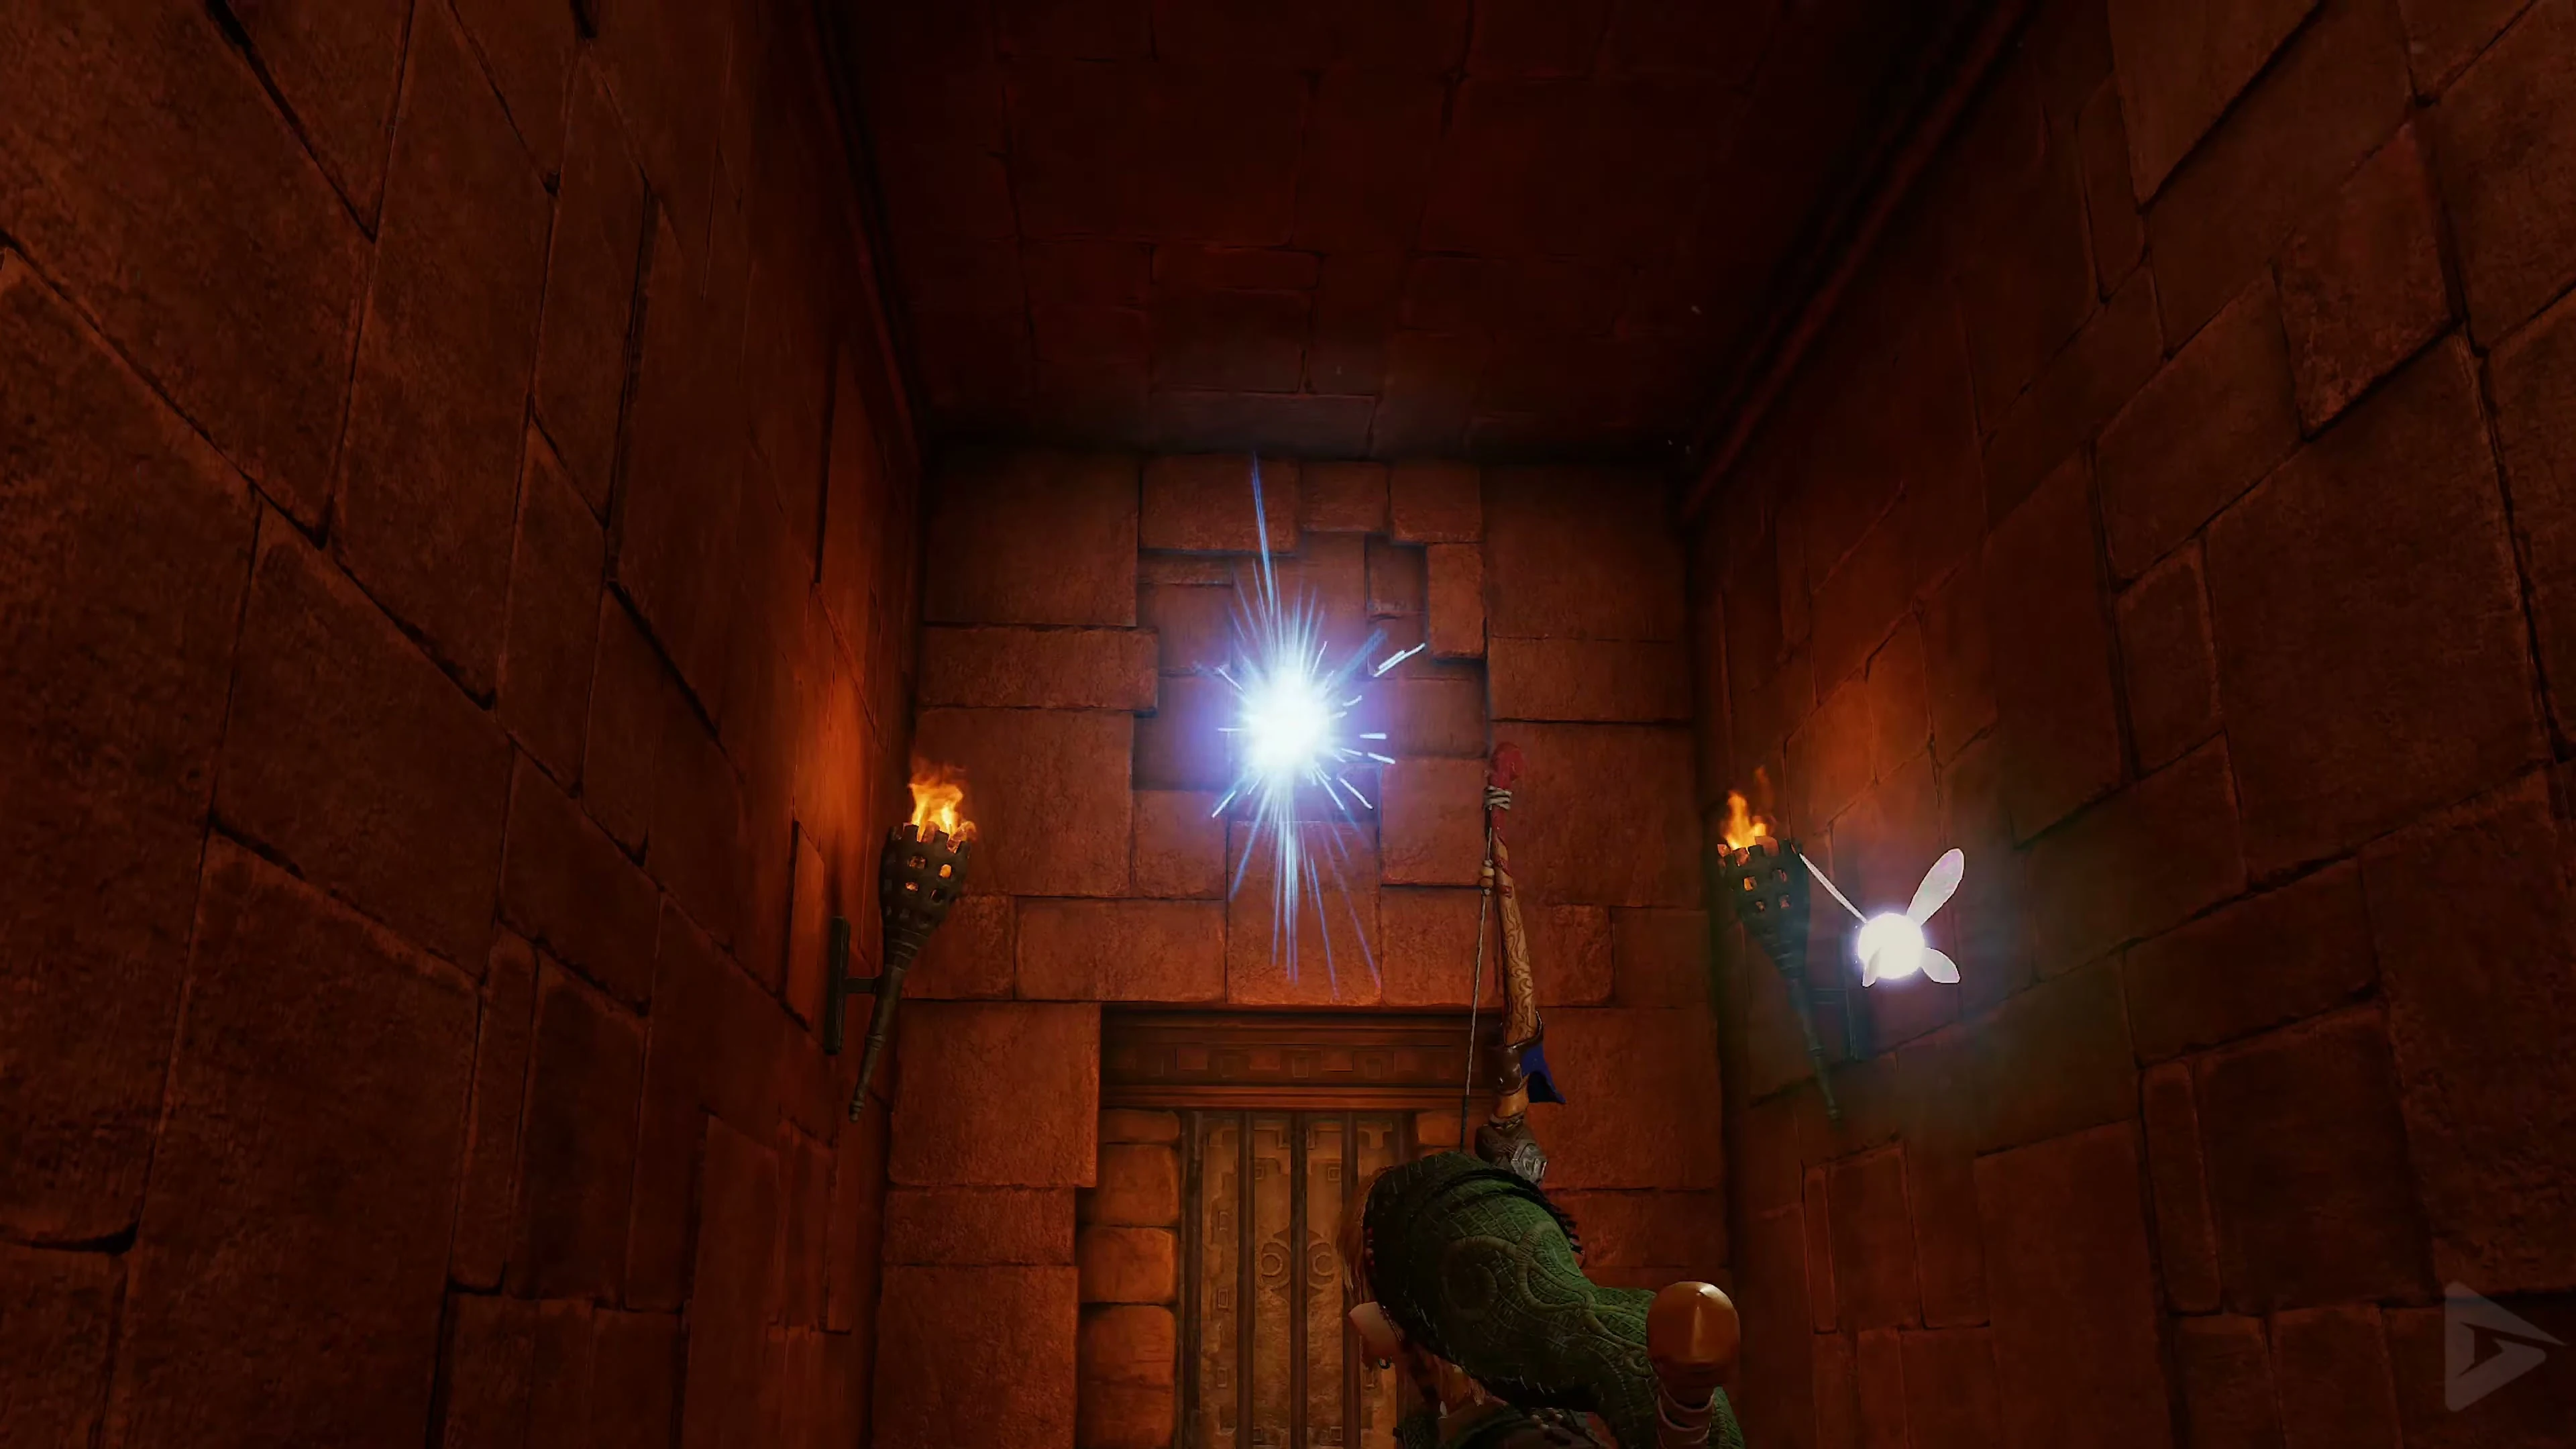
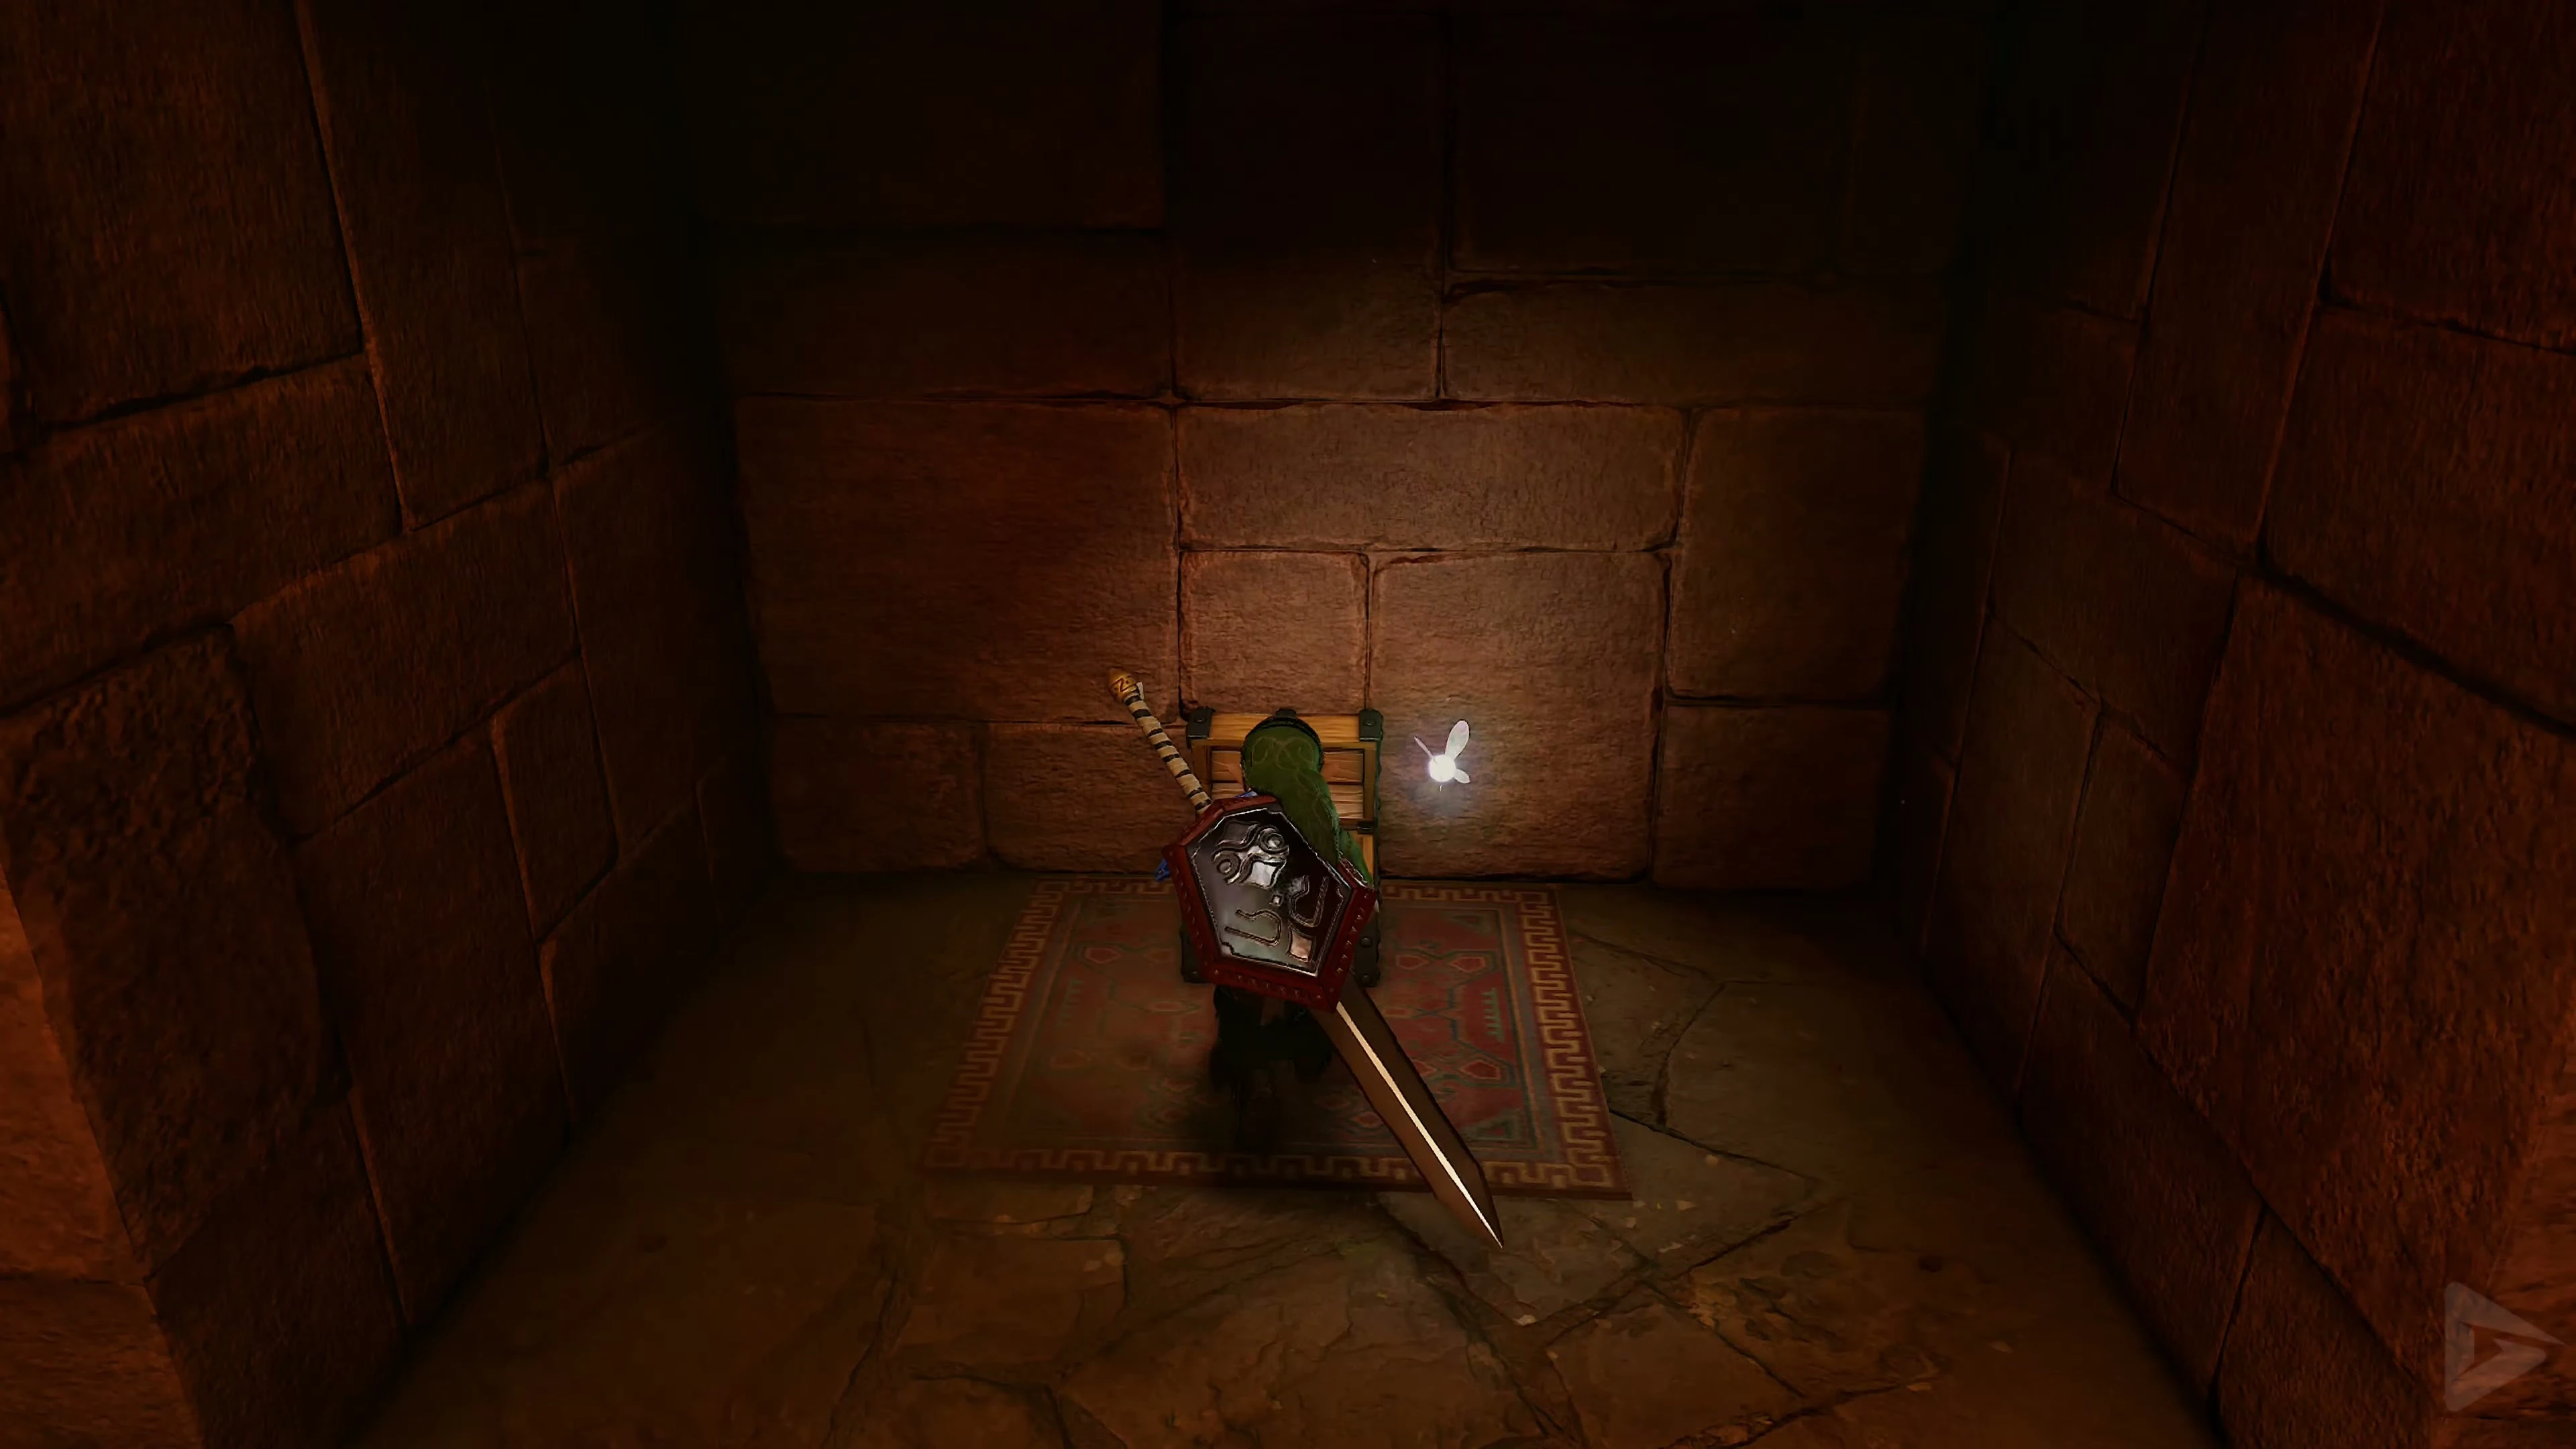
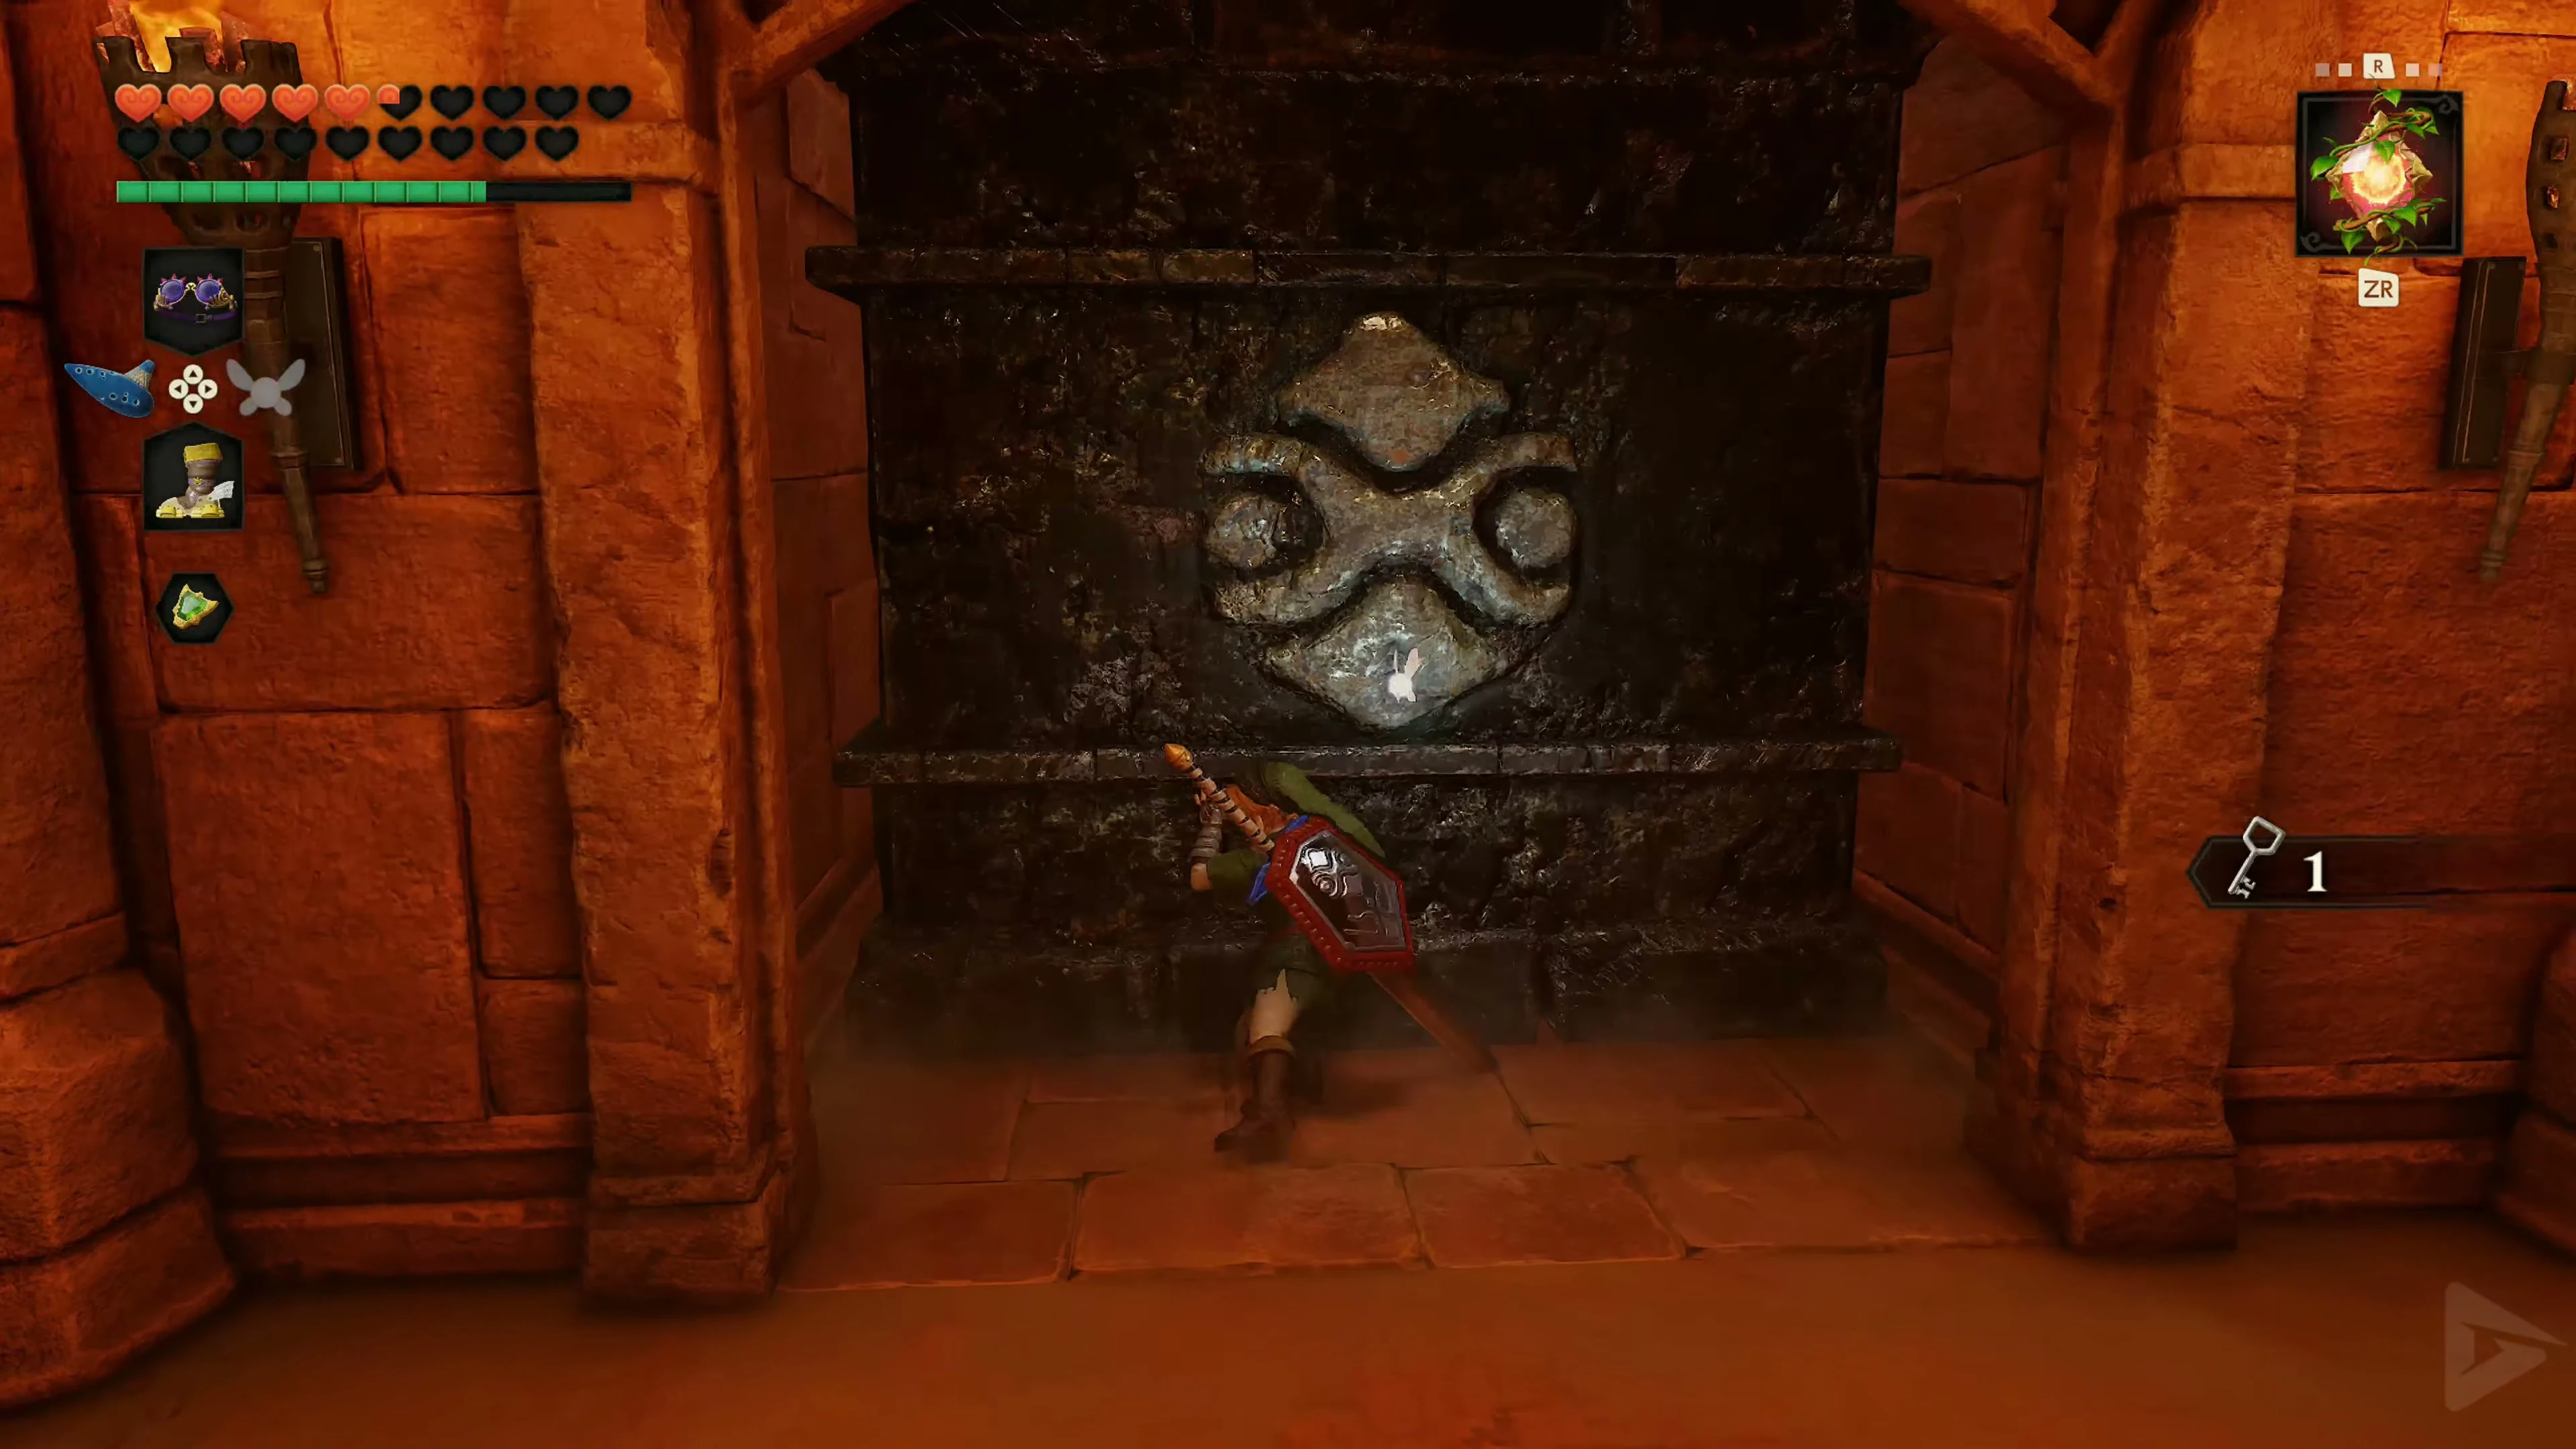
In the next room, several Wolfos will attack. Focus on only one enemy at a time and avoid frantic frontal attacks, as Wolfos can block many blows. Wait until one of them attacks or turns its back on Link, and then counter immediately. The Biggoron Sword makes short work of the battles. After defeating them, open the small chest containing arrows. The apparent door on the wall is merely a decoy and leads nowhere further. Activate the Lenses of Truth and look above the fake door. A hidden passage becomes visible, containing a target for the Longshot. Pull yourself up and activate the switch next to the door. This opens an additional entrance. Then go through the door in the hidden alcove and continue following our main route.
Second Small Key – the four eyes above the lava
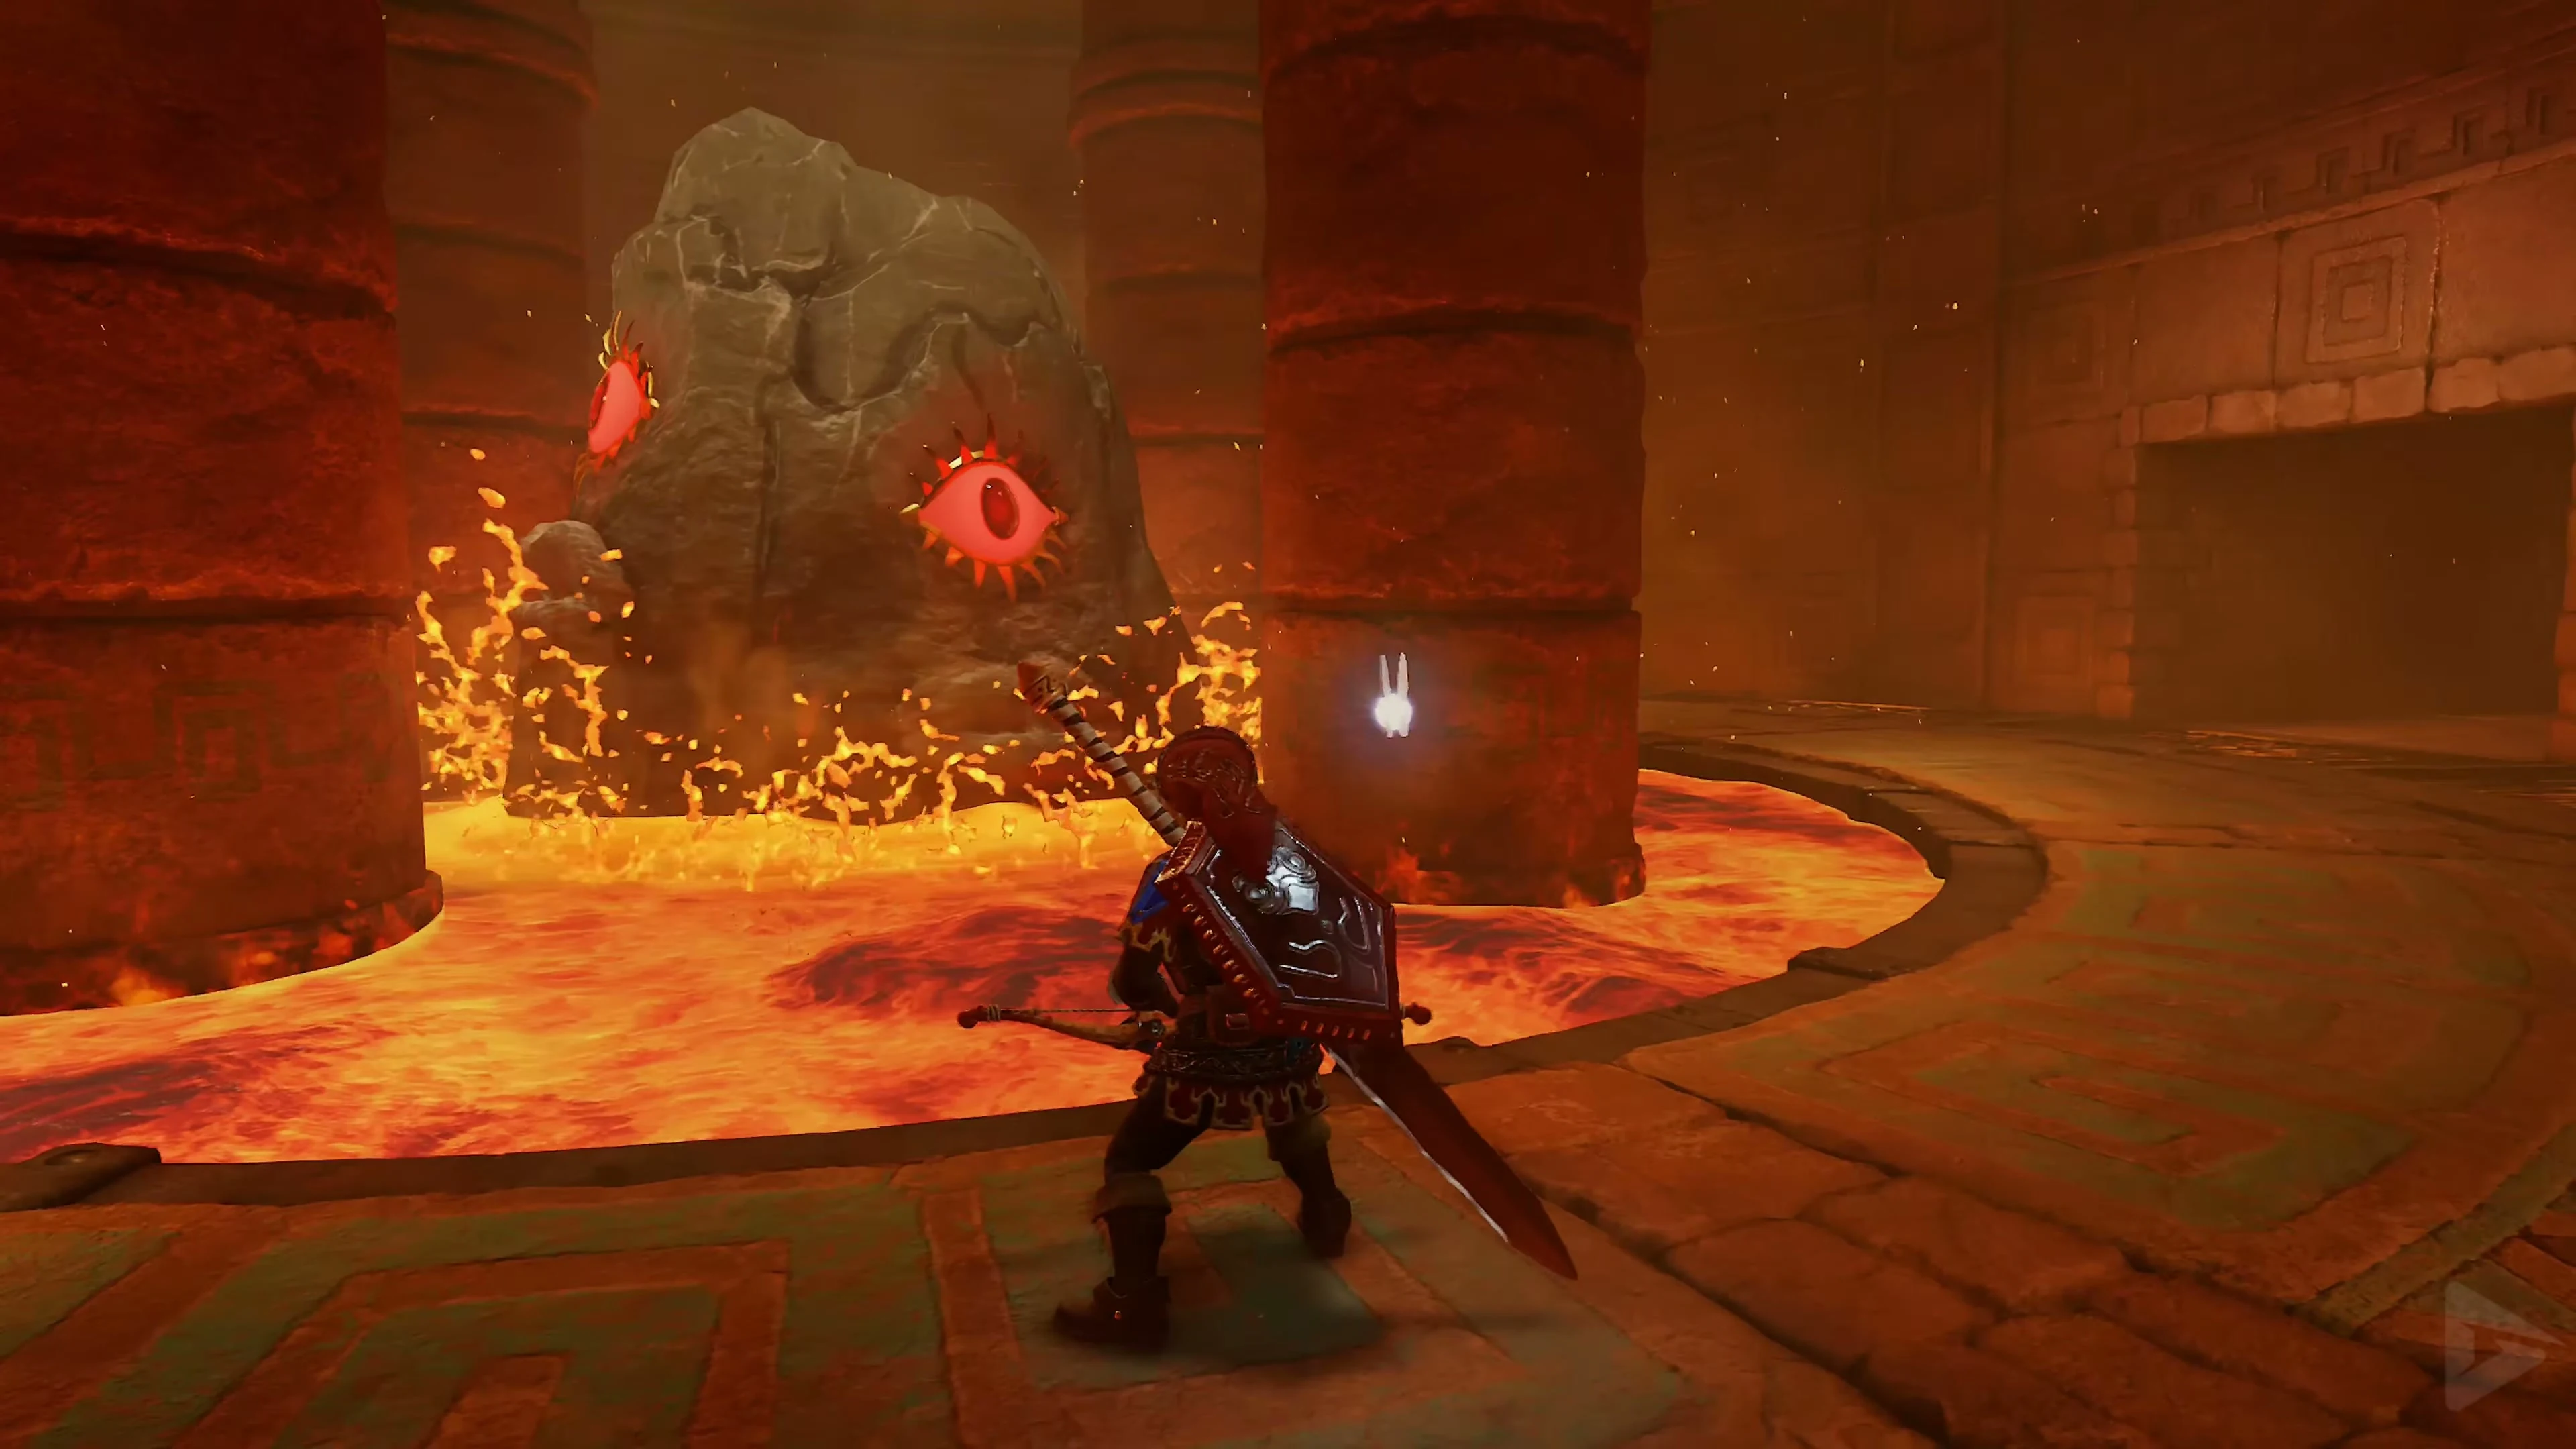
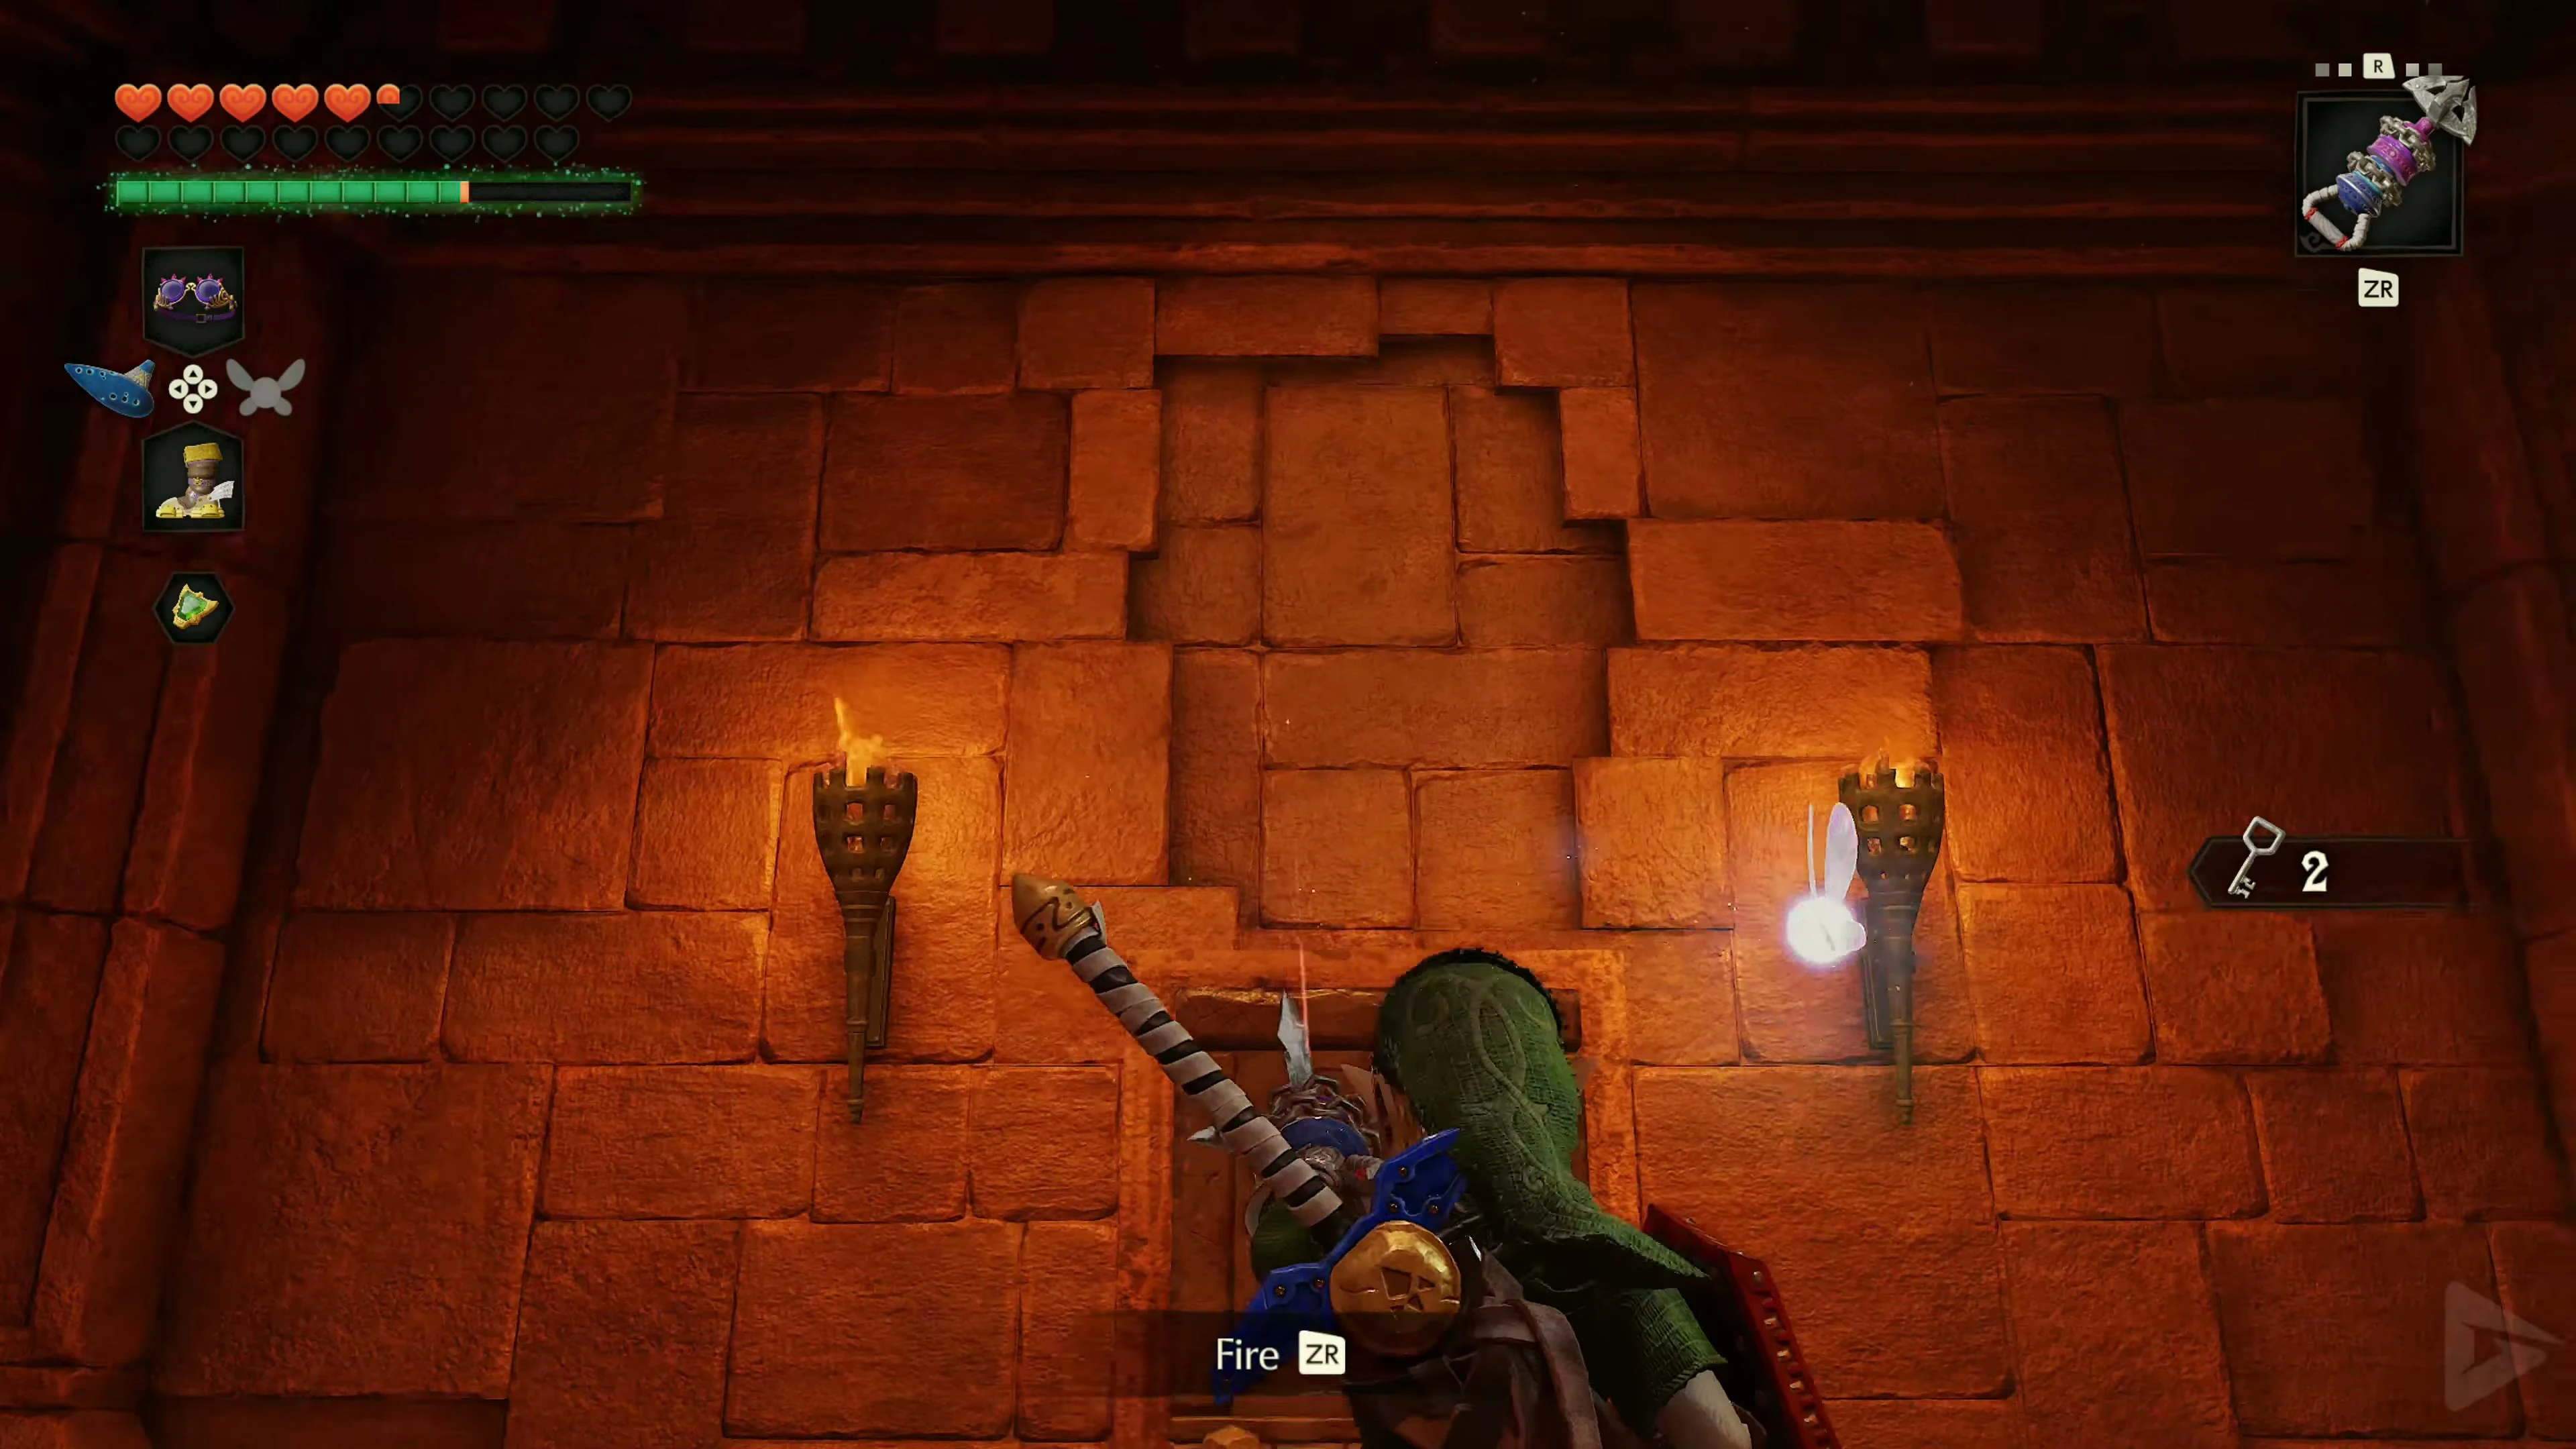
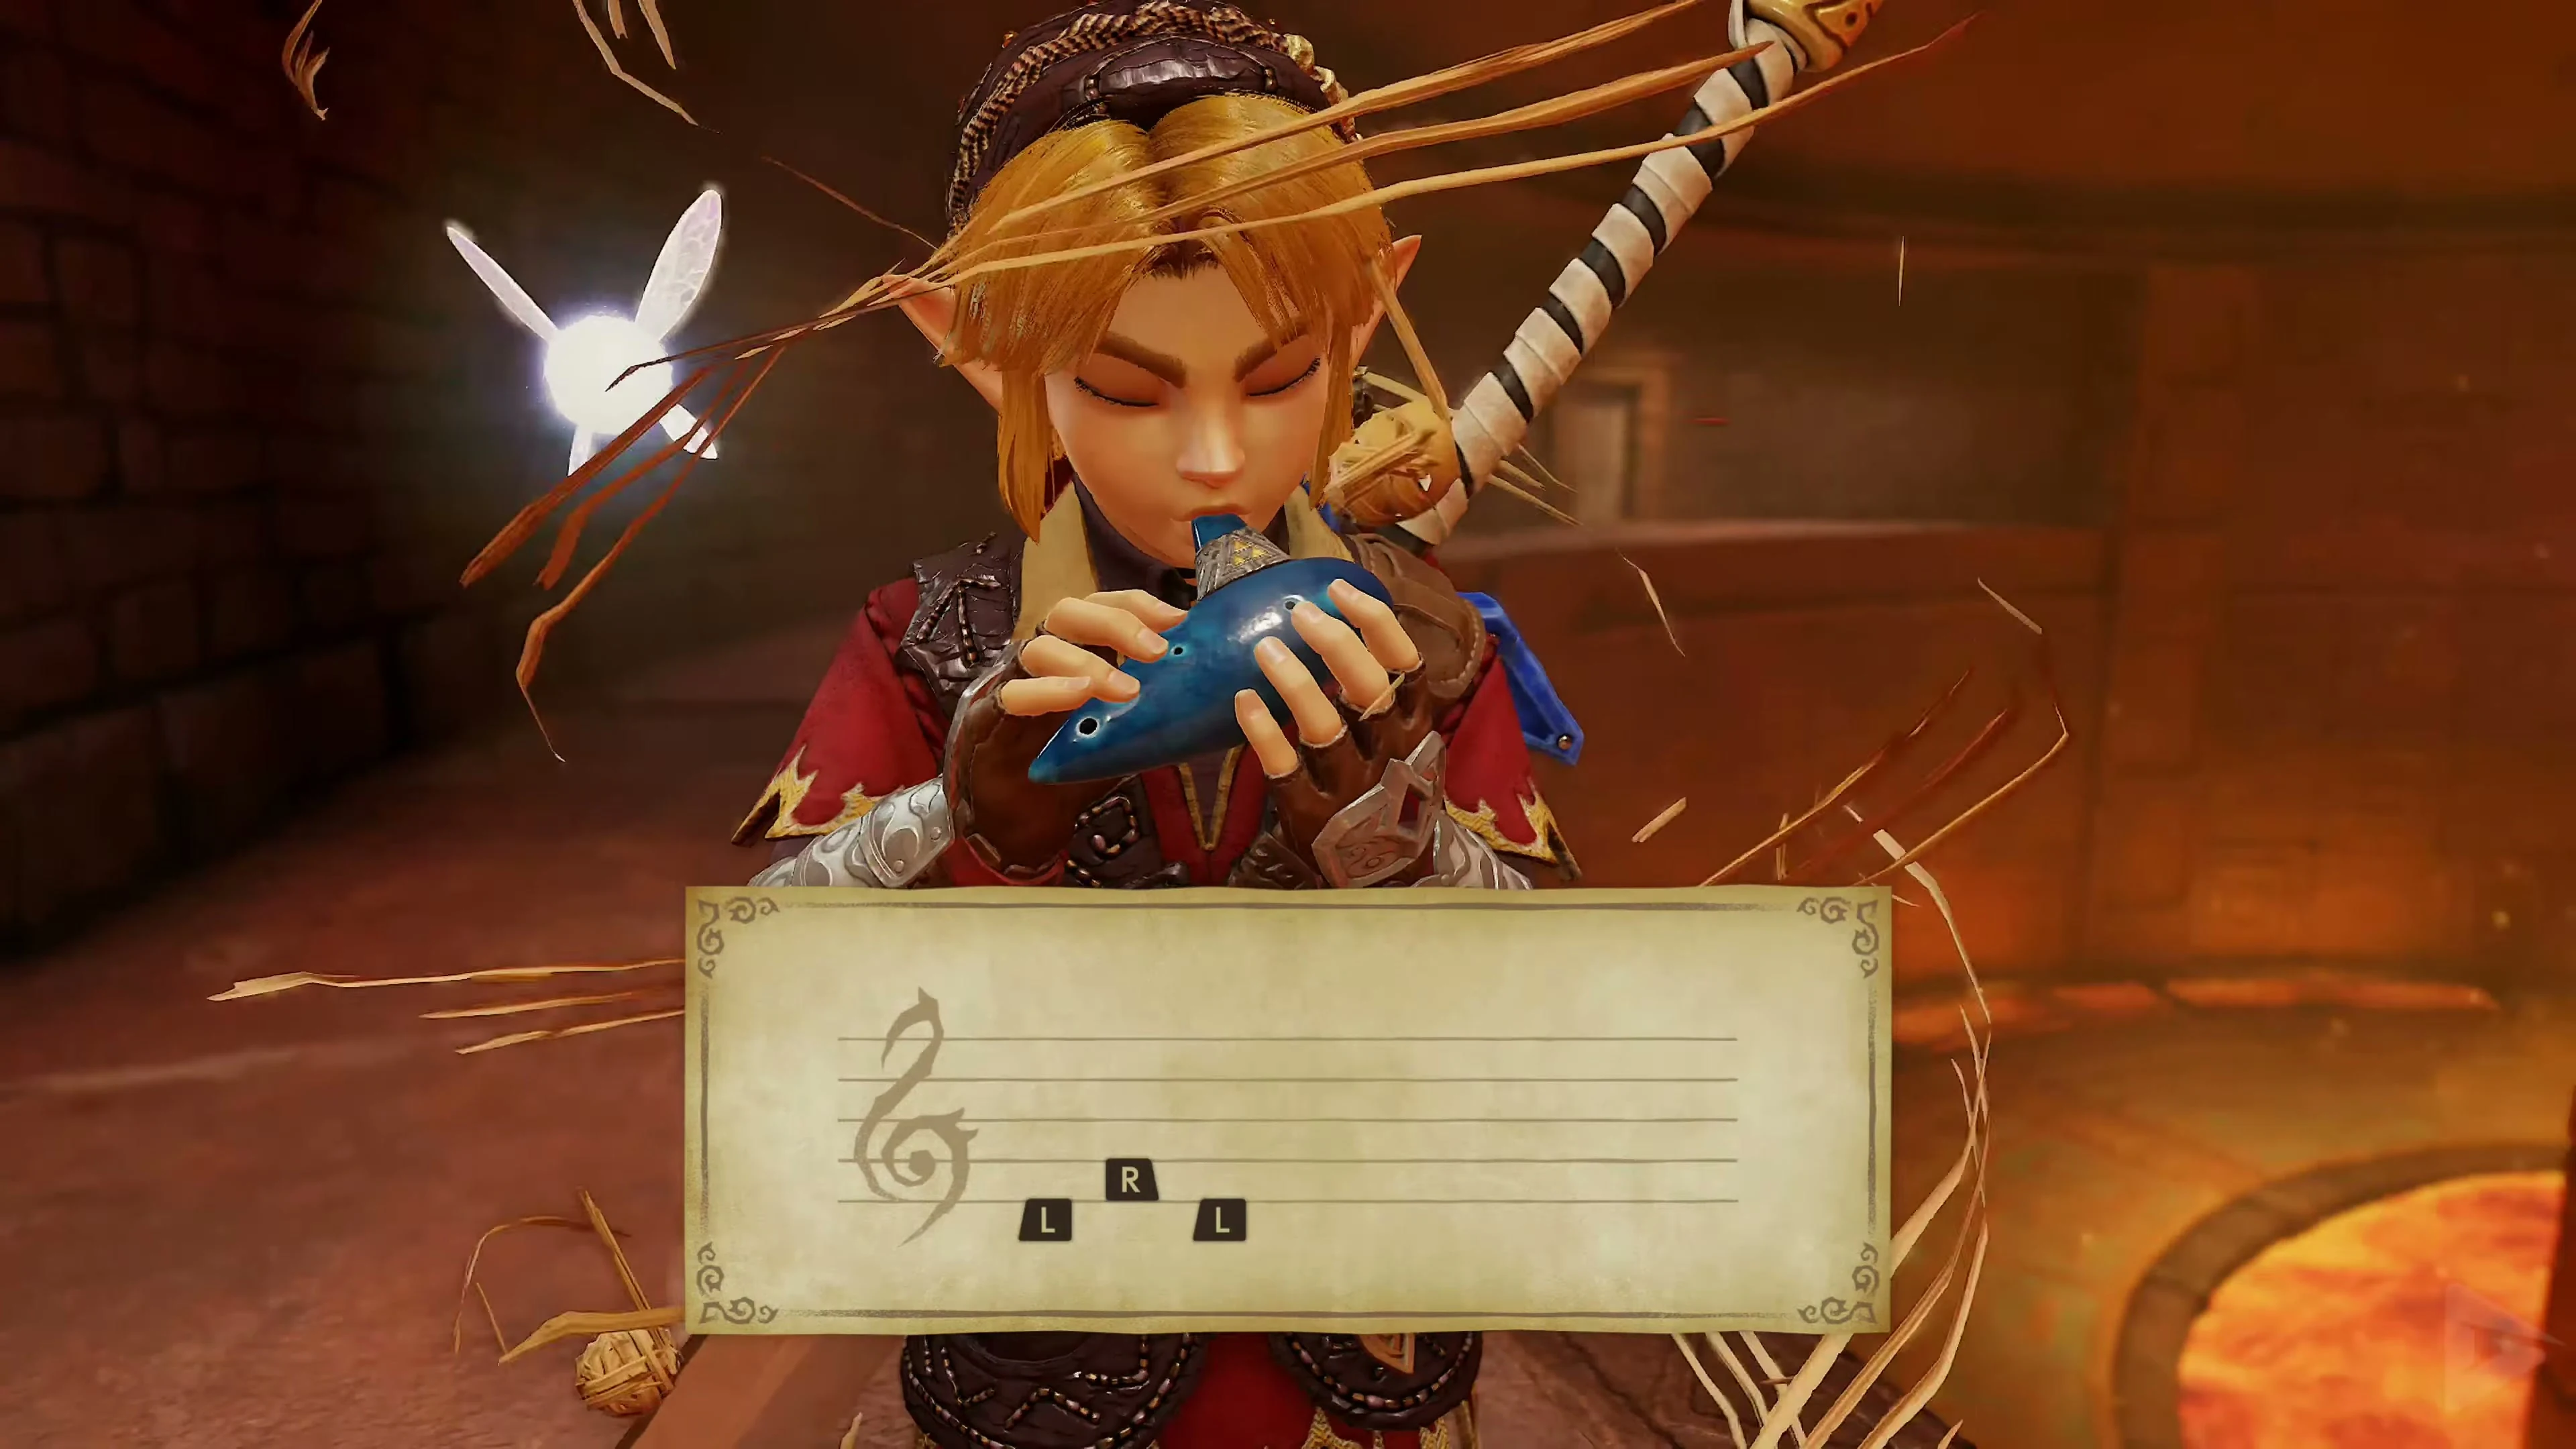
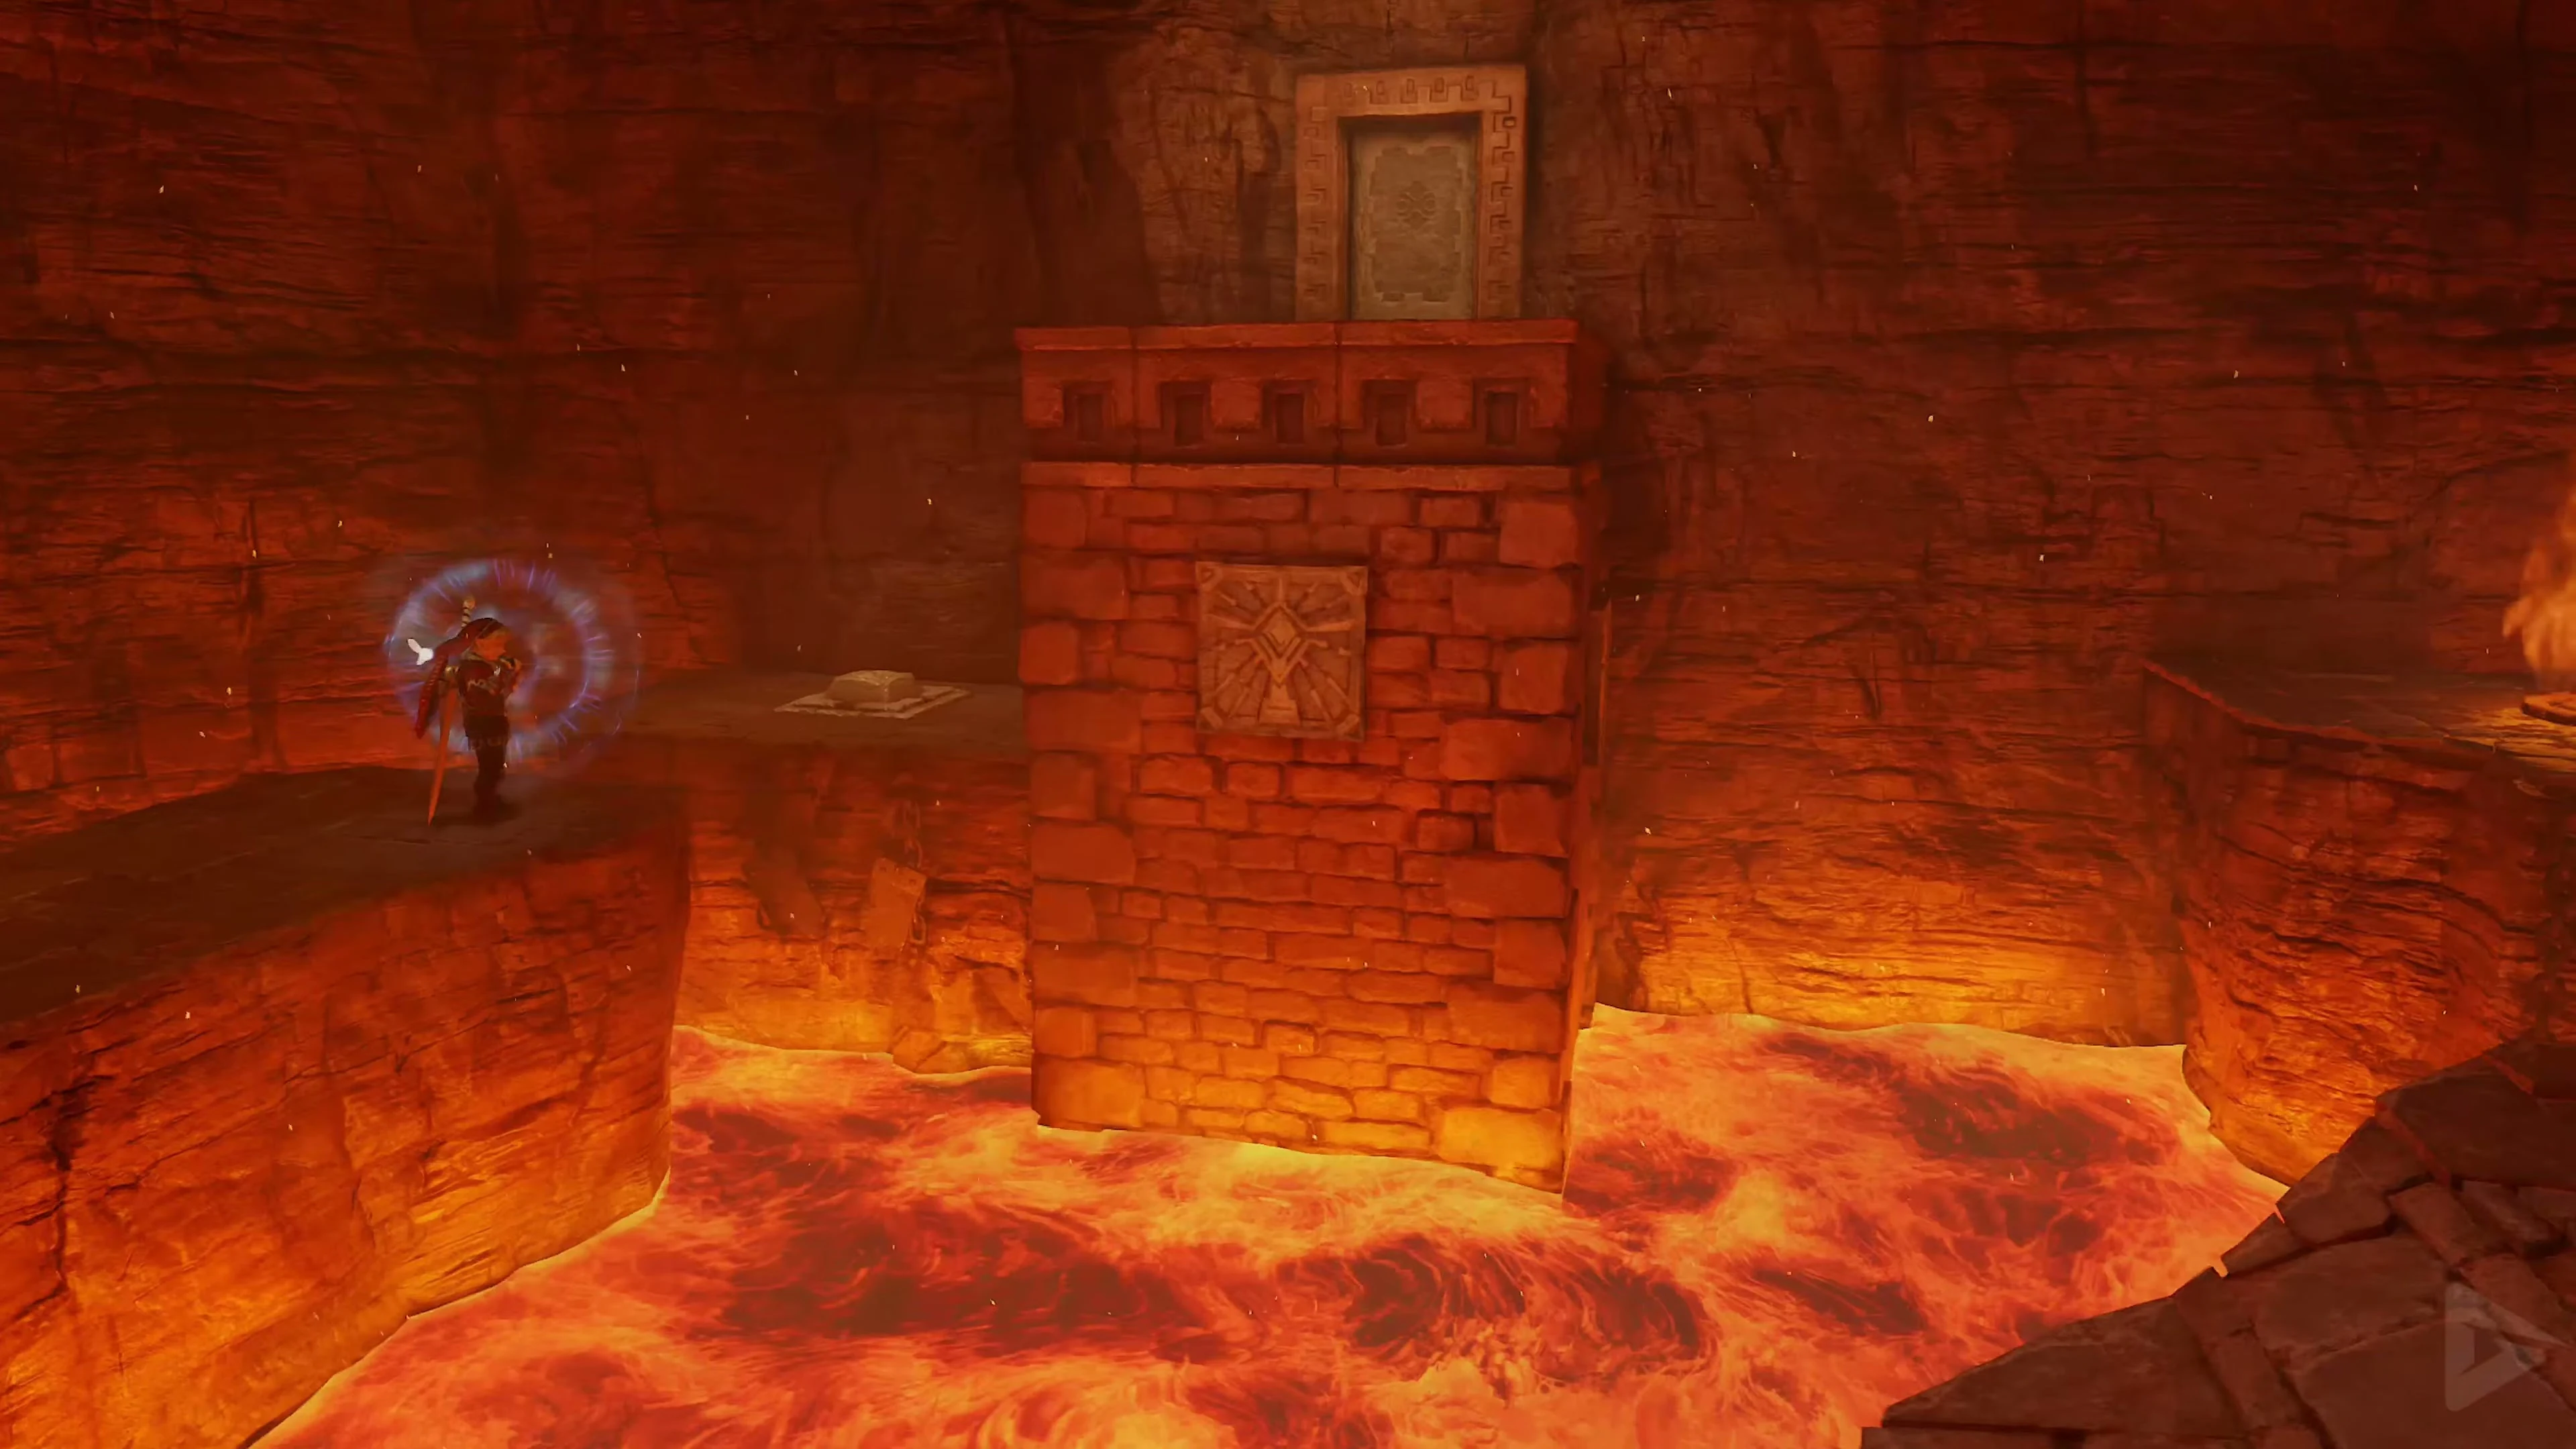
In Wolfos’ room, go through the tall hidden alcove into the upper passage above the lava pool. Call out to Pierre with the Scarecrow Song at the air vortex on the right before jumping down. At the bottom, hit the eye above the door first to raise the middle stone. Shoot the four eyes on its sides until the lava recedes and both doors open. Take Small Key 2 from the chest.
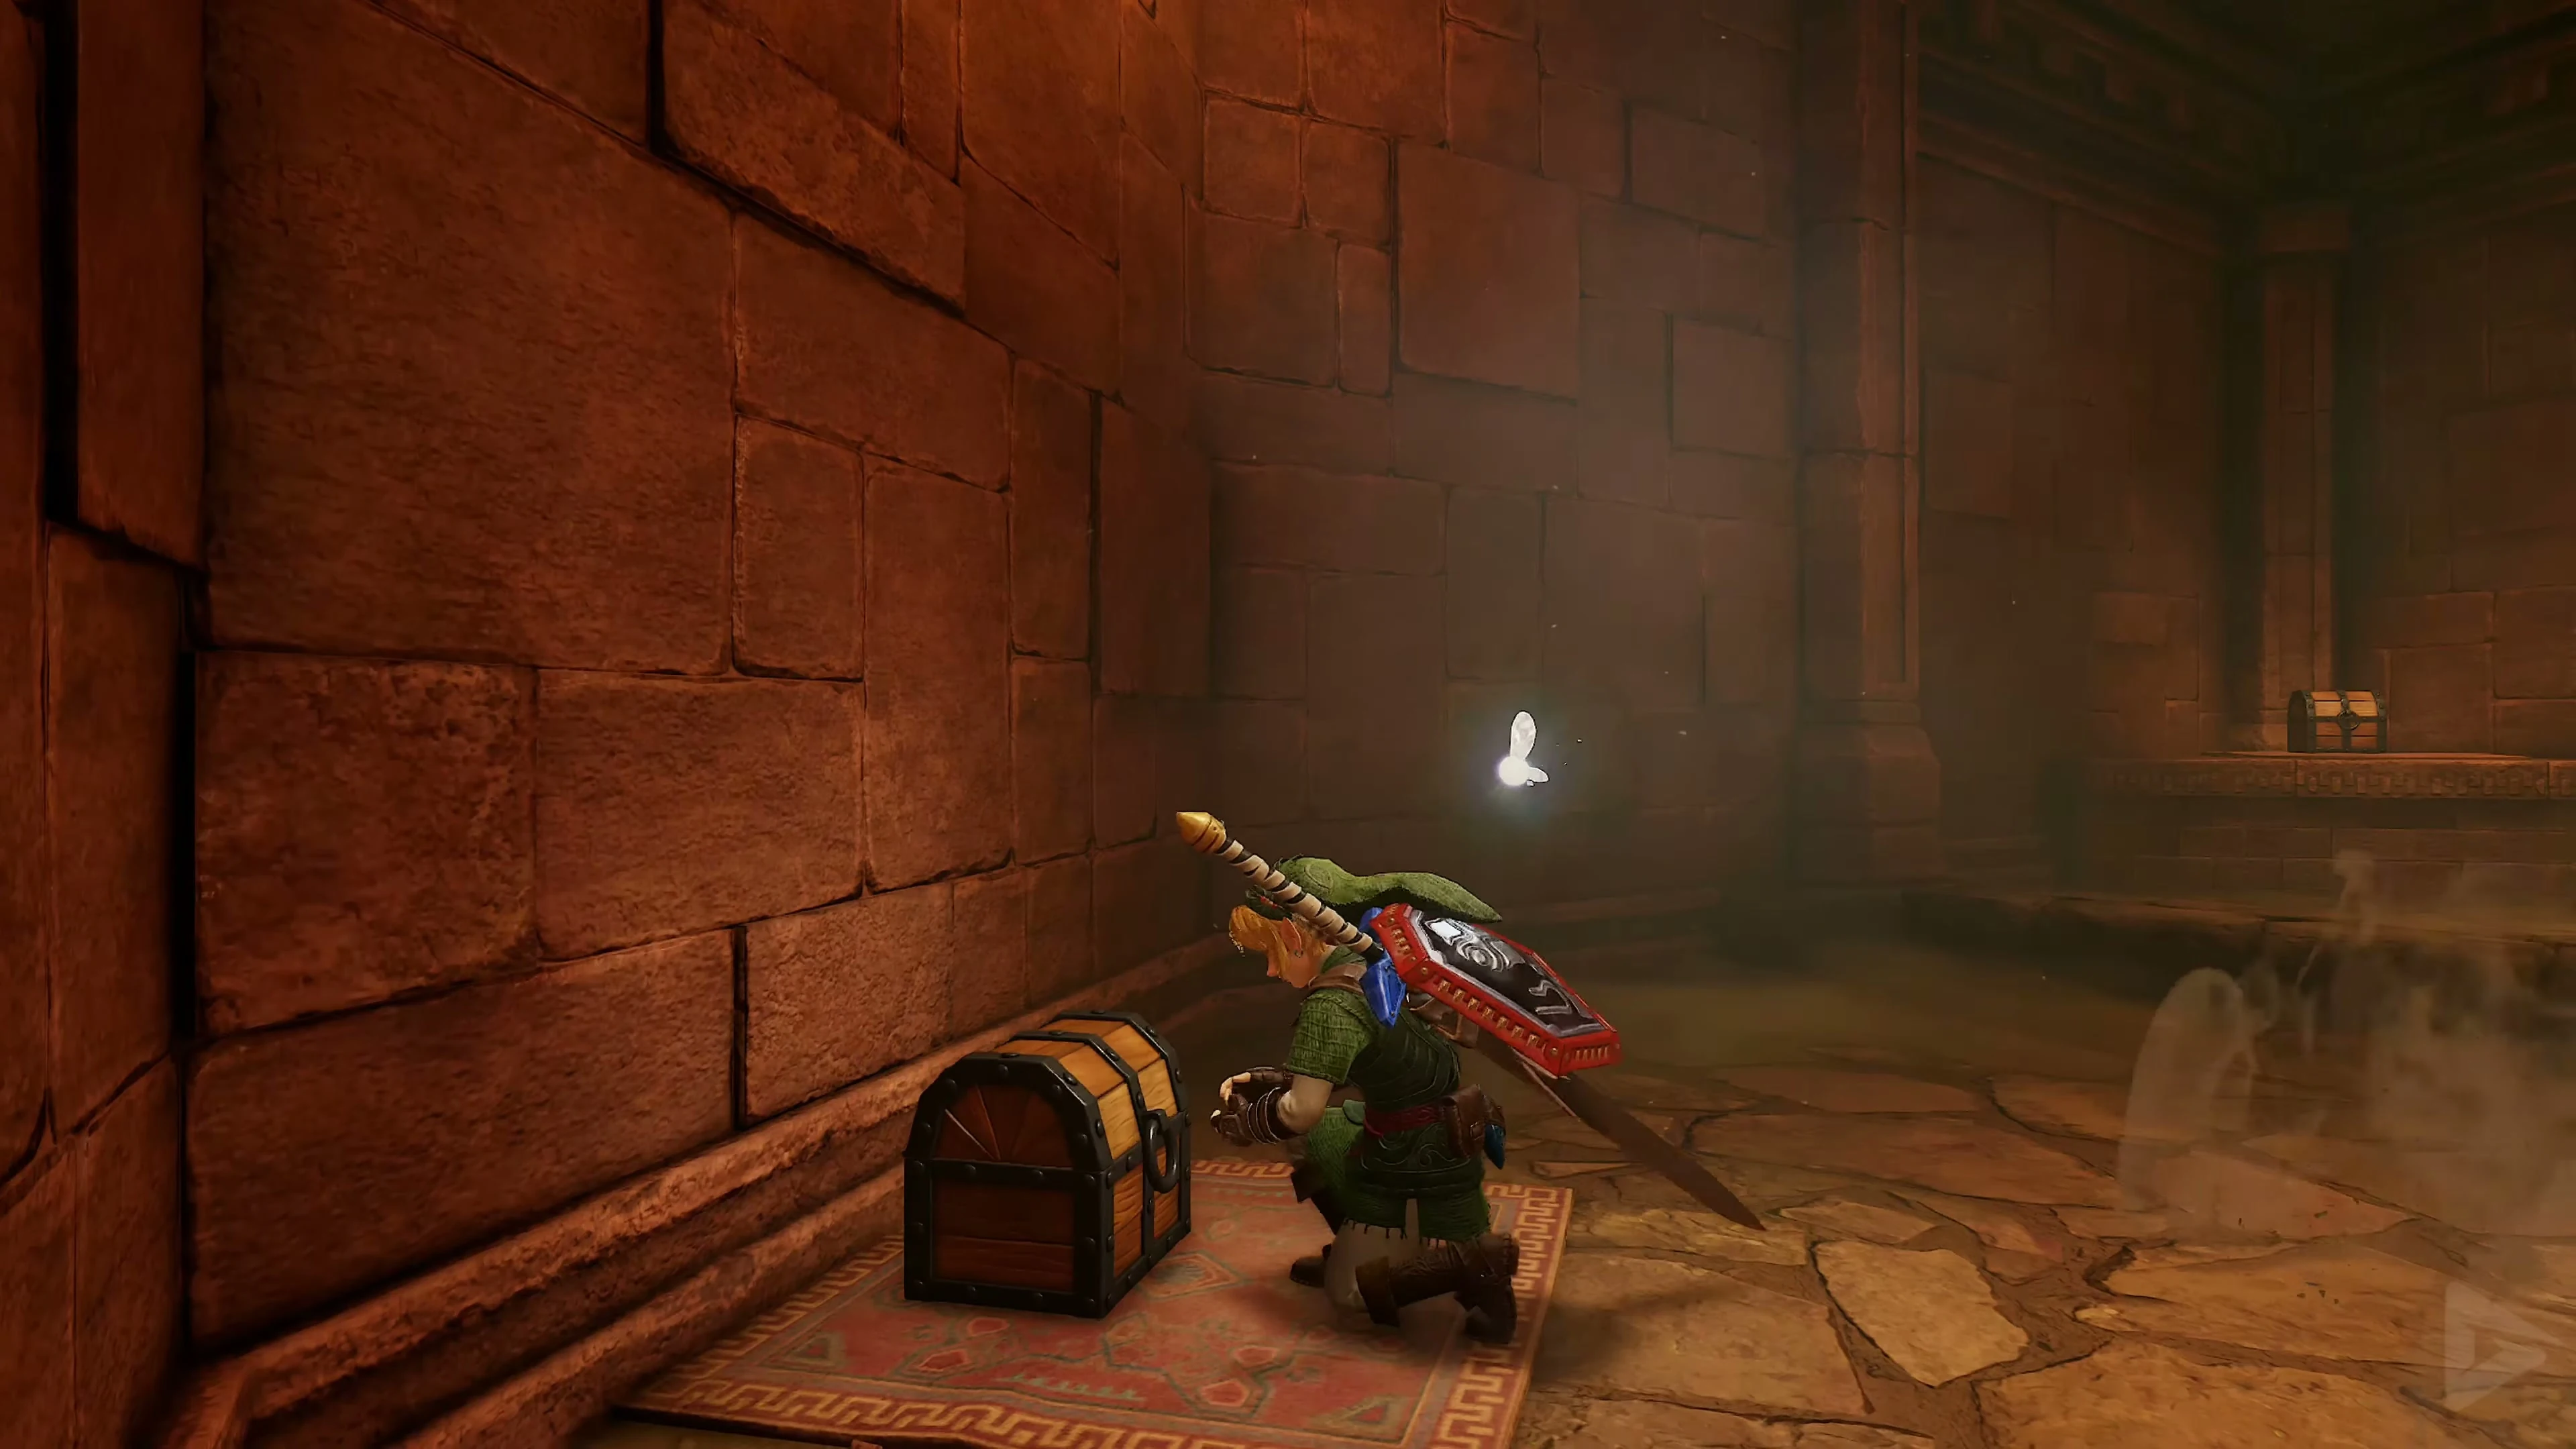
![The lava lake surrounds the pillars in the Examination Room..]](https://zeldacollection.de/wp-content/uploads/2026/11/ocarina-of-time-gerudo-trainingsarena-switch-2-4k-61544.webp)
Third Small Key – the upper chamber with Pierre
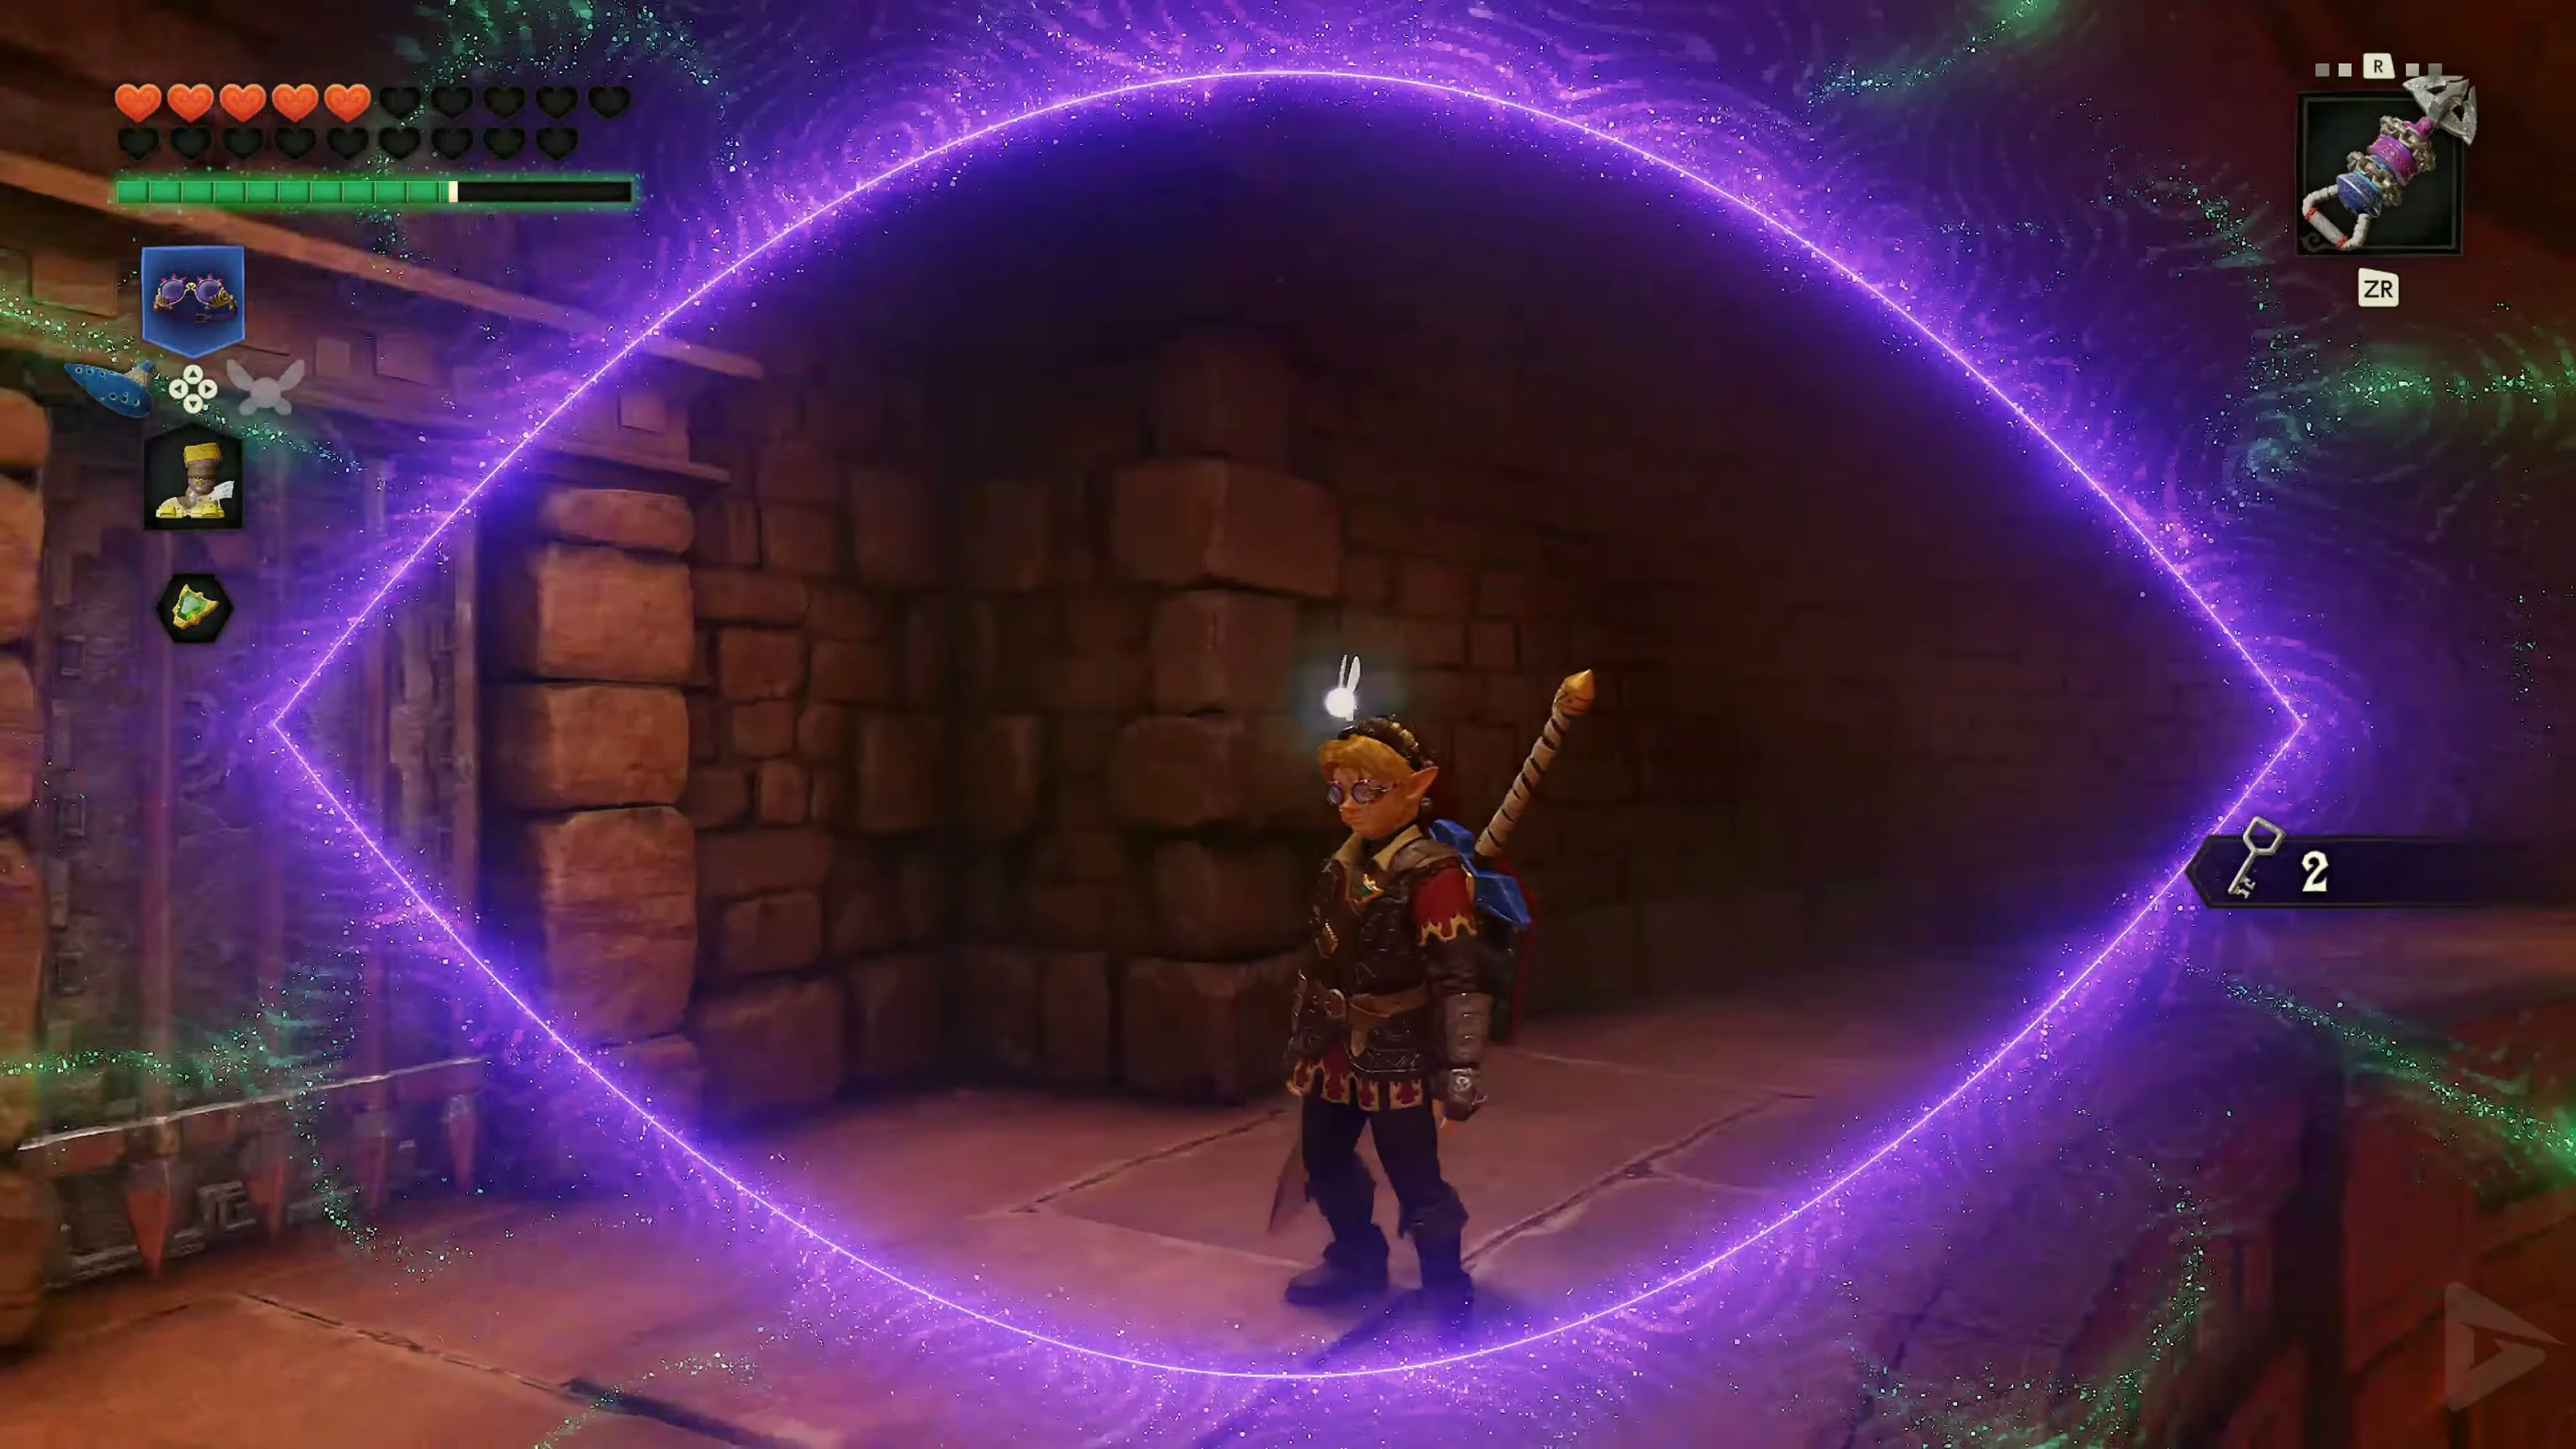
Use the Longshot to return to Pierre on the upper walkway. Go through the door next to him and open the chest with Small Key 3 . Return to the lava room via Pierre and go through the lower exit.
Small Key 4 – the statues with the Megaton Hammer
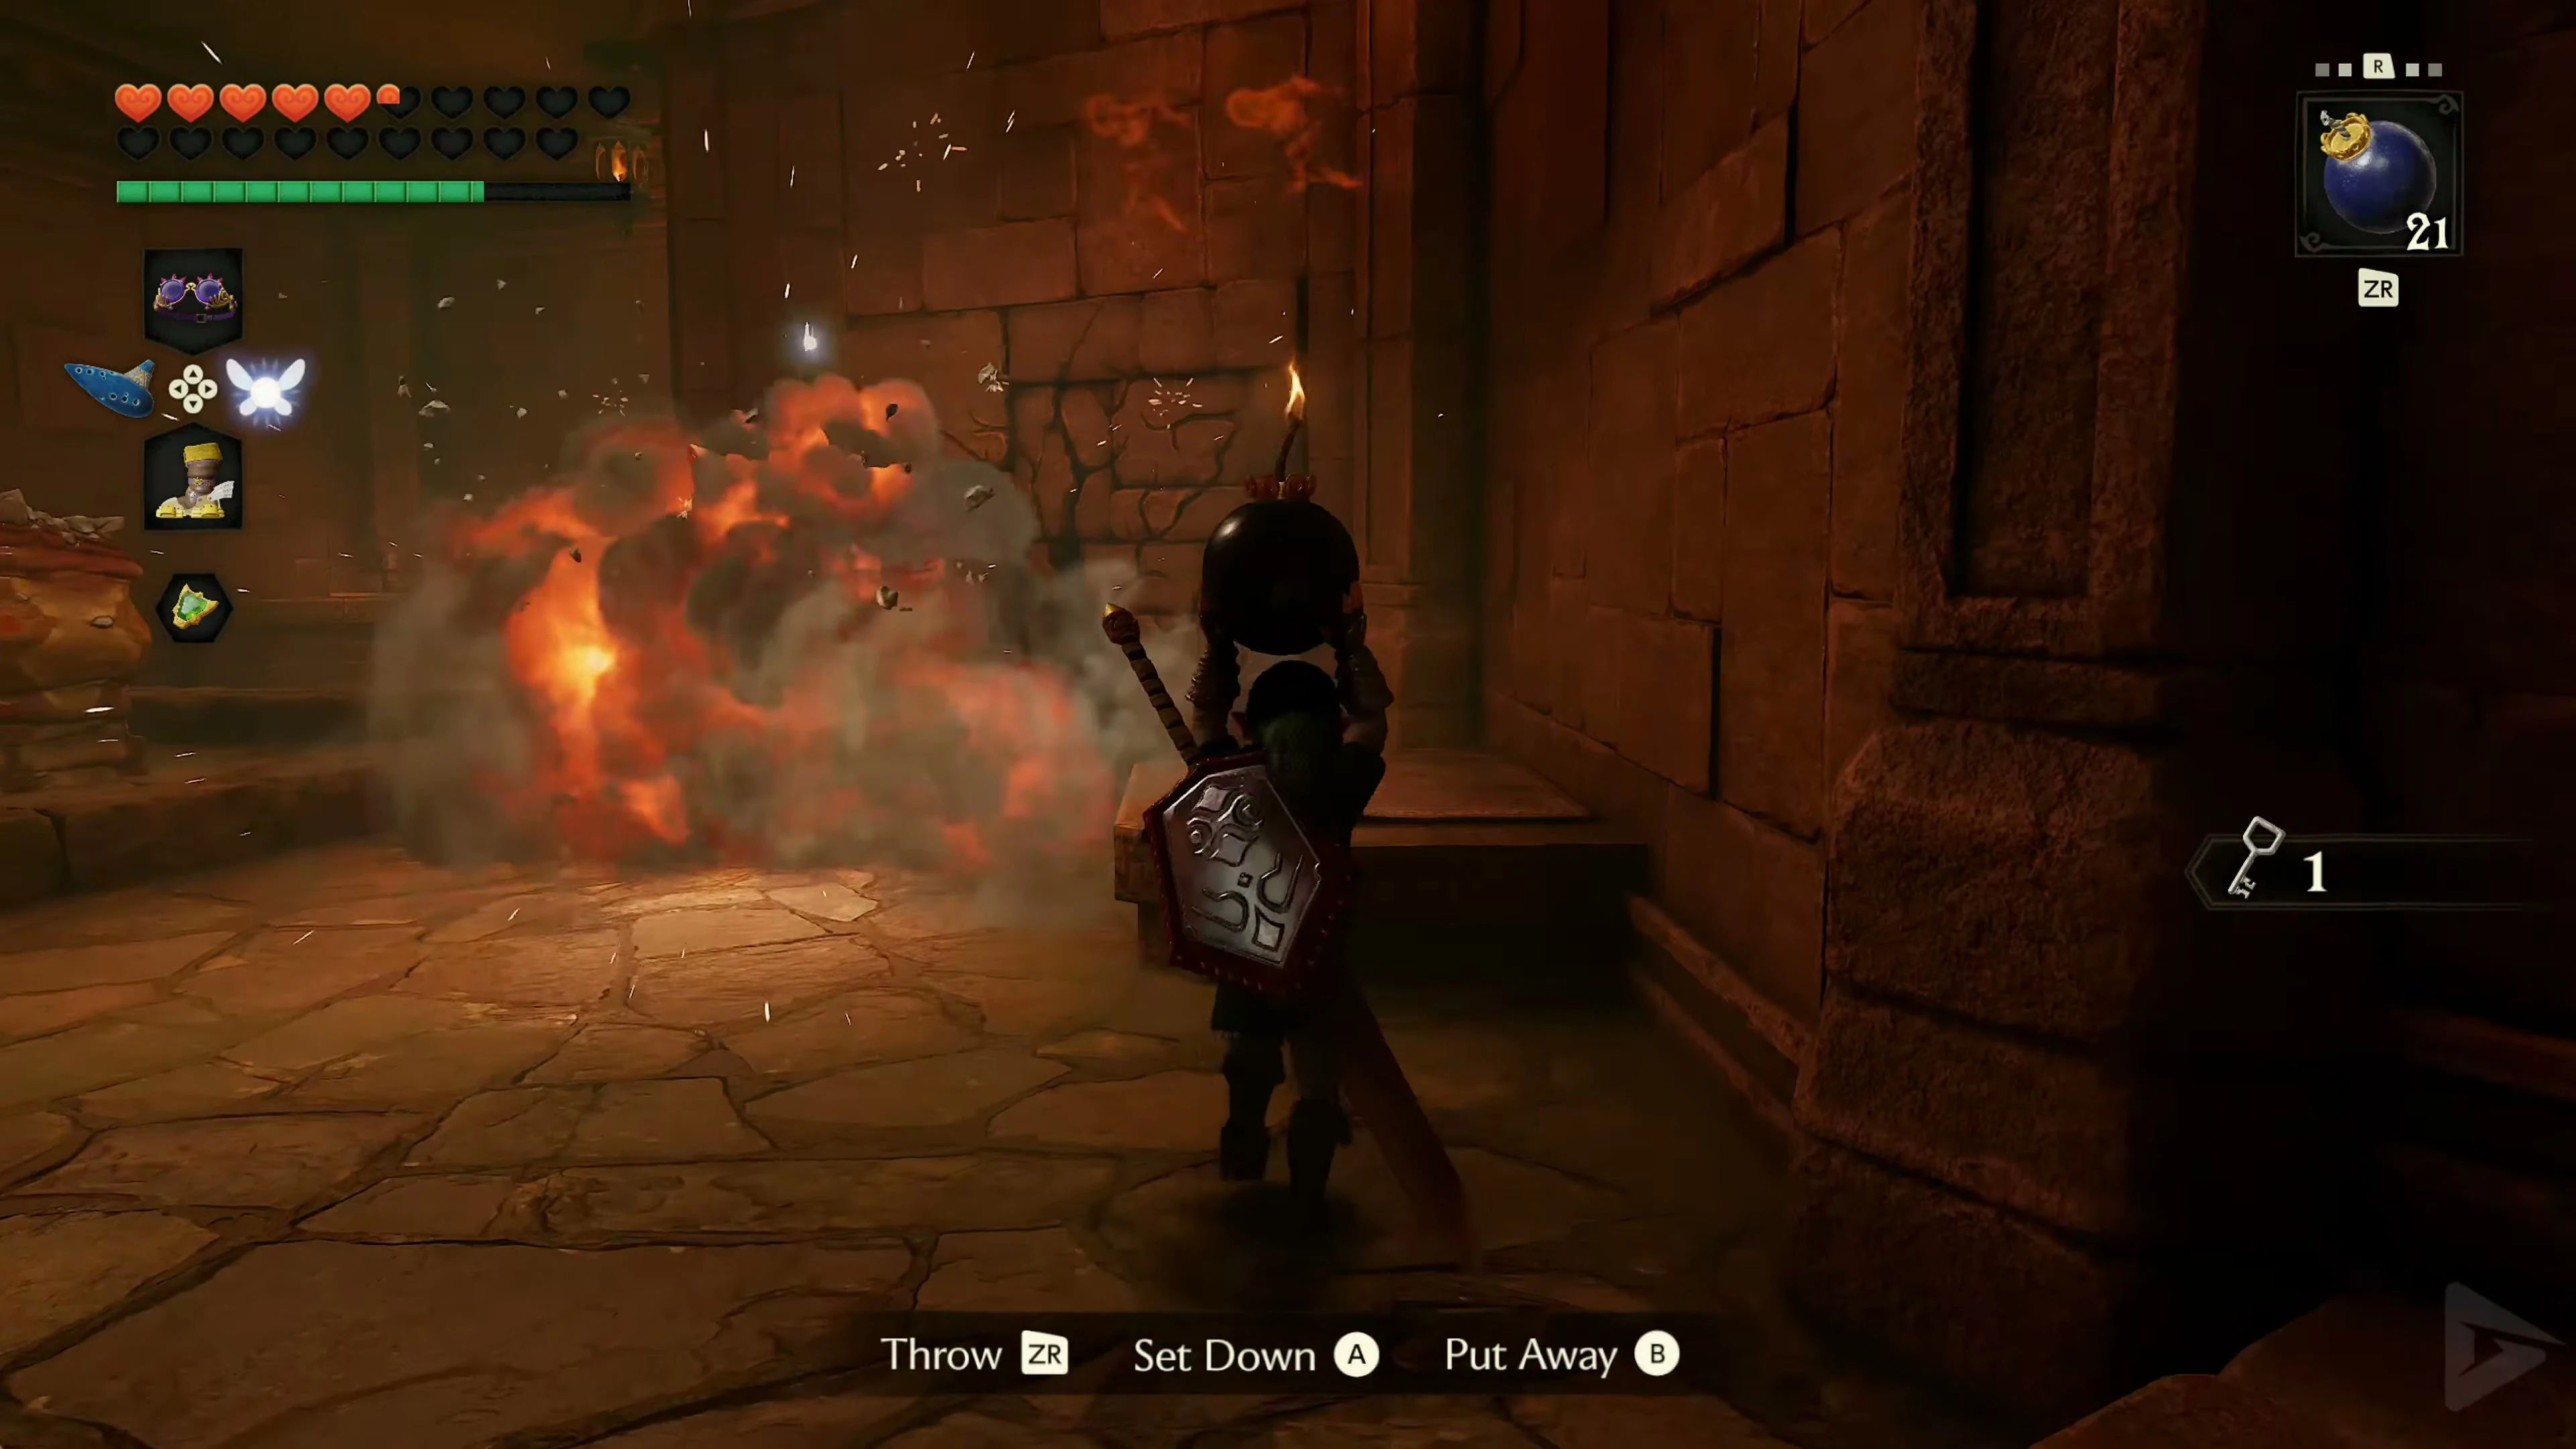
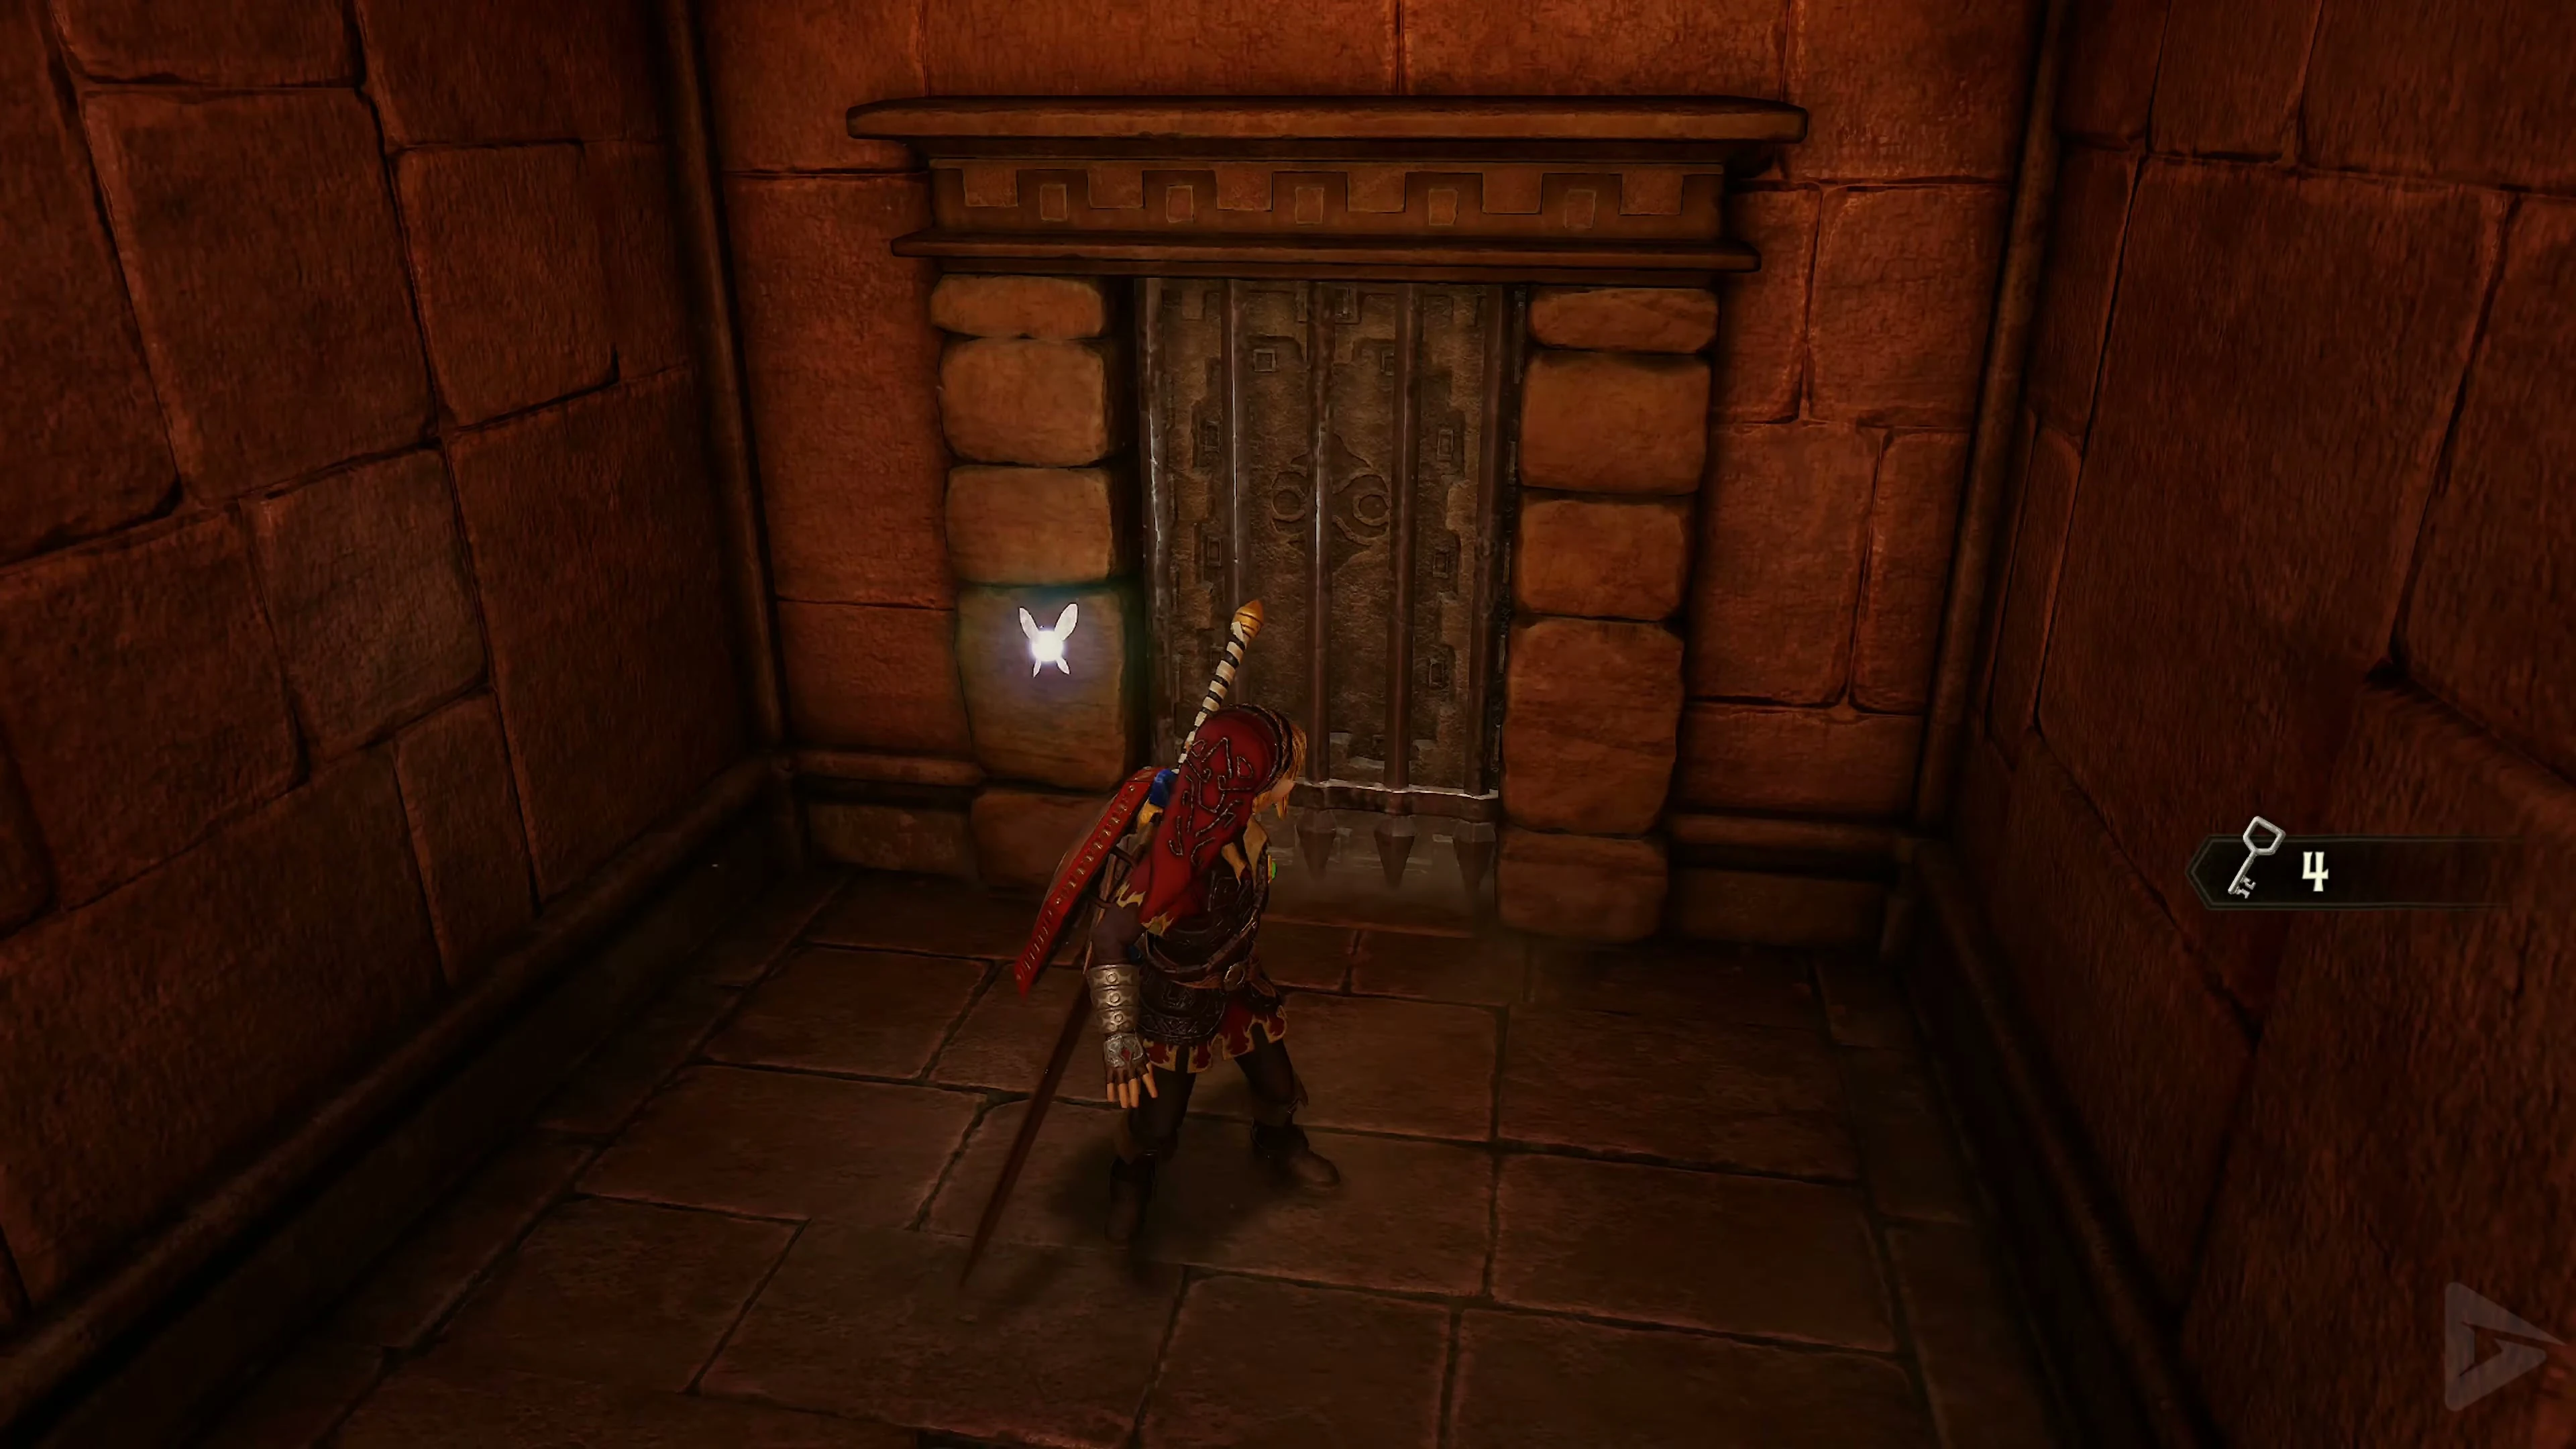
In the next room, a voice tells you to look for a hidden secret. First, eliminate the Torch Slugs and Fire Keese so you can work undisturbed. Several large statues, which you already know from Fire Temple , stand against the walls. Use the Megaton Hammer to knock the statues out of the way. Behind them, several hidden elements will be revealed: a small treasure chest, a golden eye switch, and a floor switch. You’ll find arrows in the small chest. Then, step on the floor switch. This will extinguish the flames surrounding a larger chest in the center of the room. Run to the chest and open it before the flames reappear. Inside is the Small Key 4 . Then, shoot the golden eye with the Fairy Bow to unlock the next door.
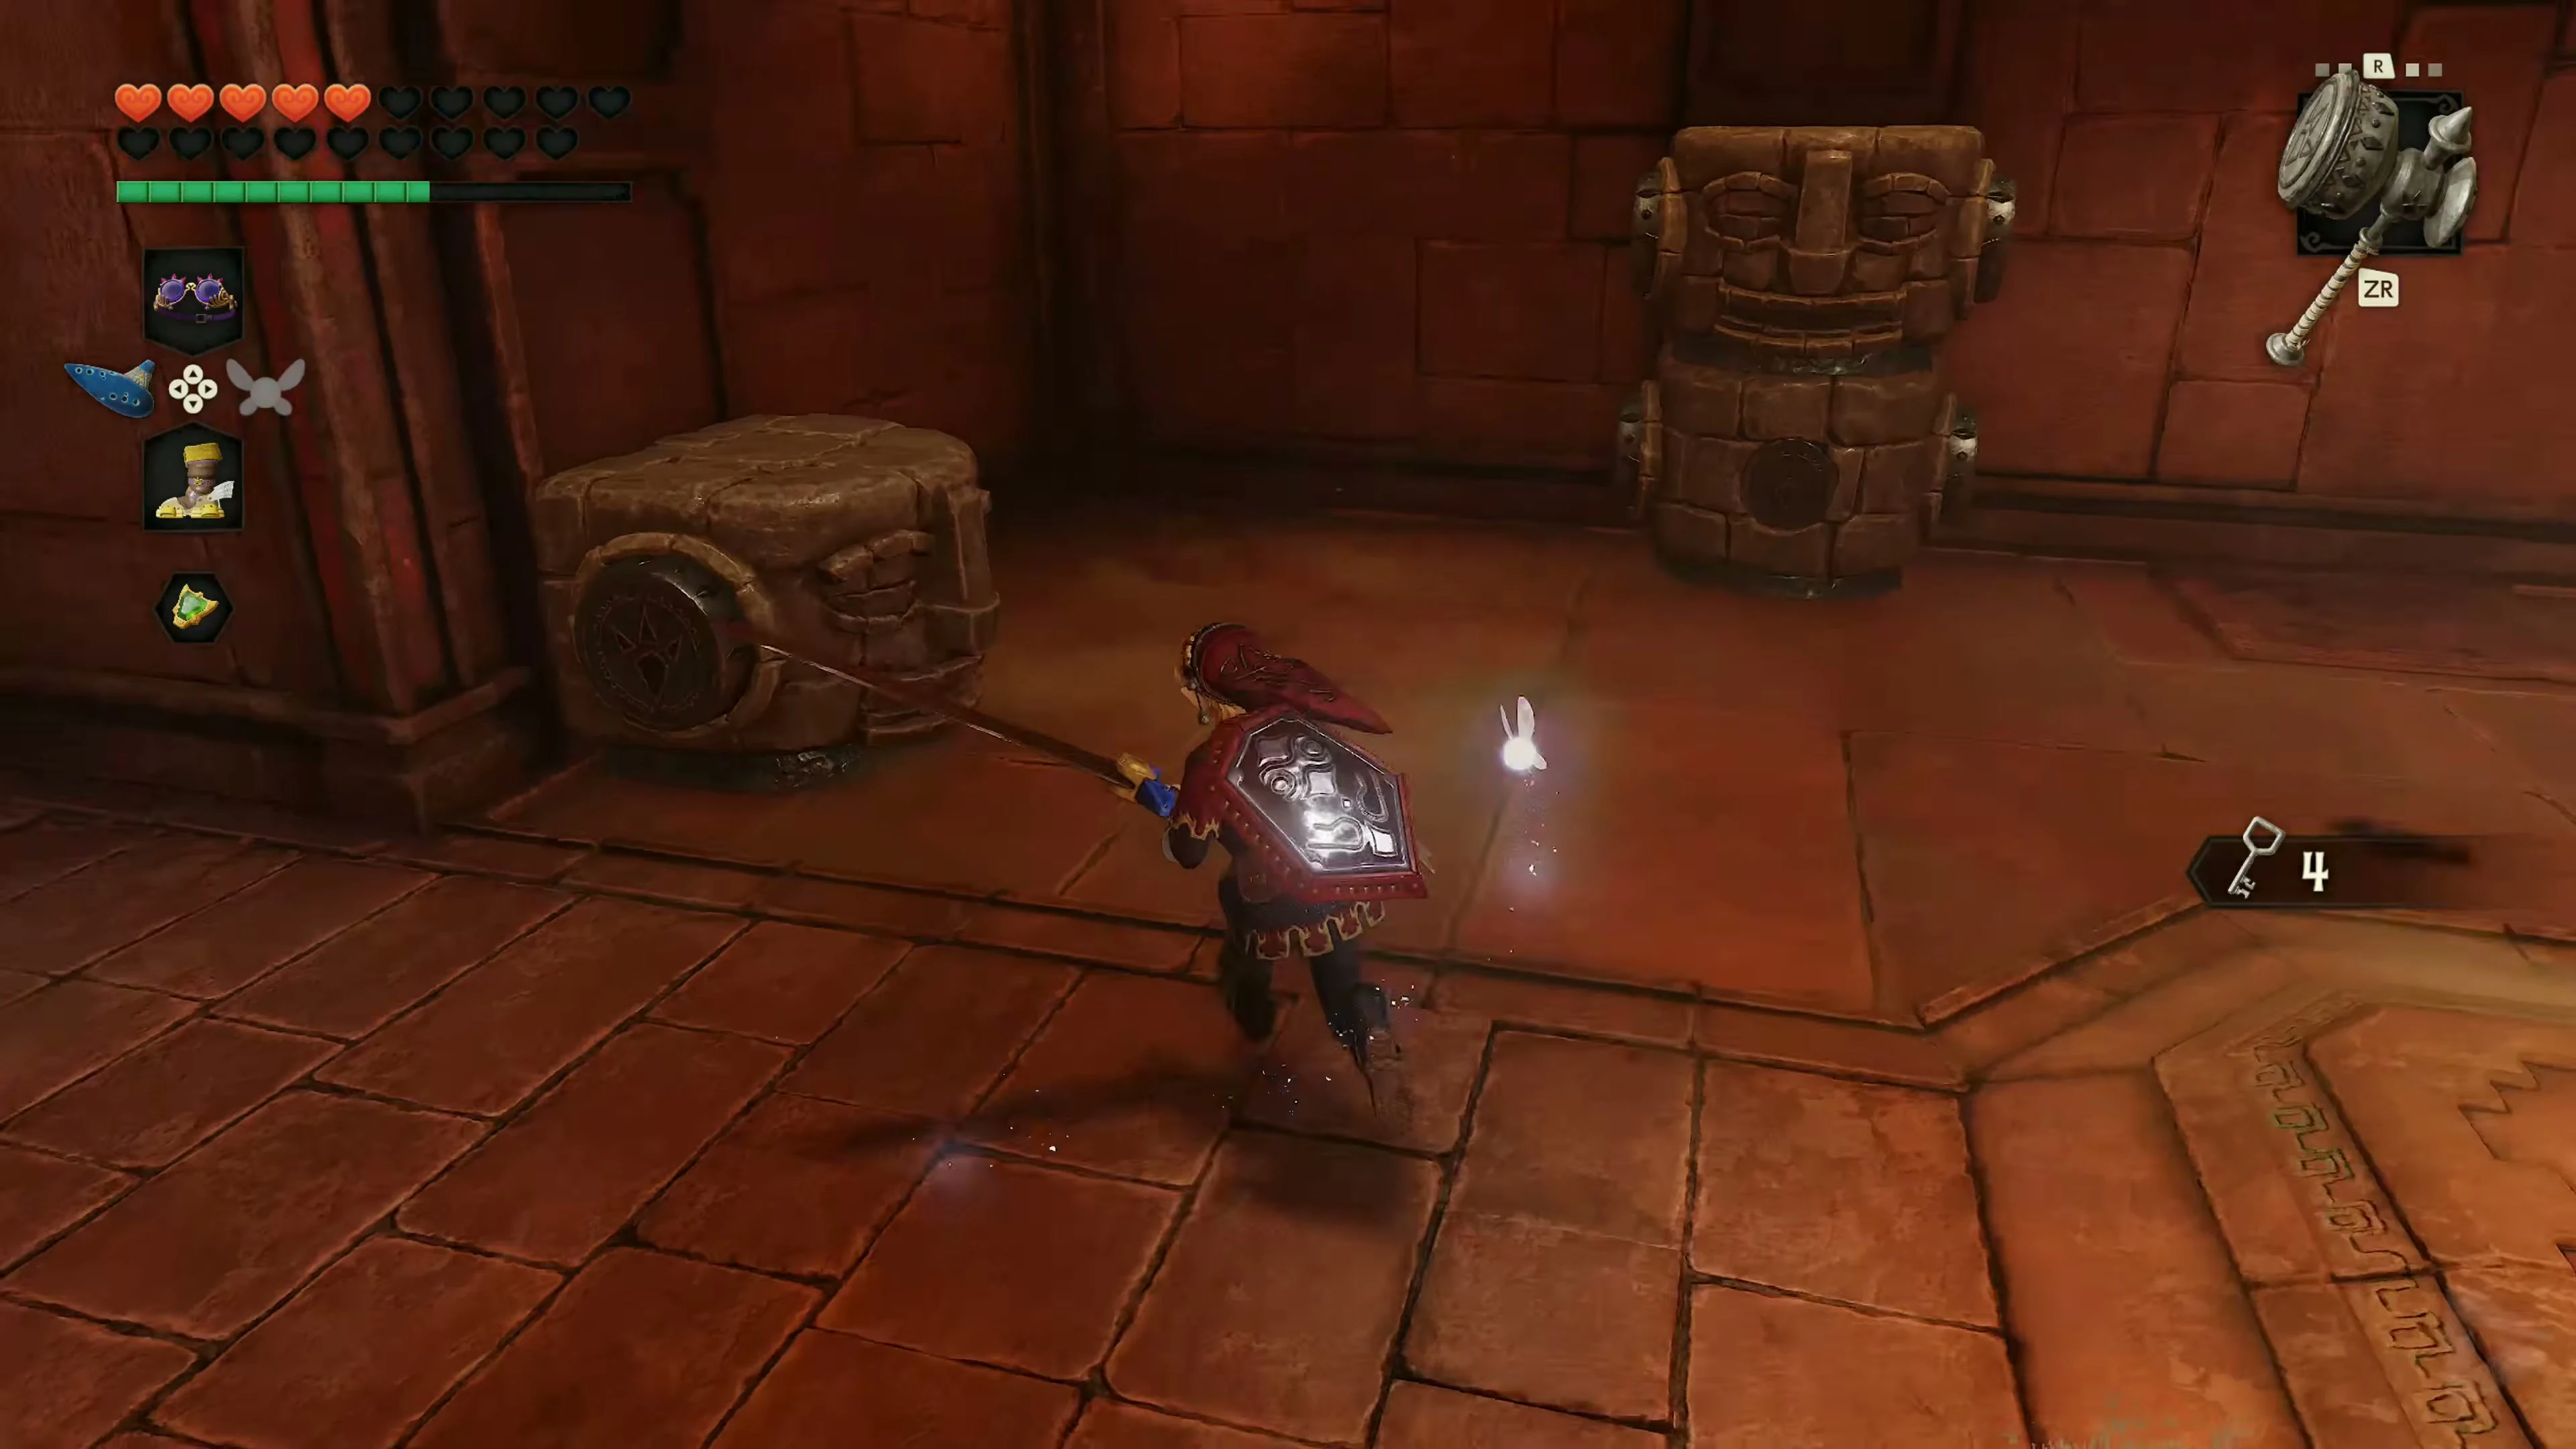
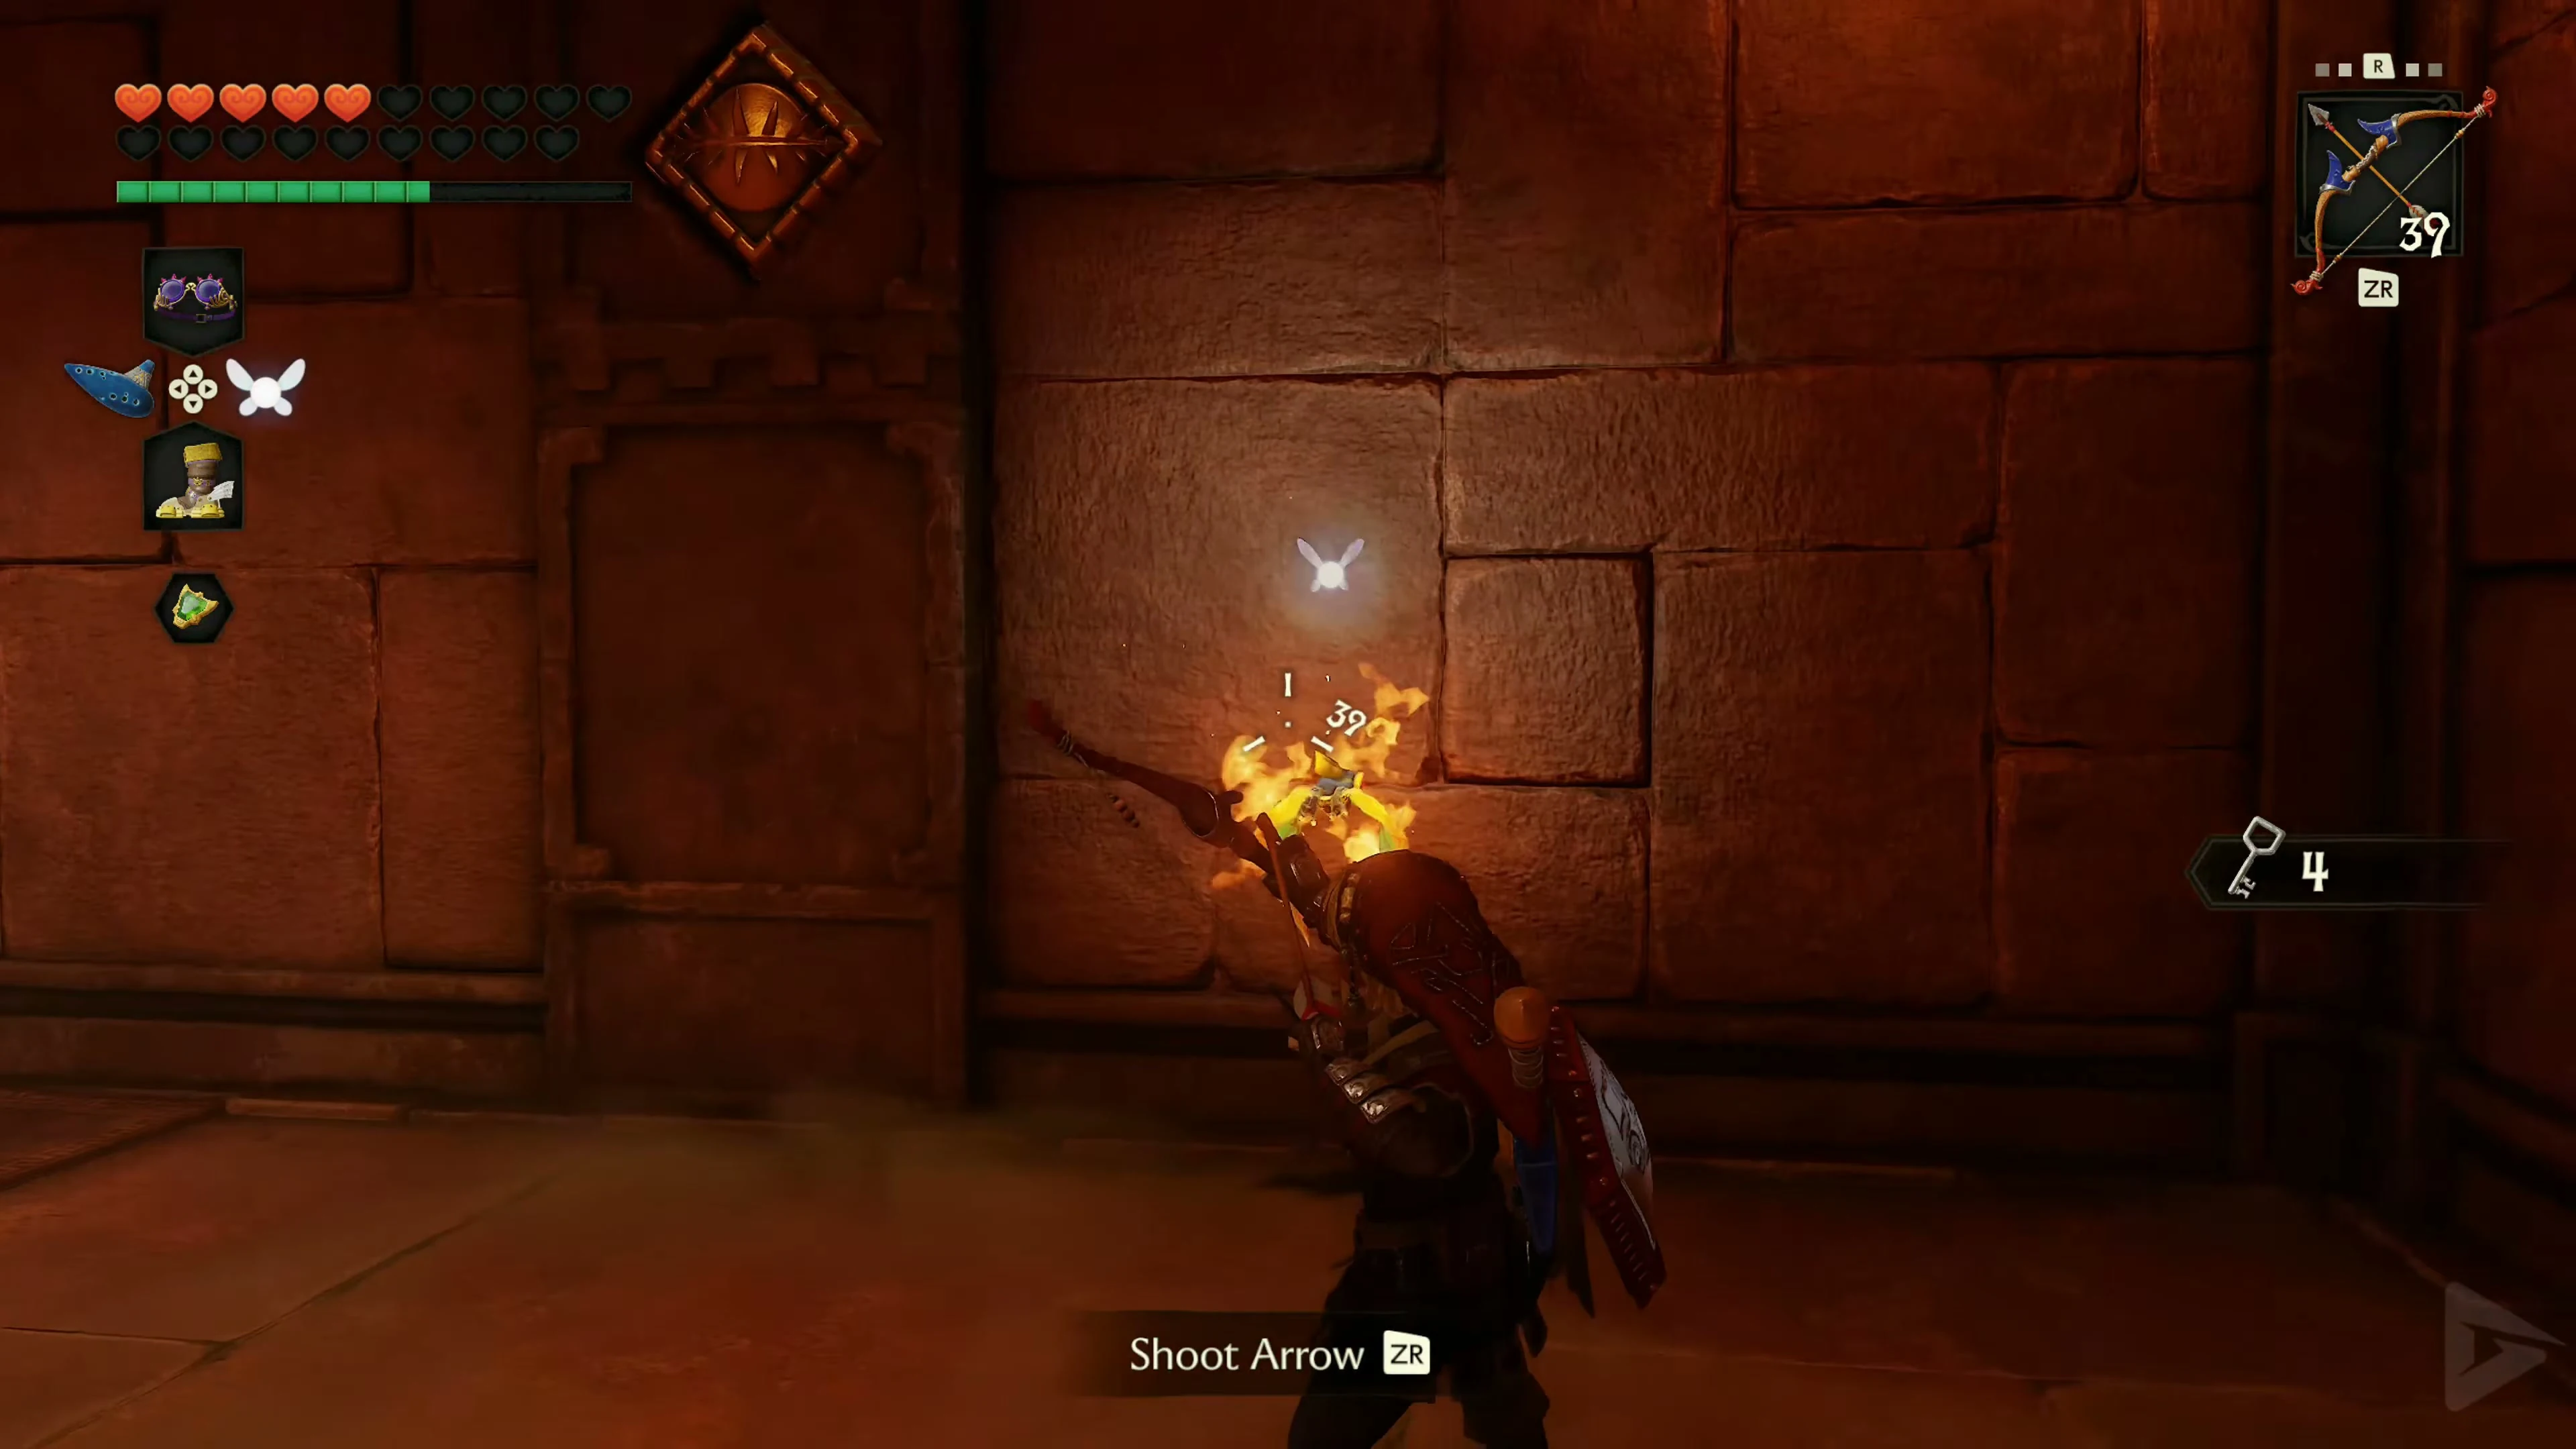
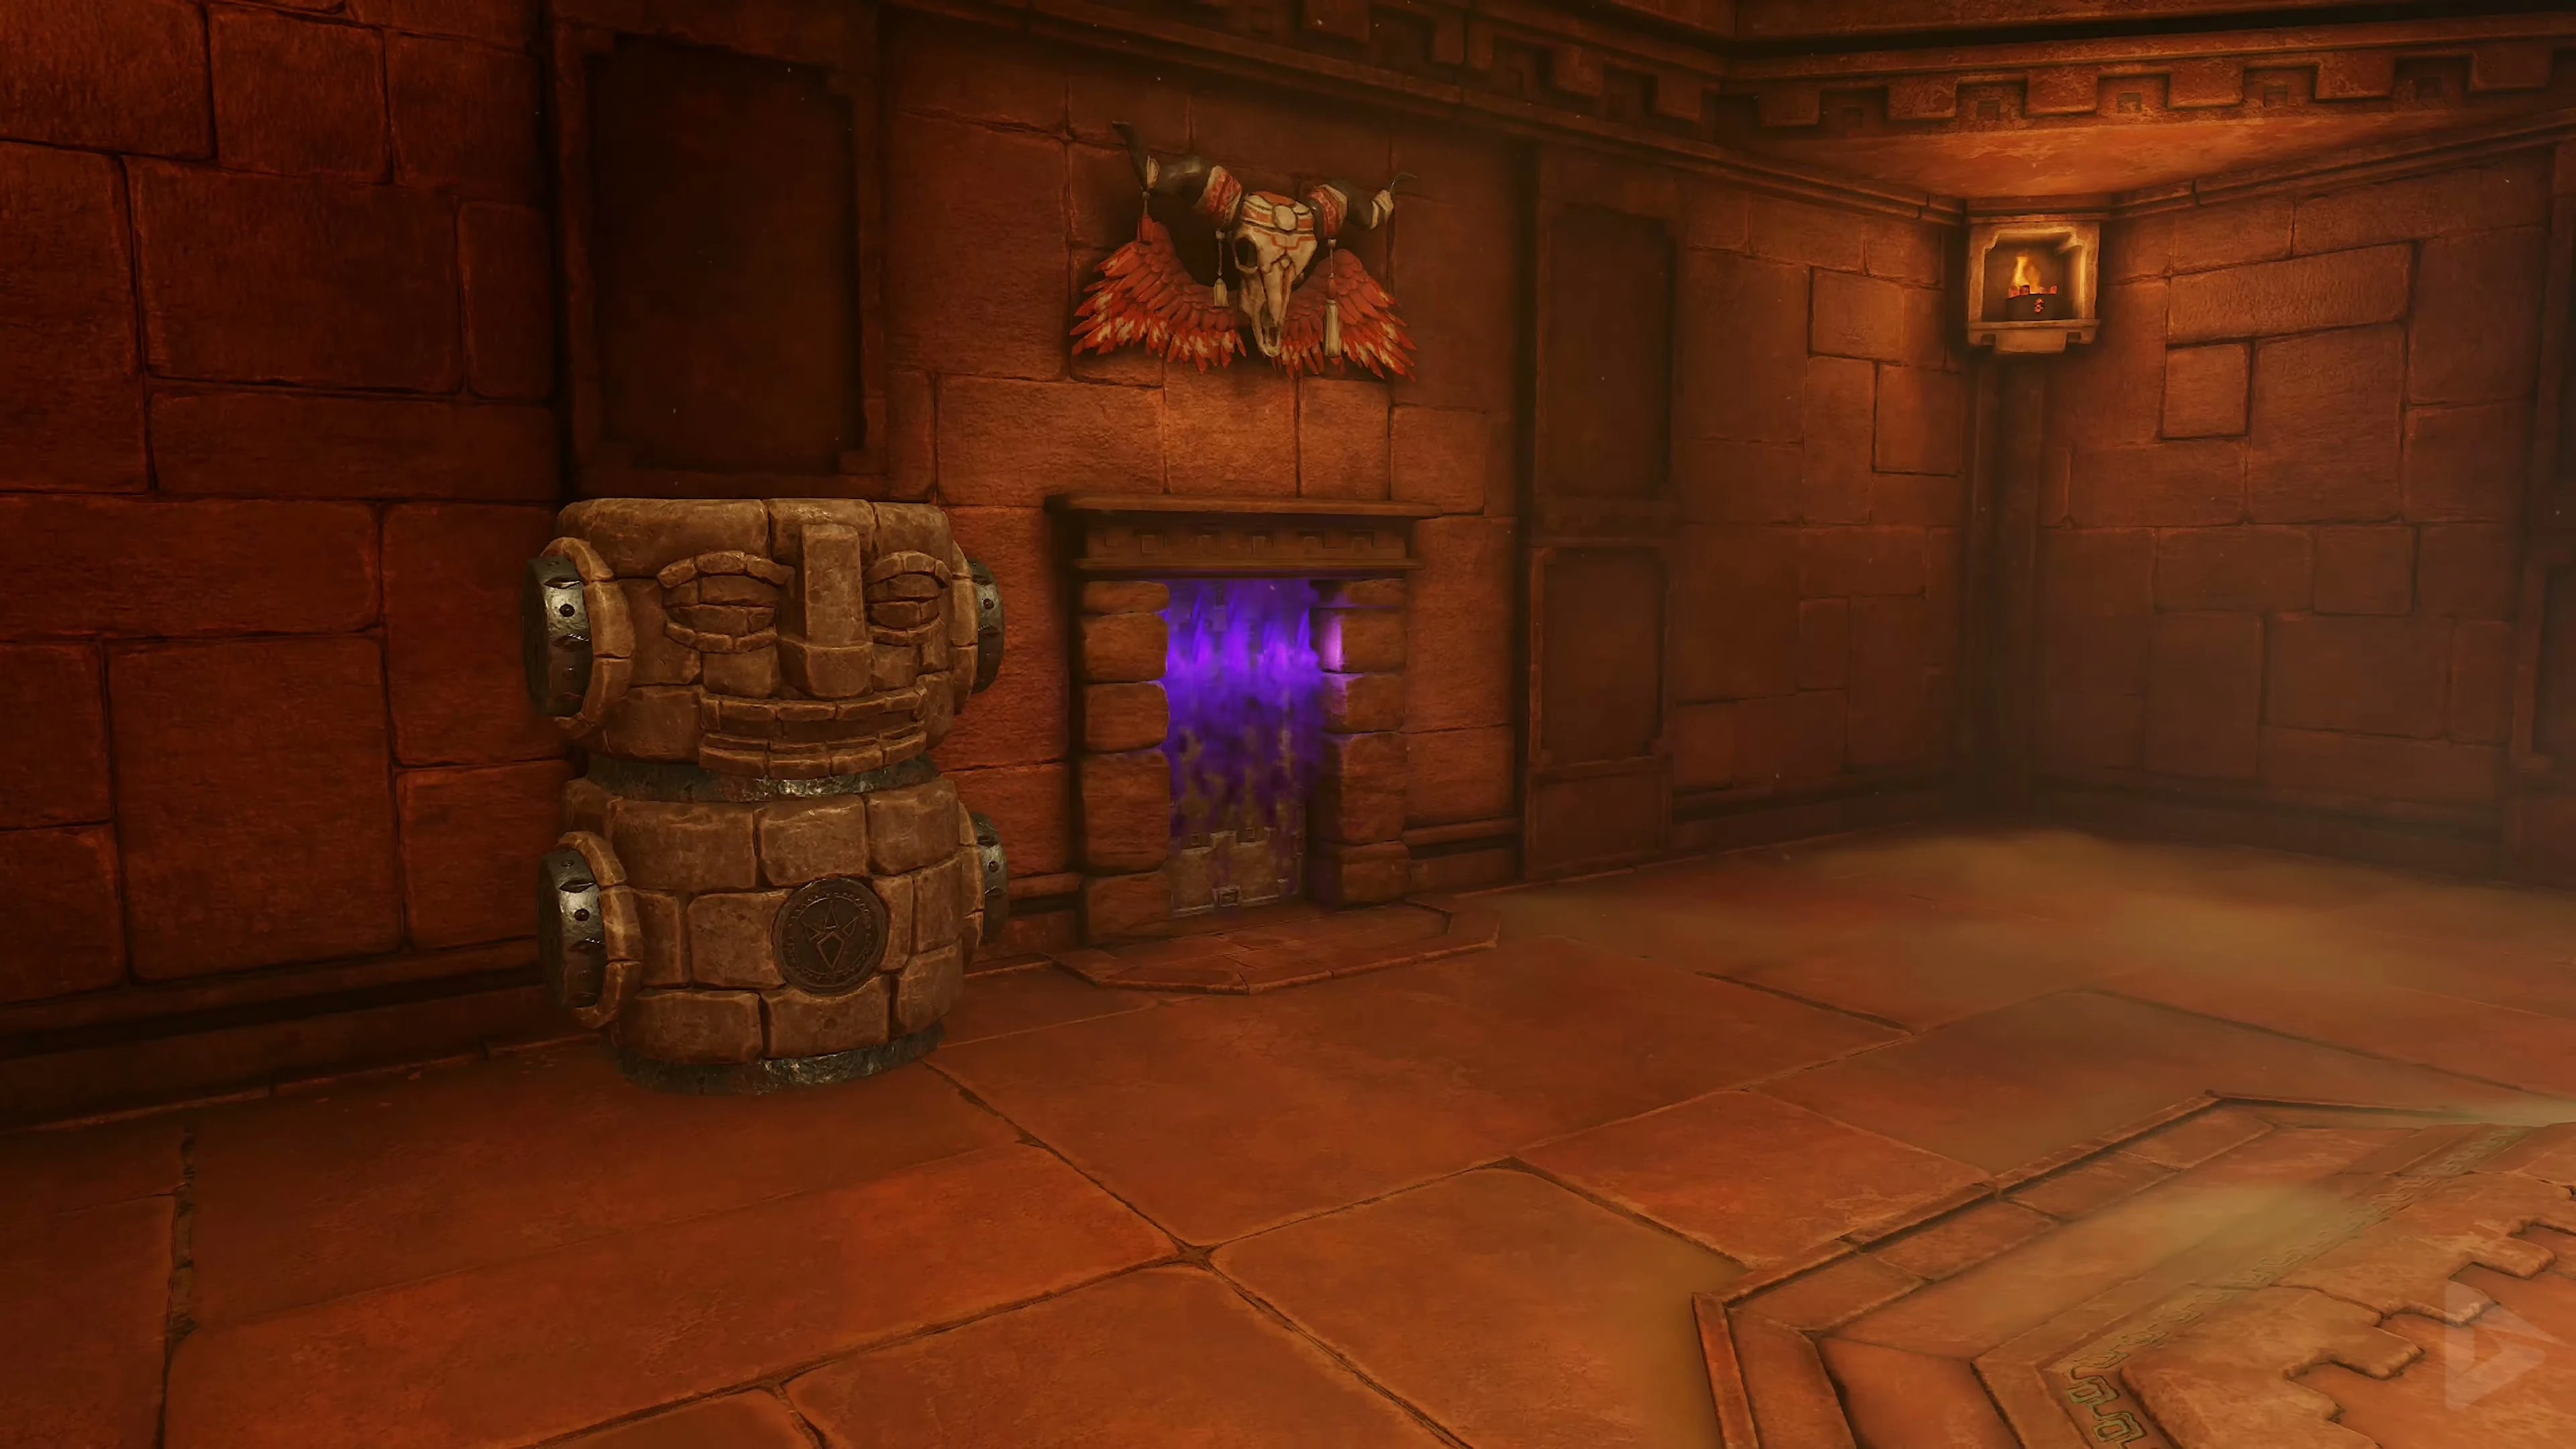
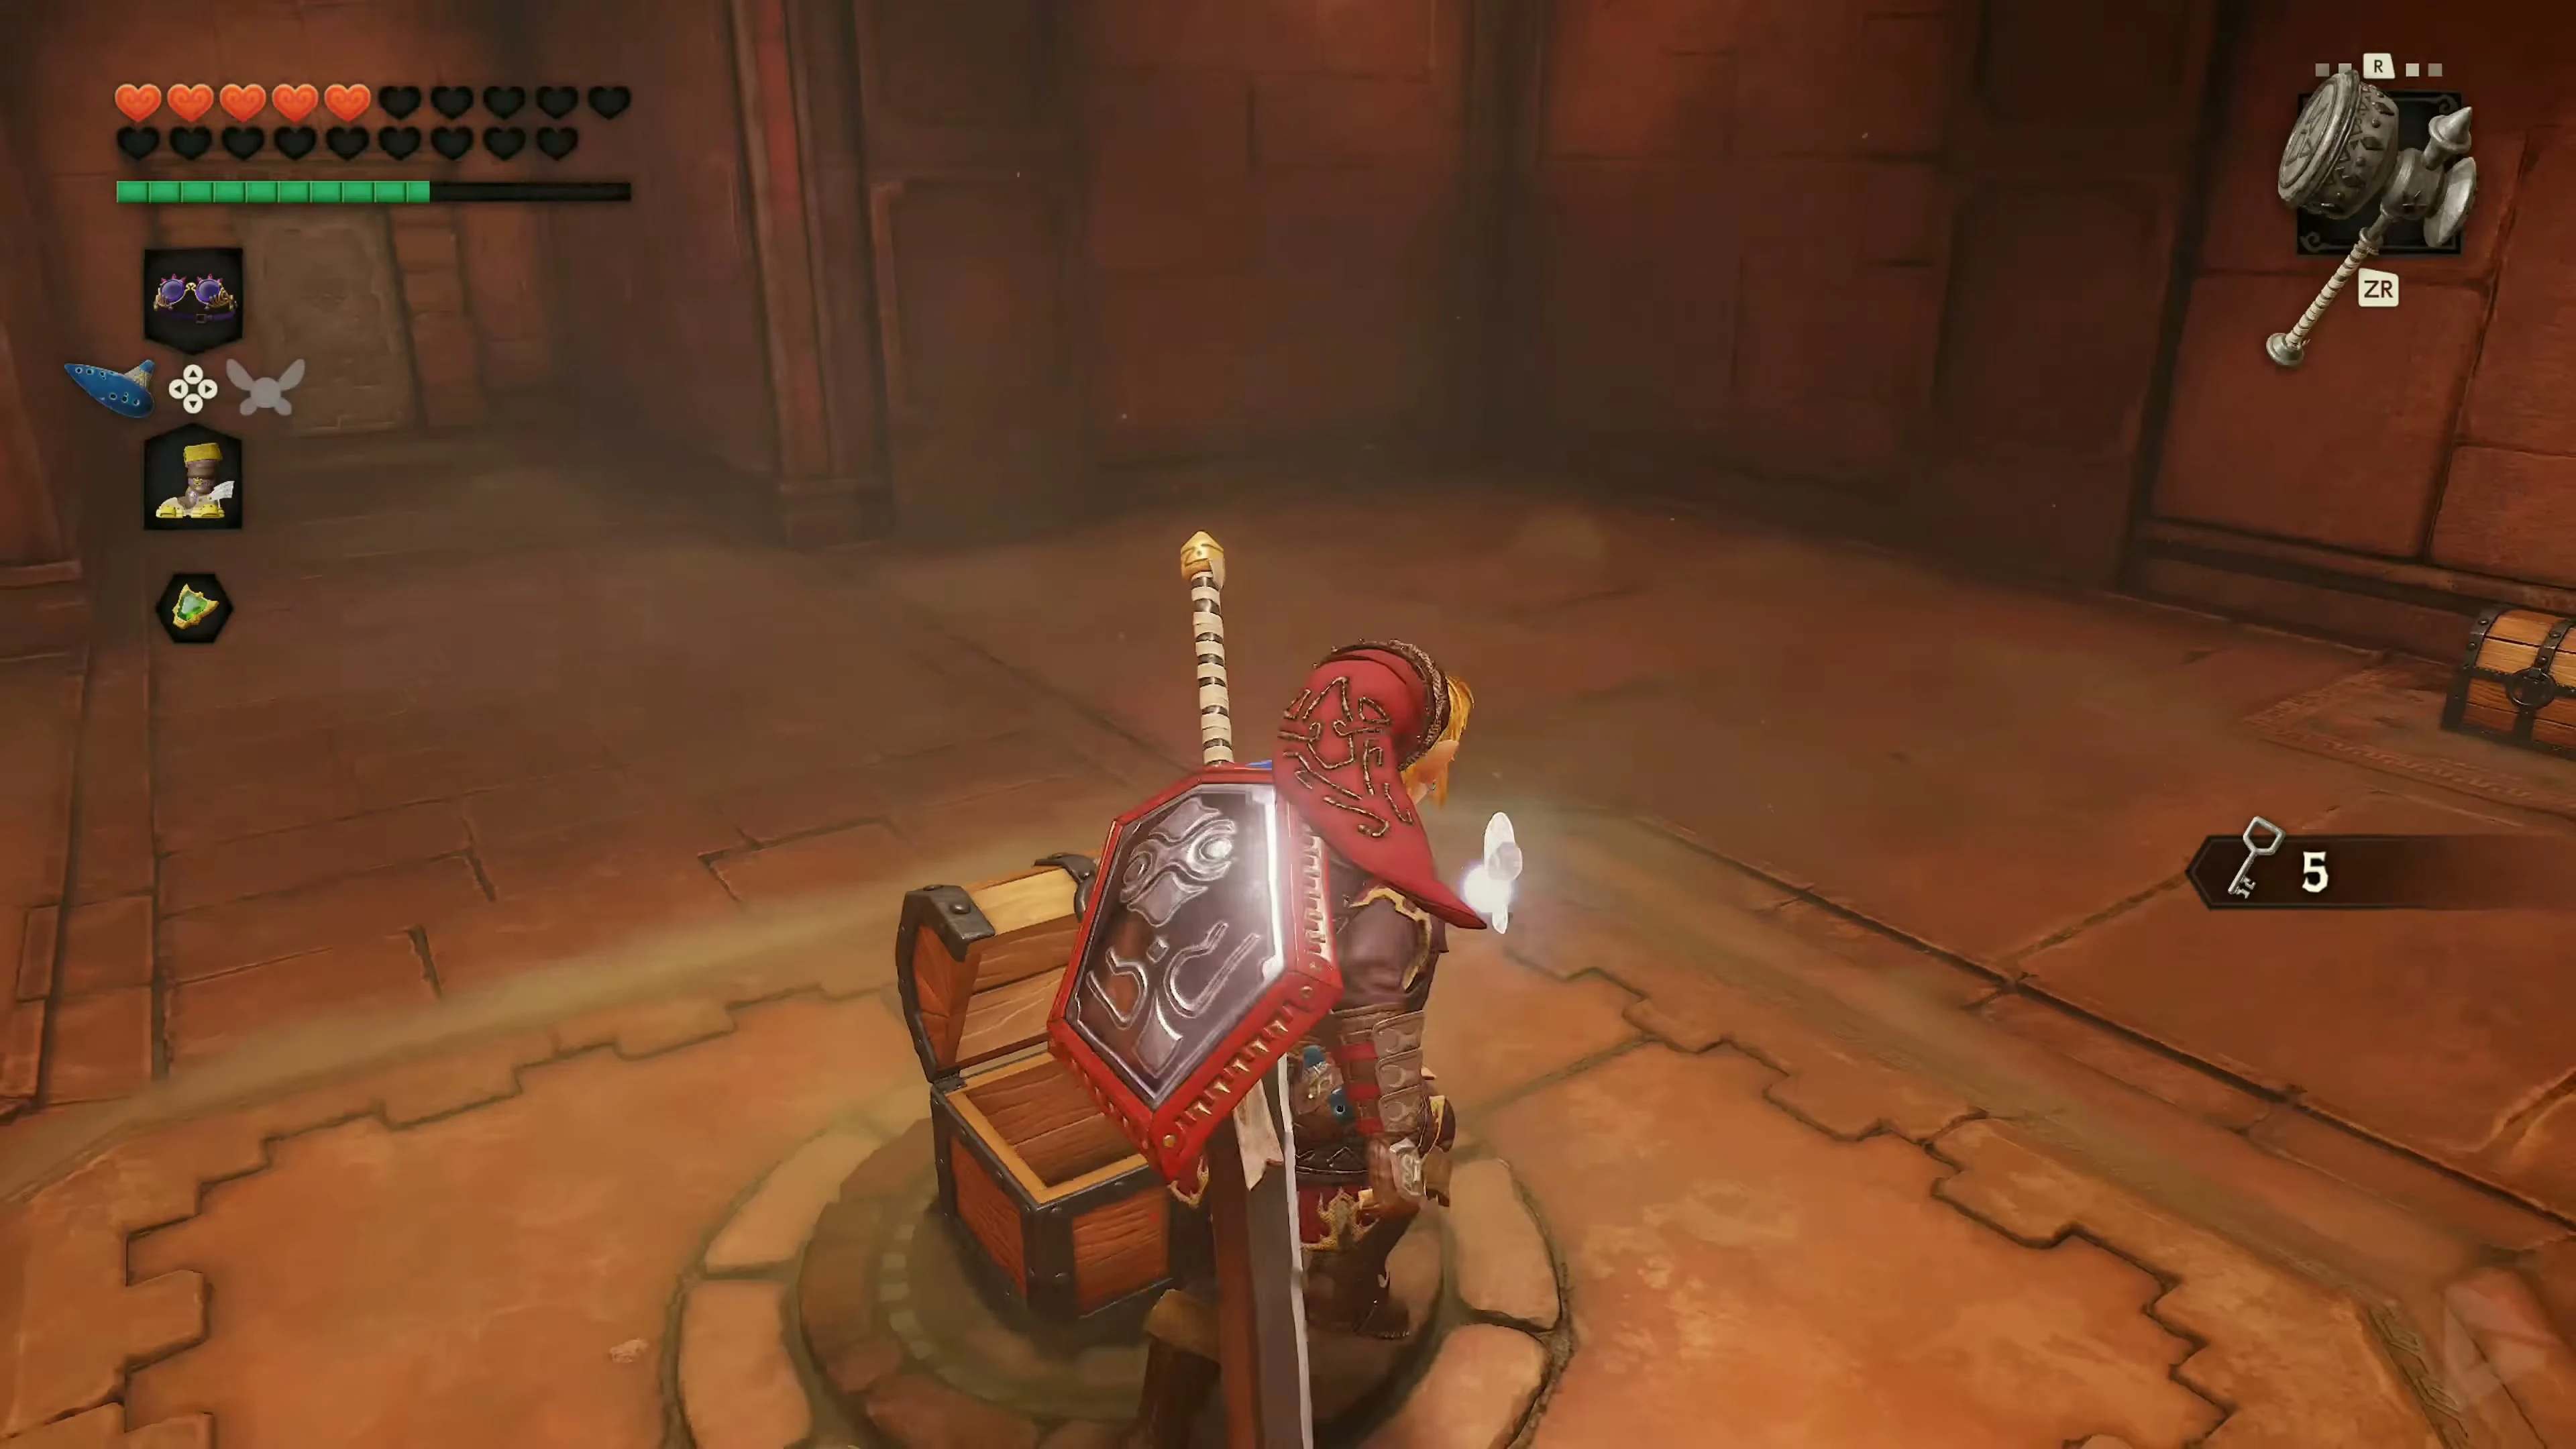
The Fire Lake and the Time Blocks
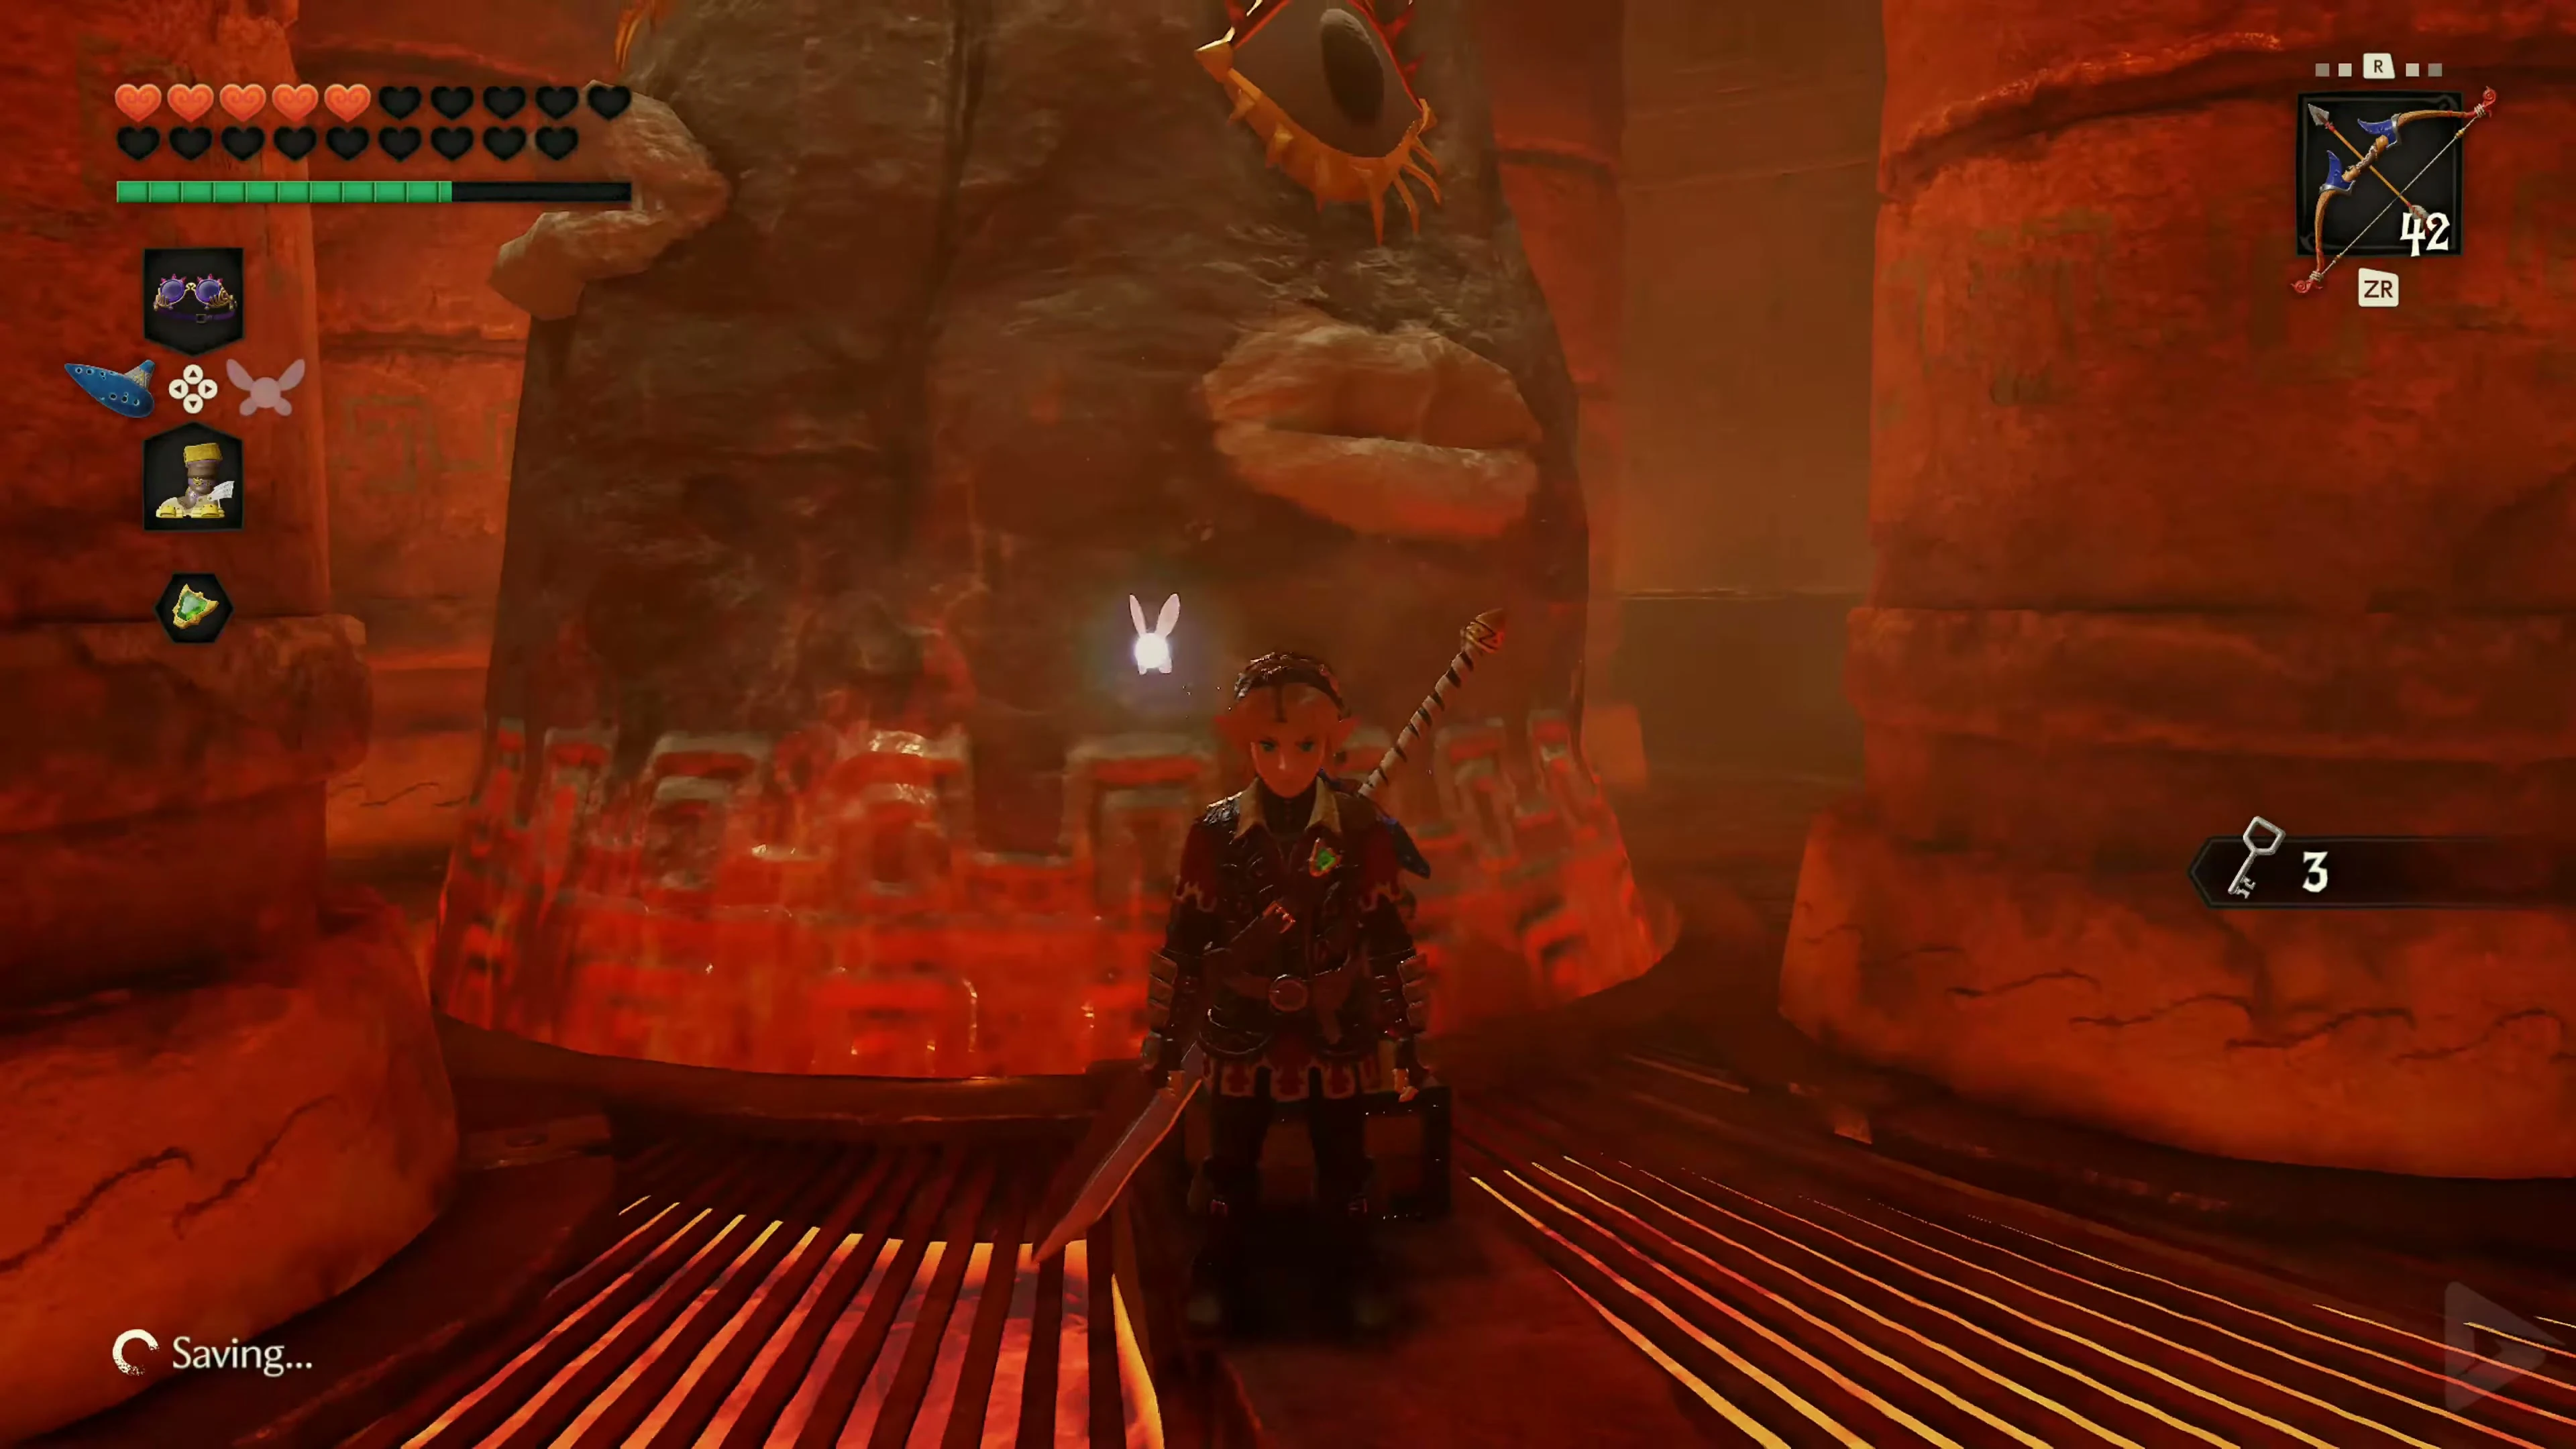
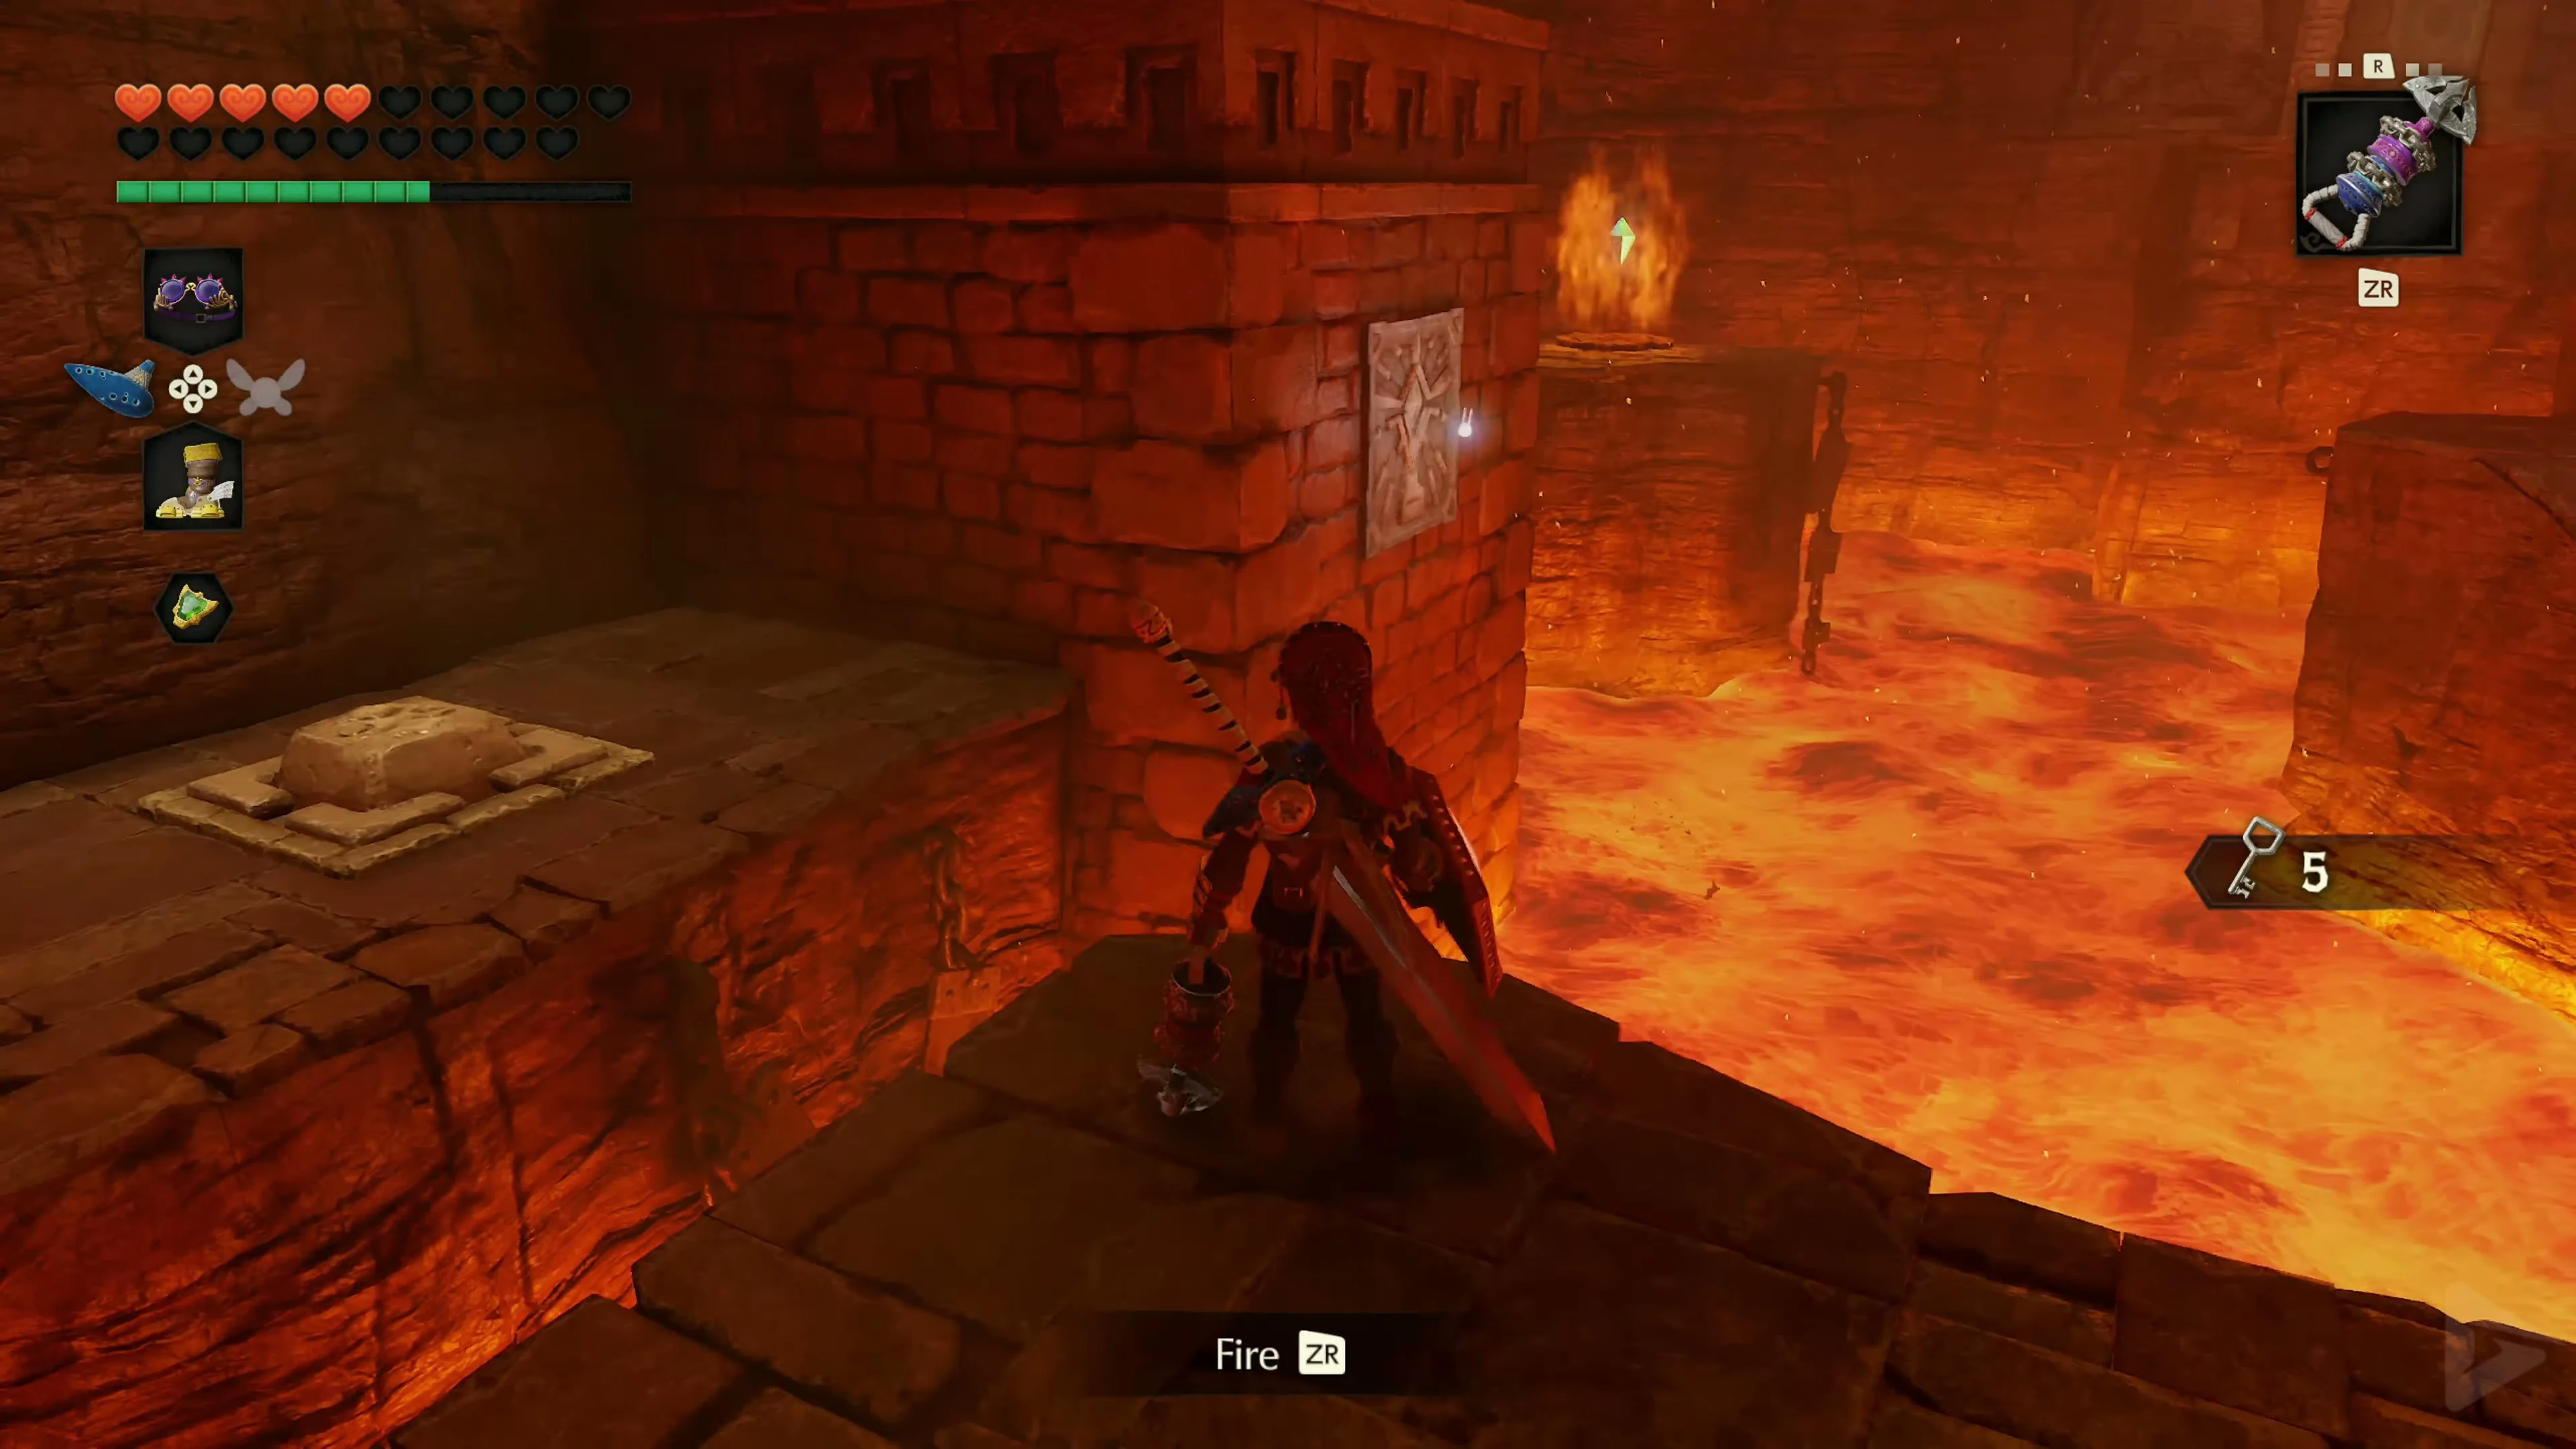
Collect the five crystals in the following lava room. Play the Song of Time on the middle pillar to make the Time Blocks appear. Using them, the hover boots, and the Hookshot targets, you can reach the floating crystals. For the crystal surrounded by fire, activate the switch and run across before the flames return. The crystals open the door to the water room. The next Small Key is in a separate room behind the door surrounded by time blocks. Retrieve it after the water room.
![Link aims at the switch above the lava platform..]](https://zeldacollection.de/wp-content/uploads/2026/11/ocarina-of-time-gerudo-trainingsarena-switch-2-4k-61698.webp)
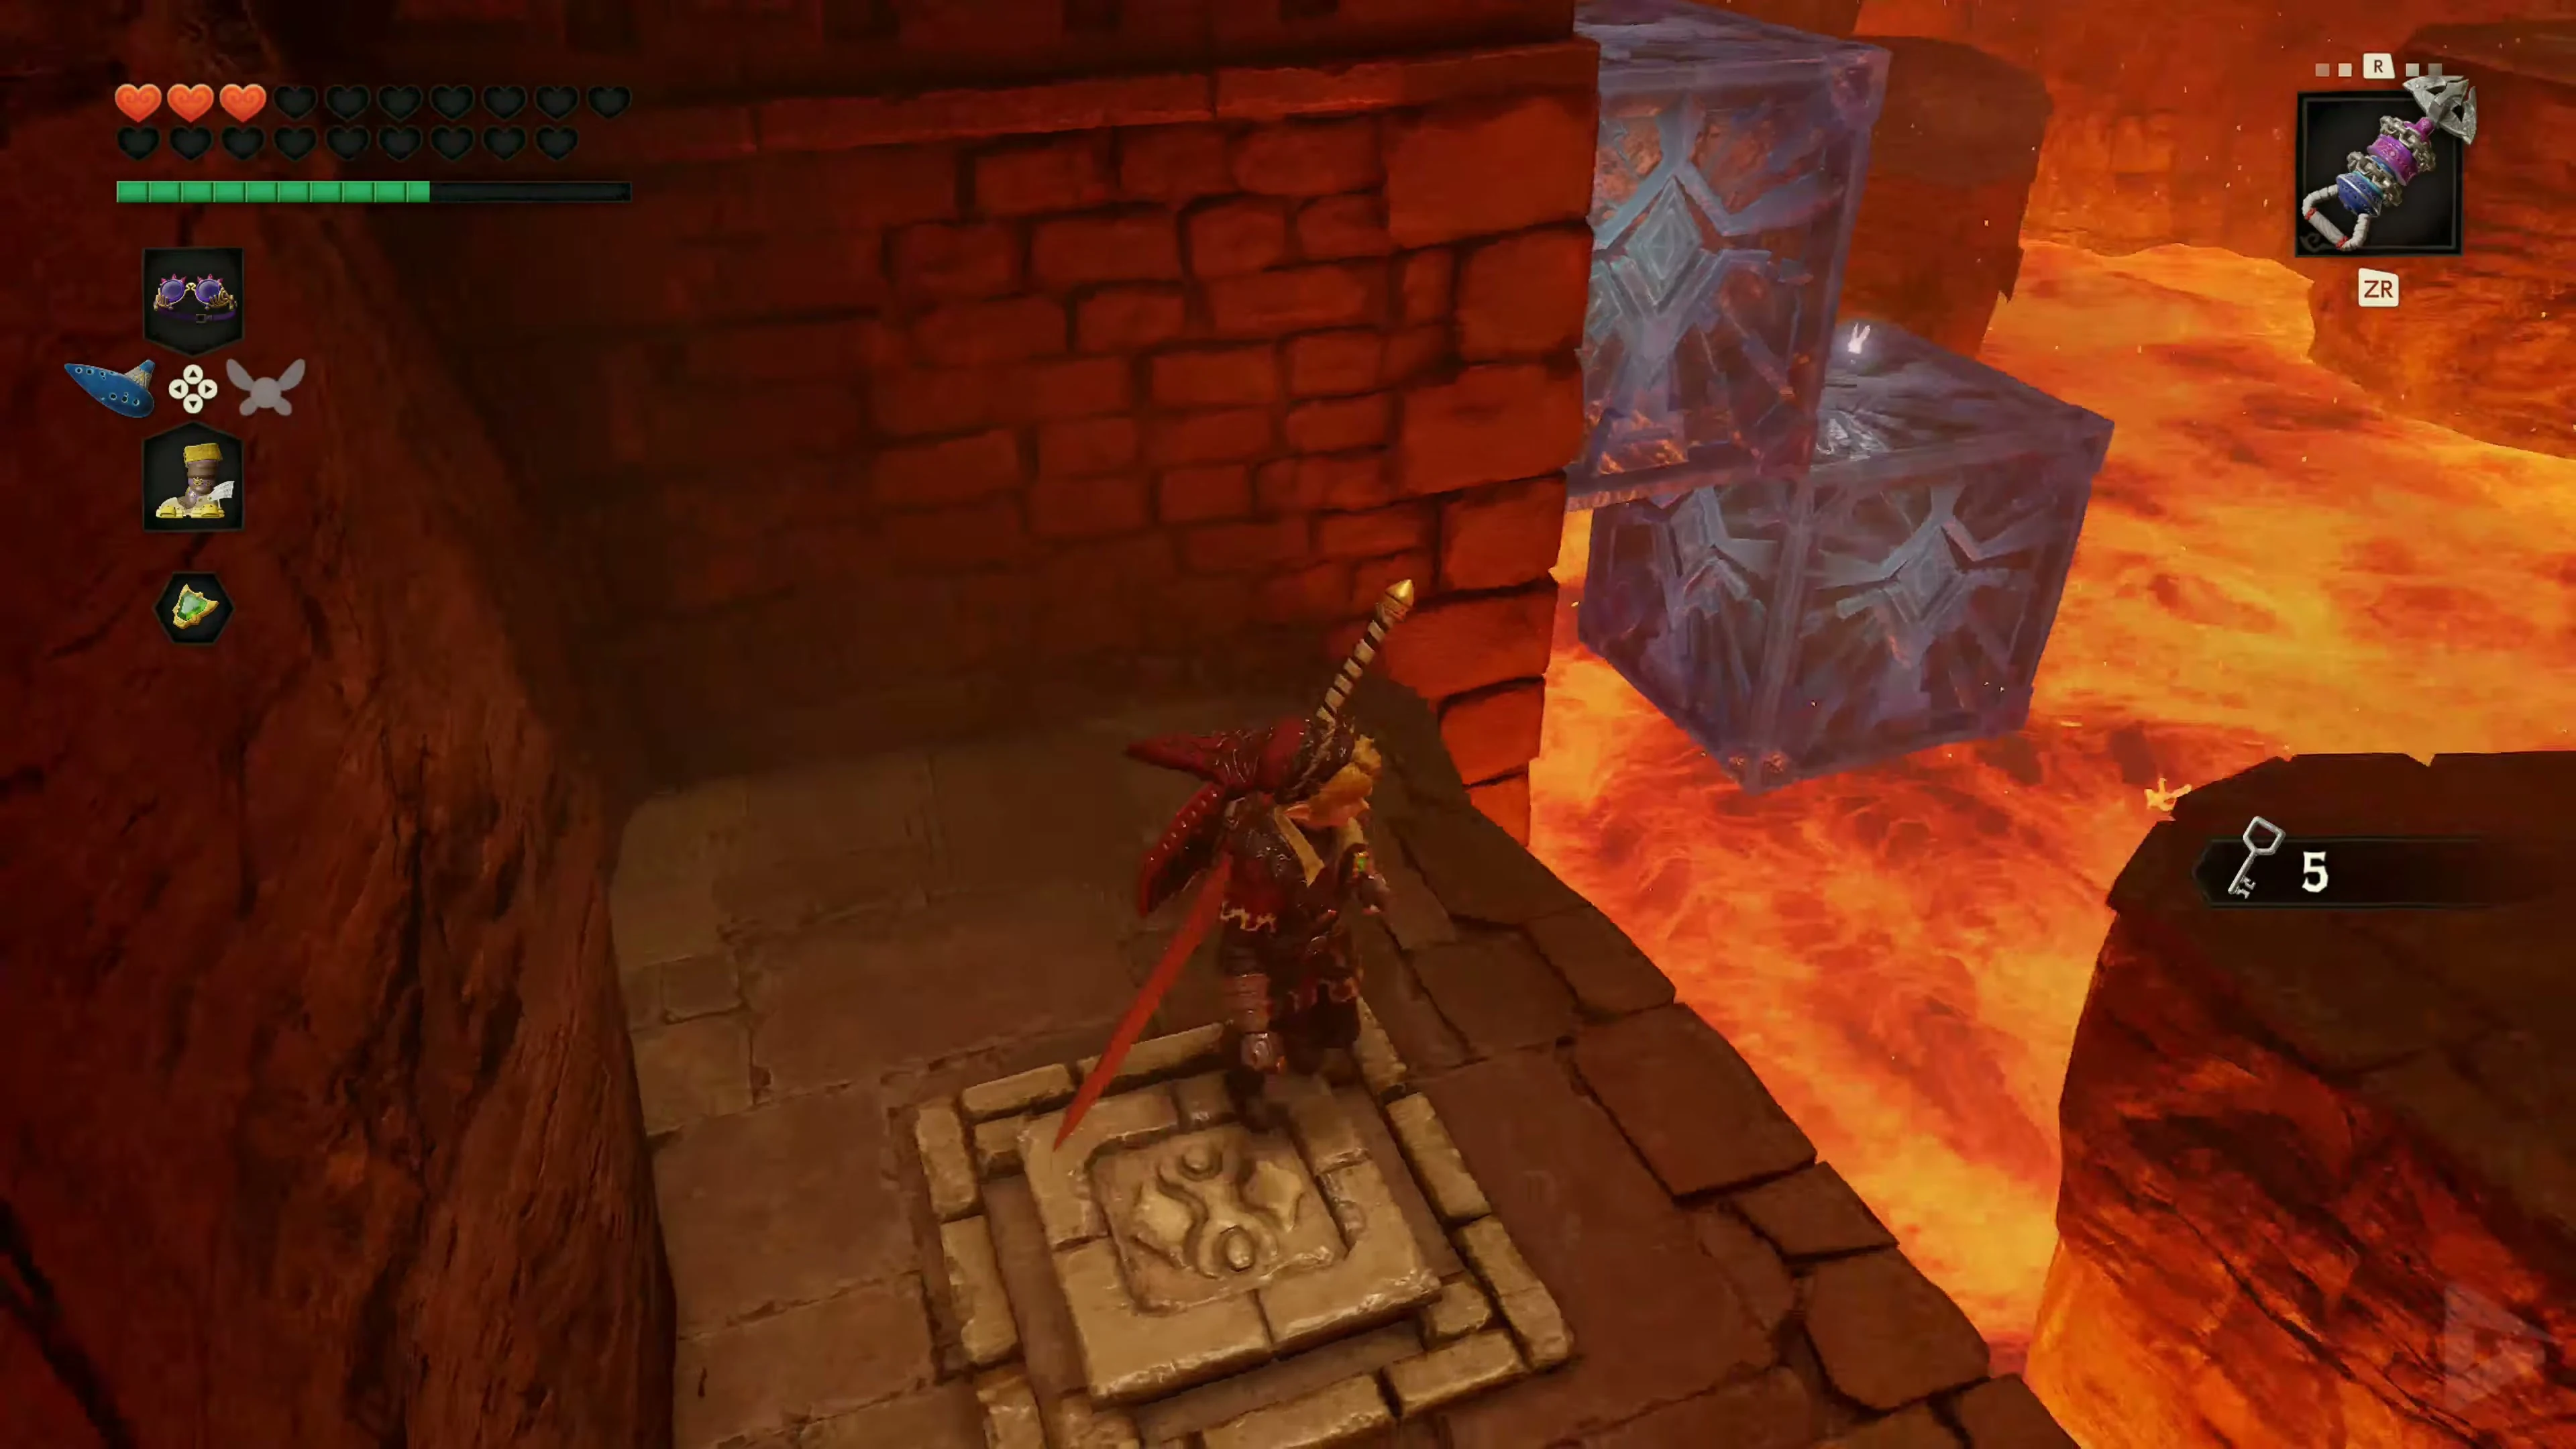
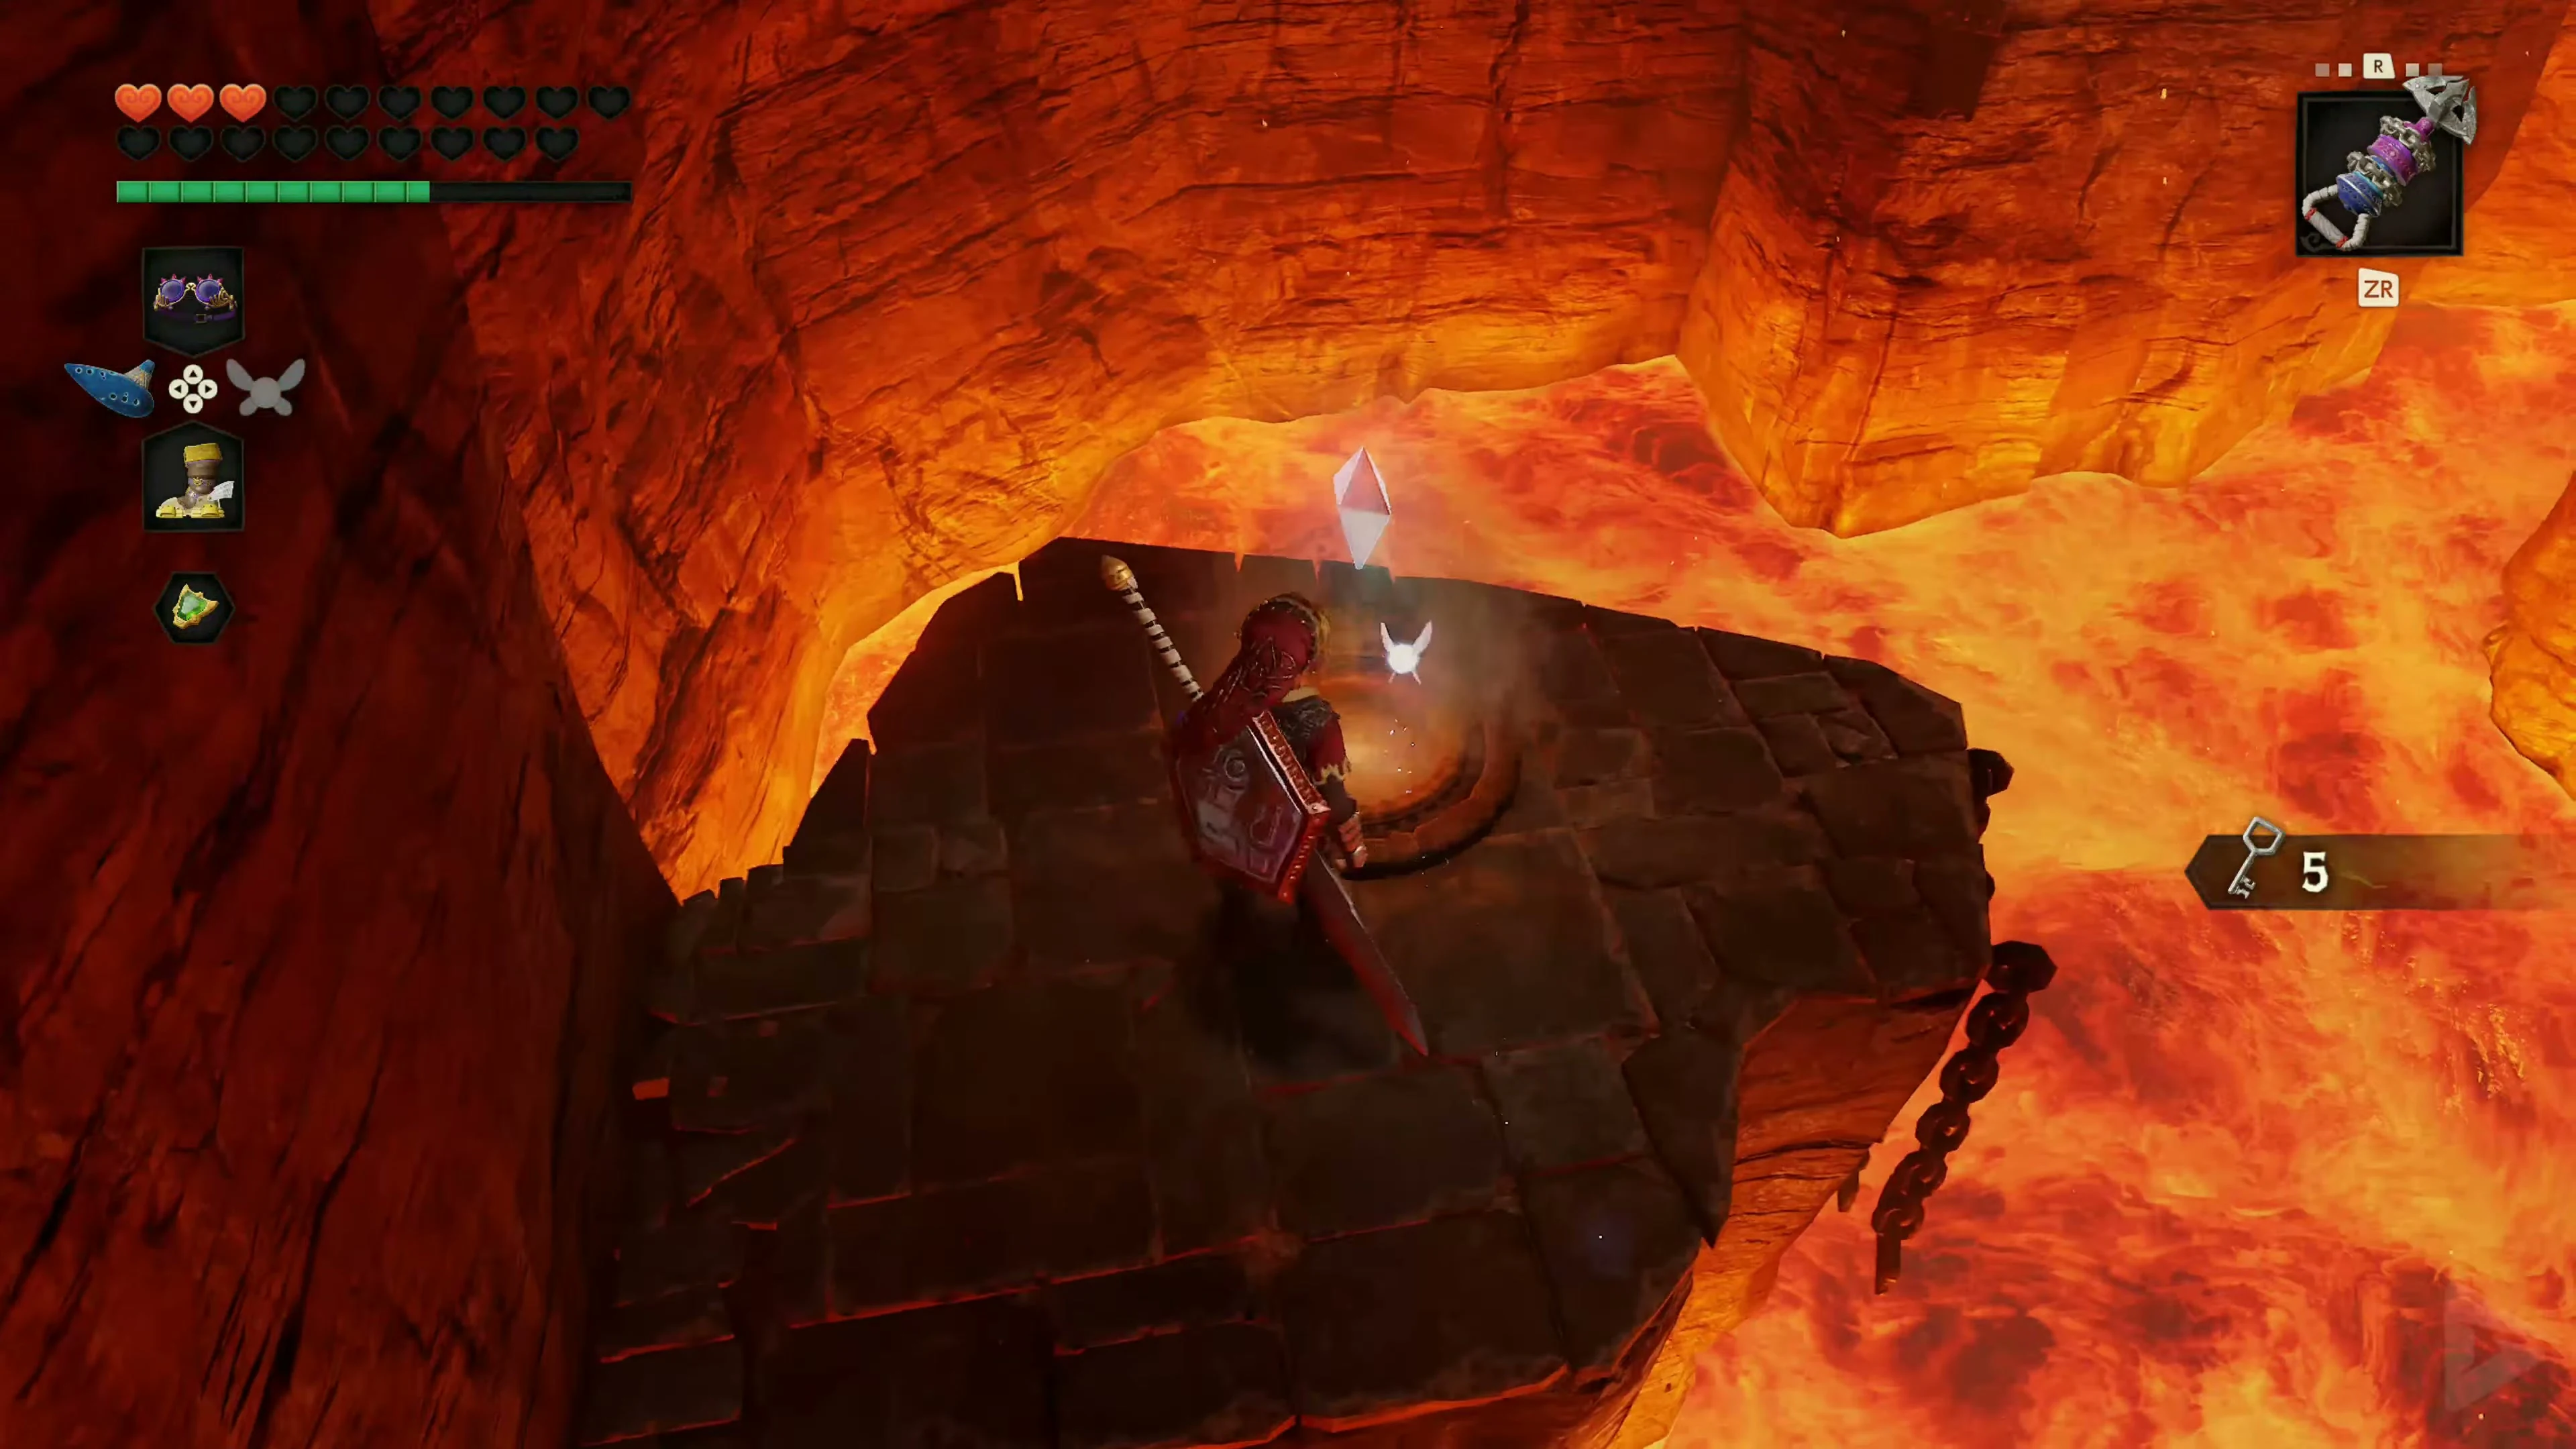
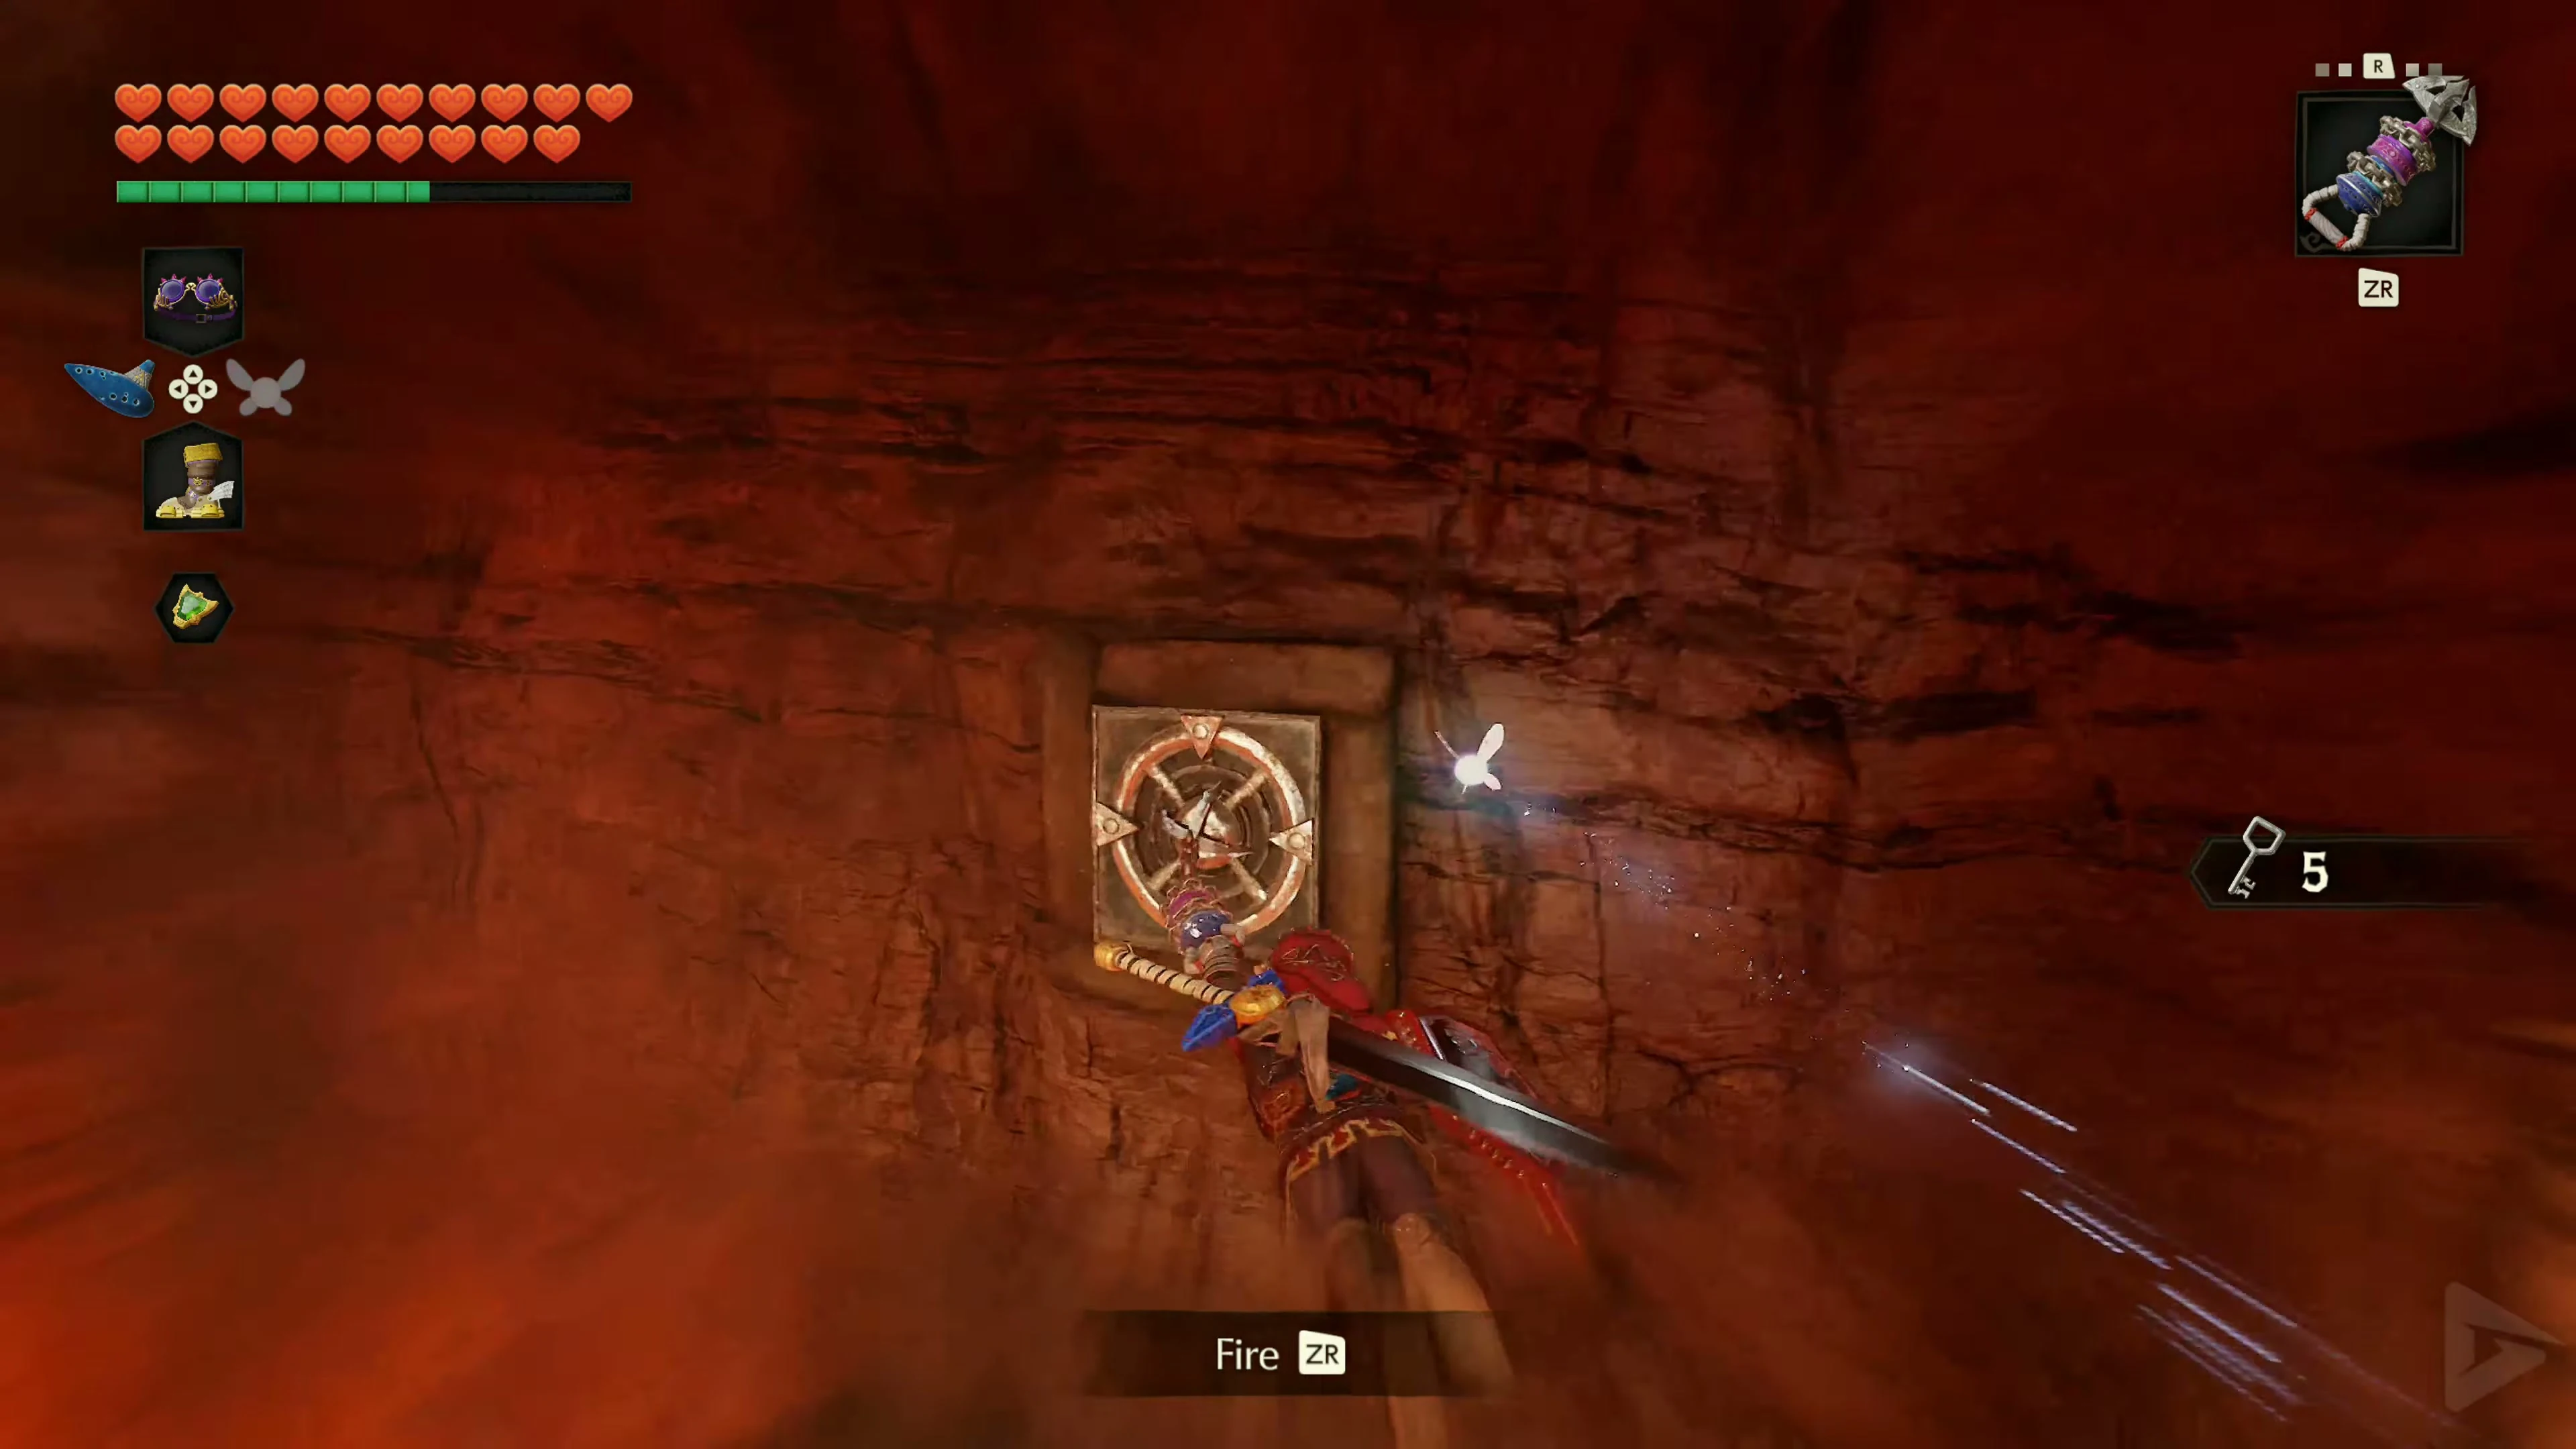
Fifth and sixth Small Keys – Water Room and Side Chamber
Play the Song of Time behind the opened door to reveal access to the pool. Equip the Zora Tunic and Iron Boots. Defeat the shells and collect the five crystals in the water; use the Longshot and briefly remove the boots for higher crystals. Take Small Key 5 from the chest that appears and return to the Fire Lake.
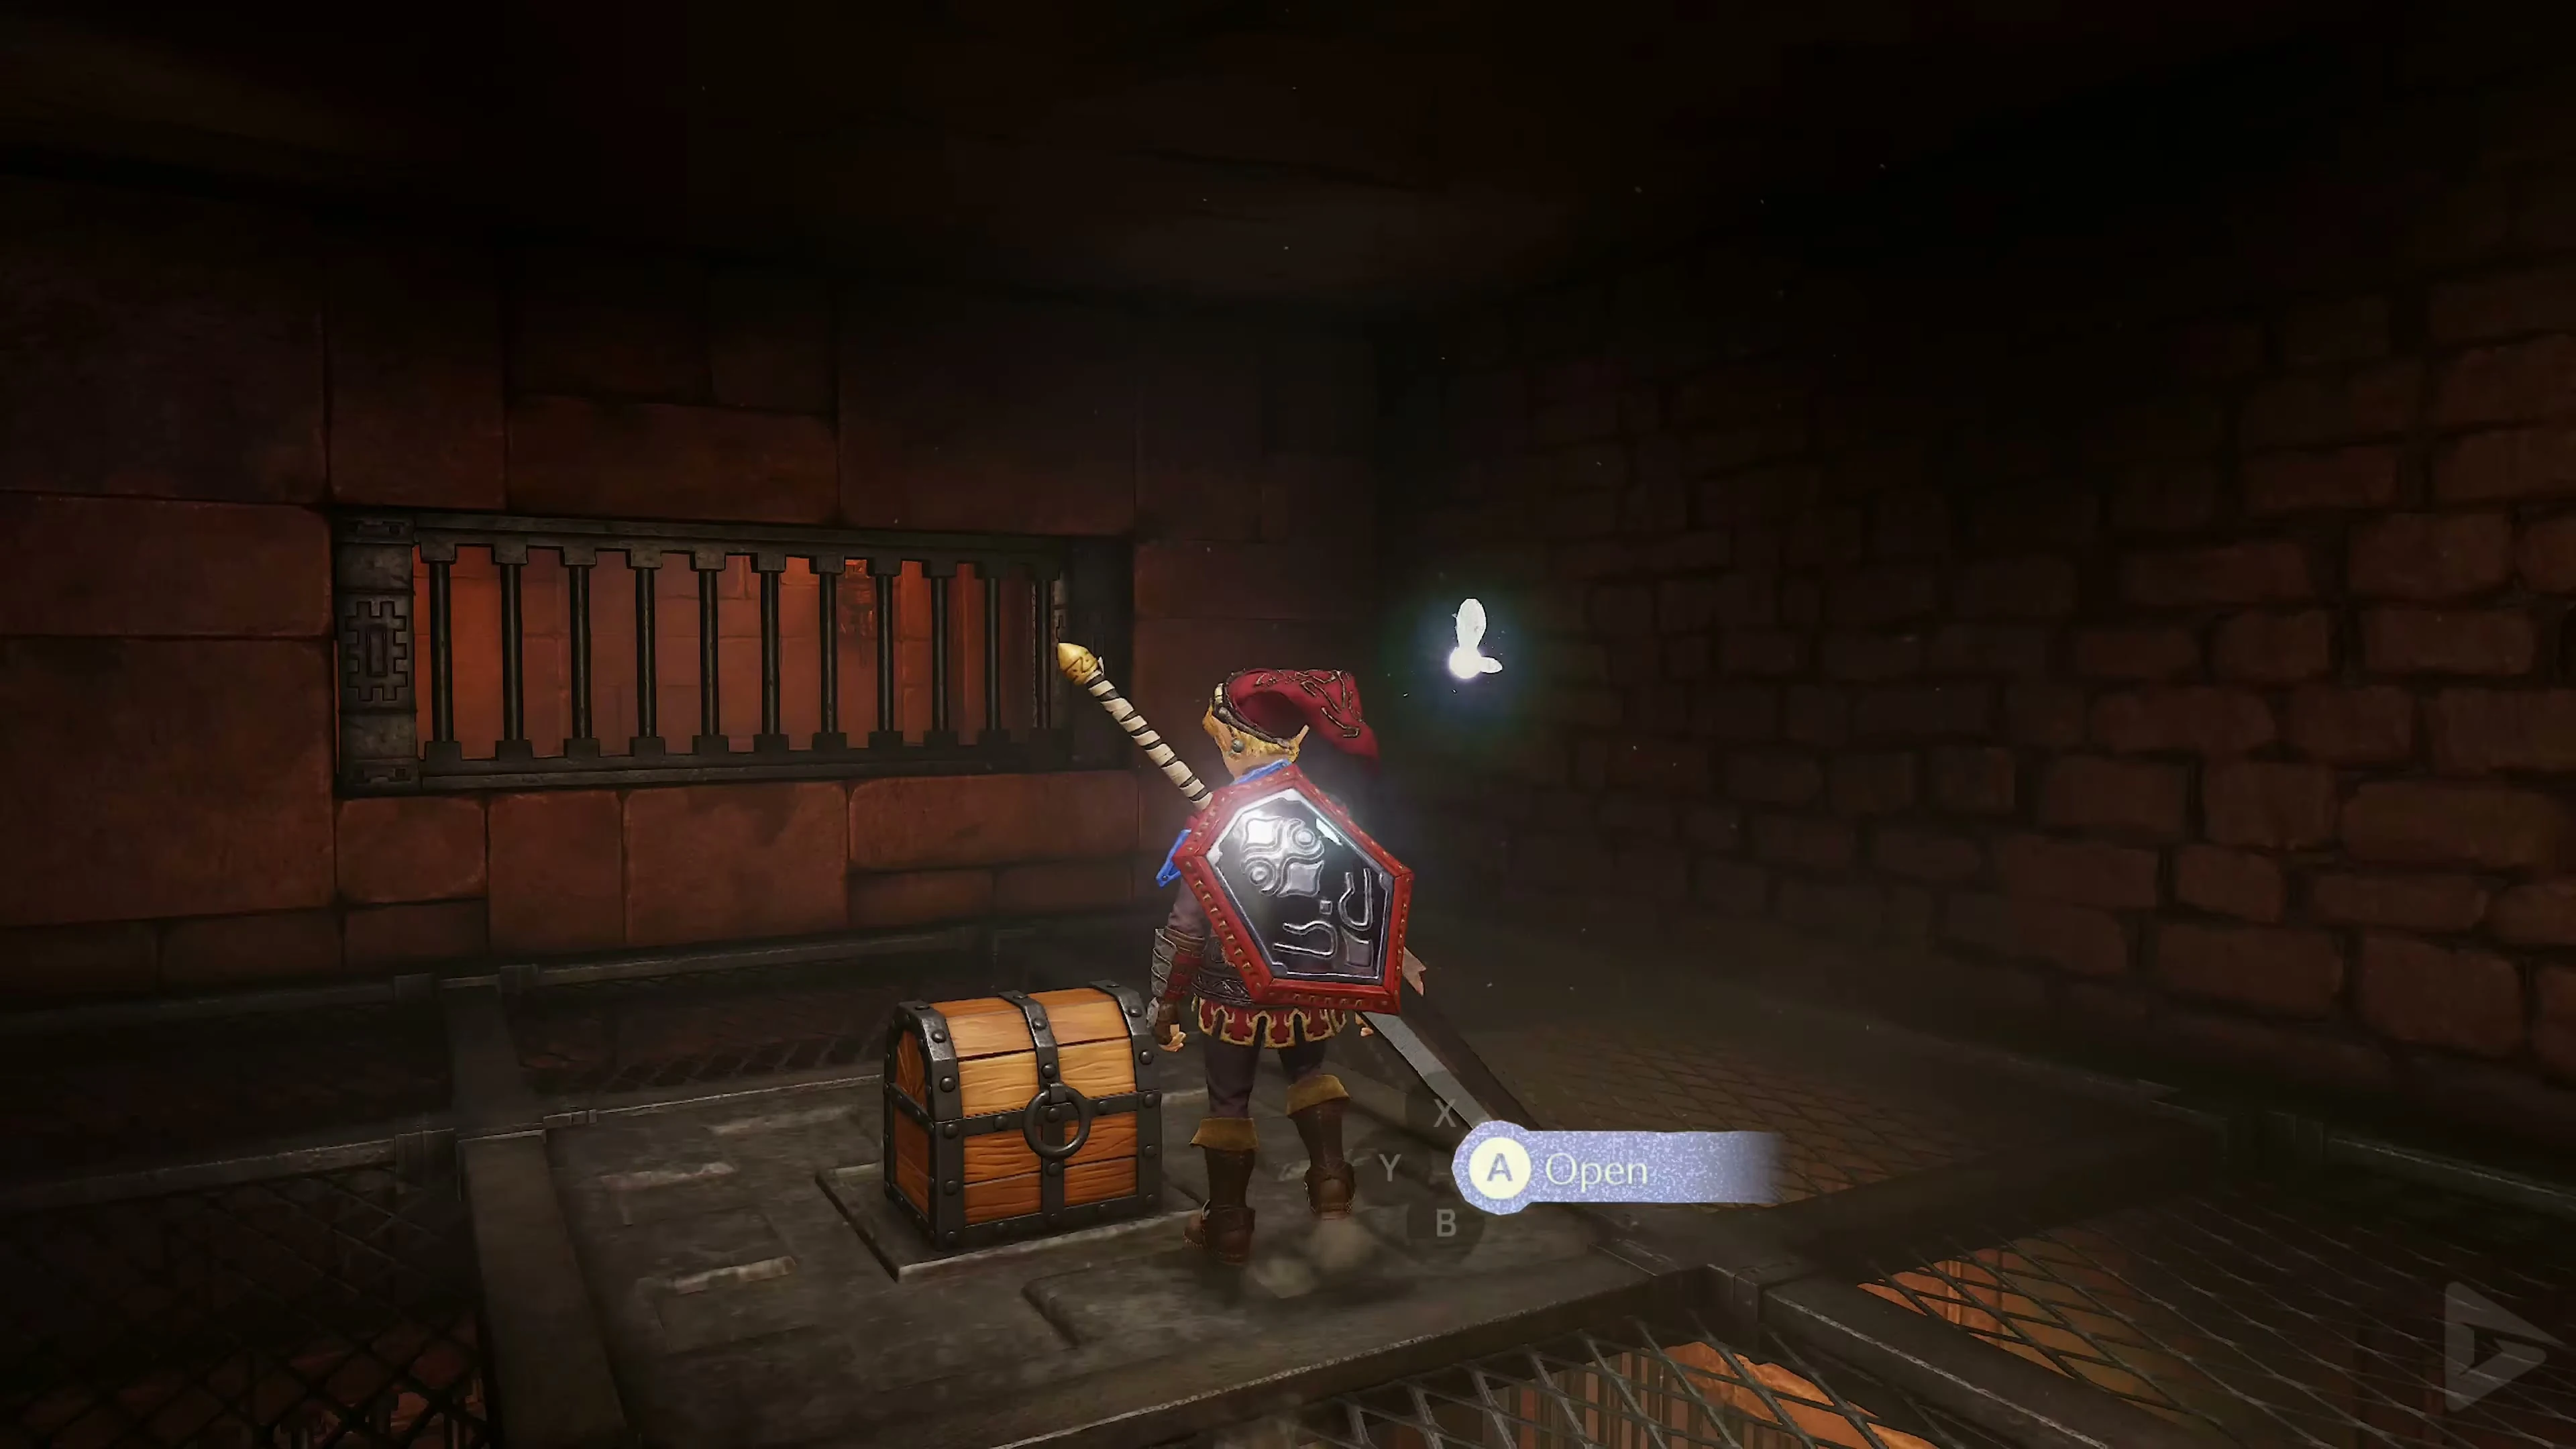
After the water room, return to the Fire Lake and take the door on the ledge between the time blocks . In the side chamber, open the chests containing Small Key 6 , arrows, and 5 Bombchus . Return to the Fire Lake.
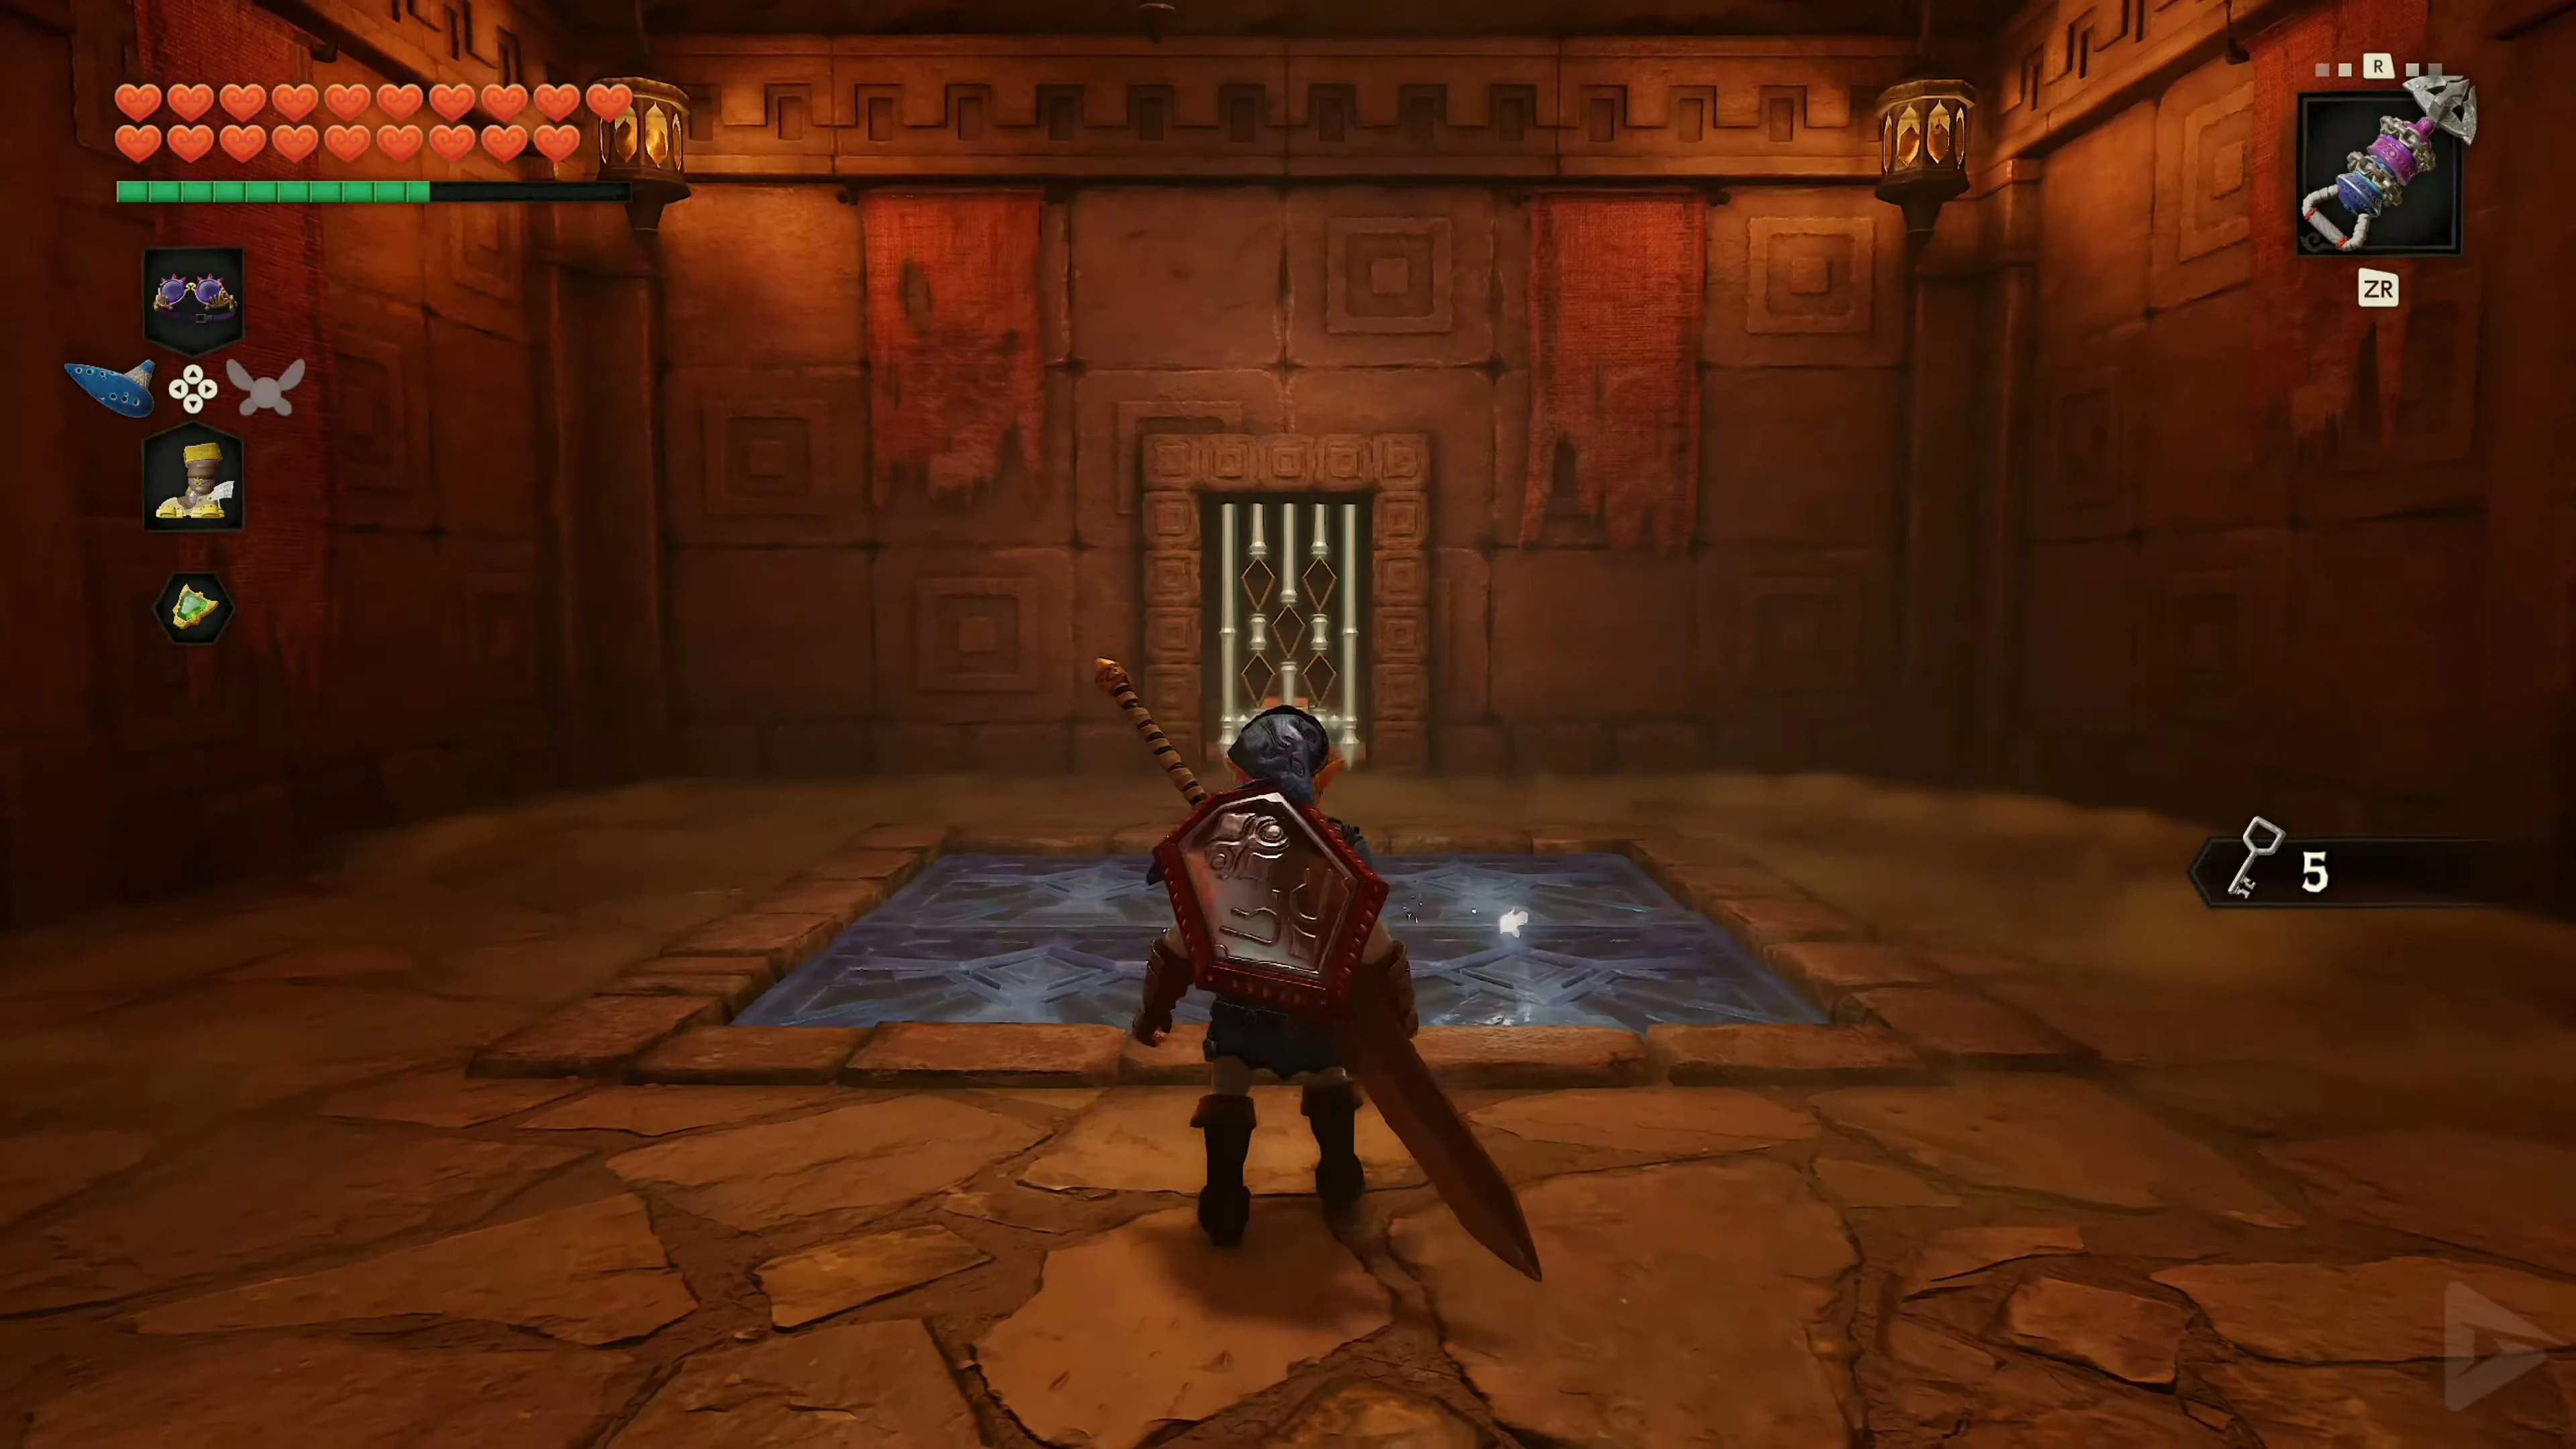
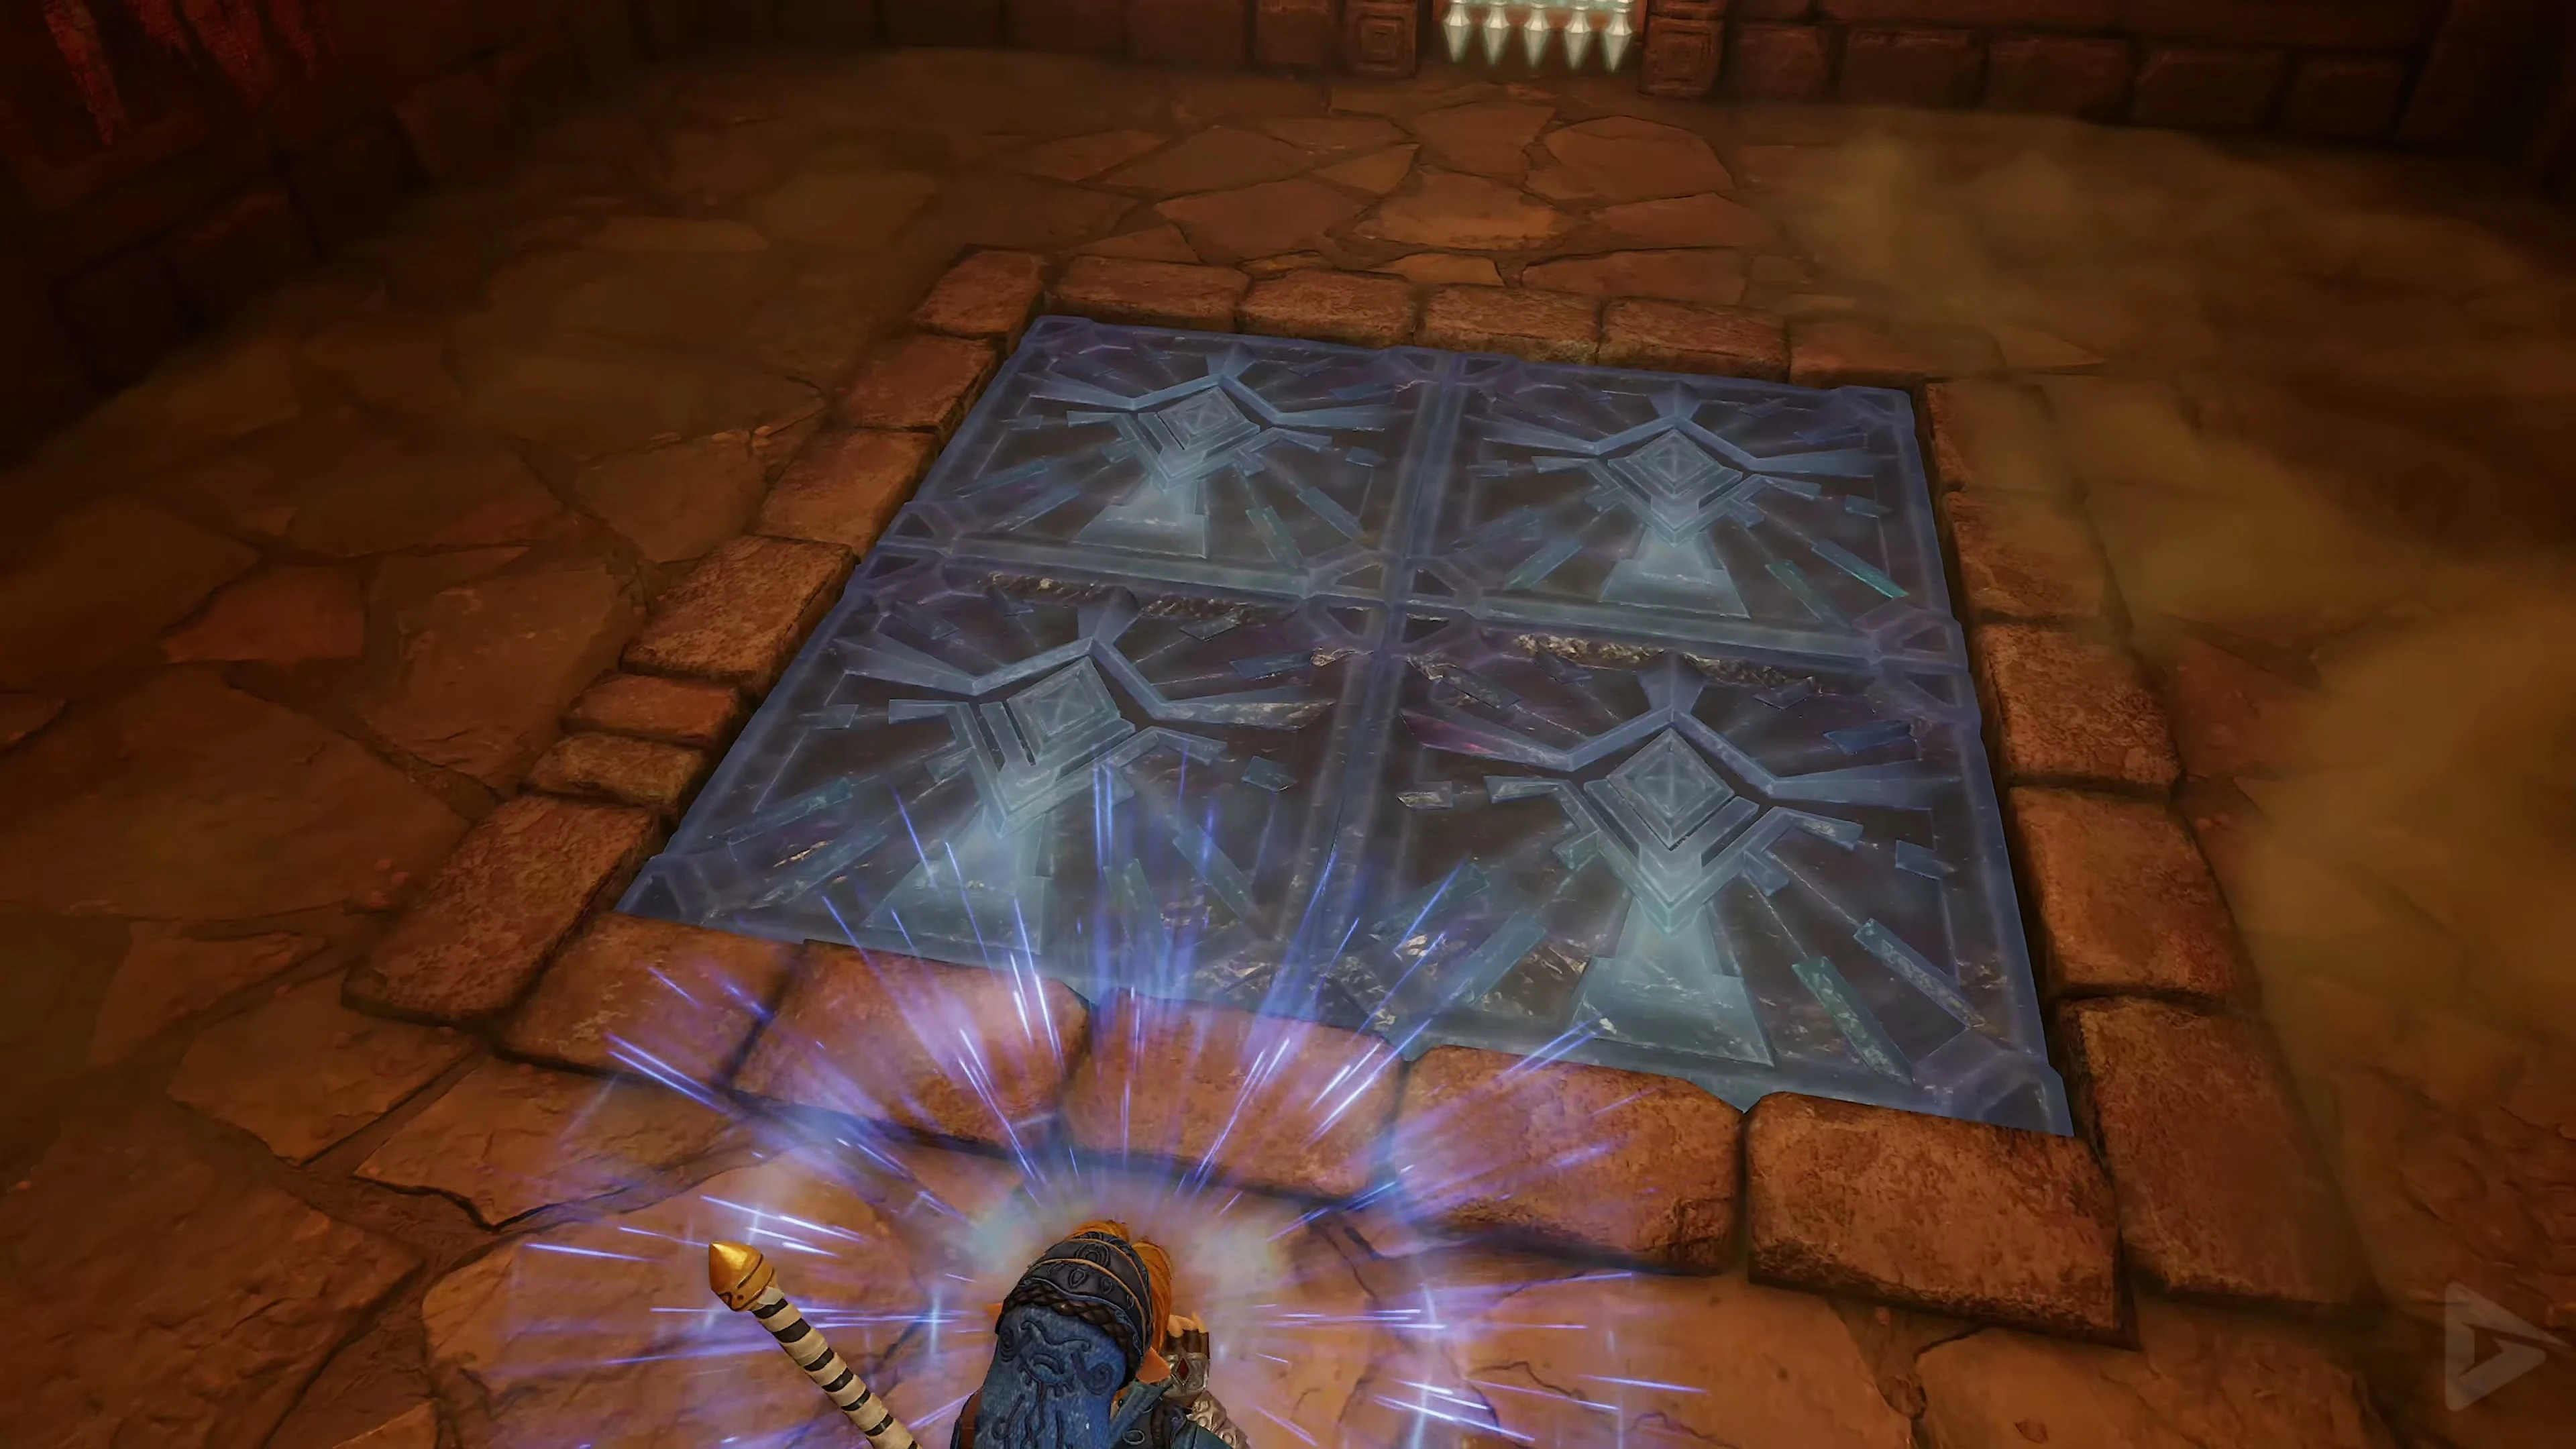
Seventh Small Key – Dinolfos and Beamos
From the Fire Lake, take the remaining exit on the right. Defeat the two Dinolfos and the Beamos within the displayed time limit. Use Bomb or Megaton Hammer on the Cyclops first so its beam doesn’t interfere with melee combat. Get the seventh Small Key and continue. You’ll return to the right side of the entrance hall.
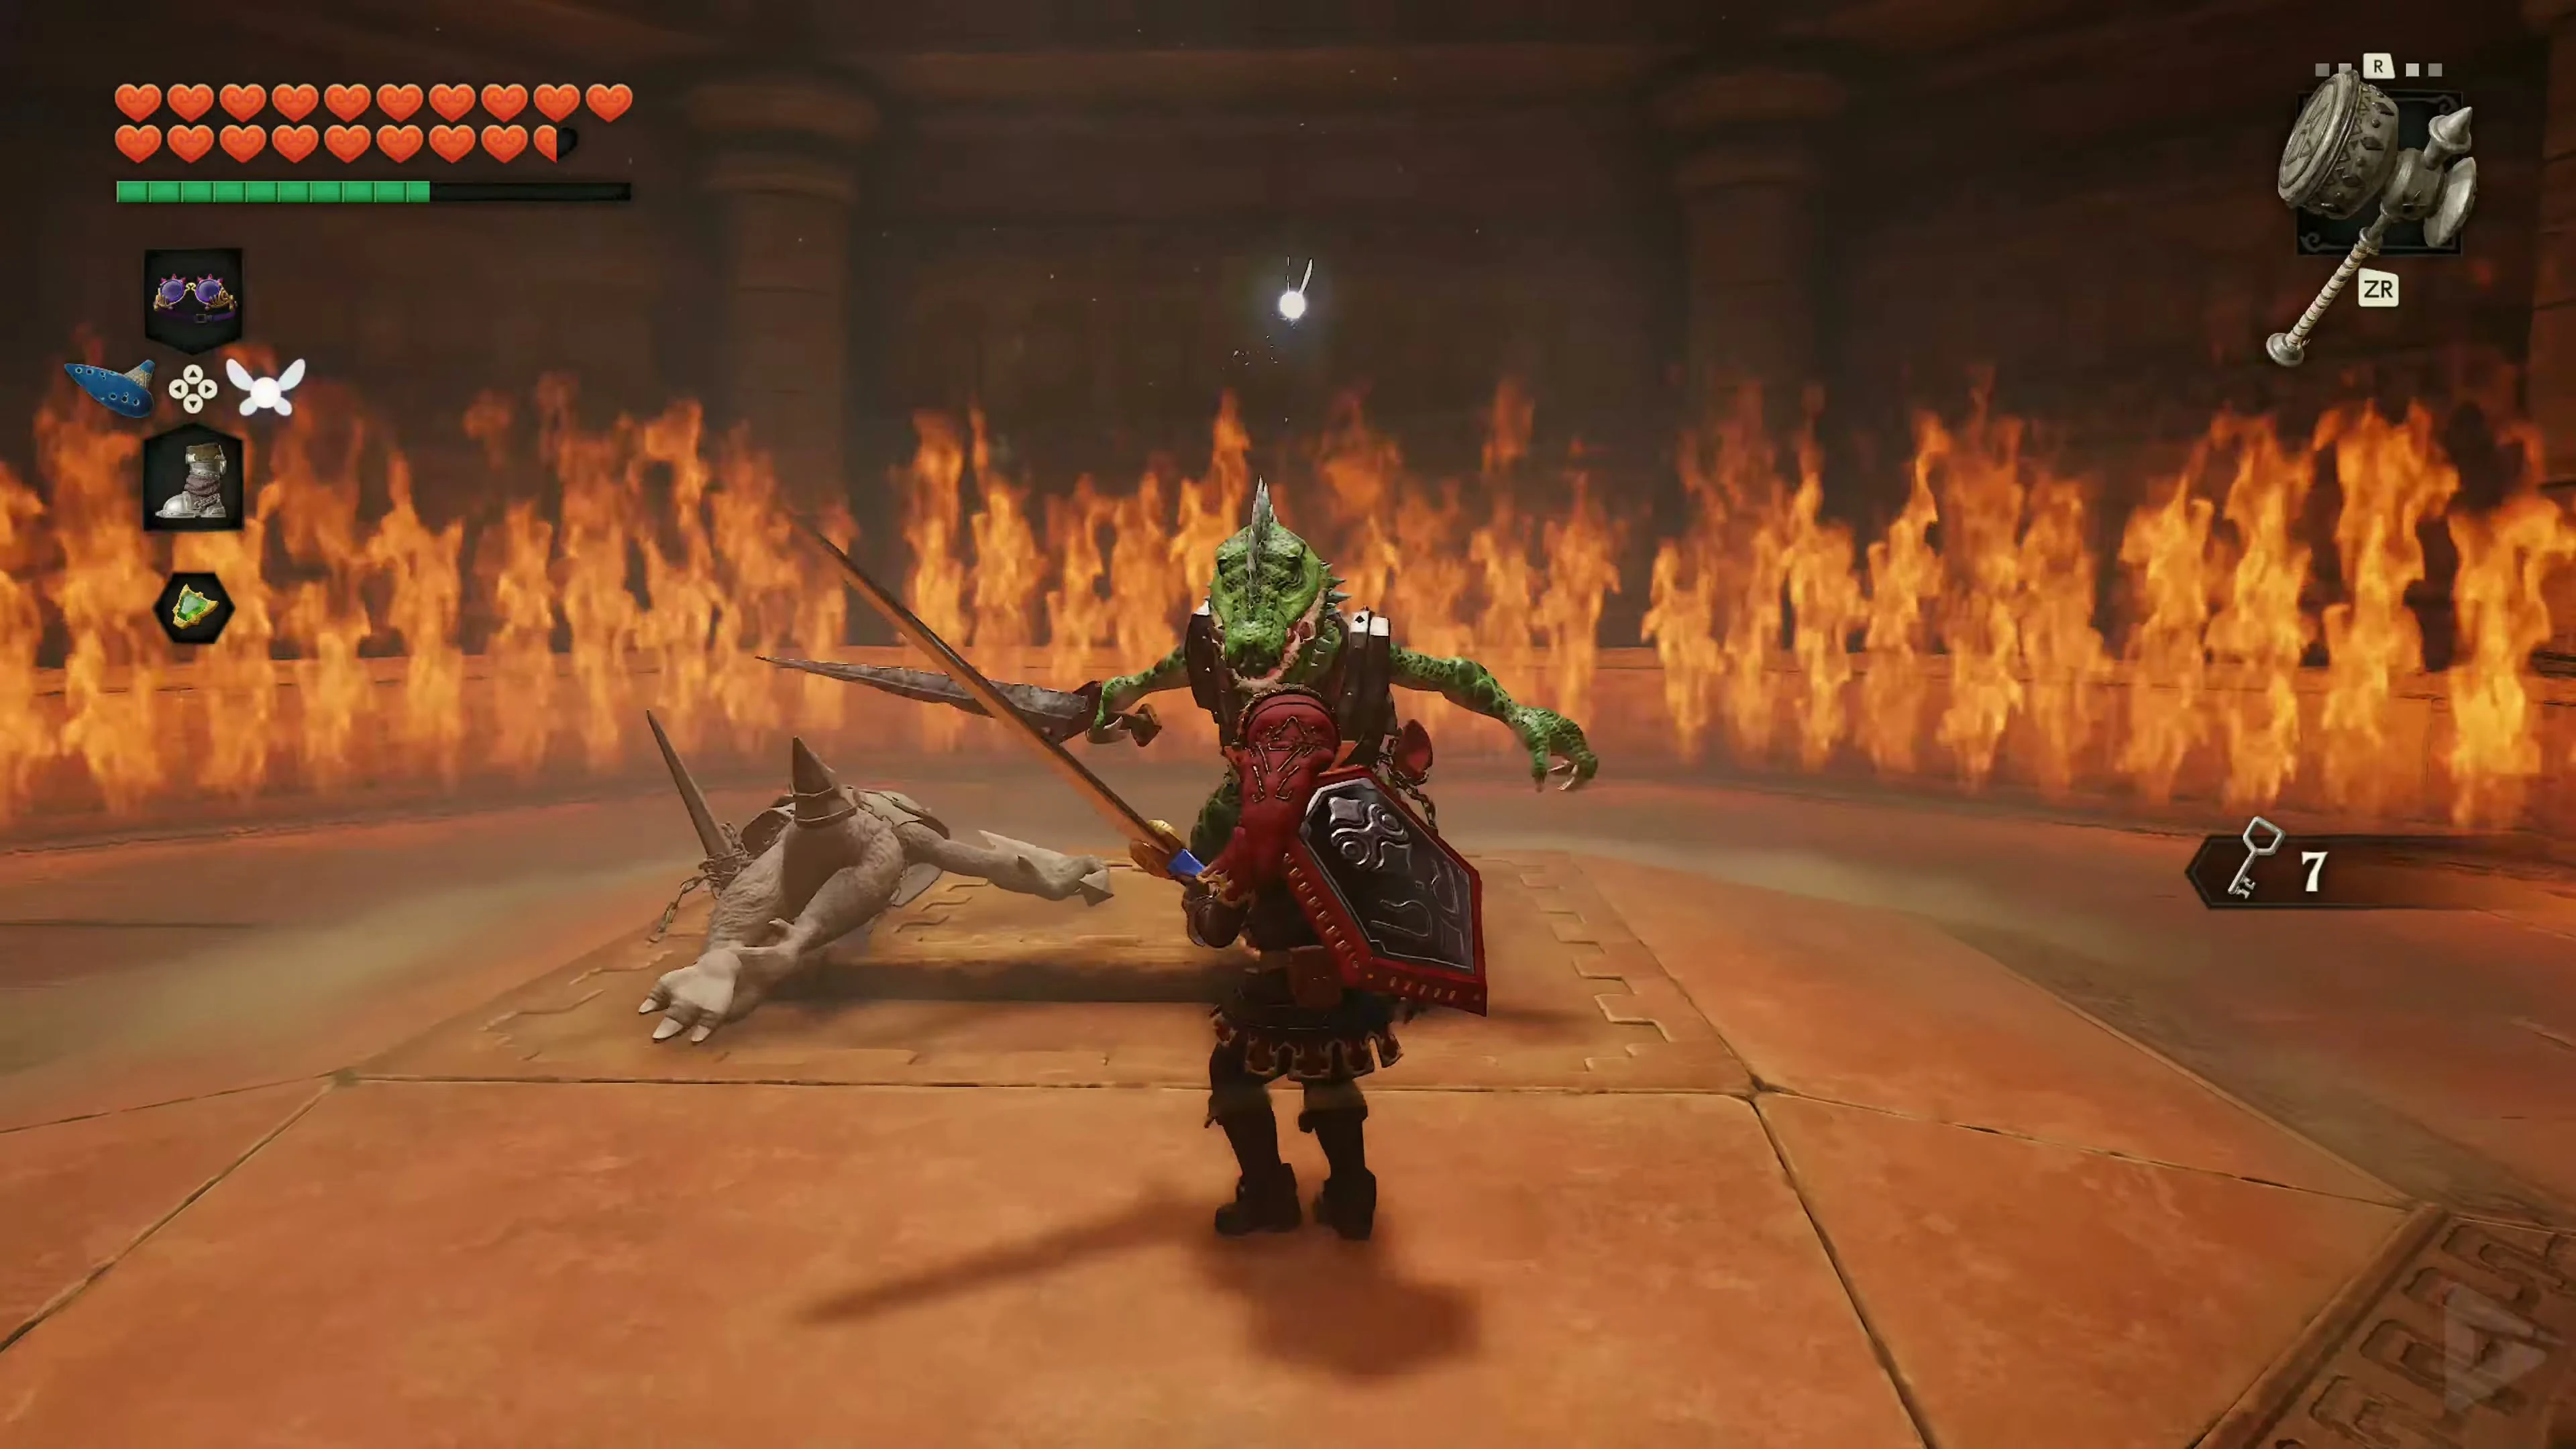
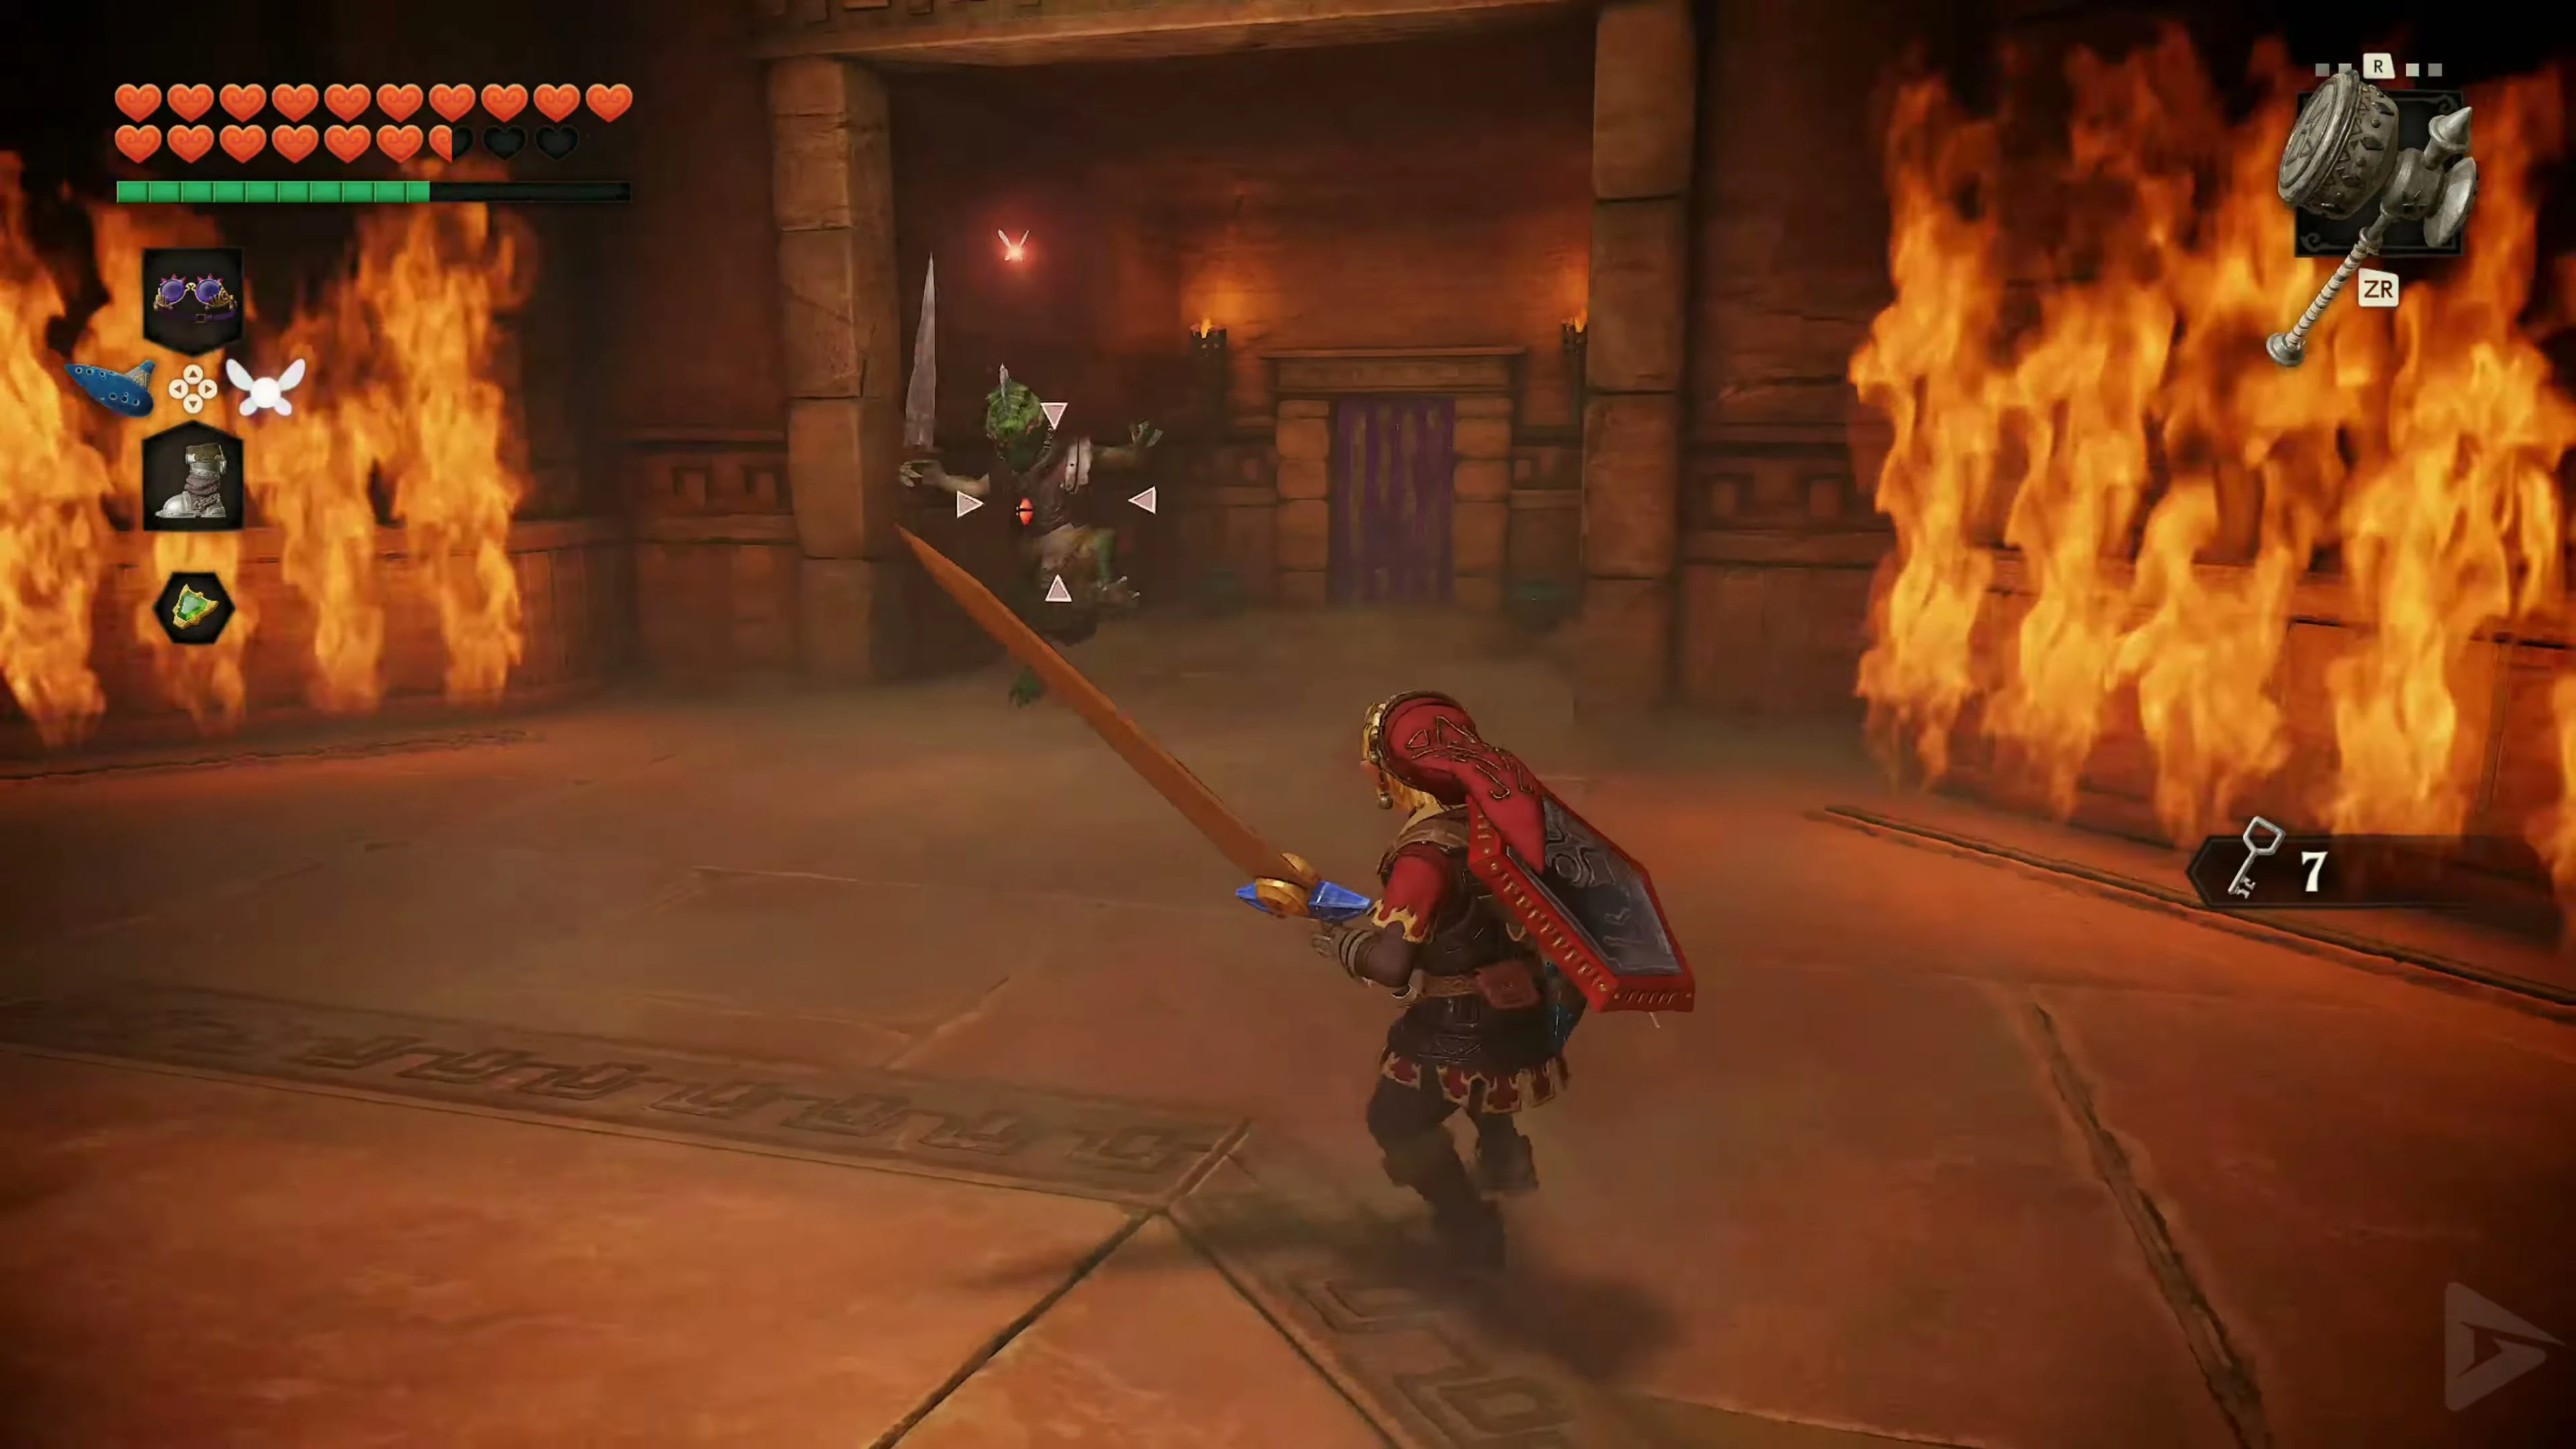
Eighth Small Key – the invisible ceiling opening
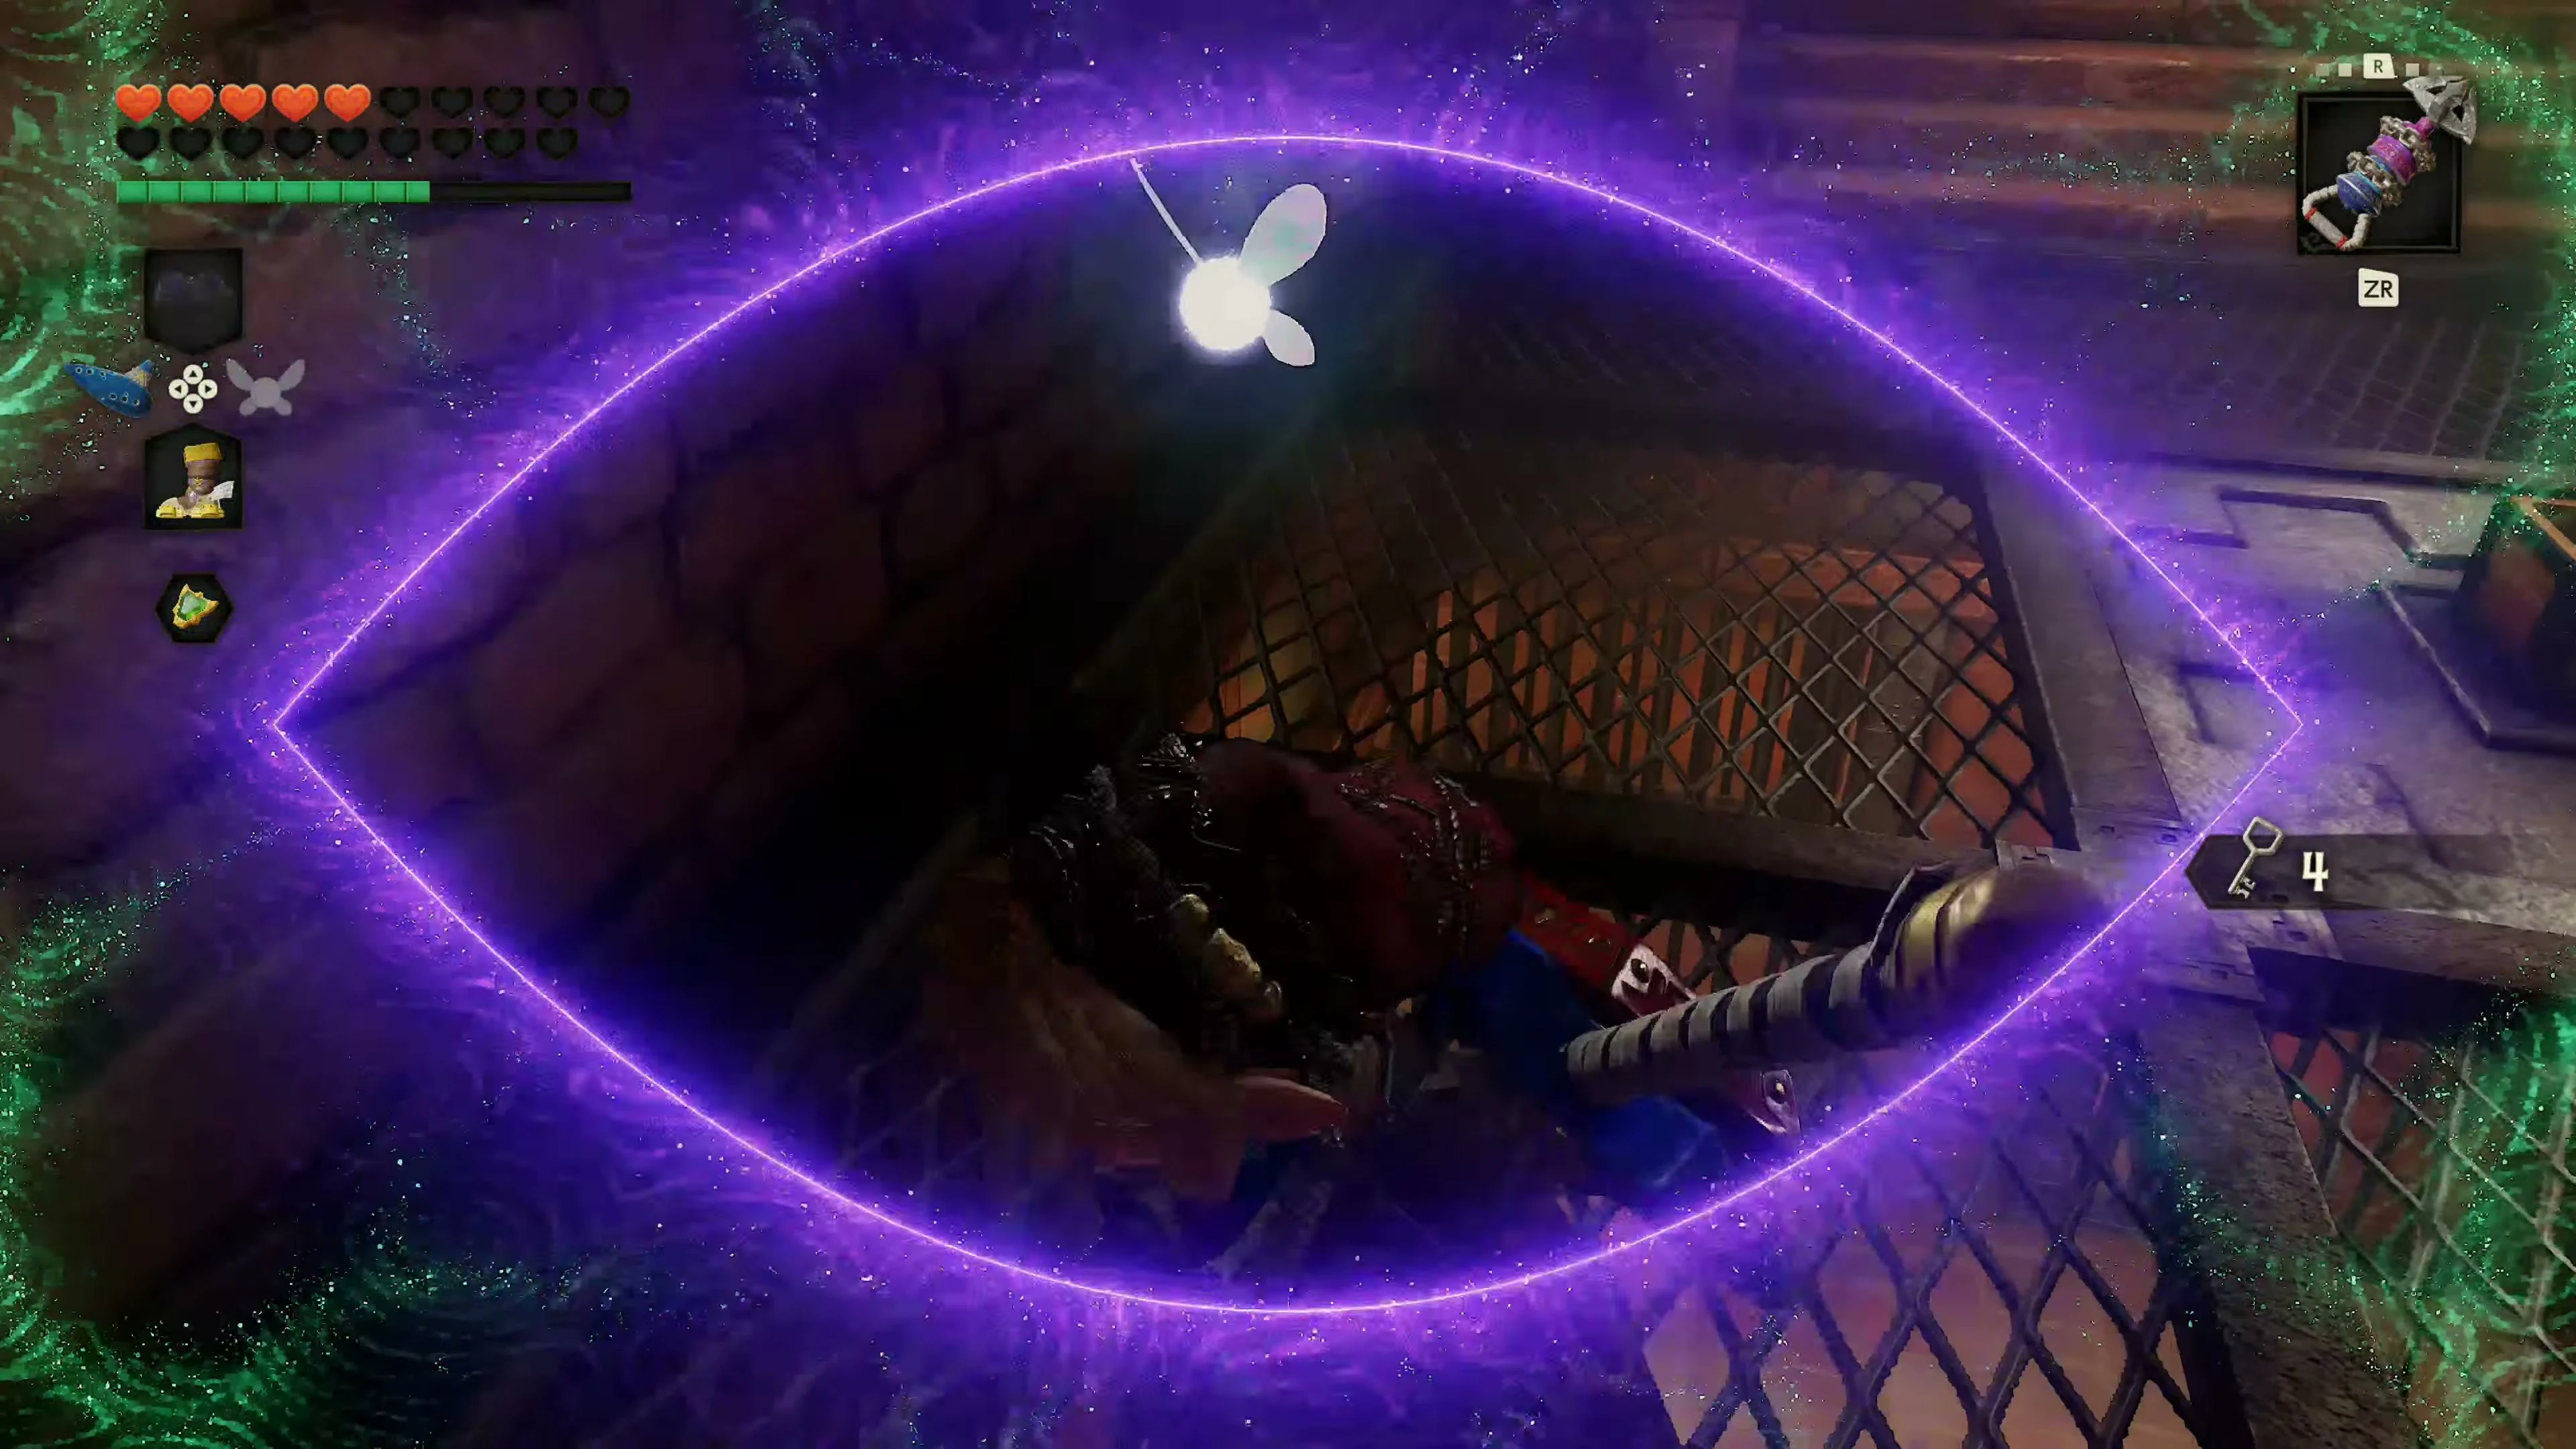
Now go through the middle door of the entrance hall and open the left door in the key labyrinth. Use the Lenses of Truth to look over the climbable grate. An opening will become visible in the ceiling. Climb up and open the chest for the eighth Small Key. Then descend back into the labyrinth.
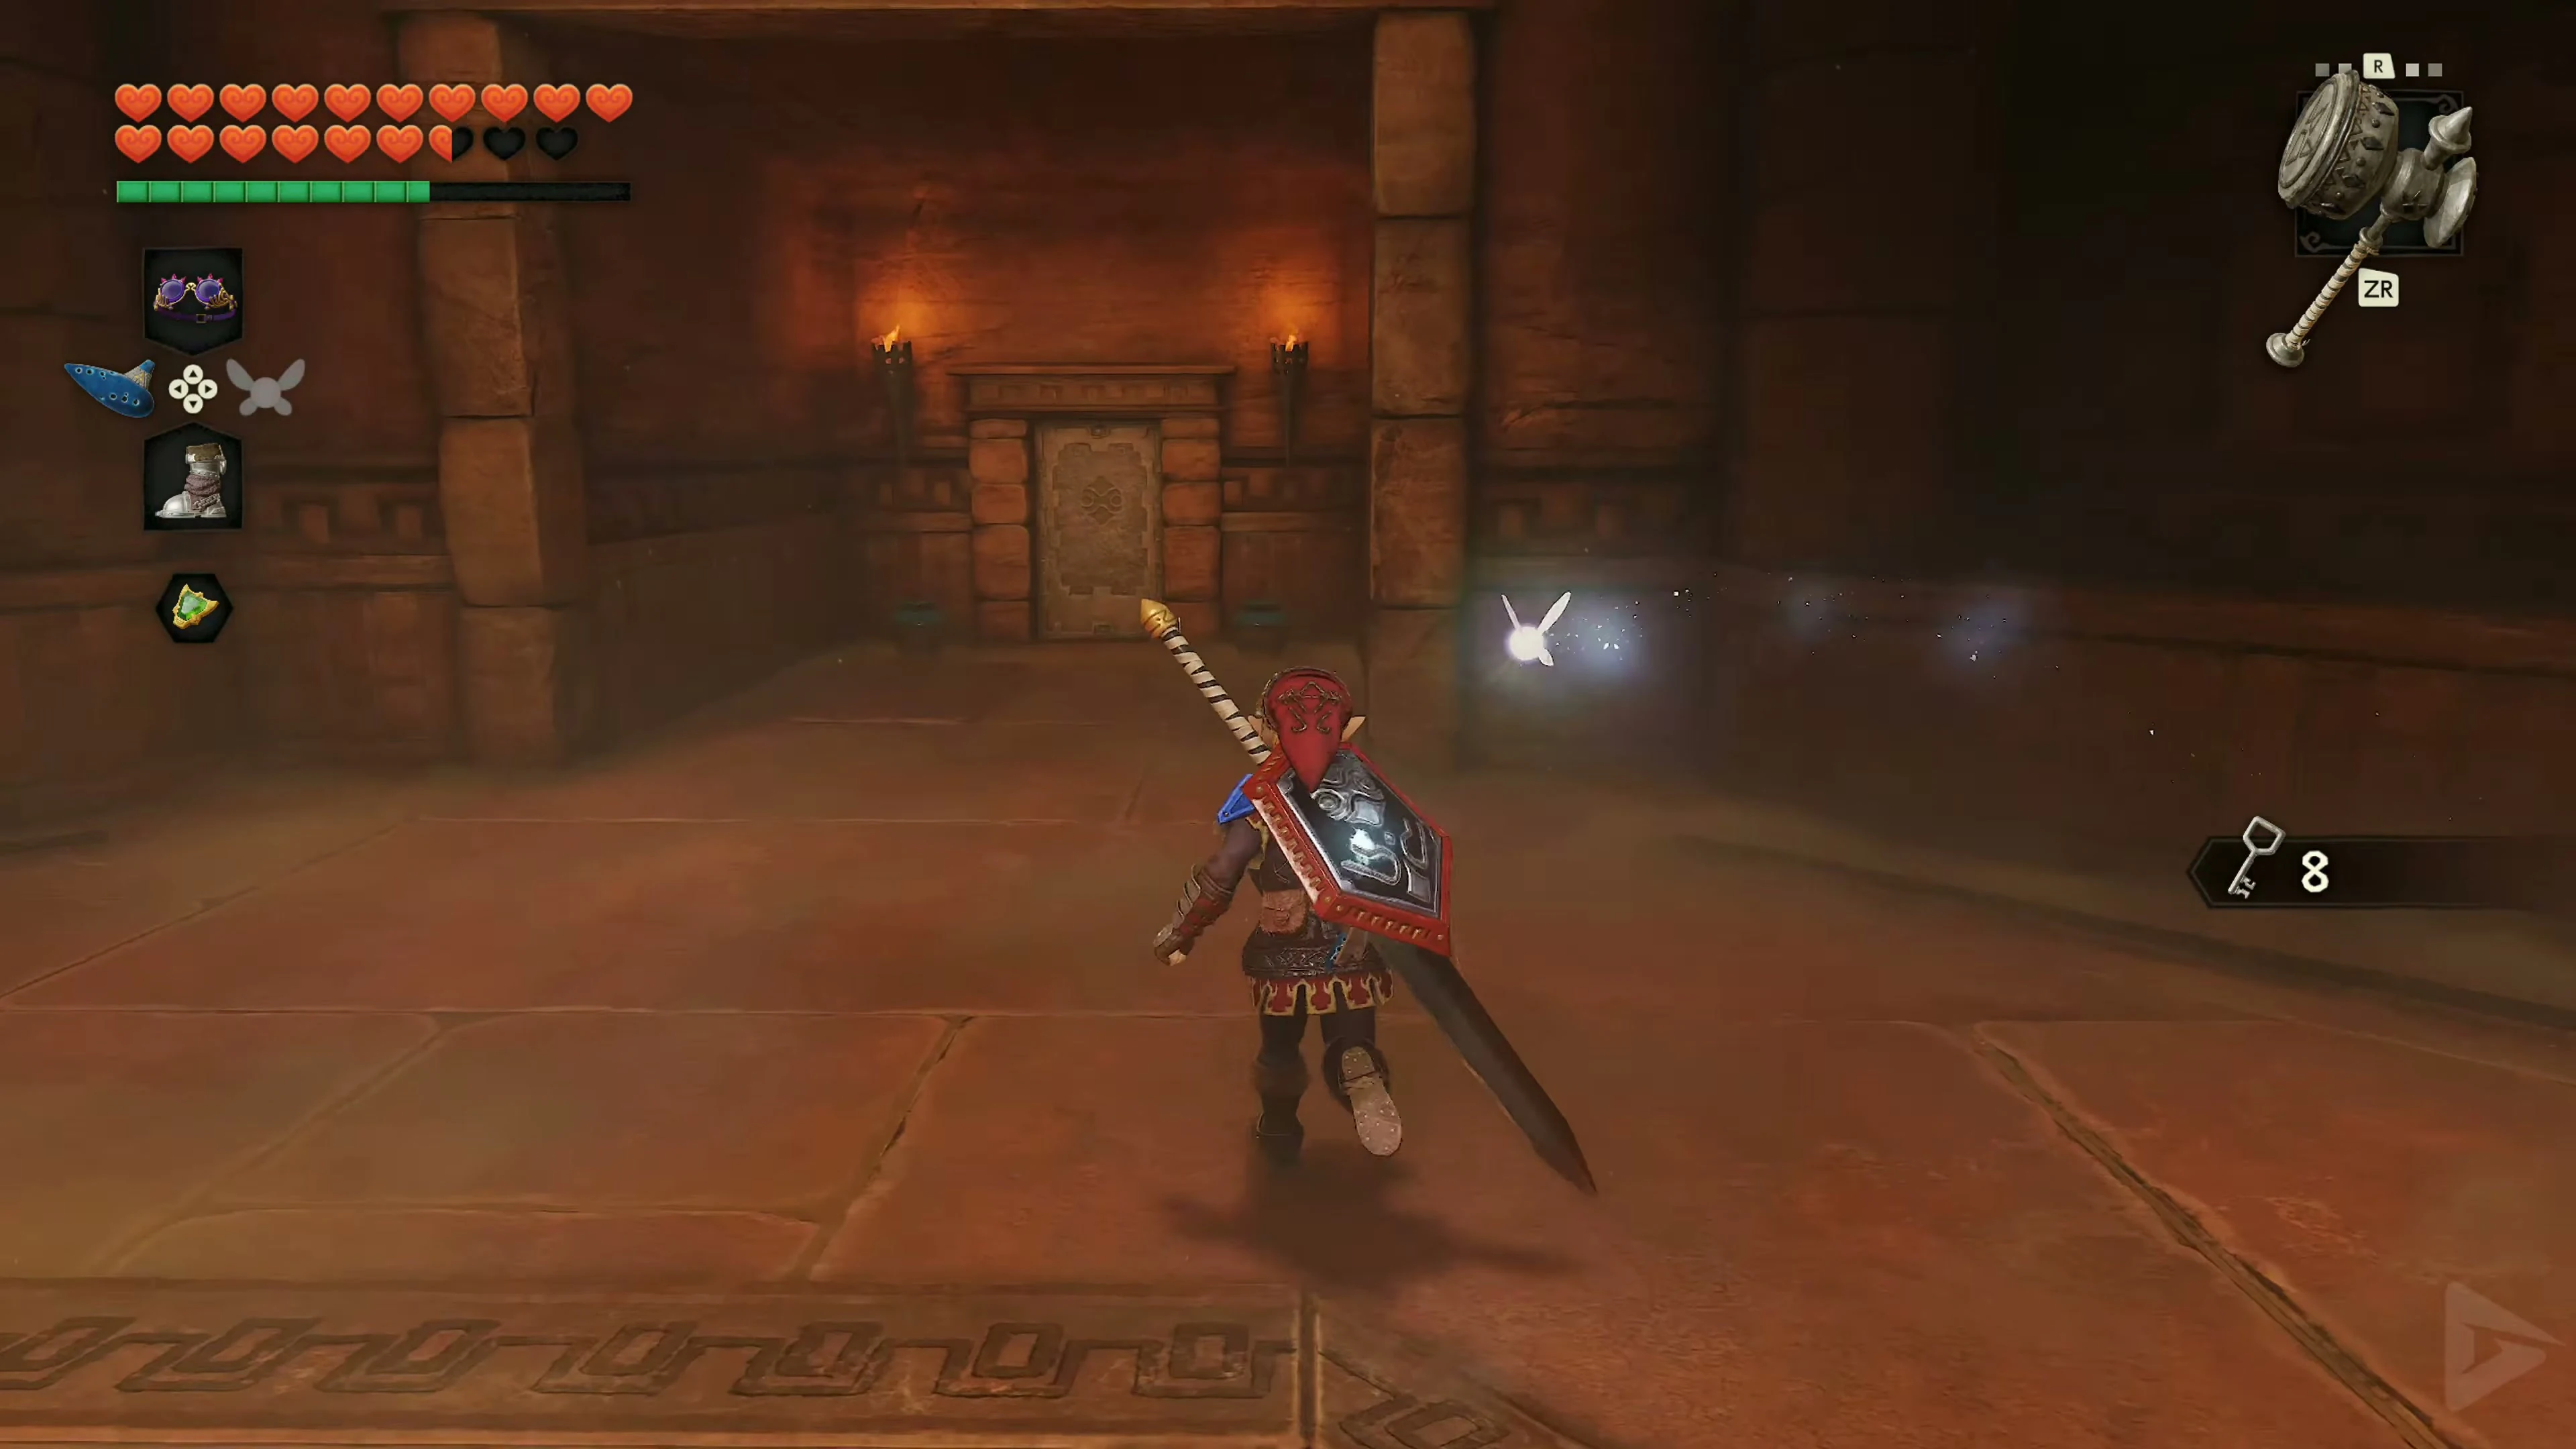
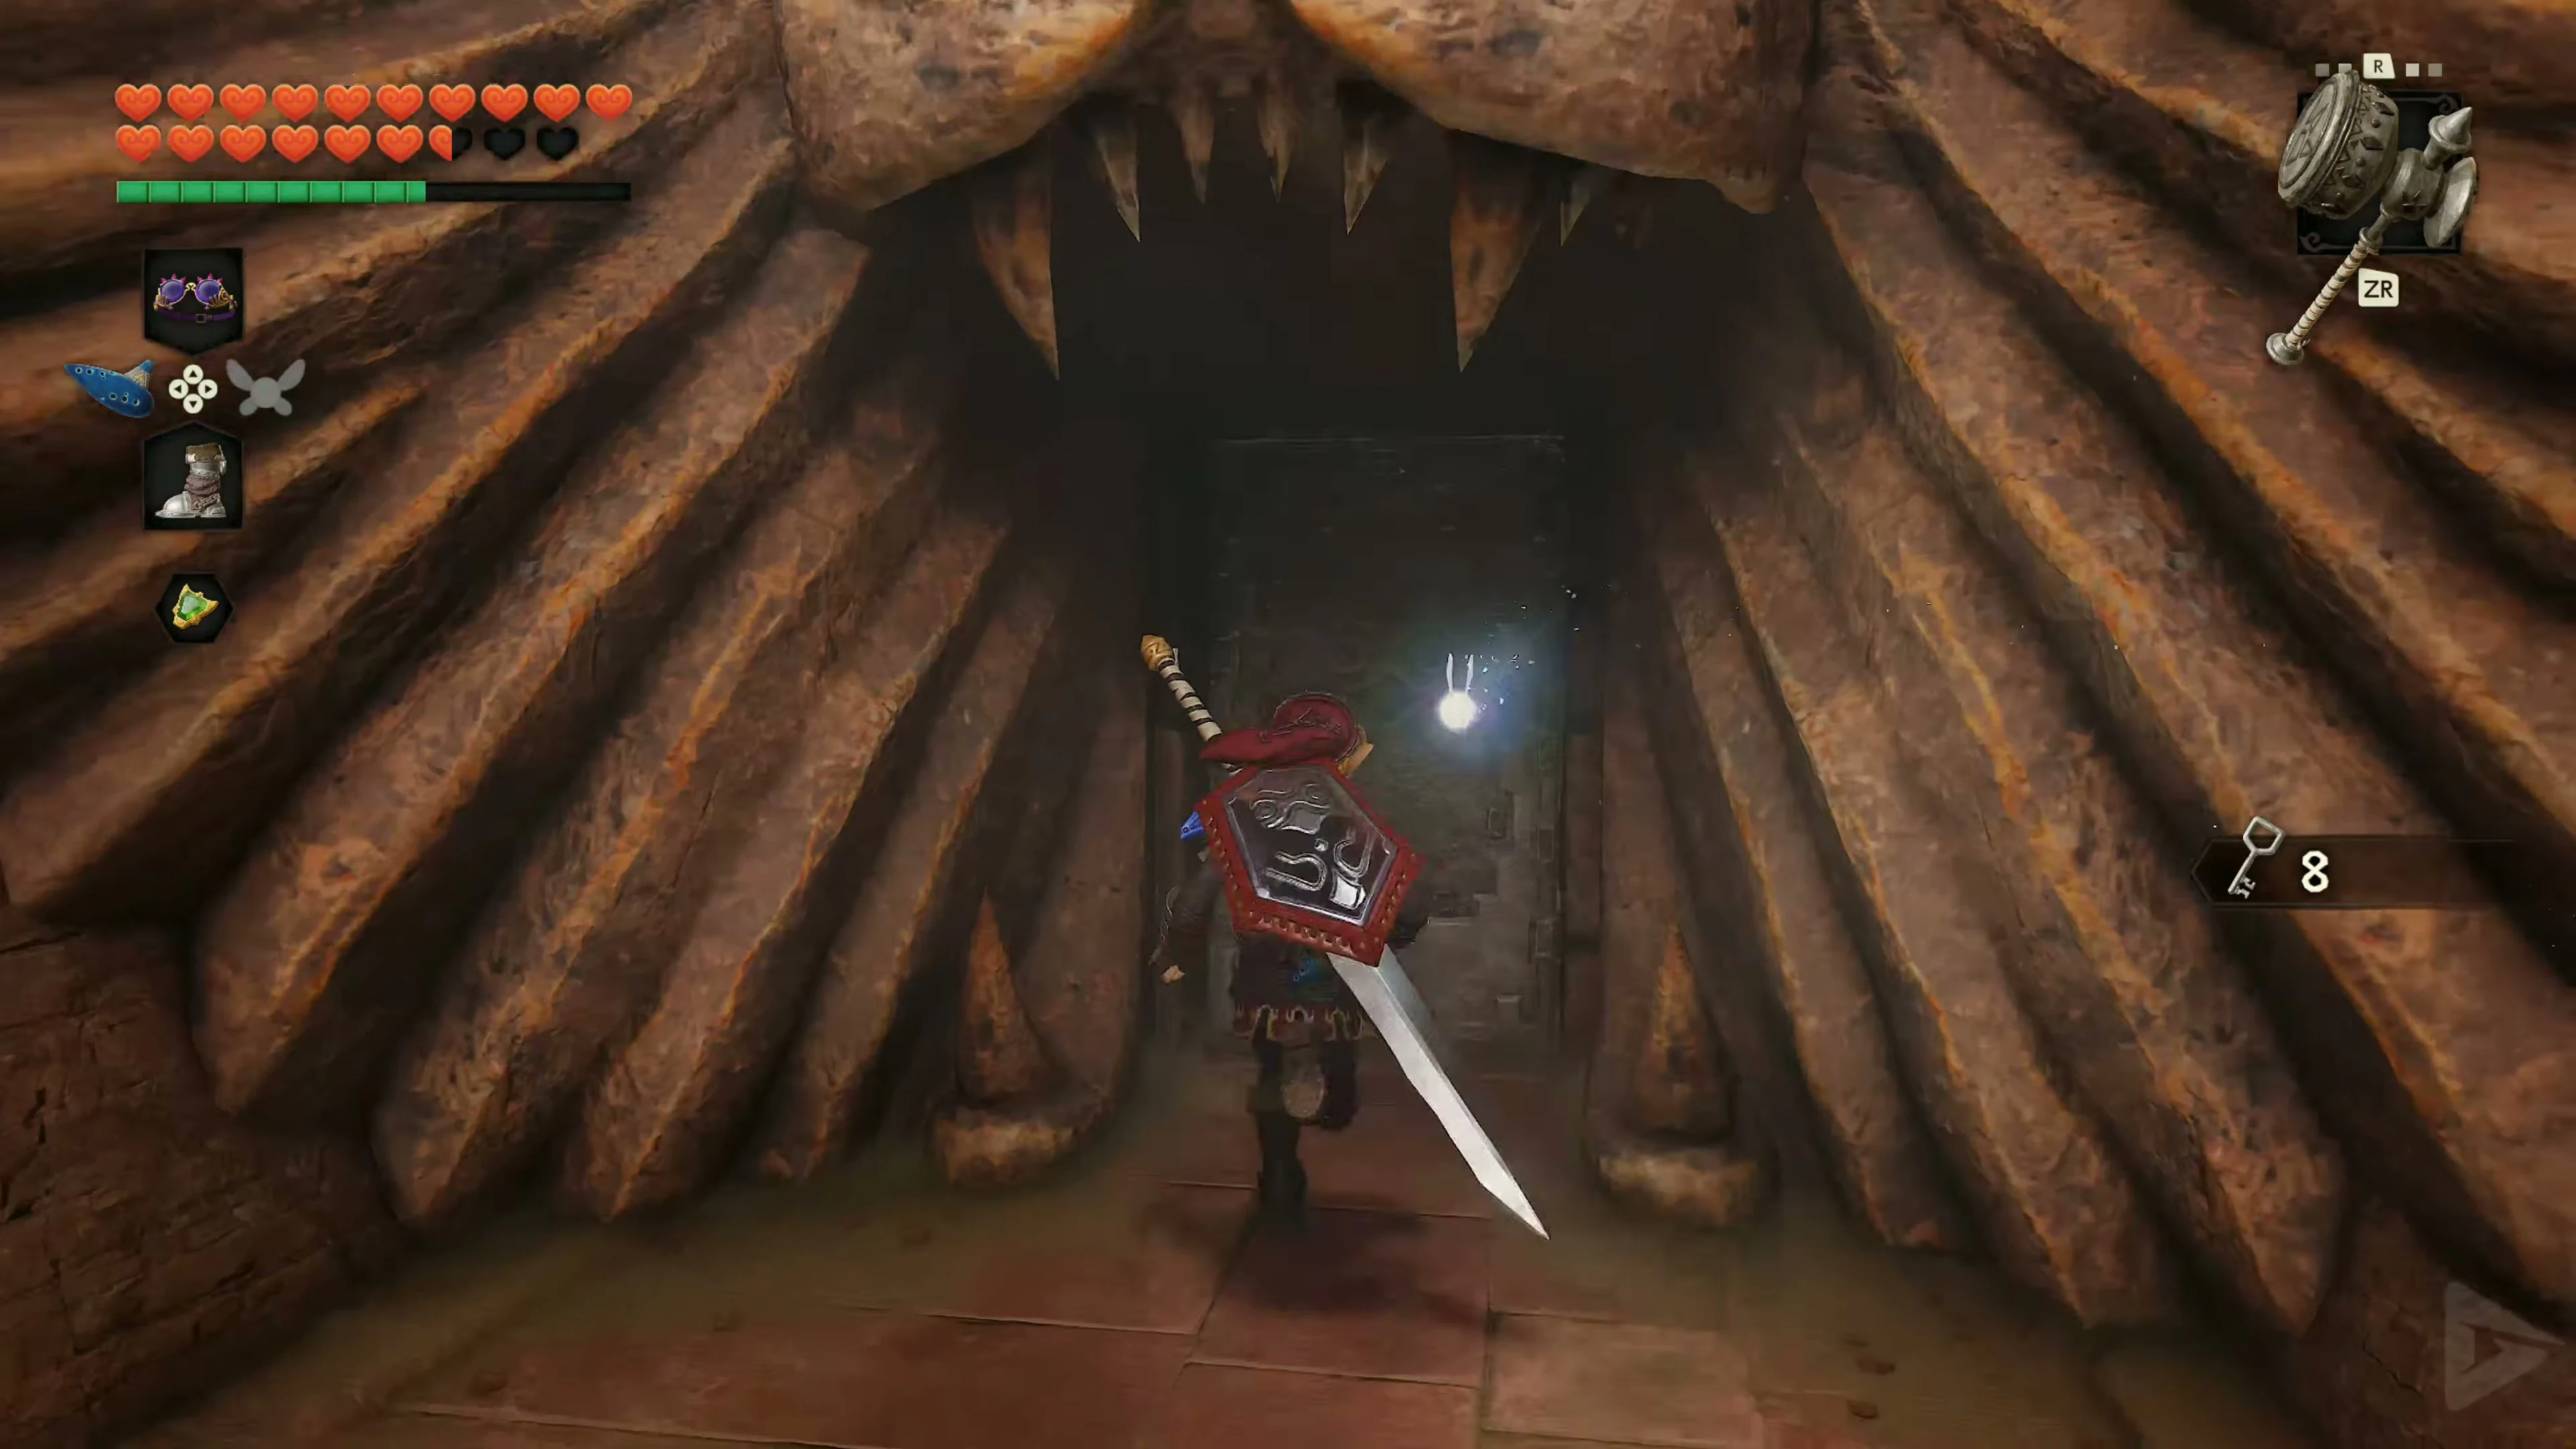
The Key Maze
In the Key Maze, continue along the left path and open only its doors until you reach the large chest in the center. This route consumes a total of seven Small Keys , including the first door to the ceiling opening. With the eight keys you’ve collected on your circuit, one will remain at the end. Activate the switch for the shortcut to the entrance hall.
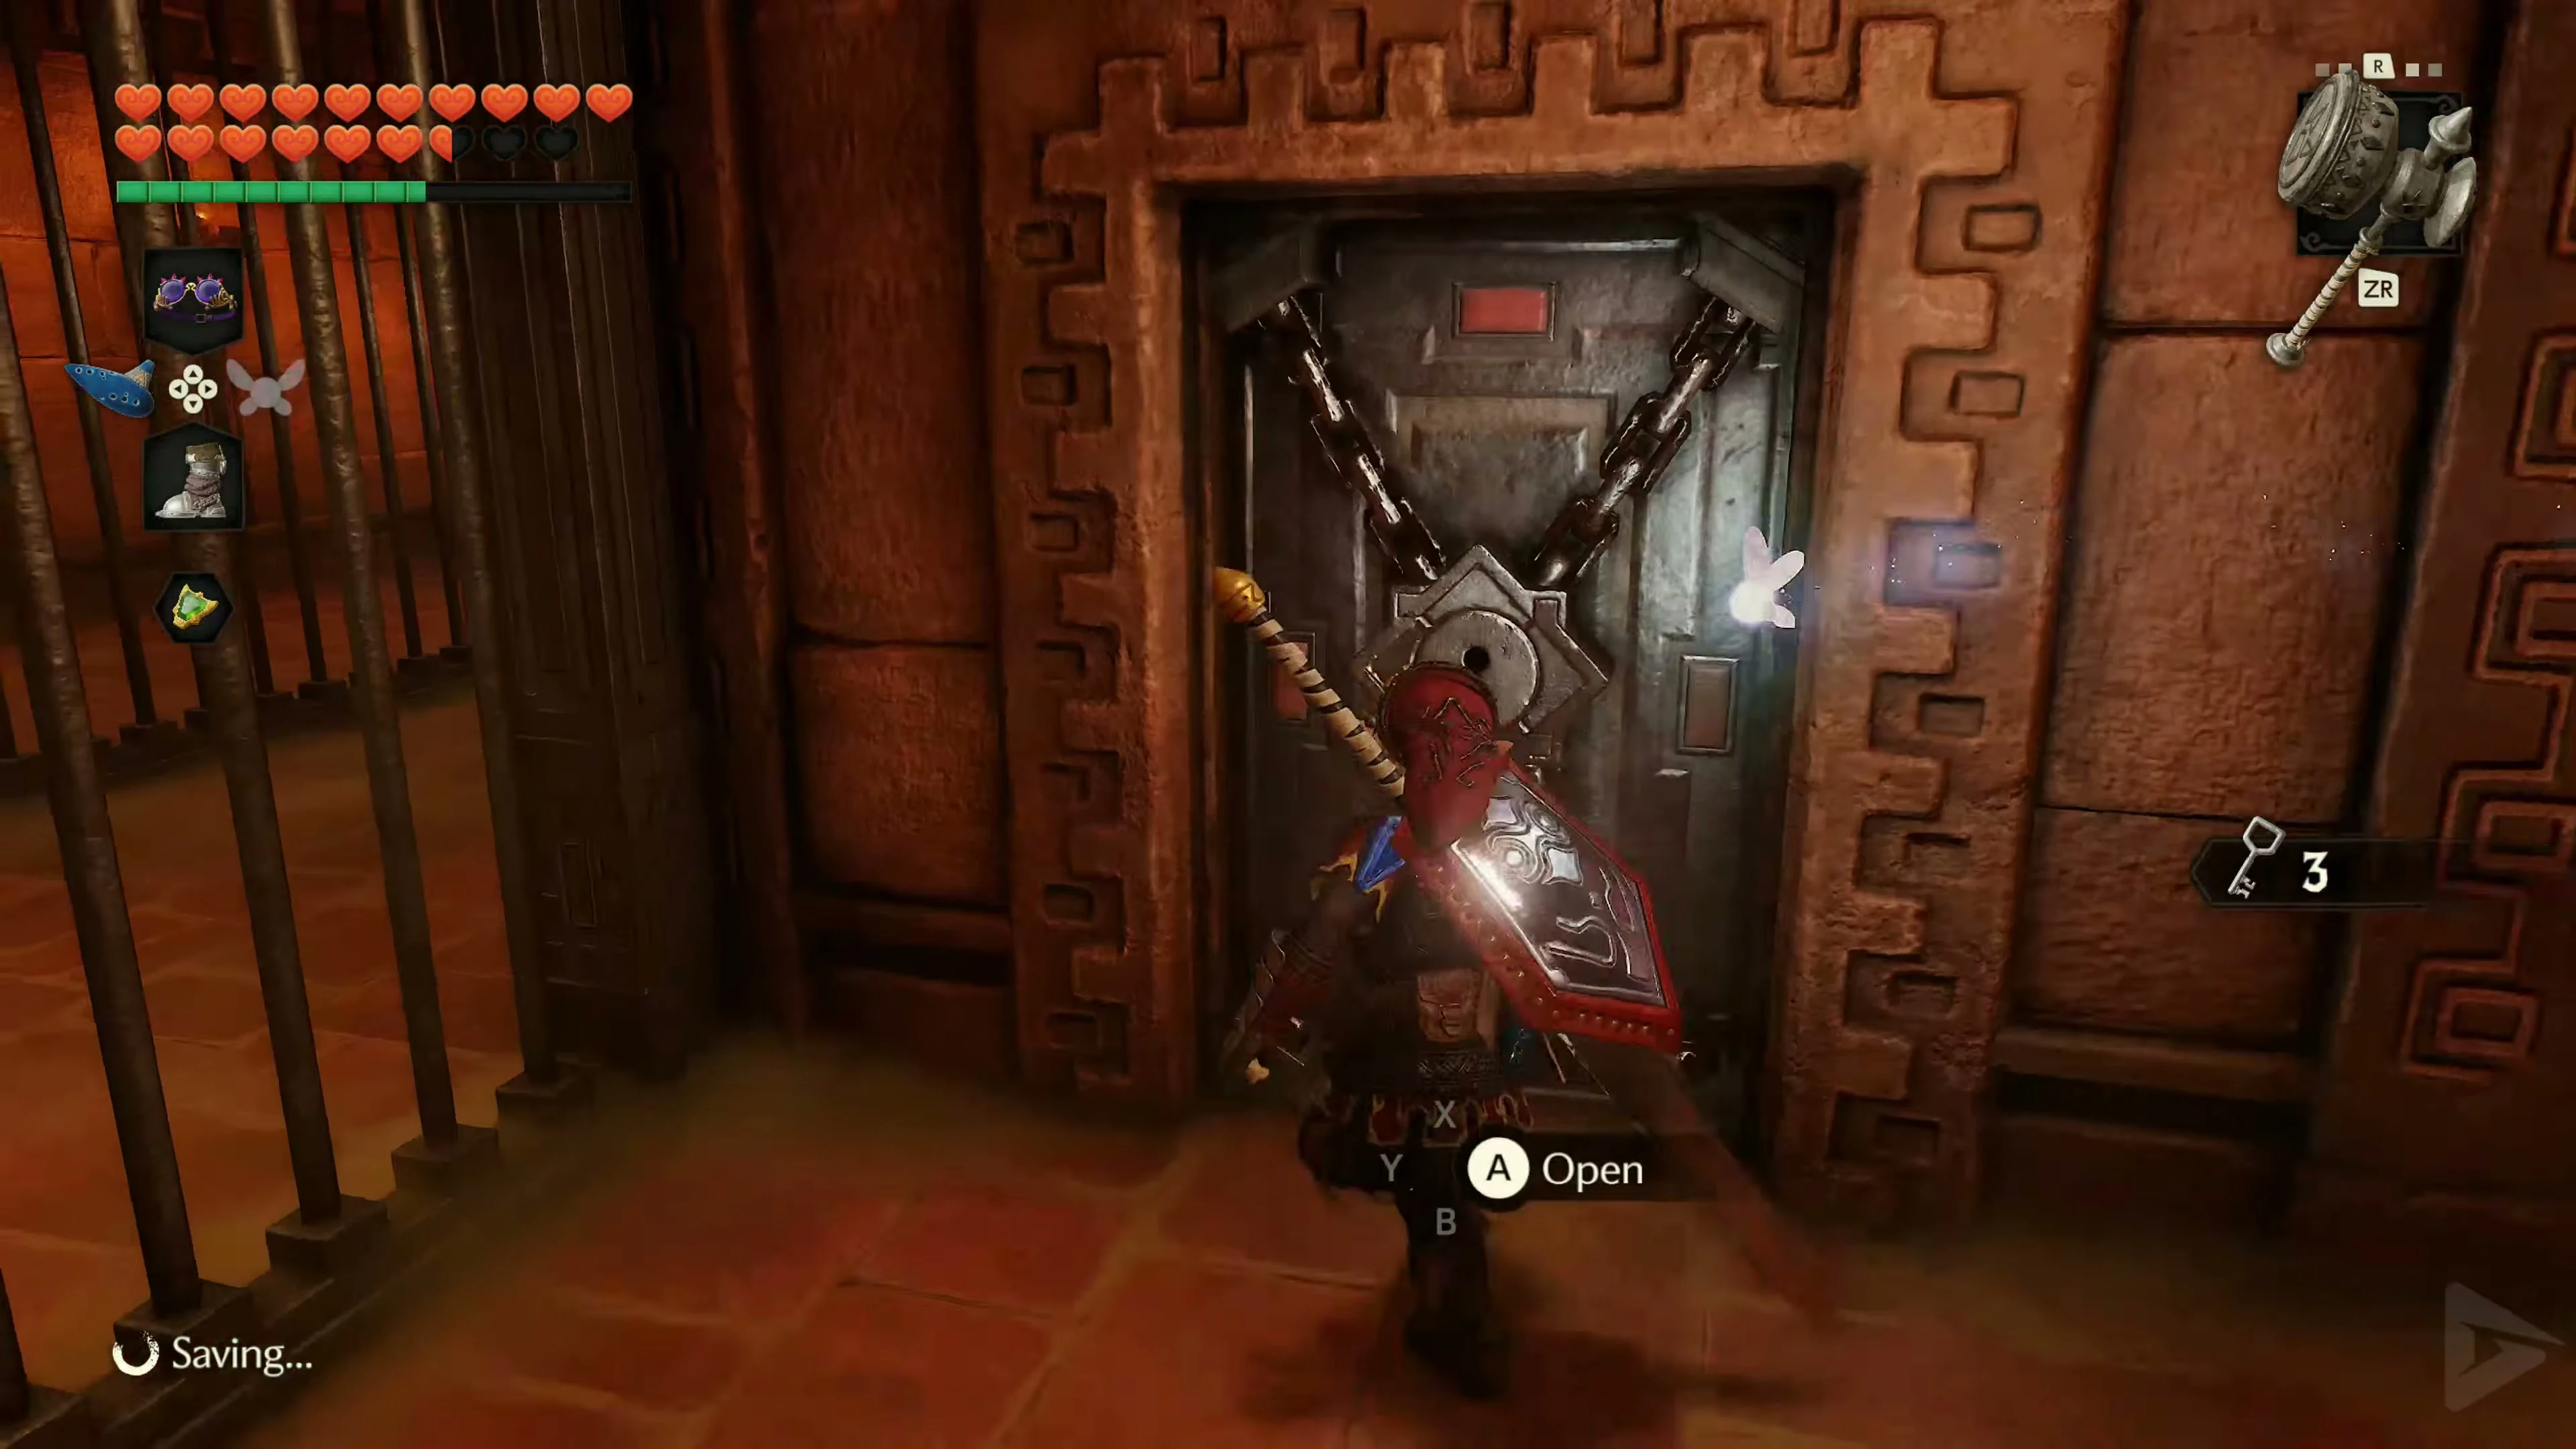
The Ice Arrows
Open the large chest in the center of the Key Maze and take the Ice Arrows . Each shot consumes magic and can freeze enemies.
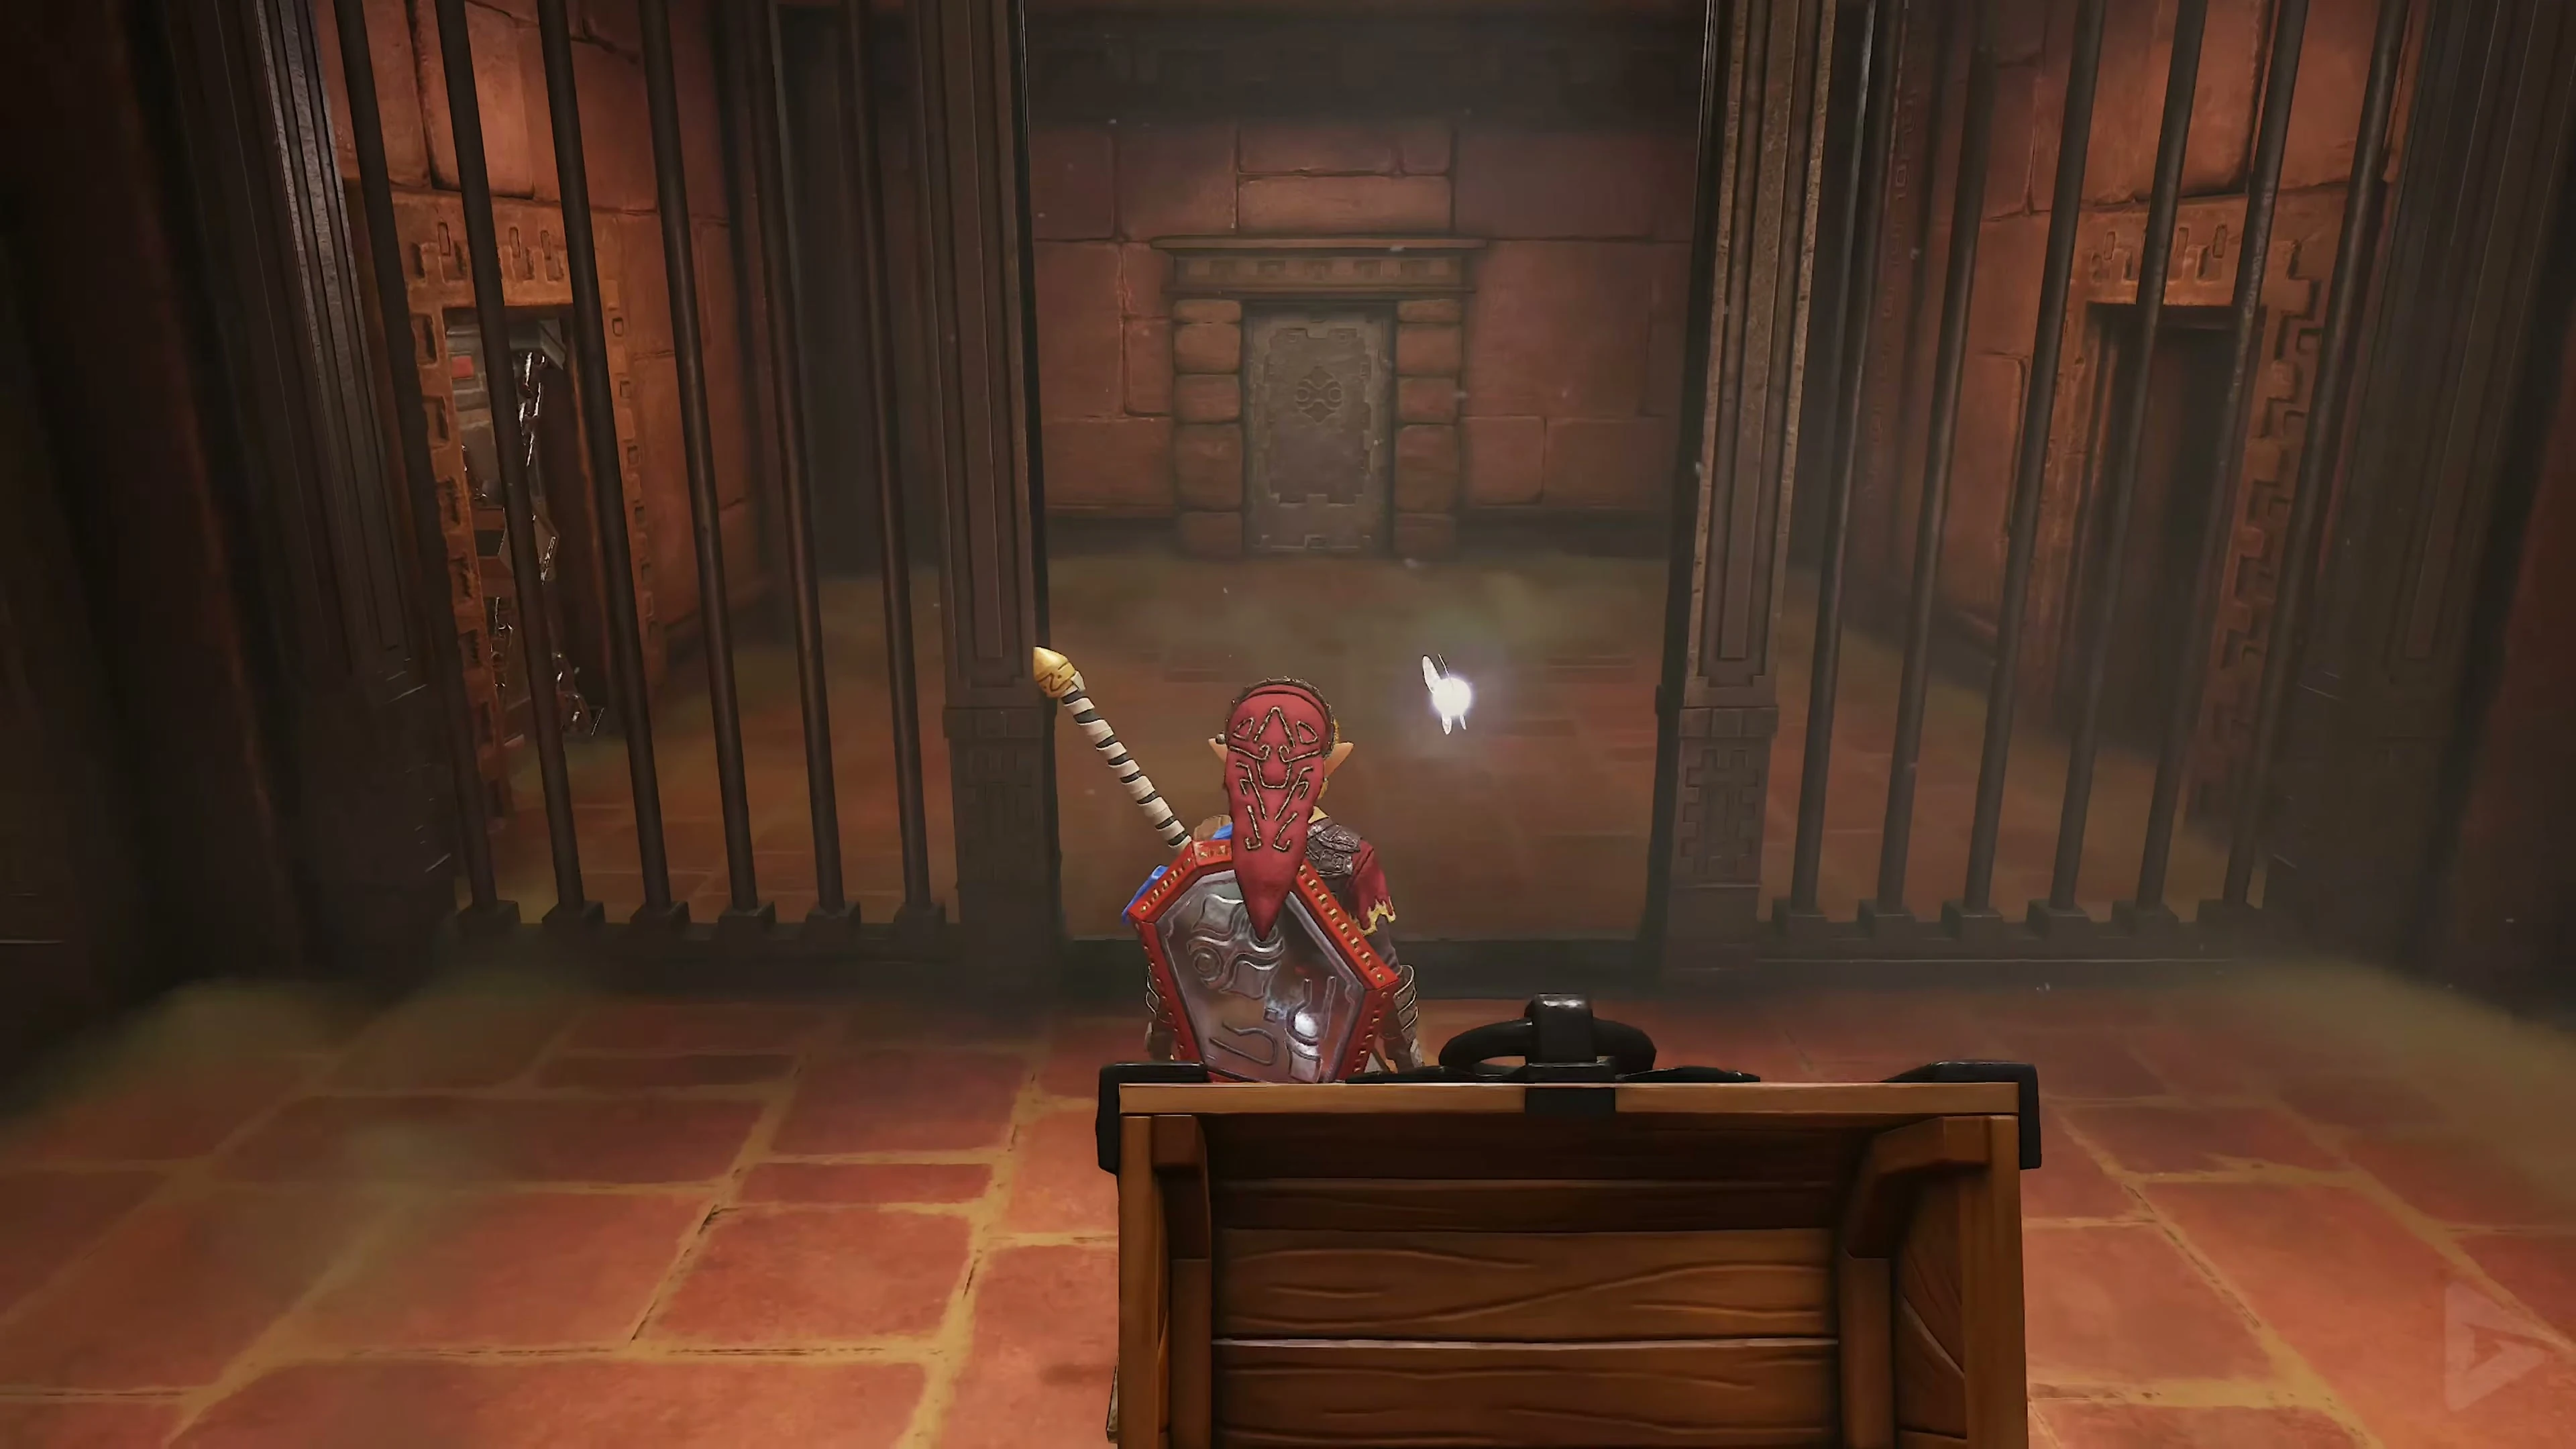
Leave the Gerudo Proving Grounds
Leave the arena via the unlocked shortcut to the entrance hall. In the fortress, go to the Desert Gate in the northwest , climb up to the guard post, and show Link the Gerudo Pass. After opening the gate, the path through the Mirage Desert begins. .
Chests and their contents
Show all 23 chests
| Floor | Quantity | Contents | Note |
|---|---|---|---|
| Ground Floor | 2 | 20 Rupees | |
| Ground Floor | 2 | 20 Rupees | If you already have Fairy Bow: 3 Arrows |
| Ground Floor | 1 | 5 Bombs | |
| Ground Floor | 1 | 5 Bombchus | |
| Ground Floor | 1 | 5 Arrows | If you already have Fairy Bow: 5 Arrows |
| Ground Floor | 2 | 5 Rupees | |
| Ground Floor | 1 | 50 Rupees | |
| Ground Floor | 1 | Ice Arrows | |
| Ground Floor | 1 | Green Rupee | Trap |
| Ground Floor | 1 | Green Rupee | Lenses of Truth |
| Ground Floor | 1 | Business Scrub Seed | |
| Ground Floor | 6 | Small Key | |
| Ground Floor | 1 | Small Key | Lenses of Truth |
| 1st Floor | 2 | Small Key |