In front of Death Mountain: Two Skulltulas on the Zora River
Leave the Temple of Time as an adult Link and go across the Hyrule Field to the Zora River. Play the Sun’s Song outside to make it nighttime. Follow the river to the former location of the Bean Seller.
Gold Skulltula 3/4 – Rock wall on the middle plateau
From the Bean Seller’s former spot, look southeast. Approach the rock in the middle of the river from behind and climb onto it. Search the high rock wall for the Gold Skulltula. Defeat it with the Hookshot and use the Hookshot again to collect its token.
Gold Skulltula 4/4 – behind the small stone gate
Go upstream to the small stone gate in front of the waterfall . Immediately behind the gate, turn up towards the high wall. The second nocturnal Skulltula of this round sits there. Defeat her and get her token with the Hookshot .
Big Poe in Hyrule Field
Leave the Zora River back to Hyrule Field. With Epona and the Fairy Bow you can now hunt the ten Big Poes . Catch the defeated ghosts in empty bottles and hand them in to the Poe Collector in the former guardhouse at the city gate. After five different catches you will receive the fifth bottle ; after all ten comes the Gold Rupee .
Trade the Poacher’s Saw in Gerudo Valley
After the round through Hyrule Field, ride Epona to Gerudo Valley . Take a running start in front of the destroyed bridge and jump over the ravine. At the tent on the opposite side, talk to the carpenter foreman . Show him the Poacher’s Saw that you got from the Kokiri girl in front of the Forest Temple. He exchanges it for the Broken Goron Sword .
Ride Epona back over the bridge gap and cross Hyrule Field to Kakariko Village .
Bigger Quiver in Kakariko Village
Enter the Archery Gallery in Kakariko Village during the day. You have had the Fairy Bow since the Forest Temple. Pay 30 Rupees for one round and hit all ten Rupees that appear in a row. For targets that are briefly visible, keep the bow cocked and shoot as soon as you are aligned. For the error-free round you will receive the Bigger Quiver : Your arrow supply increases from 30 to 40 arrows .
Then leave the village through the northern gate to Death Mountain Trail .
Back to Death Mountain
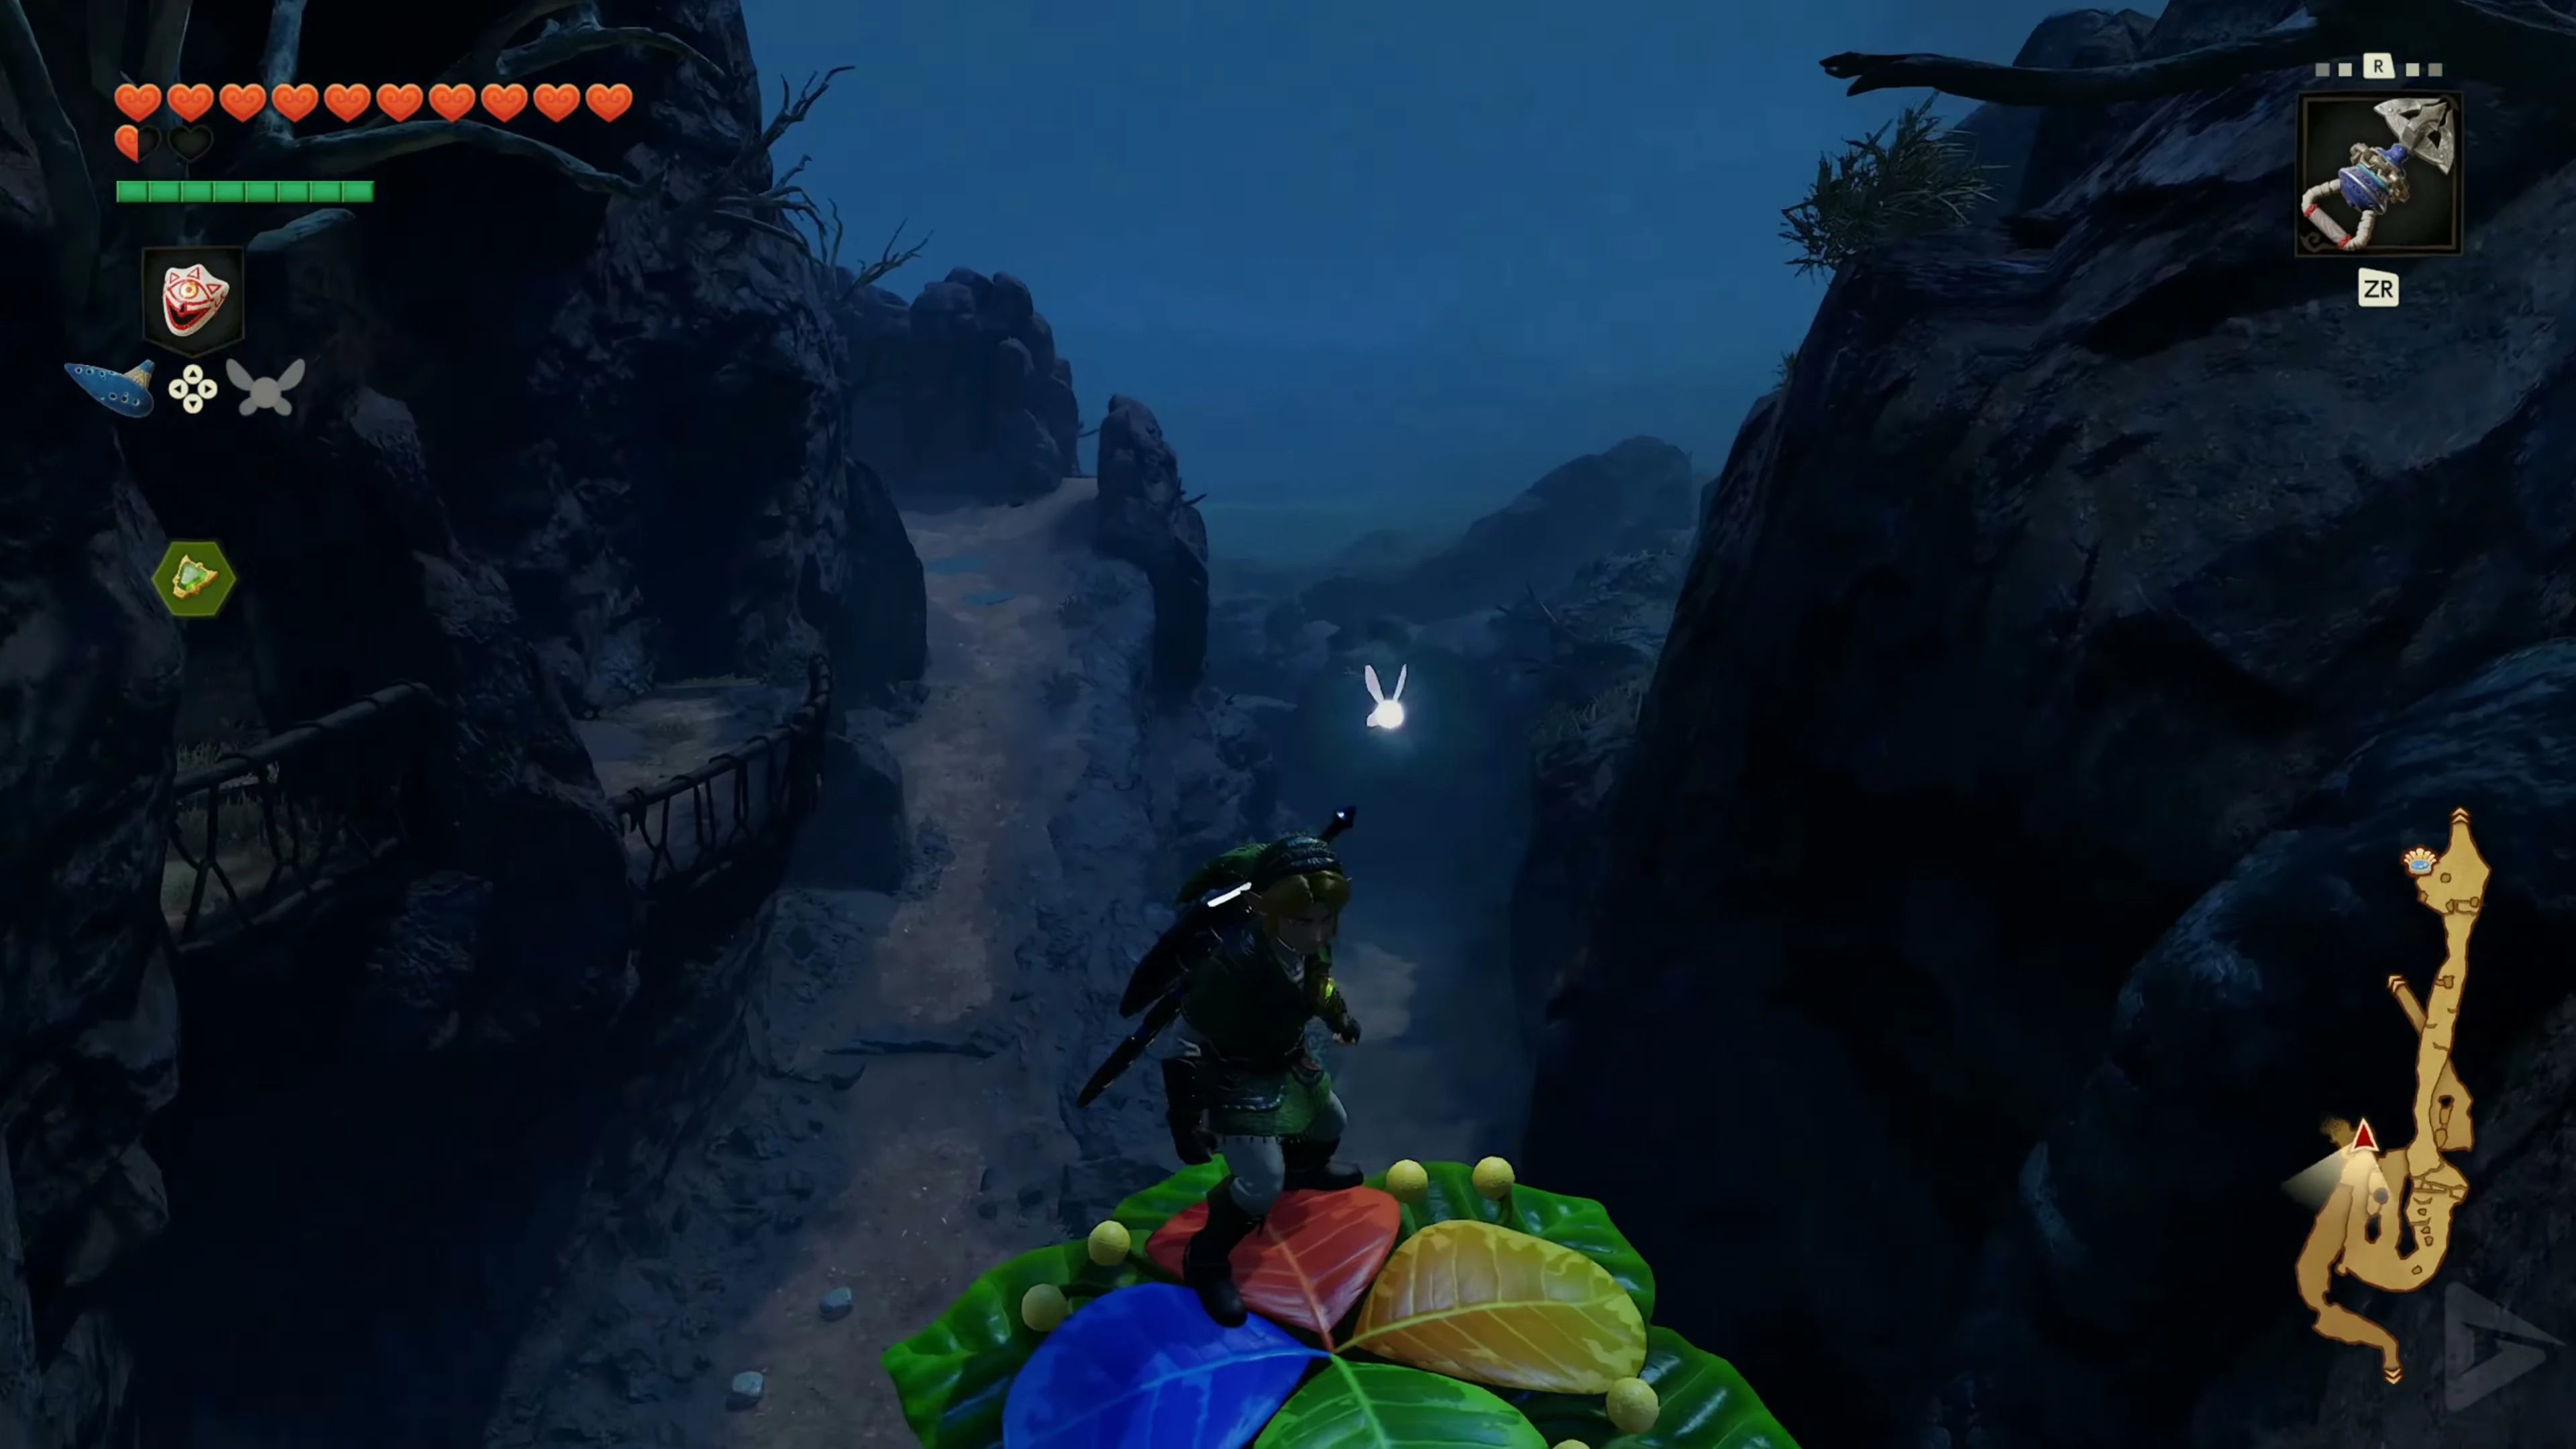
Follow the red mountain path to the slope at Dodongo Cavern . There, climb onto the full-grown Magic Bean that you planted as a child and let yourself be carried to the higher ledges.
Piece of Heart over Dodongo Cavern
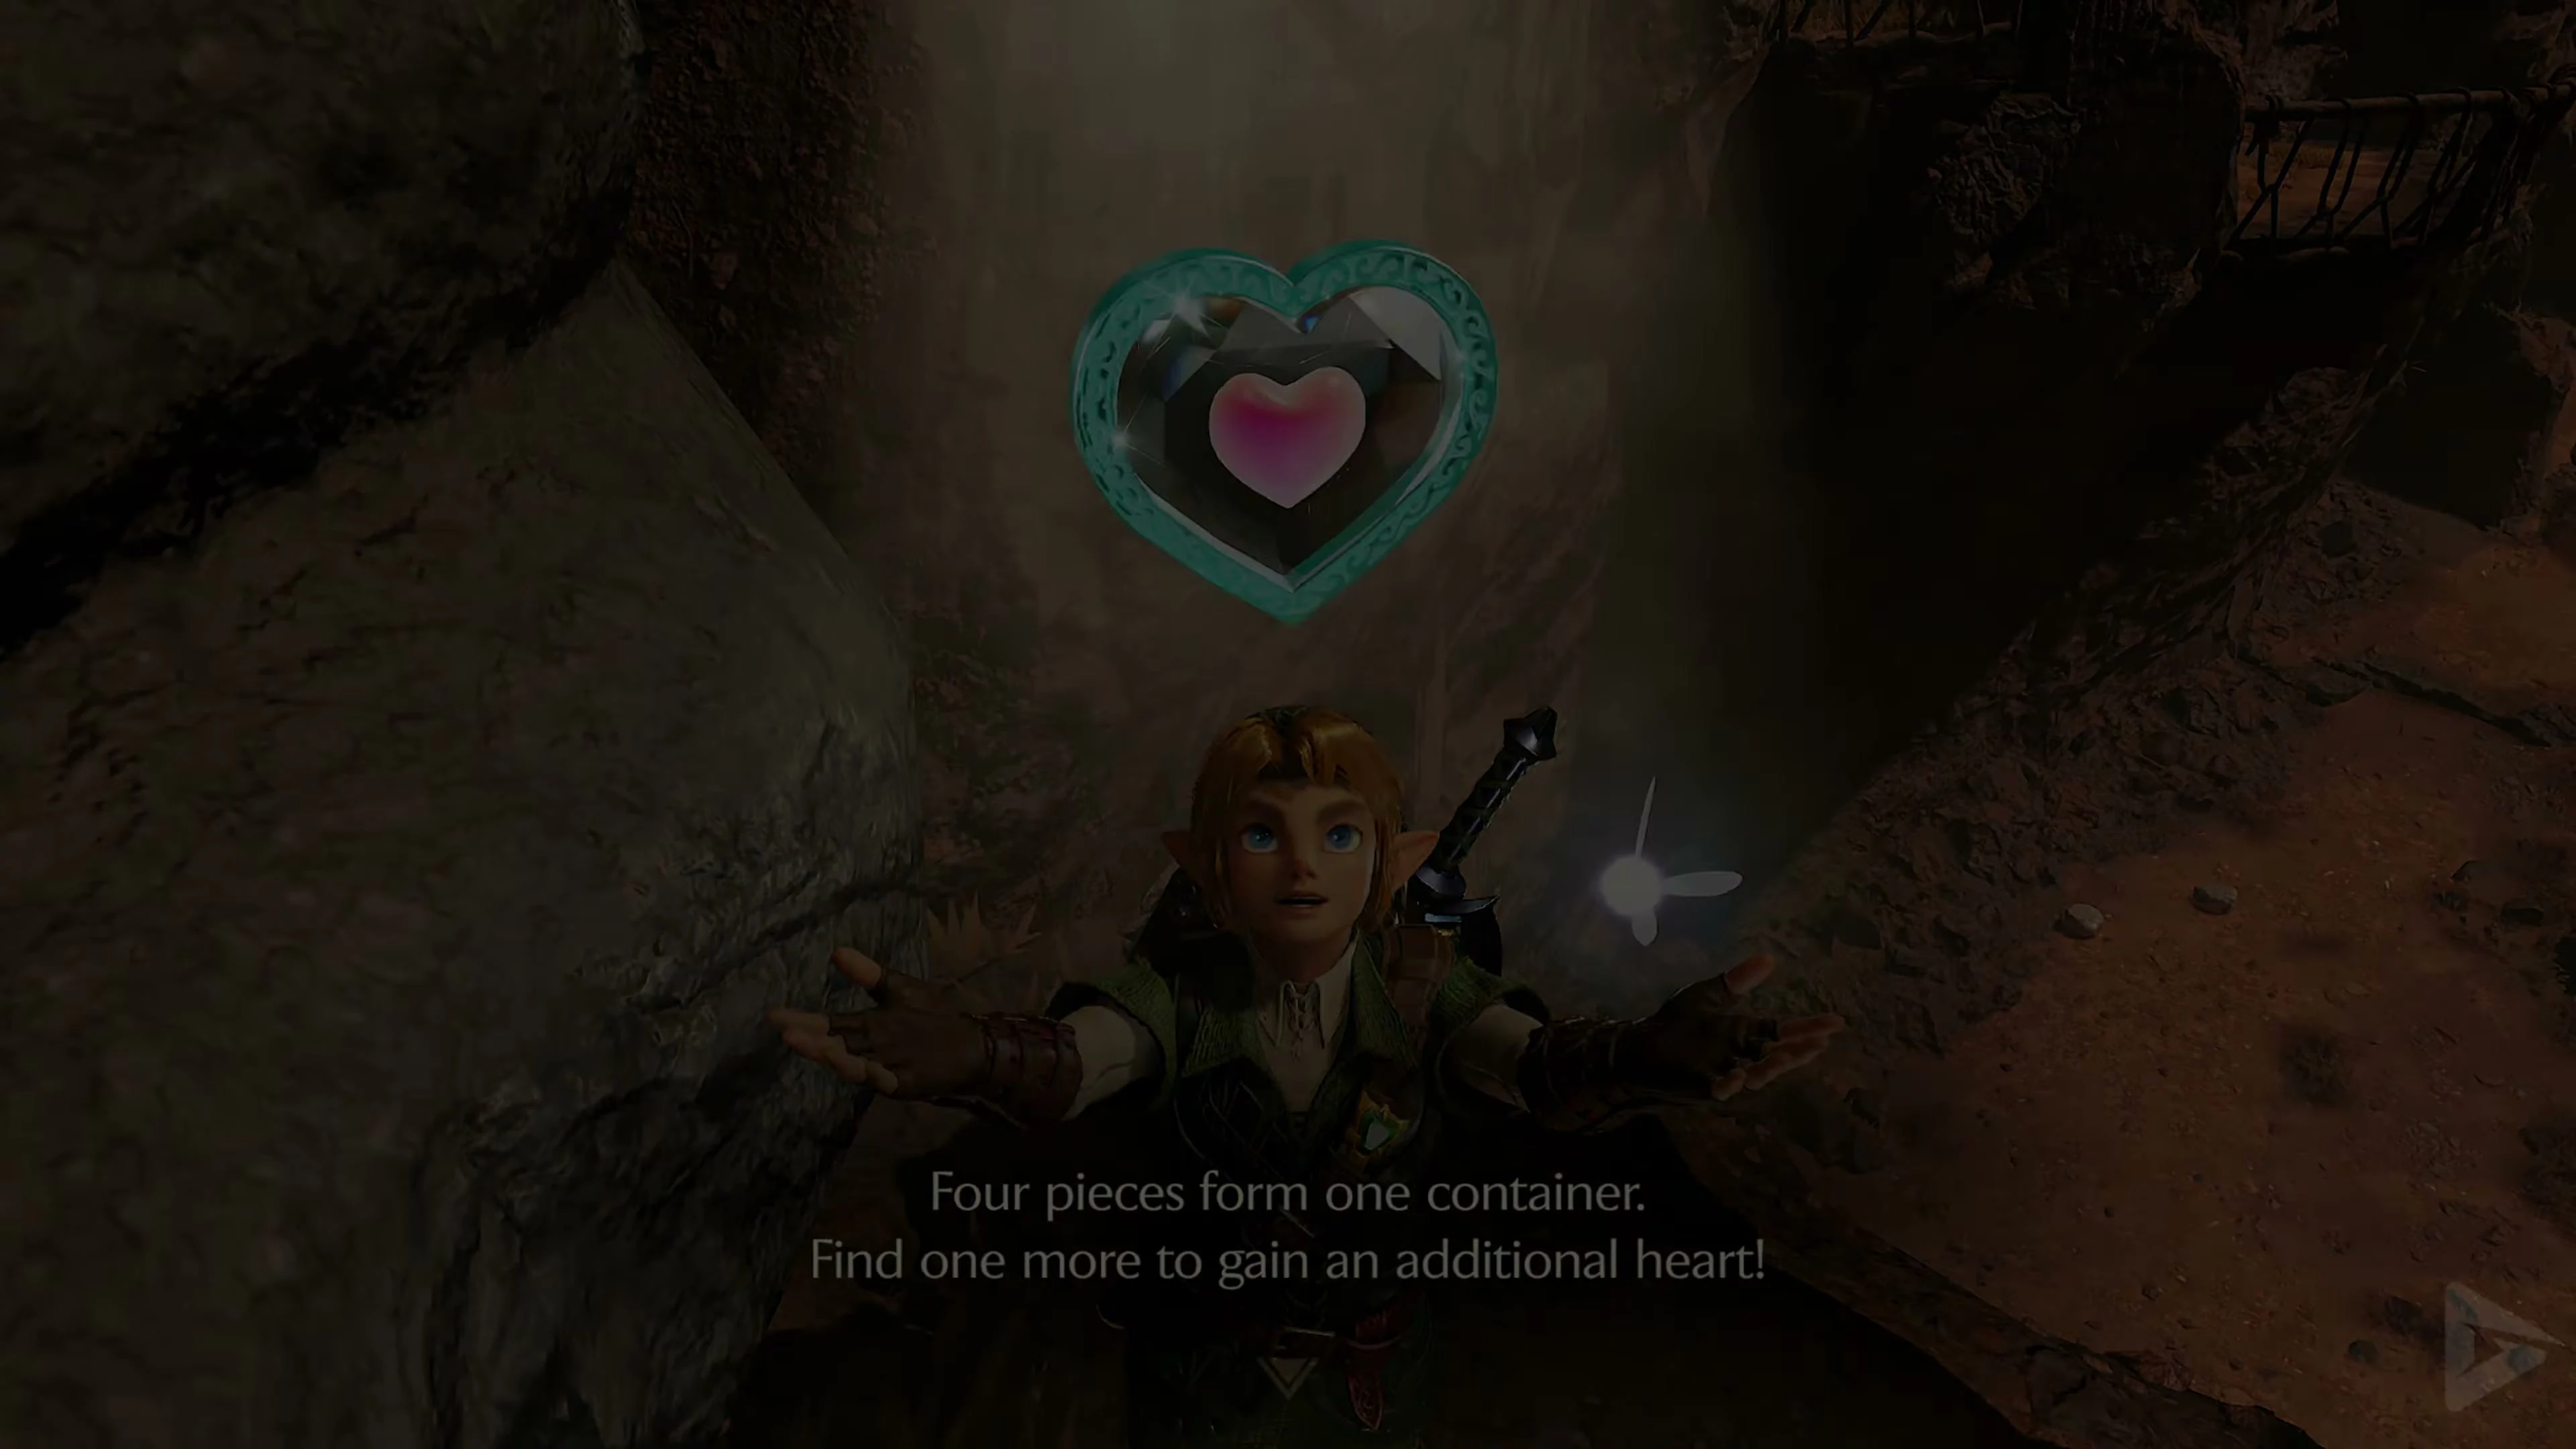
During the flower ride, switch to the next reachable flower. At the top, near the suspension bridge, rock steps lead to a small niche in the rock face. Climb inside and collect the Piece of Heart . Then follow the elevated rock path to the side entrance of Dodongo Cavern .
Gold Skulltula 5/5 – Return through Dodongo Cavern
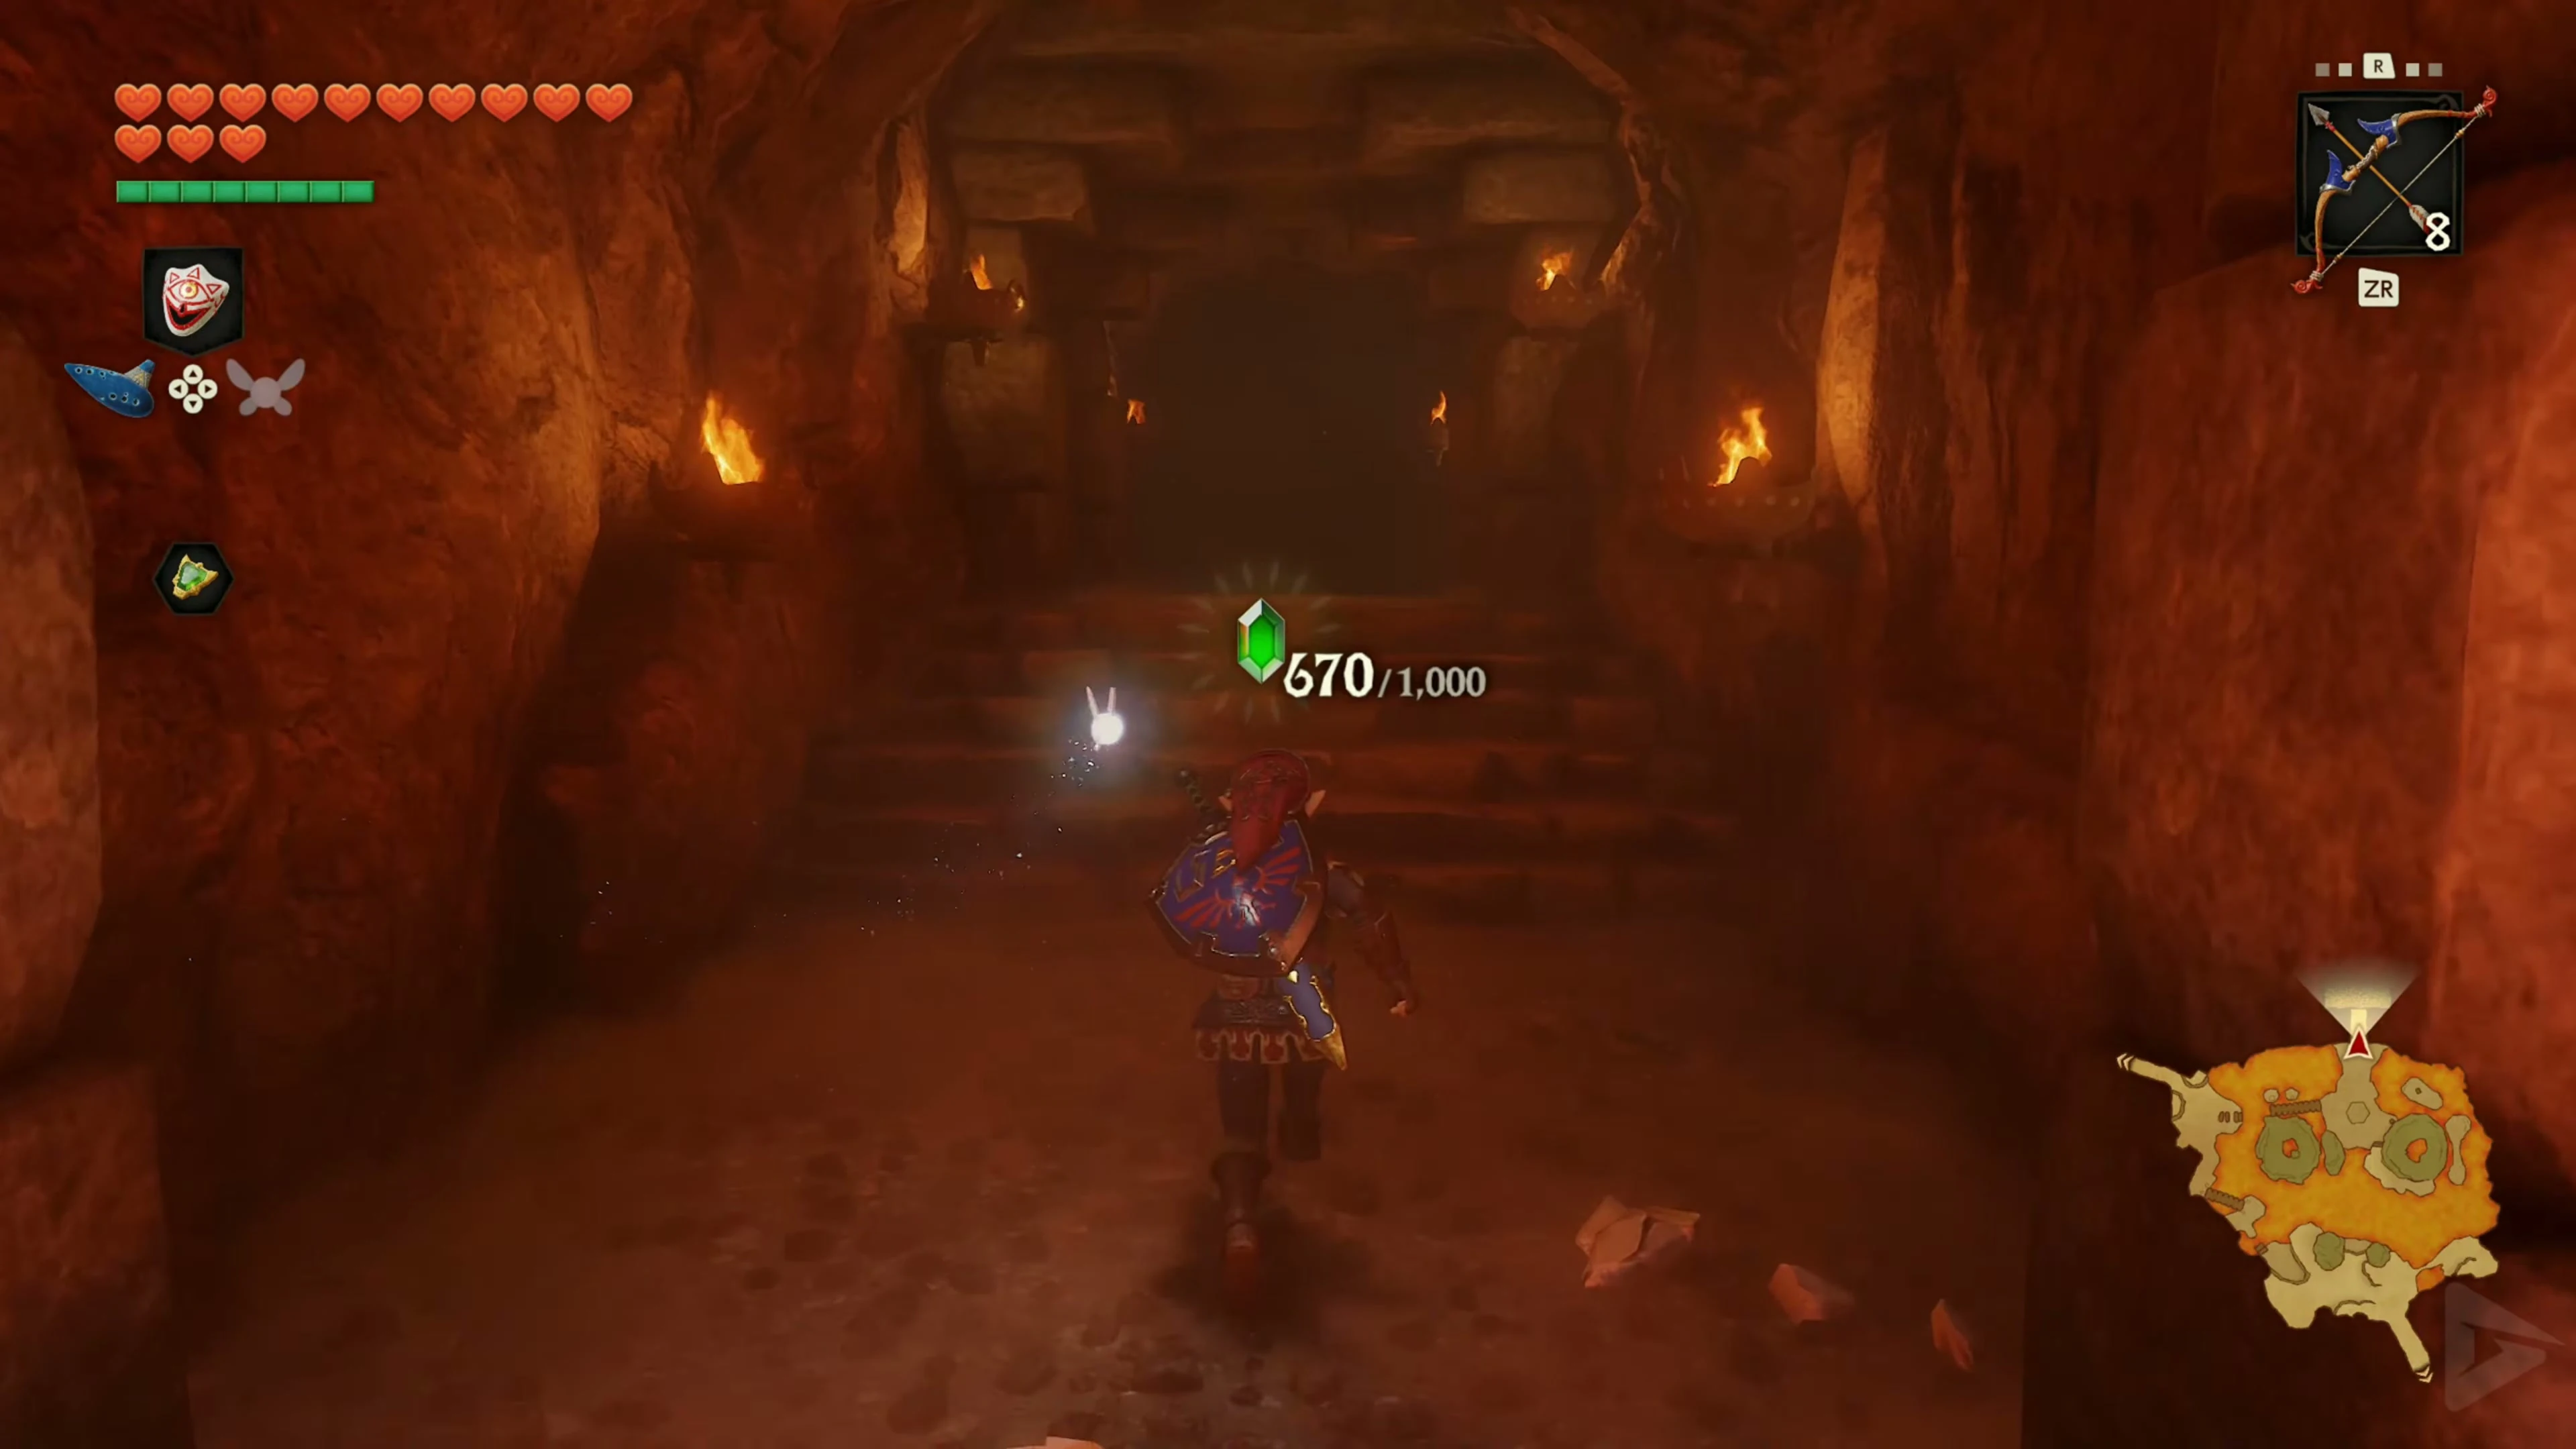
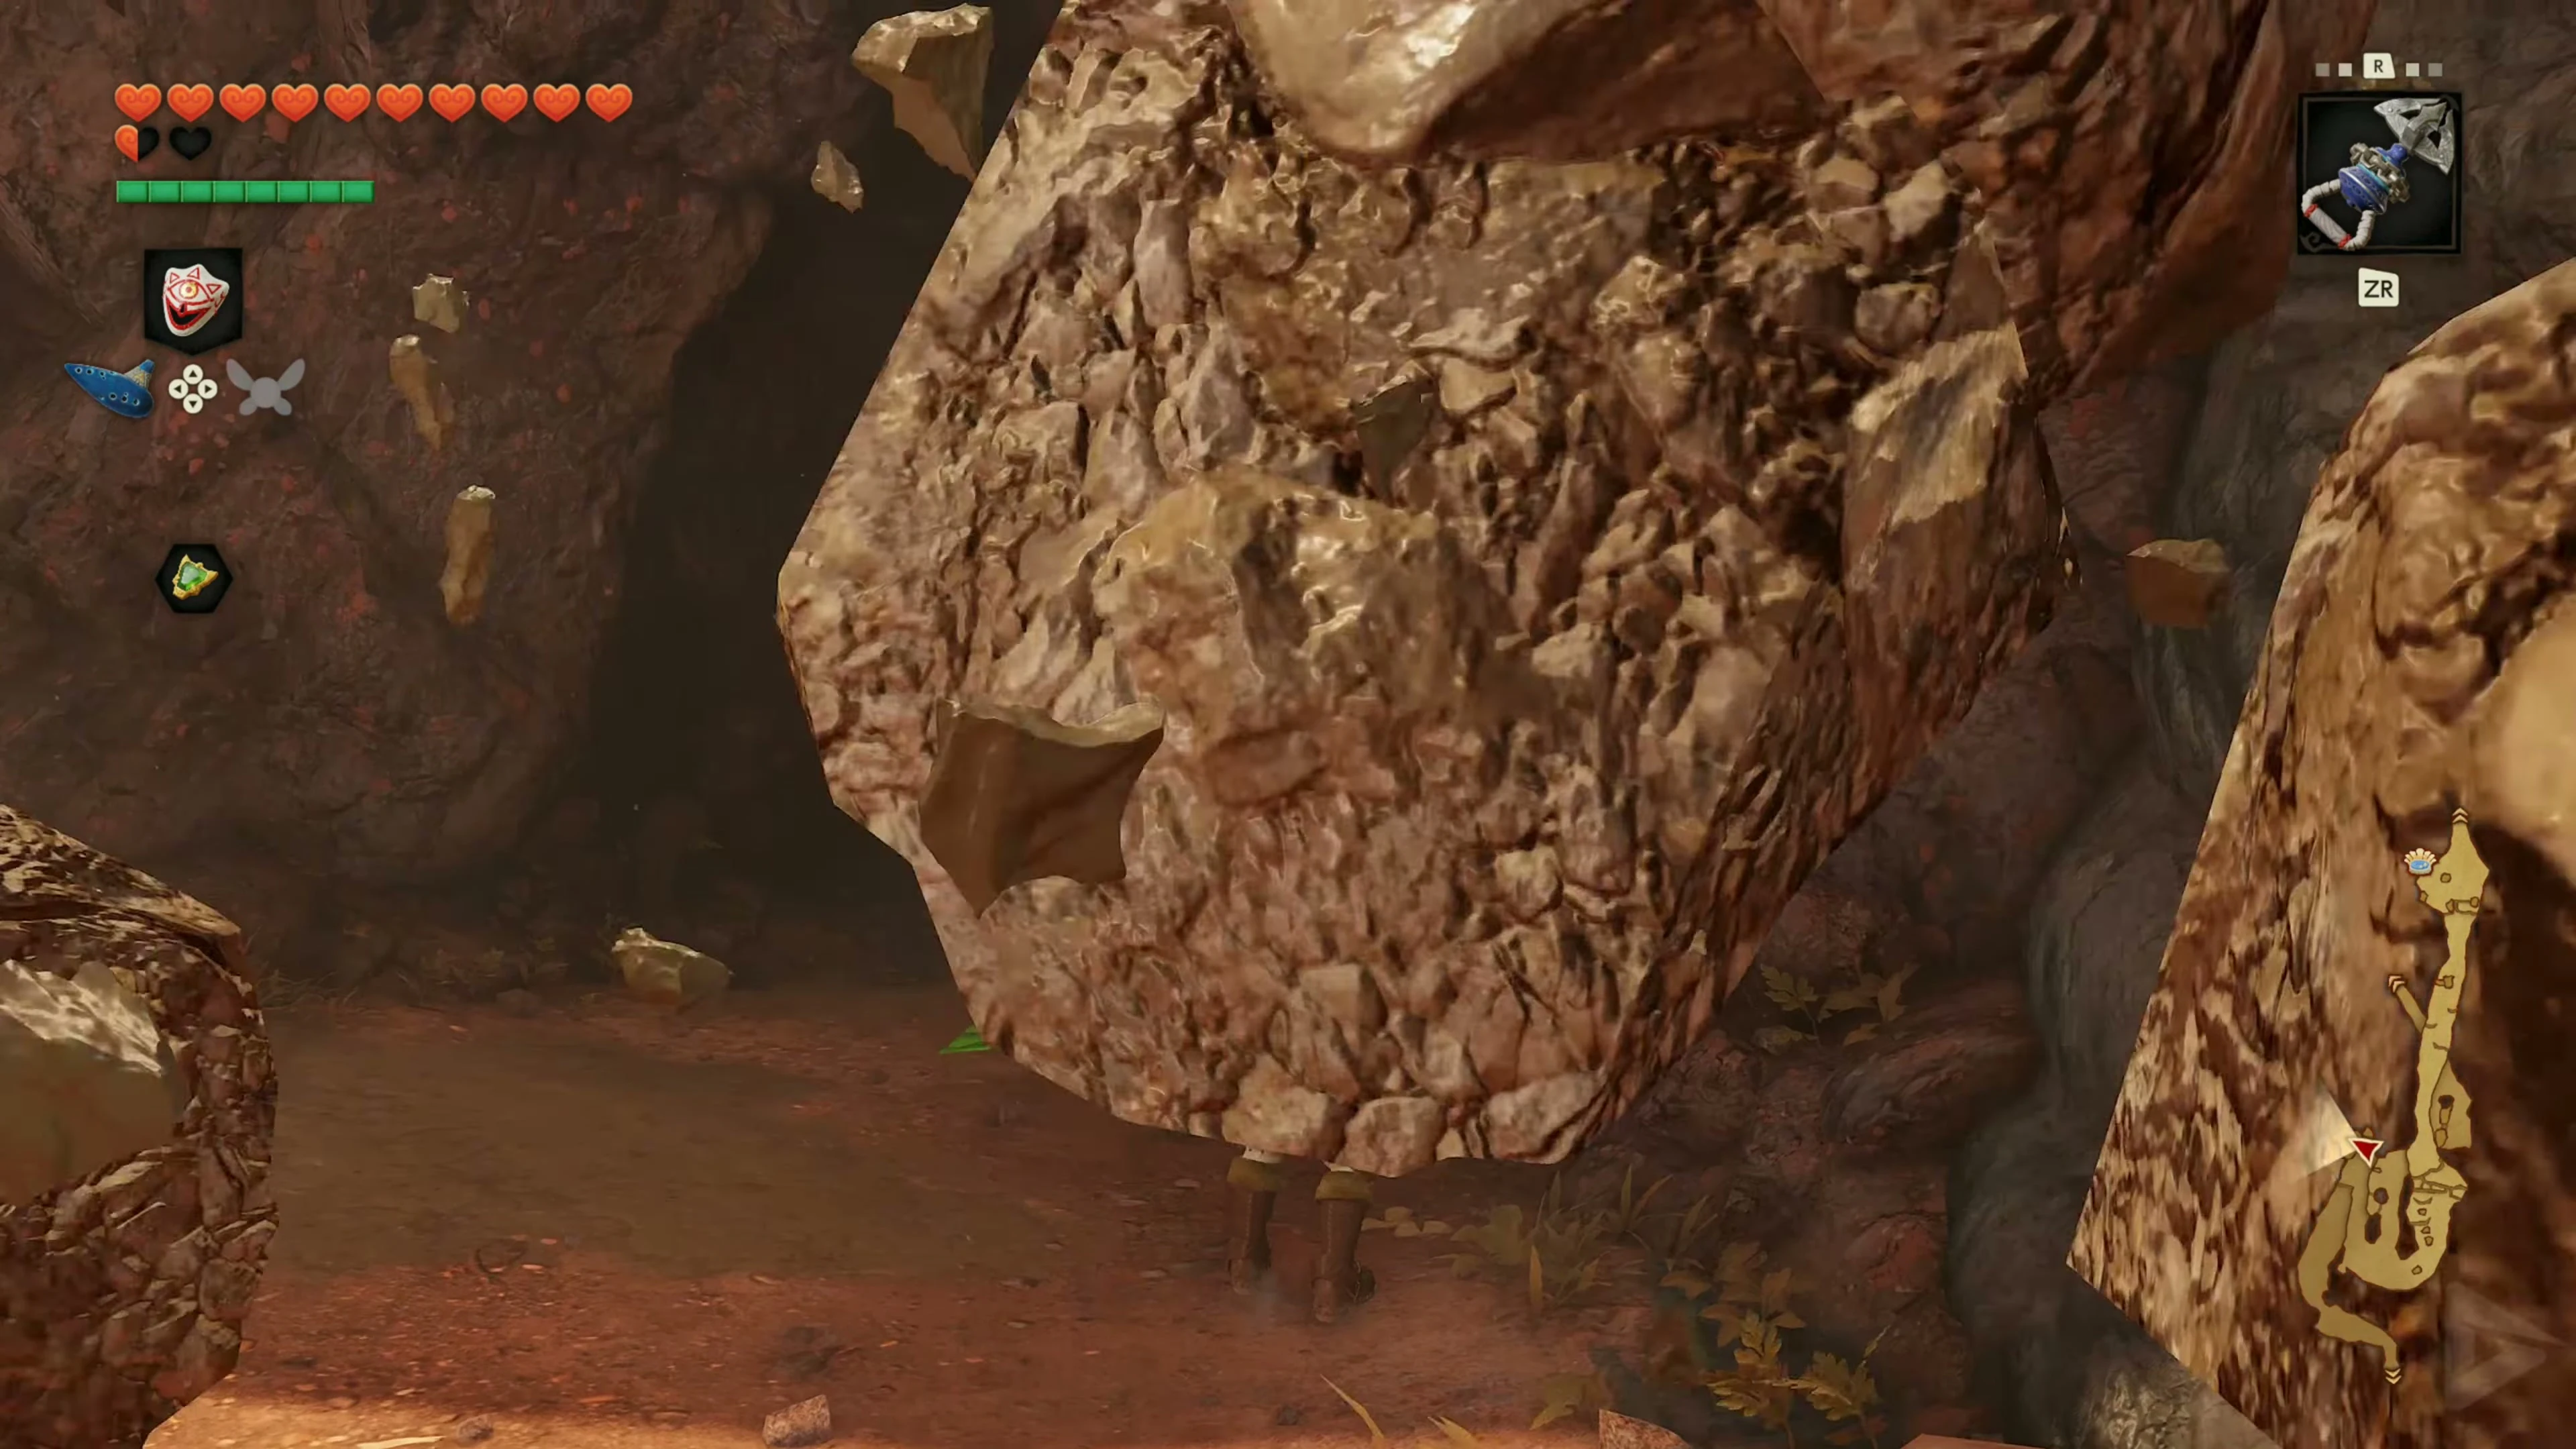
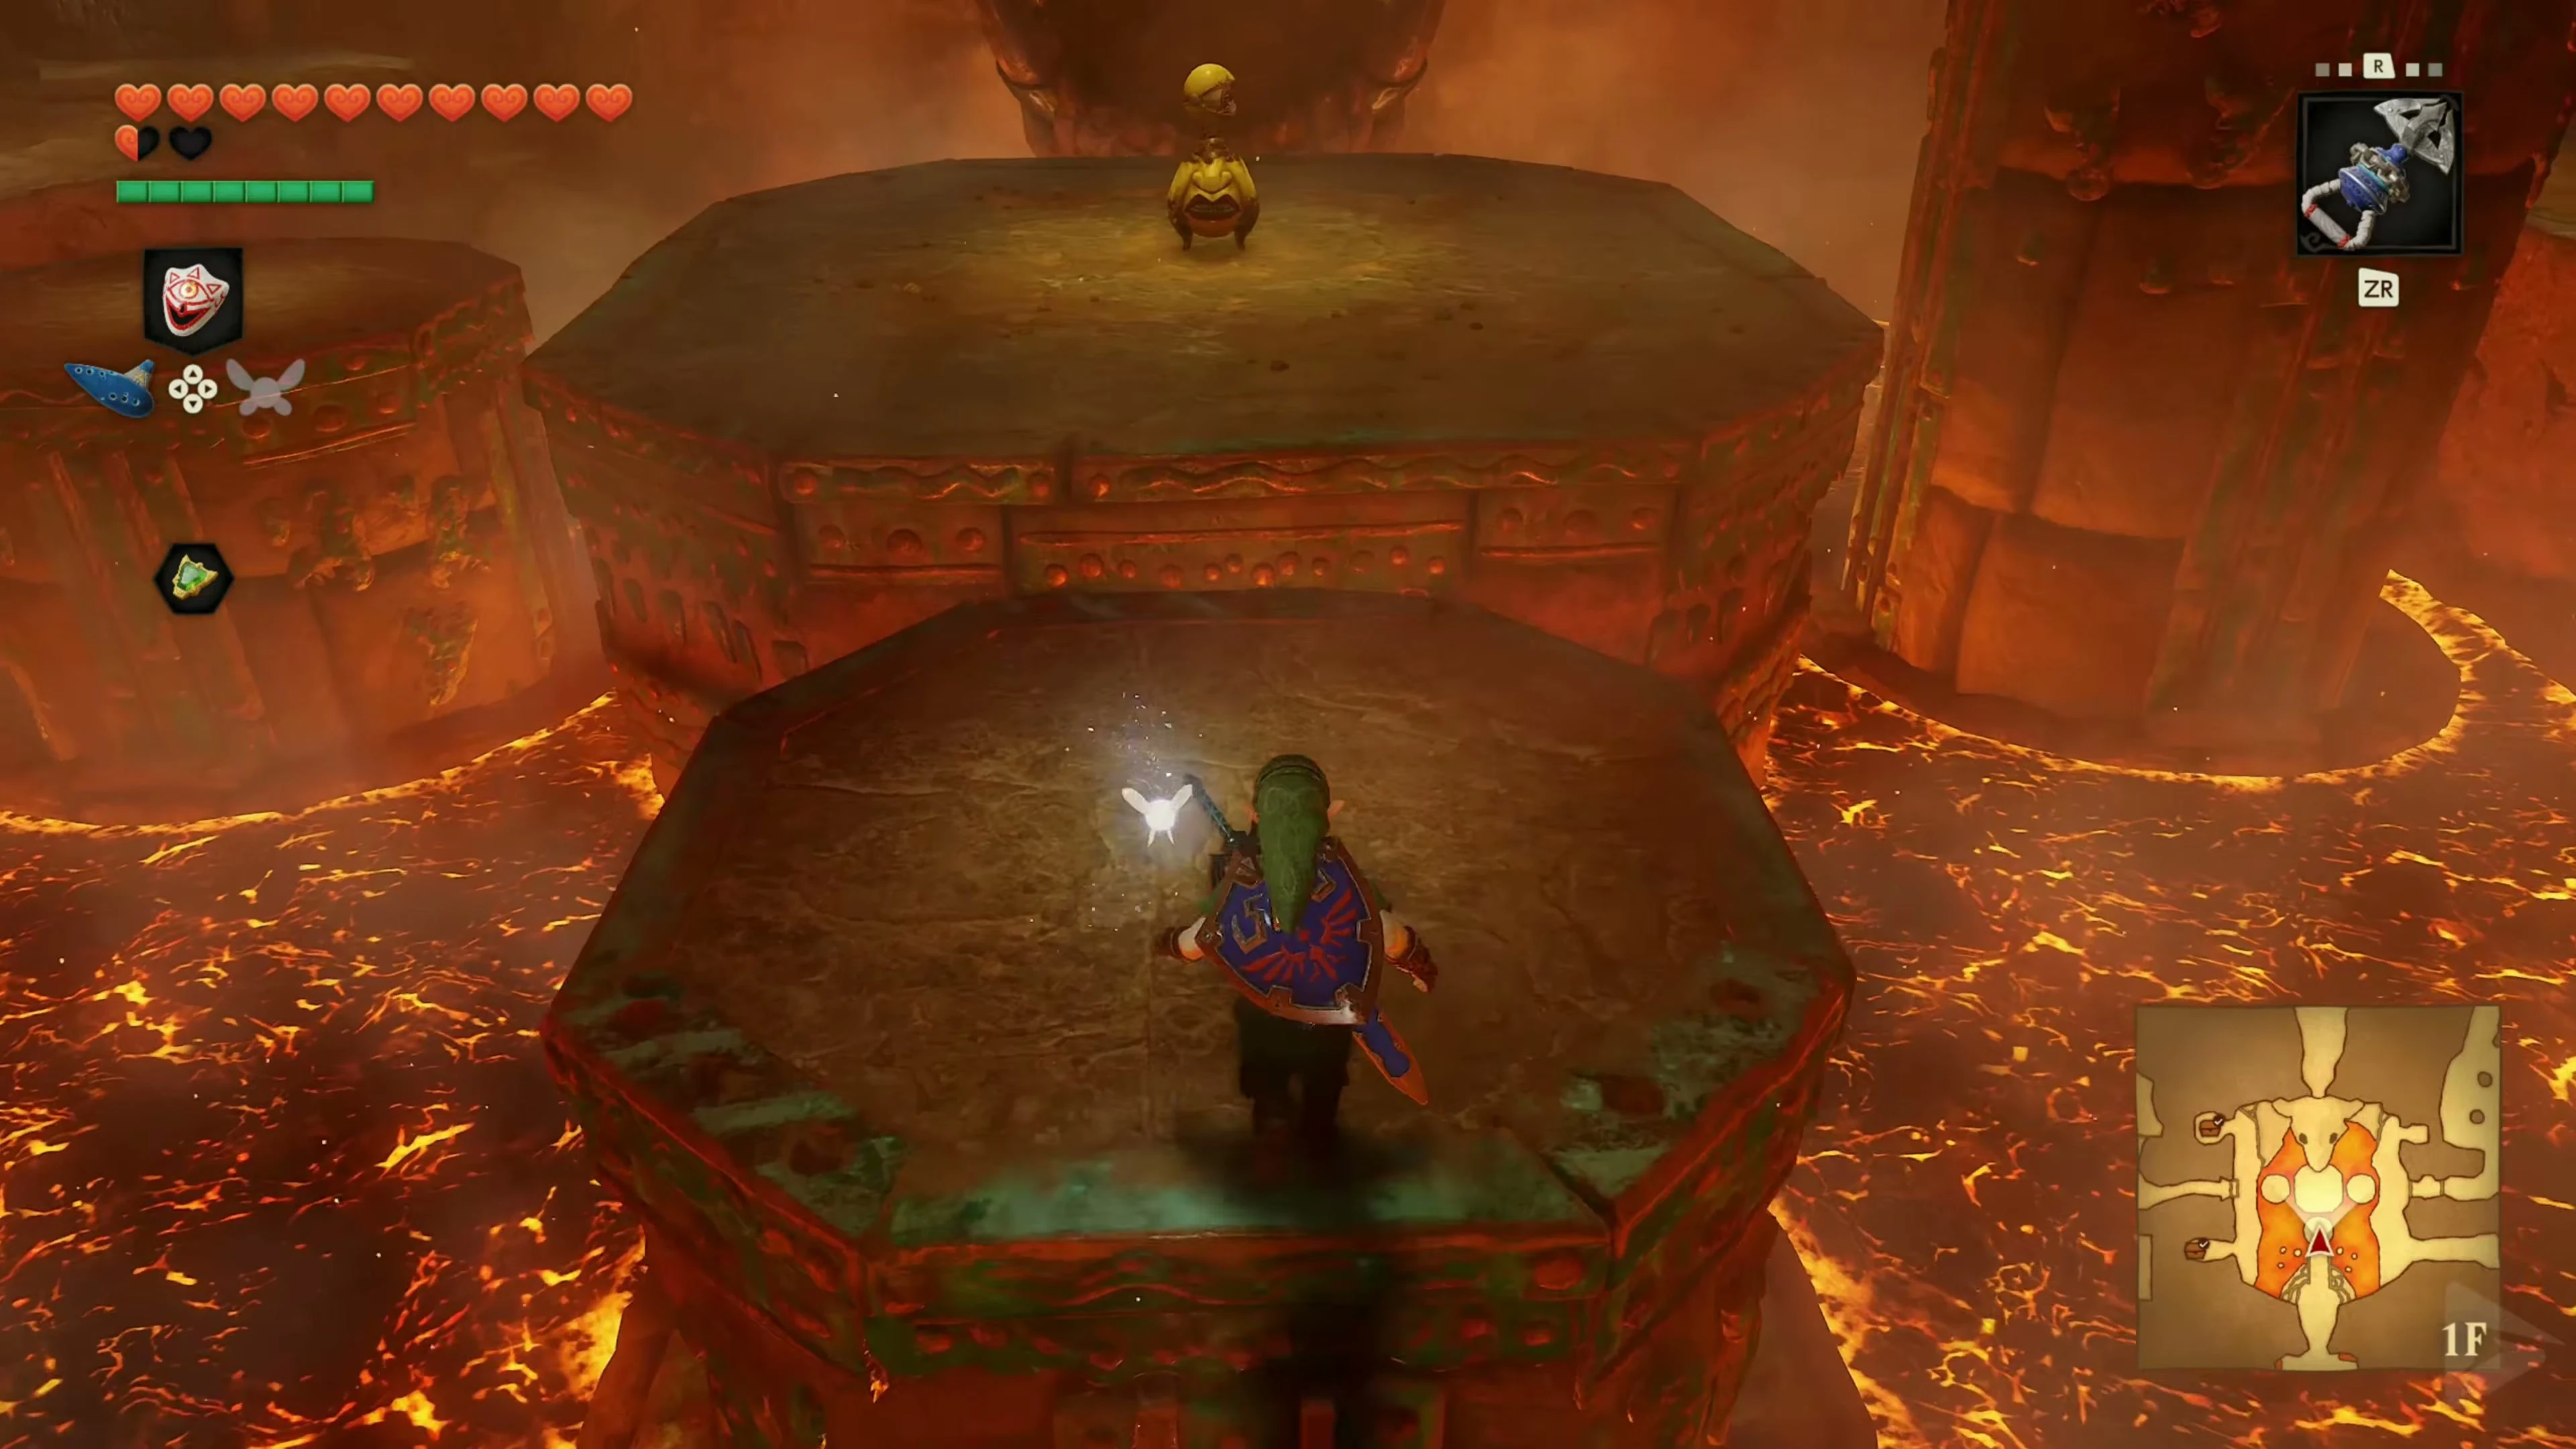
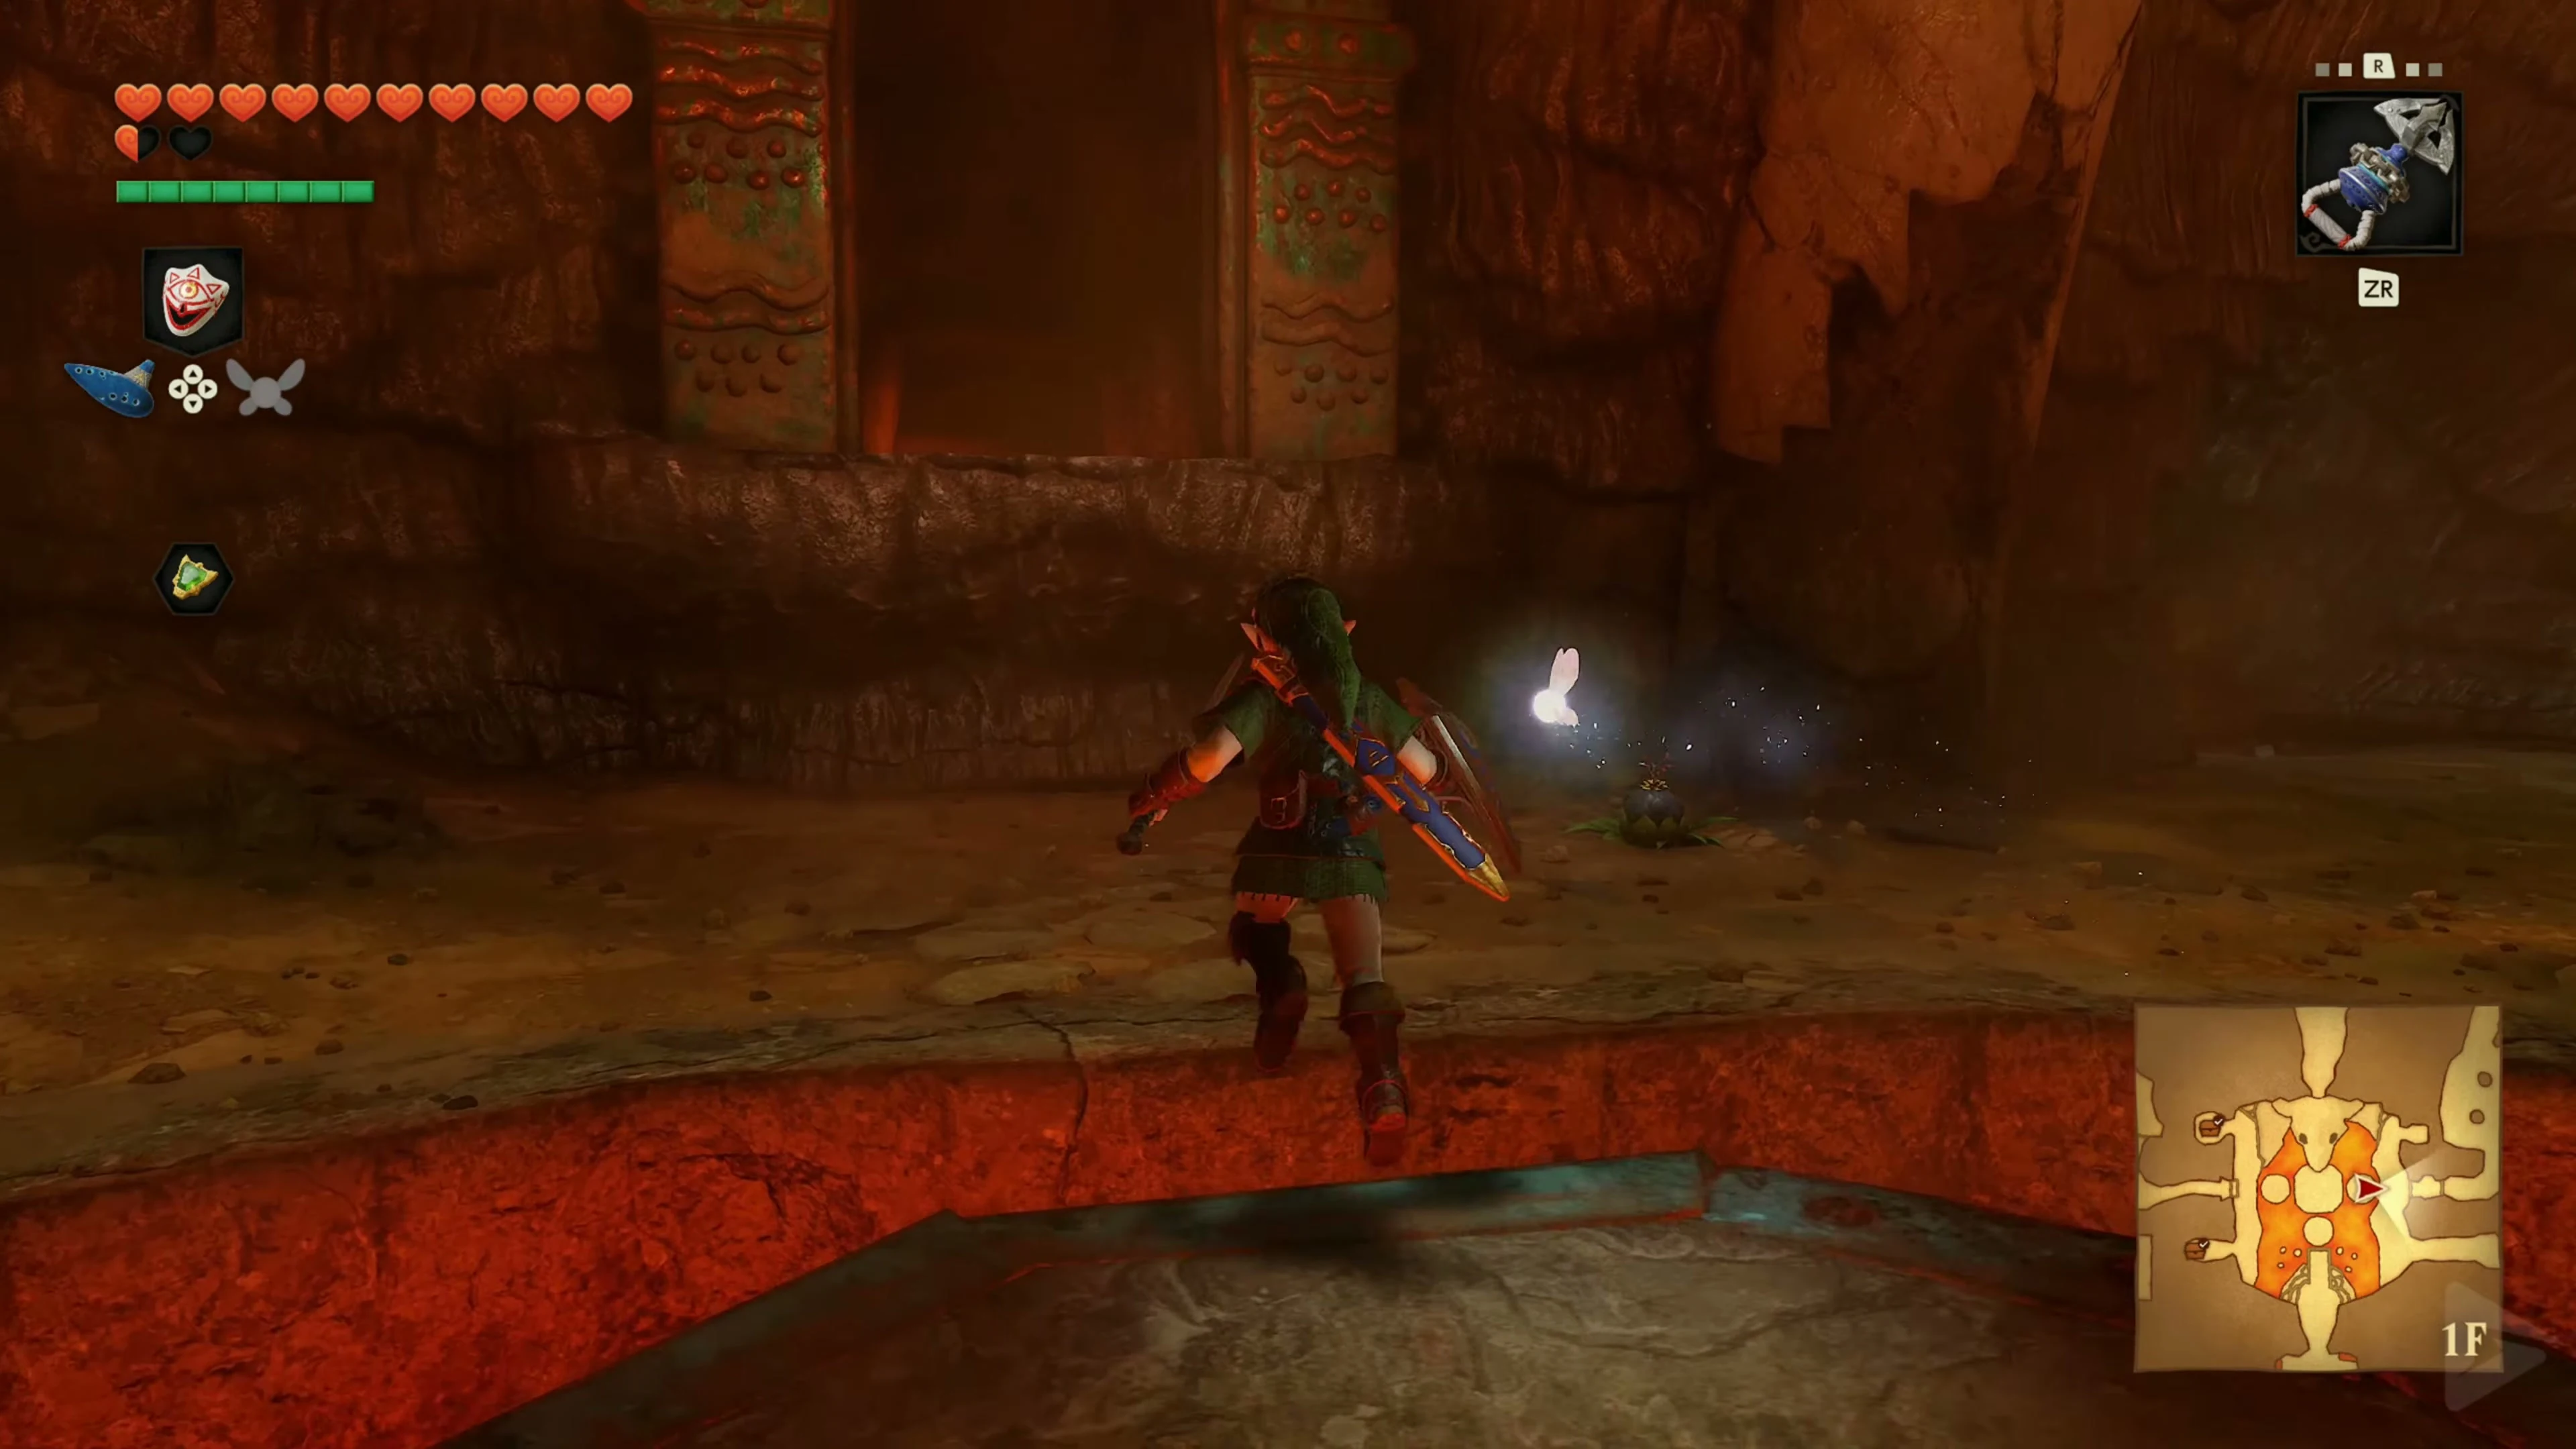
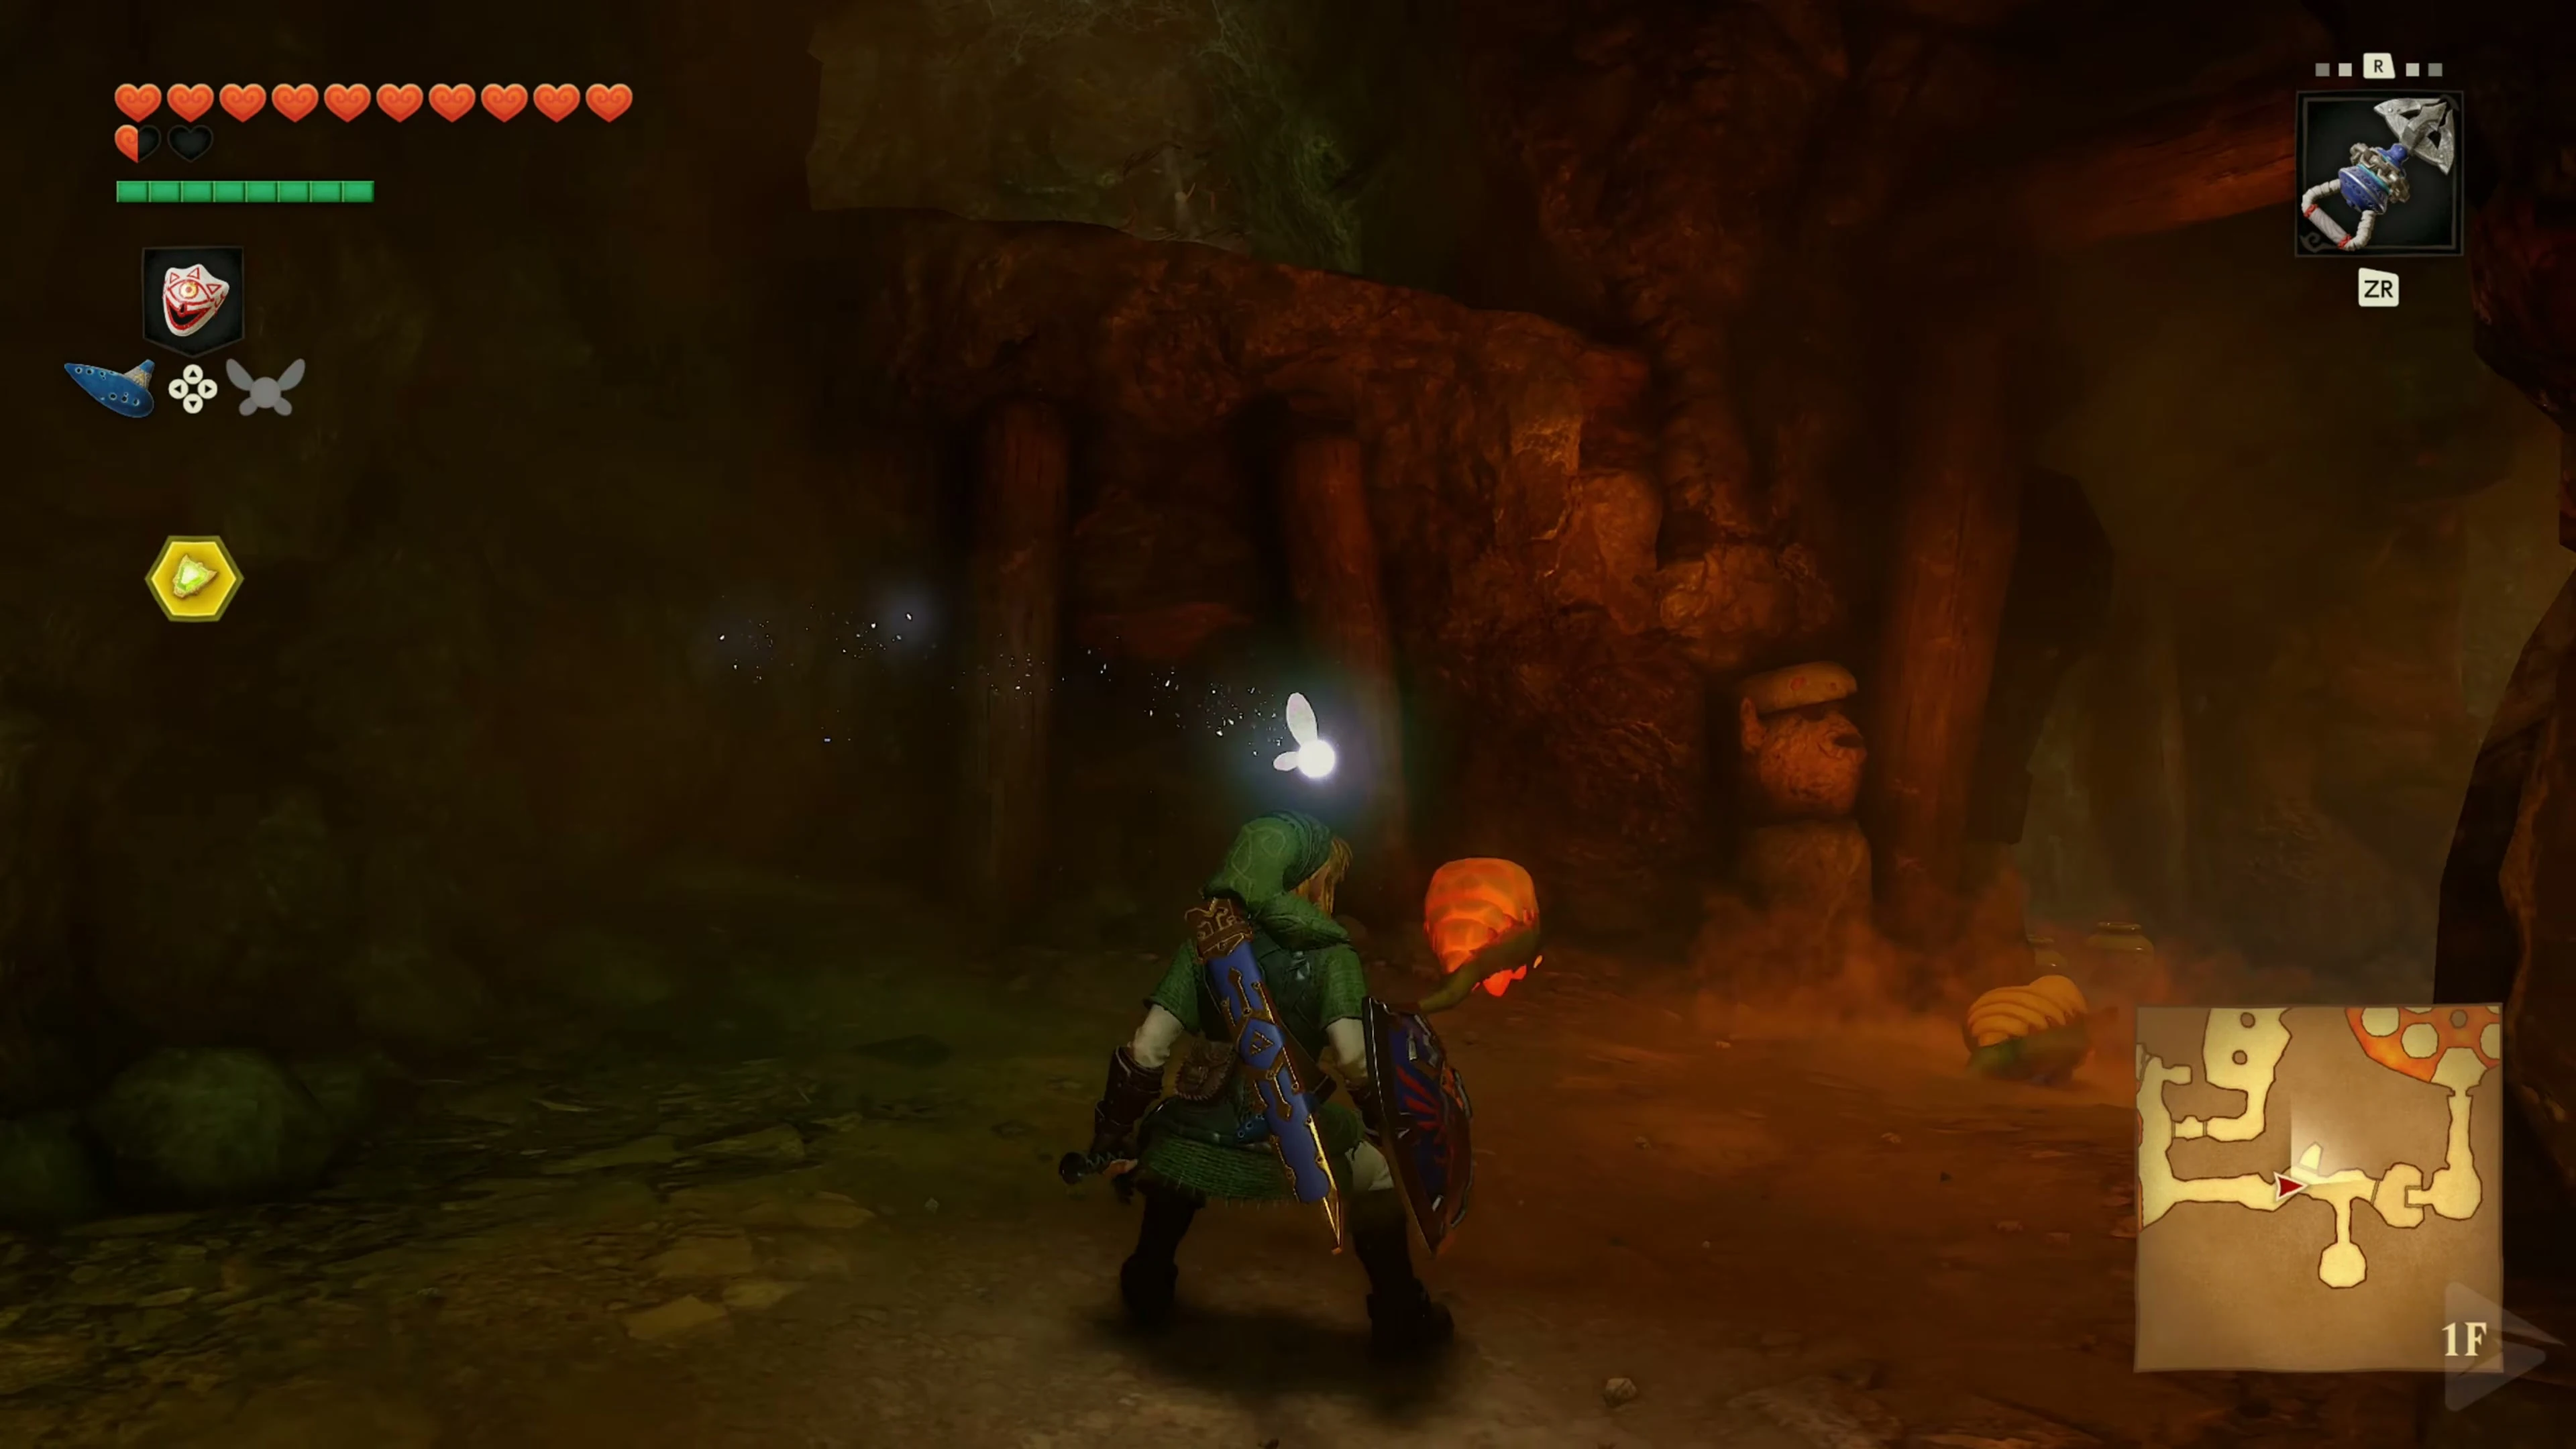
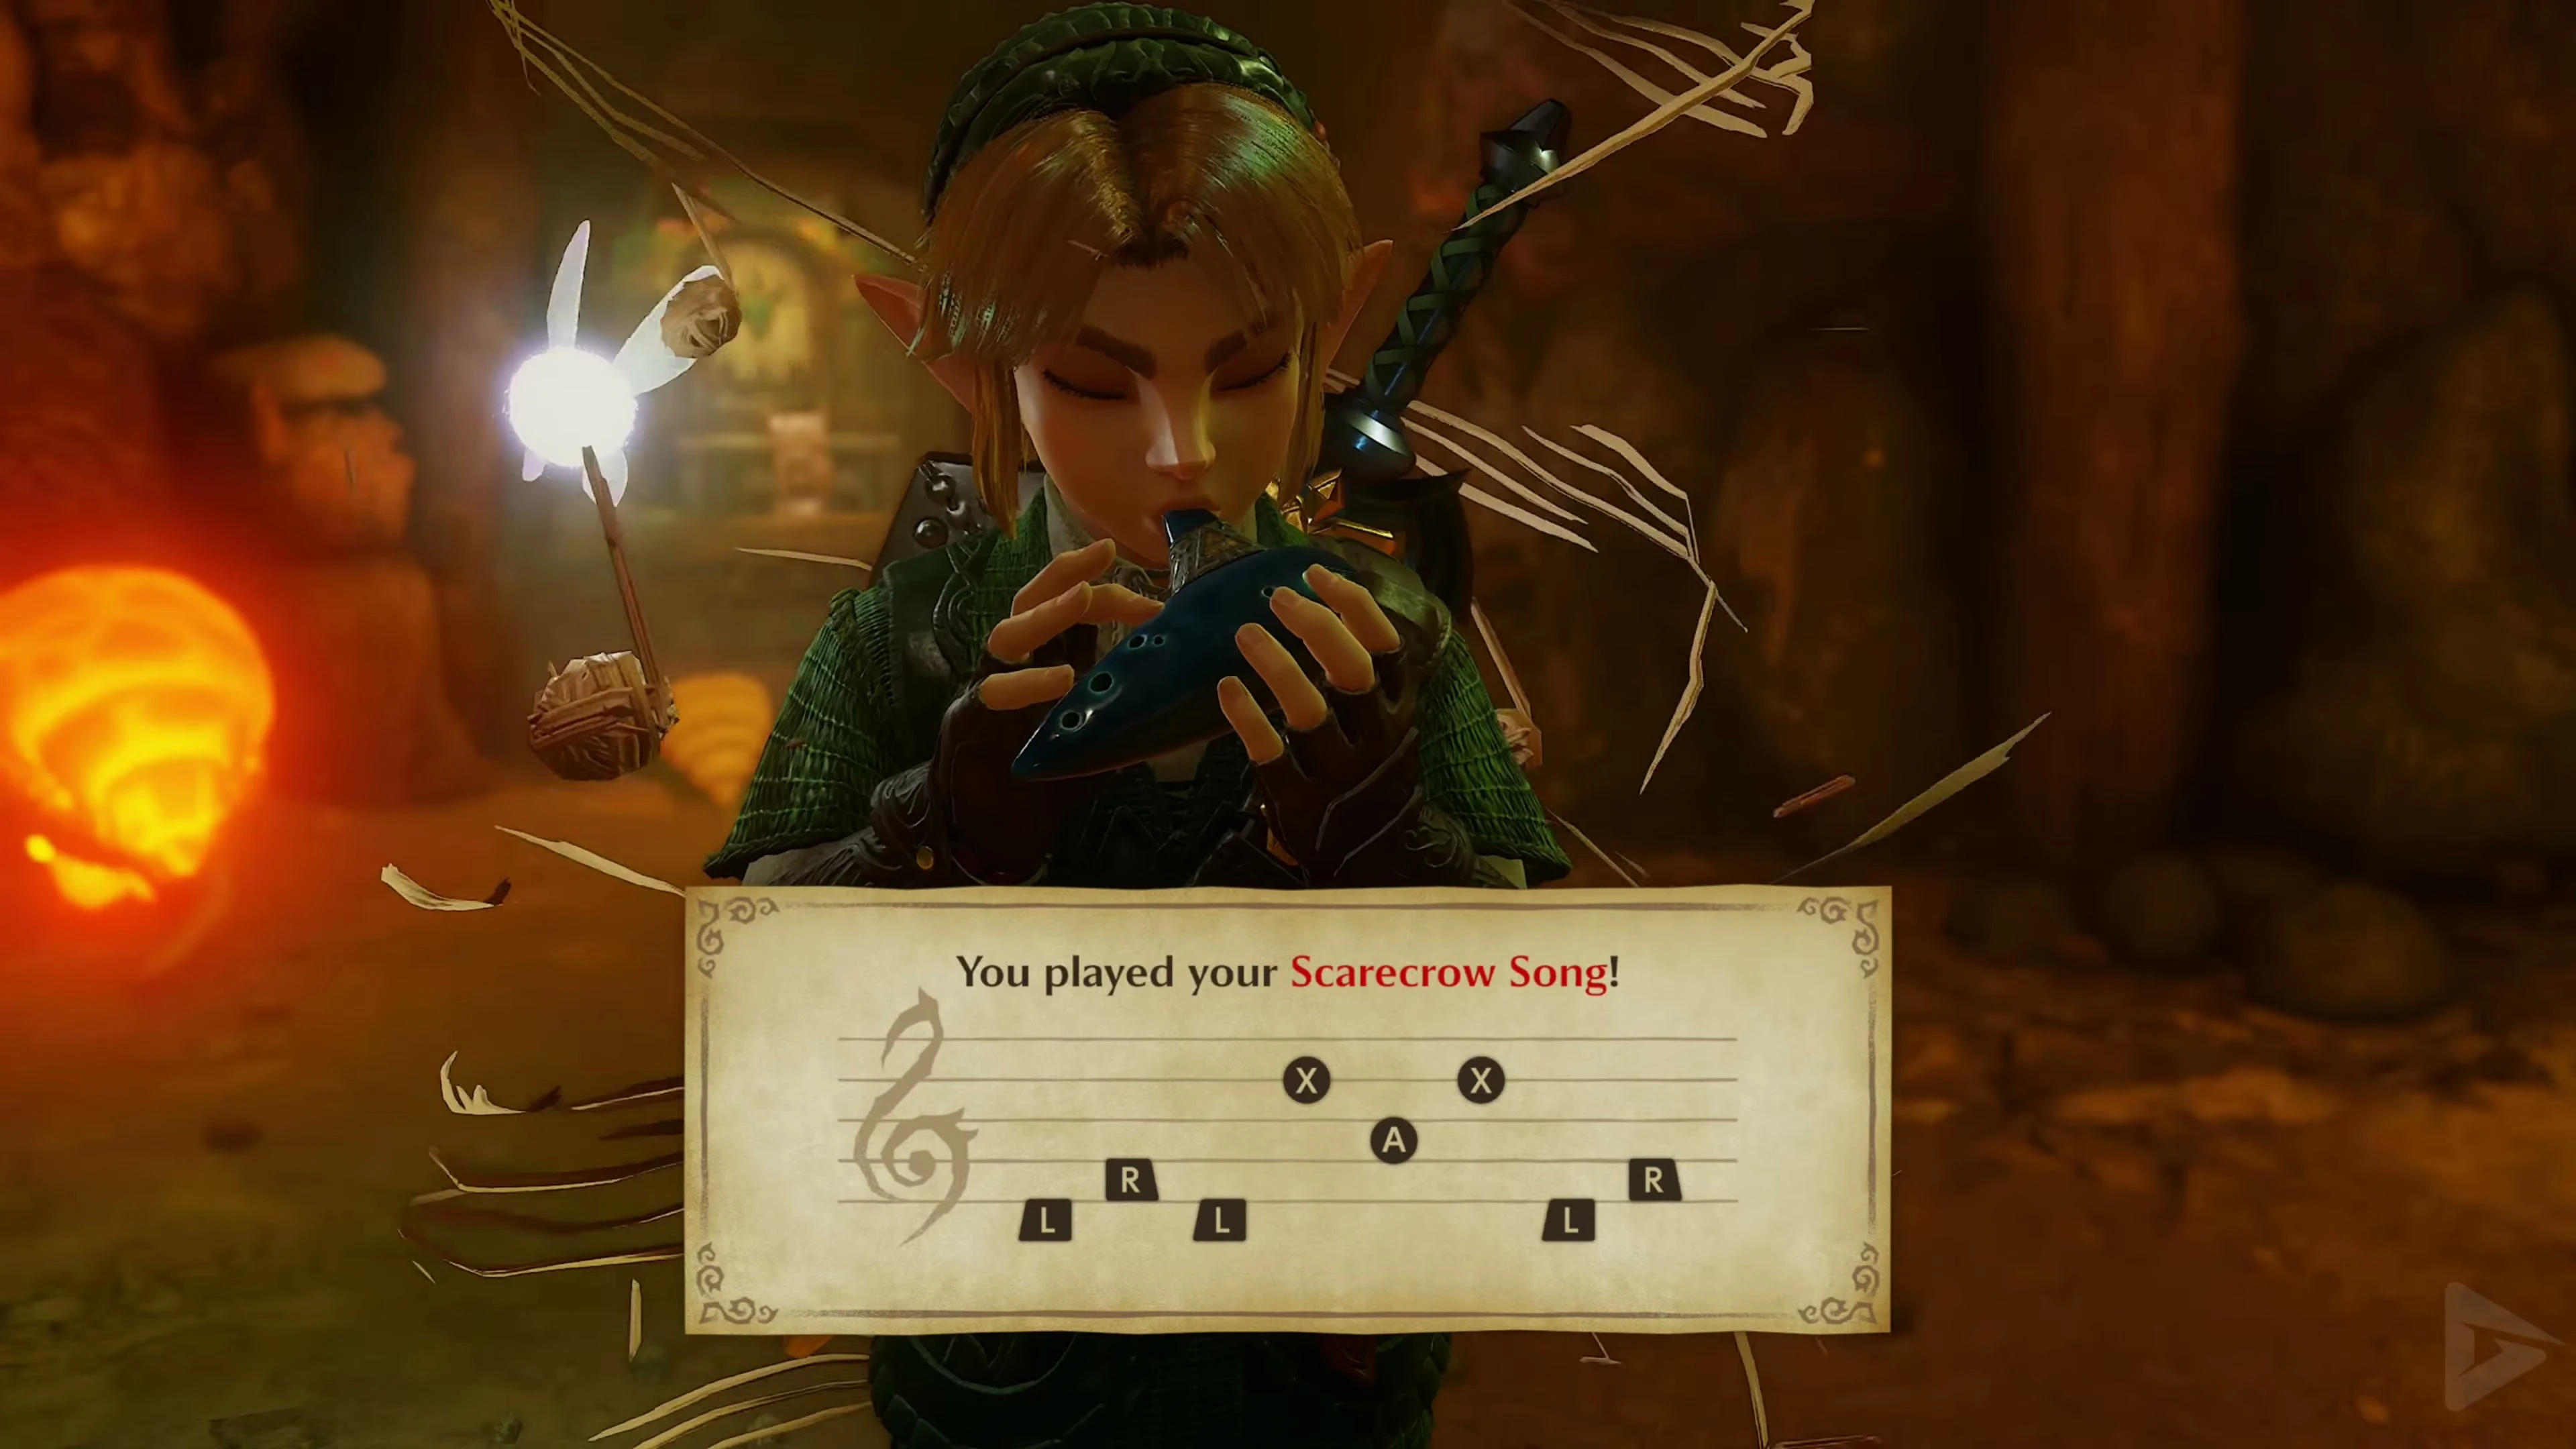
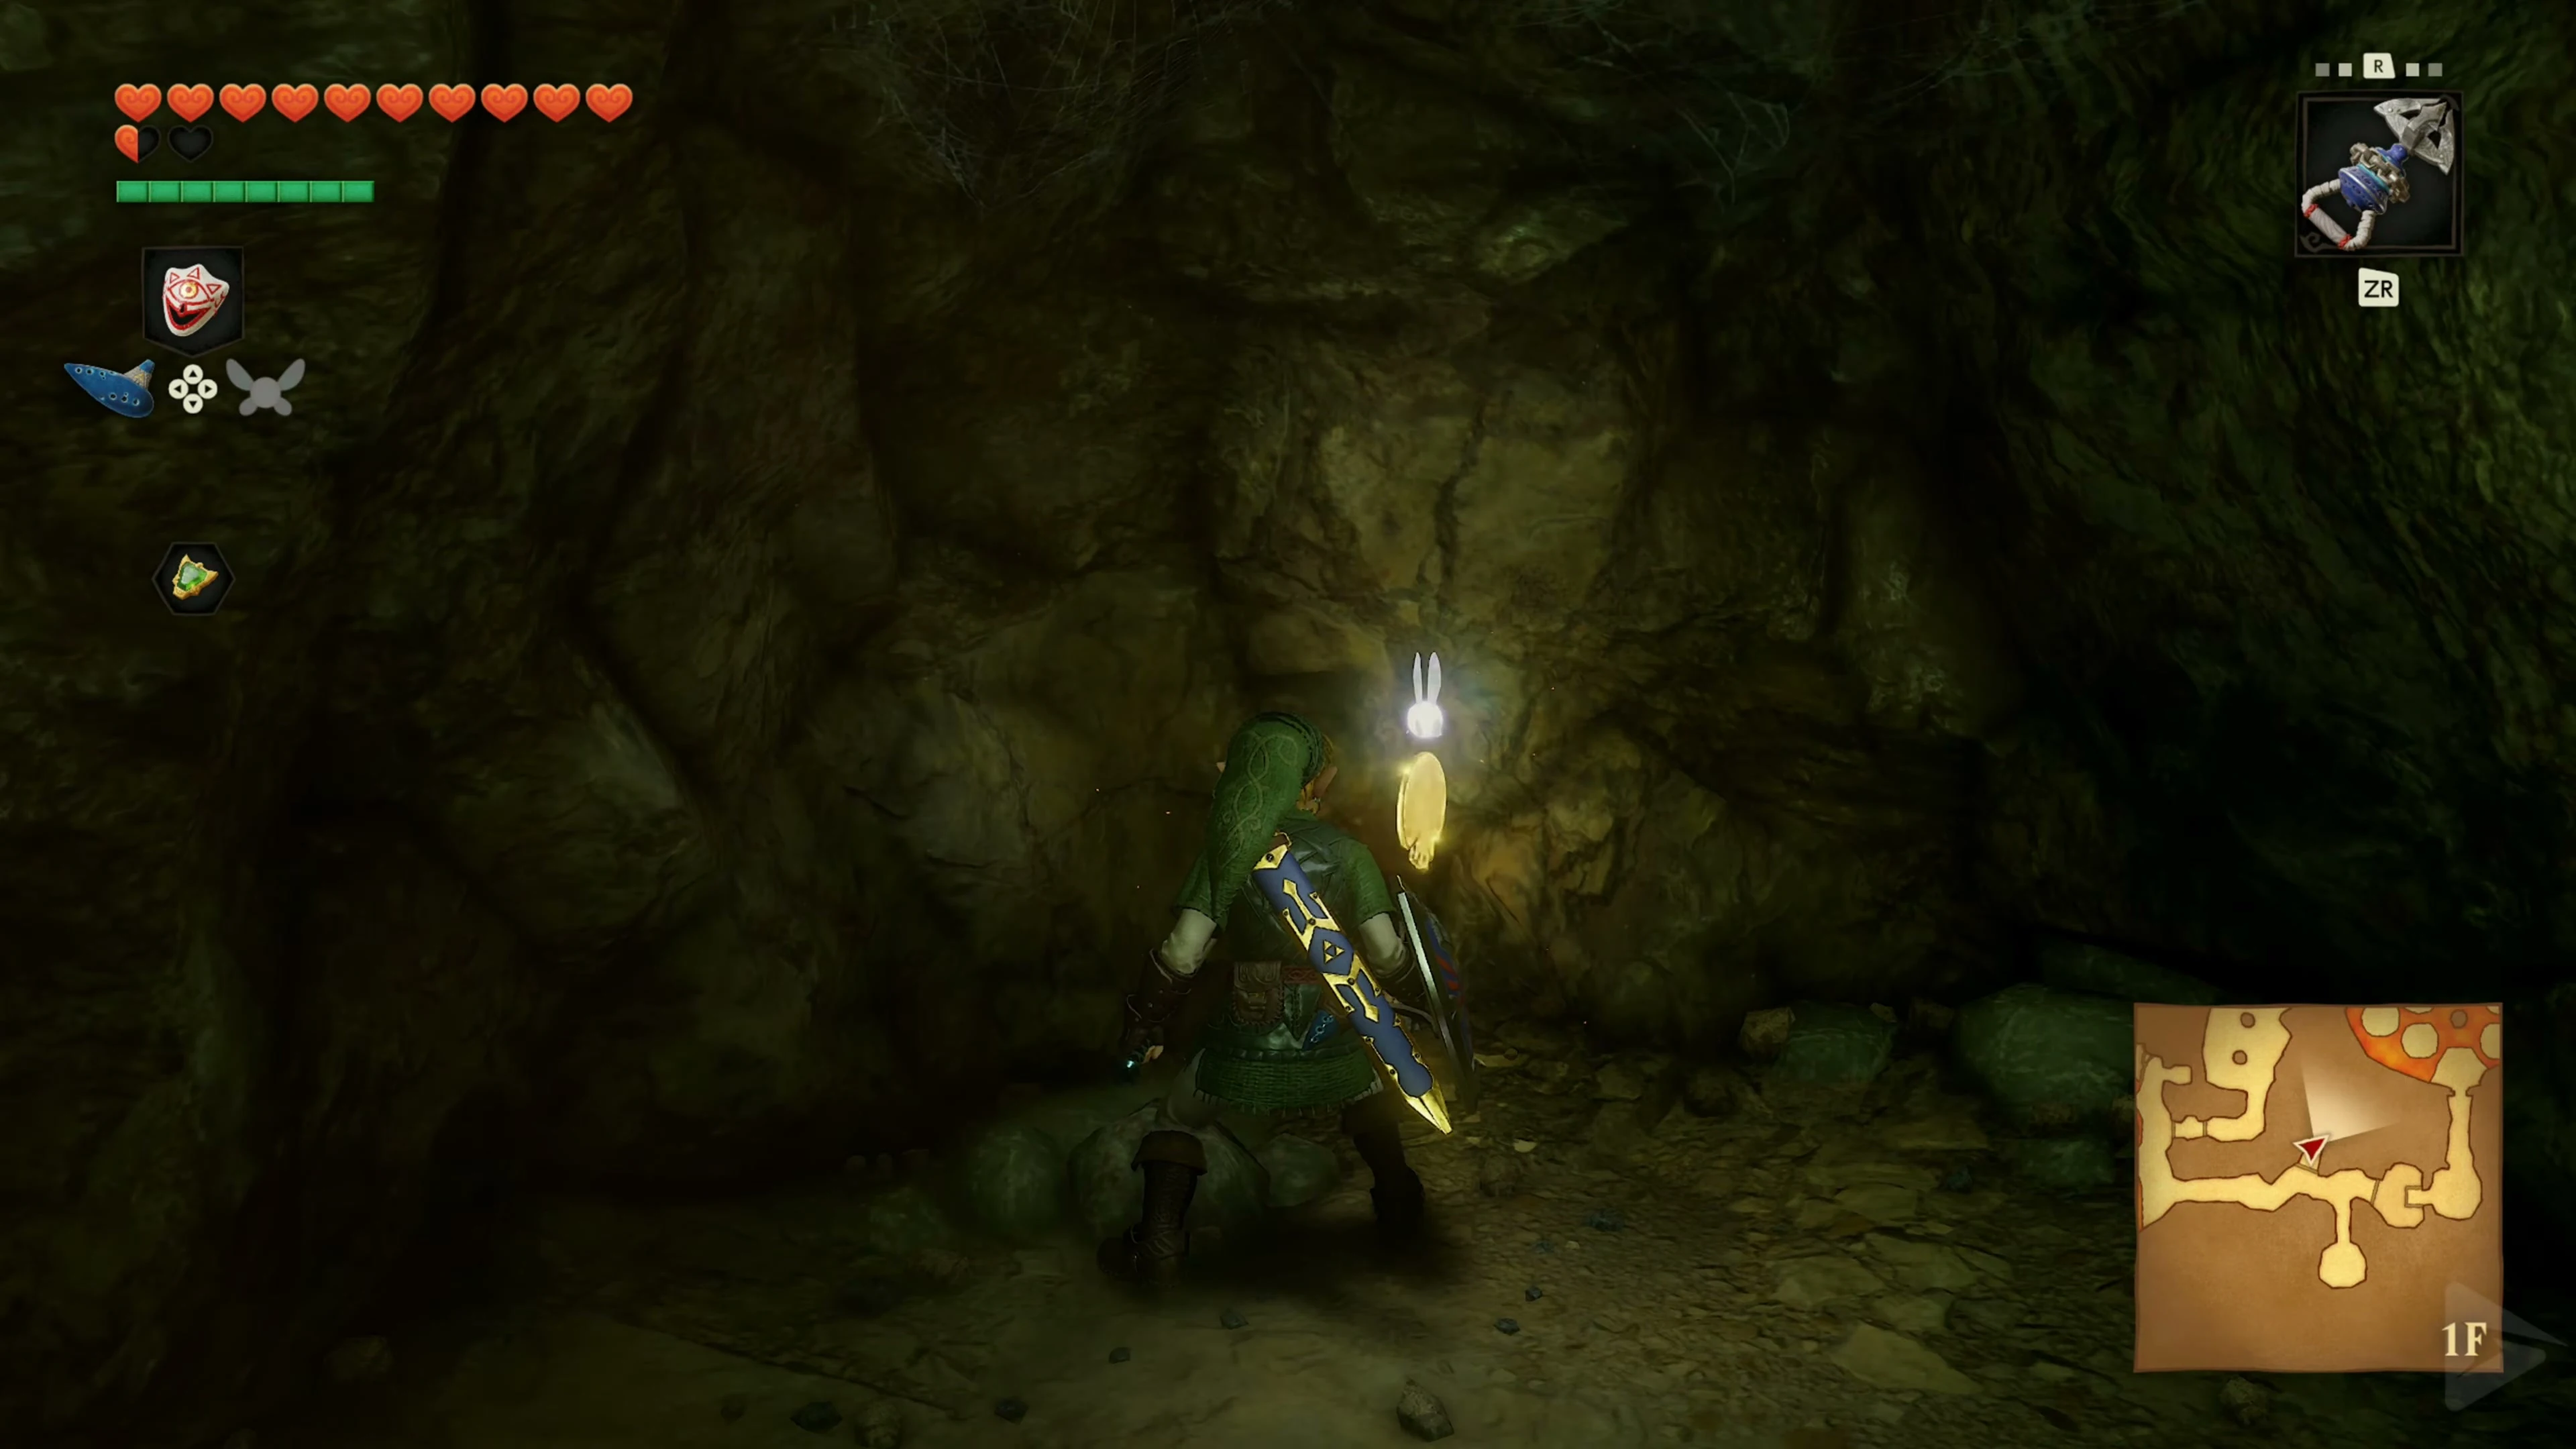
Enter the cave through the rock passage. In the Lava Hall, follow the stone platforms and the wooden walkway to the connecting passage. Go to the Baby Dodongo Passage on the southeast side of the main hall , where you opened the cracked side wall as a child. Stand under the high ledge and play Scarecrow Song . Use the Hookshot to pull yourself up to Pierre . Defeat the Gold Skulltula on the back wall of the hideout and collect its Token .
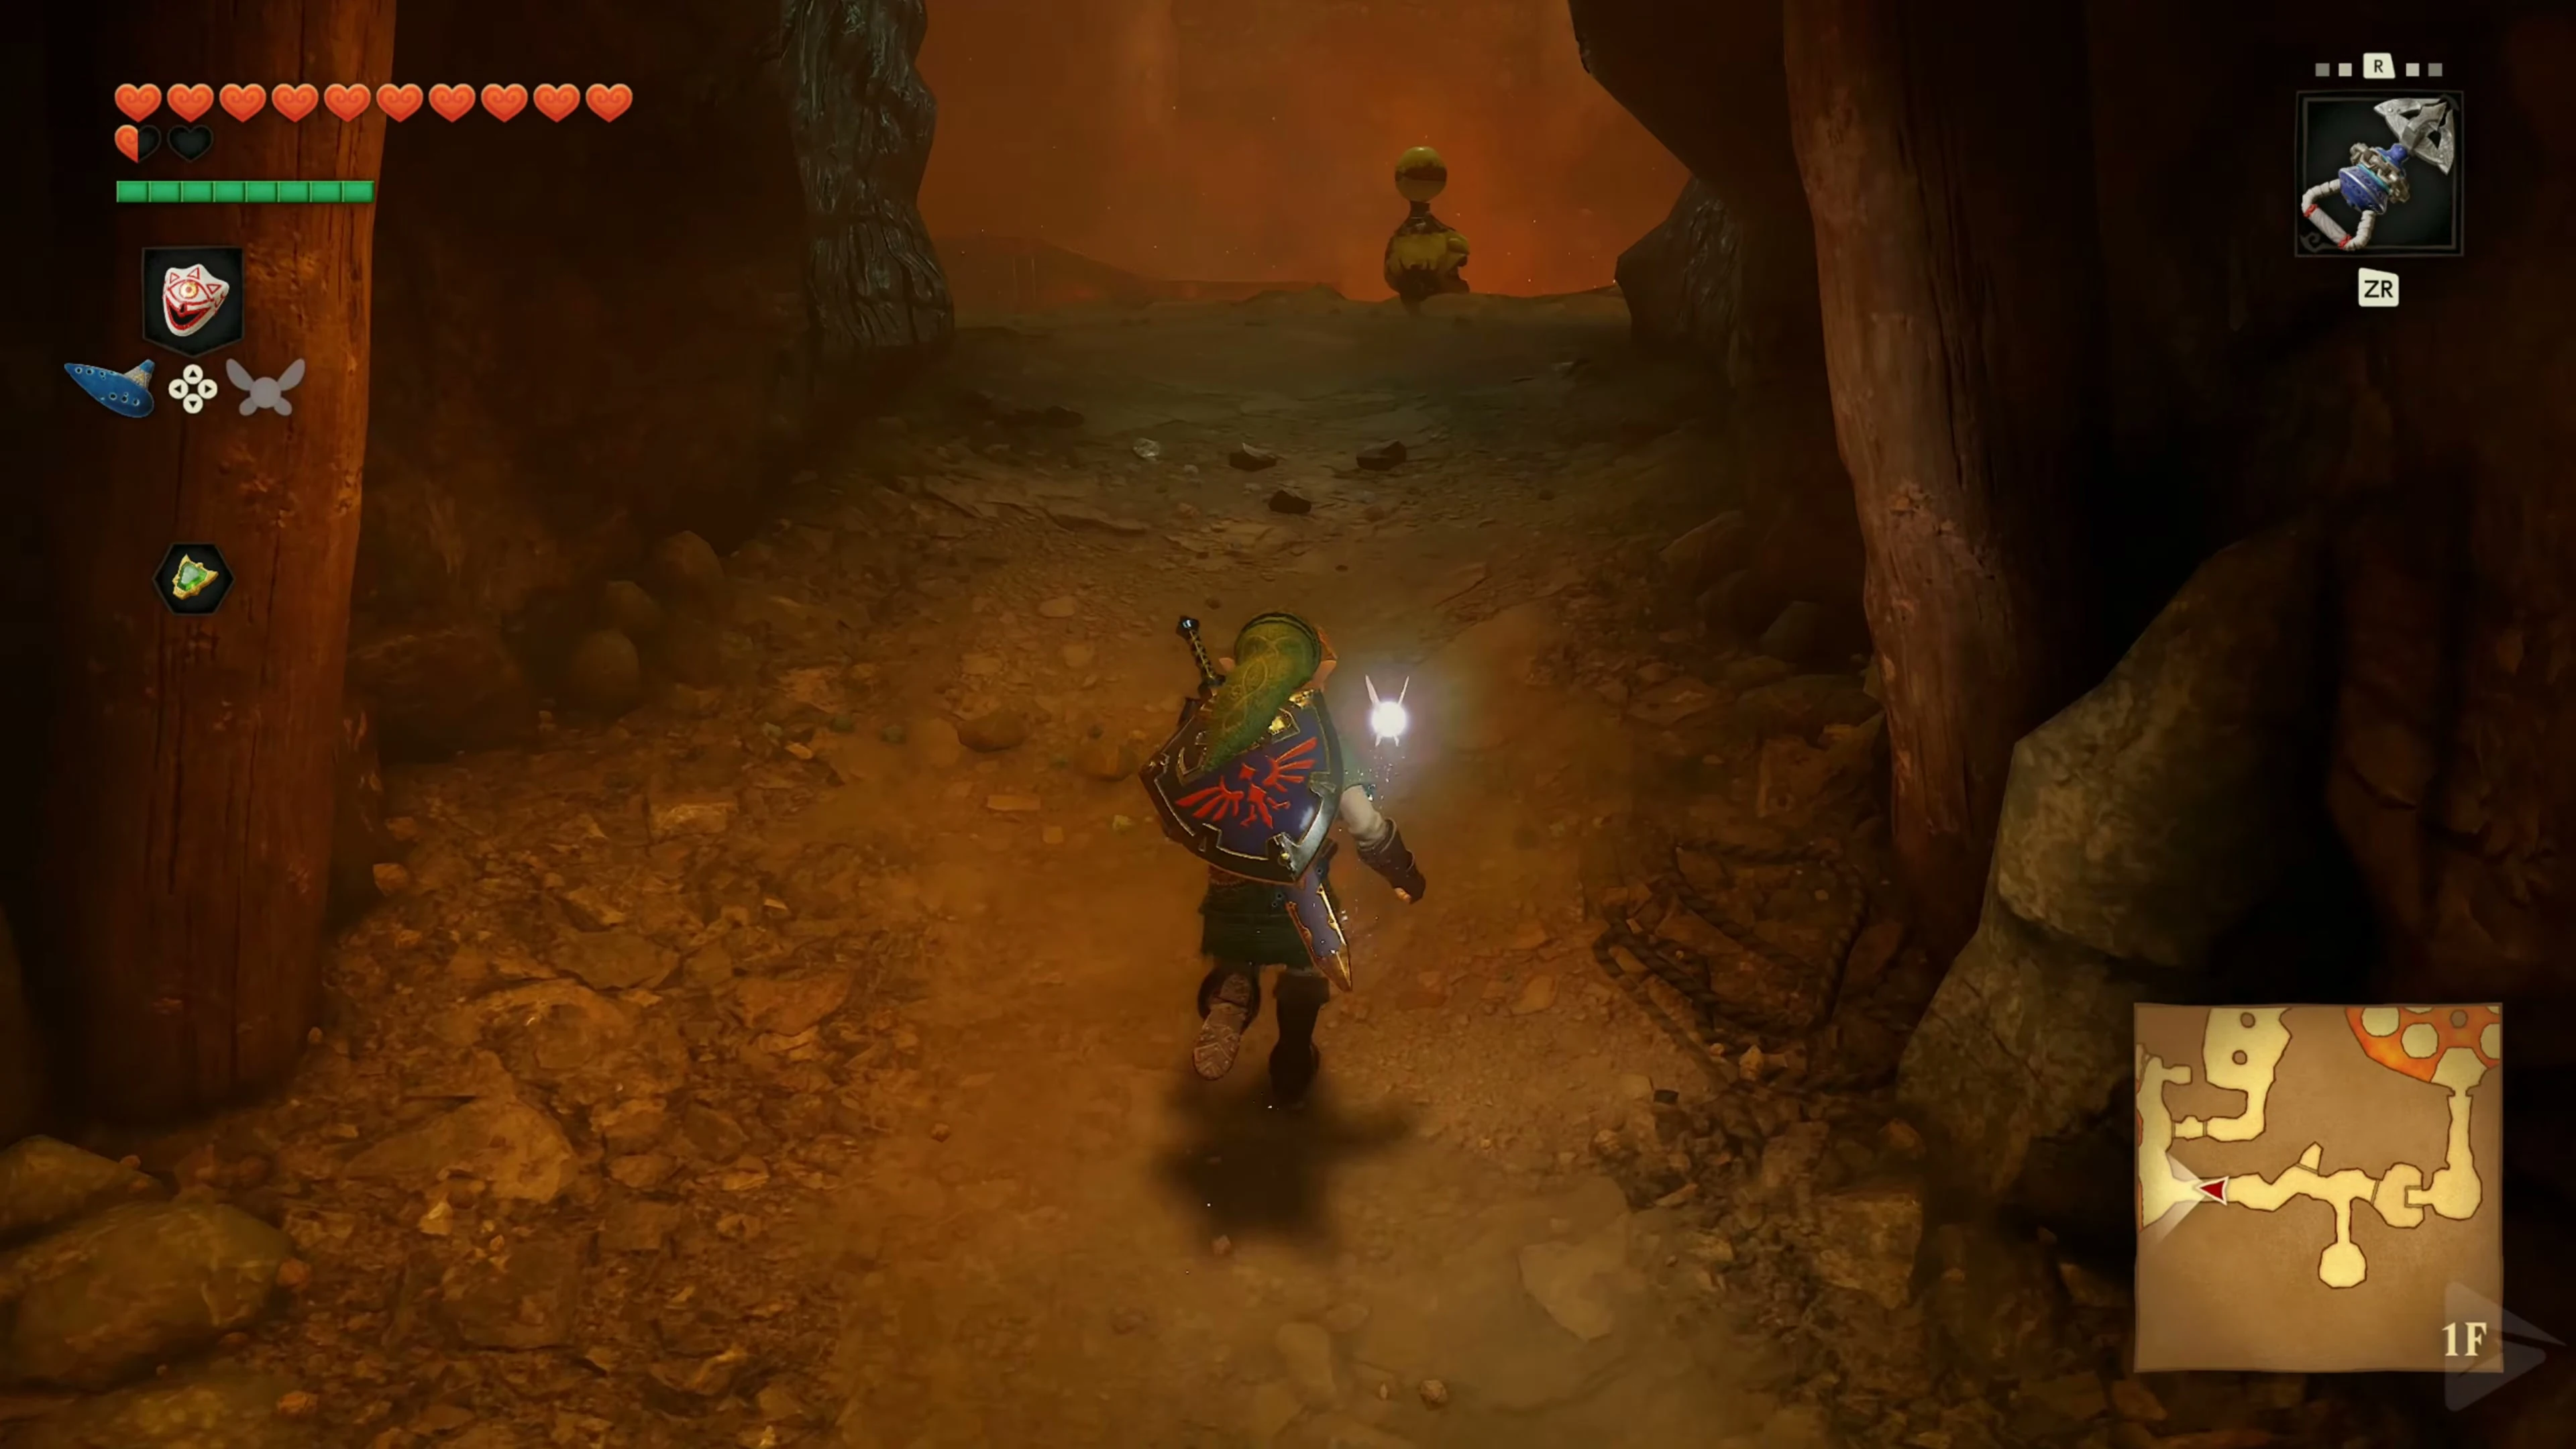
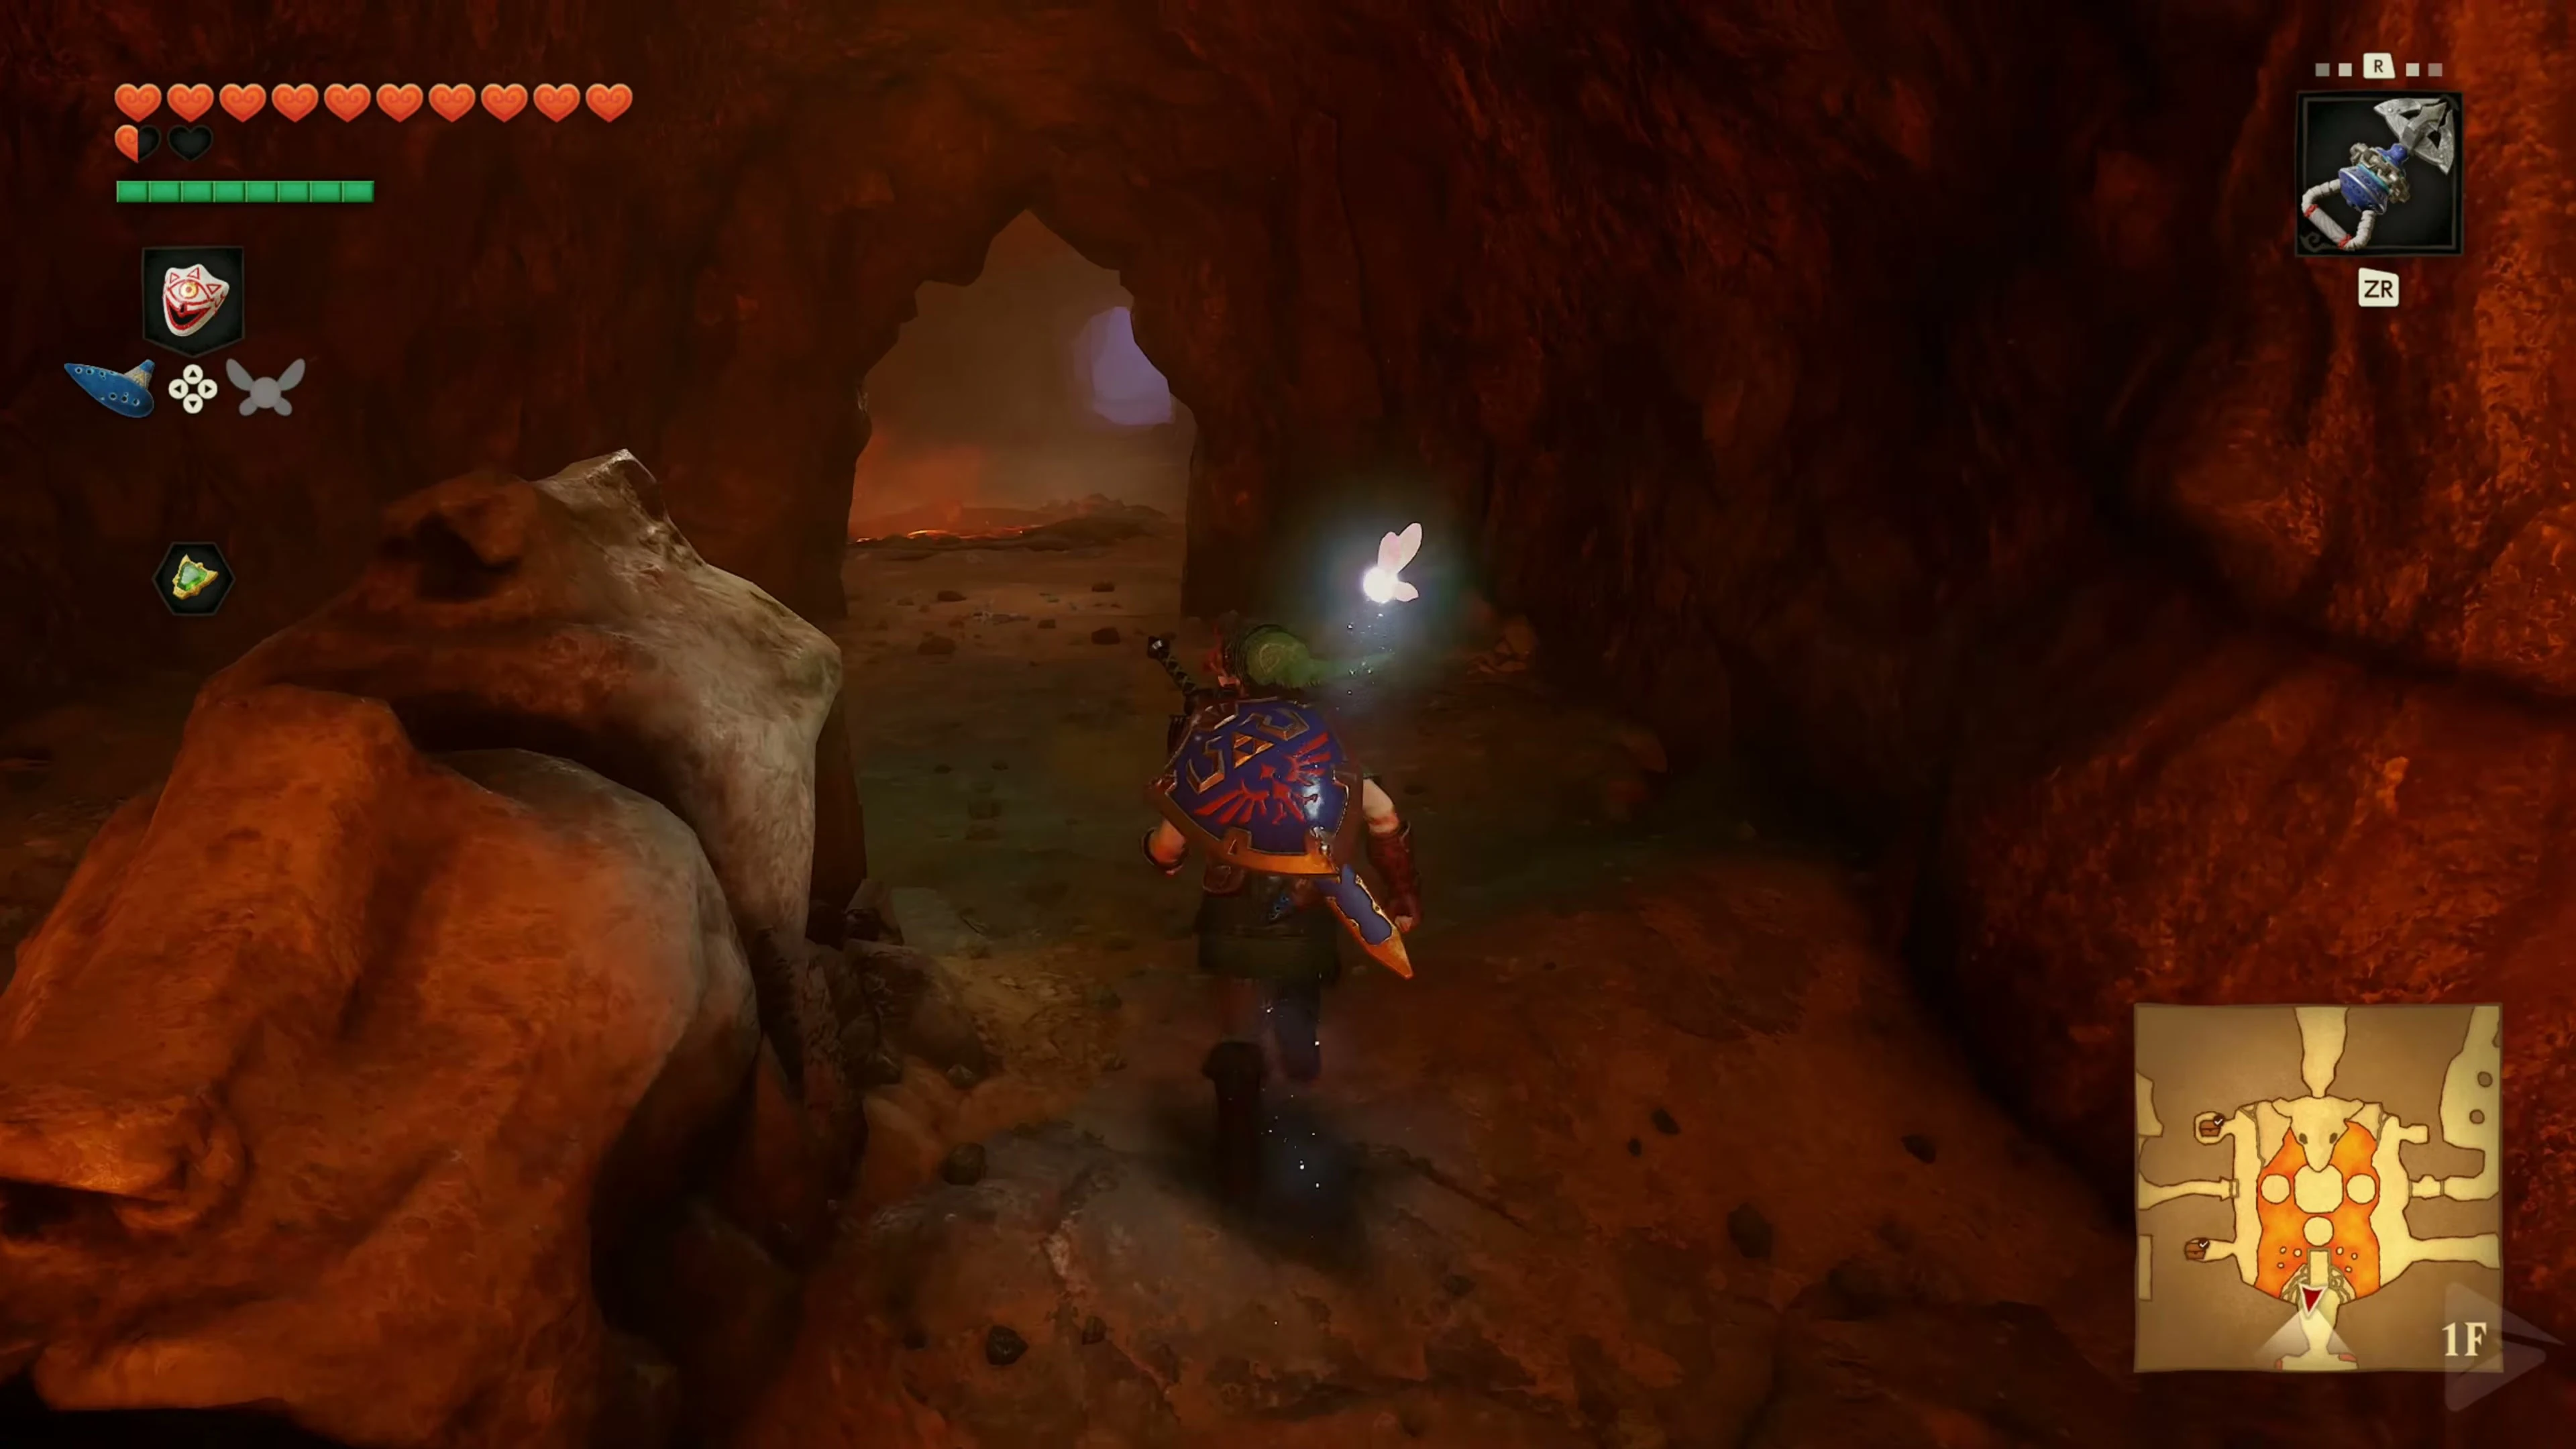
Drop back down into the passage. Follow the path back through the lava room with the wooden structure and the Goron statue to the exit onto the Death Mountain Trail.
Biggoron’s Prescription on the summit
After the detour to Dodongo Cavern, continue uphill on the Death Mountain Trail. Follow the path to the large climbing net and climb it to the summit of Death Mountain . Next to the Fairy Fountain, find the giant Biggoron and show him the Broken Goron Sword .
Biggoron can repair the blade, but needs help first due to his eye problems. He gives you the Prescription for King Zora . Leave the summit again via the climbing net and continue towards Goron City at the junction.
Goron City seven years later
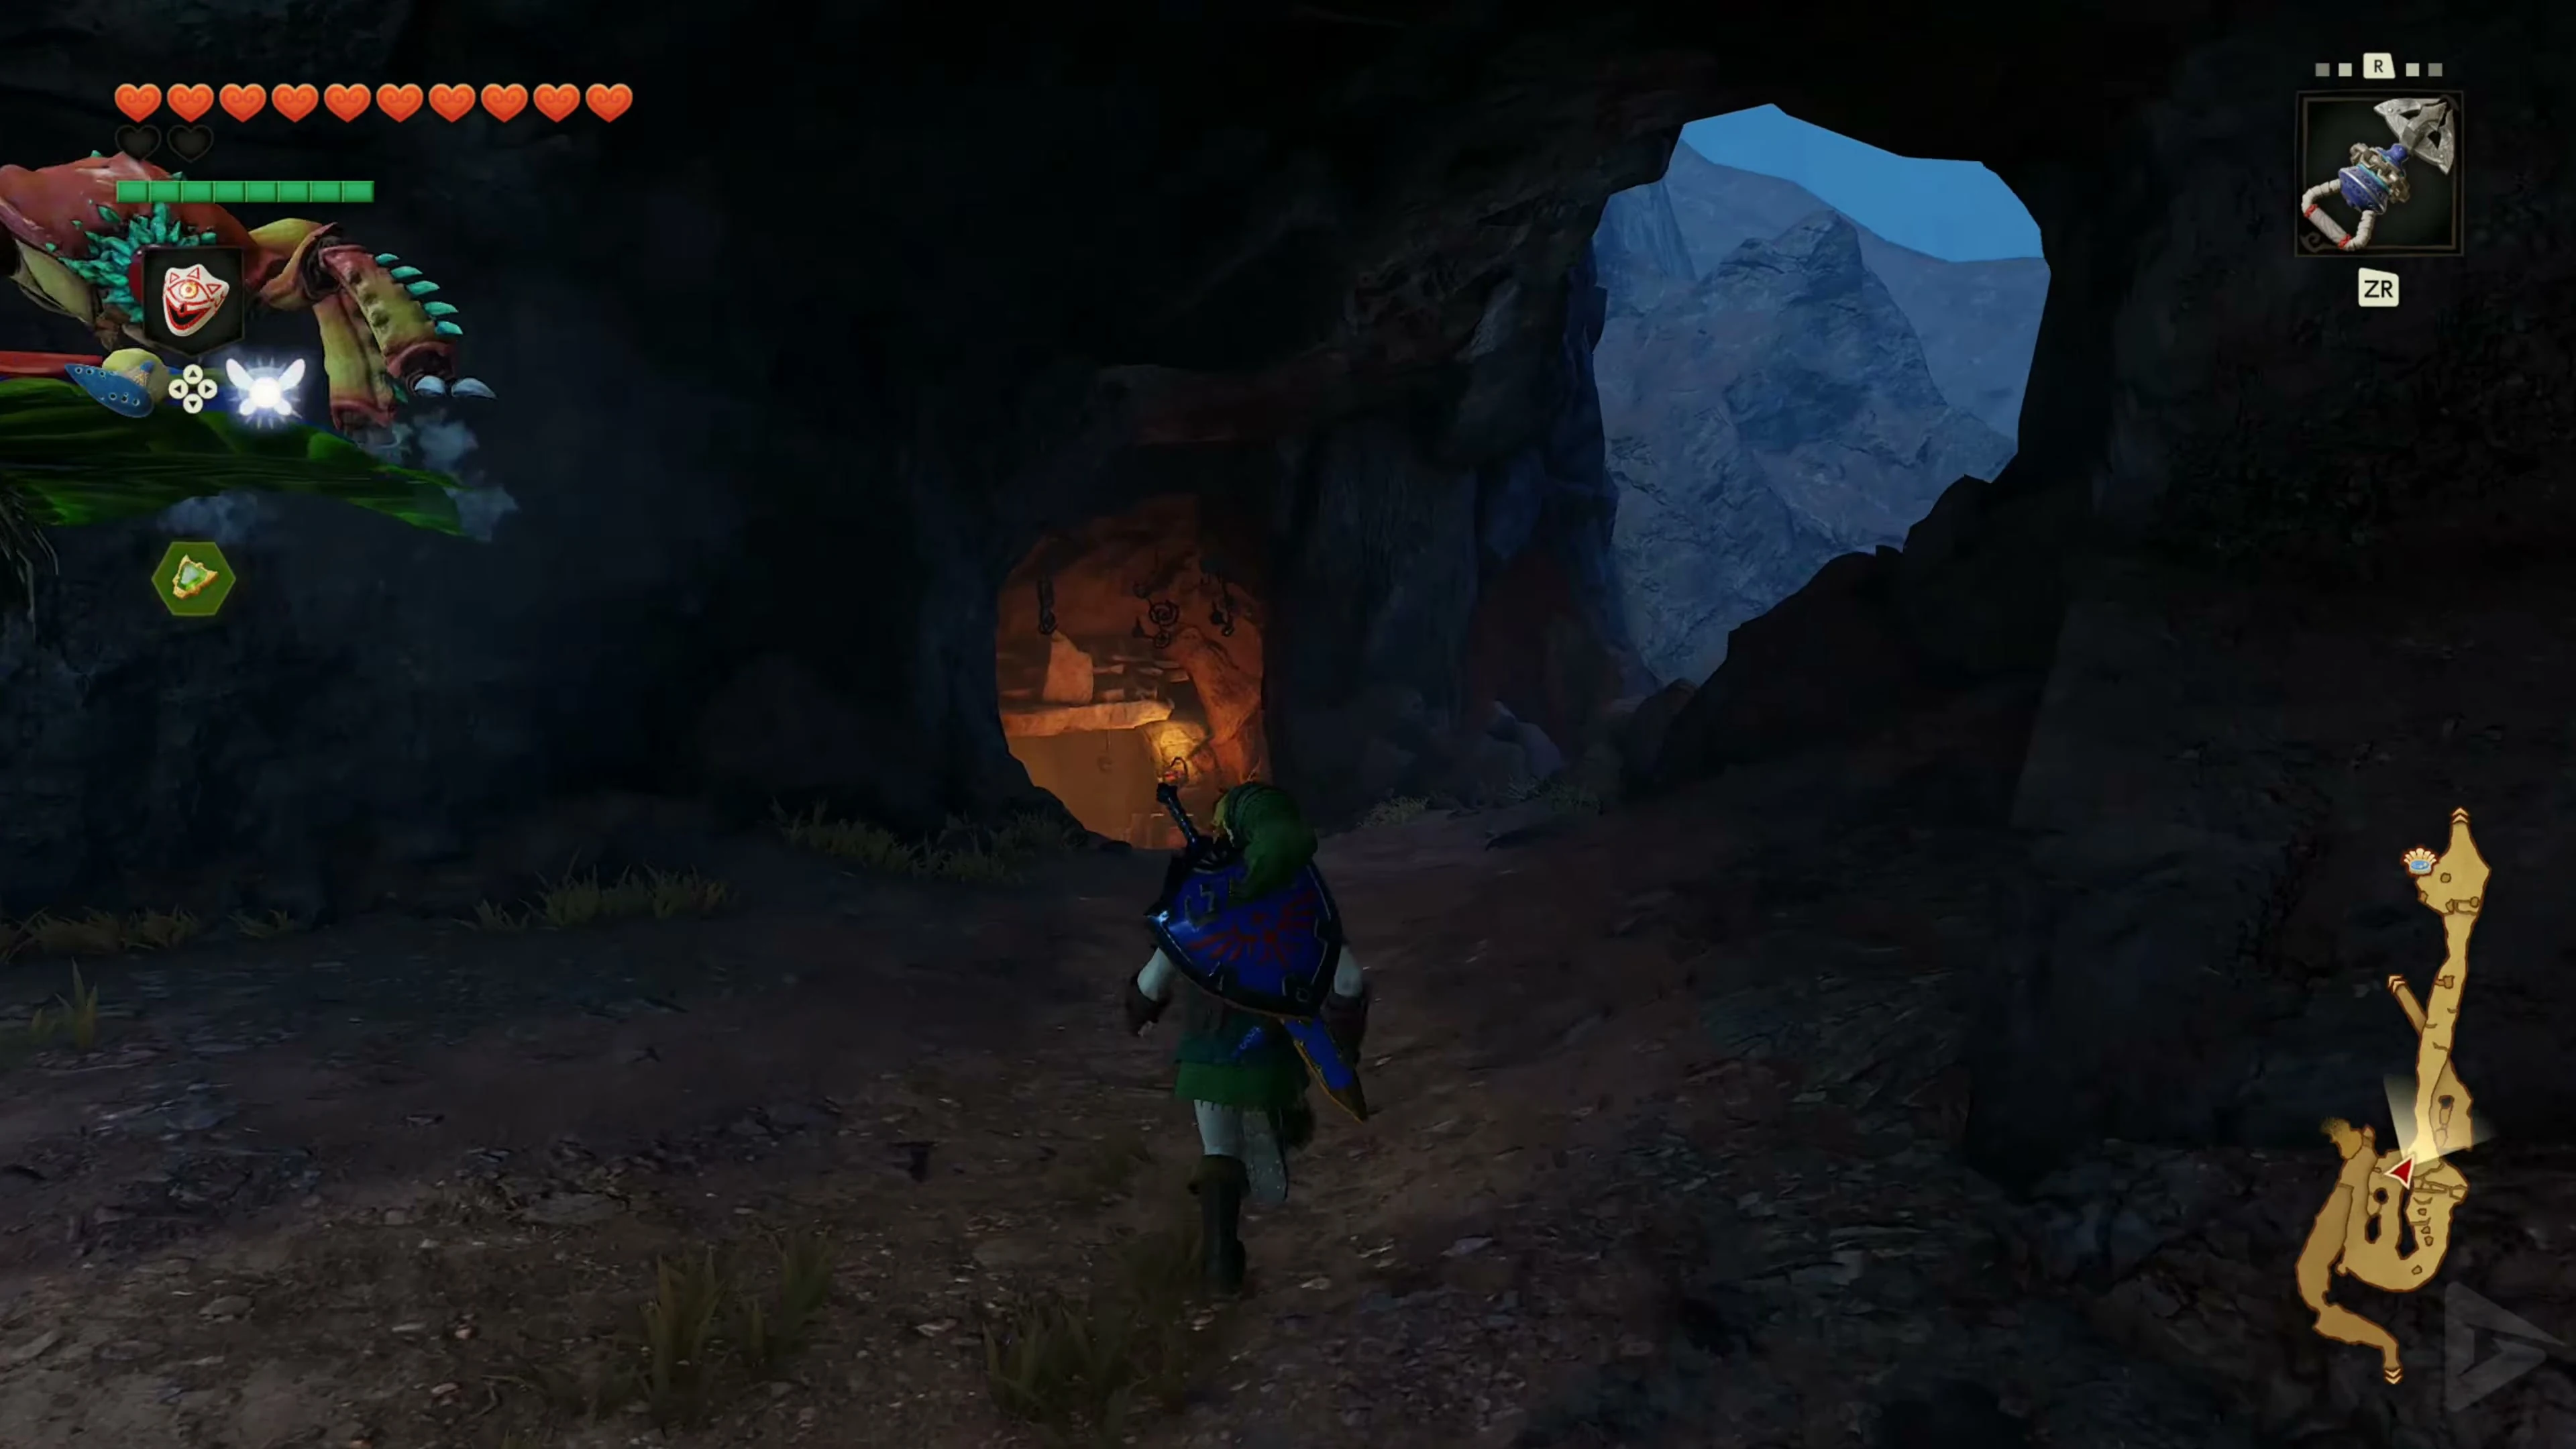
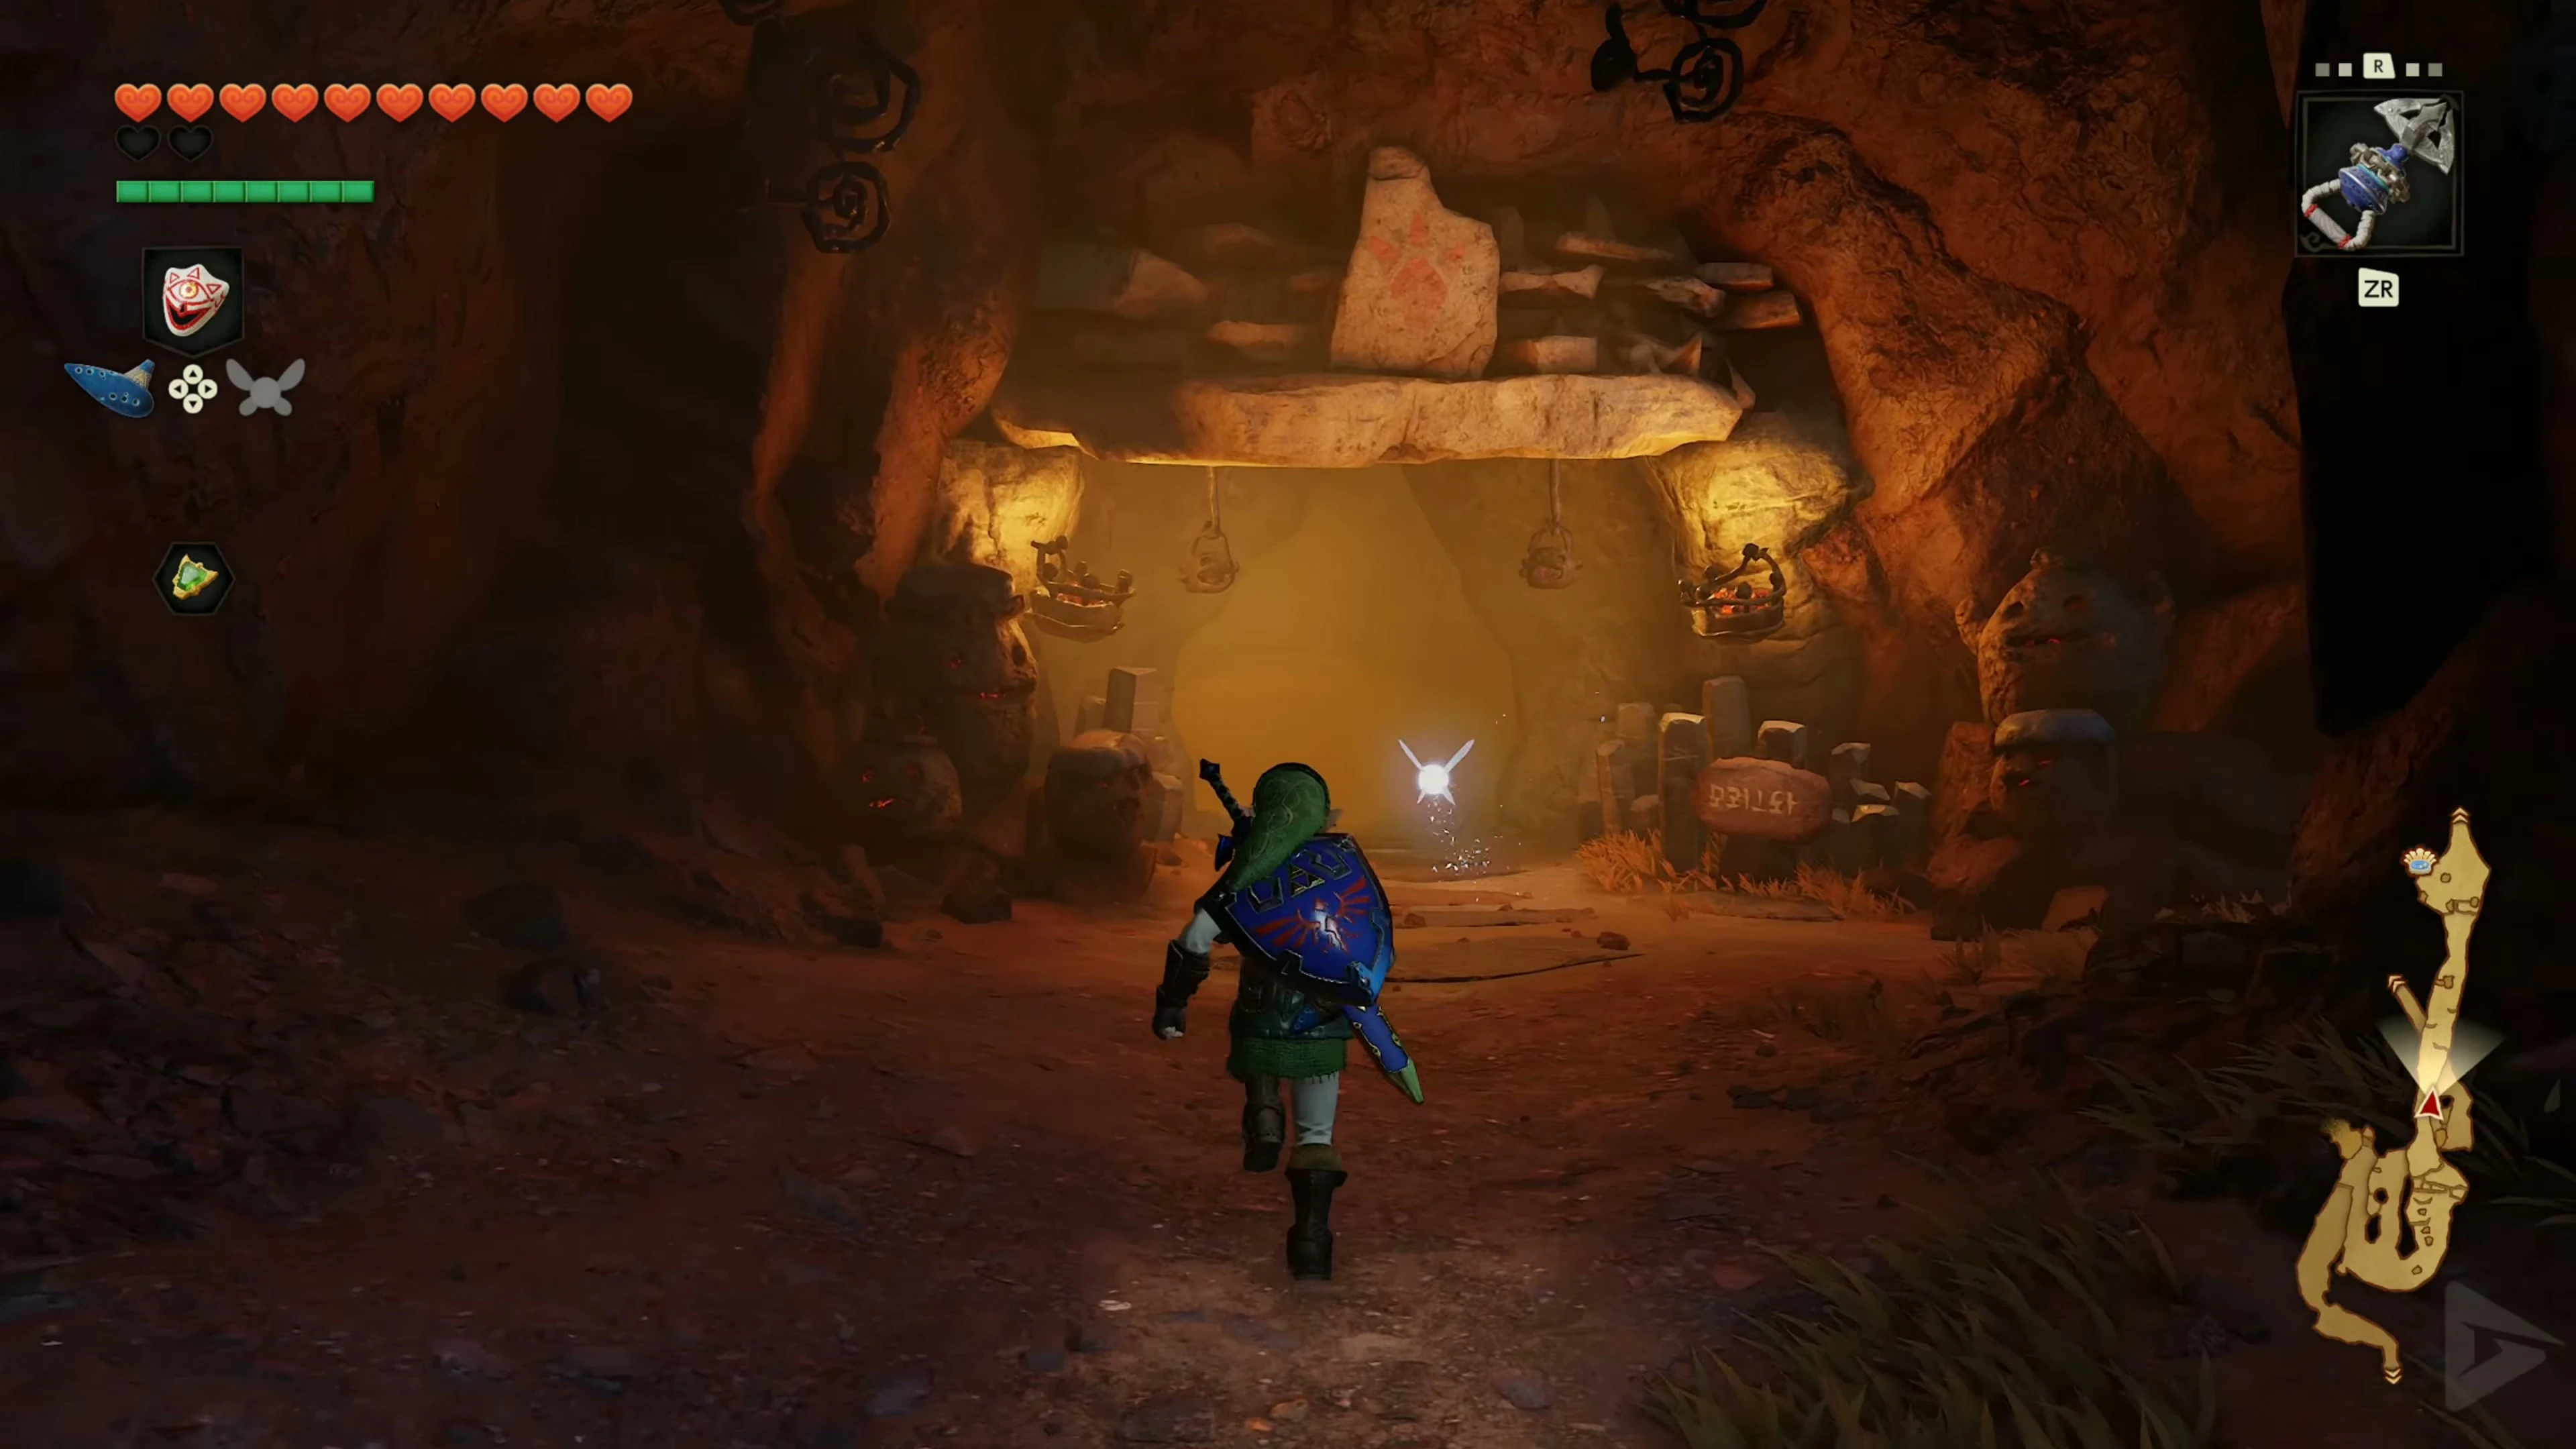
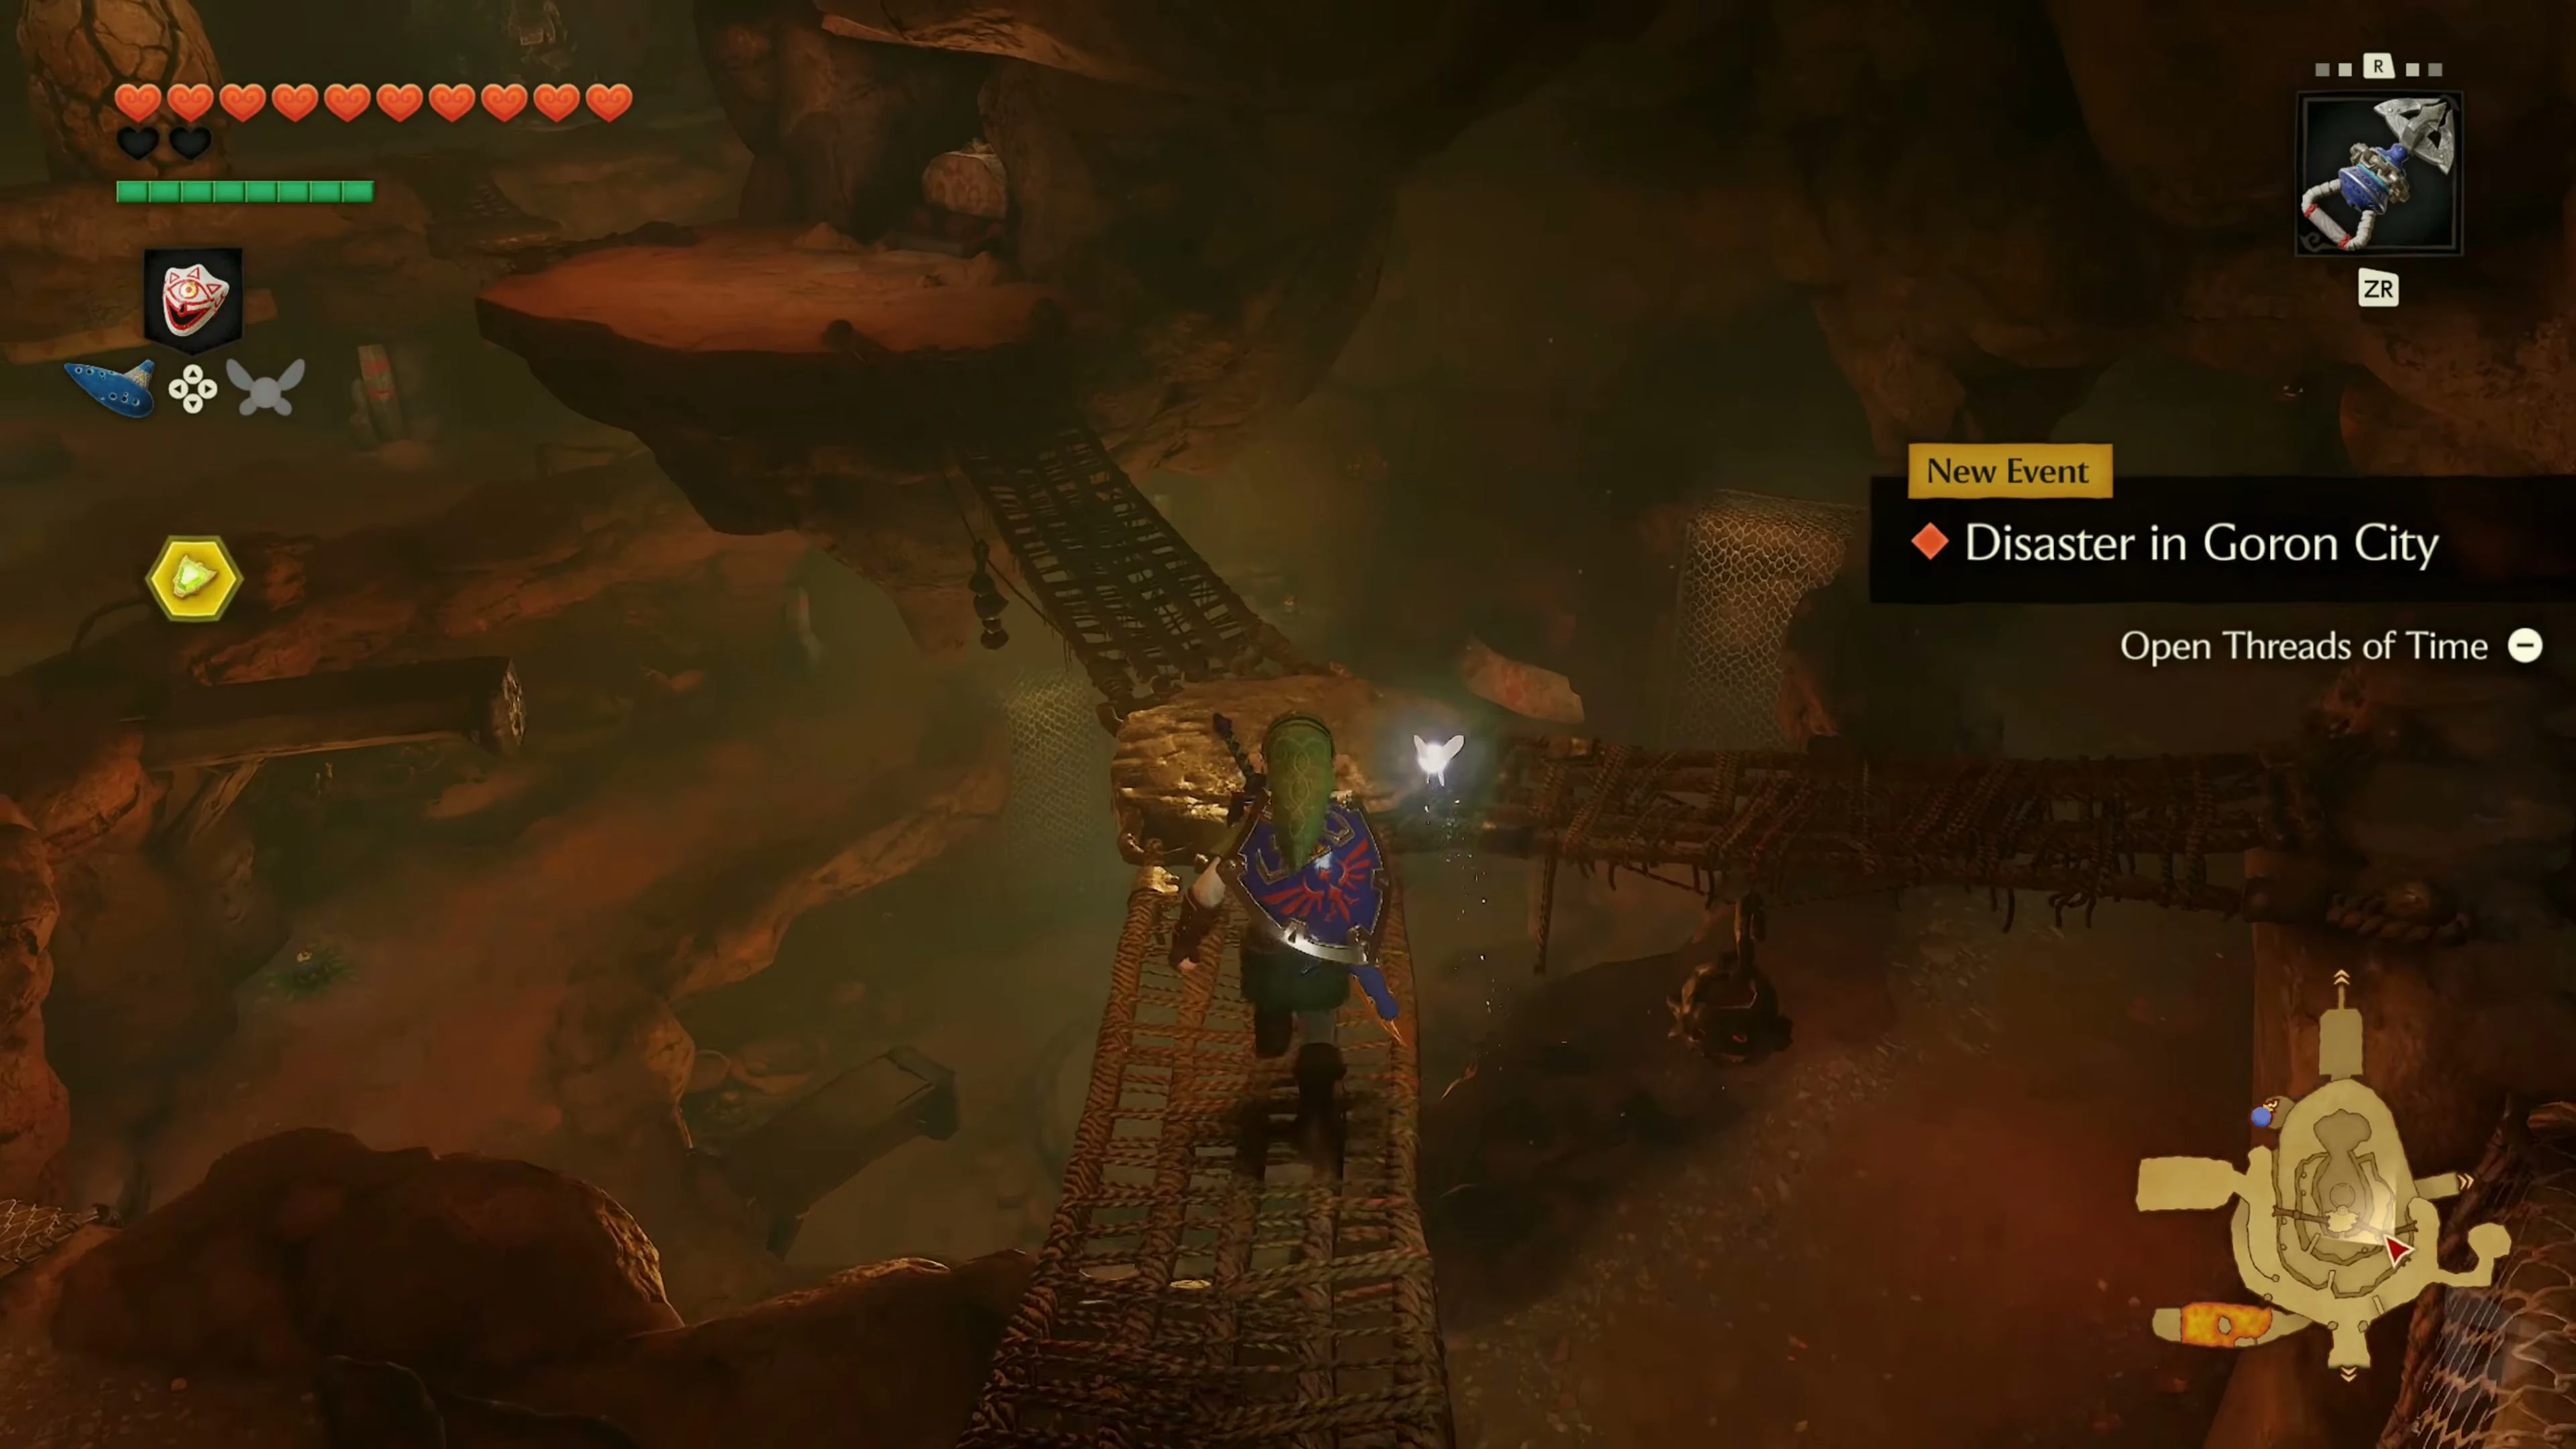
At the junction, enter the Rock Tunnel to Goron City and follow it to the net bridge inside the city.
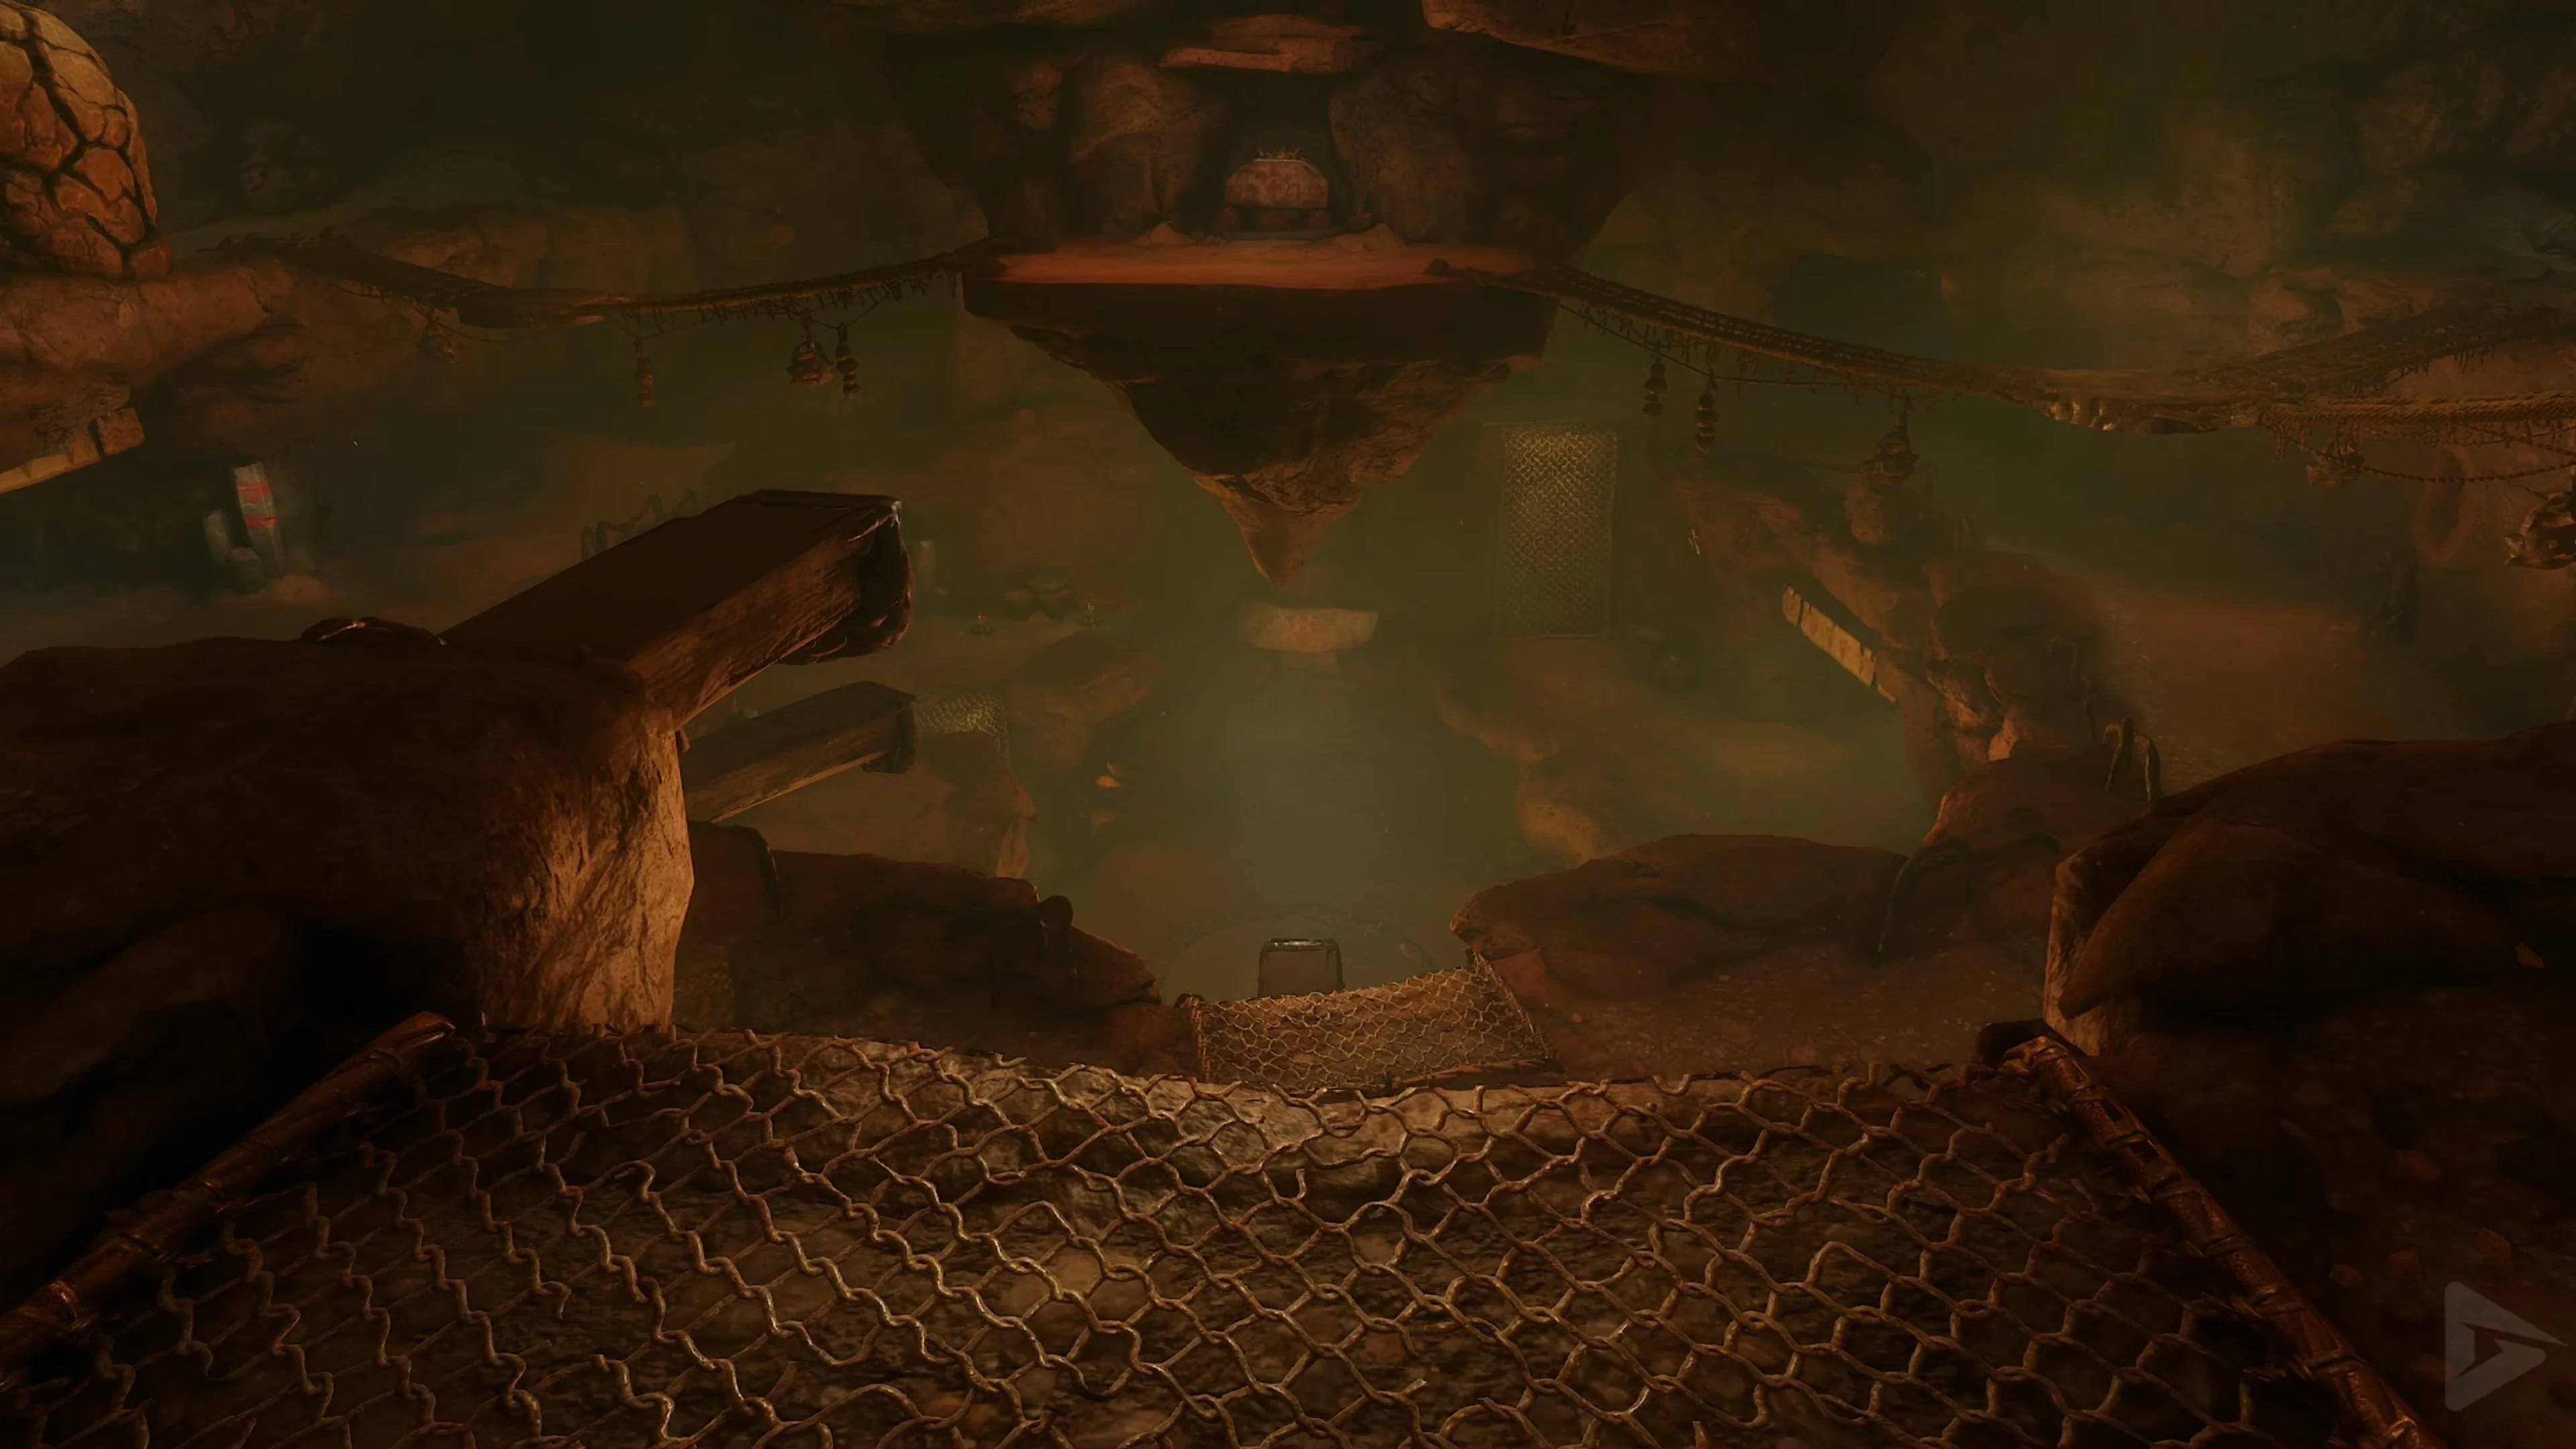
Gold Skulltula 2/2 – Web Bridge in Goron City
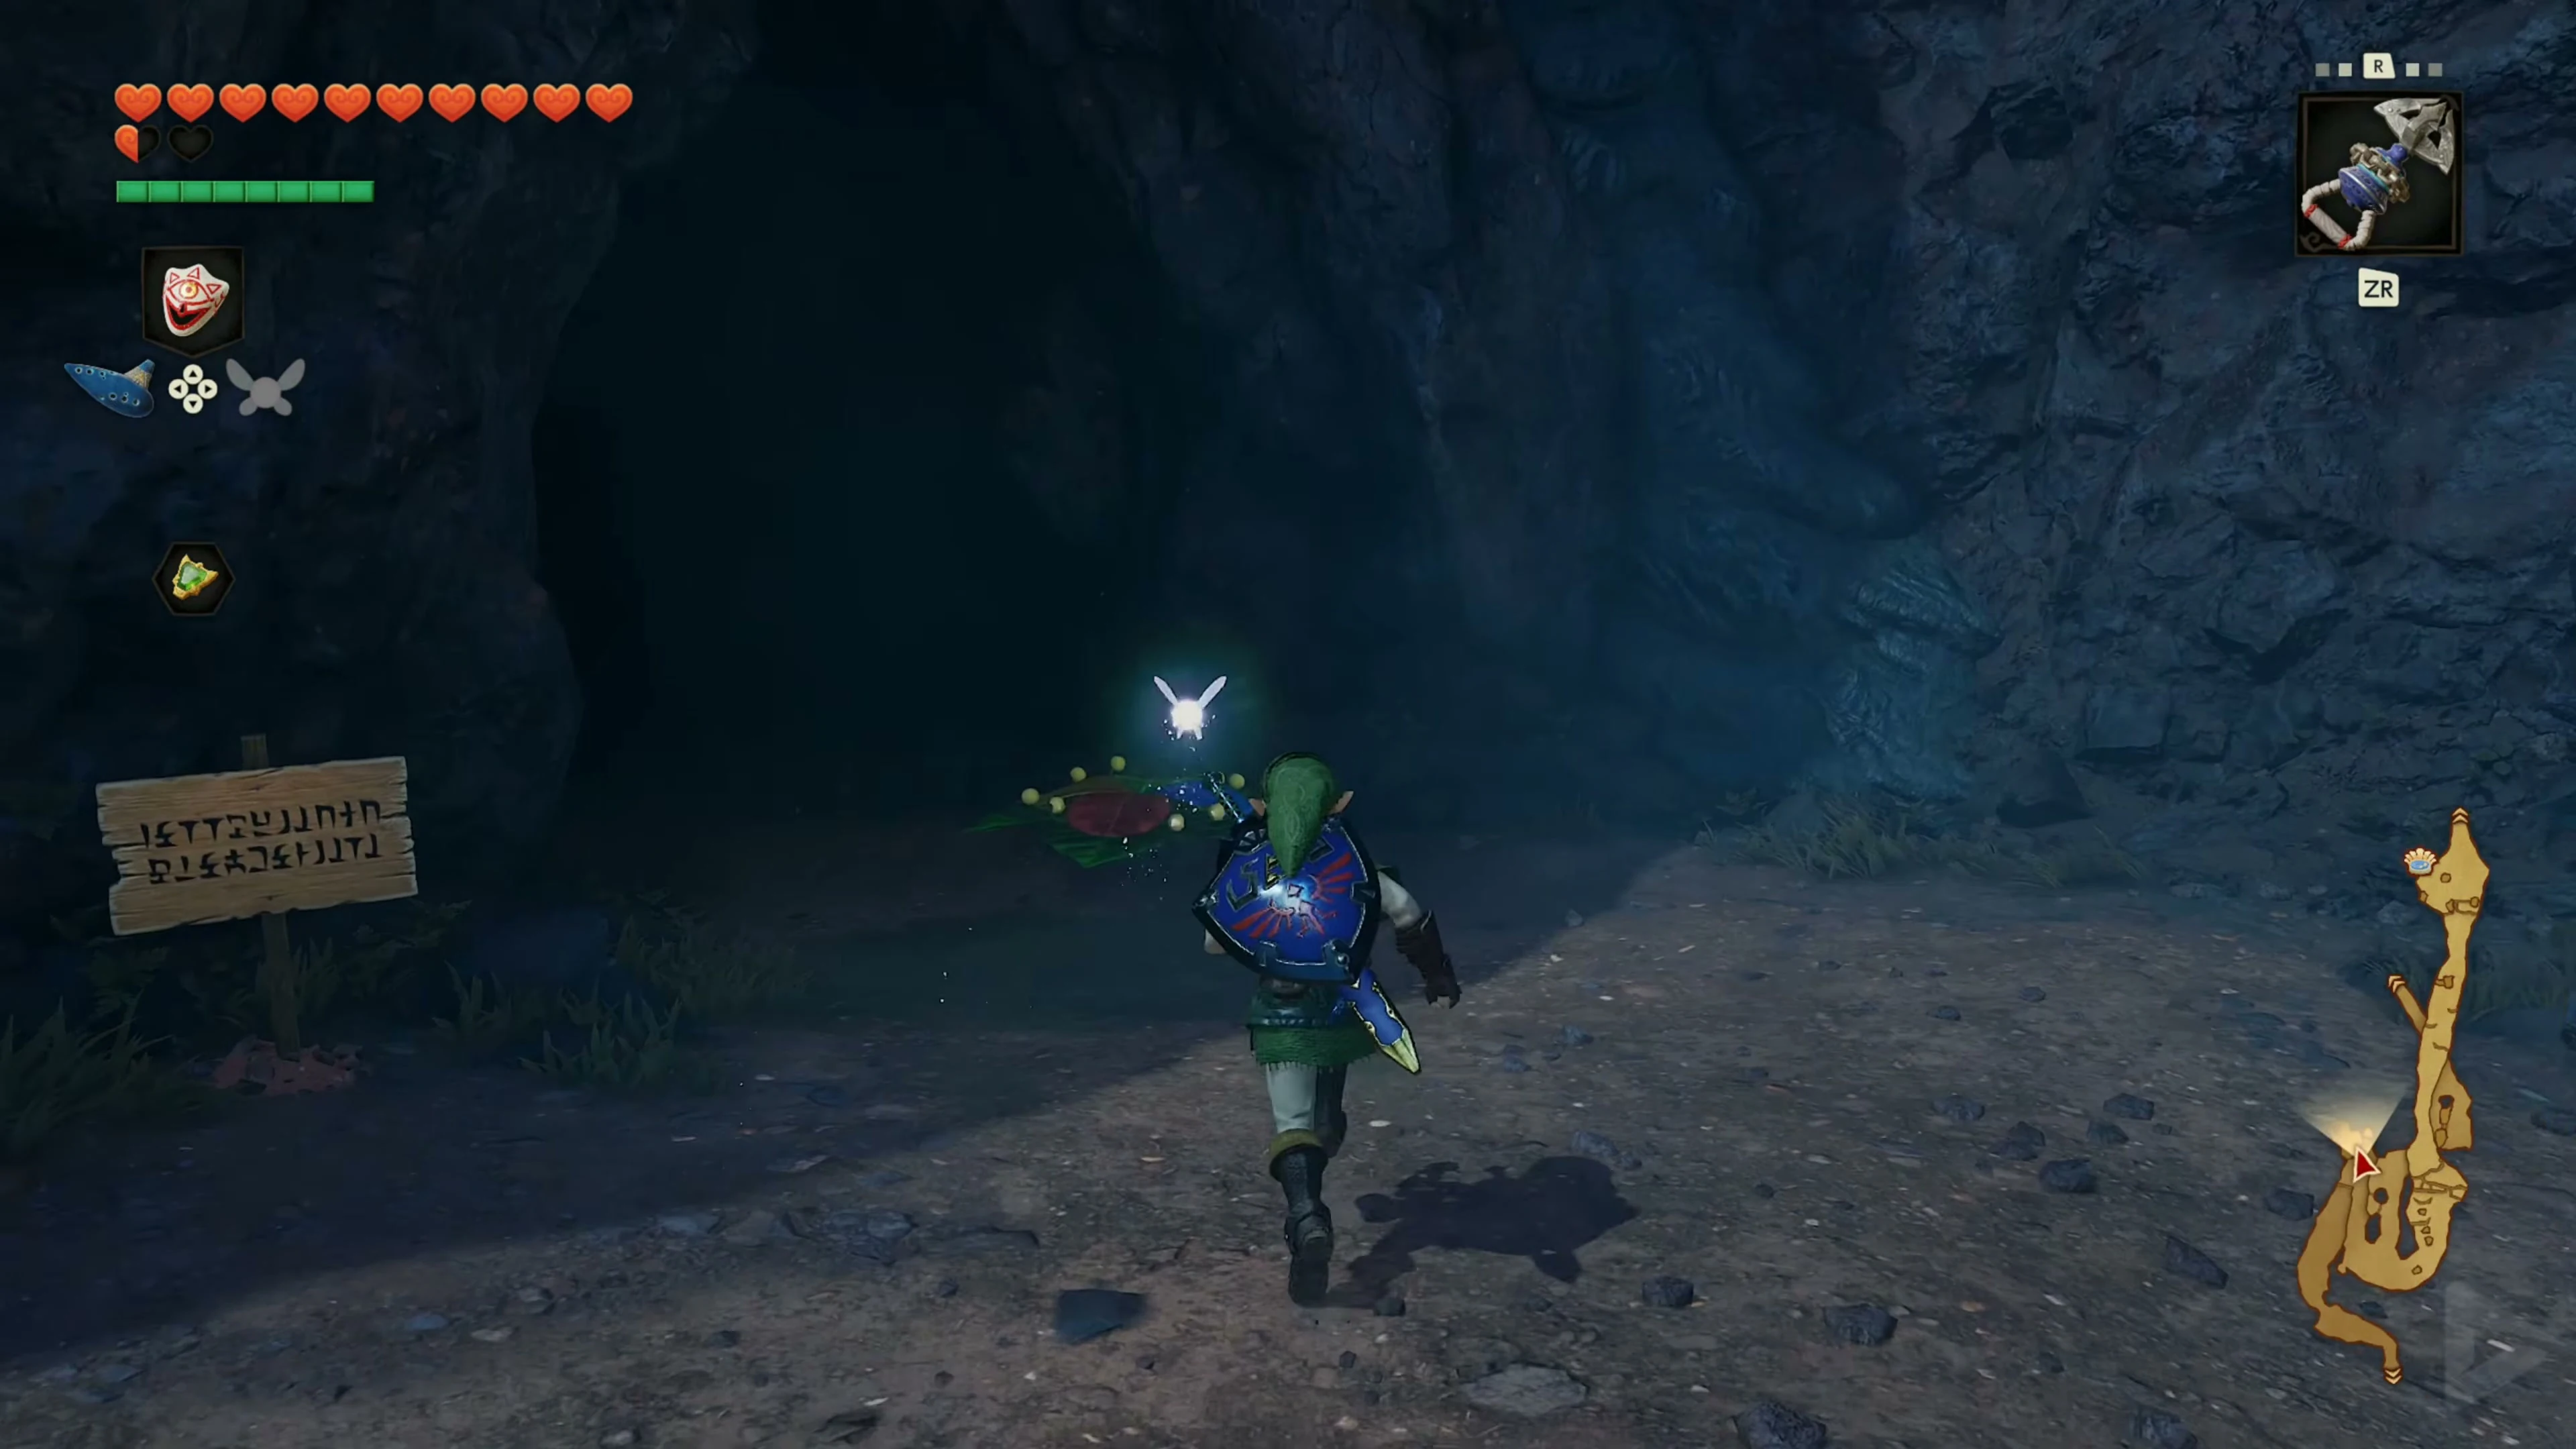
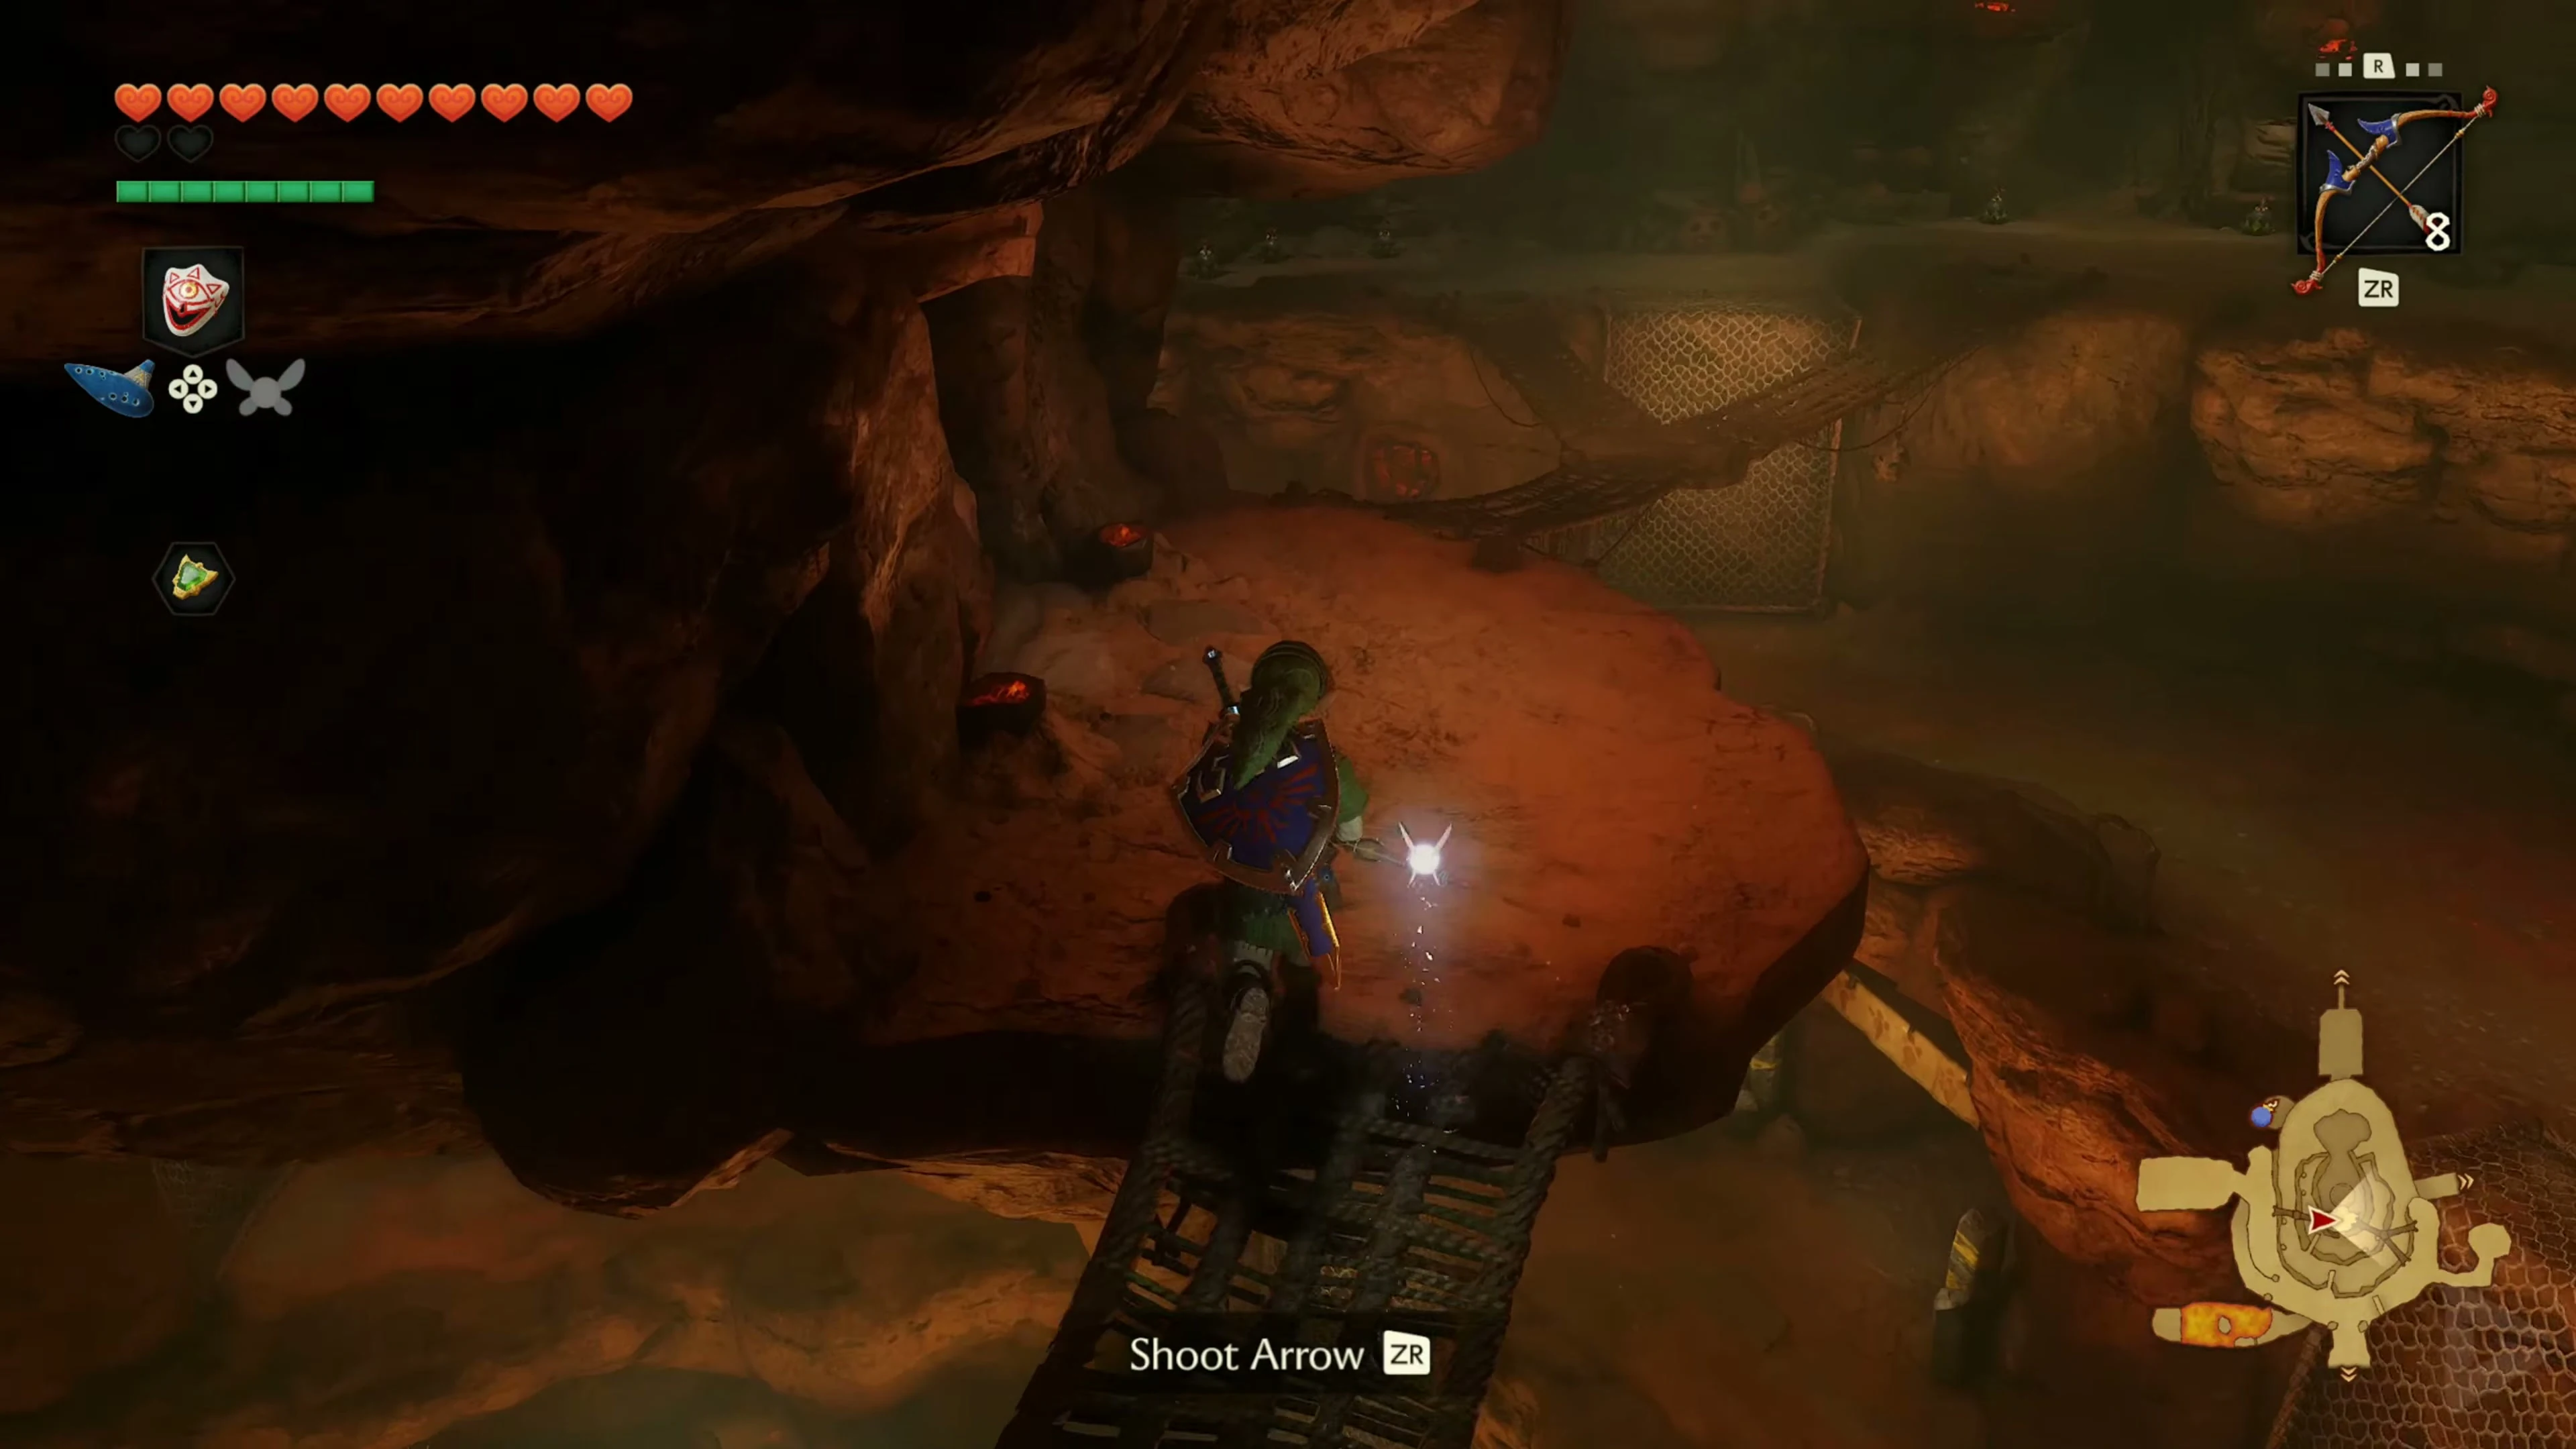
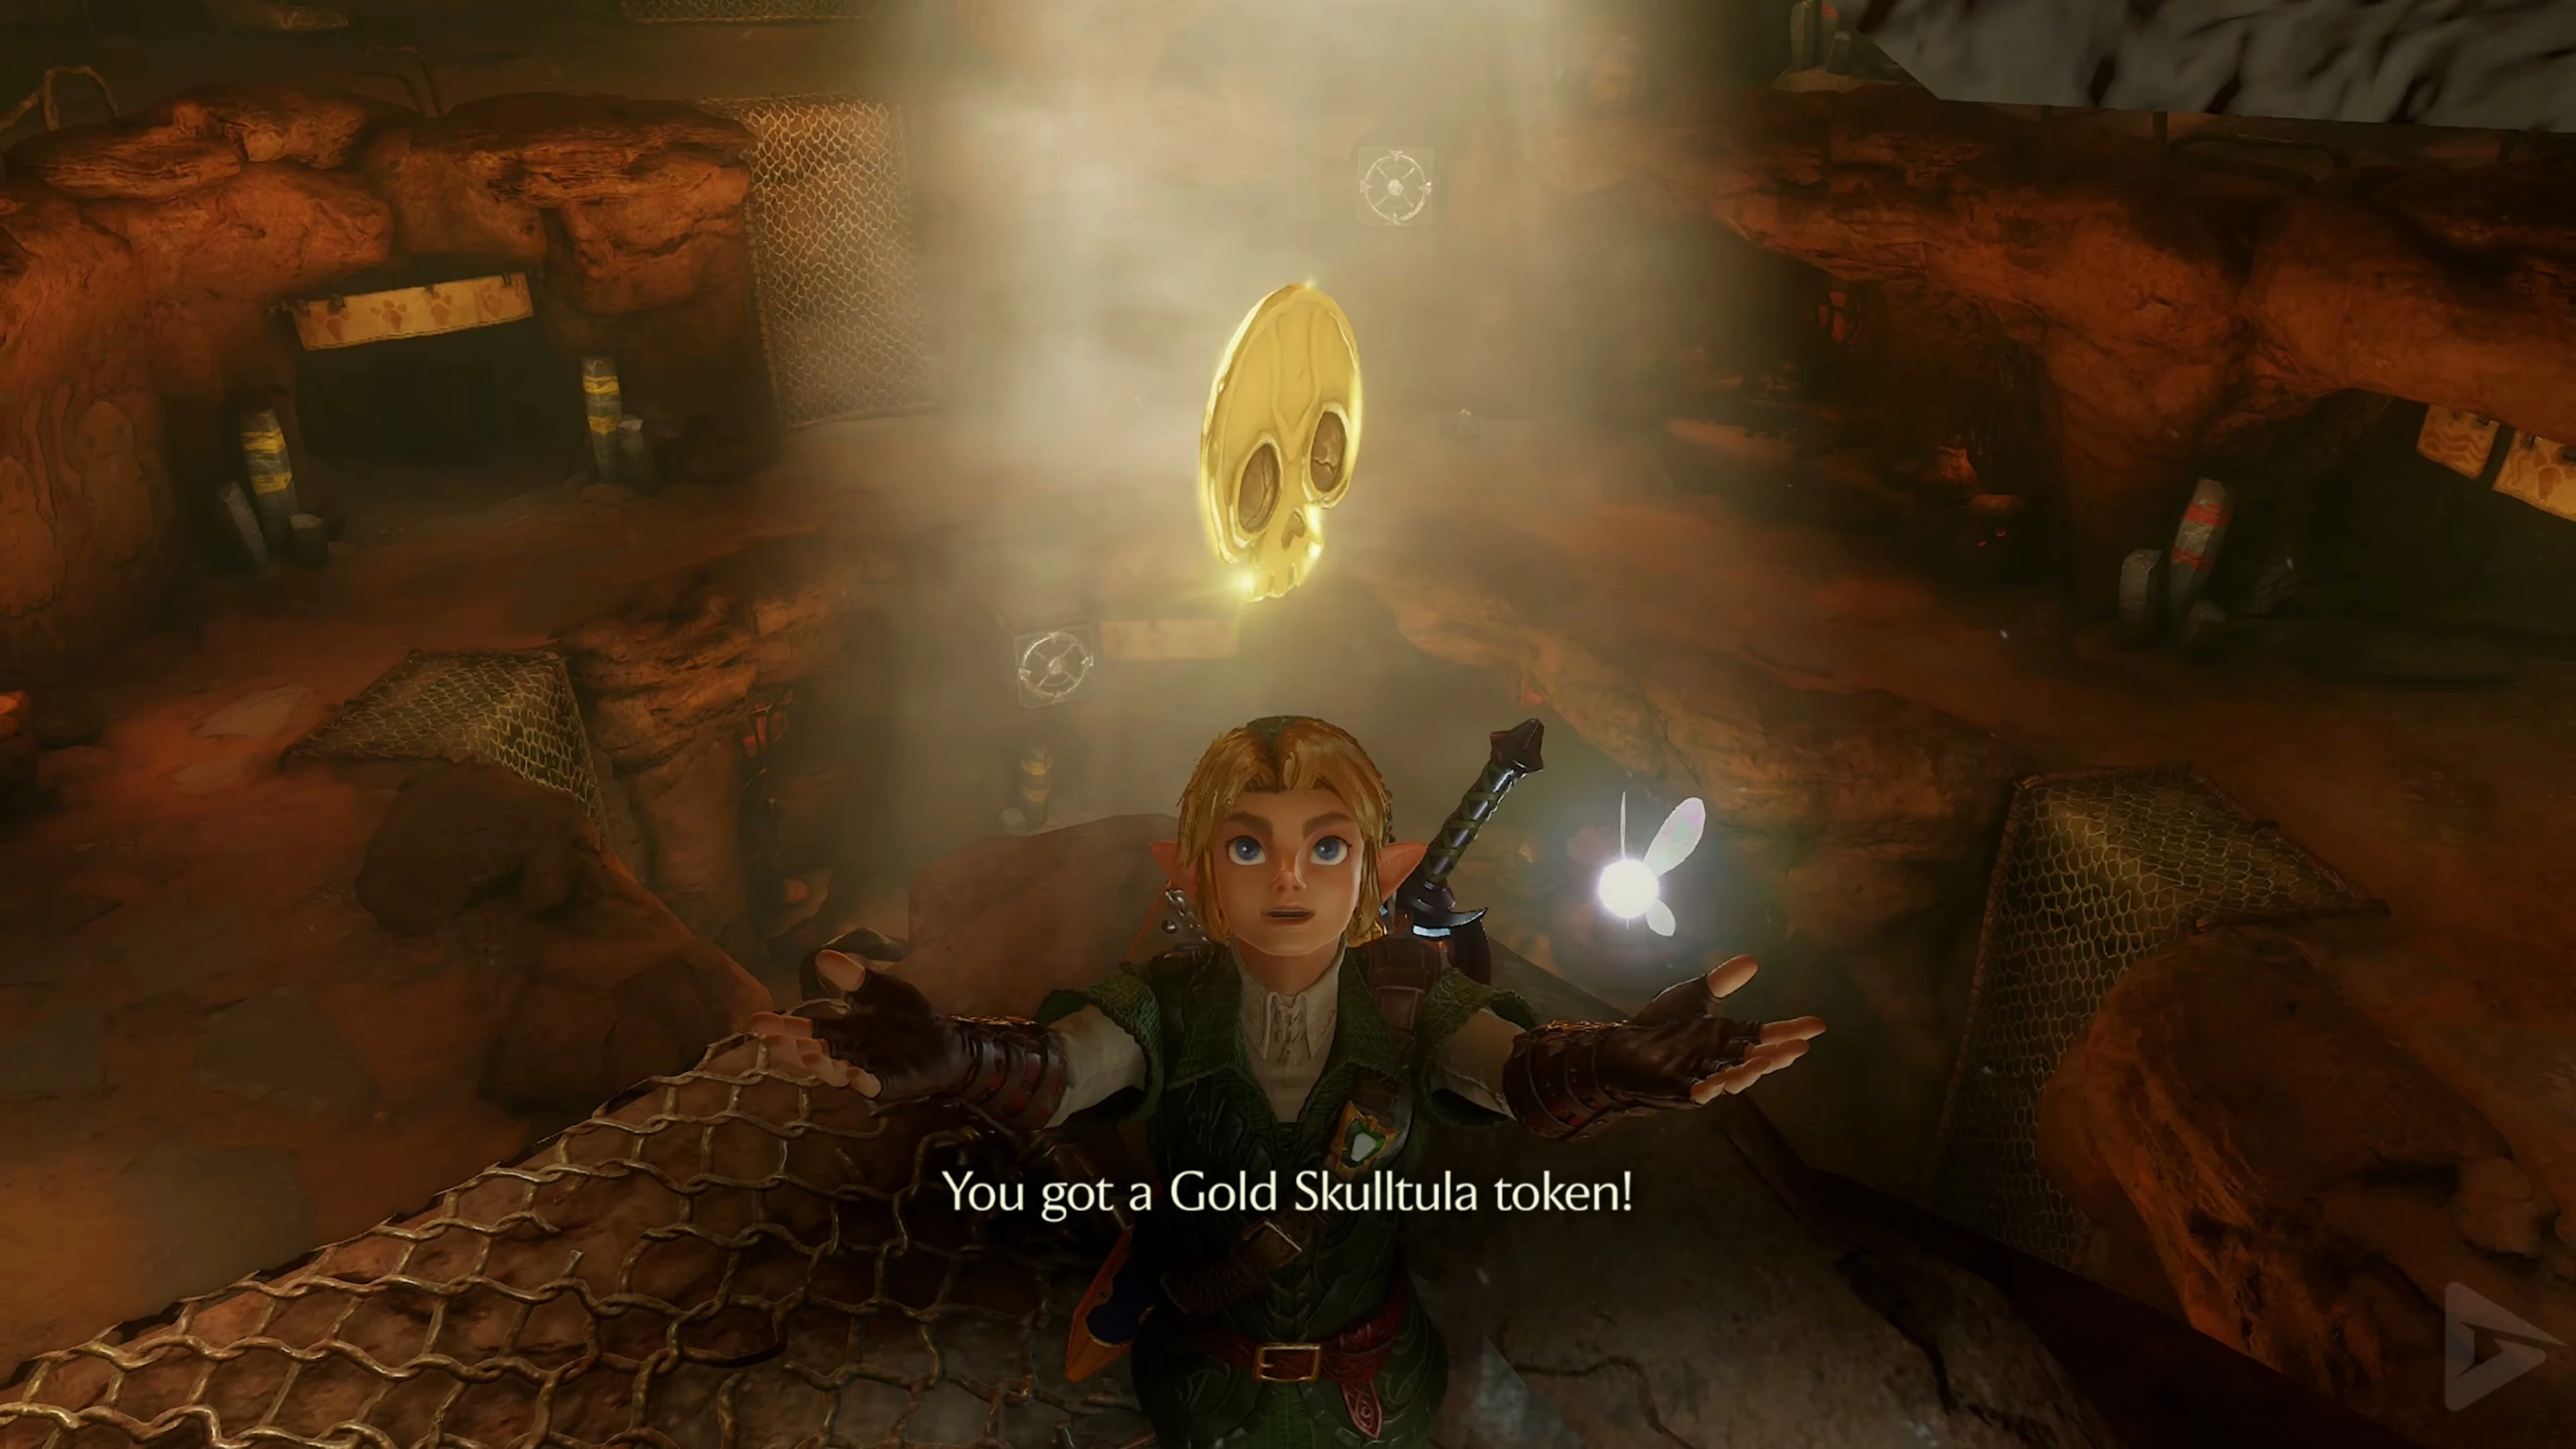
Go across the net walkways toward the middle stone pedestal and turn to face the wall and ceiling behind its underside. From the adjacent walkway, look for the Gold Skulltula. Defeat it with the Fairy Bow or Hookshot and pull the remaining token toward you with the Hookshot . In Goron City, there’s no need to change to nighttime for this.
Medigoron’s Goron Sword
On the upper level, Medigoron sells a Goron Sword . Its blade breaks after a few hits. You can obtain the durable Biggoron Sword through the trading quest with his brother at the summit.
Stop Darunia’s son
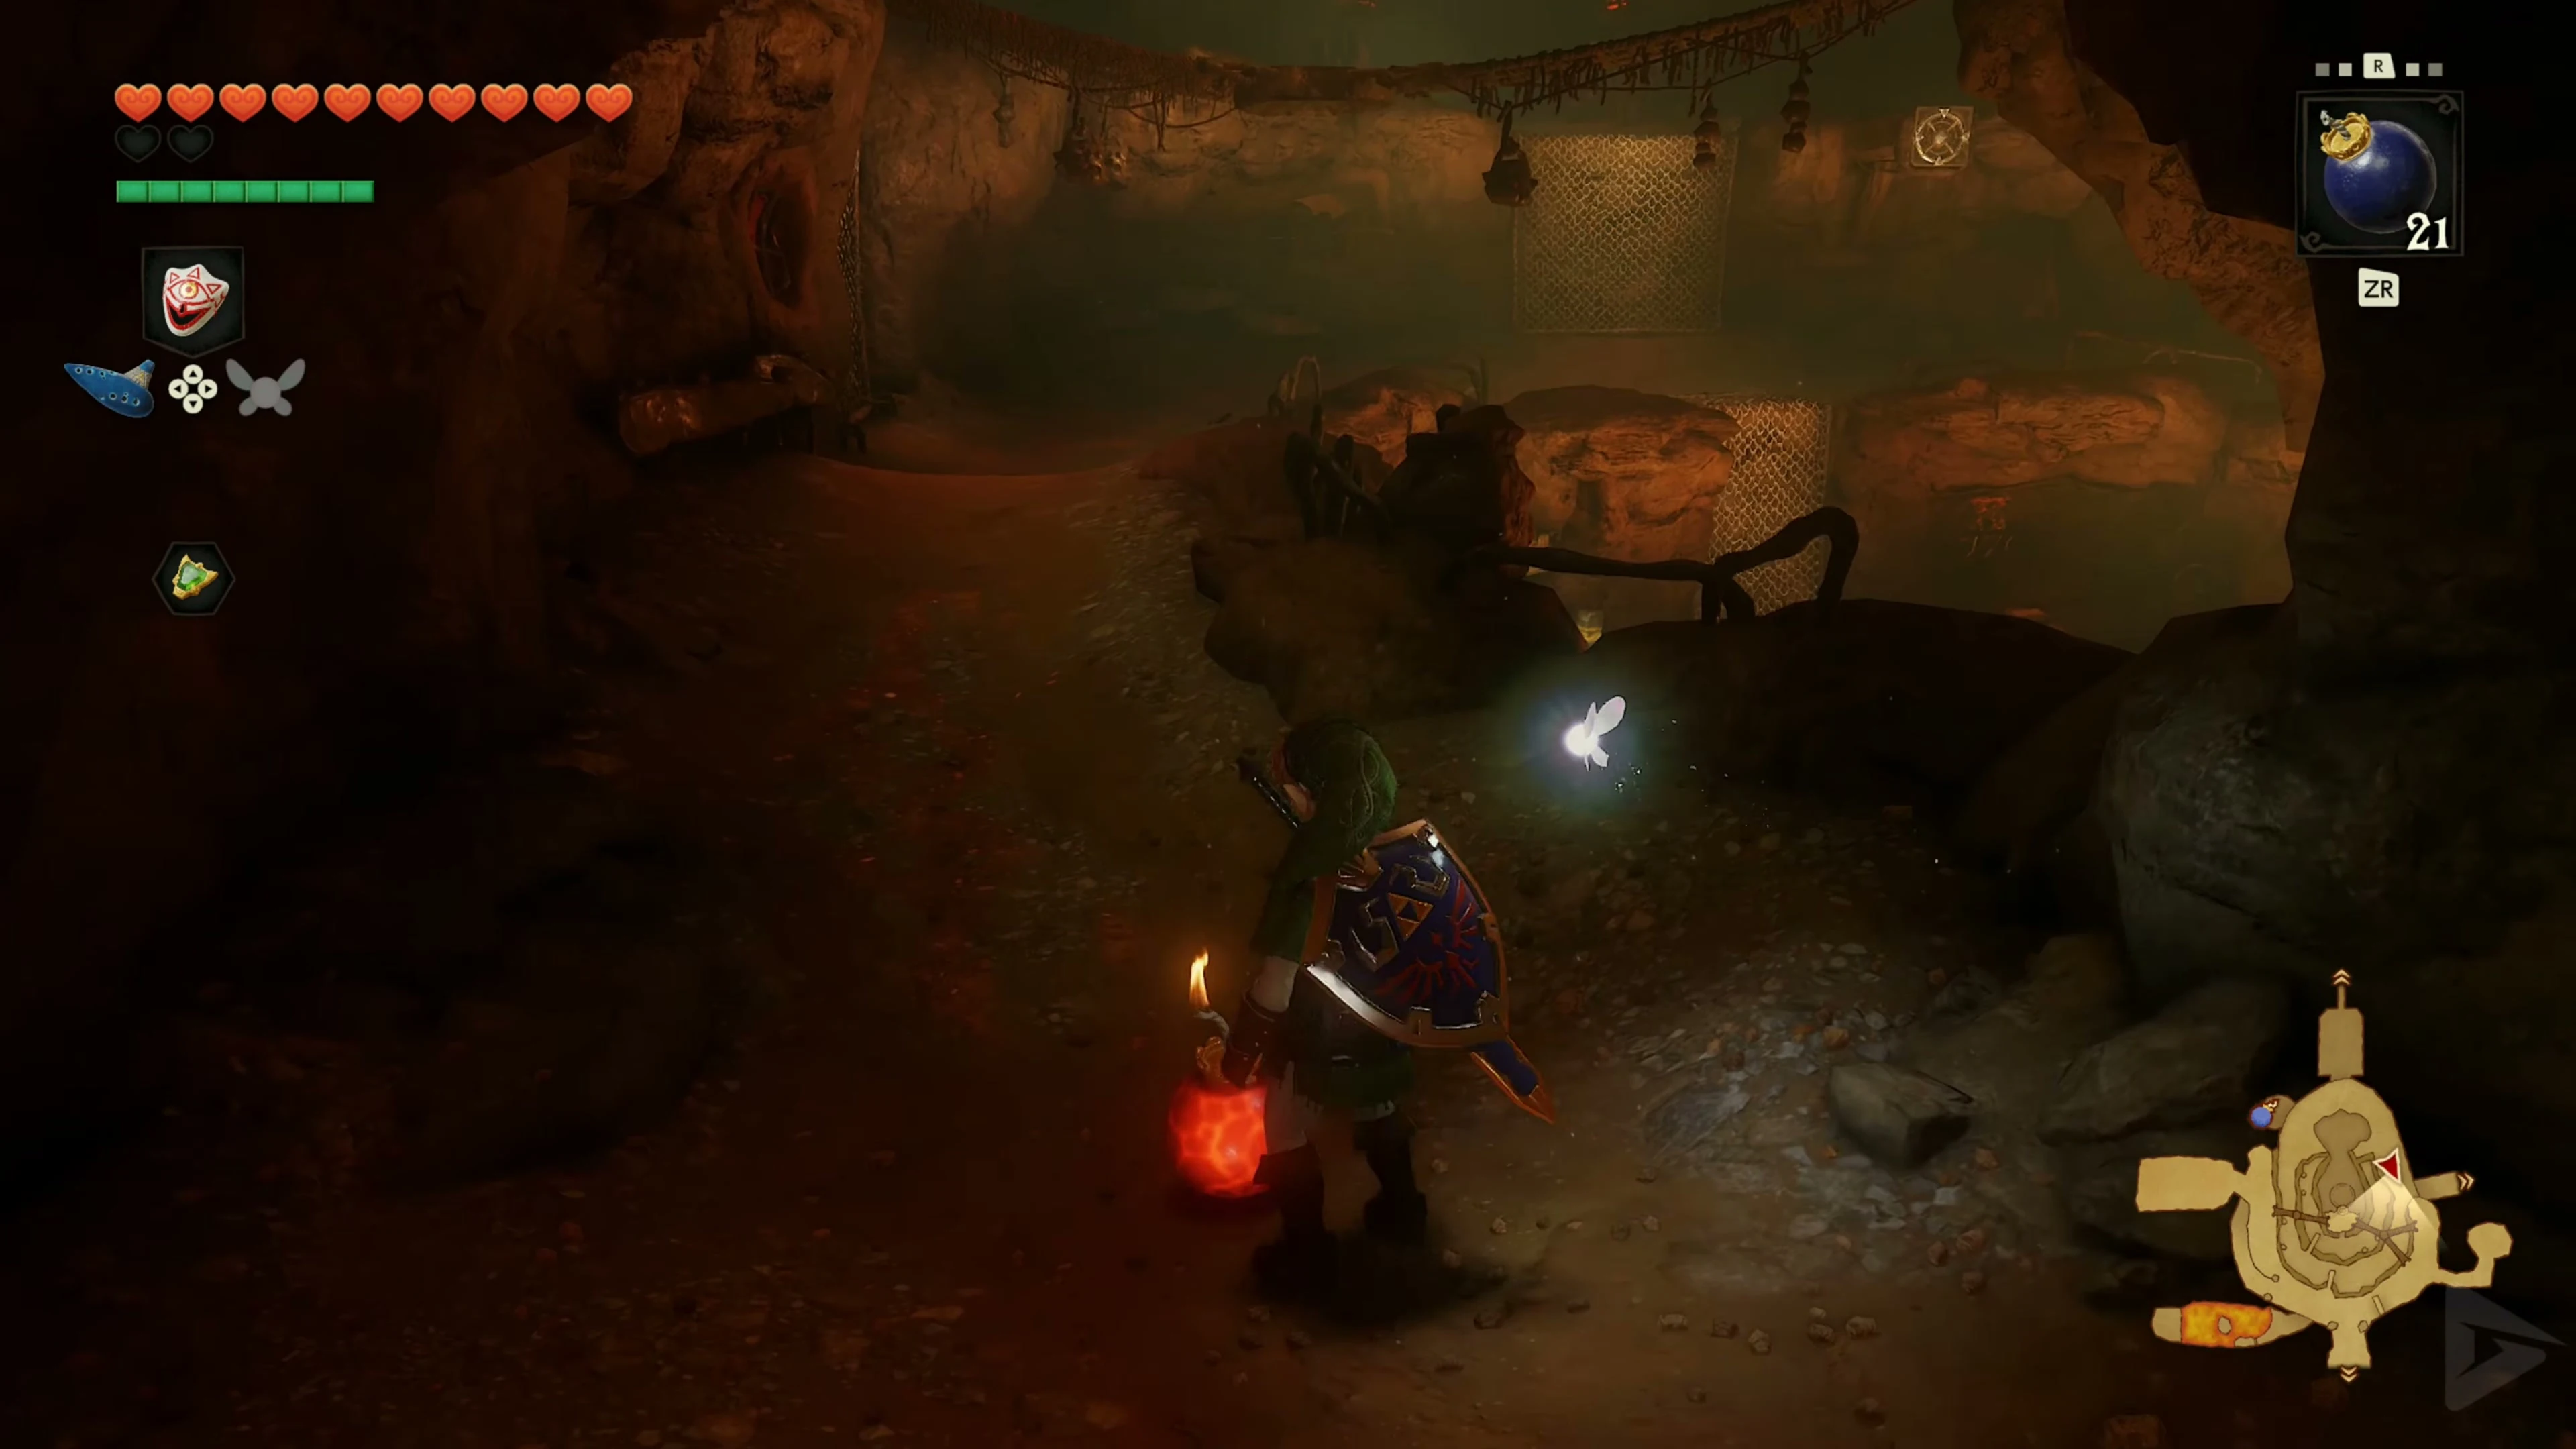
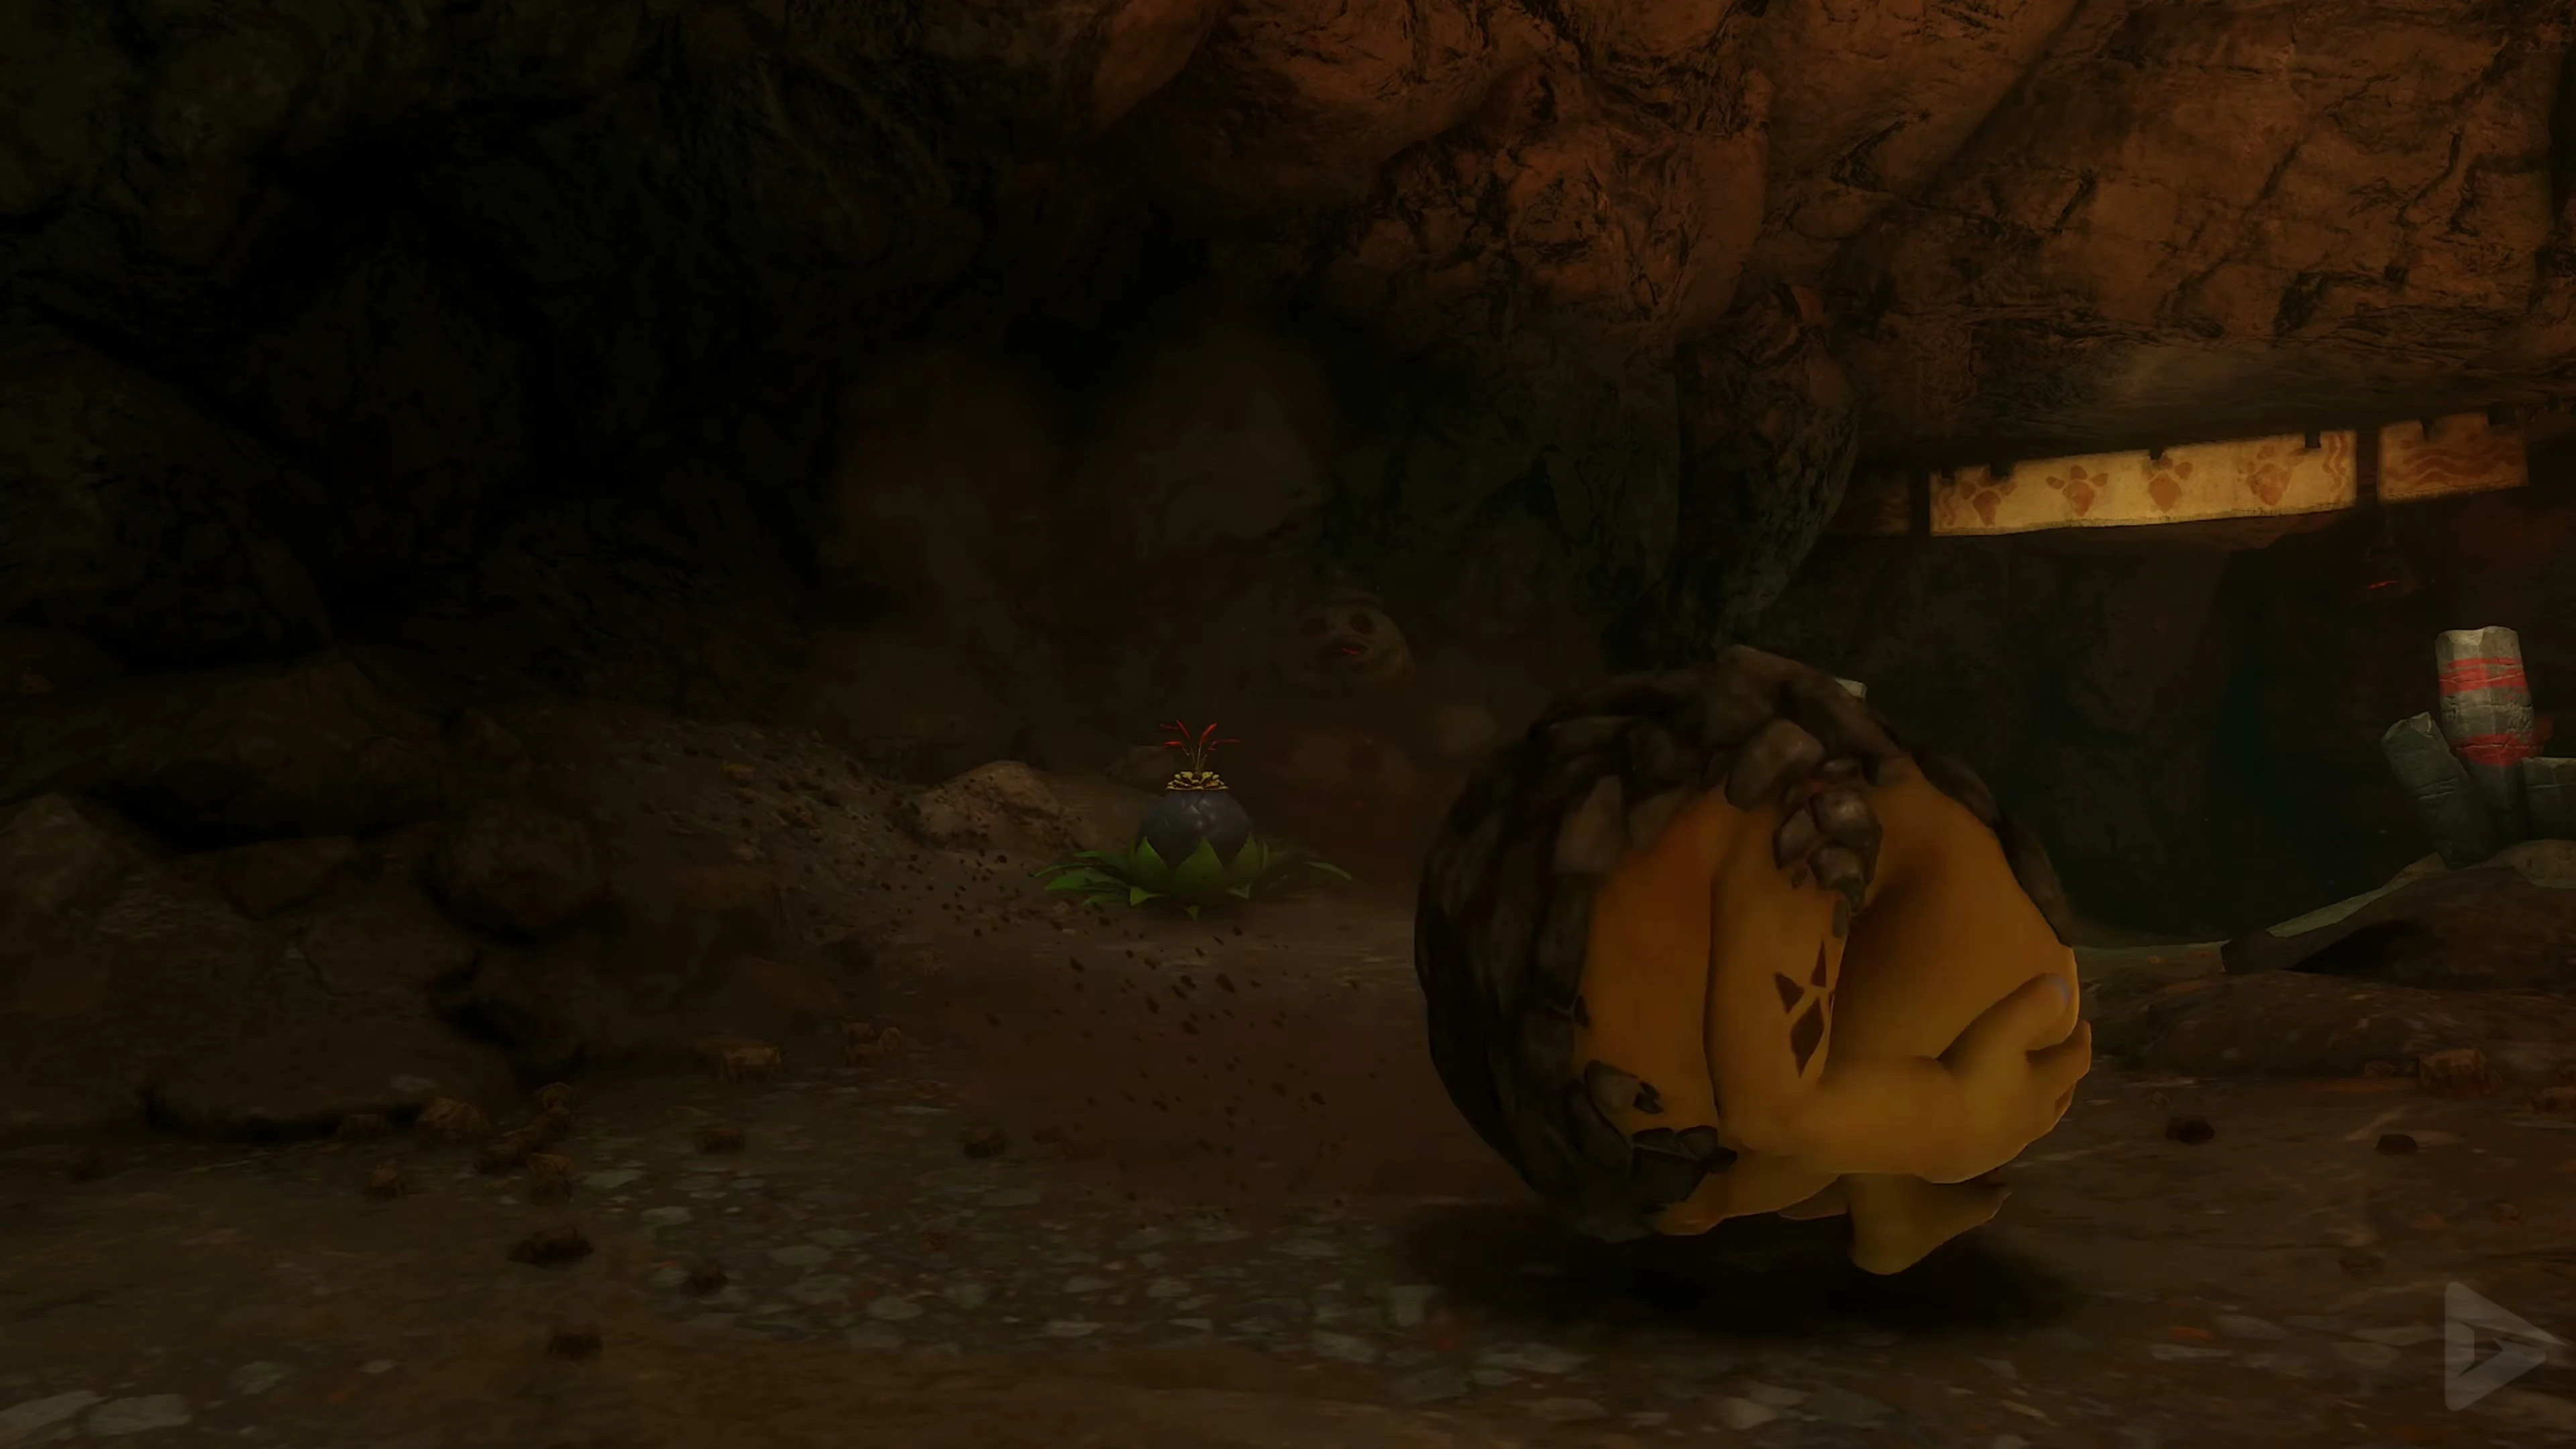
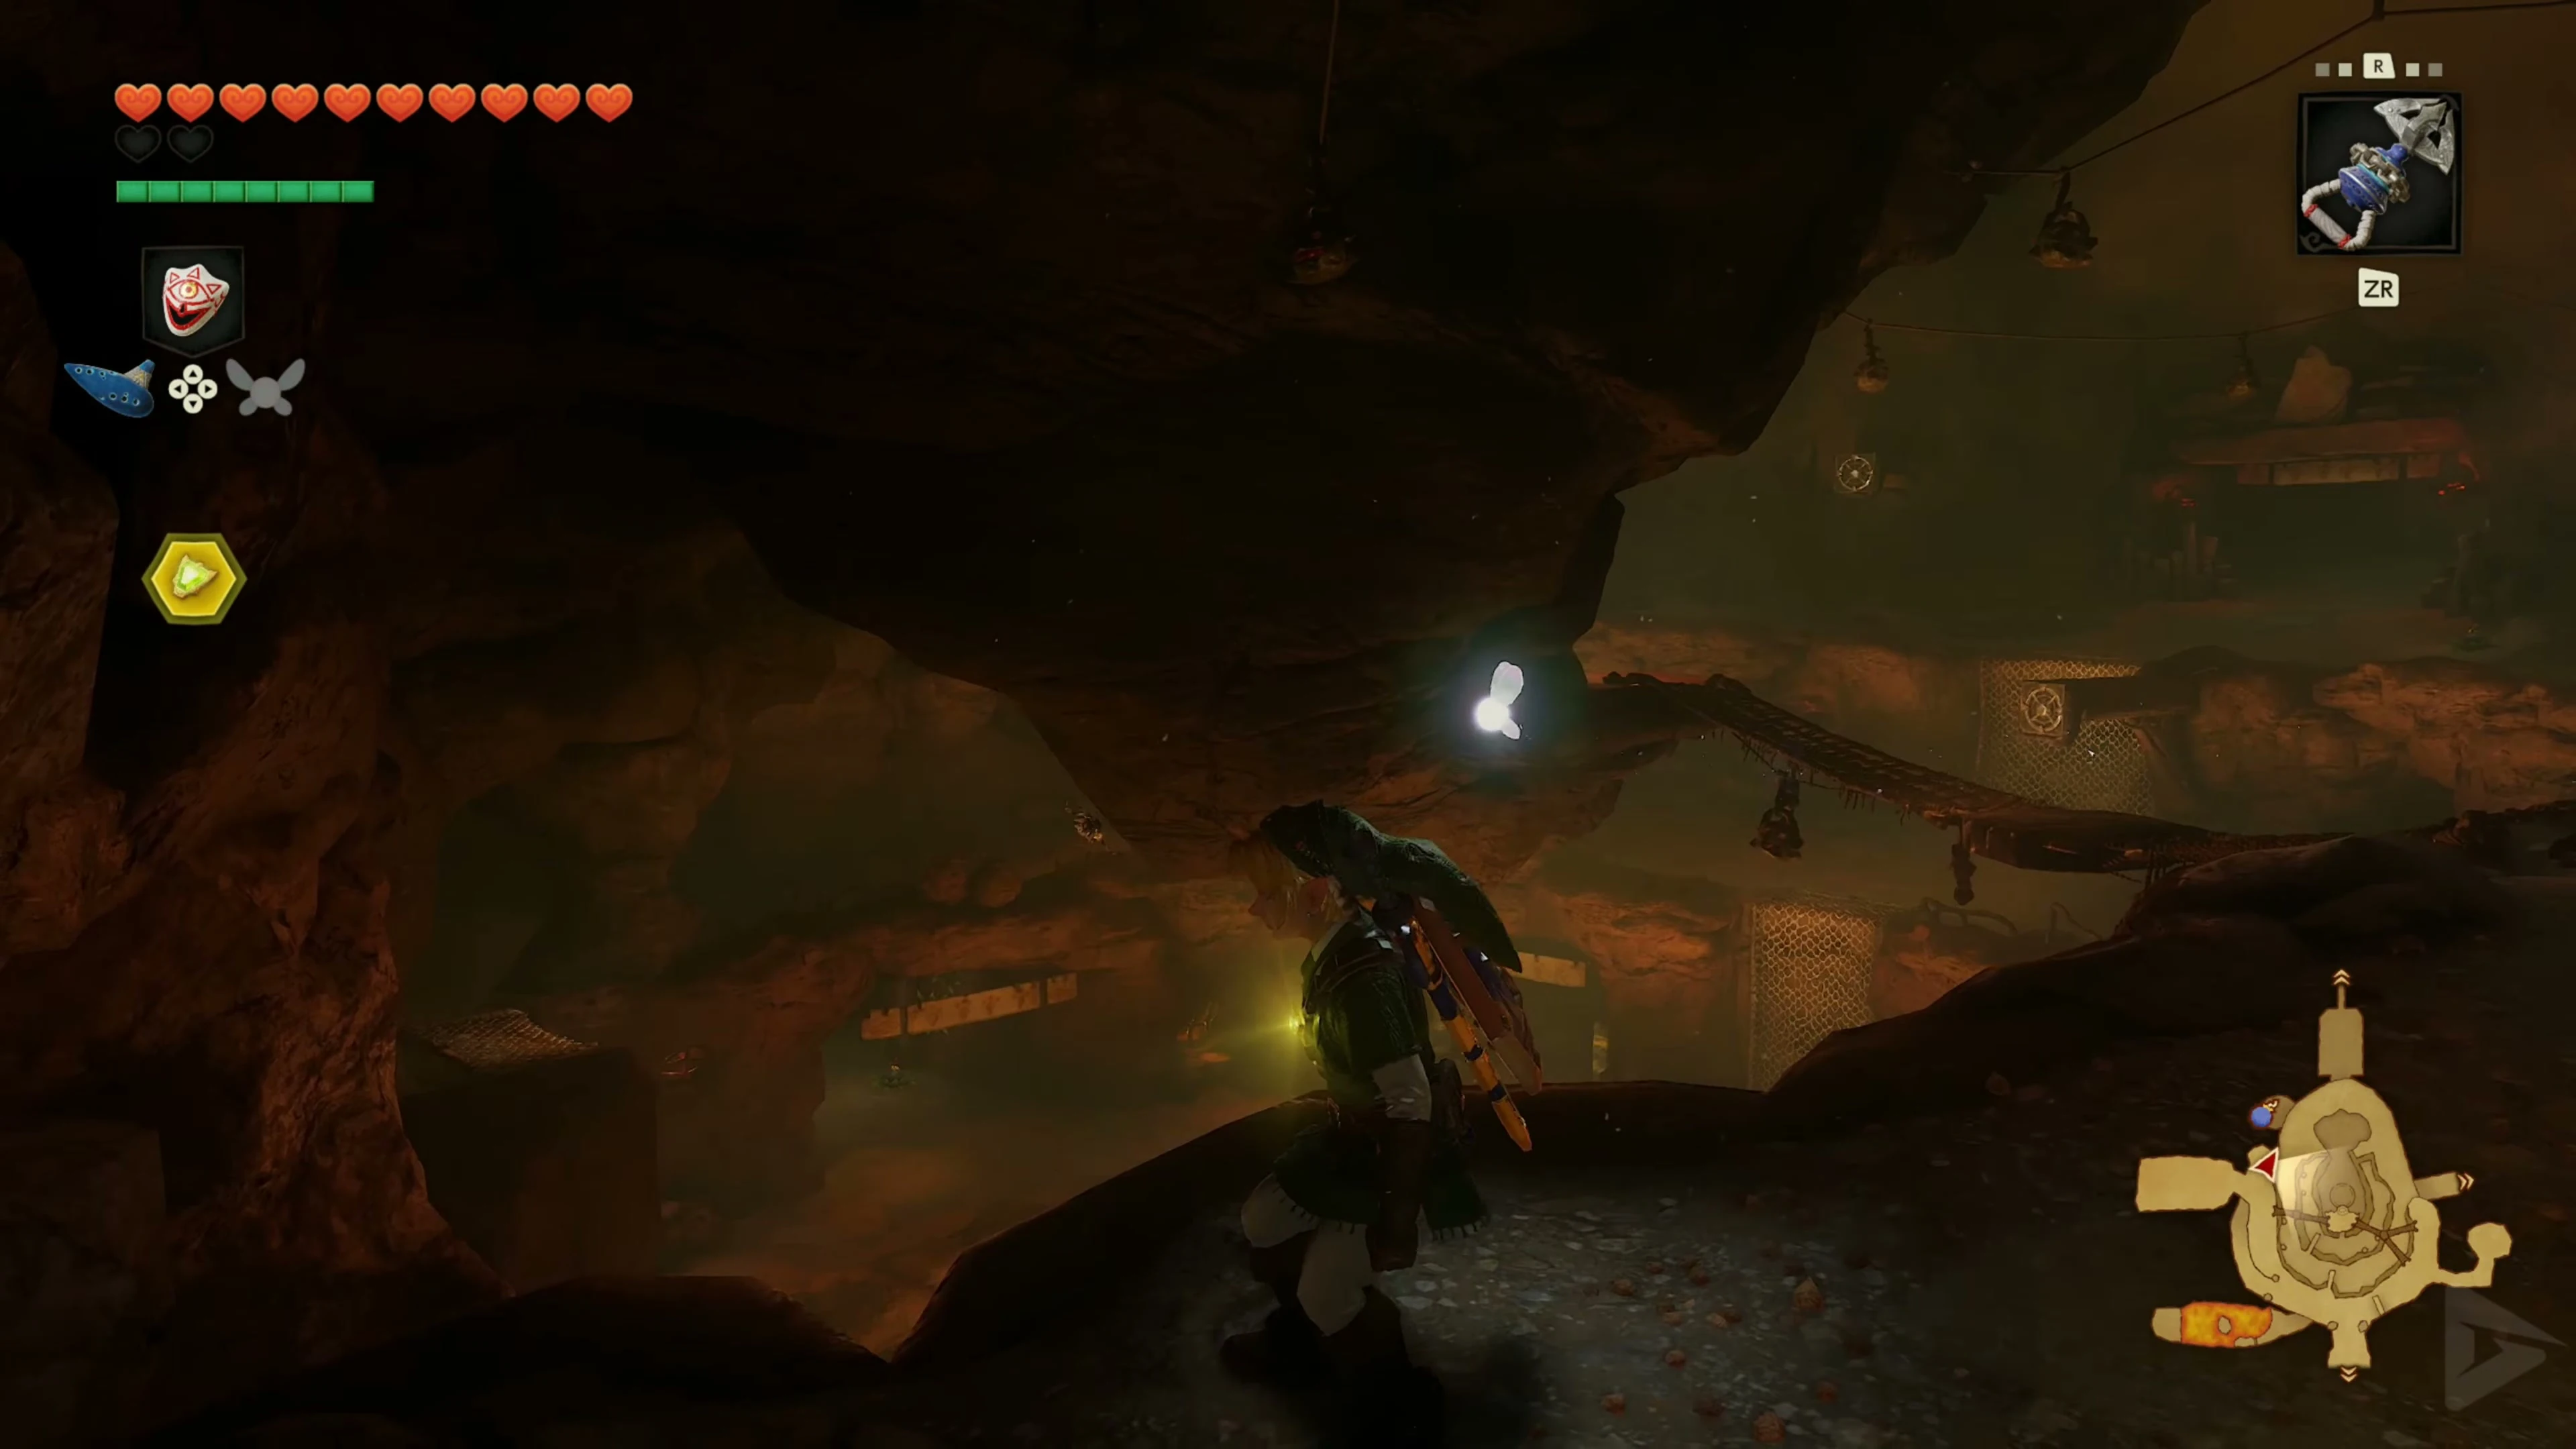
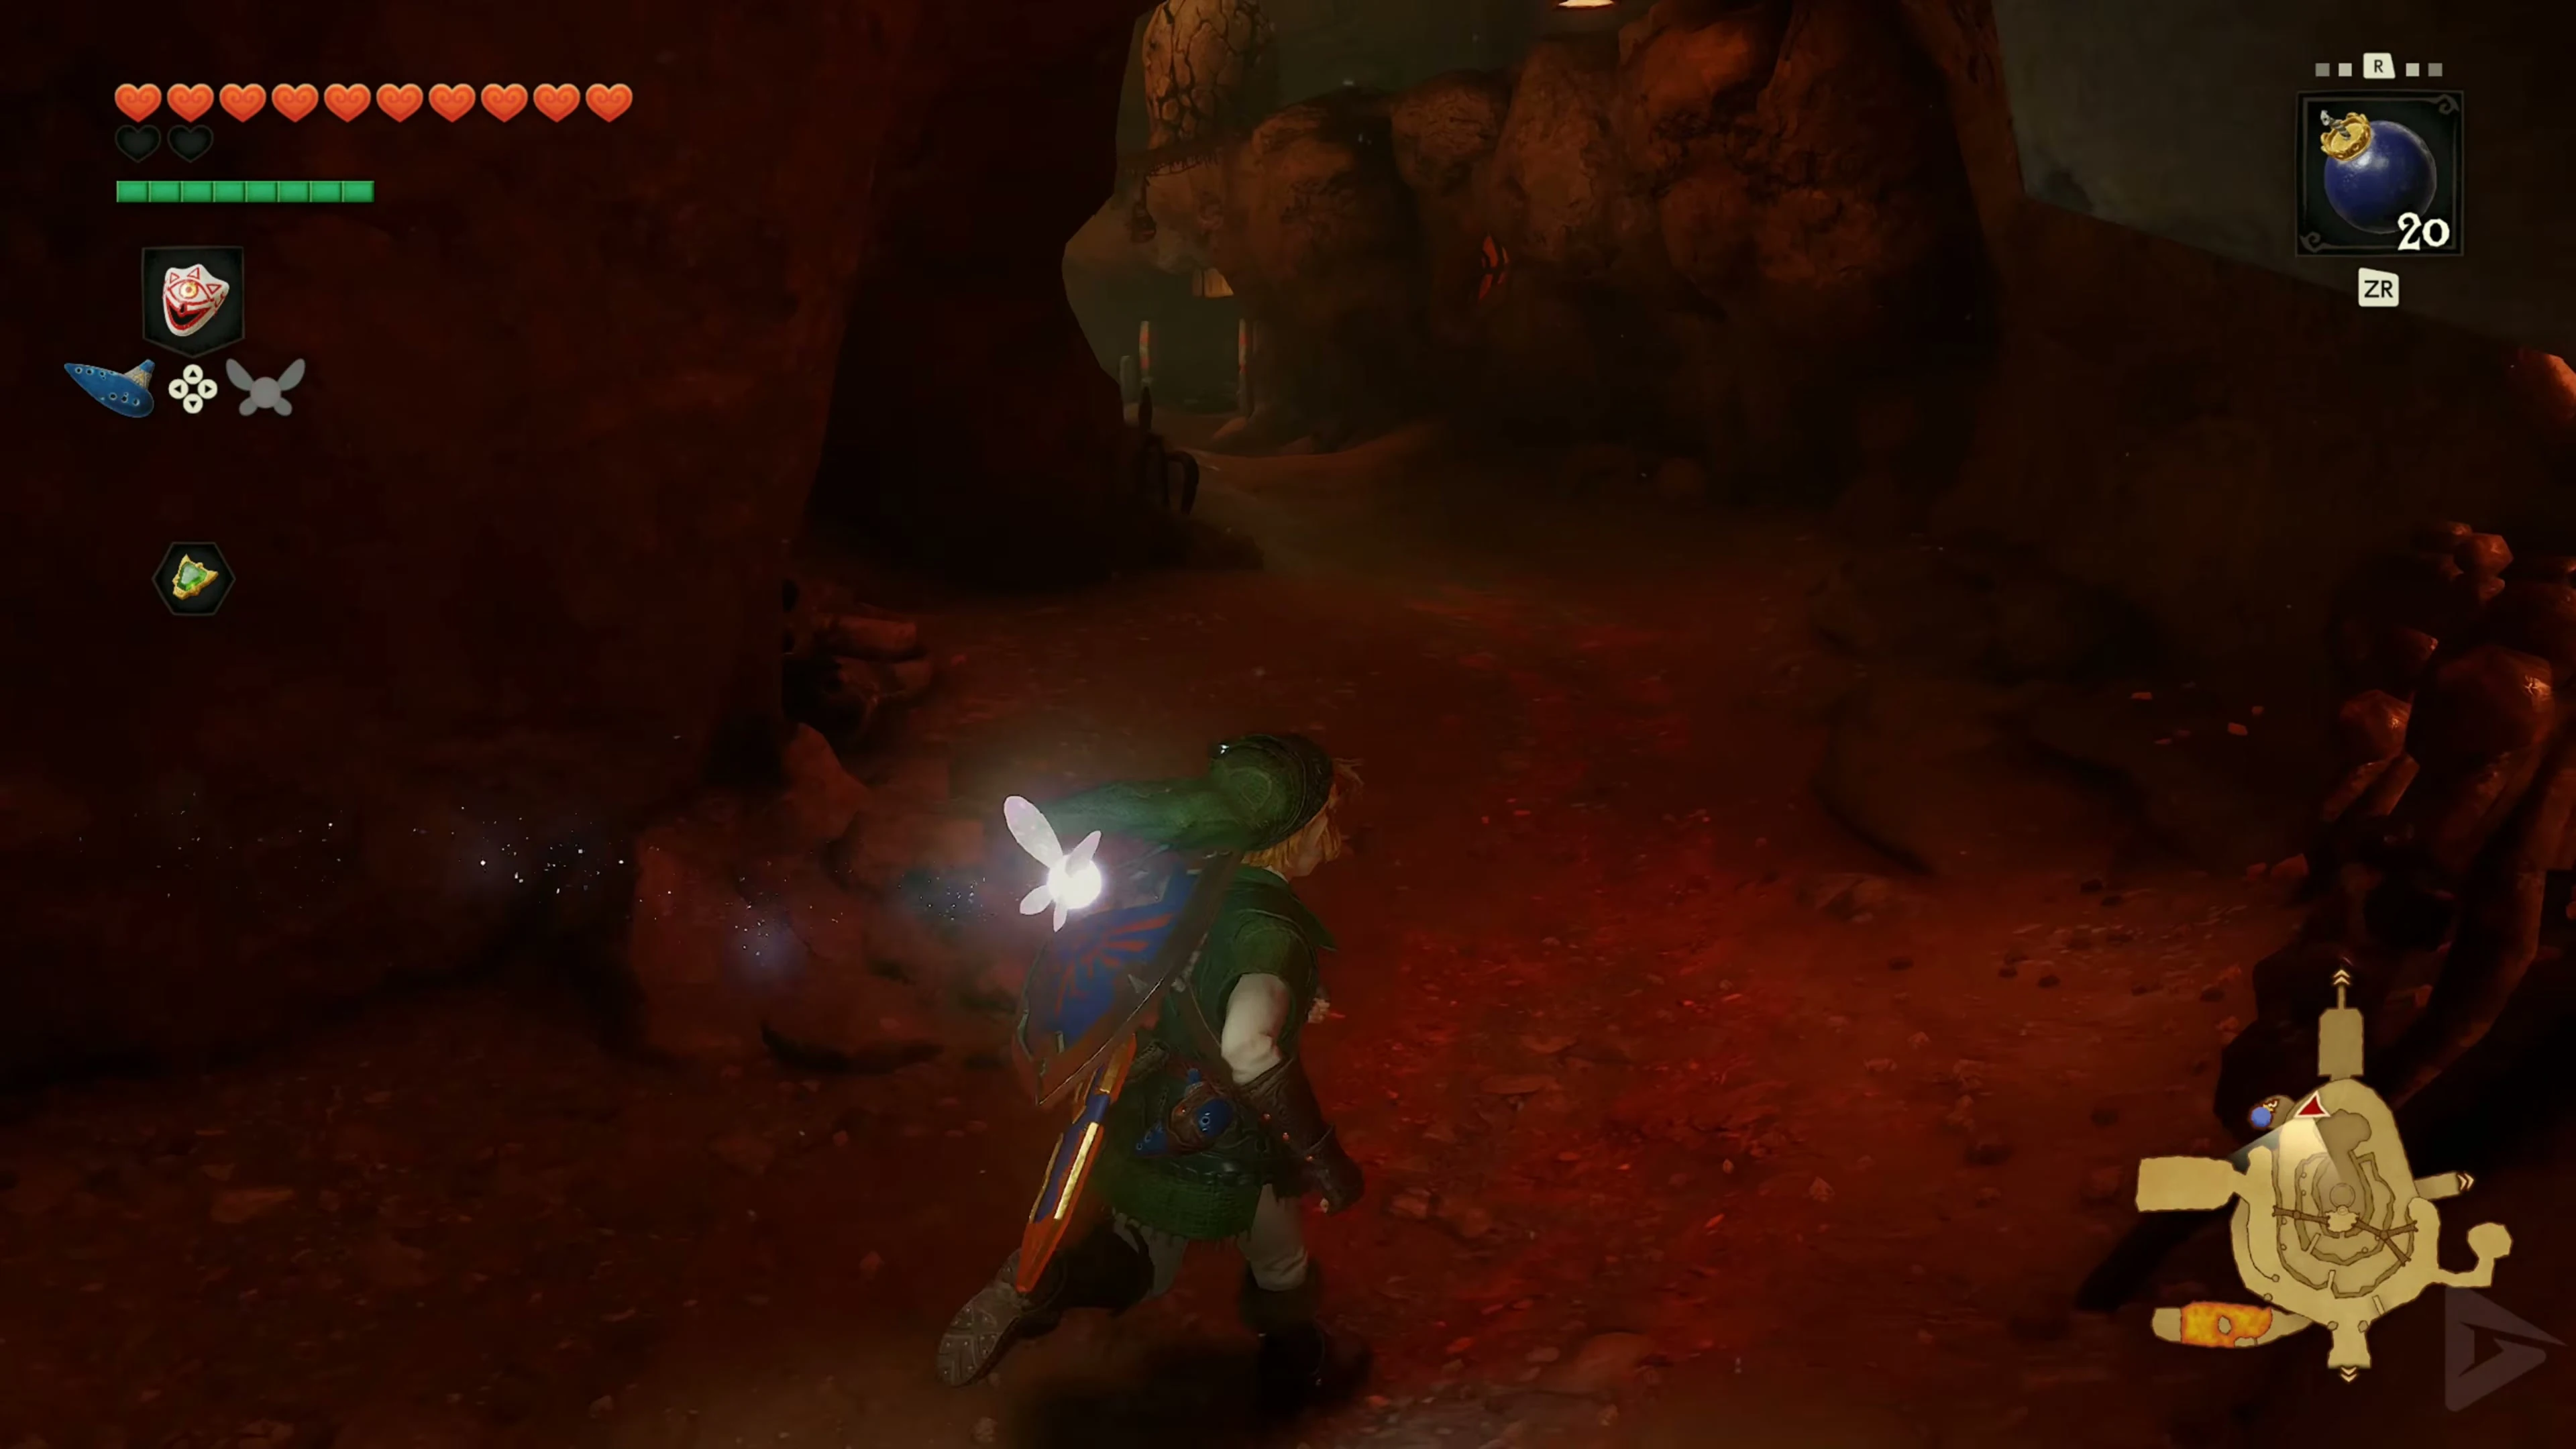
Find the small Goron rolling around the Goron City walkways. Detonate a bomb in his path to stop him. Follow him through the walkways and tunnels if he rolls away from you. If rocks block a passage, blow them up with a bomb. Once the Goron stops, talk to him.
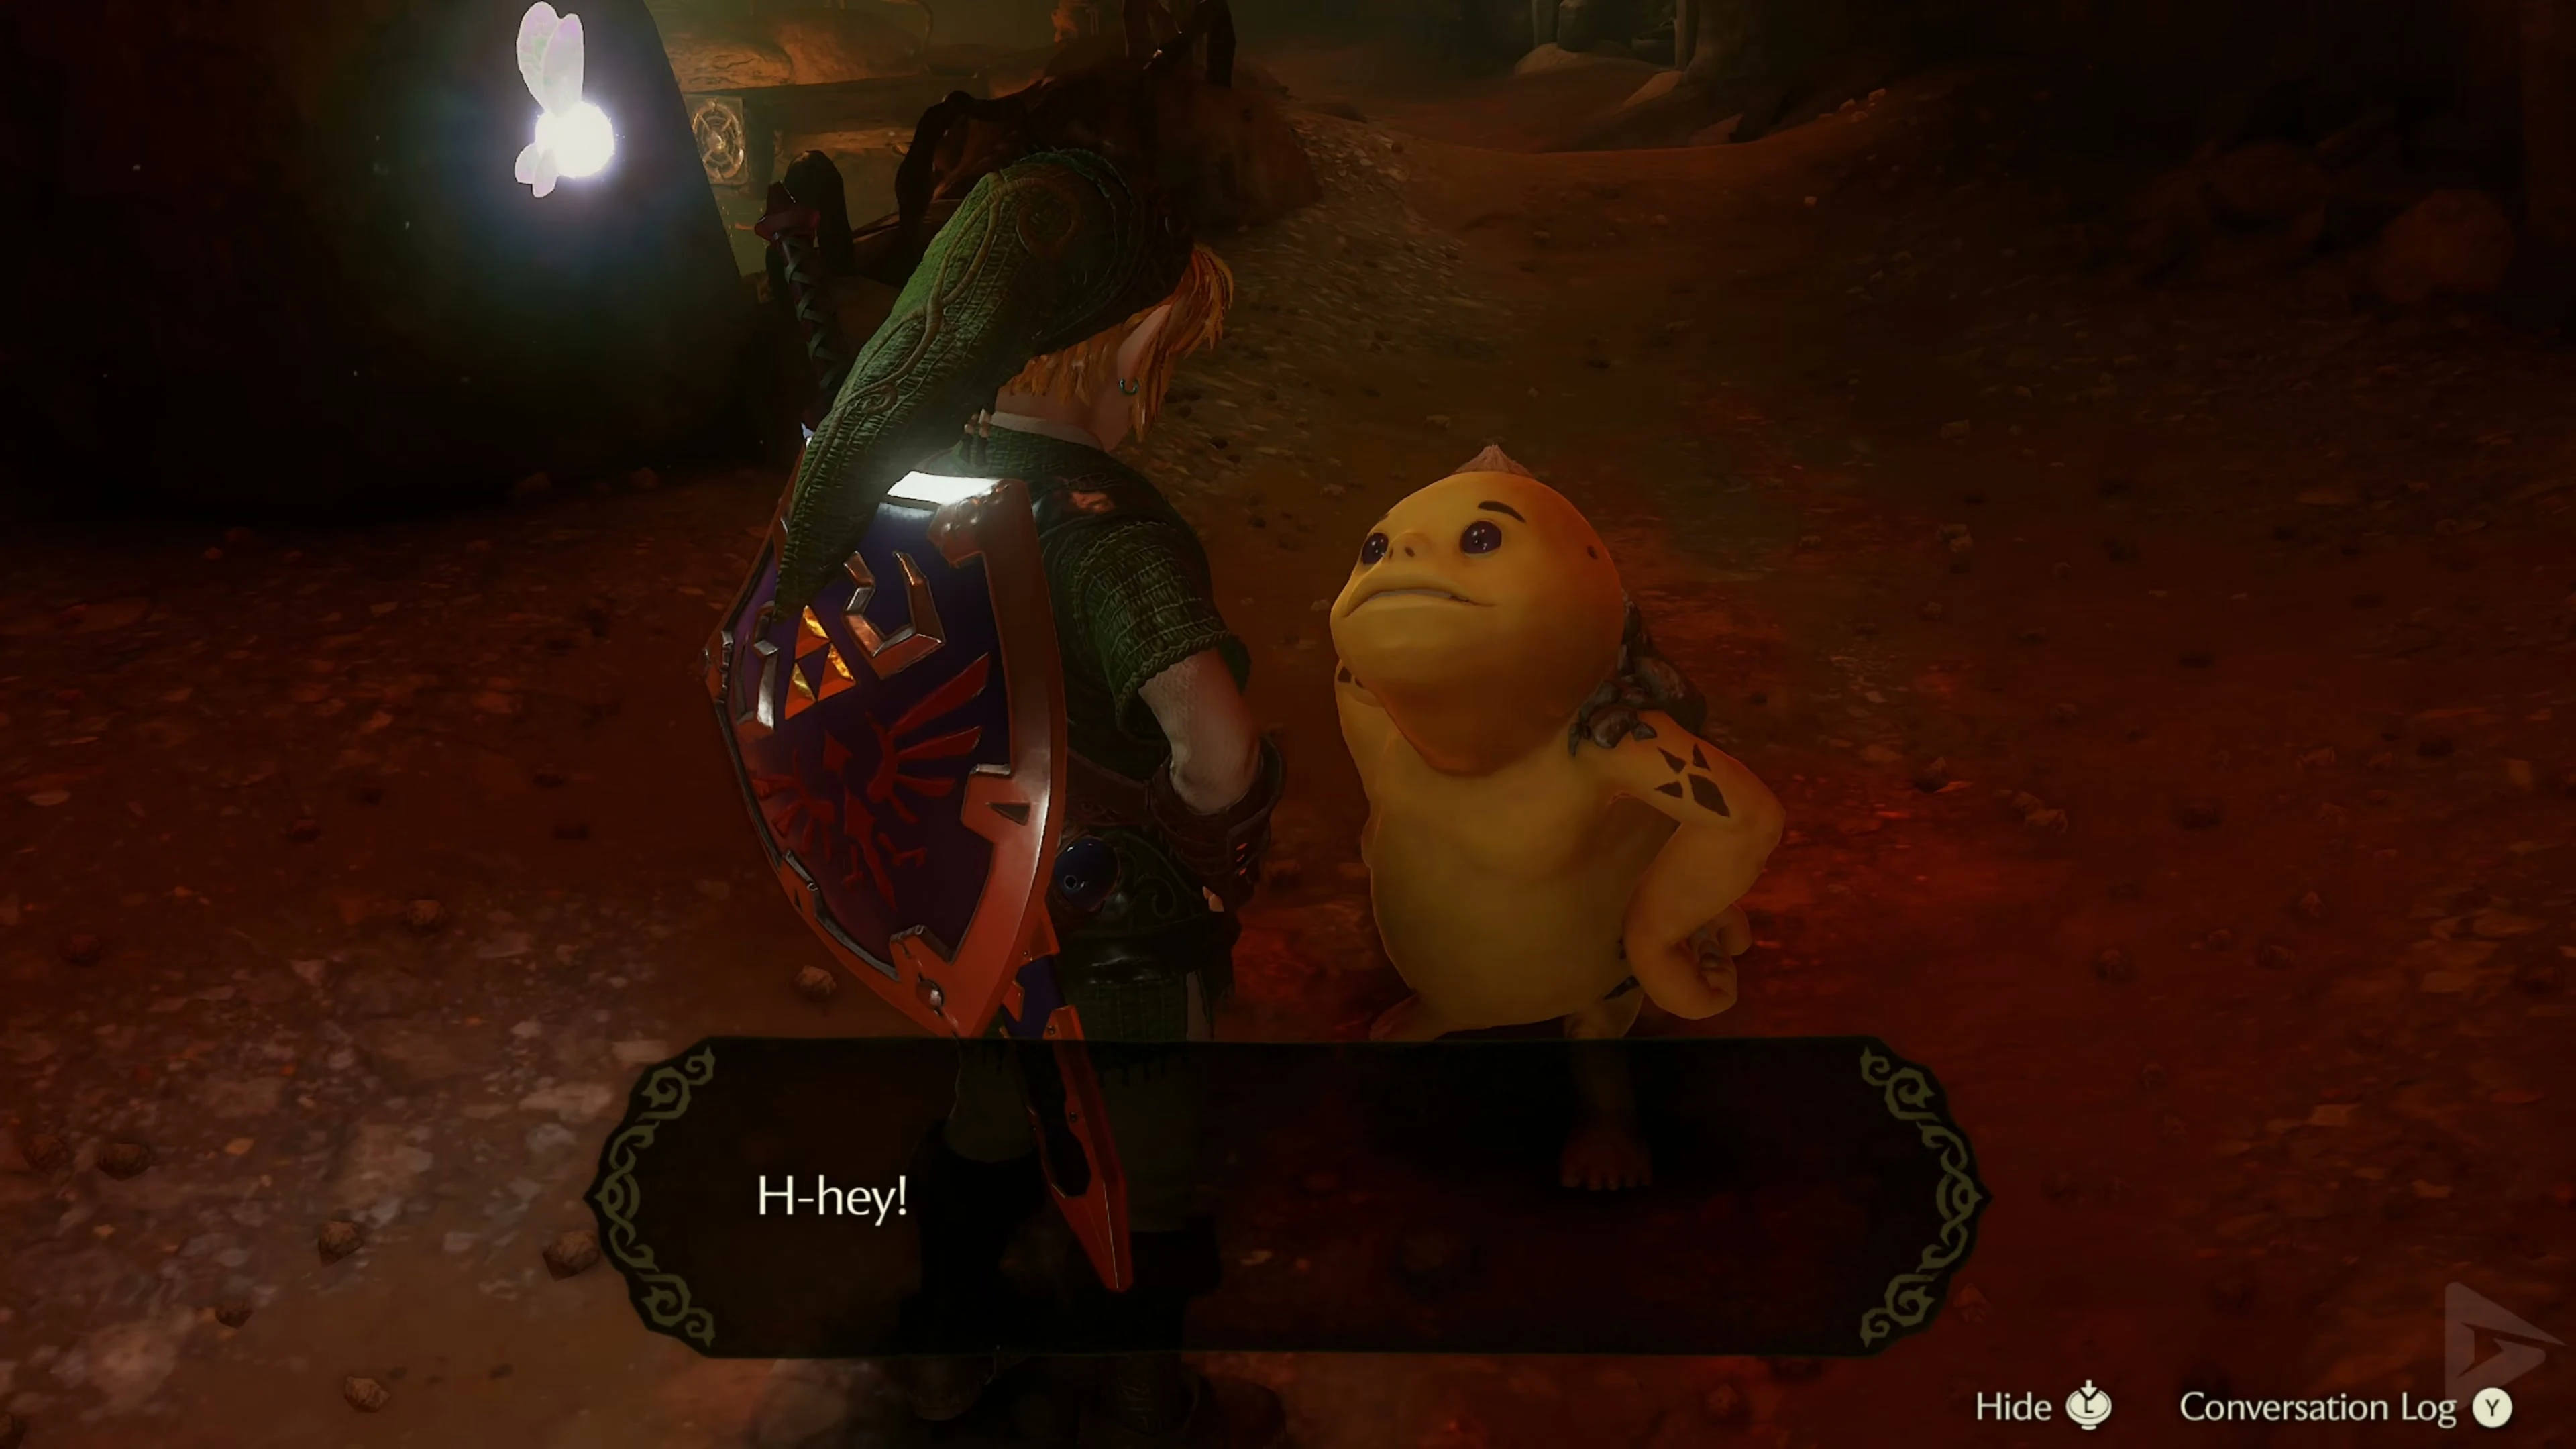
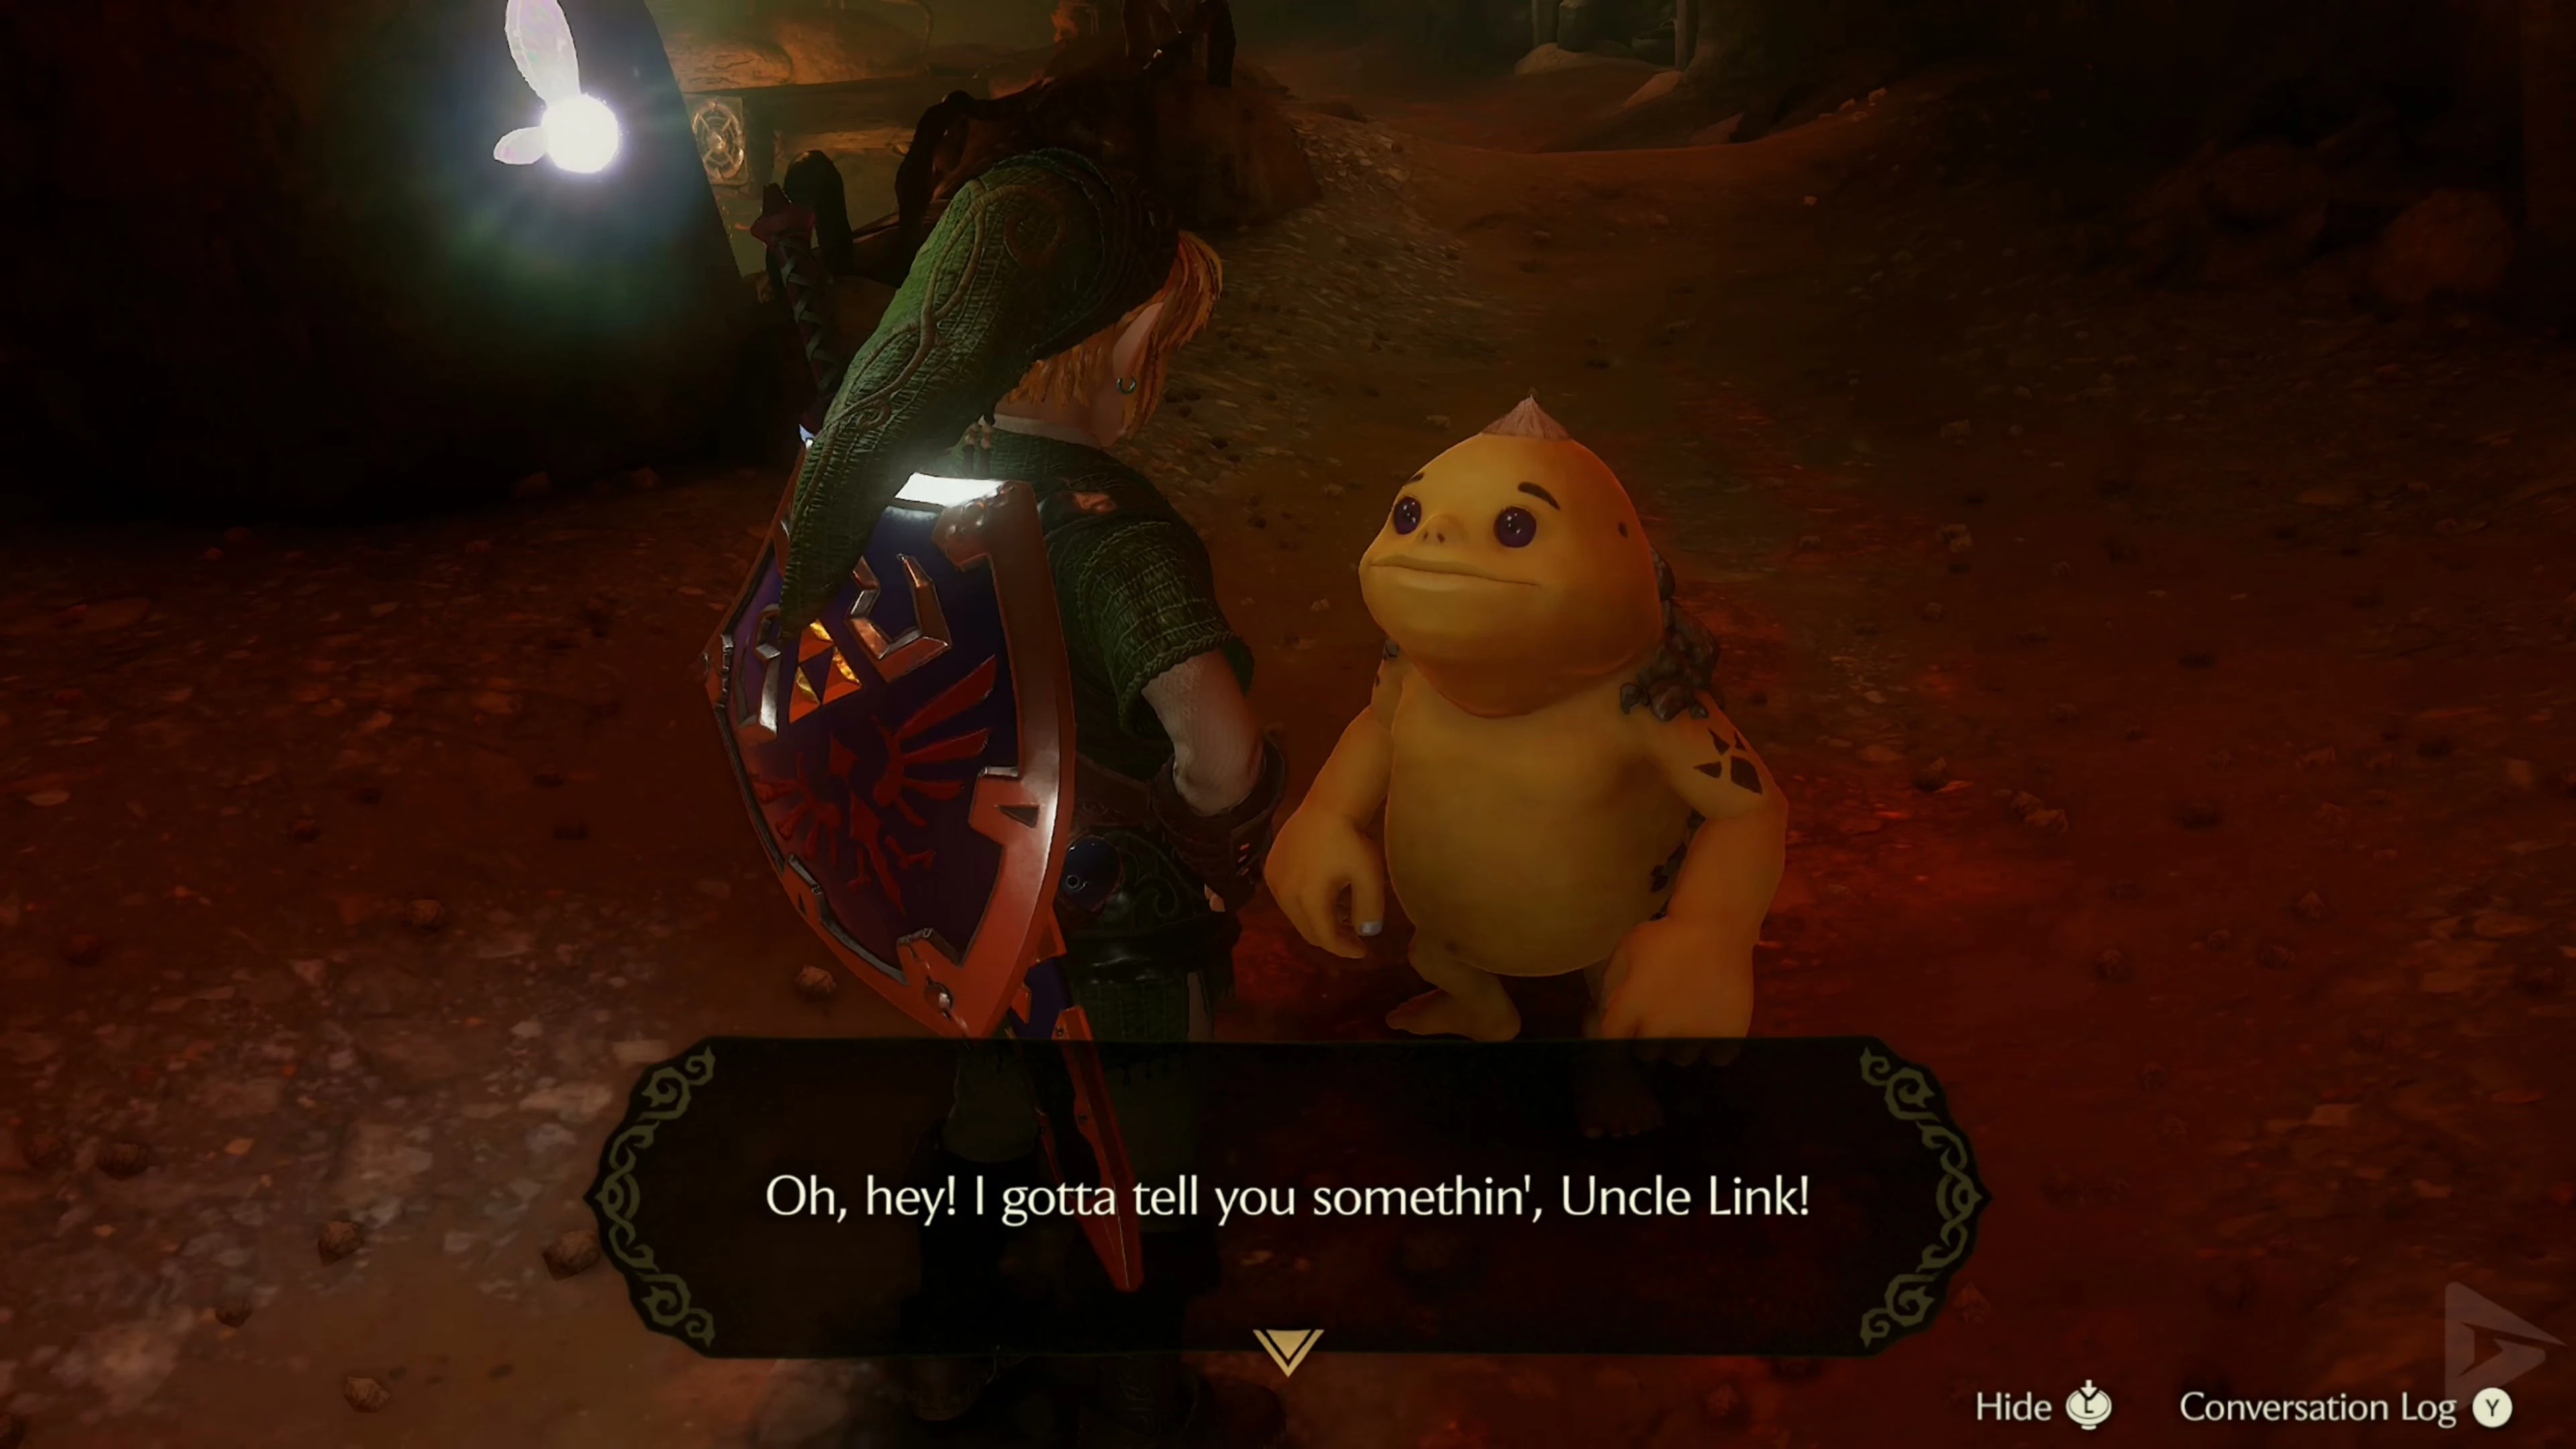
He reveals himself to be Darunia’s son and shares the same name as Link. Ask about the missing Gorons and the dragon. Darunia has already gone to the Fire Temple to rescue the captured inhabitants from Volvagia . Promise to help his son and finish the conversation.
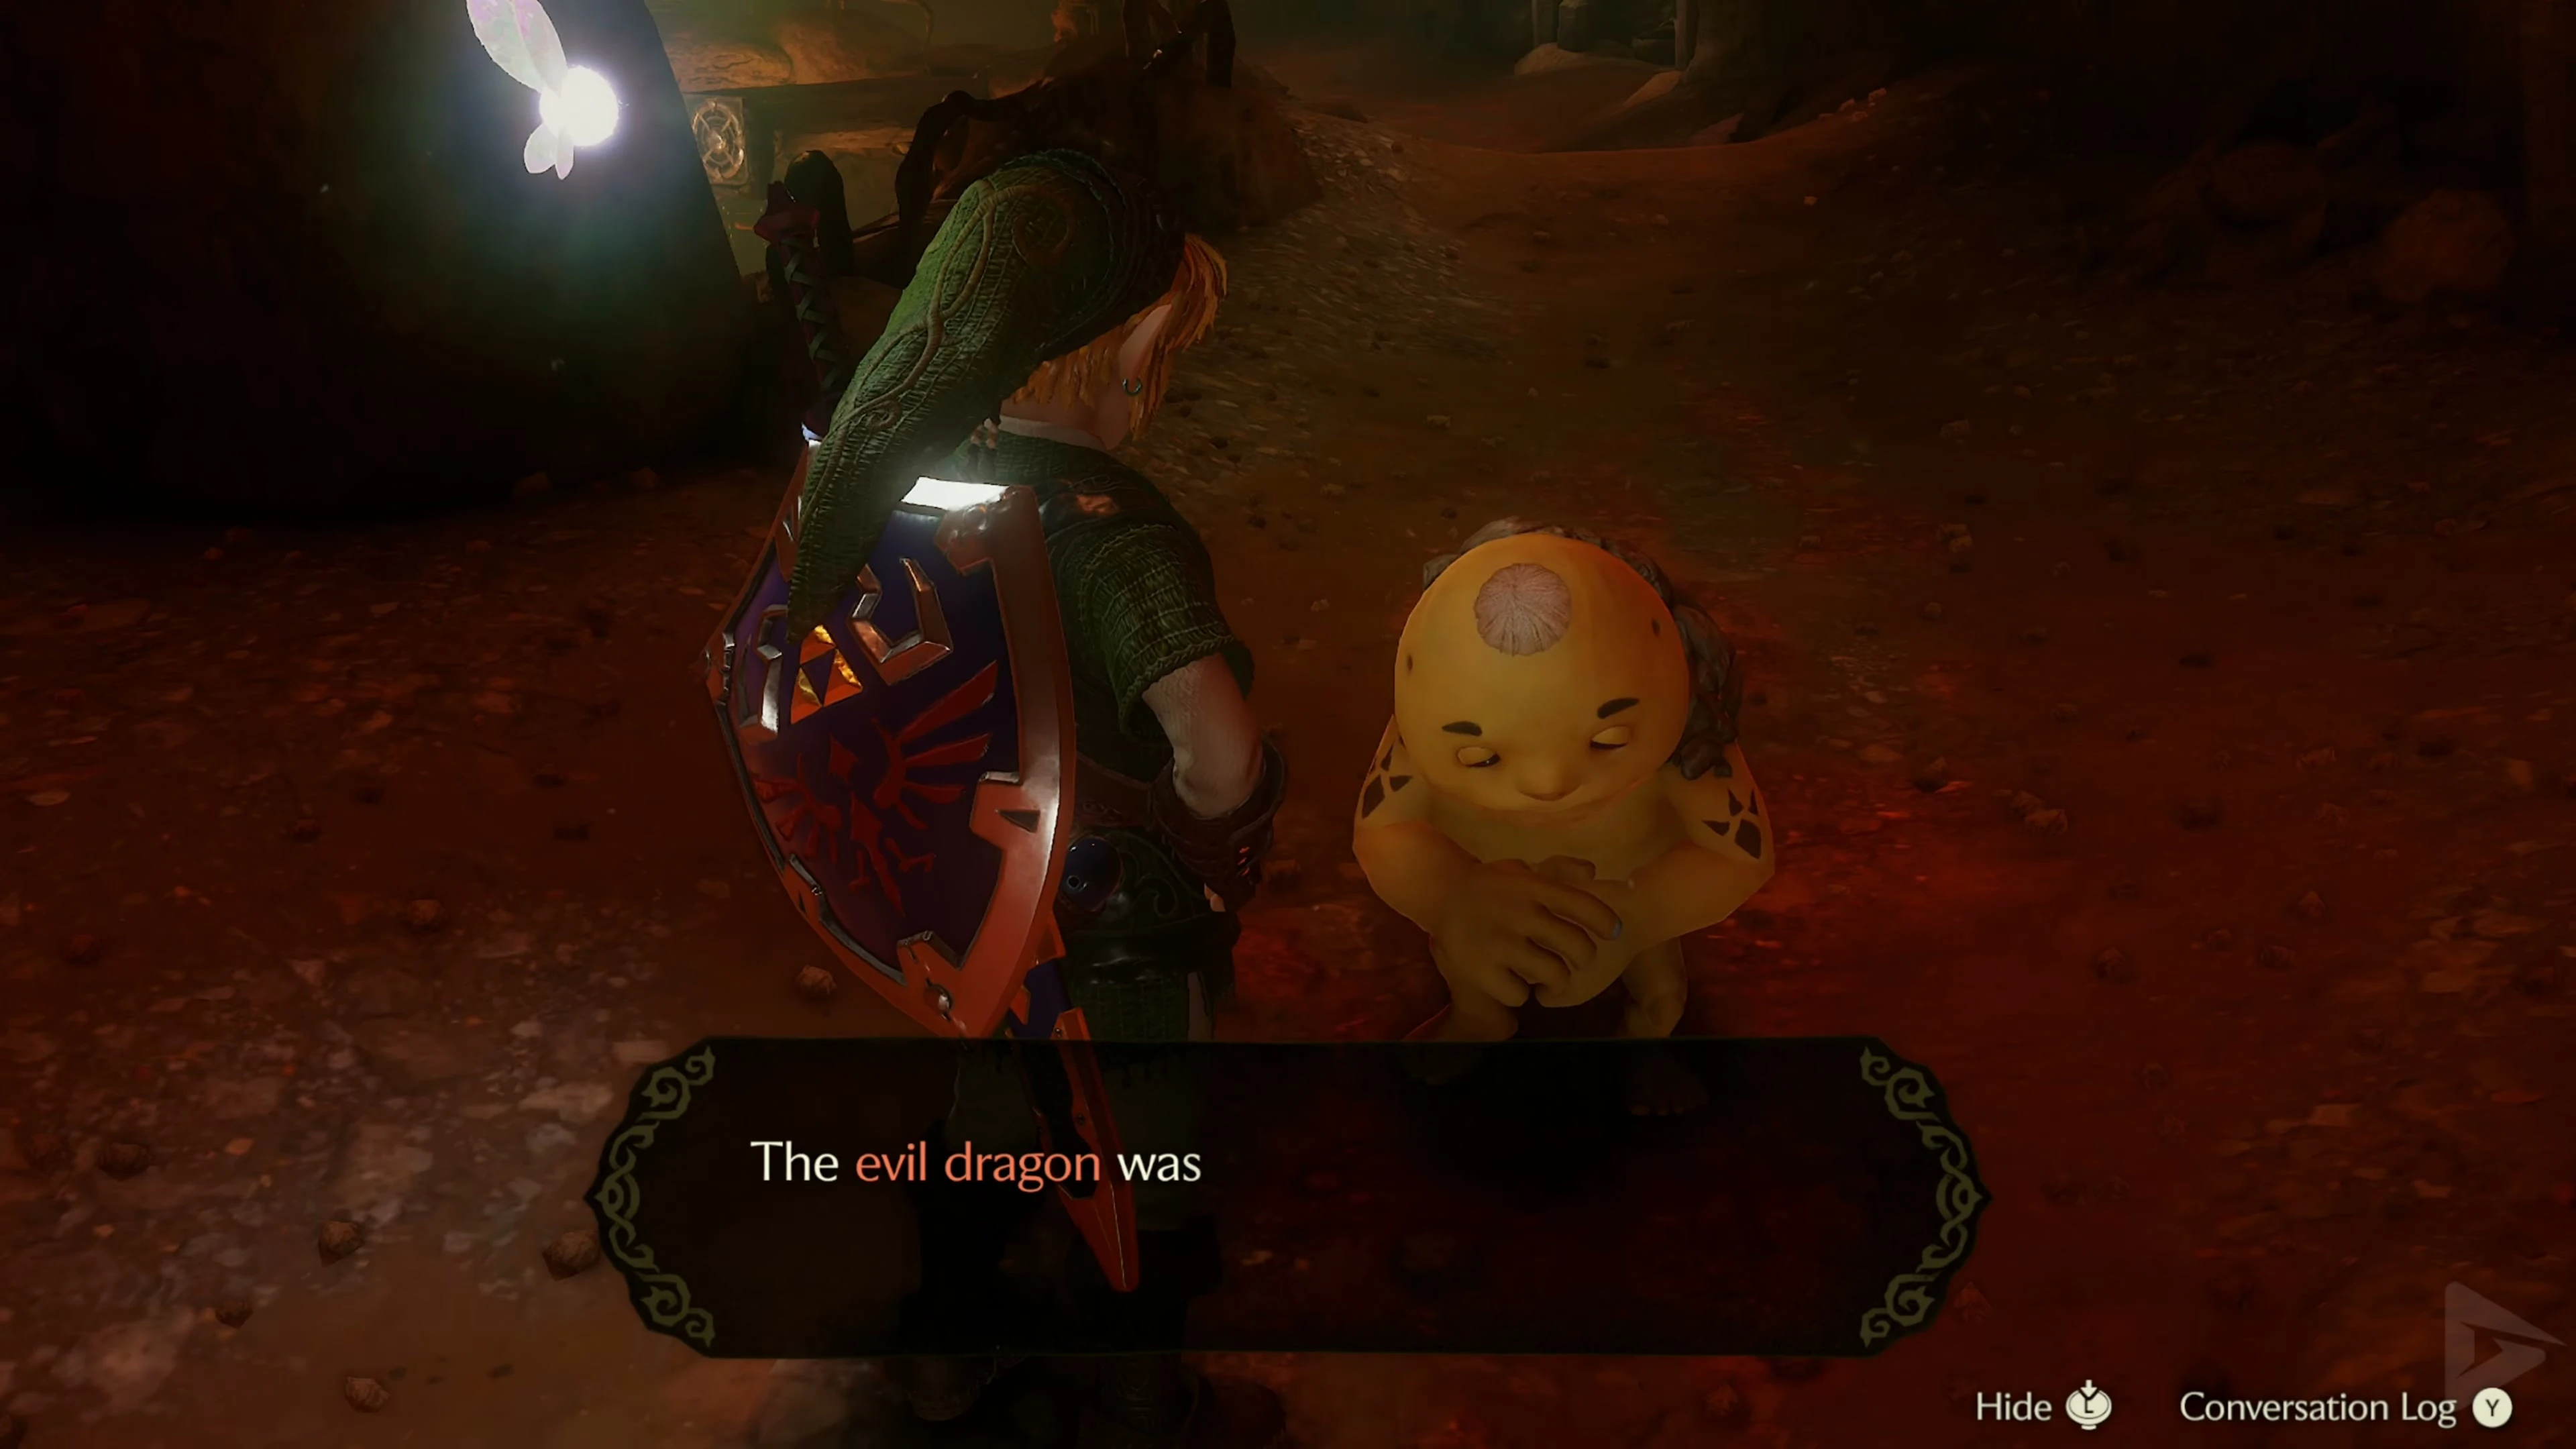
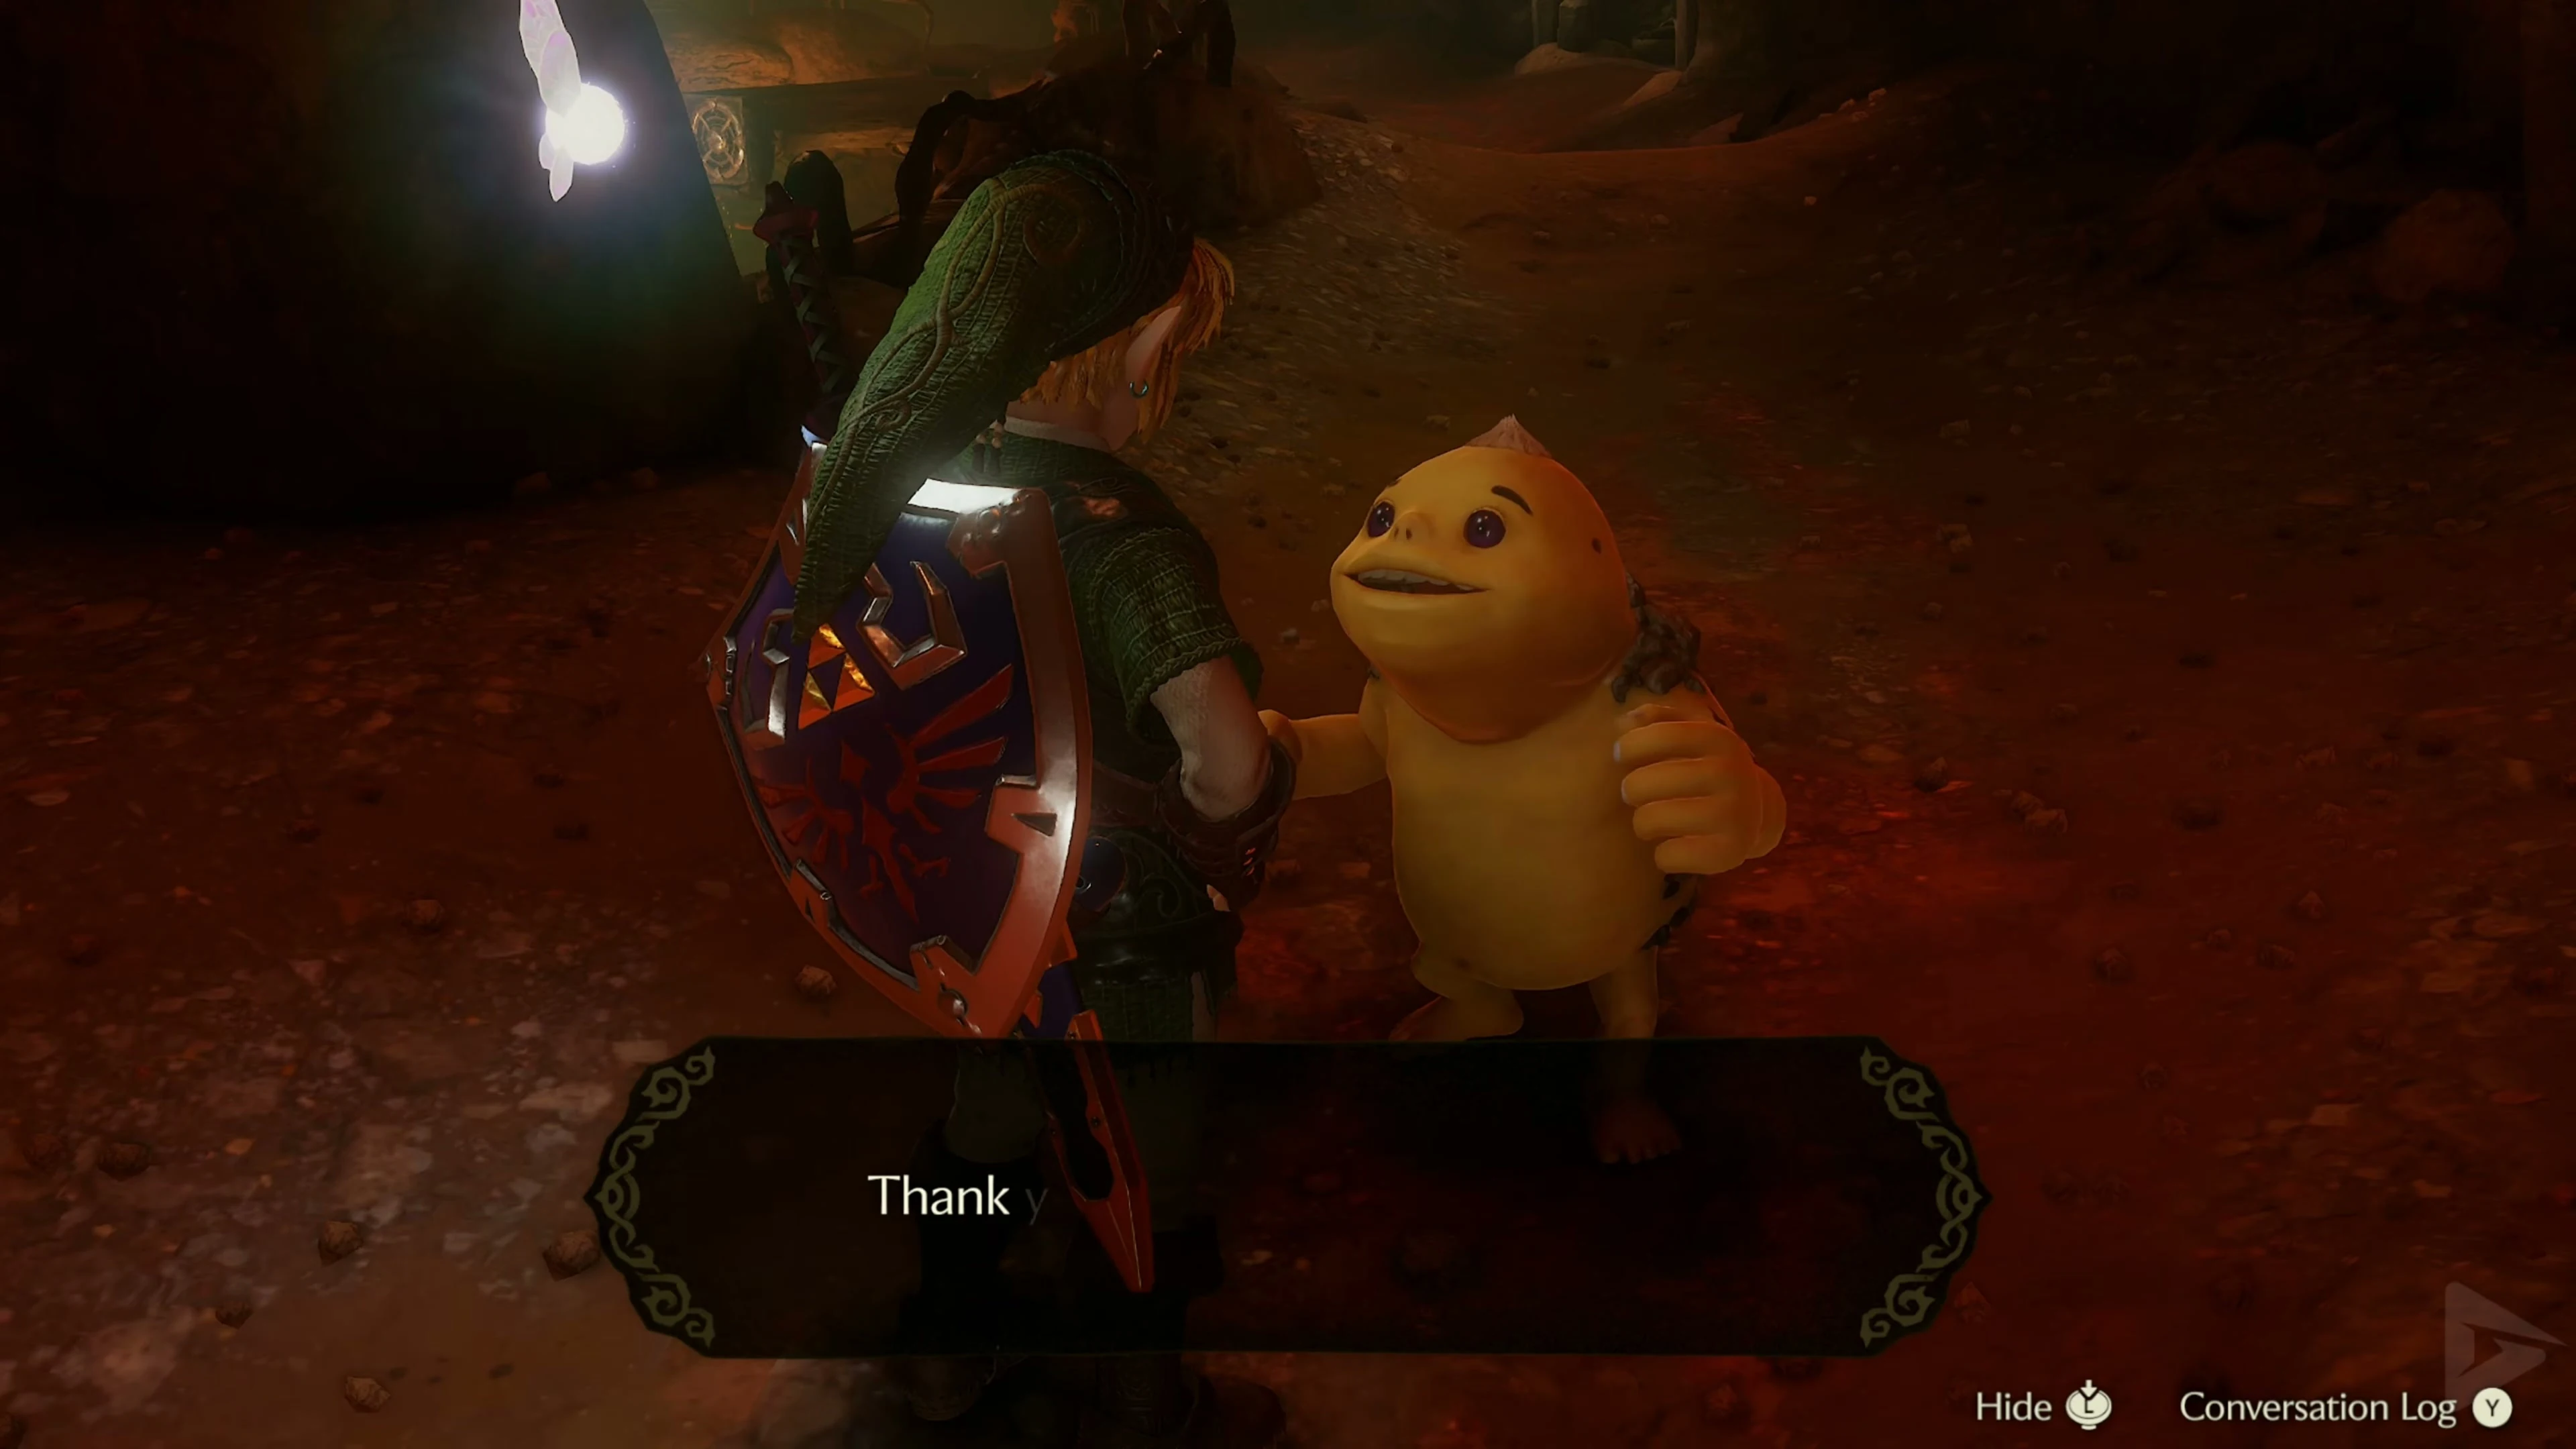
The Goron Tunic
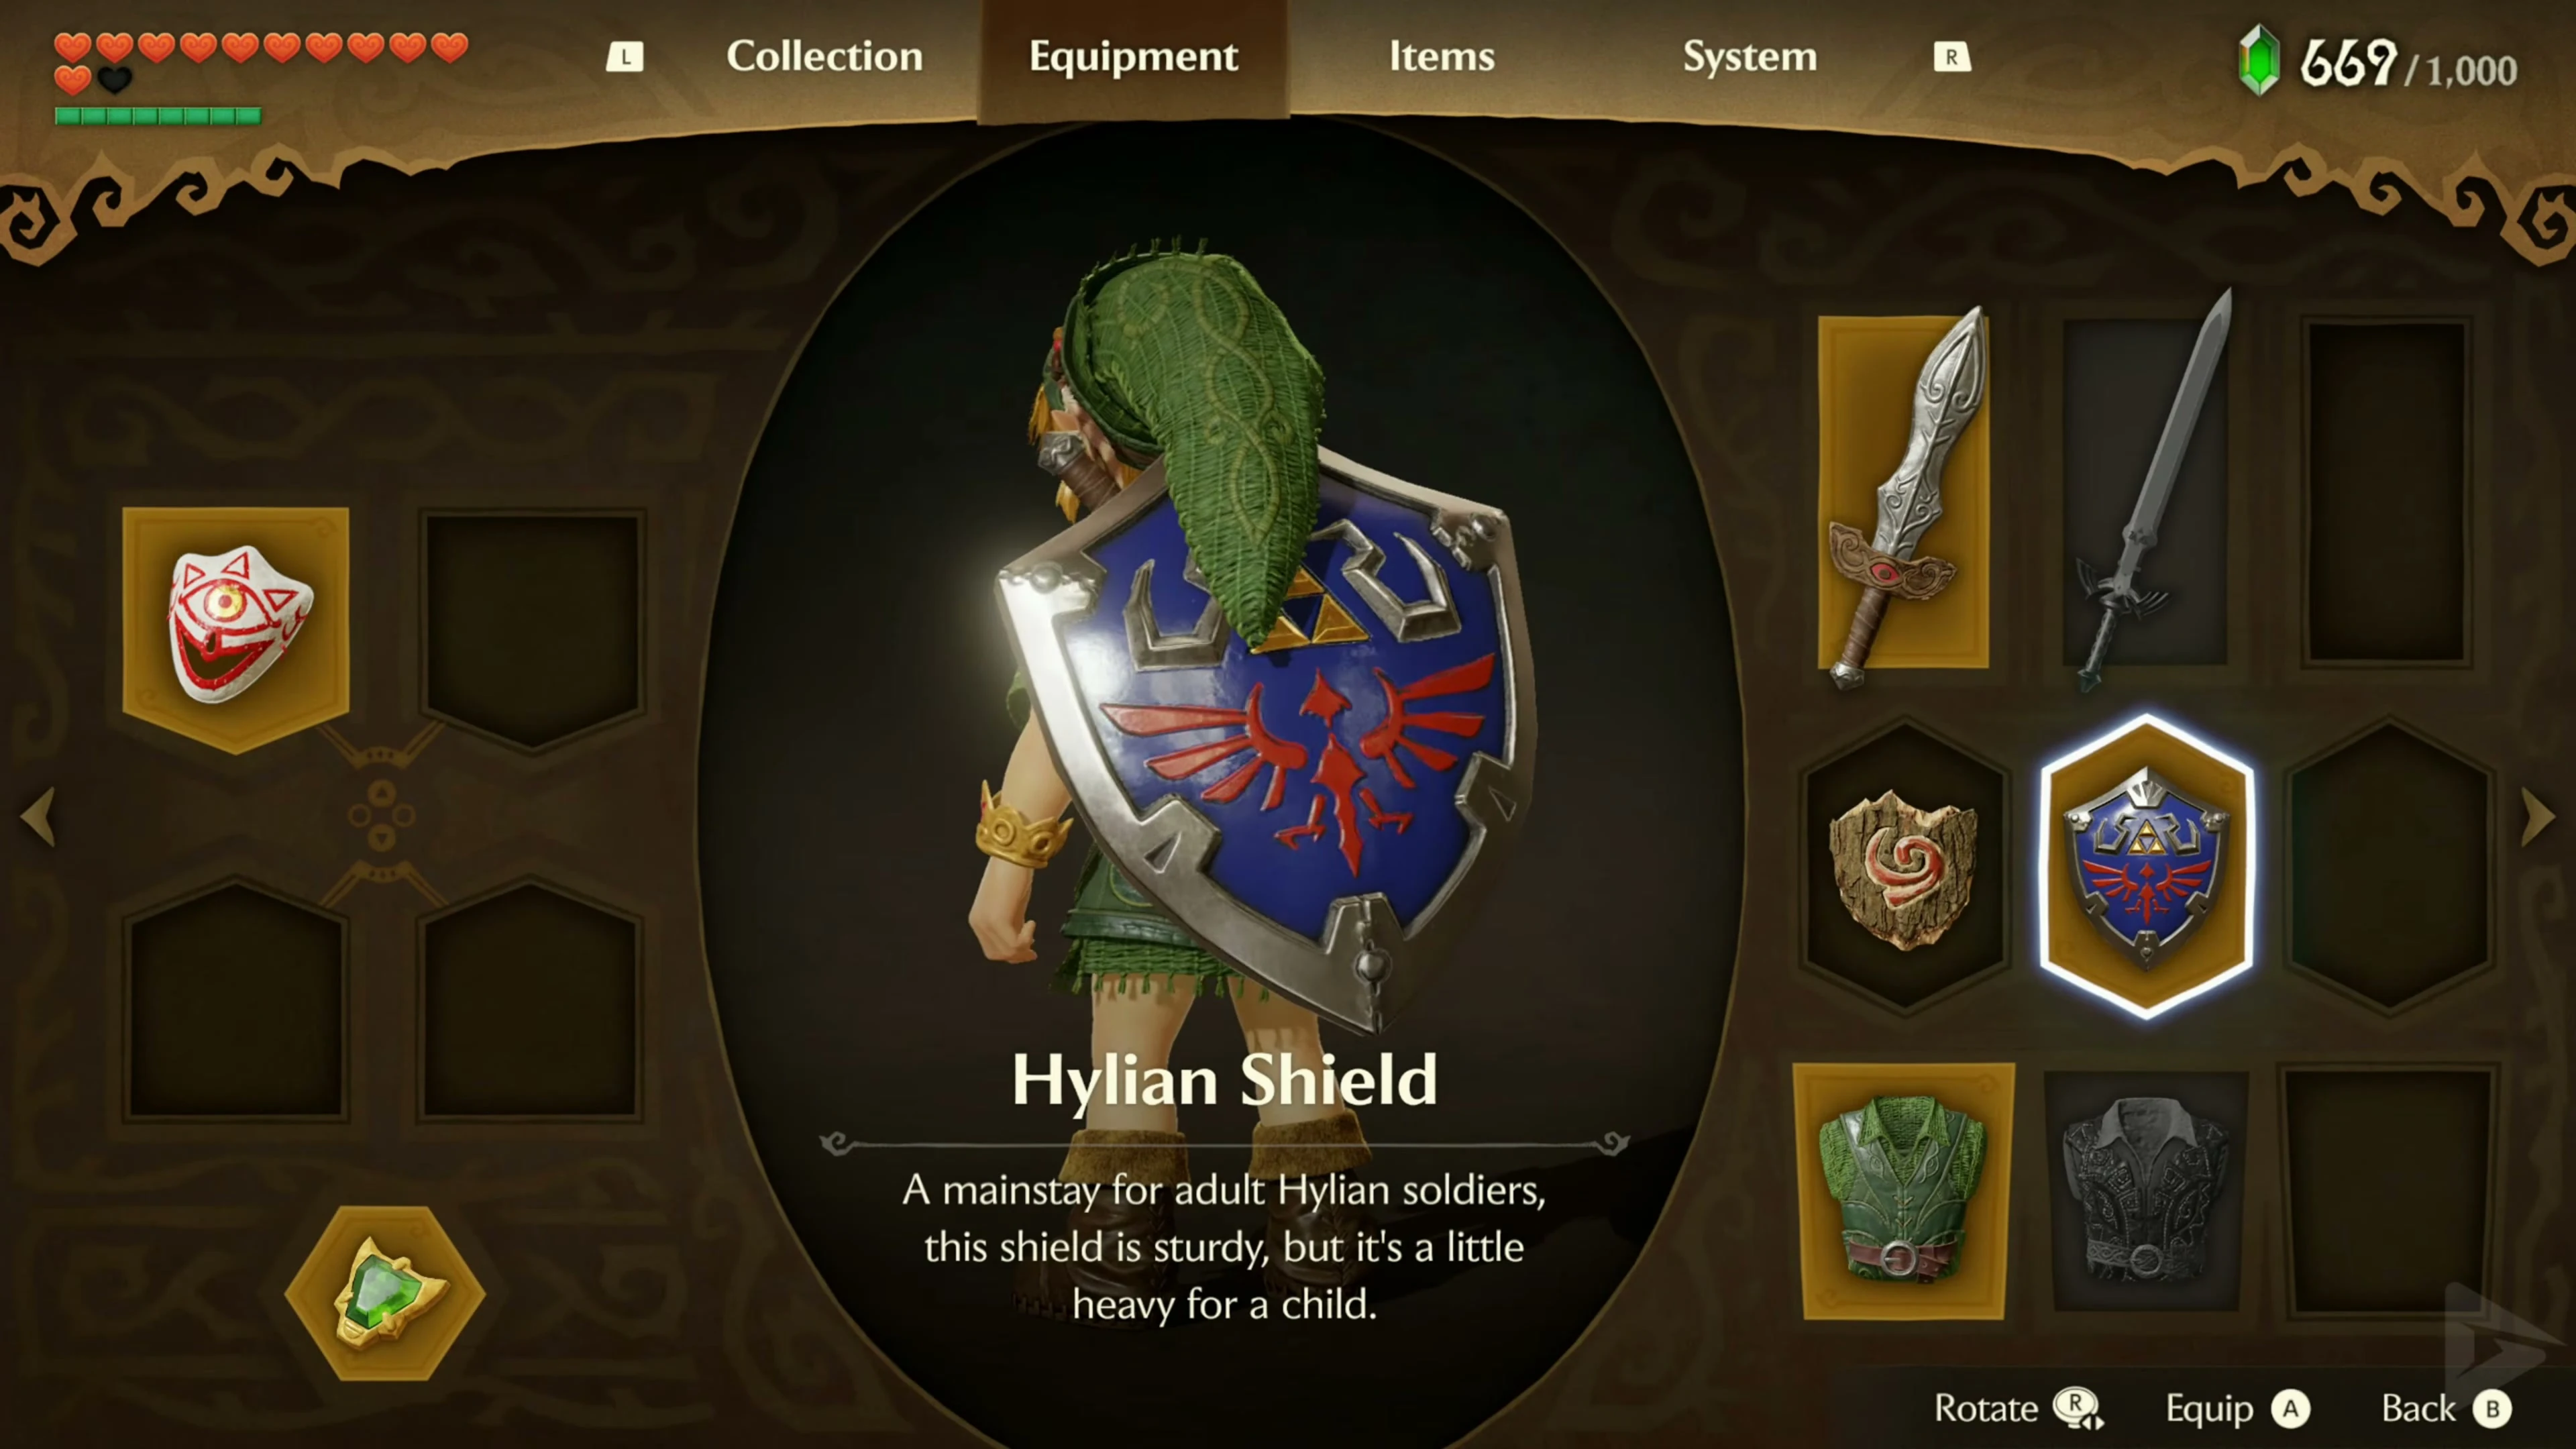
Darunia’s son gives you the Goron Tunic and unlocks access to Darunia’s Chamber and the Goron Shop. Equip the red armor now. It protects adult Link from the ambient heat in Death Mountain Crater and the Fire Temple. Also equip the Hylian Shield and have the Hookshot ready.
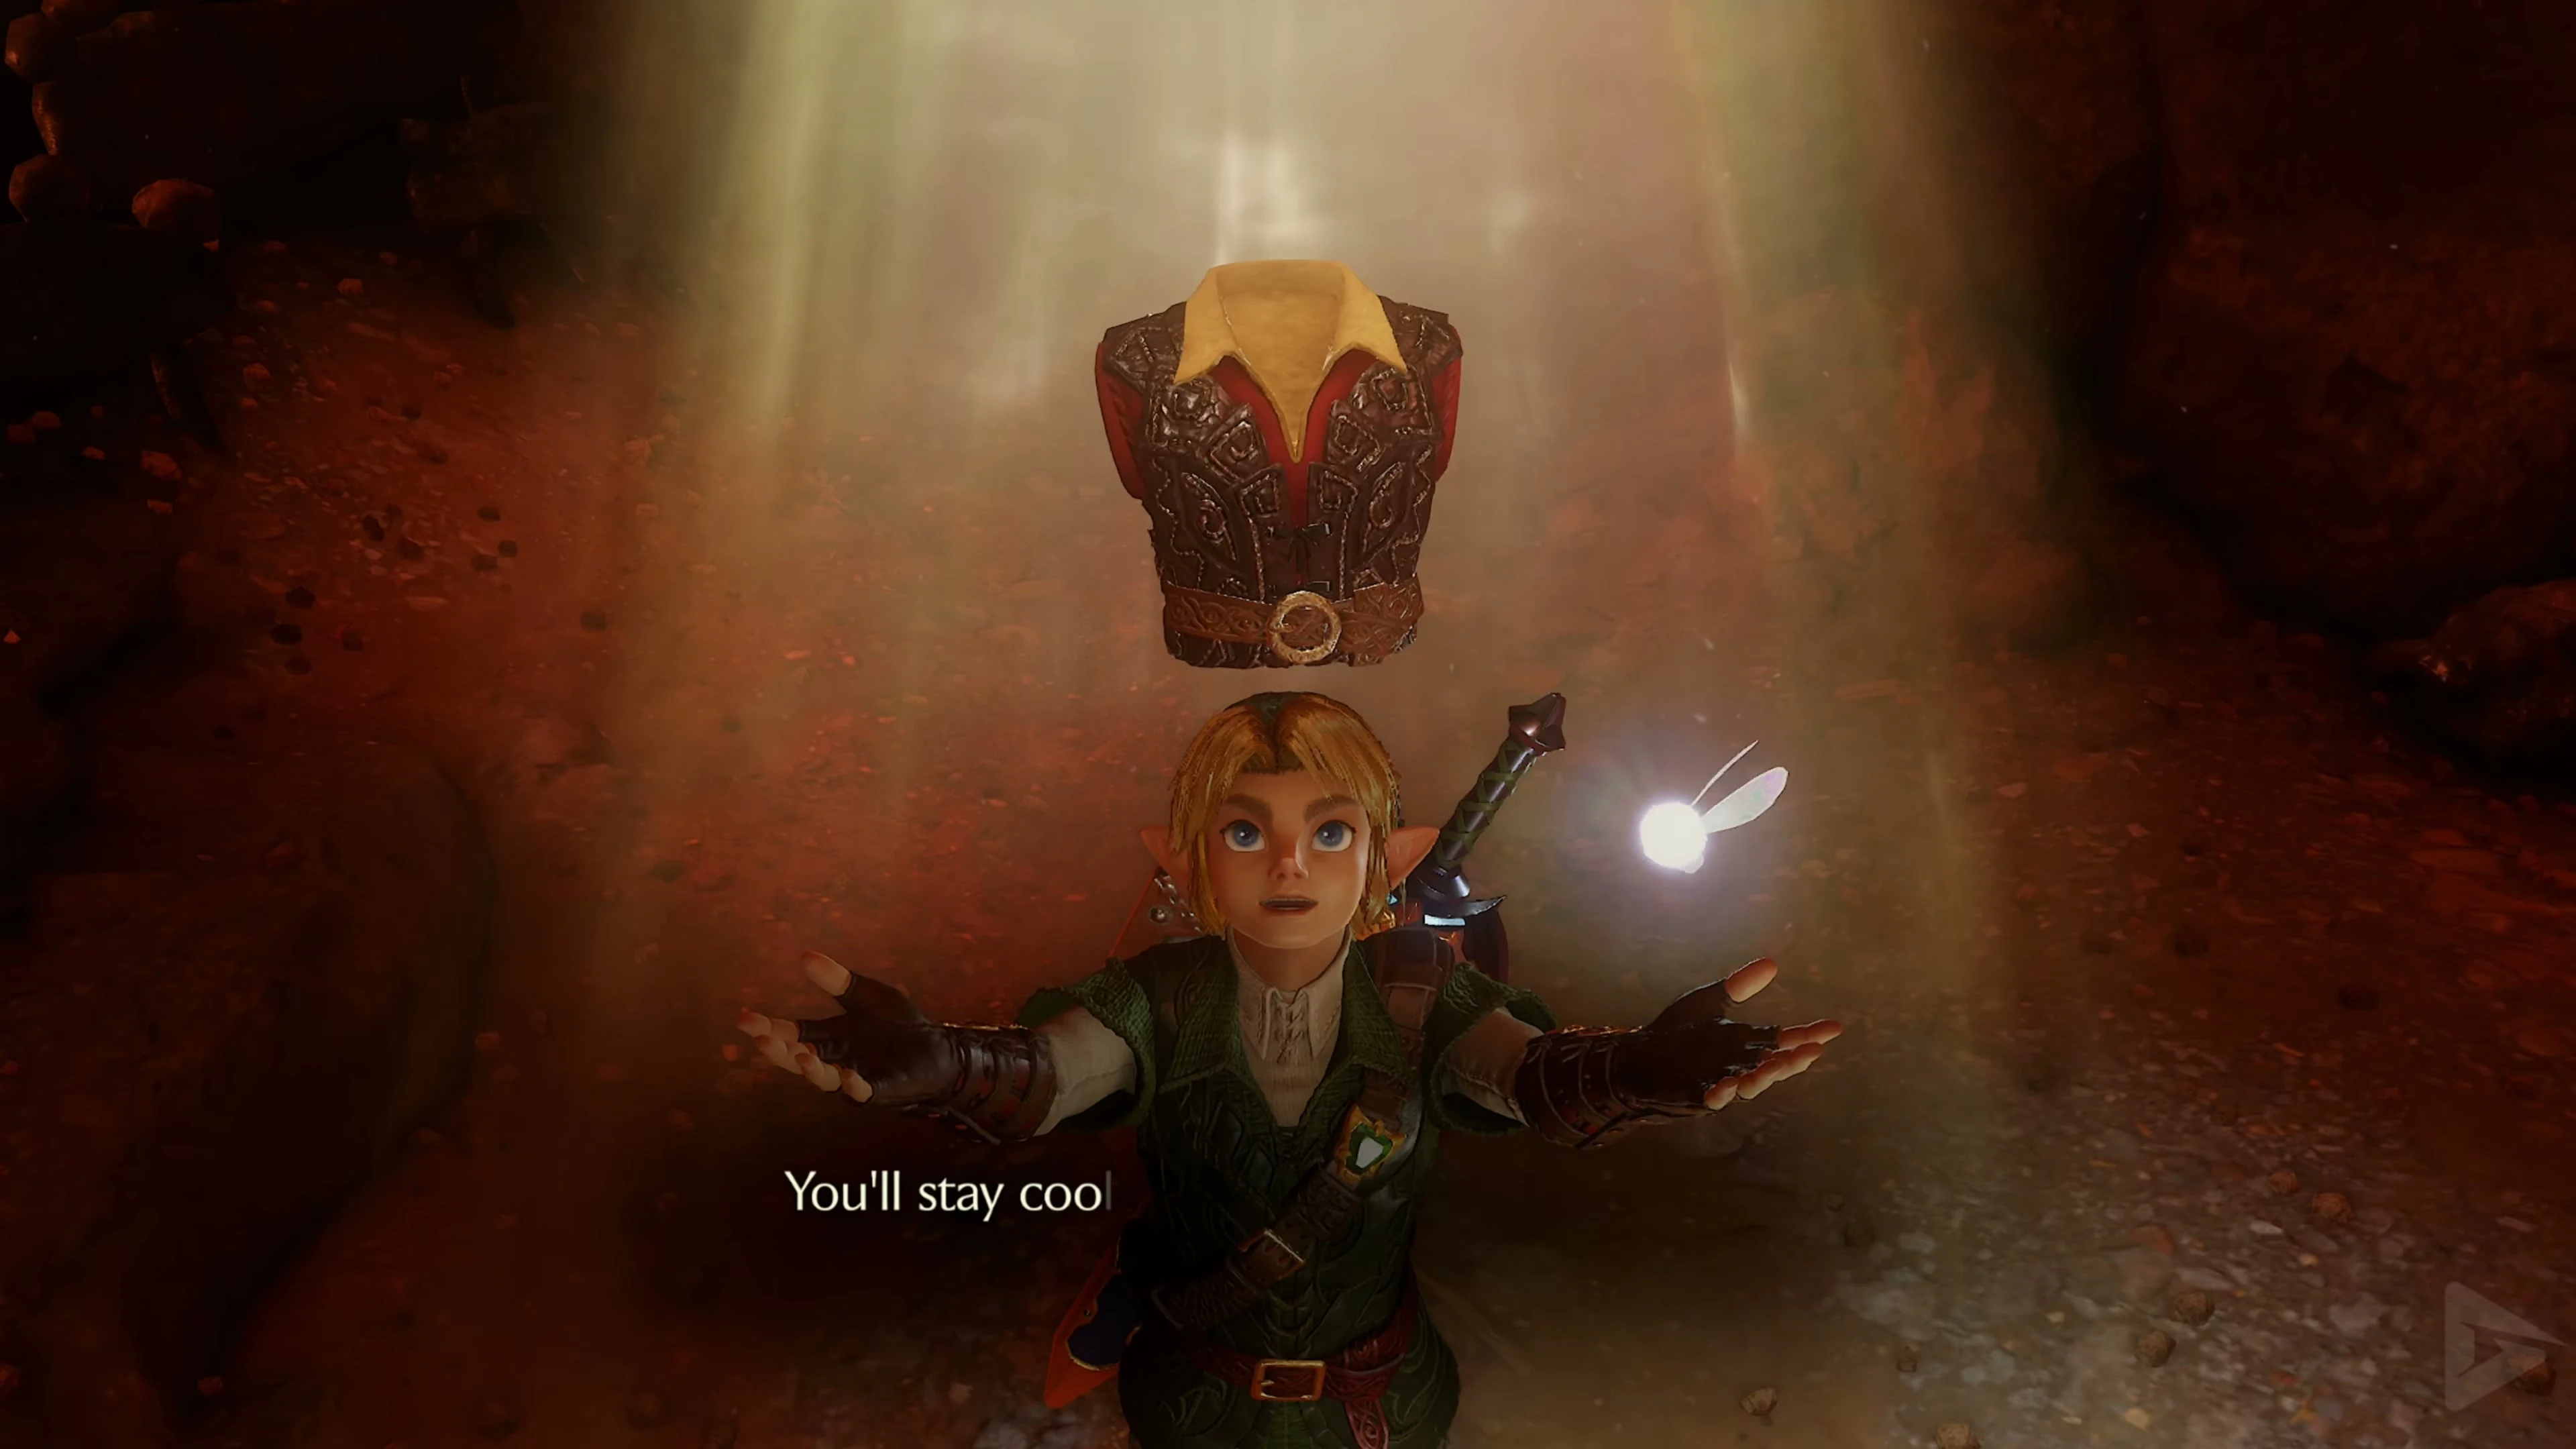
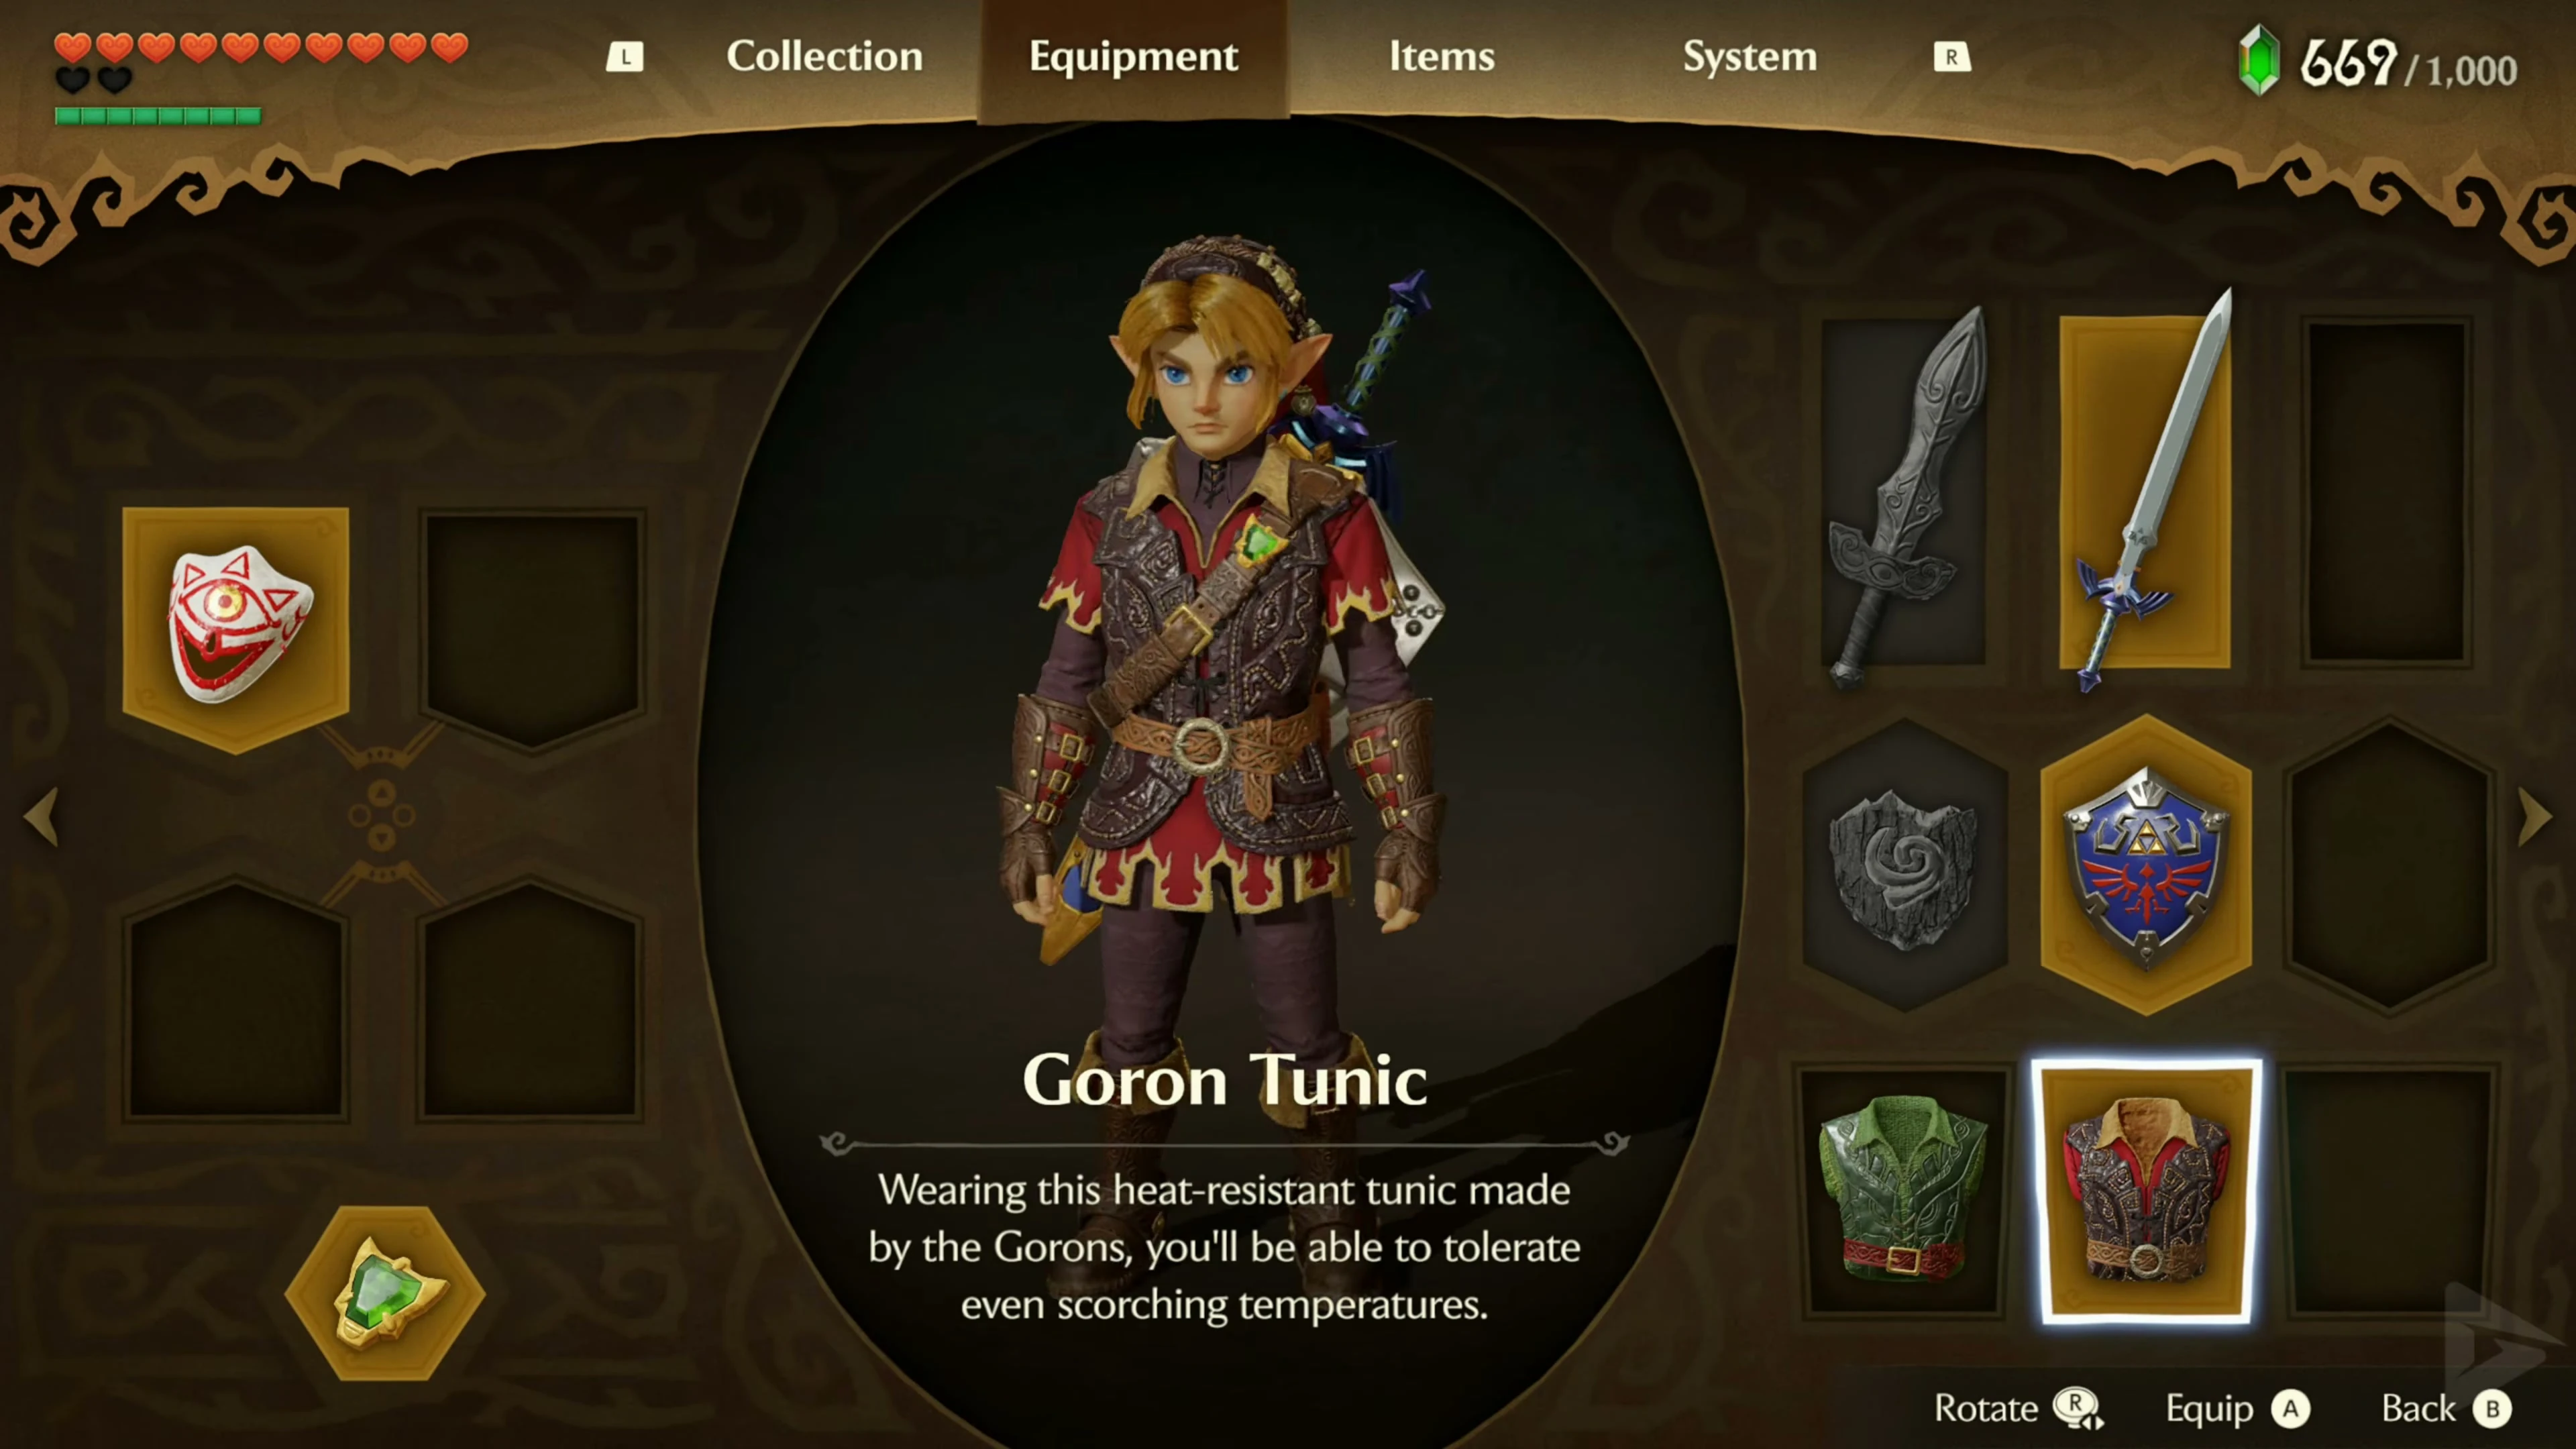
The Secret Path Through Darunia’s Chamber
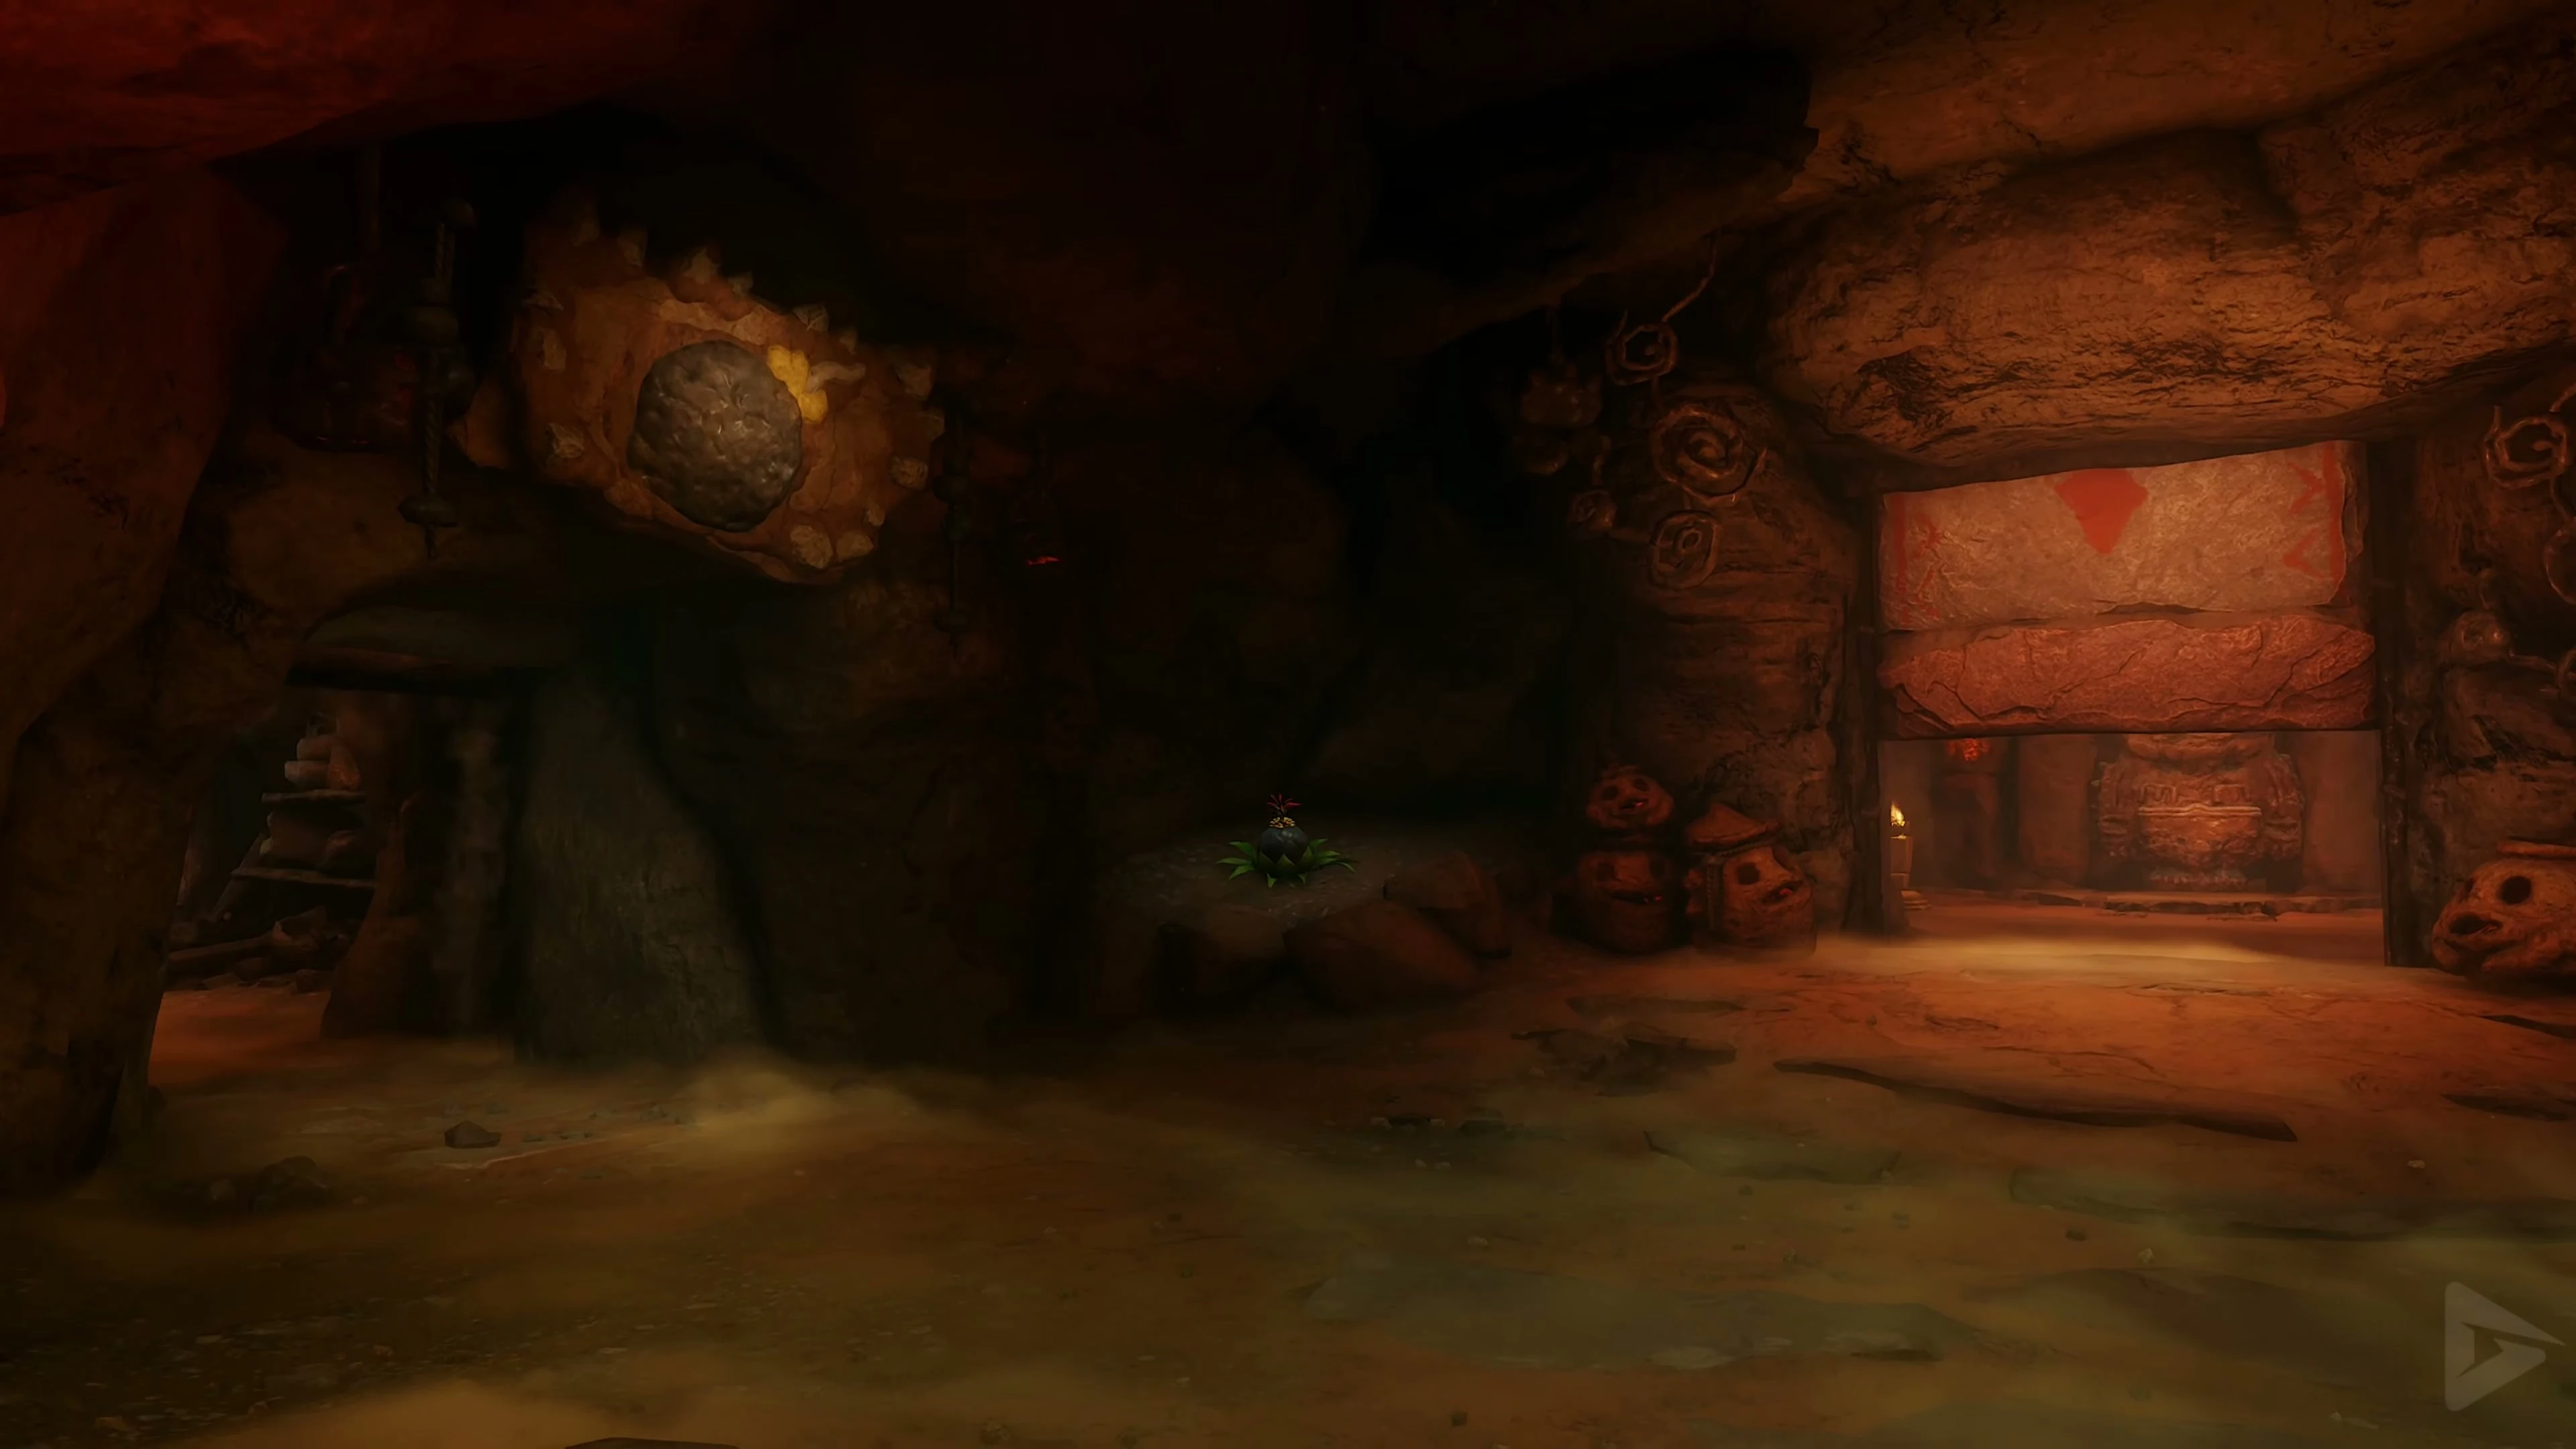
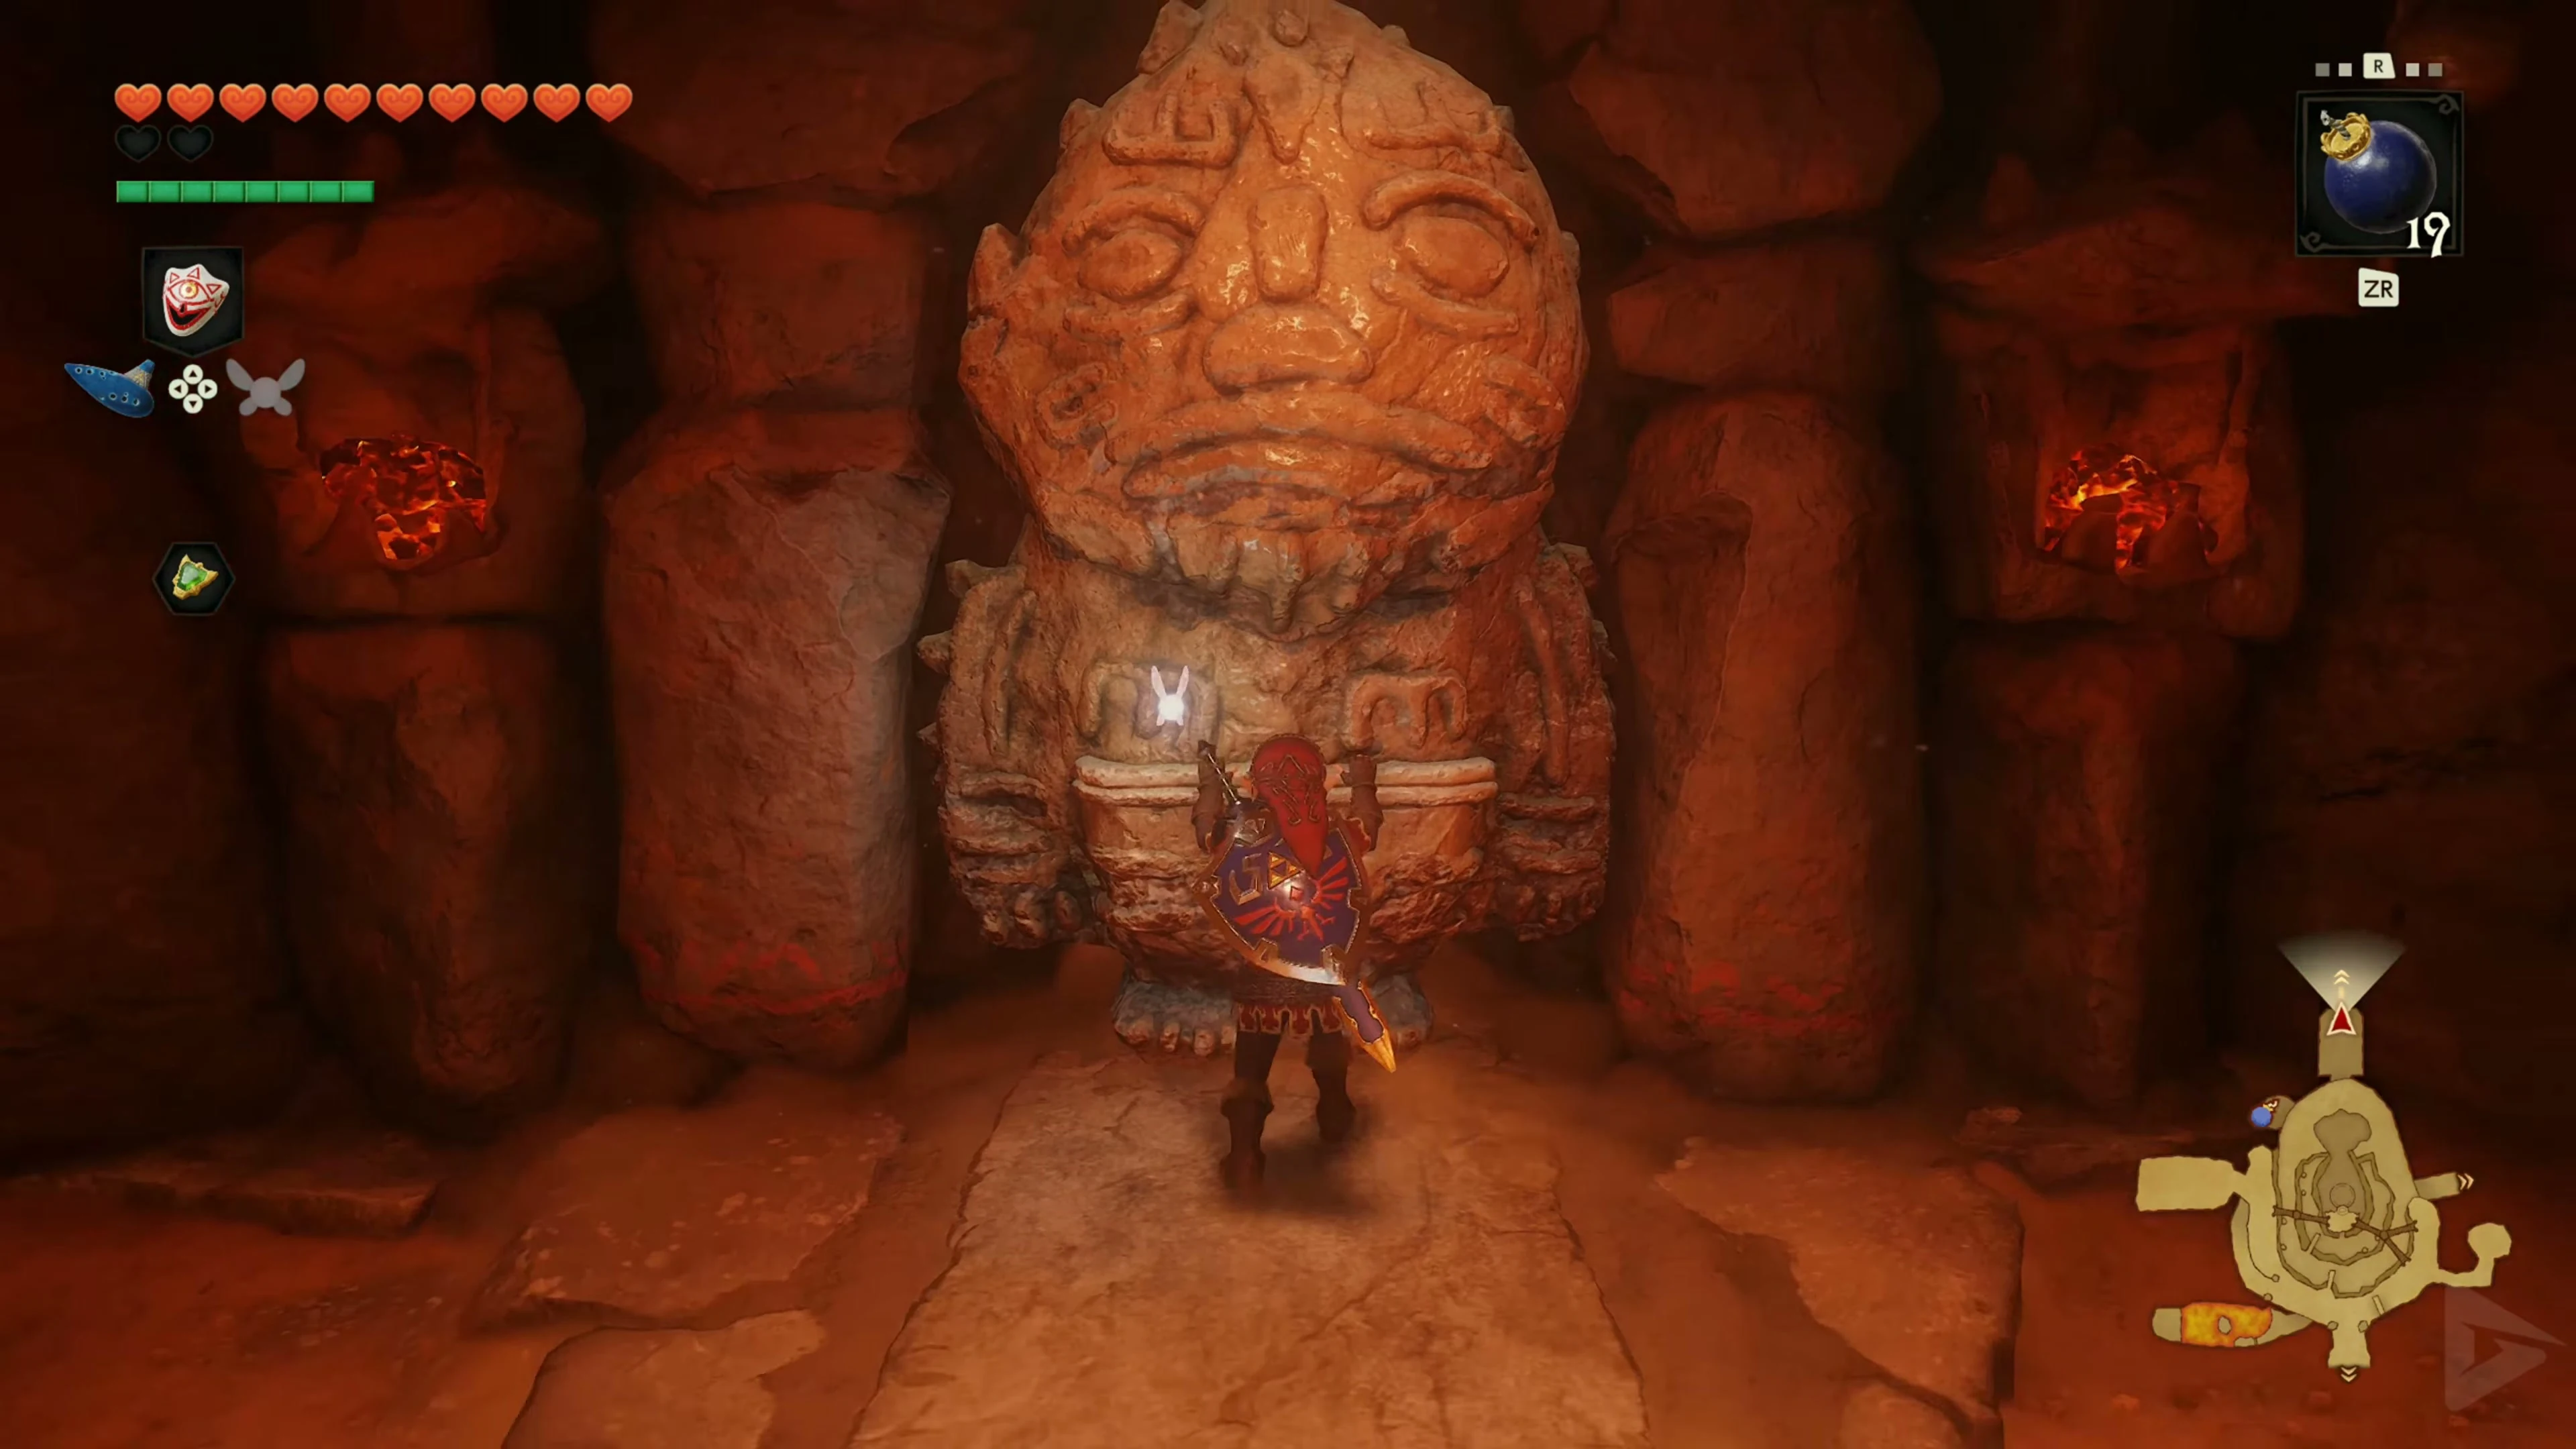
Go to the lowest level of Goron City and enter Darunia’s Chamber. Pull the large Goron statue from its place on the back wall. A tunnel will open behind it. Follow it into Death Mountain Crater while wearing the Goron Tunic.
![Link walks through the opened passage into Darunia's chamber..` ] ] ] ] ] ] ] ] ] ] ] ] ] ] ] ] ] ] ] ] ] ] ] ] ] ] ] ] ] ]](https://zeldacollection.de/wp-content/uploads/2026/11/ocarina-of-time-gebirgspfad-switch-2-4k-36366.webp)
Death Mountain Crater
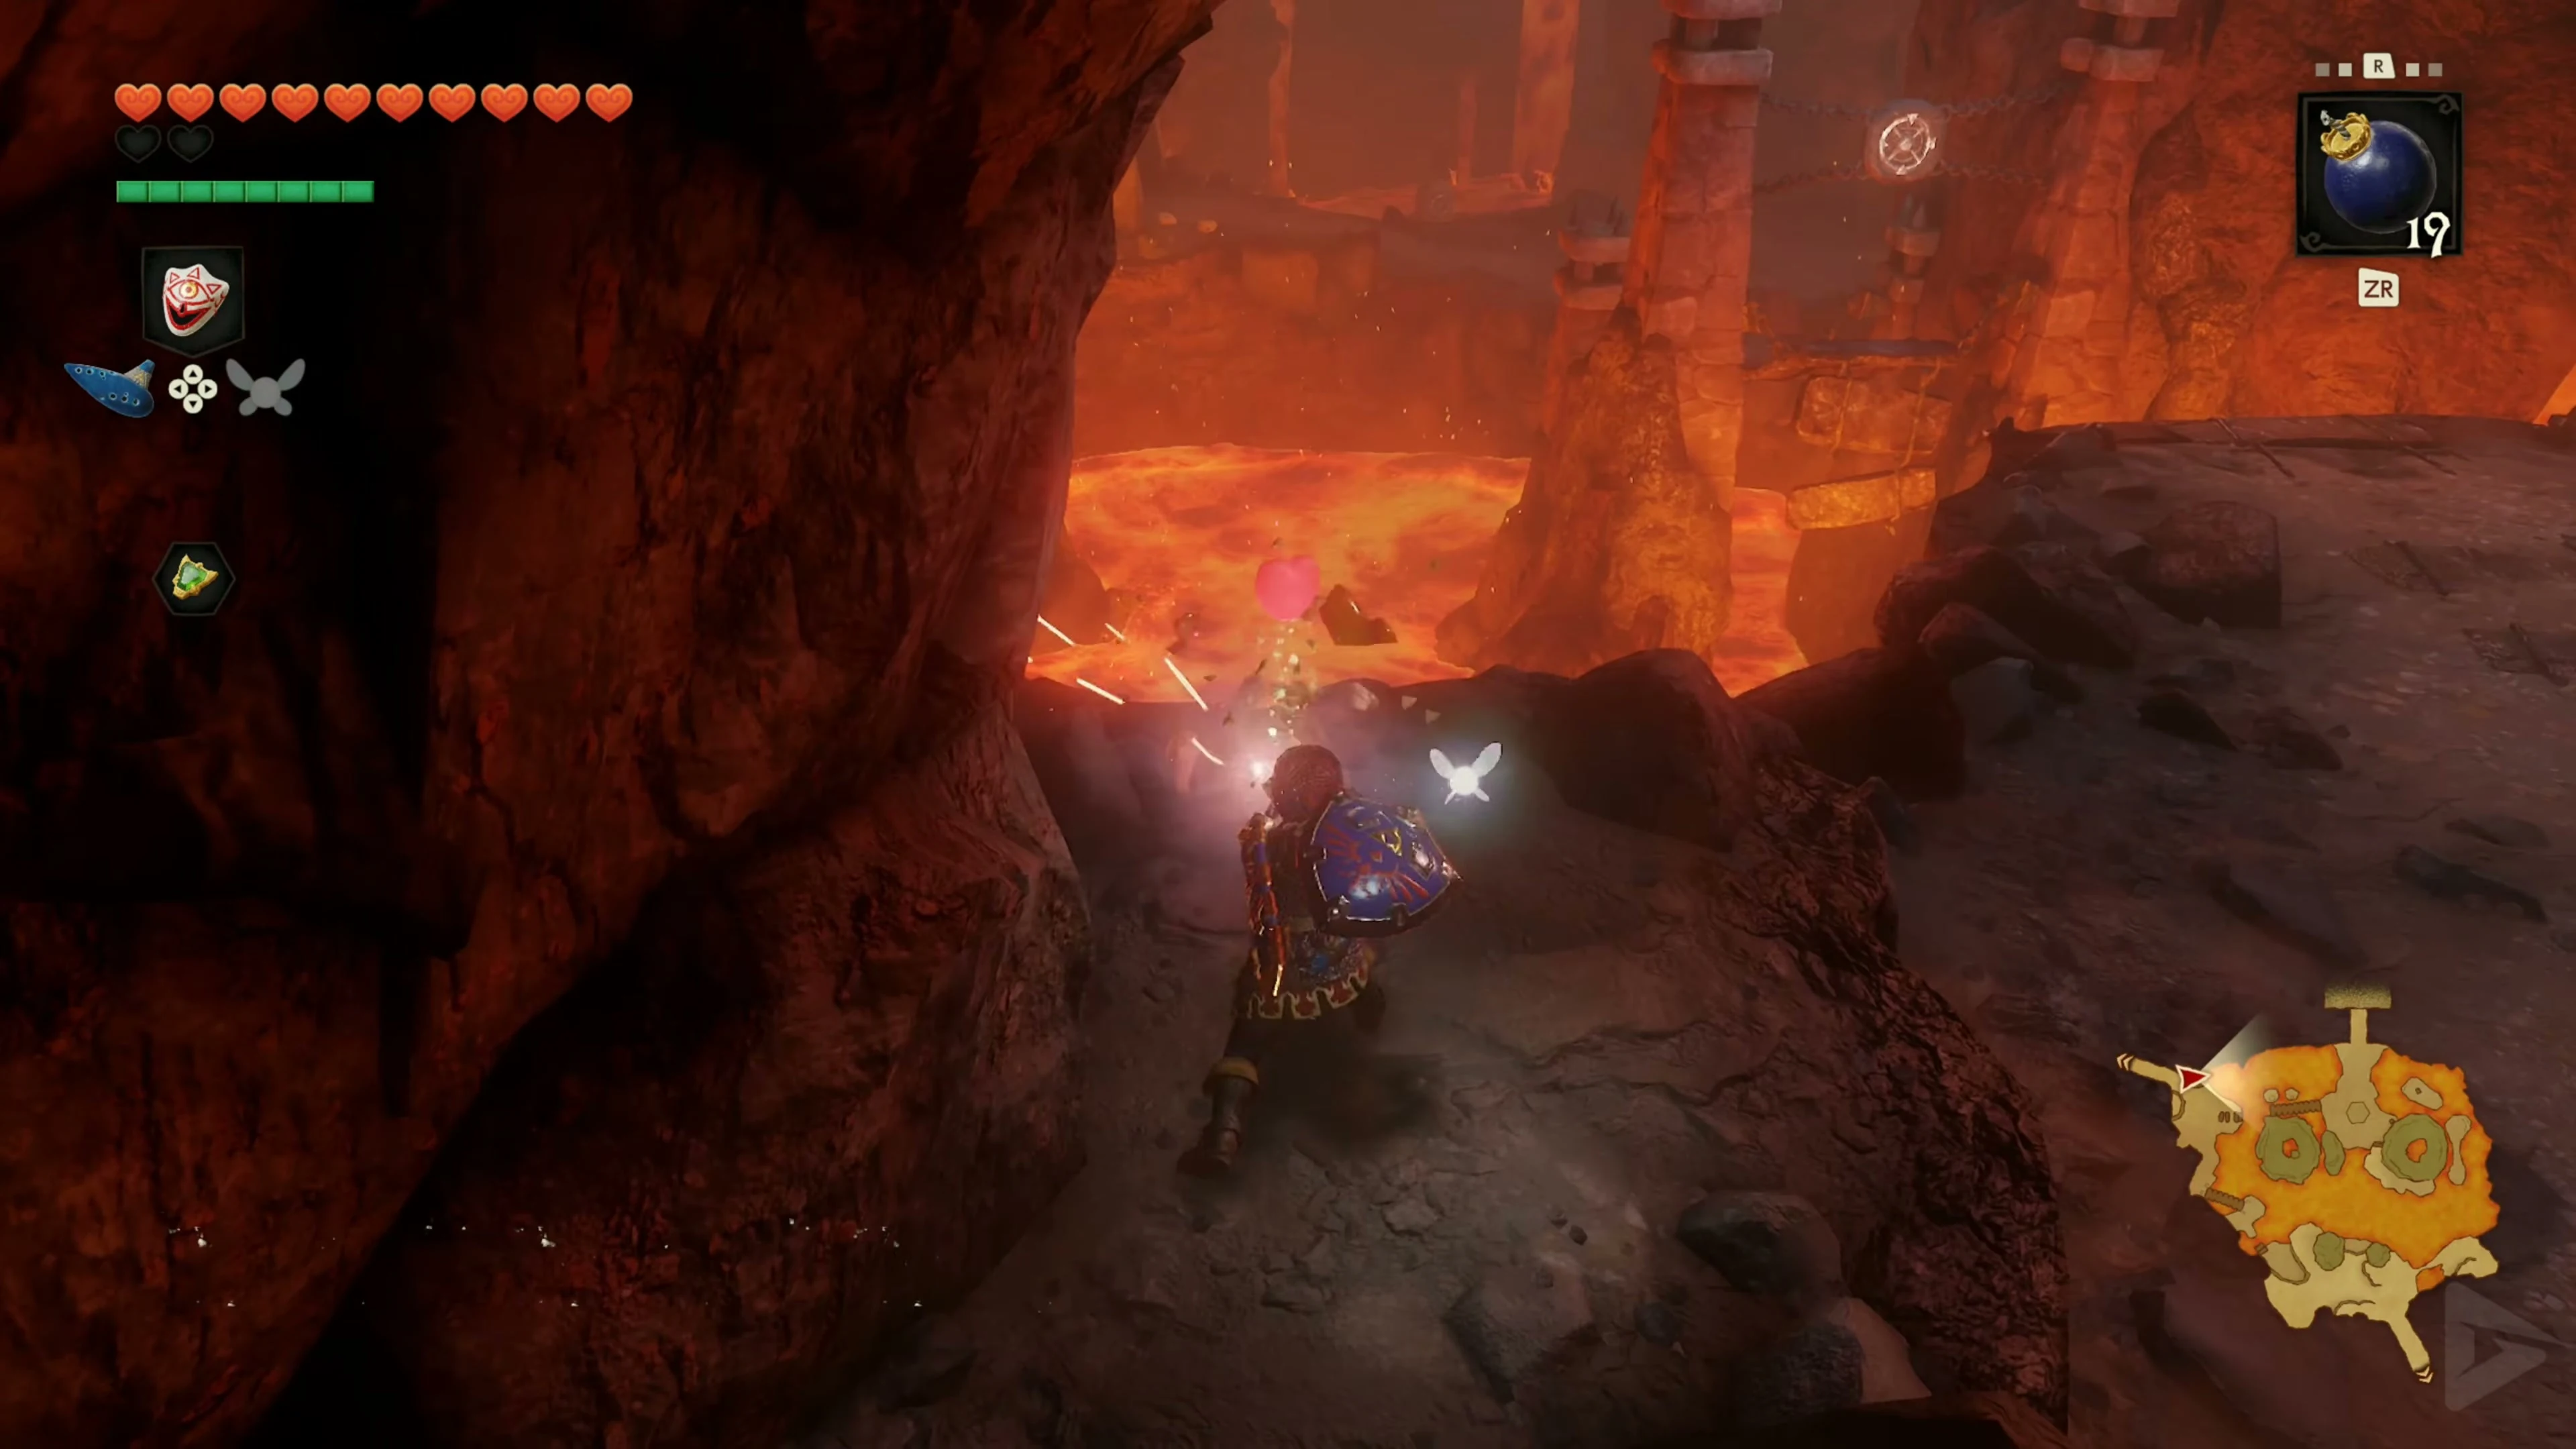
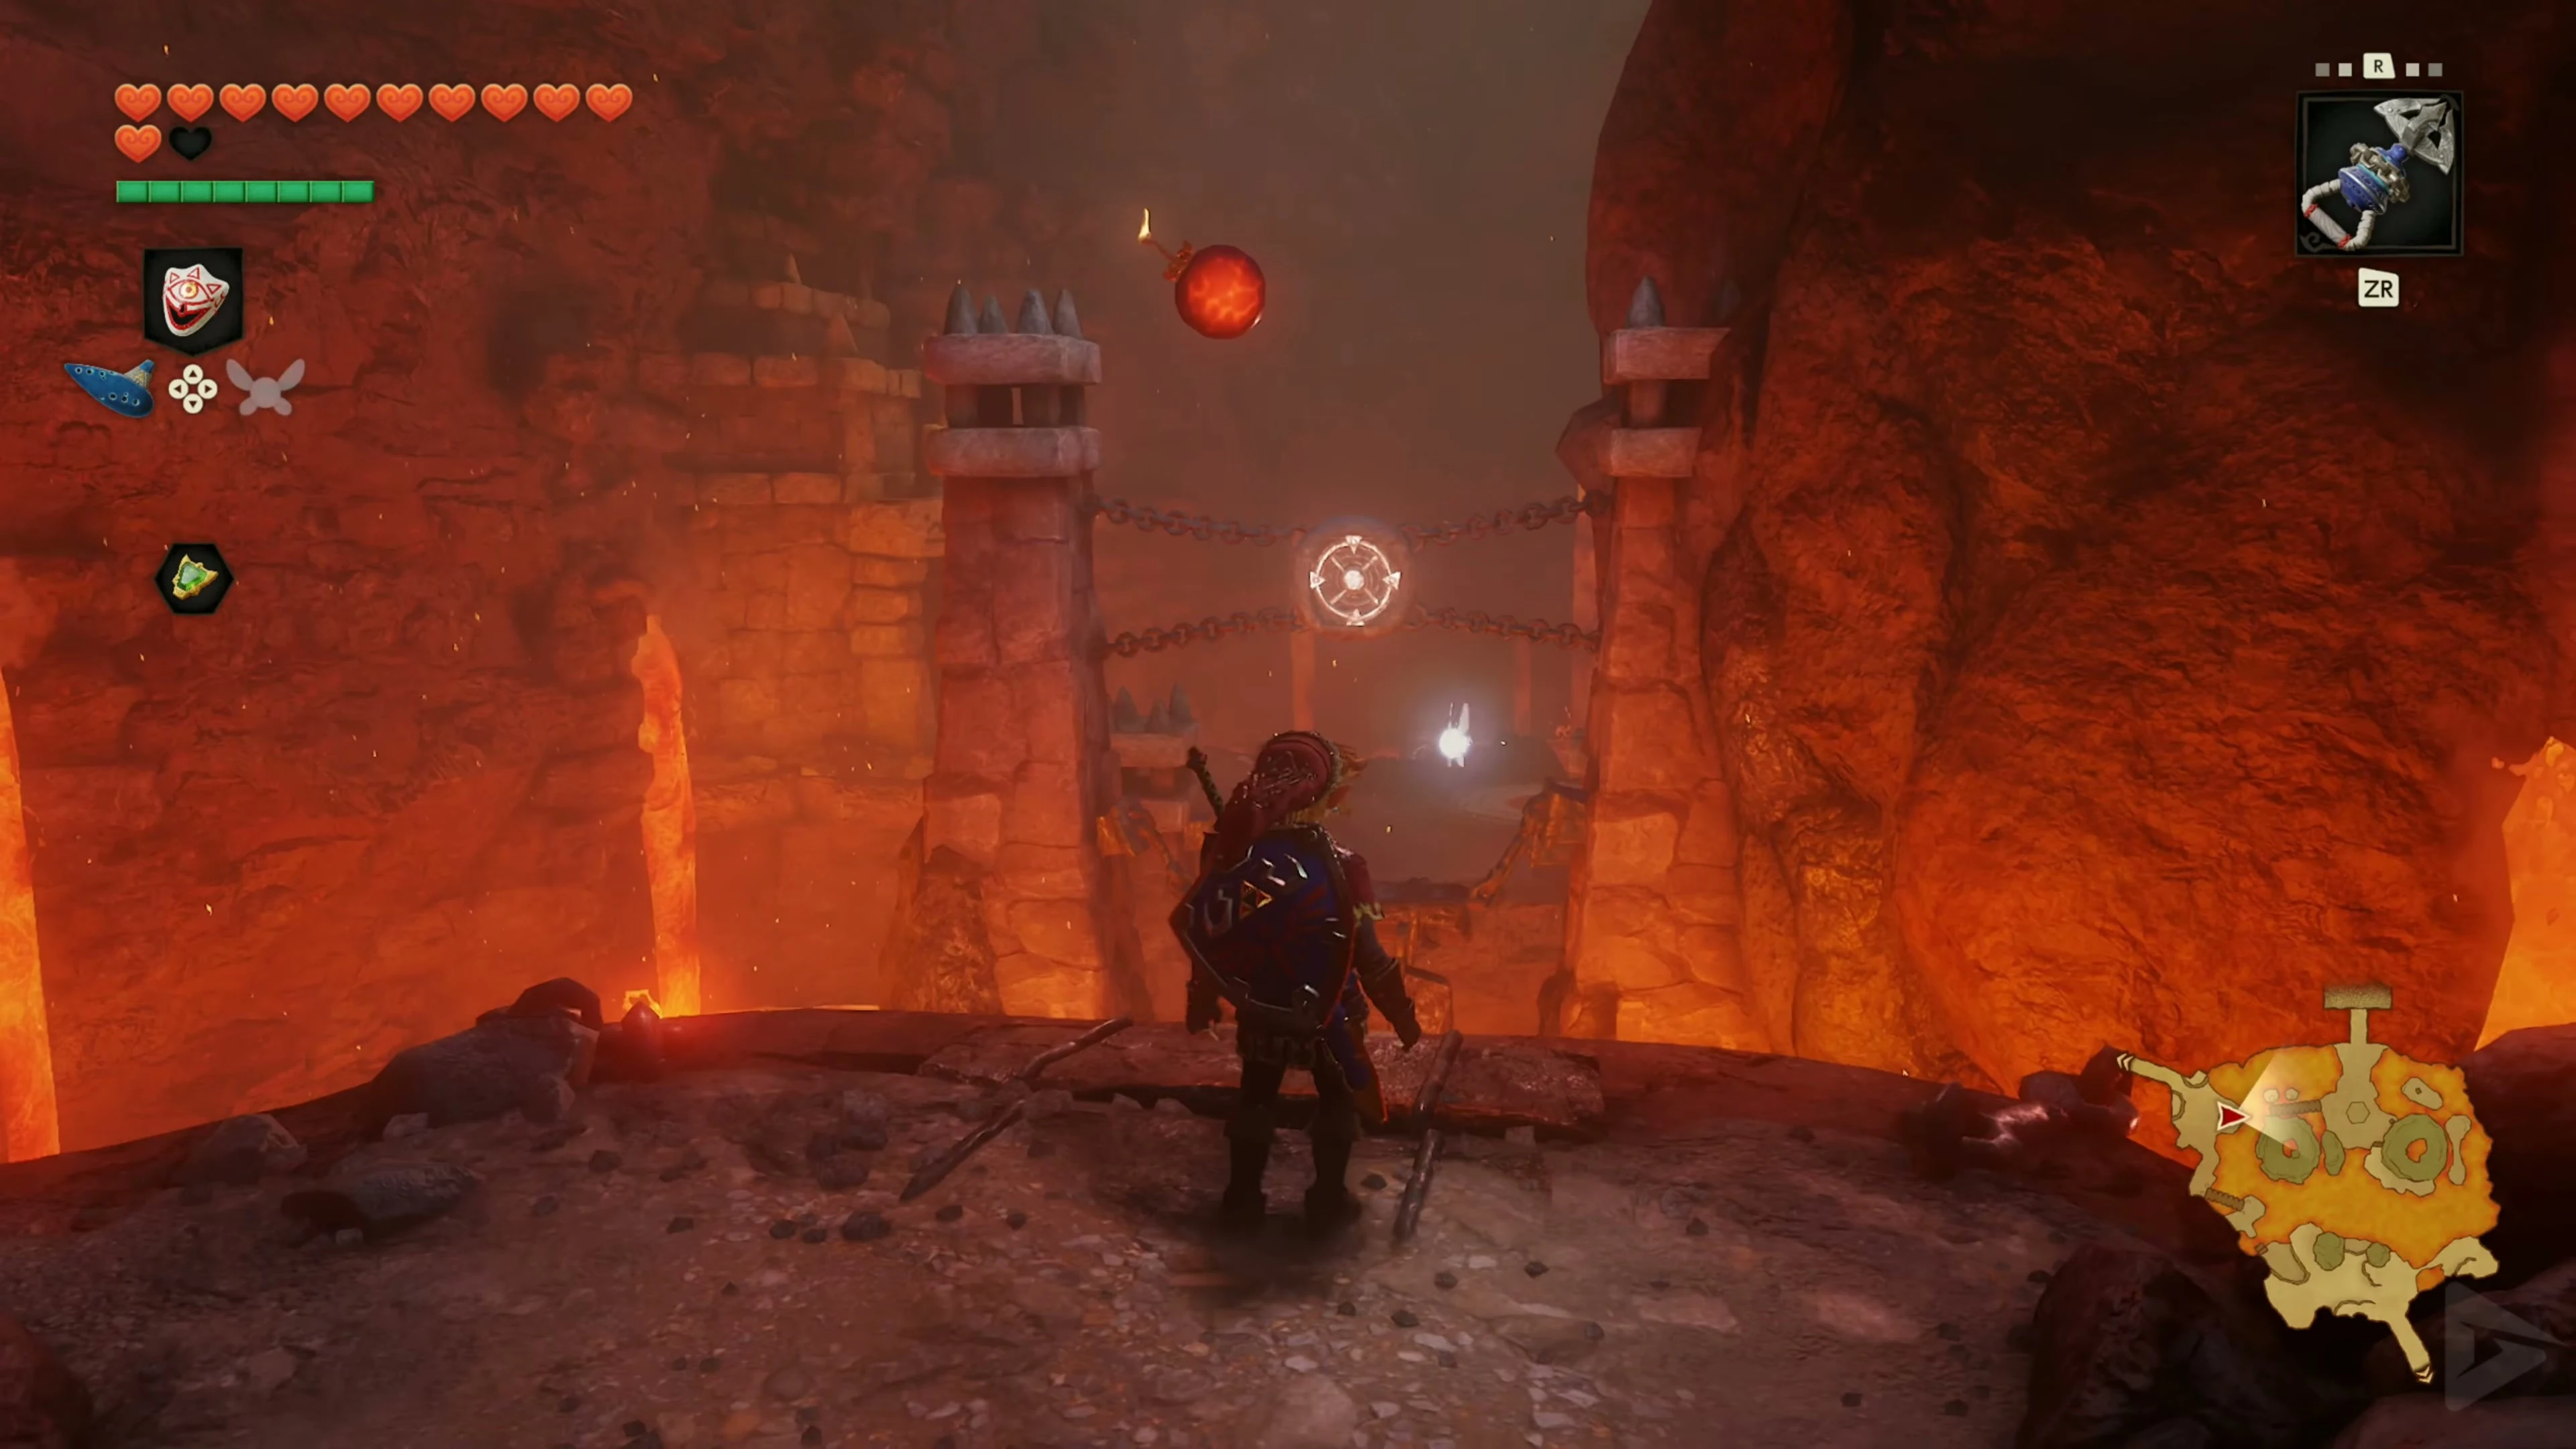
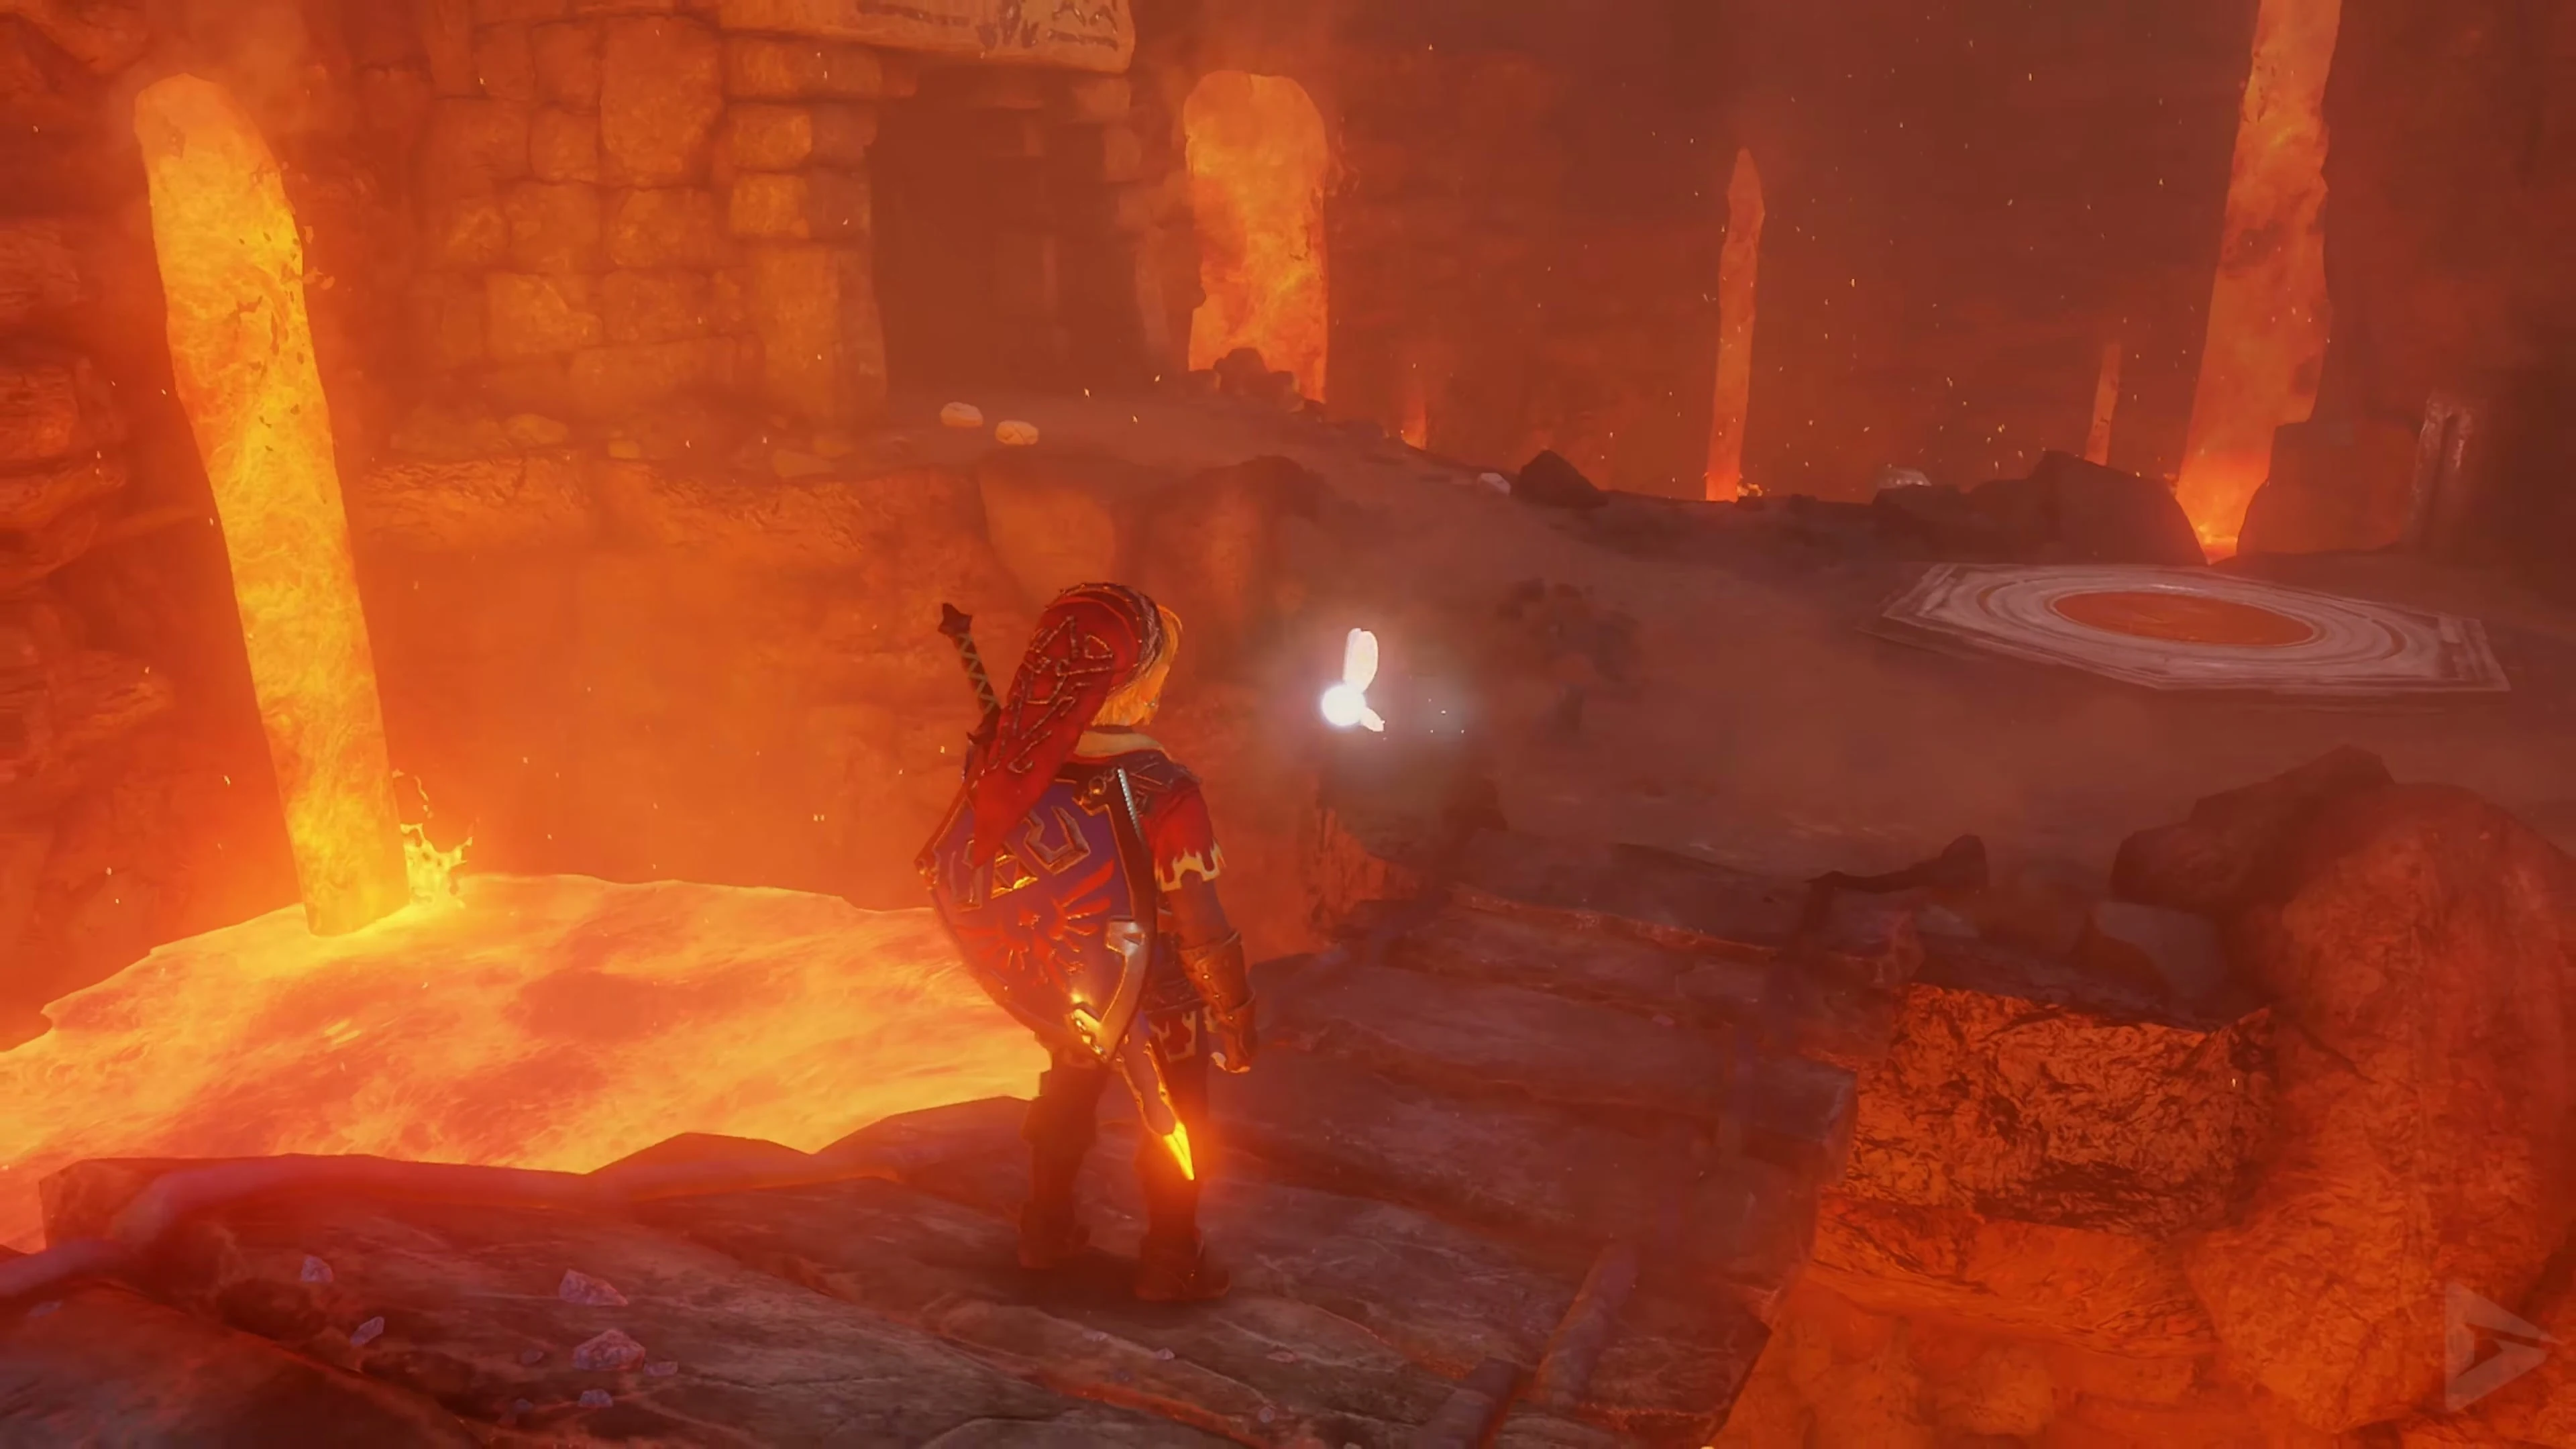
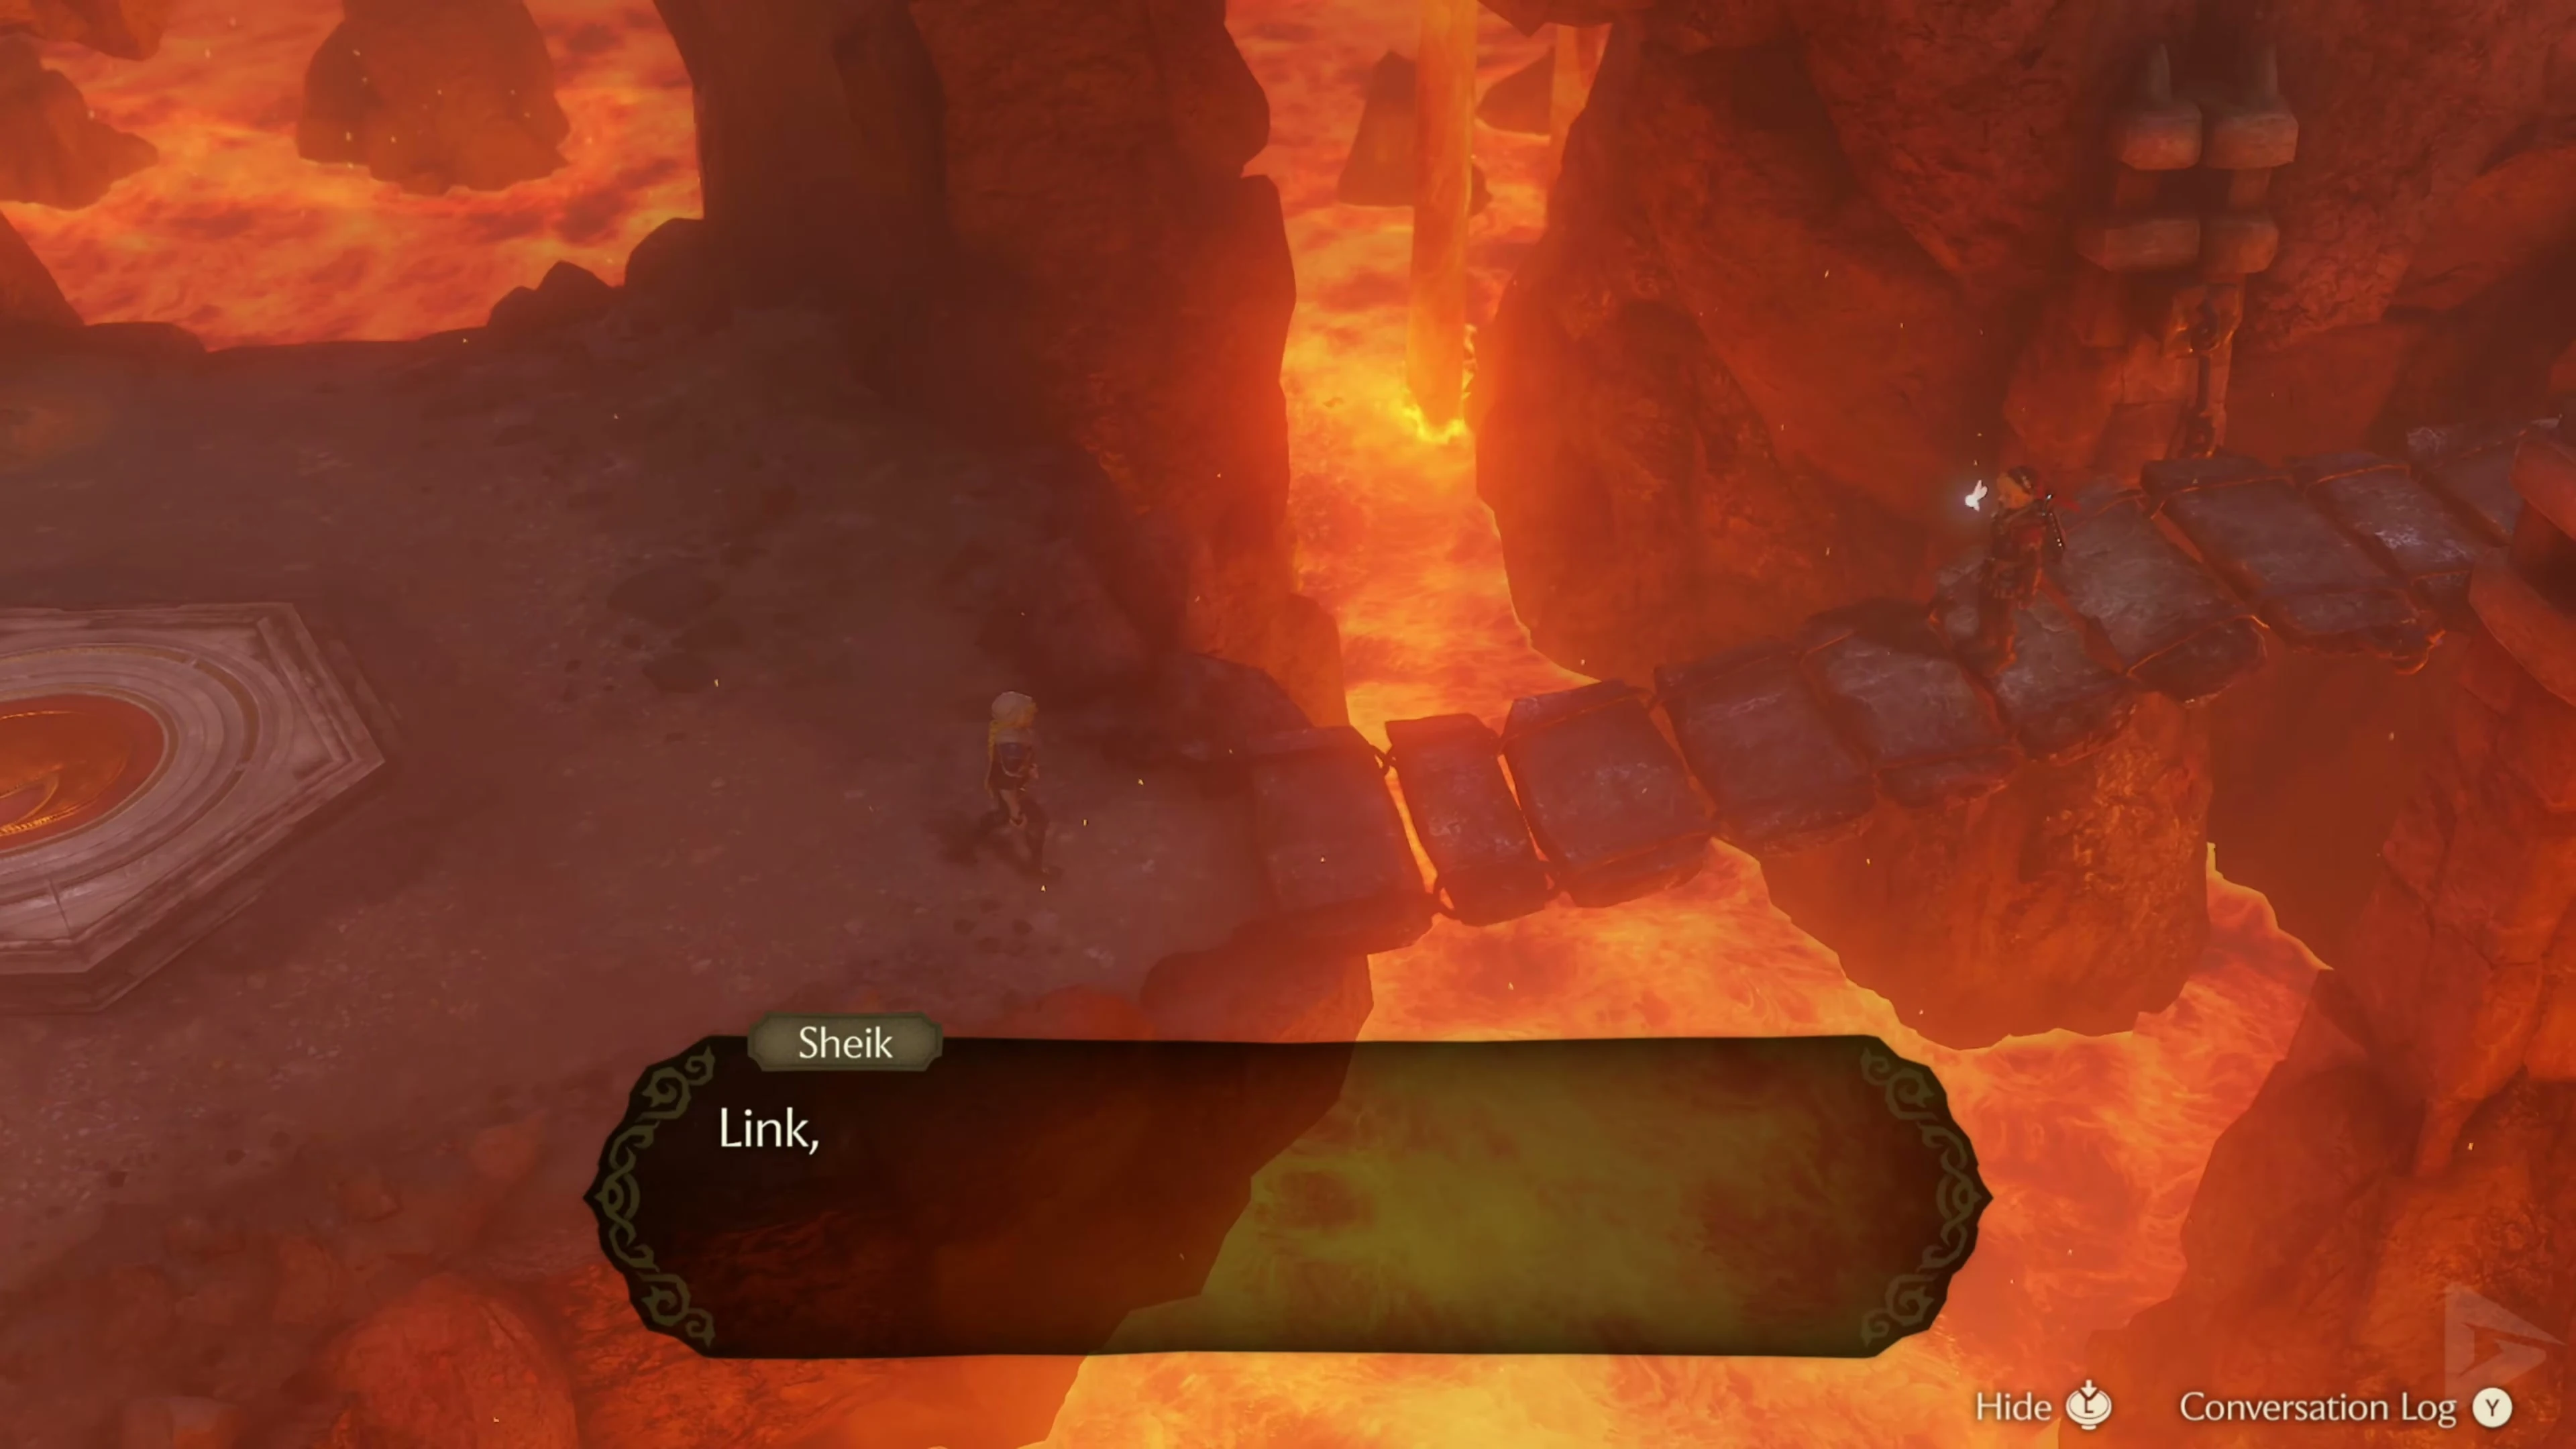
From the tunnel exit, follow the rock path to the damaged chain bridge . Aim the Hookshot at the wooden beam on the opposite half of the bridge and pull yourself across the gap. On the other side, proceed to the circular platform where Sheik is waiting.
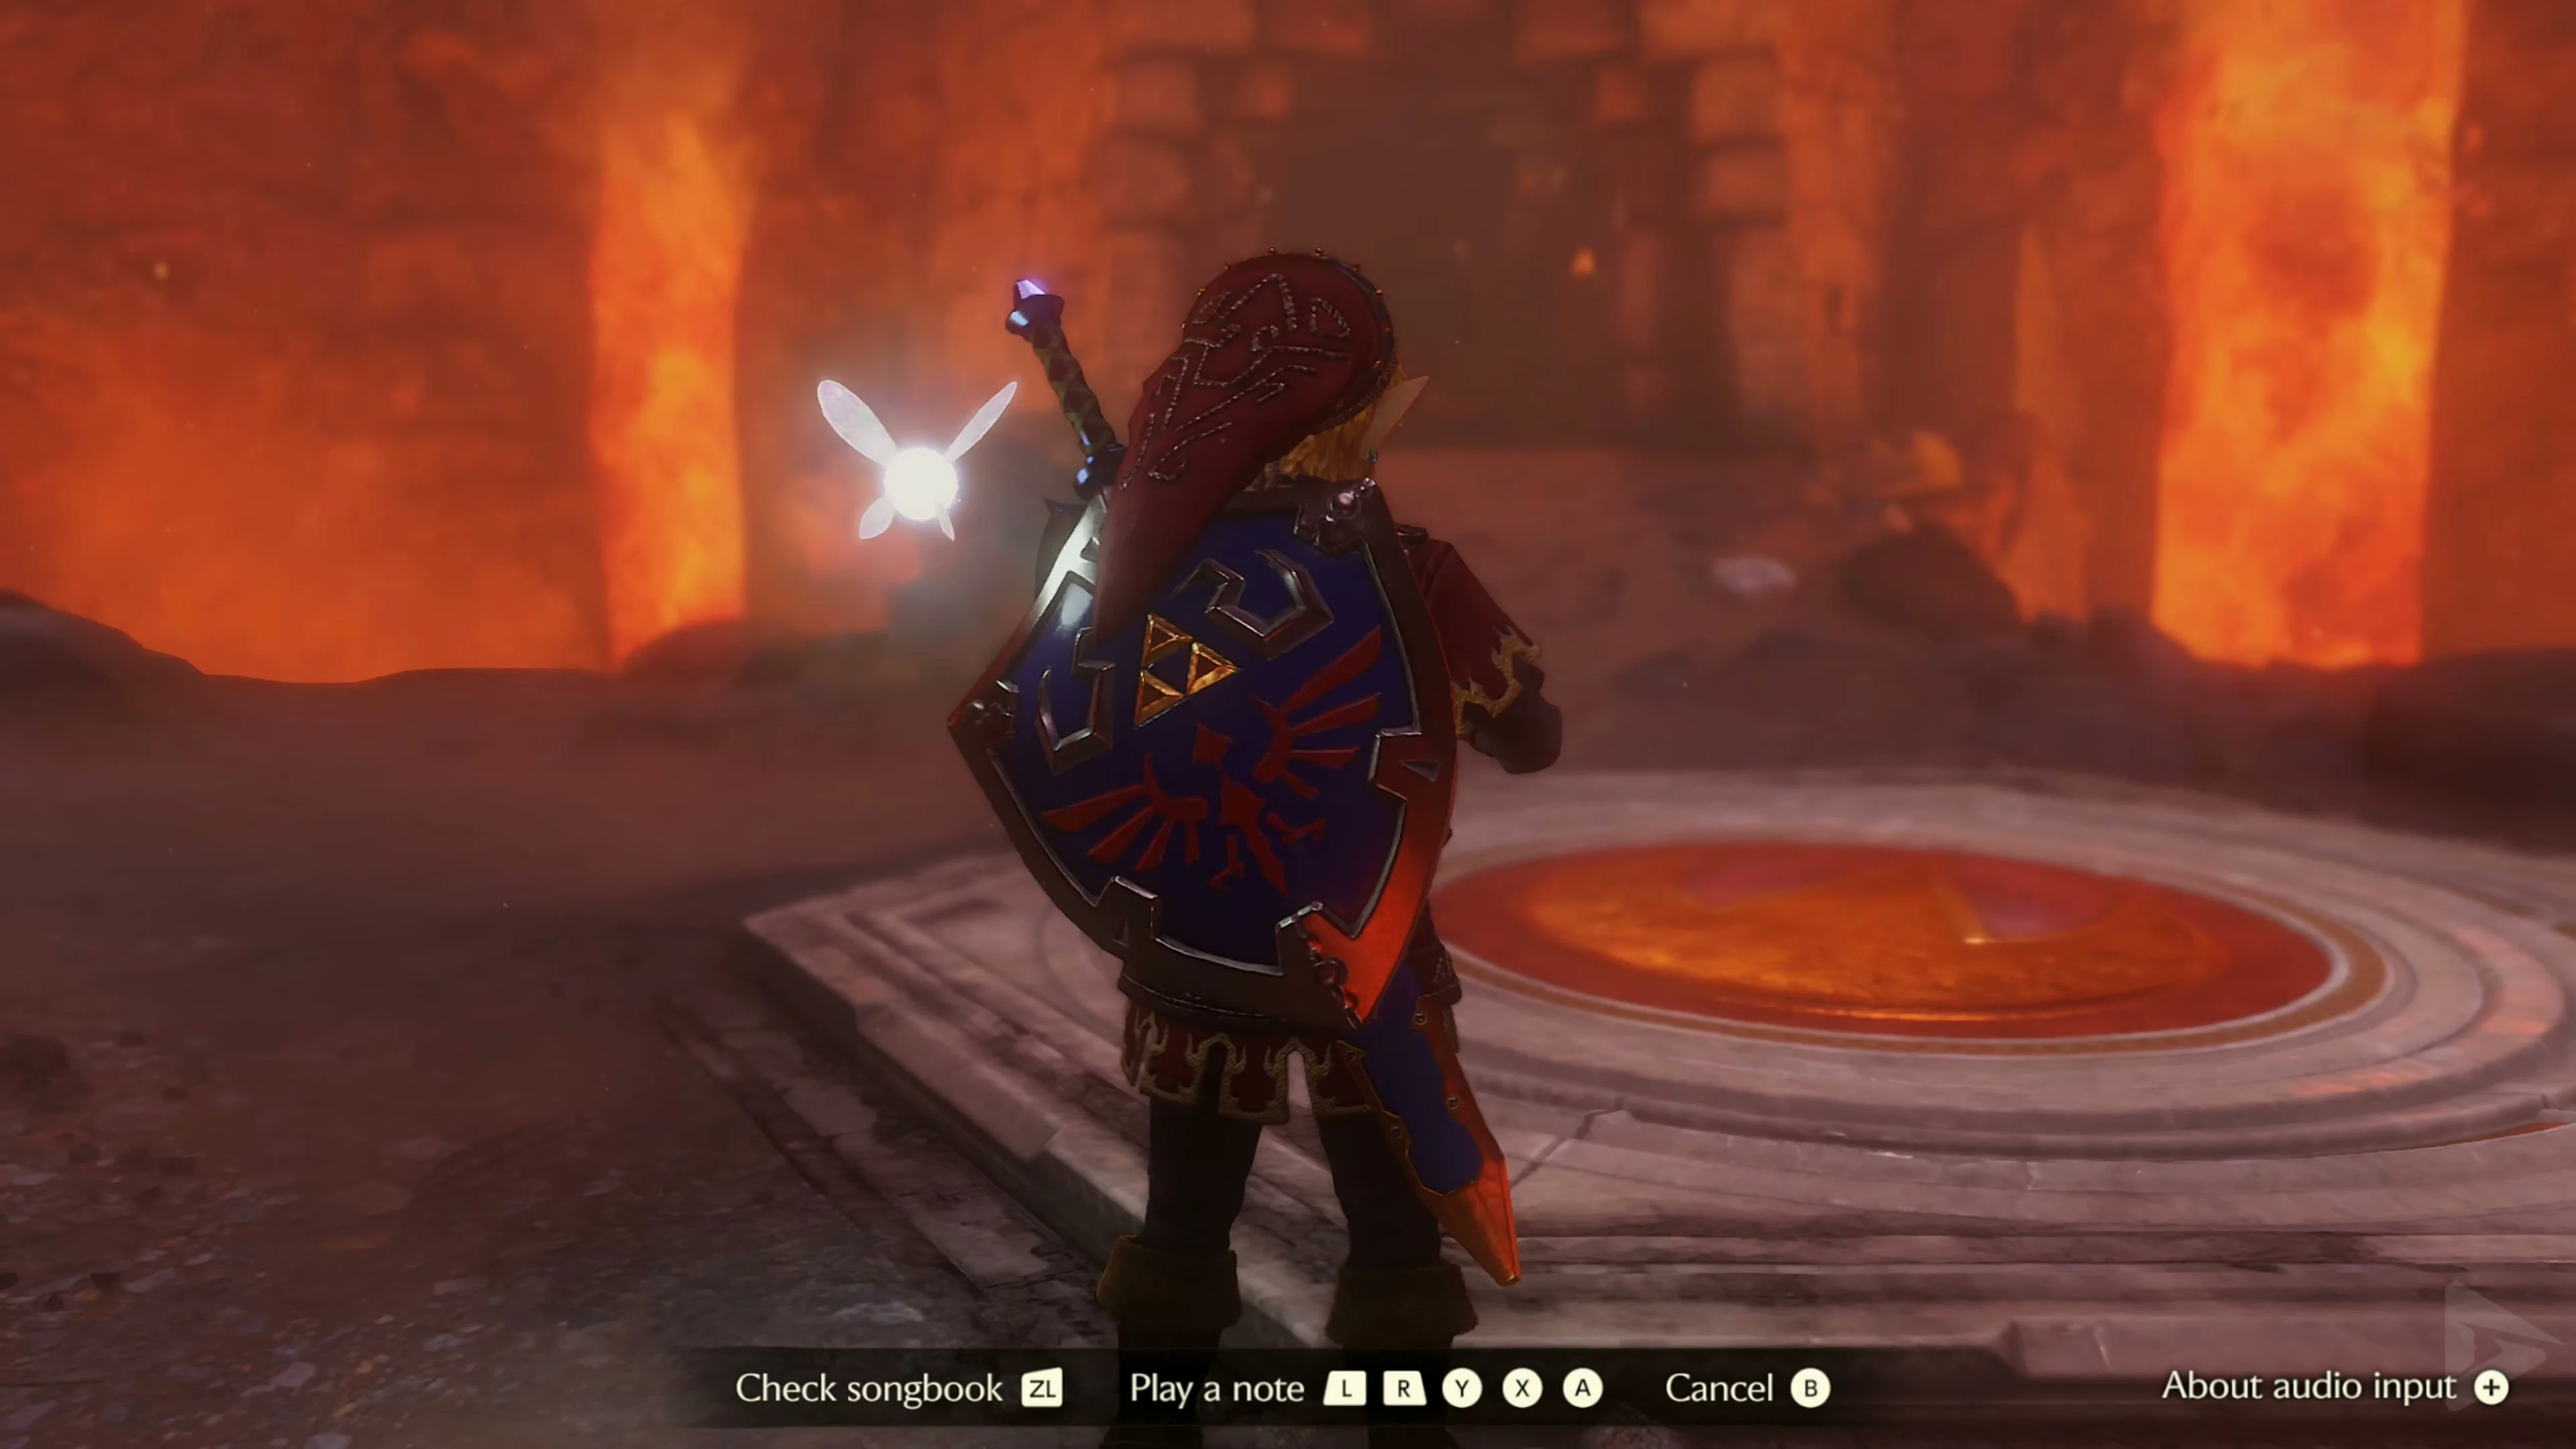
The Bolero of Fire
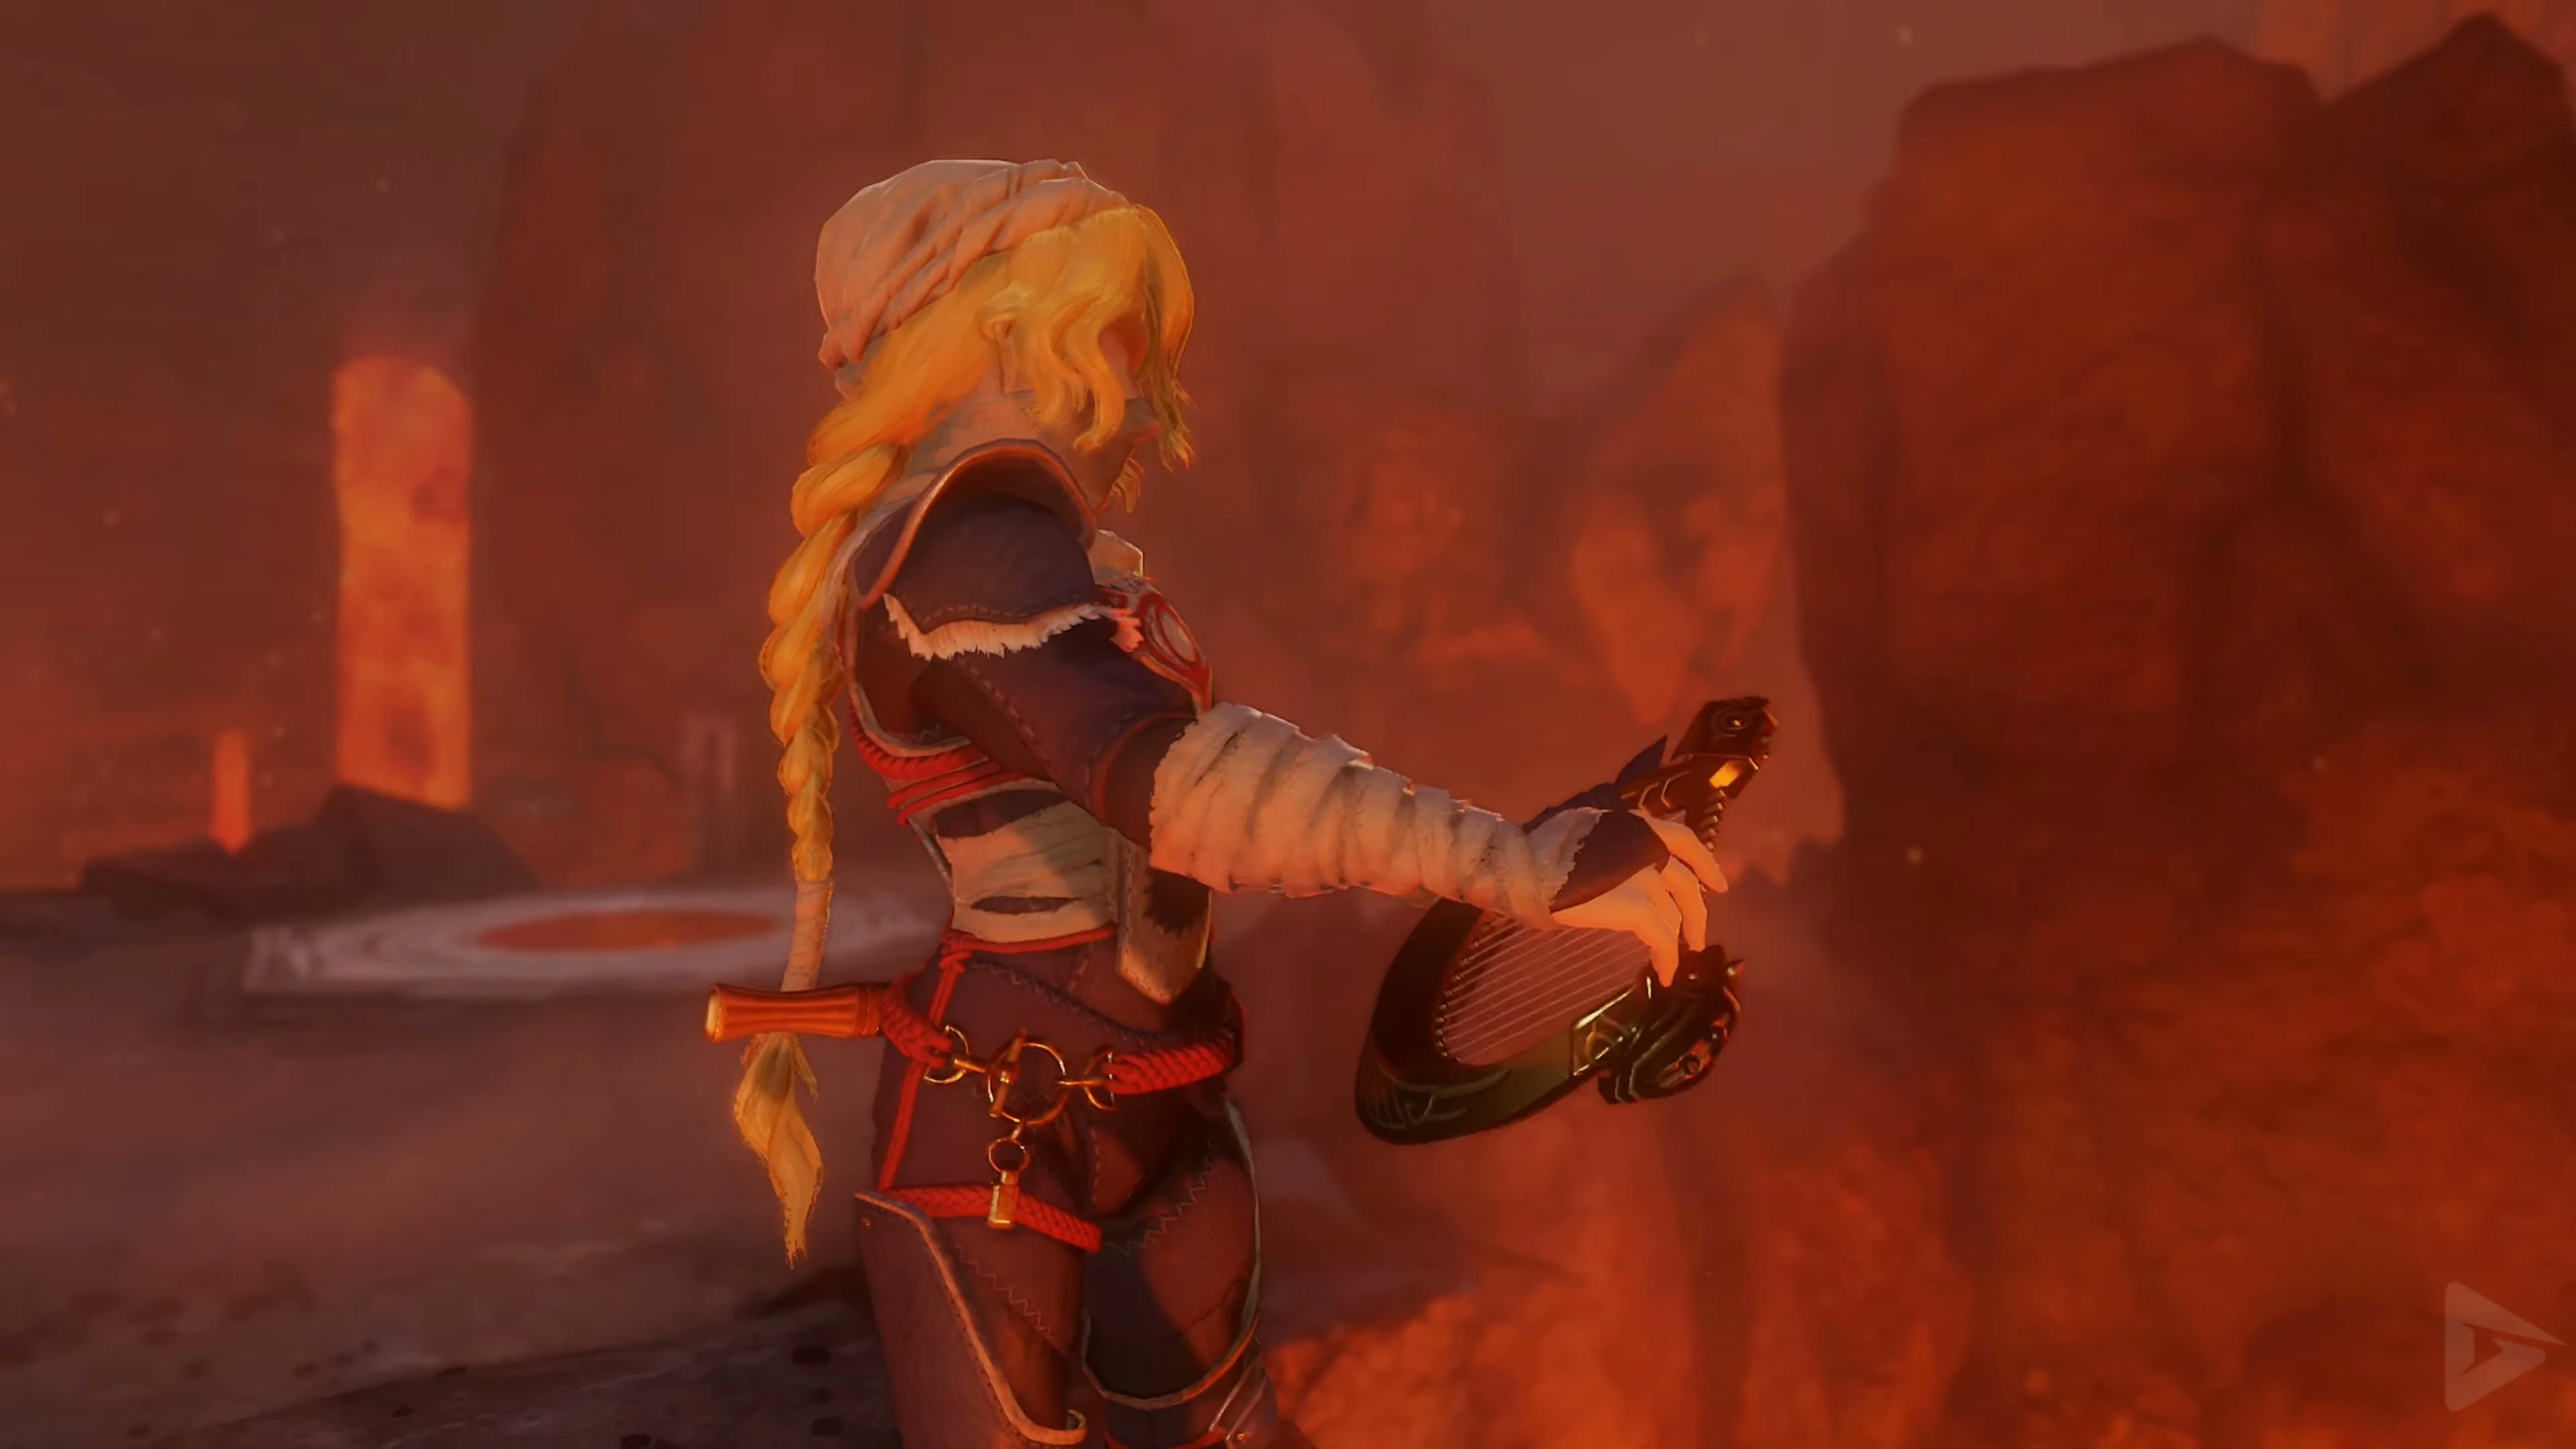
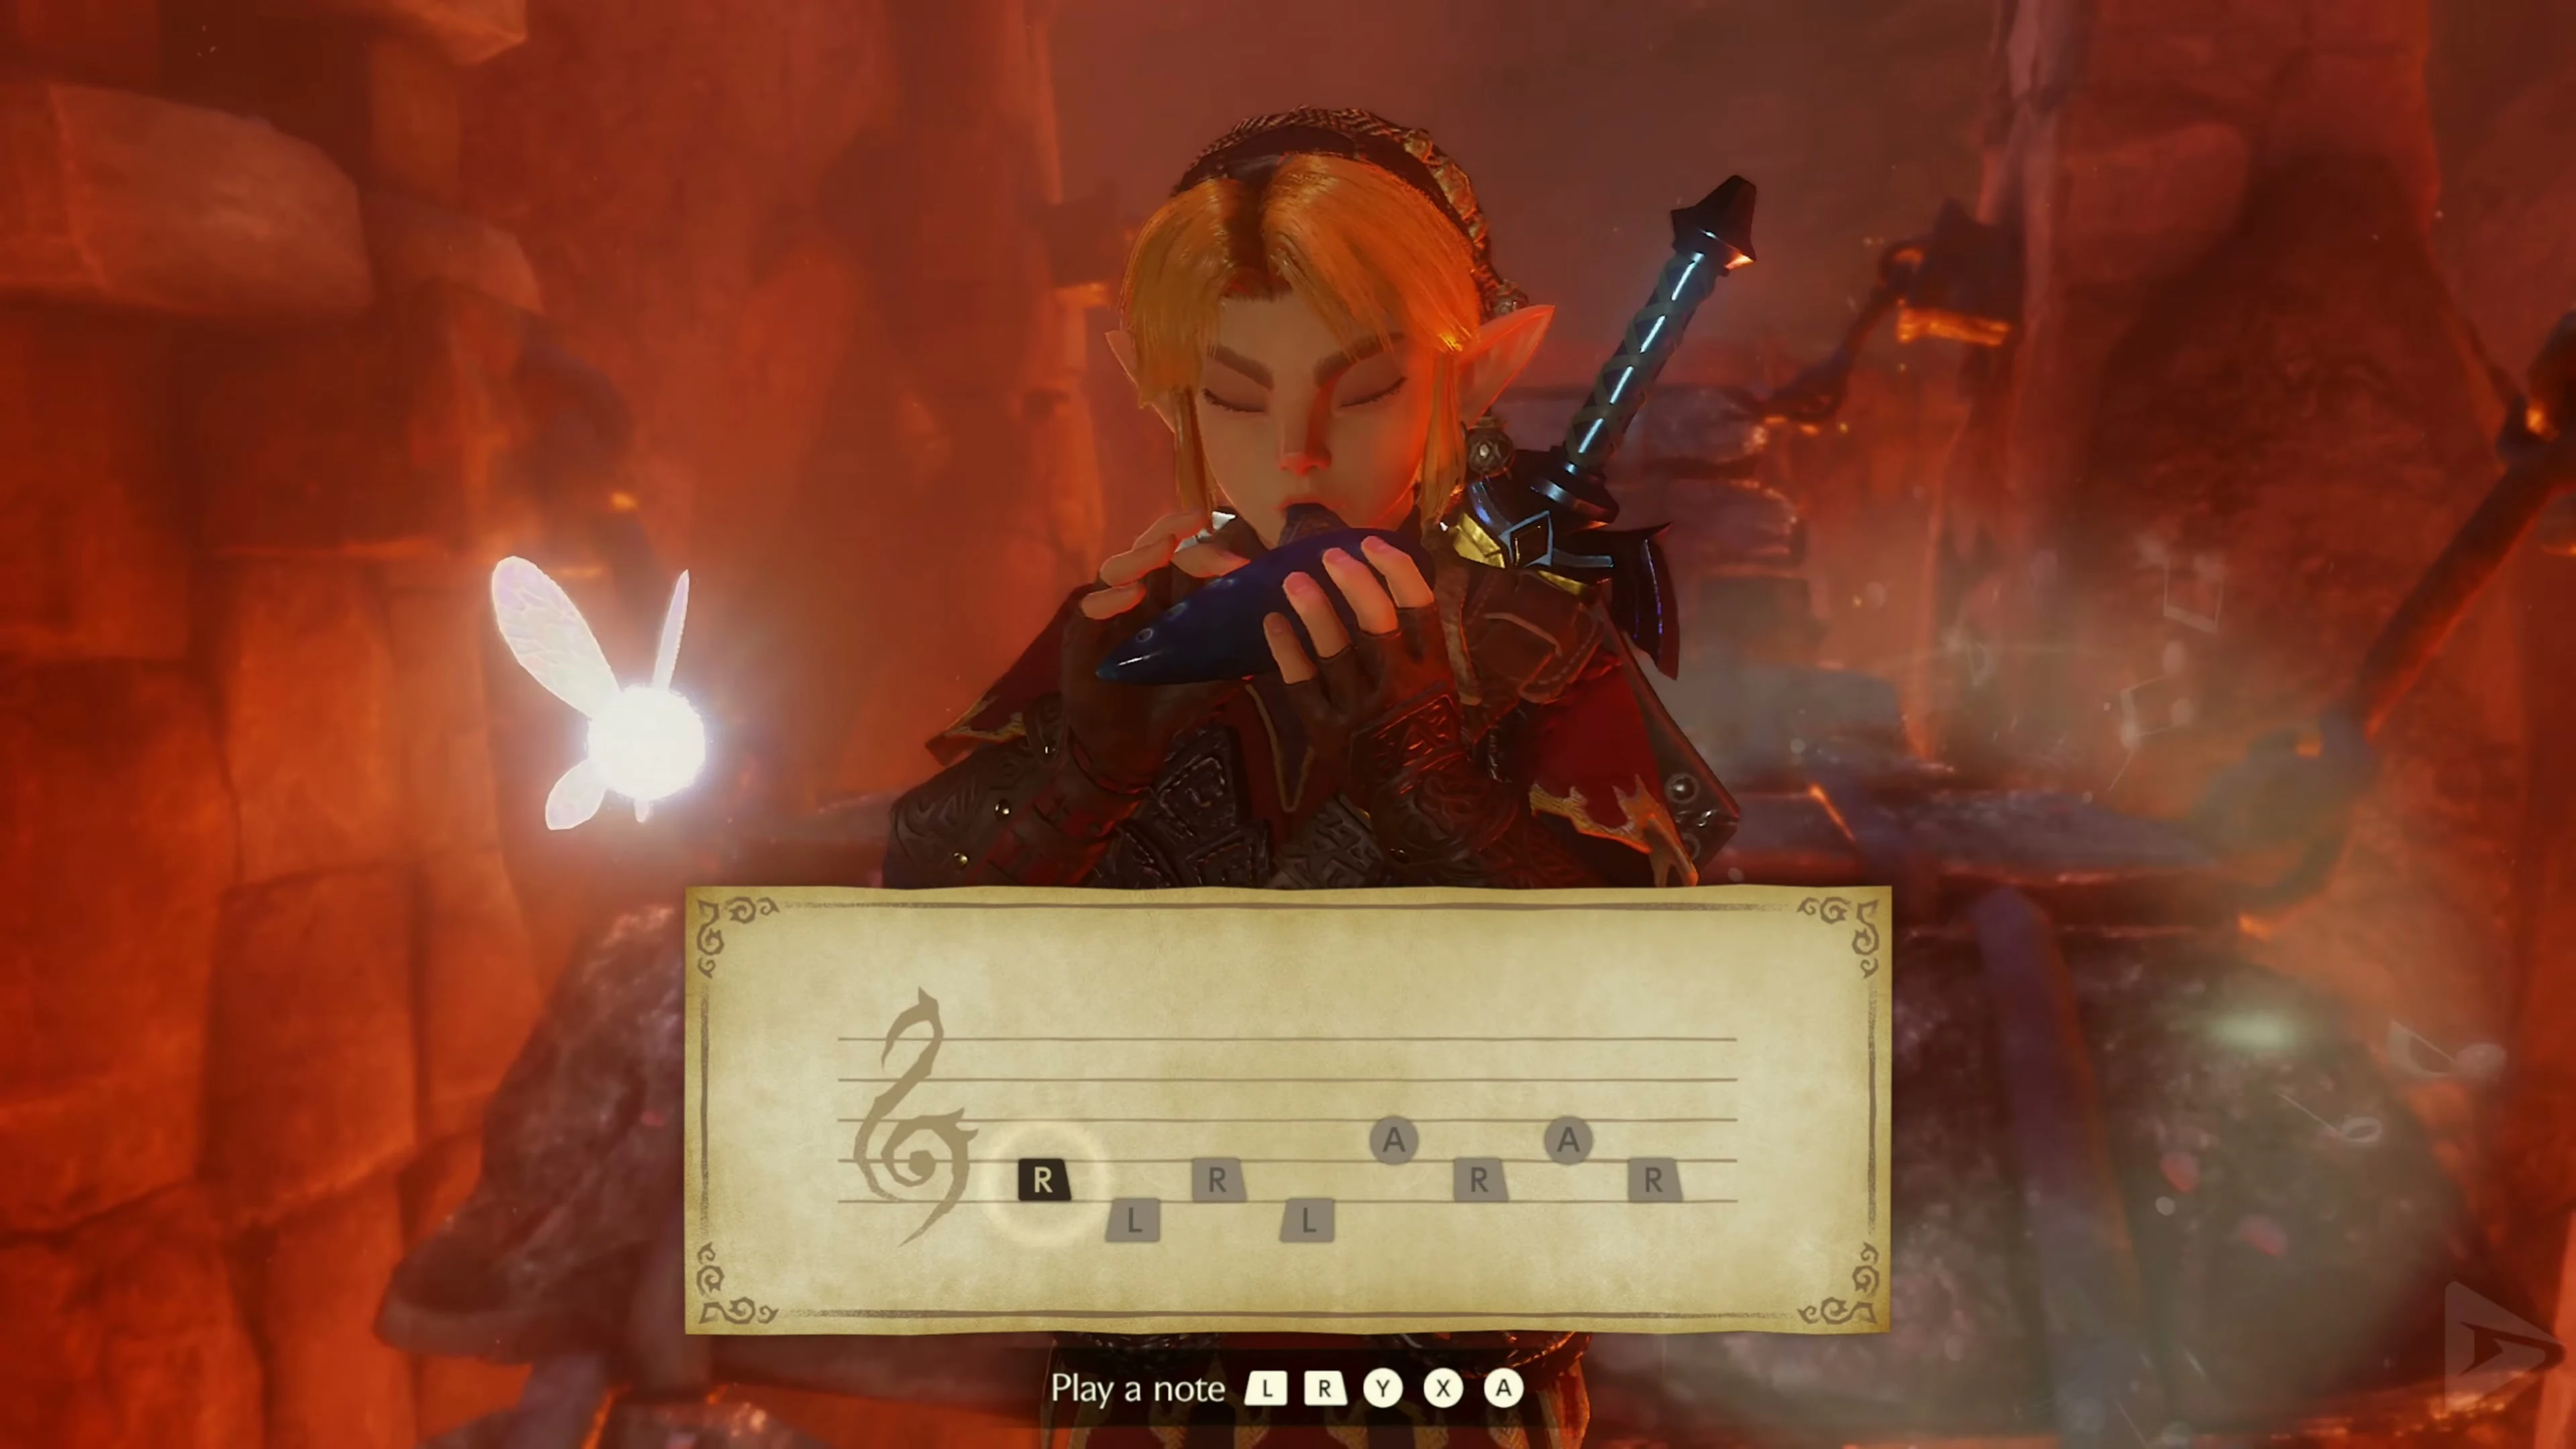
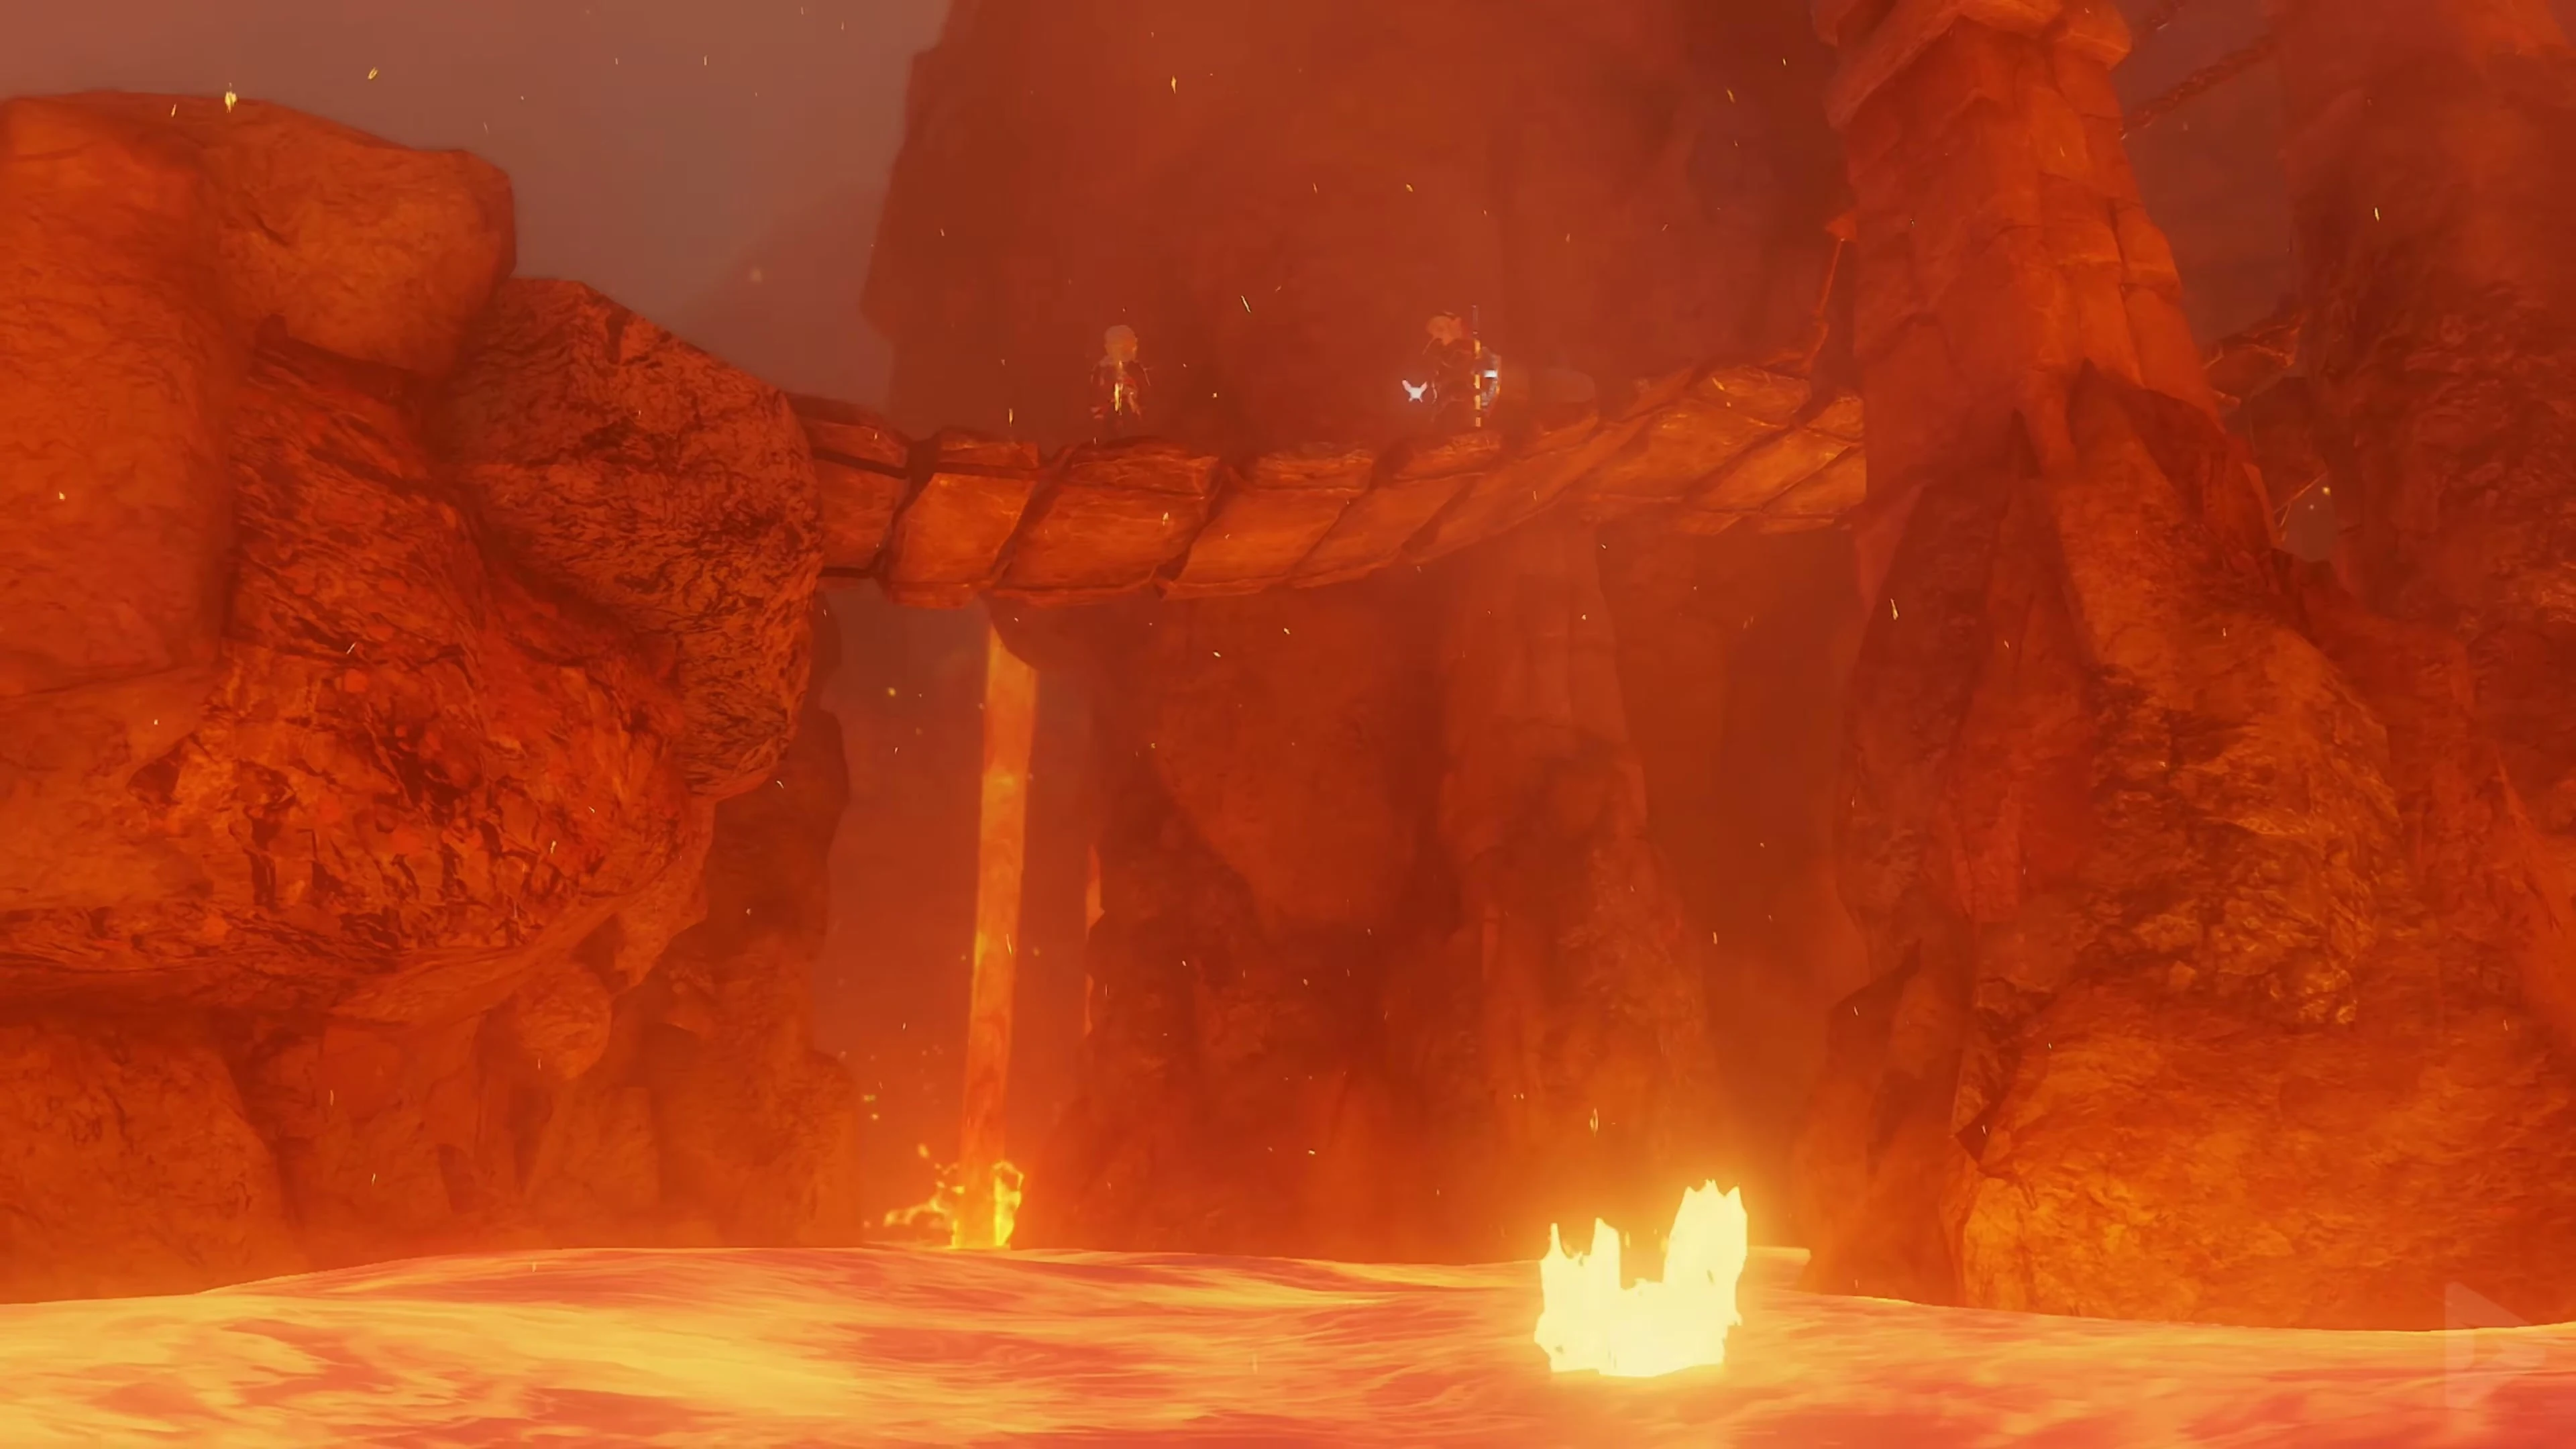
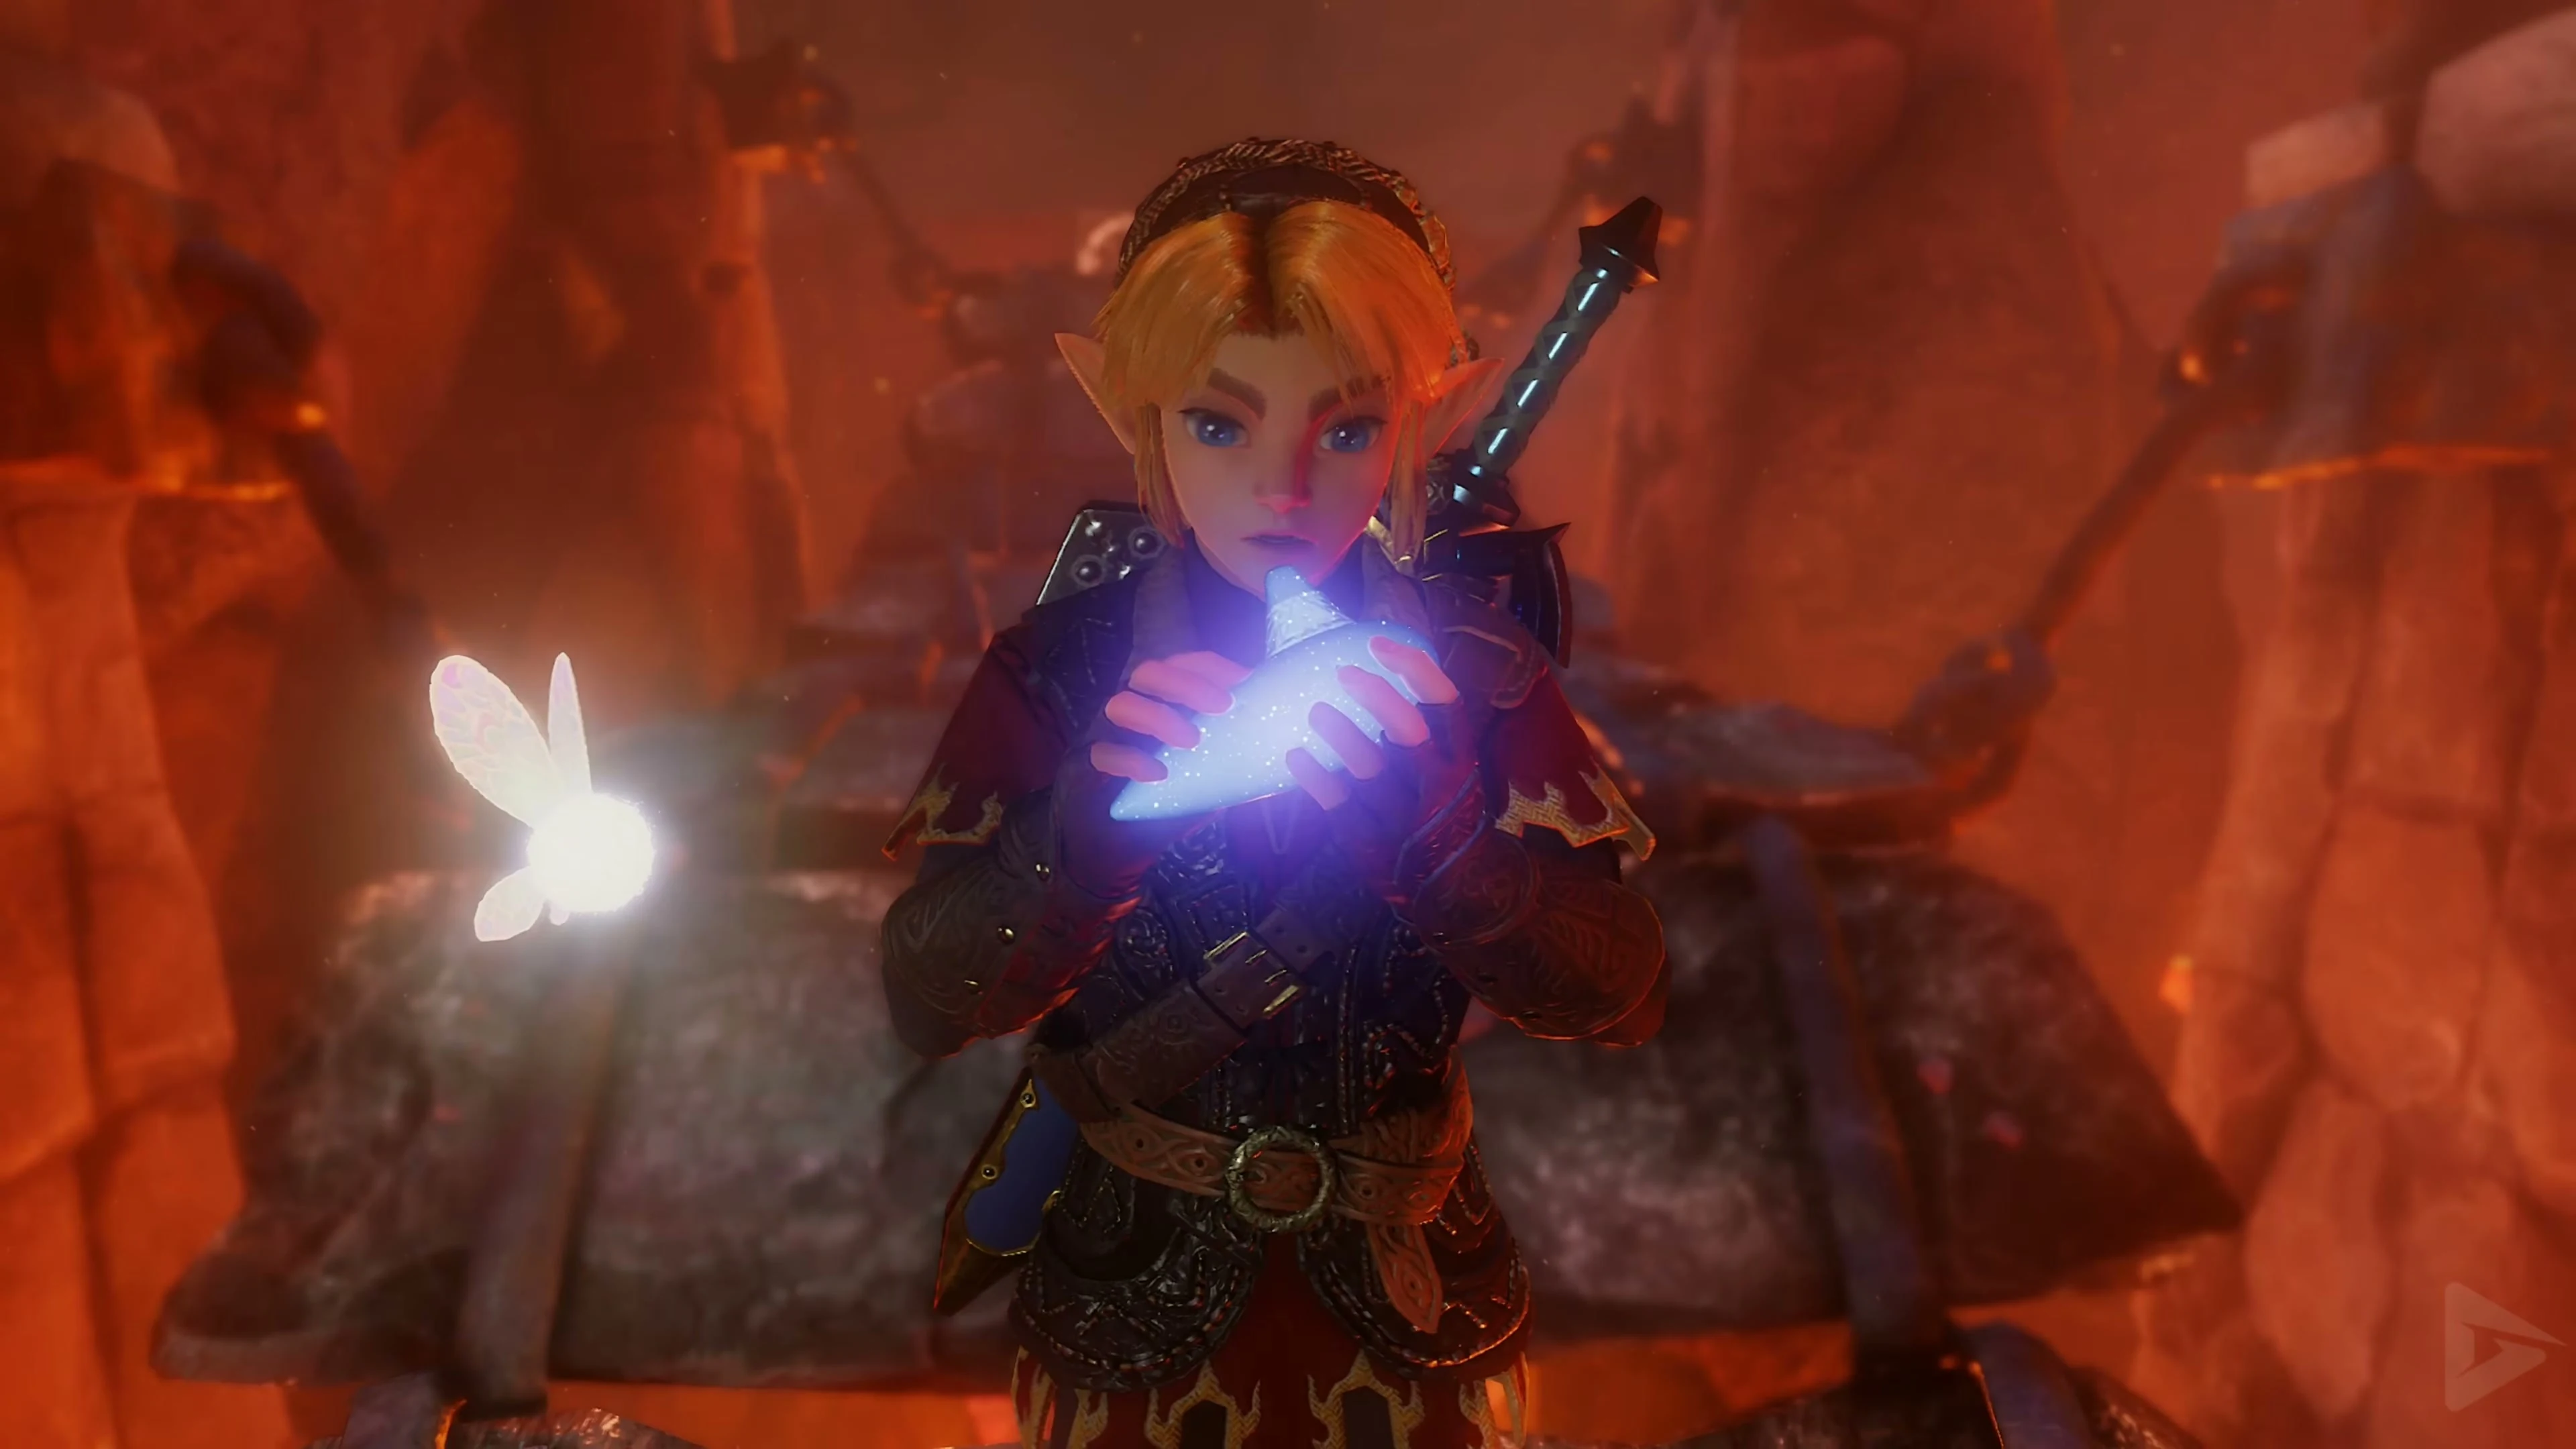
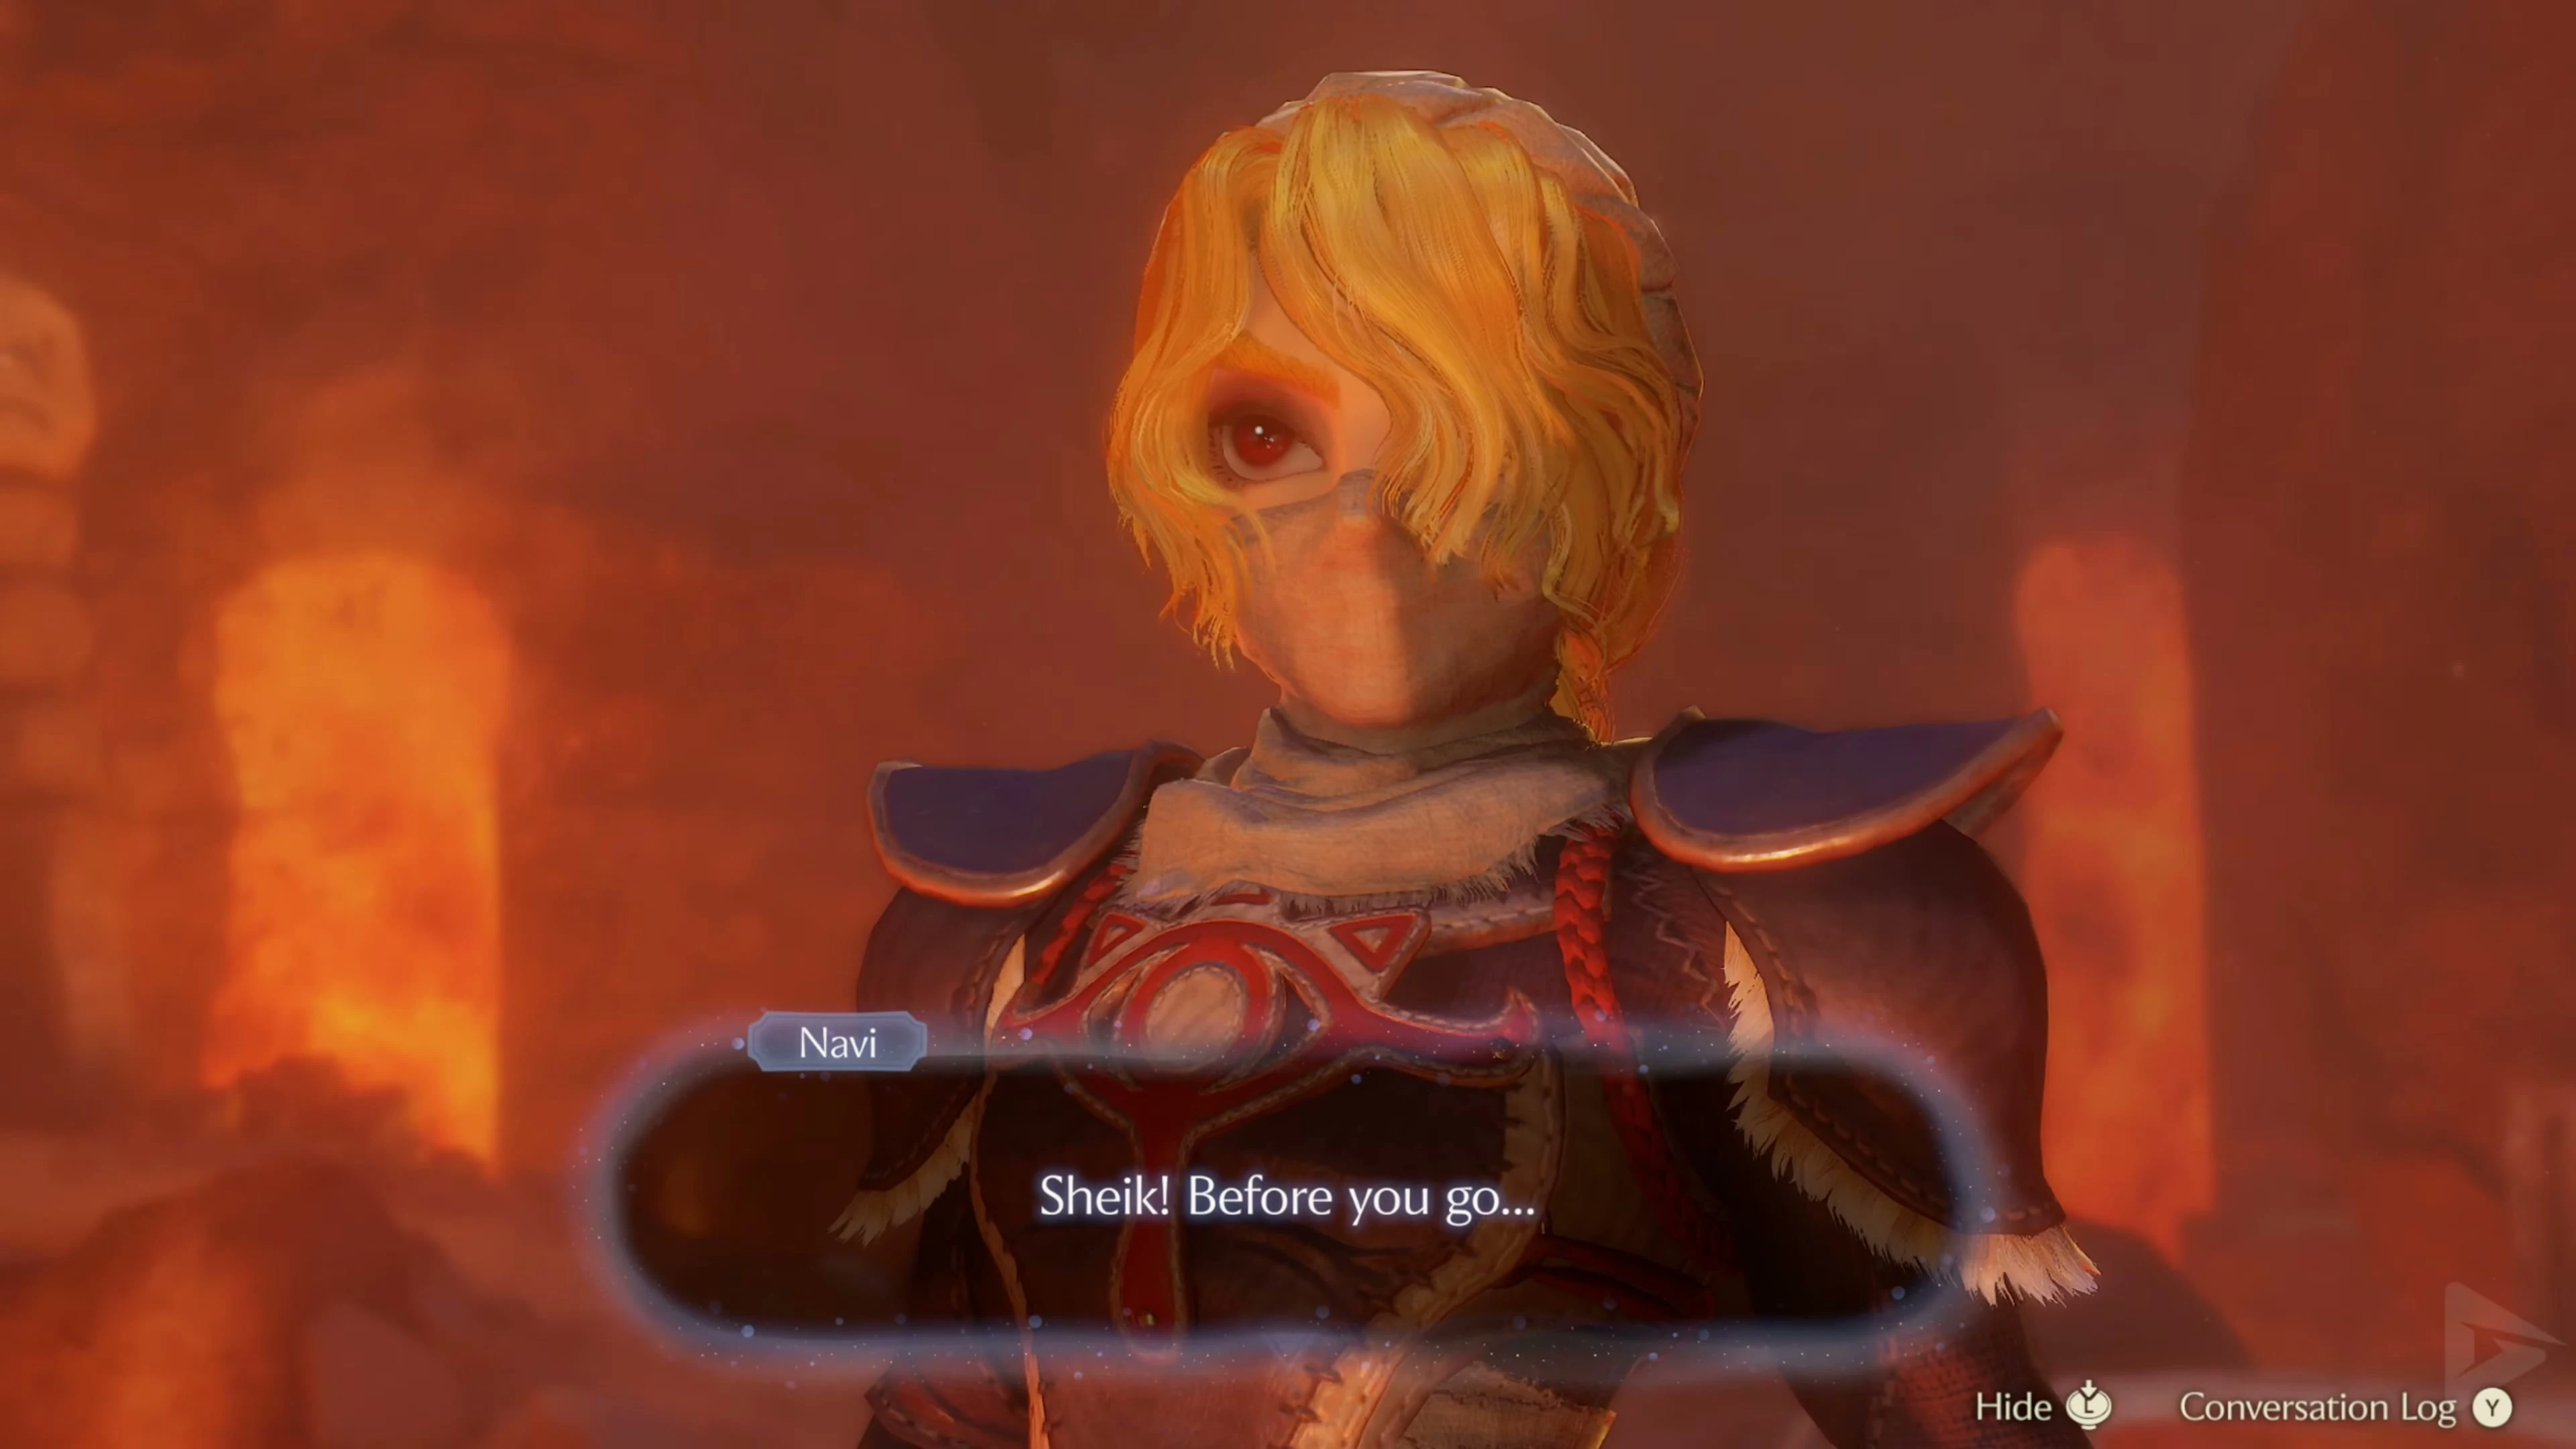
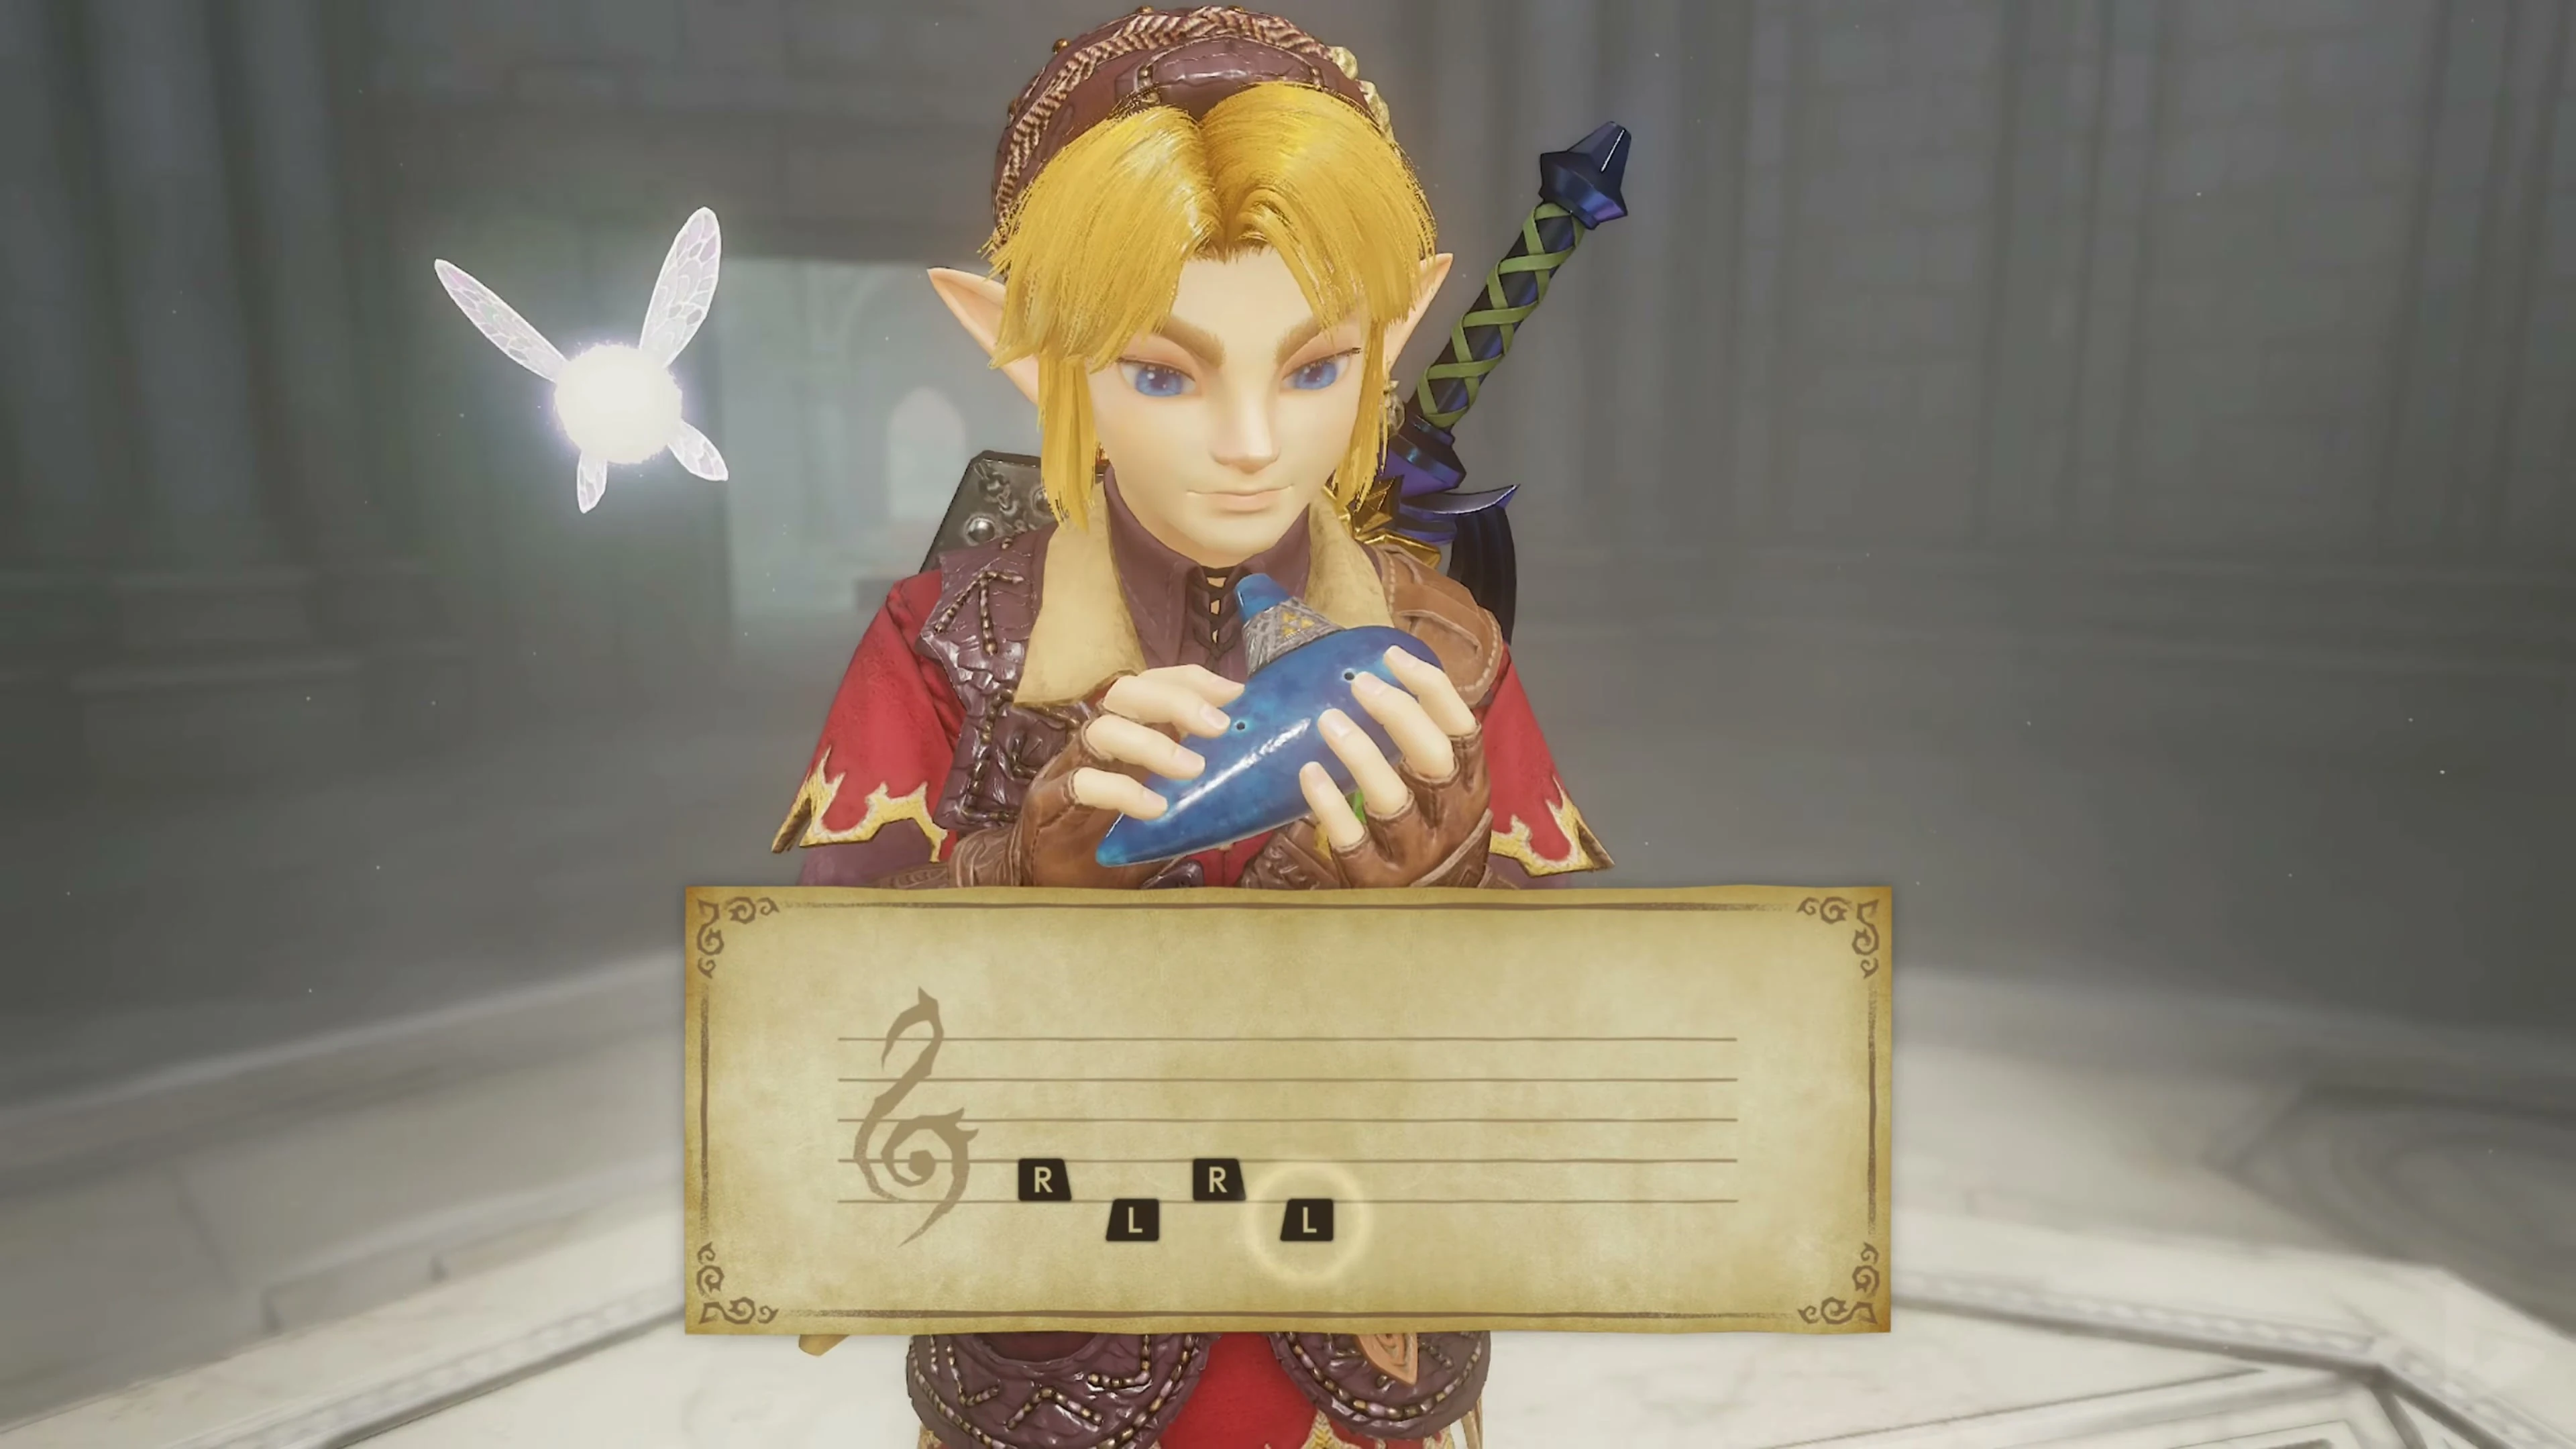
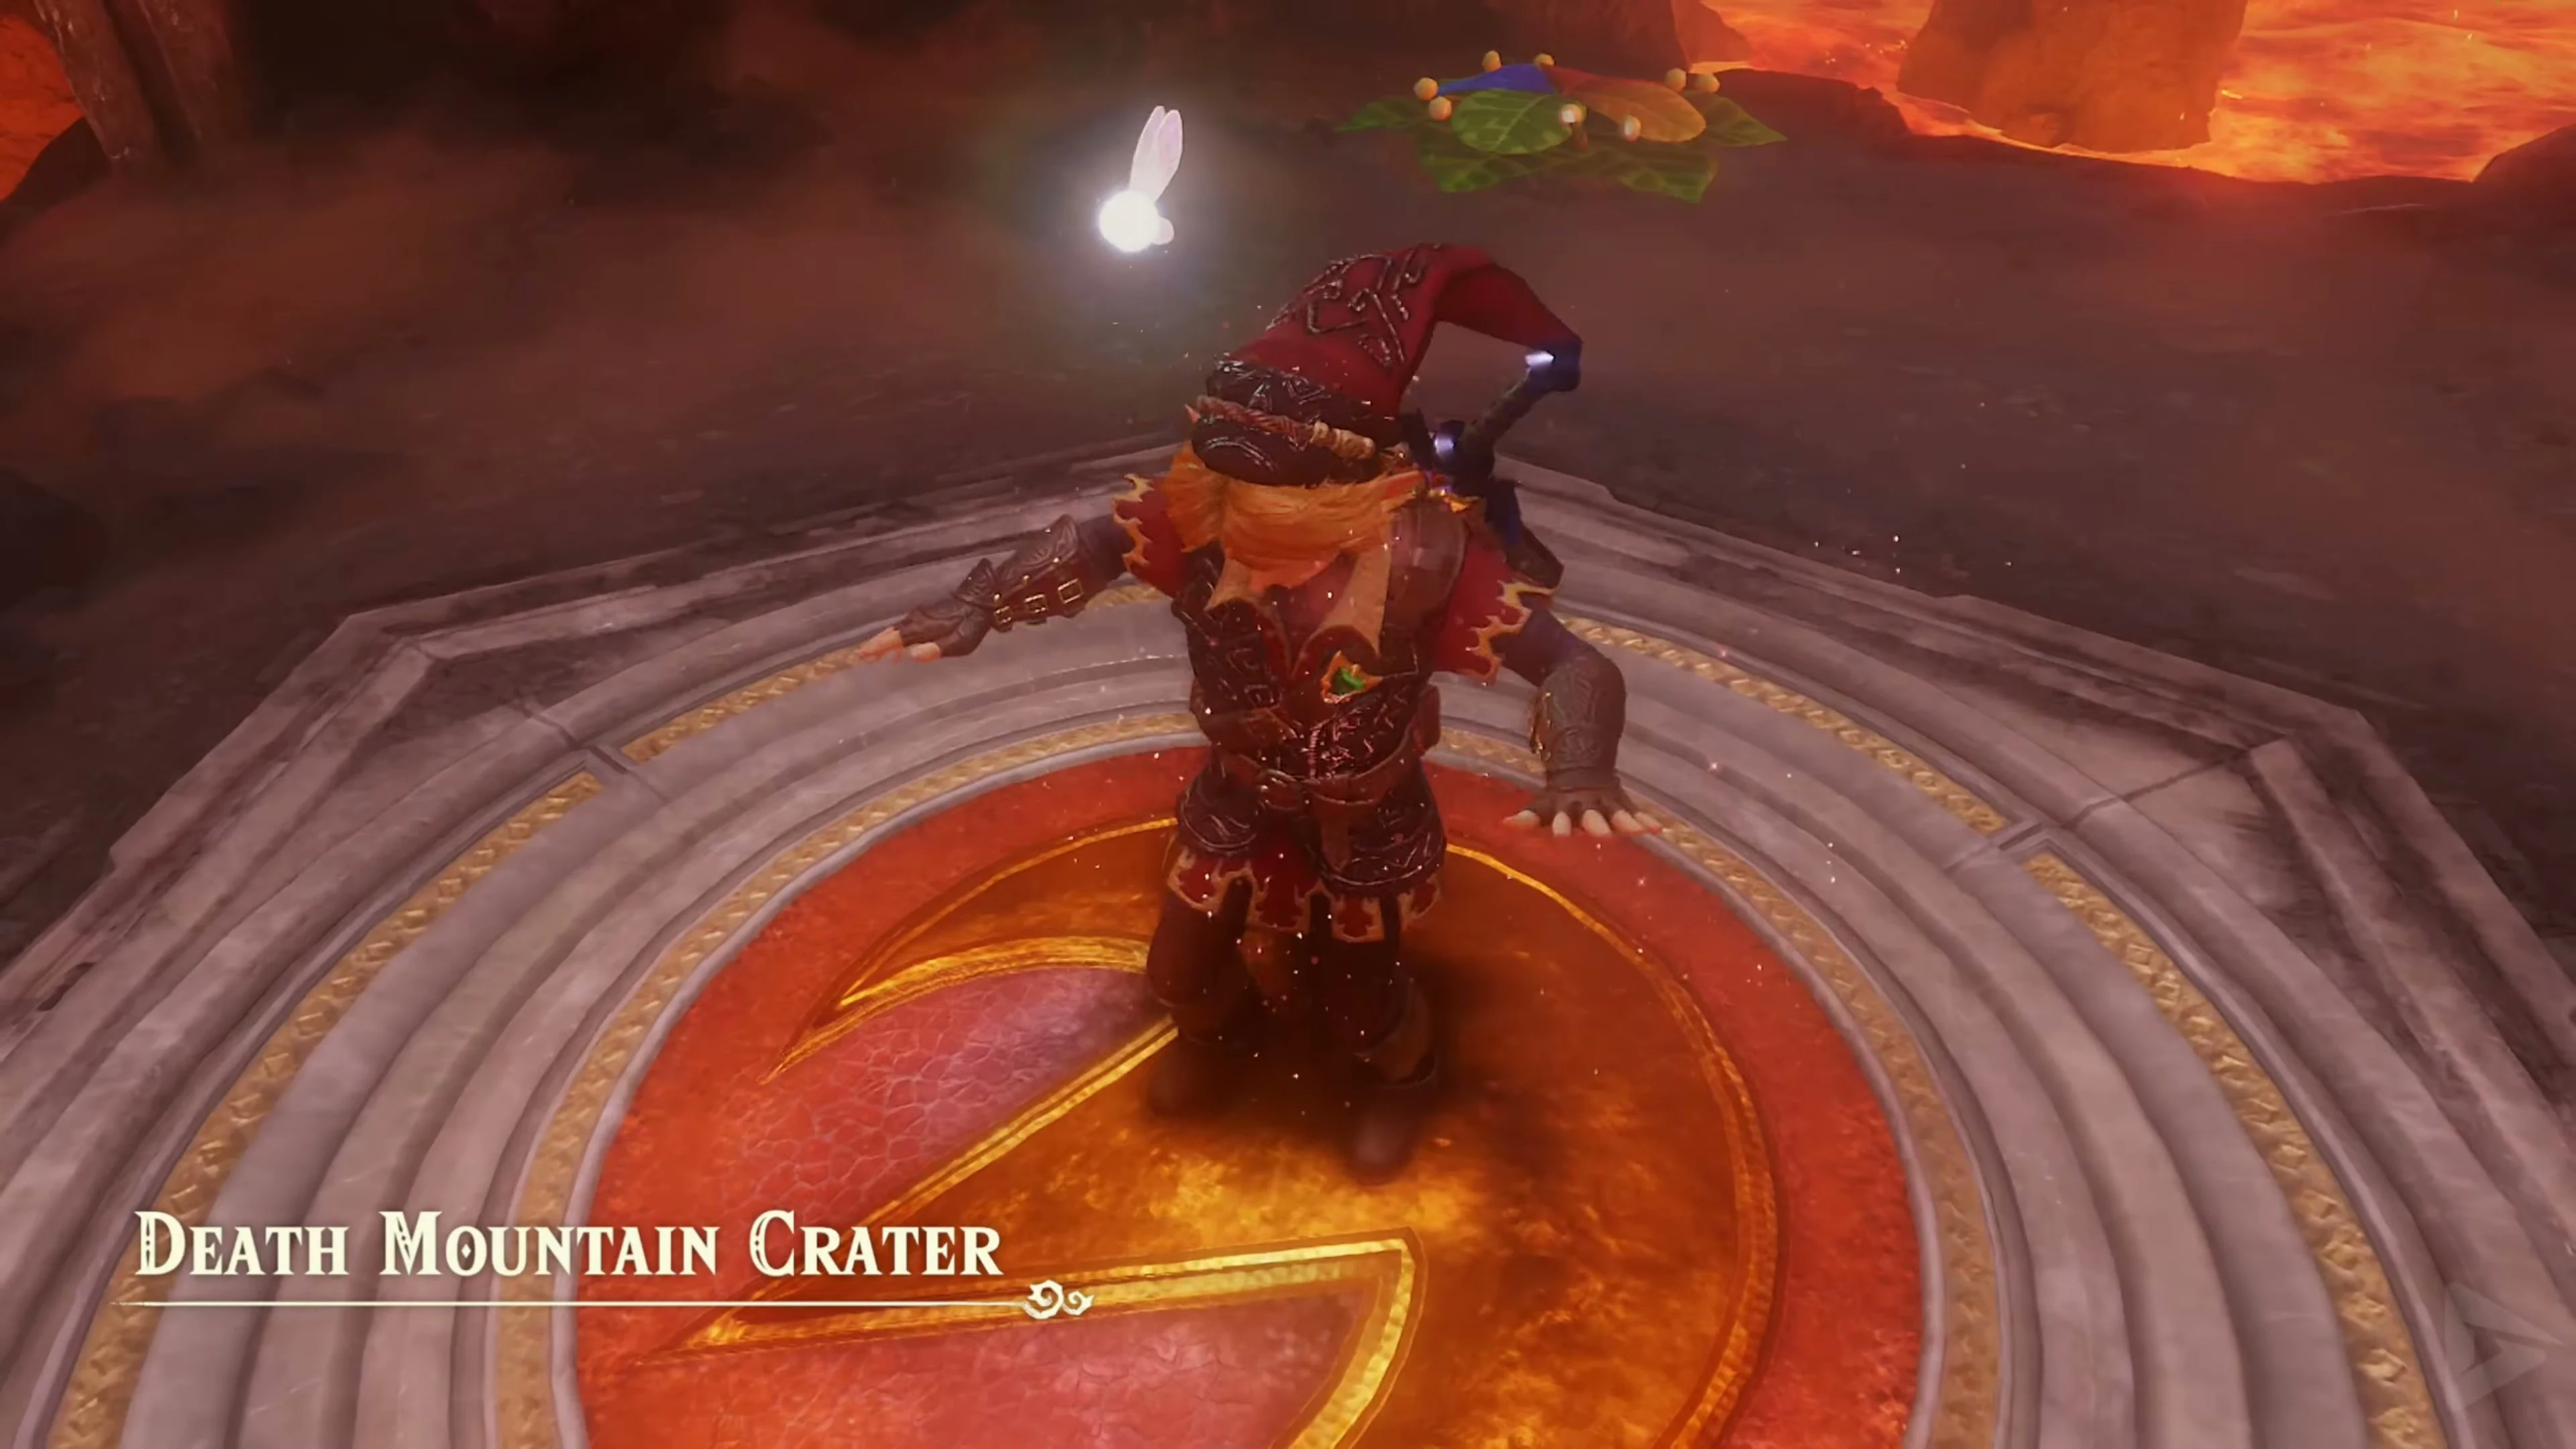
Talk to Sheik and play the melody on your ocarina. You will learn the Bolero of Fire This allows you, as a child and as an adult, to return to the Triforce pedestal in Death Mountain Crater . You can reach the soft earth near the pedestal on your next visit as young Link.
Magic Bean and Skulltula as young Link.
Play the Prelude of Light and return to the Temple of Time. Insert the Master Sword into the Temple of Time. As a child, take a Magic Bean and a Bug in a Bottle with you. If the Bug is missing, you can find one under the small stone to the right of the entrance to the Kakariko Village Graveyard. Fill your hearts and play Bolero of Fire to return to the Crater Pedestal.
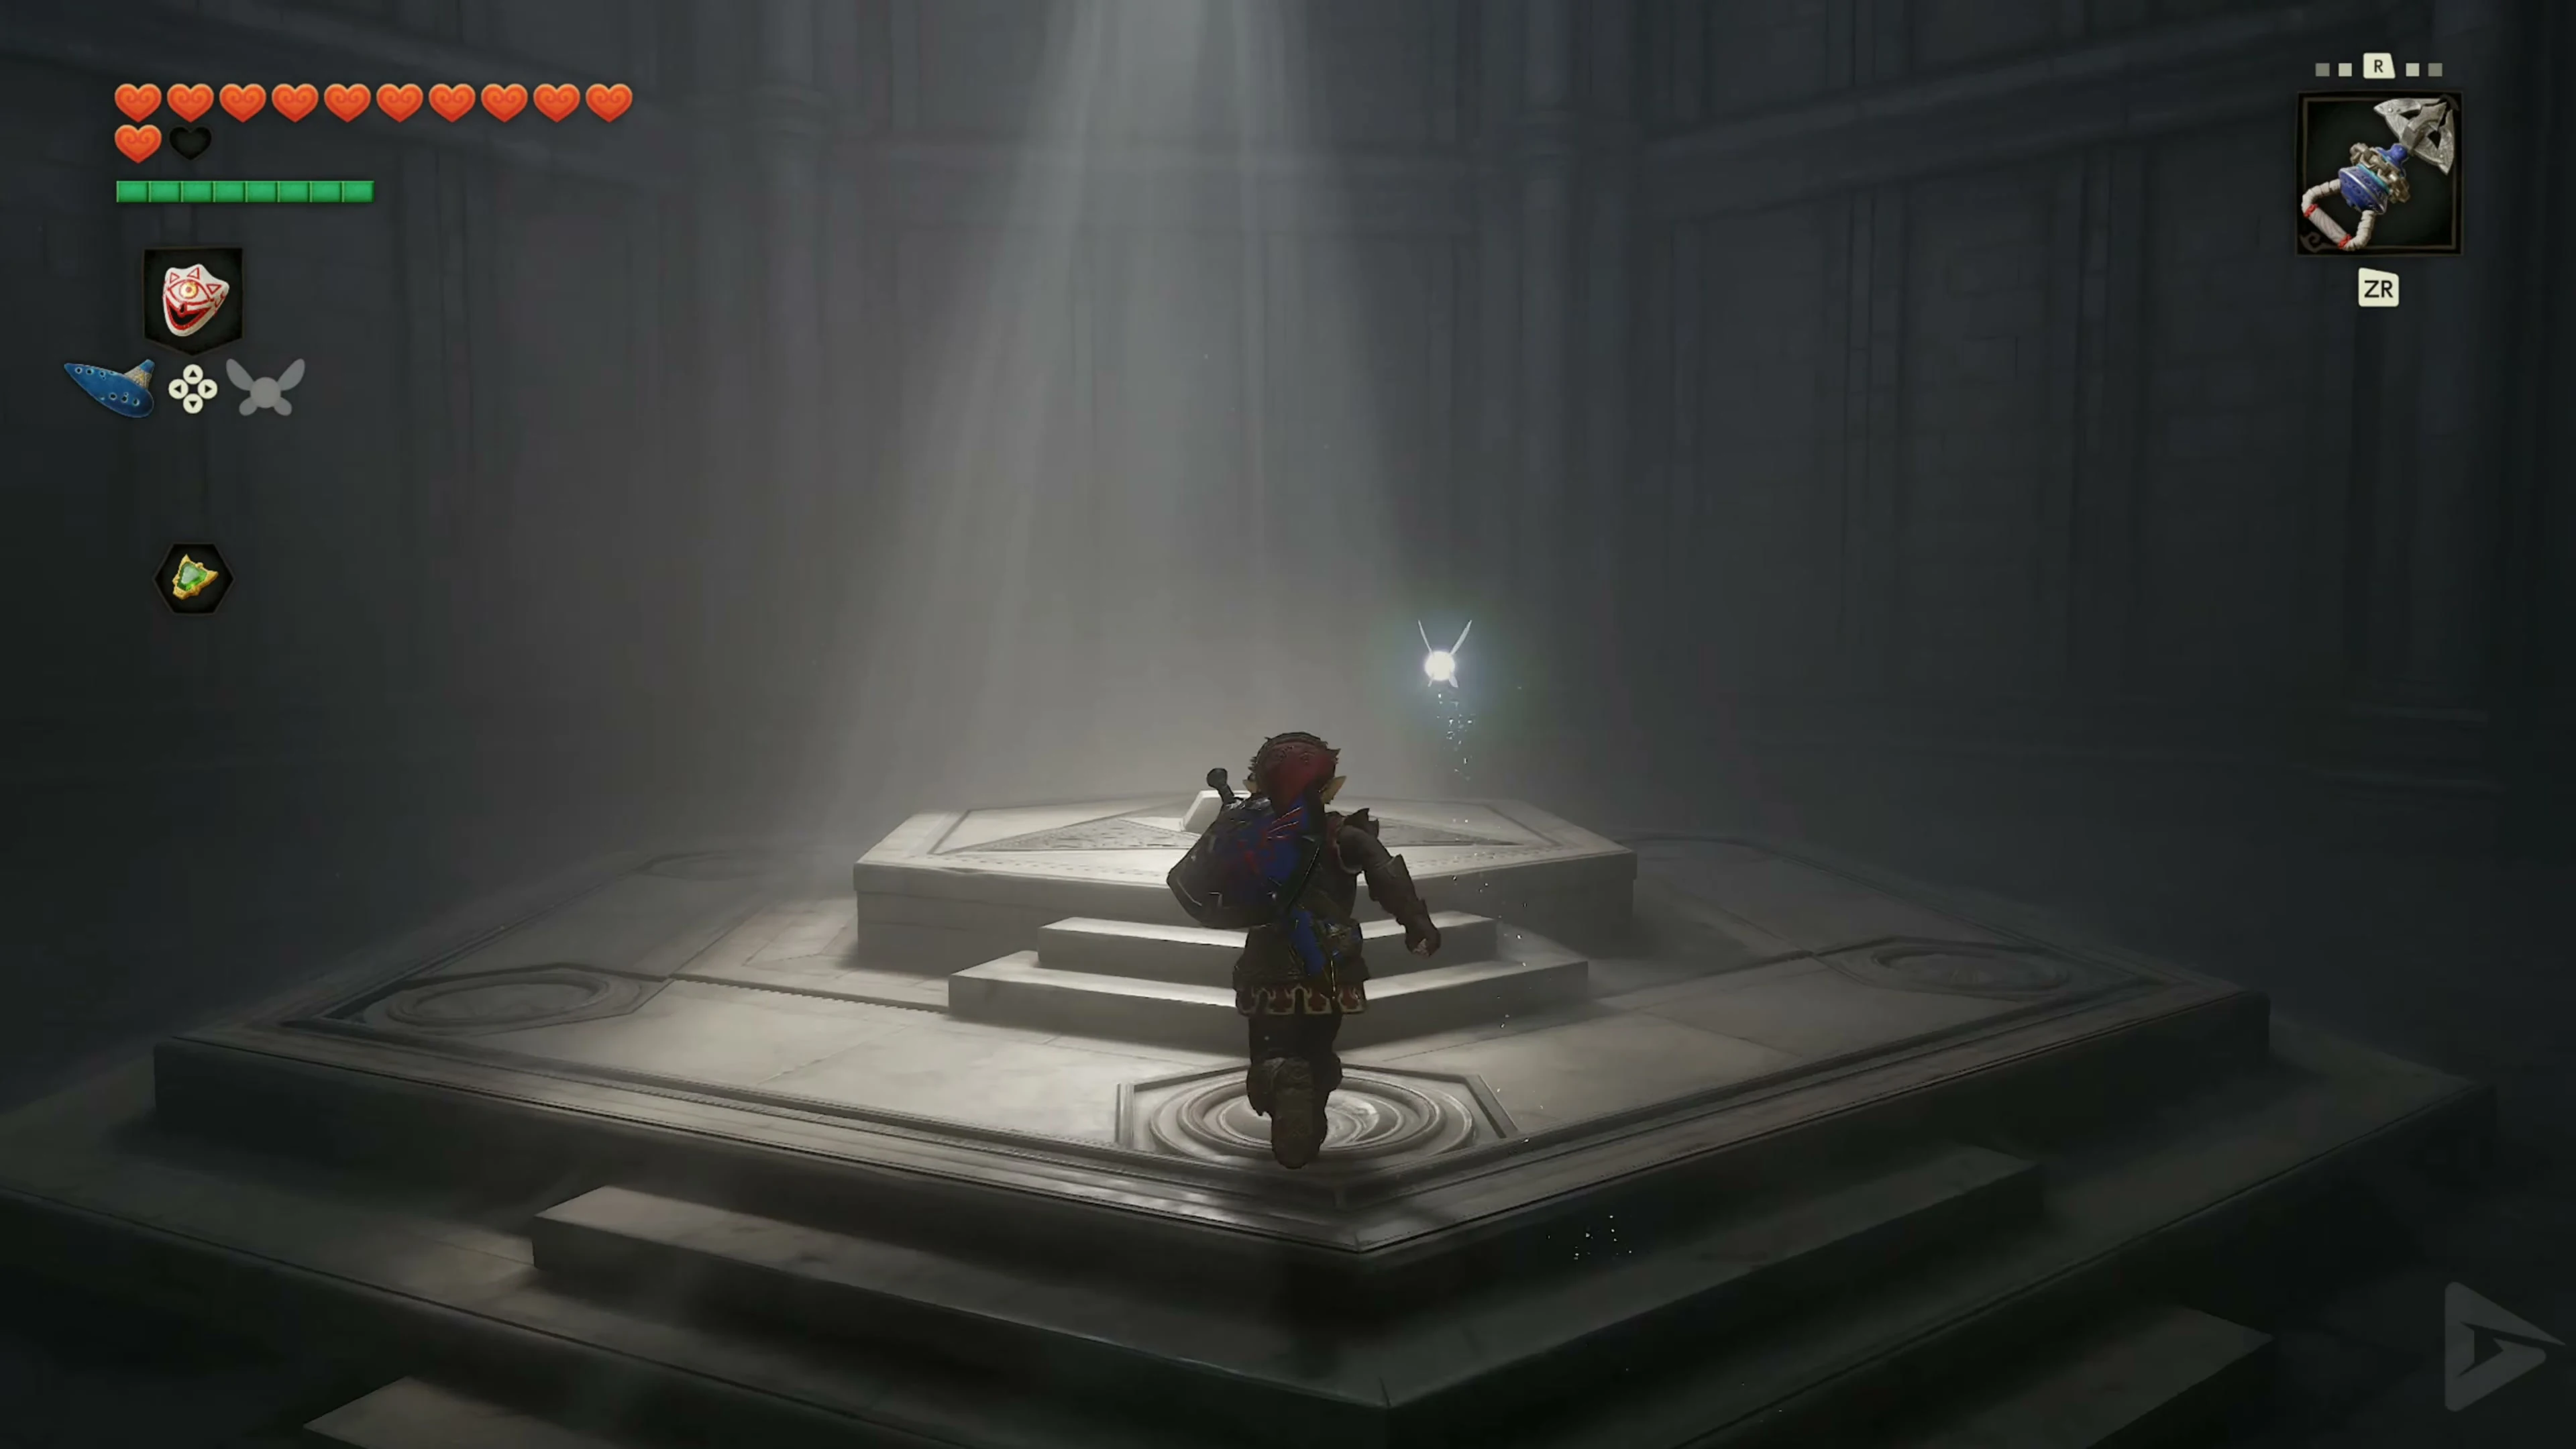
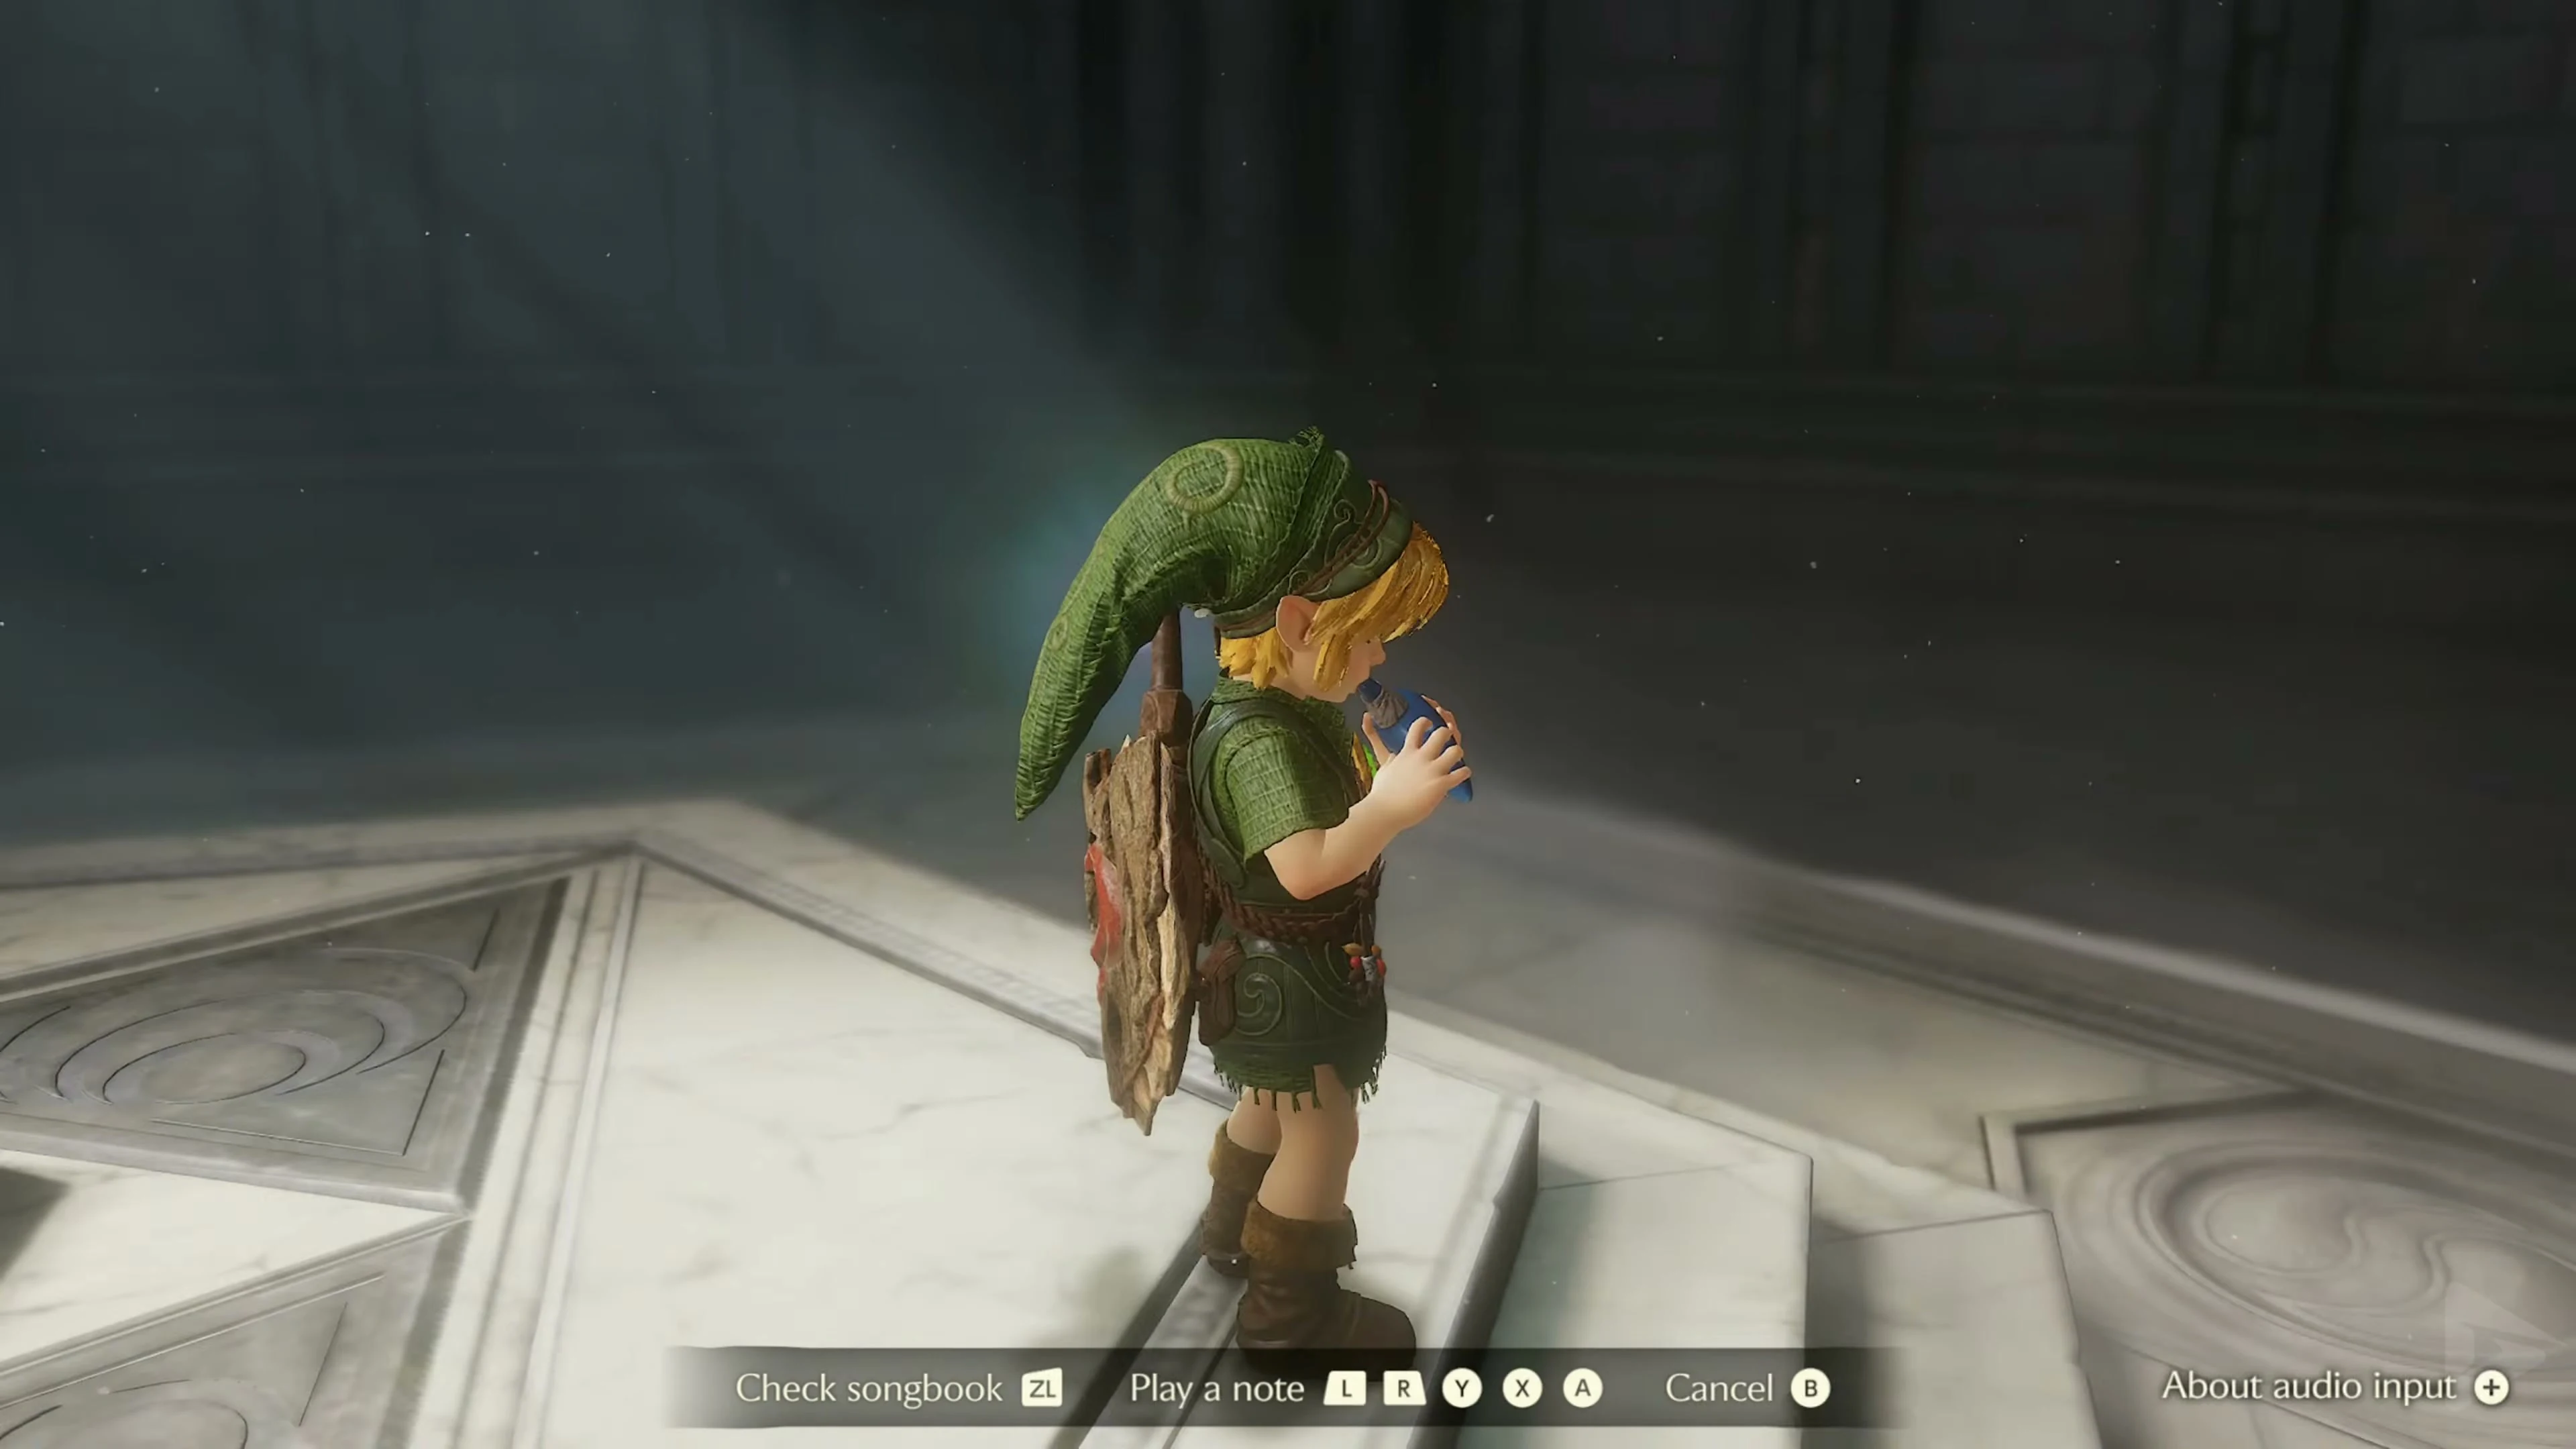
Gold Skulltula 2/2 – Magic Bean Hole in Death Mountain Crater
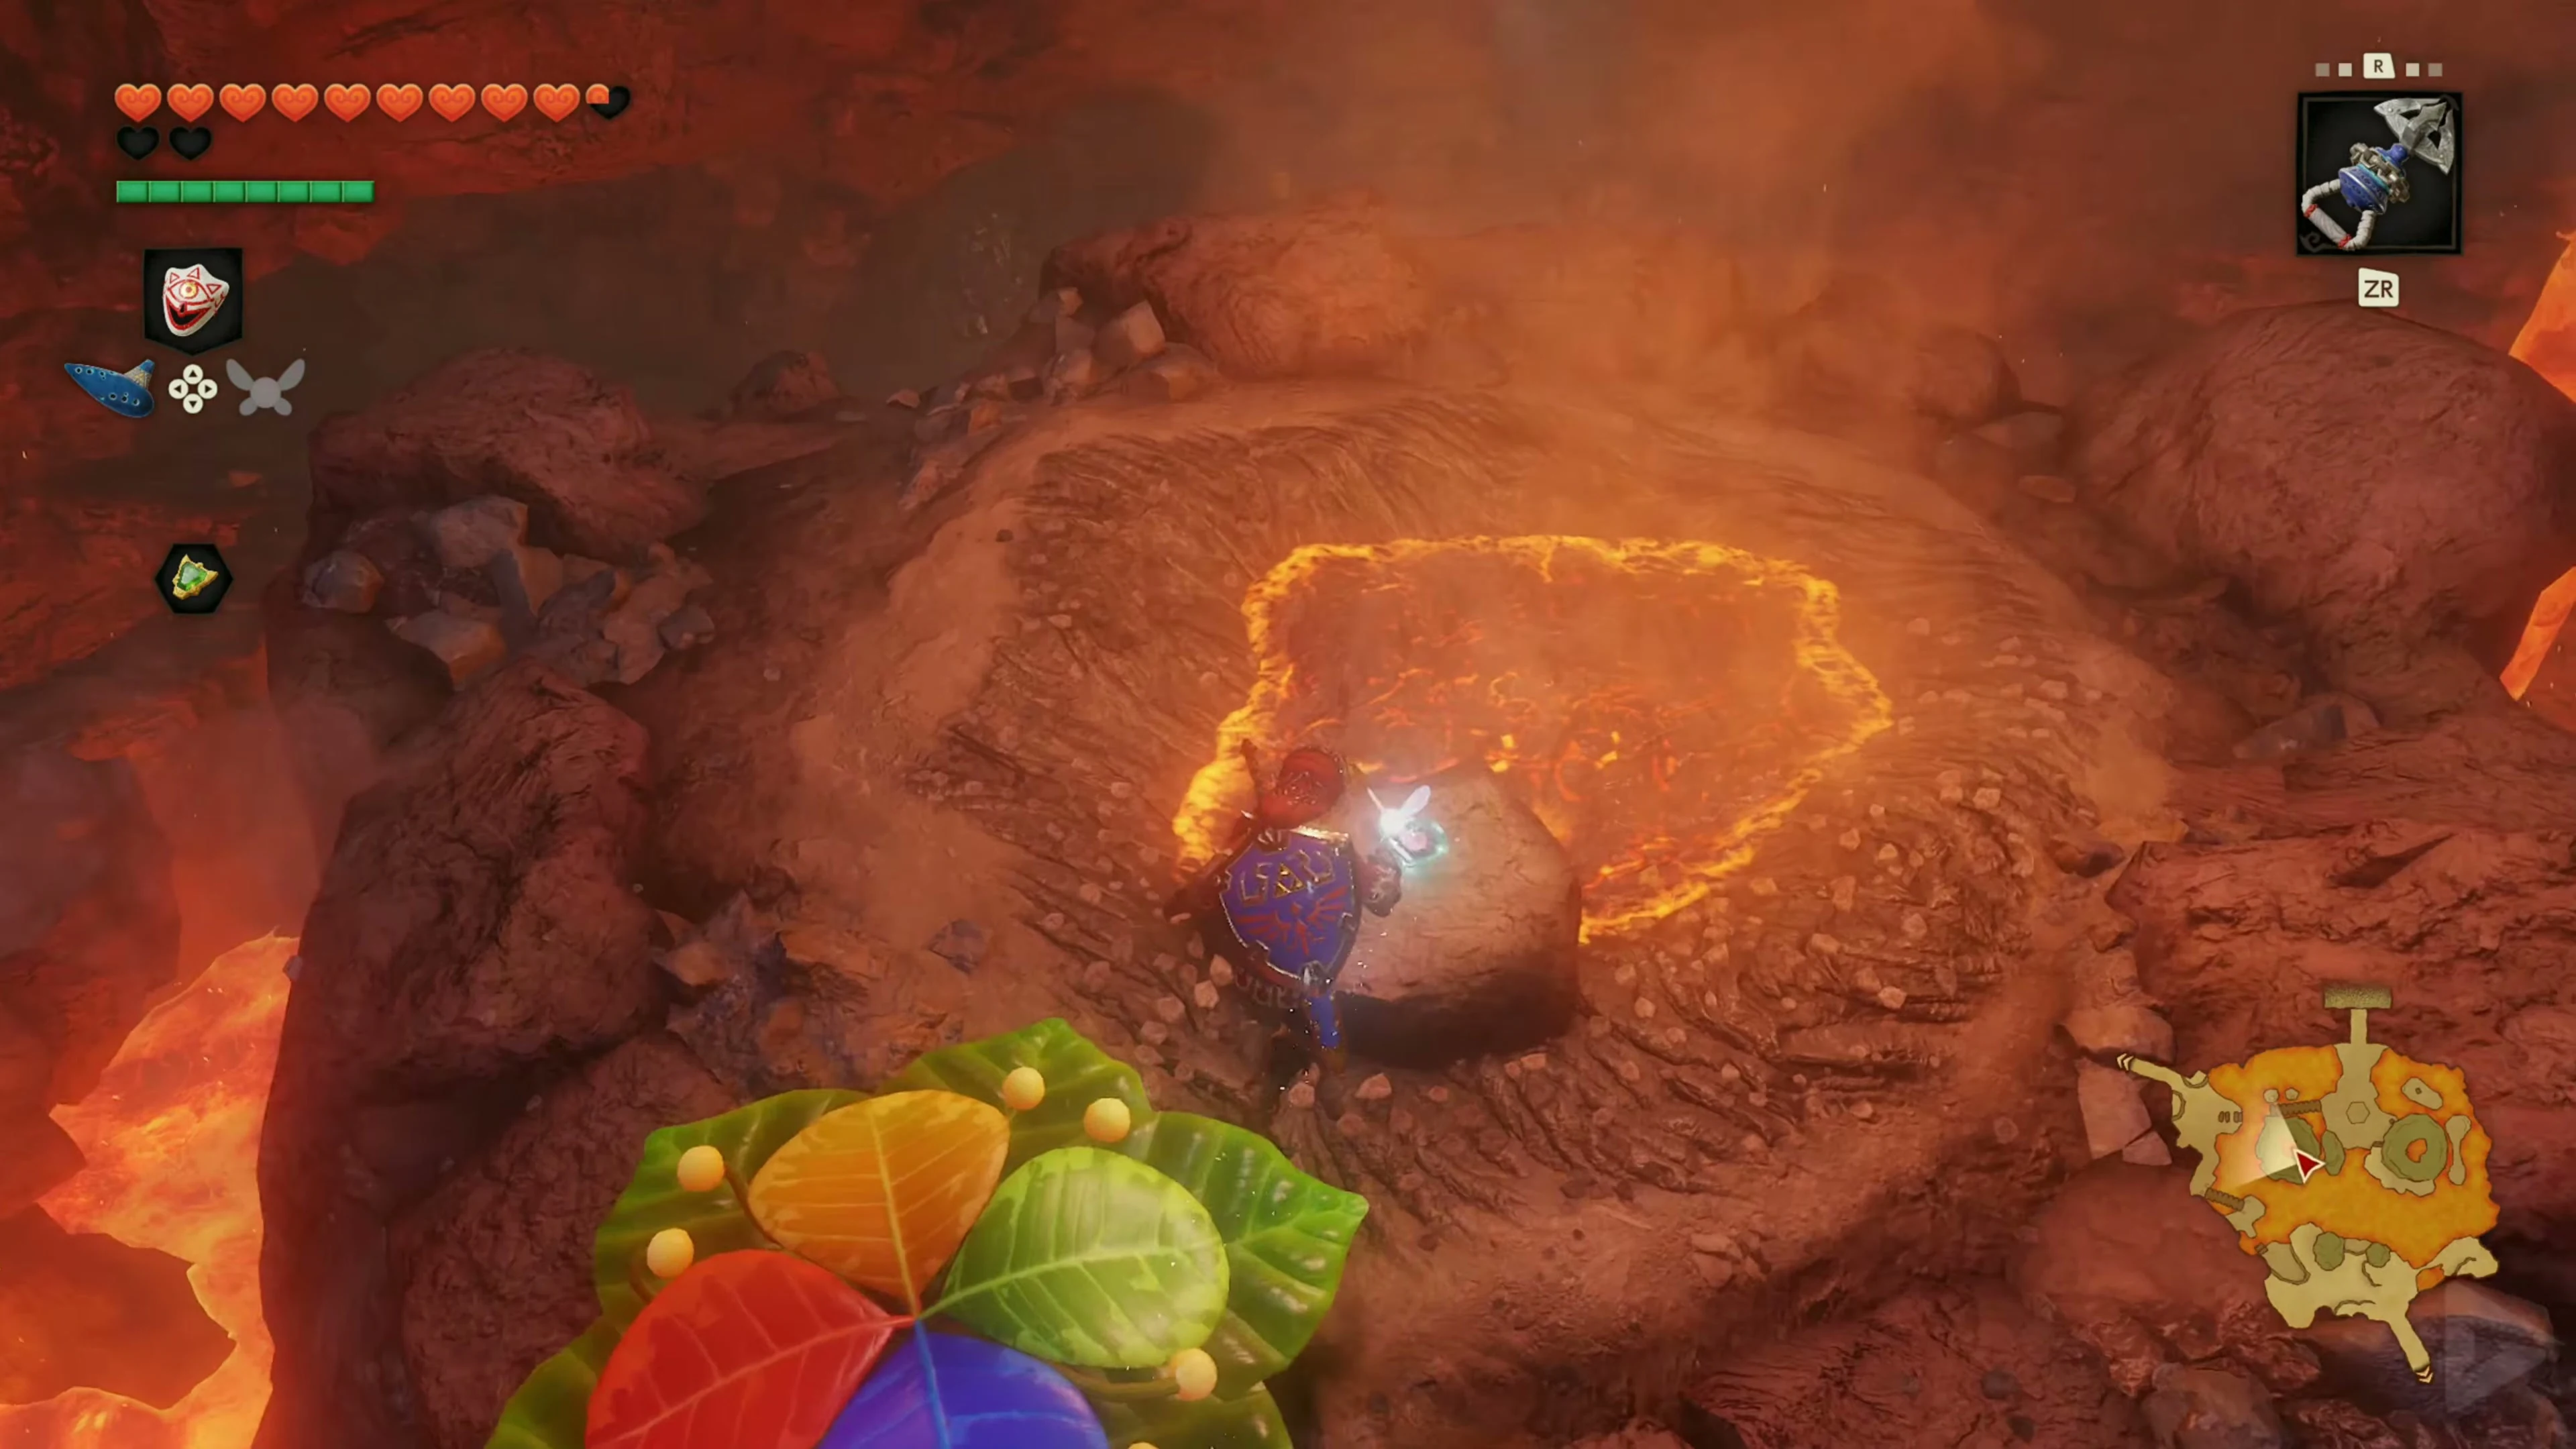
From the pedestal, go to the soft earth at the edge of the lava . First, let the beetle from the bottle crawl onto the hole. Defeat the emerging Gold Skulltula and collect its token . Work quickly: As a child, you can’t wear the Goron Tunic and you’ll lose hearts due to the heat.
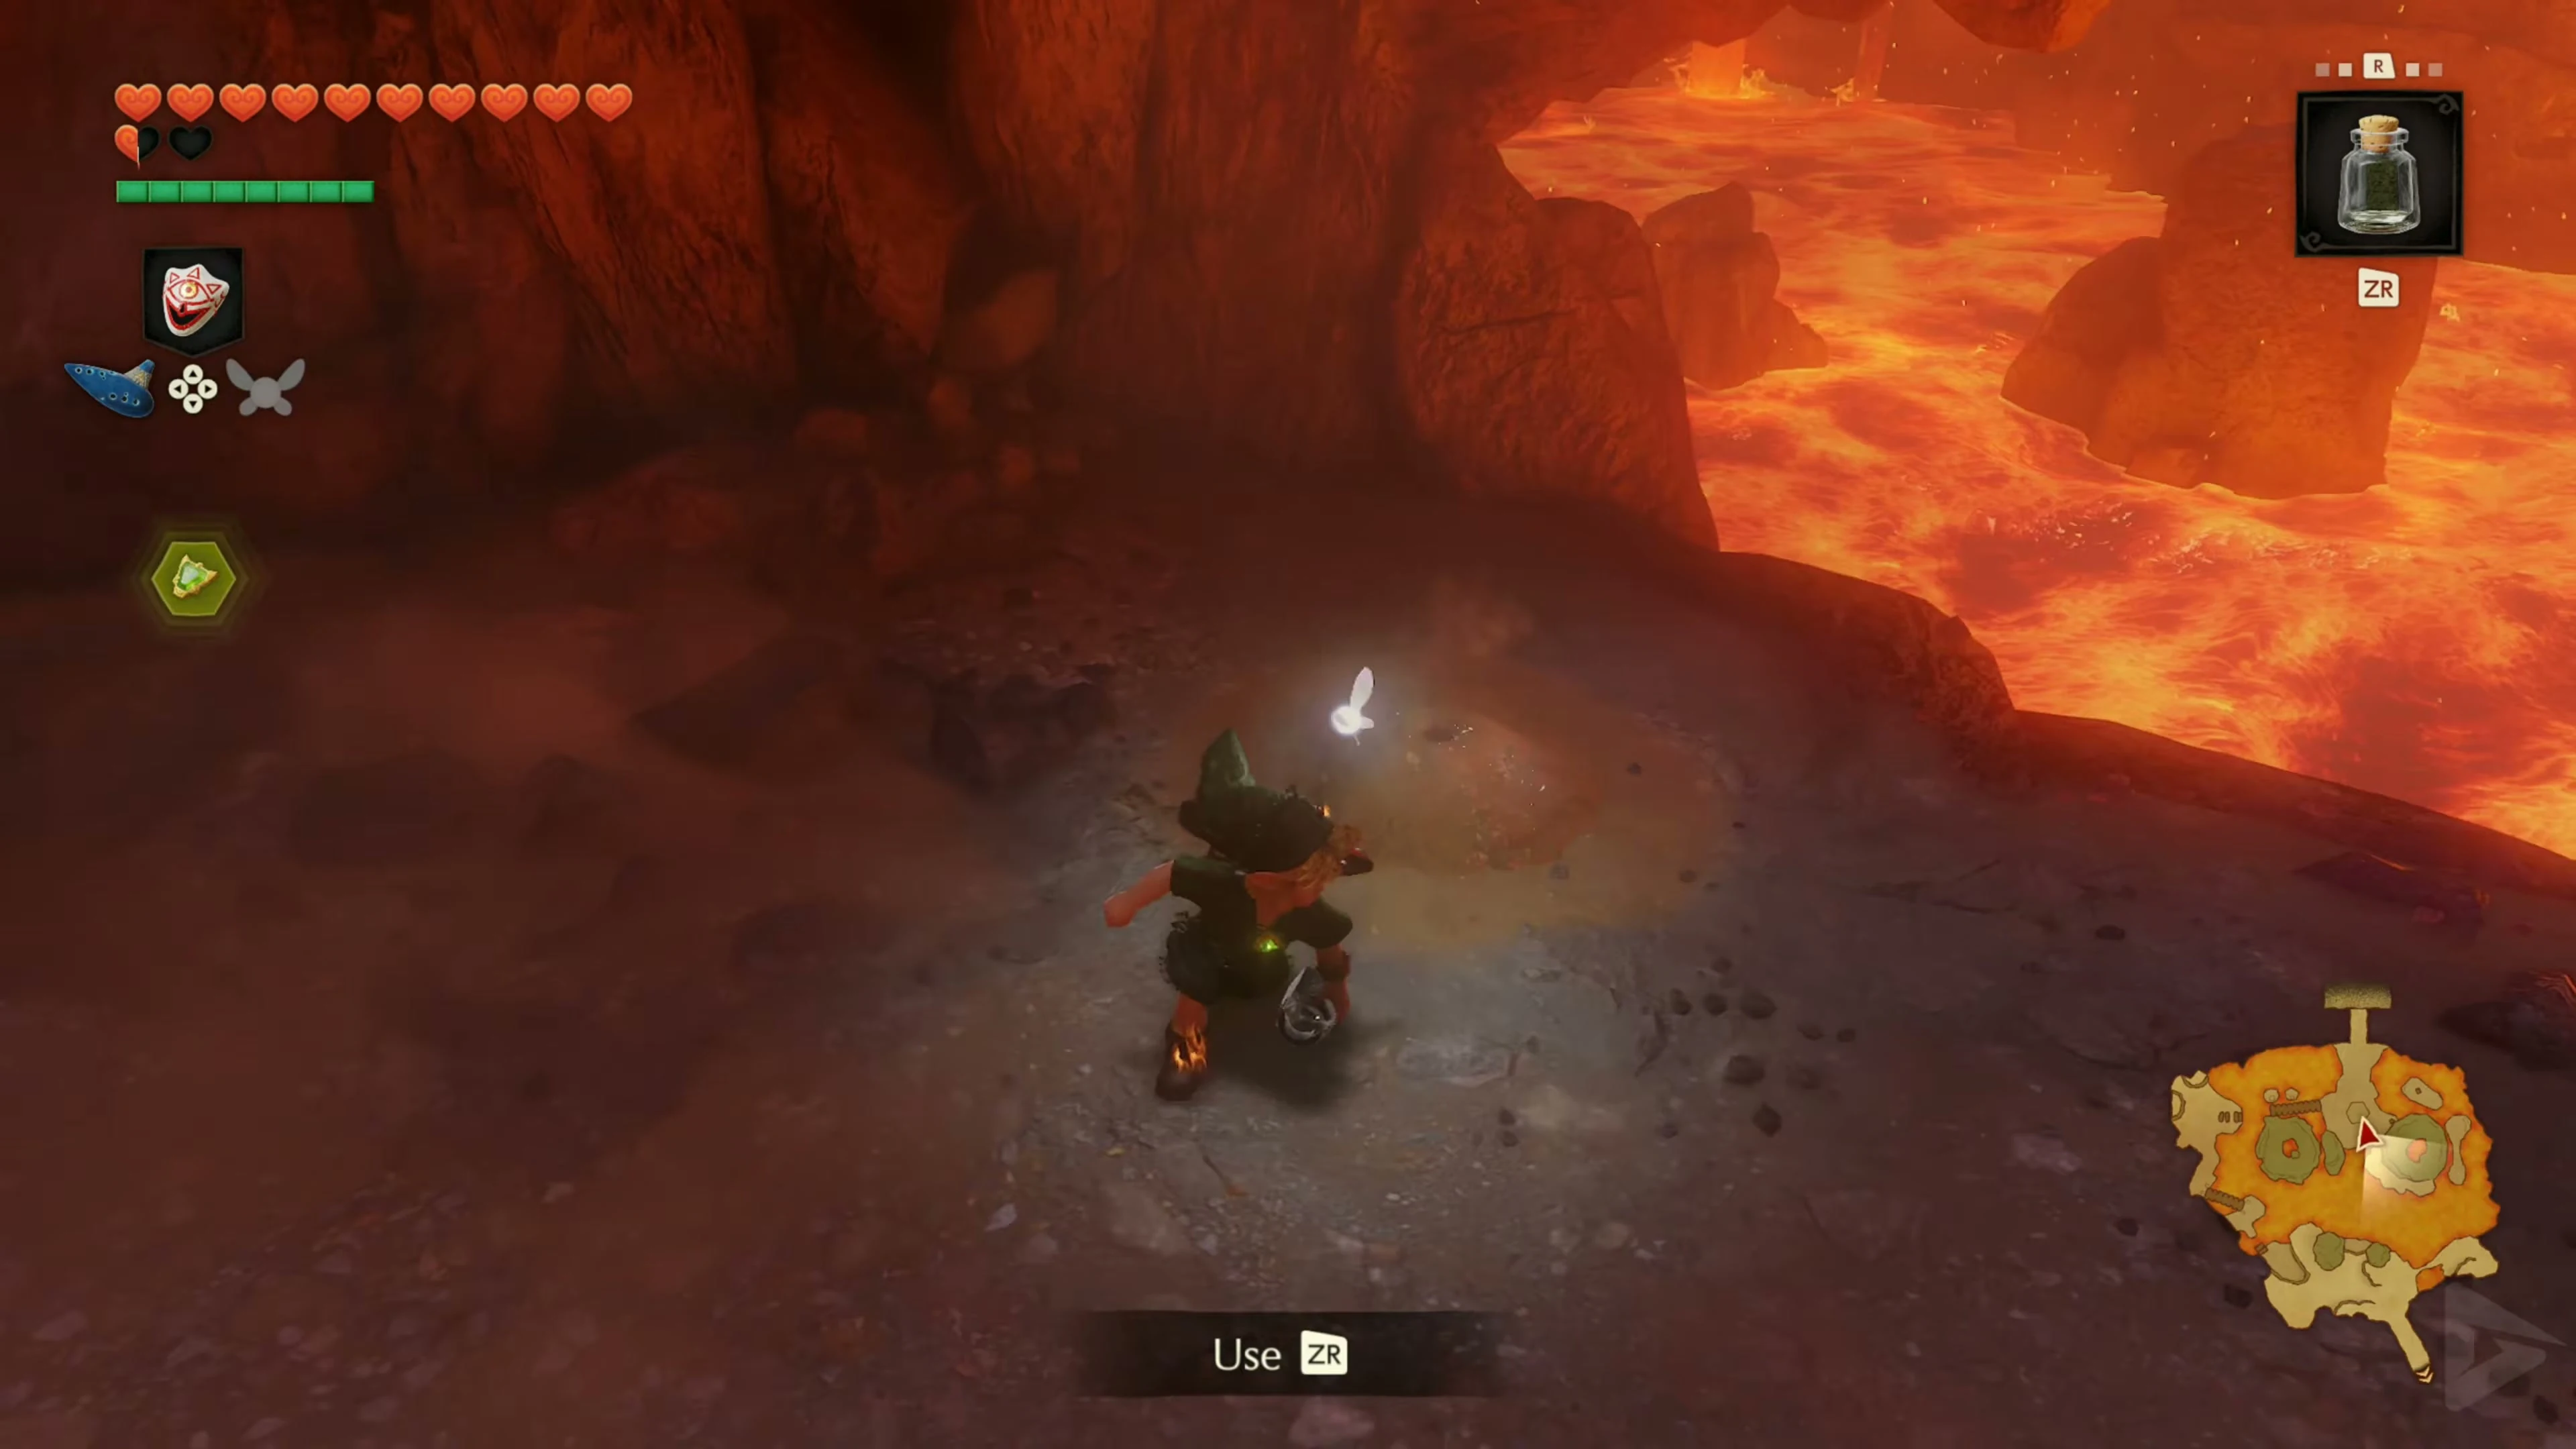
Plant the Magic Bean in Death Mountain Crater
After finding the Skulltula, plant the Magic Bean in the same hole . Play the Prelude of Light, pull the Master Sword from the Pedestal of Time in the Temple of Time, and become an adult again. Equip the Goron Tunic and return to Death Mountain Crater with the Bolero of Fire . The plant is now fully grown.
Piece of Heart via the Magic Bean in Death Mountain Crater
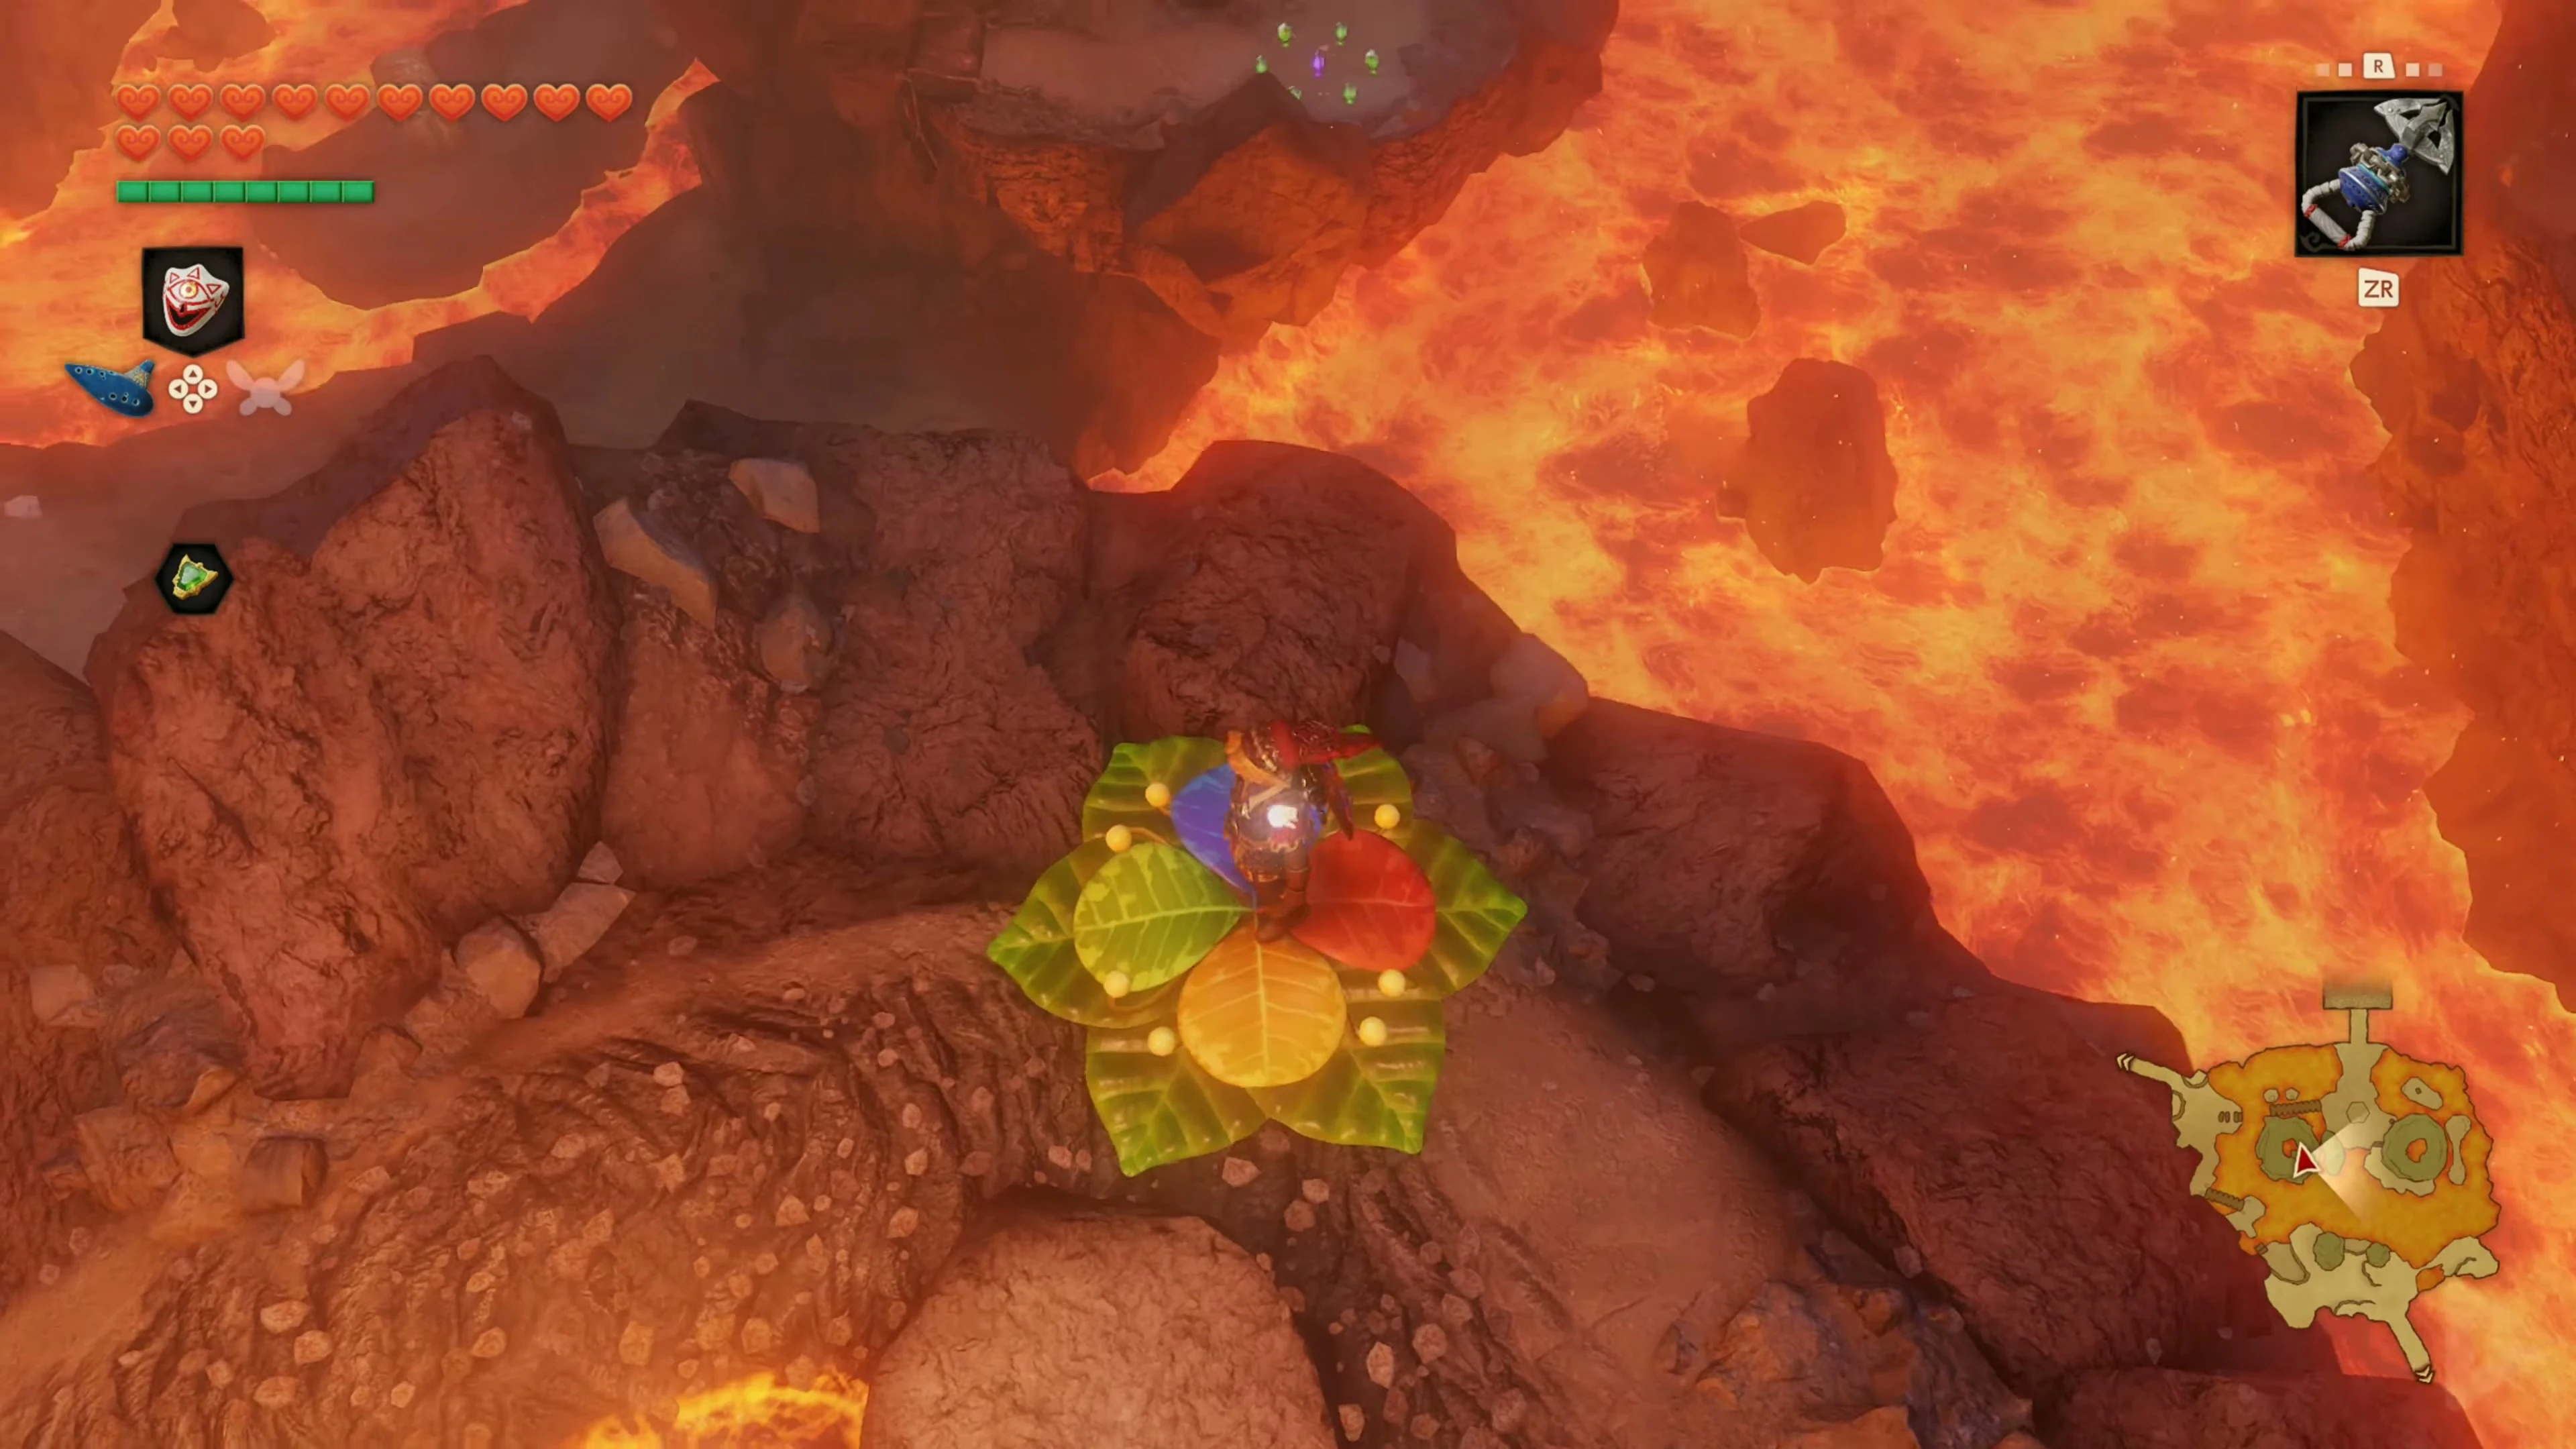
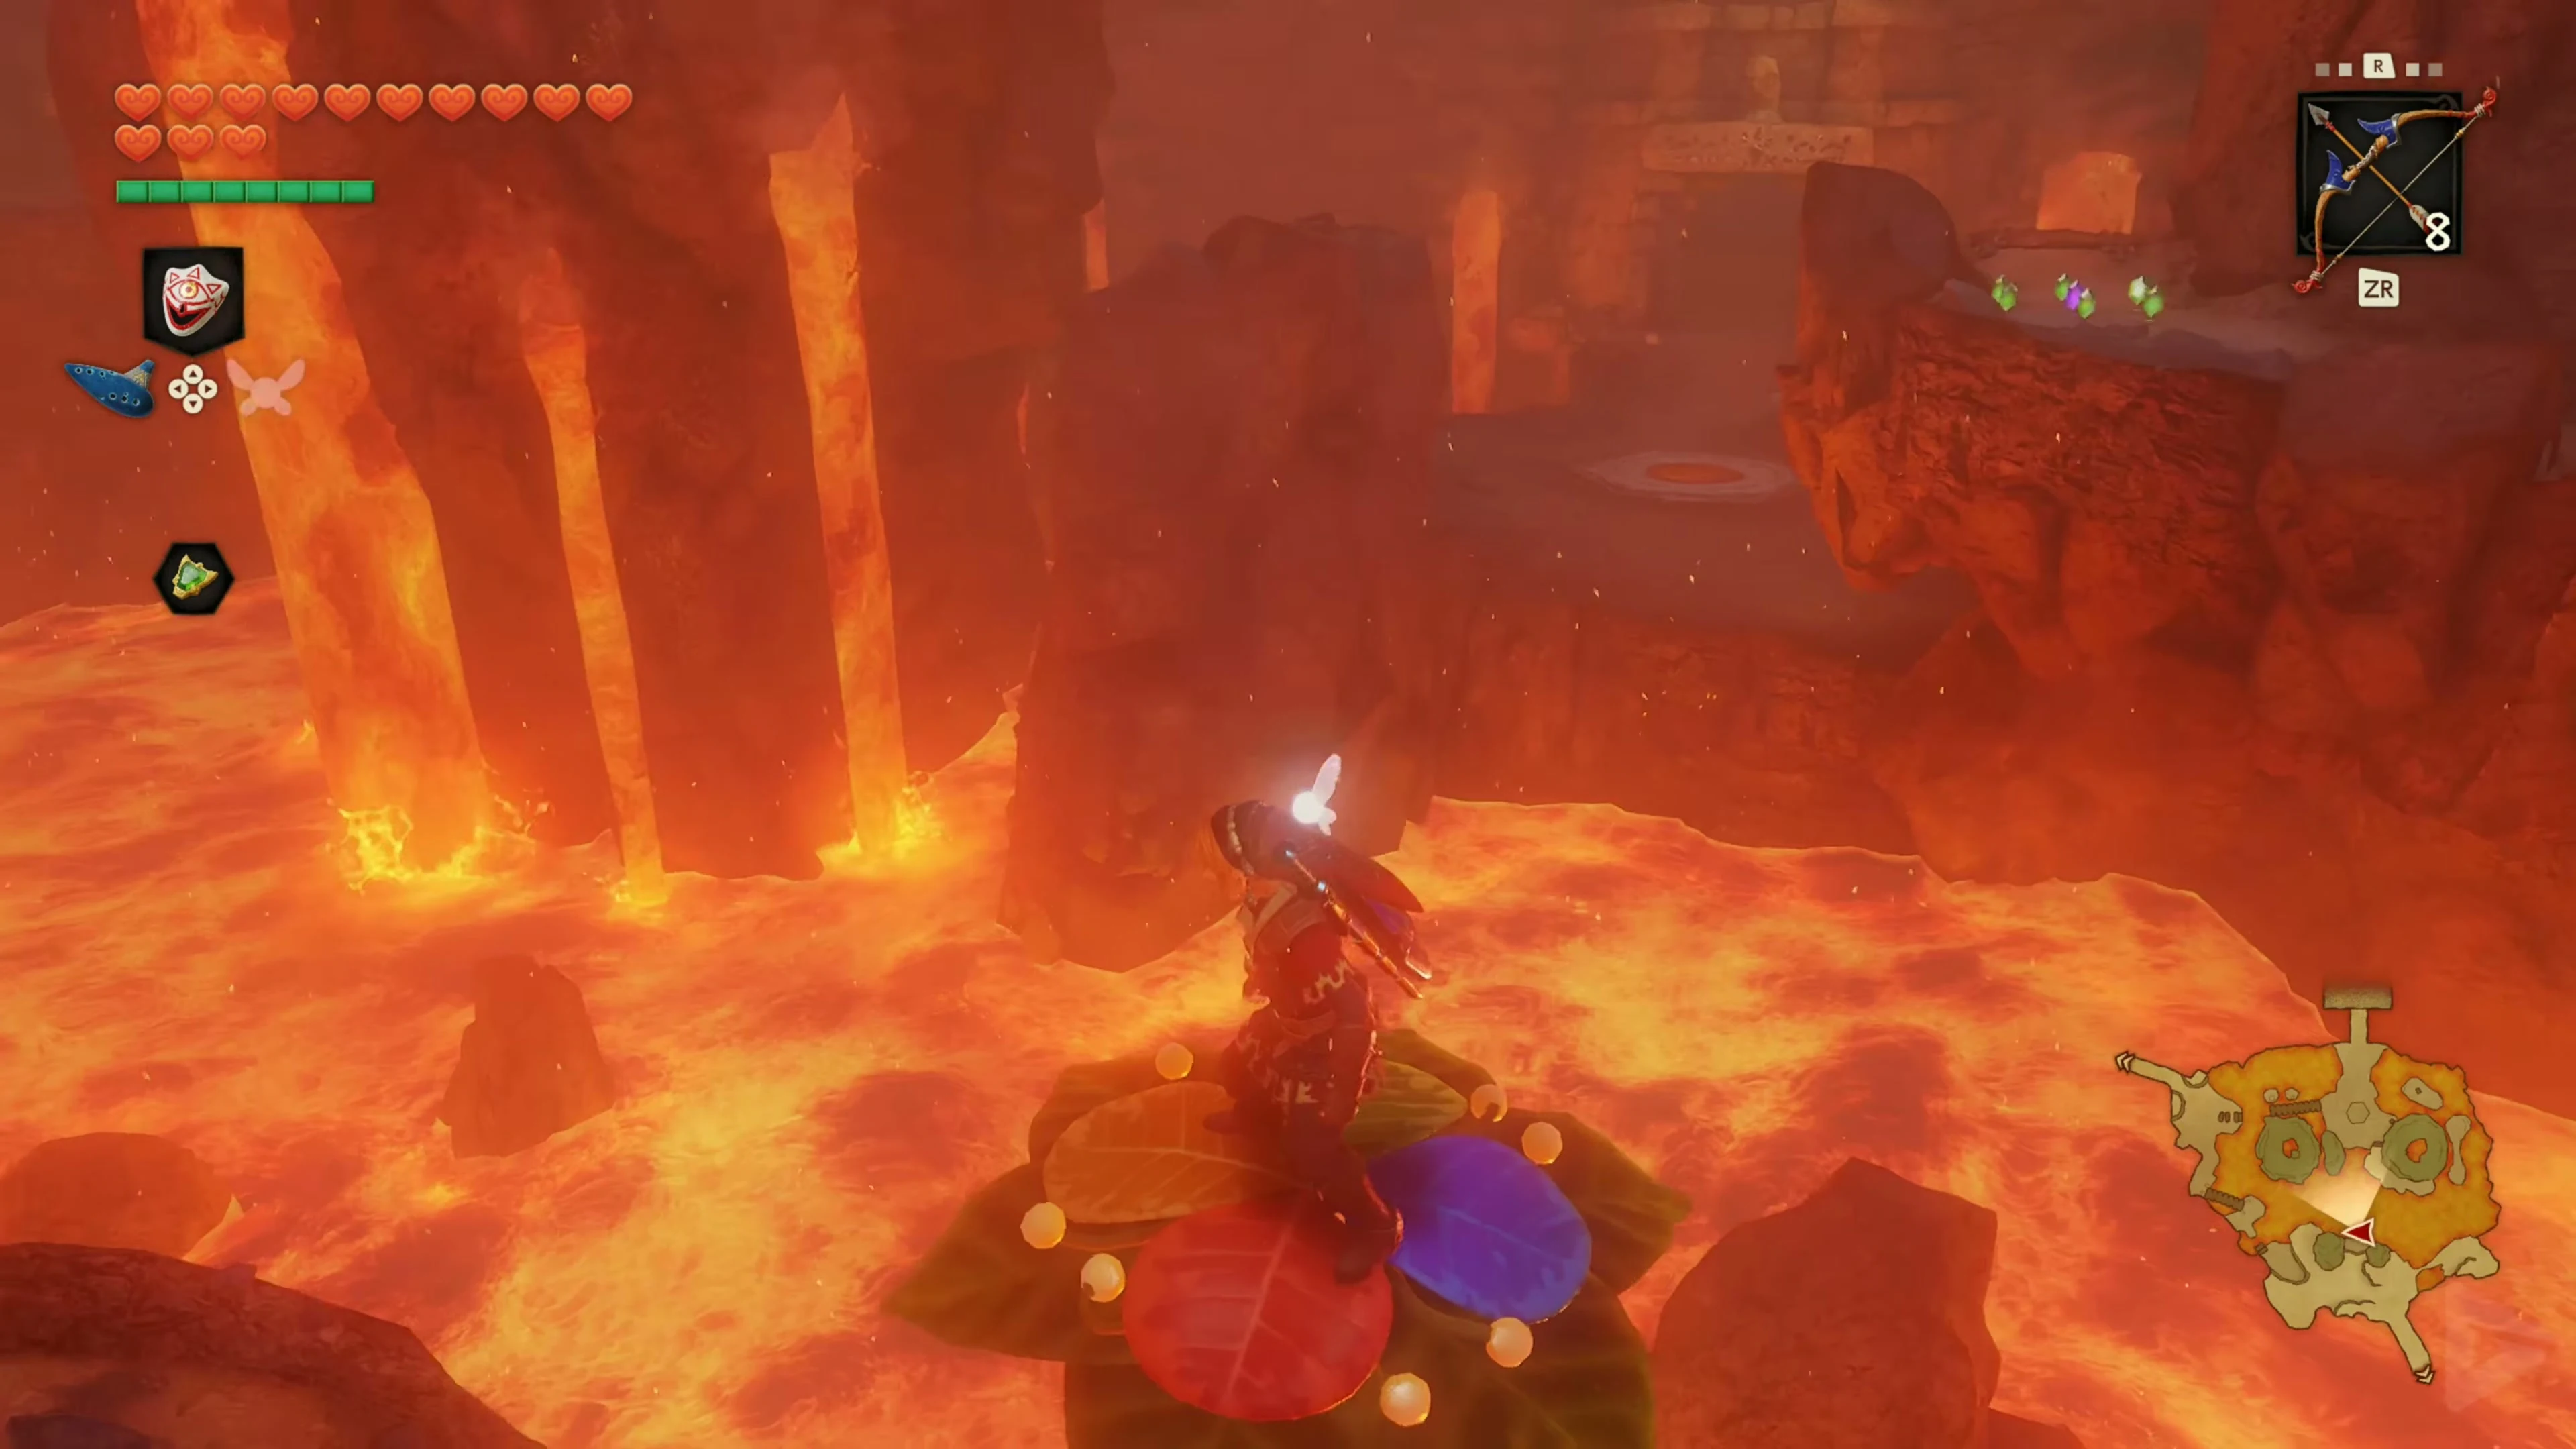
Climb onto the fully grown Magic Bean plant . Let the leaf carry you across the lava to the tall rock formation. Jump off when the leaf reaches the flat ledge with the Piece of Heart and collect it. To return, climb back onto the plant or use the Bolero of Fire to get back to the pedestal.
The entrance to the Fire Temple
From the Triforce pedestal , go north to the rock passage . Follow the illuminated tunnel and the steps to the entrance of the Fire Temple . Enter the dungeon wearing the Goron Tunic.