
The Mirage Desert
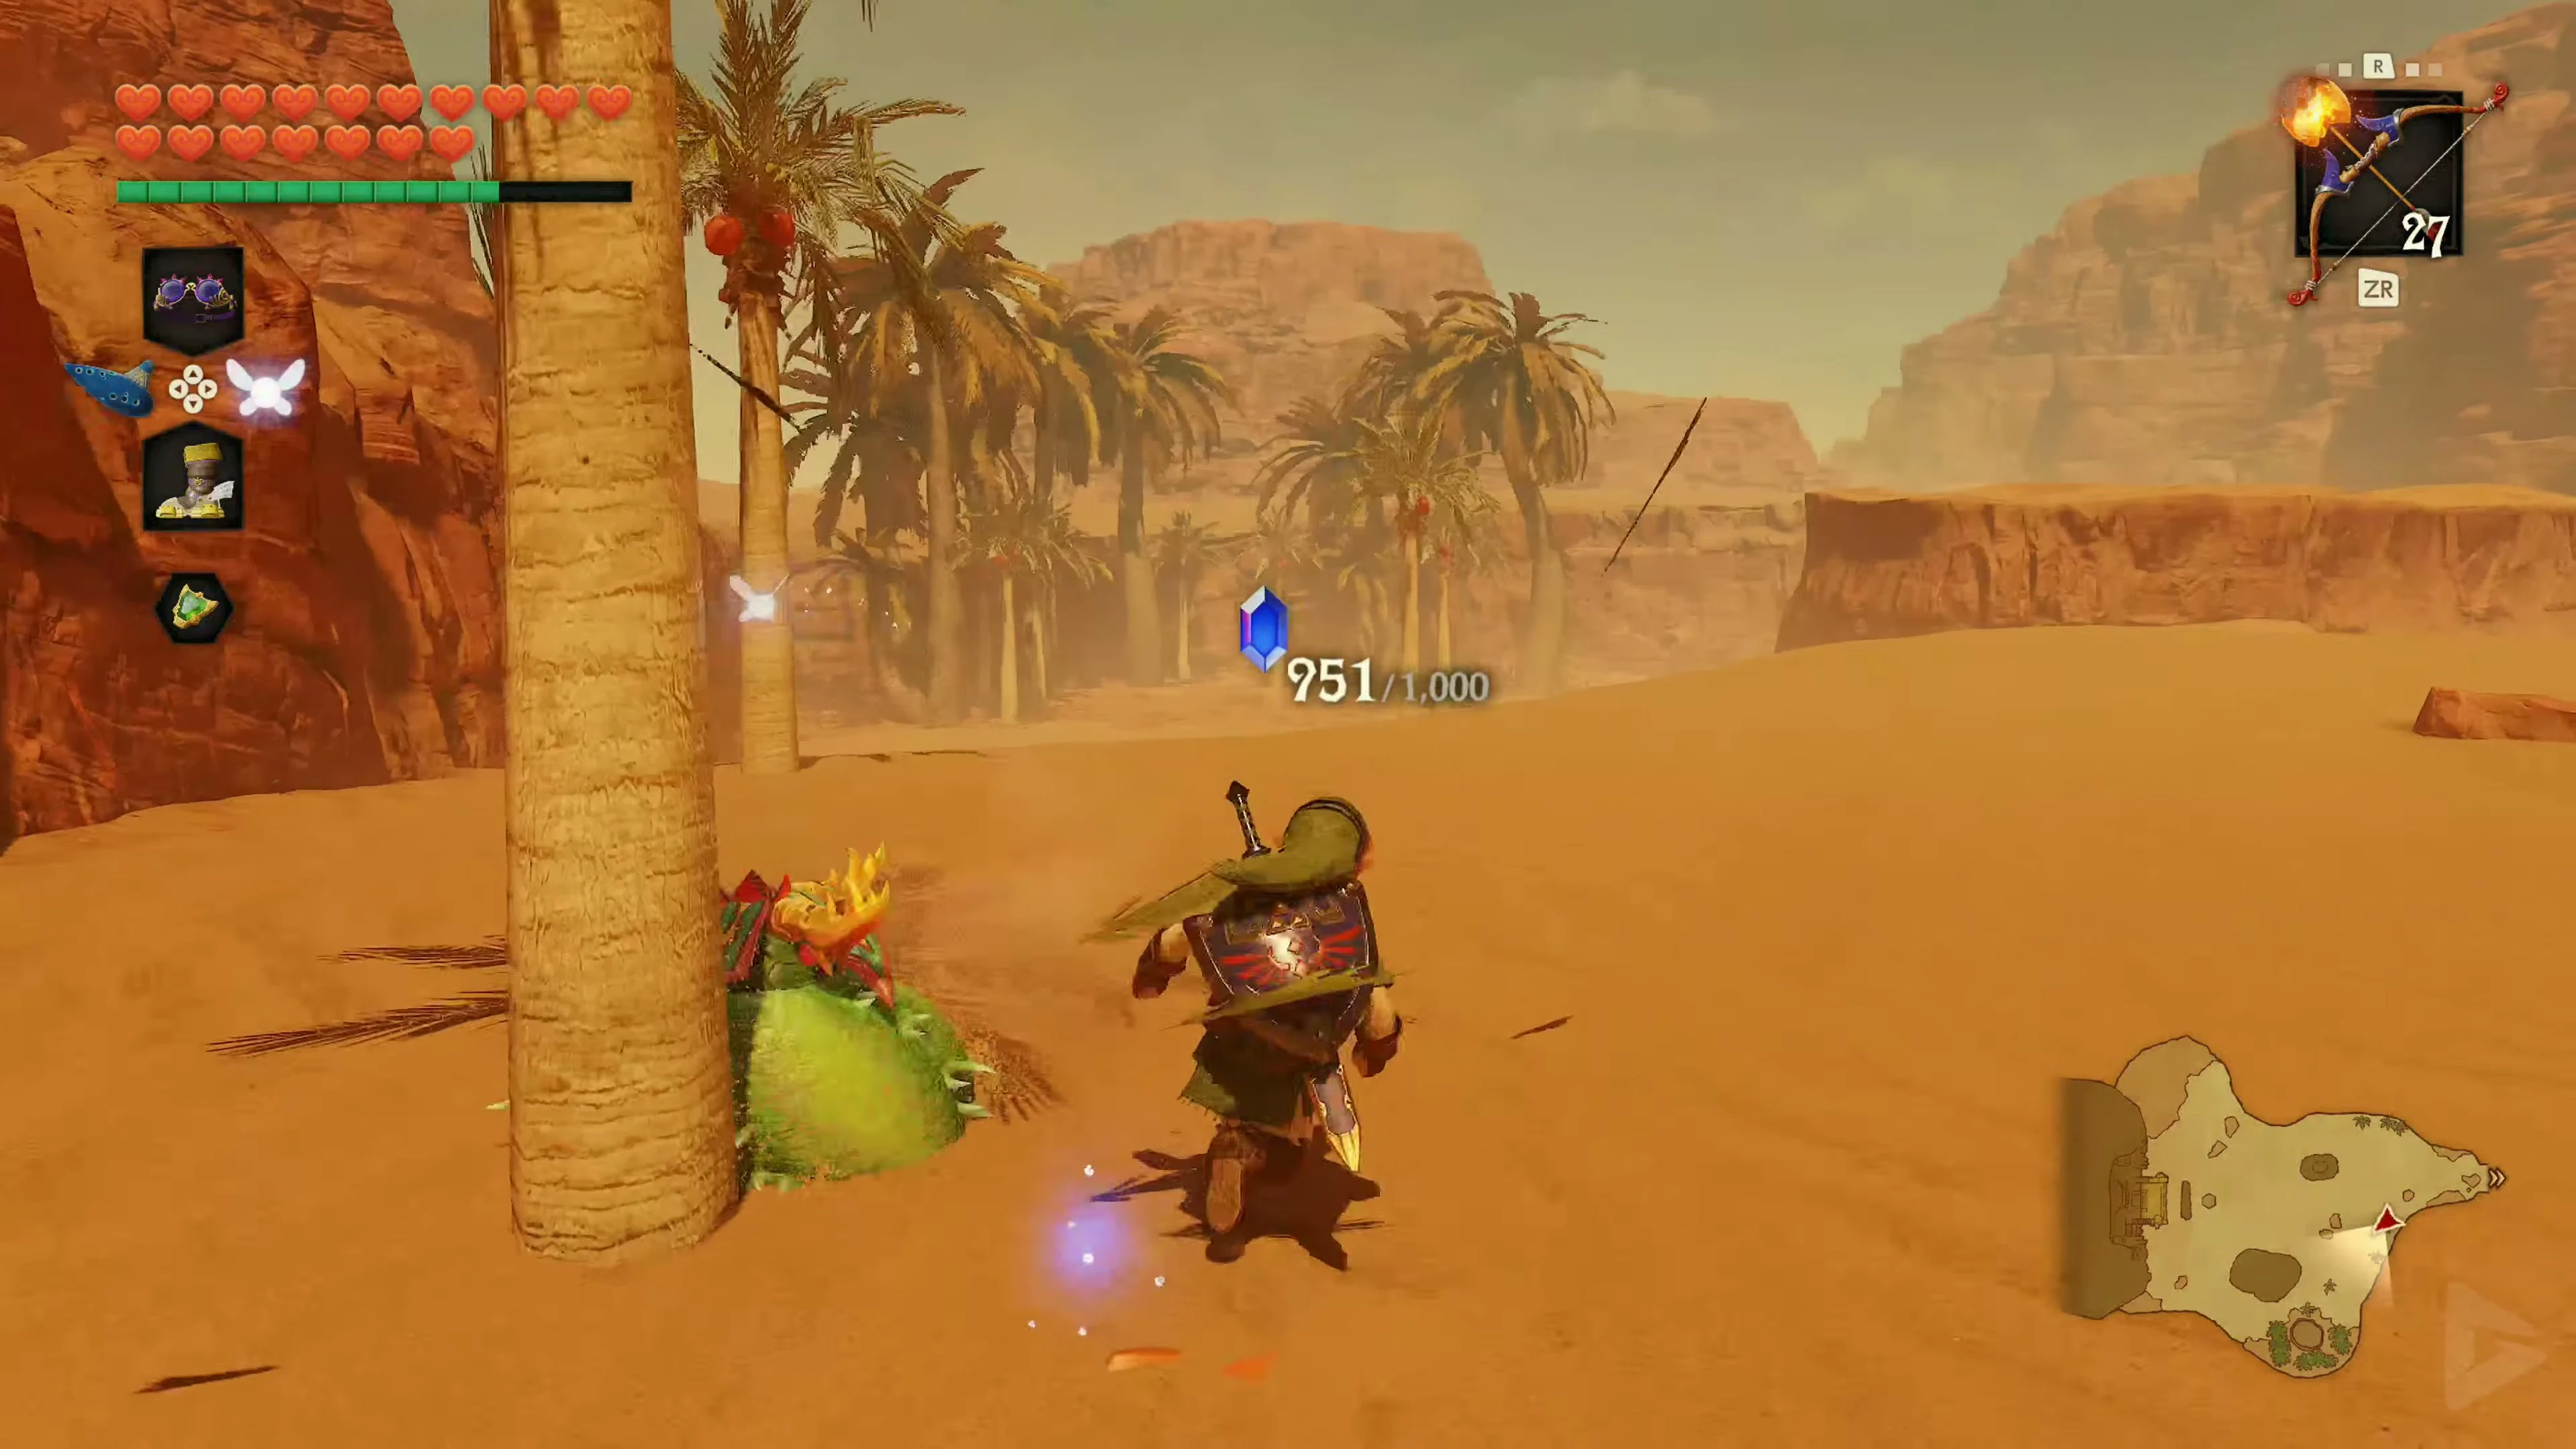
After completing your tasks in the Gerudo Fortress return to the large gate in the west. If it’s still closed, climb the ladder to the guard post and speak to the Gerudo. Thanks to the Gerudo Pass, she opens the gate and simultaneously warns Link of the dangers that await beyond the fortress. Then descend again and enter the Mirage Desert . Visibility deteriorates significantly just beyond the first flag gate. A dense sandstorm sweeps across the desert, almost completely obscuring distant landmarks. Follow the visible path to the wooden crates and stop just before the wide expanse of quicksand. Do not attempt to cross the sand on foot. Link will sink within moments and be reset to the beginning of the section.
Instead, look through the sandstorm at the wooden crates on the opposite side. With the Longshot from the Water Temple You can pull yourself across using one of the crates or the appropriate target point. This will safely land Link on the other side of the quicksand.
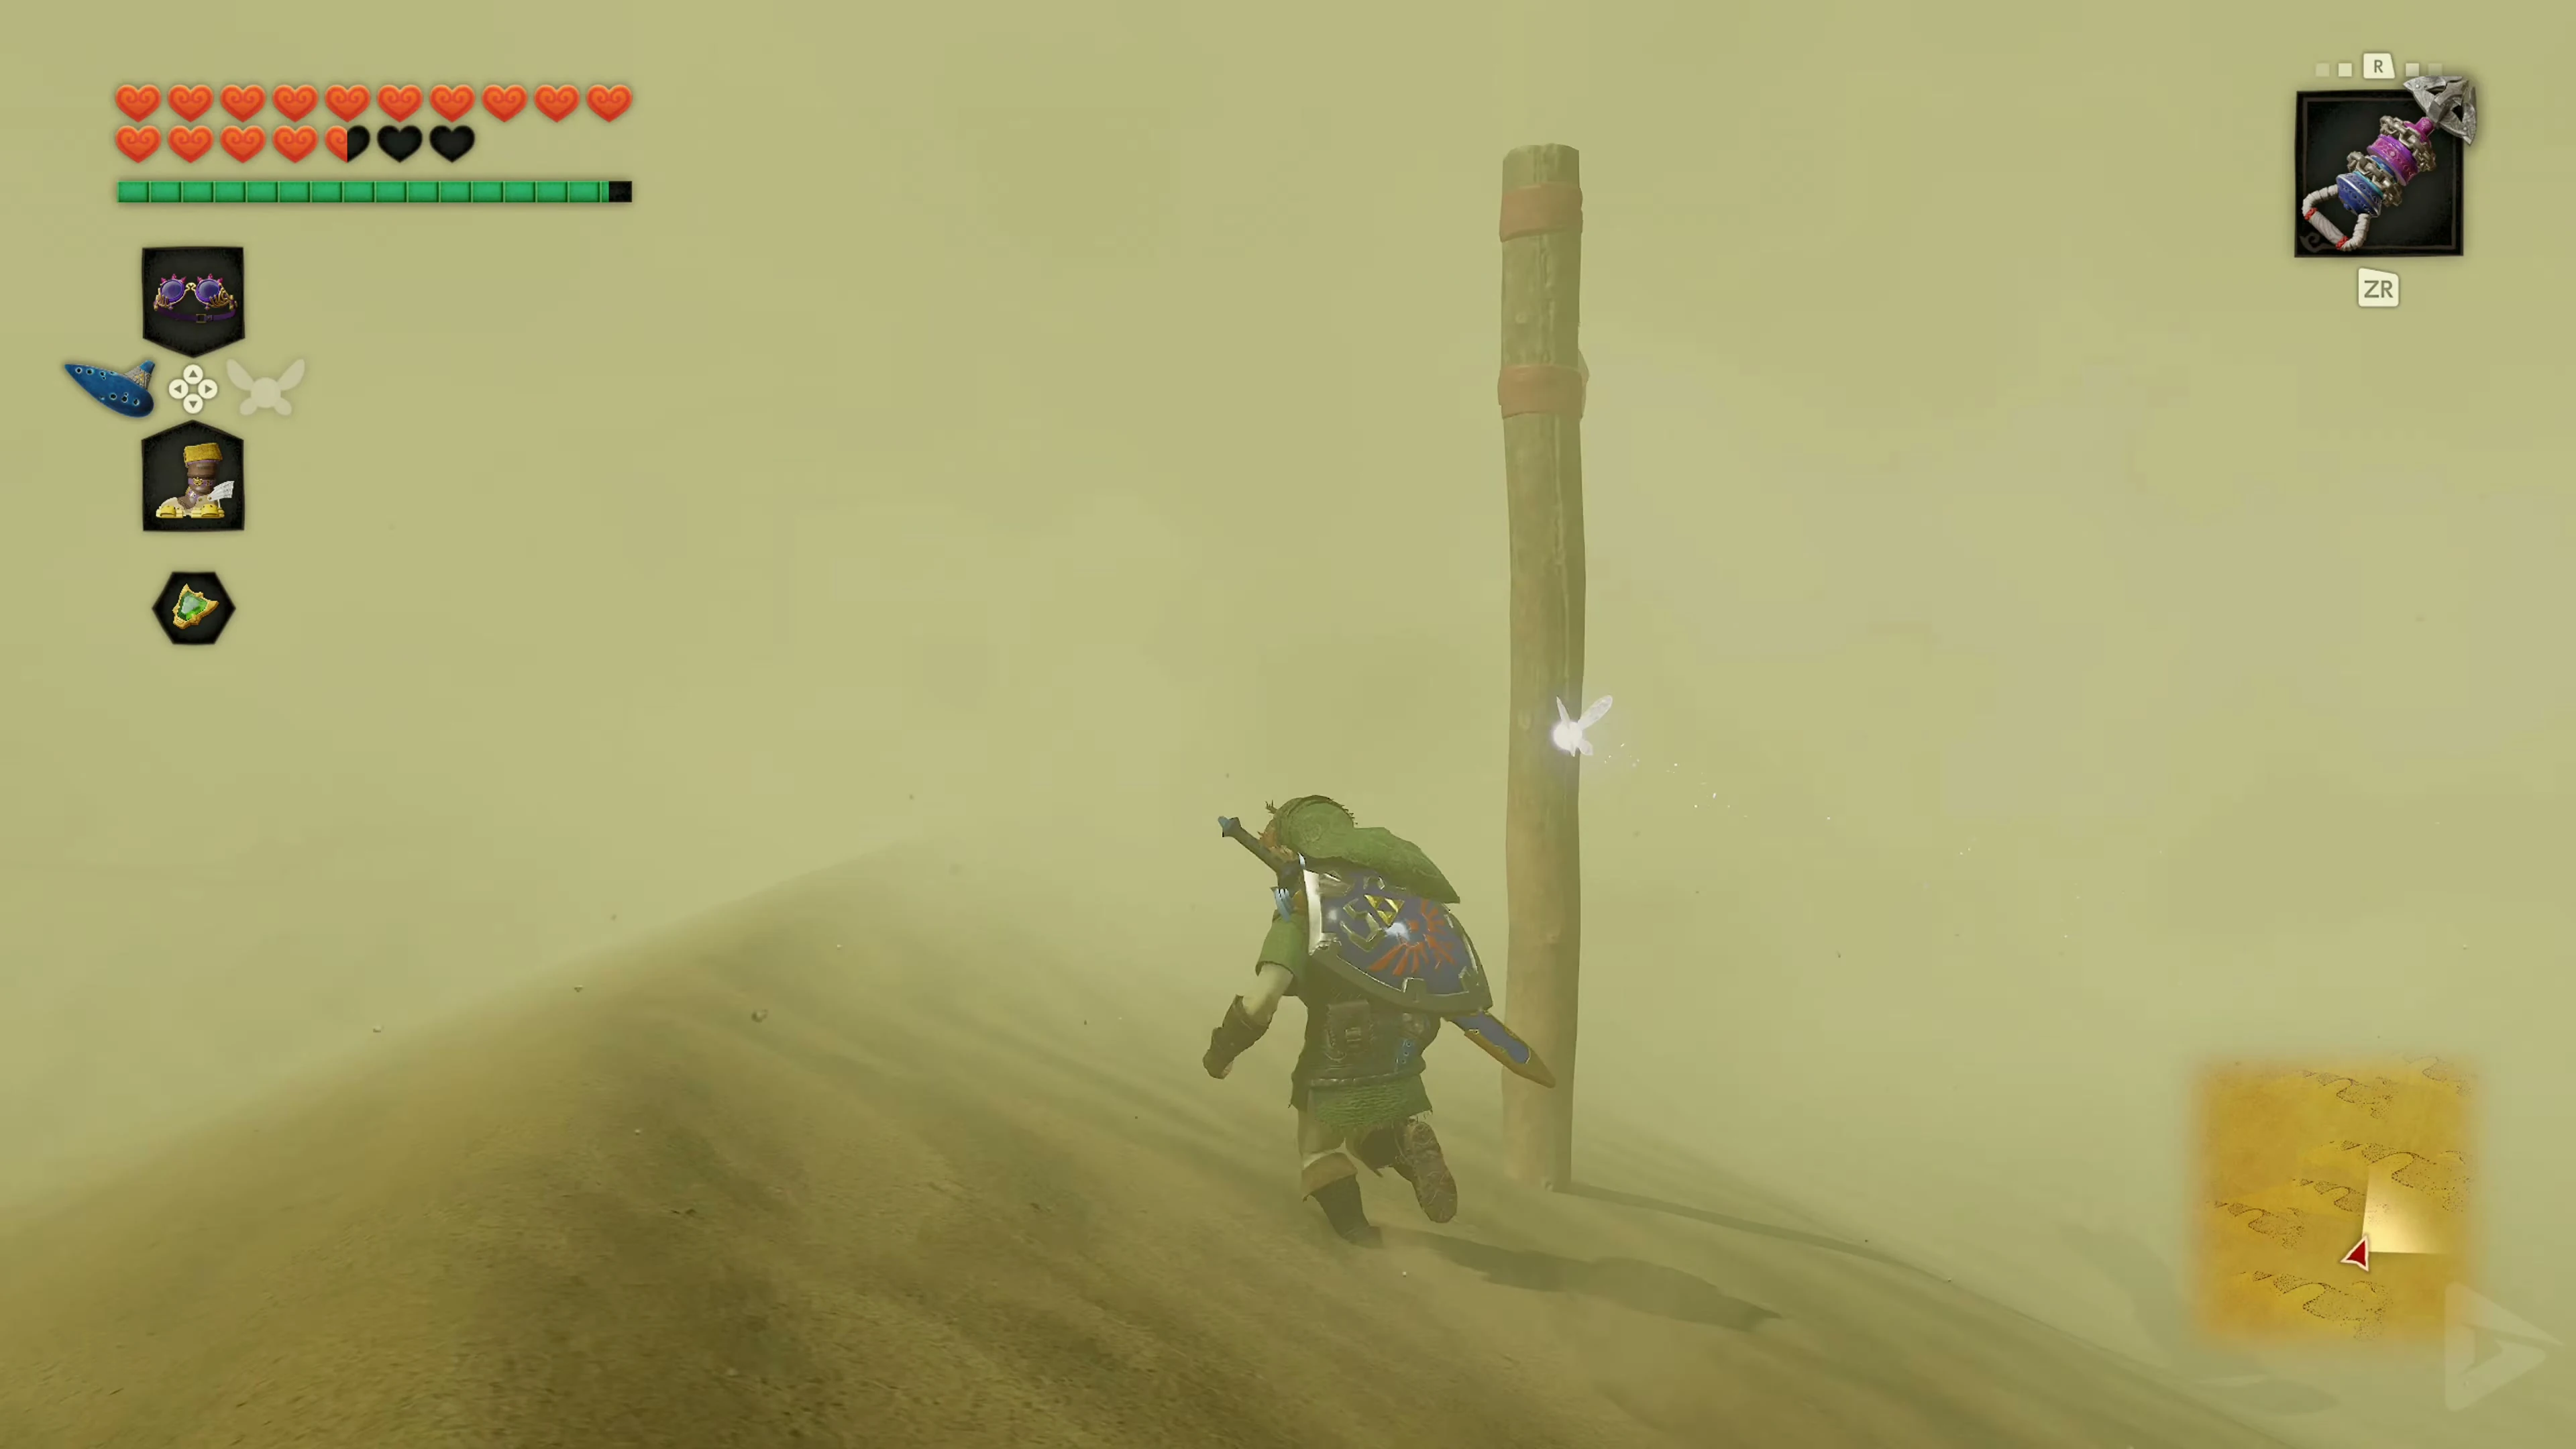
Follow the flags through the sandstorm
From here on, numerous flags will be your only reliable guide. Run from one flag to the next and never stray too far from this marked route. In the dense storm, it’s very easy to lose your way unnoticed. If you leave the designated path too far, Link will be sent back to the beginning of the Mirage Desert. Therefore, pause briefly at each flag, find the next marker, and only then continue. After several sections, you will finally reach a small stone shelter in the middle of the desert. Climb into the cellar and light the two extinguished torches. Open the chest that then appears. Inside is a Business Scrub Seed .
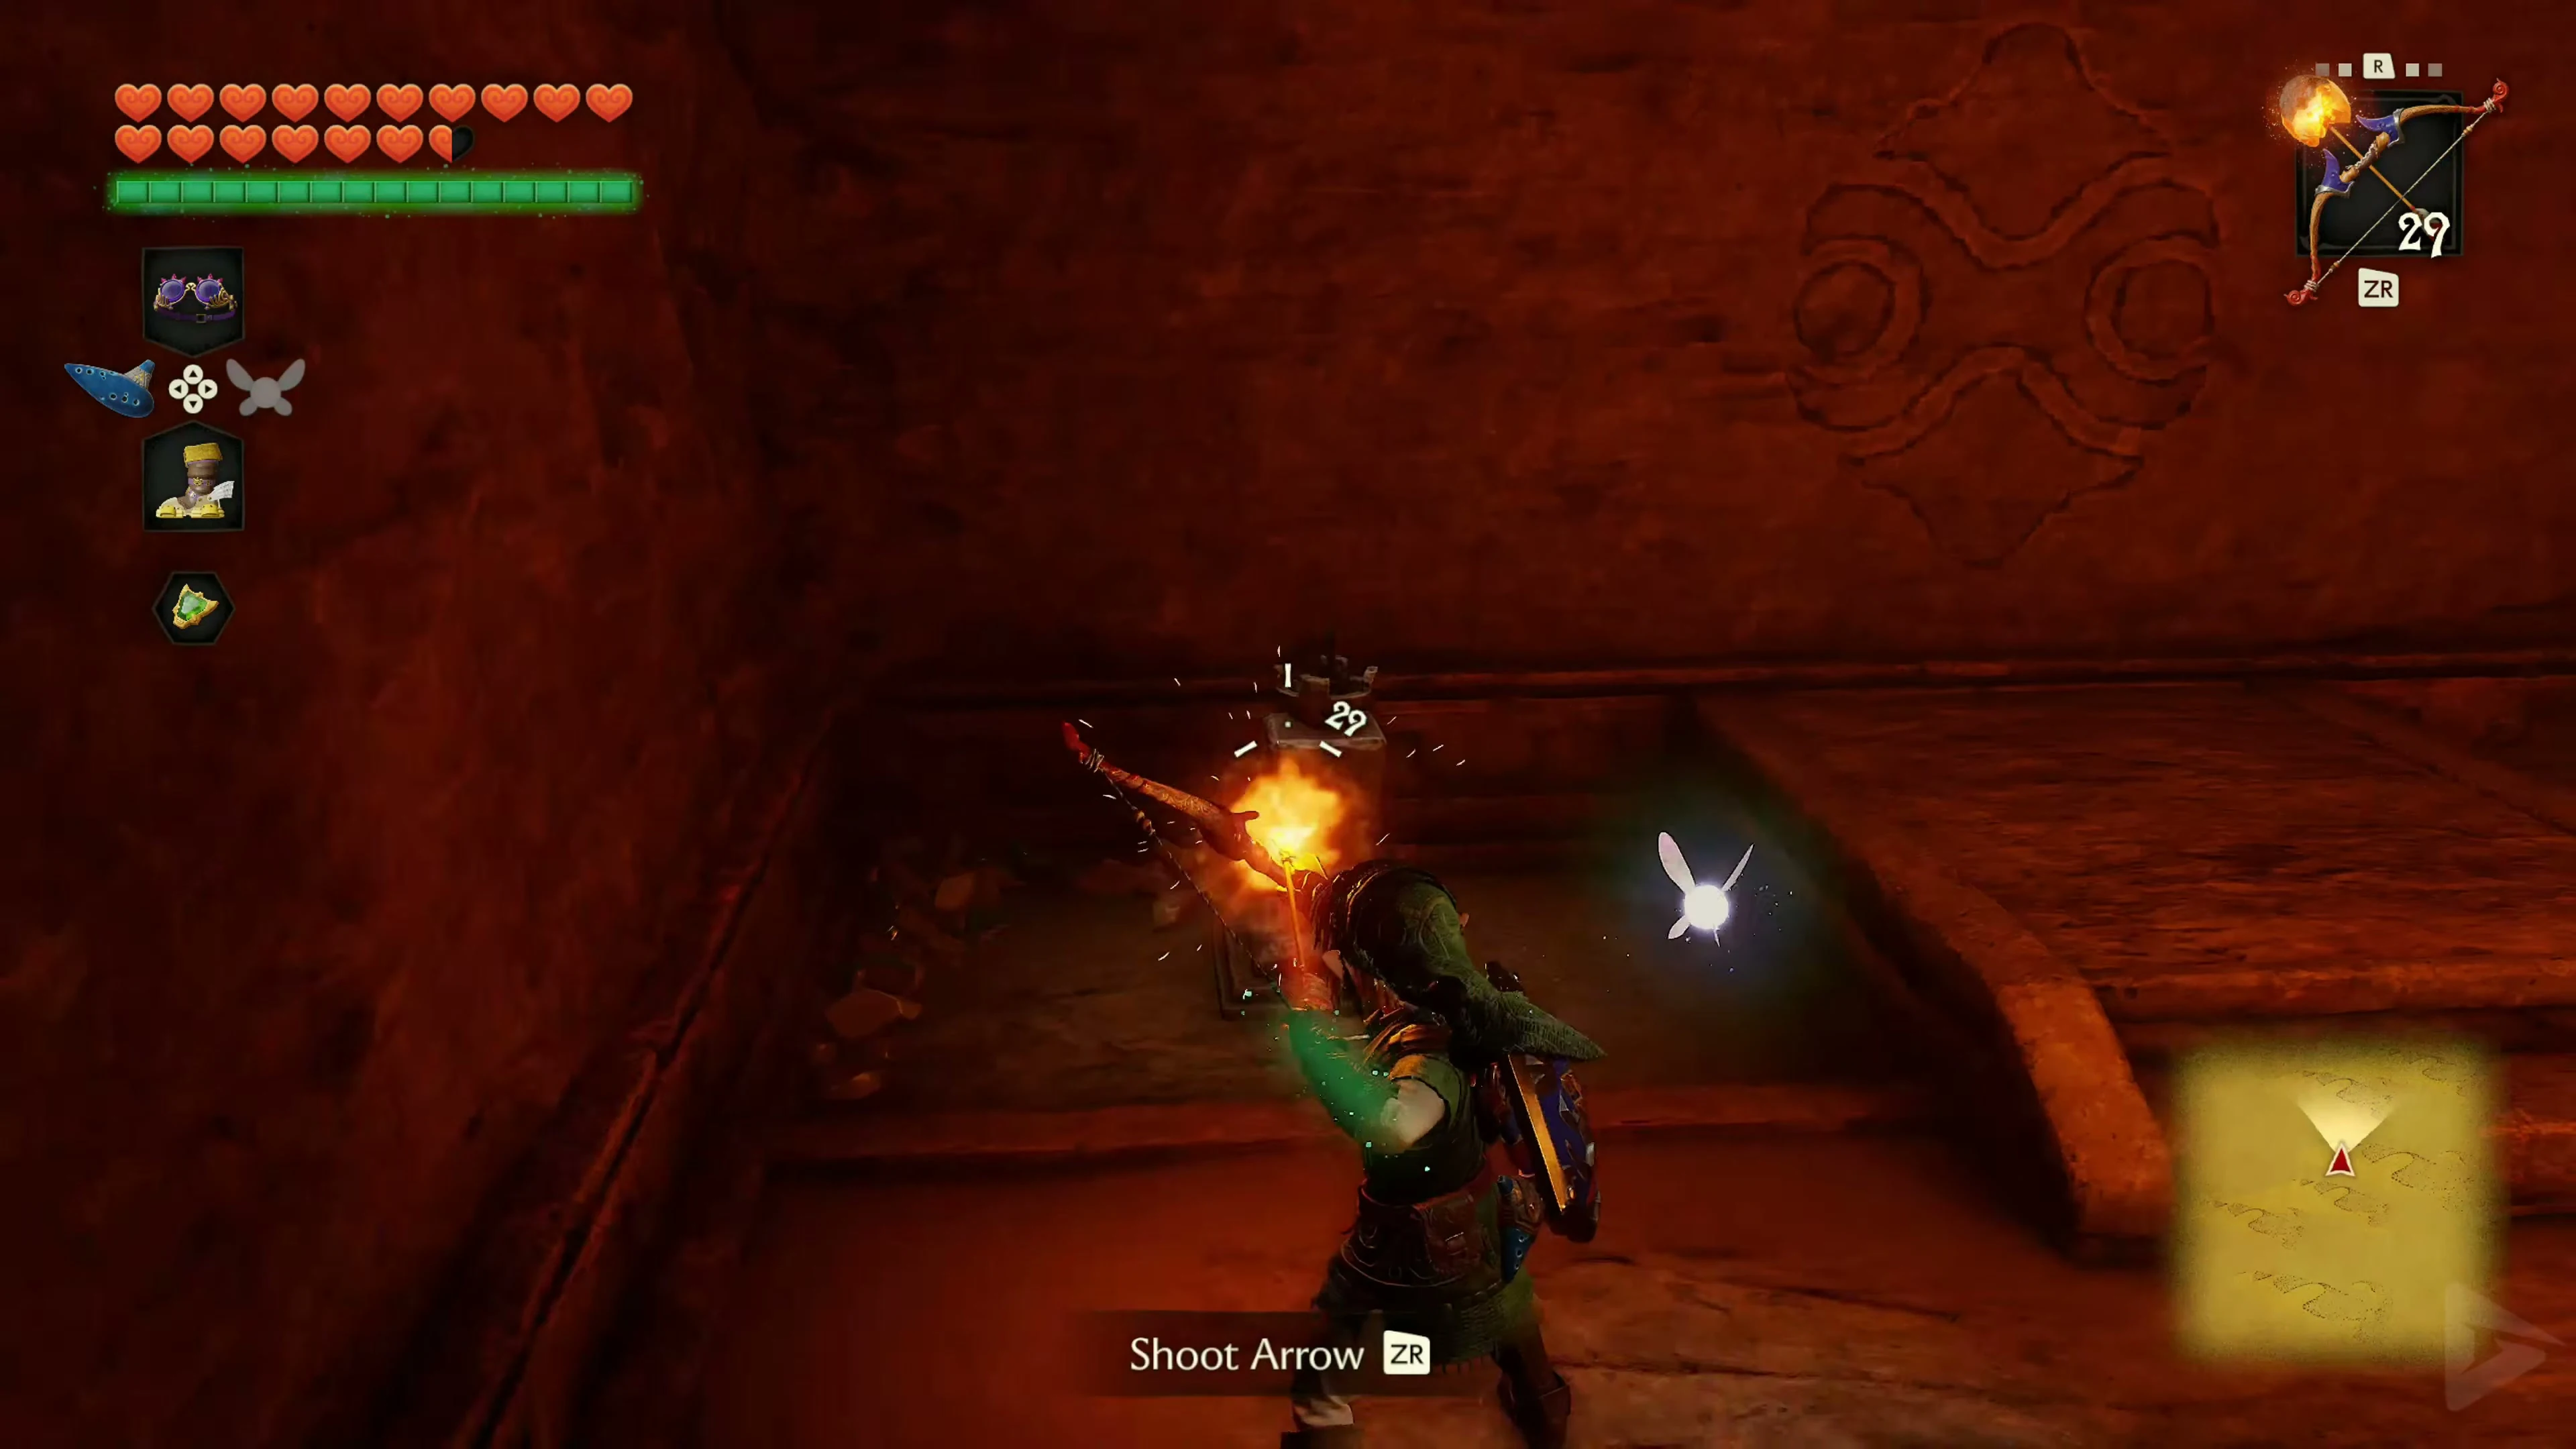
Gold Skulltula – Mirage Desert
Climb down the ladder to the cellar at the stone shelter. Defeat the only Gold Skulltula in the Mirage Desert on the inner wall and collect its token with the Longshot .
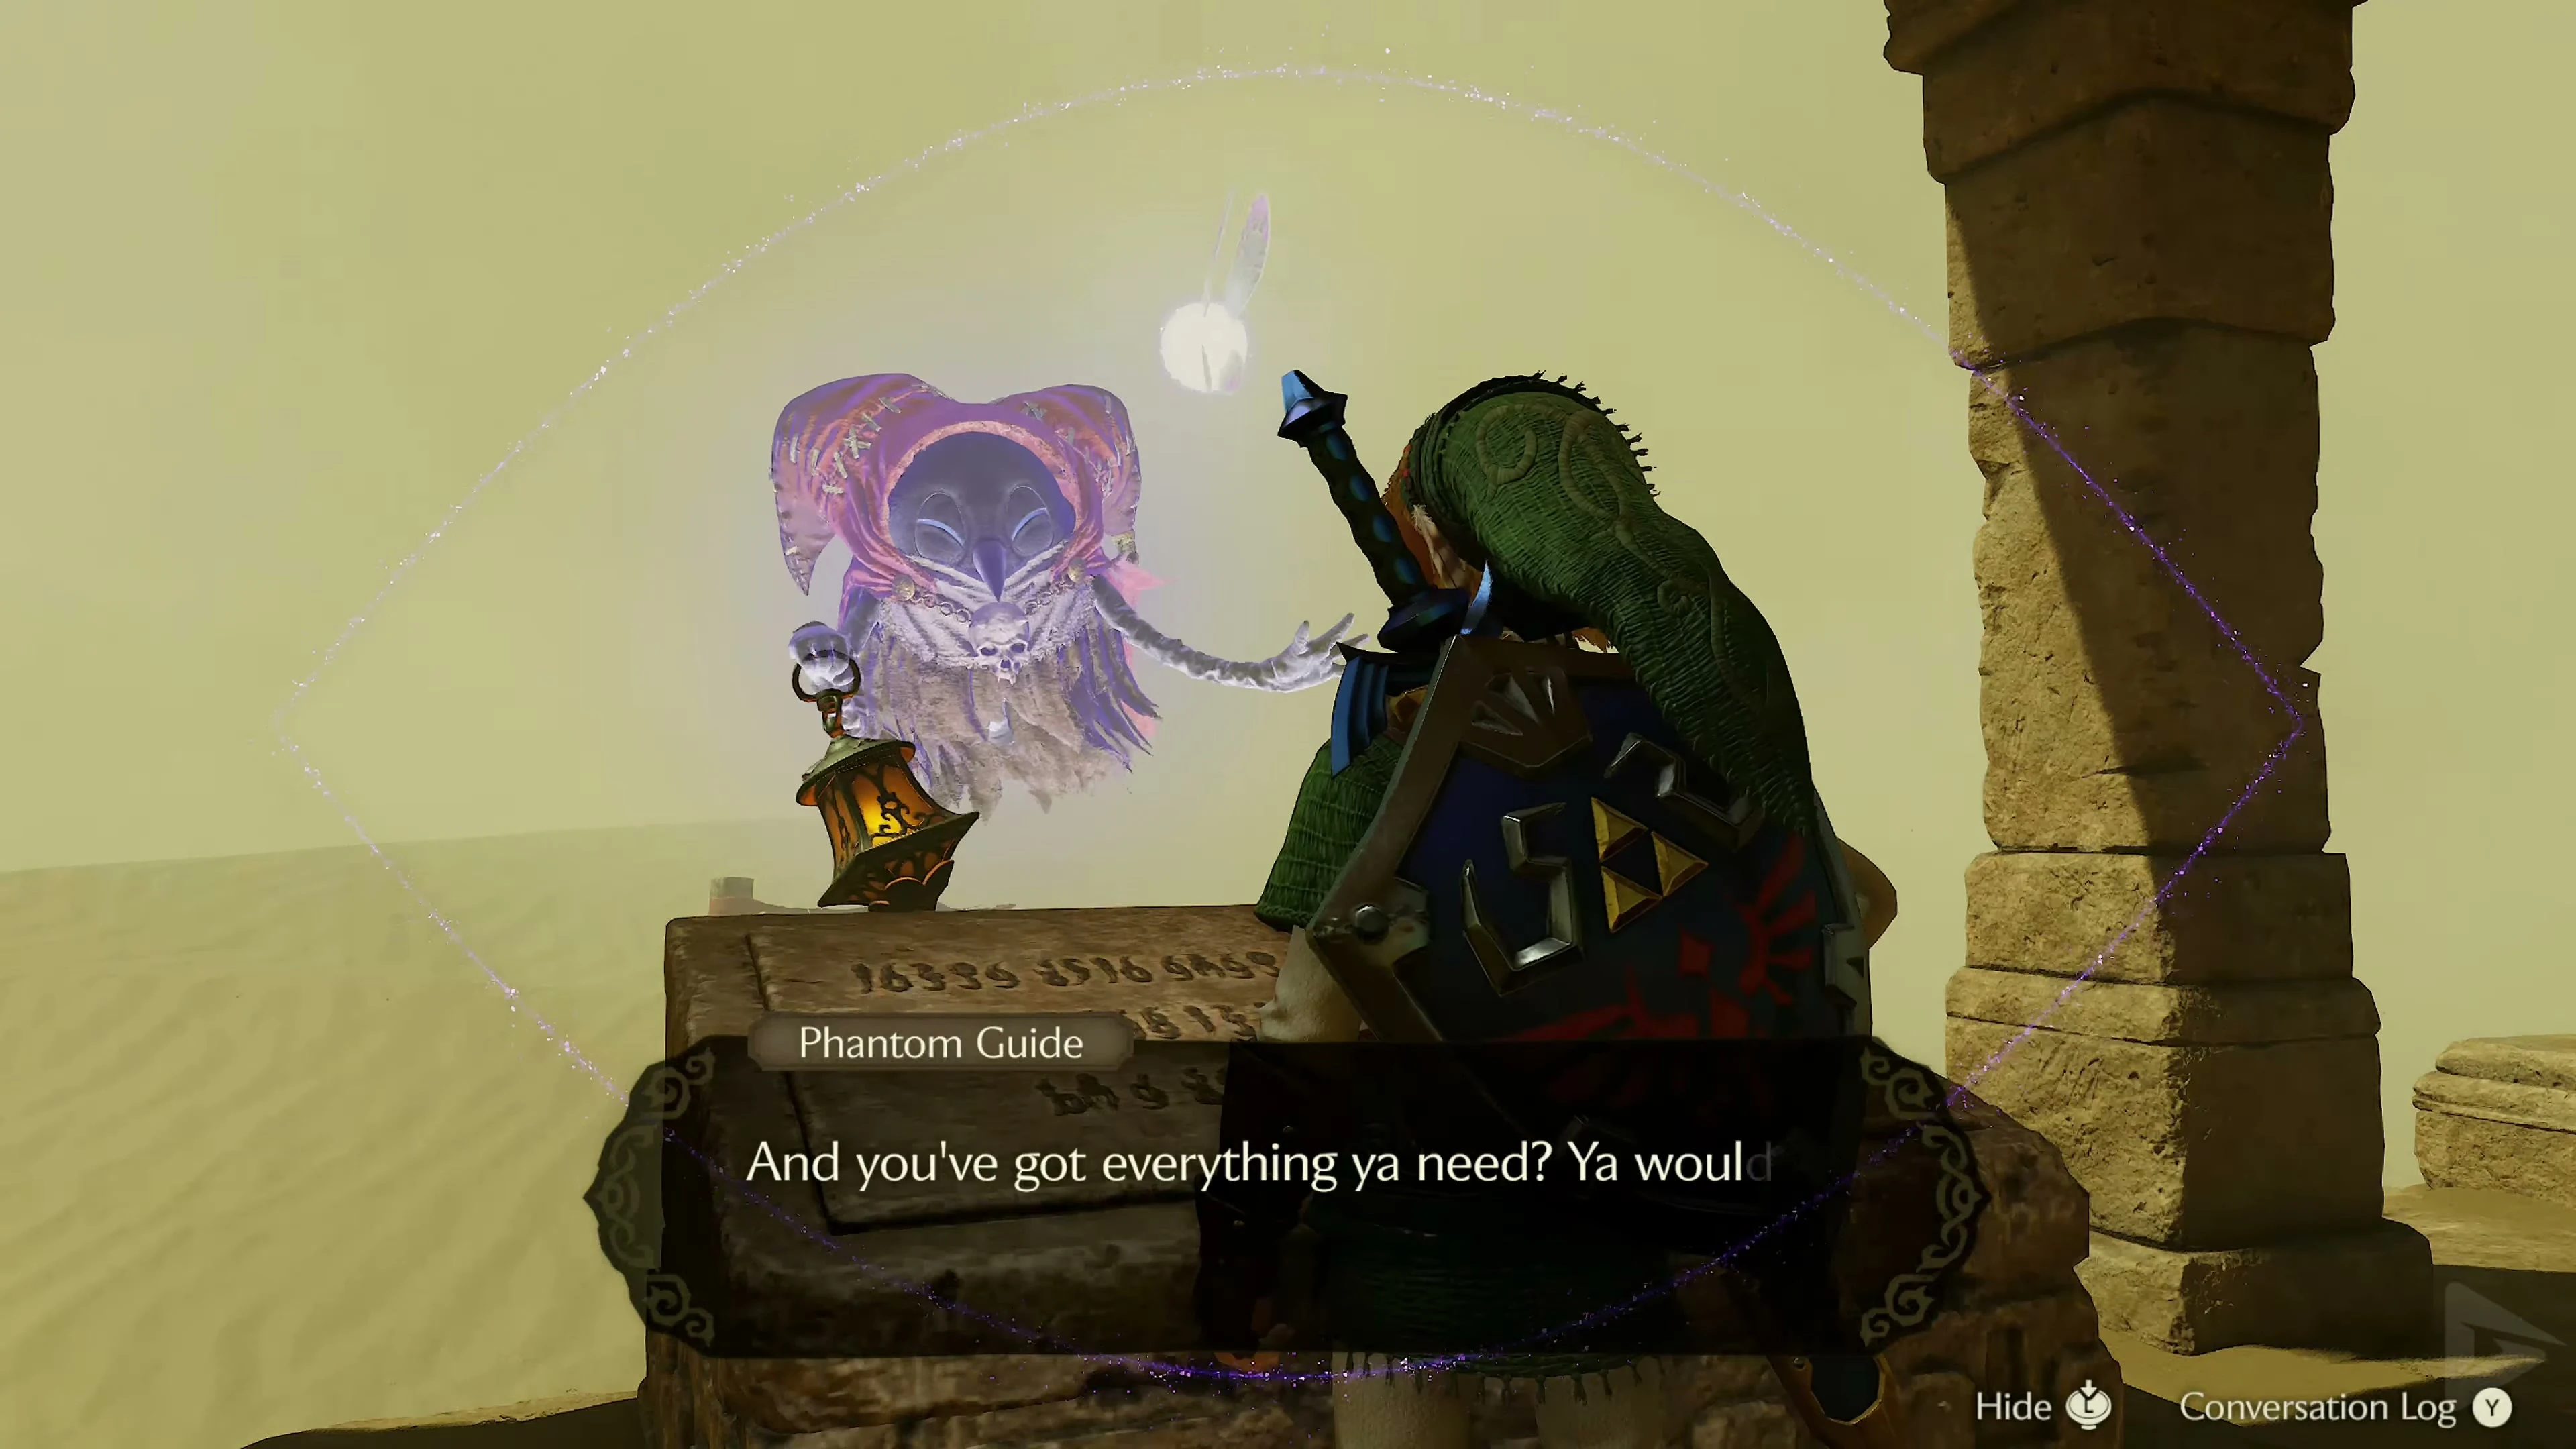
The Invisible Phantom Guide
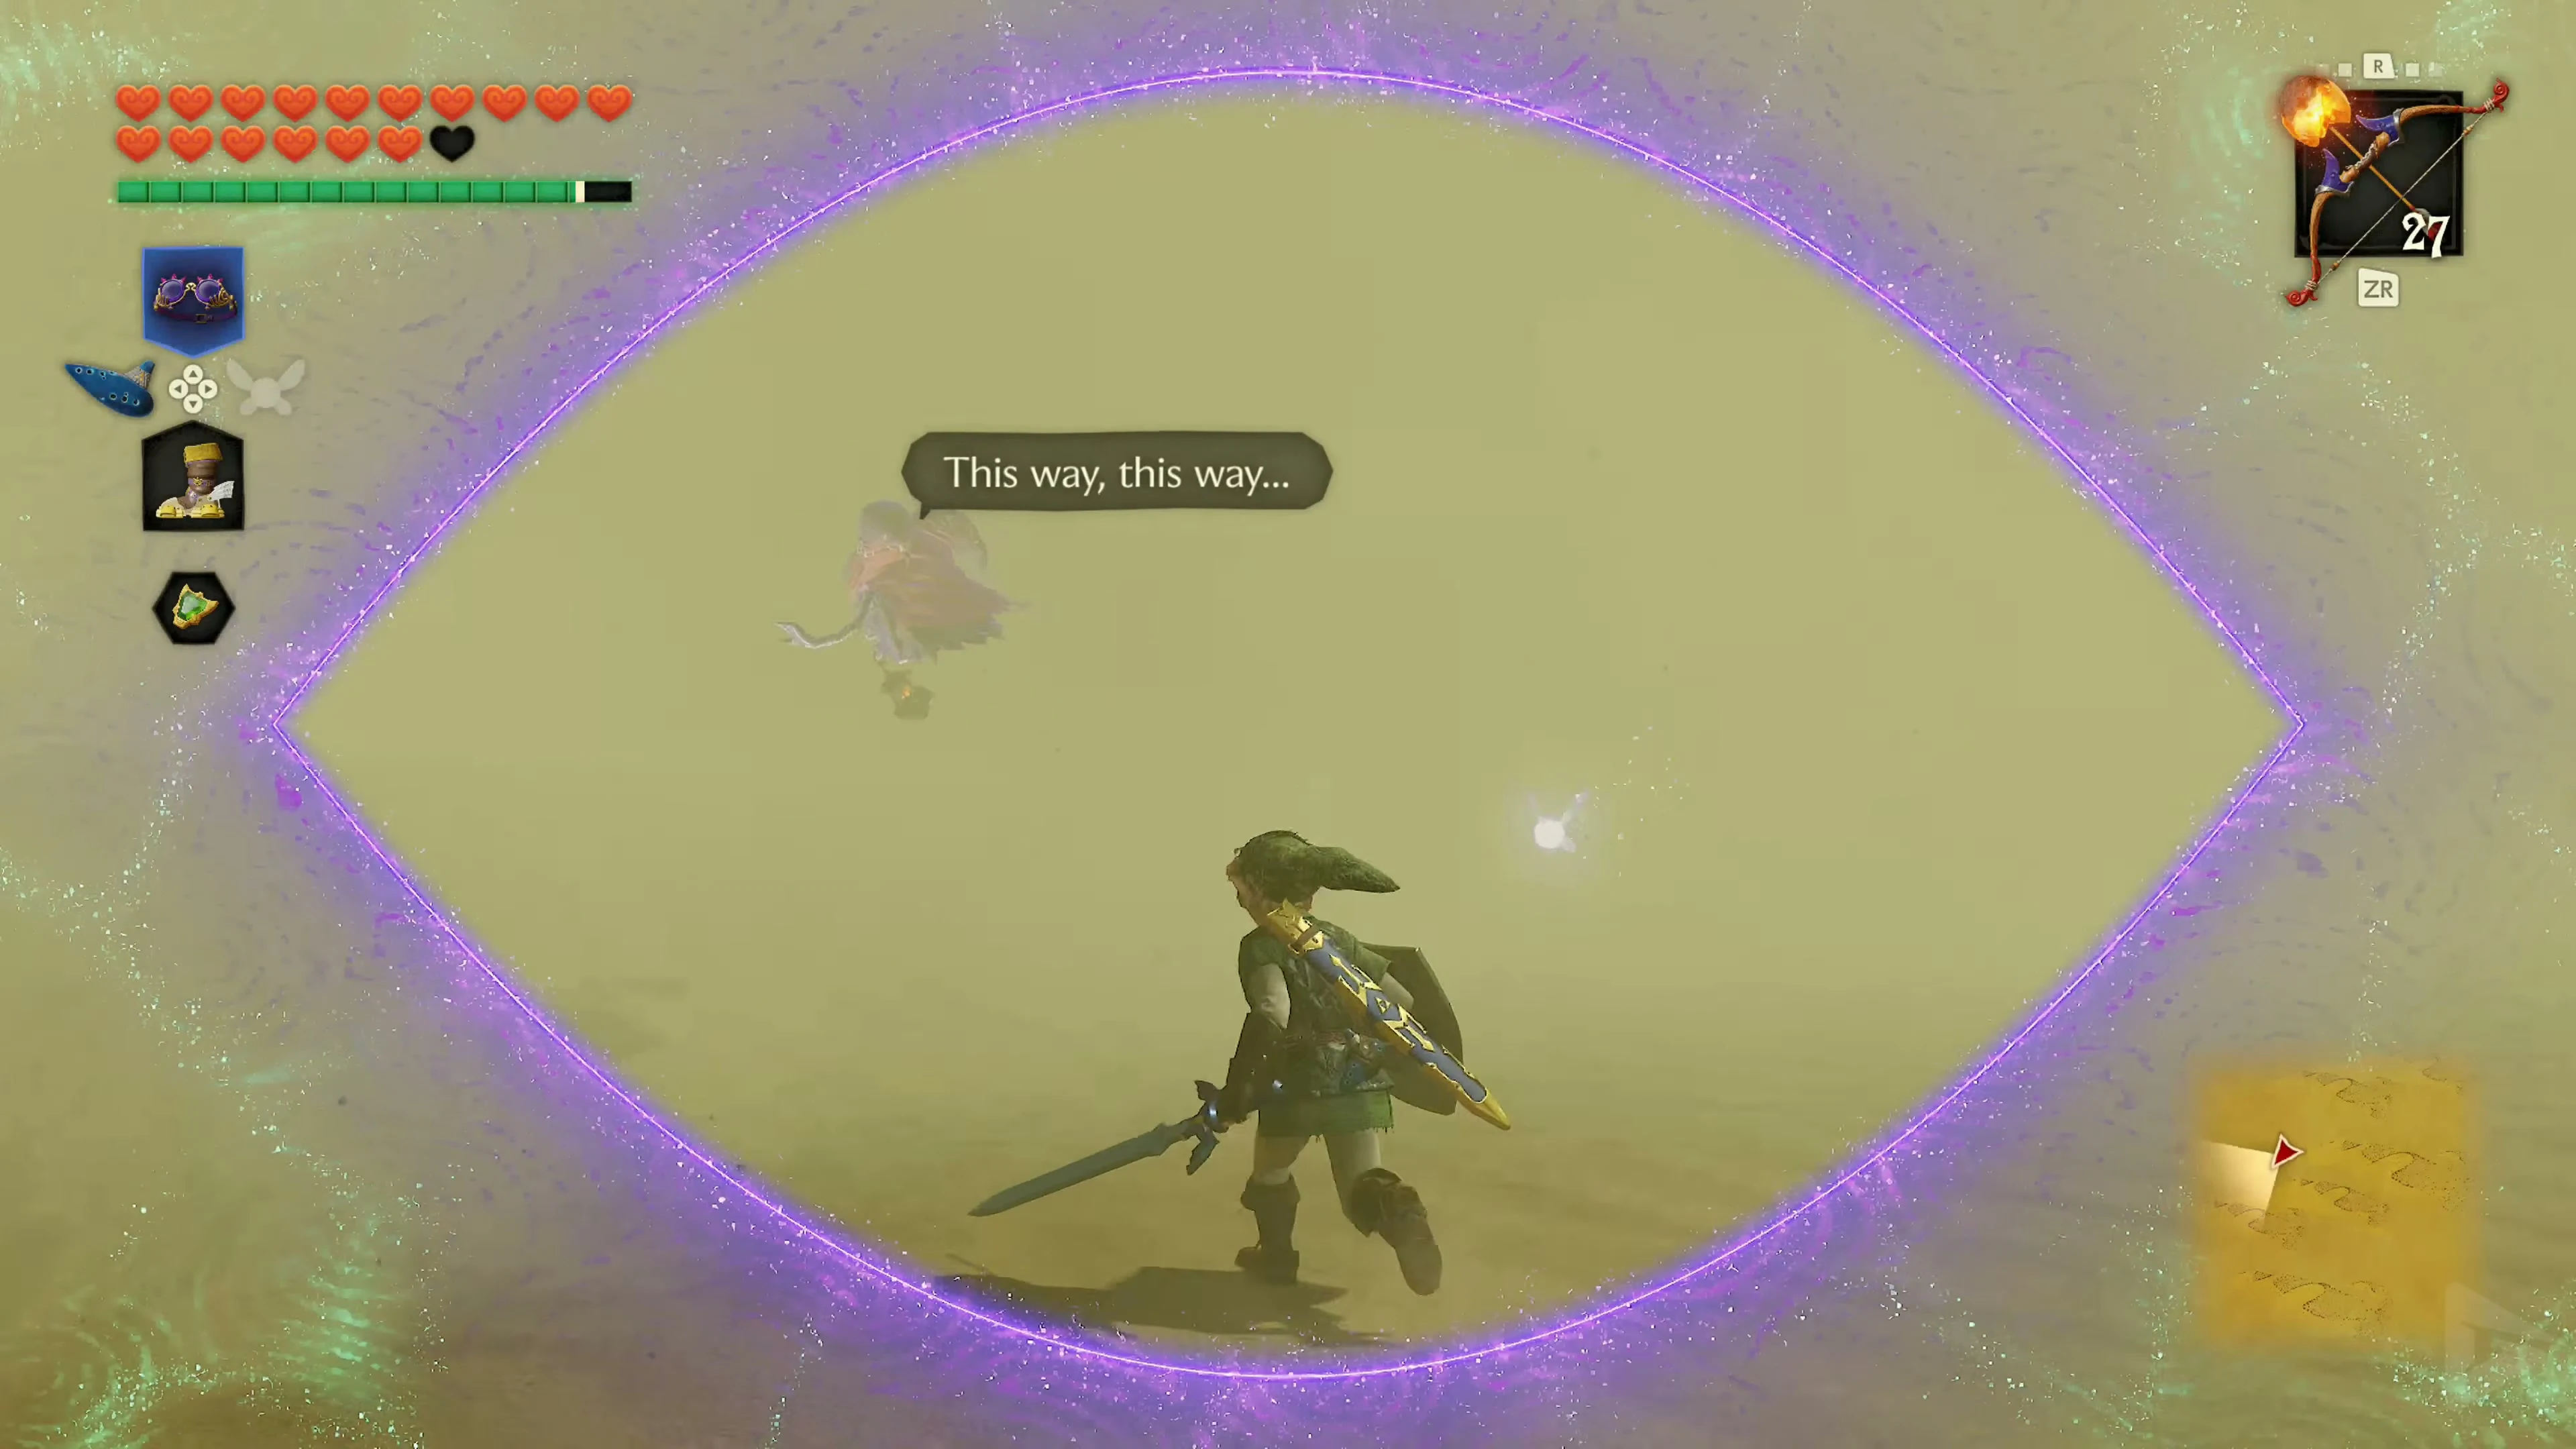
Climb onto the roof of the stone shelter and activate the Lenses of Truth. Speak to the visible ghost and accept its offer. Then follow it through the storm, keeping a safe distance. Stay on its path and don’t cut the corners. If it disappears from view, stop and search for it with the Lenses of Truth. At the next flag gate, you’ll reach the Evil Desert Colossus.
The Evil Desert Colossus
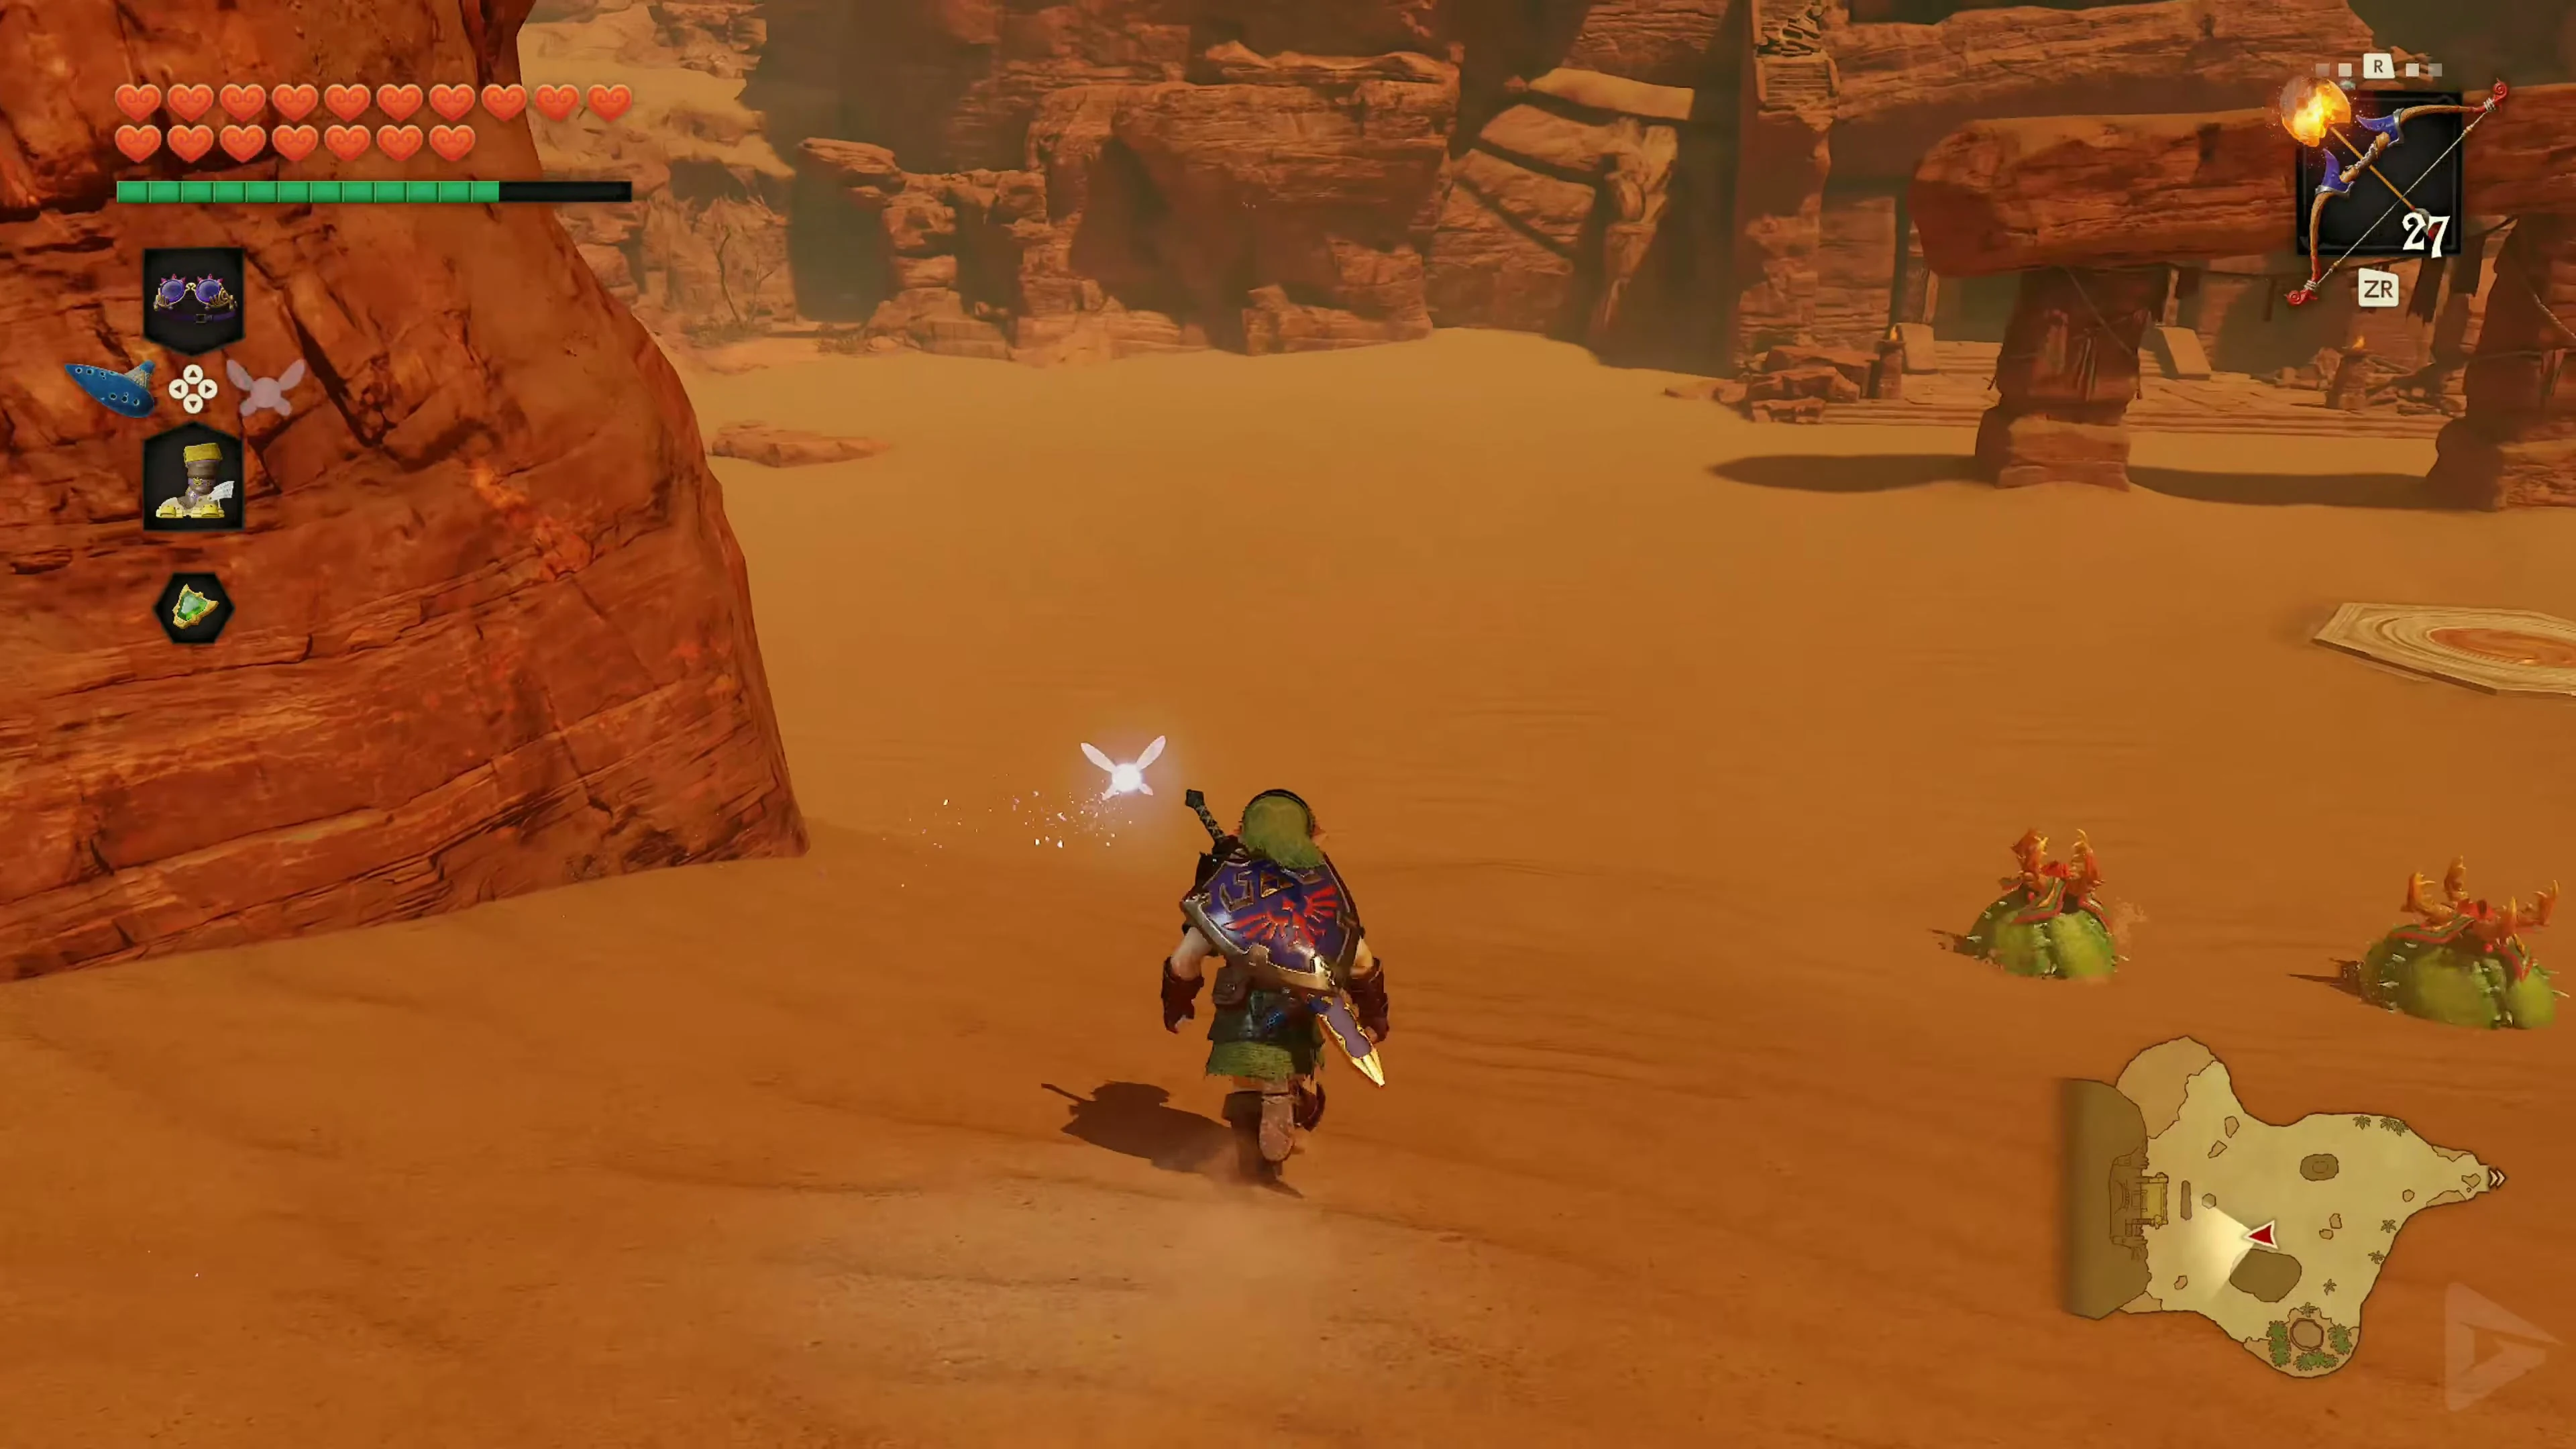
Approach the stone entrance to the Spirit Temple at the Evil Desert Colossus and speak to Sheik.
The Requiem of Spirit
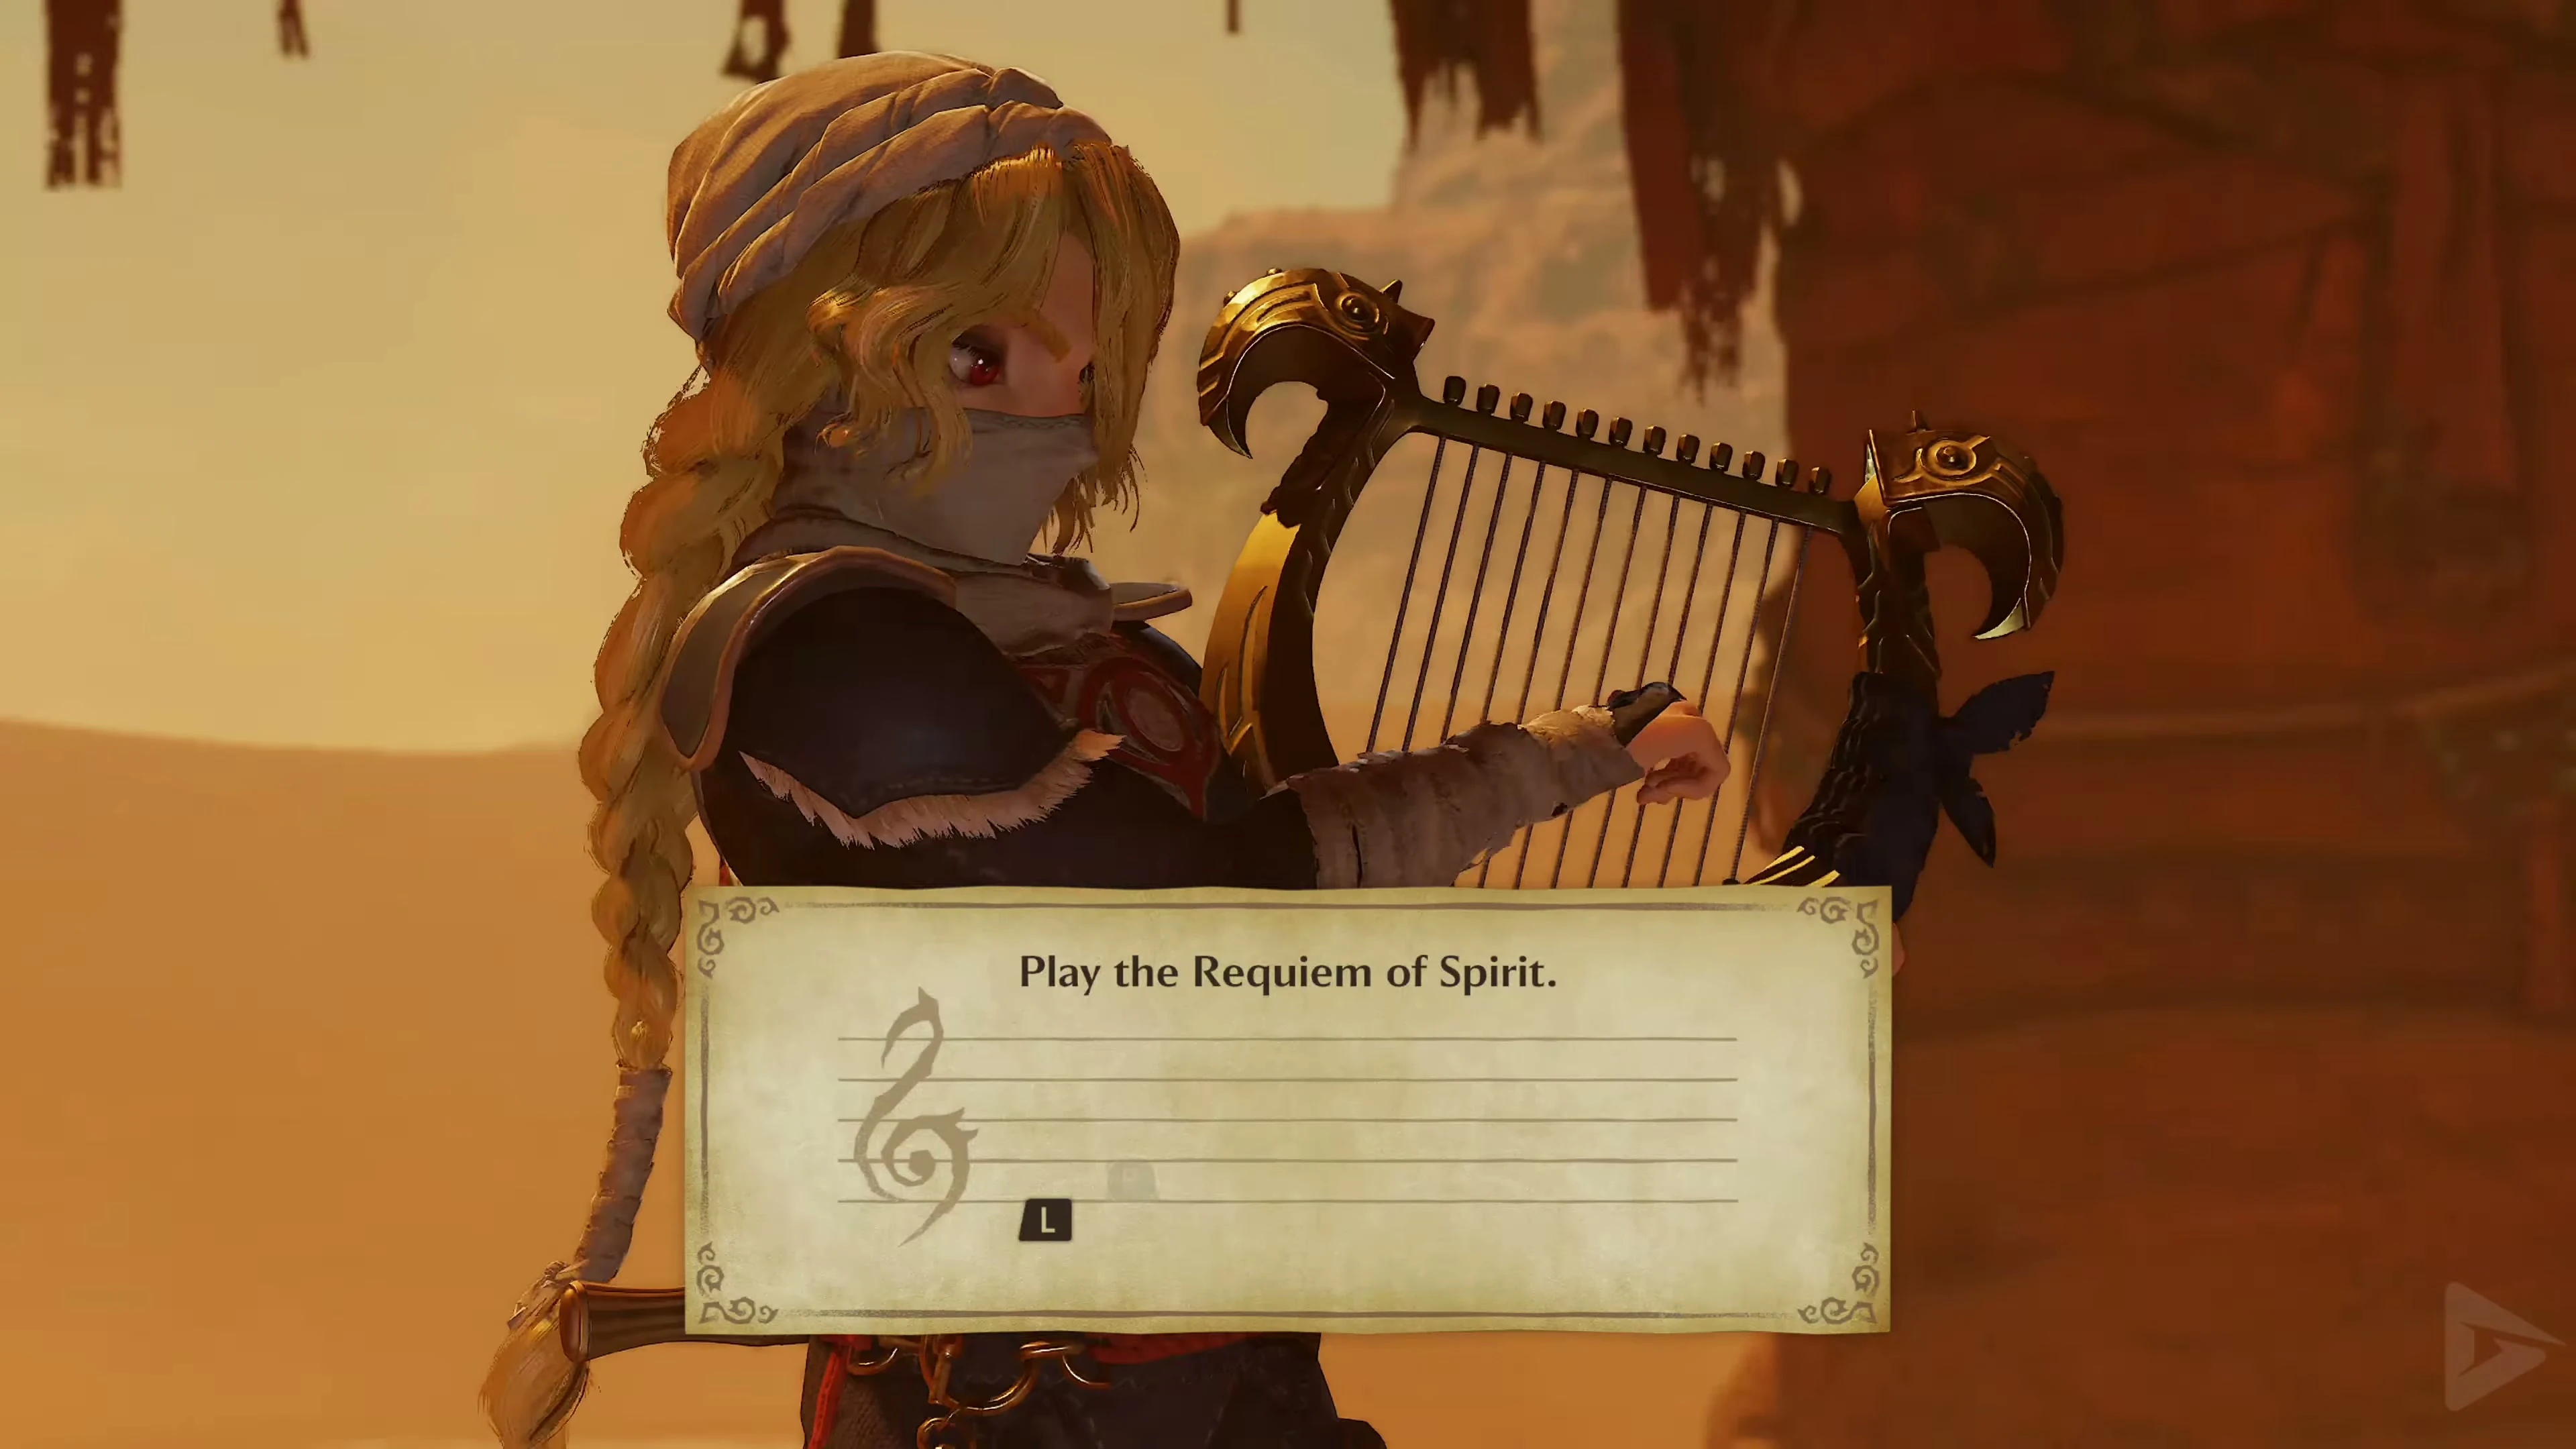
Play Sheik’s music and learn the Requiem of Spirit . The melody will take you, as a child or an adult, to the platform in front of the Spirit Temple.
Gold Skulltula 1/3 at Evil Desert Colossus
Create the Sun’s Song Night and go to the cliff face in the northwest of the Desert Colossus, near the circling Guays . Defeat Gold Skulltula 1/3 and pull its Token to you with the Longshot .
The Great Fairy and Nayru’s Love
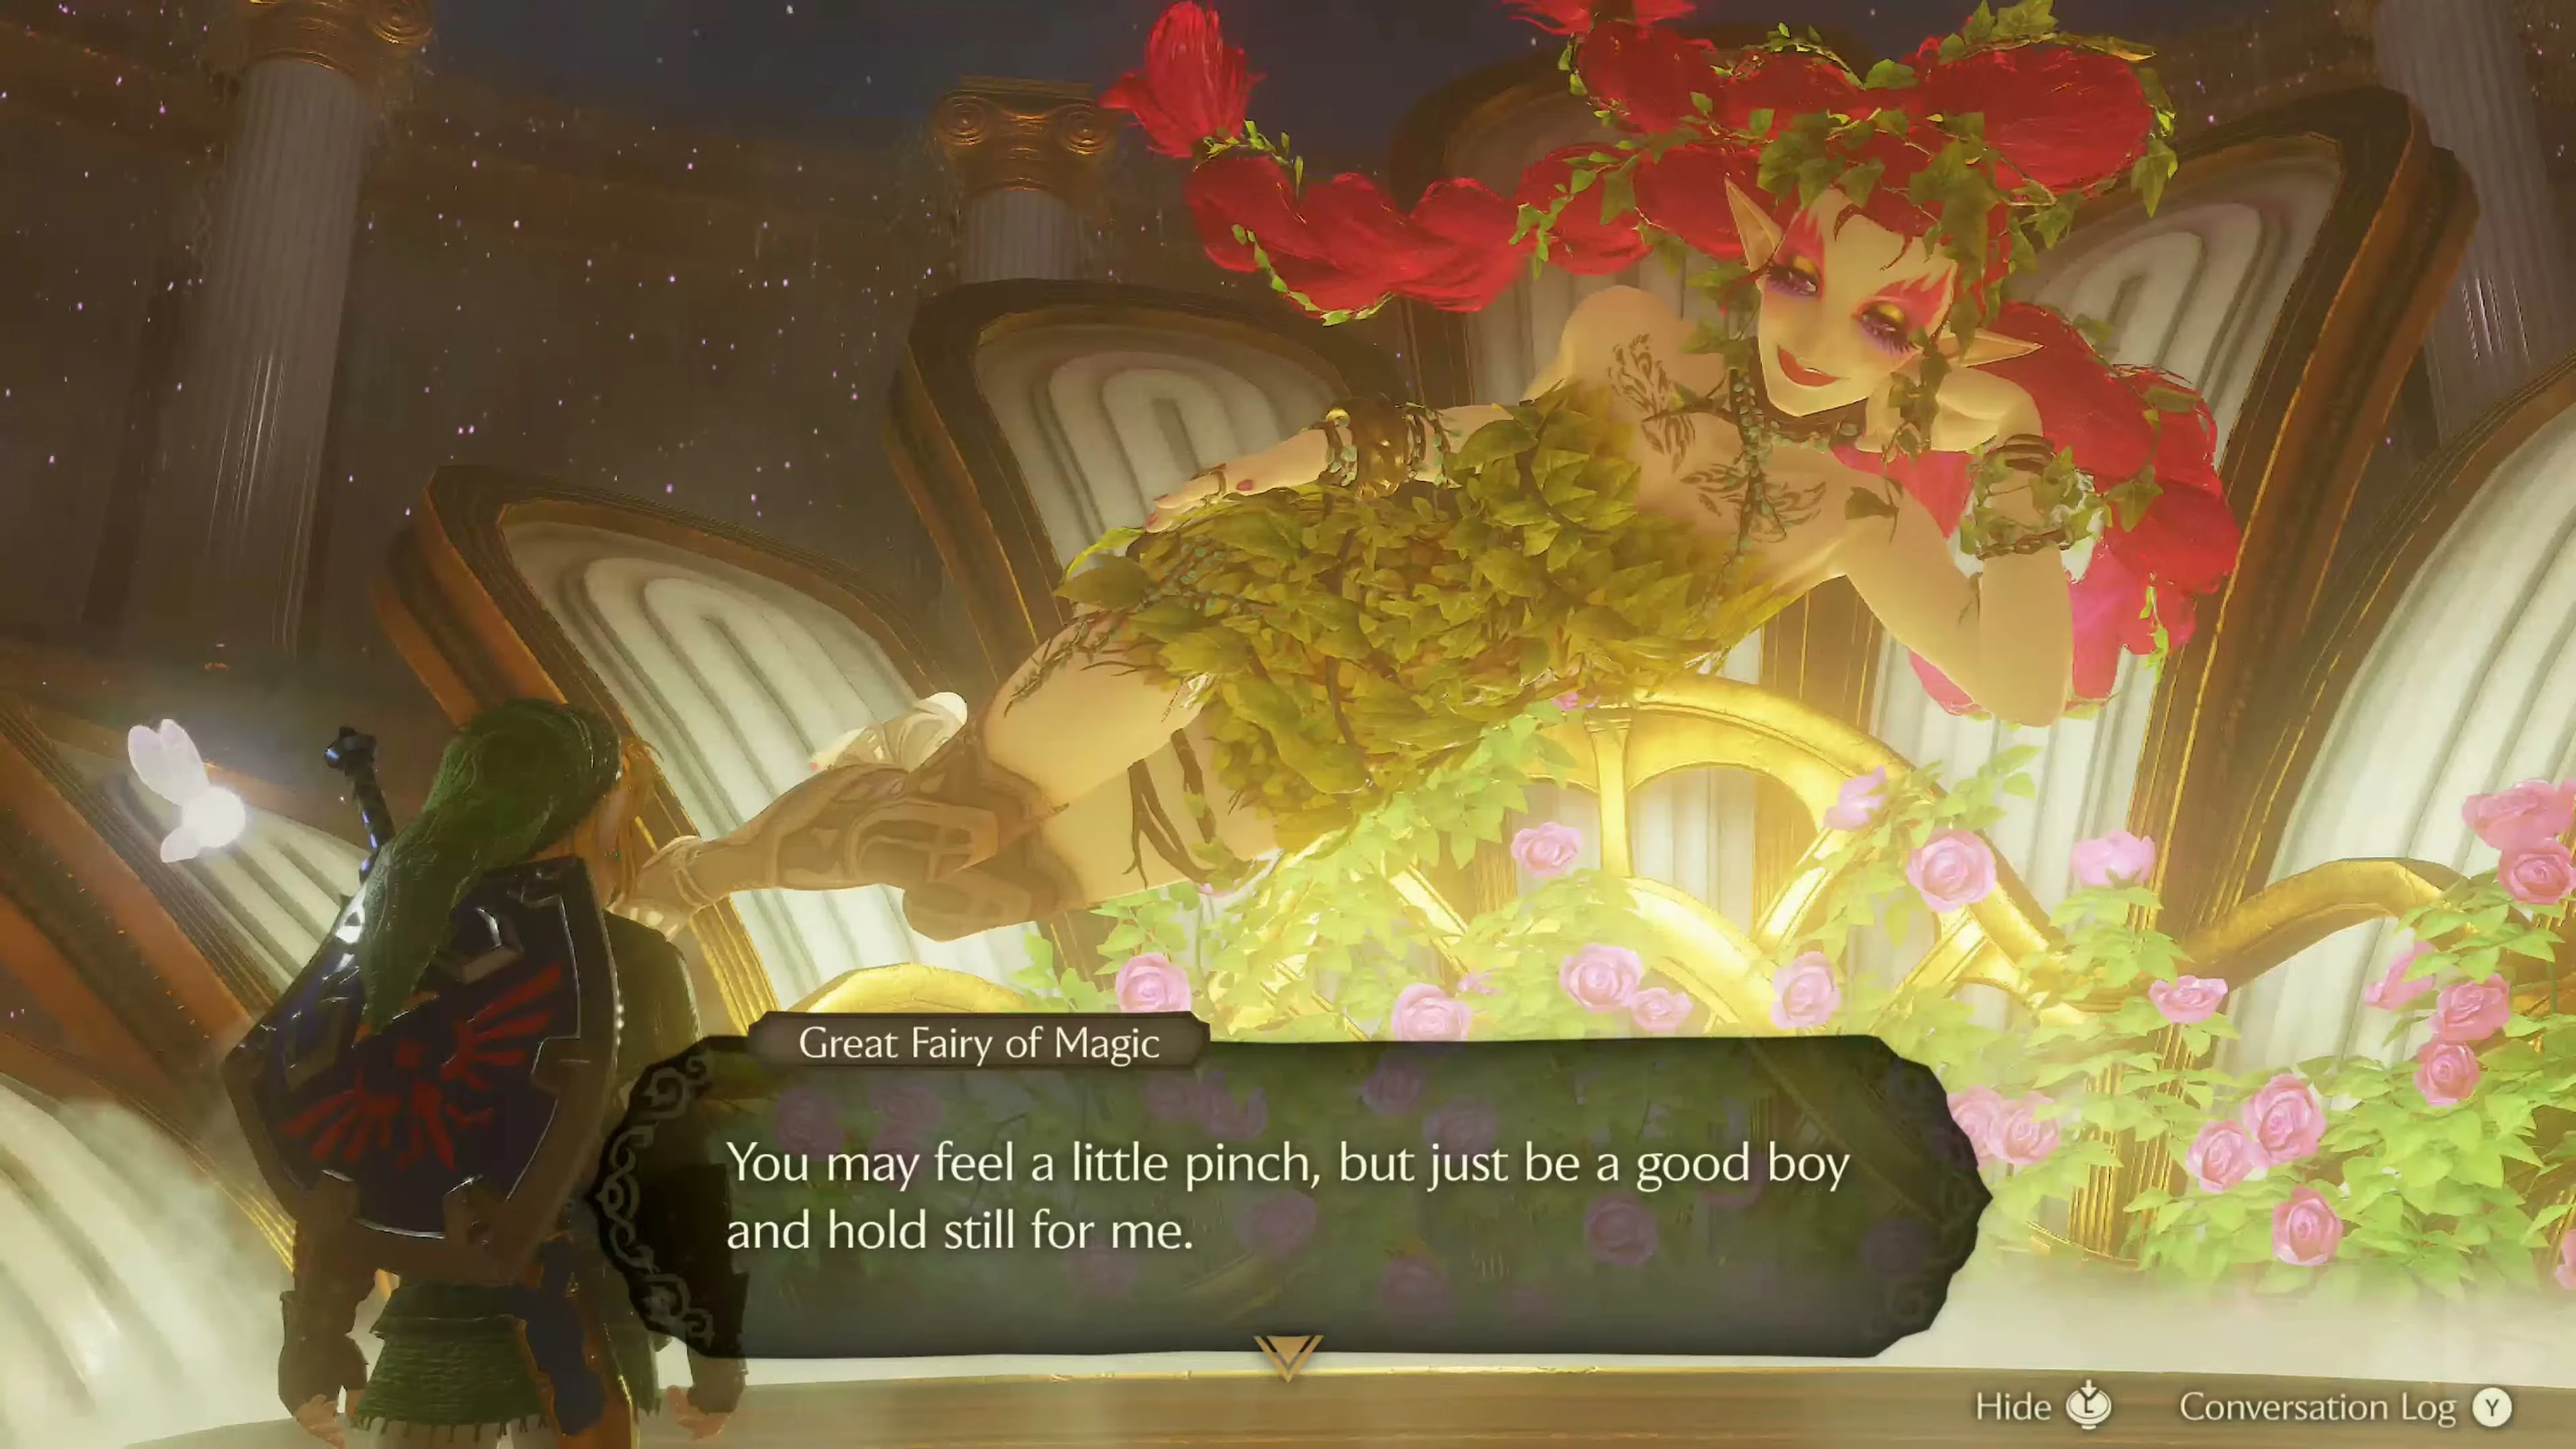
From the entrance of the Mirage Desert, keep to the right and follow the cliff face. Between two palm trees, you’ll see a noticeable crack in the rock. Place a bomb in front of it. The explosion will open the entrance to another Great Fairy Fountain . Enter the cave and stand on the Triforce symbol in front of the fountain. Play Zelda’s Lullaby . Bring the Great Fairy 300 Rupees . In return, you will receive the Protection Spell Nayru’s Love .
As young Link, go to the Evil Desert Colossus
Play the Prelude of Light and place the Master Sword back into the Pedestal of Time in the Temple of Time. As a child, take the Beetle in a Bottle and the last Magic Bean . Return to the Evil Desert Colossus with the Requiem of Spirit and go to the soft earth next to the temple.
Gold Skulltula 2/3 – Magic Bean Hole
First, let the beetles from the bottle crawl into the soft hole in the ground. One of the beetles will disappear into the soil and, after a short time, attract a Gold Skulltula . Defeat it and retrieve the token for Link using the Boomerang. Then, plant the Magic Bean in the same hole. It will grow into a floating plant over the next seven years. As adult Link, we will later use it for both a Piece of Heart and the third and final Skulltula of the Desert Colossus.
Next, enter the Spirit Temple as young Link.
The Spirit Temple – Young Link
Nabooru’s Mission
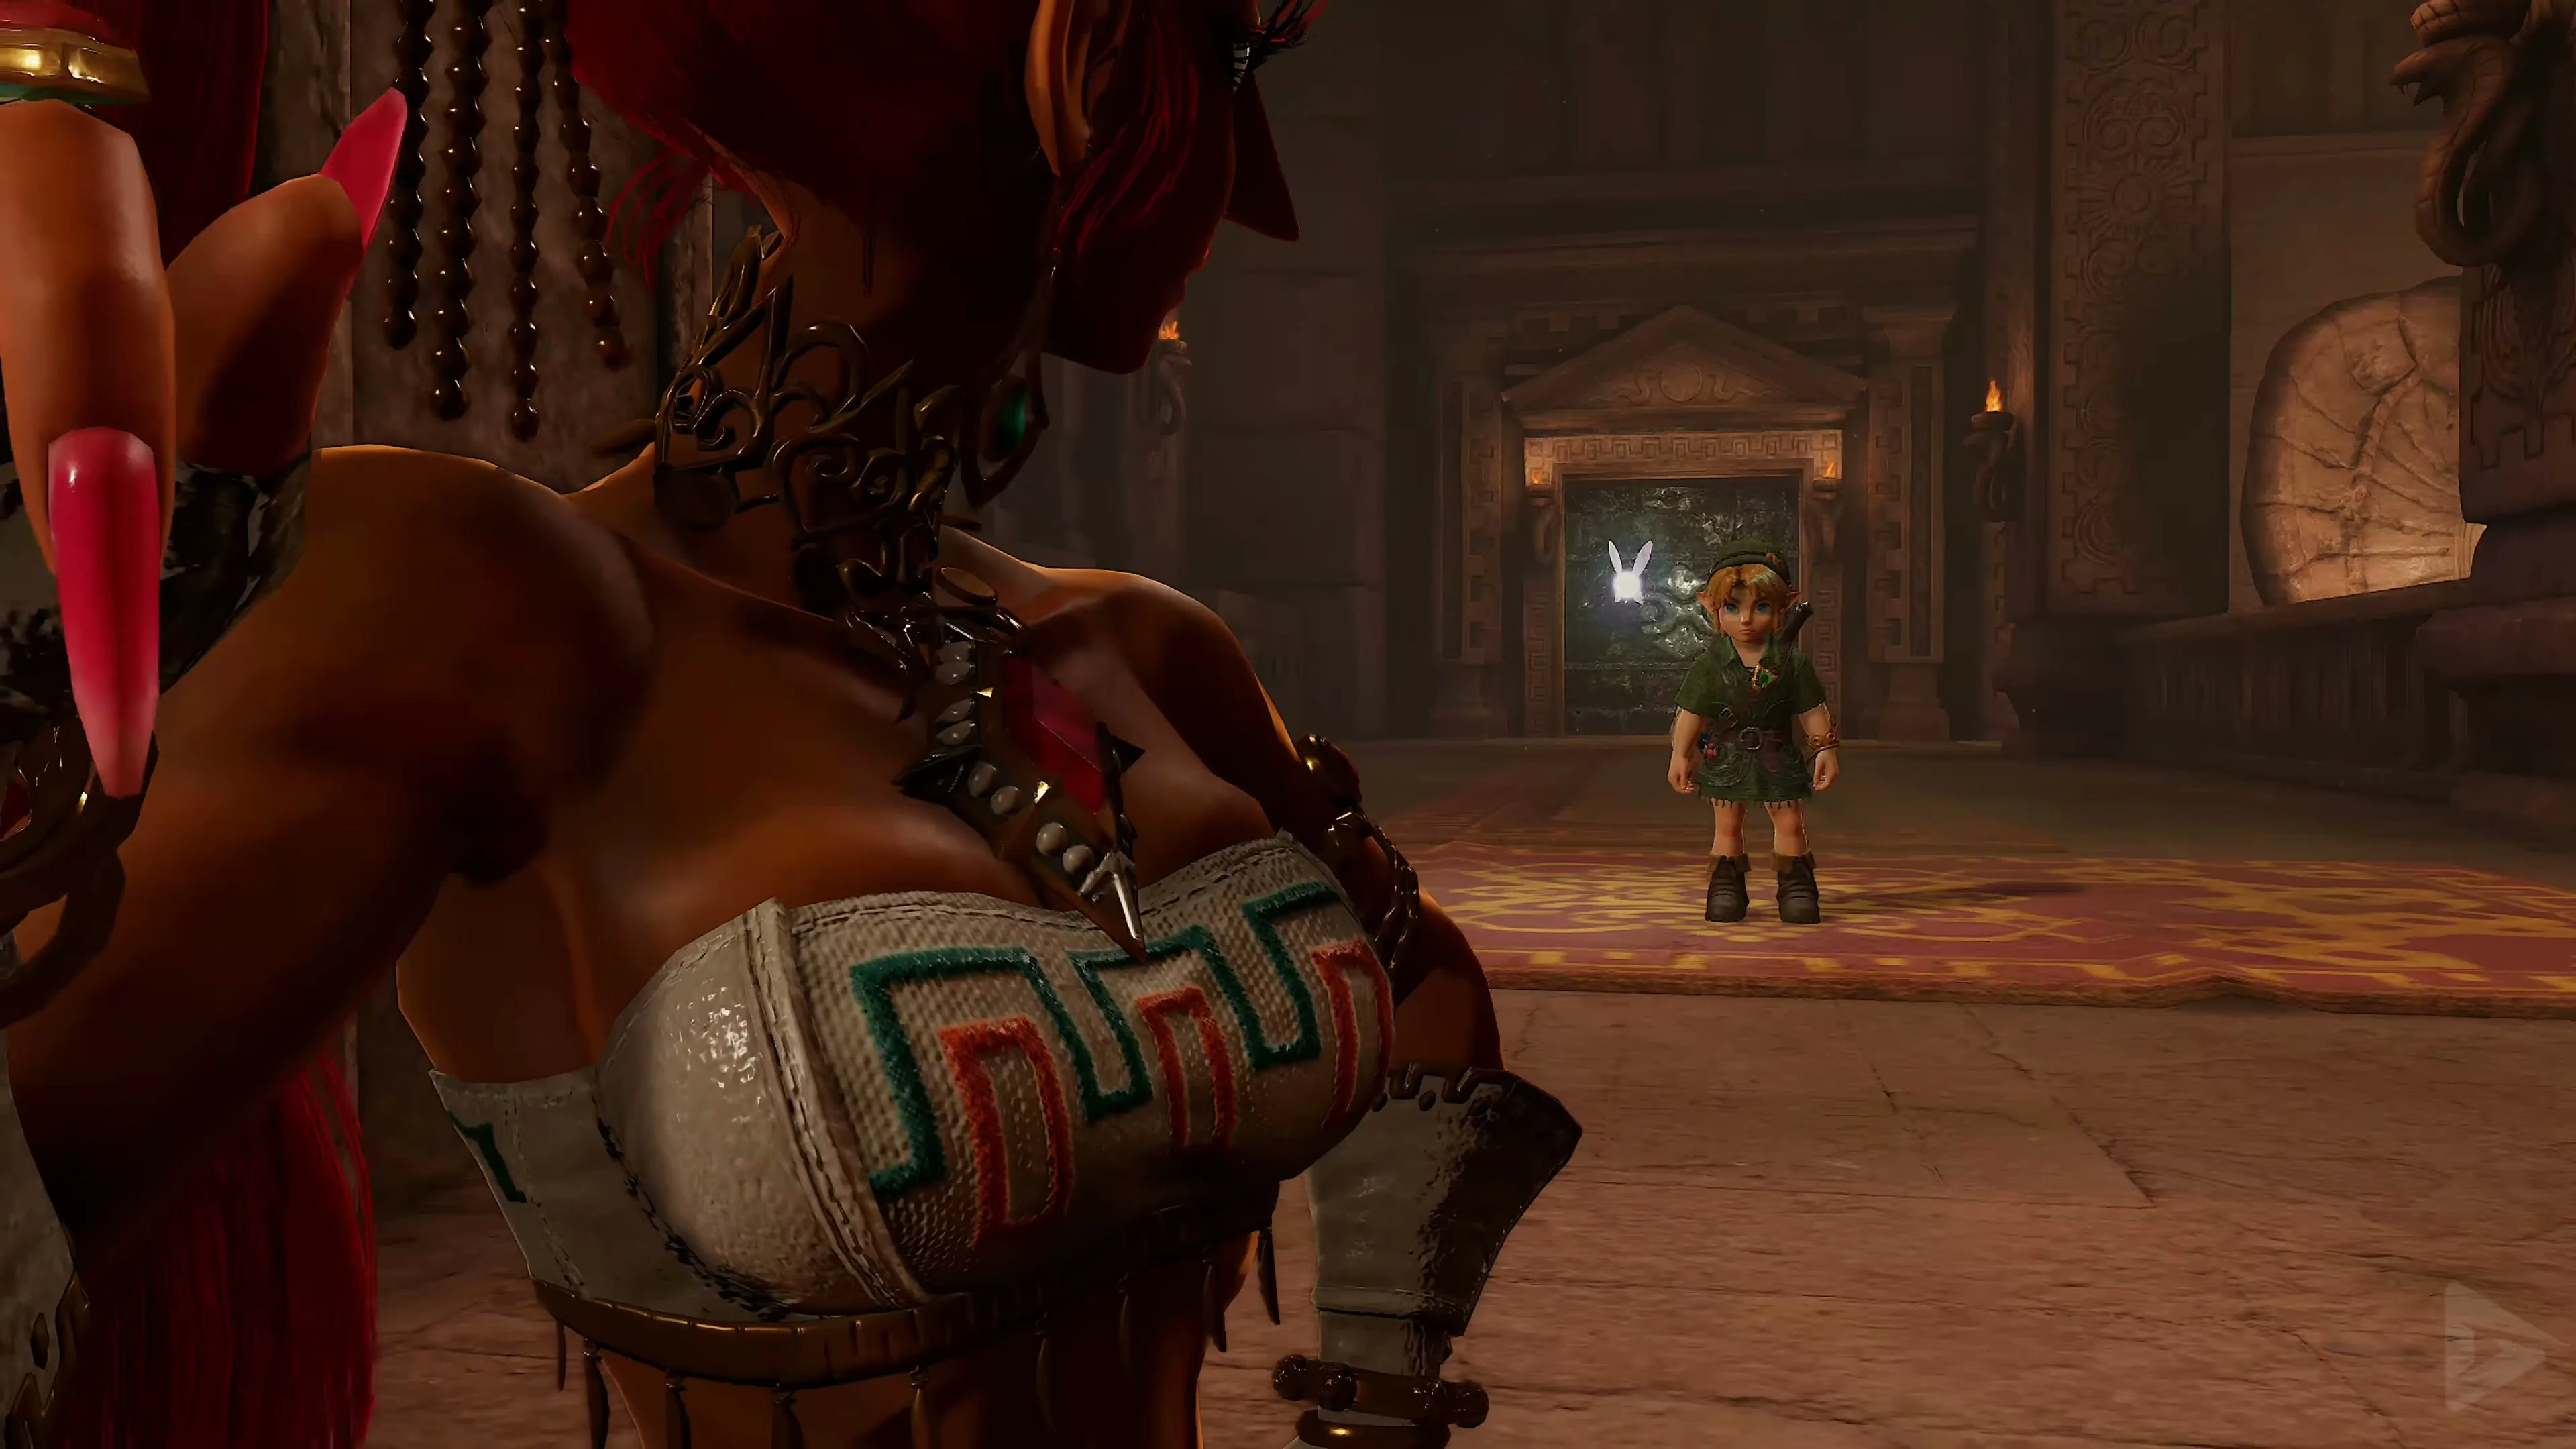
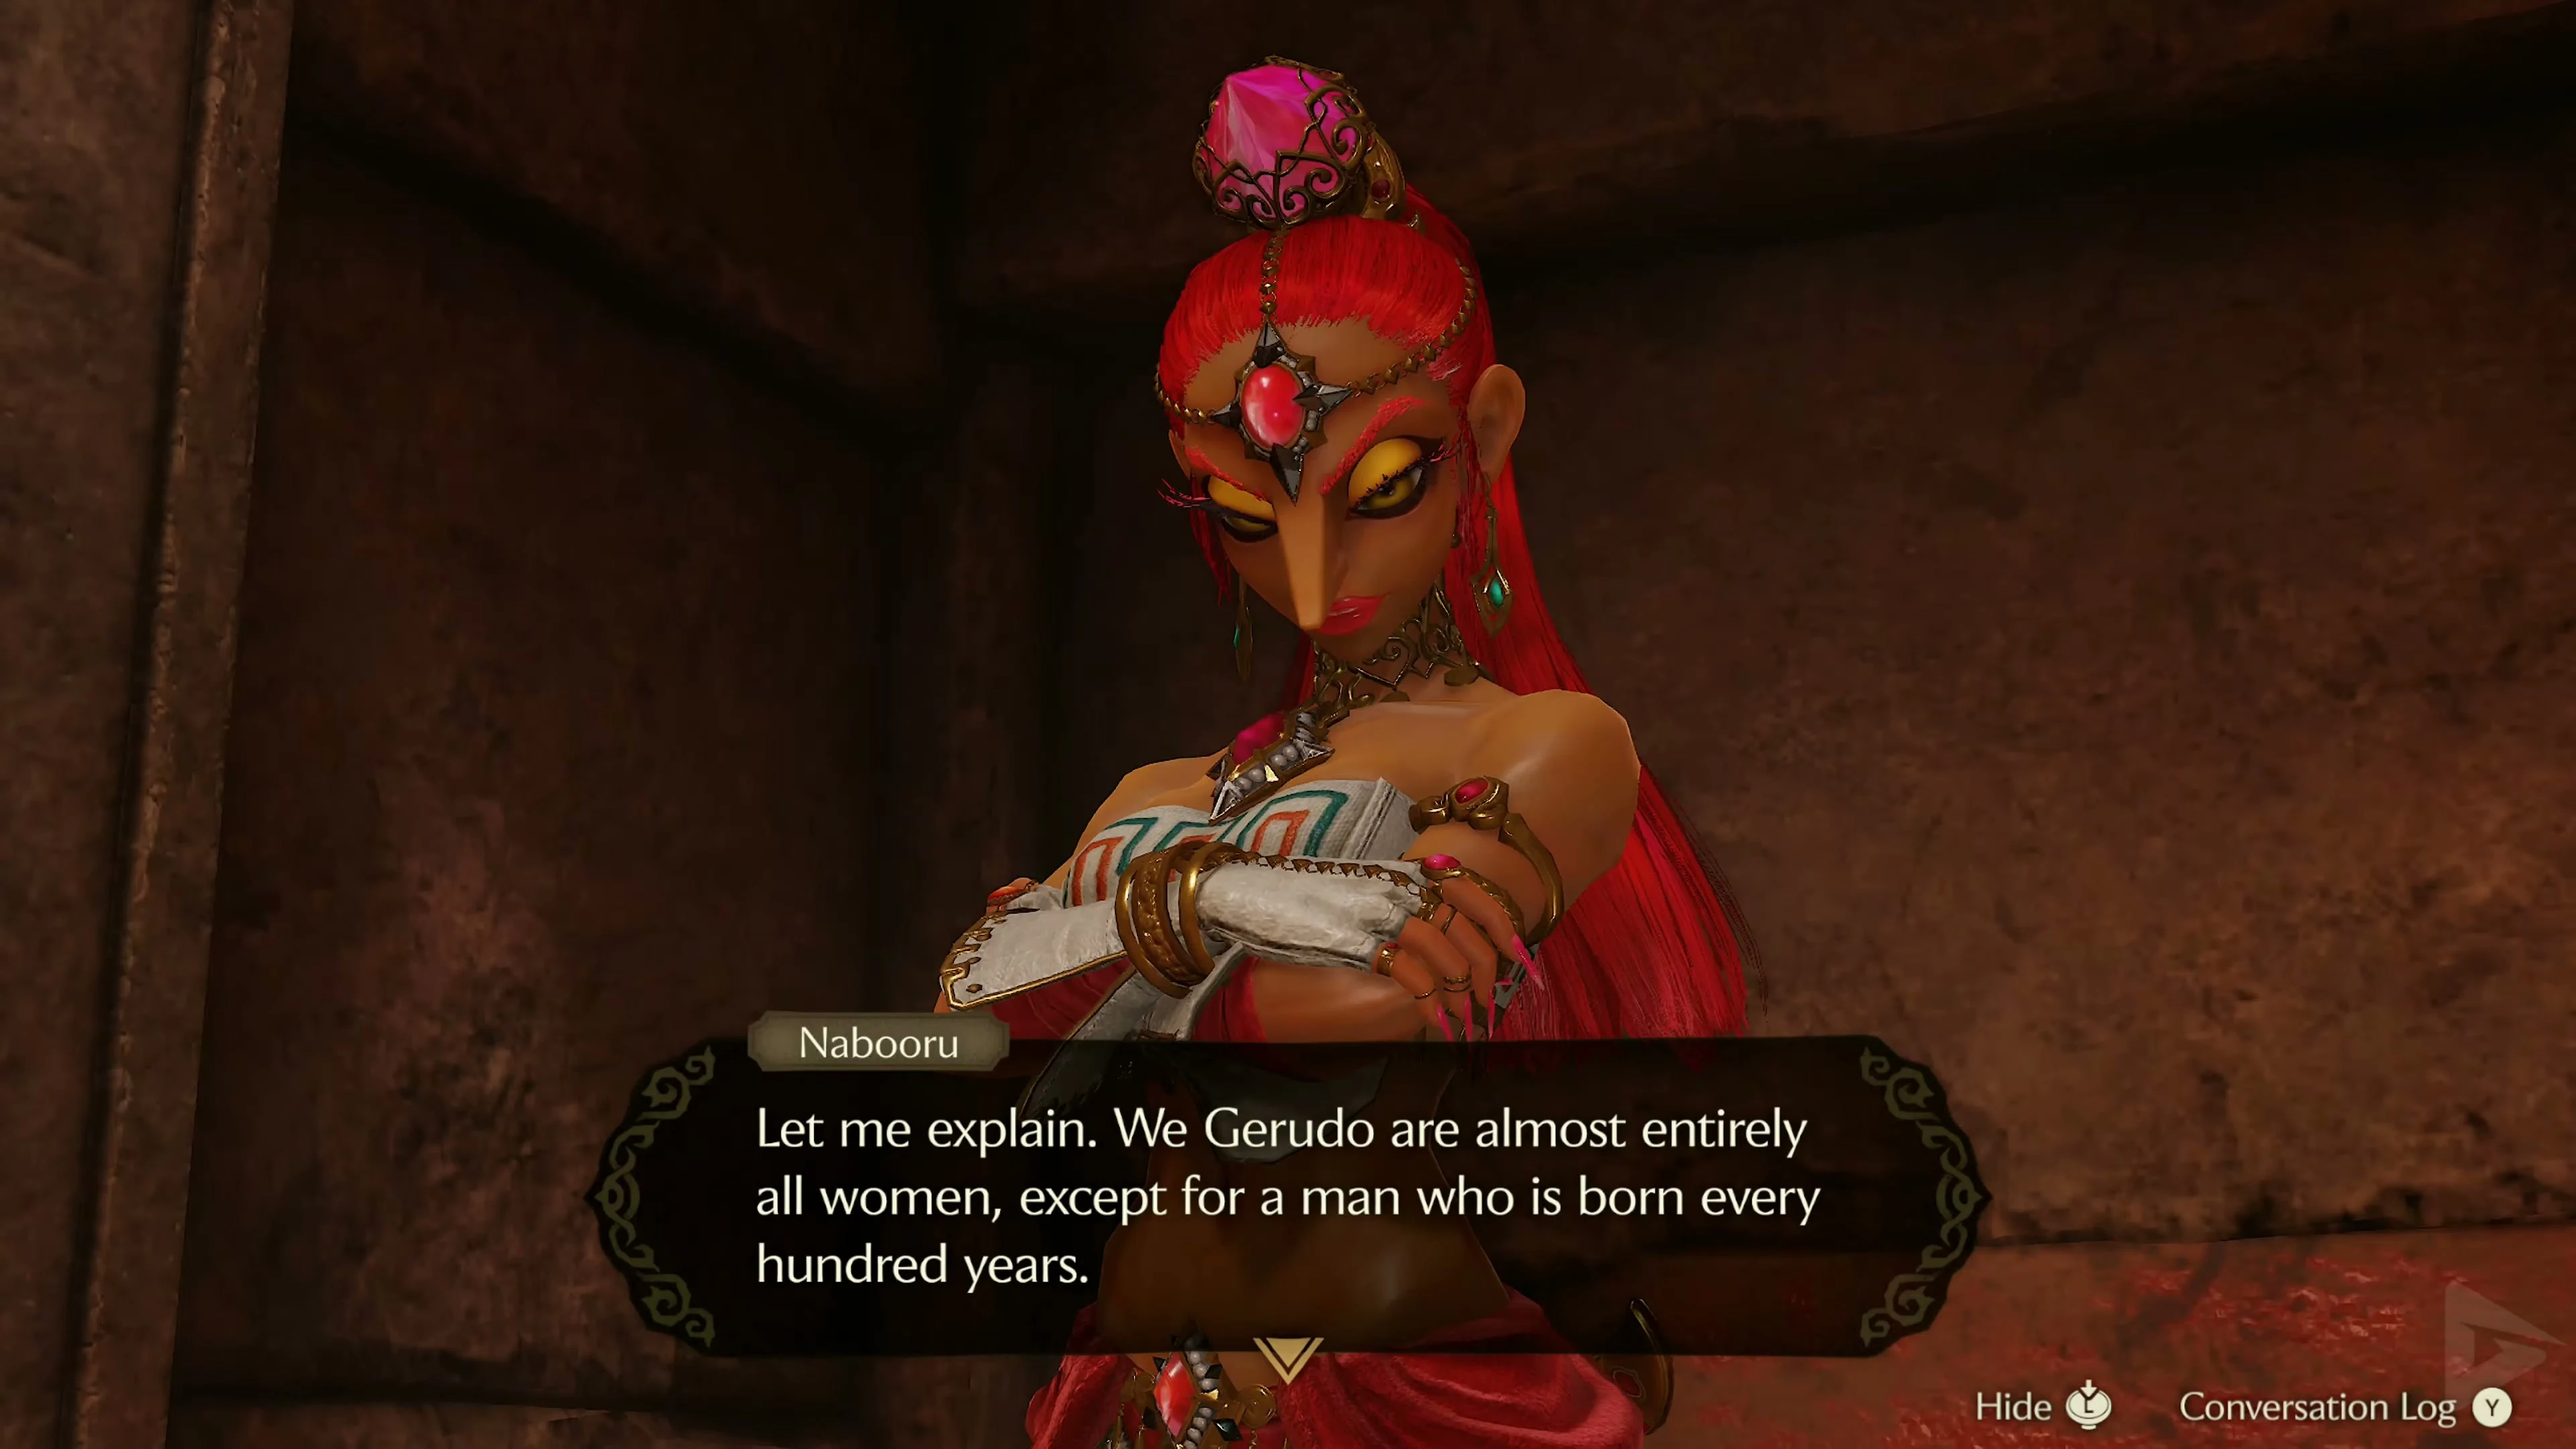
In the entrance hall, go up the stairs and turn left. The Gerudo Thief is sitting in front of the small crawl tunnel. Nabooru . Speak to her and initially reply that you have nothing in mind. Then ask her opinion of Ganondorf and confirm that you hate him too. Nabooru explains that she absolutely does not accept Ganondorf as the rightful king of the Gerudo. His methods and plans contradict everything she stands for. A powerful treasure is said to be hidden in the Spirit Temple: the Silver Gauntlets . With them, Nabooru could move heavy rocks and sabotage Ganondorf’s plans. Since she herself cannot fit through the narrow tunnel, she asks Young Link to retrieve the gloves for her. Agree to her request and crawl through the low opening.
The first Small Key
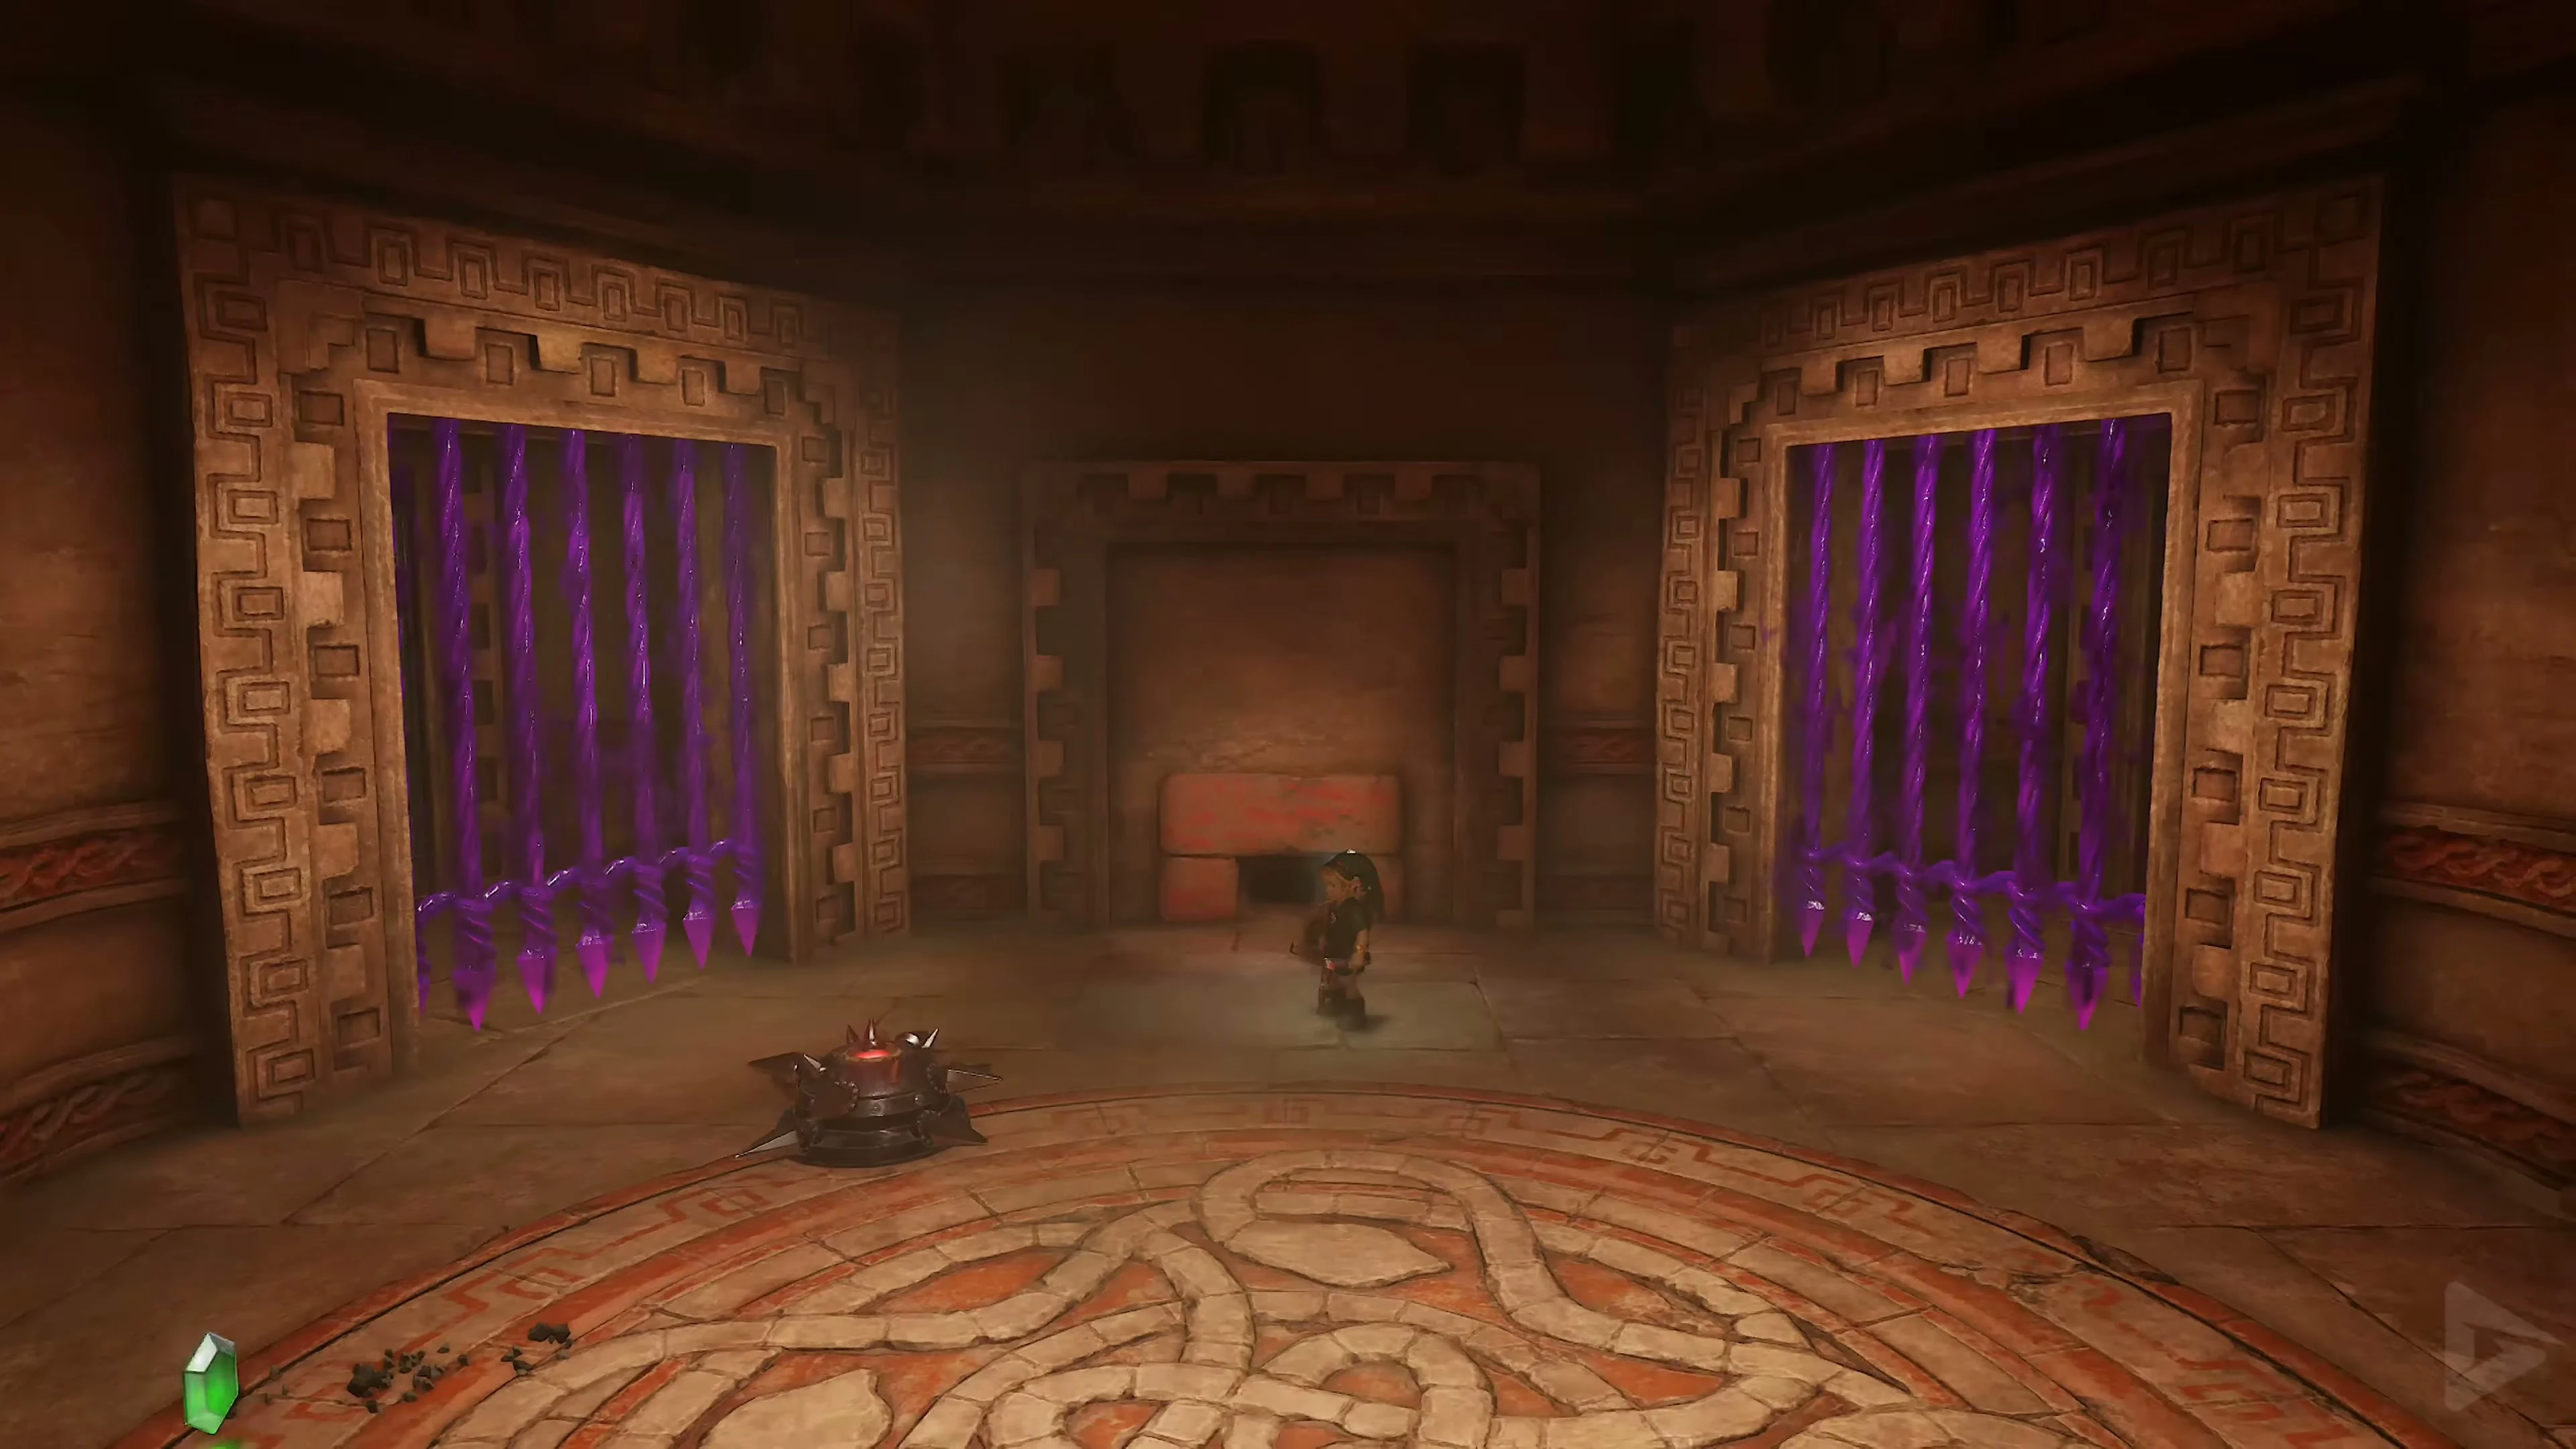
In the first room behind the crawl tunnel, several Fire Keese attack. Defeat them with the Fairy Slingshot or the Boomerang, then climb onto the raised platforms on the back wall. There’s an Armos statue in the middle. Activate it with an attack and destroy the enemy to open the two side doors. Enter the left door first. A Stalfos awaits in the next room. As young Link, you have significantly less attack power, and its sword strikes inflict considerable damage. Therefore, consistently block with the Deku Shield and only attack after the Knight has struck or completed a jump attack.
After that, eliminate the Green Bubble once its flames have disappeared. Behind the gate is a crystal switch. Throw the Boomerang slightly to the side of the gate so that it hits the switch on its return. The metal gate will then flip over, forming a bridge across the chasm.
Anubis and the Fire Trap
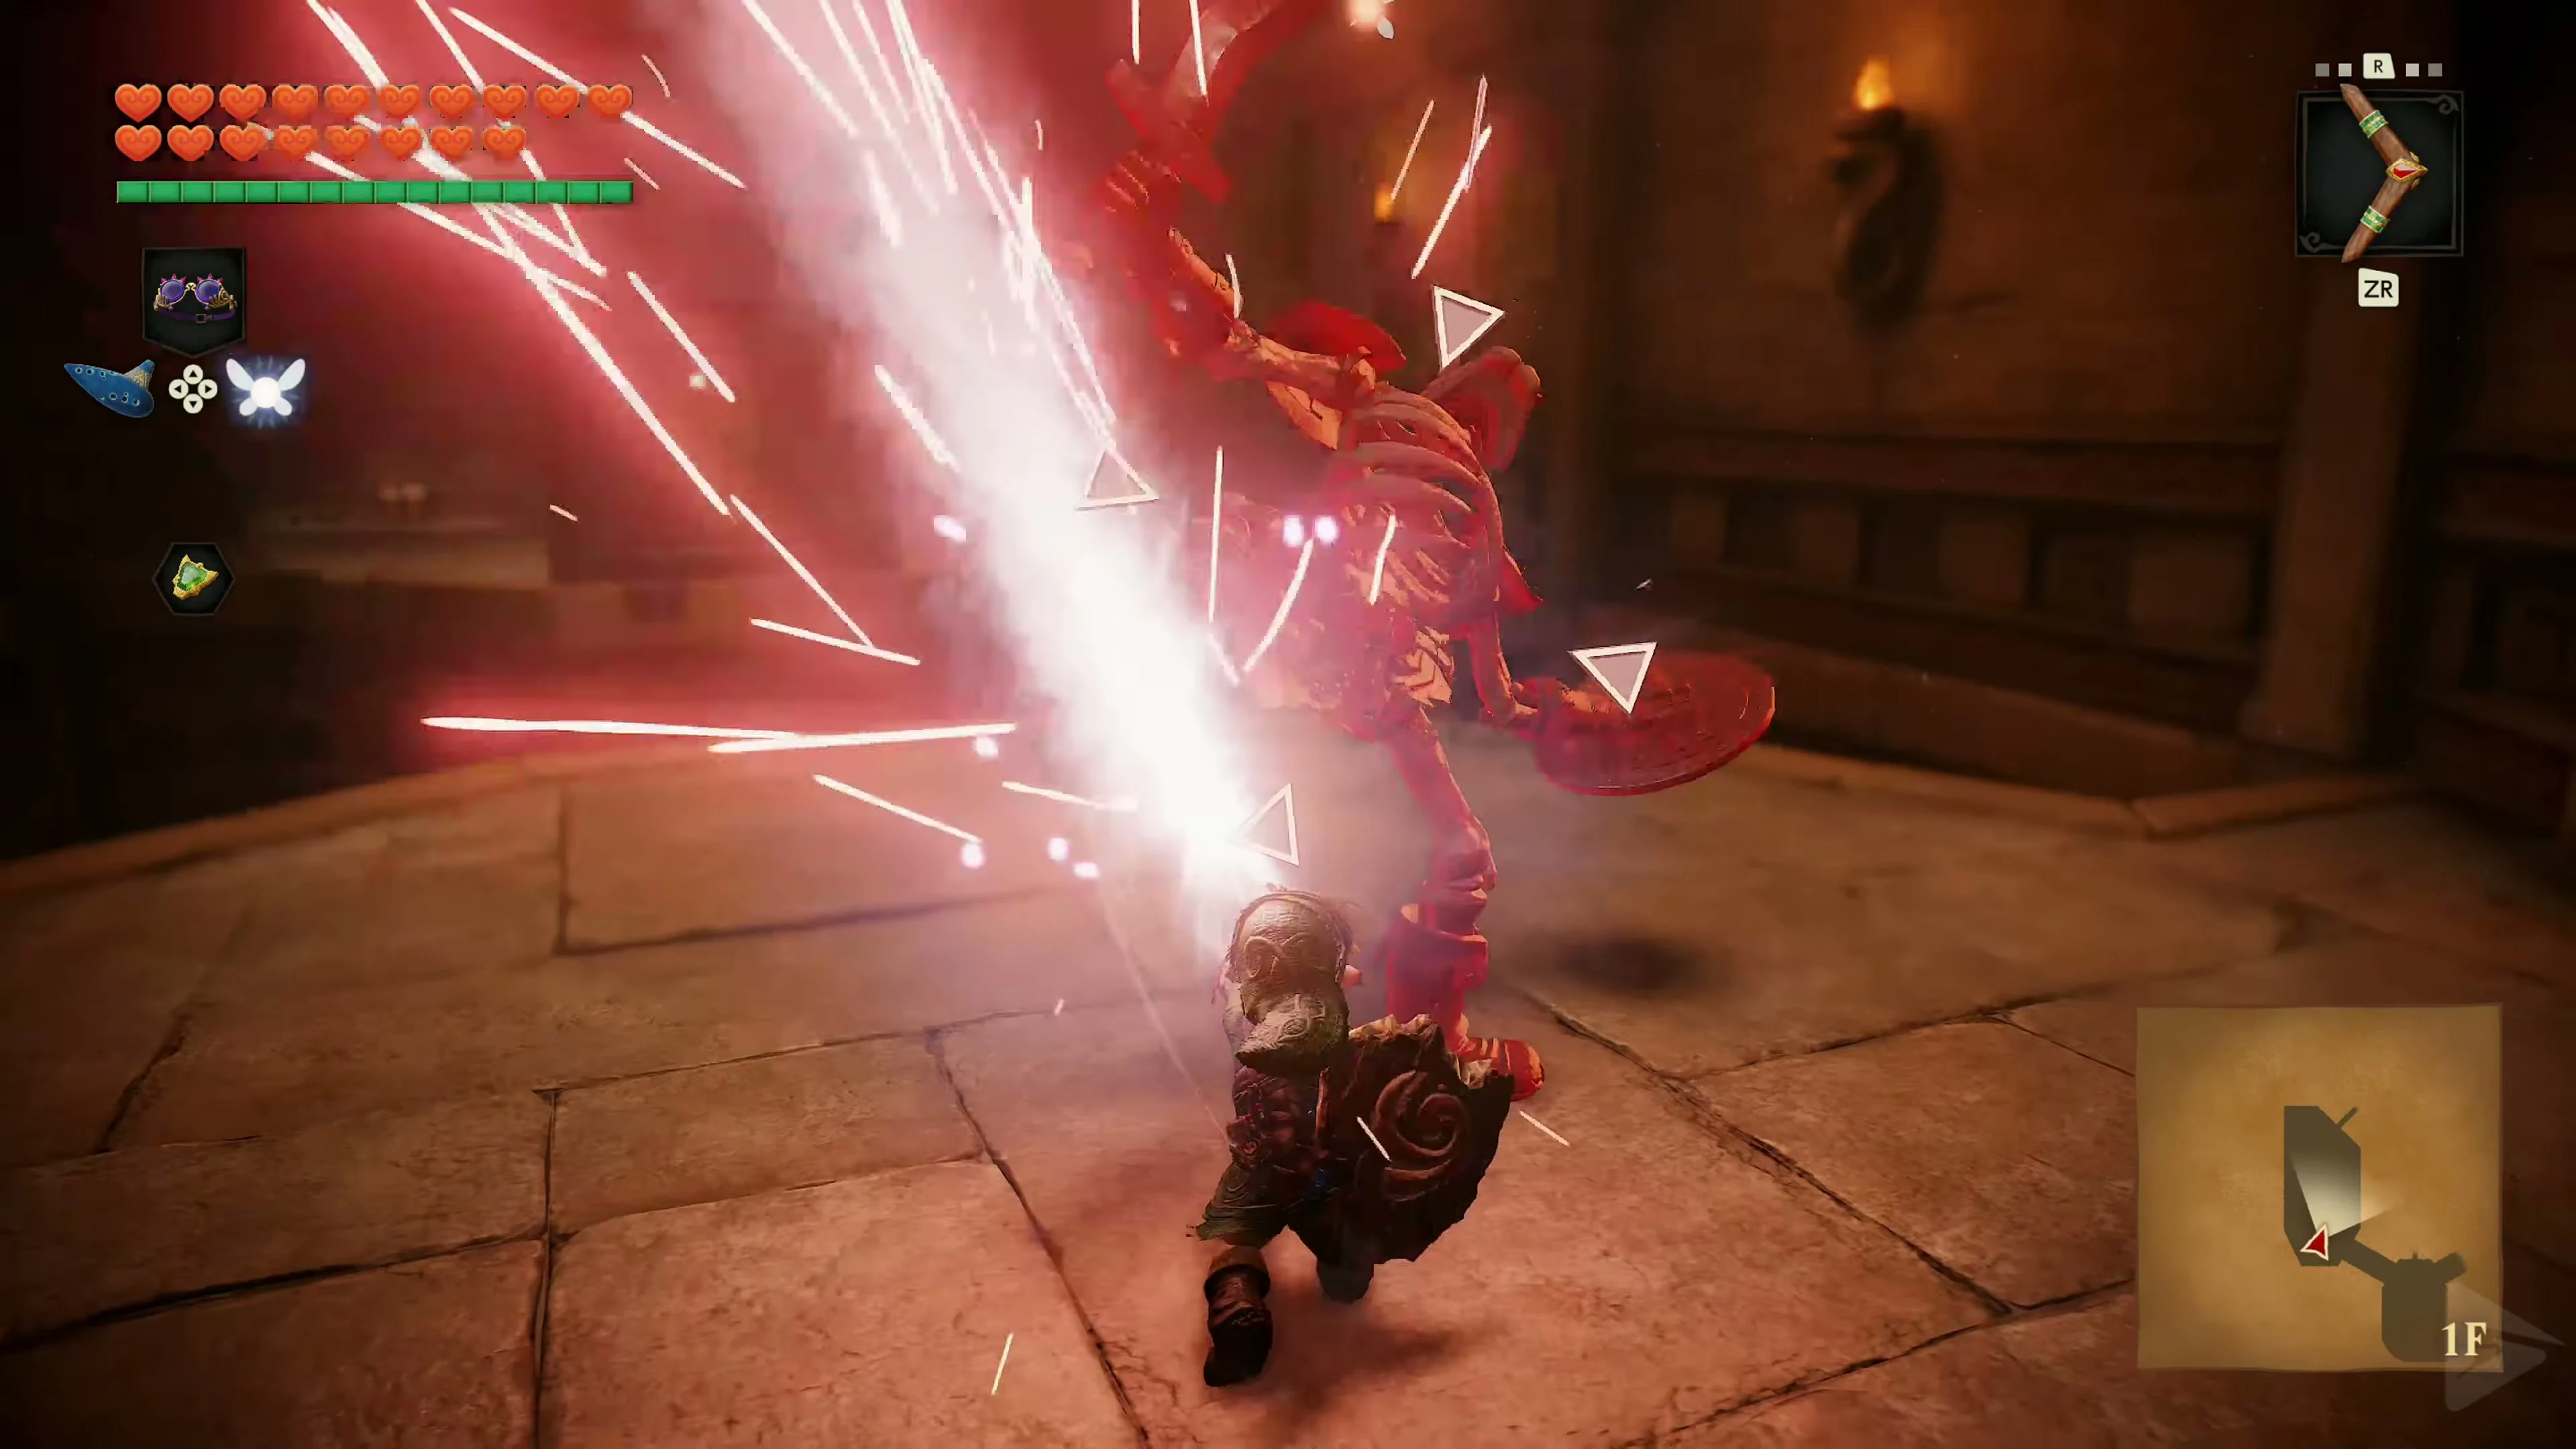
In the following area, you will encounter an Anubis for the first time. Anubis This floating enemy has an unusual property: it moves in reverse to Link. If you move to the left, Anubis moves to the right, and vice versa. Normal weapons do little to no damage. Its real weakness is fire. The easiest way to defeat it is with Din’s Fire . If you want to conserve magic, move Link so that Anubis is floating in reverse directly above the fire trap. Then activate the switch and let the flames engulf the enemy. Once Anubis is destroyed, the next door will open.
Five crystals
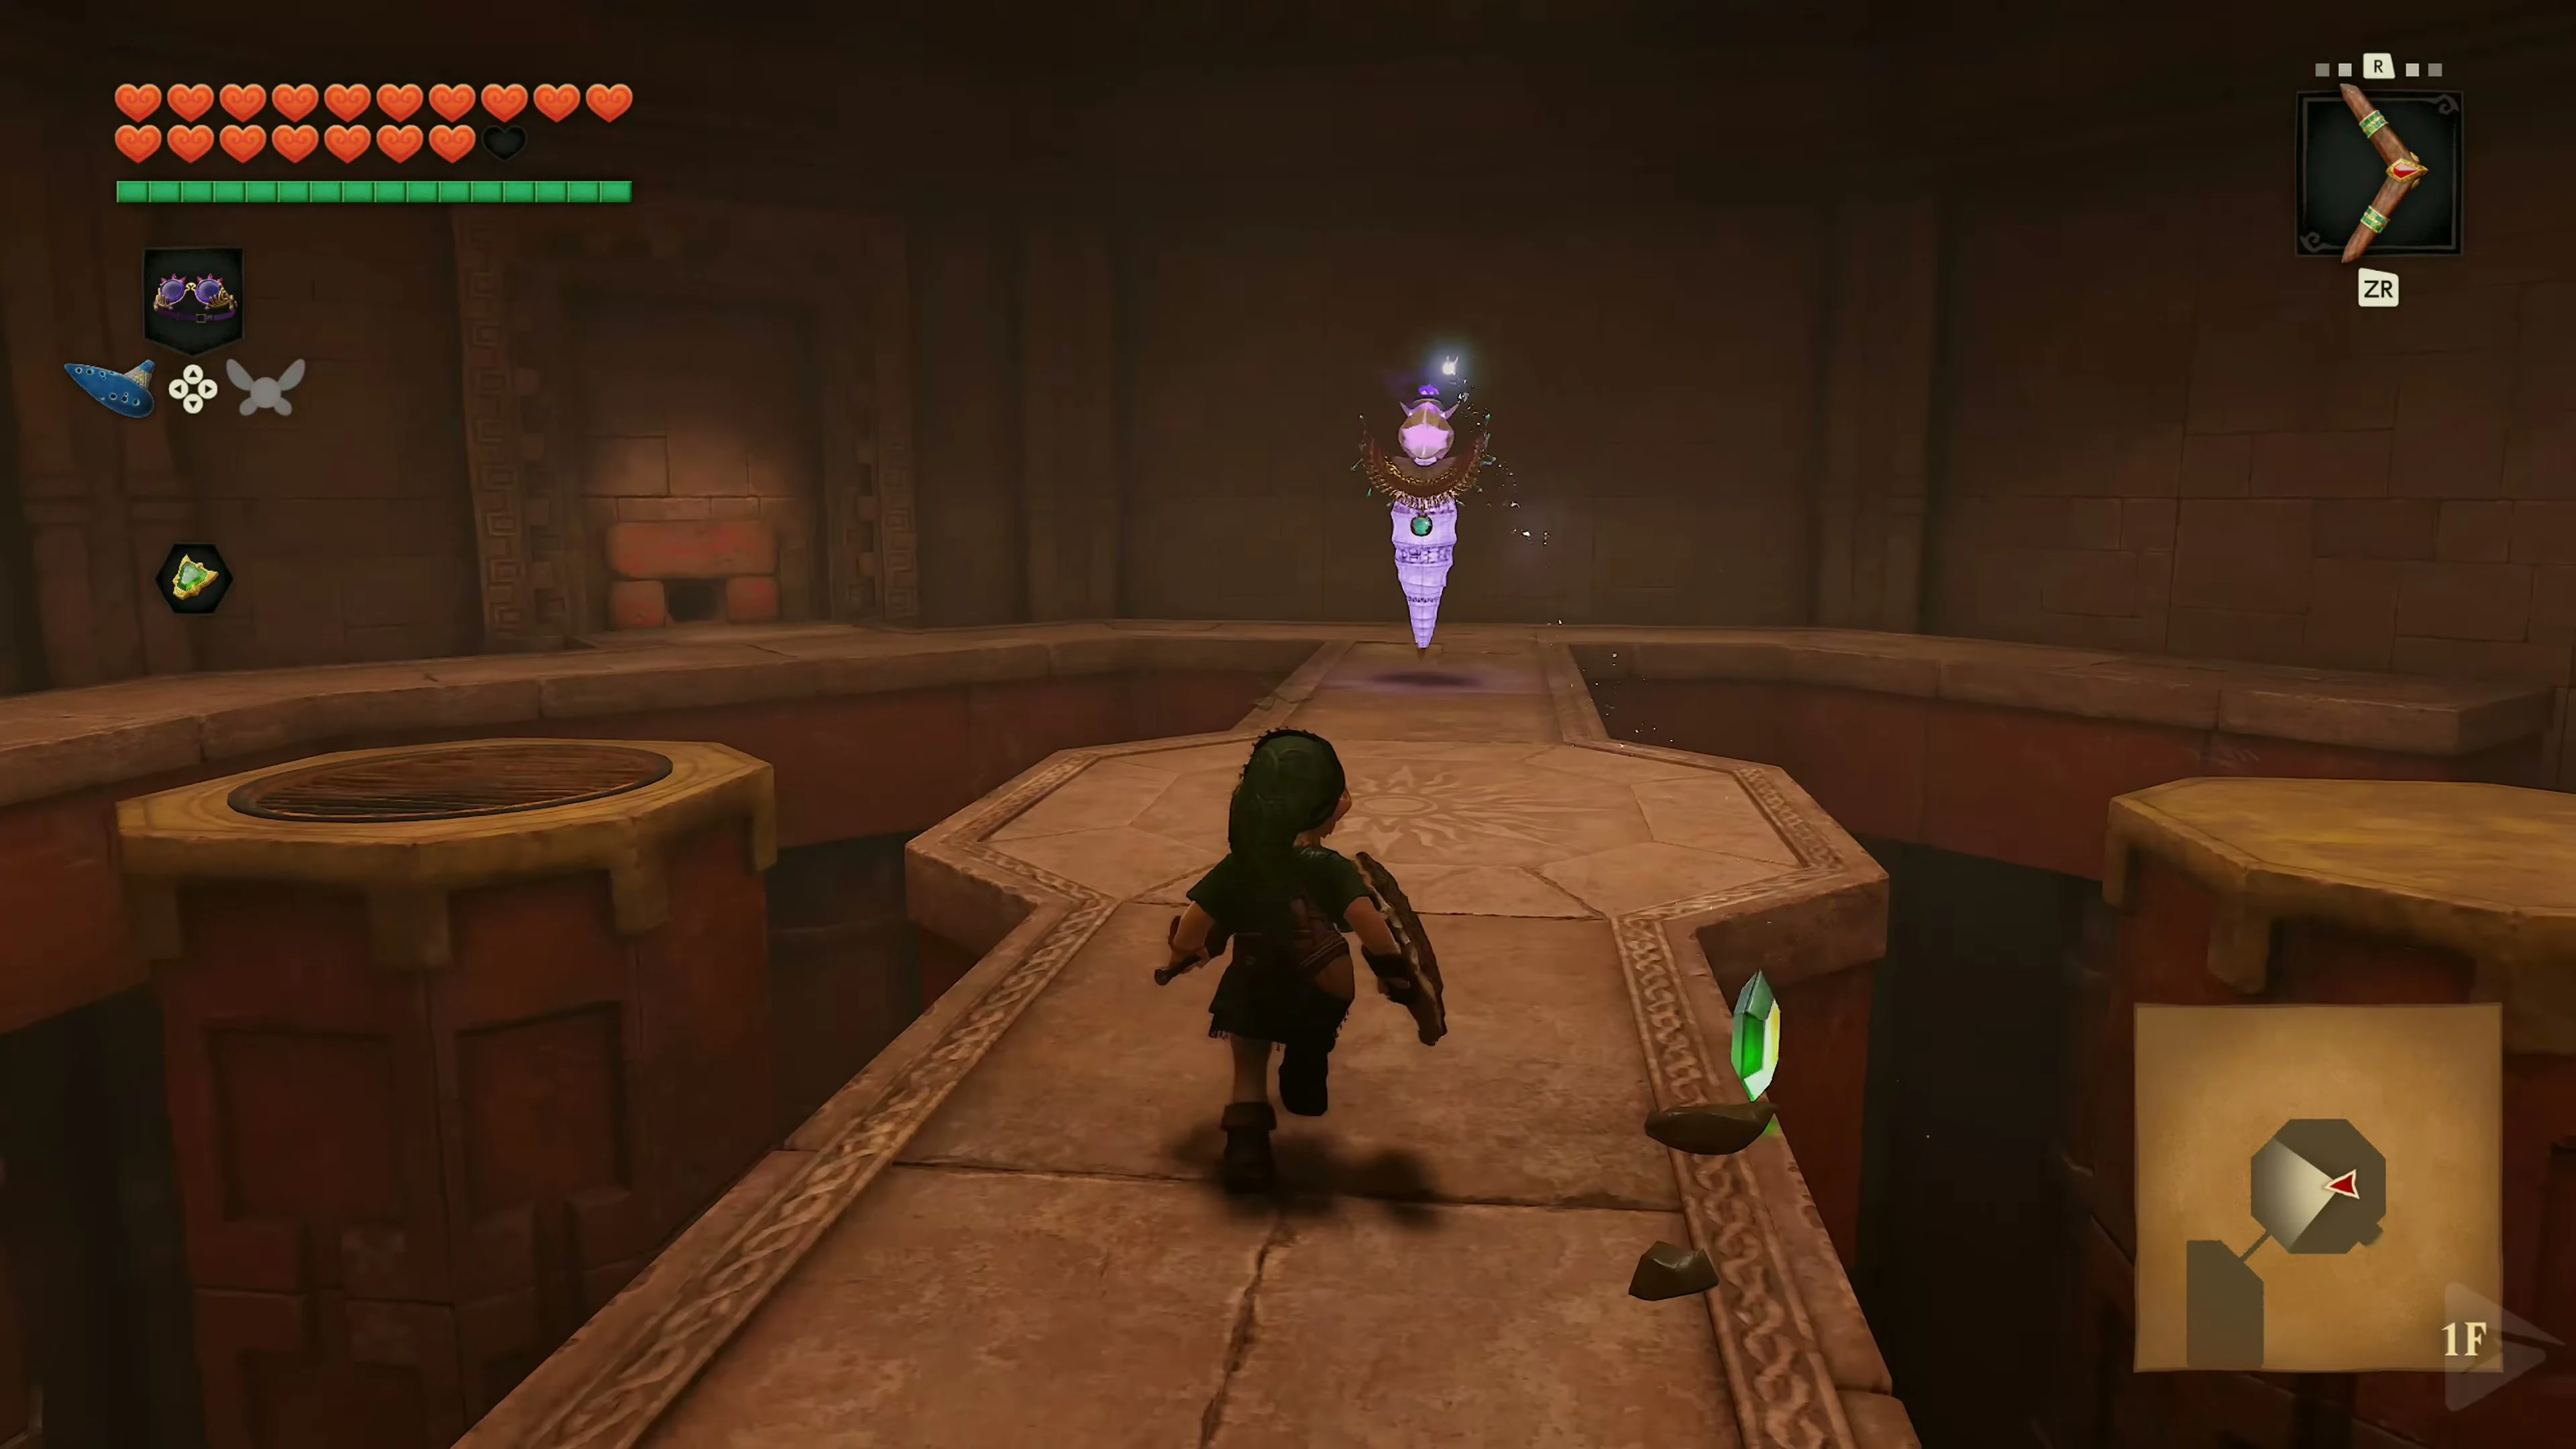
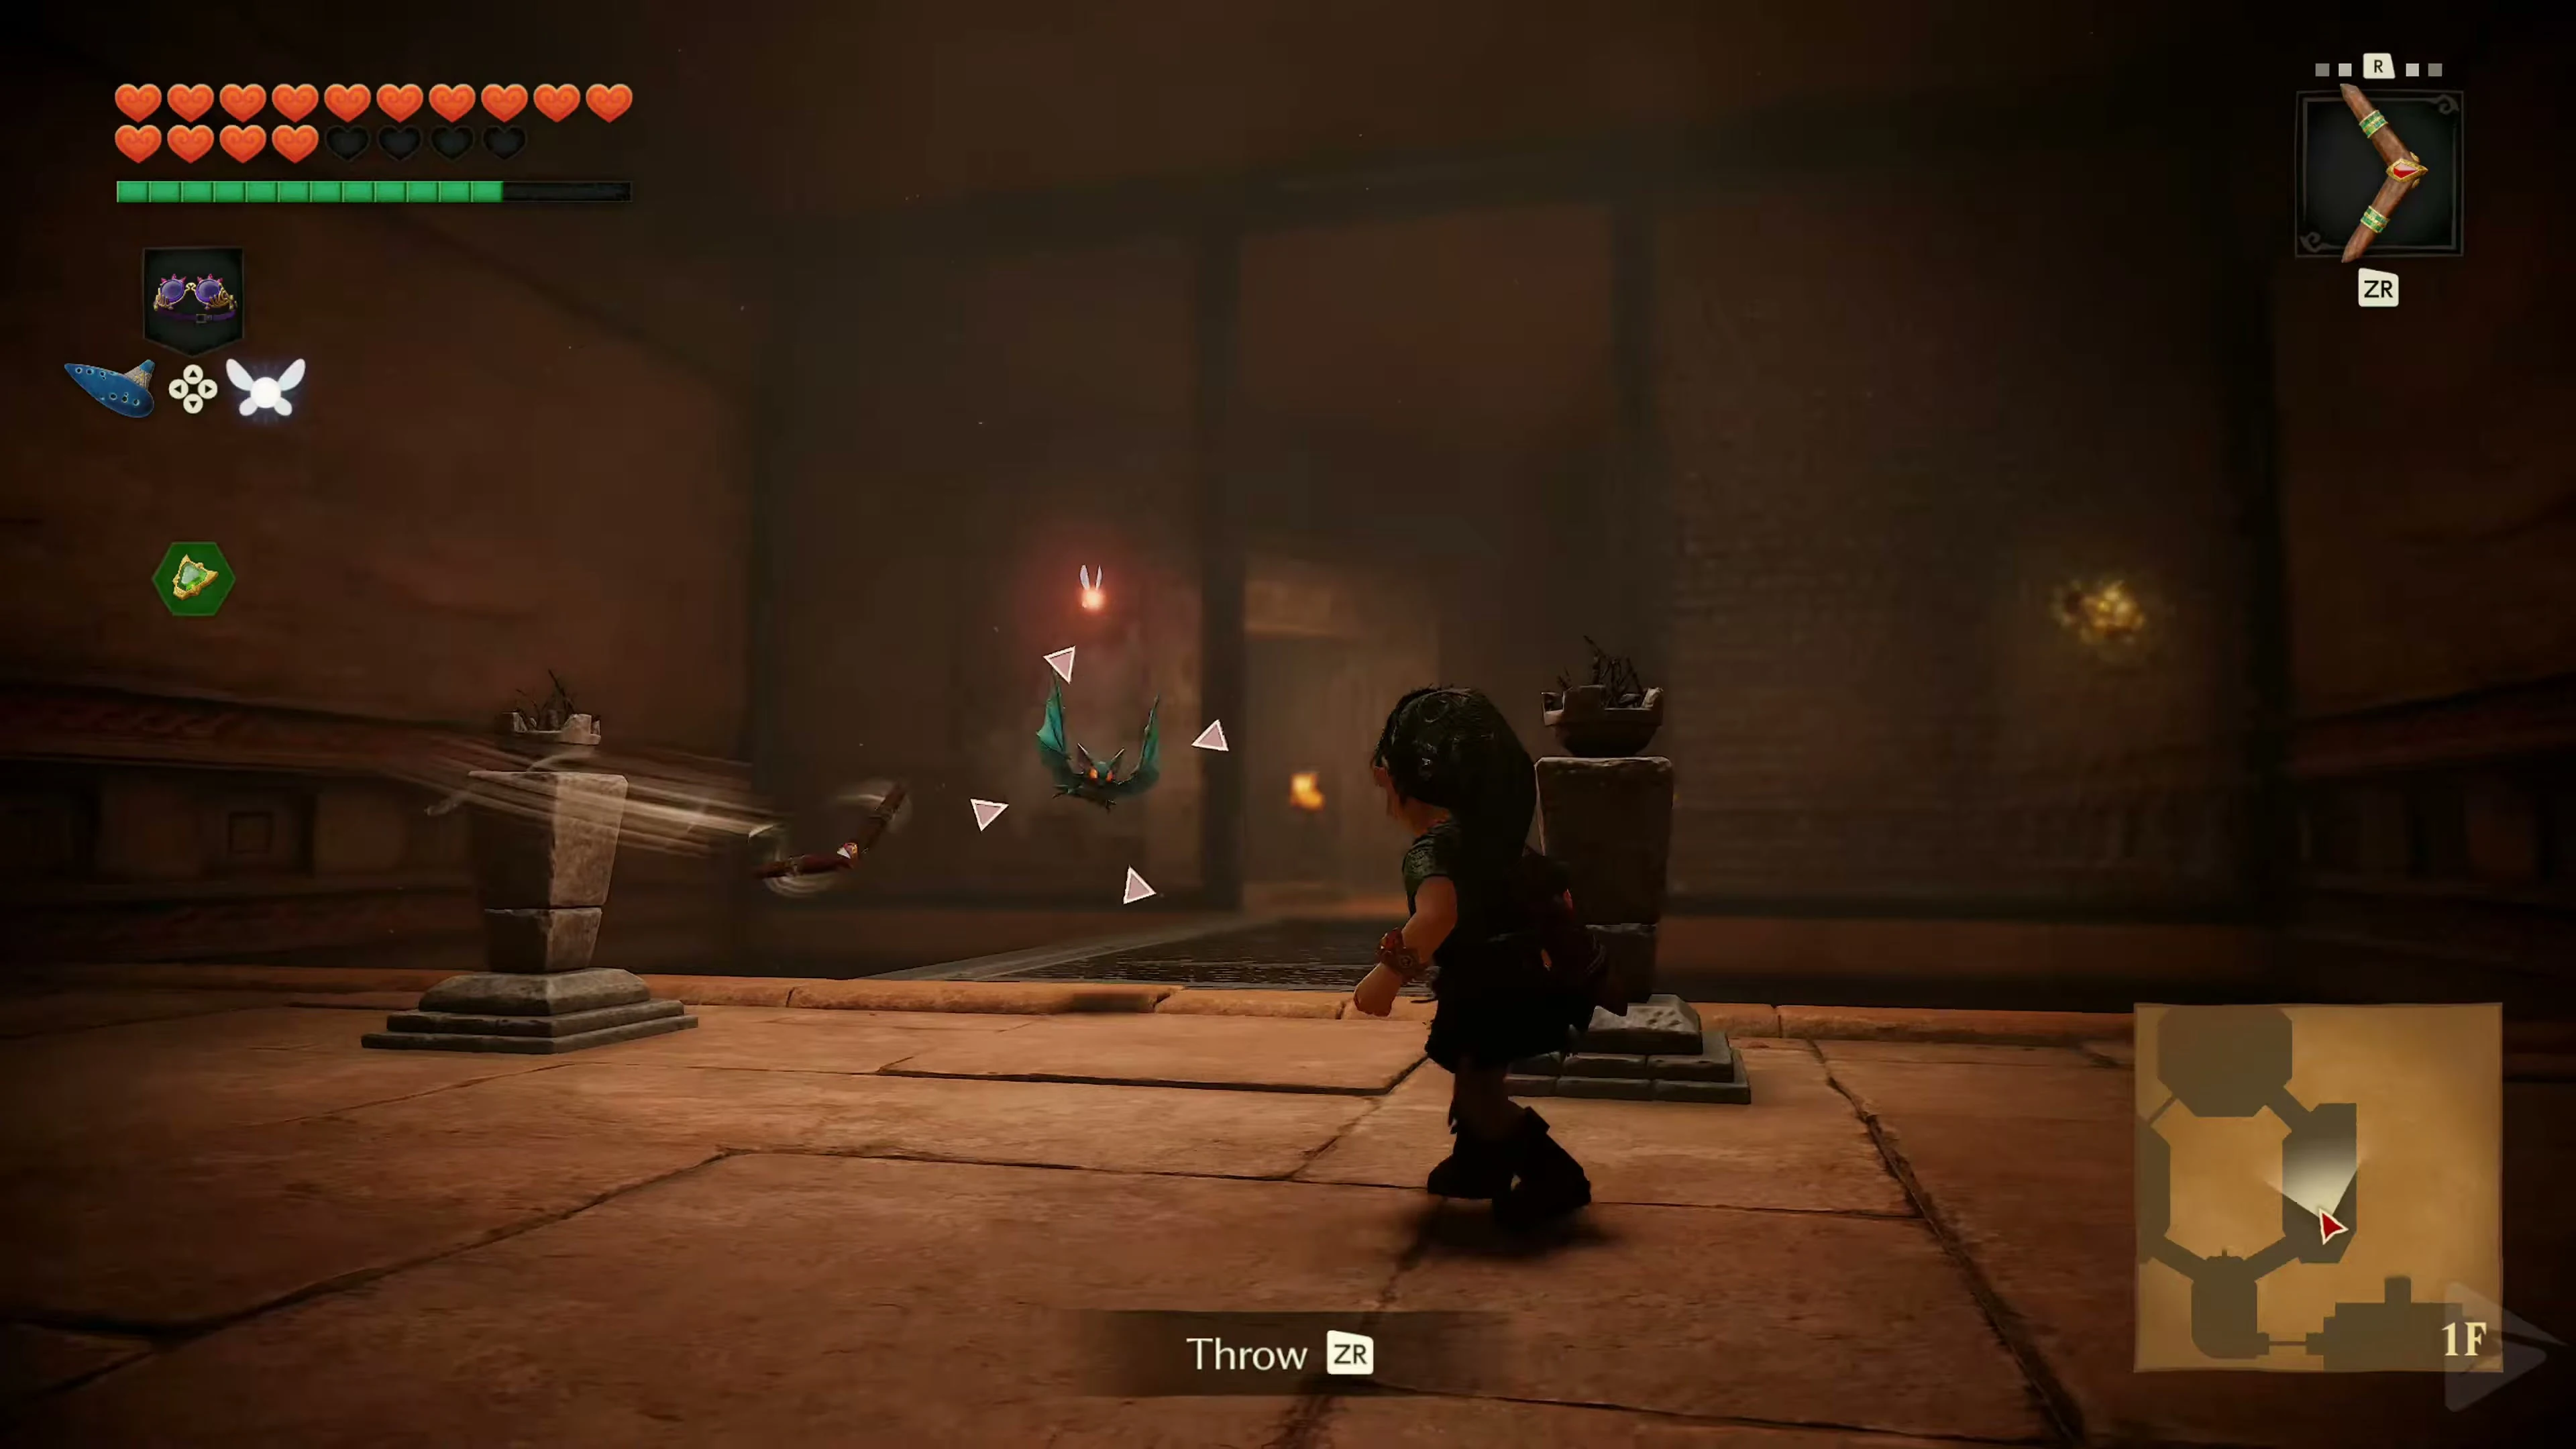
In the next room, a Wallmaster awaits on the ceiling. As soon as you hear a whooshing sound and a growing shadow appears beneath Link, keep moving. Dodge the falling hand and then defeat it so it can’t carry you back to the temple entrance. Also, eliminate the Fire Keese and collect the five crystals. enters the room. Some are located on one side of the gate; the rest become accessible after lowering the middle bridge. Once all five are collected, the gate opens.
Gold Skulltula 1/5
Cross the lowered bridge, then turn around. Gold Skulltula 1/5 is on the gate or wall behind you. Defeat it with the Fairy Slingshot and retrieve its token with the Boomerang. Stand between the two unlit torches and light them with Din’s Fire or a burning Deku Stick. Once both are lit, open the chest that appears for Small Key 1/5.
Climbing wall and second find in the statue hall
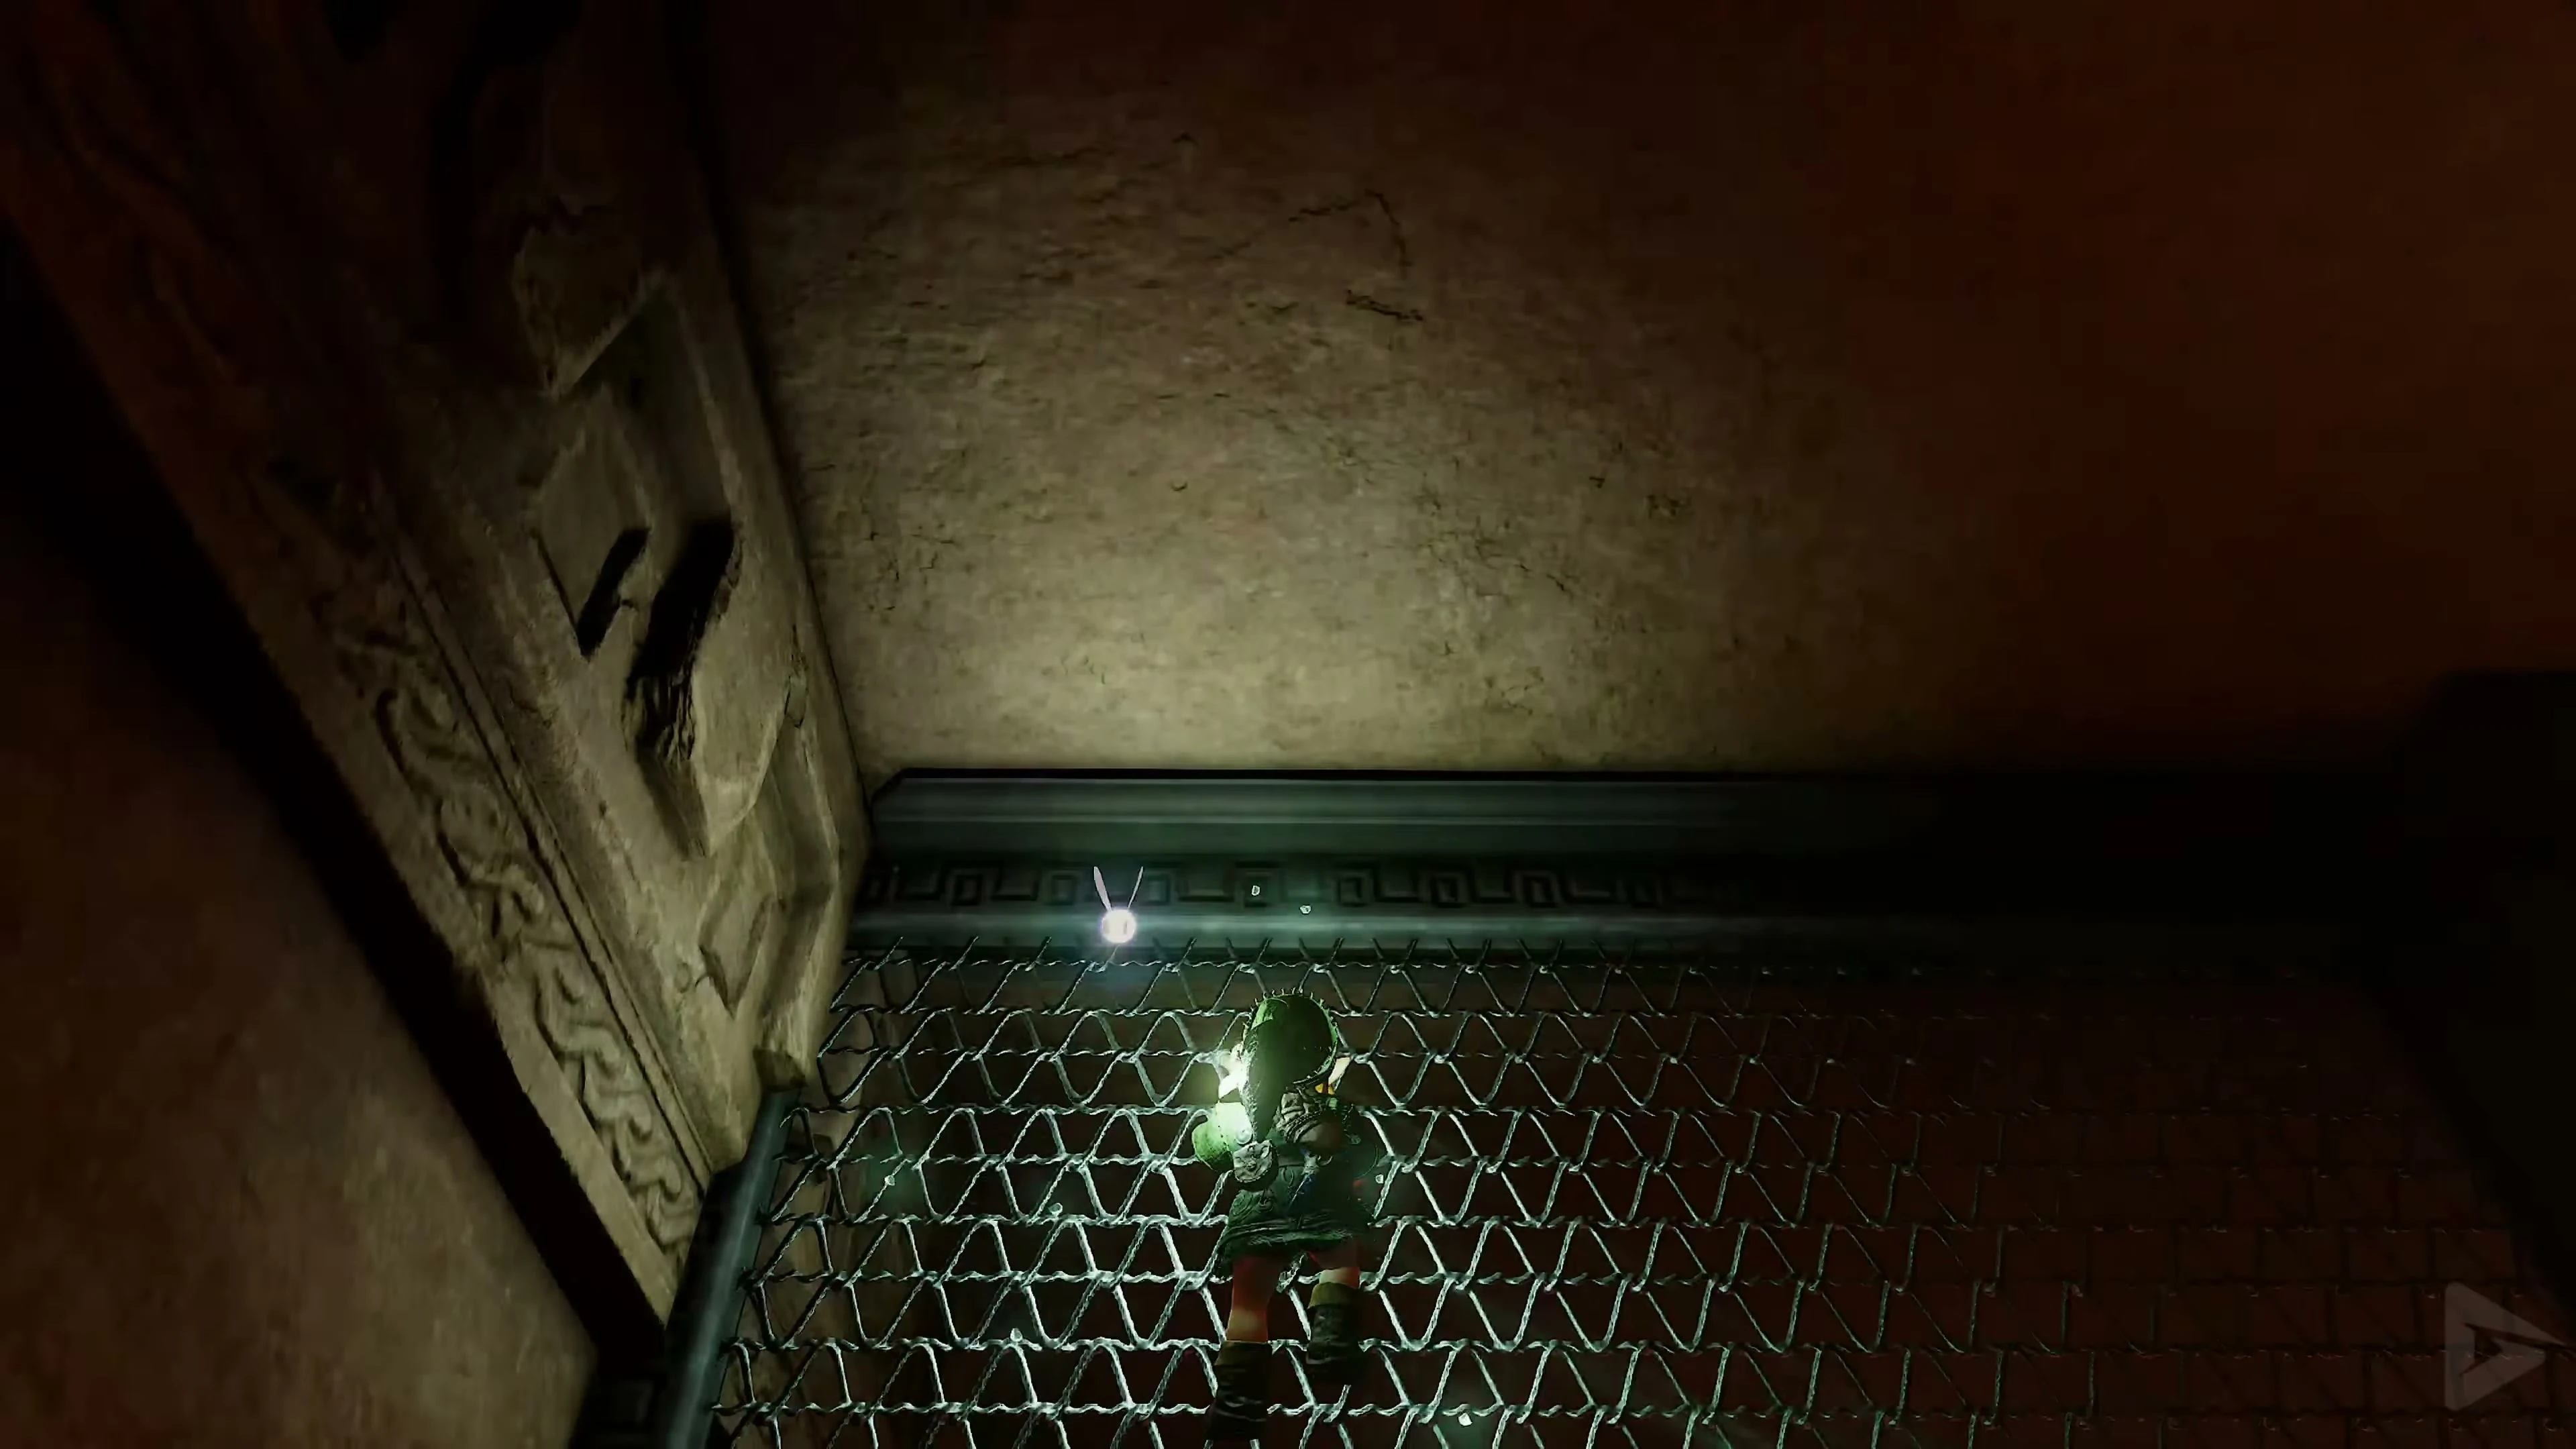
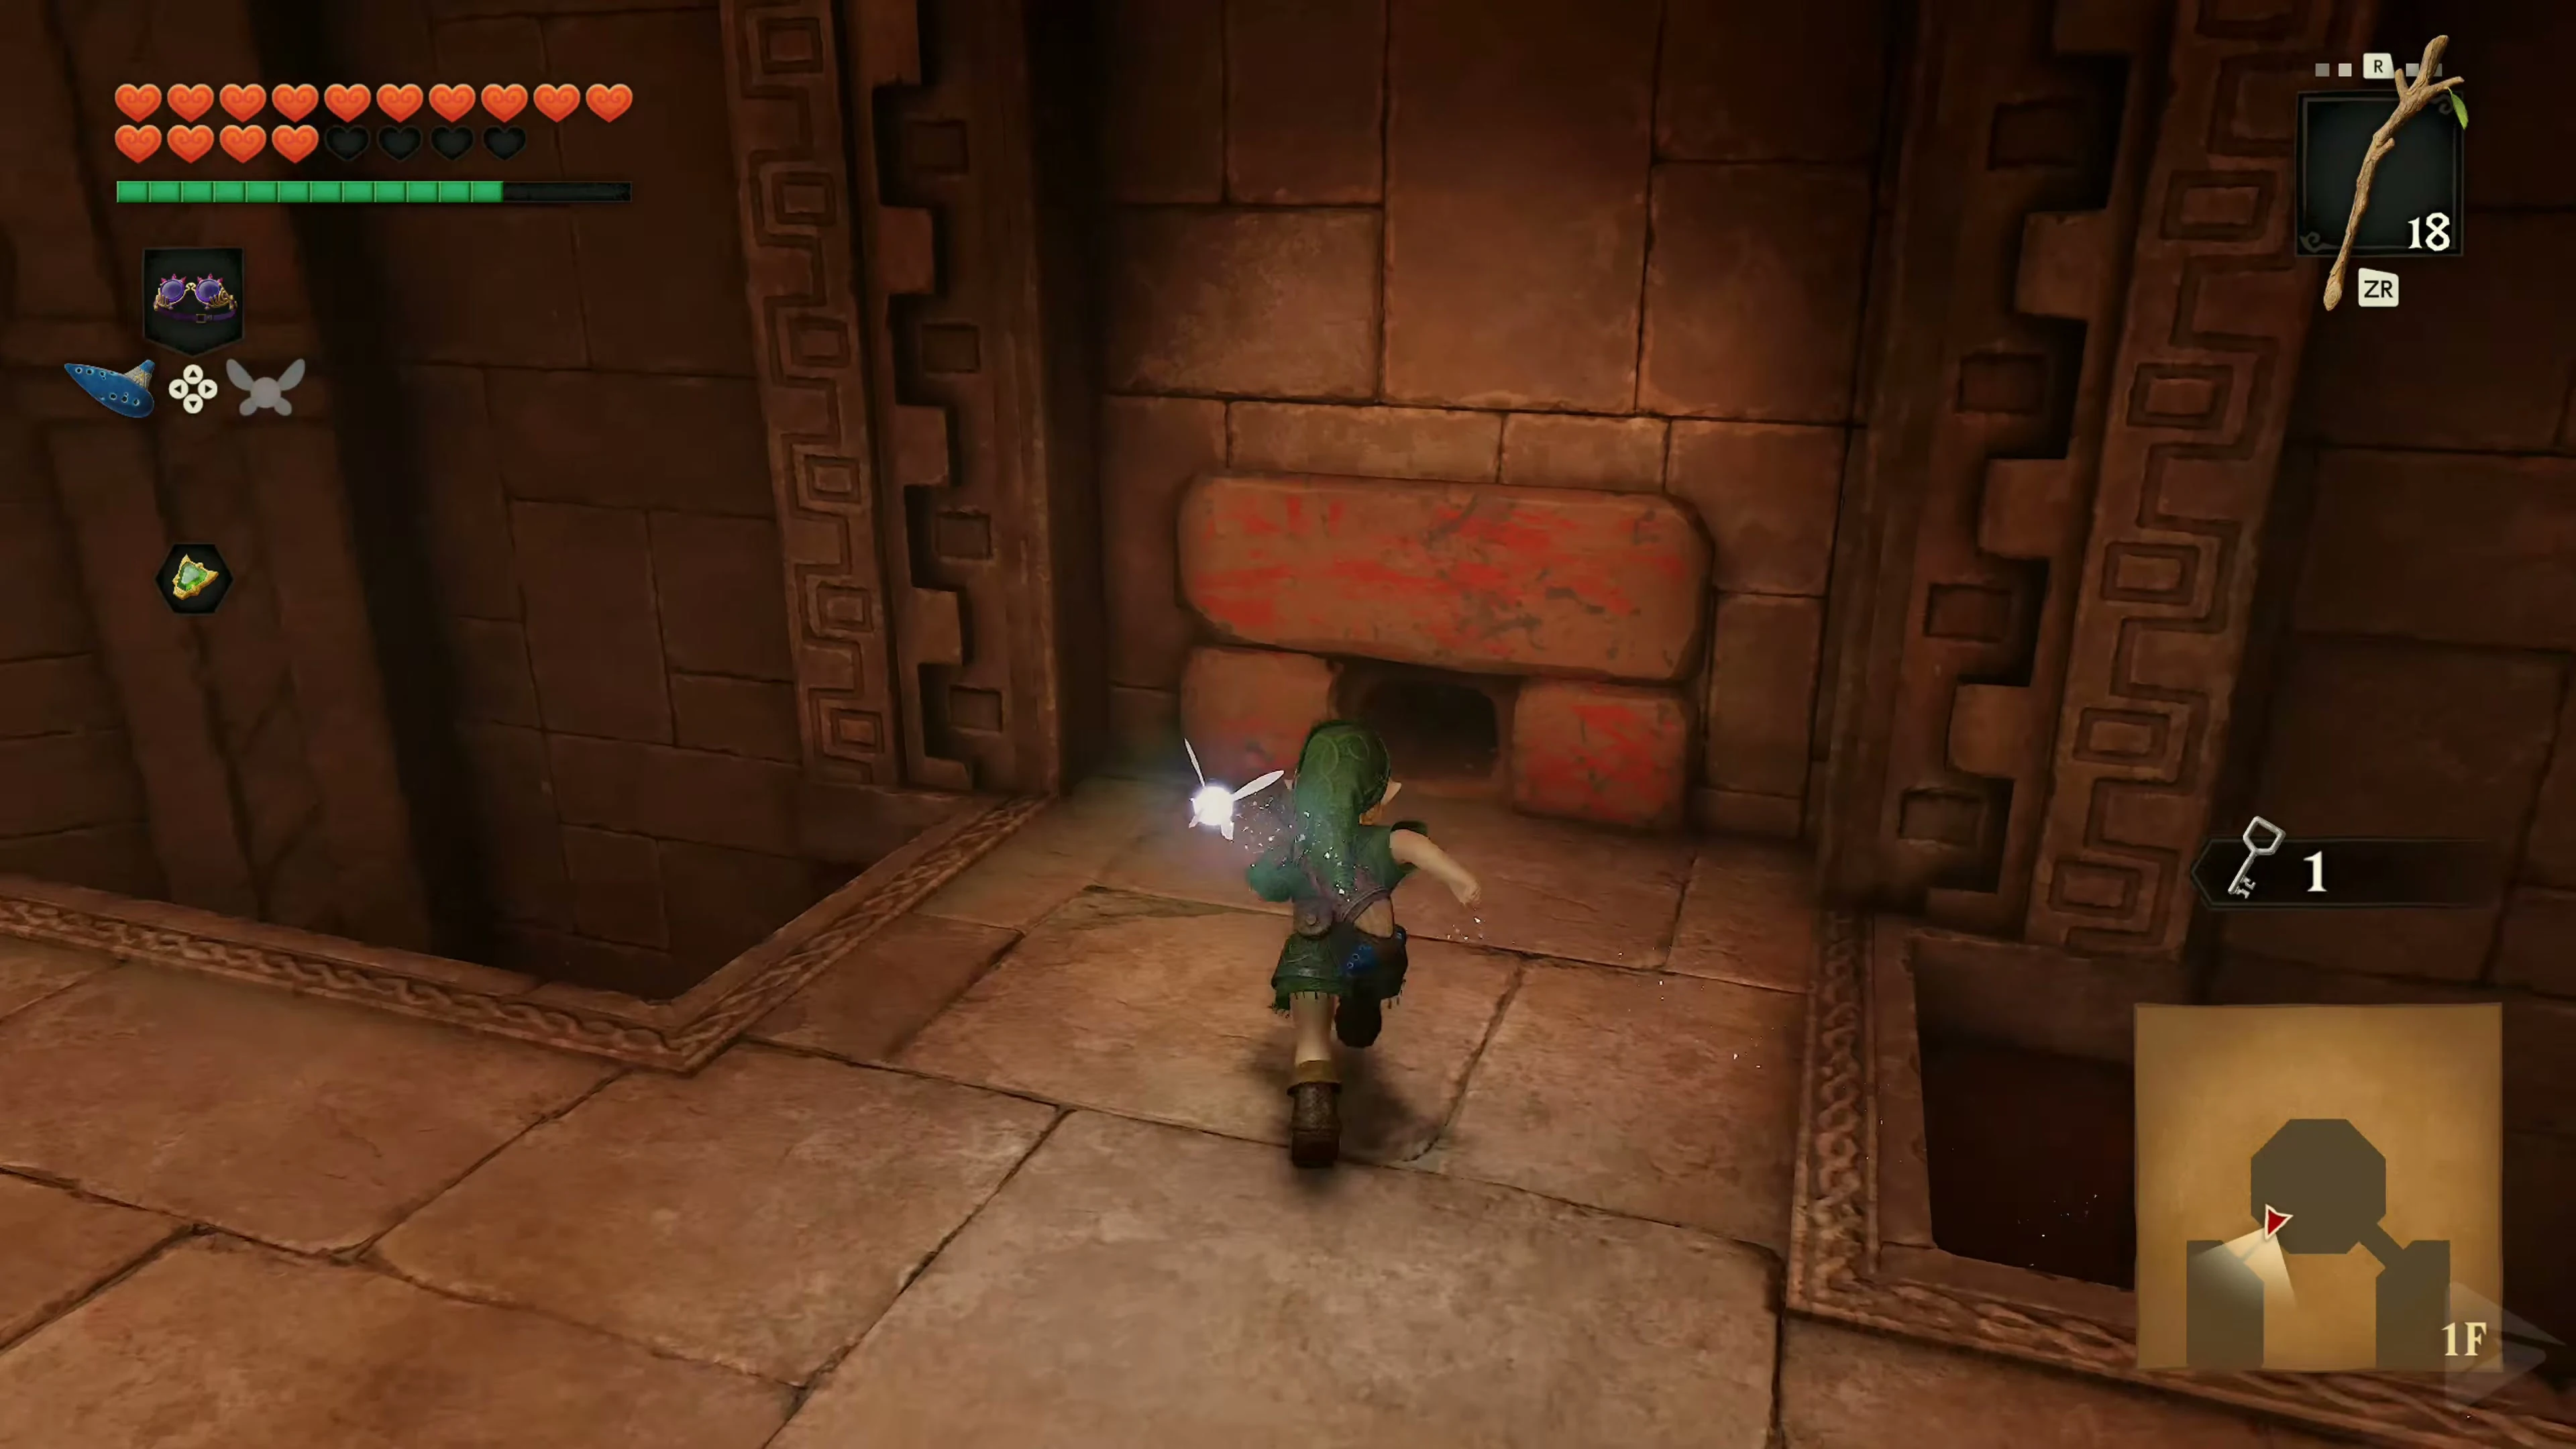
Return to the first room behind Nabooru’s crawl tunnel and this time crawl through the low opening in the wall with the red stone tablet. Open the locked door with your first Small Key. In the next room, the large climbing wall is guarded by several regular Skulltulas. Defeat the lower spiders first with the Fairy Slingshot. You can hit higher enemies with the Boomerang. Only climb up when the path is safe.
Mines and sunlight.
Enter the next room and take a few steps inside. Two Lizalfos will appear and attack Link. Defeat both and then activate the crystal switch with the Boomerang. Two small treasure chests will fall from the ceiling. One contains Bombchus , the other a Blue Rupee. A bright ray of sunlight shines through a small opening in a wall. A rock partially blocks the path of light. Position yourself so that you can target the rock with the aim lock and deploy a Bombchu. It will travel up the wall and explode on the obstacle. After the explosion, the sunlight will shine unimpeded onto the sun switch on the floor. Once the token is fully illuminated, the next door will open.
The Great Hall and the Dungeon Map
You now reach the monumental main hall of the Spirit Temple. A massive statue of a desert goddess stands enthroned in the center. Many paths in the adult section will later lead through this room as well. First, push the Armos statue on the left side off the edge so that it lands on the floor switch of the lower level. This will unlock the door at the top of the stairs. Before proceeding, let’s retrieve the Dungeon Map . Light a Deku Stick at the burning torch and jump down to the lower level. Run quickly to the two unlit torches in front of the large statue and light them one after the other. Alternatively, you can use Din’s Fire again. Once both torches are lit, a large treasure chest will appear. Open it and take the Dungeon Map. Then climb back up to the upper level and go through the door you opened earlier. Before leaving the hall on the first floor, search the northeast wall. The temple’s second Gold Skulltula is there. Defeat Gold Skulltula 2/5 and retrieve its Token with the Boomerang .
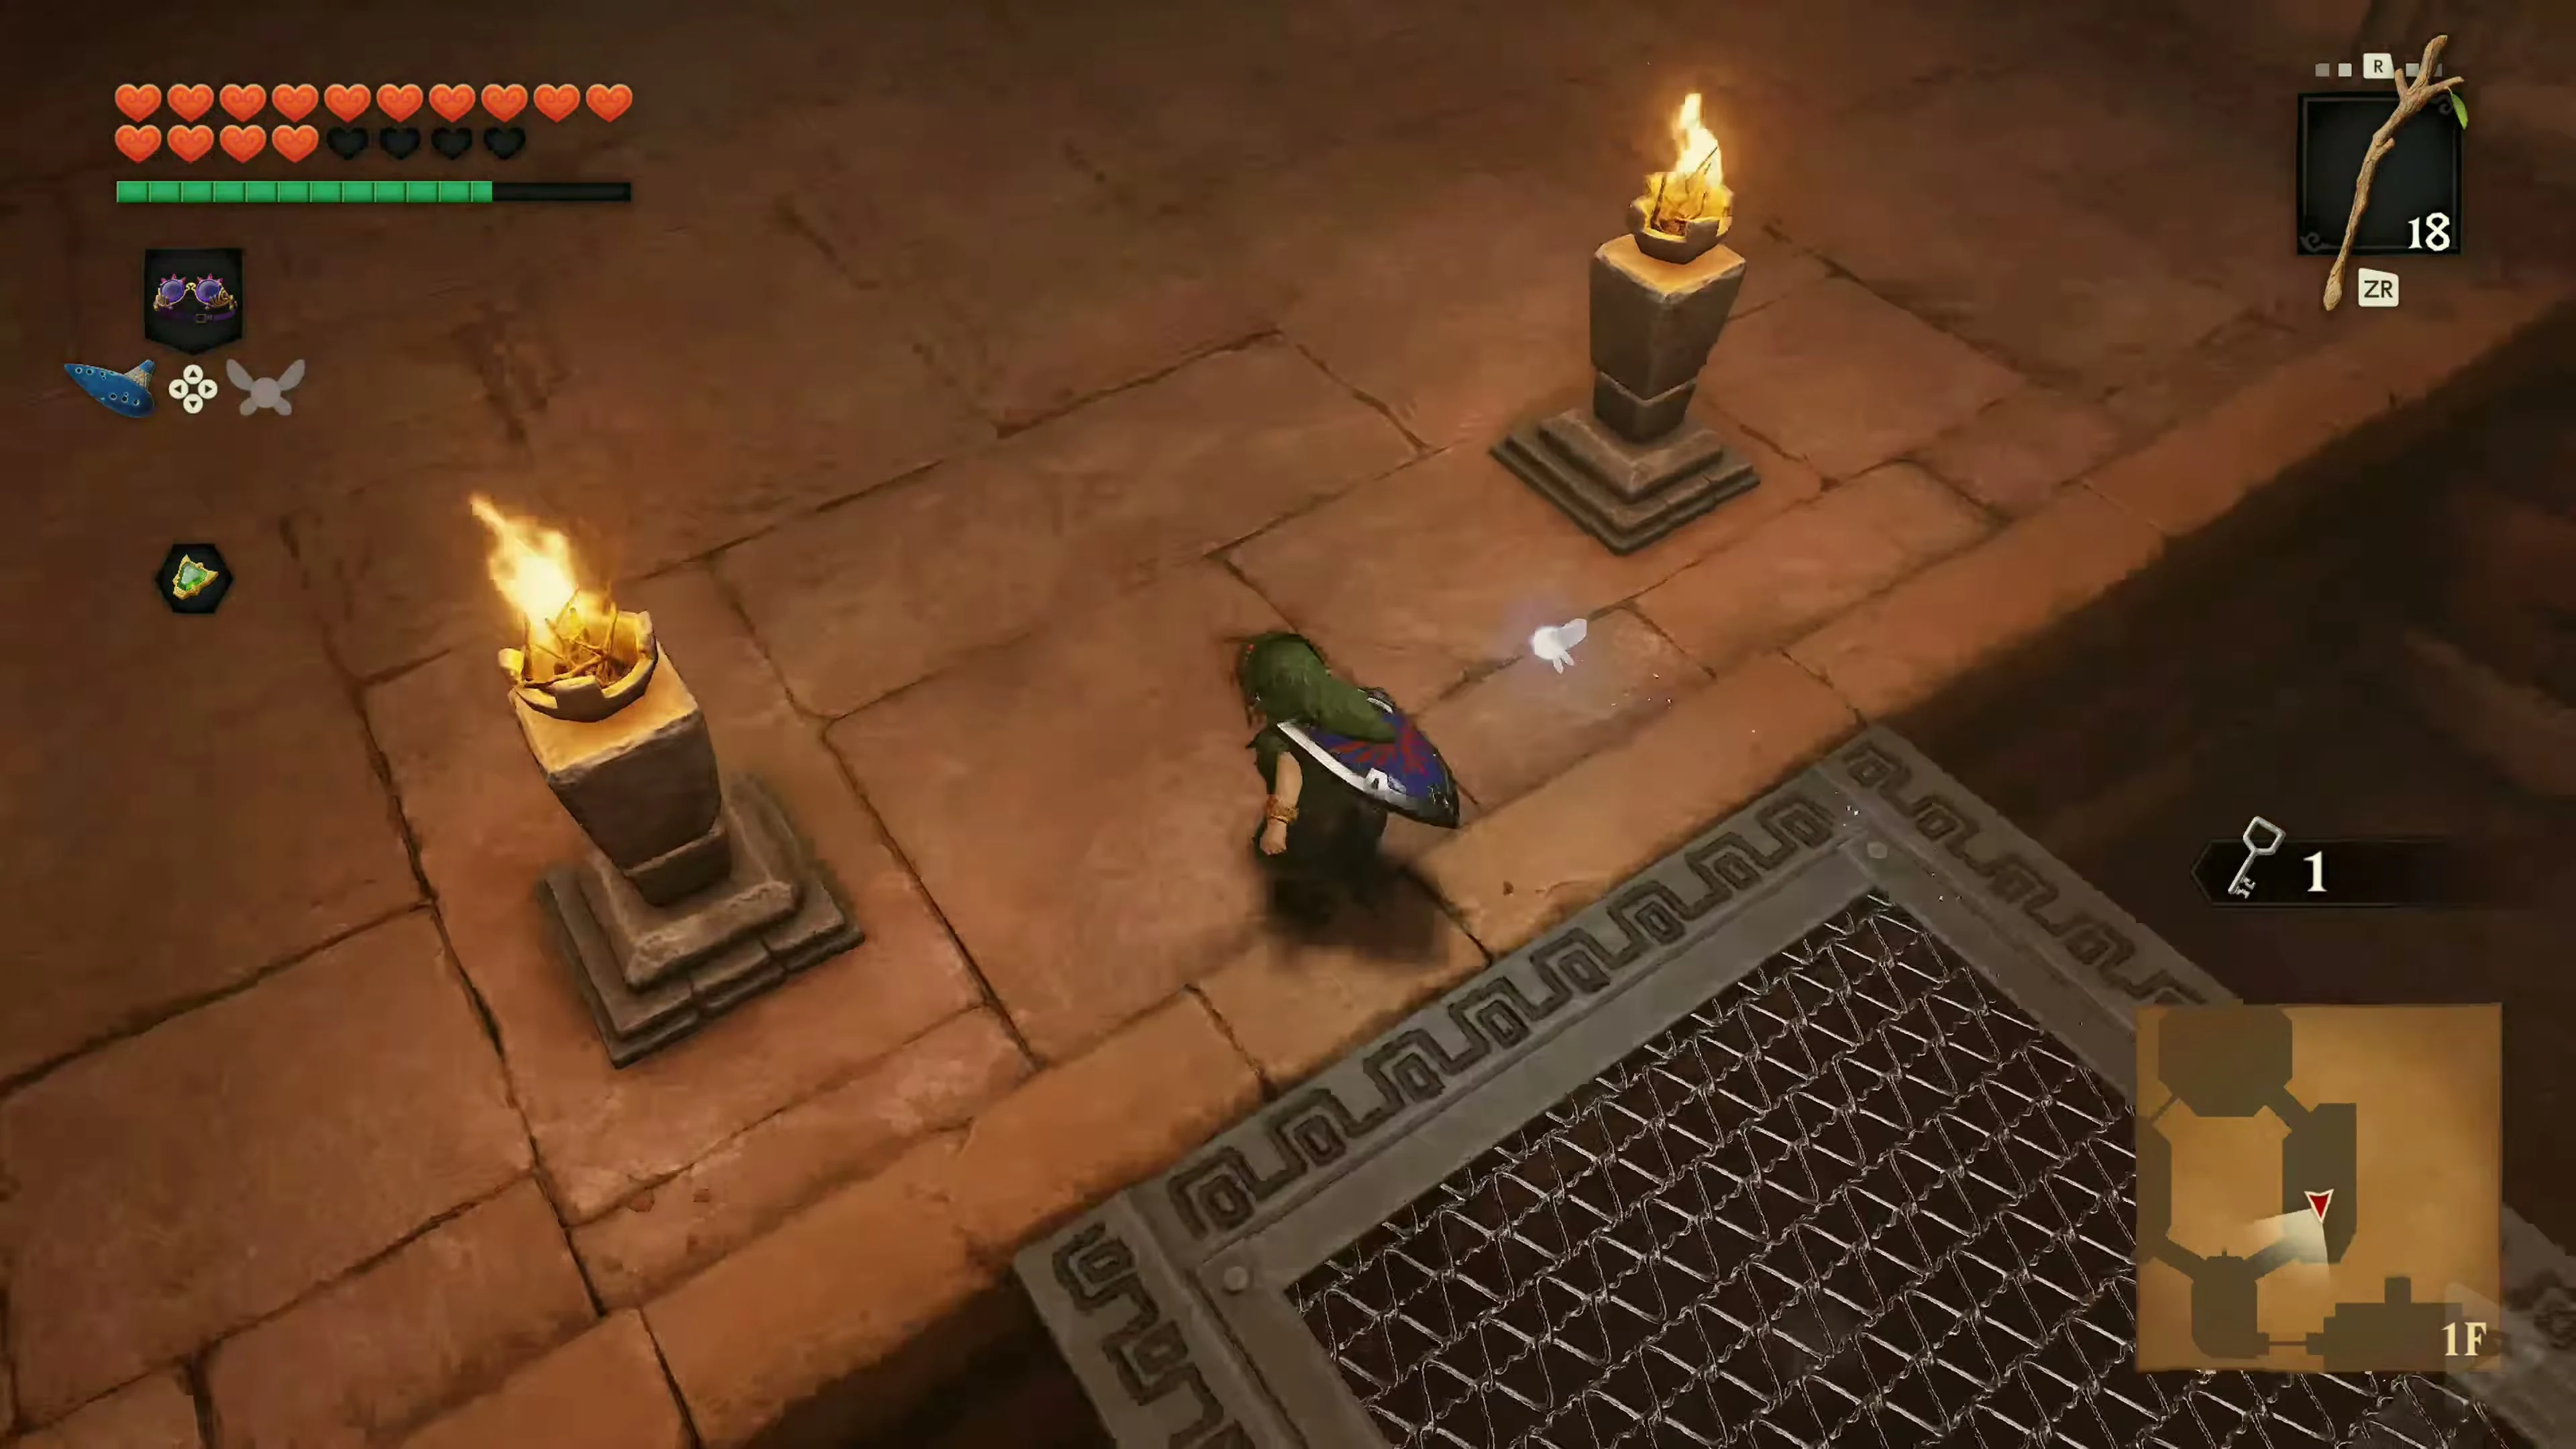
![Link stands by the torch in front of the large statue..` ] Push the Armos statue onto the lower floor switch](https://zeldacollection.de/wp-content/uploads/2026/11/ocarina-of-time-geistertempel-switch-2-4k-57844.webp)
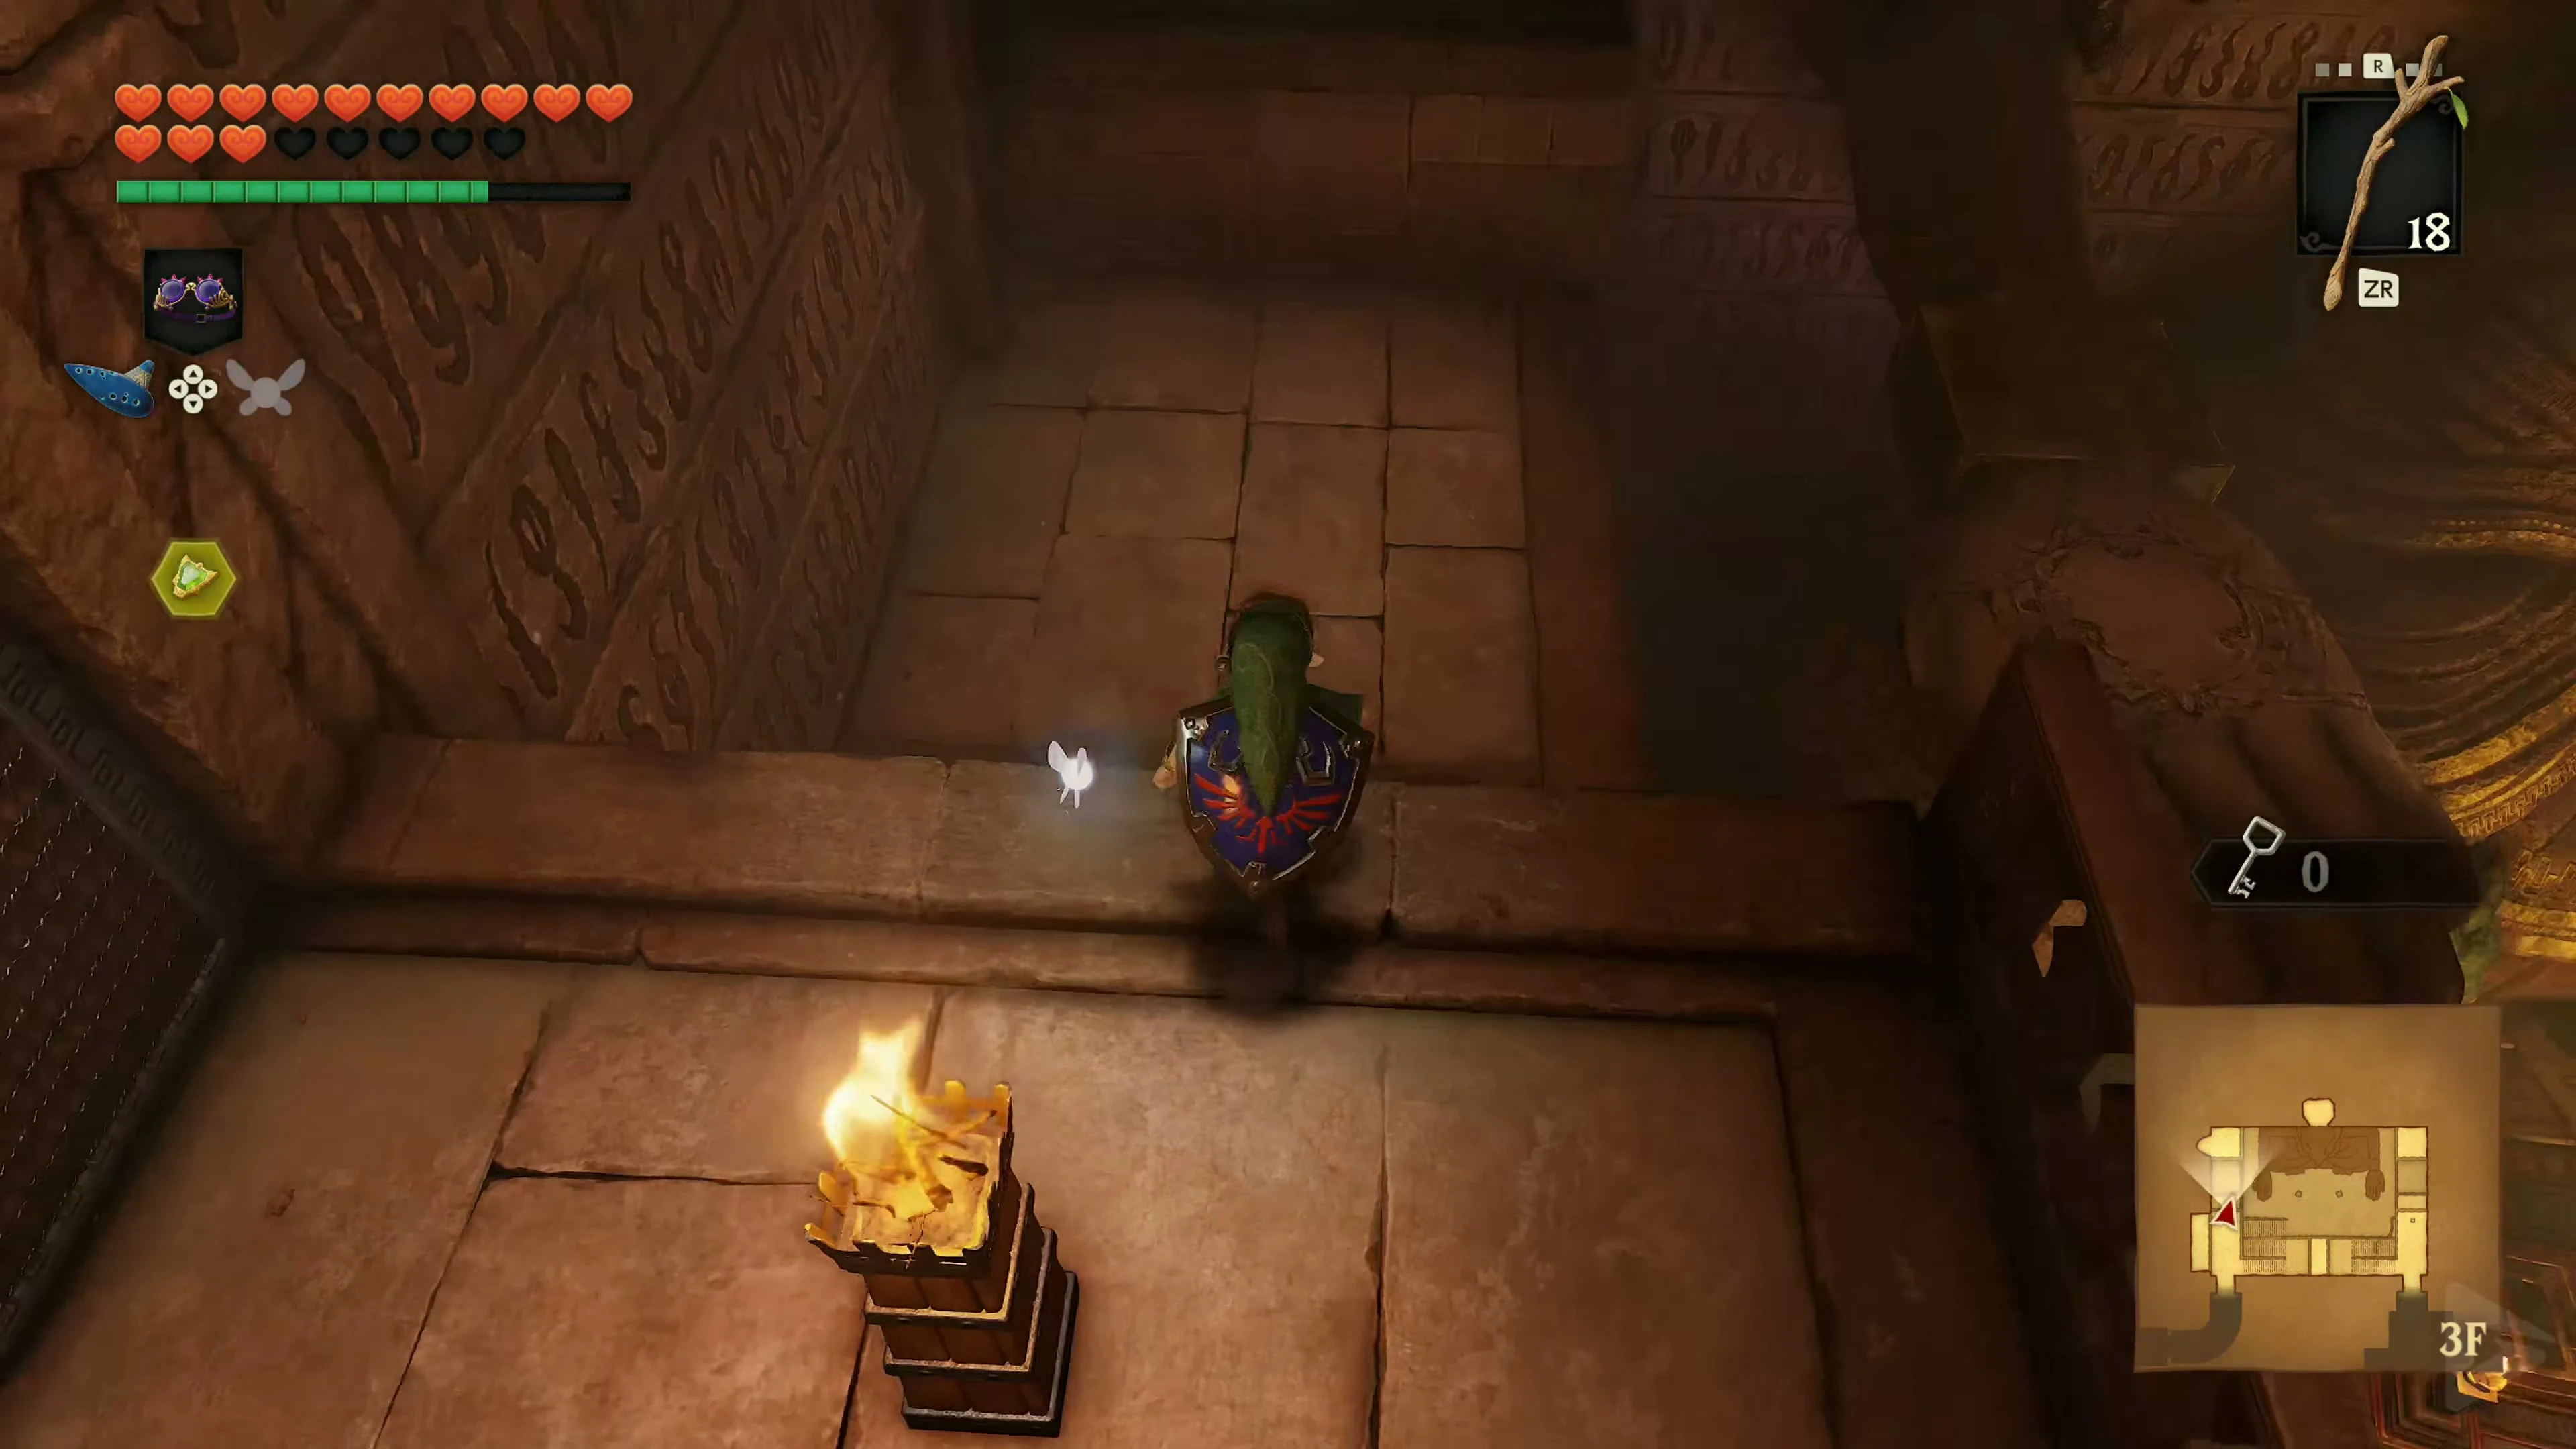
Small Key 2/5
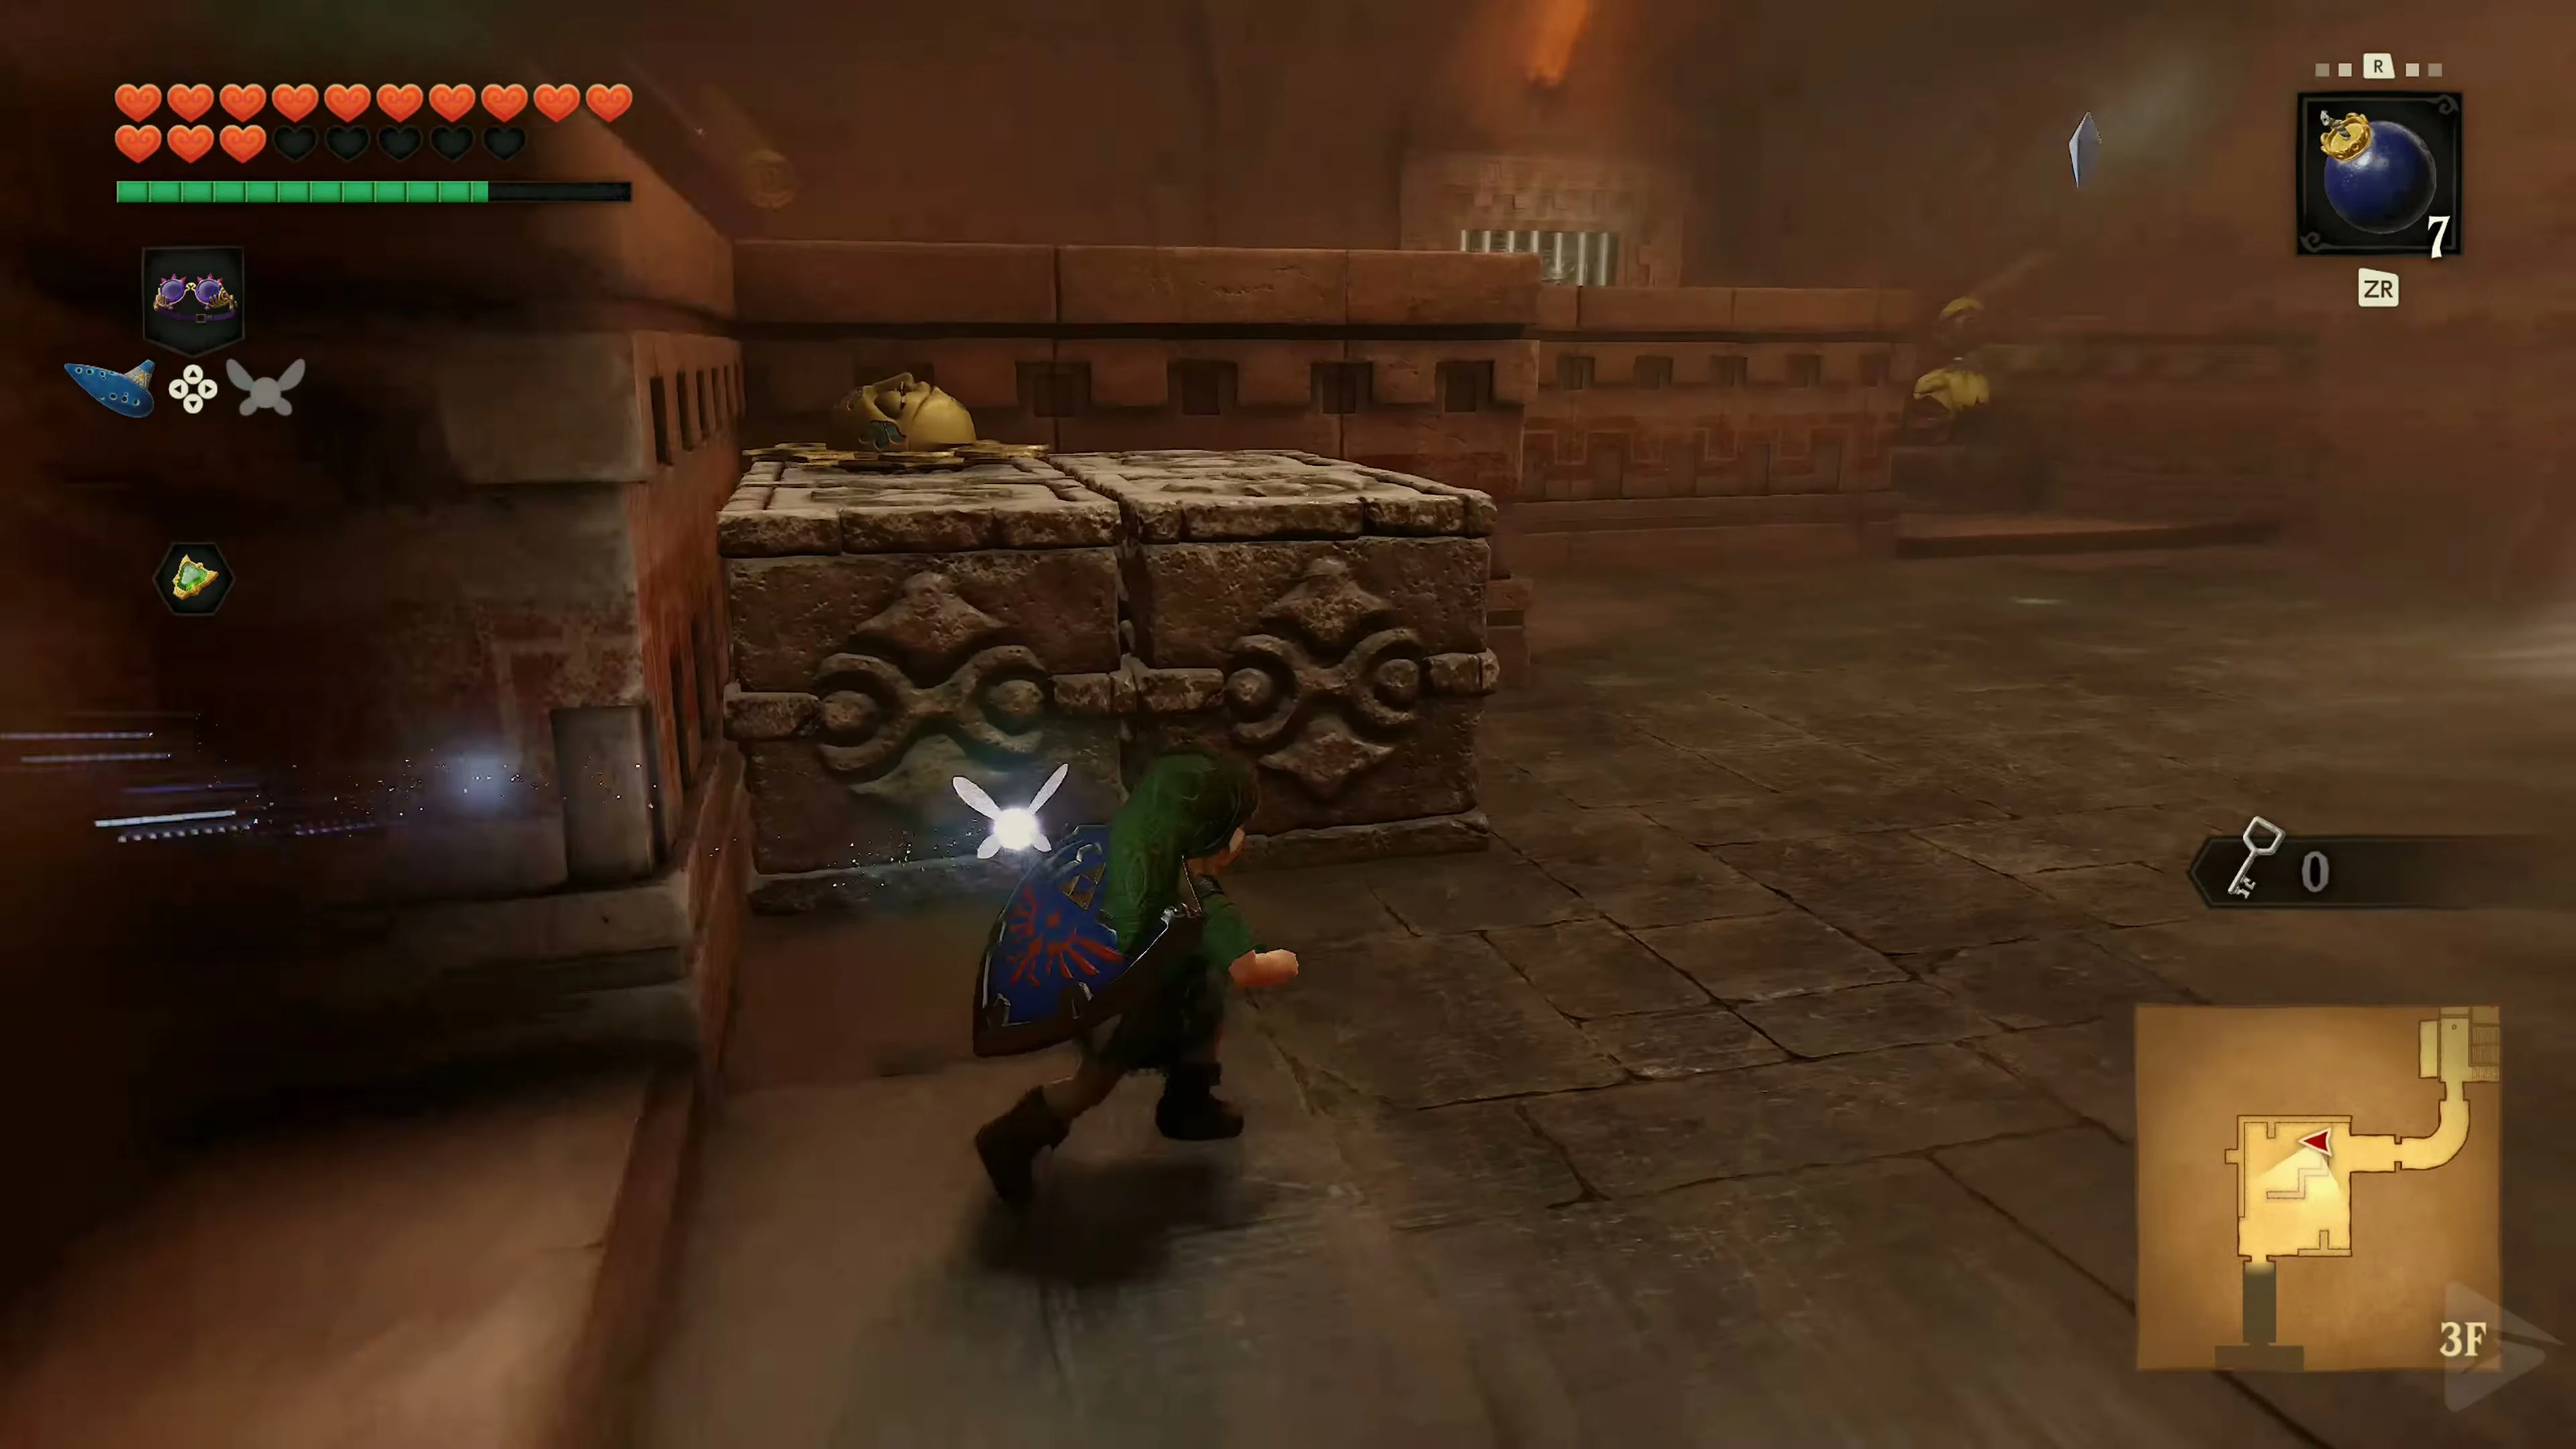
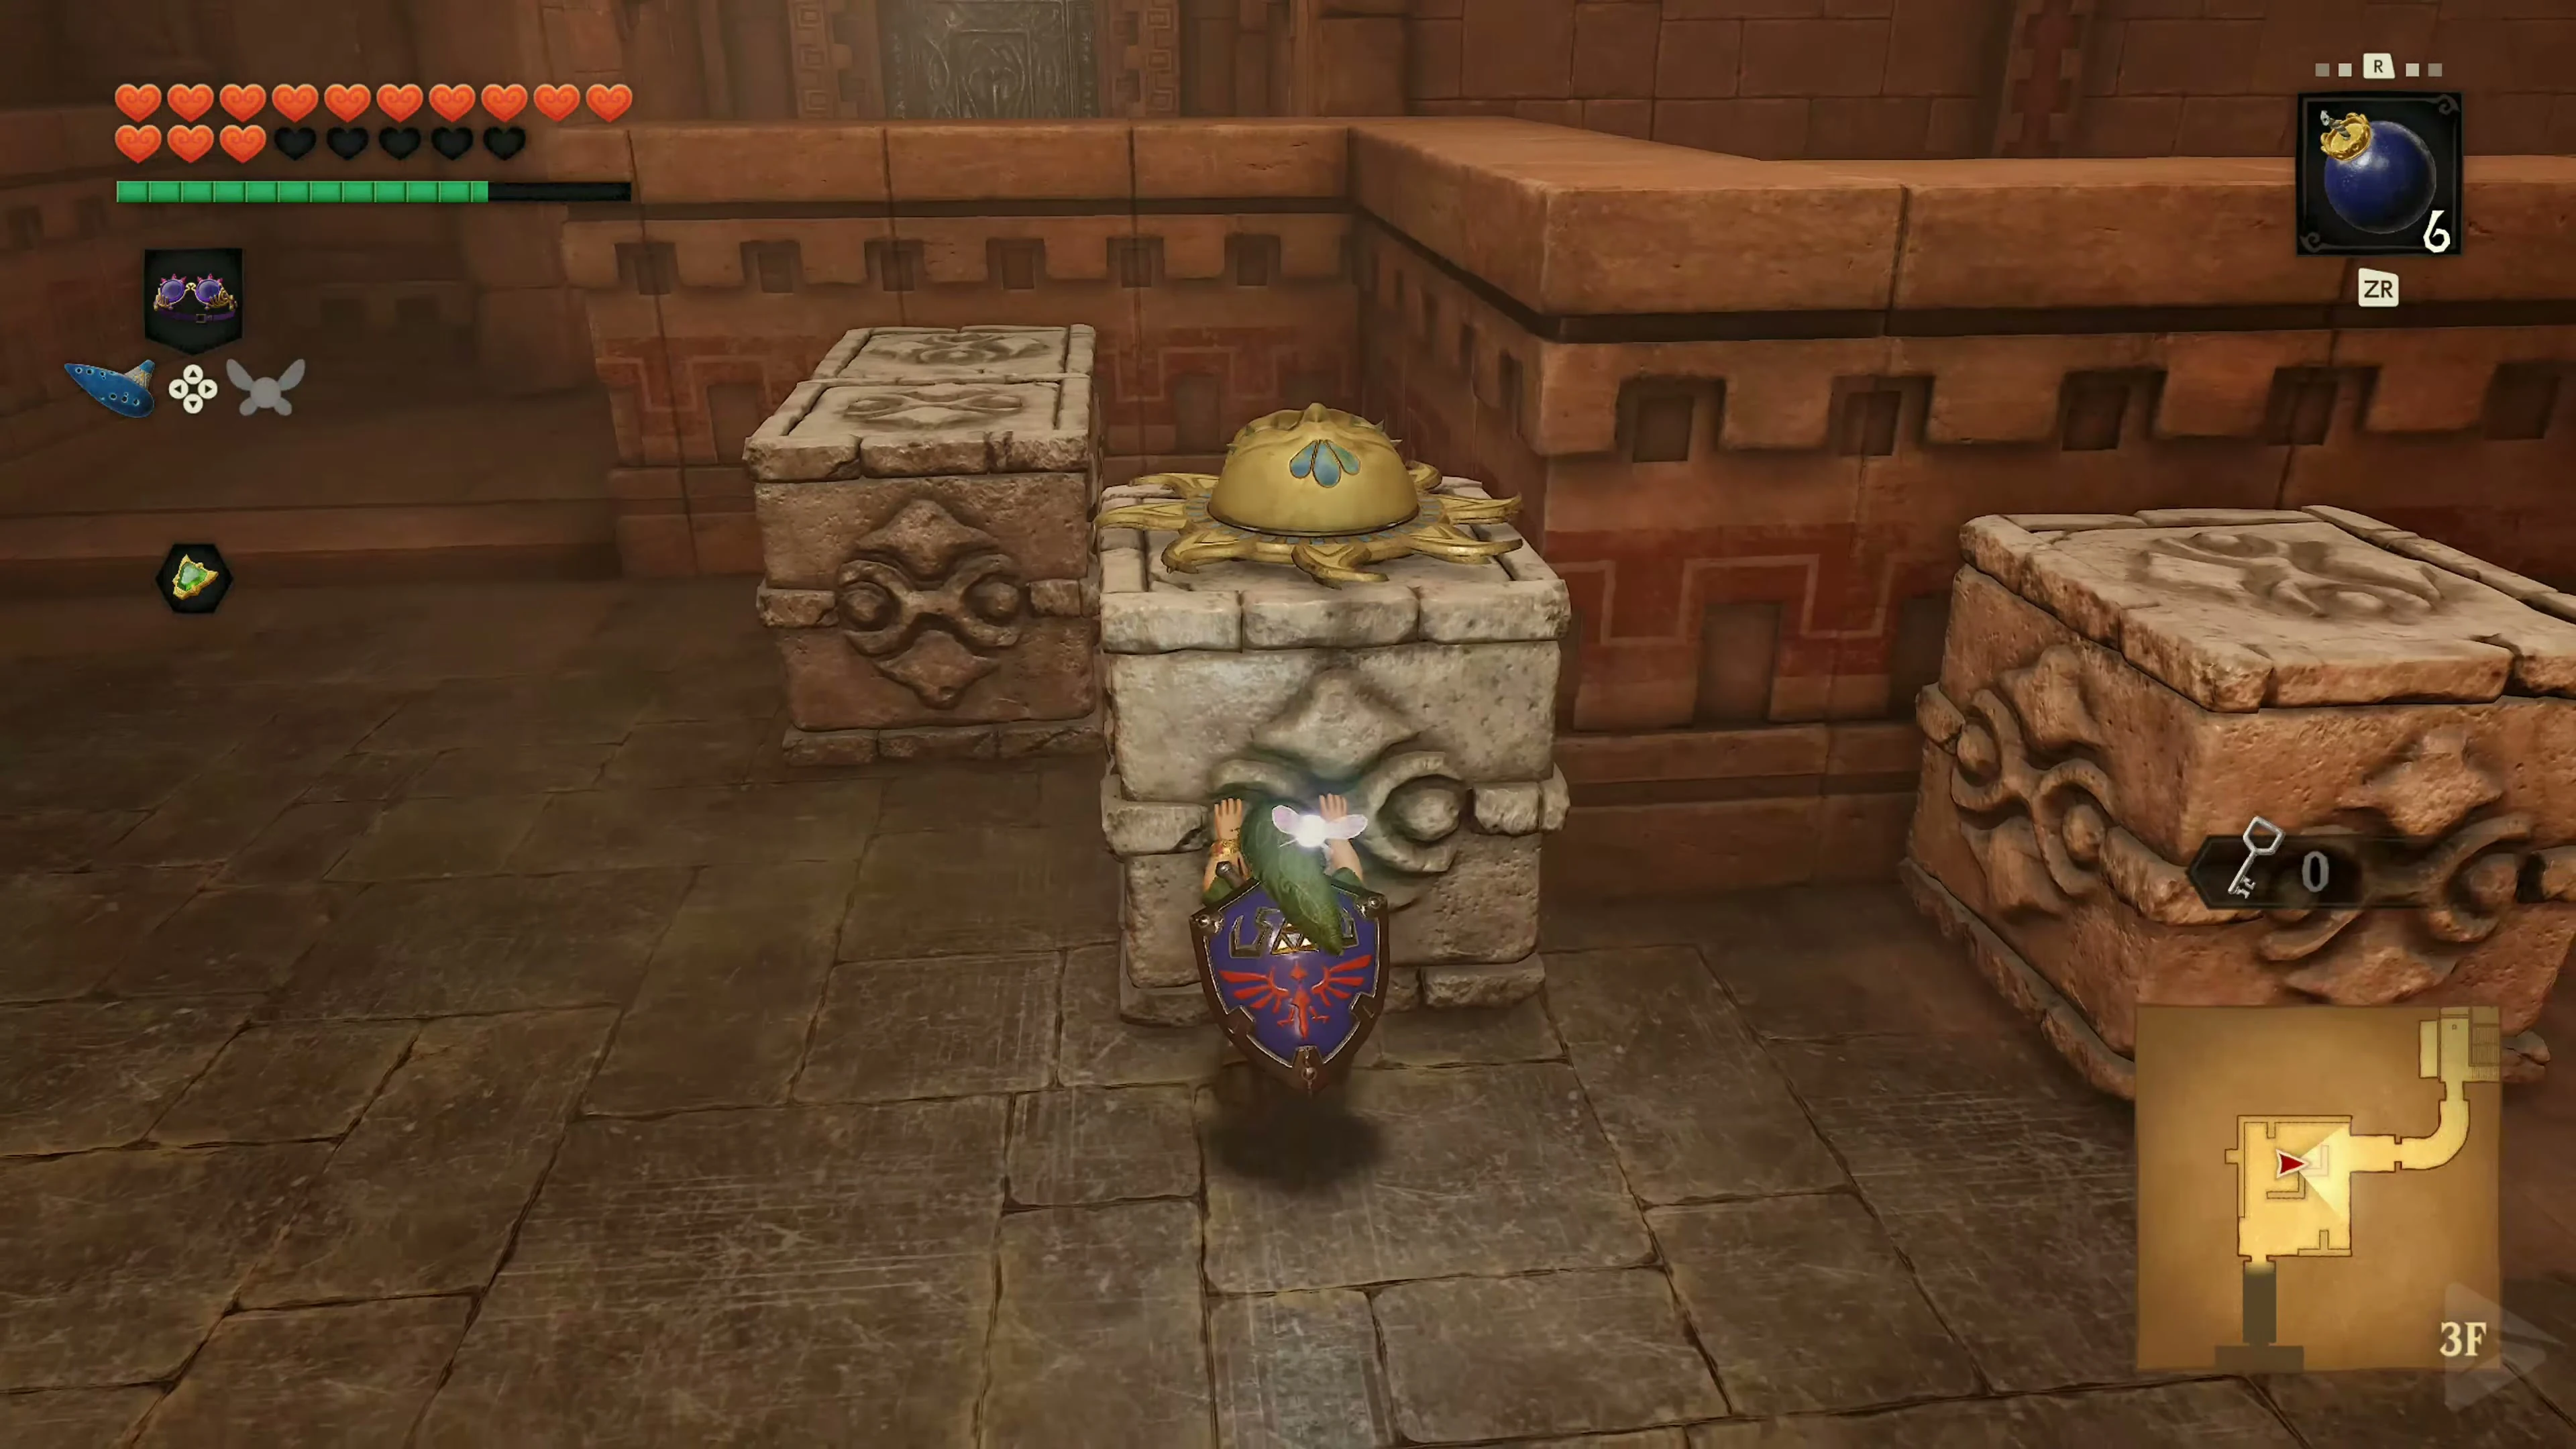
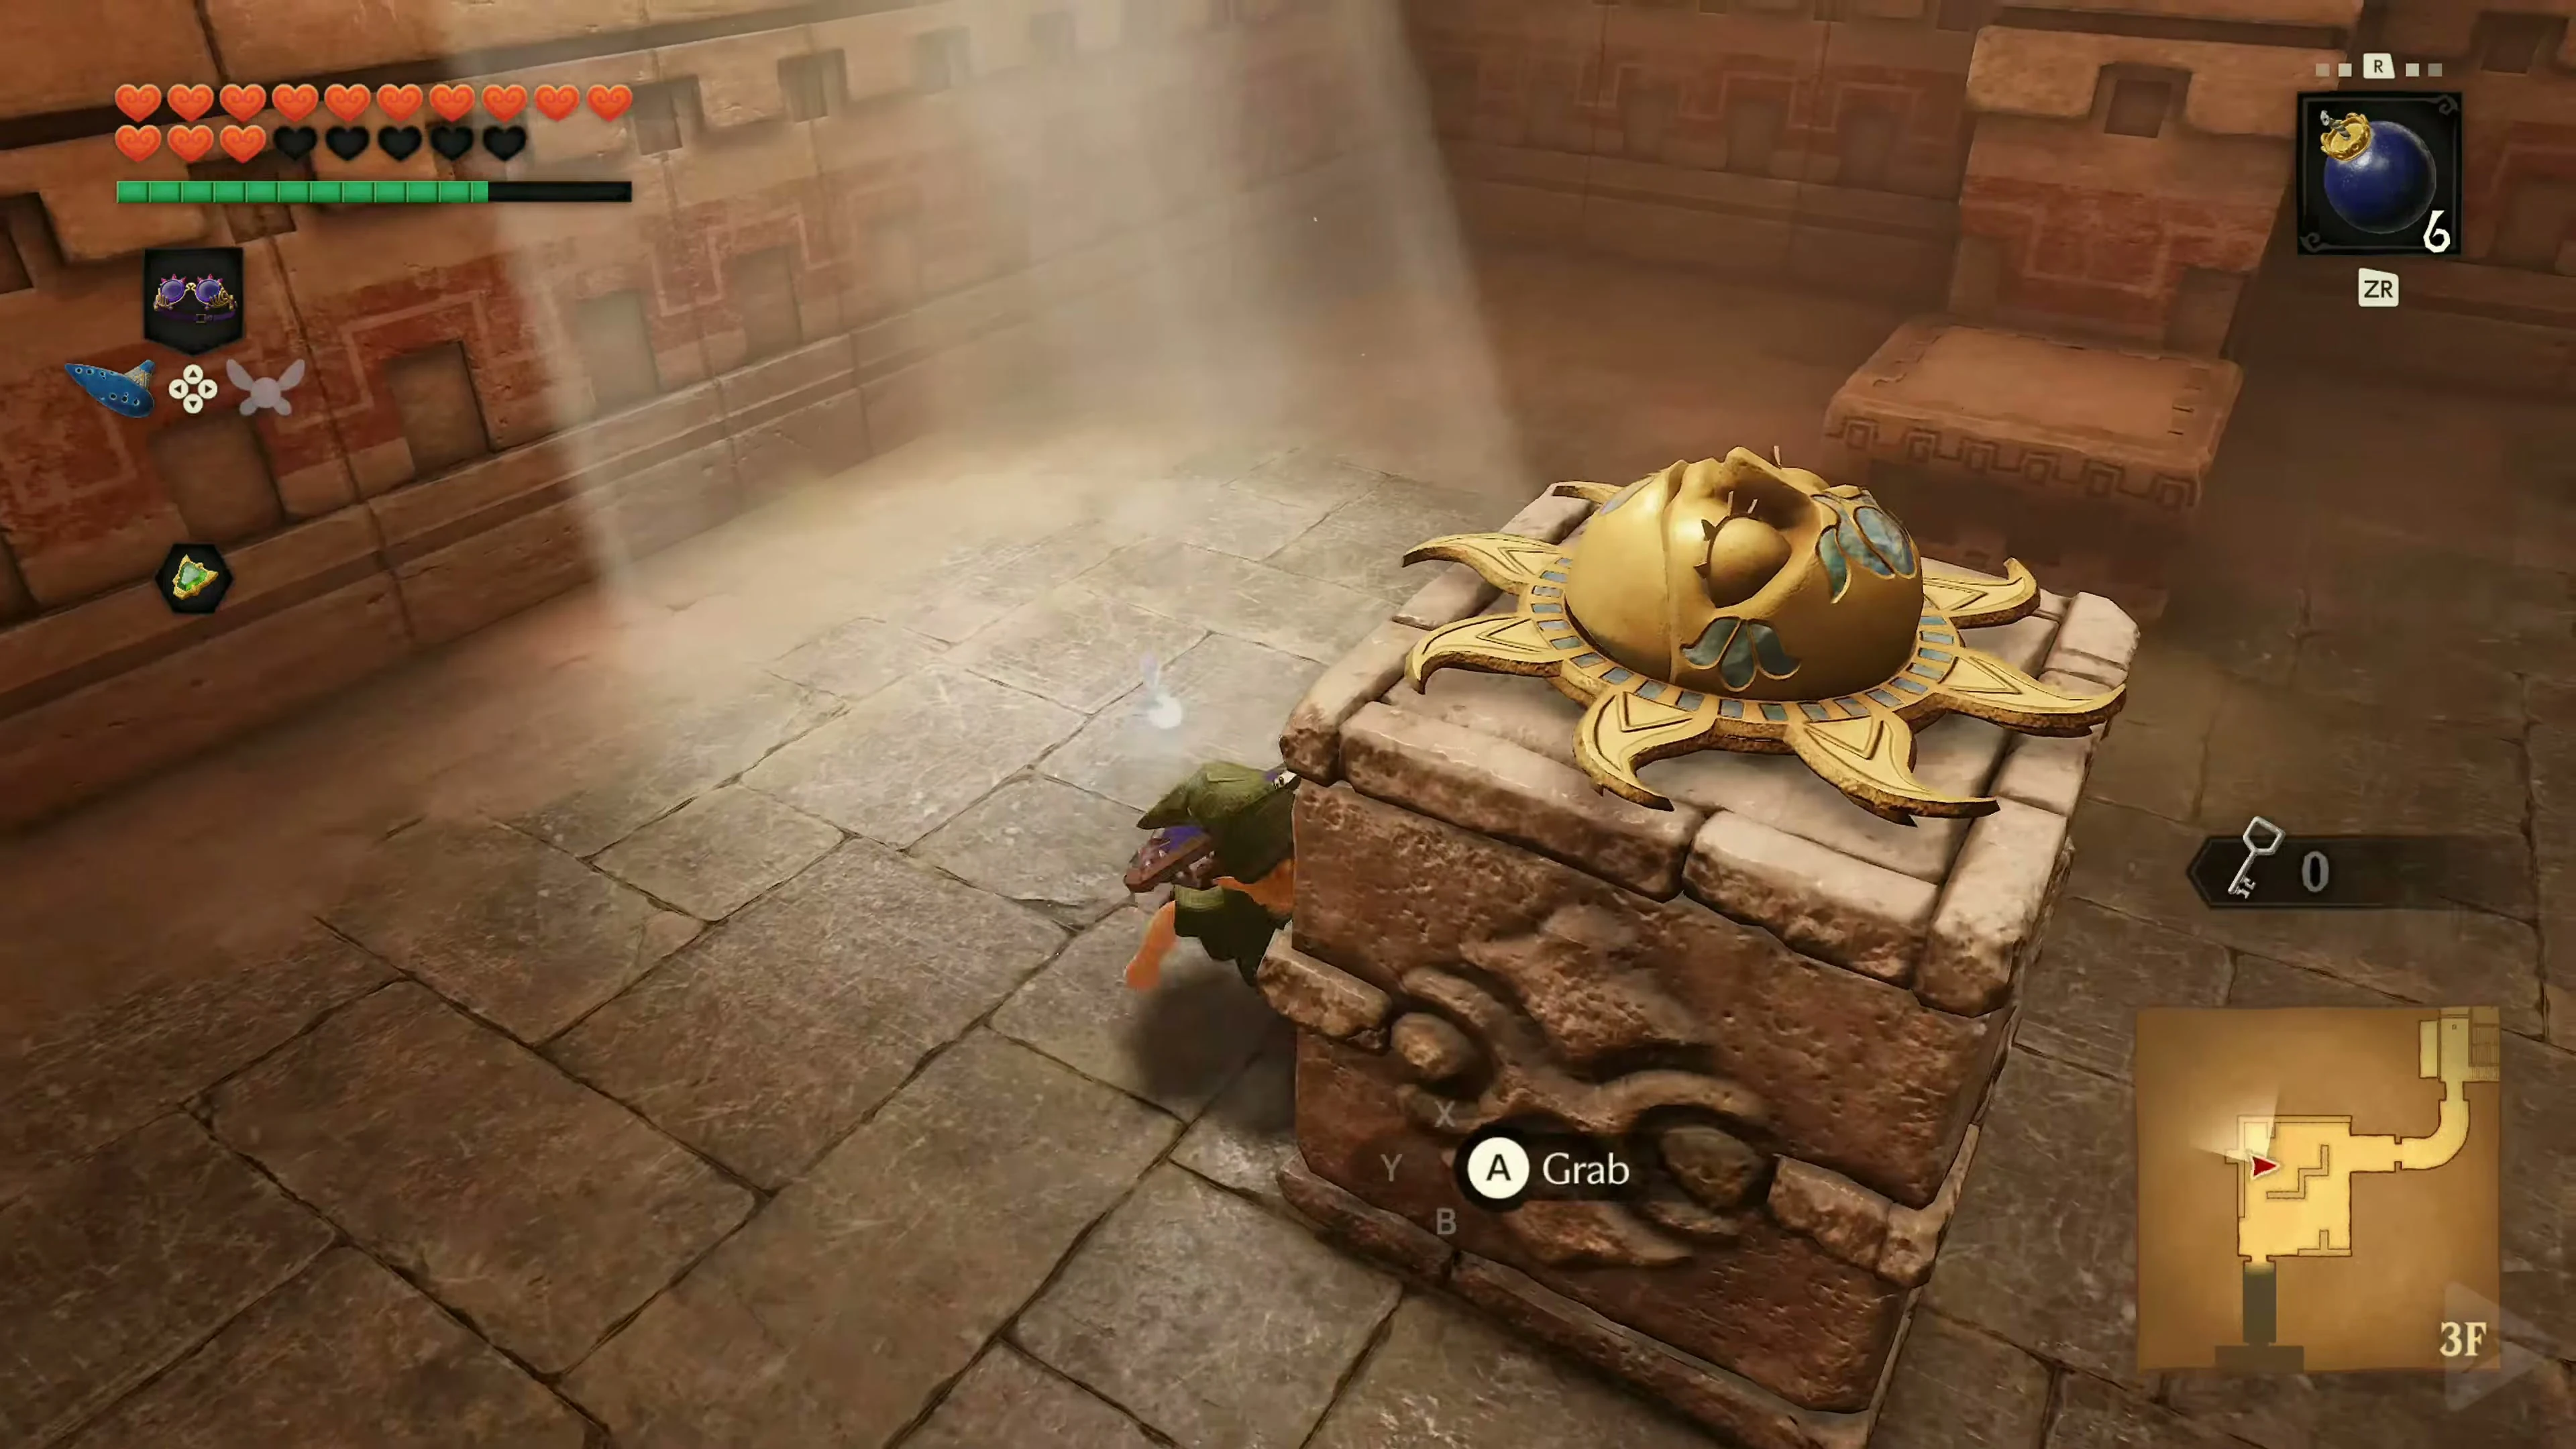
In the next room, several Beamos guard five crystals. Destroy the enemies with bombs or Bombchus, while also watching out for the moving blades. Then collect all five crystals. After finding the fifth one, a single torch will light up. Remember the position of the three extinguished torches in the room. Light a Deku Stick at the newly lit torch and quickly run to the remaining three. When all four lights are lit simultaneously, a small treasure chest appears containing the Small Key 2/5 . Next, you must move the white stone block with the sun symbol. Move the remaining blocks until the sun block can be positioned under the incoming light. As soon as the sunlight hits its token, the next door opens.
Gold Skulltula 3/5
Climb a few steps in the following stairwell and then turn around. The third Skulltula is crawling above the door Link entered through. Gold Skulltula of the Spirit Temple Defeat it with the Fairy Slingshot and retrieve the token with the Boomerang. This completes your collection of all three Skulltulas, which are only available during Link’s childhood on our route. Open the door at the top of the stairs with Small Key 2/5 .
Miniboss: Iron Knuckle
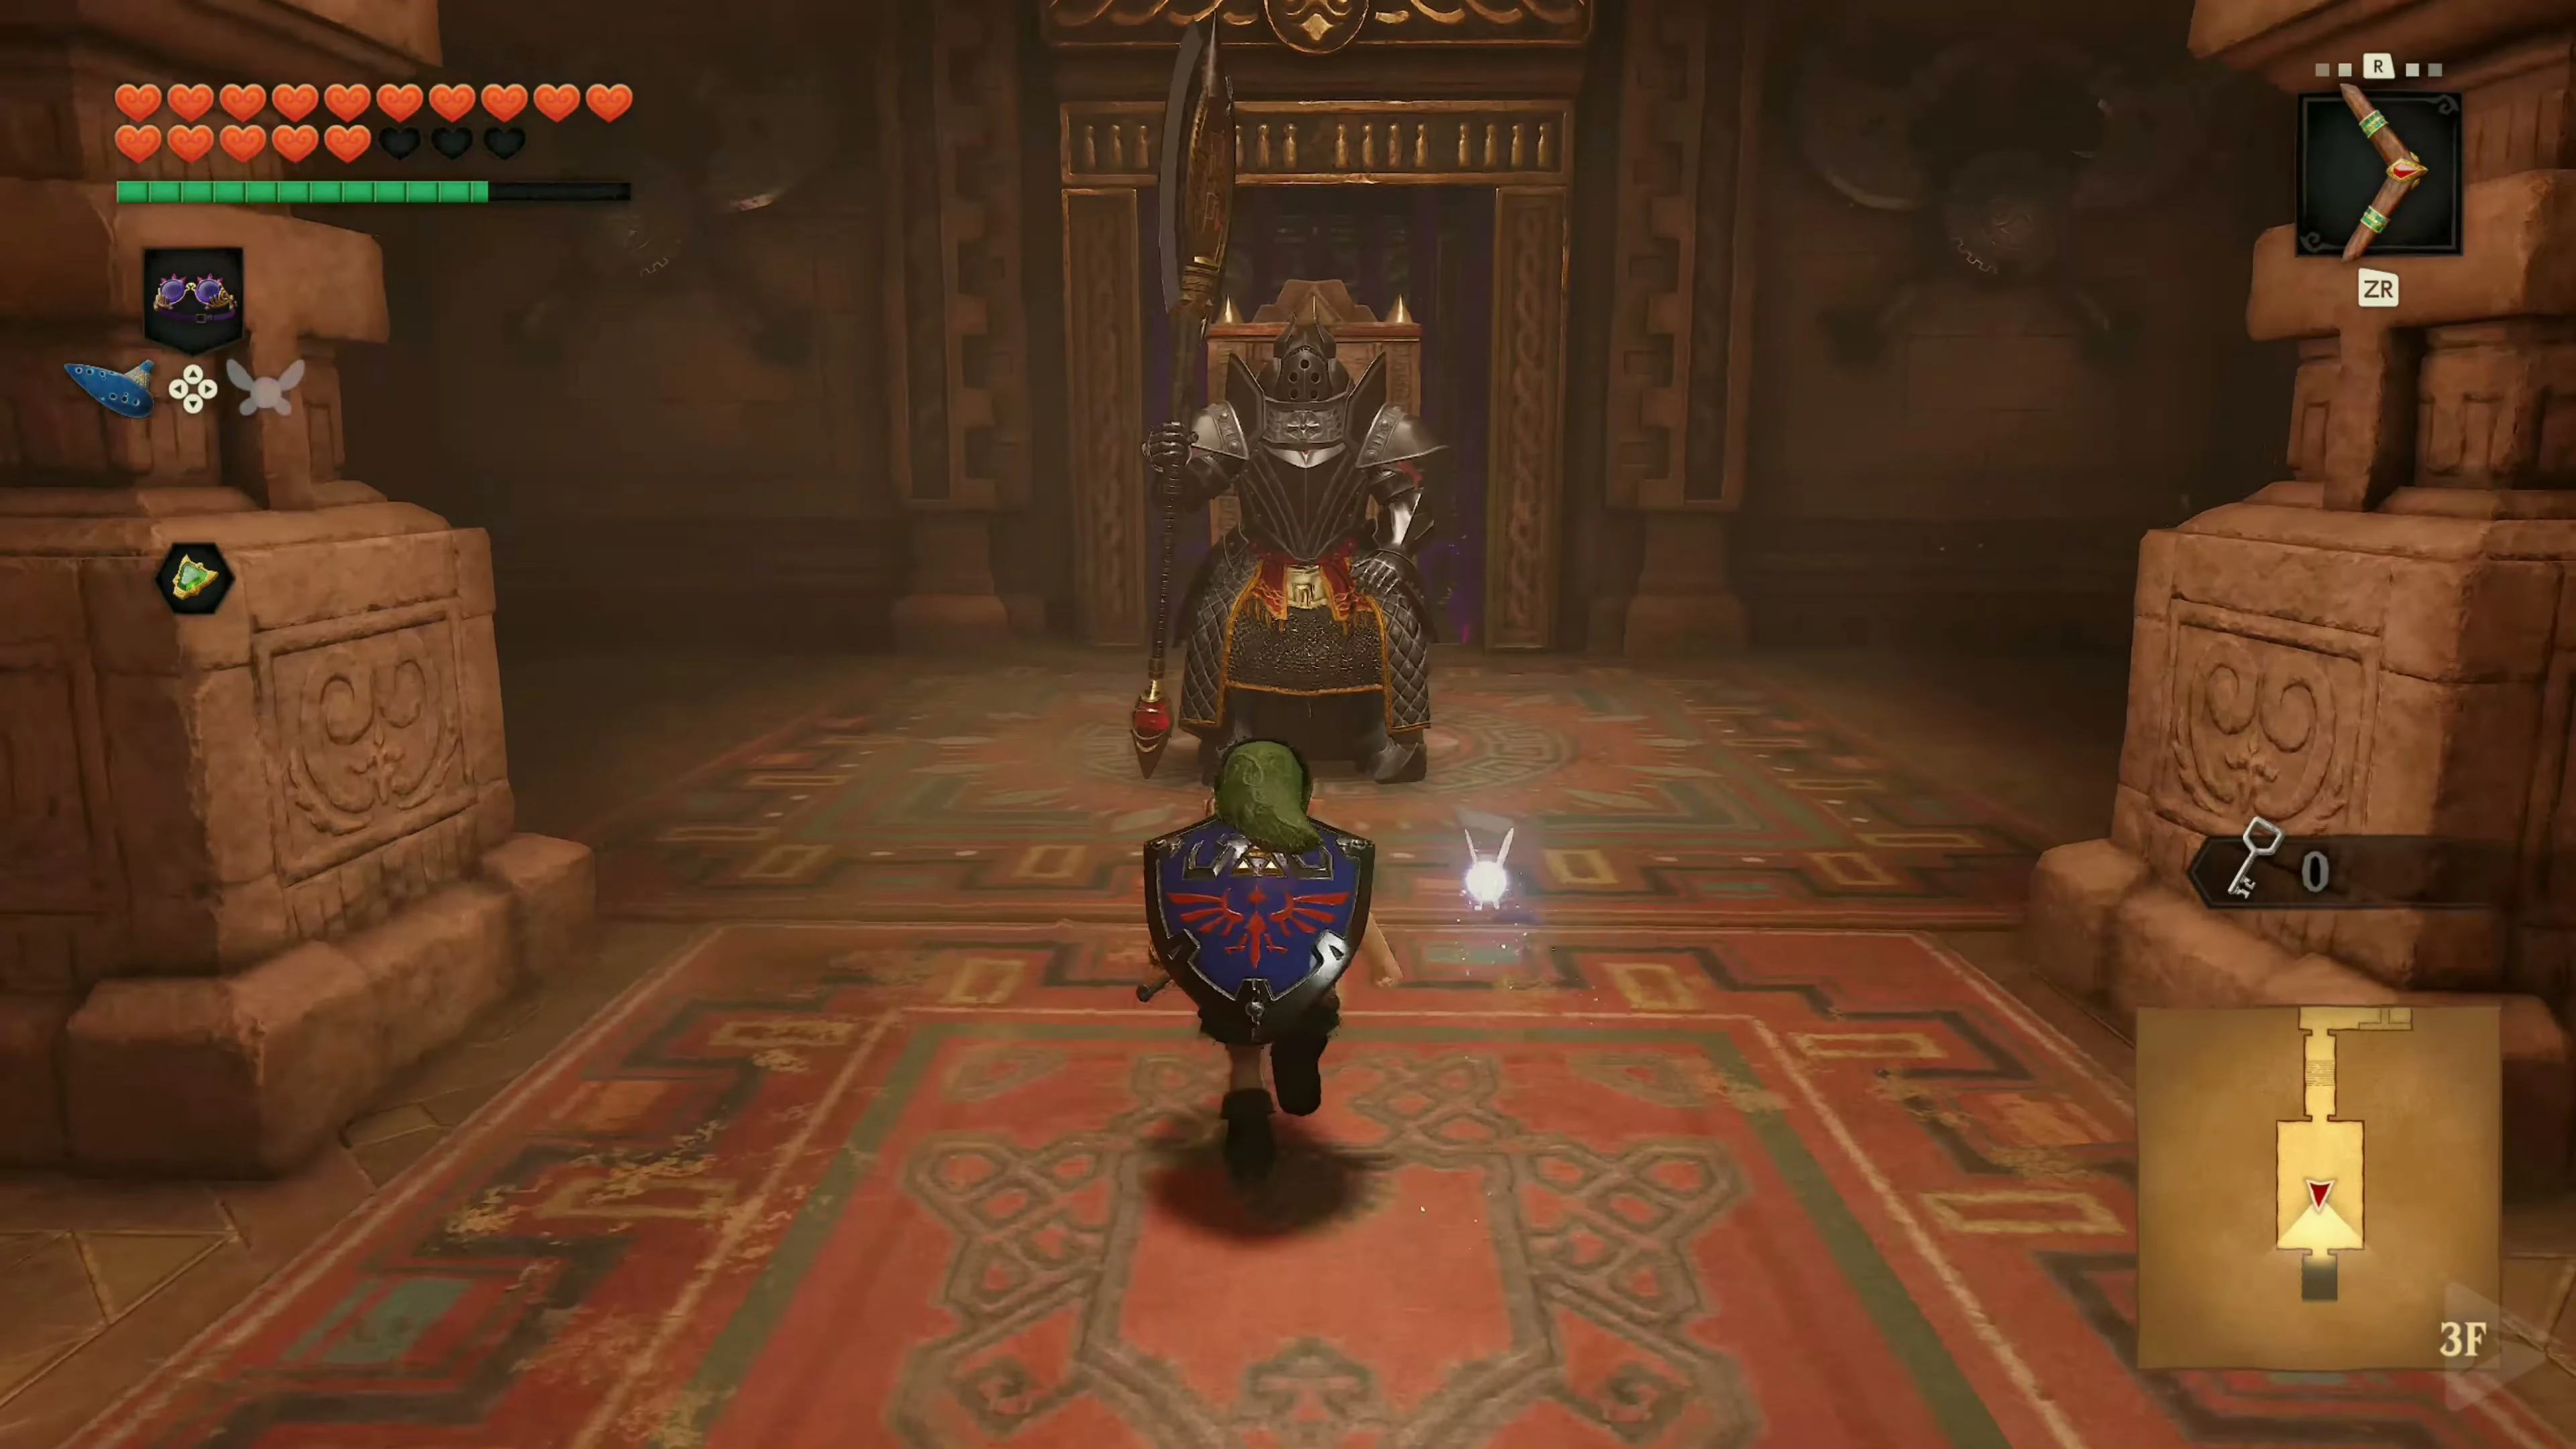
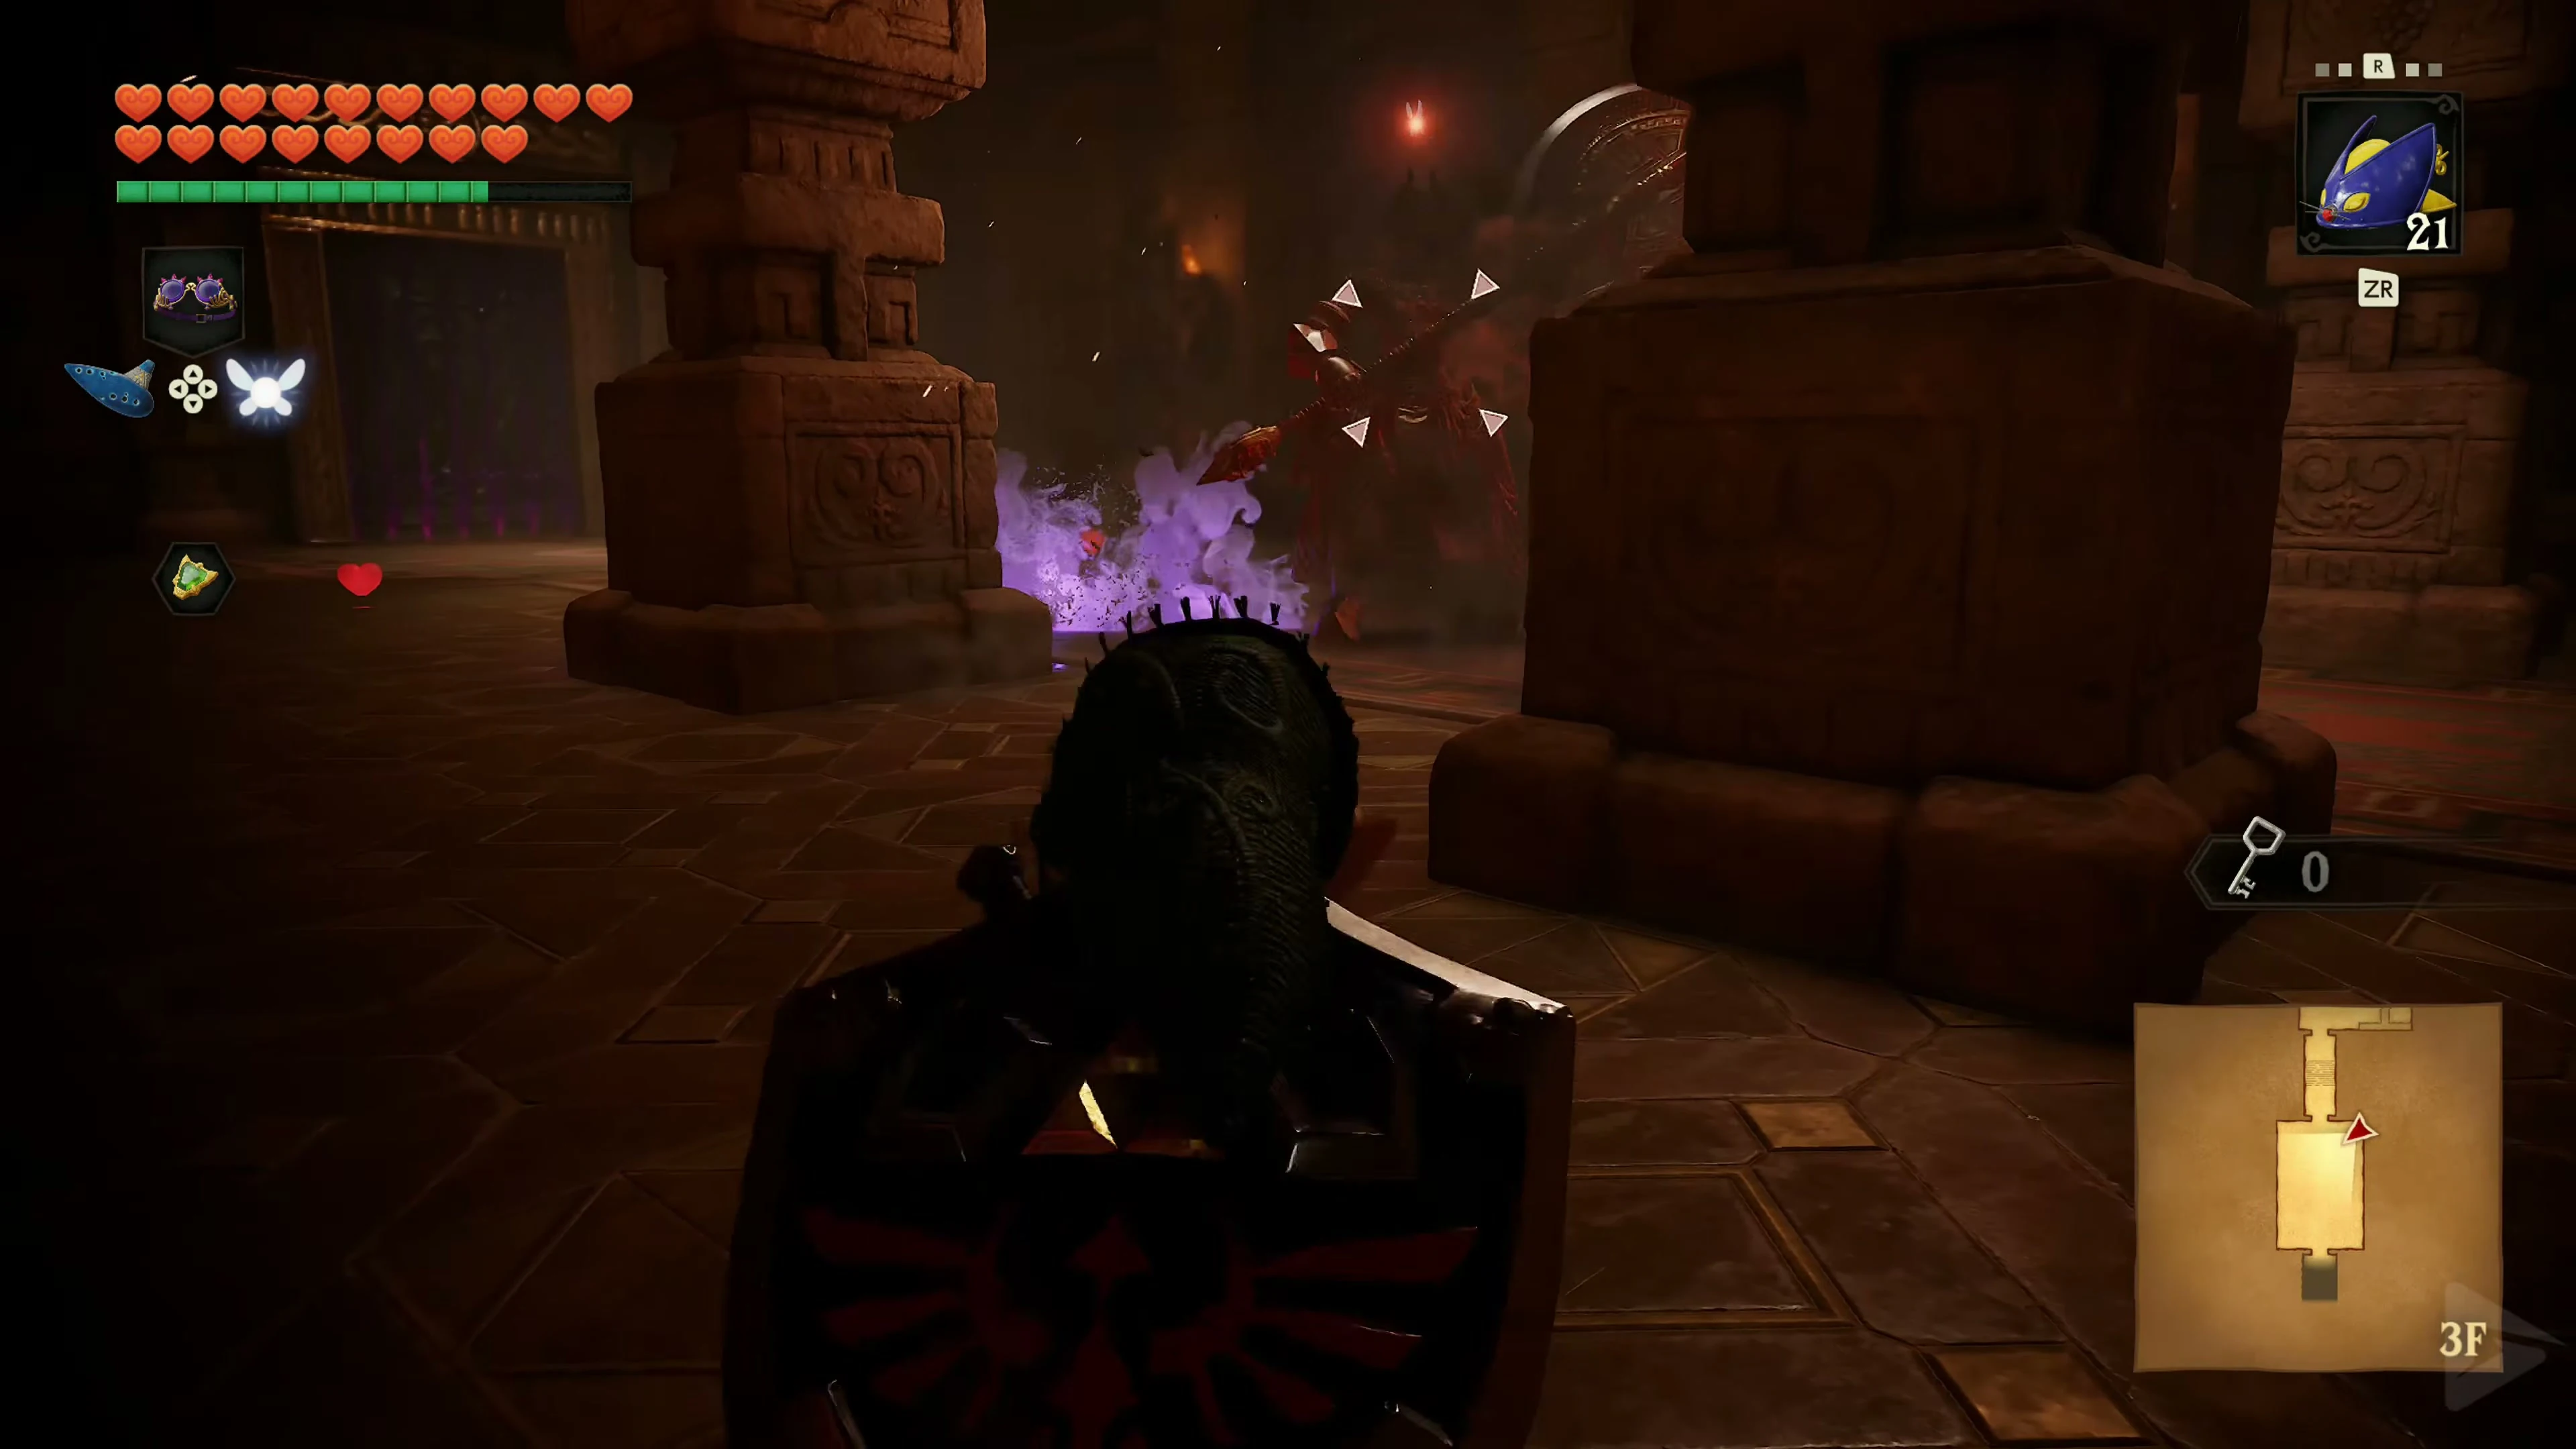
In the next room, a giant armored figure sits motionless on a stone throne. Attack it with the sword, the Fairy Slingshot, or the Boomerang. The Iron Knuckle awakens and attacks Link with a massive axe. The fight is especially dangerous for young Link. A single hit can take away several hearts. Therefore, don’t try to block his attacks head-on with the small Deku Shield. Stay out of range of his axe and wait for one of his heavy blows. The Iron Knuckle either slams vertically into the ground or performs a wide horizontal slash. Lure him into an attack and jump backward or sideways at the last moment. His axe will remain briefly in the ground, or the attack’s recovery will leave him vulnerable for a few moments. Run towards him and land one or two sword strikes before retreating again.
Tip:
Stand behind one of the pillars or the stone throne. The Iron Knuckle will destroy the obstacles with his axe. This can release several hearts, which you can use to replenish lost health.
After several hits, part of his armor will fall off. The enemy now moves faster but has less protection. Stick to the same strategy and continue waiting for his attacks. After the final hit, the Iron Knuckle collapses, and the door behind the throne opens.
The Silver Gauntlets
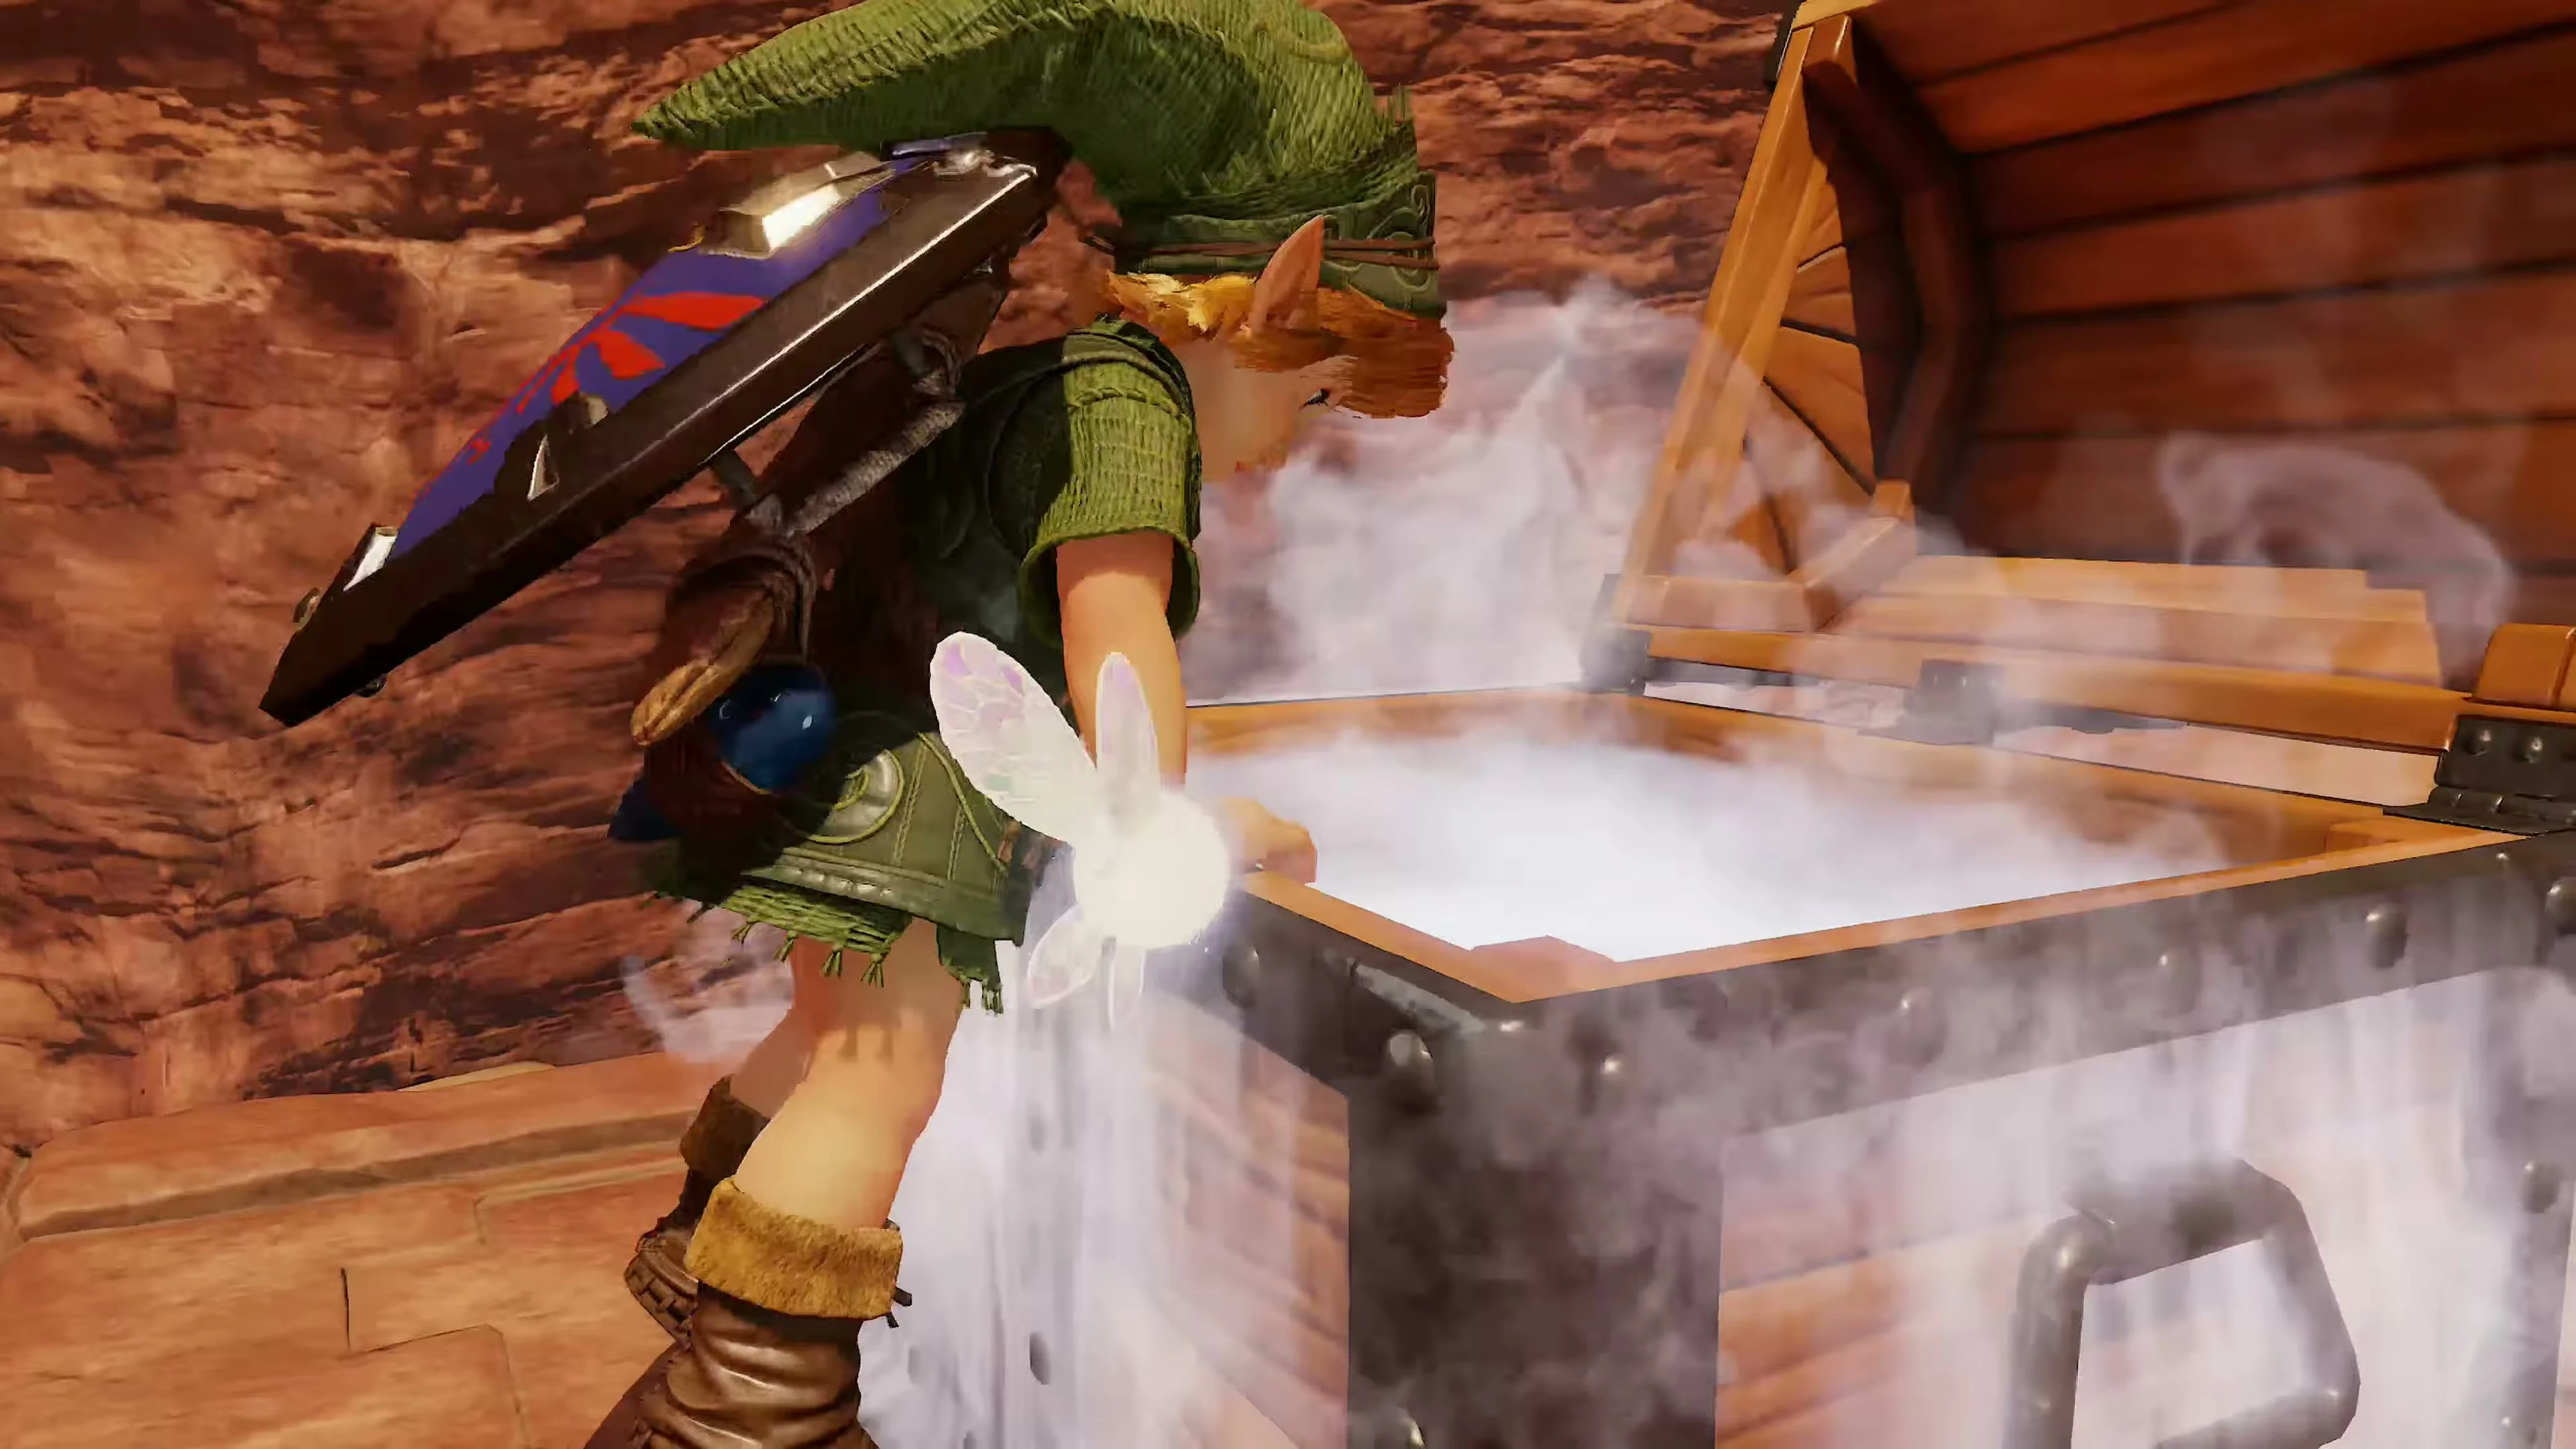
Go through the door and step out onto one of the Desert Colossus’s enormous hands. Kaepora Gaebora appears and reminds Link that the Spirit Temple can only be fully solved by combining the past and the future. After he flies away, a large treasure chest appears. Open it and take the Silver Gauntlets . They can be found by young Link, but only worn by adult Link. With them, the large black stone blocks that have previously blocked every attempt to enter the right side of the temple can be moved.
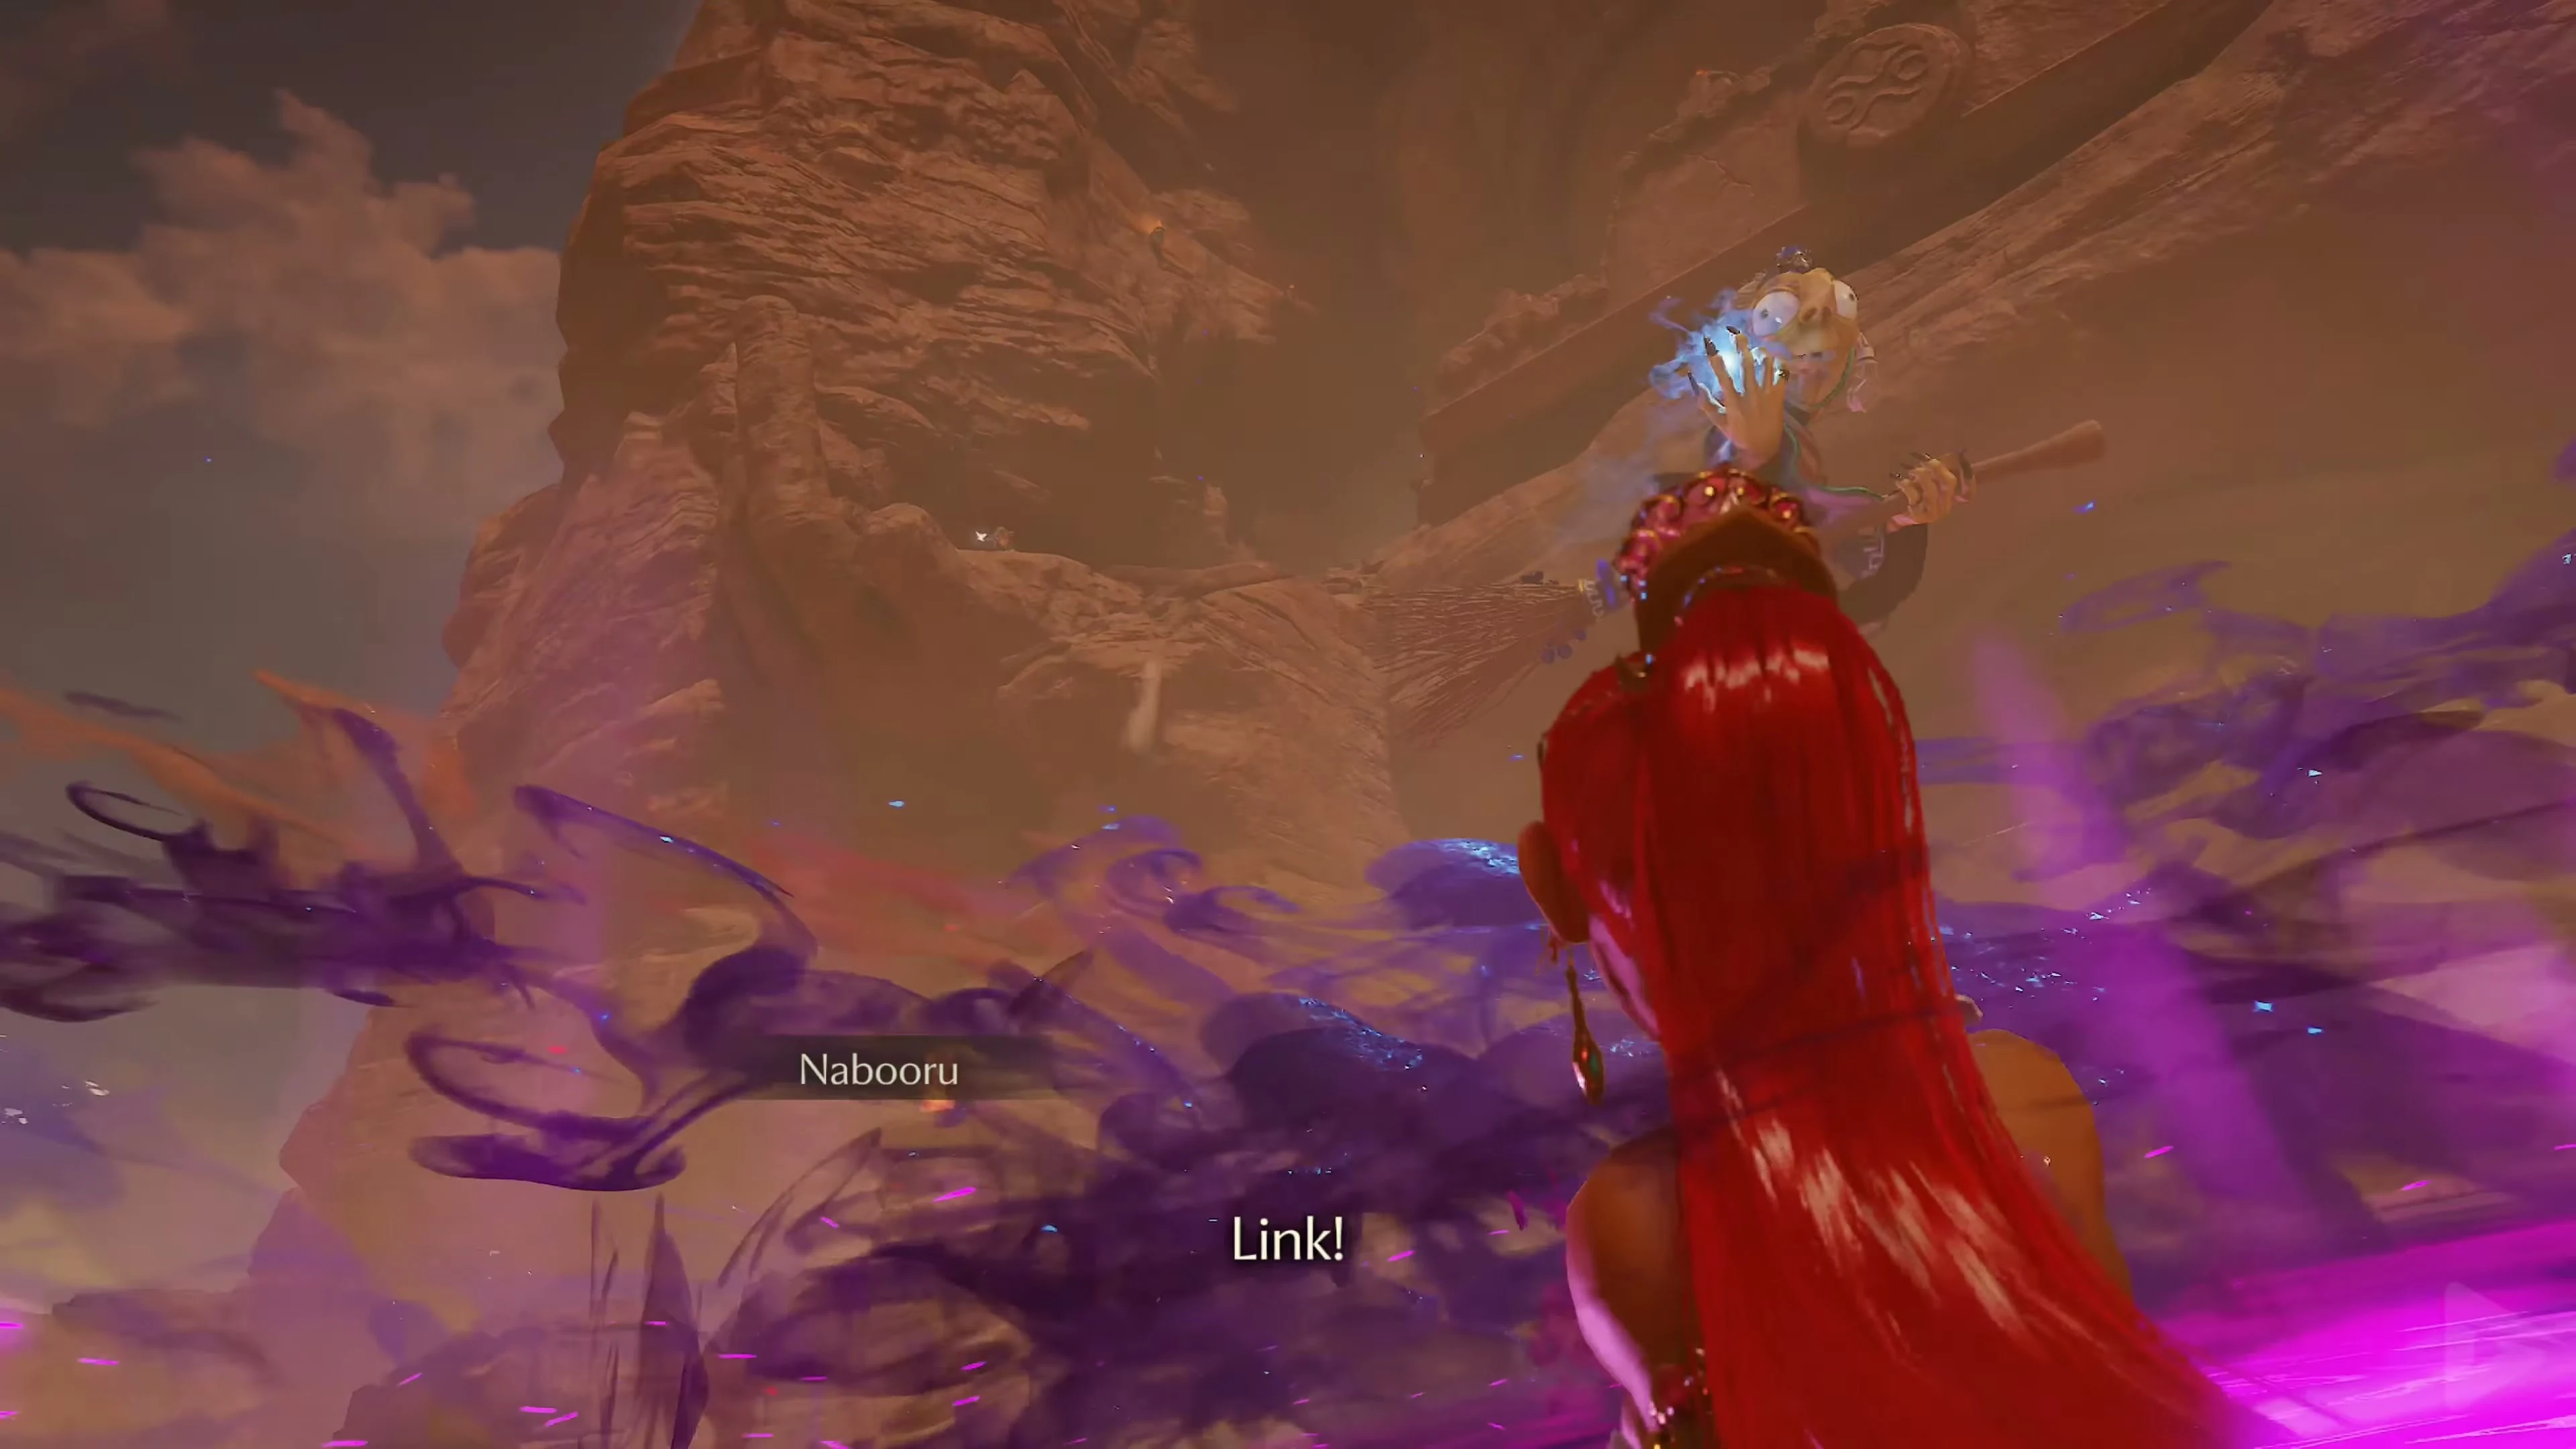
Immediately afterward, a cutscene begins. Nabooru is confronted by the two witches in front of the temple. Koume and Kotake is surprised. The sand beneath her feet begins to shift, pulling the Gerudo down despite her resistance. The two witches drag her into the temple. This concludes the children’s section of the Spirit Temple.
Return to the Evil Desert Colossus
Play the Prelude of Light and return to the Temple of Time. Retrieve the Master Sword from the Pedestal of Time and travel to the future. Then play Requiem of Spirit to return directly to the Evil Desert Colossus as adult Link.
Piece of Heart and Gold Skulltula 3/3
The previously planted Magic Bean has now grown into a large floating plant. Wait until nightfall so we can collect both remaining items in one go, then climb onto the leaf. The Magic Bean plant will automatically travel a fixed route through the area. While it’s moving, jump onto the large stone arch in front of the temple. There, you’ll find a clearly visible Piece of Heart . Collect it and then return to the Magic Bean plant or wait for its next rotation. This time, travel to the elevated rock plateau in the northern part of the Desert Colossus. Jump off. At night, the following appears on this platform: Gold Skulltula 3/3 Defeat it with the Longshot and retrieve its token. This completes the defeat of all three Gold Skulltulas in the Desert Colossus. Then, re-enter the Spirit Temple.
The Spirit Temple – Adult Link
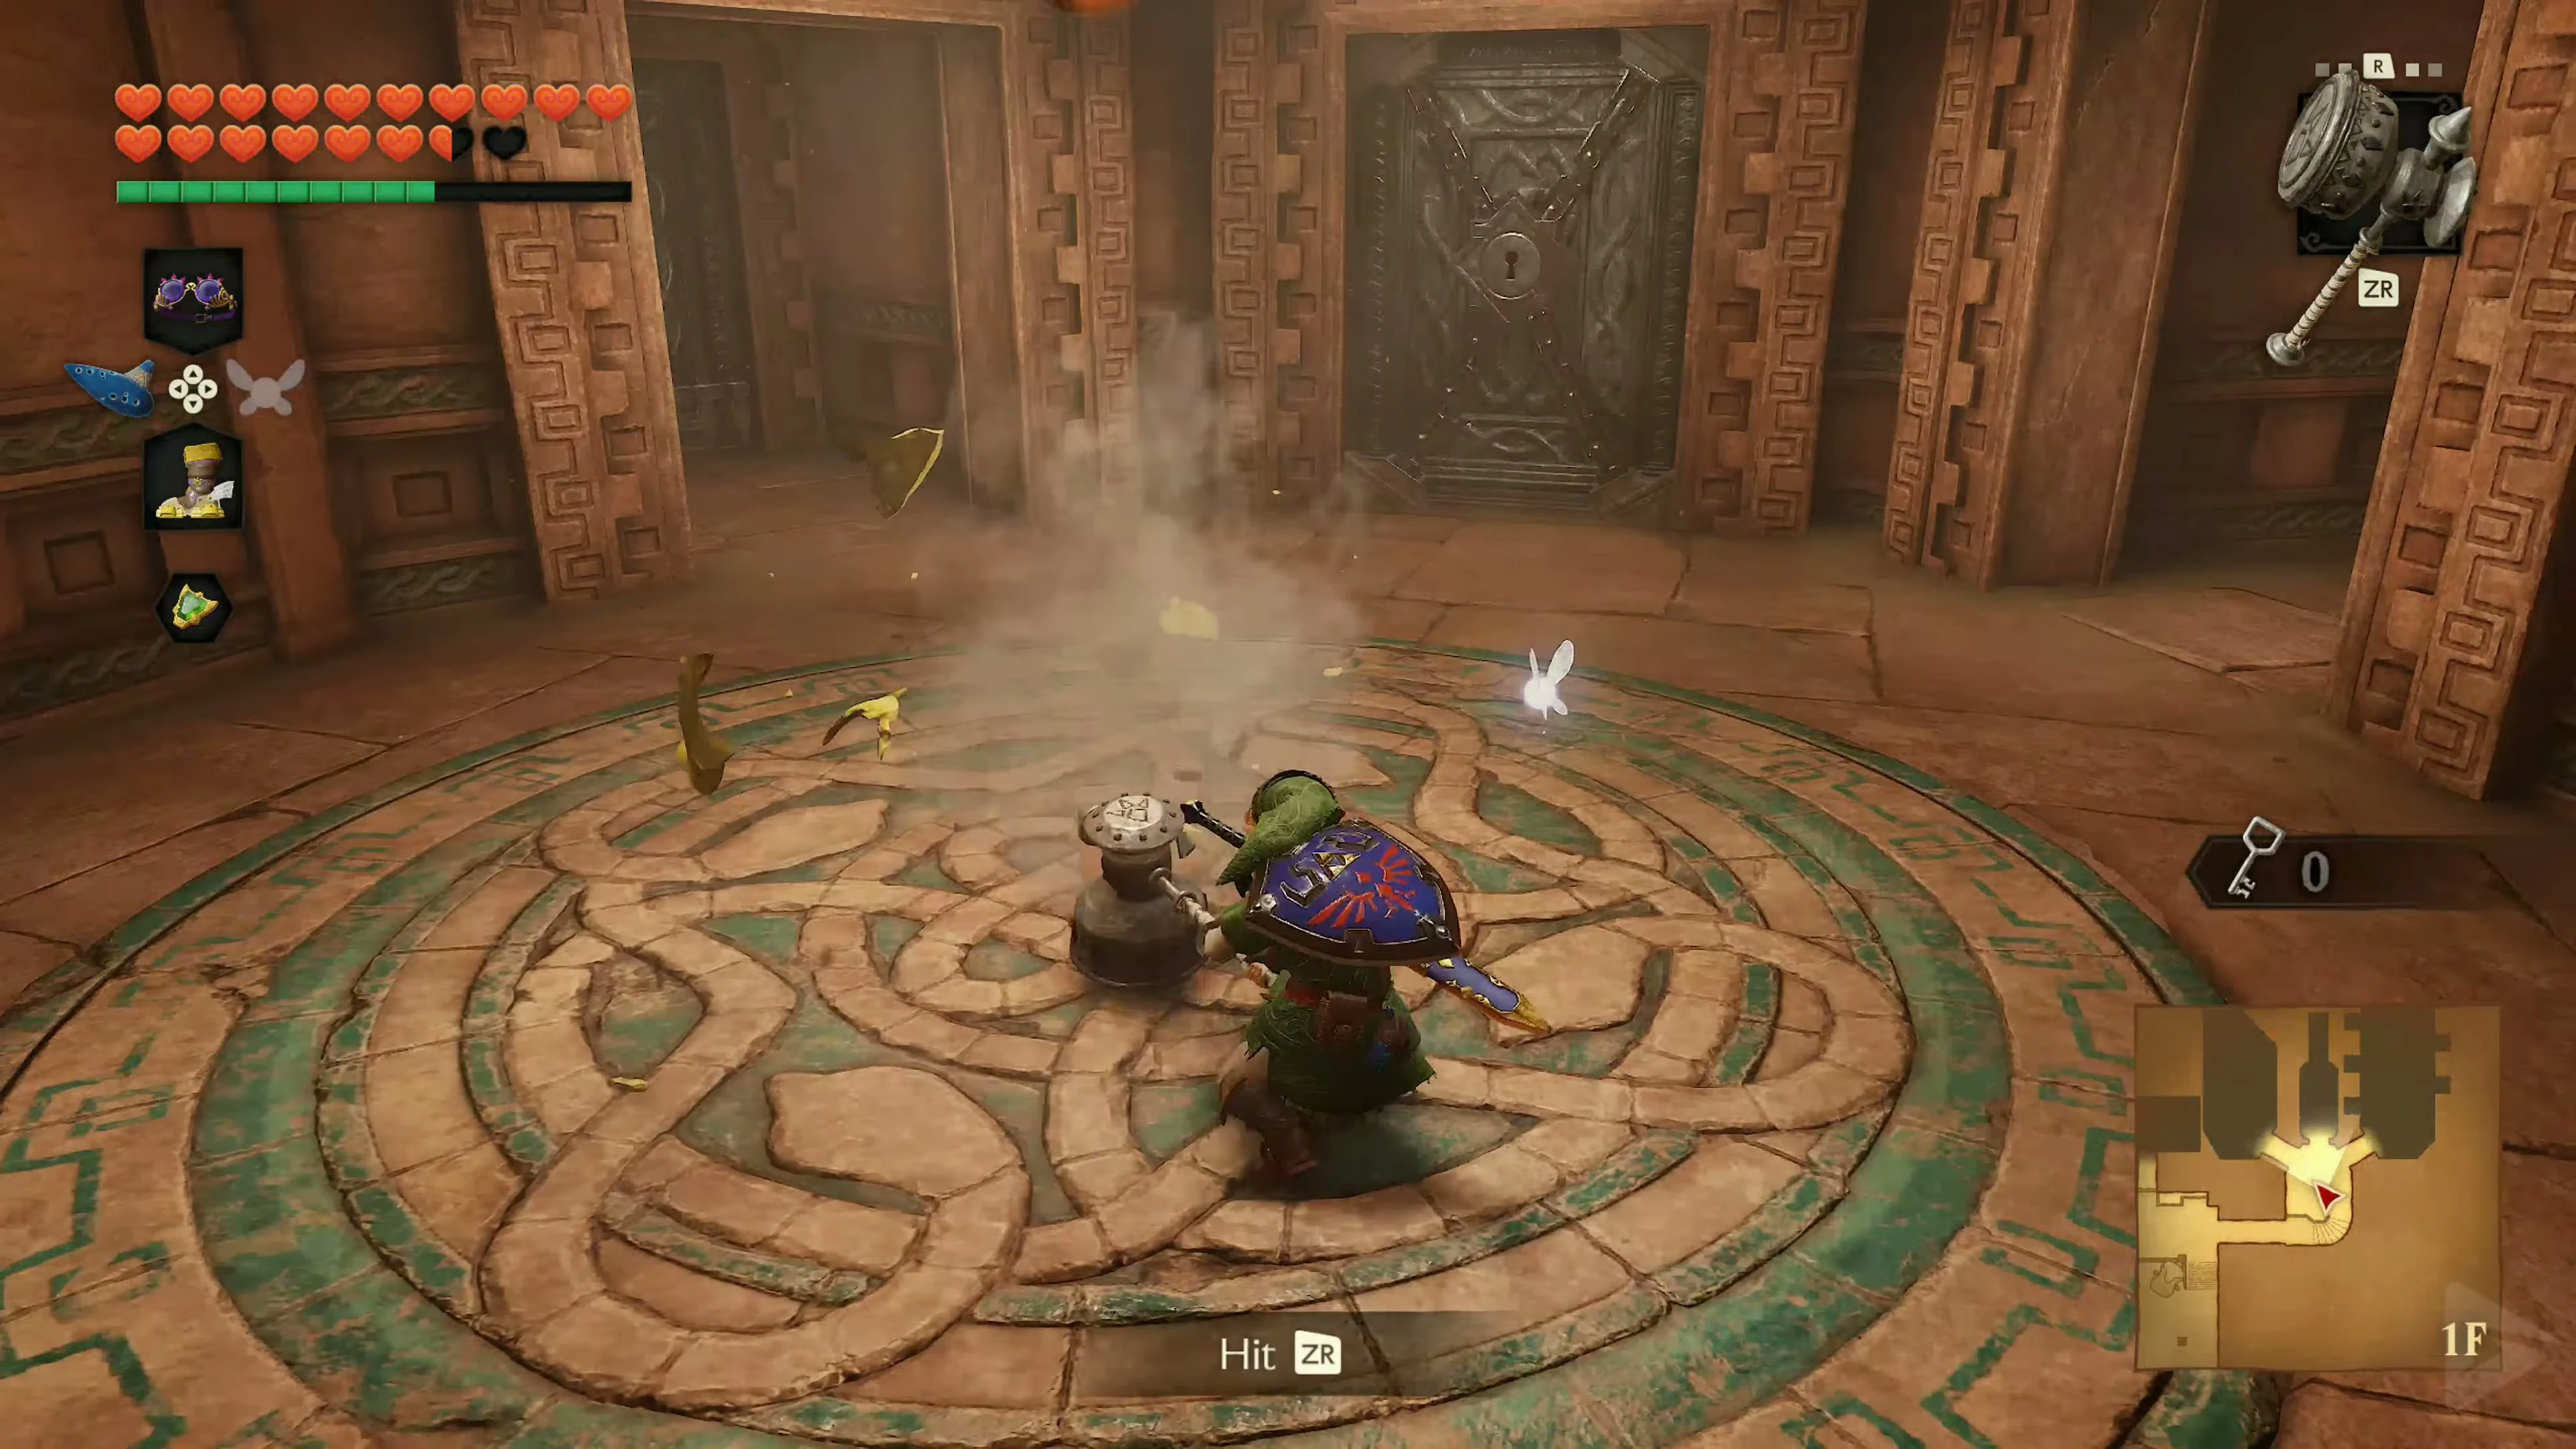
In the entrance hall, ascend the stairs and this time turn right. The massive black block that stopped us on our first visit still blocks the way. Thanks to the Silver Gauntlets, Link can now move it. Push it deep into the passage until it sinks into the designated recess, clearing the way.
In the next room, a Beamos stands among several moving Blades. Destroy it with a Bomb and then look up. There is a crystal switch on the ceiling. Hit it with the Longshot. This opens the two side doors.
The Compass
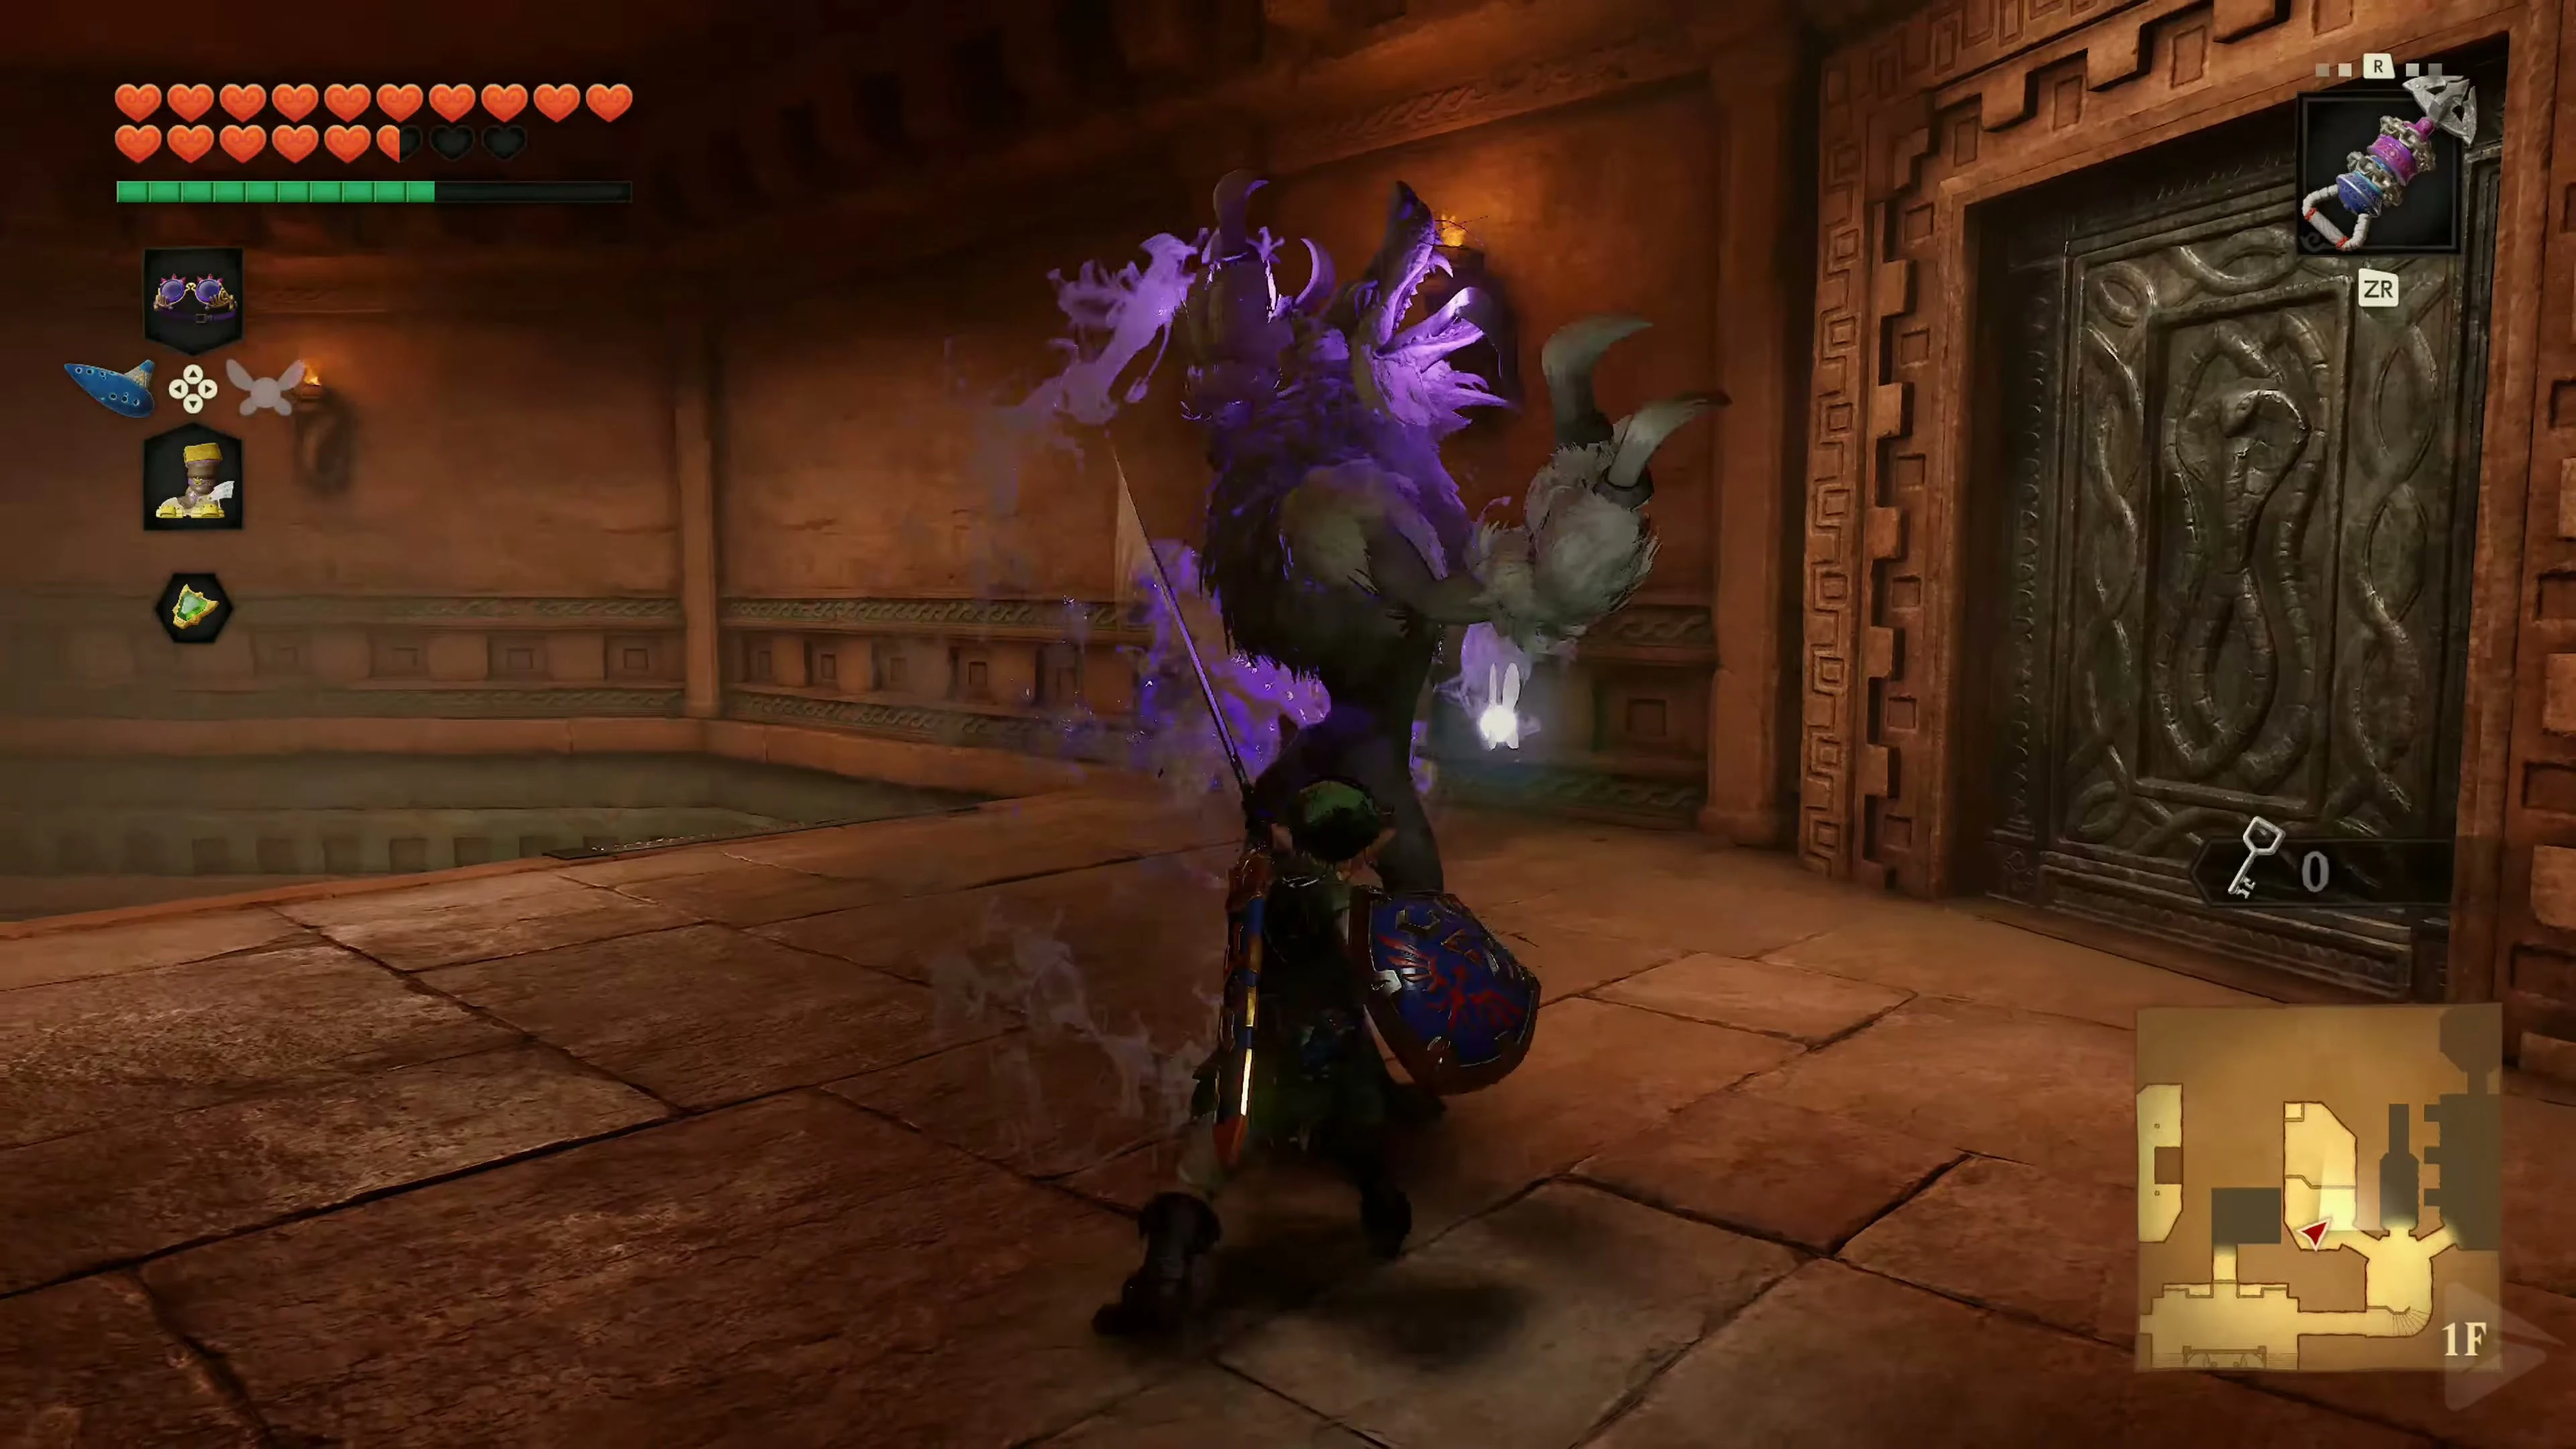
First, enter the left door. After a few steps, a Wolfos will appear. Wait for its attack, or rather, for it to turn its back on Link, and then counterattack. Afterward, stand on the Triforce symbol and play Zelda’s Lullaby . A large treasure chest appears on a distant platform. Aim the Longshot at the front of the chest and pull yourself across the gap. Open the chest. Inside is the Compass .
Gold Skulltula 4/5
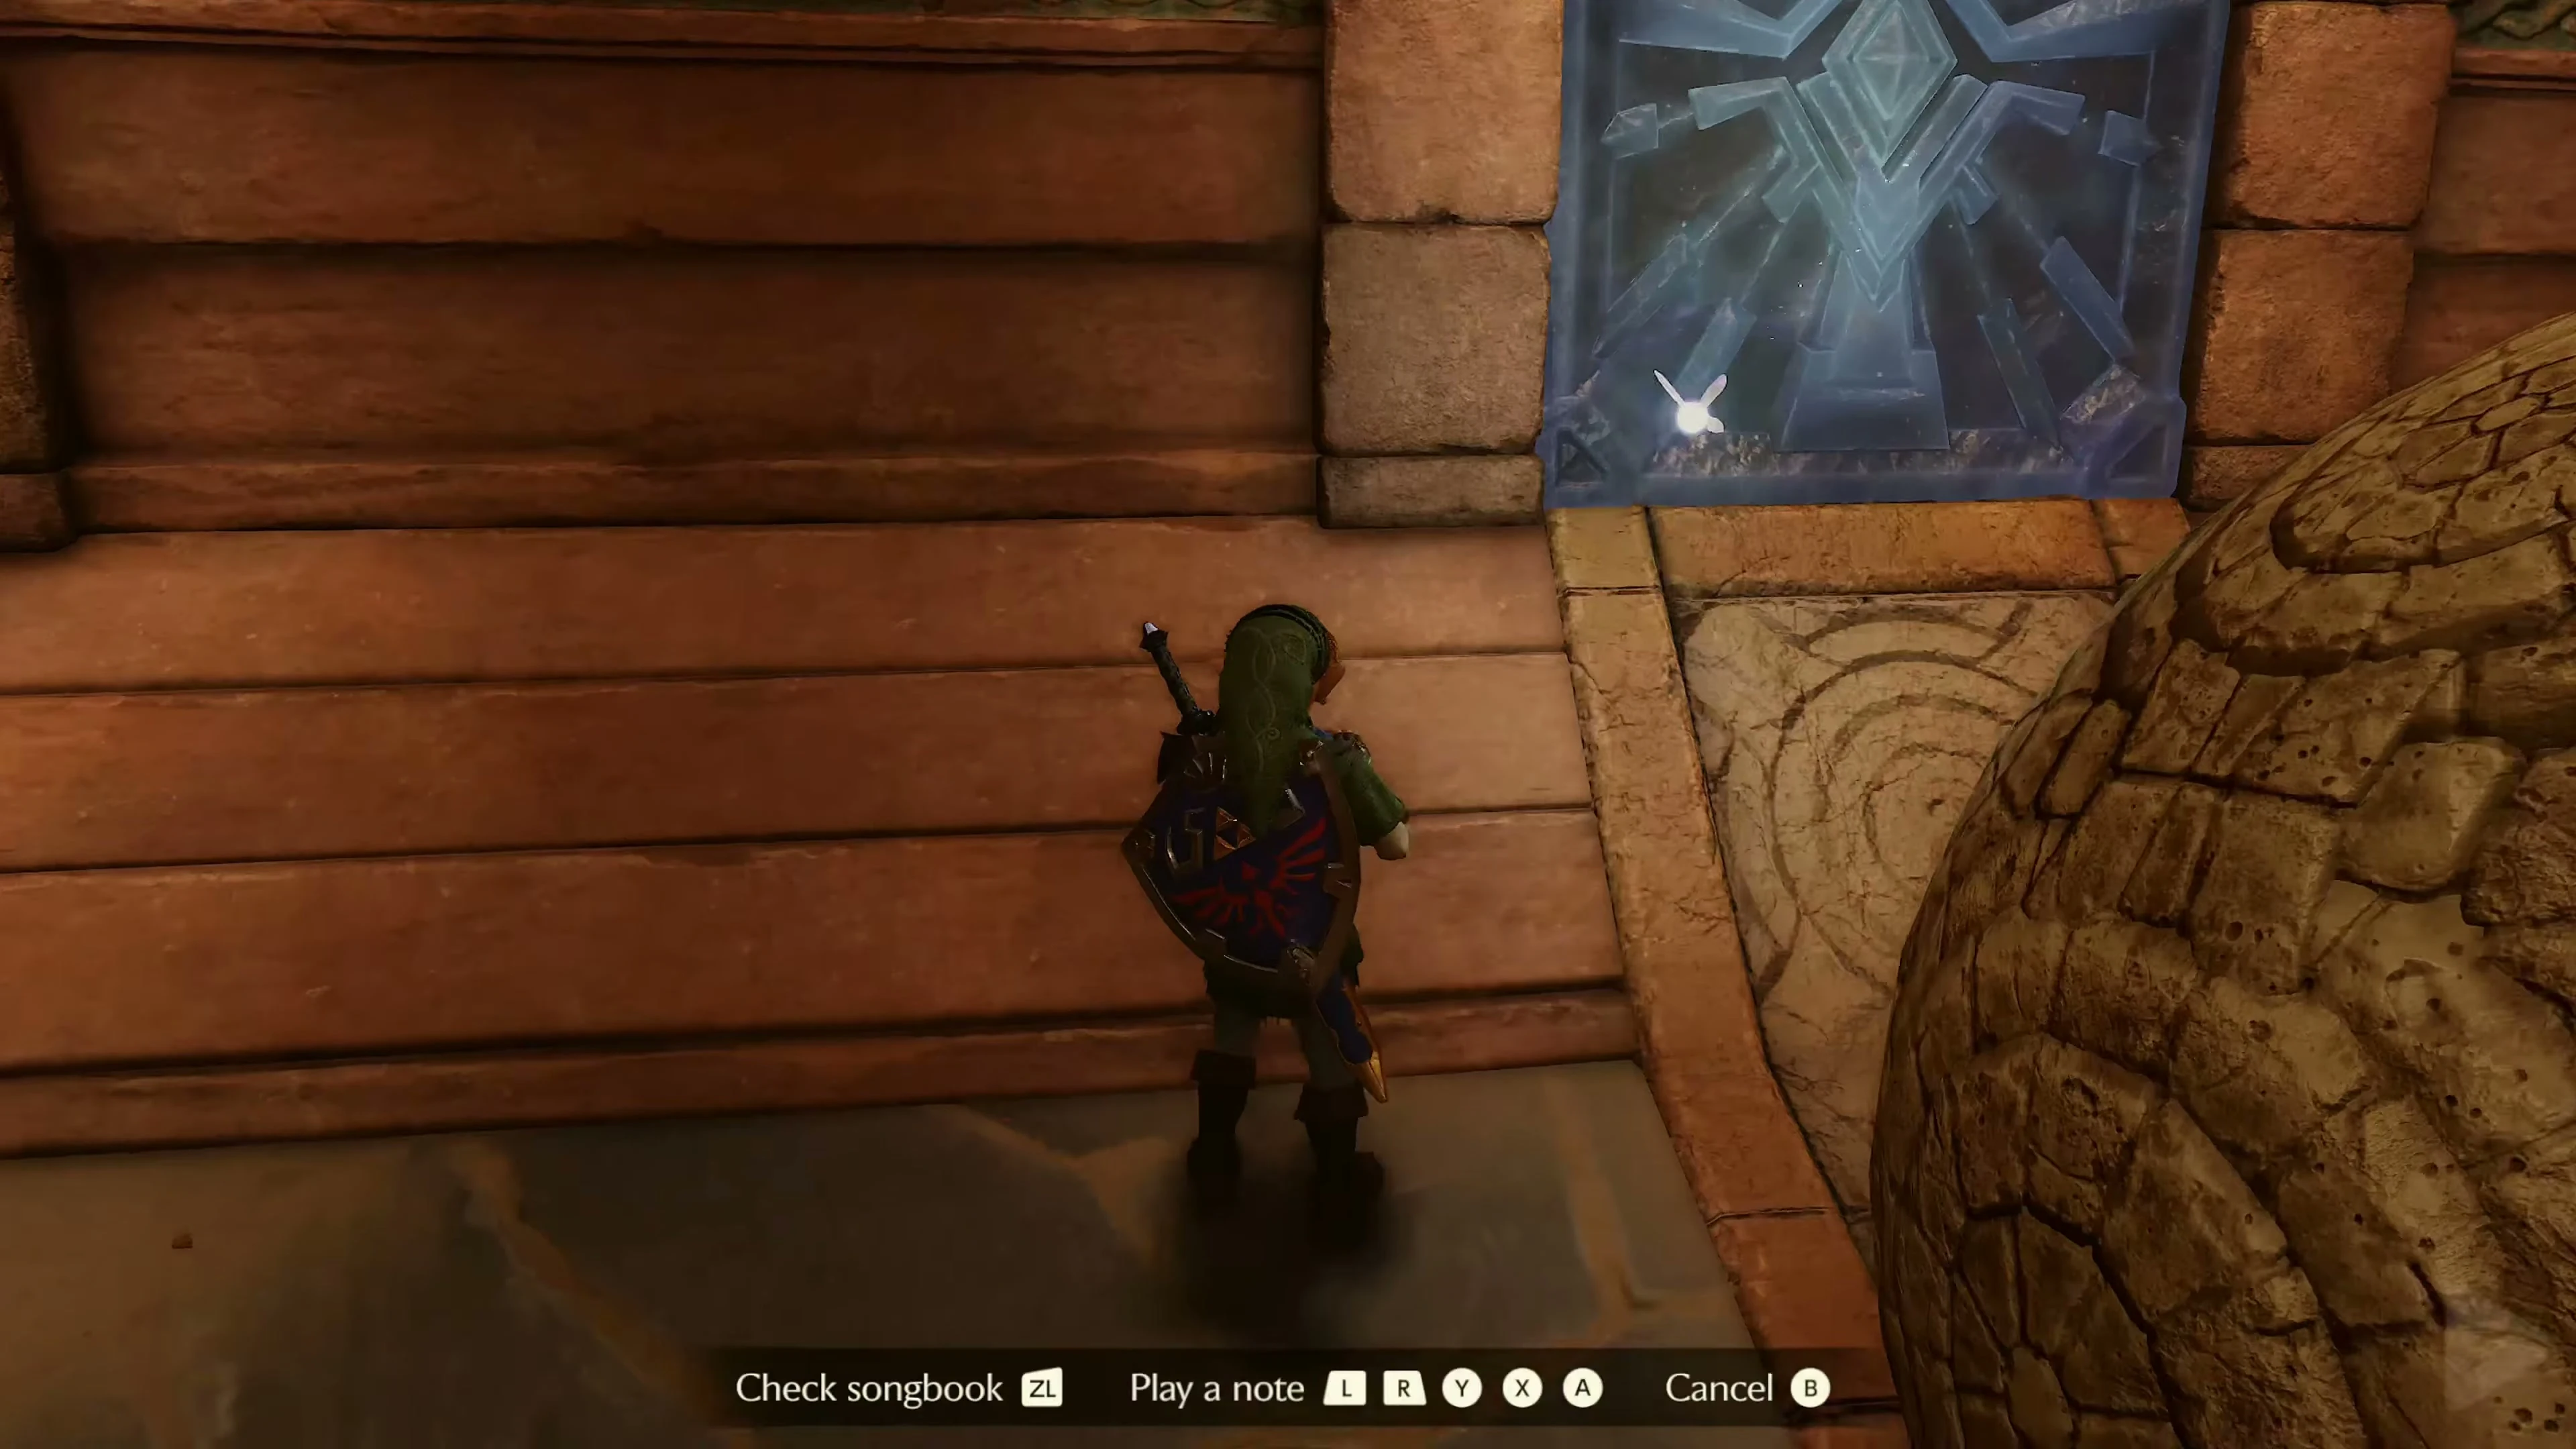
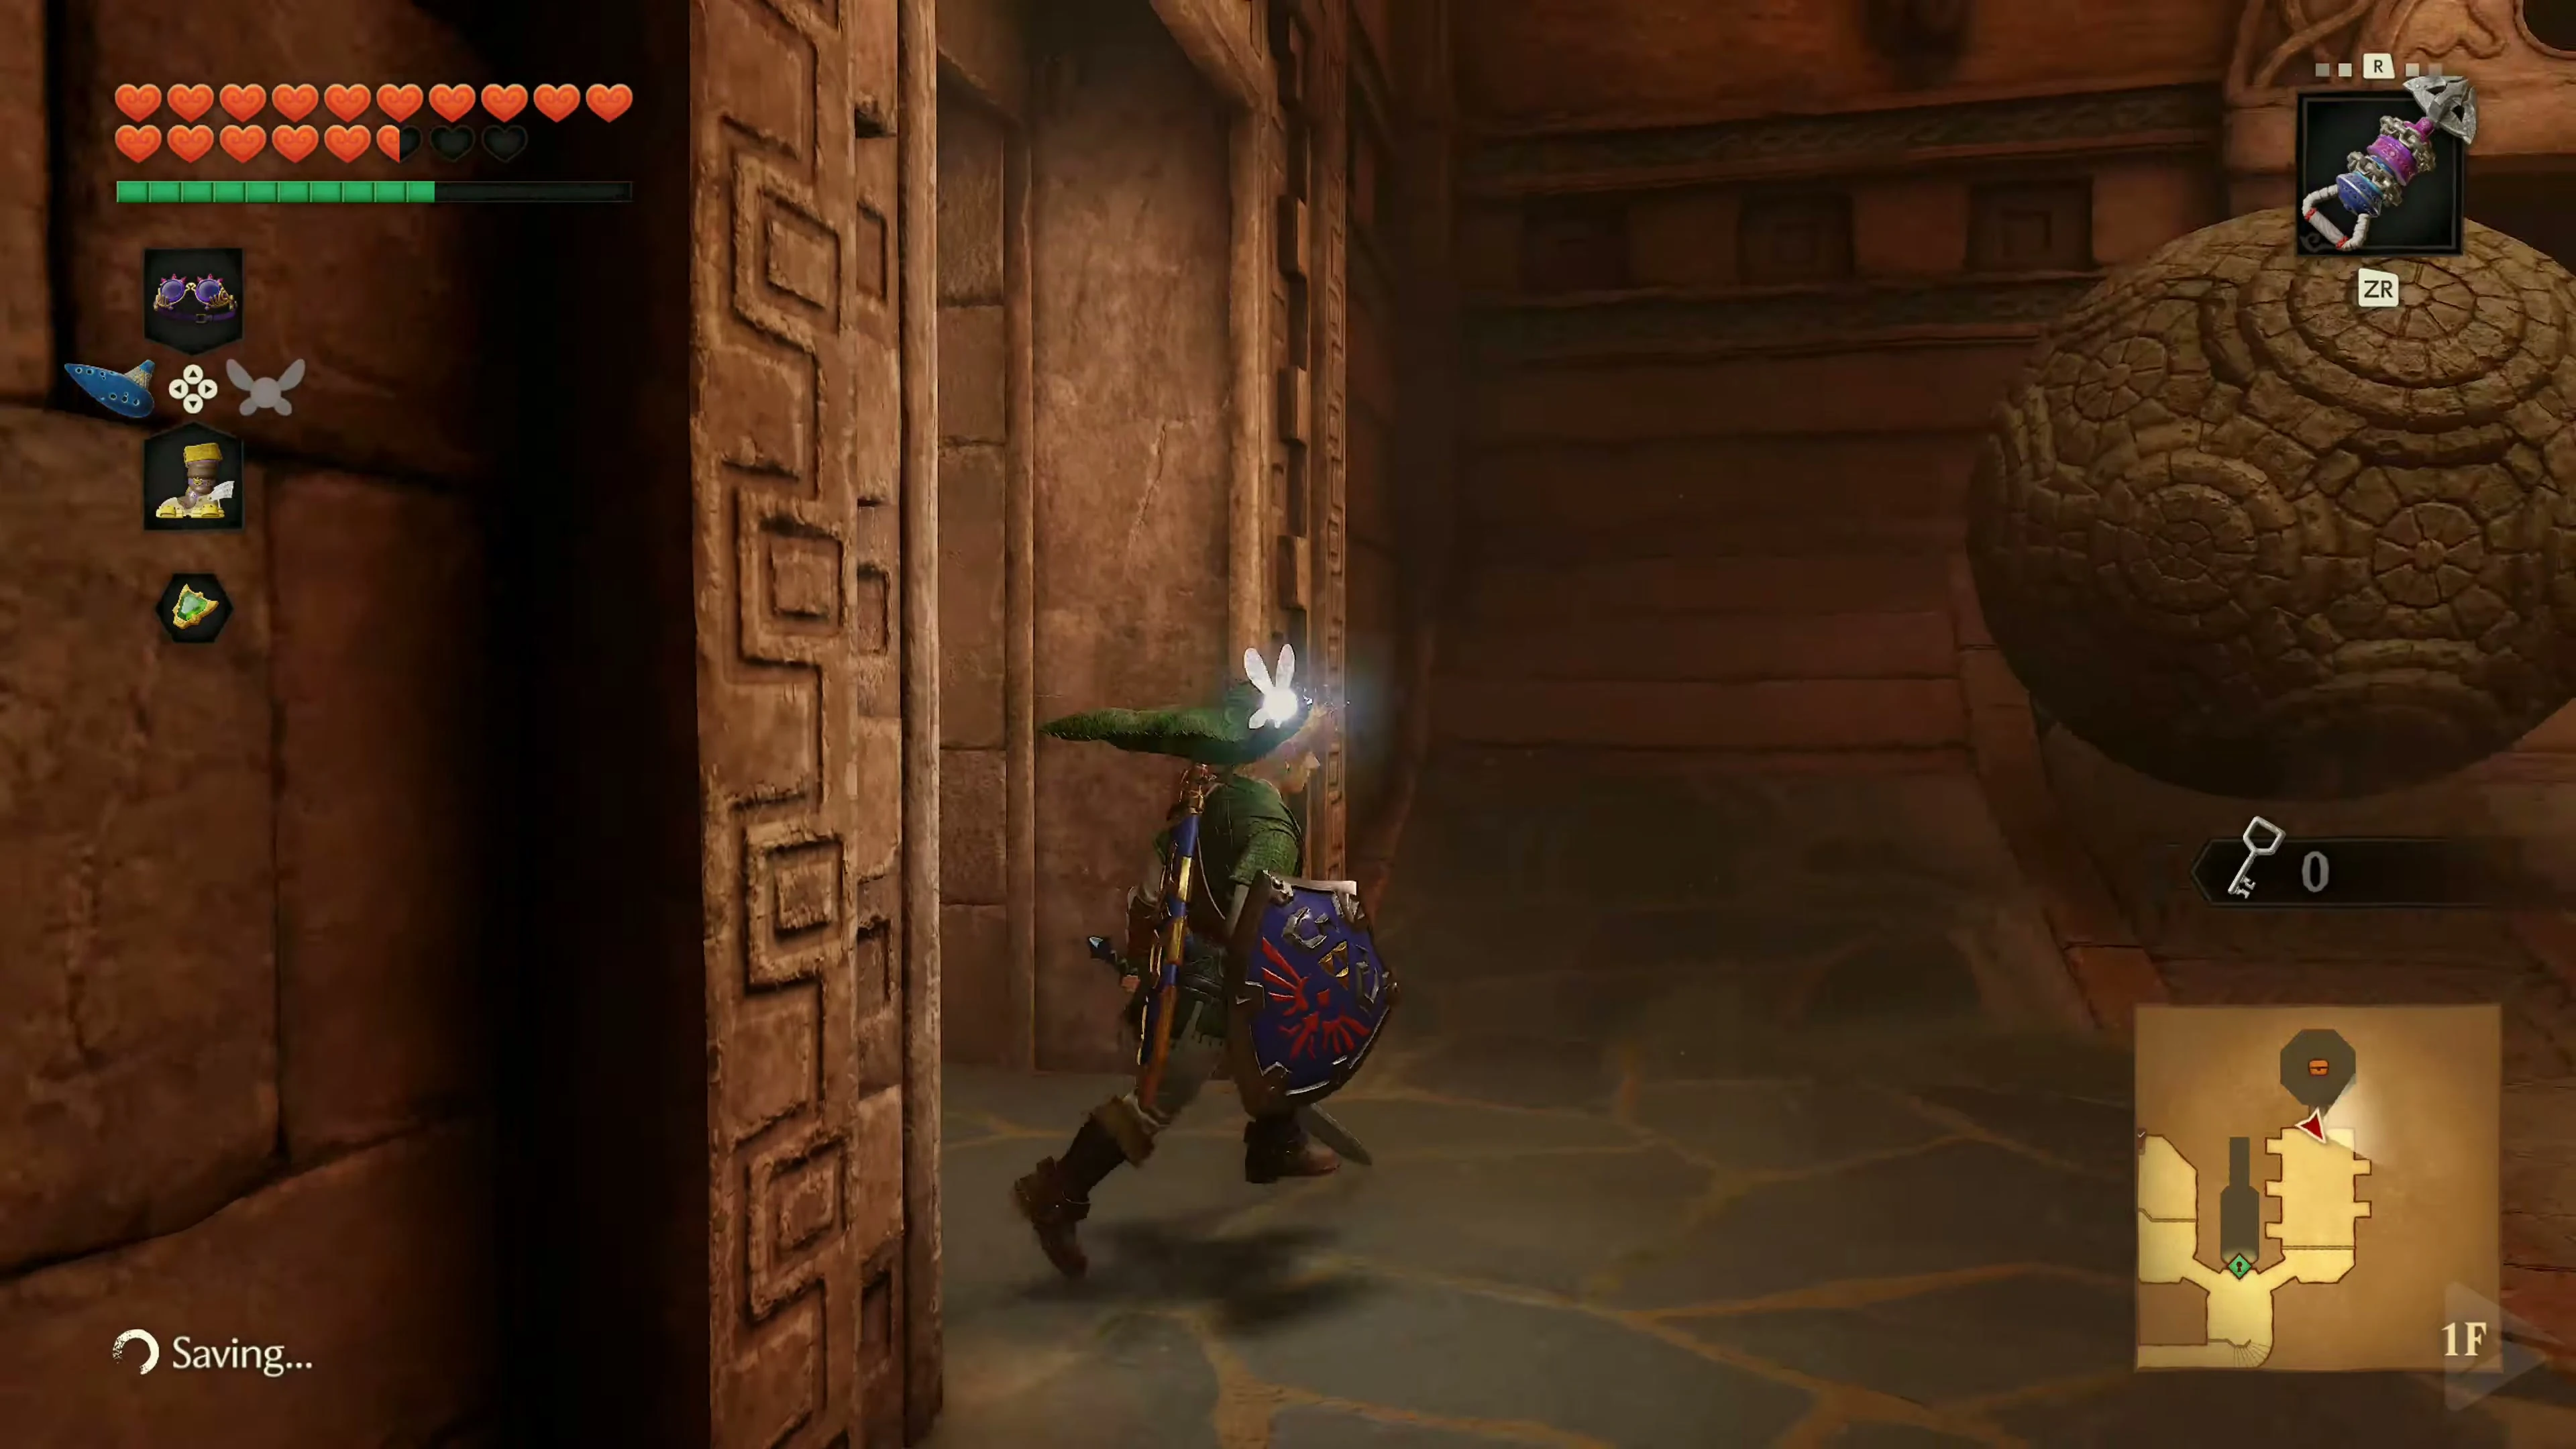
Return to the antechamber and enter the right-hand door. In the next room, large rocks roll through several wall niches. You must collect a total of five crystals at the same time. First, jump through the free-floating Rupee in the center. For the remaining Rupees, wait until a rock has rolled out of the corresponding wall niche and passed Link. Only enter the niche immediately afterward. A blue Time Block is located in one of these openings. Play the Song of Time . The block disappears, revealing the Gold Skulltula 4/5 . Defeat it and use the Longshot to pull the token towards you. If necessary, replay the Song of Time so the time block changes position and you can reach the last crystal. After collecting all five, the next door opens.
Small Key 3/5
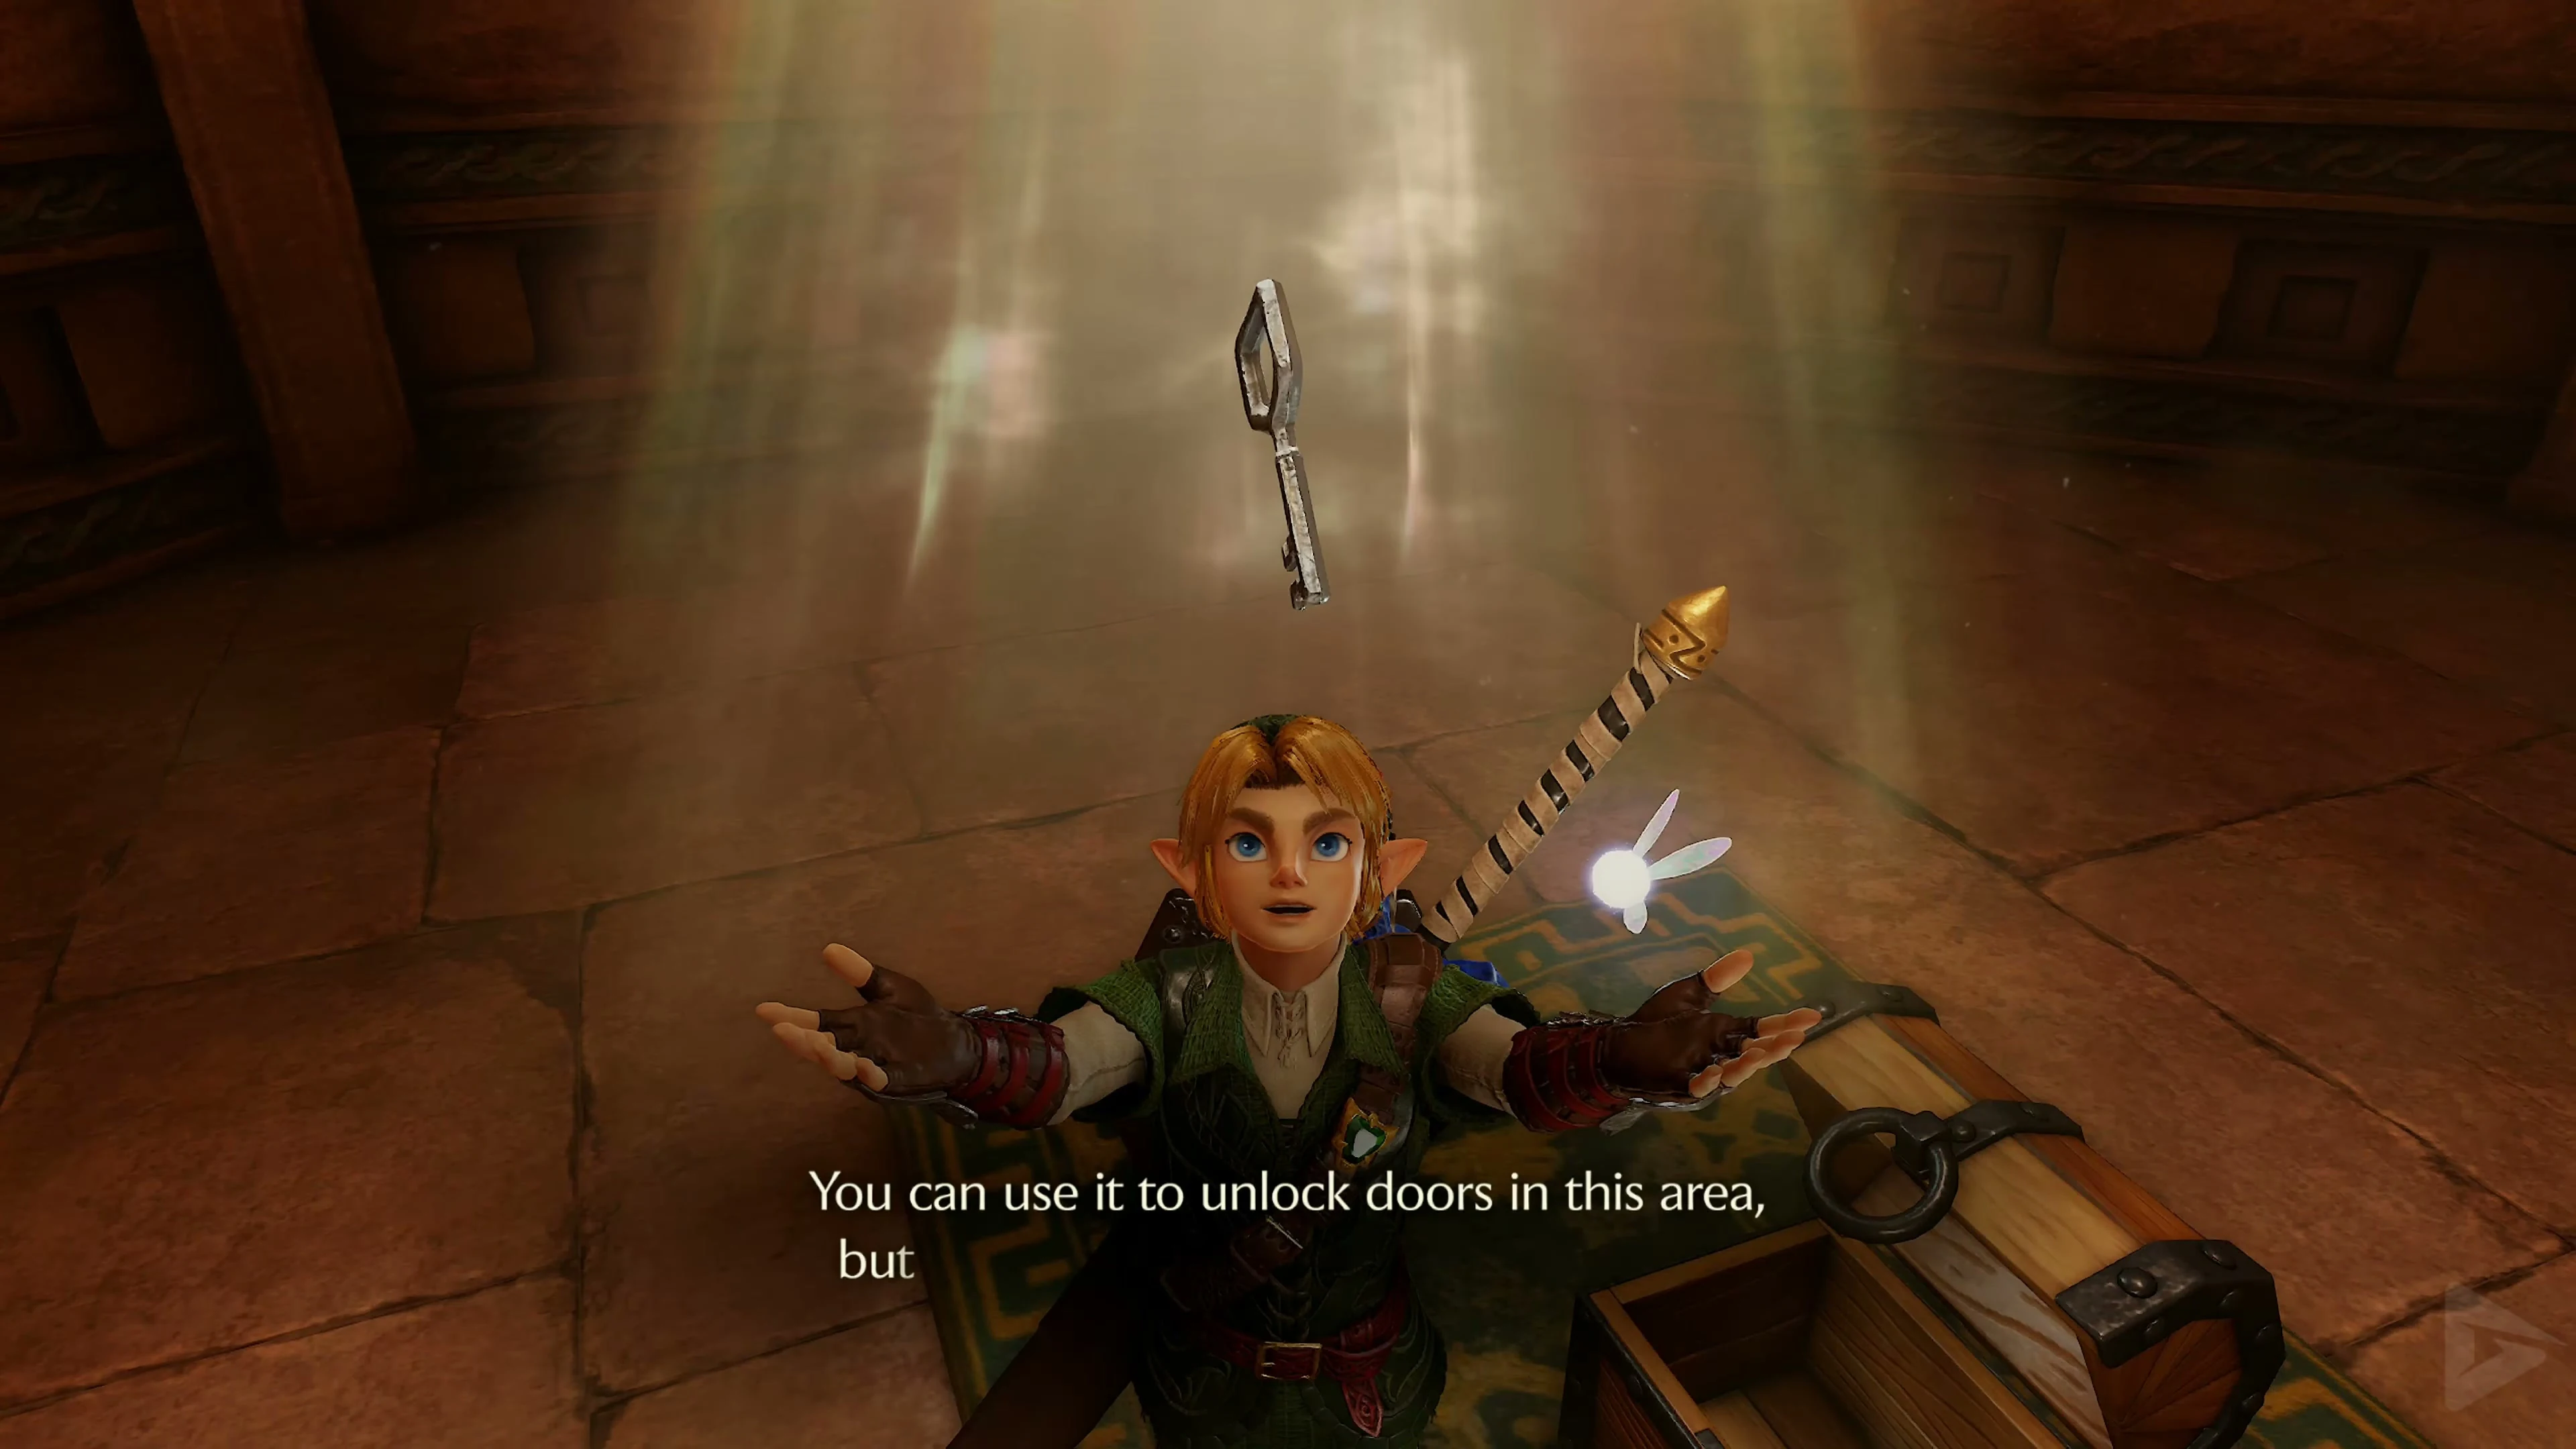
In the next room, a Like Like falls from the ceiling. Keep your distance from its pull and attack with arrows or the Longshot. Once the enemy is defeated, open the small treasure chest. Inside is the Small Key 3/5 , or the first Small Key we obtain in the adult section. Return through the room with the rolling rocks to the antechamber and open the middle door with Small Key 3/5 .
The Cobra Mirror Puzzle
In the next corridor, several jars fly toward Link, and a Like Like falls from the ceiling. Have the Hylian Shield ready, shatter the jars against it, and then destroy the Like Like. At the end of the area, climb the wall. Activate the Lenses of Truth there. . An invisible Floormaster is moving around the Cobra Mirror. Defeat the large hand first, then quickly eliminate its three smaller offshoots before they merge back together. Afterward, grab the Cobra Mirror by its side handles and slowly rotate it. The mirror will direct the incoming beam of light onto various sun switches on the walls. Some will only cause hearts or ice traps to appear. The correct sun switch is located to the right of the locked door. Shine the light on this token for several seconds until the door opens.
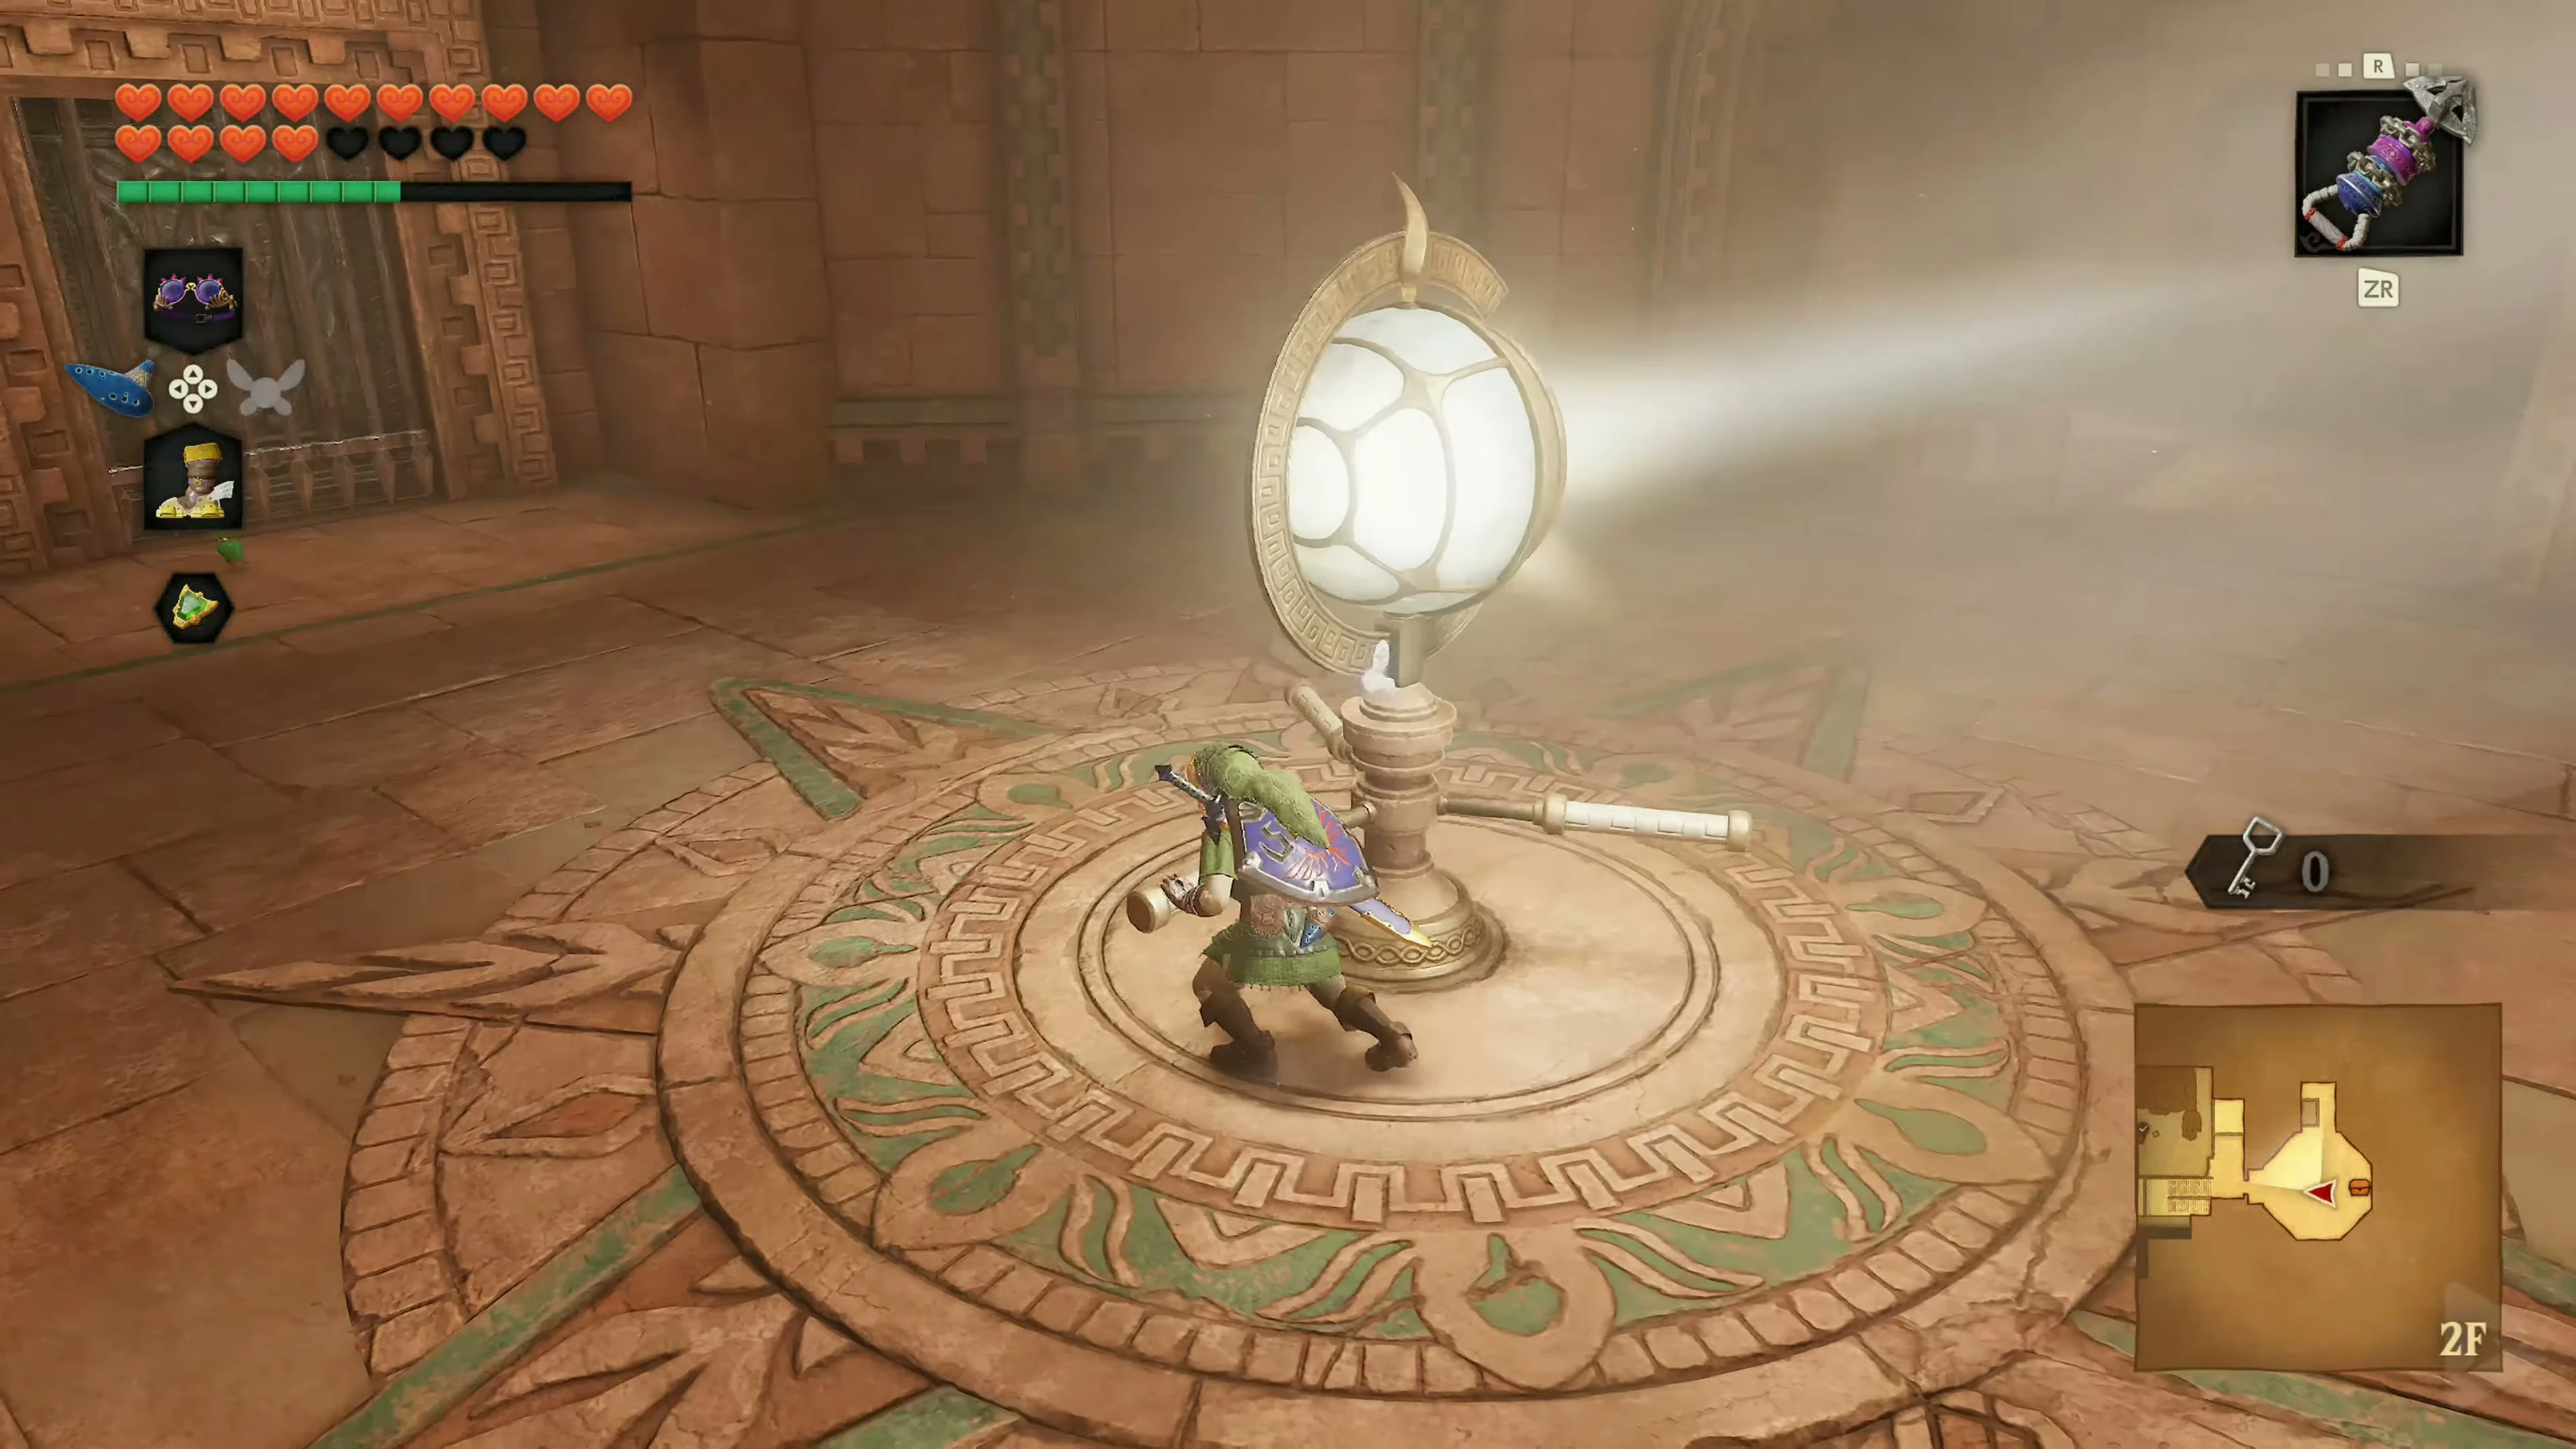
Small Key 4/5
You are now back in the large main hall with the statue of the desert goddess. Climb the wide stairs and use the Hover Boots to jump onto the hand with a Triforce symbol engraved in its palm. Play Zelda’s Lullaby there. A small treasure chest will appear on the opposite hand of the statue. Aim the Longshot at its front and pull yourself across. Open it and take the Small Key 4/5 .
Gold Skulltula 5/5 – Scarecrow Song
Return to the upper ledge near the broad staircase and use the Longshot on the burning torch to reach the small platform. Turn toward the distant wall on the left and play the Scarecrow Song . Pierre appears on a high ledge. Grapple across to him with the Longshot. Near the scarecrow is the fifth and final Gold Skulltula in the Spirit Temple . Defeat it and retrieve its Token. You have now collected all five Skulltulas in this temple.
A shortcut to the entrance.
Next, grapple to the small treasure chest on the ledge near the wide staircase. Inside are five Rupees. Behind the chest is a rusted switch. Hit it with the Megaton Hammer into the ground. This will open a barred door on the lower level. Enter the new passage and push the two large blocks forward one after the other until they fall into the designated recesses. Then, use the Megaton Hammer to activate the next rusted switch. A platform then descends to the temple’s entrance hall, providing a convenient shortcut between the upper levels and the beginning of the Spirit Temple.
The Path to the Mirror Shield
Return to the main hall and use the target above the Armos statue to pull yourself up to the wide staircase. At the top, open the locked door with Small Key 4/5 and follow the corridor.
In the next room, there’s another Beamos. Destroy it with a bomb and go through the door. Several Anubis and another Beamos await you there. As in the children’s section, Anubis can only be reliably destroyed by fire. The easiest way is to use Fire Arrows or Din’s Fire. Alternatively, activate the fire trap using the floor switch and move Link so that the Anubis float upside down into the flames. At one point, Navi will glow green. Play the Song of Time there. A time block will appear and change your position, giving you a better angle to maneuver the last Anubis into the fire trap. Once all the enemies are defeated, the next door will open.
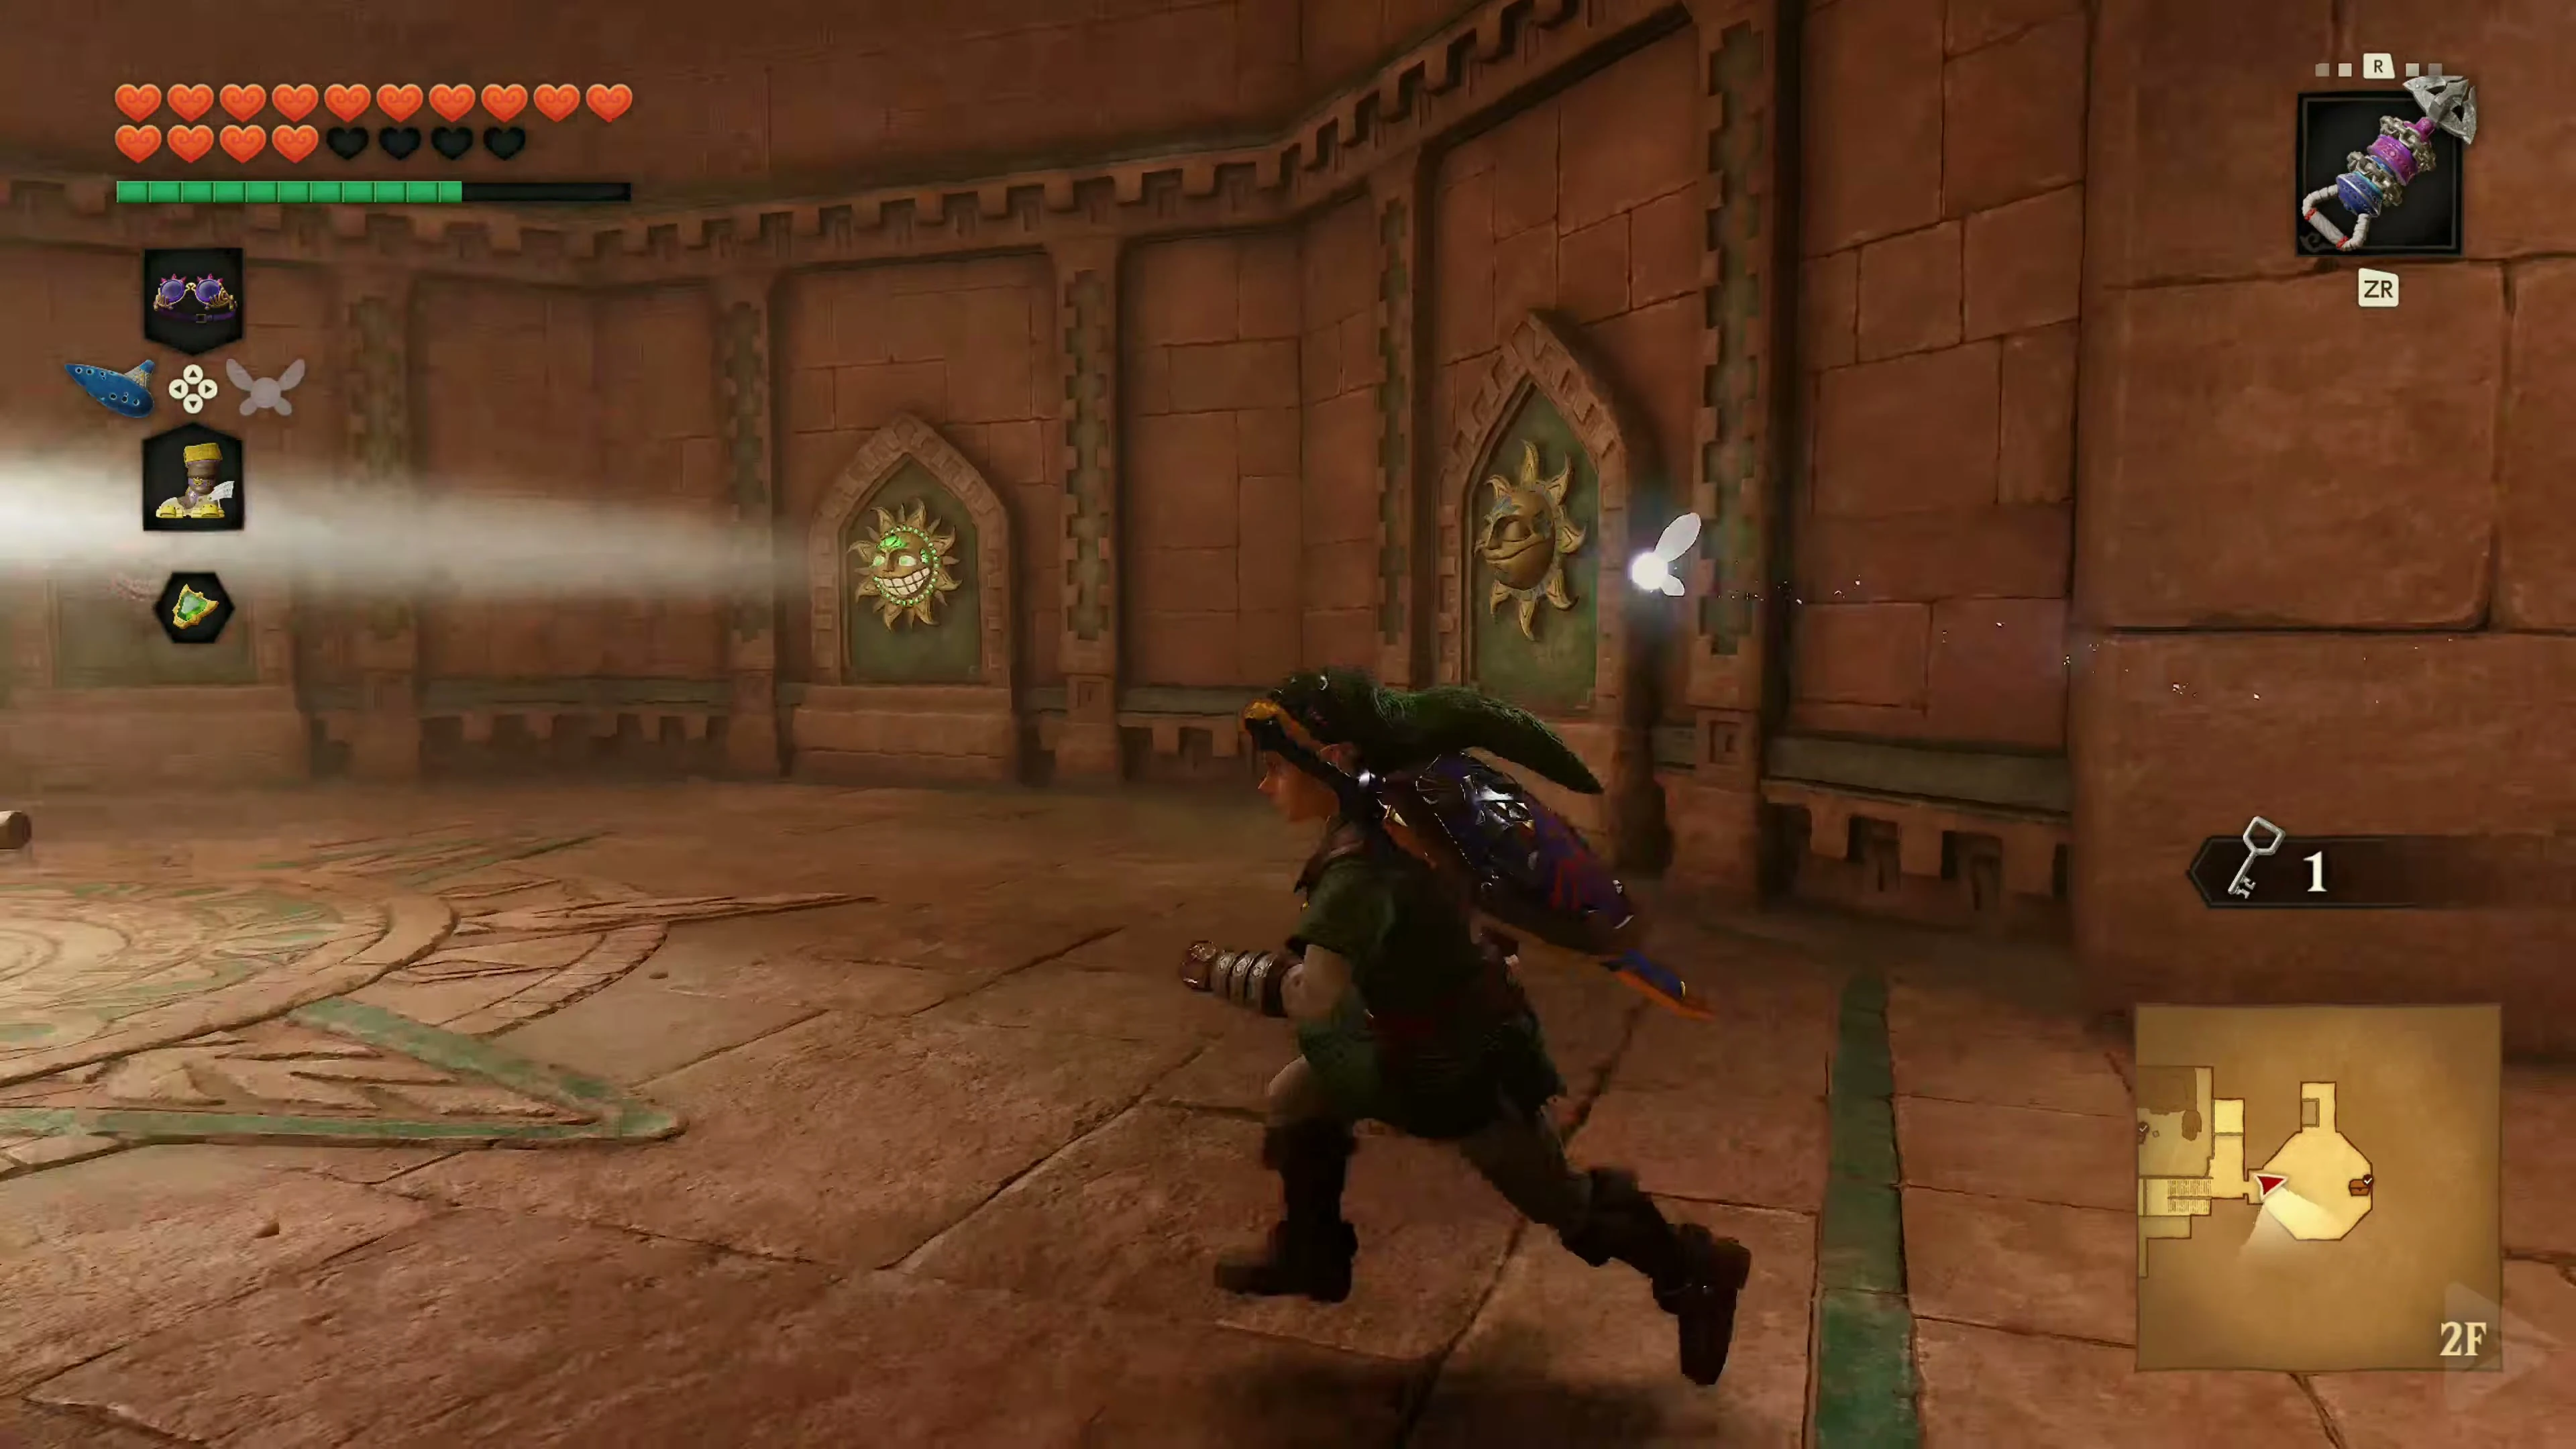
The Puzzle with the Armos Statues
In the next room is a living Armos statue that reappears after being destroyed. Lure it to the hole with the floor switch in the center of the room. Stand on the other side of the hole so that the Armos lands in it when she jumps. Her weight will hold the door to the south open. Go through and look in the short corridor with the Lenses of Truth for the two invisible chests, each containing 20 Rupees. Open both. The second Iron Knuckle awaits.
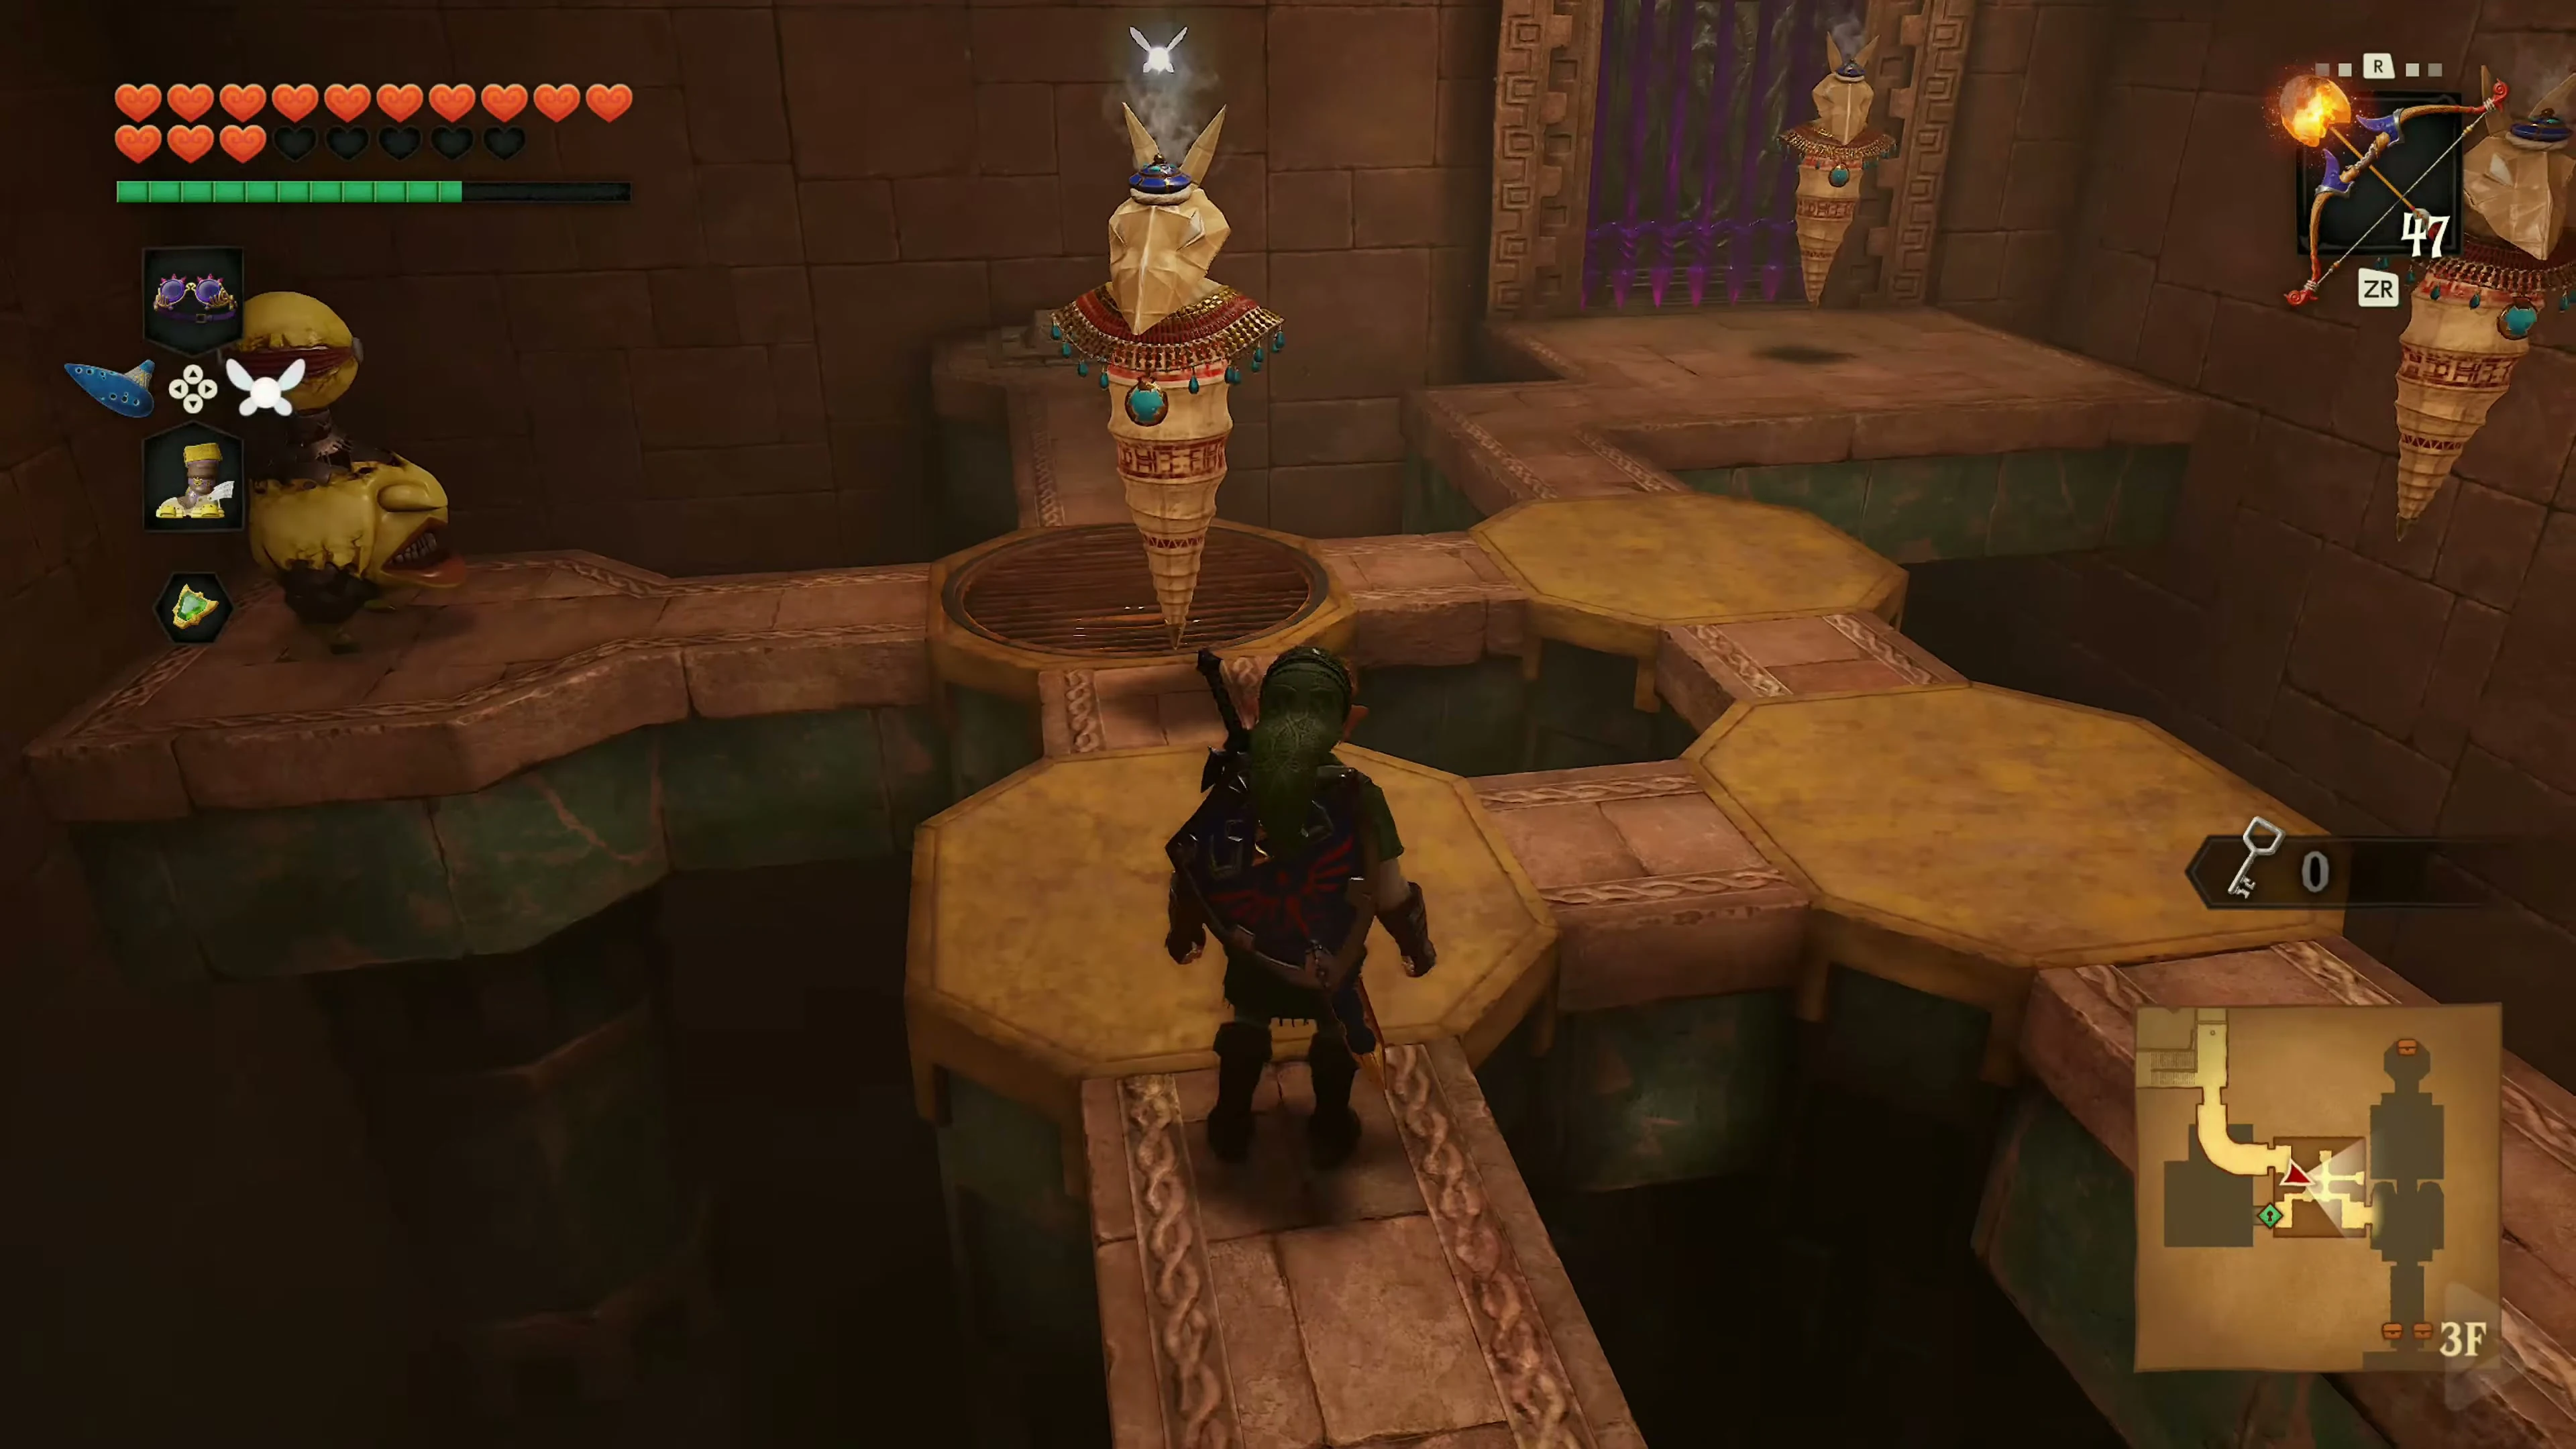
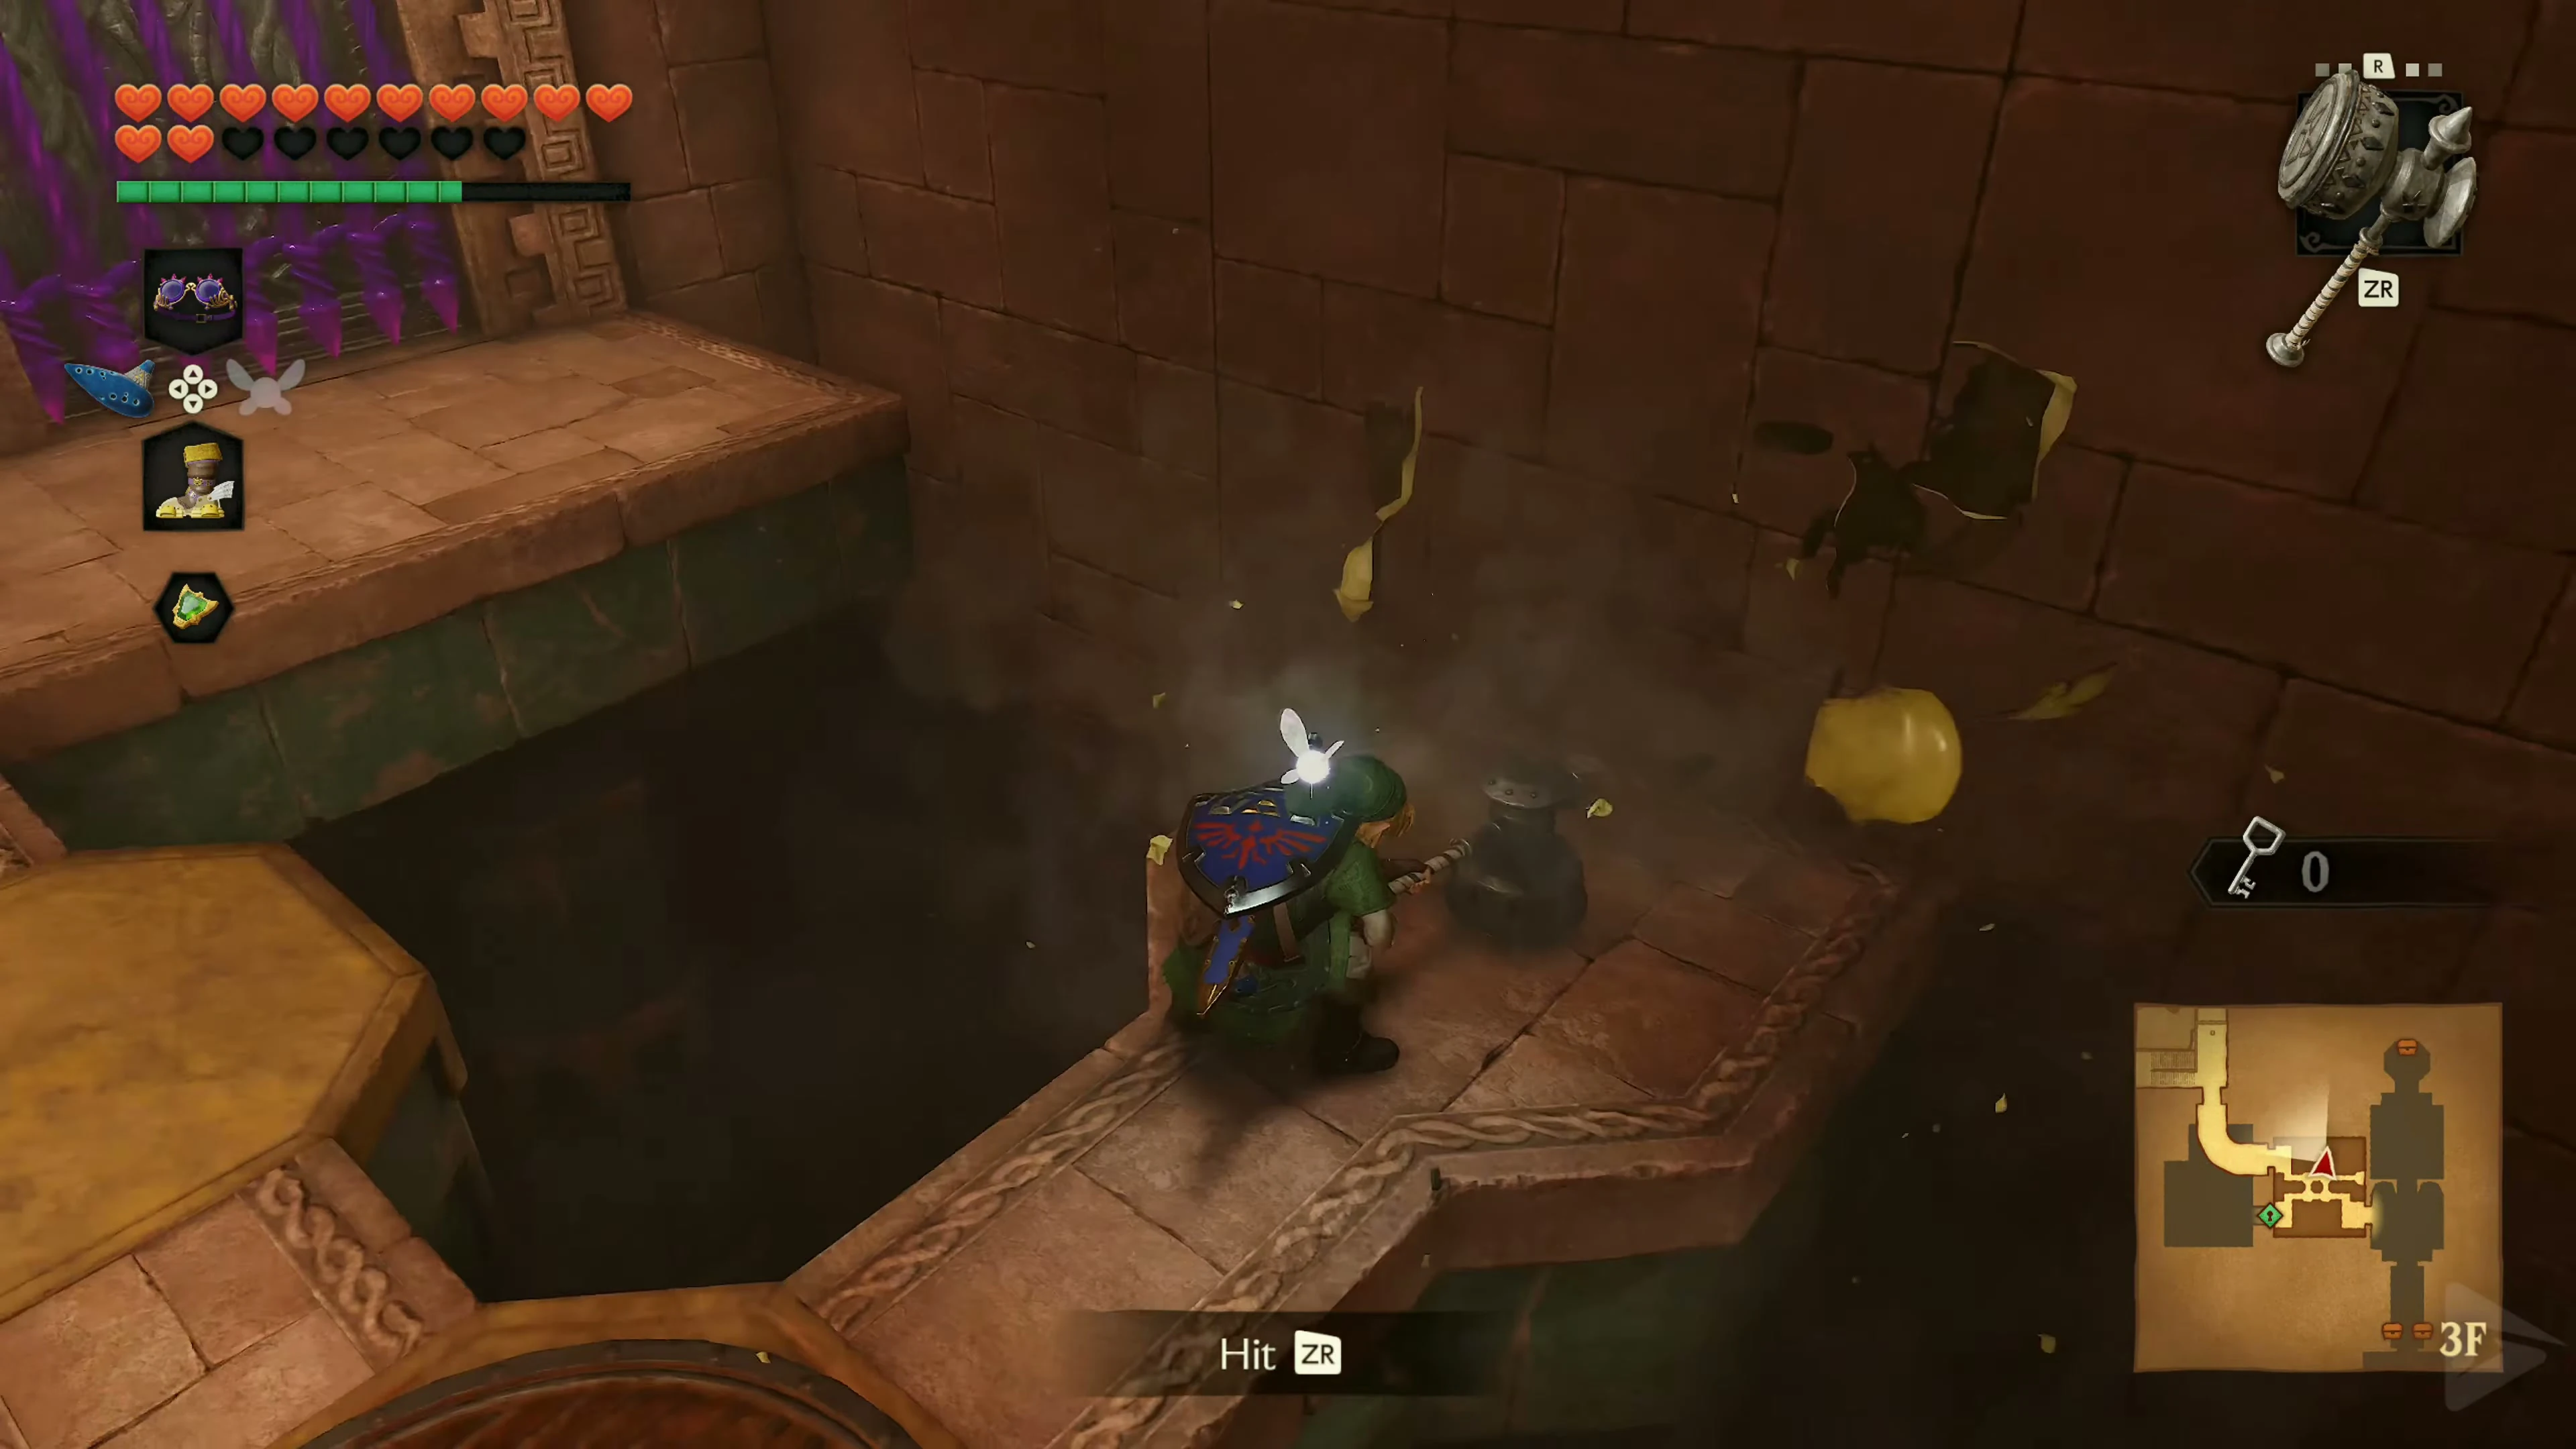
Miniboss: The Second Iron Knuckle
Another Iron Knuckle awaits on the next throne. Awaken it with an Arrow or sword strike and use the same basic strategy as during Link’s childhood. Keep your distance, provoke a heavy axe strike, and dodge to the side or backward just before it hits. Once the axe is stuck in the ground, or the enemy finishes their attack animation, attack once or twice and then retreat. Adult Link deals significantly more damage with the Master Sword than the child Link with the Kokiri Sword. If you already own the Biggoron Sword , the fight will be even faster. Don’t underestimate Iron Knuckles, though. His axe still inflicts tremendous damage. After his defeat, the door behind the throne will open.
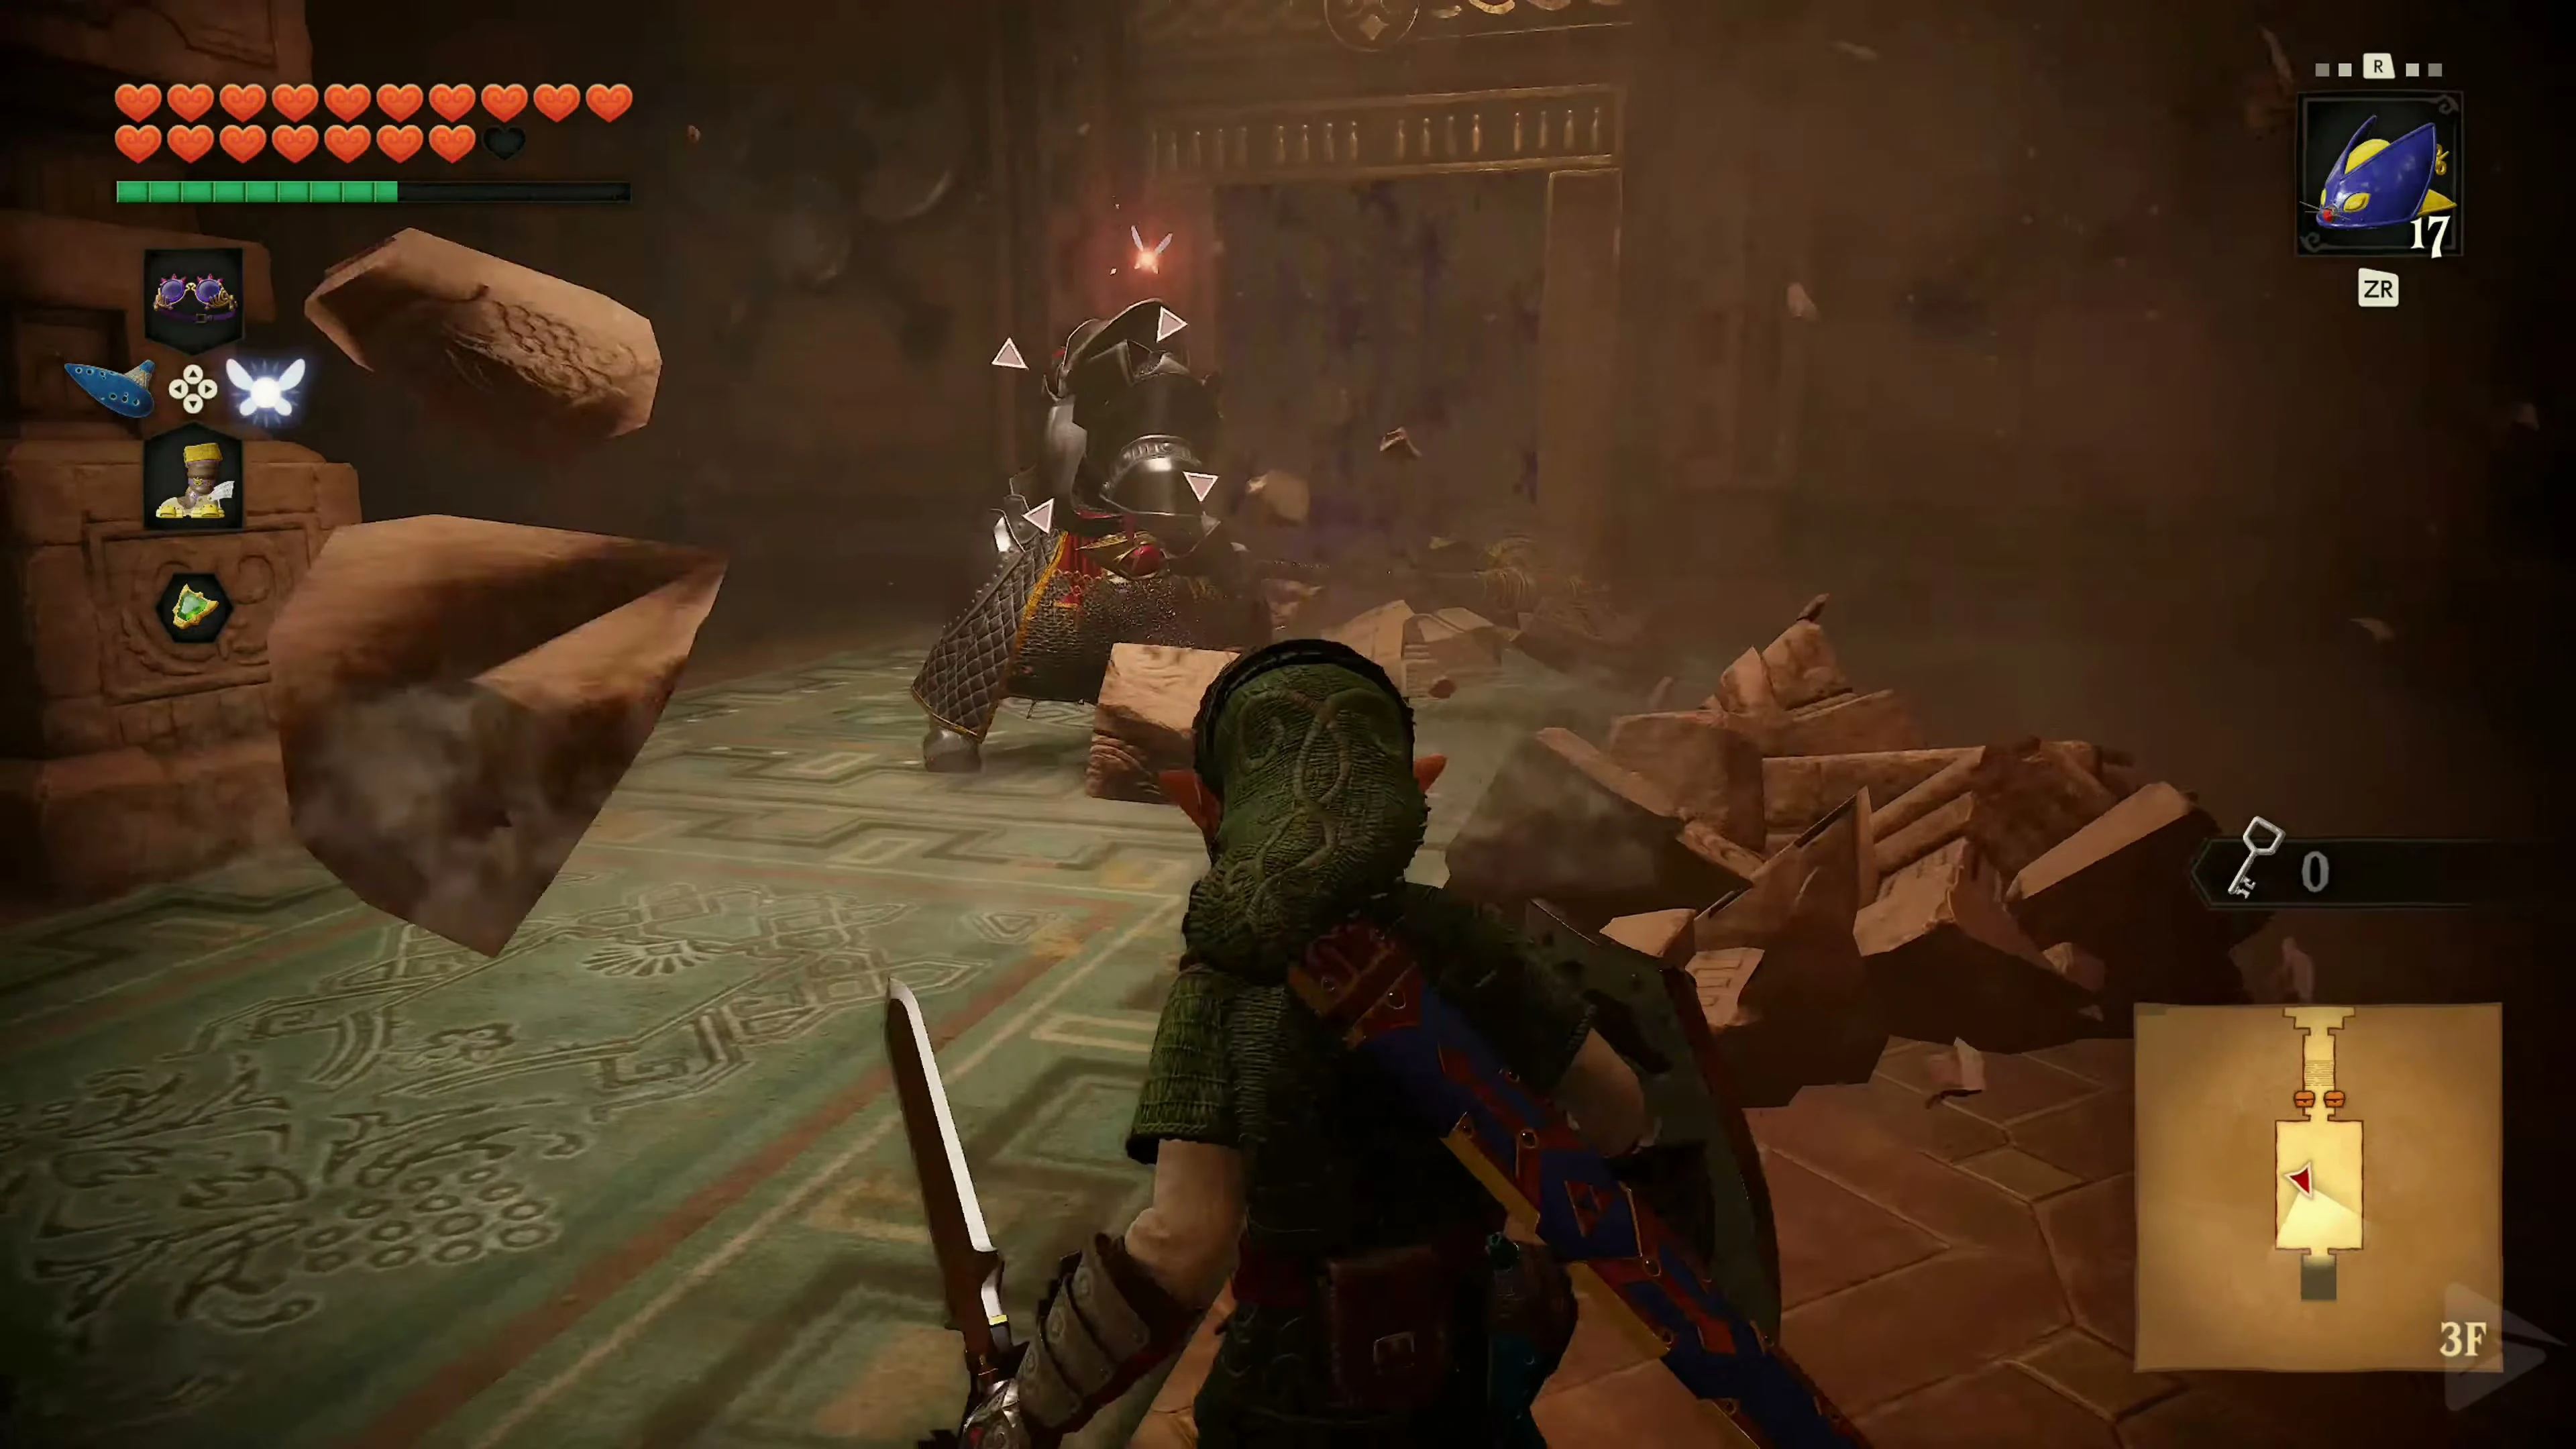
The Mirror Shield
After the Iron Knuckles, go outside to the hand of the desert colossus. Step on the switch on the left to make the large chest appear. Open it for the Mirror Shield . With it, you can direct sunlight and magical beams. Return to the temple and go to the room behind the Armos puzzle with the incoming beam of light.
Small Key 5/5
Return to the room with the four Armos statues and go to the other side of the rotating blade. A beam of light will fall into the room there. Stand in it and point the newly obtained Mirror Shield at the sun switch next to the locked door. Keep the reflected light on the token until it is fully activated. The door will open. Enter the small side room and open the treasure chest. Inside is the Small Key 5/5 . Then return to the room with the Anubis and open the door there with Small Key 5/5 .
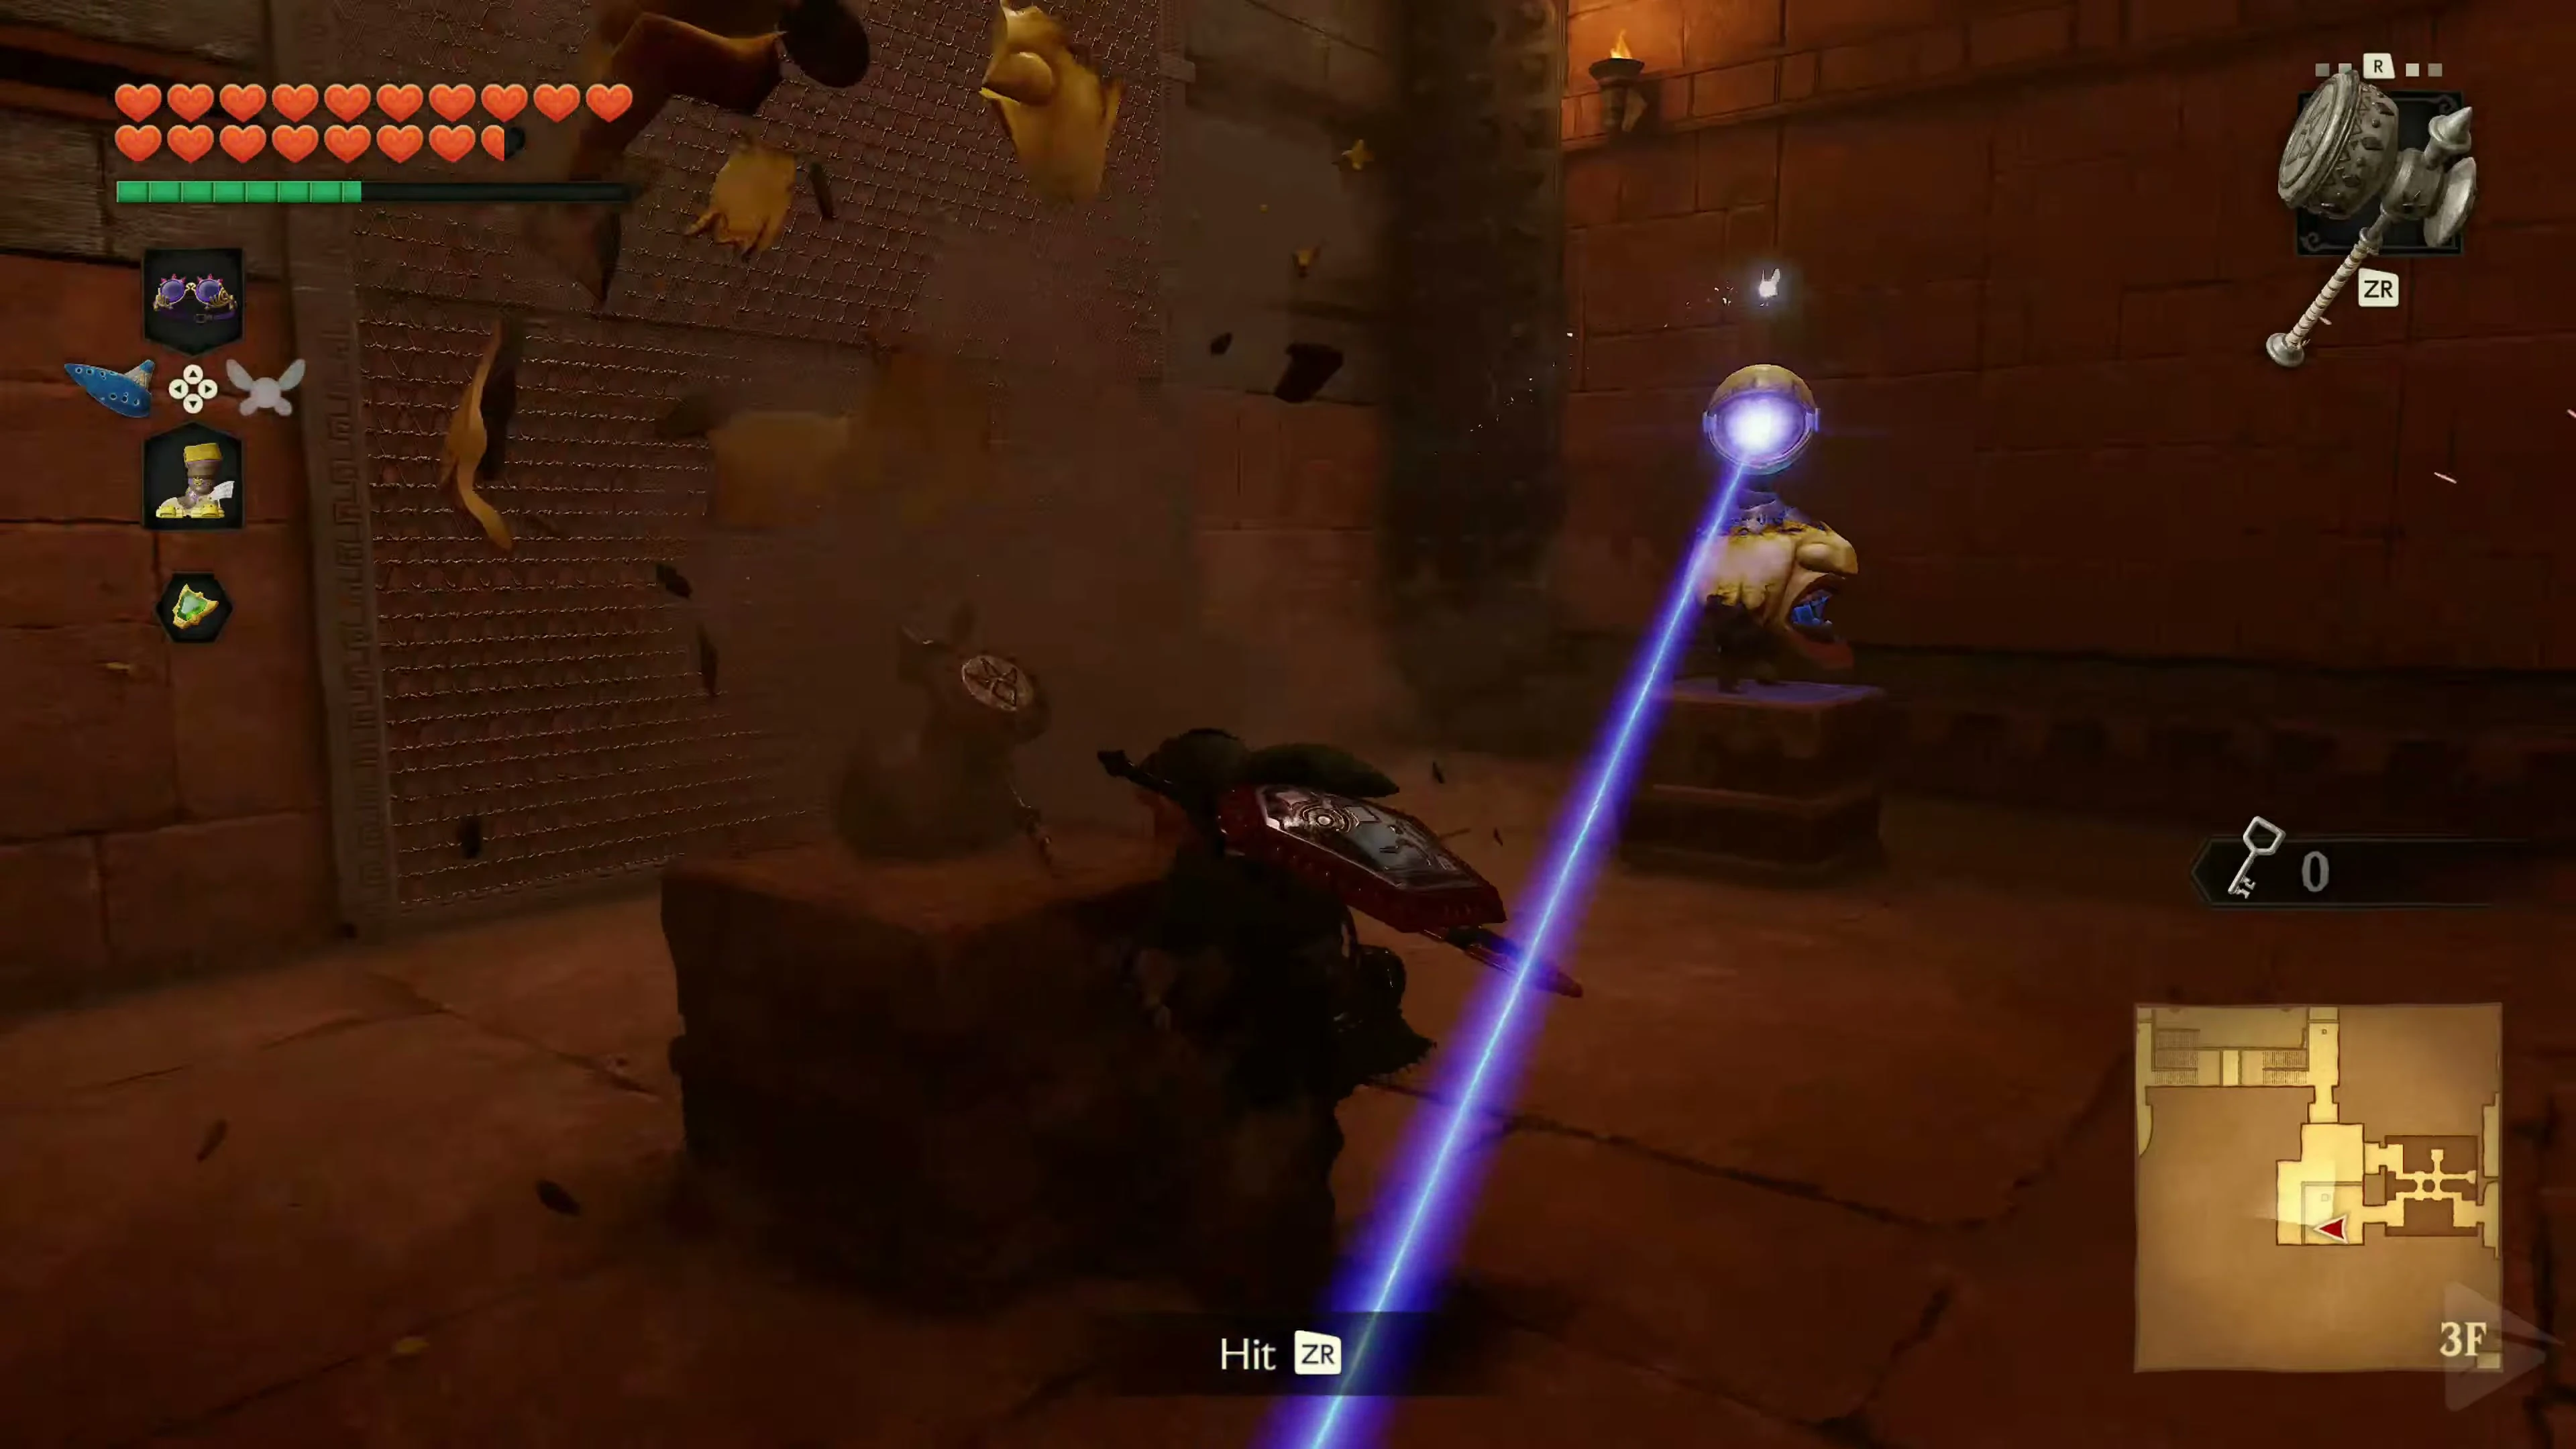
The Moving Climbing Wall
Defeat the two Beamos behind the last key door; use the Mirror Shield to deflect their lasers back at you. Climb the moving wall, staying as close to the center as possible to avoid the spikes on the sides. When a segment shifts, your hands and feet must be on the same section of the wall. wait for the rhythm to develop in safe spots. At the top, eliminate the two lizards. Beyond them is another climbing wall with the same principle. Then take the north door and play Zelda’s Lullaby at the Triforce symbol.
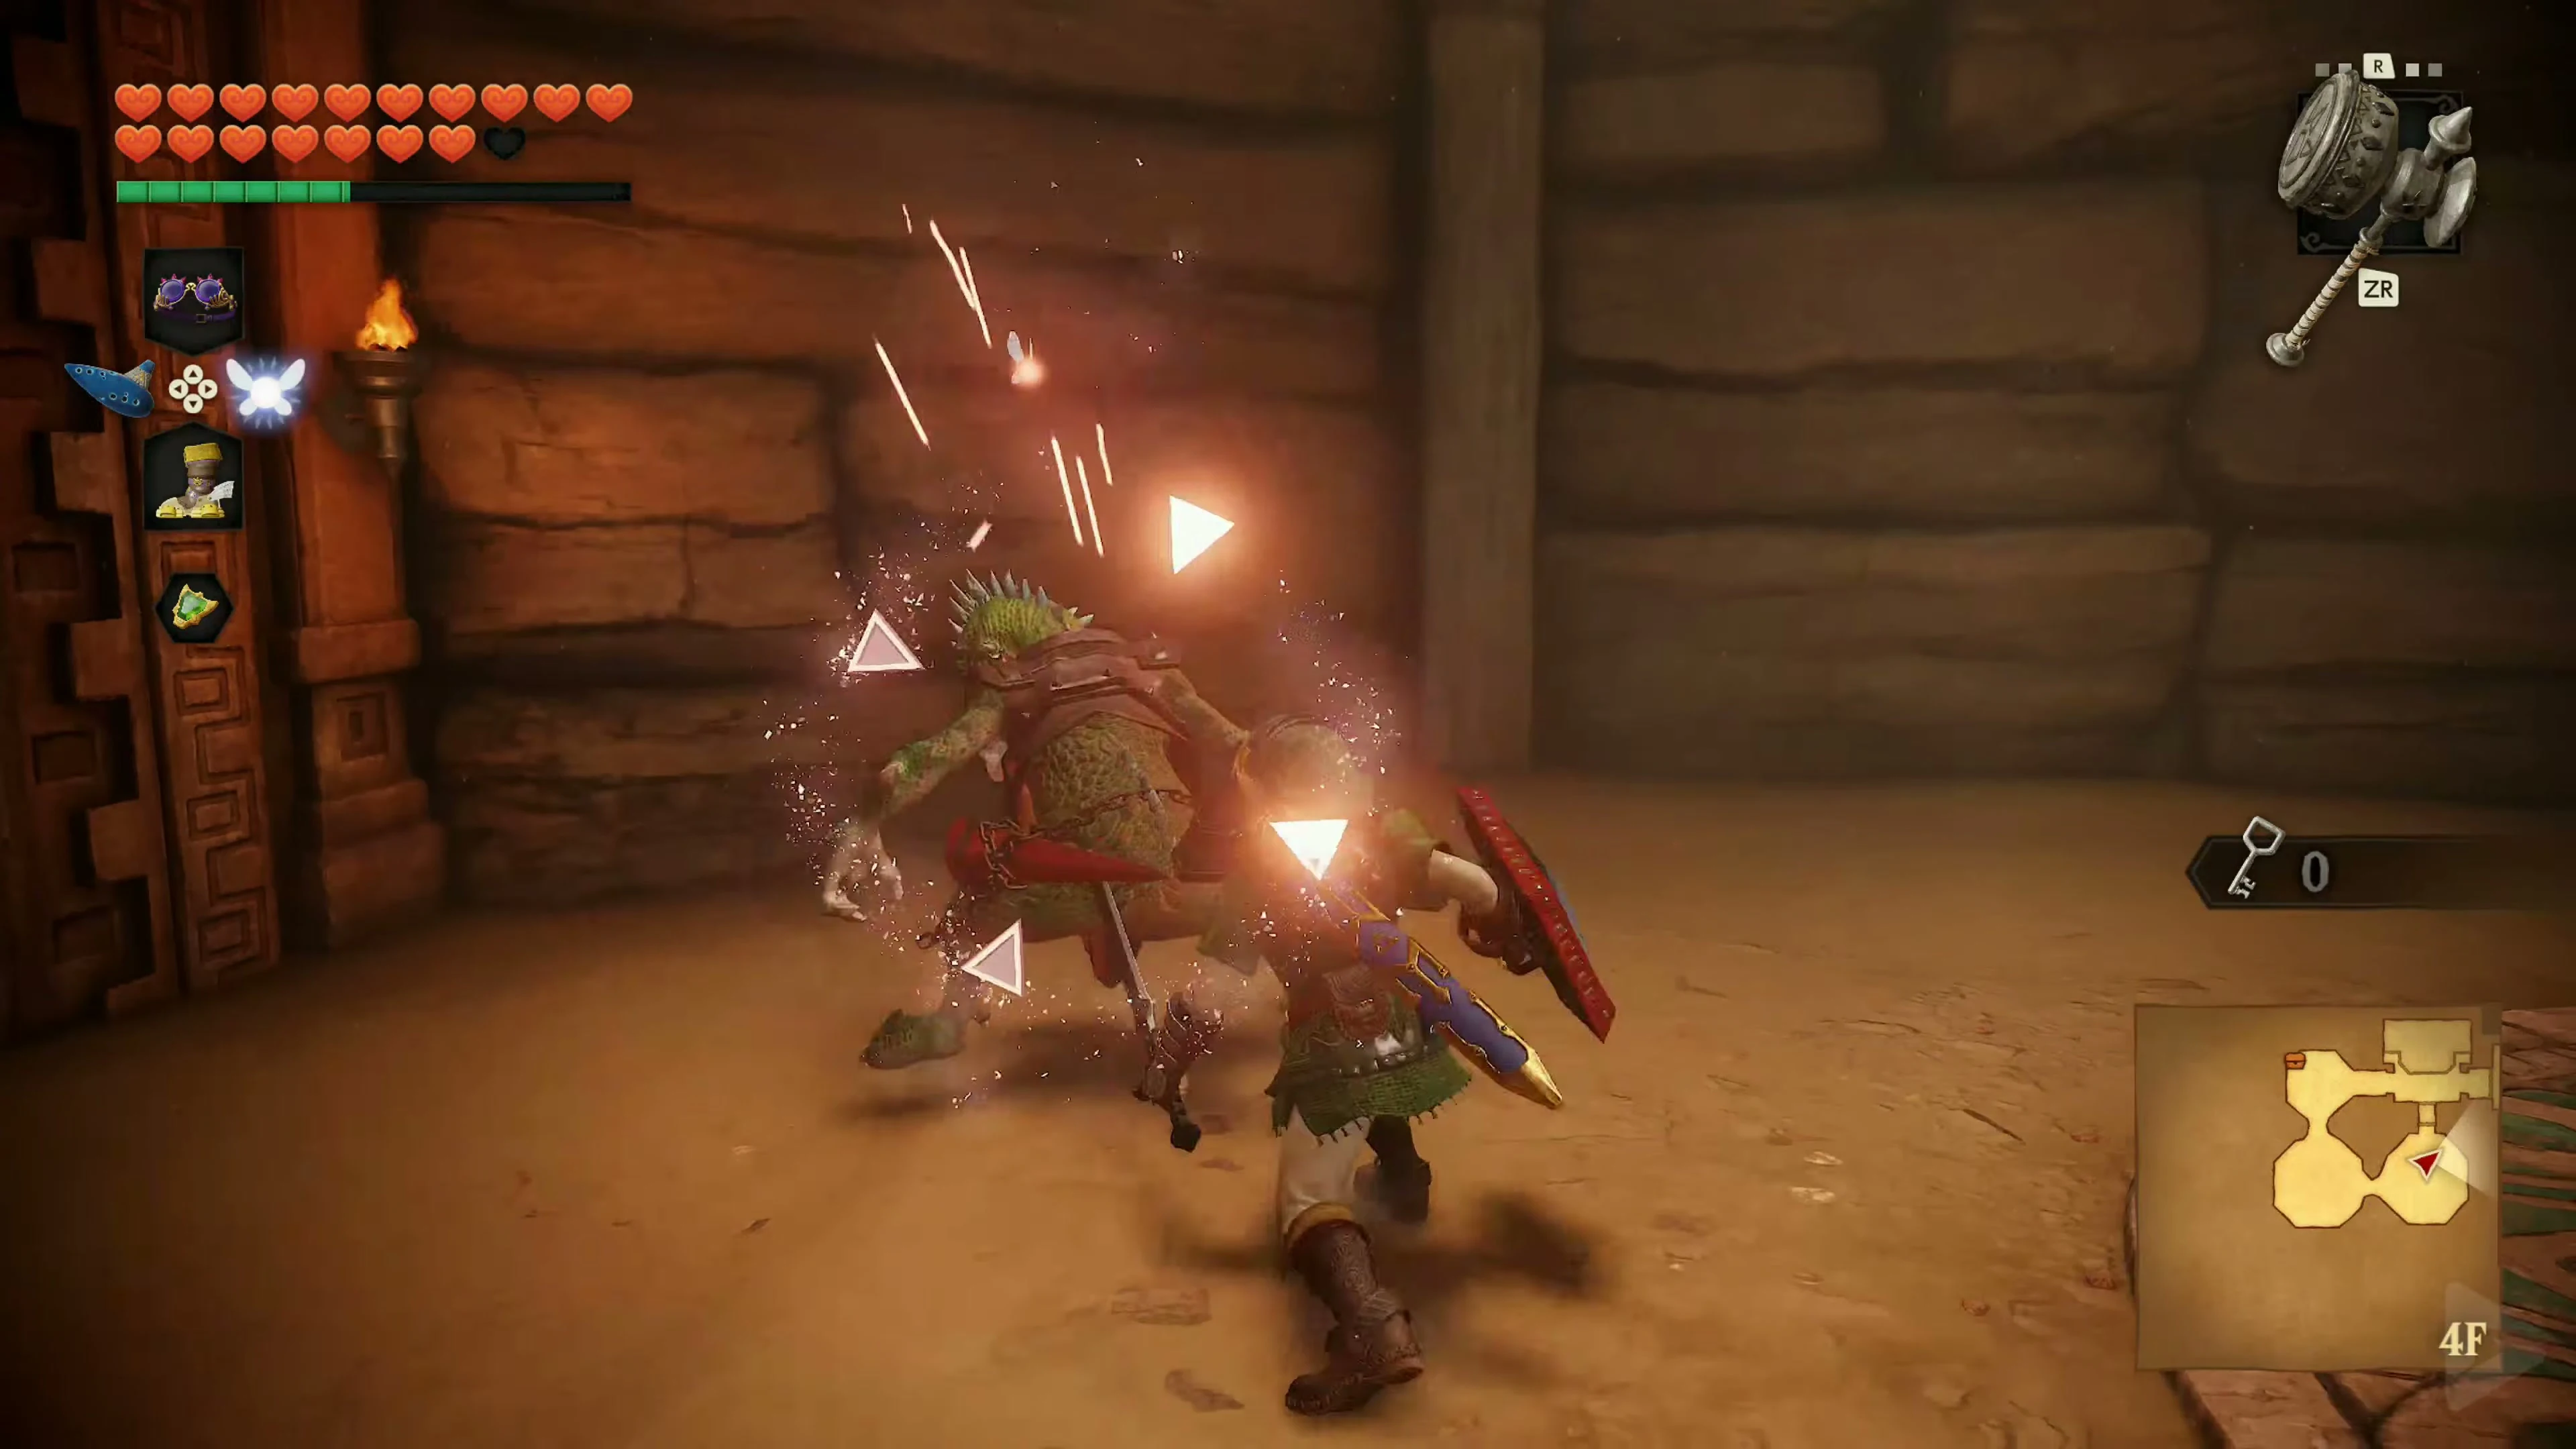
The Boss Key
In the next room, several Torch Slugs are crawling around. Defeat them and then examine the various doors on the walls. Some of them are decoys. Hit them with the Megaton Hammer to destroy the fake doors. Behind the decoy in the northwest/left corner is a golden eye switch. Shoot it with the Fairy Bow. An additional platform will then appear. Use the Longshot to pull yourself up on the target above the platform and jump from there onto the floor switch on the raised ledge. The flames around the large blue-gold treasure chest will disappear. Jump down, open the chest, and take the Boss Key .
The Large Mirror Puzzle
Return south from the Boss Key and climb the wall on the right. Drop down to the lower level in the room with the chains. The crystal switch is easily accessible to the south. Hit it and go through the open west door to the mirror puzzle.
The Two Cobra Mirrors
In the following area, an Lizalfos will attack first. Defeat him and examine the first large cobra mirror. There’s a sun switch above a doorway. Use the Mirror Shield to reflect the incoming light onto this token. A small treasure chest containing bombs will appear. Then proceed to the next part of the room and eliminate the White Bubbles. There’s a conspicuous, protruding, or cracked, rock on one wall. Place a bomb in front of it to blast open a hidden doorway. Return to the first cobra mirror and rotate it so that the beam of light shines through the newly created opening onto the second mirror. Follow the passage, defeat the Lizalfos waiting there, and then rotate the second cobra mirror as well.
The light must now be directed back through the grate into the previous room and onto the giant wall mirror or the corresponding device.
Lower the platform
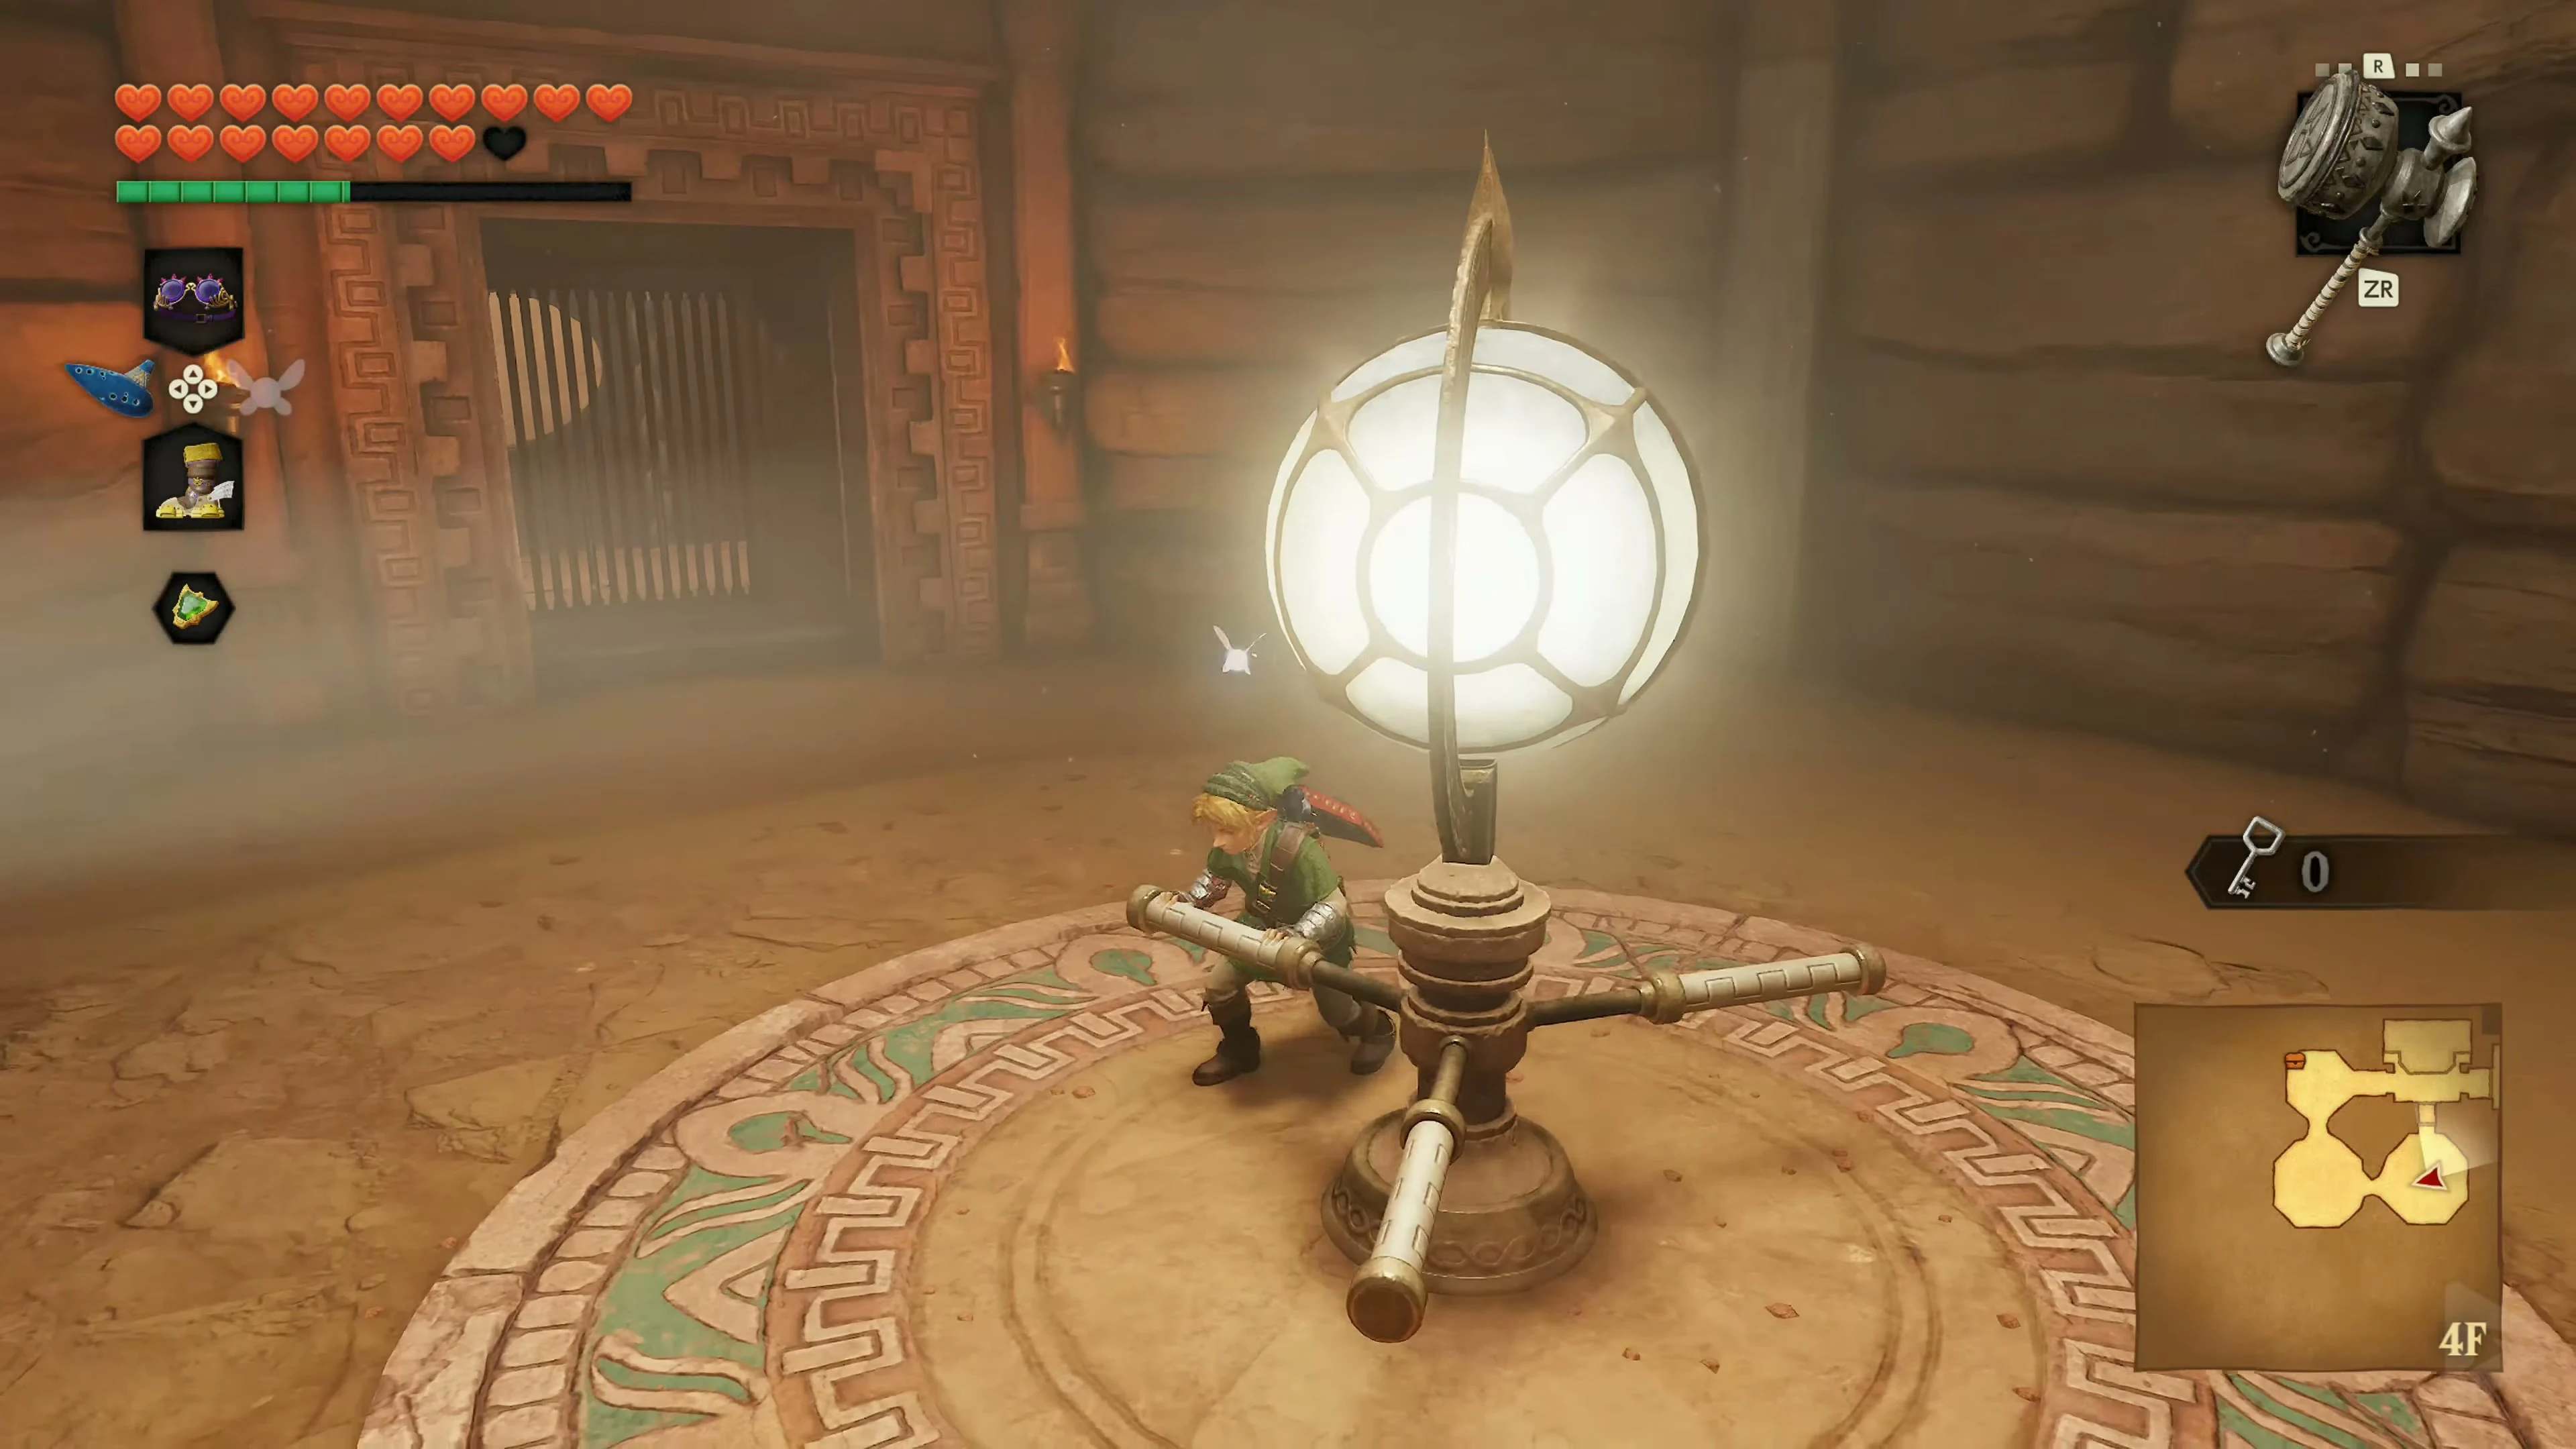
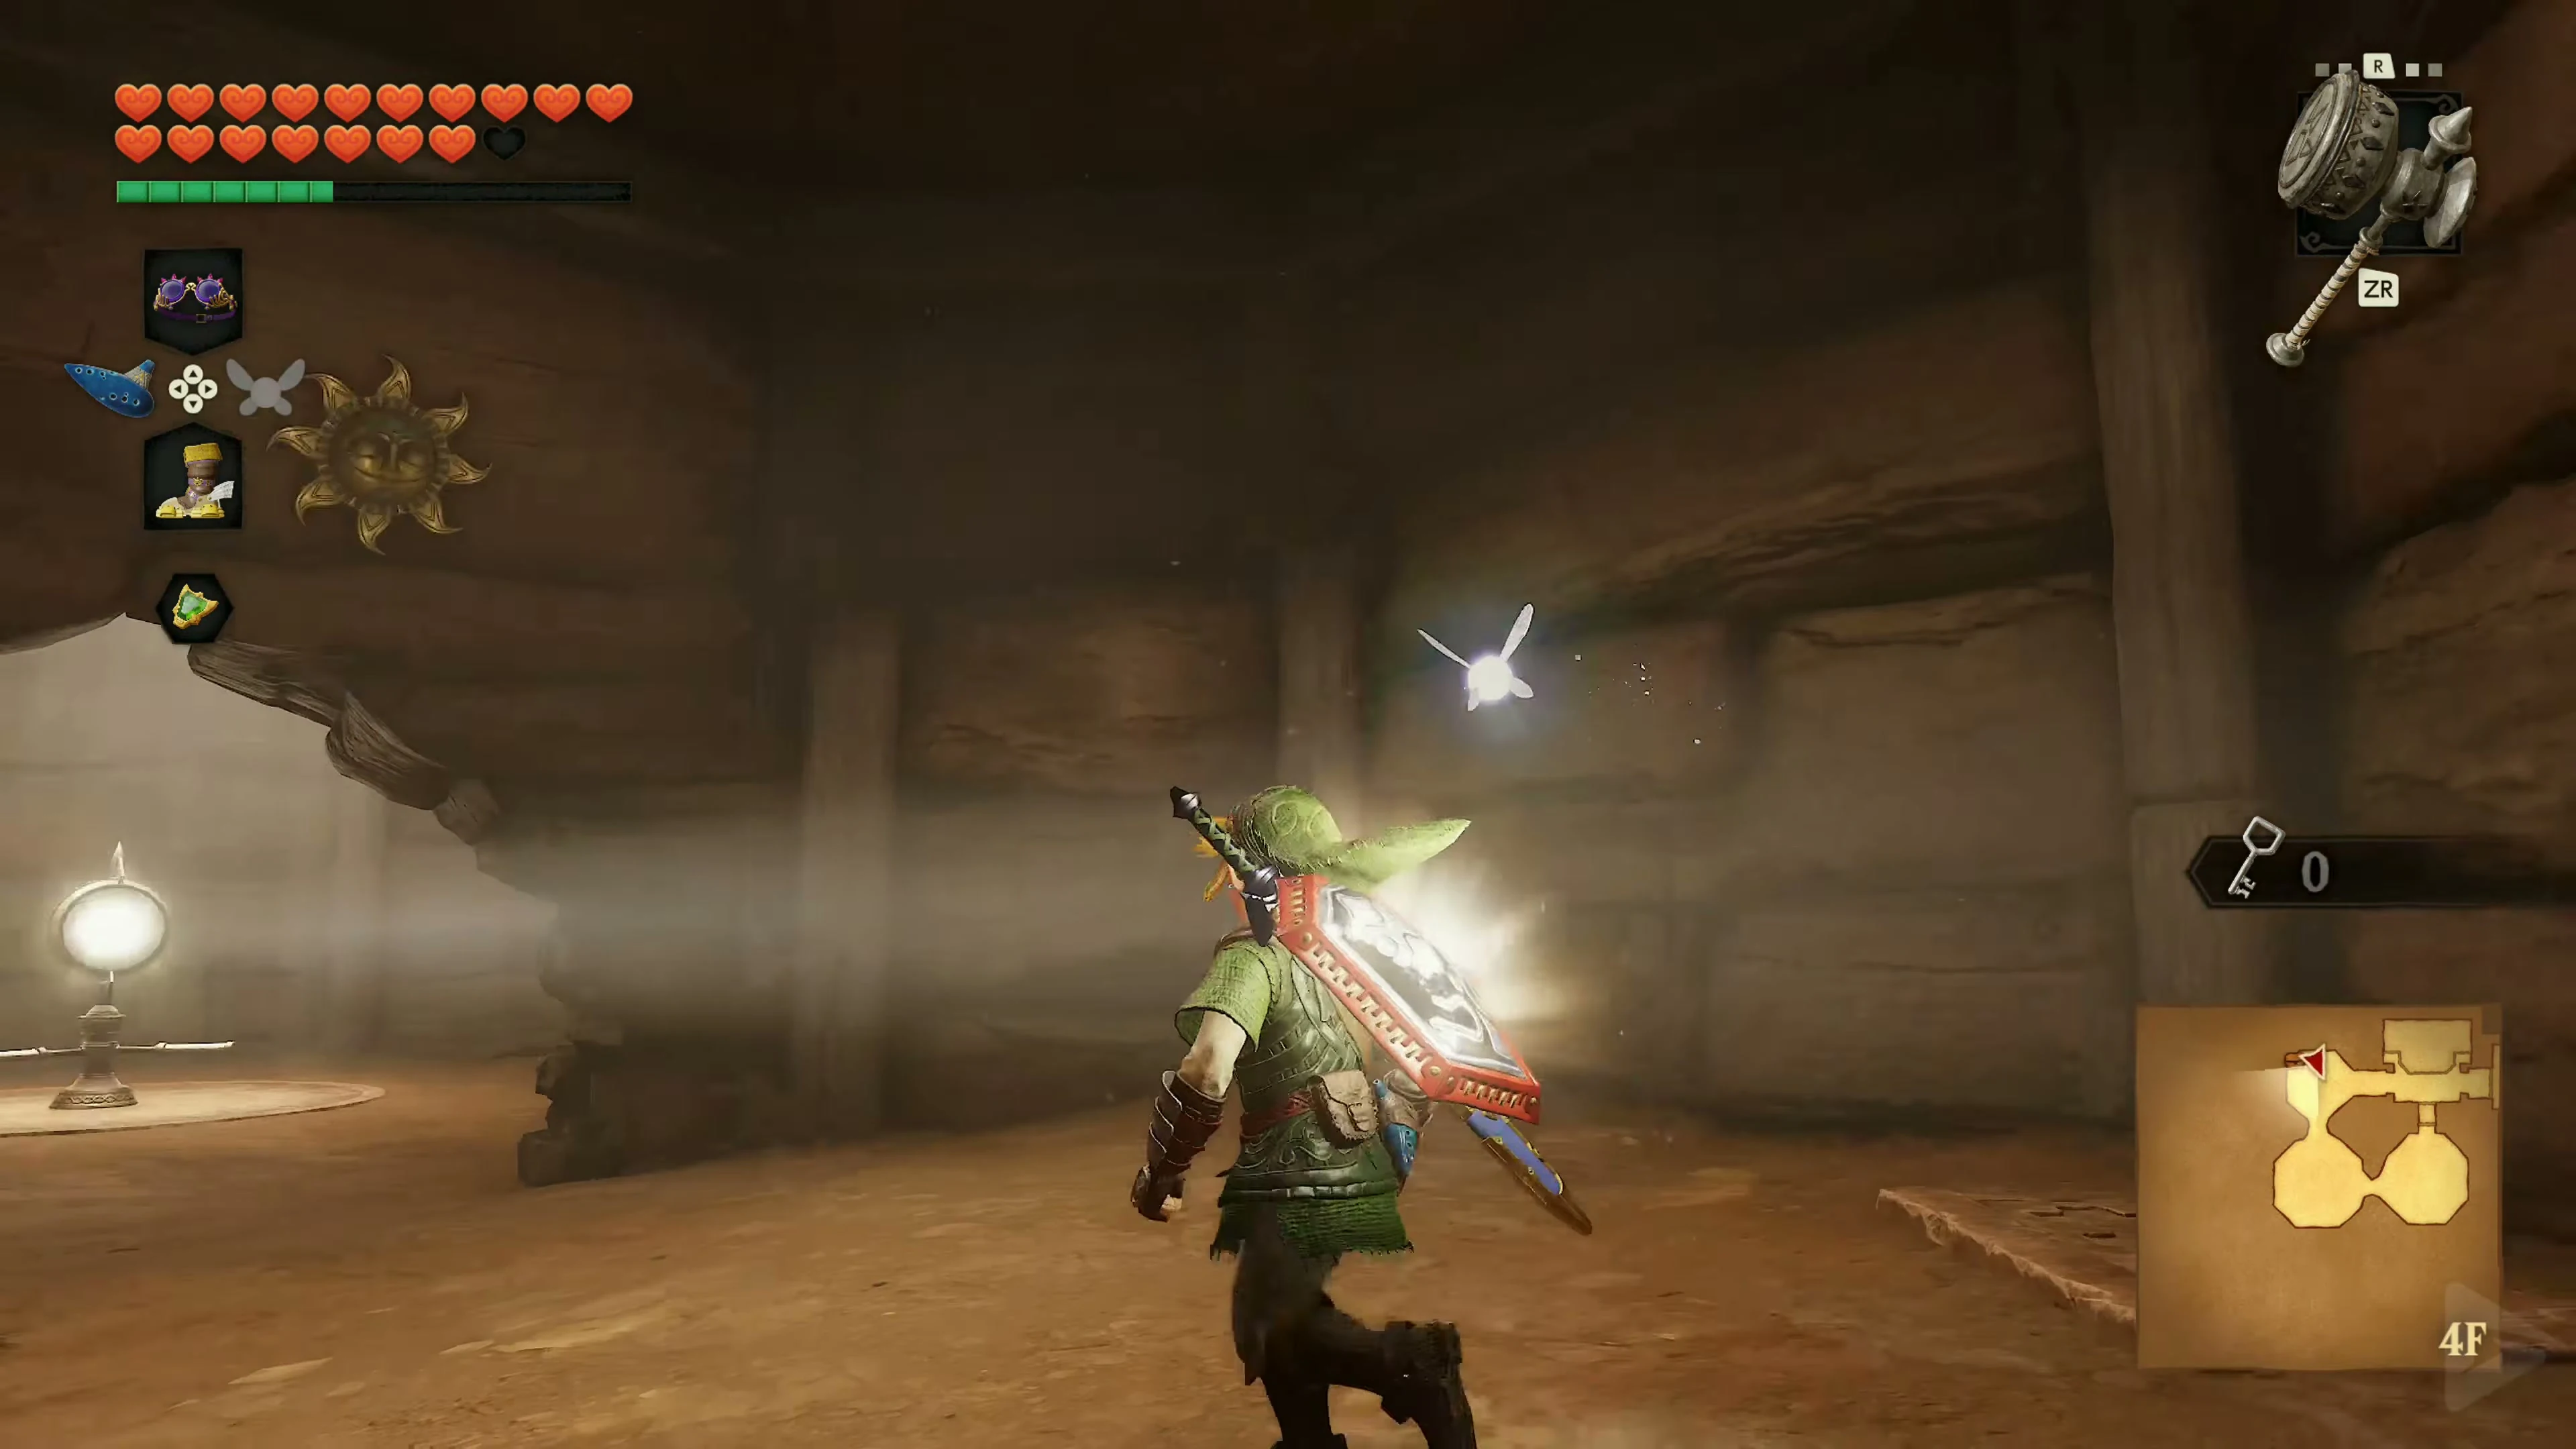
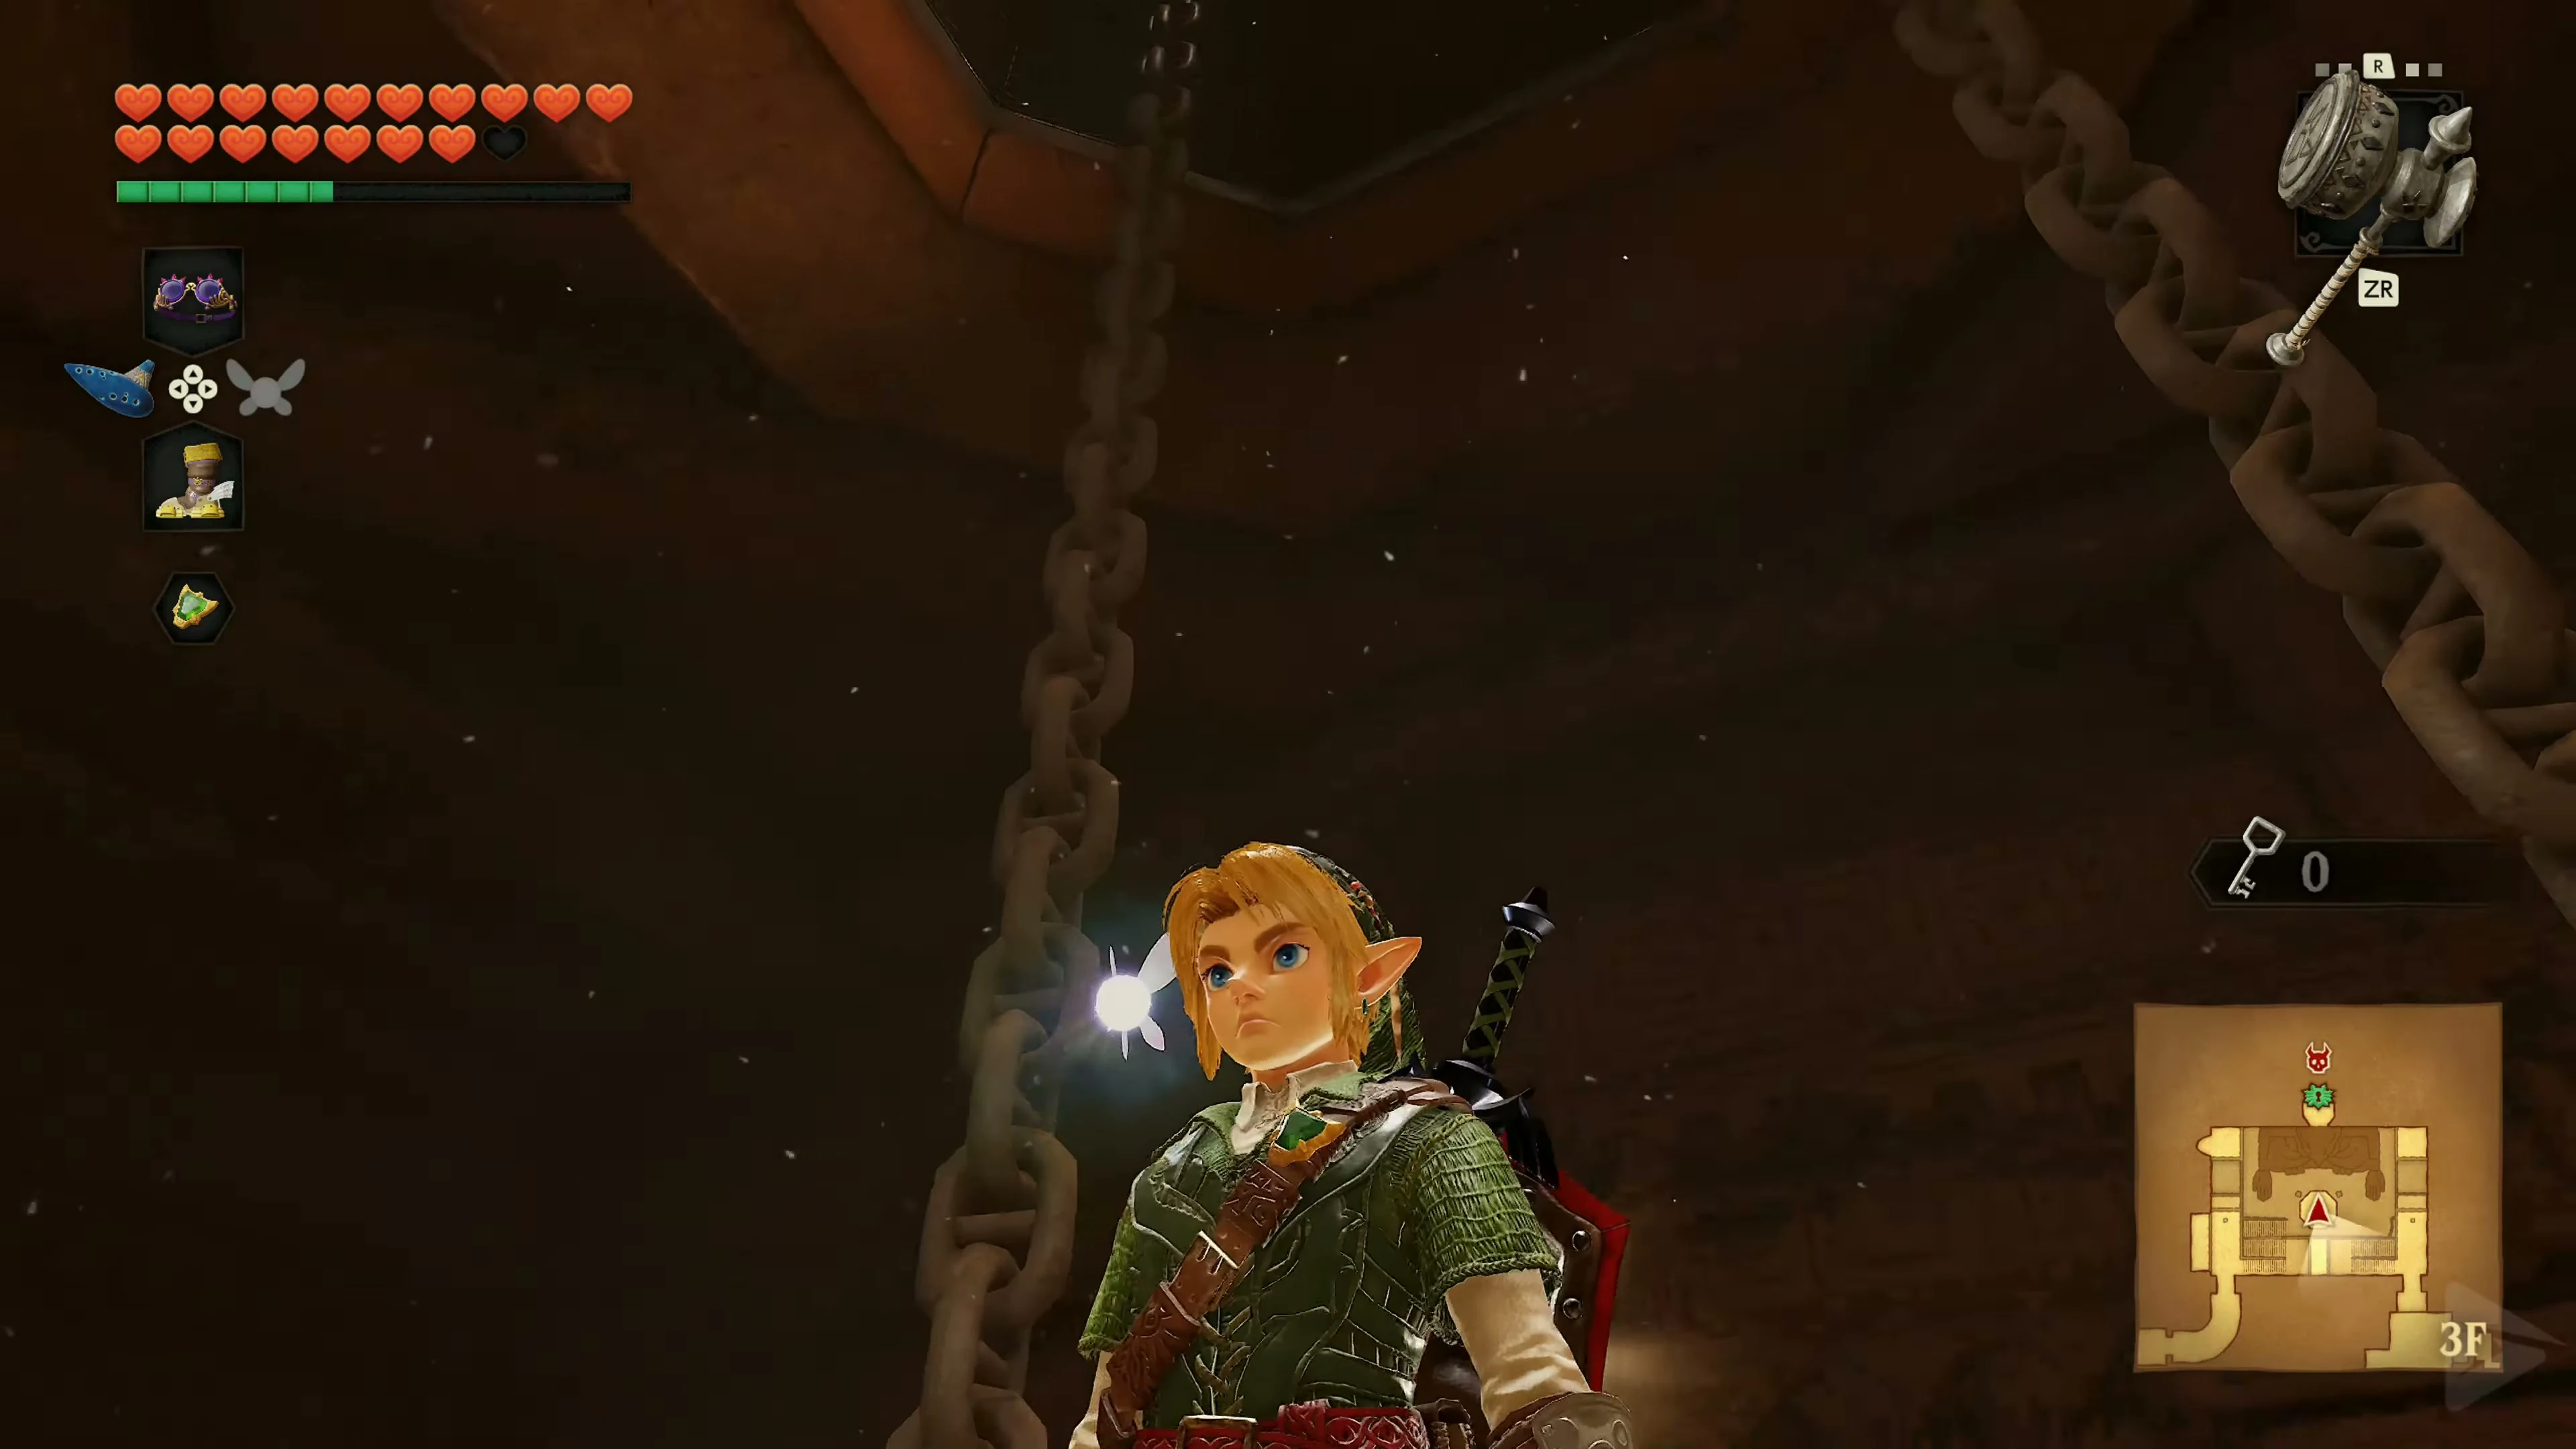
Return to the large mirror and jump onto the platform held by several chains. Stand in the beam of light and aim the Mirror Shield at the sun switch on the wall. Keep the beam on the token for several seconds. The entire platform will begin to lower, moving down to the temple’s main hall. On the lower level, the light will now shine directly on Link’s Mirror Shield. Position yourself so that you can aim the beam at the face of the monumental desert goddess. Keep the light there for several seconds. The stone face will begin to shatter and eventually fall apart. Beyond this, a gate and the entrance to the final temple section come into view. Aim at the gate with the Long Shot and pull yourself across. Upon reaching it, it will automatically rise.
Then open the large door with the Boss Key.
The last Iron Knuckle
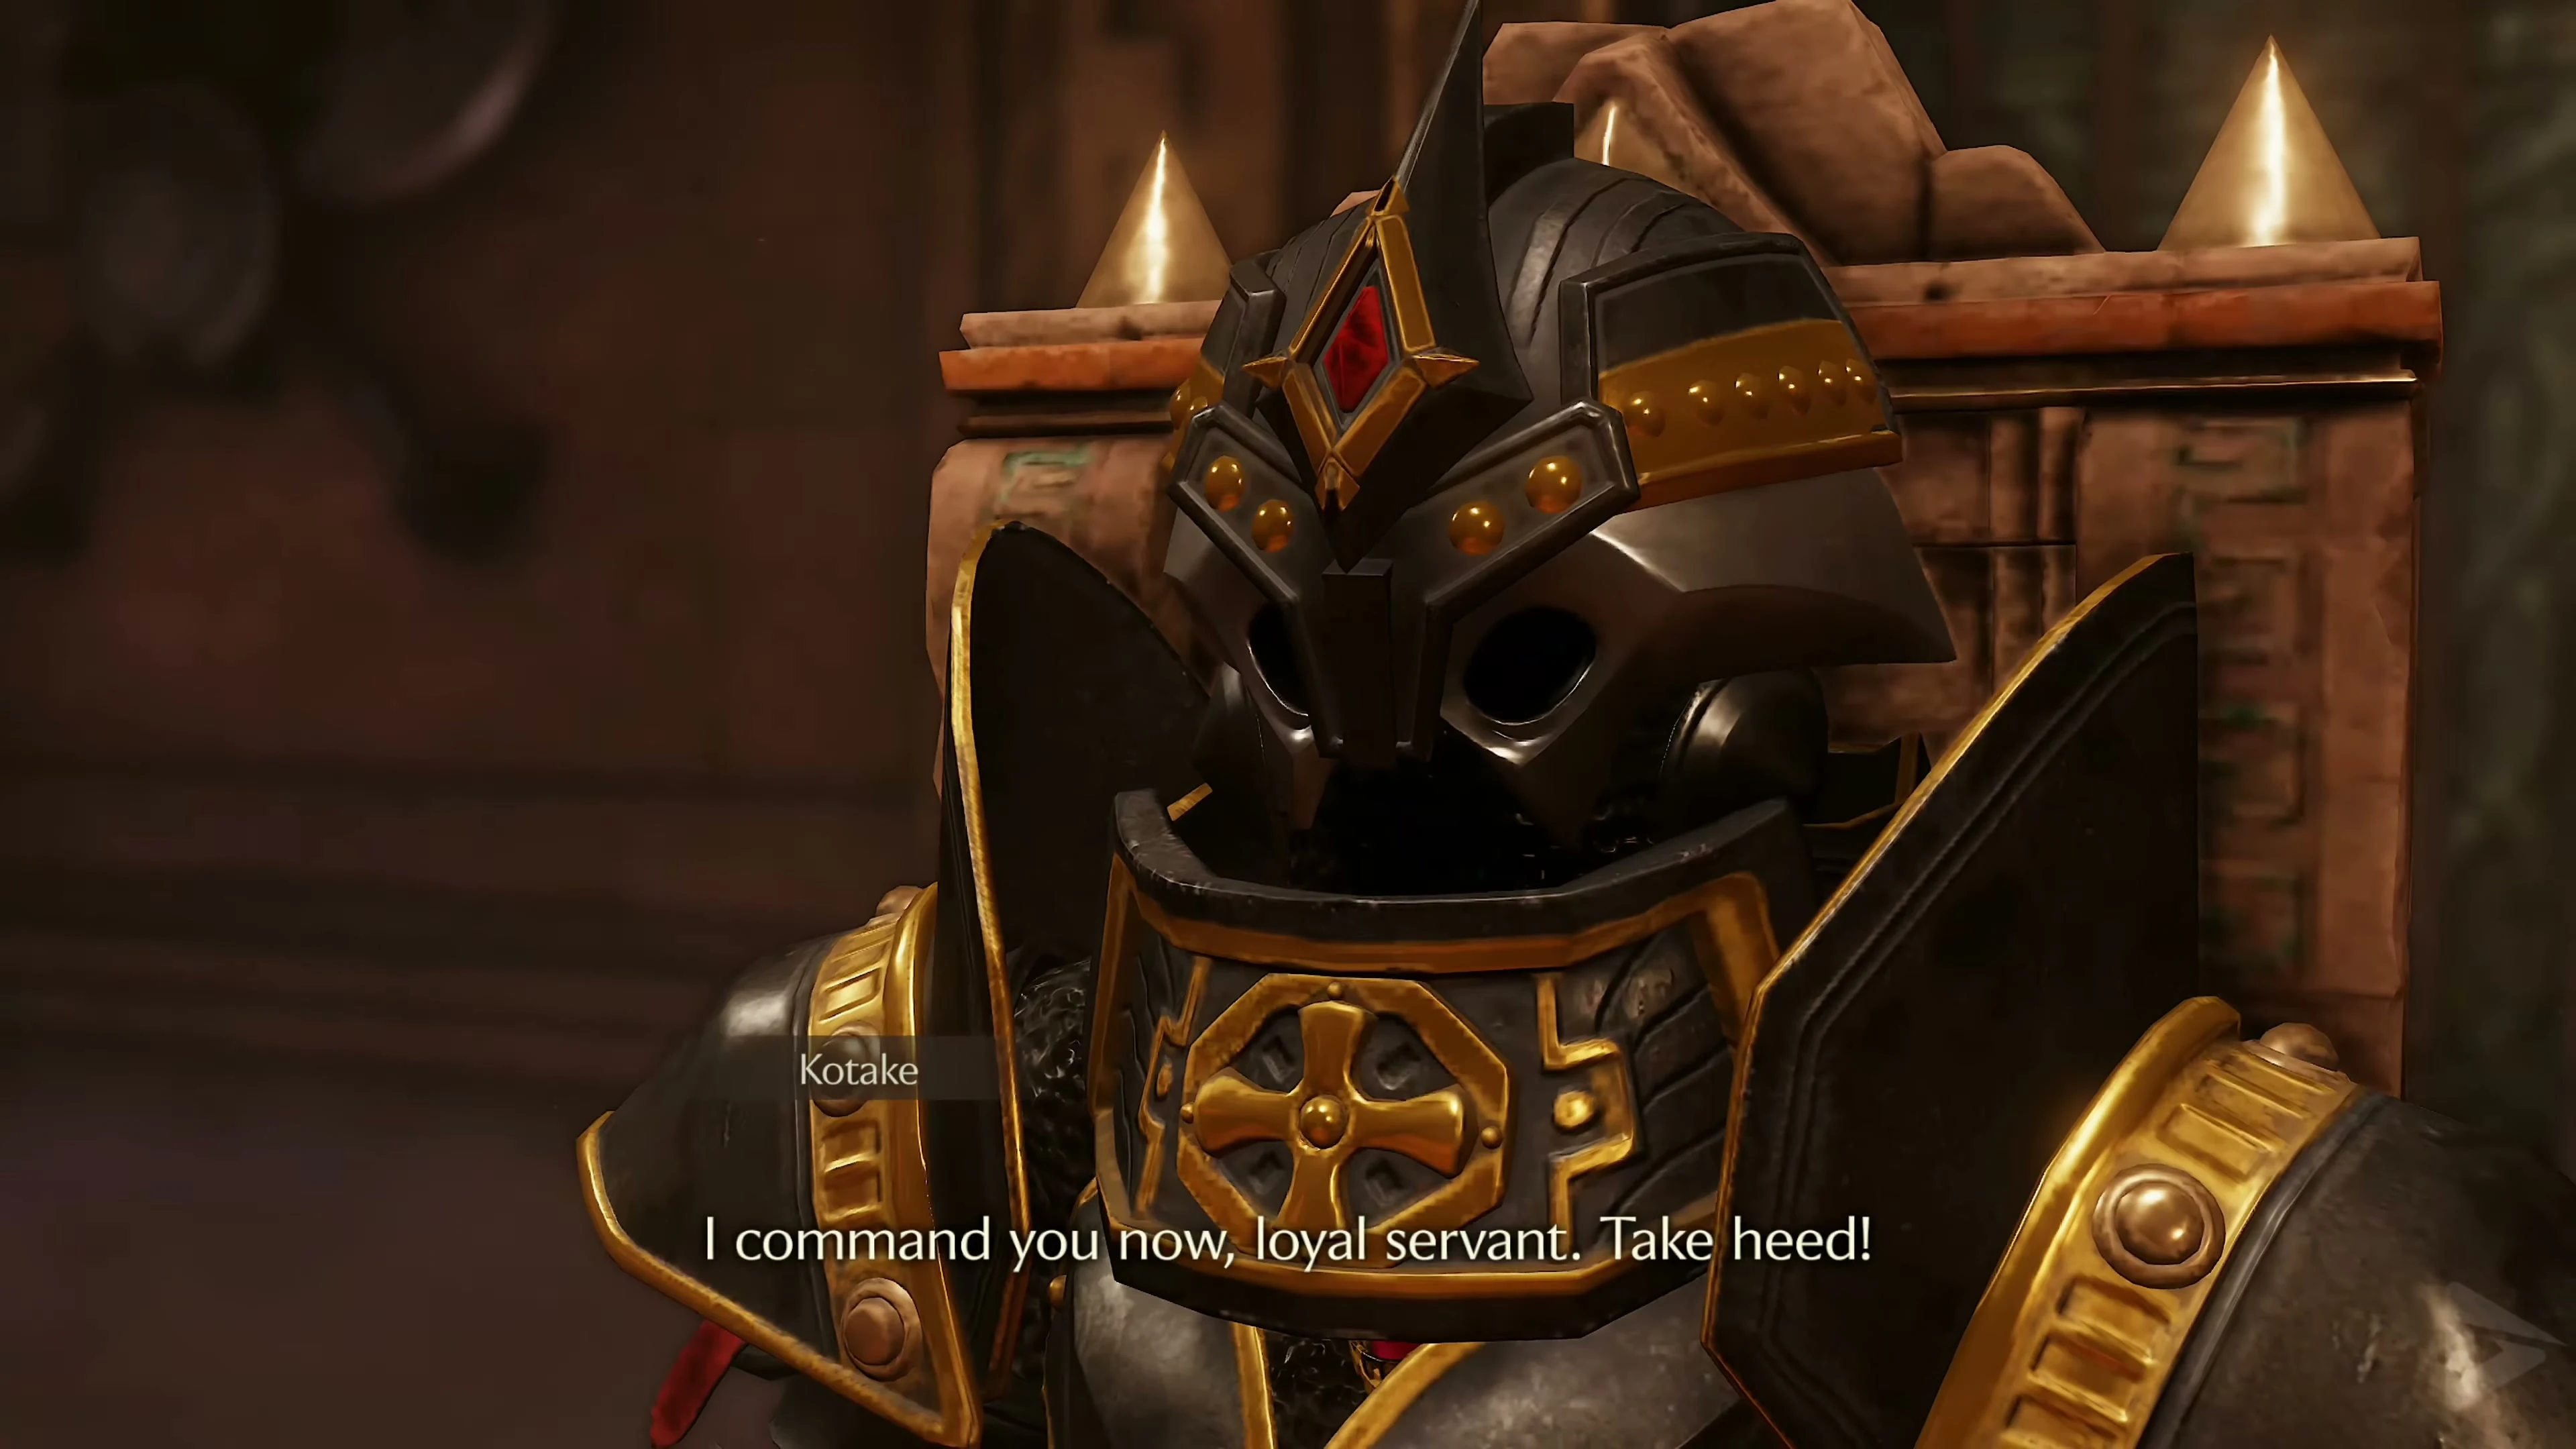
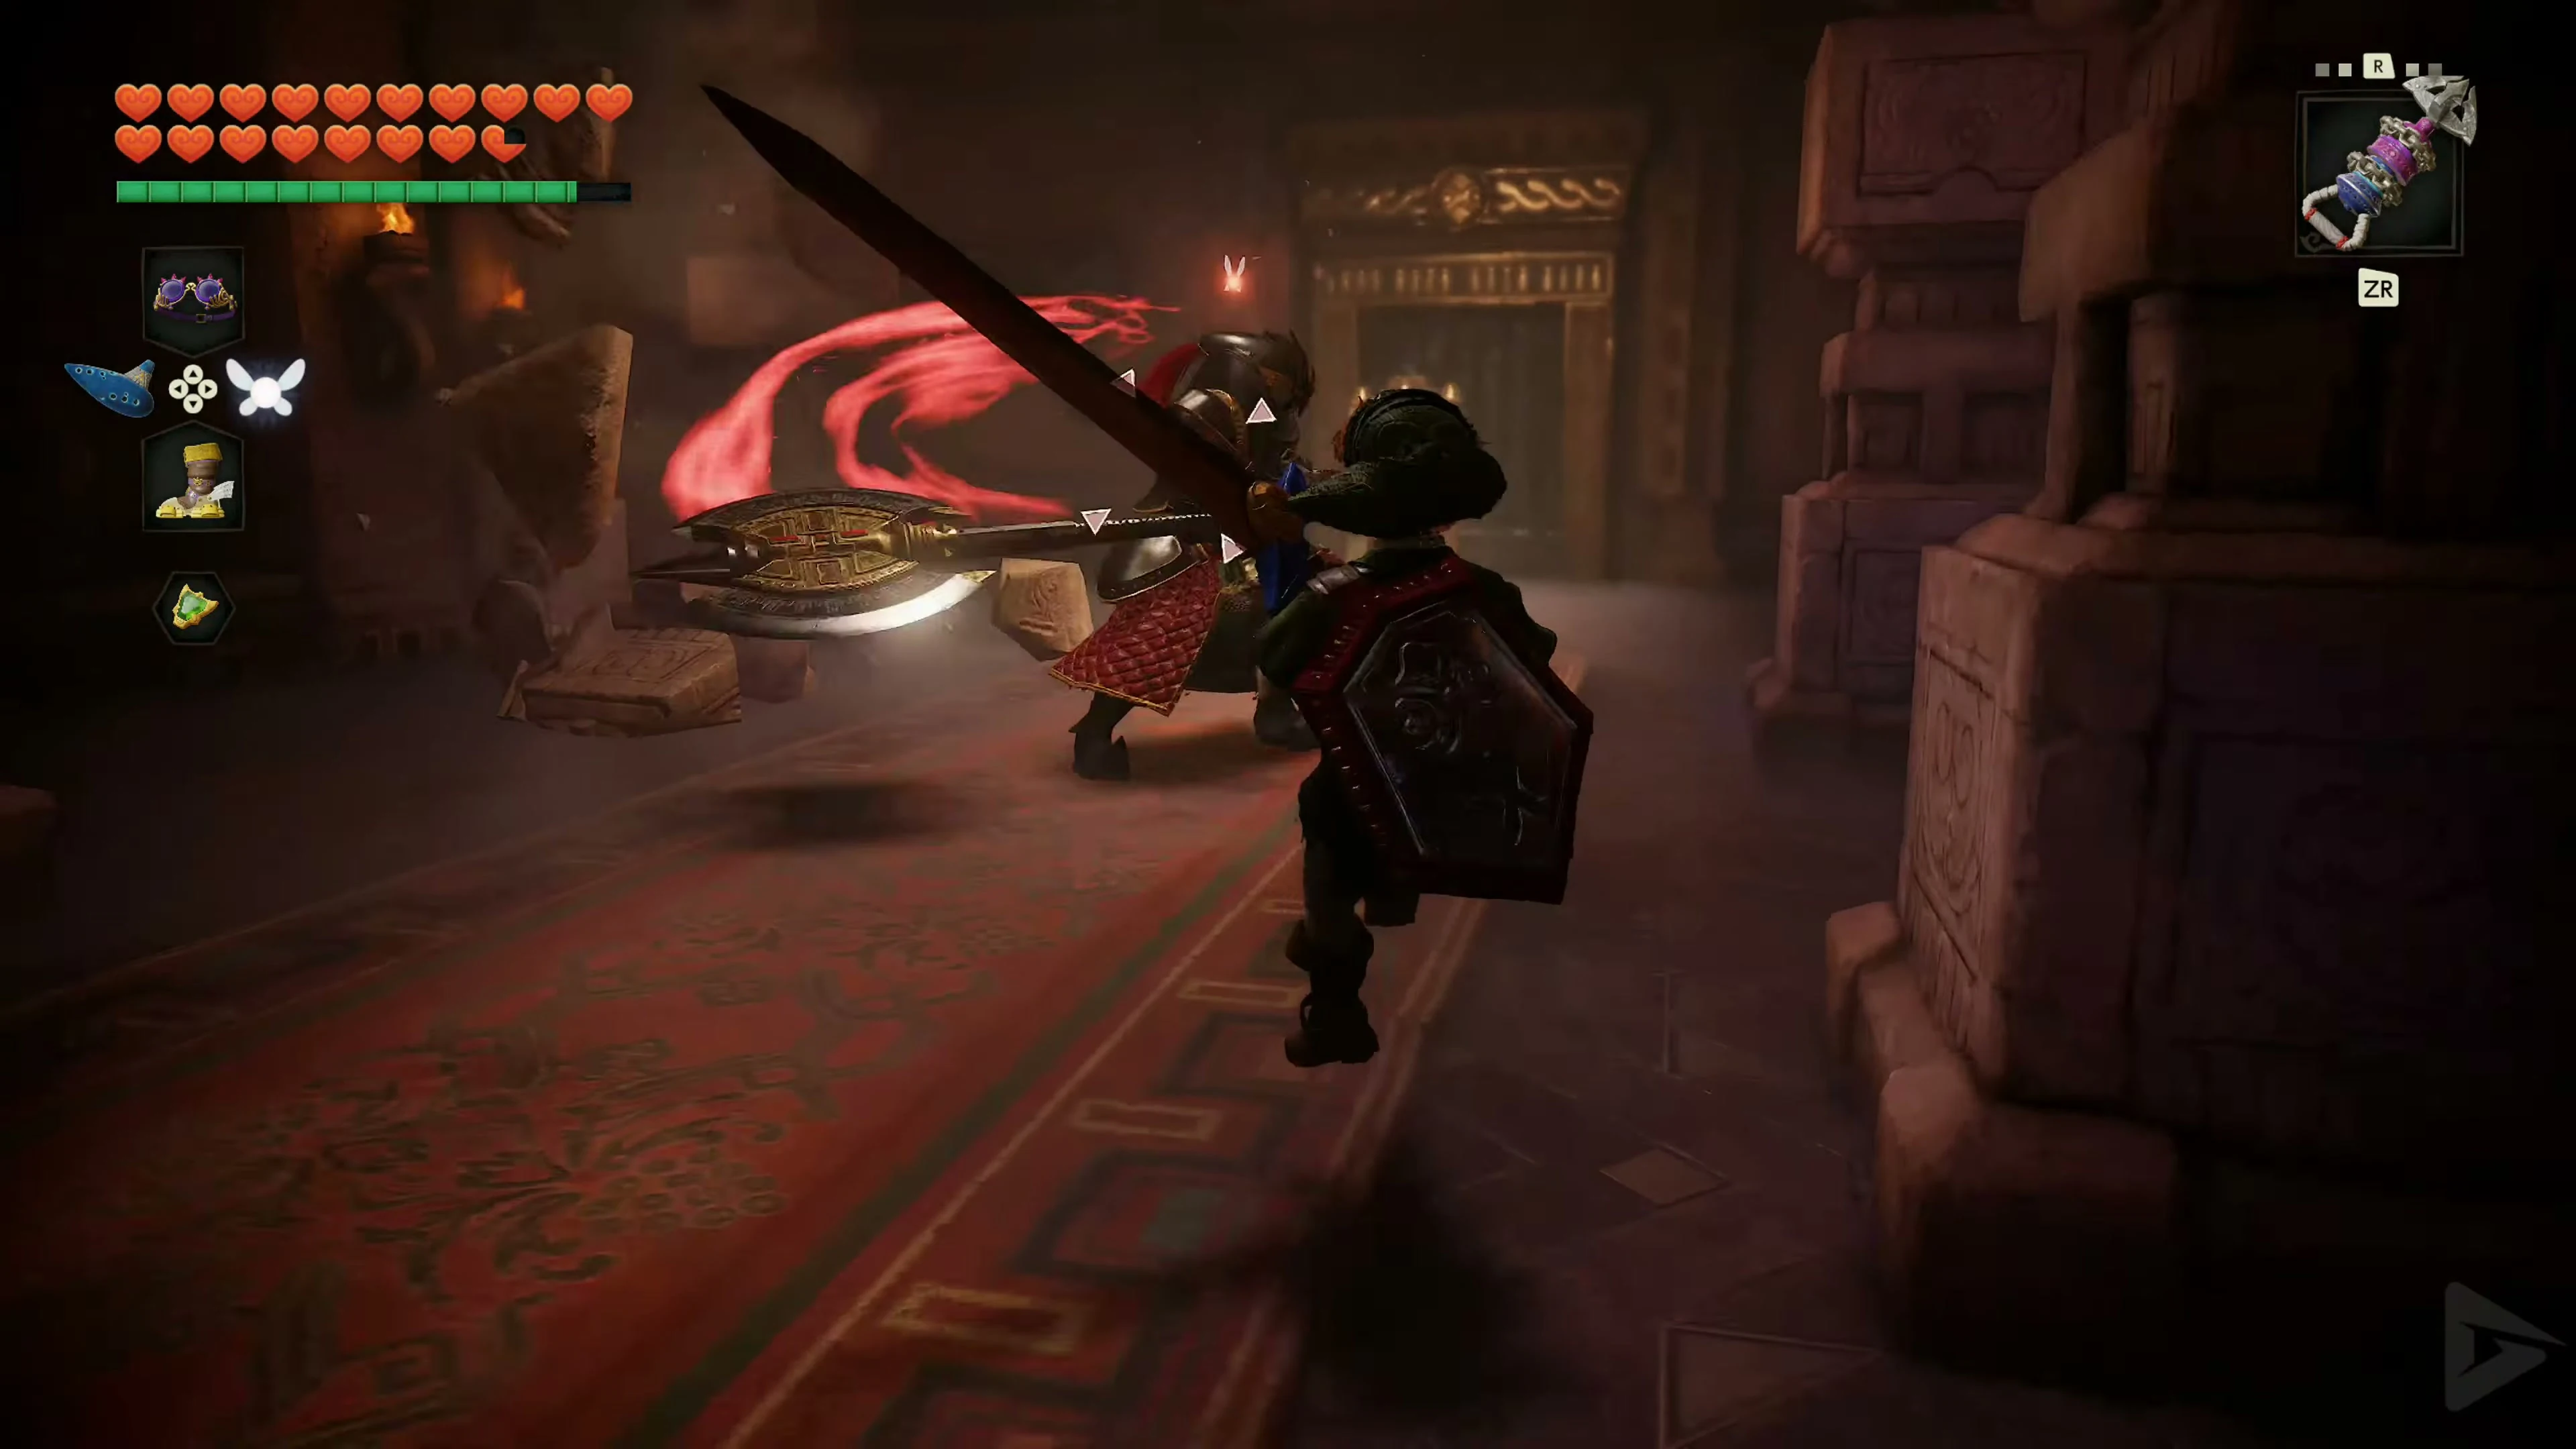
Behind the door, Koume and Kotake await you. The two witches are delighted by Link’s arrival and present their strongest servant: another Iron Knuckle. Awaken the enemy and stick to the familiar strategy. Lure out its heavy axe blows, dodge sideways or backwards at the last moment, and attack immediately afterward. This Iron Knuckle has more resilience than the previous ones, but its basic attack pattern remains unchanged. After its defeat, the heavy armor shatters. Inside, surprisingly, is Nabooru . The Gerudo is dazed and cannot remember what has happened during the past seven years. Apparently, it was enchanted by Koume and Kotake and used as an Iron Knuckle against Link.
Before Nabooru can escape, the two witches reappear. They cast another spell on the Gerudo, causing them to vanish. Follow Koume and Kotake through the next door and enter the large central platform.
Final Bosses: Koume, Kotake, and Twinrova
Phase 1 – Fighting Fire with Ice and Ice with Fire
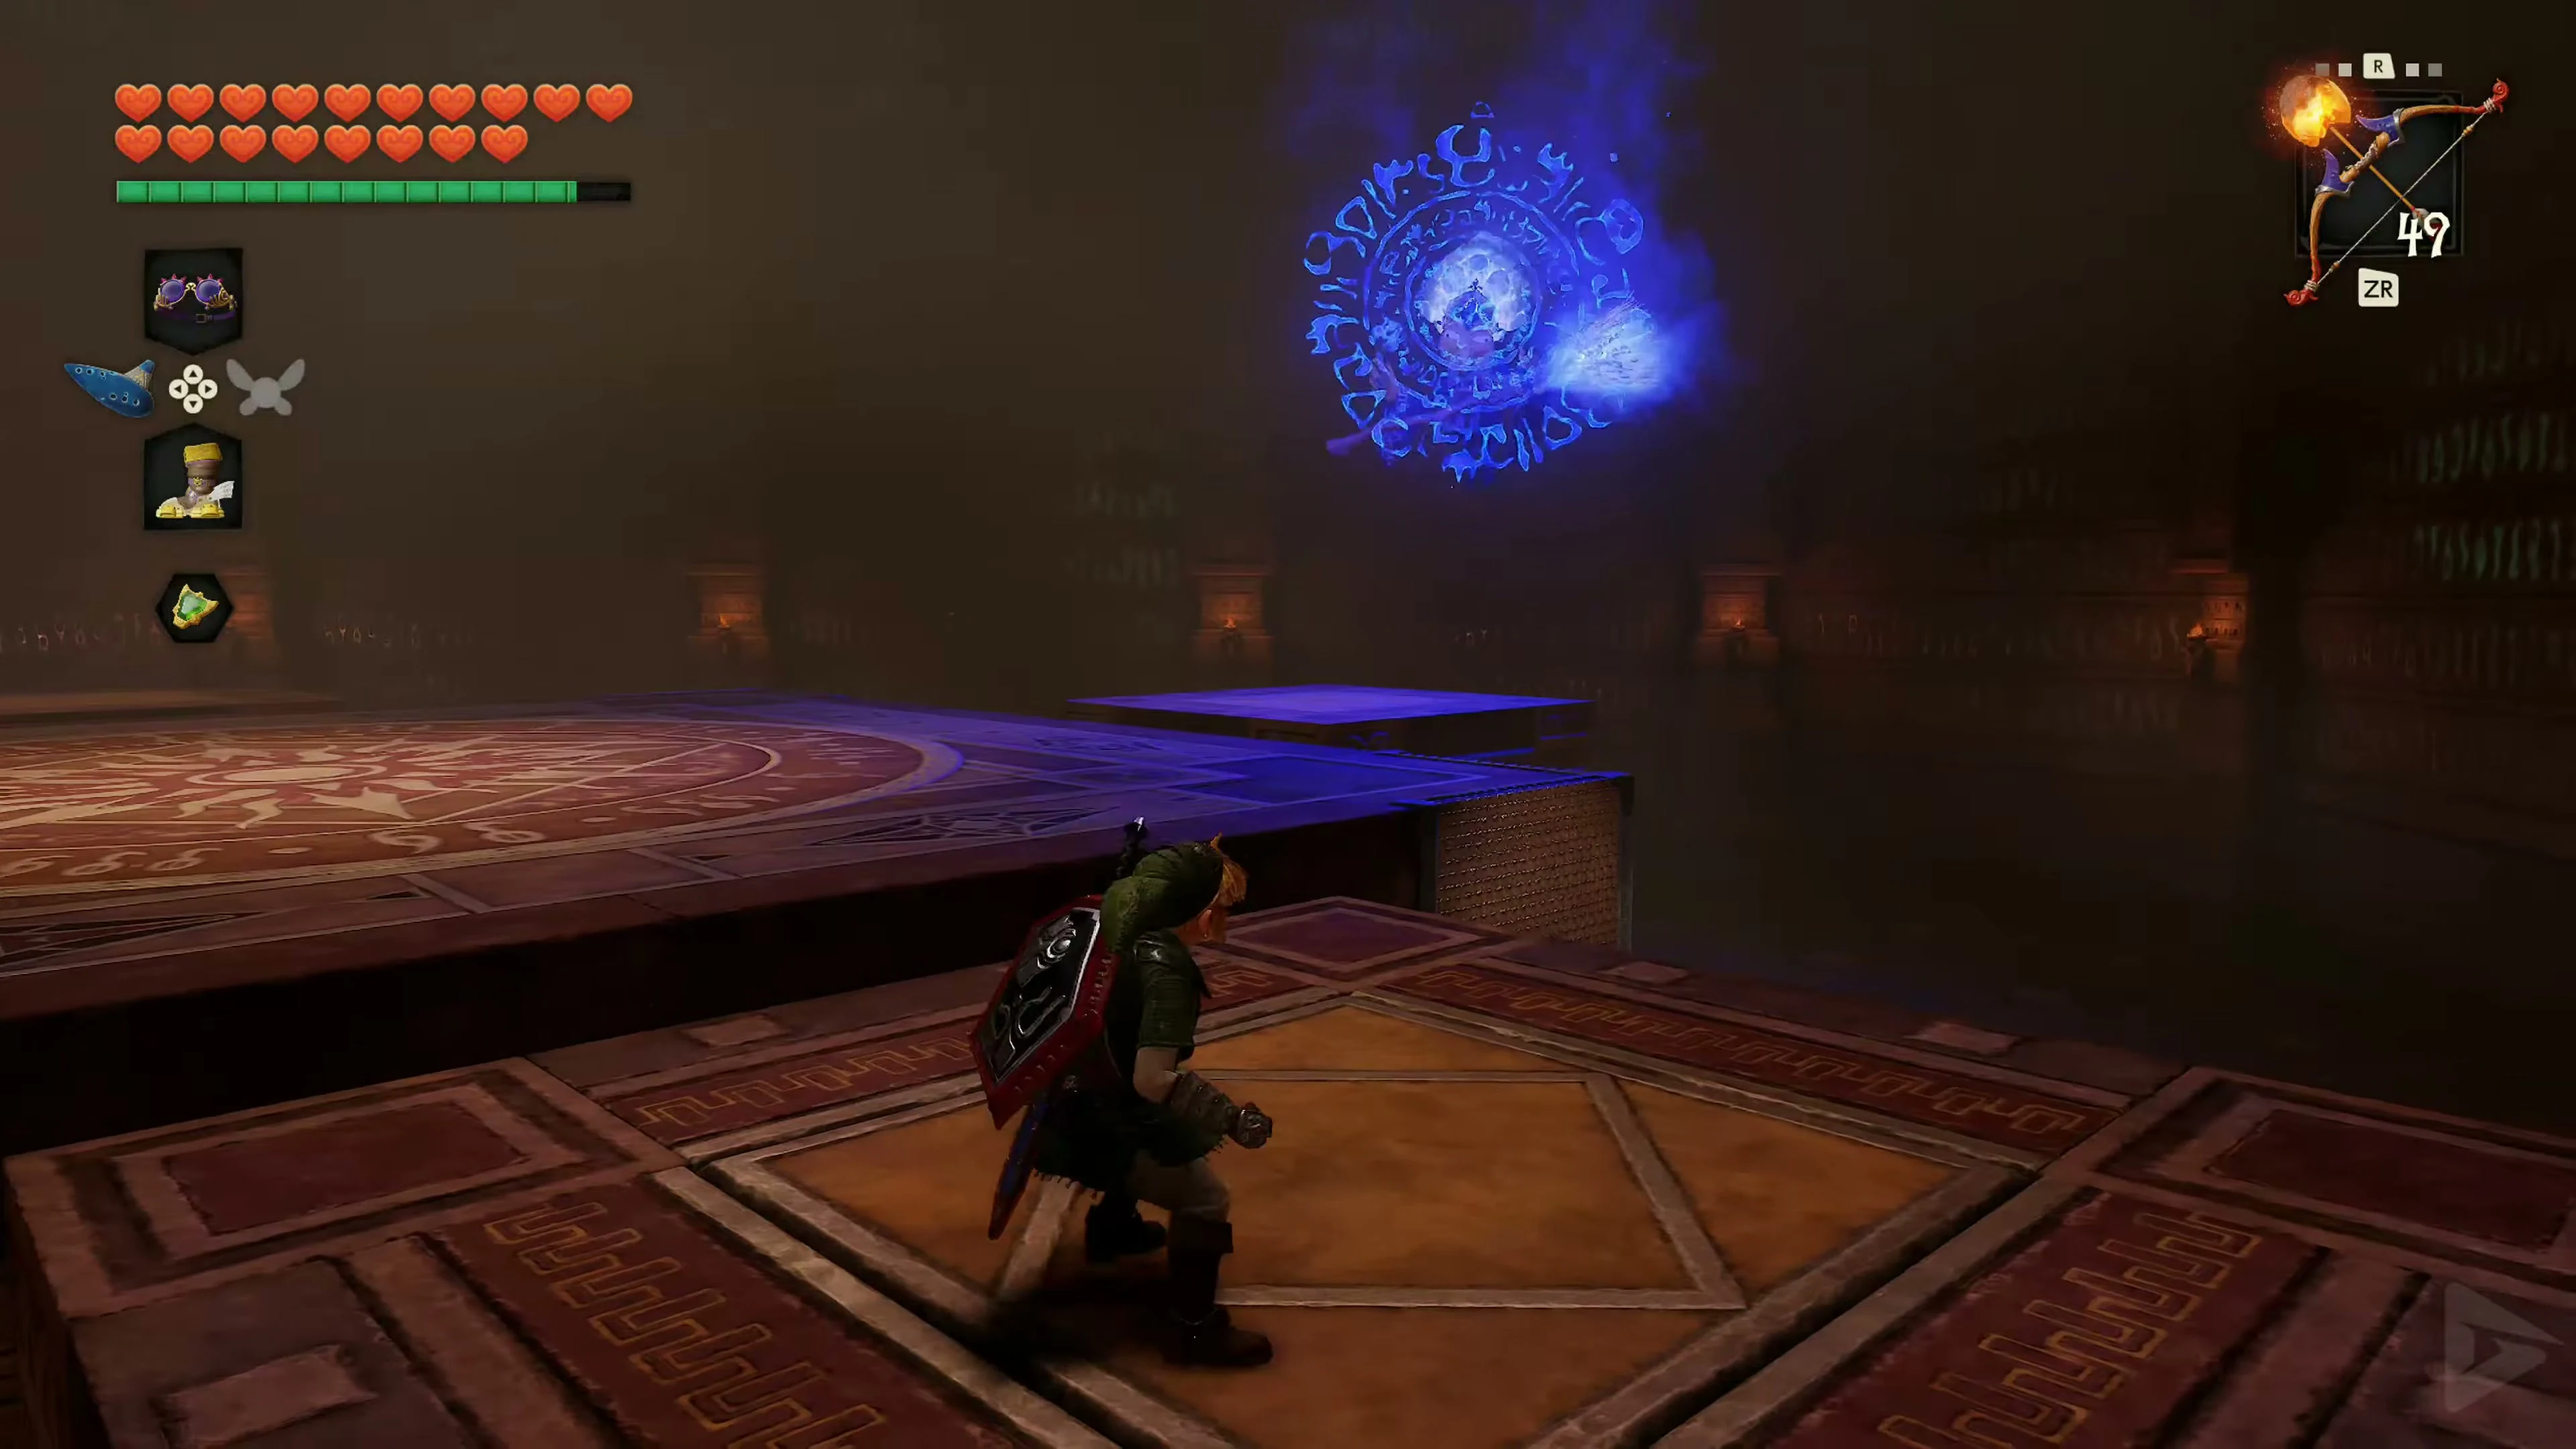
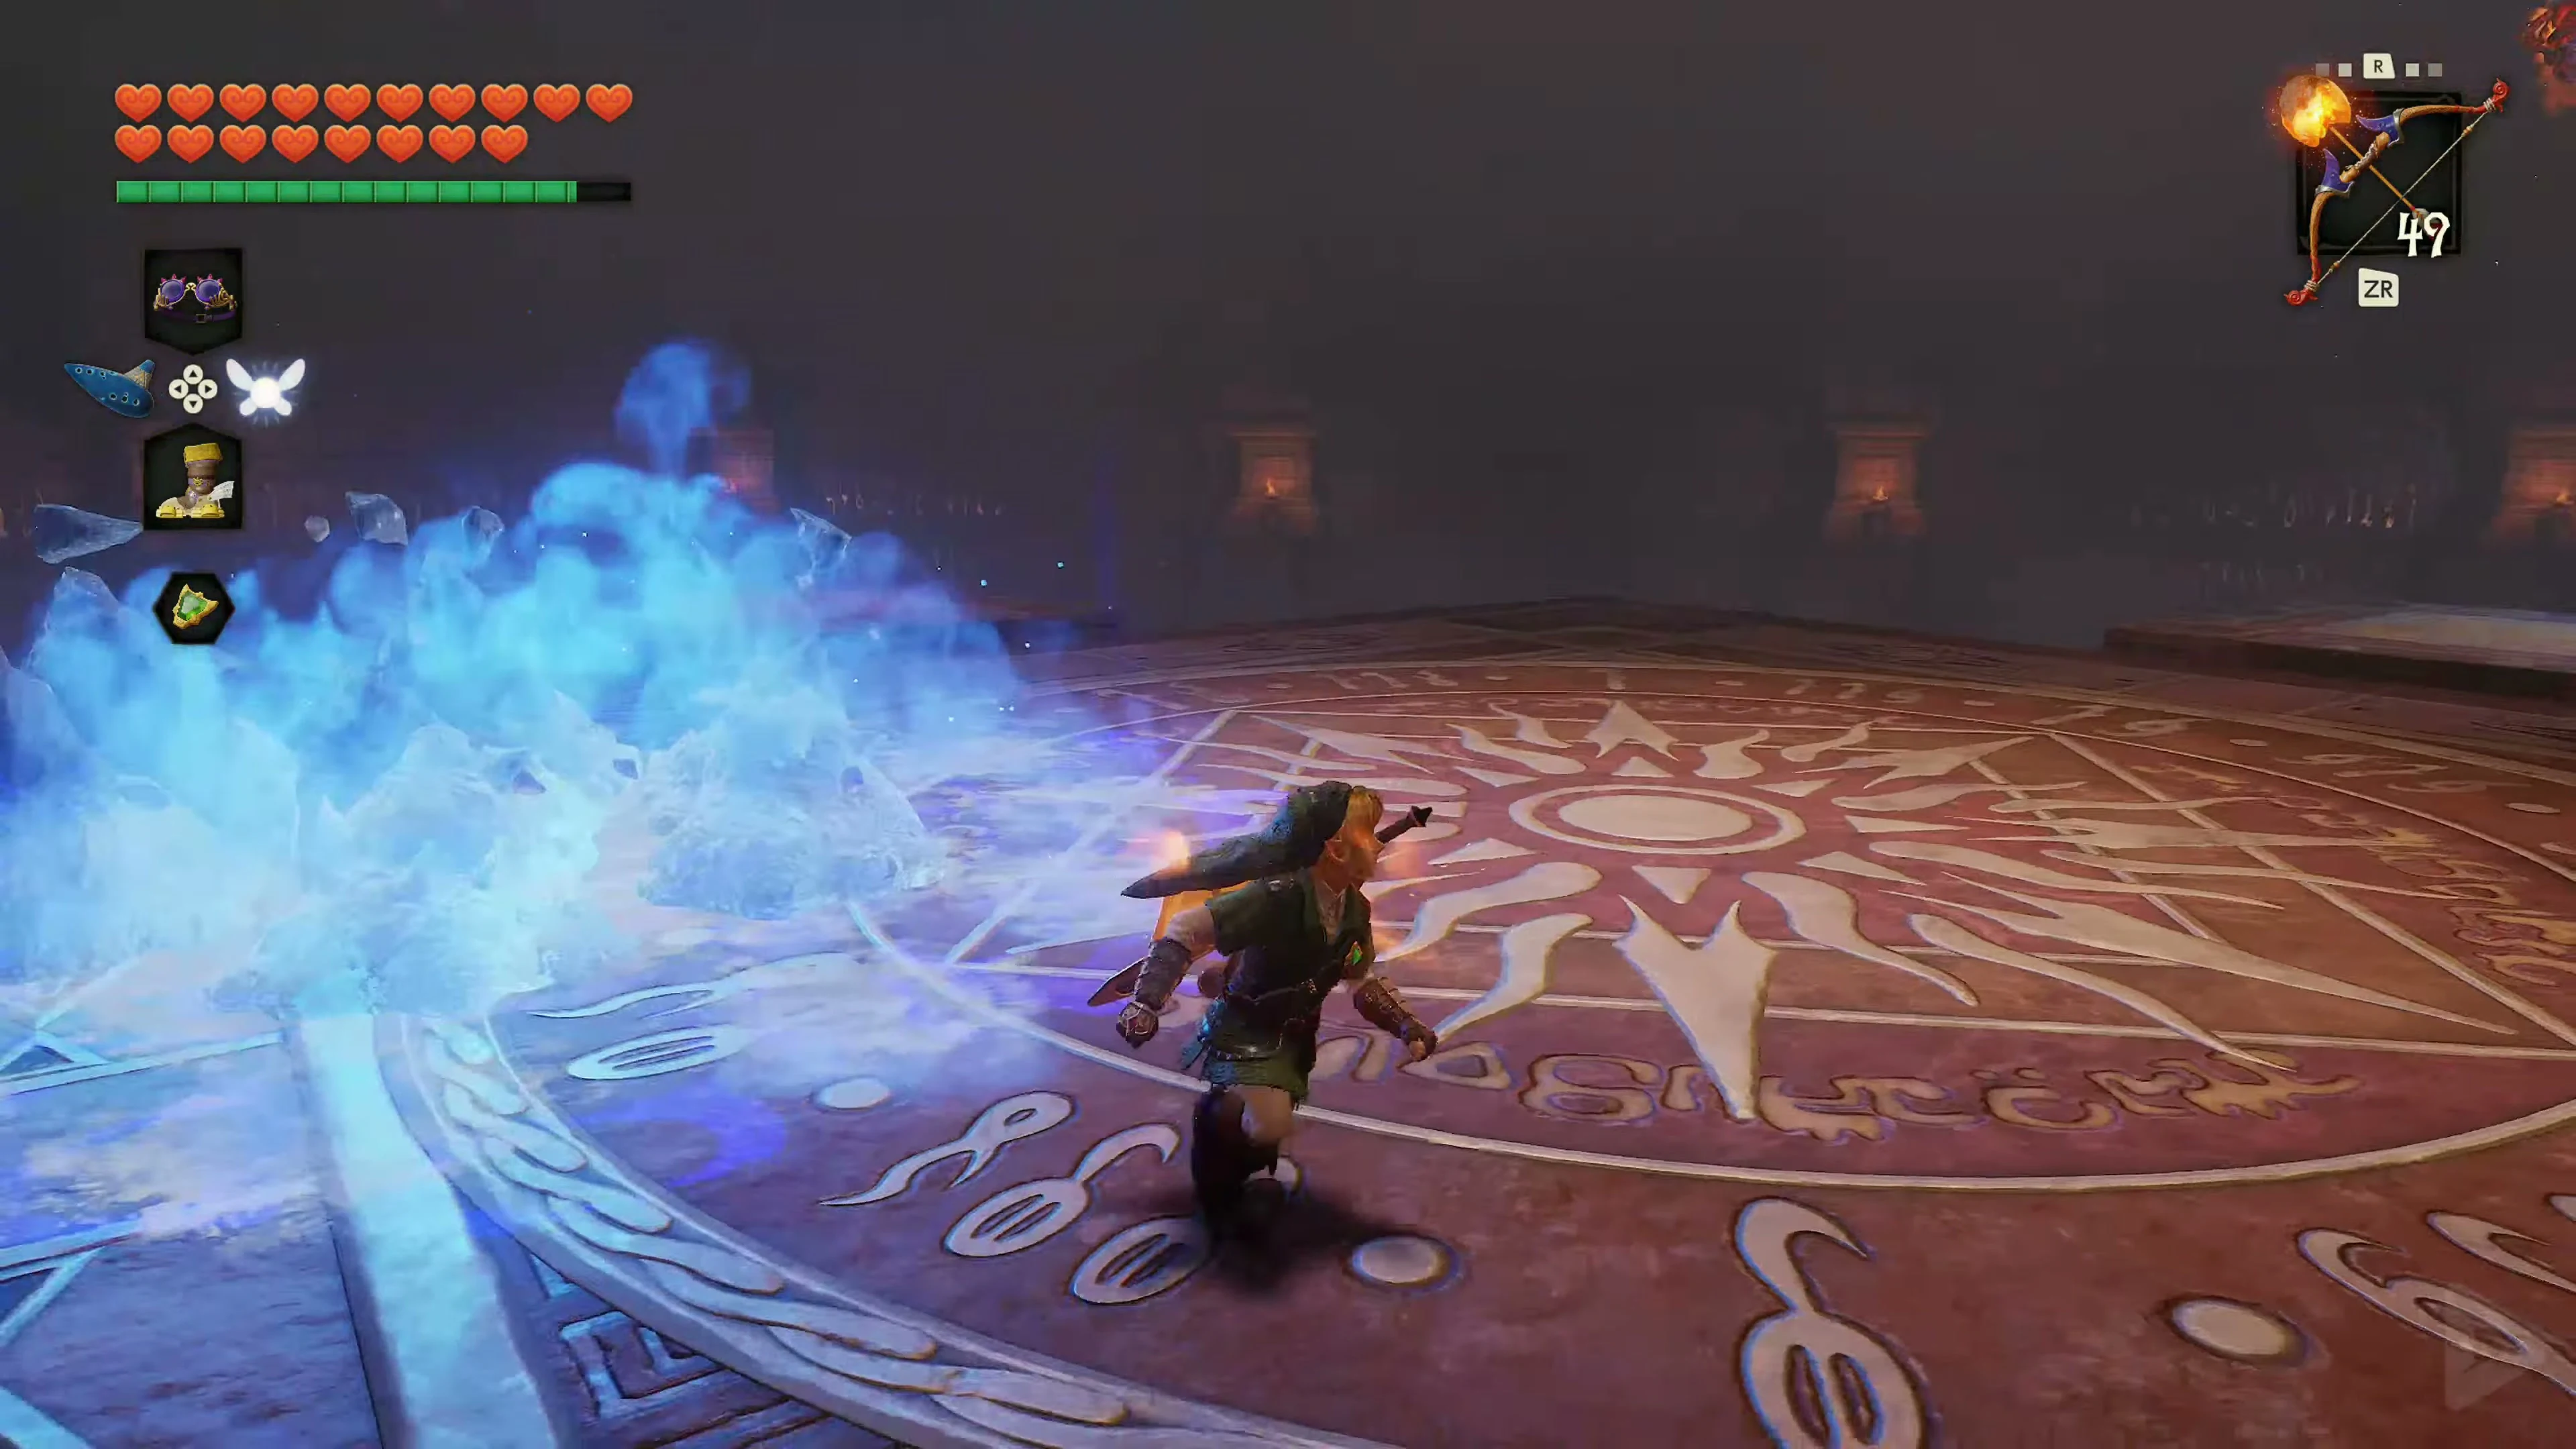
In the first phase, Koume and Kotake fight separately. Both fly around the central platform and regularly switch to one of the four smaller pillars. From there, they charge a long magical beam. Try to keep both witches in sight at the same time. As soon as one of the sisters raises her staff and prepares an attack, position Link so that the other witch is behind or to the side of him. Hold the Mirror Shield up and intercept the magical beam. Then carefully adjust the angle of the shield so that the attack is reflected back at the other sister. The opposite element always applies: Koume’s fire beam must hit Kotake, and Kotake’s ice beam must be reflected back at Koume.
Locking on the attacking witch can make it difficult to freely aim the shield. Without locking on, the reflected beam is usually easier to direct at the other sister. If you miss your target, the magic will hit the platform. Fire sets a large area of the floor ablaze, while ice completely freezes the corresponding area. Move away from the affected area until the effect disappears. After several successful hits, Koume and Kotake realize they cannot defeat Link in their separate forms. They combine their powers and merge into a single, powerful witch.
Phase 2 – Store three identical attacks
In their combined form, Twinrova wields both fire and ice magic. She hovers above the arena and alternately fires beams of both elements at Link. Unlike in the first phase, we now don’t immediately reflect the energy, but instead store it in the Mirror Shield. Catch three consecutive attacks of the same element with the shield. After the first hit, the Mirror Shield will begin to glow in the corresponding color. After the second, the energy increases. The charge is fully charged after the third identical beam.
Caution:
If you have already stored fire energy, you must not catch an ice beam with the shield. The same applies in reverse. Different types of magic cannot be stored together. If the wrong energy hits the already charged shield, the stored power will be discharged, and Link will be injured. Therefore, dodge attacks of the opposite element to the side.
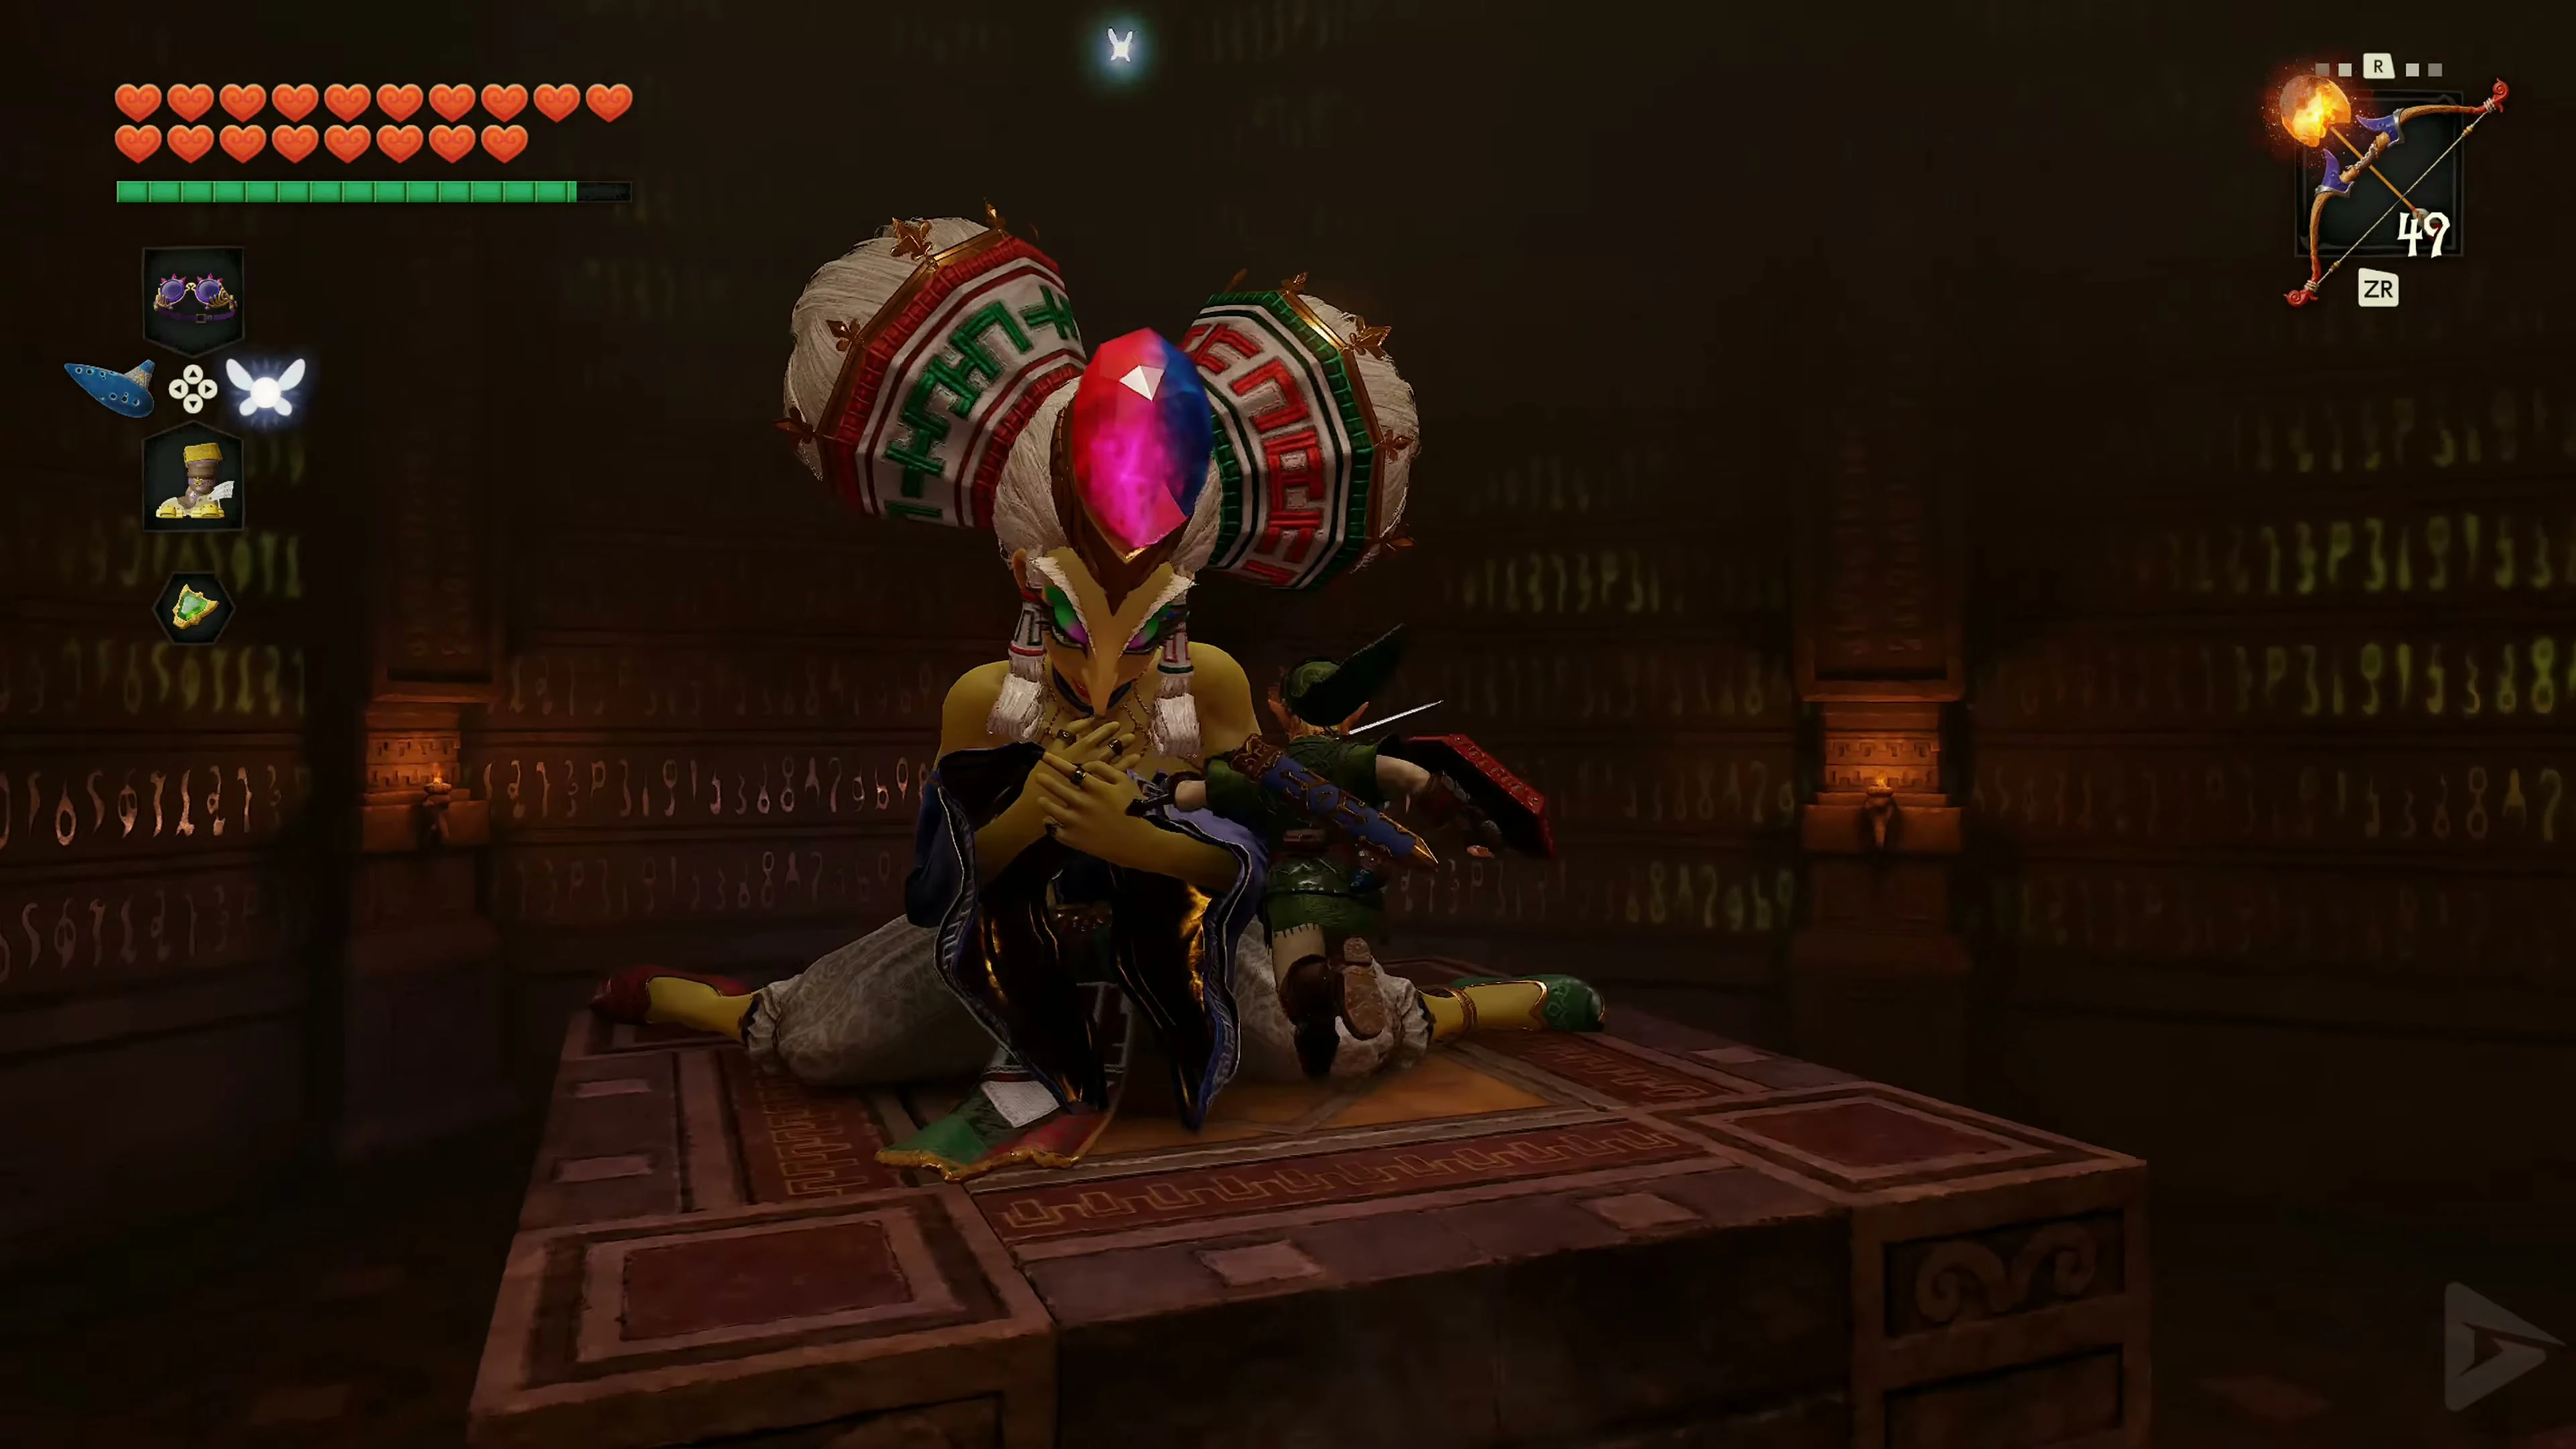
Once the third identical beam has been absorbed, the Mirror Shield releases the stored energy as a powerful, focused beam. Aim it directly at Twinrova. If she is hit, the witch will fall onto one of the smaller platforms at the edge. Immediately jump over to her and attack with the Master Sword or the Biggoron Sword. Try to land as many hits as possible during this brief stun phase. Then return to the large central platform. Repeat the process: store three fire attacks or three ice attacks in a row, aim the energy beam at the witch, and attack her stunned form with the sword. After several successful rounds of attacks, Twinrova is defeated. In the subsequent cutscene, Koume and Kotake separate again and, even in the face of their defeat, begin to argue with each other before finally ascending into the sky.
Heart Container and Spirit Medallion
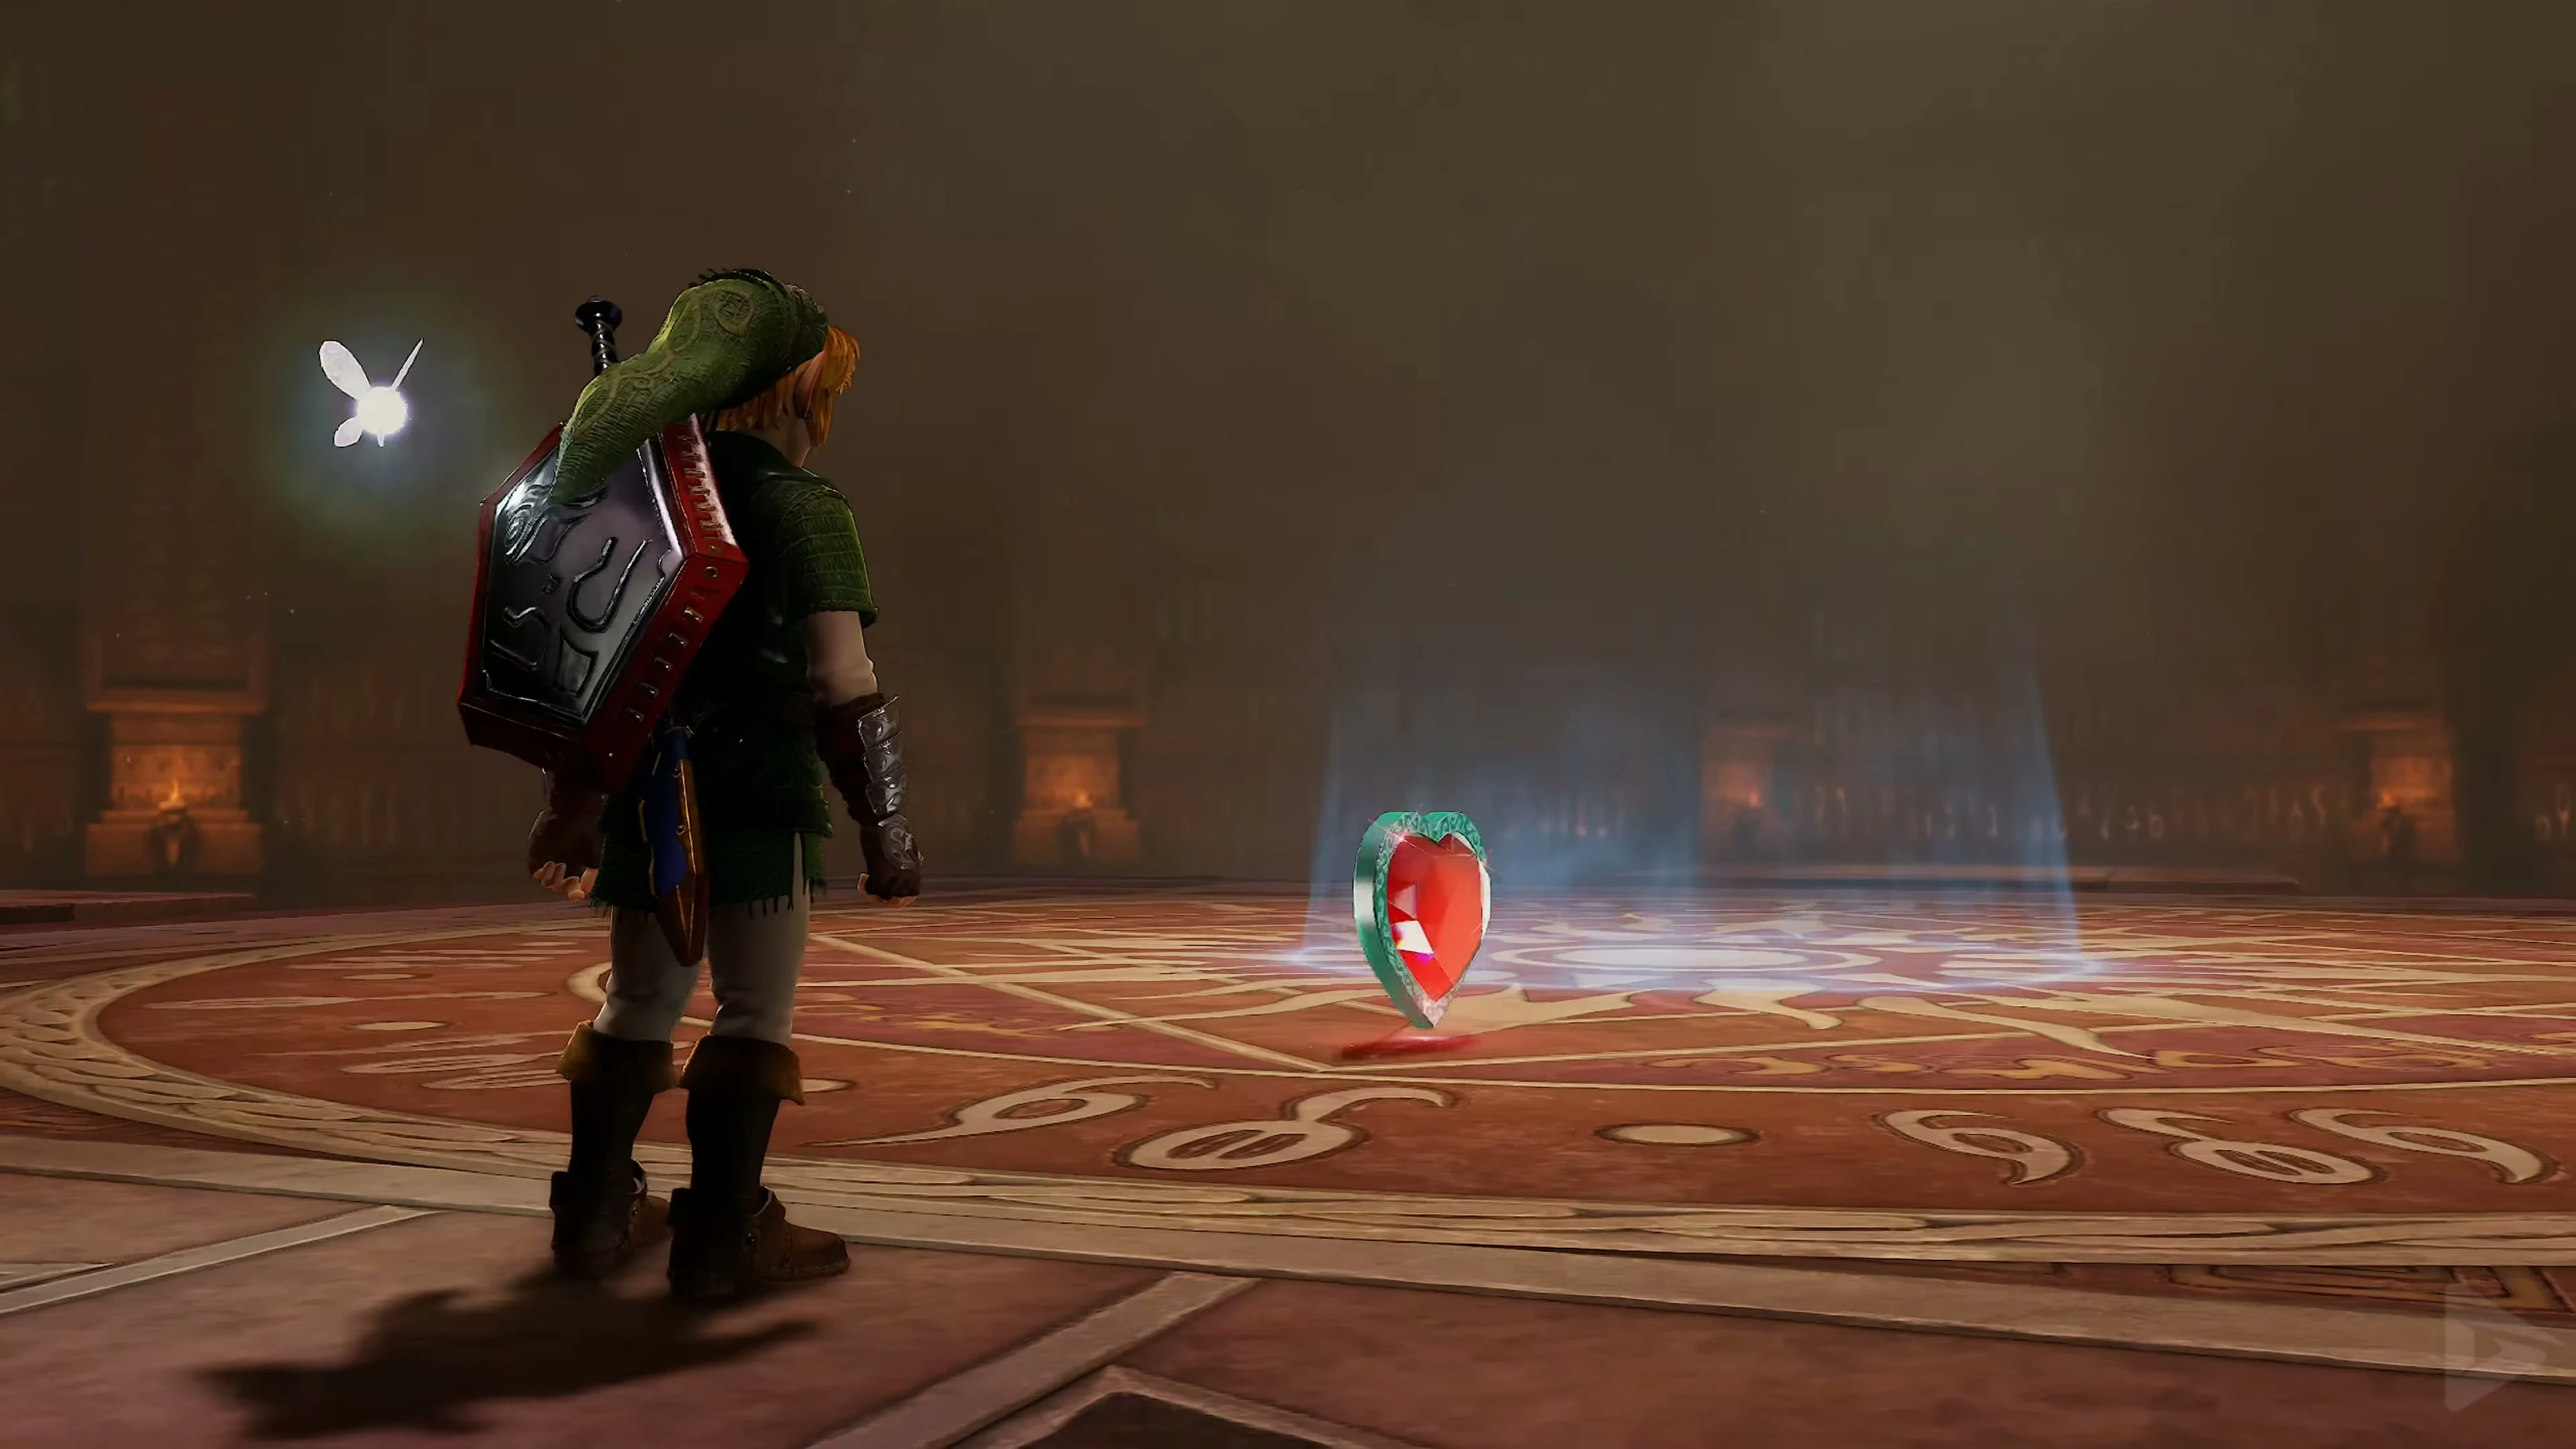
After the battle, a Heart Container will appear on one of the small platforms. Be sure to collect it before entering the teleporter. Link’s maximum health will permanently increase by one full heart. You can also find all the additional energy upgrades in our guide to the Piece of Hearts . Then enter the blue light. In the Chamber of Sages, Link encounters Nabooru again. She reveals herself as Spirit Sage and now remembers the events. At the same time, she regrets not having taken Link more seriously seven years earlier when he was a little boy. Nabooru promises to use her newfound power against Ganondorf and presents Link with the Spirit Medallion . If you have completed the temples in the order of our walkthrough, you now possess all six amulets, or rather, the powers of all the sages.
After Rauru’s conversation, you return to Lake Hylia with the Serenade of Water . The underwater tunnel to Zora Domain is open again since Morpha’s defeat. Swim through it and go to the Zora Fountain . Lift the heavy rocks in the southeast with the Silver Gauntlets. Follow the revealed path, defeat the invisible spiders with the Lenses of Truth, and climb the vines at the back. At Night , defeat the last Gold Skulltula of the Zora Fountain on the ceiling and collect its token with the Longshot.
Return to the Training Arena with the Silver Gauntlets.
Go back to the Gerudo Proving Grounds with the Silver Gauntlets. Follow the path to the left, past the Stalfos and through the Crystal Maze, to the Wolfos Room . The switch in the tall alcove above the False Door unlocks the door behind the heavy block. Push the black block into its recess and go through. Defeat the Lurkers and activate the Lenses of Truth for the hidden chest. Open the room’s four chests for the ninth Small Key , Rupees, and the trap on the pedestal. Then return to the exit and travel to the Prelude of Light Temple of Time.
Chests and their contents
Show all 15 chests
| Floor | Quantity | Content | Note |
|---|---|---|---|
| Ground Floor | 1 | Deku Shield | If you already have Deku Shield: 20 Rupees |
| Ground Floor | 2 | Small Key | |
| Ground Floor | 1 | Compass | |
| 1st Floor | 1 | 5 Bombs | |
| 1st Floor | 1 | 5 Bombchus | |
| 1st Floor | 1 | Dungeon Map | |
| 1st Floor | 1 | Green Rupee | Trap |
| 1st Floor | 1 | Small Key | |
| 2nd Floor | 2 | 20 Rupees | Lenses of Truth |
| 2nd Floor | 2 | Small Key | |
| 3rd Floor | 1 | 5 Bombs | |
| 3rd Floor | 1 | Boss Key |