
Zora’s Frozen Realm
Cross Hyrule Field to Zora River , follow the bank upstream, and play Zelda’s Lullaby in front of the waterfall. Enter the Frozen Realm of Zora.
Climb the icy paths to the throne room. Go right past the frozen King Zora to Zora’s Well and the former location of Jabu-Jabu. Keep at least two bottles free for Blue Fire .
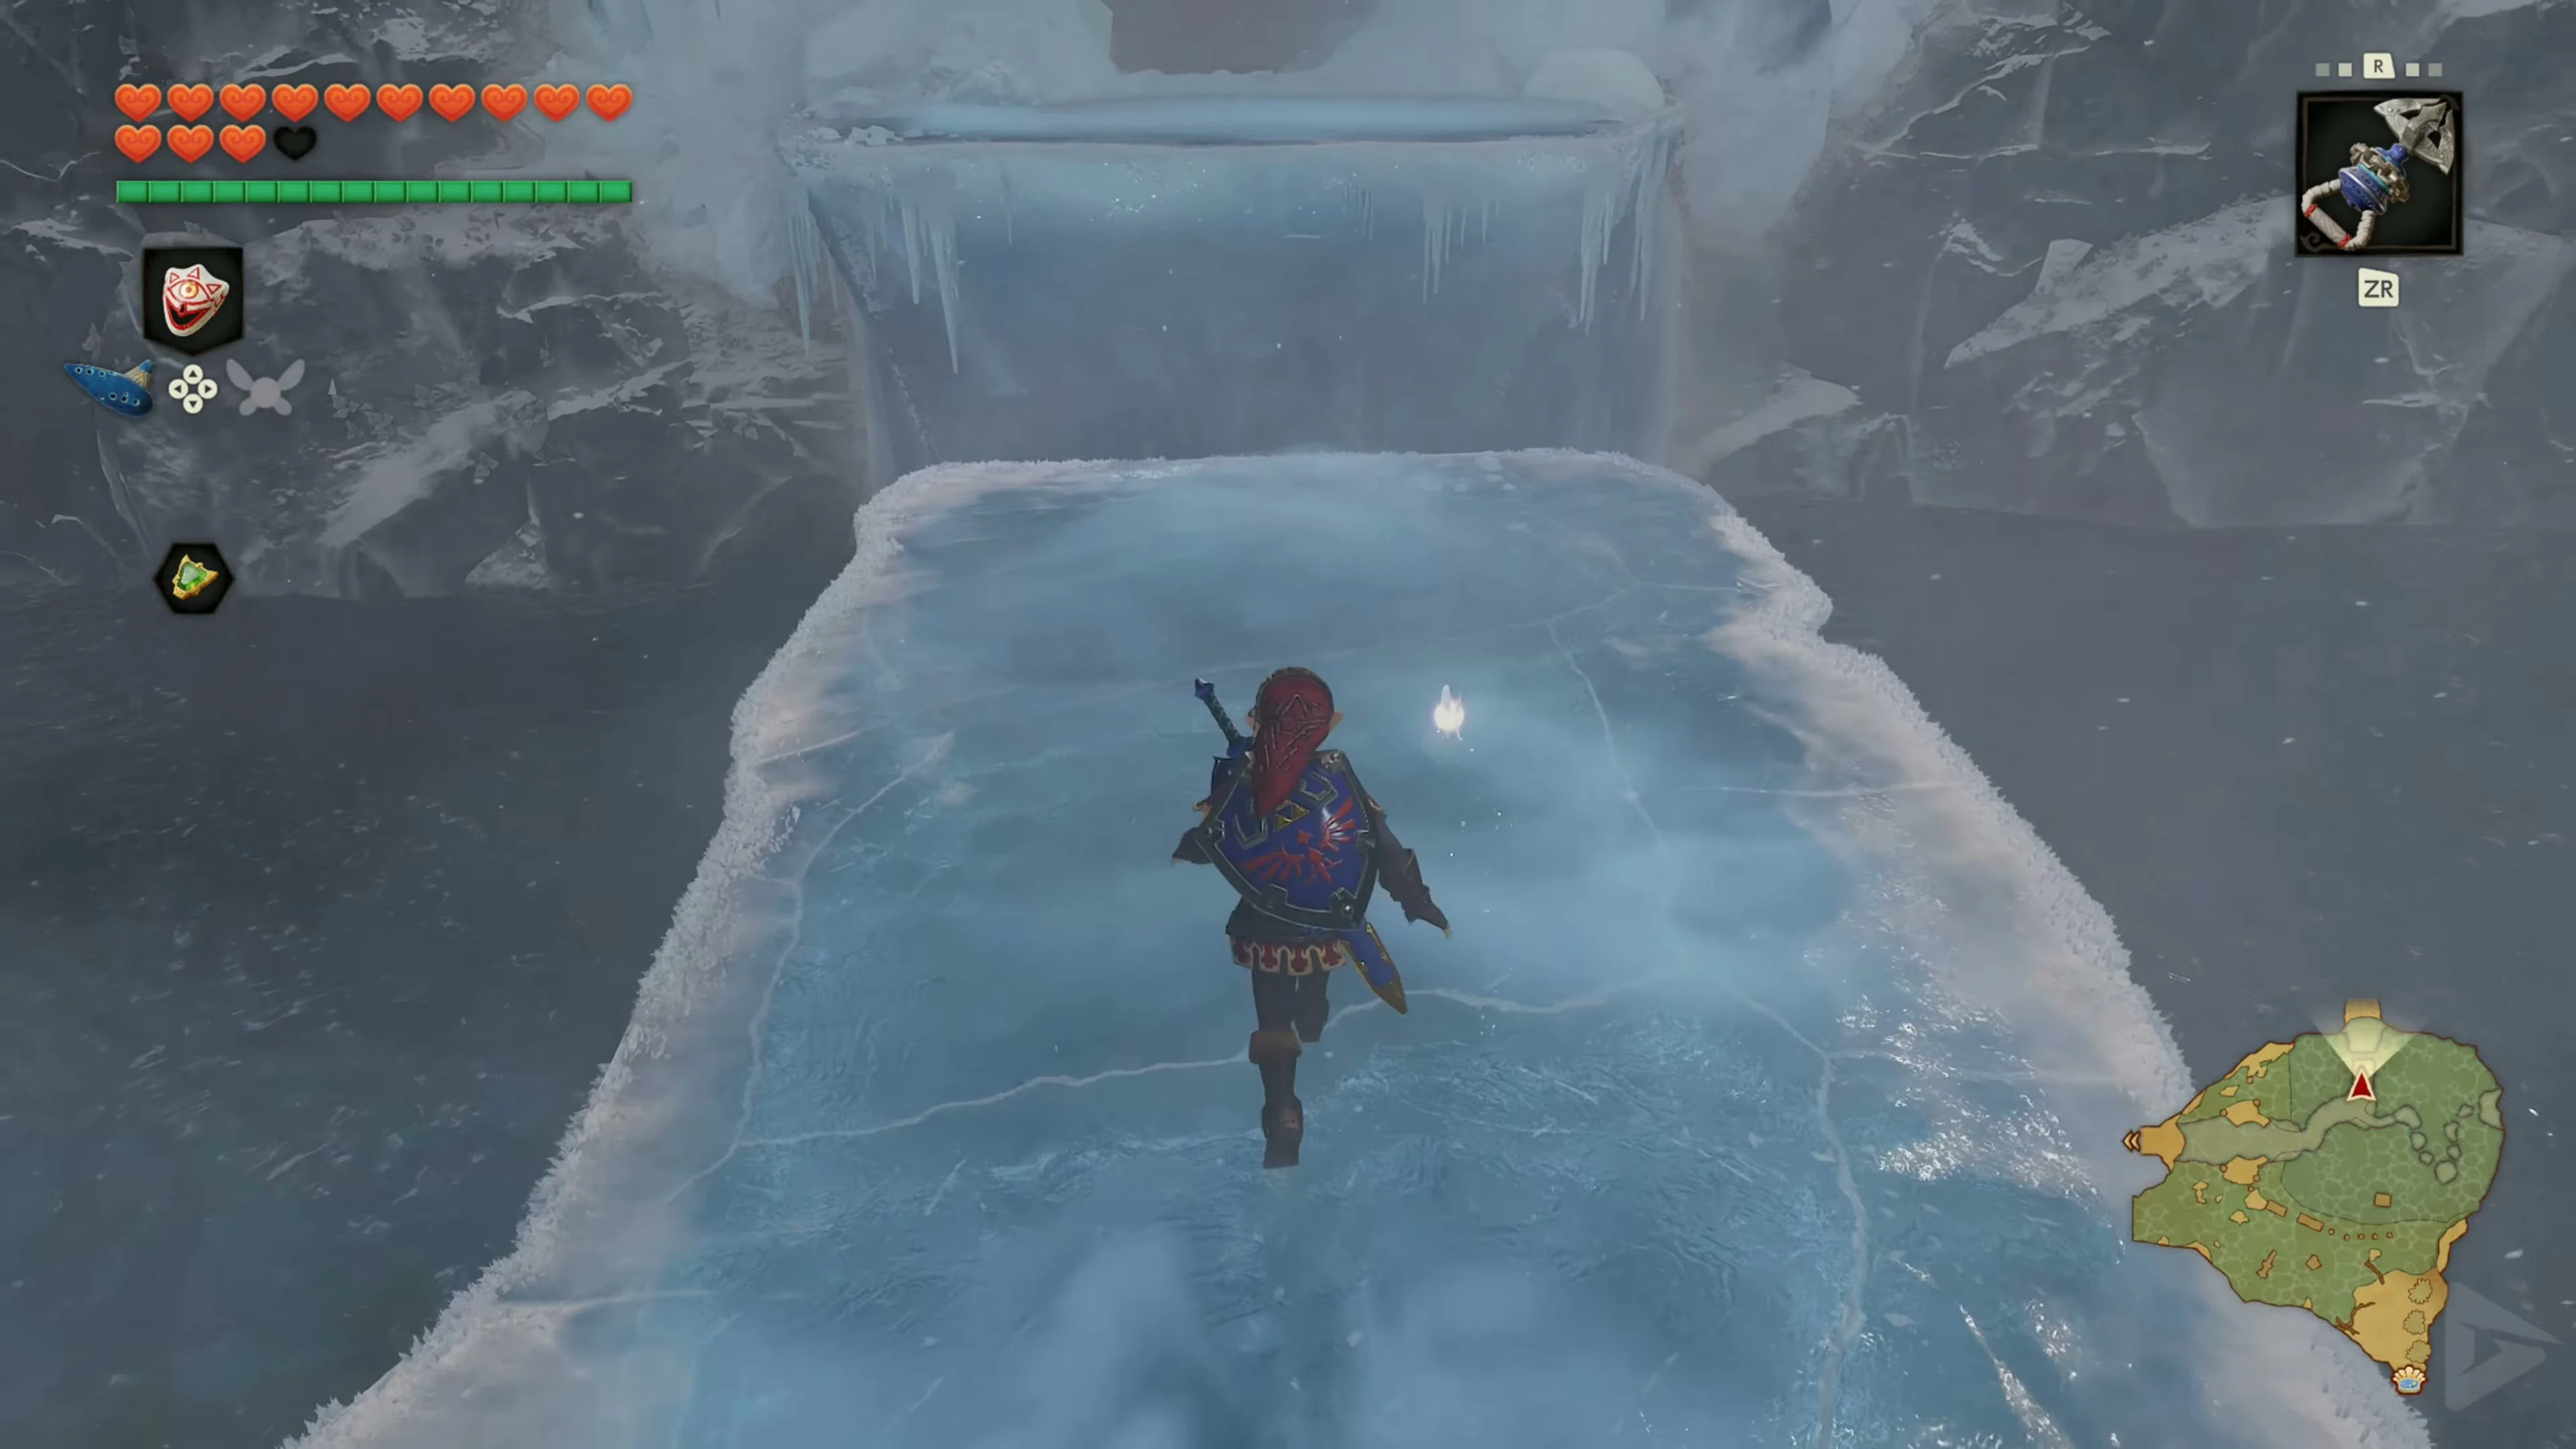
Piece of Heart on the ice floes
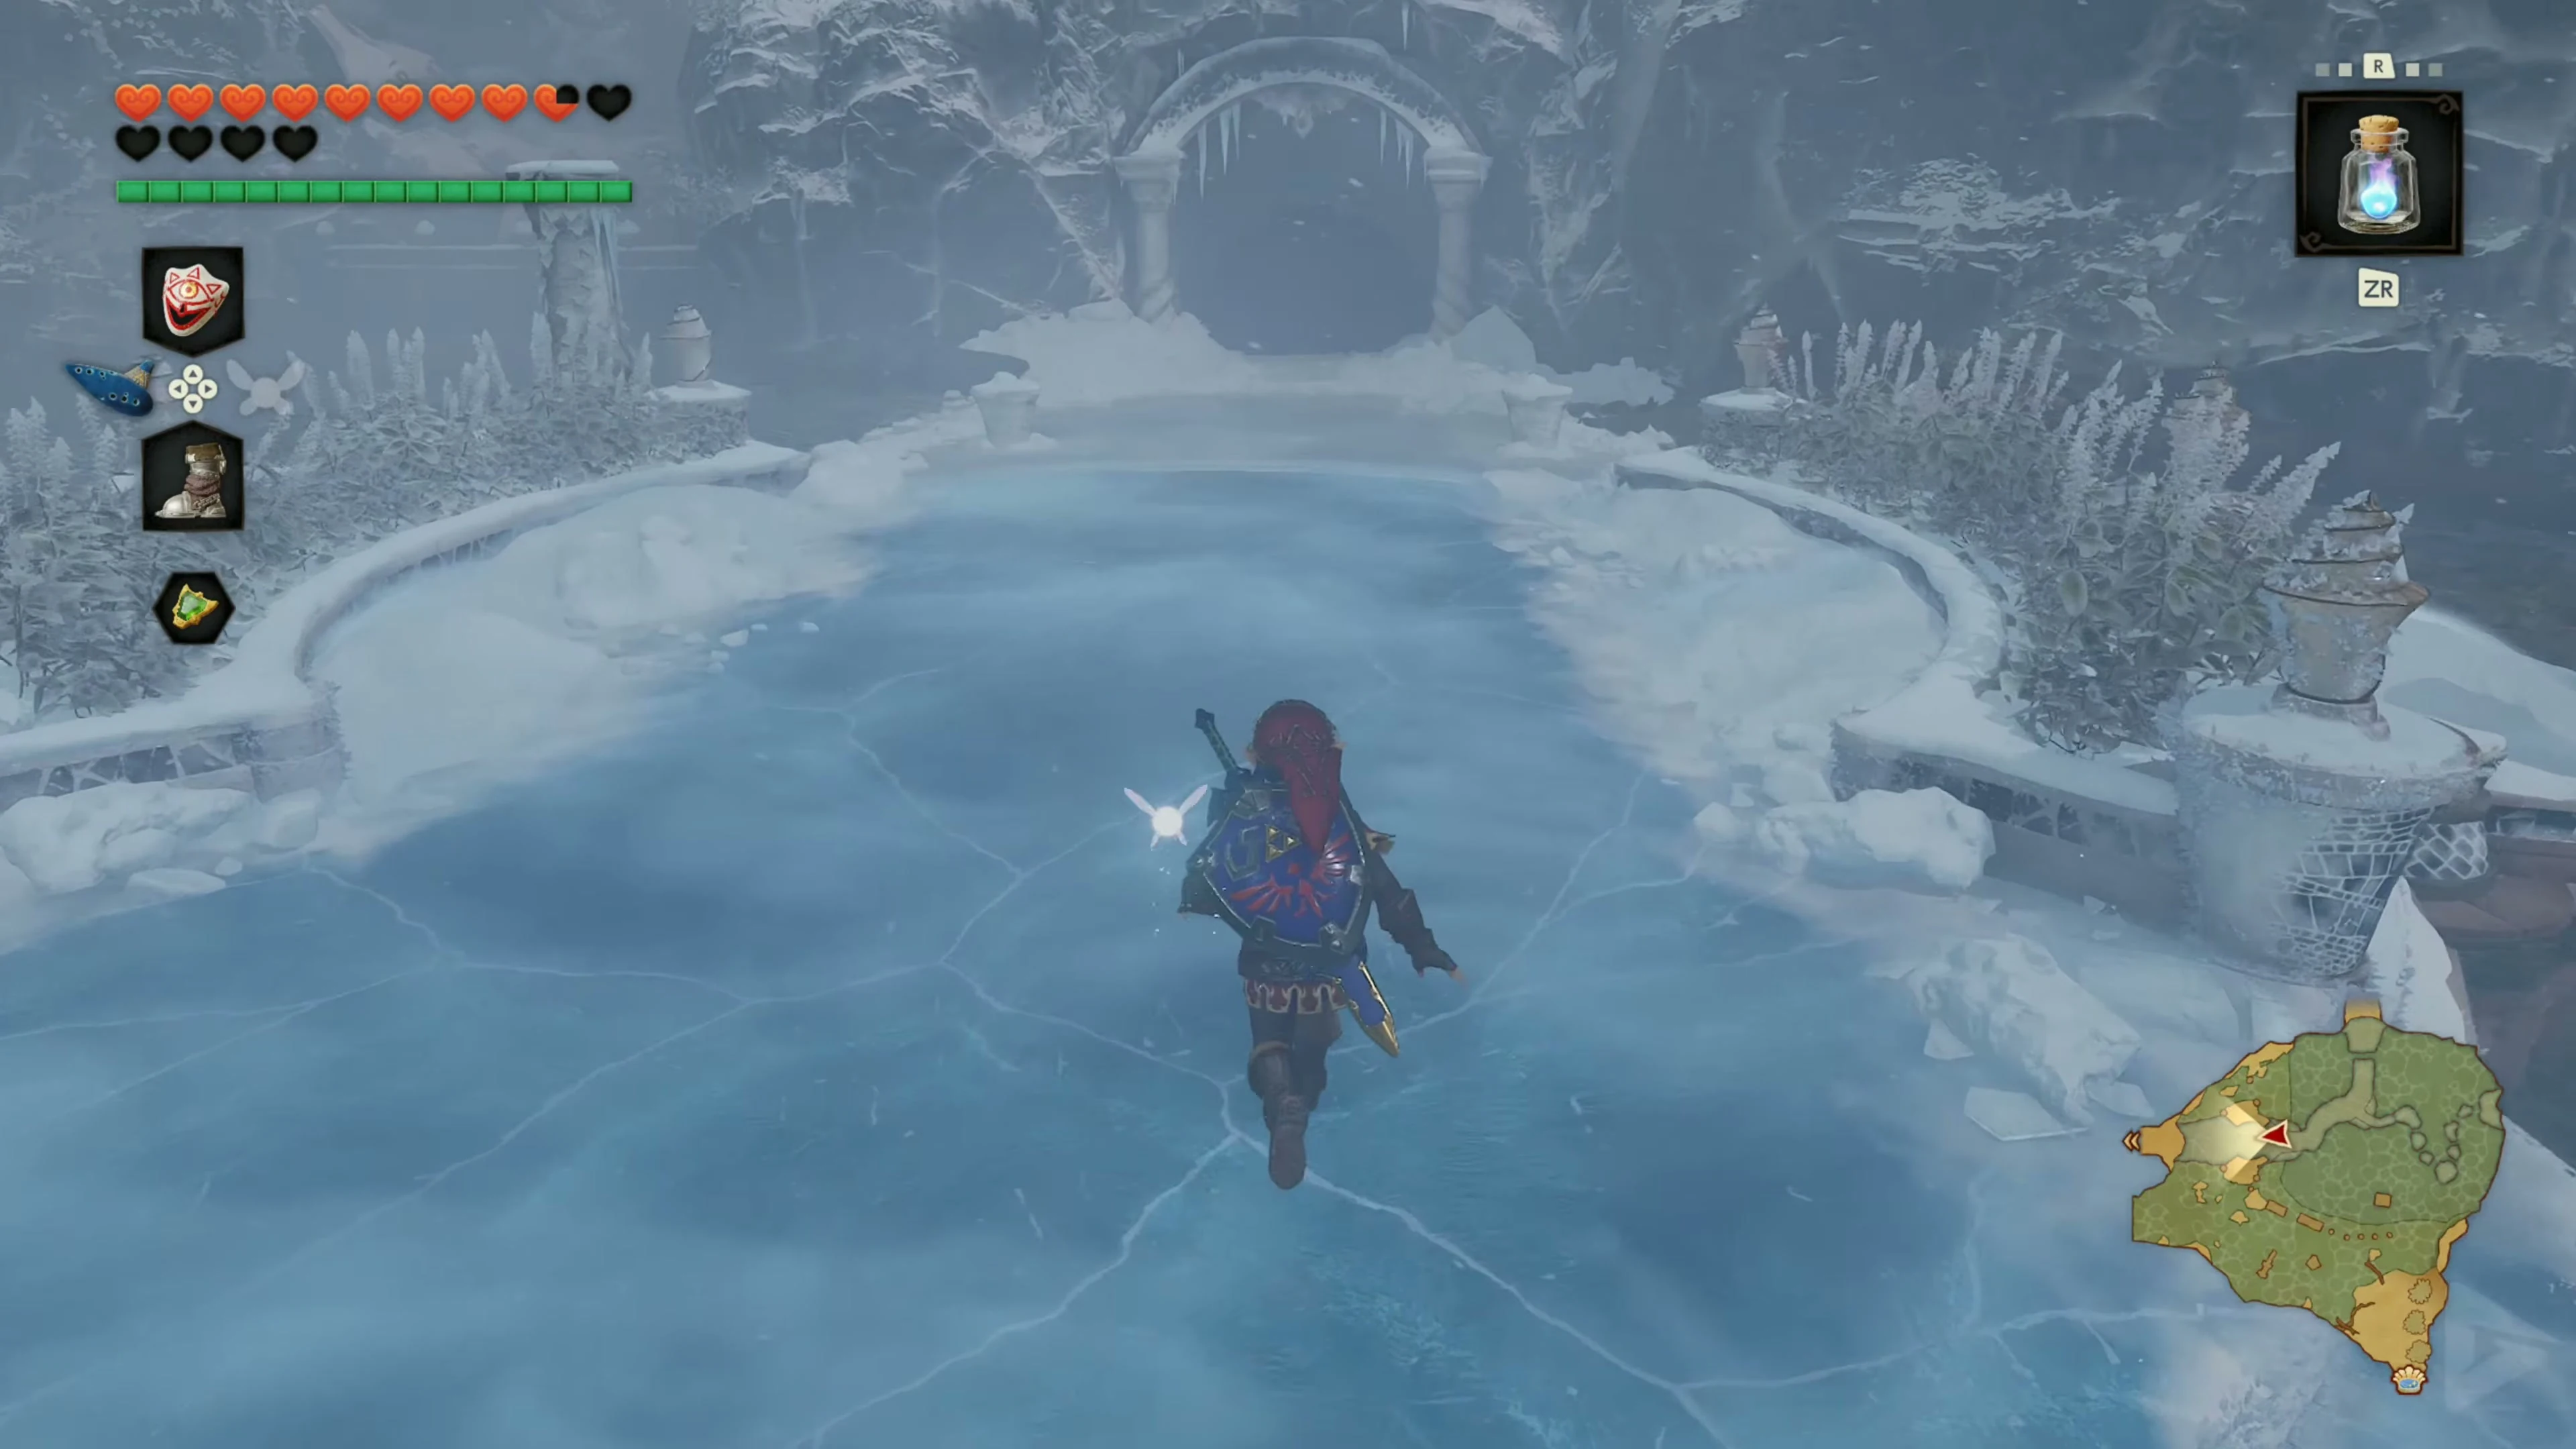
Jump from the first ice floe to the next and carefully move across the frozen pool. The floes are sometimes quite far apart, so you should try to jump straight ahead. At the first major fork, keep to the right and jump onto the ice floes floating further out. A Piece of Heart is clearly visible on one of the floes. Collect it and then return to the main path via the same platforms. Now follow the ice floes to the left, or western, side of Zora Fountain. A new cave entrance is located in the rock face. Beyond it begins the Ice Cavern . There you will find the Iron Boots needed for the Water Temple .
The Ice Cavern
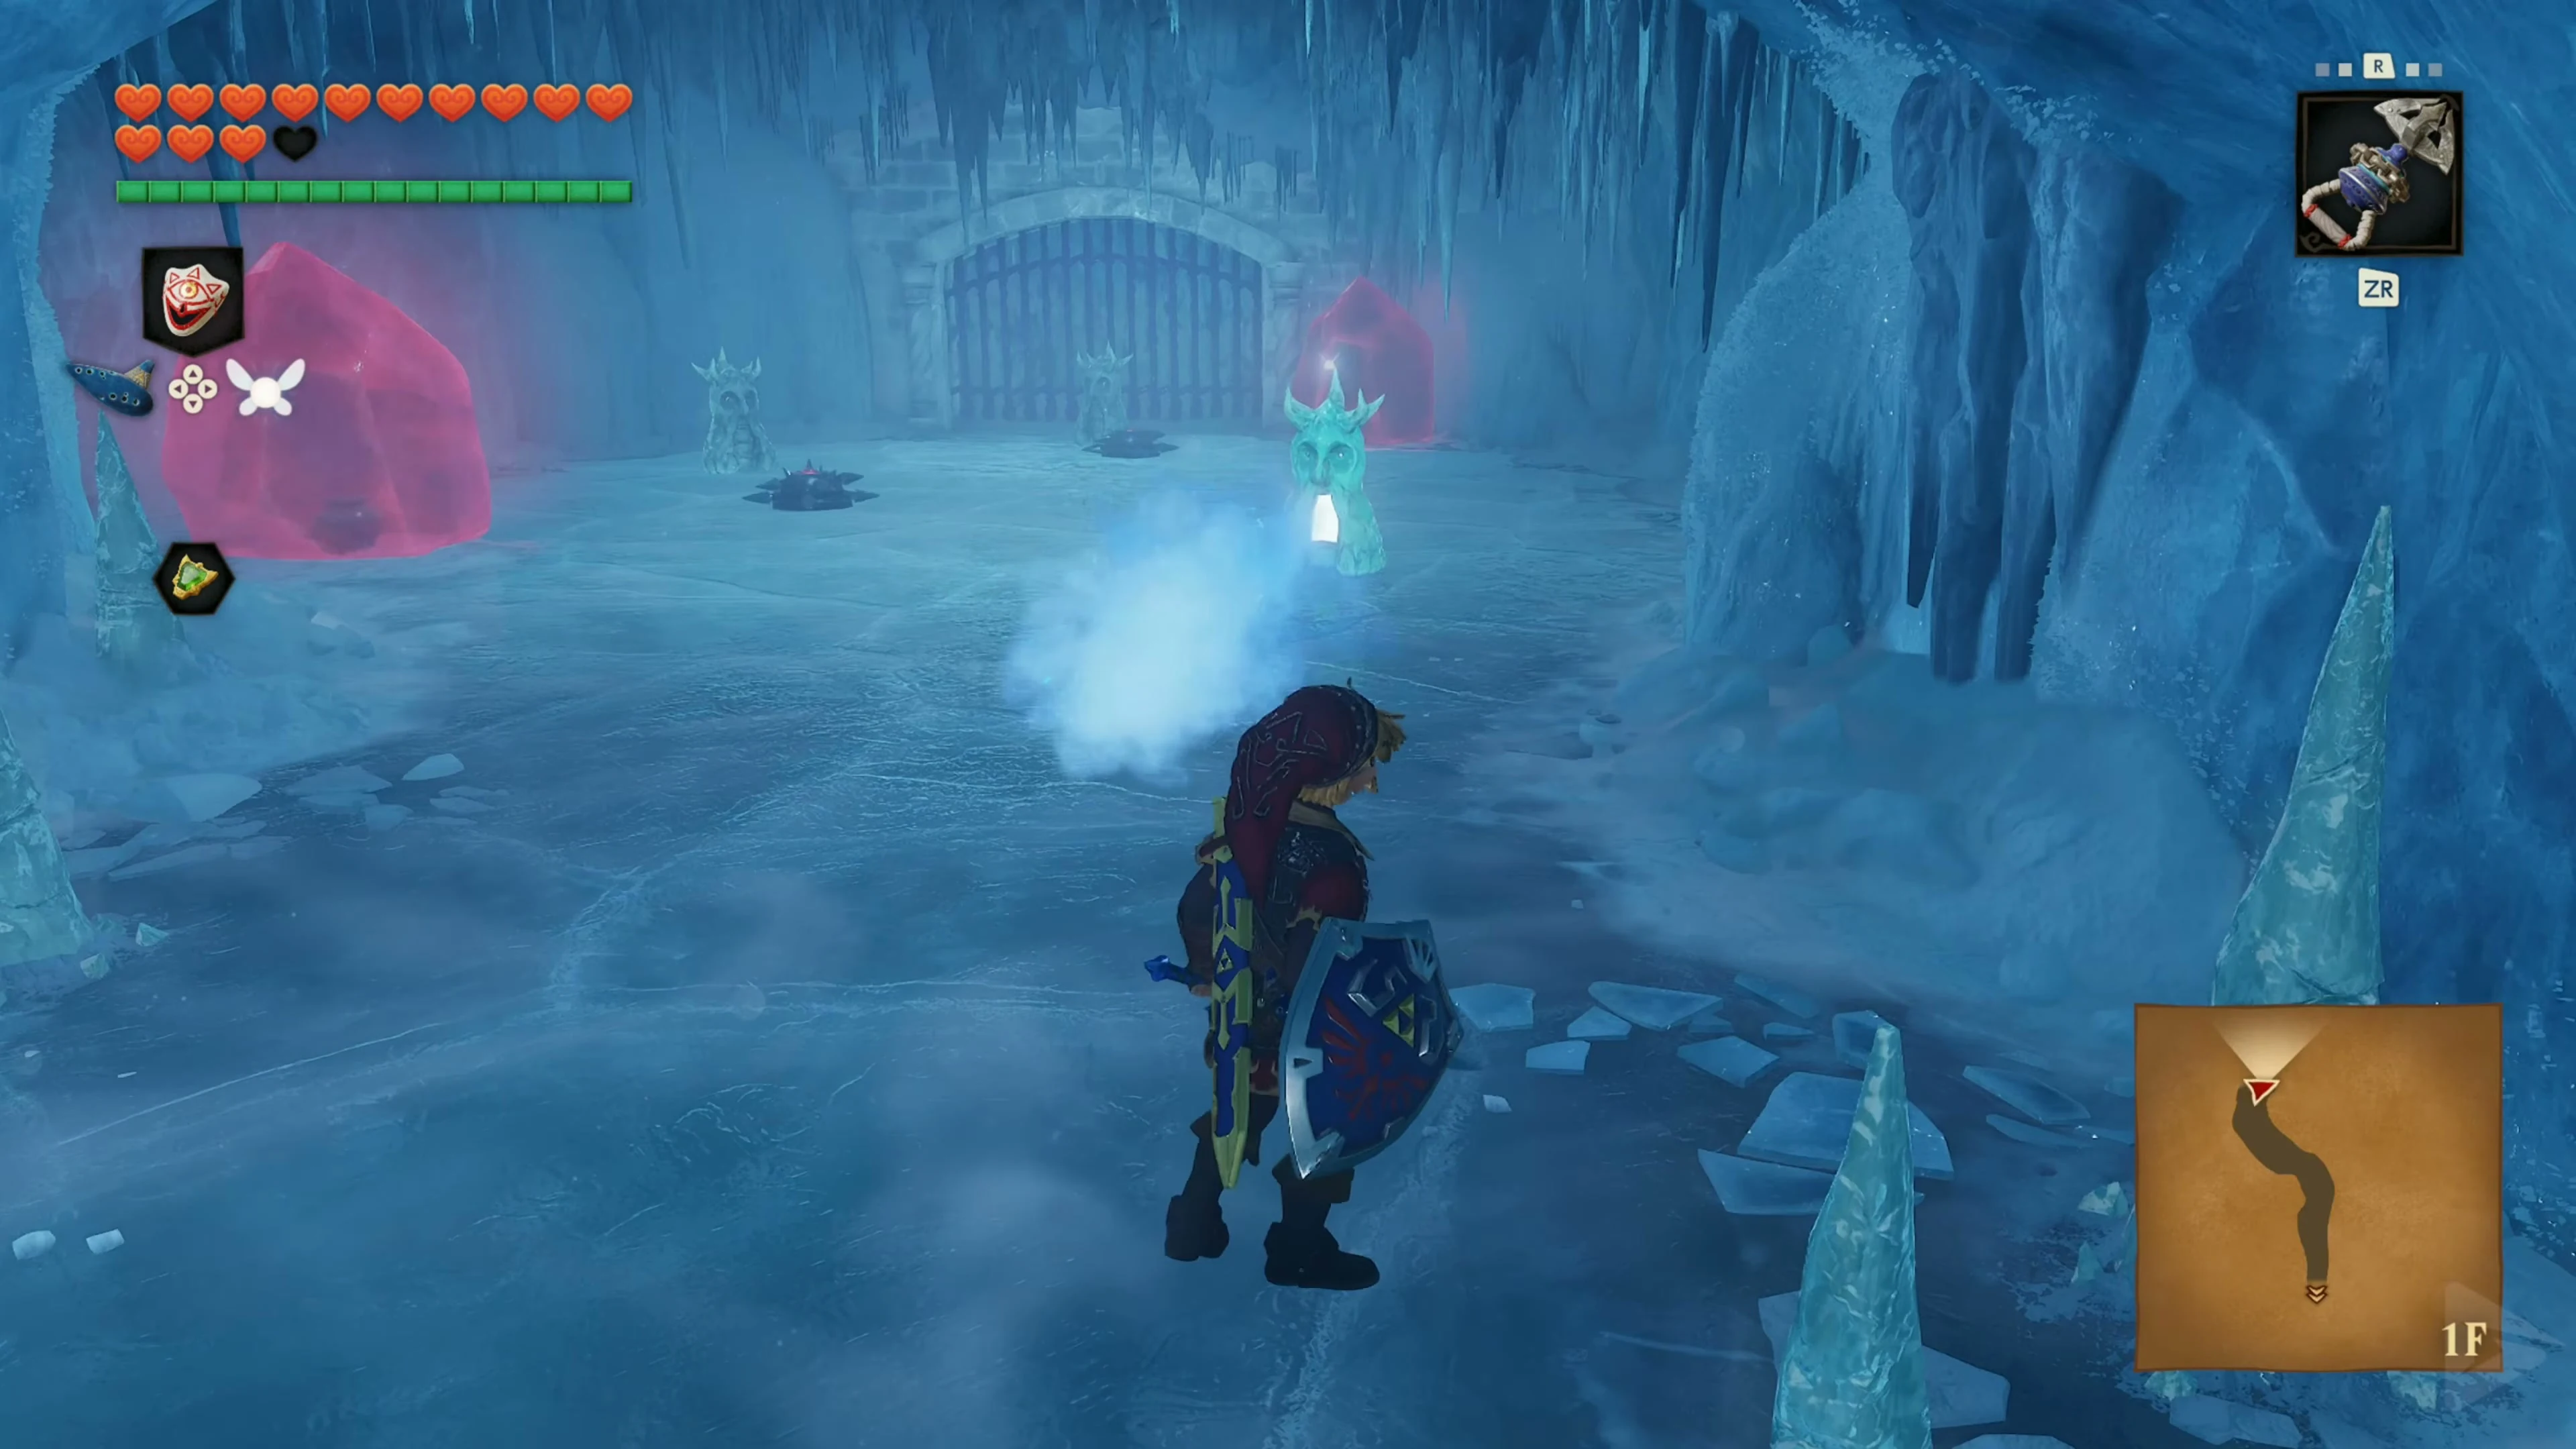
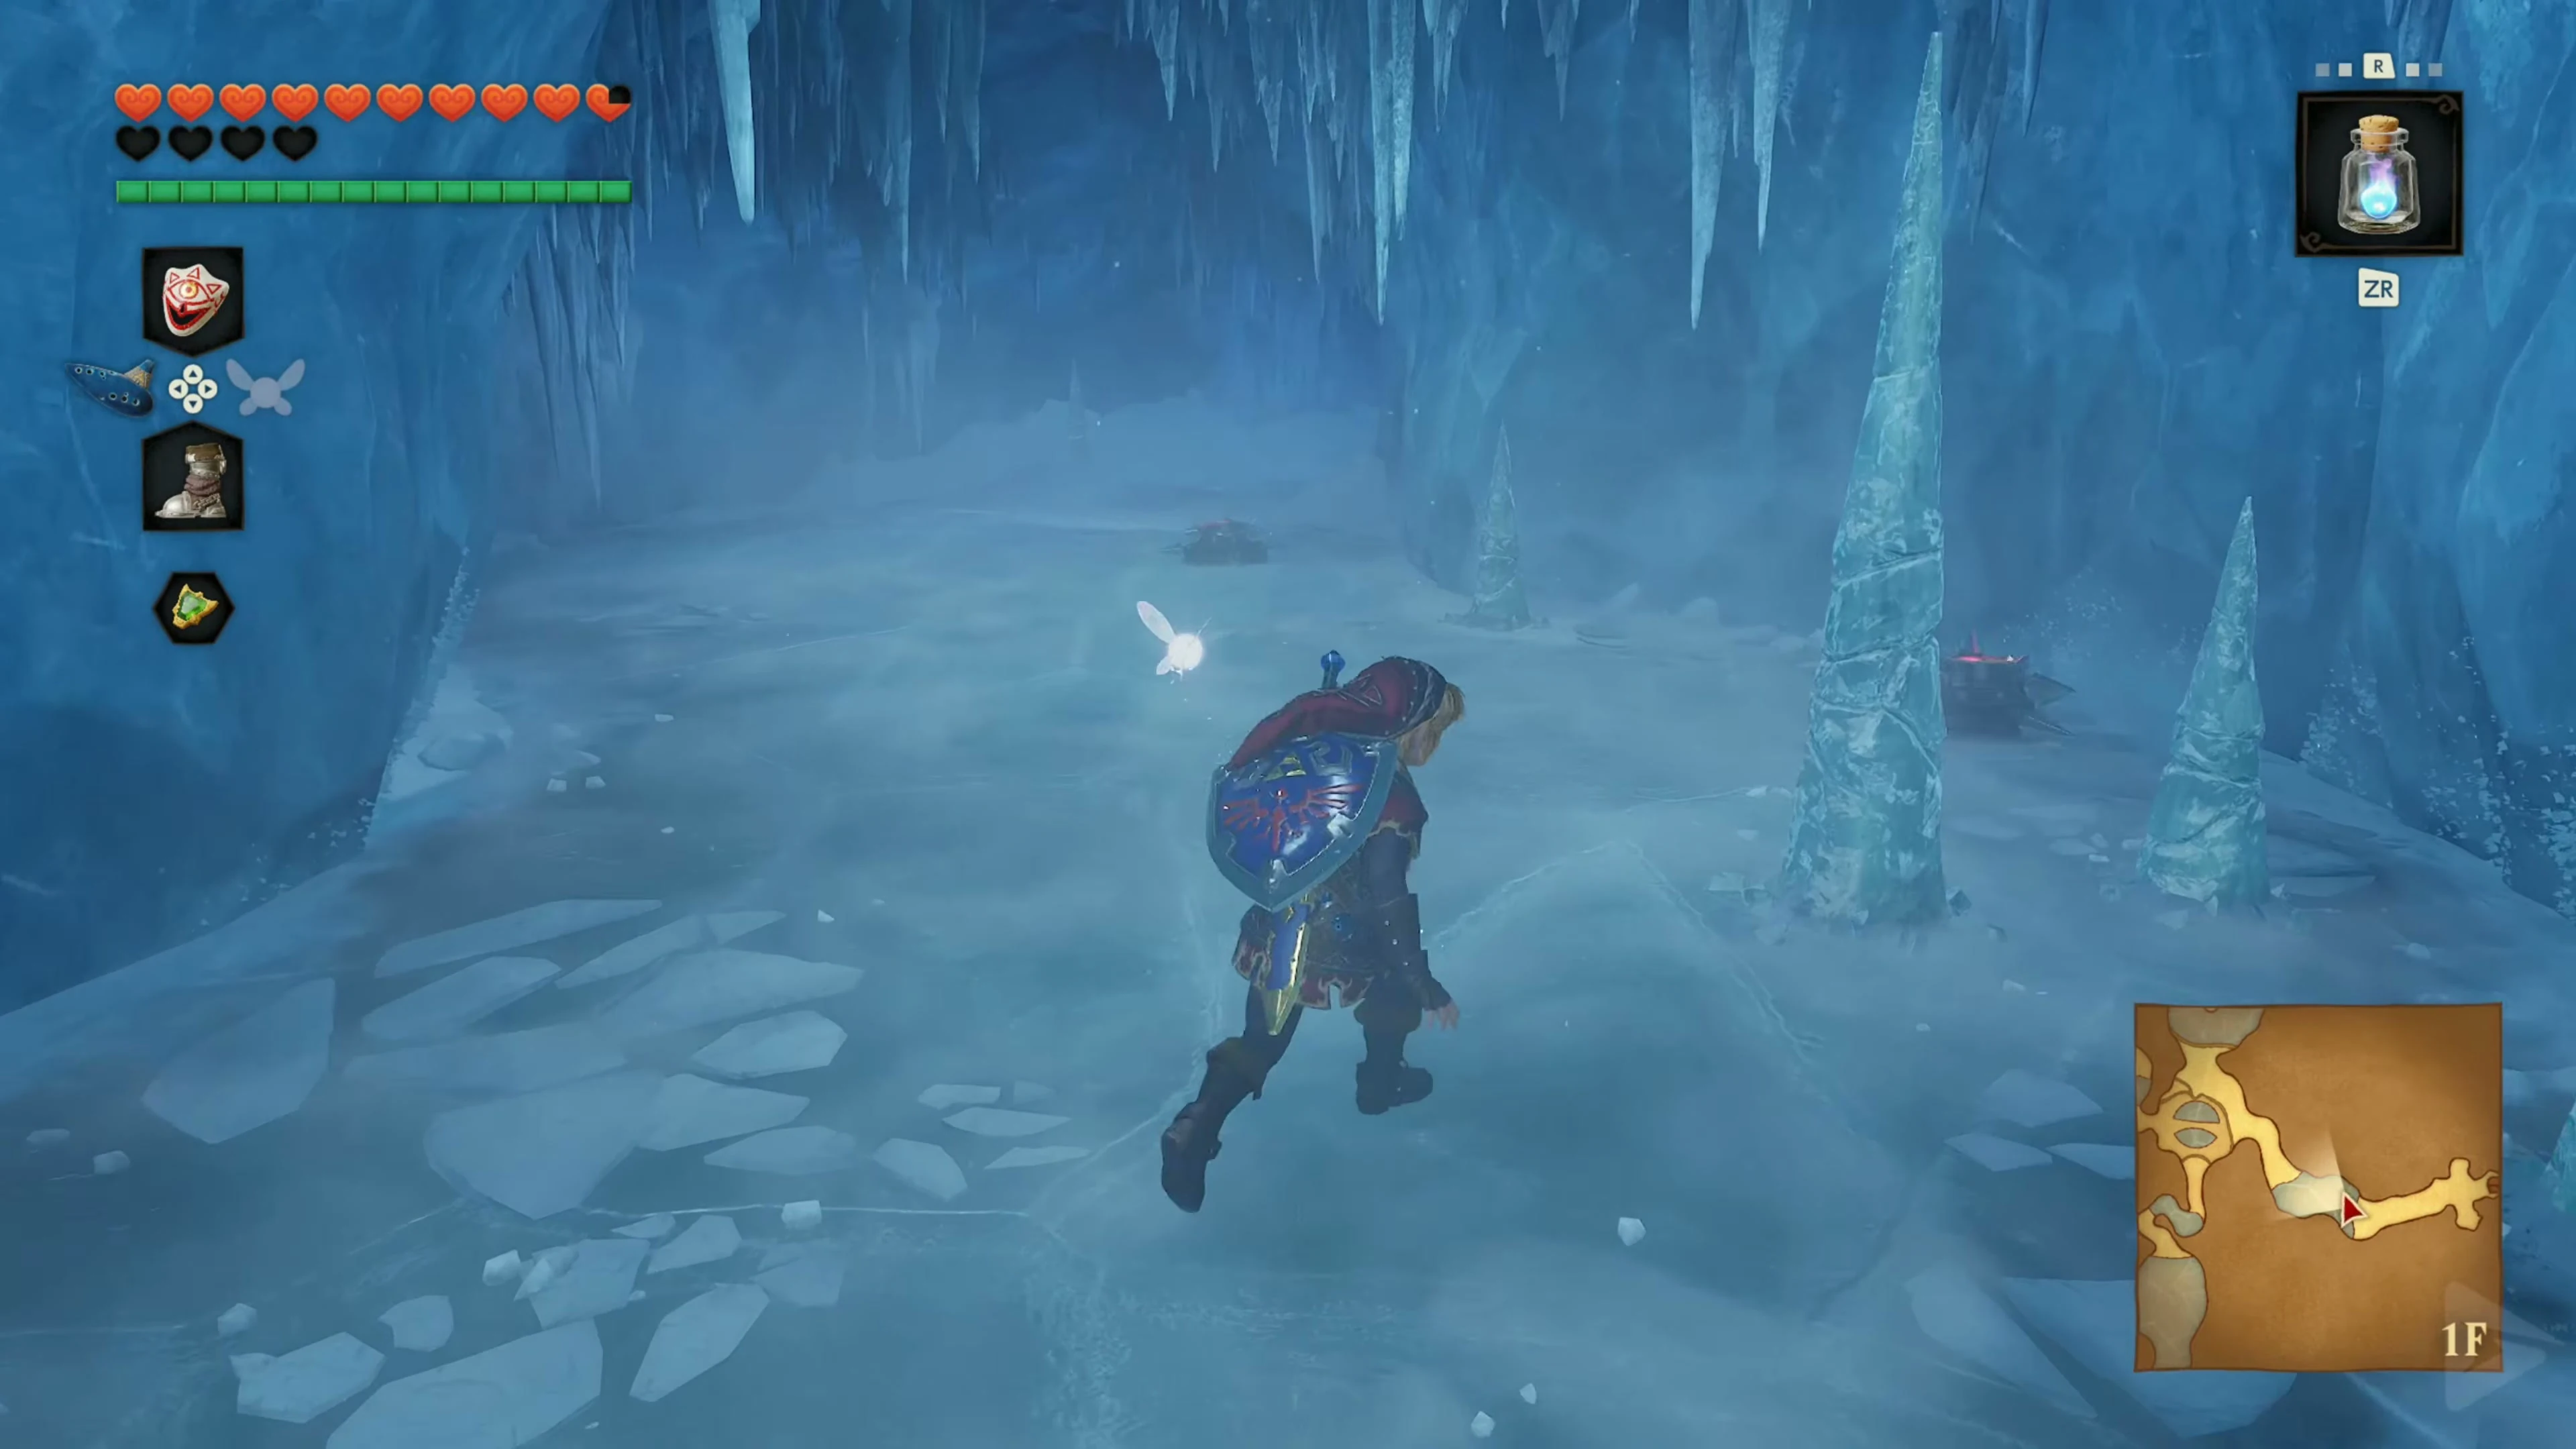
In the first room, Freezard block the way. Stand to the side of their icy breath and strike with the Megaton Hammer as soon as it breaks. Their breath also freezes the spiked balls. This gives you a brief opening to run between the enemies.
Once the Freezard are defeated, the door to the north opens. Run under the falling icicles. If they are in your way afterward, smash them and continue until you reach the hall with the rotating ice blade.
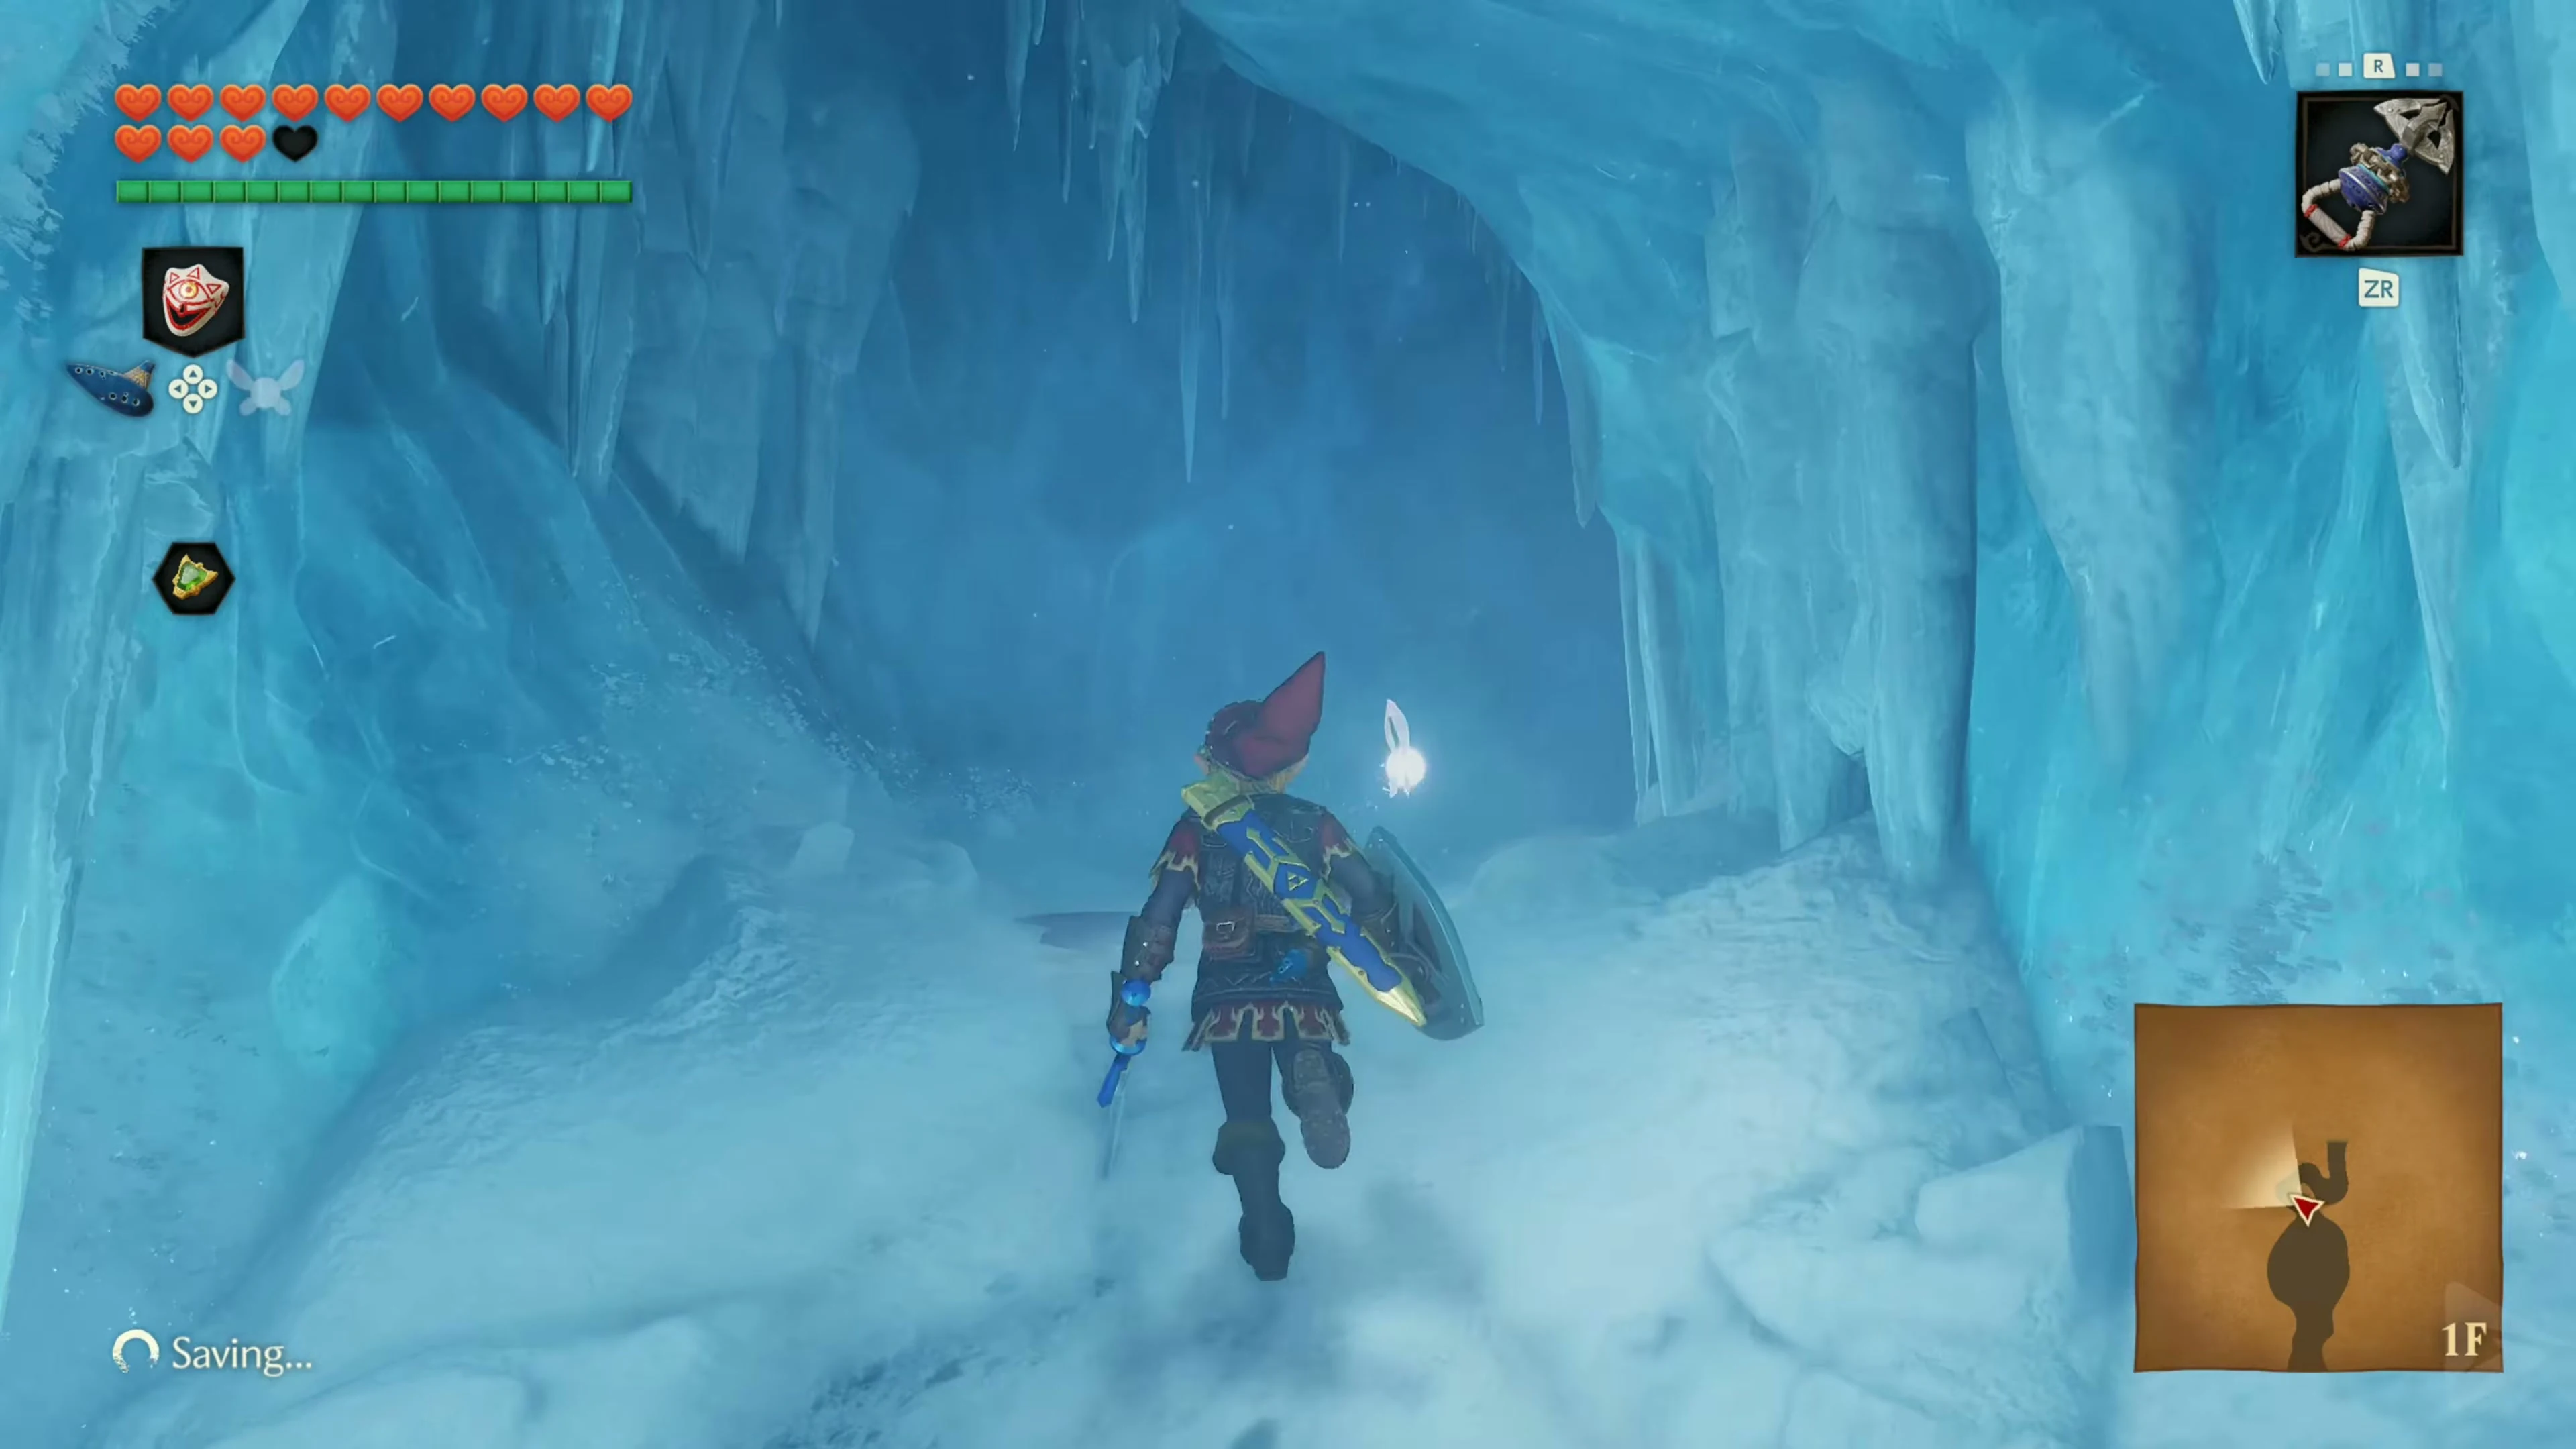
Five Crystals and Skulltula 1/3
Collect all five silver crystals in the hall with the rotating ice blade. Collect all five silver crystals. Run behind the blade, using the alcoves to dodge.
Three crystals lie relatively openly along the path of the large ice blade. It’s best to run in the same direction as the rotating blade, following it instead of running towards it. This gives you enough time to collect the Rupees before the obstacle passes your position again. A fourth crystal lies behind several icicles near the entrance. Smash the icicles with your sword and collect it. For the last Rupee, climb the rocks on the opposite side and jump from there to the elevated position or directly down onto the Rupee.
In the room with the rotating ice blade, look up at the southwest wall. The first Gold Skulltula of the Ice Cavern is above your jump range. Defeat it with the Hookshot and pull the token towards you. Once you have all five crystals, the exit on the upper level will open.
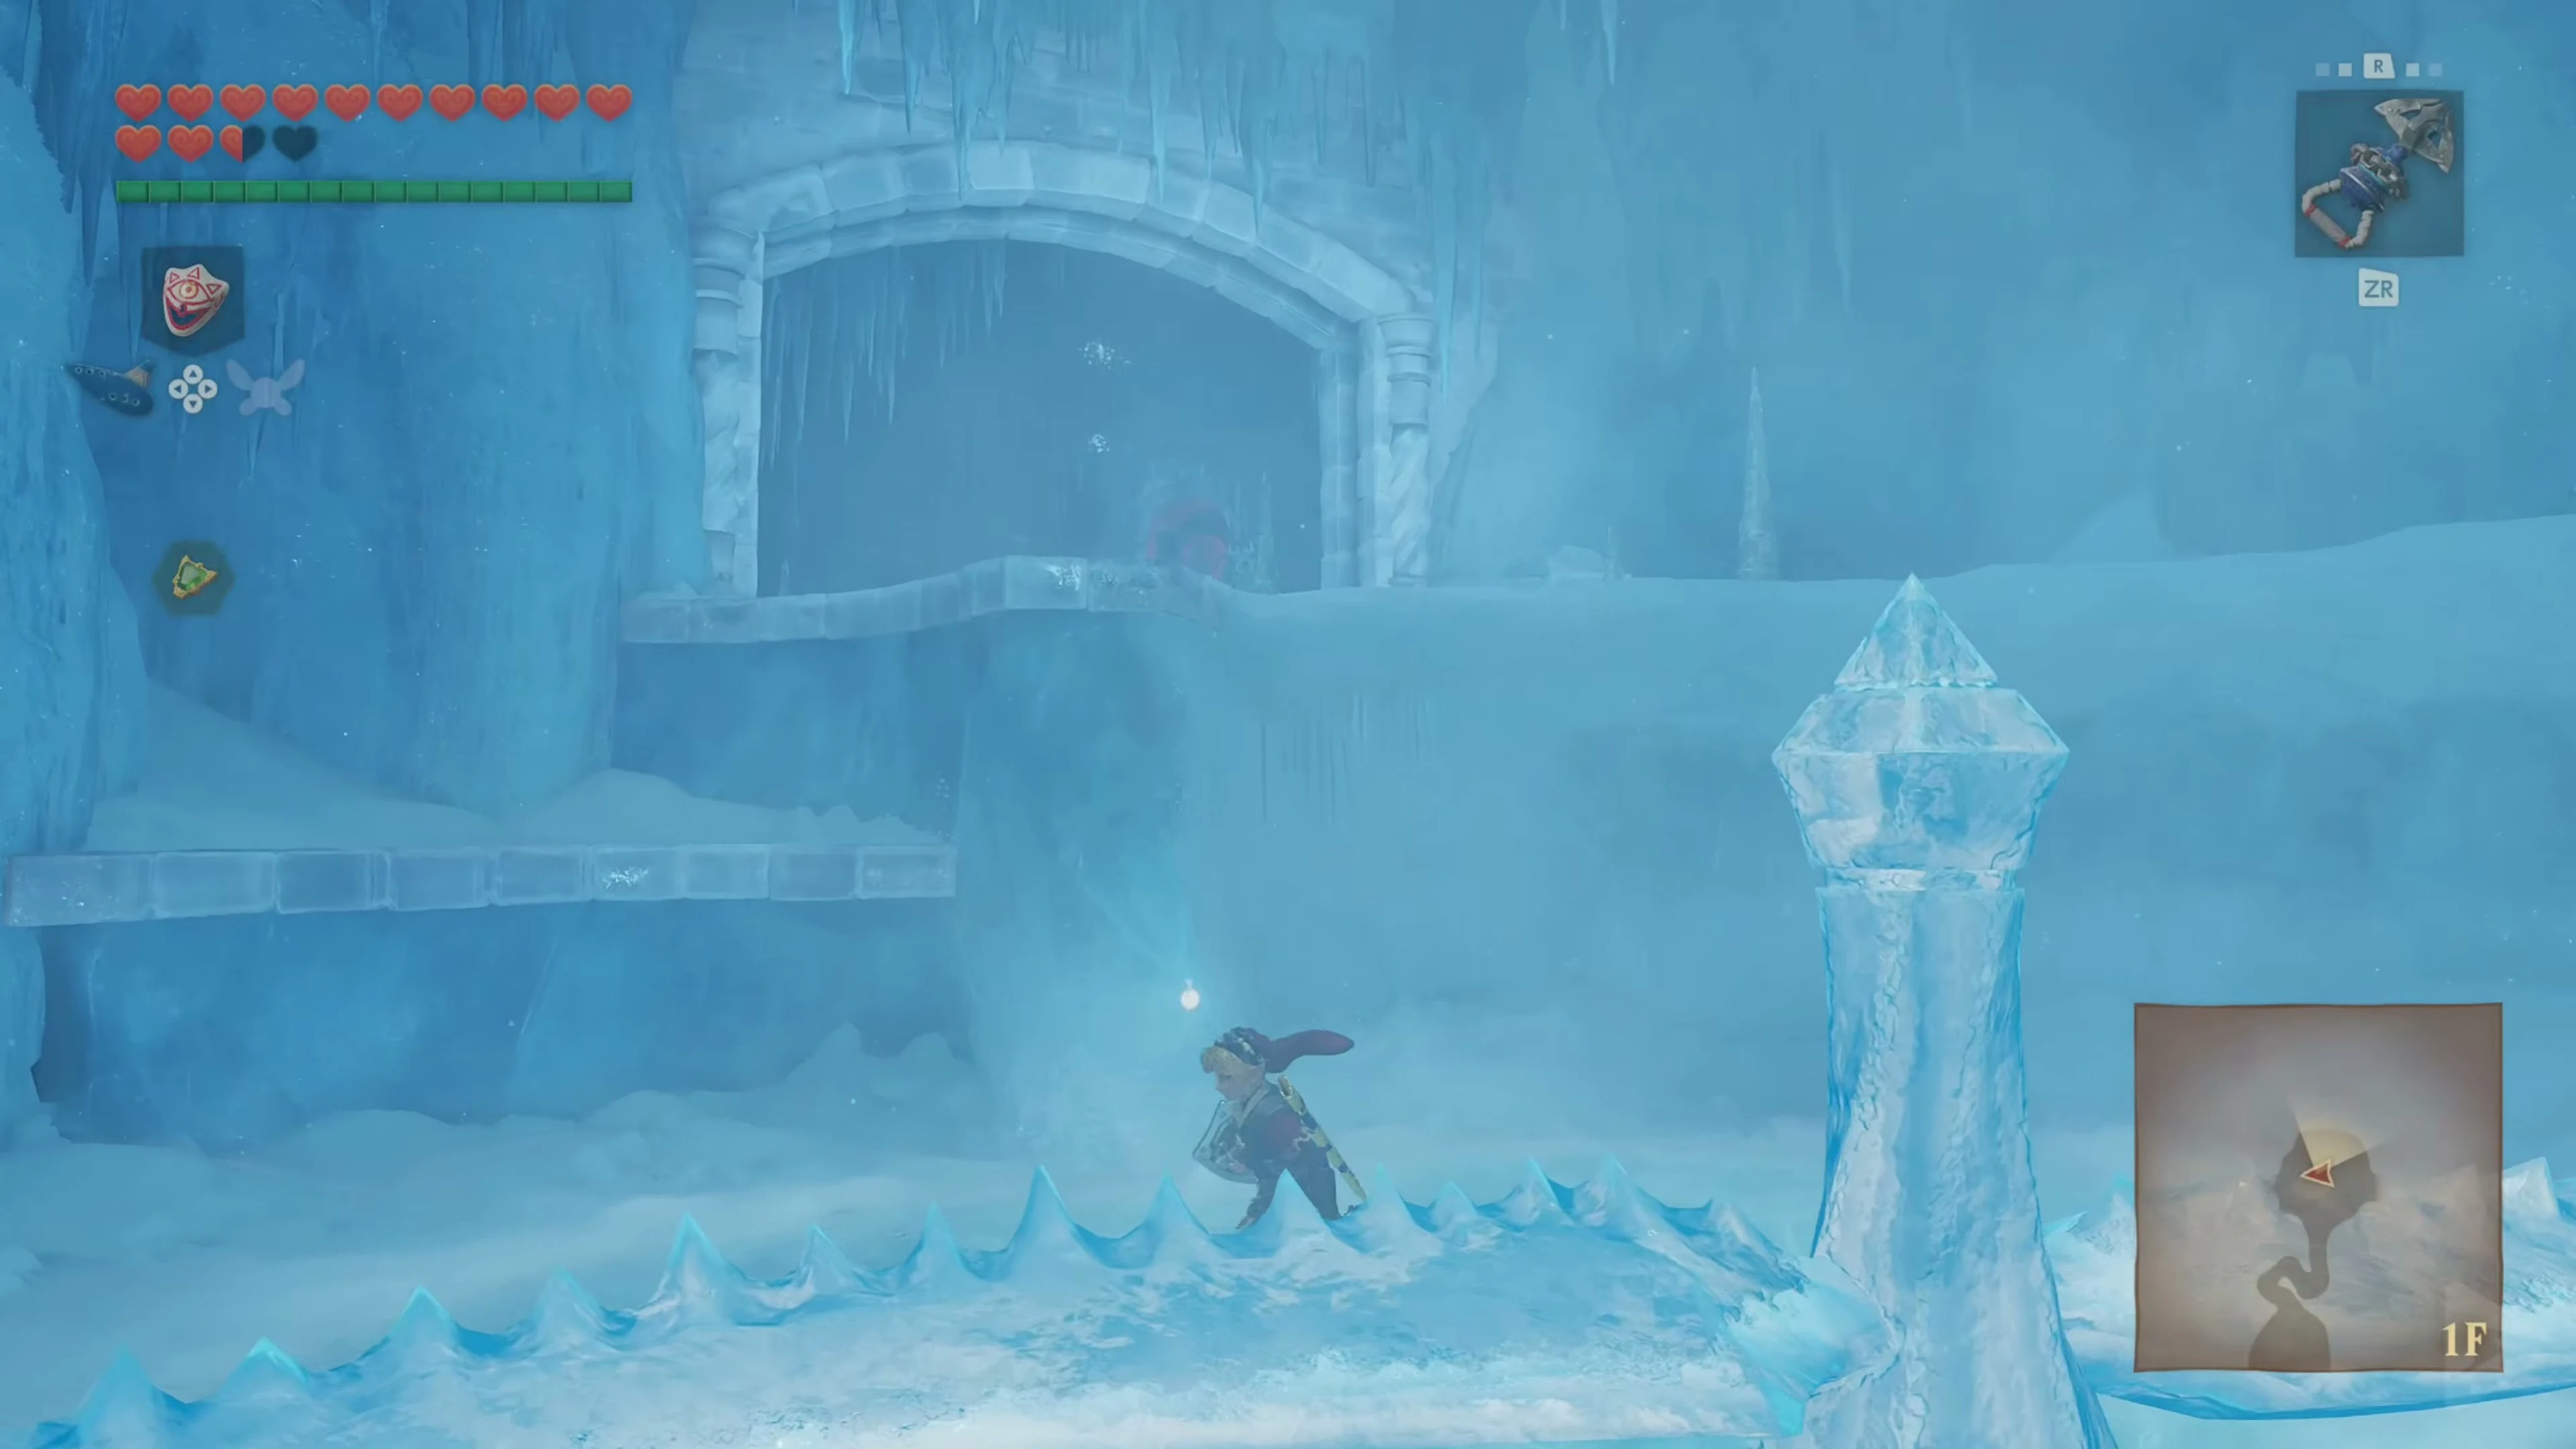
The blue fire
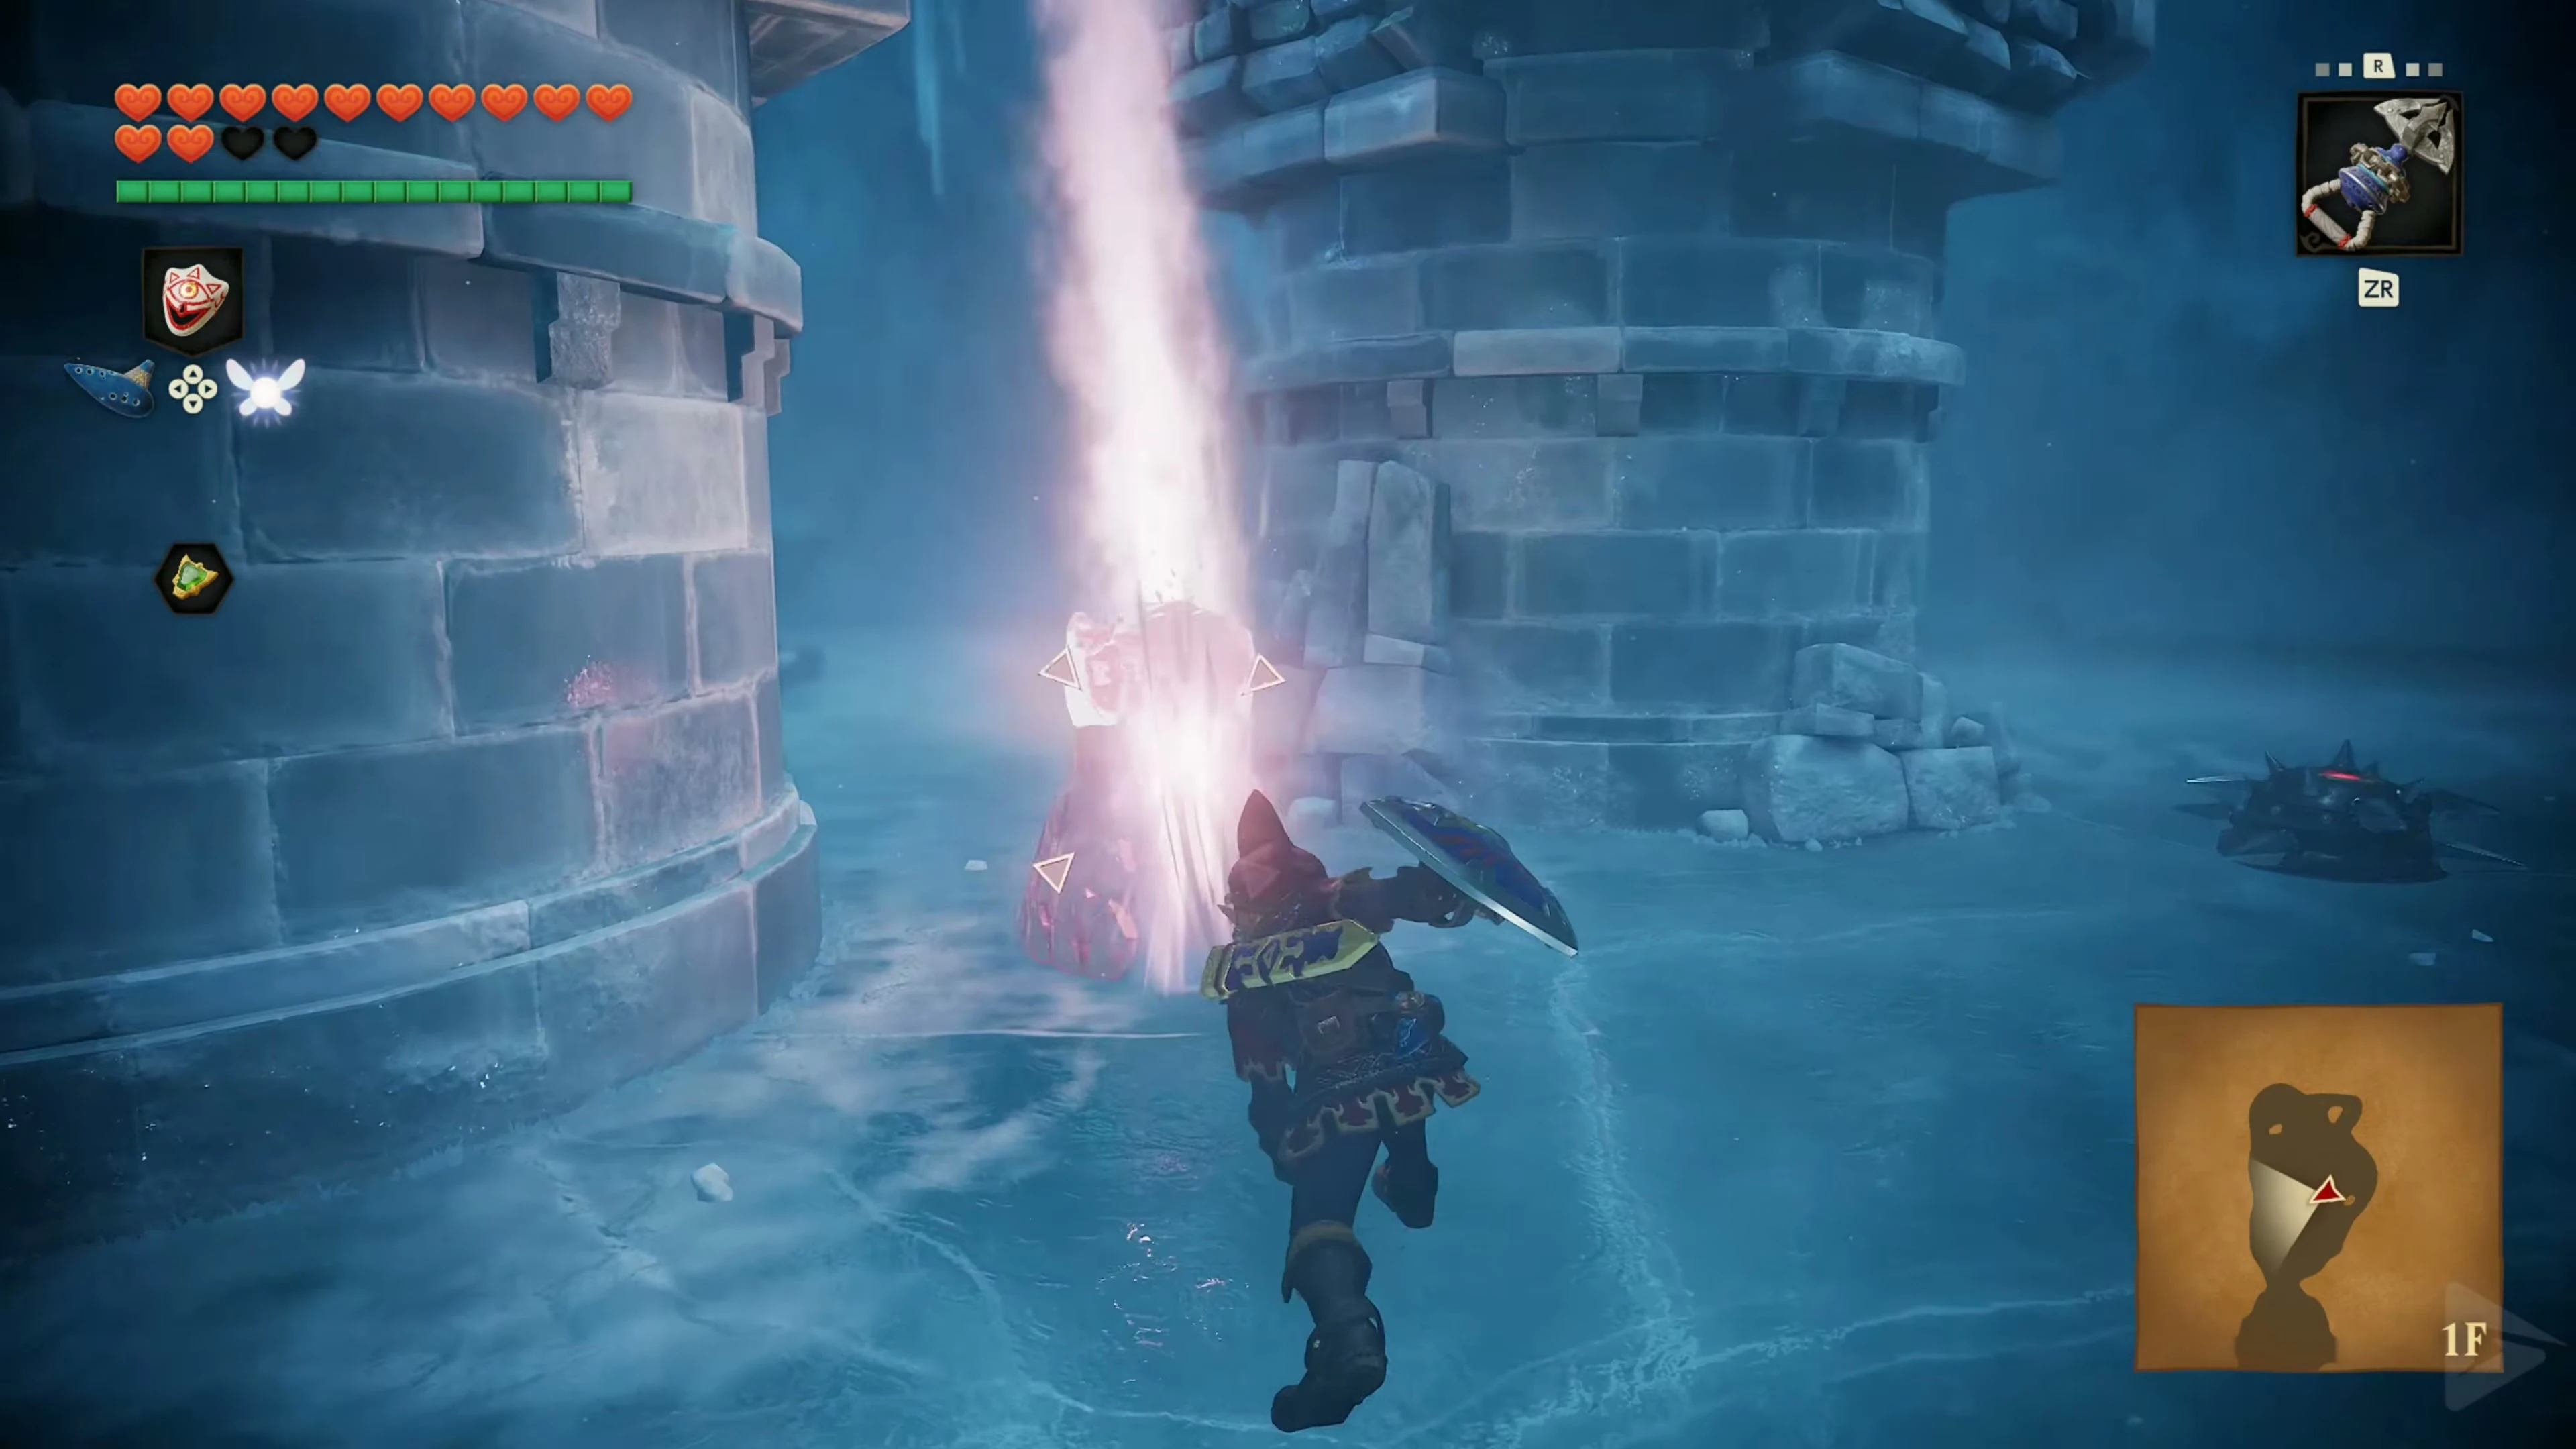
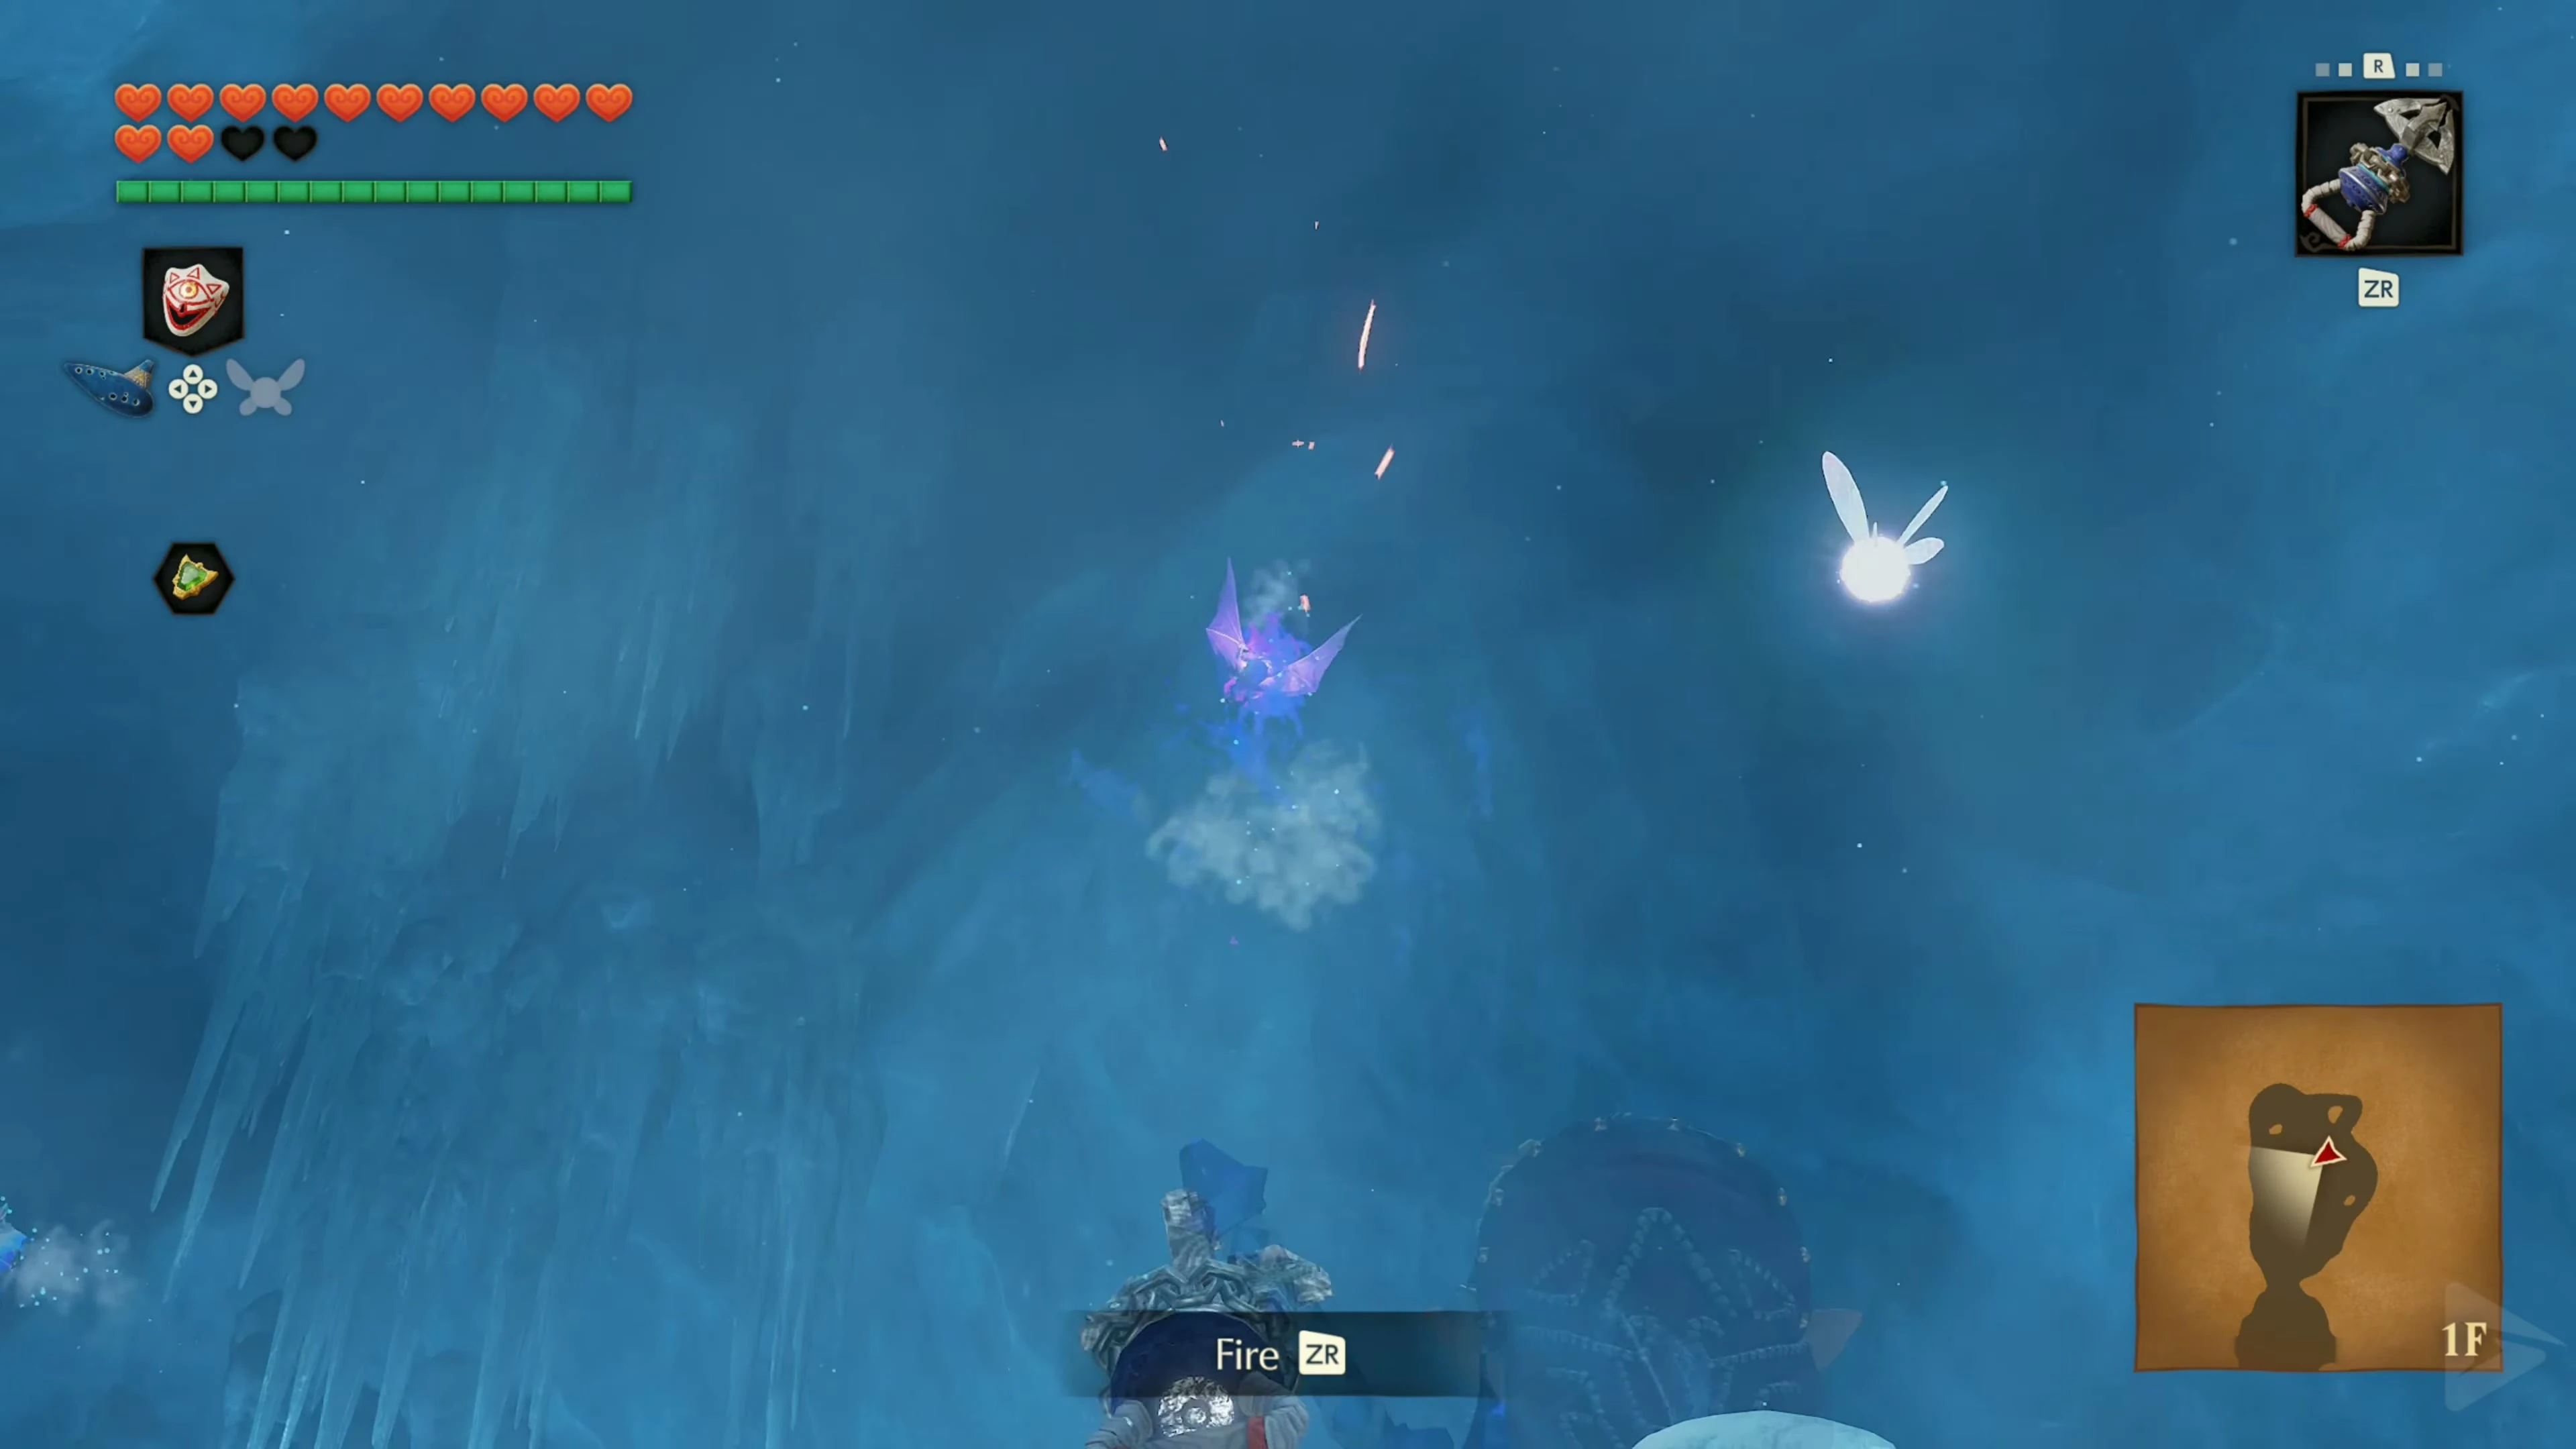
Behind the Blade Hall, the icy passage leads to the bridge. You’re safe from Freezard under the bridge for now. Wait for his breath attack, climb up, and use the Megaton Hammer to take him out. Then, smash the bright ice crystal directly in front of the red ice . Blue fire burns inside it. Stand next to it and catch the flame in an empty bottle. If you have two free bottles, fill both.
Use a filled bottle directly in front of red ice to melt it. Each portion will be consumed. Refill empty bottles at the blue fire source before proceeding.
The Dungeon Map
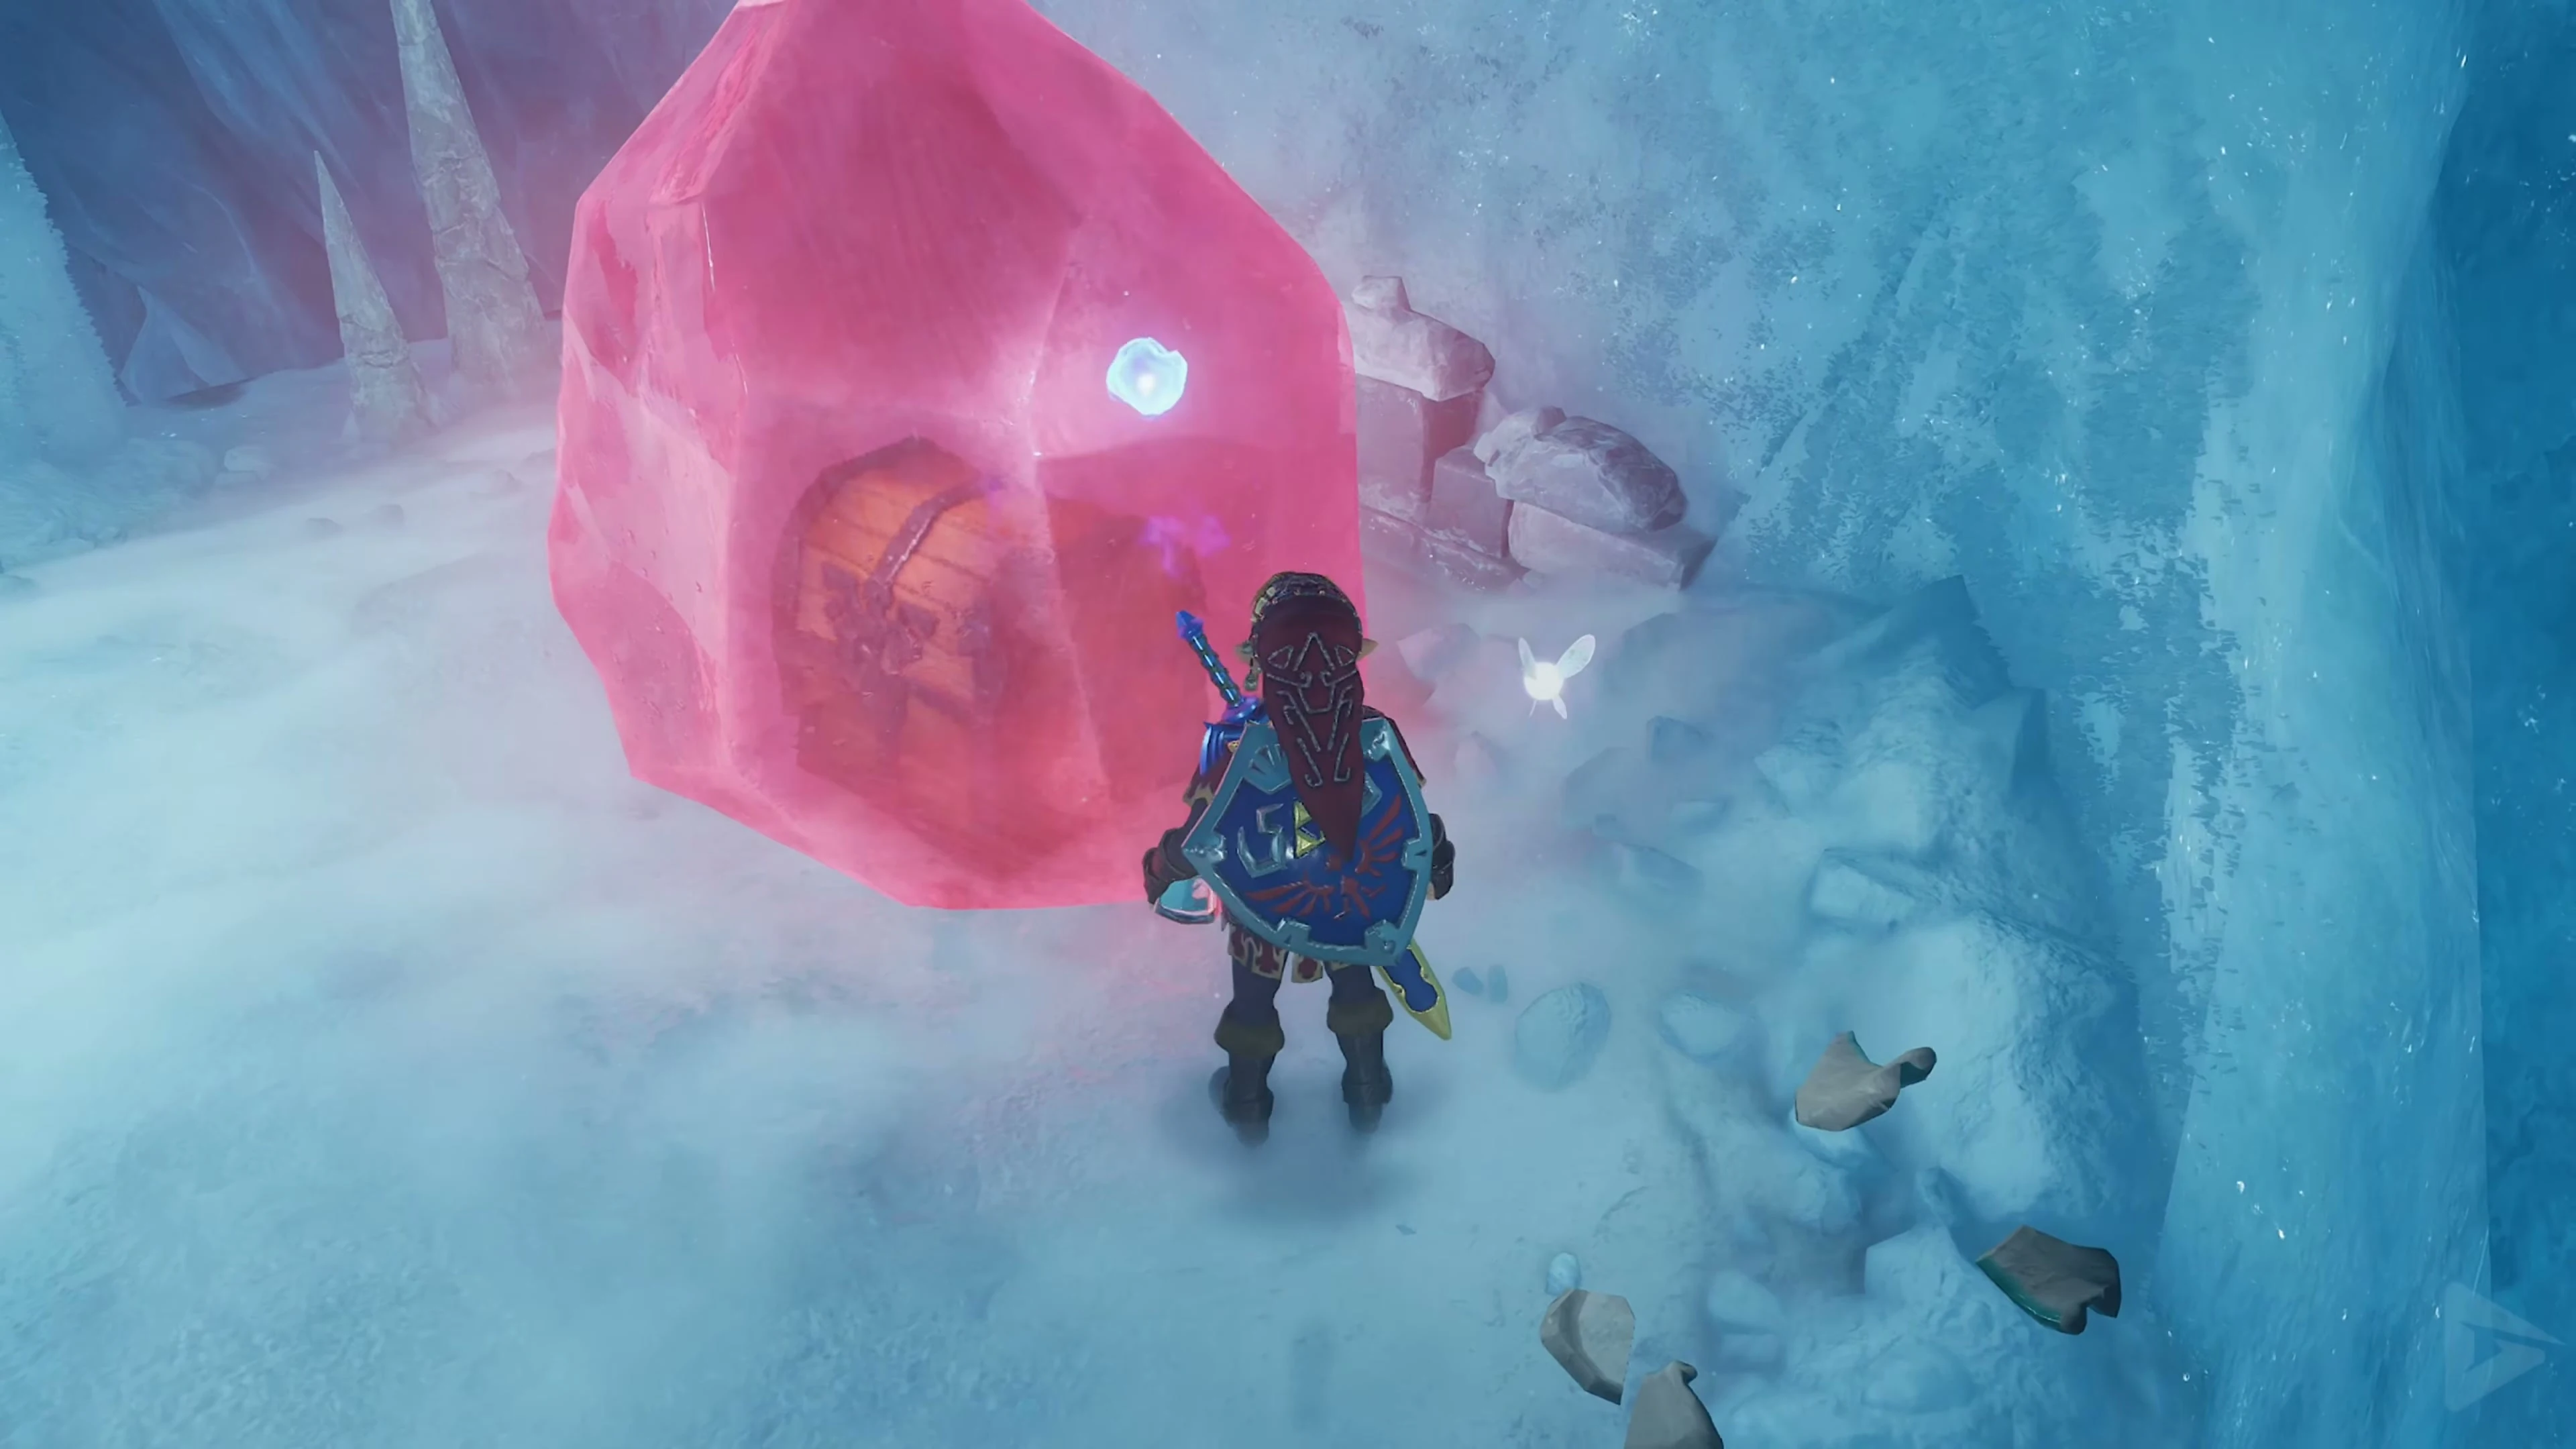
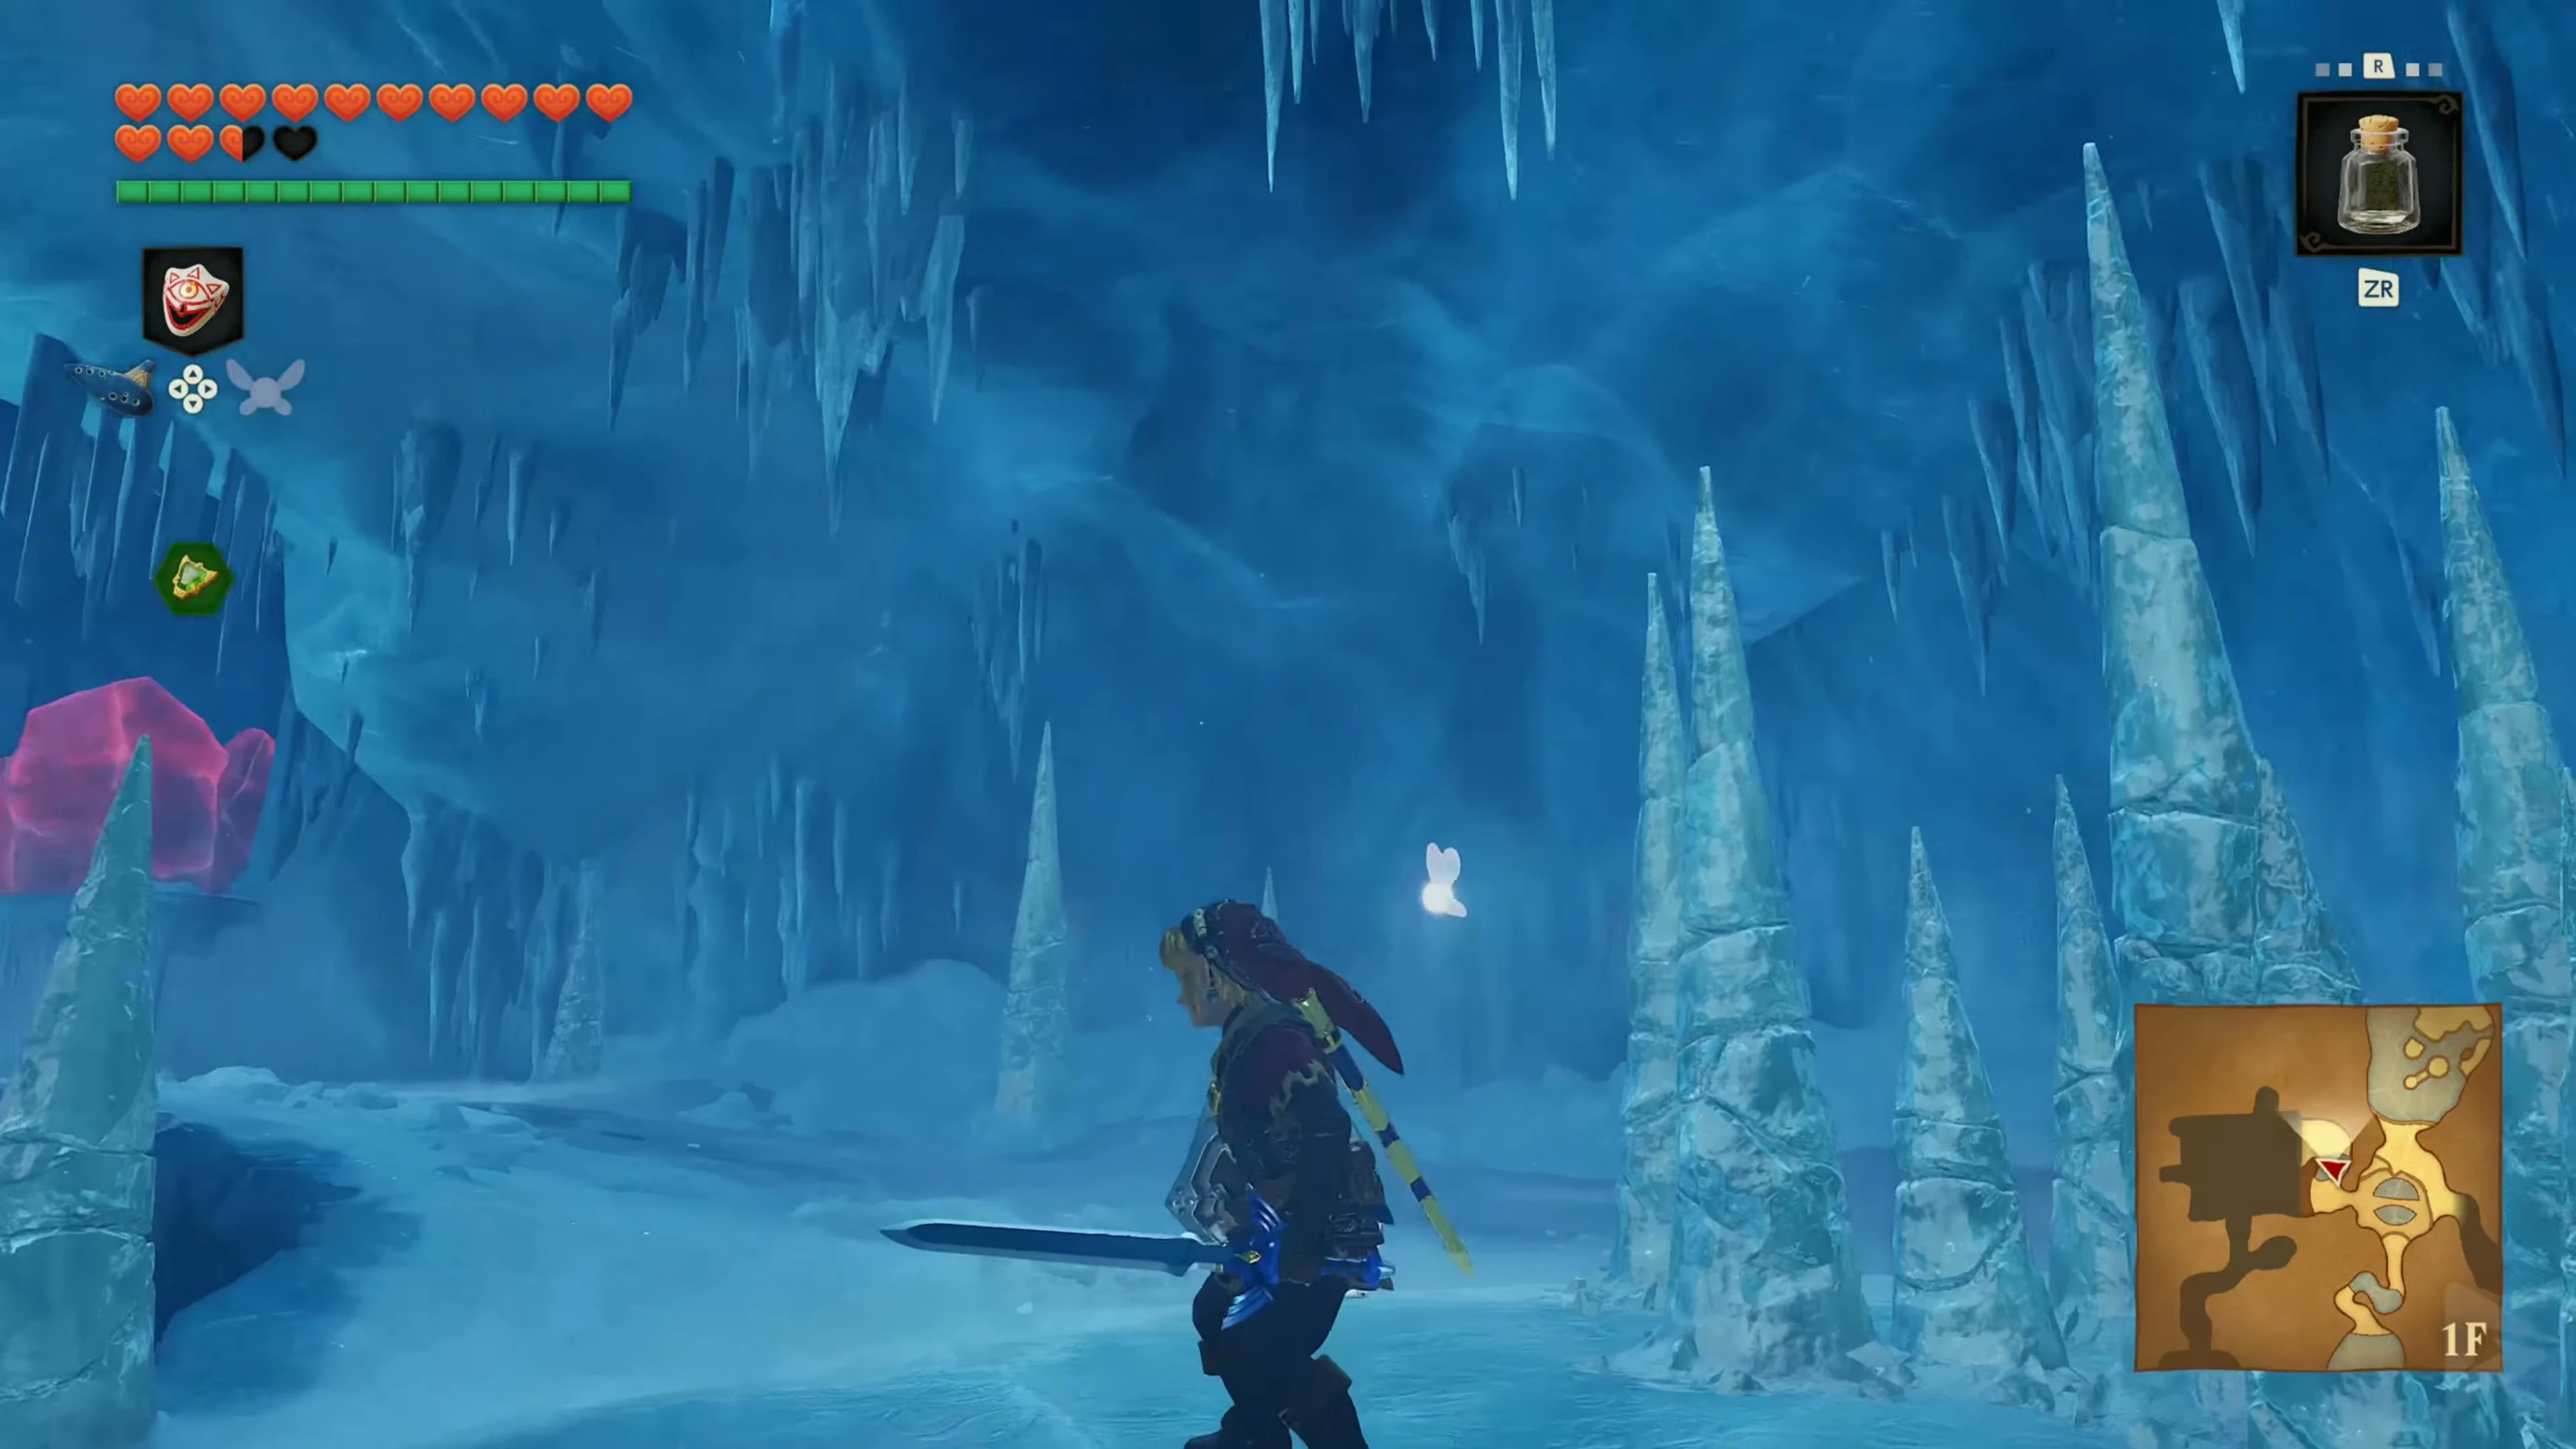
Go from the fire pit to the large chest behind the red ice. Pour a bottle of blue fire in front of it and take the Dungeon Map. Refill the bottle at the exposed fire before returning to the Ice Blade.
Compass and Gold Skulltula 2/3
Back at the rotating ice blade, melt the red ice in the East Passage . Keep the Megaton Hammer ready for the Freezard and smash the pebbles blocking the passage. At the end is the large chest containing the Compass.
Defeat Gold Skulltula 2/3 in the alcove on the north wall next to the compass chest and pull its token towards you with the Hookshot.
The Ice Block Puzzle
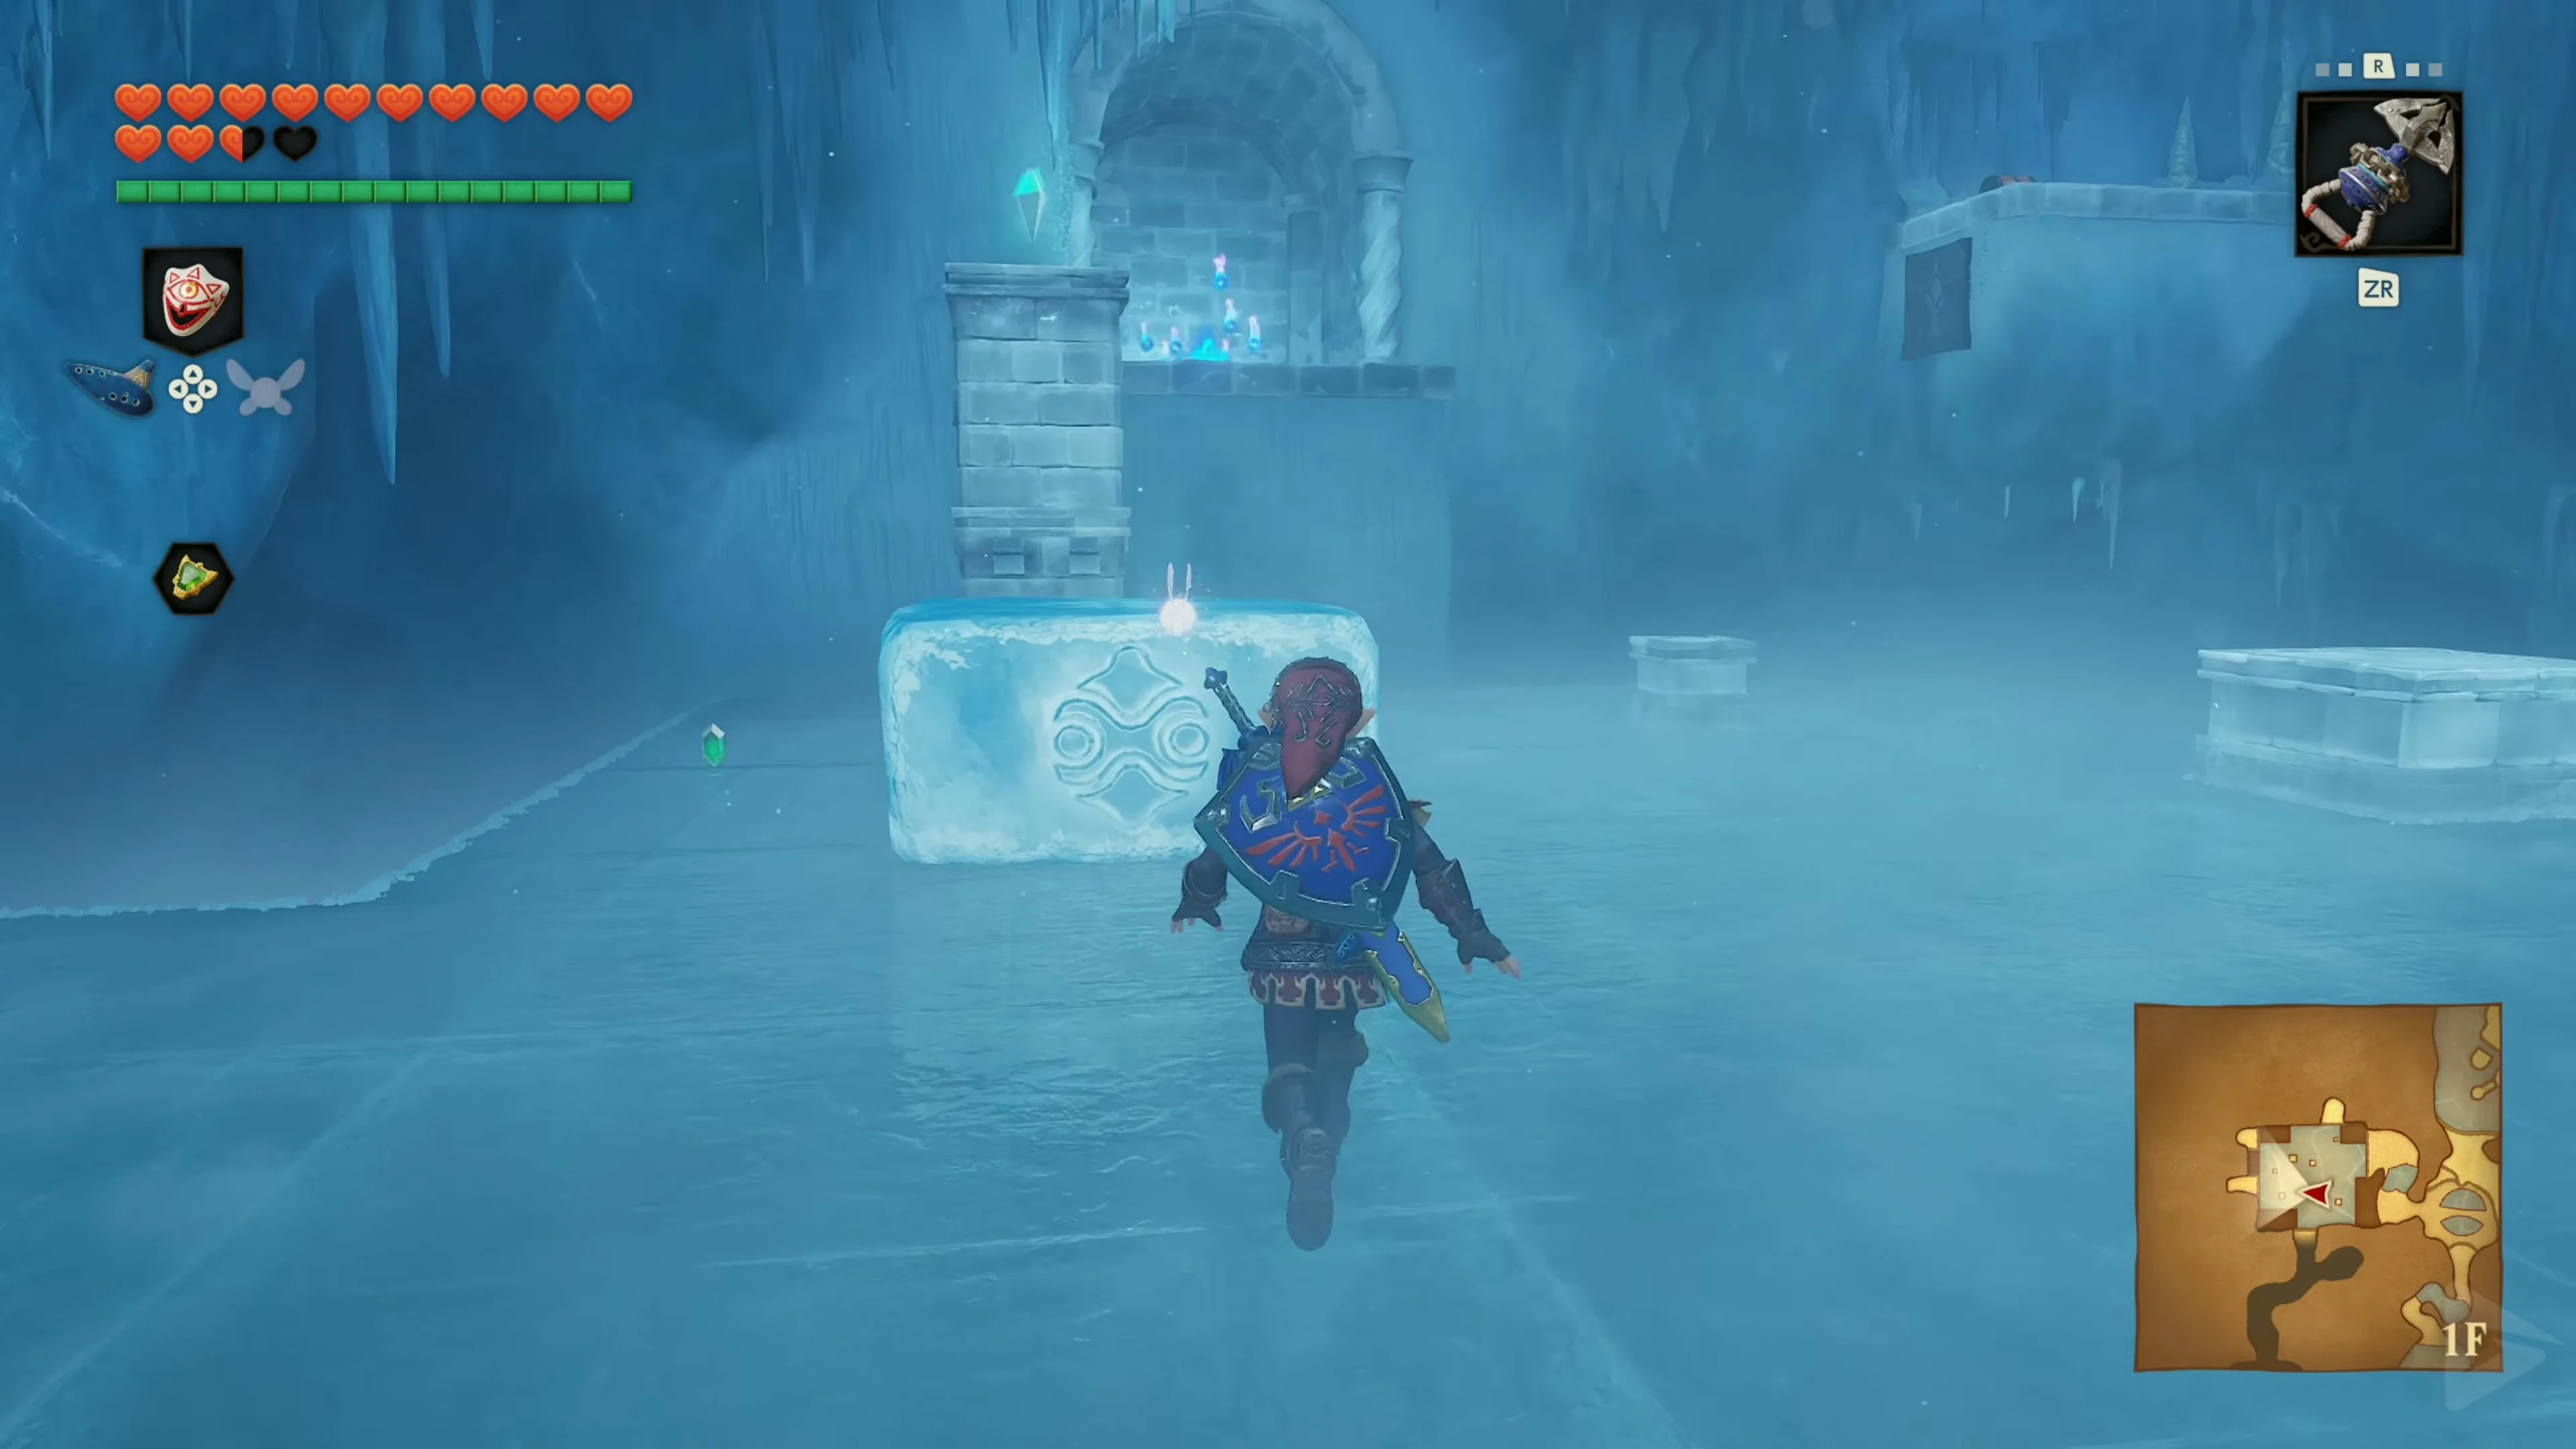
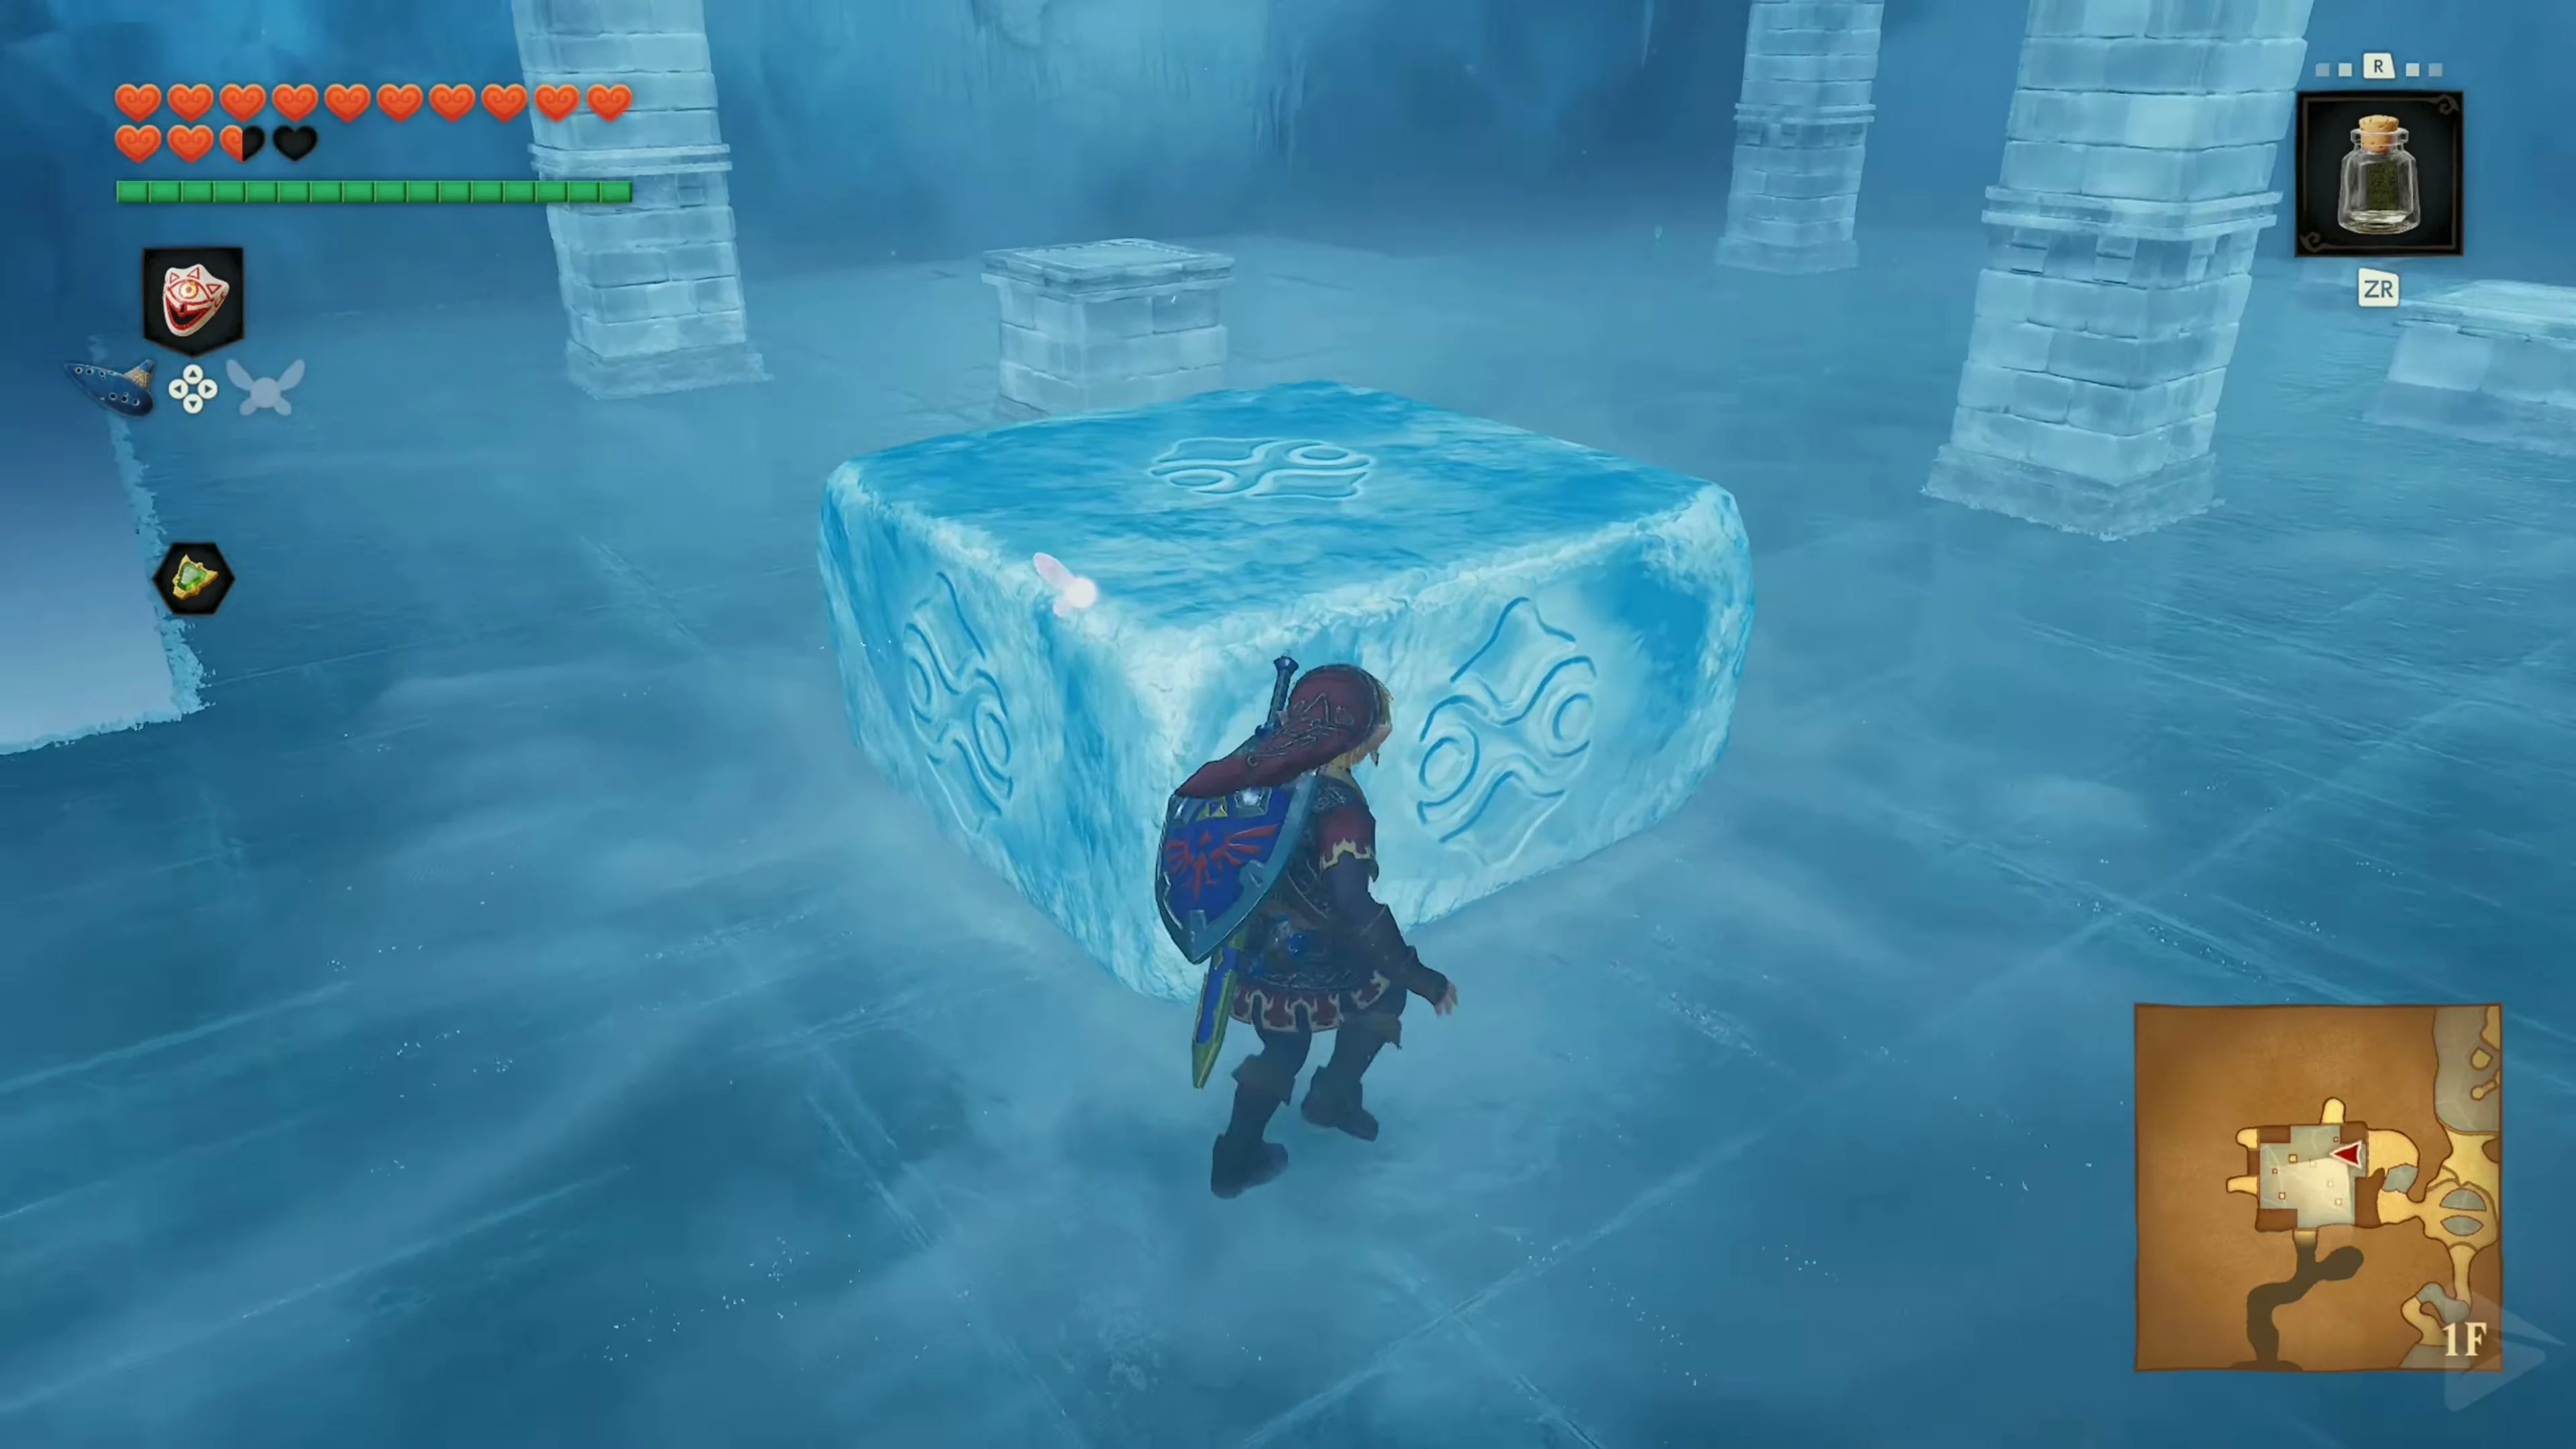
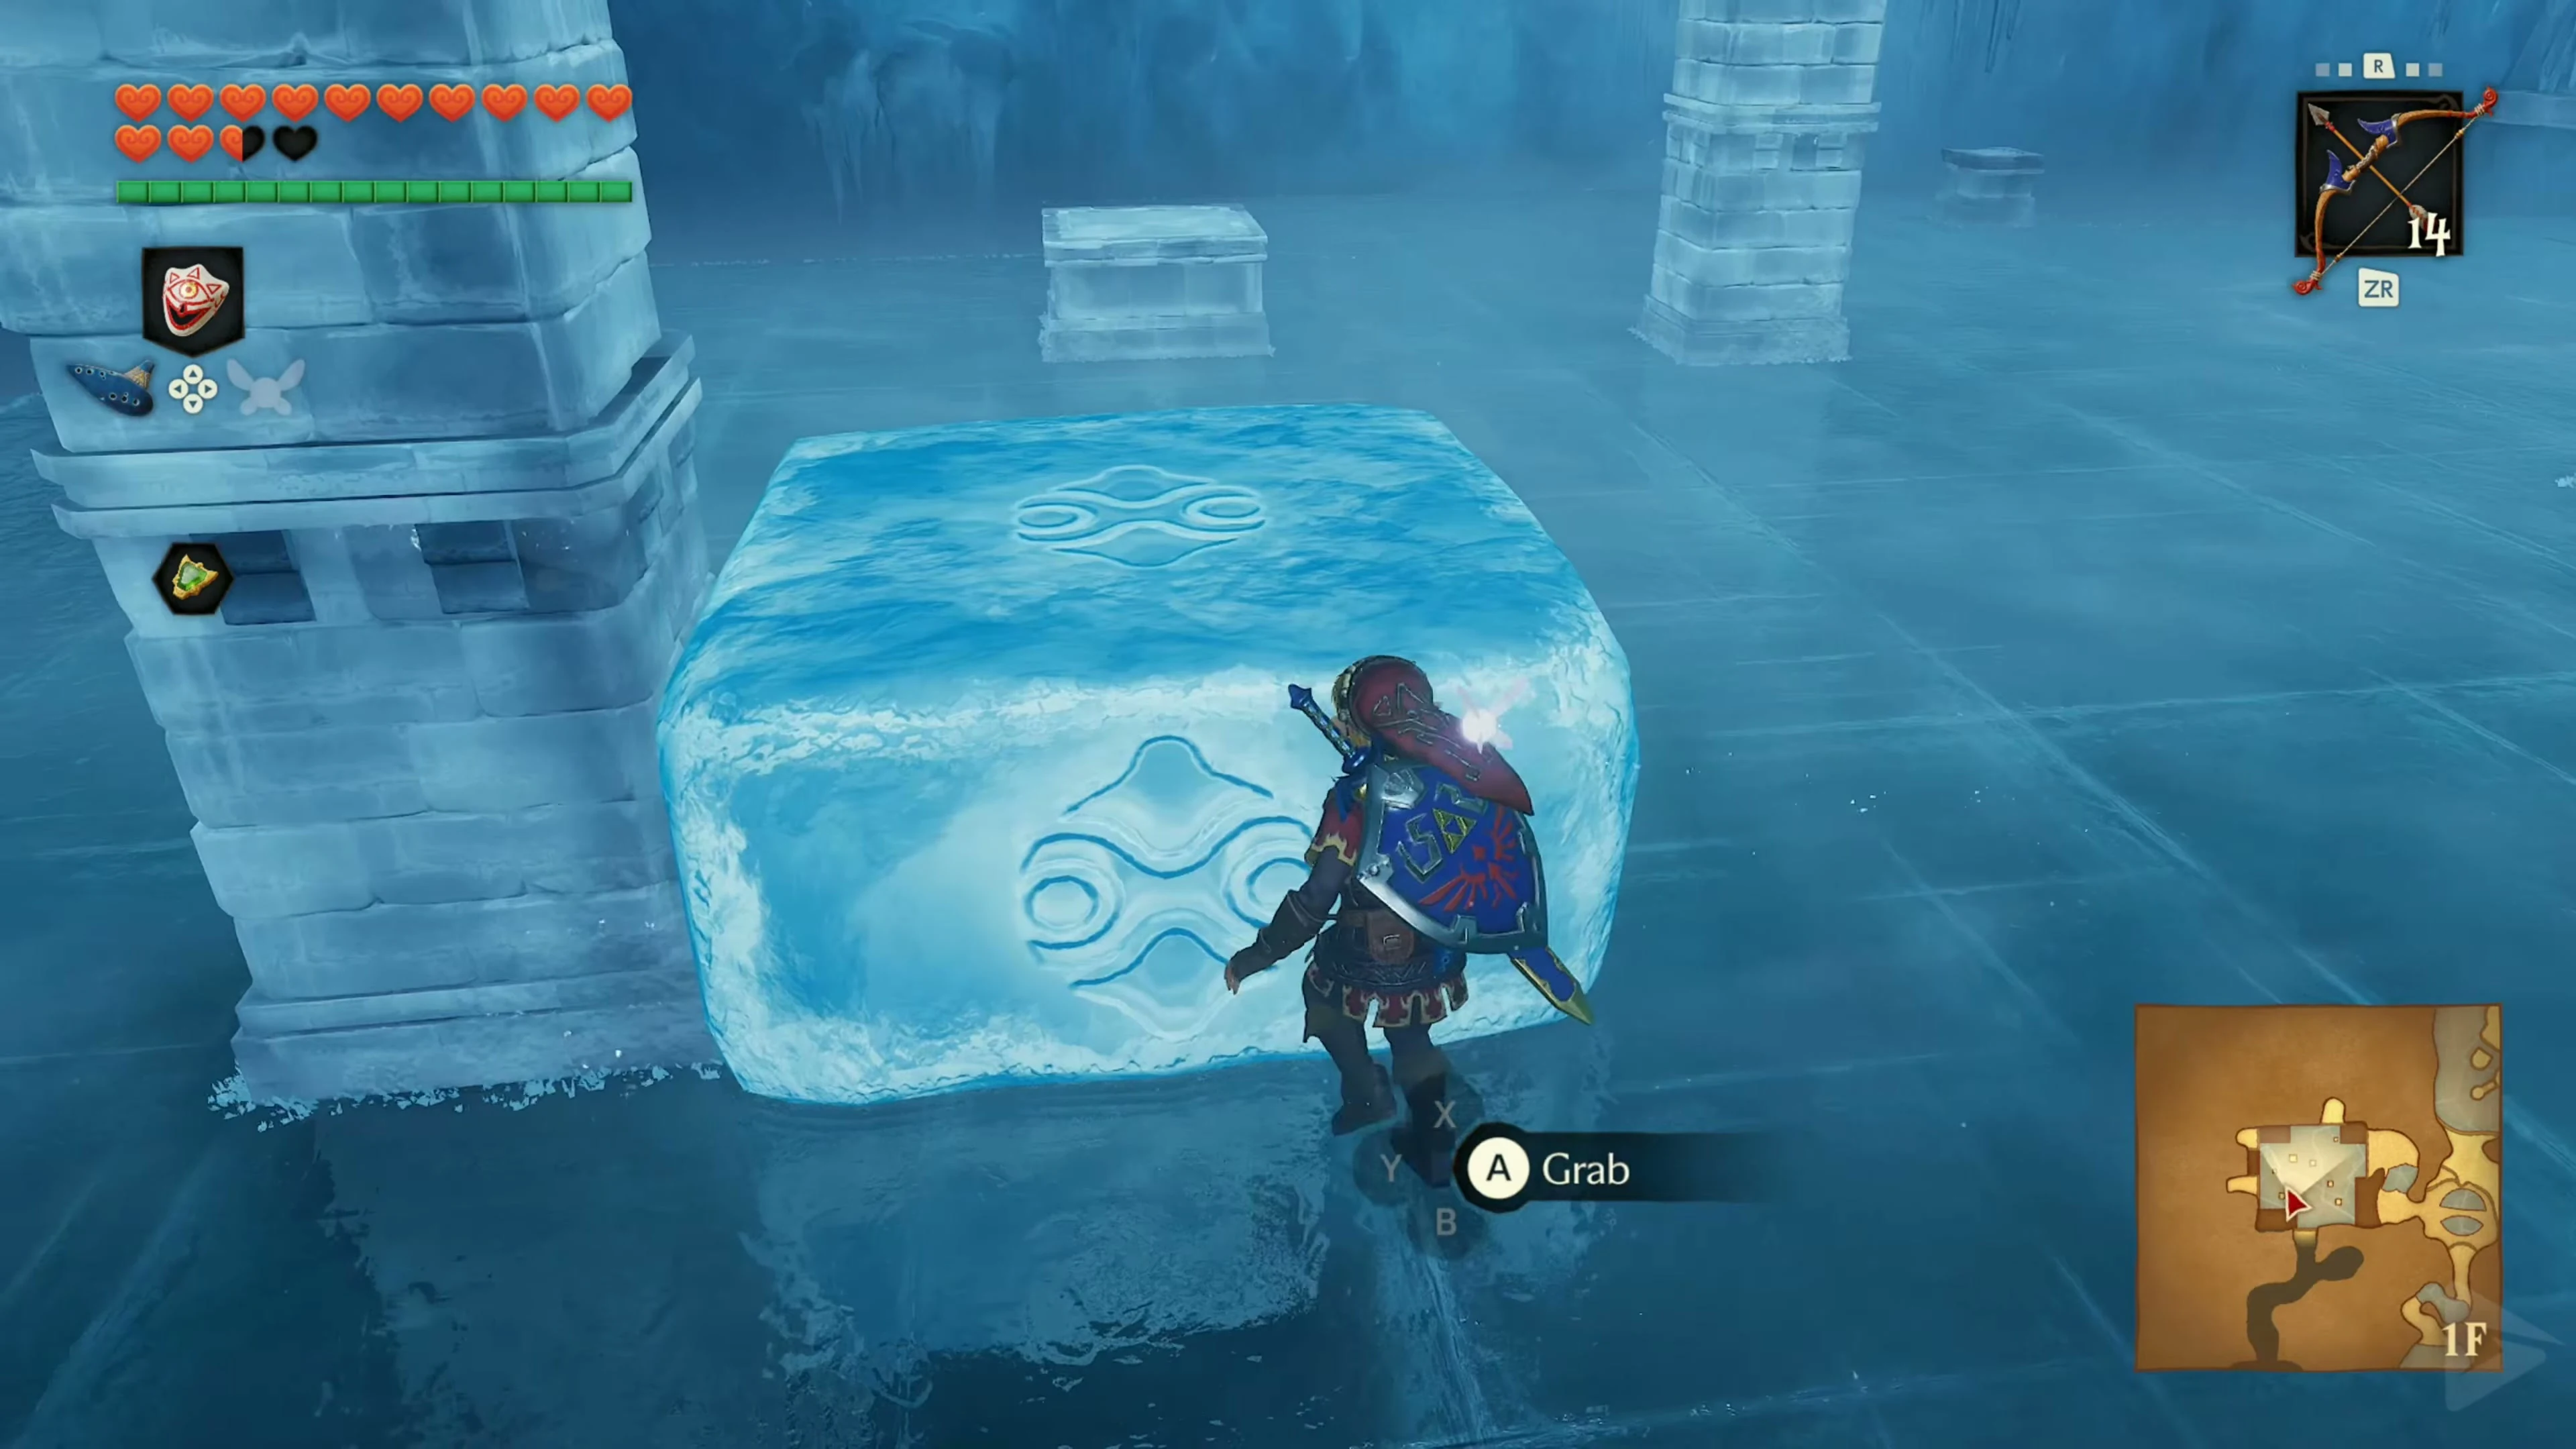
Refill your bottles if needed. Then melt the red ice in the hall with the Ice Blade on the west passage. . In the room beyond, the matte ice block always slides until it reaches the next obstacle. If it falls over the edge, it reappears in its starting position.
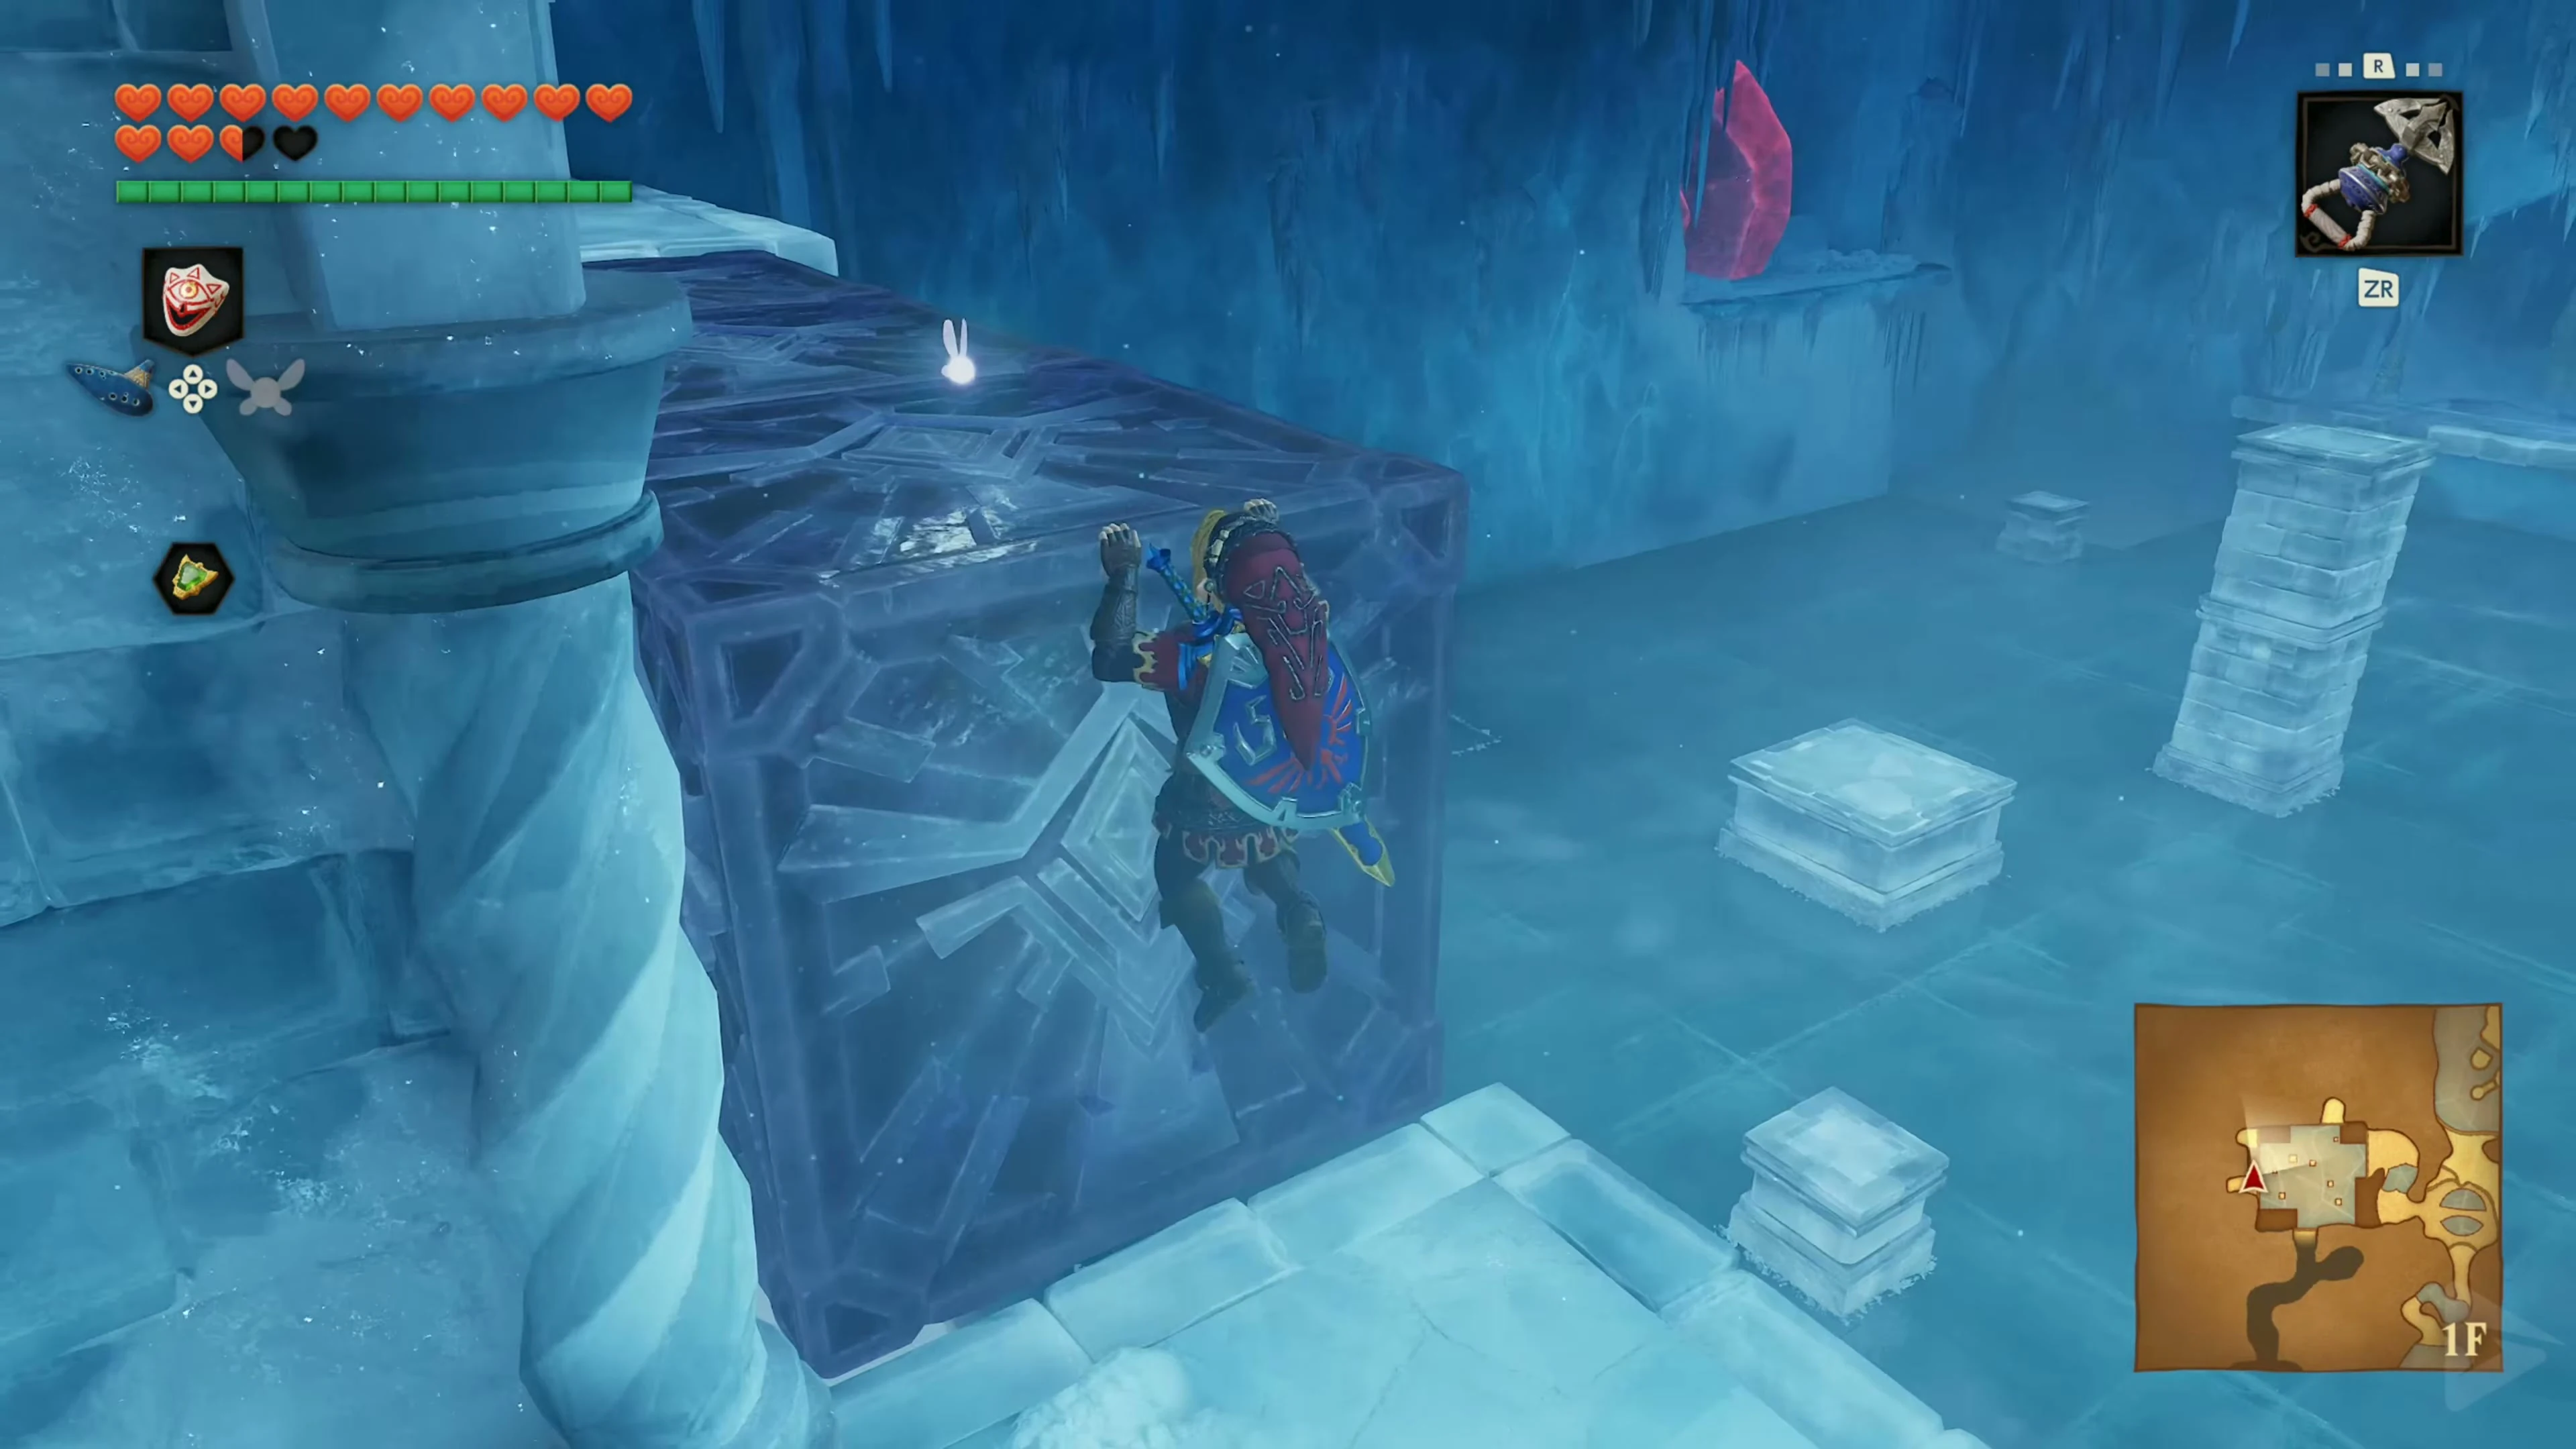
Get the first crystal you can reach on foot. Push the block to west , climb up, and take the second one. Then push it to north and thaw the third Rupee at the top with blue fire. Push the block to west over the edge so it reappears. From the starting point, push it to south for the fourth Rupee. While you’re at it, check the east wall for the Skulltula. Then push it from there to West to the last Rupee.
Once all five crystals are collected, the south gate opens. Before climbing there, you can push the block for new blue fire from its current position to North, West, South, and West . Then push it down to the south. Push the new block to South, West, North, East, and South . You can reach the exit using it.
Chest above the time blocks
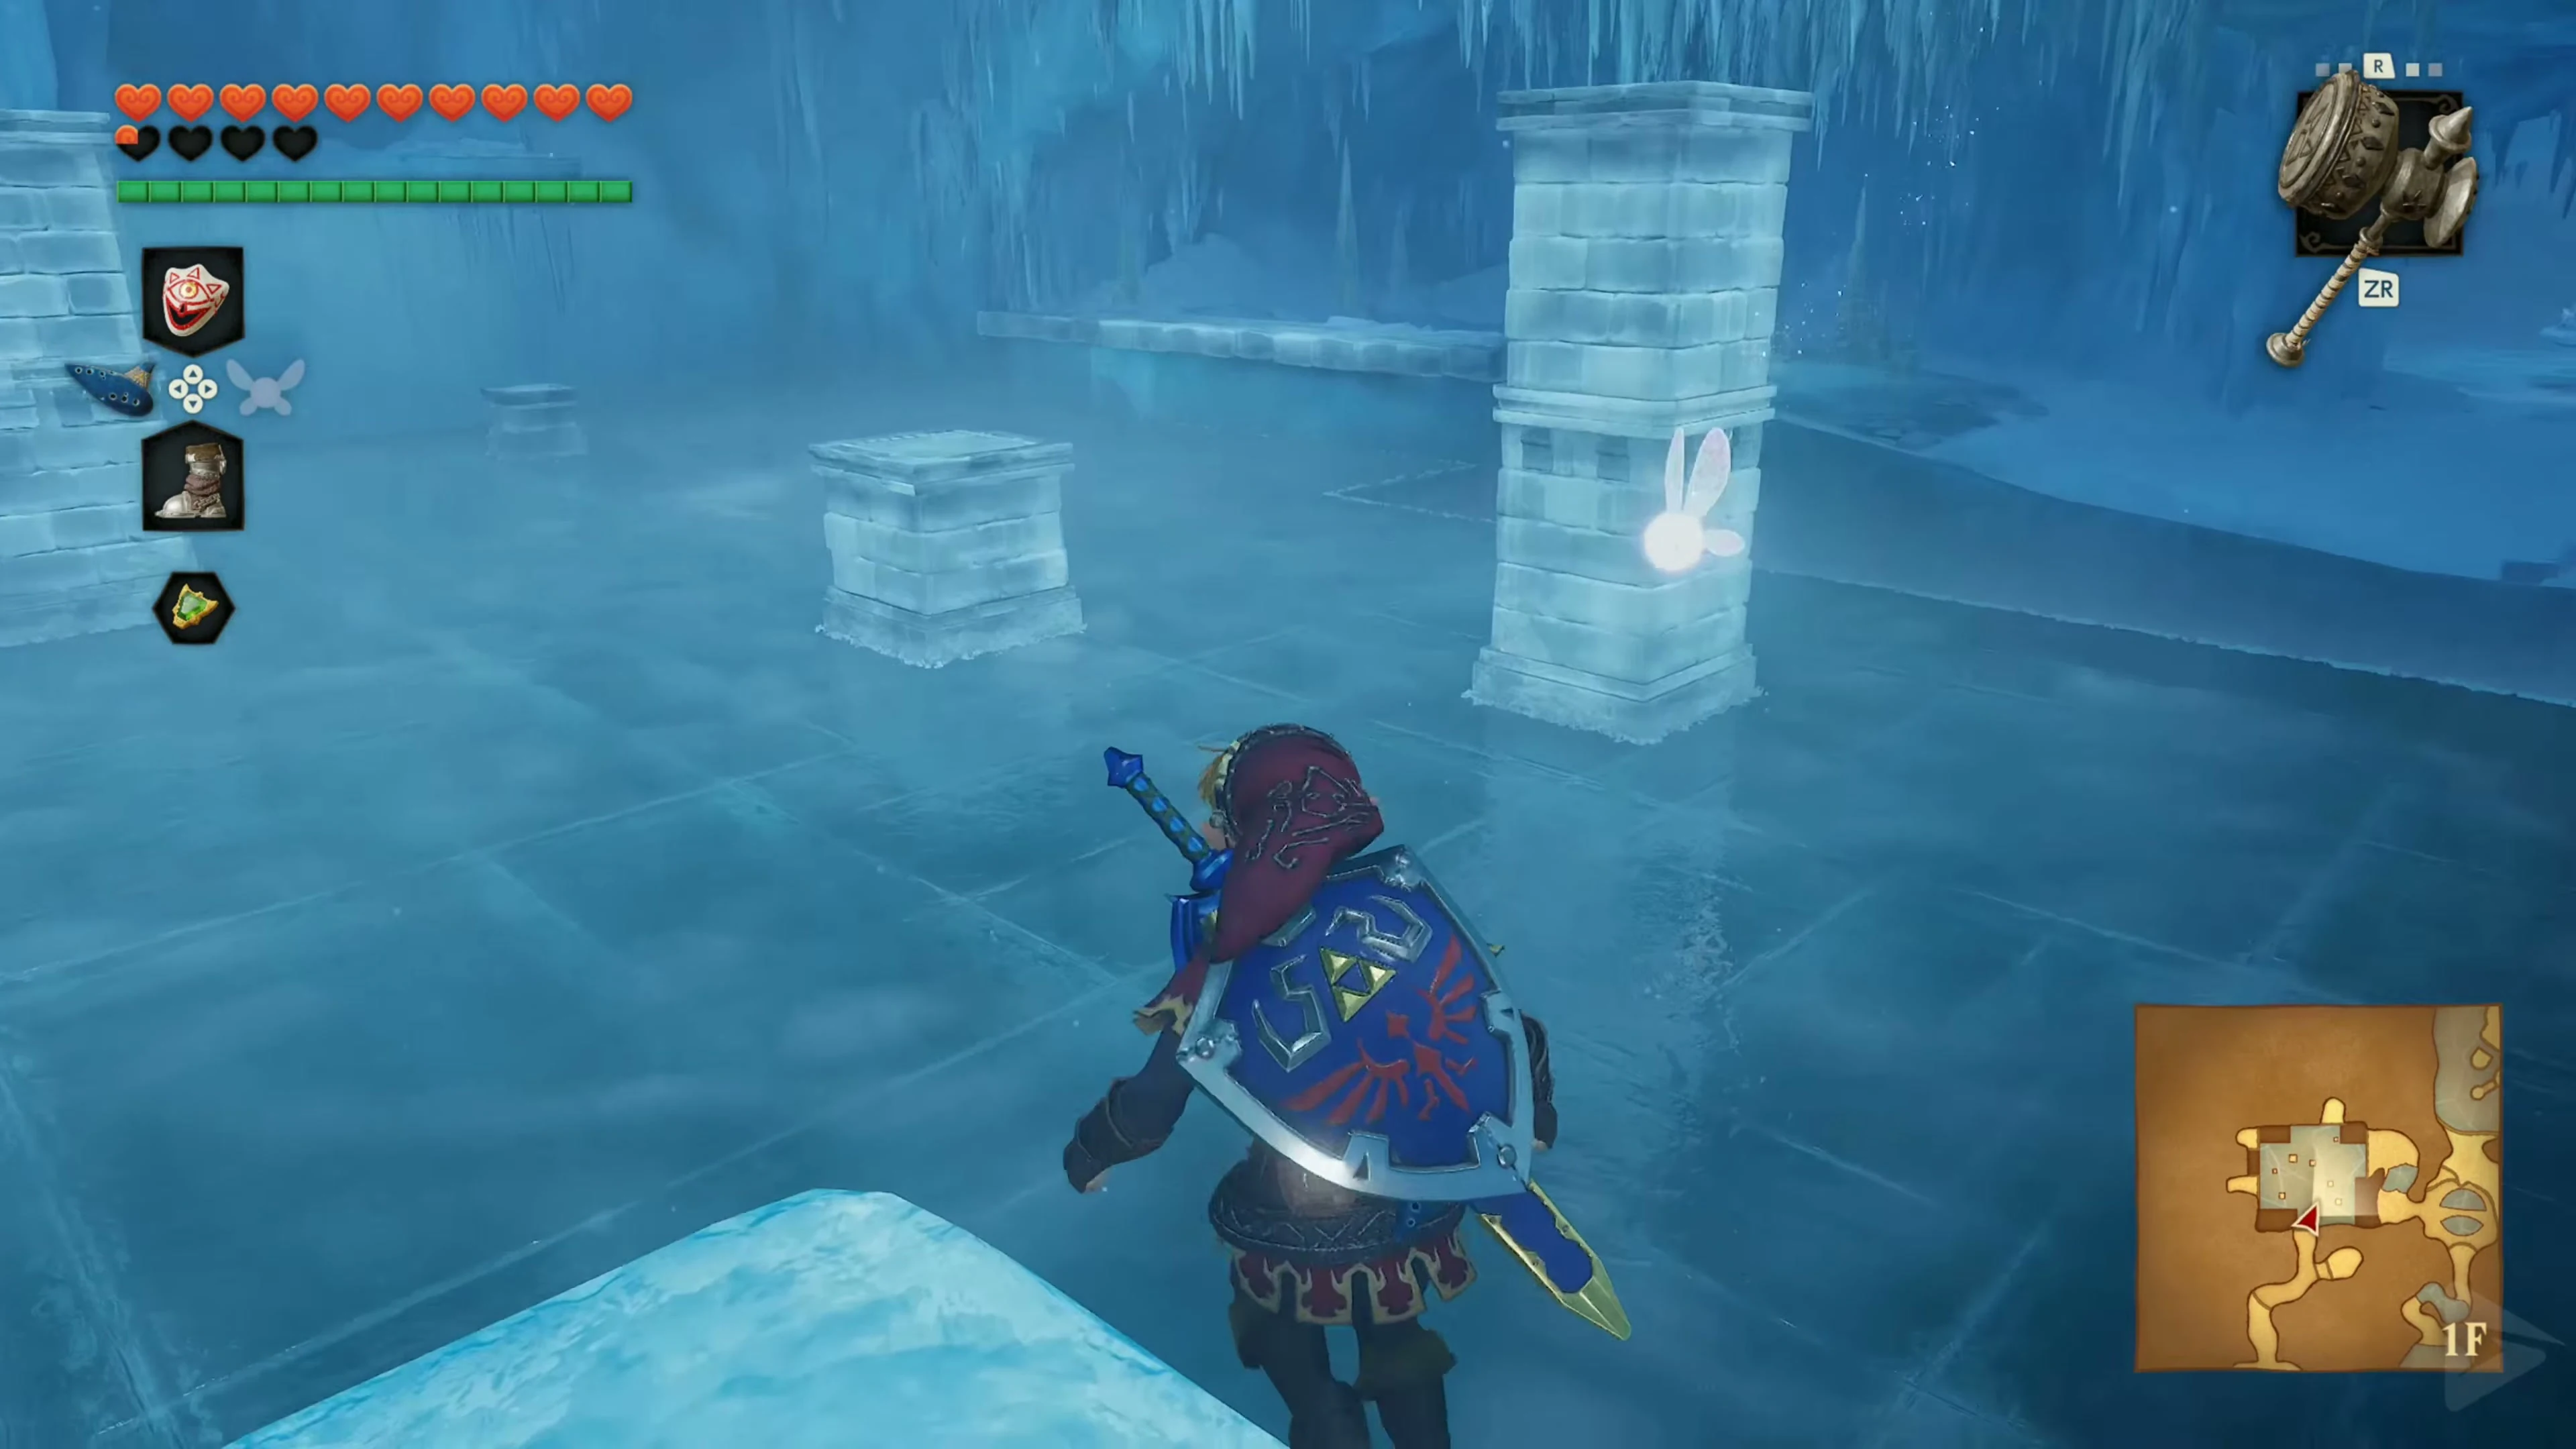
For the small chest on the high ledge in the ice block room, go to the opposite platform with the blue fire. Play Song of Time under the raised ledge to make a bridge of time blocks appear. Climb across it to the chest containing 20 Rupees and return to the block puzzle.
Gold Skulltula 3/3
Defeat the Gold Skulltula 3/3 in the ice block room high on the east wall near the entrance. Pull the token towards you with the Hookshot; you can stand on the ground to do this.
The Iron Boots
In the corridor behind the south gate, there’s another blue fire on the left. Refill it if you don’t have enough for the red ice in front of the next door. Melt it and enter the White Wolfos’s chamber.
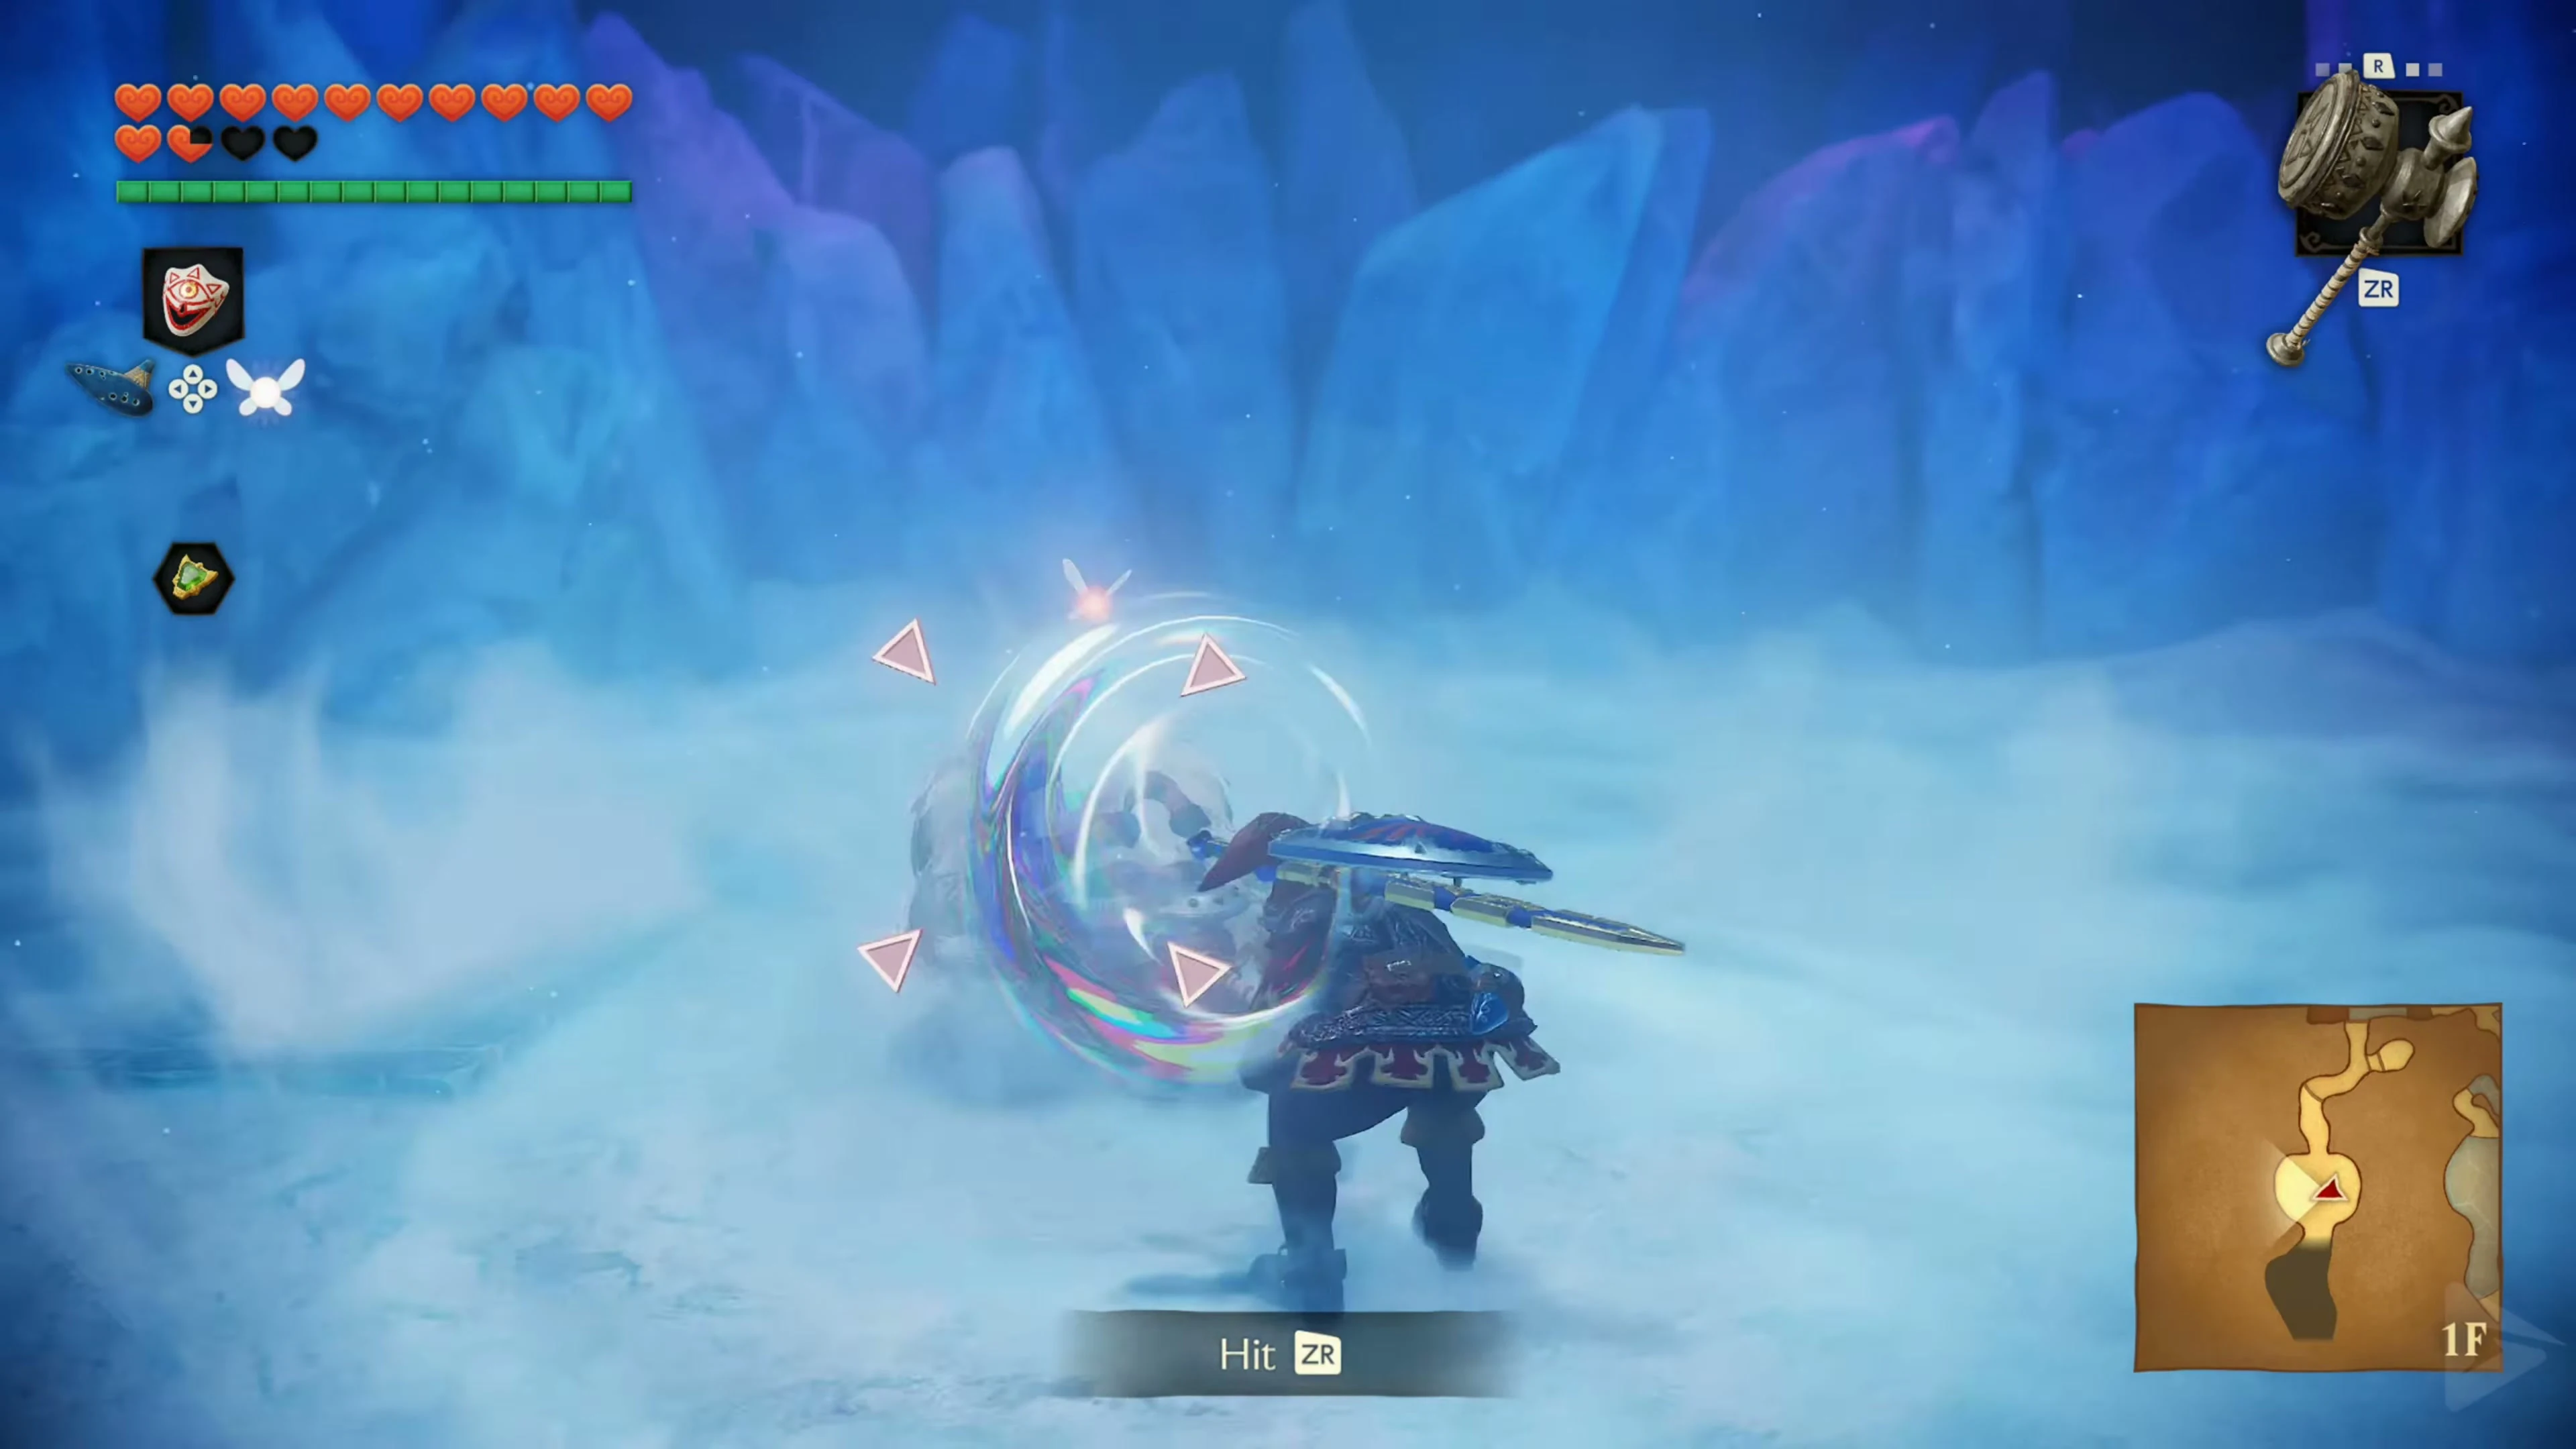
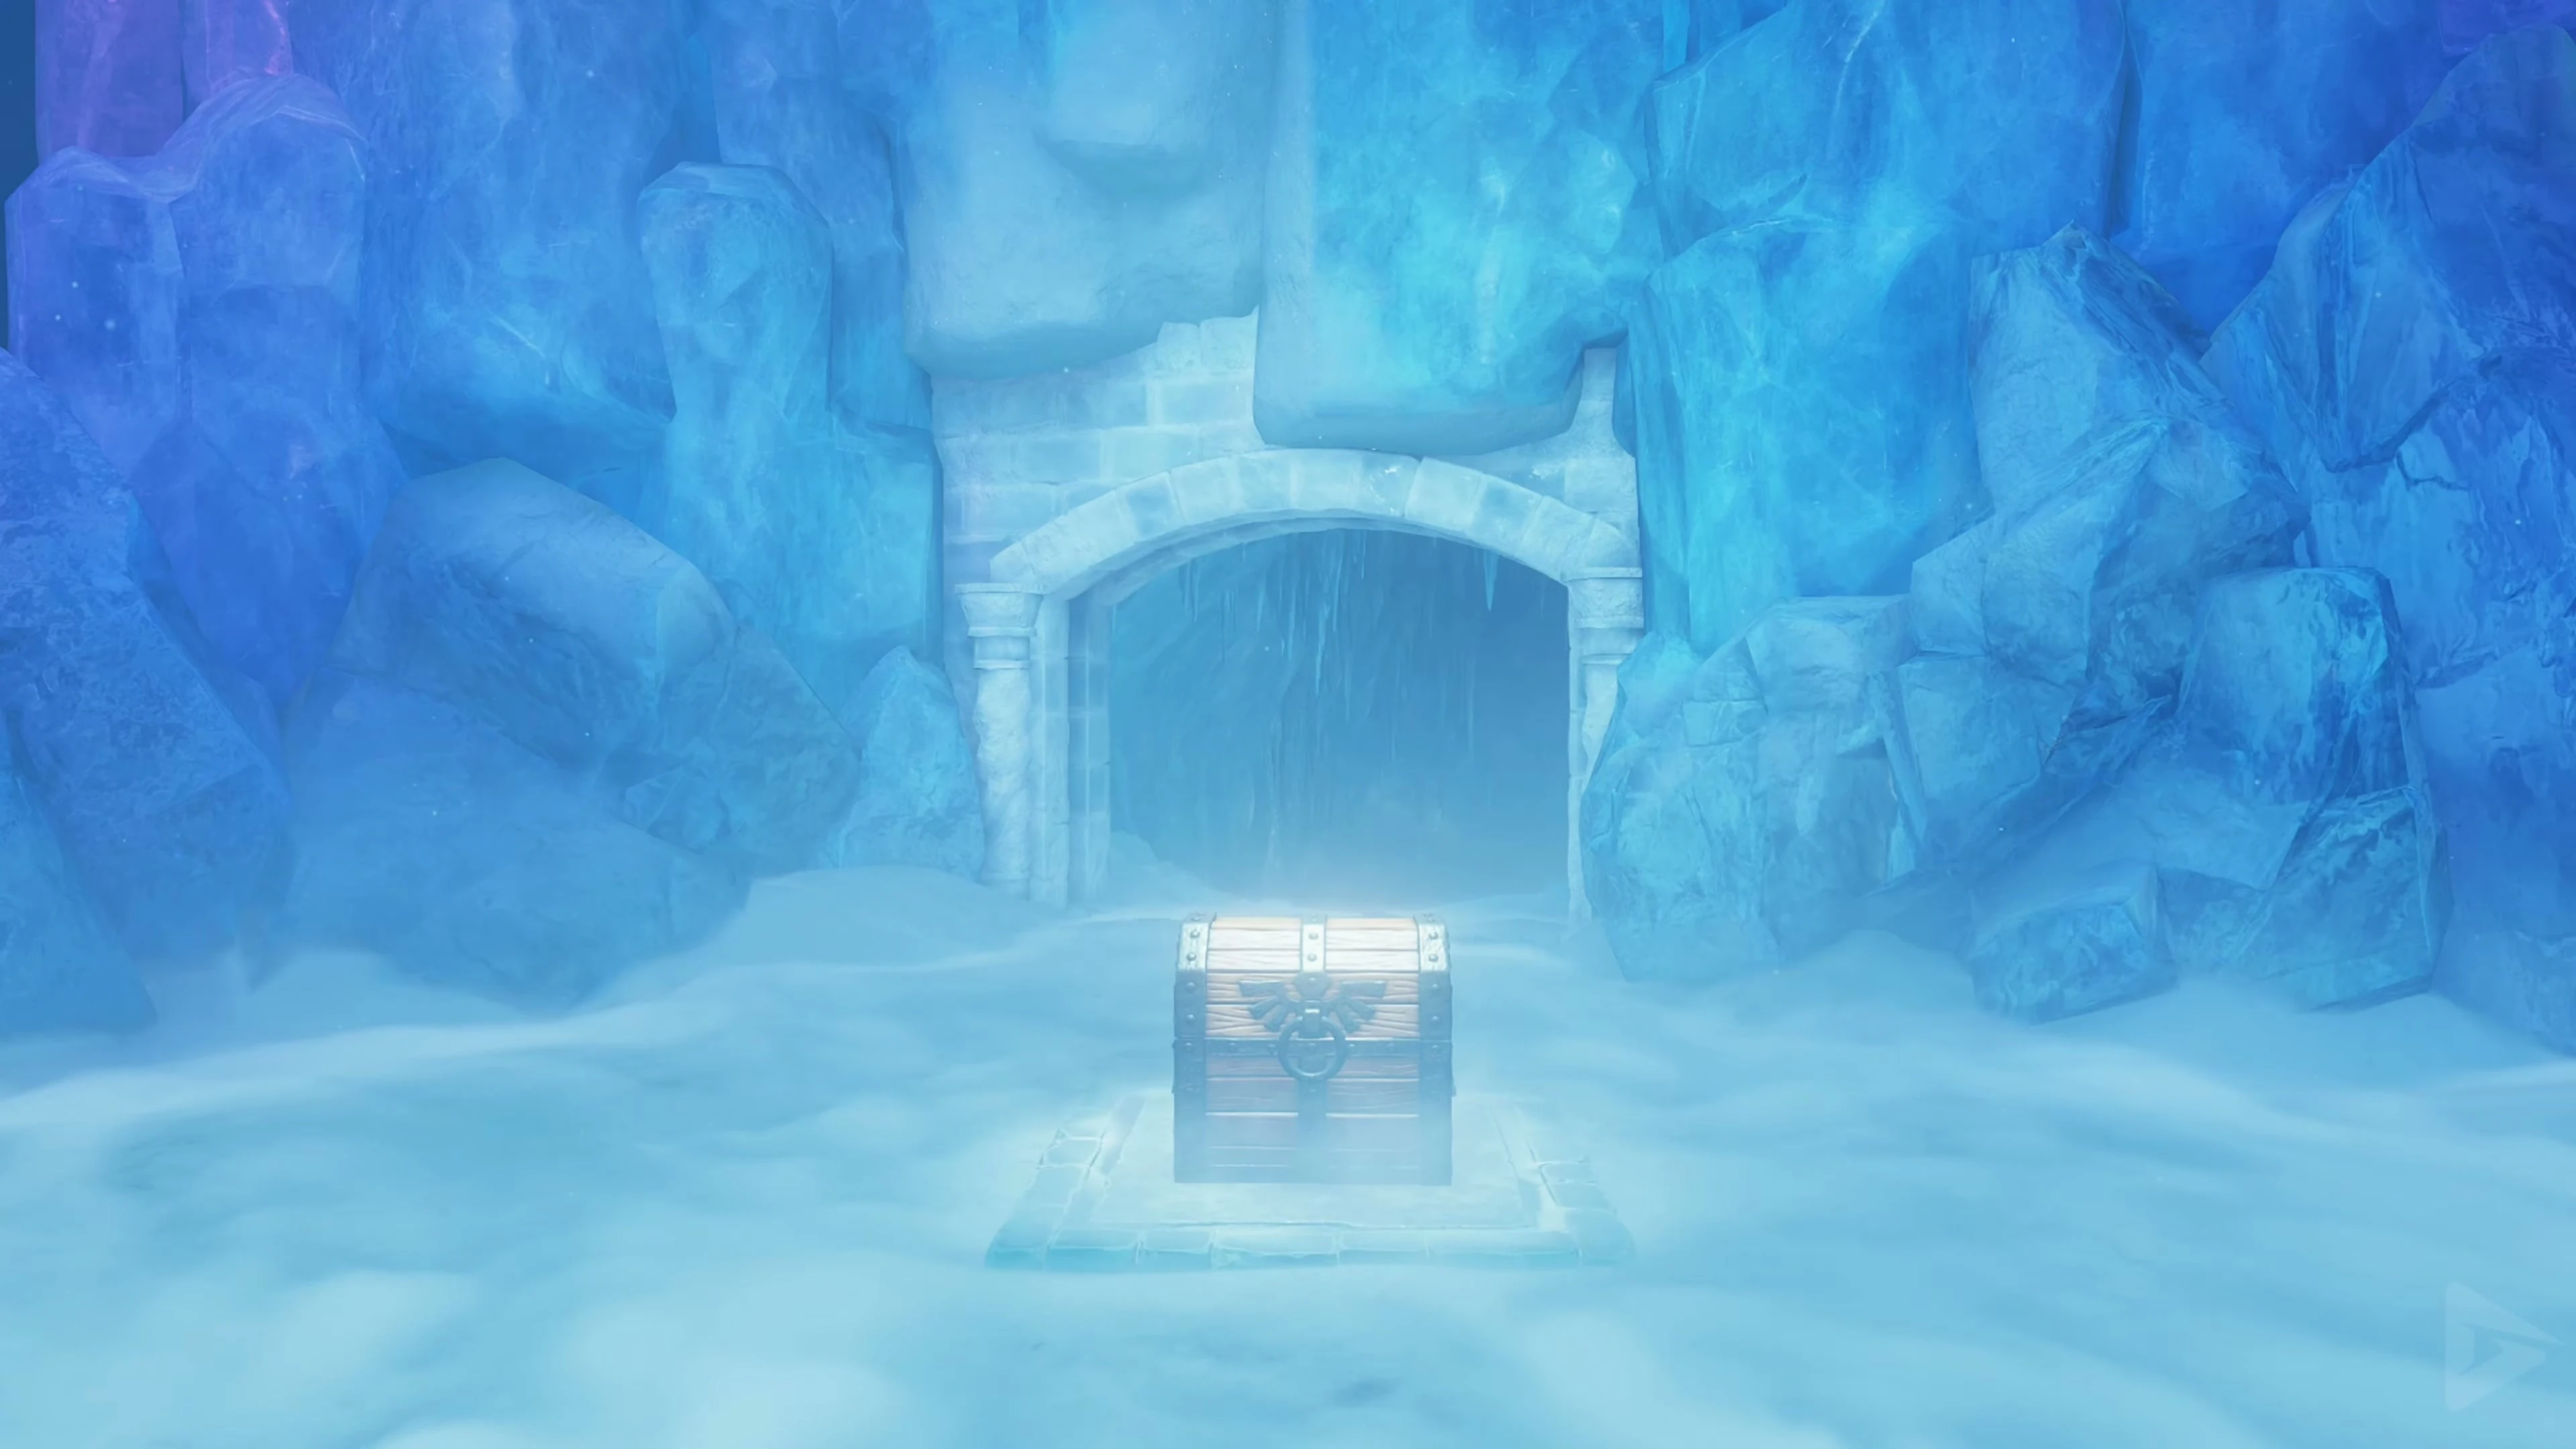
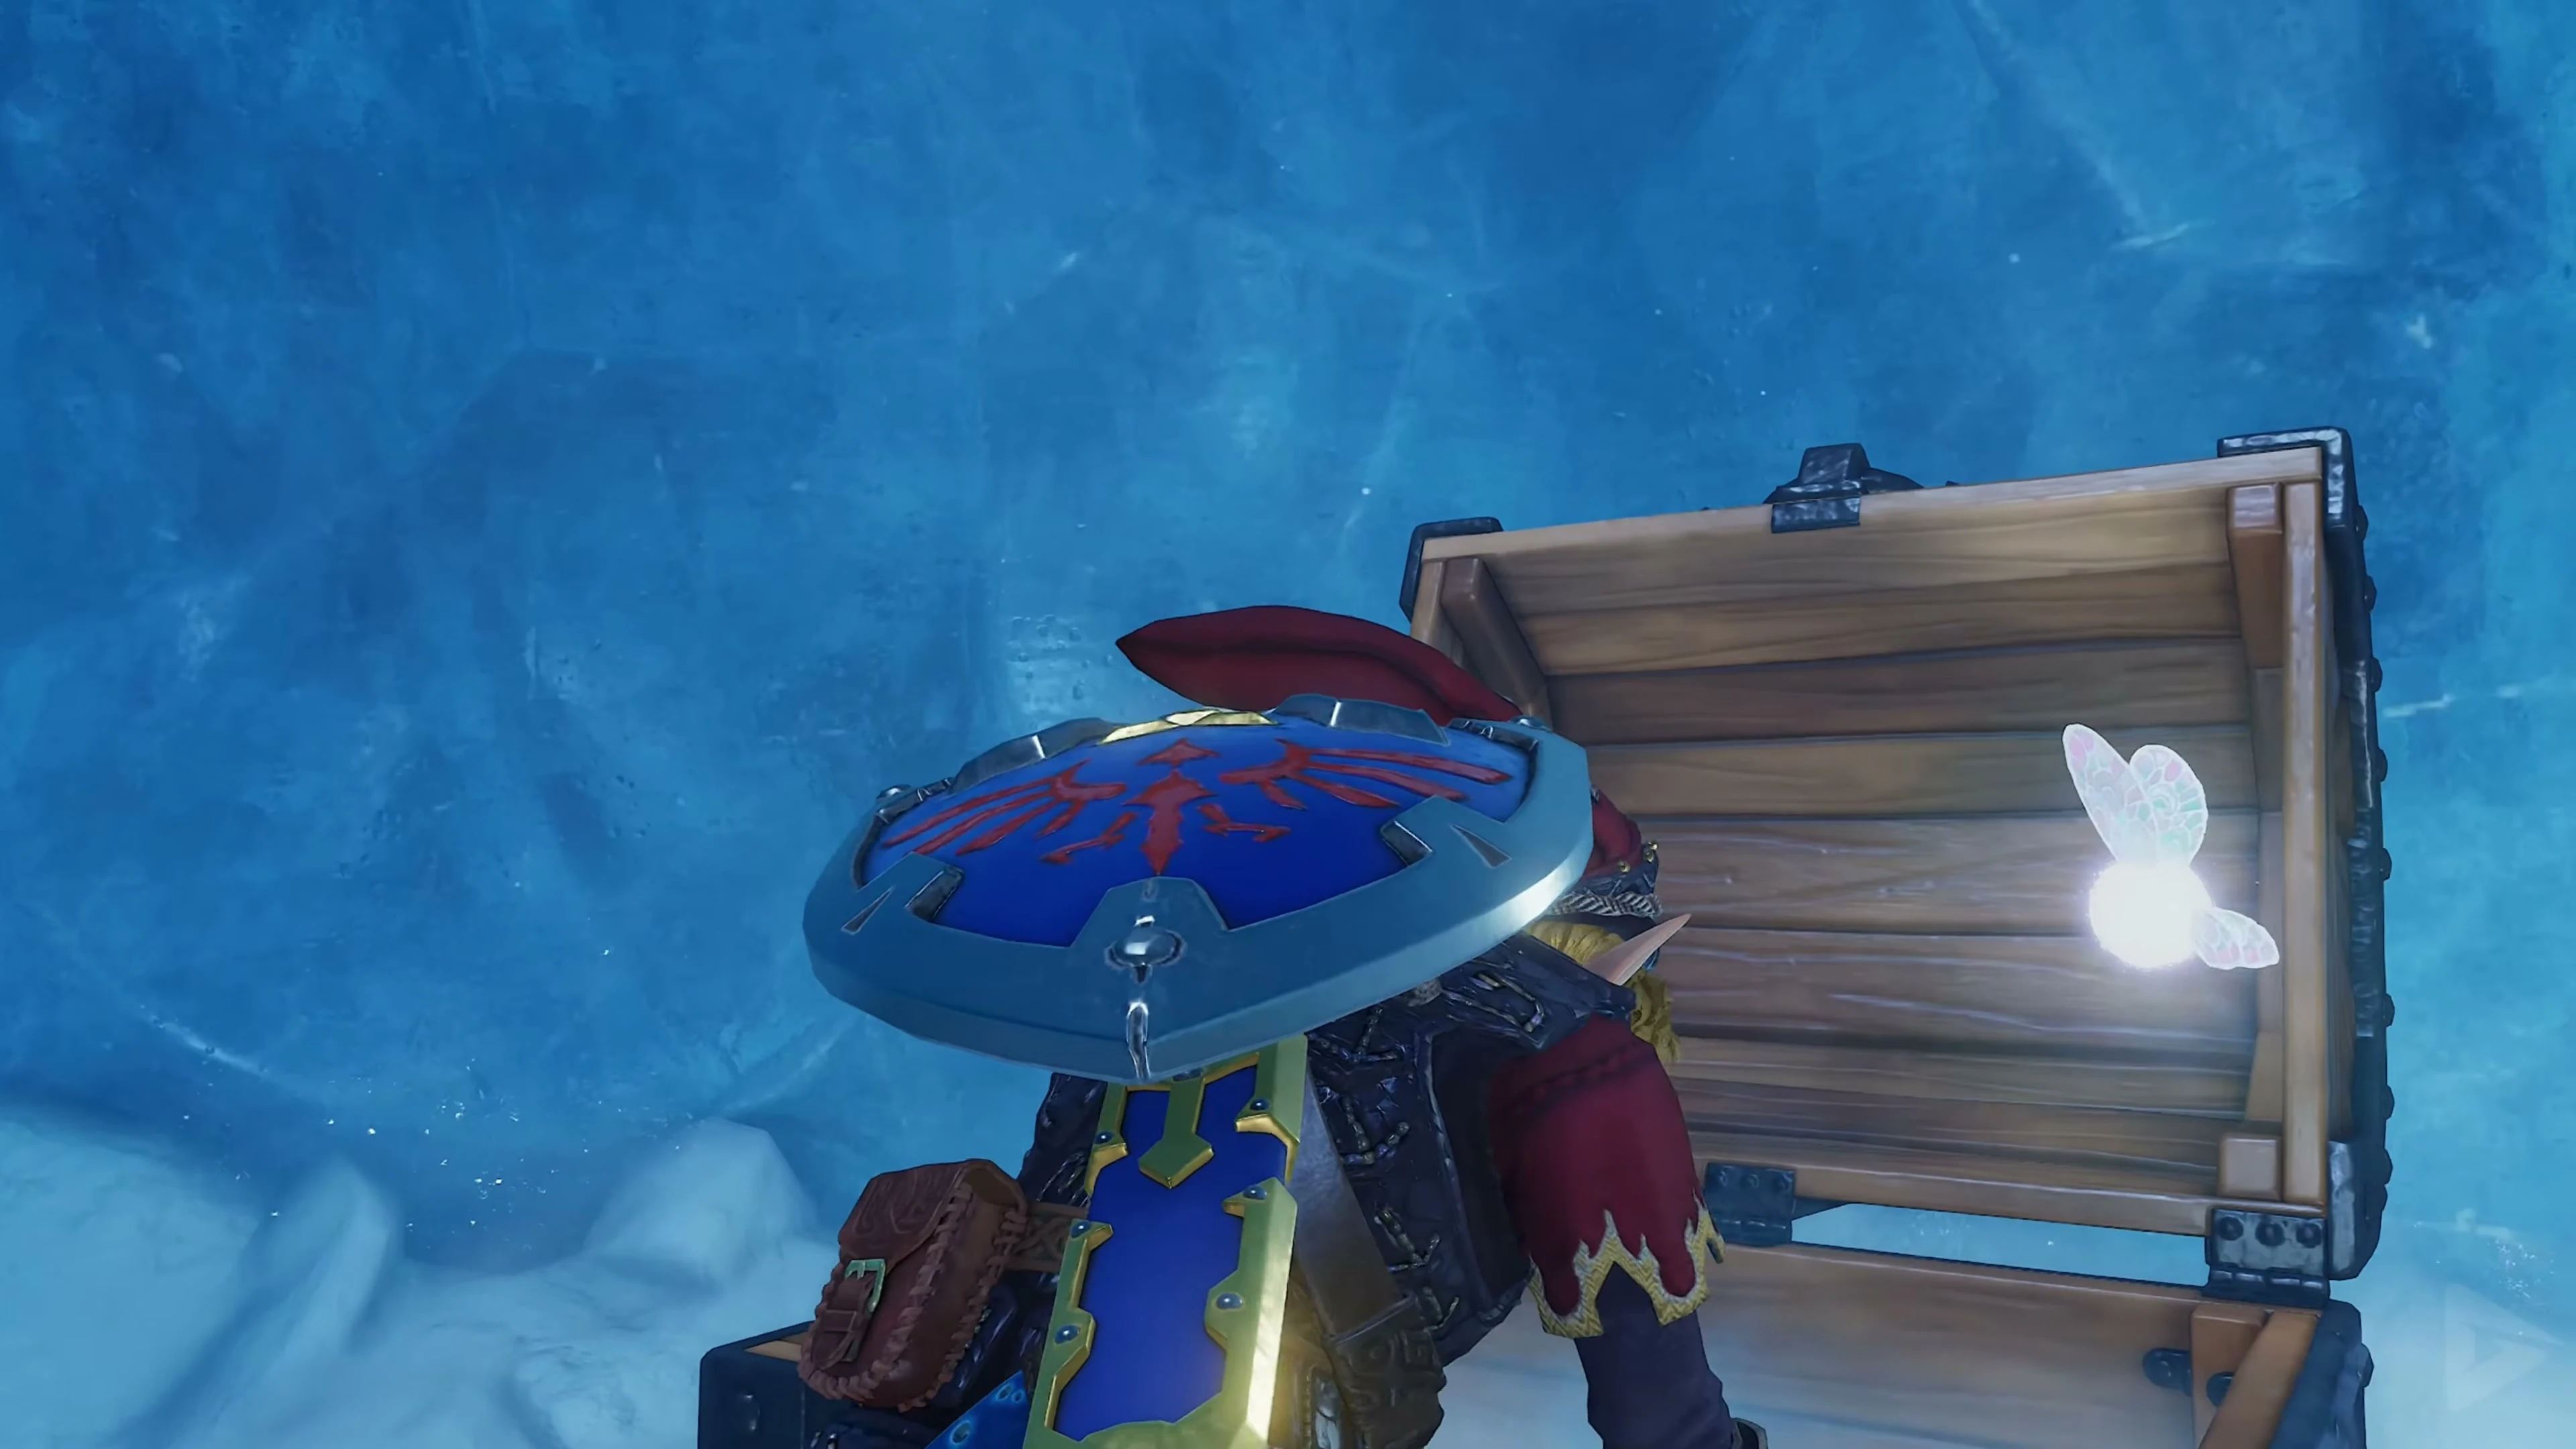
Defeat the White Wolfos Dodge its claw attack and counter on its unprotected side. Open the chest that appears containing the Iron Boots .
The Serenade of Water
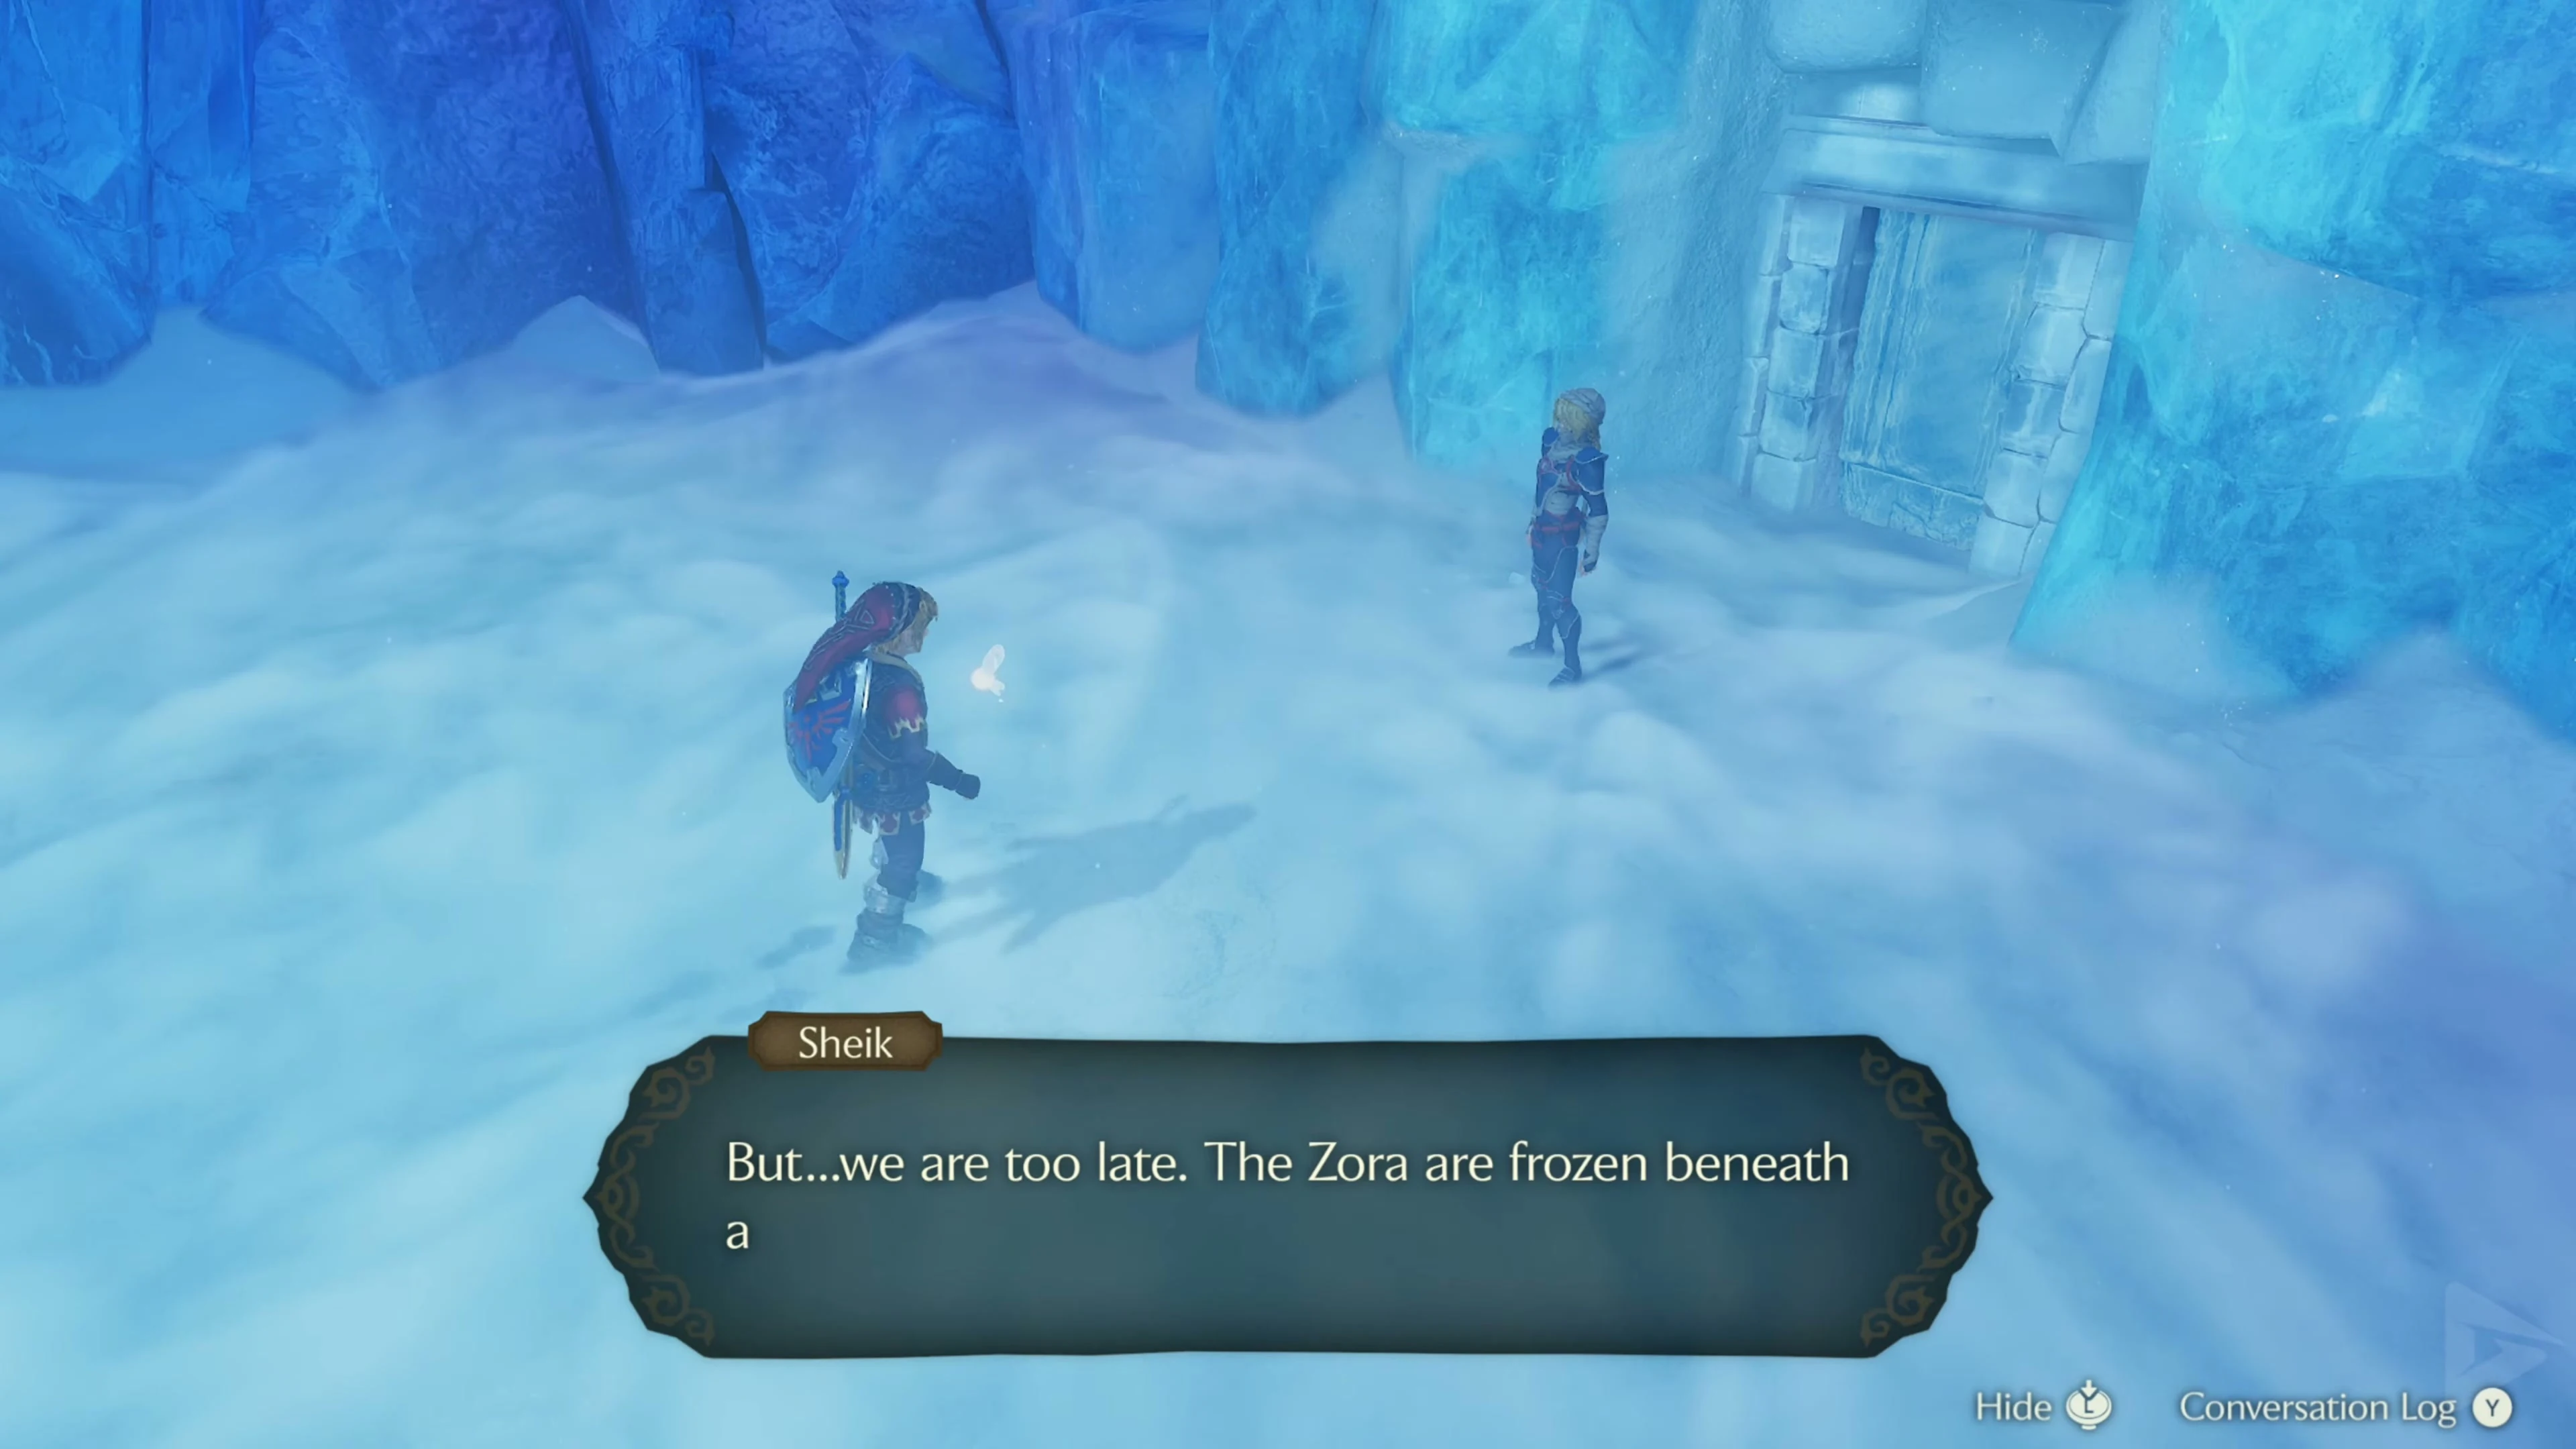
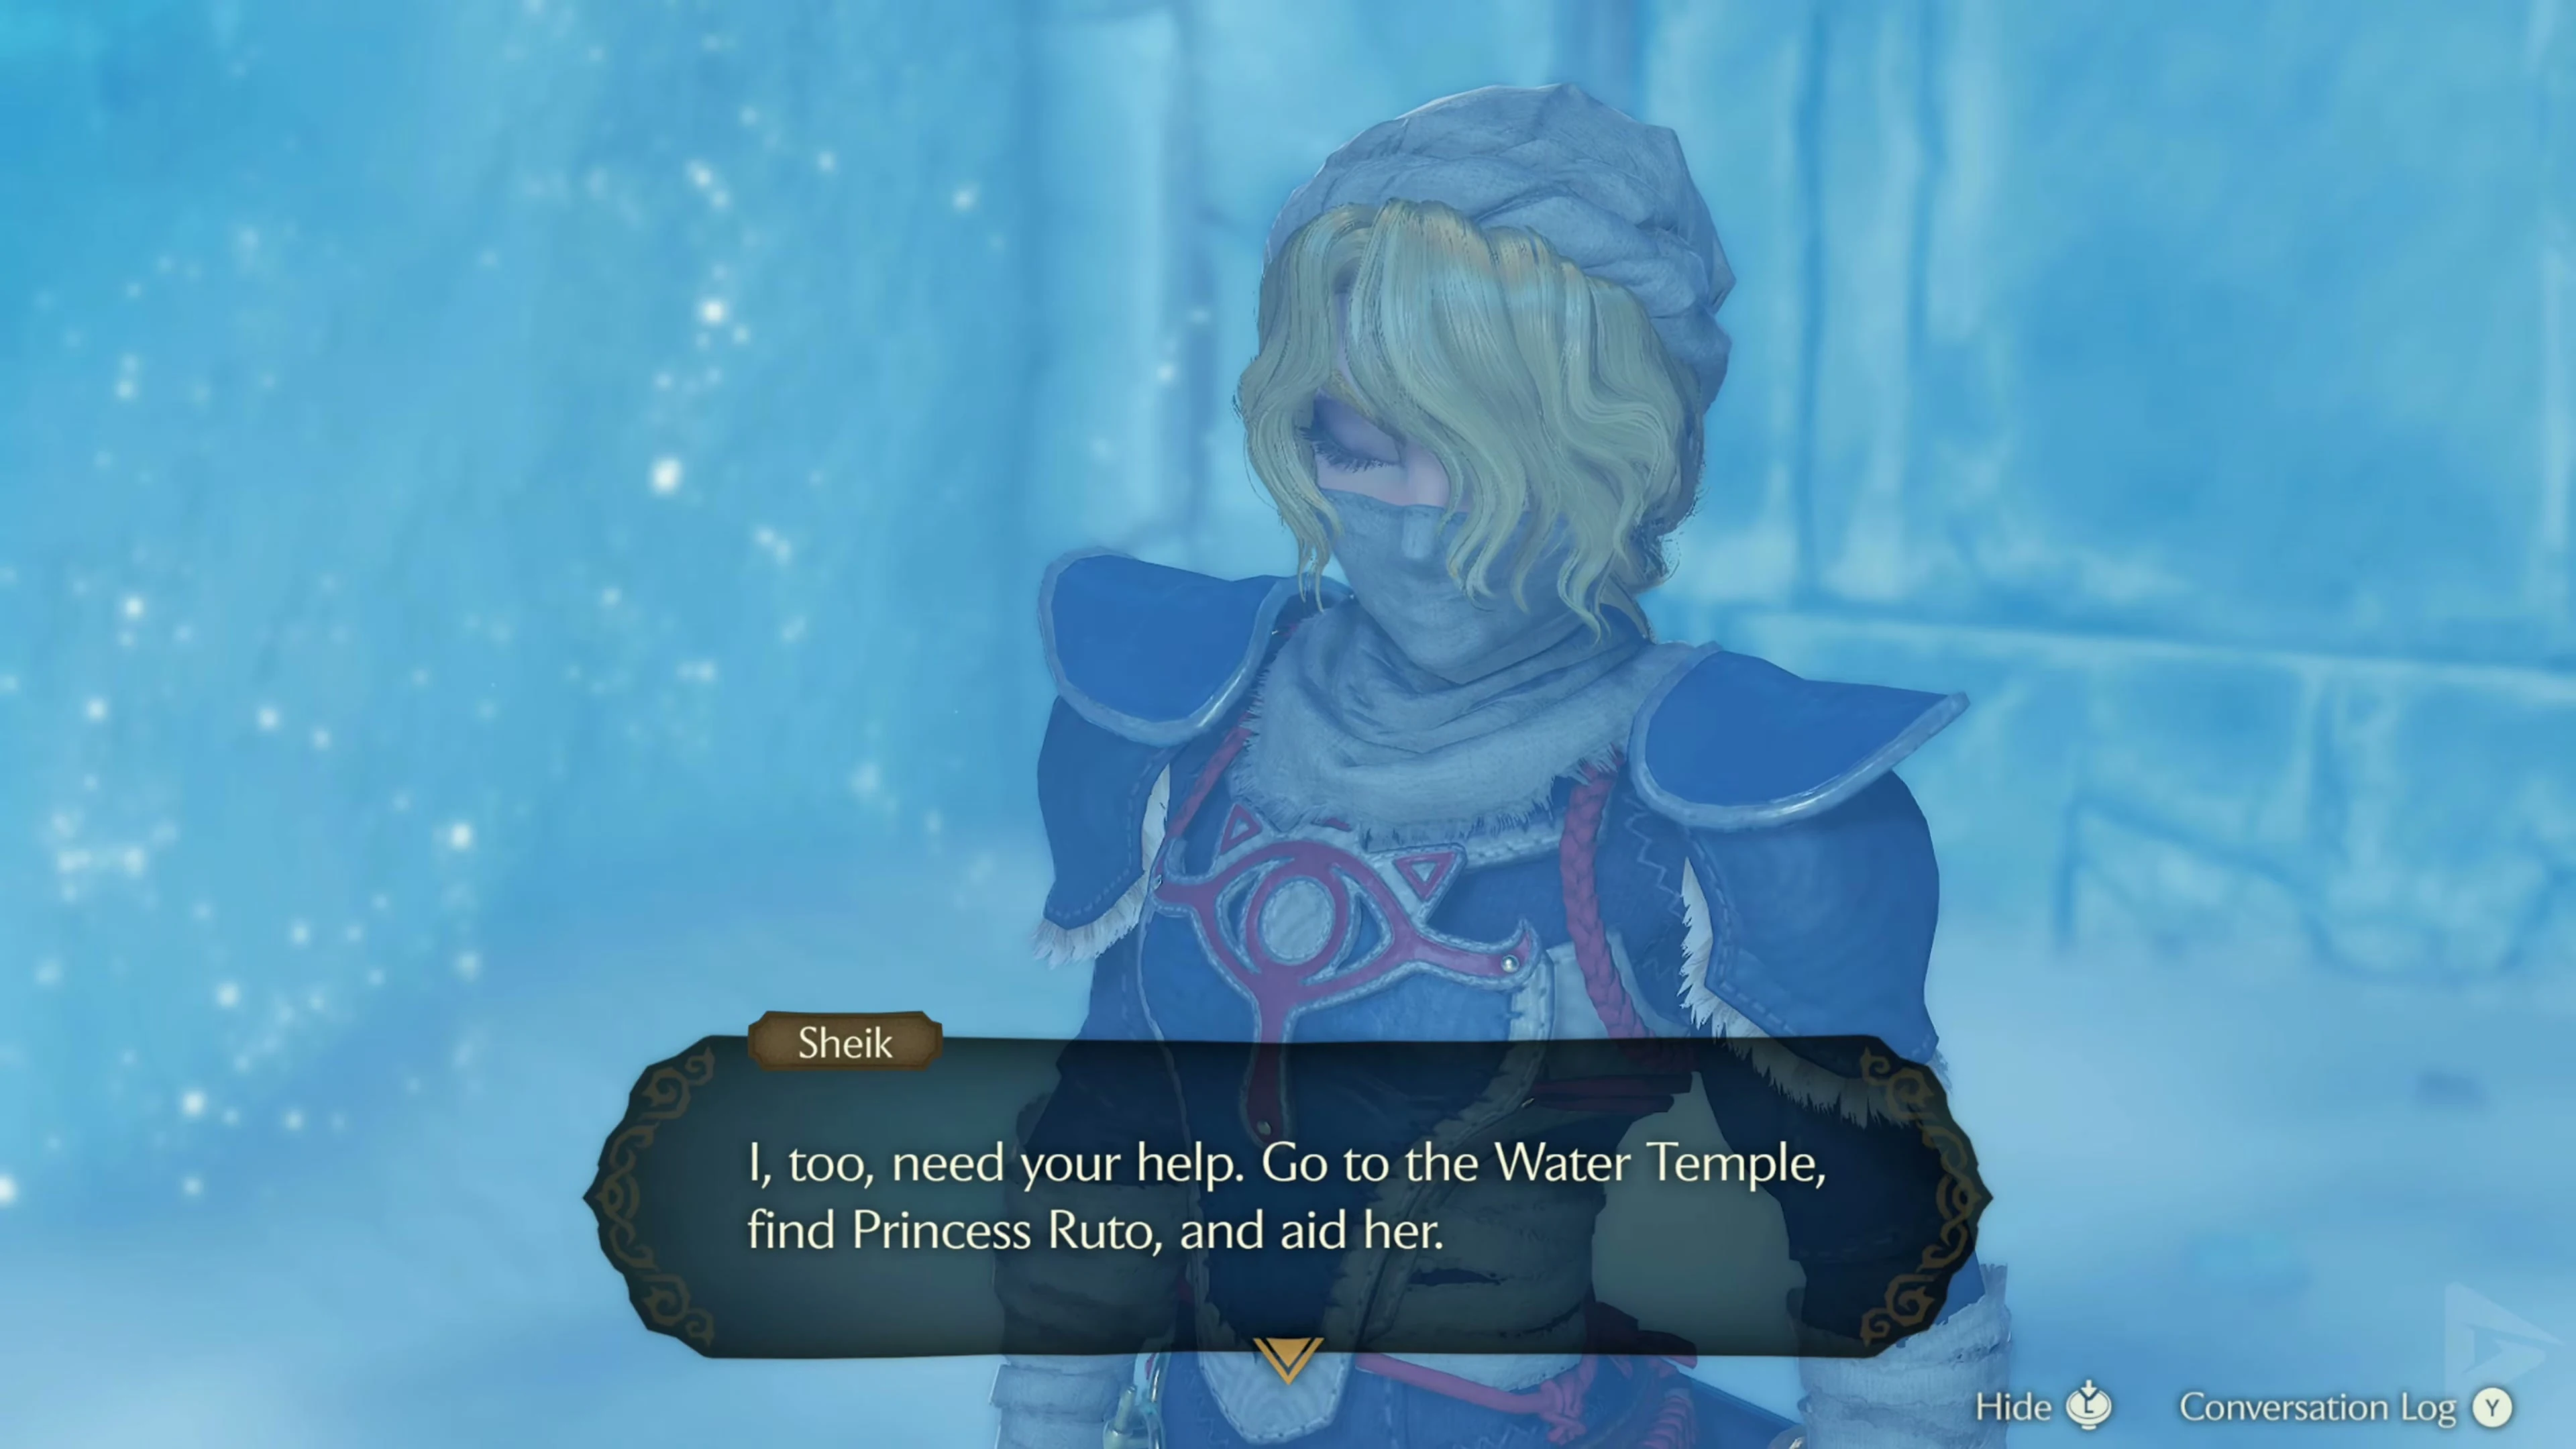
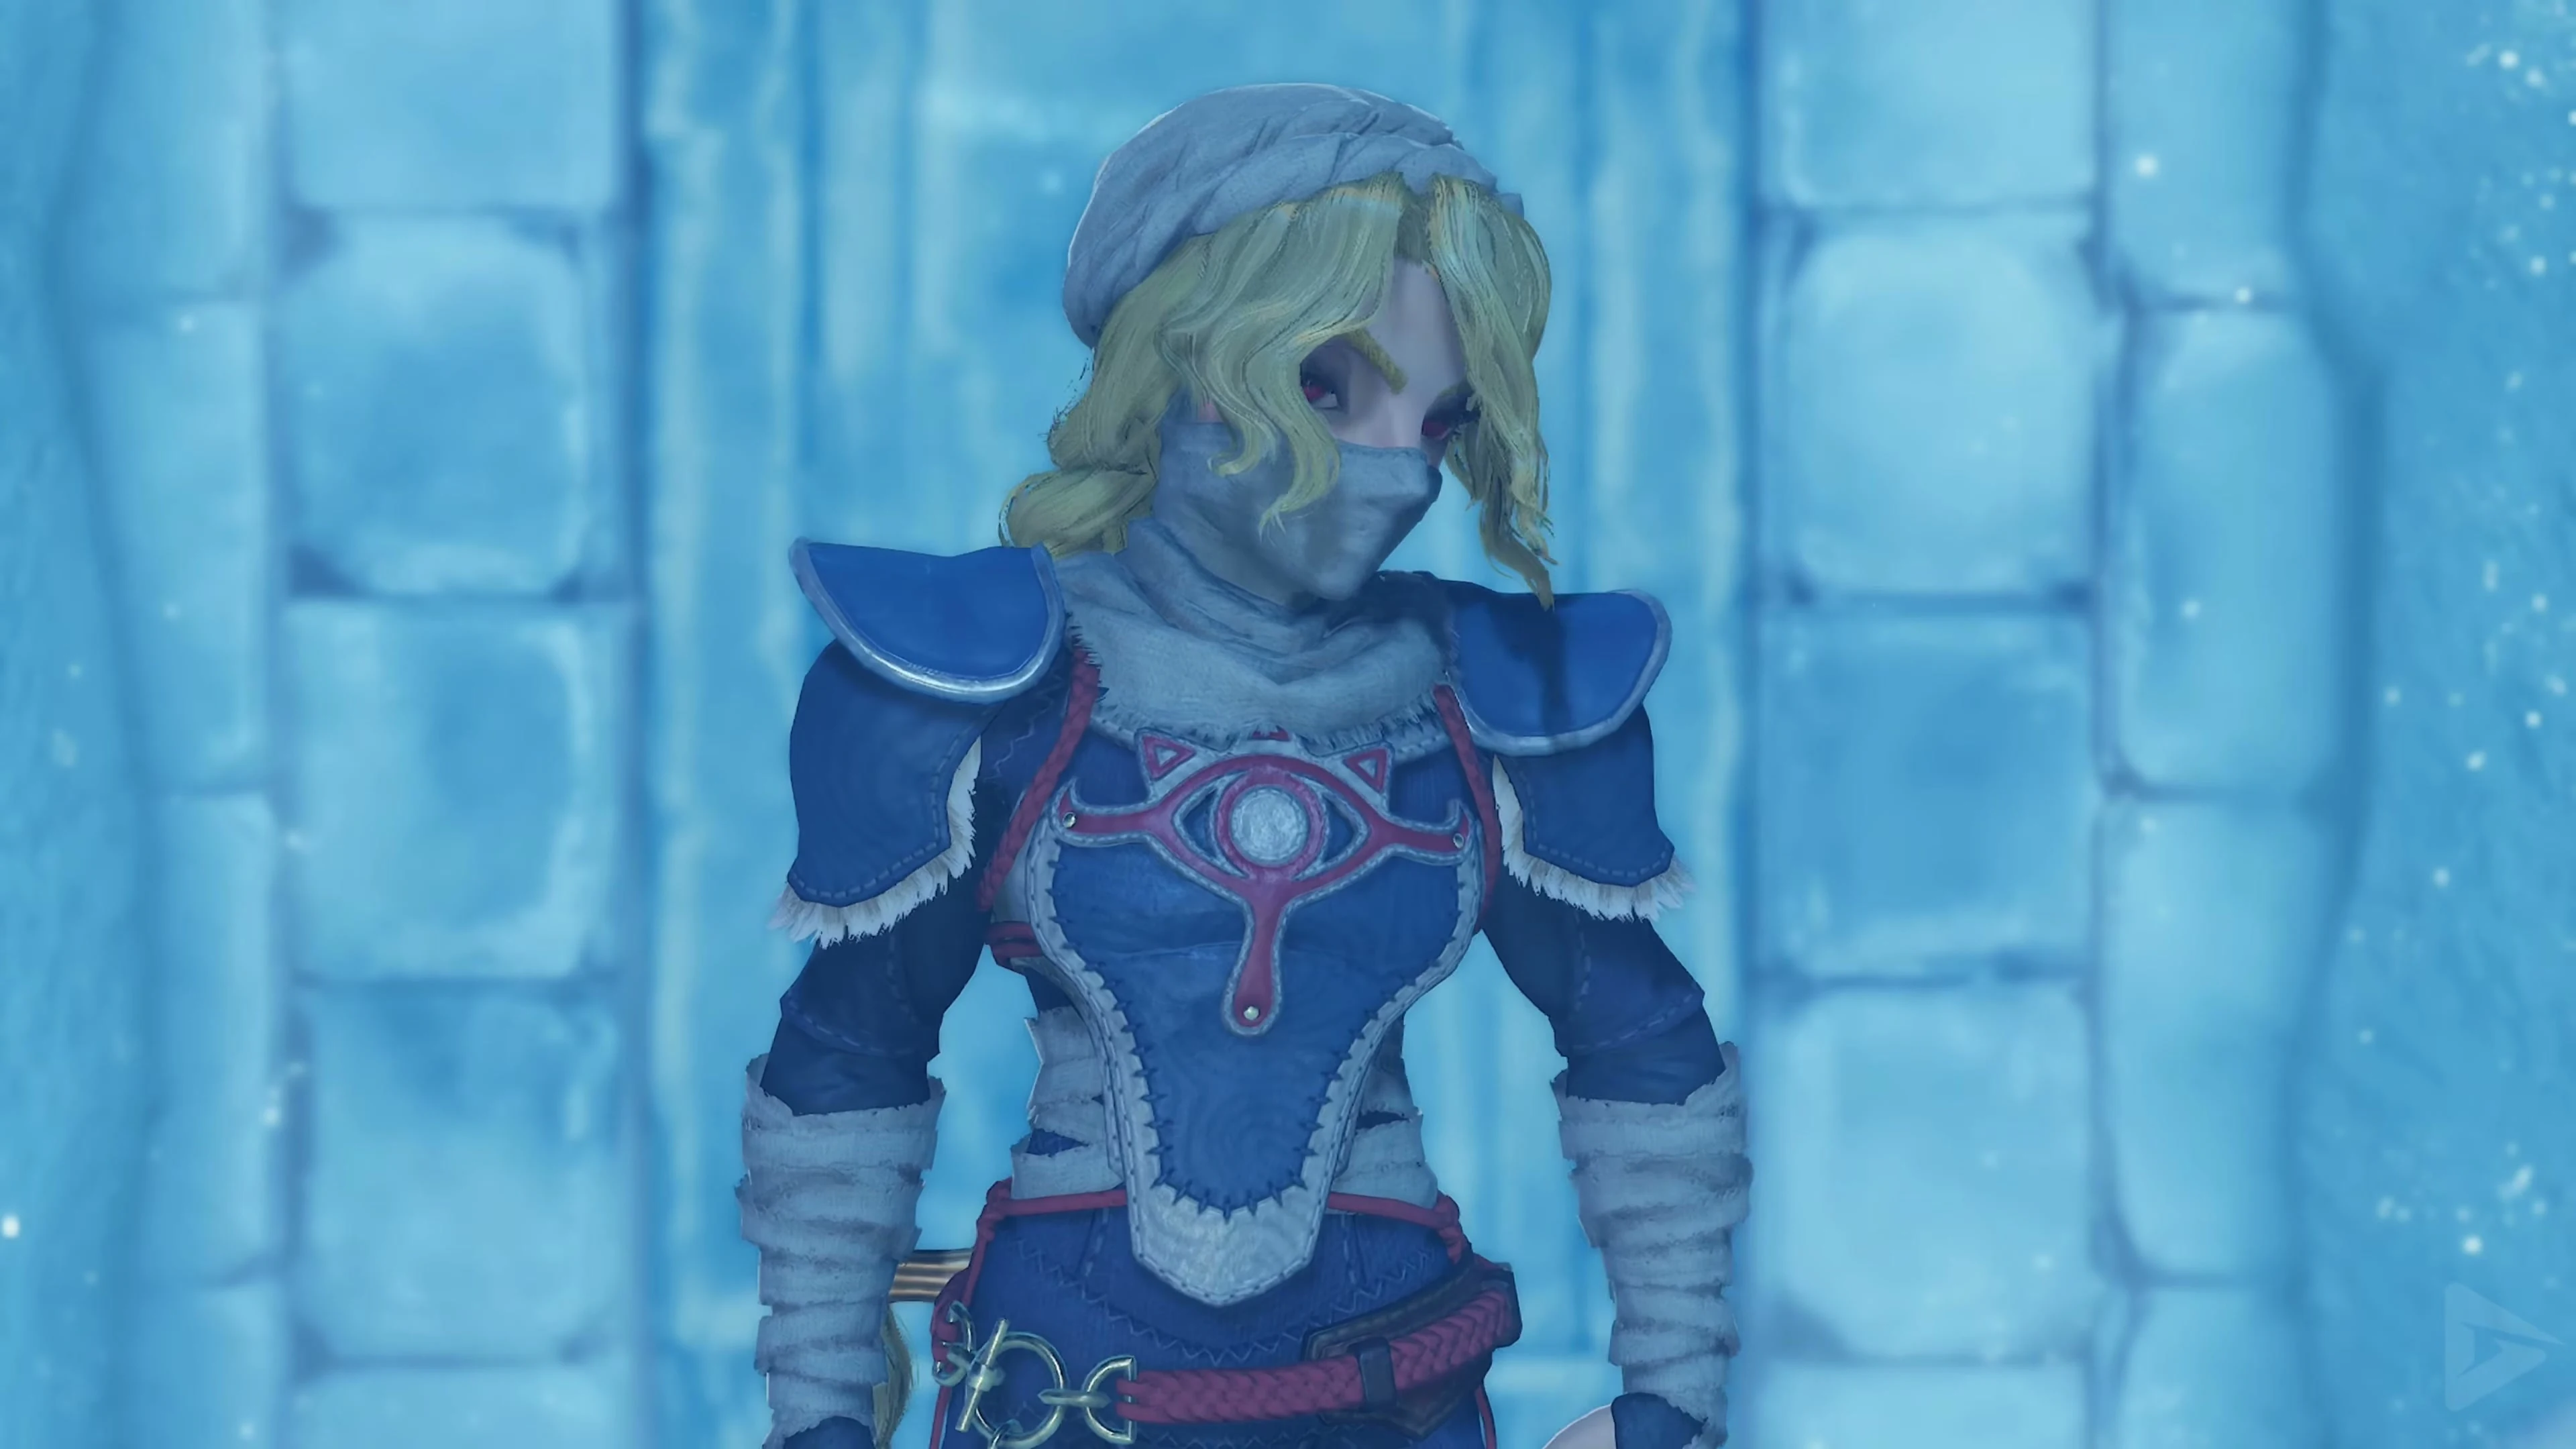
After opening the chest, speak to Sheik and learn the Serenade of Water . The song will transport you to the Warp Platform at Lake Hylia.
The exit from the Ice Cavern
Before leaving the cave, fill a bottle with blue fire at the spring in the passage to the White Wolfos. Go back to the boot chest, equip the Iron Boots , and jump into the pool of water behind it. Follow the underwater passage to the exit. Take off the boots to resurface and return to the throne room across the ice floes.
Free King Zora and obtain the Zora Tunic
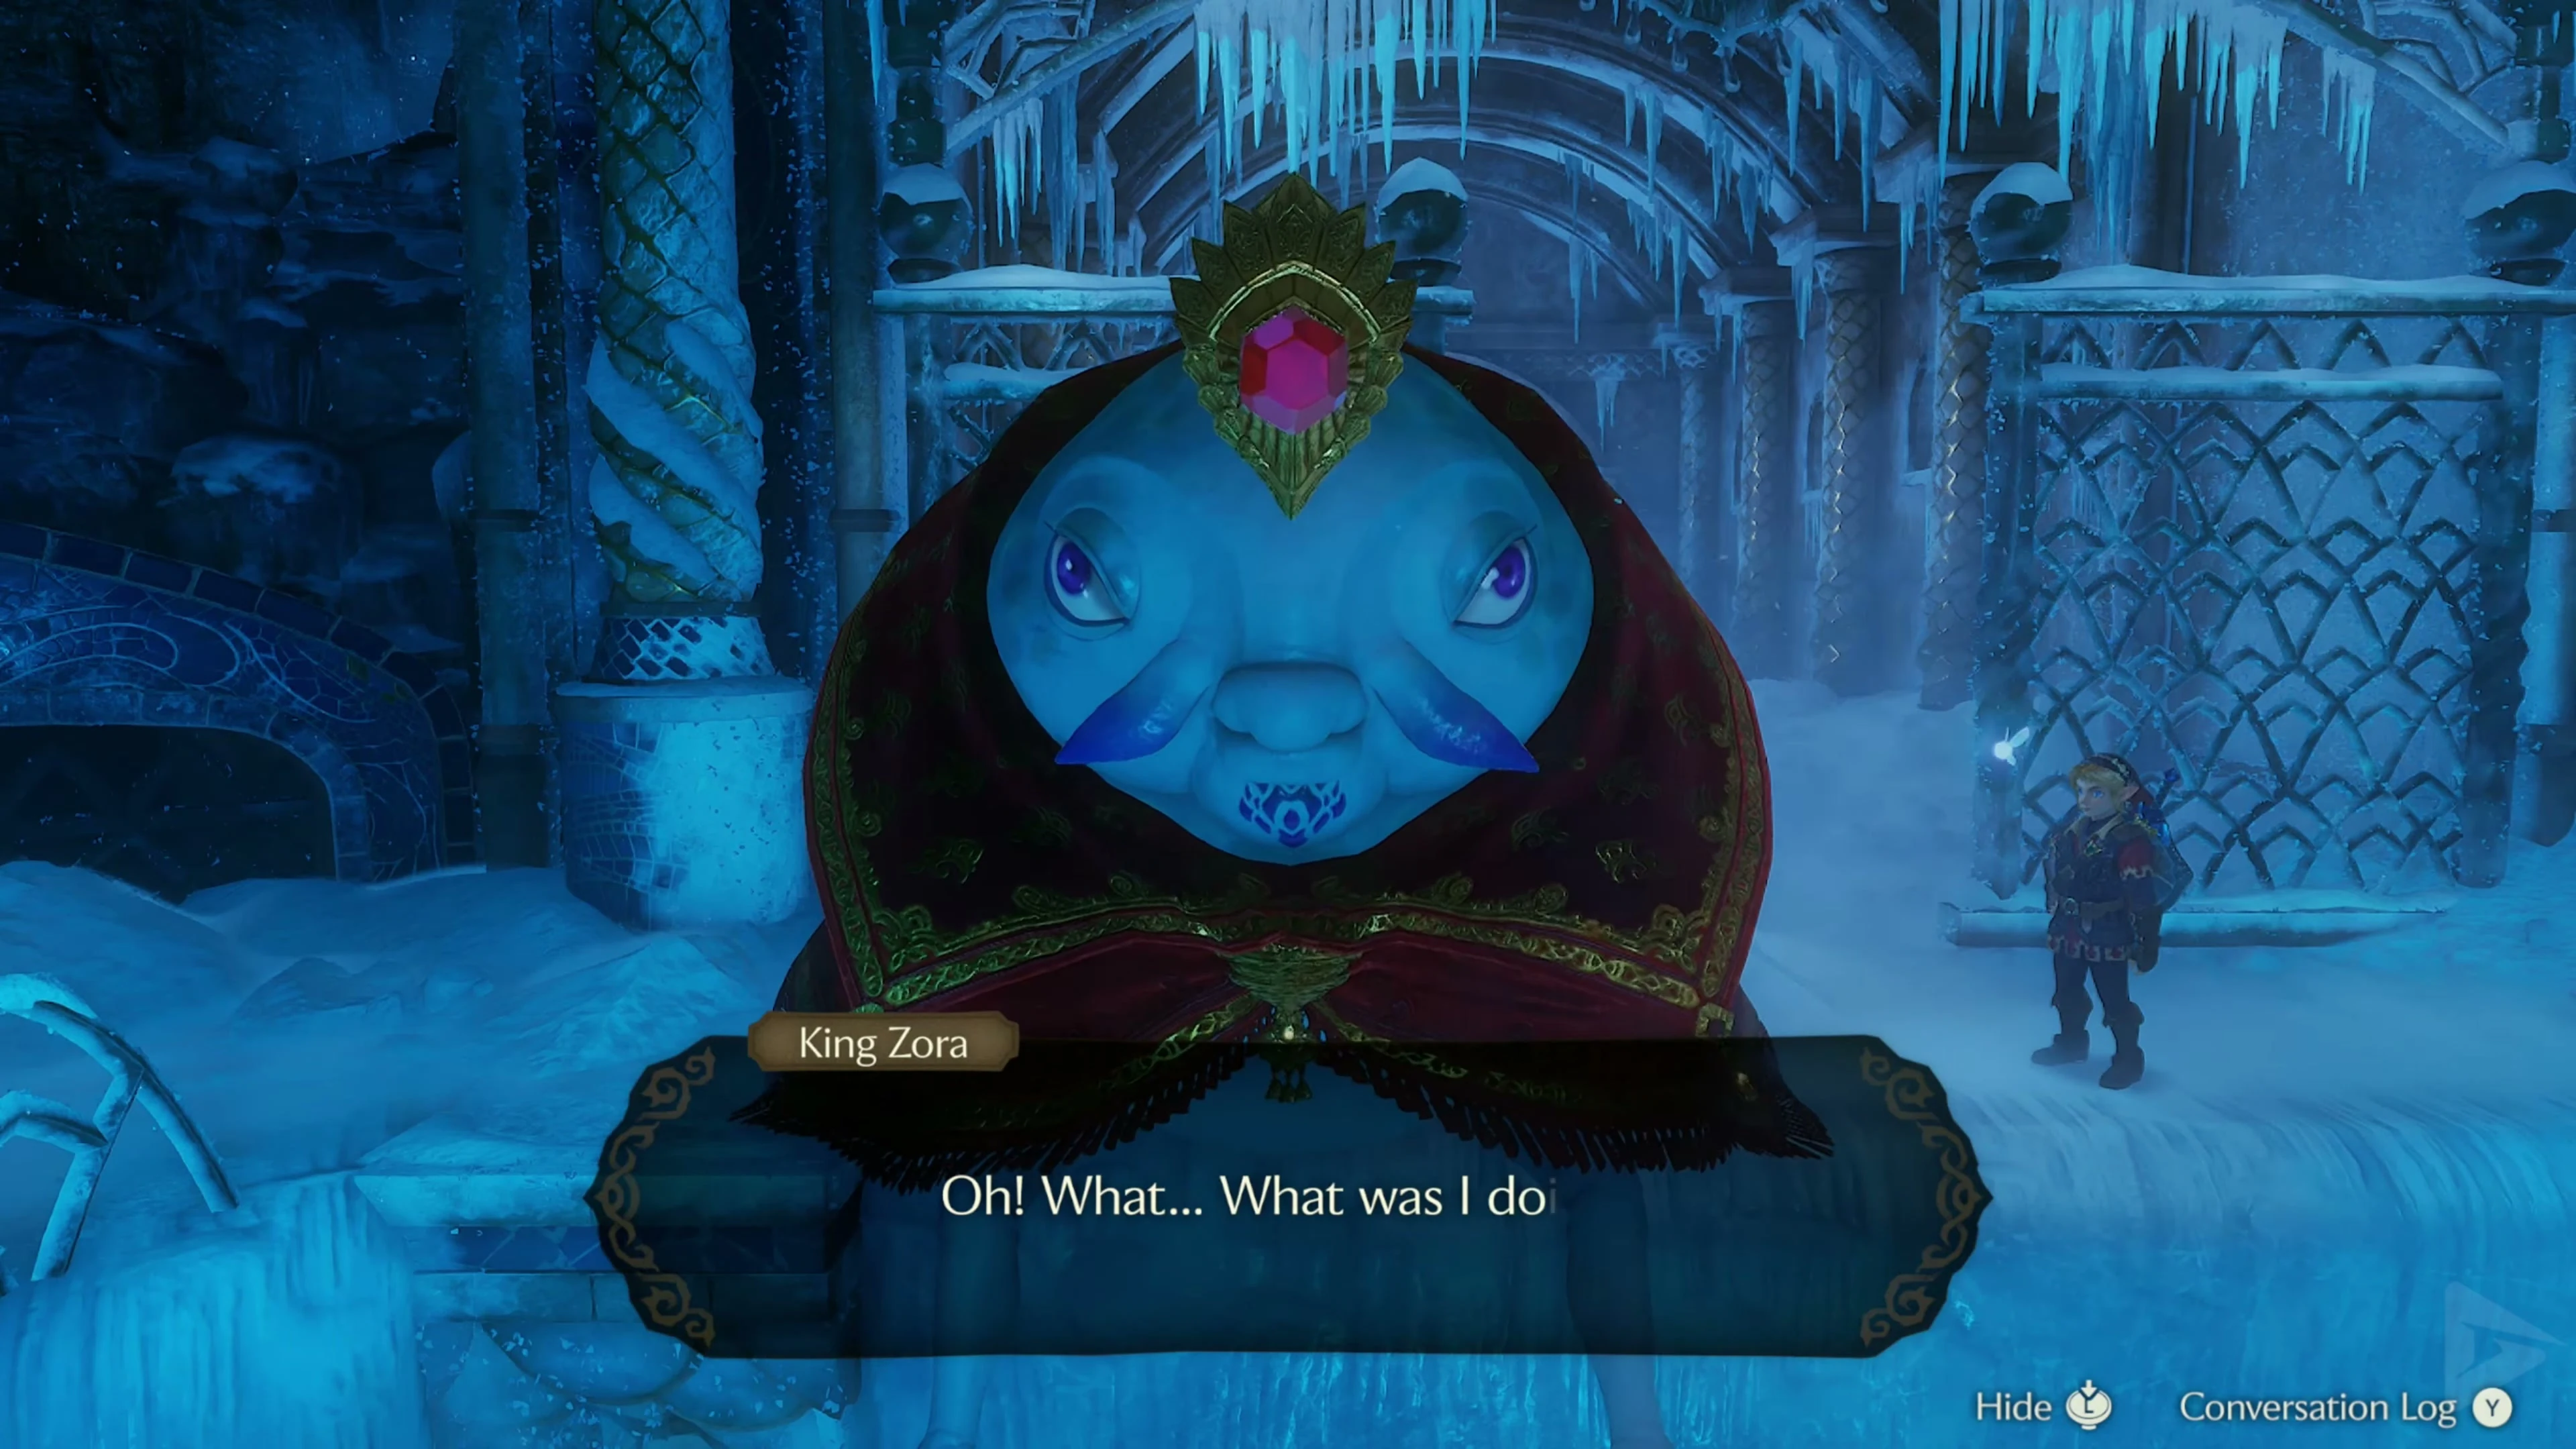
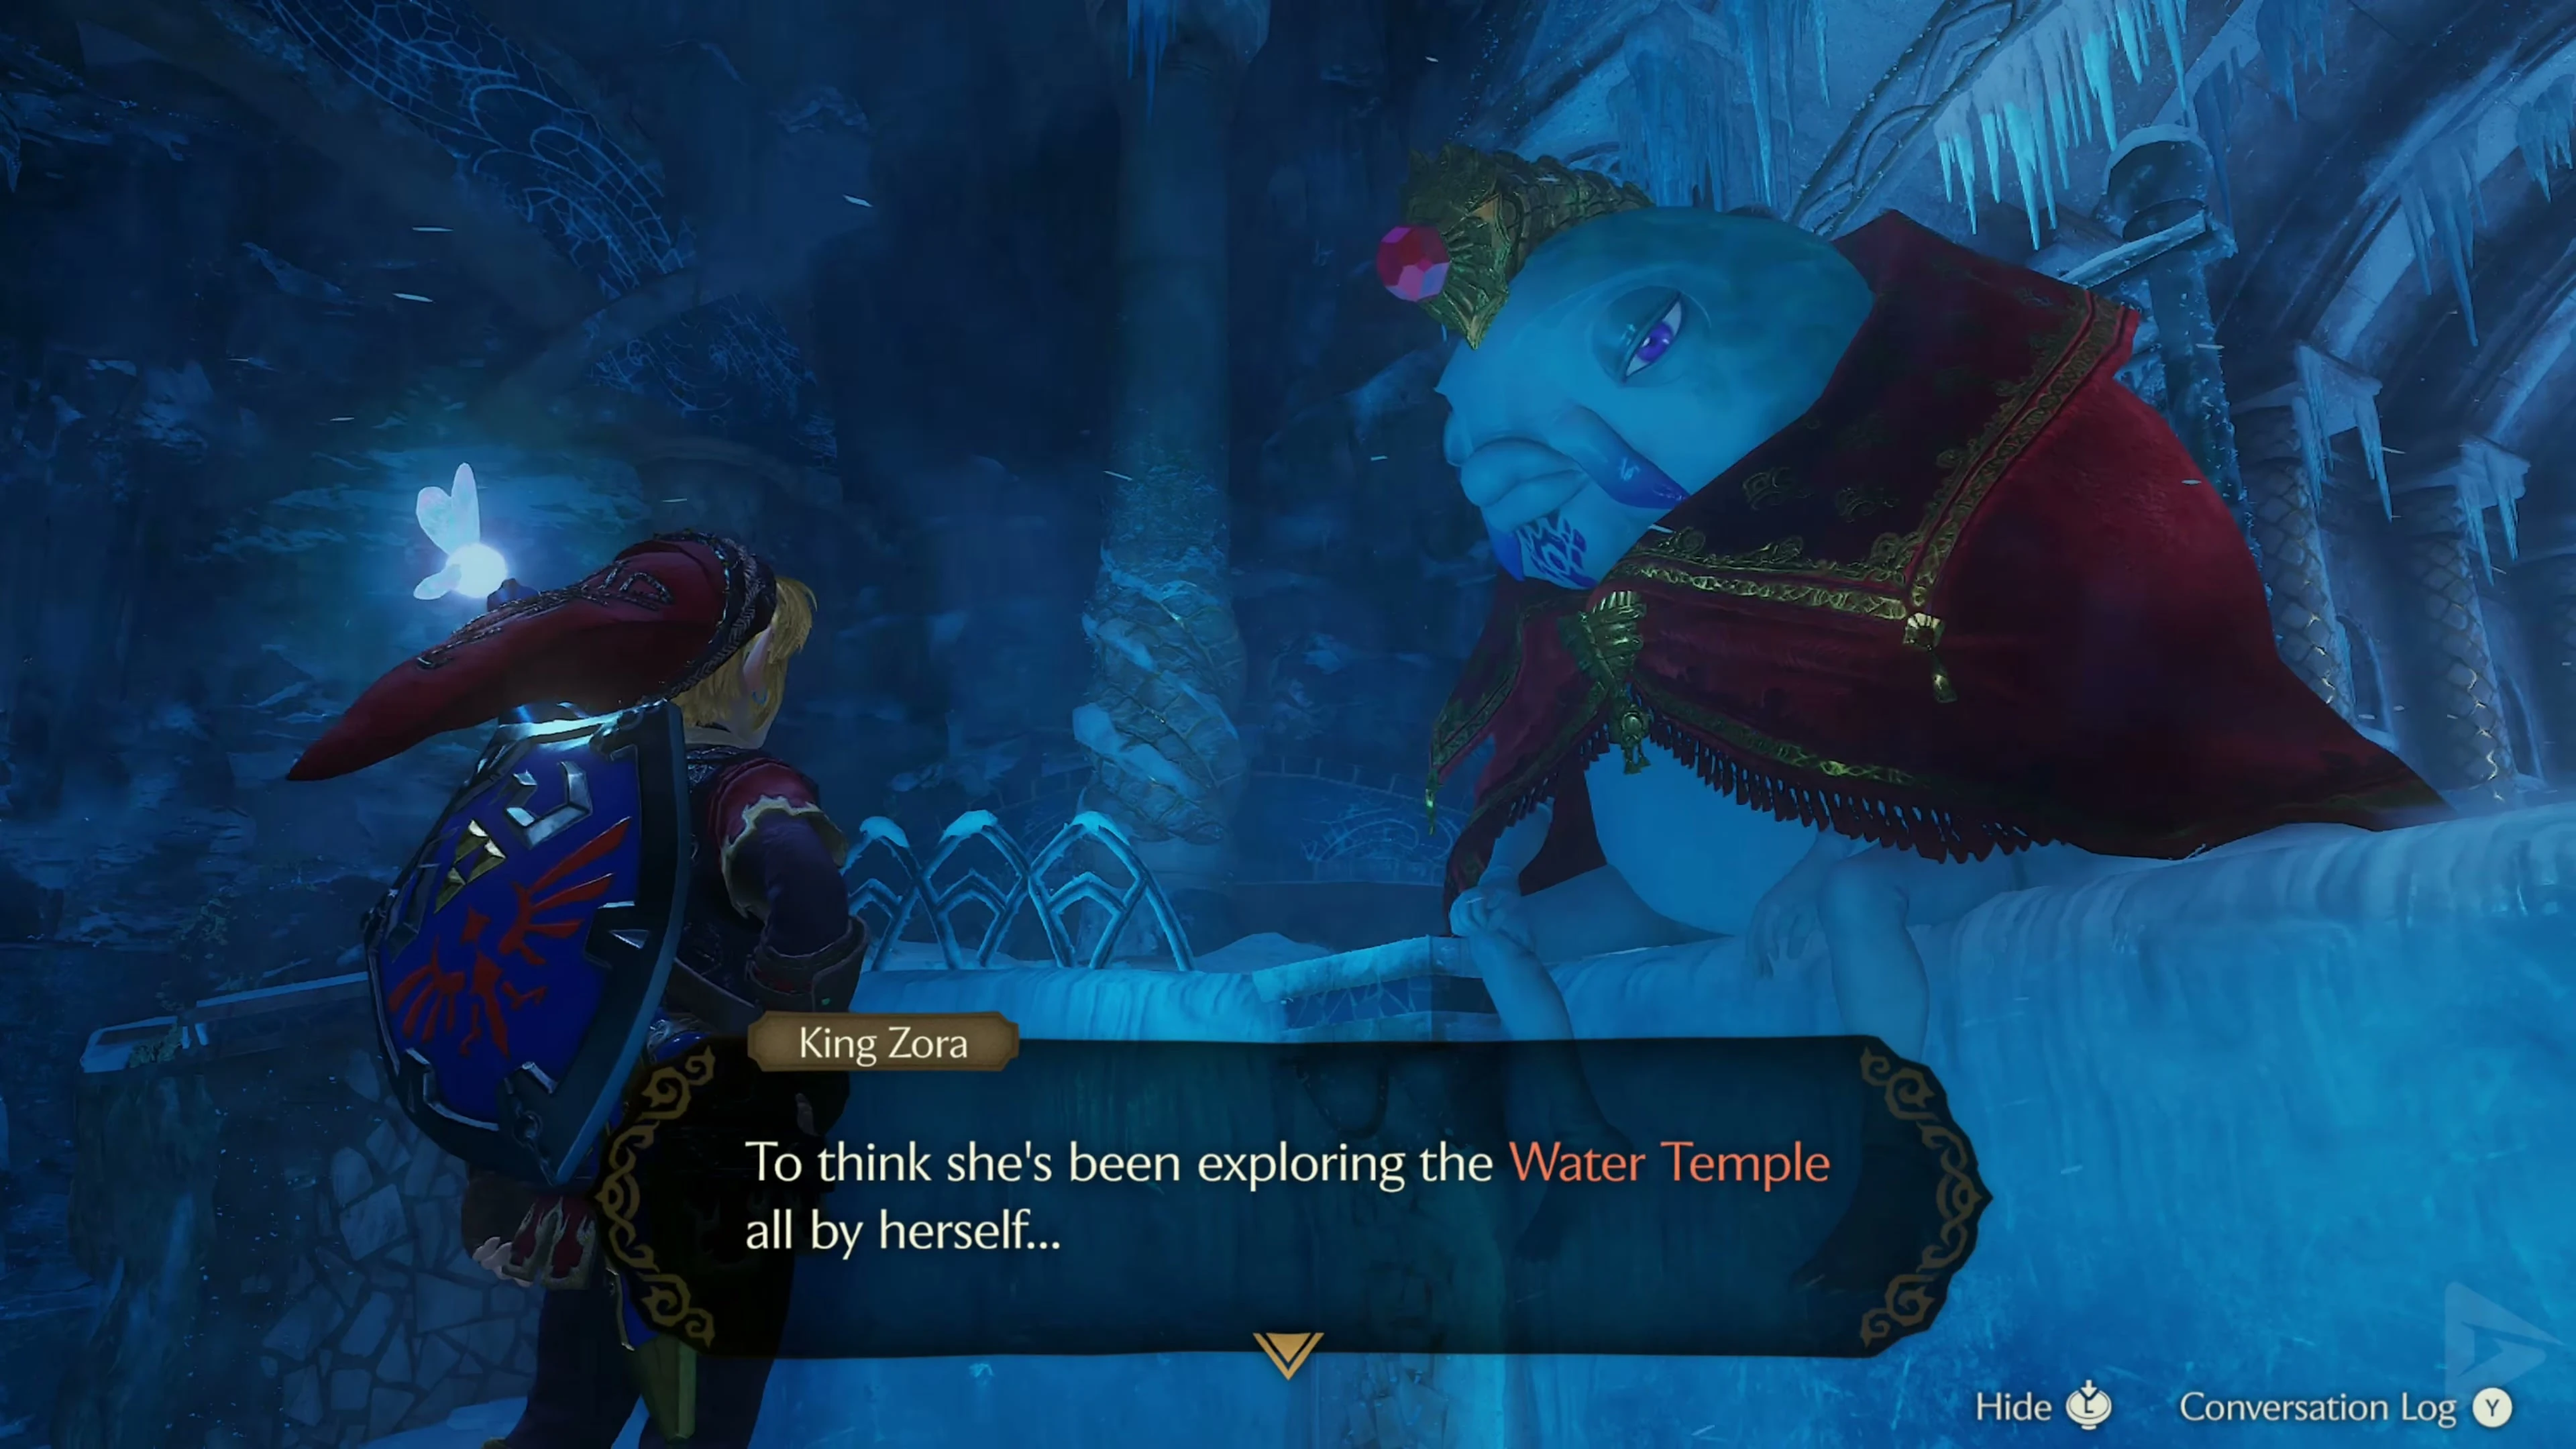
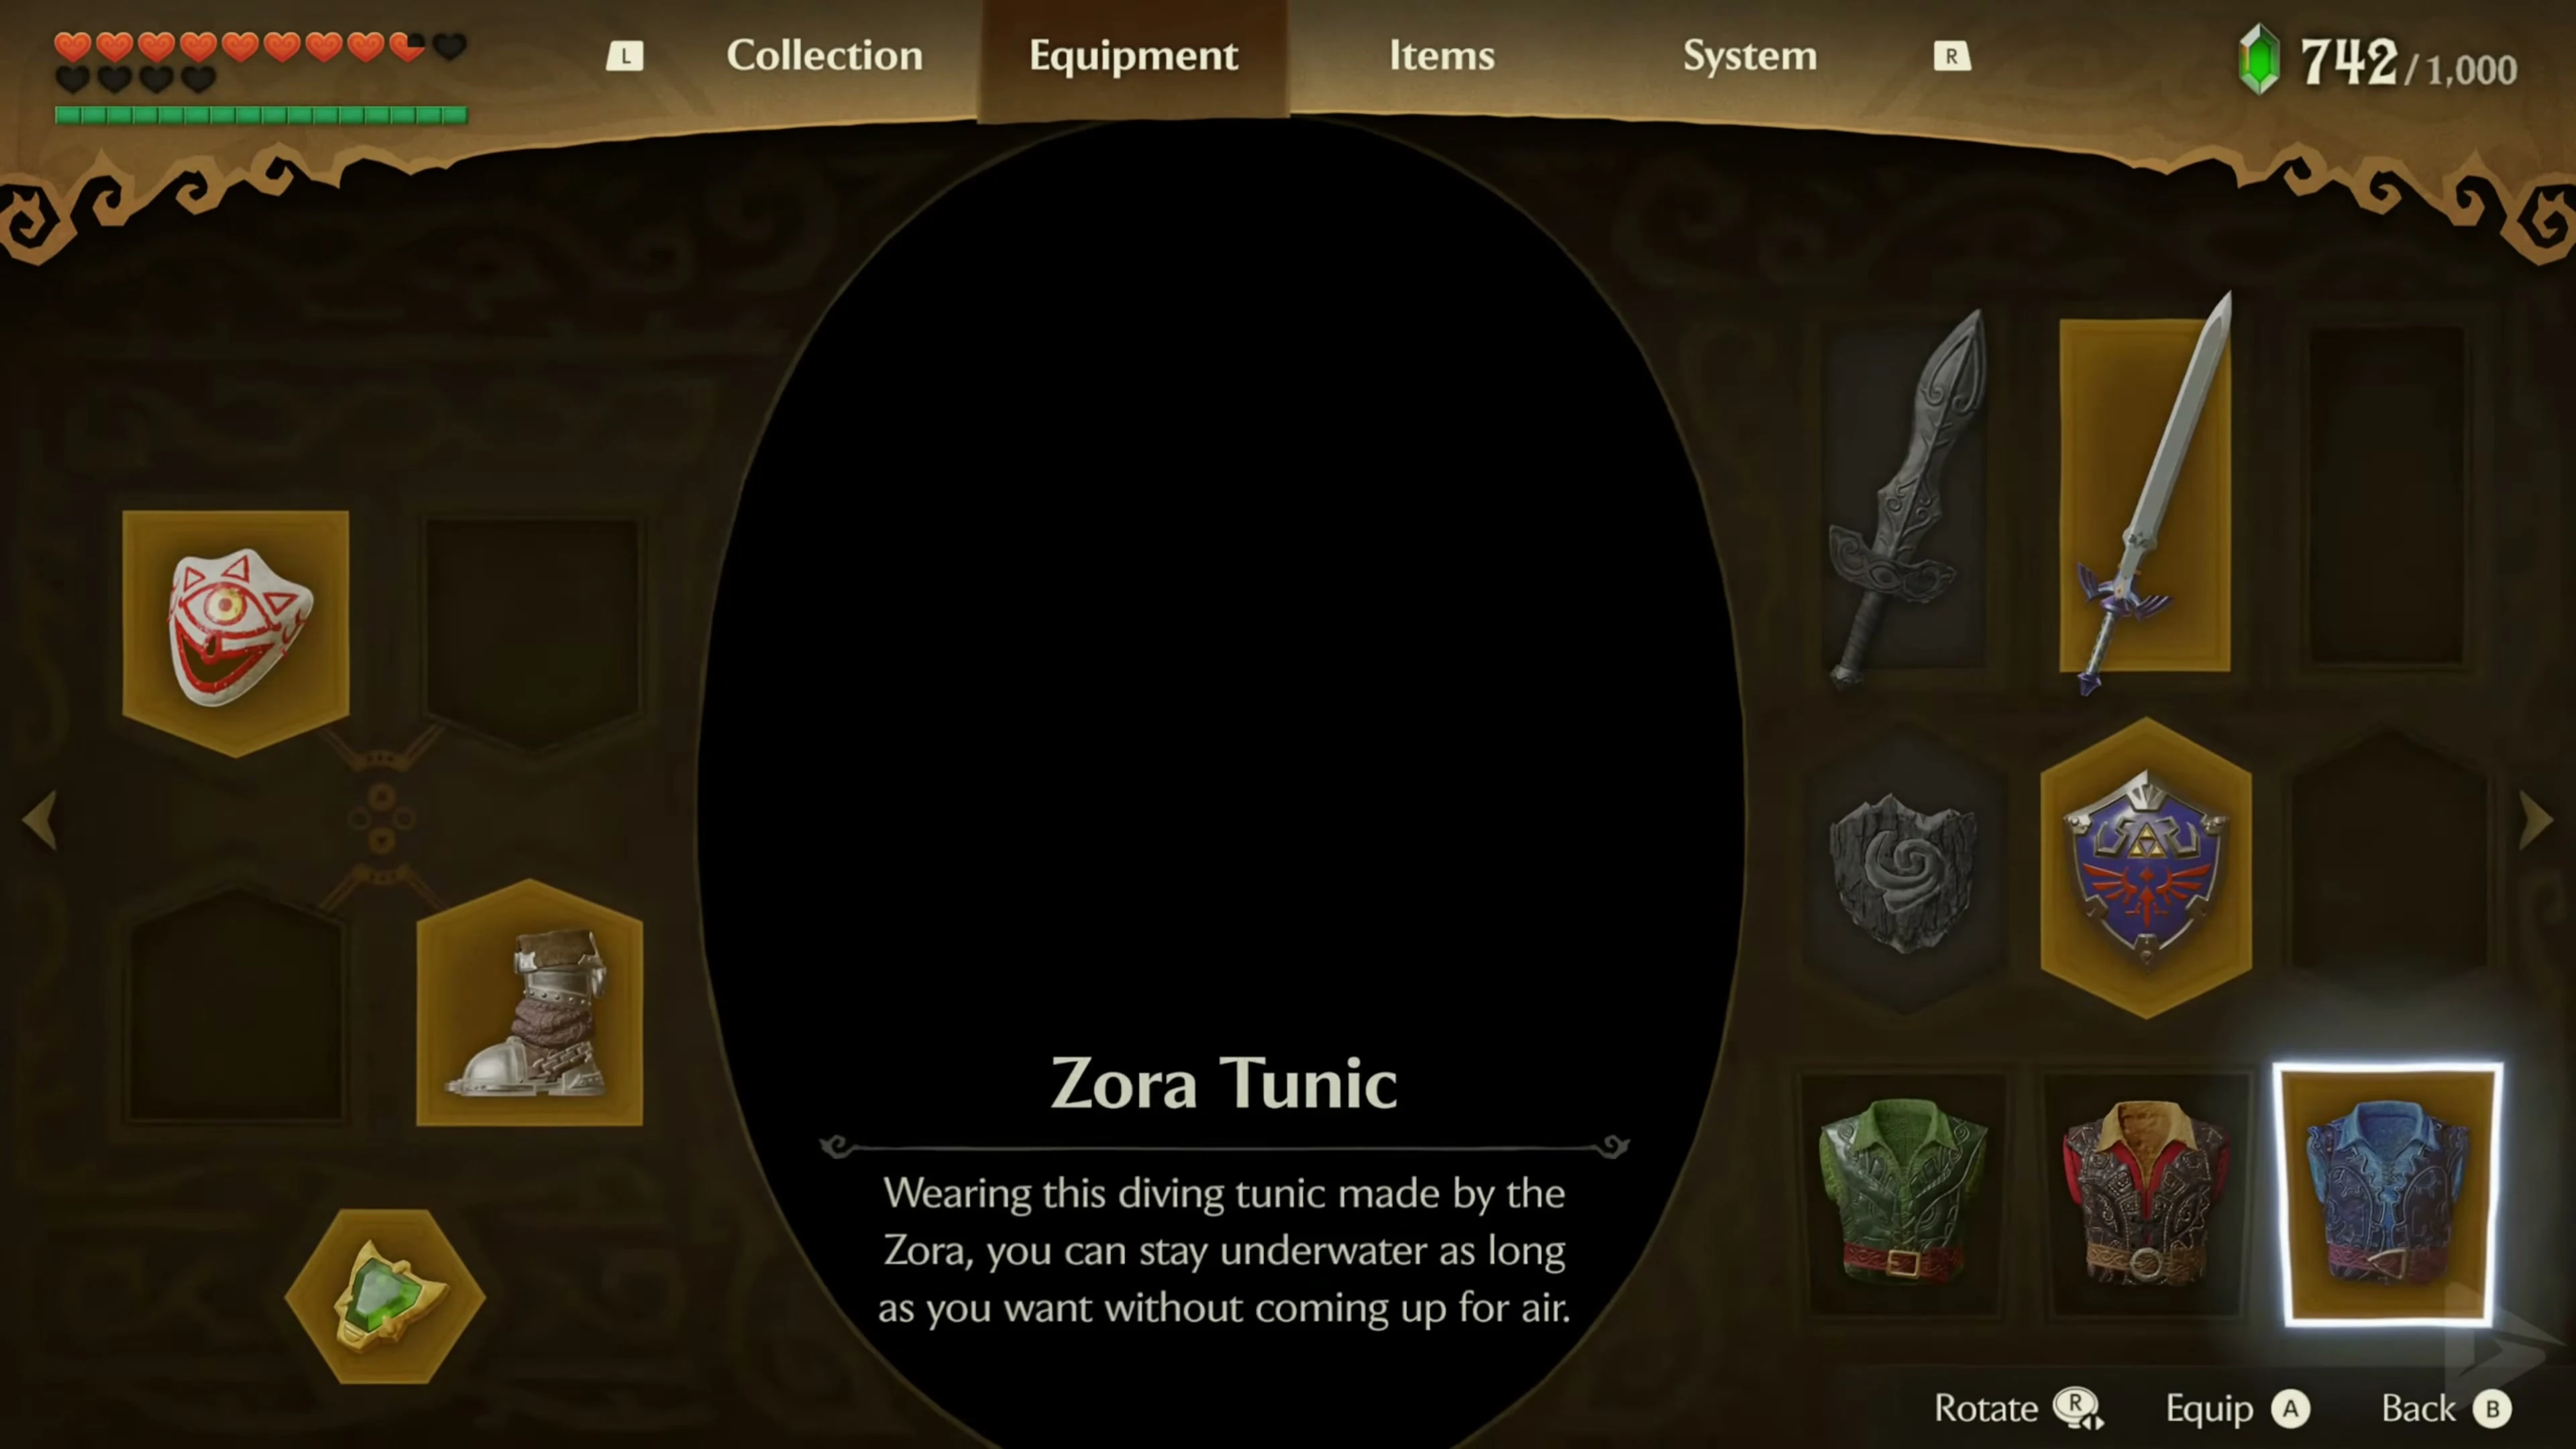
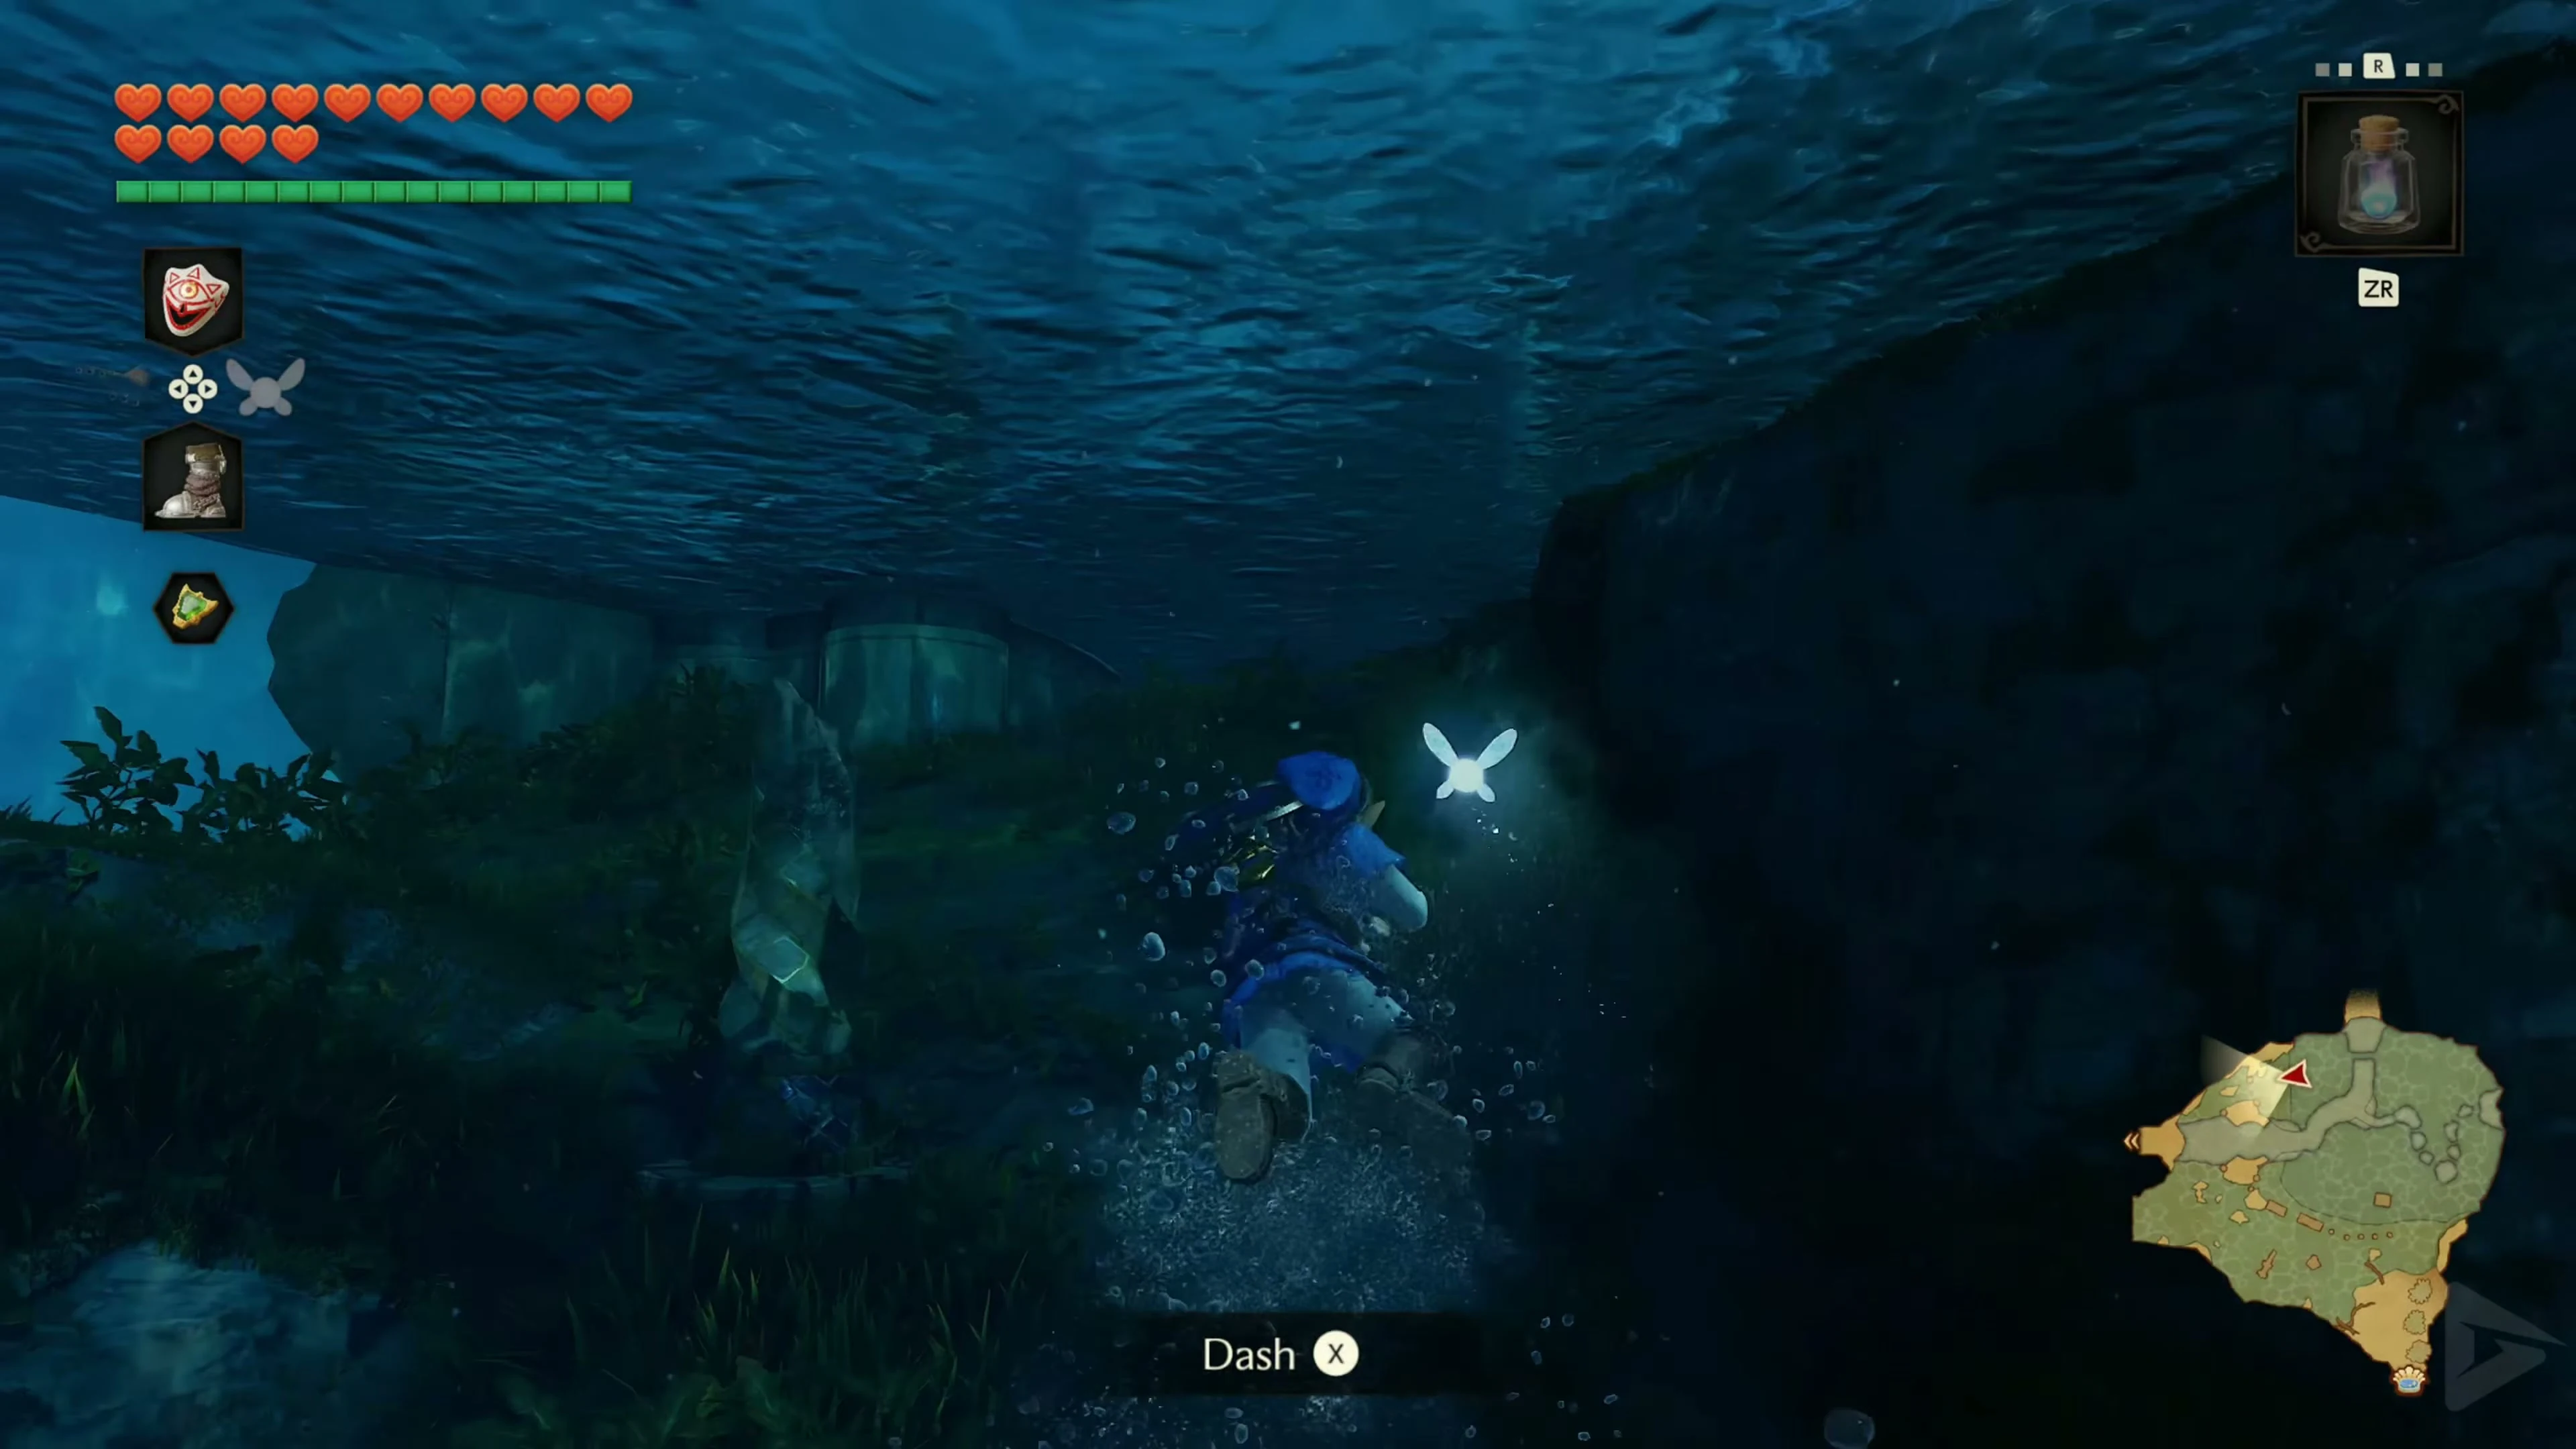
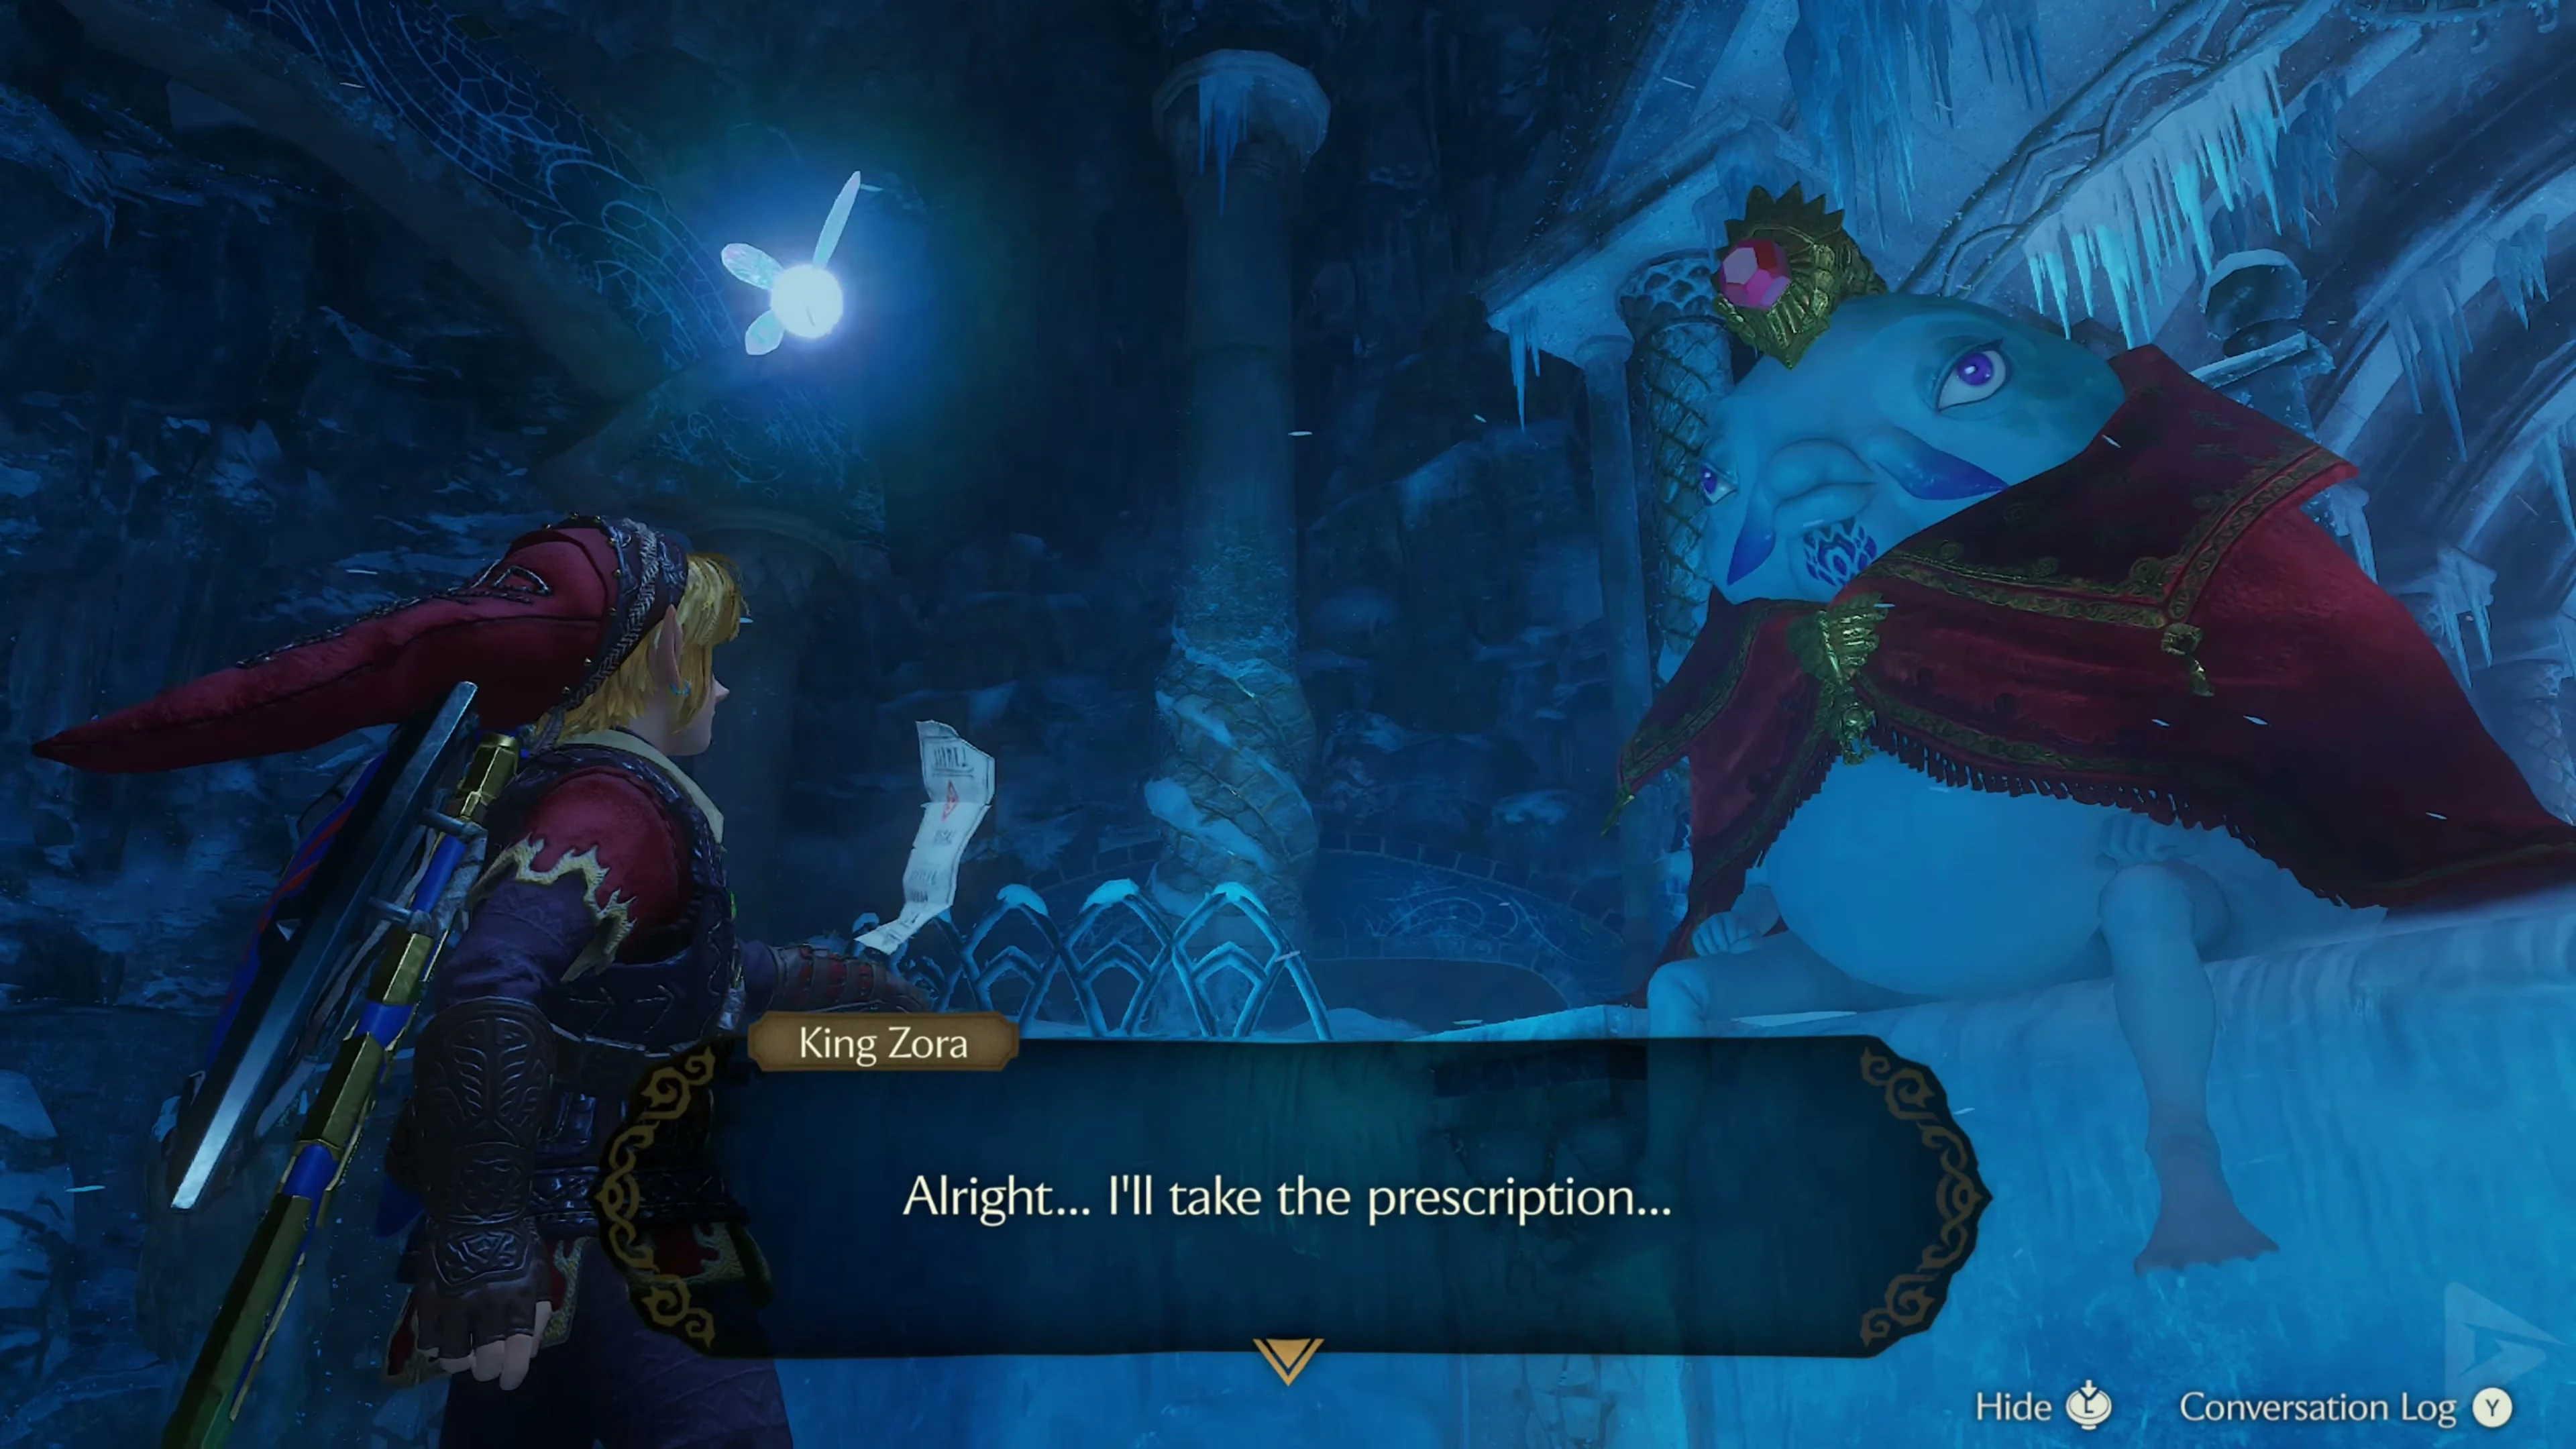
Melt King Zora’s red ice with the blue fire you brought and talk to him. He will give you the Zora Tunic , which allows you to breathe underwater indefinitely. Return to the Zora Fountain with it. Sink to the bottom in front of the Ice Cavern entrance using the Iron Boots and retrieve the Piece of Heart from among the green Rupees. Then equip the regular boots and swim back.
Before leaving Zora’s Domain, wait until nightfall and search the wall at the top of the waterfall. Defeat the Gold Skulltula with the Hookshot and retrieve its Token .
Before the Water Temple: The Golden Scale
Now play Serenade of Water and travel to Lake Hylia. Use the Magic Bean Plant at the Research Institute to reach the elevated fishing pond. You can also use the Hookshot to pull yourself up to the Scarecrow if you summoned Pierre with the Scarecrow Song.
Catch the biggest fish
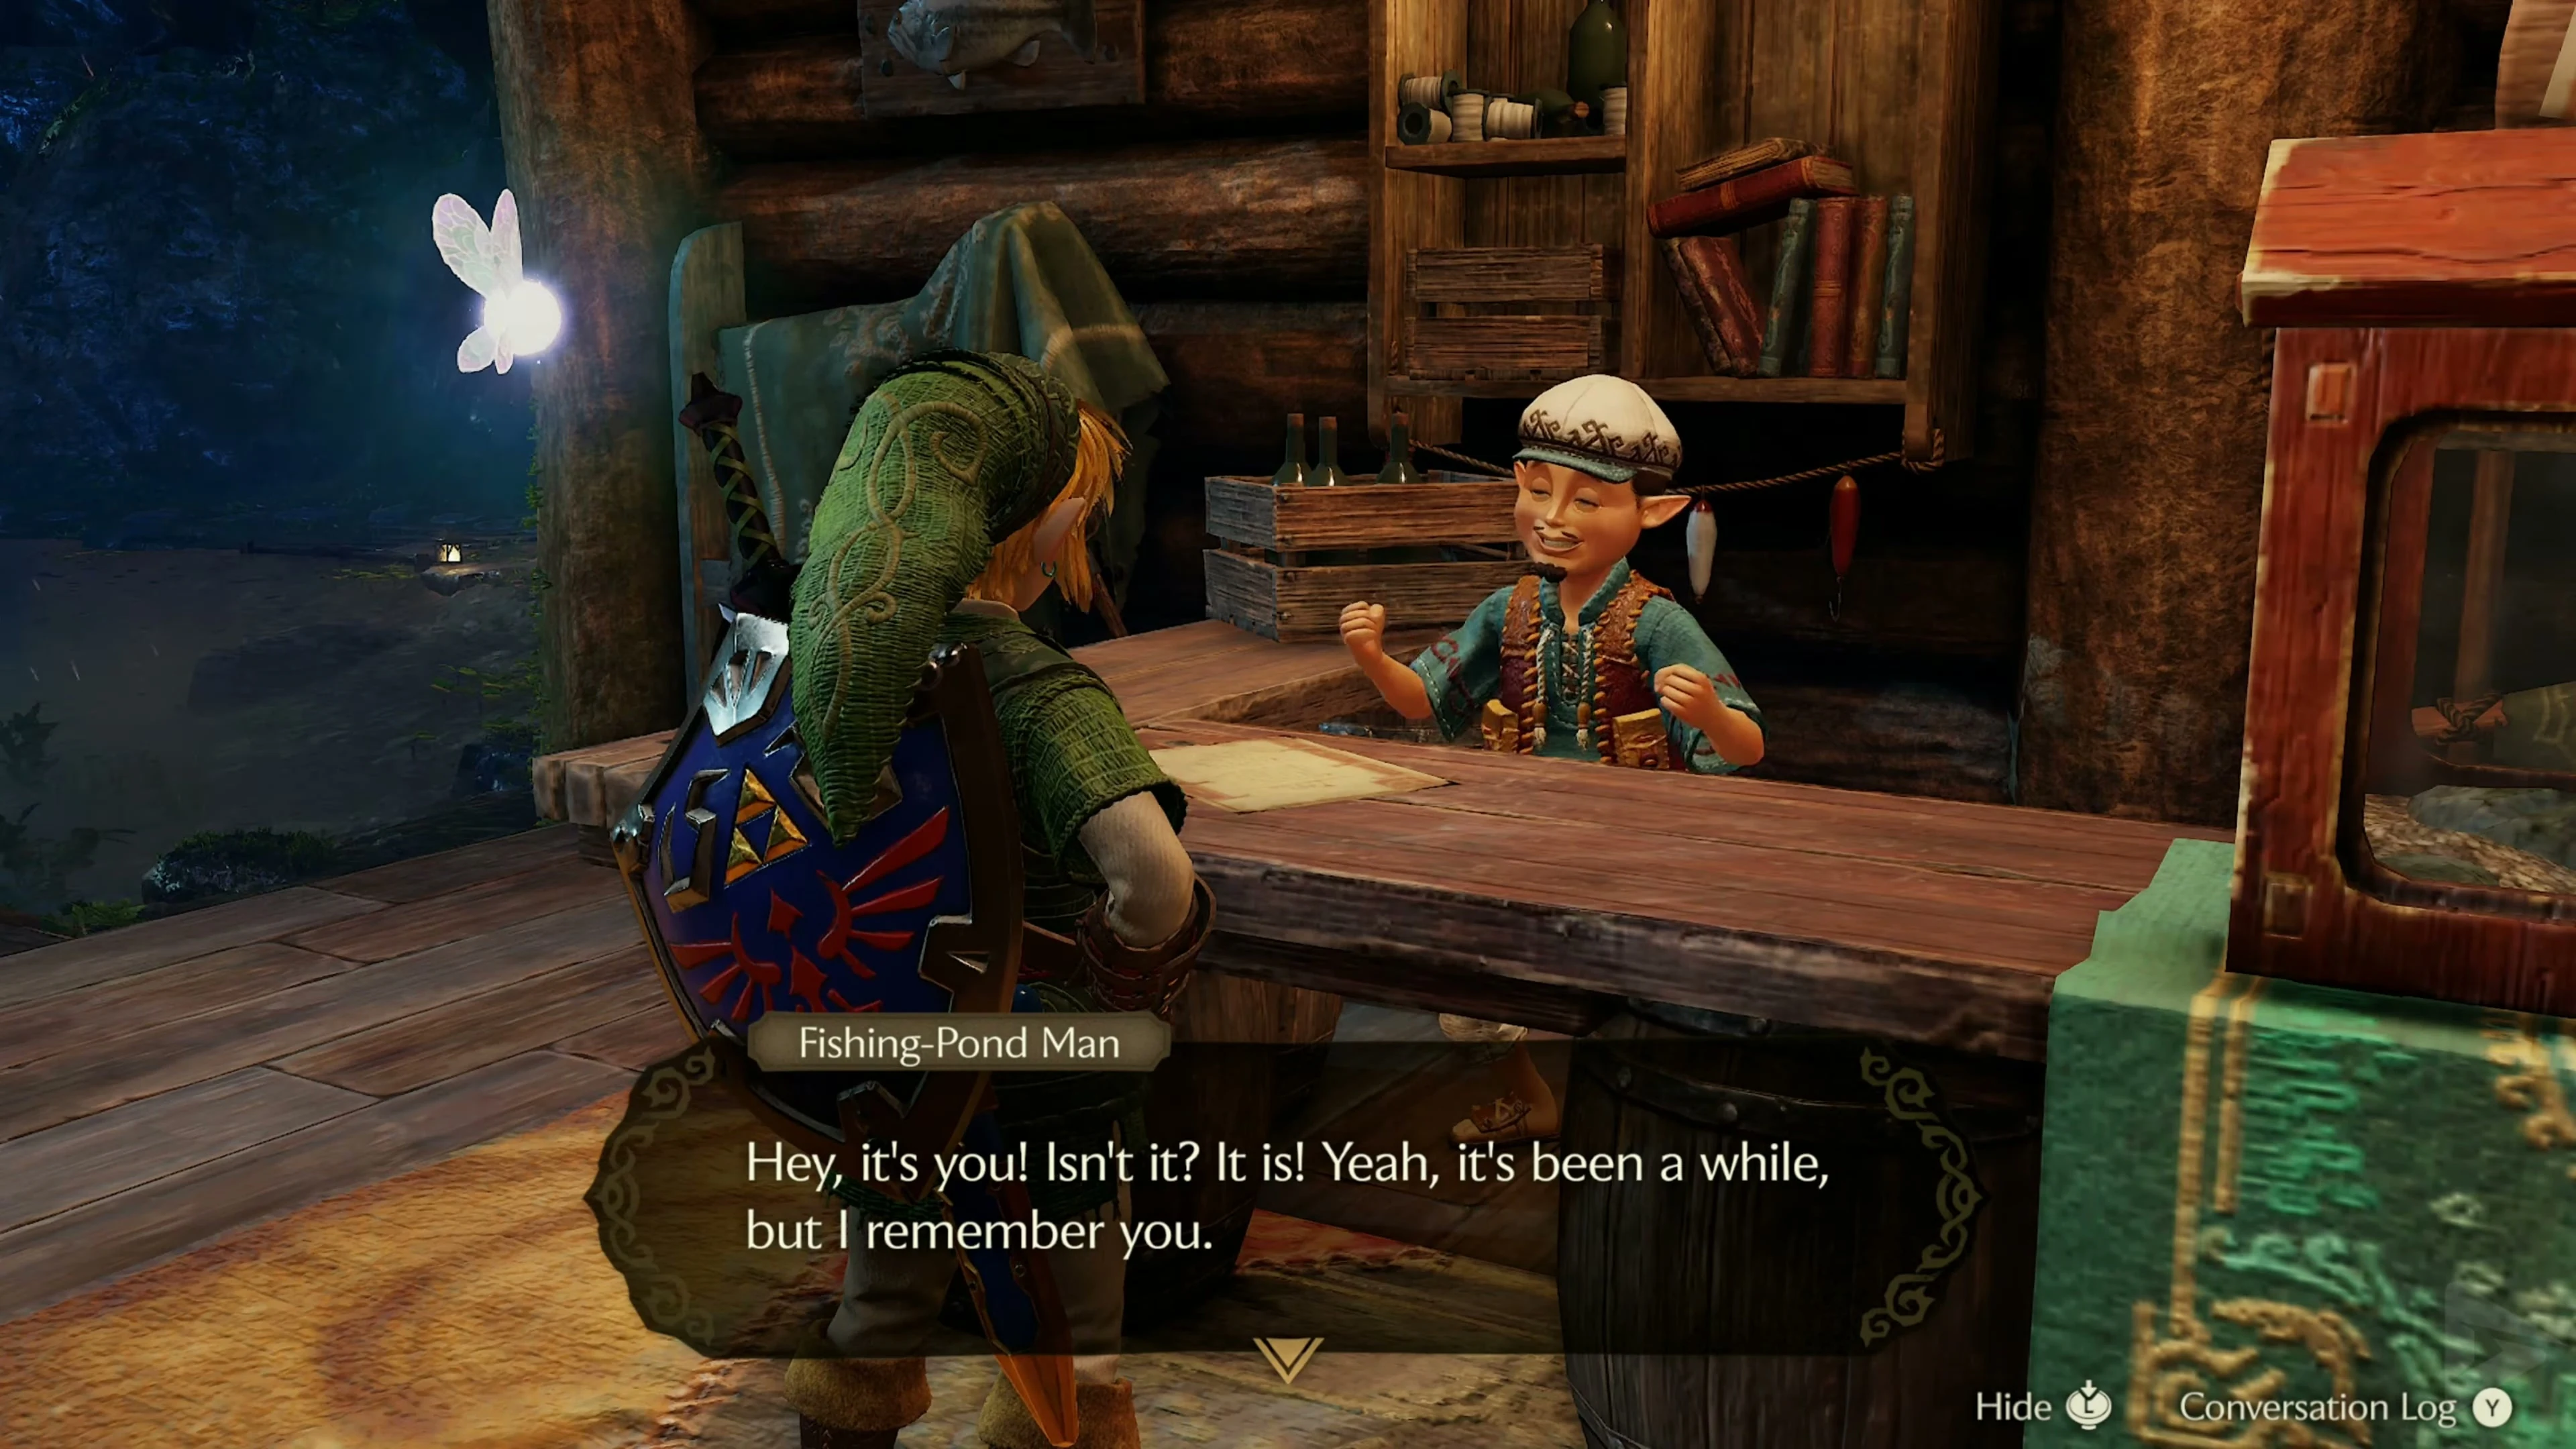
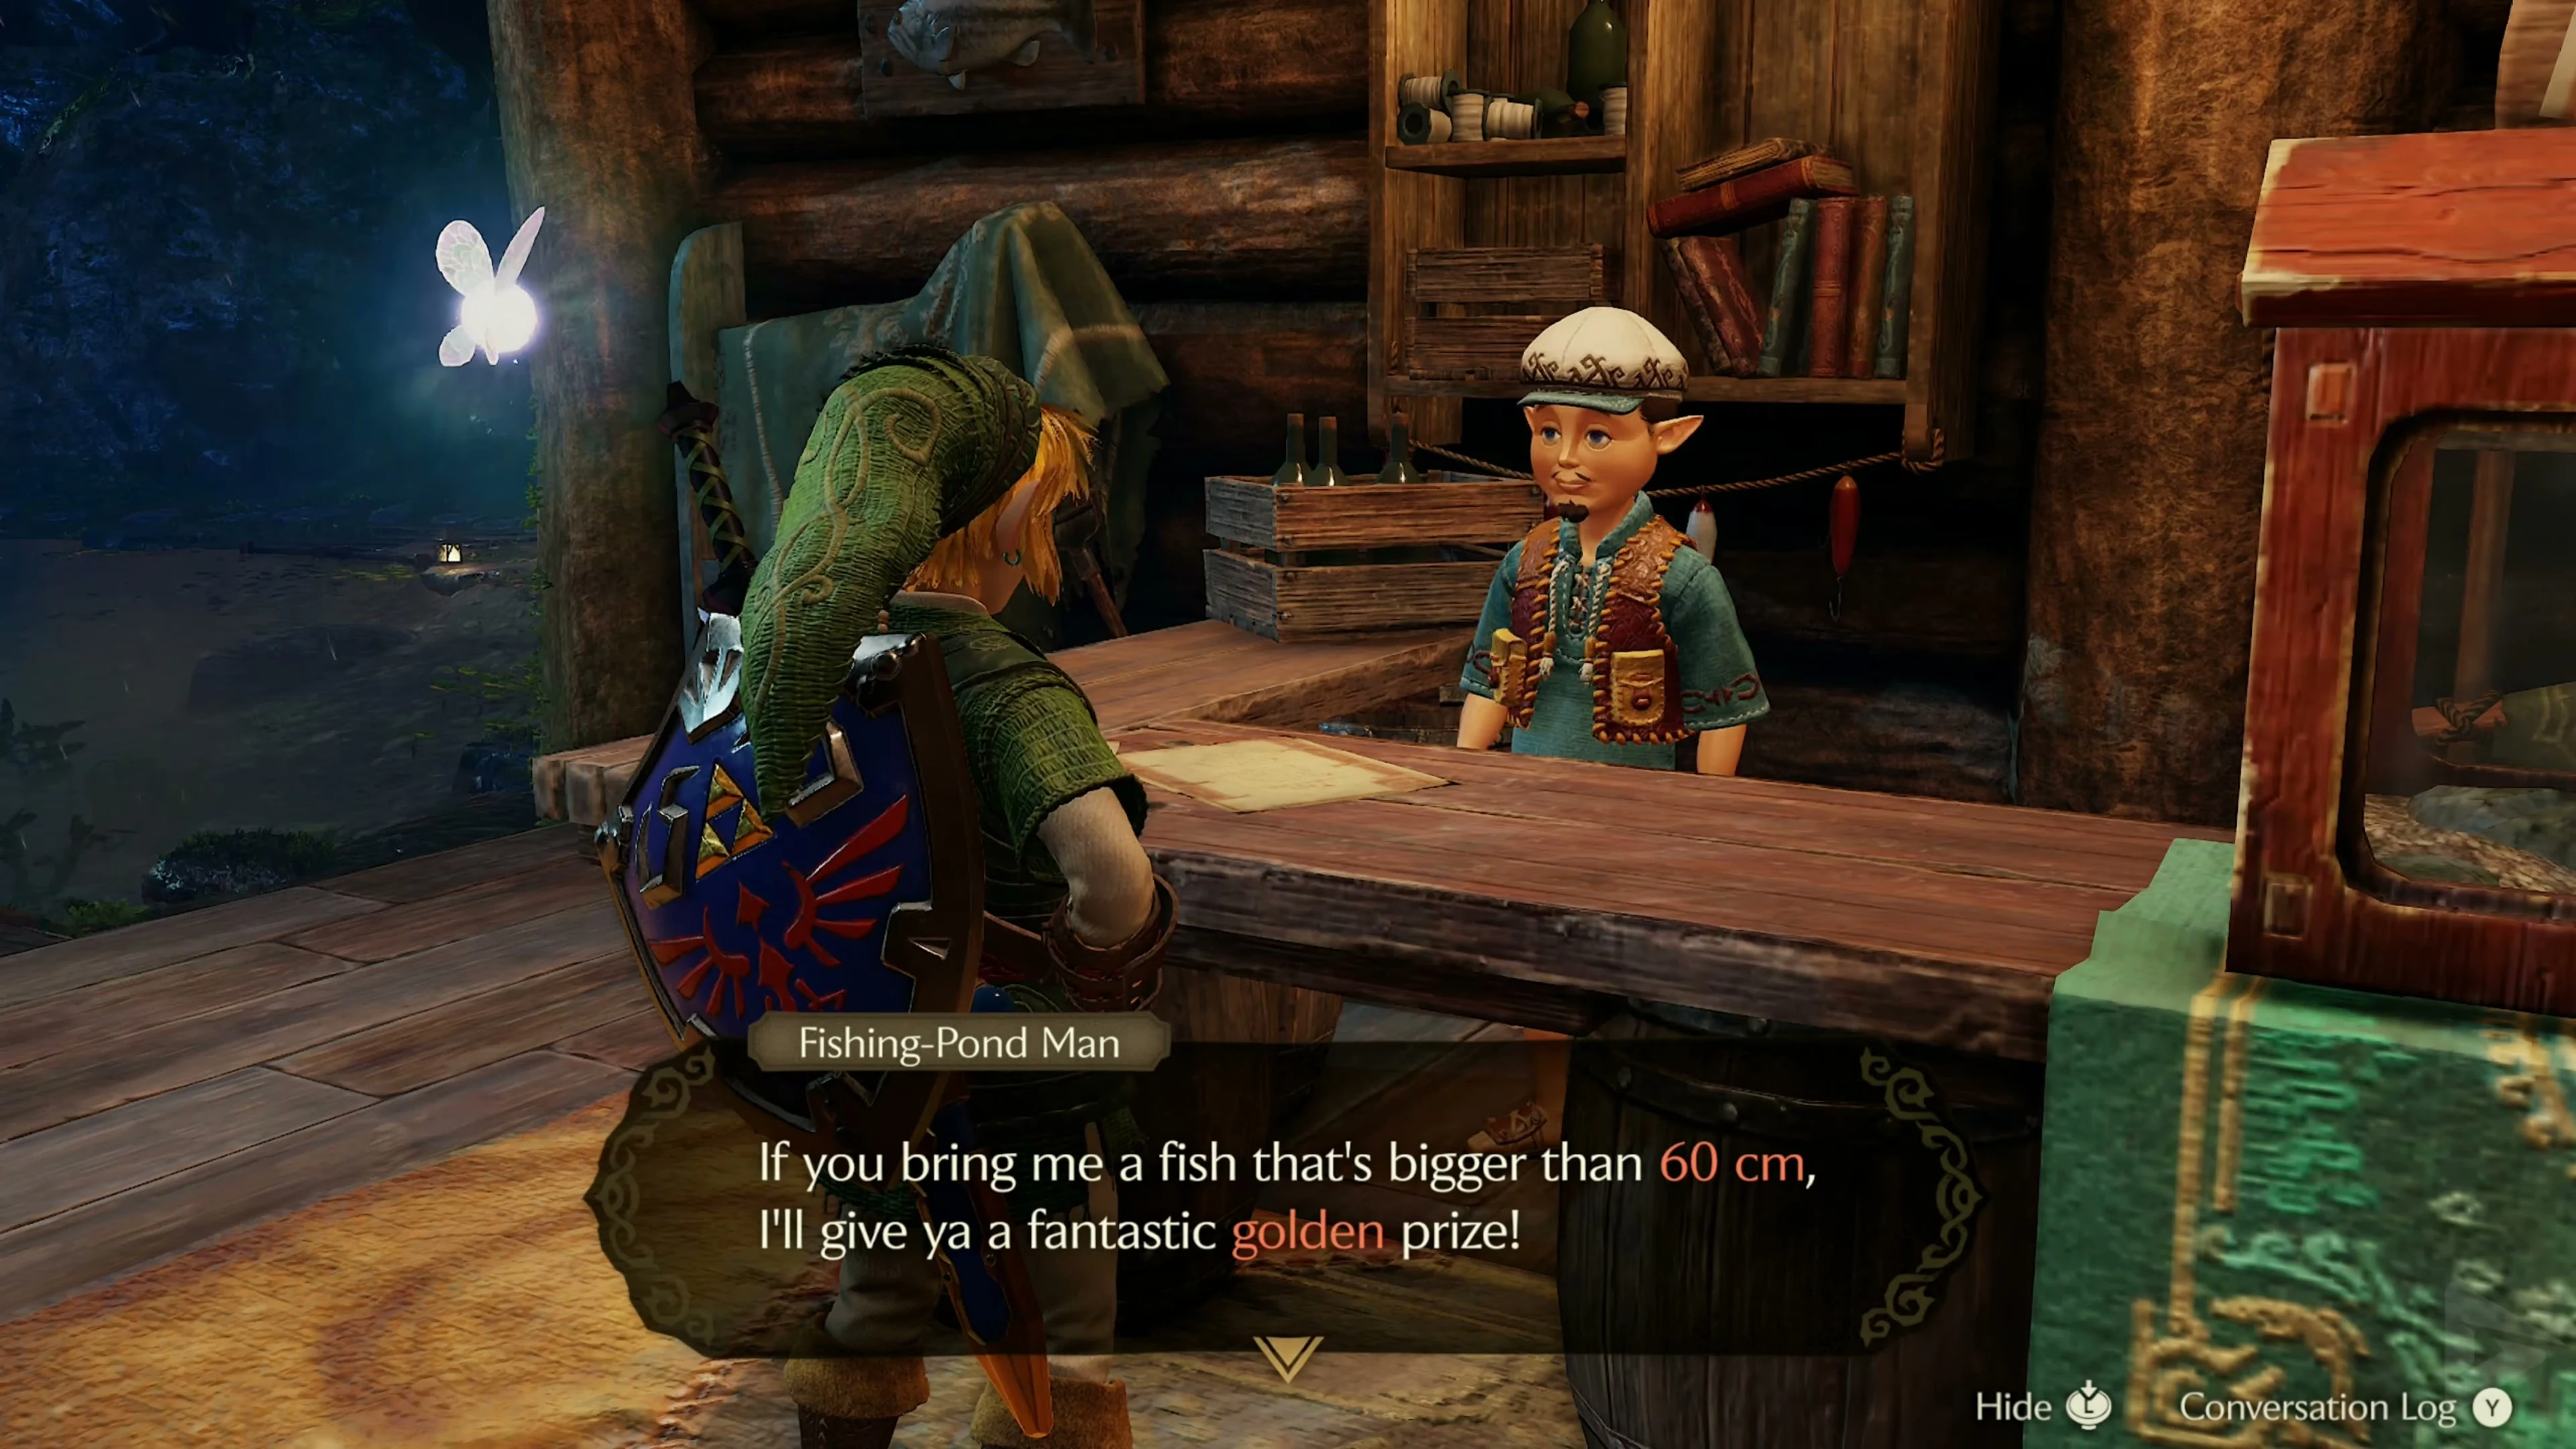
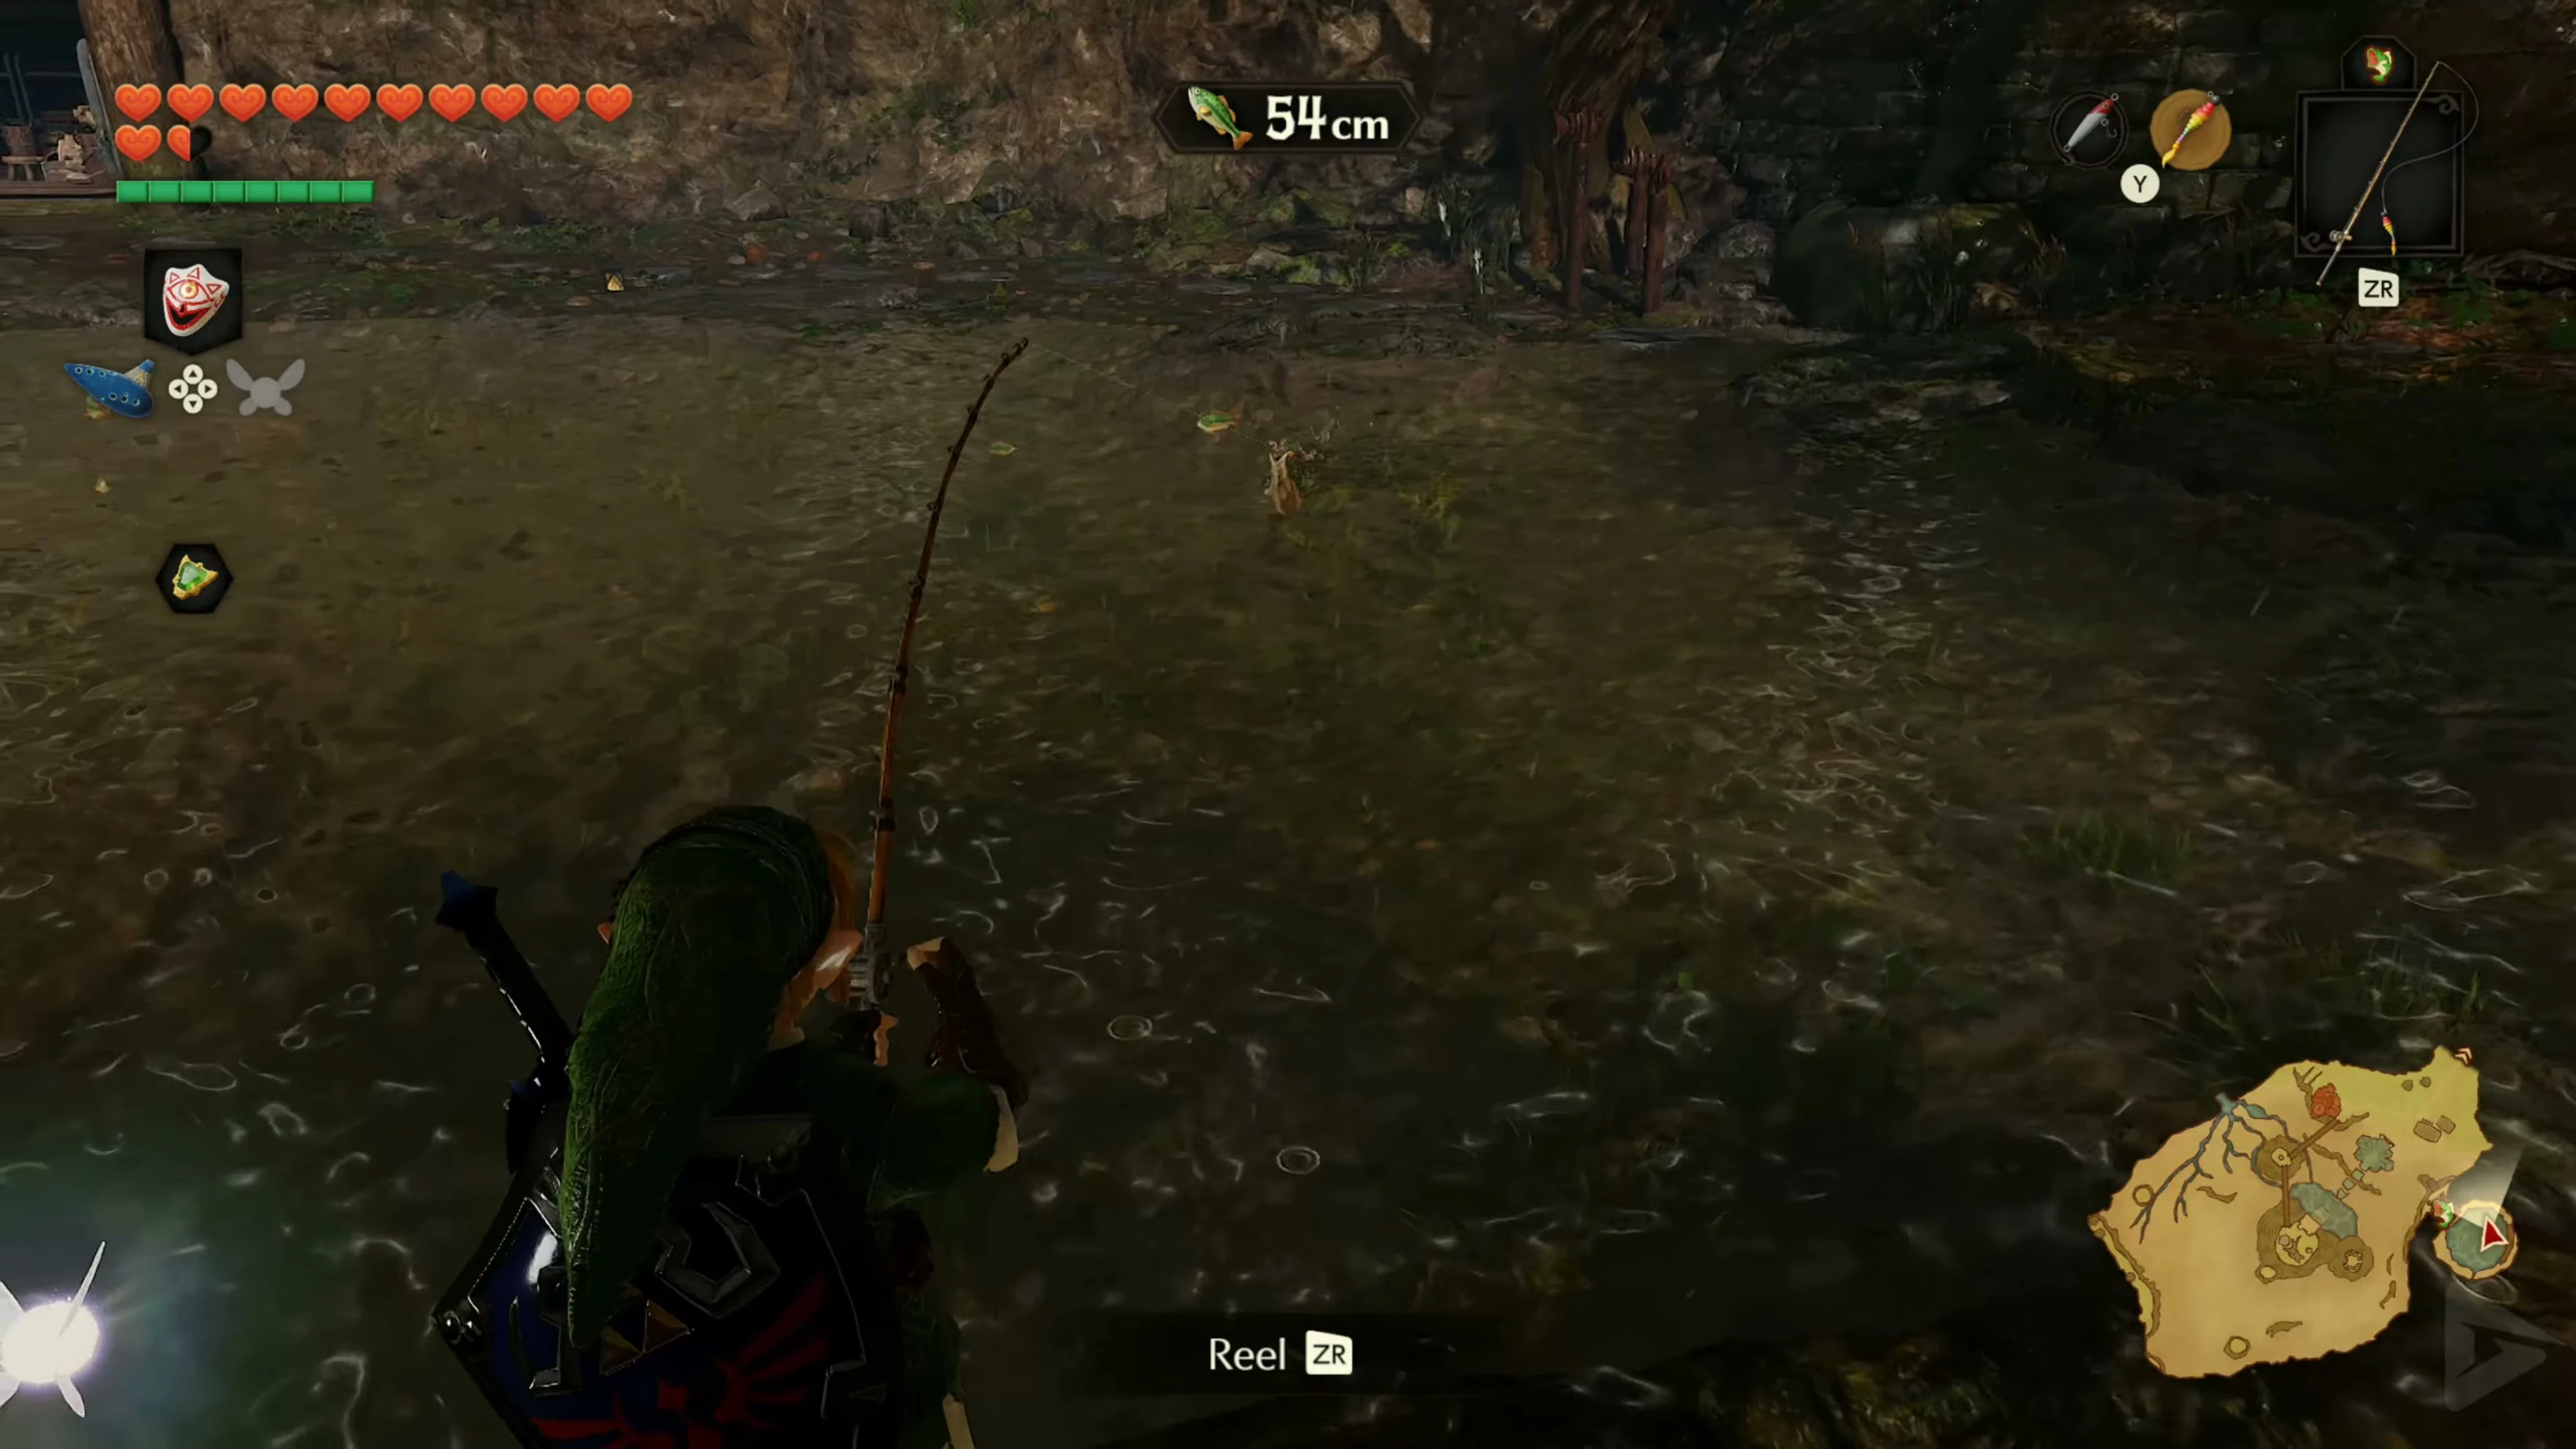
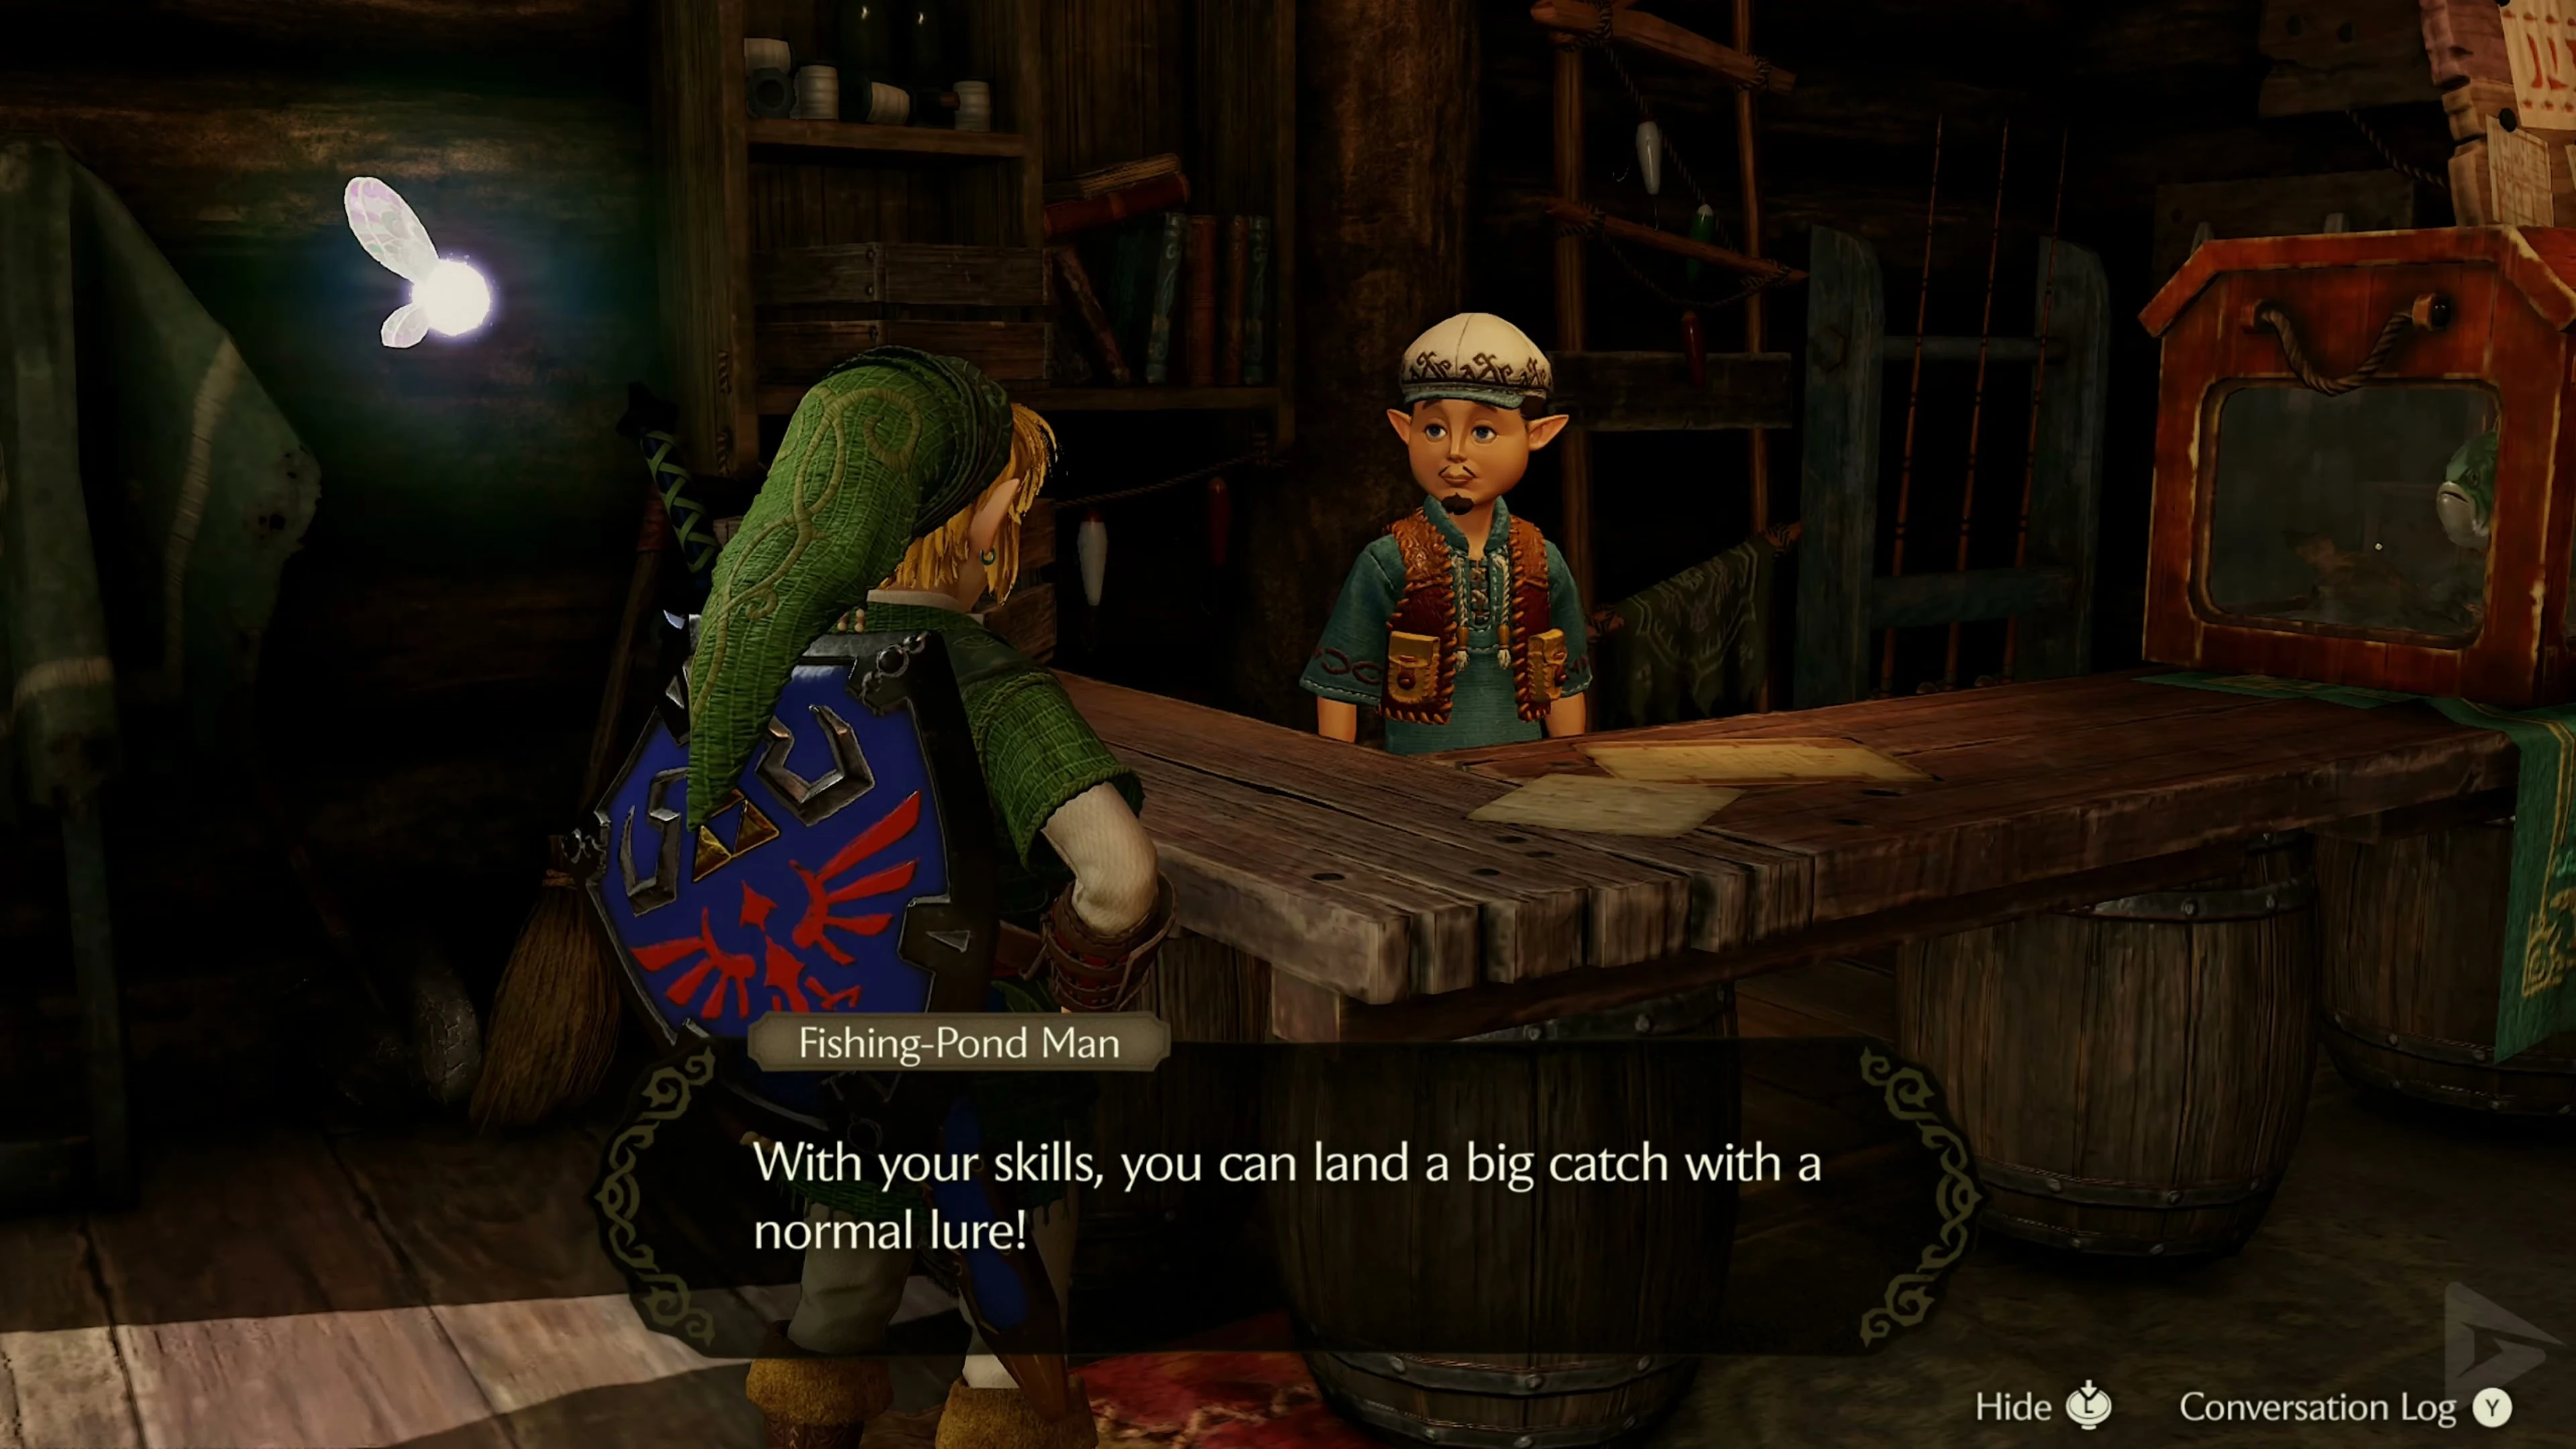
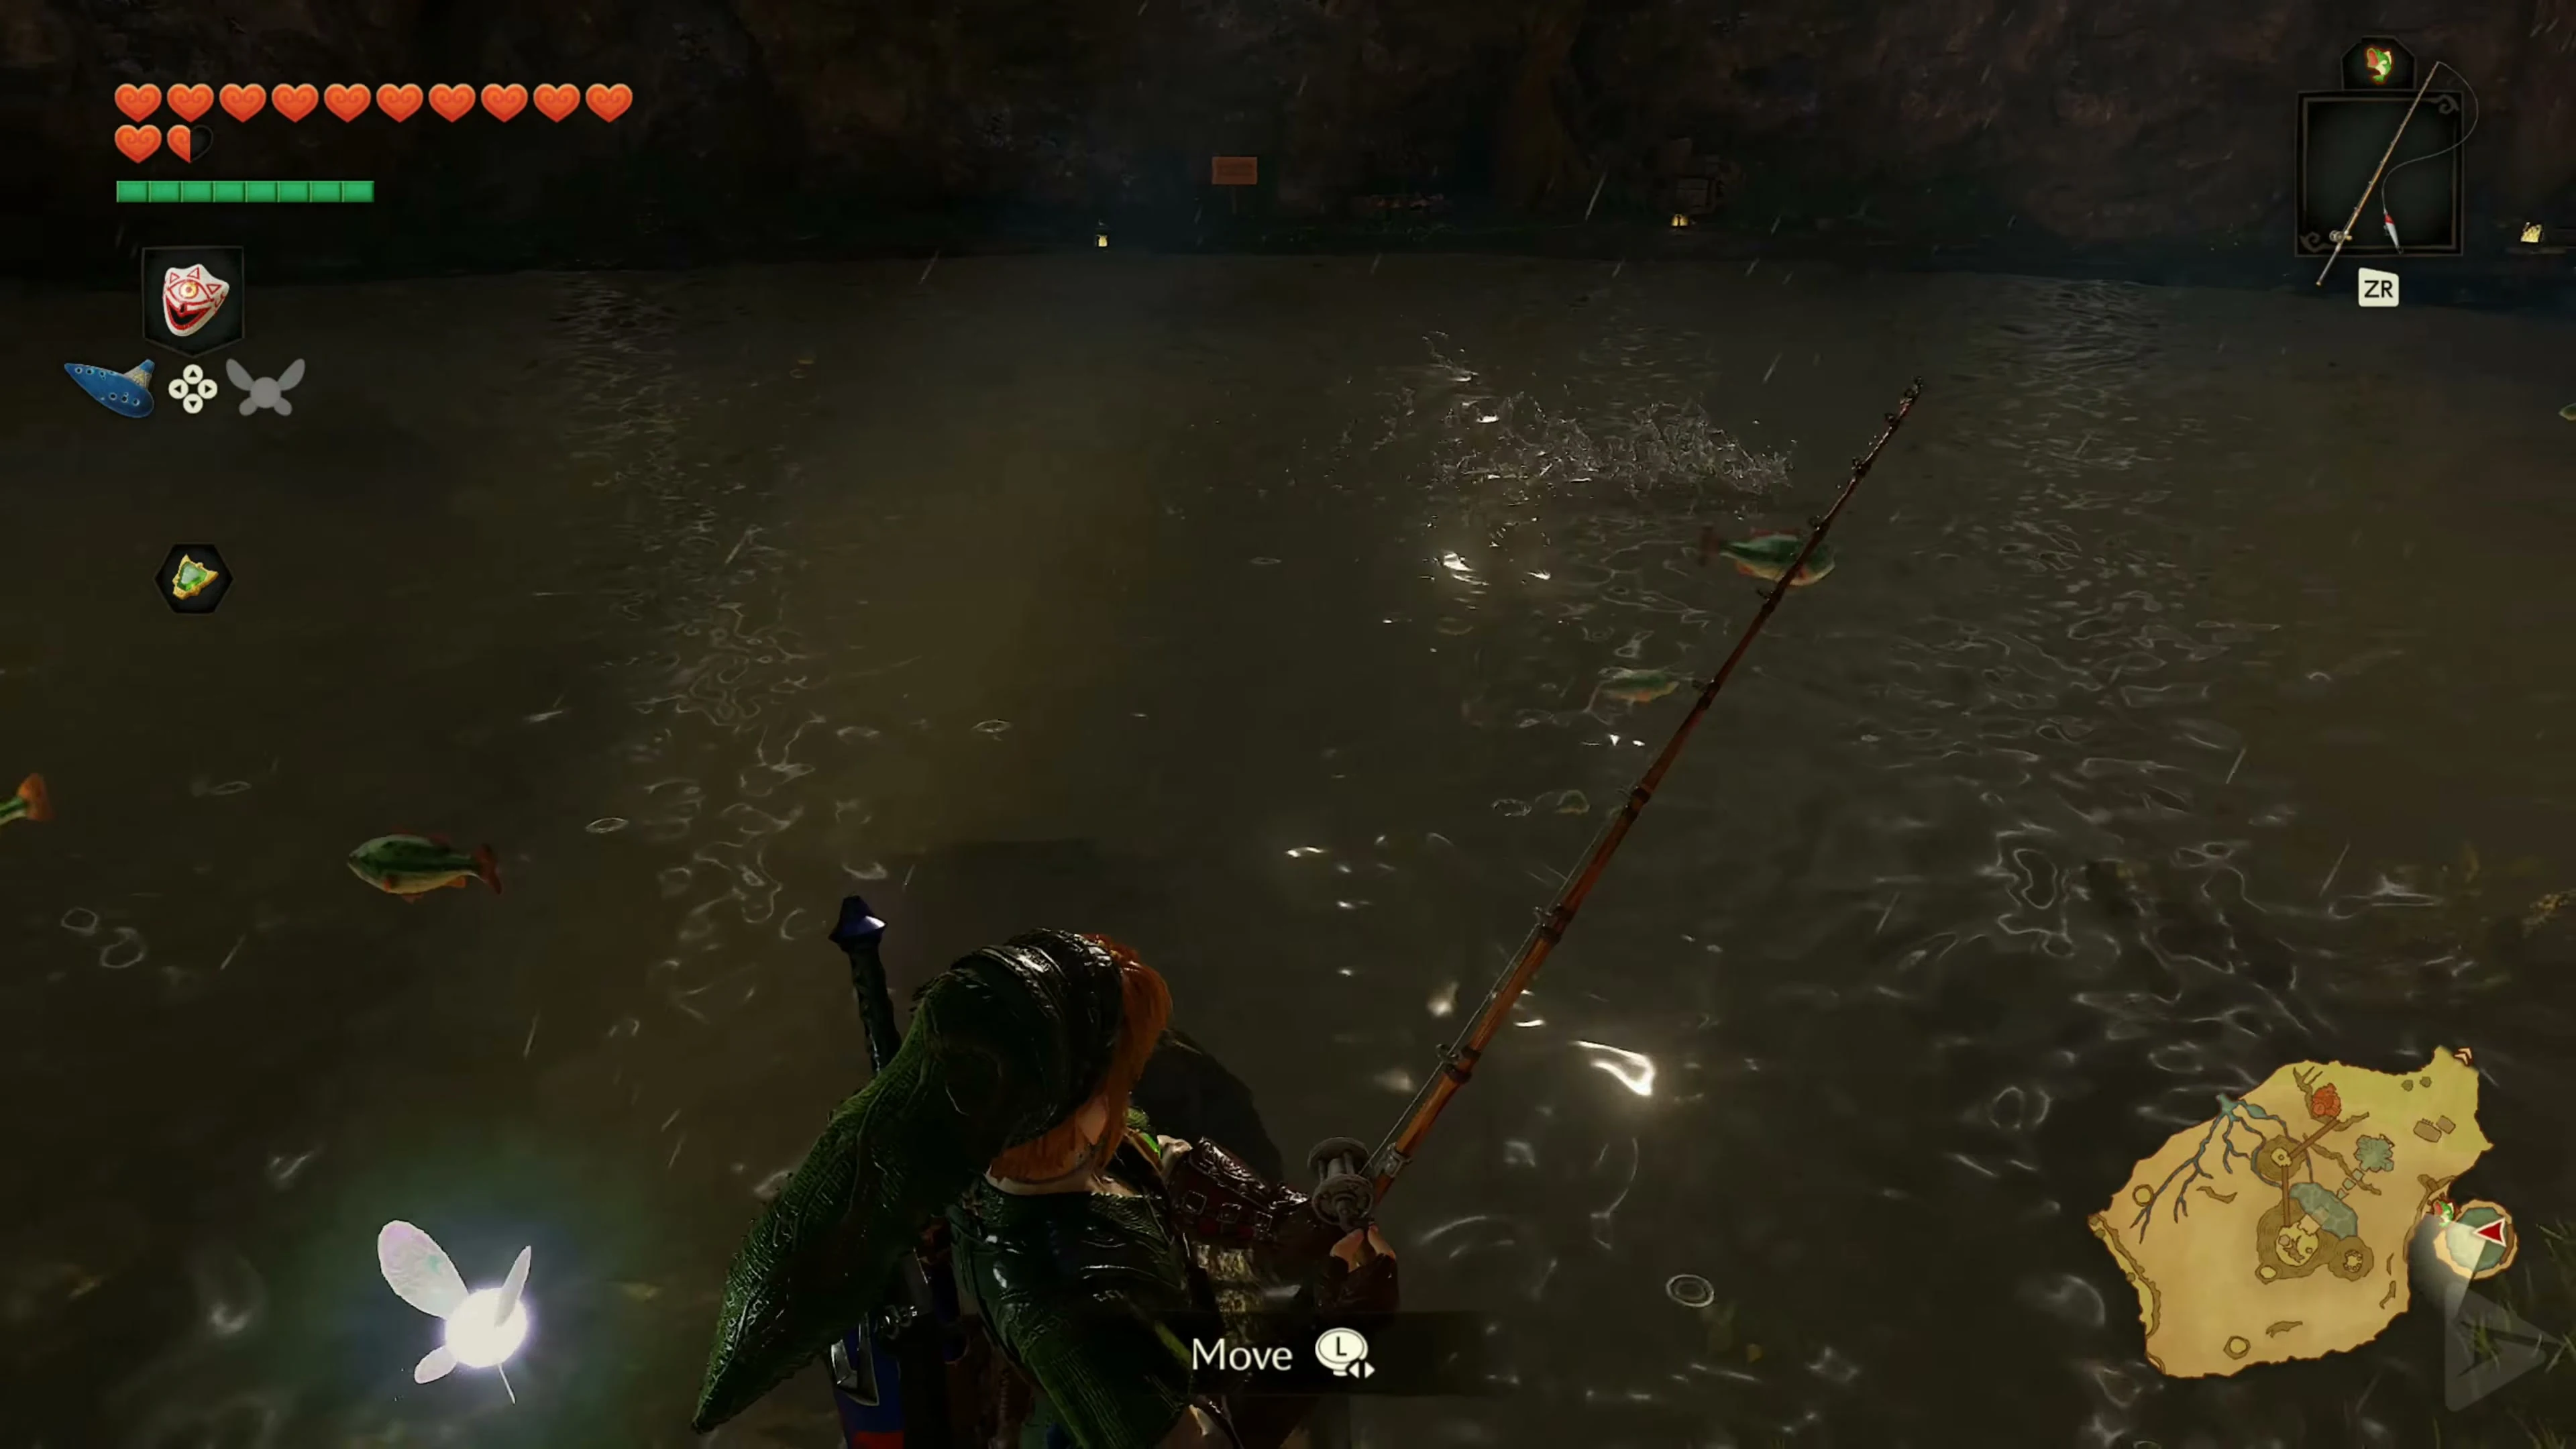
Enter the fishing pond and, as adult Link, pay 30 Rupees for a fishing rod. As an adult Link, you’ll find significantly larger fish in the pond than during his childhood. For the Golden Scale, you’ll need a fish that’s over 60 centimeters long . Particularly large specimens often inhabit the deeper water in the middle of the pond or near the partially submerged log. Cast your lure near a large fish and move it only slightly. Short movements look more natural than a constant, fast retrieve. As soon as a fish bites, set the hook and tilt the rod in the direction it’s swimming. Wait until it tires and pauses briefly. Then, hold ZR to reel it in. If it starts thrashing again, release ZR and continue following its swimming direction. Repeat this until the fish is near the shore.
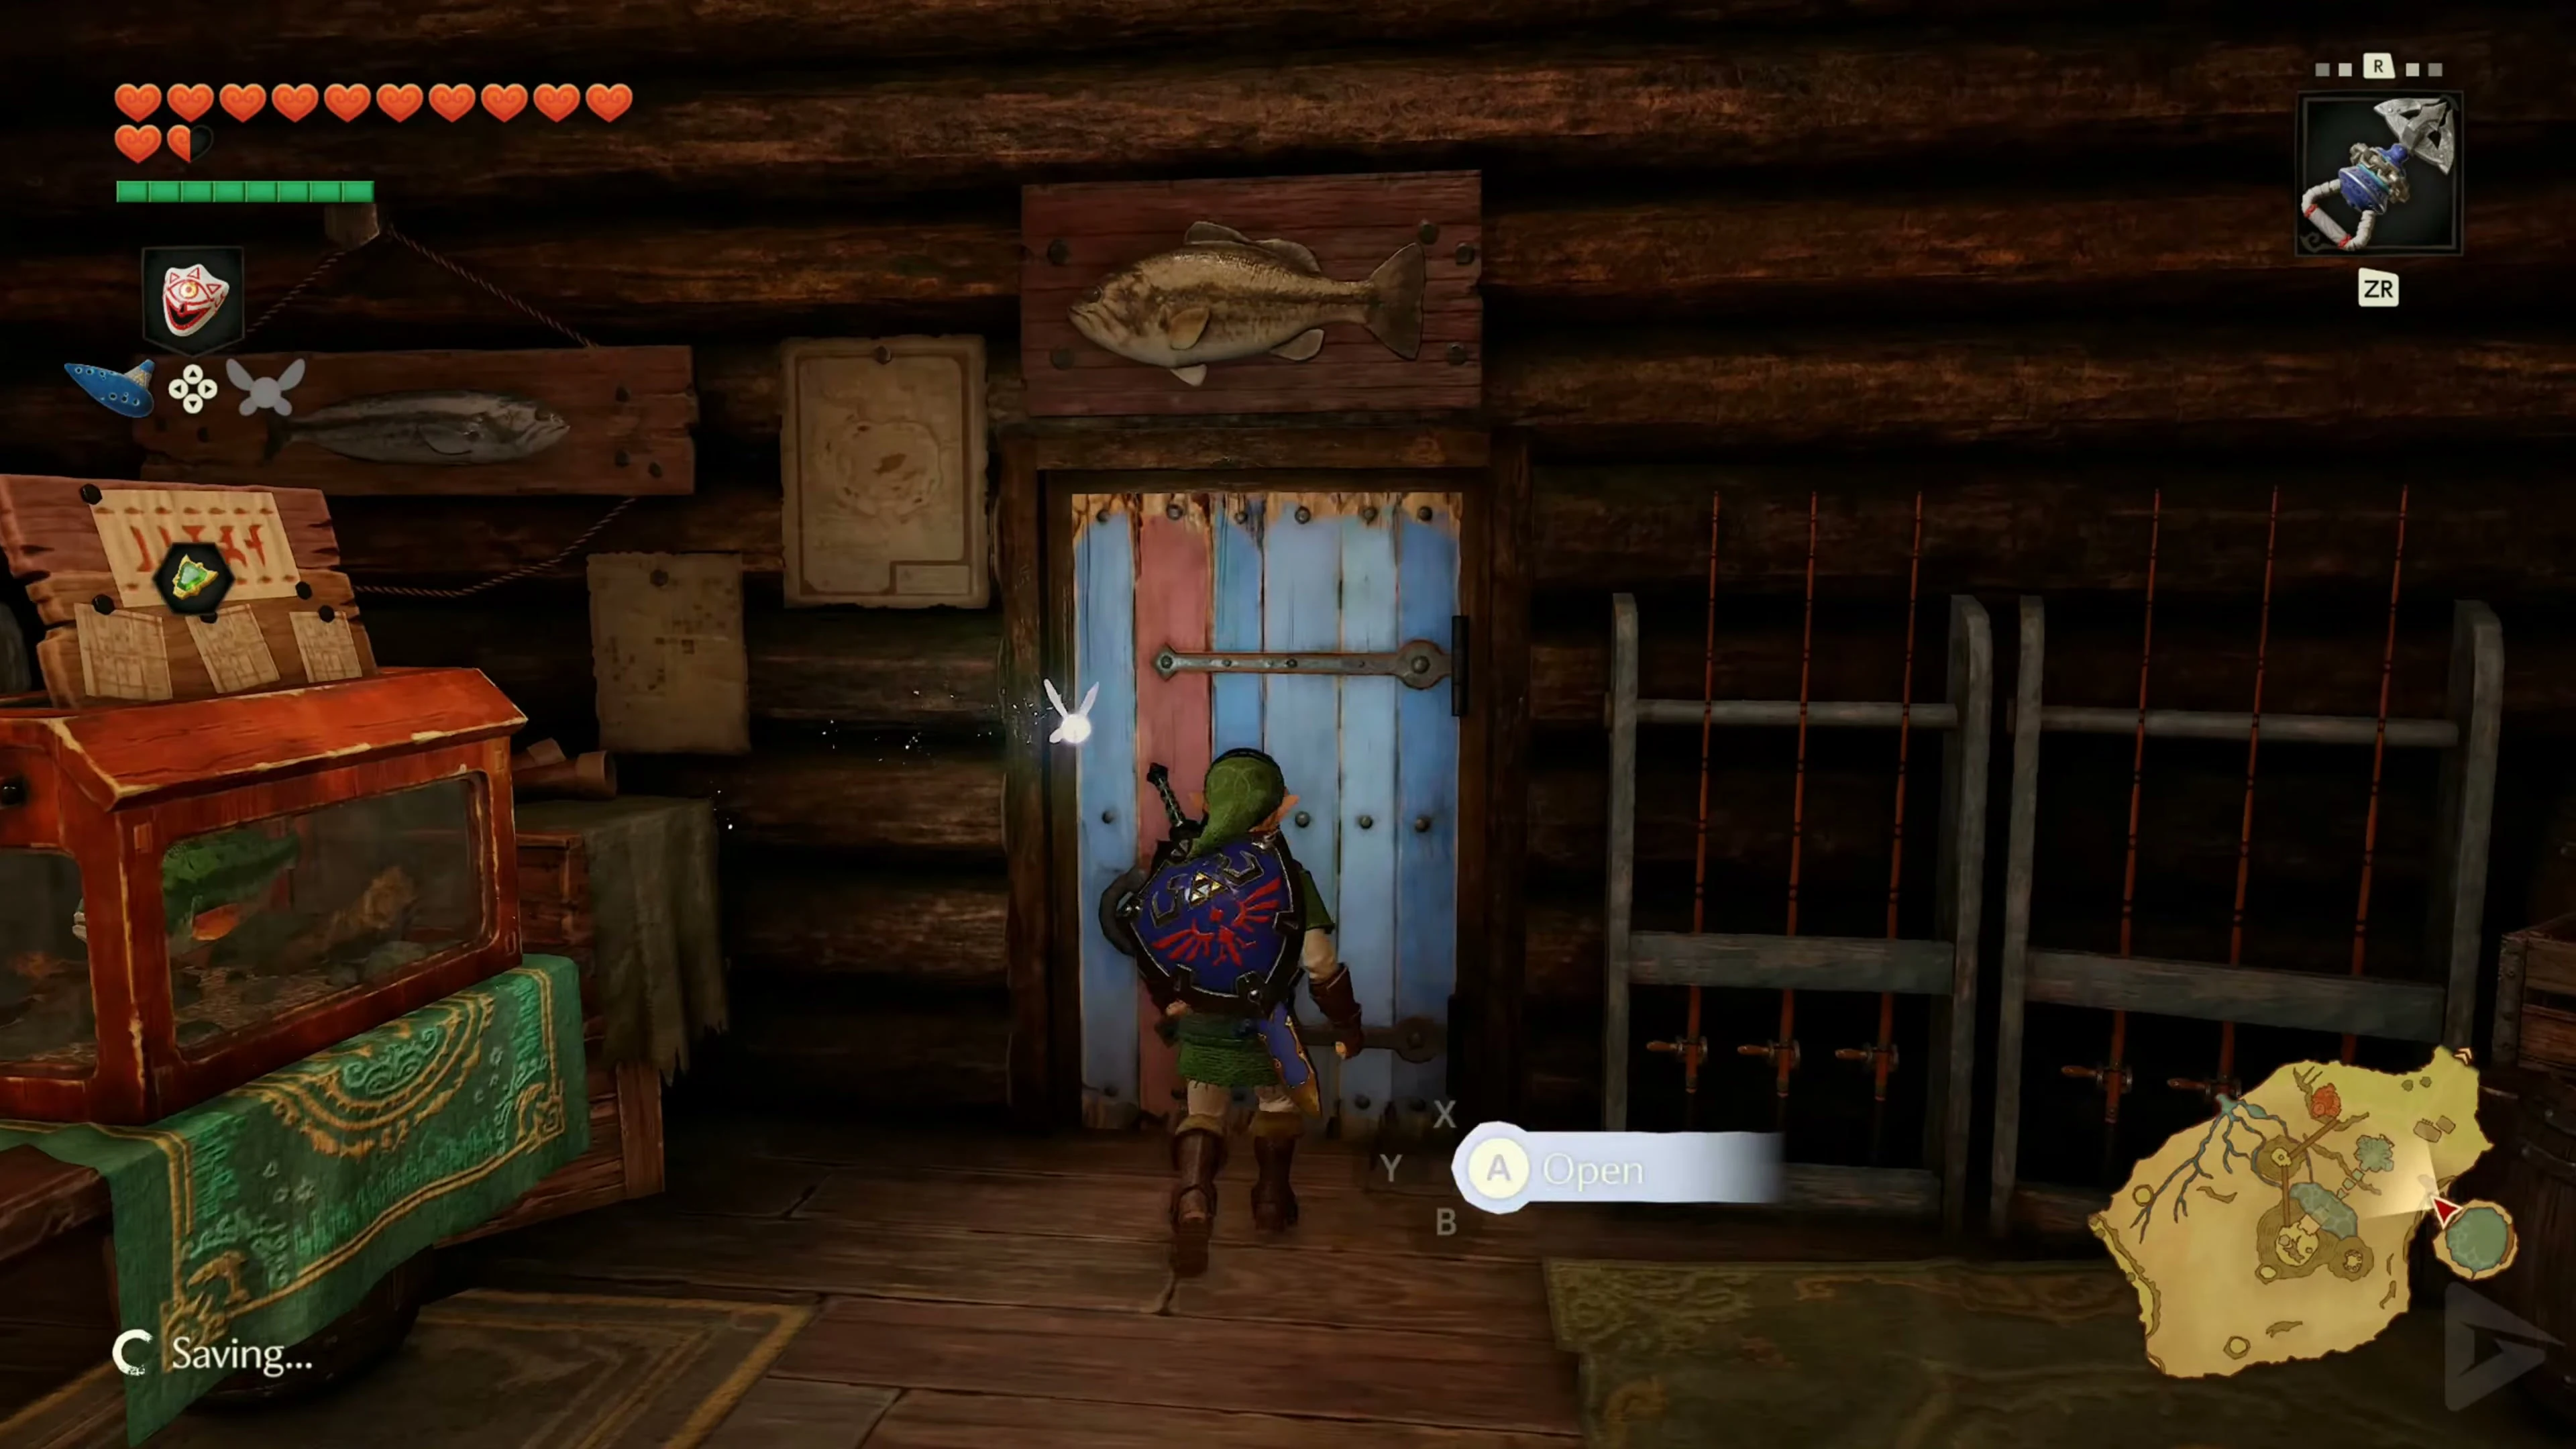
Take the caught fish to the owner of the fishing pond and have it weighed. If your catch measures more than 60 centimeters, you will receive the Golden Scale . It replaces the previously received Silver Scale and permanently improves Link’s natural diving depth.
Piece of Heart at the Research Institute.
Afterward, return to the research institute at Lake Hylia. Inside, you’ll find the researcher’s deep test tank. Jump in, but this time don’t use The Iron Boots. Dive as deep as possible under your own power using the new Golden Scale and reach the bottom of the pool. Then swim back to the surface and talk to the explorer. Since Link can now dive deep enough, he rewards you with another Piece of Heart This find is tied to the improved diving depth of the Golden Scale and therefore cannot simply be replaced with the Iron Boots.
Gold Skulltula in the Research Institute
The Gold Skulltula is in a crate on the bottom of the pool. Jump back into the water and this time equip both the Zora Tunic and the Iron Boots . Link will sink to the bottom and can walk around there without time pressure. Find the wooden crate on the bottom and perform a roll attack on it to break it. A Gold Skulltula is hidden inside the crate. You can’t use the Master Sword normally underwater, but the Hookshot still works. Target the Skulltula, defeat it, and then pull the token to Link. Afterward, put your normal boots back on so you can swim to the surface.
The Biggoron Sword – Continue the Trading Quest
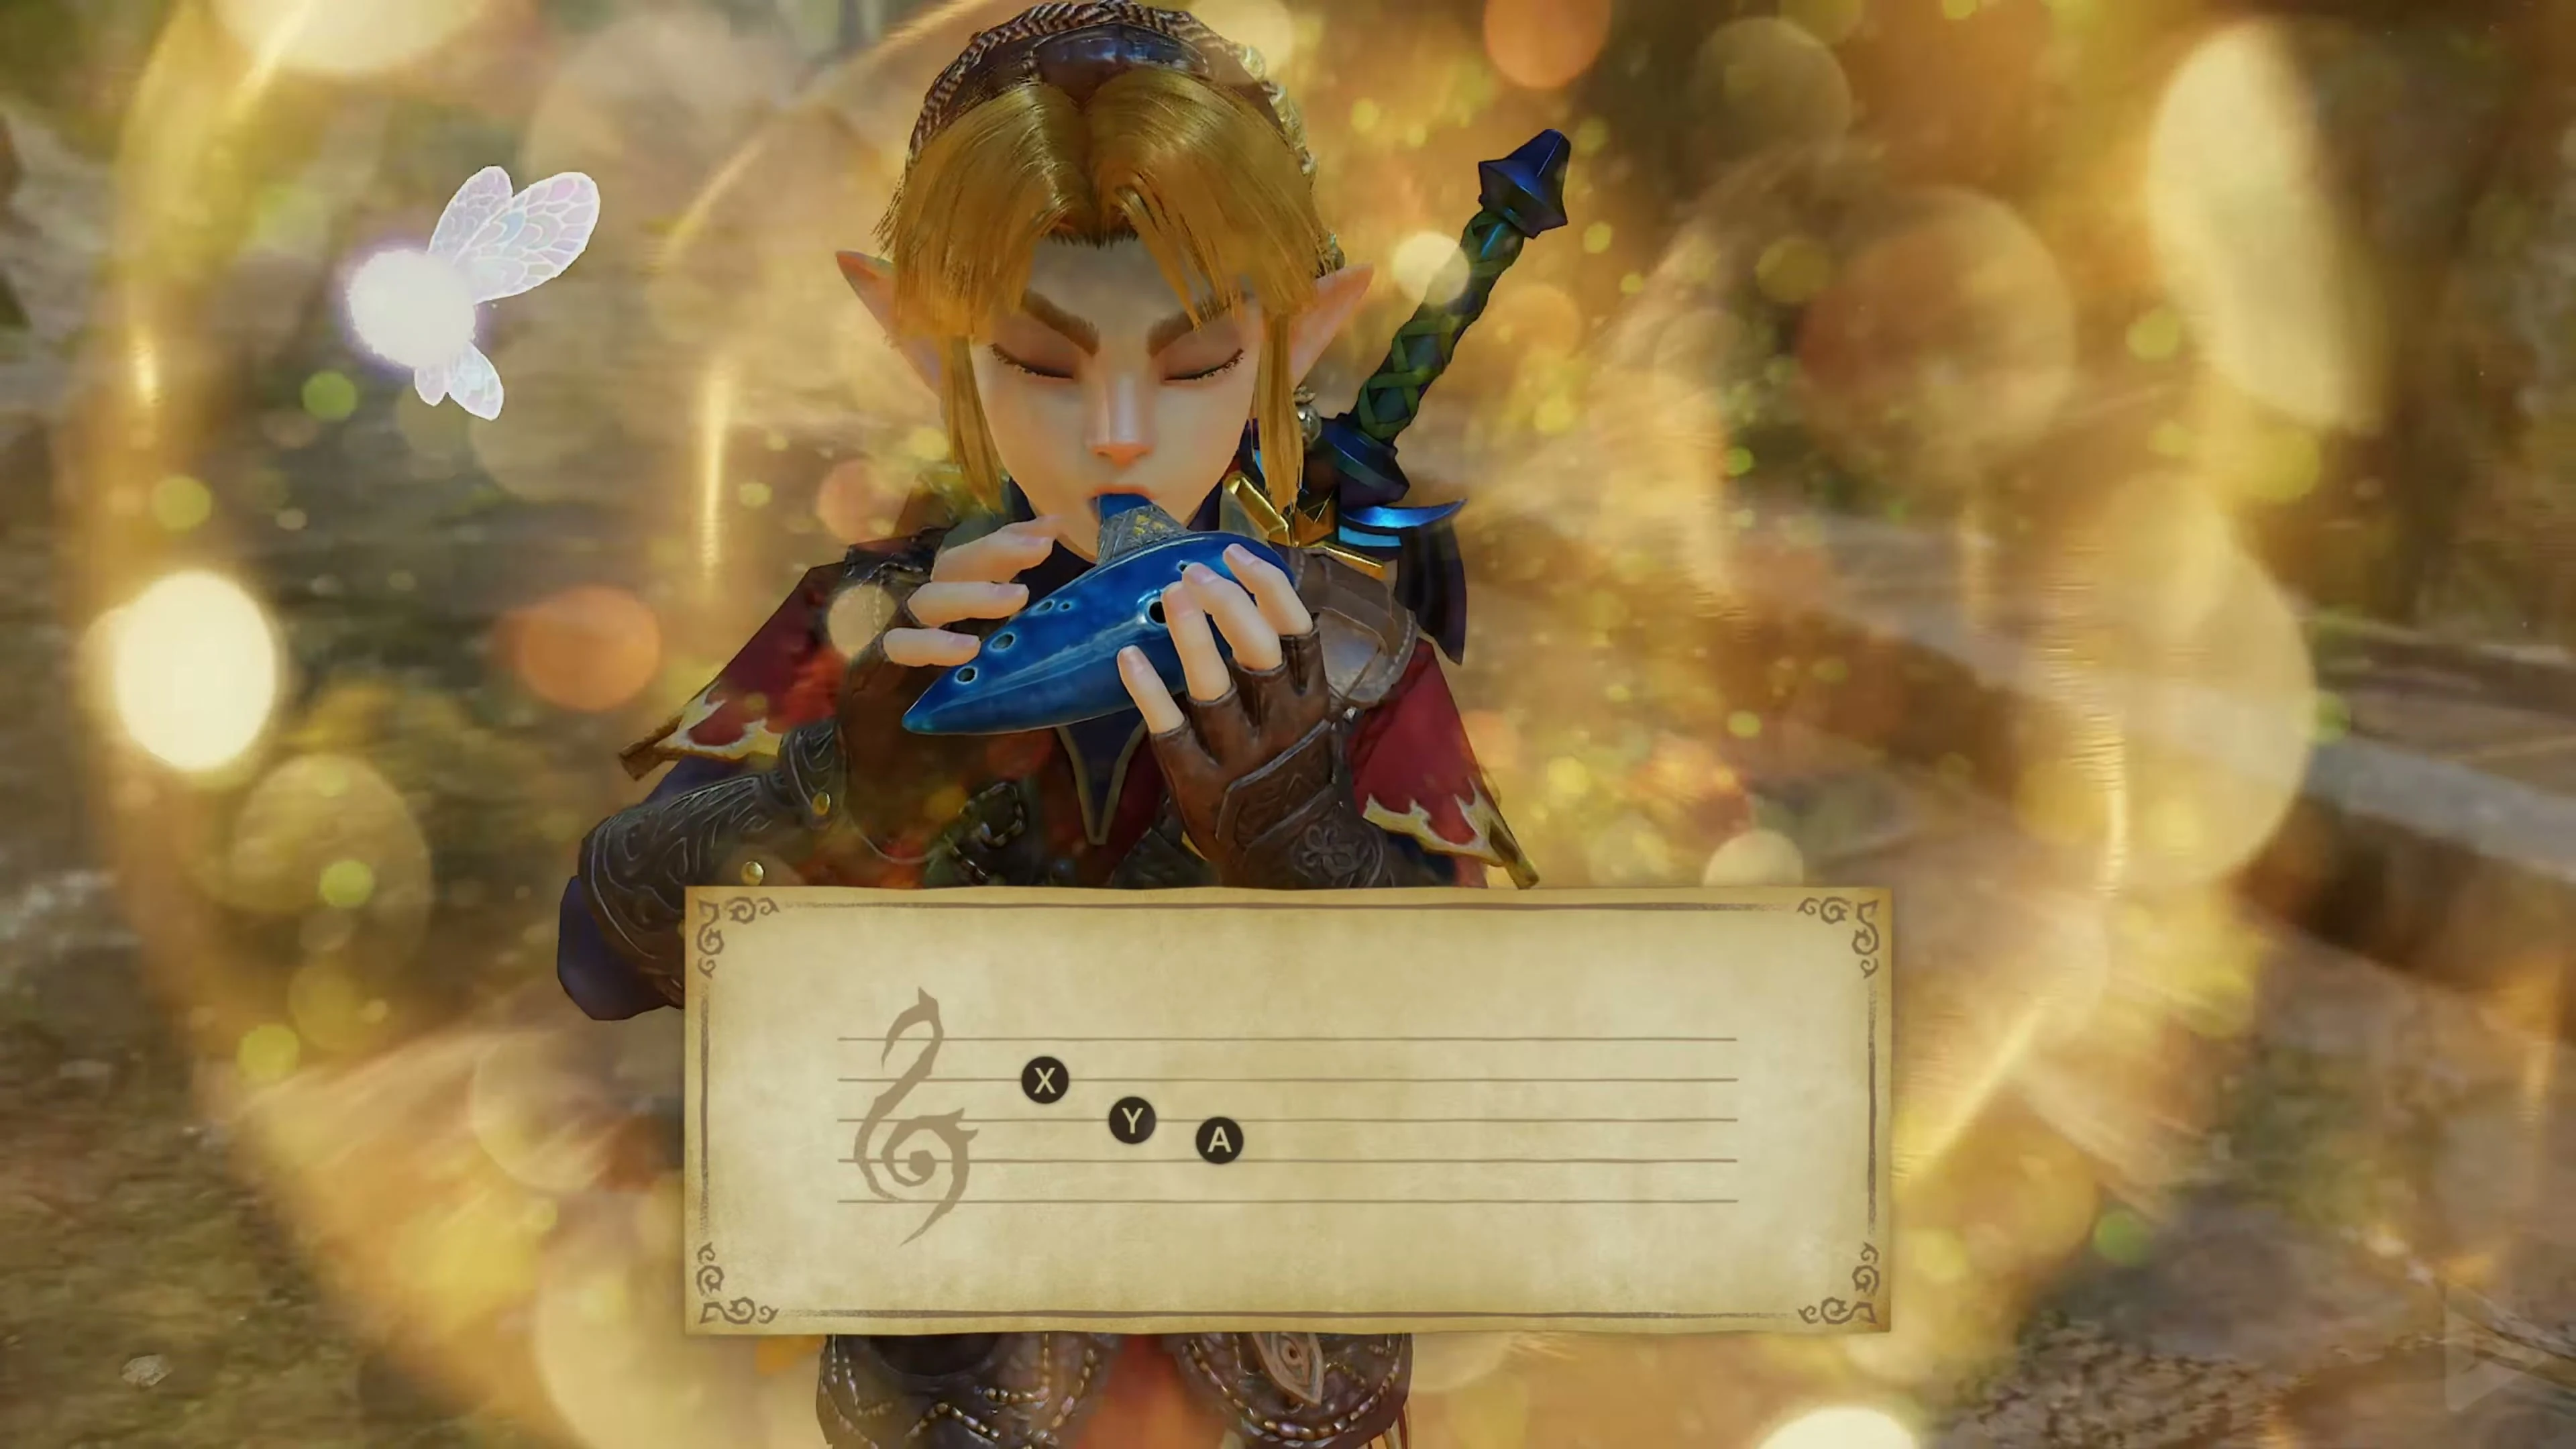
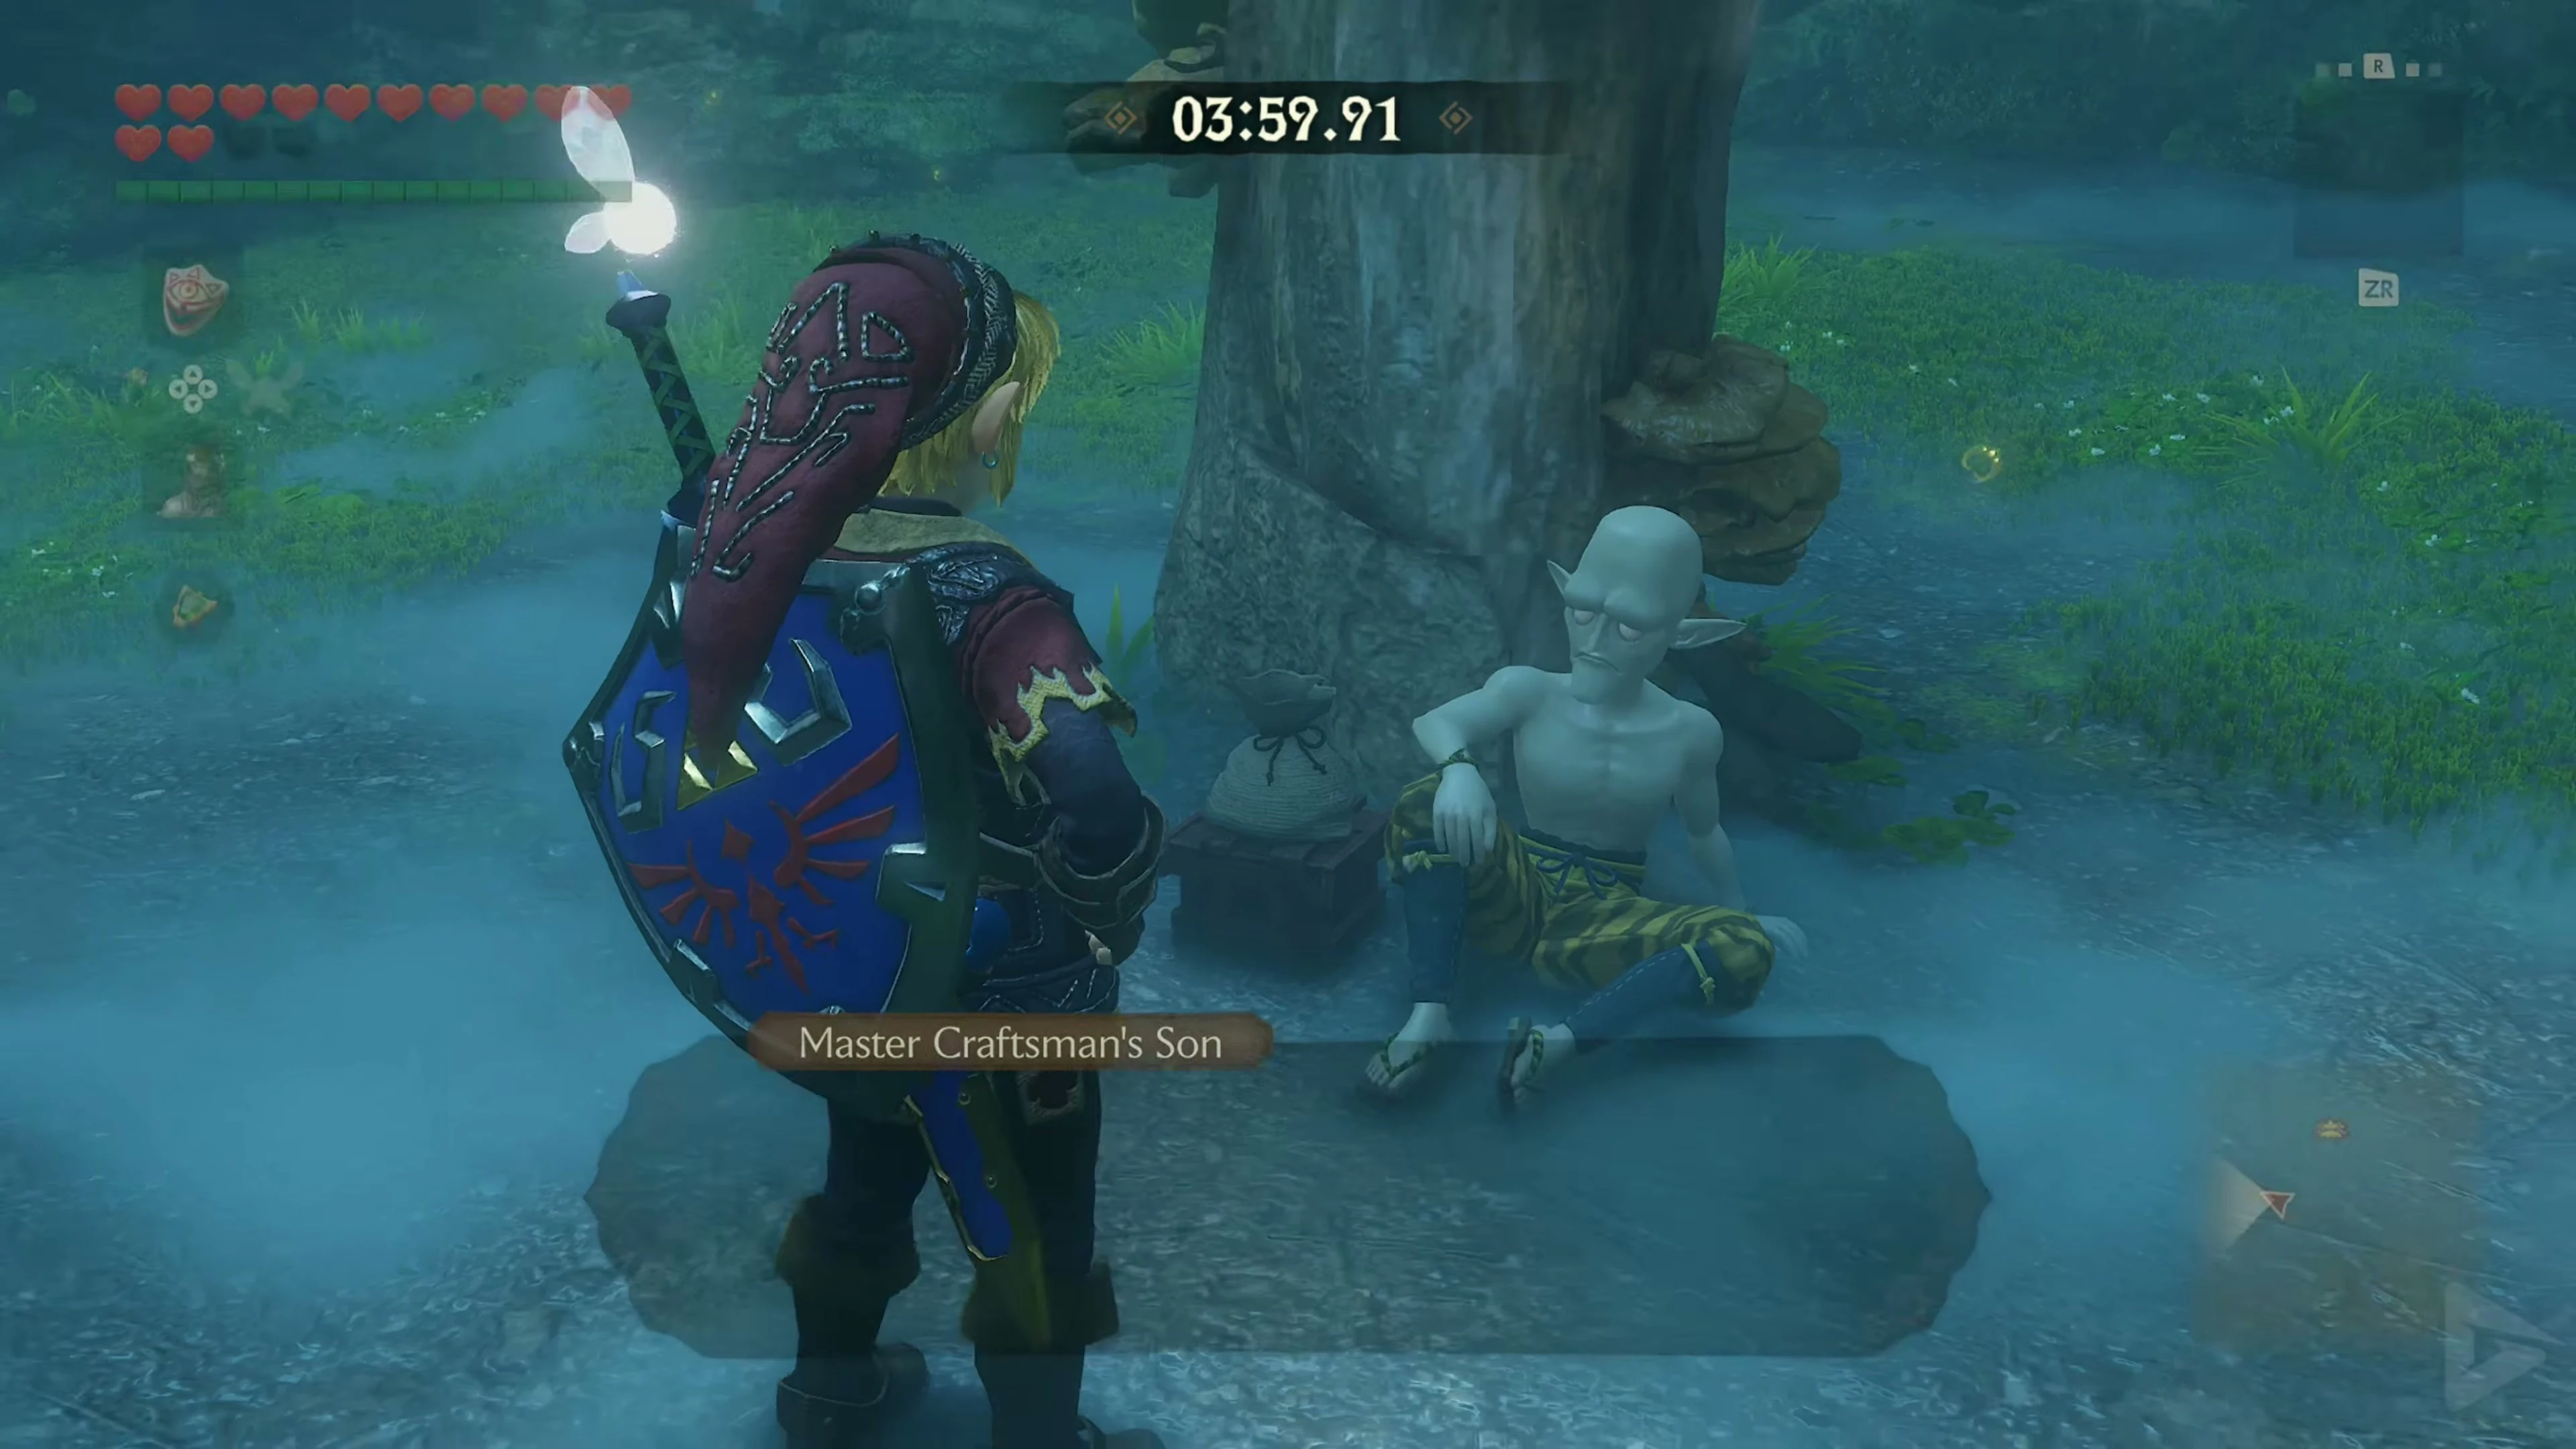
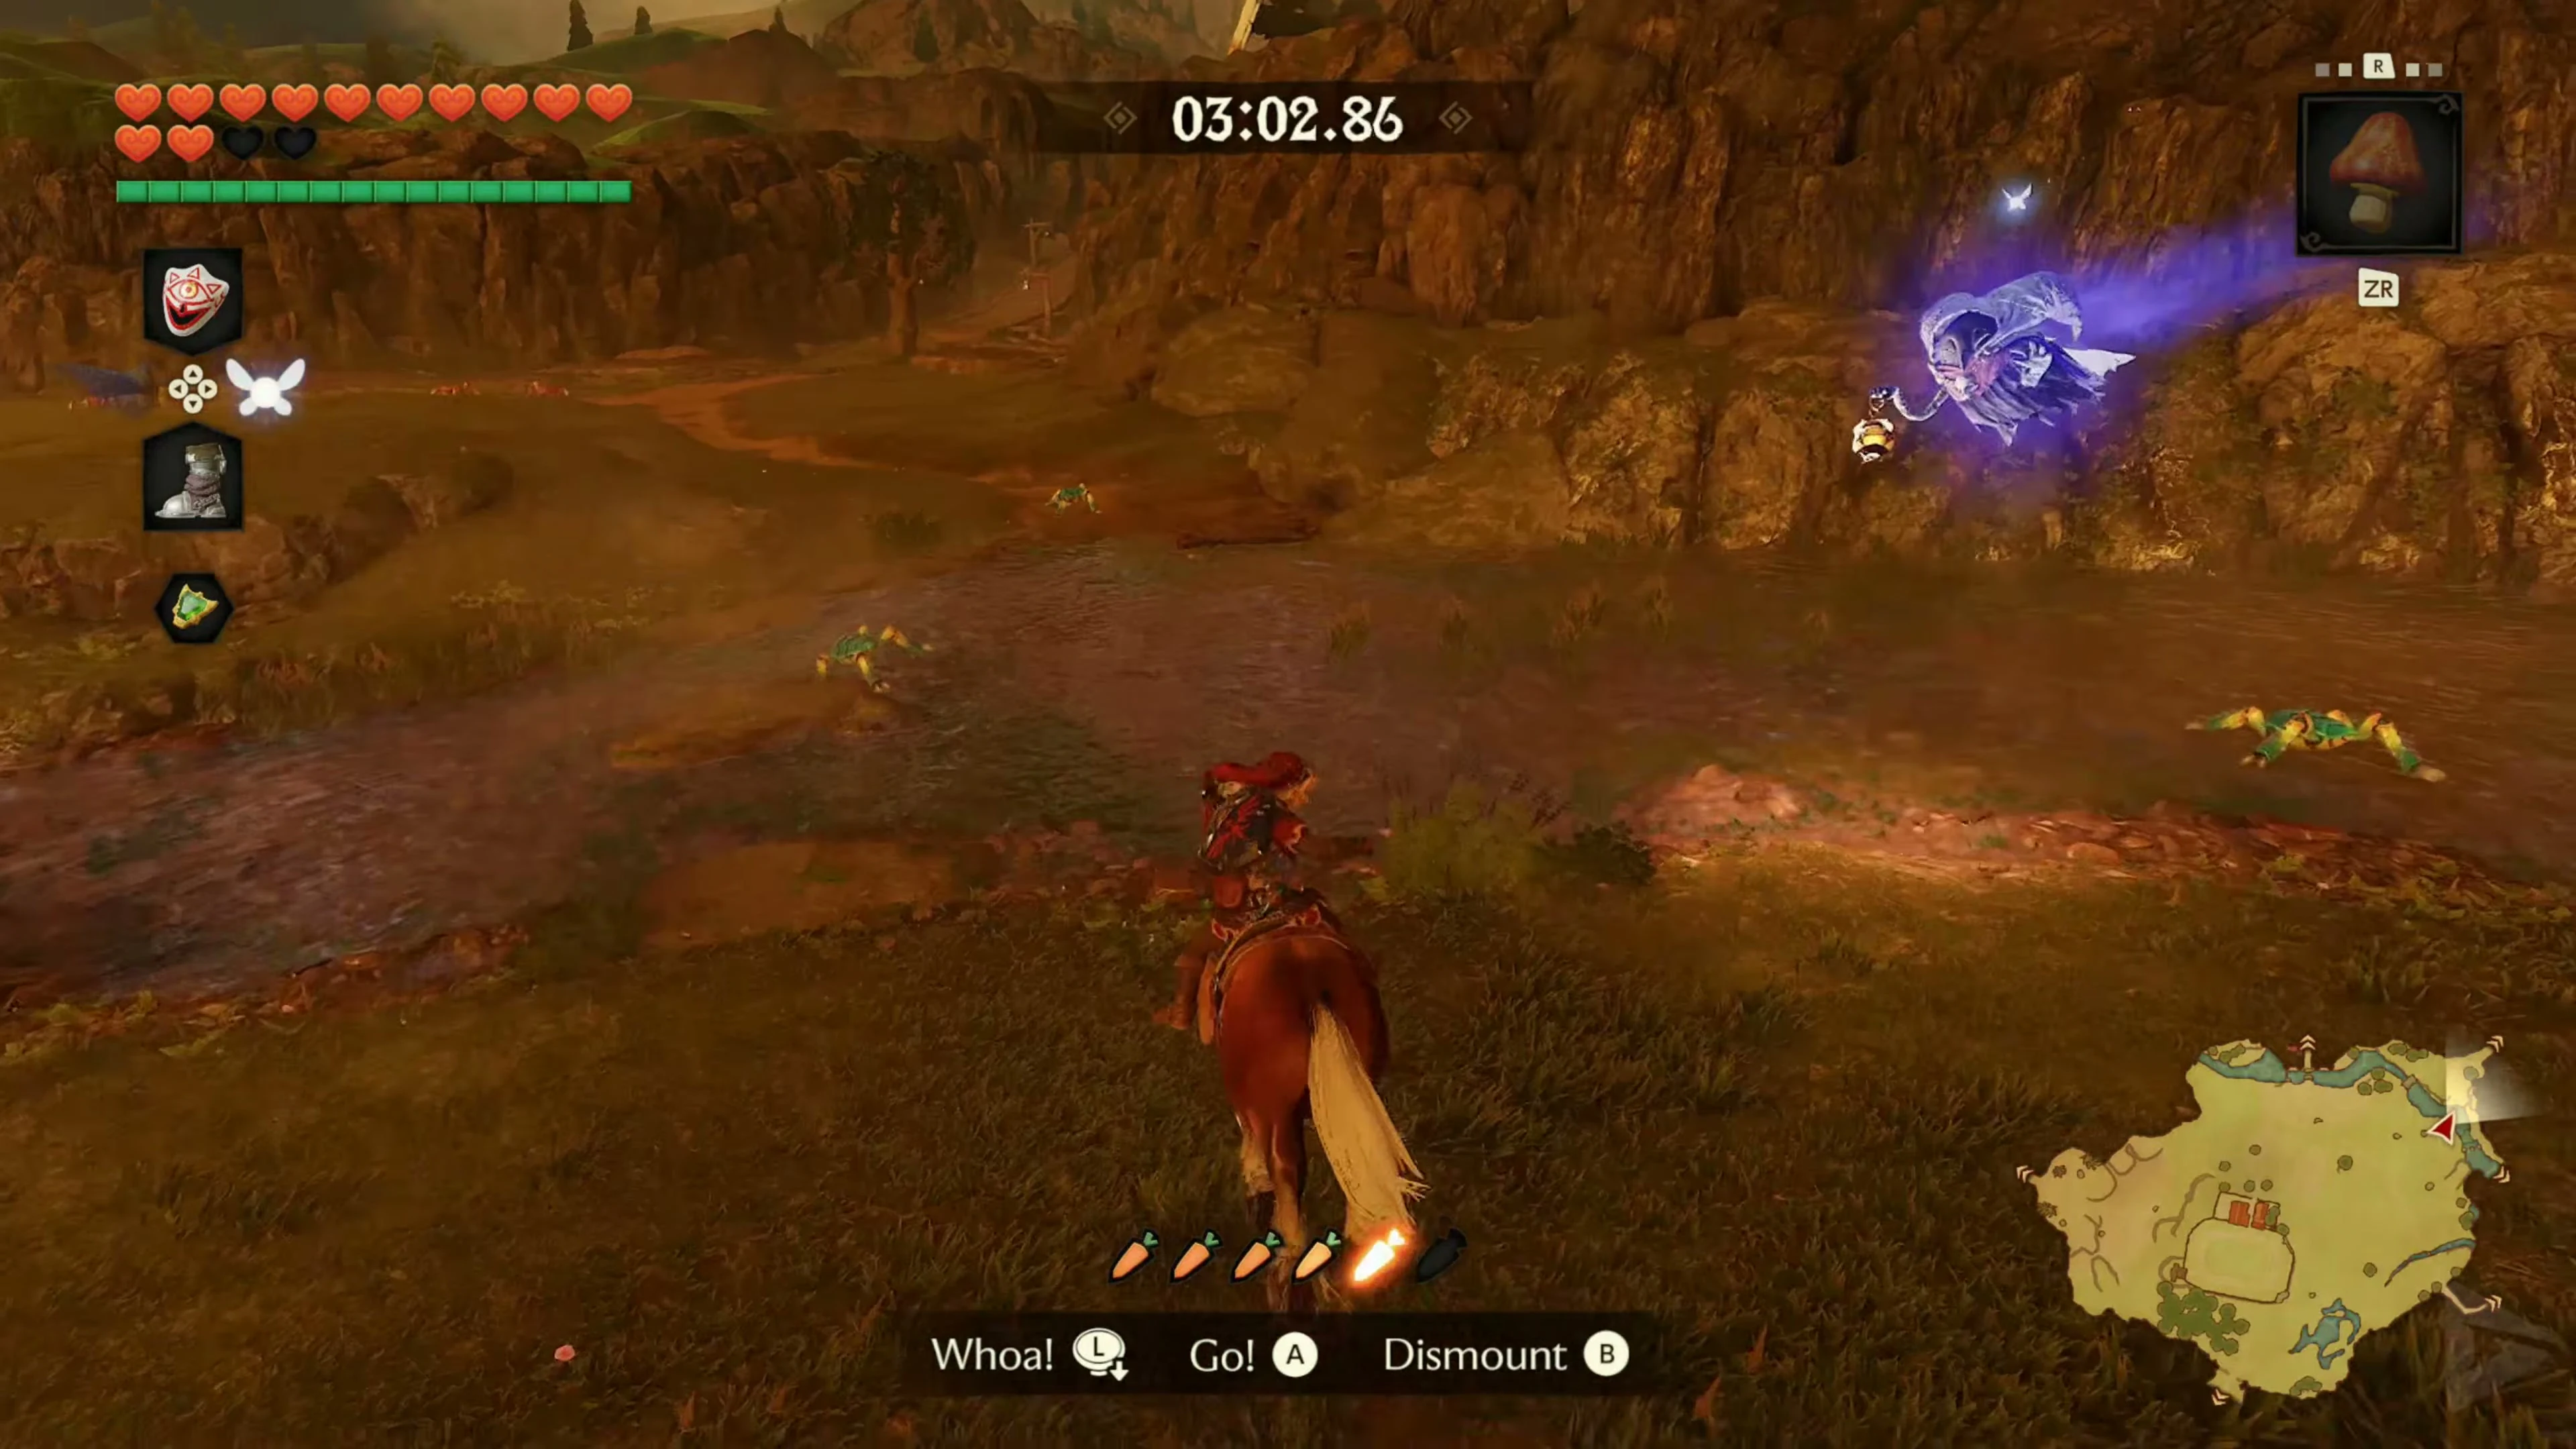
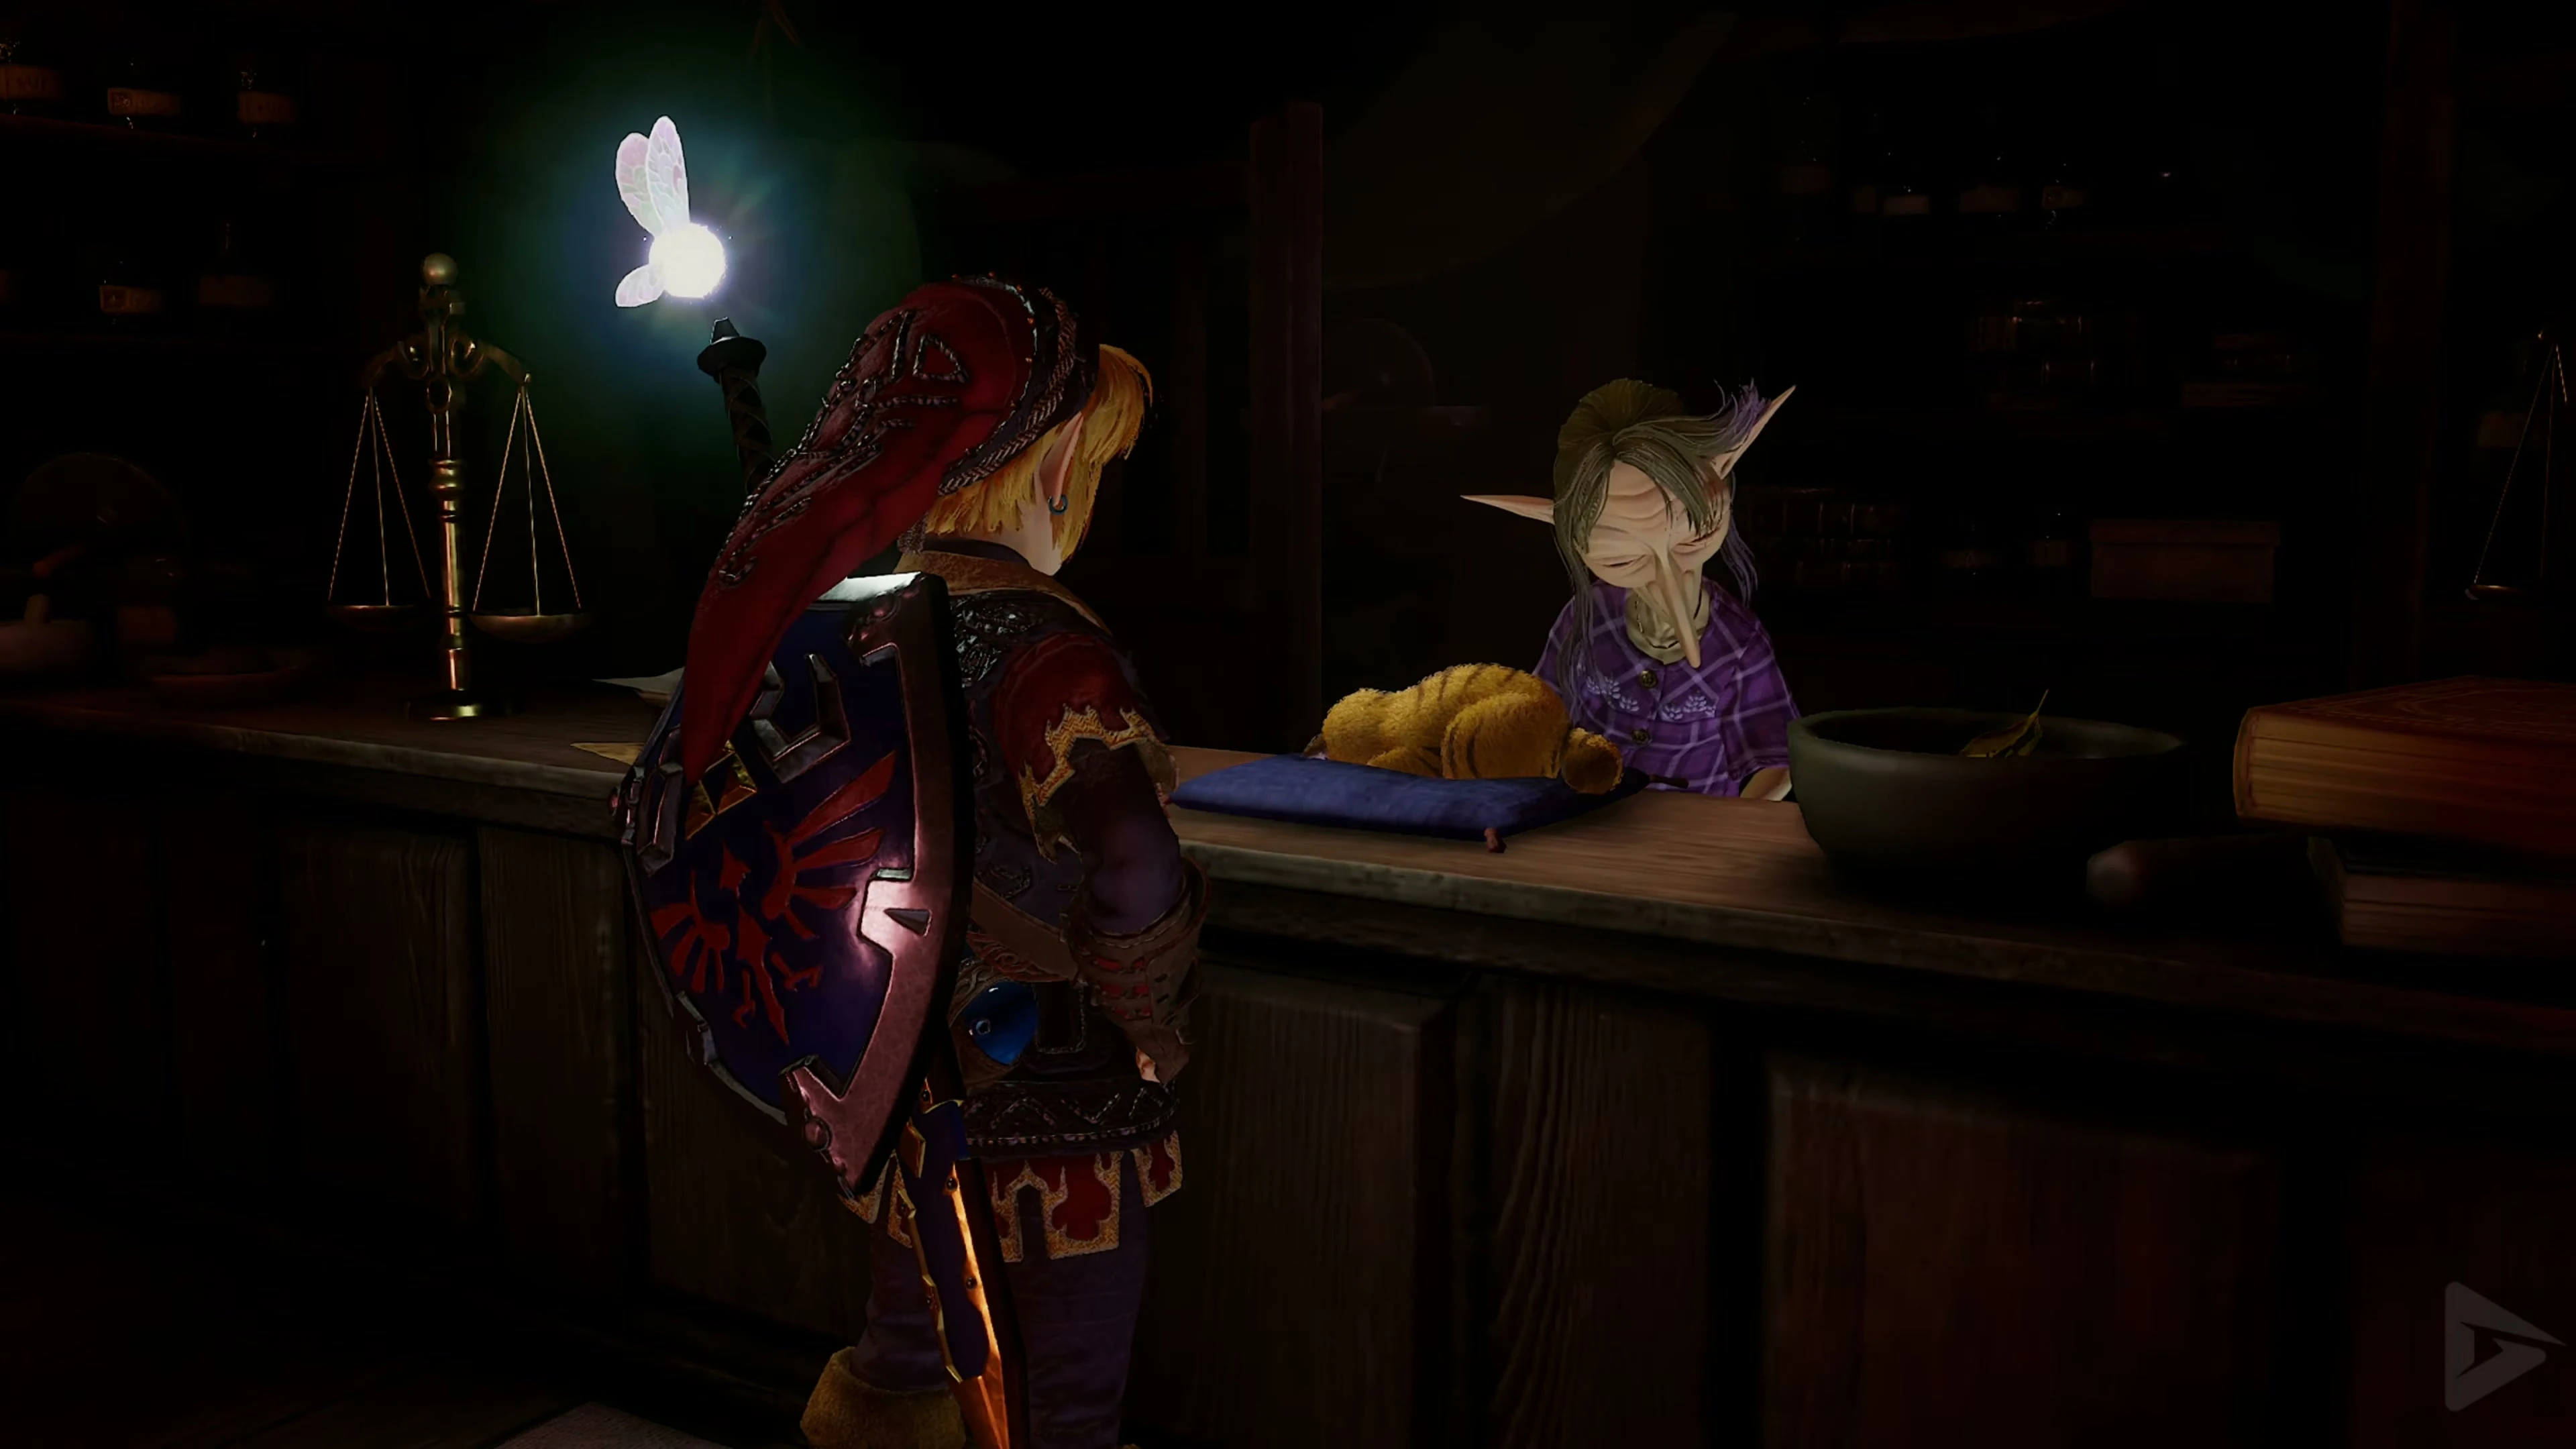
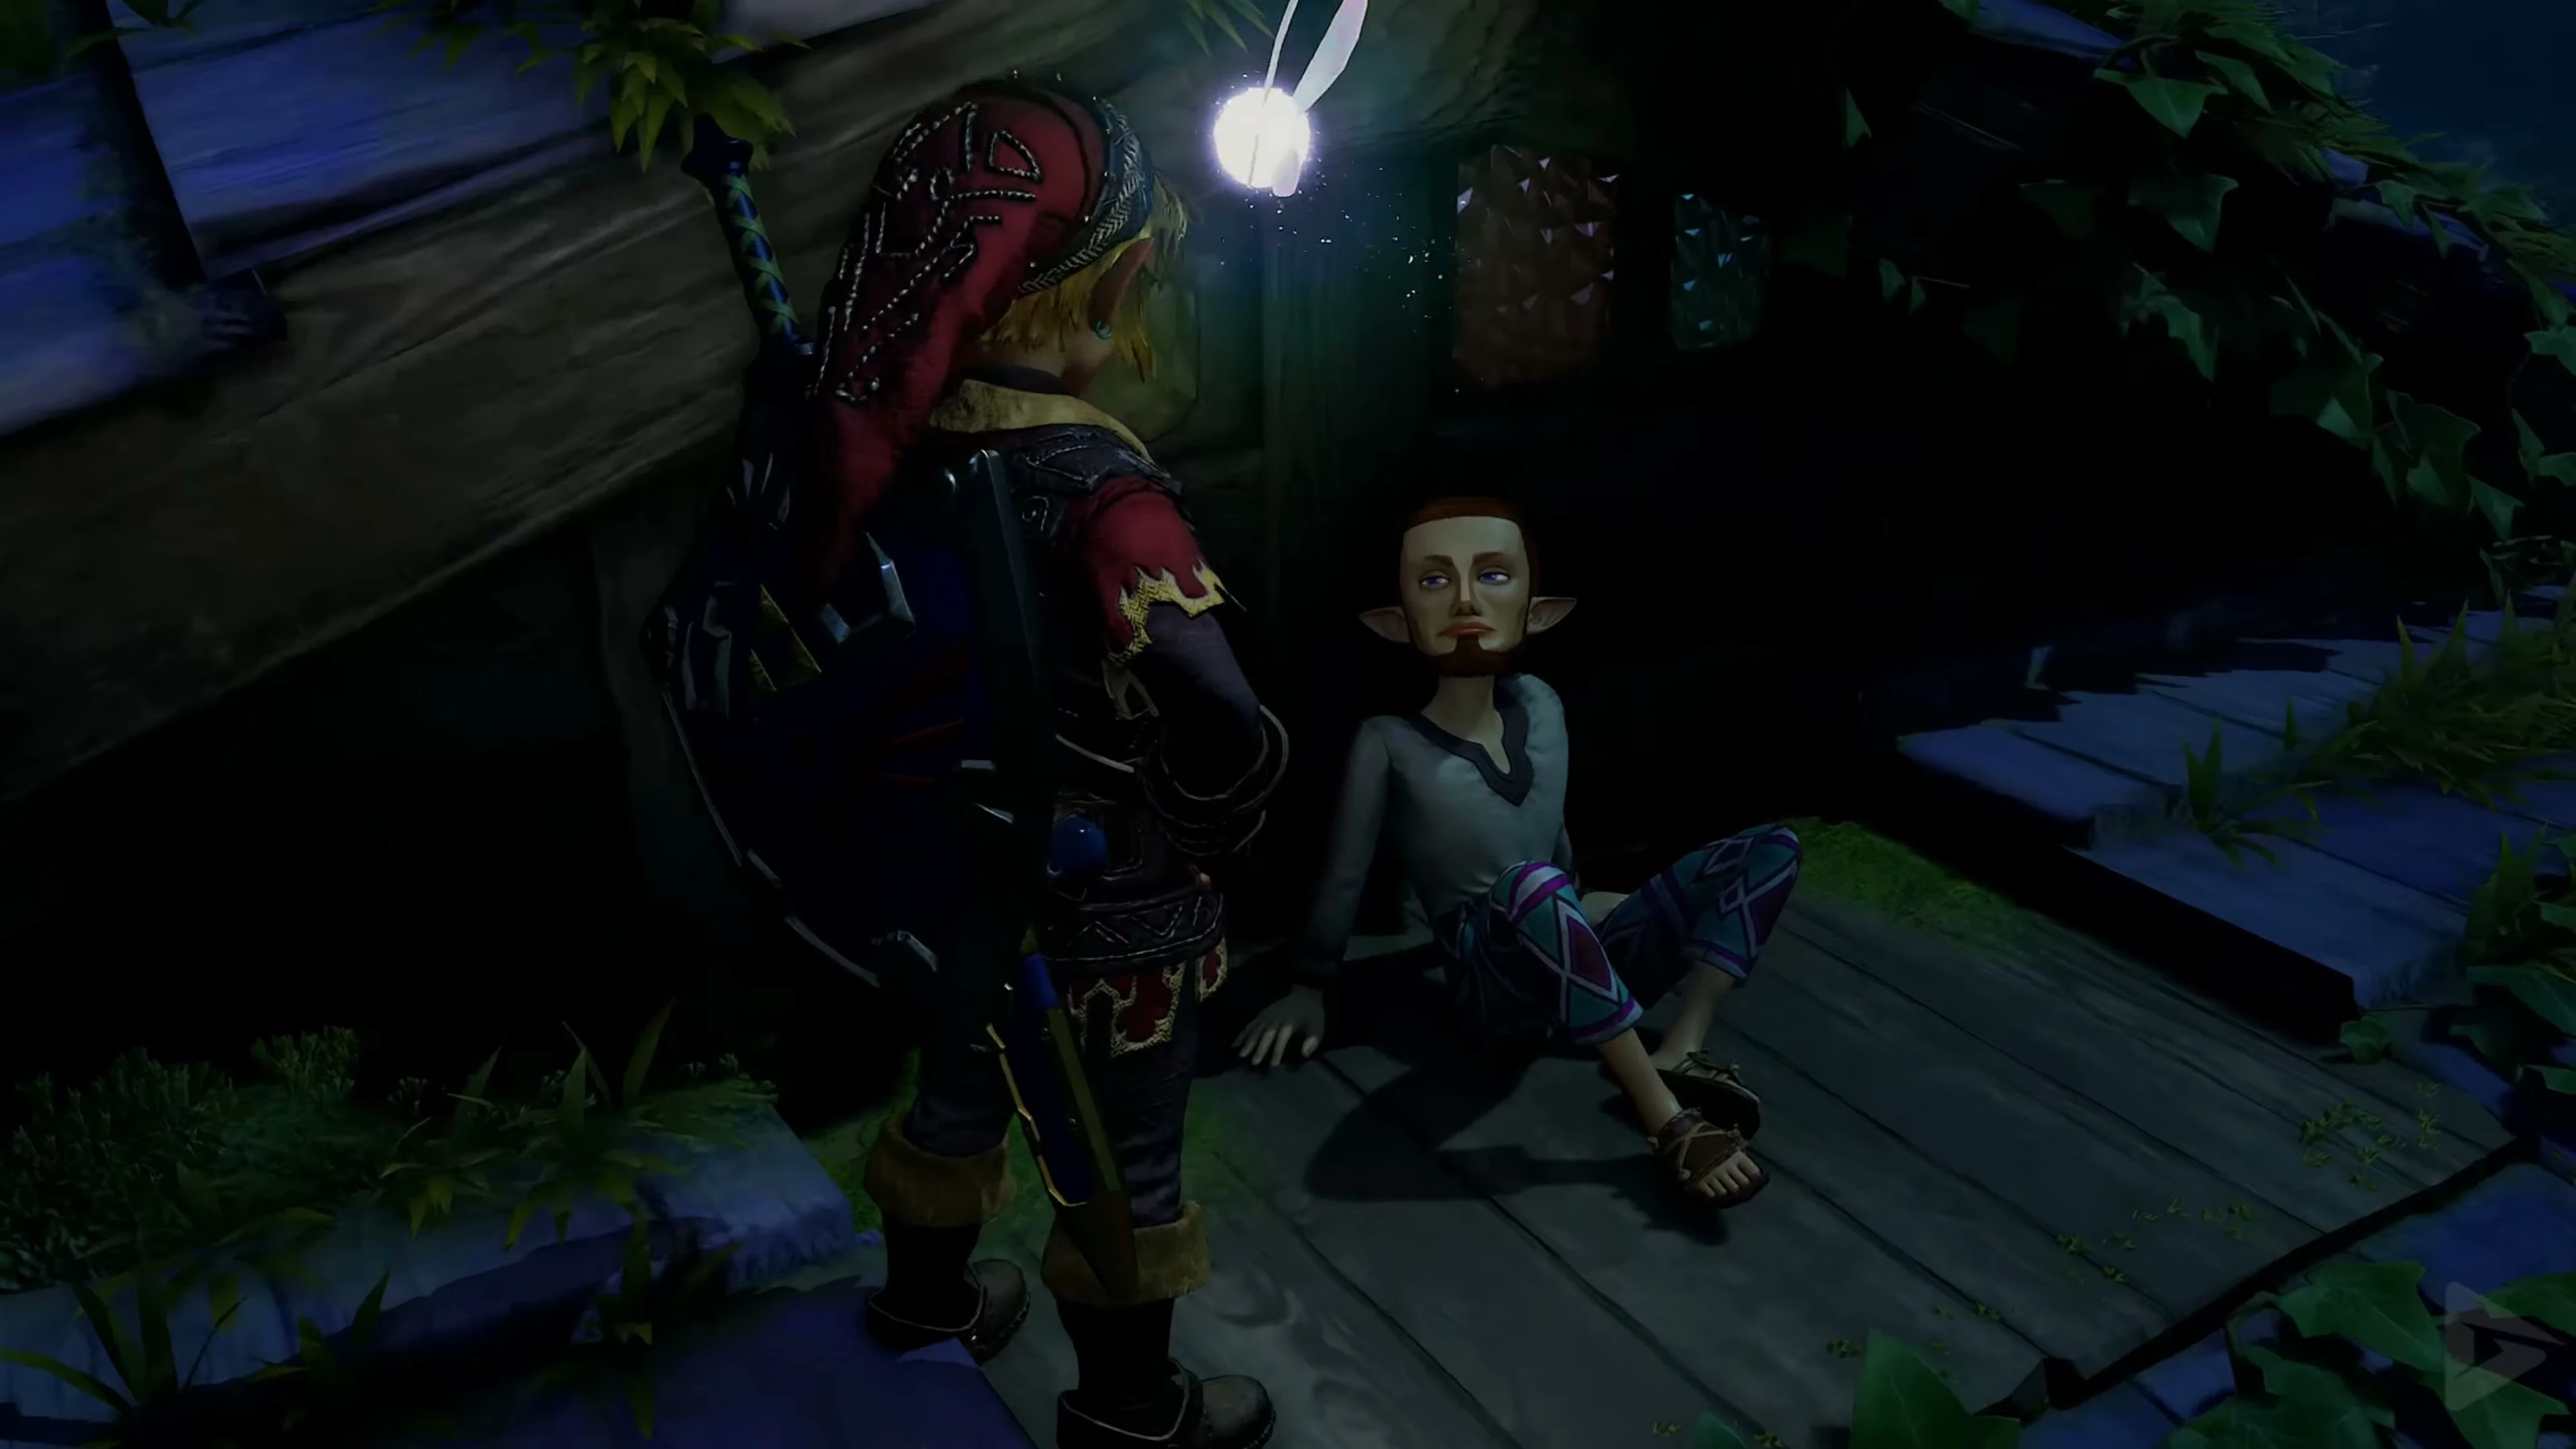
The Eyeball Frog – two minutes and 30 seconds
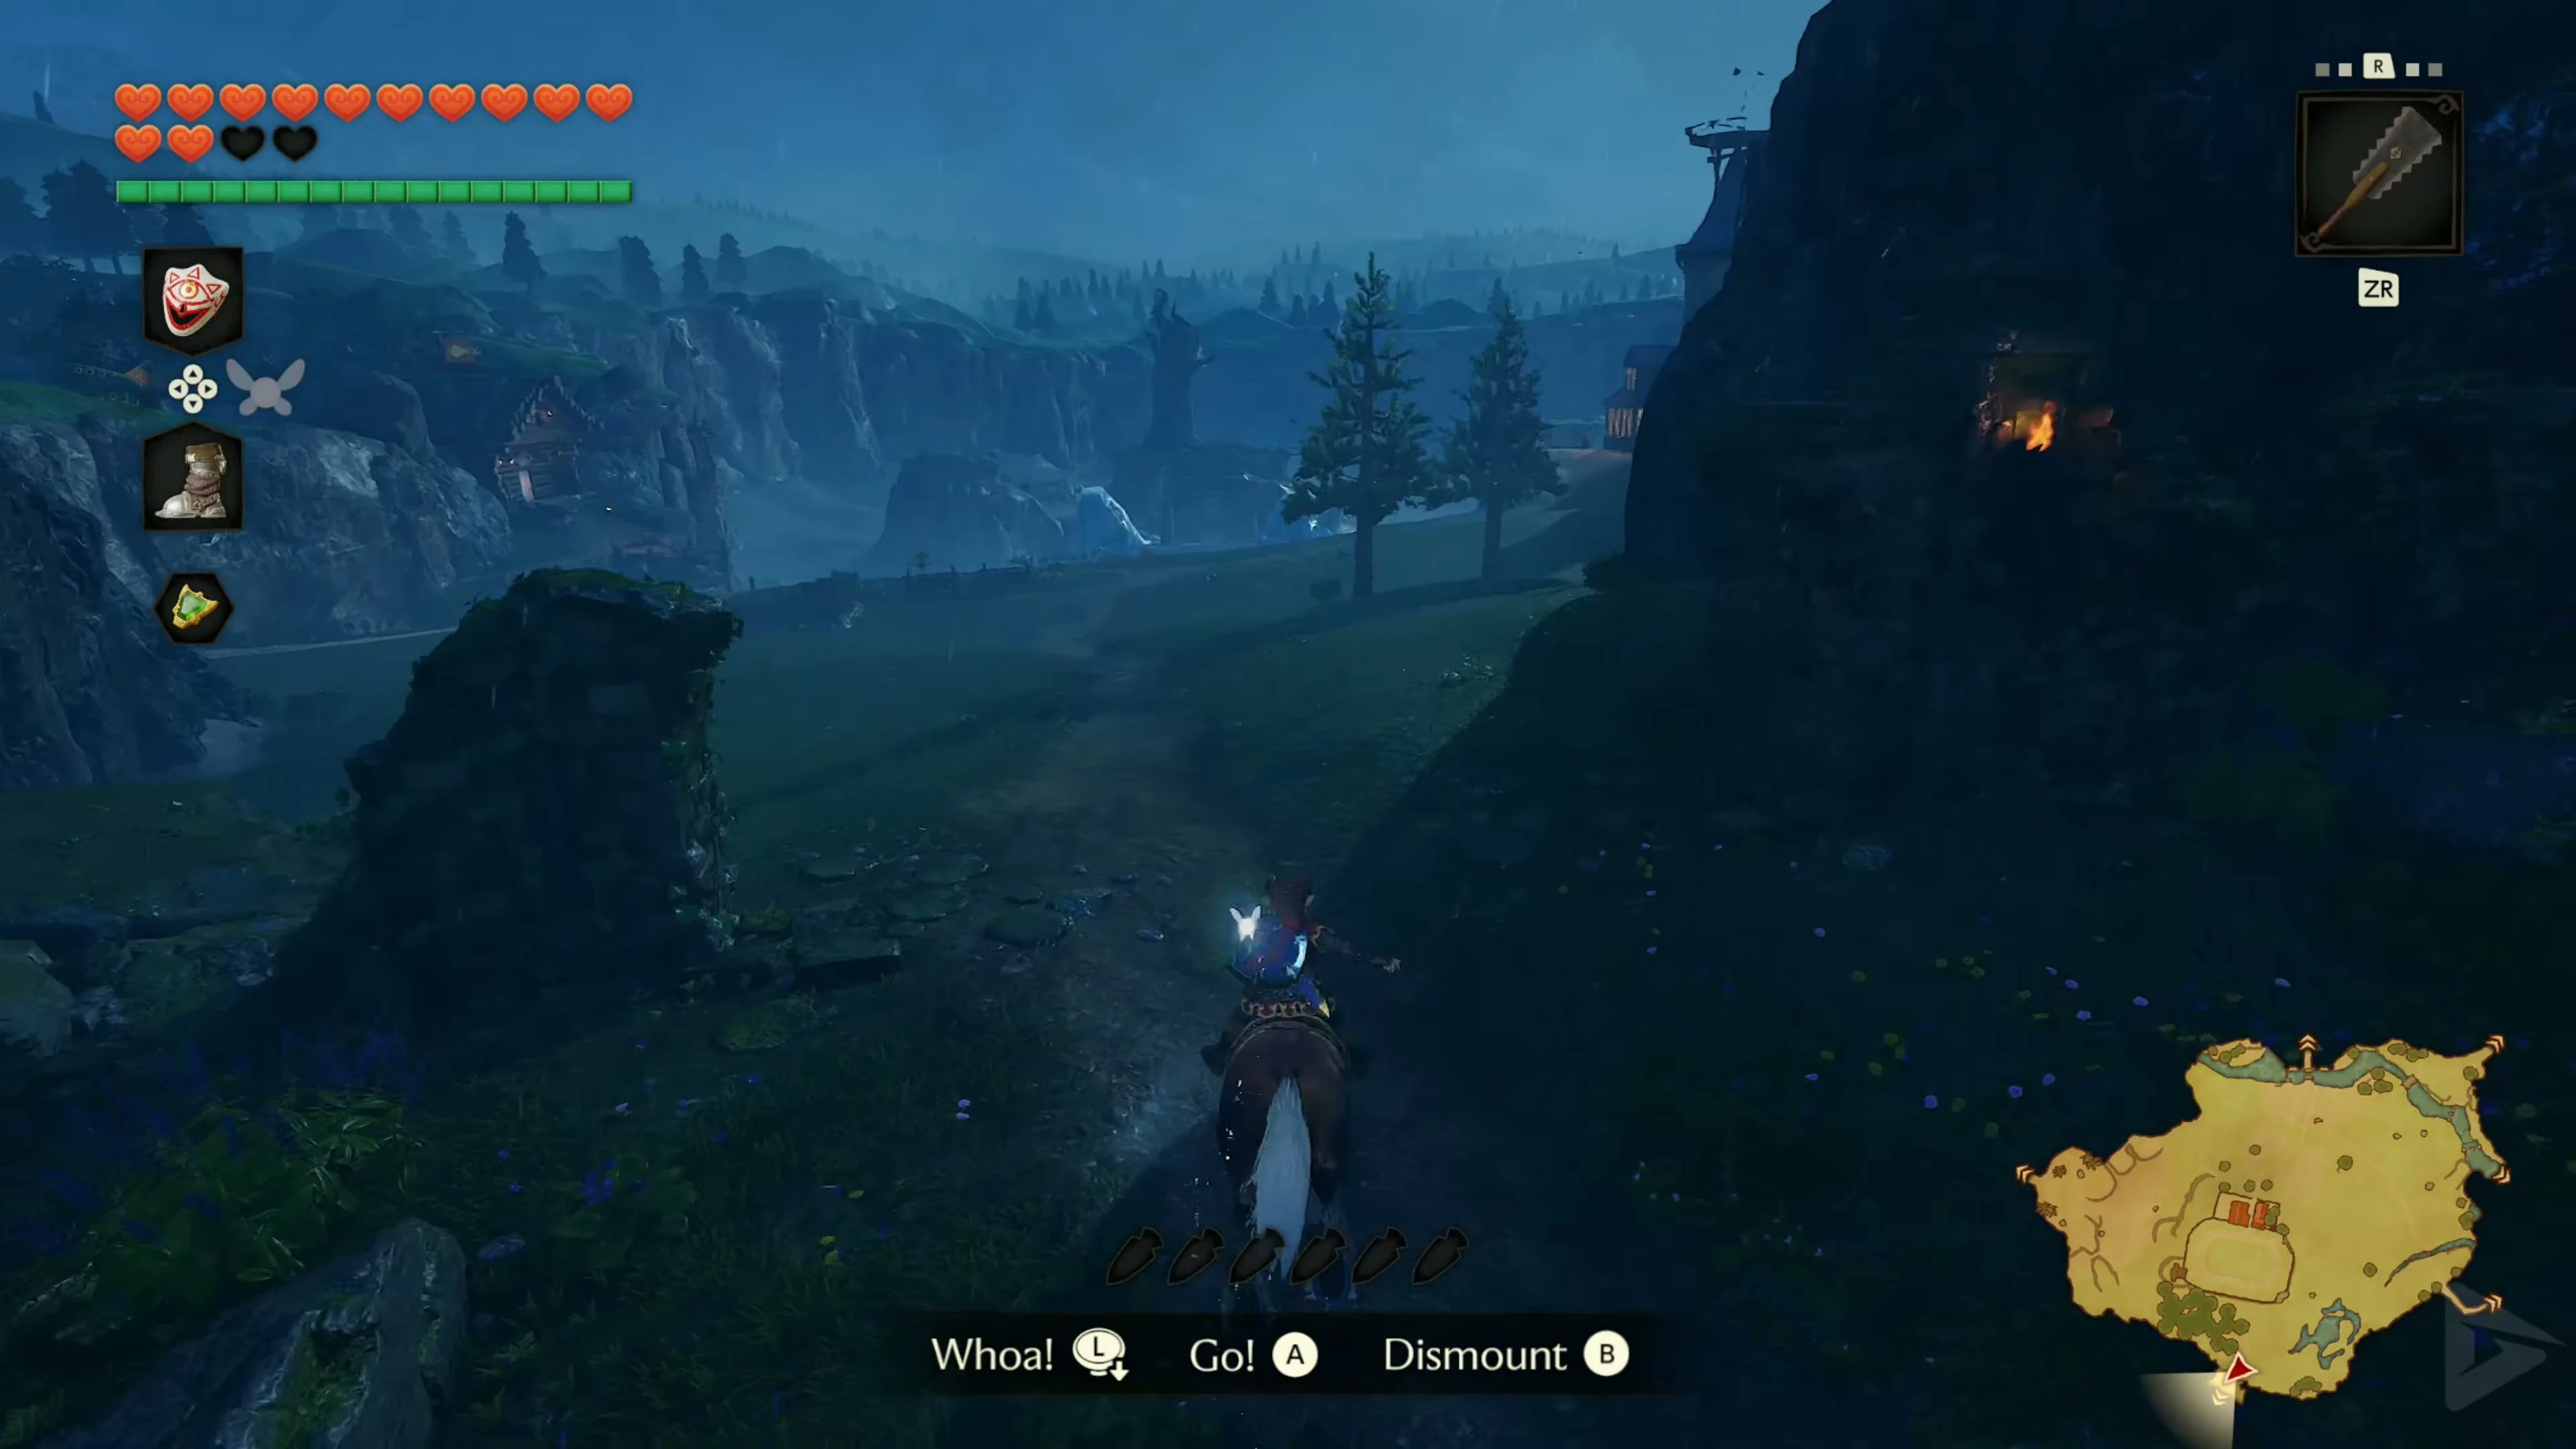
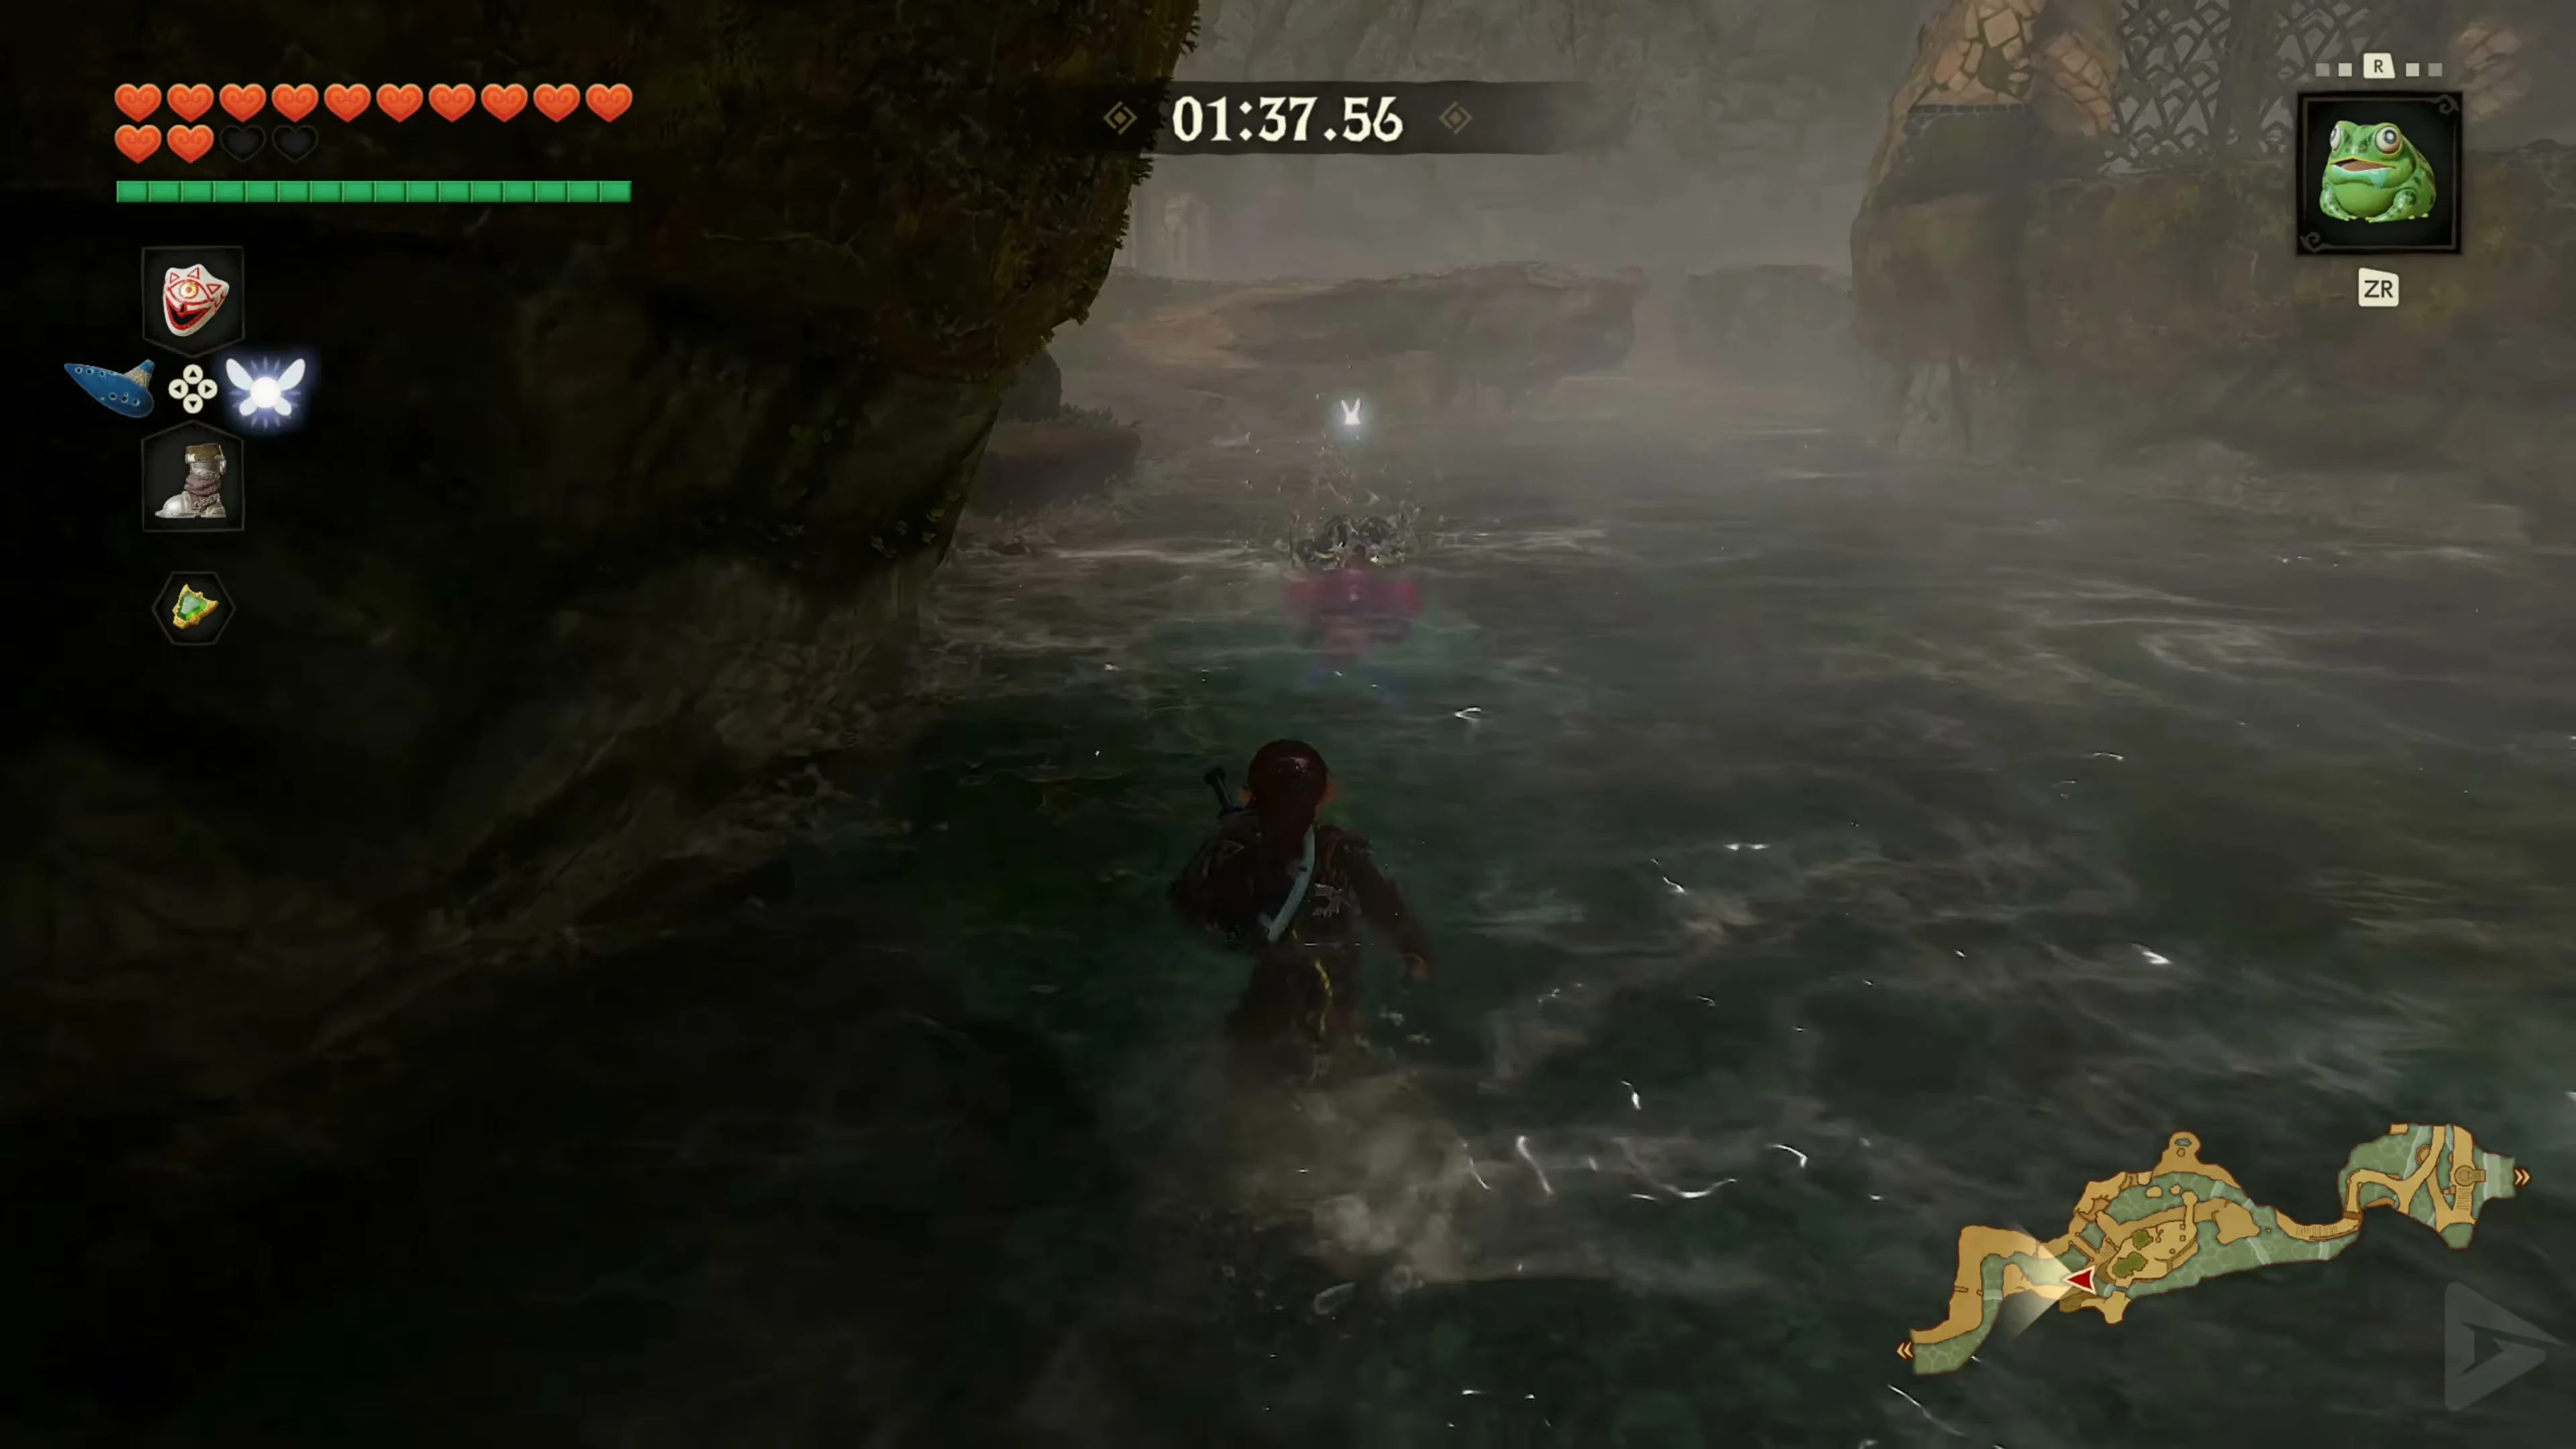
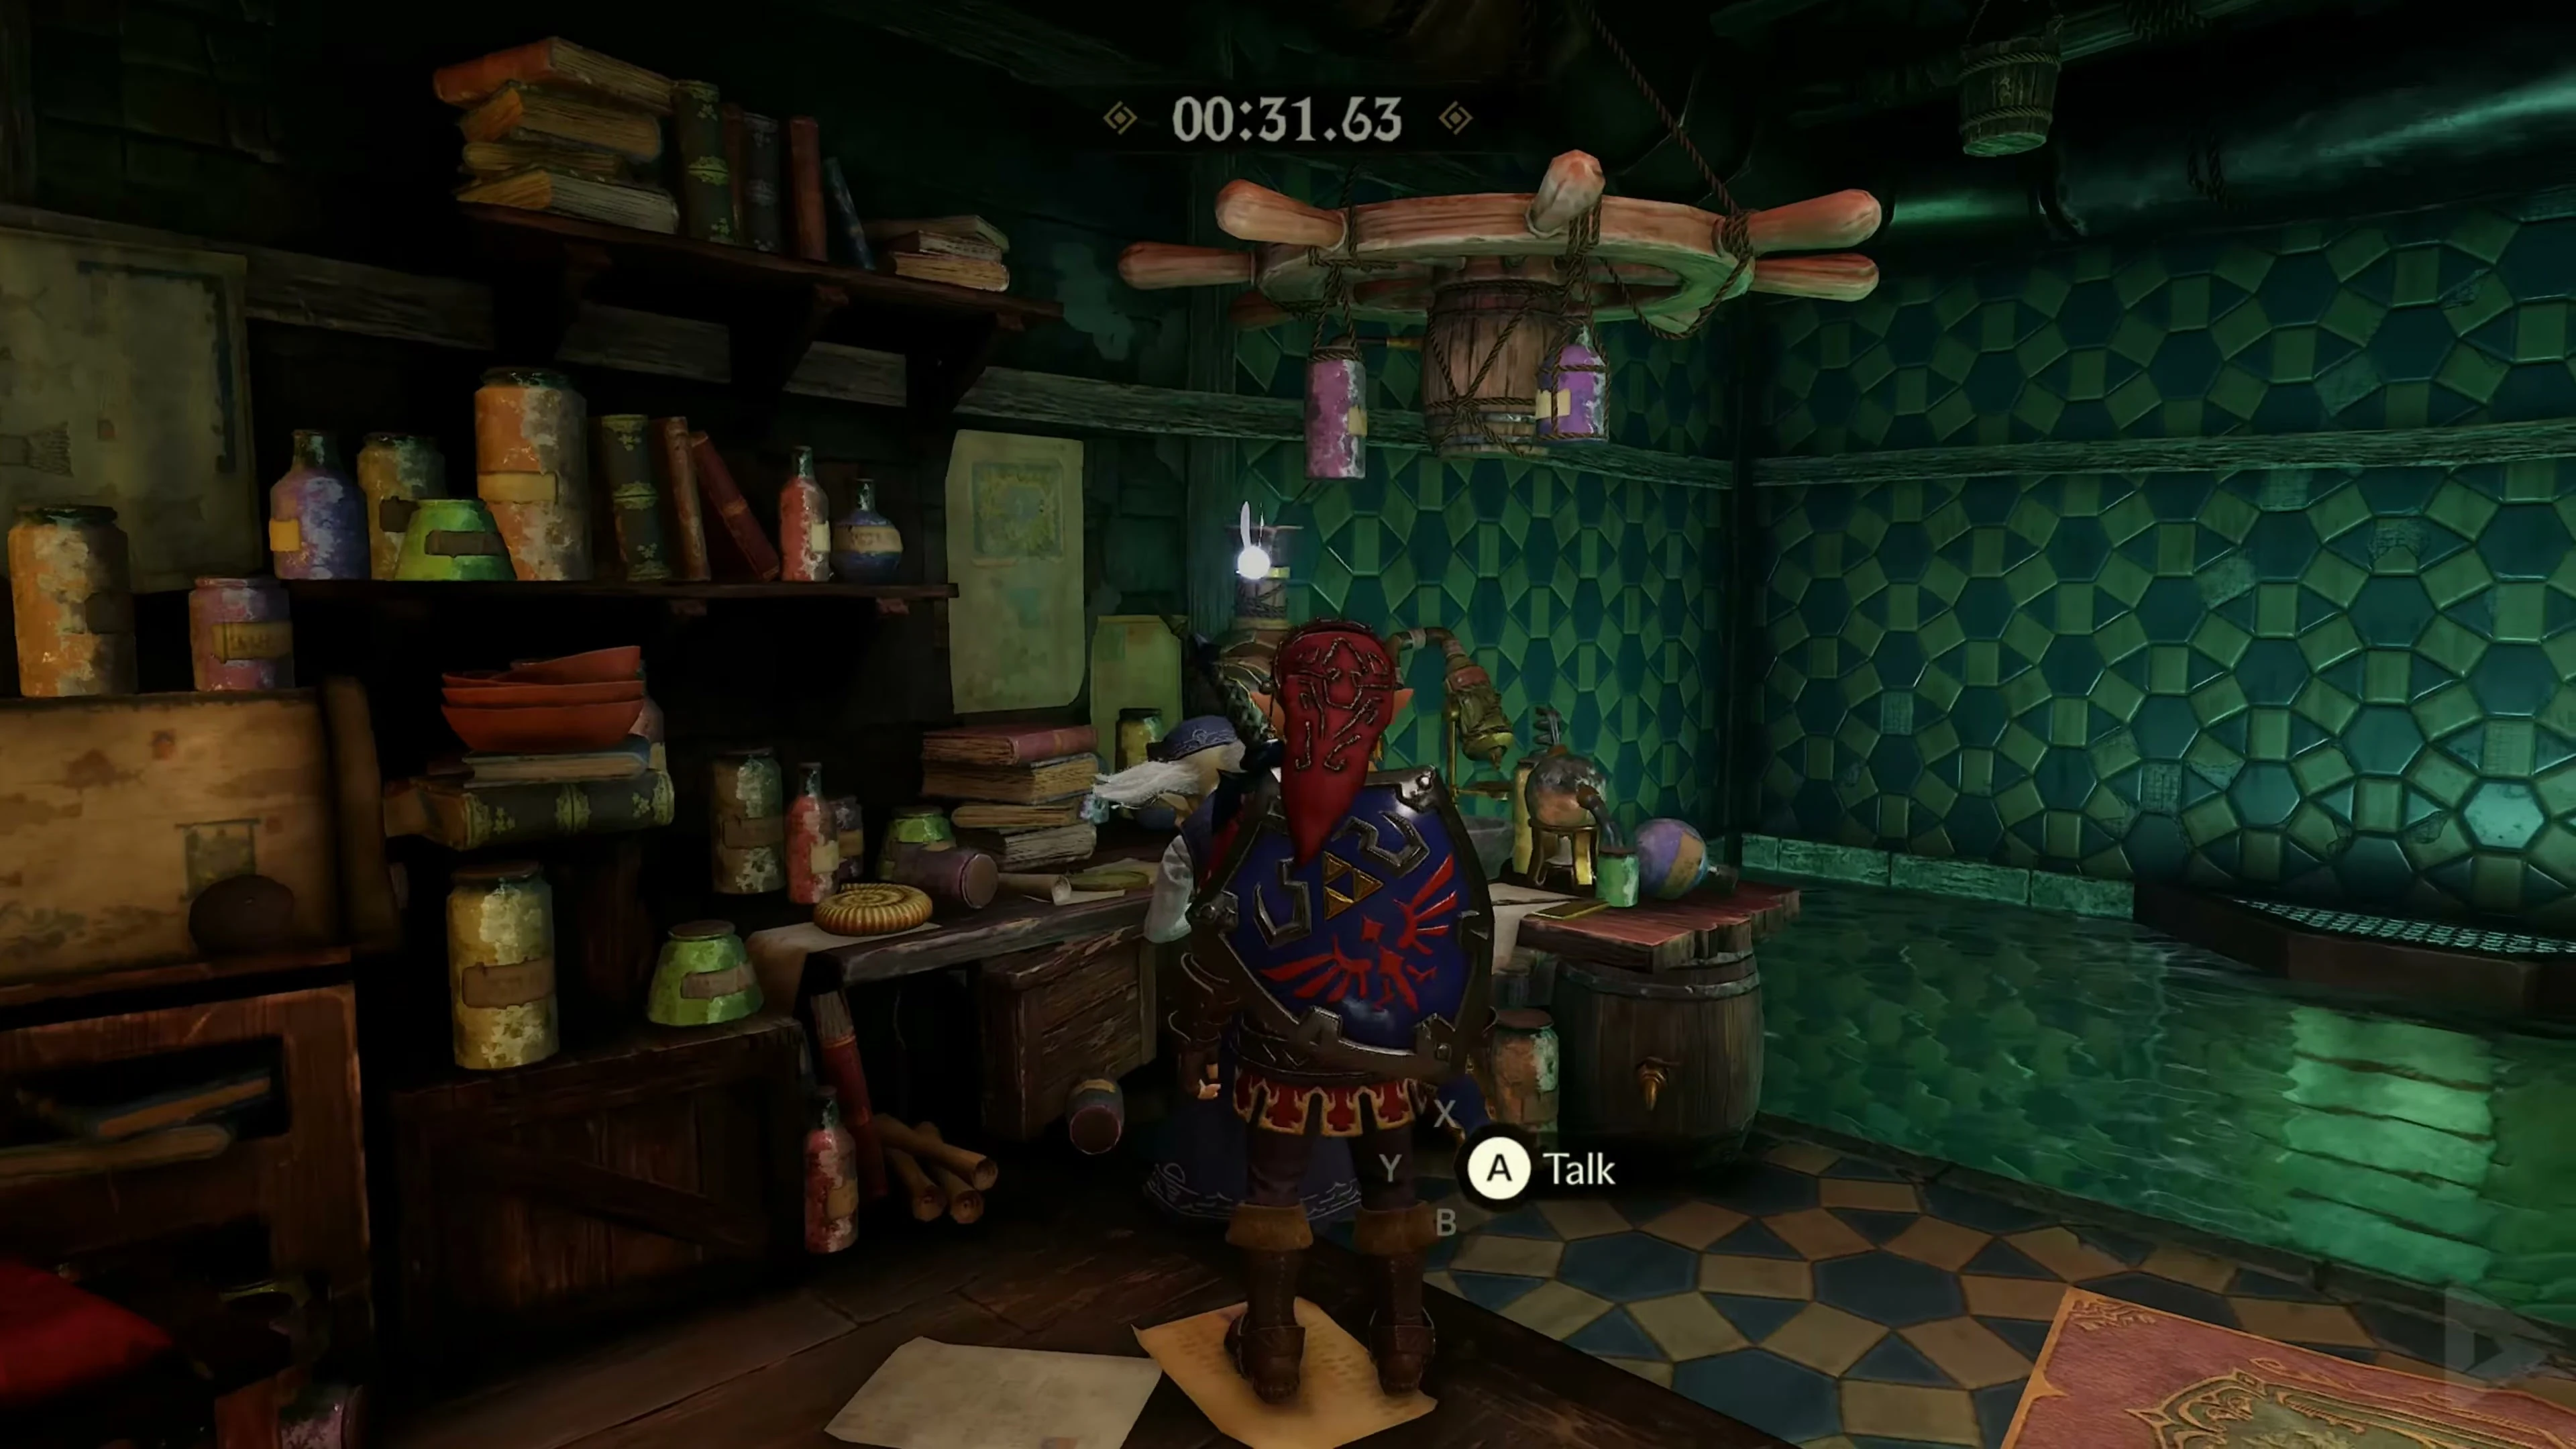
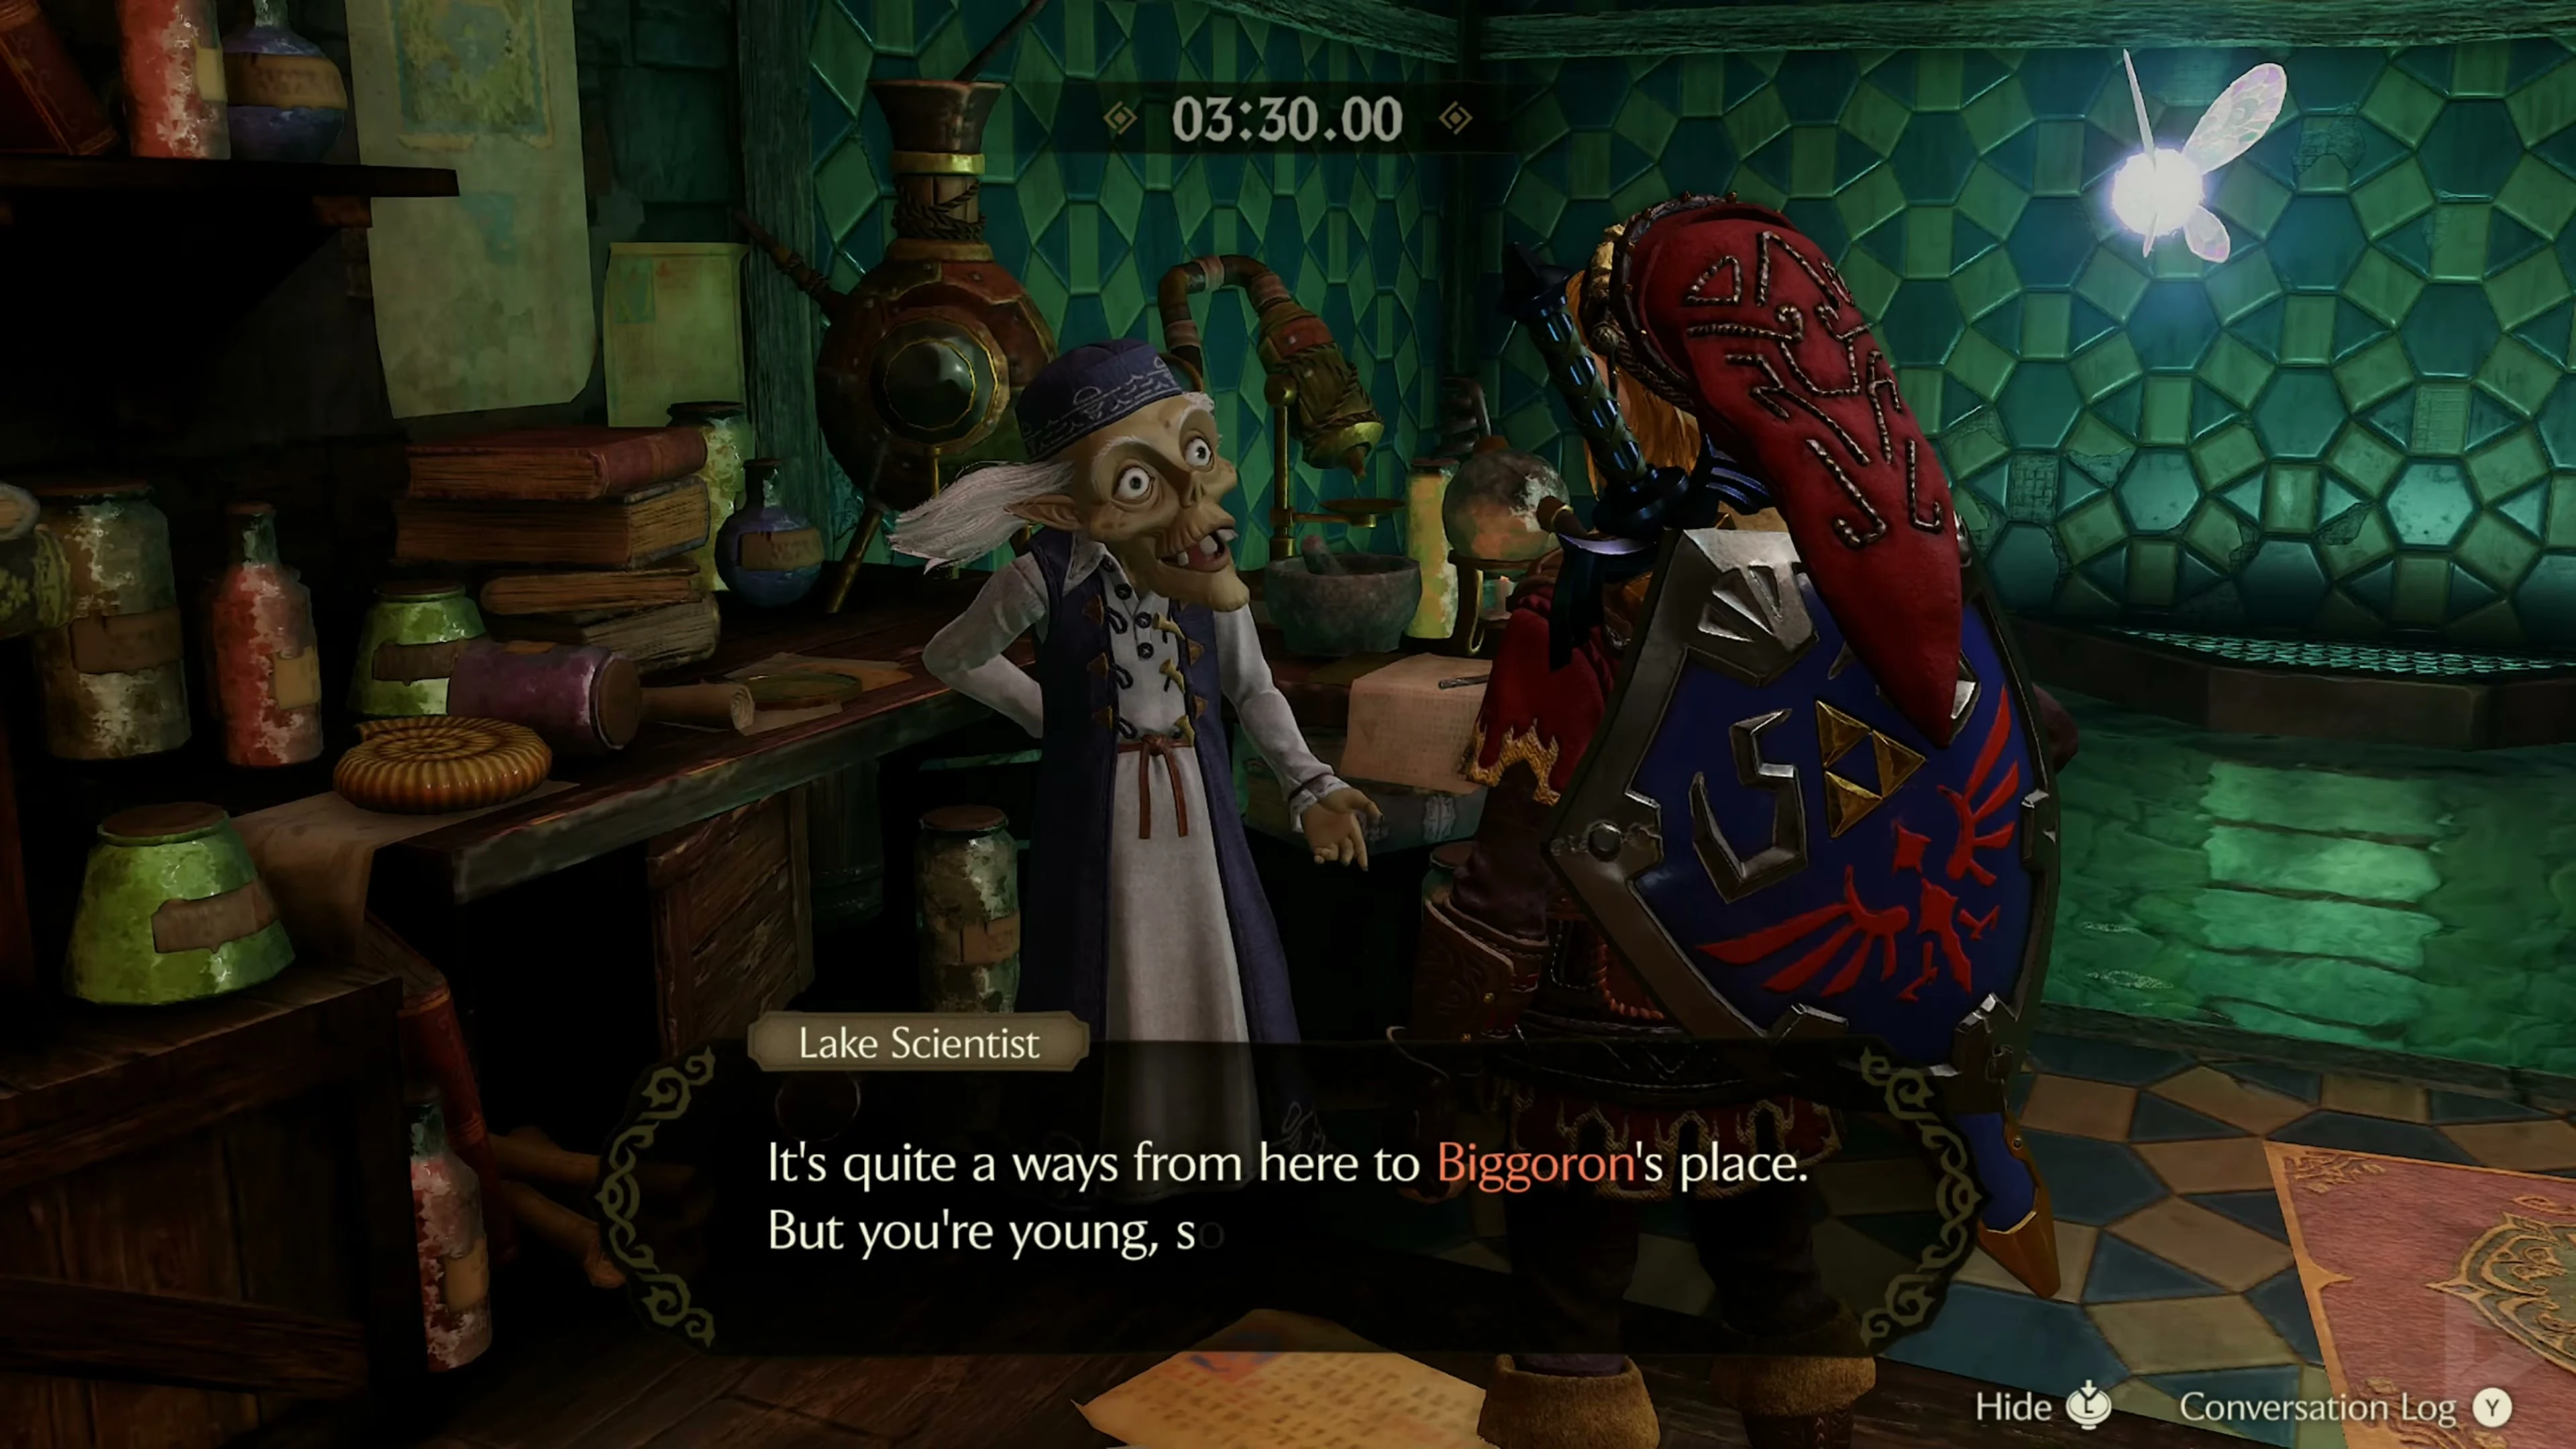
Leave Epona in Hyrule Field by the Zora River exit. Show Biggoron’s Prescription to the thawed King Zora. You have 2 minutes and 30 seconds to deliver the Eyeball Frog. Leave Zora Domain by the ice steps at the waterfall, follow Zora River downstream, and ride Epona across Hyrule Field straight to the Lakeside Laboratory. Give the frog to the scientist. The underwater passage to the lake only opens after defeating Morpha. Do not use a warp song during the delivery.
The Specialty Eye Drops – three minutes and 30 seconds
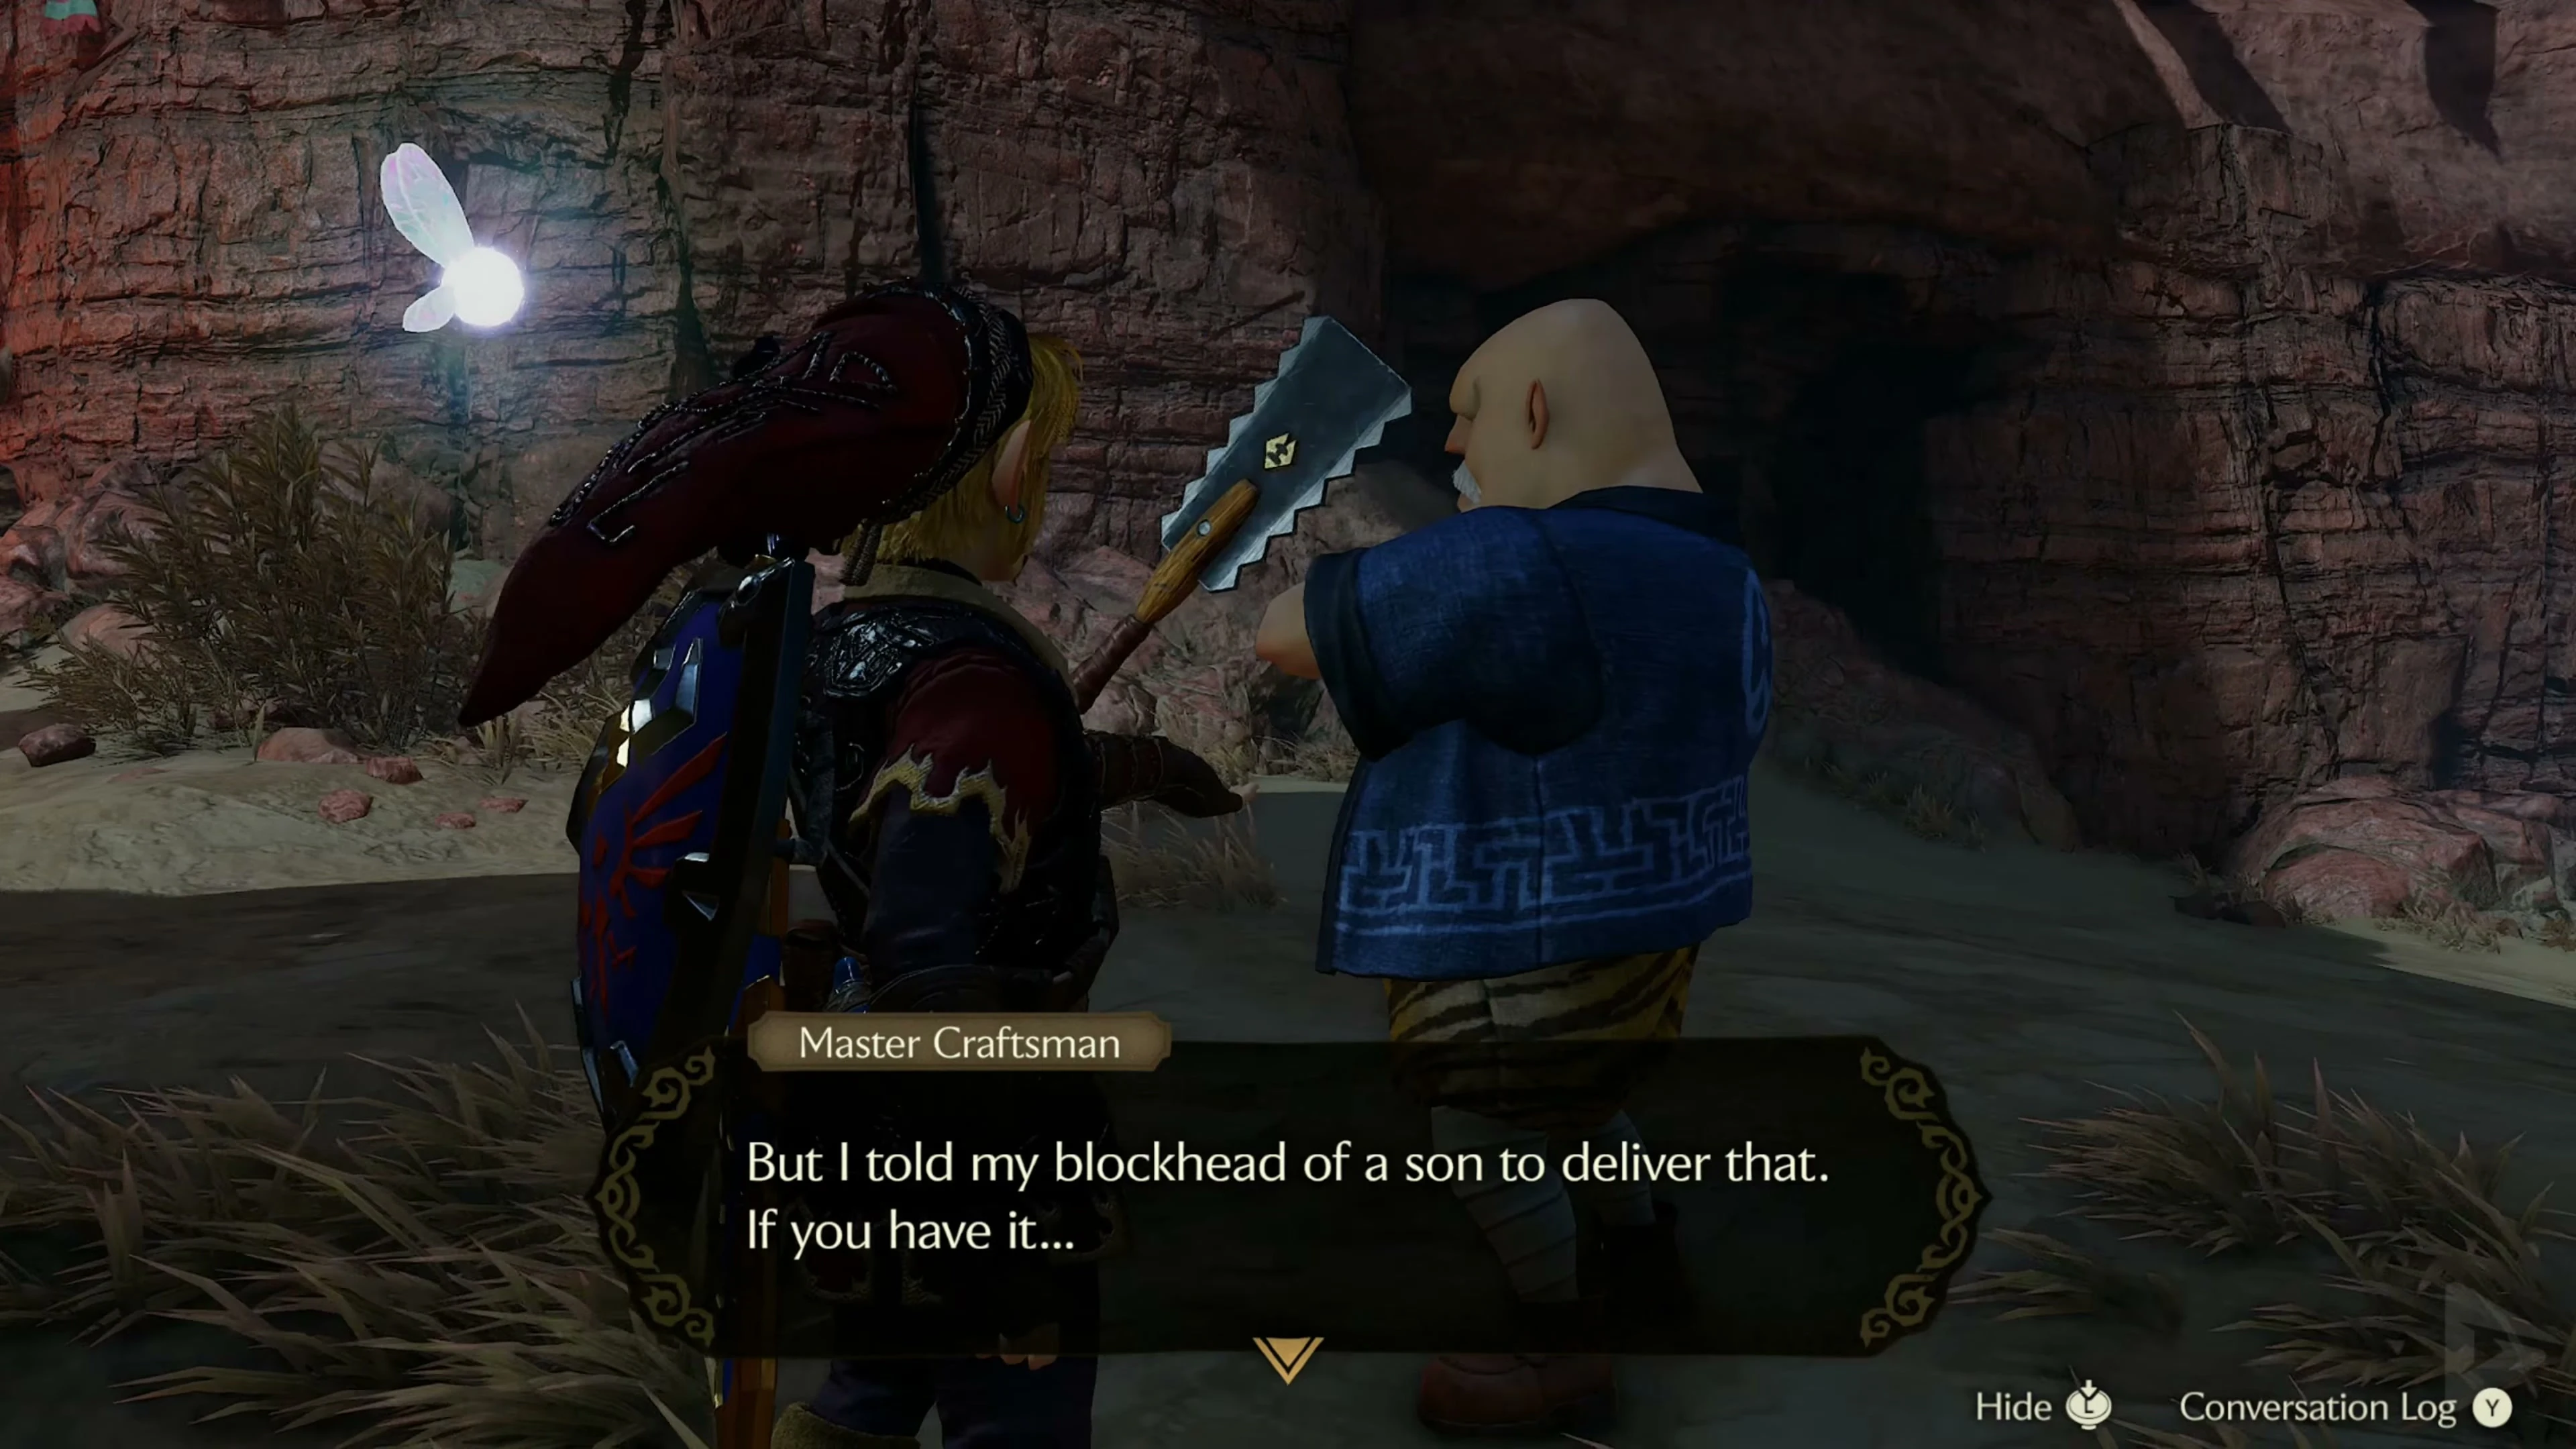
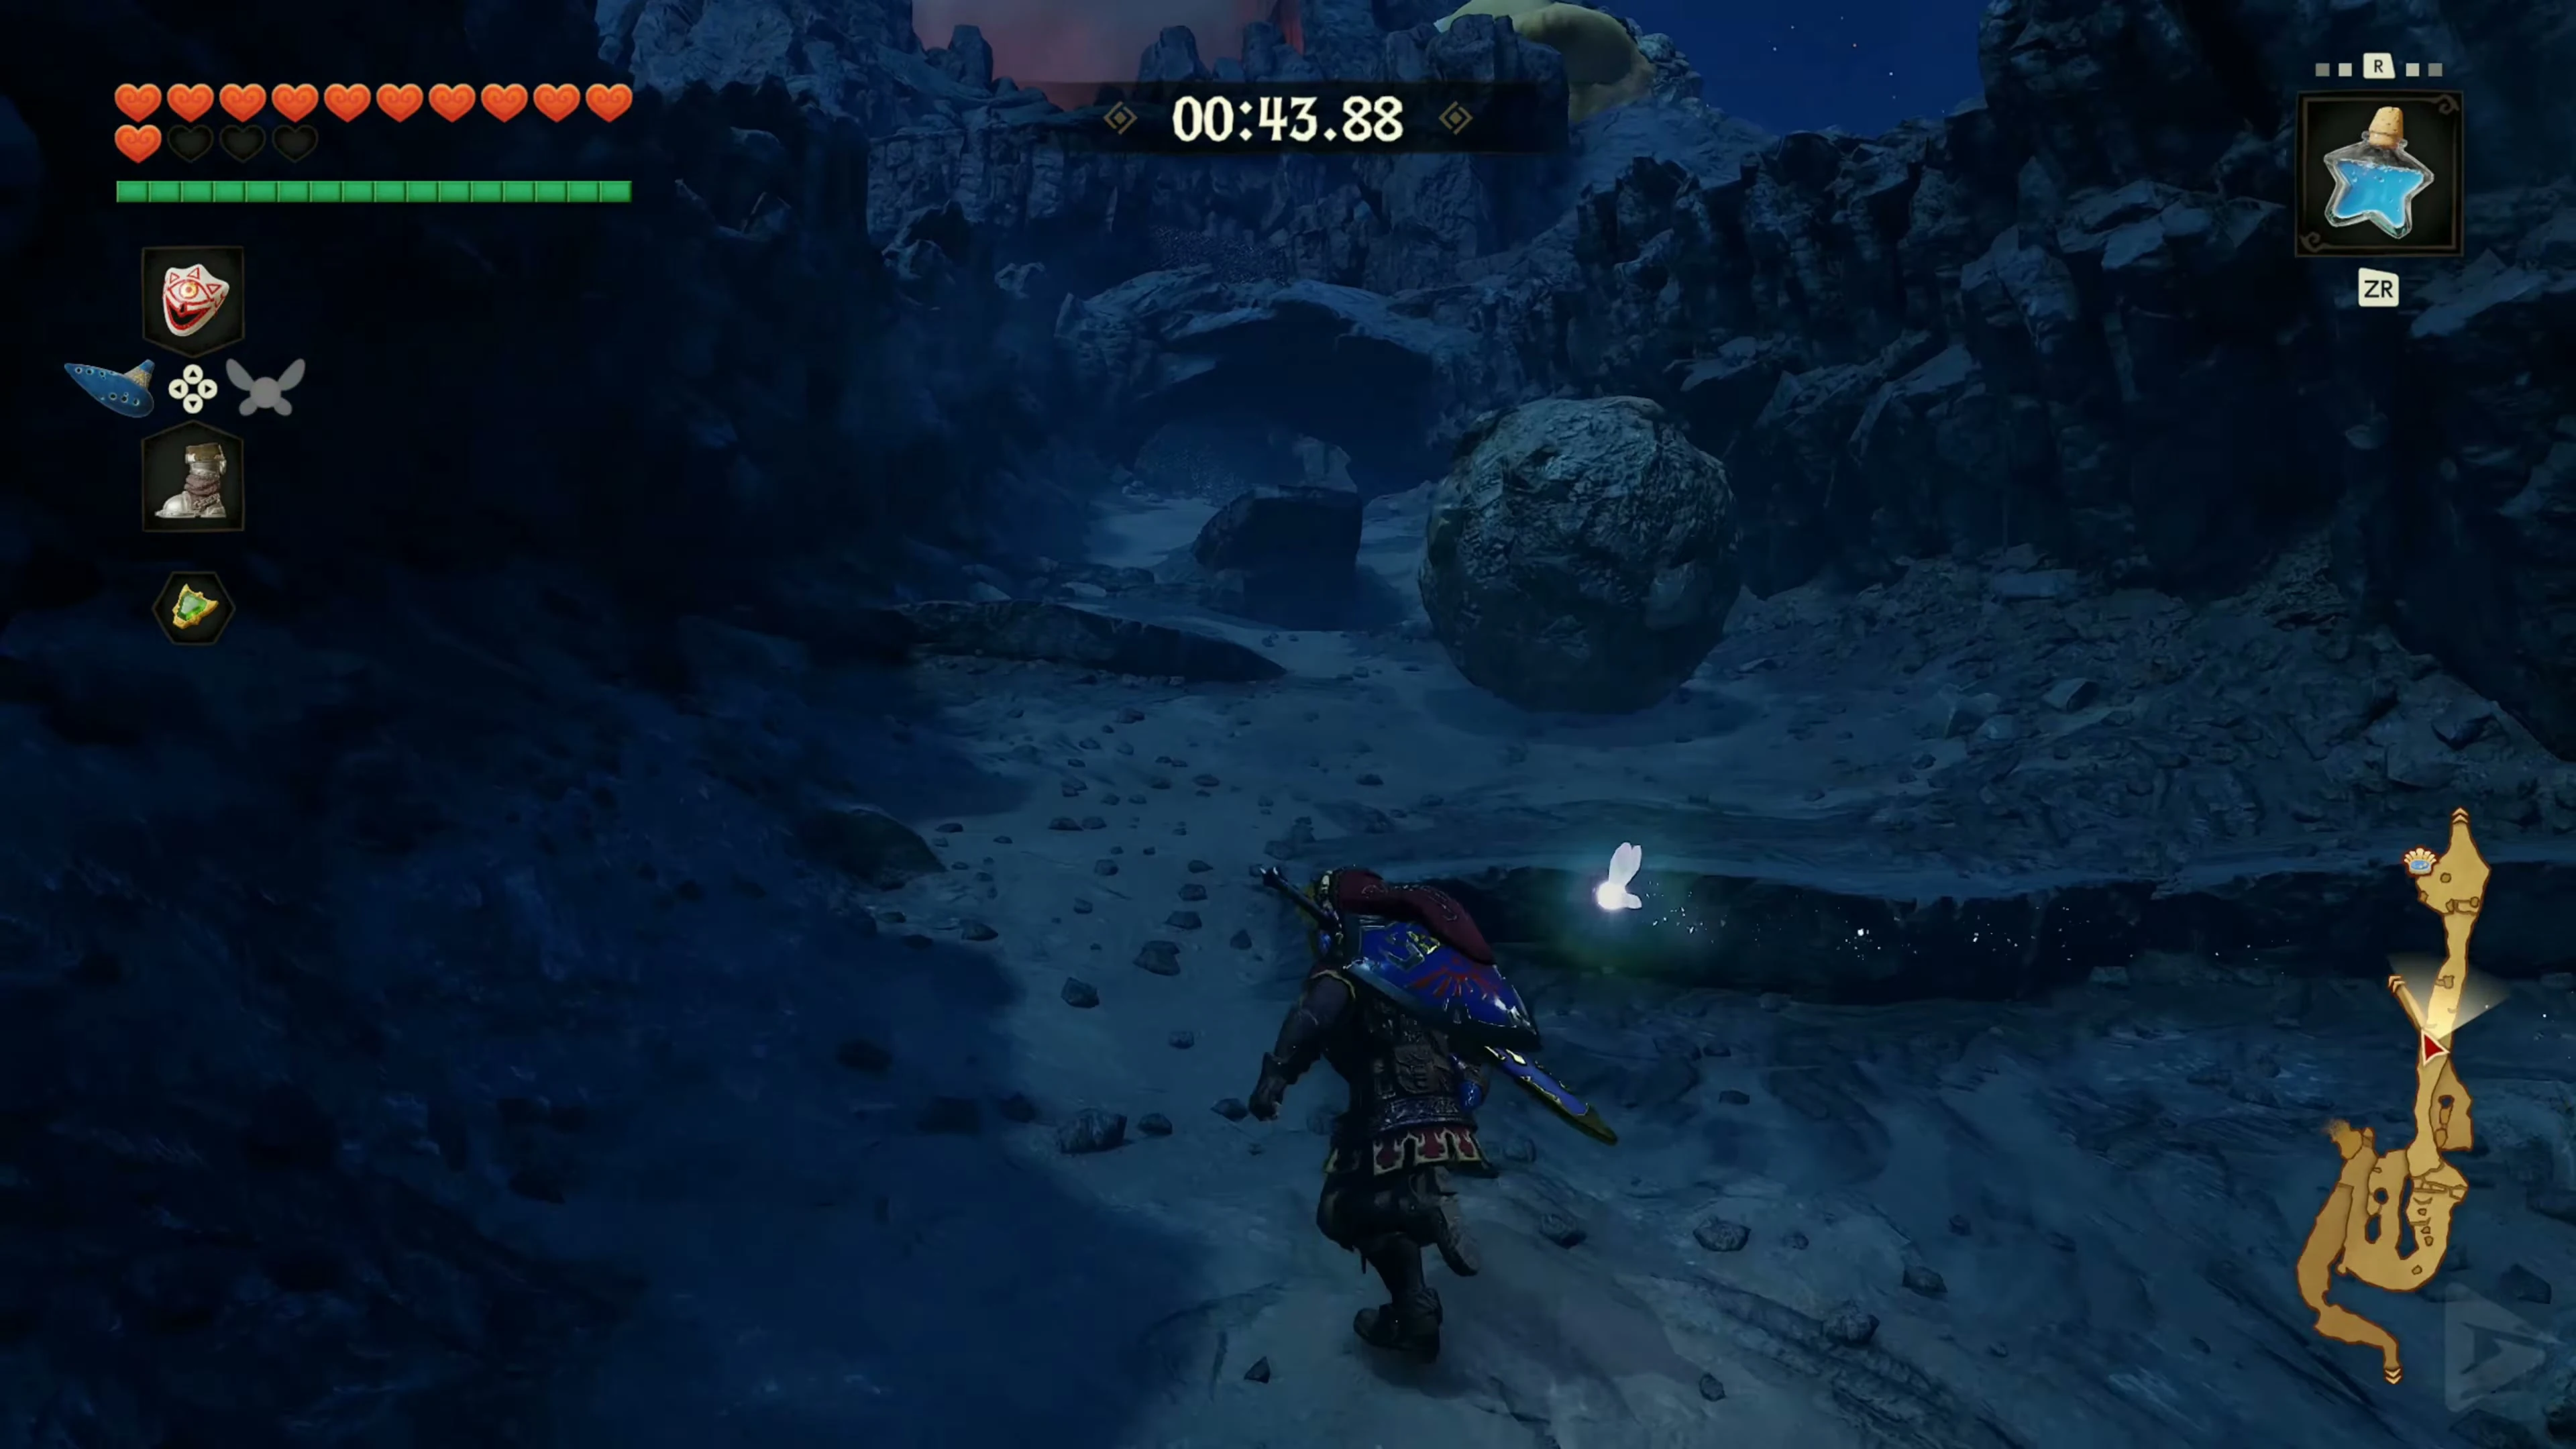
Once the scientist gives you the Specialty Eye Drops, you have 3 minutes and 30 seconds to deliver them. Ride Epona to Kakariko Village, leave her at the village entrance, and go through the north gate. Climb Death Mountain Trail to the summit and give Biggoron the drops. He gives you the Biggoron Receipt. Avoid warp songs during this delivery.
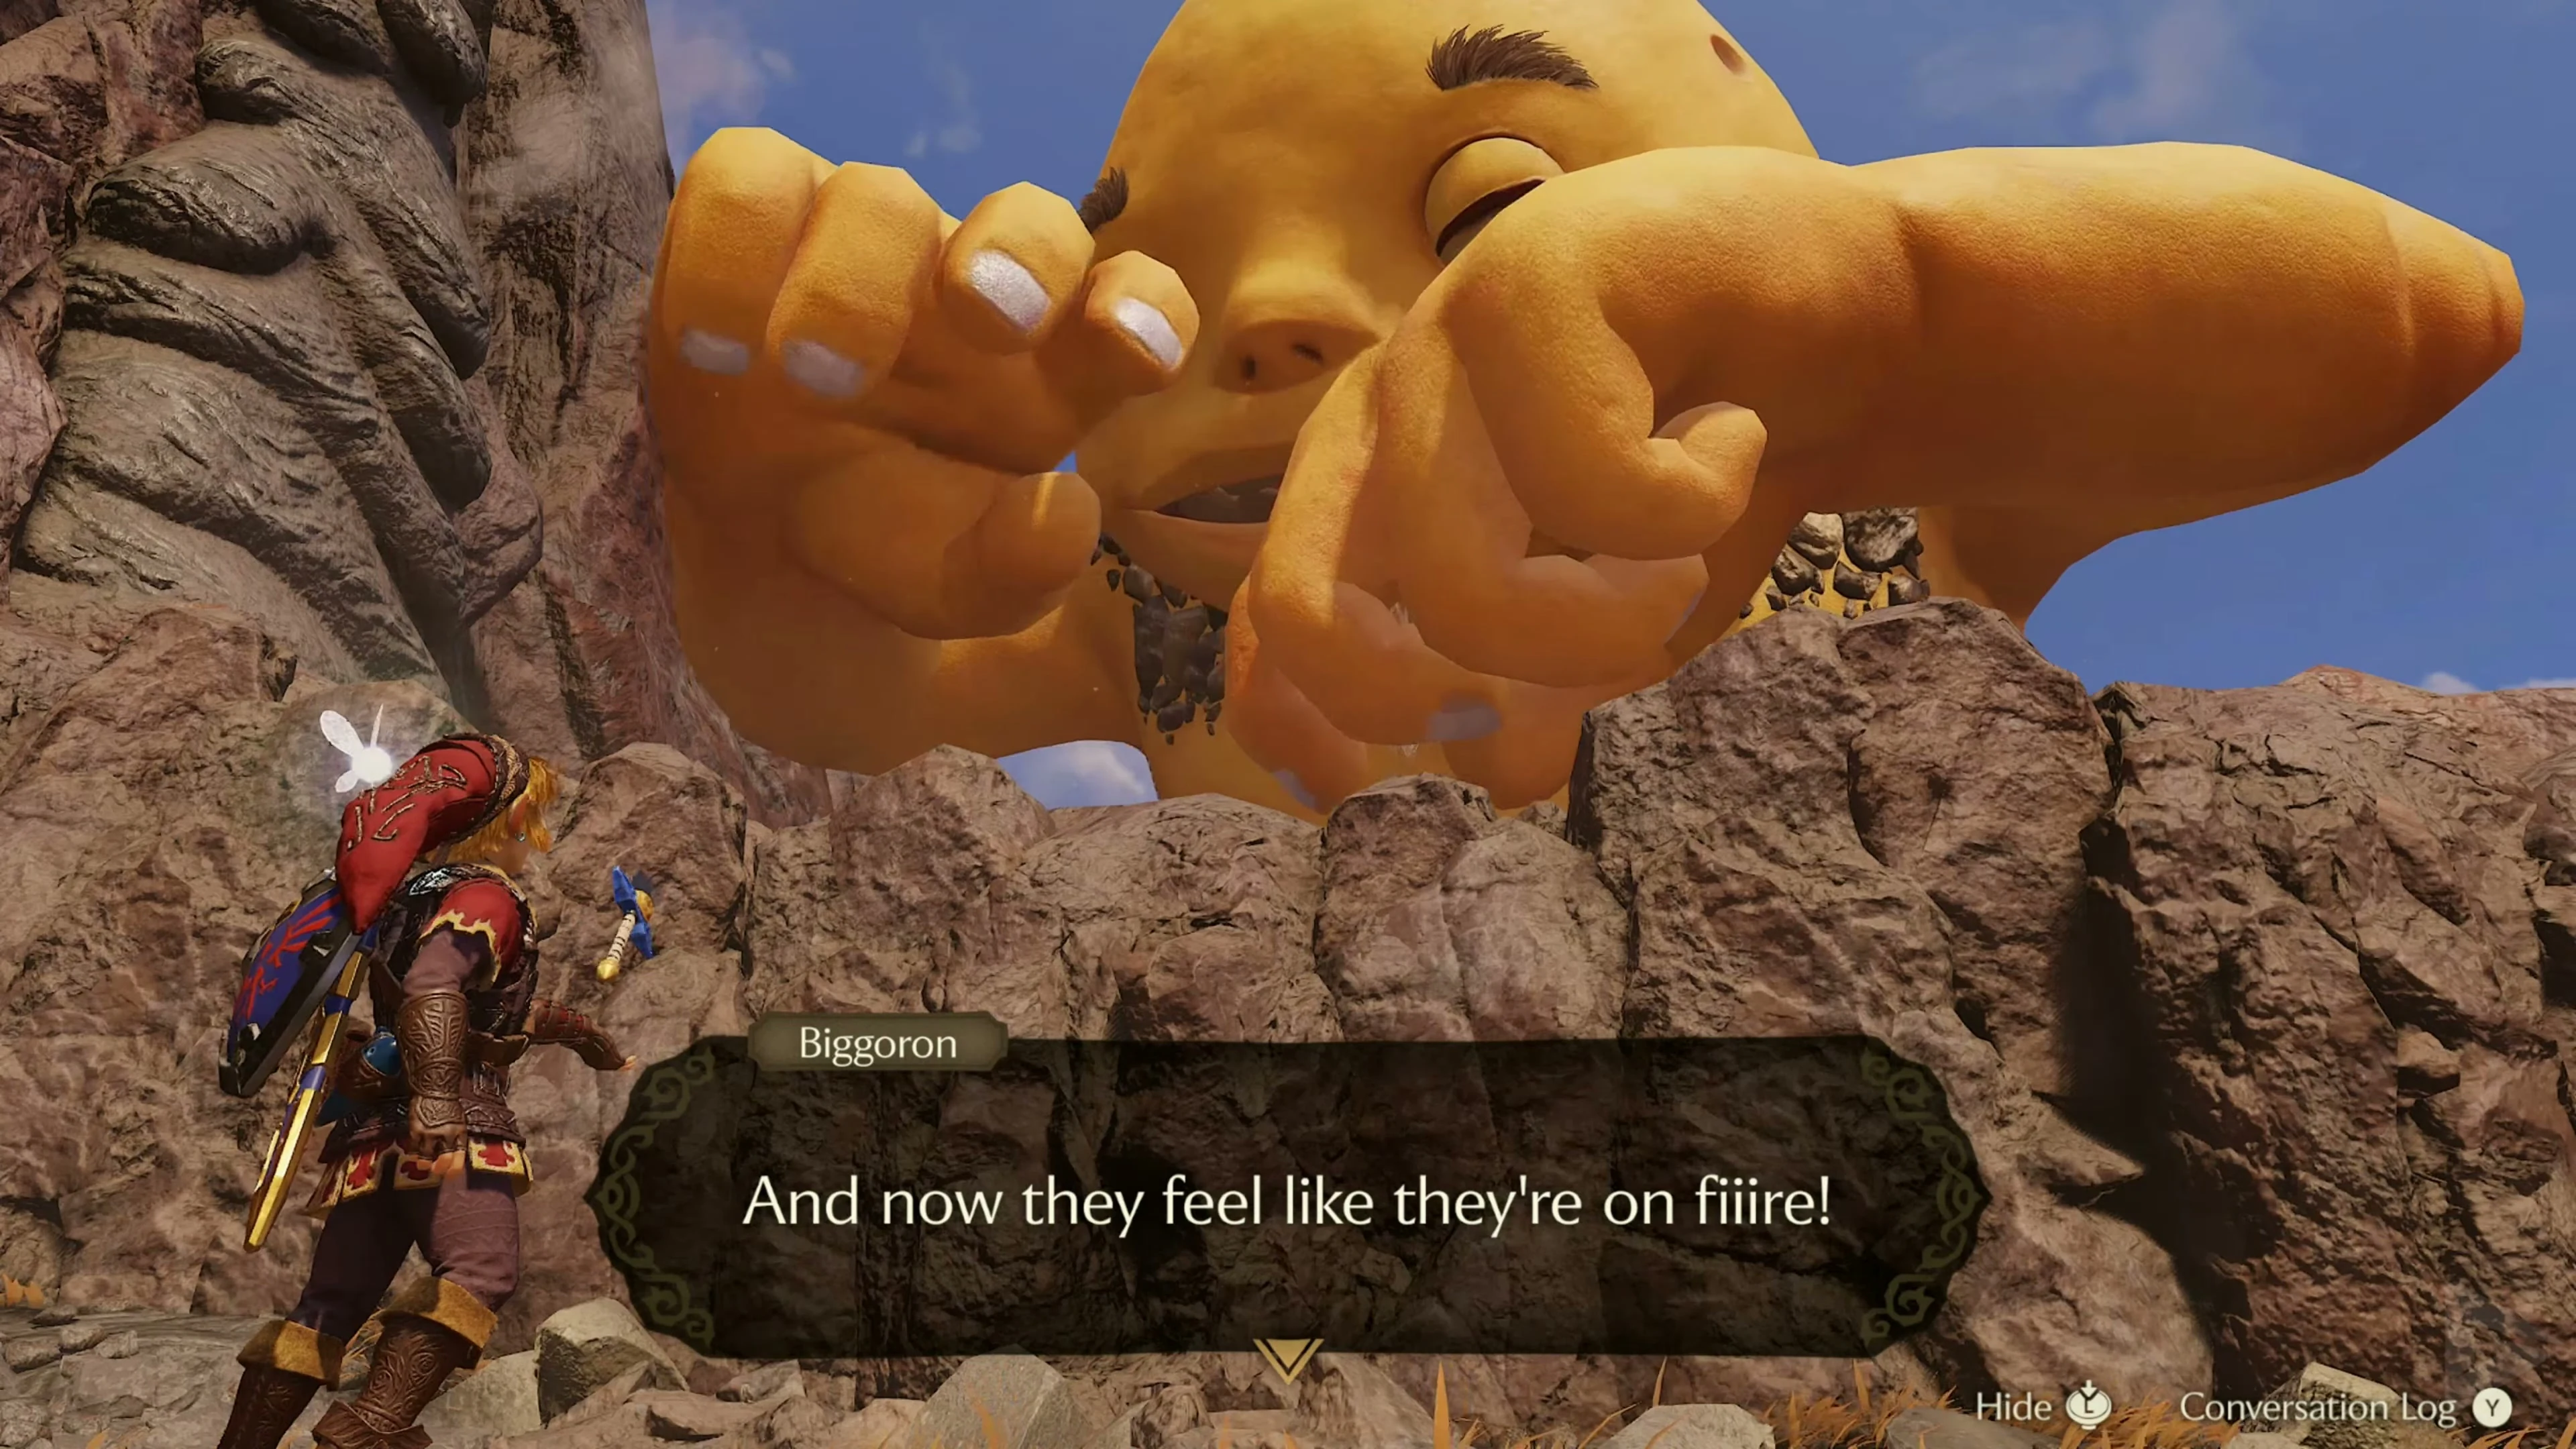
Three days waiting for the Biggoron Sword
The repair takes three full days. You don’t have to wait on the summit and can move freely around Hyrule during this time. If you want to shorten the waiting time, you can play the Sun’s Song multiple times and switch between day and night. Once enough time has passed, return to Biggoron and show him the Biggoron Receipt. As a reward, you will receive the Biggoron Sword . The massive blade inflicts significantly more damage than the Master Sword and, unlike Medigoron’s Goron Sword, never breaks. However, Link wields the sword with both hands and cannot use a shield while doing so. Nevertheless, its enormous attack power is a major advantage, especially against many later mini-bosses and bosses.
Chests and their contents
Show all 4 chests
| Floor | Quantity | Contents | Note |
|---|---|---|---|
| Ground Floor | 1 | 20 Rupees | |
| Ground Floor | 1 | Dungeon Map | |
| Ground Floor | 1 | Iron Boots | |
| Ground Floor | 1 | Compass |