The Gerudo Valley
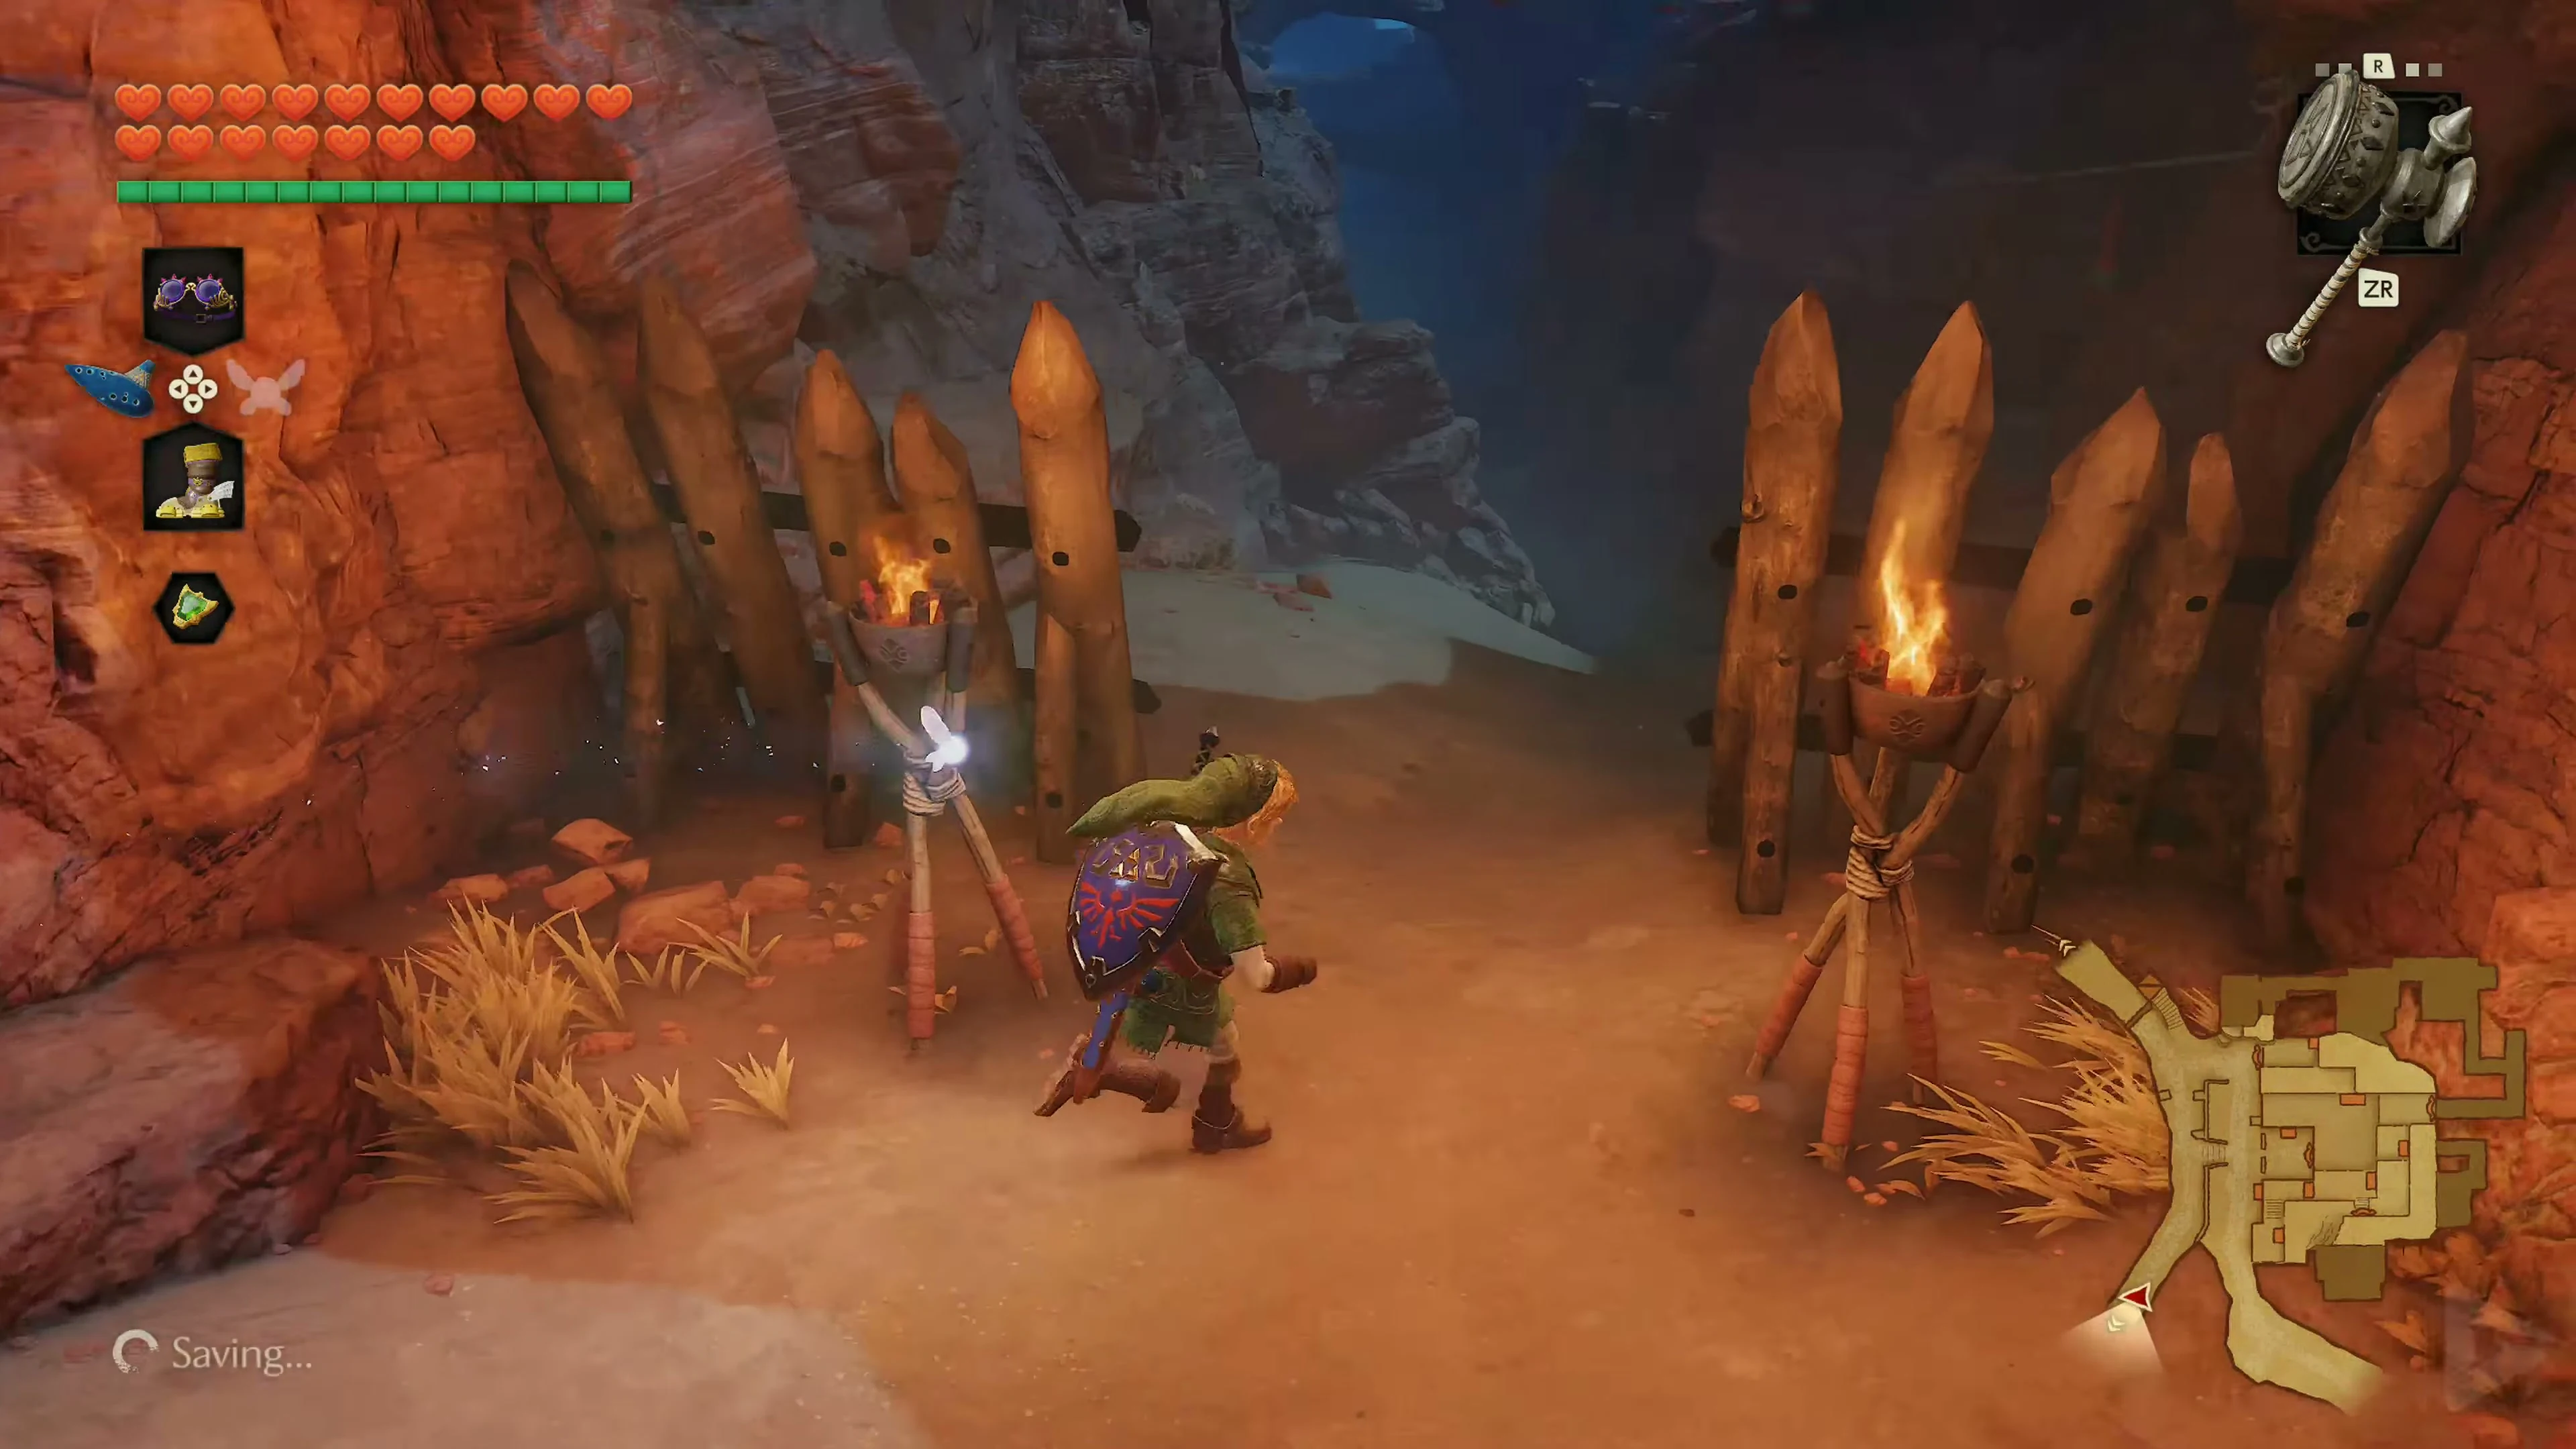
Go west from Hyrule Field into the Gerudo Valley . Use Epona to gain enough momentum and jump over the gap in the destroyed bridge.
Alternatively, use Longshot to pull yourself to the wooden target on the opposite side of the bridge.
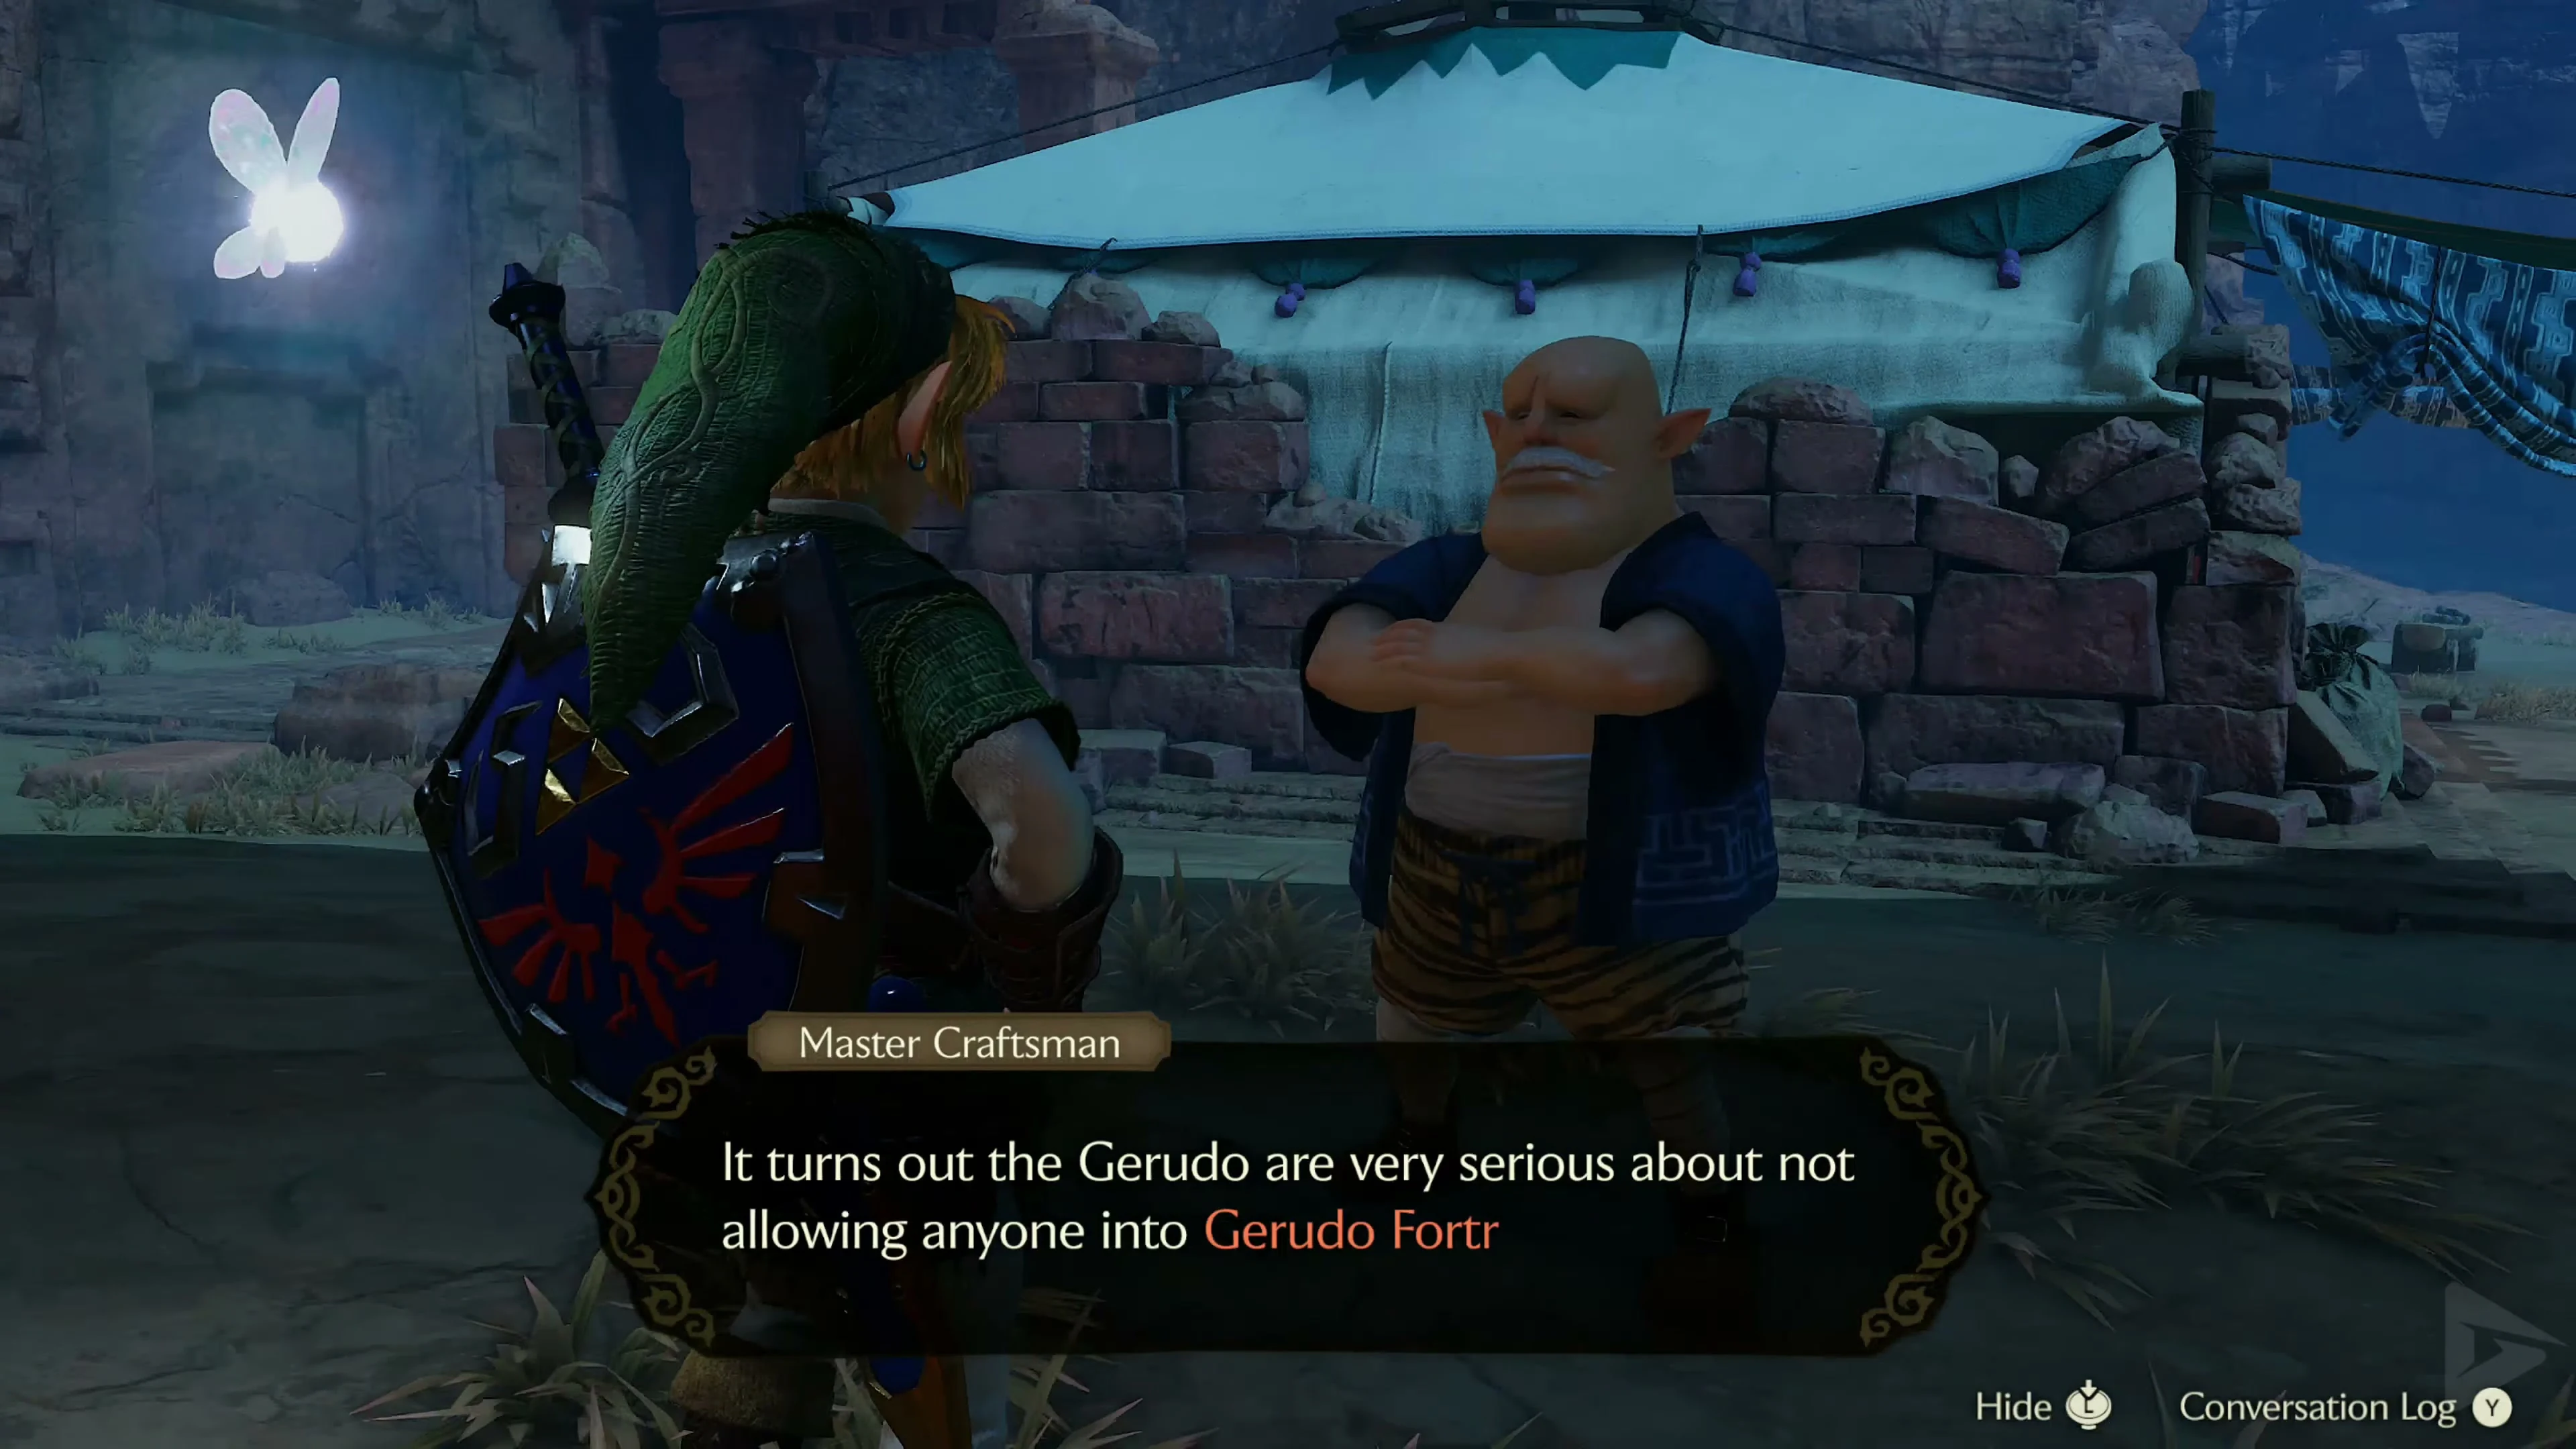
Go to the carpenters’ tent and play the Sun’s Song to make it night. Defeat the Gold Skulltula on the stone pillar on this side of the bridge and retrieve its Token with the Longshot. Then search the wall behind the tent for the second adult Skulltula and collect its Token as well. Continue to Gerudo Fortress.
The Gerudo Fortress
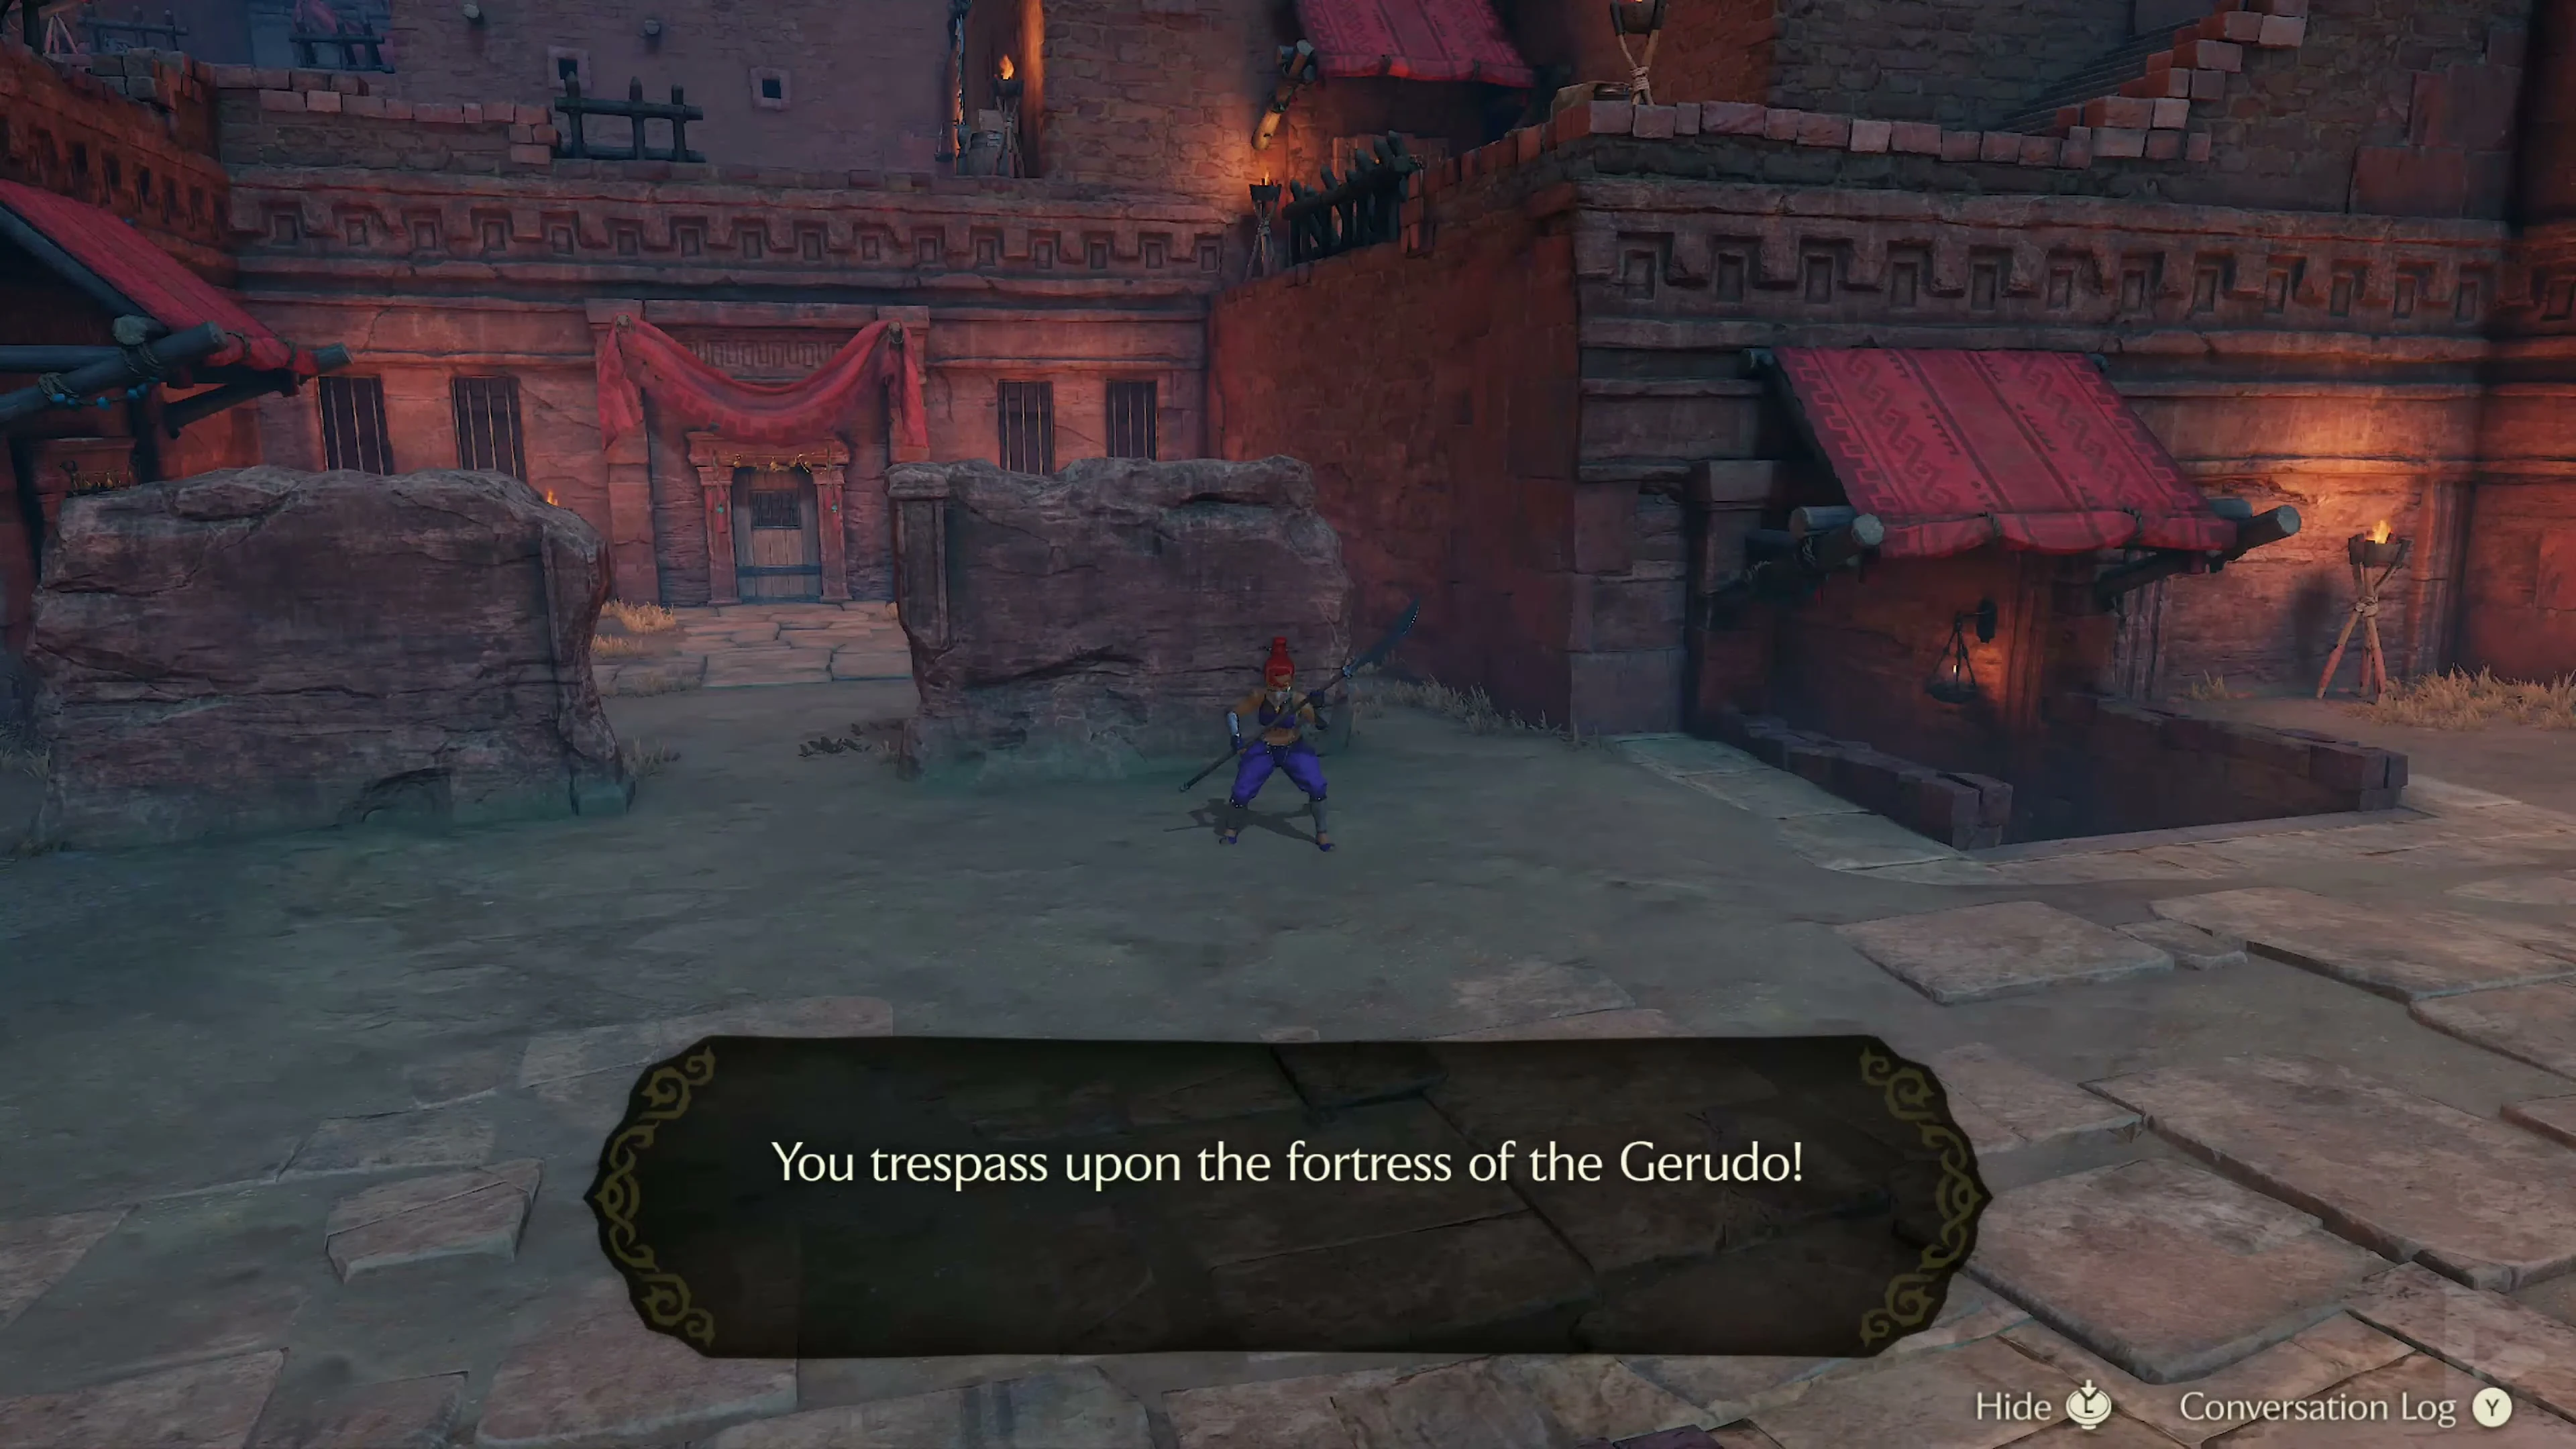
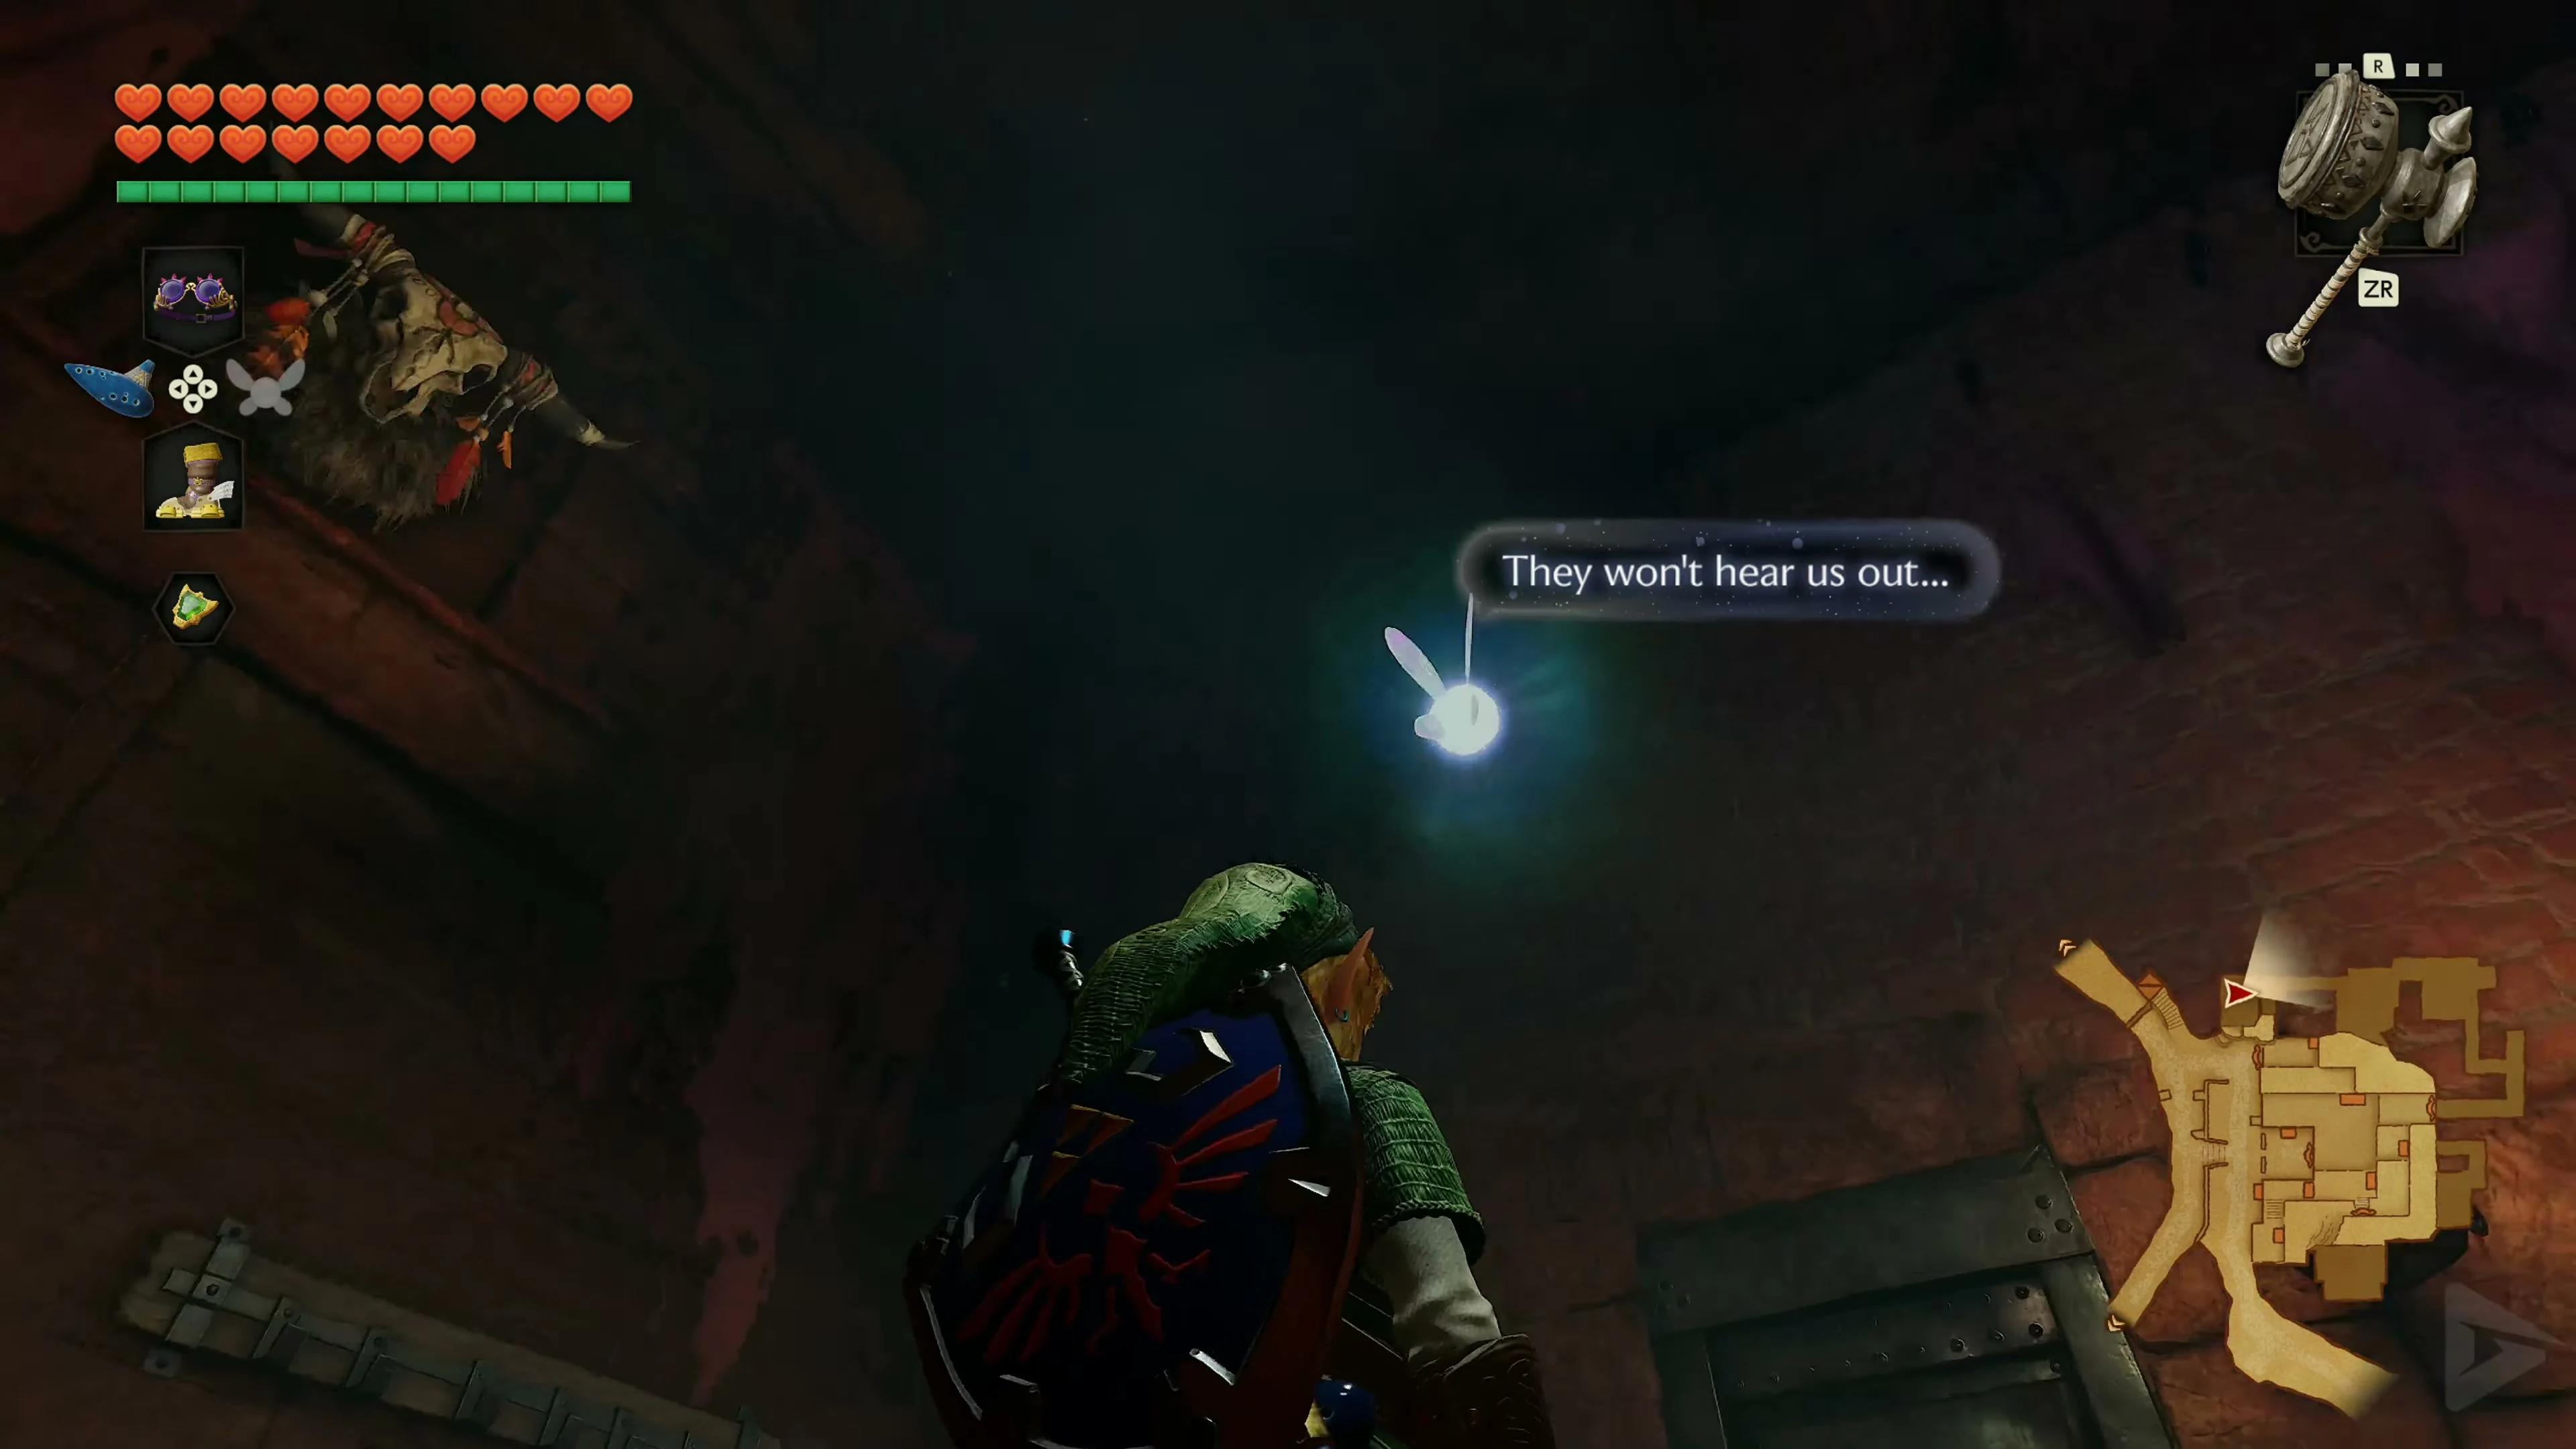
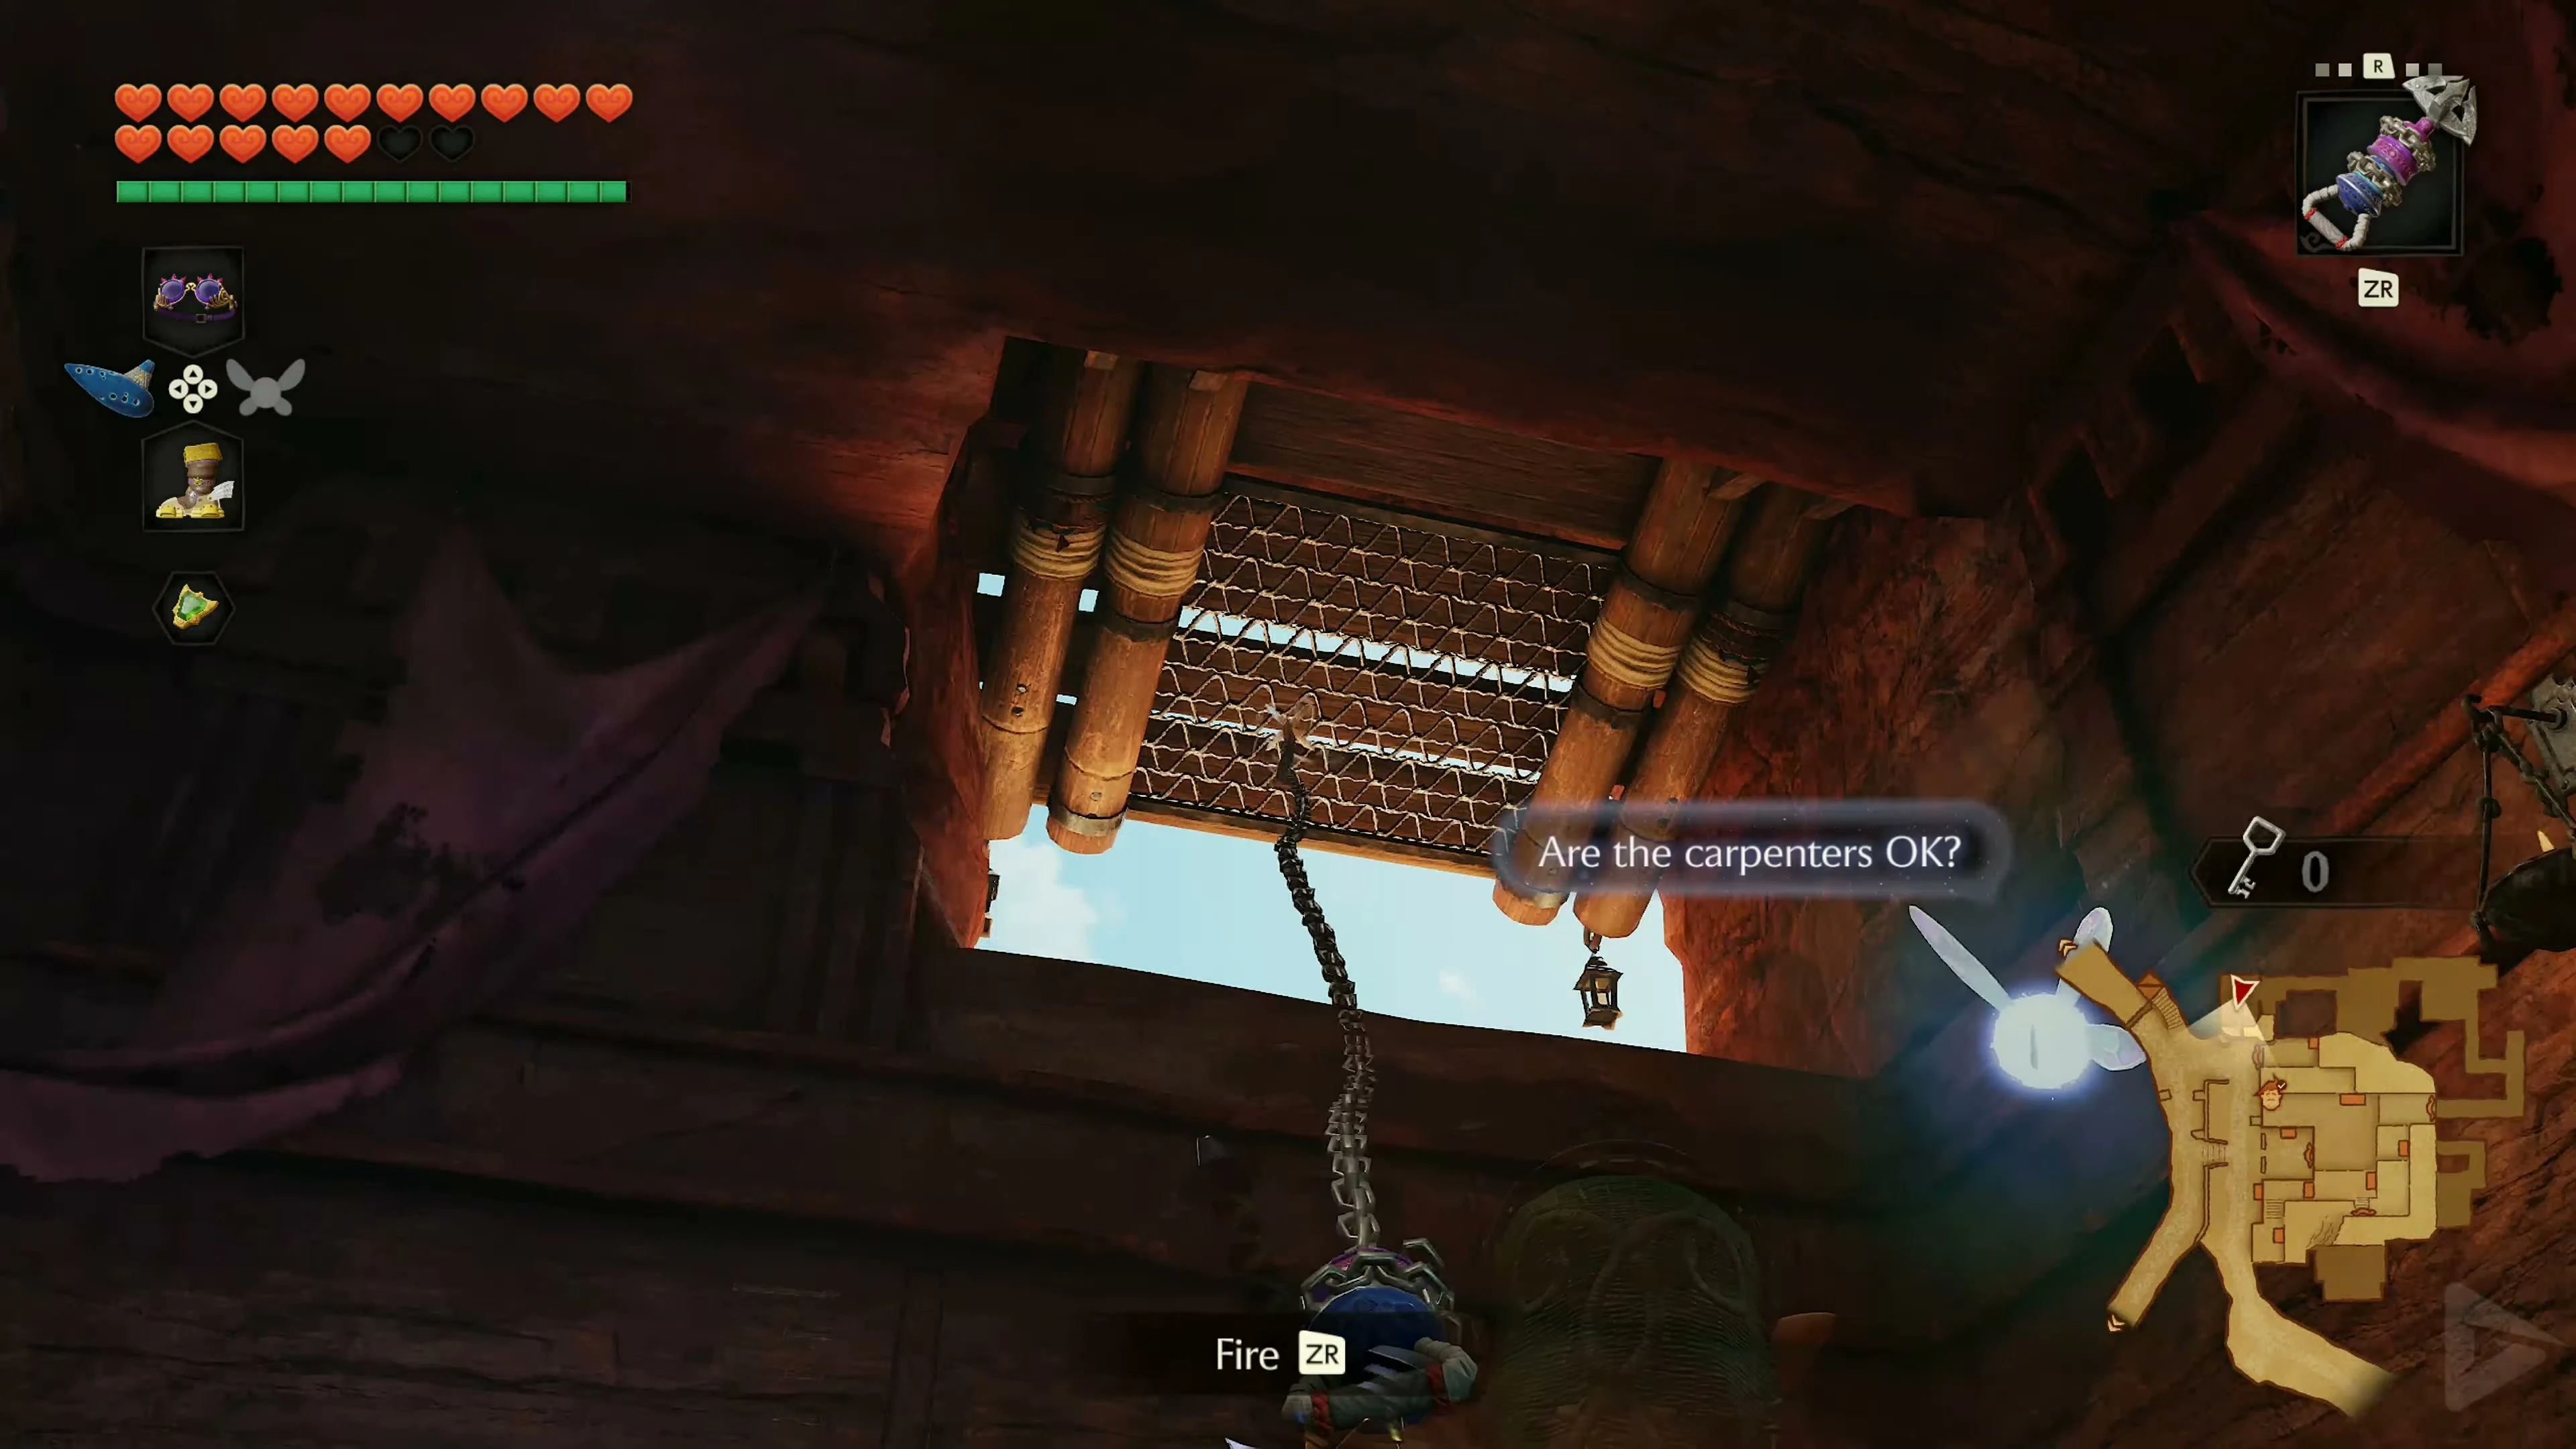
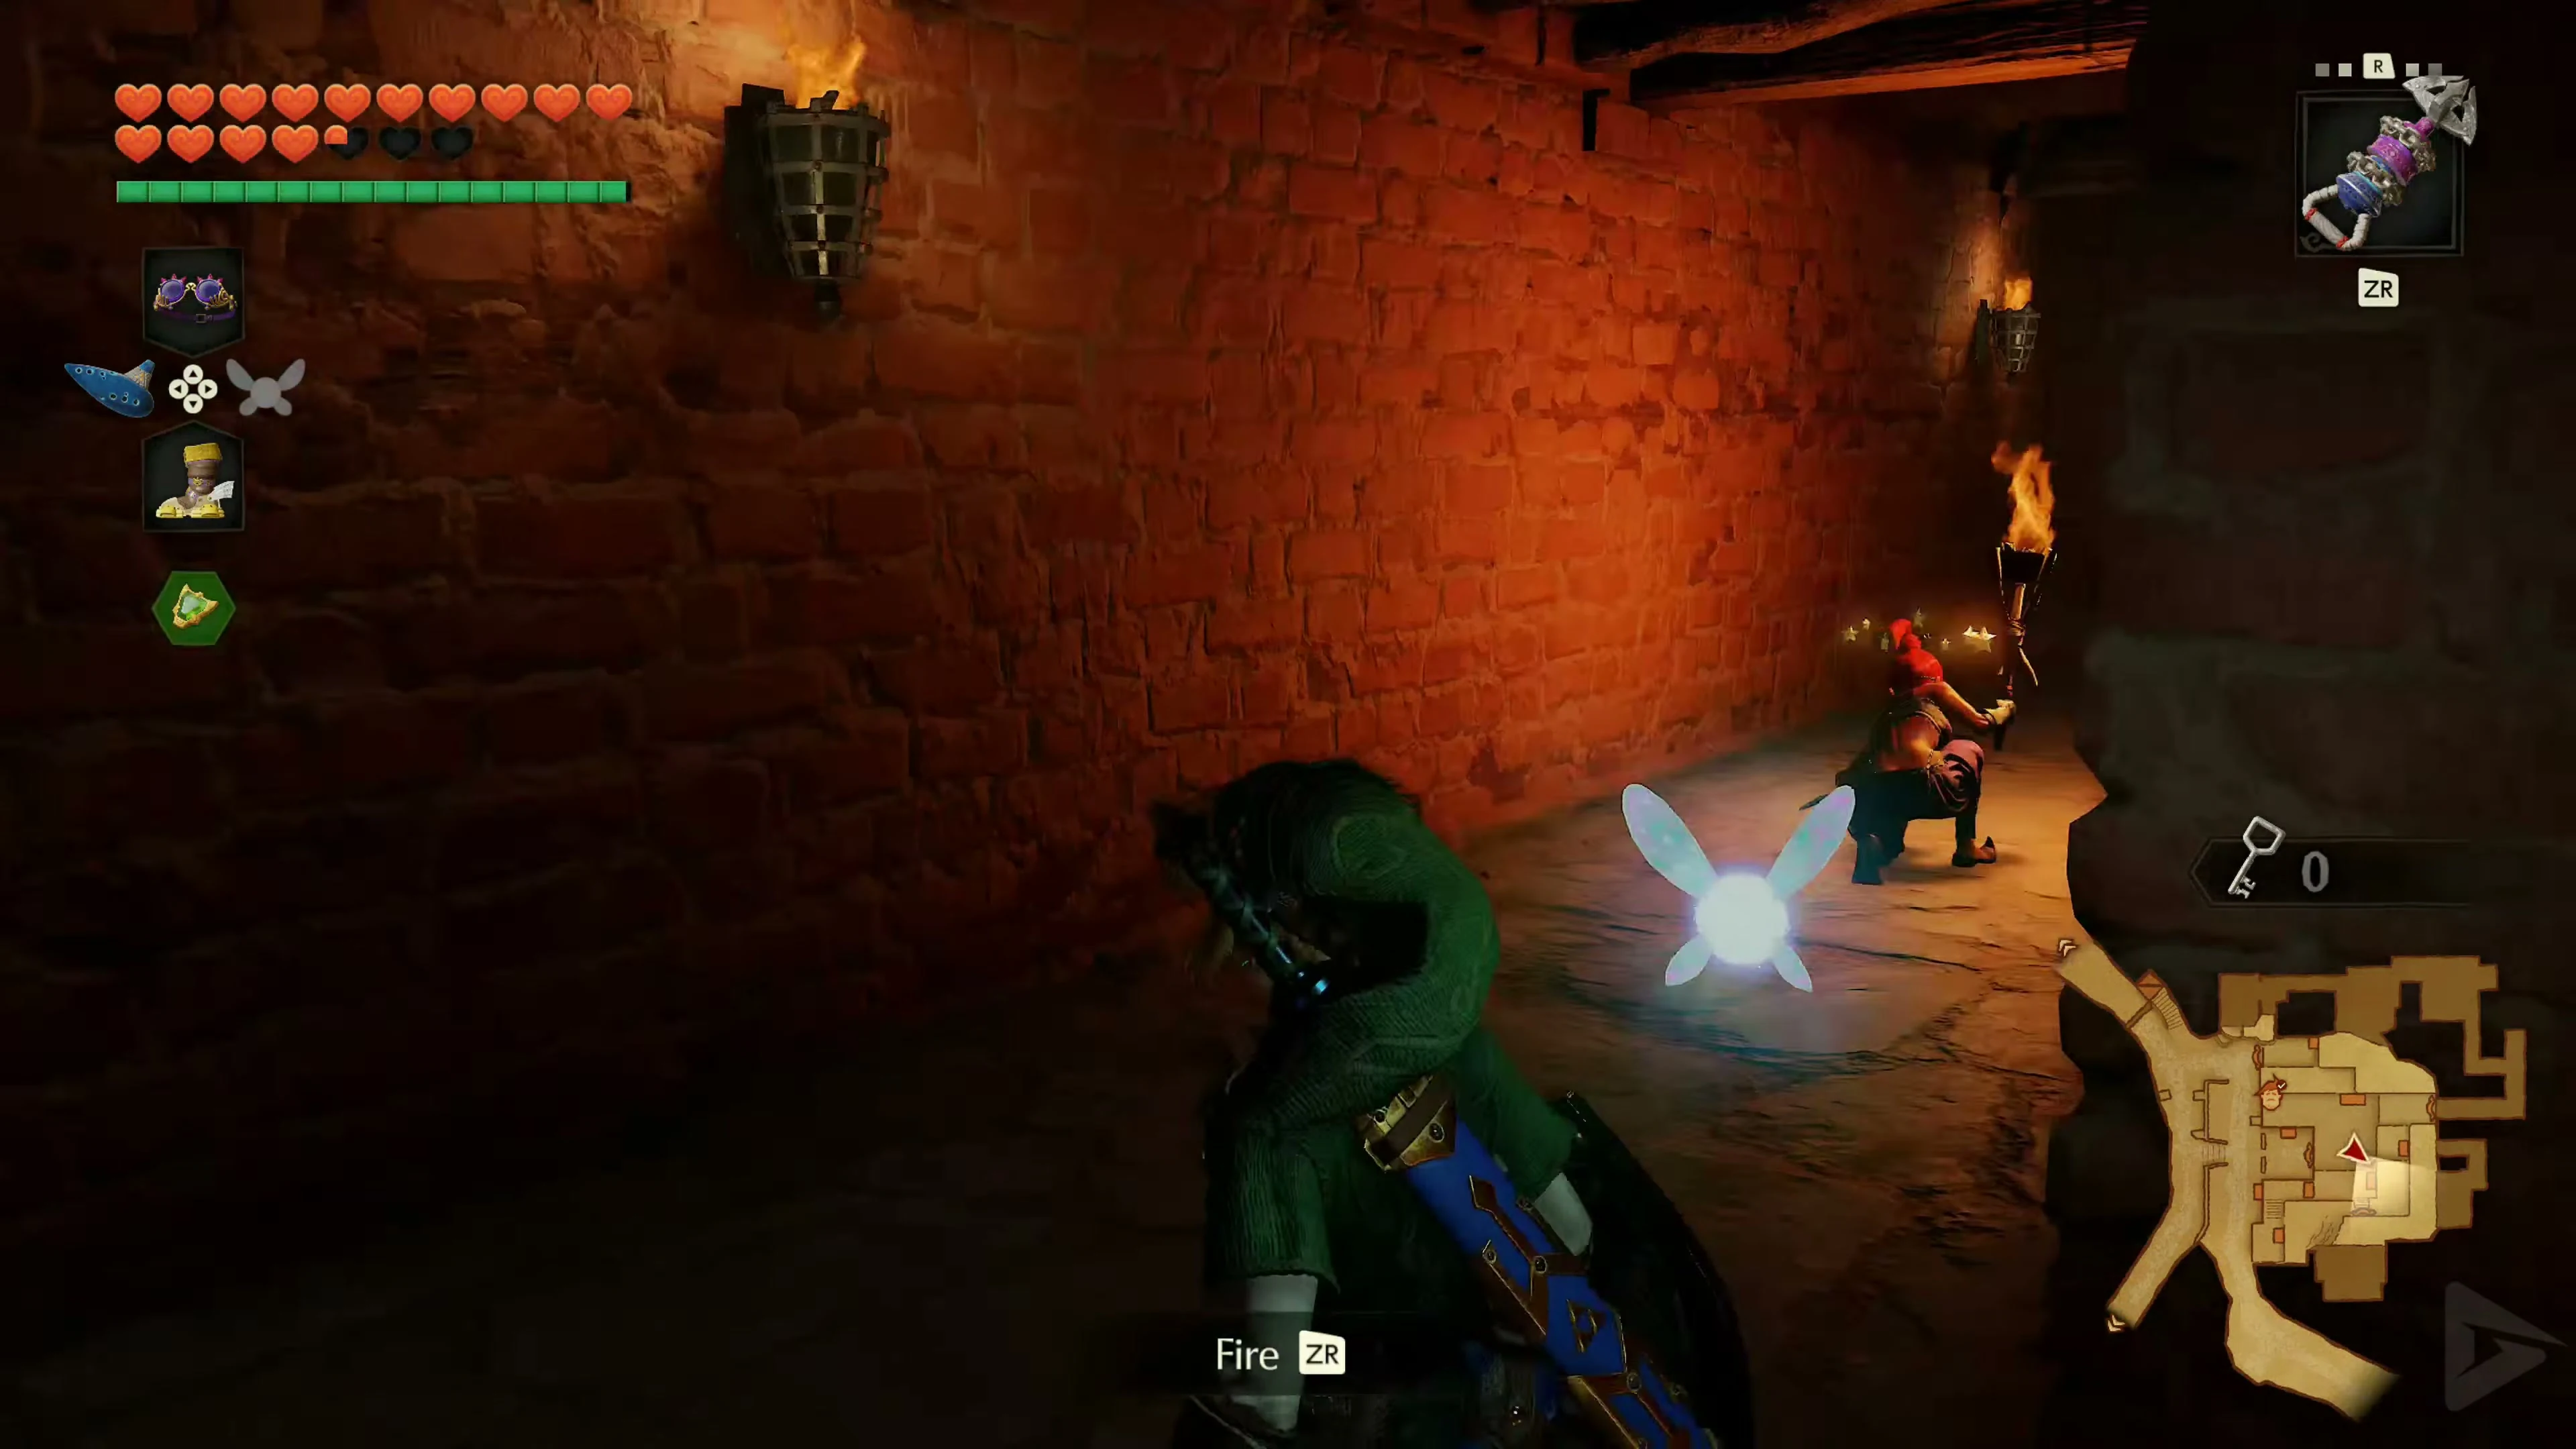
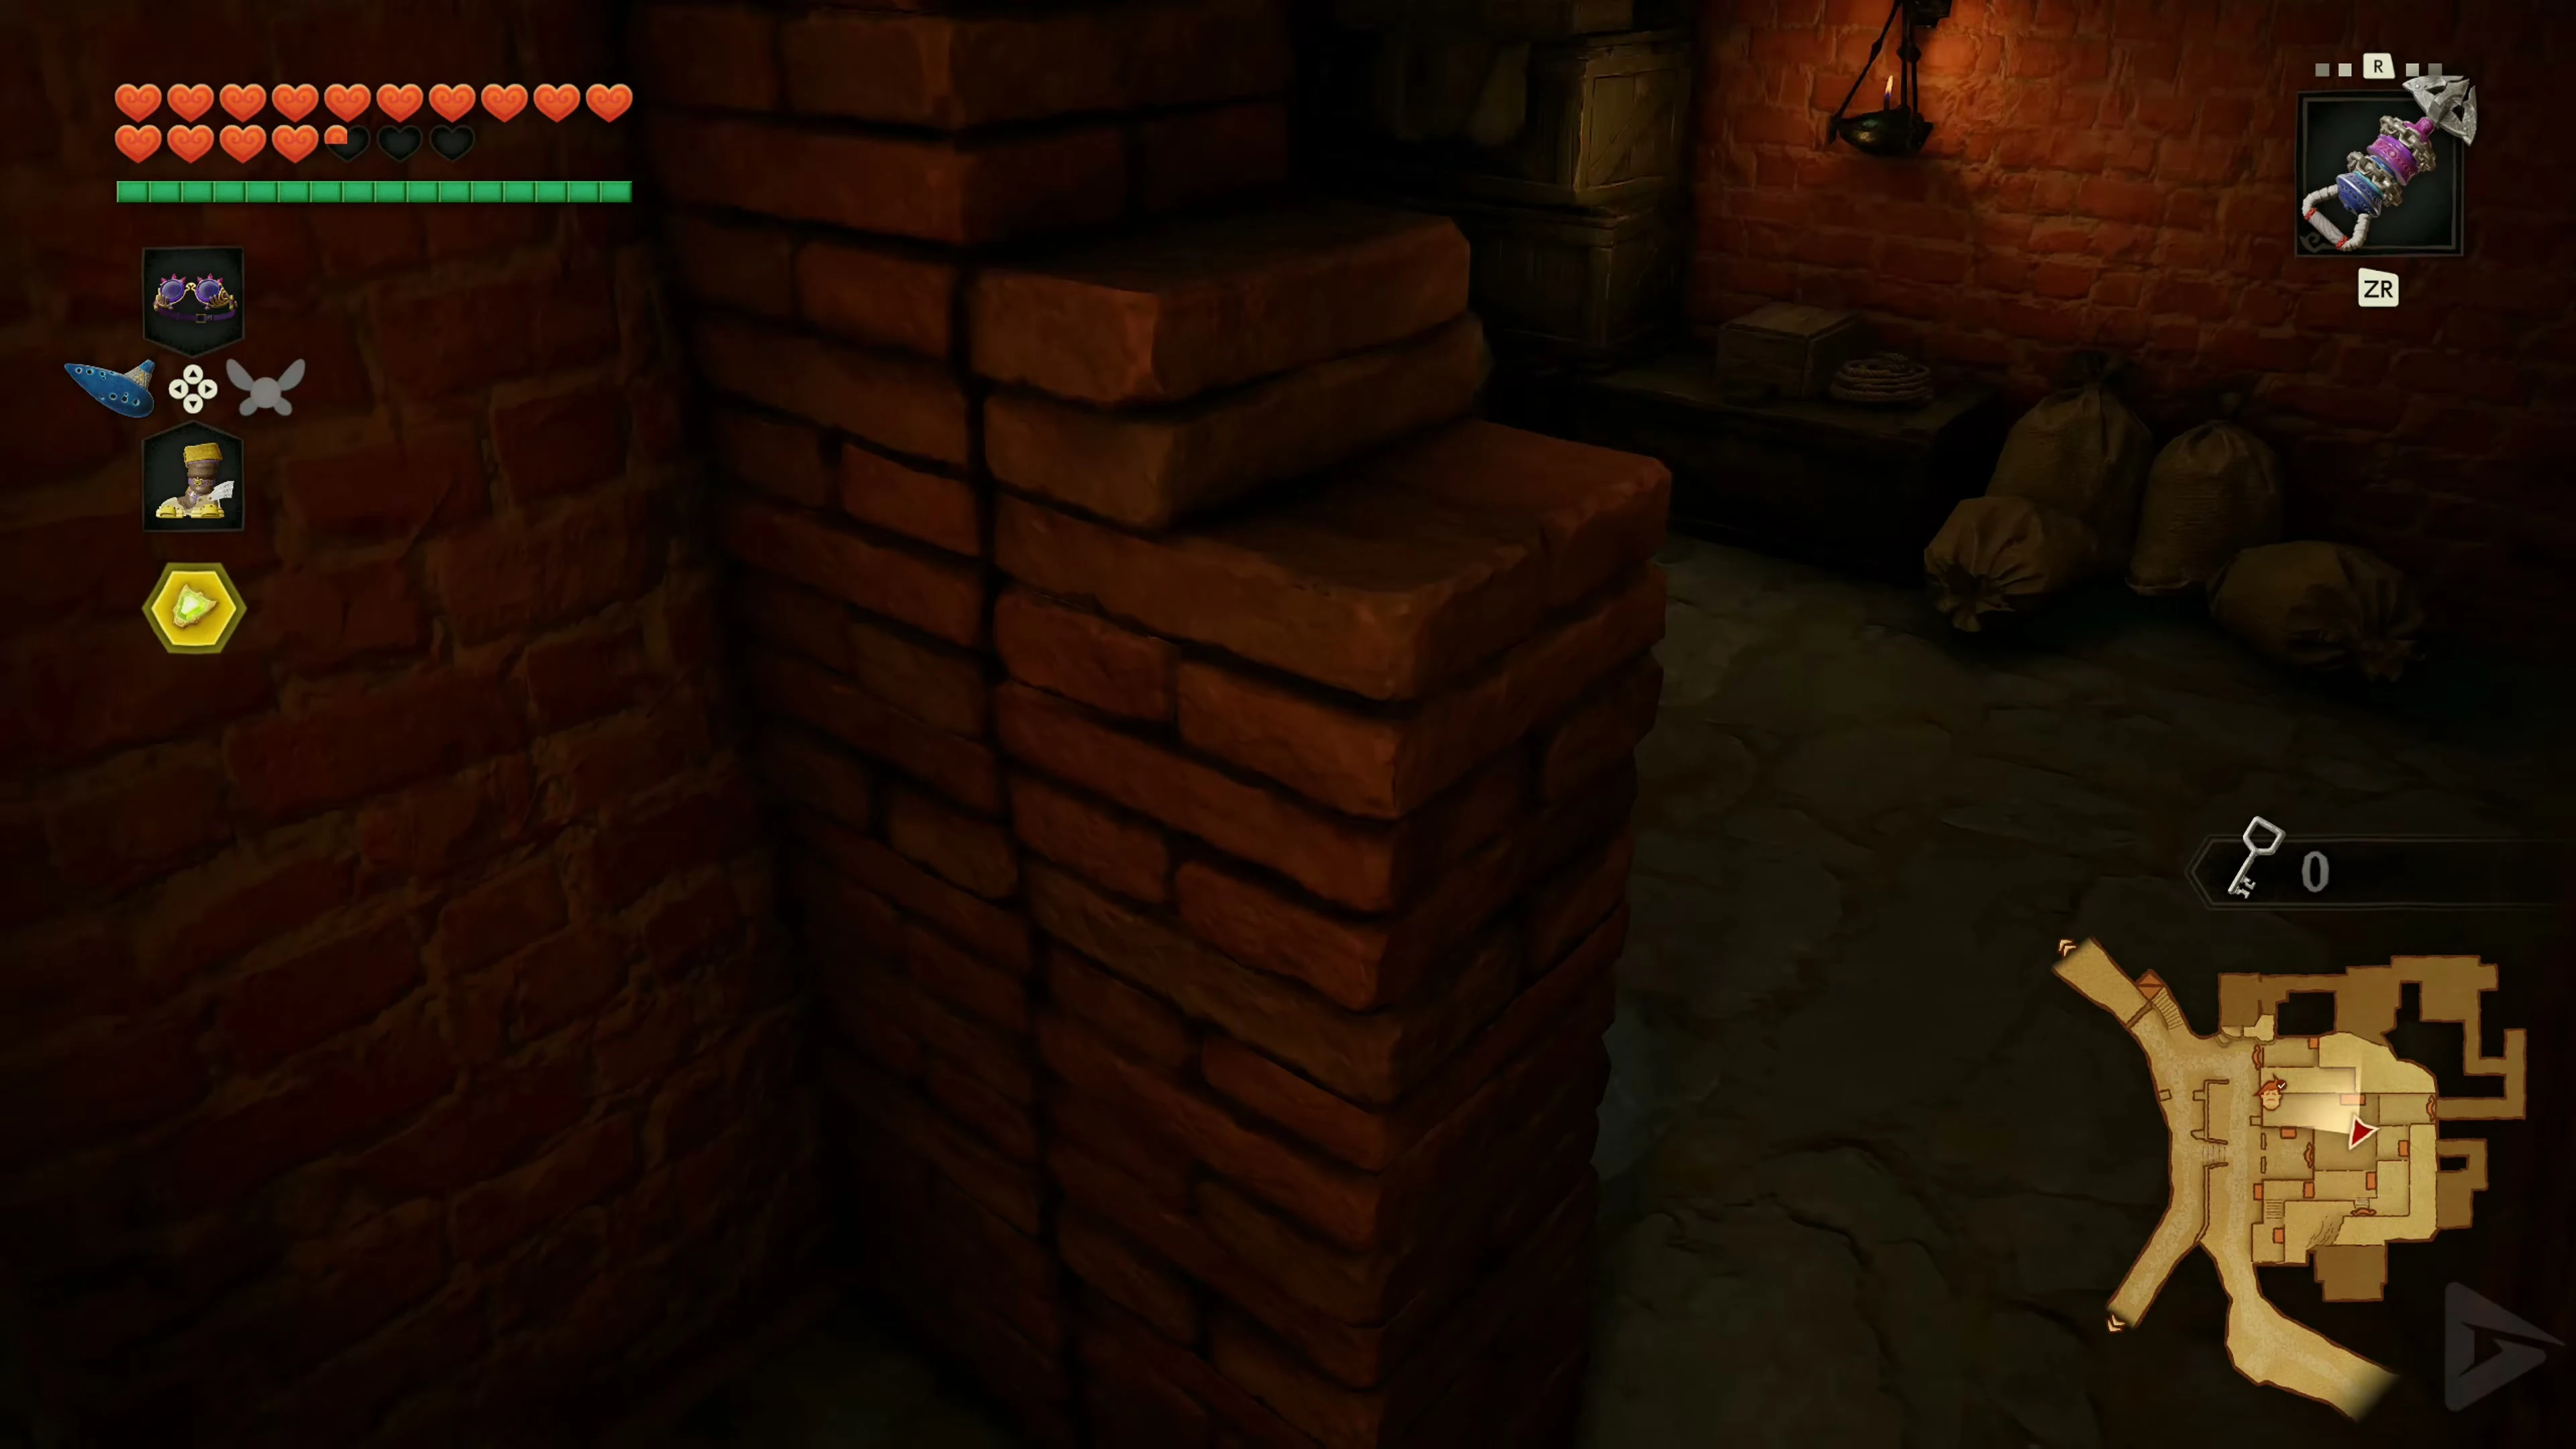
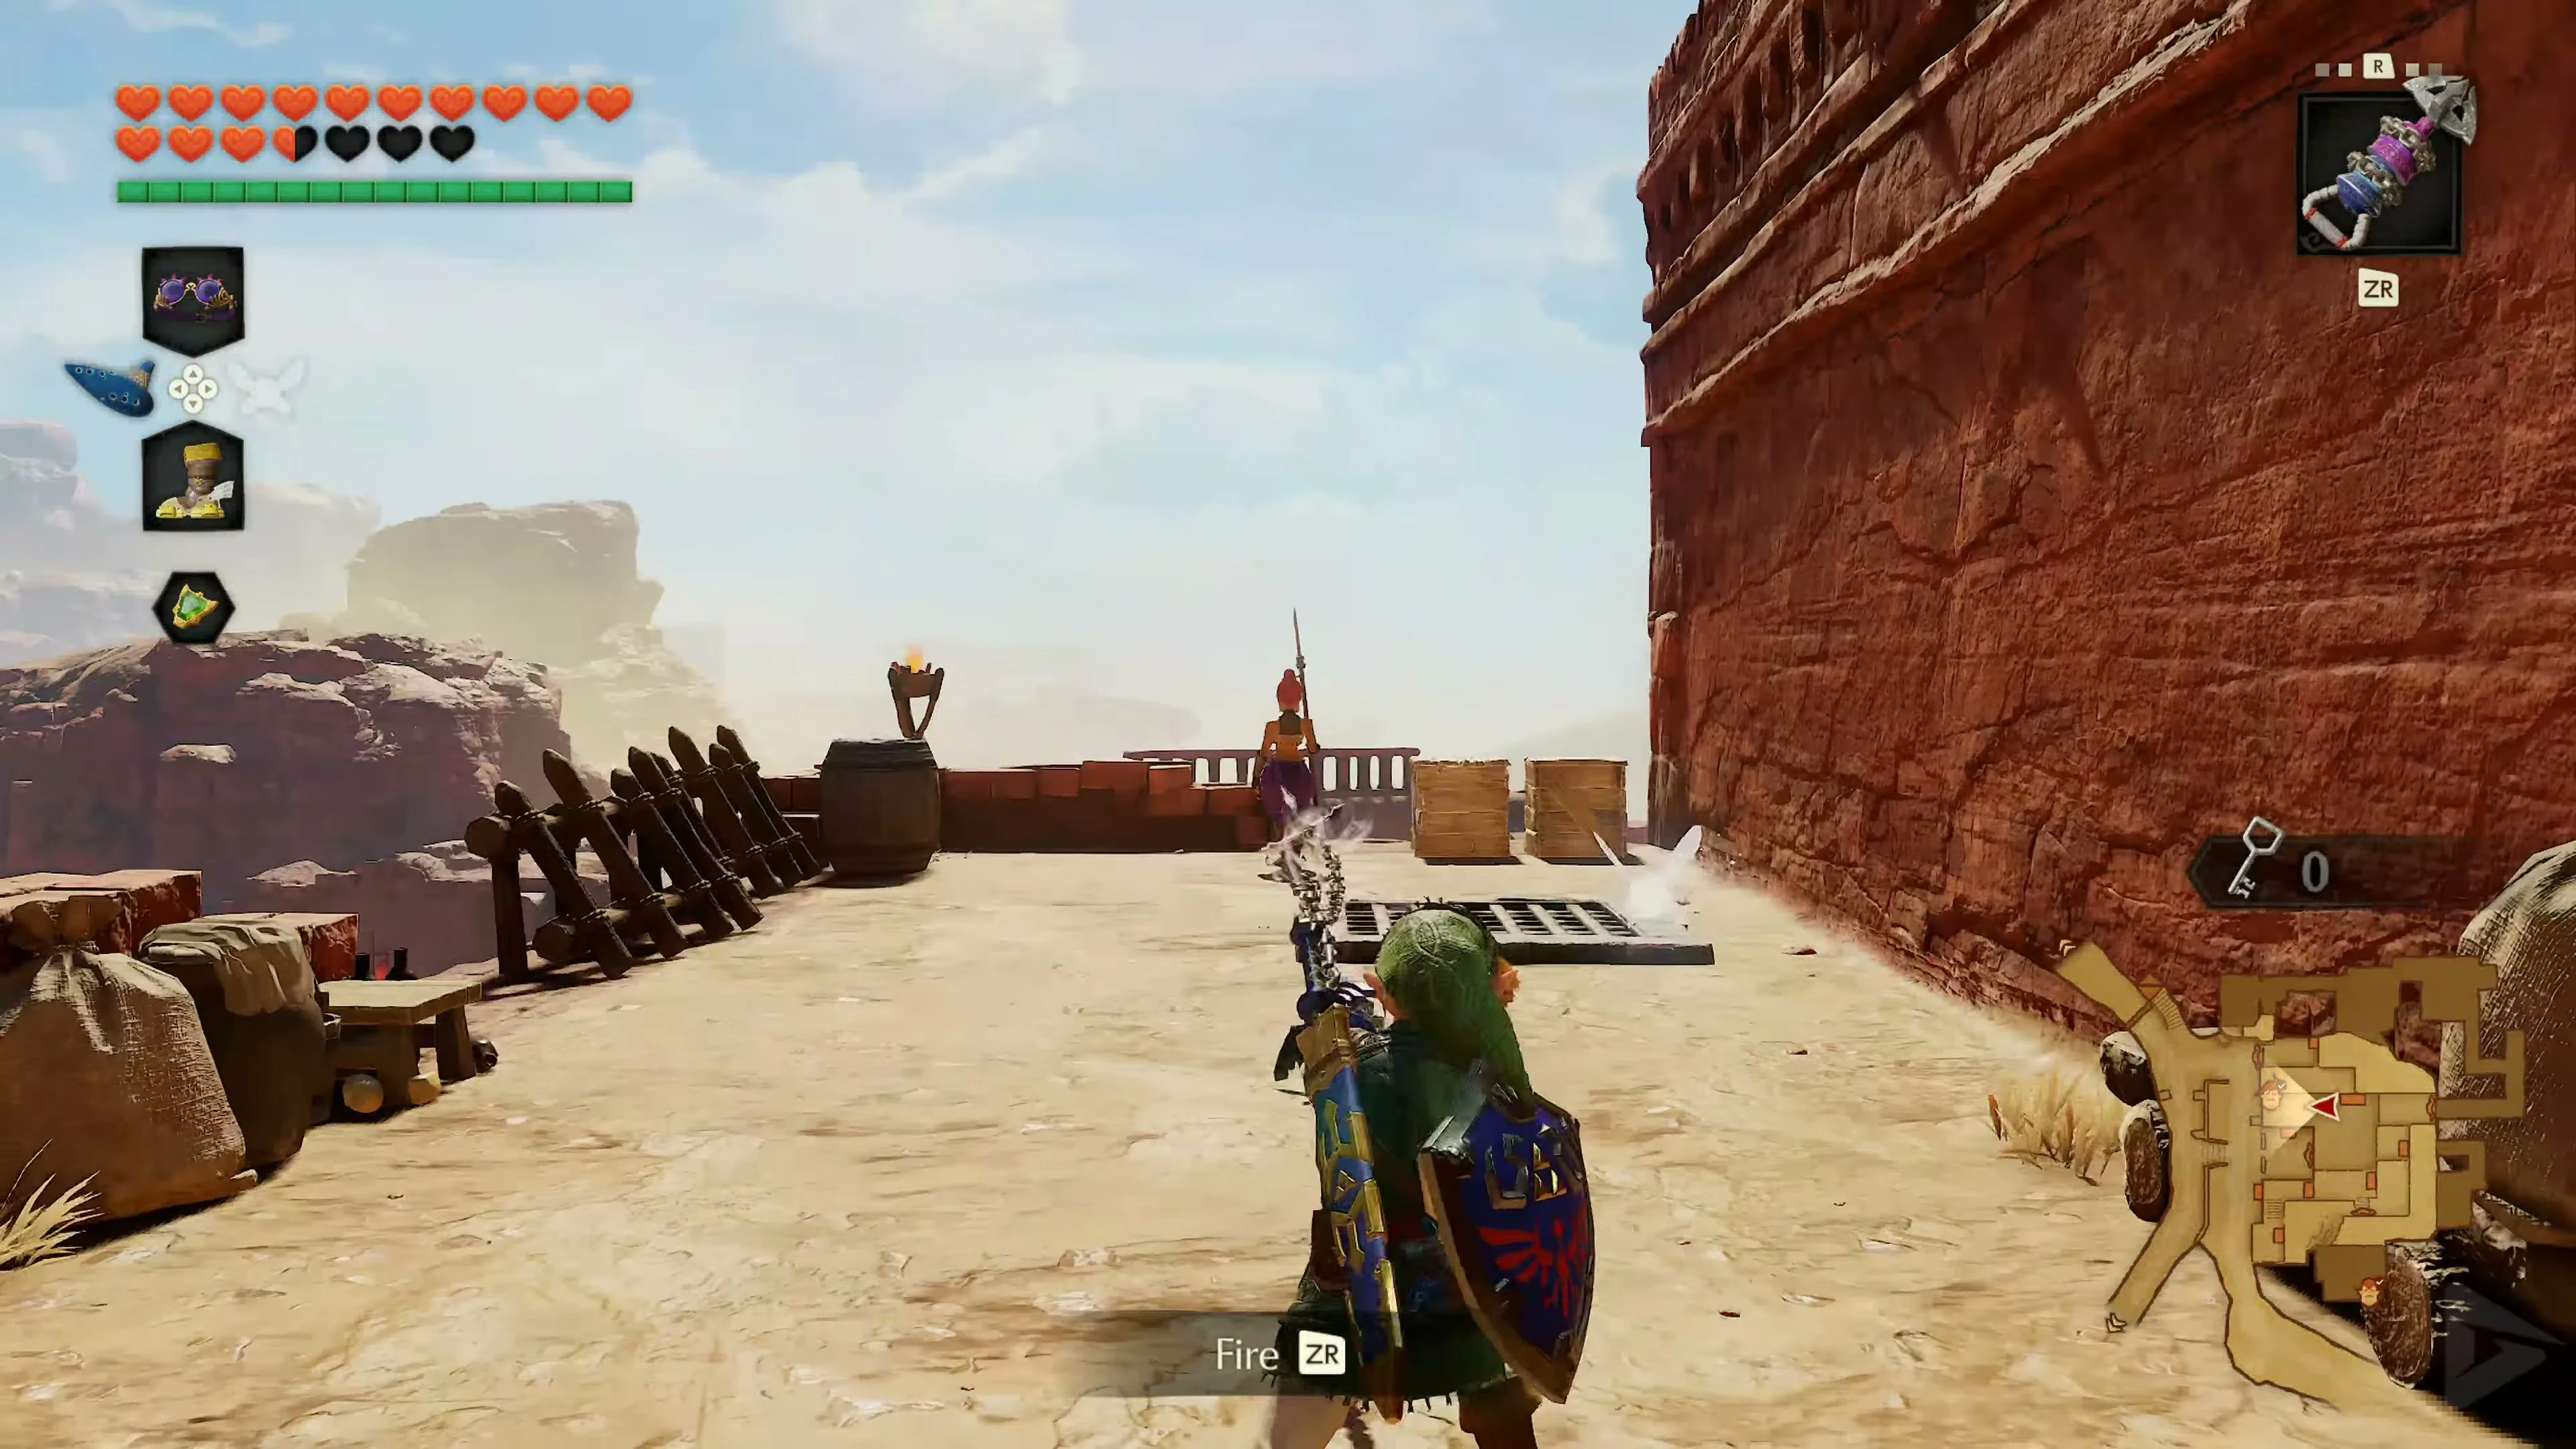
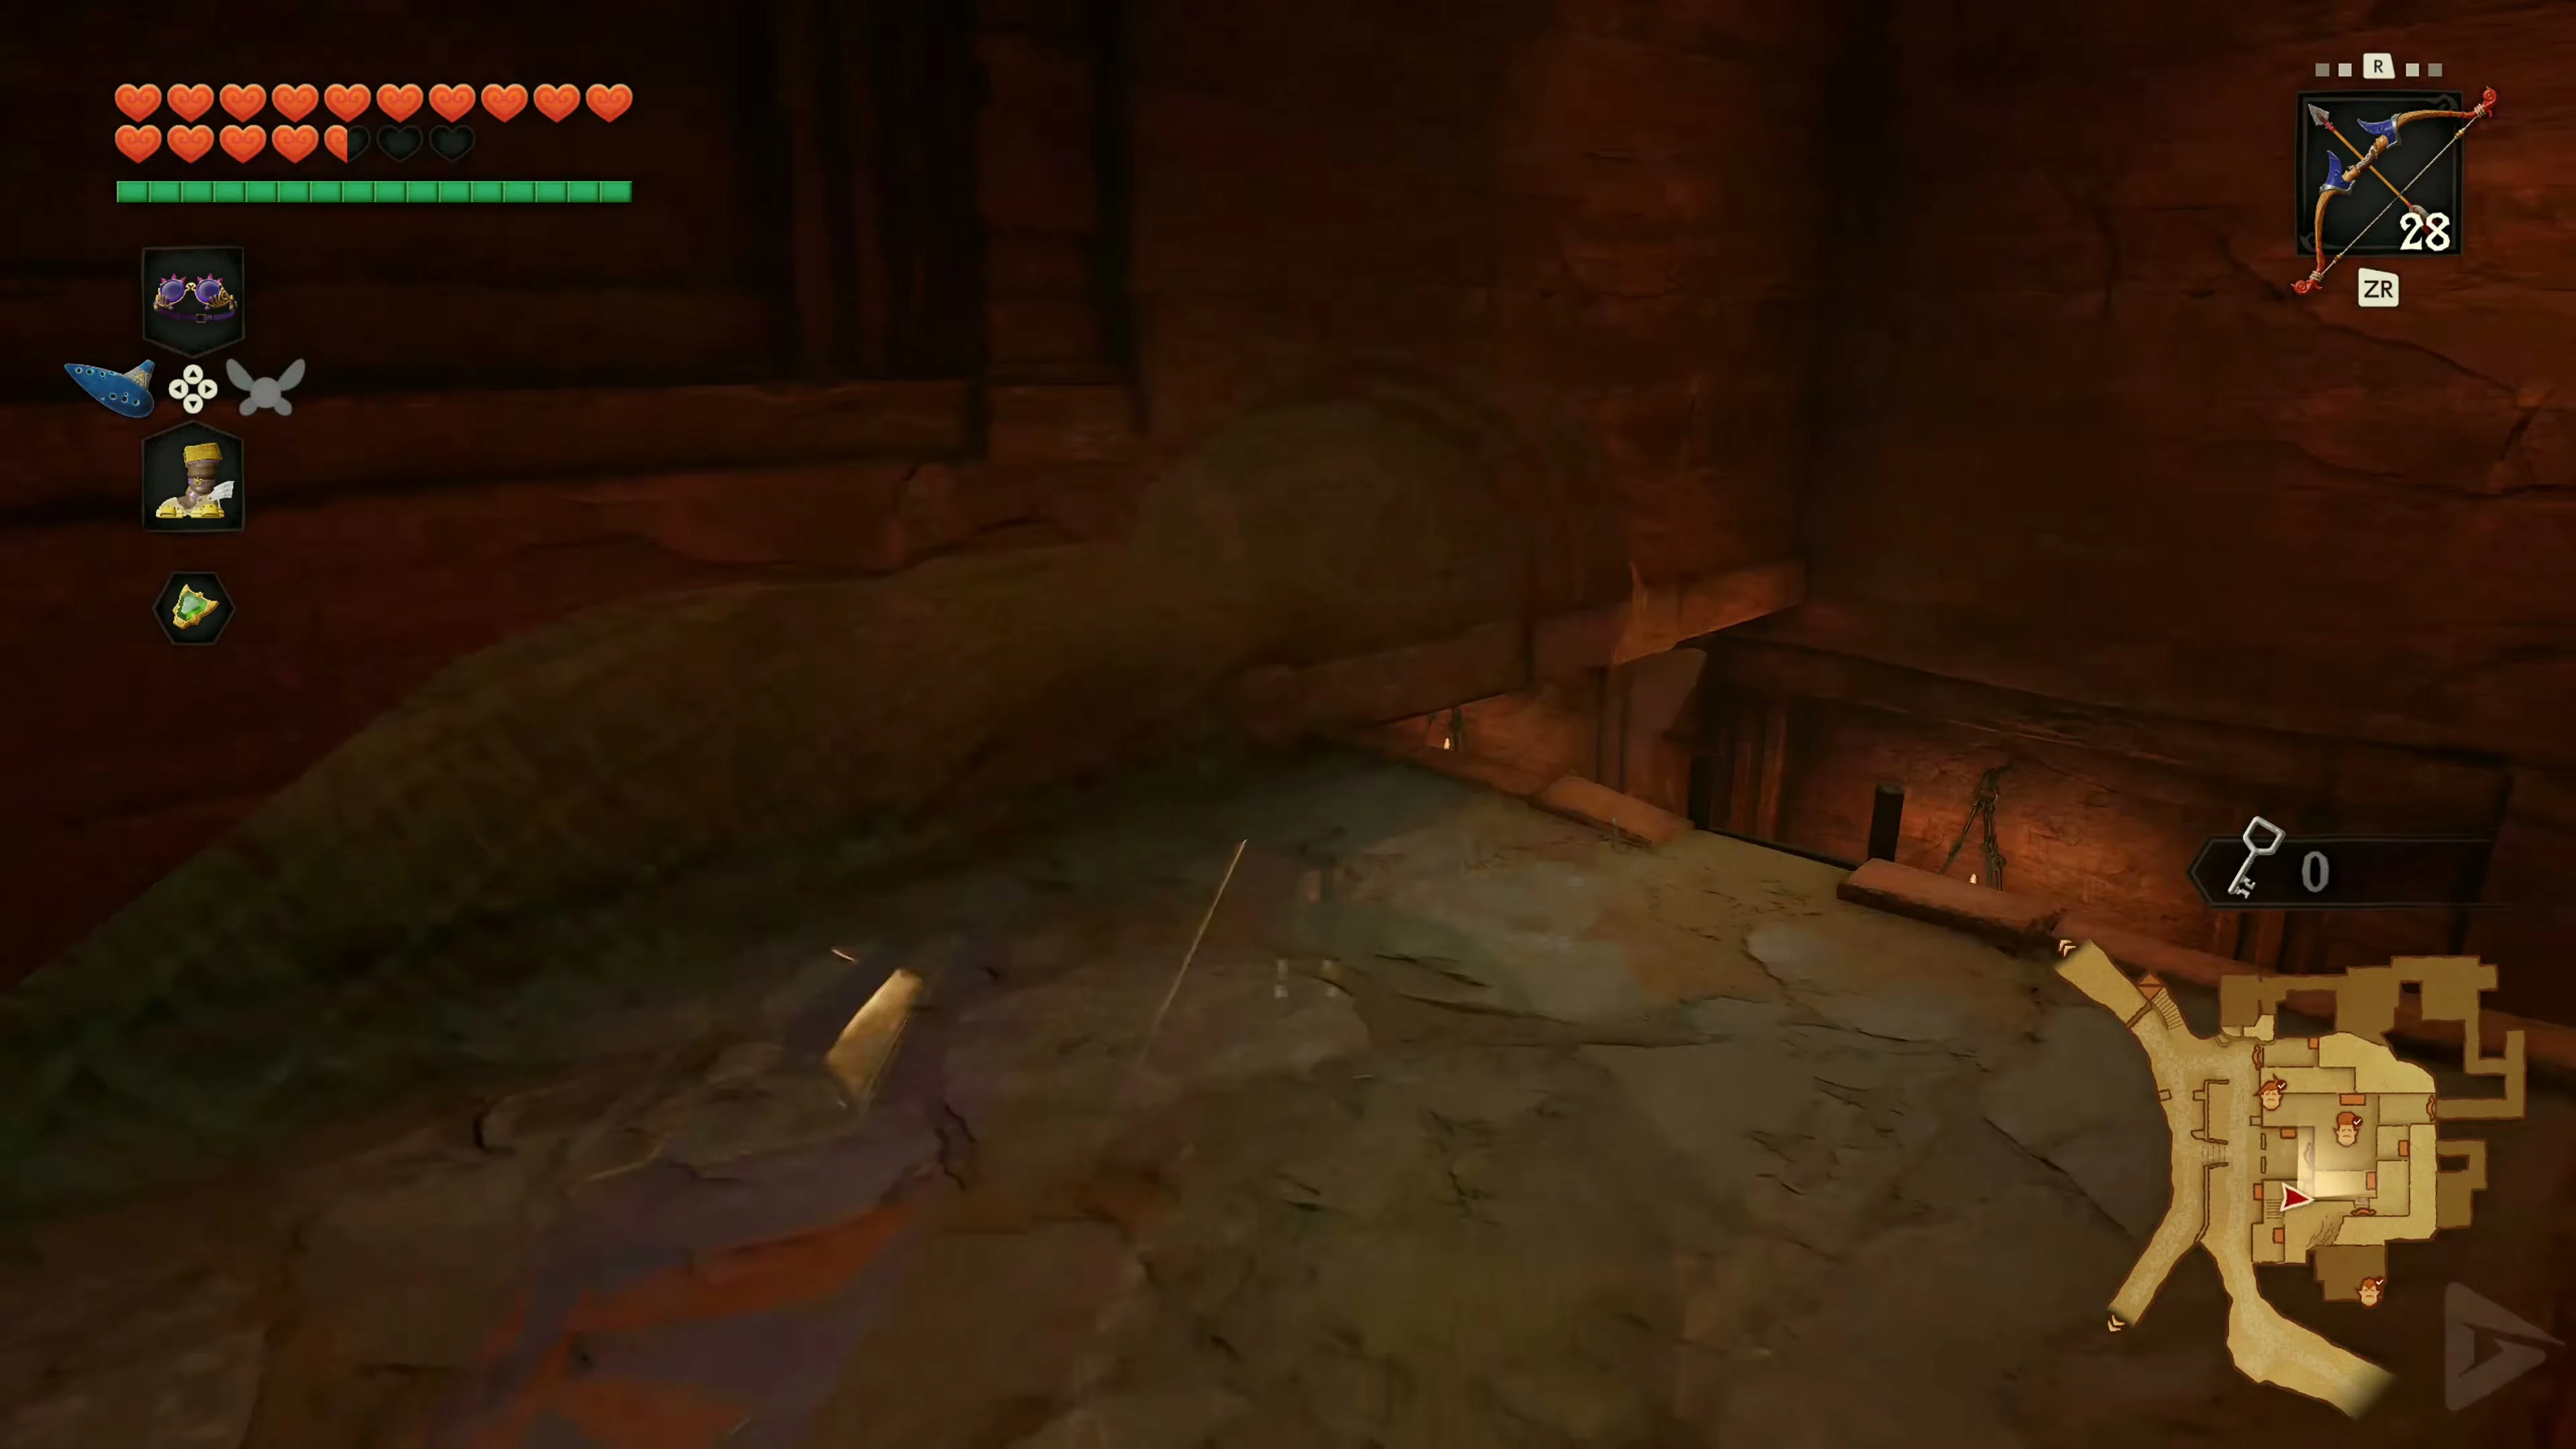
On your first visit, let a guard capture you. You’ll keep your equipment in the cell. Look towards the southwest corner under the ceiling and use the Longshot to pull yourself up to the net. You can briefly stun regular female guards with arrows or the Hookshot. They’ll get back up after a short time. Save after freeing them so you don’t have to go all the way back if you make a mistake.
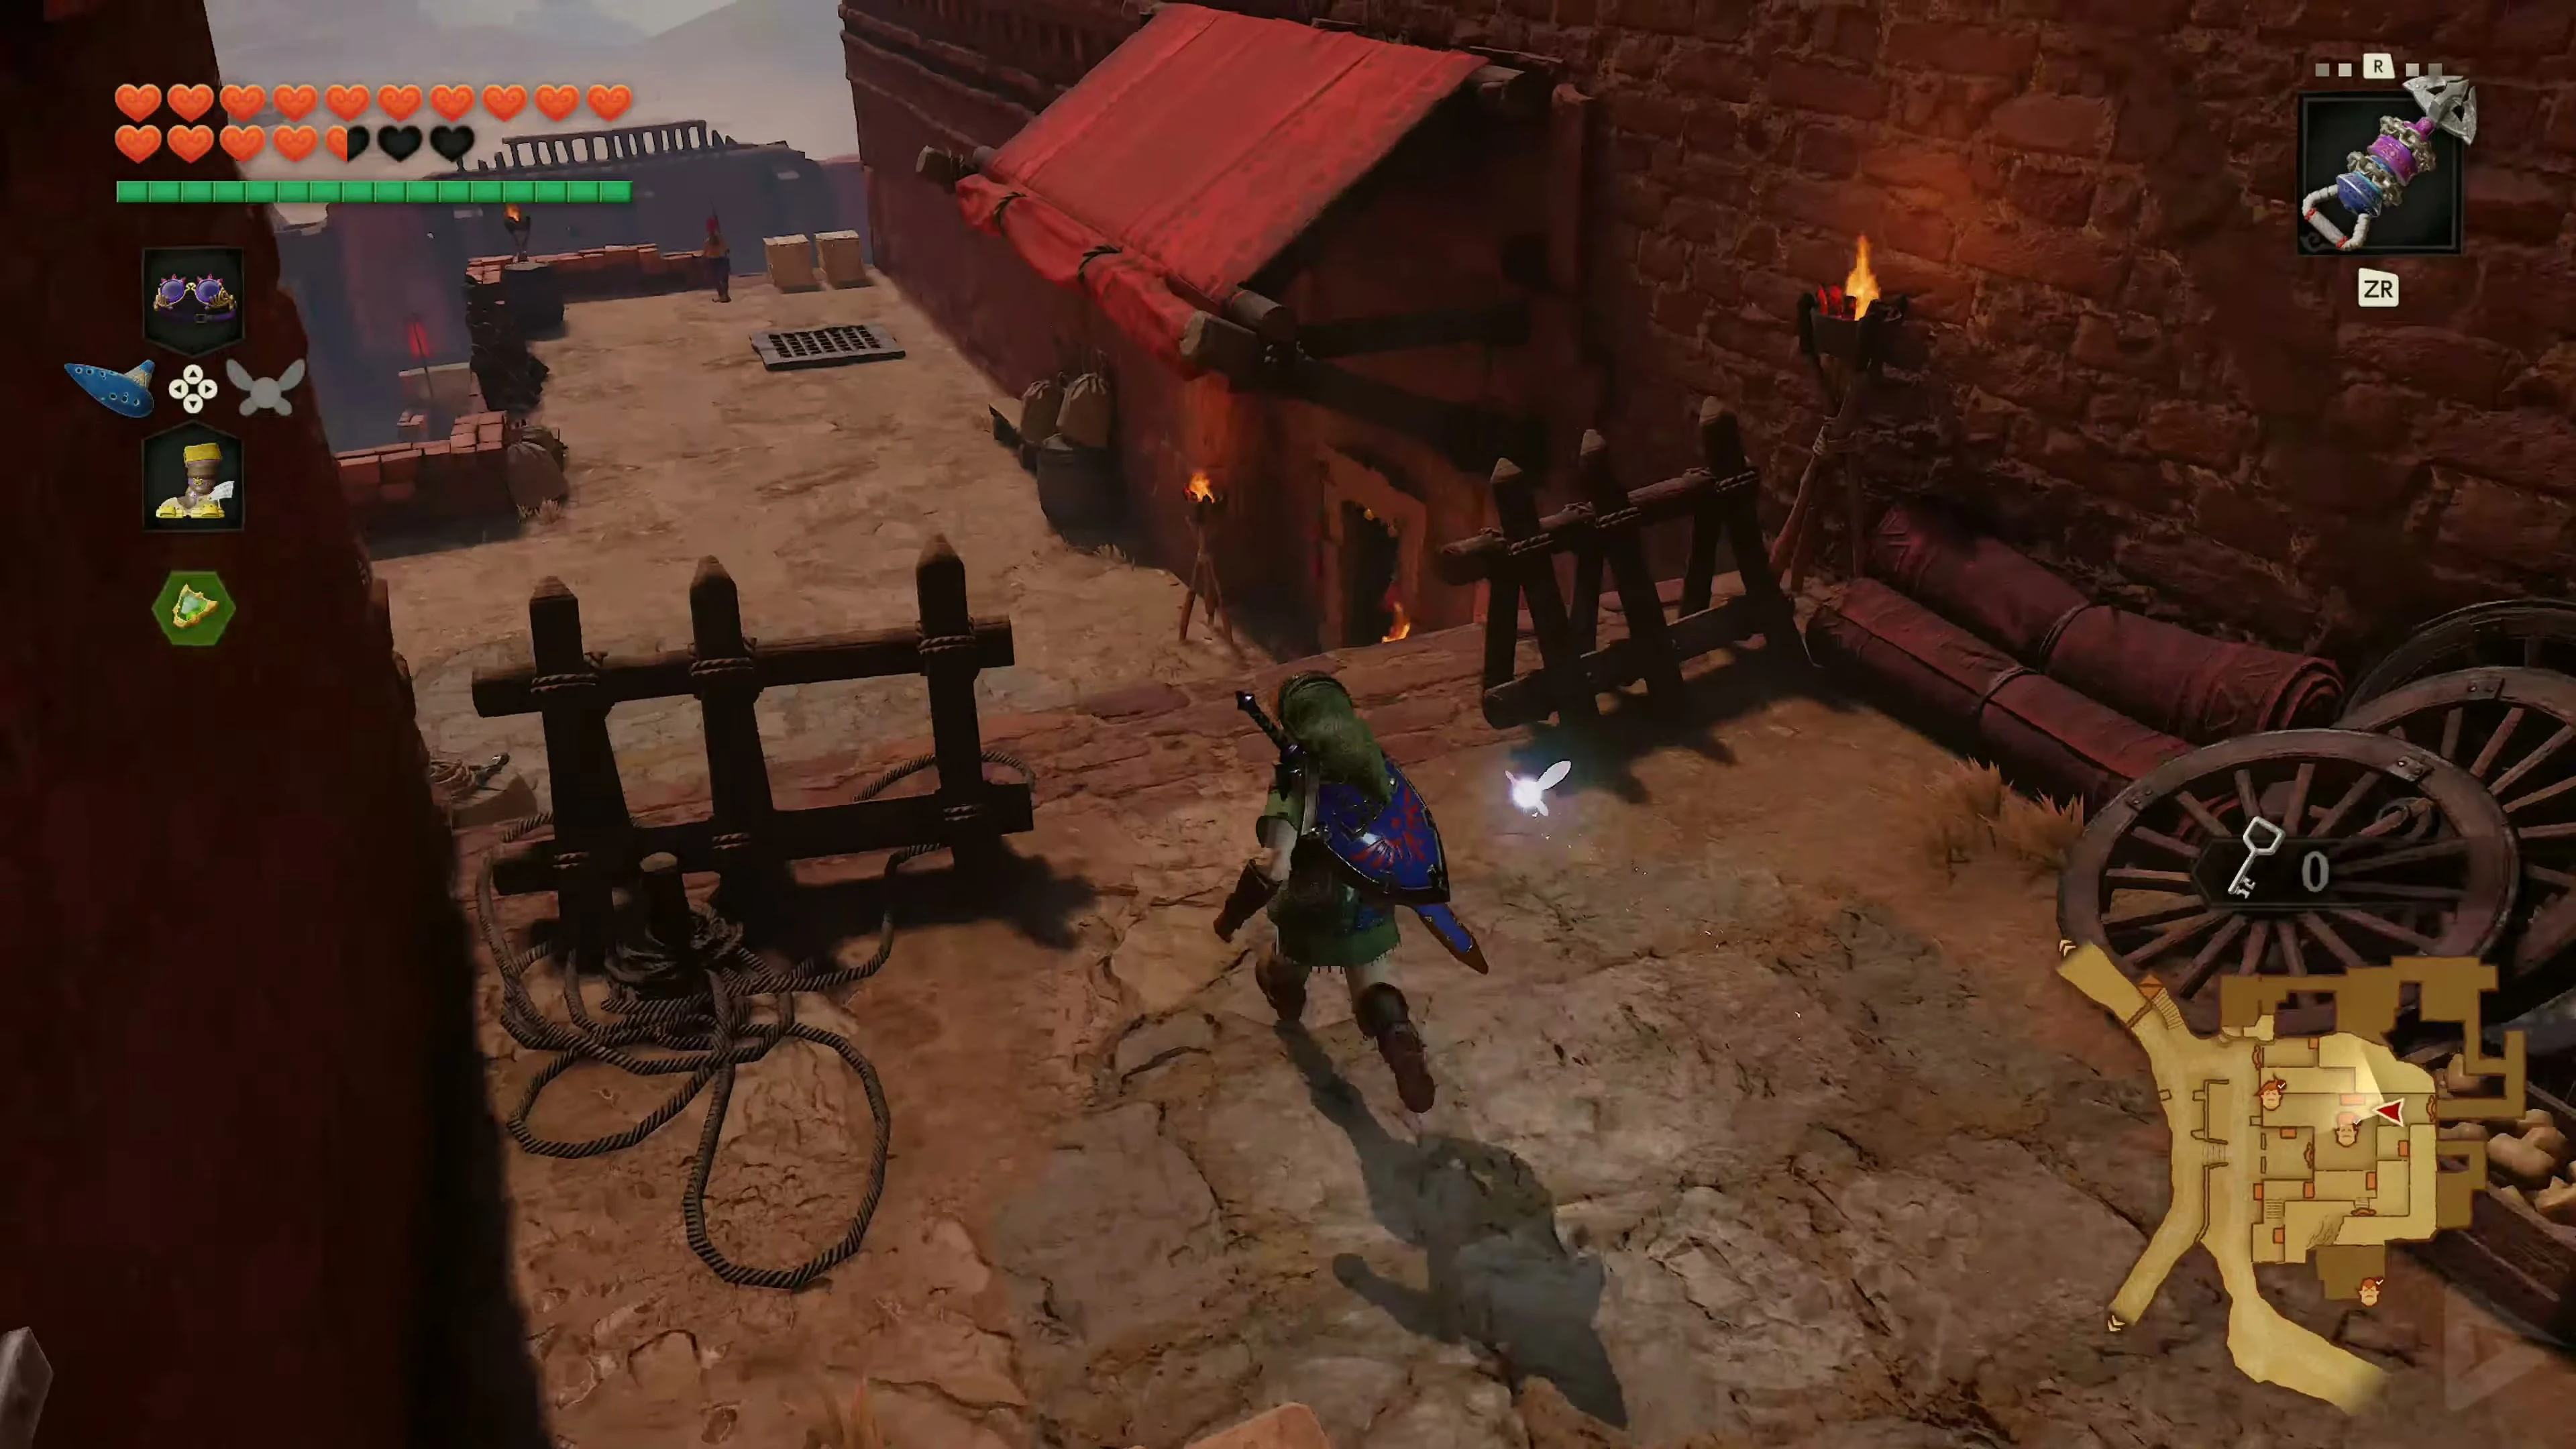
The Four Captured Carpenters
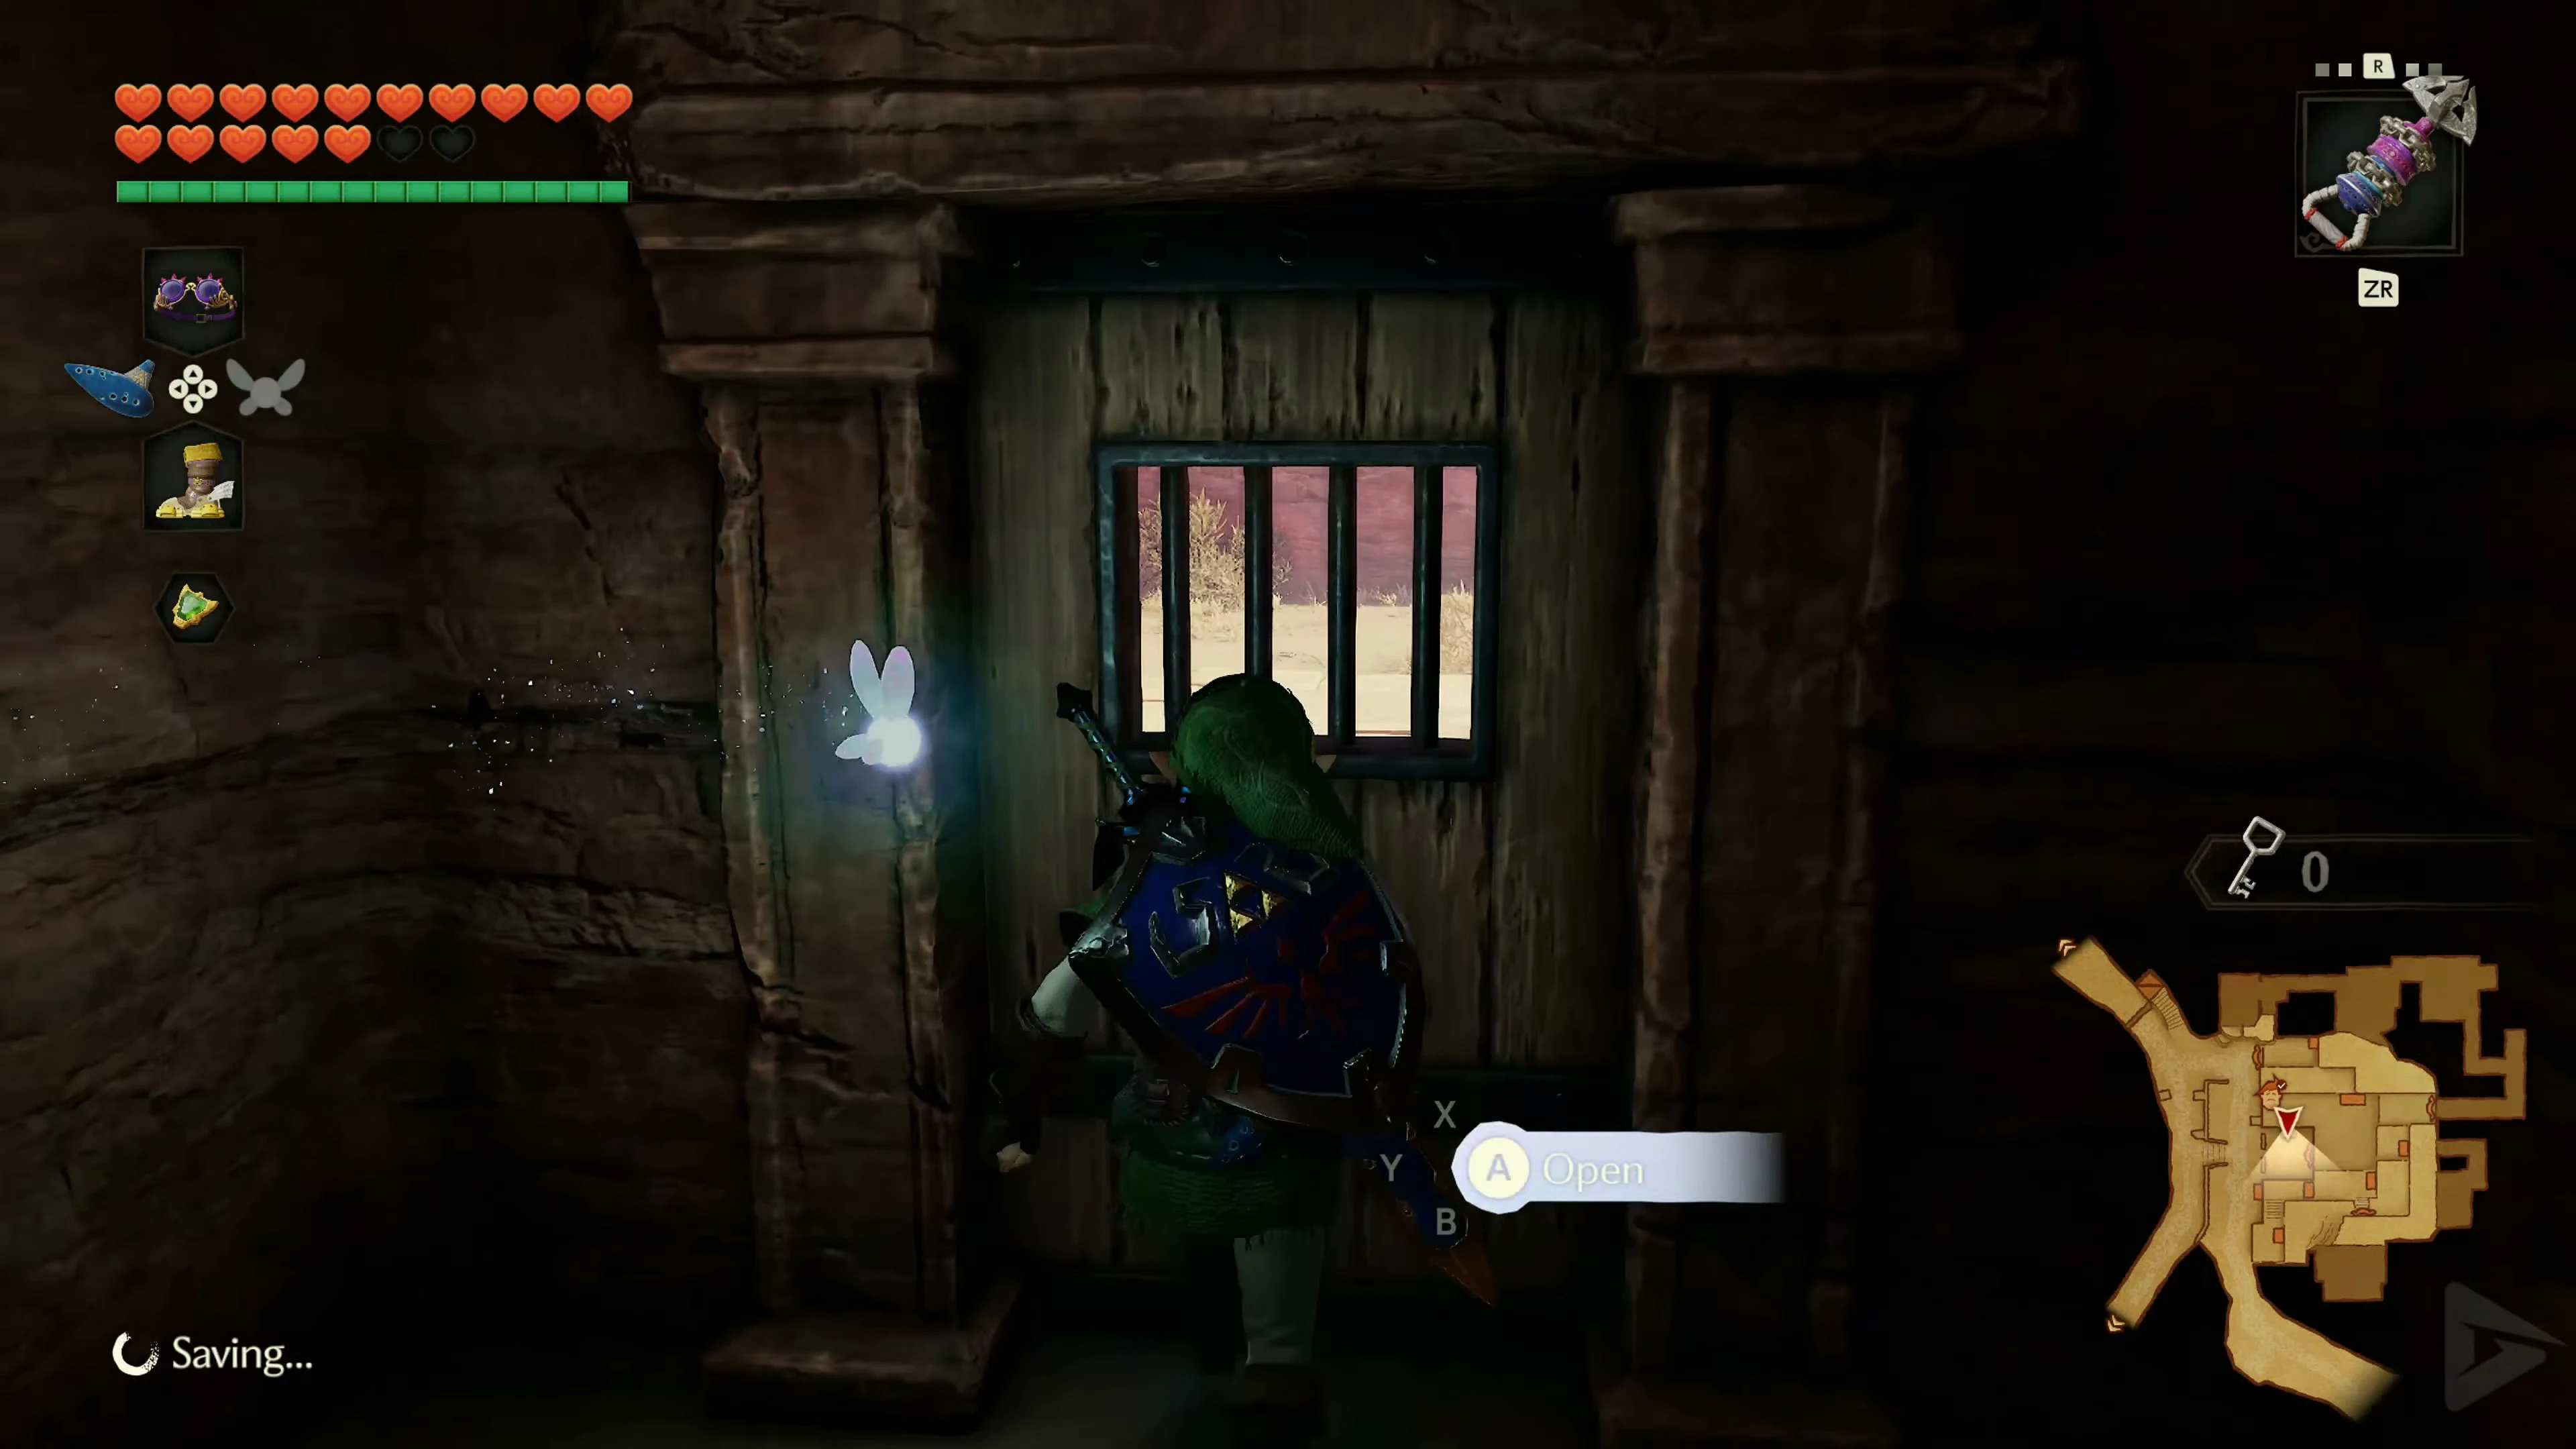
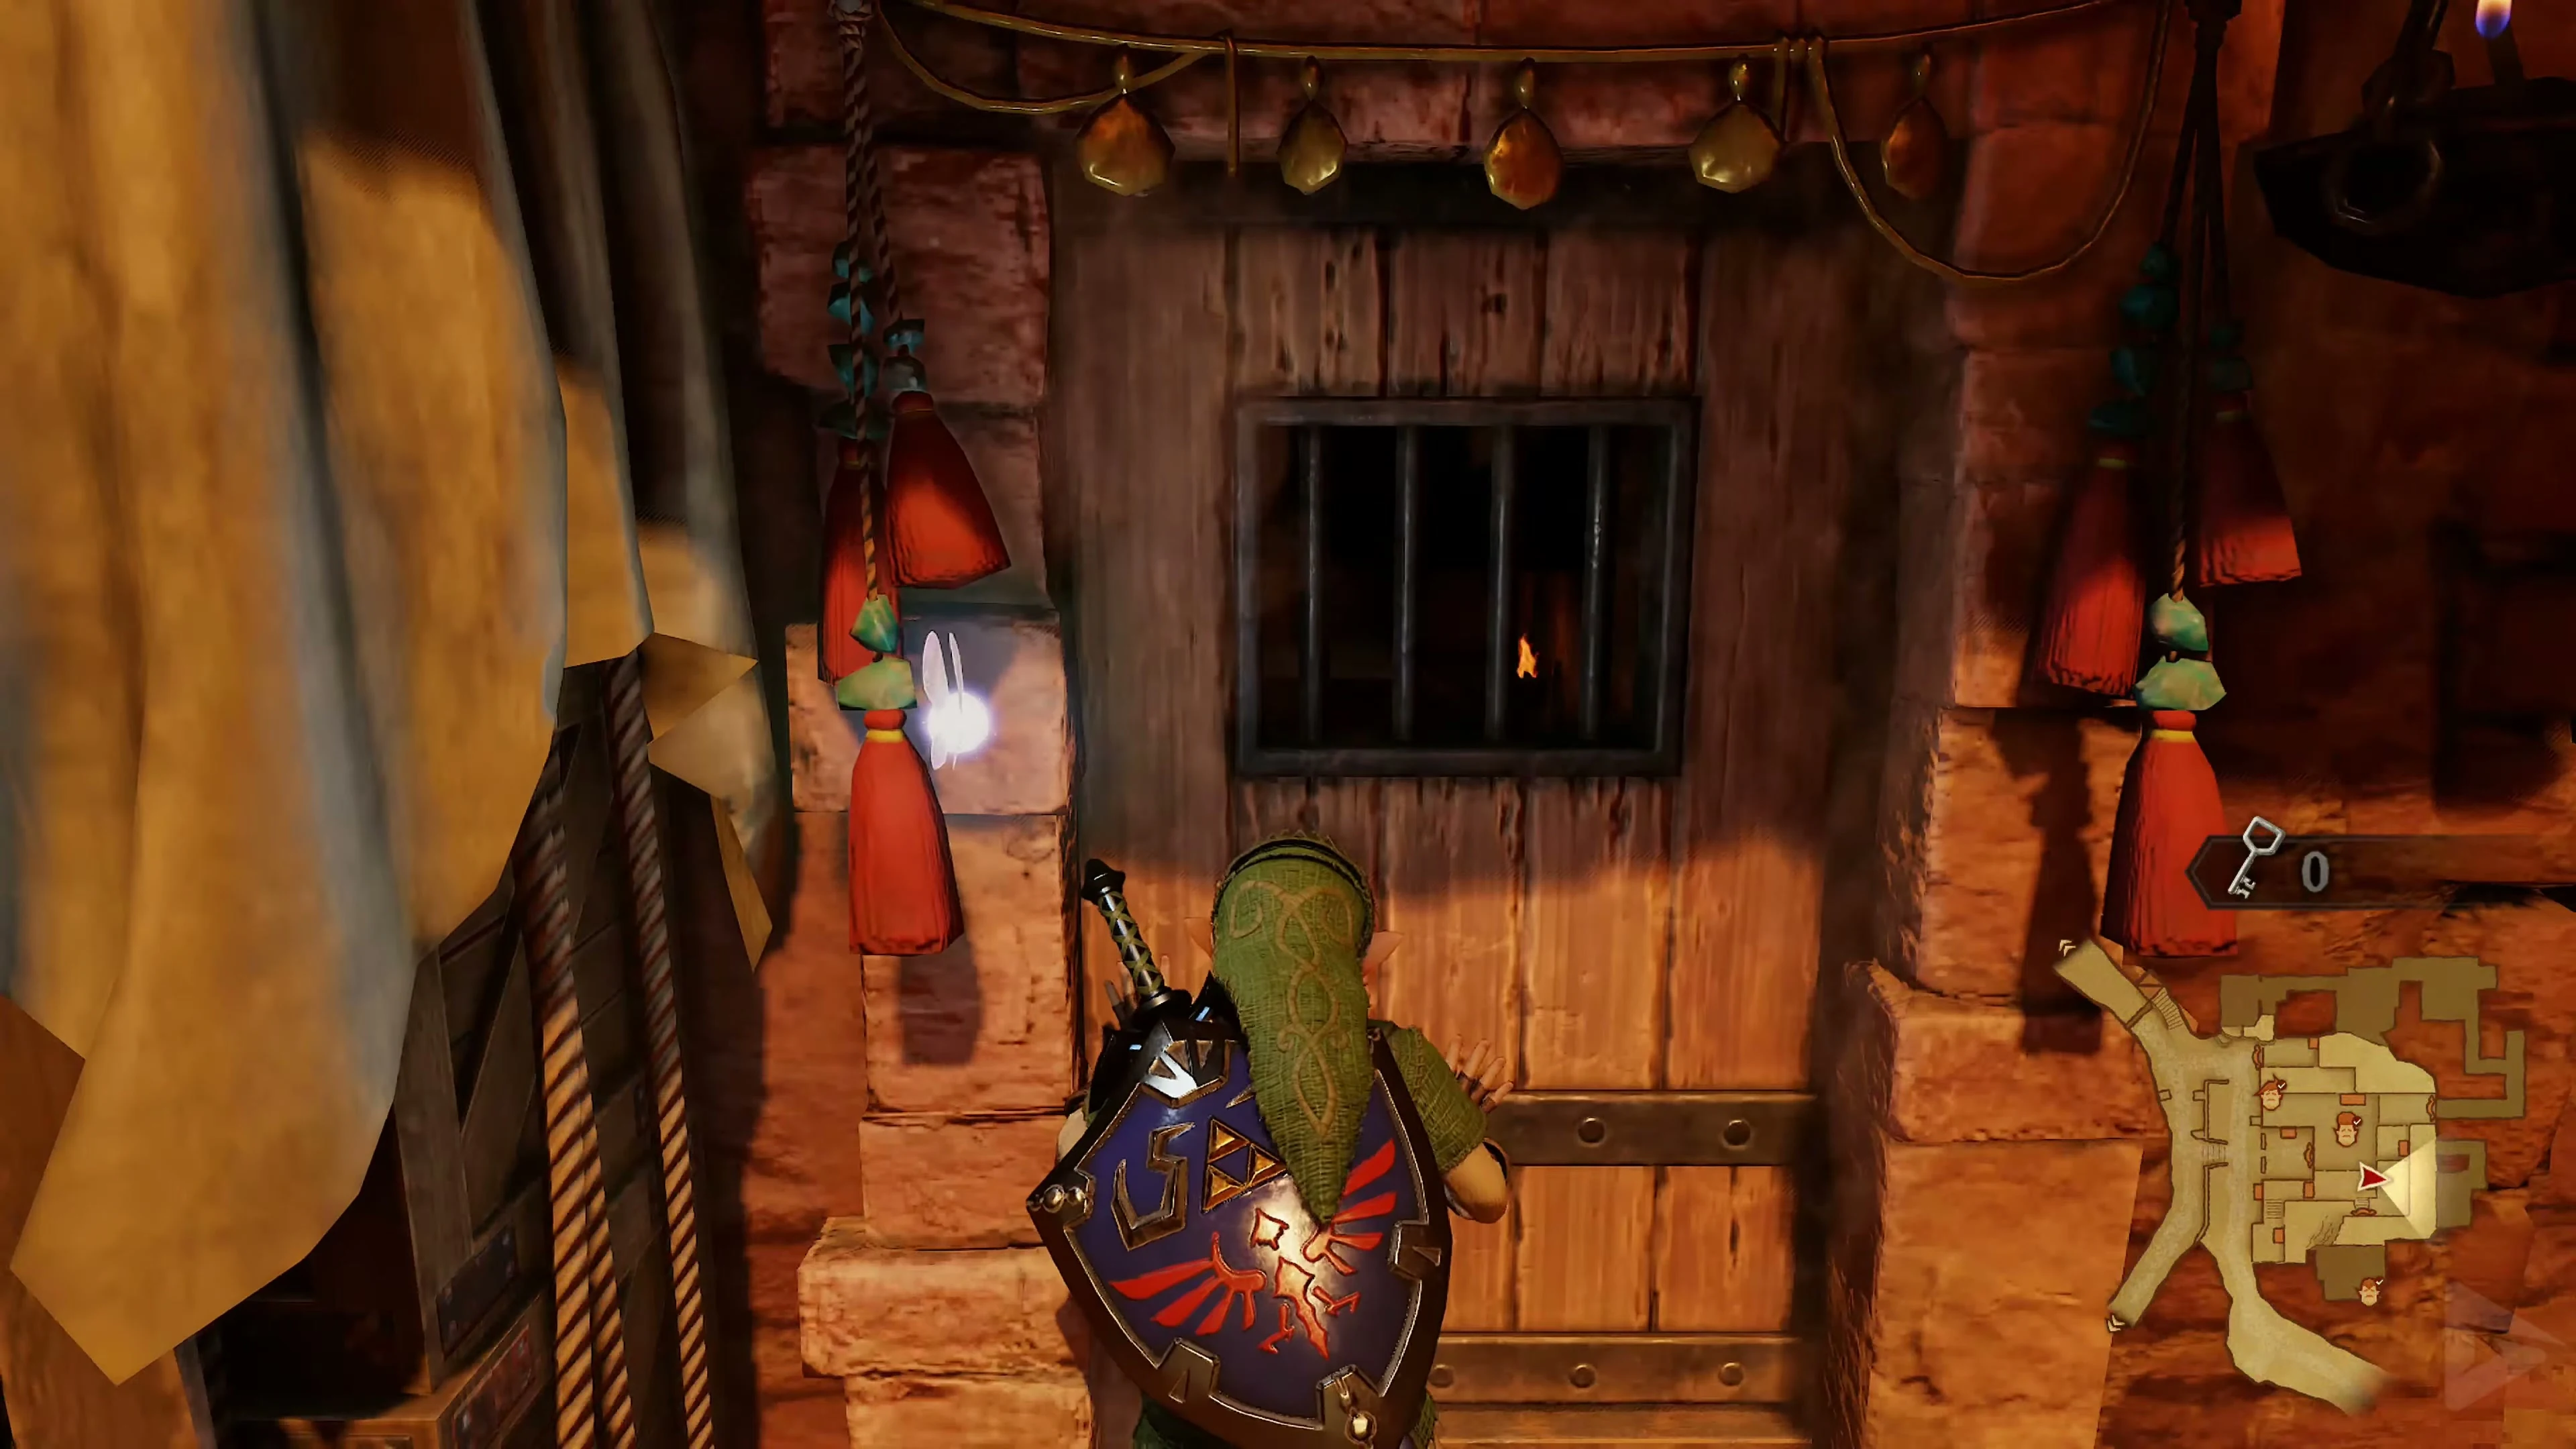
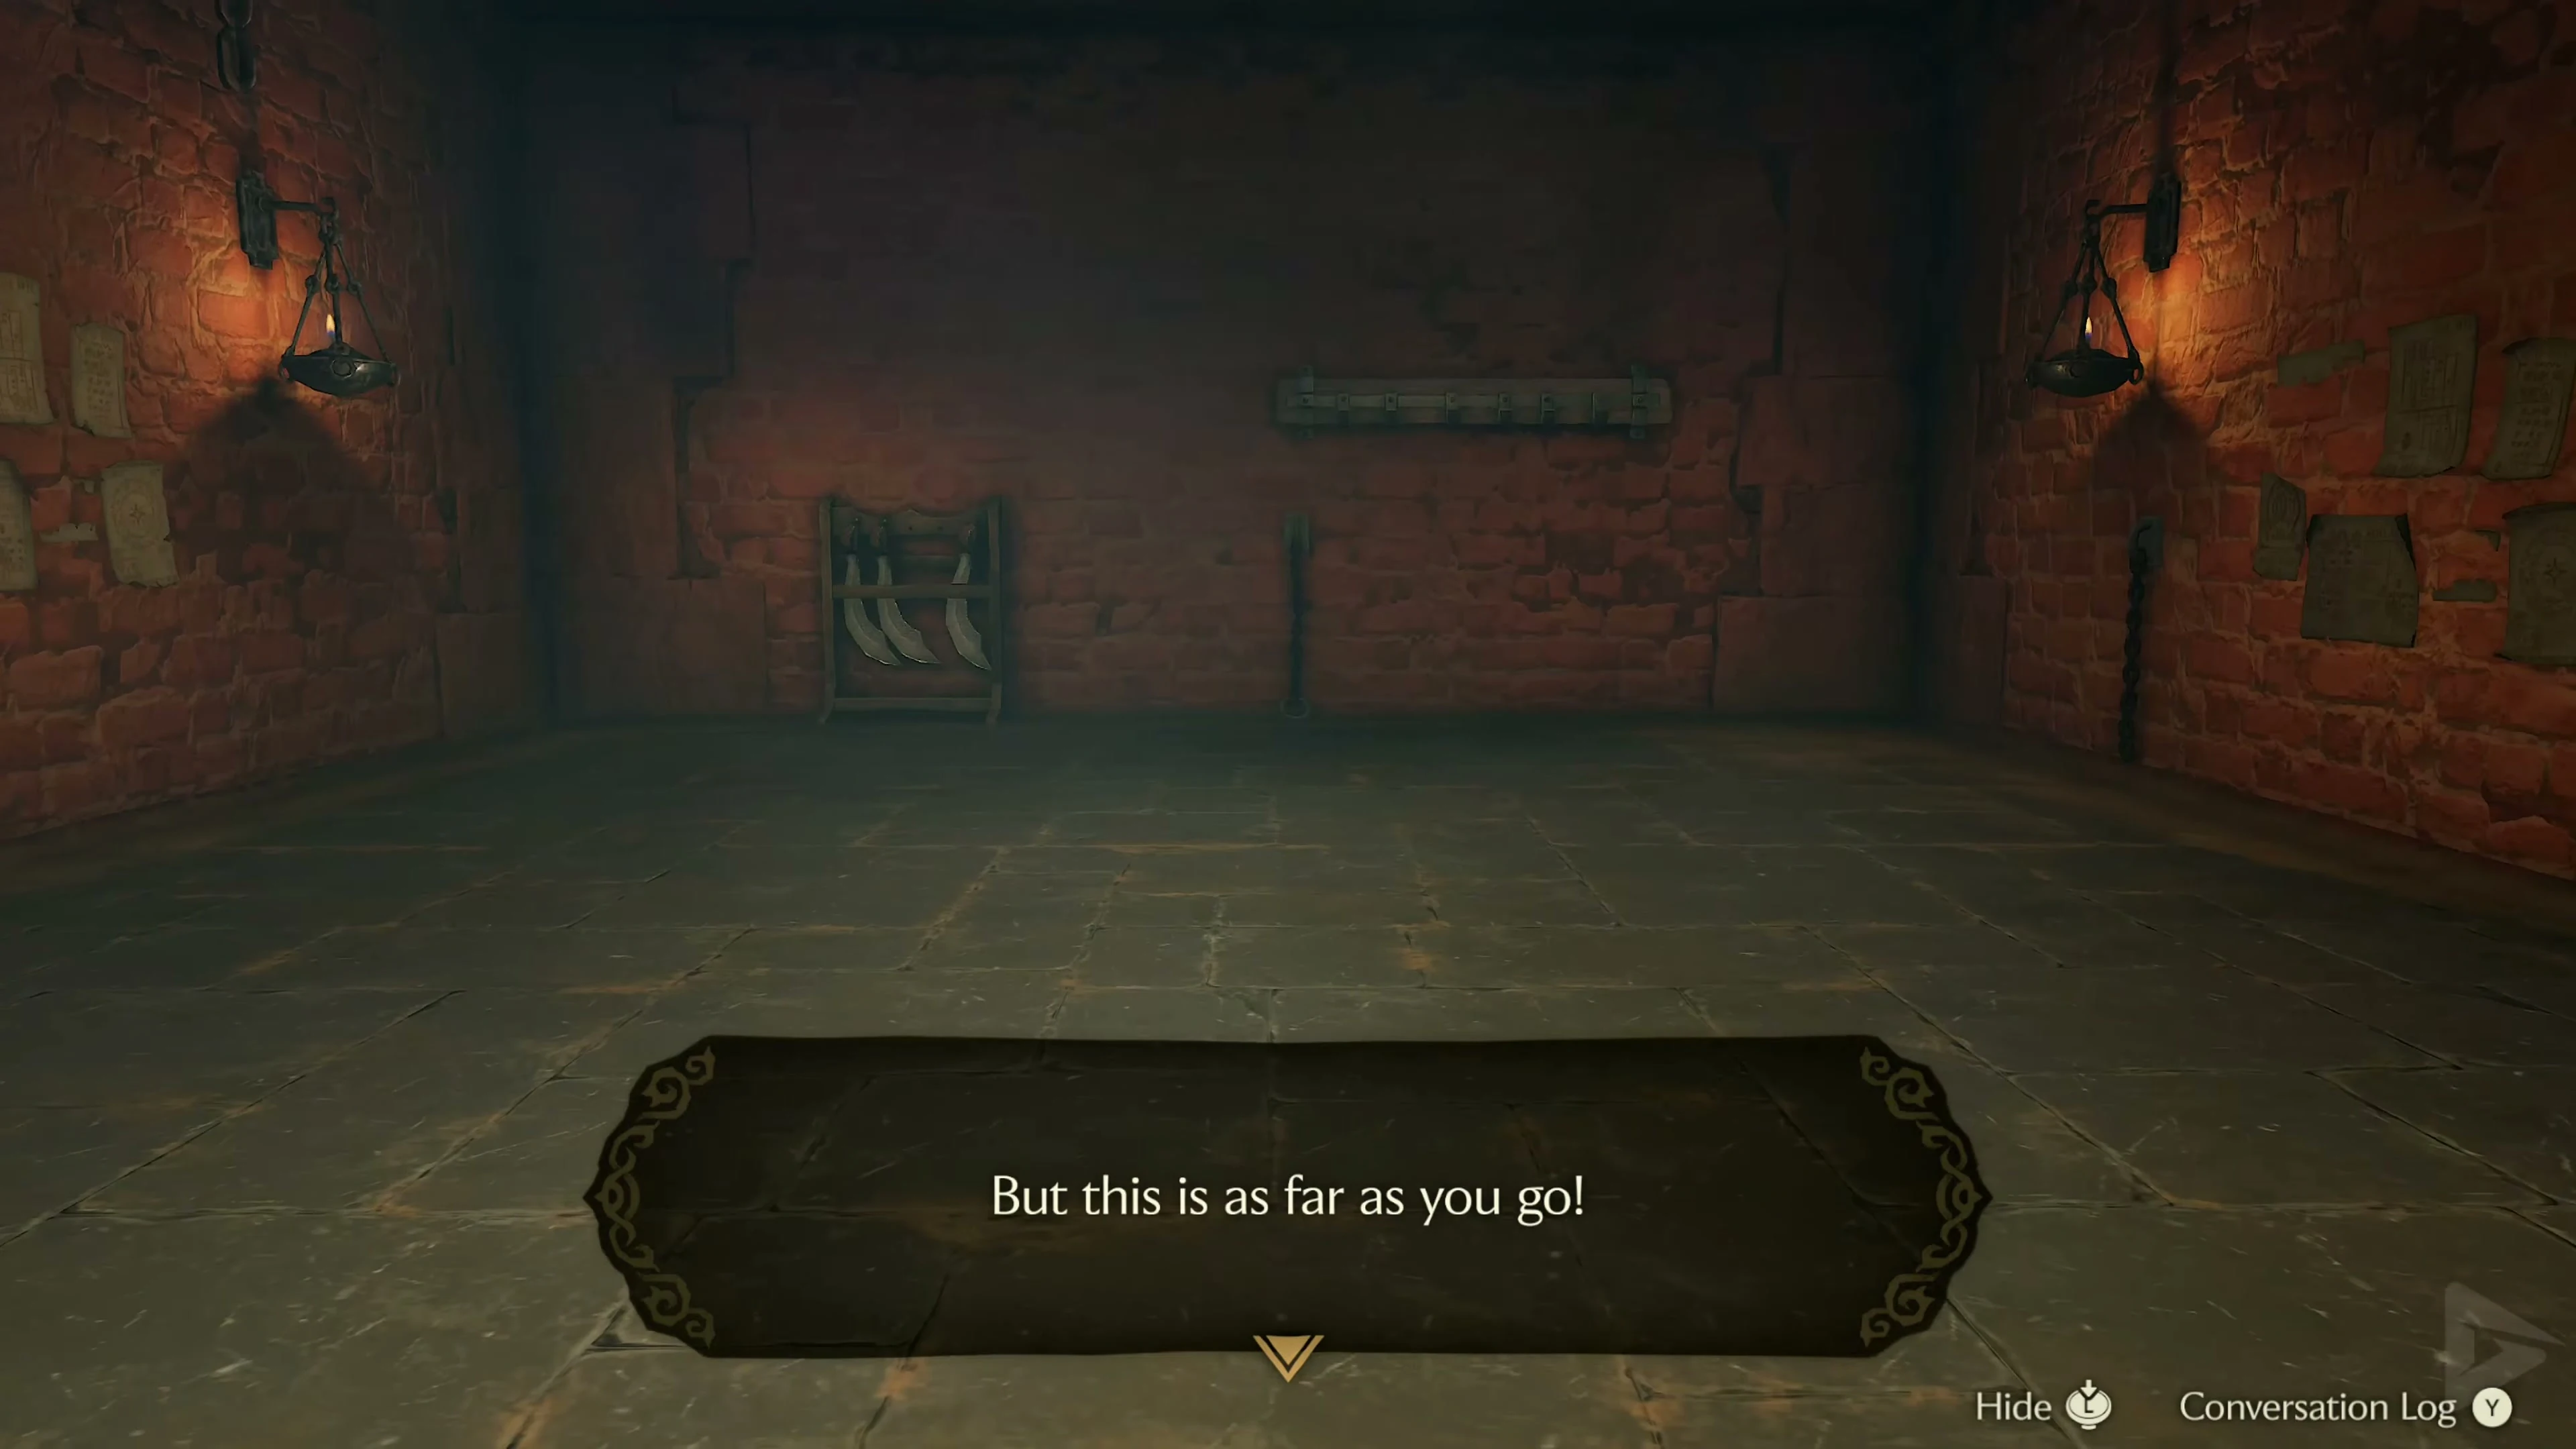
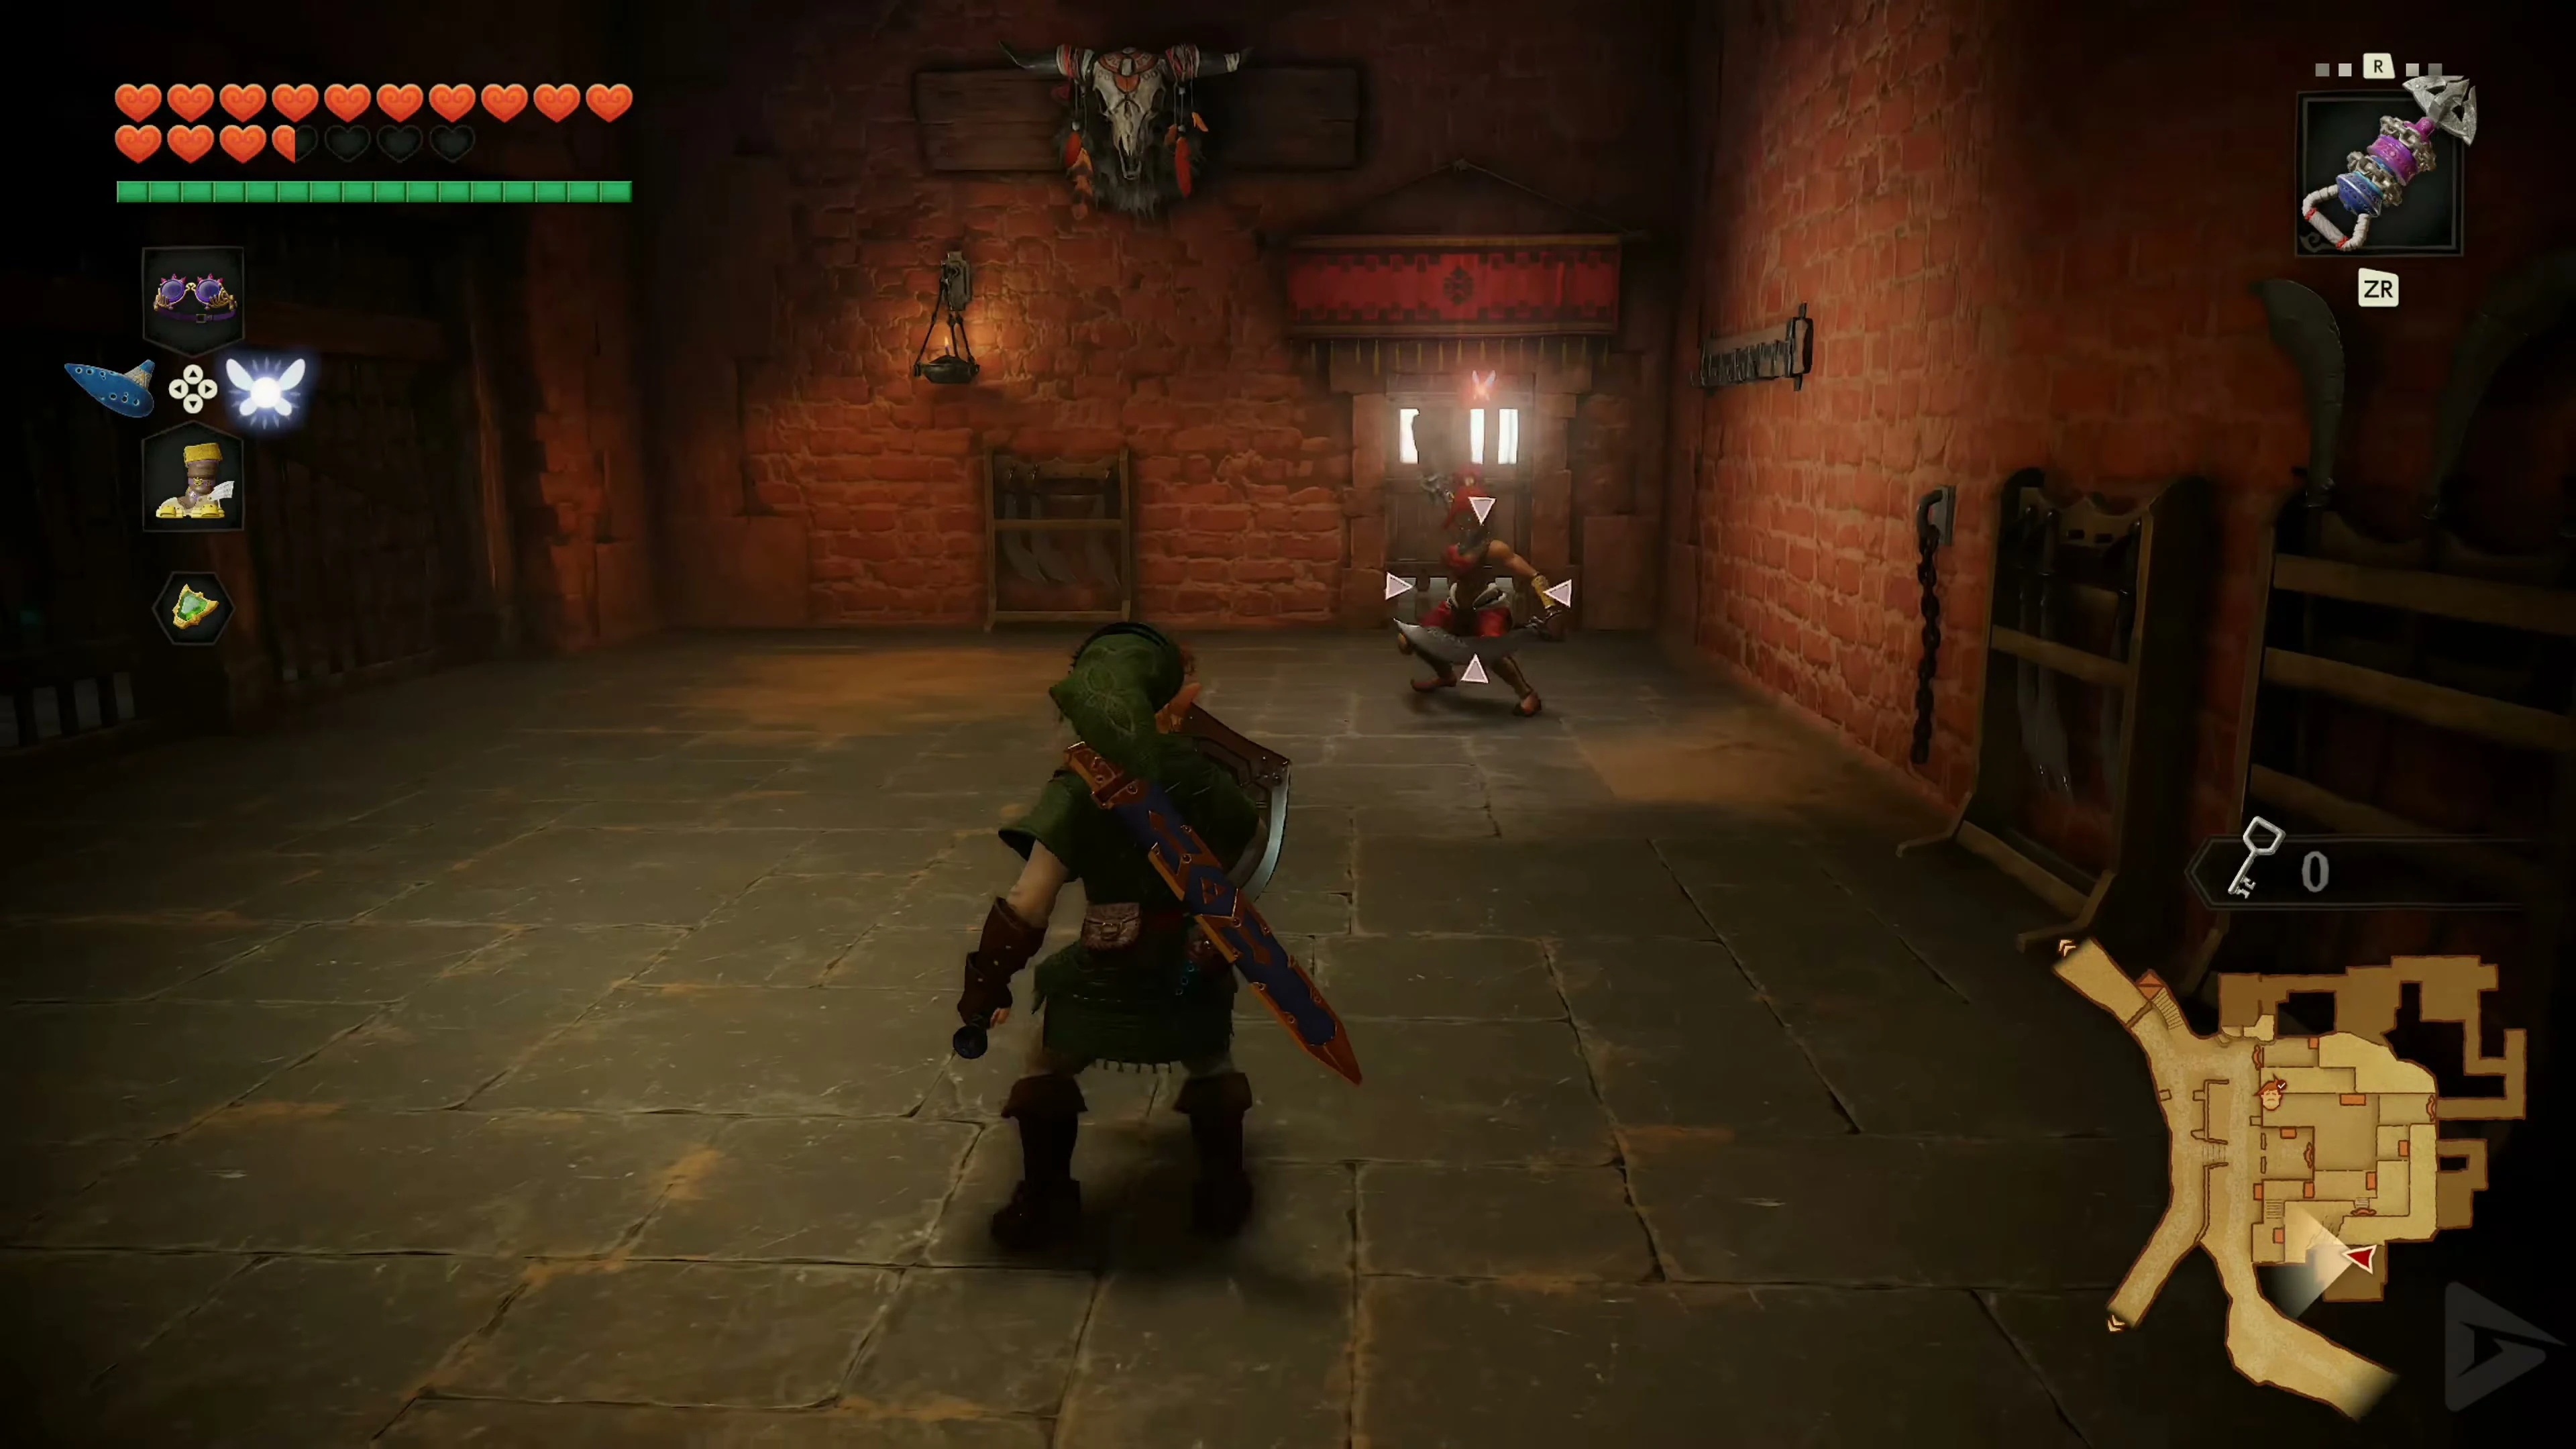
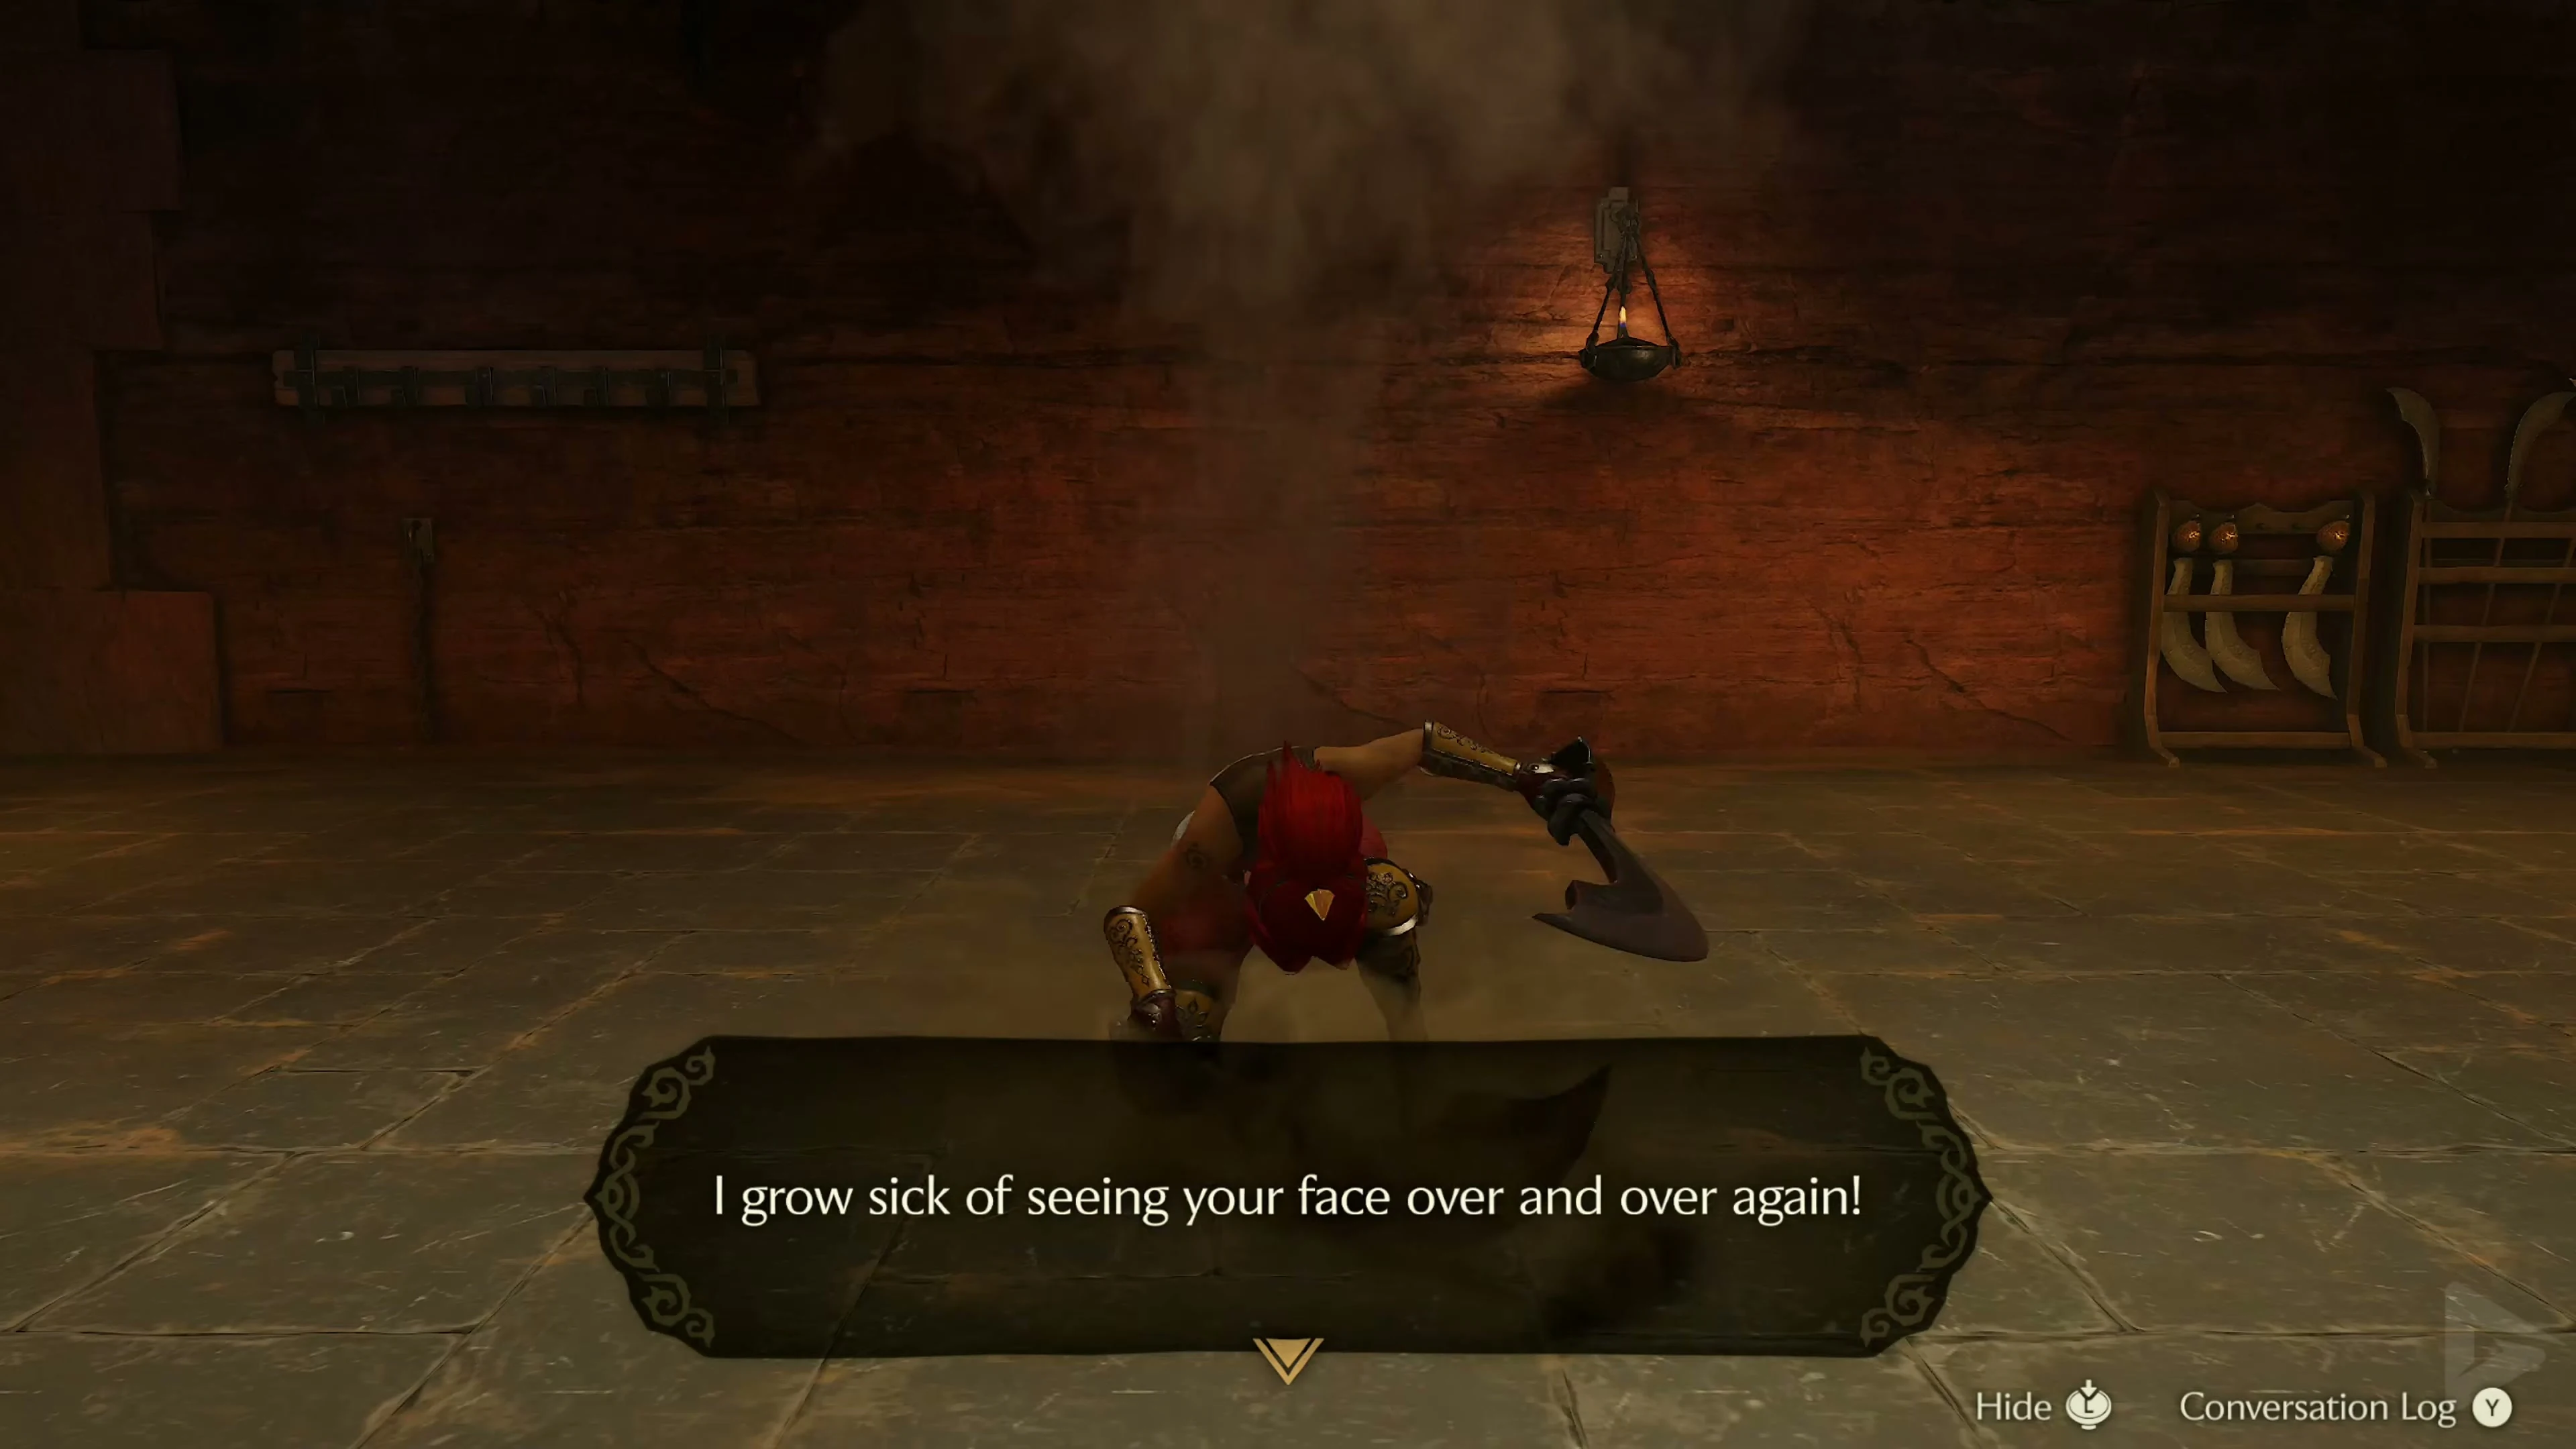
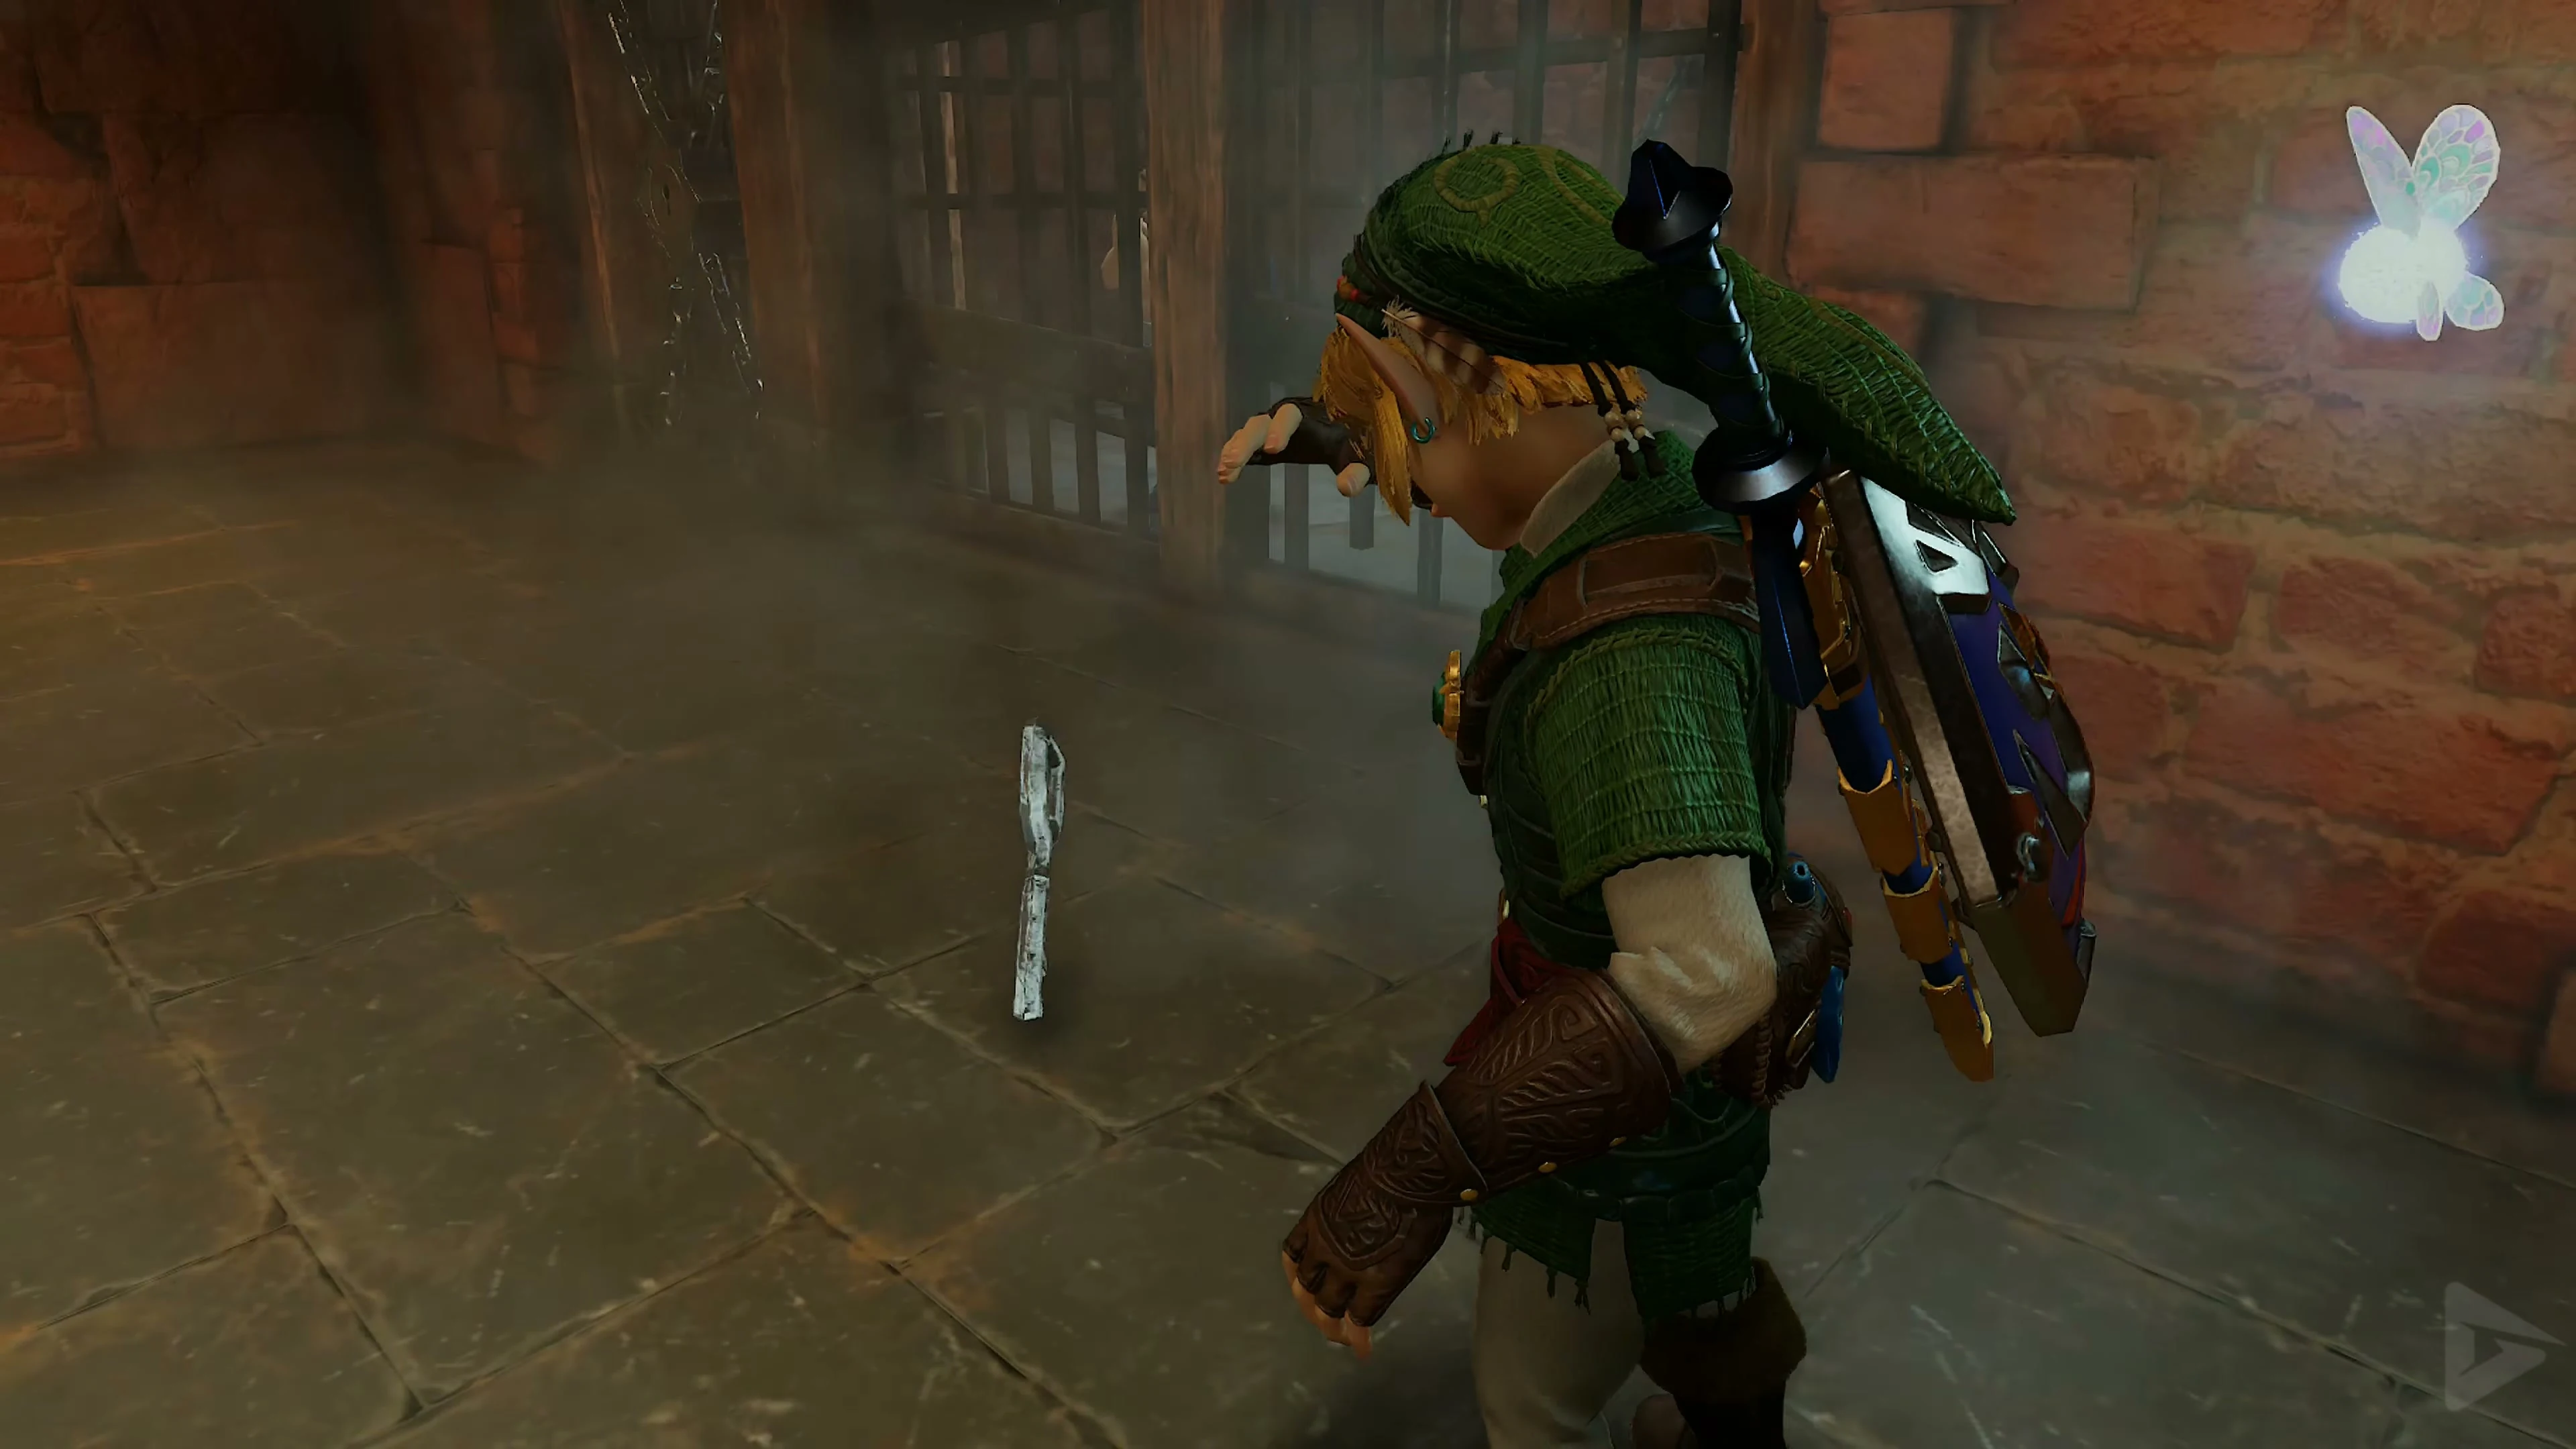
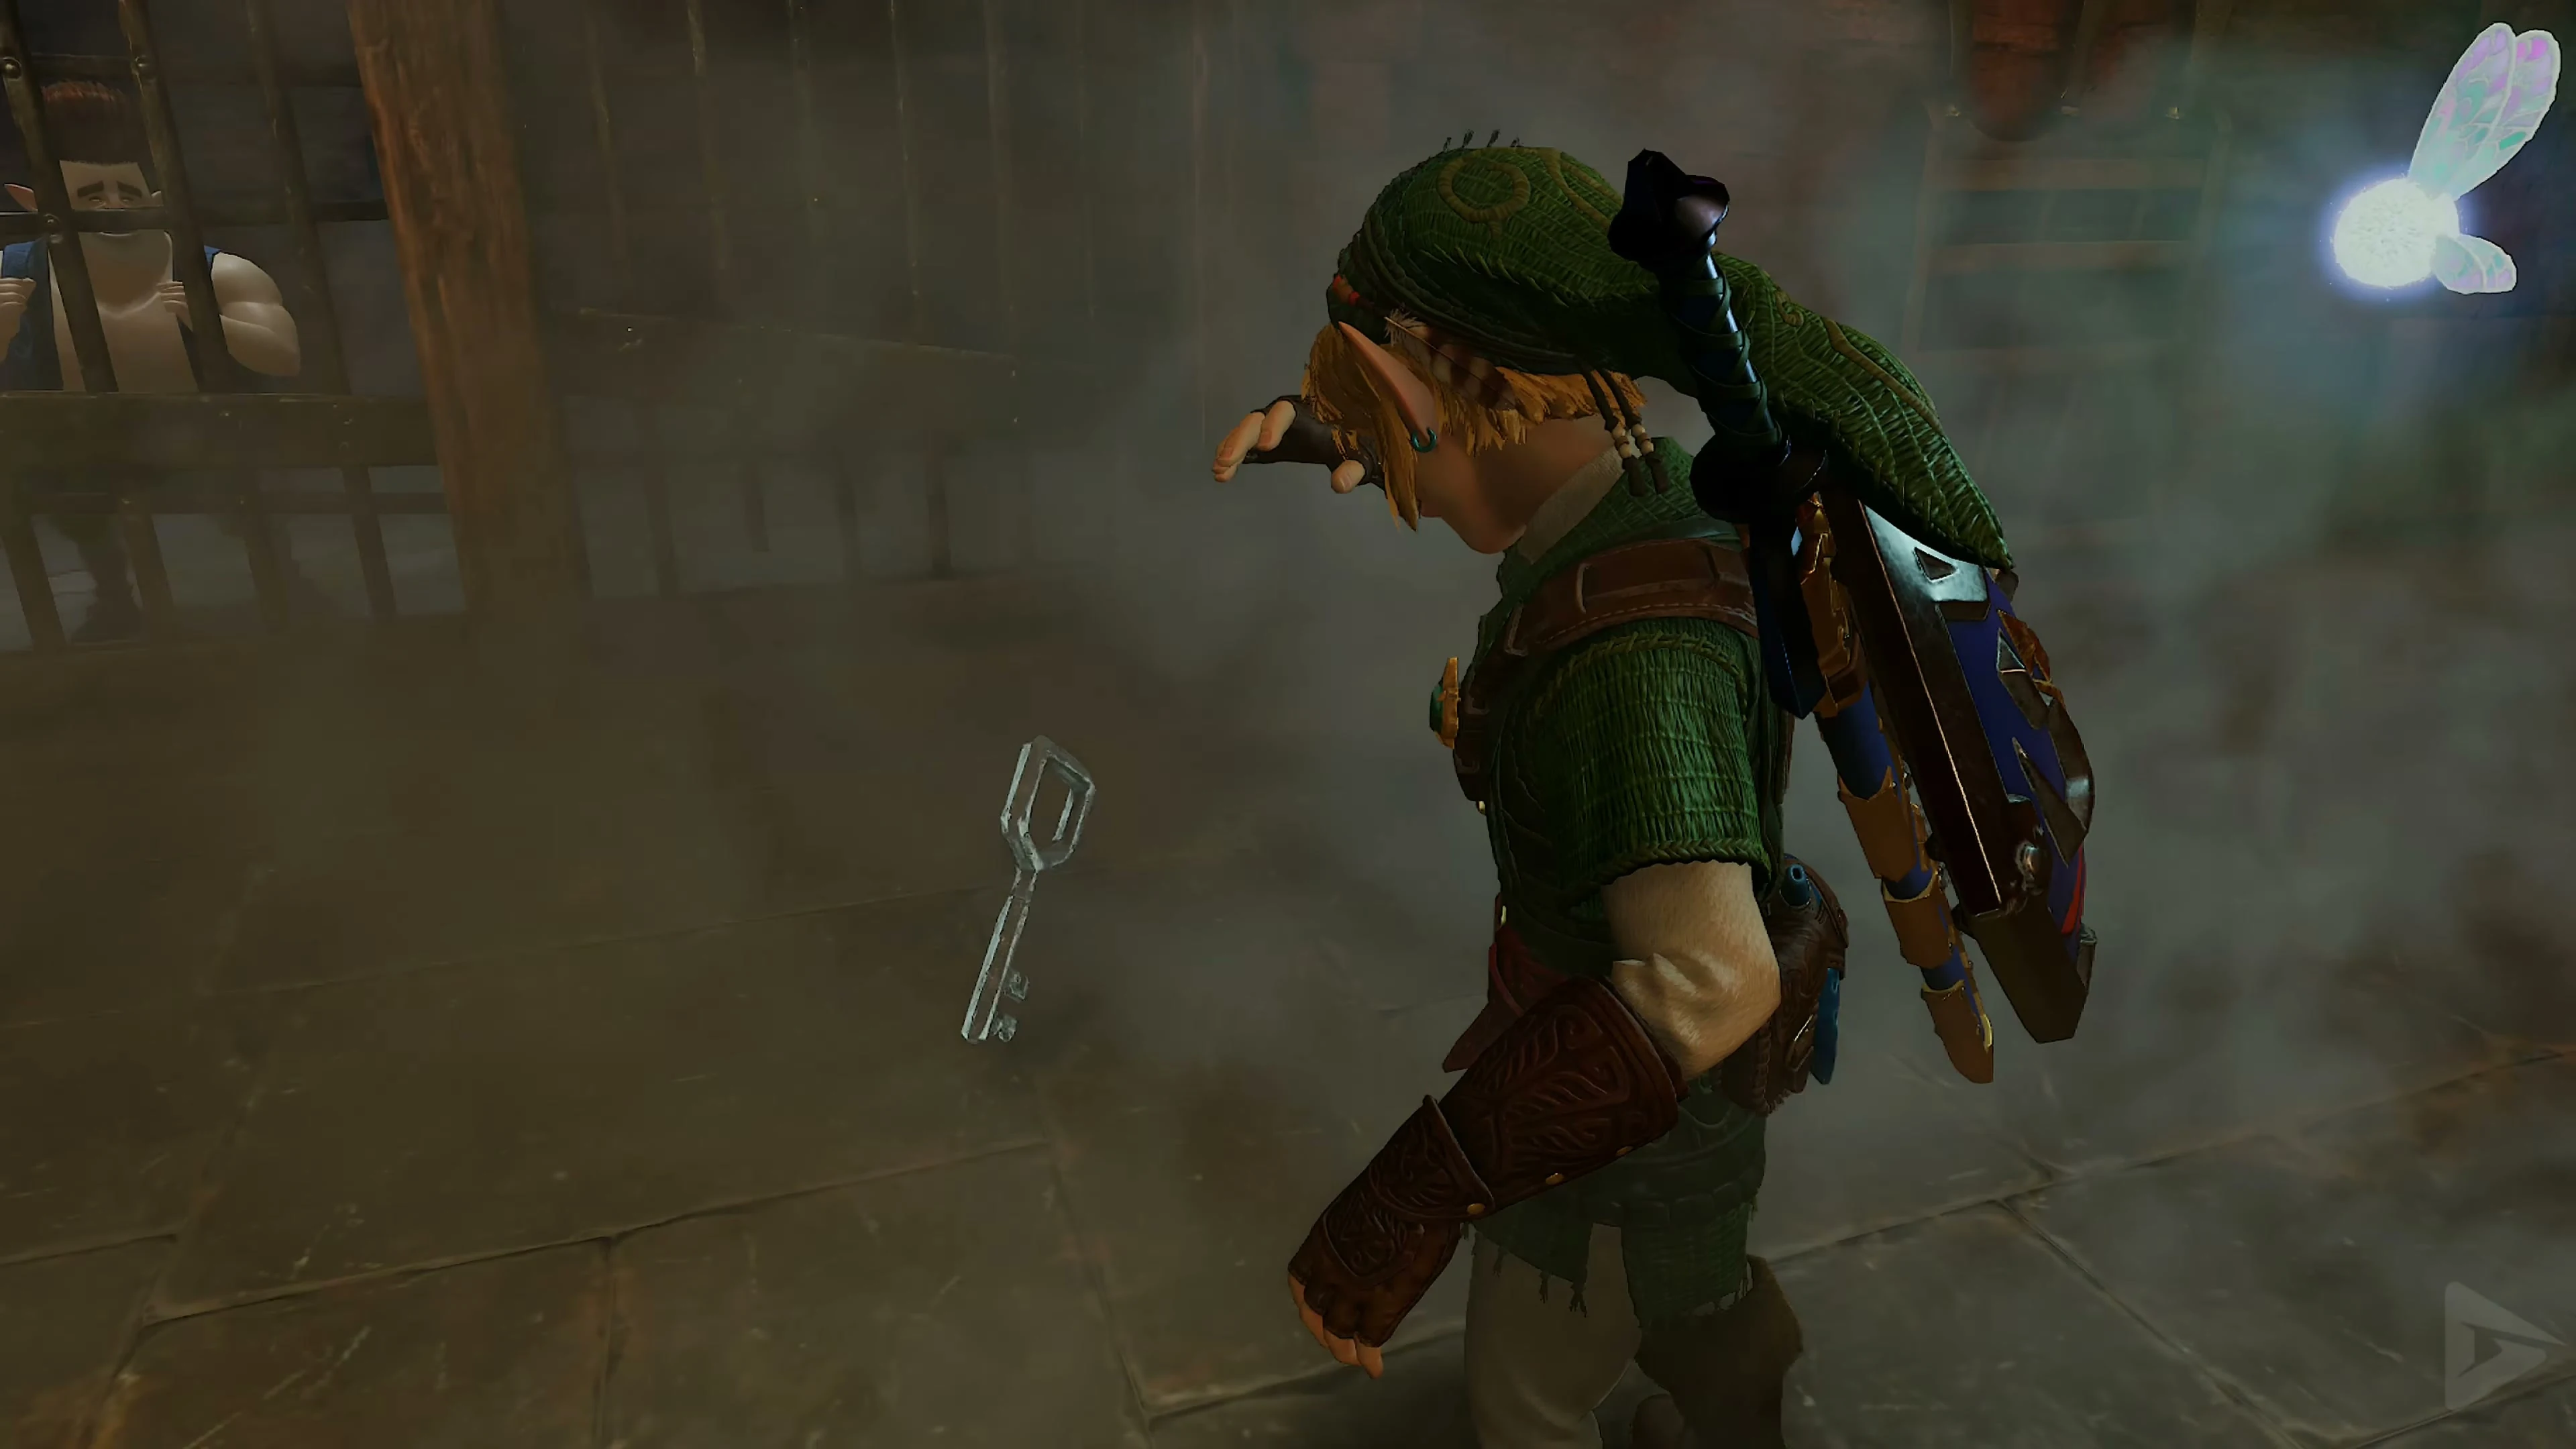
Speak to the carpenter in each cell, defeat the appearing Gerudo Thief and take their Door Key . Use this to open the respective cell and speak to the prisoner again.
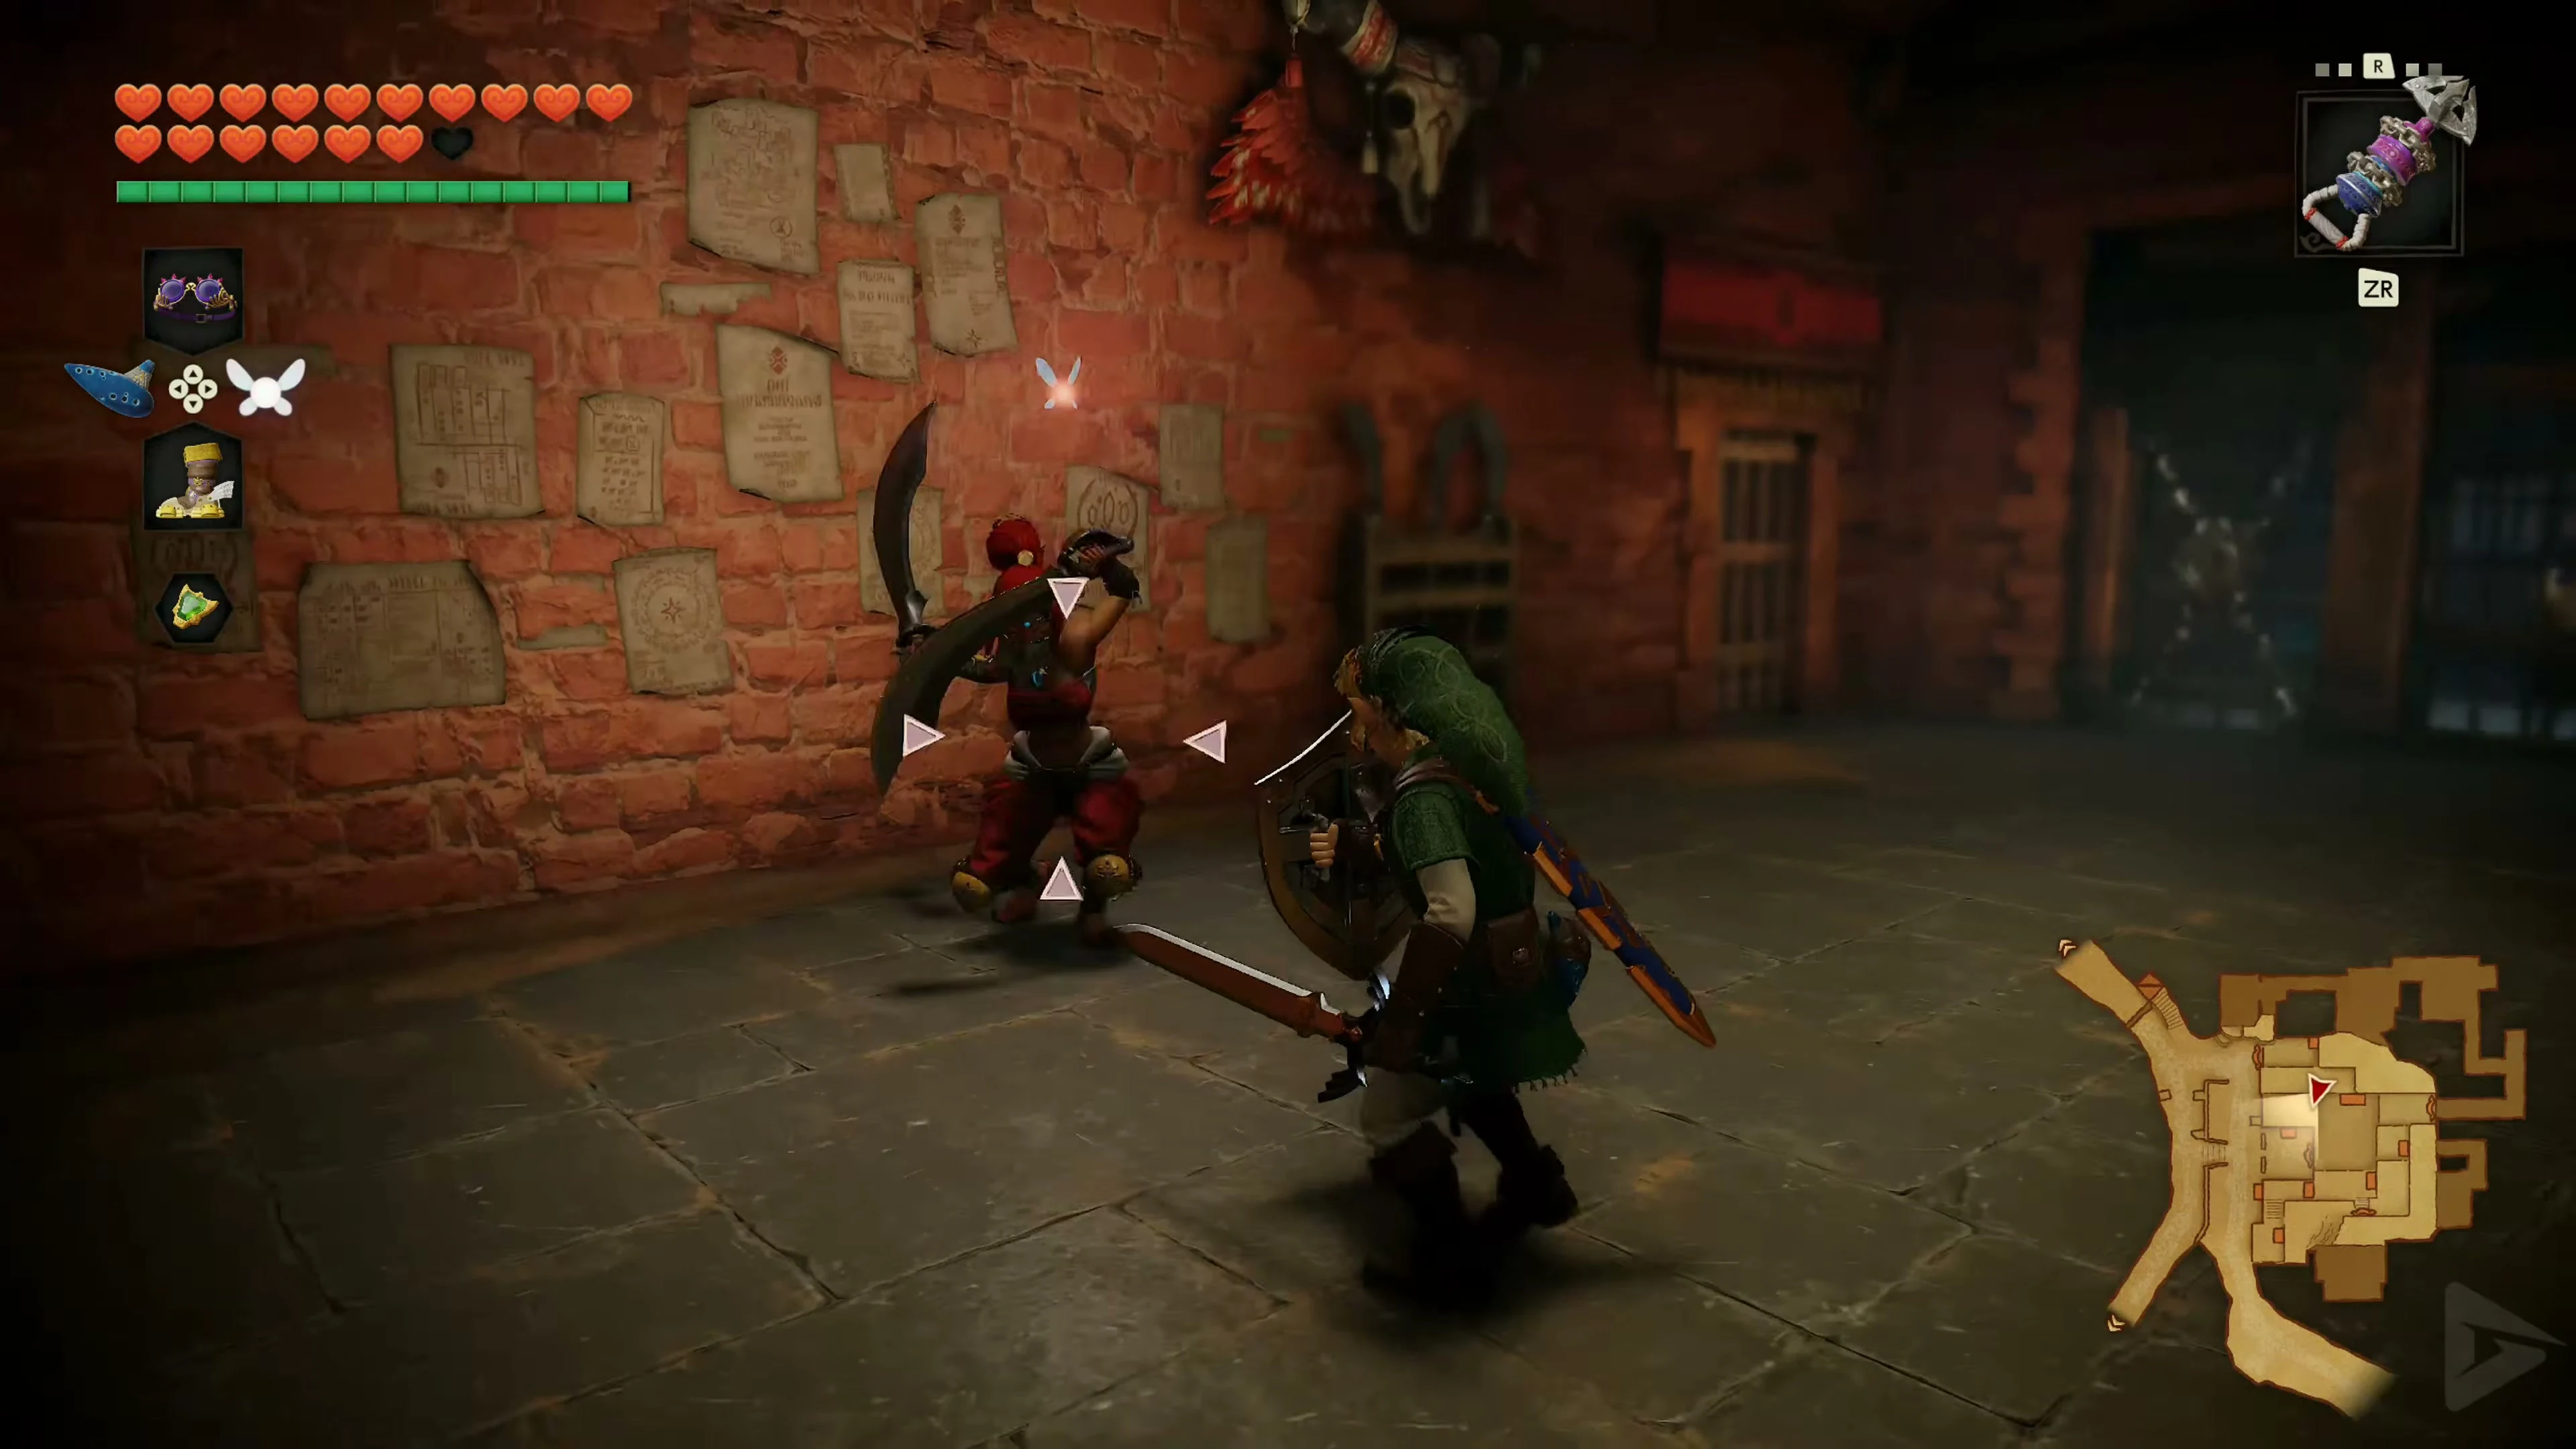
Defeating Gerudo Warriors
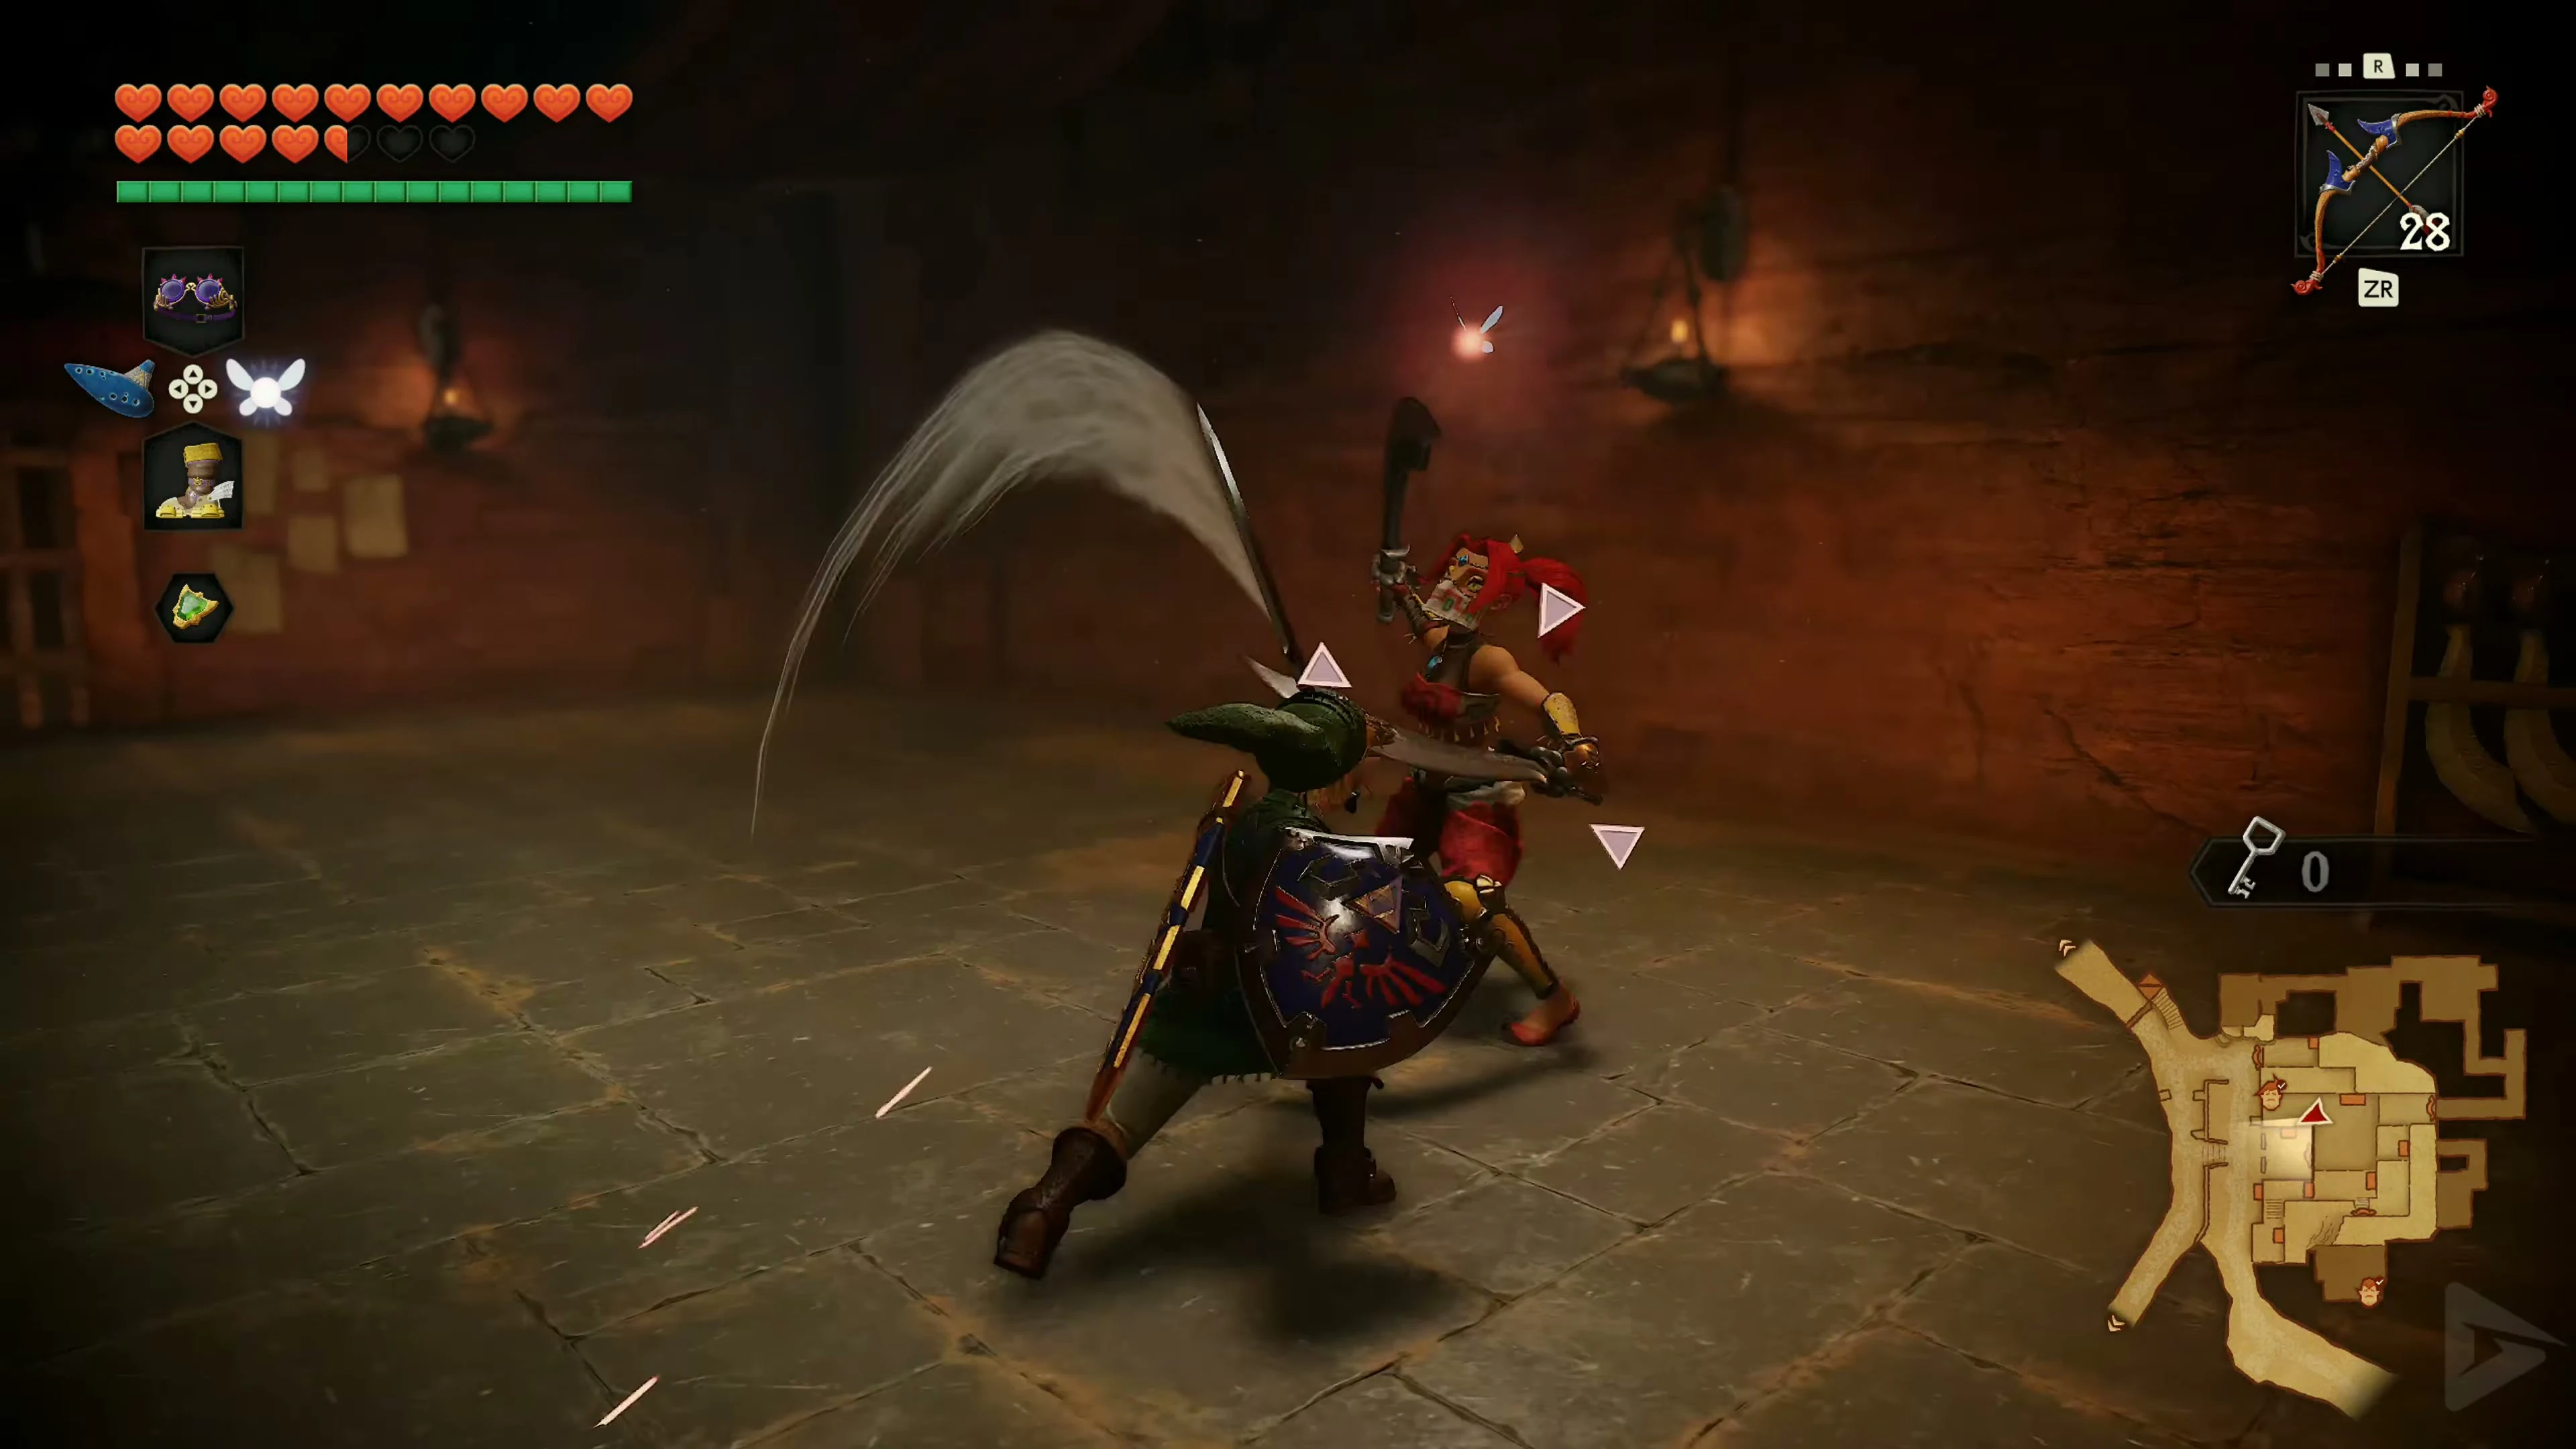
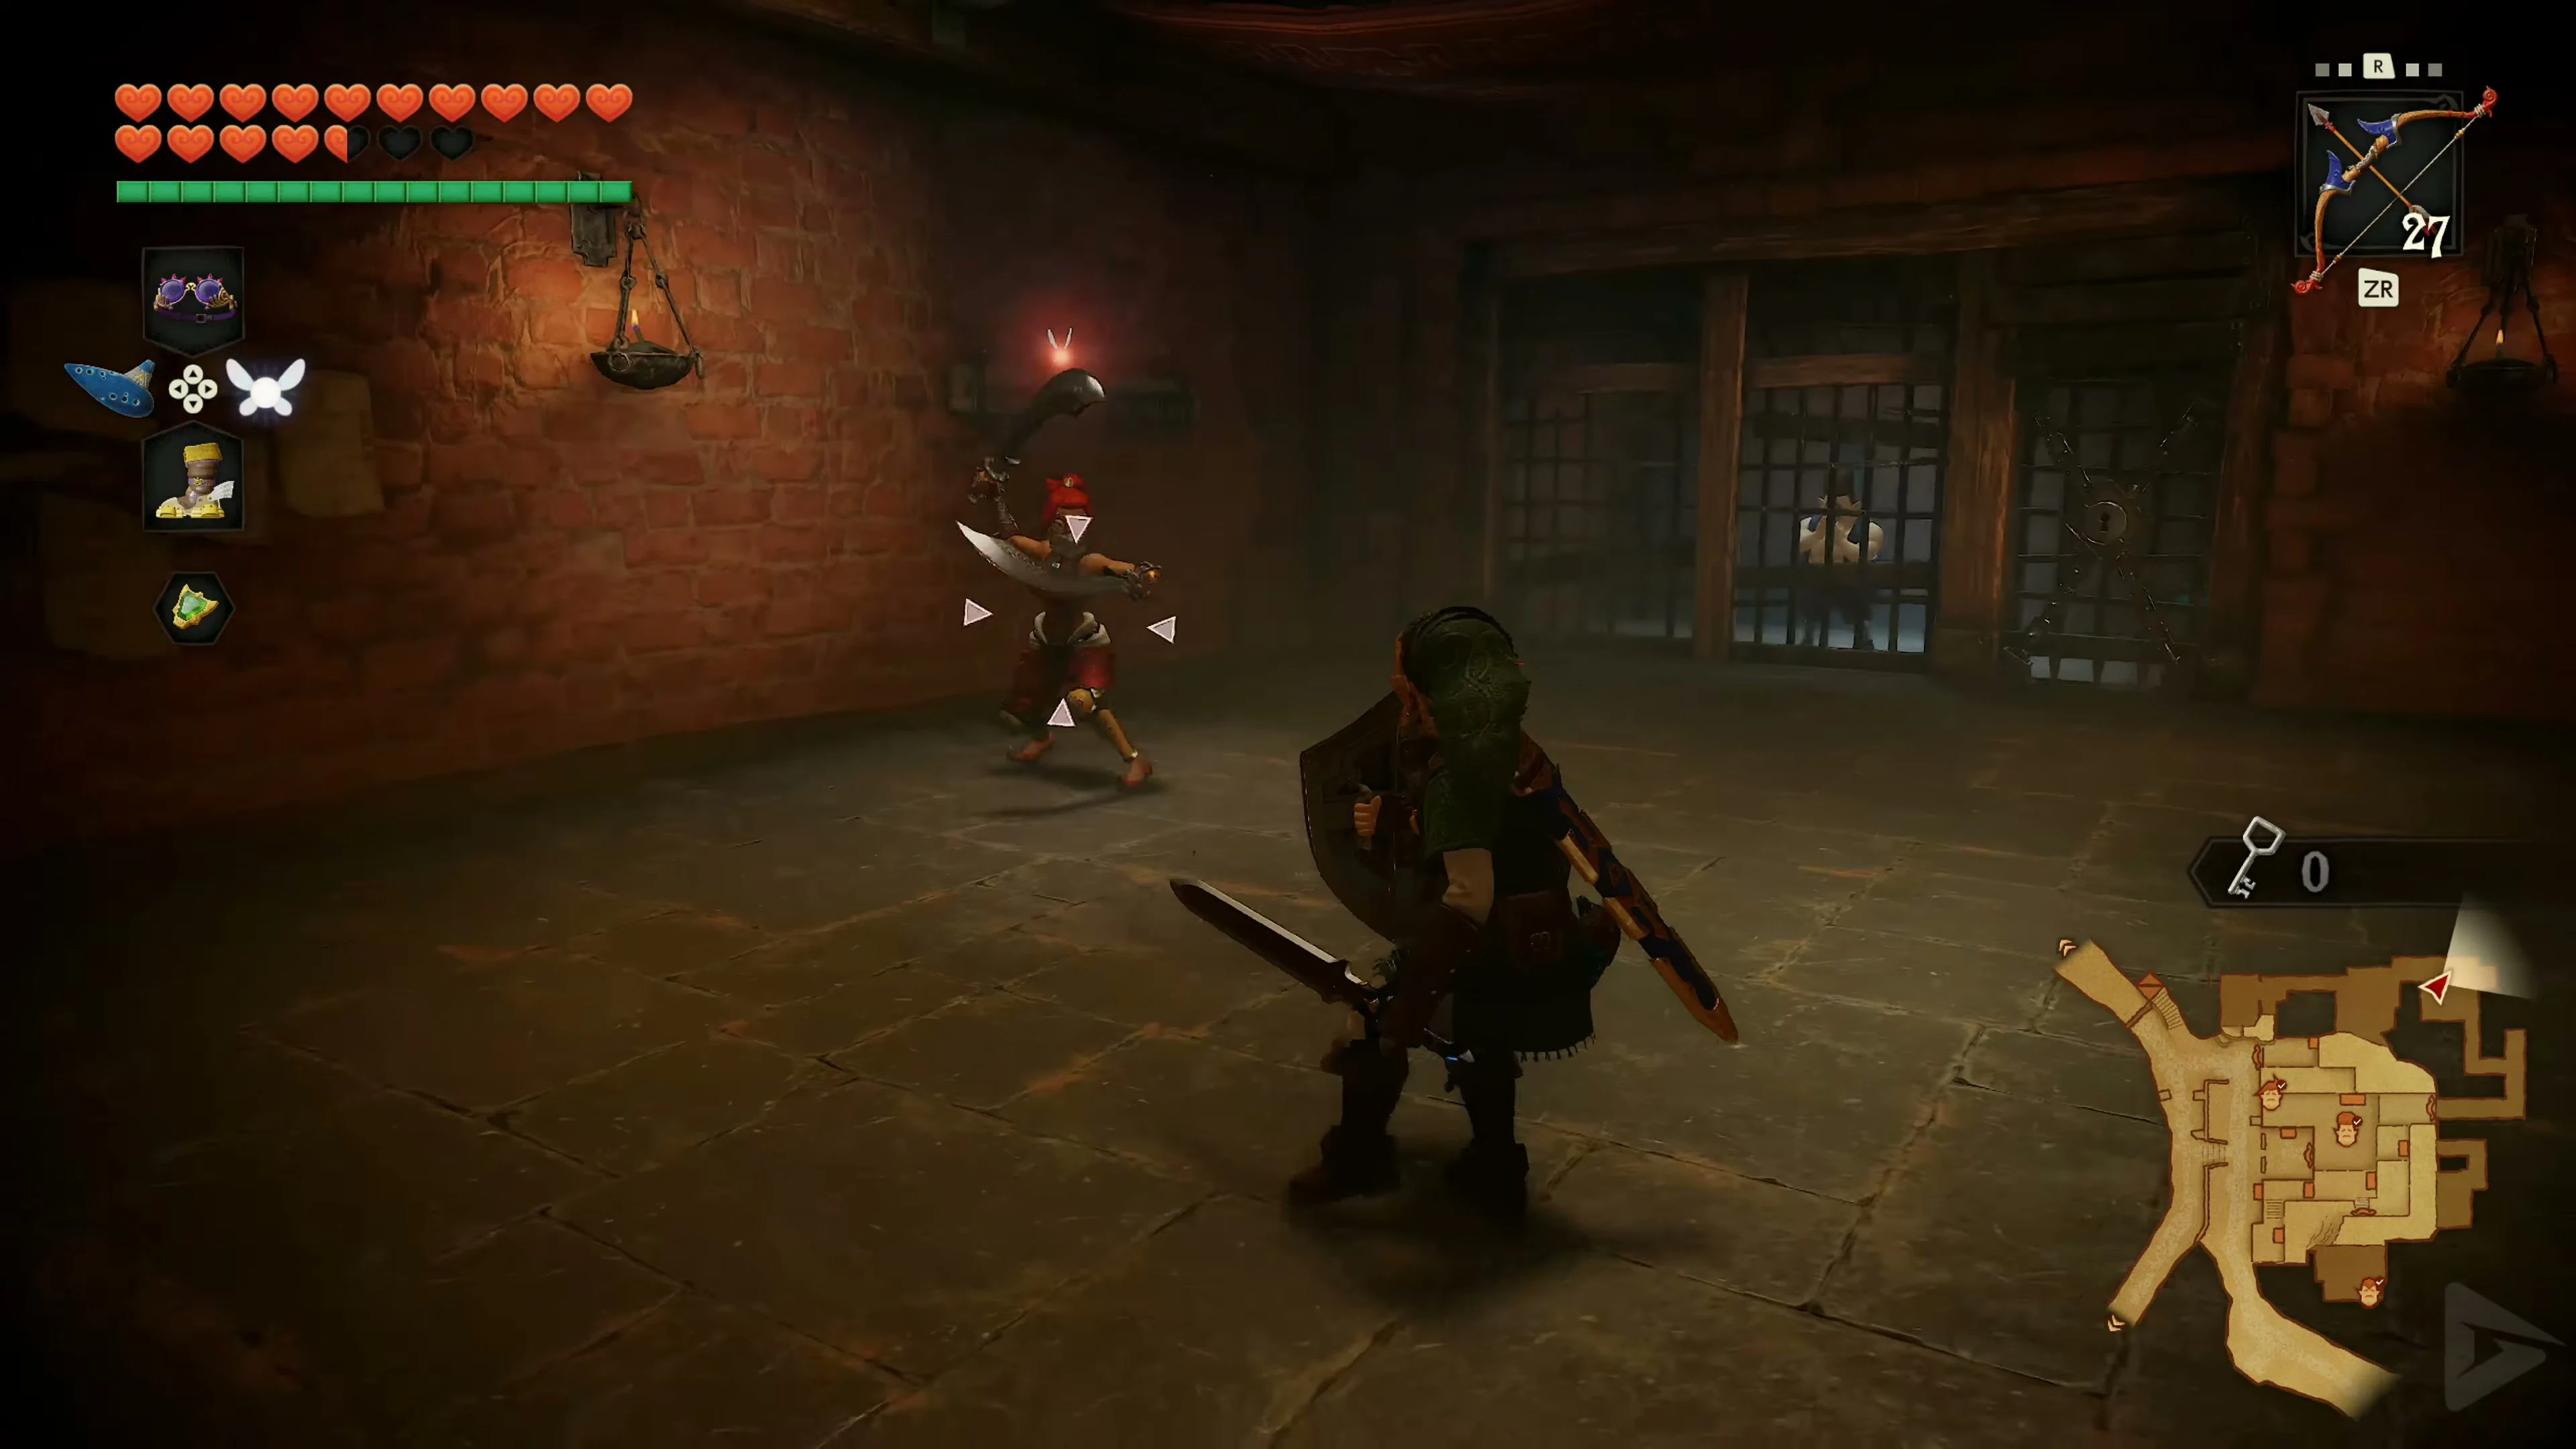
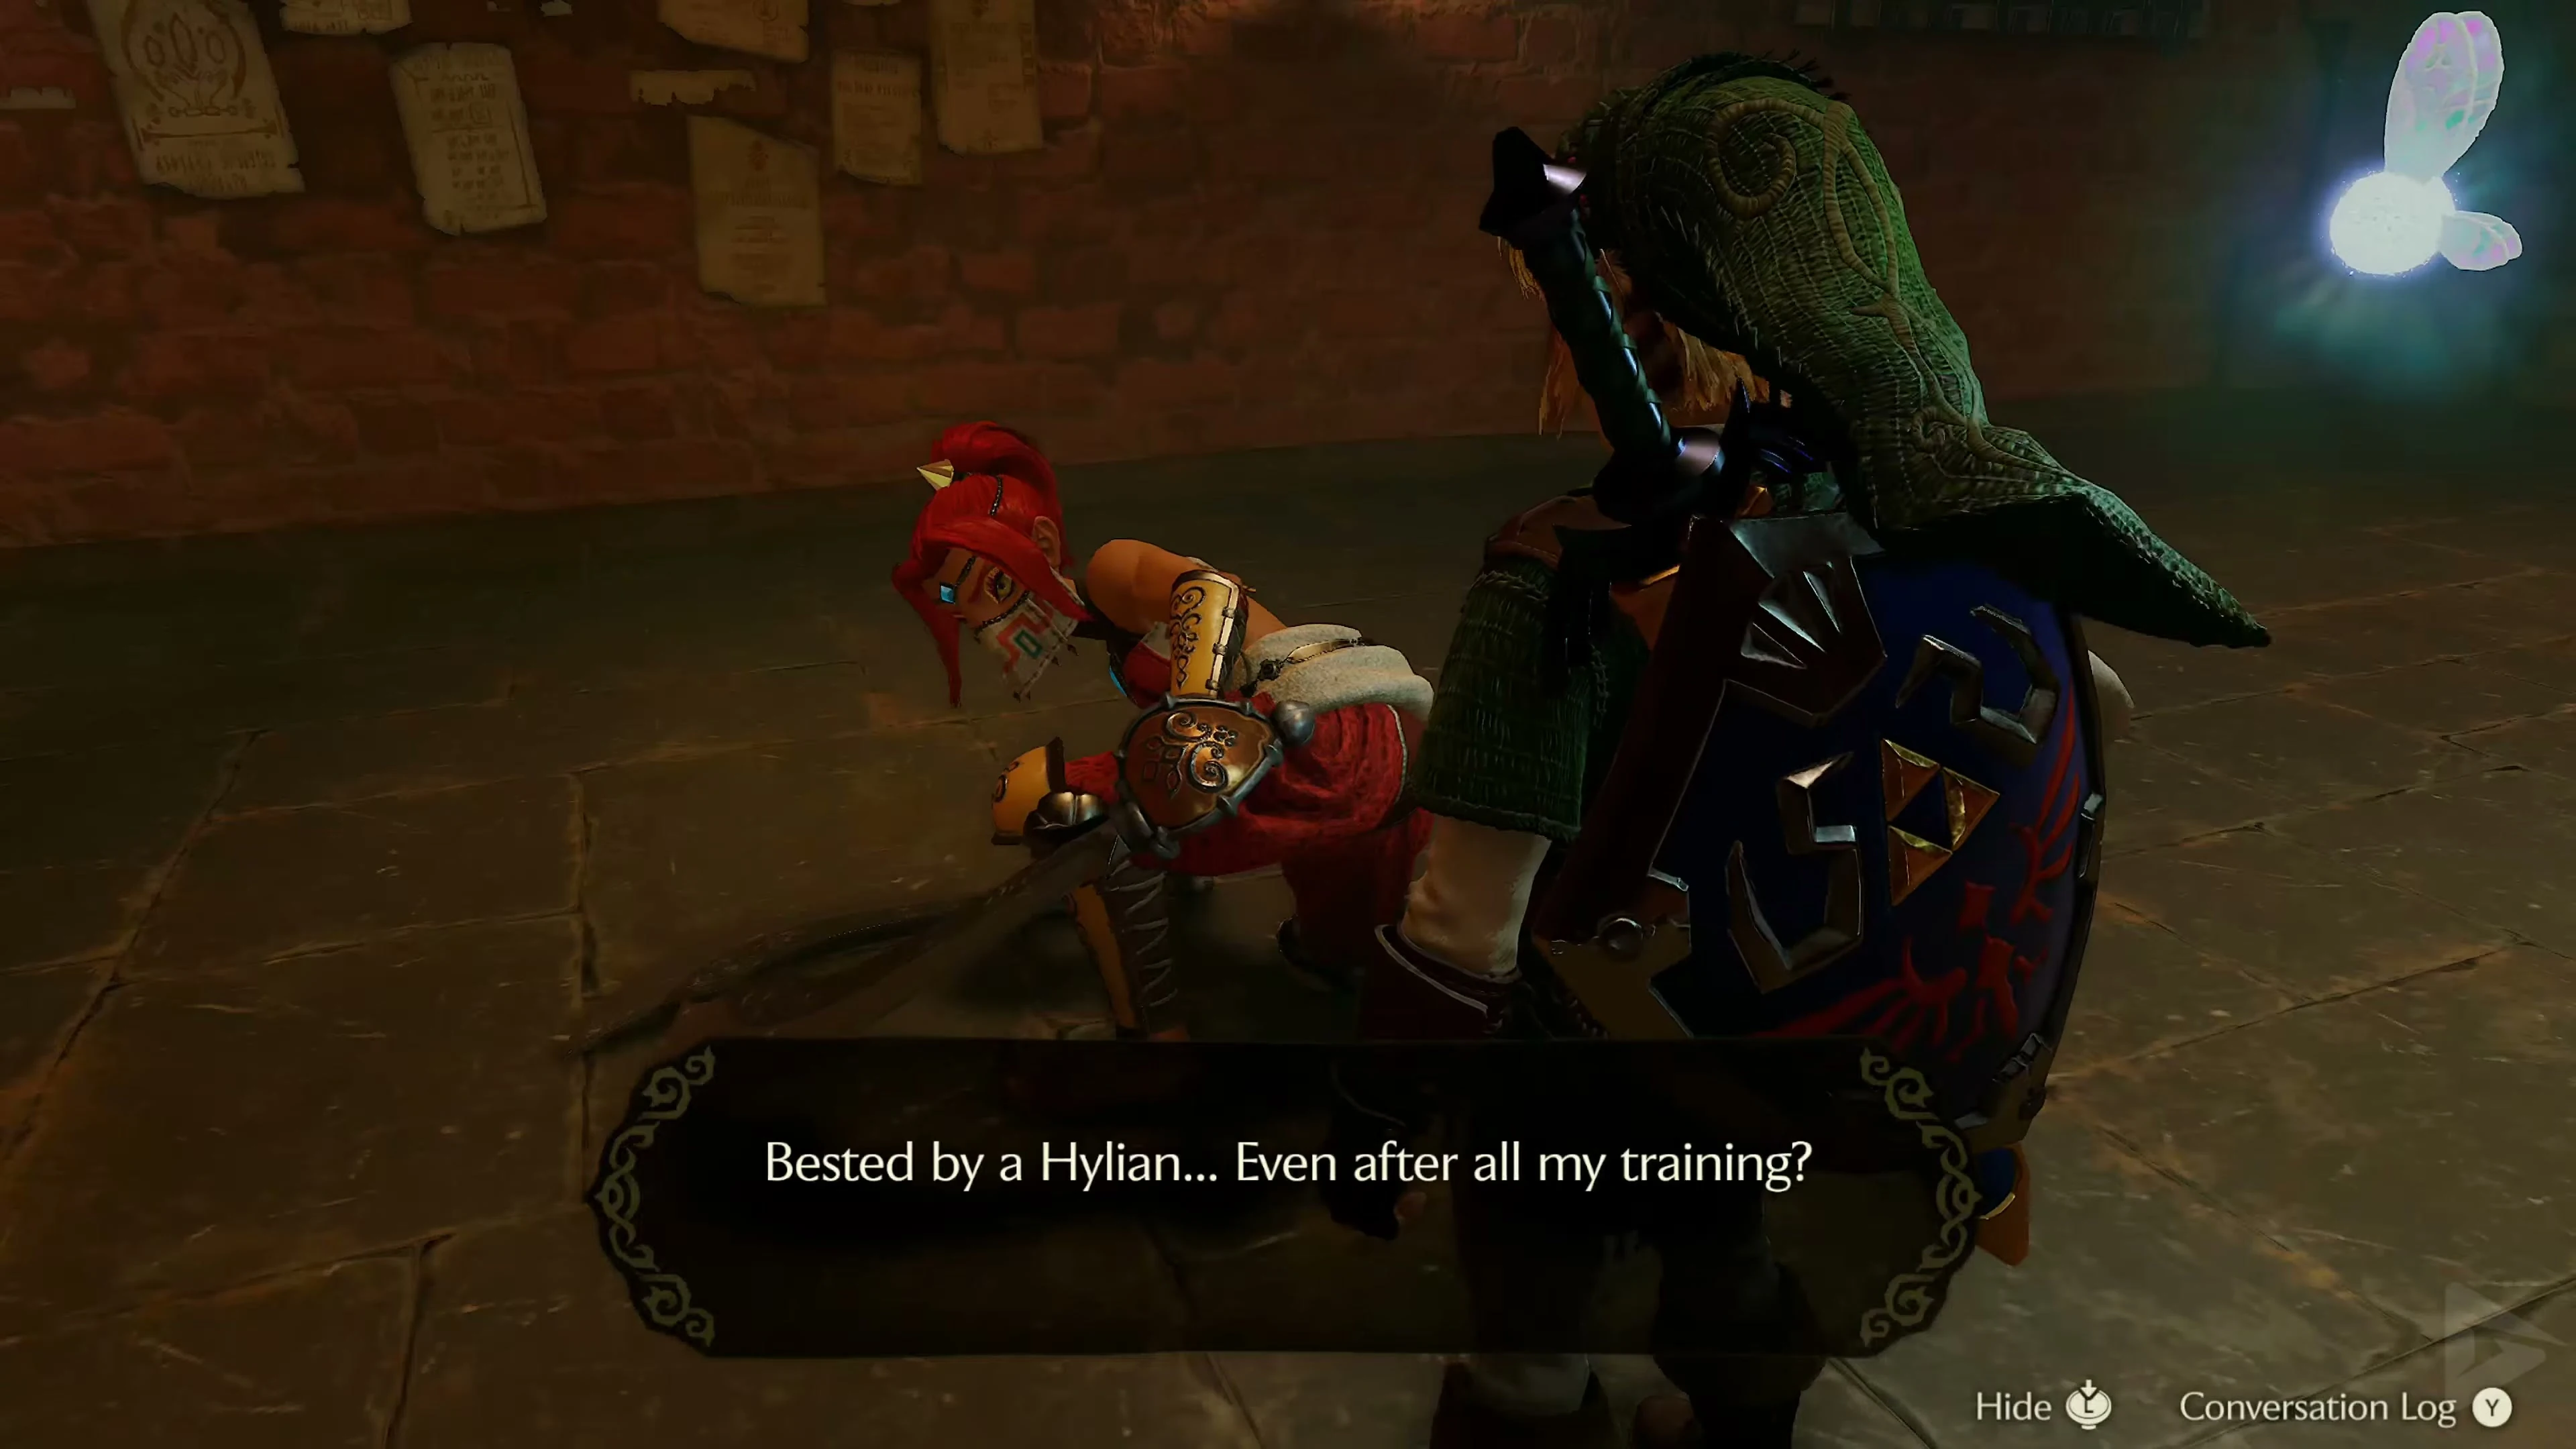
The Gerudo Warriors are significantly more dangerous than the regular patrols. They fight with two sabers, move quickly through the arena, and block many standard frontal attacks. Therefore, keep your distance initially and observe their movements. After prolonged combos or a failed jump attack, their guard will be open for a short time. Use this moment to land one or two hits and then retreat. Their spinning jump attack is particularly dangerous. You can recognize her attack by the warrior’s brief retreat, during which she prepares both blades for a particularly powerful strike. Immediately dodge to the side or backward. If this attack hits you, you will be overwhelmed, regardless of your remaining hearts, and returned to the prison cell.
If you have completed our chapter on the Ice Cavern and Biggoron Exchange Quest , you already possess the Biggoron Sword . Its long range and high damage make duels significantly easier. If you are using the Master Sword, you should focus more on shields and counterattacks.
Carpenter 1: Shiro
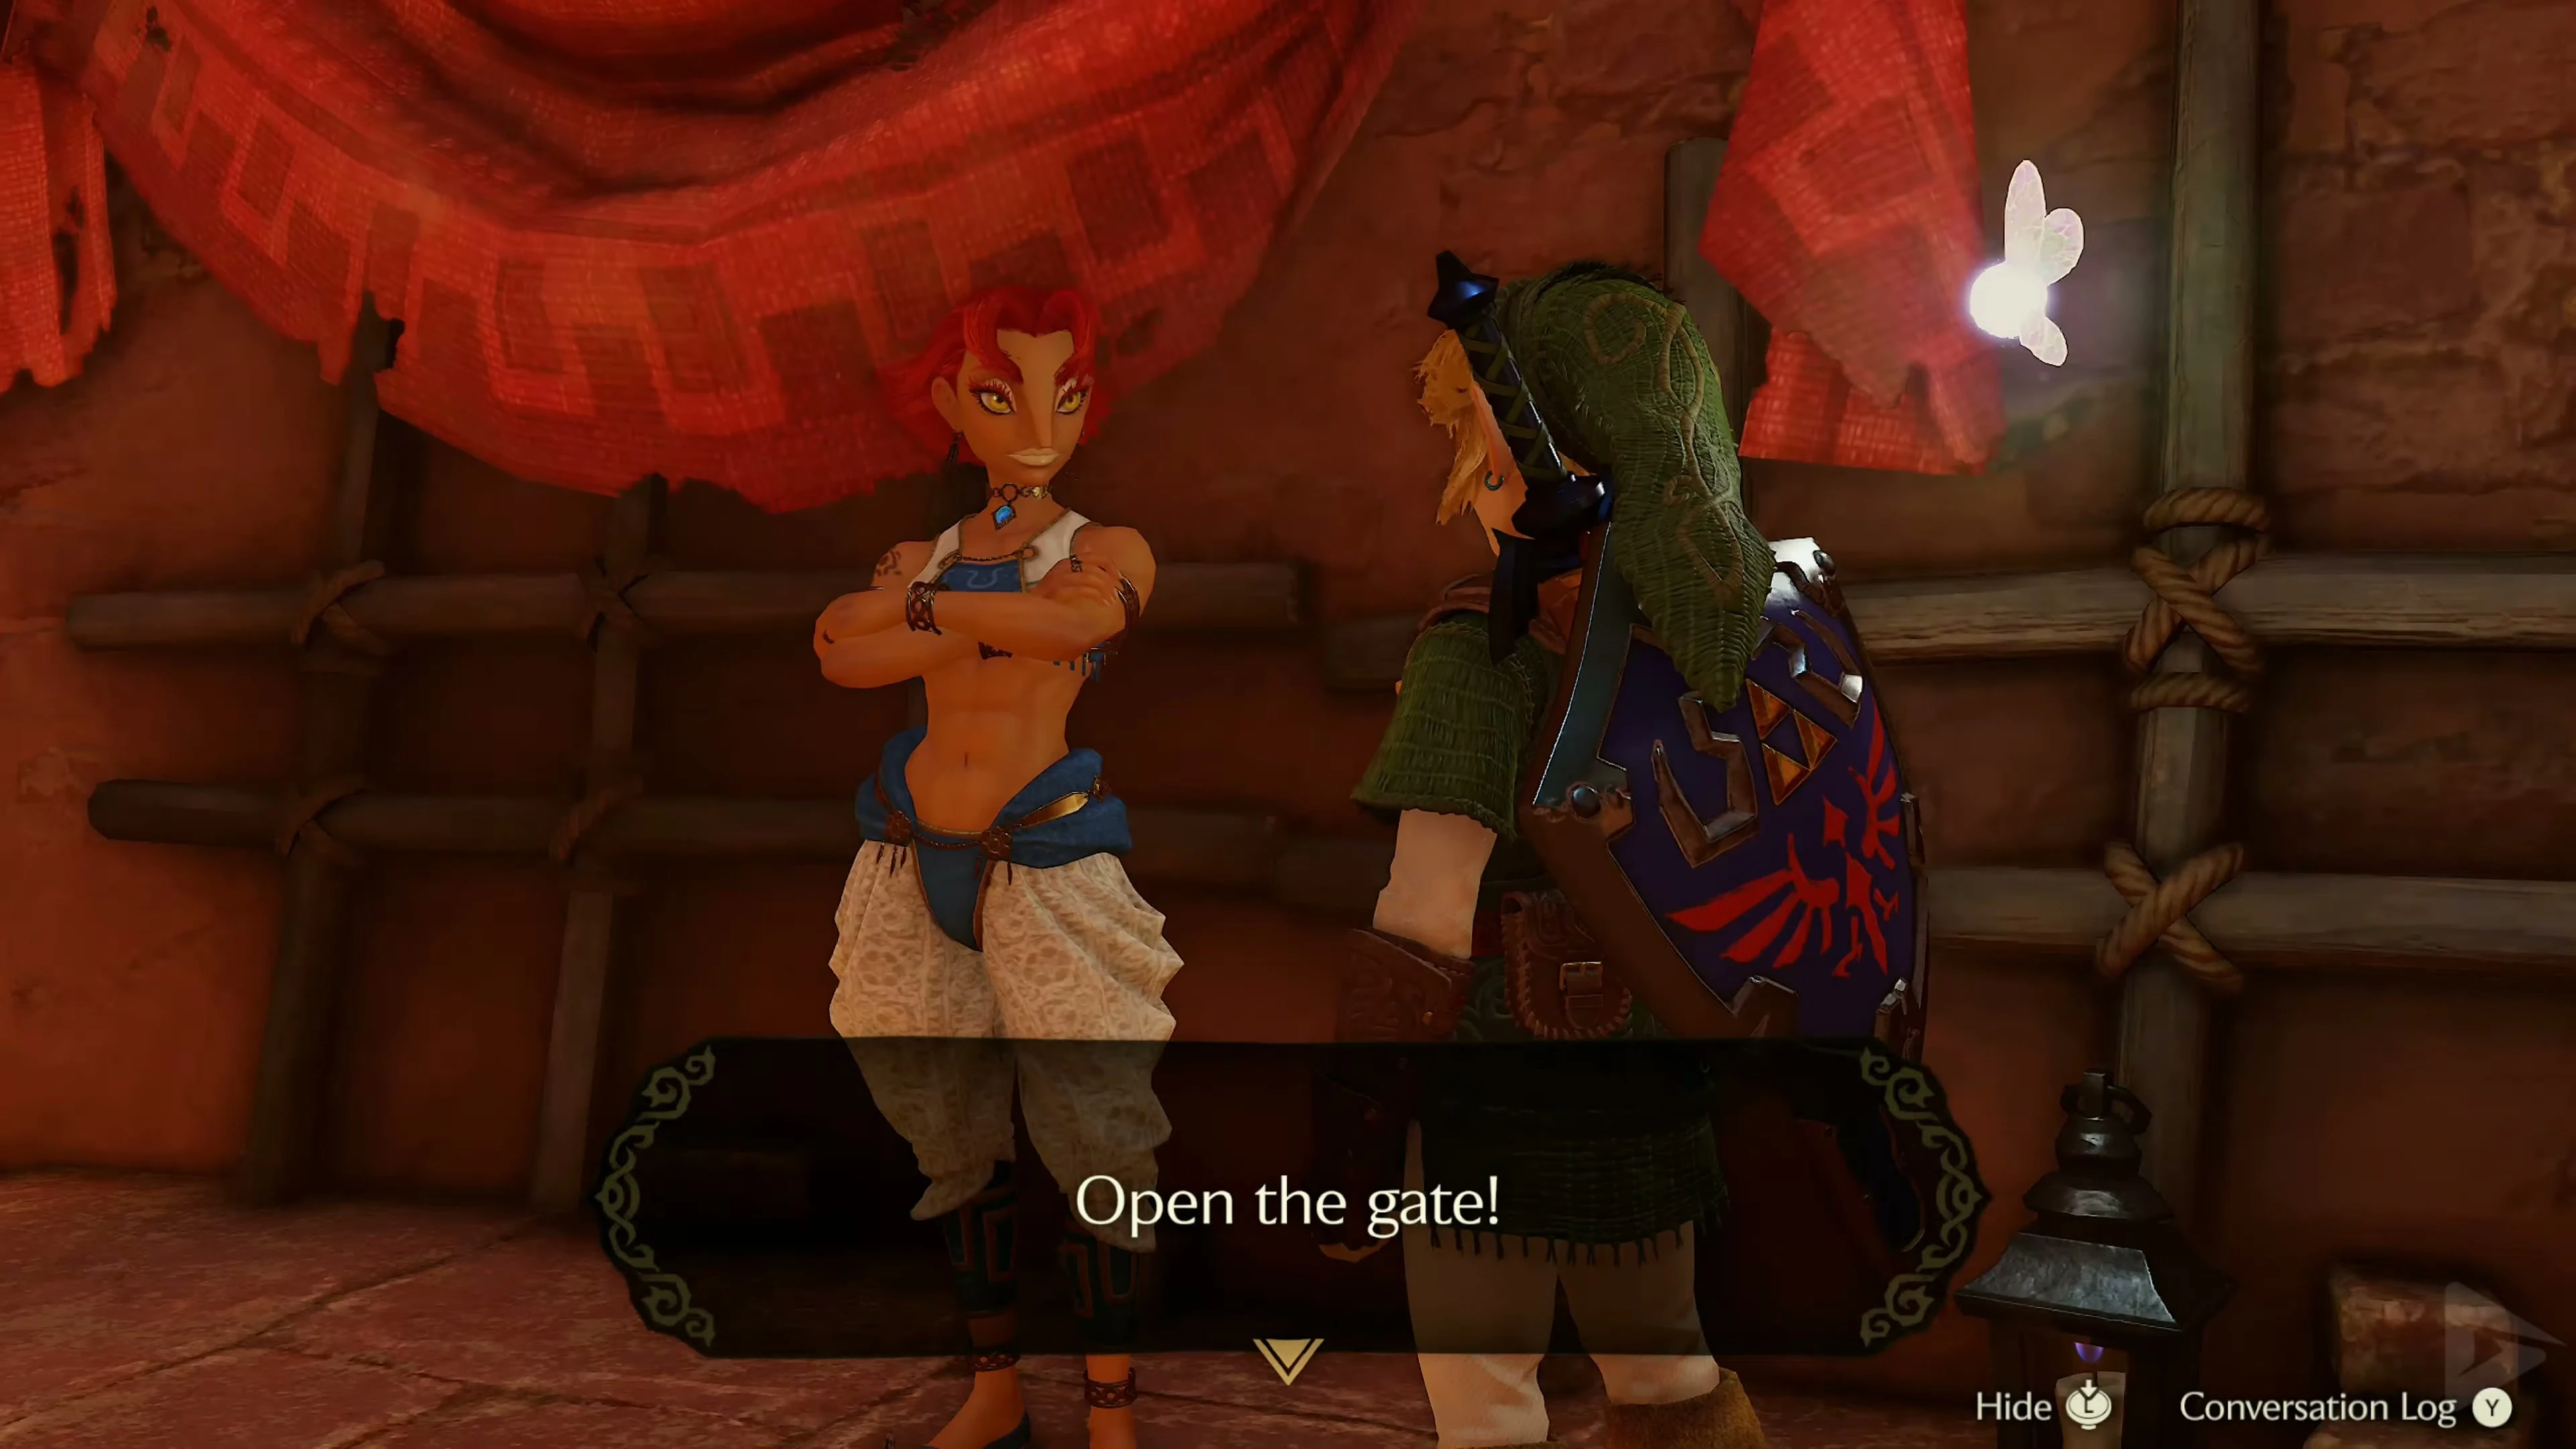
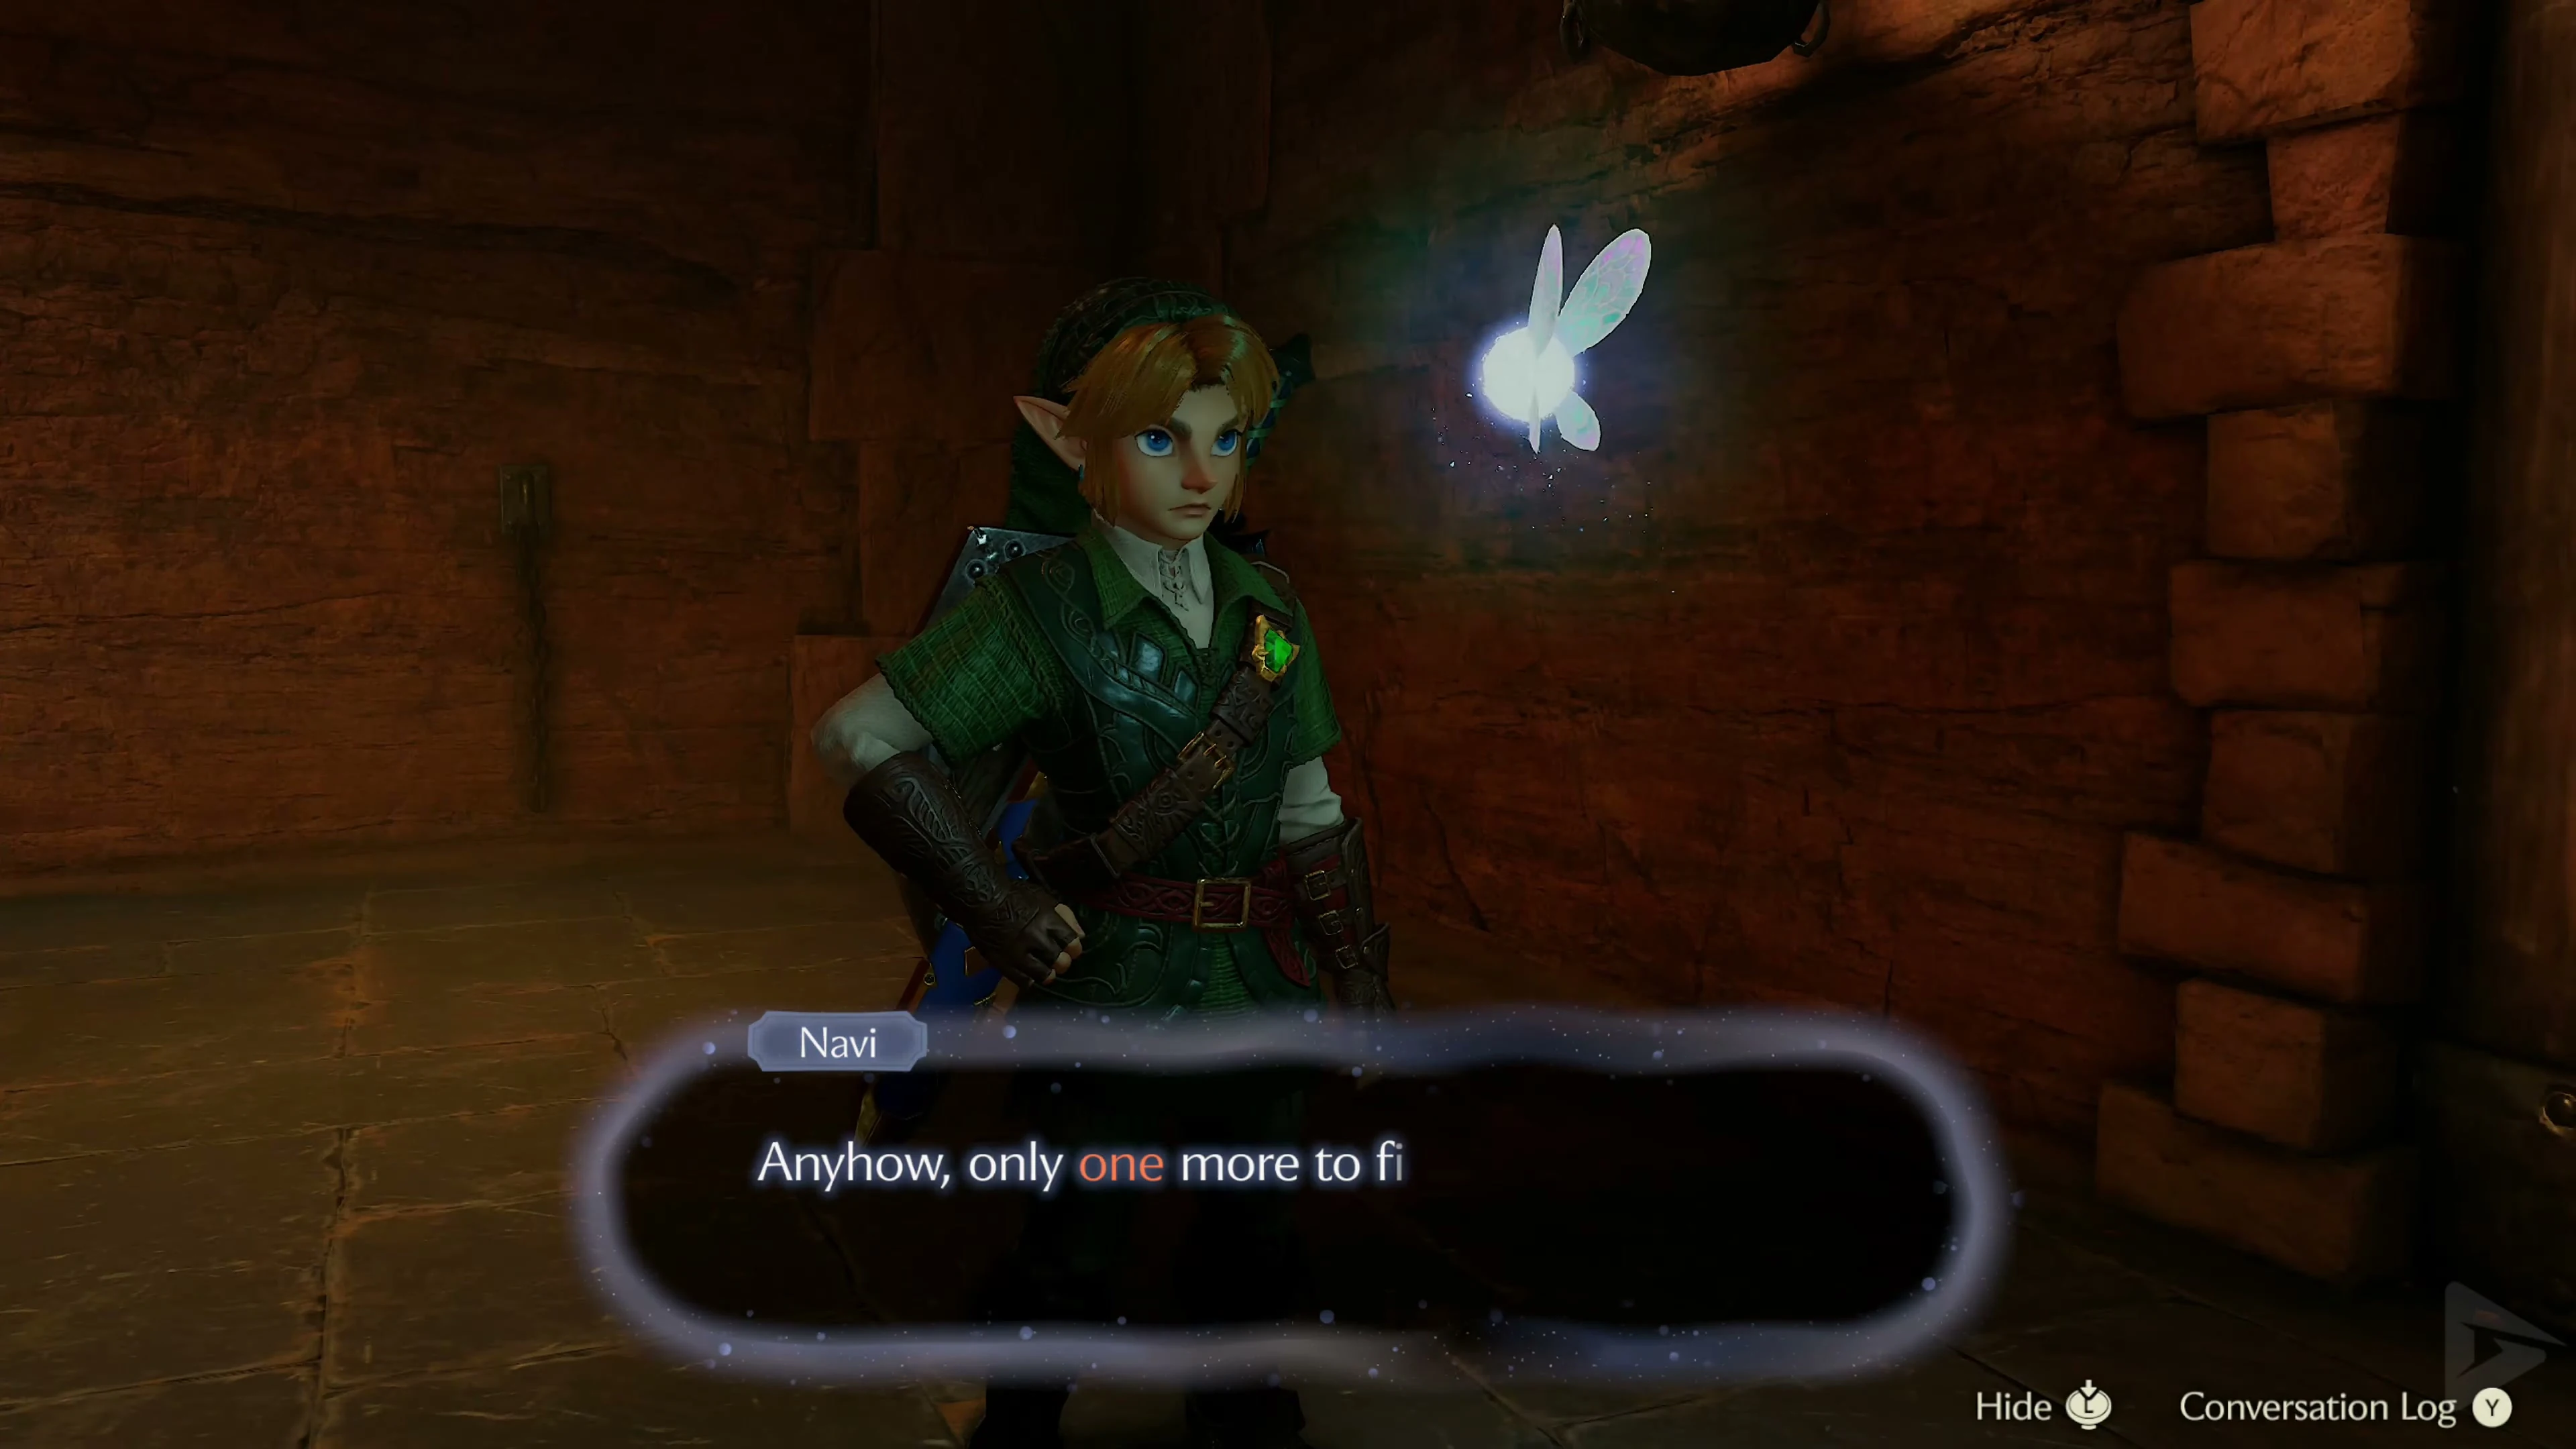
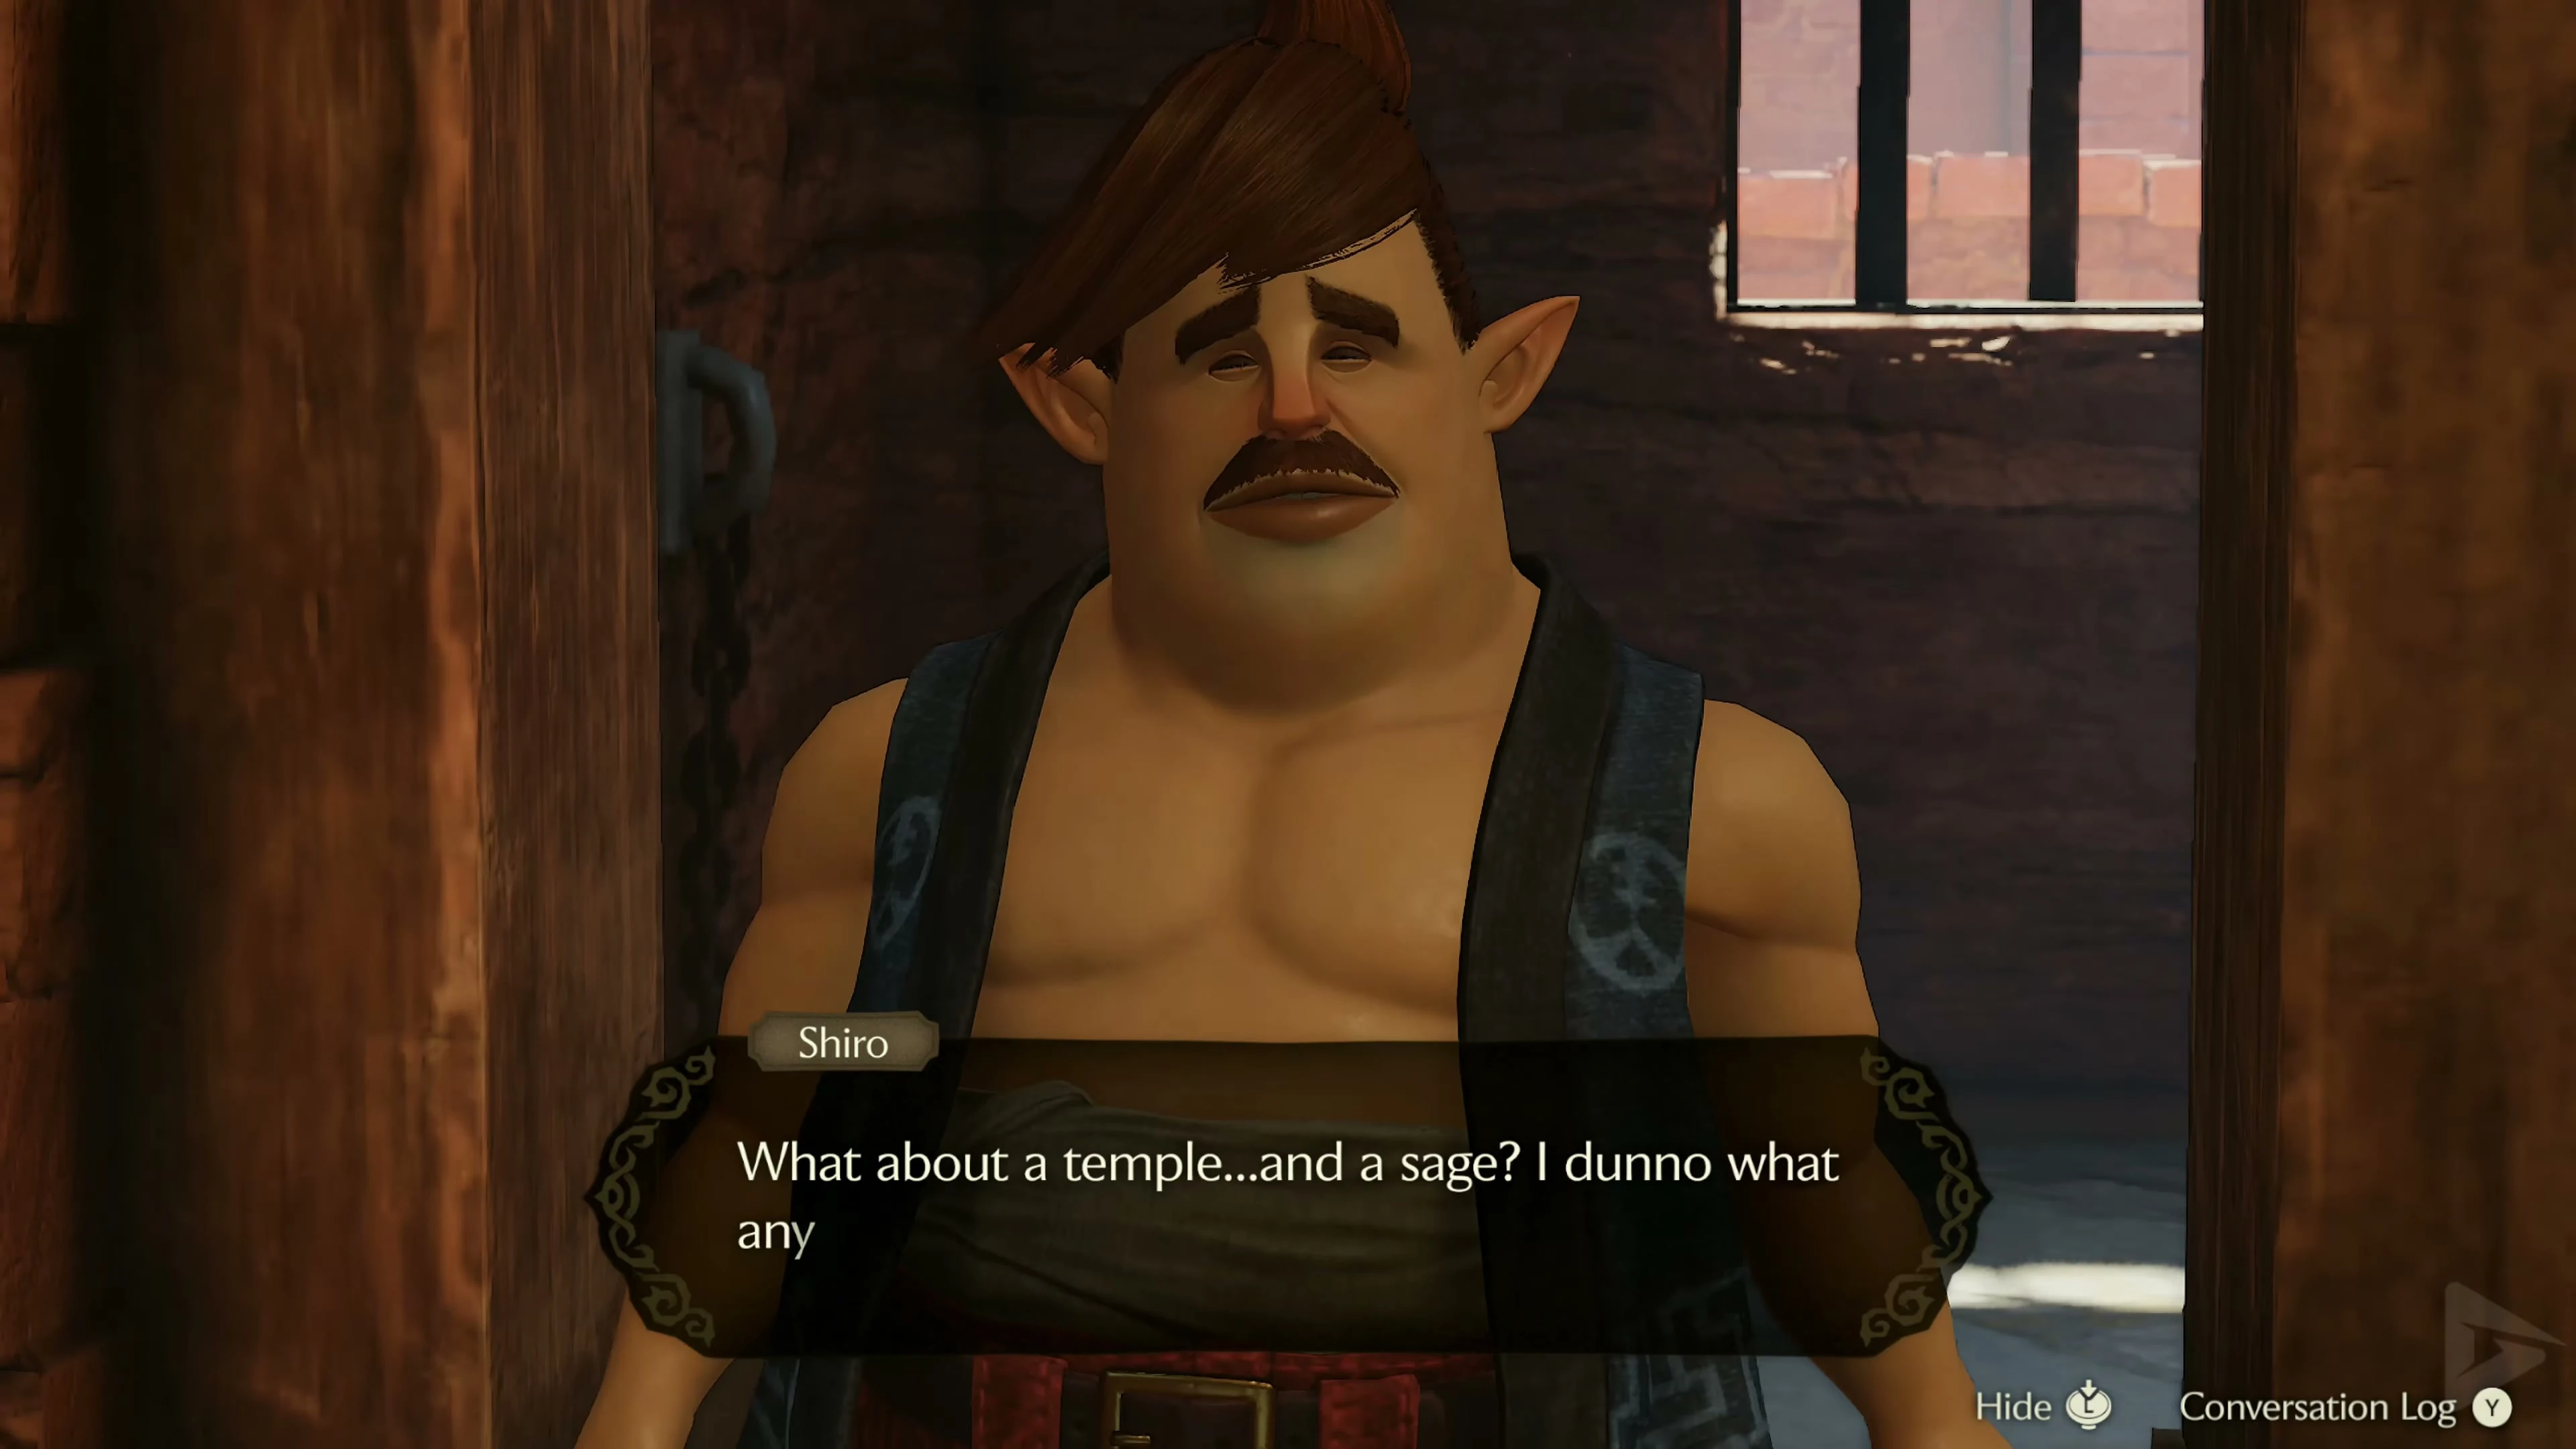
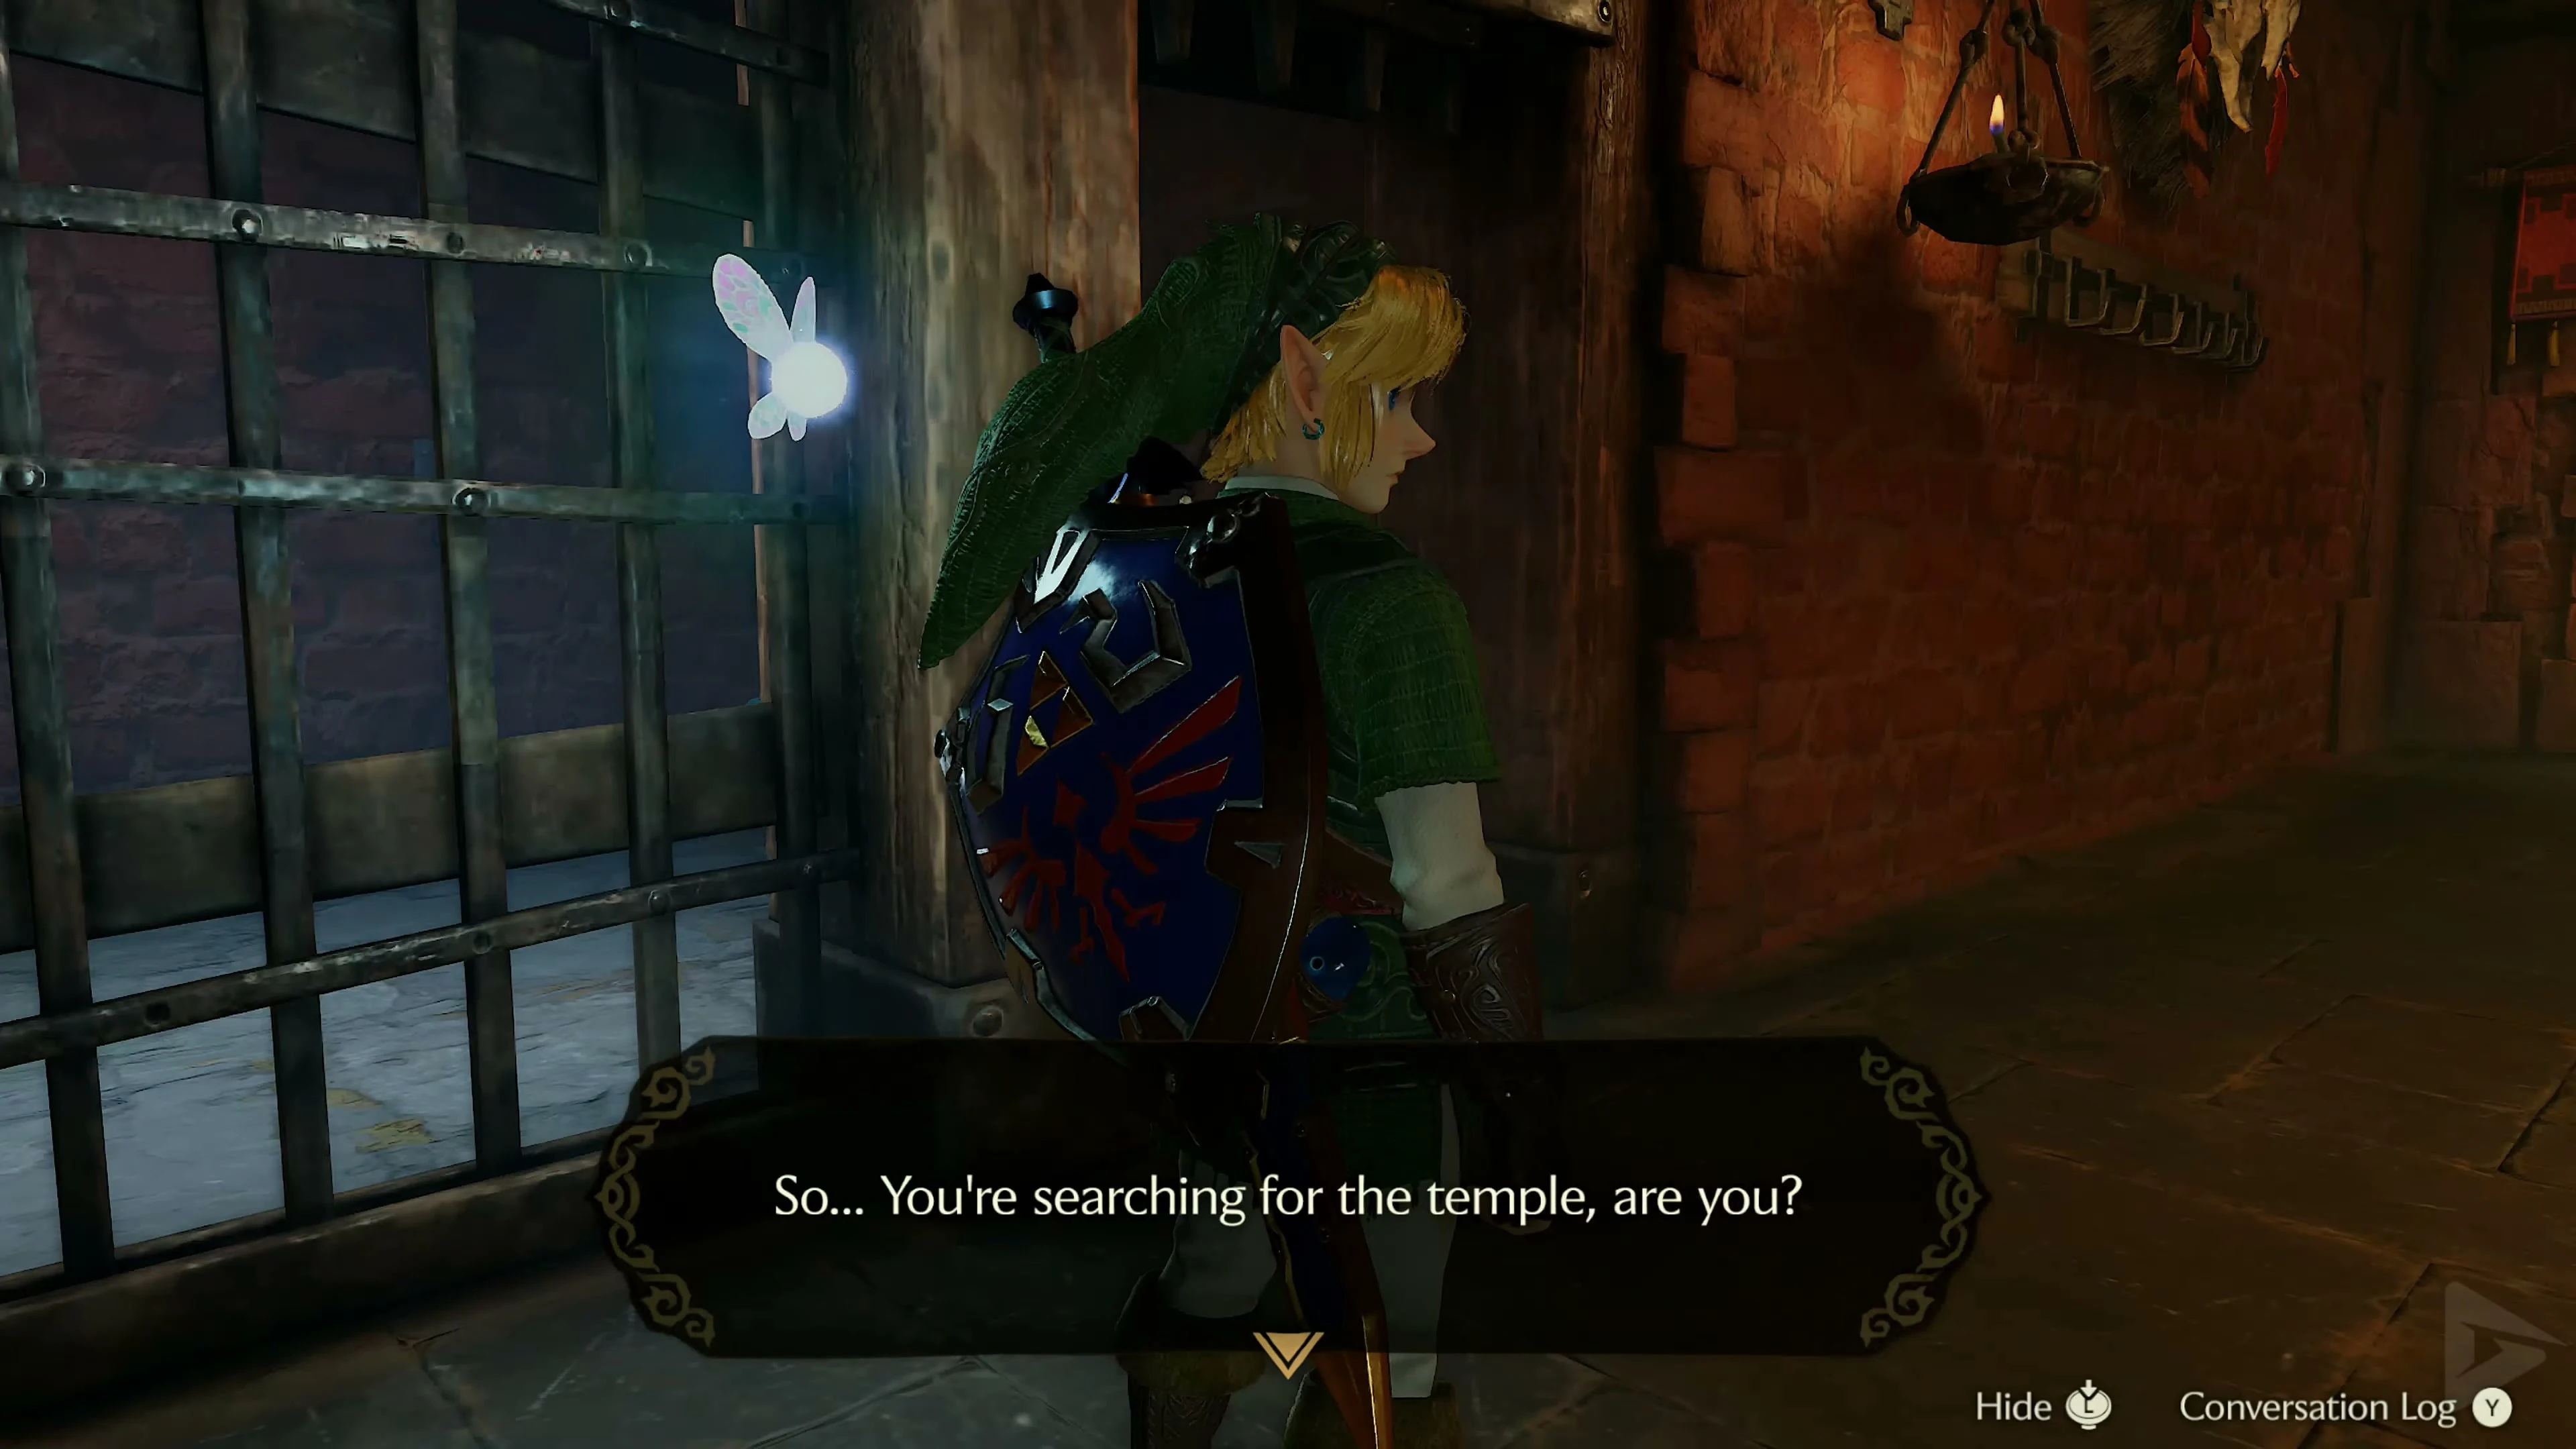
Climb down the vines from the cell exit and drop down to the courtyard. Enter the East Entrance . Shiro is waiting in his cell just around the corner. Talk to him, defeat the warrior, and take her Door Key. Open the gate and talk to Shiro again. Leave the room to the south and turn left outside to re-enter the fortress.
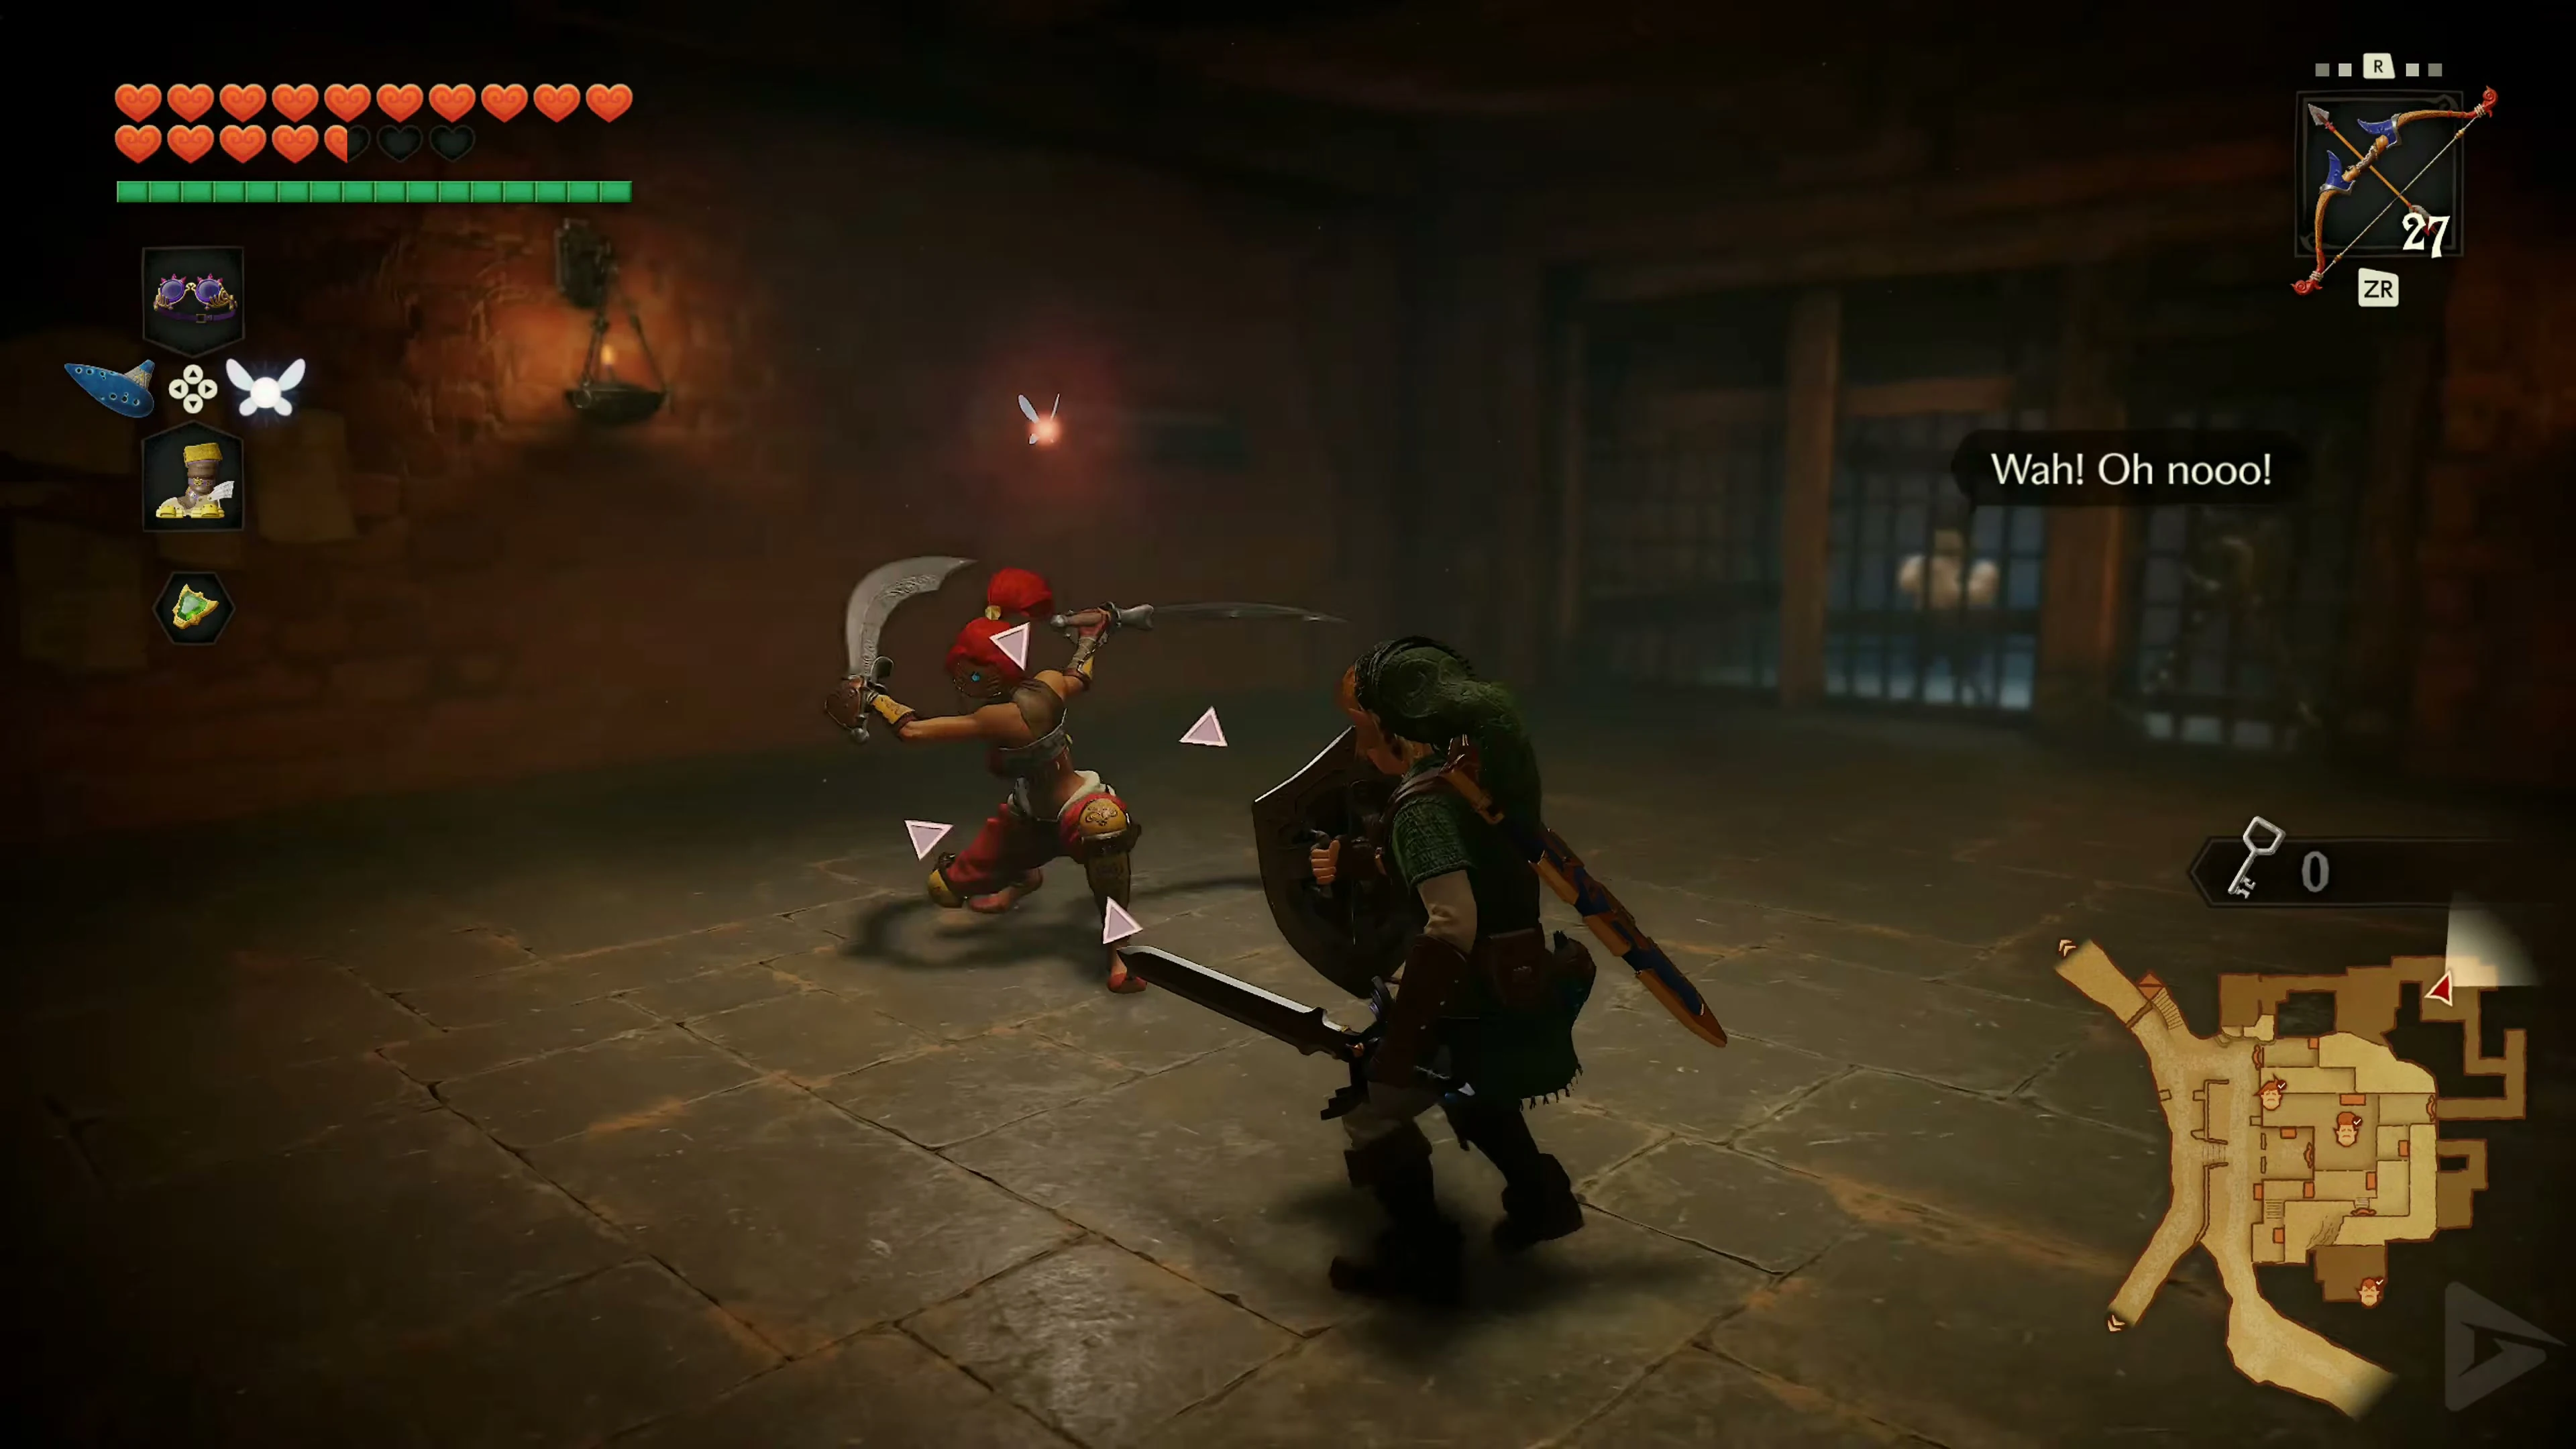
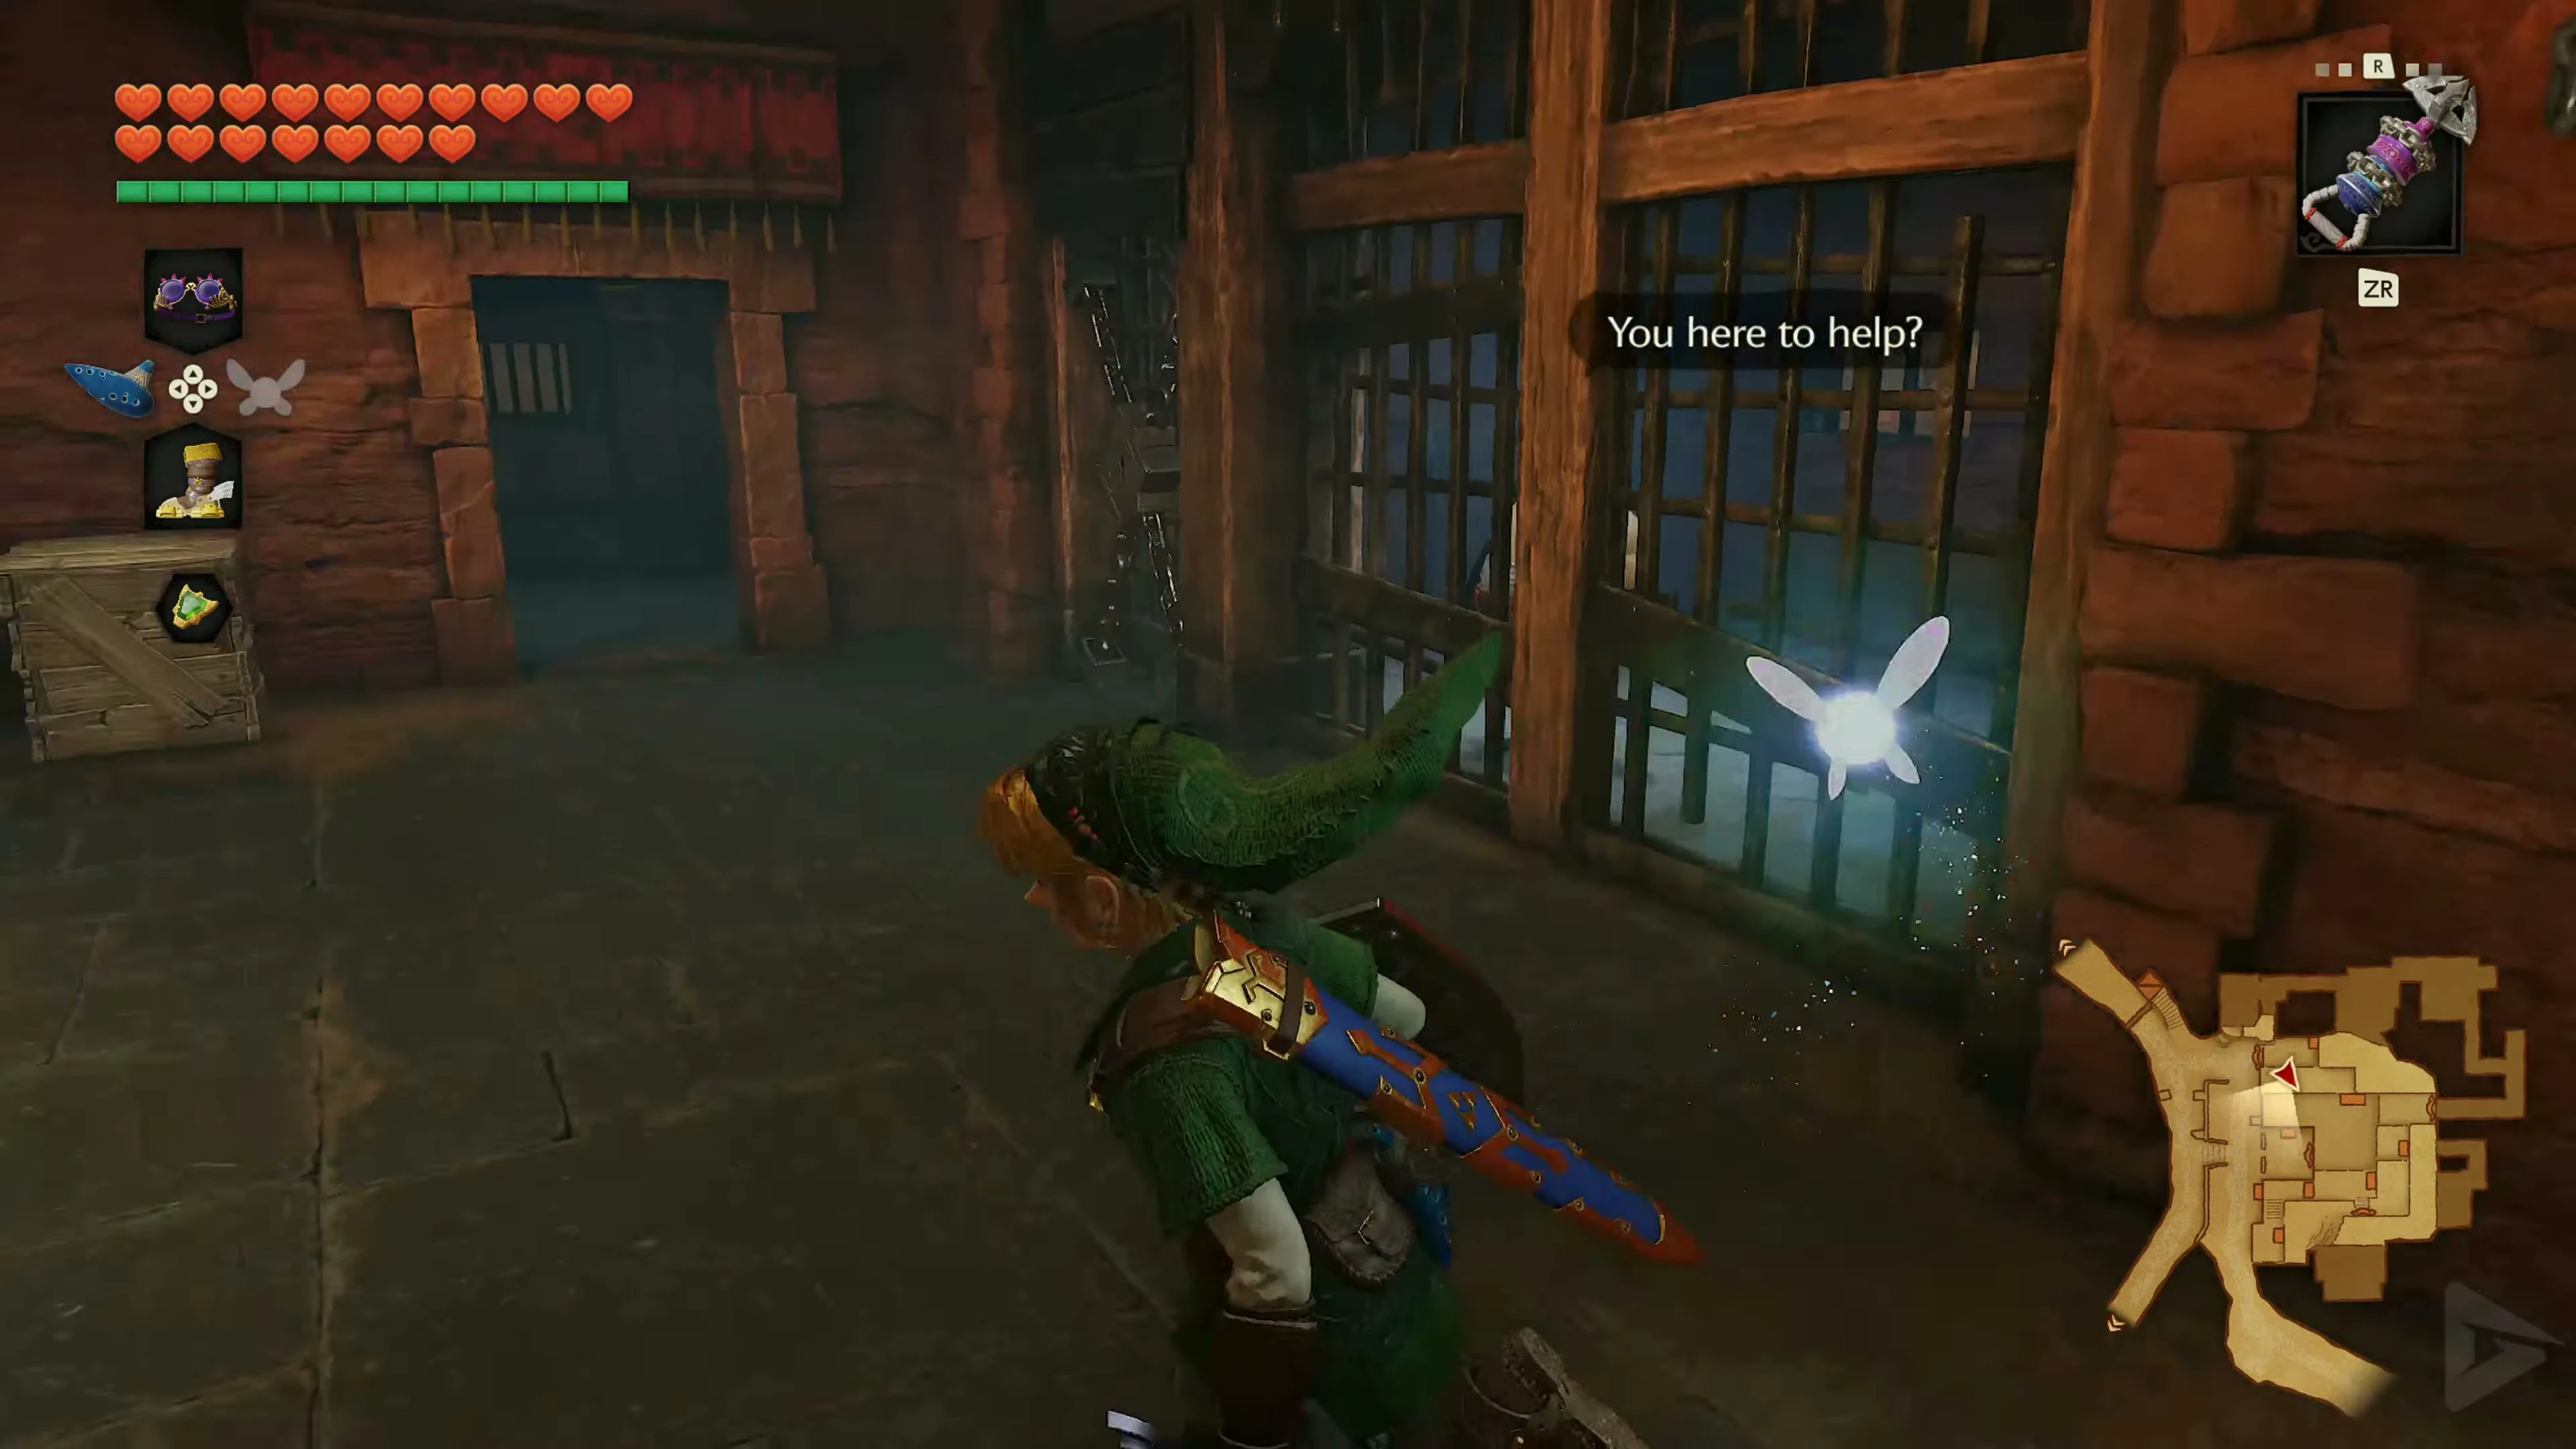
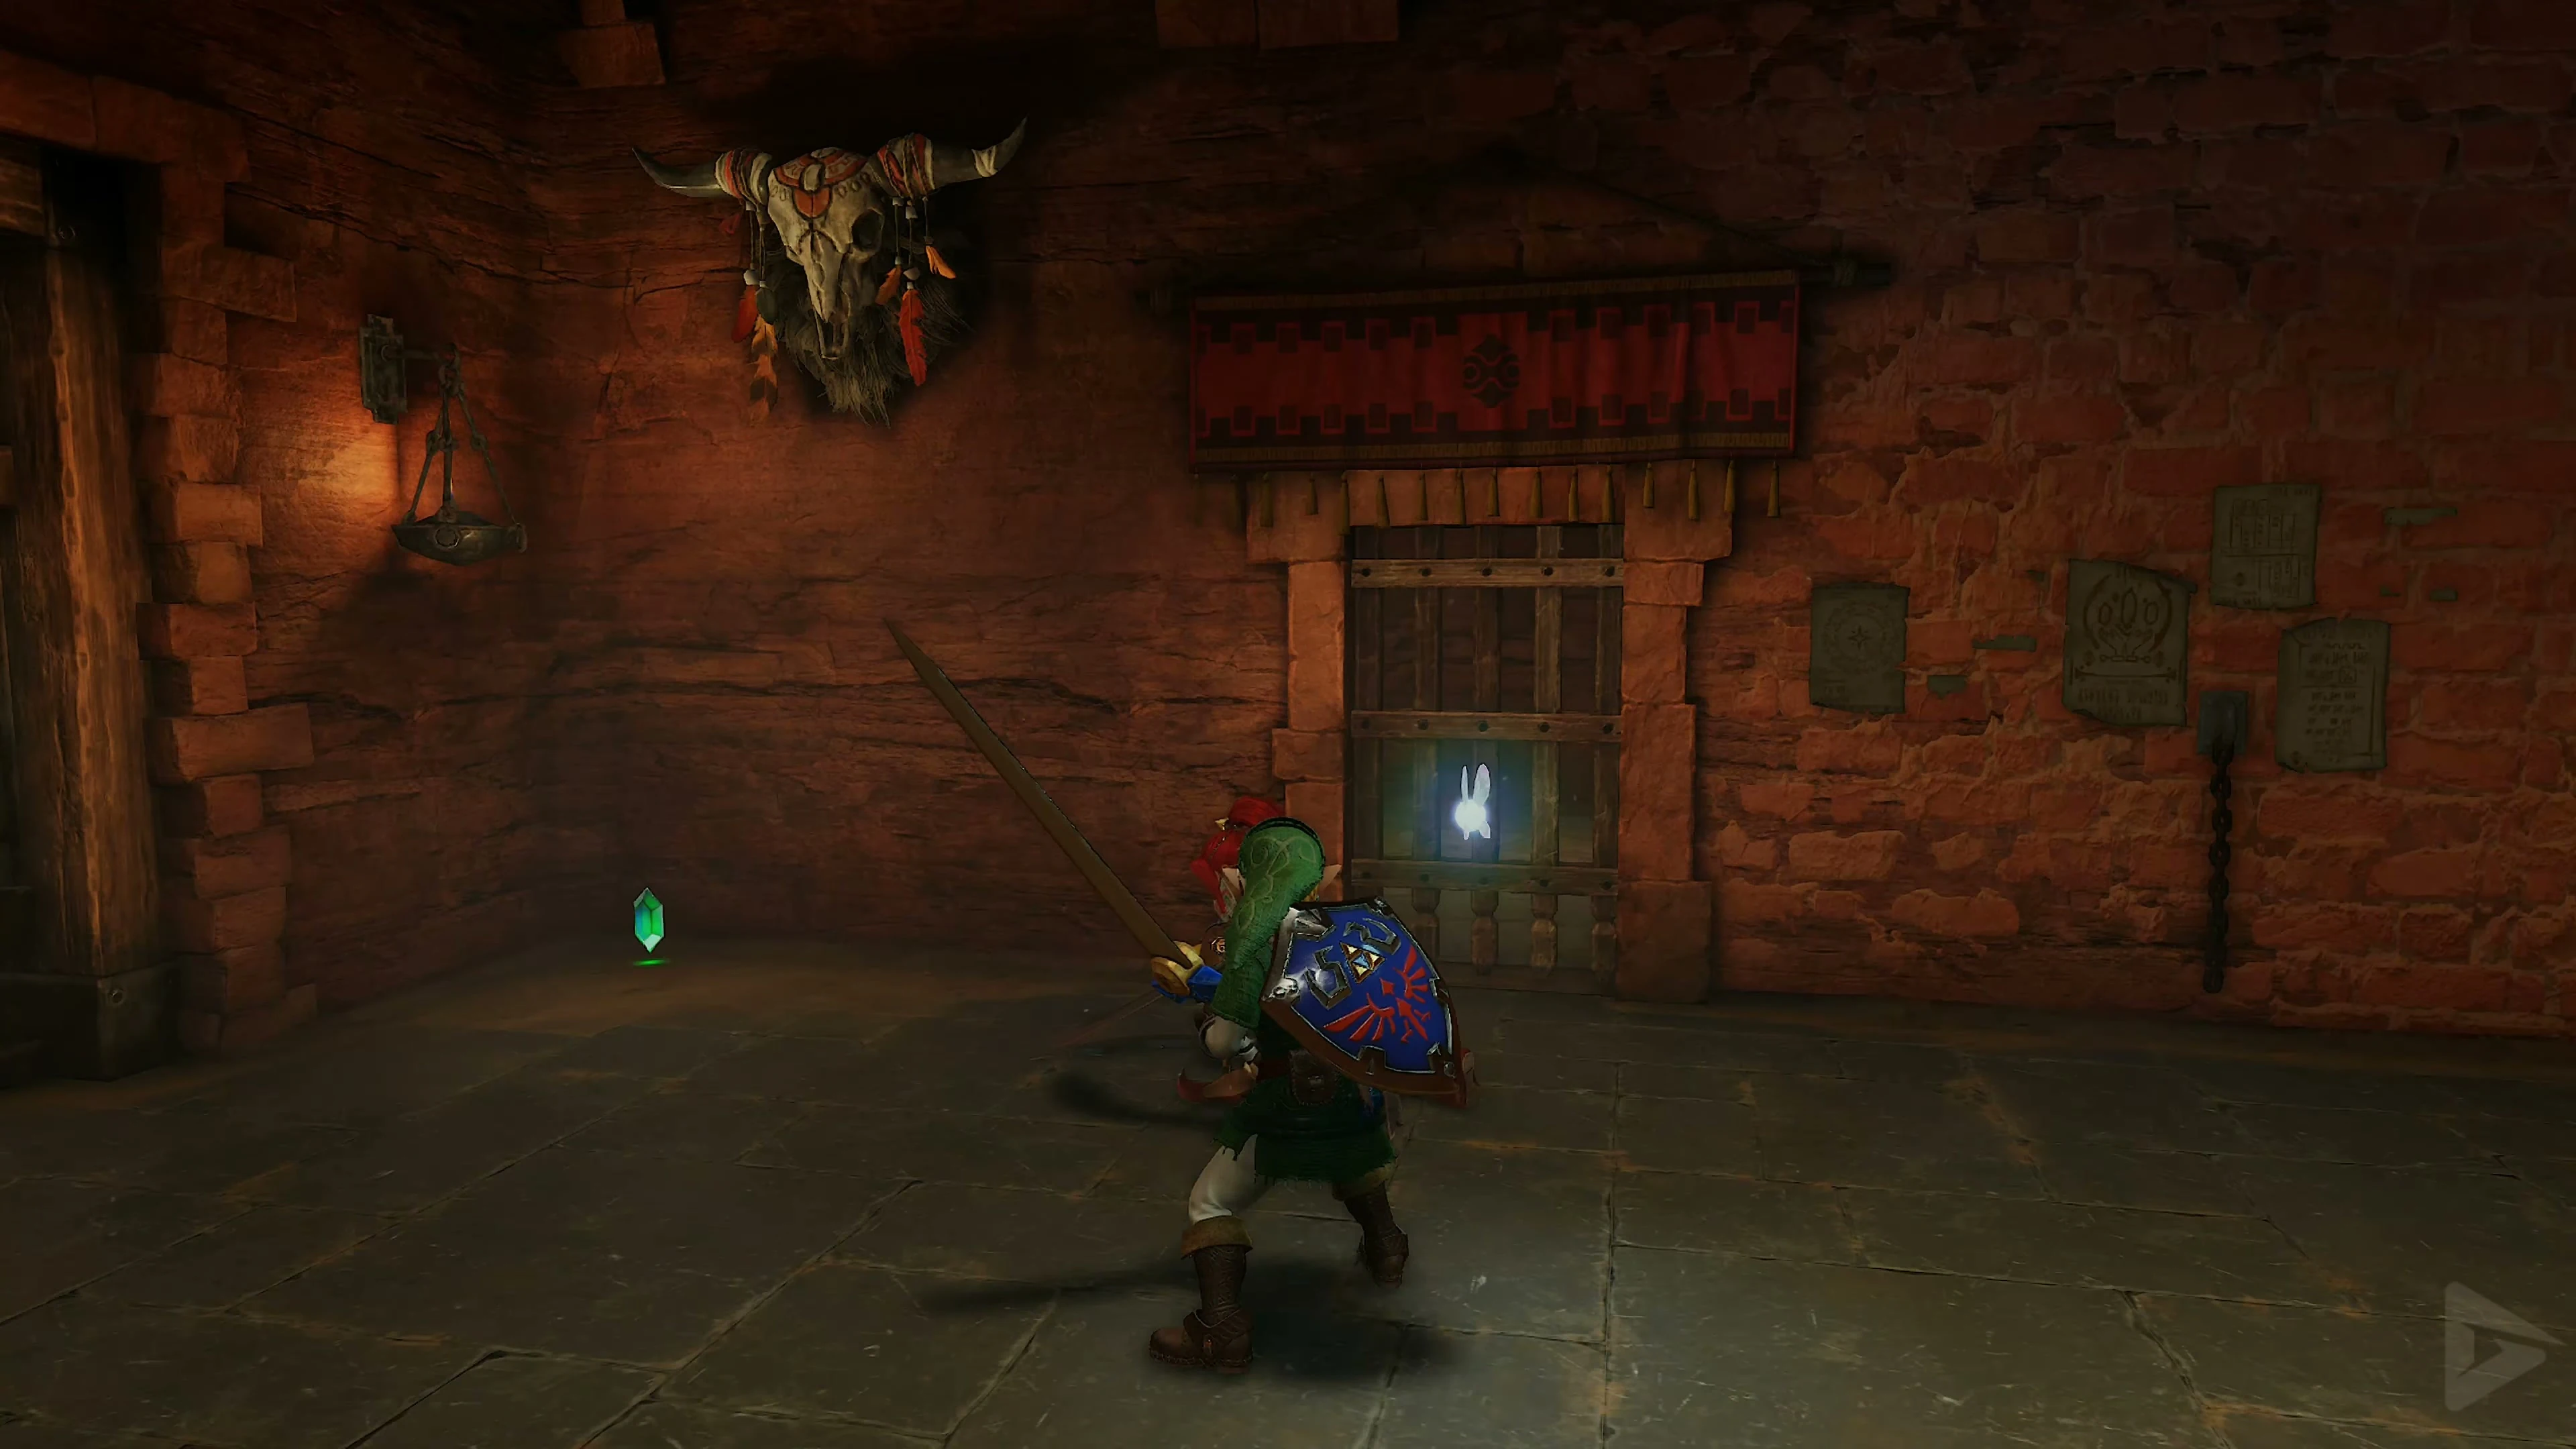
![Link stands in front of the gate in the cell..` ] Open the gate and speak to Shiro again and speak to Shiro again.](https://zeldacollection.de/wp-content/uploads/2026/11/ocarina-of-time-gerudofestung-switch-2-4k-54218.webp)
Carpenter 2: Saburo
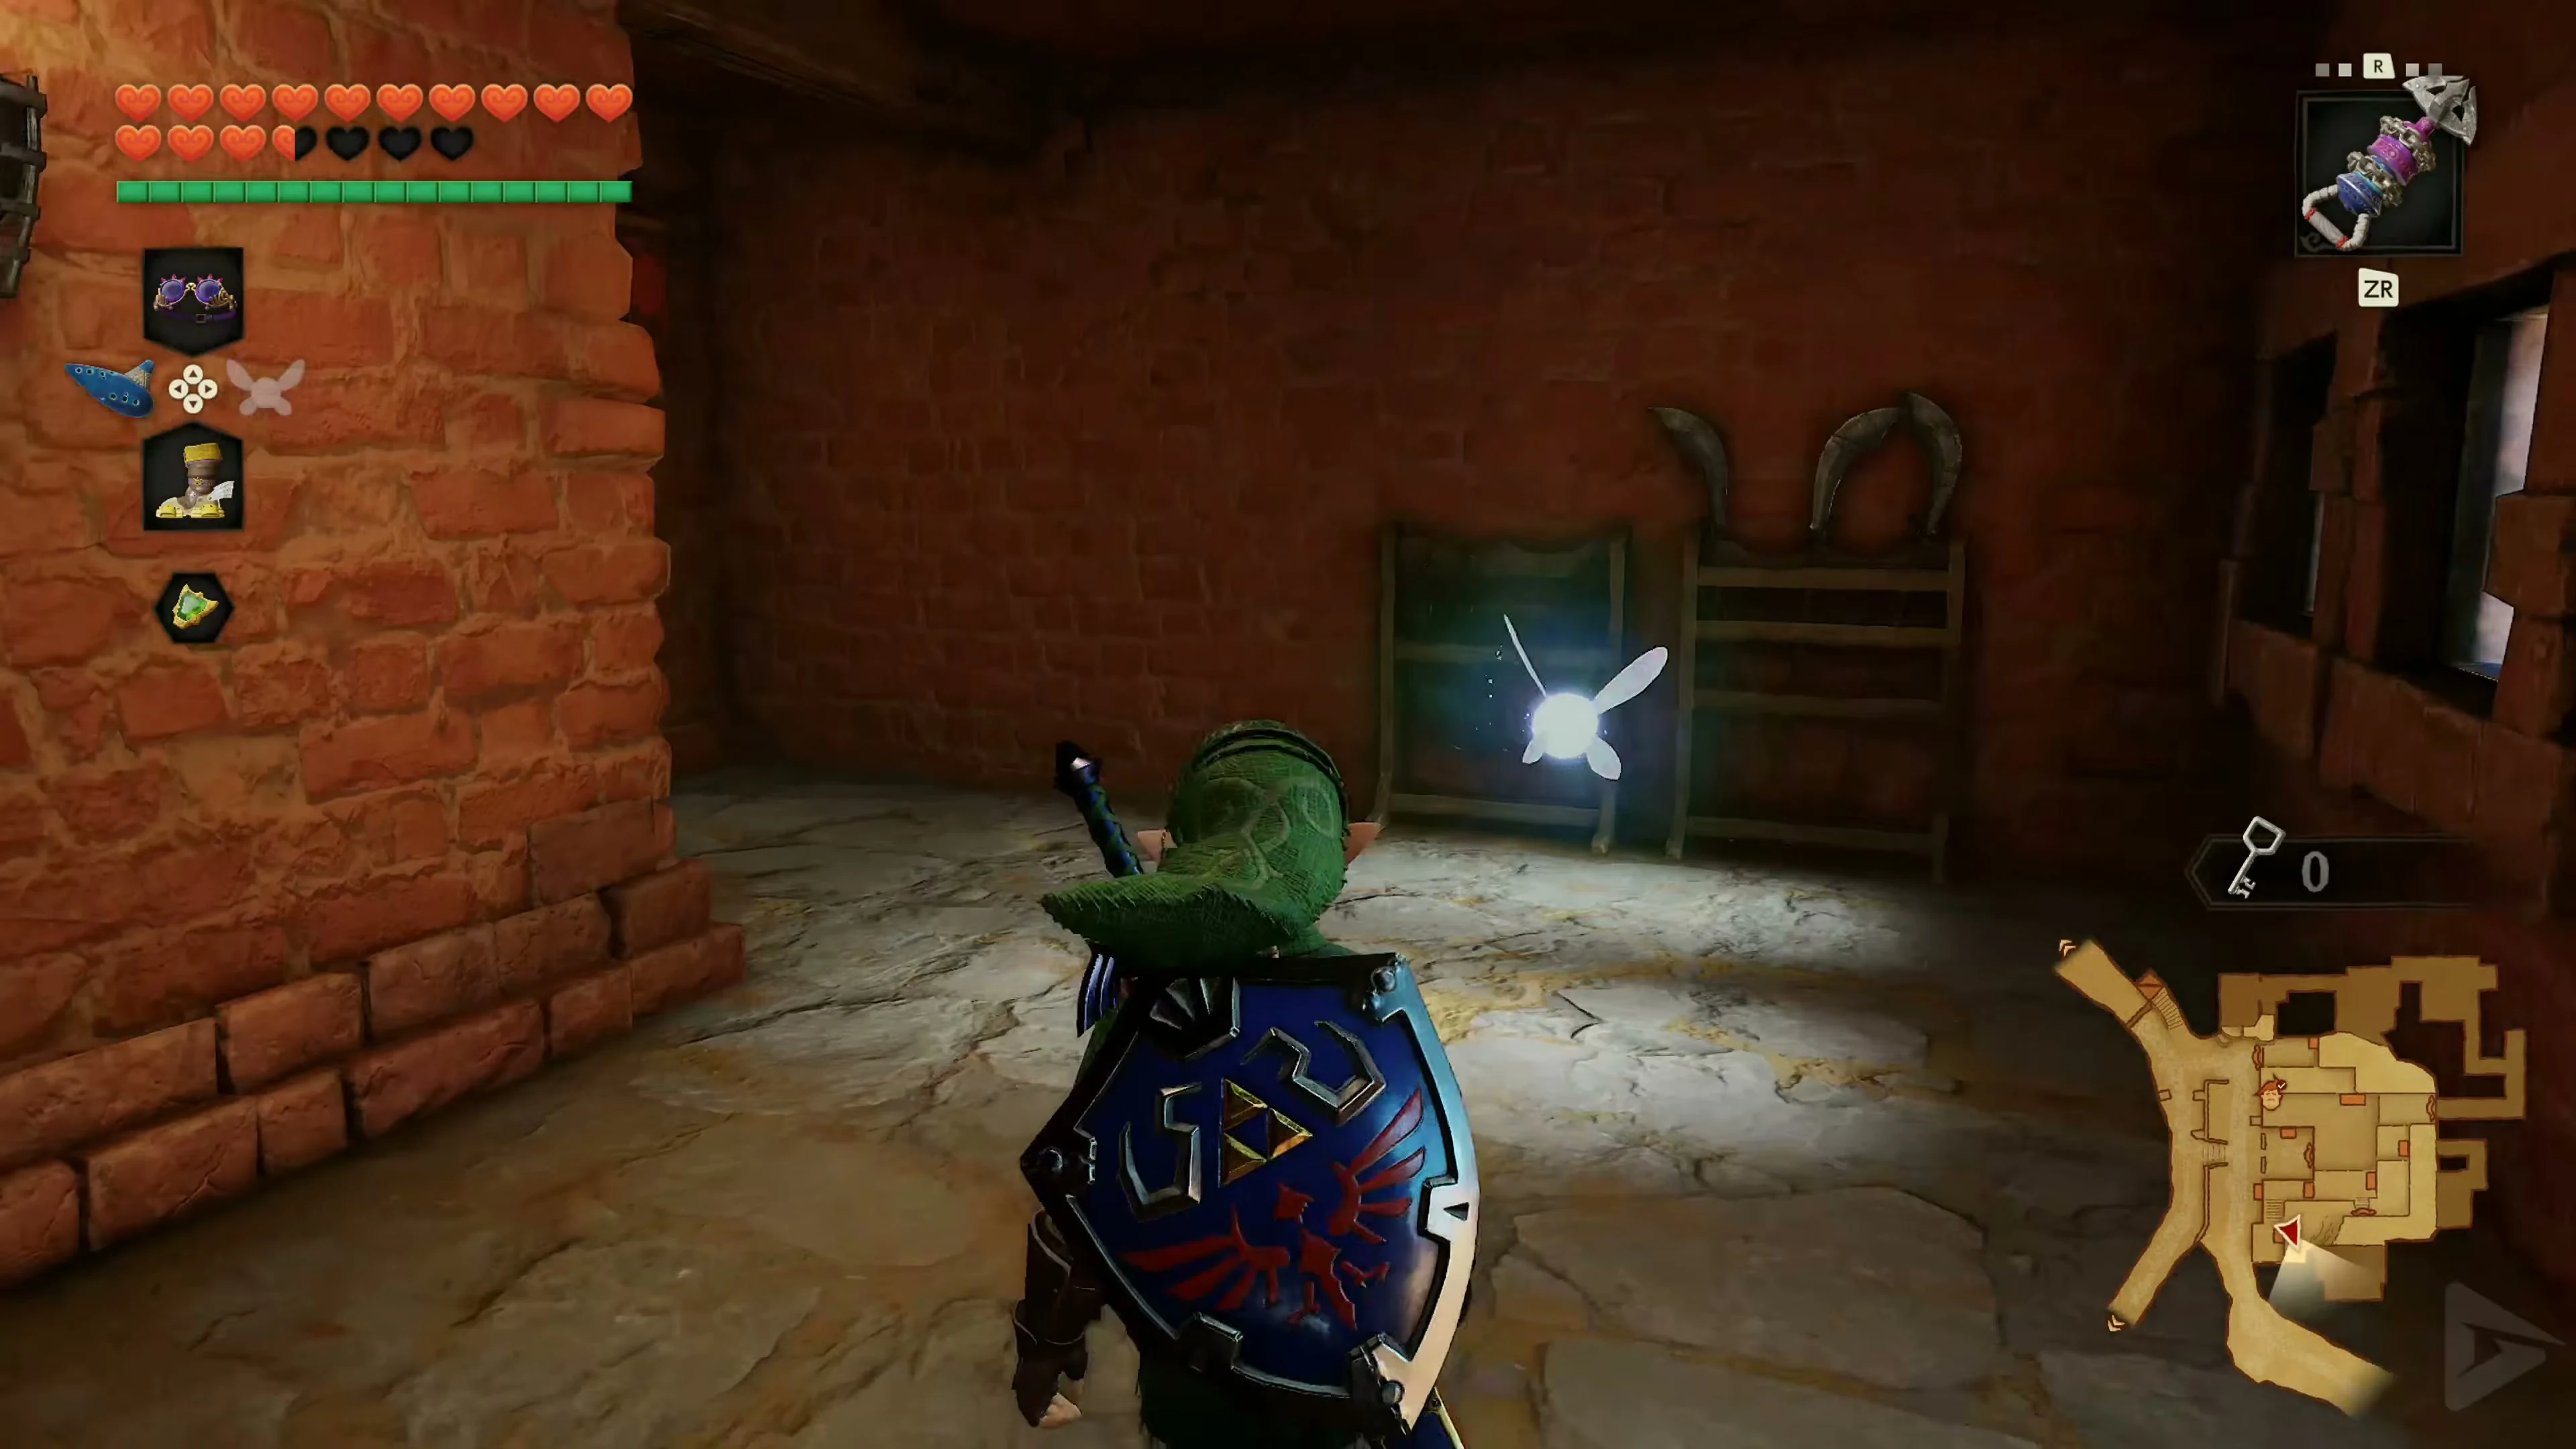
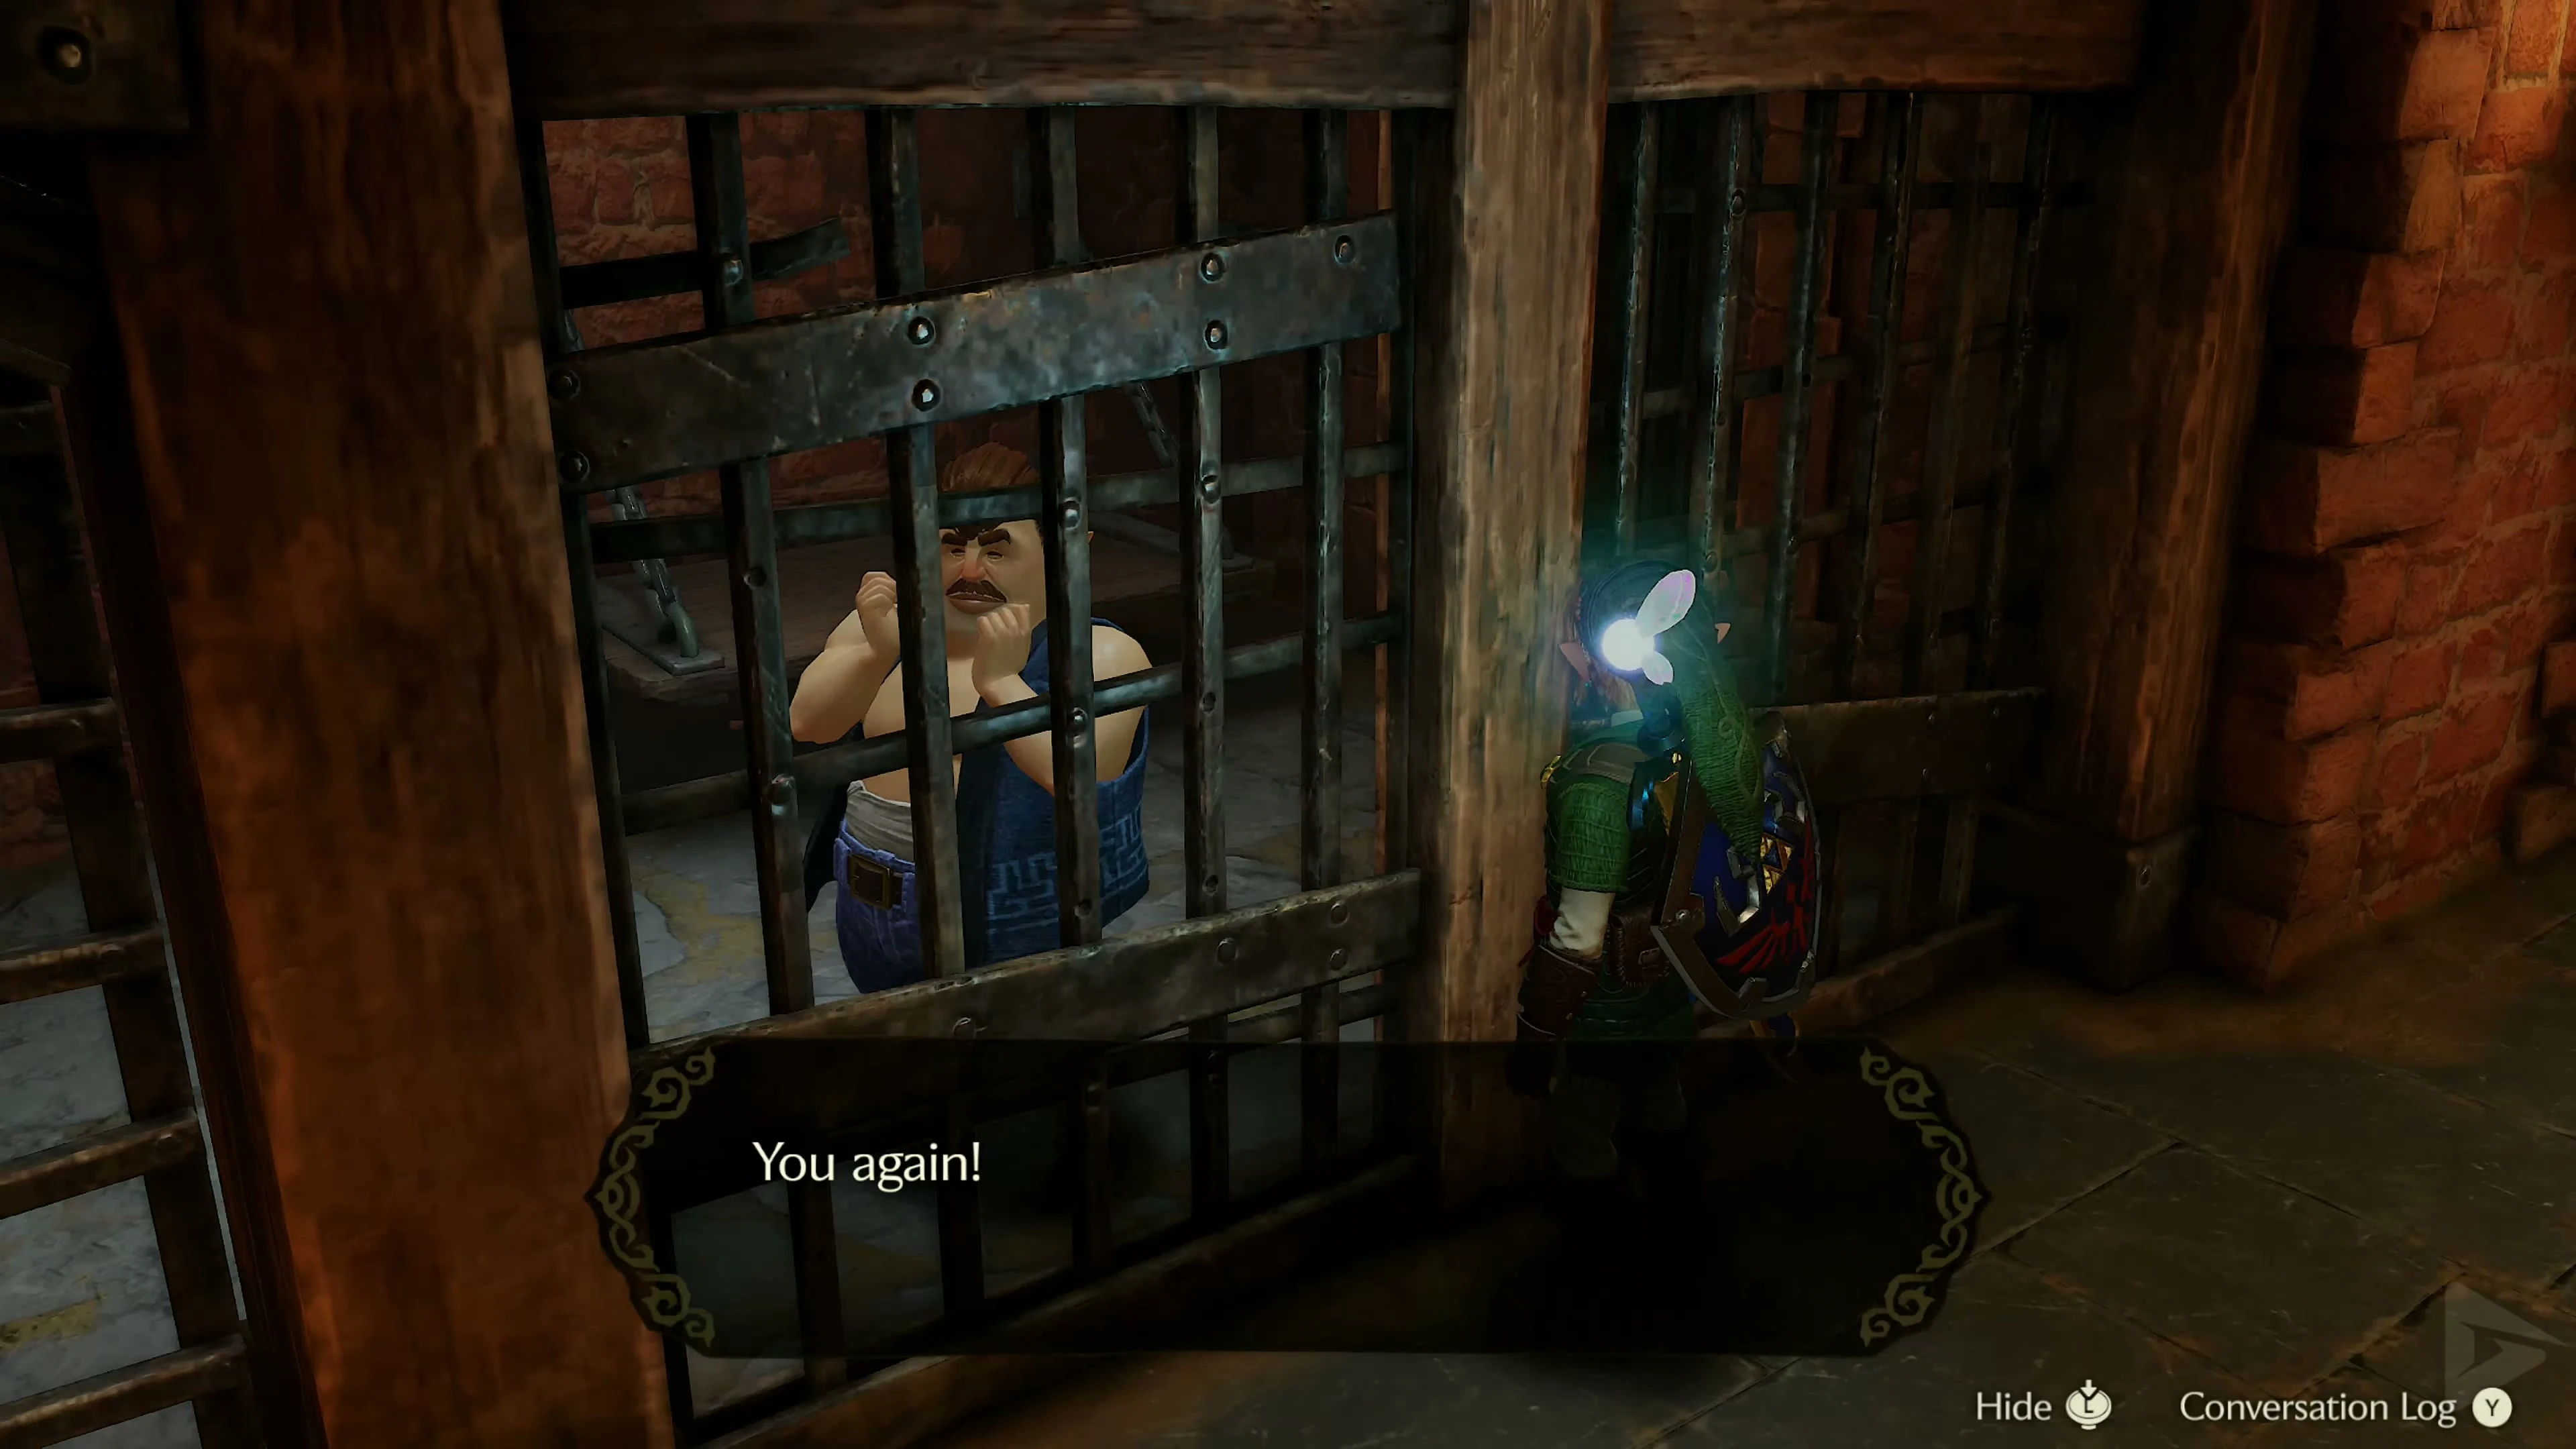
In the next corridor, keep left and observe the guard at the top of the stairs. Follow her as soon as she turns away. At the top, turn right to the next set of stairs. Continue upstairs outside. Stun the stationary guard with his back to you and enter the door to her left. Speak to Saburo , defeat his warrior, and open the cell with her Door Key.
Kitchen, attic chest, and first fortress Skulltula
Leave Saburo’s cell to the north via the stairs. Go inside on the right. In the kitchen, grapple over the two guards to the shield opposite and go up the stairs outside. Climb at Night , take the ladder down one level on the right. Defeat the Gold Skulltula 1/2 on the left side of the south wall and retrieve its Token with the Longshot .
Climb back up and head south. Step onto the ledge, jump across the gap on the southern wall, and turn left towards the collapsed section of the fortress. Follow the upper path to the end. At the air vortex, use the Scarecrow Song to summon Pierre and pull yourself across. The large chest containing the Piece of Heart is on the left. Drop down next to Pierre back to the Skulltula ledge.
Carpenter 3: Jiro
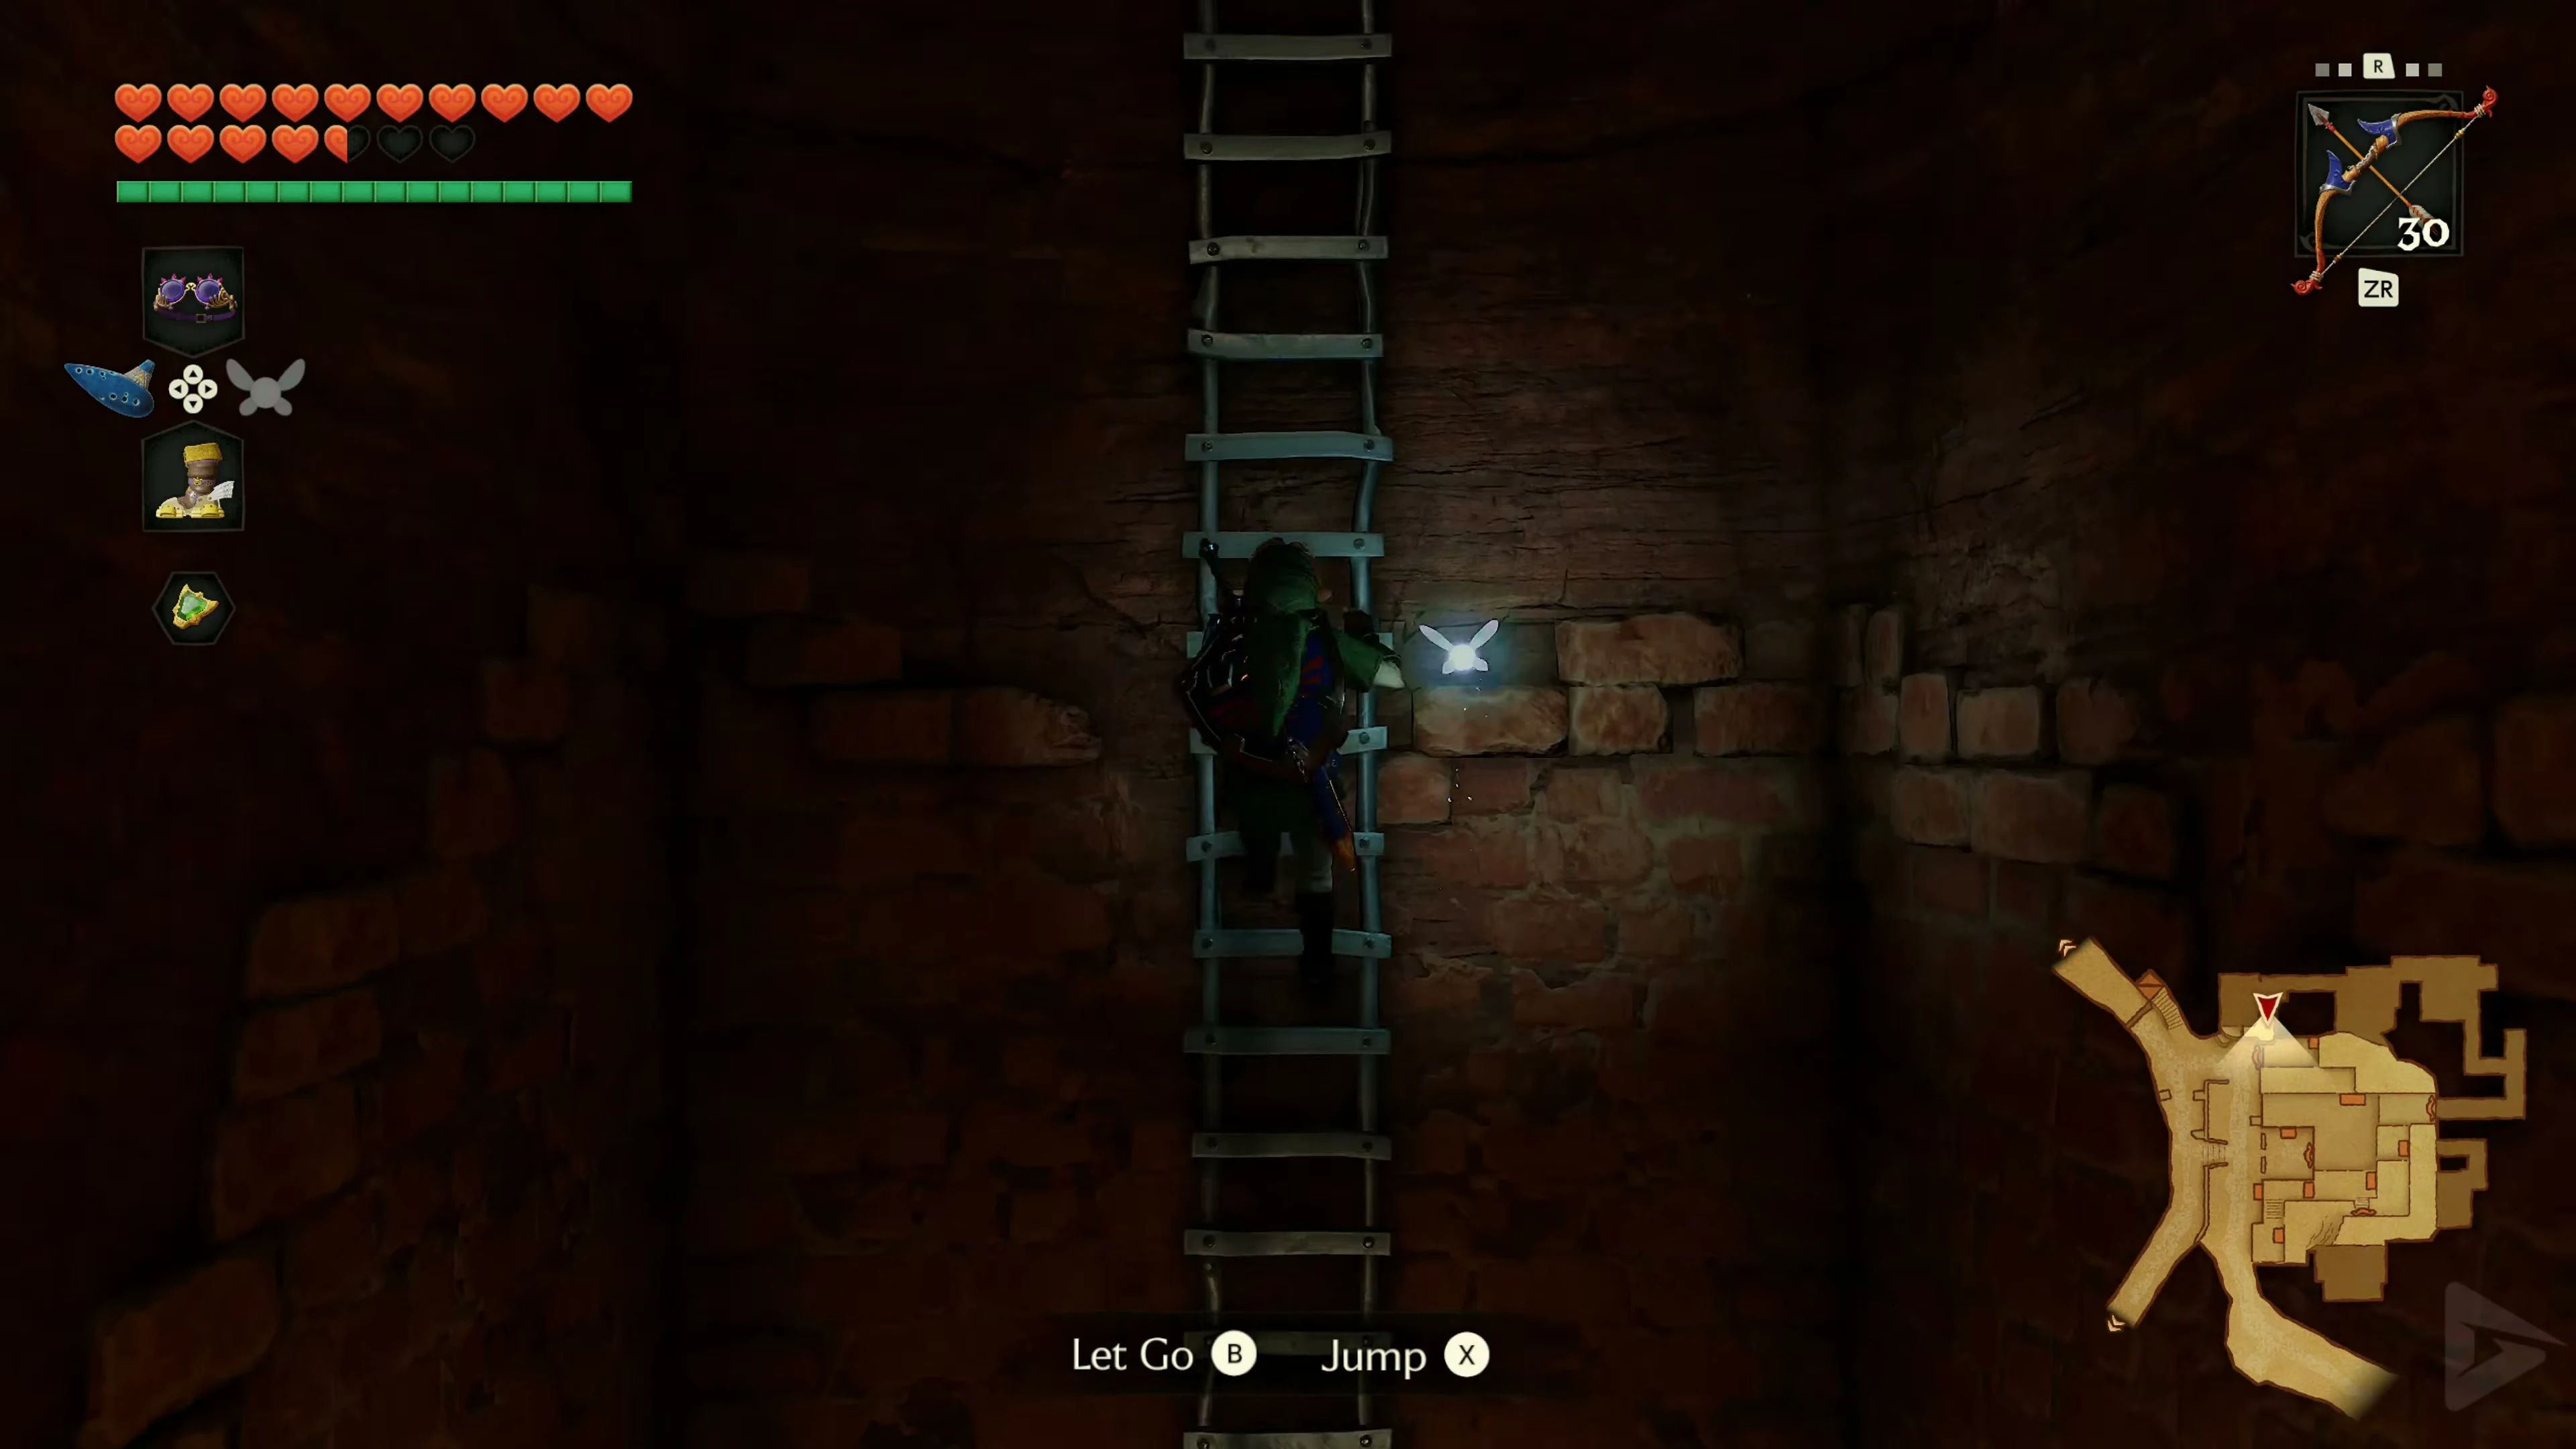
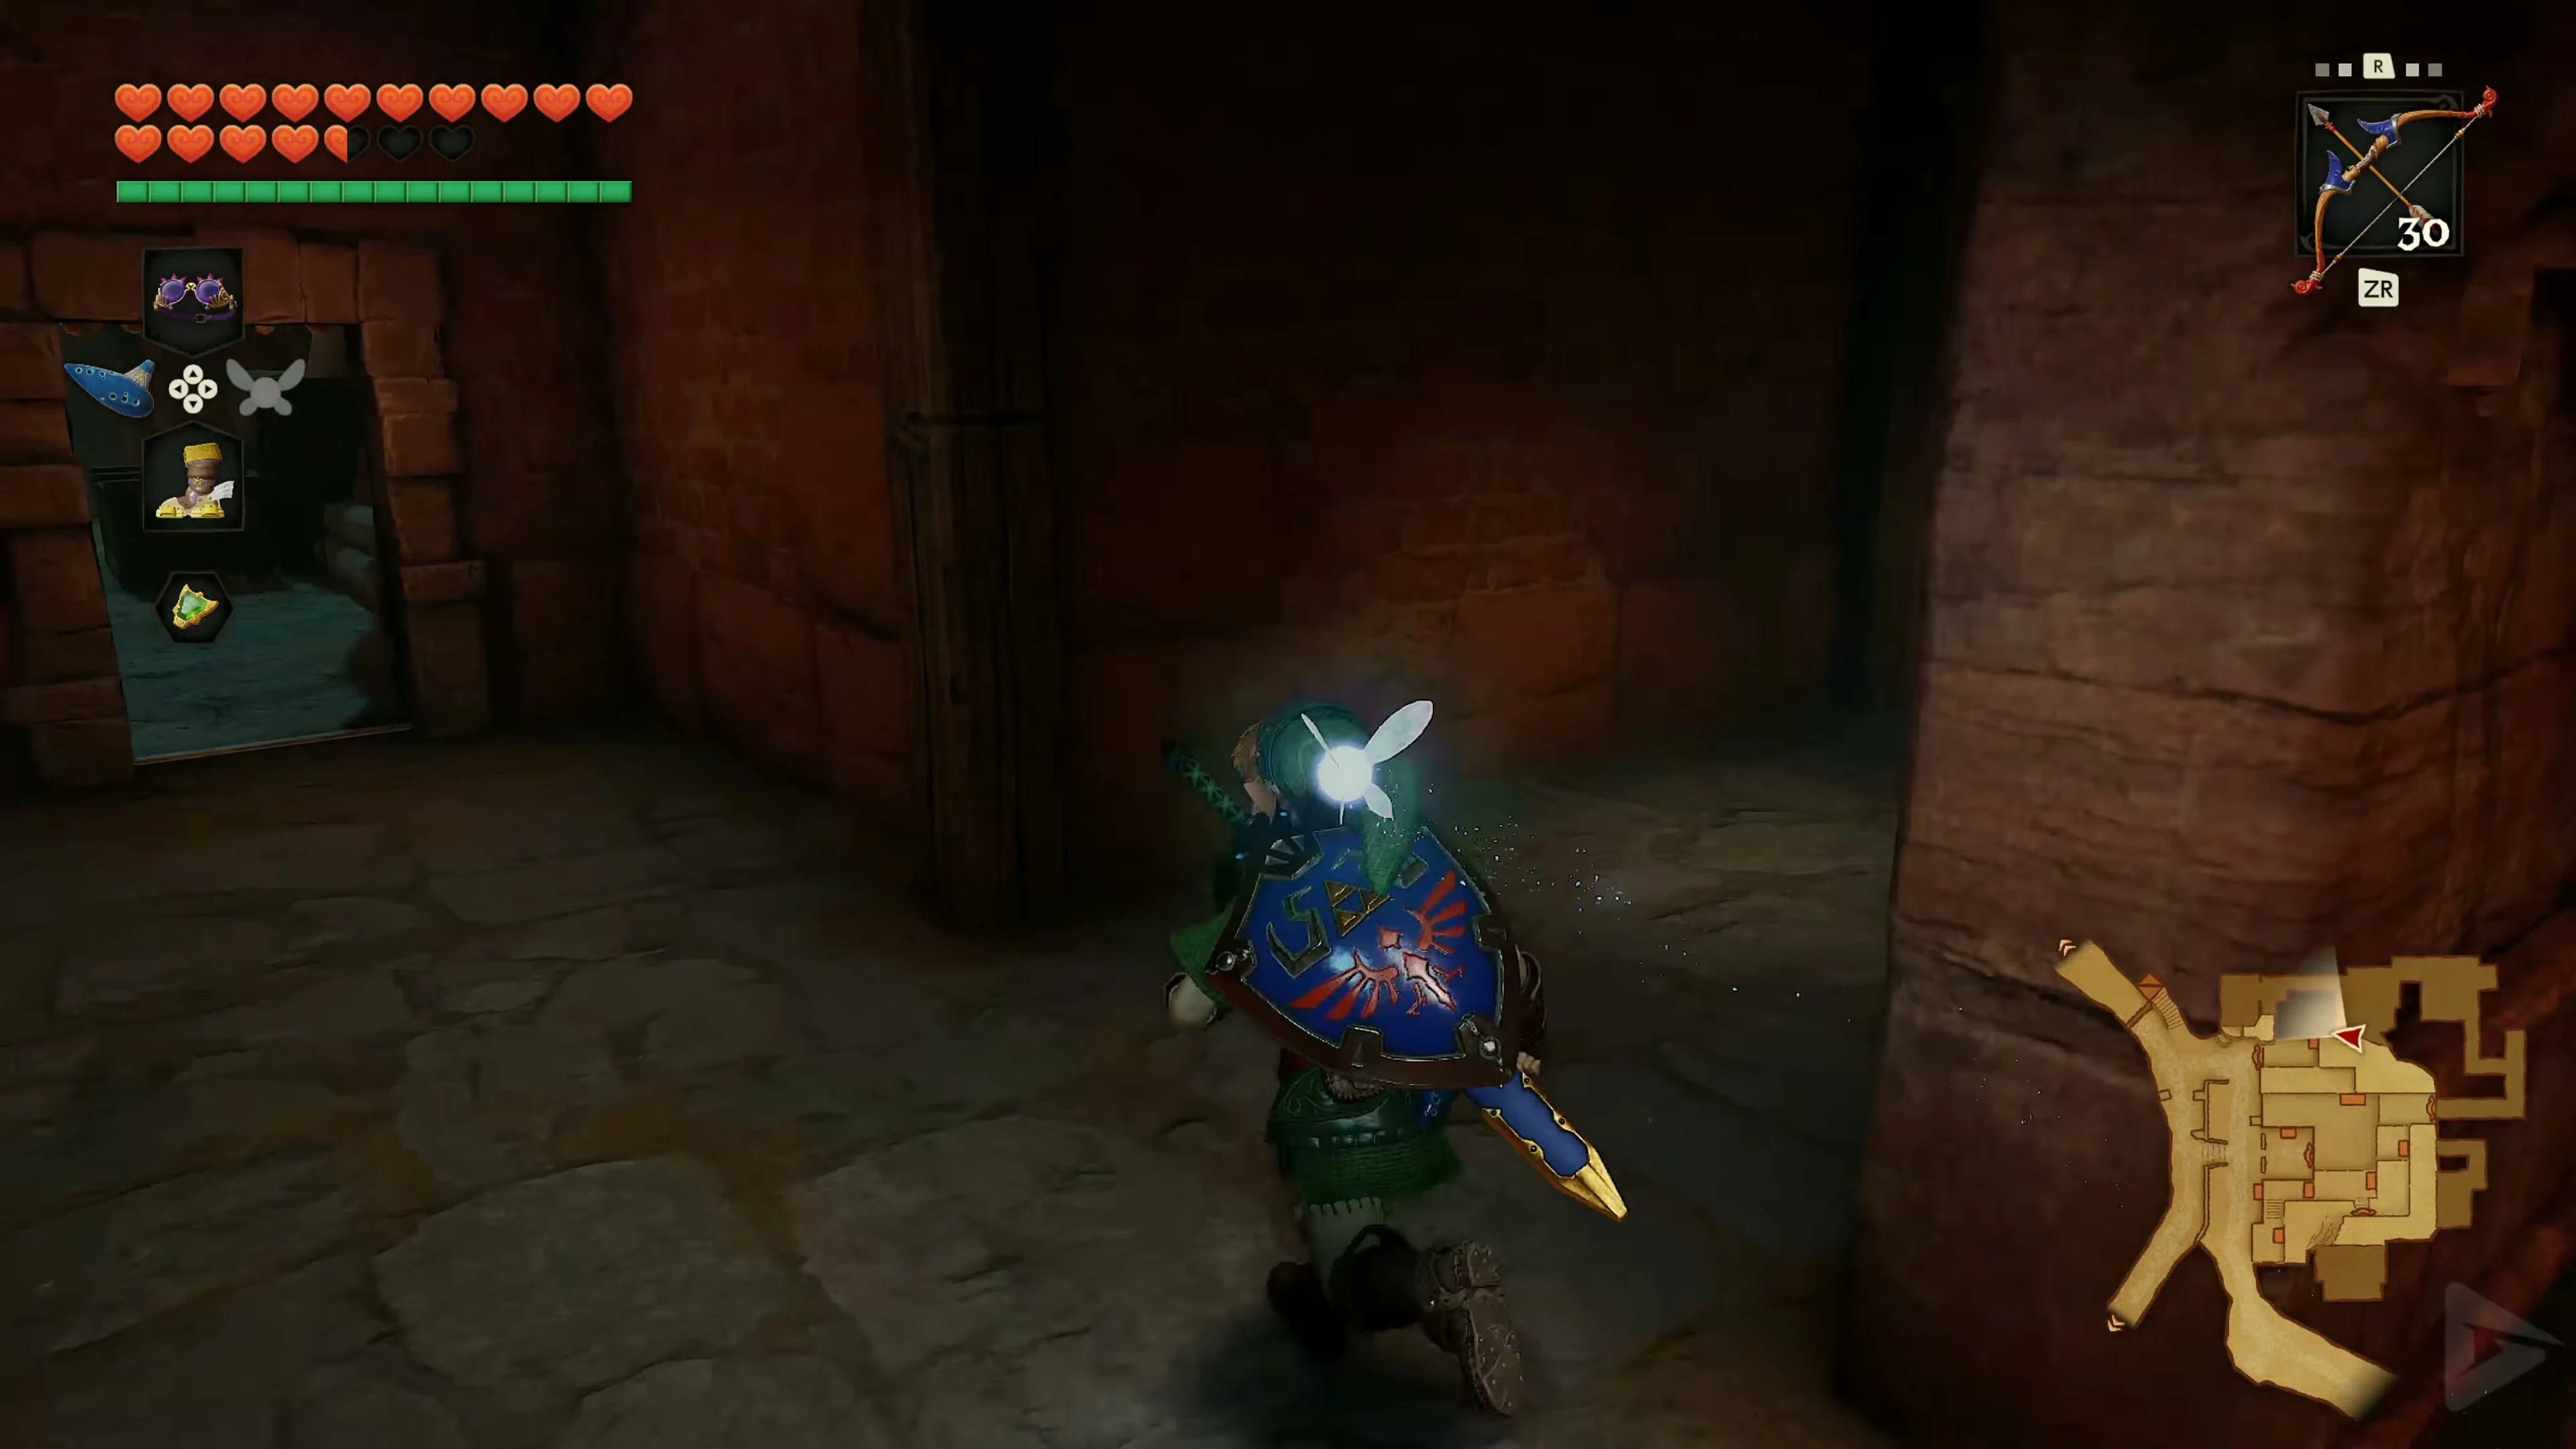
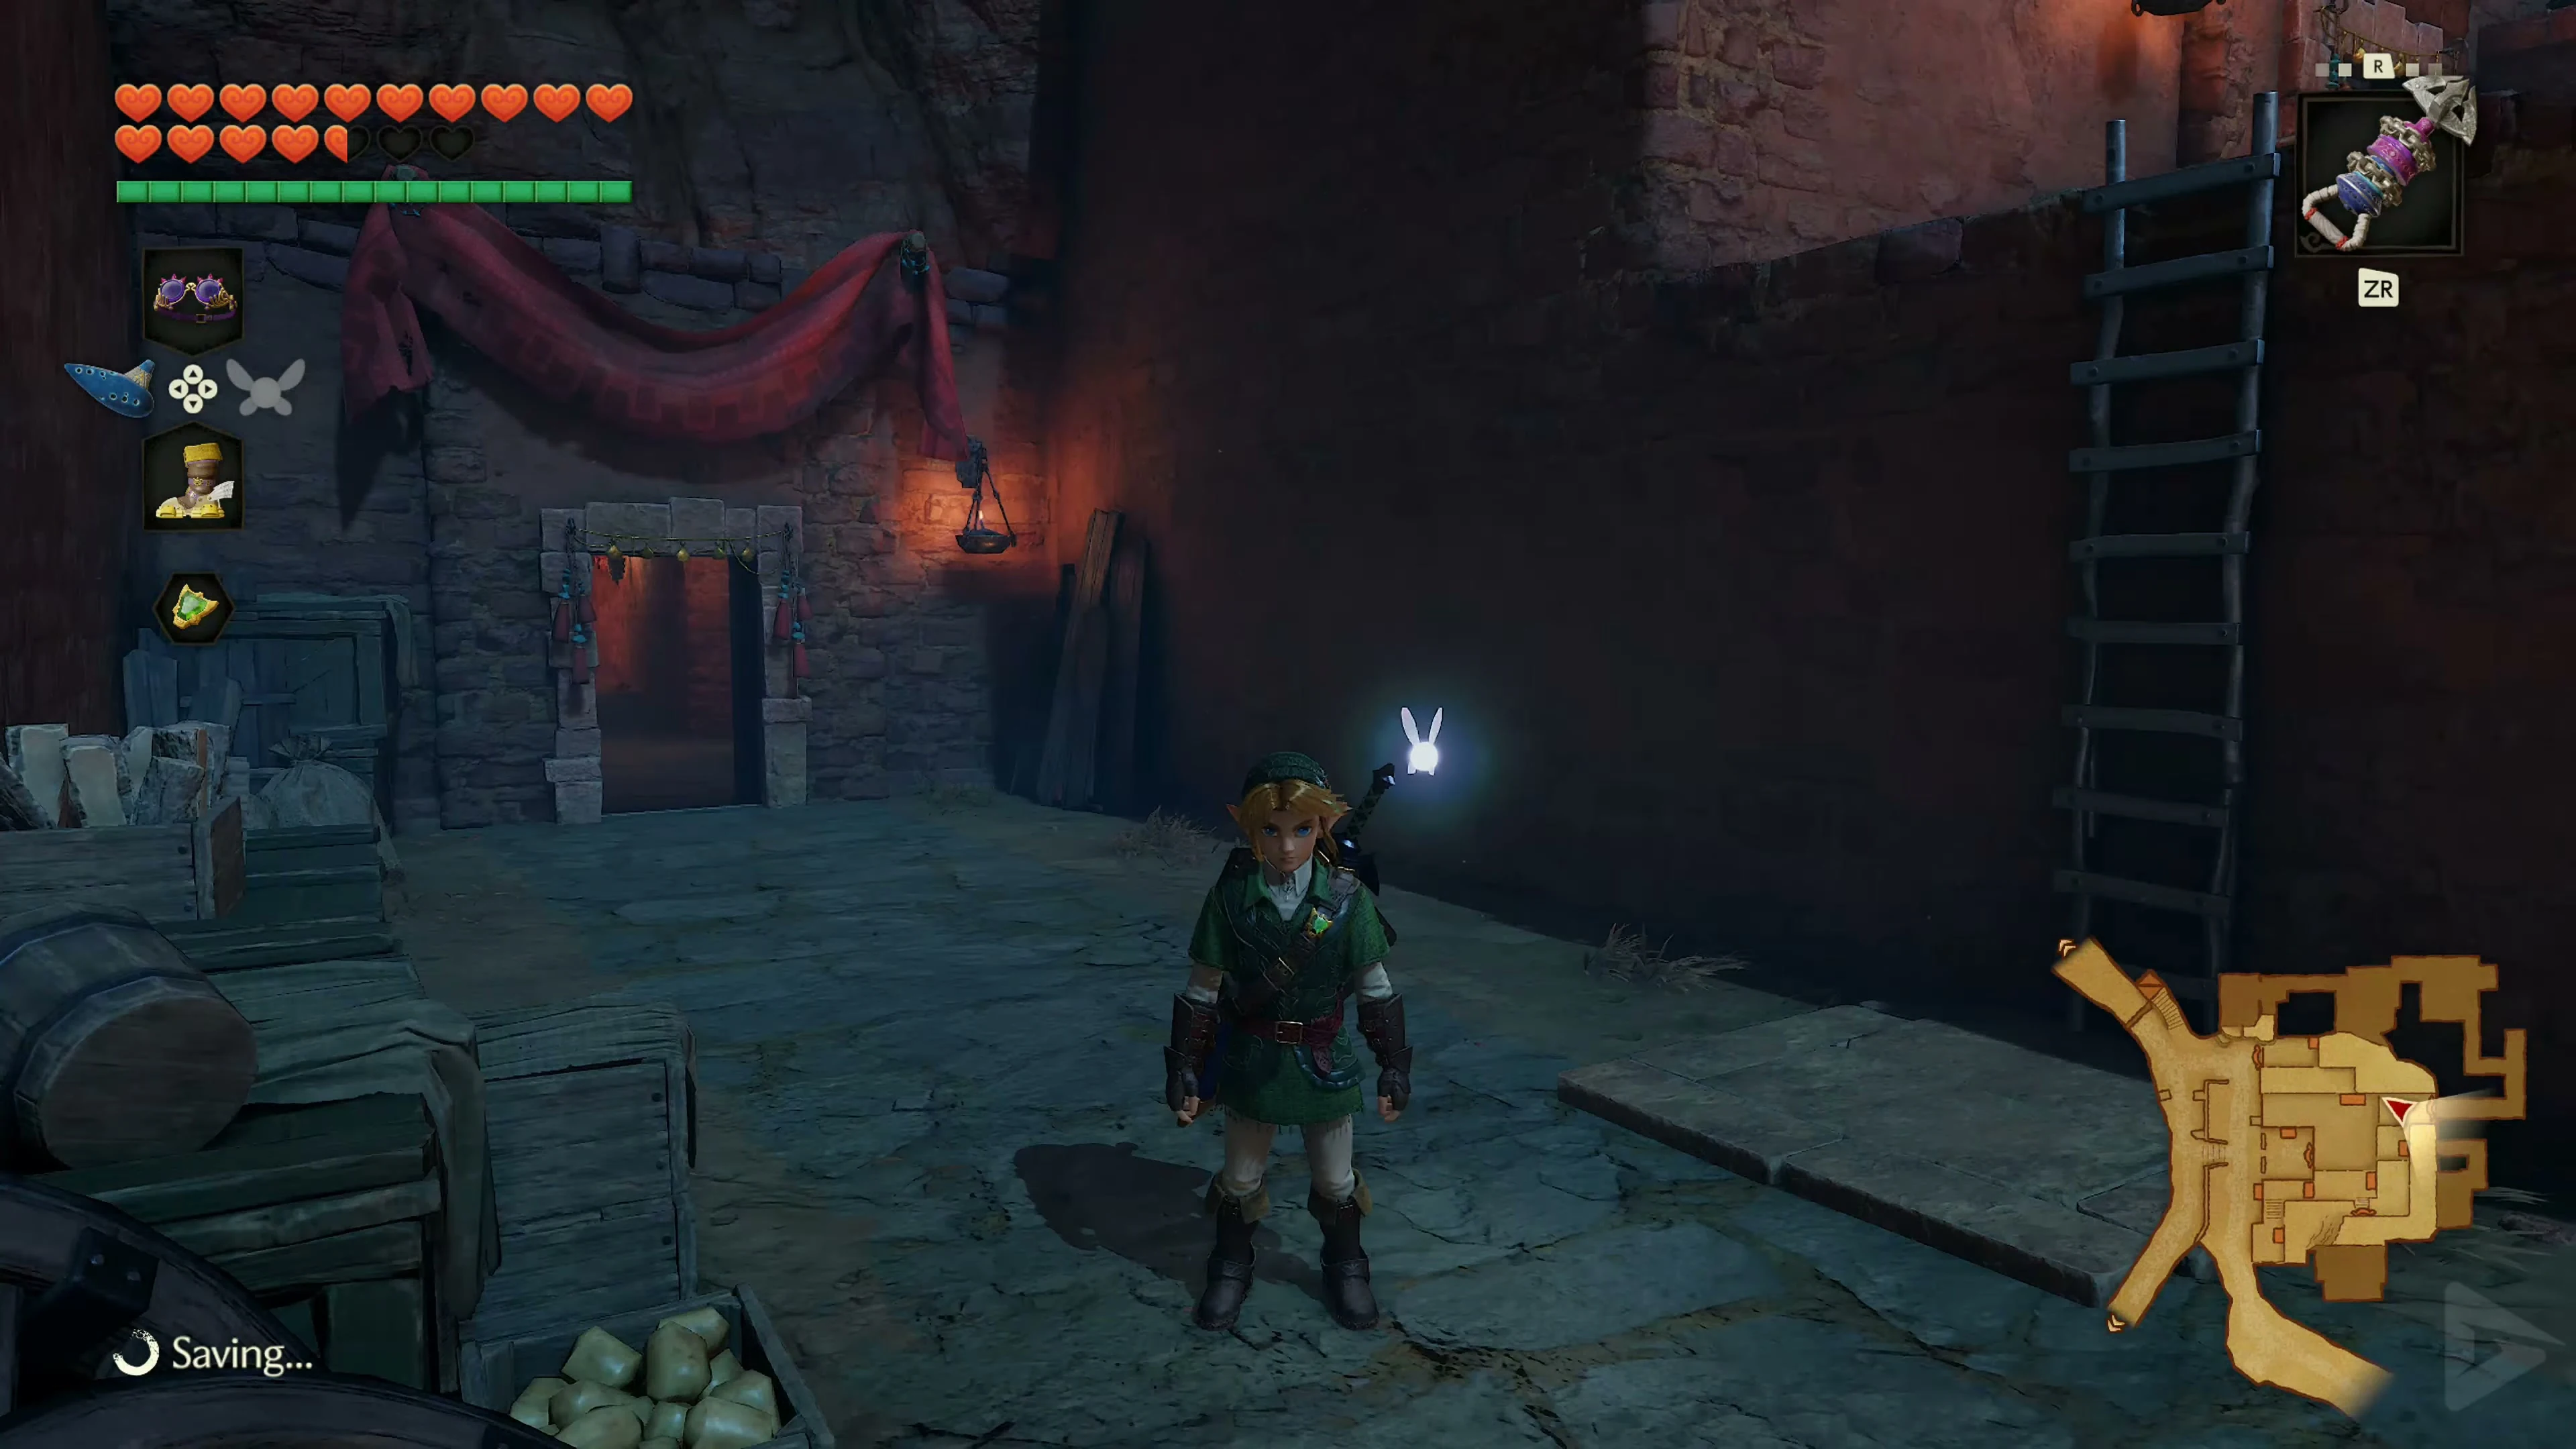
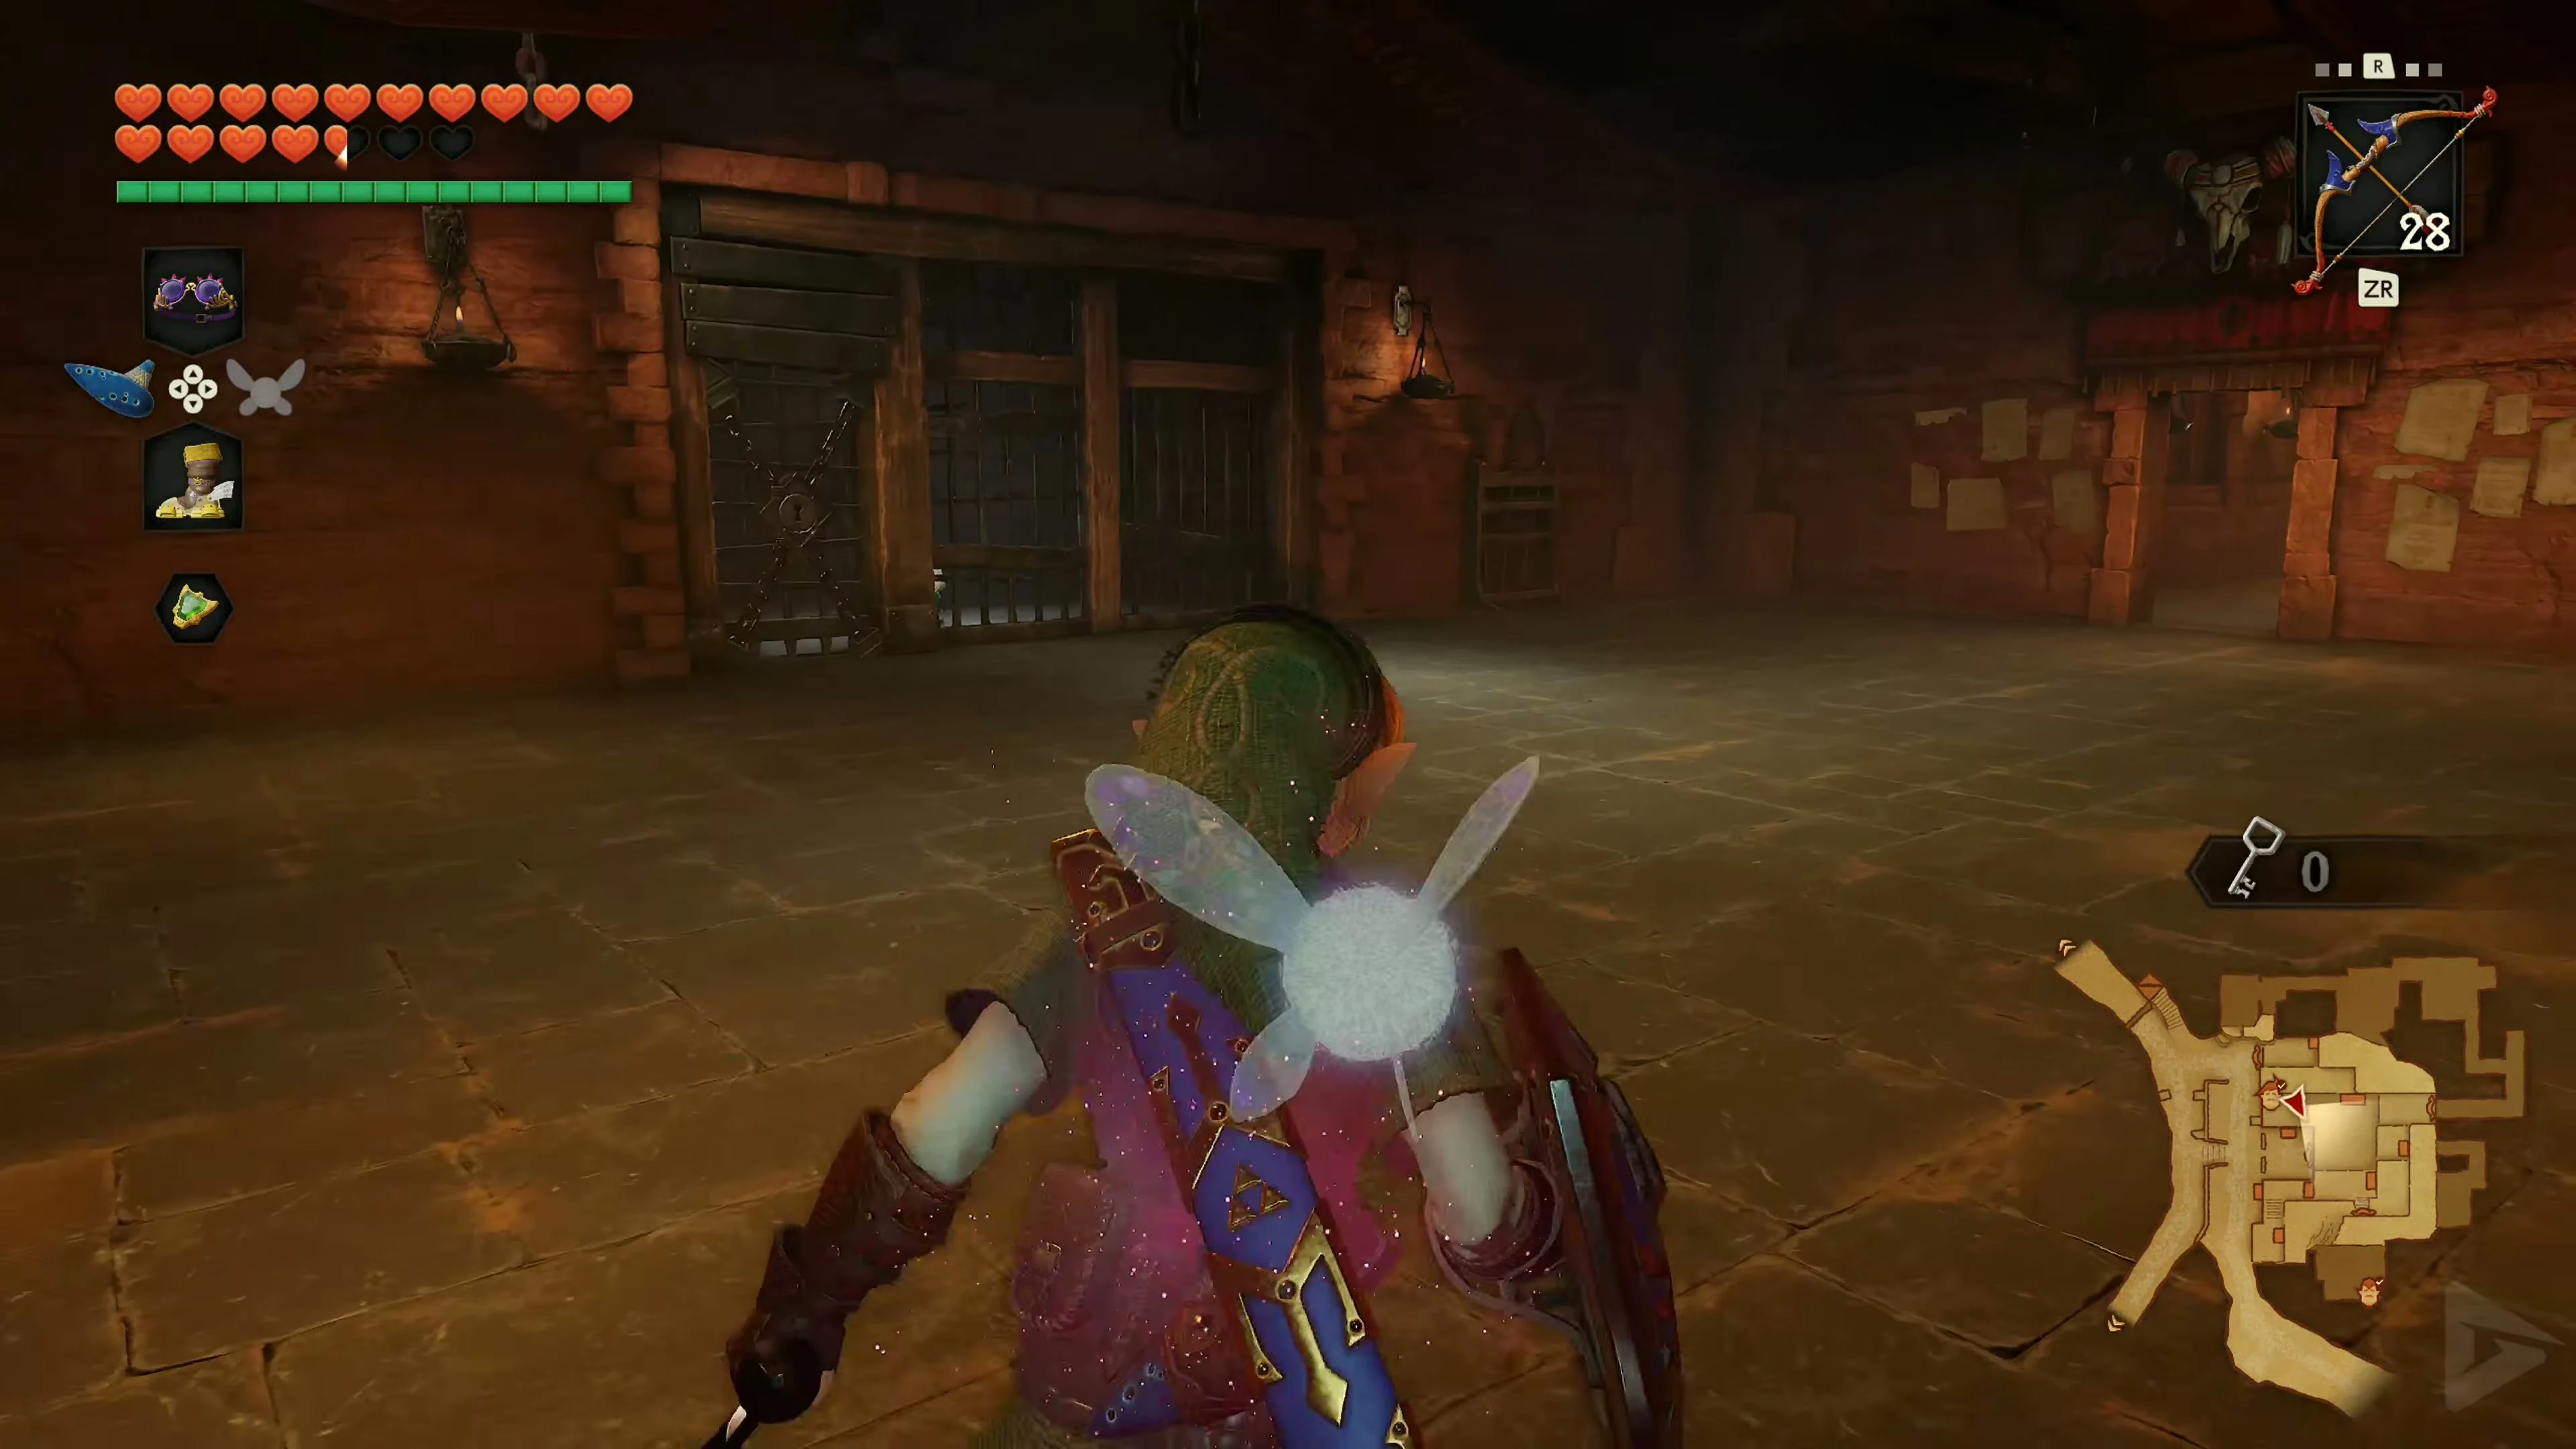
After your detour to the rooftop chest, return to the ledge by the nighttime Skulltula and go through the east door . Wait until the patrolling guard turns around. Follow him, stun him, and take the stairs down to the left. There you’ll find Jiro . During the duel, be especially careful to avoid his short spin attacks. After defeating him, retrieve the Door Key and free him.
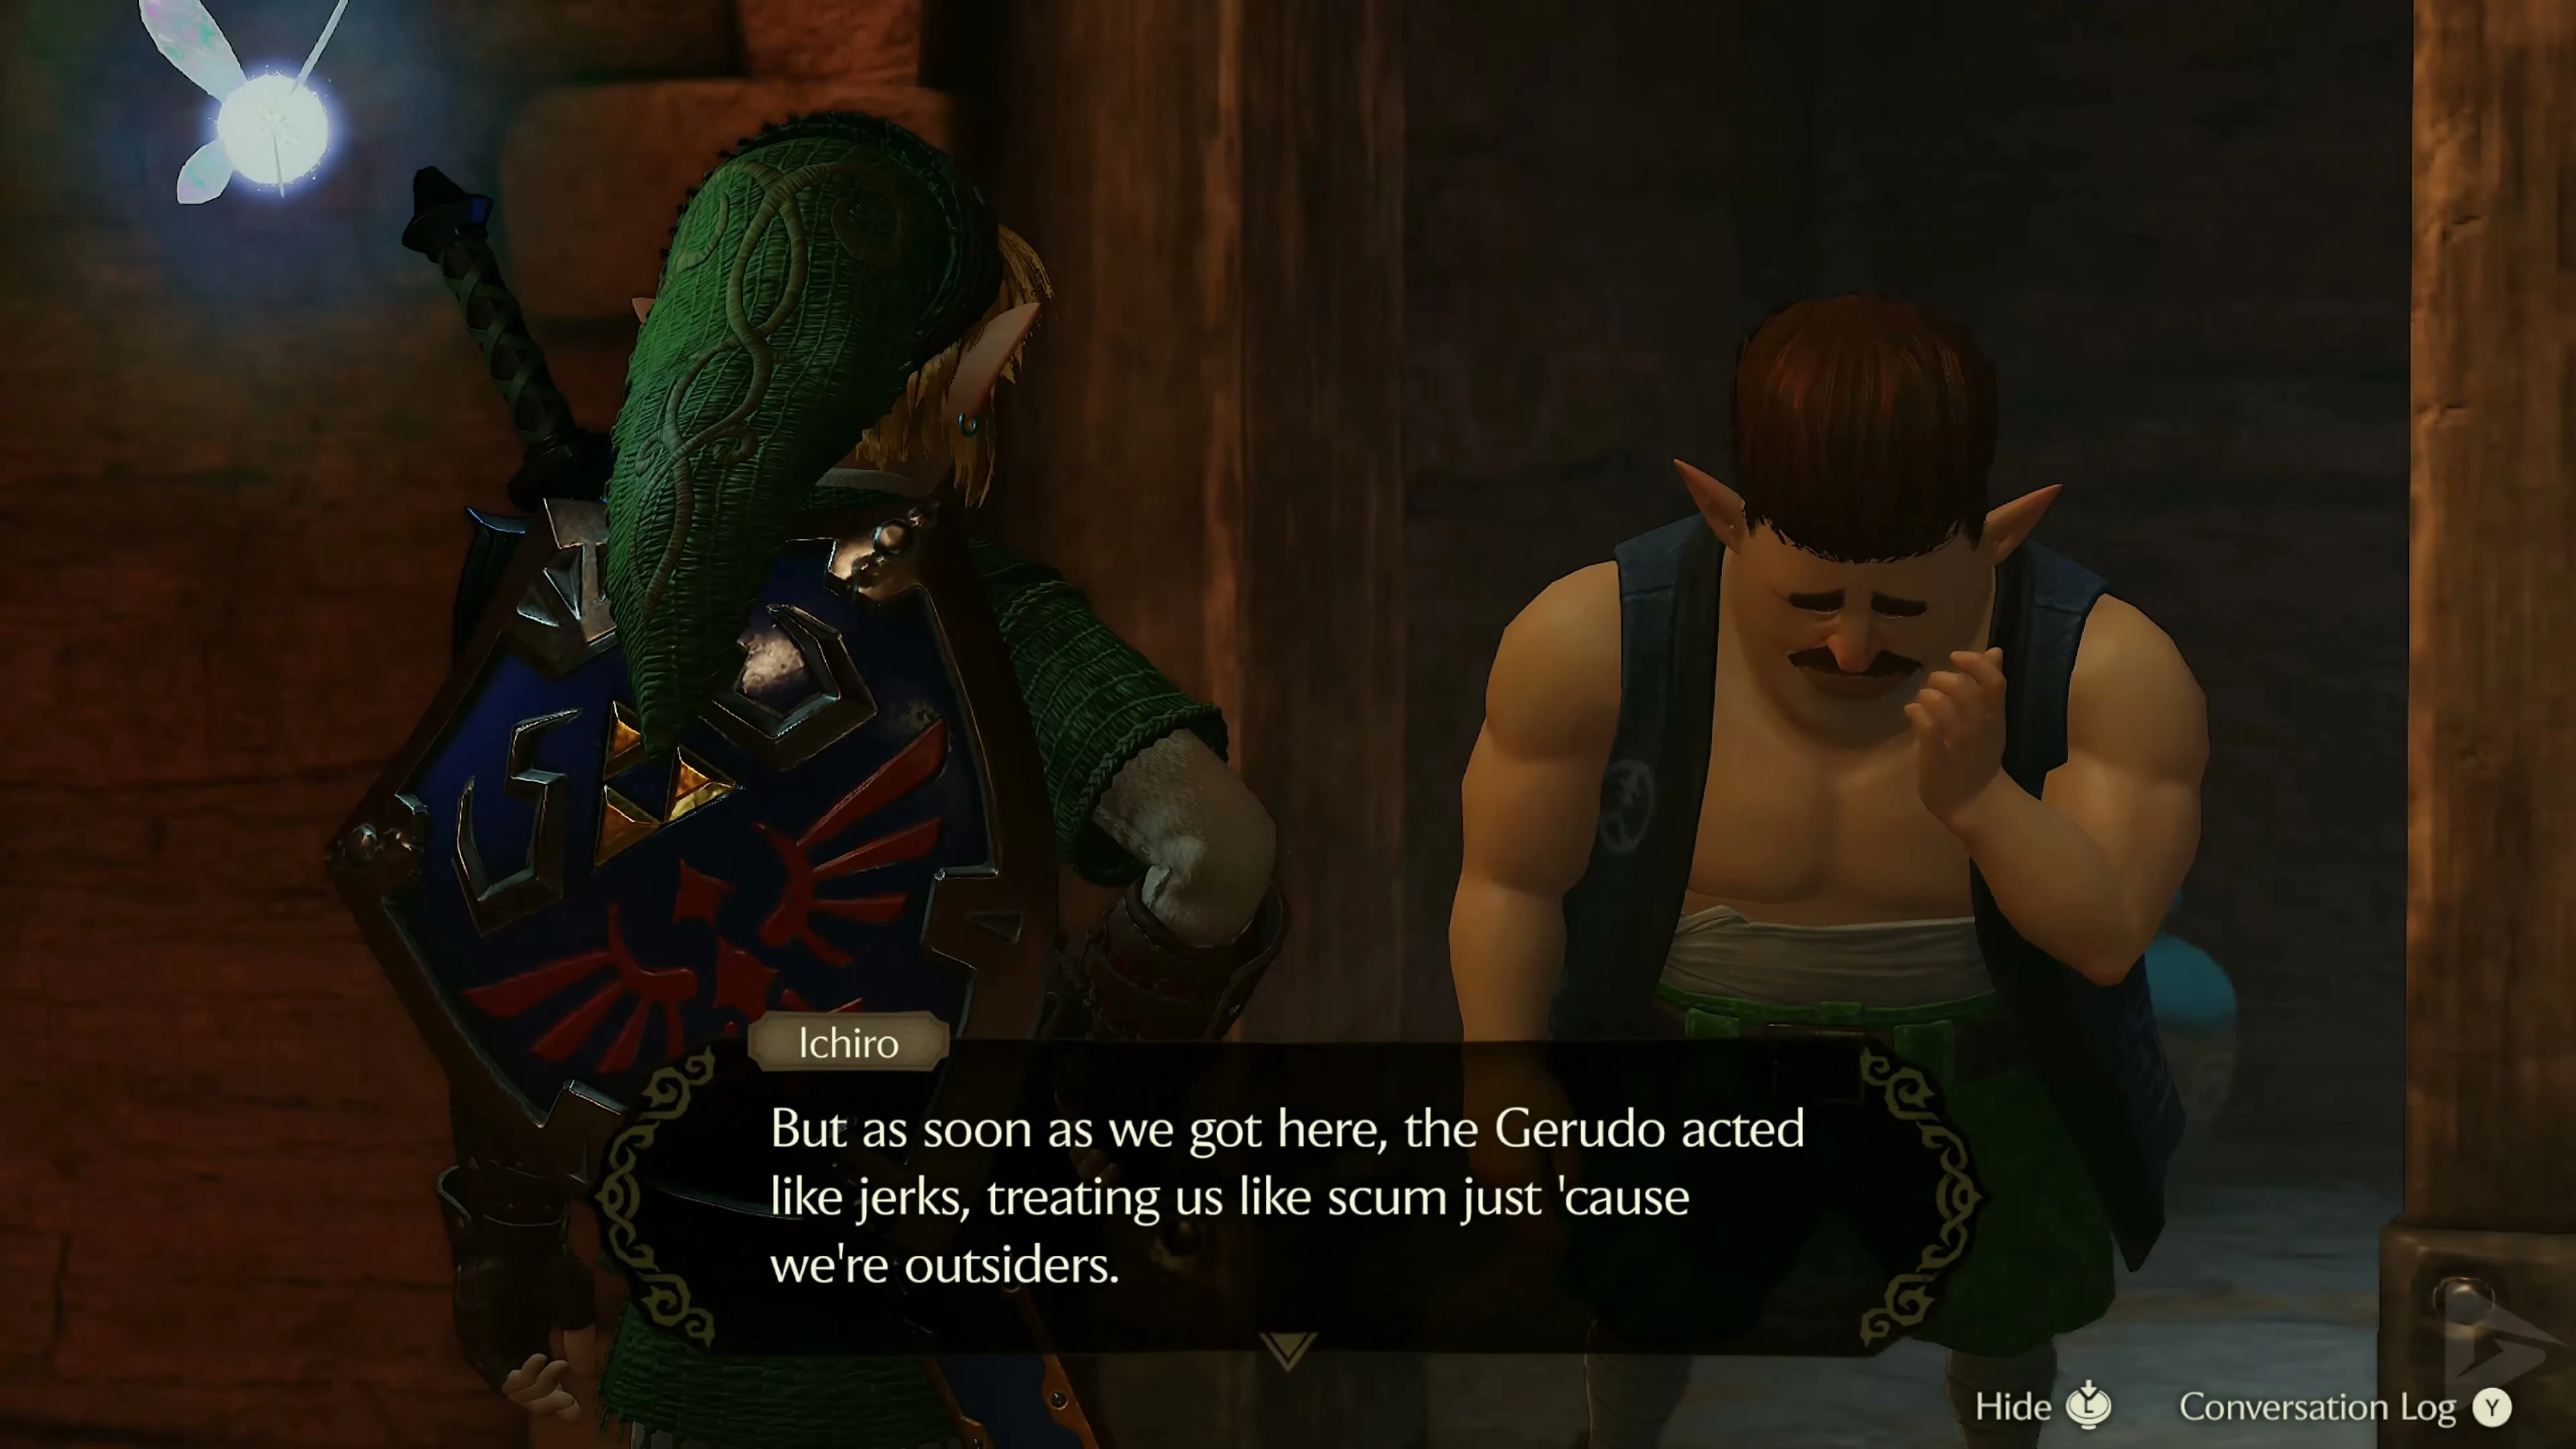
Carpenter 4: Ichiro
Leave Jiro’s area to the west. Subdue the guard in the mess hall and go up the stairs on the other side to the right. Another guard is lurking outside, to the left above the next set of stairs. Subdue him and go past the steel door of your former cell. You can reach a Rupee chest via the ladder if needed.
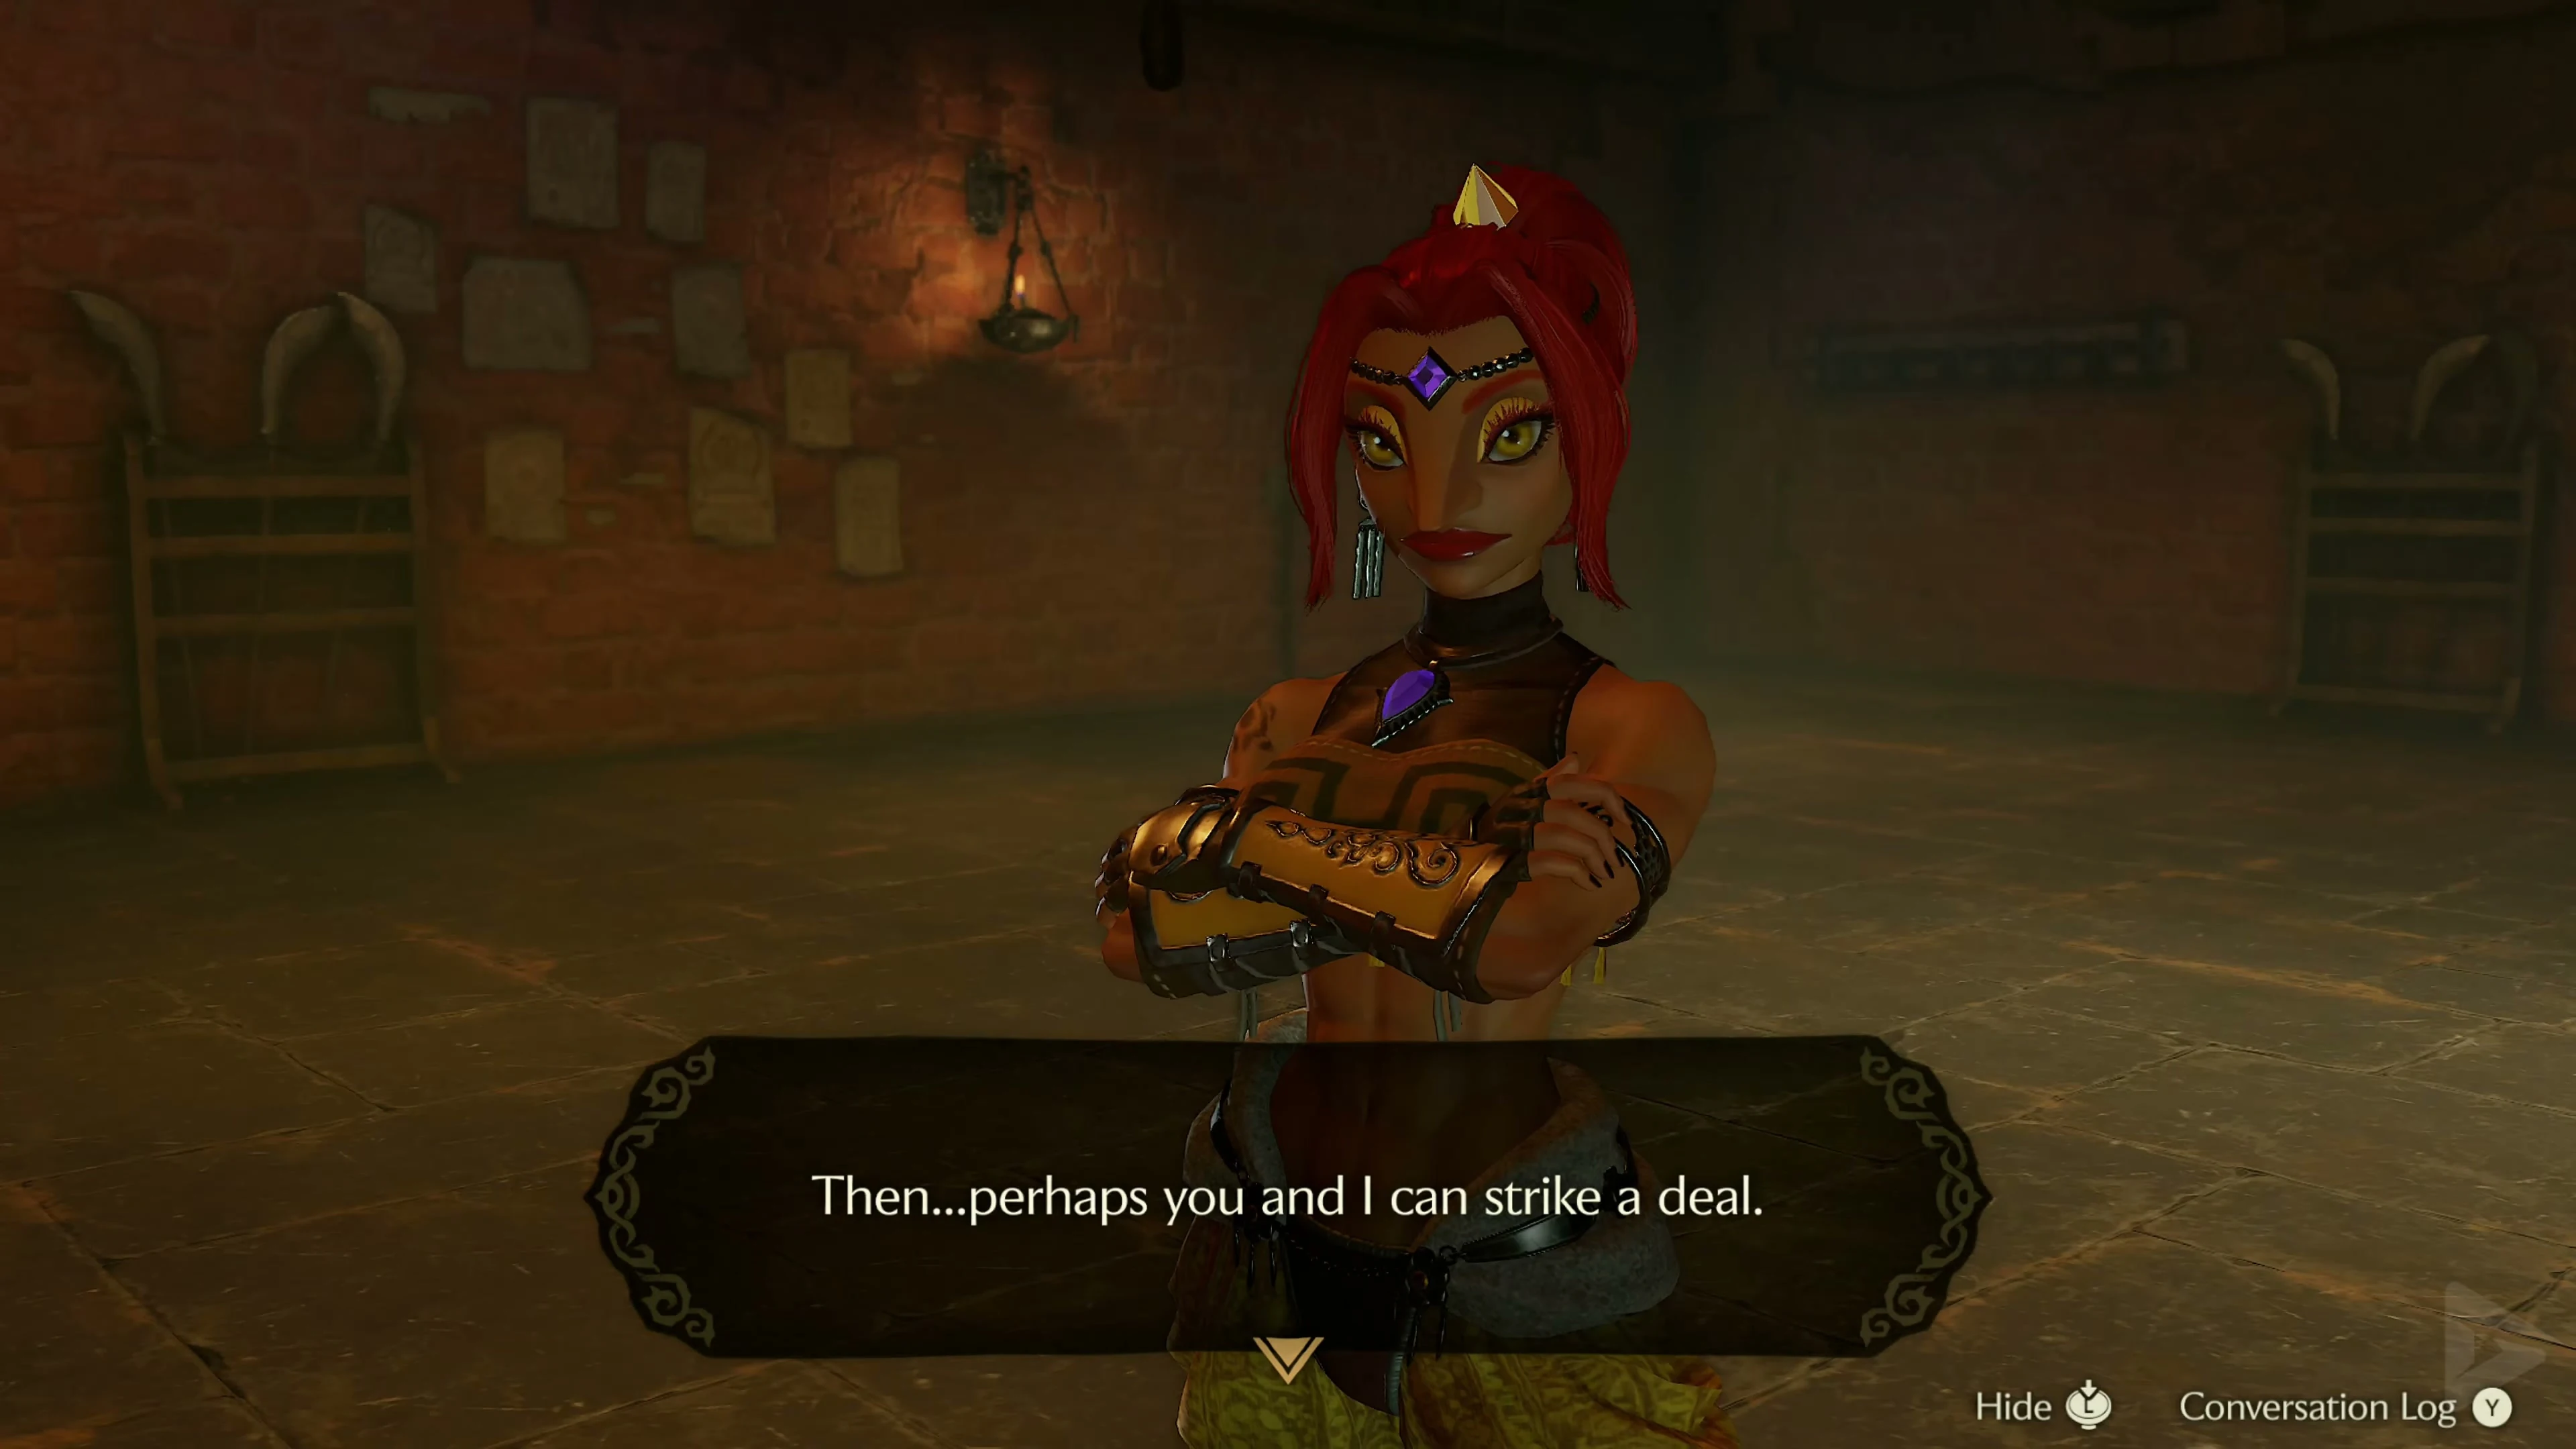
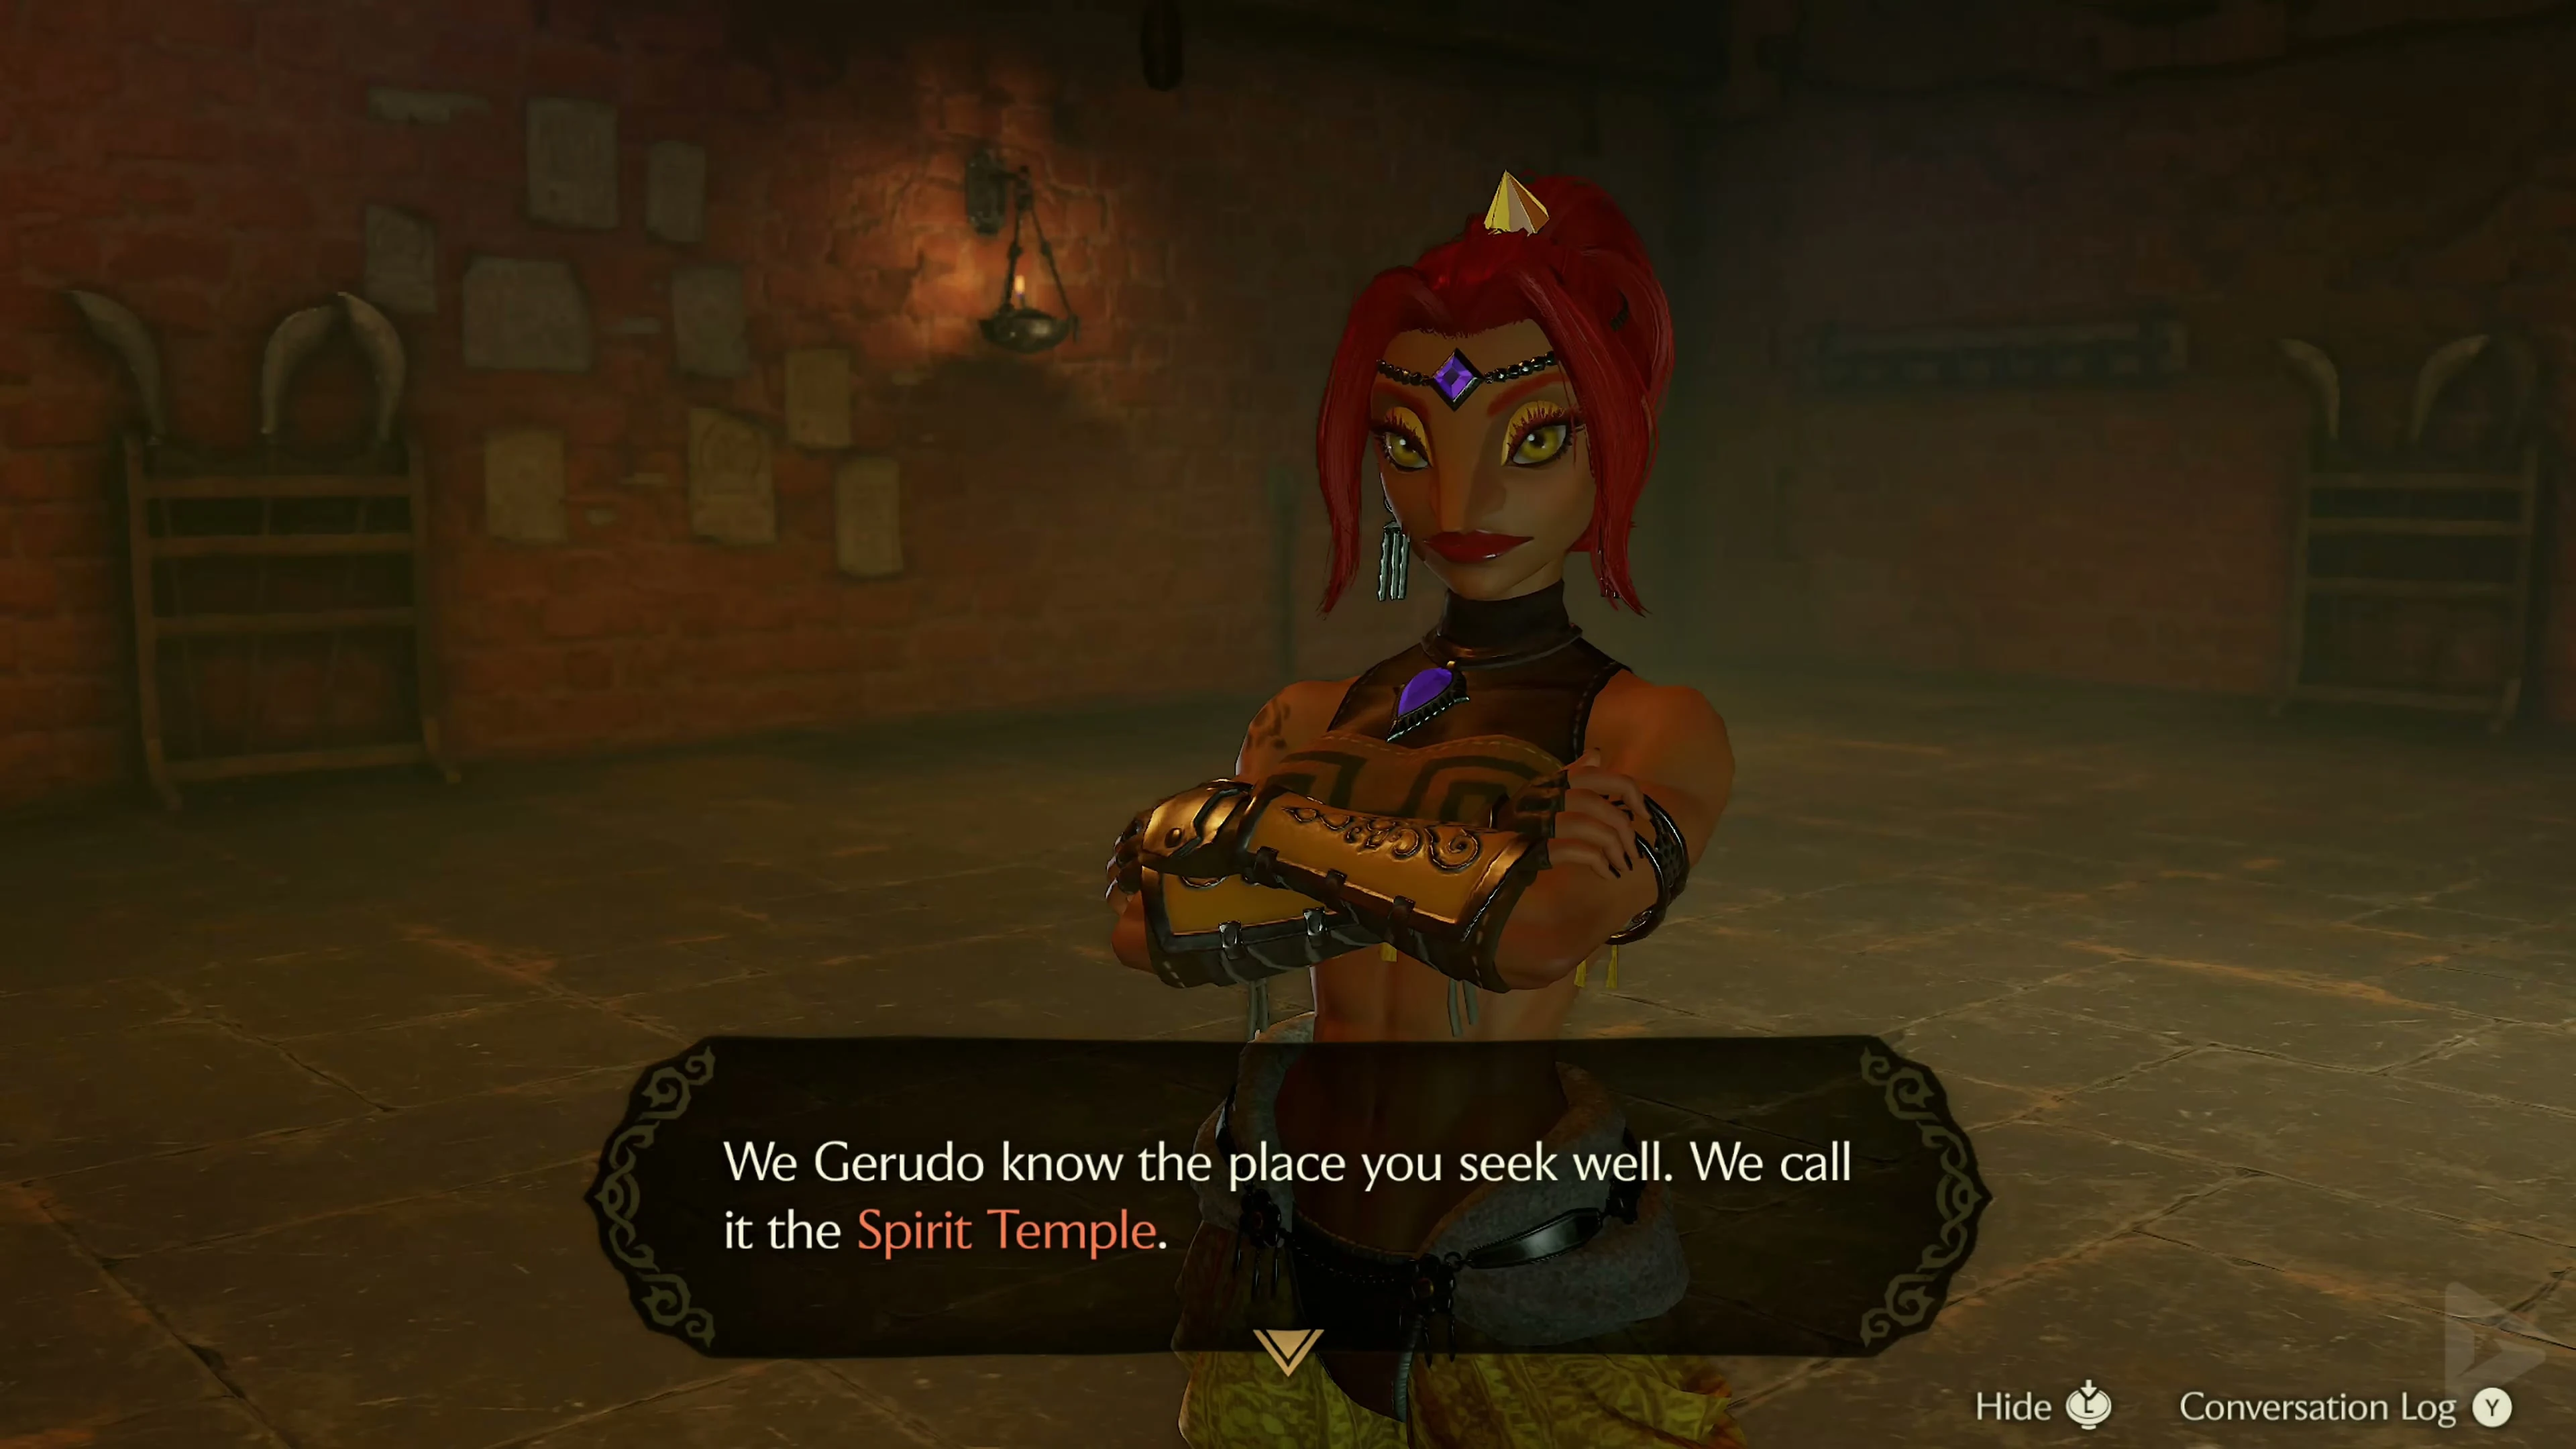
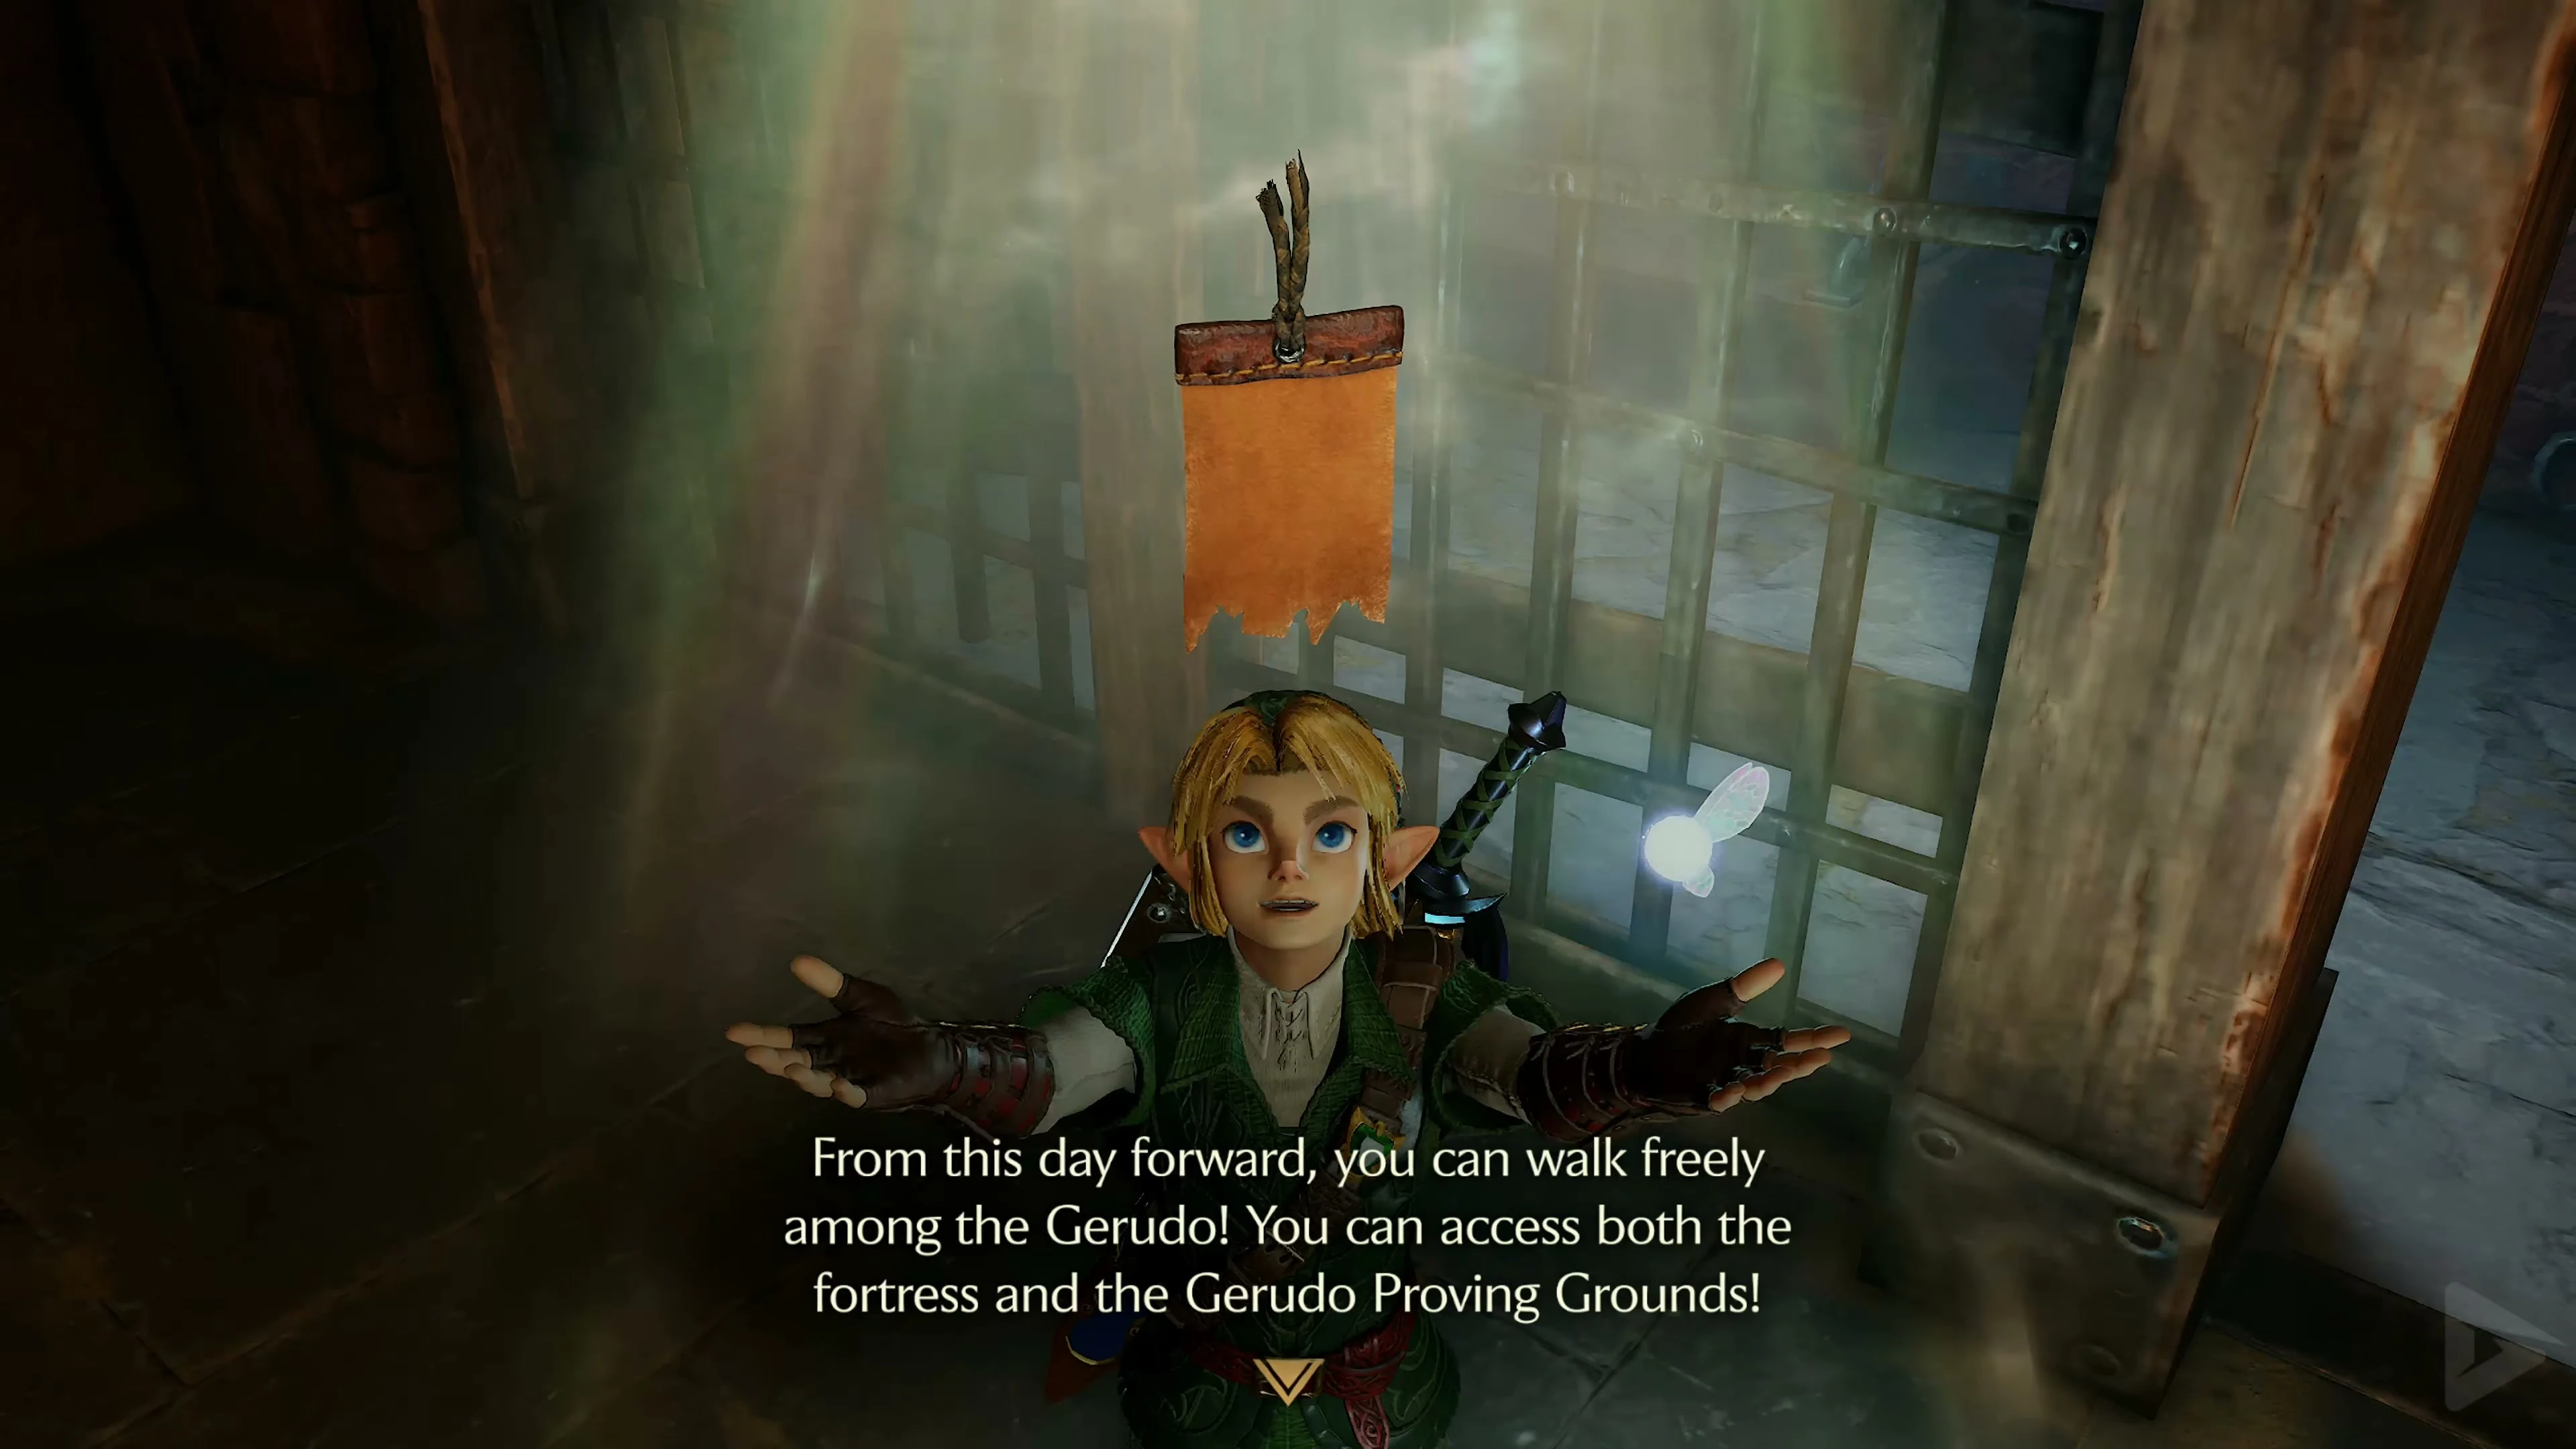
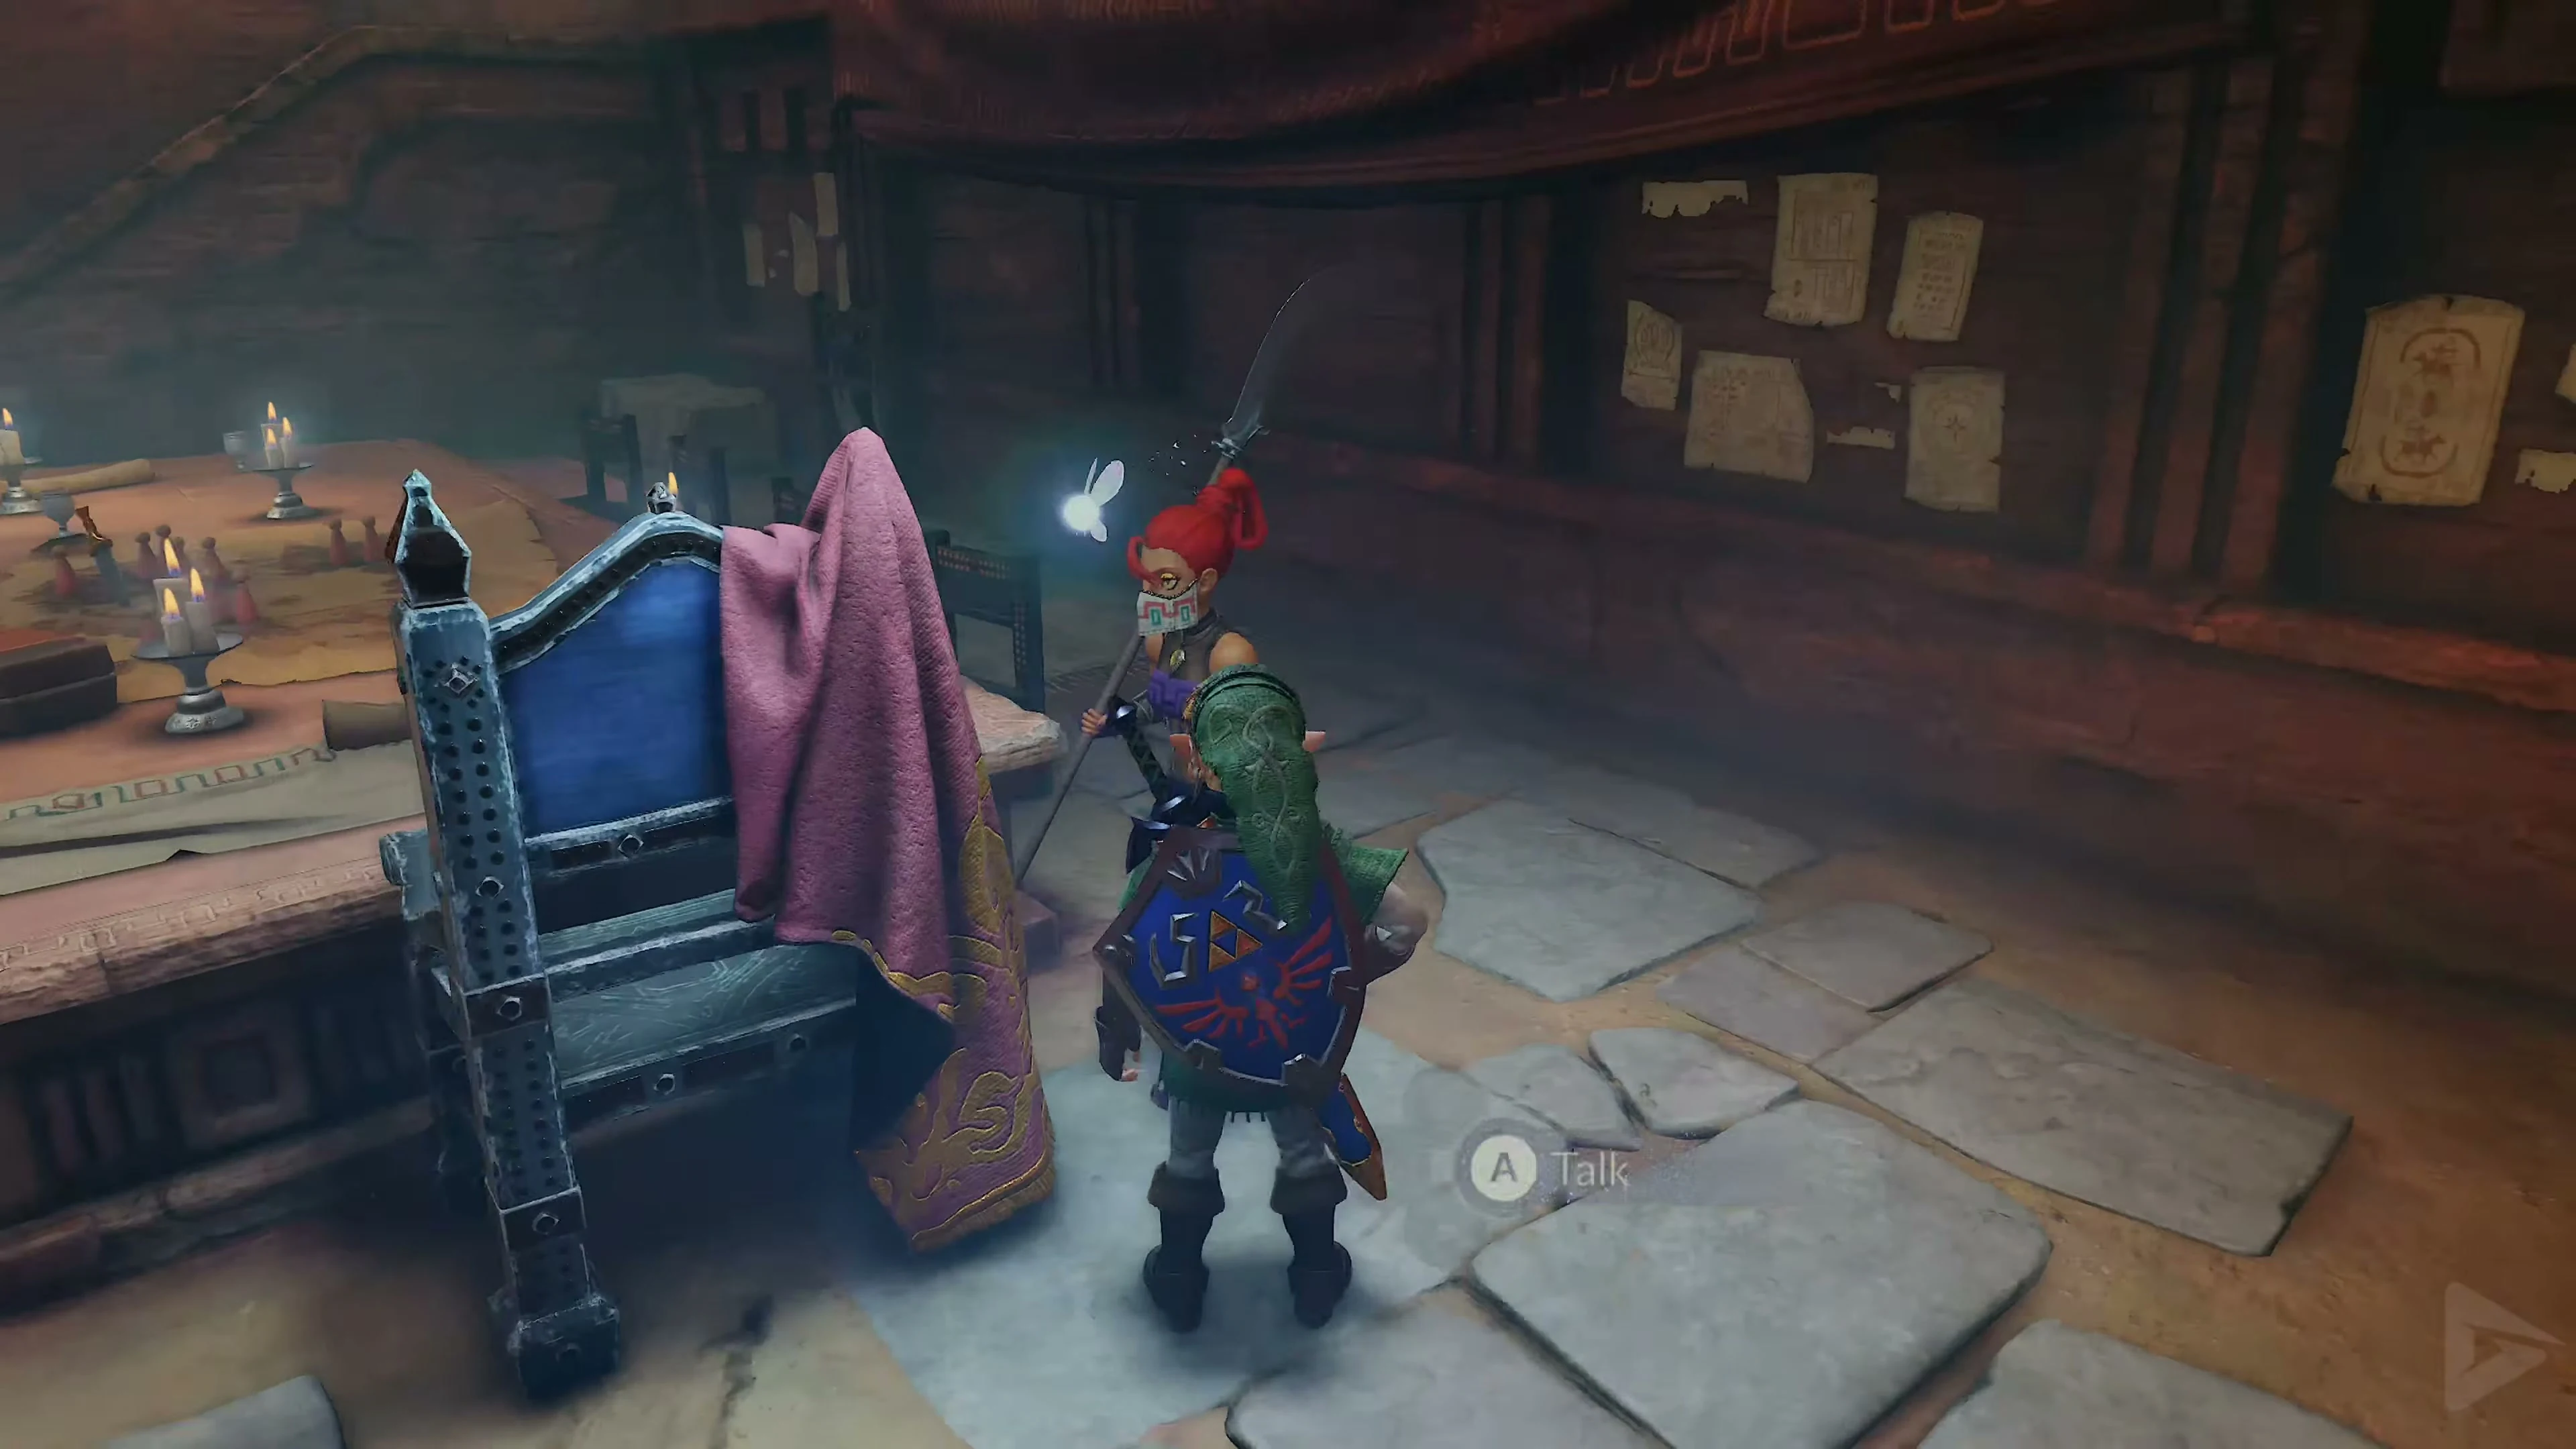
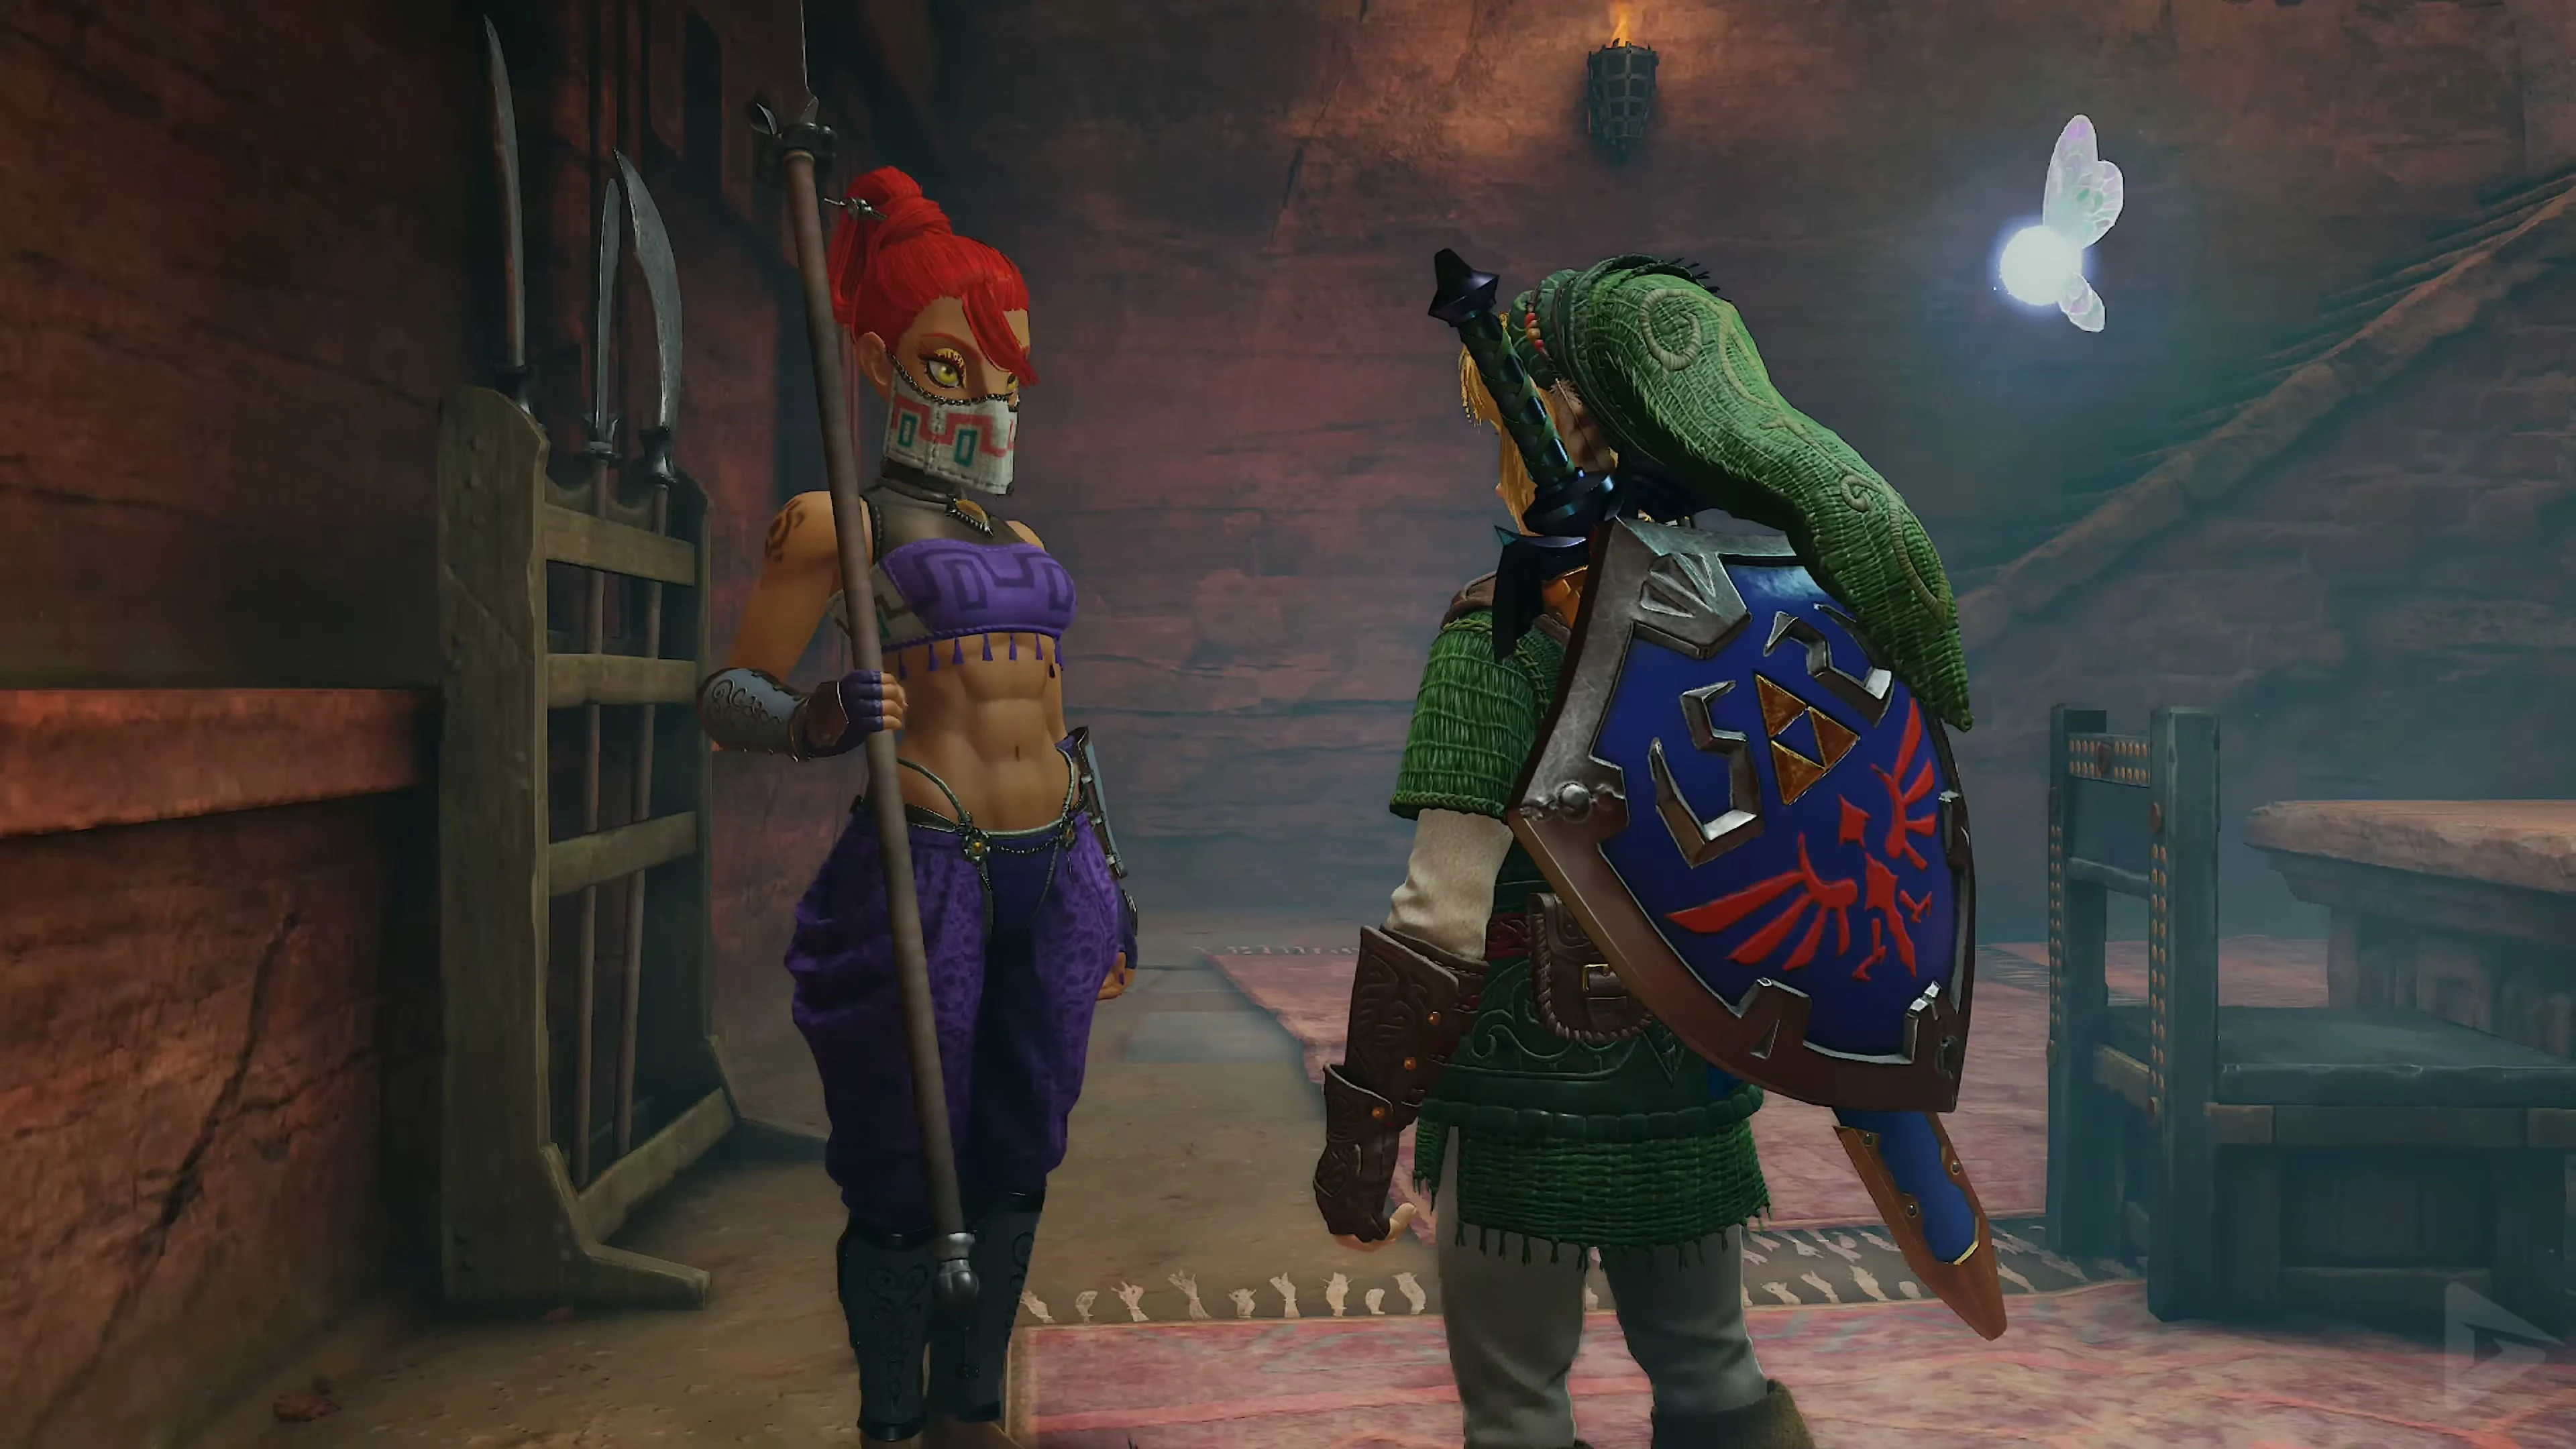
Return to the courtyard. Wait until the patrolling guard looks away and stun the stationary guard. Take the stairs immediately south of her and go through the cellar door. Free Ichiro after the final duel. Then speak with the commander and accept the Gerudo Pass .
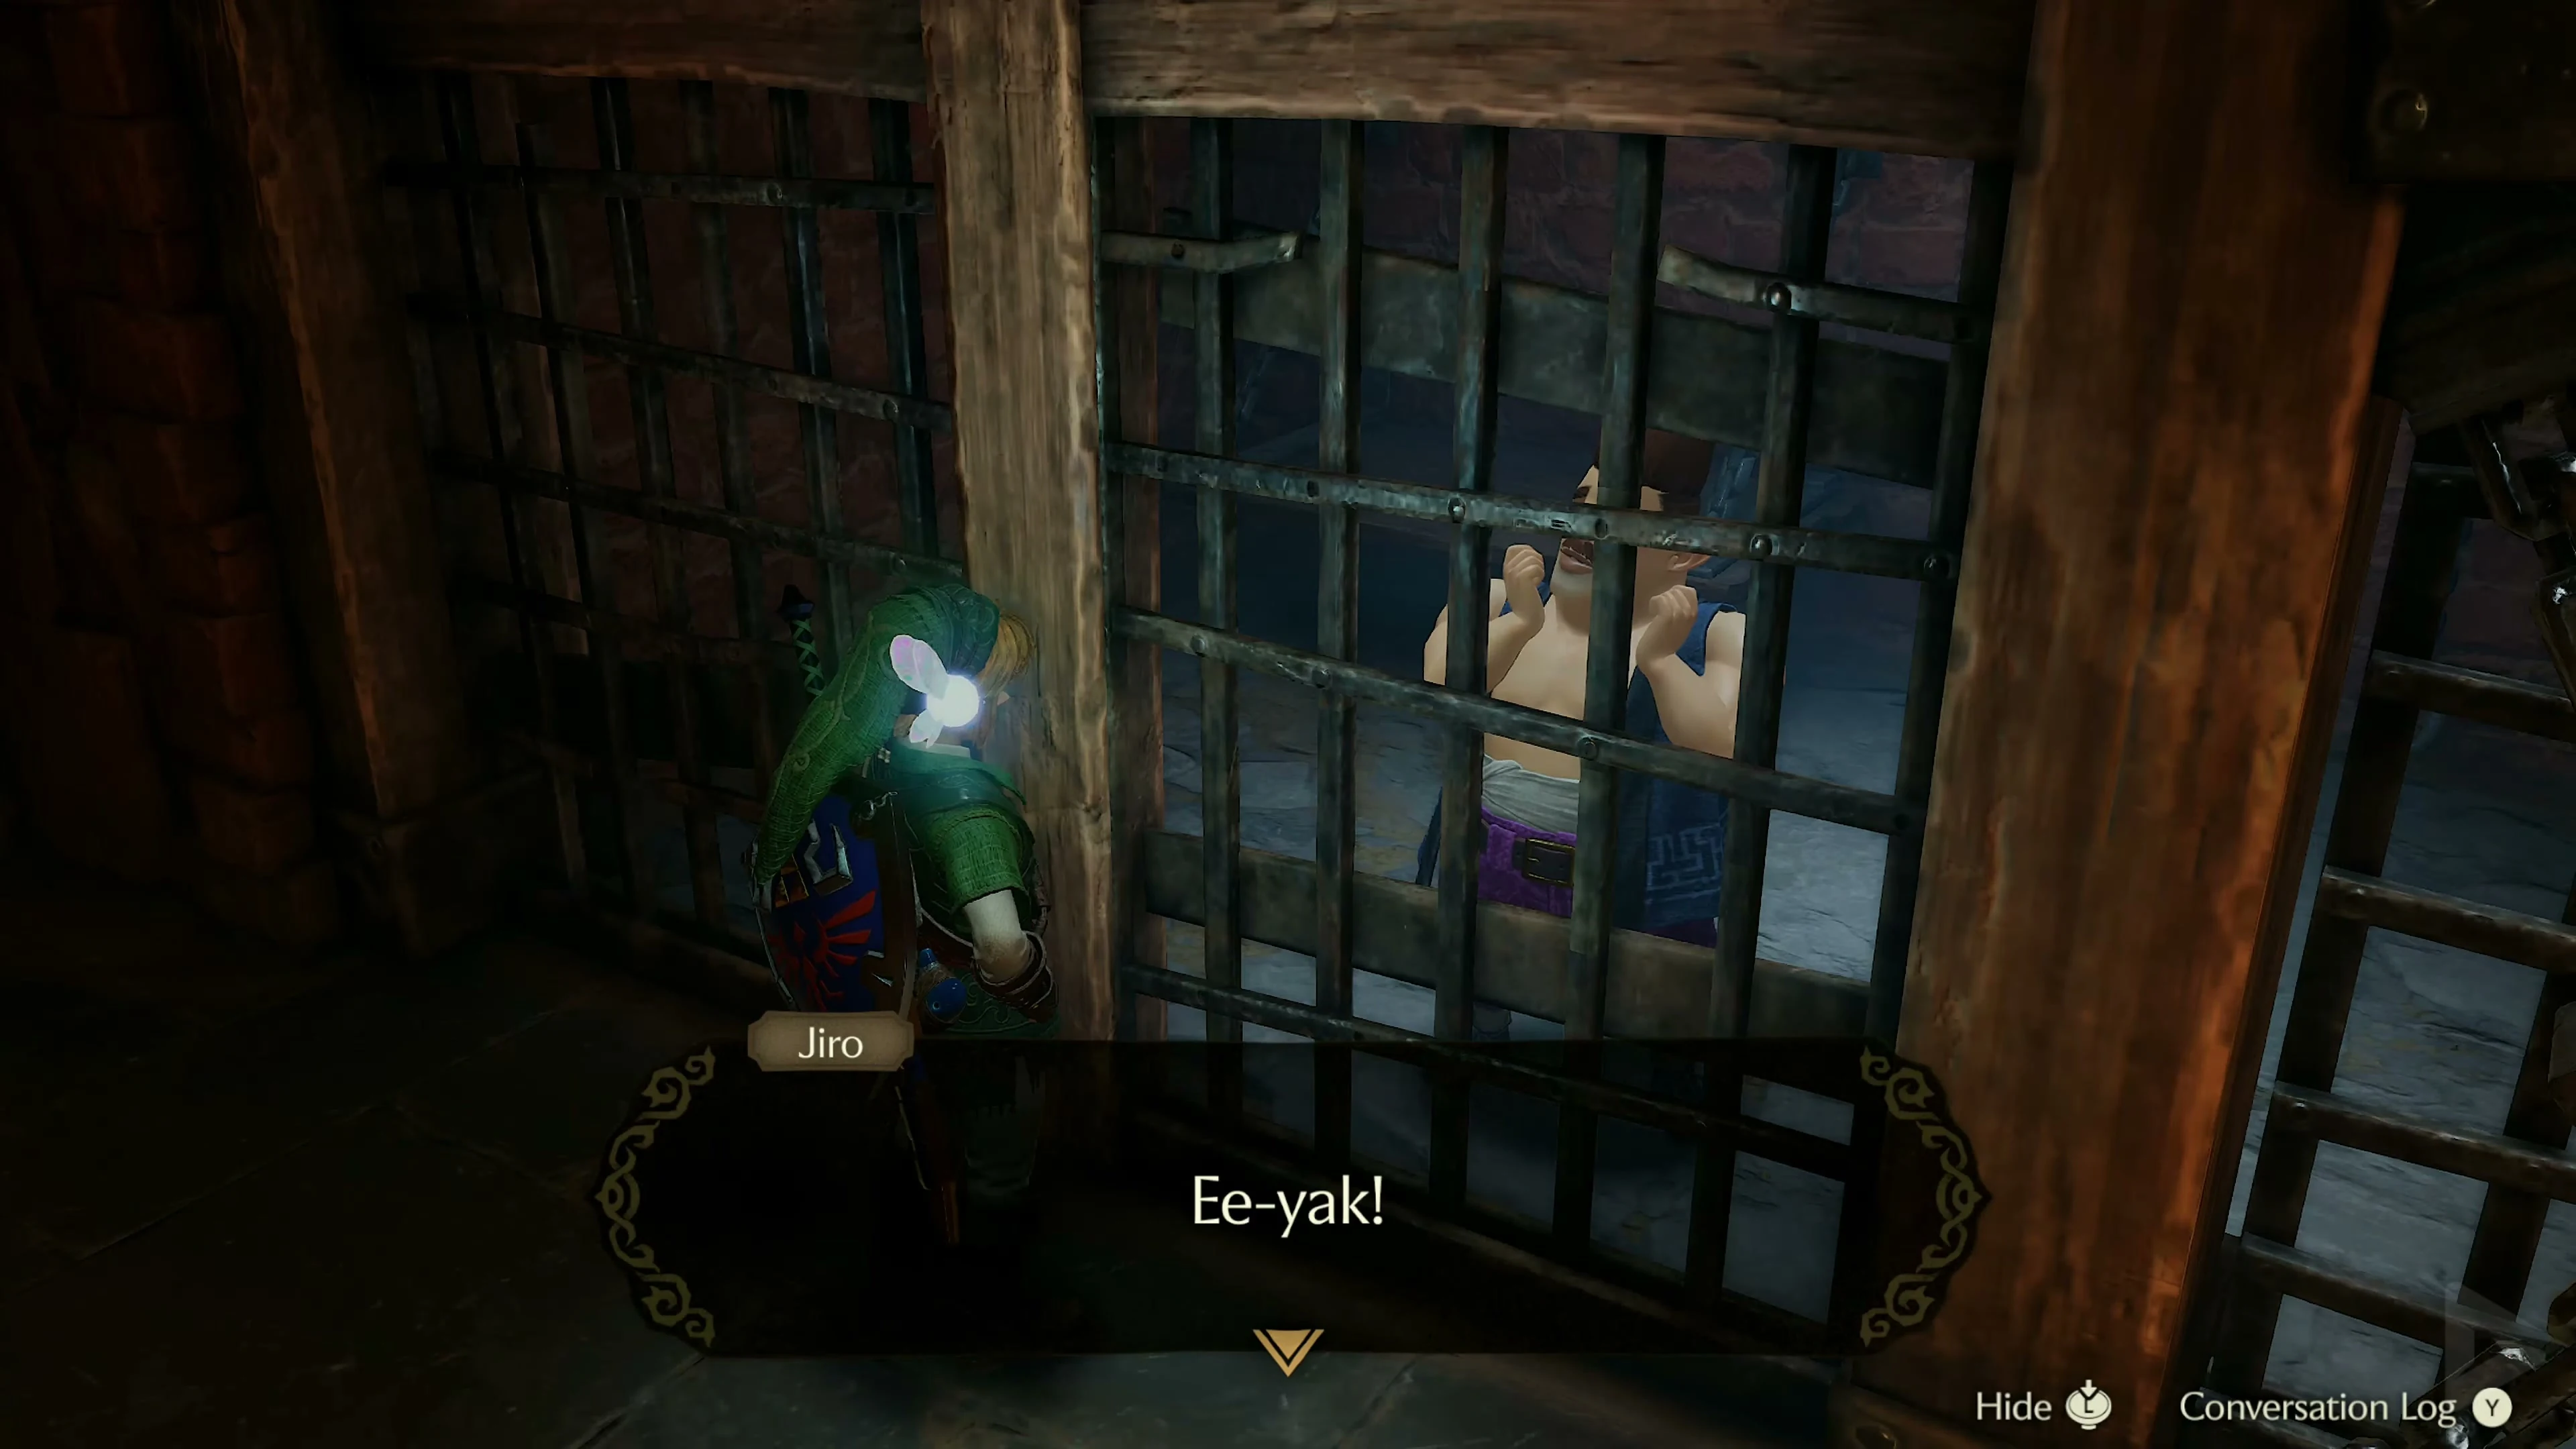
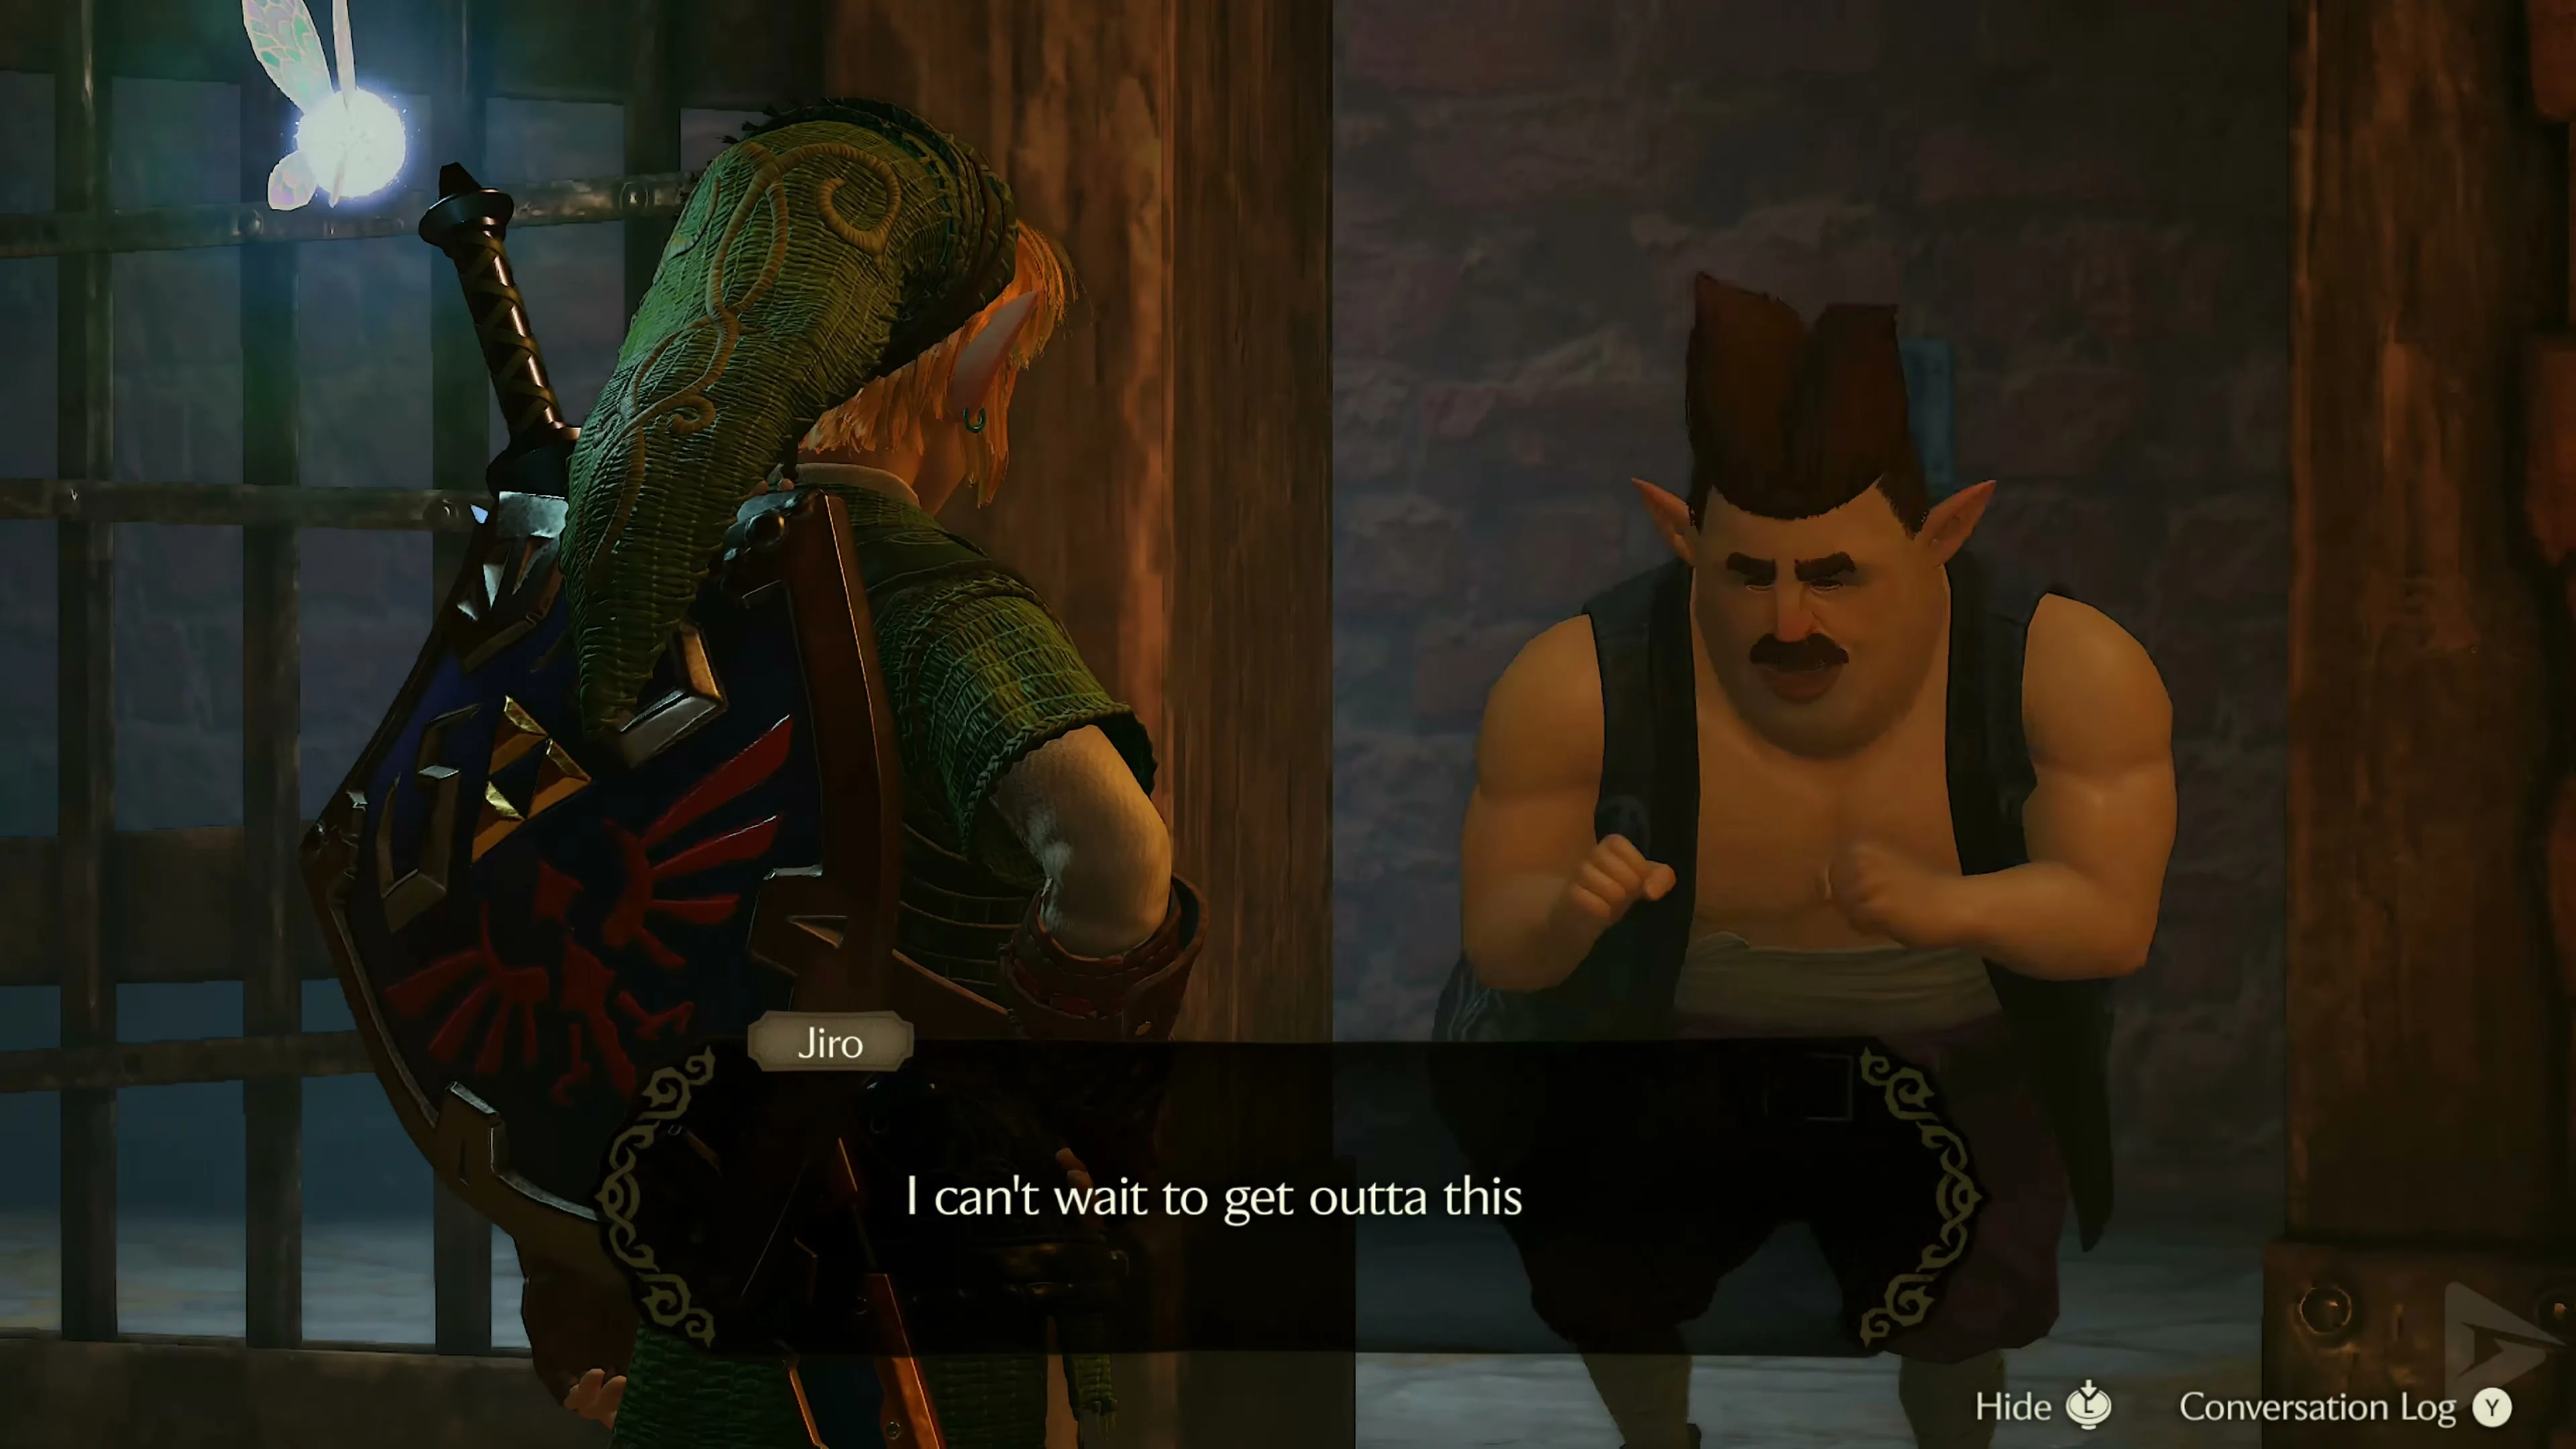
With the Gerudo Pass you can move freely within the fortress. The carpenters return to the valley and repair the bridge.
Mounted Archery
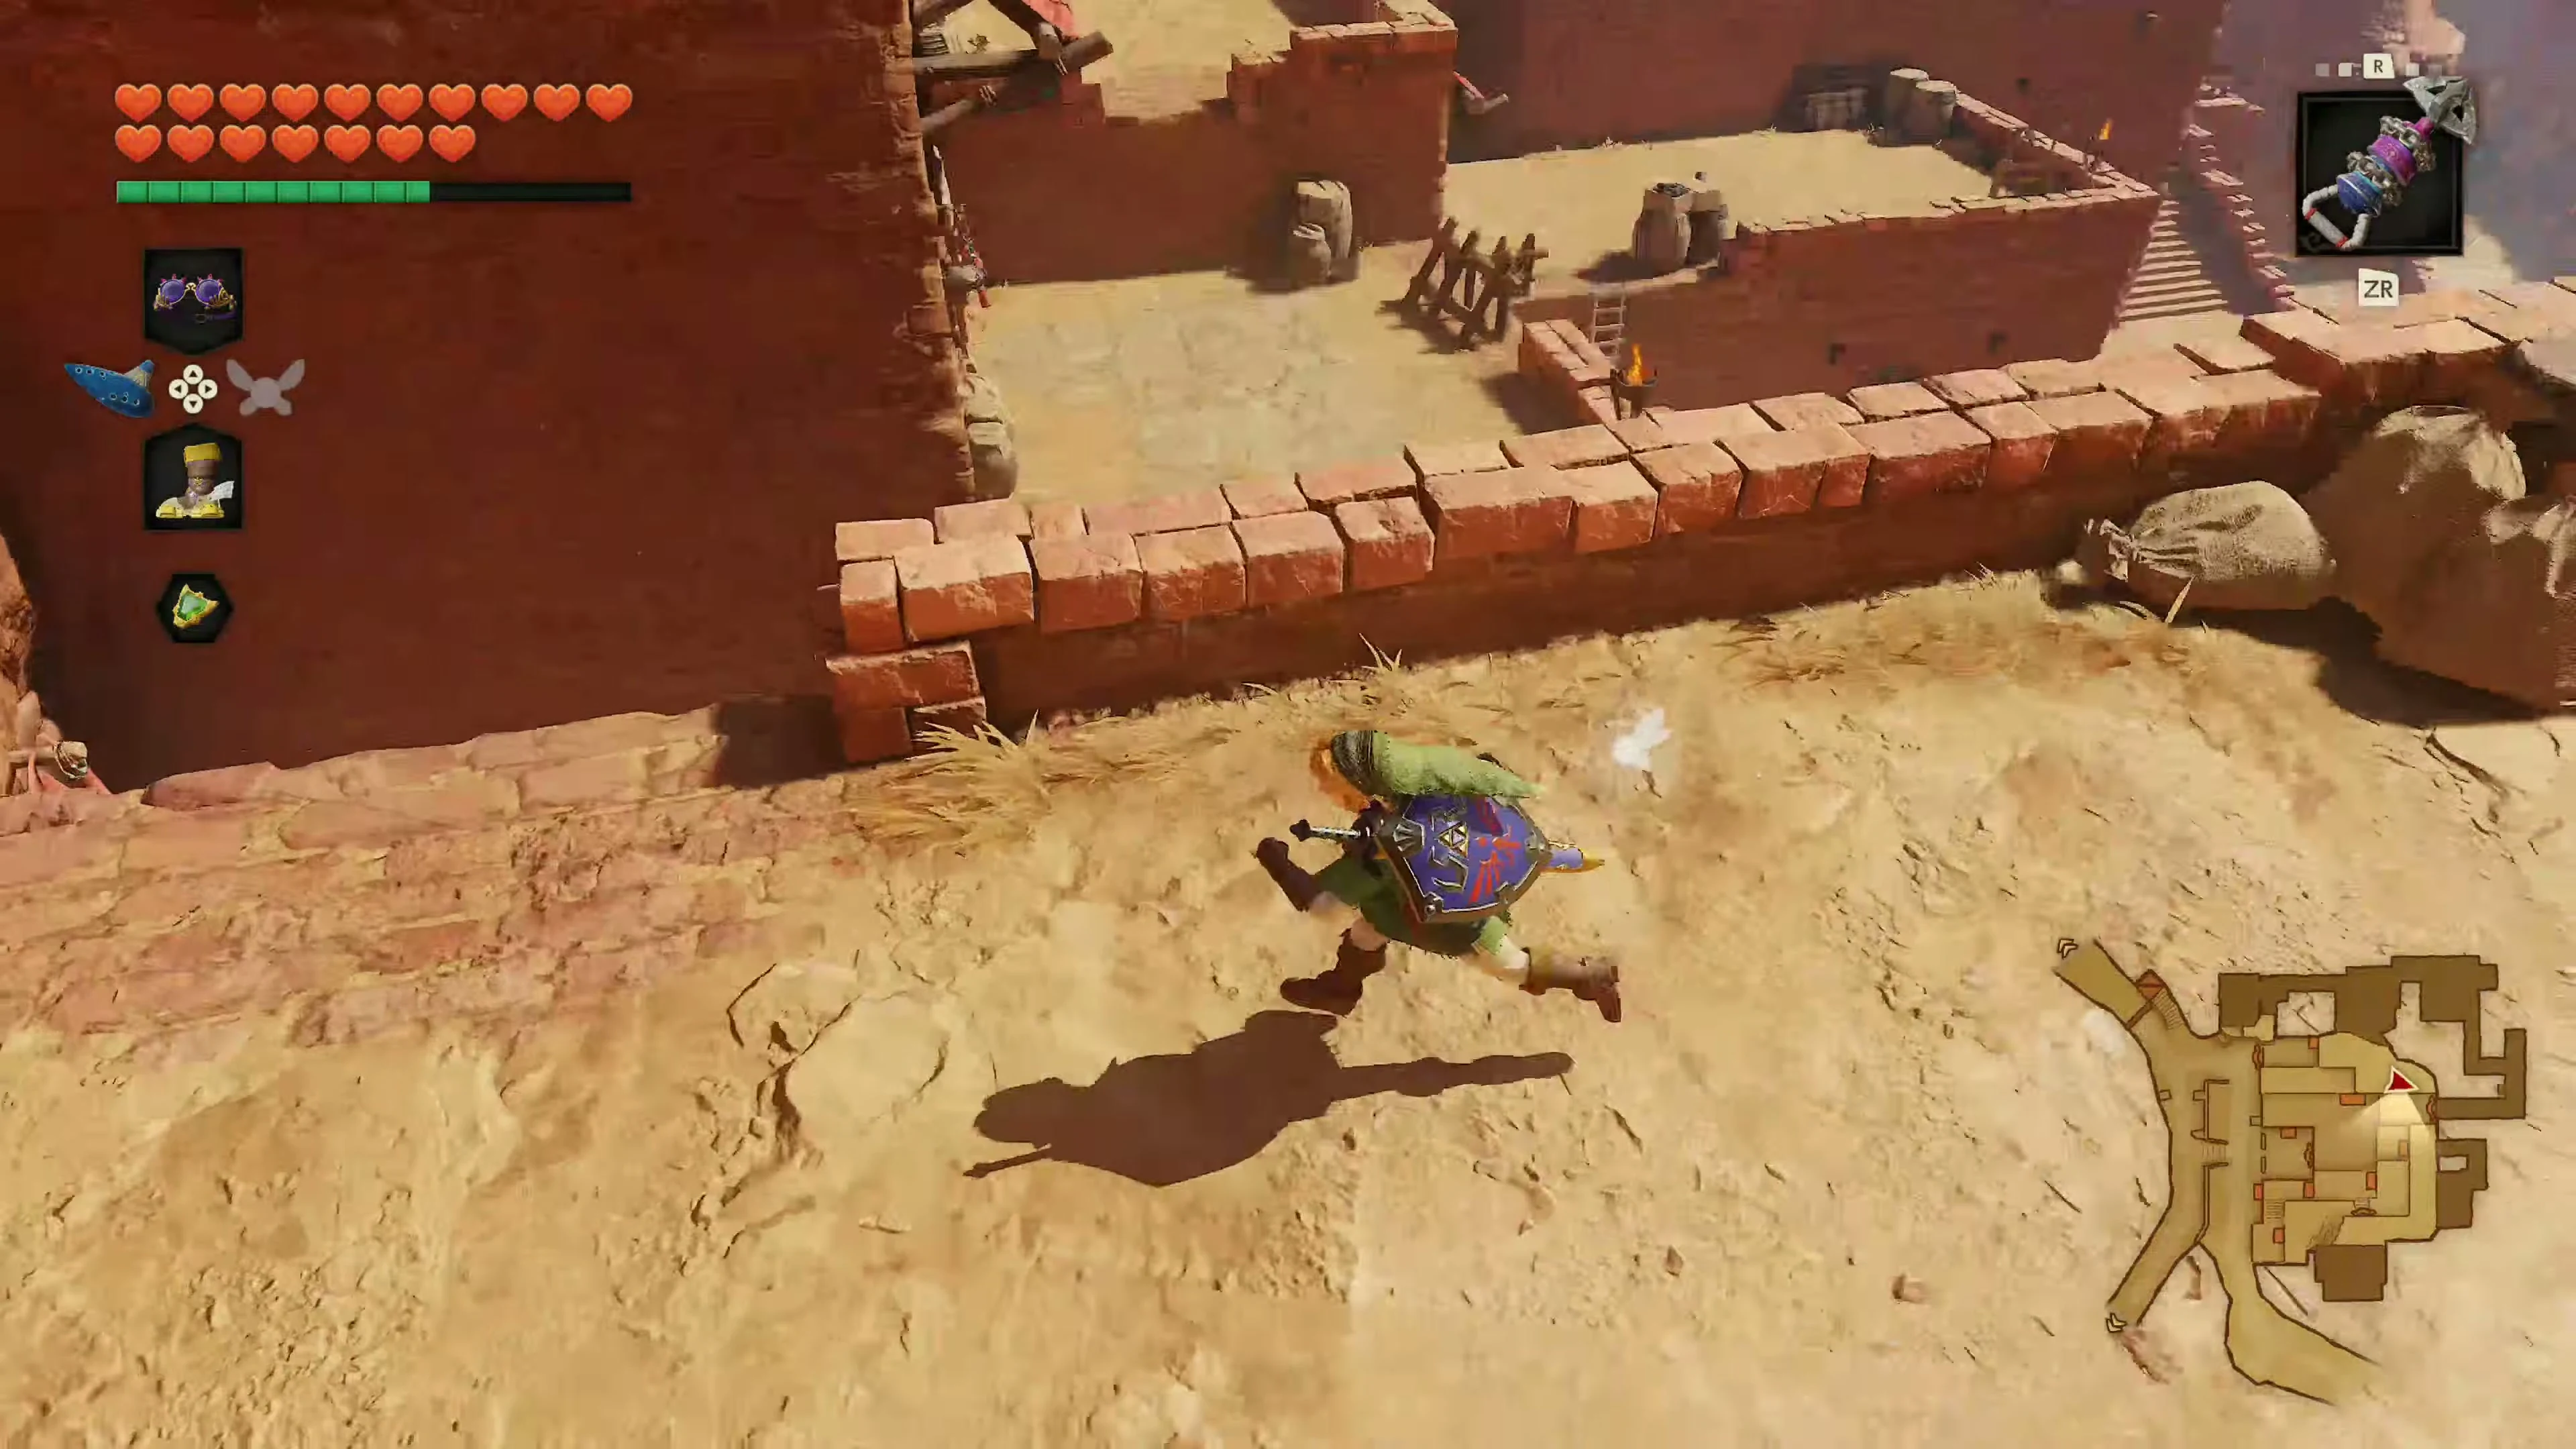
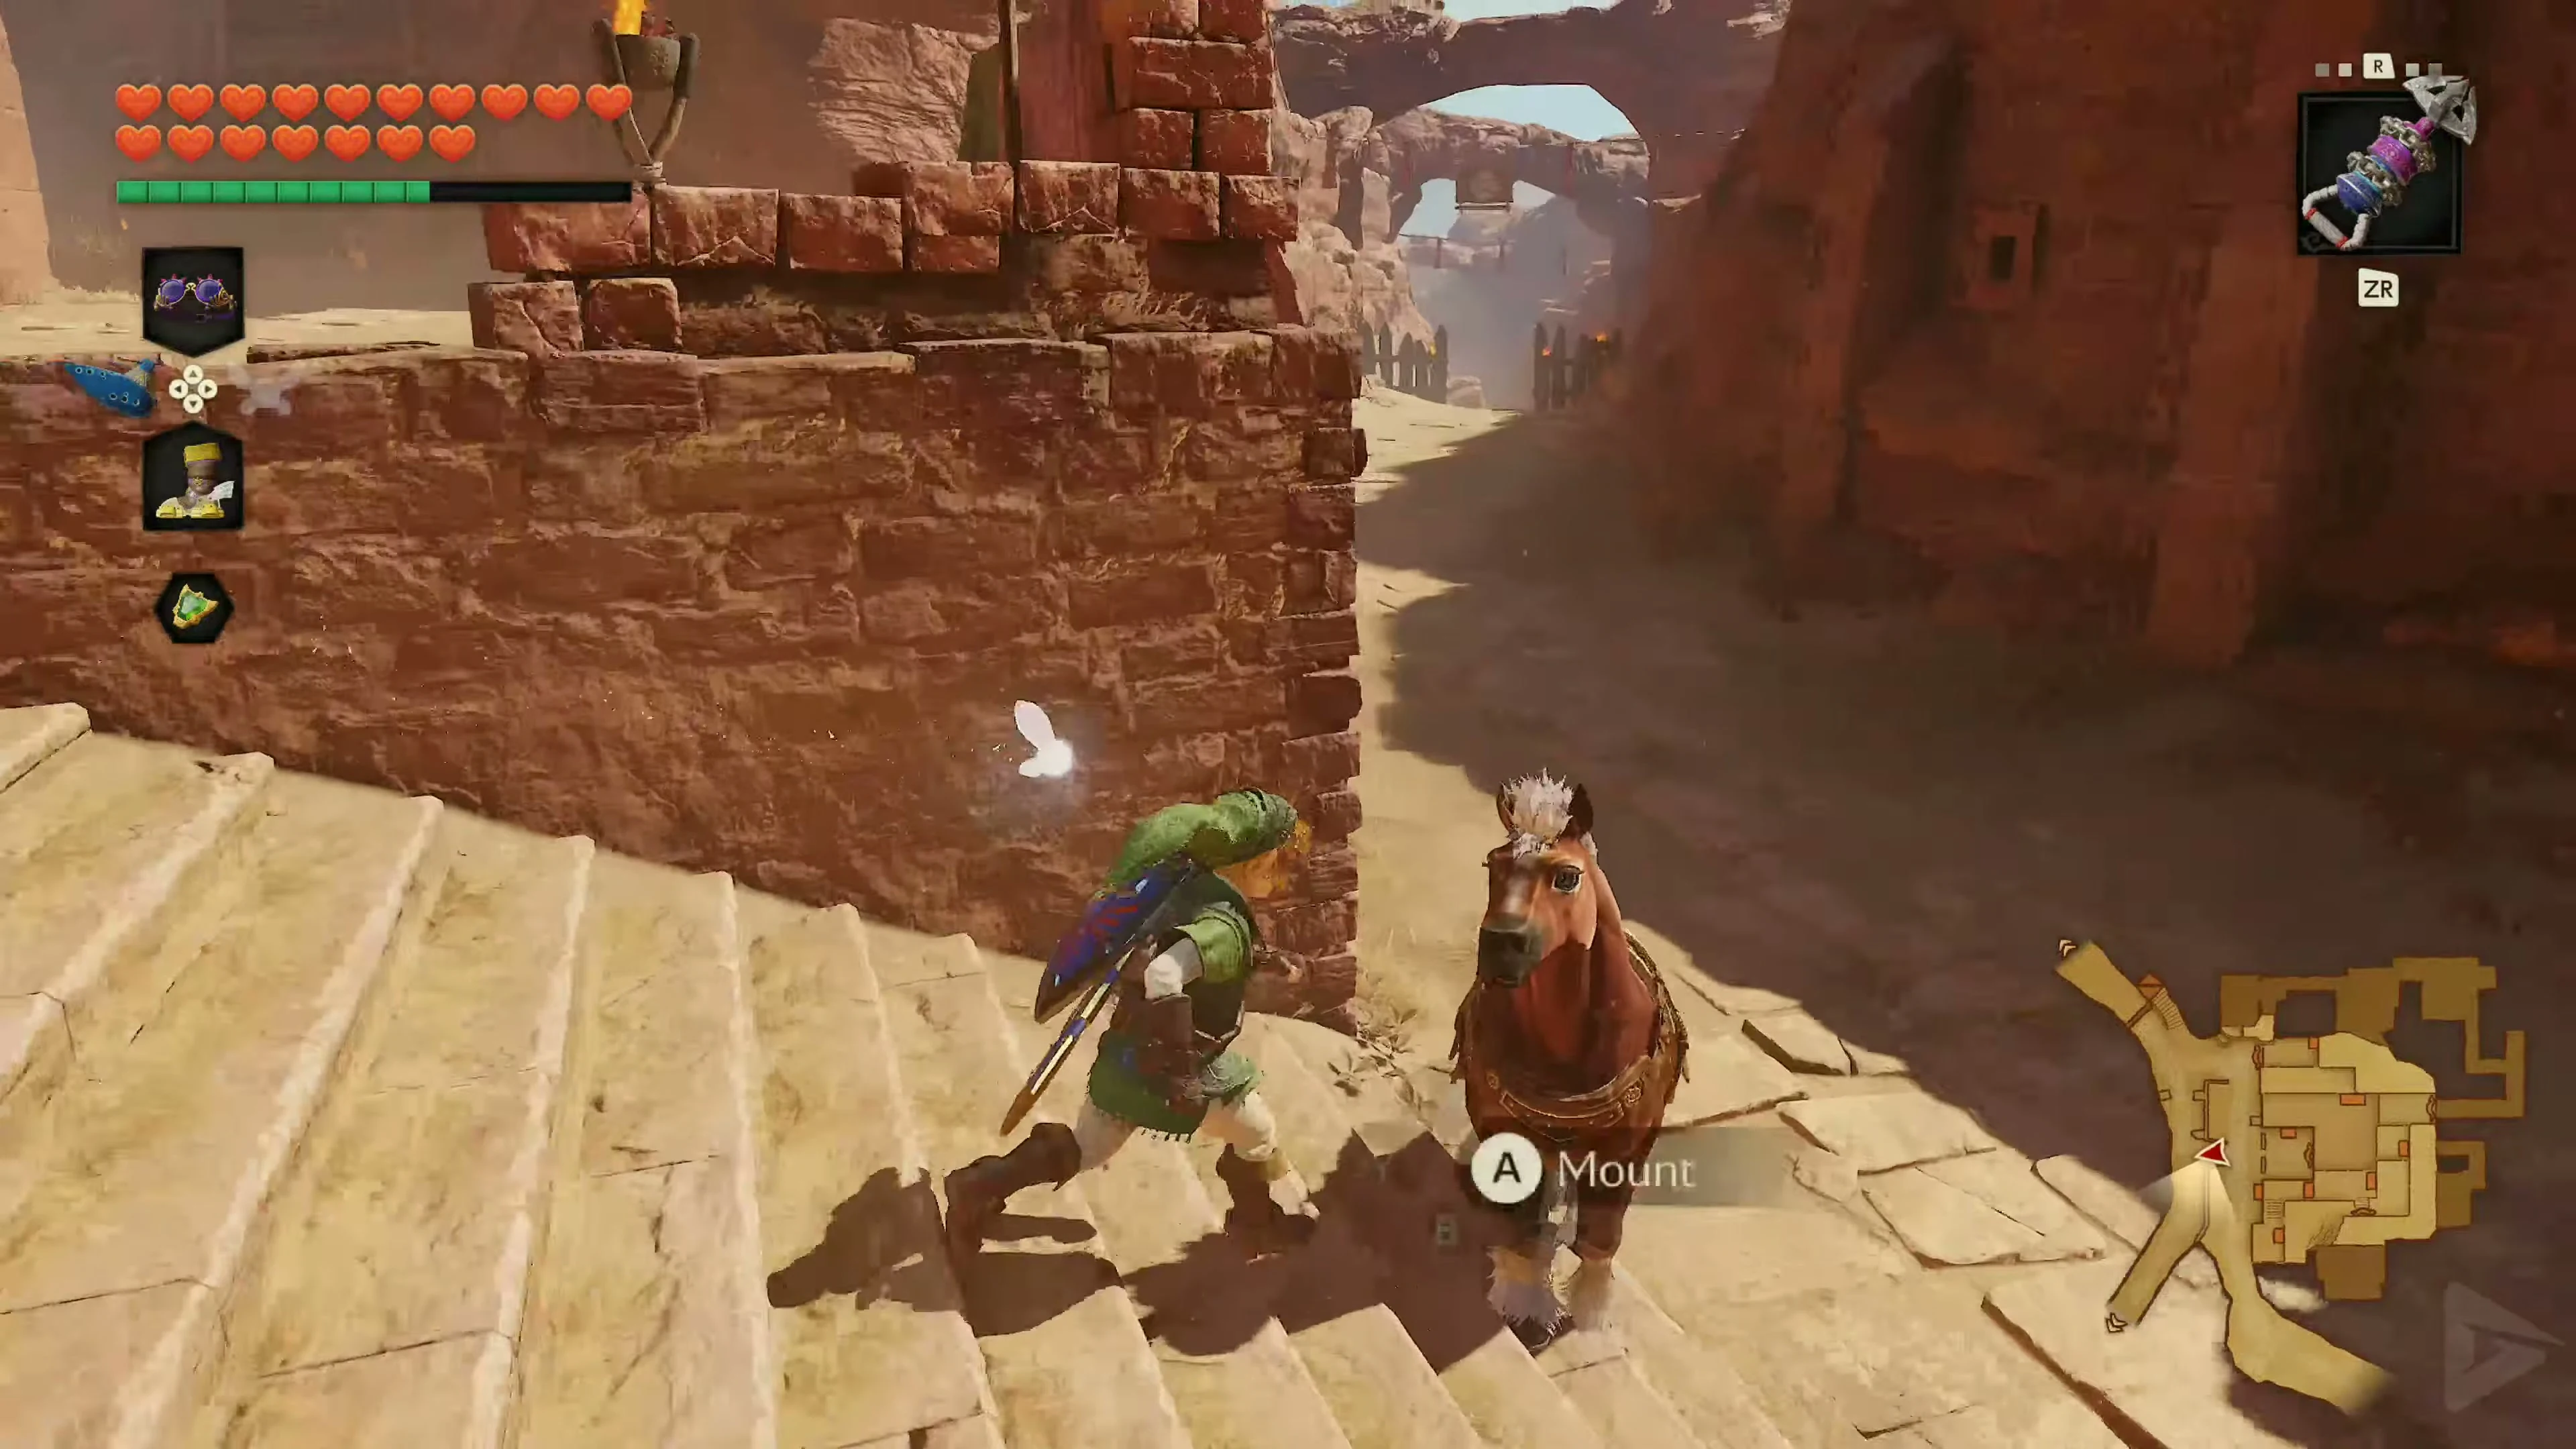
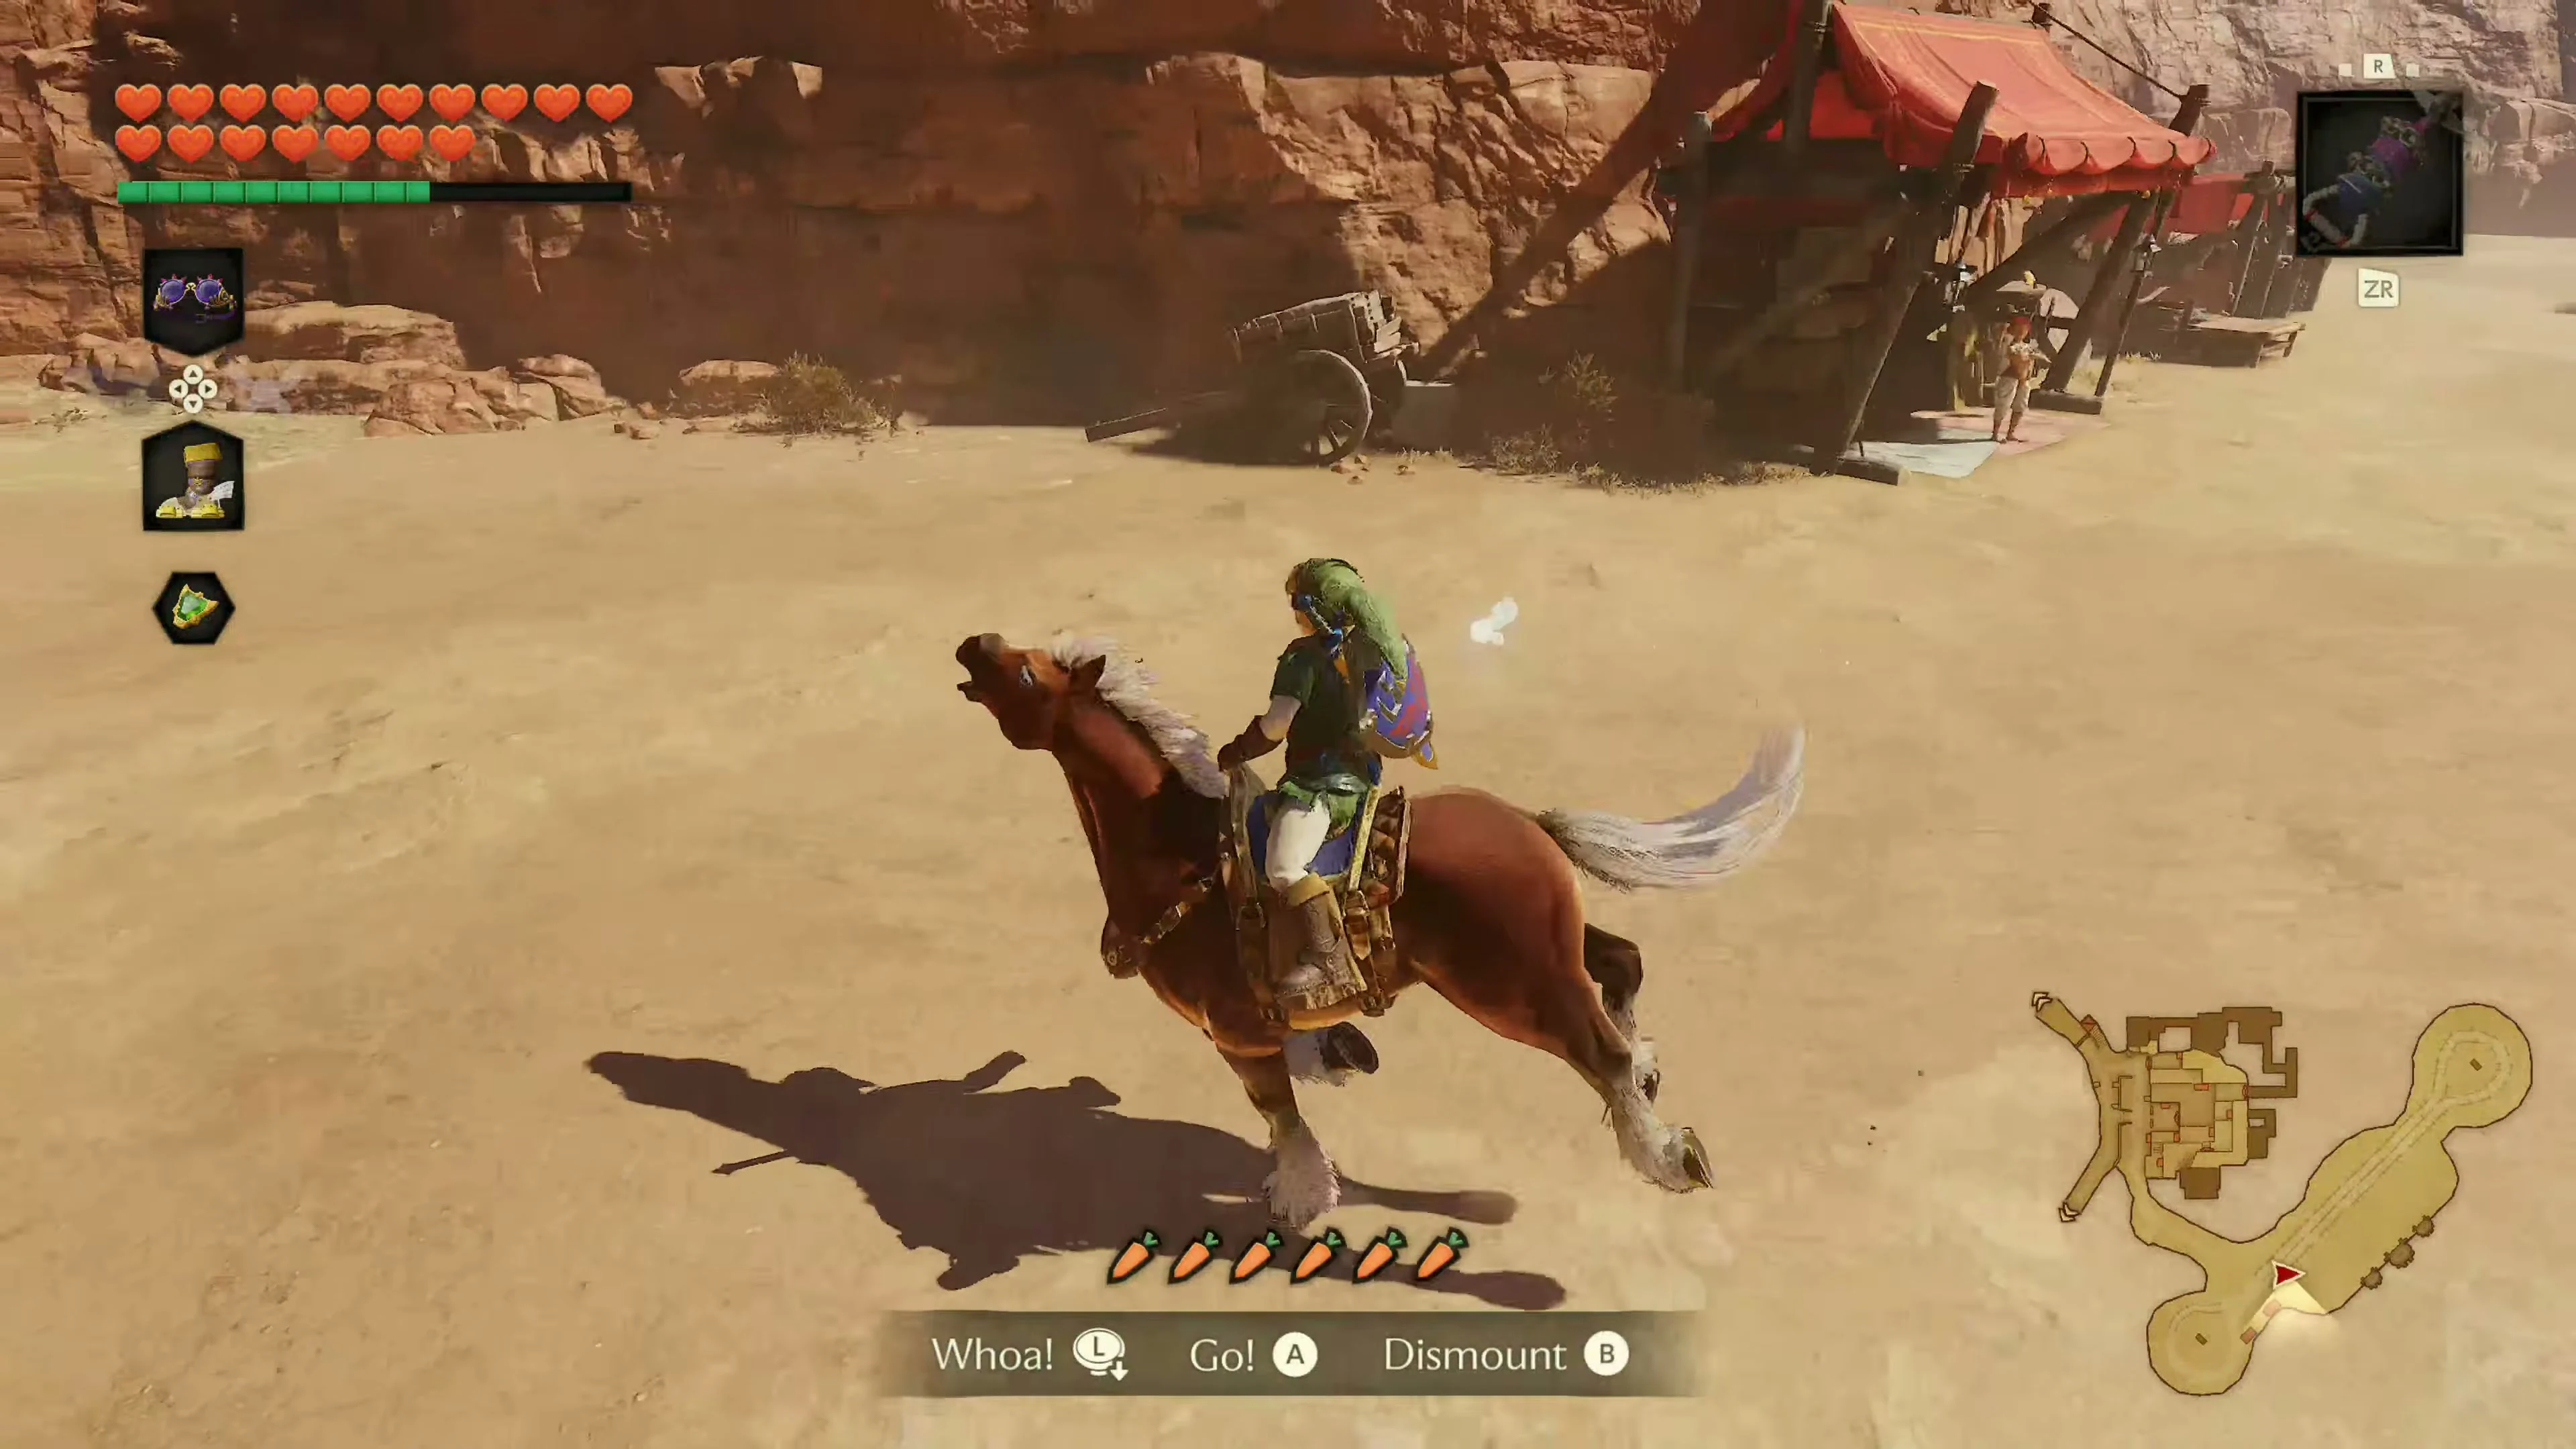
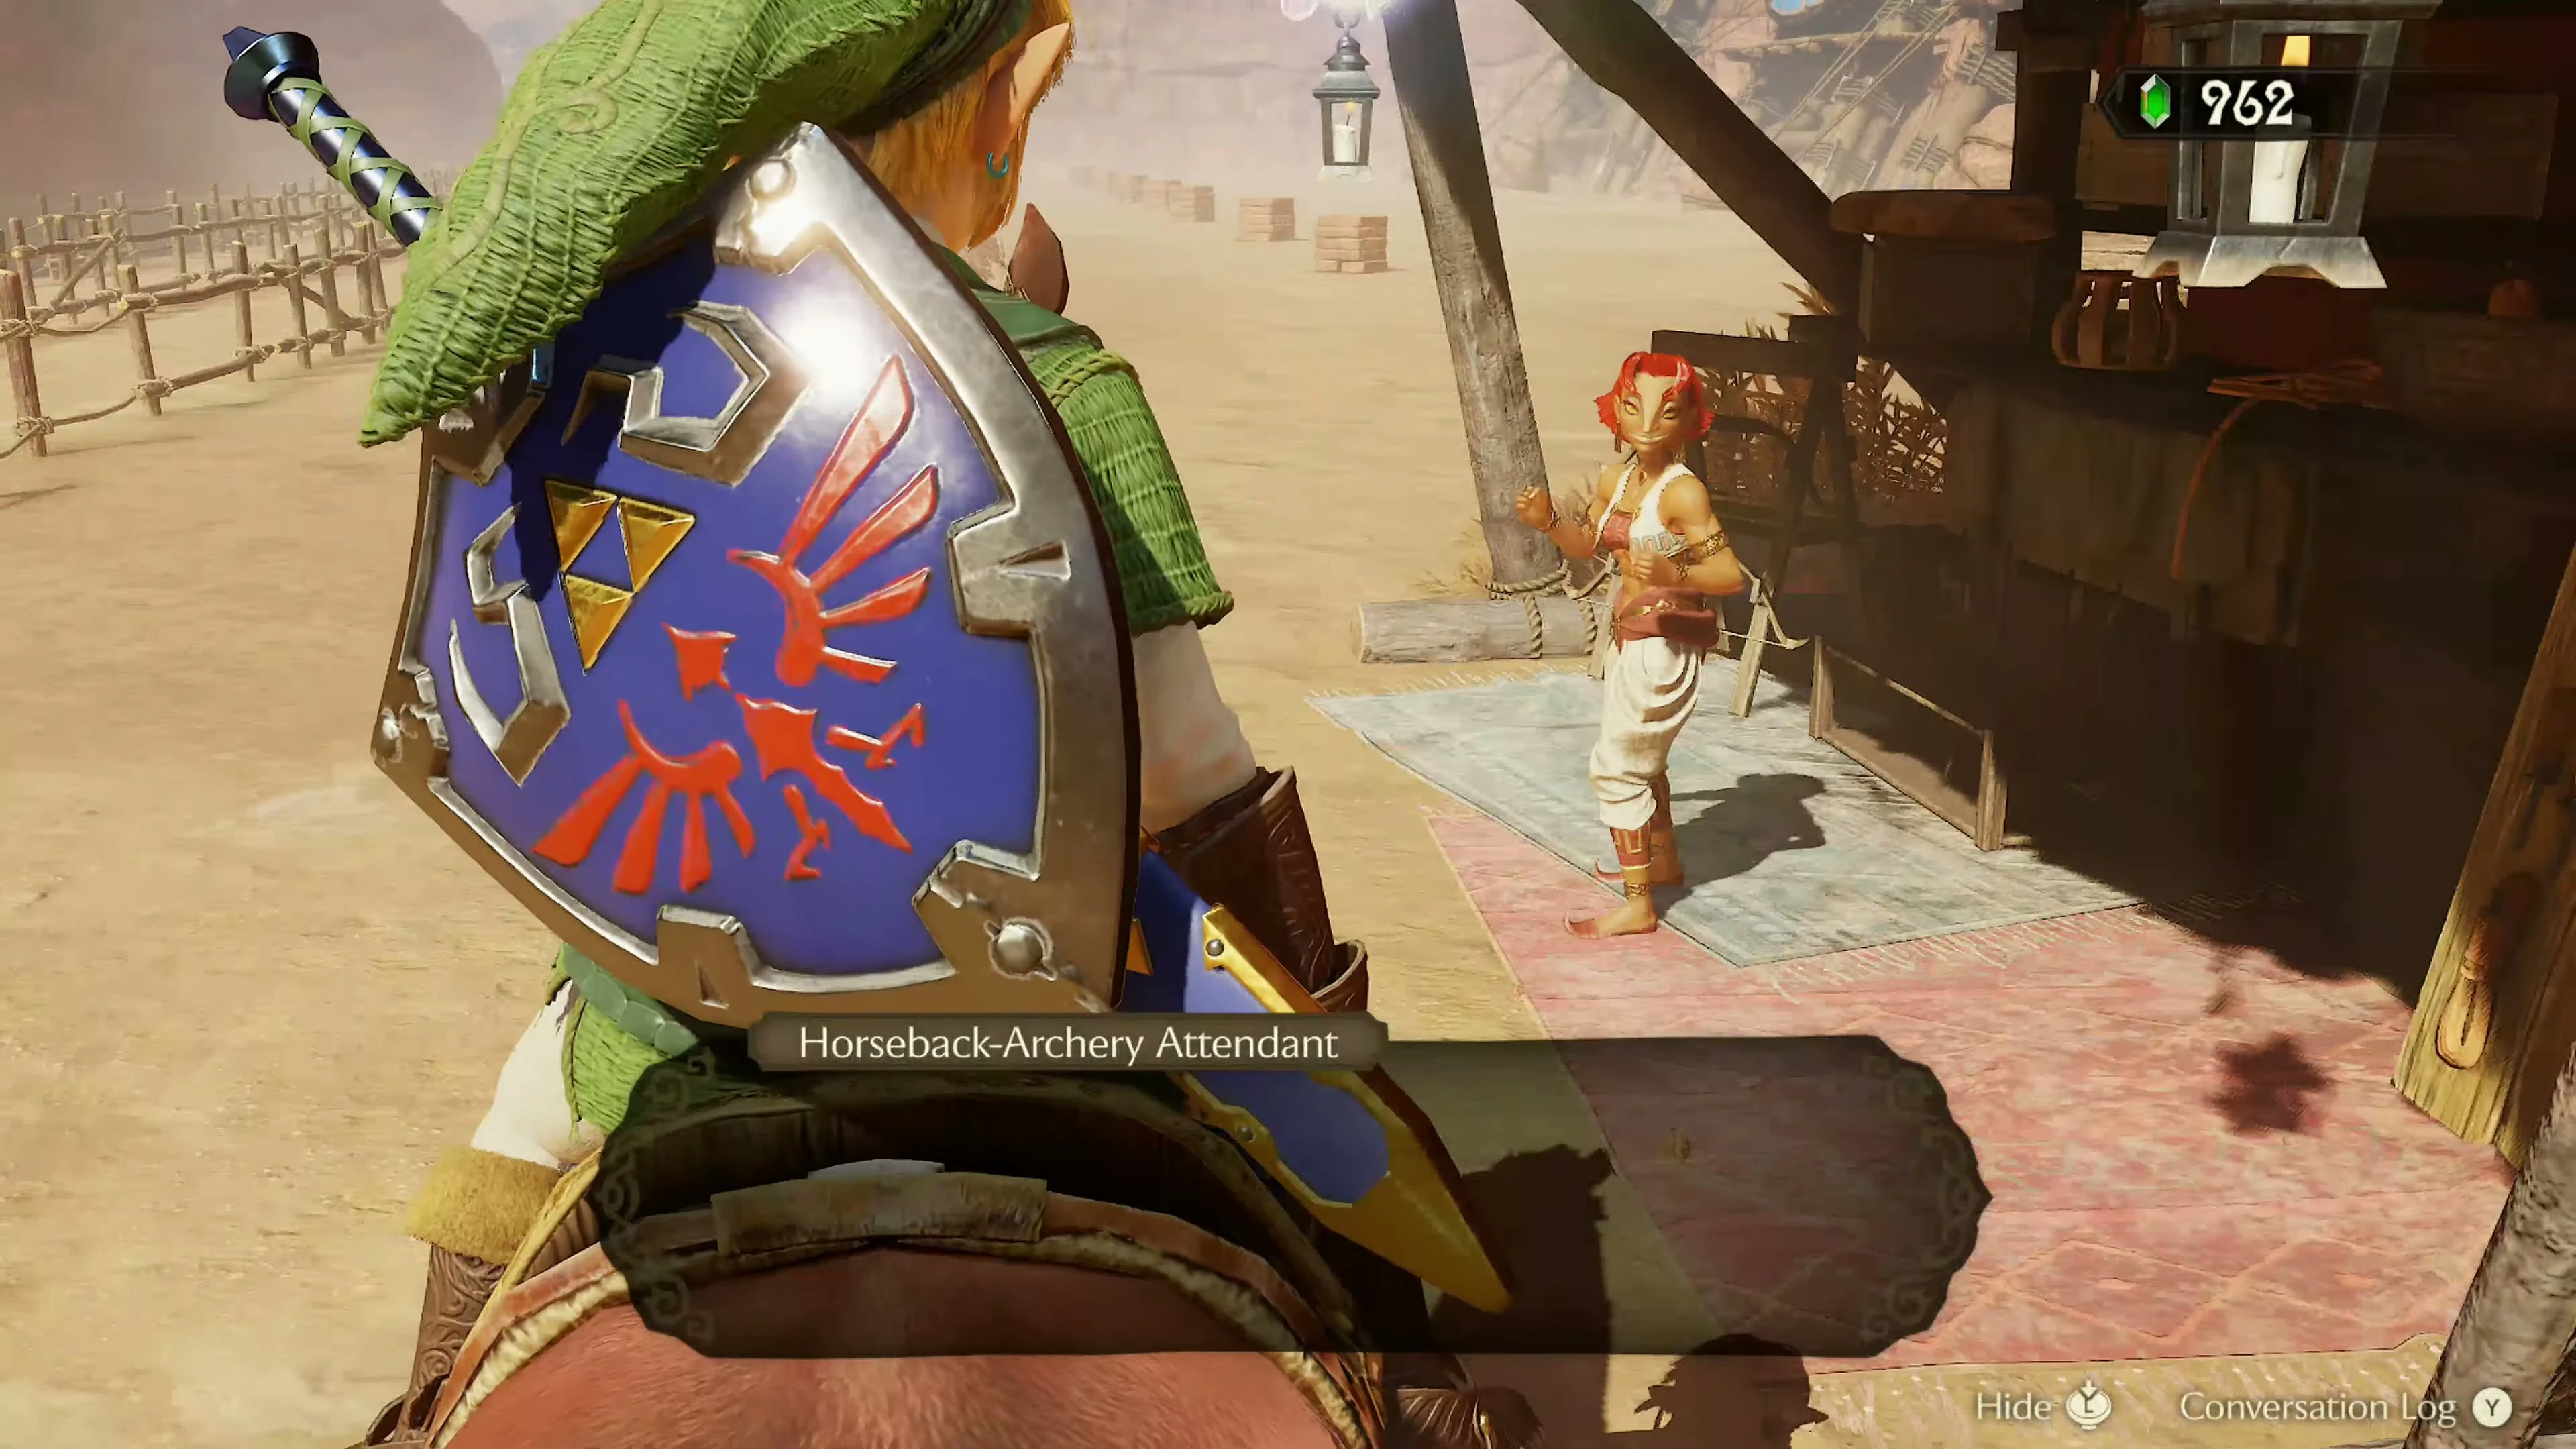
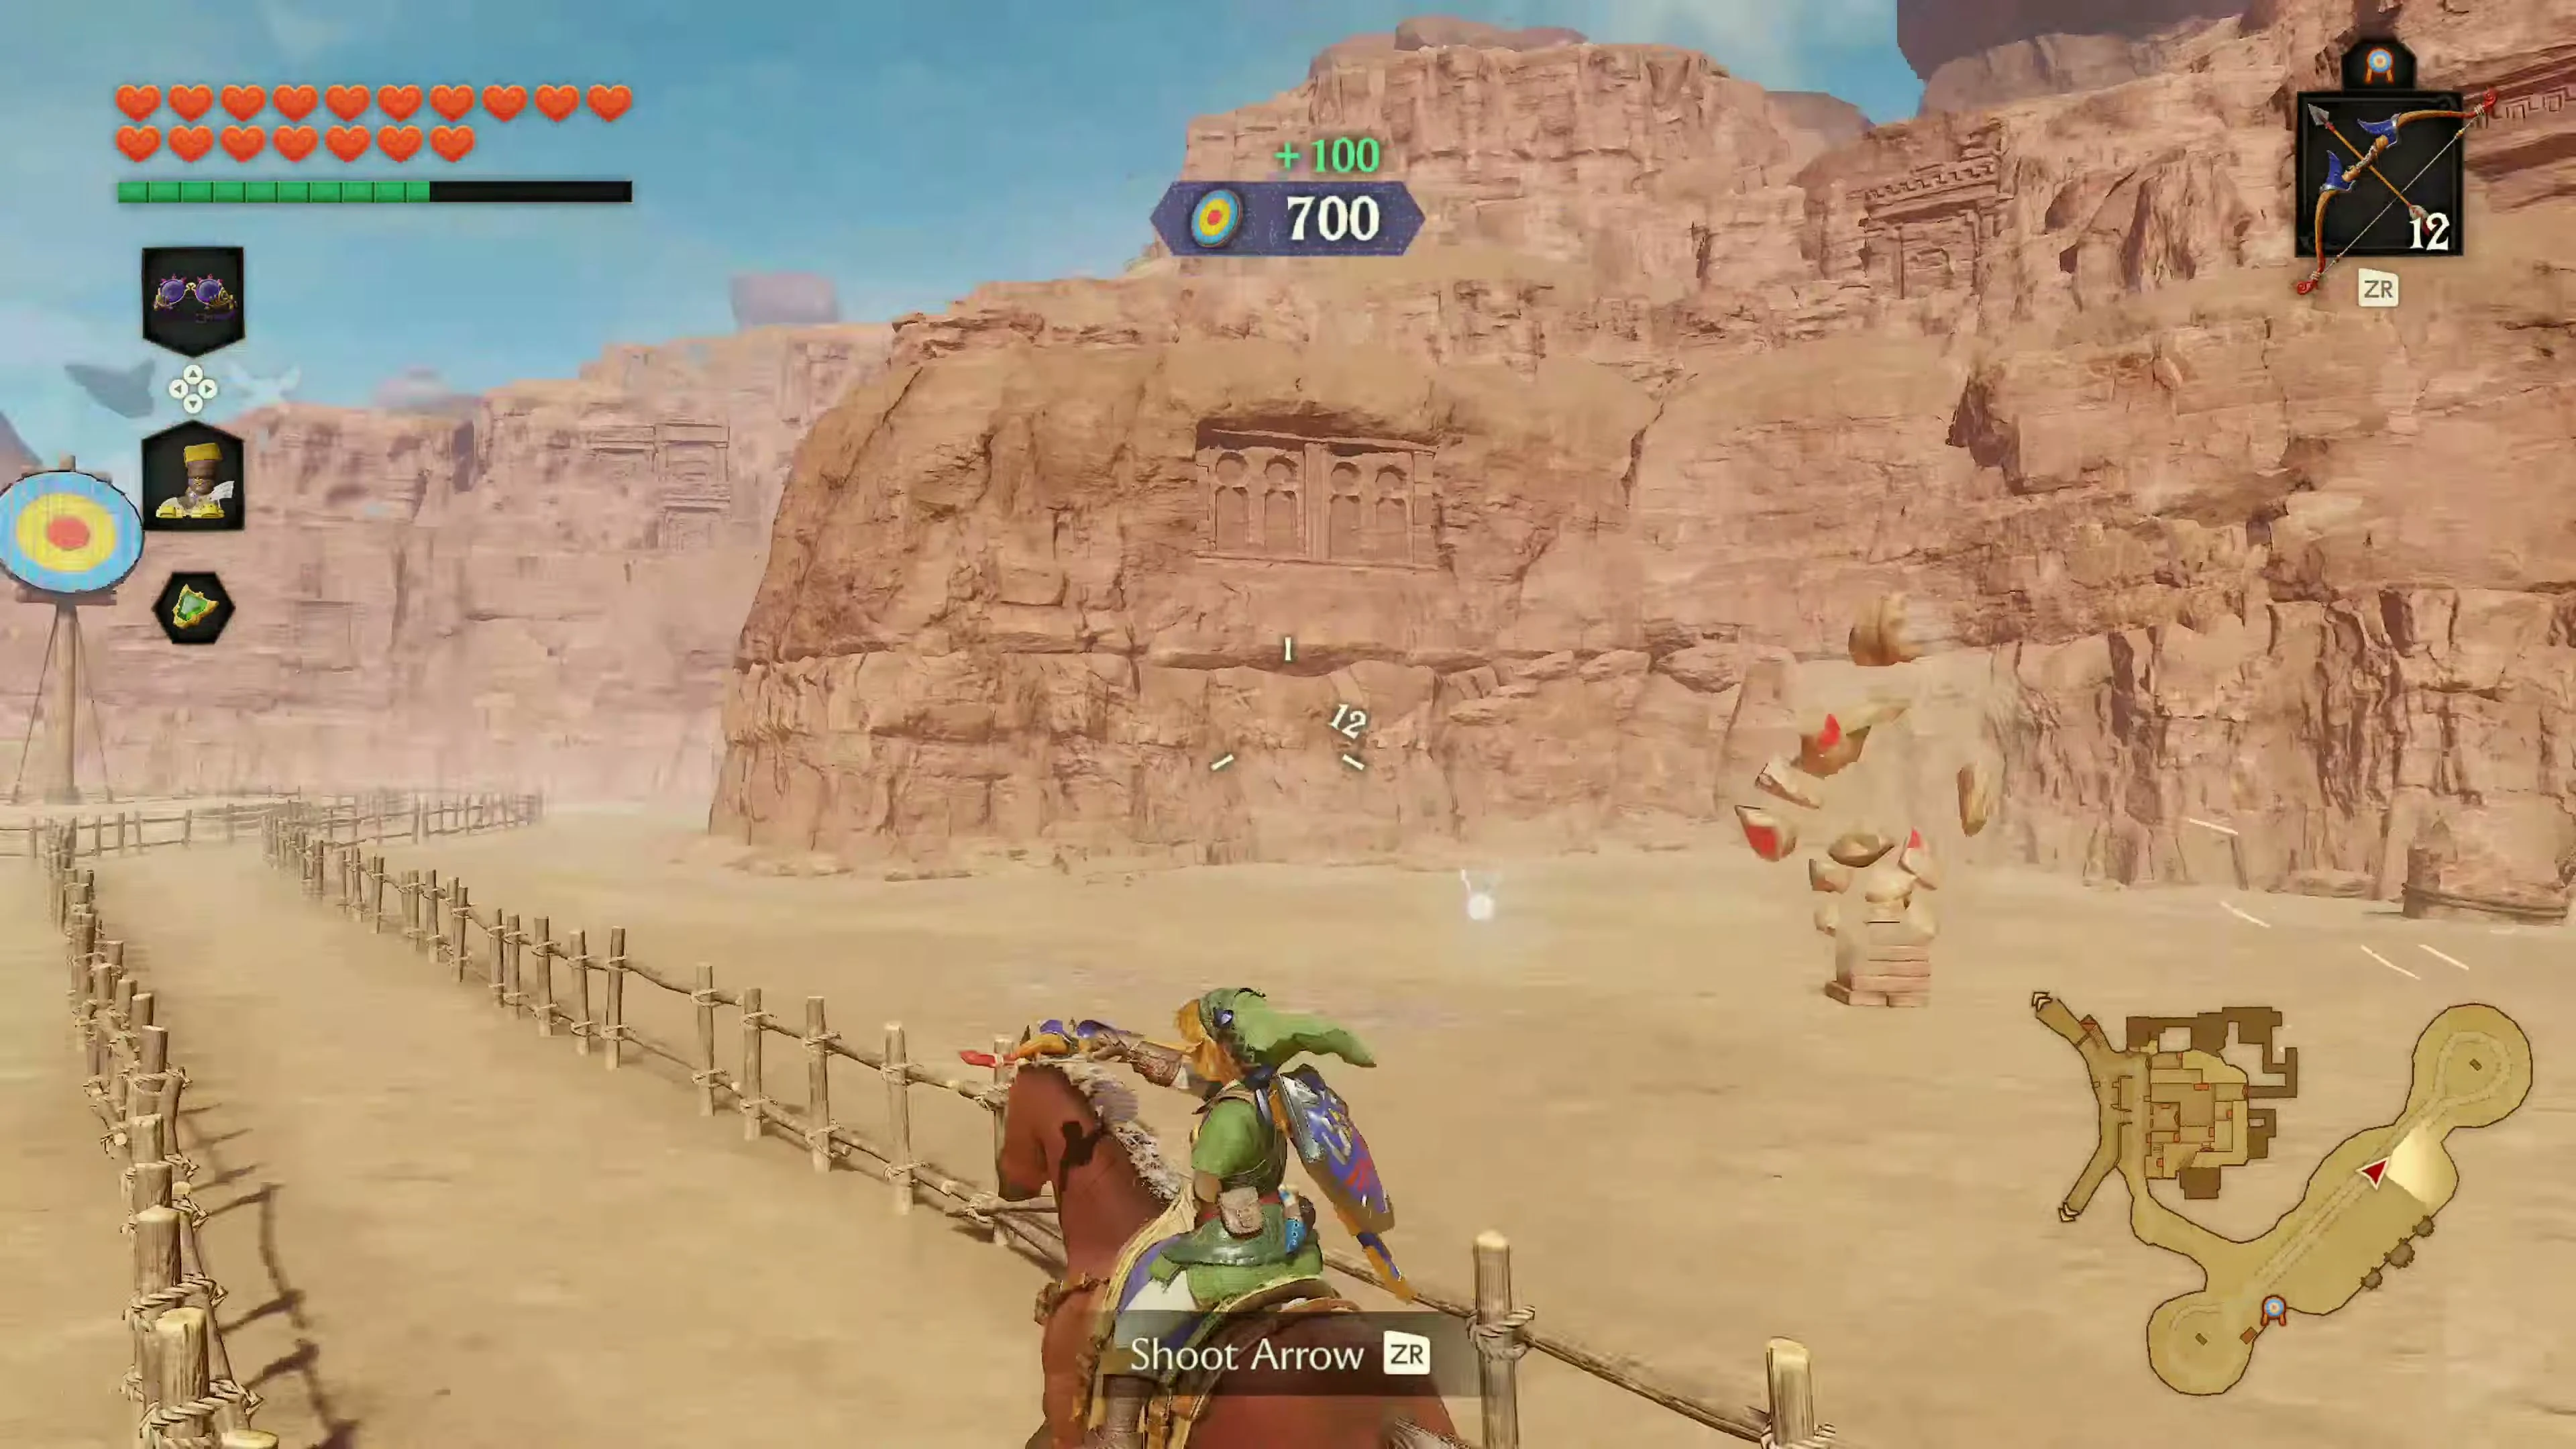
After obtaining the Gerudo Pass, the Mounted Archery range becomes accessible in the southeastern part of the stronghold. Call Epona with Epona’s Song , ride to the archery range, and speak to the waiting Gerudo from horseback. One round costs 30 Rupees. Epona will automatically run a set course during the minigame. You must therefore concentrate fully on aiming. Large targets and several jugs are placed along the course. Hitting the center of the targets yields the highest score, while each broken jug is worth 100 points. Keep your bow drawn as much as possible before Epona reaches a target area, and don’t waste arrows on hasty shots from awkward angles.
Piece of Heart in Archery
For your first serious attempt, a score of at least 750 points is sufficient . Focus on all the jugs first, as they are relatively easy to hit and together provide a large portion of the required points. Use the remaining arrows for the large targets. At the turning point, the pace slows down briefly. This is a good opportunity to land one or more precise hits in the center of a target. If you achieve at least 750 points at the end, you will receive another Piece of Heart . You can find all other locations in our overview of the Piece of Hearts in Ocarina of Time
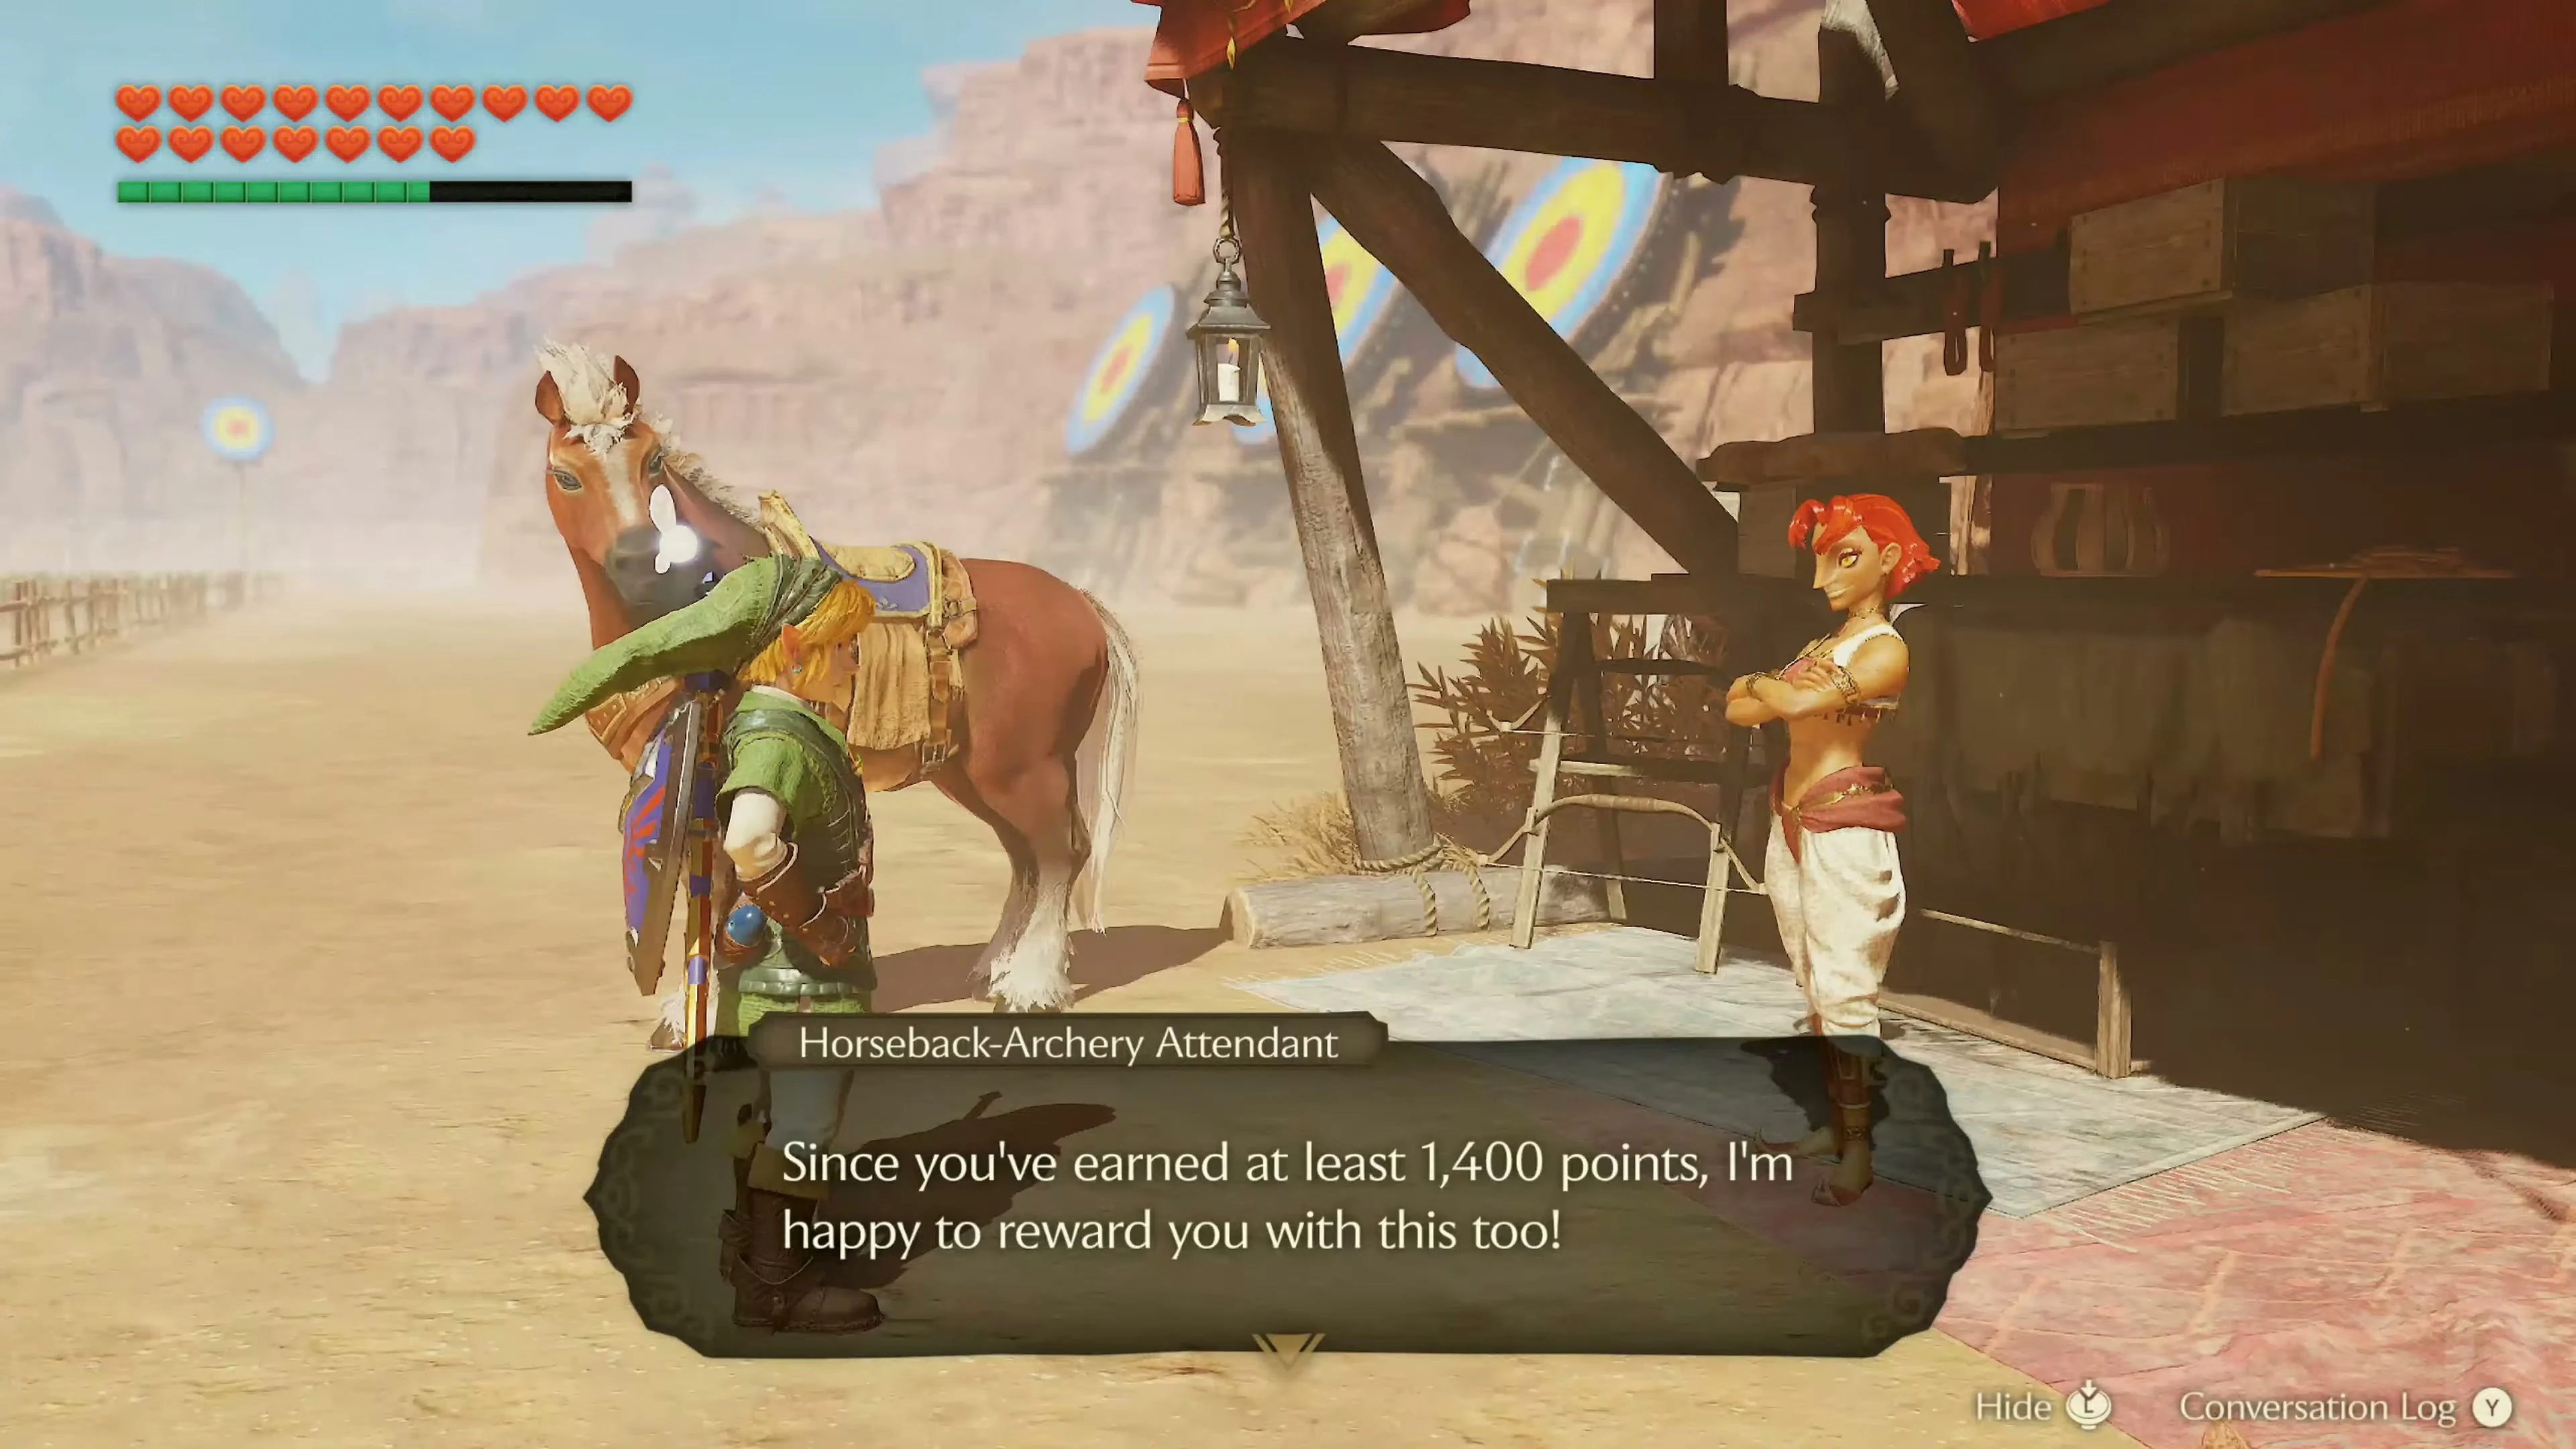
Biggest Quiver for 1,400 points
Start archery again afterward. For the second reward, you need at least 1,400 points . Now your goal should be to destroy as many of the four jars as possible and hit the large targets primarily in the inner scoring area. Don’t waste arrows on a poorly aimed shot. The course offers plenty of opportunities for precise hits. Especially in the second half and at the turning point, you can draw your bow early and wait for the center of a target to move into Link’s line of fire. If you reach at least 1,400 points, you will receive the Biggest Quiver . With this, Link can carry up to 50 arrows at one time. If you haven’t yet received the first quiver upgrade in Kakariko Village, the exact reward order may change accordingly. You can find all upgrades in our guide. More Bombs, Arrows, and Rupees .
Gold Skulltula 2/2 at the Archery Range
After the minigame, stay at the archery range and wait until nightfall. Alternatively, you can play Sun’s Song . Walk or ride to the far end of the shooting range. After nightfall, the second Gold Skulltula of the Gerudo Fortress will appear on the back of the rearmost target in the northeast. Defeat it with the Longshot and pull the token towards you. This will defeat both Gold Skulltulas of the Gerudo Fortress. You can find further locations as usual in our overview of the 100 Gold Skulltulas .
Optional: The Gerudo Proving Grounds
After the shooting range, go to the entrance of the Gerudo Proving Grounds and pay 30 Rupees. The next section leads you through the trials to the Ice Arrows.