
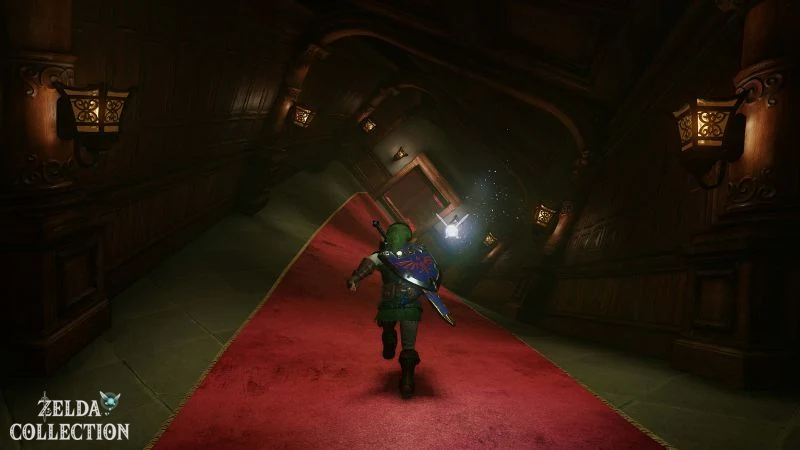
The entrance area – first Small Key and first Skulltula
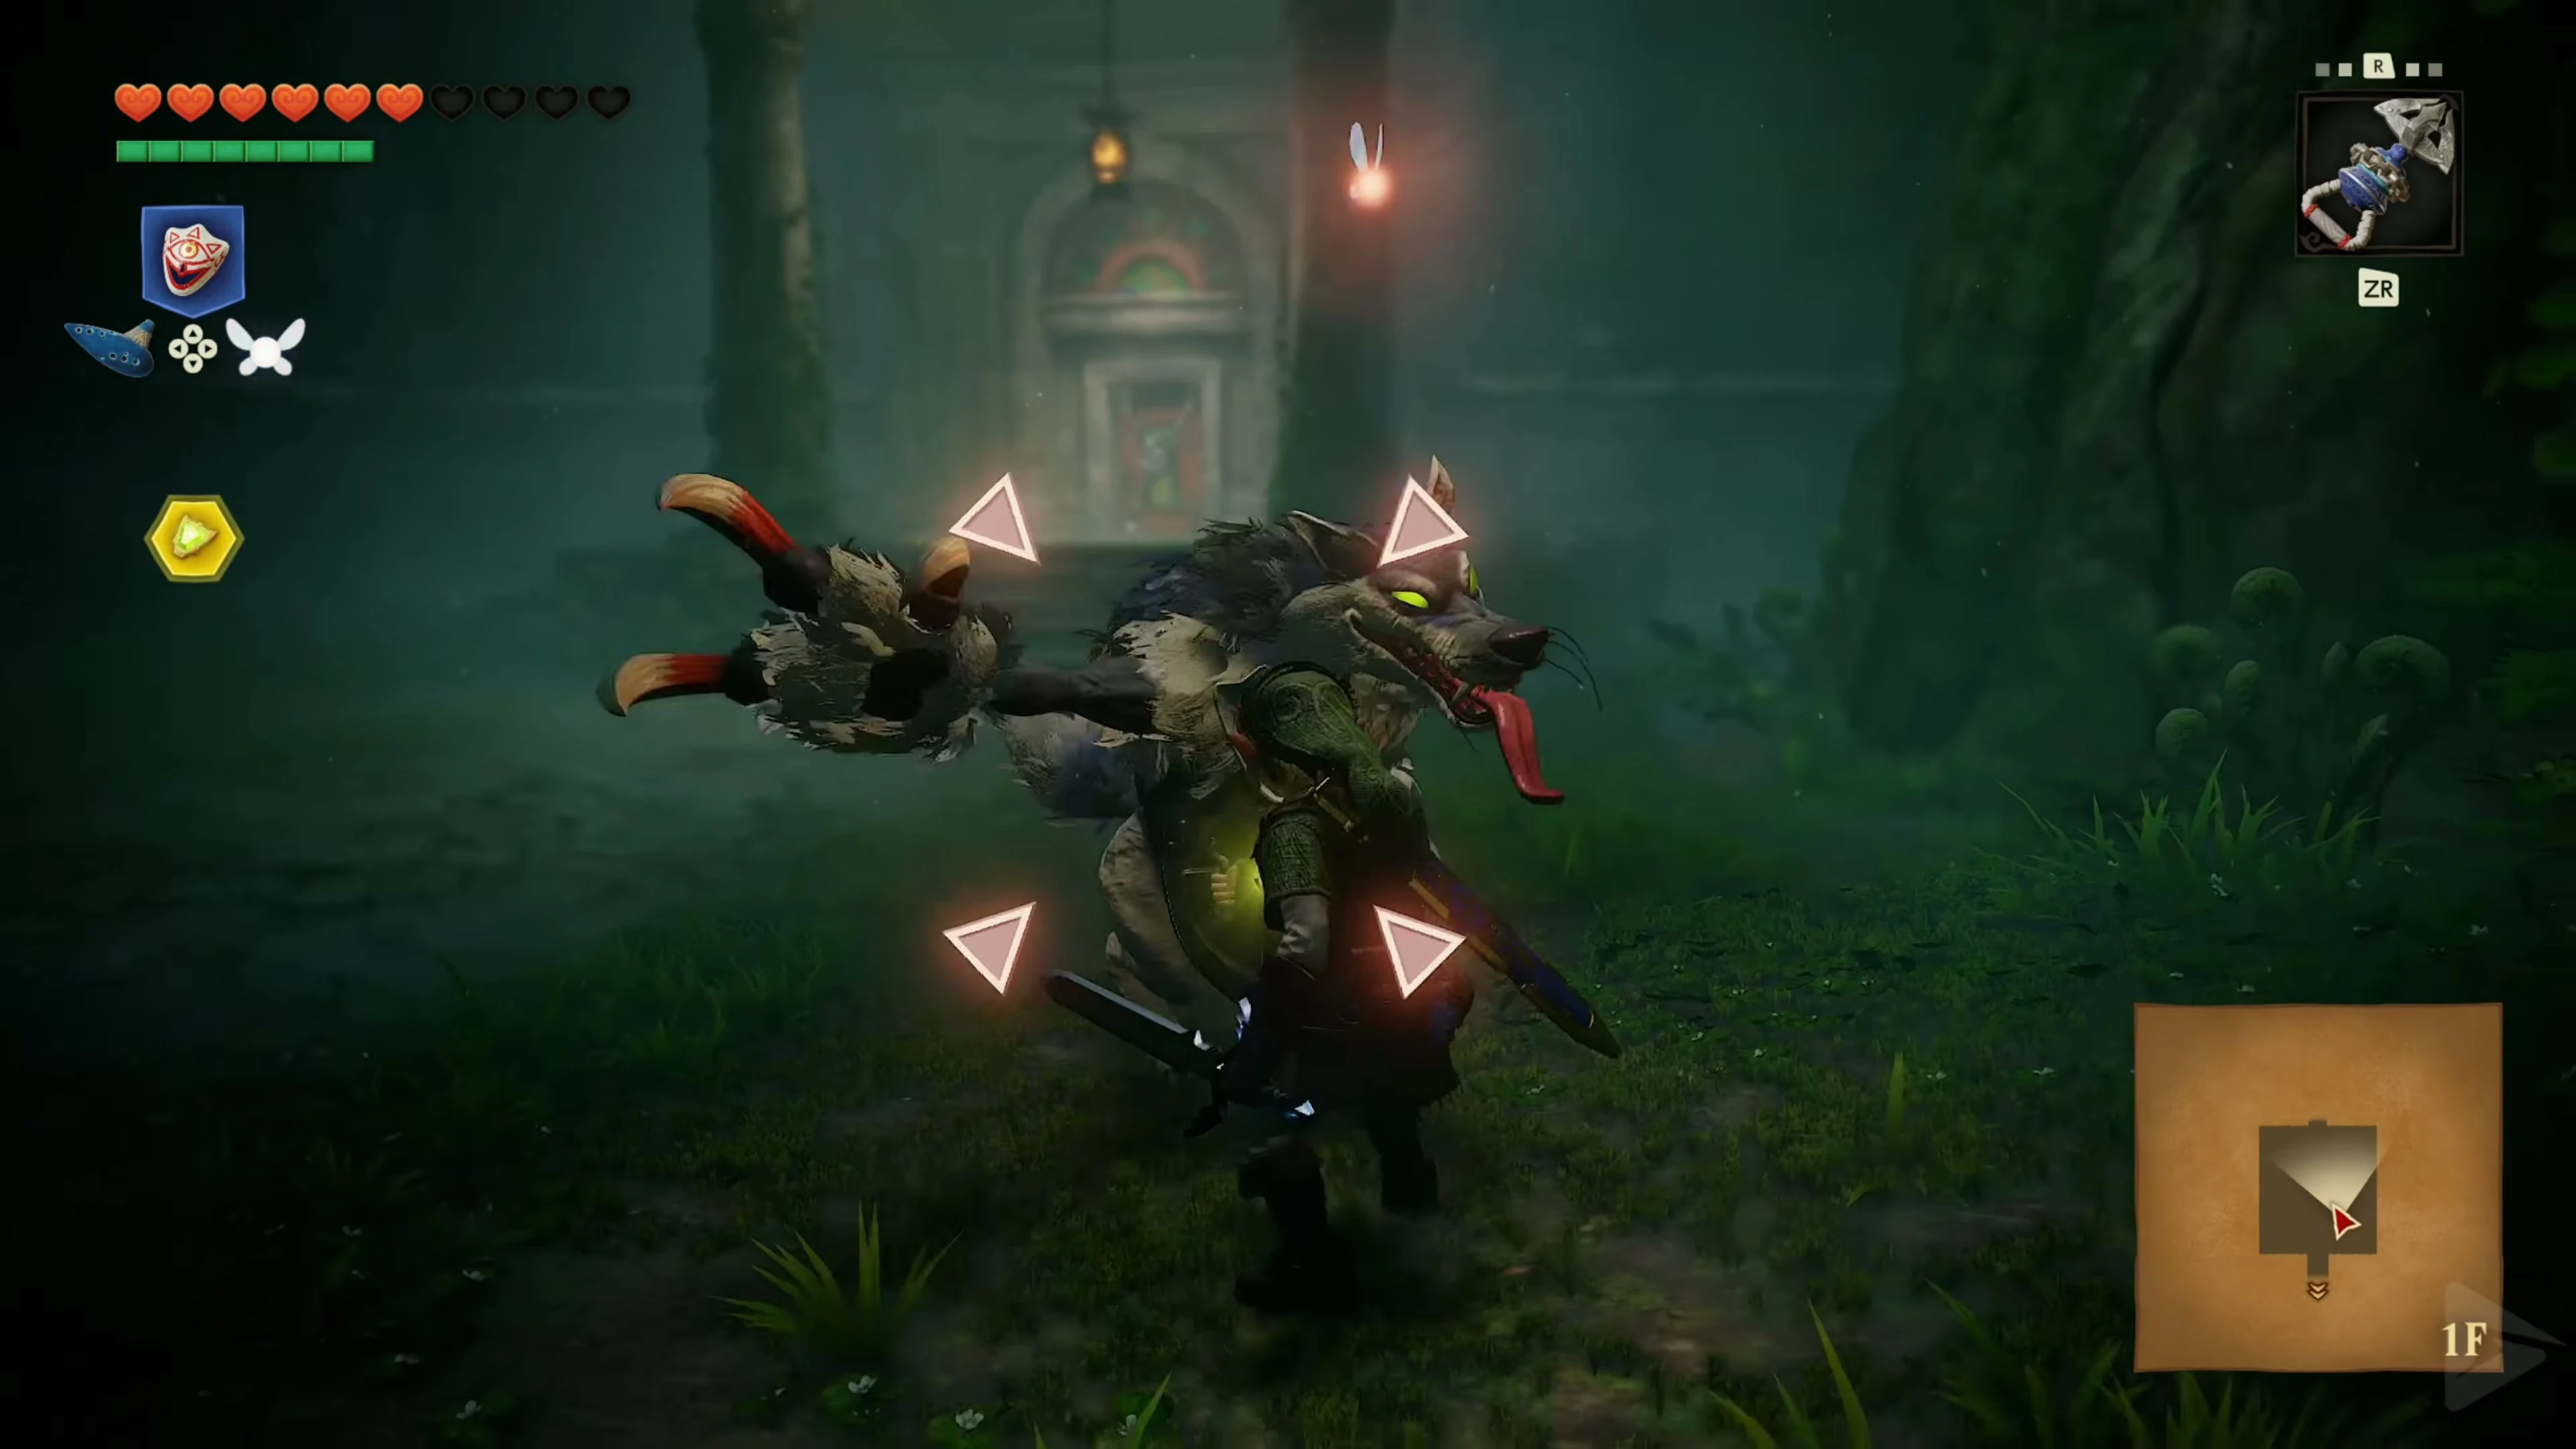
On the Sacred Grove, use the Hookshot to pull yourself to the anchor point above the entrance stairs and enter the Forest Temple. In the first overgrown room, two Wolfos attack . Target one and have your shield ready. Dodge his claw swipe to the side and counter with the Master Sword after the attack. Then defeat the second Wolfos.
Gold Skulltula 1/5 – Vines in the entrance room
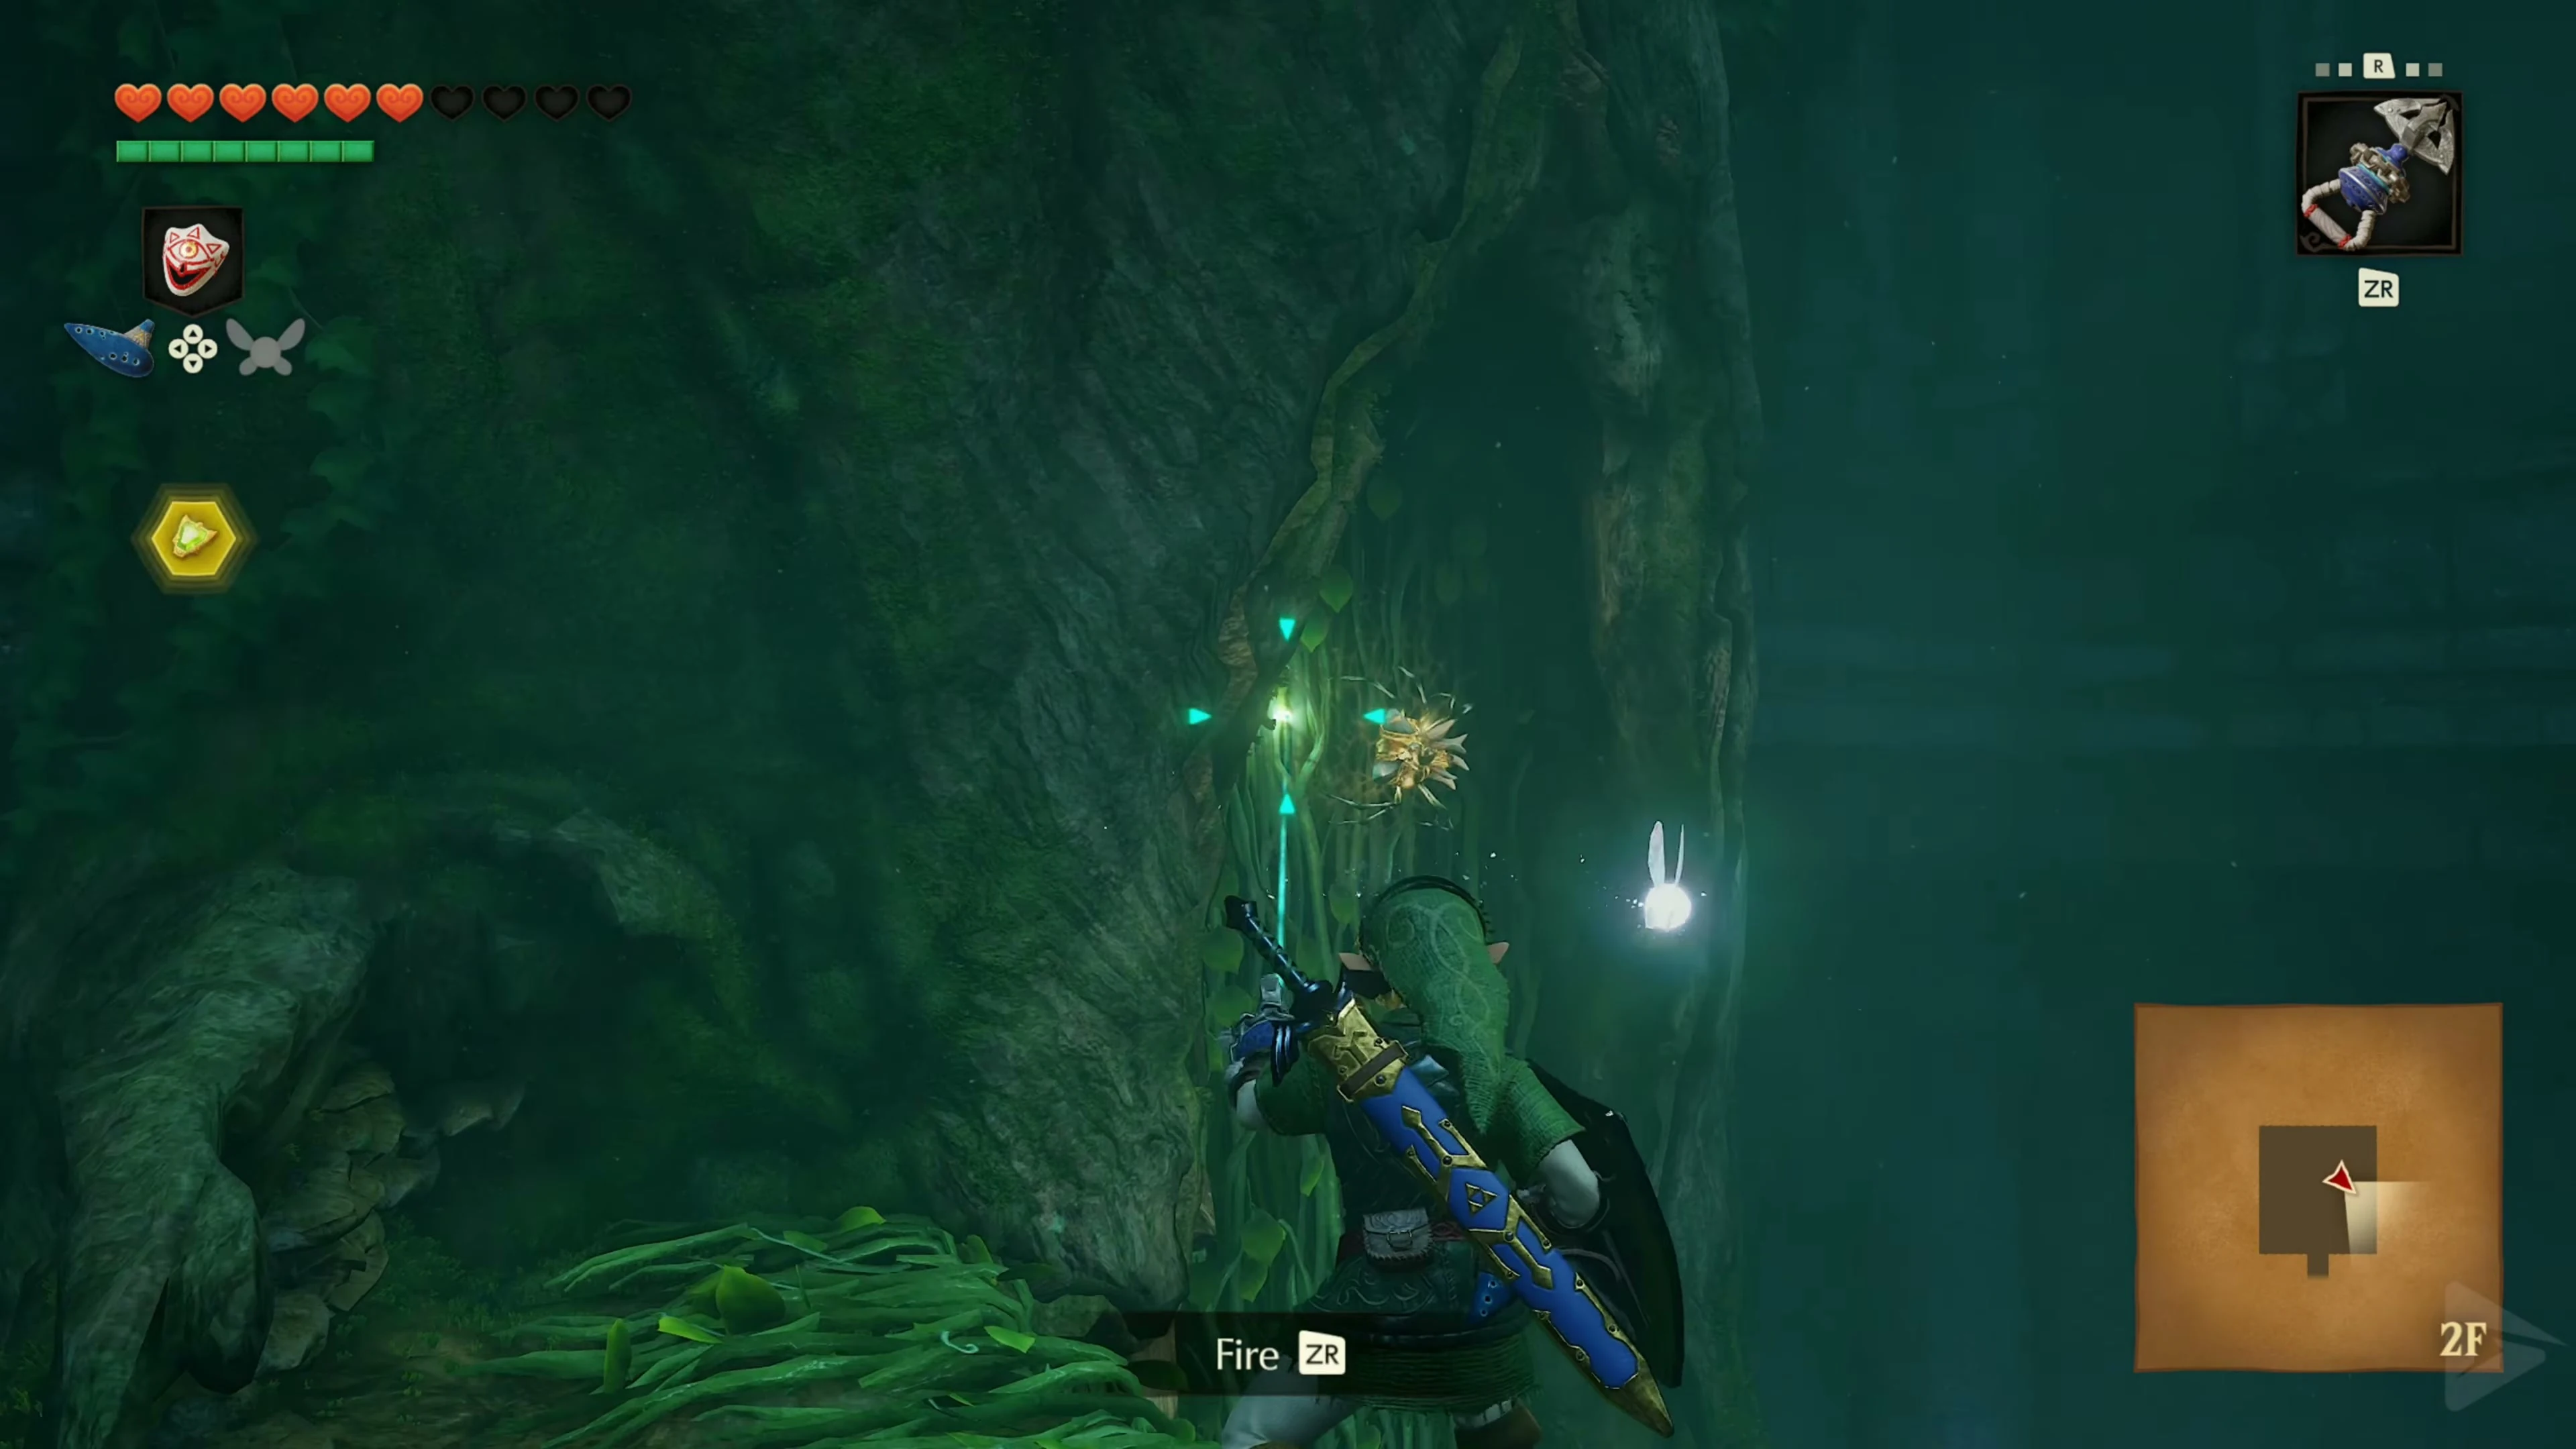
Climb the vines on the eastern wall onto the raised tree trunk. The Gold Skulltula sits at the top of the overgrown wall. Defeat them with the Hookshot and also pull the remaining golden token to you. Then continue on the branch to the key chest.
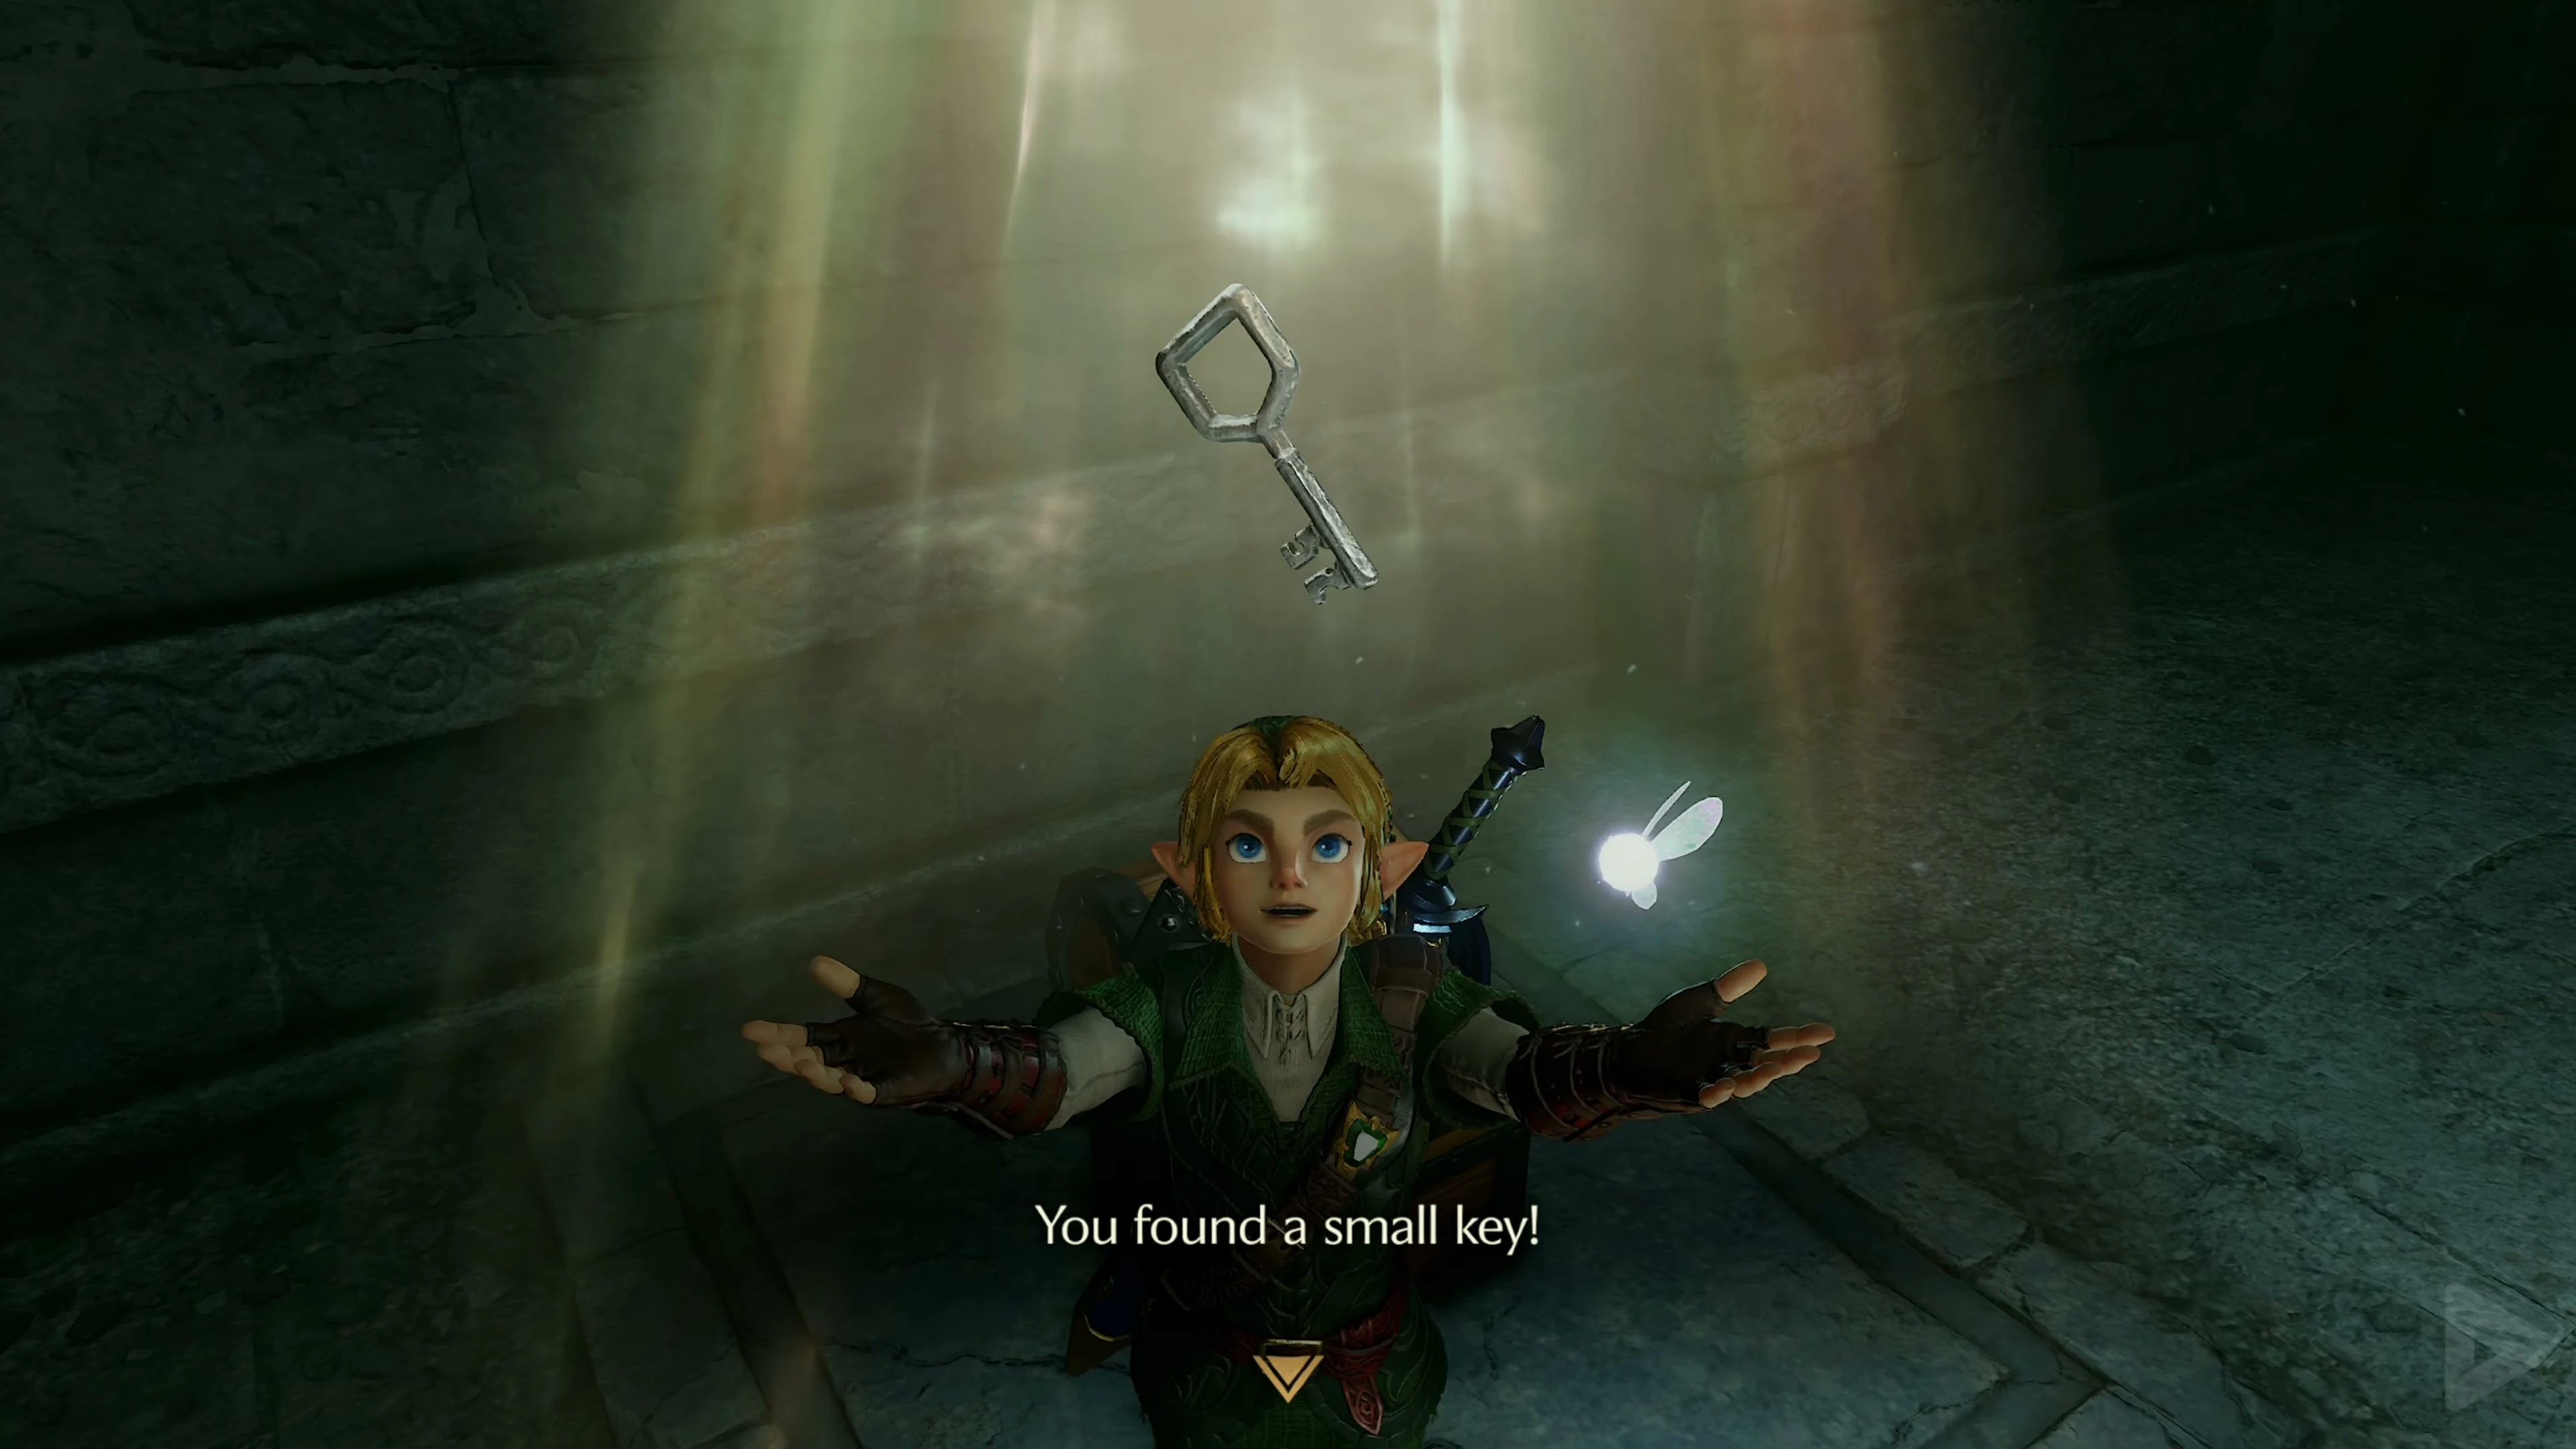
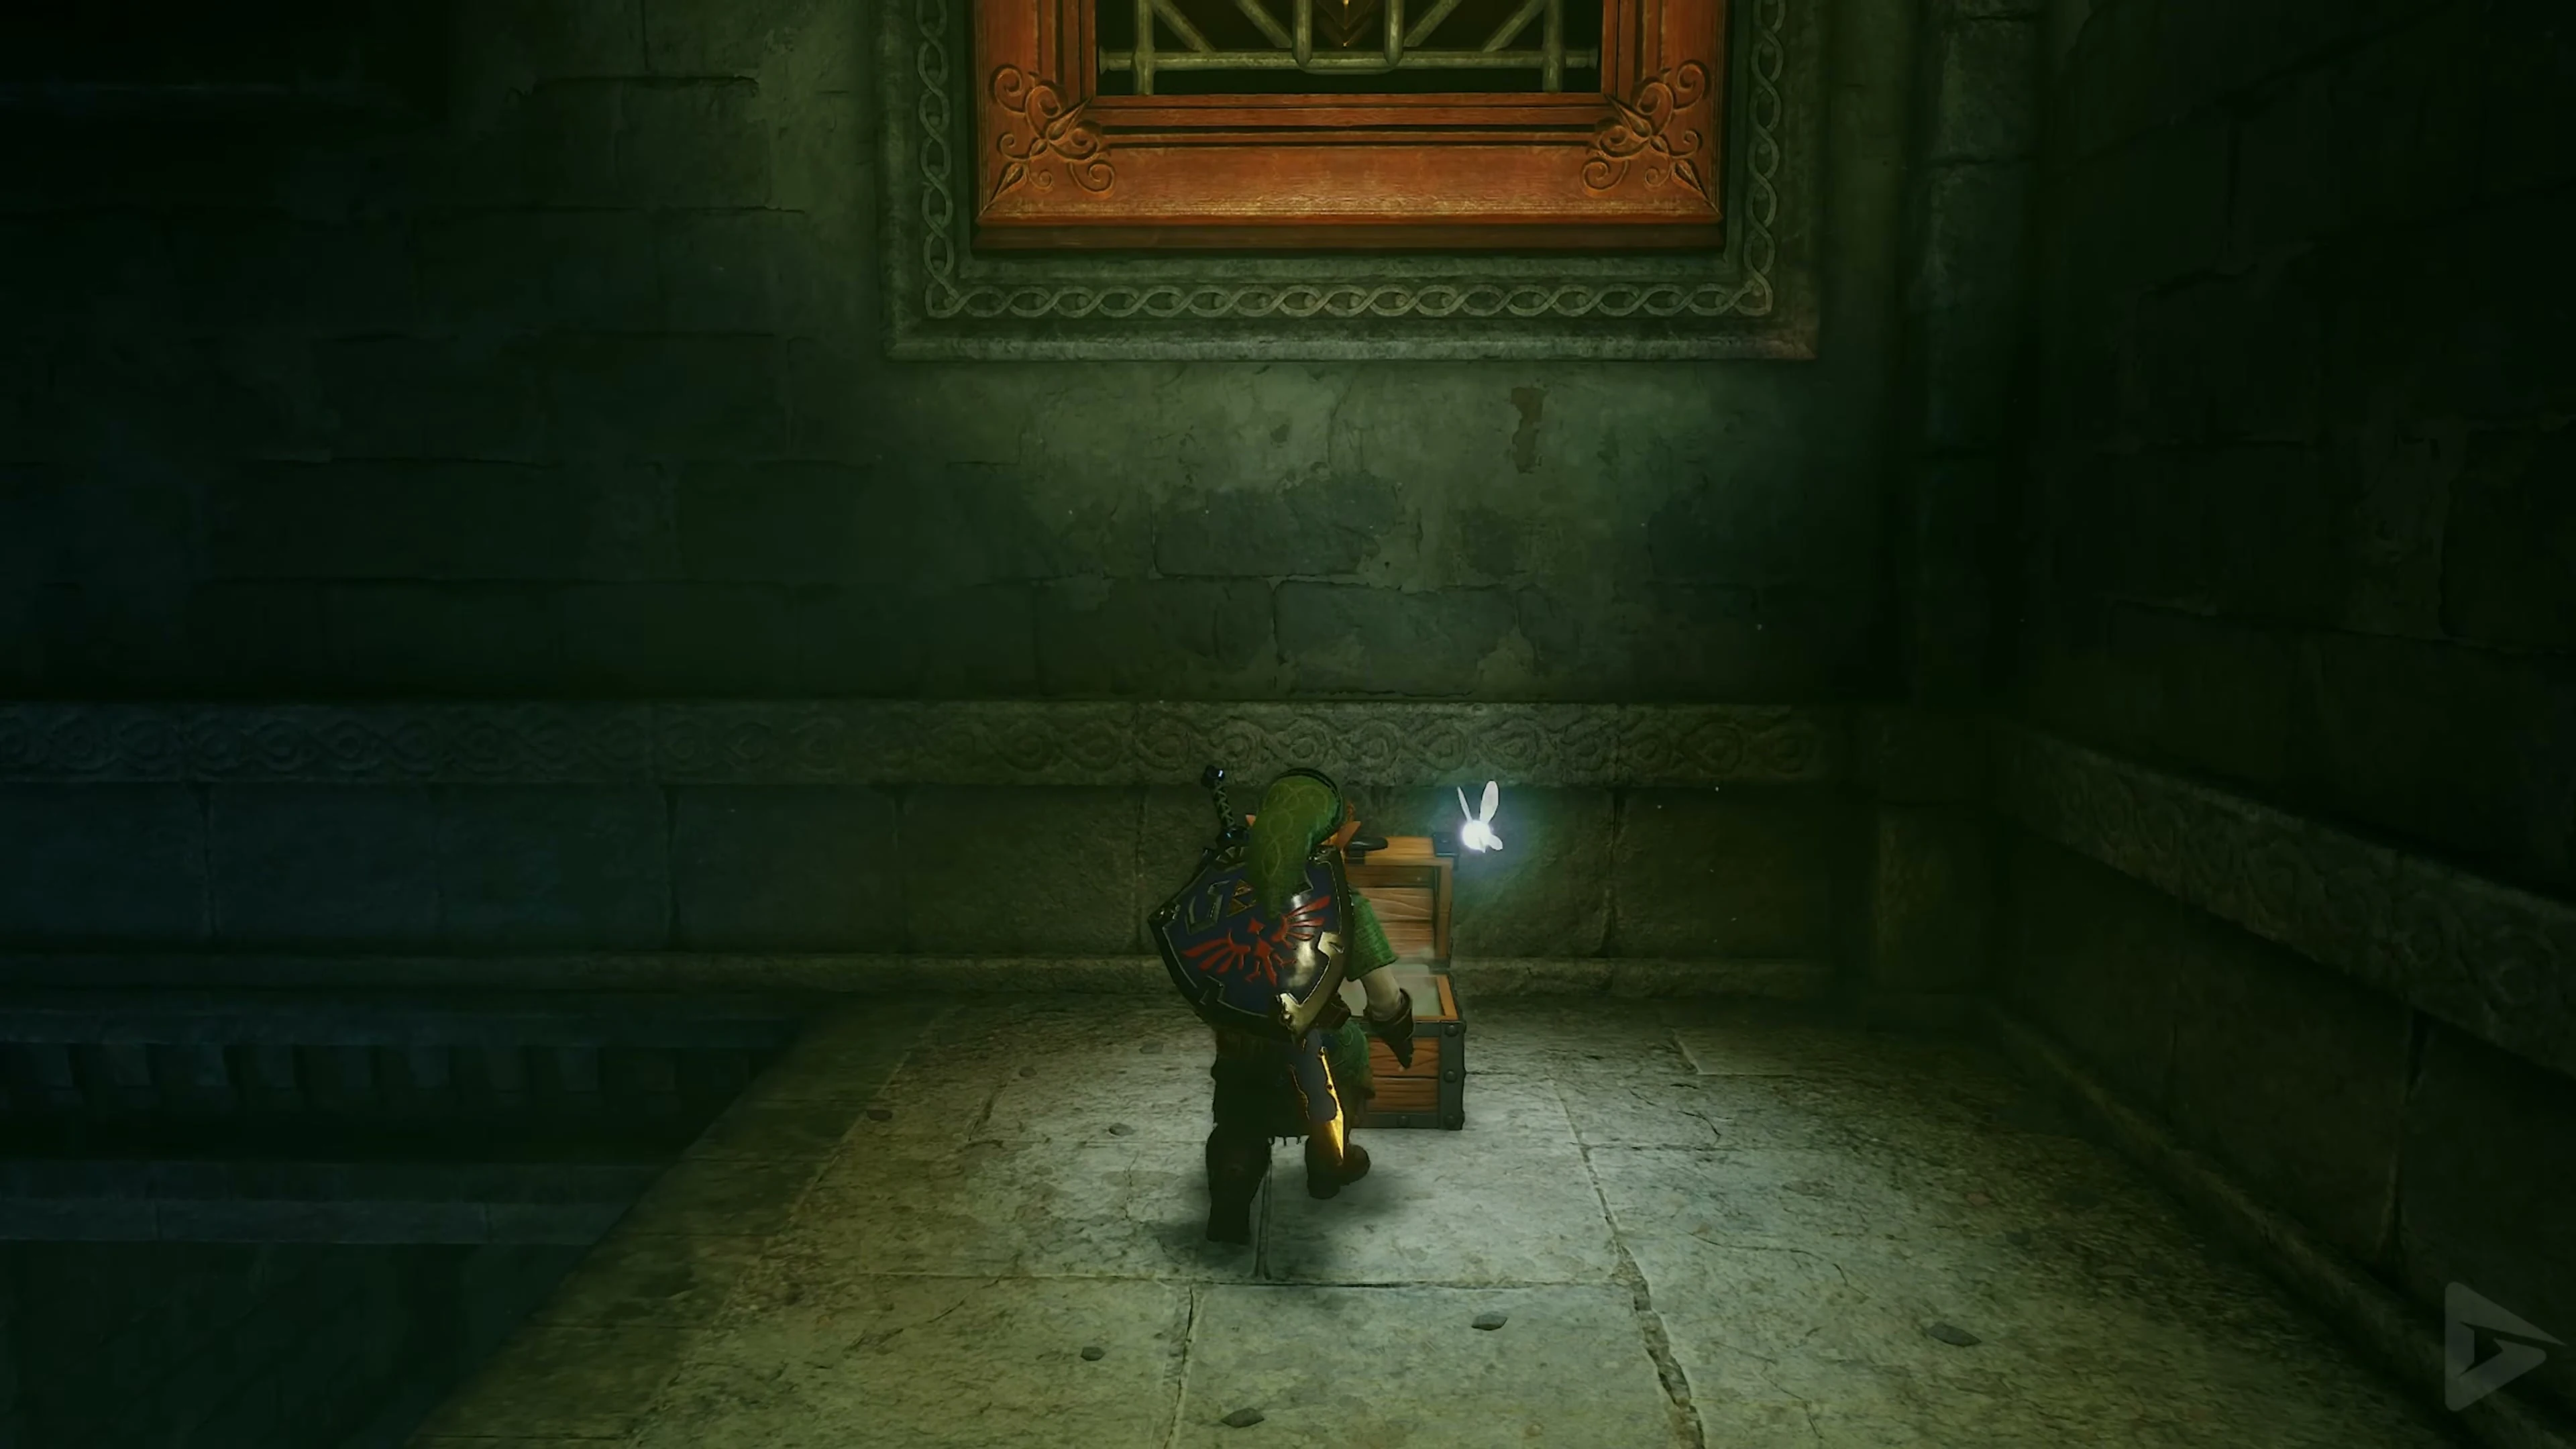
Then go over the narrow branch and reach the tree opposite. You can jump over or use the Hookshot to pull yourself up to the small treasure chest. Open it and take the Small Key 1/5 . Then jump back to the ground and open the north door with this first Small Key. A large skulltula hangs from the ceiling in the narrow hallway. The hookshot penetrates her shell, so you don’t have to wait for her to show her soft underside. A direct hit with a Hookshot is enough and the path to the central hall is clear.
The four Poe Sisters and the central hall
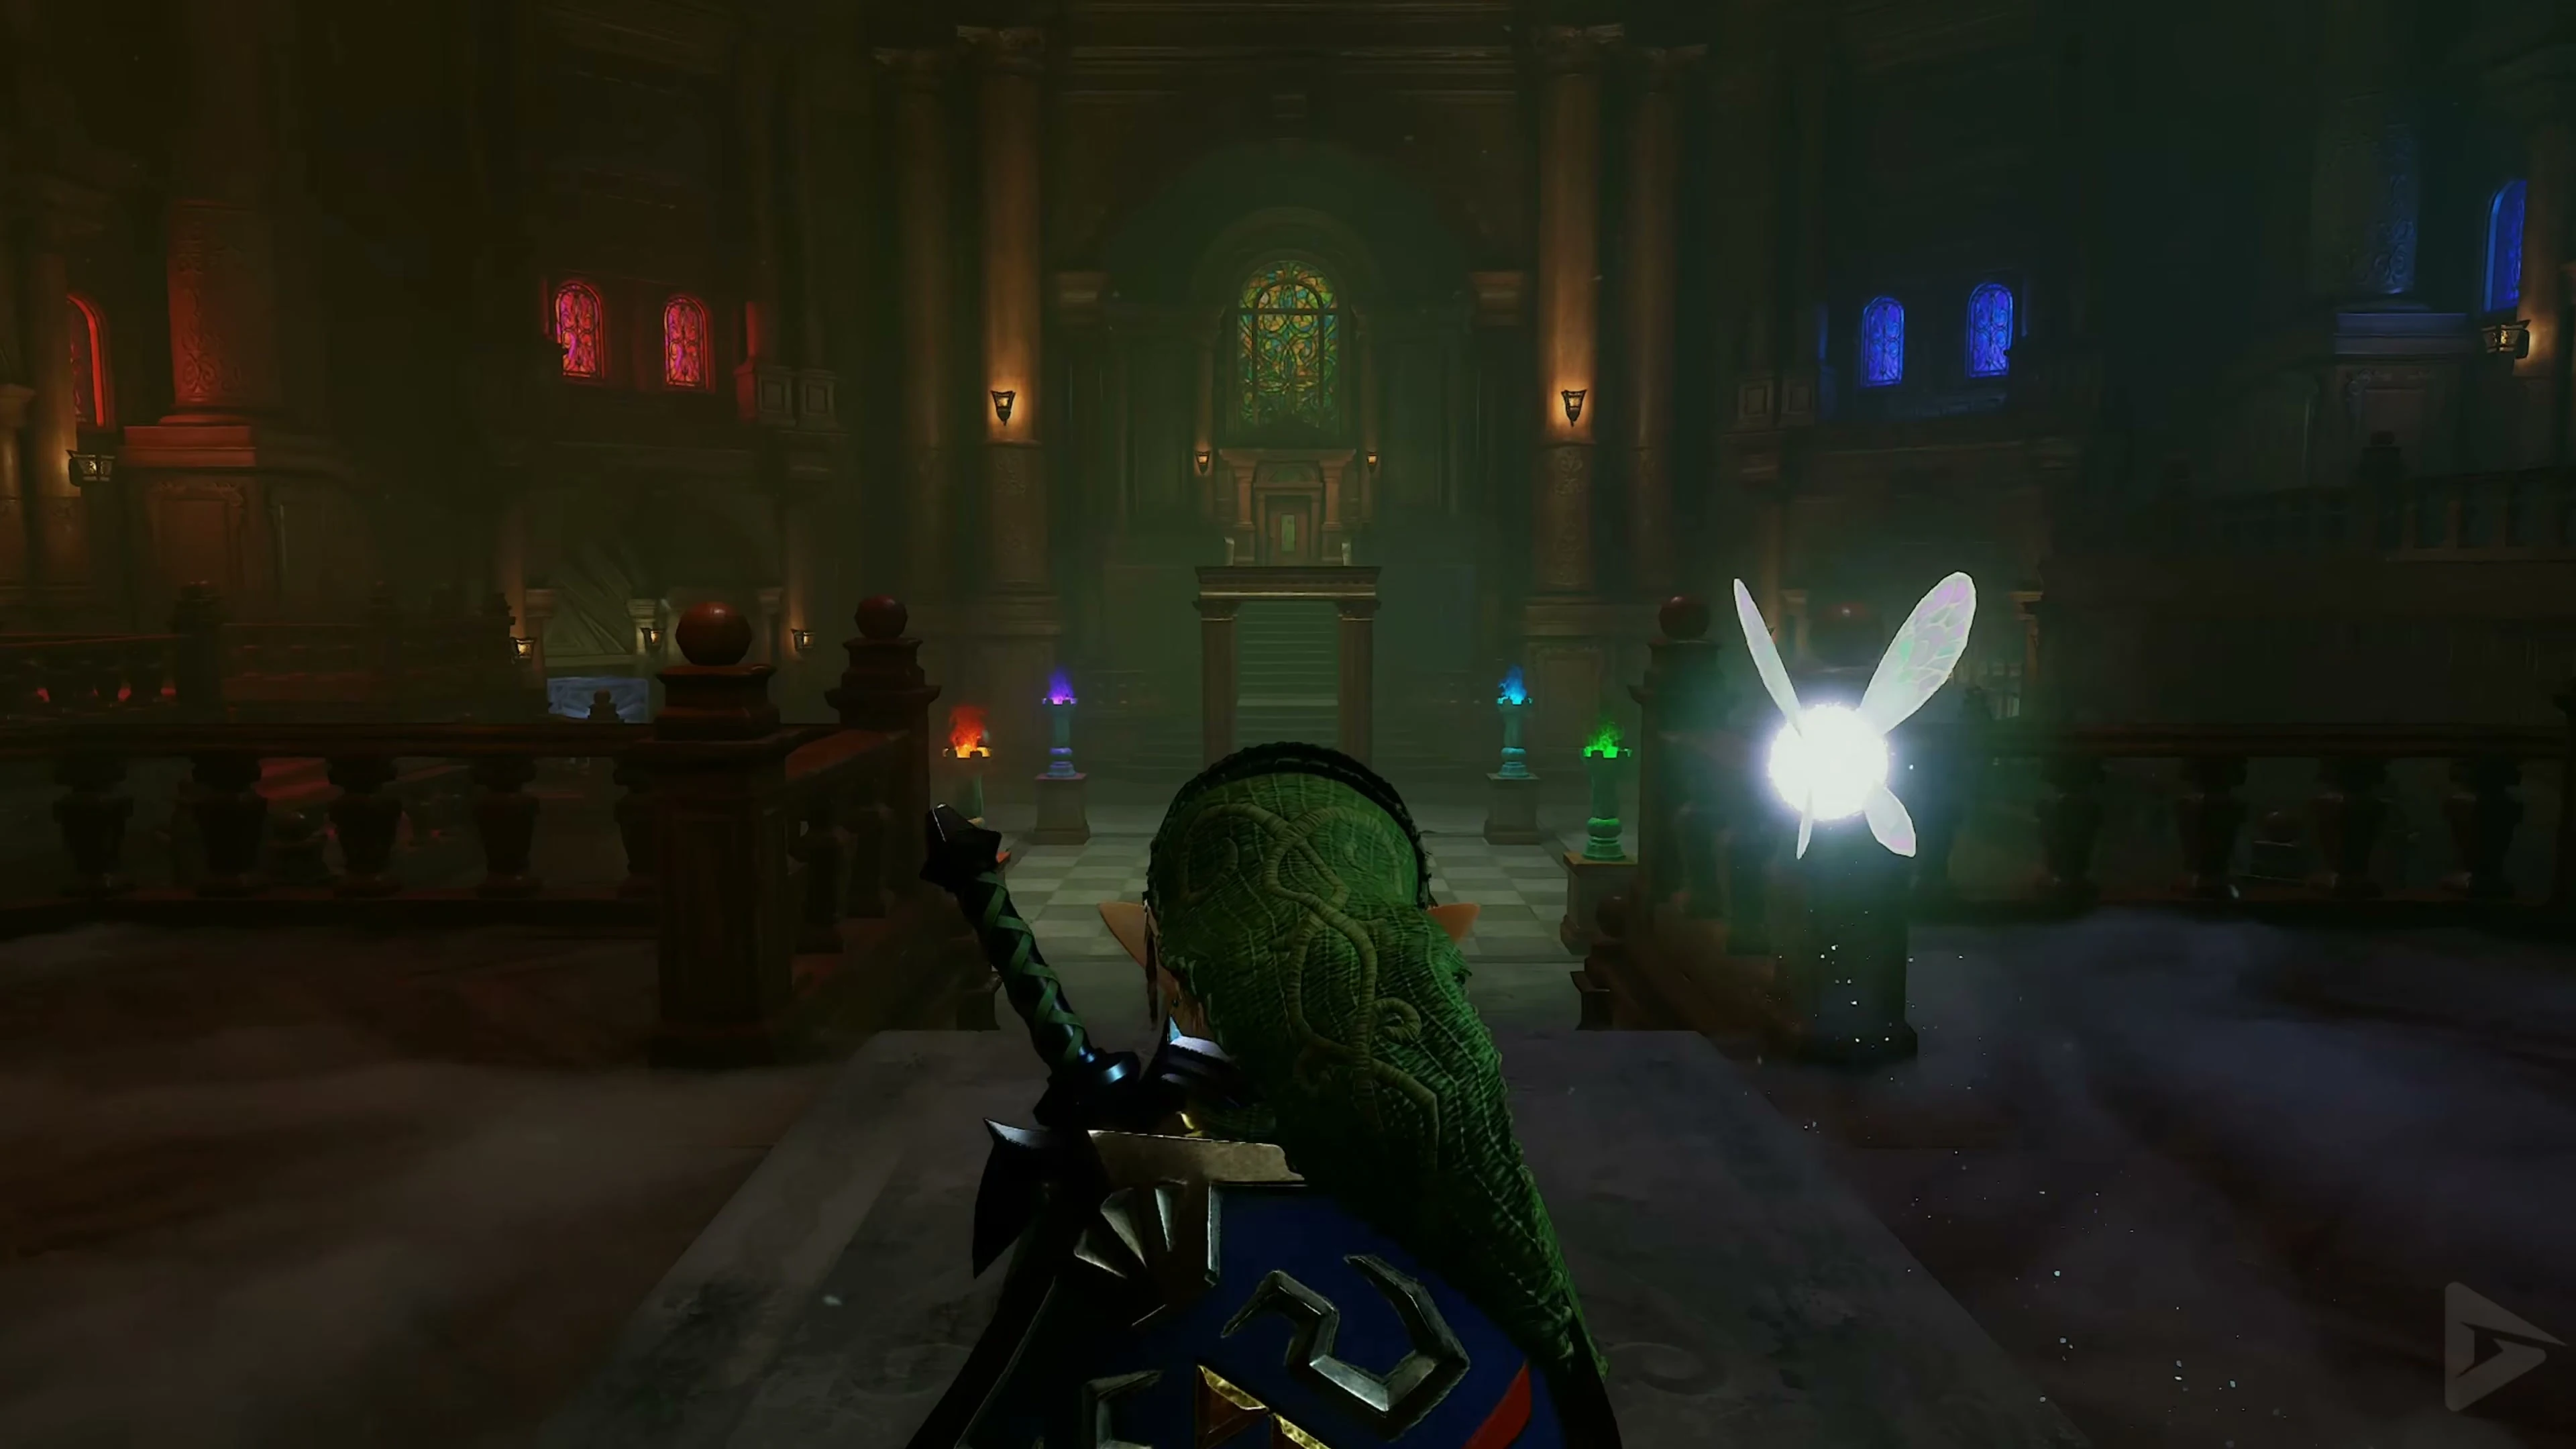
In the central hall, four Poe Sisters steal the flames from the torches. The elevator in the middle descends. It will become usable again once you have defeated the four sisters and brought back their flames.
Gold Skulltula 2/5 – North wall of the main hall
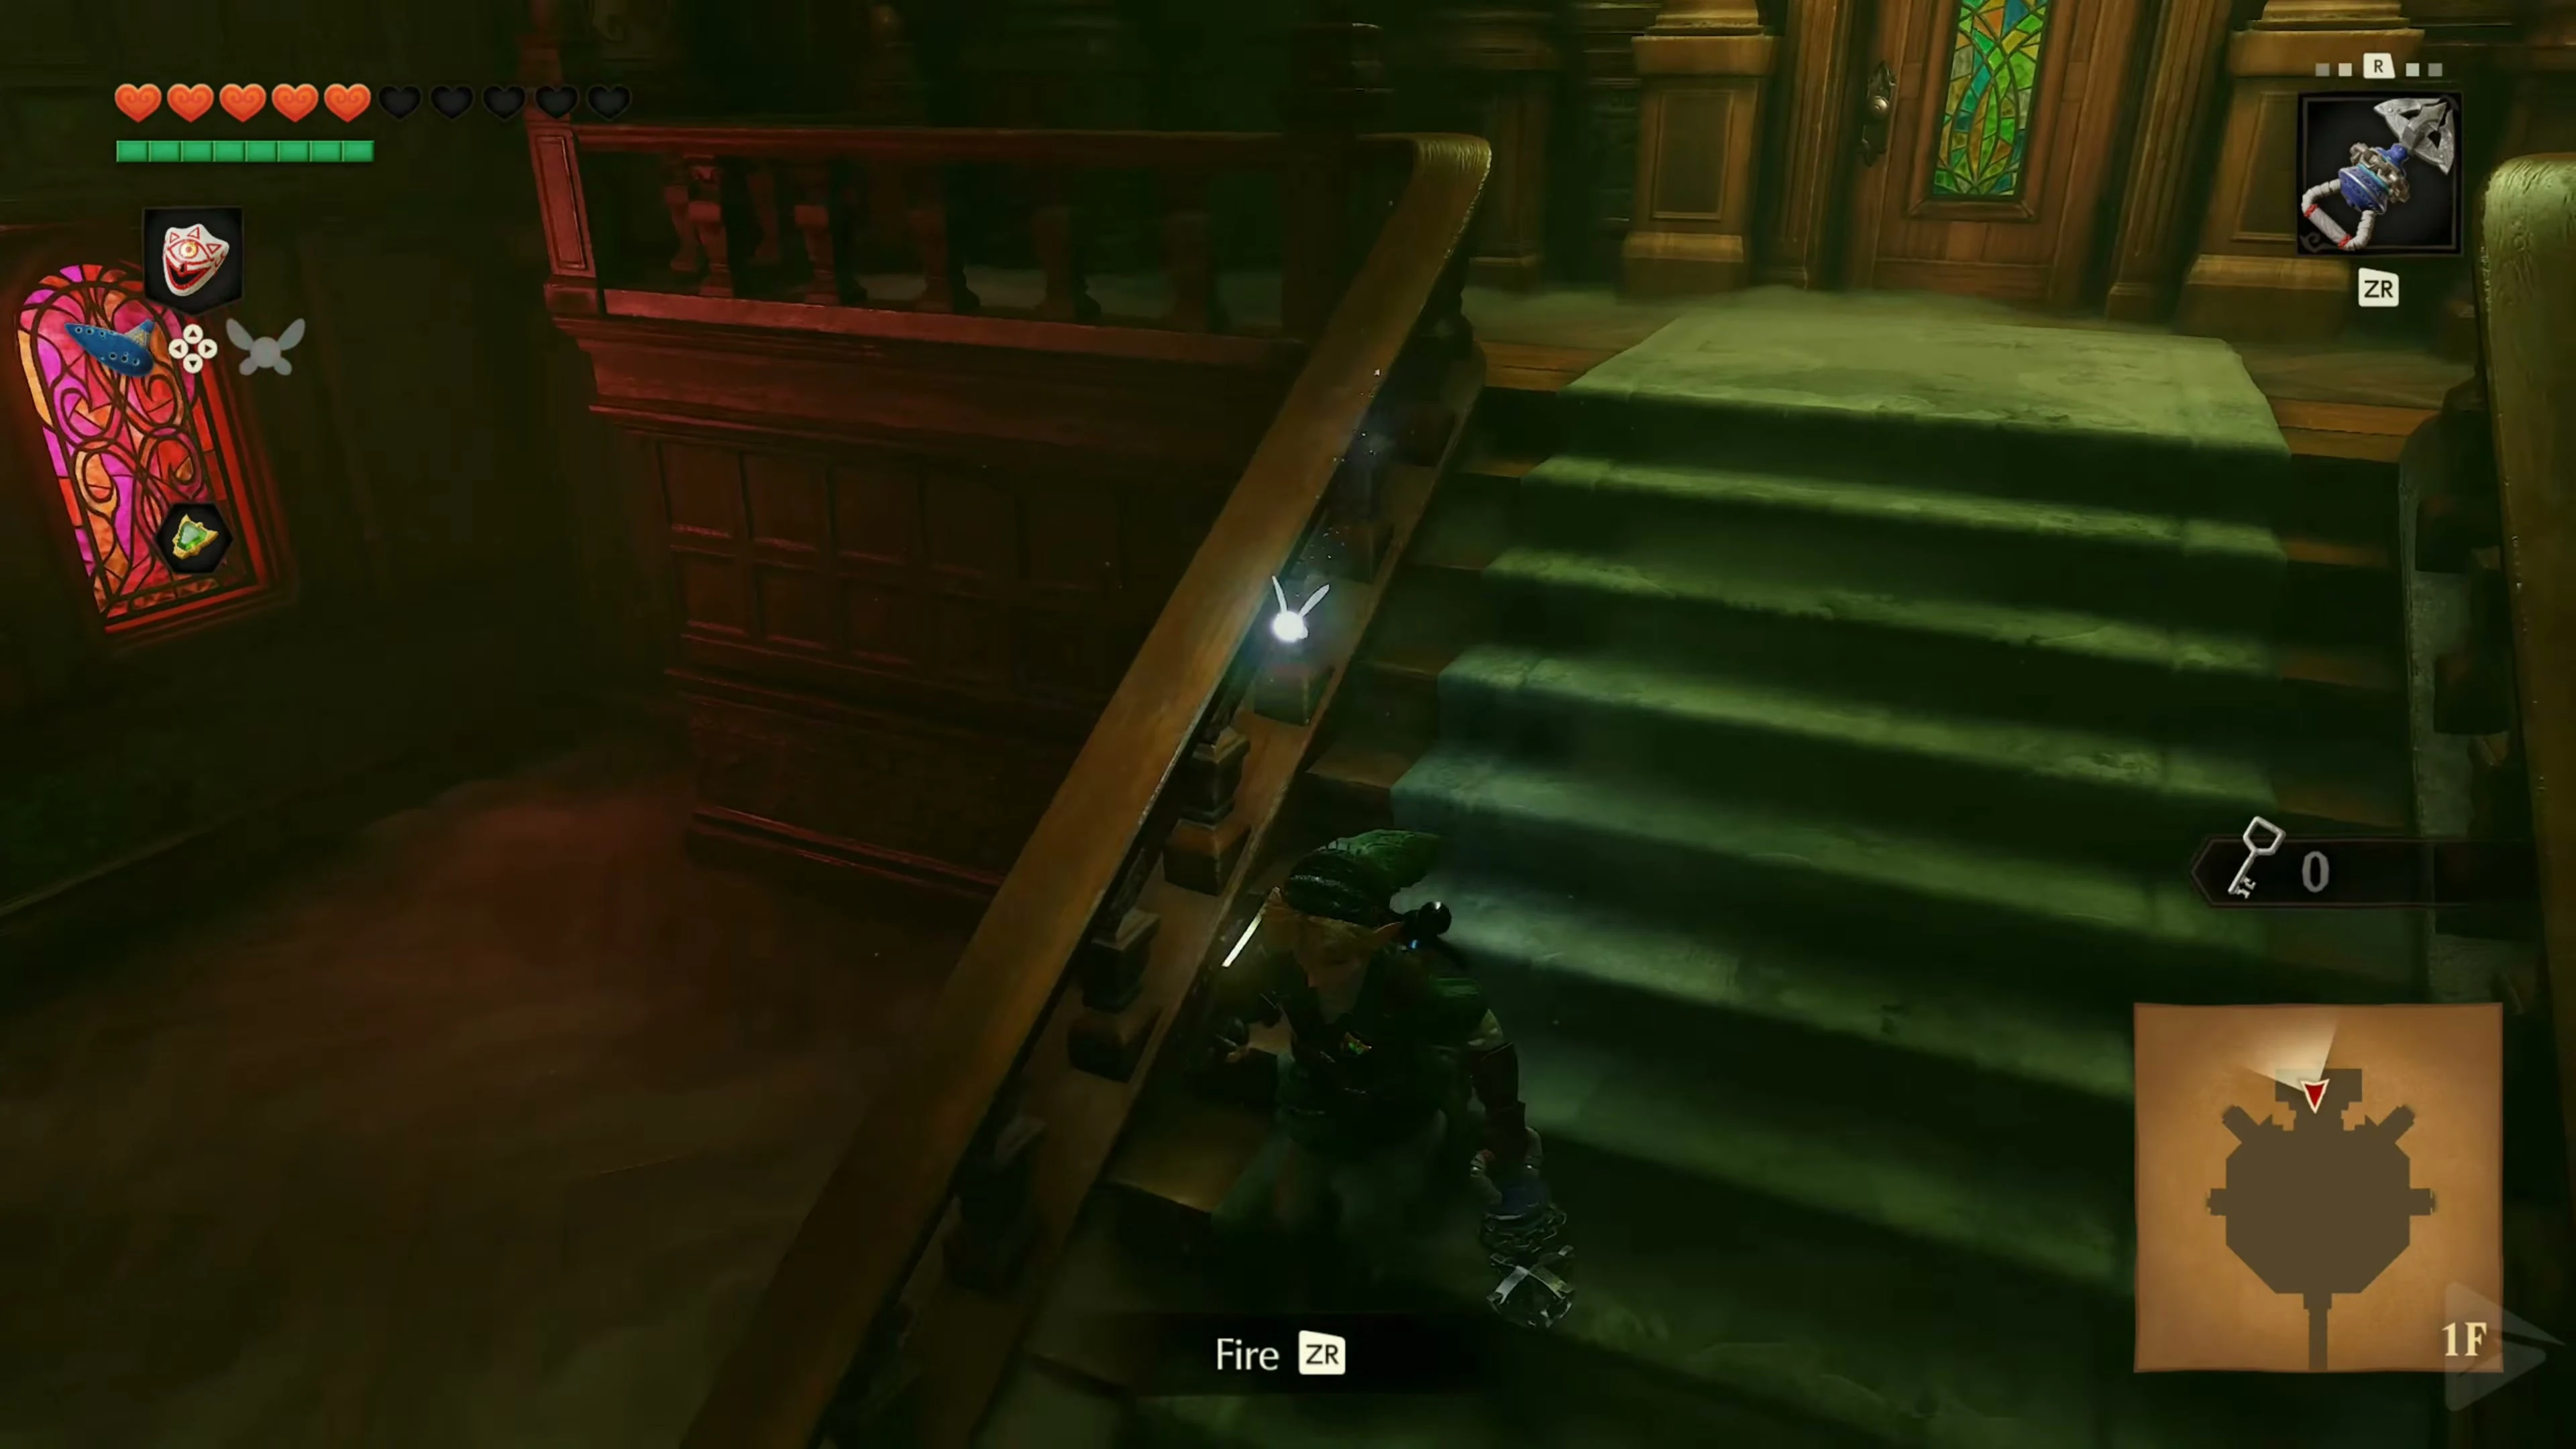
Go to the north door at the top of the stairs and turn to face the hall. Search the wall immediately next to and above the northern passage. Shoot the Gold Skulltula with the Hookshot and then get its Token . Then go through the north door to the Stalfos.
Small Key 2/5 – the first Stalfos
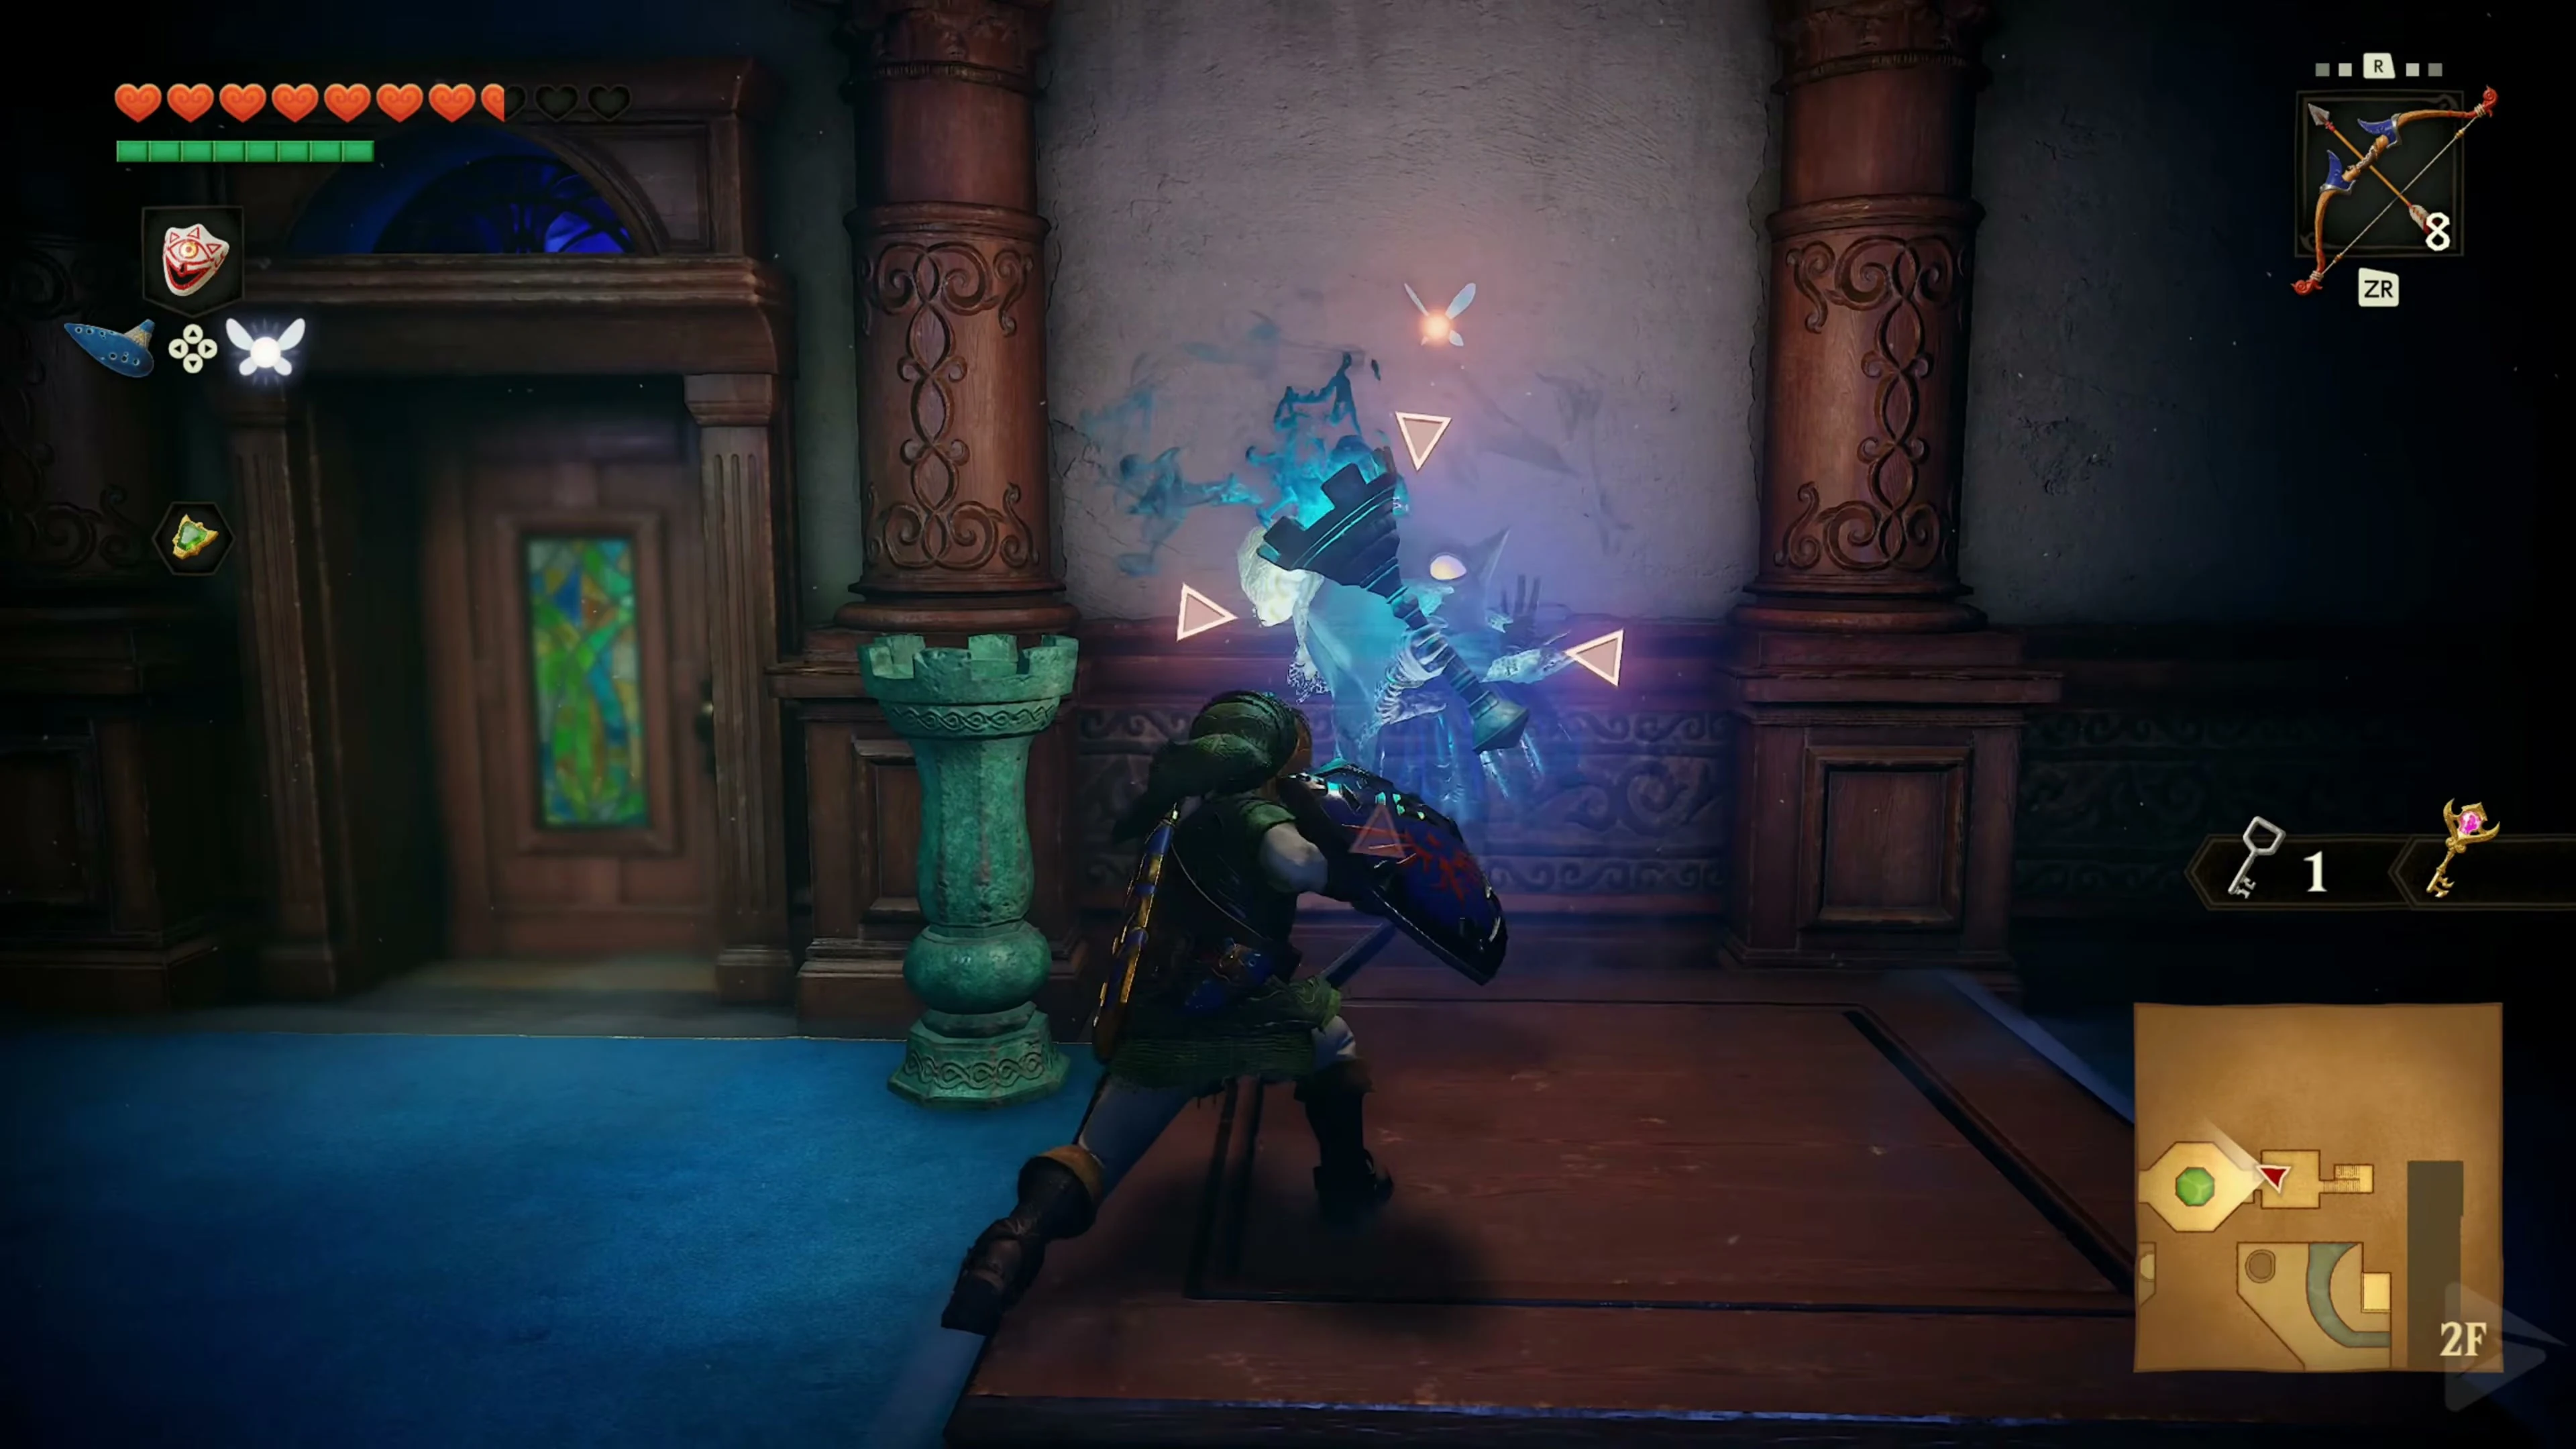
Now enter the northern door at the top of the stairs. A Blue Bubble floats in the short corridor. While his blue wreath of flames is active, he cannot be hit with normal sword strikes. You can wait until he flies into your raised Hylian Shield and his flames go out, or you can stun him directly with the Hookshot. As soon as the wreath of flames has disappeared, one stroke of the sword is enough. Then go through the next door.
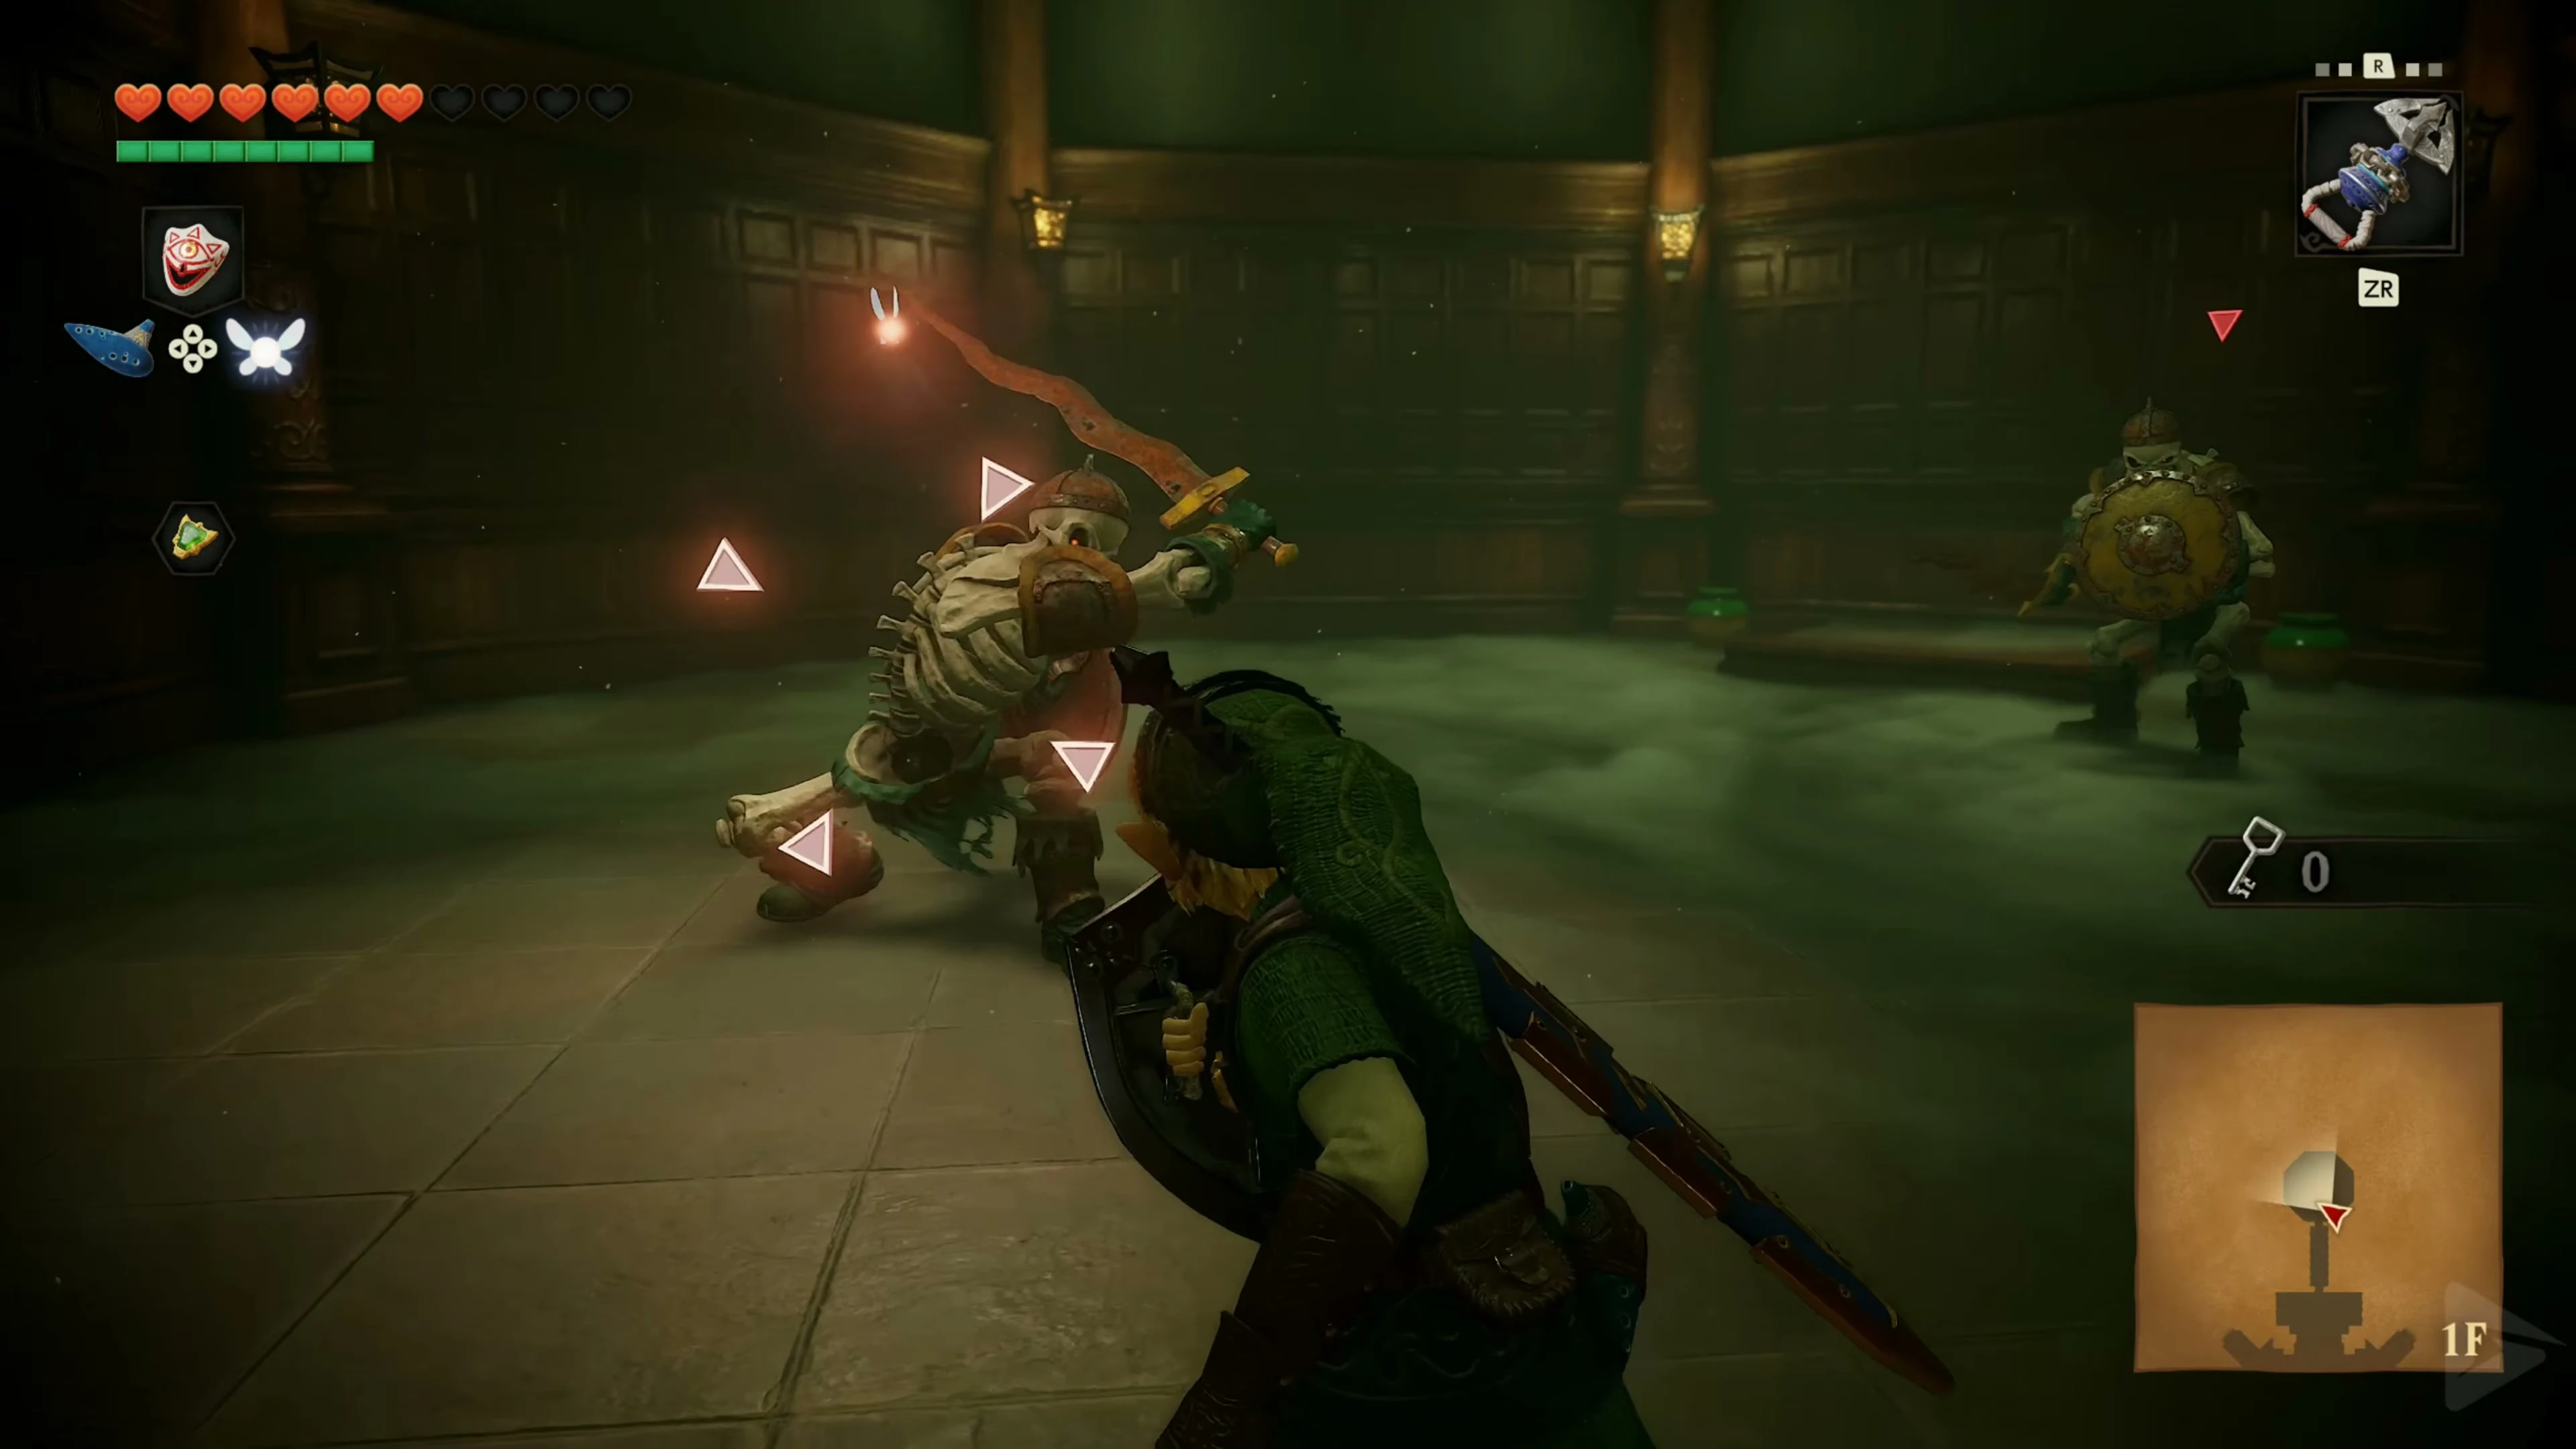
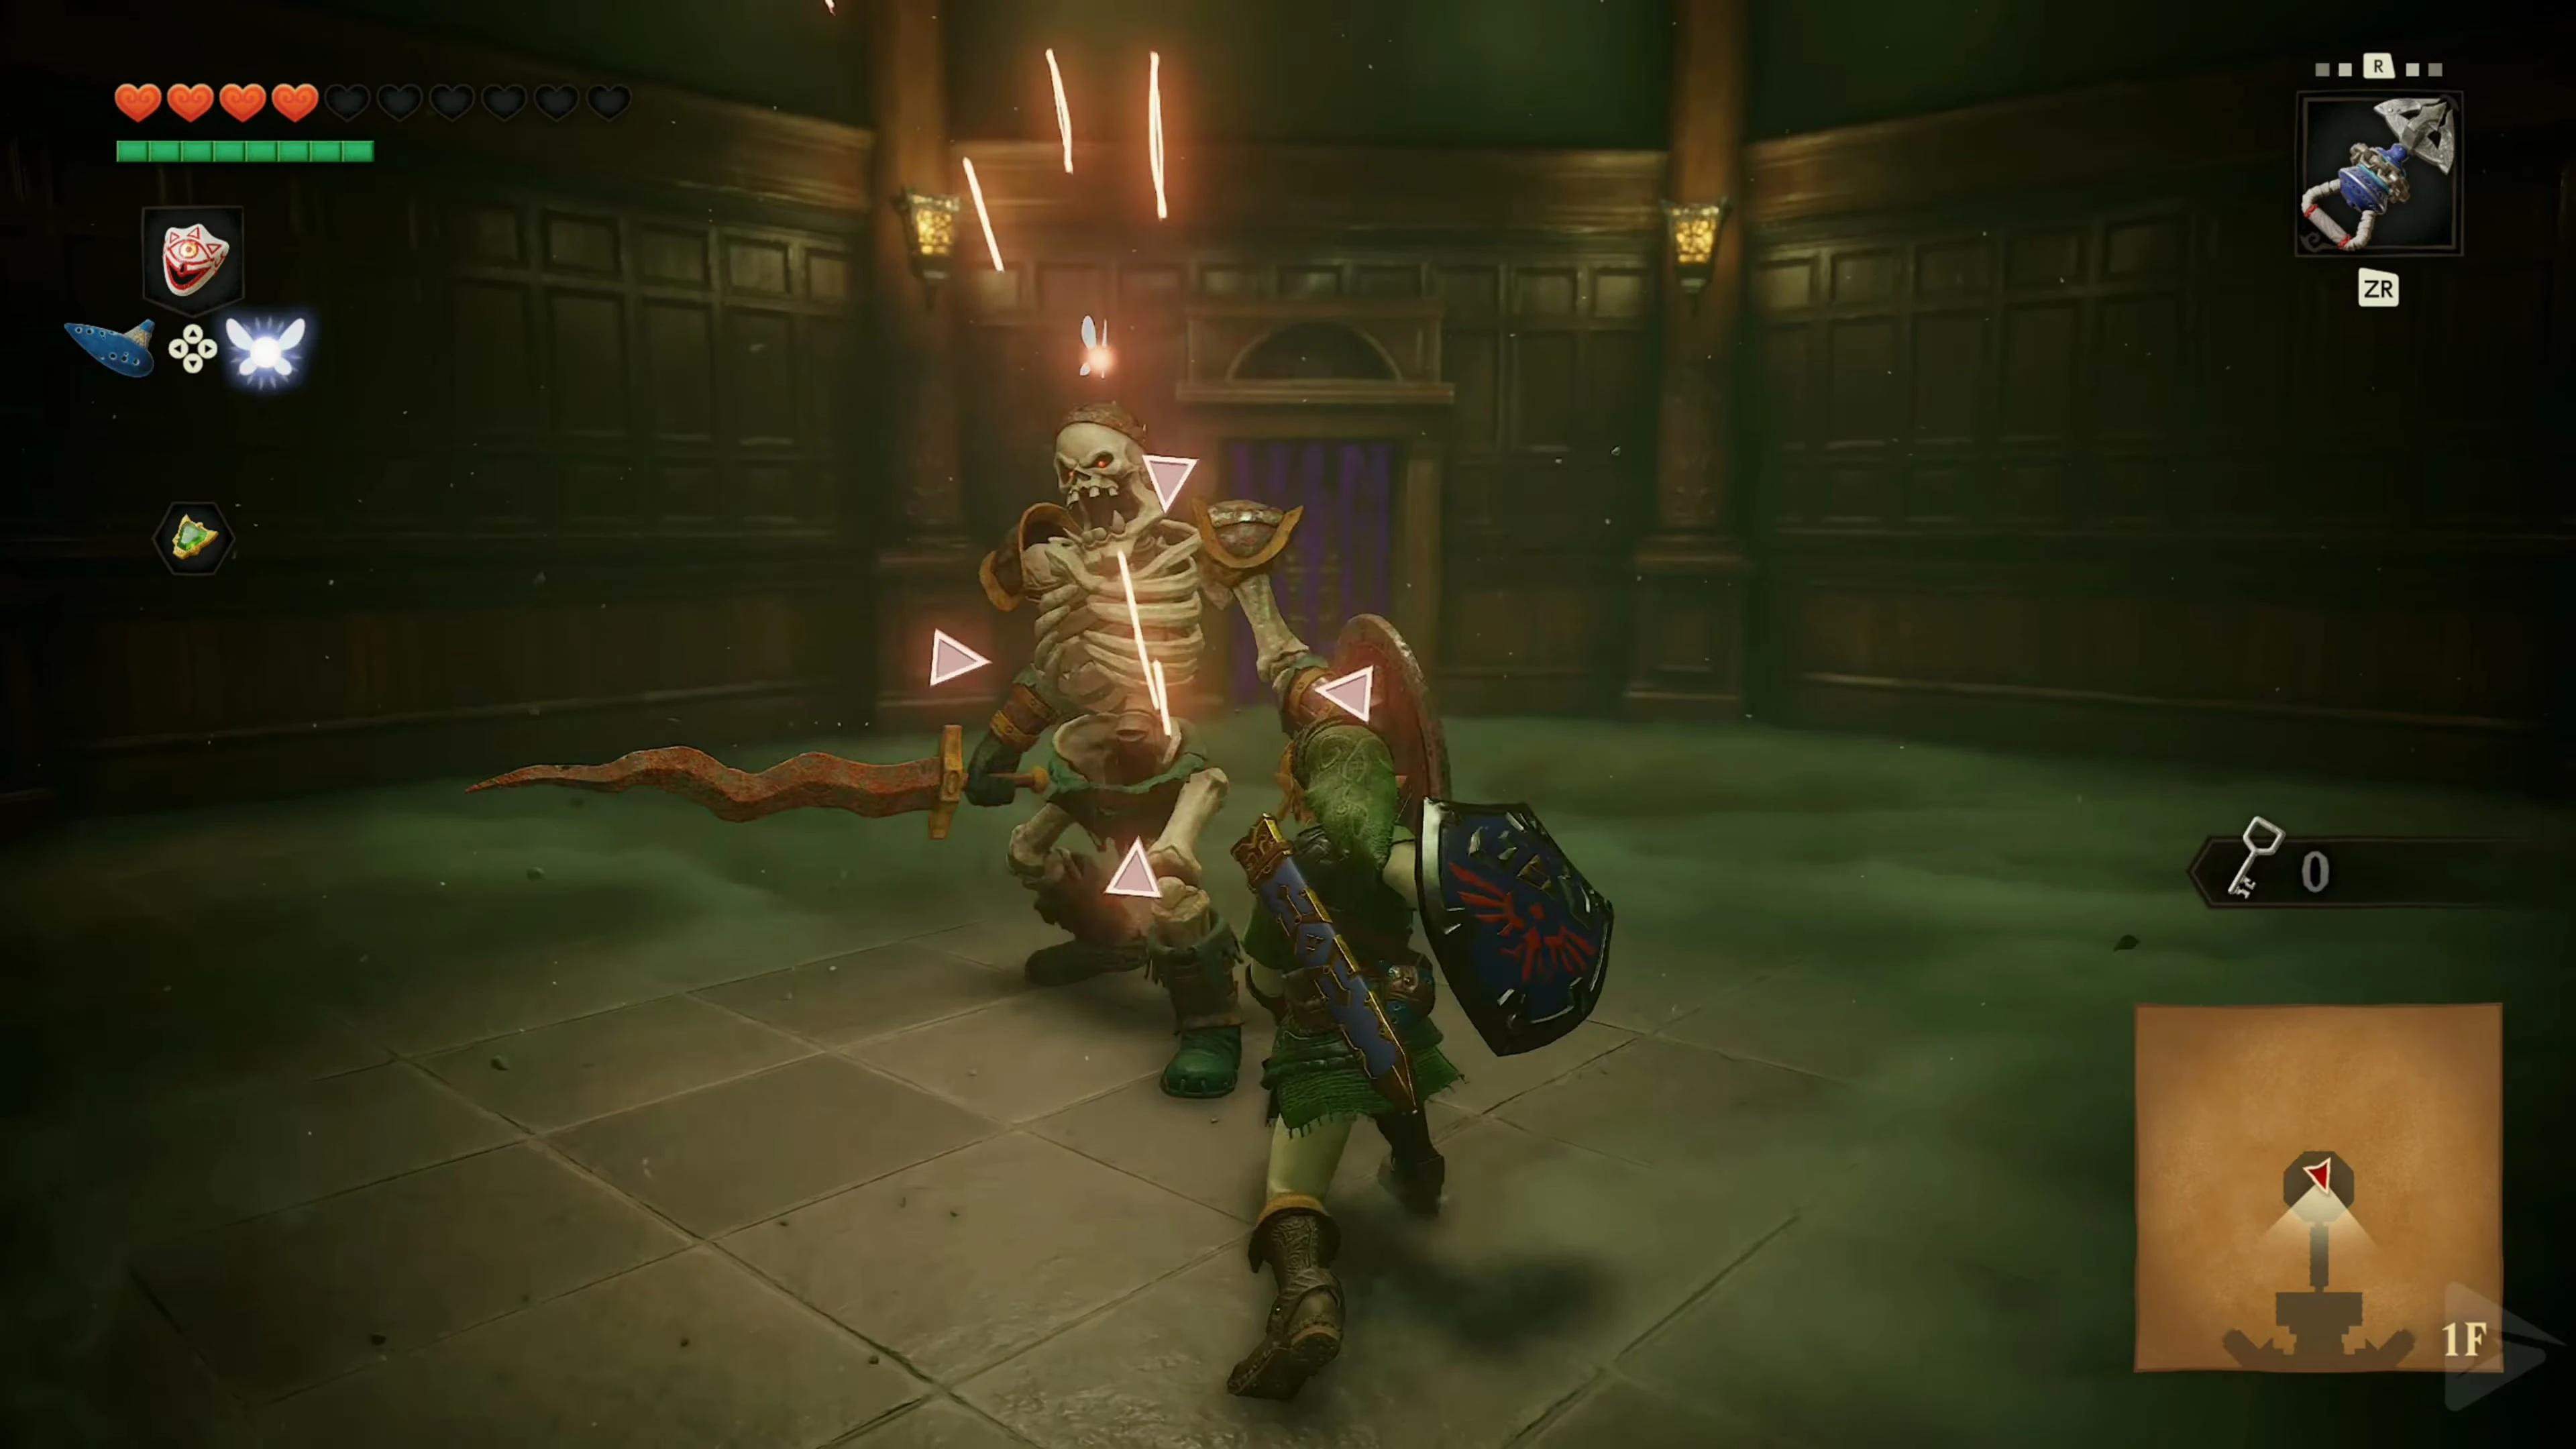
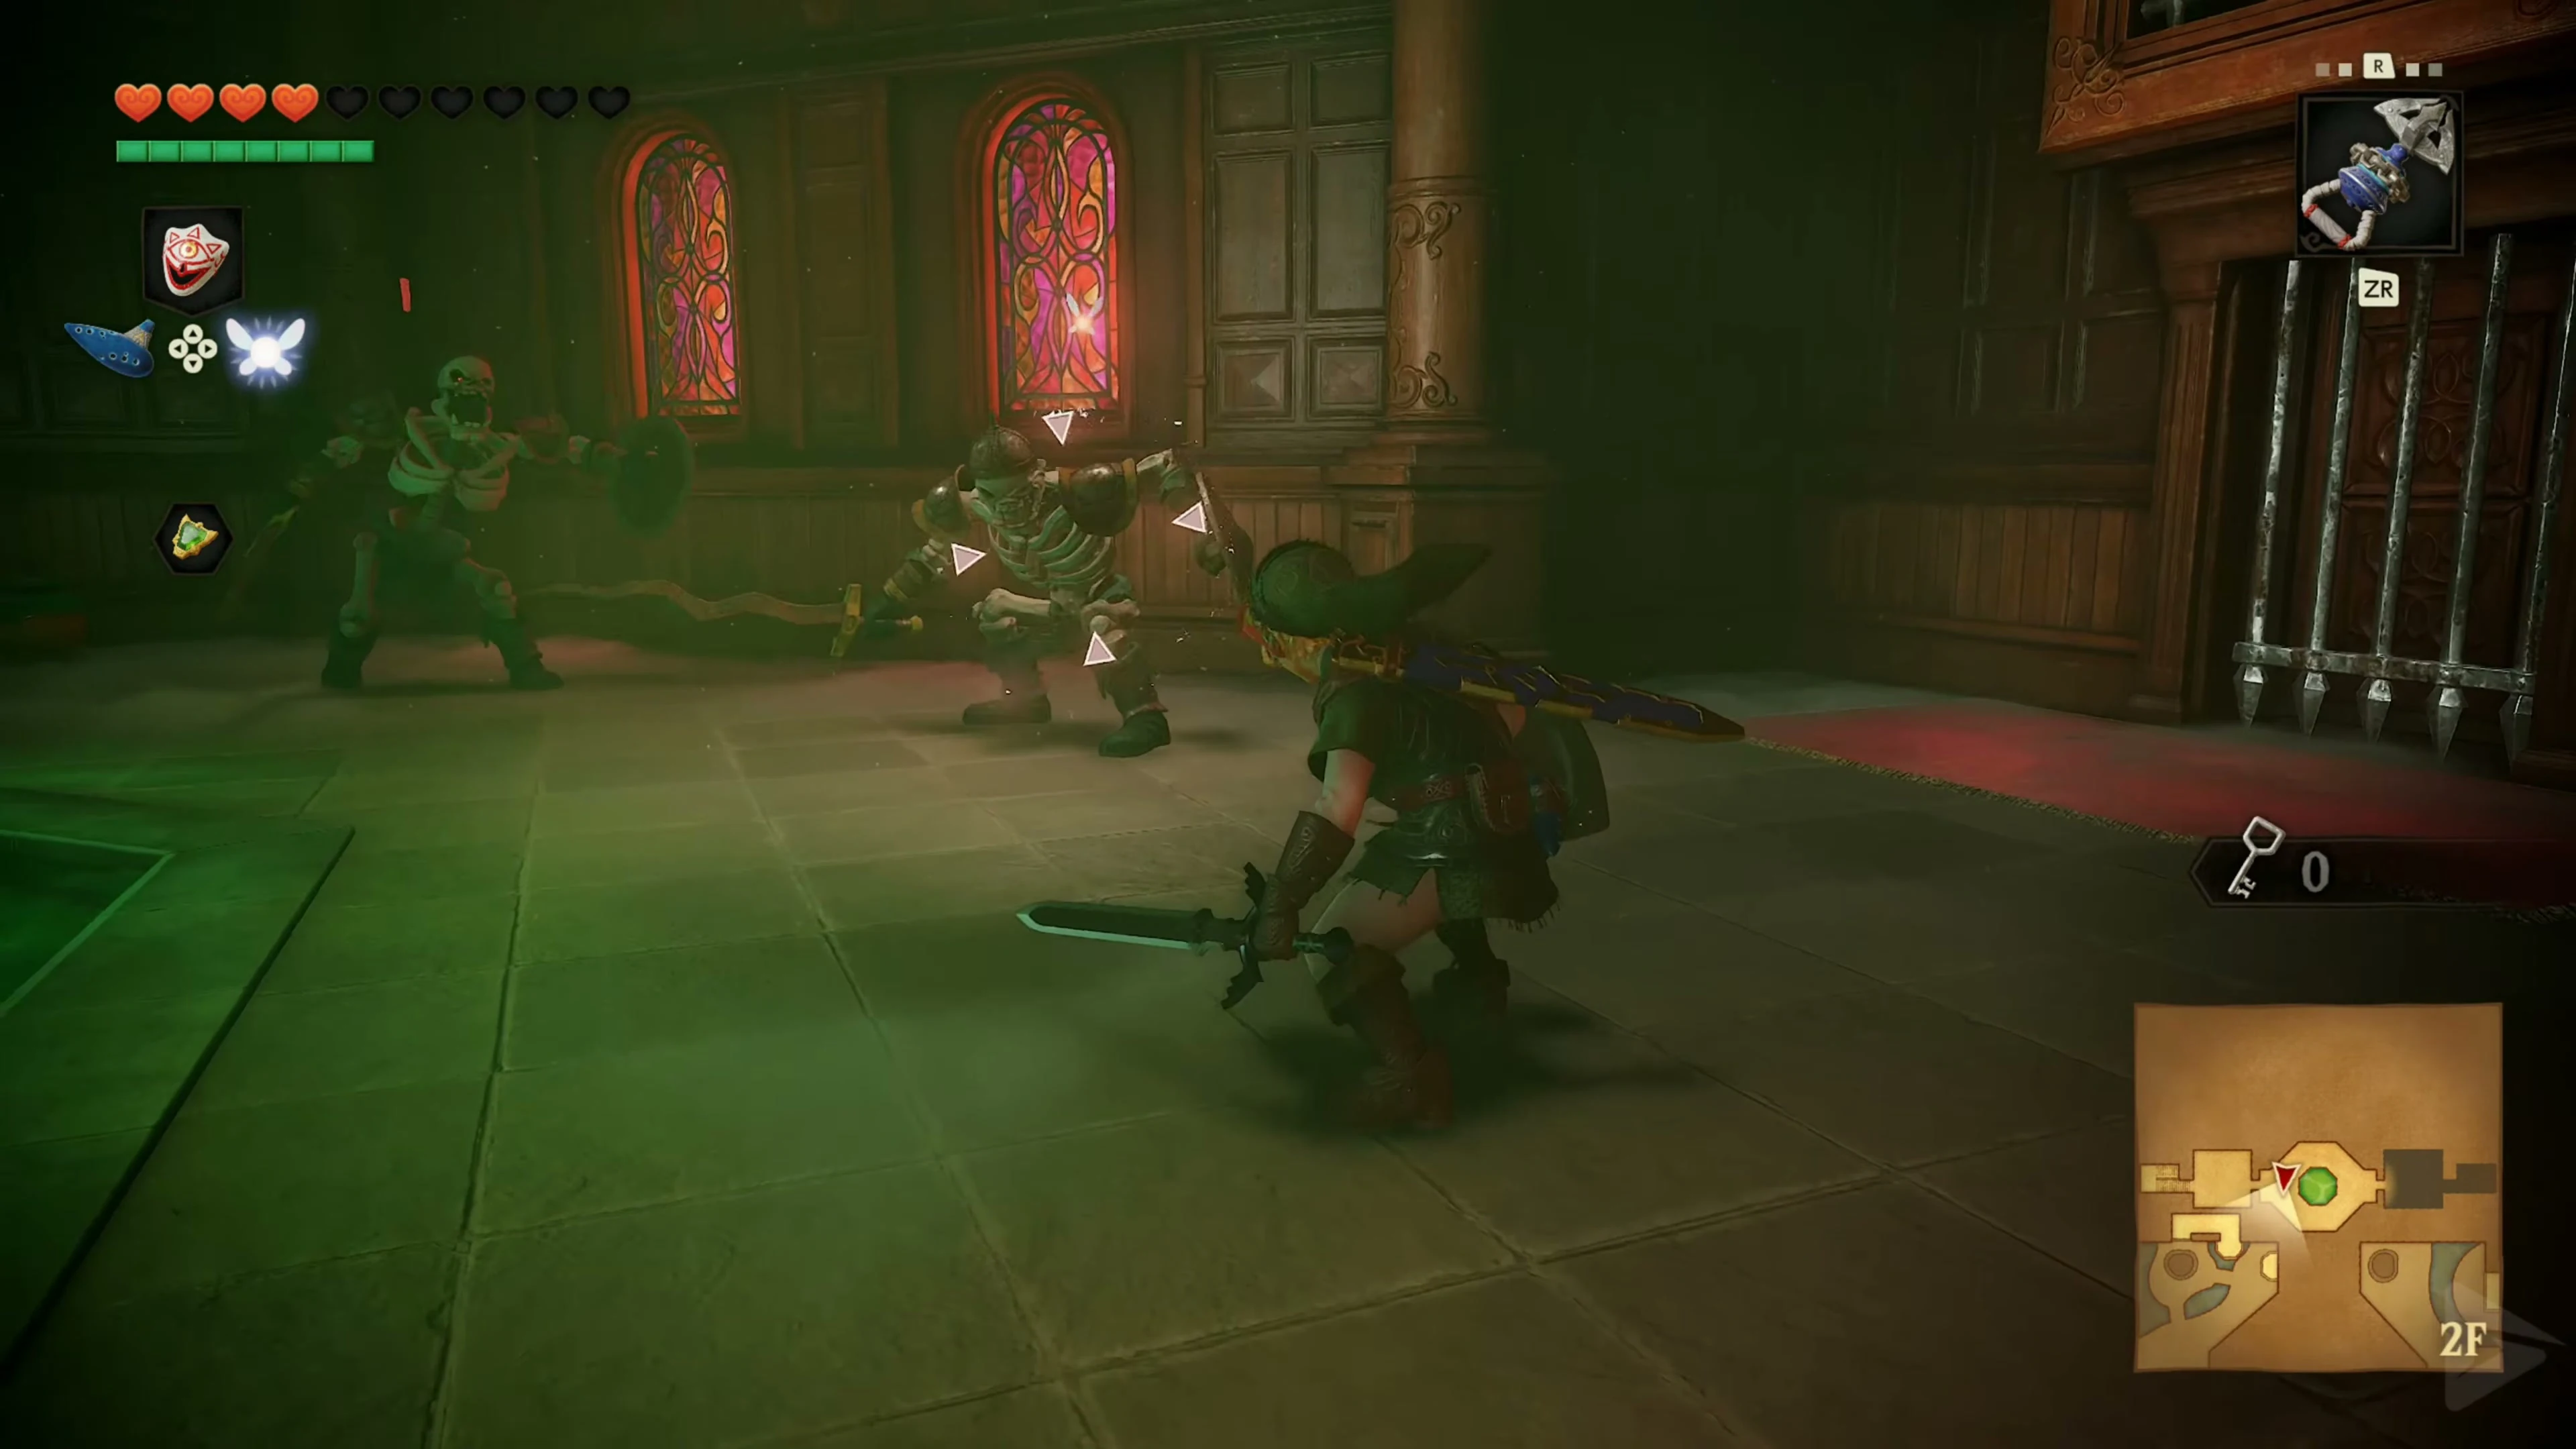
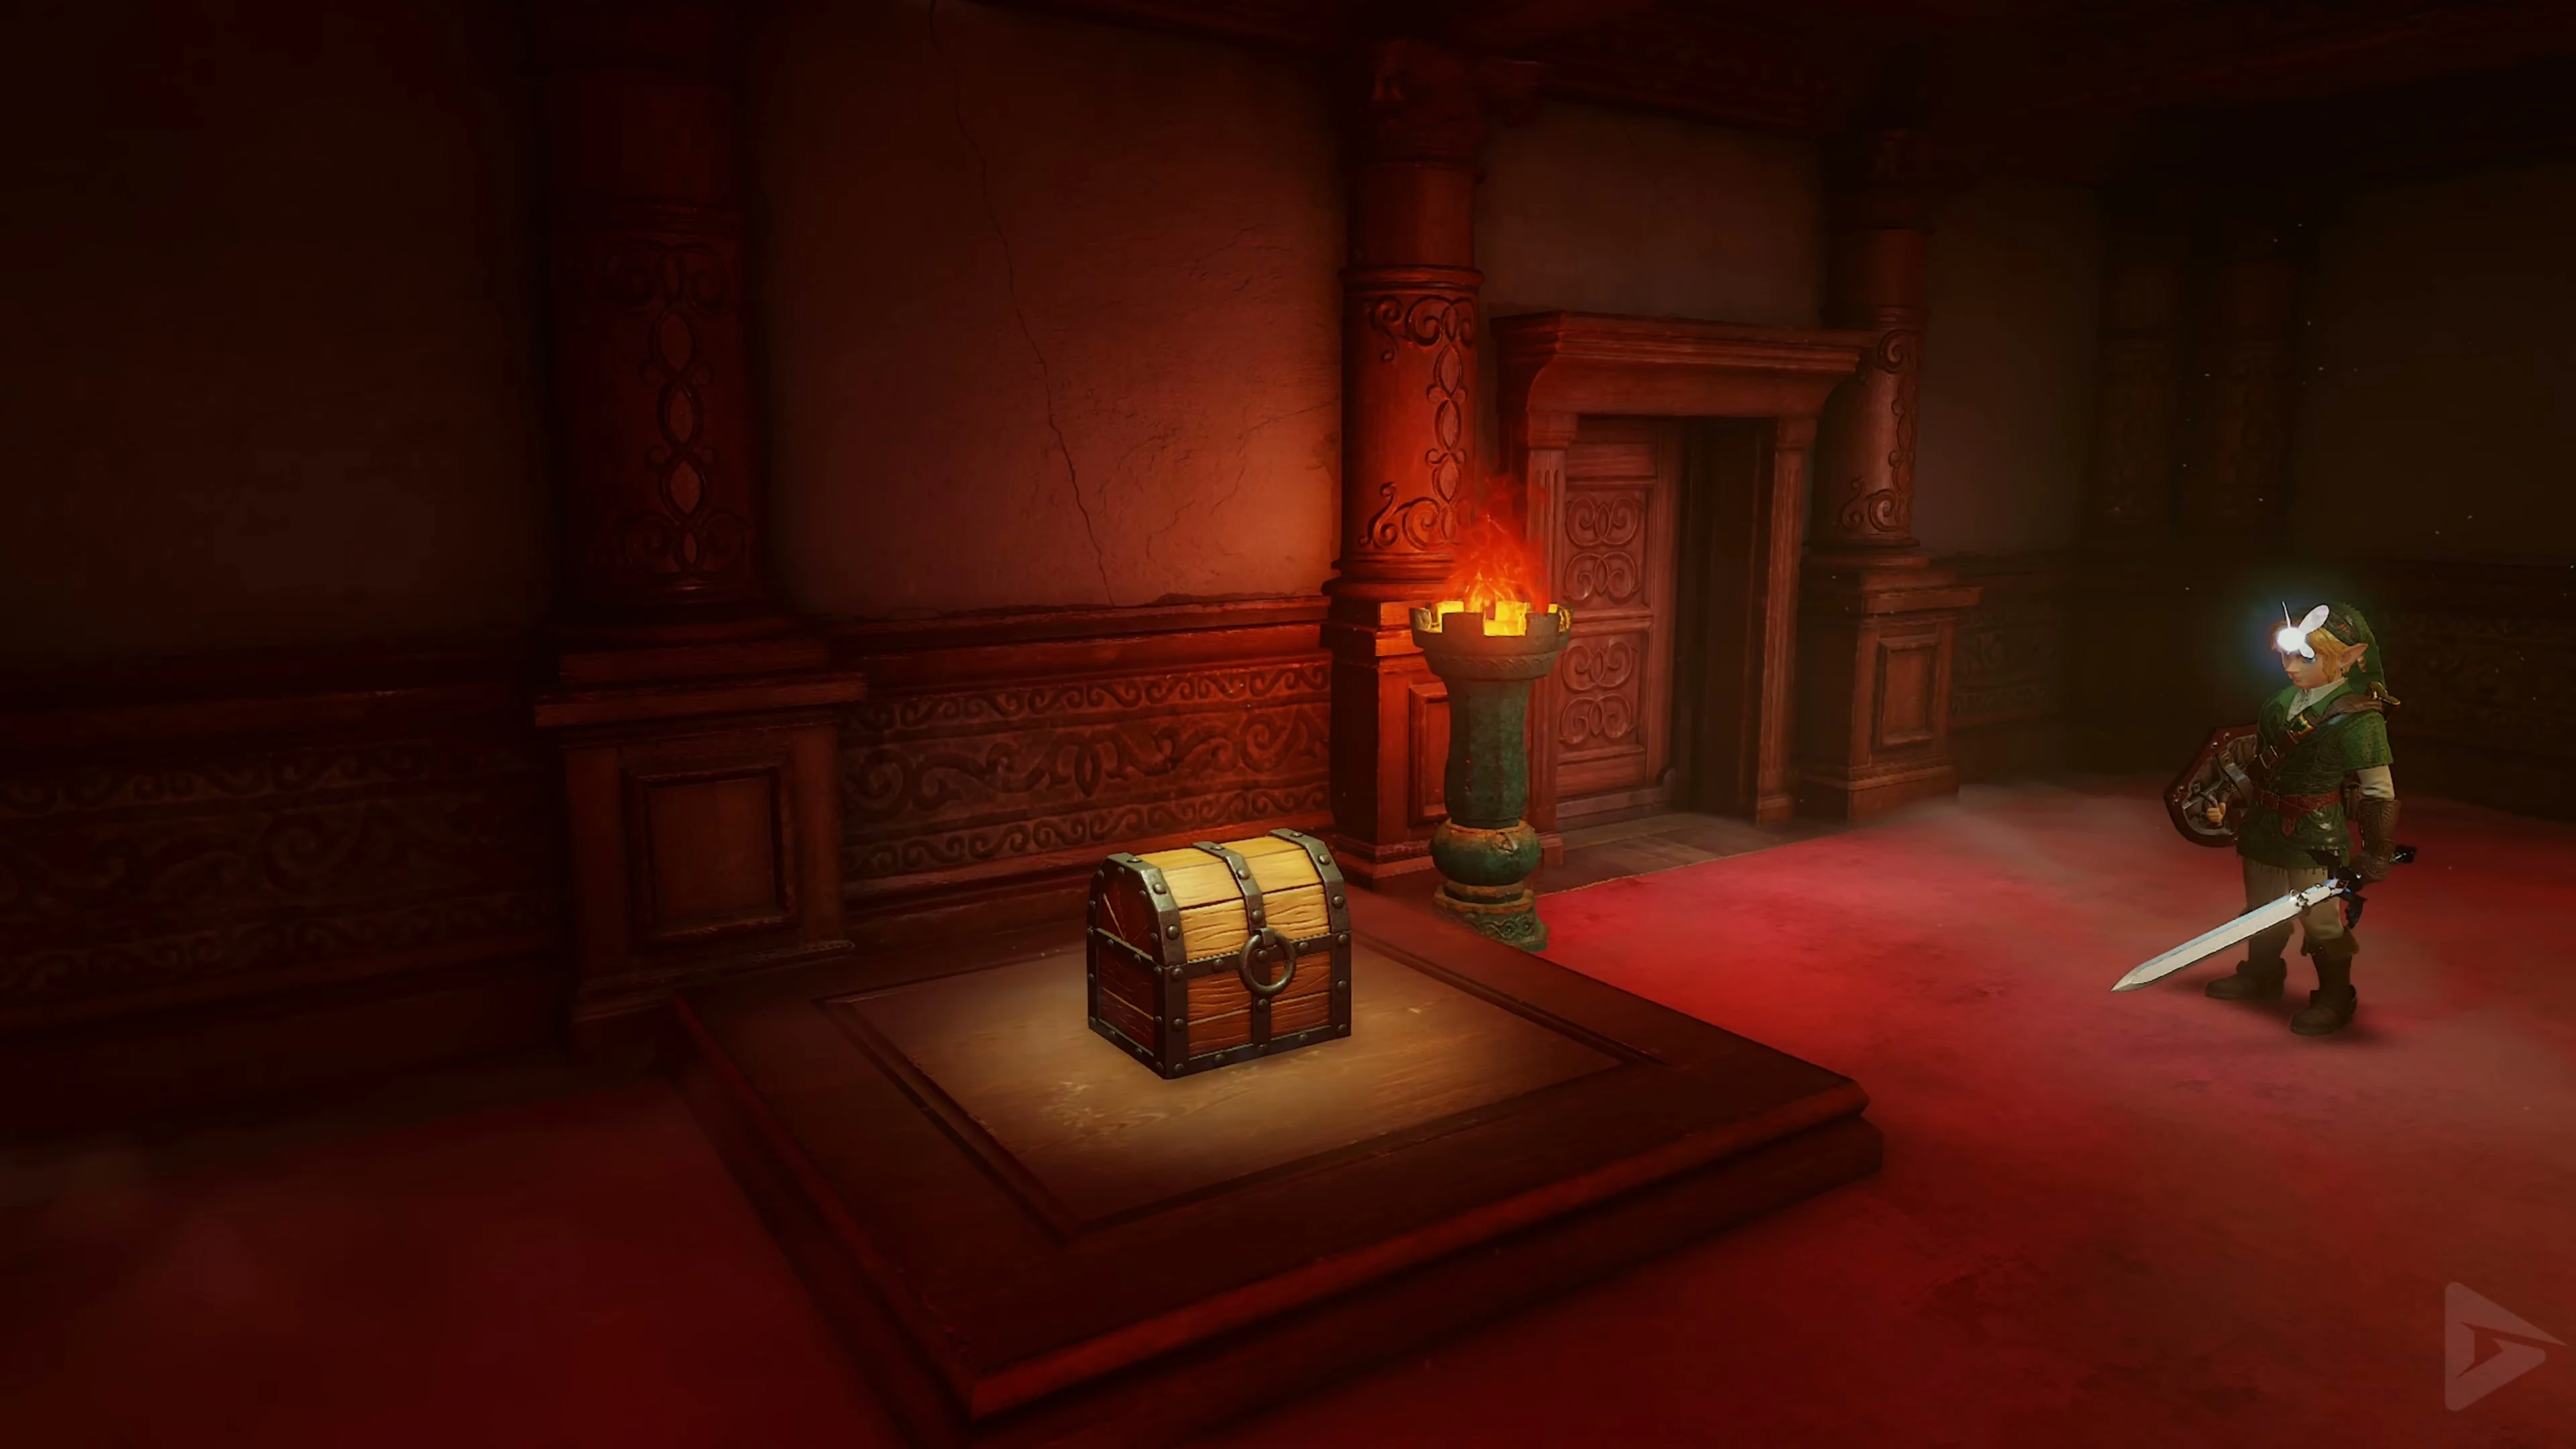
In the following room two Stalfos Knights attack . These enemies are much more dangerous than the skeletons from Link’s childhood because they block the Master Sword with their shields and use quick jump attacks themselves. First target just one Stalfos, move sideways around it and wait for it to attack. After a missed jump attack, his guard is briefly open and you can land several sword blows. Only then take care of the second knight. Once both are defeated, a small treasure chest appears with the Small Key 2/5 . Also smash the jars in the room: one of them contains a fairy, which you can store in a free Bottle if necessary.
Through the two courtyard gardens
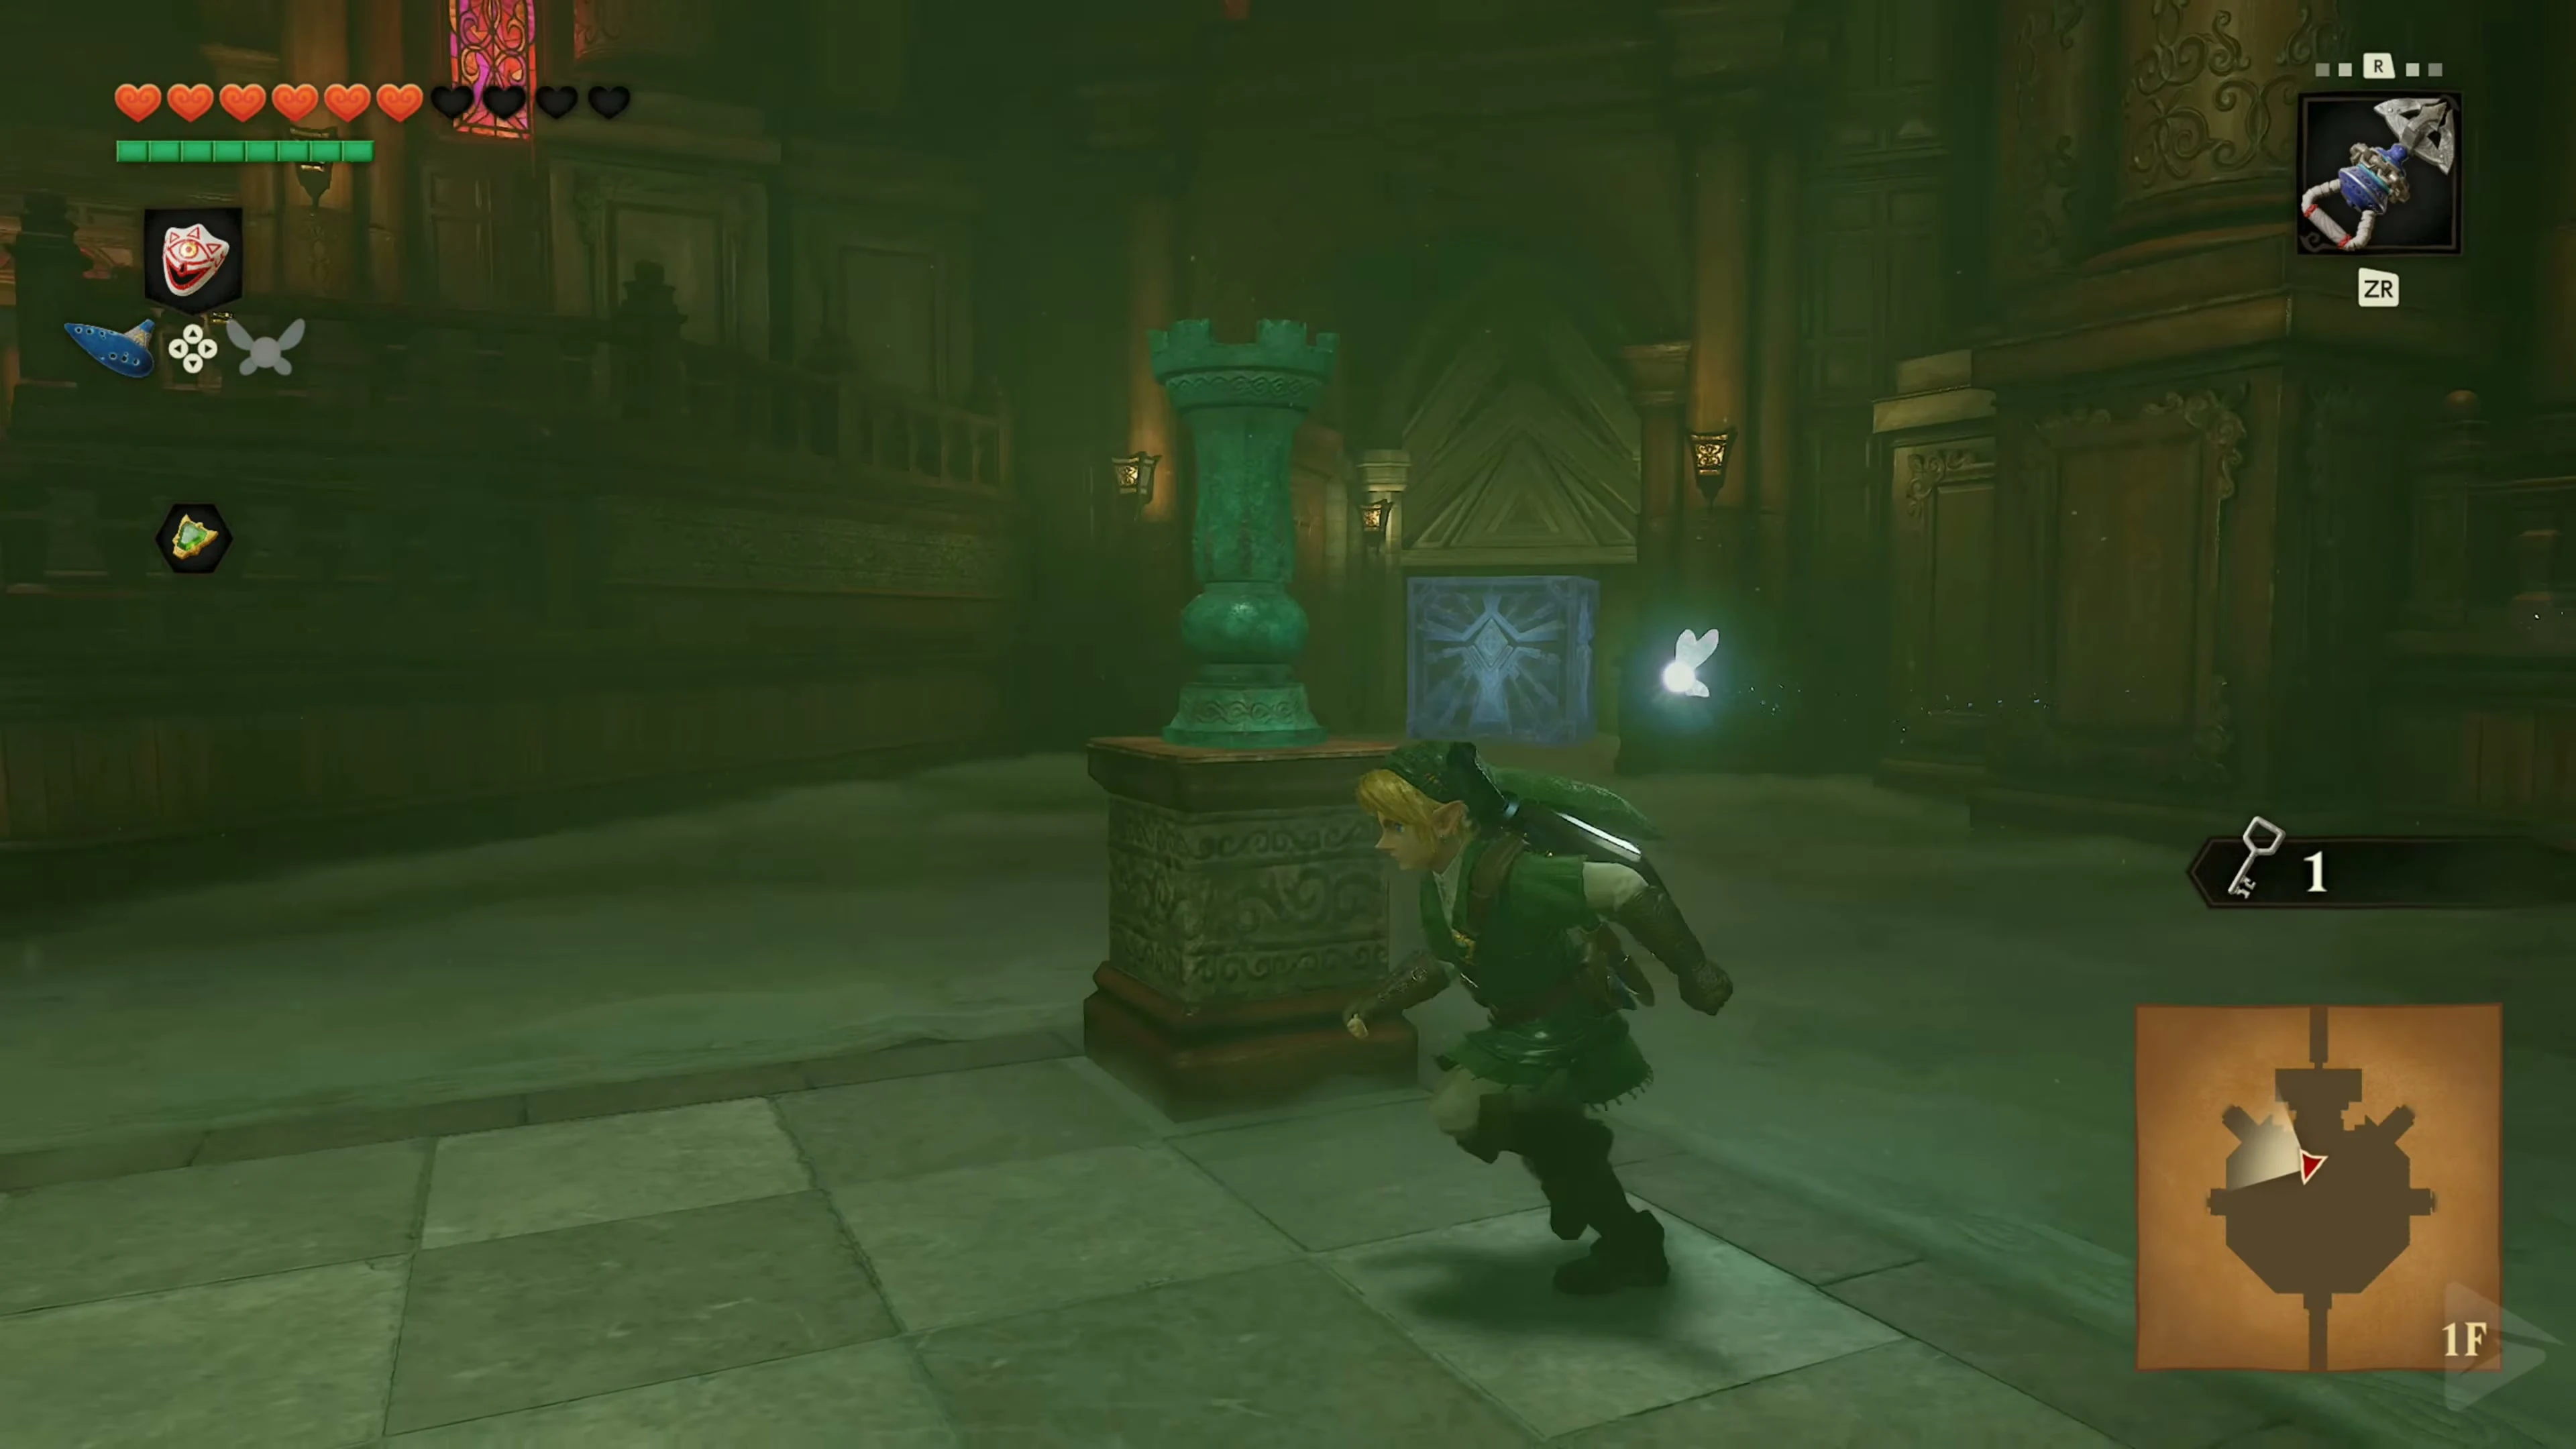
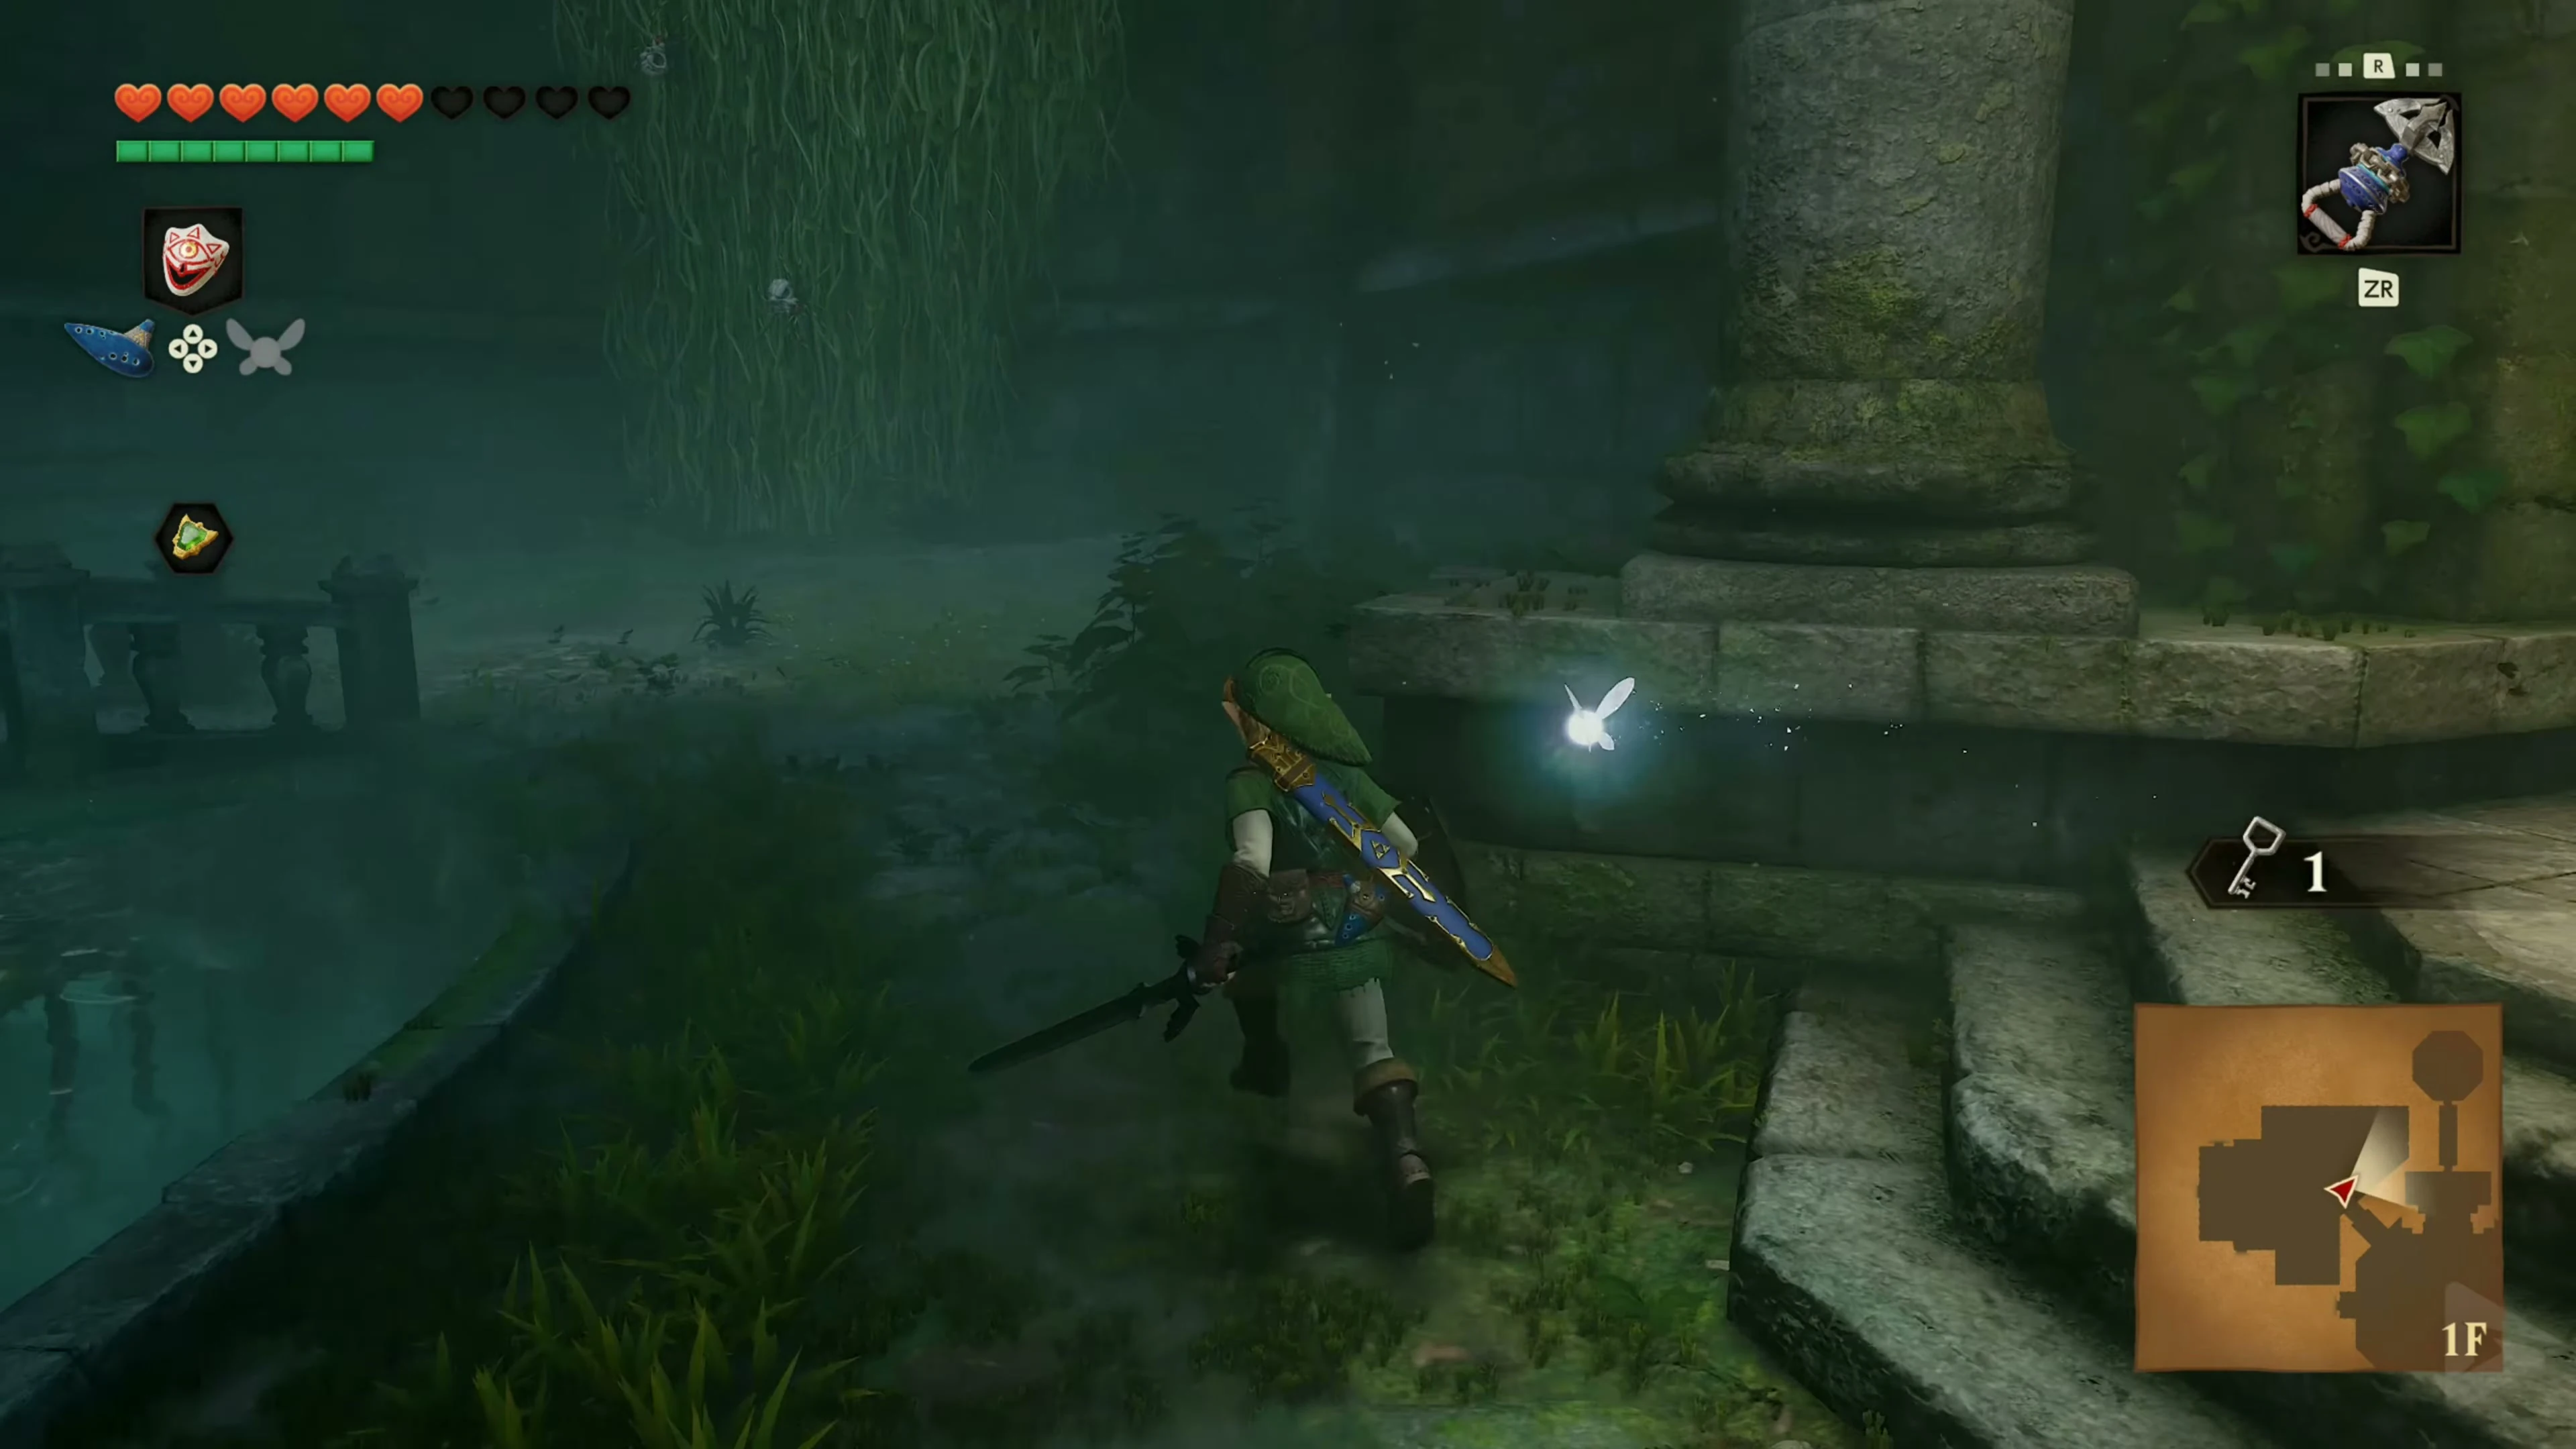
After fighting the two Stalfos, return to the main hall through the corridor. In their northwest corner a blue time block blocks a door. Before that, play the Song of Time and enter the Northwest Court . Go to the vine wall in the northeast corner of this courtyard. Shoot the accessible Skullwalltulas with the Hookshot and climb to the top ledge. When climbing, keep your distance from a living spider.
Empty the well in the yard
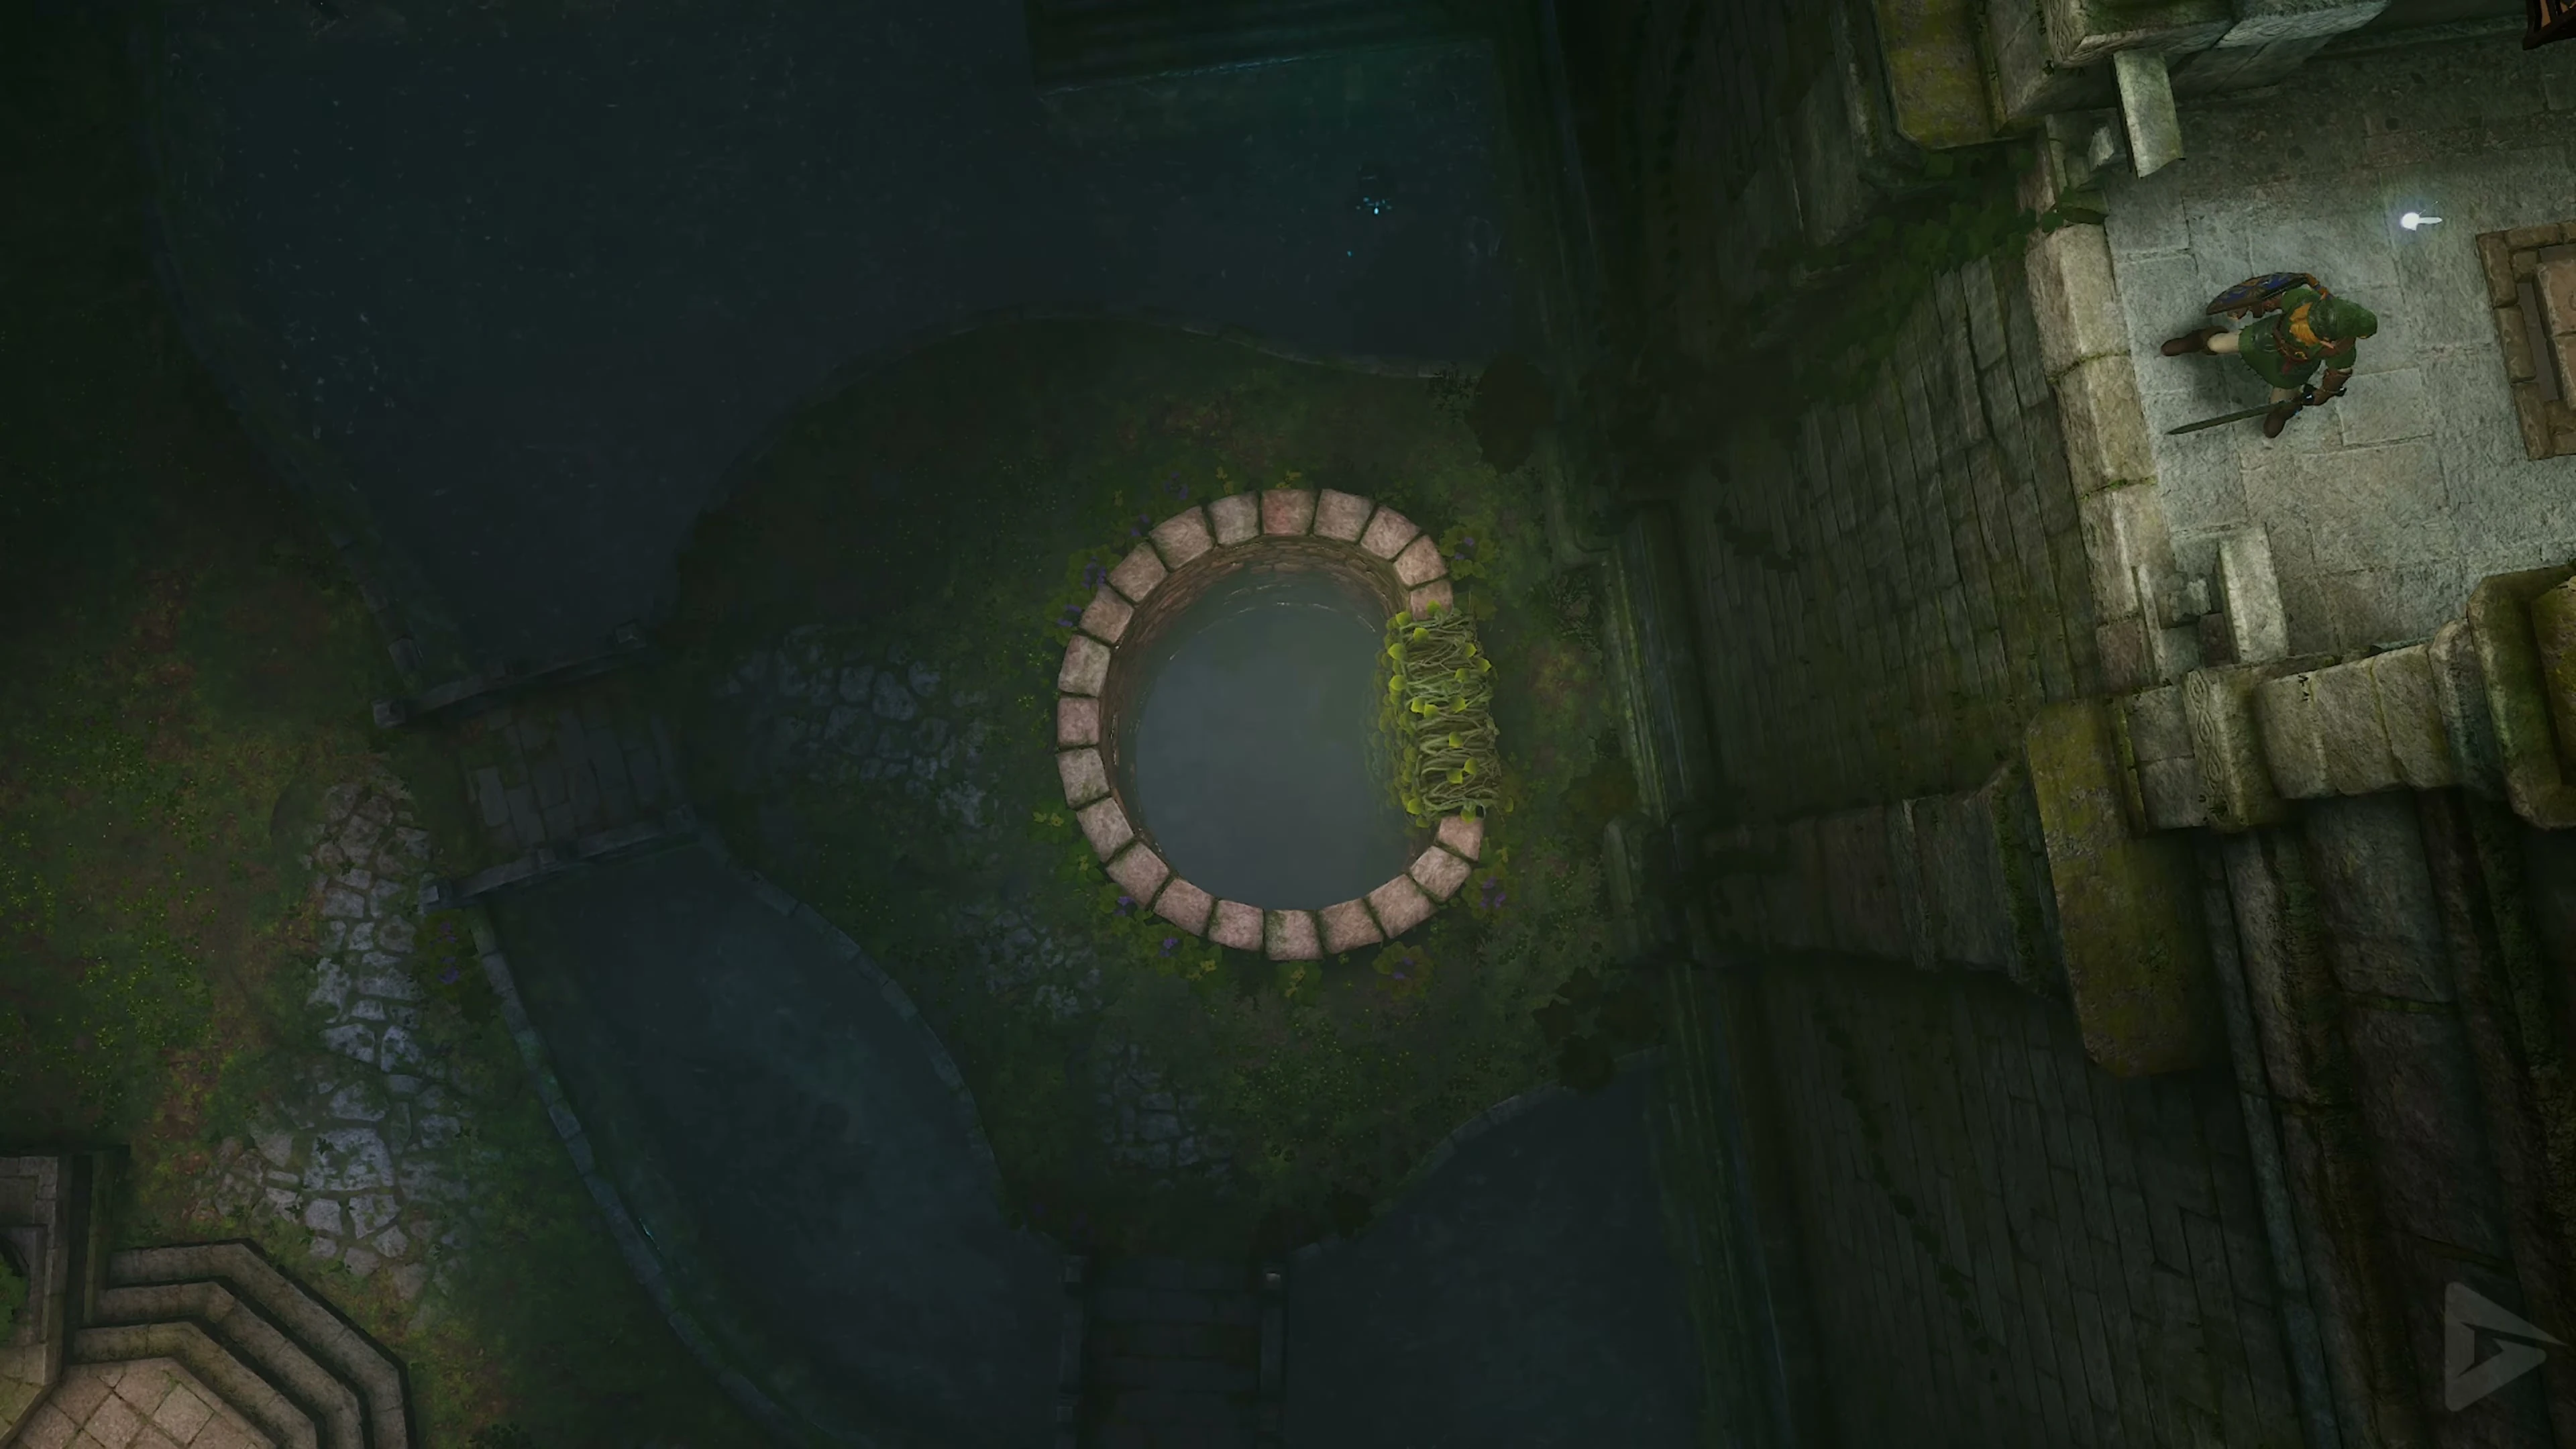
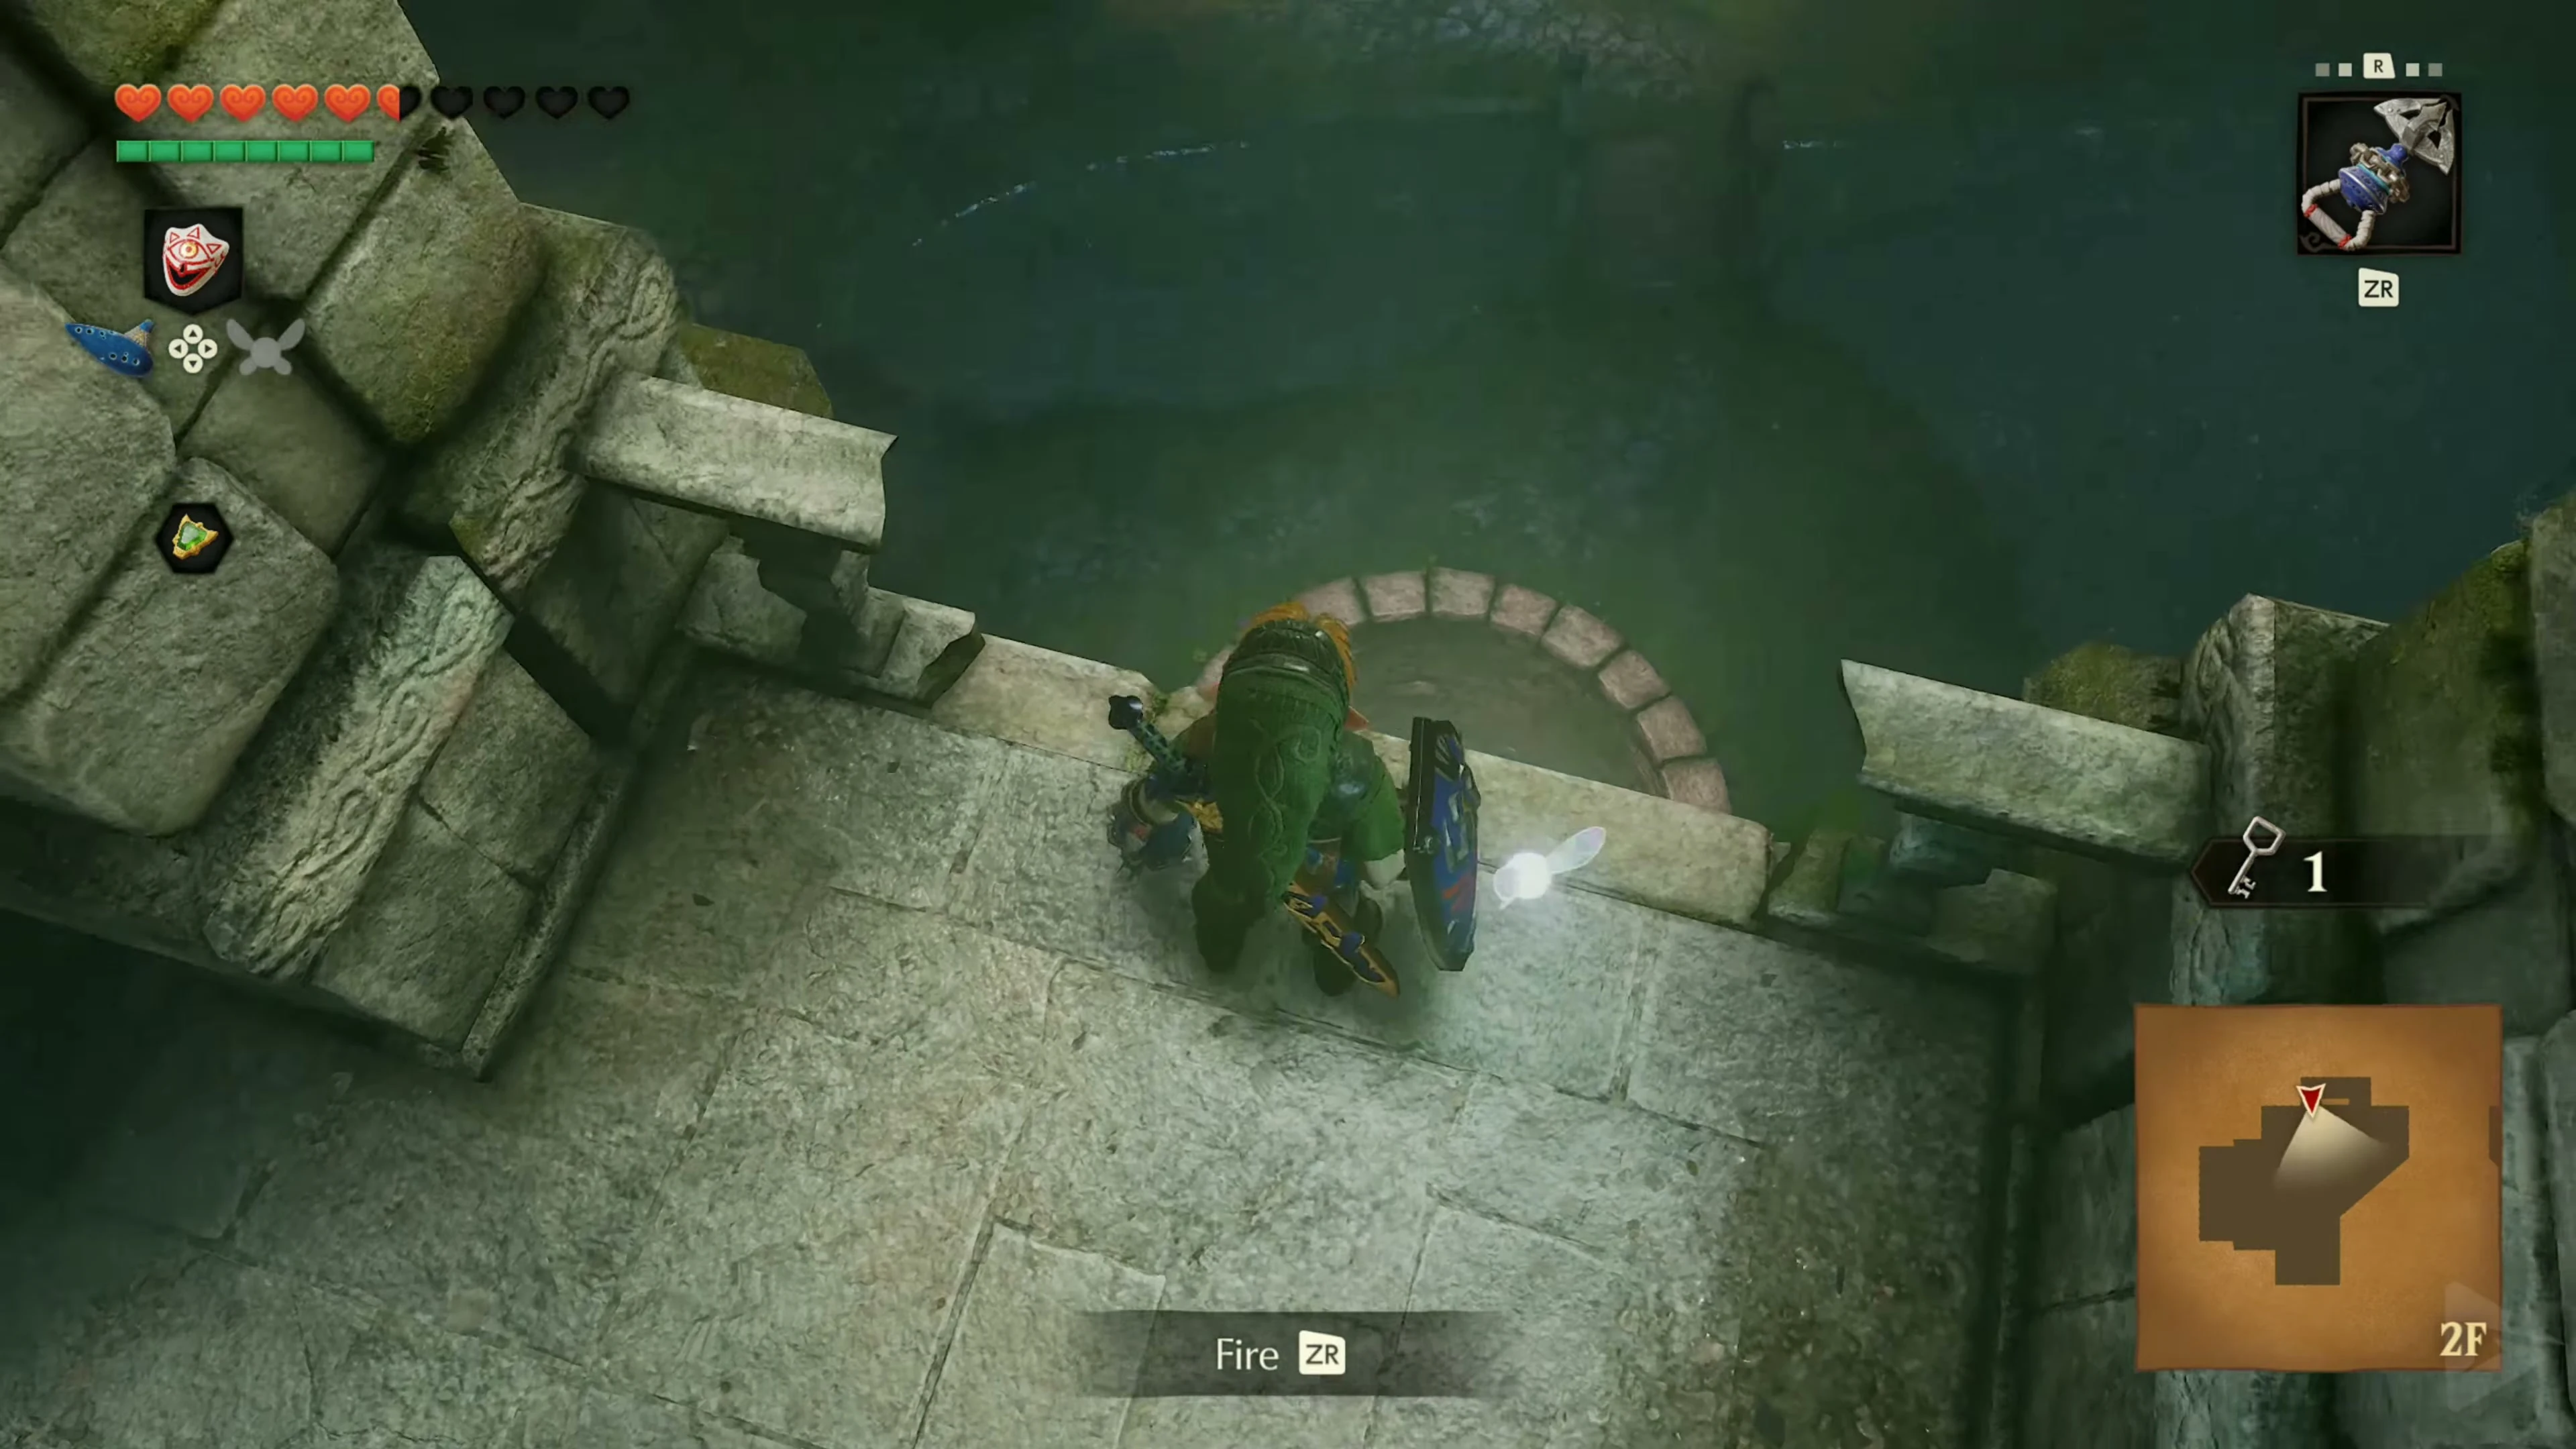
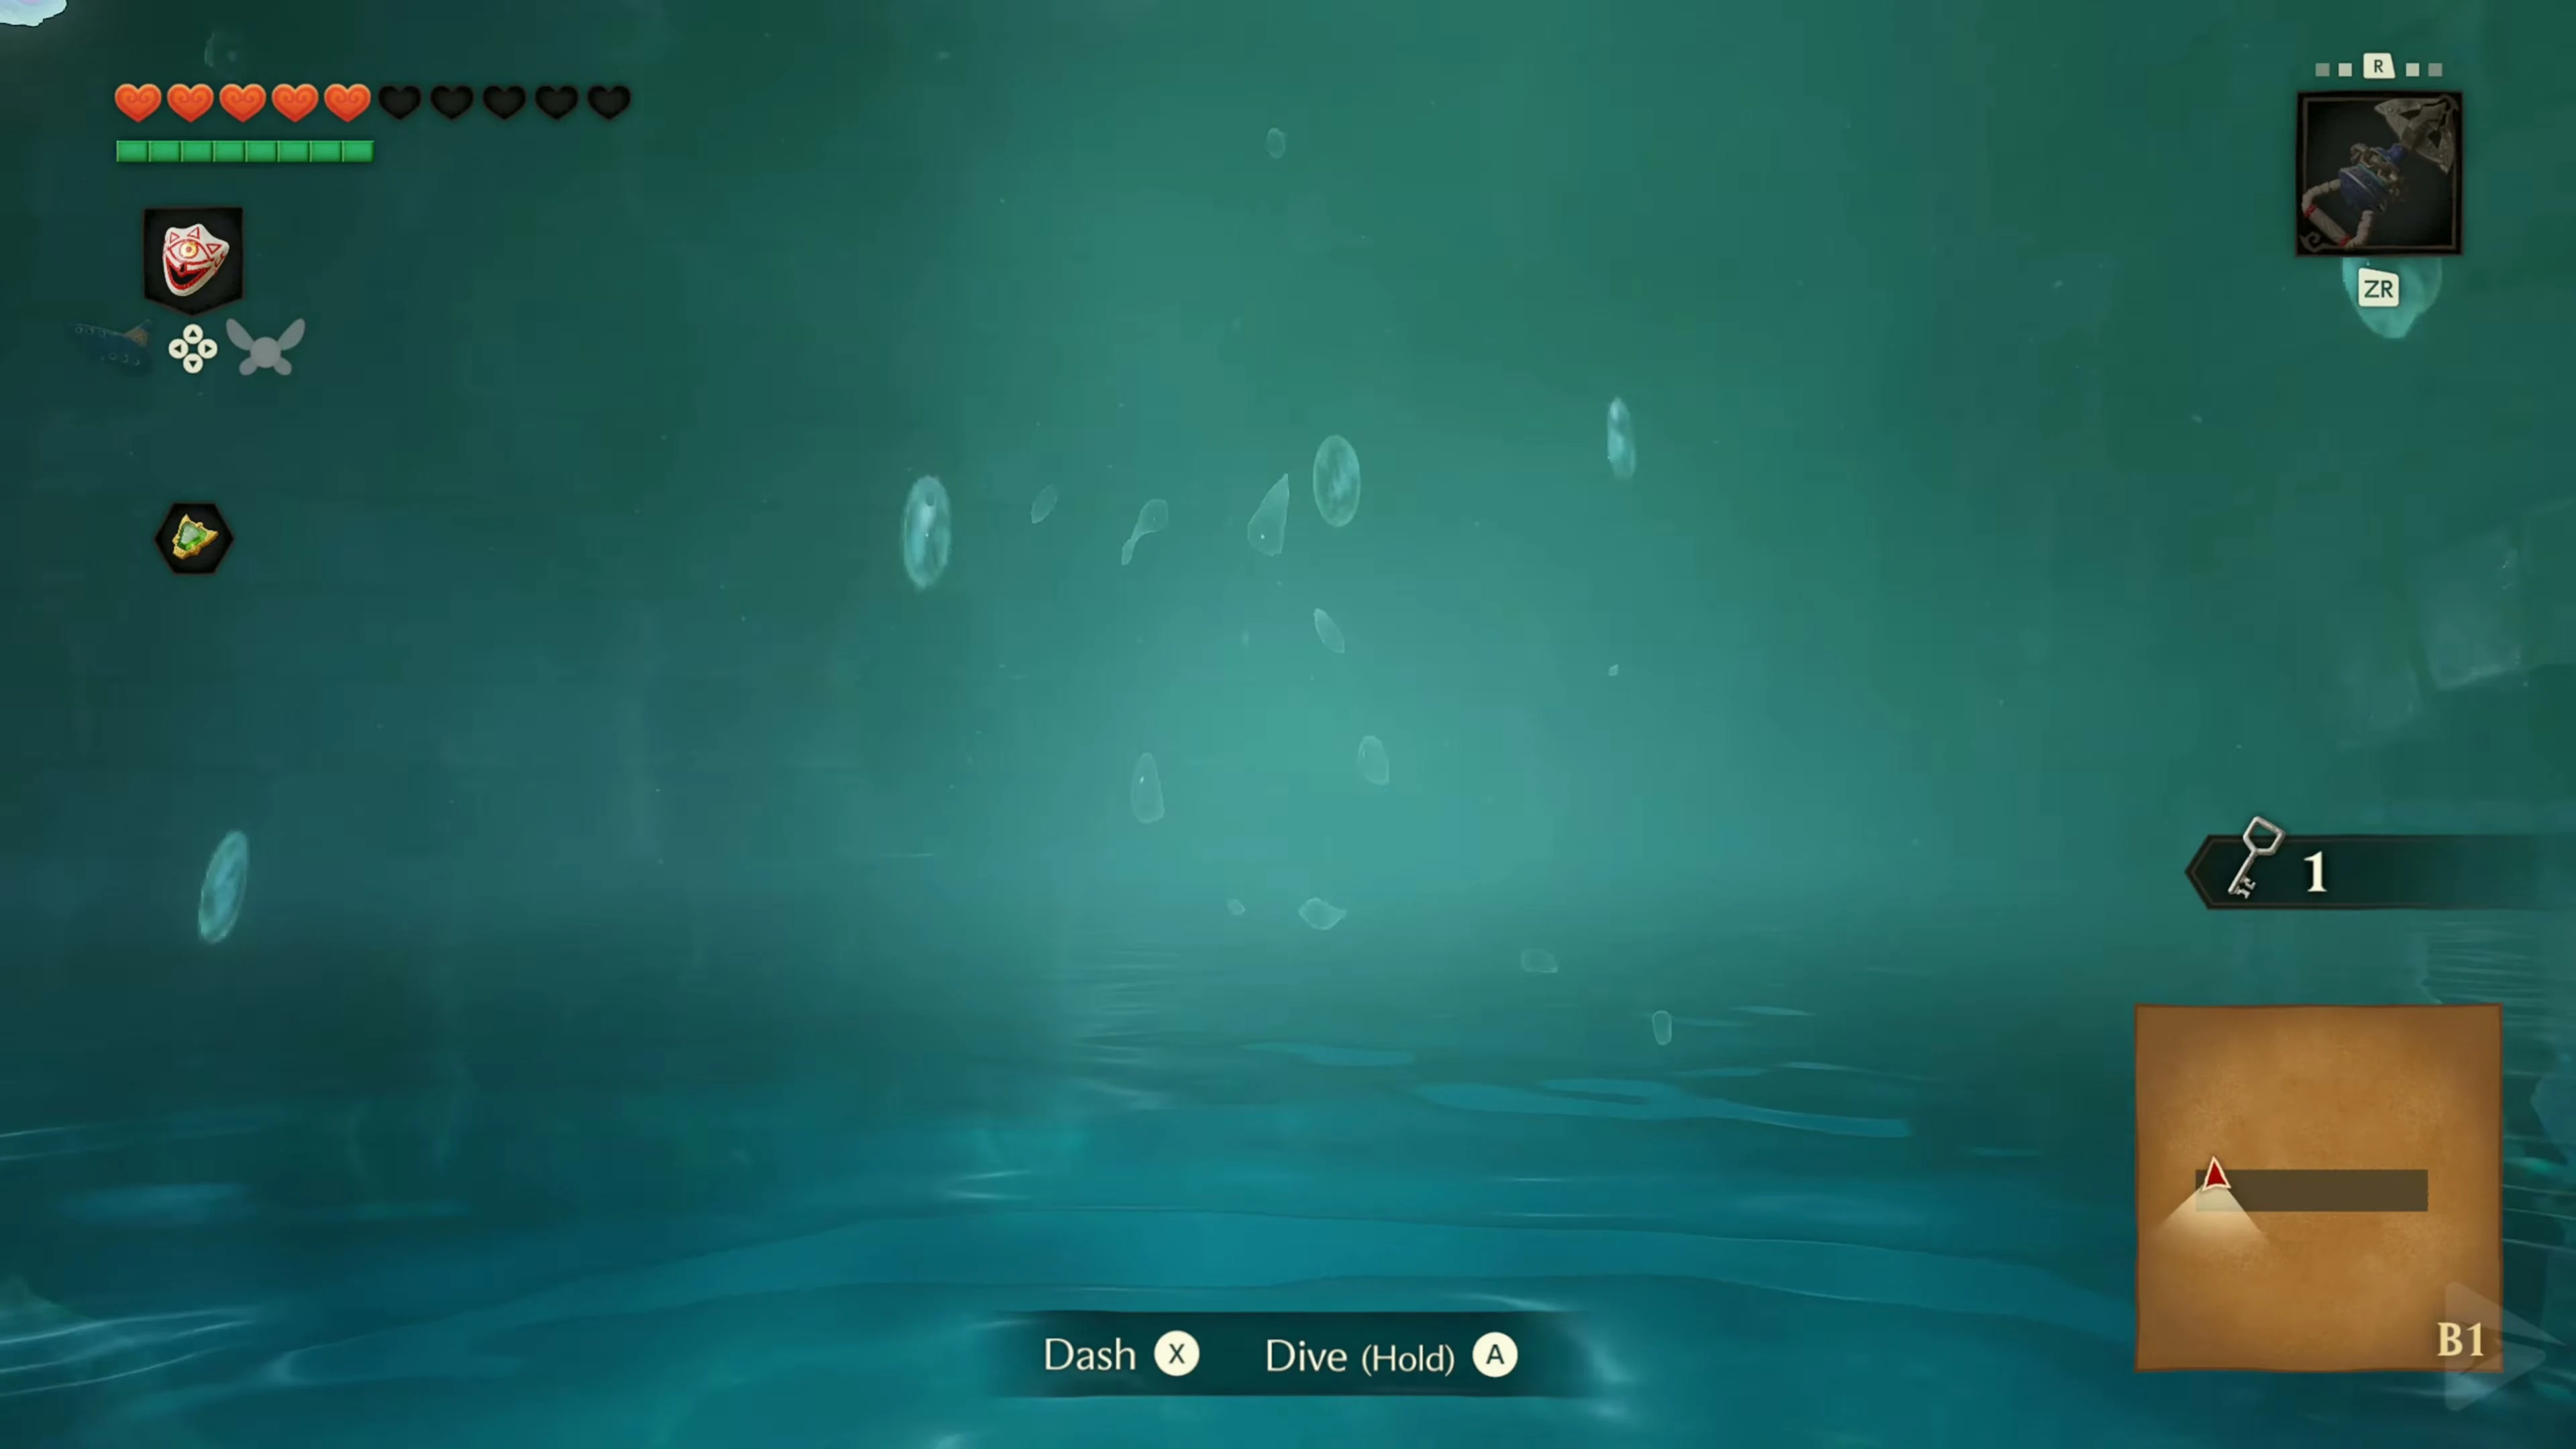
Turn around on the upper landing to the opposite platform. Use the Hookshot to pull yourself to the target point on this platform. Eliminate the Blue Bubble blocking your path and step on the floor switch . He lets the water flow out of the well in the northwest courtyard. Jump down and climb into the dry well.
Well Key and Dungeon Map
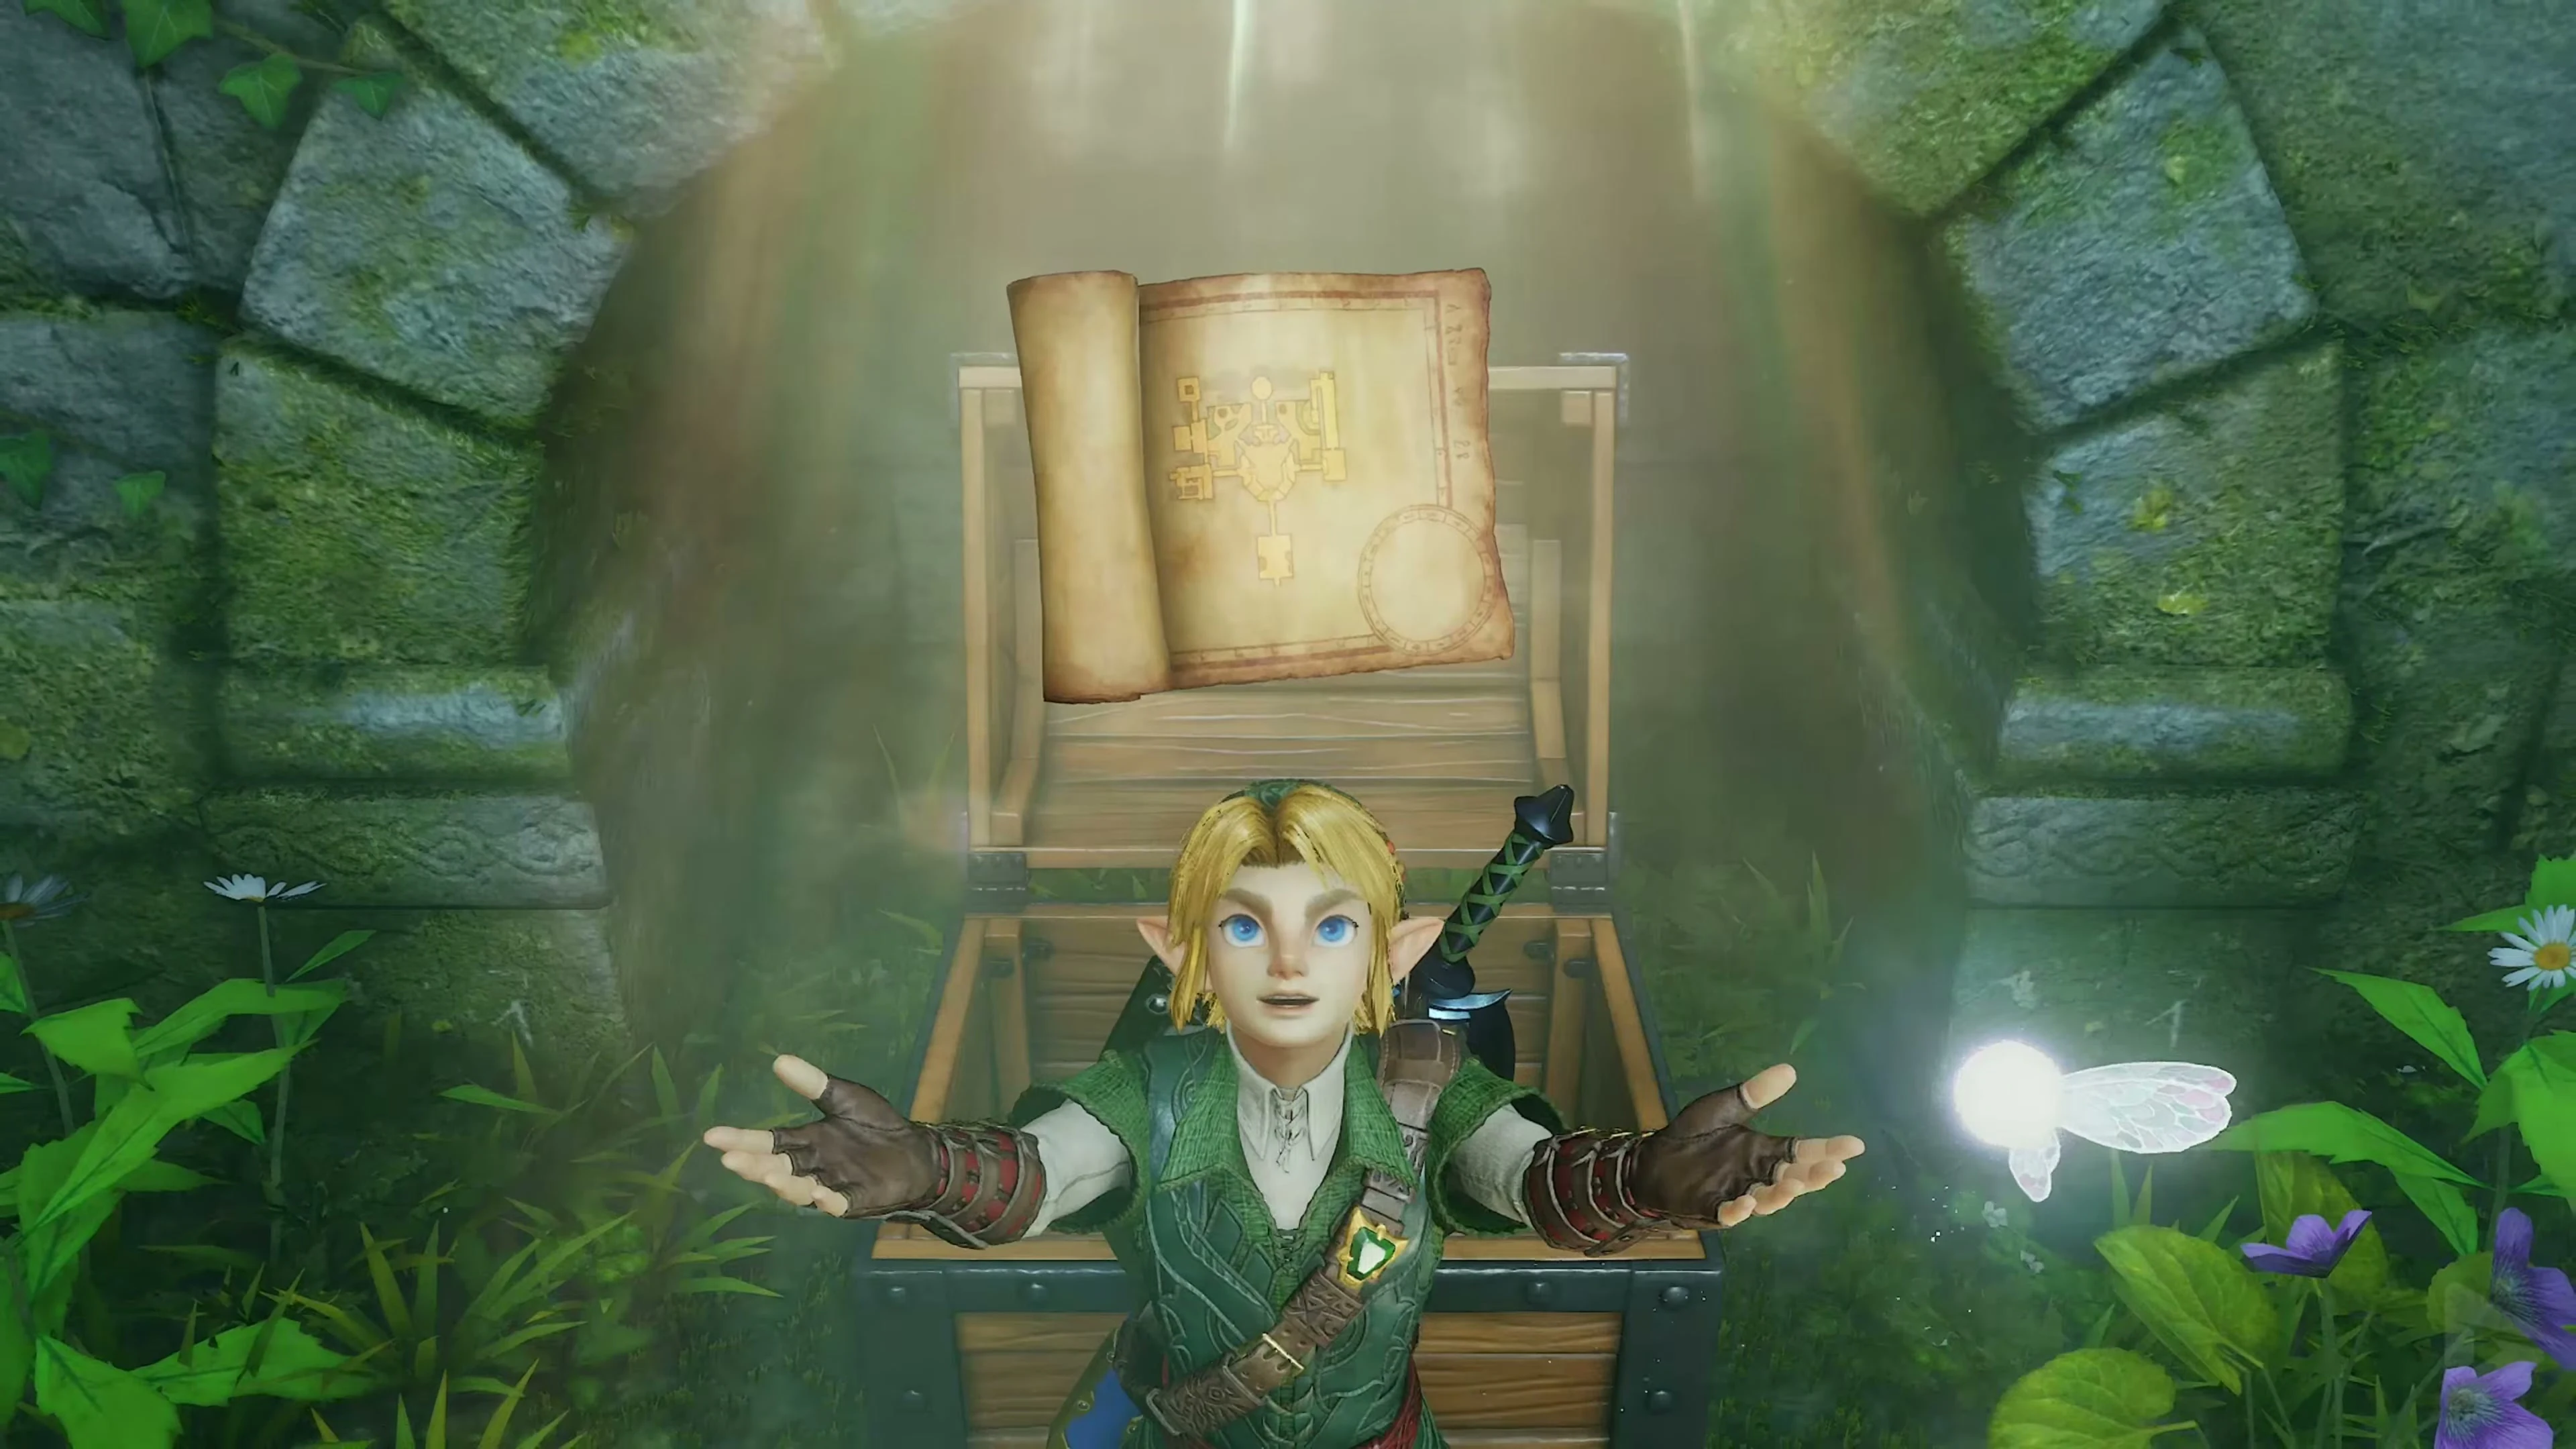
Follow the underground passage and open the chest with the Small Key 3/5 . At the other end, climb up into the Northeast Courtyard . Use the Hookshot to pull yourself to the raised platform with the large chest; Inside is the Dungeon Map . Leave this courtyard through the passage to the main hall and press the floor switch that opens the way back. You now have two Small Keys in stock: The first has already been used for the entrance door.
The block puzzle and the path to the twisted corridor
In the central hall on the western side a small staircase leads to a locked door. Open it with one of the two door keys. In the short corridor behind it there is a Skulltula hanging from the ceiling, which you can remove with a single Hookshot hit. In the following high room there is a Blue Bubble waiting. Then climb straight up the two ladders and reach the large block puzzle.
The first colored stone block is green. First pull it out of its niche until it is at the corner of the wall, and then push it in the direction of the arrows painted on the floor. As soon as you can no longer move it from this side, you run through the side passage that this opens, around the walls and reach the back. Now push the green block further until you hear it click into place in its recess. The block then serves as a raised step for further ascent.
First, return to the original location of the green block. A ladder became accessible there through his movement. Climb up, follow the passage to the right and reach a second brown block. Push it forward until it stops against the wall. Then return to the green block, climb it and onto the raised ledge. Run to the brown block again and this time push it from the other side until it also clicks into the marked recess. Climb the brown block, climb to the next level and follow the path to the last ladder.
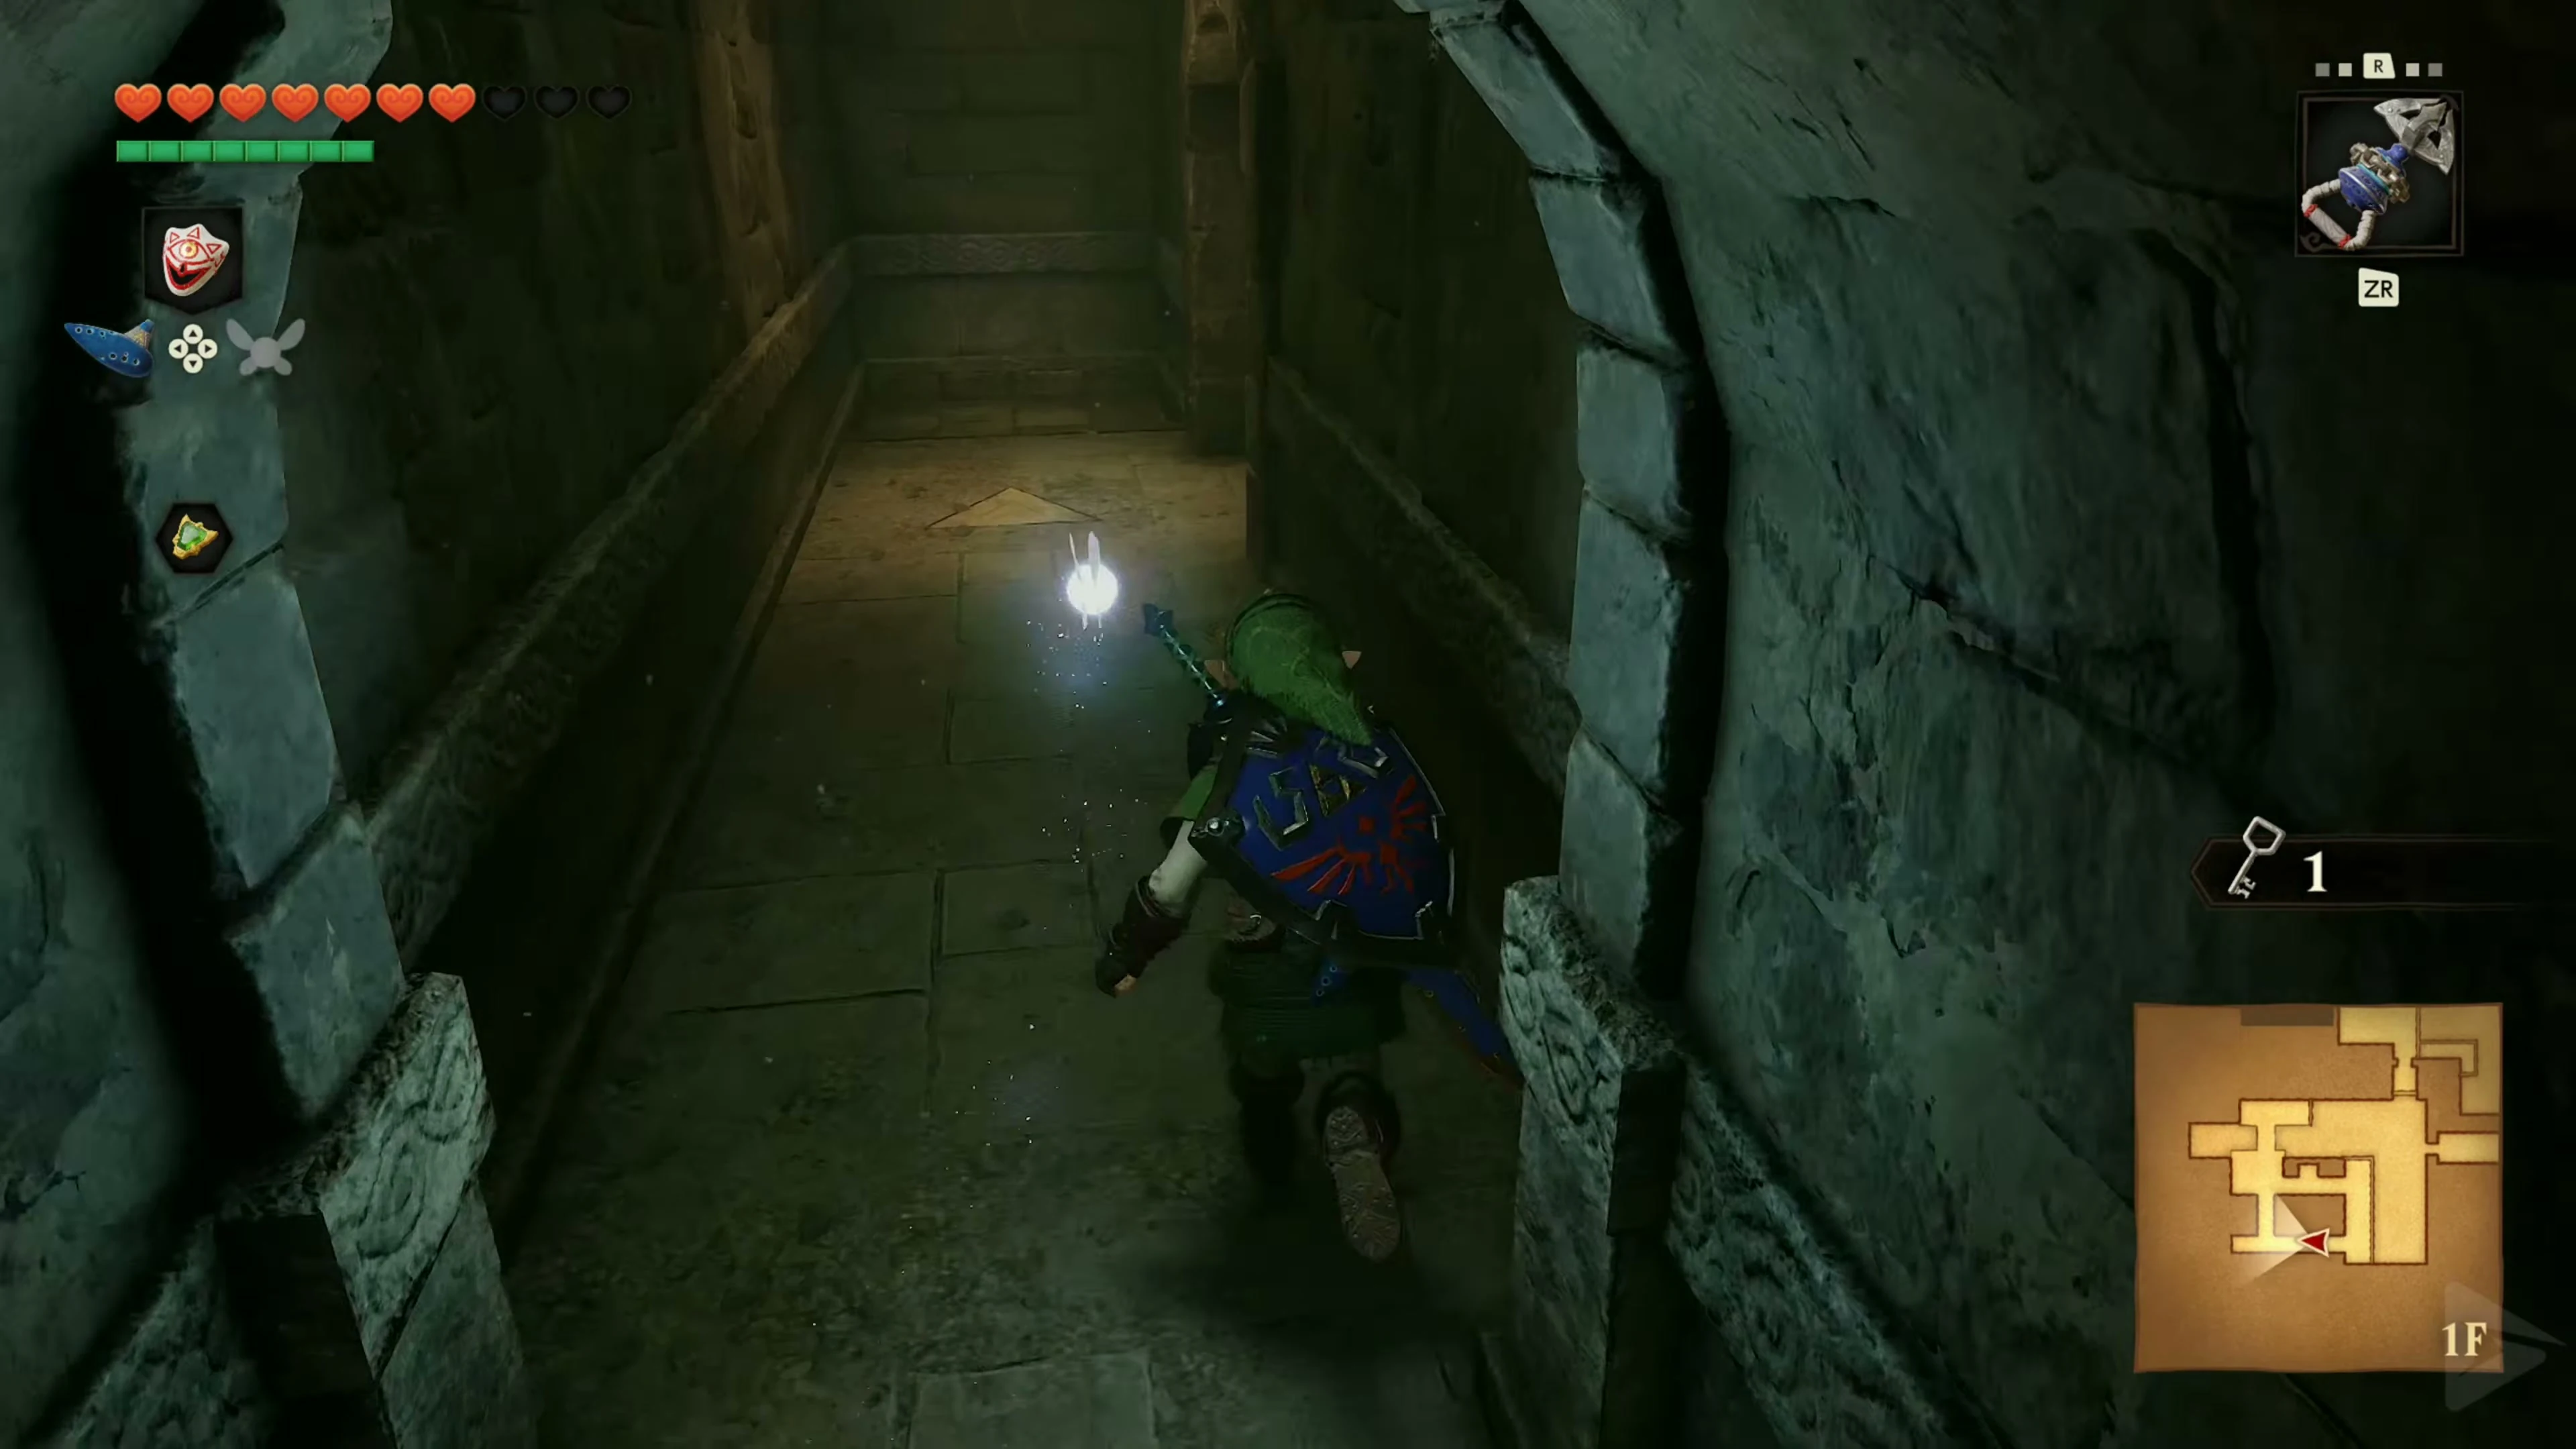
Defeat the two Blue Bubbles above. Step on the floor switch on the west side of the room: This activates the elevator as a shortcut to the lower area of the block room. Then open the locked door with your last Small Key and enter the twisted corridor. There is a silver eye switch above this door.
The Twisted Corridor and the Wallmaster
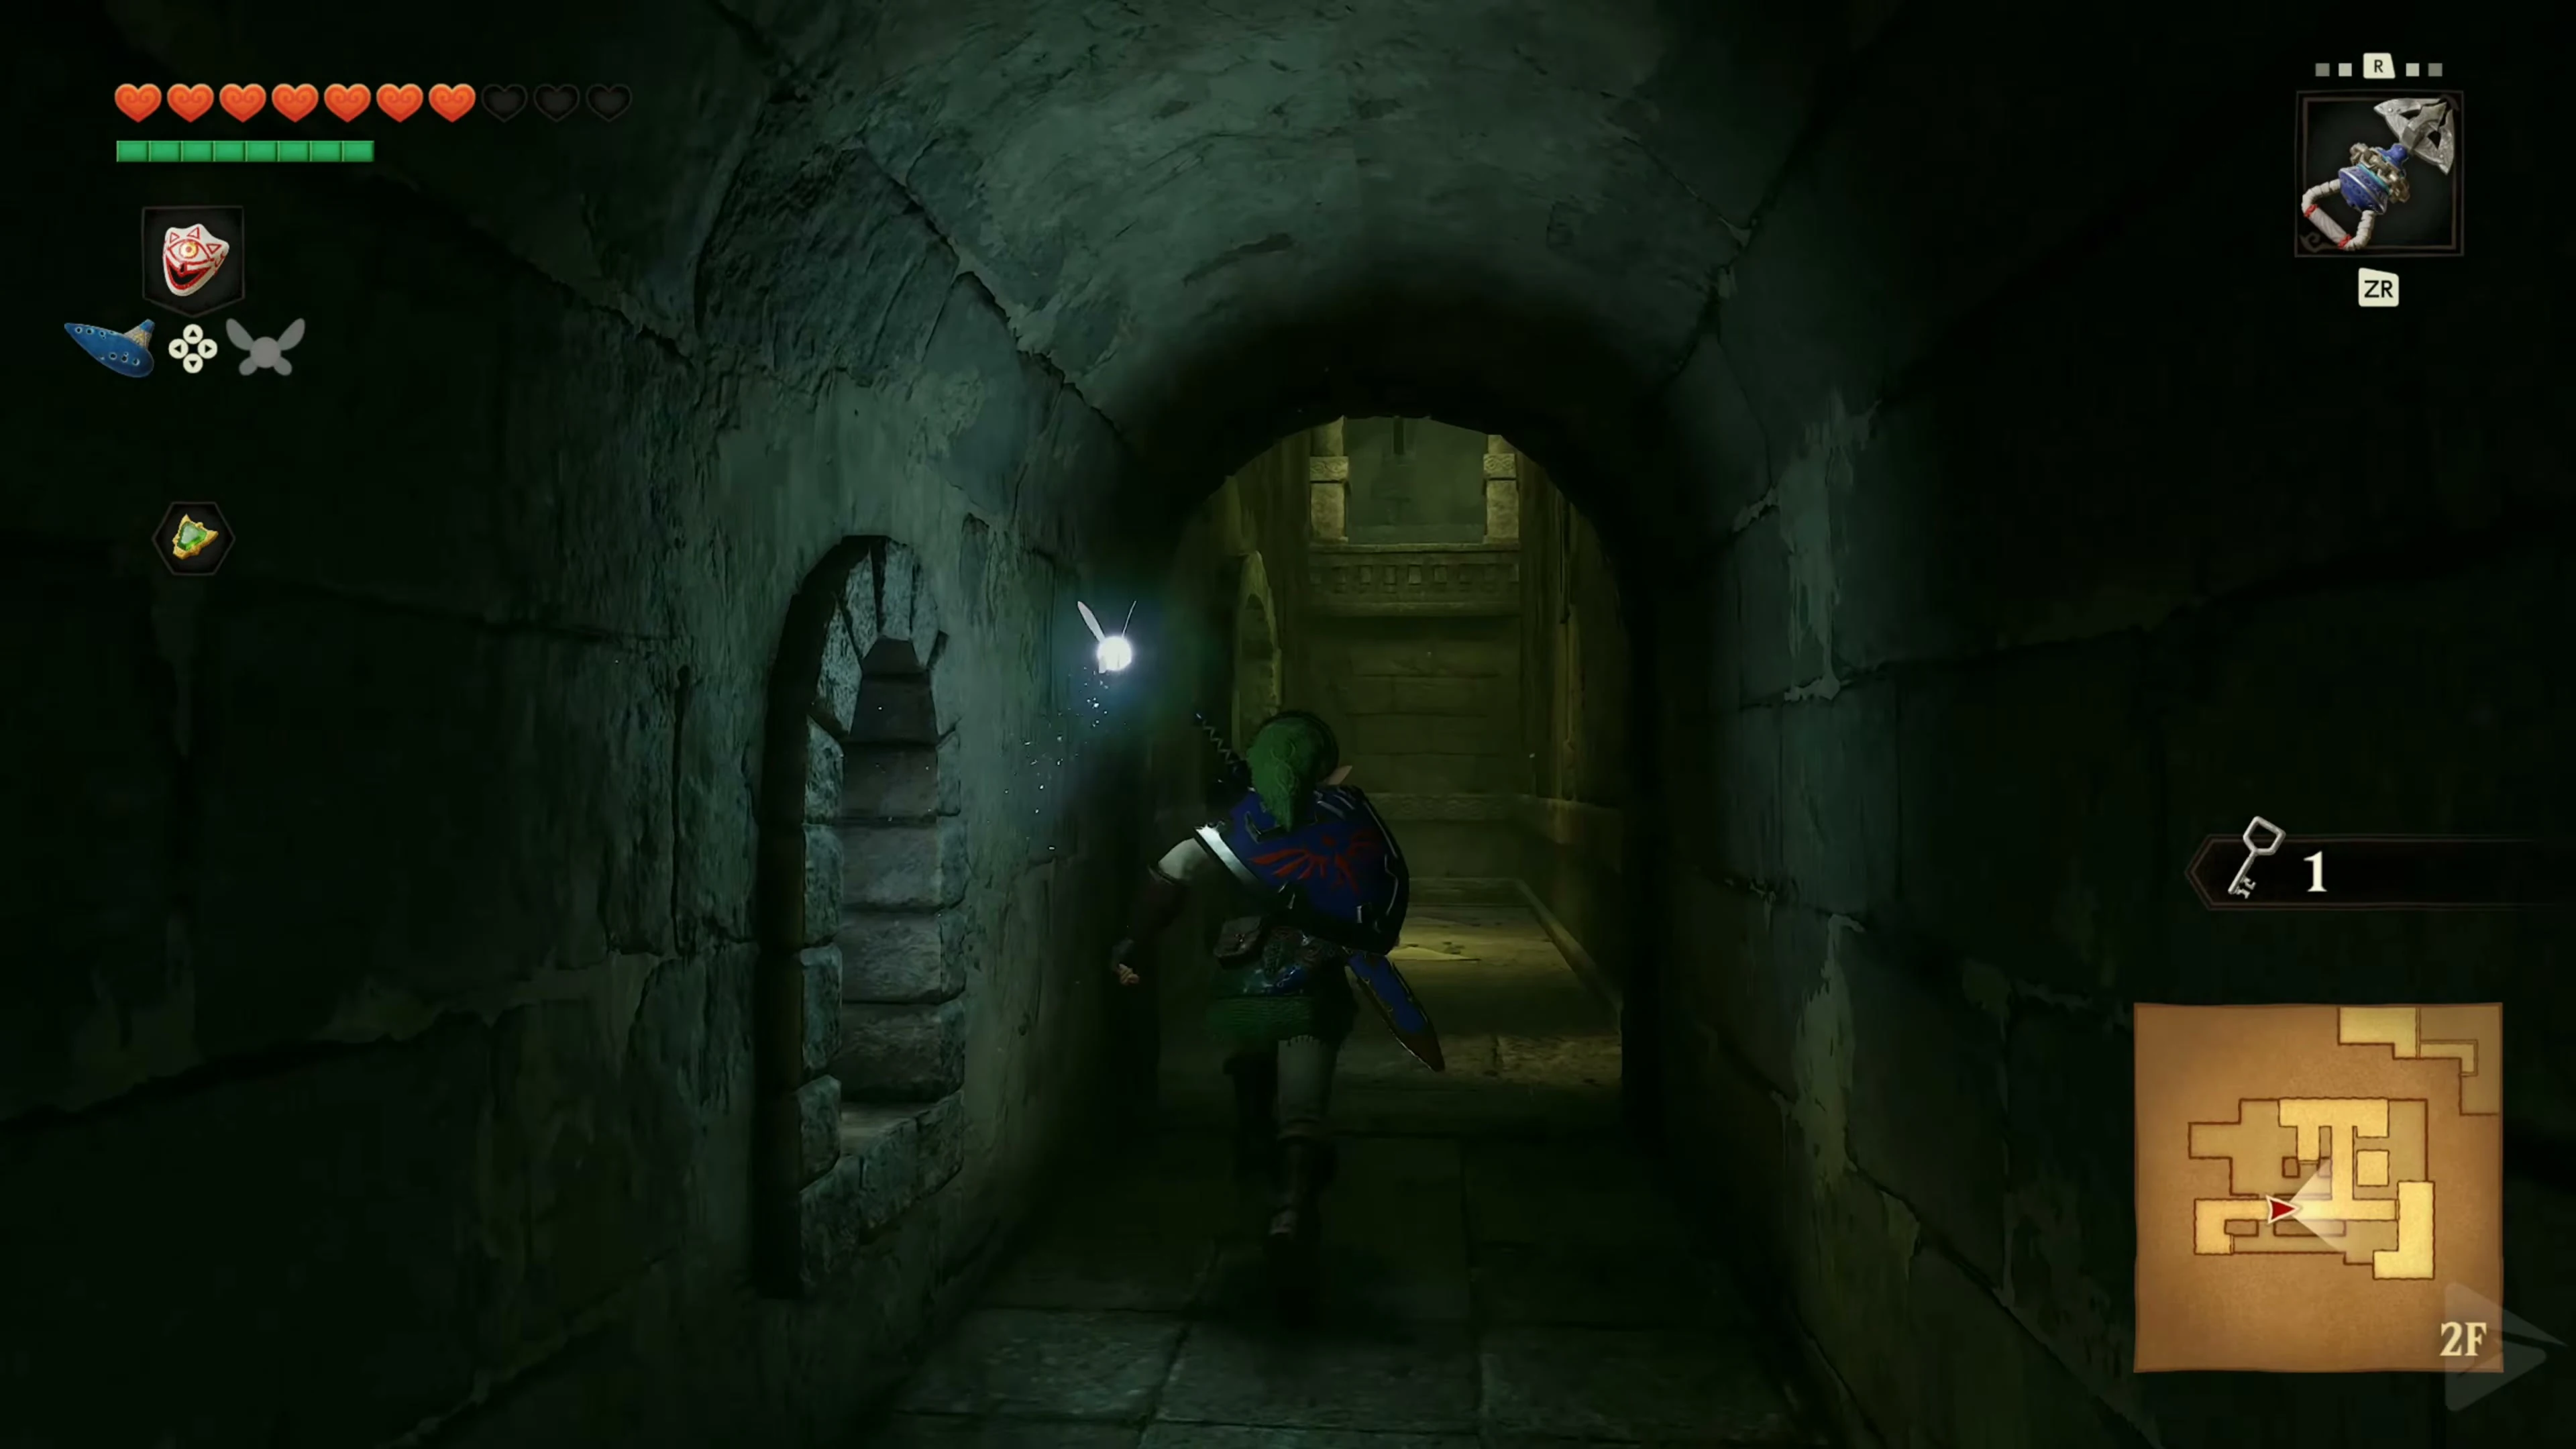
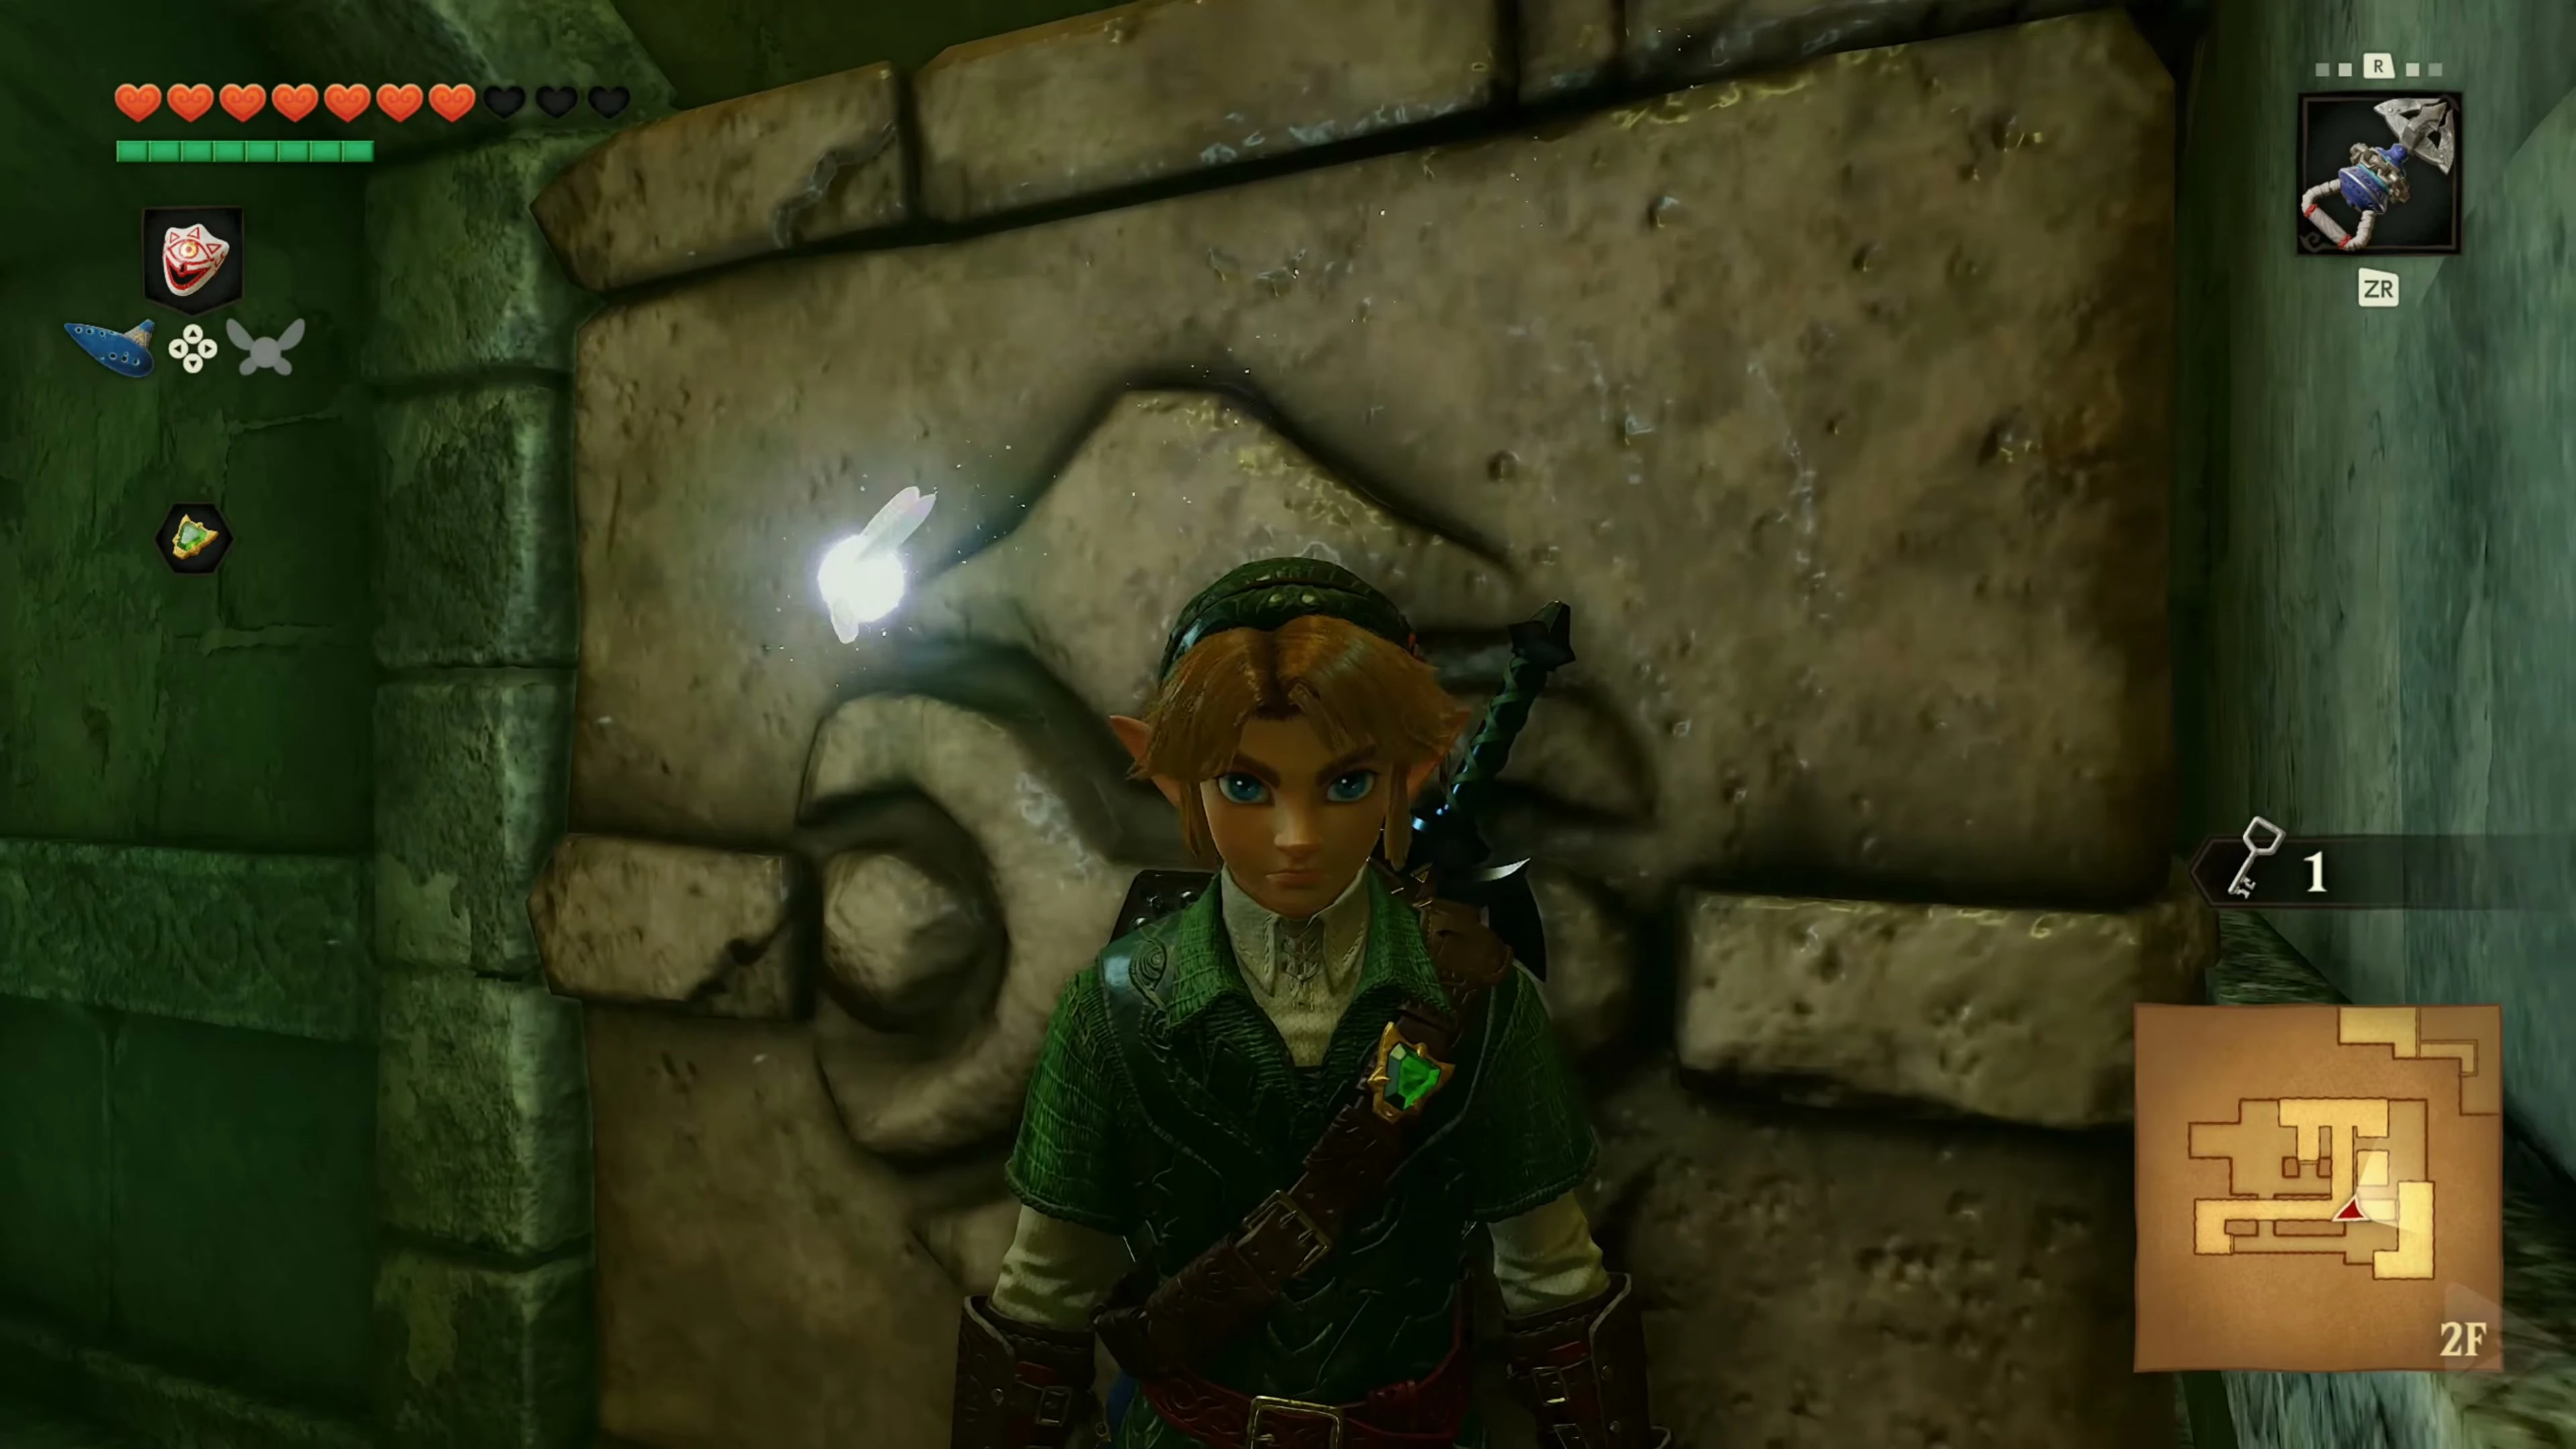
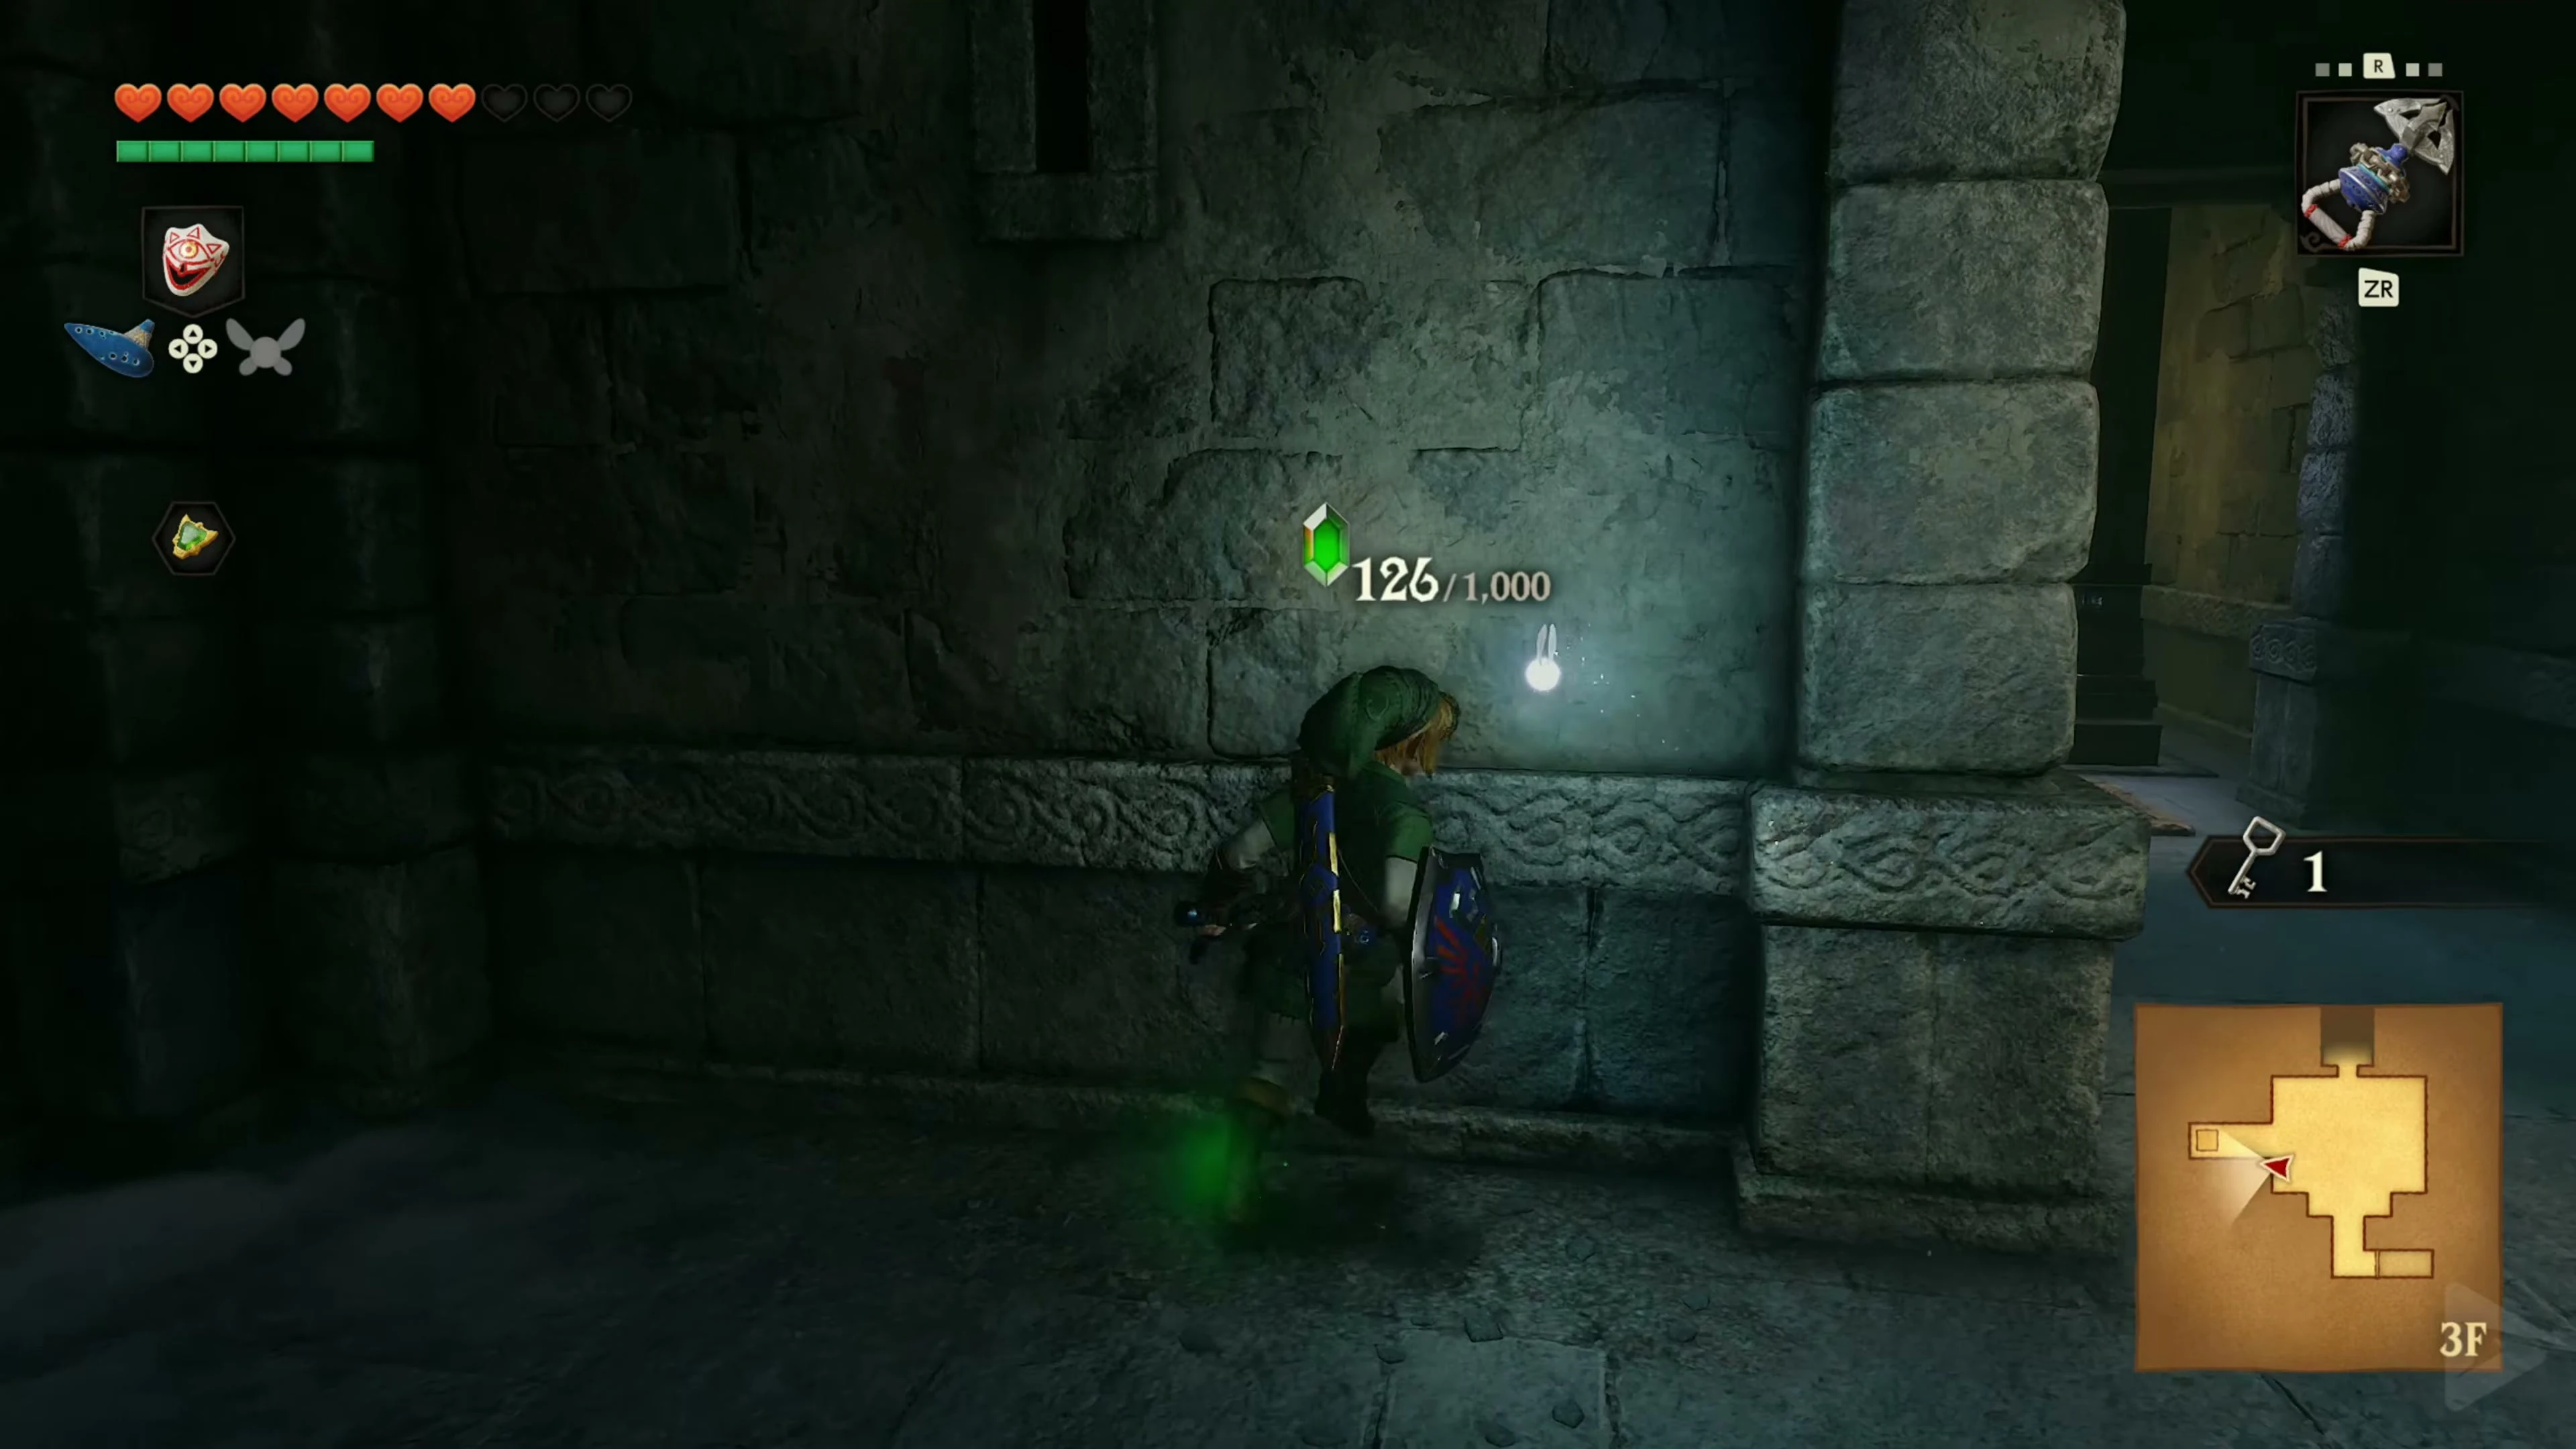
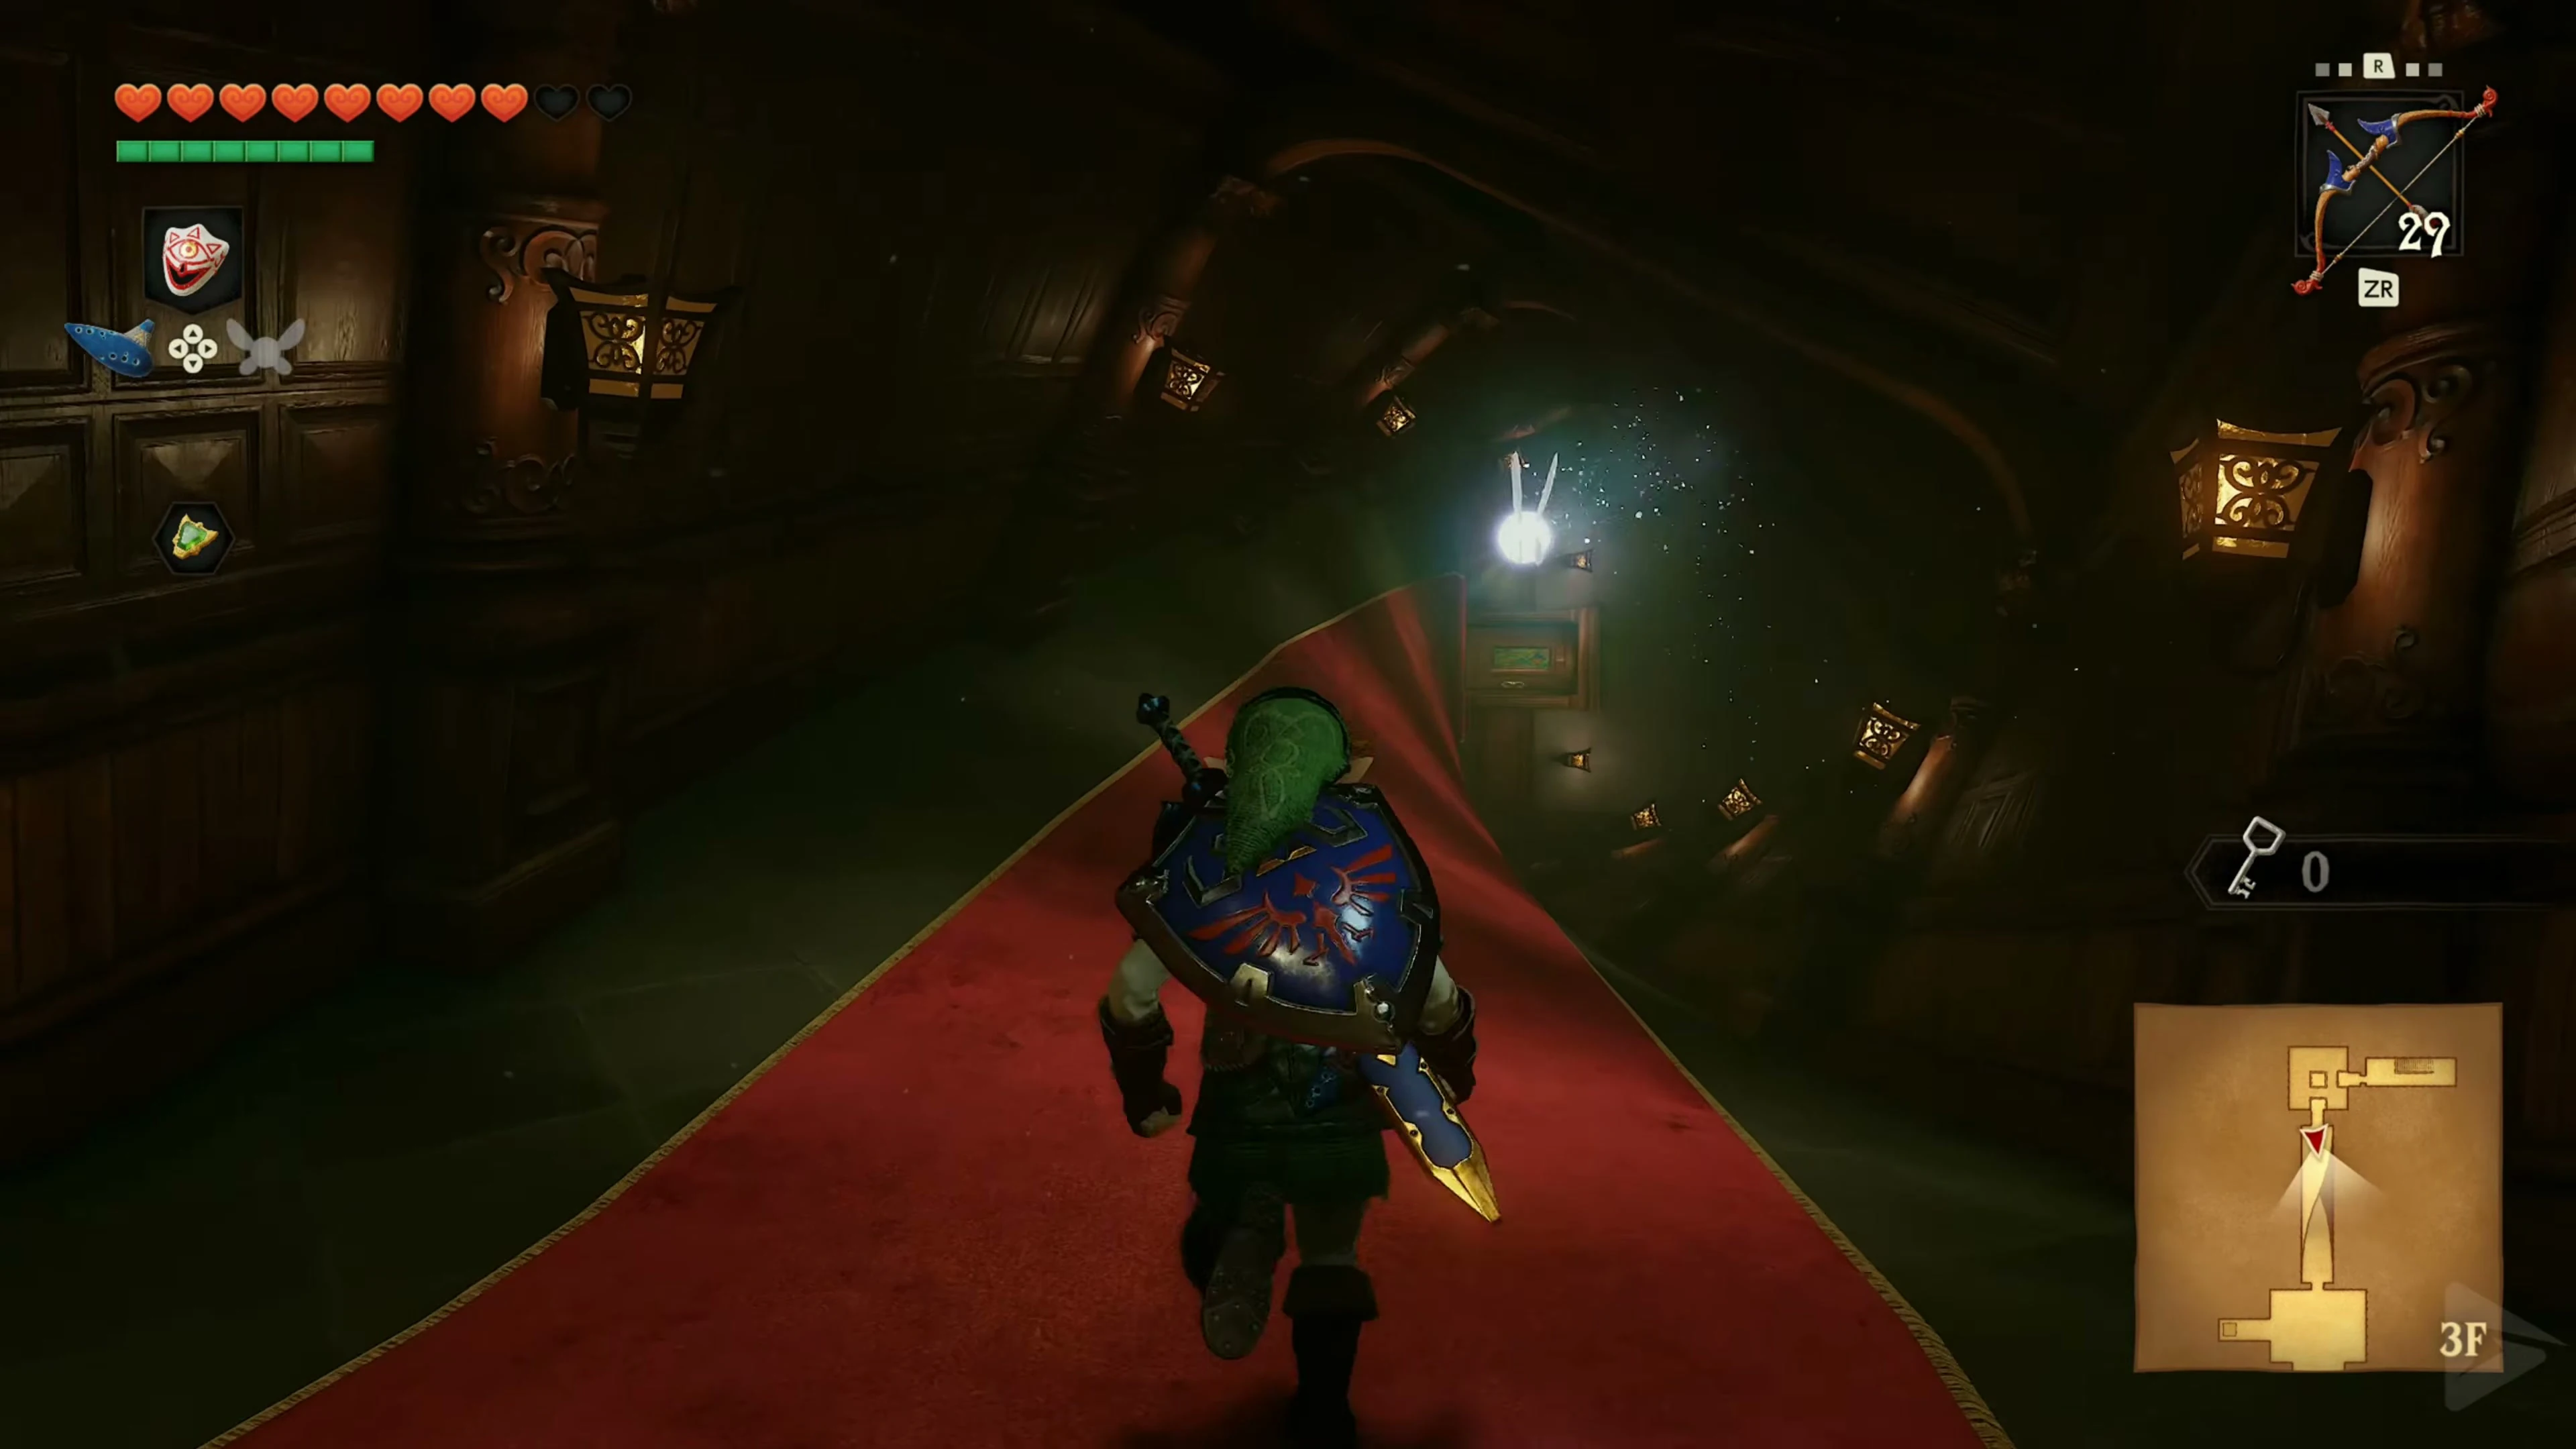
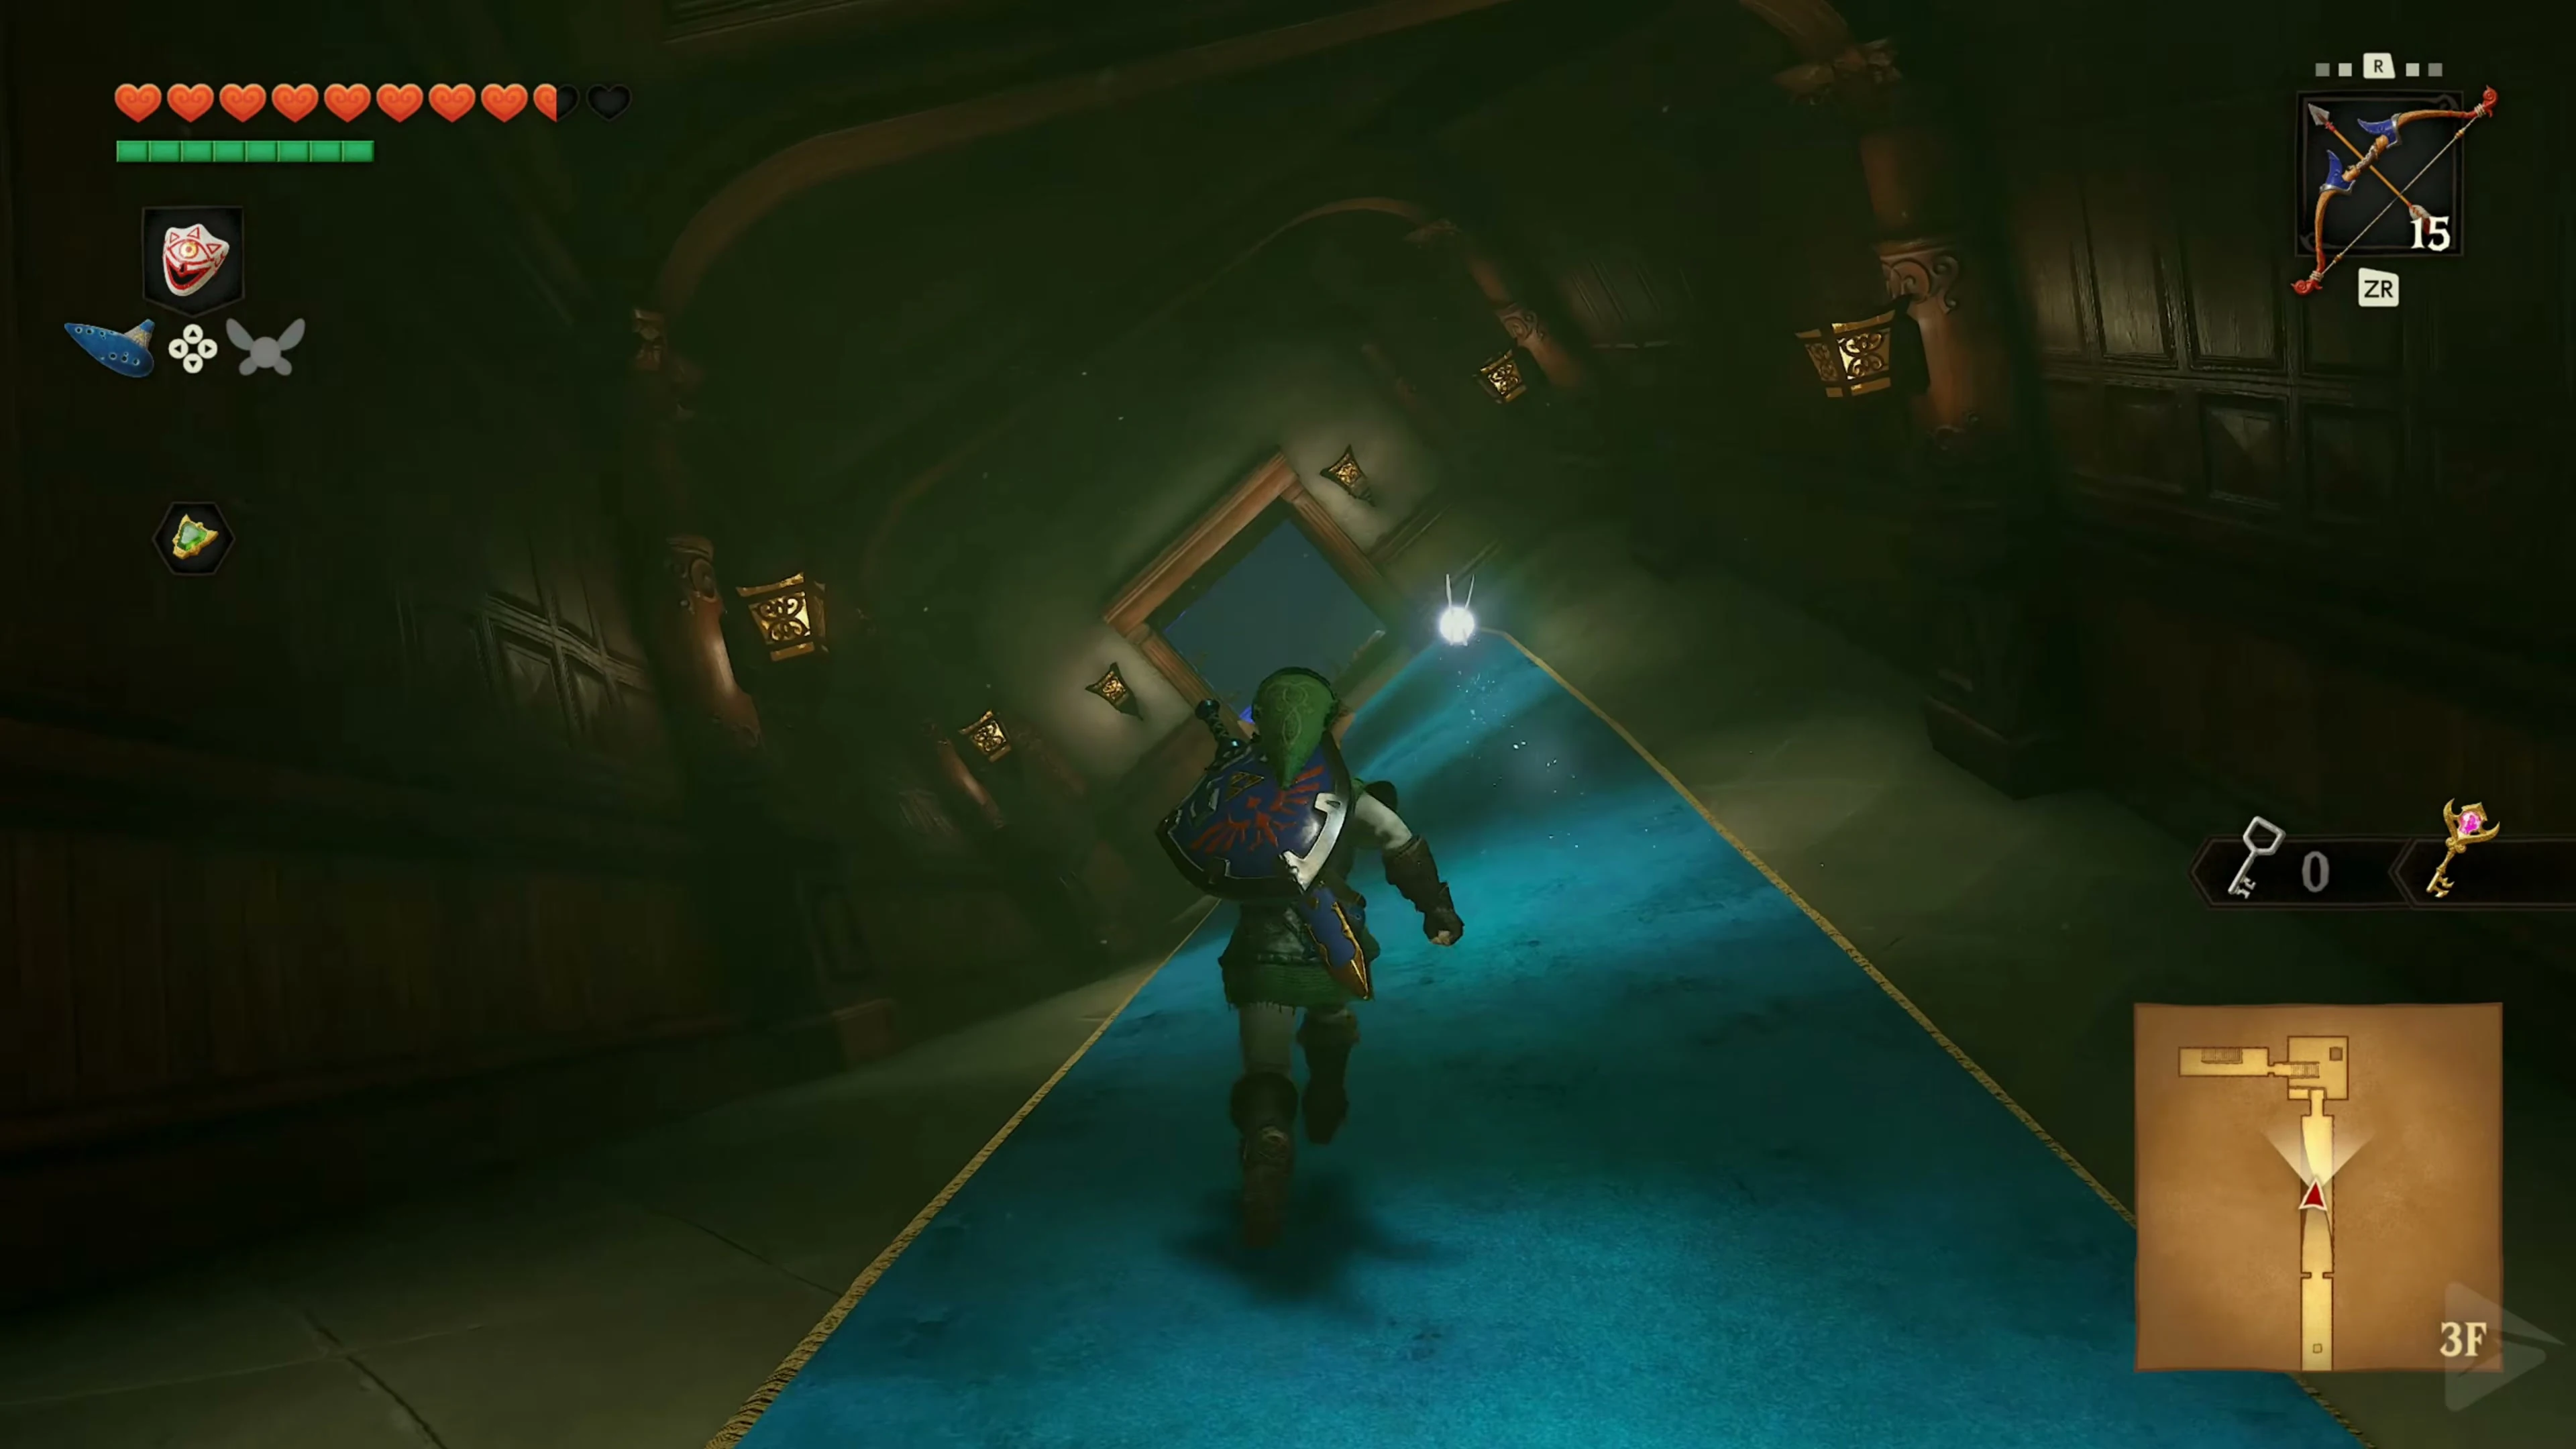
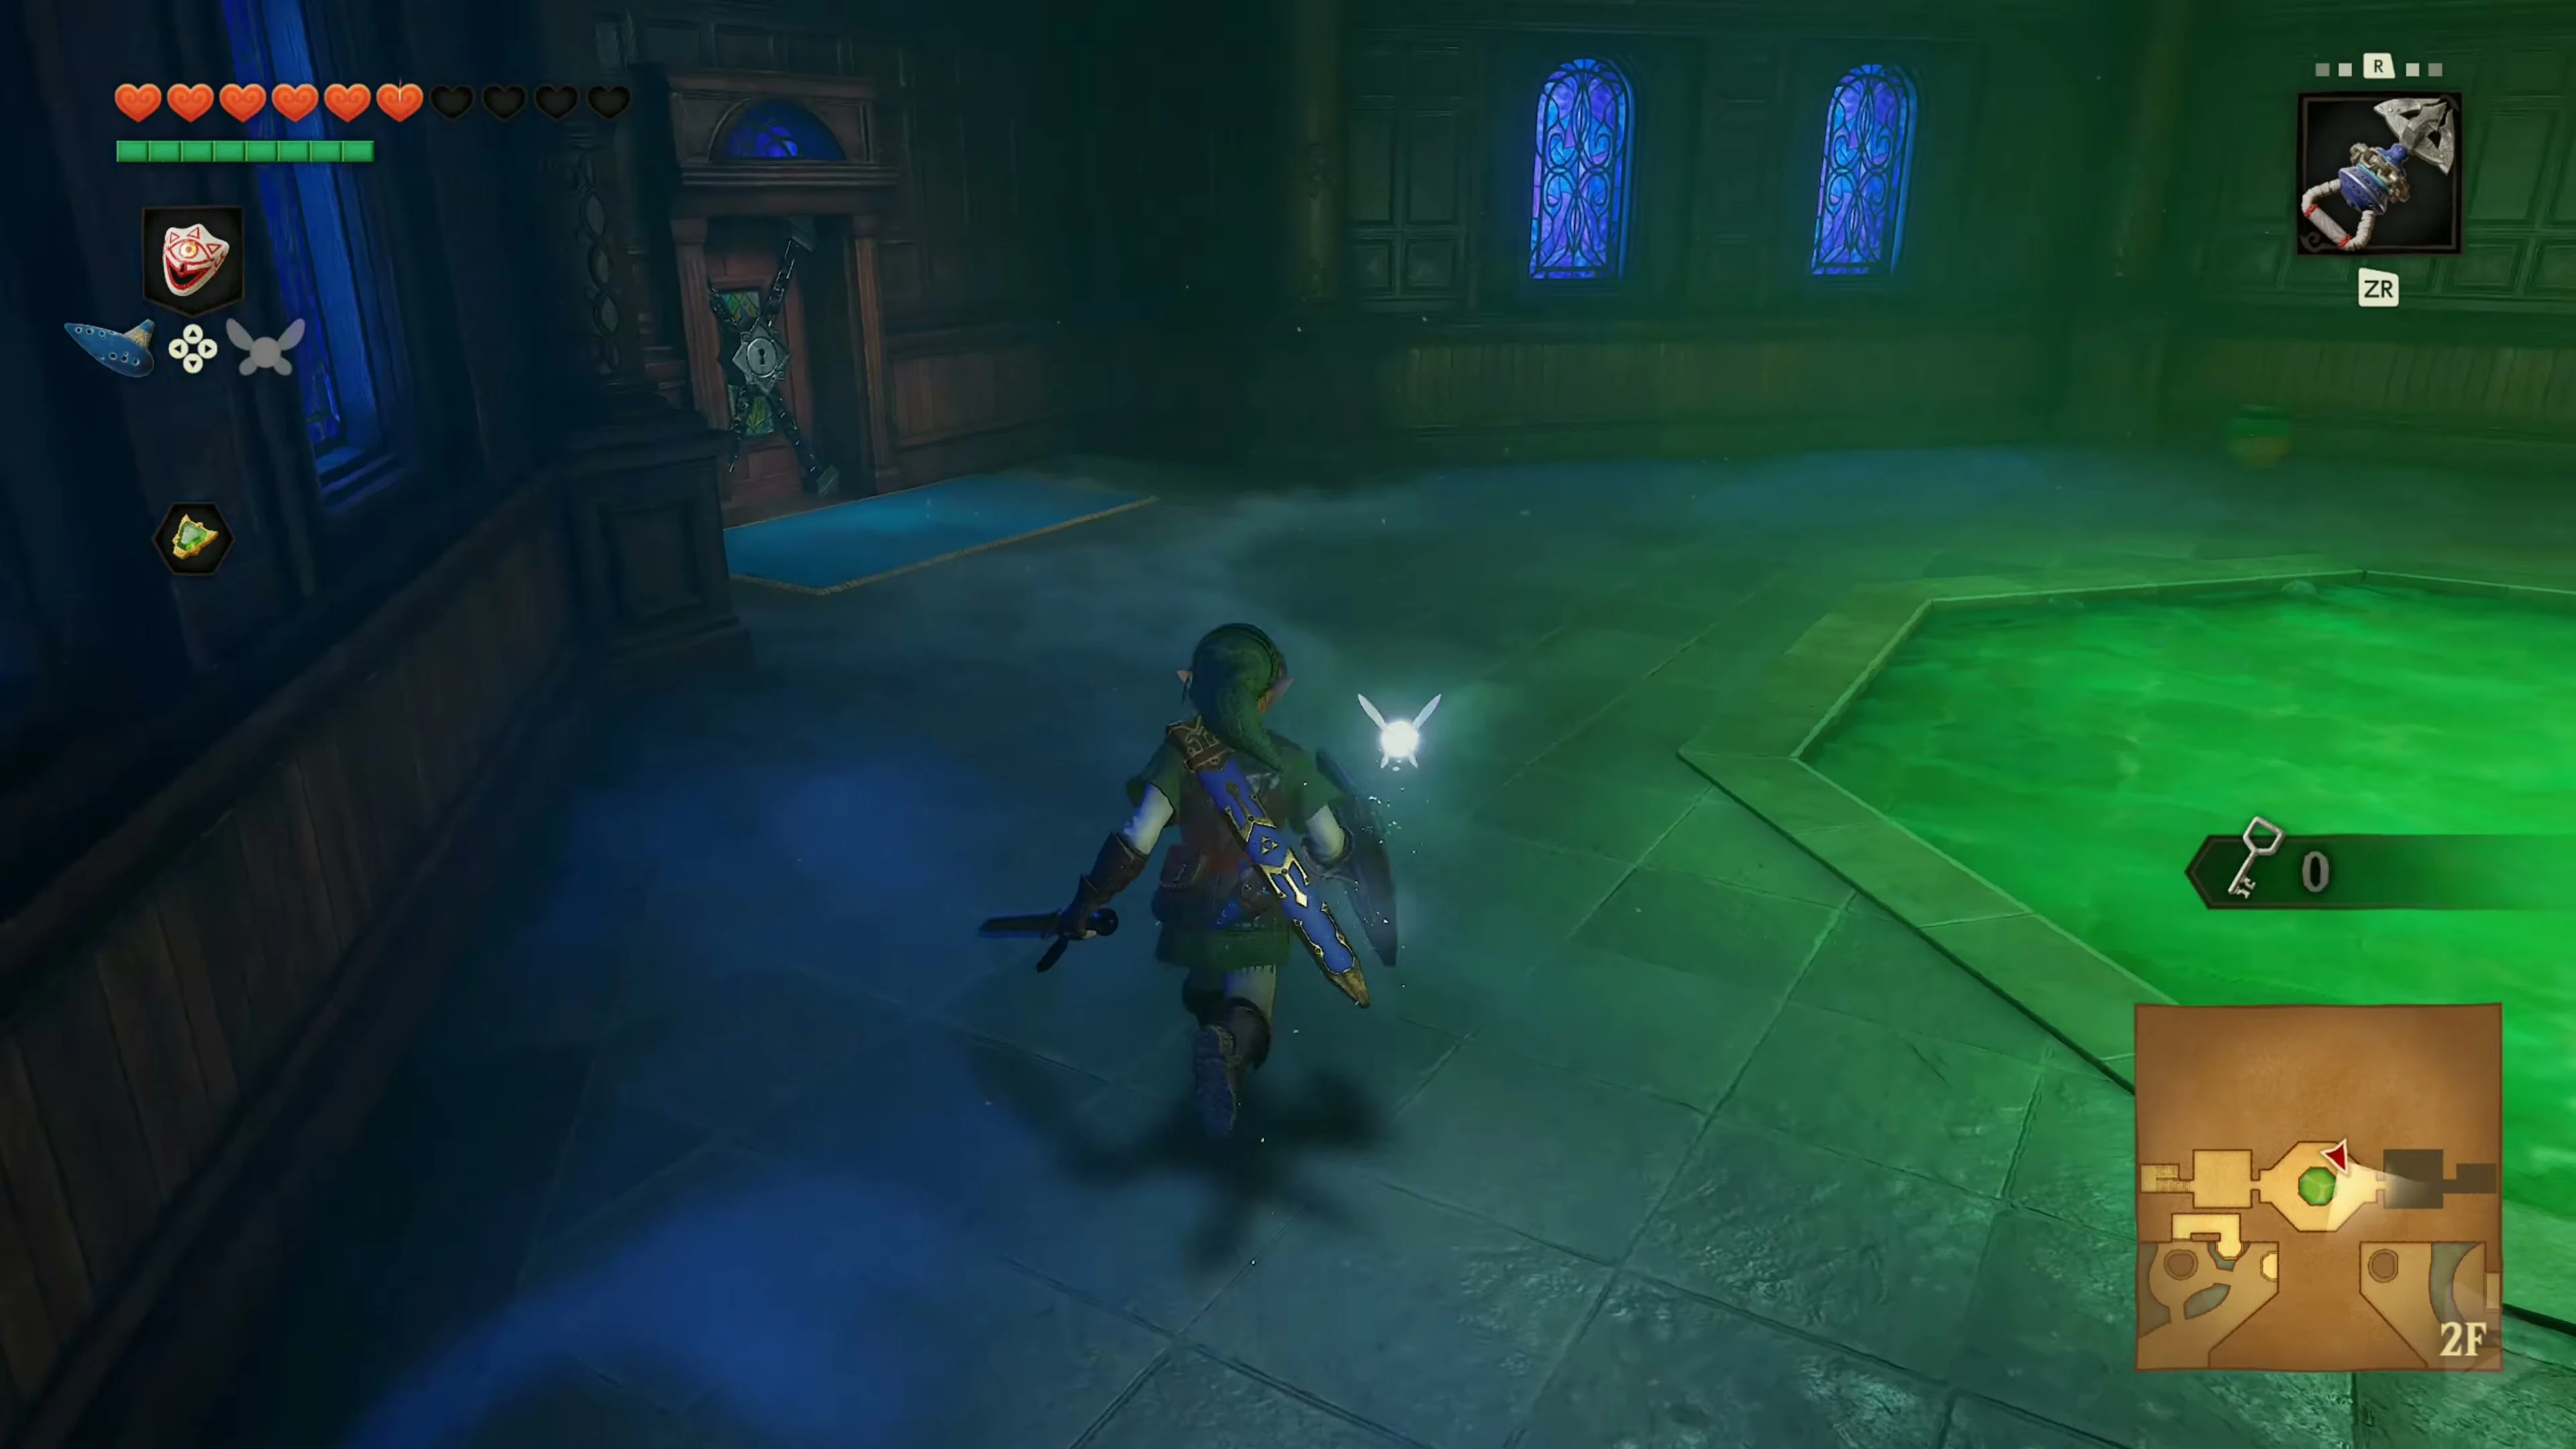
Go through the twisted corridor. A Wallmaster lurks in the next room. Dodge as soon as her shadow falls on Link and defeat her after landing. You can reach the door to the red painting staircase via the sloping platforms. No additional door key is required here. Climb down and go through the door to the room with the Stalfos.
The Fairy Bow – Fight against three Stalfos
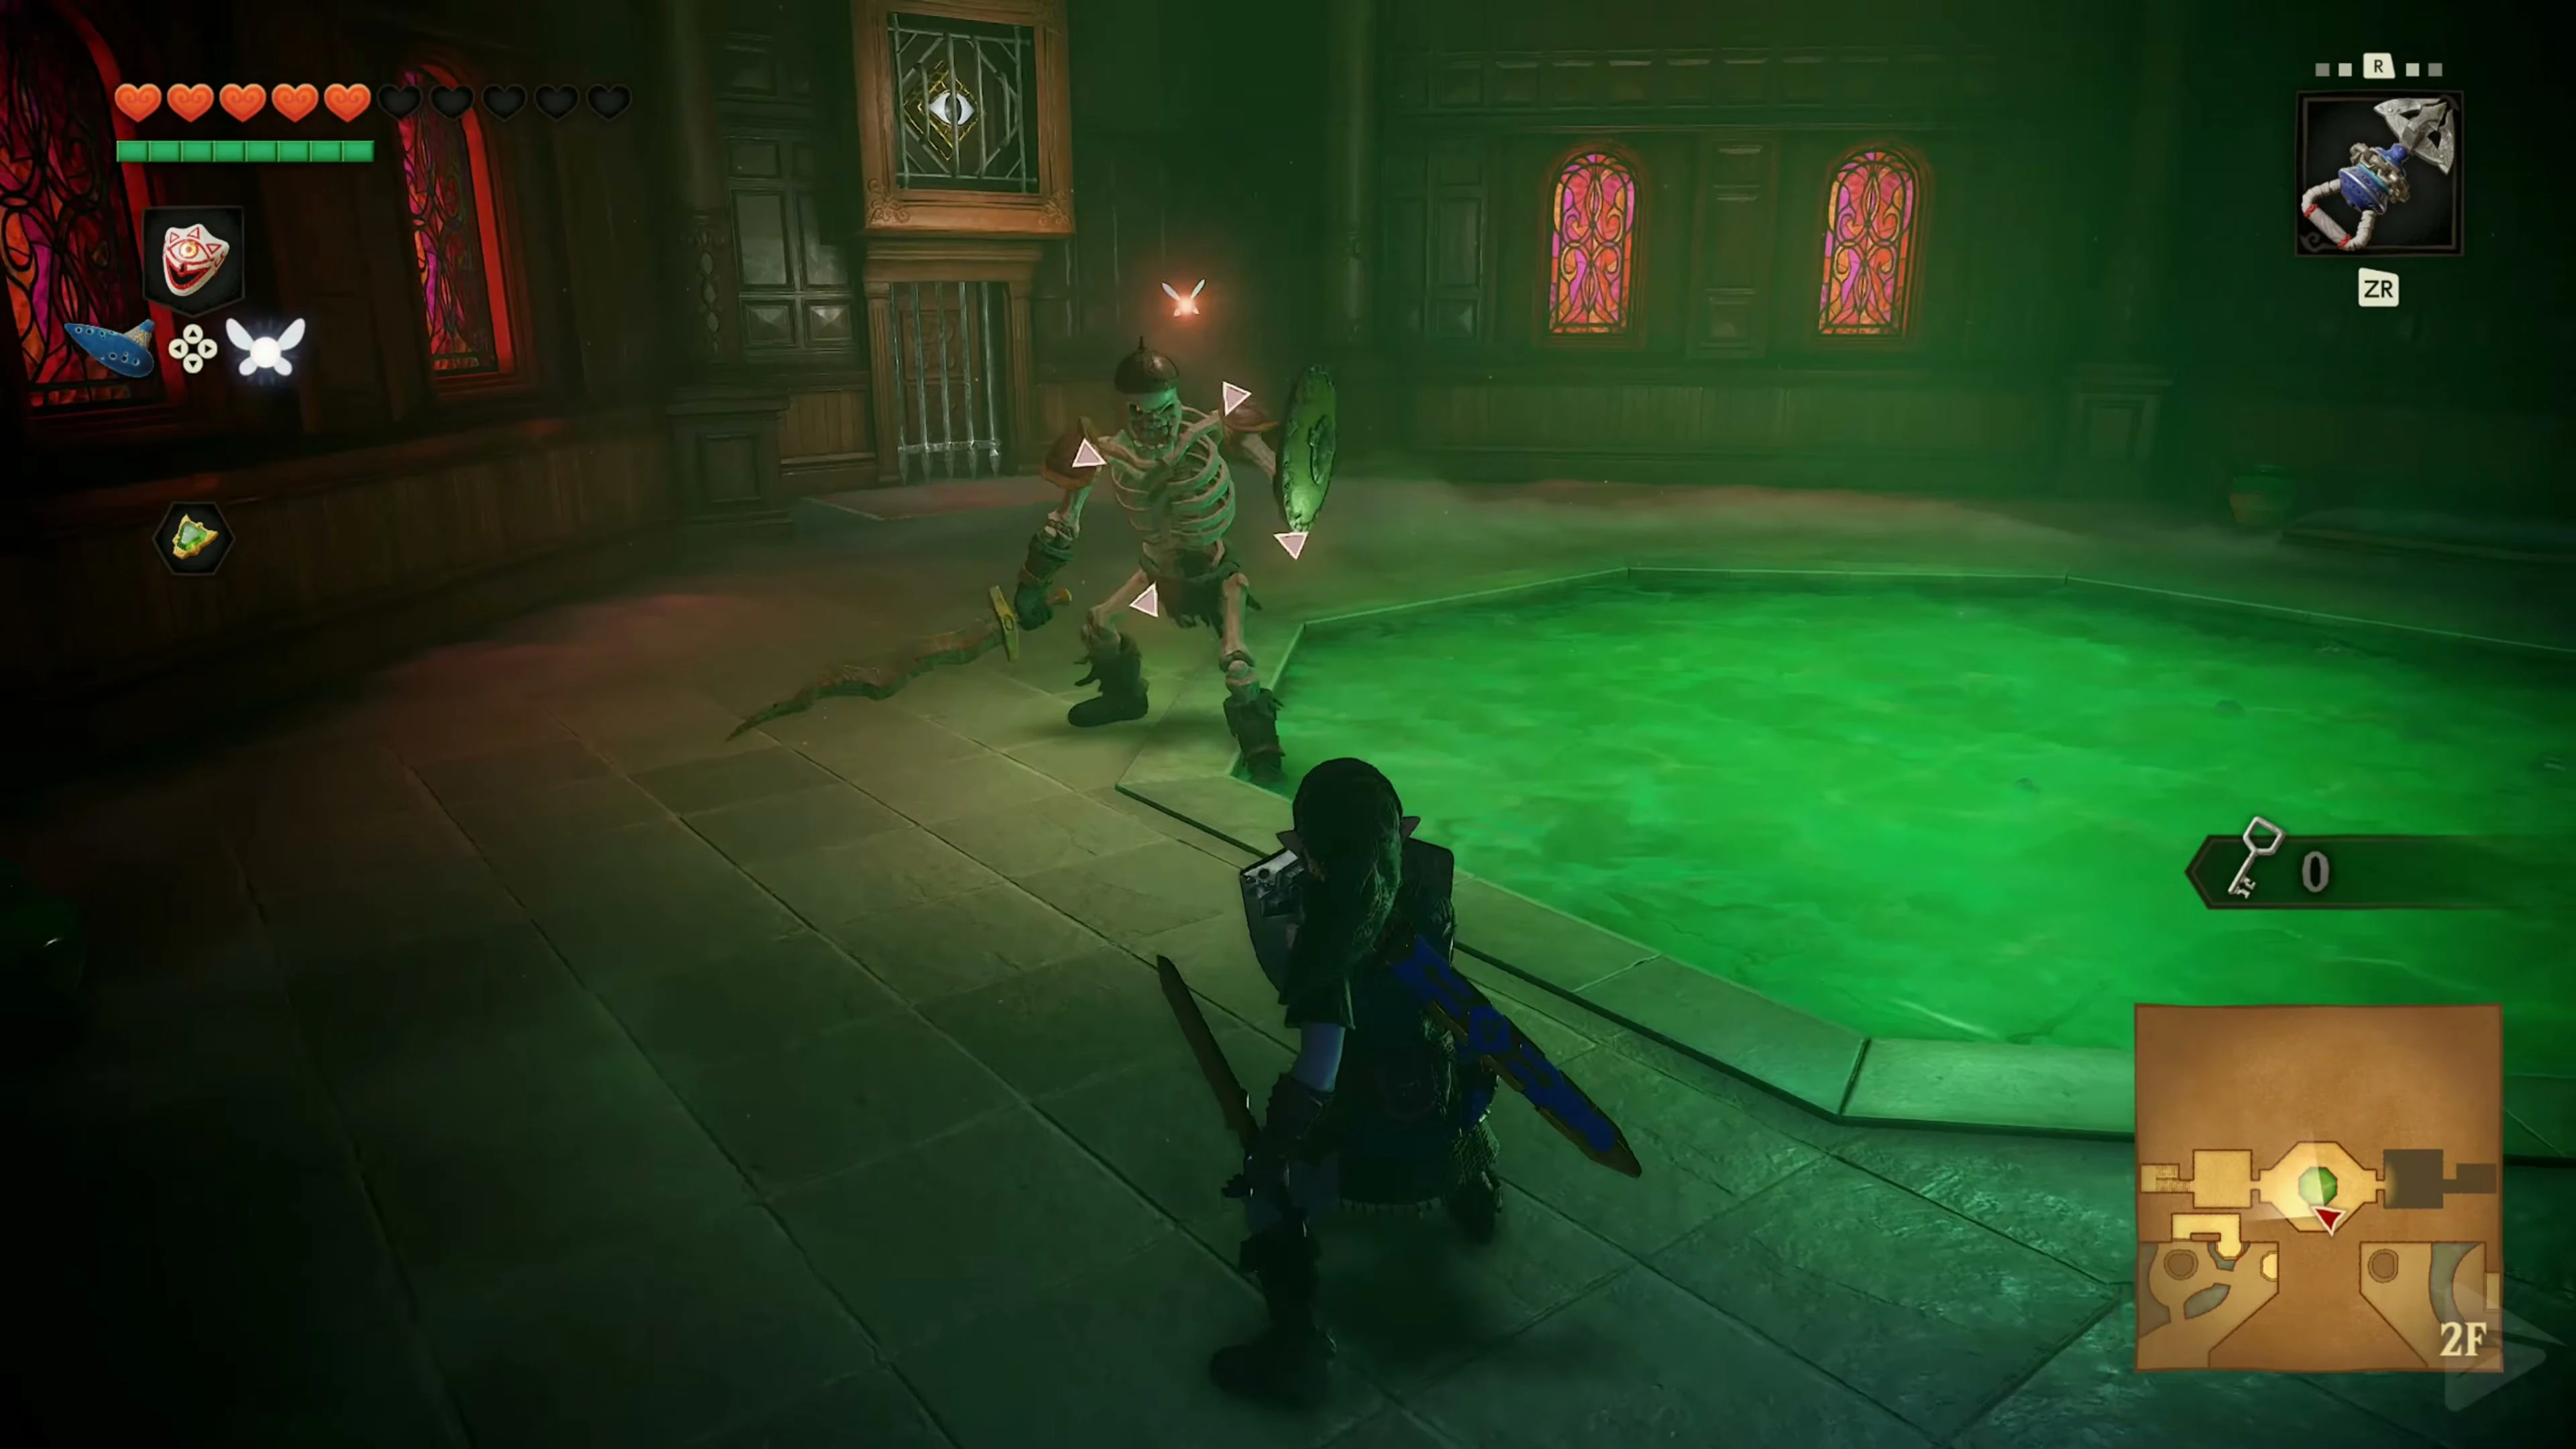
In the next room there is a single Stalfos waiting. There is an acid pool in the middle of the floor, so it’s better to stick to the outer edge when fighting. Defeat the knight using the same tactics as before: keep your shield ready, wait for his attack and then counterattack. As soon as the first Stalfos falls, part of the ceiling will lower and cover the acid pool. At the same time, two more Stalfos appear.
There is something special about these two opponents. If you defeat the first but then take too long to defeat the second, the already defeated Stalfos will rise again and you will have to fight him again. Therefore, concentrate your attacks entirely on one knight and immediately switch to the second as soon as the first one collapses. Jump attacks with the Master Sword speed up the fight significantly. Once all three Stalfos have been finally defeated, a large treasure chest will appear in the middle of the room.
Open it and take the Fairy Bow . You can initially carry 30 arrows. With the bow we not only reach the numerous eye switches of the forest temple, but from now on we also have one of the most important long-range weapons in the game. Later the arrow supply can be increased to 40 and finally 50 arrows; You can find the corresponding locations in our guide to bomb, arrow and Rupee upgrades .
Jo, Second Born and Beth, Third Born – Small Key and Compass
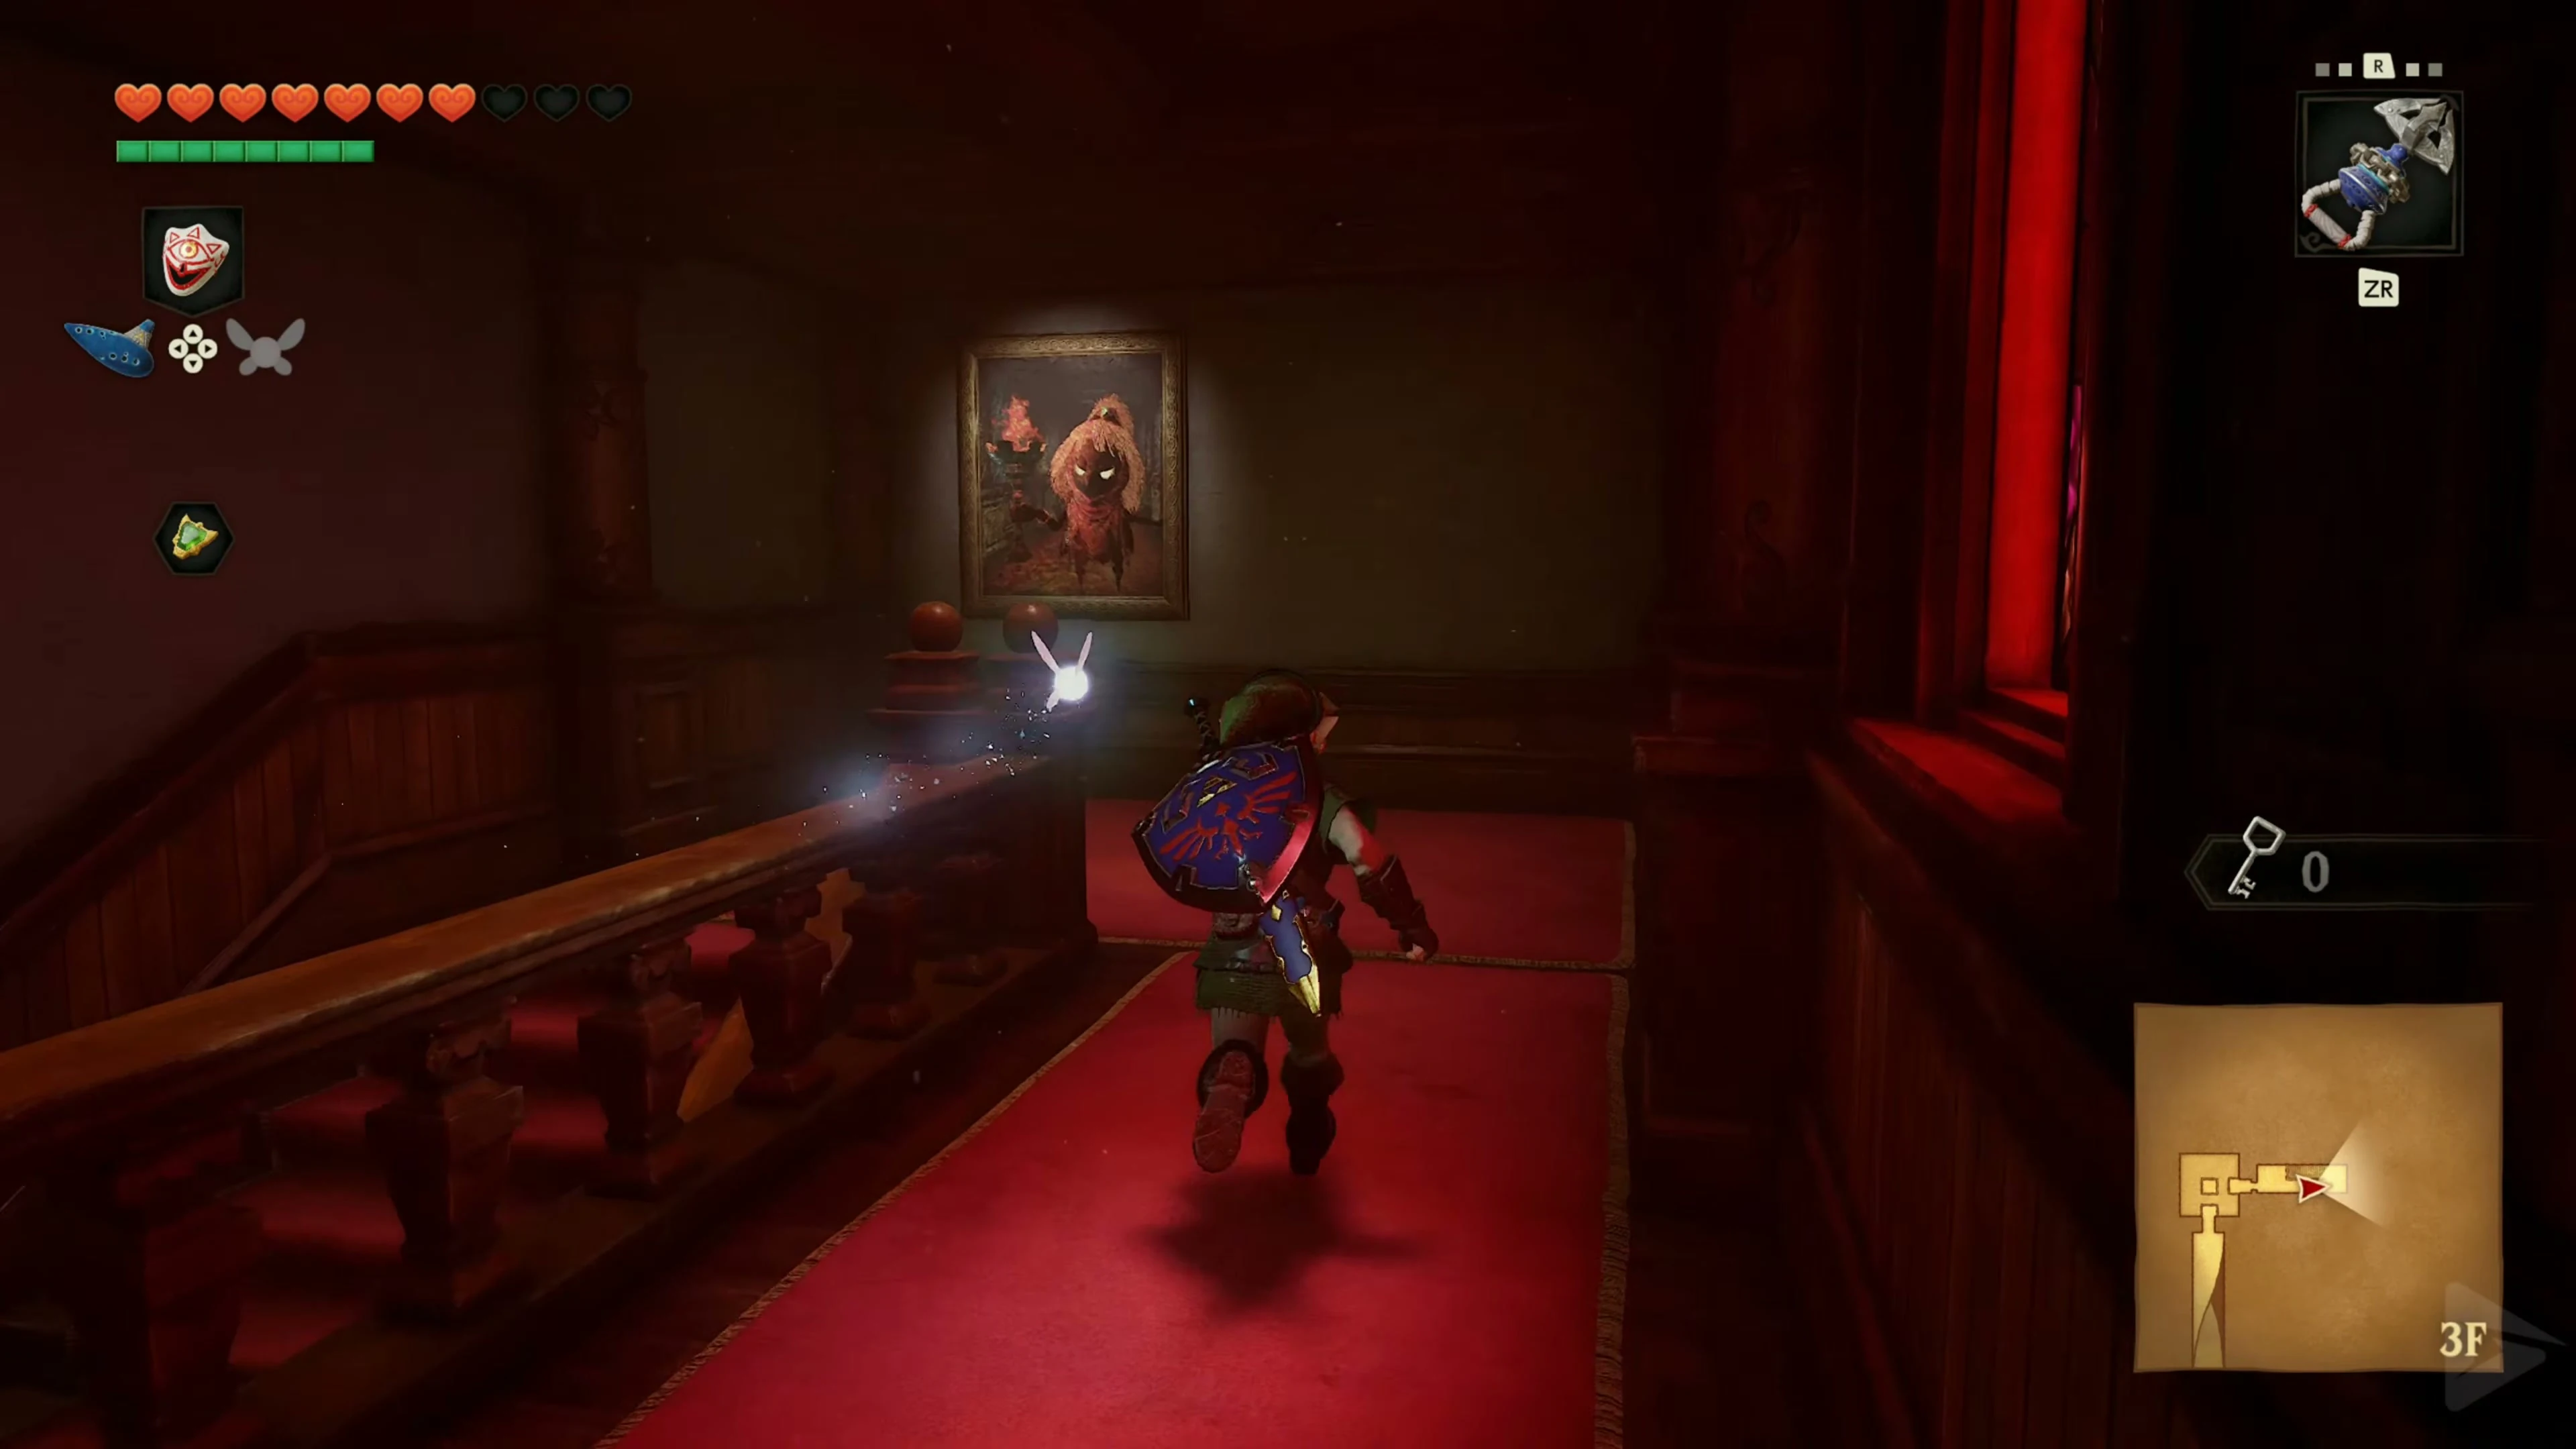
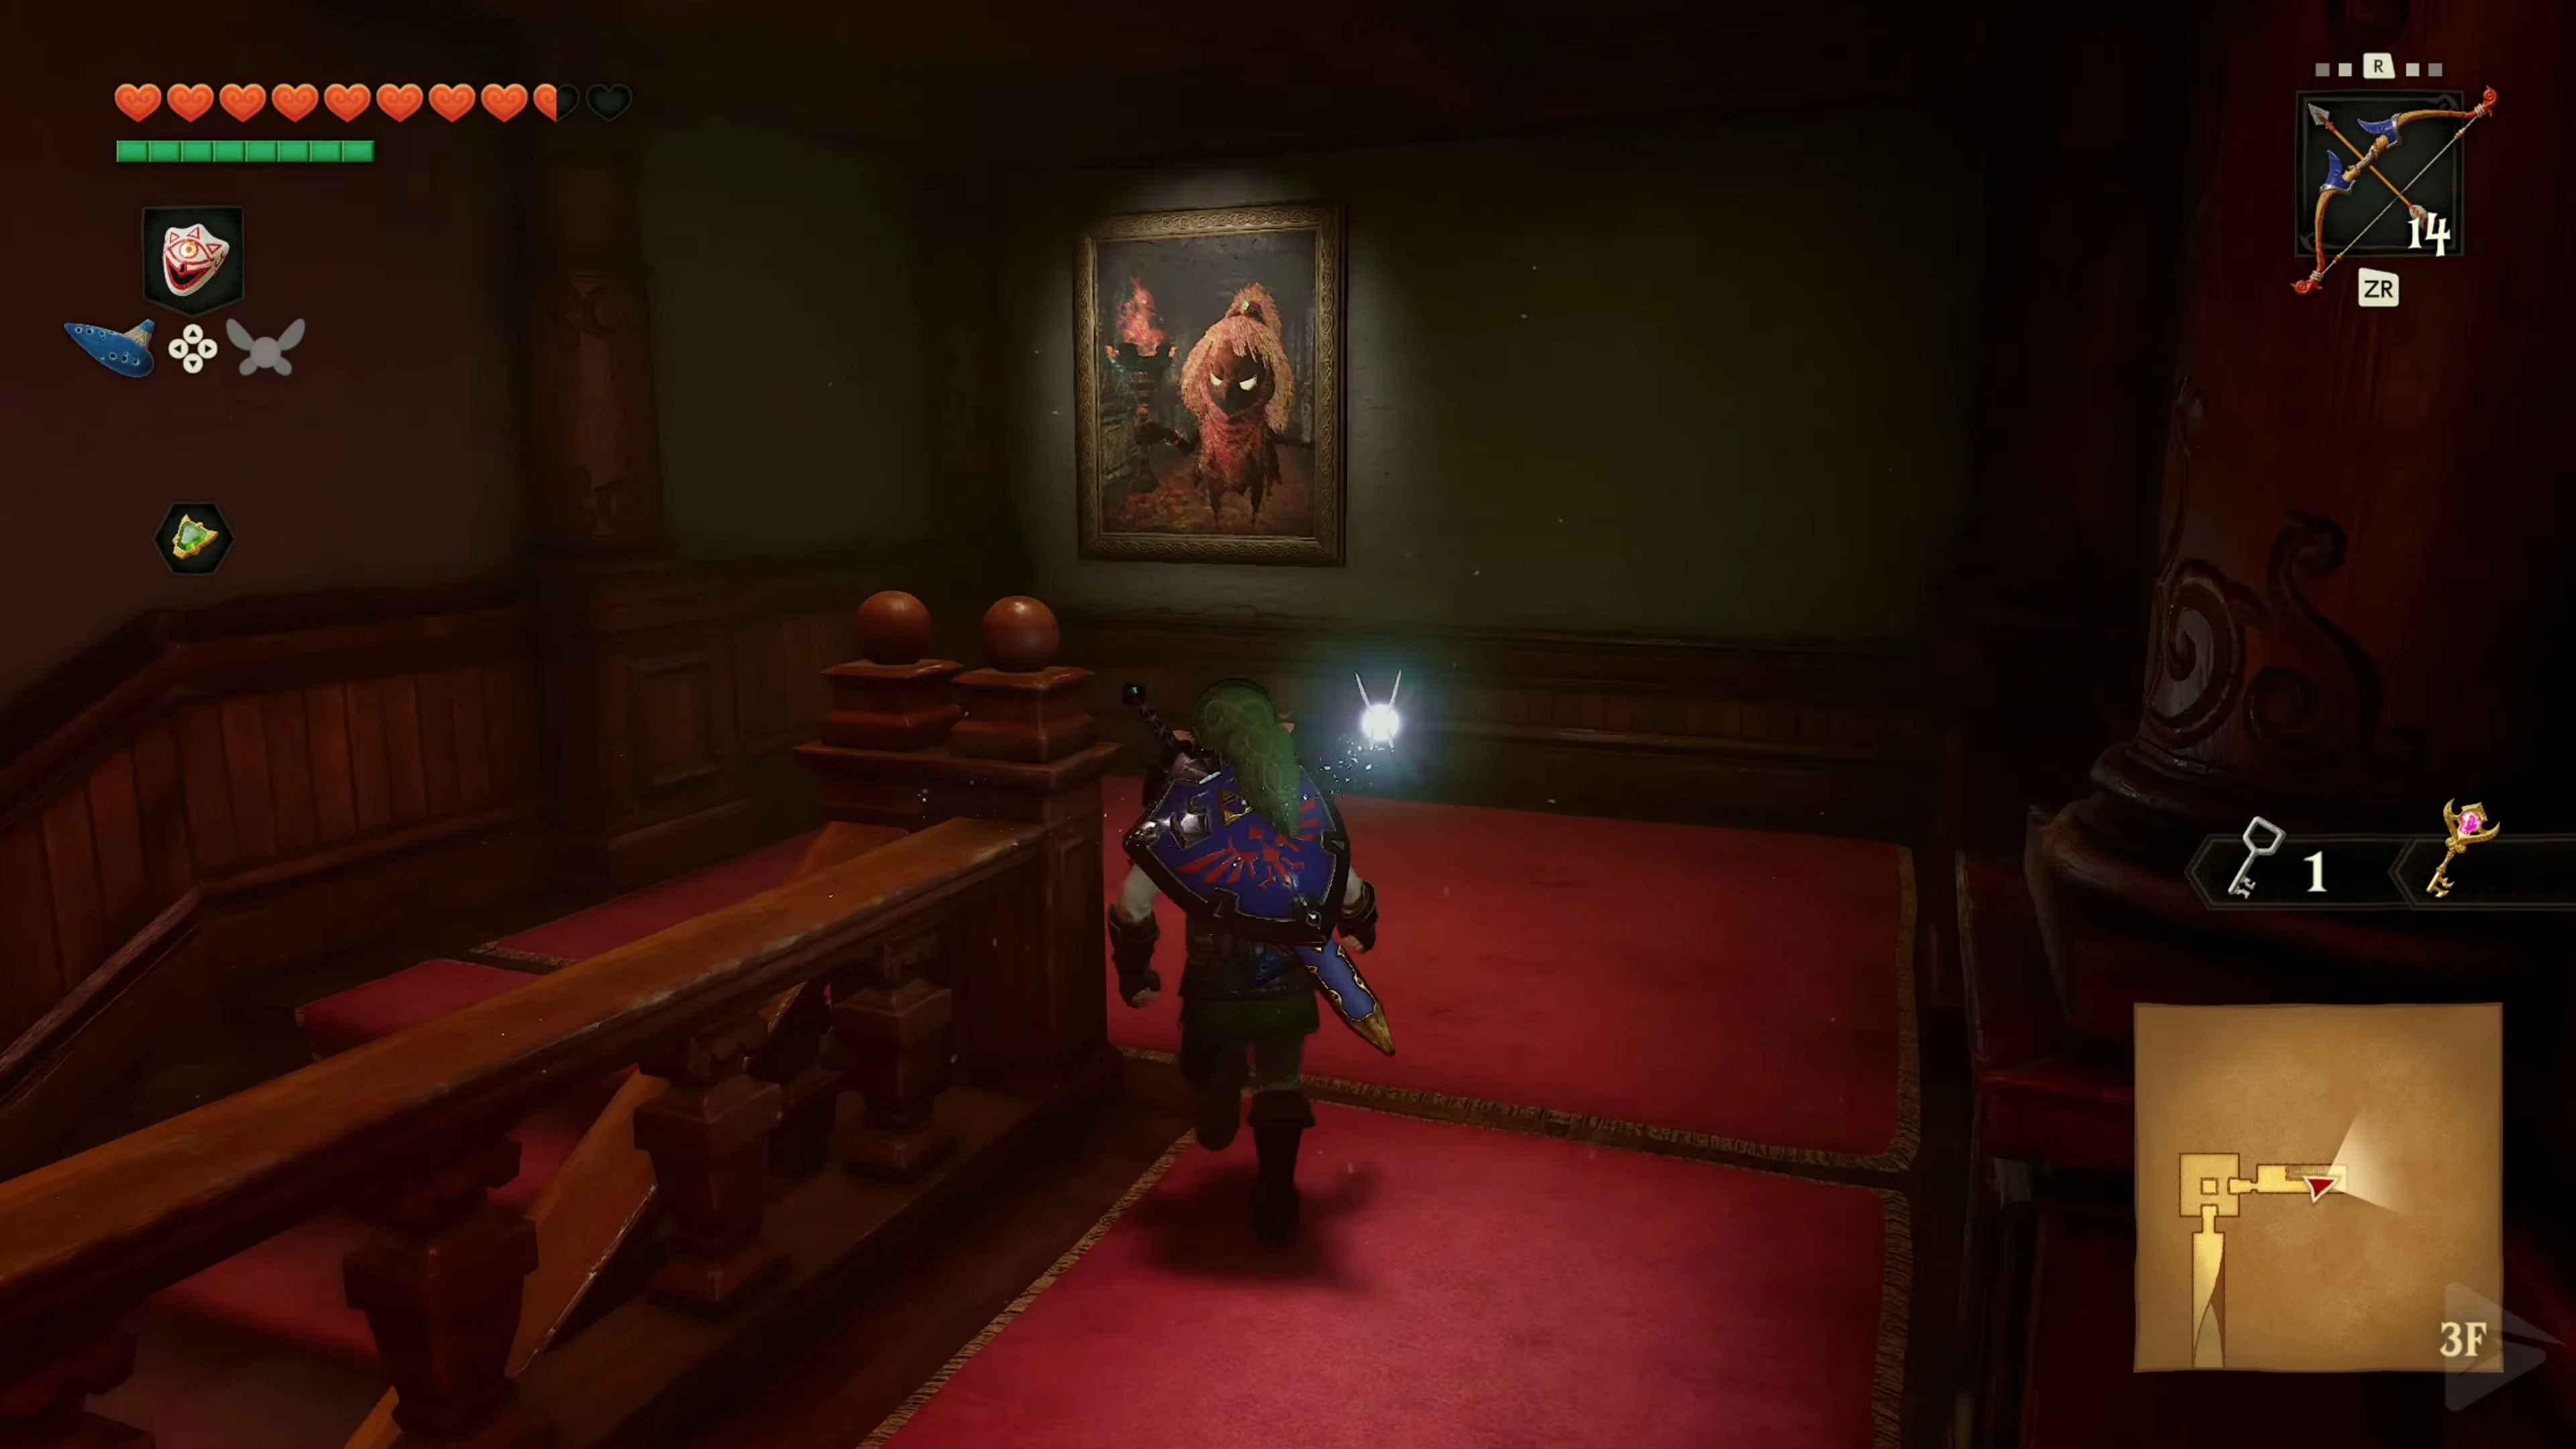
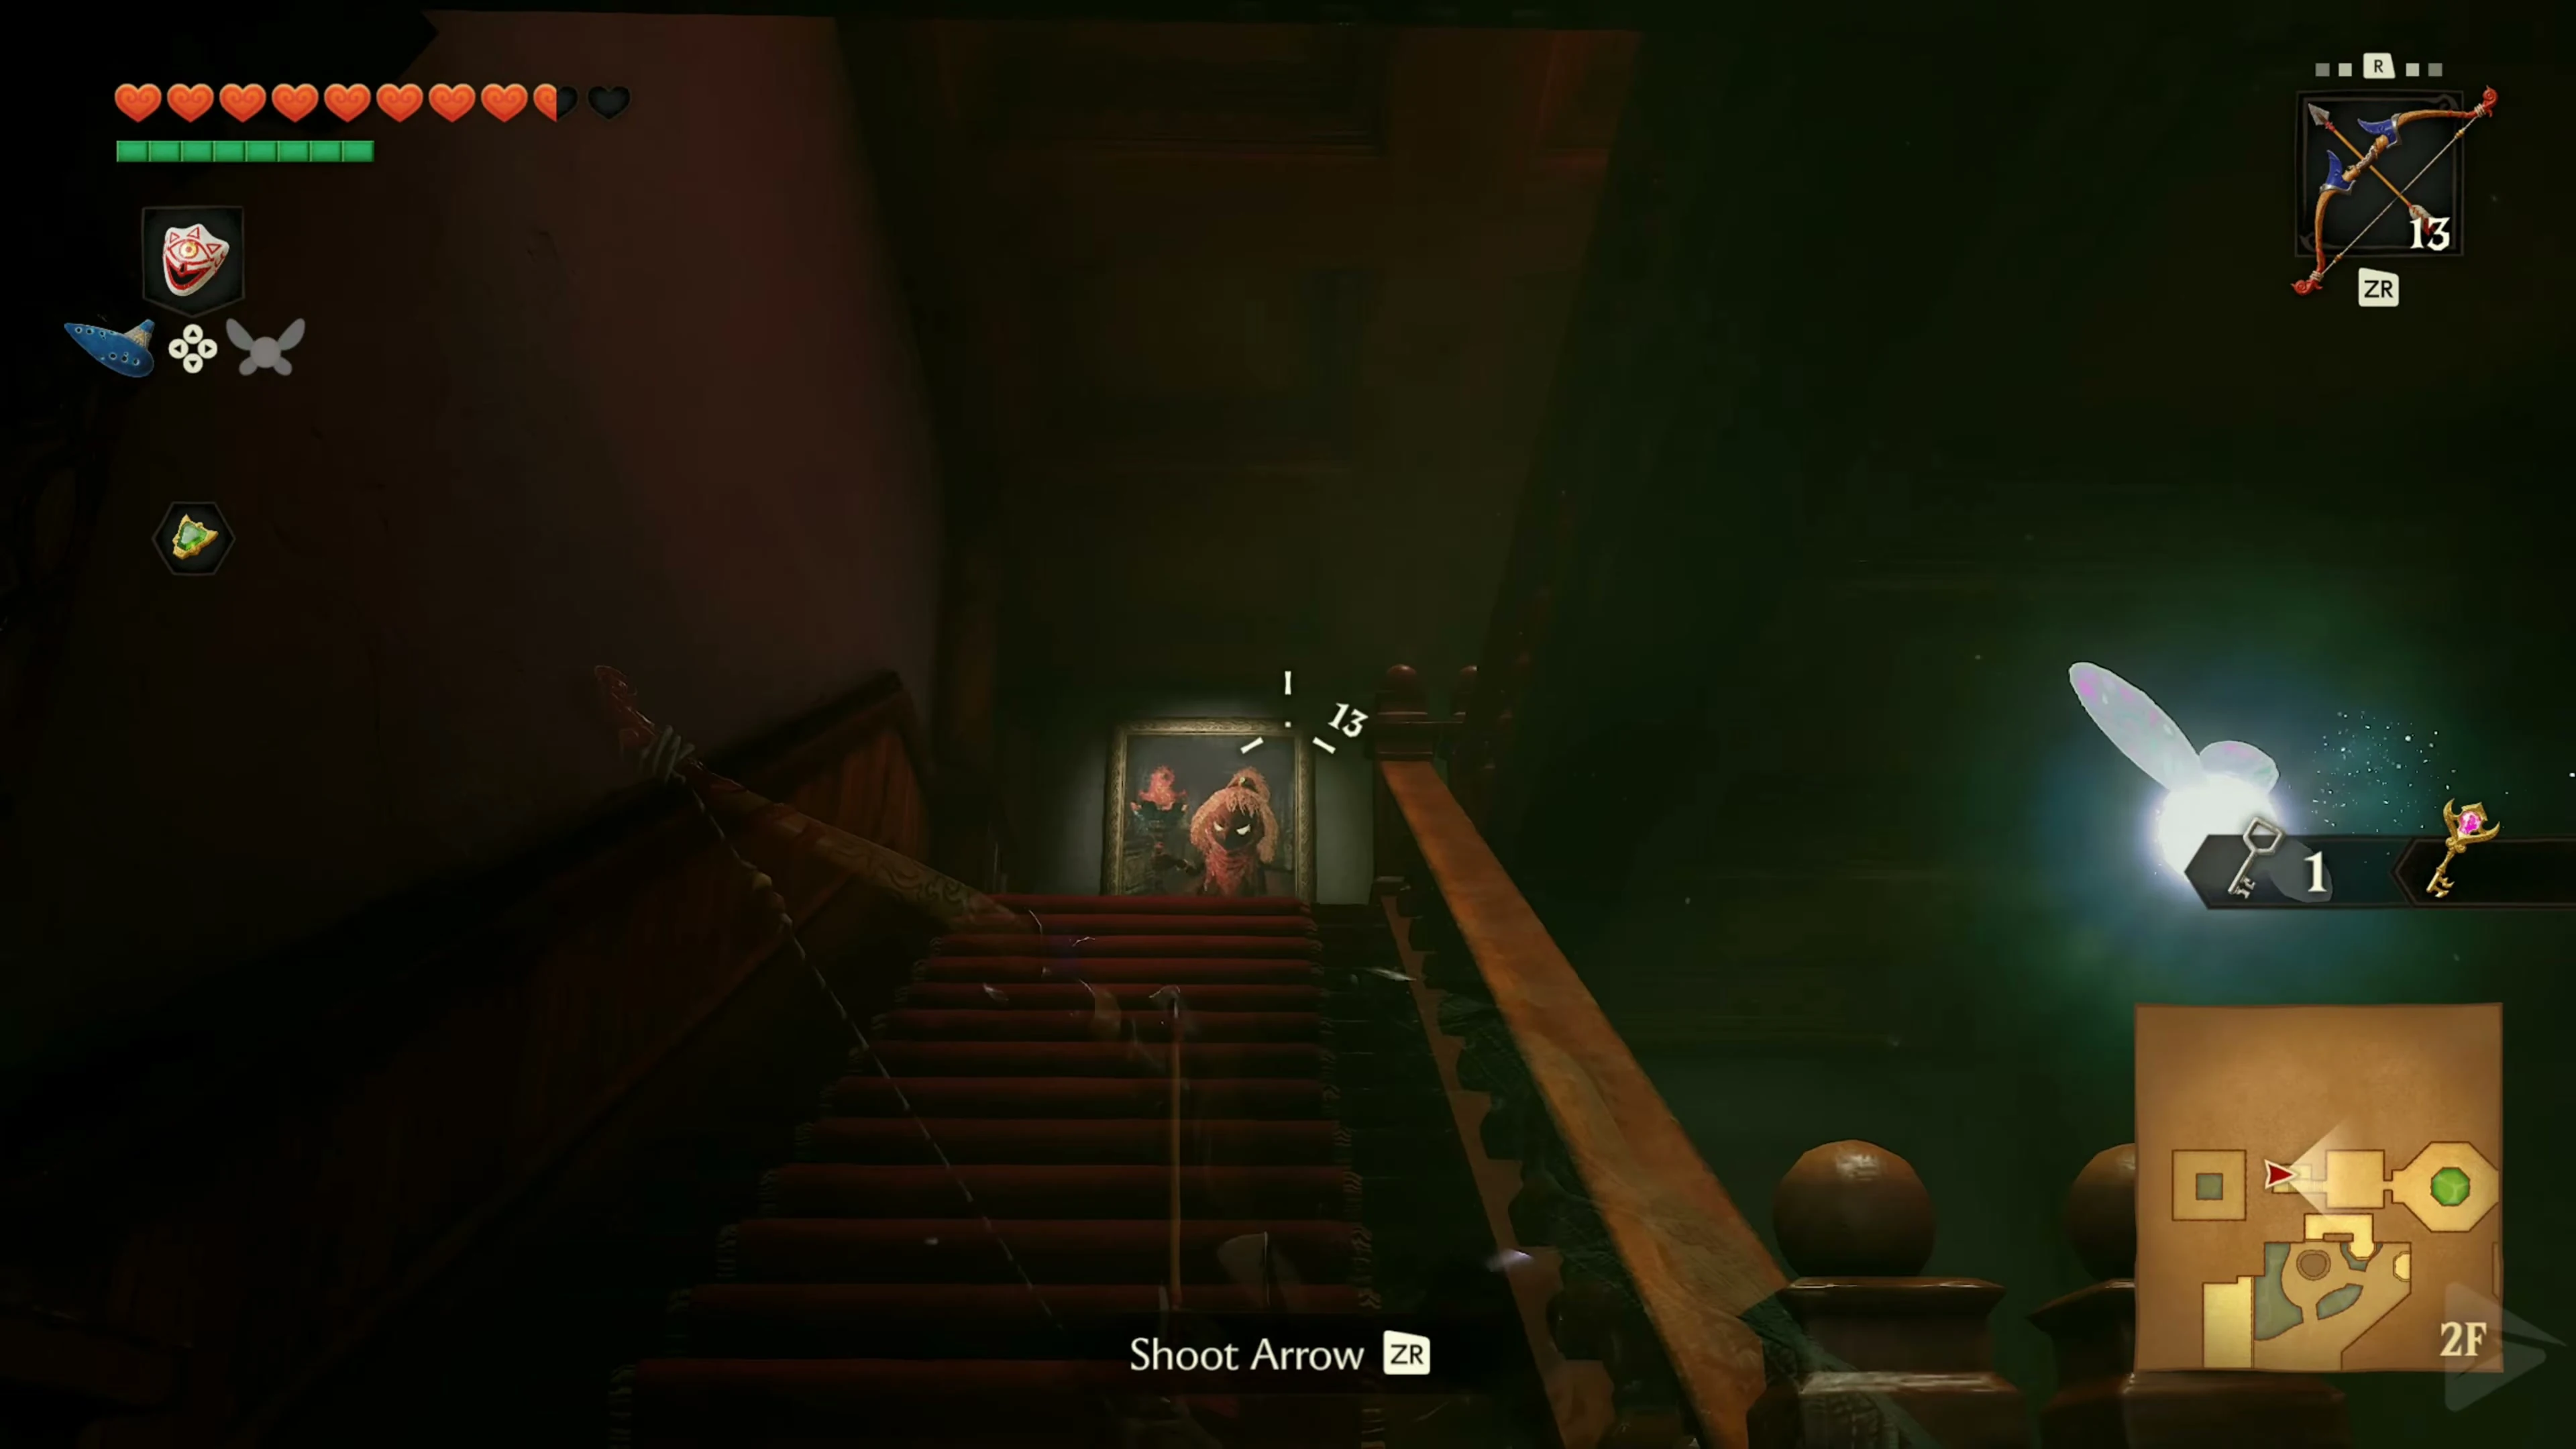
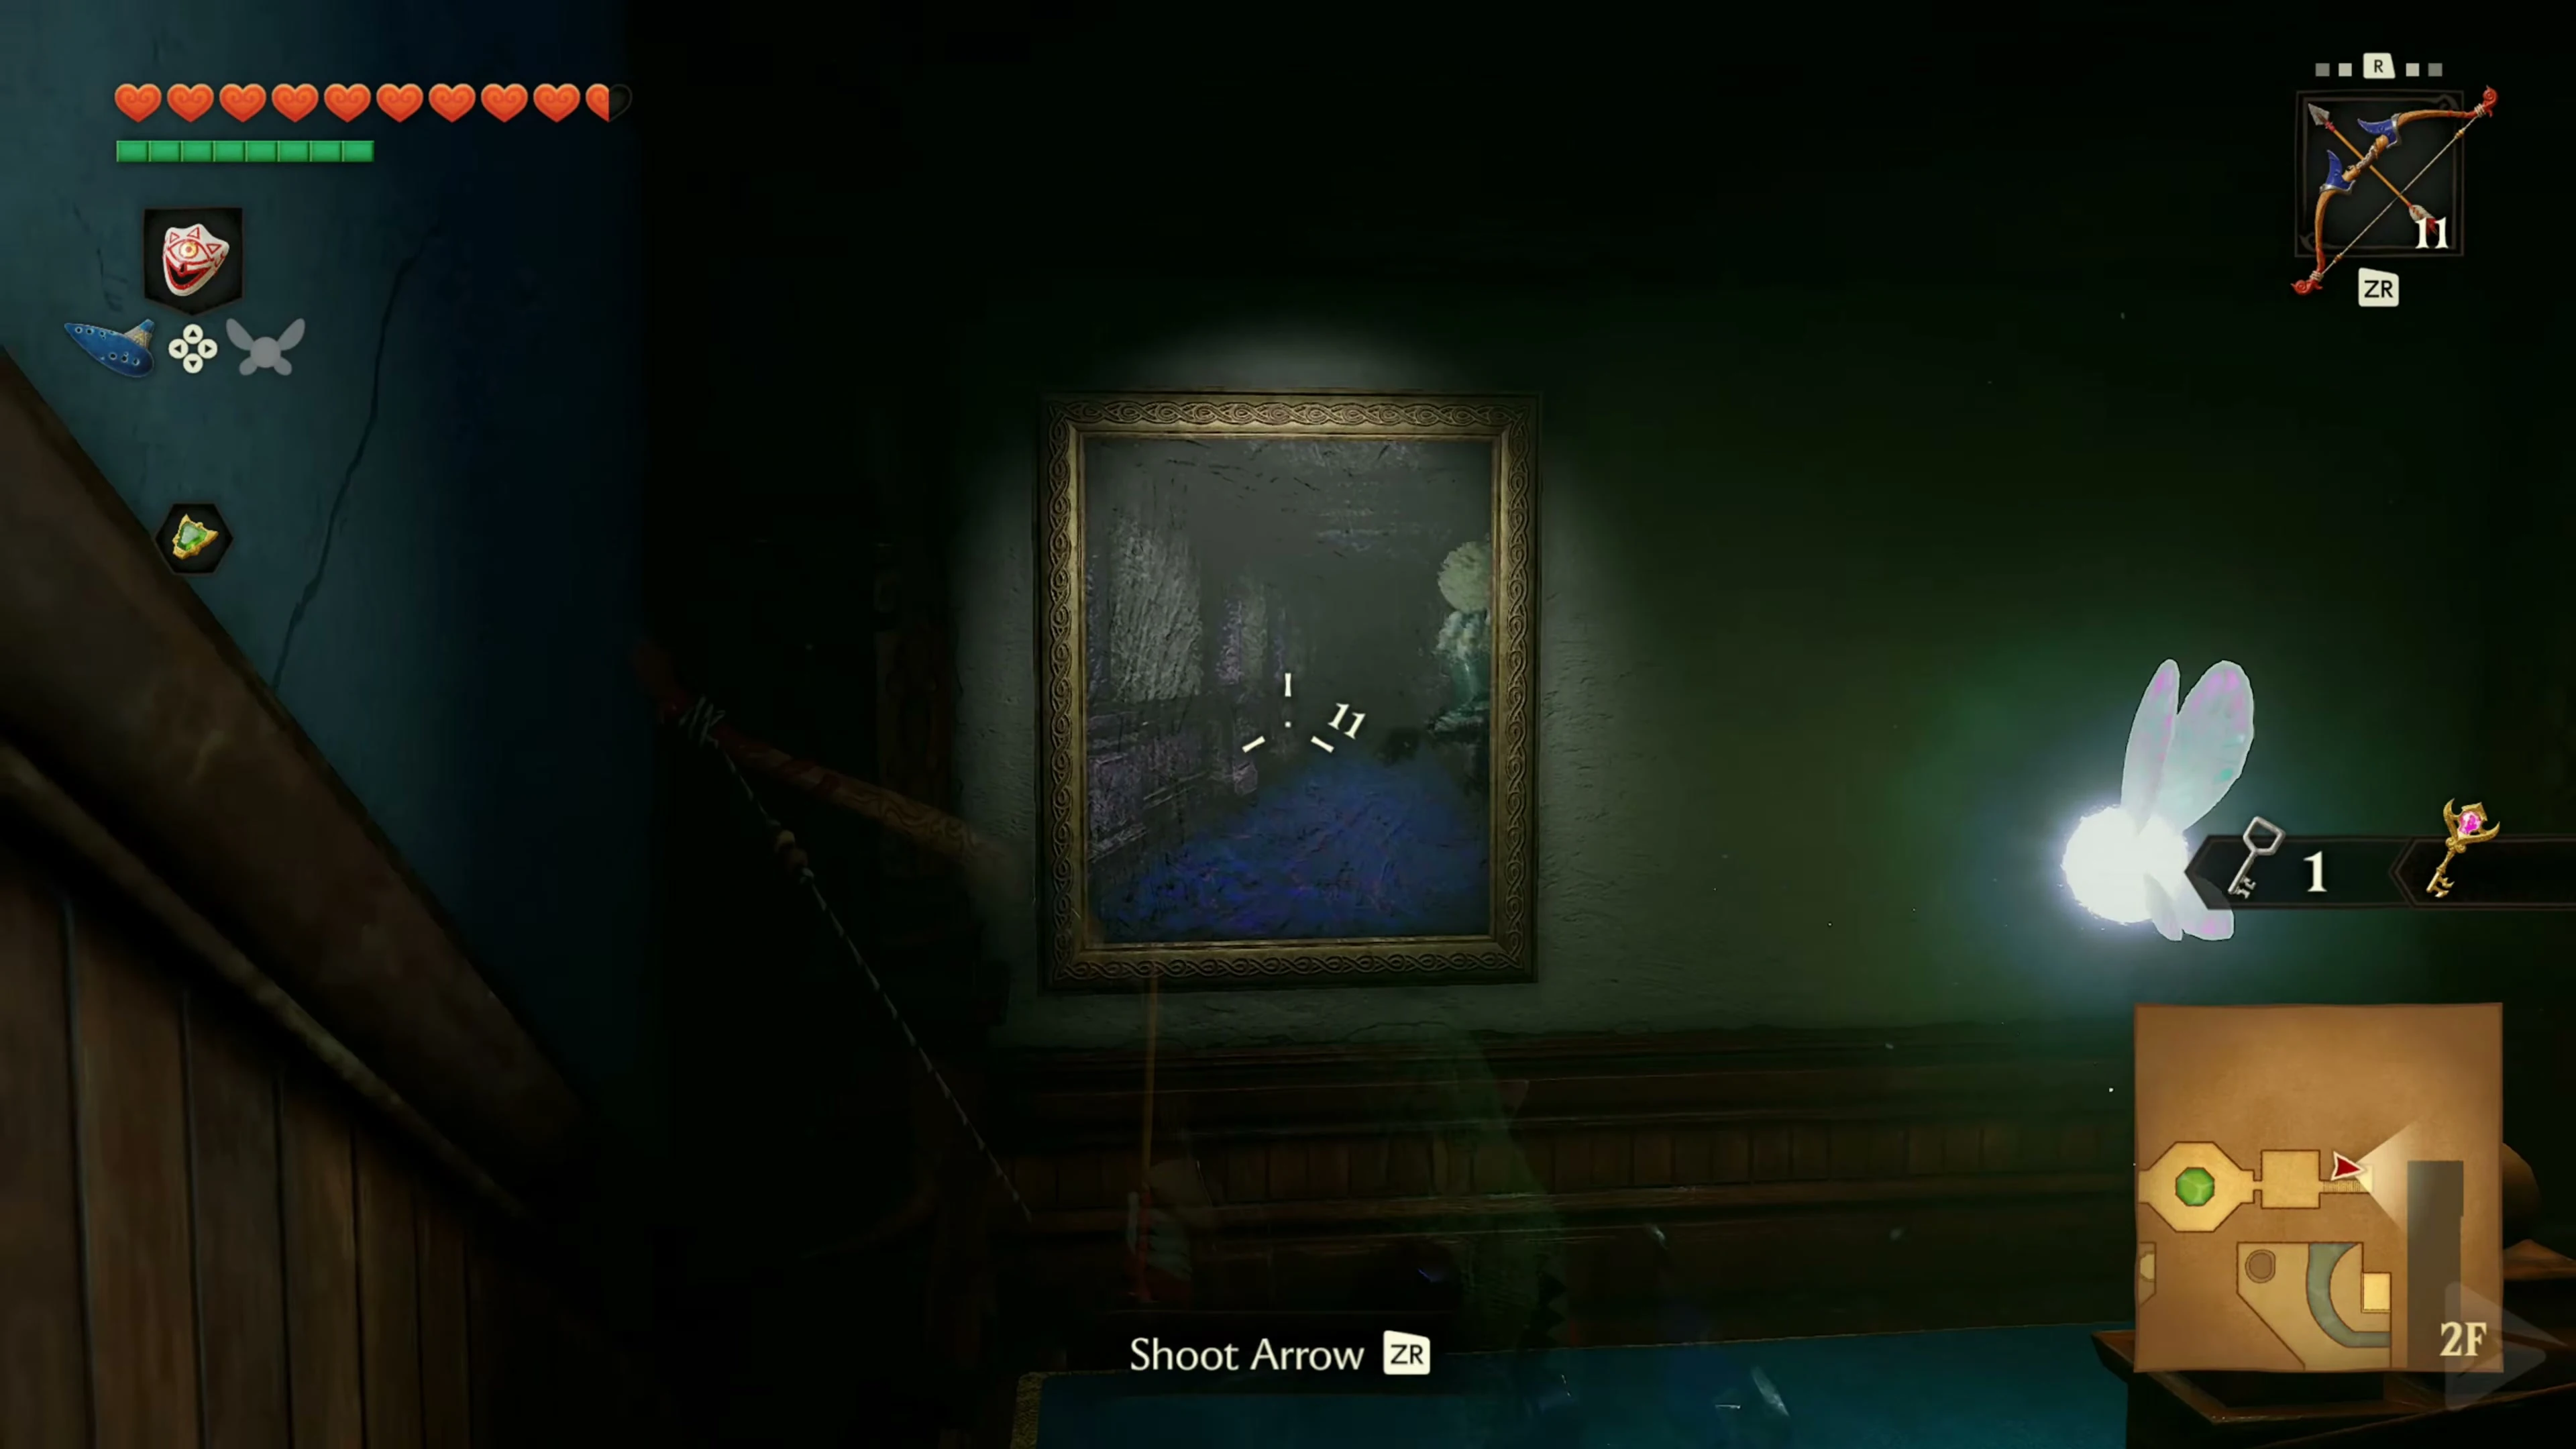
After finding the bow, go back to the red stairwell. Shoot from a distance at the picture that the Poe is currently in until all three pictures are burned. Follow him down. Dodge his spin attack sideways and attack when he is dazed. After the victory, the red flame returns and the chest contains Small Key 4/5 .
Go through the Fairy Bow room and use this Small Key to open the opposite door to the blue stairwell. Burn the three occupied pictures again. Dodge the blue ghost twice in a row and then attack. His chest contains the Compass . Then return through the Fairy Bow room to the western corridor.
Turn back the corridor and get the Boss Key
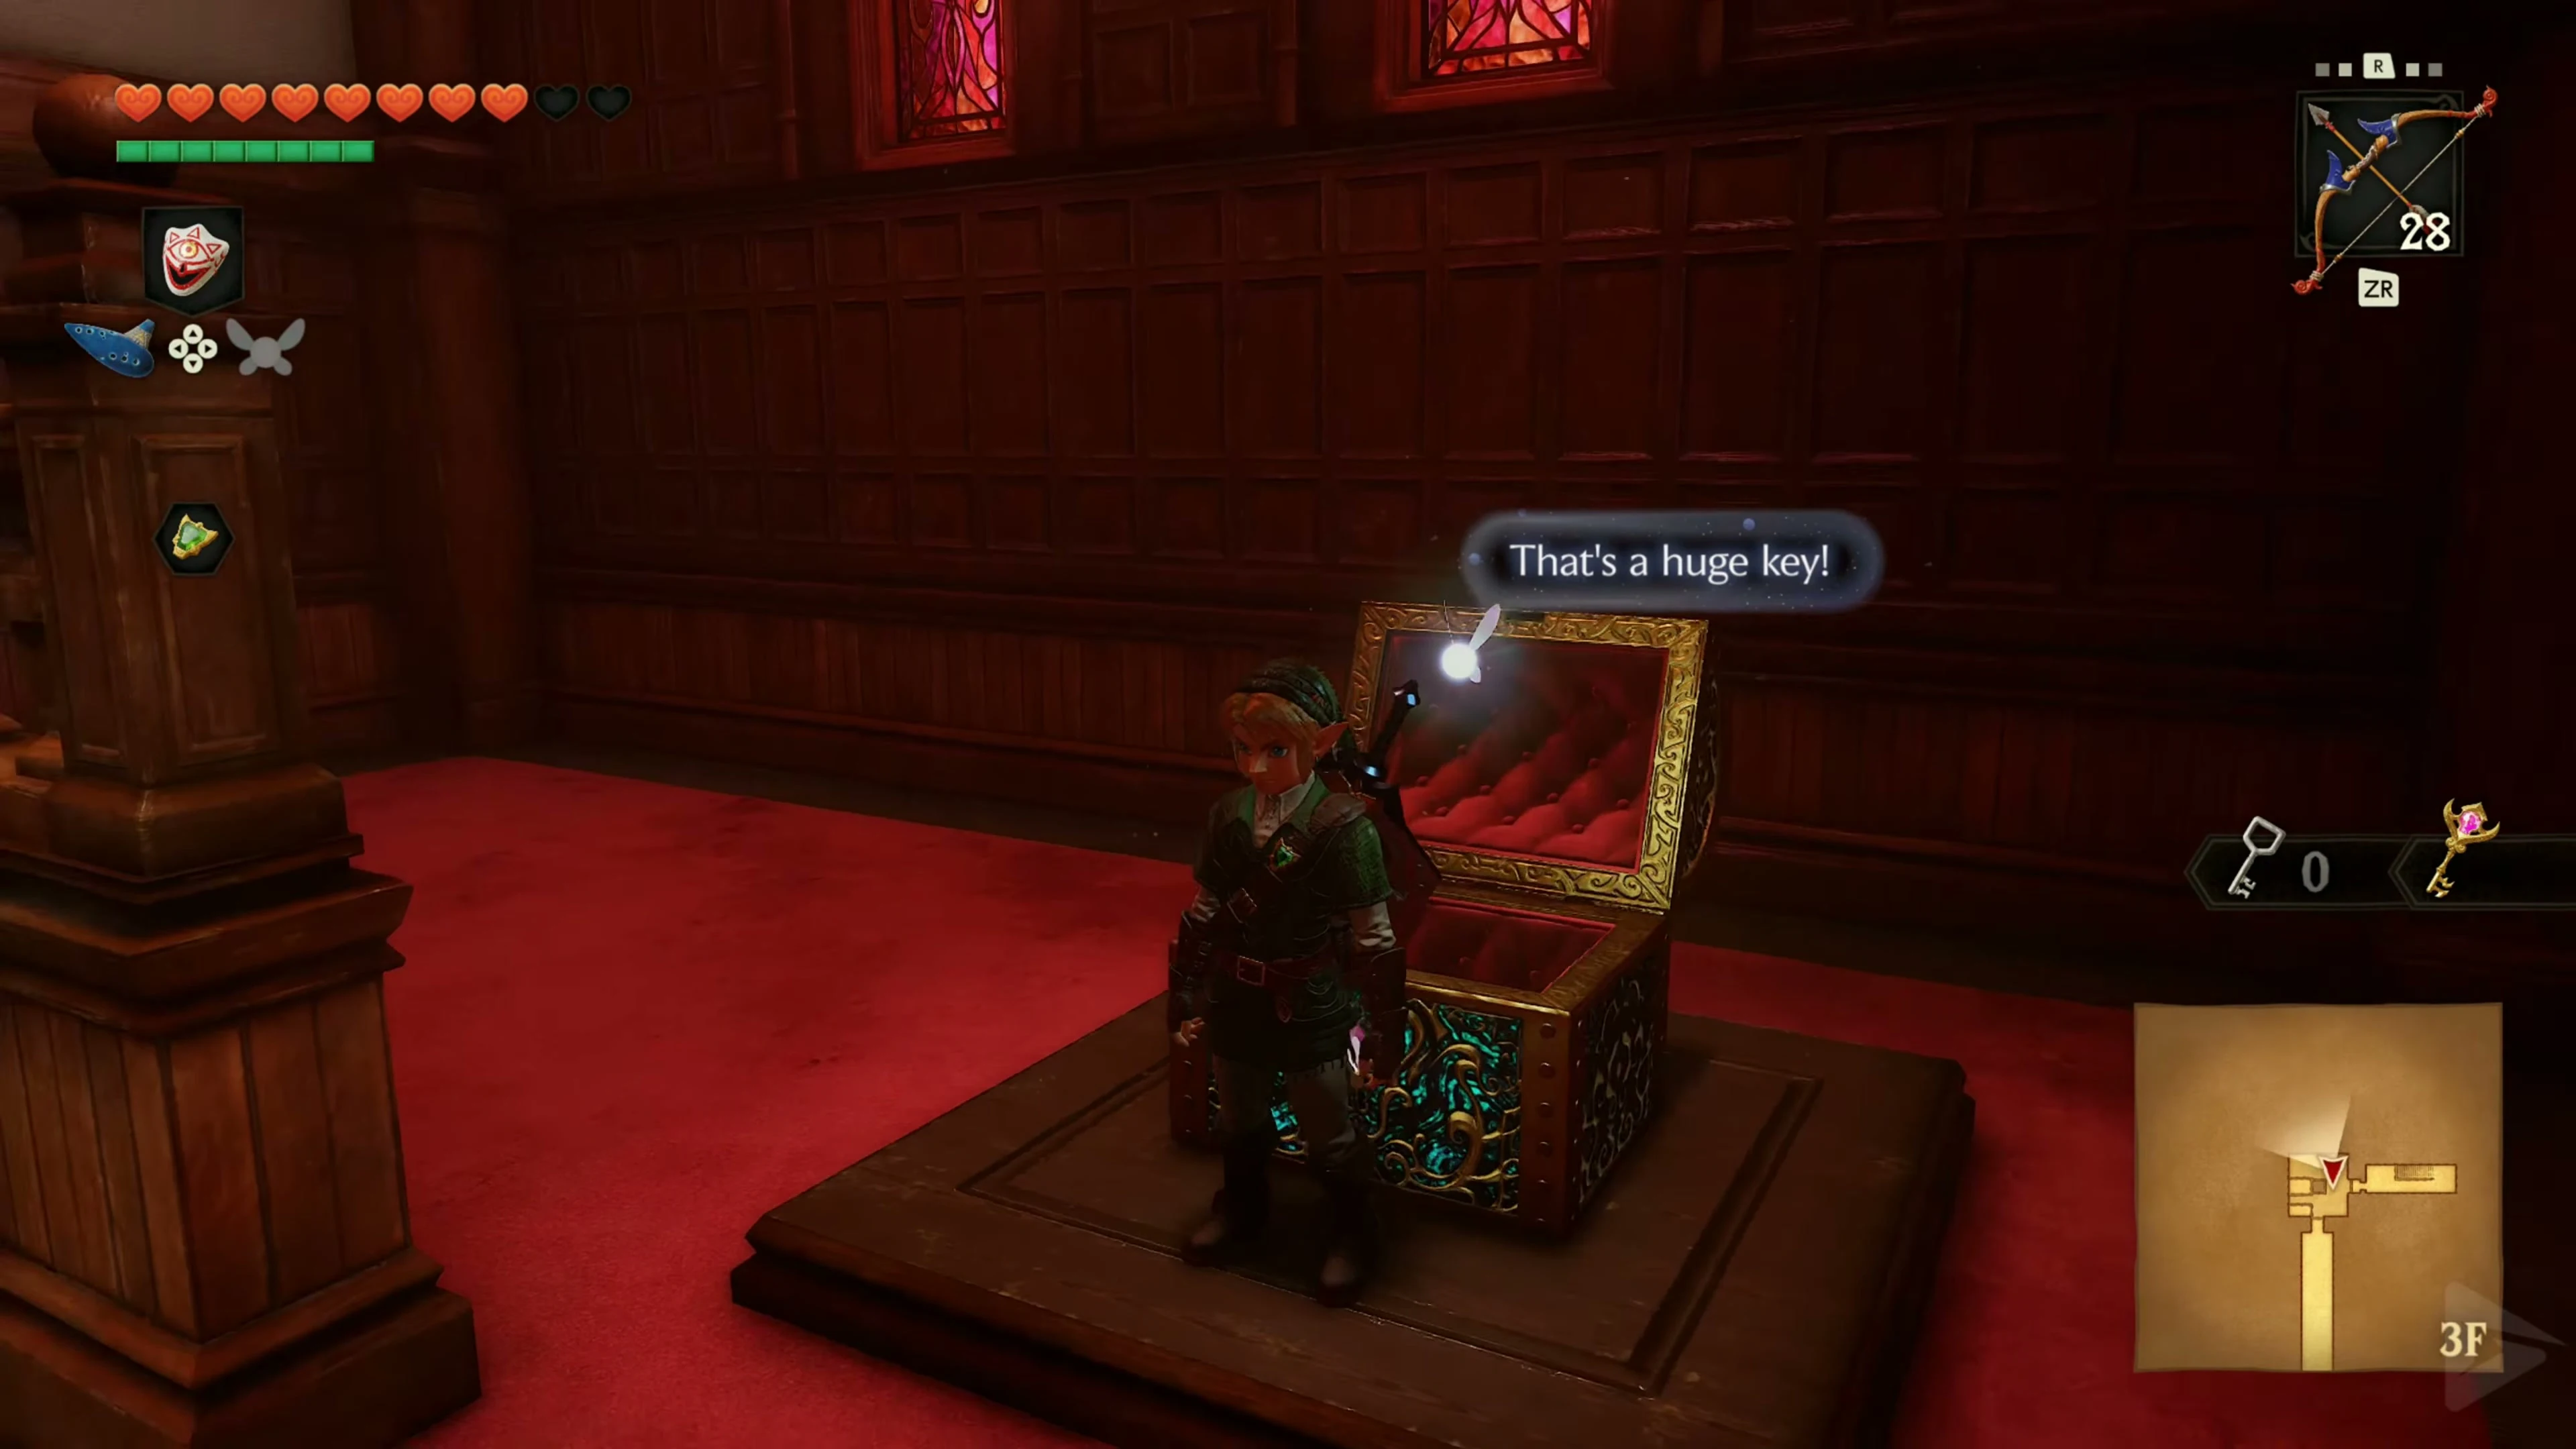
Go back through the Fairy Bow room and the first painting stairwell to the twisted corridor. In the room in front of it, the silver eye switch is waiting above the door, which we couldn’t activate on the first pass. Shoot the eye with the Fairy Bow. The entire corridor rotates back to its normal horizontal position before your eyes. Go through the now straight corridor. In the following room the platforms have changed position because the former wall has now become the floor. Jump to the lower level and open the large ornate treasure chest. Inside is the Boss Key , which will later be used to open the large door to Phantom Ganon’s chamber.
Jump into the hole in the floor next to the Boss Key chest. In the room below, defeat both Blue Bubbles and exit through the unlocked door. You are now standing on the upper balcony of the northwest courtyard .
Gold Skulltula 3/5 – Balcony in the northwest courtyard
Stay on the upper balcony and search the south wall of the courtyard. The Gold Skulltula sits above the lower courtyard area. Defeat her with the Hookshot and drag her Token to you. Then follow the balcony to the side door in the niche.
Back in the northwest courtyard and the last Small Key
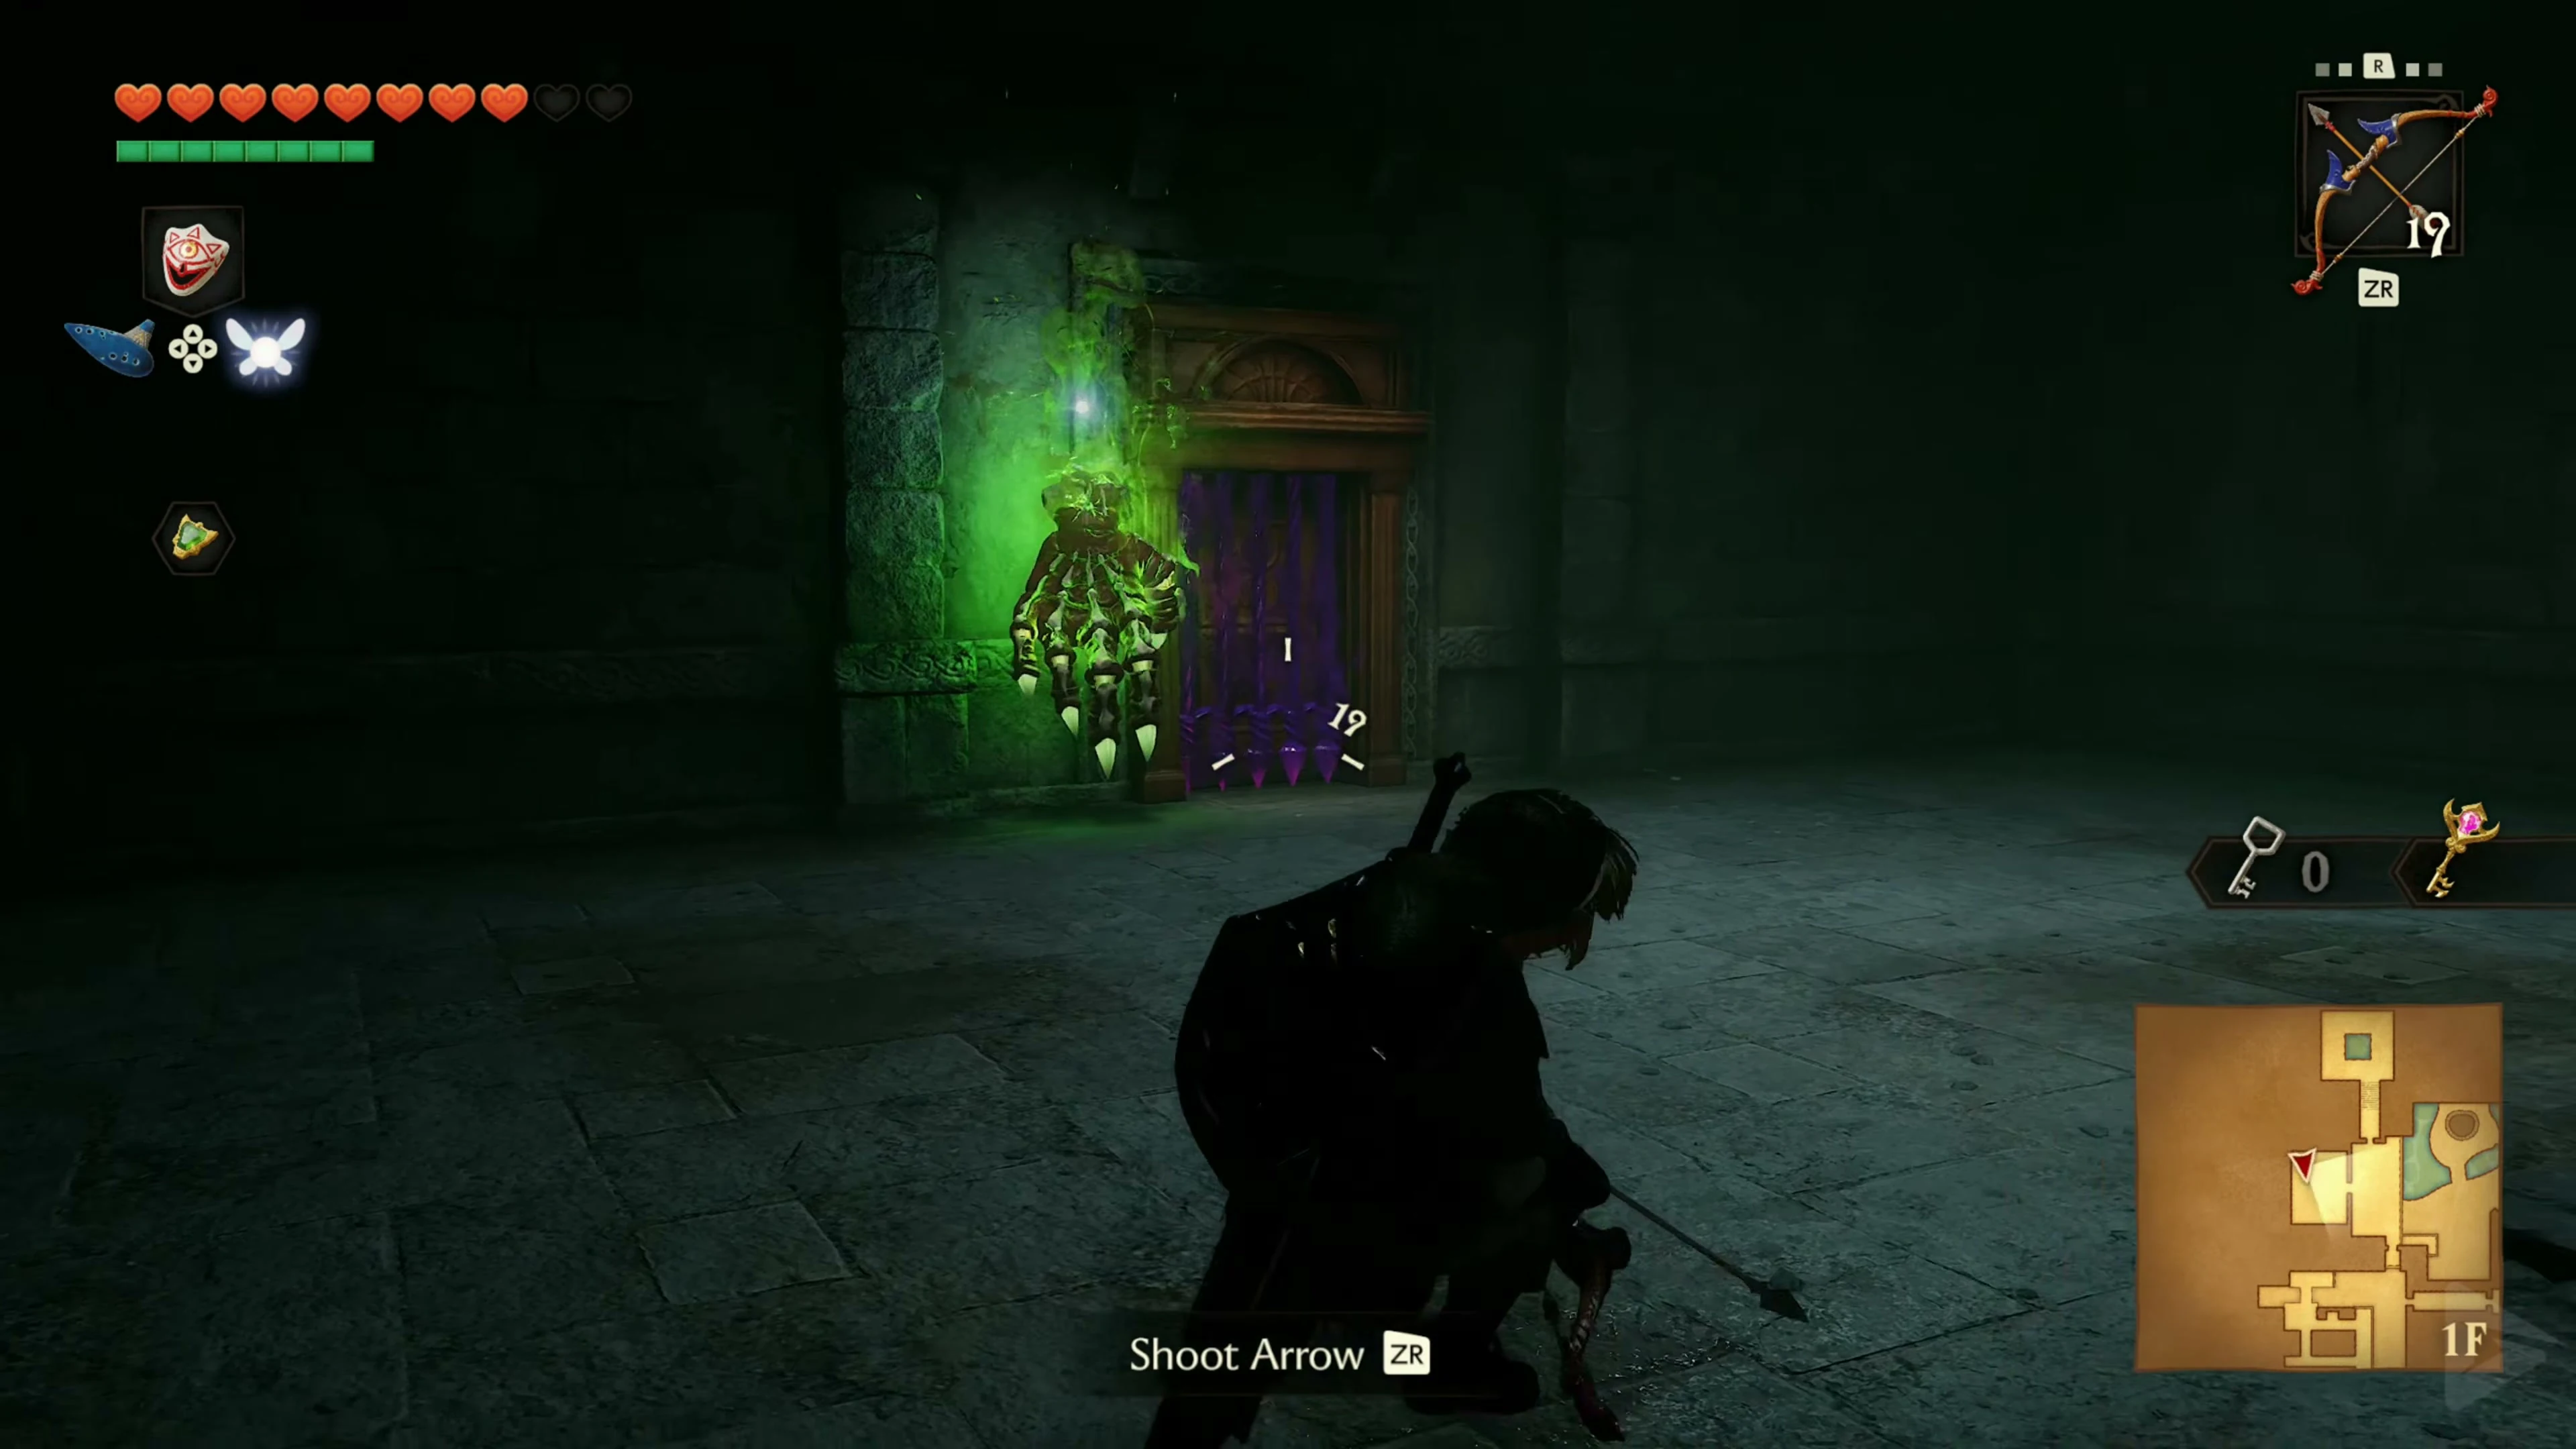
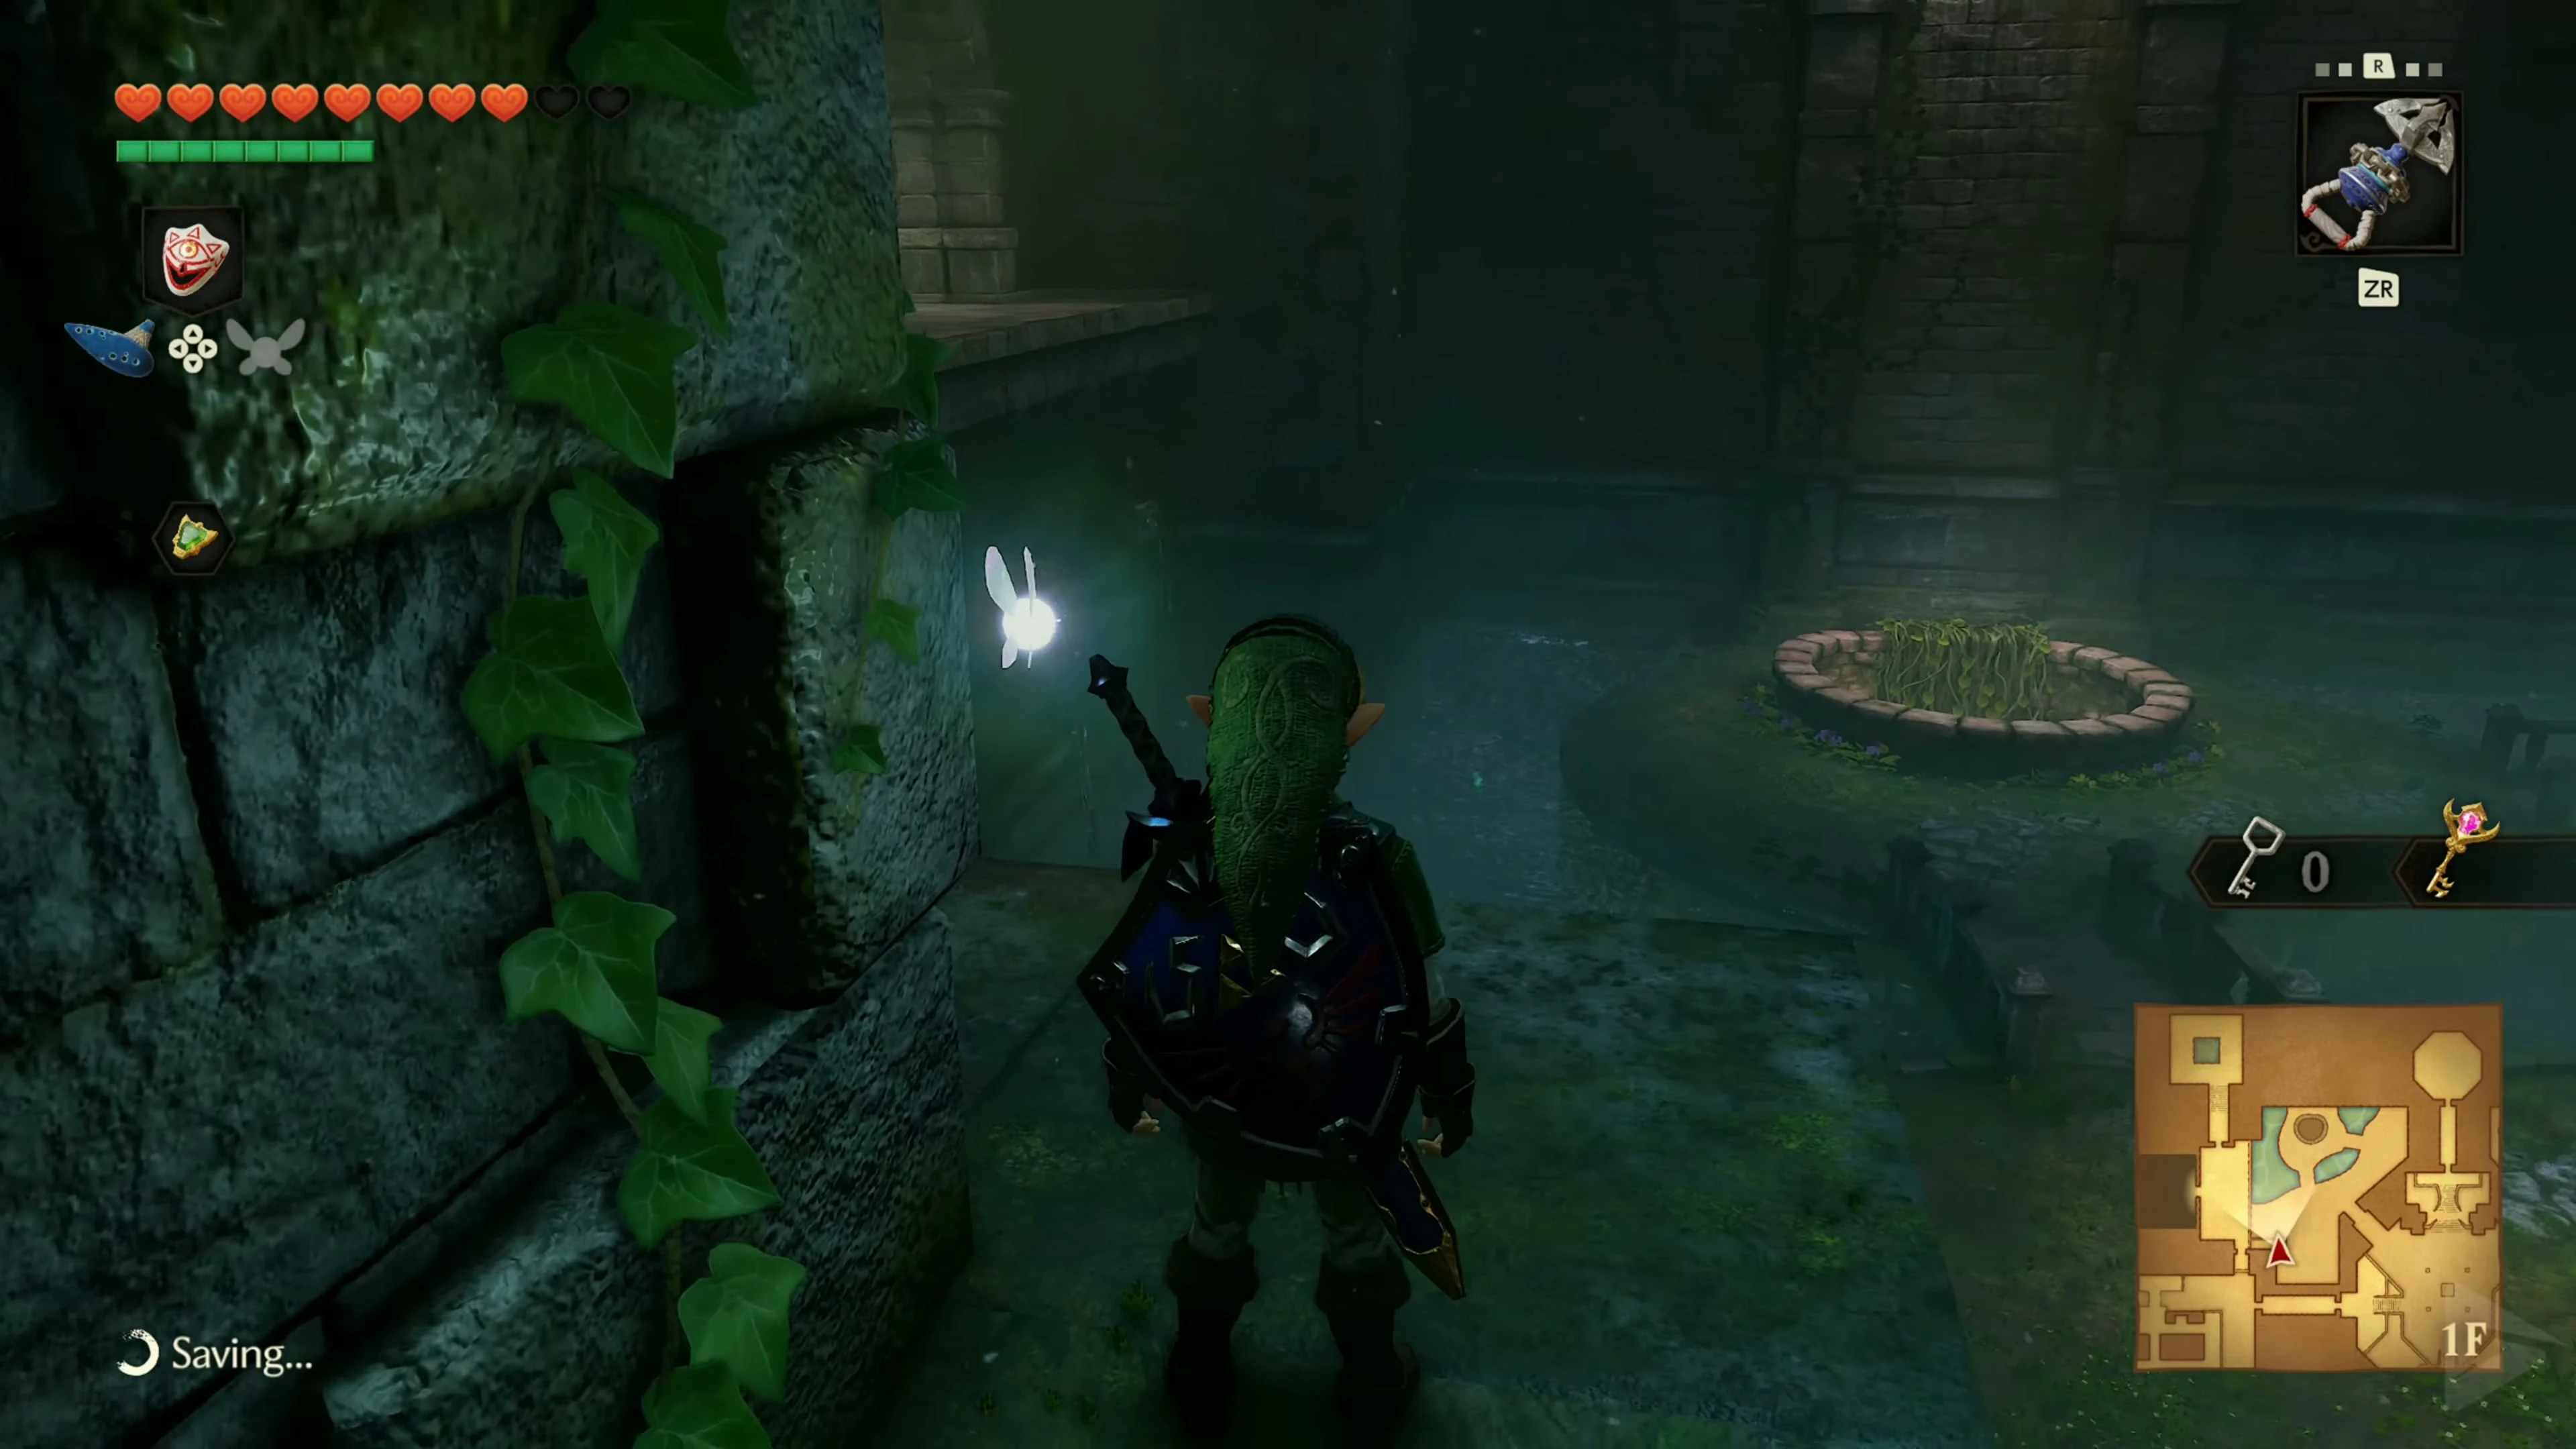
Follow the balcony, eliminate the large Deku Baba and look for the side door in the alcove. Behind it, a floormaster moves across the floor. If the hand turns green, move to the side and then attack with the Master Sword. You can also briefly stun them with the Hookshot.
After her defeat, the Floormaster splits into three small hands. Defeat all three quickly so that they don’t reassemble into one big hand. Then open the small chest with the Small Key 5/5 . You need this door key to go with the Green Bubble.
The chest containing 50 Rupees
Leave the area with the Floormaster via the balcony and go through the other door back to the block room. For the additional chest, climb the first two ladders. Turn left at the floor arrows and climb the ladder in the small alcove. Behind the barrier, shoot the golden eye switch at the top right and open the chest that appears with 50 Rupees .
The path to the third Poe
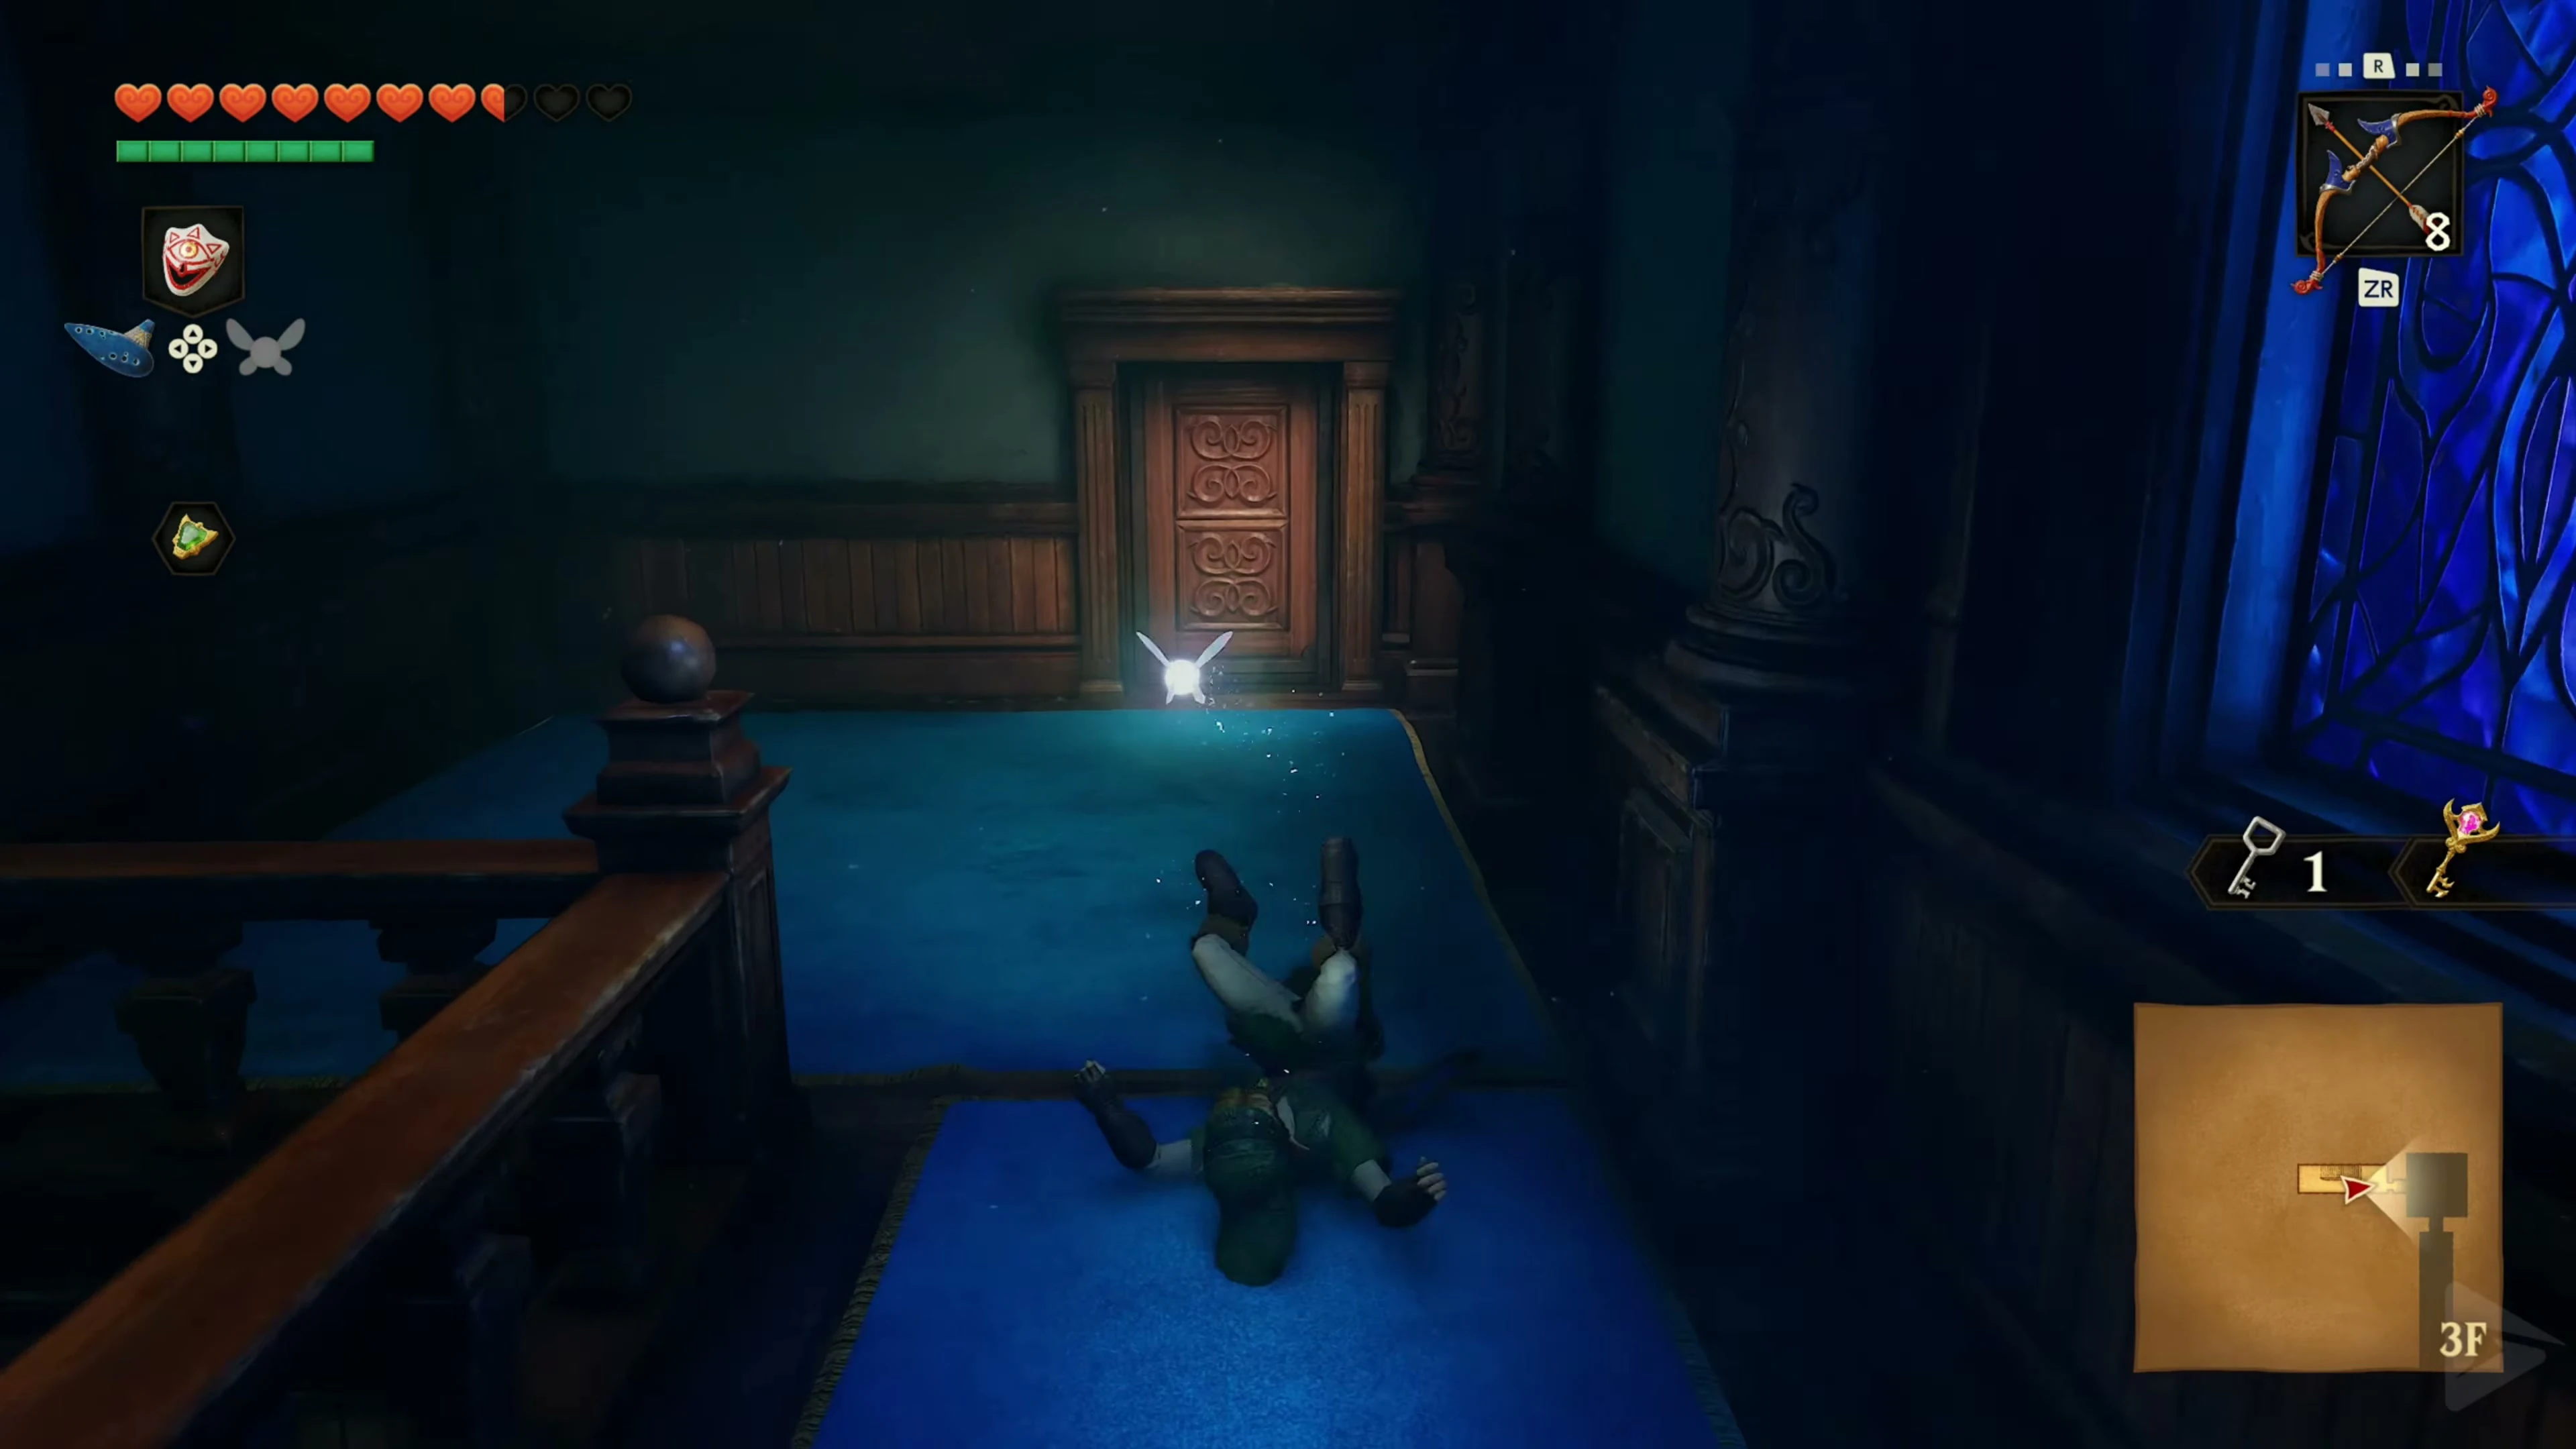
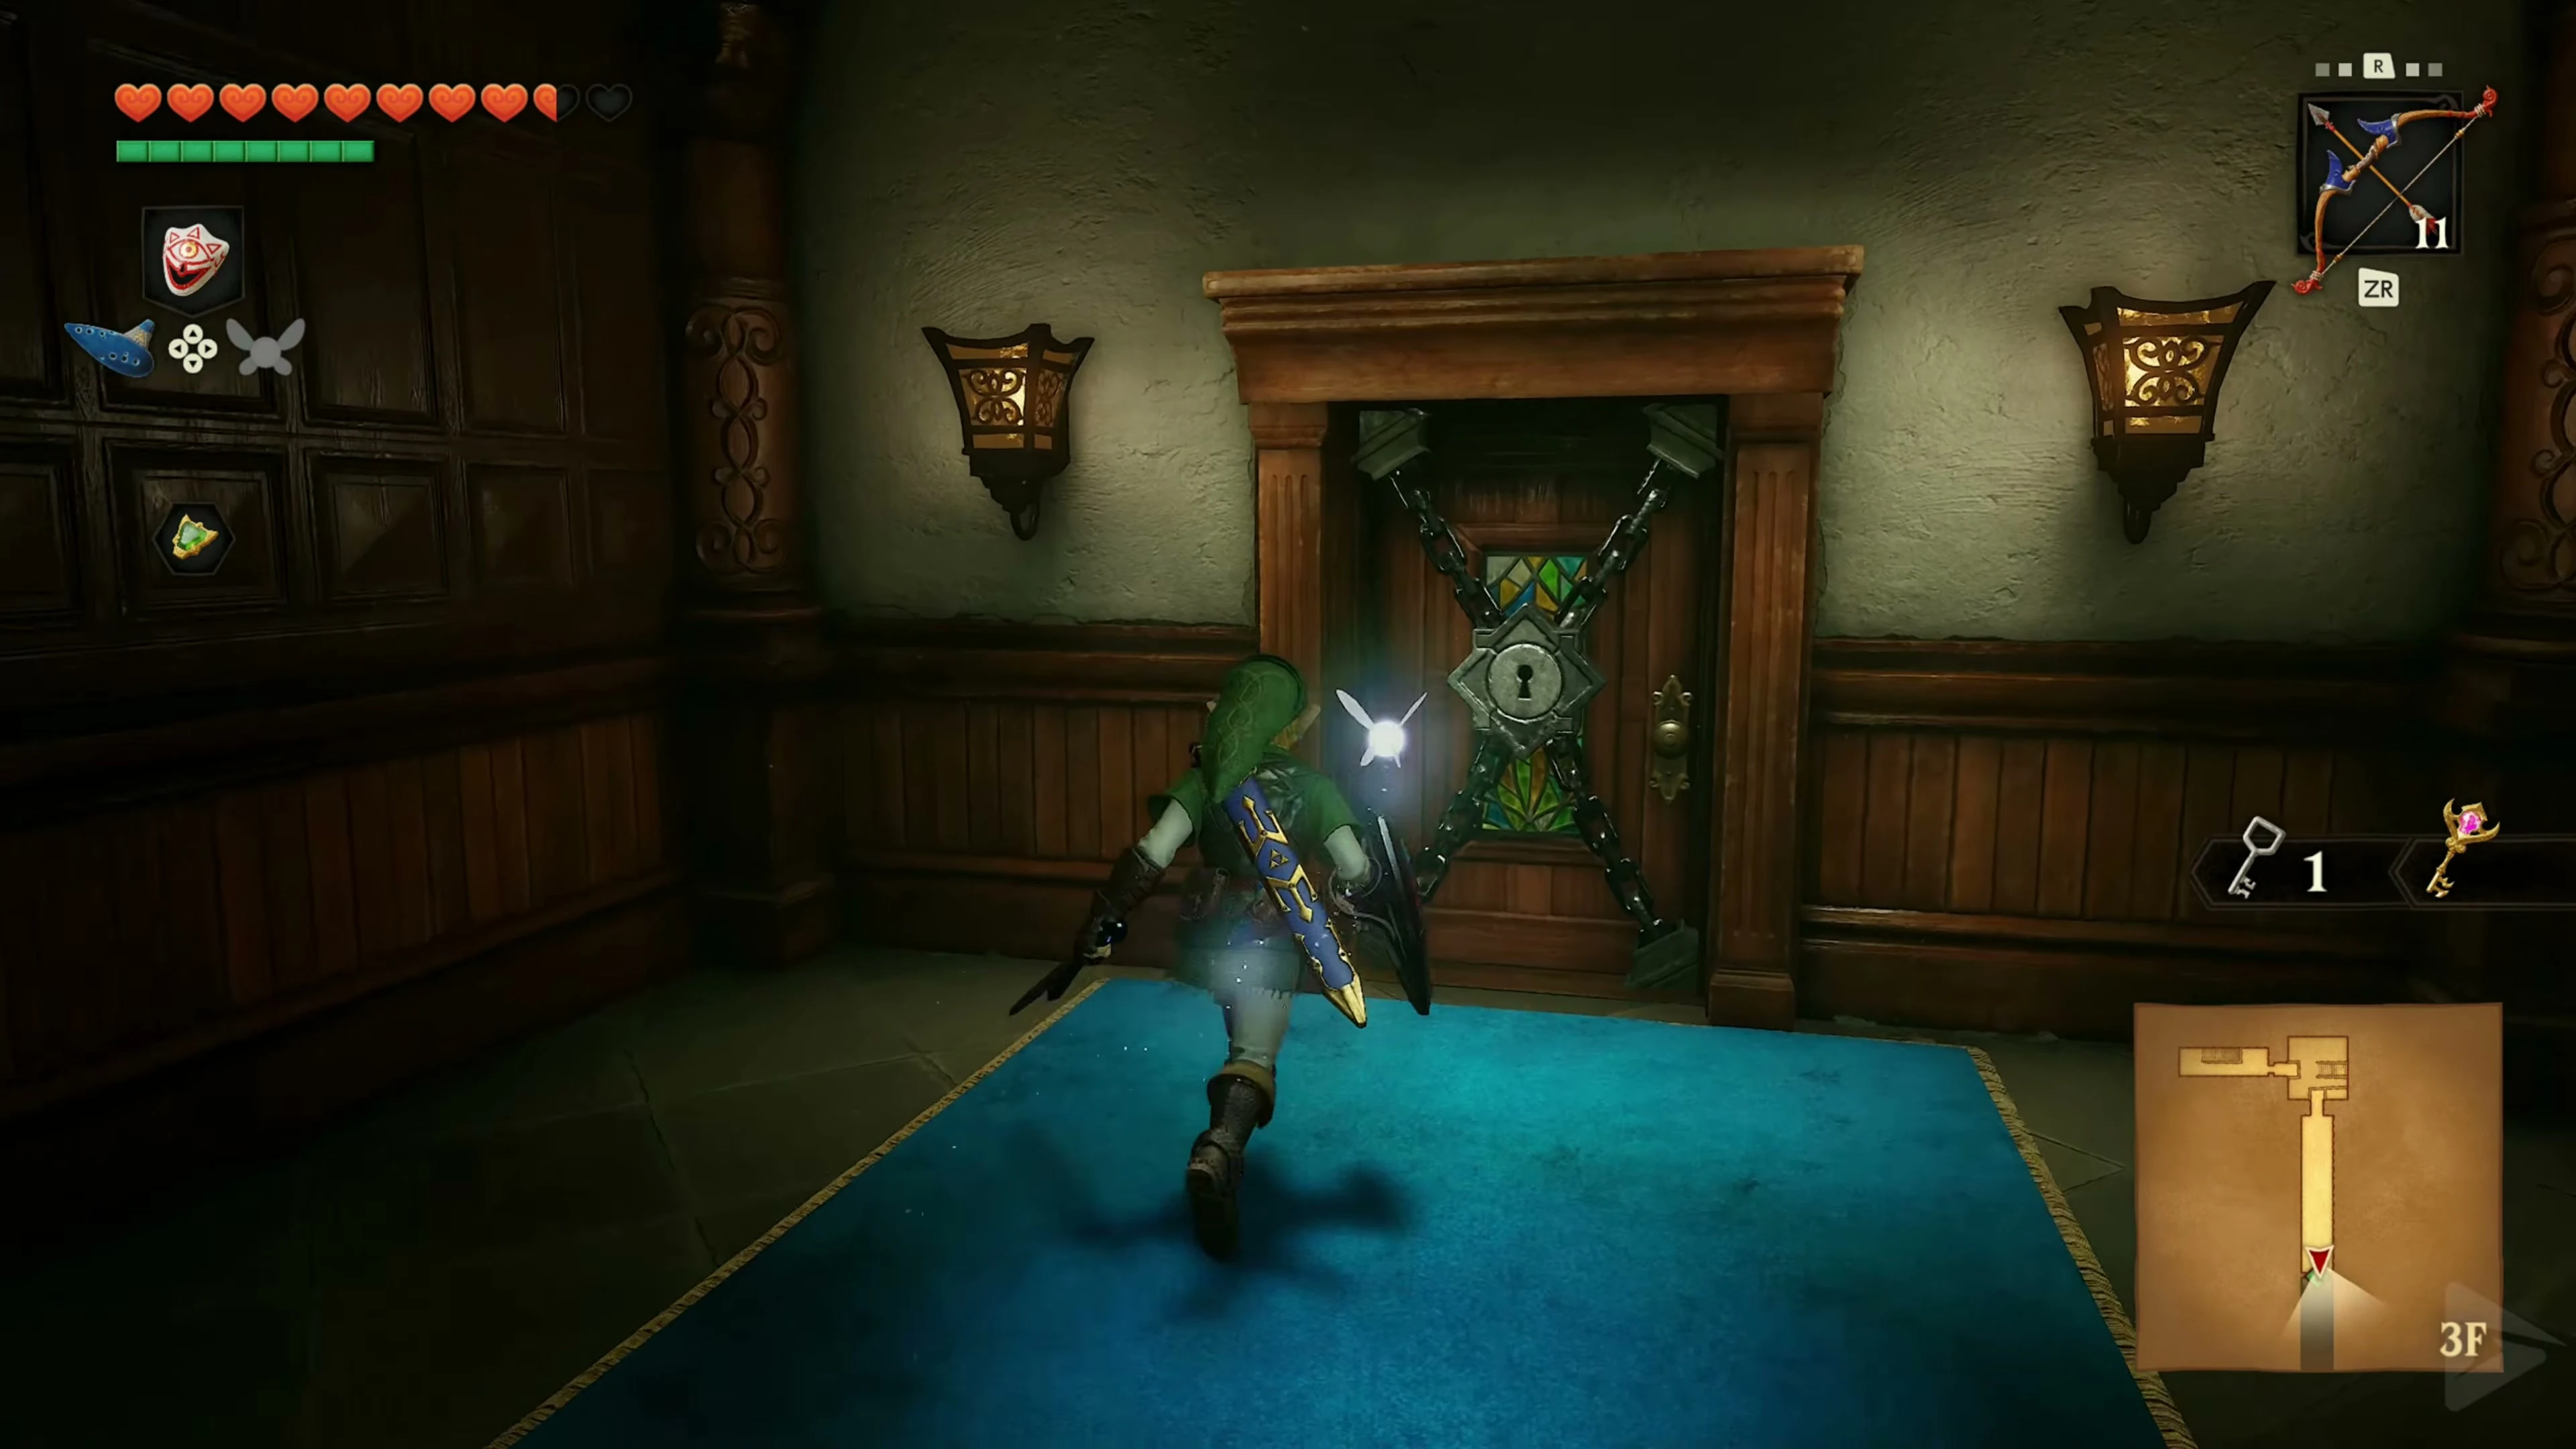
Use the activated elevator in the block room to return upstairs and shoot the eye again to twist the western corridor. Go through the red stairwell and the Fairy Bow room to the already defeated blue ghost. Climb up there and follow the passage through the next twisted room. Avoid the Wallmaster. In the subsequent corridor with the Green Bubbles, open the last locked door with the Small Key. 5/5 from the Floormaster in the courtyard.
The Icy Eye
In the room with the circling platforms, there is an icy eye on the wall. First press the switch that lights the torch. Then stand on one of the platforms. Shoot through the flame at the icy eye. The first hit melts the ice; then hit the free eye a second time to rotate the corridor. Return and jump through the hole in the floor in the changed room.
The falling ceiling
Gold Skulltula 4/5 – Scarecrow in the Northeast Courtyard
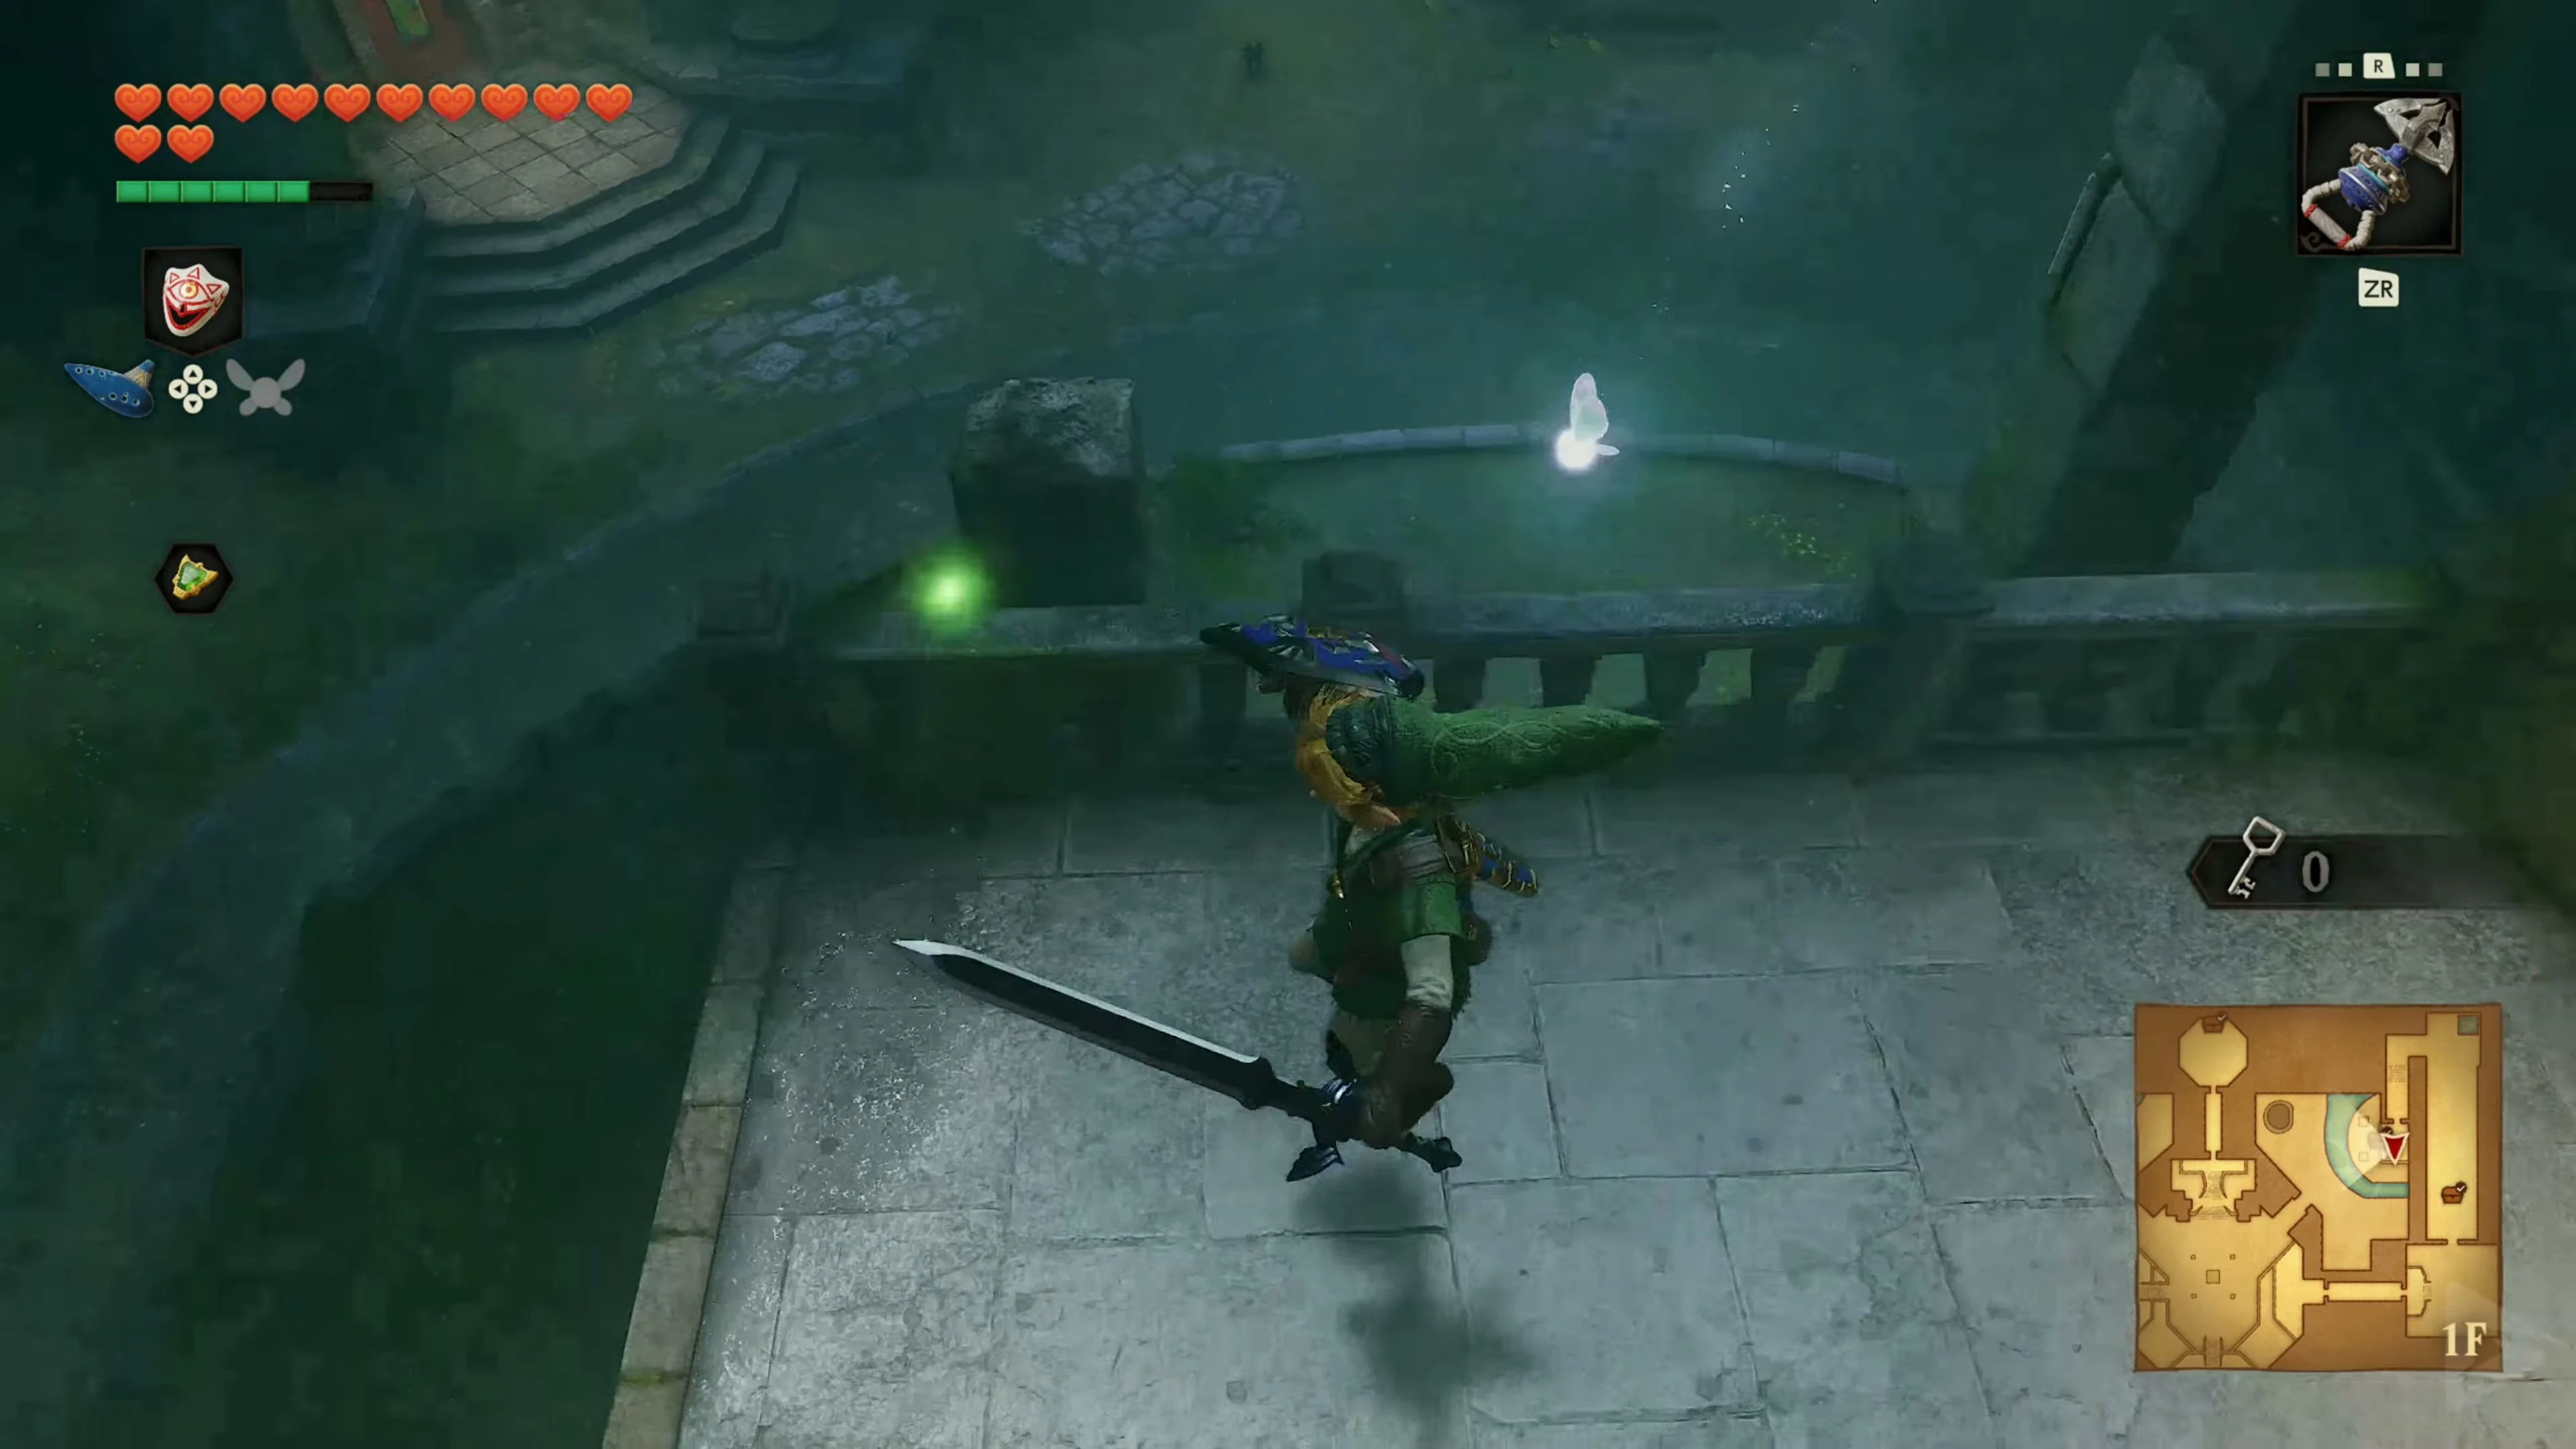
After falling through the floor hole, first take the side door near your landing spot. It leads to an upper ledge in the northeast courtyard. Push the block down to open the shortcut from the courtyard. Then look over the door you came through. When Navi marks the elevated point, play the Scarecrow Song and use the Hookshot to pull yourself to Pierre. Defeat the Gold Skulltula there and collect its Token . Return via the ledge through the same side door back into the room with the falling ceiling. The Scarecrow Song must have been learned at Lake Hylia as a child and confirmed by Bonooru as an adult.
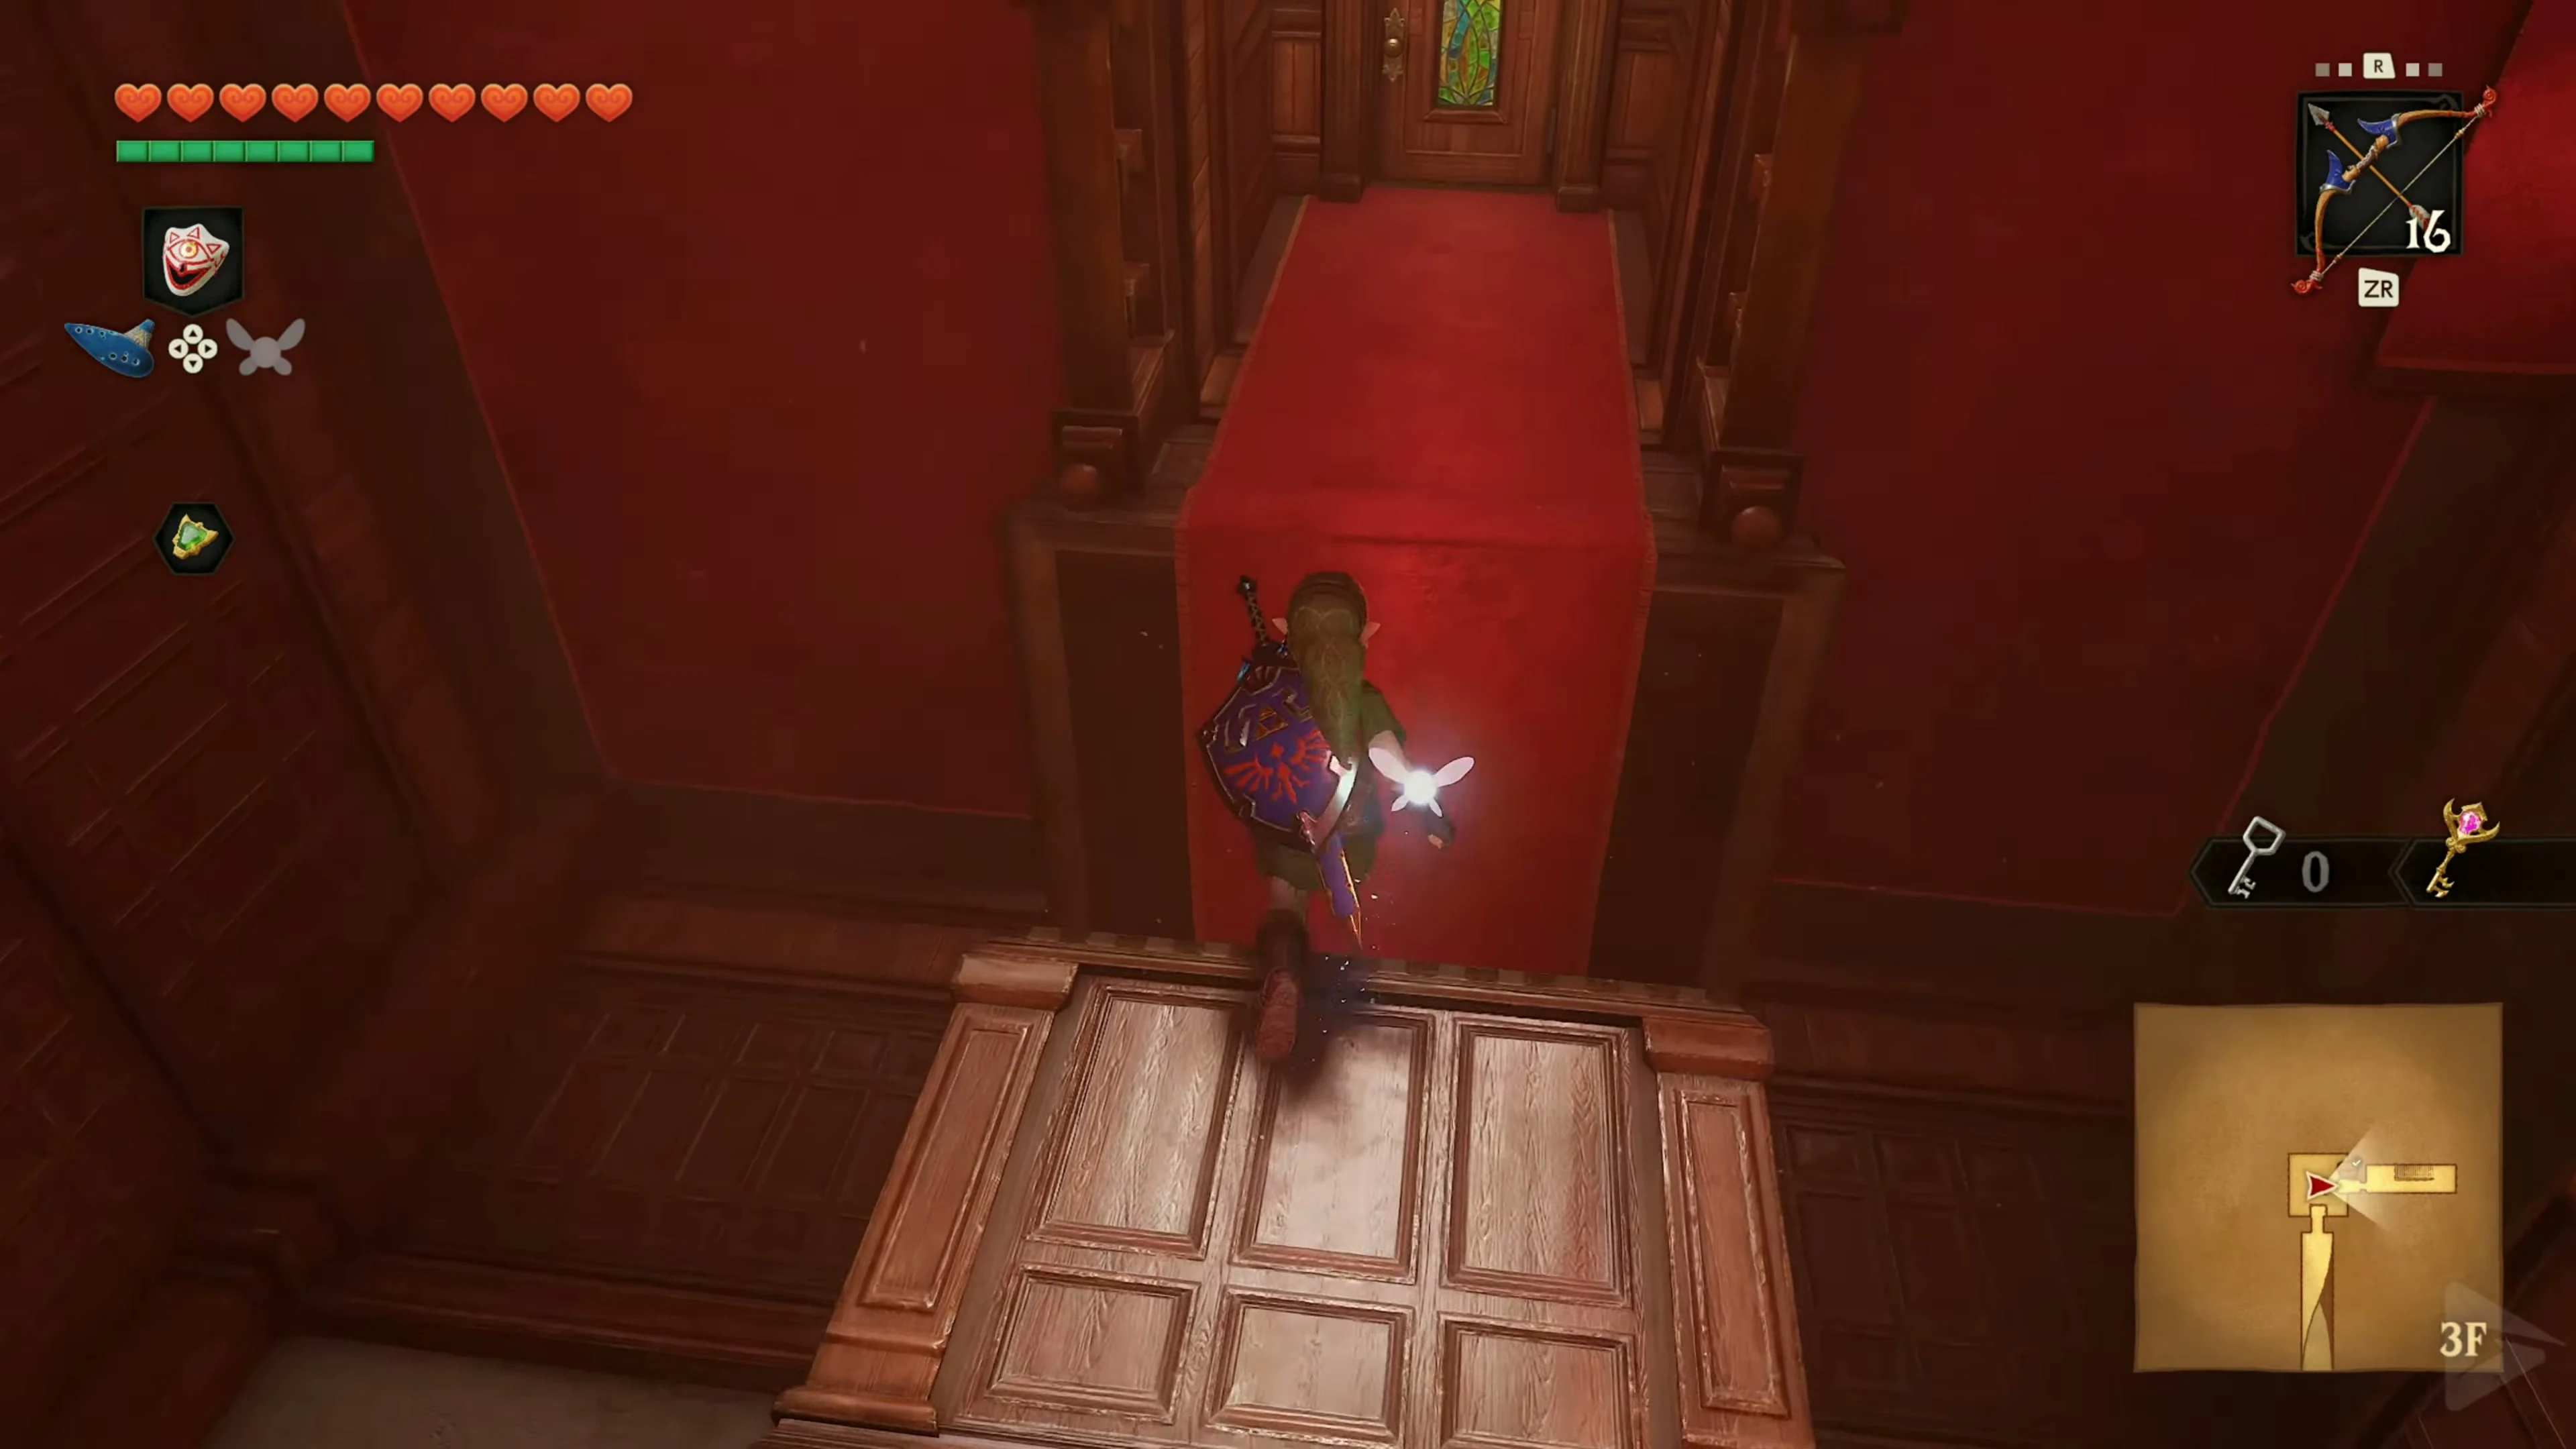
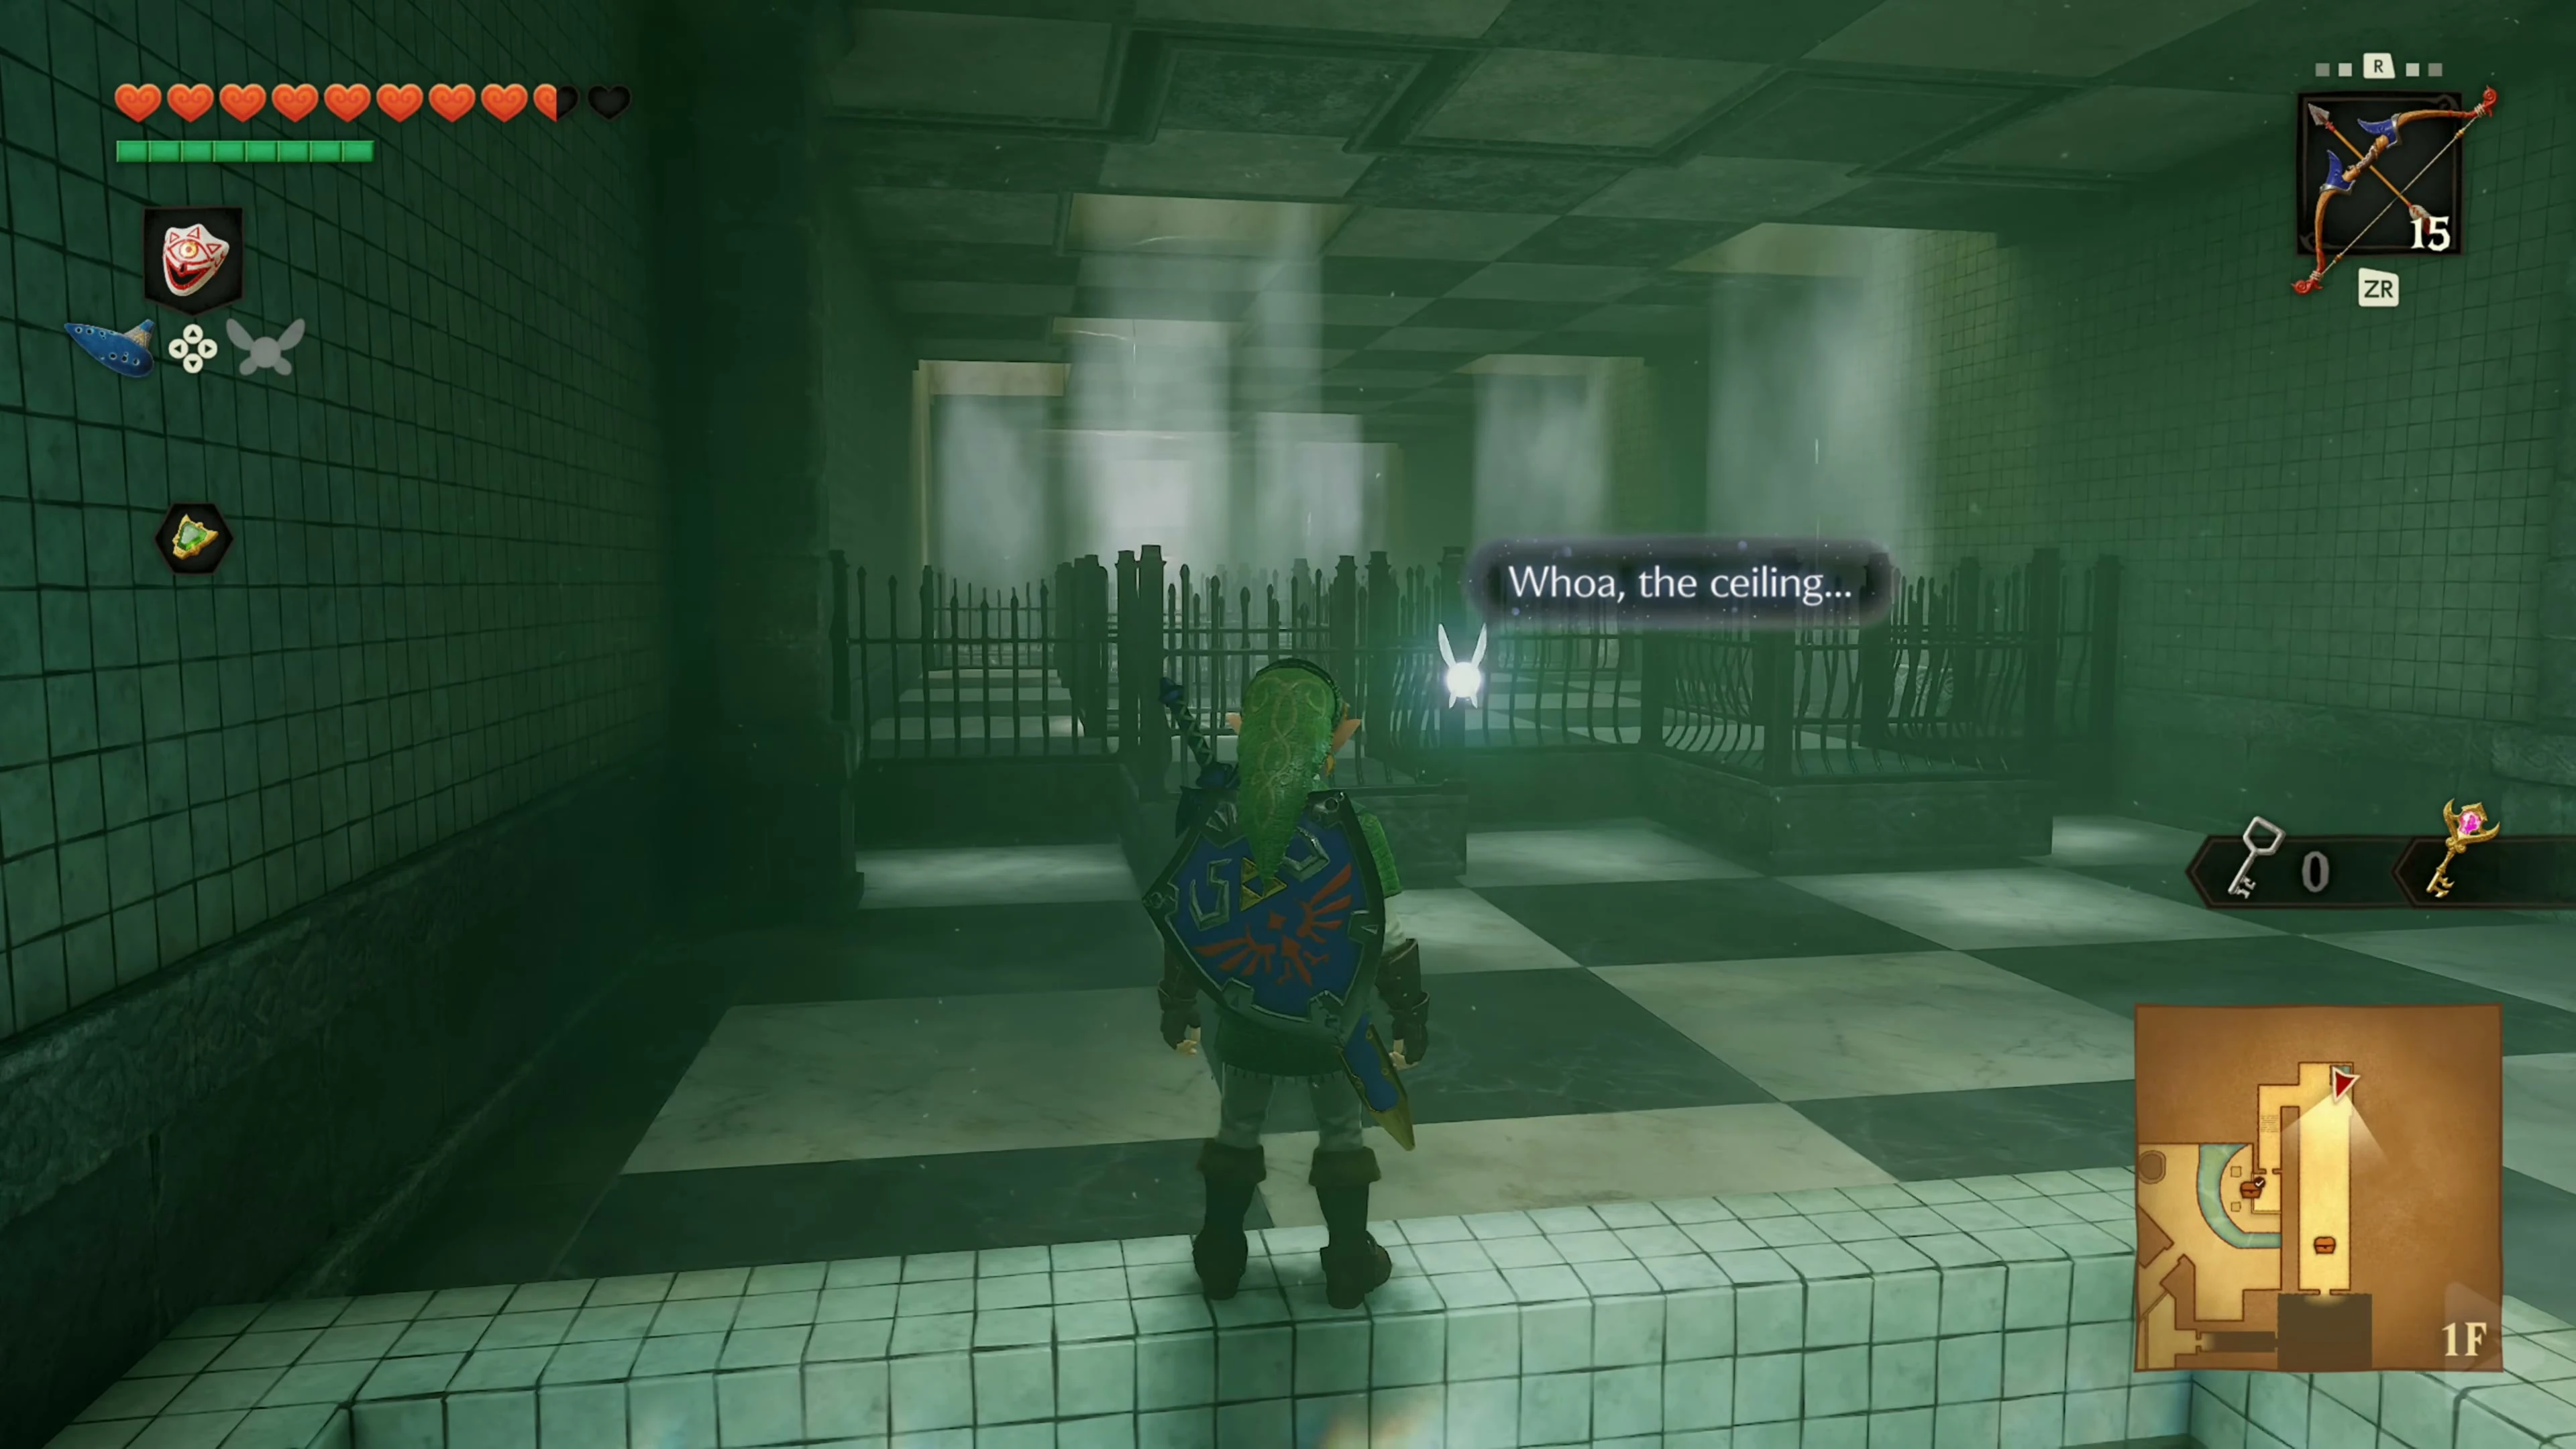
In front of you is a long room with a checkerboard-like floor. As soon as you take a few steps inside, the entire ceiling begins to fall down regularly. There are several recesses in the solid stone slab. You will only be safe on the floor spaces below these openings when the ceiling reaches the bottom. Therefore, first take a moment and observe where the safe fields are. Some dark shadows on the ground also belong to Skulltulas that can fall from above.
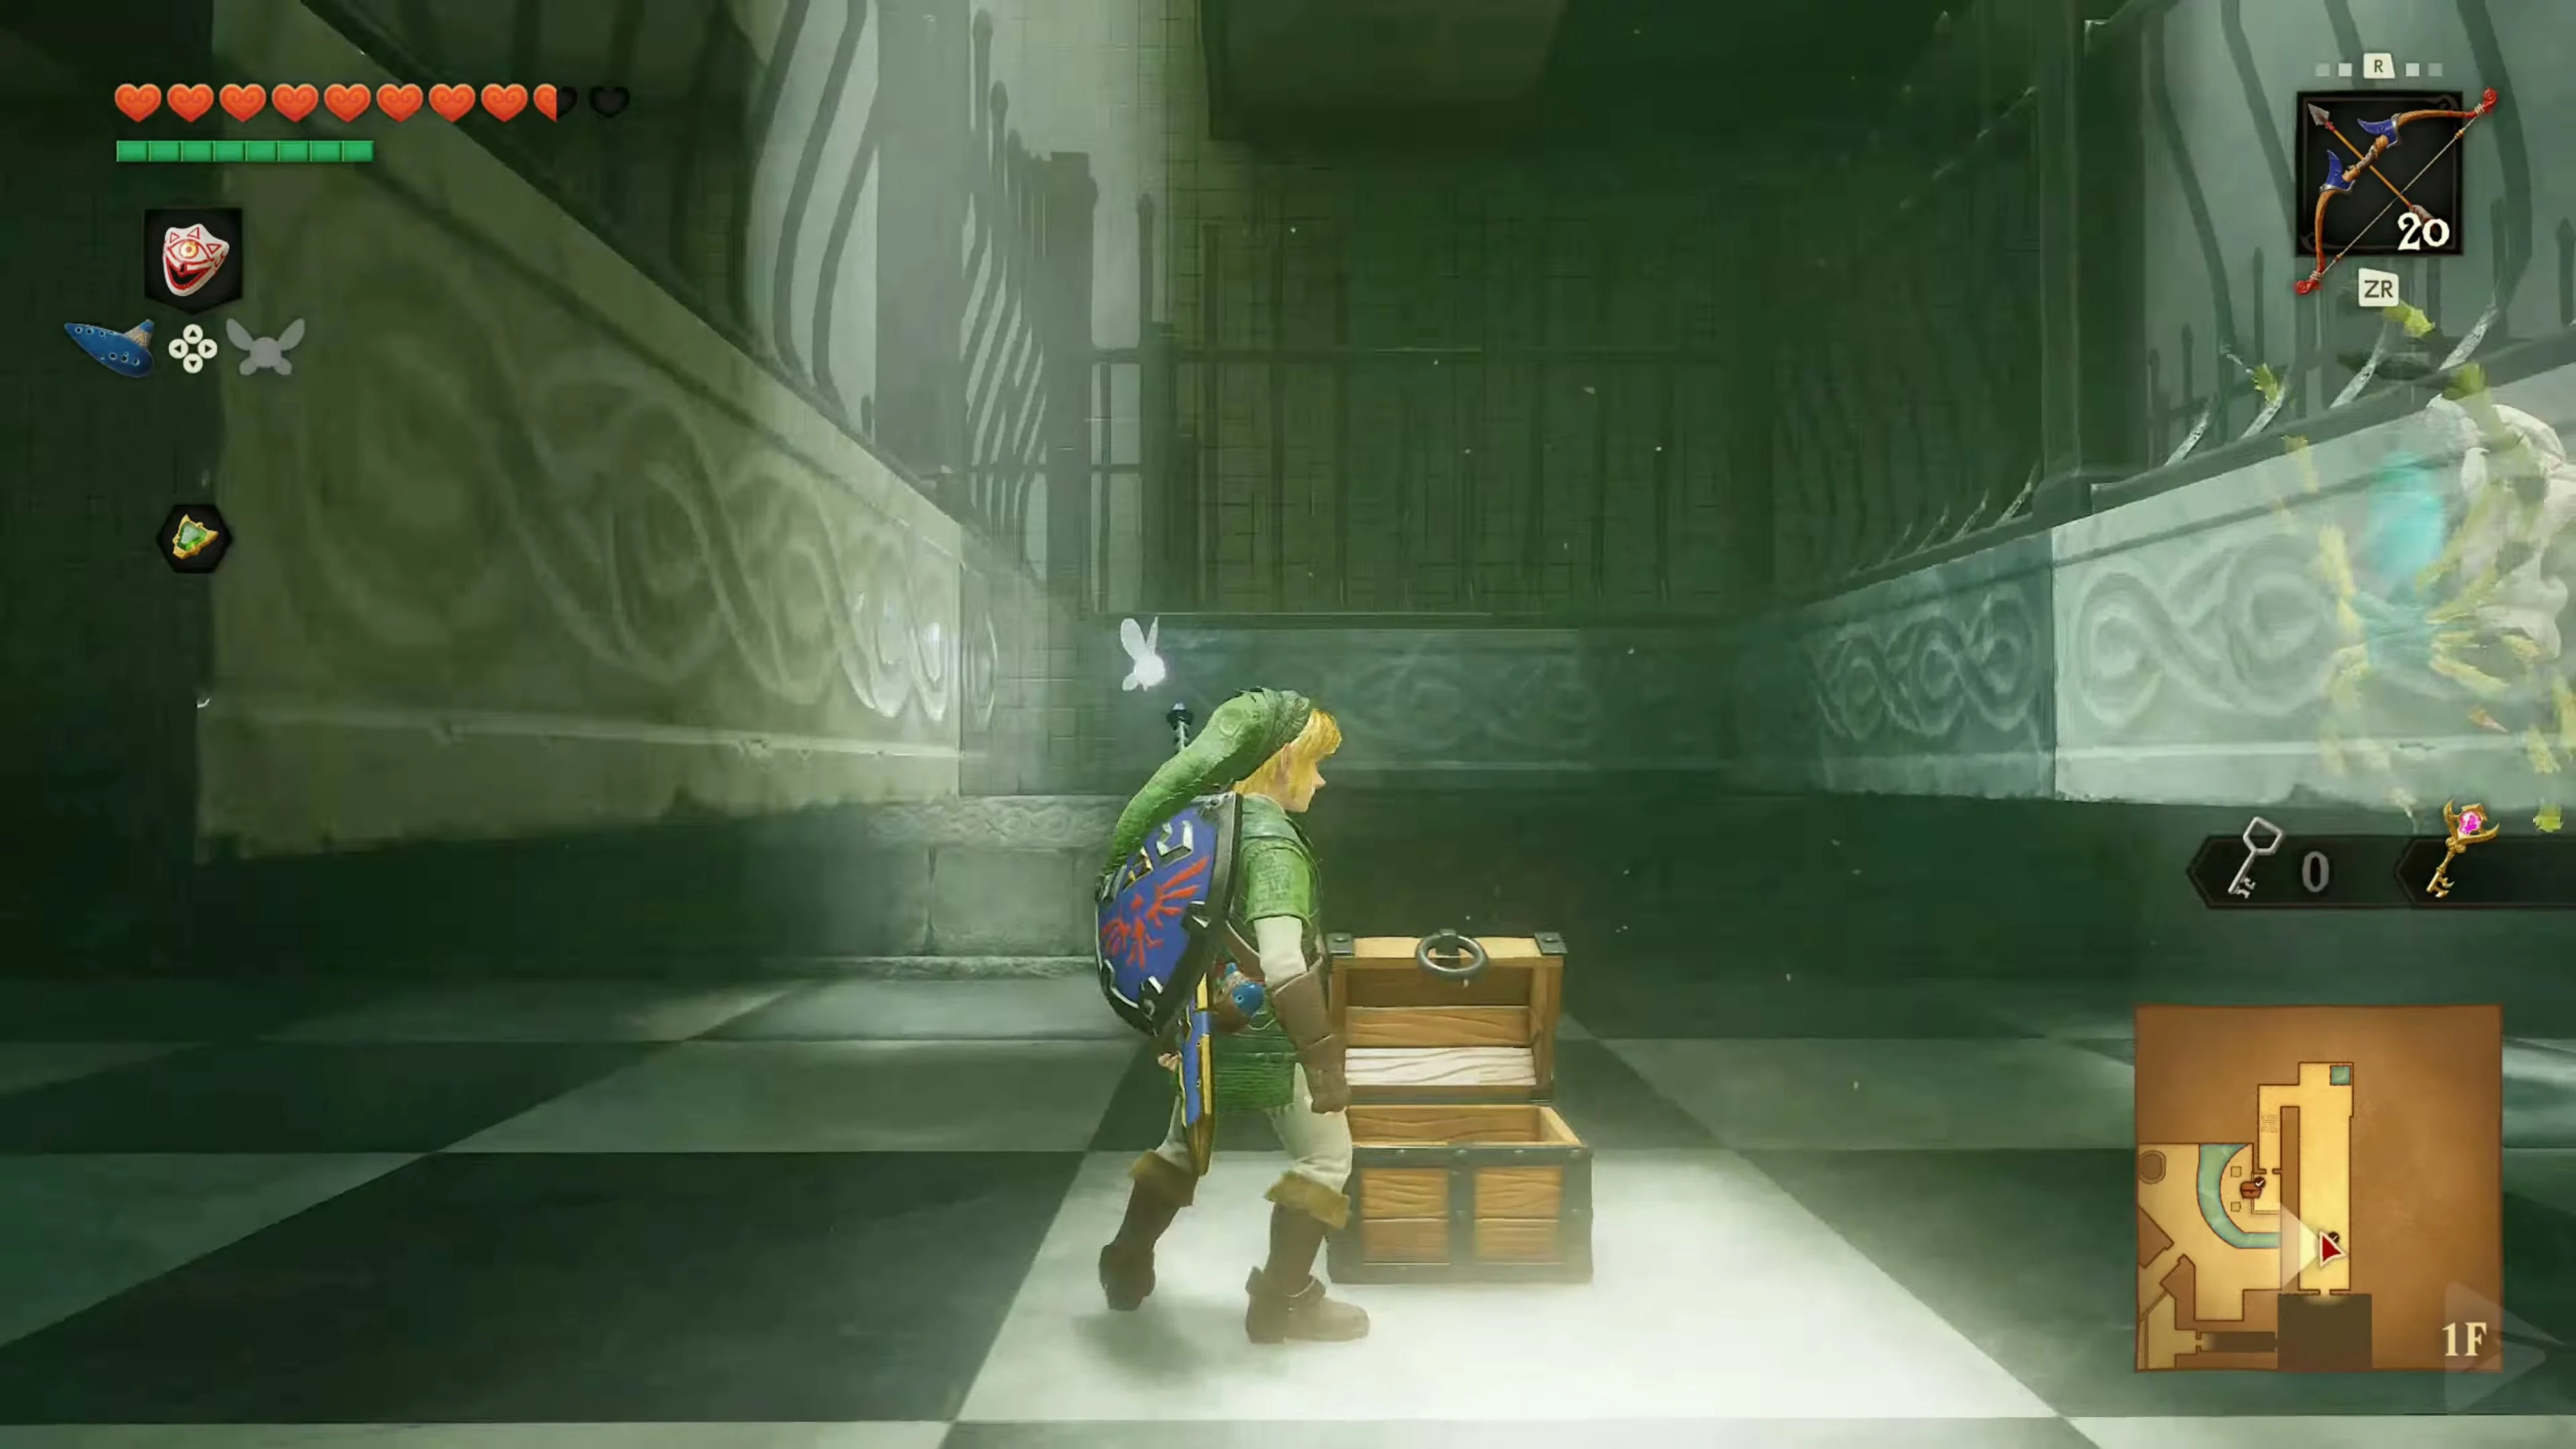
Each time you raise the ceiling, move to the nearest safe spot under one of its recesses. Press the floor switch on the right to open the door at the other end. In the small chest there is a Green Rupee . To open, wait for the ceiling to rise again. Then go through the released exit door to the green ghost.
Amy, Fourth Born and the cube puzzle
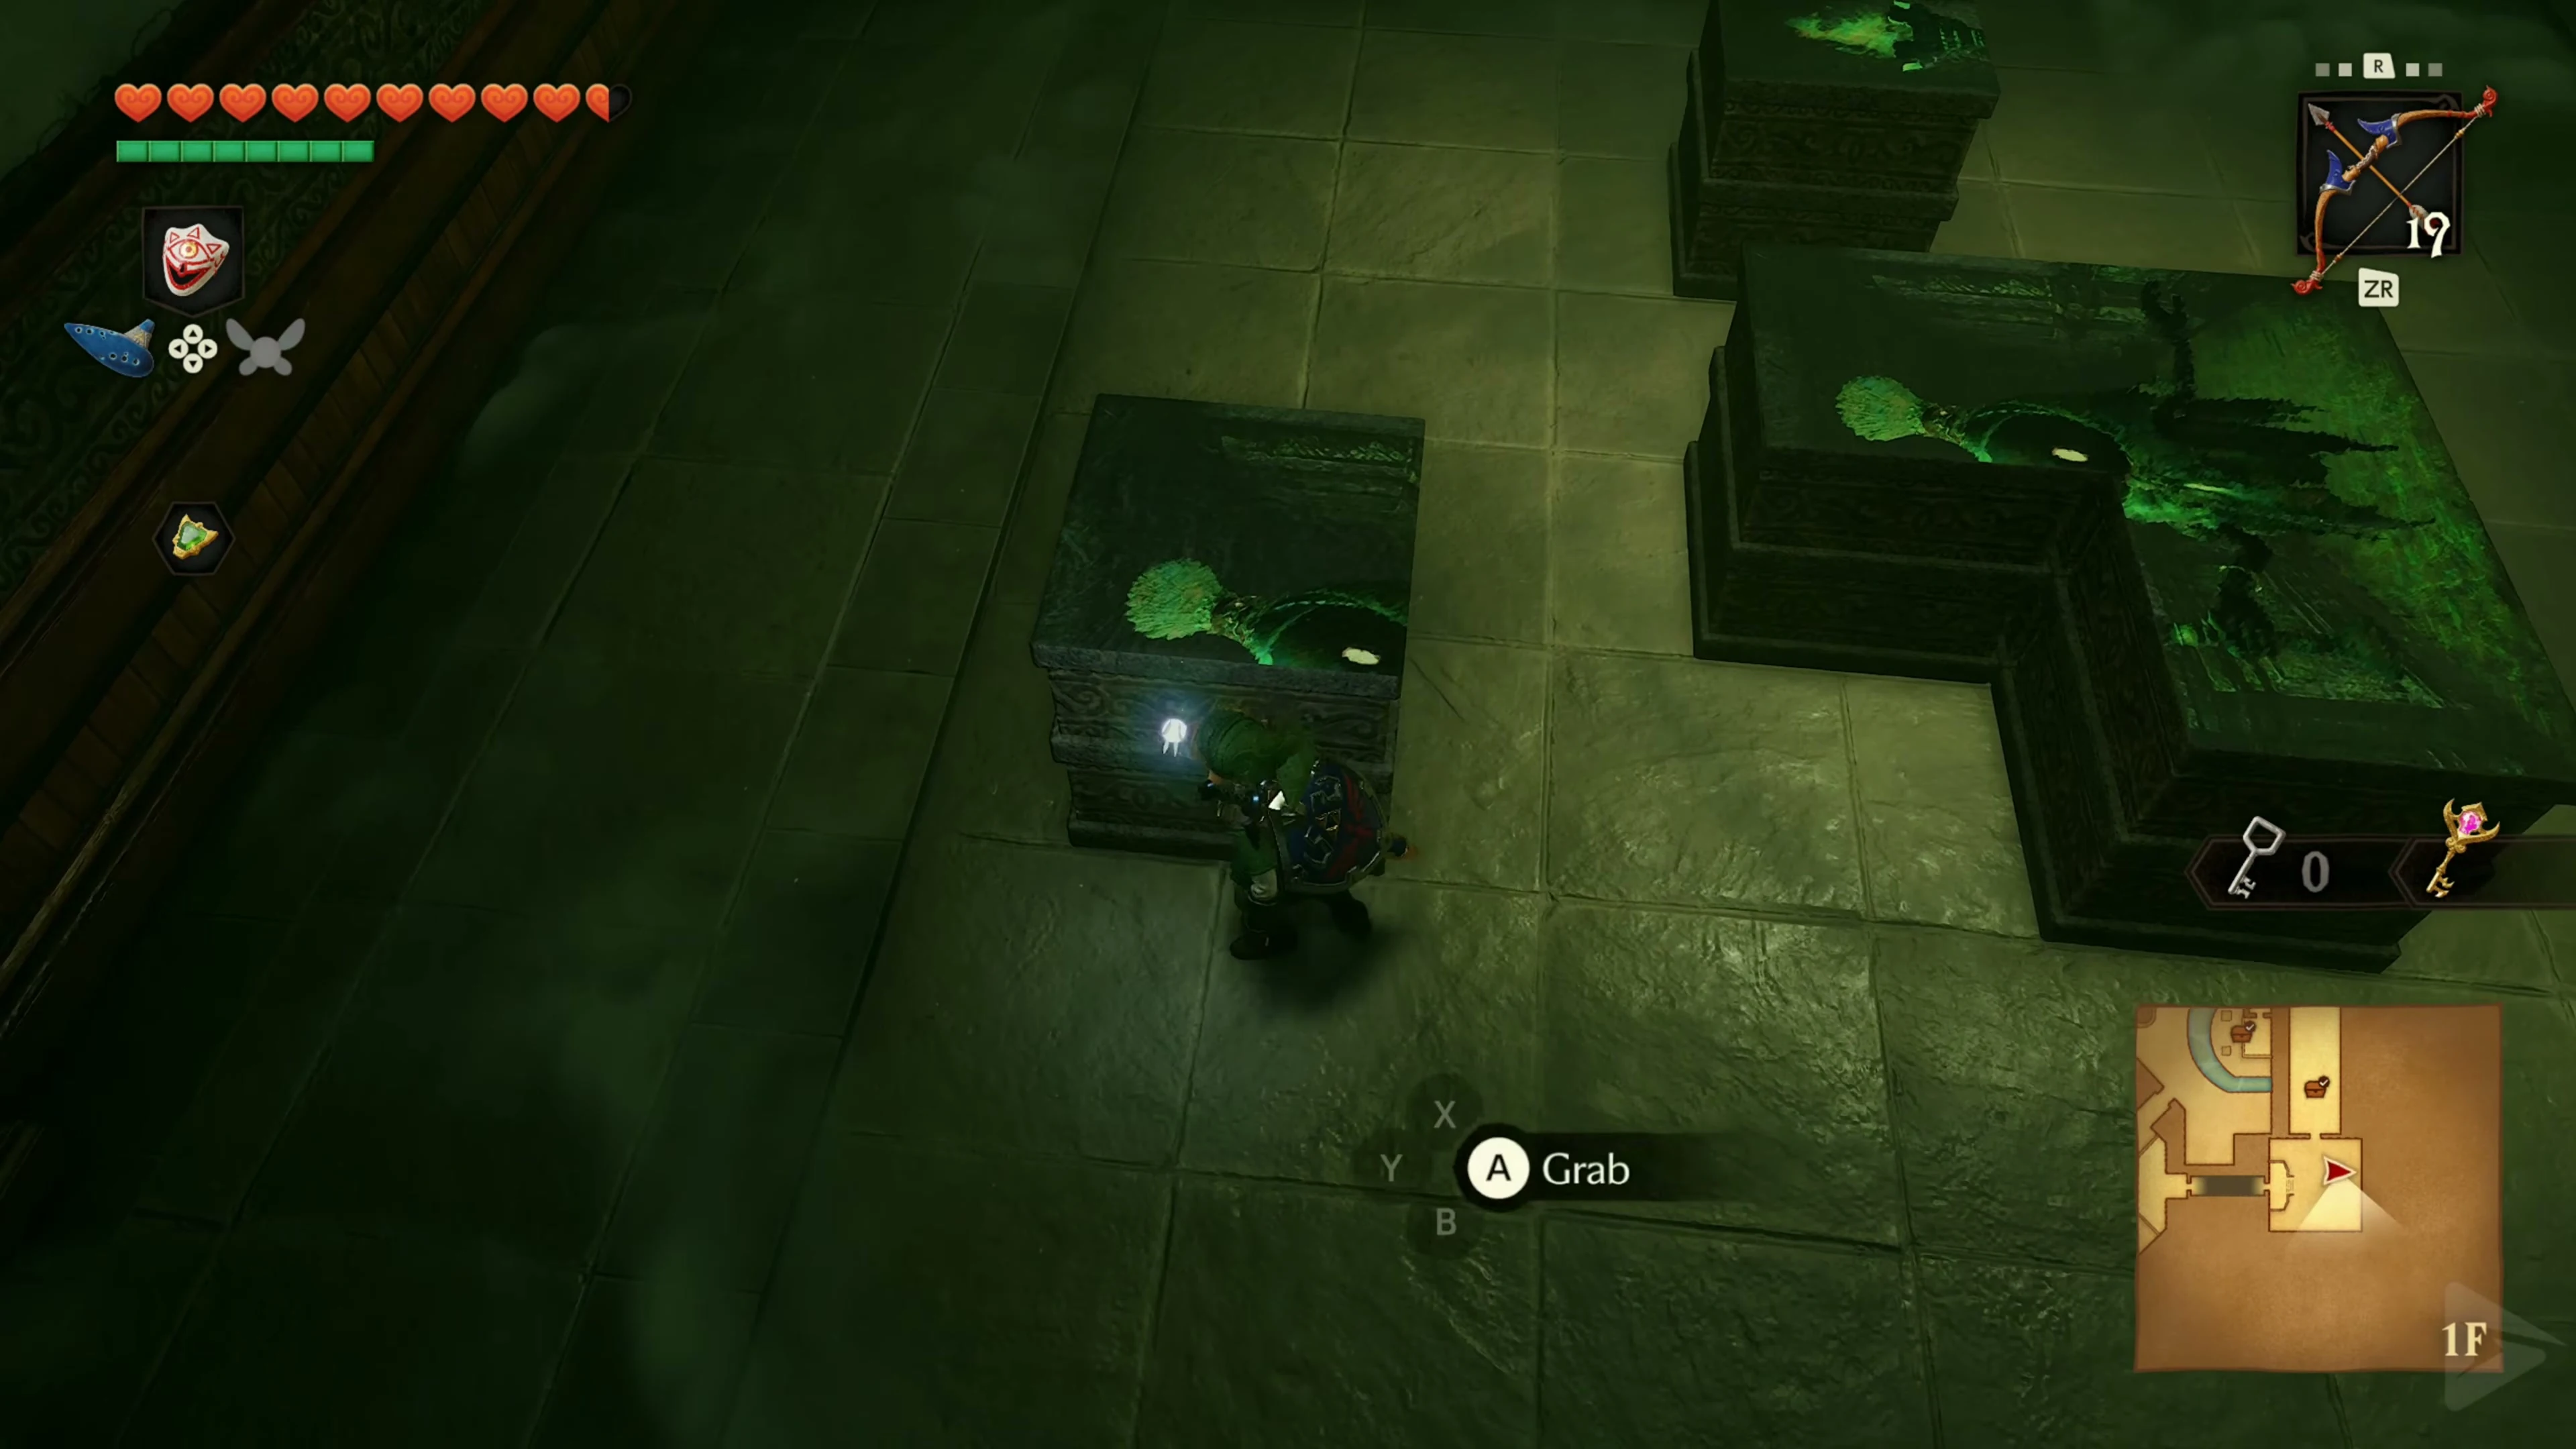
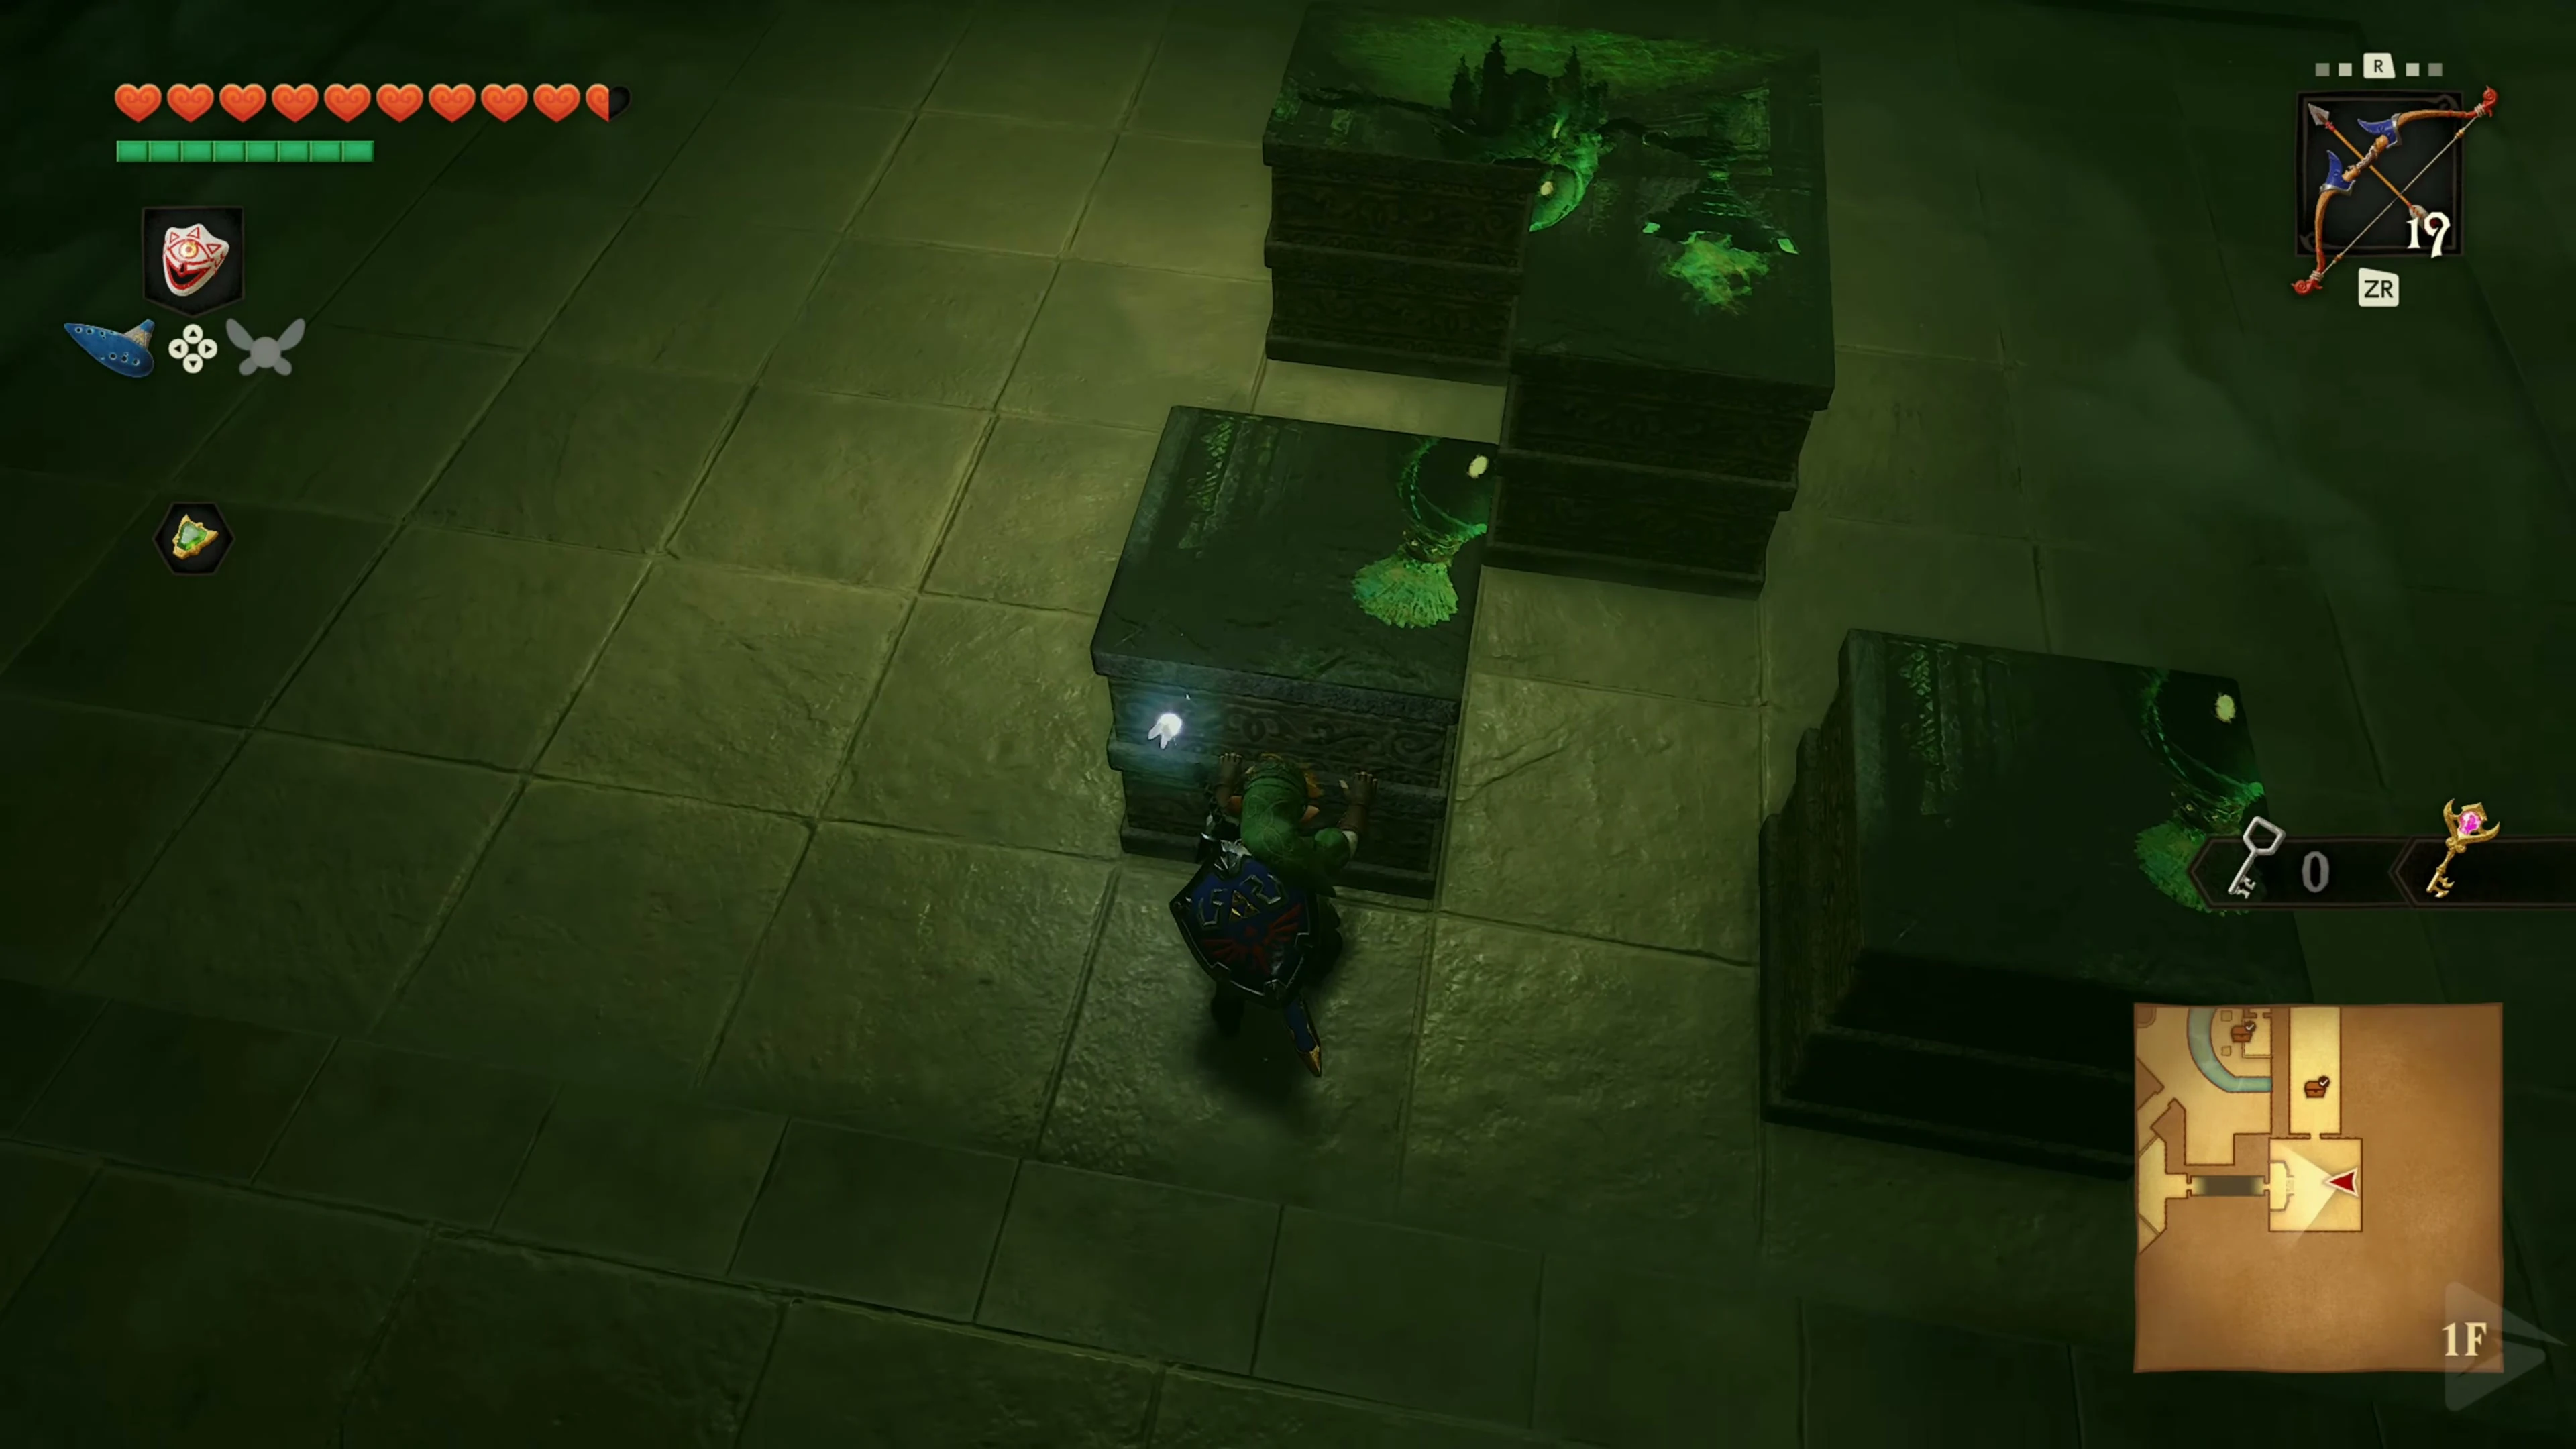
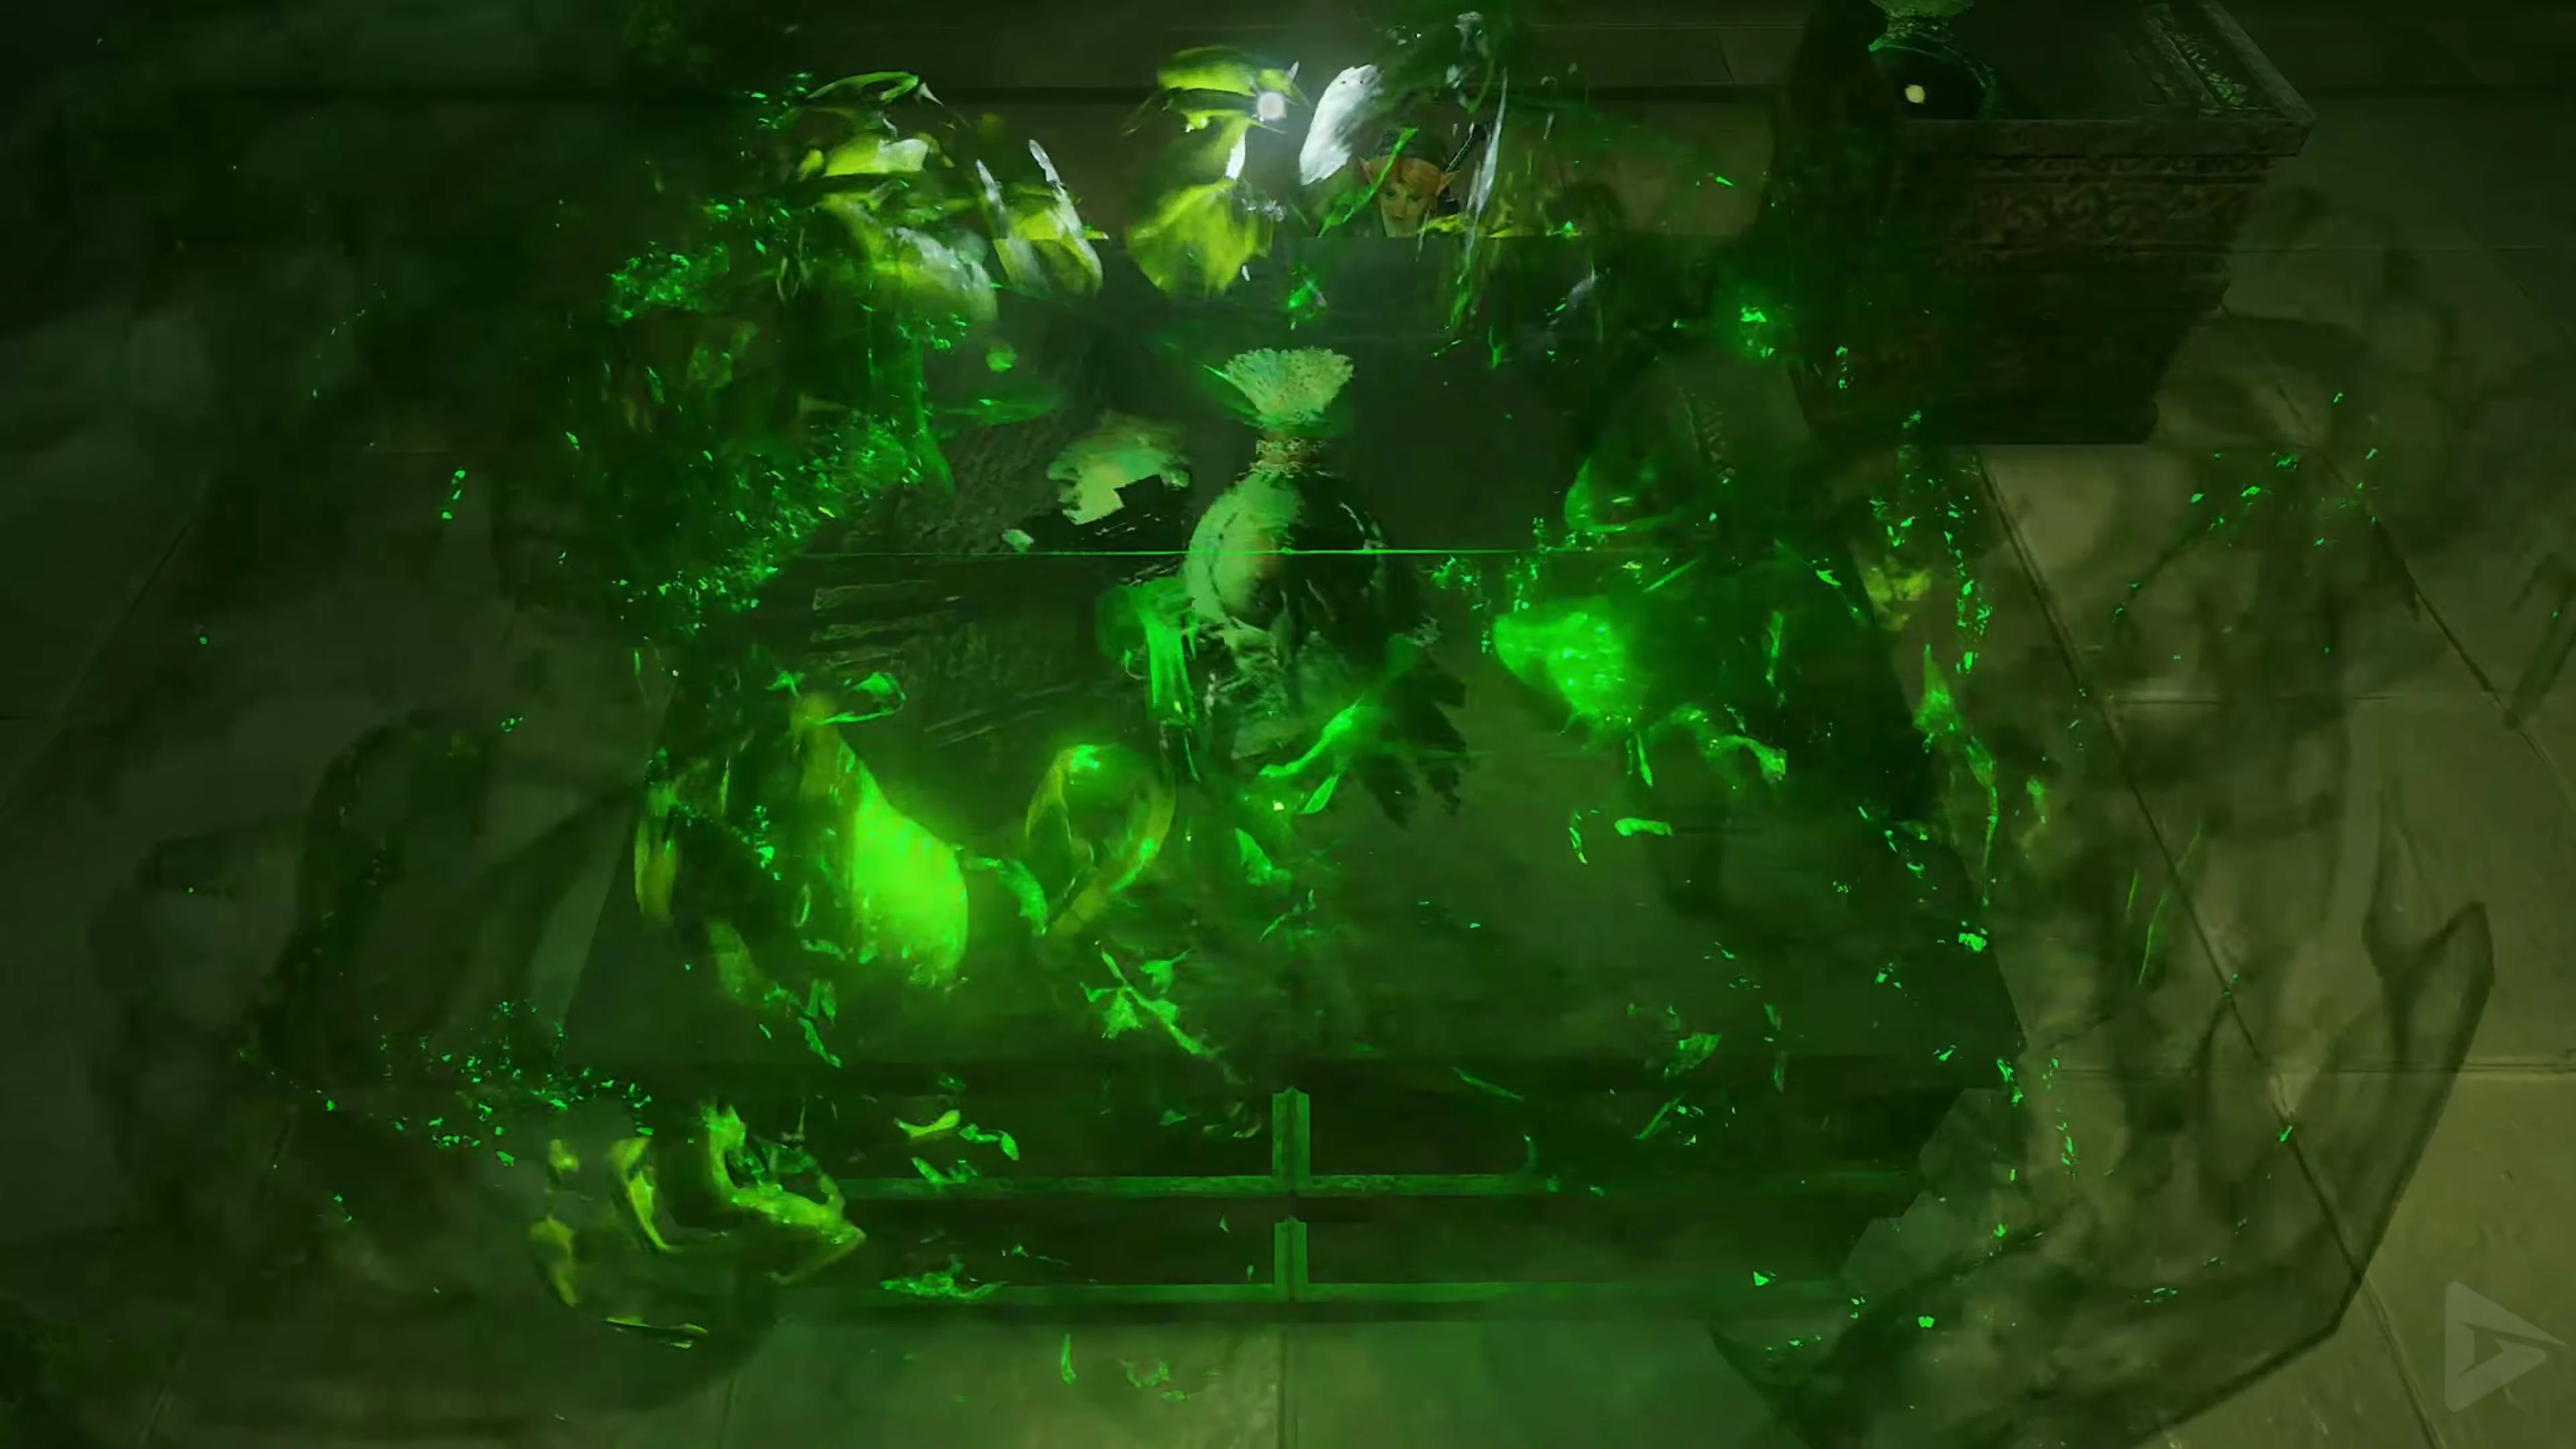
In the next room there is a large portrait hanging on the wall. Shoot it with an Arrow. Several large cubes fall from the ceiling and a time limit begins. Four of the blocks together form the image of the third Poe; a fifth block is not part of the motif and merely serves as a disruption. The four correct parts of the picture move; the image on the wrong block remains still. First, move the fake block out of the work area and arrange the remaining four so that their parts form a complete portrait.
You have about one minute to push the four correct blocks together. After a failed attempt, the puzzle restarts. Once the picture is complete, Amy, Fourth Born, with the green flame appears . Dodge three consecutive spin attacks and attack as soon as she stops moving, stunned. Repeat this until the green flame returns and the next door opens.
Meg in the entrance hall
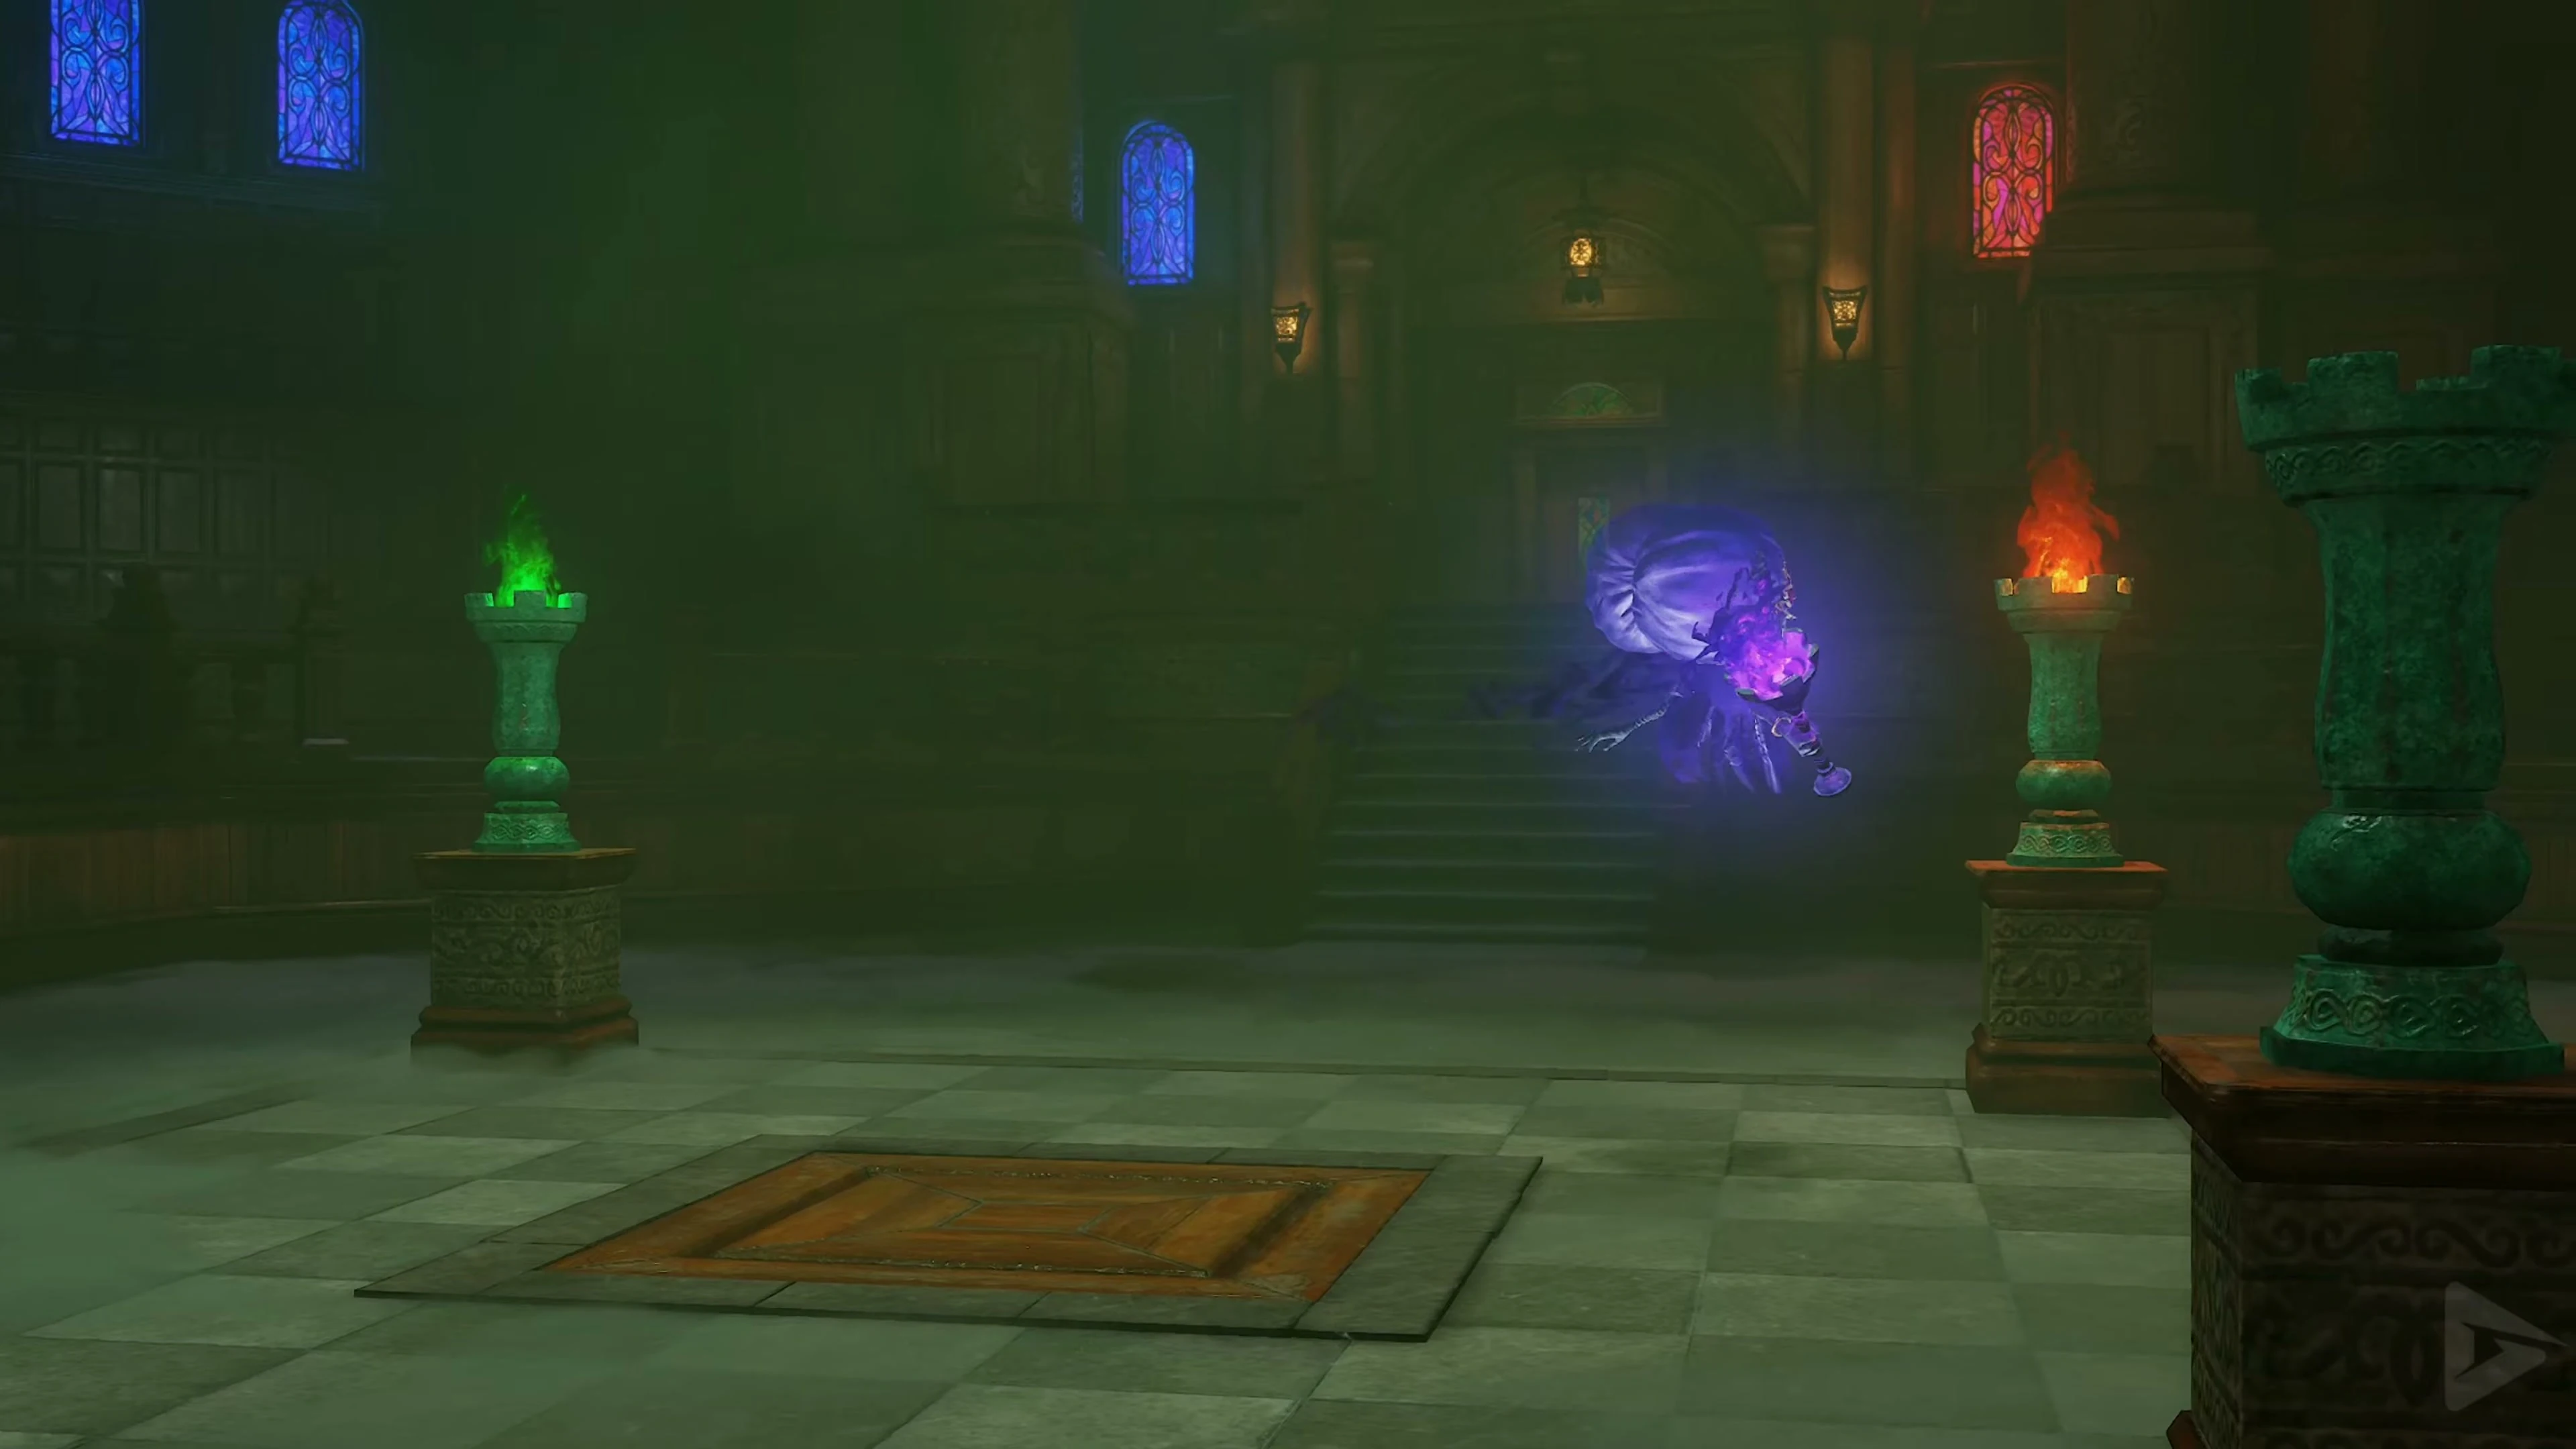
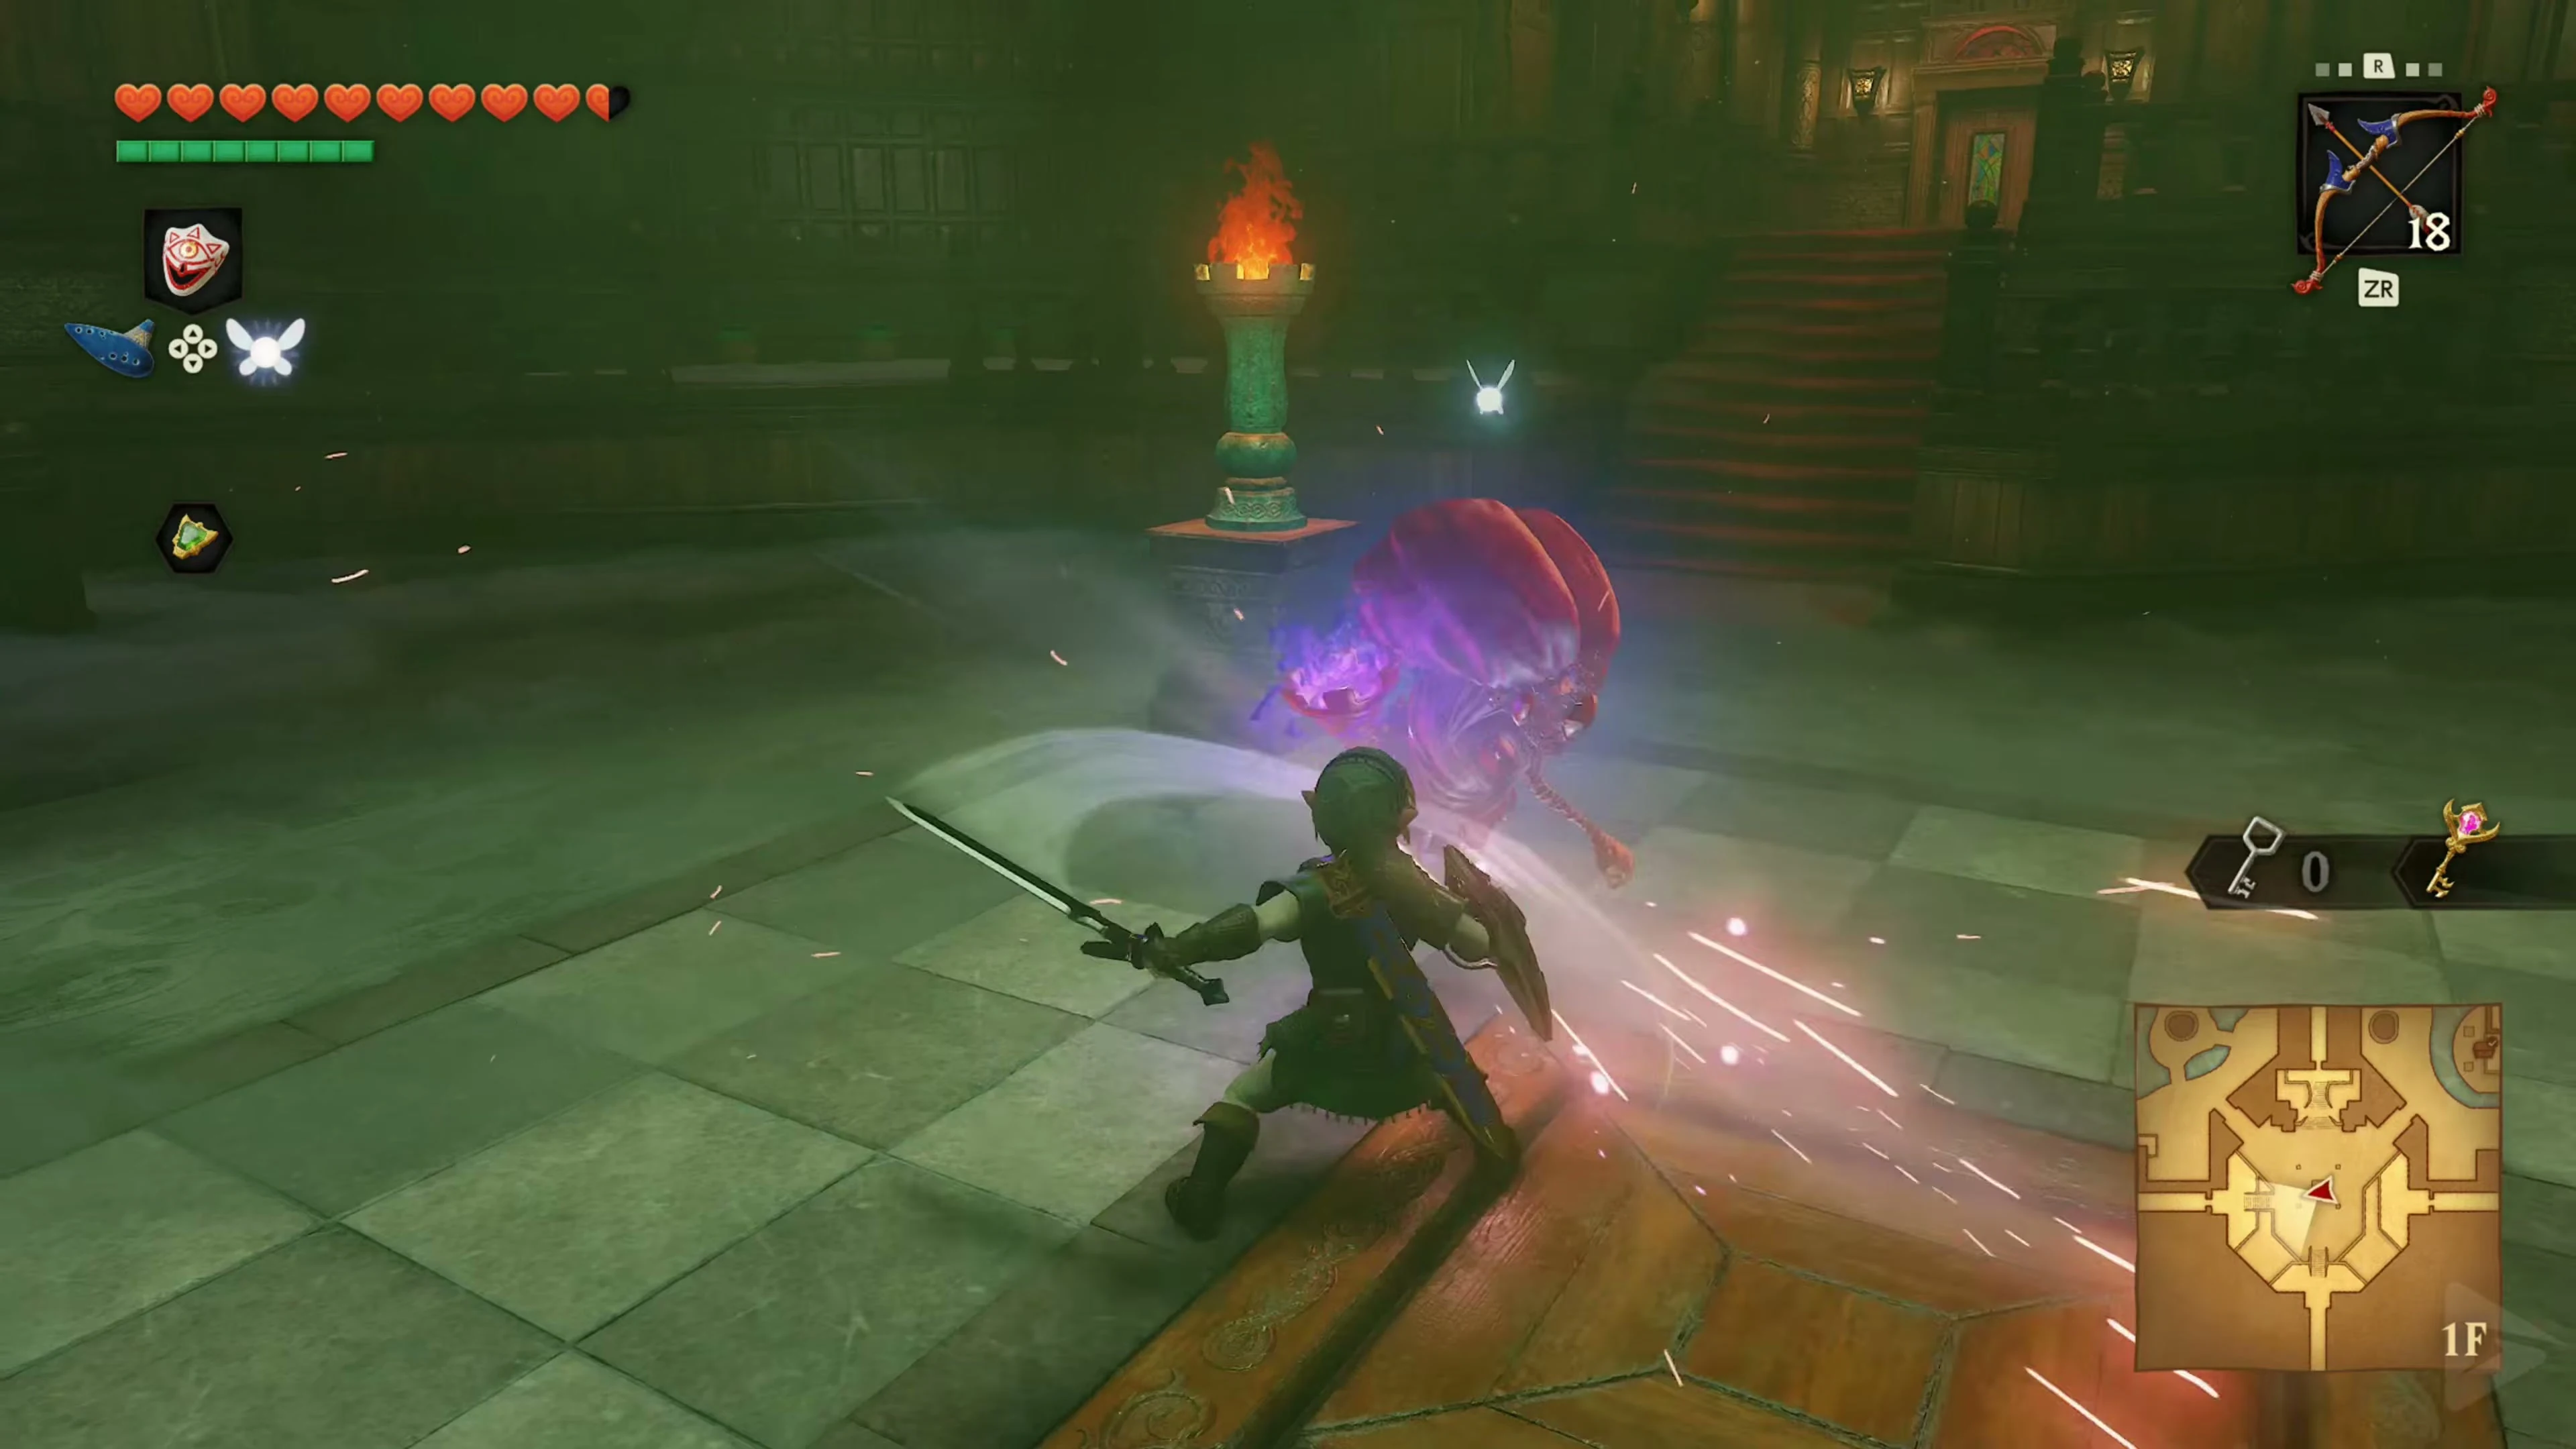
Go to Amy, Fourth Born in the adjacent corridor and shoot the painting of the violet ghost . Follow the hallway into the main hall and jump down to the four torches. Meg surrounds you with her copies. Shoot the real Meg with the Fairy Bow. In the first round, she carries the purple flame while the copies glow green. In the second round, only her lantern is lit. In the last round she opened her eyes wide; They pinch the copies together. After victory, the fourth flame returns and the central elevator is released.
The basement and Skulltula 5/5
Take the central elevator to the second basement . Push on one of the protruding wall handles to rotate the room clockwise and access the side chambers.
Gold Skulltula 5/5 – Basement side chamber
Rotate the room until you can enter the side chamber with the green jars . First, eliminate the common Skulltula at the doorway. The Gold Skulltula sits on the wall in the chamber. Defeat her and get her token with the Hookshot . Then return to the round room.
Continue rotating the room clockwise until the chamber with the floor switch is open. Step on it to light the torch. Then continue turning until the torch and icy eye are on a firing line. Shoot through the flame to melt the ice and hit the free eye with a second Arrow. This opens the path to the boss chamber. Also open the small chest in the basement for 10 arrows and refill your supplies at the jugs. Then go through the cleared hallway to the big door.
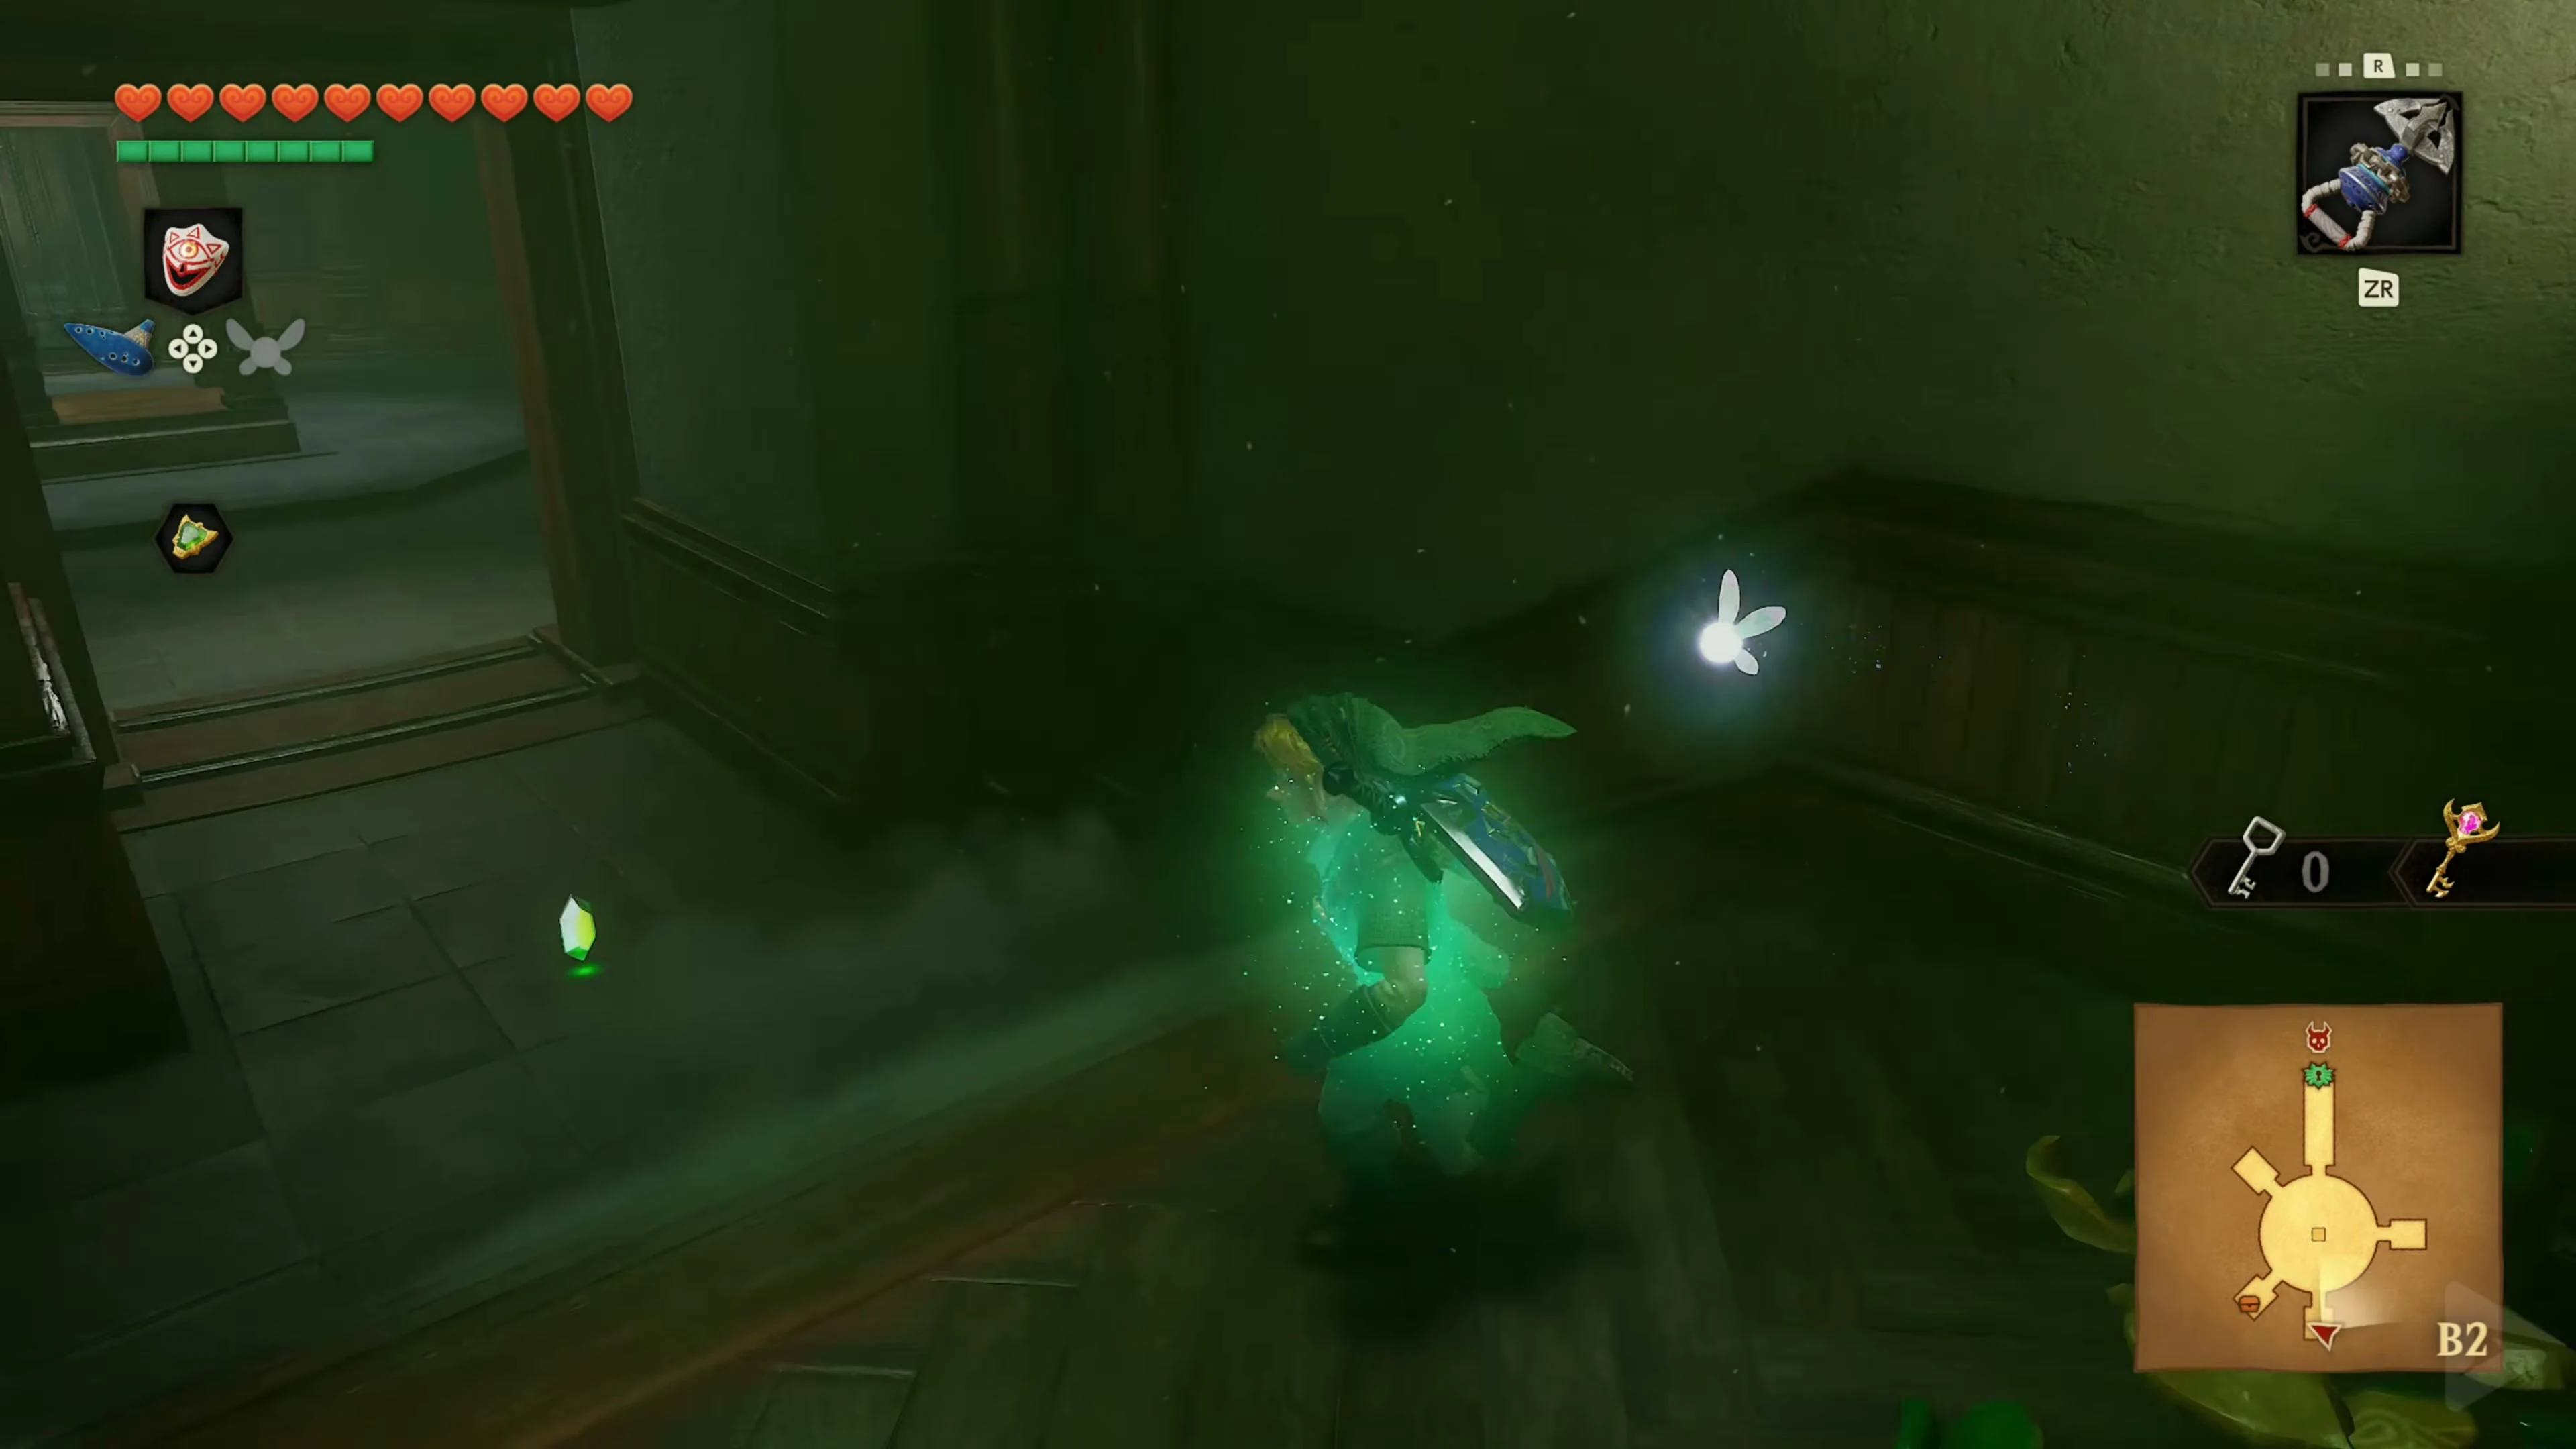
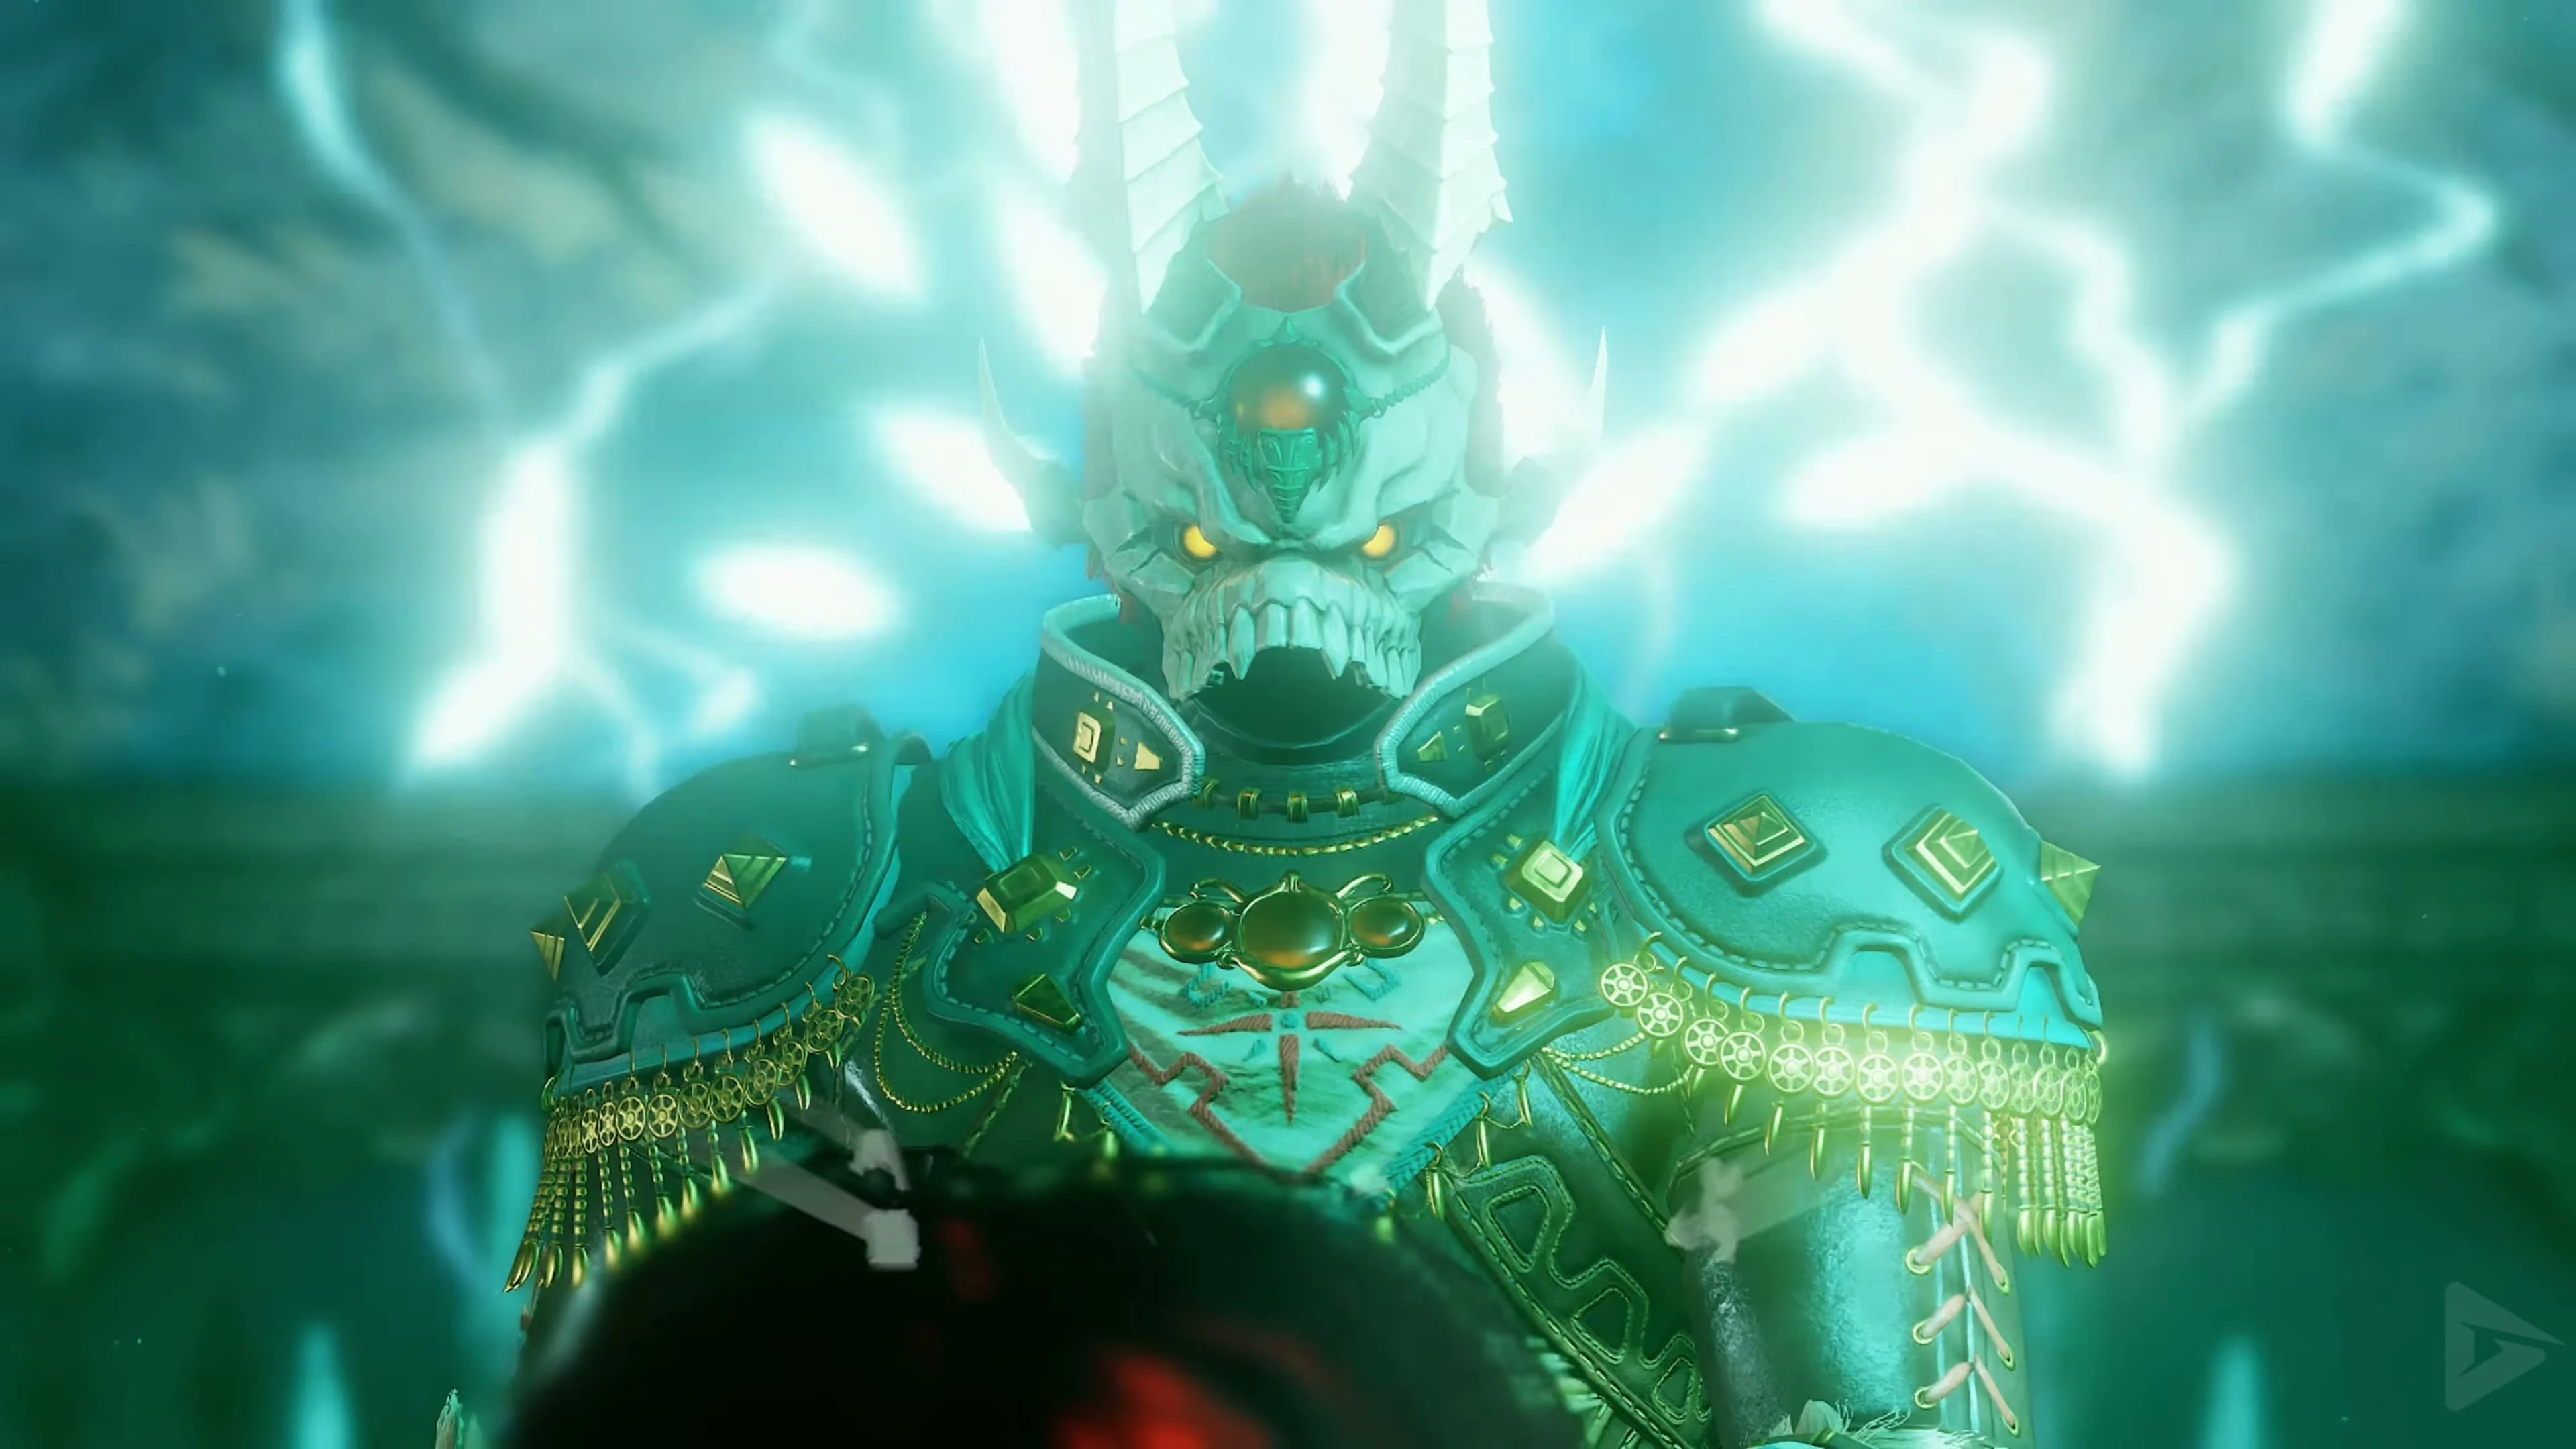
Boss: Phantom Ganon
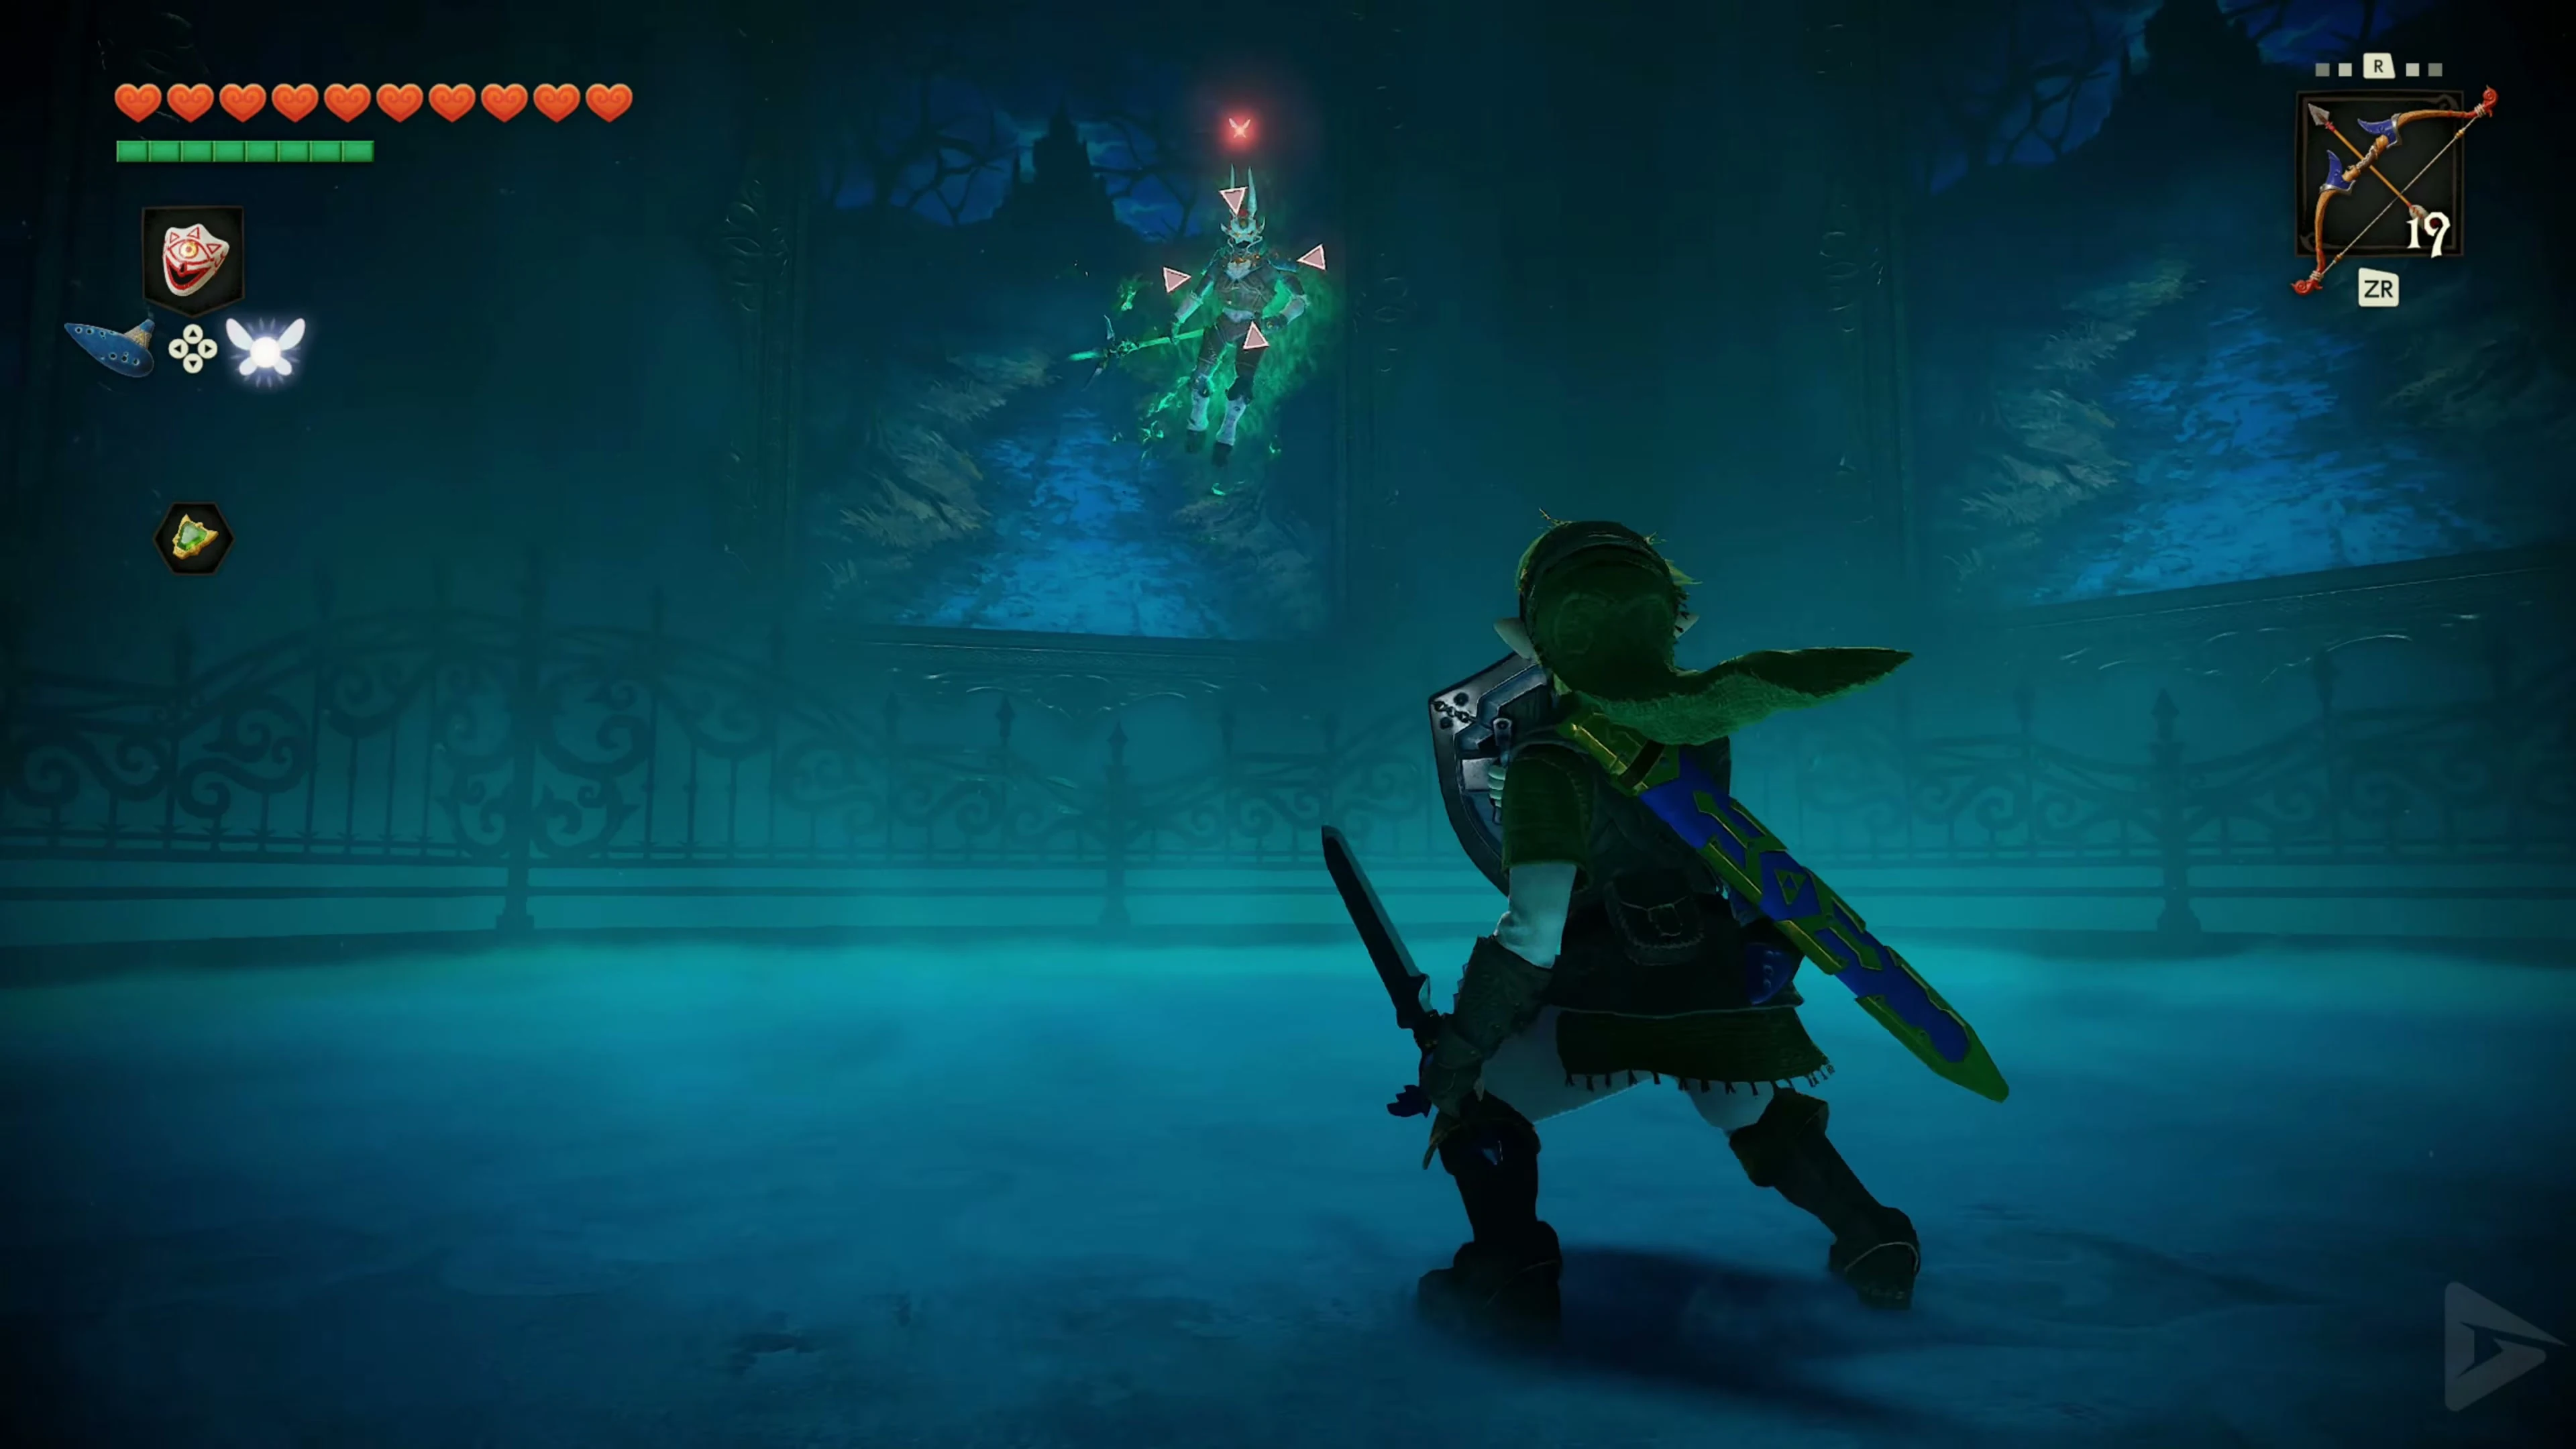
Open the ornate door with the Boss Key and enter the circular gallery. Numerous paintings hang on the walls, but at first no enemy can be seen. Go up the stairs to the raised fighting area. As soon as you then try to leave the area again, the exit will be blocked and Phantom Ganon will appear. For the fight you mainly need the Fairy Bow and the Master Sword; You should also keep the Hylian Shield handy.
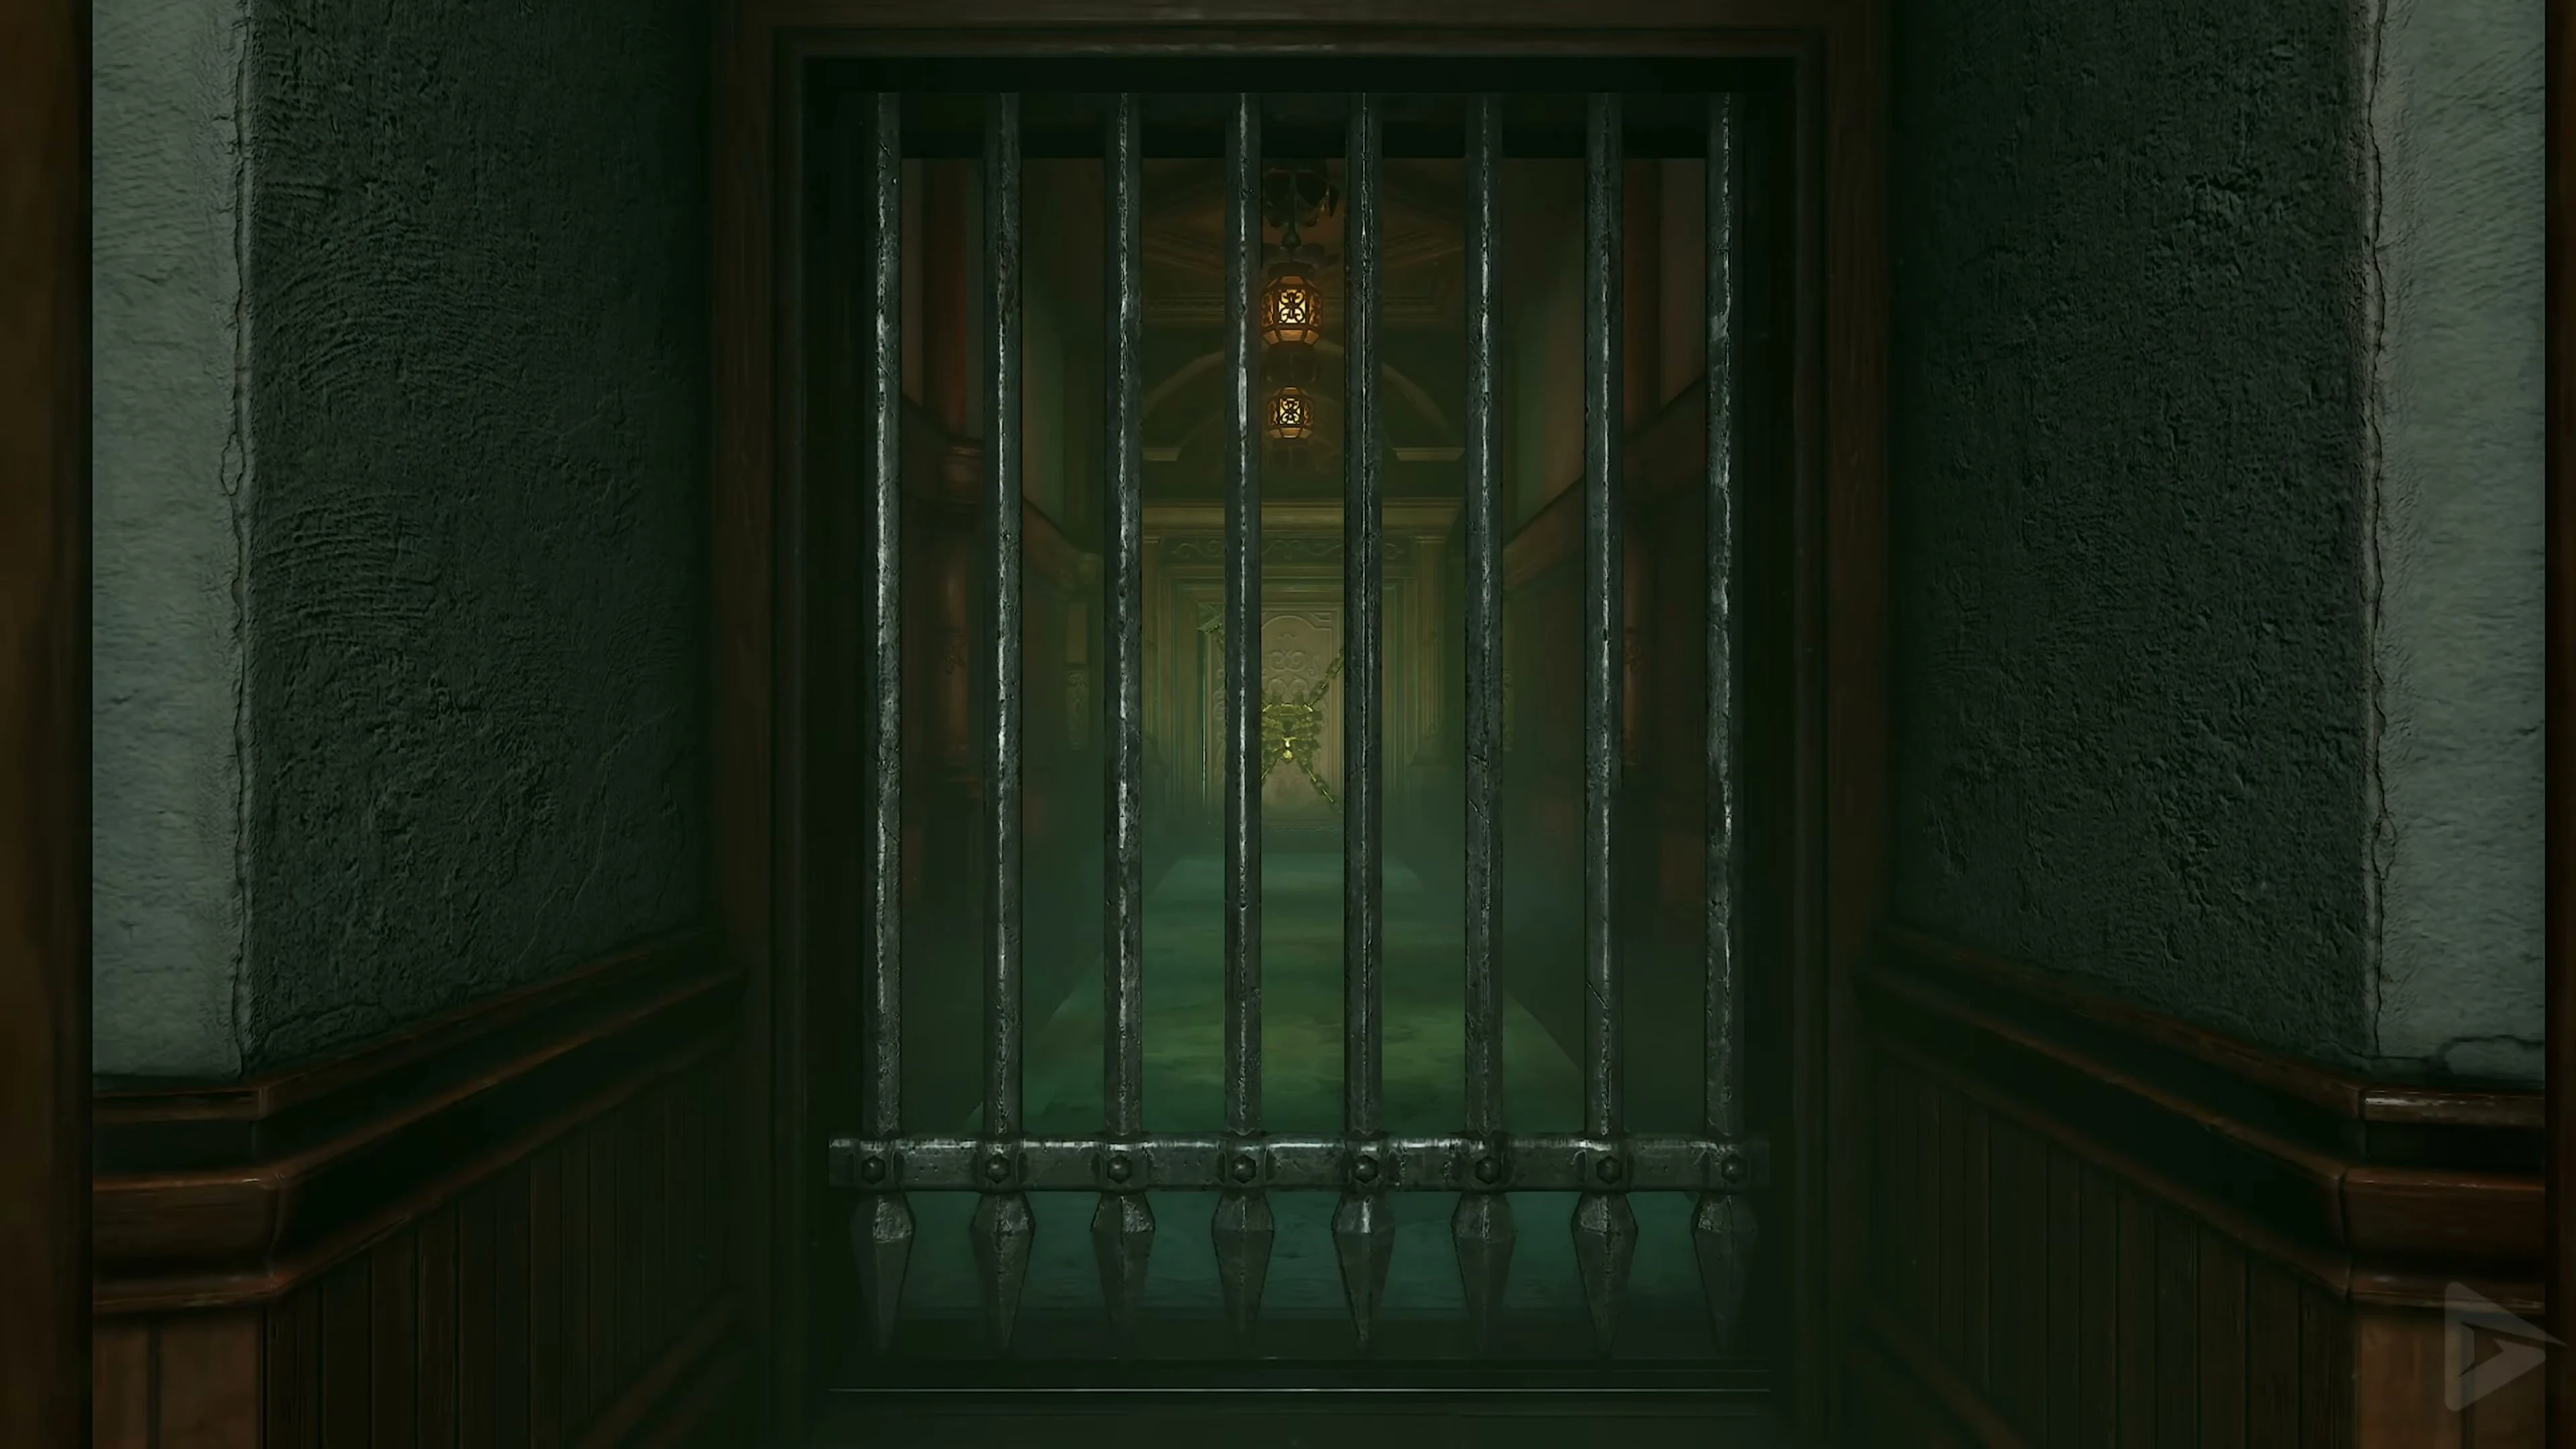
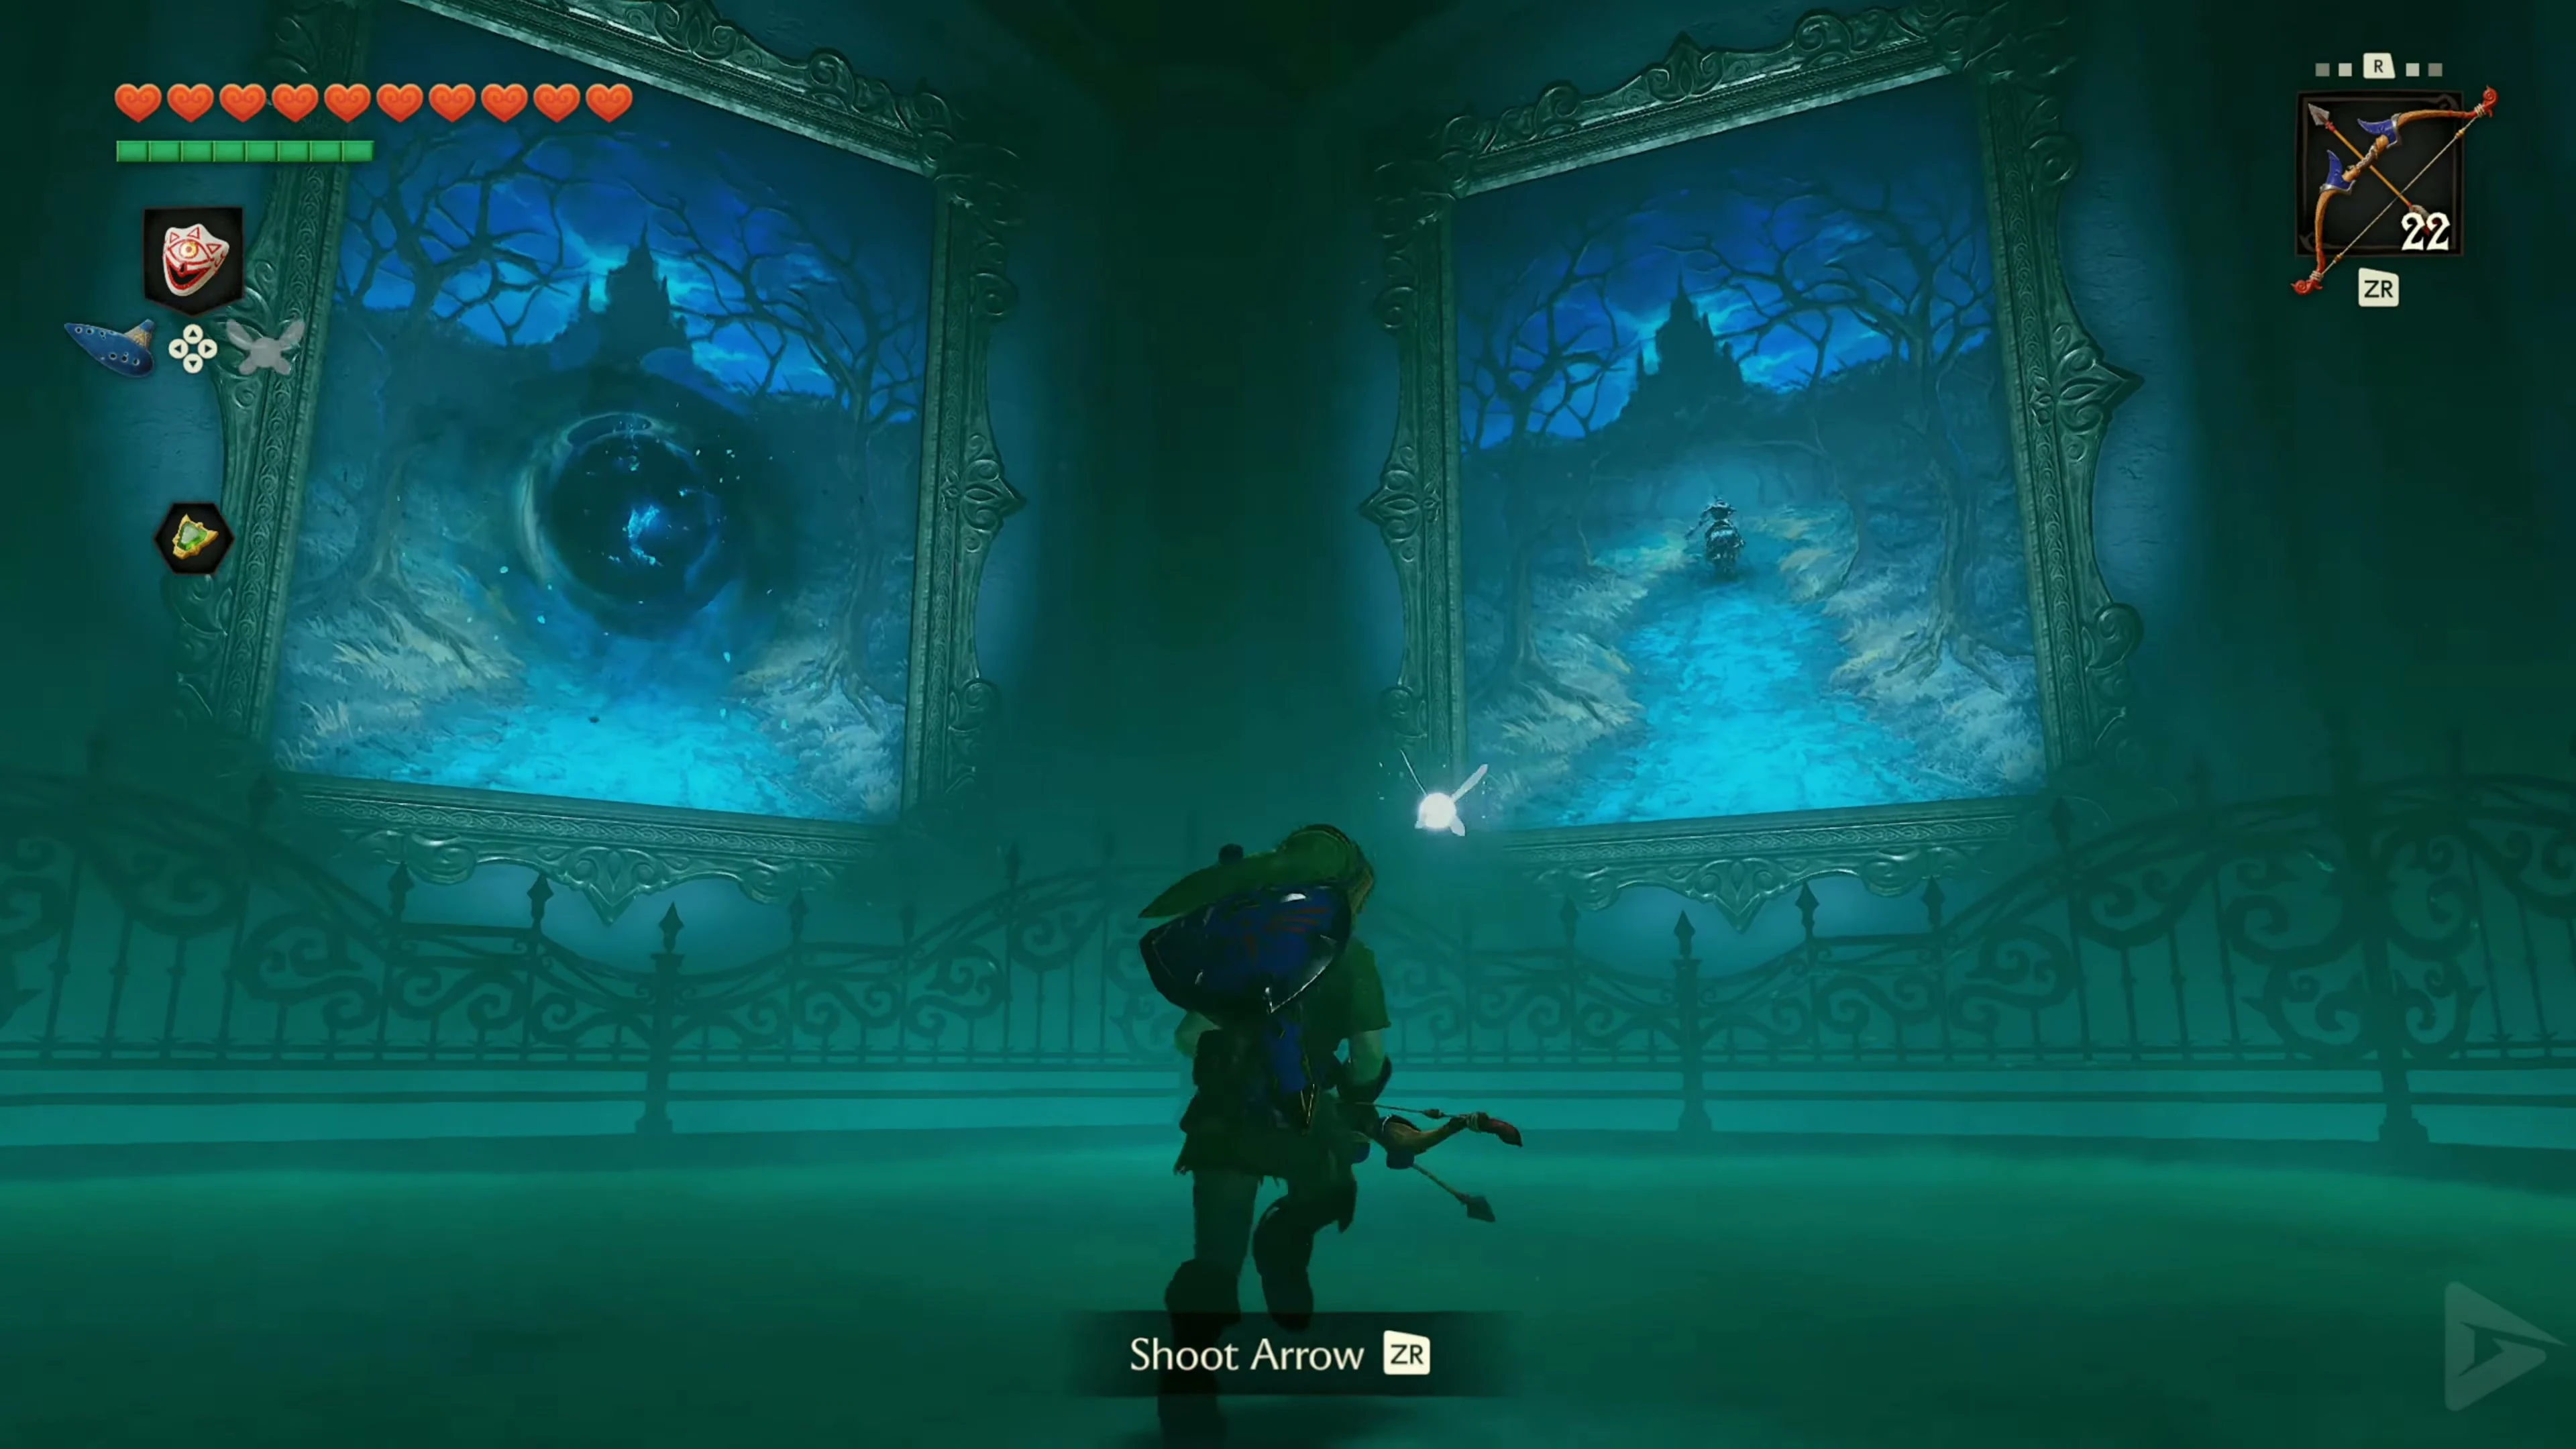
Phase 1 – Phantom Ganon in the paintings
In the first phase, Phantom Ganon rides his horse through the paintings around the arena. He often appears to approach from two different images at the same time, but one of the figures is only an illusion. Pay close attention to the frames and the glow within the images. The real rider can be recognized by his purple glow. The deceptions turn around again just before the frame.
If possible, stay at the outer edge of the arena so that you can see several images at the same time, and keep the Fairy Bow already cocked. As soon as you recognize which Phantom Ganon actually leaves the frame, shoot him. If you hit it in time, his attack will be interrupted and he will disappear back into the pictures. If you are too slow, he will throw a powerful lightning attack onto the arena. After three successful arrow hits, this phase ends and Phantom Ganon dismounts his horse.
Phase 2 – Knock Back Energy Balls
Phantom Ganon now floats freely above the arena and attacks Link with glowing energy balls. You can repel these attacks with the Master Sword. Wait until the ball is close enough and perform a normal sword slash. Phantom Ganon can knock back the projectile again, creating an ever-increasing duel between you. The longer the ball flies back and forth, the more precisely you have to time your shot. When Phantom Ganon is finally hit by his own energy ball, he falls to the ground, stunned. Immediately run to him and attack with several sword slashes. A jump attack causes particularly high damage, but don’t stay next to the enemy for too long as he will get up again after a short time. Then retreat and wait for the next energy ball.
Occasionally, Phantom Ganon forgoes the projectile and instead performs a quick charge attack. Dodge sideways or keep your shield up and don’t attack too quickly. Repeat the knocking back of the energy balls and the subsequent sword slashes until Phantom Ganon is defeated. The real Ganondorf then speaks out and banishes his failed servant to another dimension.
Heart Container and Forest Medallion
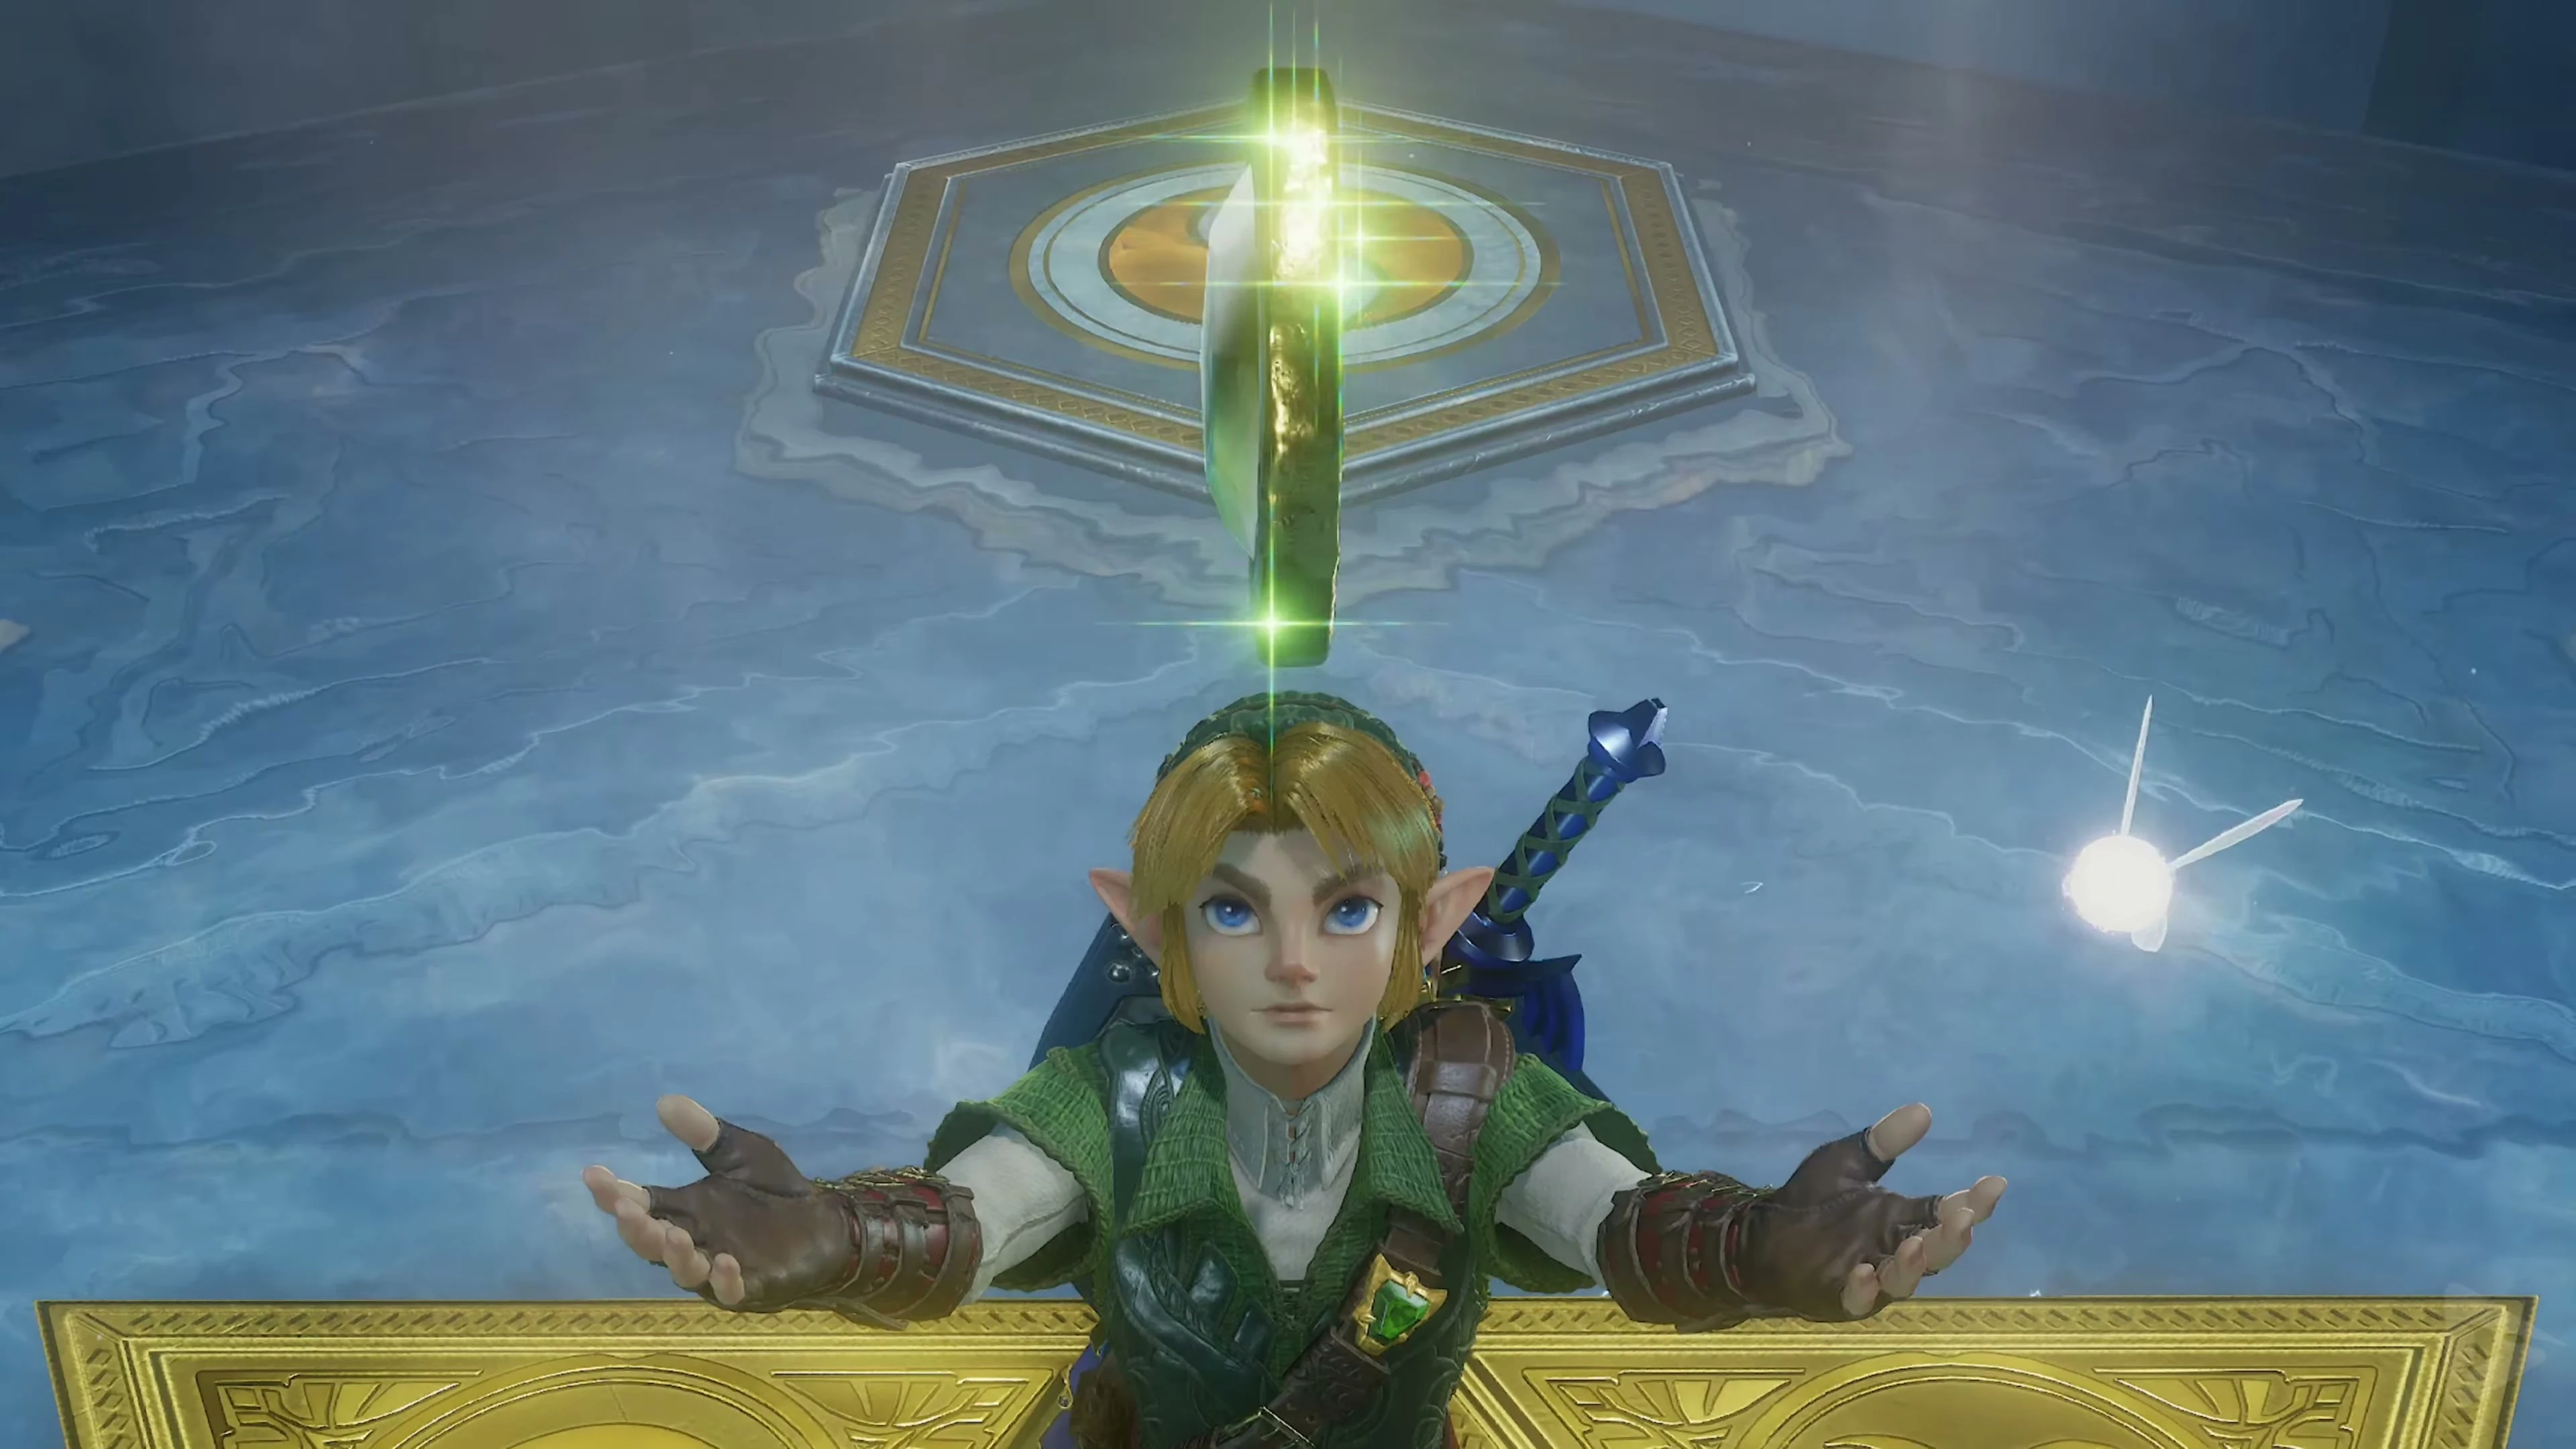
After Phantom Ganon’s defeat, a Heart Container will appear. Be sure to collect it before you leave the room, as it will permanently increase Link’s maximum health by one full heart. You can find further locations for additional energy in our overview of the Piece of Hearts in Ocarina of Time . Then enter the blue light in the boss arena. Link is transported to the Chamber of Sages, where he meets Saria again. She explains that she has awakened as Sage of the Forest and must take her place in the Chamber of Sages. As a sign of her support, she transfers her power to Link and gives him the Forest Medallion . This means that the first of the five sages announced by Sheik has been found.
The Deku Tree Sprout
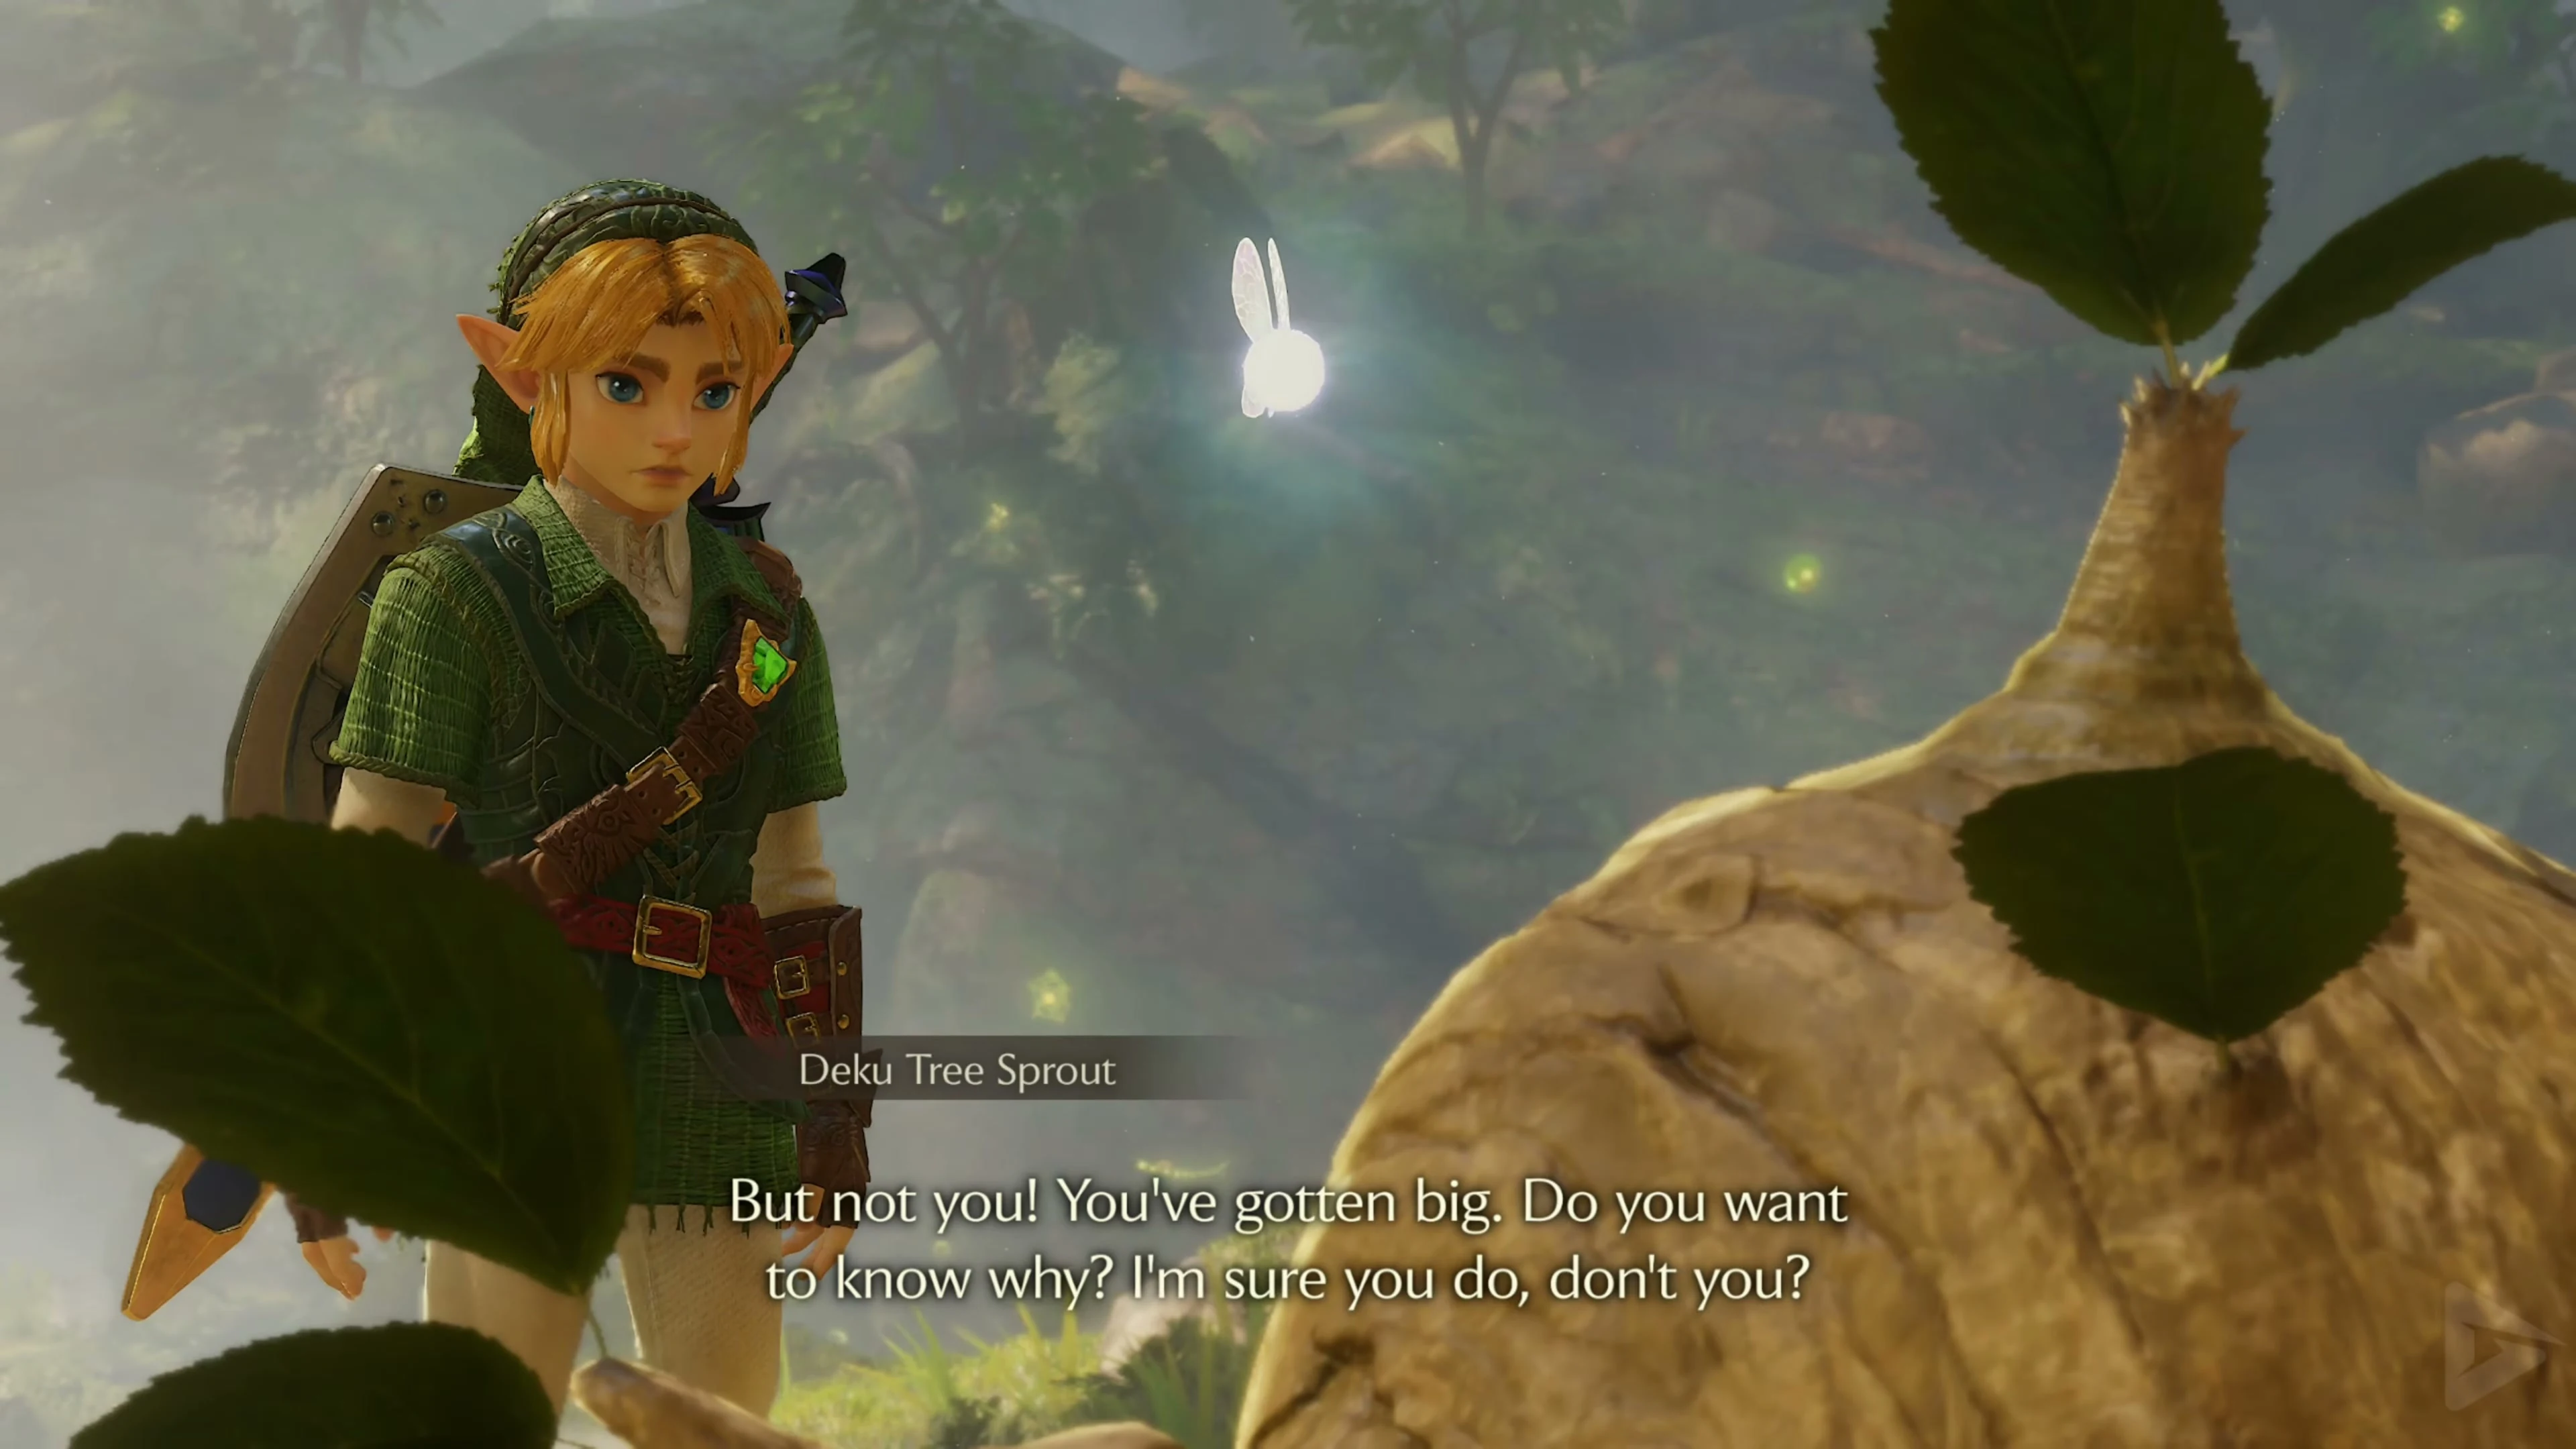
After the cutscene, Link is back in Kokiri Forest. Before the remains of the old Deku Tree, the ground suddenly begins to tremble, and a new Deku Tree Sprout sprouts from the earth. It finally reveals the truth about Link’s origins: Link is not a Kokiri, but a Hylian. His mother fled with her baby to the Kokiri Forest during a war and entrusted her son to the Great Deku Tree before succumbing to her injuries. The Great Deku Tree then raised Link alongside the Kokiri. This revelation explains why Link is the only one among his childhood friends who has visibly aged. At the same time, the Kokiri Forest is freed from Ganondorf’s curse after Phantom Ganon’s defeat. Once you have collected all five golden symbols, the Dungeon Map will display your progress.
After the Forest Temple: Back to the Temple of Time
Before we move on to Death Mountain and the next temple, it is worth making an important stop at the Temple of Time . Return to Hyrule Castle Town and go to the Pedestal of Time. After completing the Forest Temple, Sheik waits here again for Link. He explains that the Master Sword is not only a weapon, but also the door key for travel between the two eras.
Sheik brings you the Prelude of Light . This Warp Song will transport Link directly to the Temple of Time and is therefore one of the most practical Ocarina Songs in the game. Afterward, you can place the Master Sword back into the Pedestal of Time and return to young Link. If you remove the sword again, another seven years will pass, and Link will grow up. From this point on, we can specifically revisit older areas in both time periods and collect more items.
Chests and their contents
View all 12 chests
| Floor | Quantity | Contents | Note |
|---|---|---|---|
| 2nd basement | 1 | 10 arrows | |
| 1st basement | 1 | Small Key | |
| Ground floor | 1 | Dungeon Map | |
| Ground floor | 1 | Green Rupee | |
| Ground floor | 2 | Small Key | |
| 1st floor | 1 | 50 Rupees | |
| 1st floor | 1 | Fairy Bow | |
| 1st floor | 2 | Small Key | |
| 1st floor | 1 | Compass | |
| 2nd floor | 1 | Boss Key |