
The Light Arrows and Princess Zelda
After the Spirit Temple, play Prelude of Light and enter the Temple of Time. Speak with Sheik and witness the revelation.
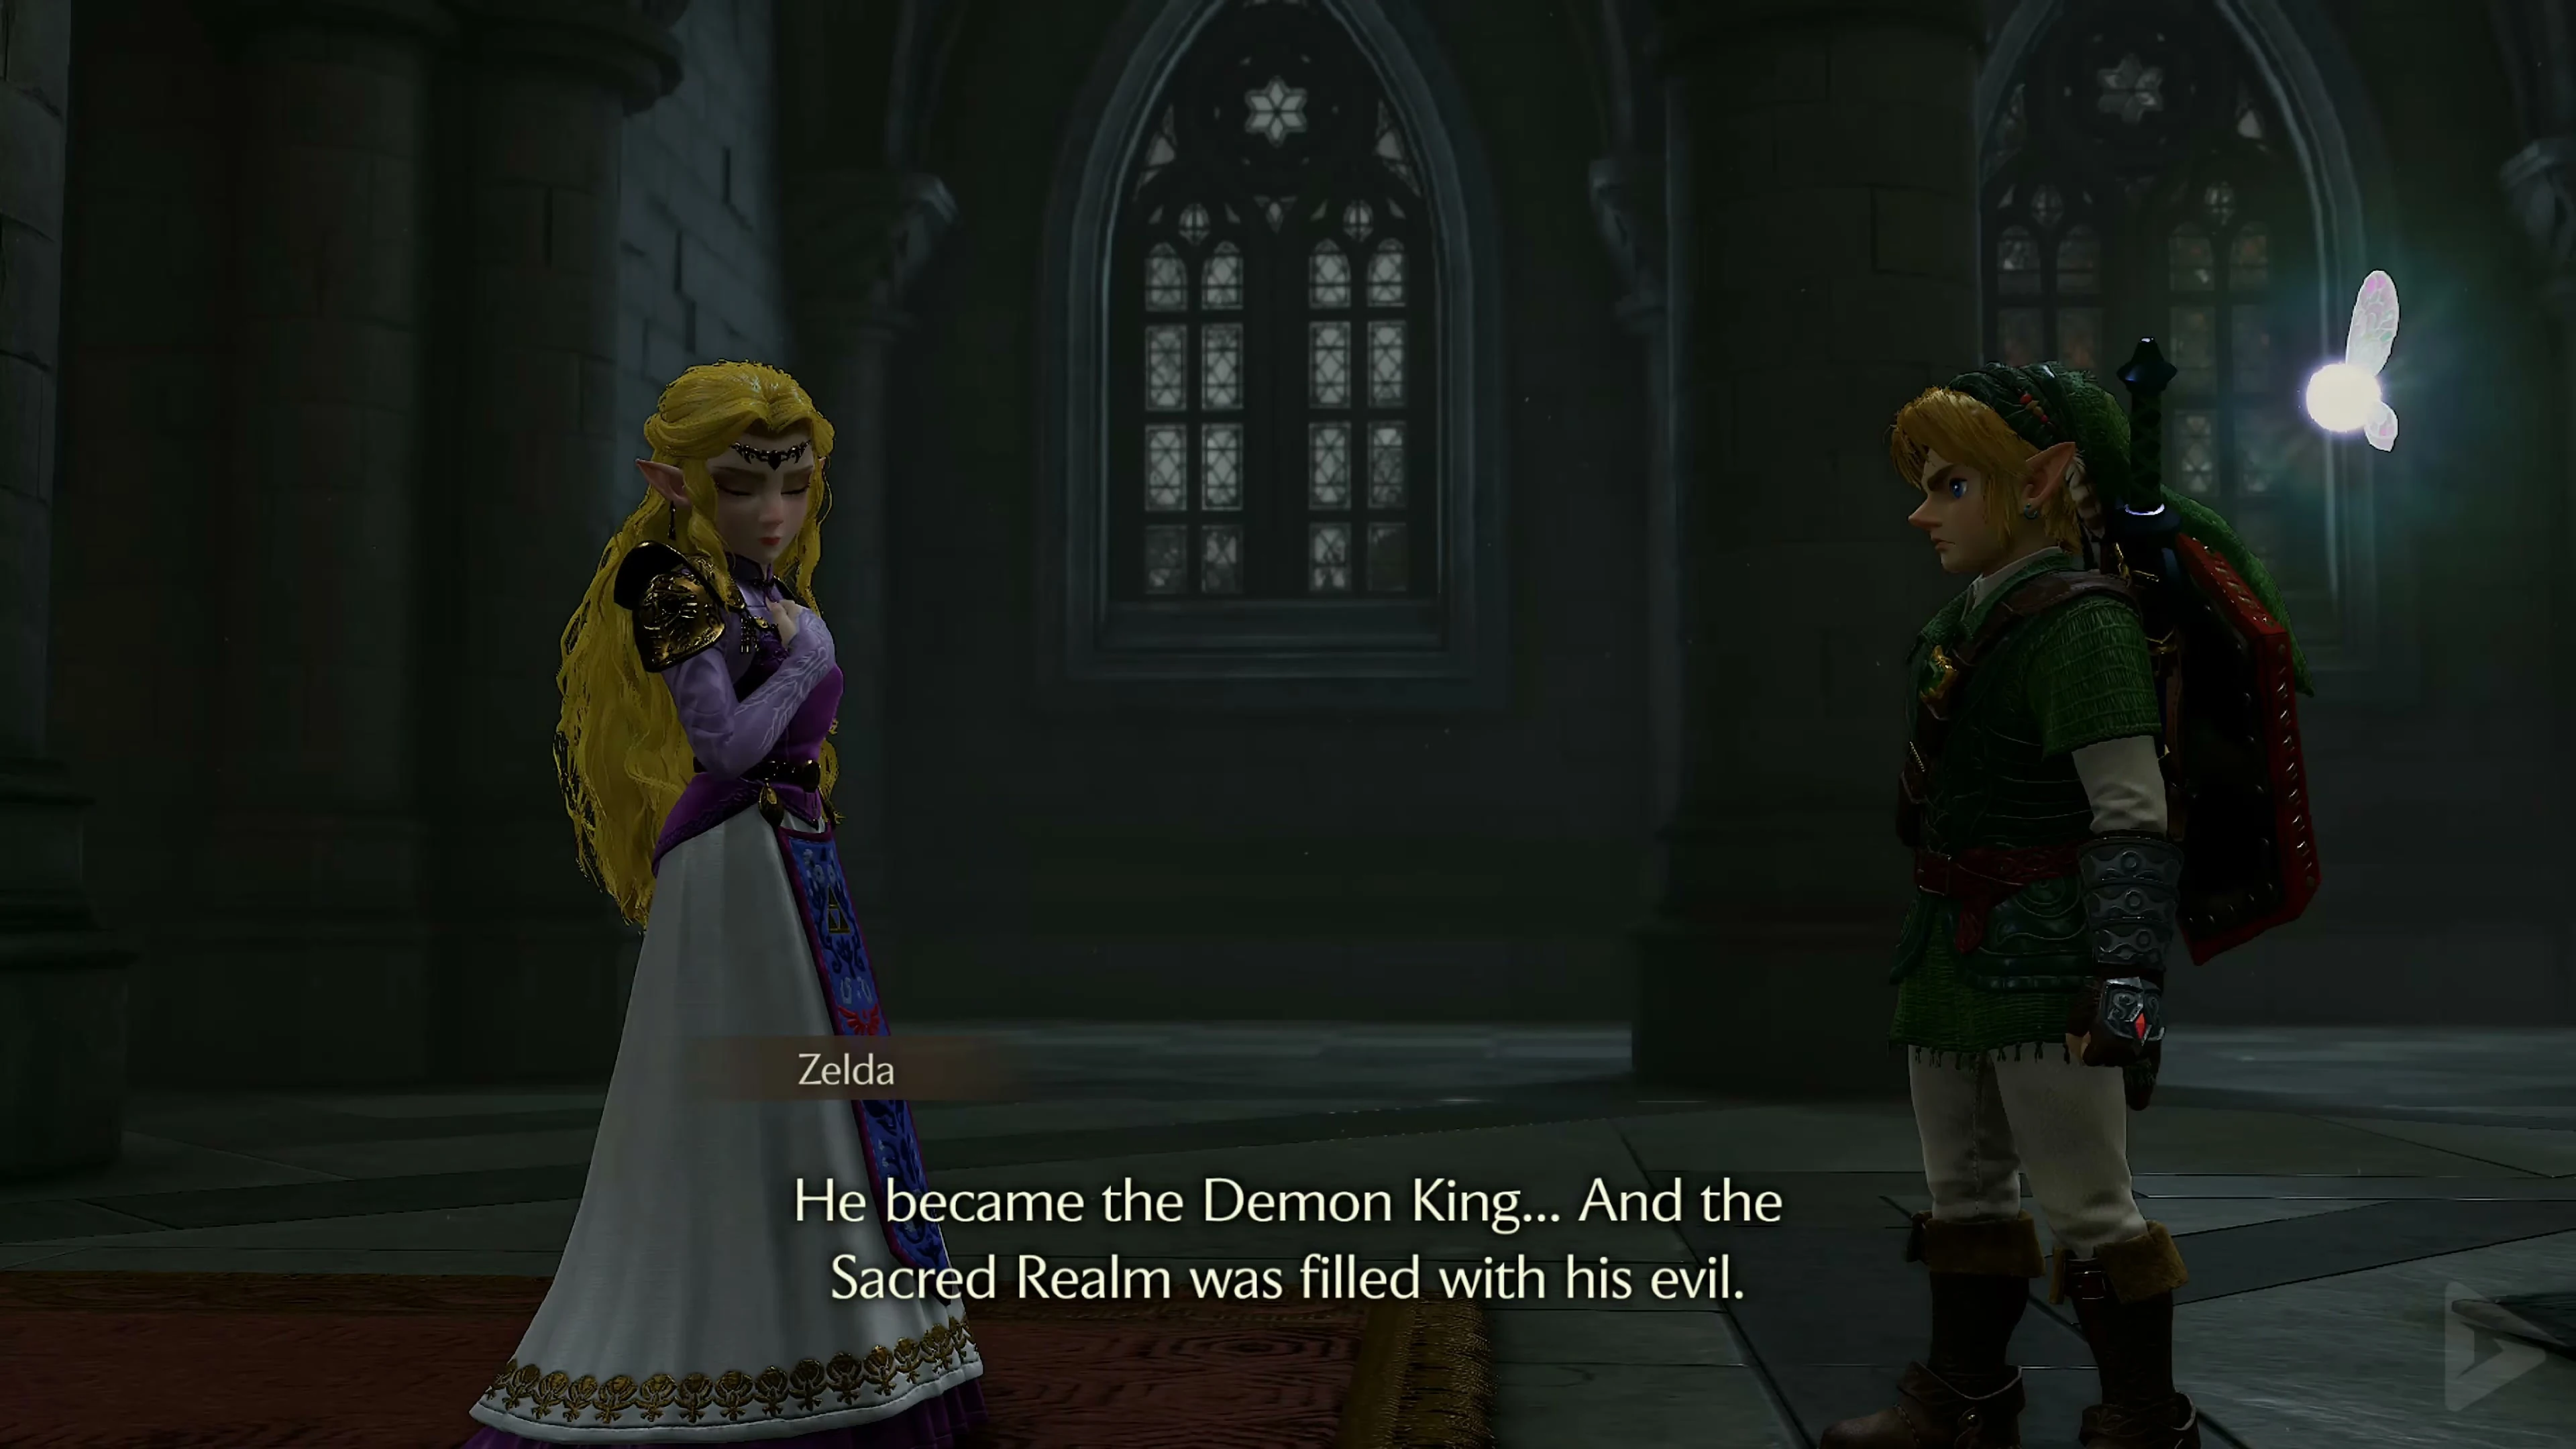
Sheik reveals himself as Princess Zelda . She carries the Triforce of Wisdom, Link the Triforce of Courage, and Ganondorf the Triforce of Power.
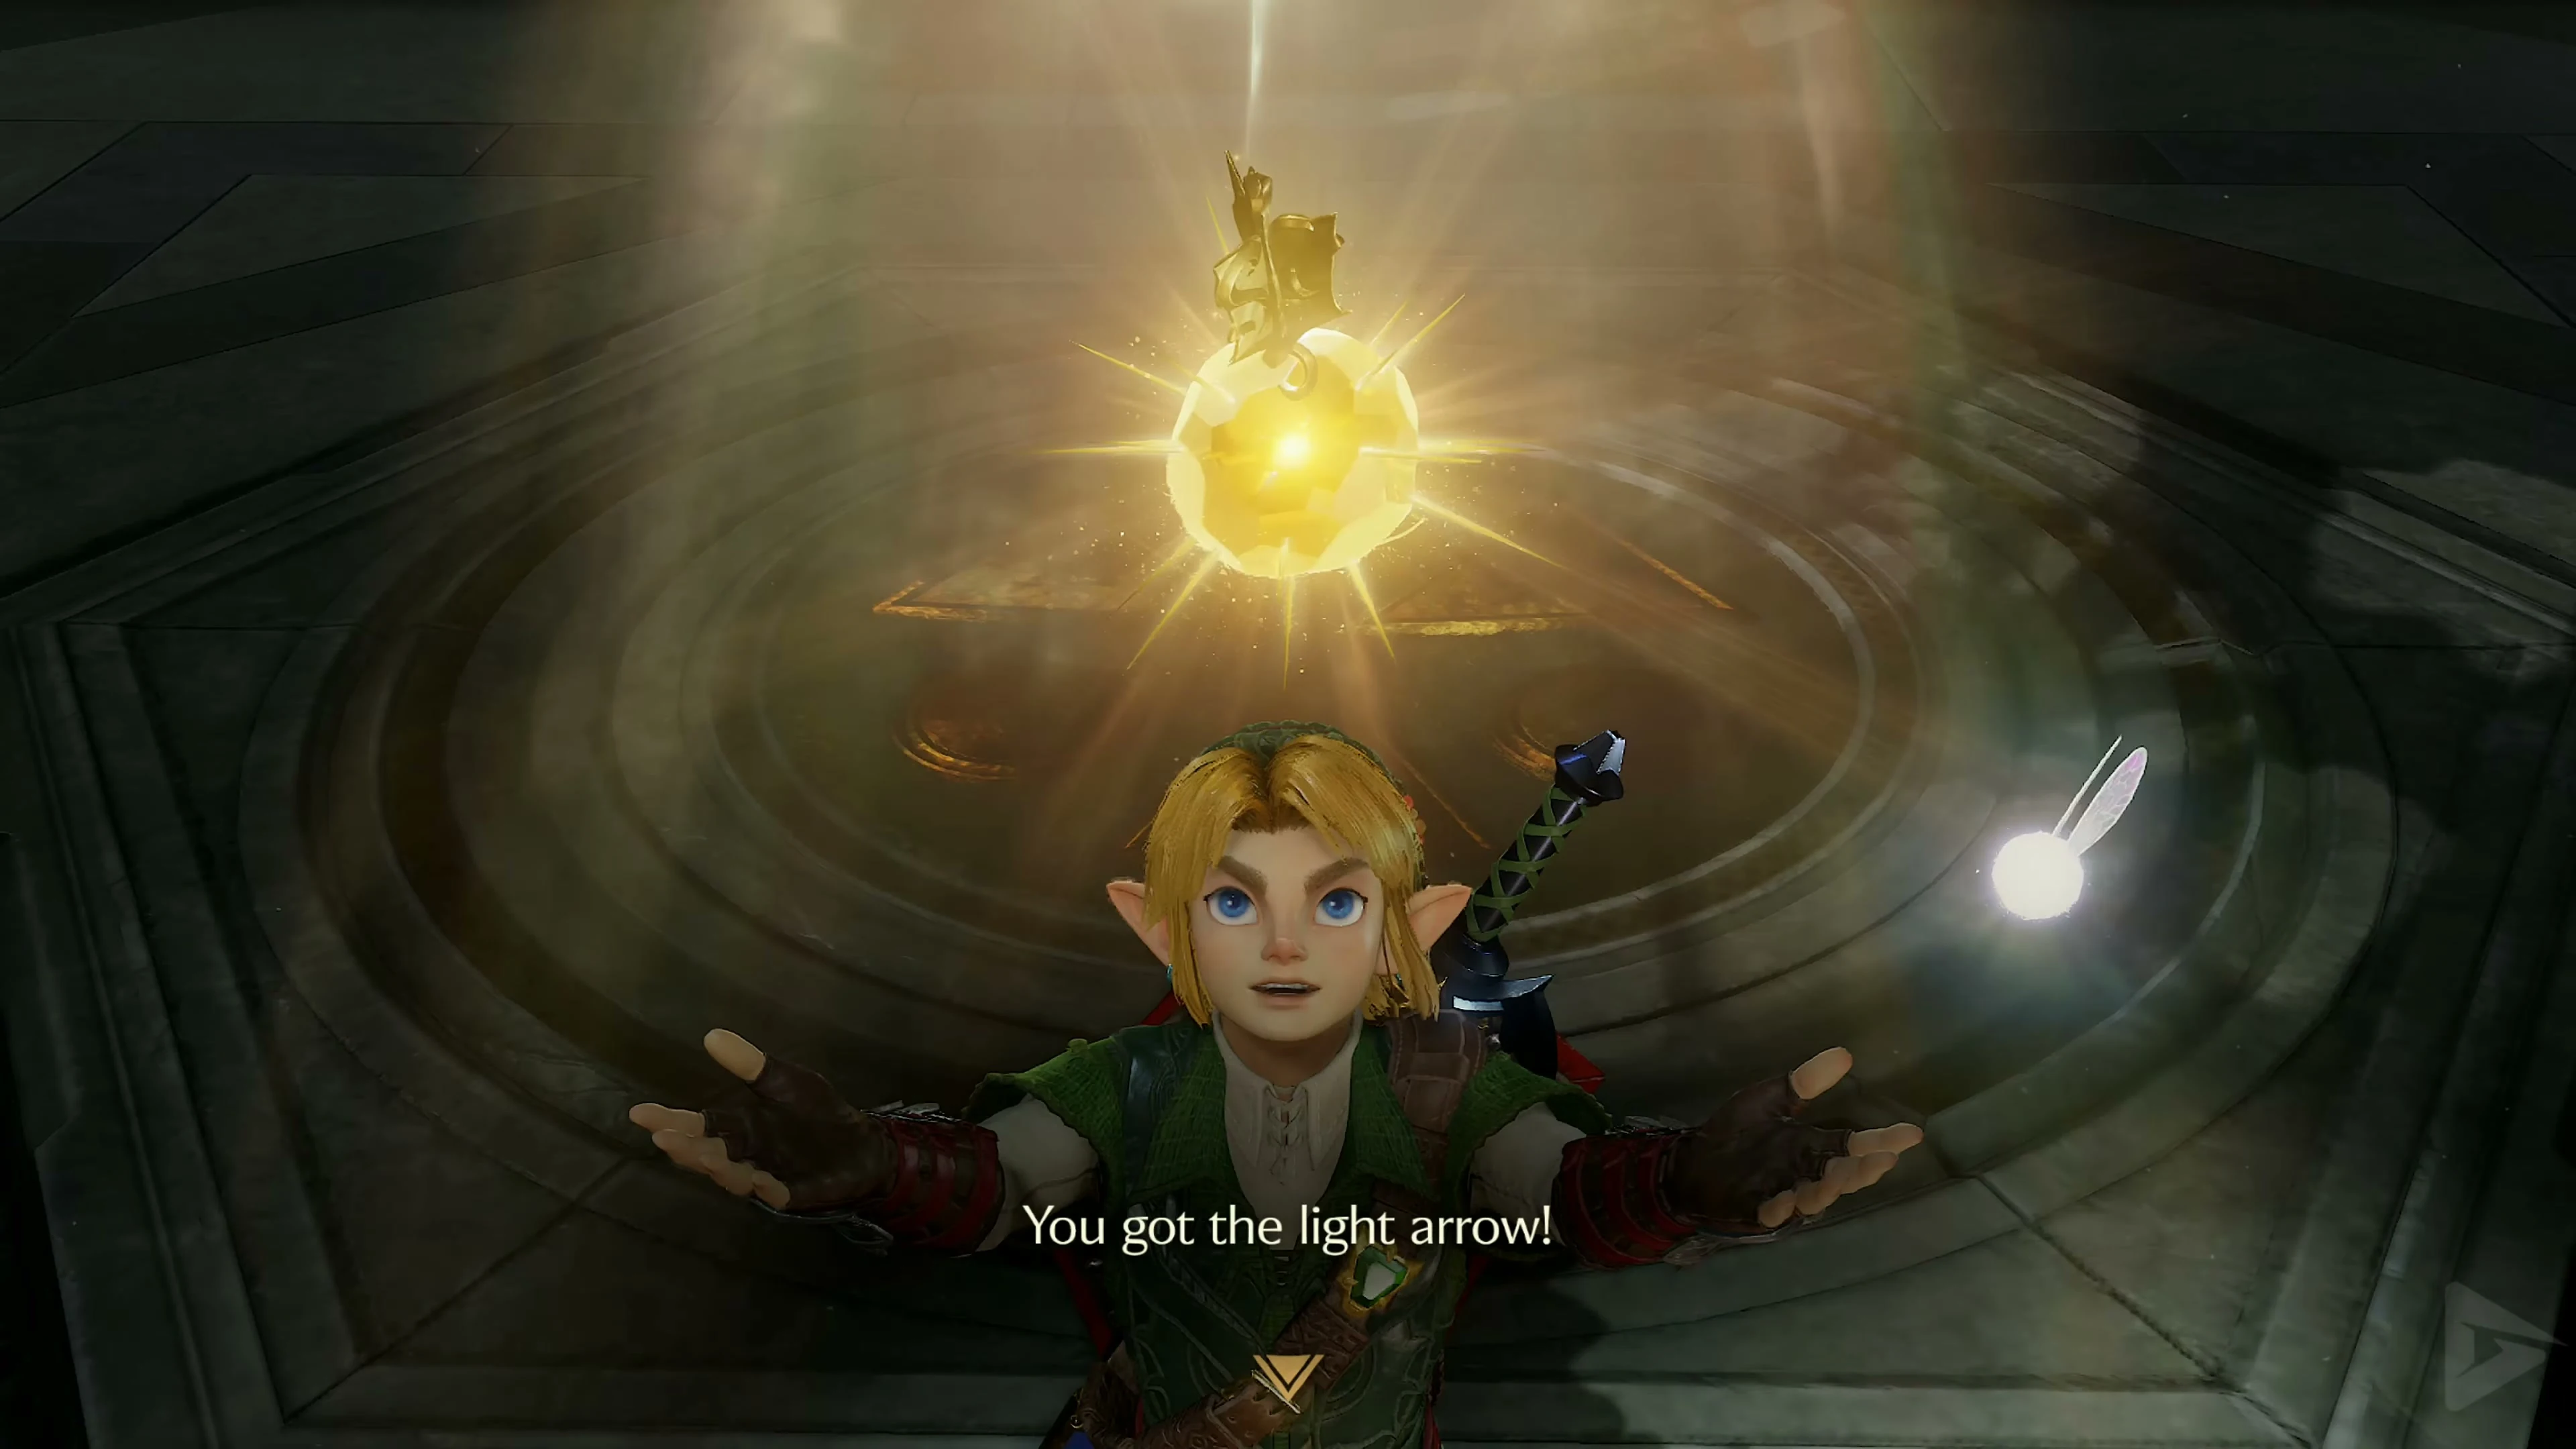
Receive the Light Arrows and from Zelda. Use them to destroy the Seal Cores in Ganondorf’s Castle.
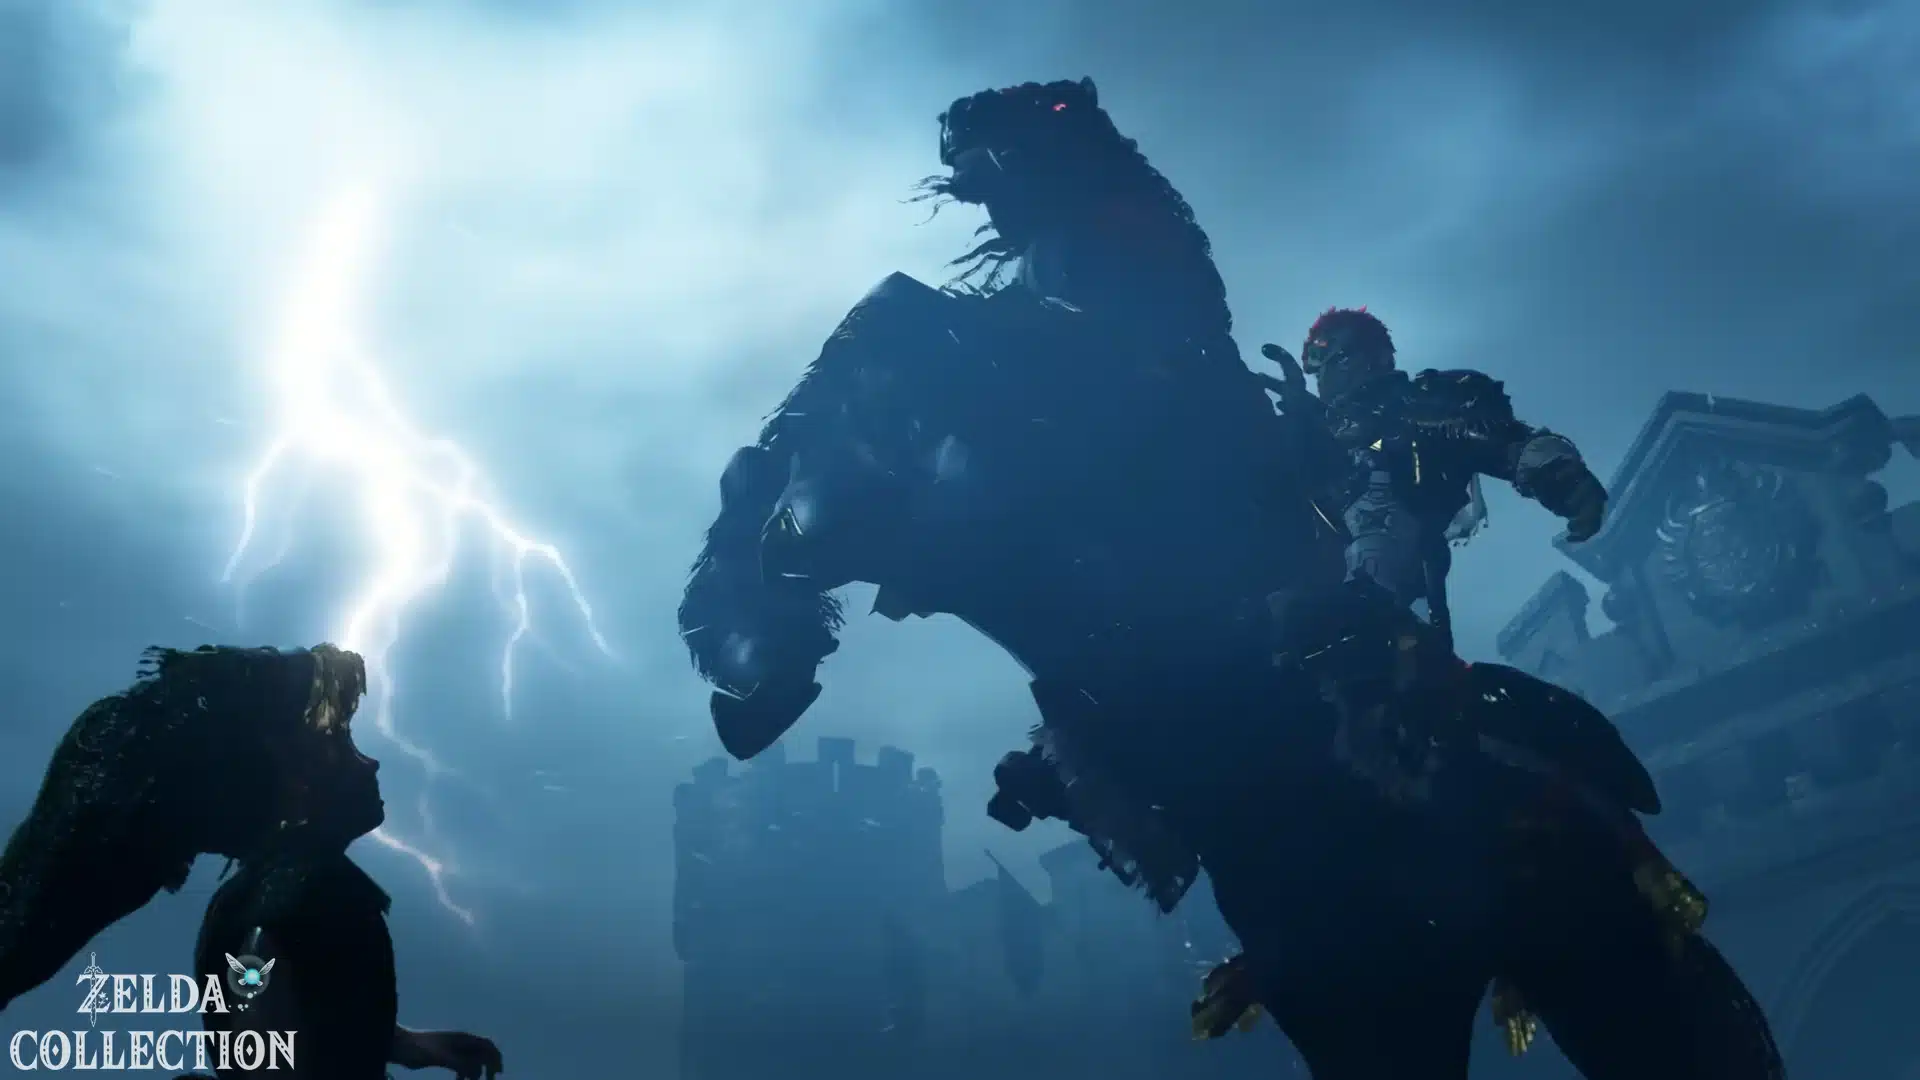
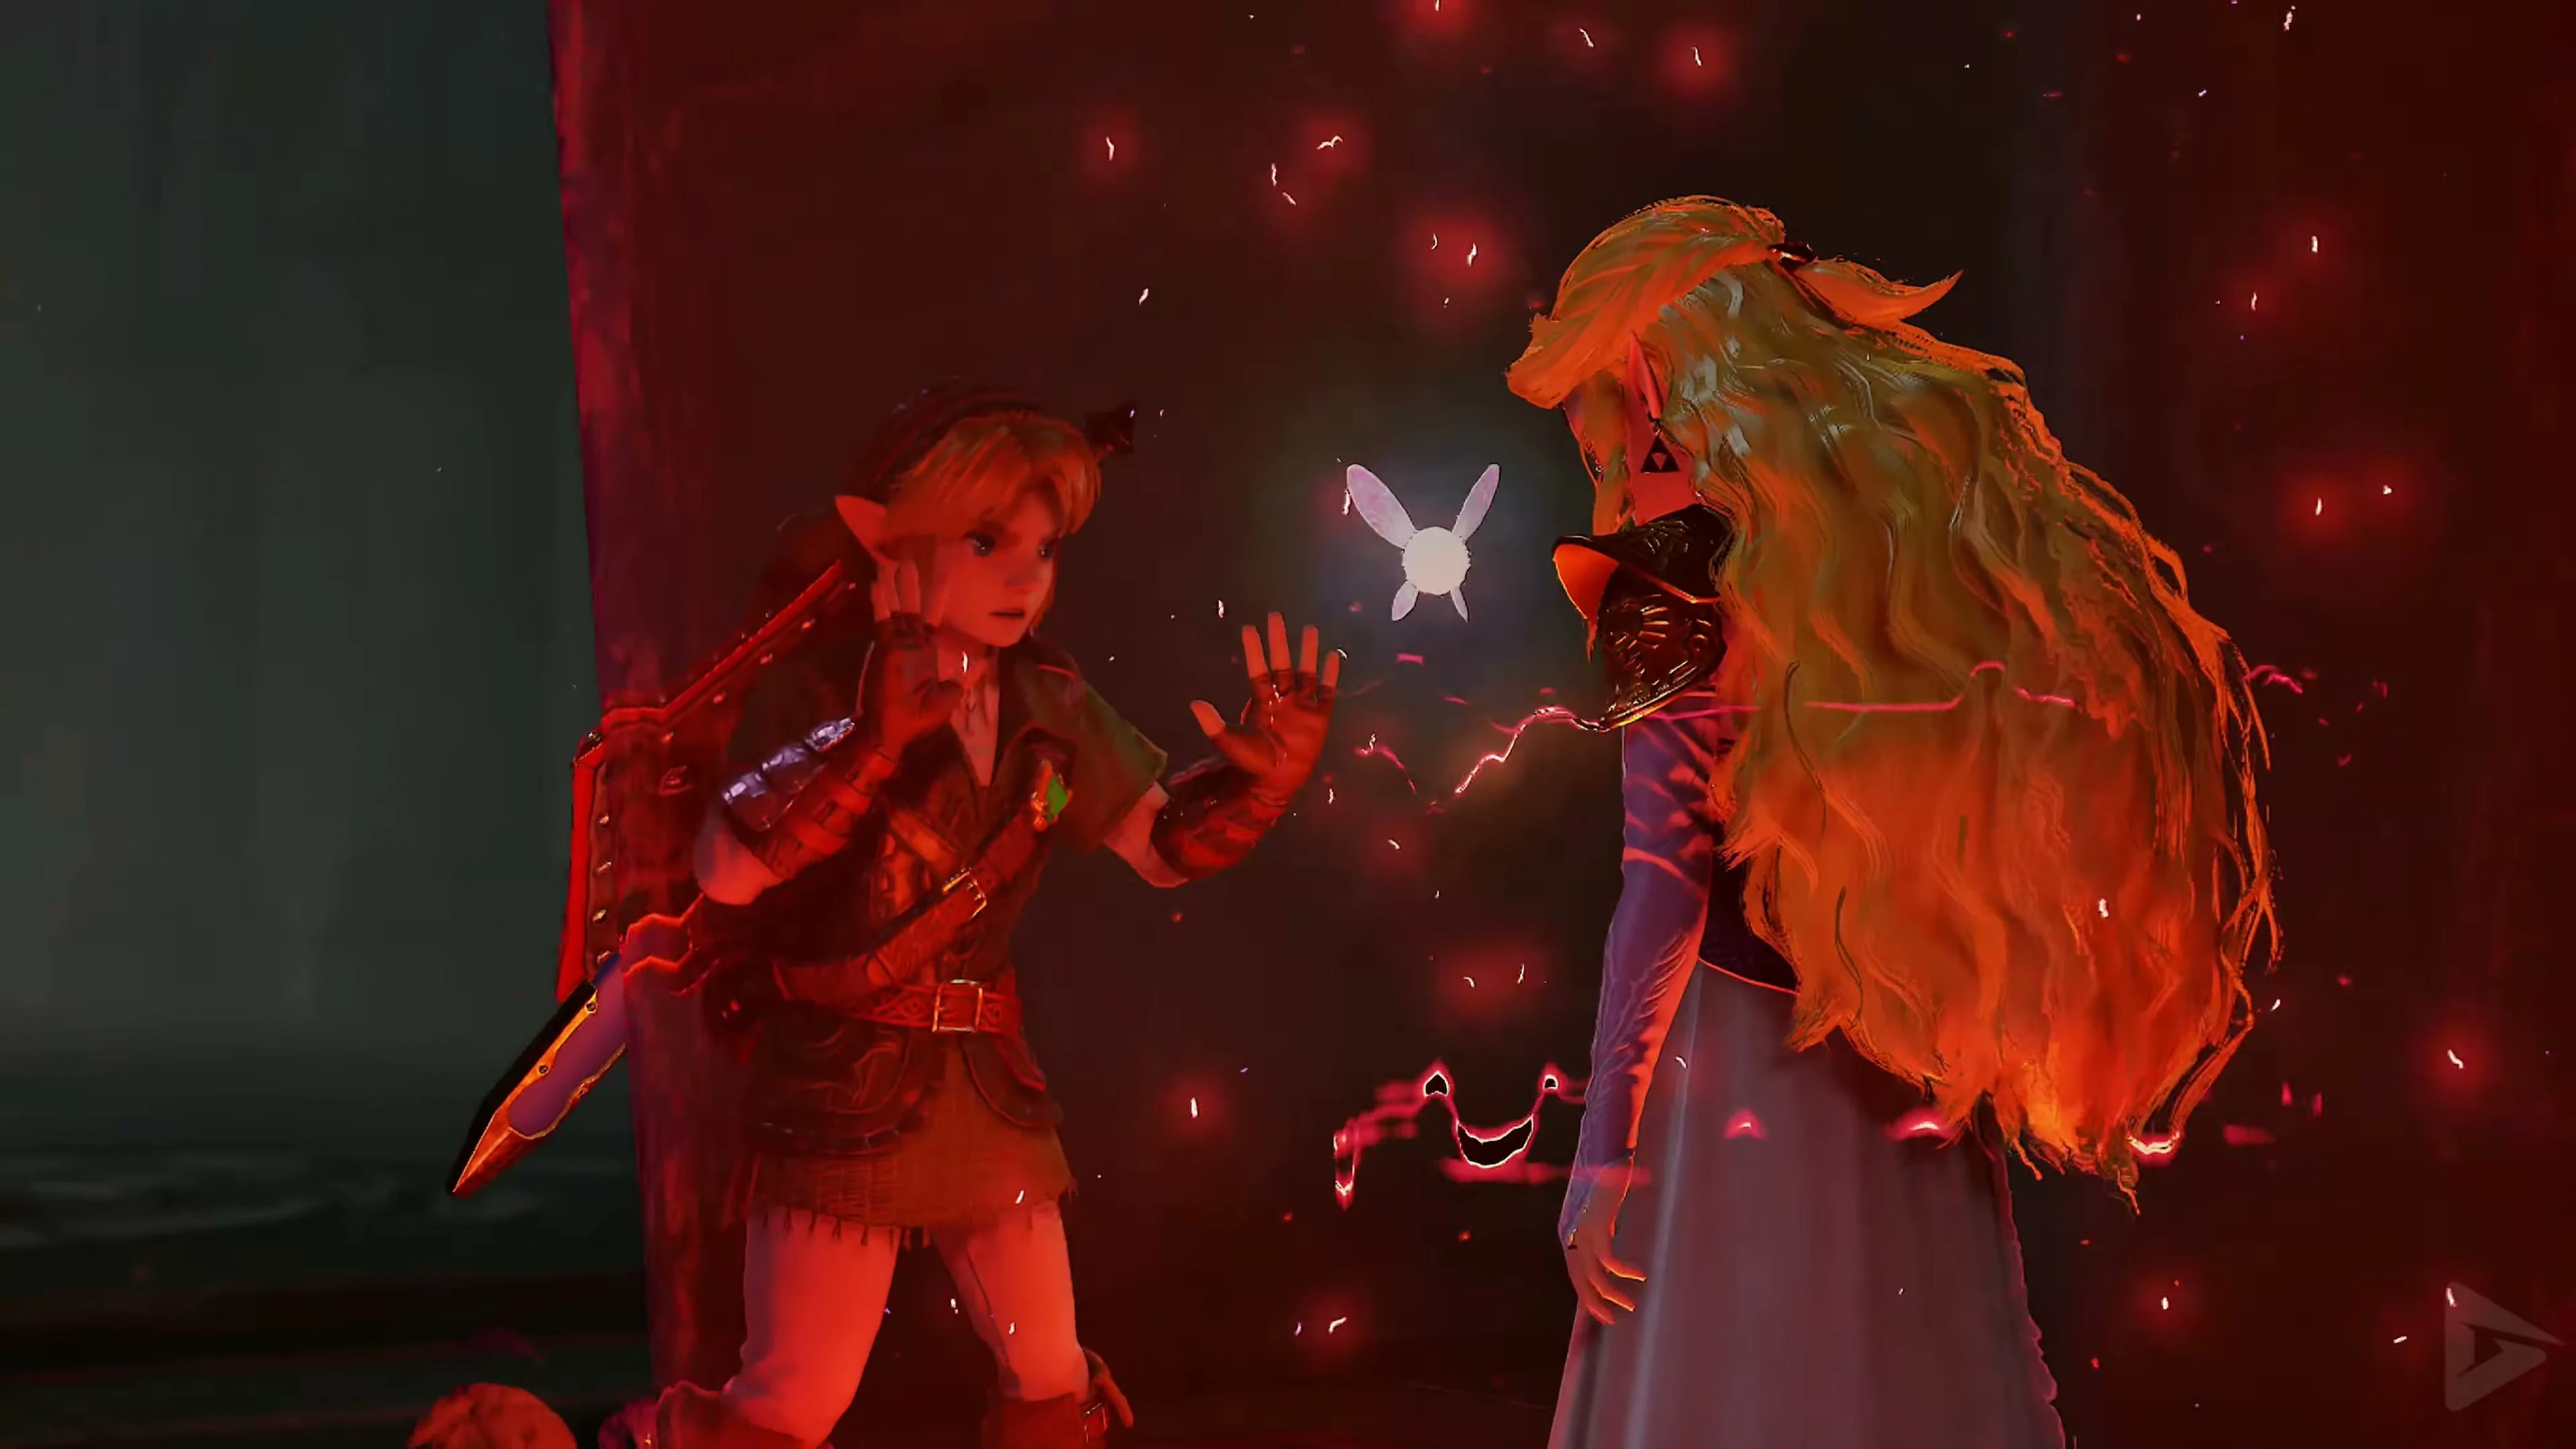
However, the reunion lasts only a few moments. Ganondorf has been waiting the entire time for the bearers of the two missing Triforce fragments to appear. He tracks Zelda down using the Triforce of Wisdom, encases her in a magical crystal, and takes her to his castle. At the same time, he demands that Link follow him there.
The path to Ganondorf’s Castle
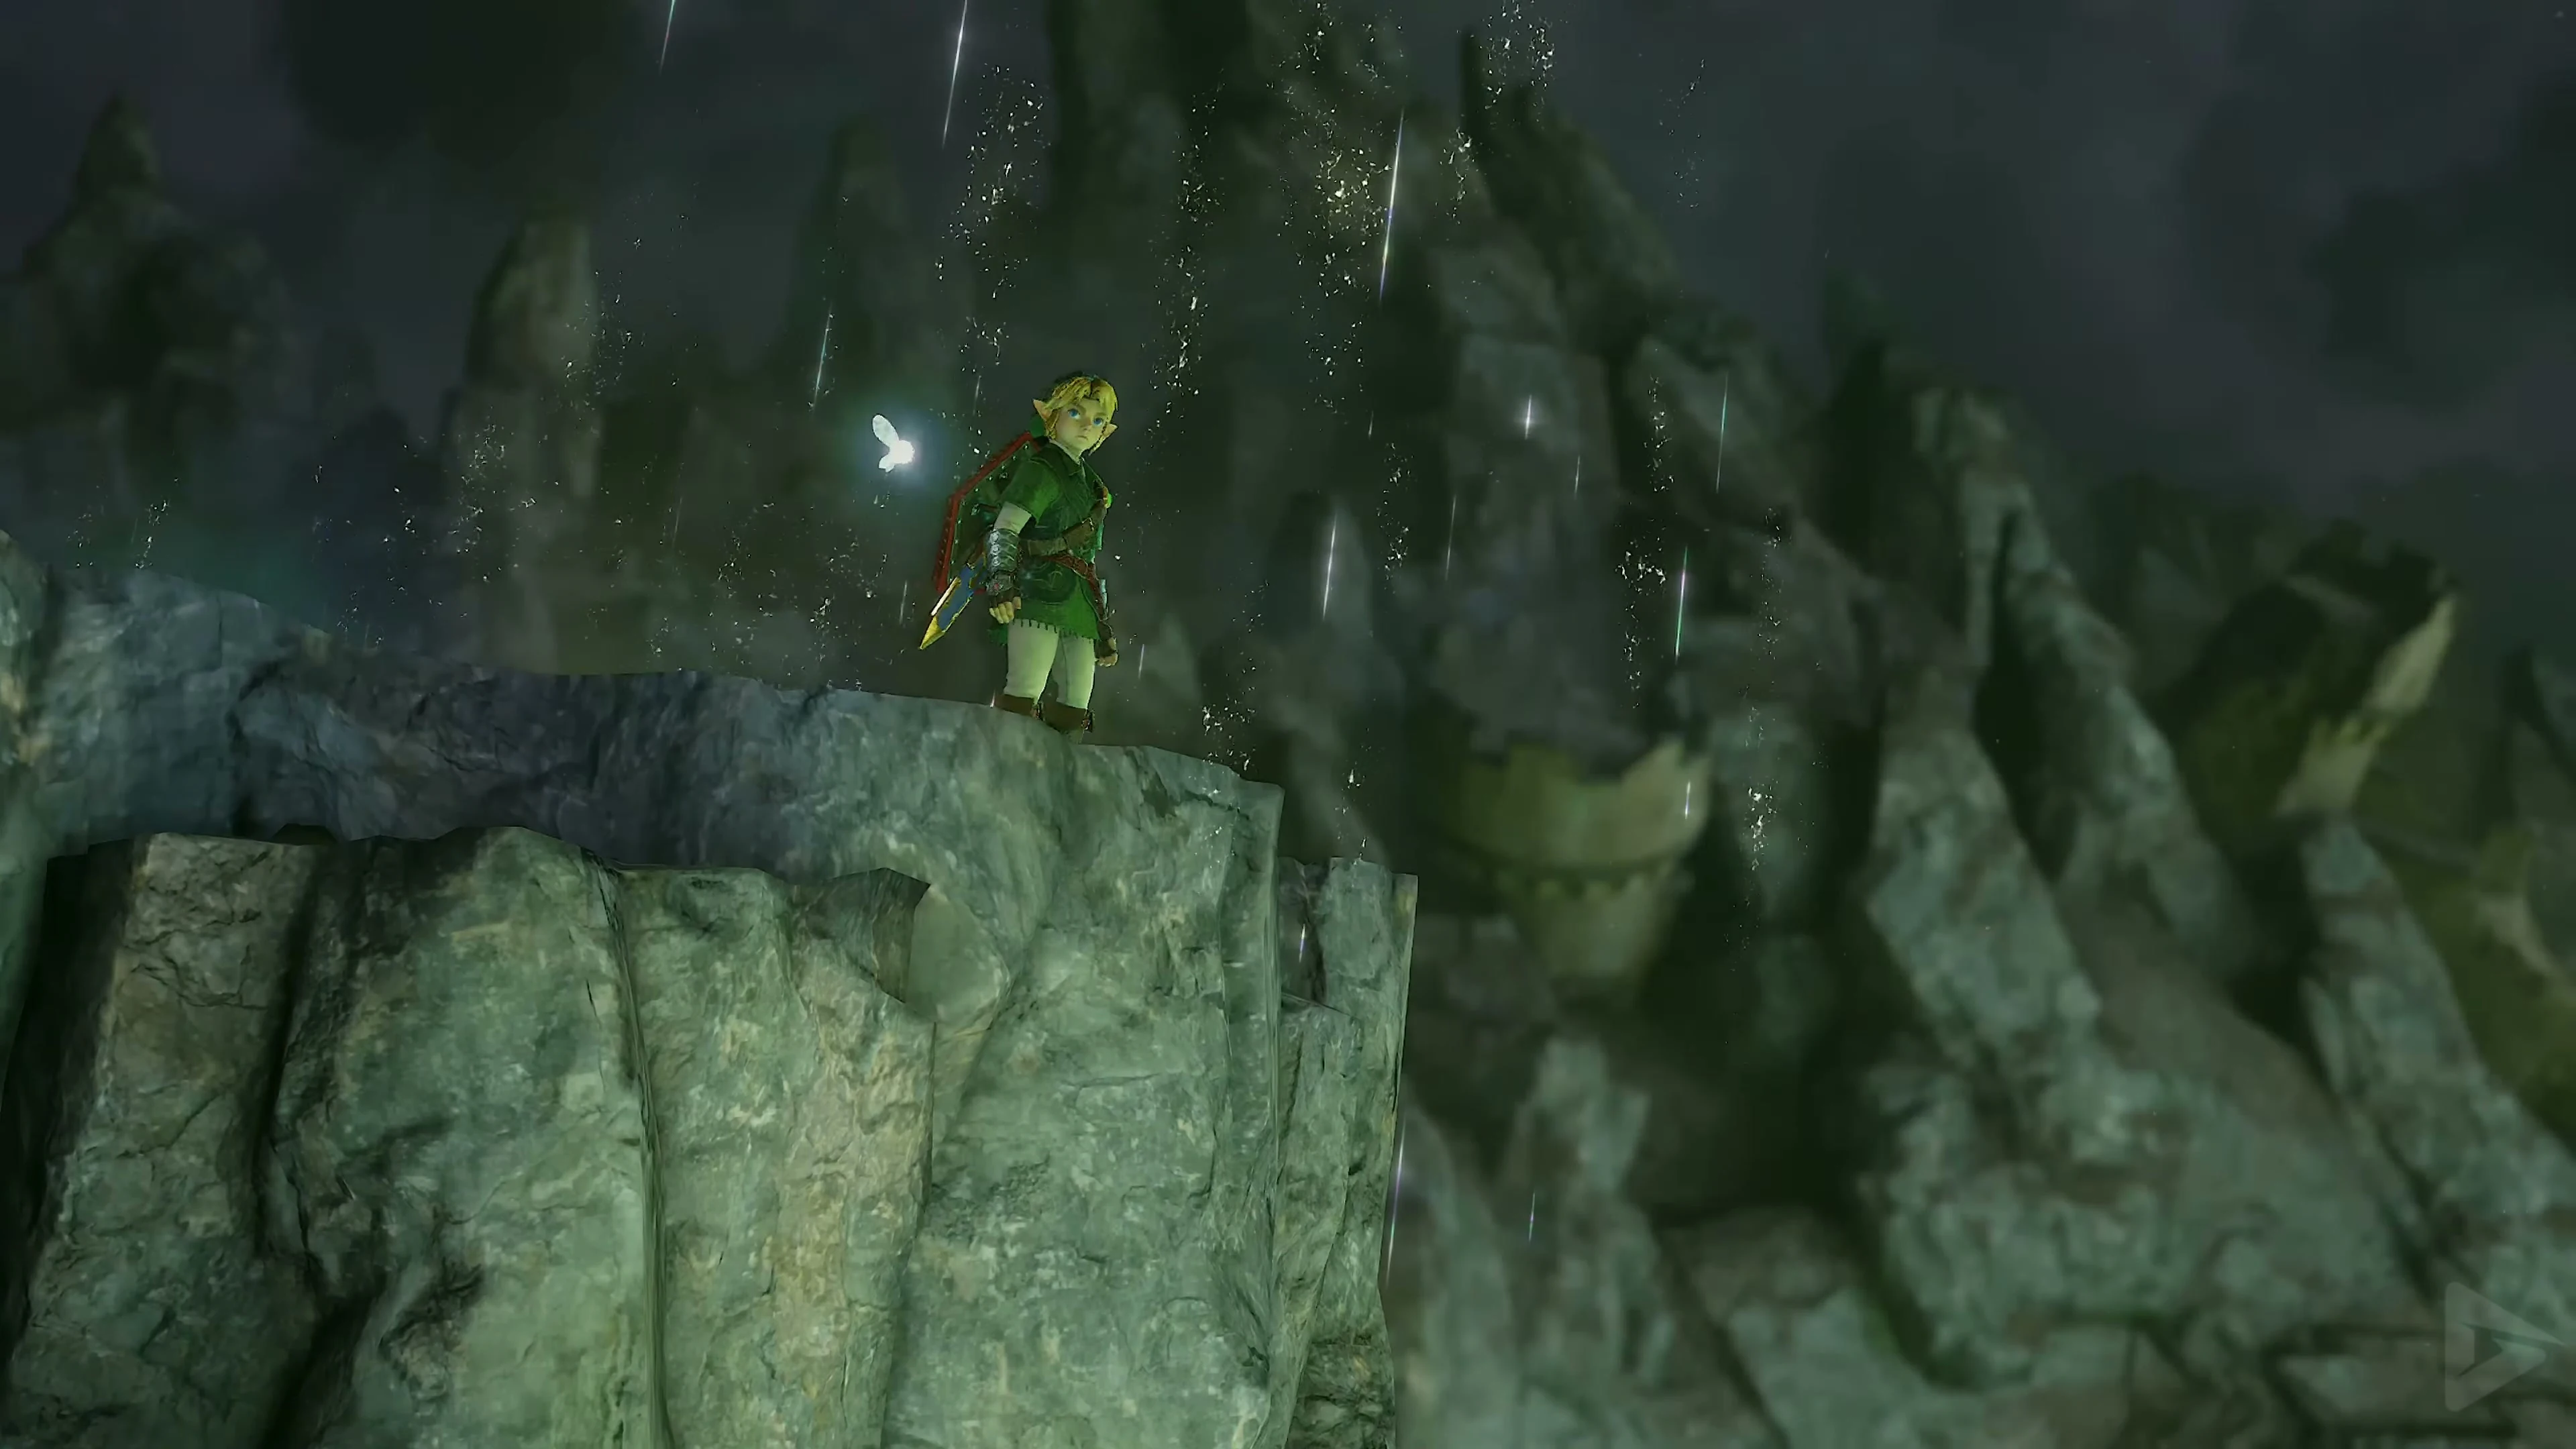
Leave the Temple of Time and cross the ruined marketplace. Head north to the area where Hyrule’s royal castle stood during Link’s childhood. Almost nothing remains of the former structure. Instead, Ganondorf’s Castle now hovers above a massive lava crater. Approach the precipice. Link cannot possibly cross the distance alone. The six sages therefore combine their powers and create a glowing rainbow bridge that leads from the crater’s edge directly to the castle entrance.
Gold Skulltula in front of Ganondorf’s Castle
Go to the back of the destroyed archway in front of the Rainbow Bridge Defeat the Gold Skulltula there and pull its token towards you with the Longshot .
The last collectibles before Ganondorf’s Castle
Before the finale, check the map to see which areas you’re still missing symbols in. Once you have all 100, you’ll receive a Gold Rupee worth 200 Rupees in the Spider House in Kakariko Village. You can collect the reward again after re-entering the area. For missing symbols, you can find the routes in the Gold Skulltulas Guide .
Ganondorf’s Castle
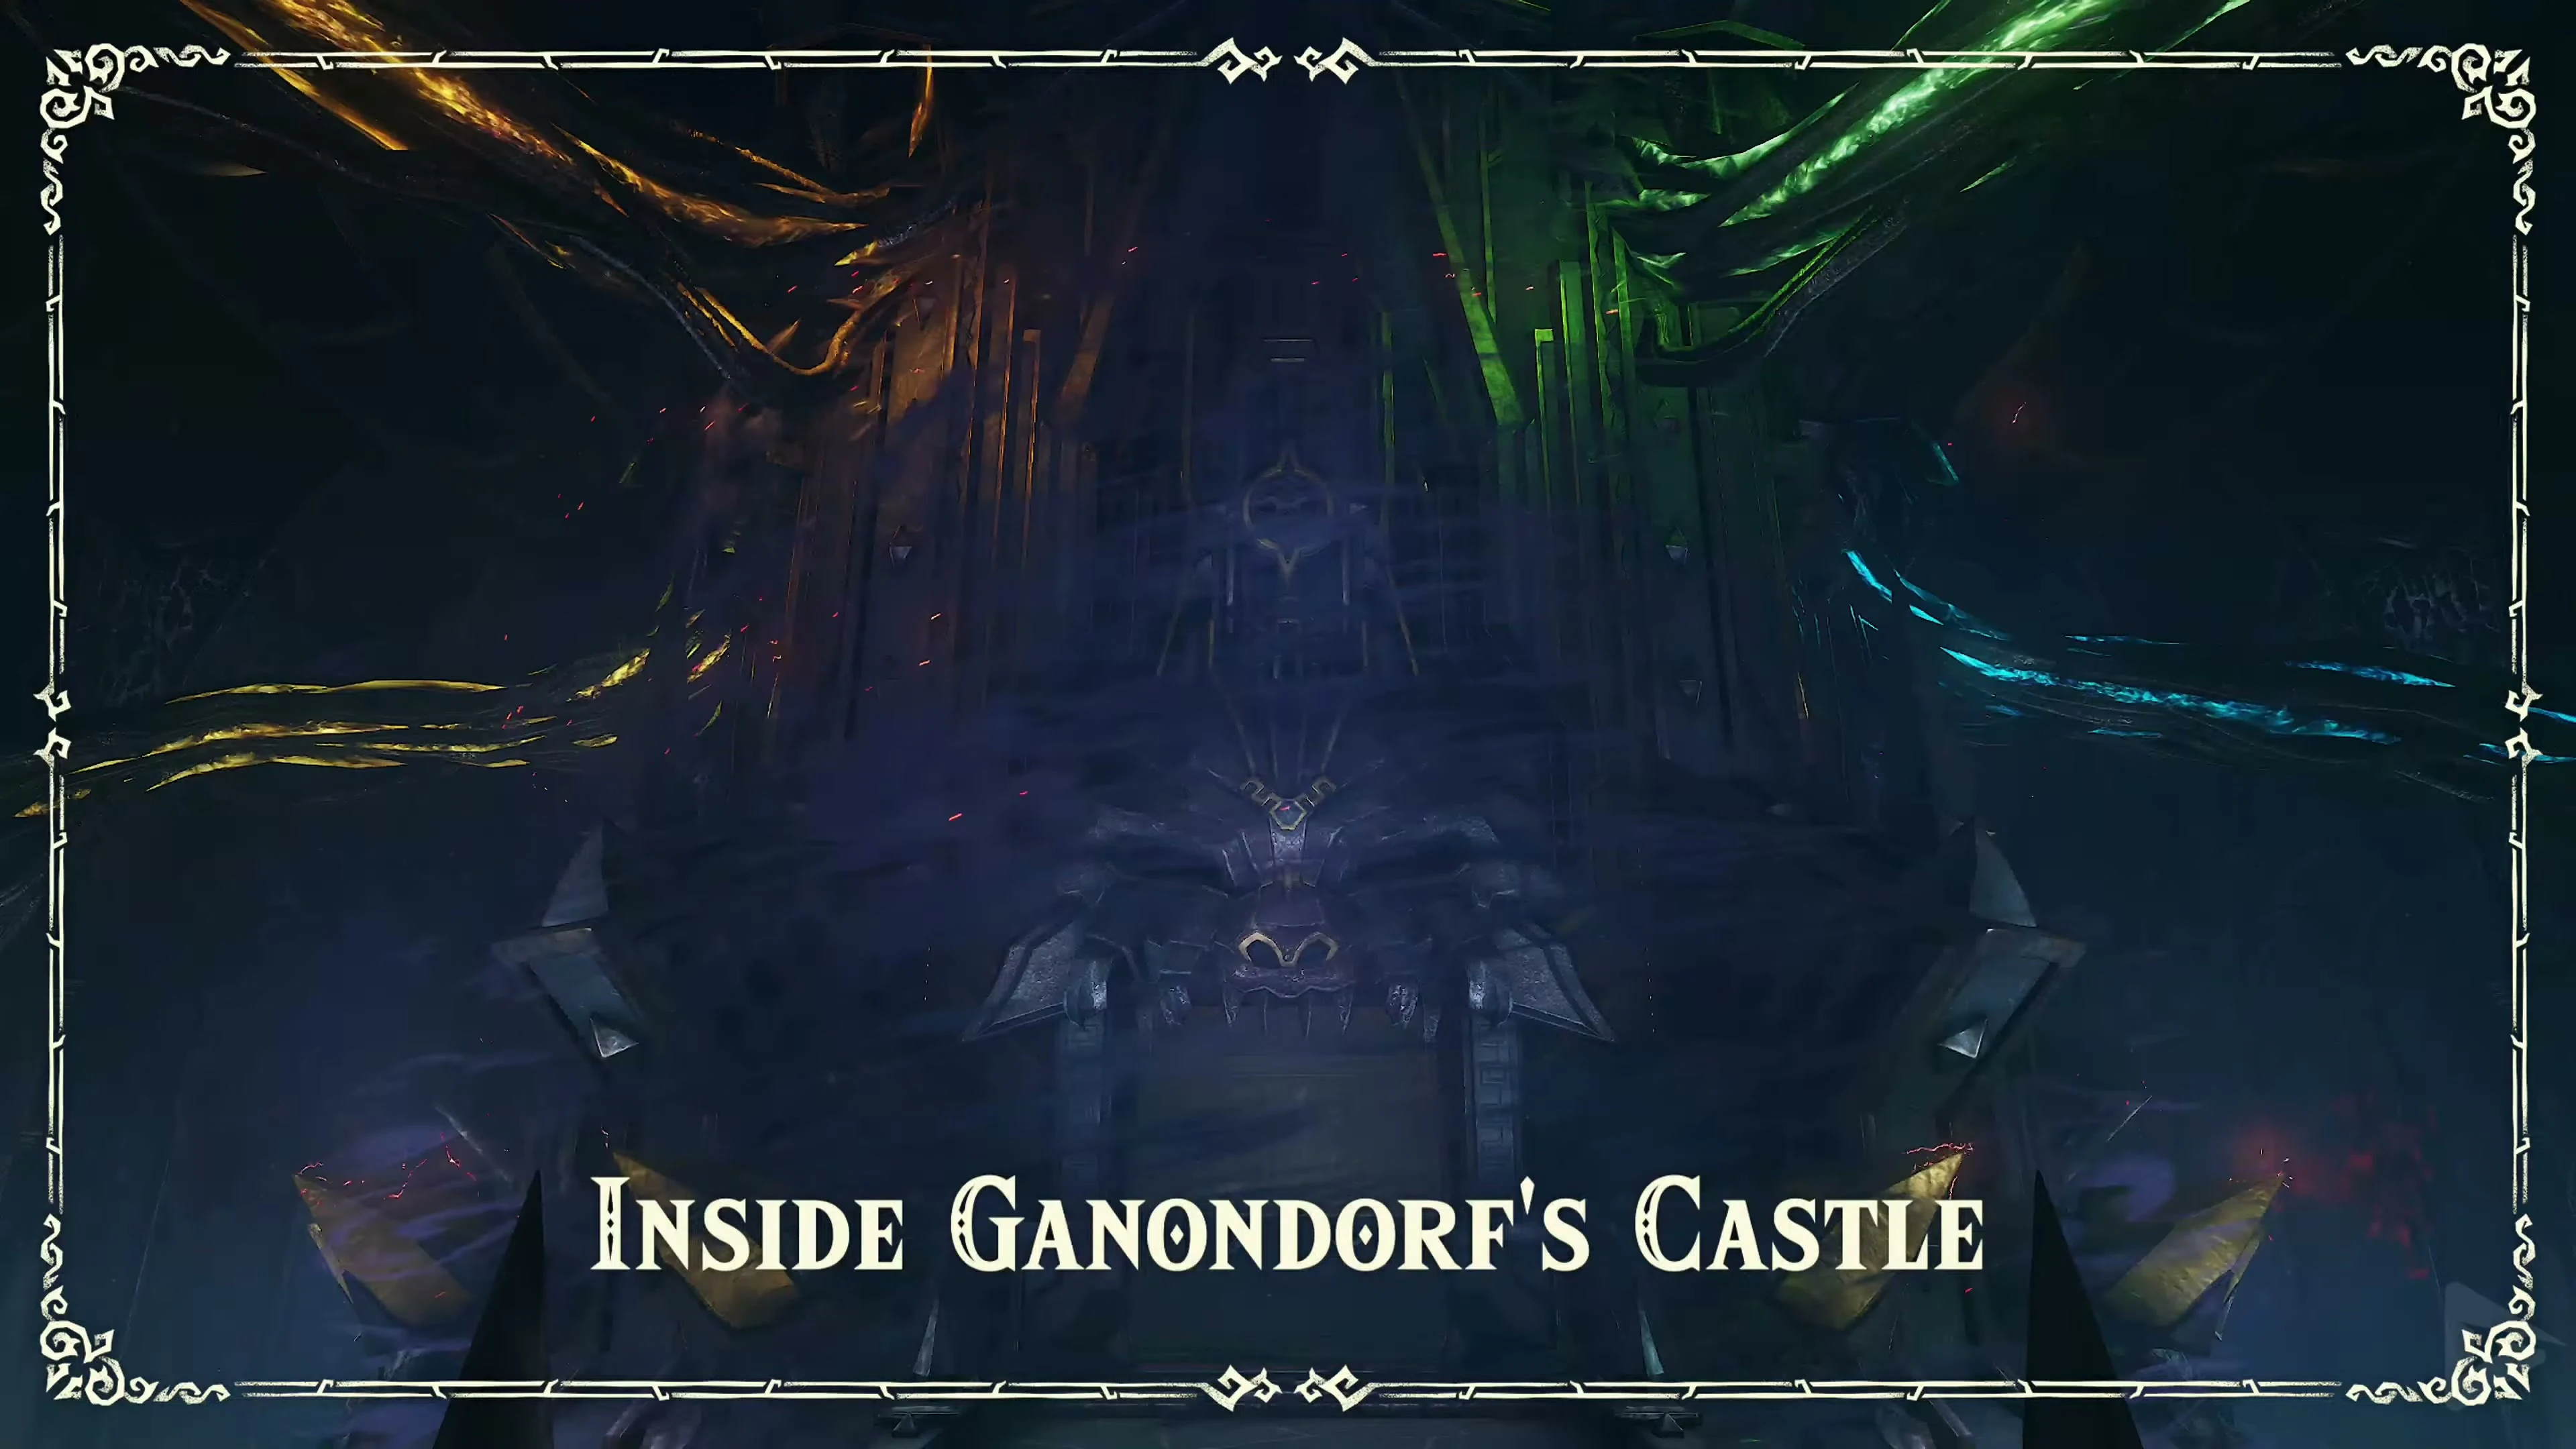
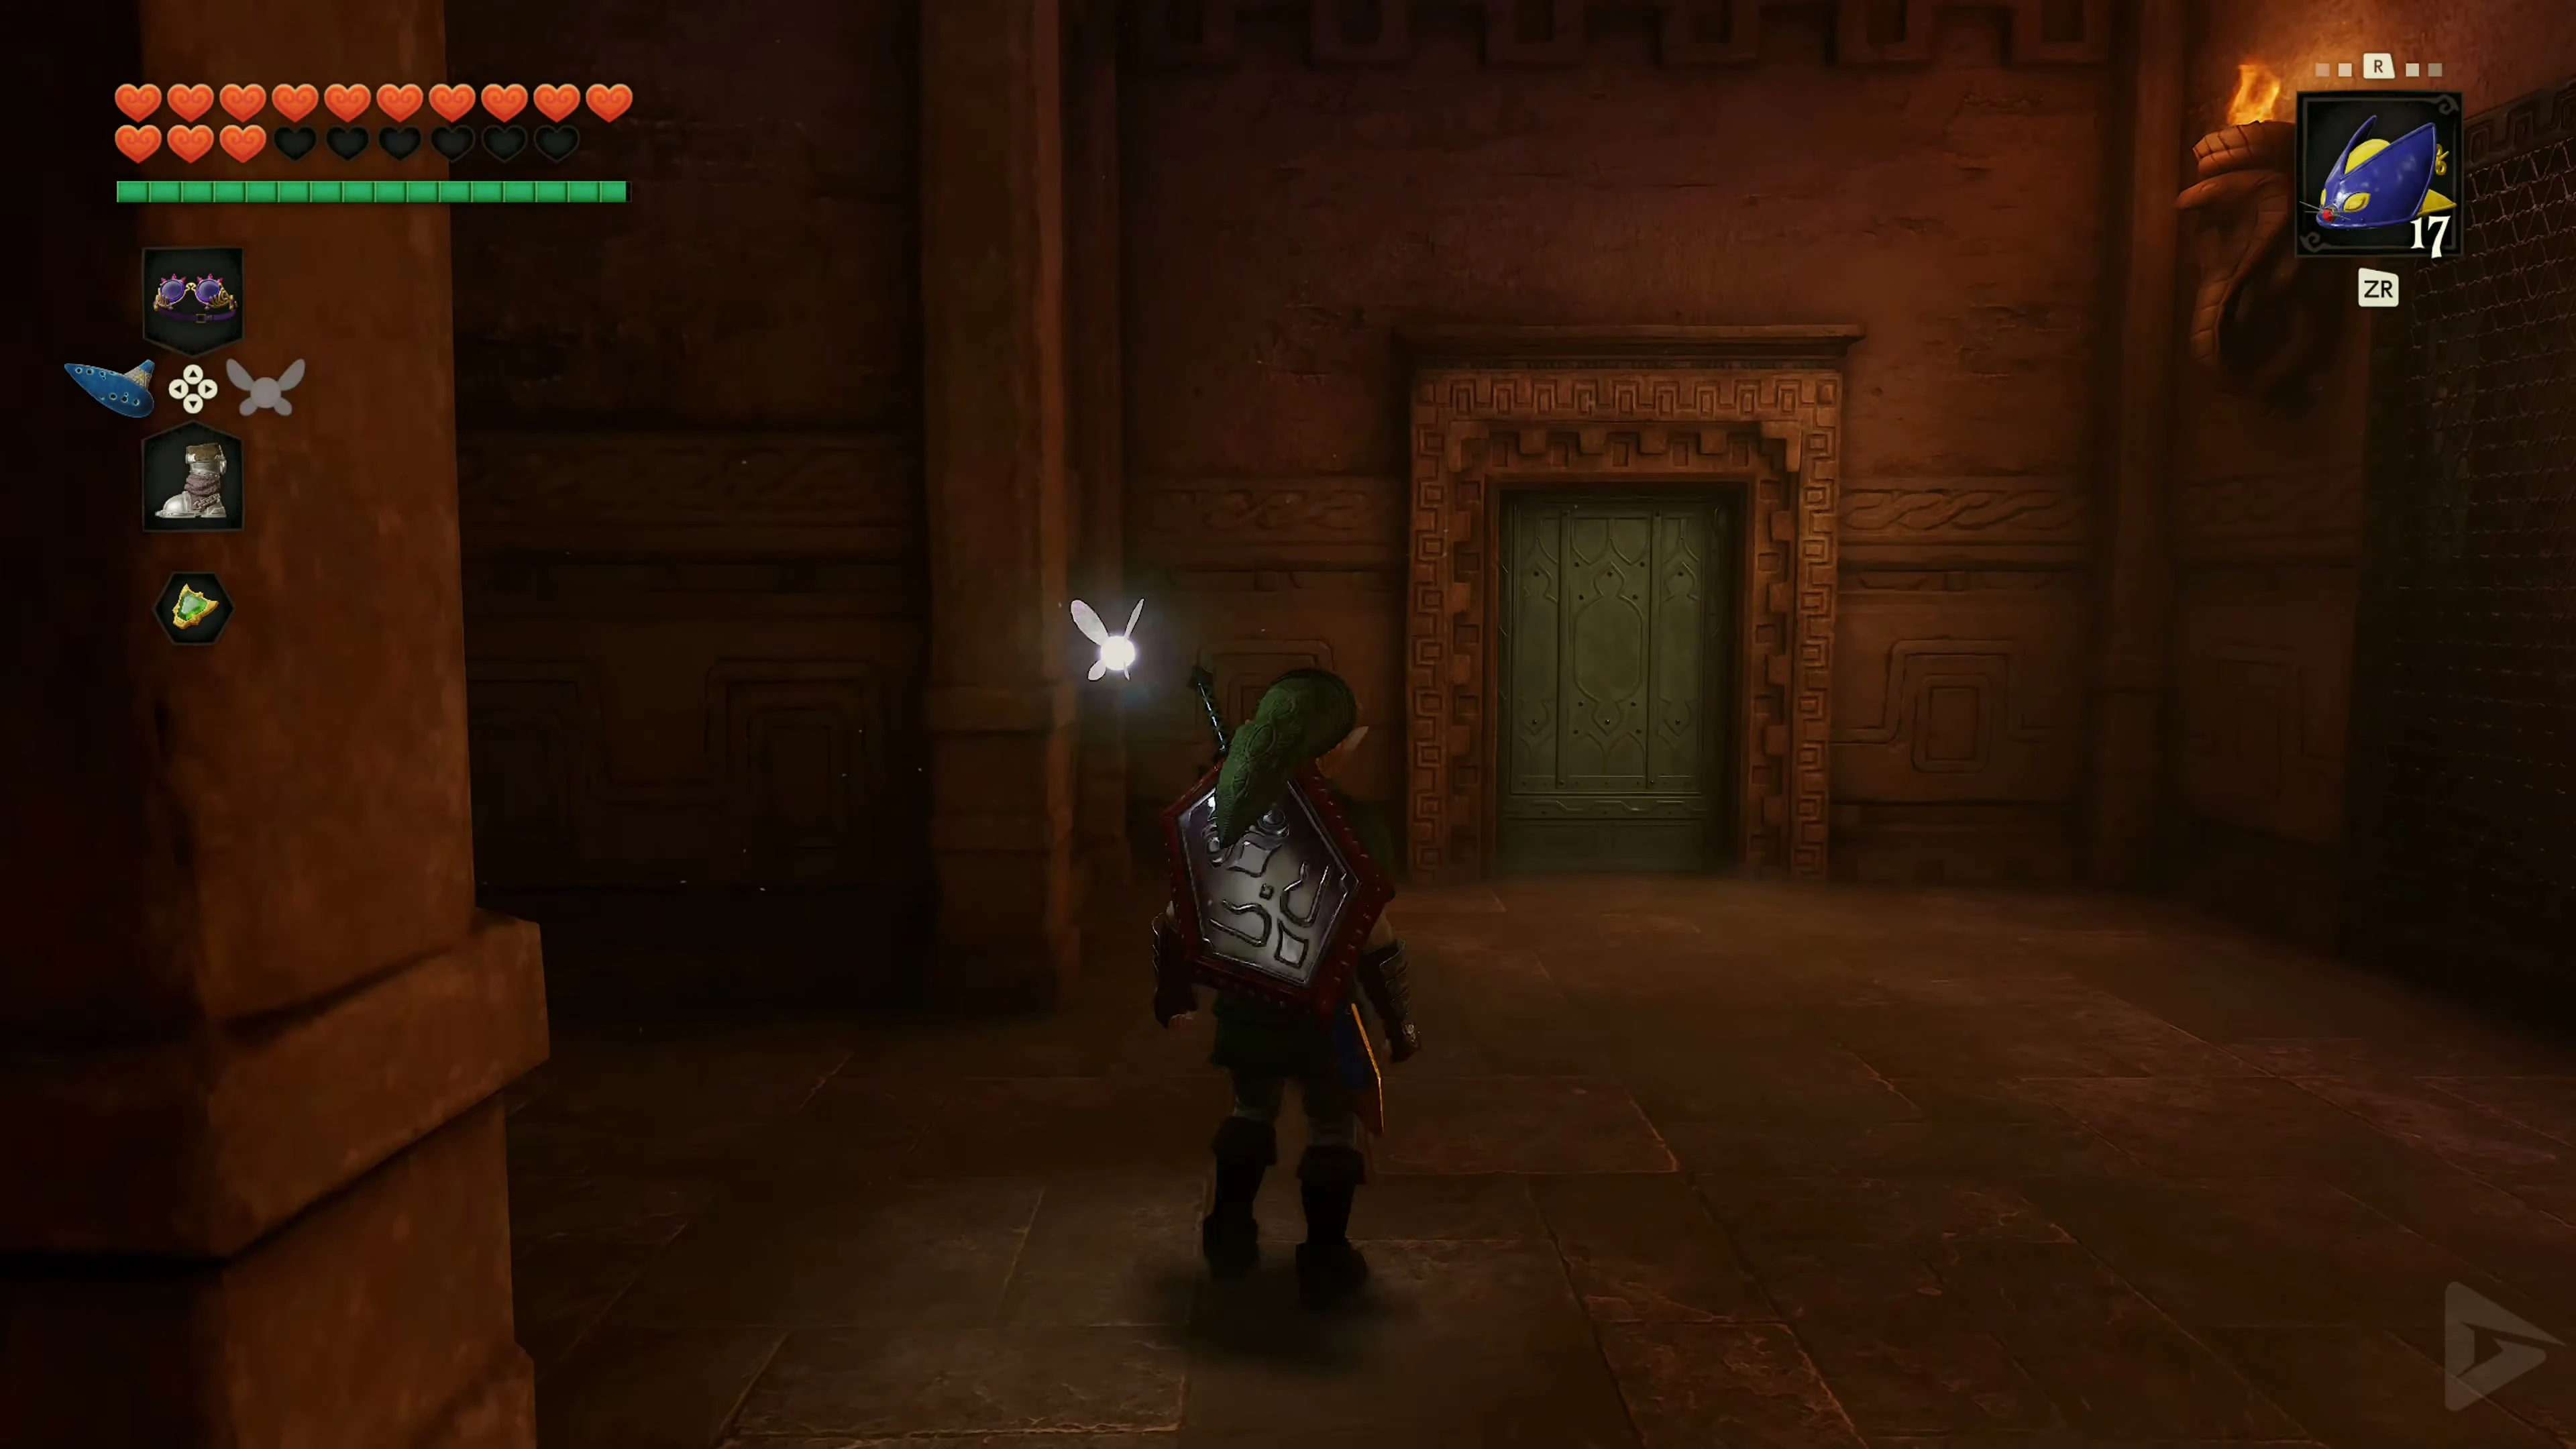
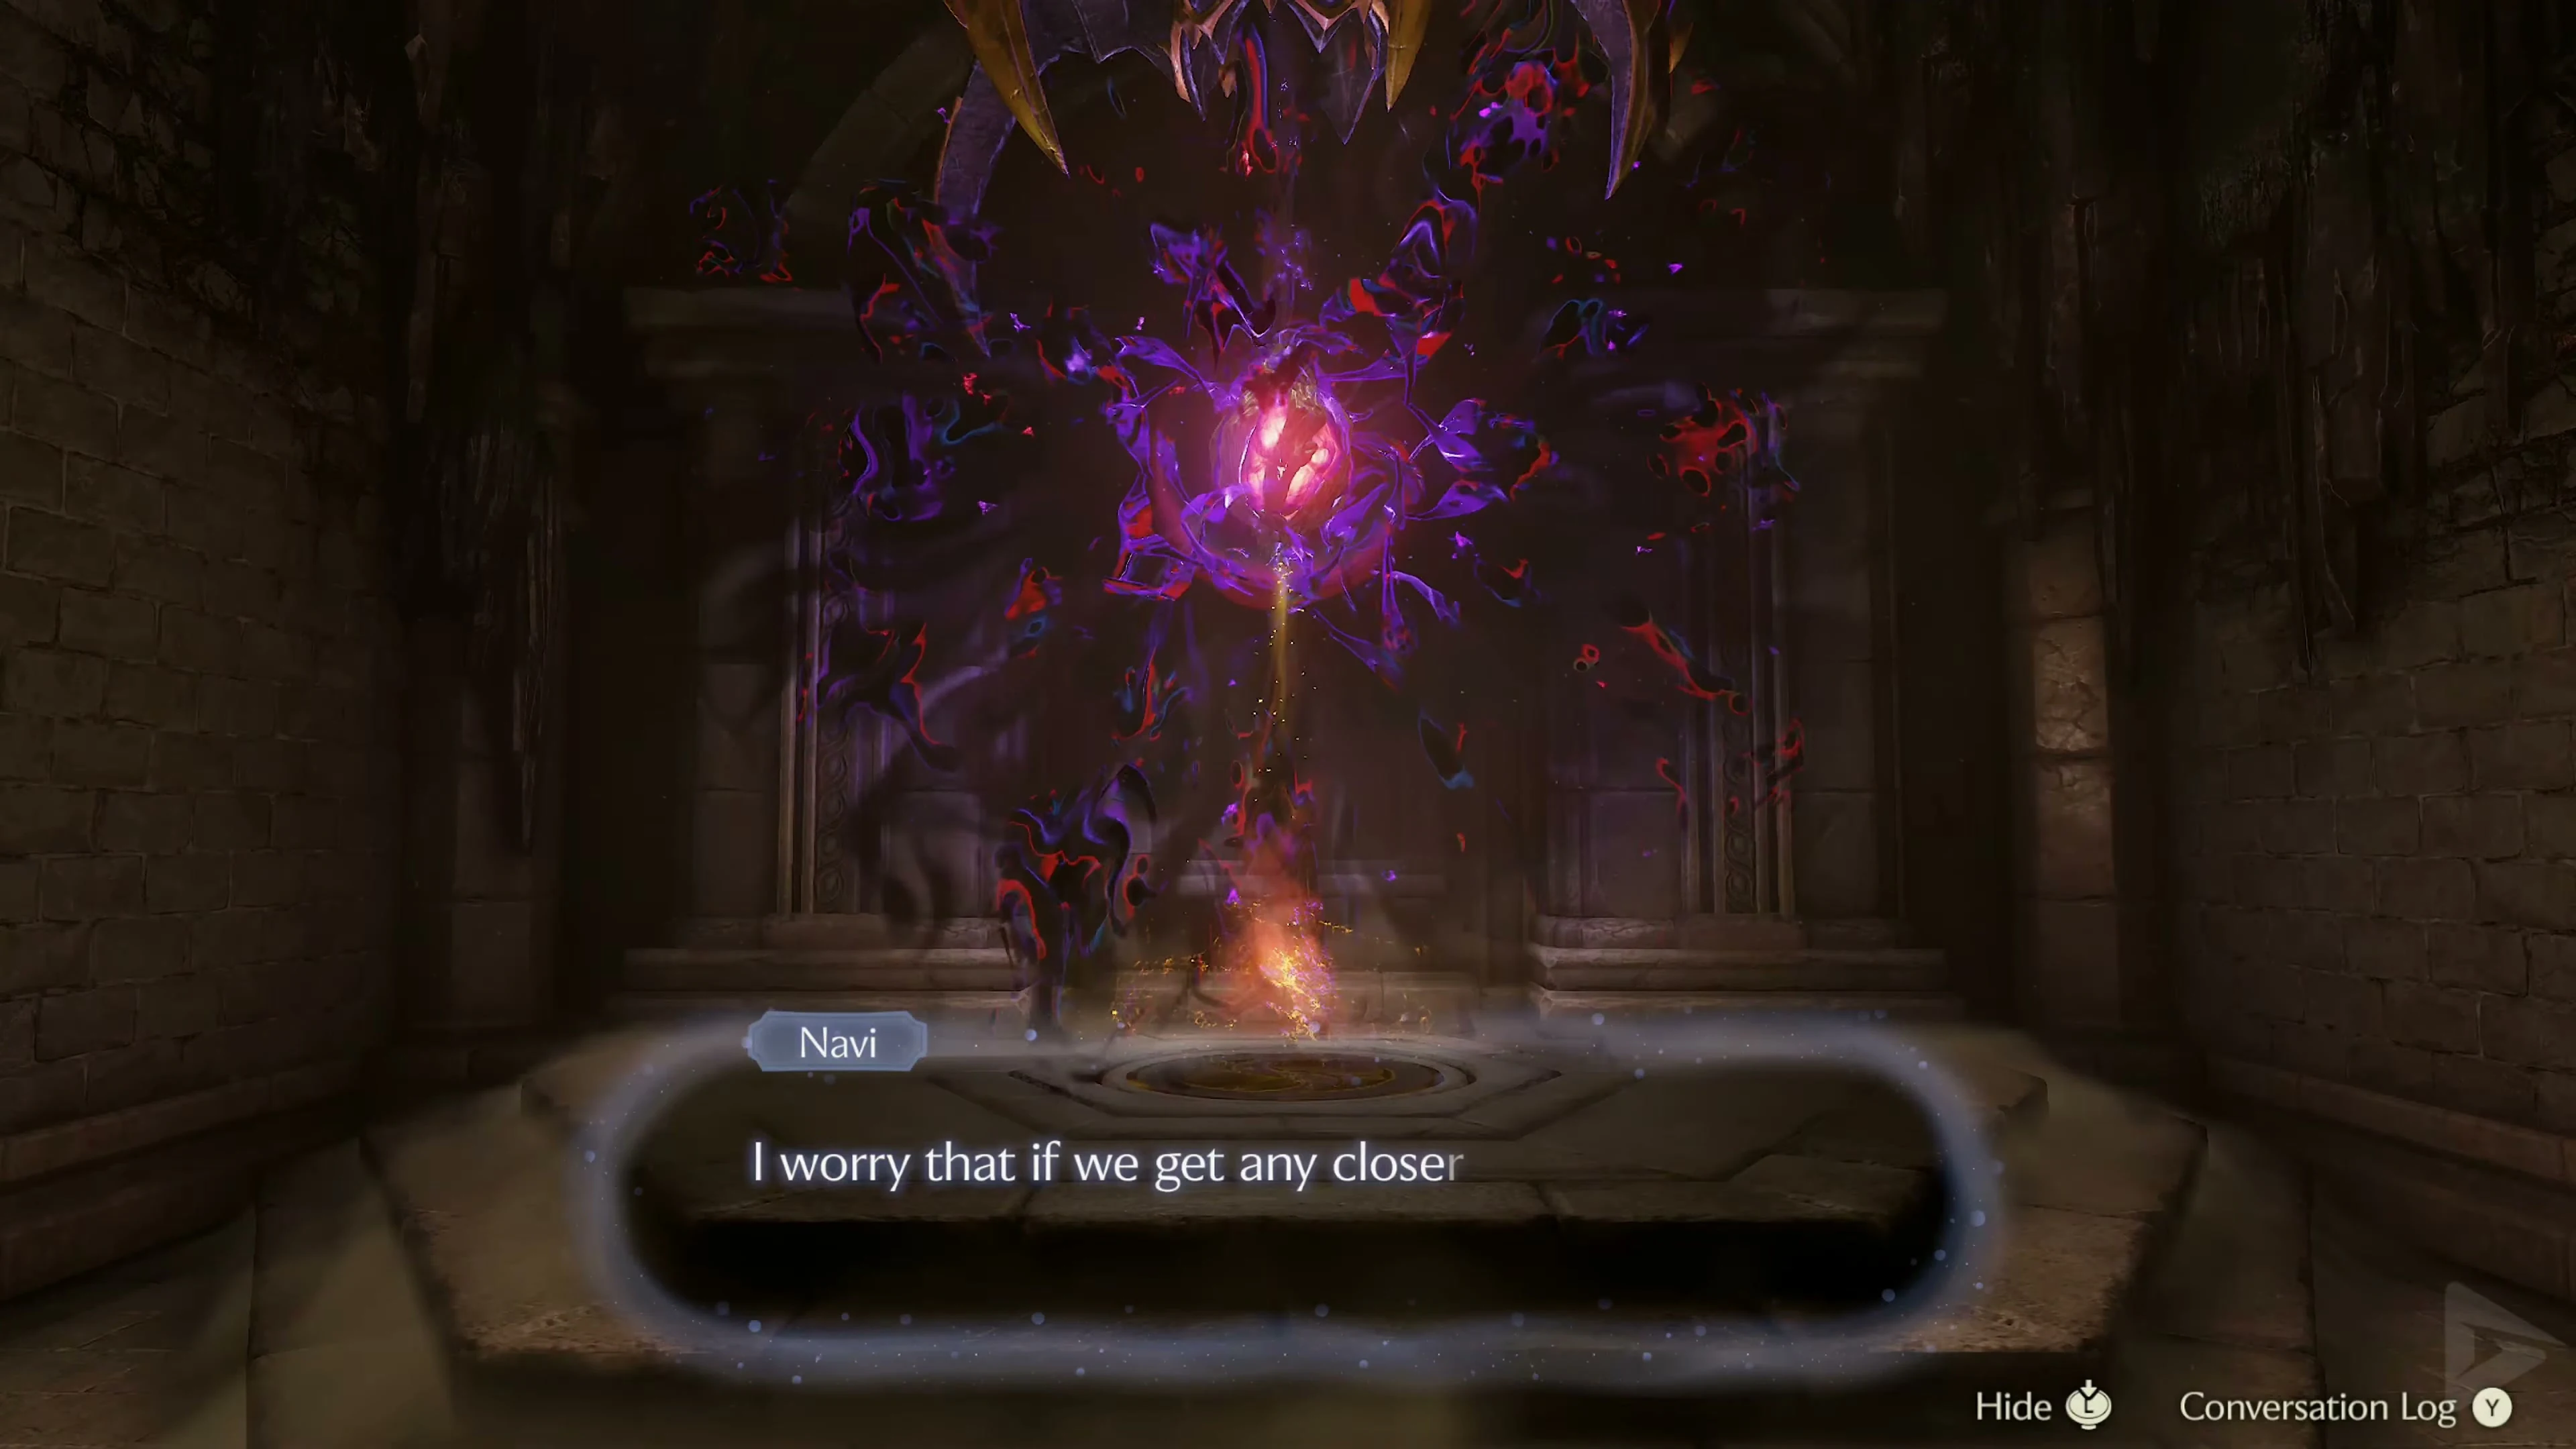
Cross the bridge created by the Sages and enter Ganondorf’s Castle. Follow the wide staircase down and walk past the Beamos to the next door. Beyond it opens a vast main hall. In the center rises Ganon’s Castle , but a black magical barrier makes access impossible. Six colored energy beams extend from the outer edges of the main hall into the barrier. Each of these beams is powered by its own seal and represents one of the six Sages. As long as even one of these seals remains intact, the central tower remains protected.
Hidden storeroom
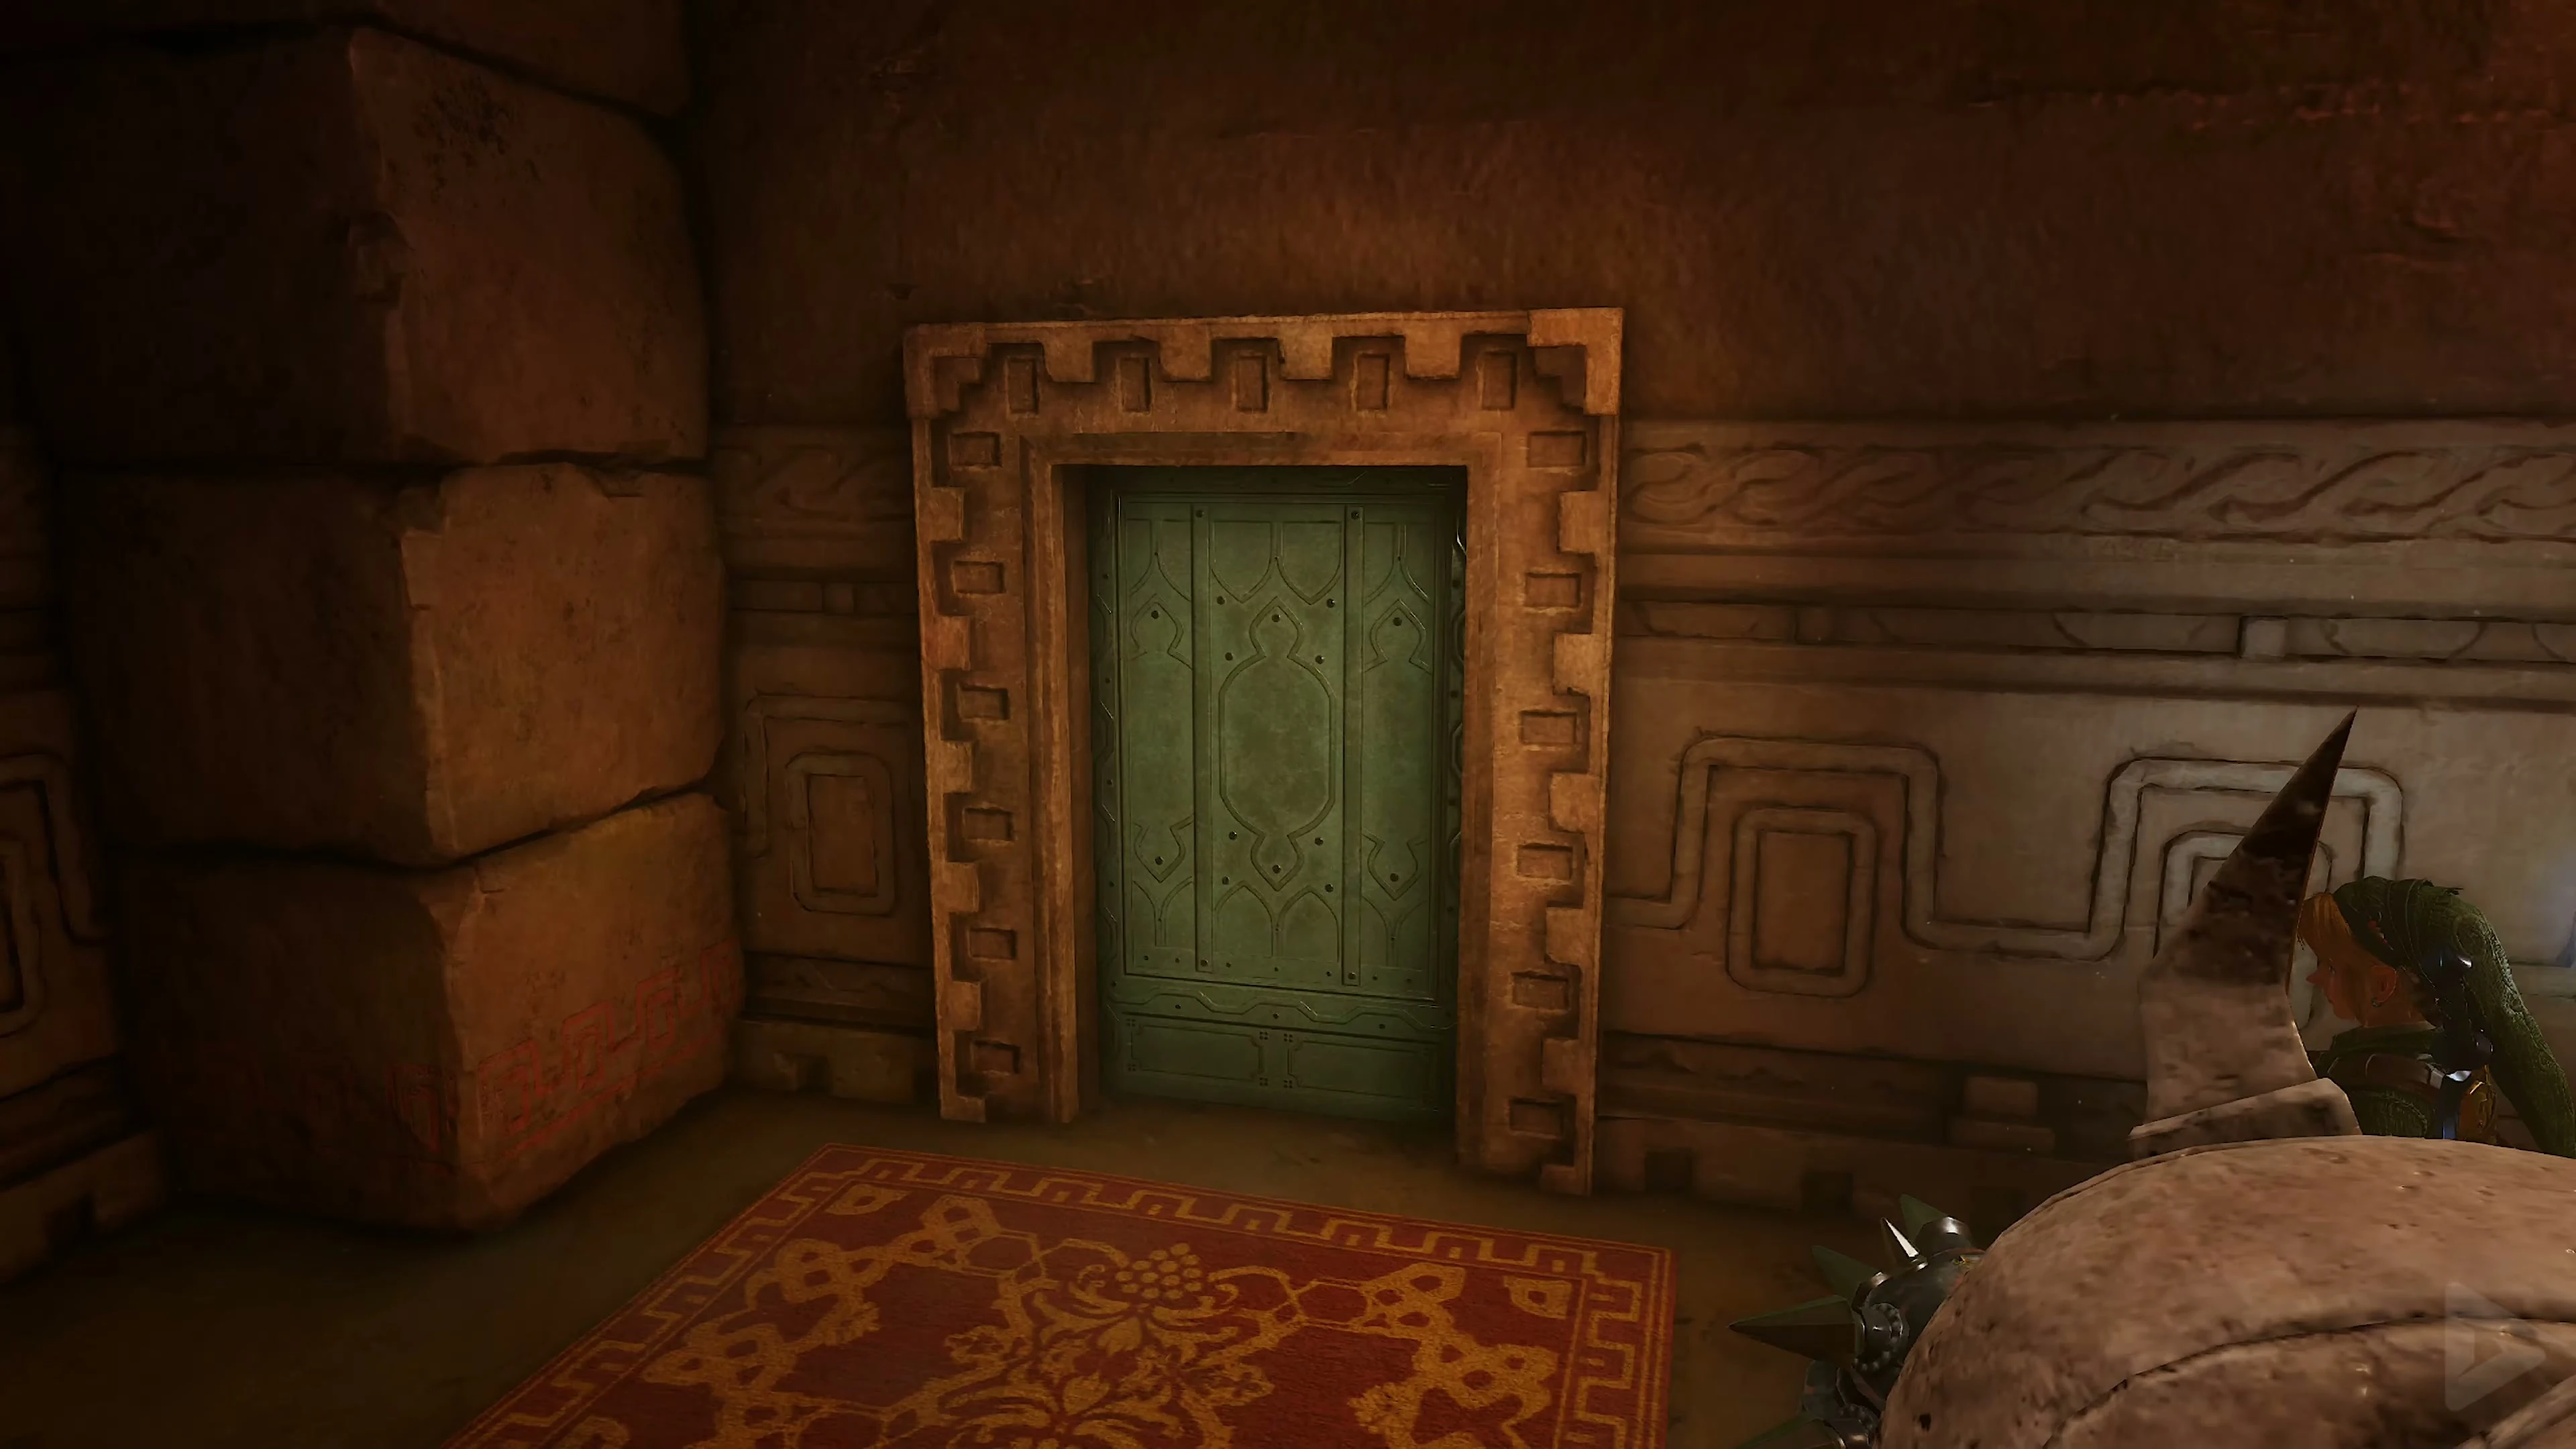
Hold a Bottle for Blue Fire free. Below the bridge to central Ganondorf’s Castle, on the outer wall of the main hall, is an invisible passage. Activate the Lenses of Truth and run through the seemingly solid wall. Several fairies and Business Scrubs await you behind it, from whom you can buy potions, bombs, and other supplies. If you run out of health, magic, arrows, or other consumables during the six trials, you can always return here.
The Seal of the Forest
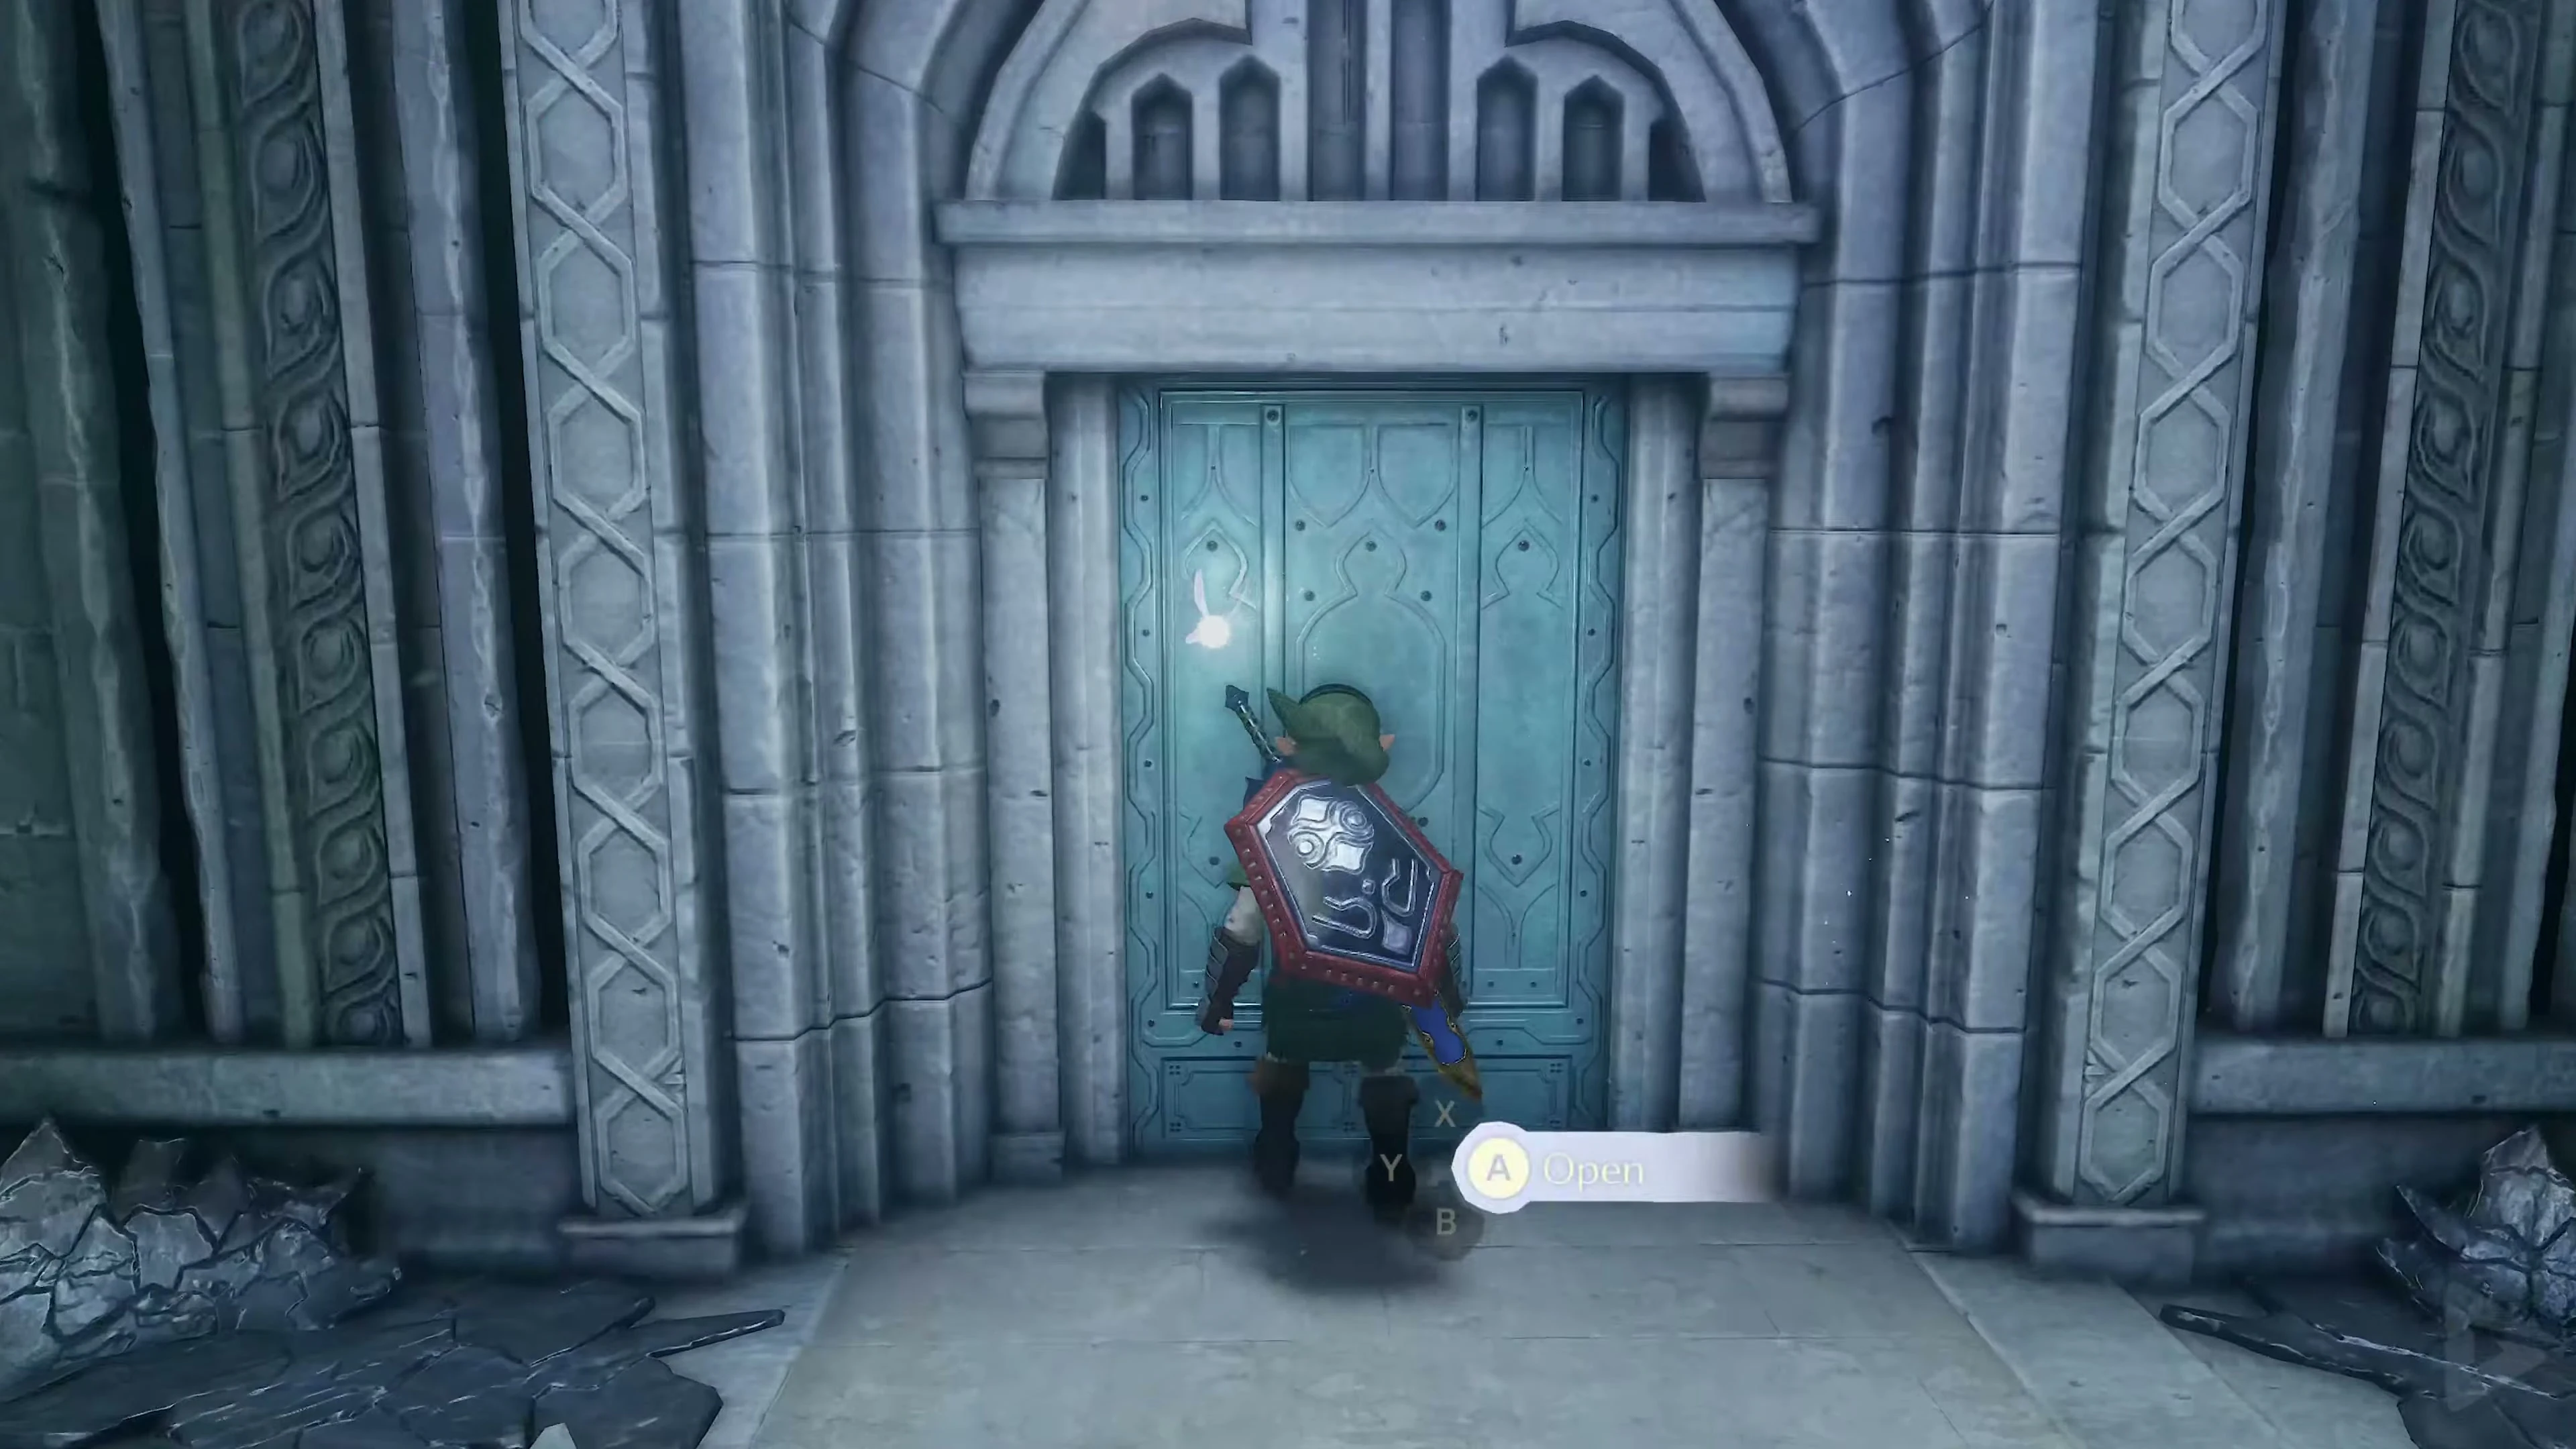
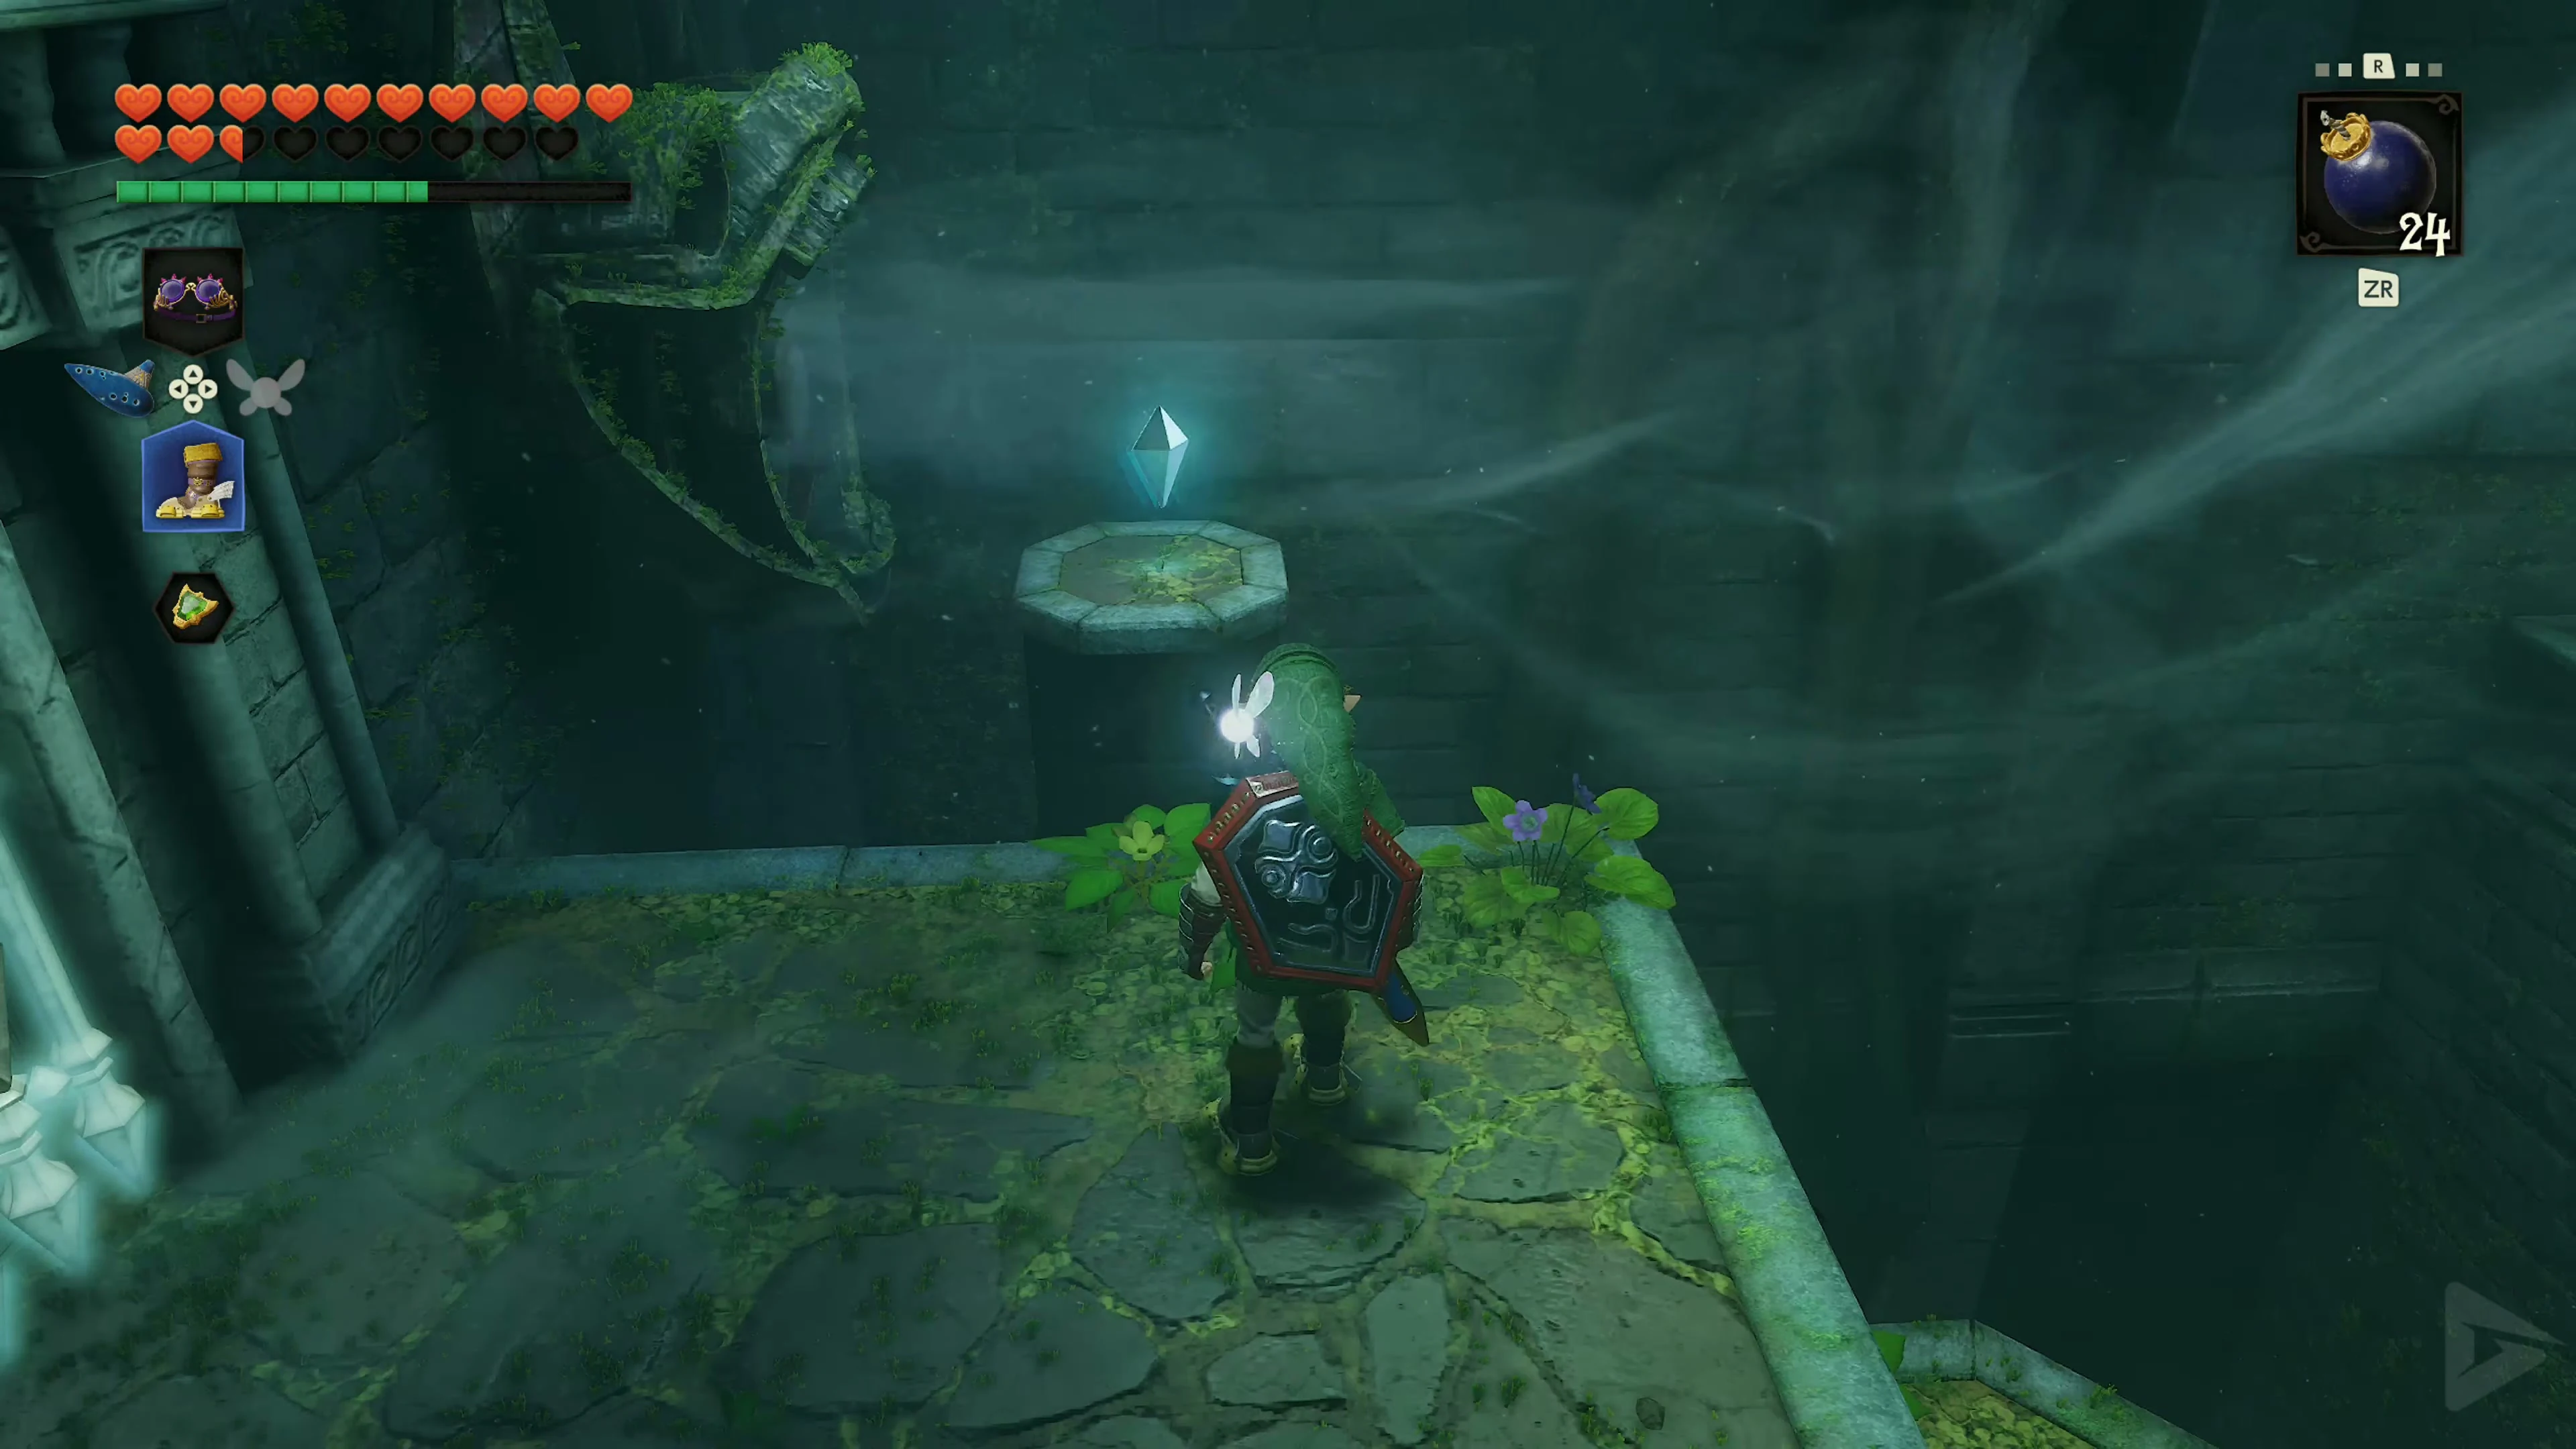
Enter the door with the green forest symbol. A Wolfos will appear in the first room. Defeat it and then deal with the five torches. Four are on the ground and can be easily lit simultaneously with Din’s Fire . The fifth torch, however, is located above the locked exit door. It is out of range of the spell. Therefore, take the Fairy Bow and light it with a Fire Arrow . Once all five torches are lit at the same time, the next door will open. Open the small chest containing 5 arrows .
Five crystals between the fans.
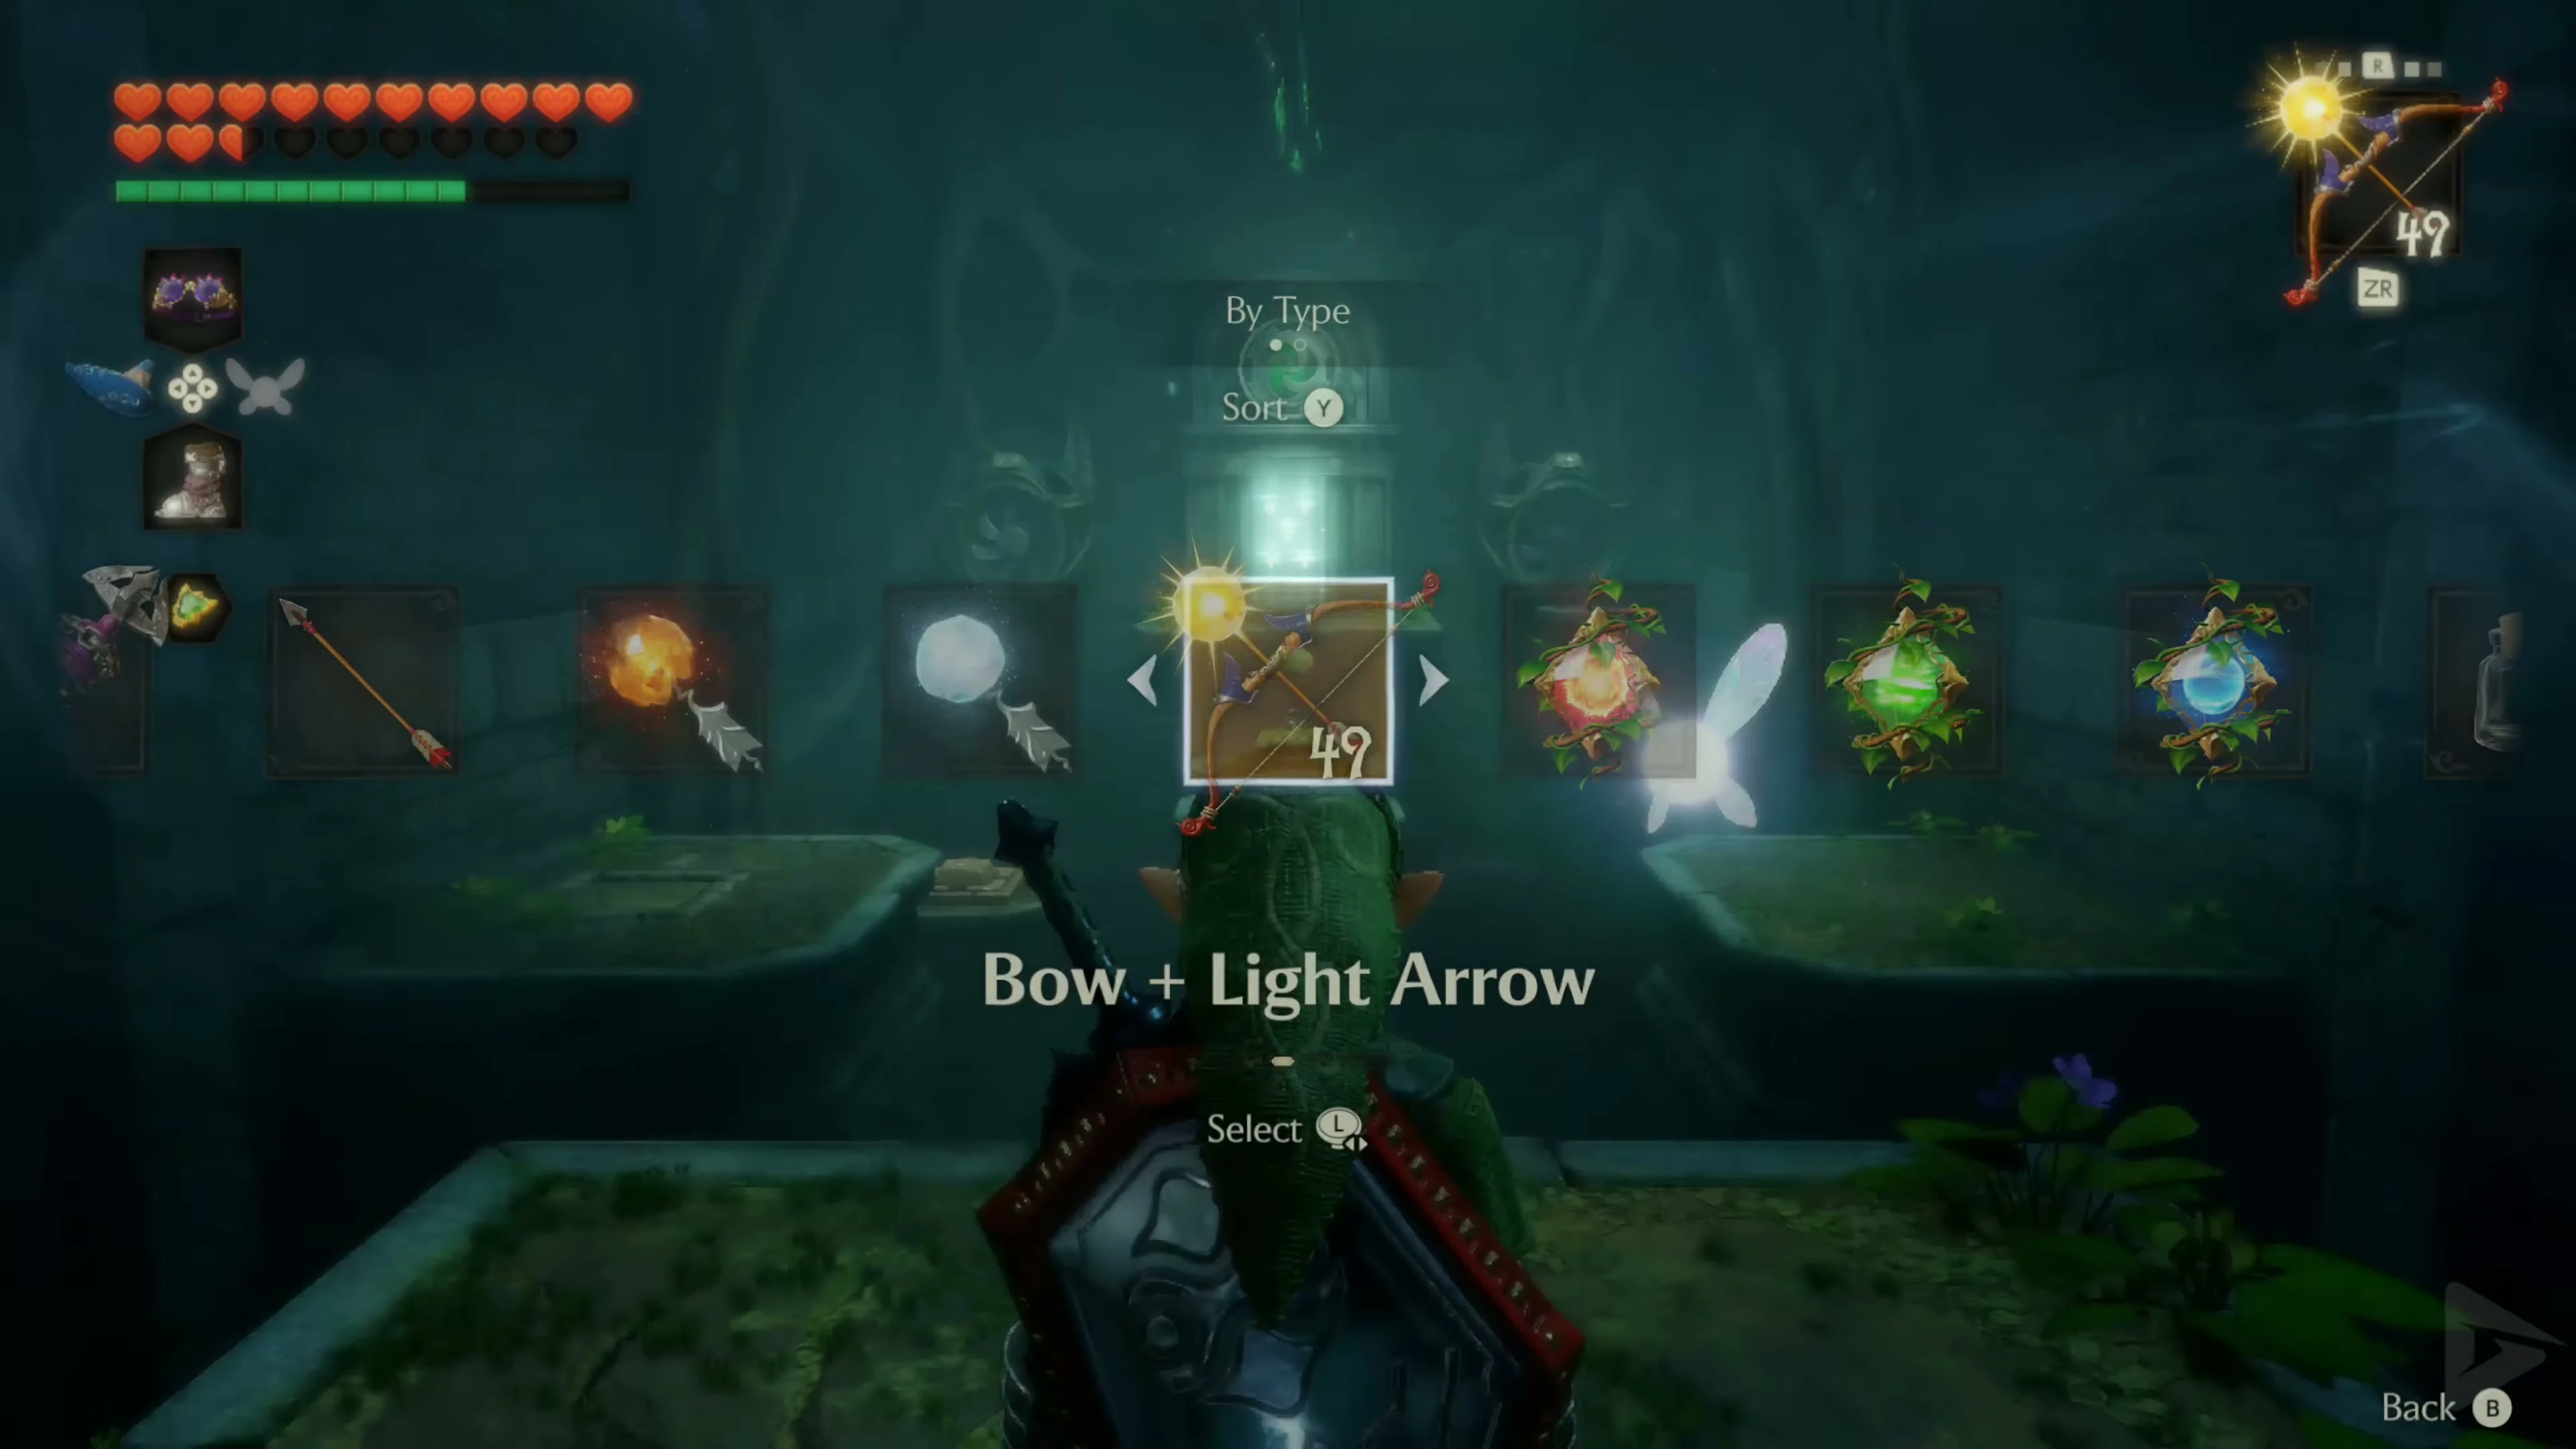
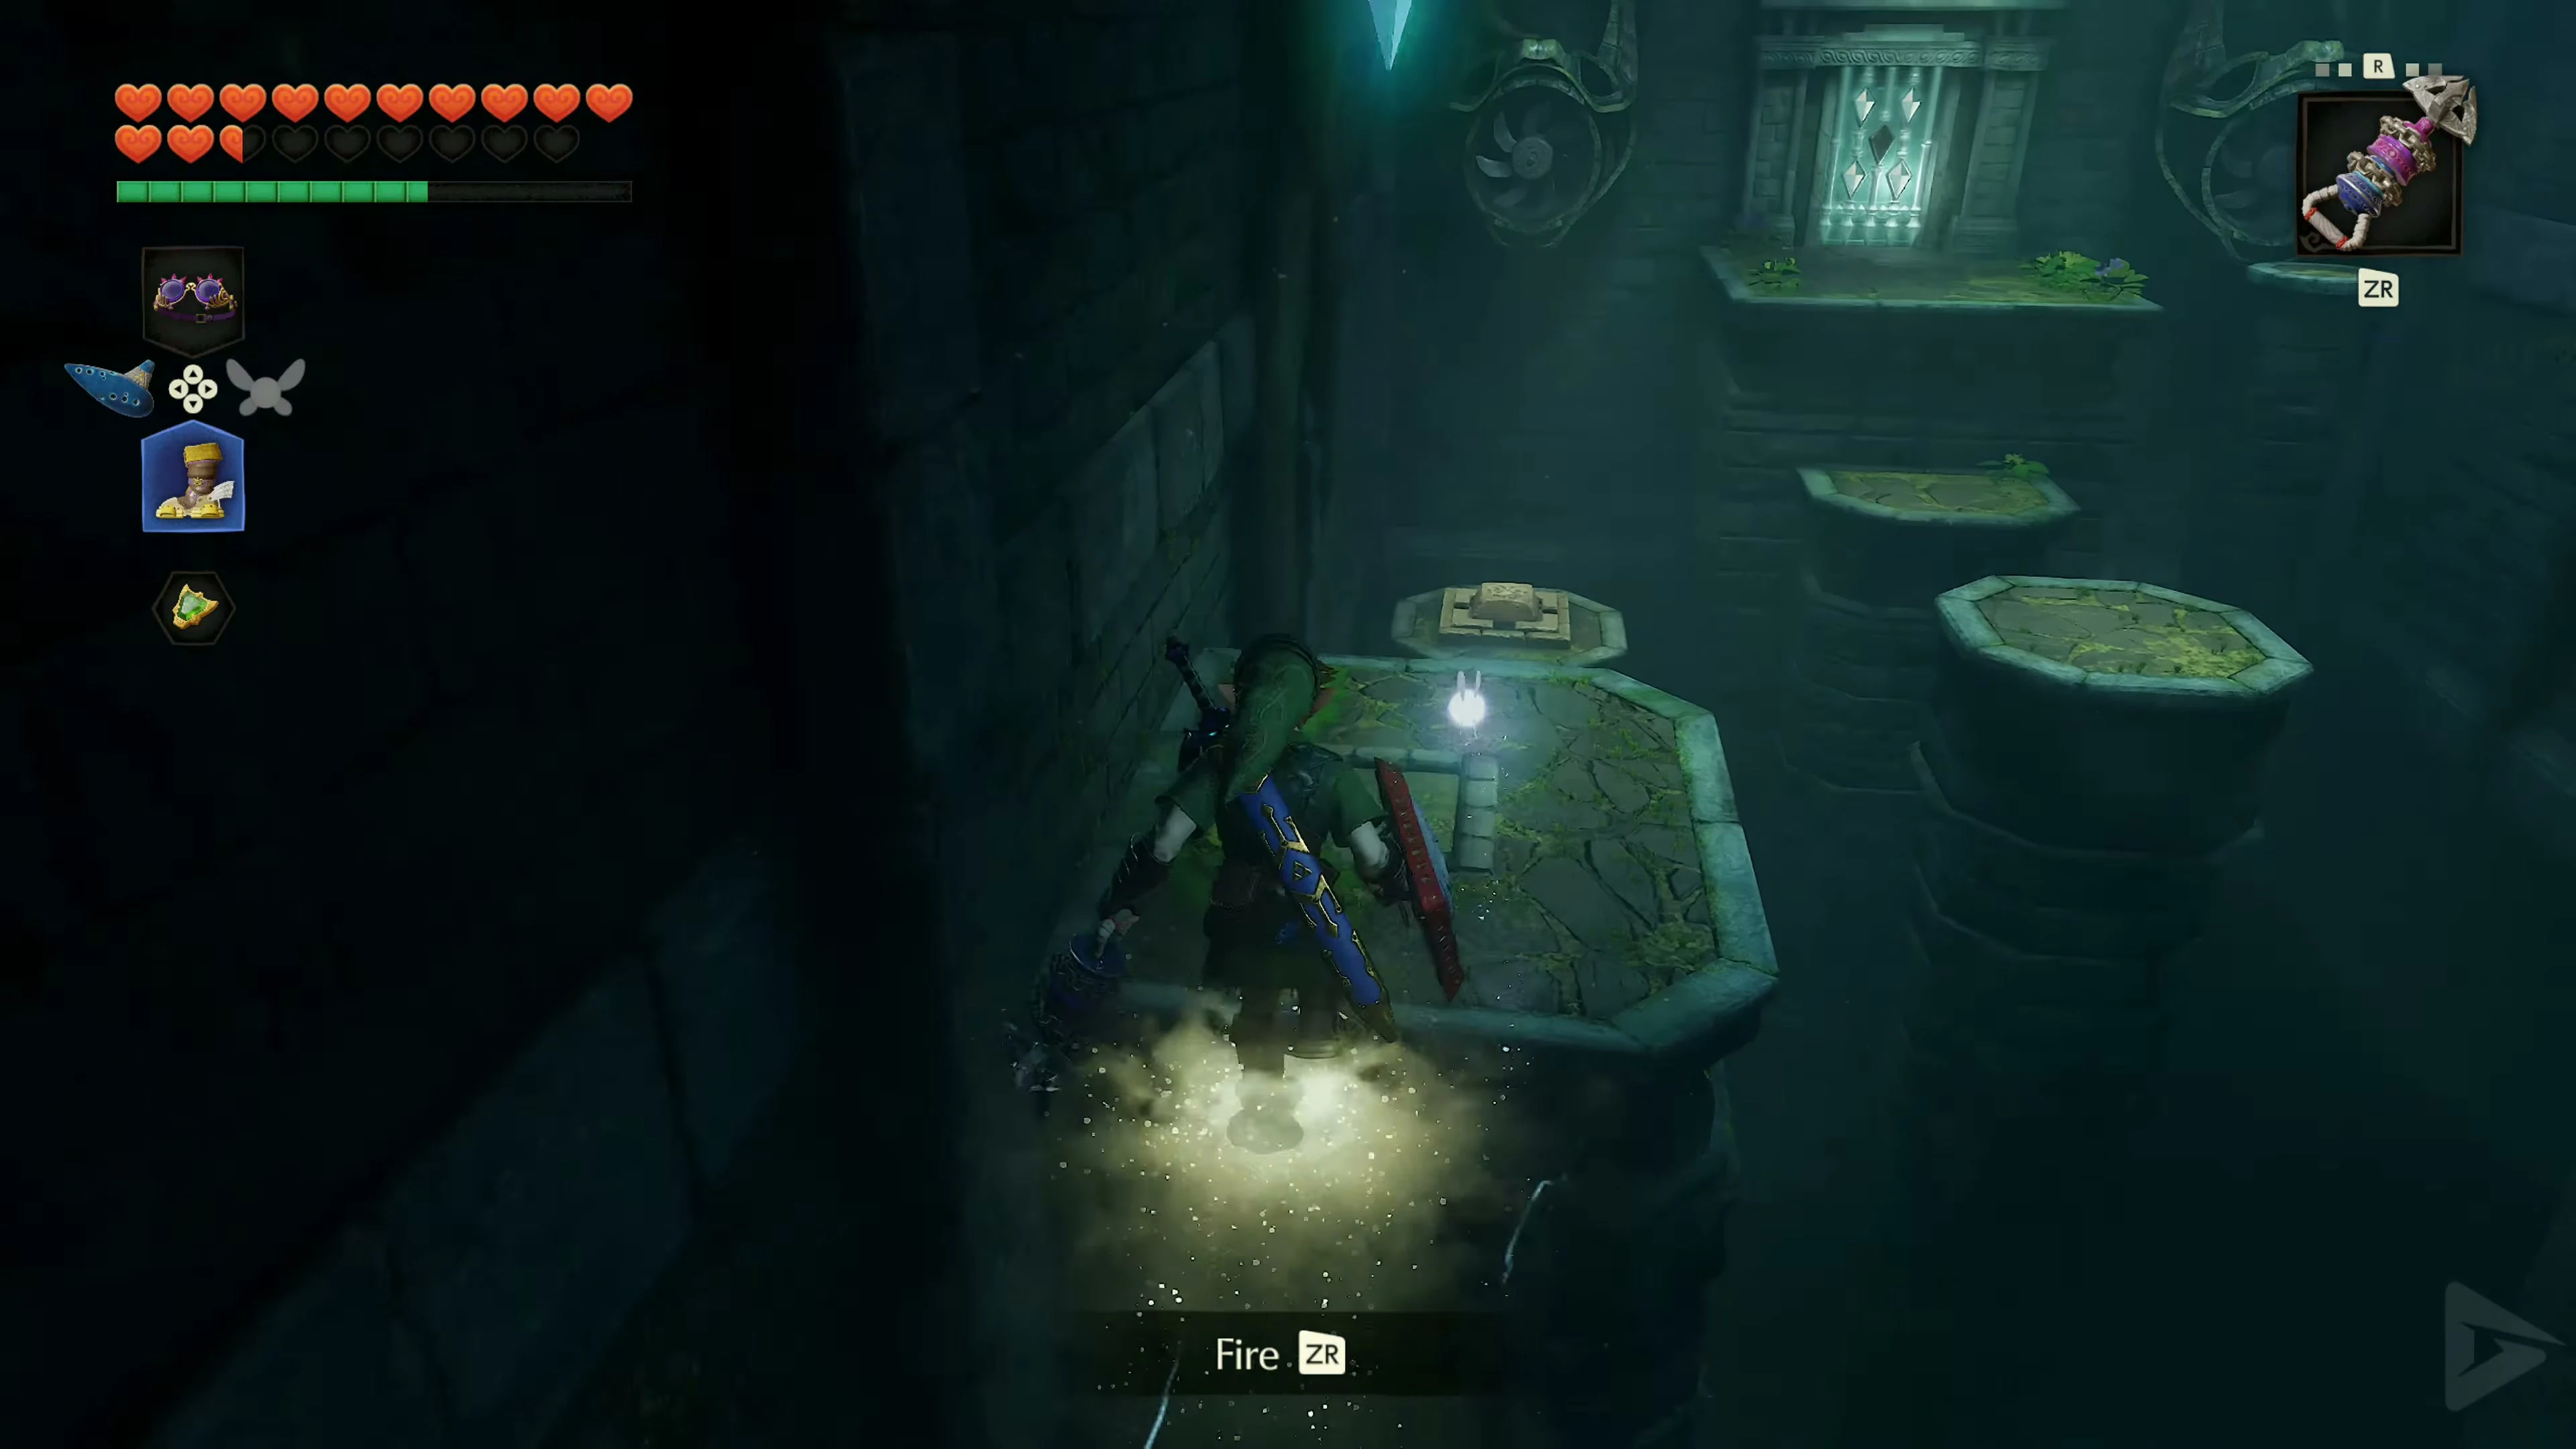
In the next room, you must collect five crystals above a deep chasm. Several fans will activate at different intervals and can blow Link off the narrow platforms. Both the Hover Boots and the Iron Boots are used here. First, play the Song of Time right at the entrance. This will cause blue time blocks to appear. With the Iron Boots, you can stand safely on them without being carried away by the air currents. Collect the first crystal this way. Next, watch the side fan. As soon as it turns on, equip the Hover Boots and use the strong airflow to carry you to a smaller platform. Destroy the Beamos on the middle platform with a bomb.
Next, jump to the floor switch on the far wall. As soon as you step on it, a pillar with a long-range Hookshot target will rise from the floor. Equip the Iron Boots and use the Longshot to grapple to the target. On the way, you’ll pass through a floating crystal. The remaining Rupees are located on the other platforms in the room. Before each jump, watch the fans and only move when the respective airflow has completely stopped. After collecting all five crystals, the exit door will open.
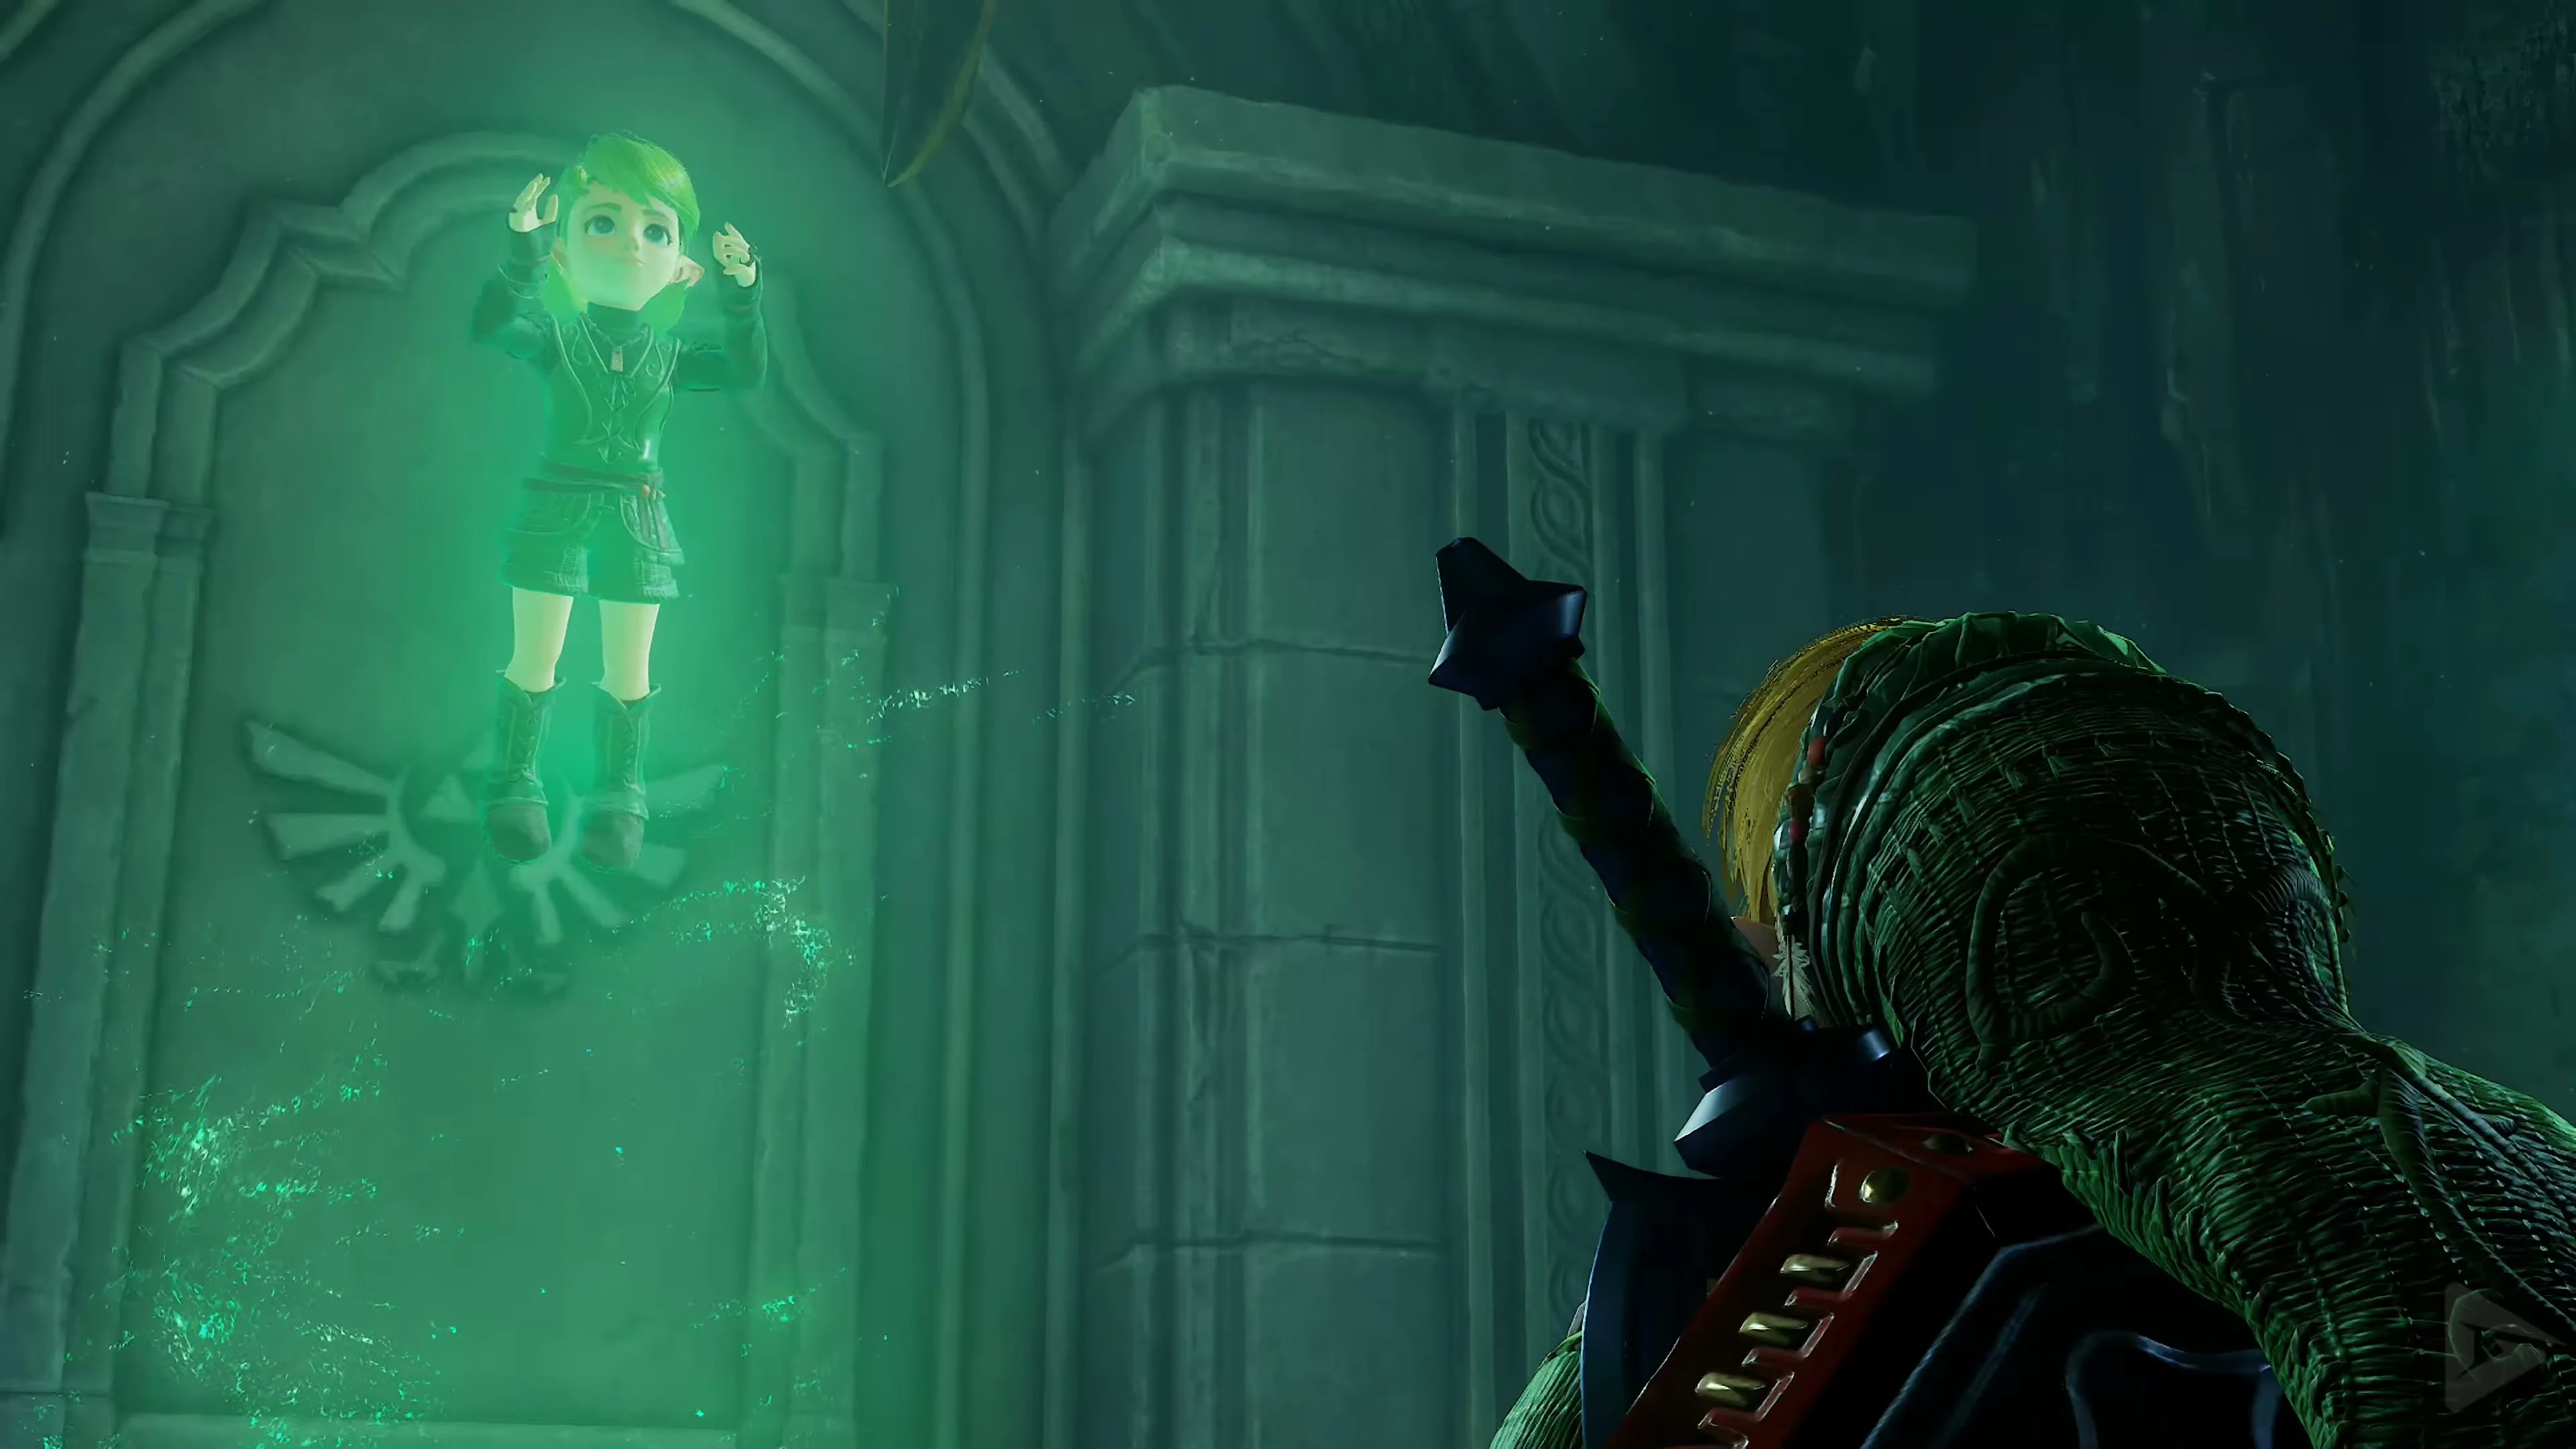
In the next room, the magical core of the Forest Seal is floating. Smash the jars as needed and replenish your magic or arrows. Then fire a Light Arrow at the golden sphere. The seal breaks, and Saria appears. She uses her power as the Sage of the Forest and teleports Link back to the main hall. The green energy beam to the barrier disappears.
The Seal of Water
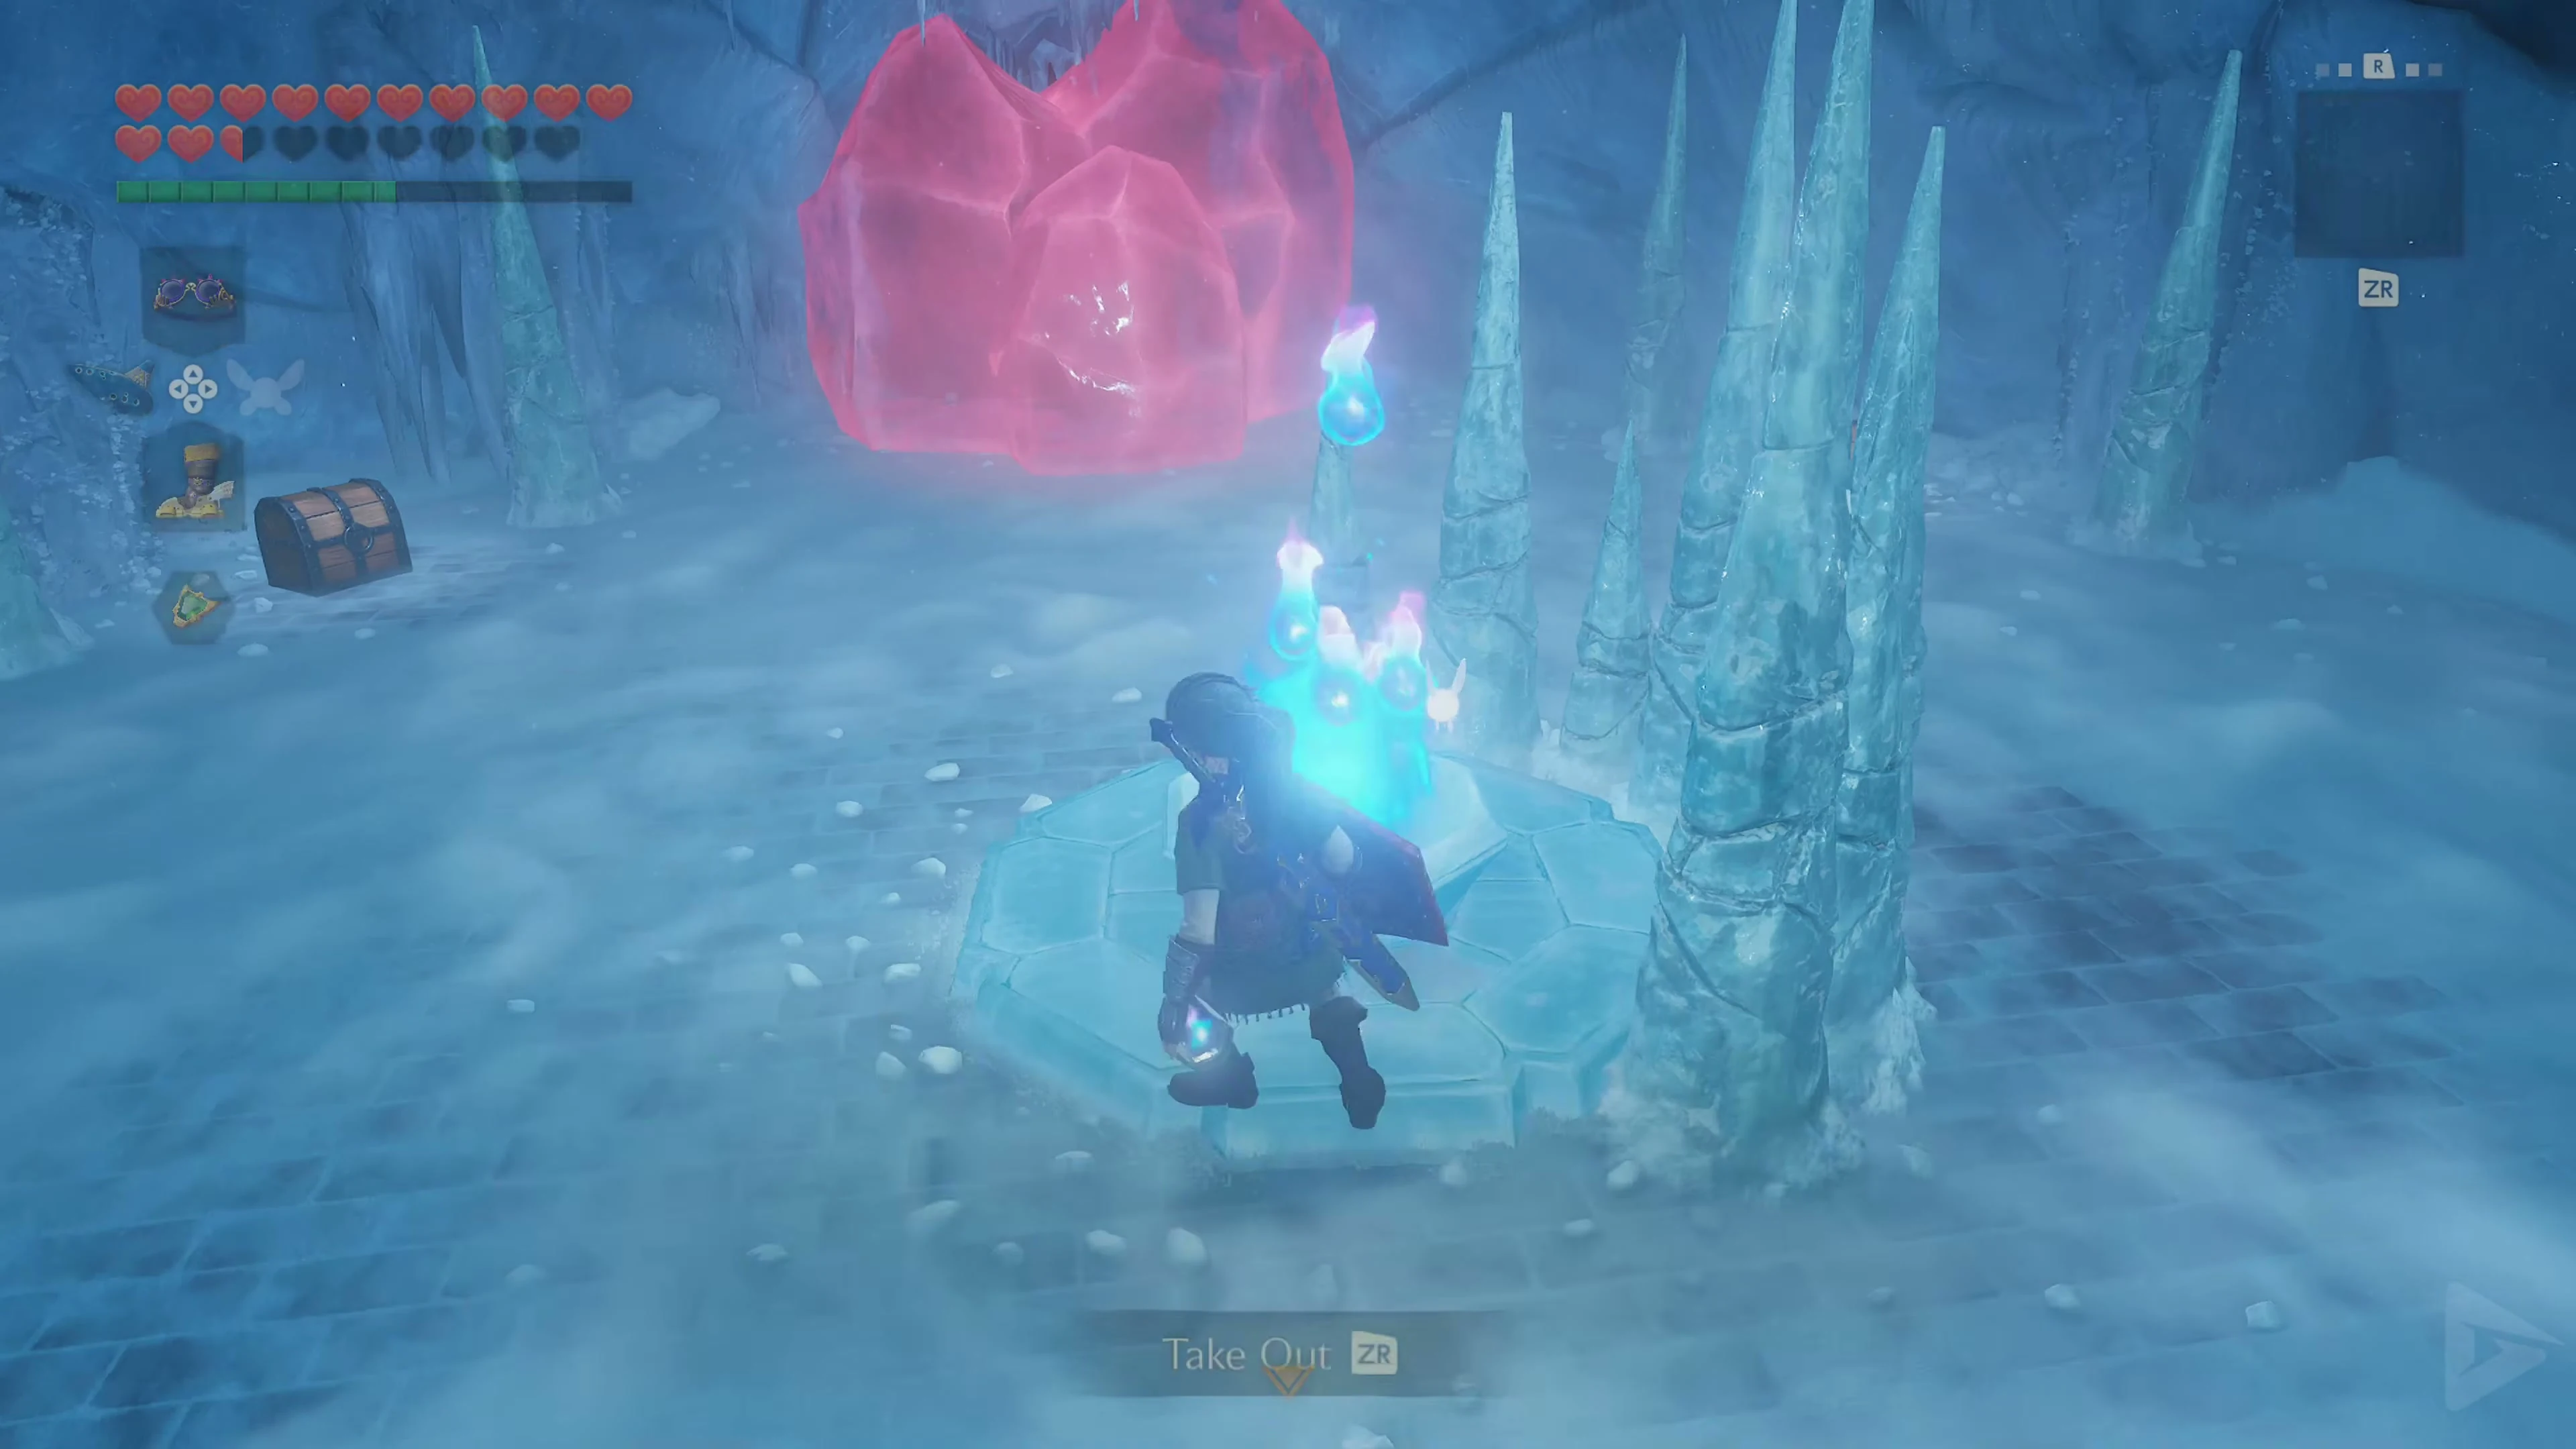
Next, enter the door with the blue water symbol. Several large icicles fall from the ceiling in the first room. Keep moving and defeat the two Freezards. Once both enemies are gone, the gate in front of the next door opens. Smash the icicles around the source of the blue fire and fill a free bottle . Open the small chest containing 5 Bombchus . Use the blue fire to melt the red ice crystal in front of the door. Be sure to return to the source afterward and fill the bottle a second time.
The Ice Block Puzzle
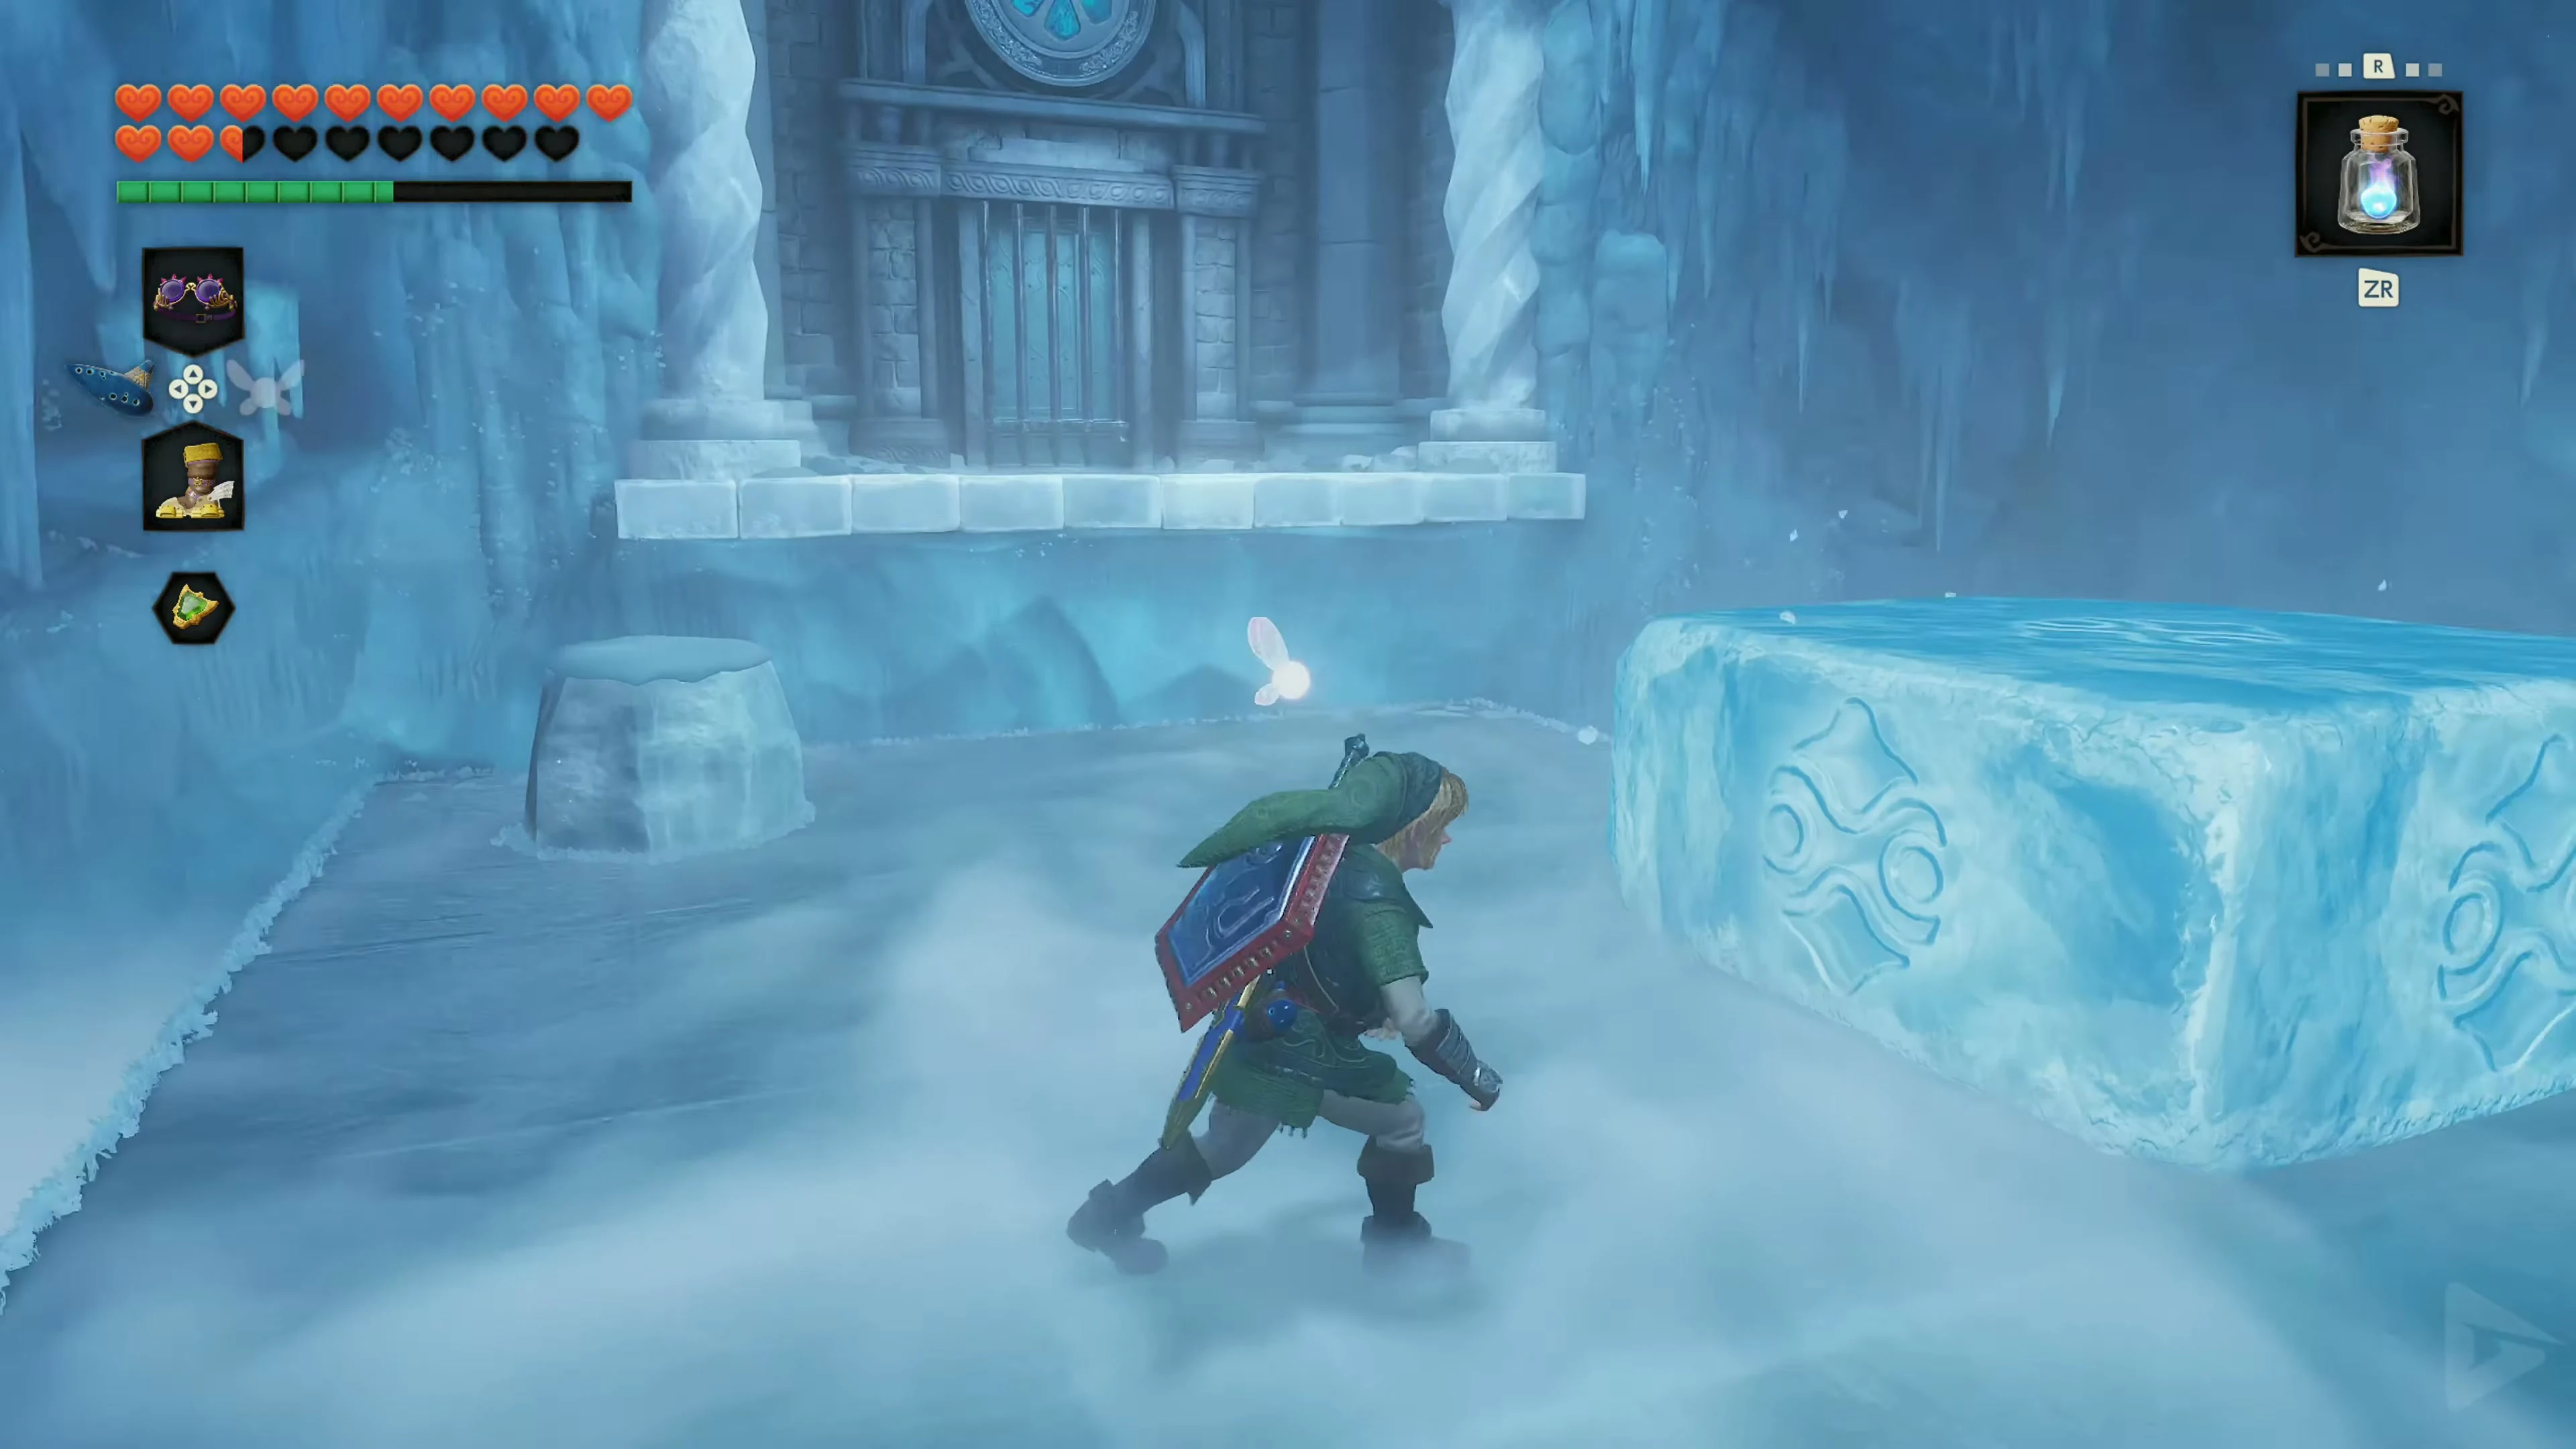
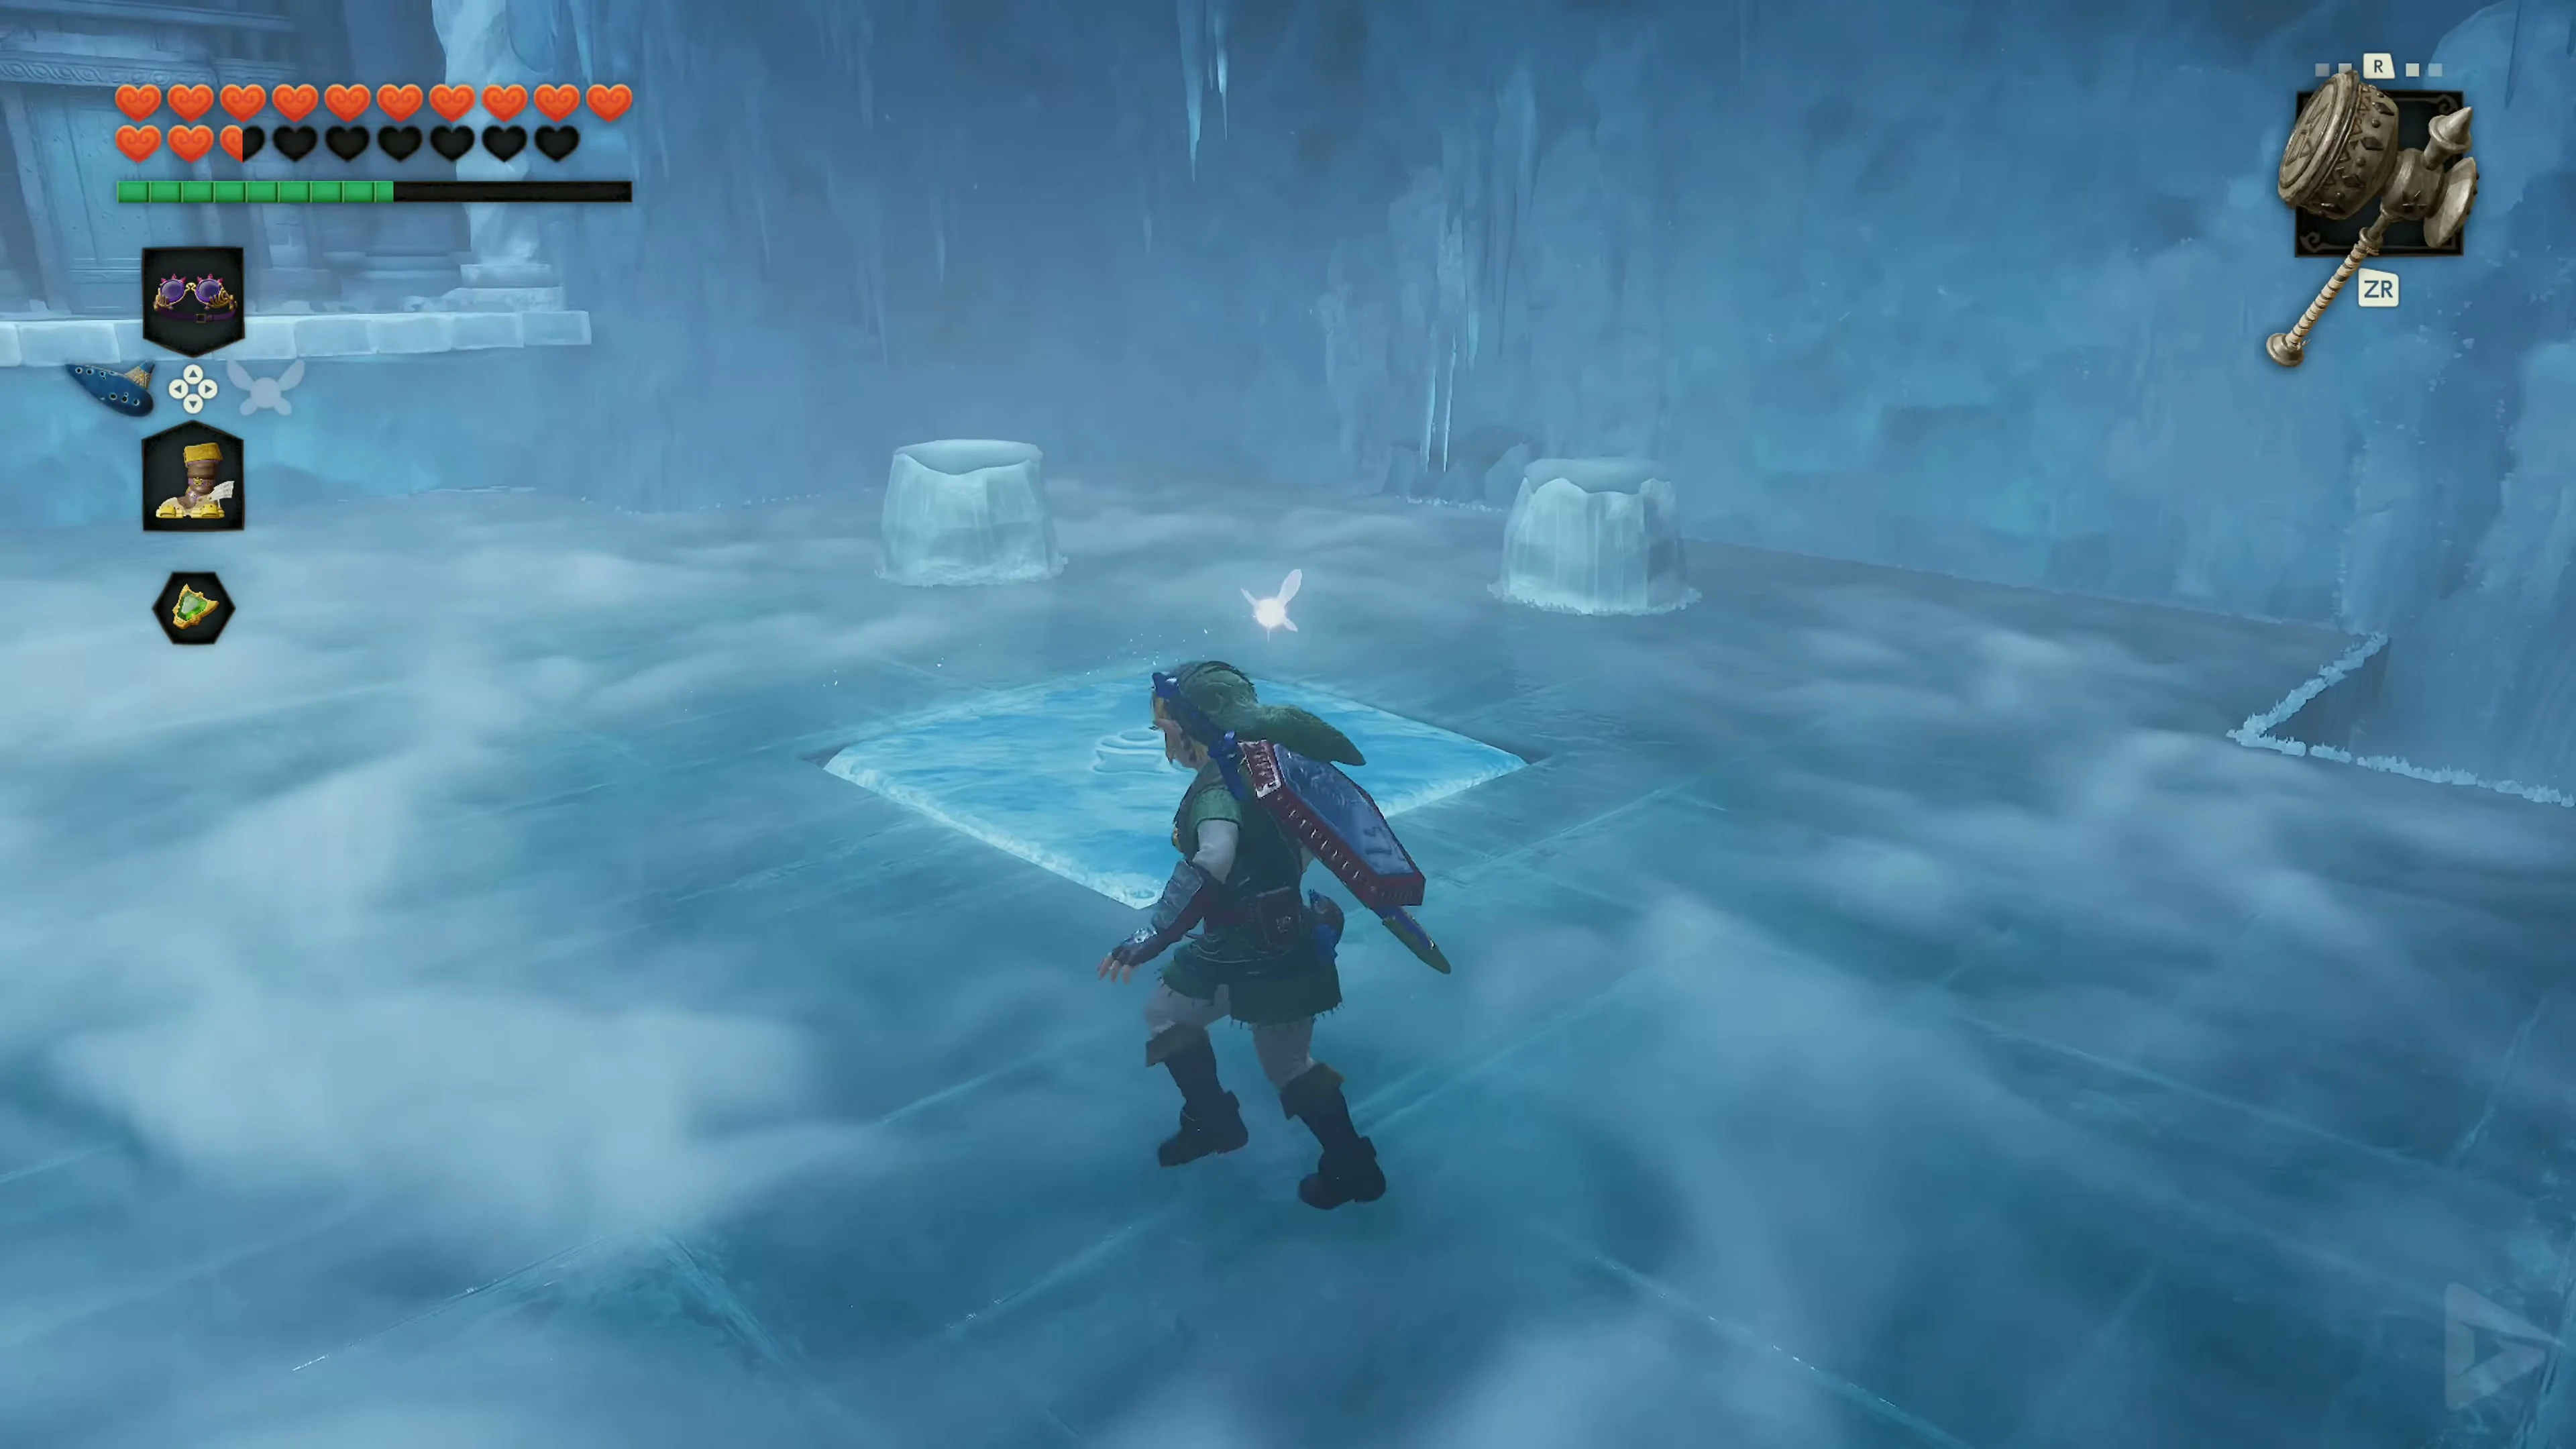
A time limit starts in the next room. Two Minutes Within this time, you must correctly position an ice block, melt the red ice, activate a switch, and reach the exit door. First, push the ice block further back twice to the right. This will cause it to fall into the large hole in the floor, which will then act as a barrier for the second block. Now turn your attention to the remaining ice block. First, push it away from the entrance, and then twice to the left. Thanks to the block you just lowered, it will stop directly below the raised ledge with the red ice. Climb onto the block and pour the blue fire over the red crystal. A rusted switch will be revealed behind it. Use the Megaton Hammer to smash it into the floor. The exit door will open.
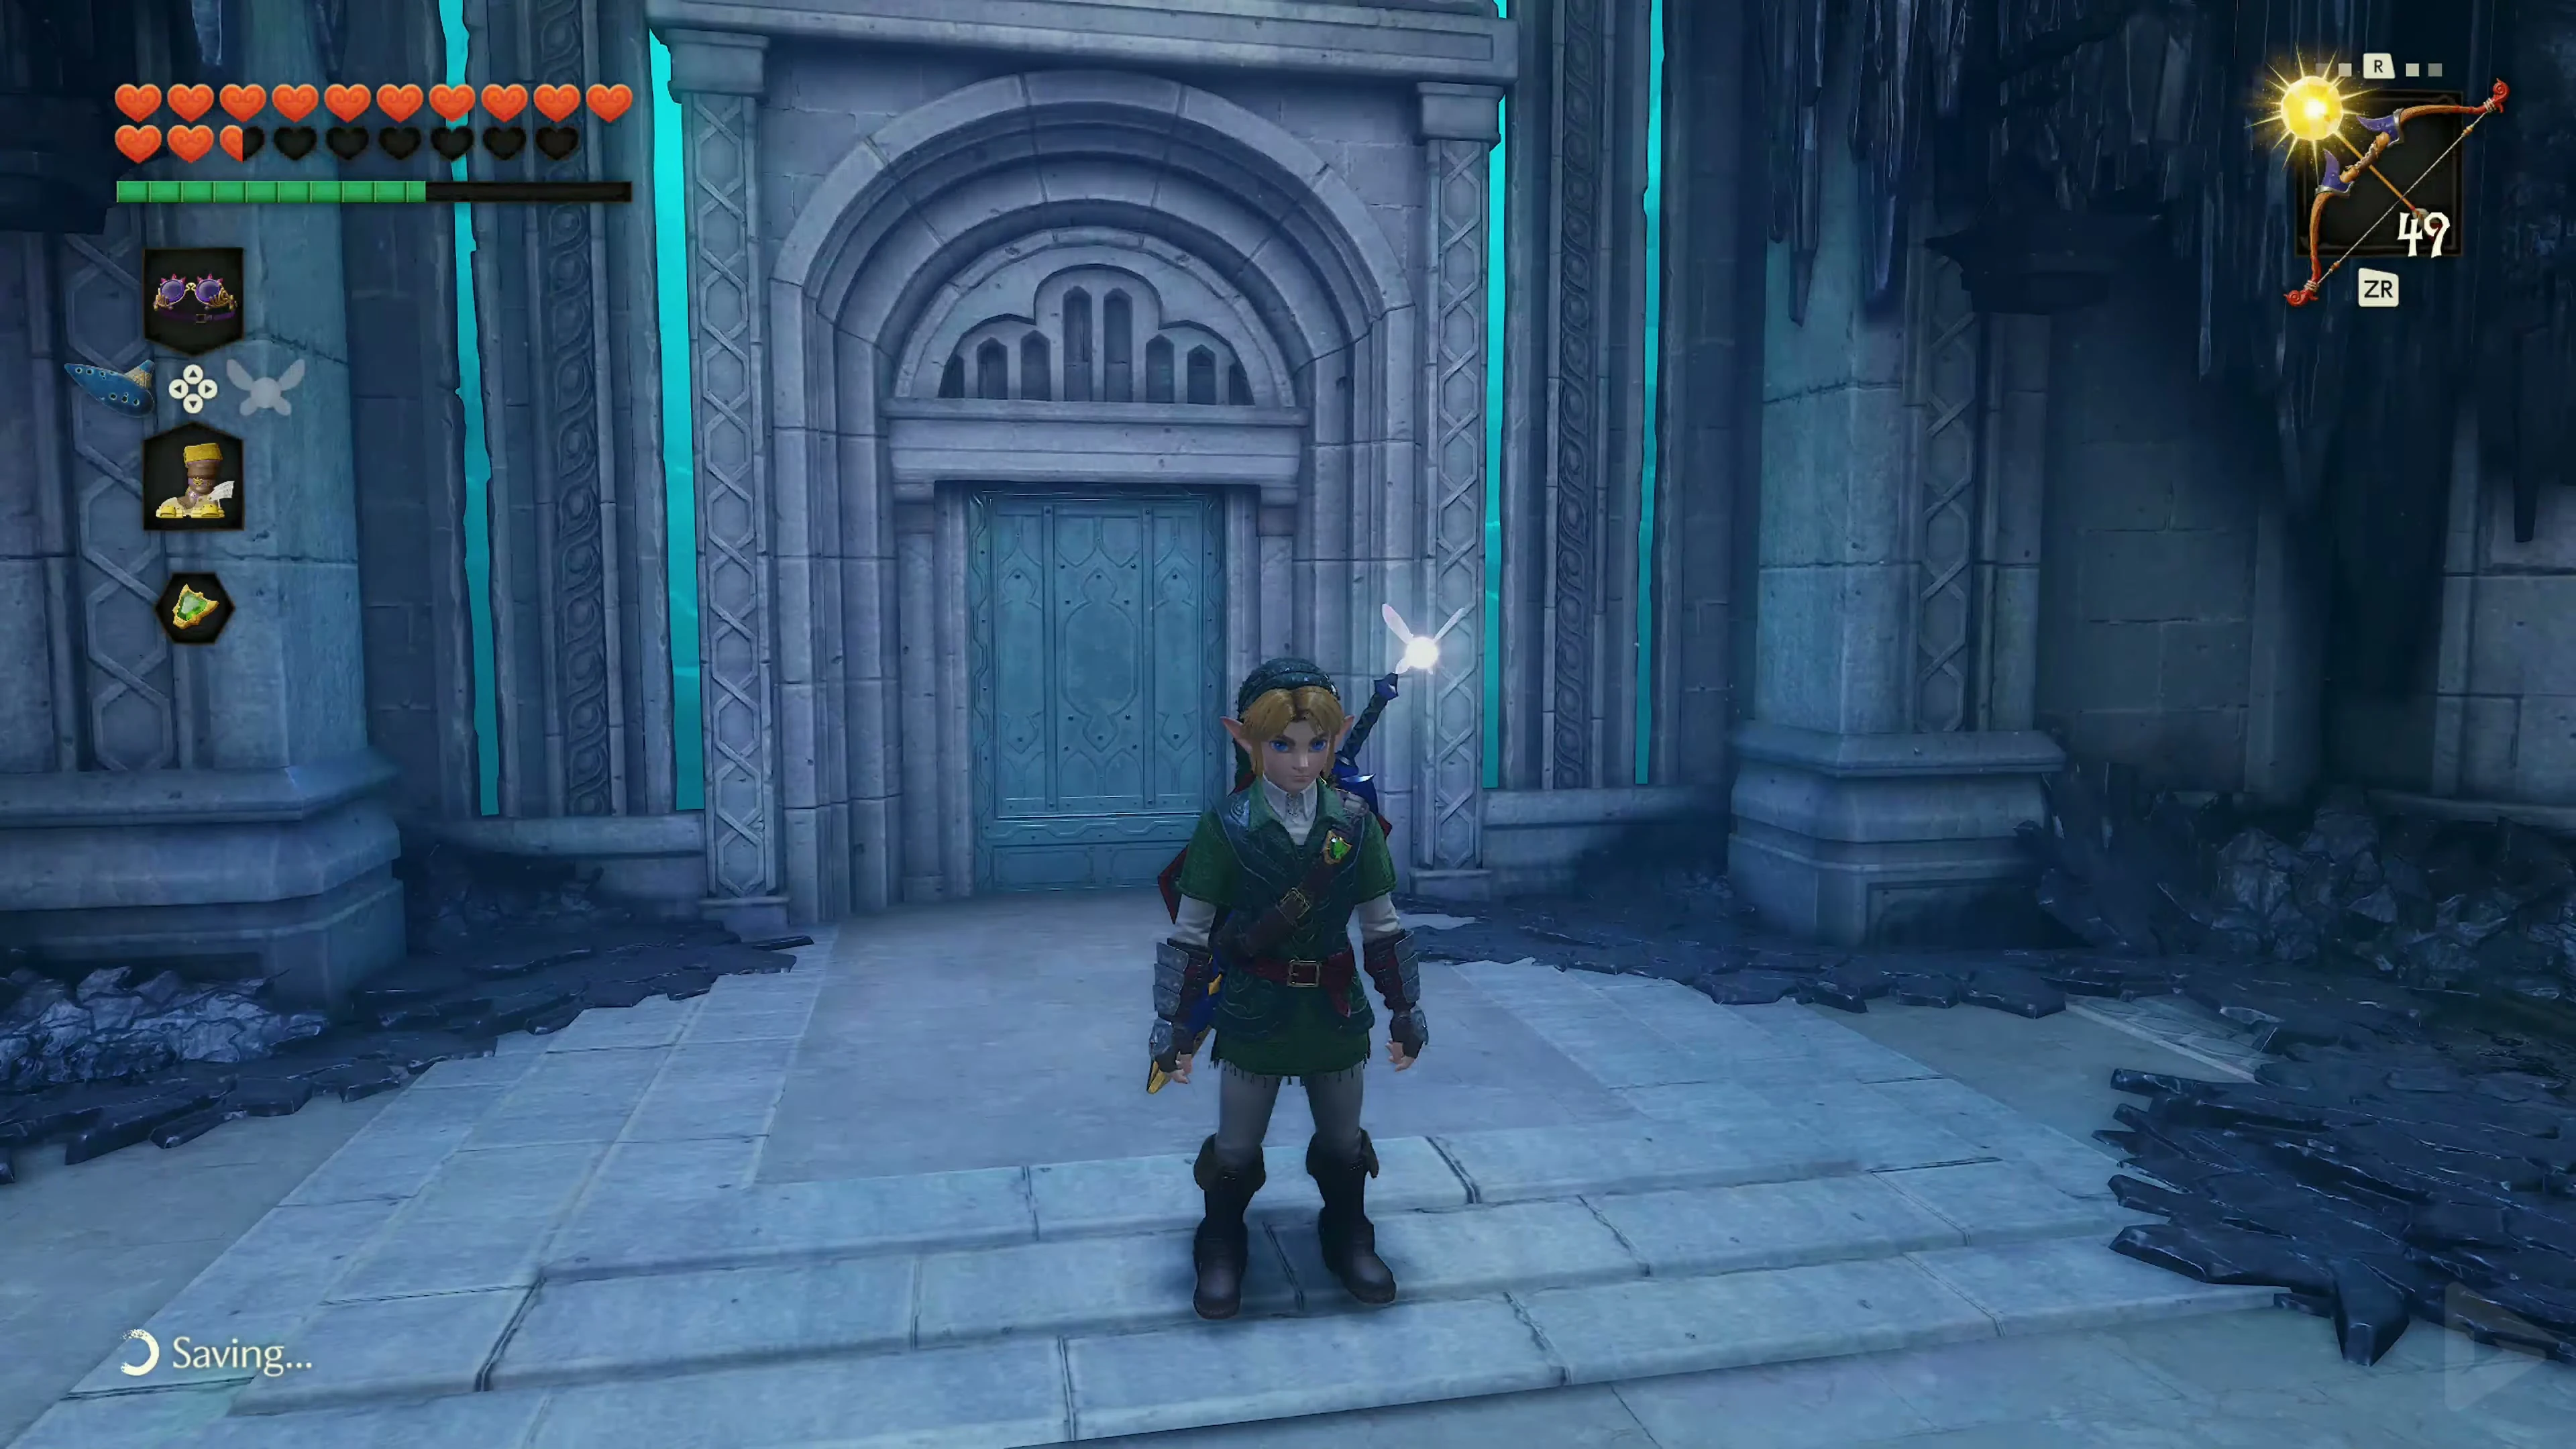
Jump down and leave the room before the two minutes have completely expired. In the next room, destroy the water seal with a Light Arrow. Ruto will appear and take Link back to the main hall. The blue energy beam will disappear.
The Seal of Shadow
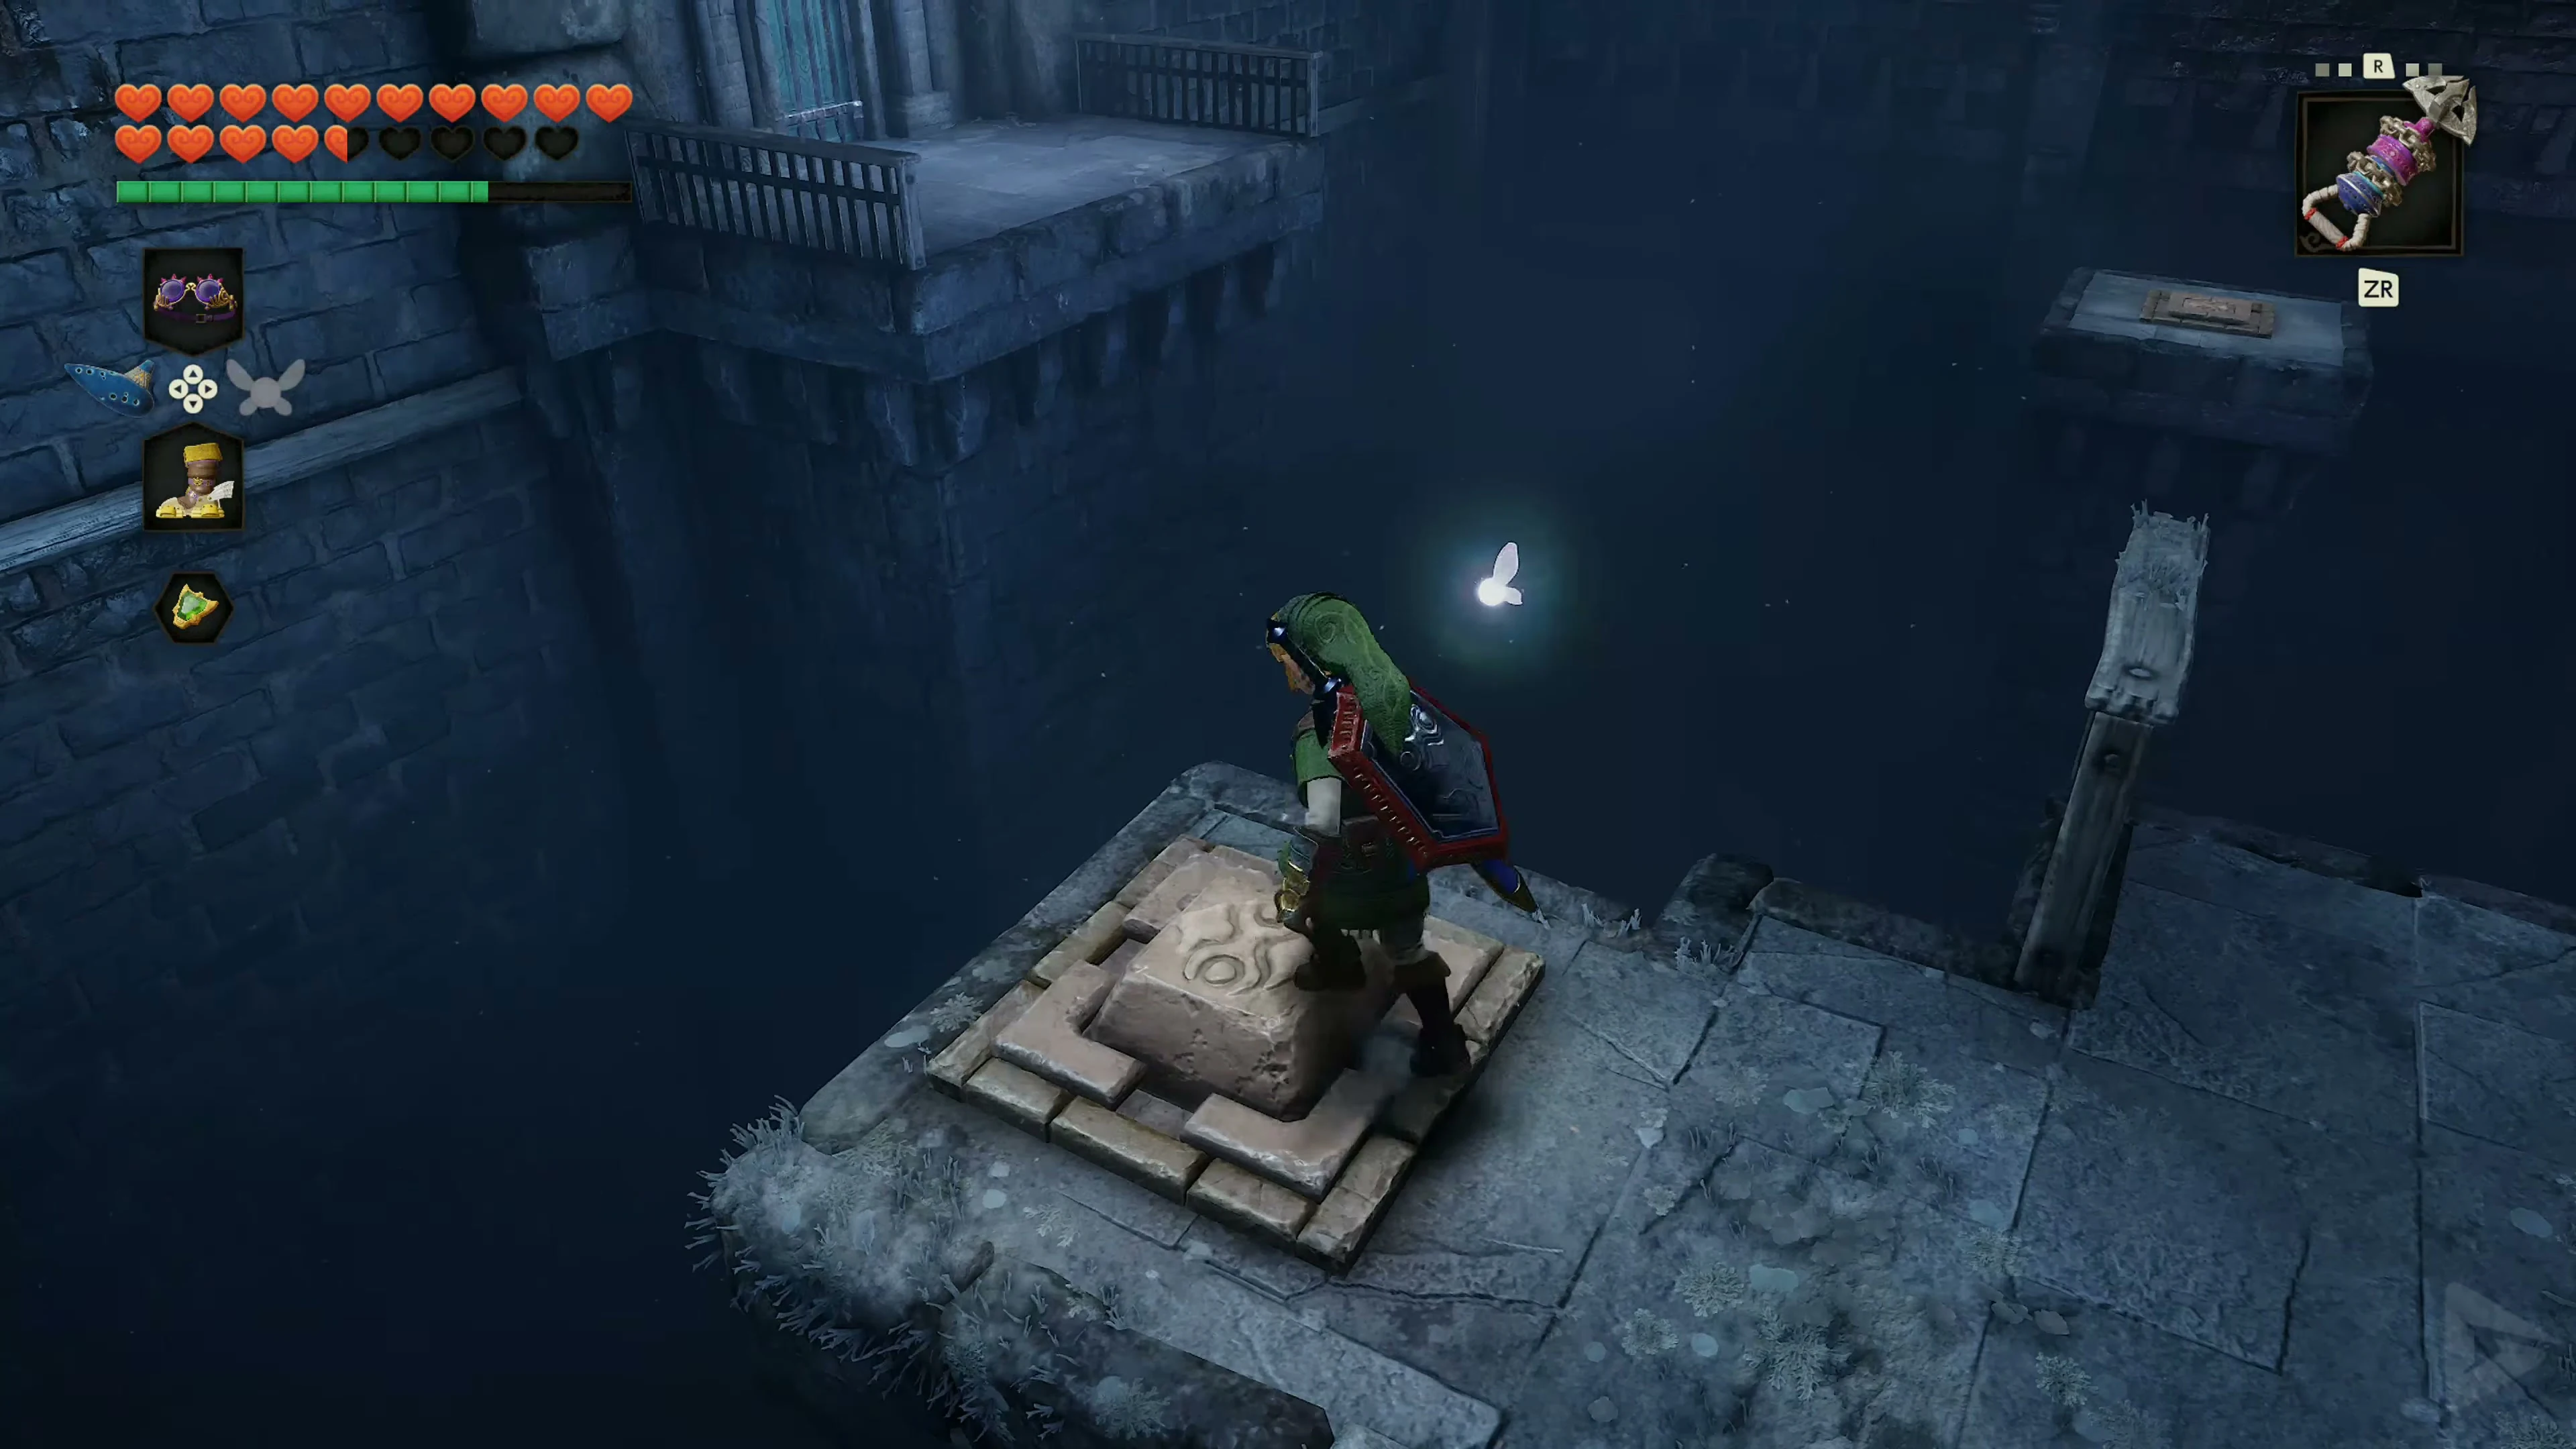
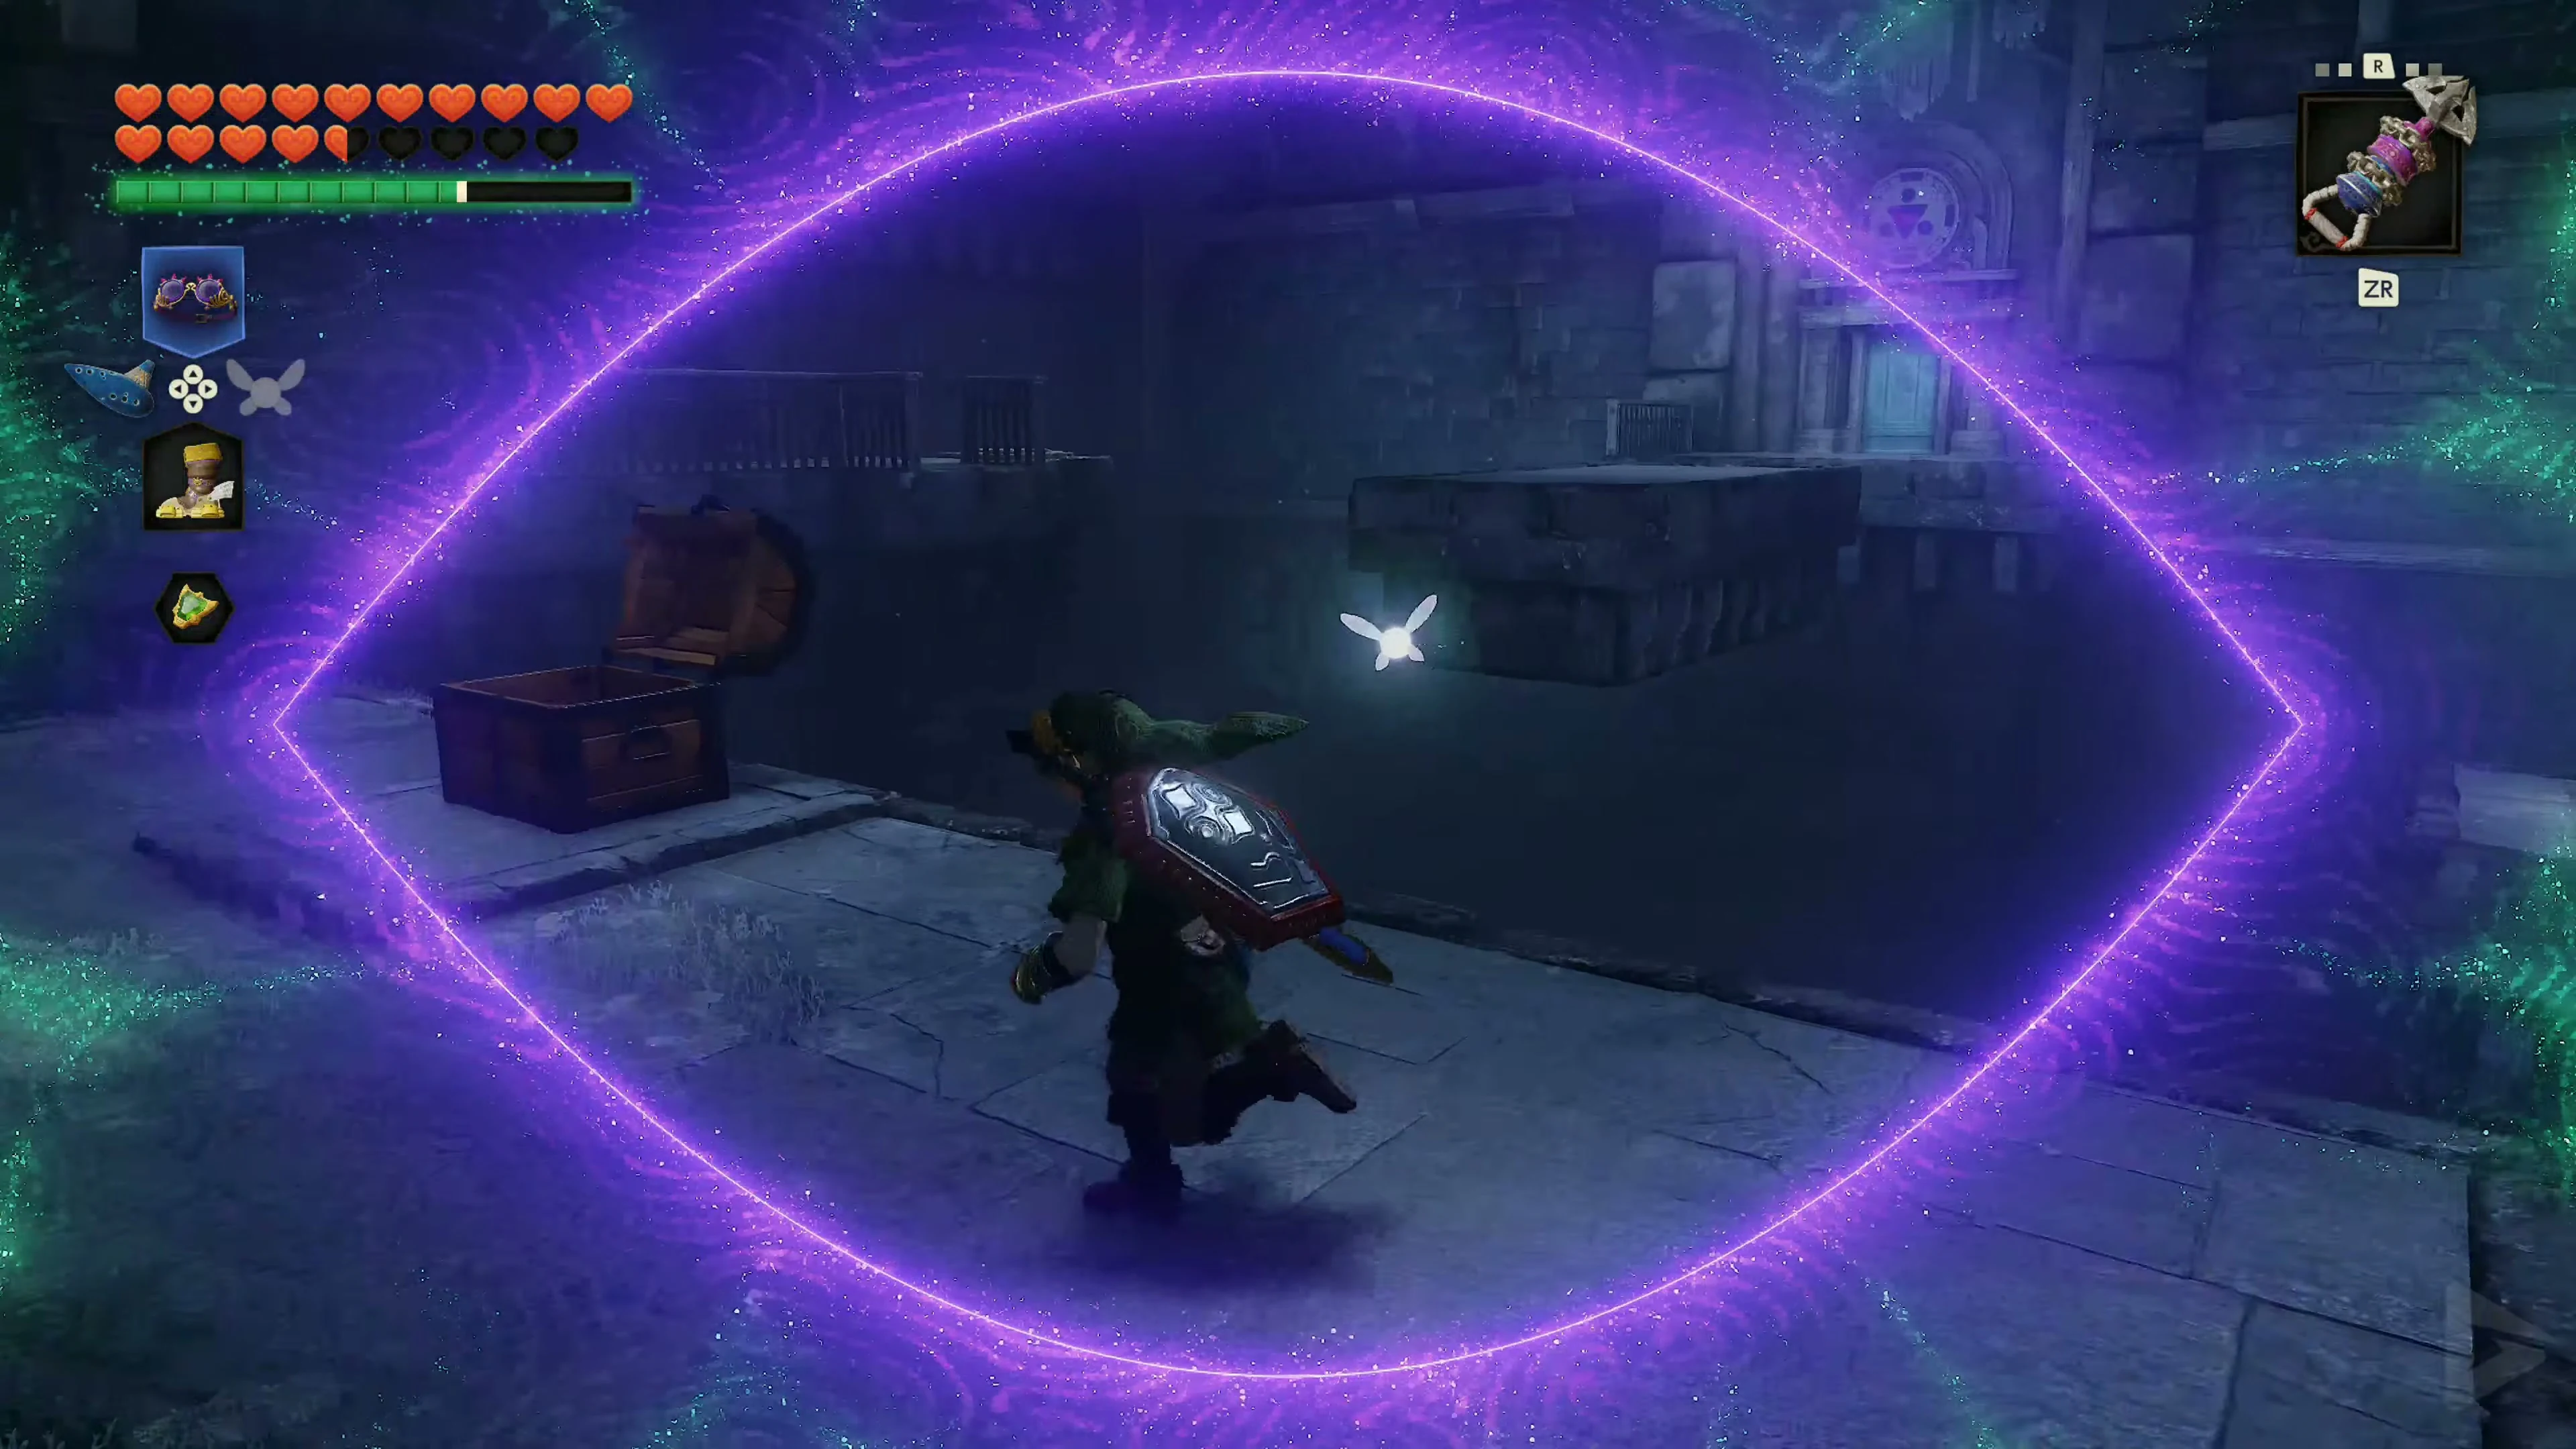
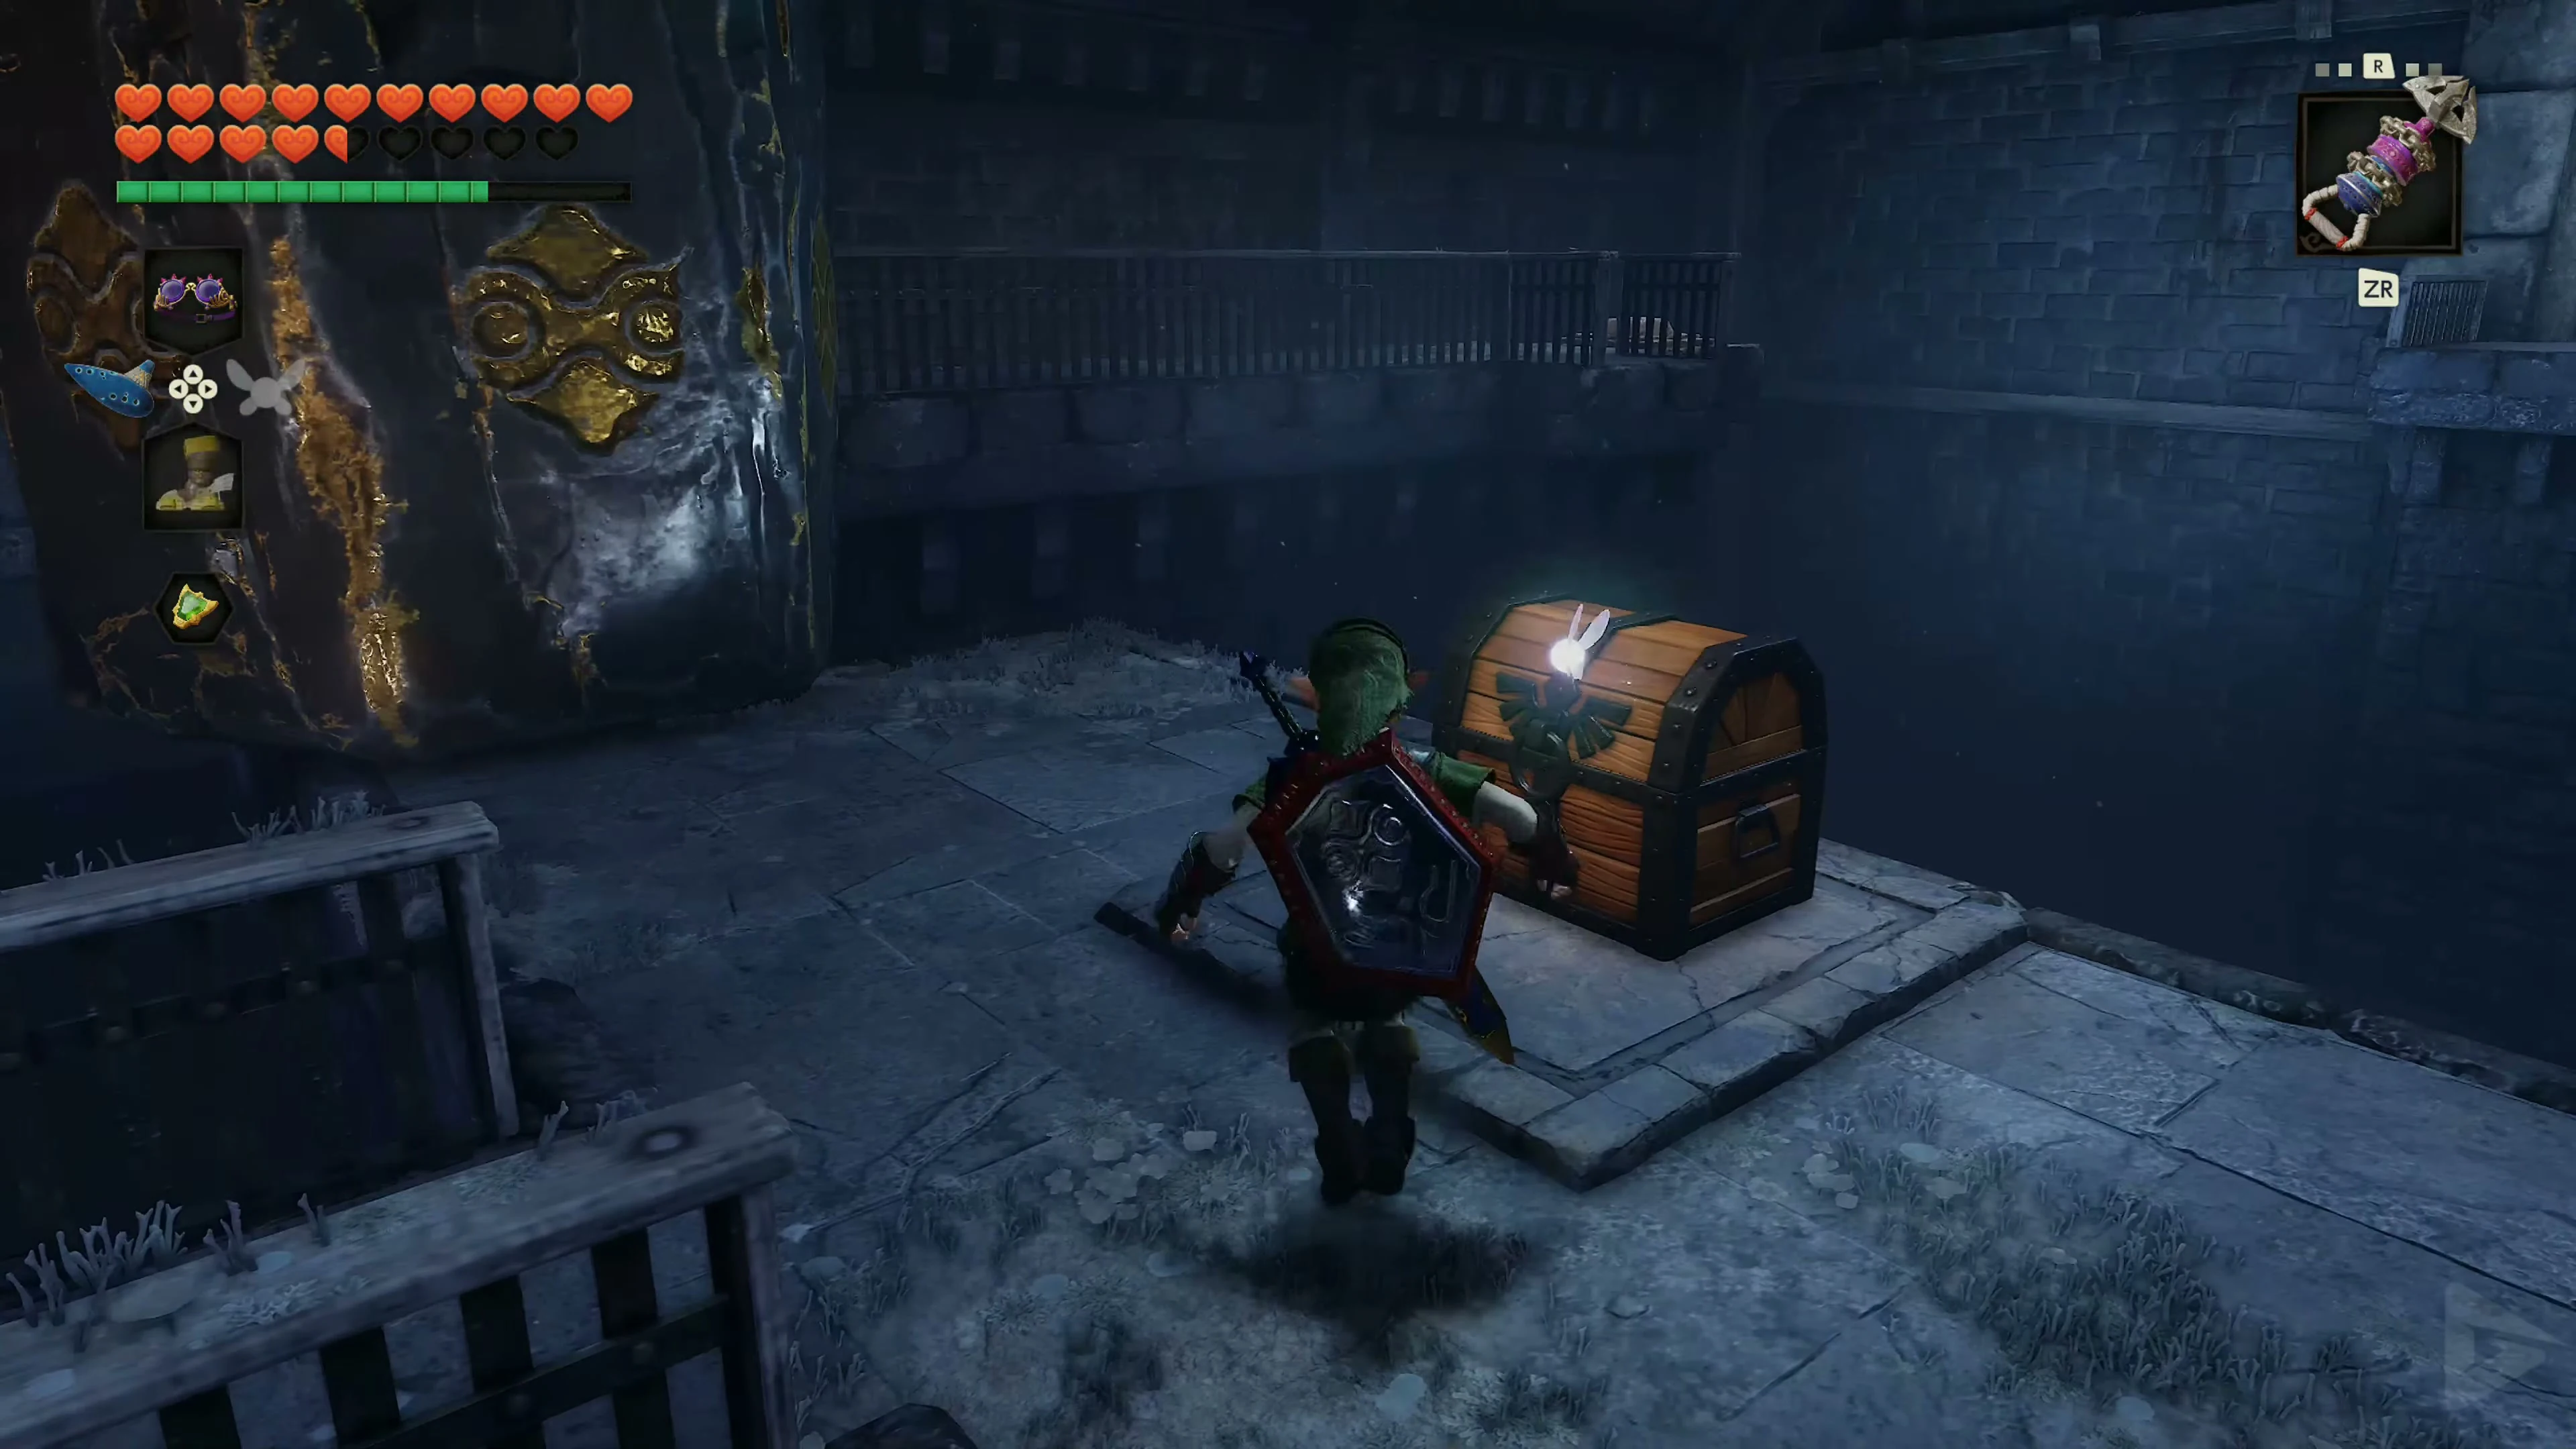
In the Shadow Trial, light the distant torch on the right with a Fire Arrow. Use the briefly visible platforms to reach the solid center. Defeat the Like Like, open the small chest containing 5 arrows , and renew the flame if needed. Cross the next chasm using the Hover Boots. In front of the large boulder, the Lenses of Truth on the right reveals a hidden path . Follow it to the floor switch. This reveals the large treasure chest.
The Golden Gauntlets
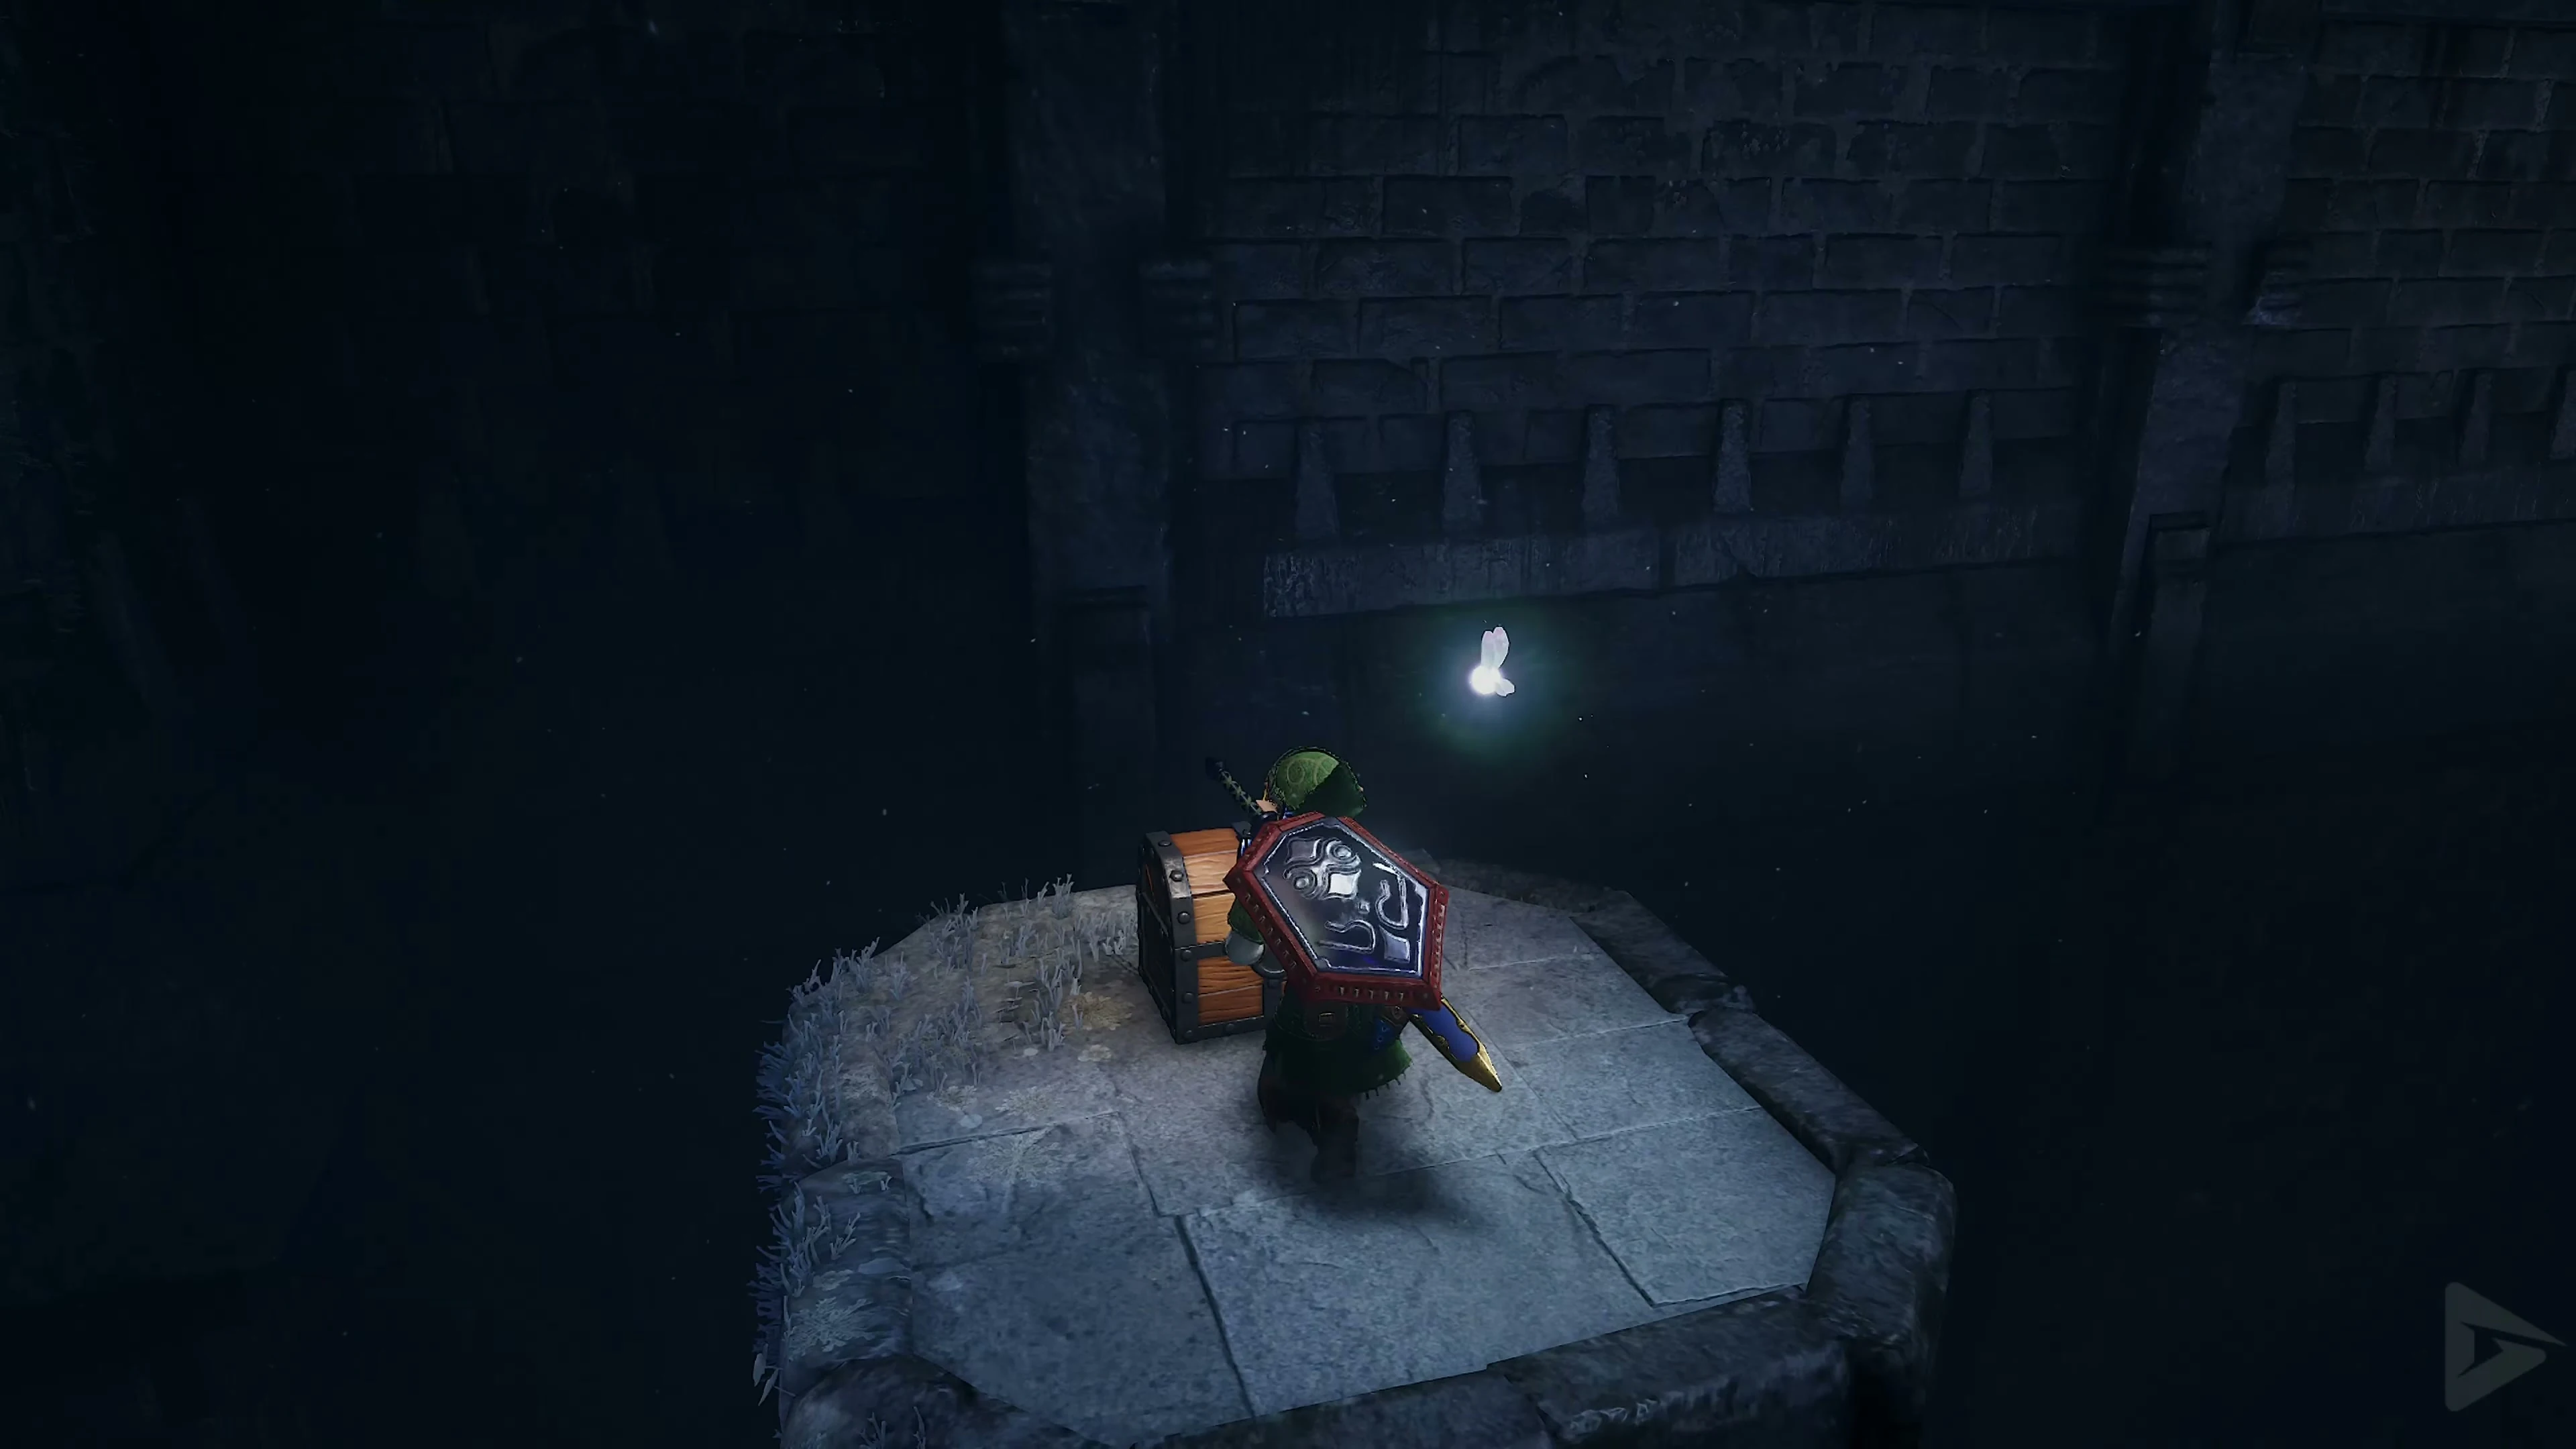
Open the chest for the Golden Gauntlets . Move the large boulder out of the way. Behind it is the switch for the exit gate. Activate it and, using the Lenses of Truth, follow the invisible right-hand path. Use the Hover Boots for the last gap. In the sealed room, destroy the core with a Light Arrow; Impa will take you back to the main hall.
The Last Great Fairy
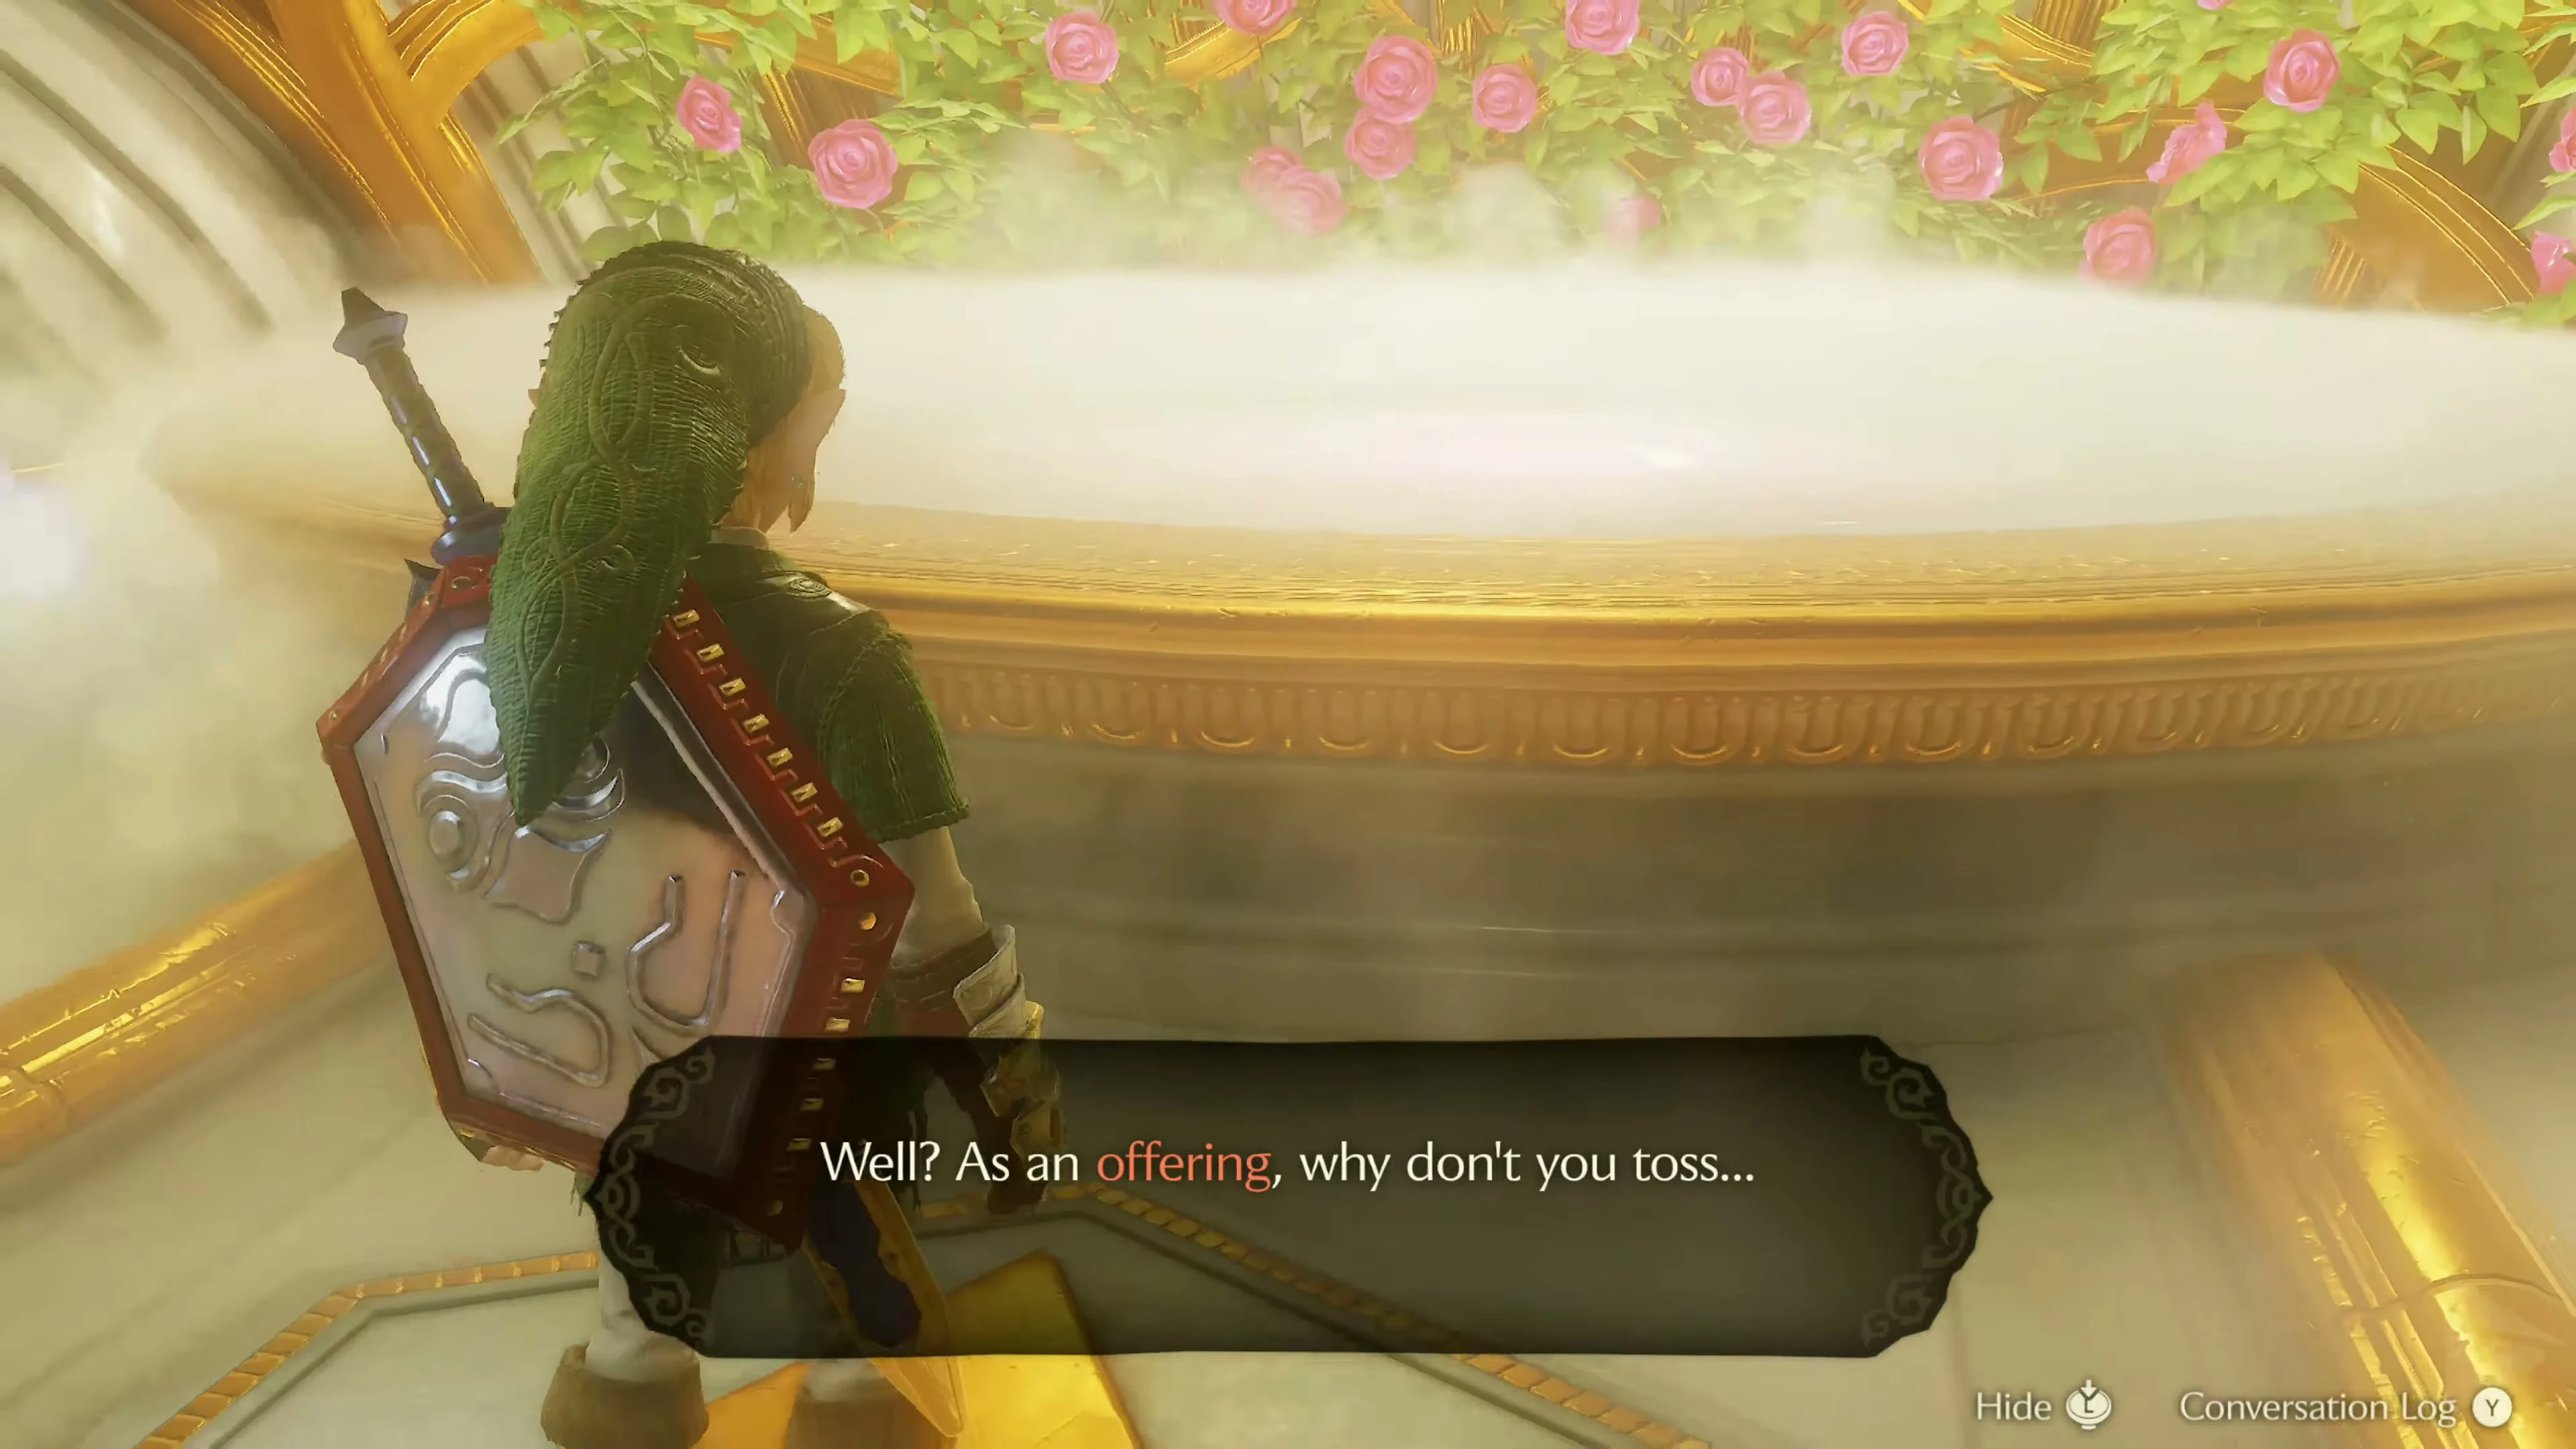
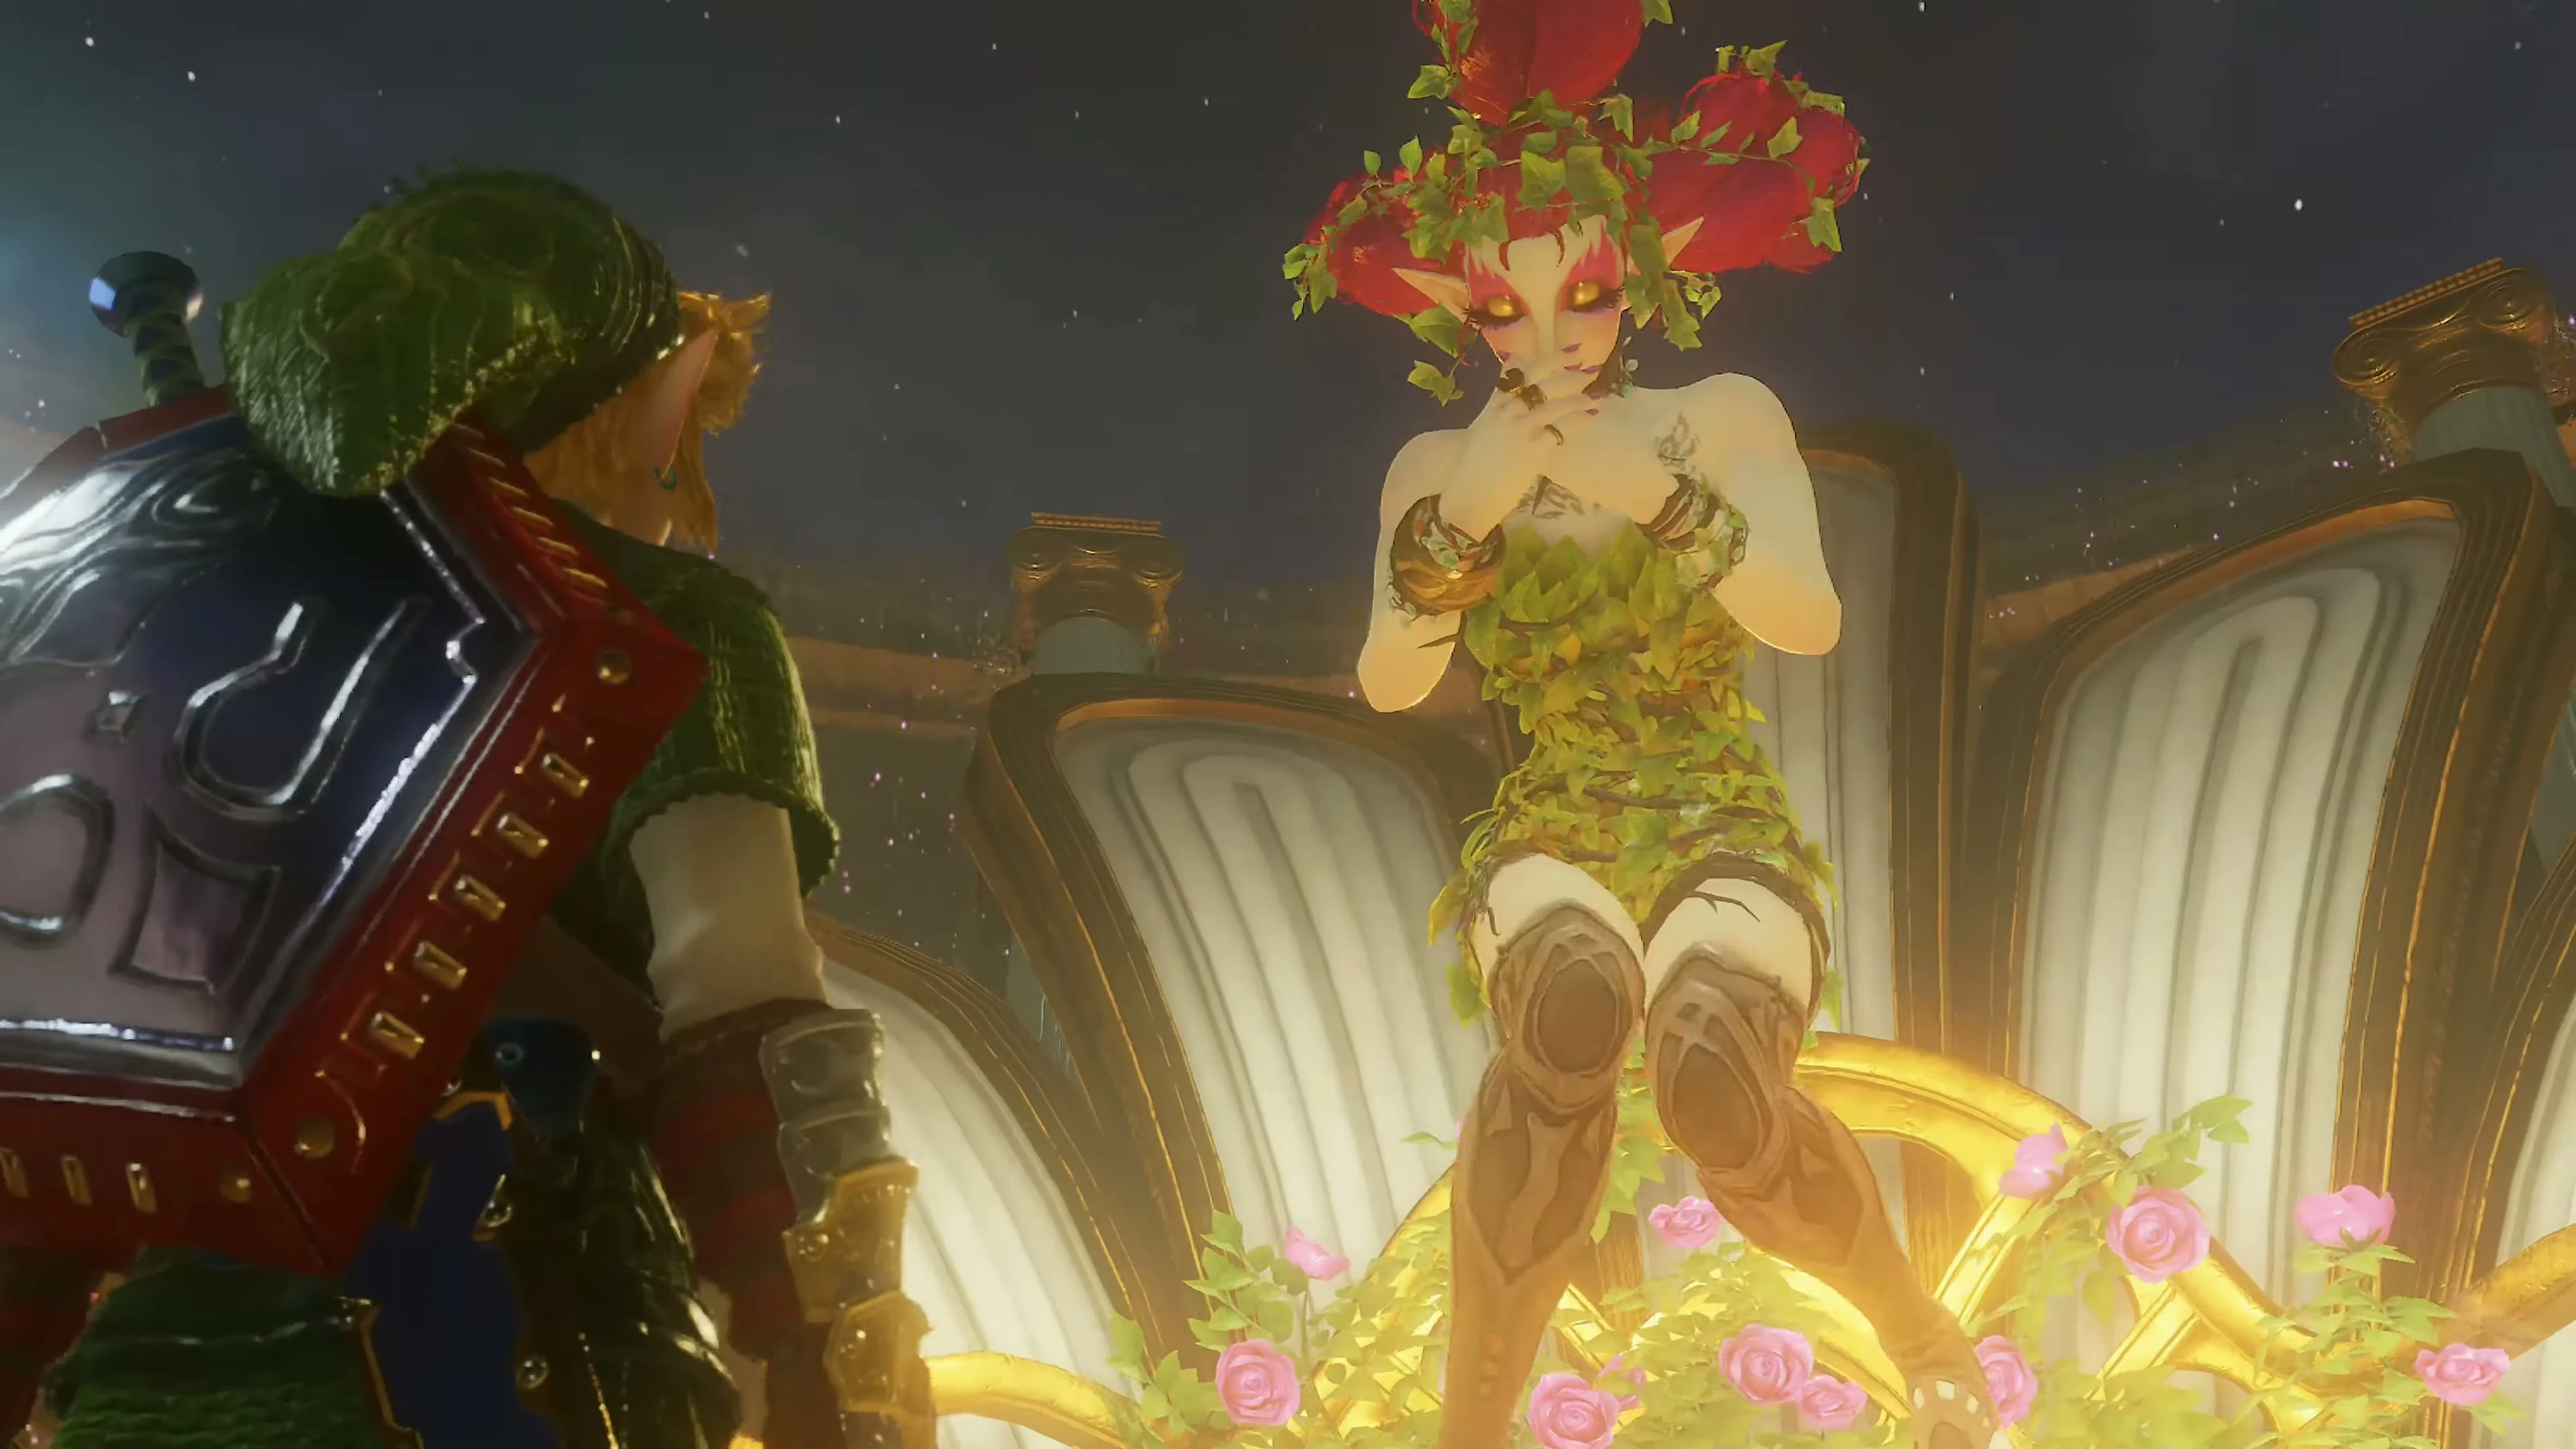
After obtaining the Golden Gauntlets, a short detour from Ganondorf’s Castle is worthwhile. Leave the building, cross the Rainbow Bridge, and follow the wall outside the castle. At the end of the path, a huge black stone pillar blocks the entrance to a cave. Stand in front of it and use the Golden Gauntlets. Link lifts the massive boulder above his head and hurls it aside. Enter the revealed Fairy Fountain and stand on the Triforce symbol. Play Zelda’s Lullaby Bring the Great Fairy of Courage 500 Rupees She permanently improves Link’s defense. From now on, enemy attacks will only cause half the damage . You’ll recognize the improvement by the white or silver borders around the hearts in your health bar. This improvement is especially helpful for the upcoming battles against Ganondorf and Ganon.
Afterward, return to Ganondorf’s Castle via the bridge.
The Seal of Fire
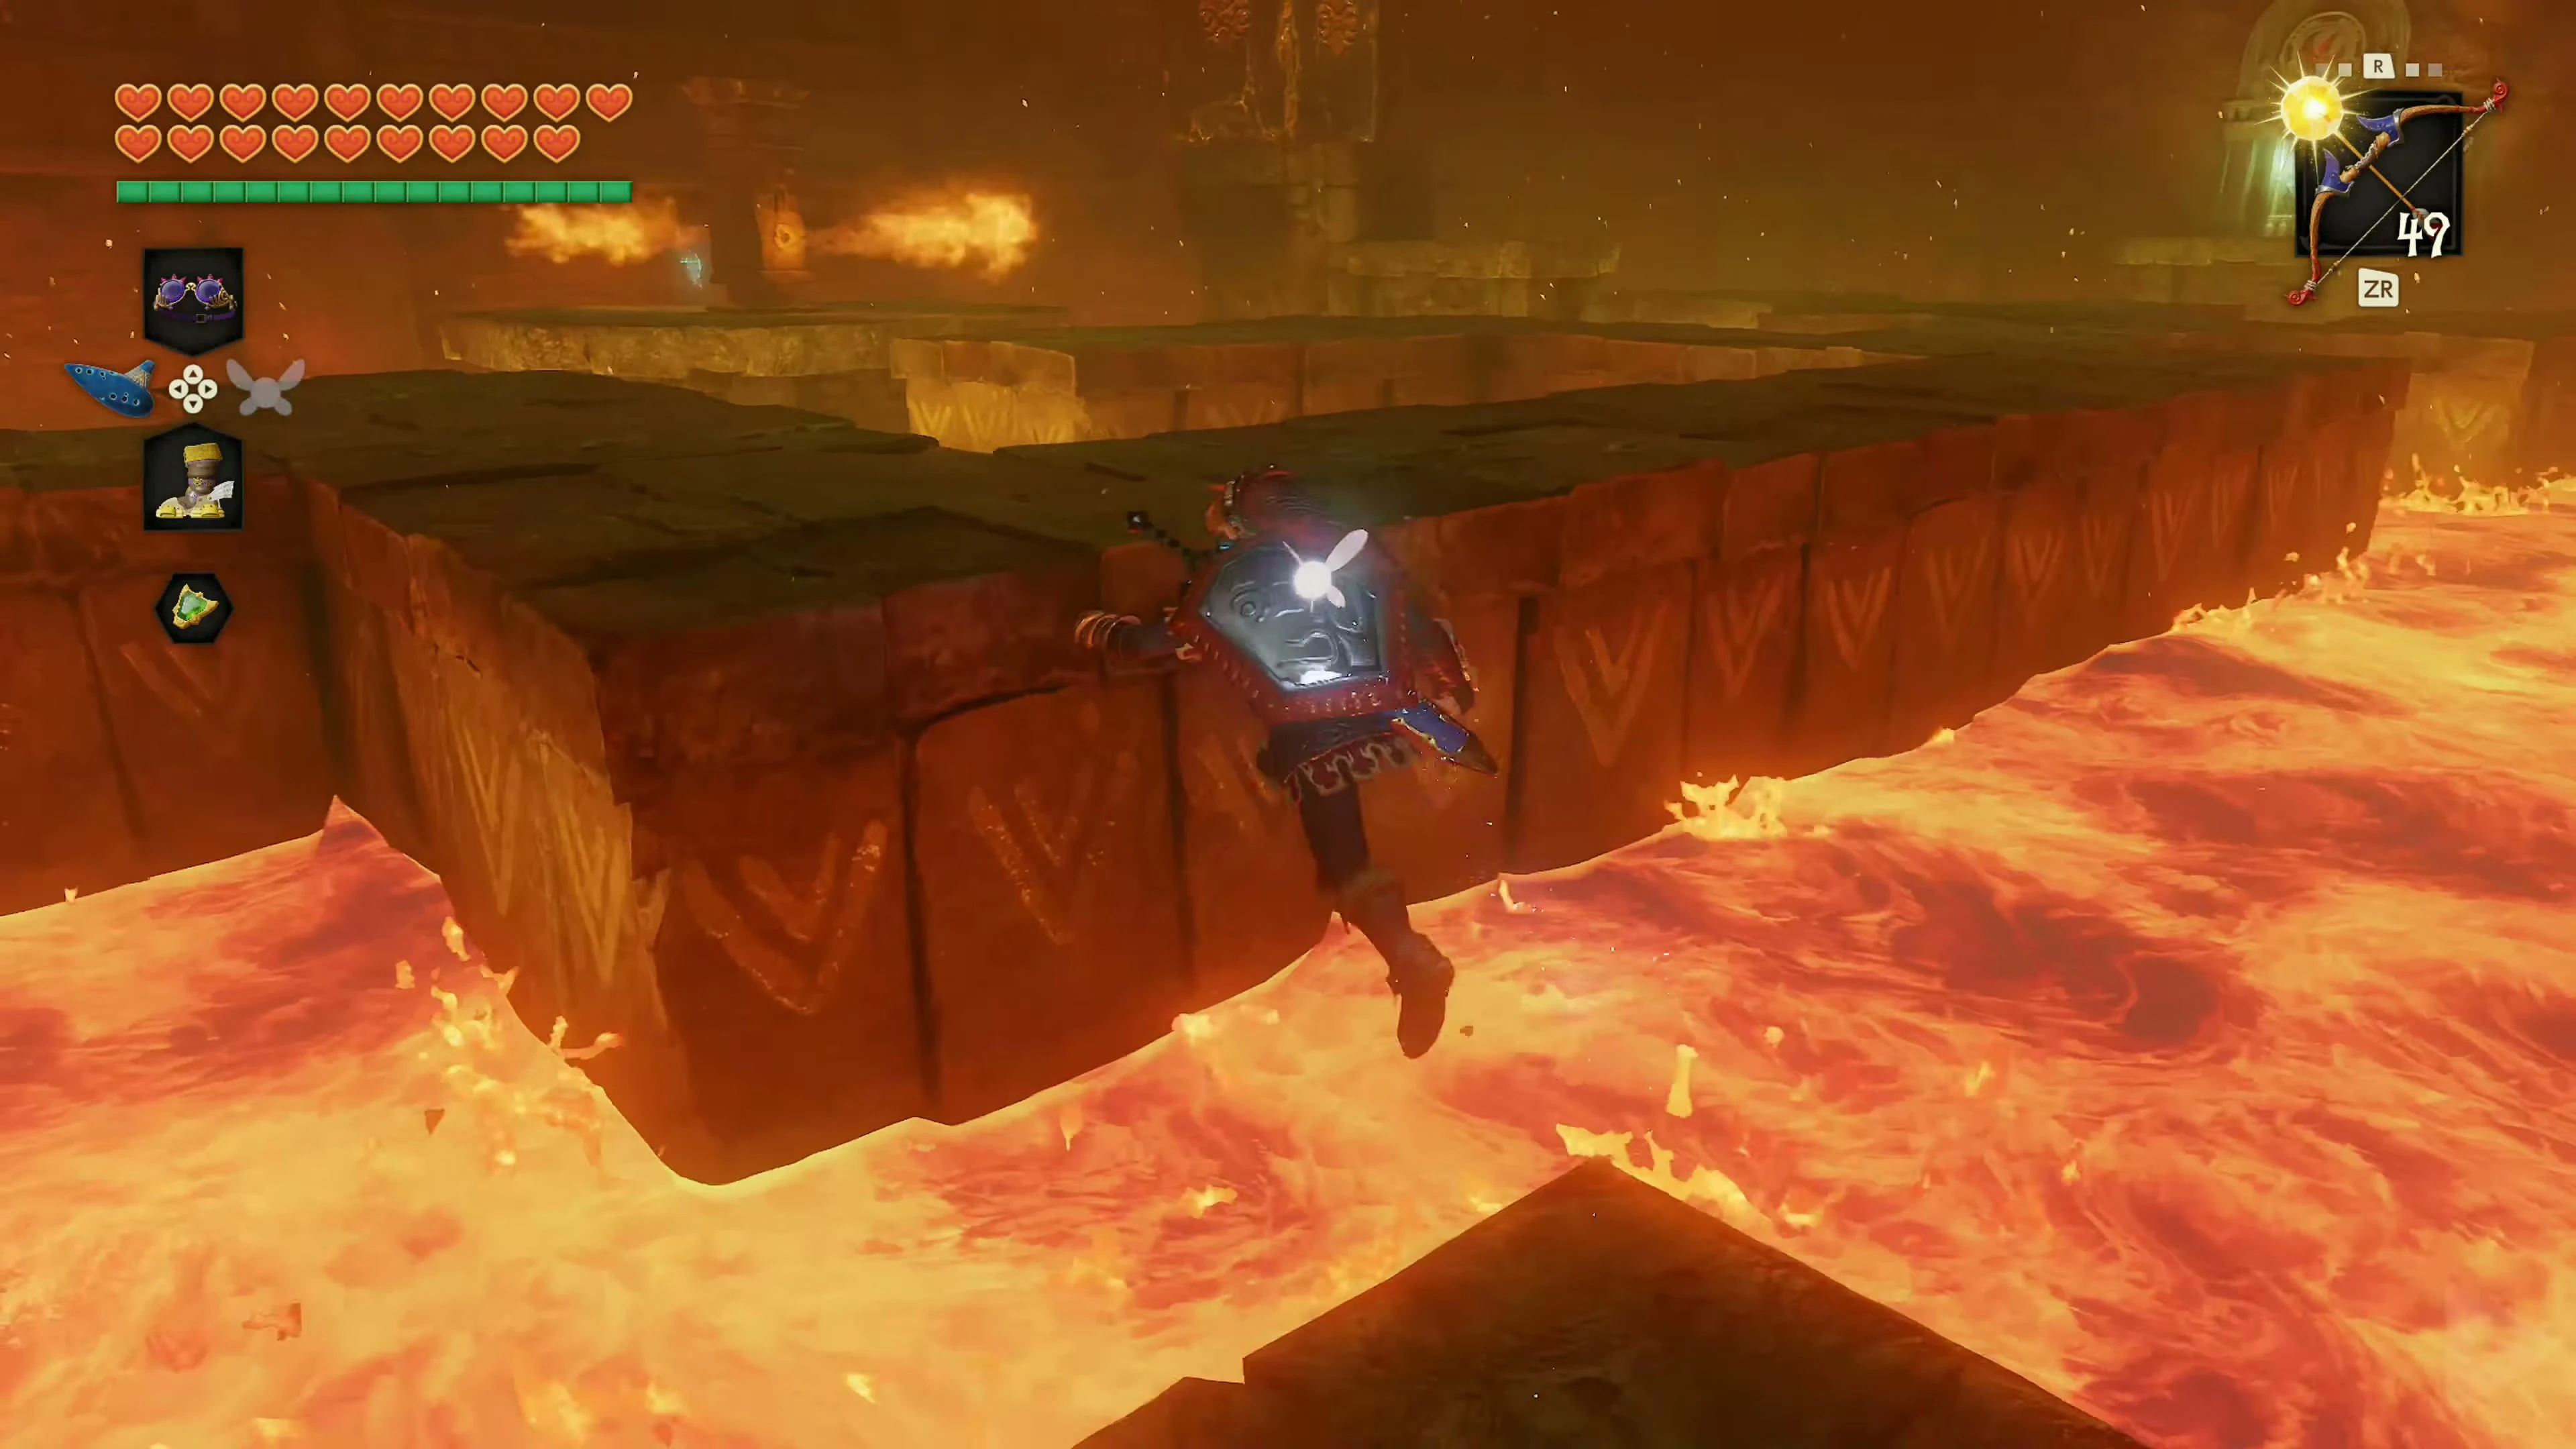
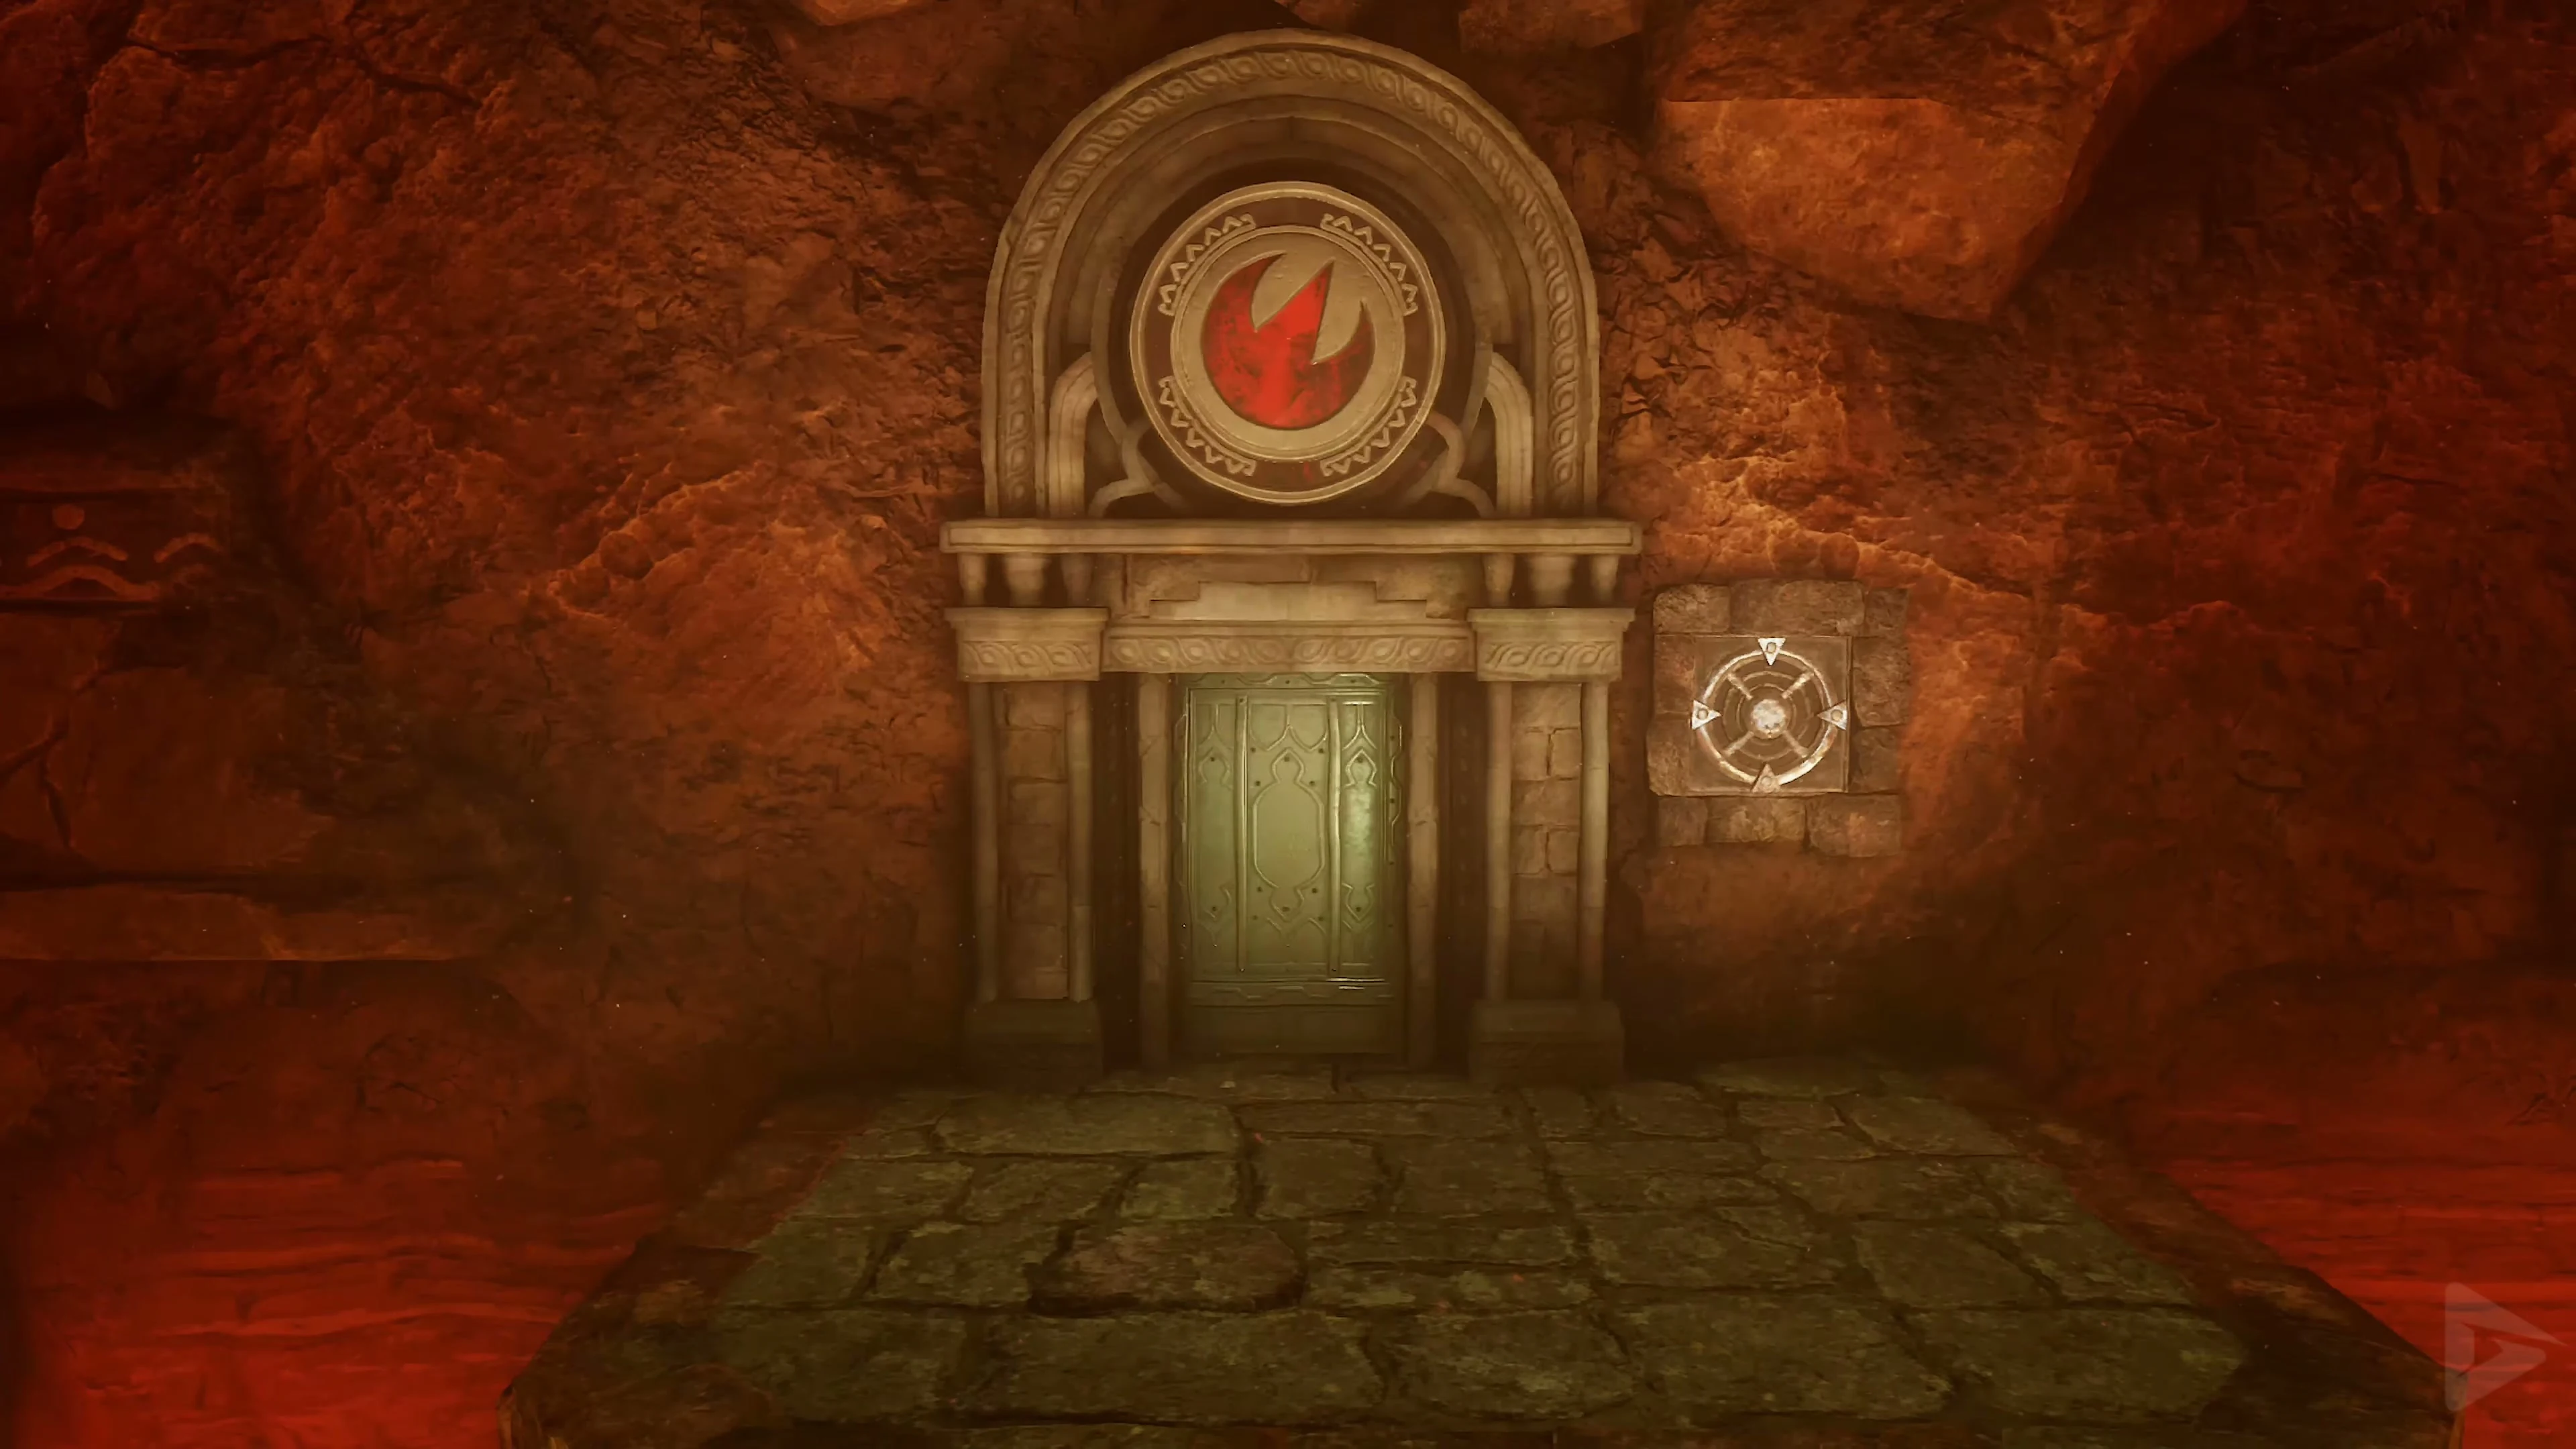
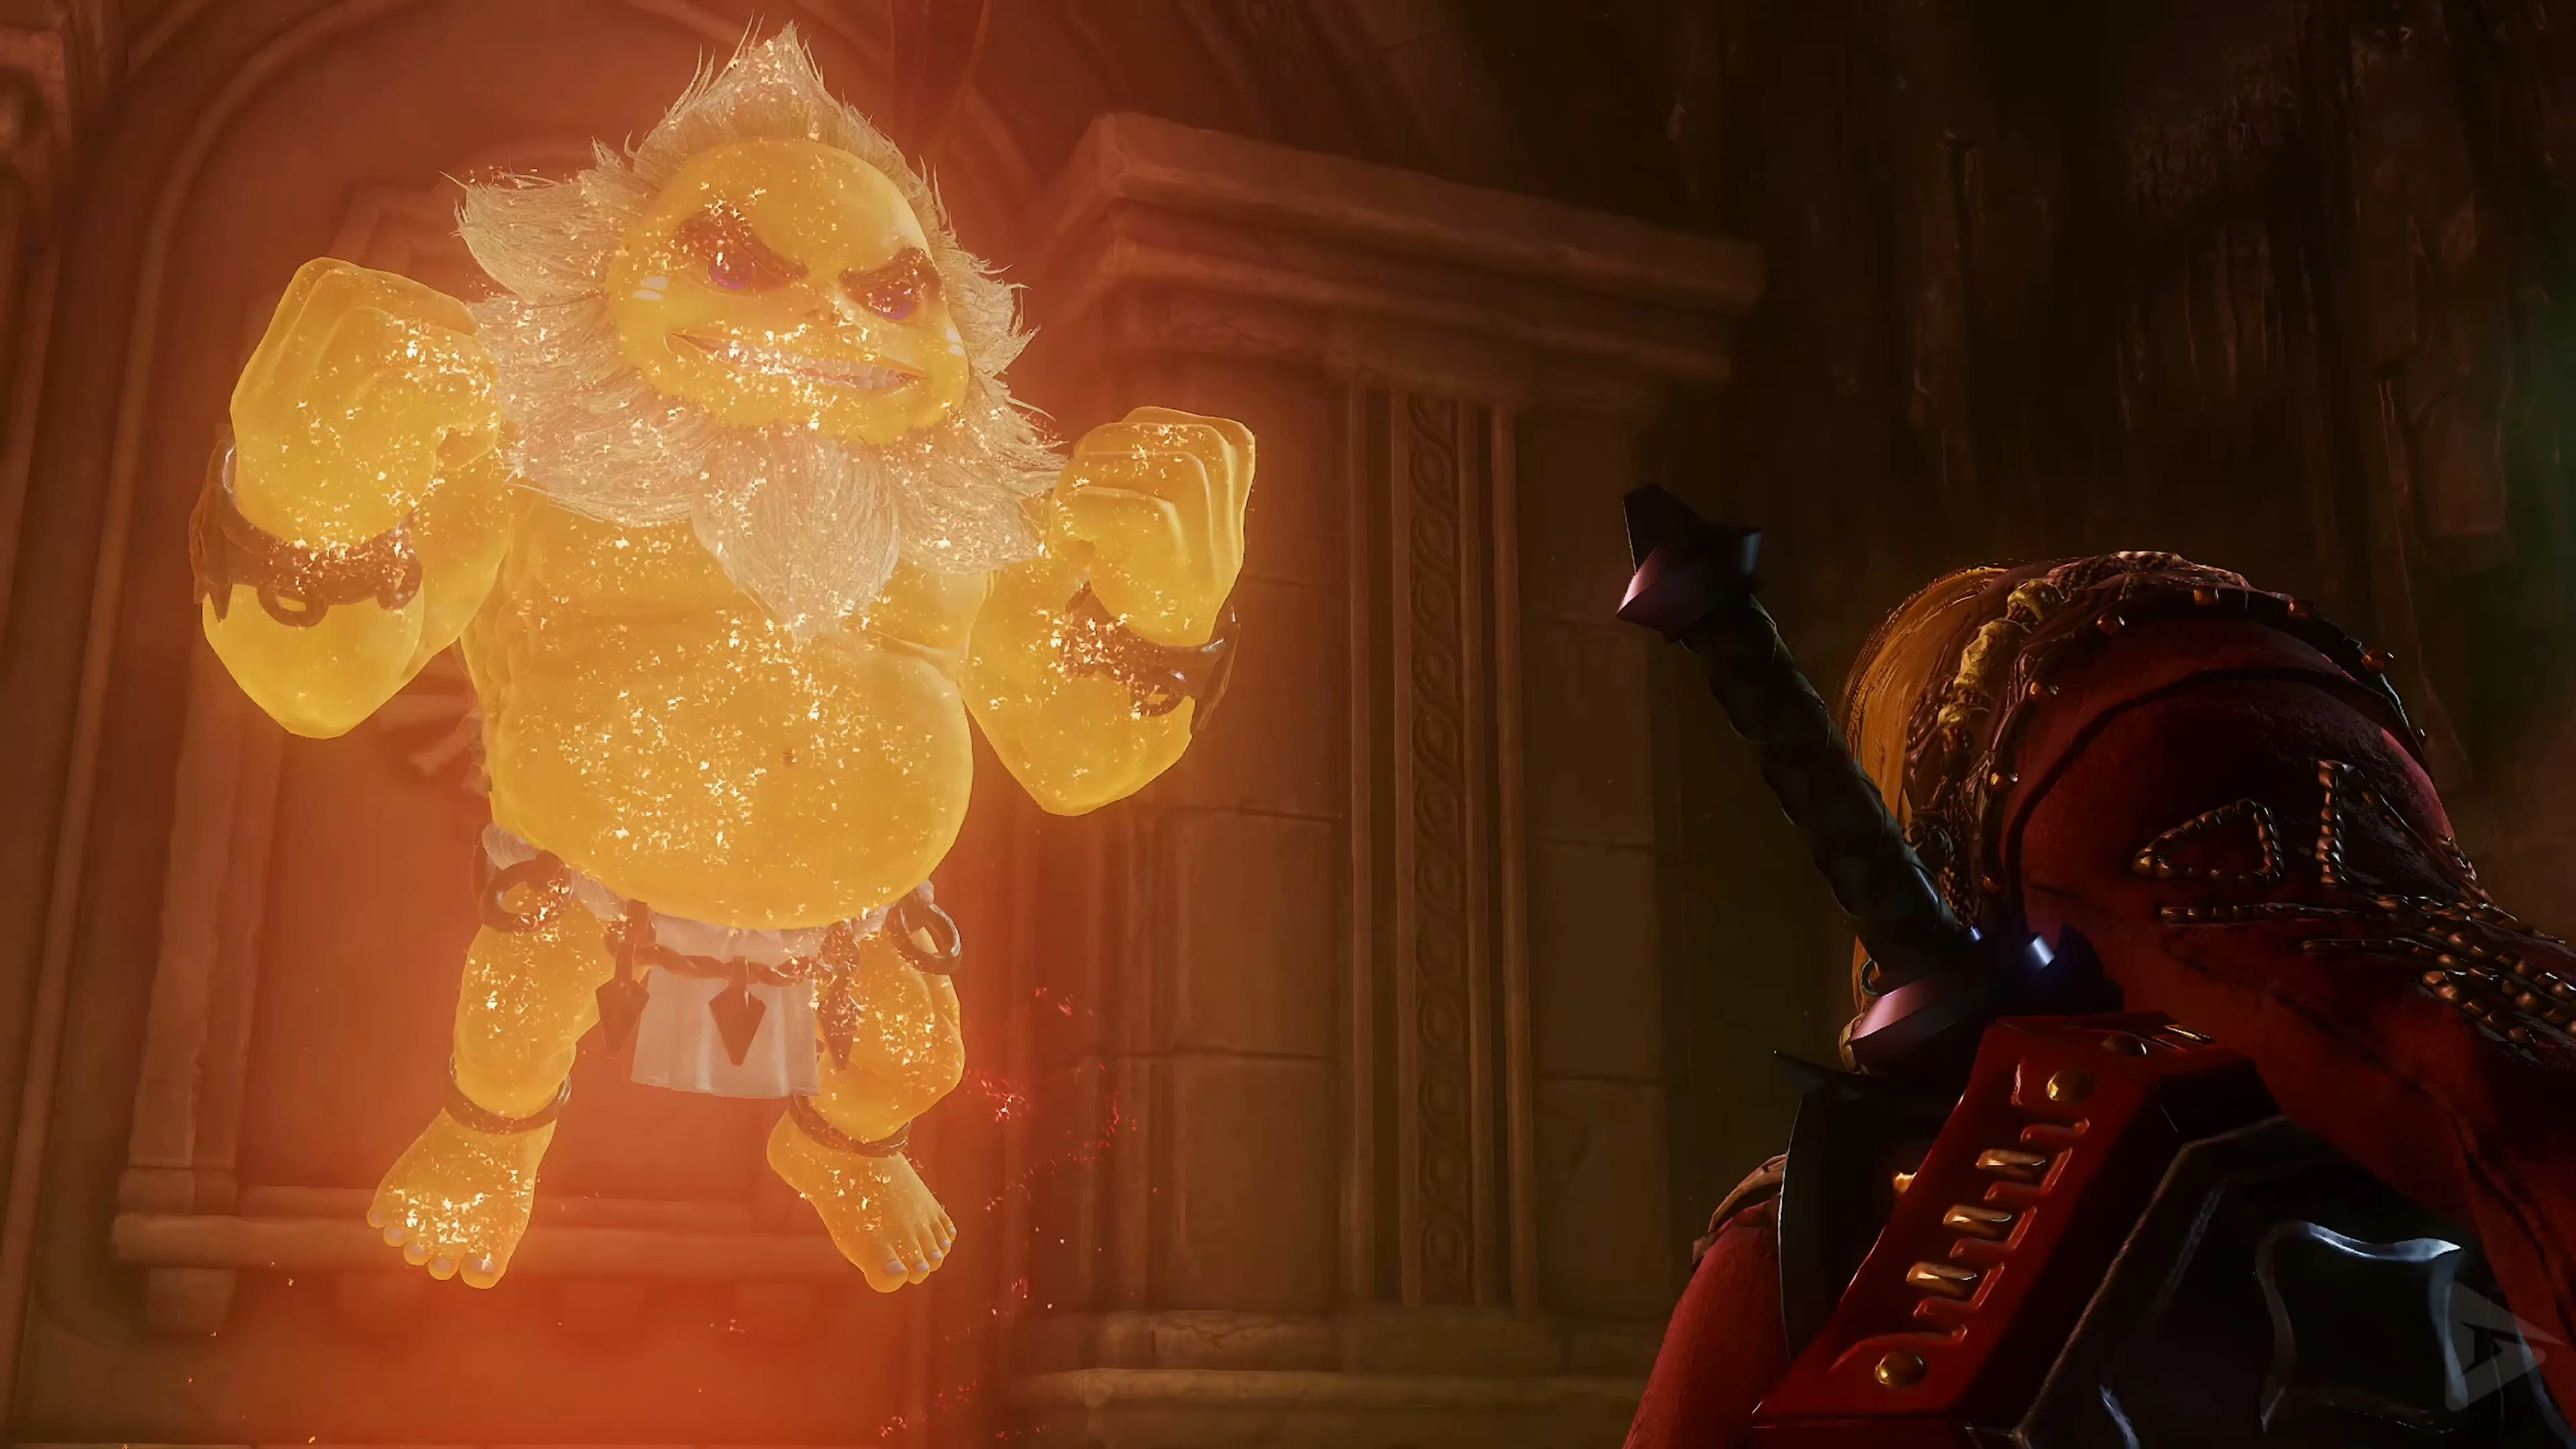
With the Golden Gauntlets, first lift the heavy block in front of the red trial door and equip the Goron Tunic. In the lava room, collect five crystals. The platforms marked with arrows will sink under your weight; only stand on them briefly. First, collect the crystal on the right, then the one by the rotating fire beam. On the left, lift the large stone pillar. The third crystal is underneath it. The thrown stone on the other side provides another secure foothold. Defeat the Torch Slug for the fourth crystal and use the stone to reach the last one. Then, use the Longshot to pull yourself to the exit and fire a Light Arrow at the fire seal in the next room.
The Seal of Light
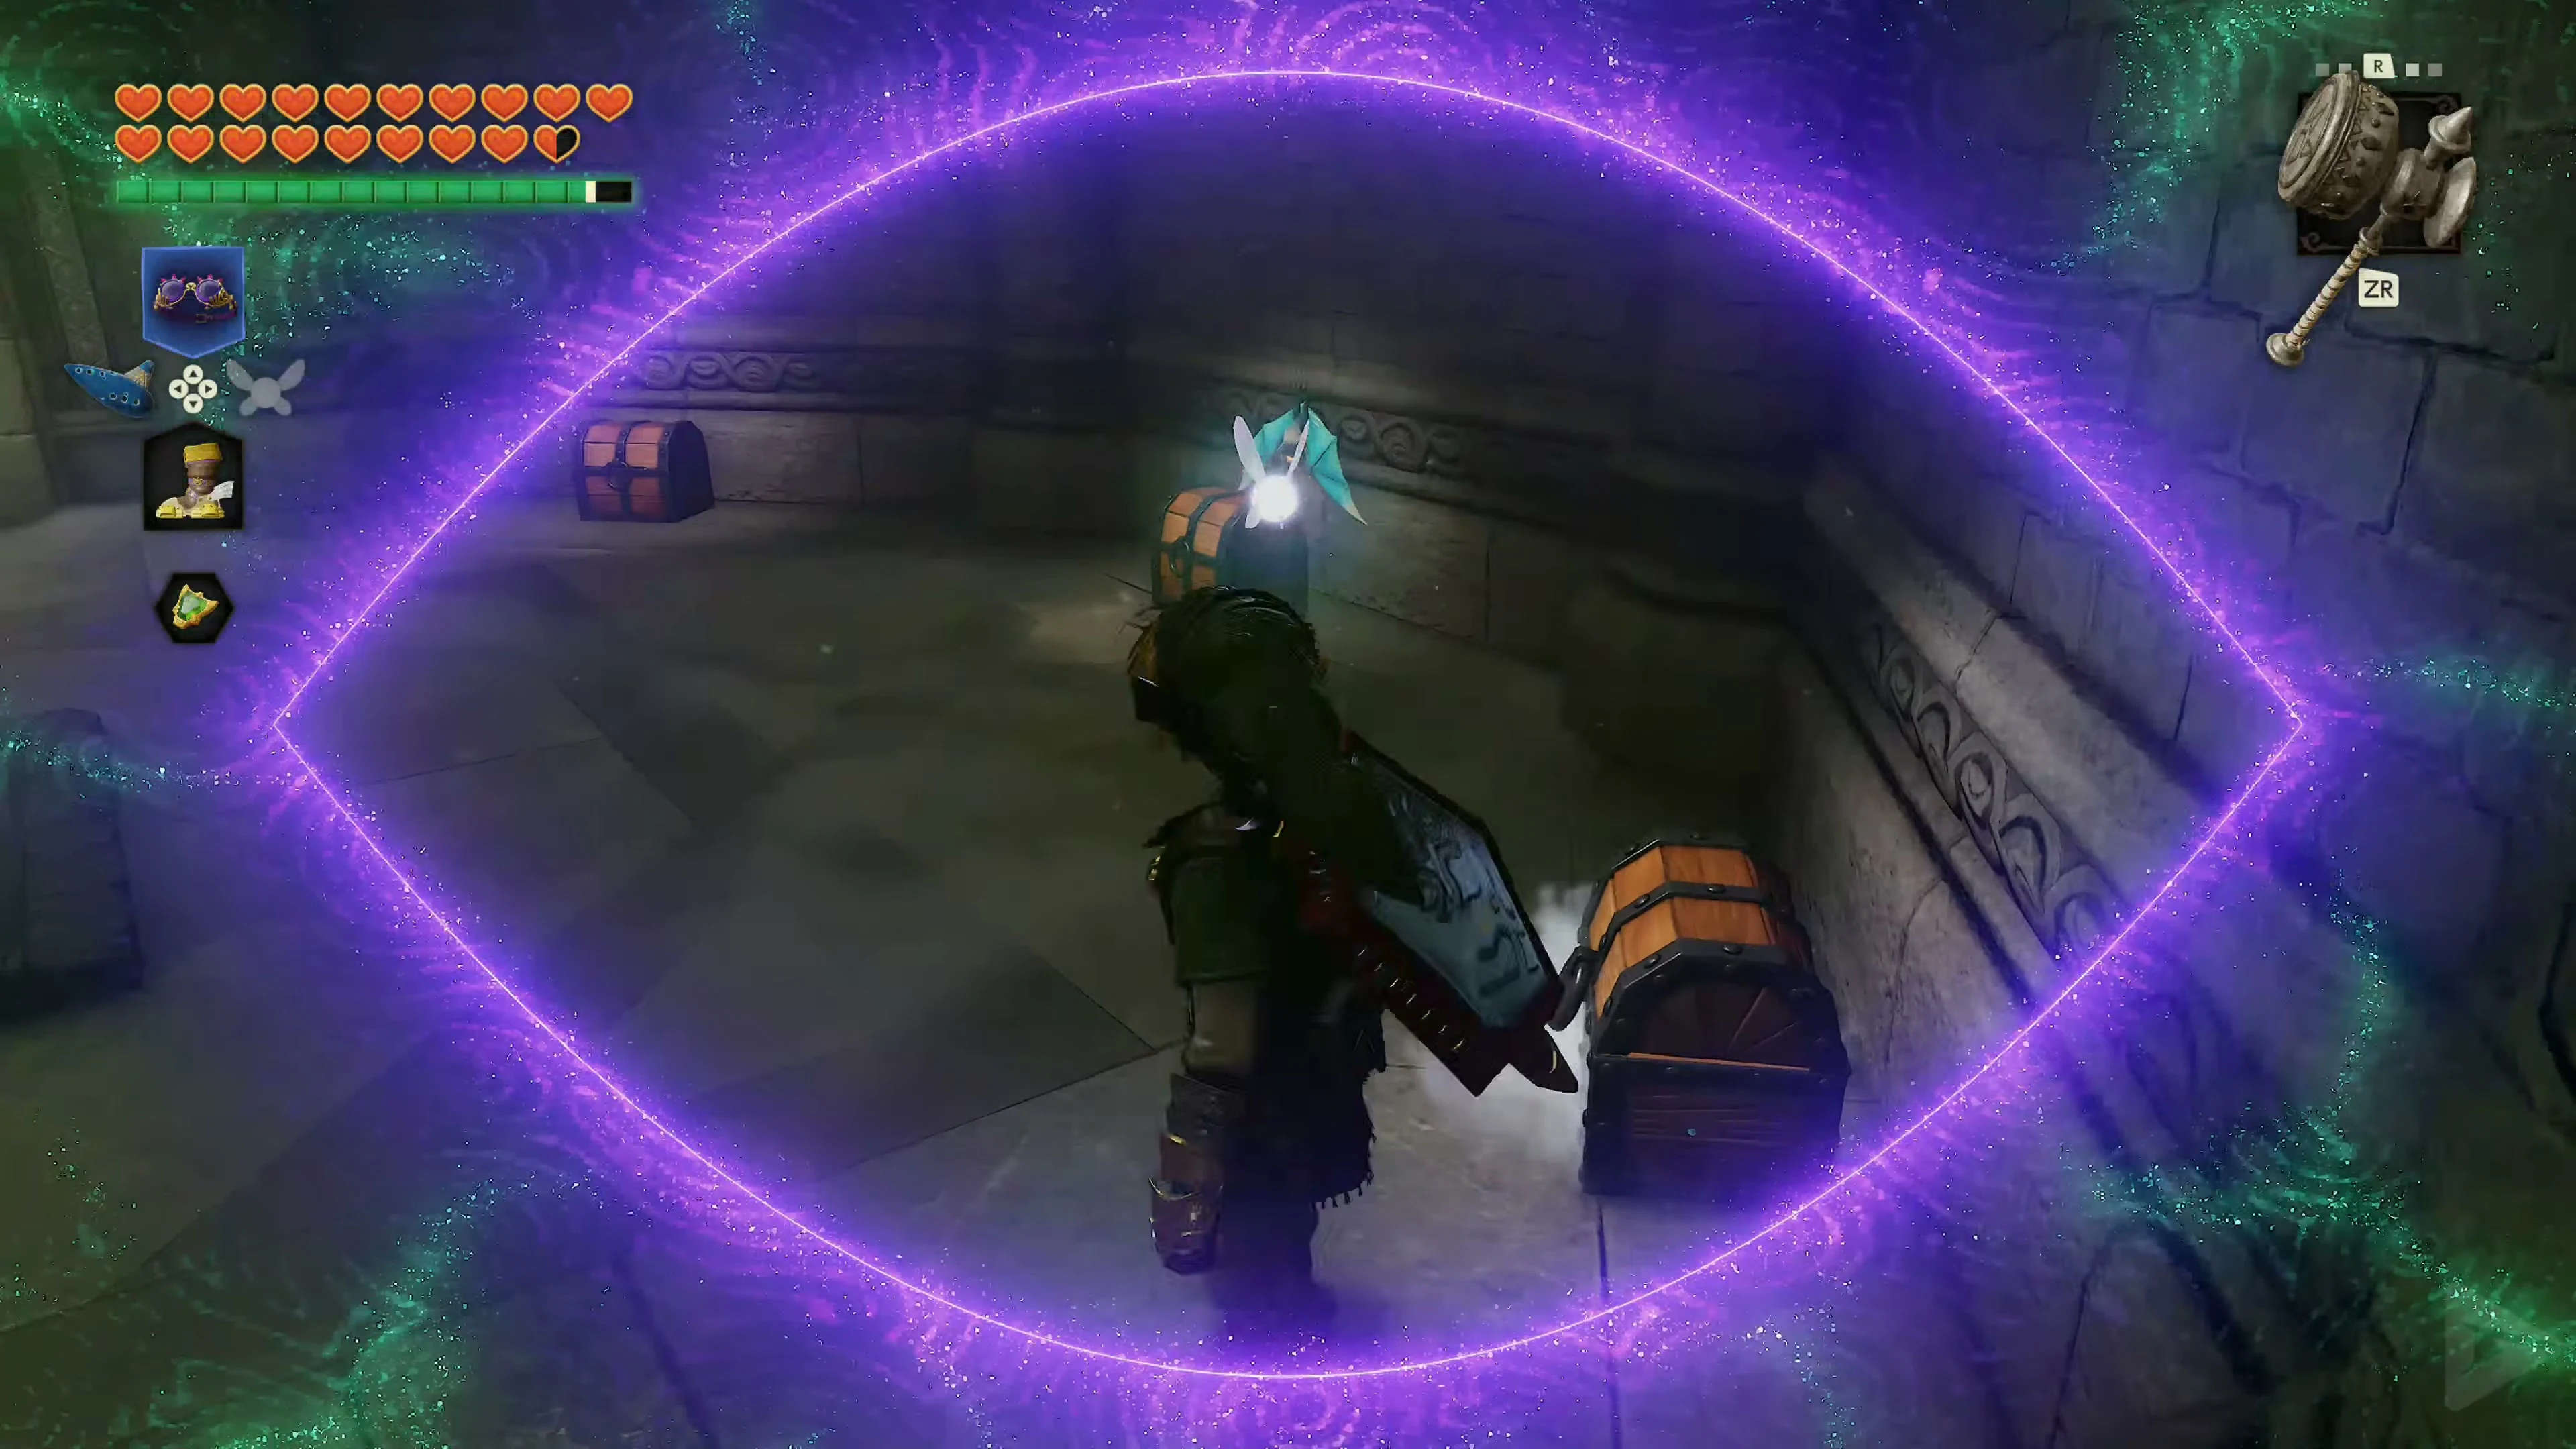
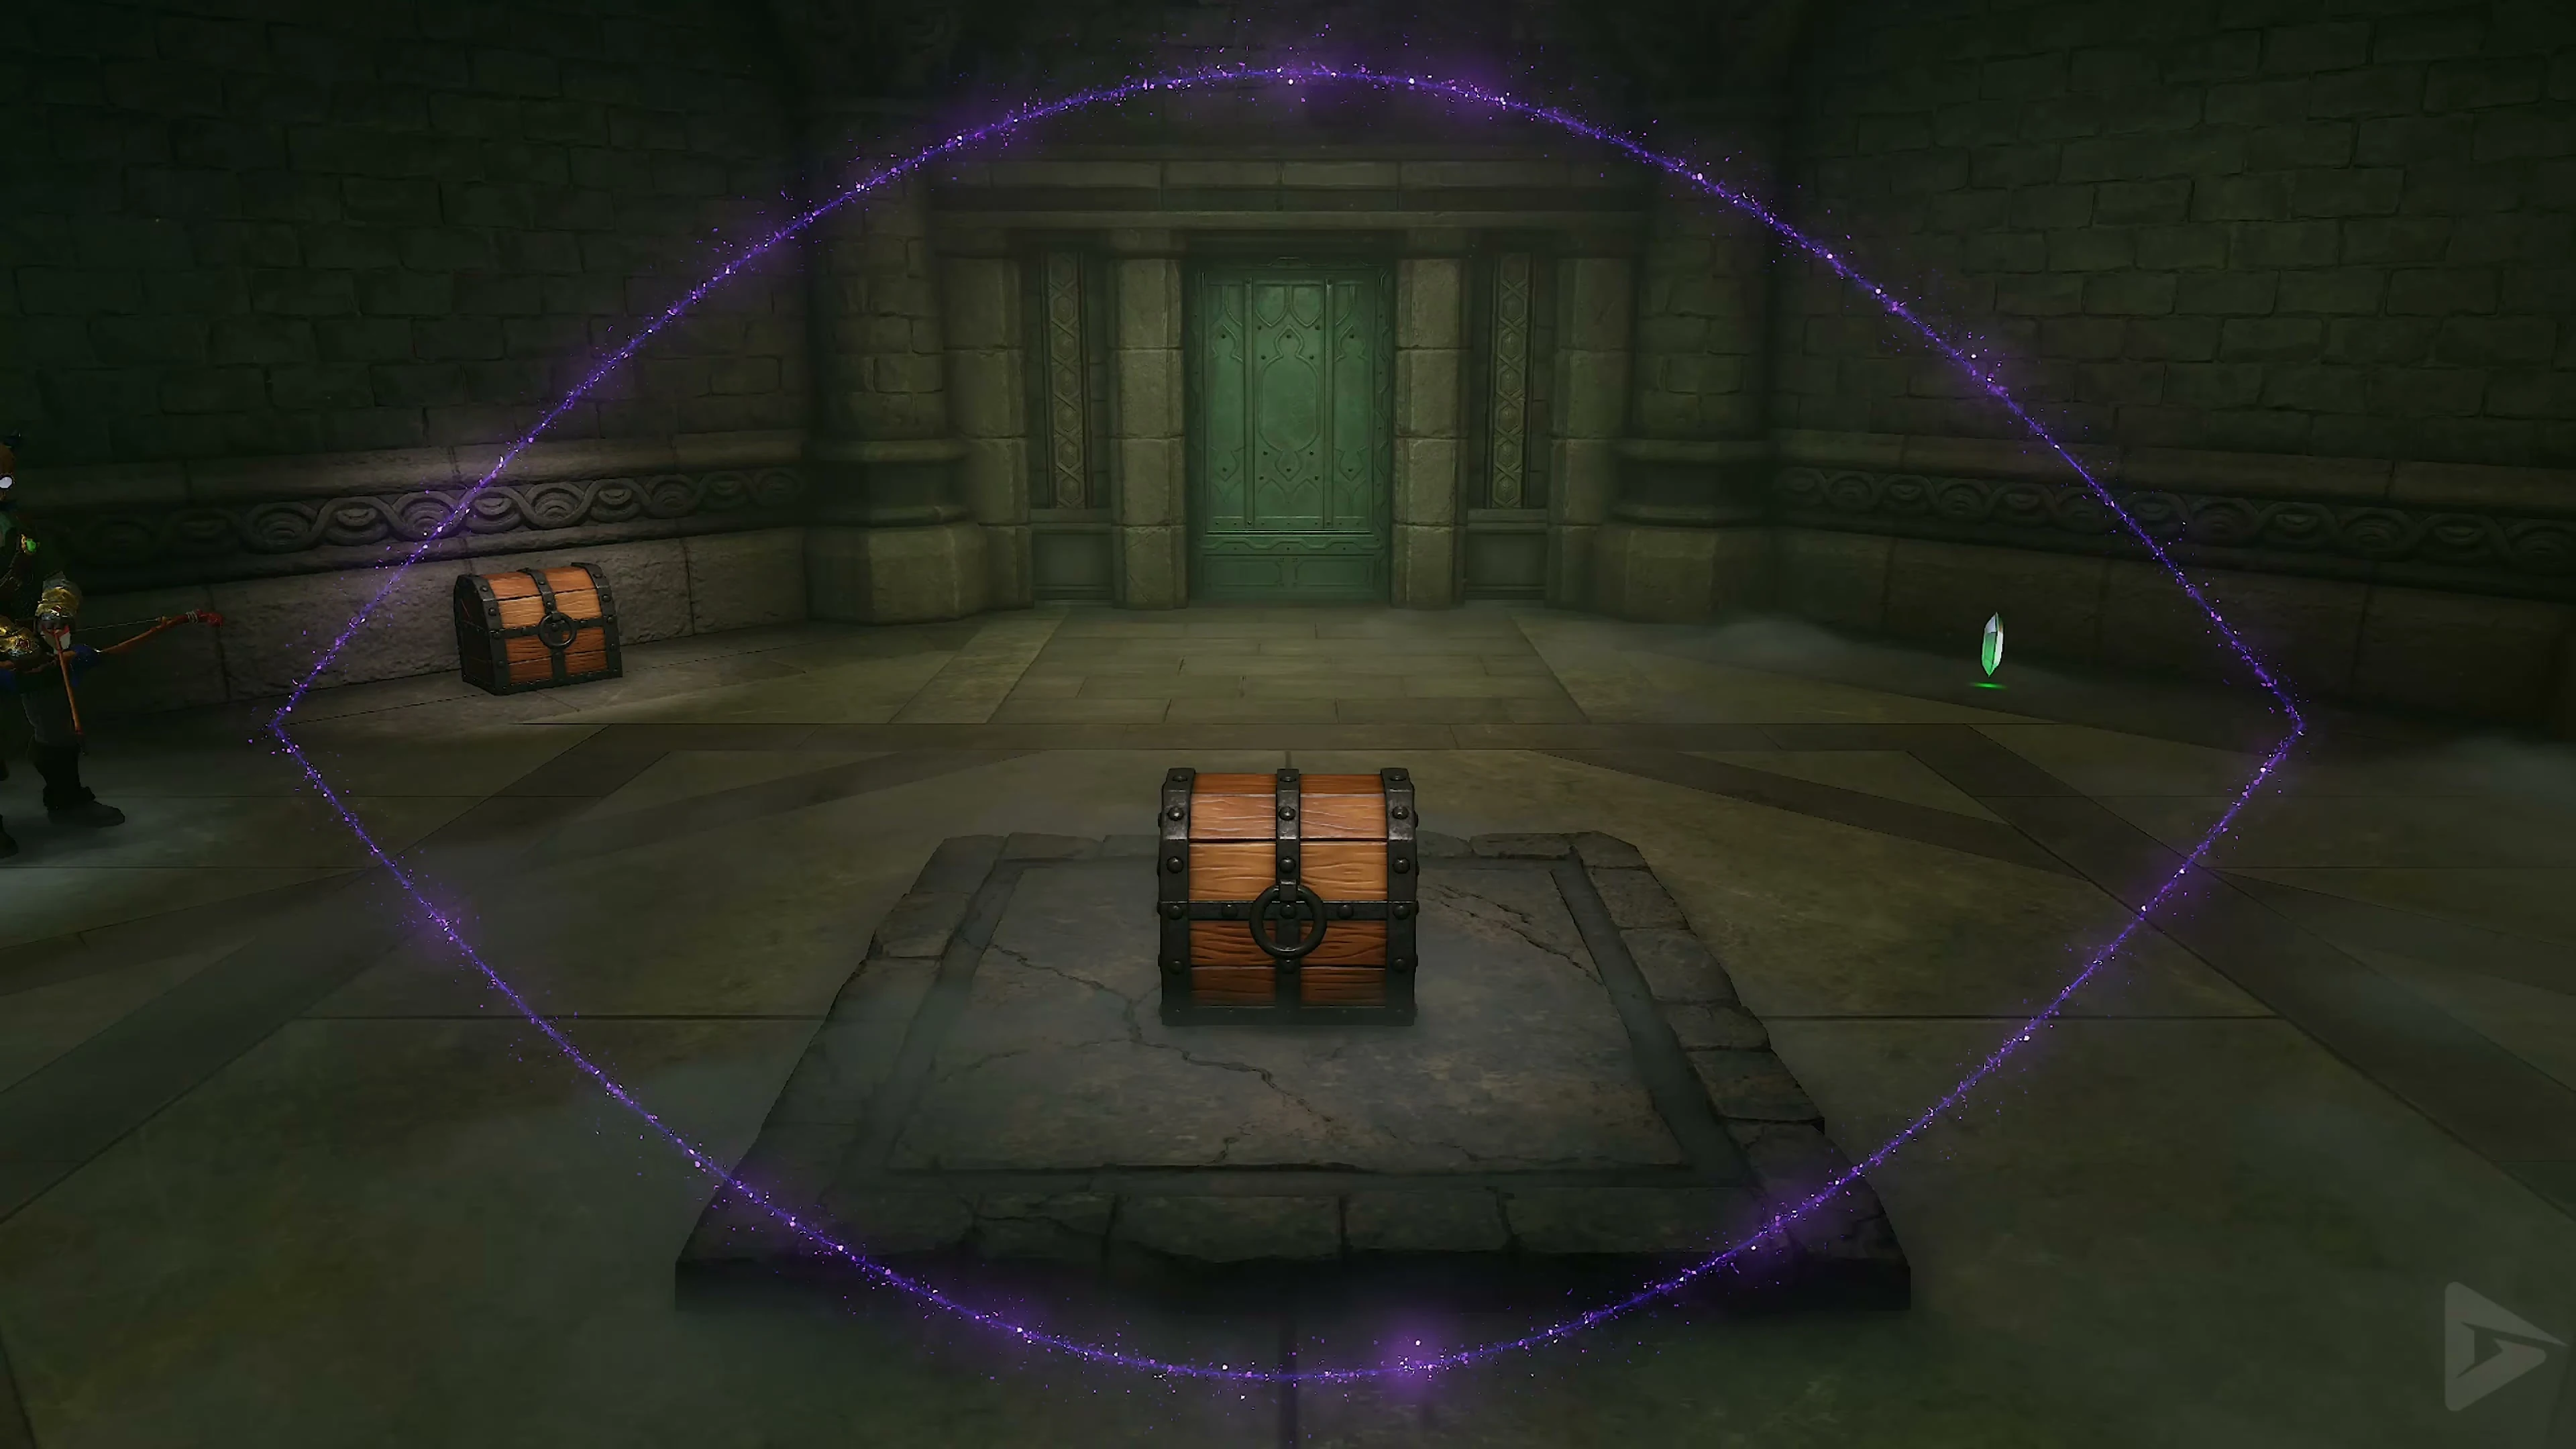
Use the Golden Gauntlets to remove the heavy block in front of the Light Trial In the first room, defeat the invisible Keese and the Skulltula with the Lenses of Truth . Open the chests for three blue Rupees worth 5 Rupees each and one red Rupee worth 20 Rupees Four more chests are traps. Go through the unlocked door into the next room. Use the Lenses of Truth to find the invisible key chest on the left. and take the Small Key. Go through the next door. Play Zelda’s Lullaby in the Triforce Room. and open the chest that appears with 1 Rupee. Then open the locked door with the Small Key.
Five crystals in one minute
In the round room behind, two large rocks roll continuously in a circle. Simultaneously, a time limit of one minute begins. Within this time, you must collect five crystals and reach the exit. Two rupees are located in small niches on the outer wall. Two more are in the recesses of the Y-shaped central wall. Keep a constant eye on the rolling rocks and, if necessary, wait in the niches until they have passed. The last crystal floats higher above the floor. Stand in the center of the room and look up. Above the Rupee is a long-range Hookshot target. Pull yourself up onto it and collect the Rupee while it’s in flight. Once all five crystals have been collected, the exit door will open. Leave the room before the time runs out.
The next area initially appears empty. Activate the Lenses of Truth and watch for a Wallmaster that falls from the ceiling. The wall where the Light Seal should normally be is merely an illusion. Walk straight through it. The real Light Seal is in the hidden room. Destroy it with a Light Arrow. Rauru appears and teleports Link back to the main hall. The yellow energy beam disappears.
The Seal of the Spirits
Finally, enter the door with the orange Spirit Seal. In the first room, you must collect five more crystals. First, destroy the Beamos with a bomb. One of the crystals is located directly in its original position. Next, move the Armos statues so that the rotating blades can continue to move around the room, making the areas behind them accessible. Collect the crystals hidden there. For the floating Rupee, look up at the ceiling. There’s a target directly above it. Use the Longshot to pull yourself up and pass through the crystal. Once all five have been collected, the next door will open.
Bombchu through the gate.
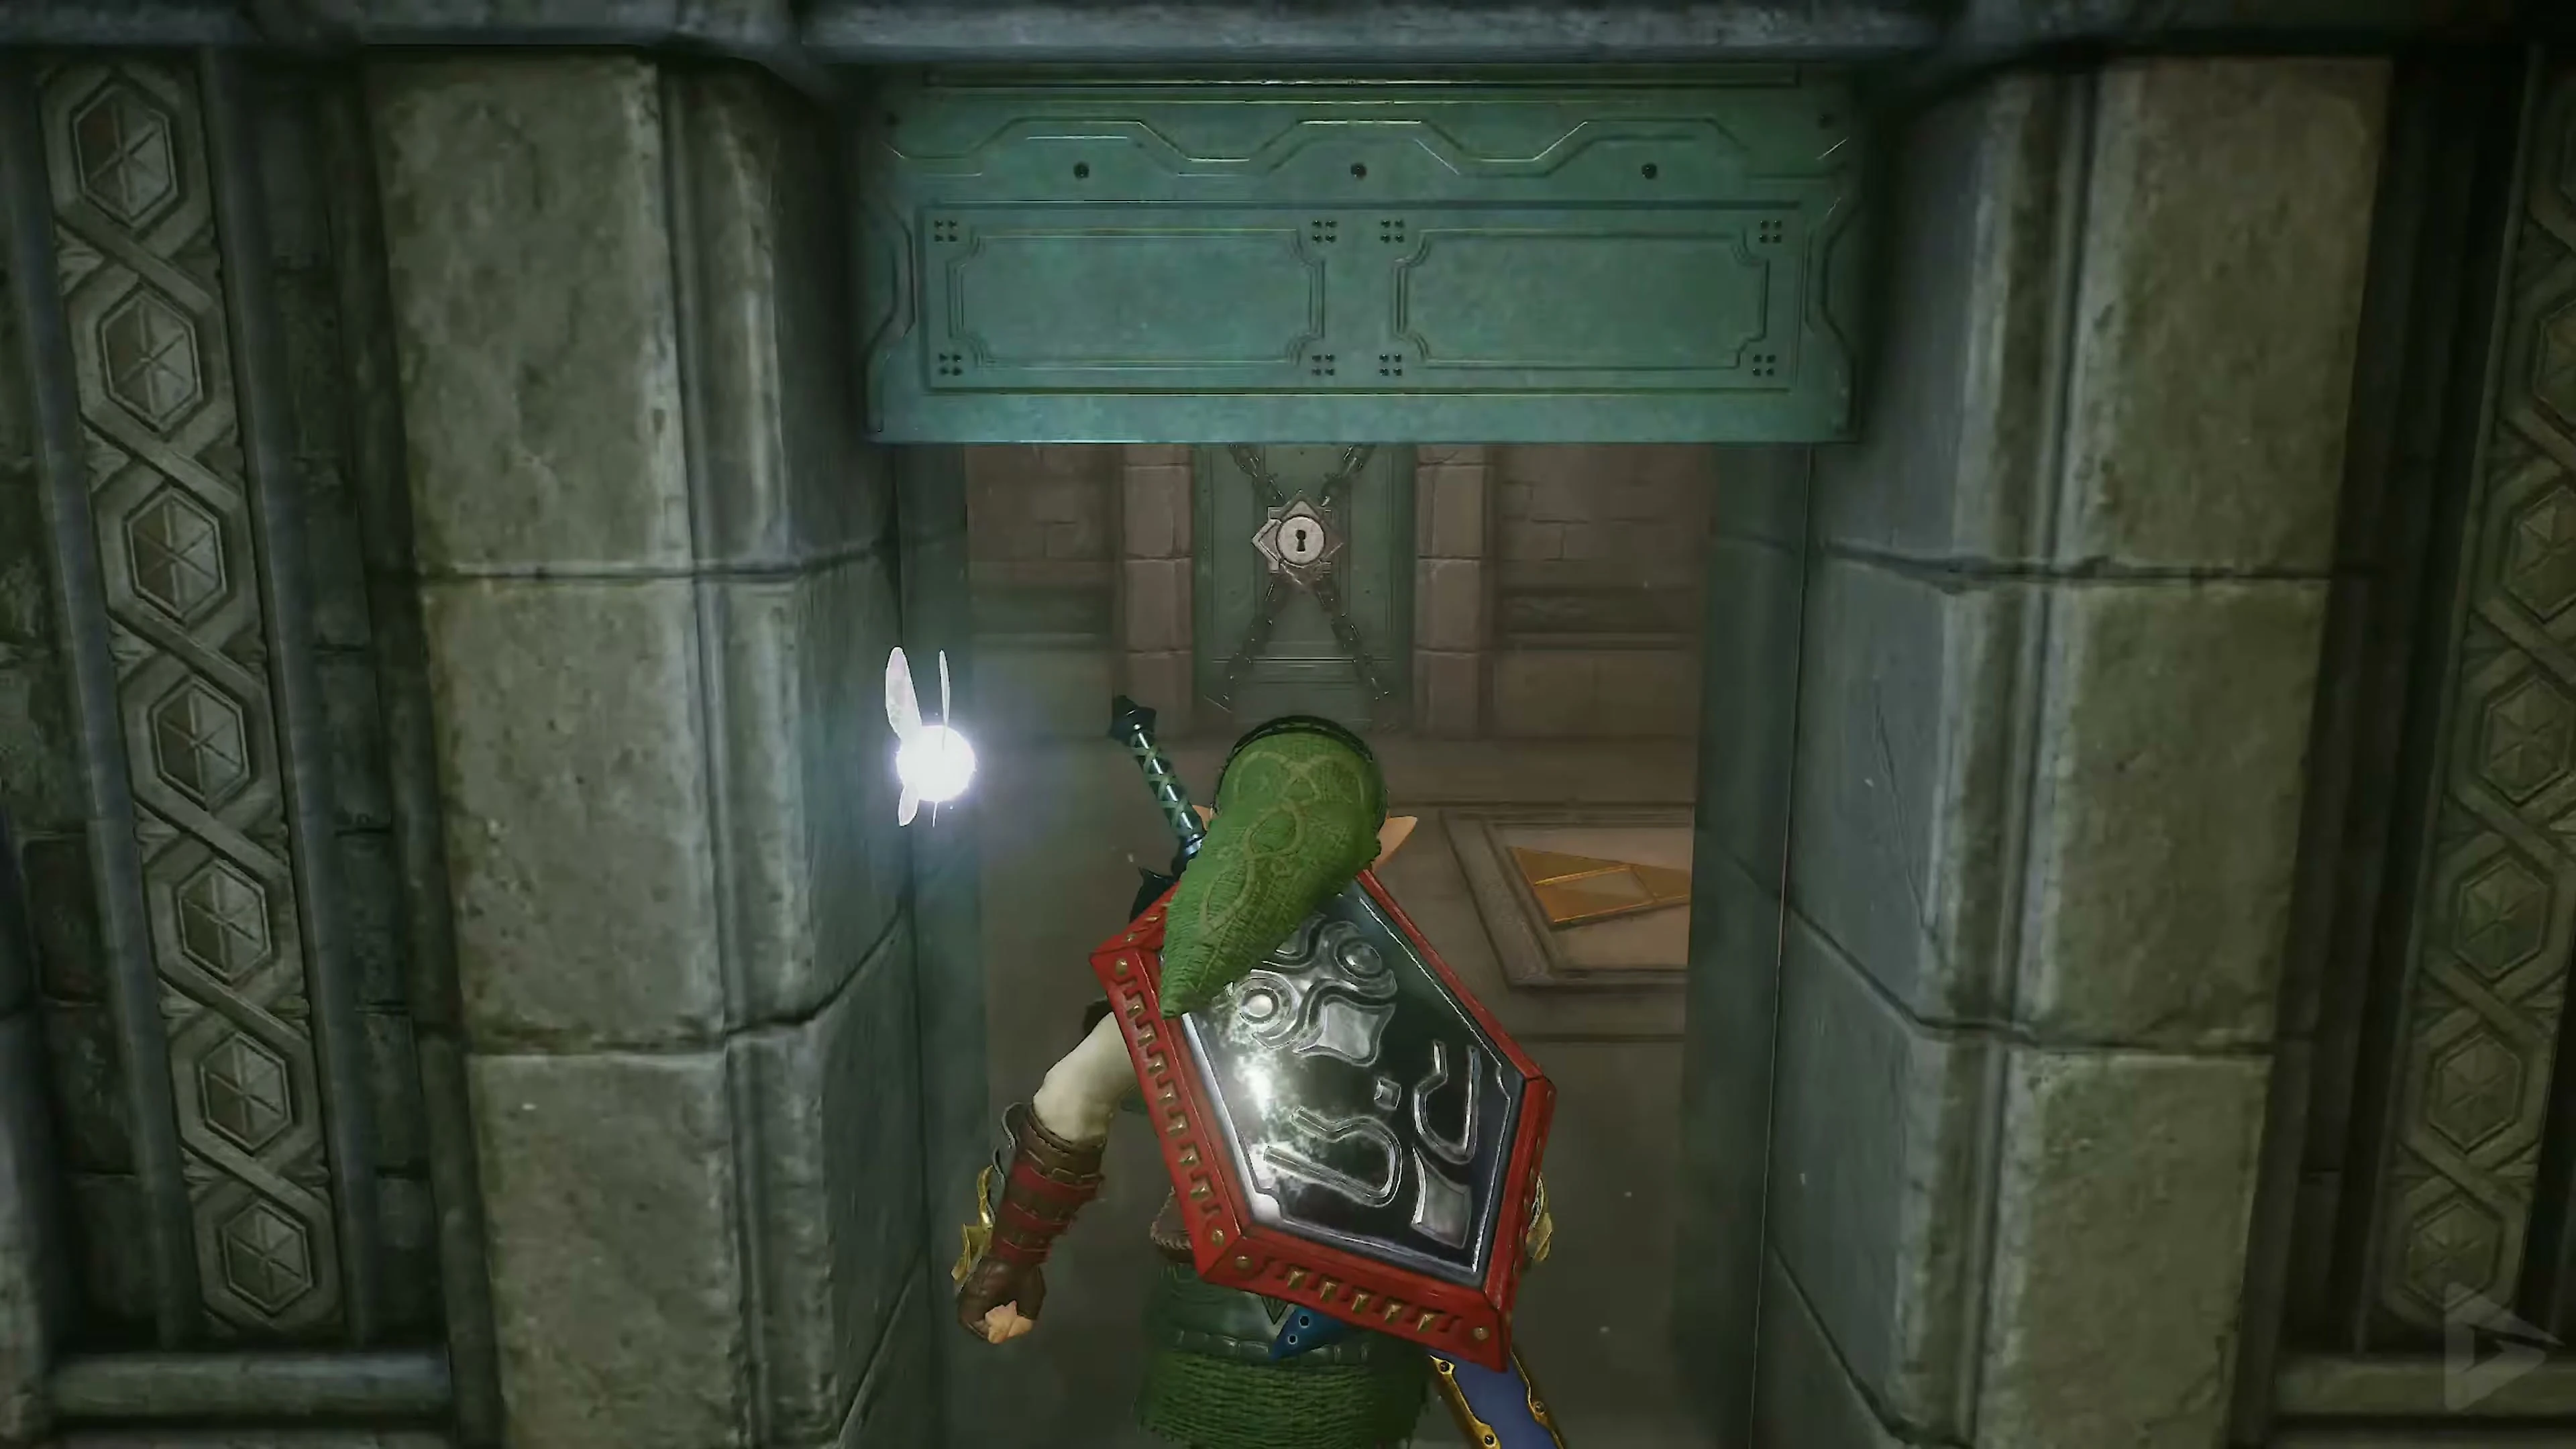
Defeat the two Torch Slugs with the Megaton Hammer. The small chest contains a Business Scrub Seed . If you don’t have any in stock, call the merchant and buy Bombchus. Aim one mine at the opening above the grate. It will travel up the wall and hit the crystal switch on the other side. This will open the next door.
Sunlight and Mirror Shield
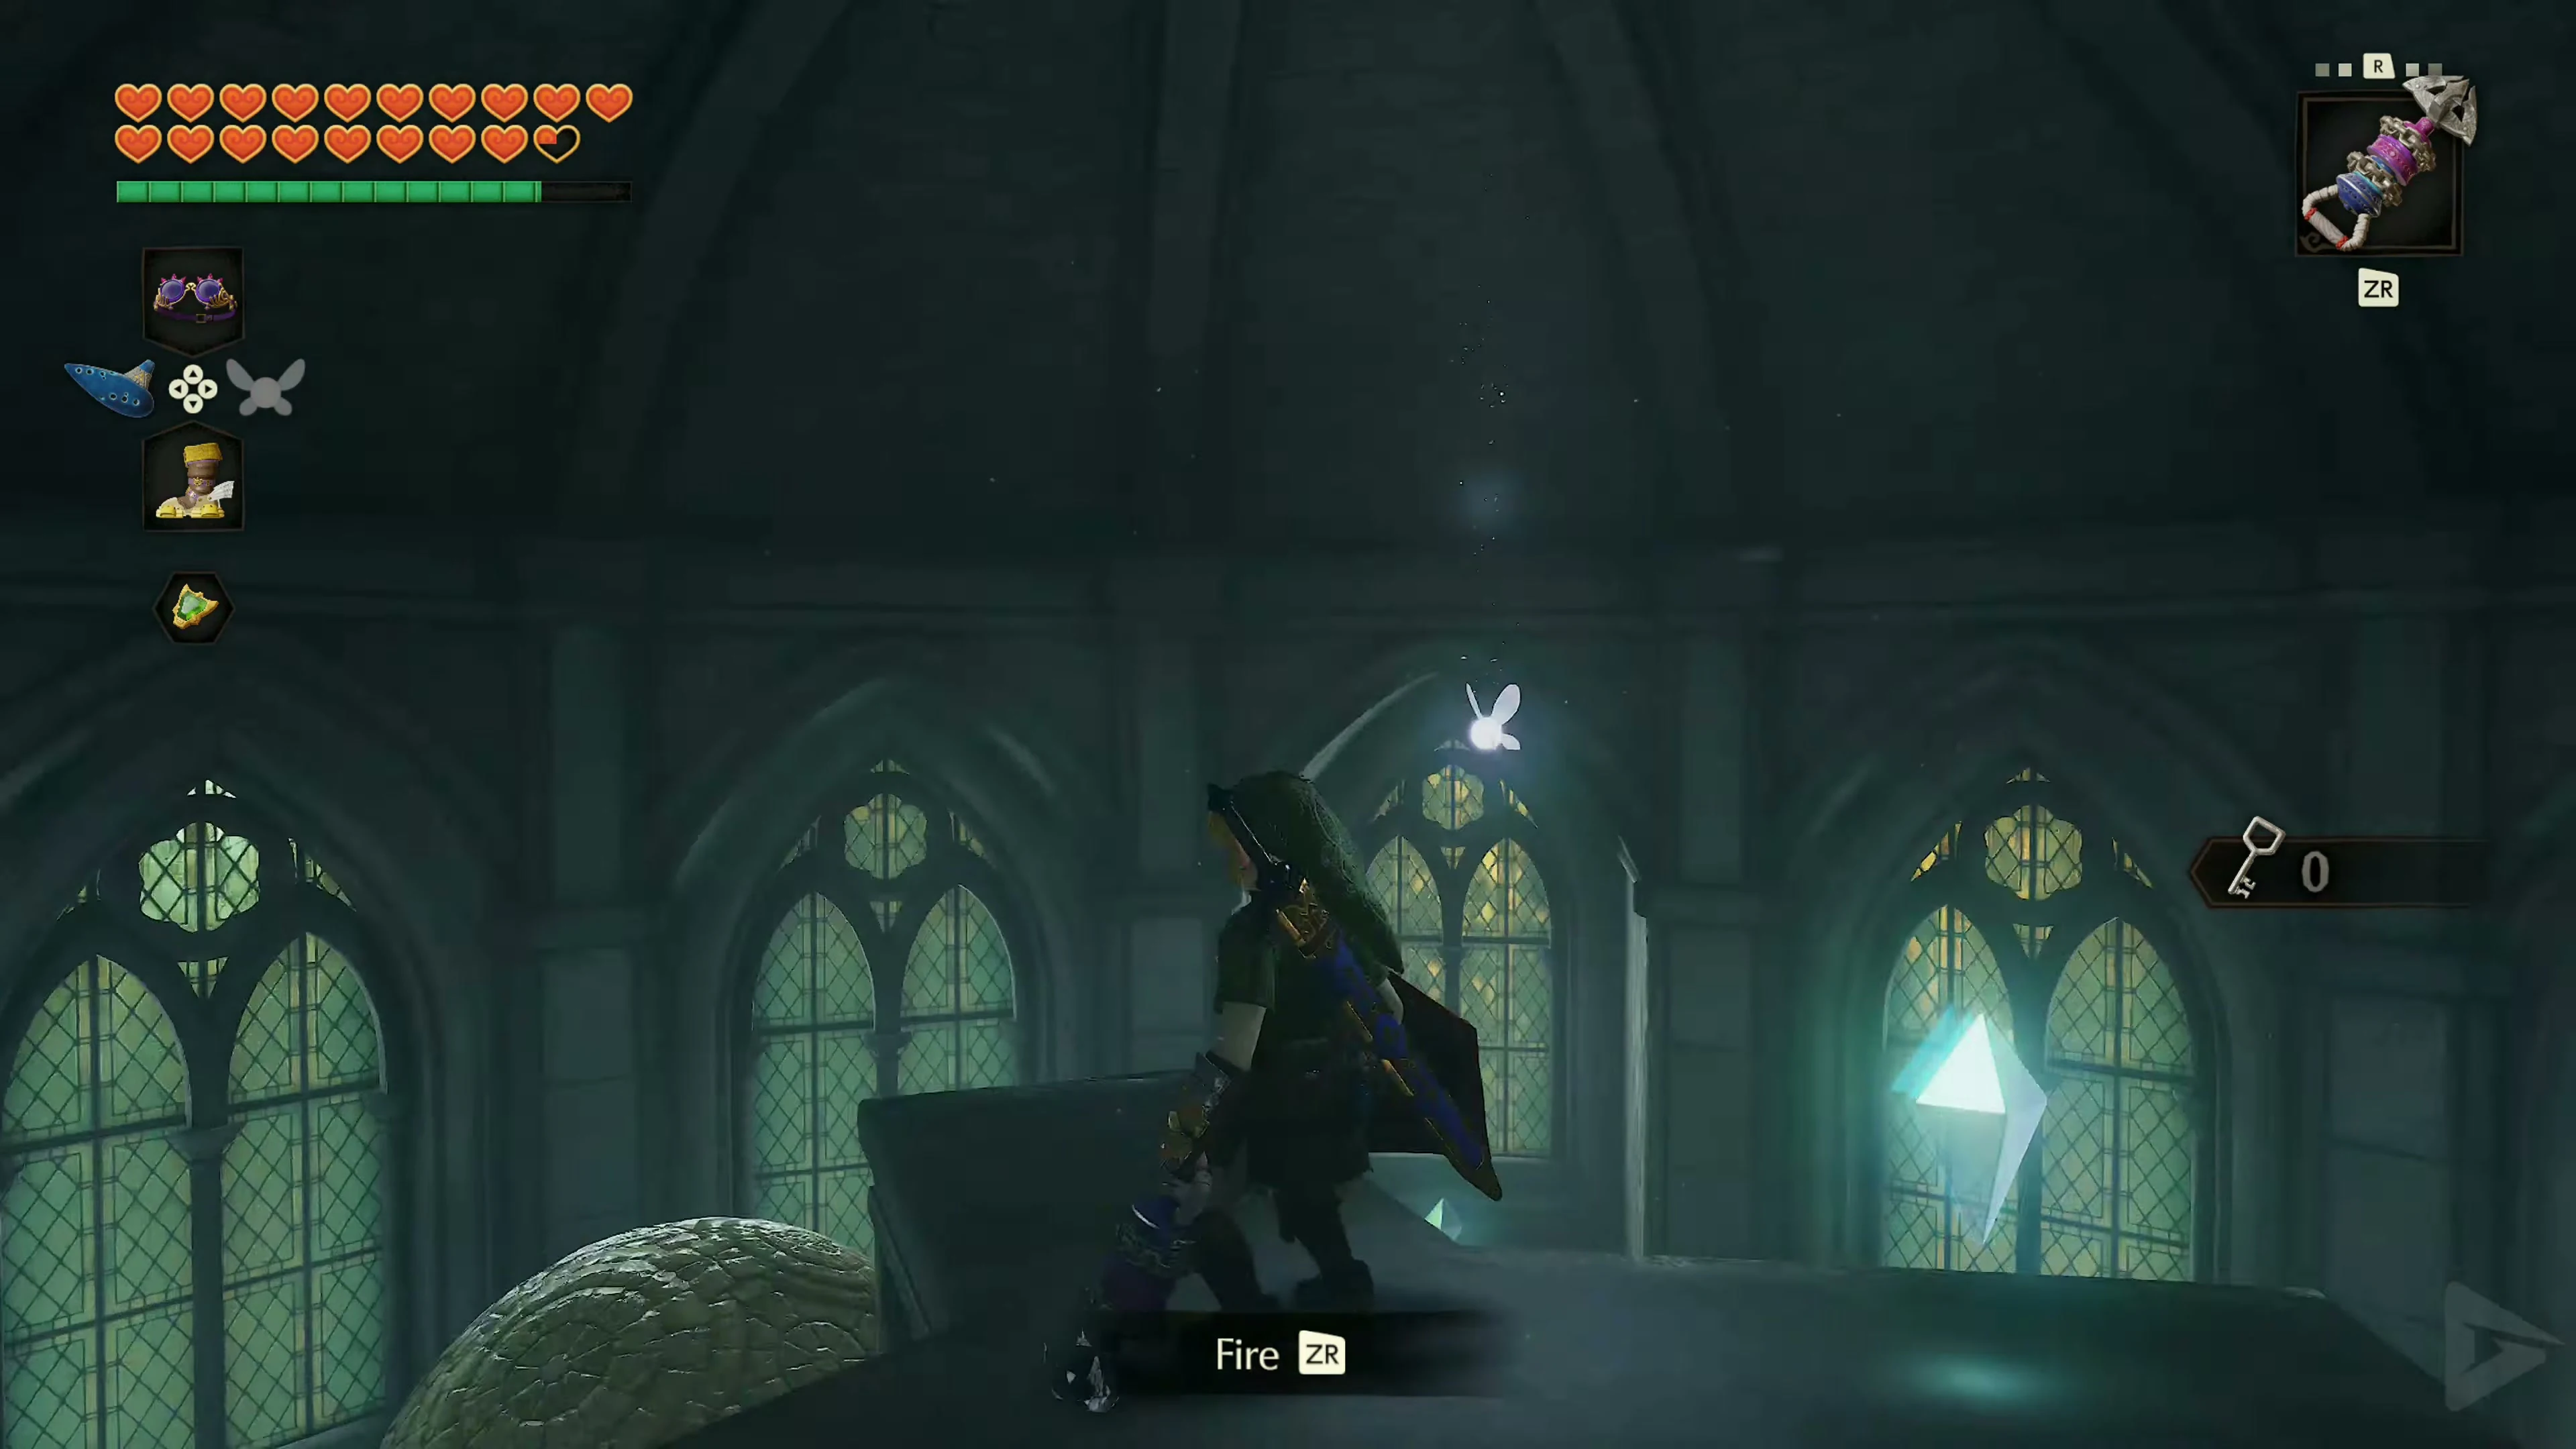
In the next area, several sun switches are mounted on the walls, but there seems to be no light source in the room. Look up. A large spiderweb covers the opening in the ceiling. Shoot a Fire Arrow at the web. It burns, and sunlight streams into the room. Stand in the beam of light and equip the Mirror Shield . Reflect the light onto the sun switch directly to the left of the entrance. The other symbols will only trigger Wallmaster or other traps. Go through the open door and destroy the spirit seal with a Light Arrow. Nabooru appears and teleports Link back to the main hall. The last energy beam goes out.
The central tower
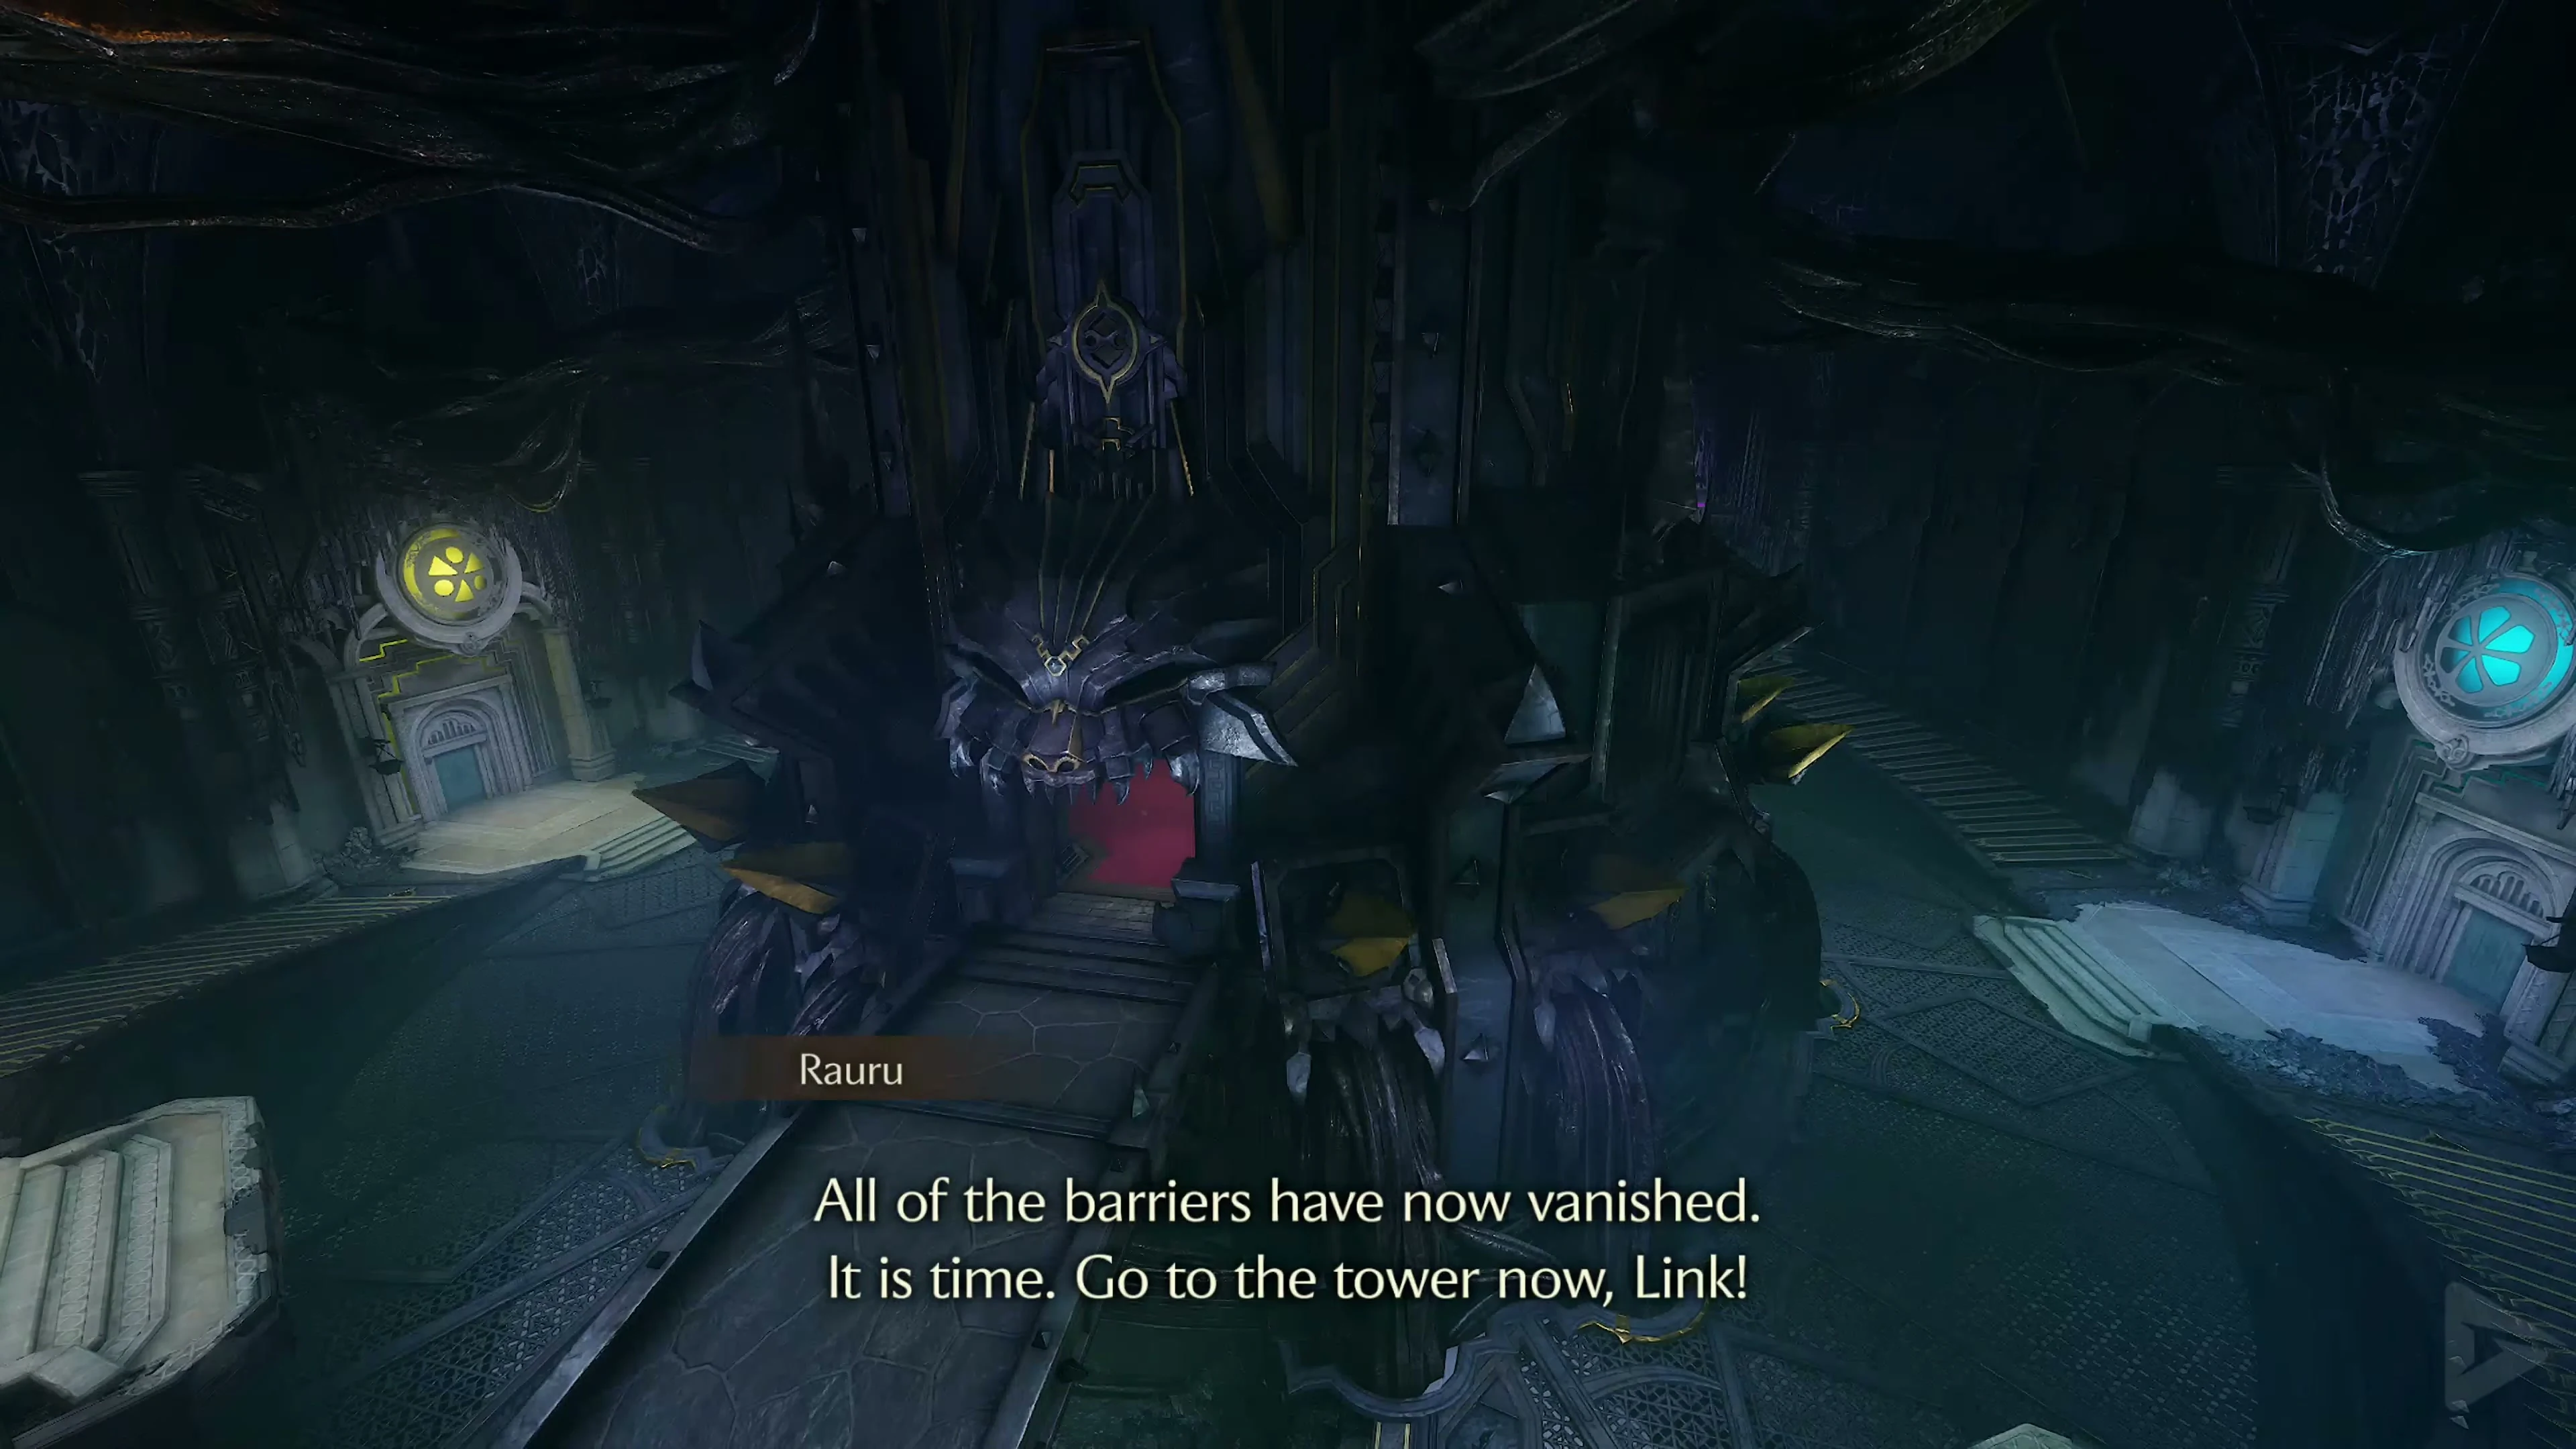
Once the sixth and final seal is destroyed, all energy beams collapse. The black barrier around the central tower completely dissolves. Ganondorf’s Castle is now accessible. Before entering, you should visit the hidden storeroom one last time. Fully replenish your health, magic, and arrows. For the upcoming battles, it’s recommended to have at least one Fairy or Blue Potion in an available bottle. You can also equip the Biggoron Sword for the battle. Cross the bridge to the central tower and enter Ganondorf’s Castle . Follow the spiral staircase upwards. Light the wall torches in the stairwell with Fire Arrows and continue up to the first battle door. You can eliminate the Fire Keese along the way or simply walk past them.
Two Dinolfos
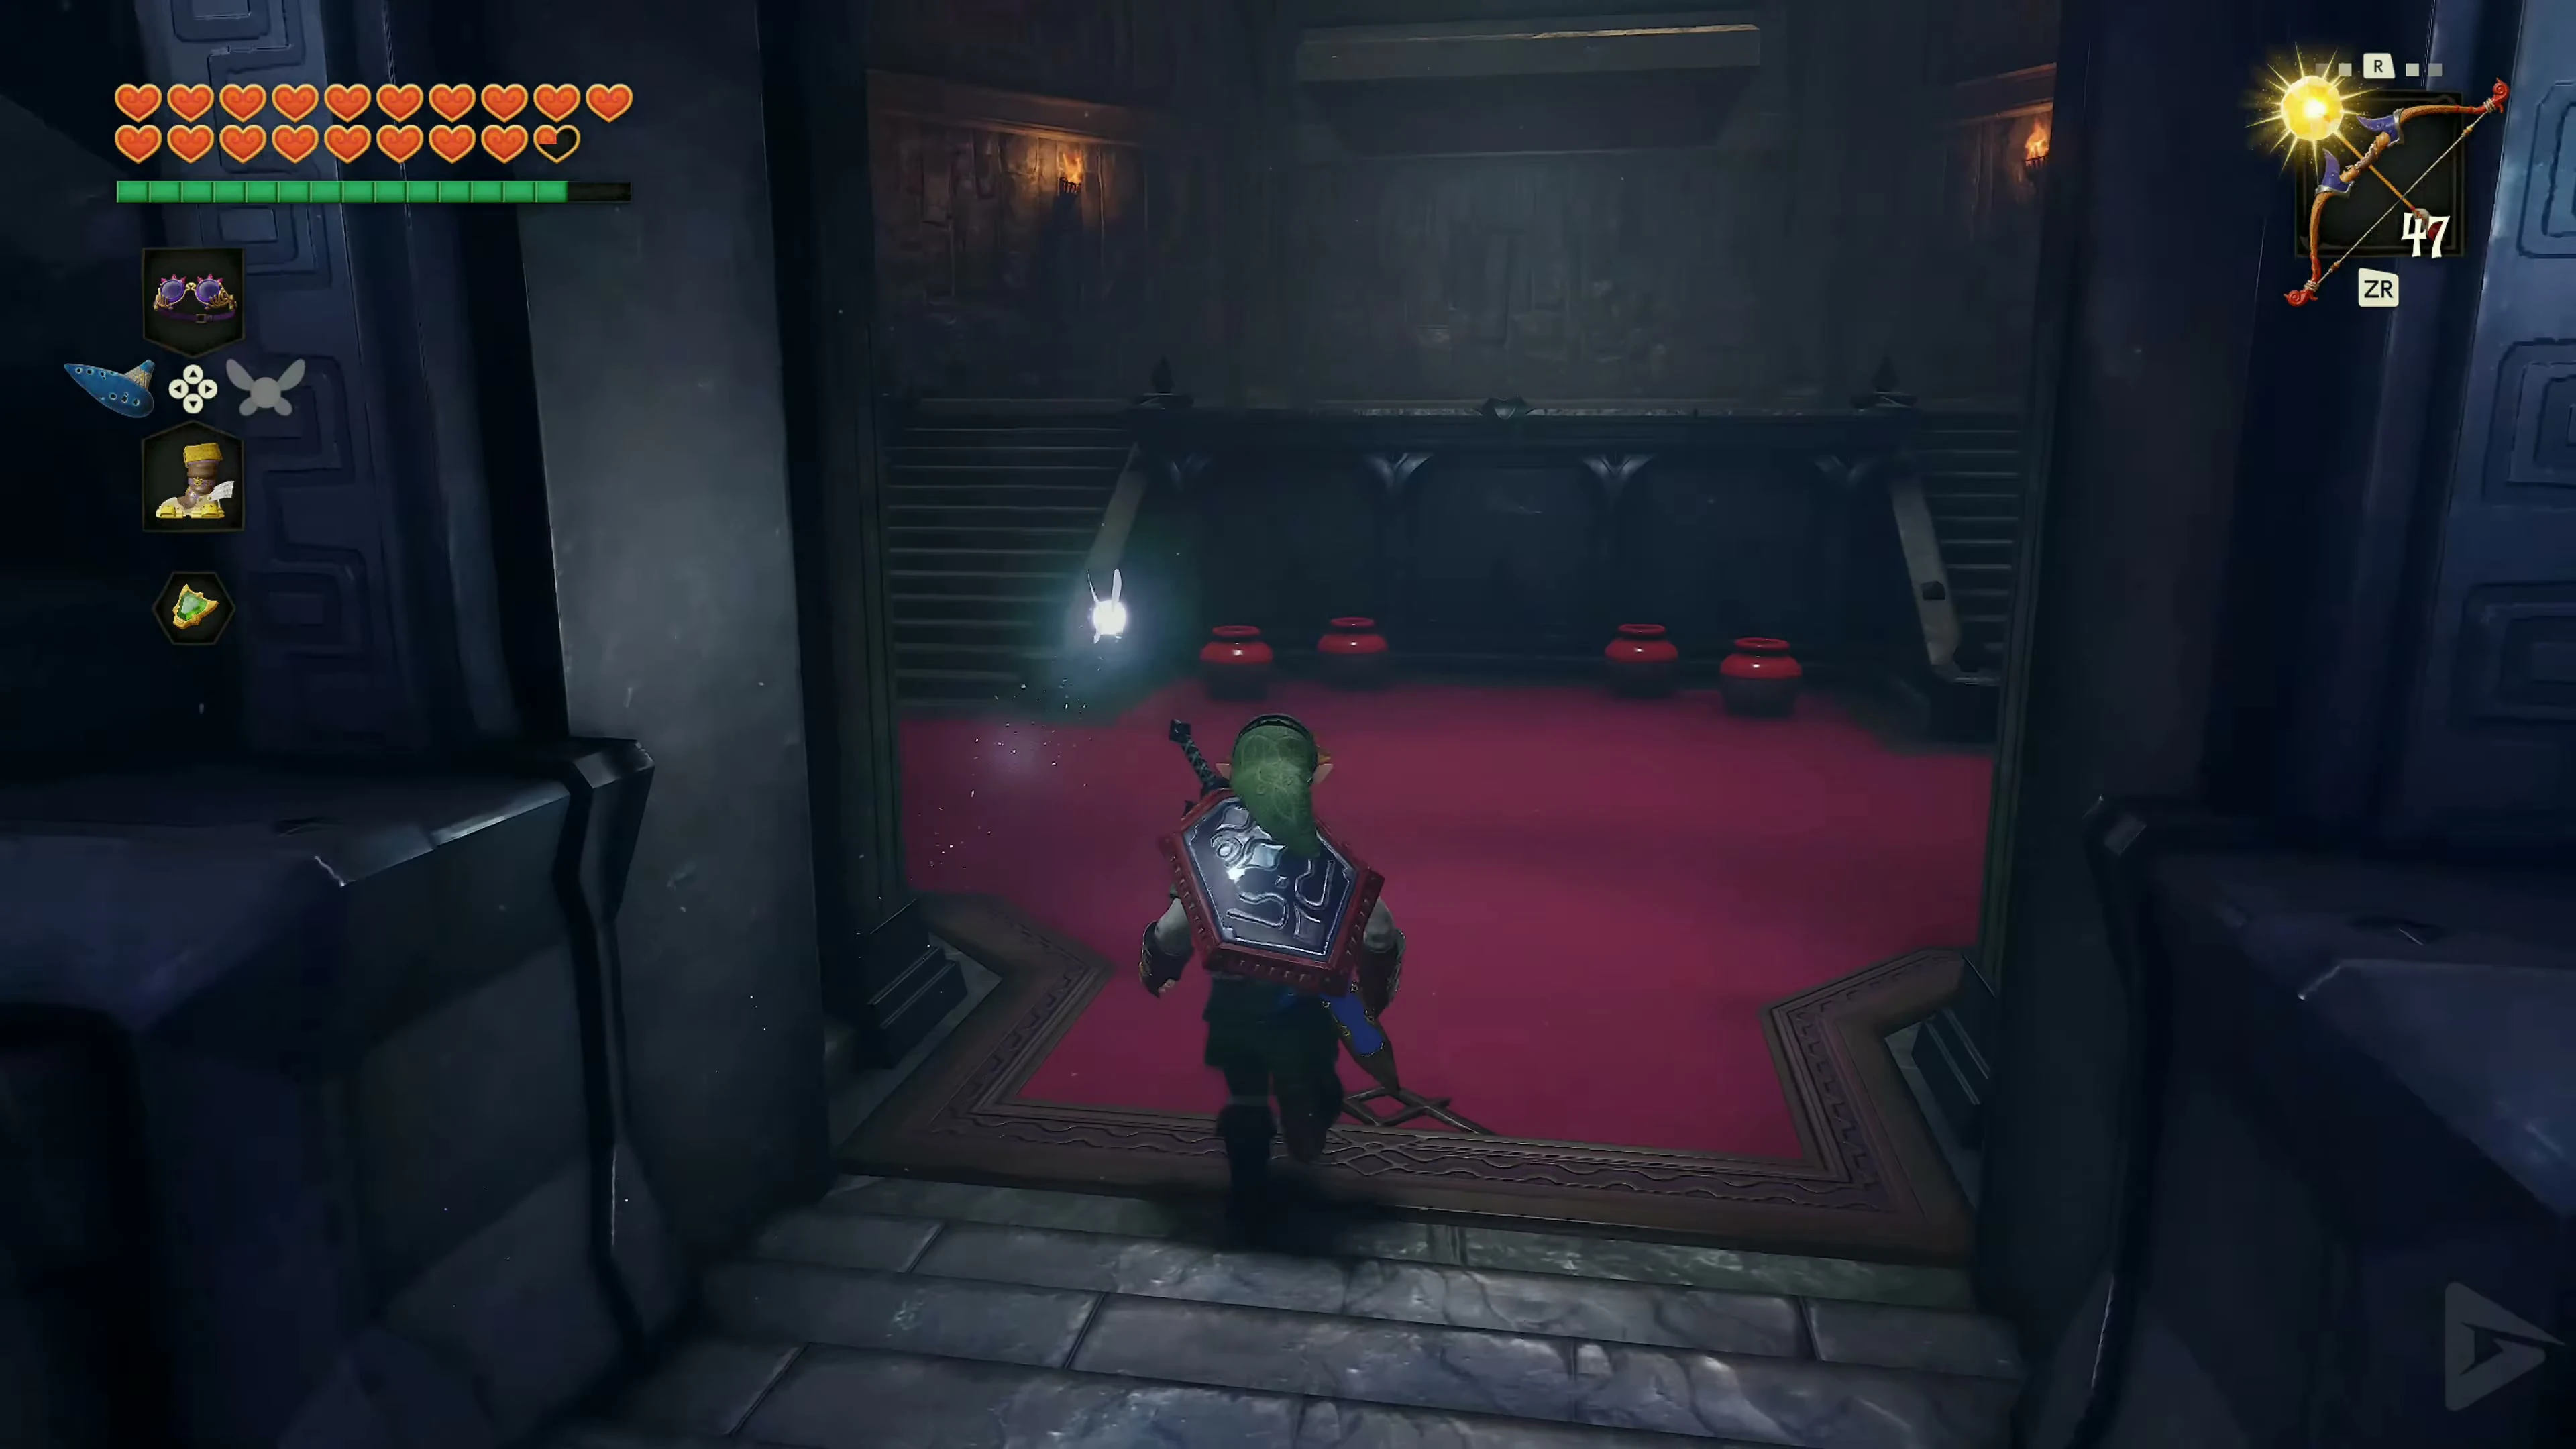
Two Dinolfos await you in the first battle hall. Both attack simultaneously and are significantly more aggressive than ordinary Lizalfos. Try to keep an eye on both, but focus your attacks entirely on one enemy. Block its attacks, dodge its jumps, and counter immediately afterward. With the Biggoron Sword, only a few hits are needed. Once both enemies are defeated, the next door will open.
The Stalfos in the middle tower
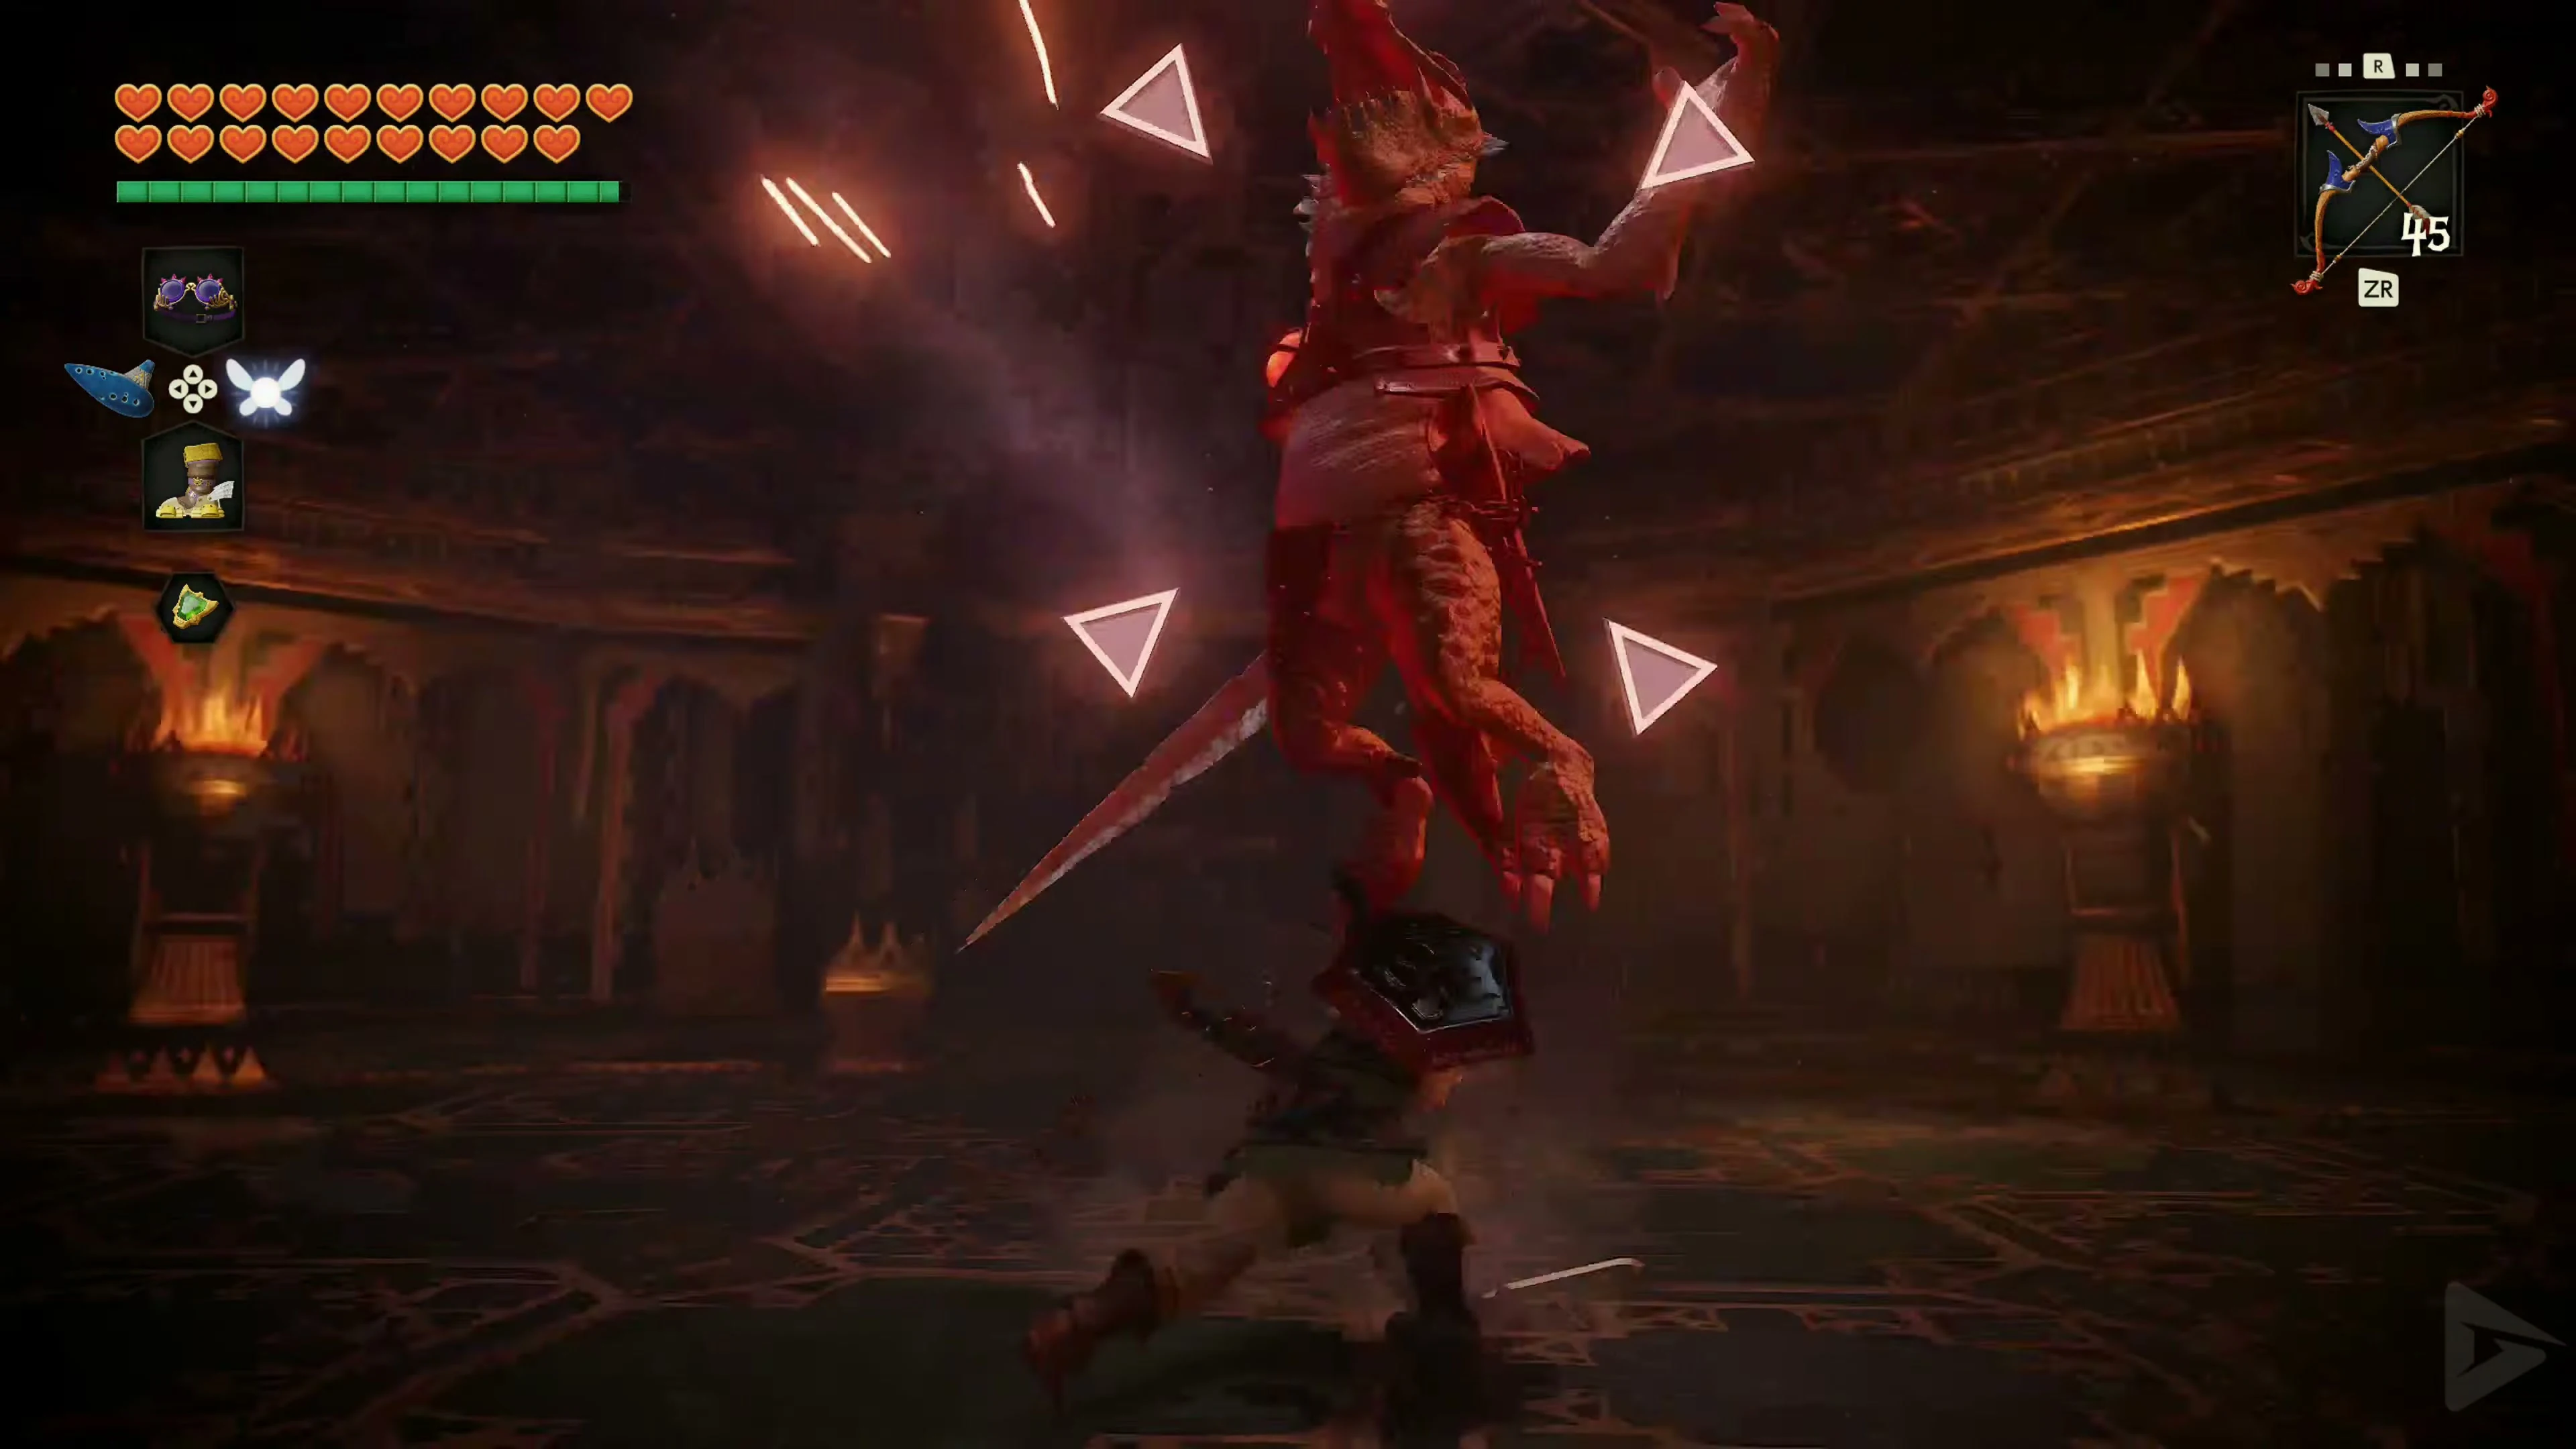
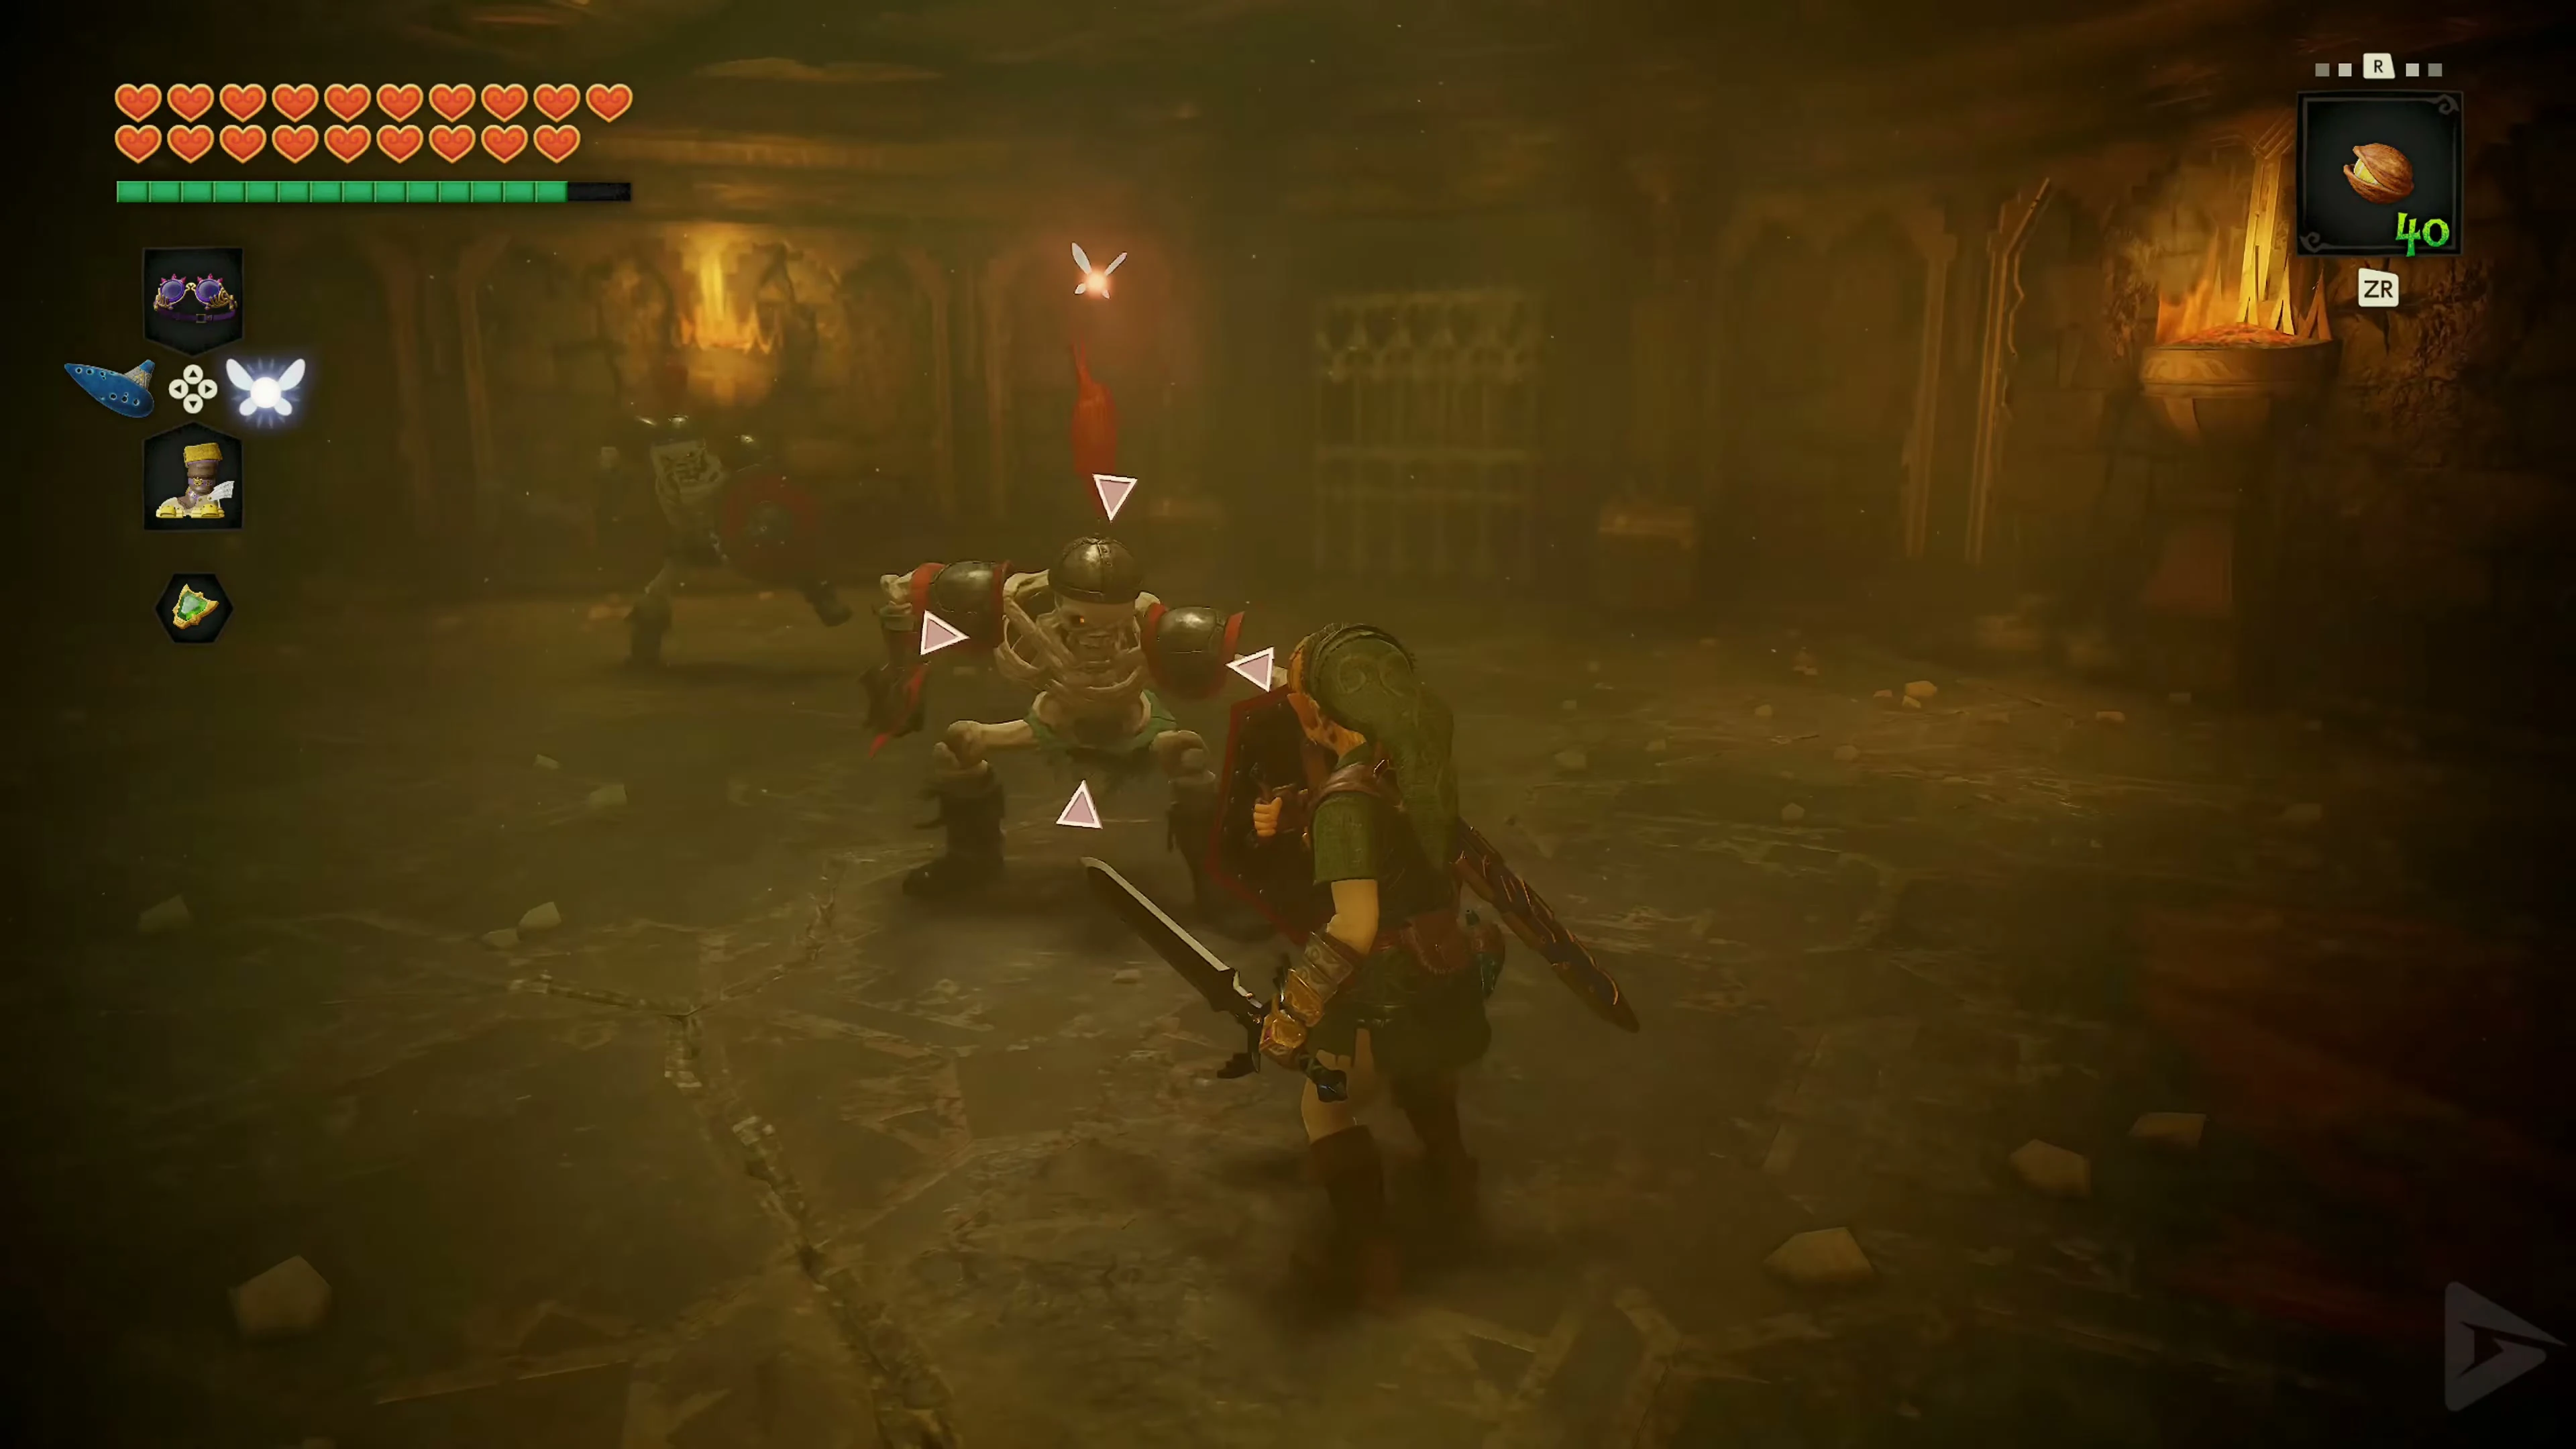
Defeat the two Stalfos in quick succession in the second battle room so that the first one doesn’t get back up. Then continue up the stairs.
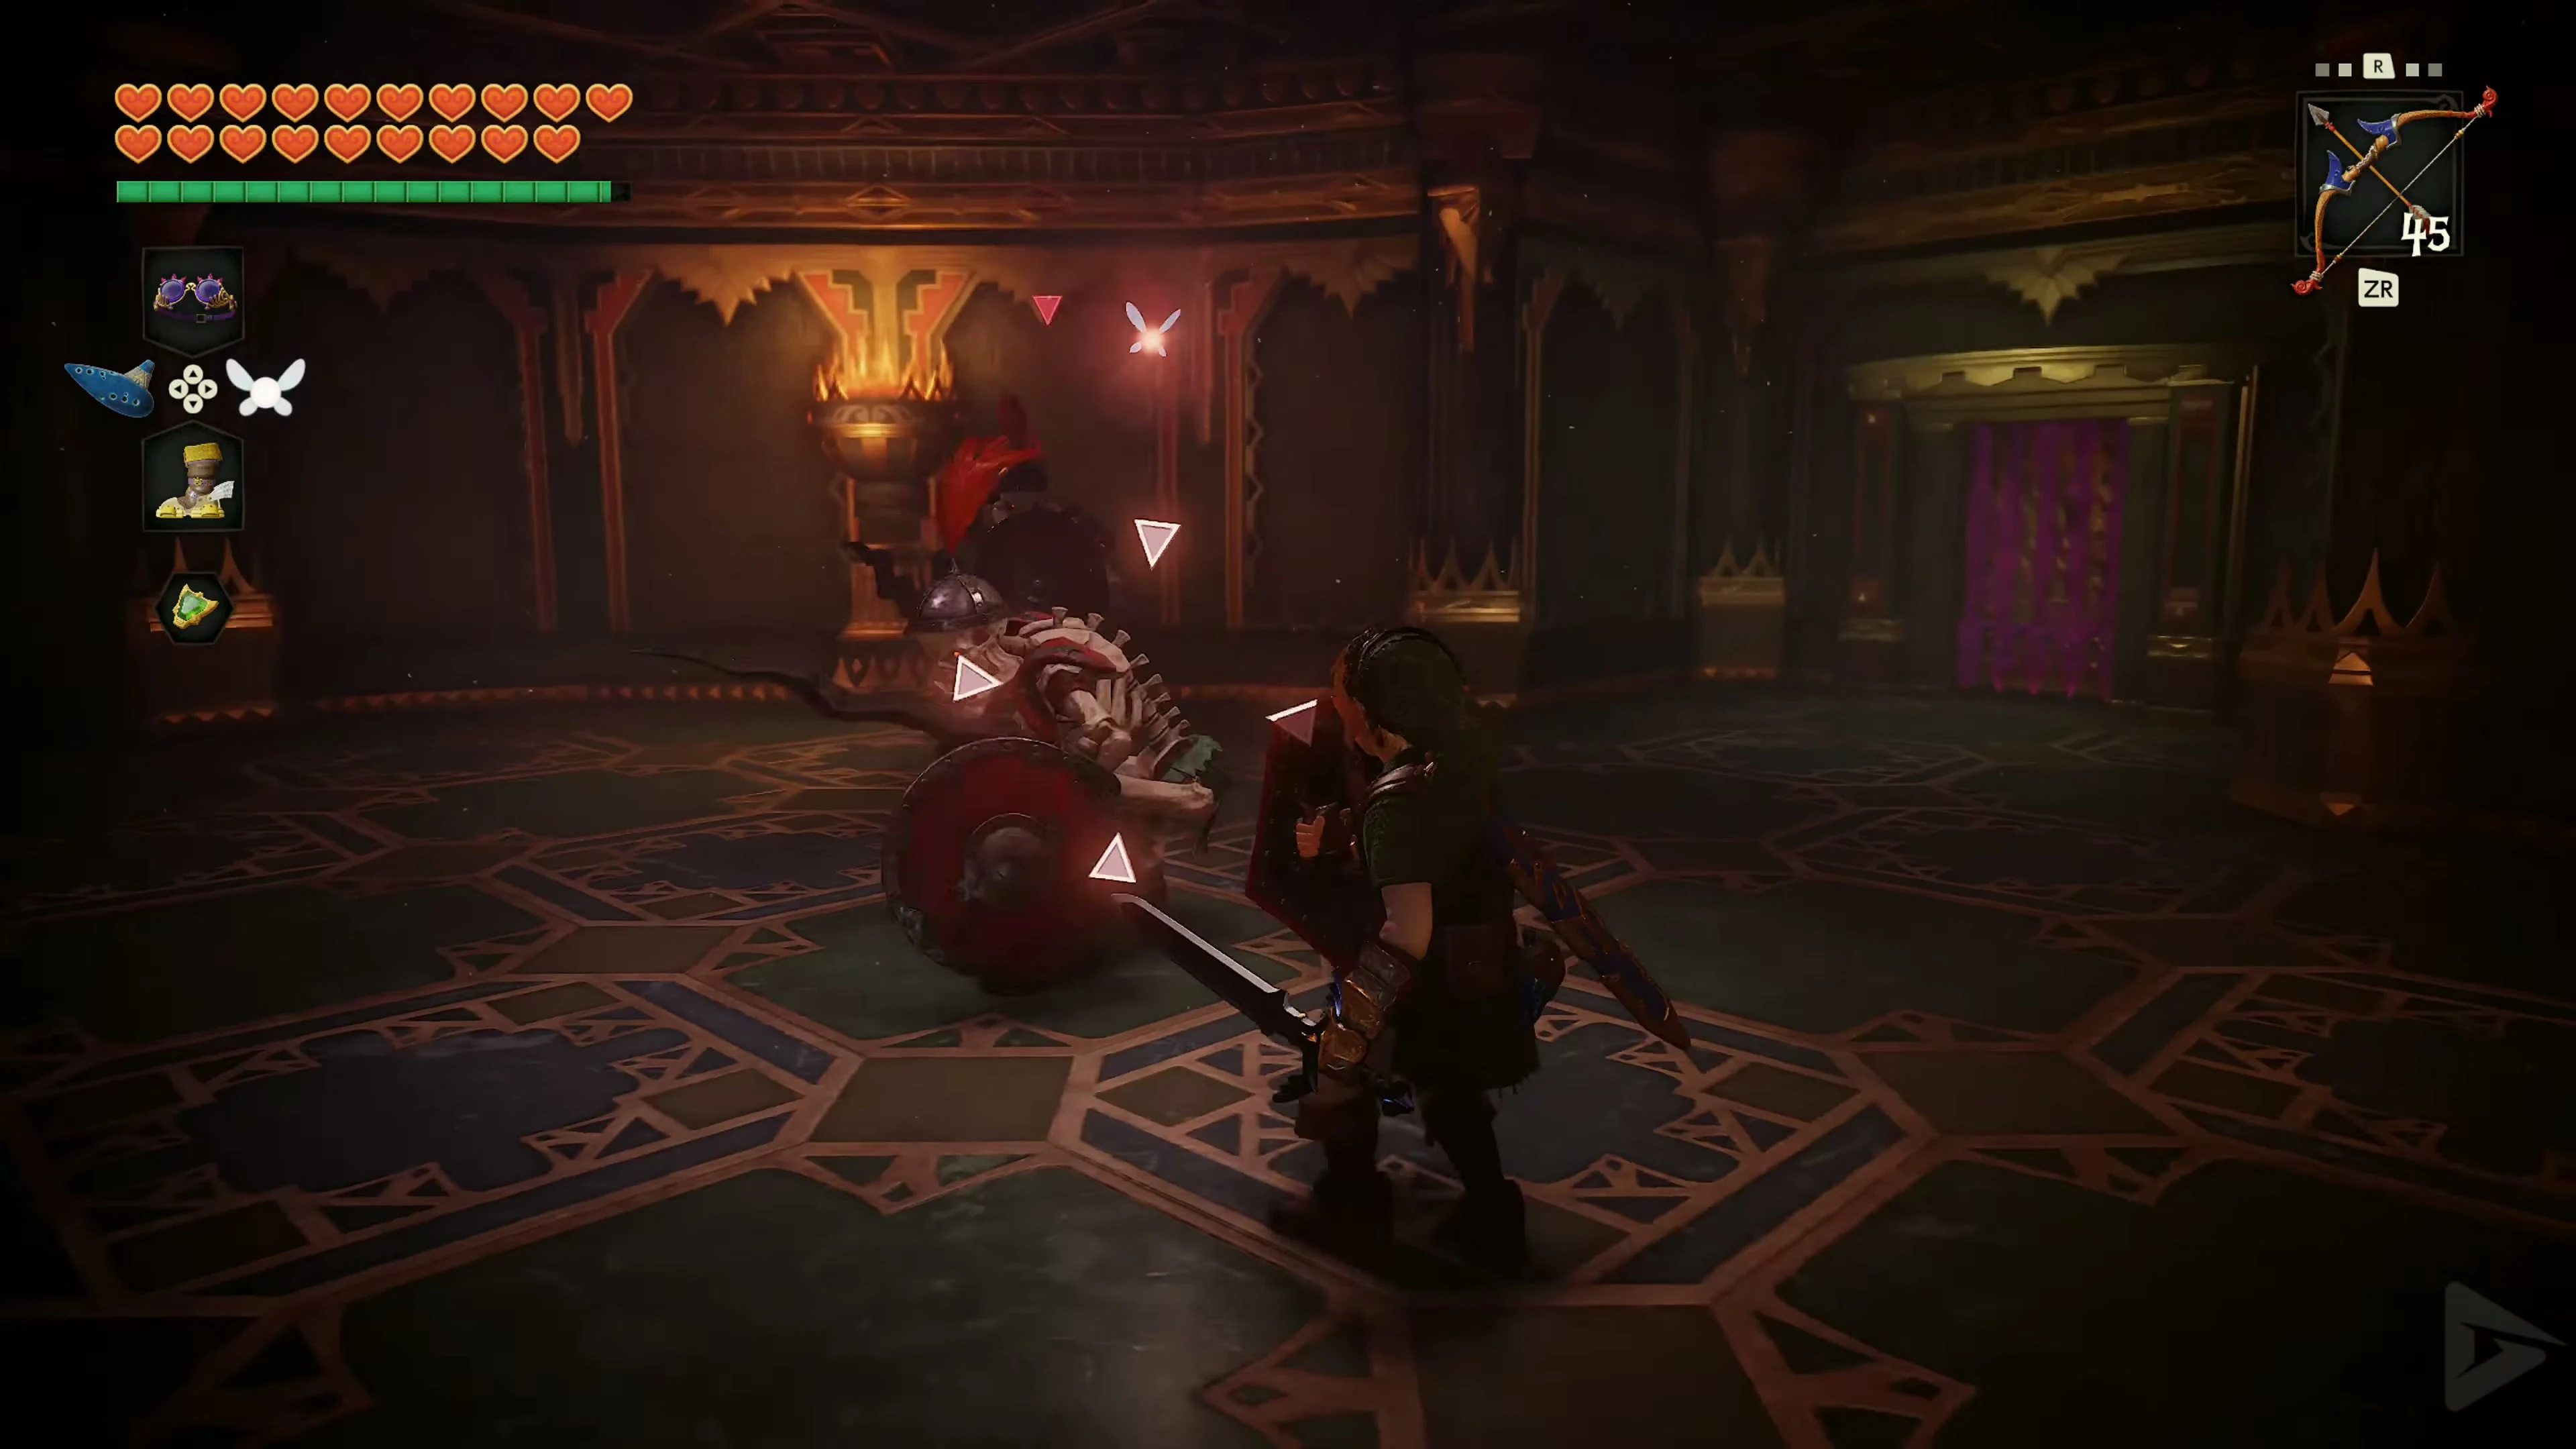
Two Iron Knuckles
In the next battle chamber, a black and a white Iron Knuckle sit motionless at the sides. Attack only one of them at first. As long as you don’t hit the second enemy, it will remain seated, and you won’t have to fight both at once. As in Spirit Temple , lure out a heavy axe strike, dodge to the side or backward, and attack the Iron Knuckle while its weapon is still in the ground. Once you defeat the first enemy, focus on the second. After the fight, open the large chest with the Boss Key . The next door will open. Follow the last large staircase to the locked boss door and use it. In the antechamber, there are several jars containing arrows, hearts, and magic. Smash only as many as you need immediately. Some supplies may prove important during the fight against Ganondorf.
Go through the side door and follow the spiral staircase to the organ chamber. Have Light Arrows, your strongest sword, and magic ready.
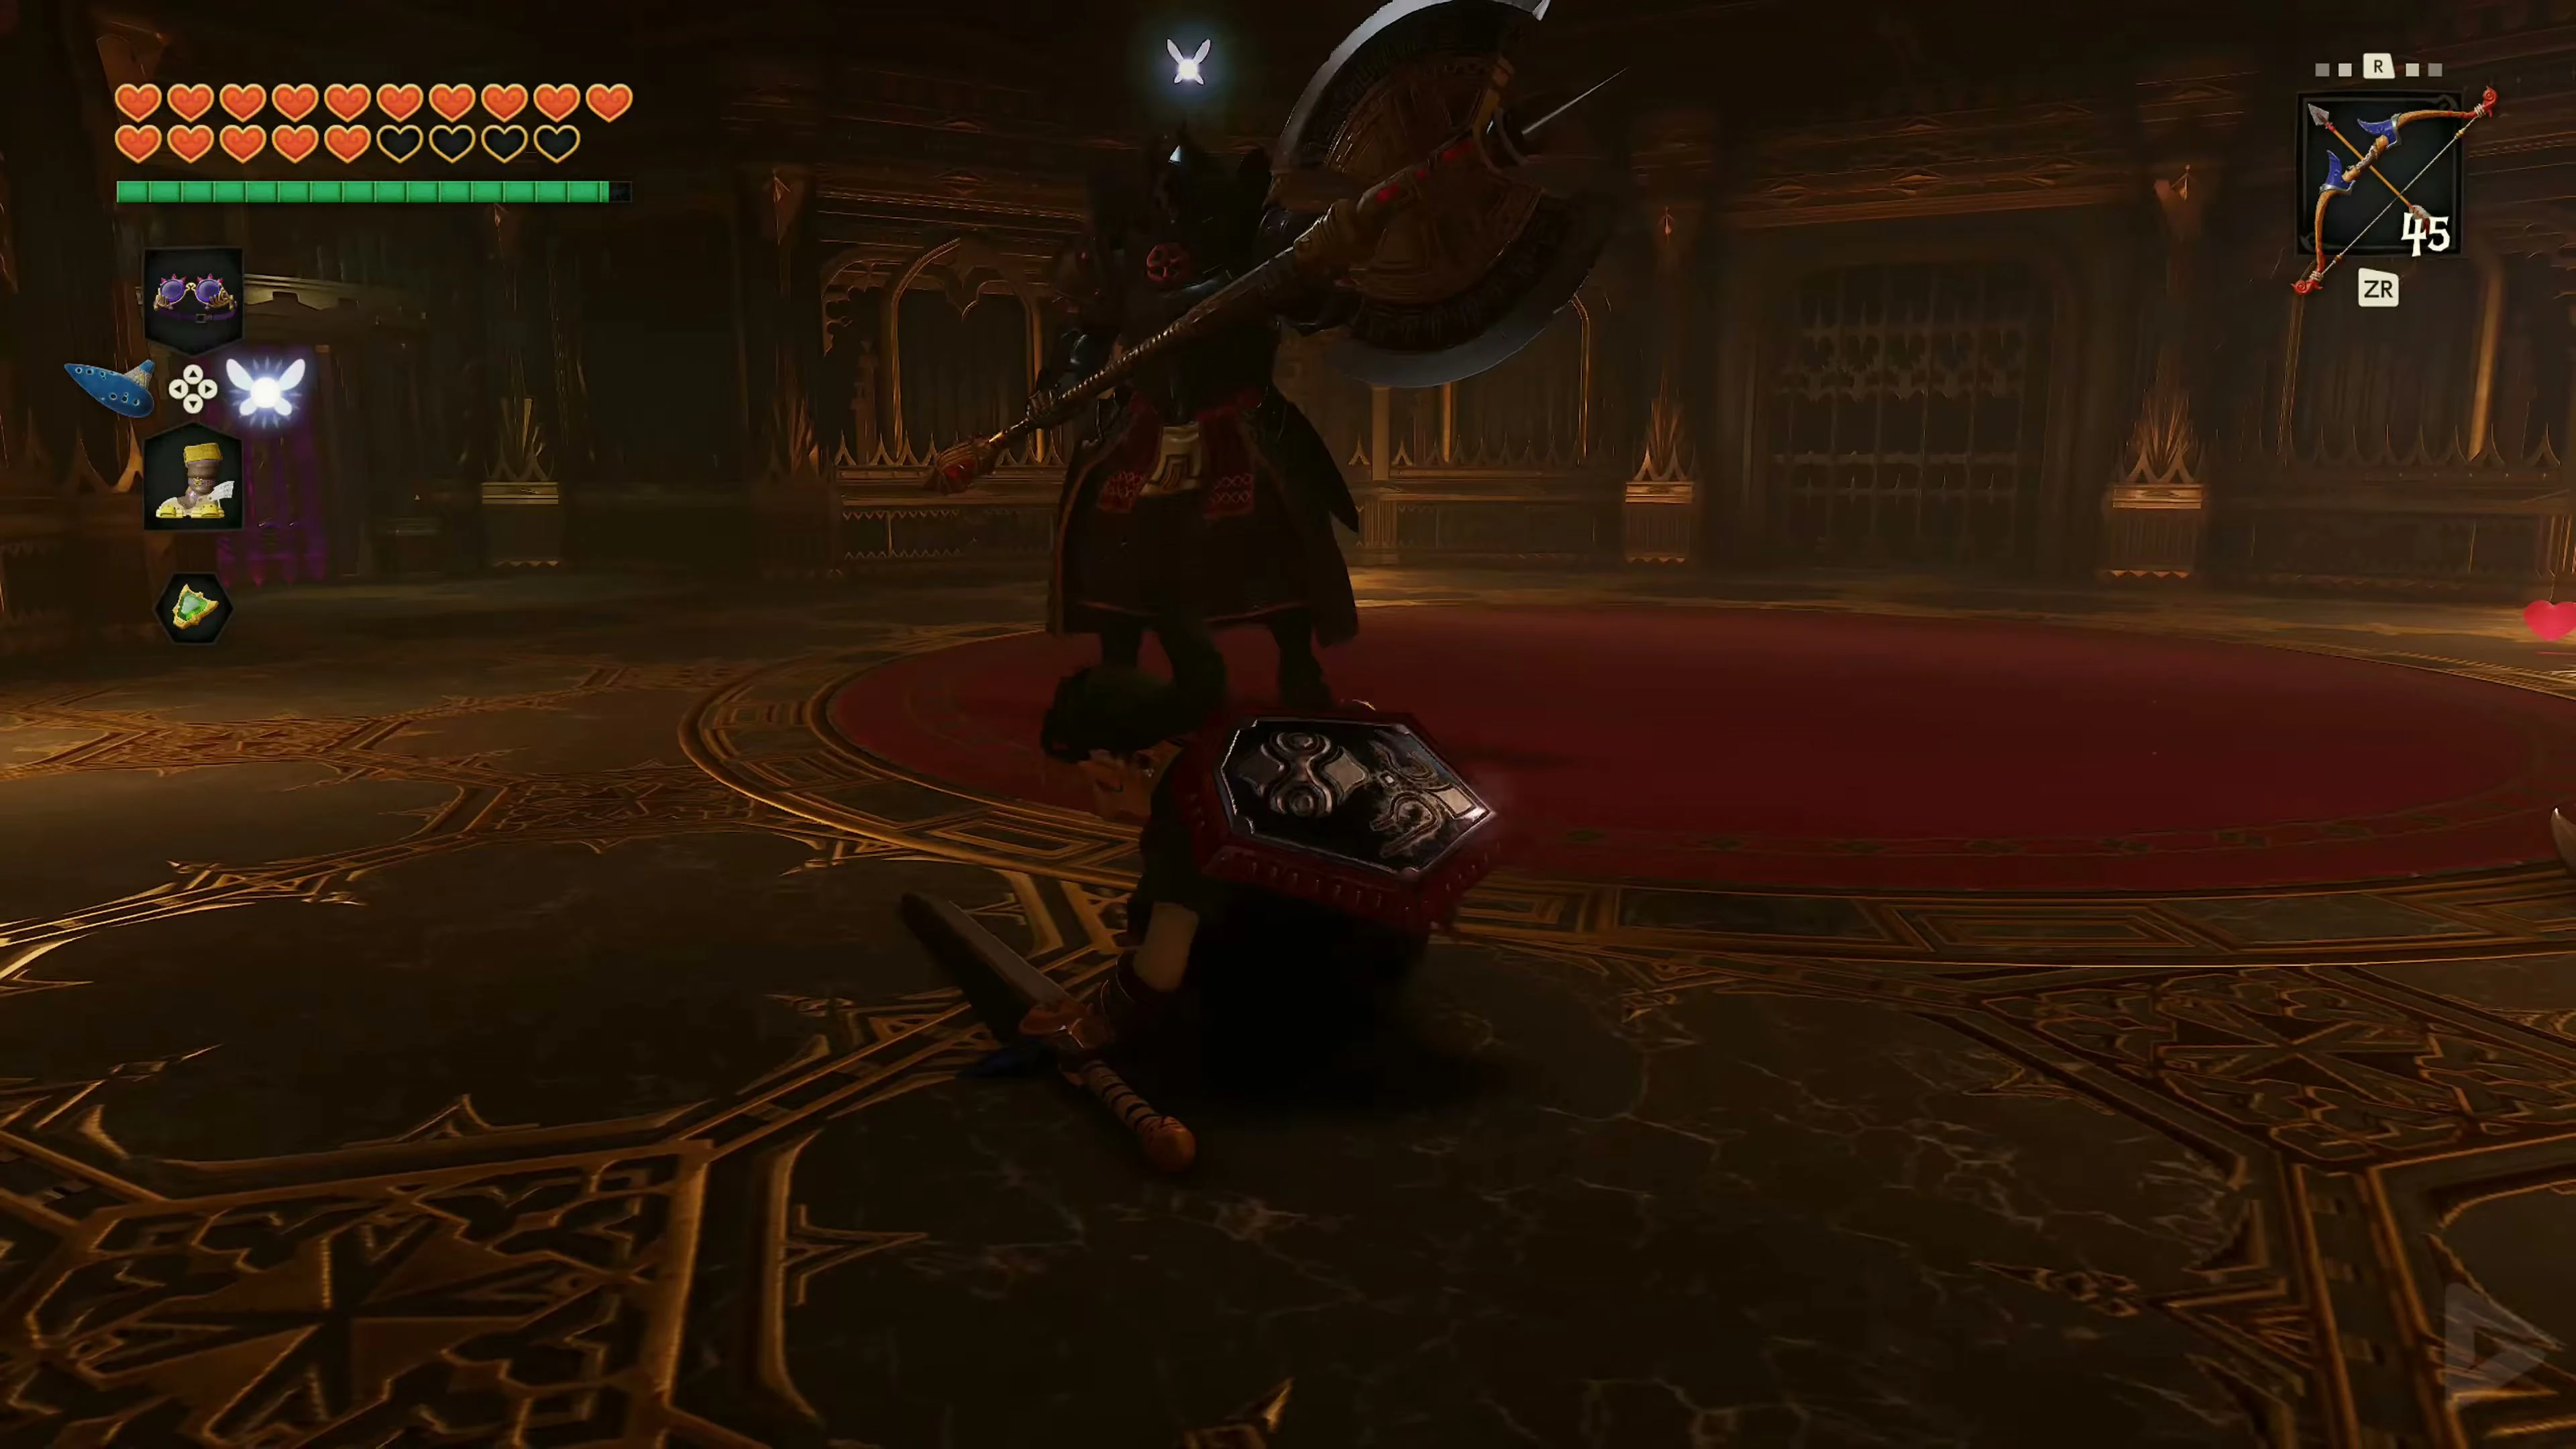
Final Boss: Ganondorf
In the top room of the central tower, Ganondorf sits at a massive organ. Princess Zelda continues to float in her crystal above the arena. The three fragments of the Triforce react to each other, and the Grand Master of Evil rises to fight. Ganondorf uses a dark energy wave to keep Navi at bay. Therefore, target lock is disabled throughout the entire fight. You must manually aim all light arrows and many movements.
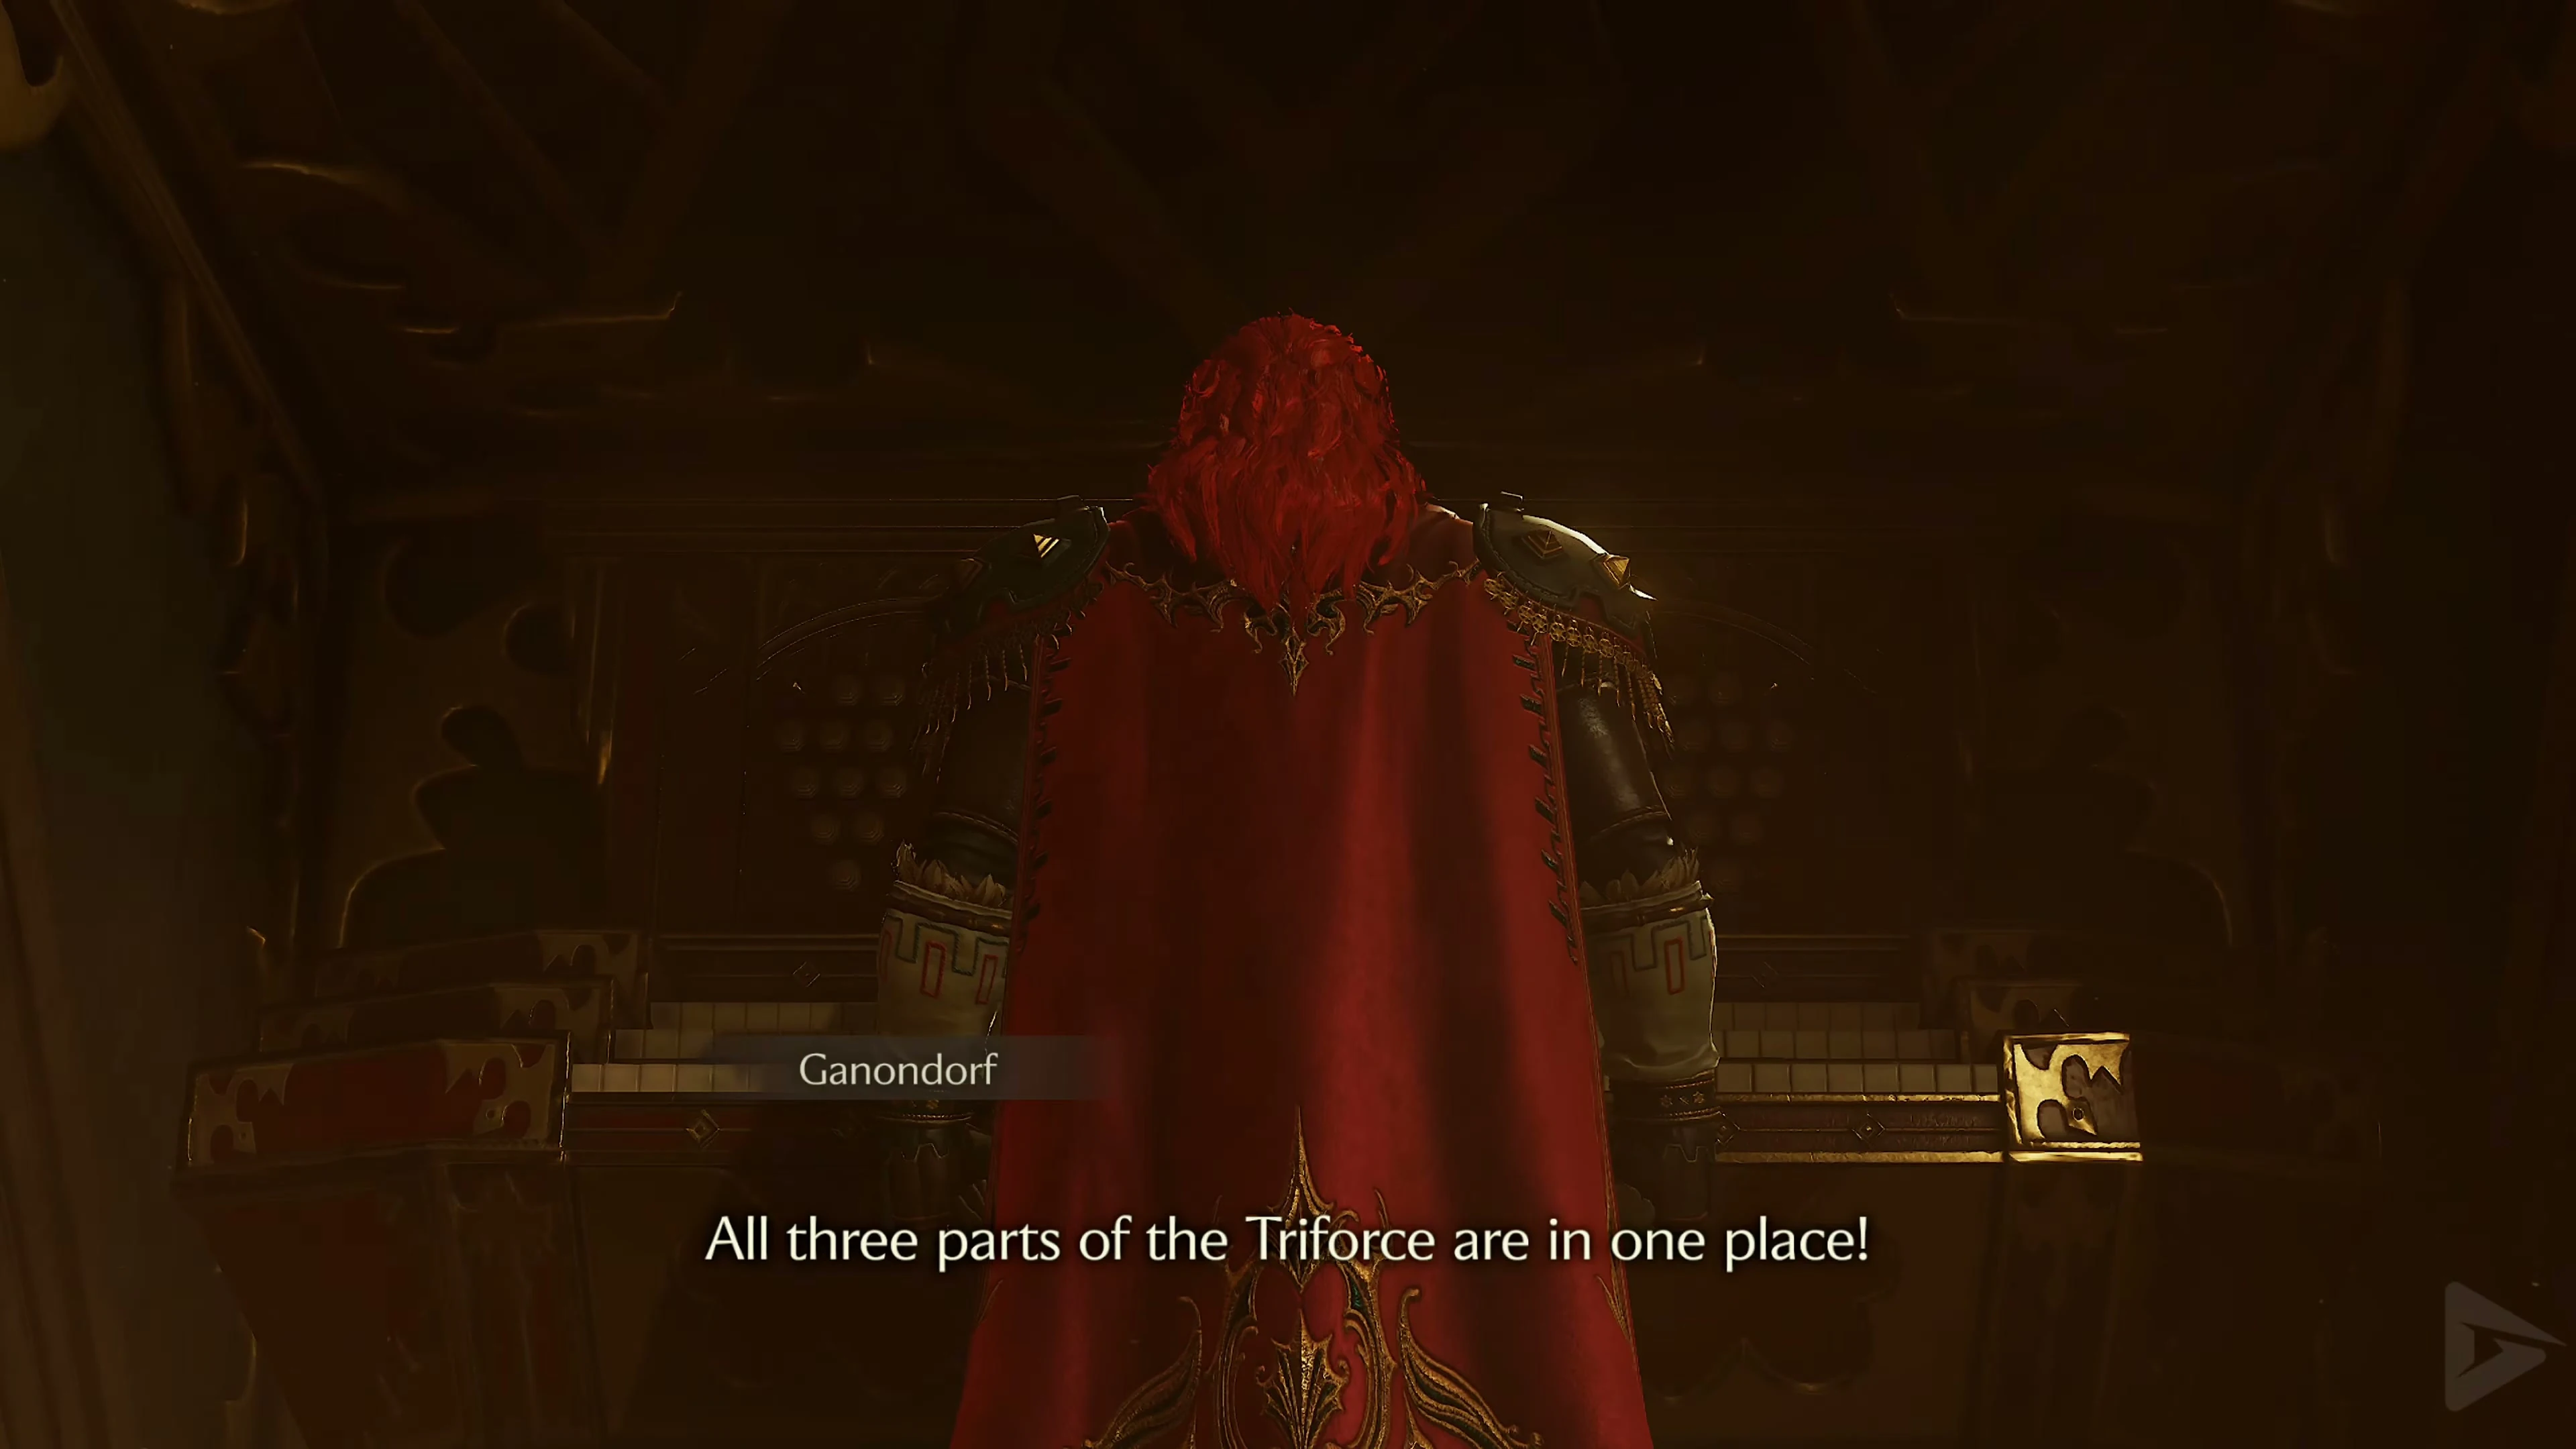
Dodge to the outer platforms.
At the start, Ganondorf slams his magic into the ground, destroying a large portion of the central platform. Immediately run to the outer edge of the arena. The four corner platforms offer a relatively safe location and will not be completely destroyed. Avoid lingering in the middle unnecessarily. Ganondorf regularly slams his fist into the ground there, causing further sections of the platform to collapse.
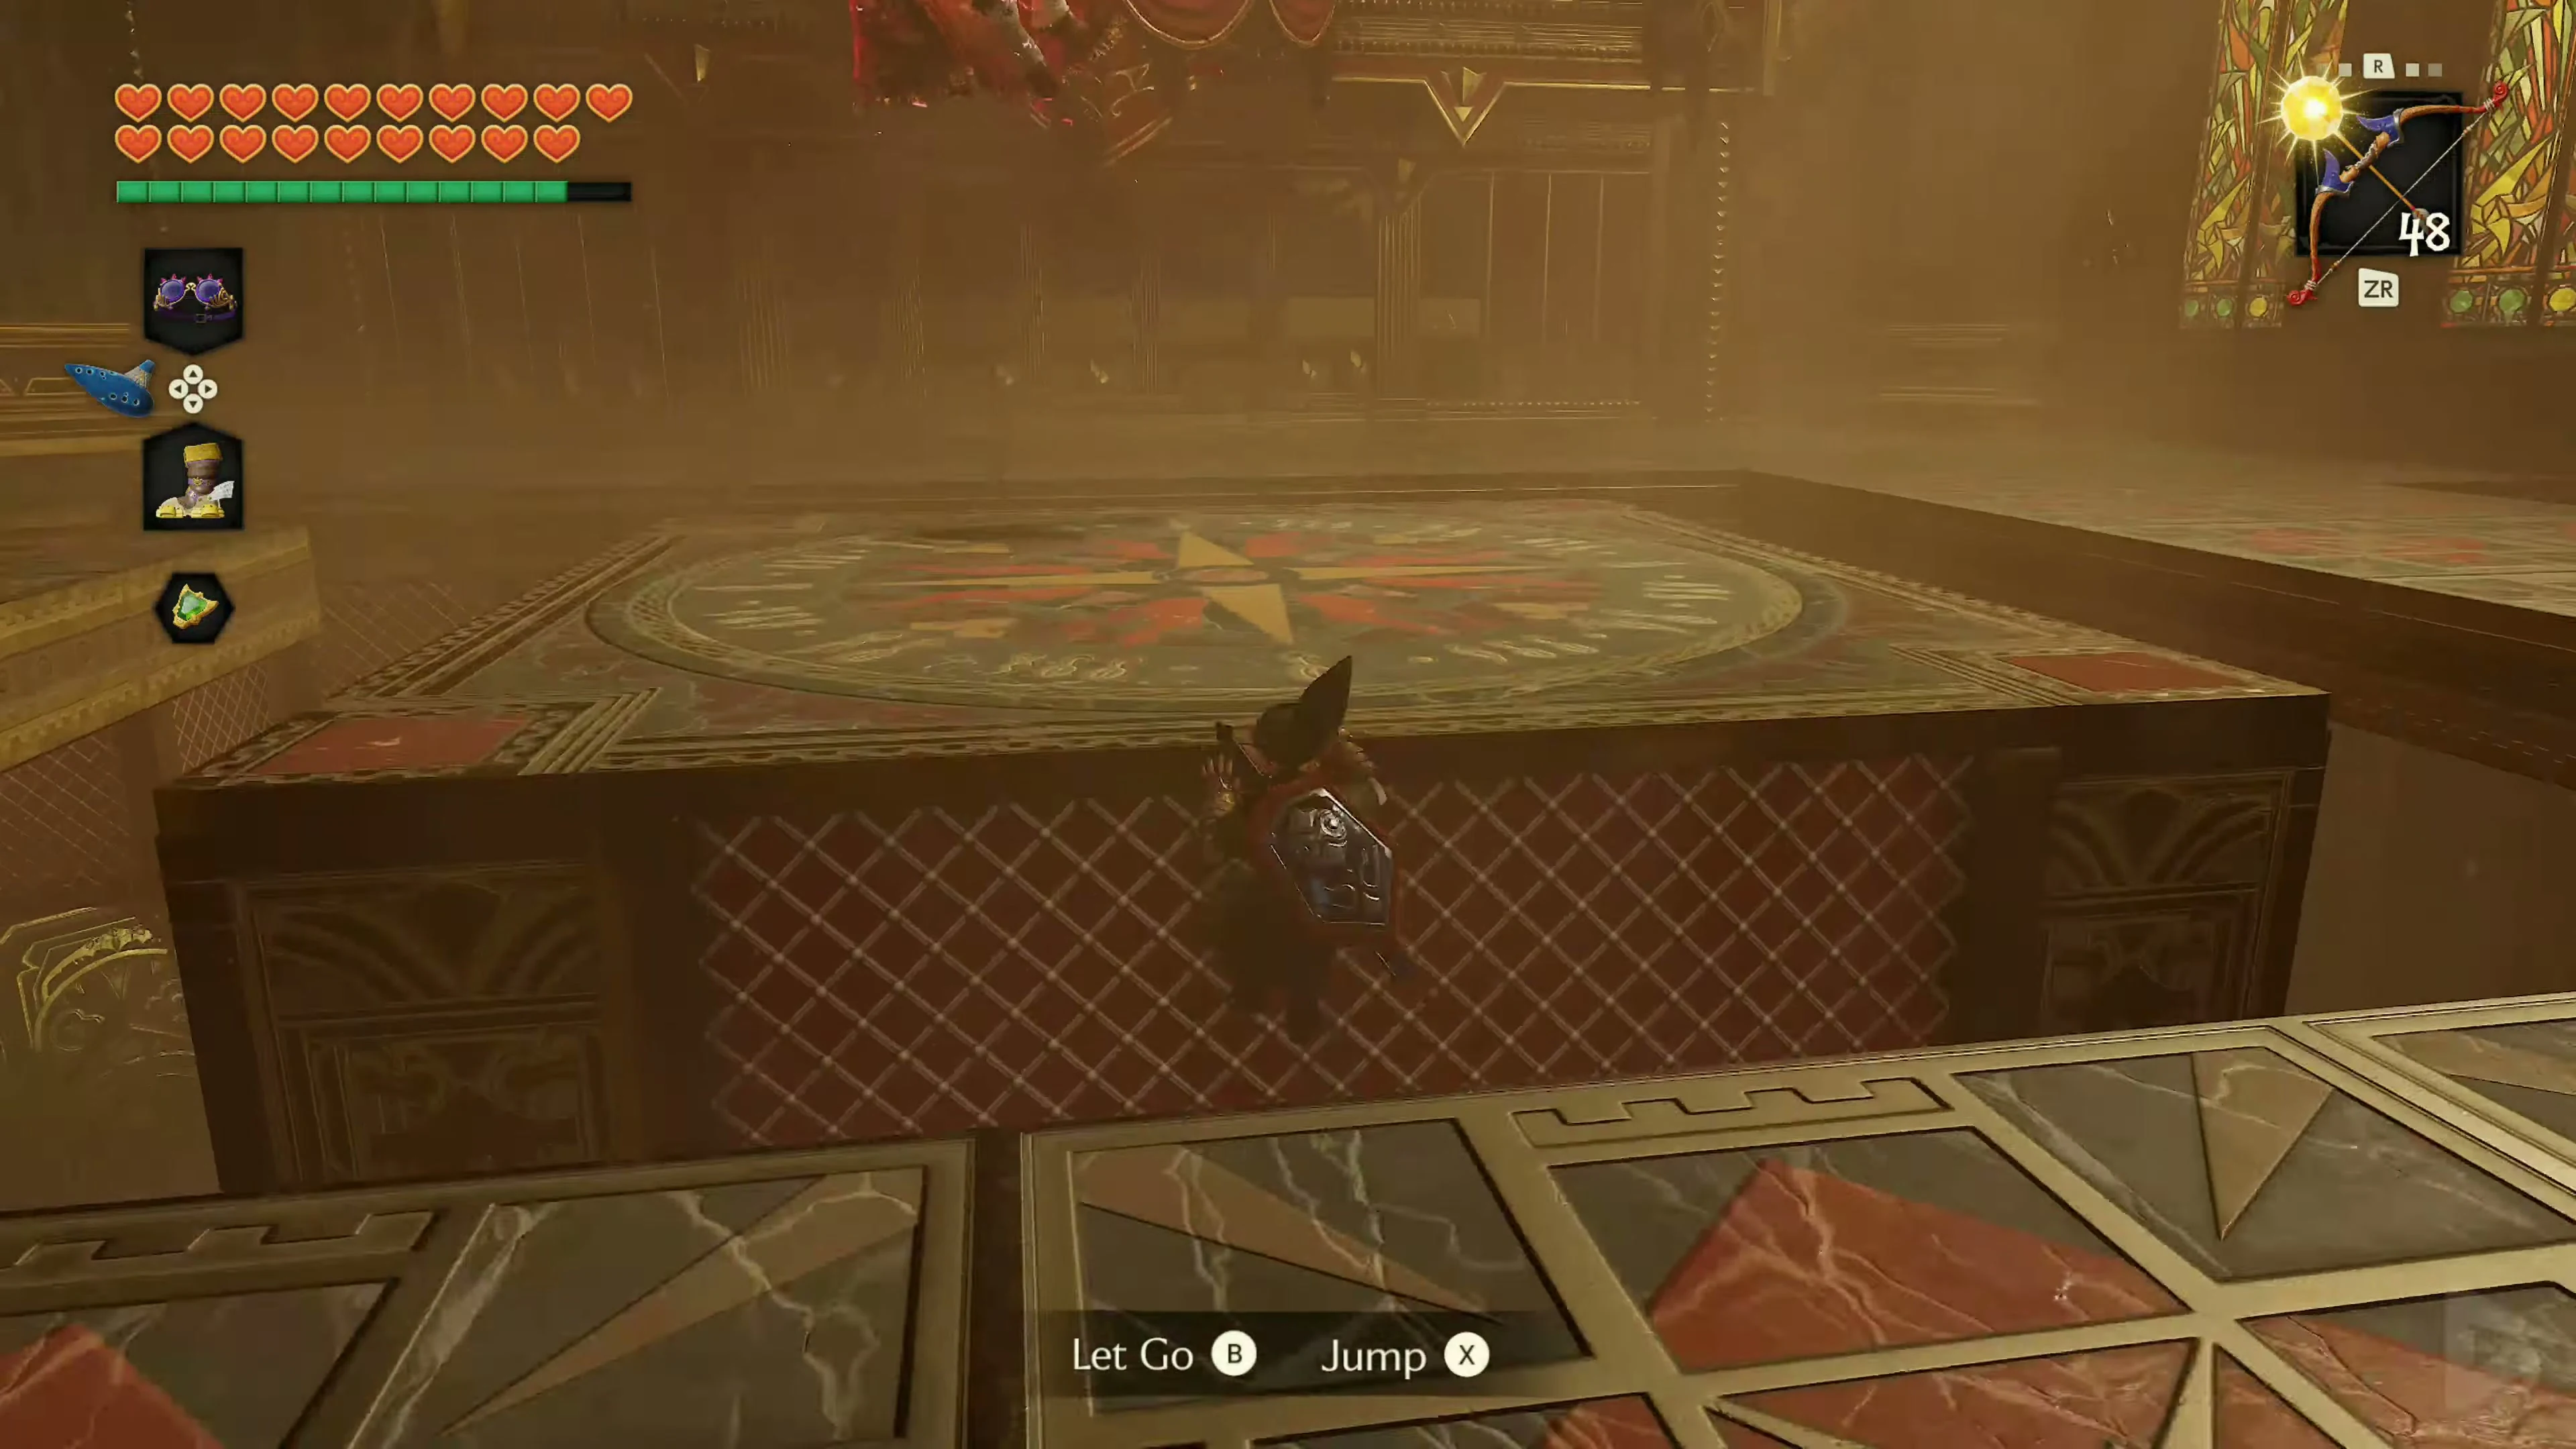
Deflecting the Energy Orb
Ganondorf’s most frequent attack is a large, glowing energy orb. Wait until it’s almost at Link’s feet and deflect it with your sword. Ganondorf will often hurl it back at Link, creating an increasingly rapid exchange of blows. Focus on the orb’s rhythm, not Ganondorf’s body. If you strike too early or too late, the energy will hit Link and cause significant damage. If Ganondorf is eventually hit by his own attack, he will be stunned in mid-air for a short time.
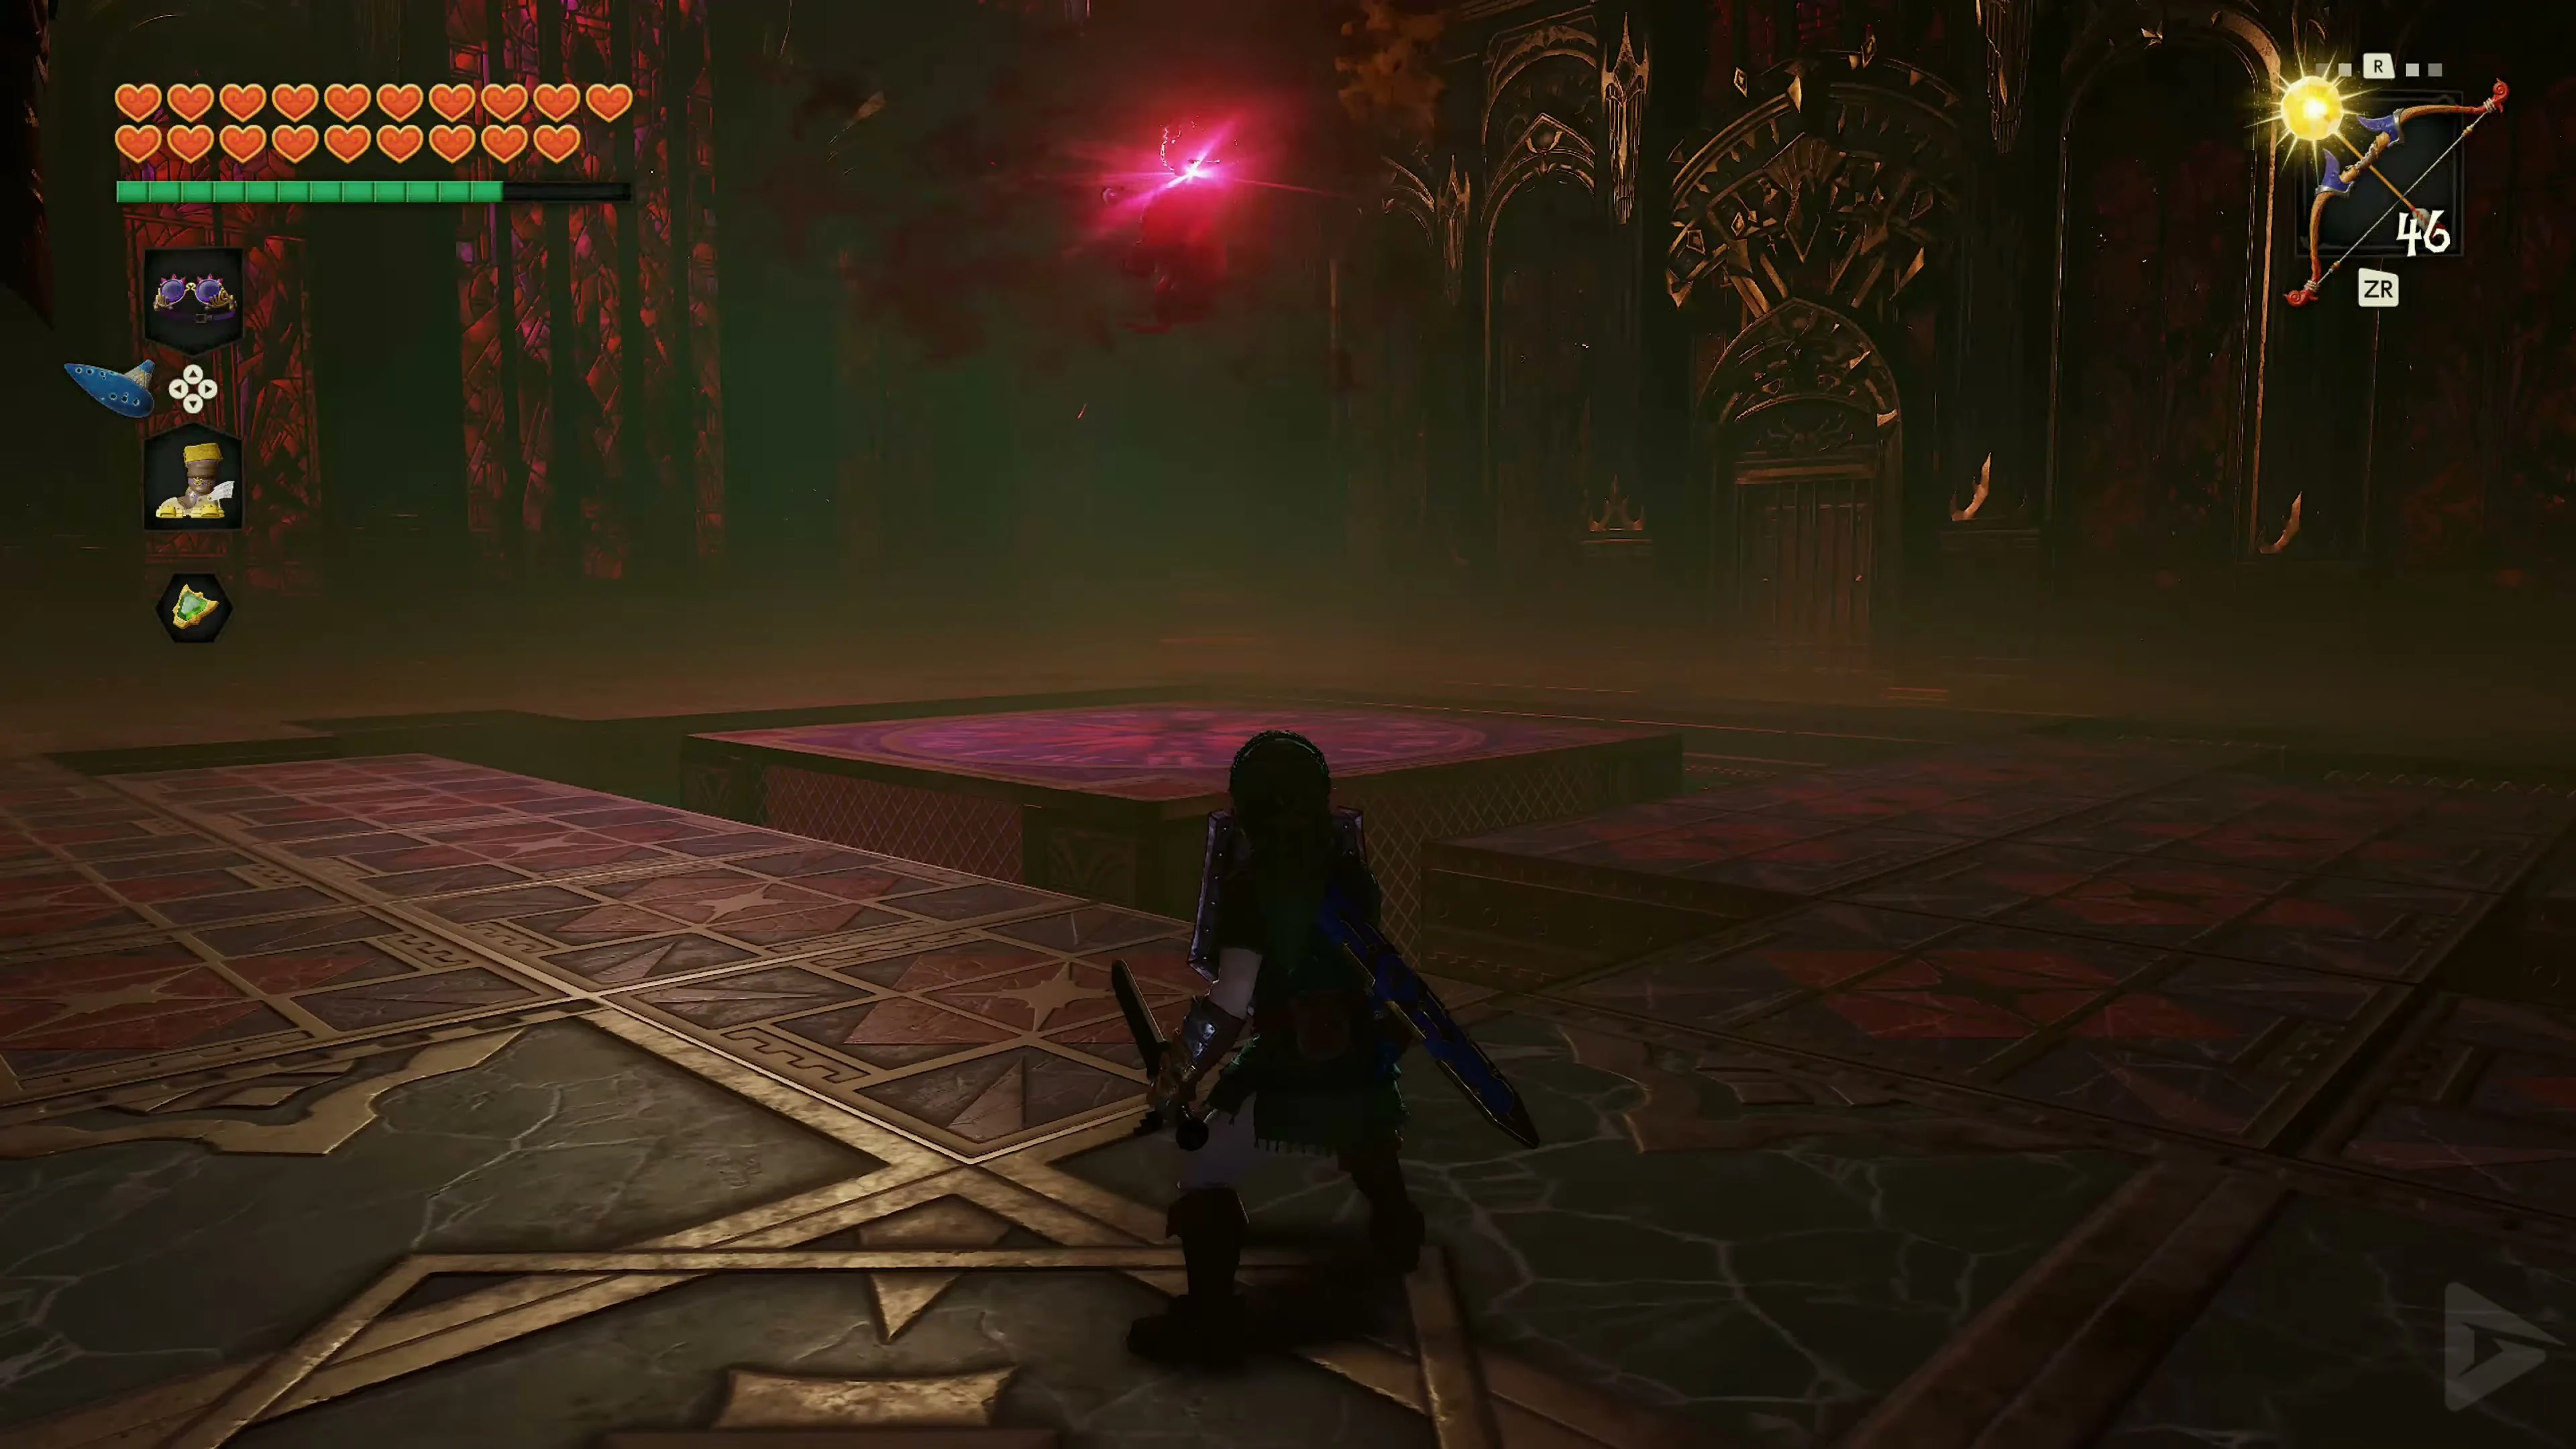
Hit Ganondorf with the Light Arrow.
Immediately after the successful energy exchange, switch to the Fairy Bow and fire a Light Arrow at Ganondorf. Since Navi is unavailable, you must aim the shot at his body manually. A successful Light Arrow will cause Ganondorf to fall. He will land on the central platform and remain immobilized for a short time. Immediately jump to the center and attack him with the Master Sword or Biggoron Sword. Try to land several hits during this brief period. As soon as Ganondorf gets back up, retreat to one of the safe corner platforms and wait for the next energy attack.
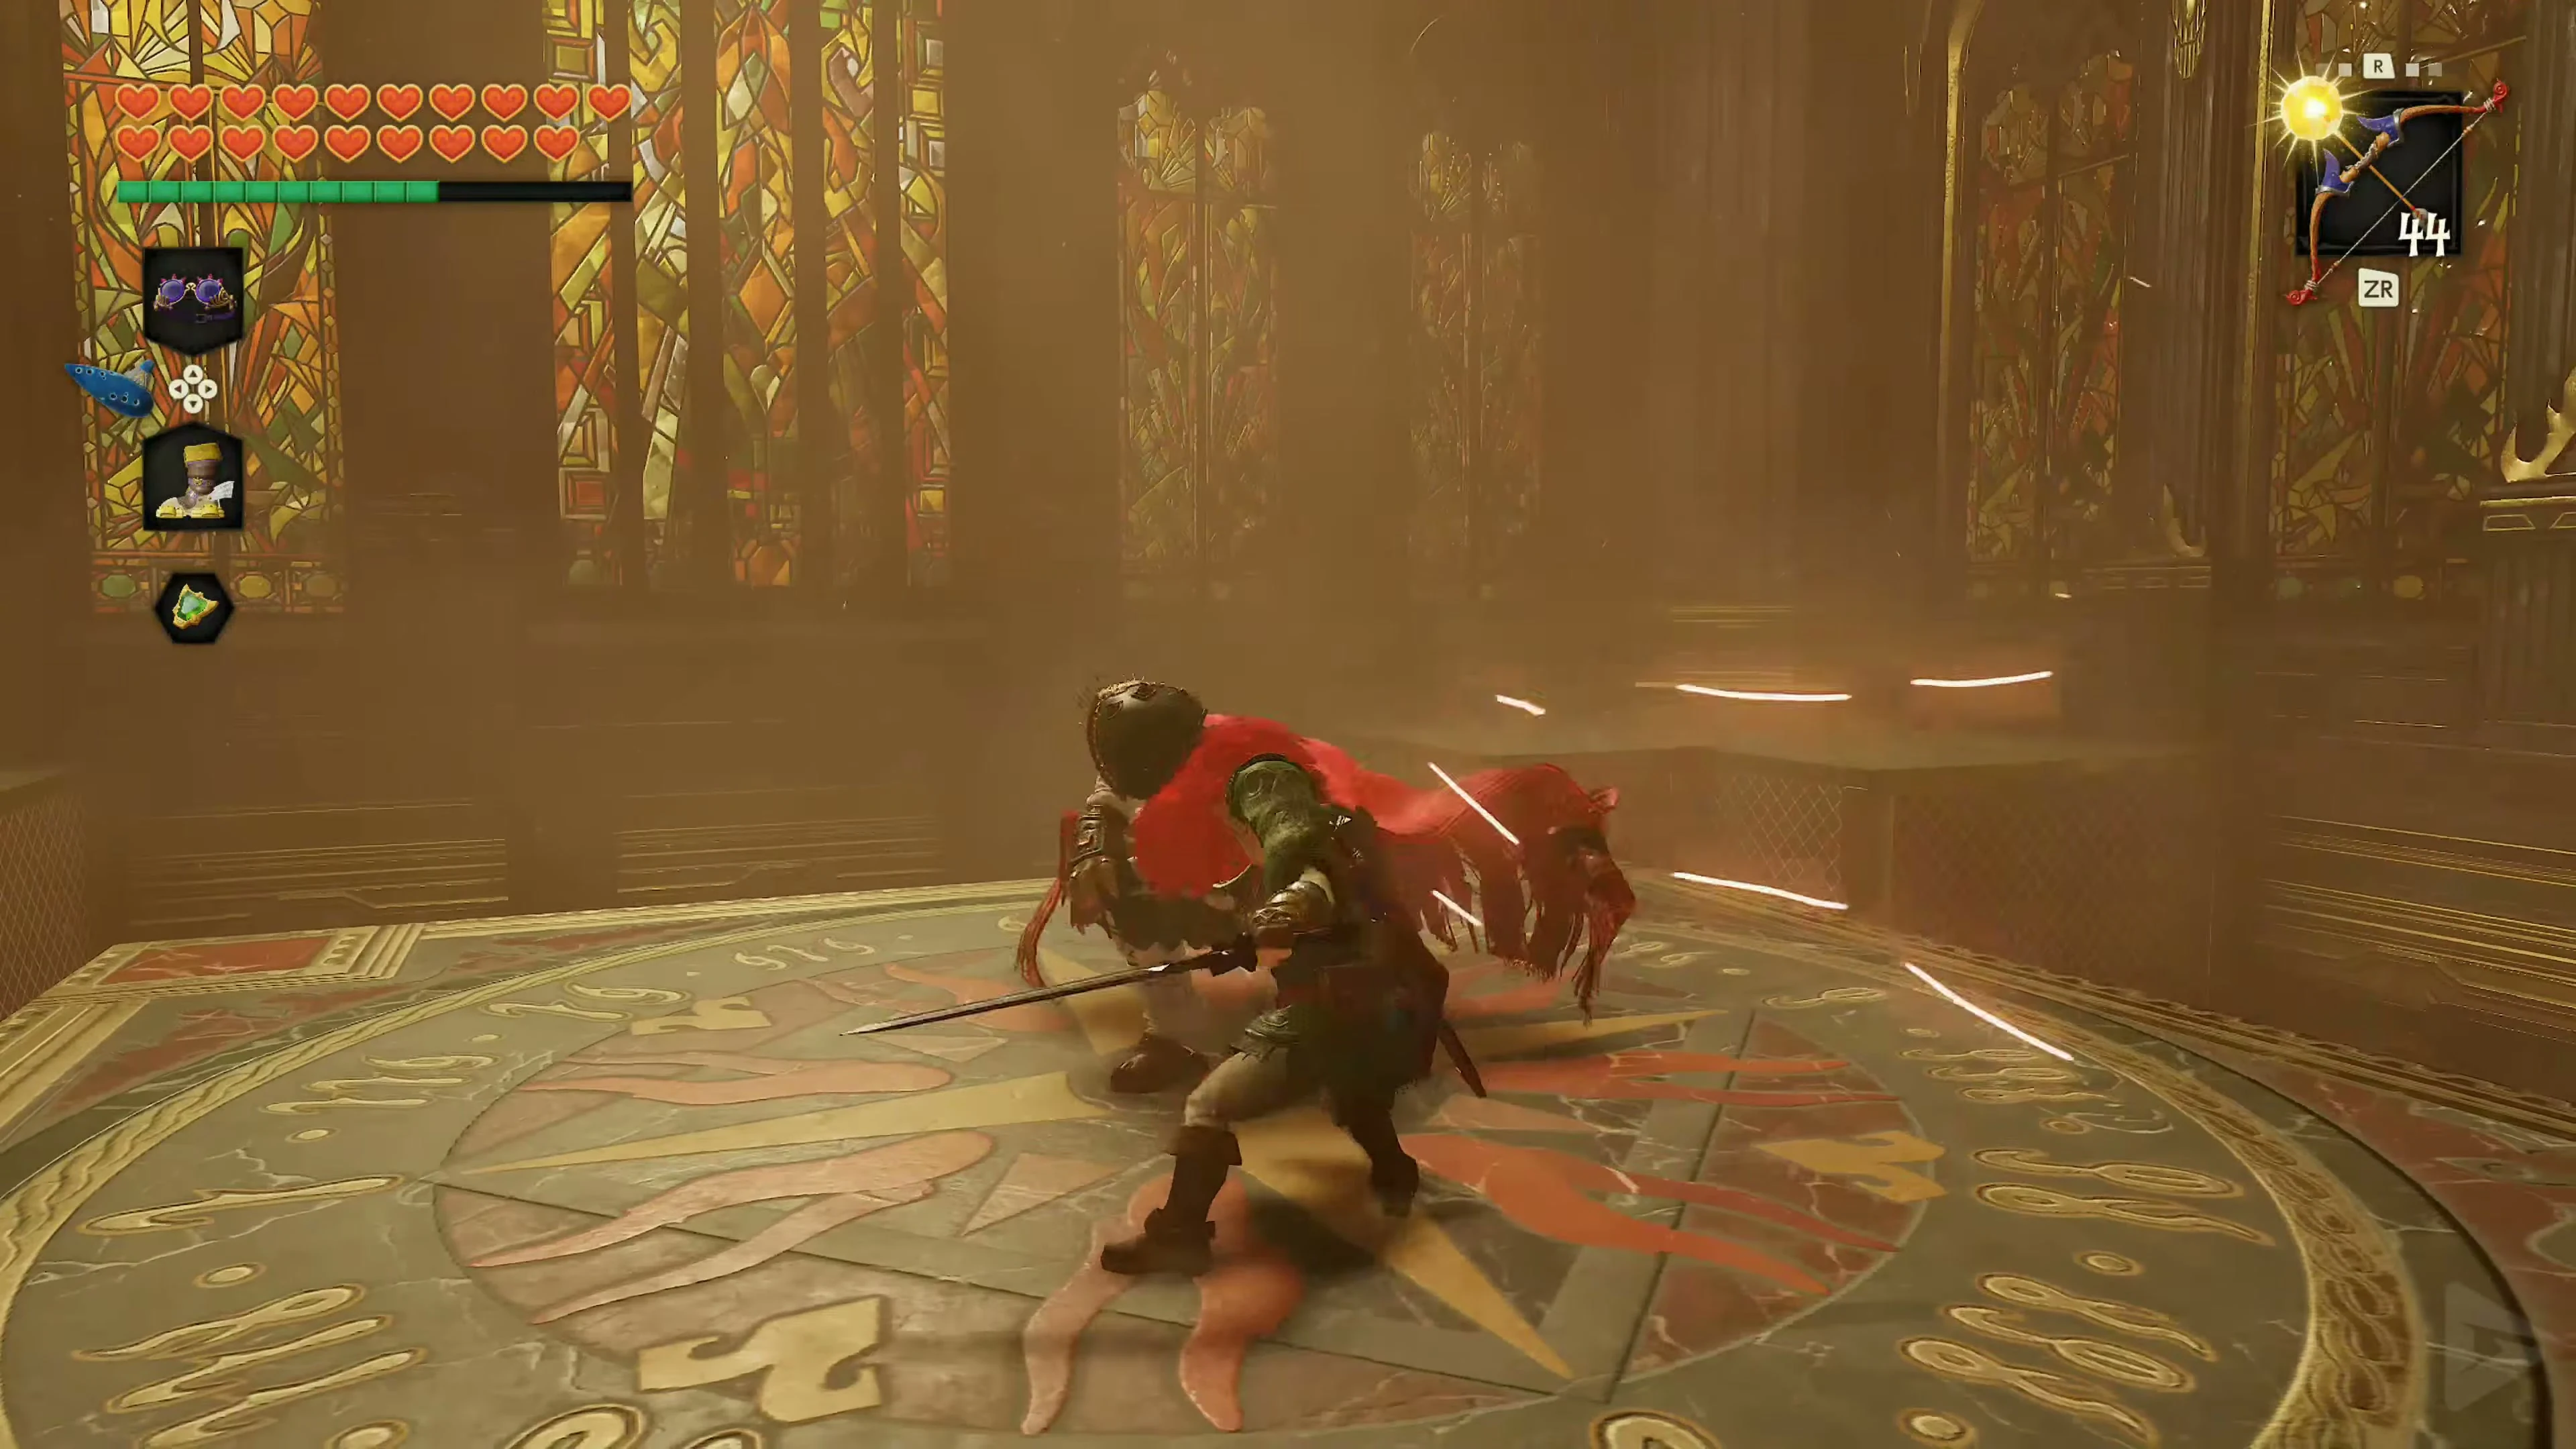
Ganondorf’s large energy attack.
When Ganondorf charges up multiple energy orbs, you can interrupt him with a Light Arrow. If you get caught in his multi-attack, drop down into the lower storeroom and move towards the center. Replenish your arrows, magic, and hearts at the jars and climb back up. Later, Ganondorf will destroy almost all the floor tiles. Dodge his shockwave at the edge of the safe corner. Gain energy again and hit him with a Light Arrow. If the path to the center is blocked, Use the Hookshot to pull yourself towards him. Attack with your sword.
Escape from Ganondorf’s Castle
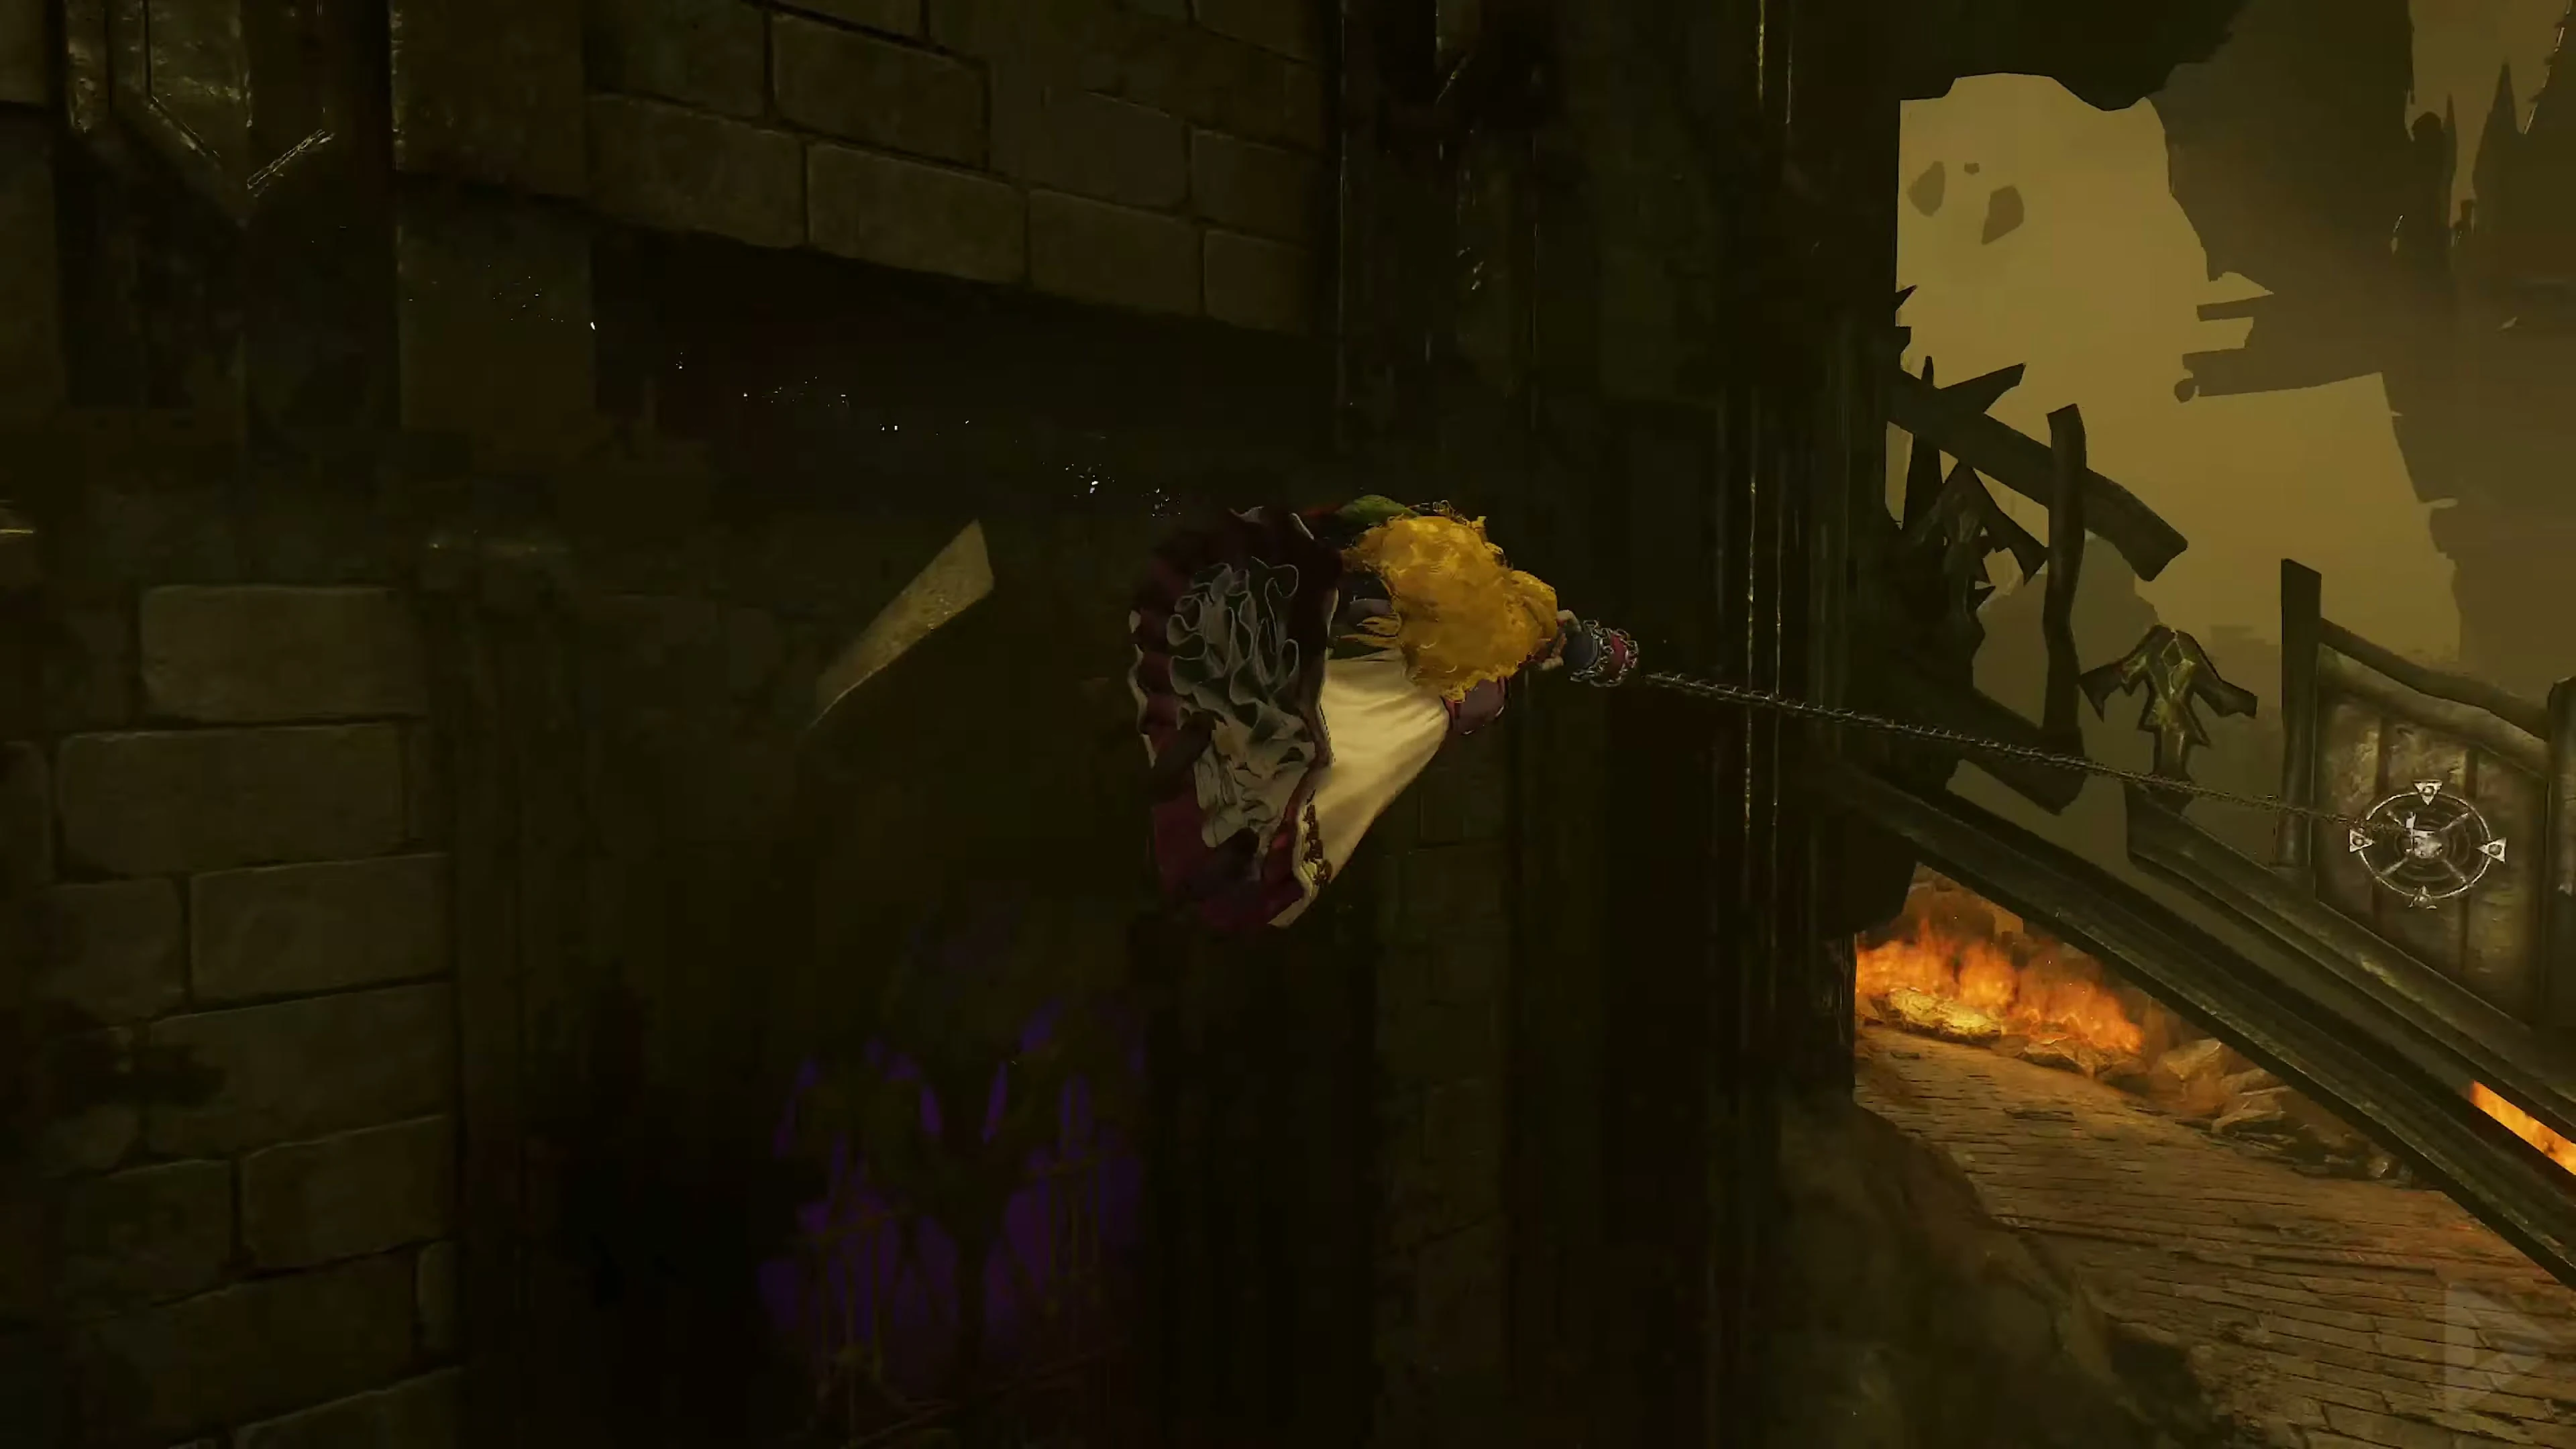
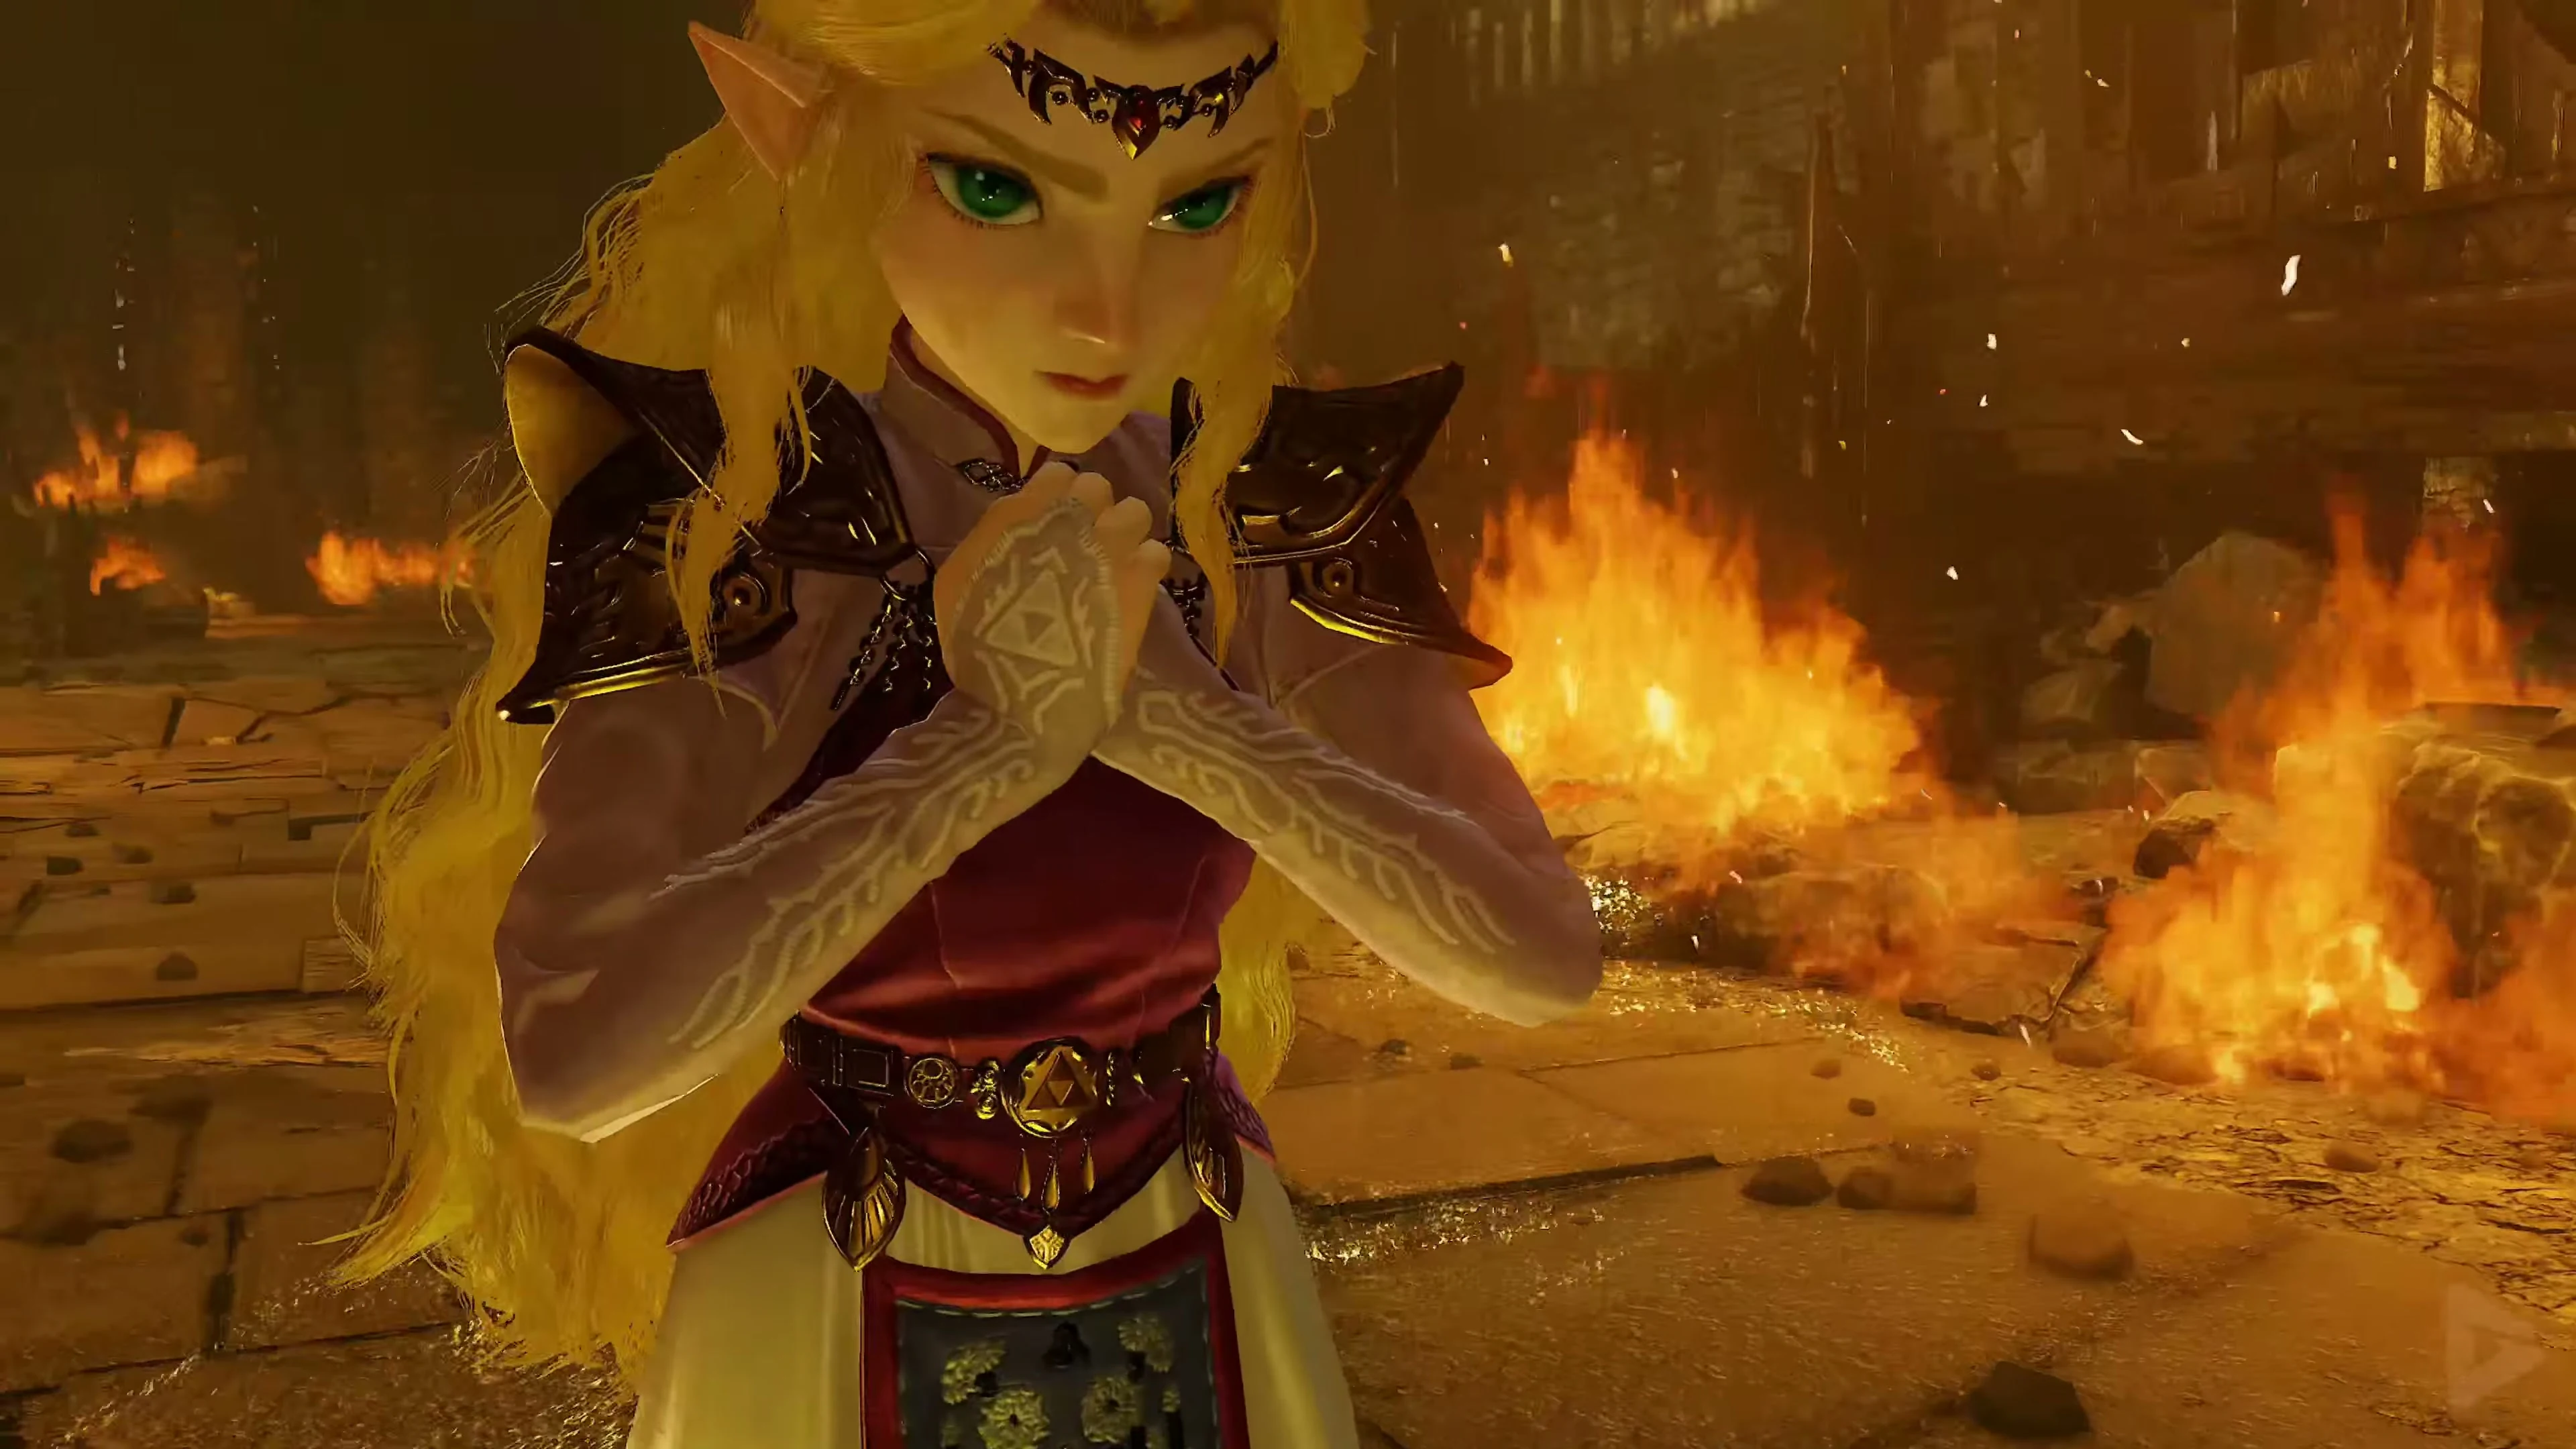
Follow Zelda out of the collapsing tower. She will open the magic doors. Stay close to her and avoid the shadows of falling rocks. There is no time limit for this escape. You can therefore overcome the obstacles at your leisure. Have your Hookshot and bombs ready.
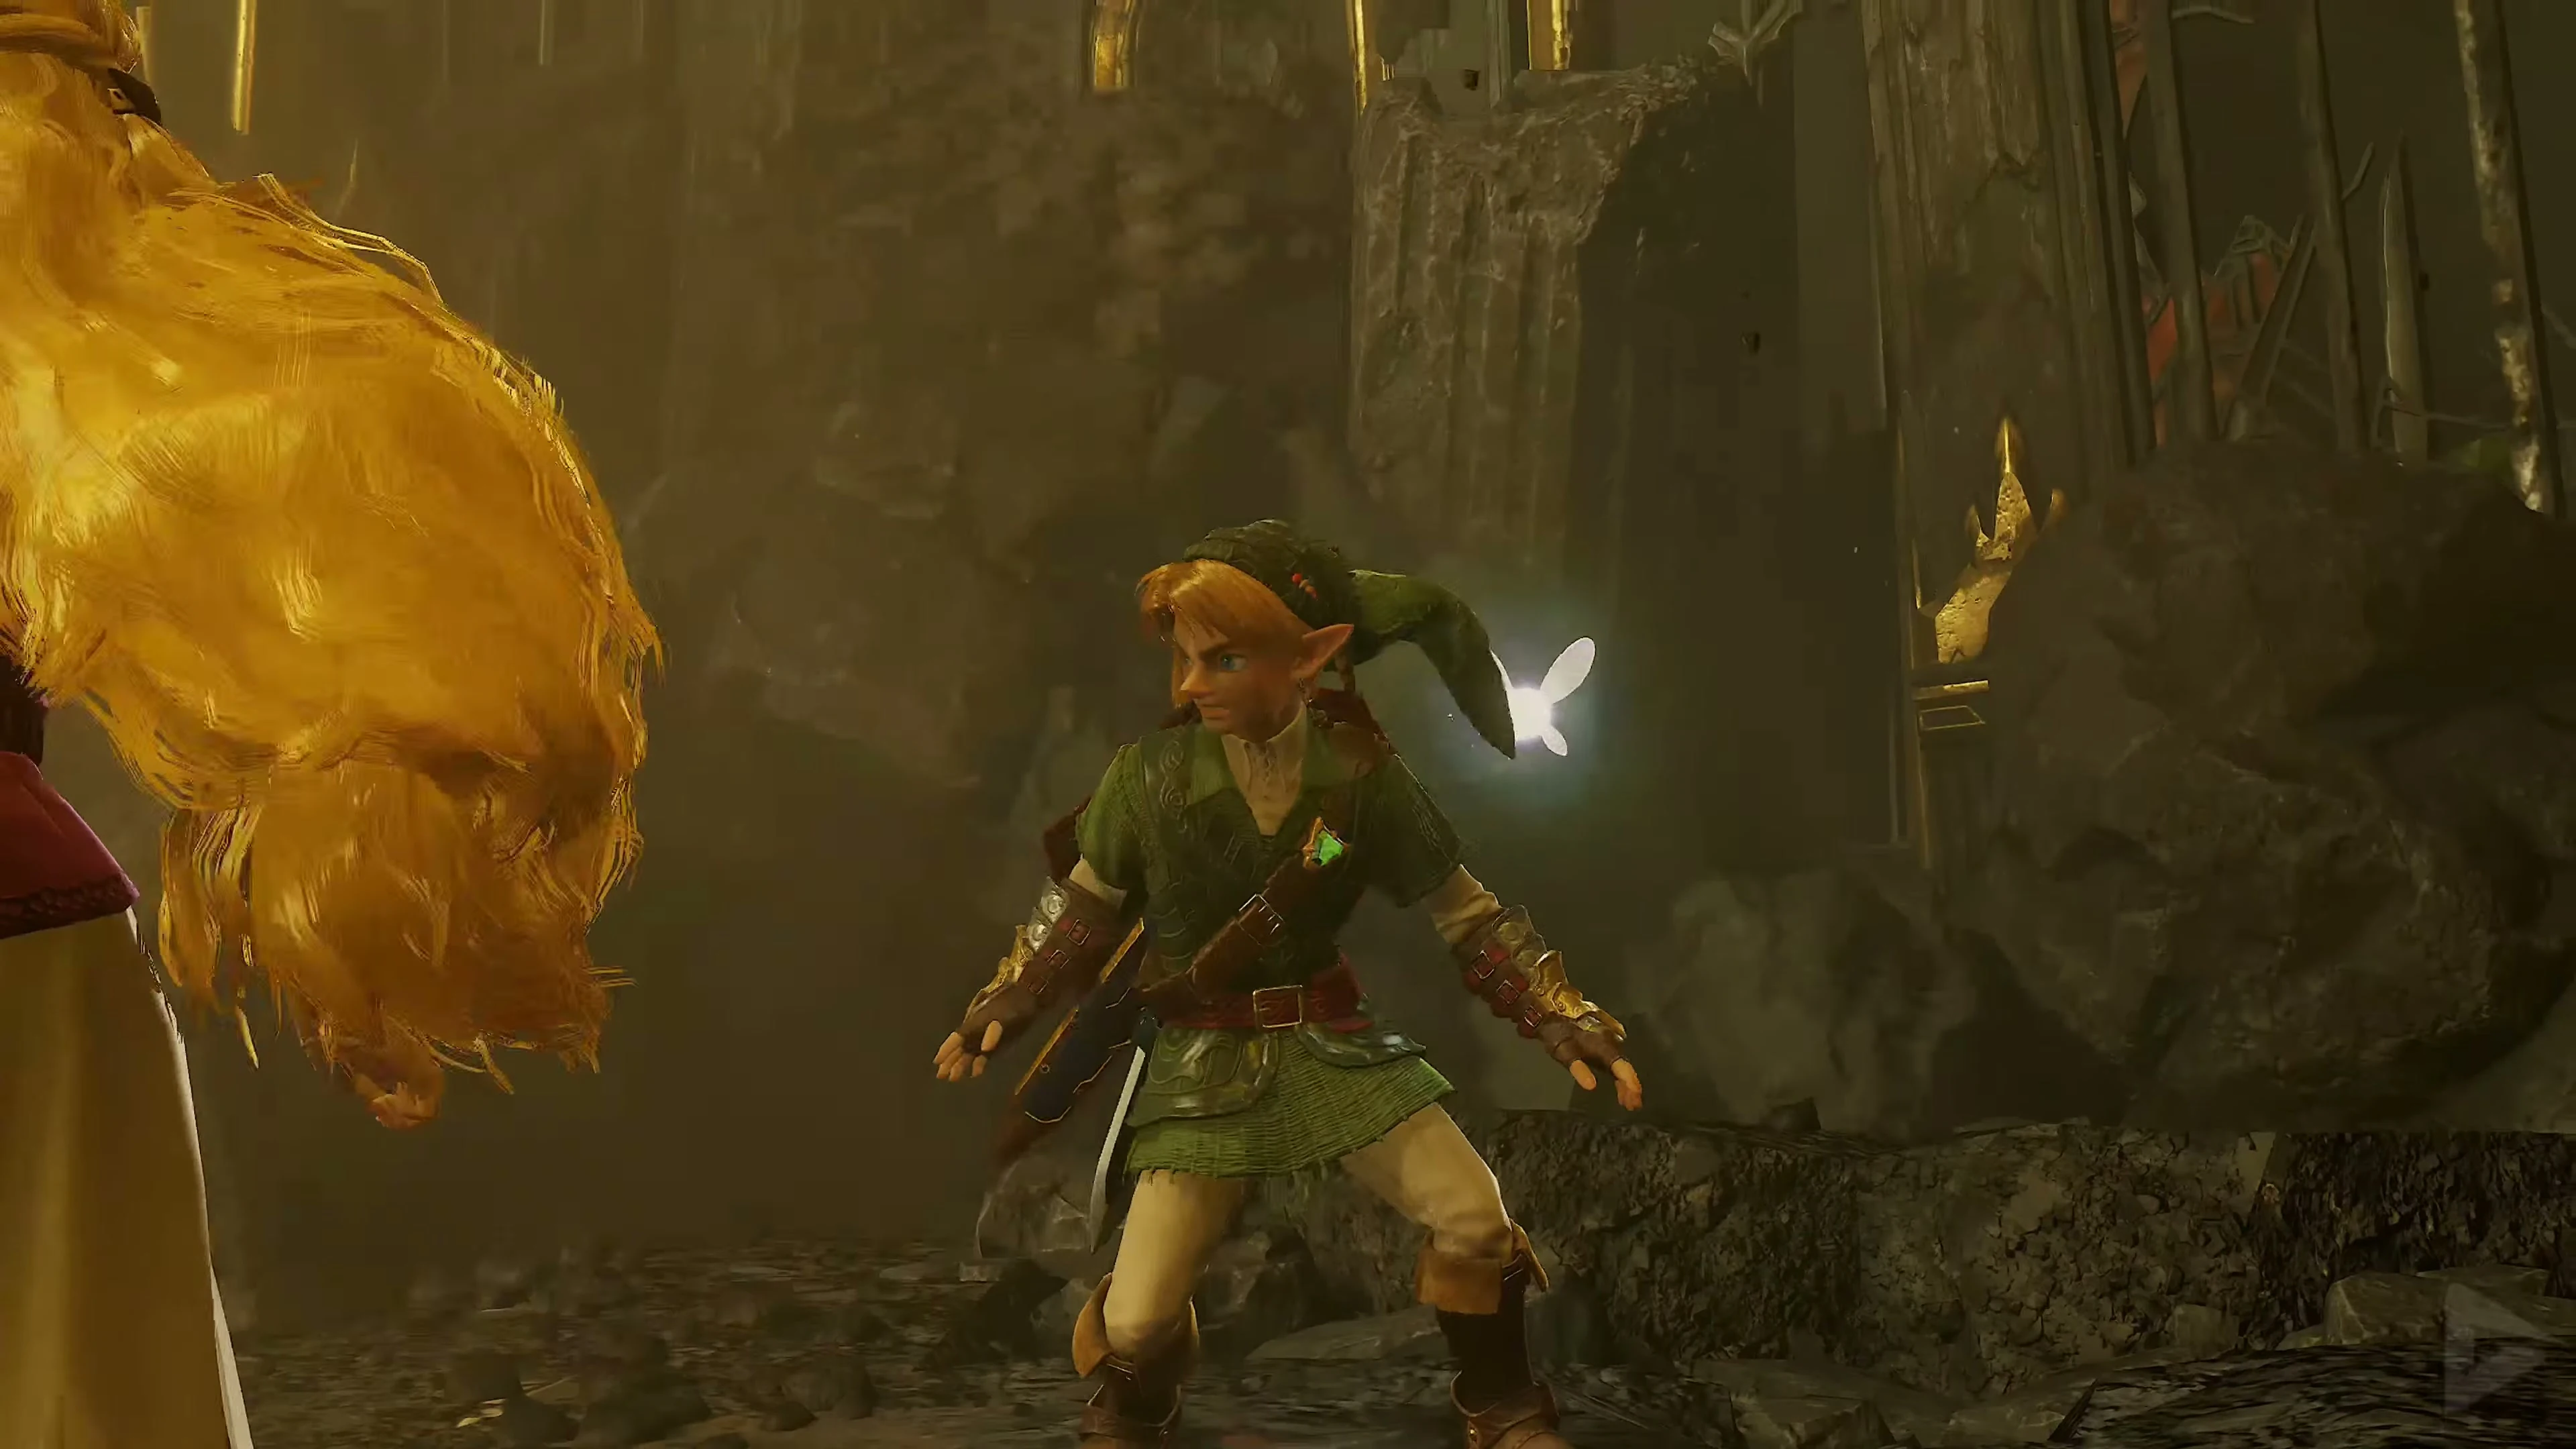
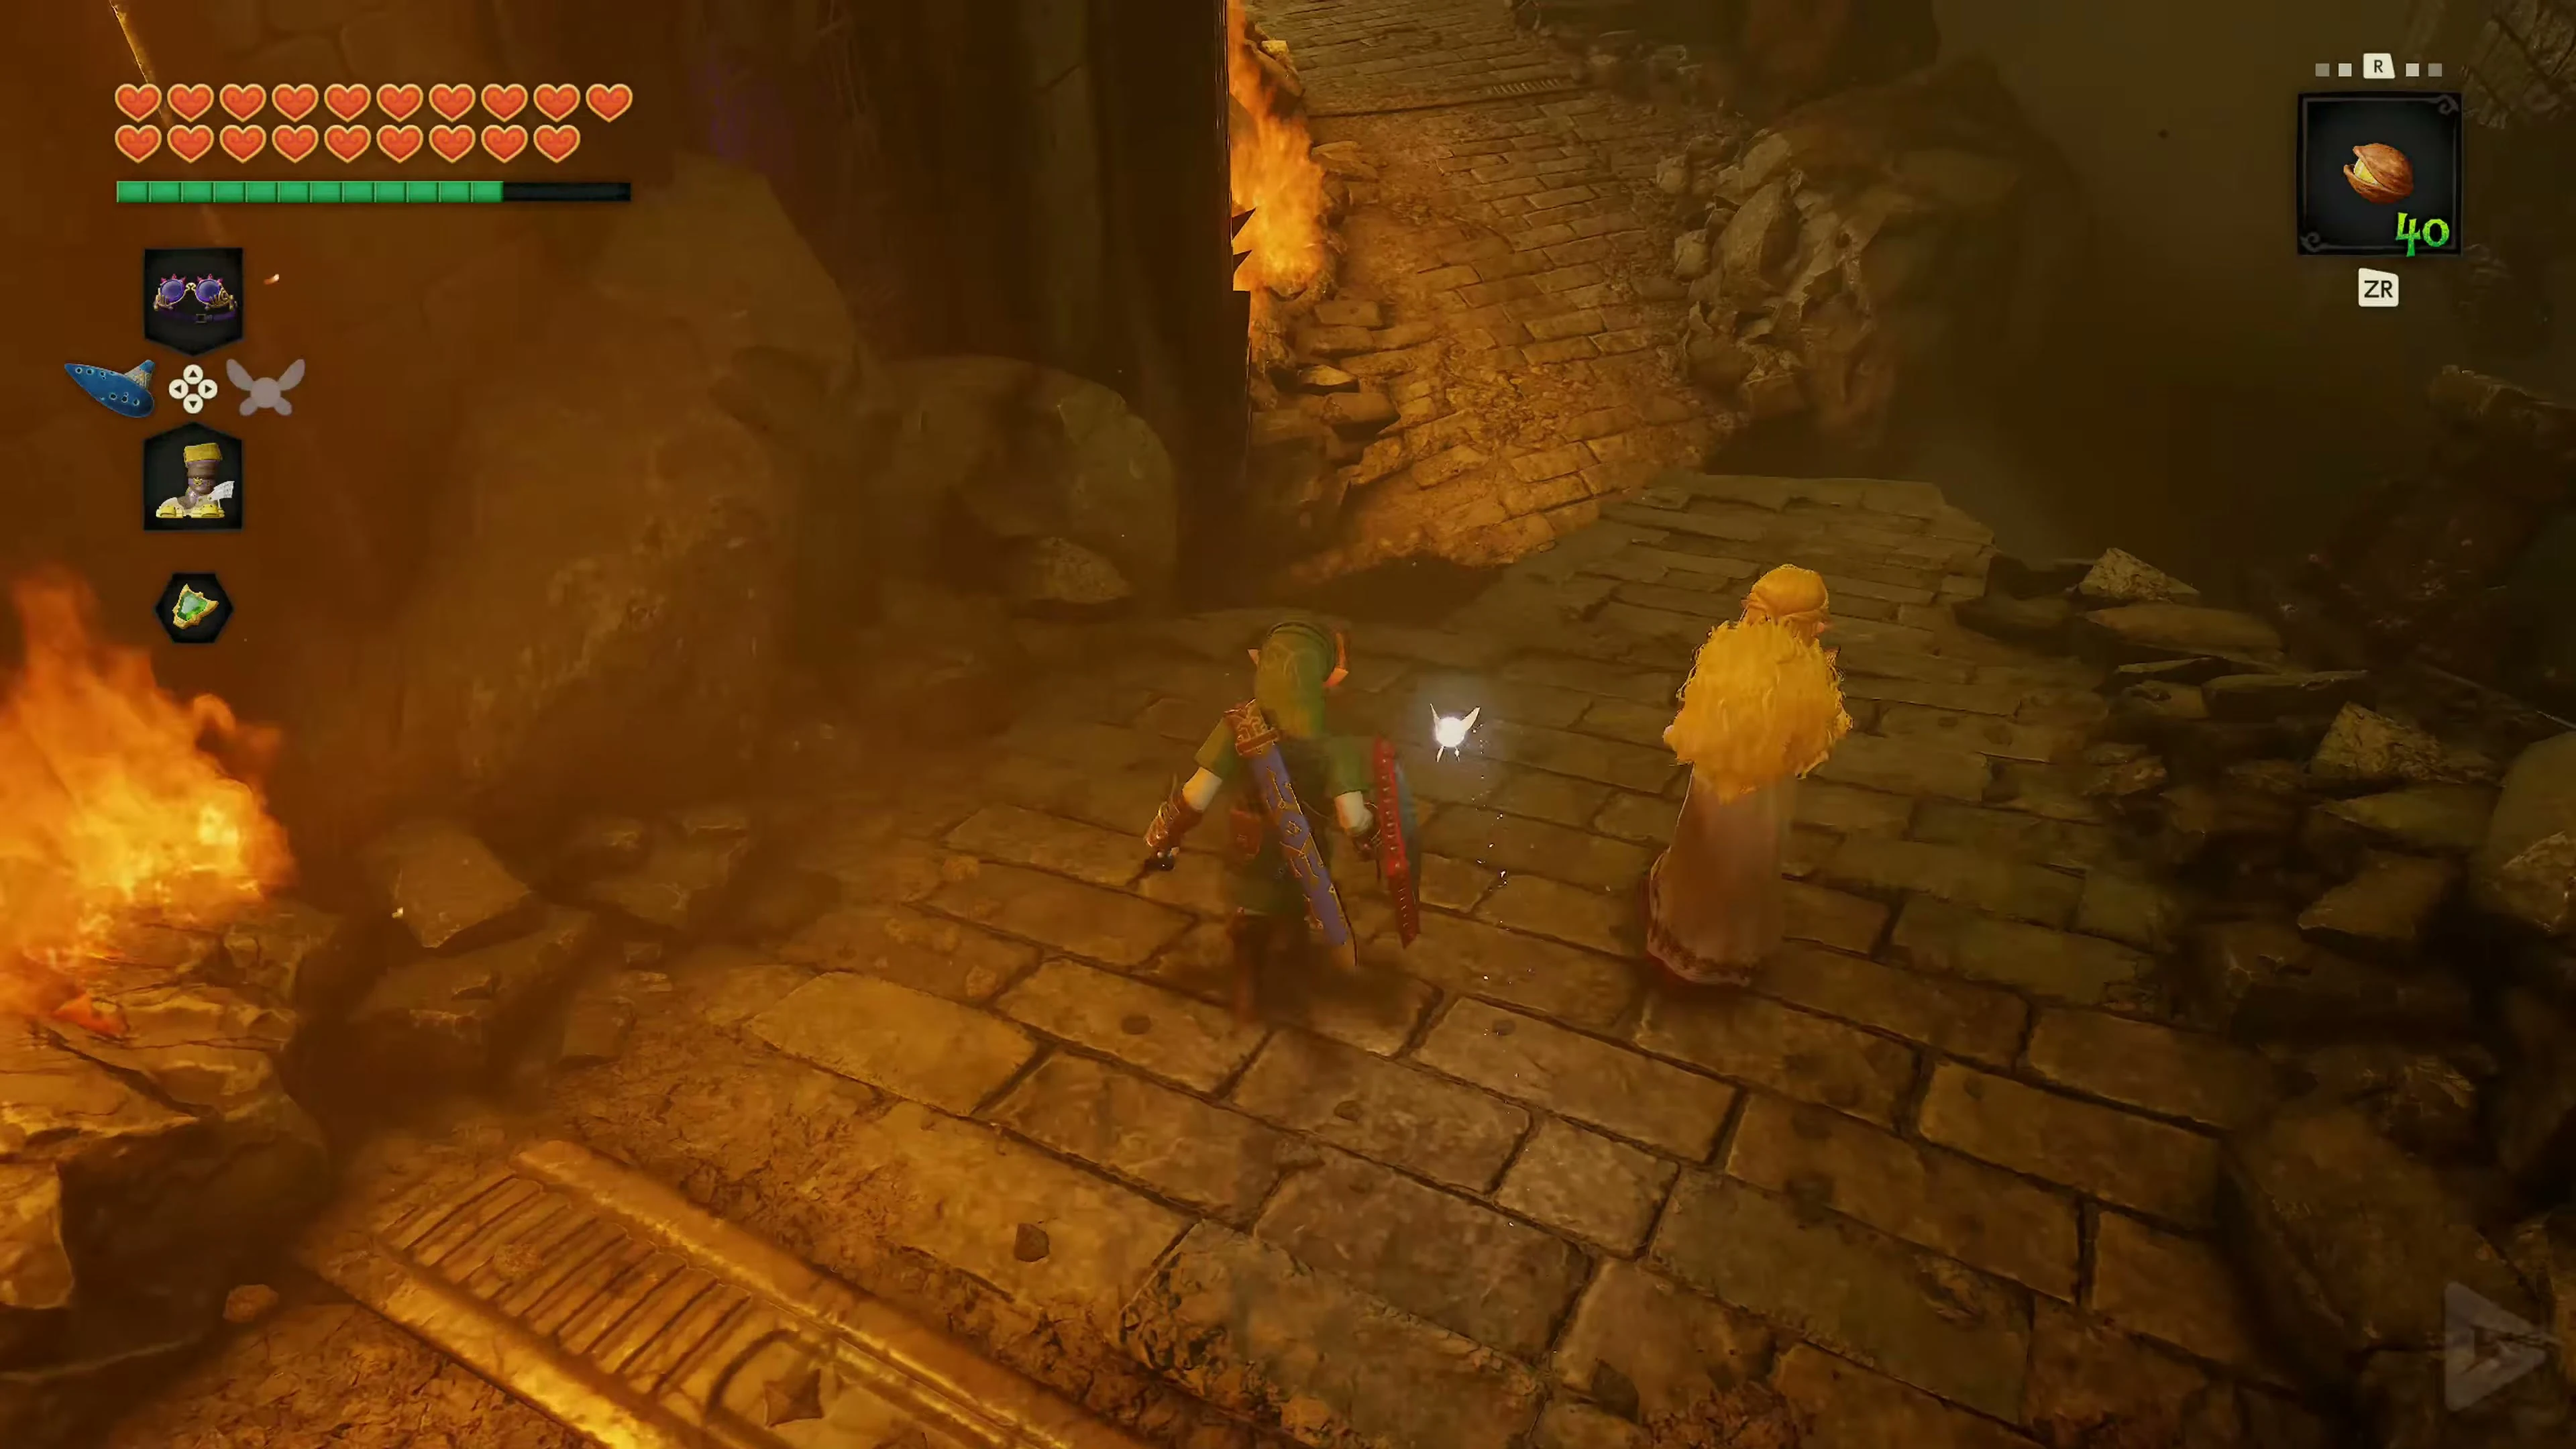
The obstacles on the escape route.
Defeat the two Stalfos that are trapping Zelda along the way. Then use the Hookshot to cross the gap. The correct passage is in the room with the blocked exits. Opposite Zelda Clear the rubble blockage with the Megaton Hammer . On the bridge, Zelda stuns the ReDeads; eliminate them and follow her outside. Before the final battle, you can use a Business Scrub Seed to replenish your supplies.
The final battle.
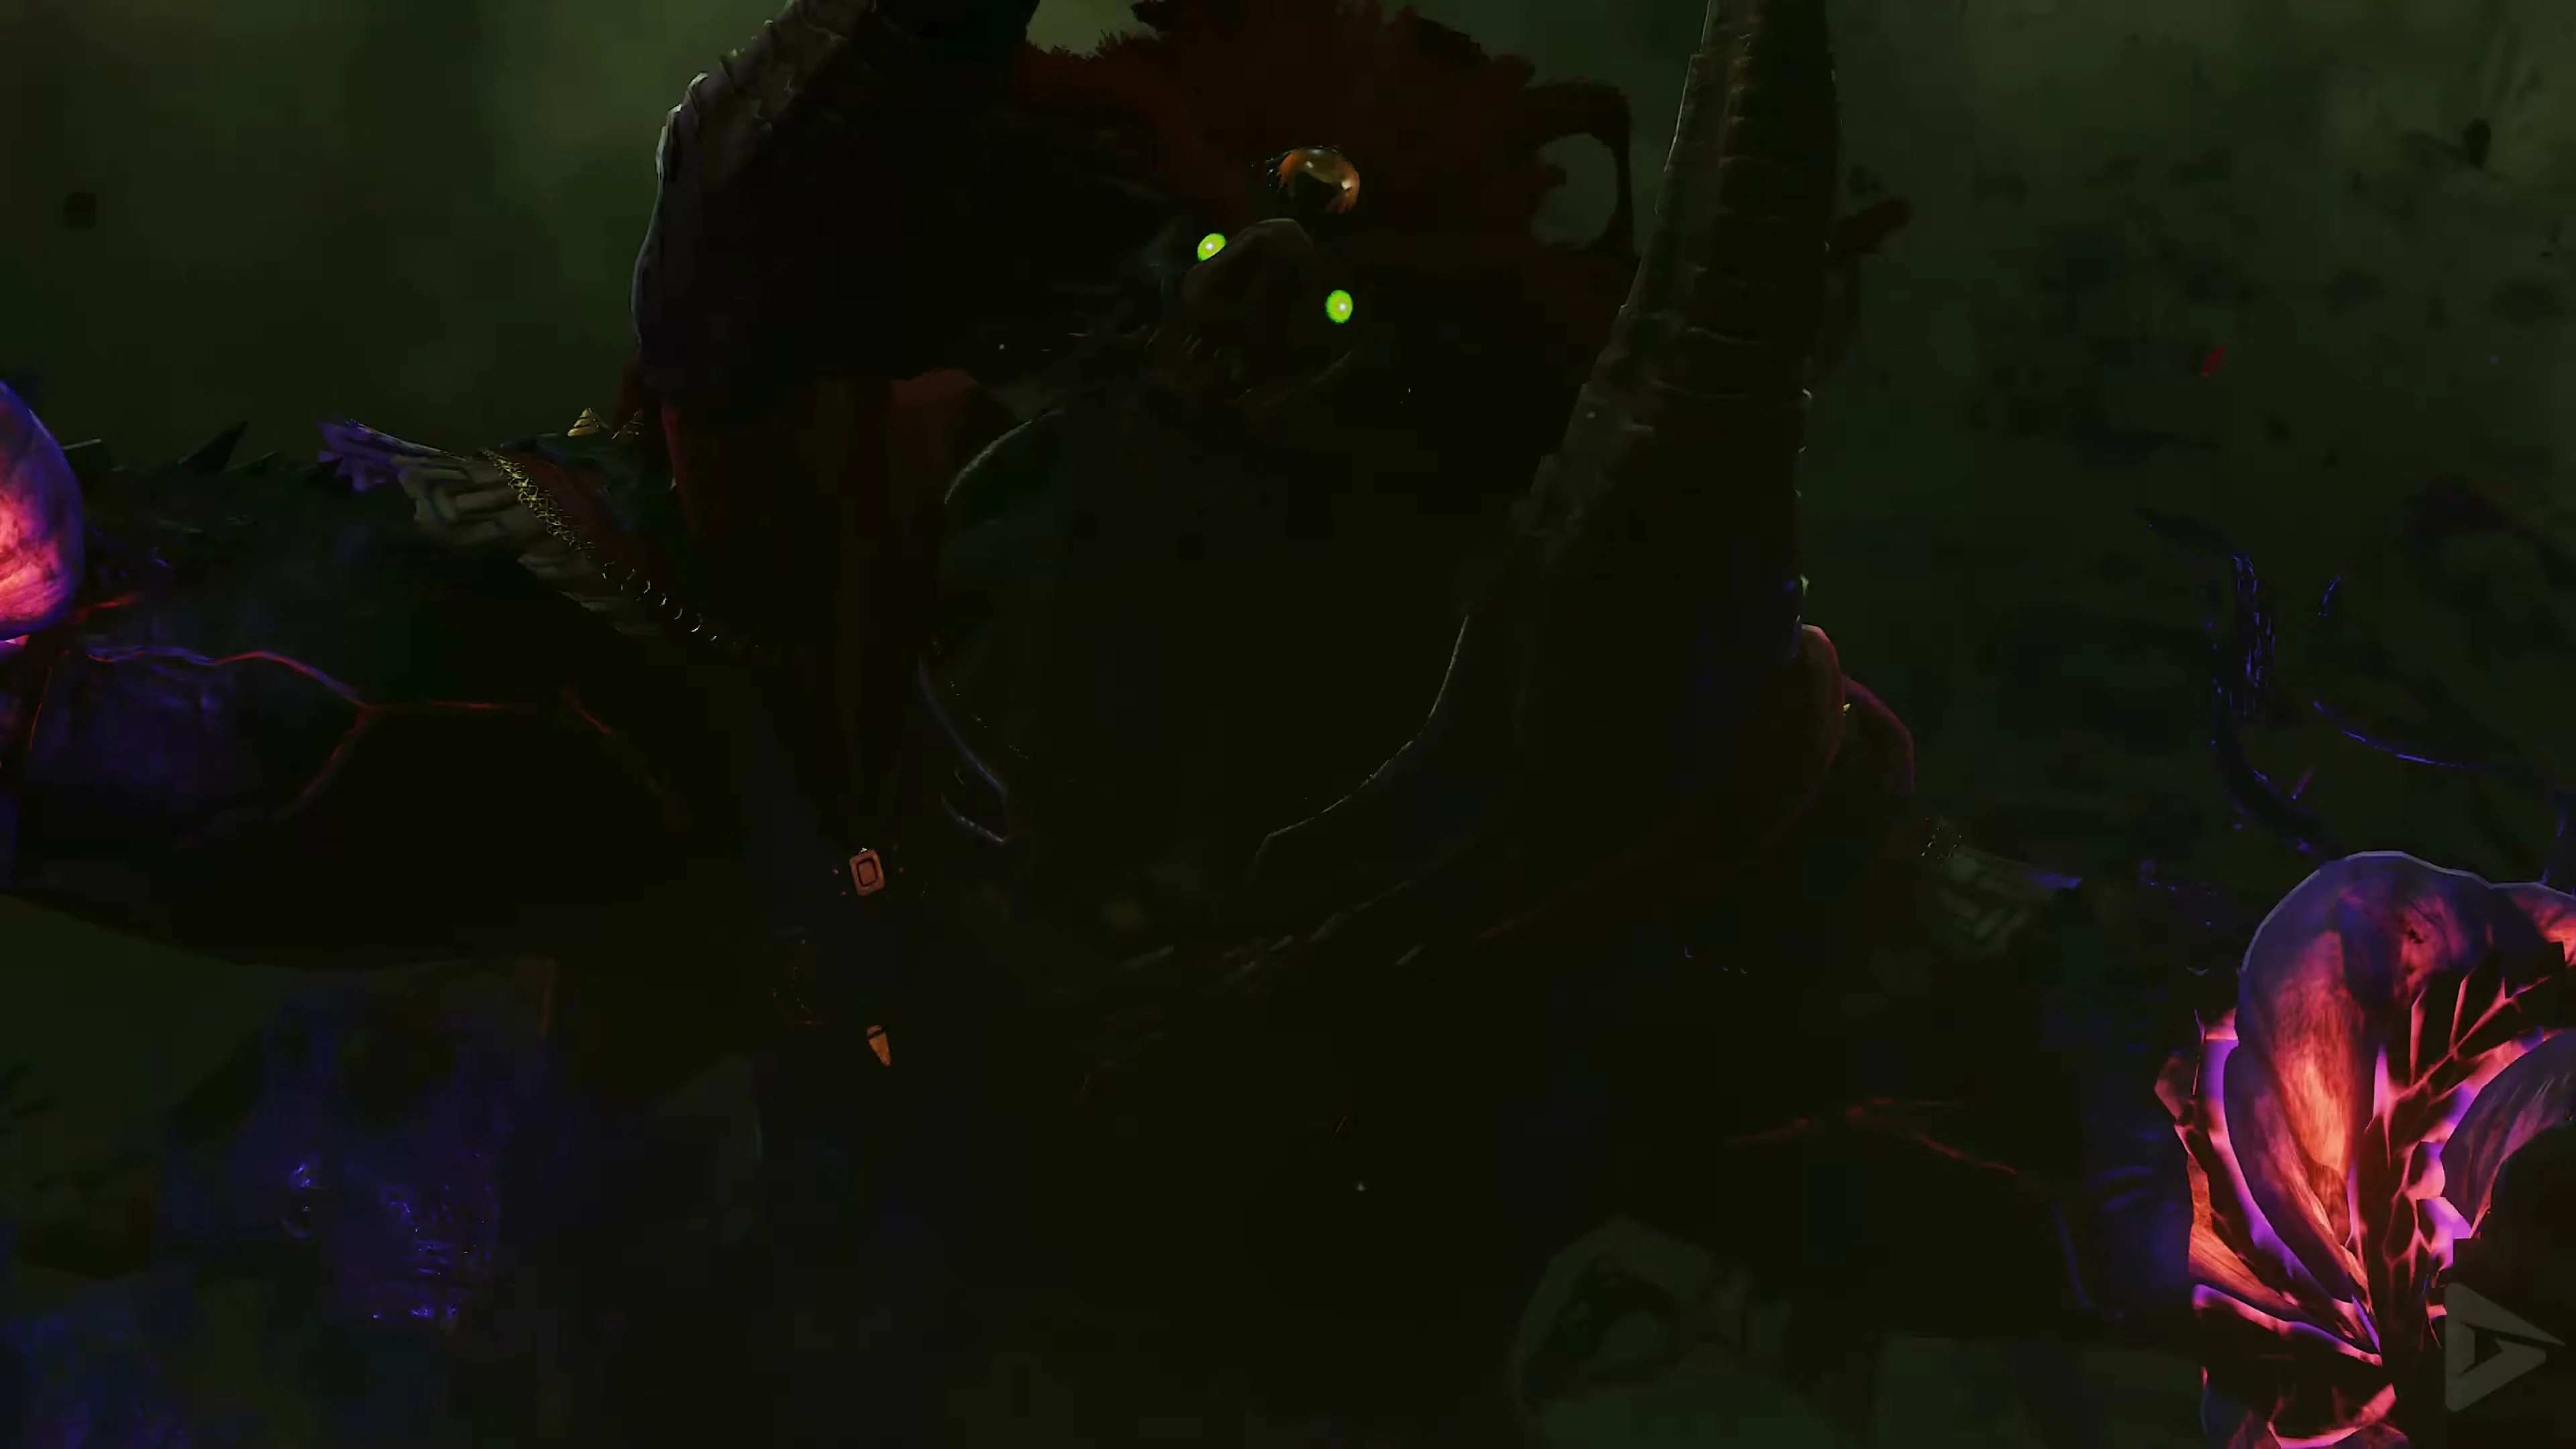
After the cutscene, a noise suddenly emanates from the rubble. Approach the remains of the central tower. Ganondorf rises again. The Triforce of Power reacts to his rage, transforming him into a massive demonic beast: Ganon At the beginning, Ganon knocks the Master Sword out of Link’s hand. The weapon lands outside the circle of fire near Zelda. As long as the magical barrier remains active, Link cannot reach the sword and must use another weapon.
Final Boss: Ganon
Ganon’s Tail Crystals Hit
Stay out of range of his blades. Dodge an attack to the side and hit his head with a Light Arrow. Use the stun to get behind him and hit his tail. Navi will re-lock your target. Retreat after the hit before he turns around.
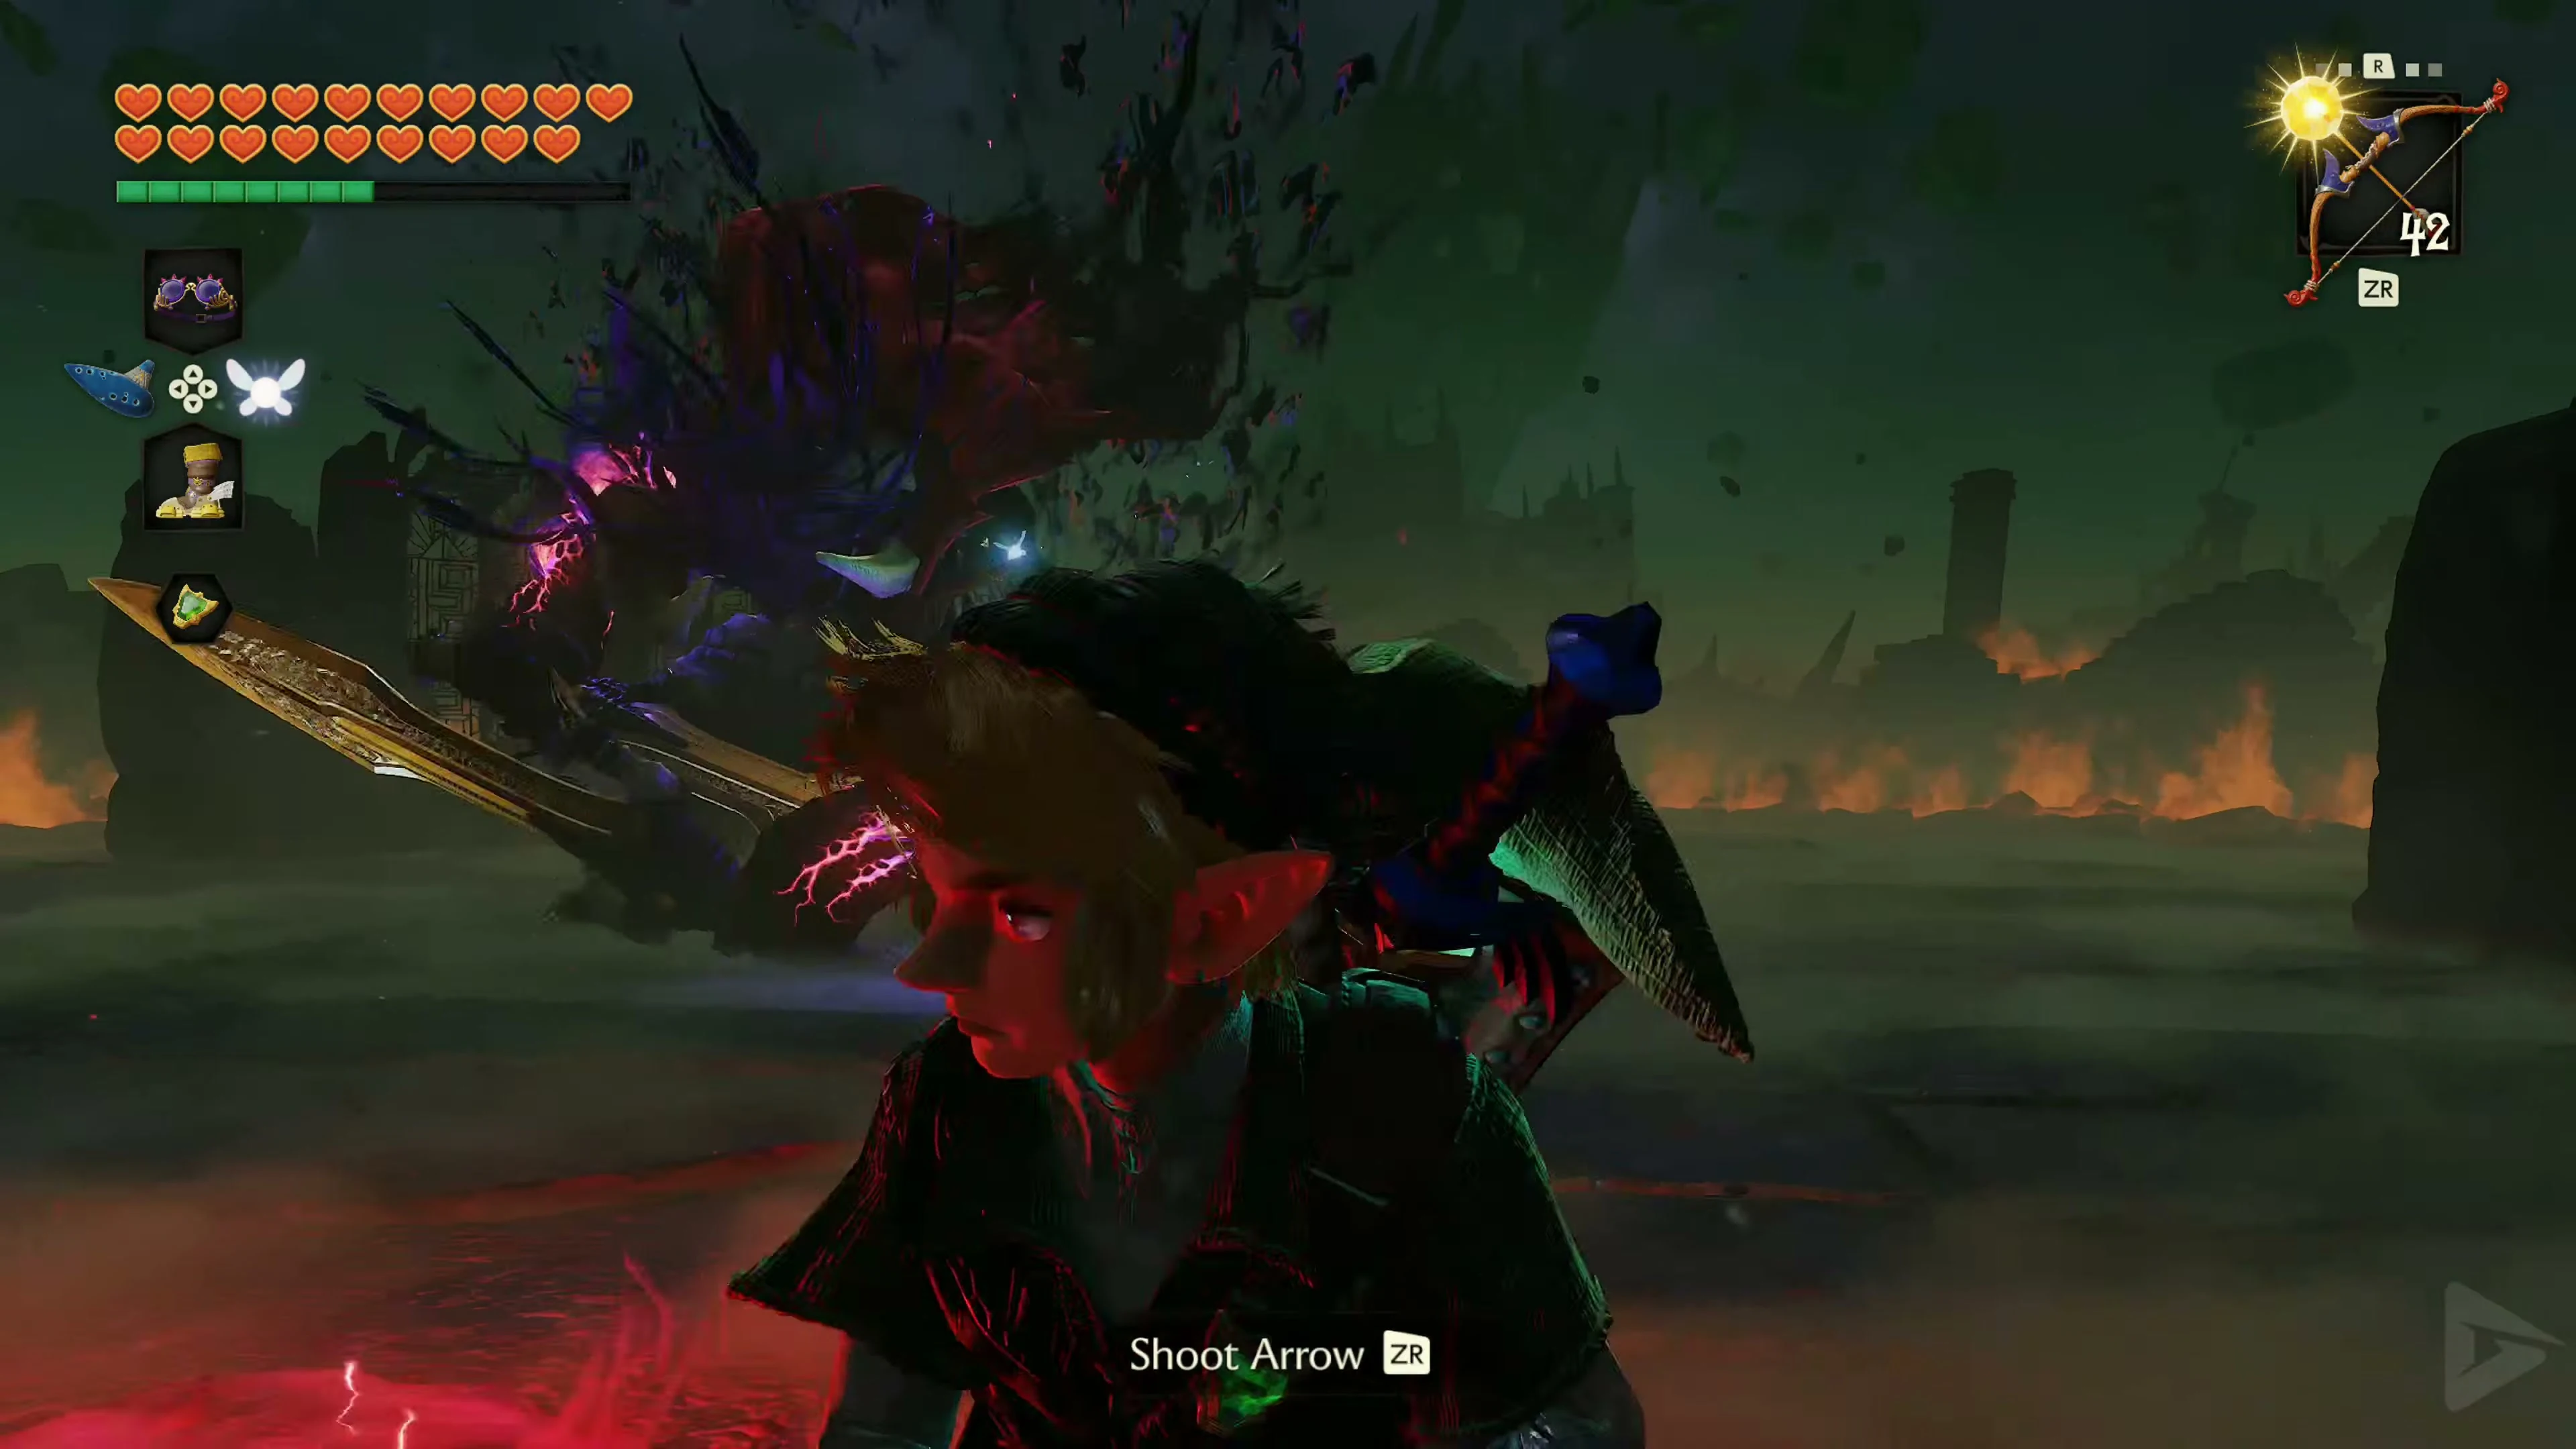
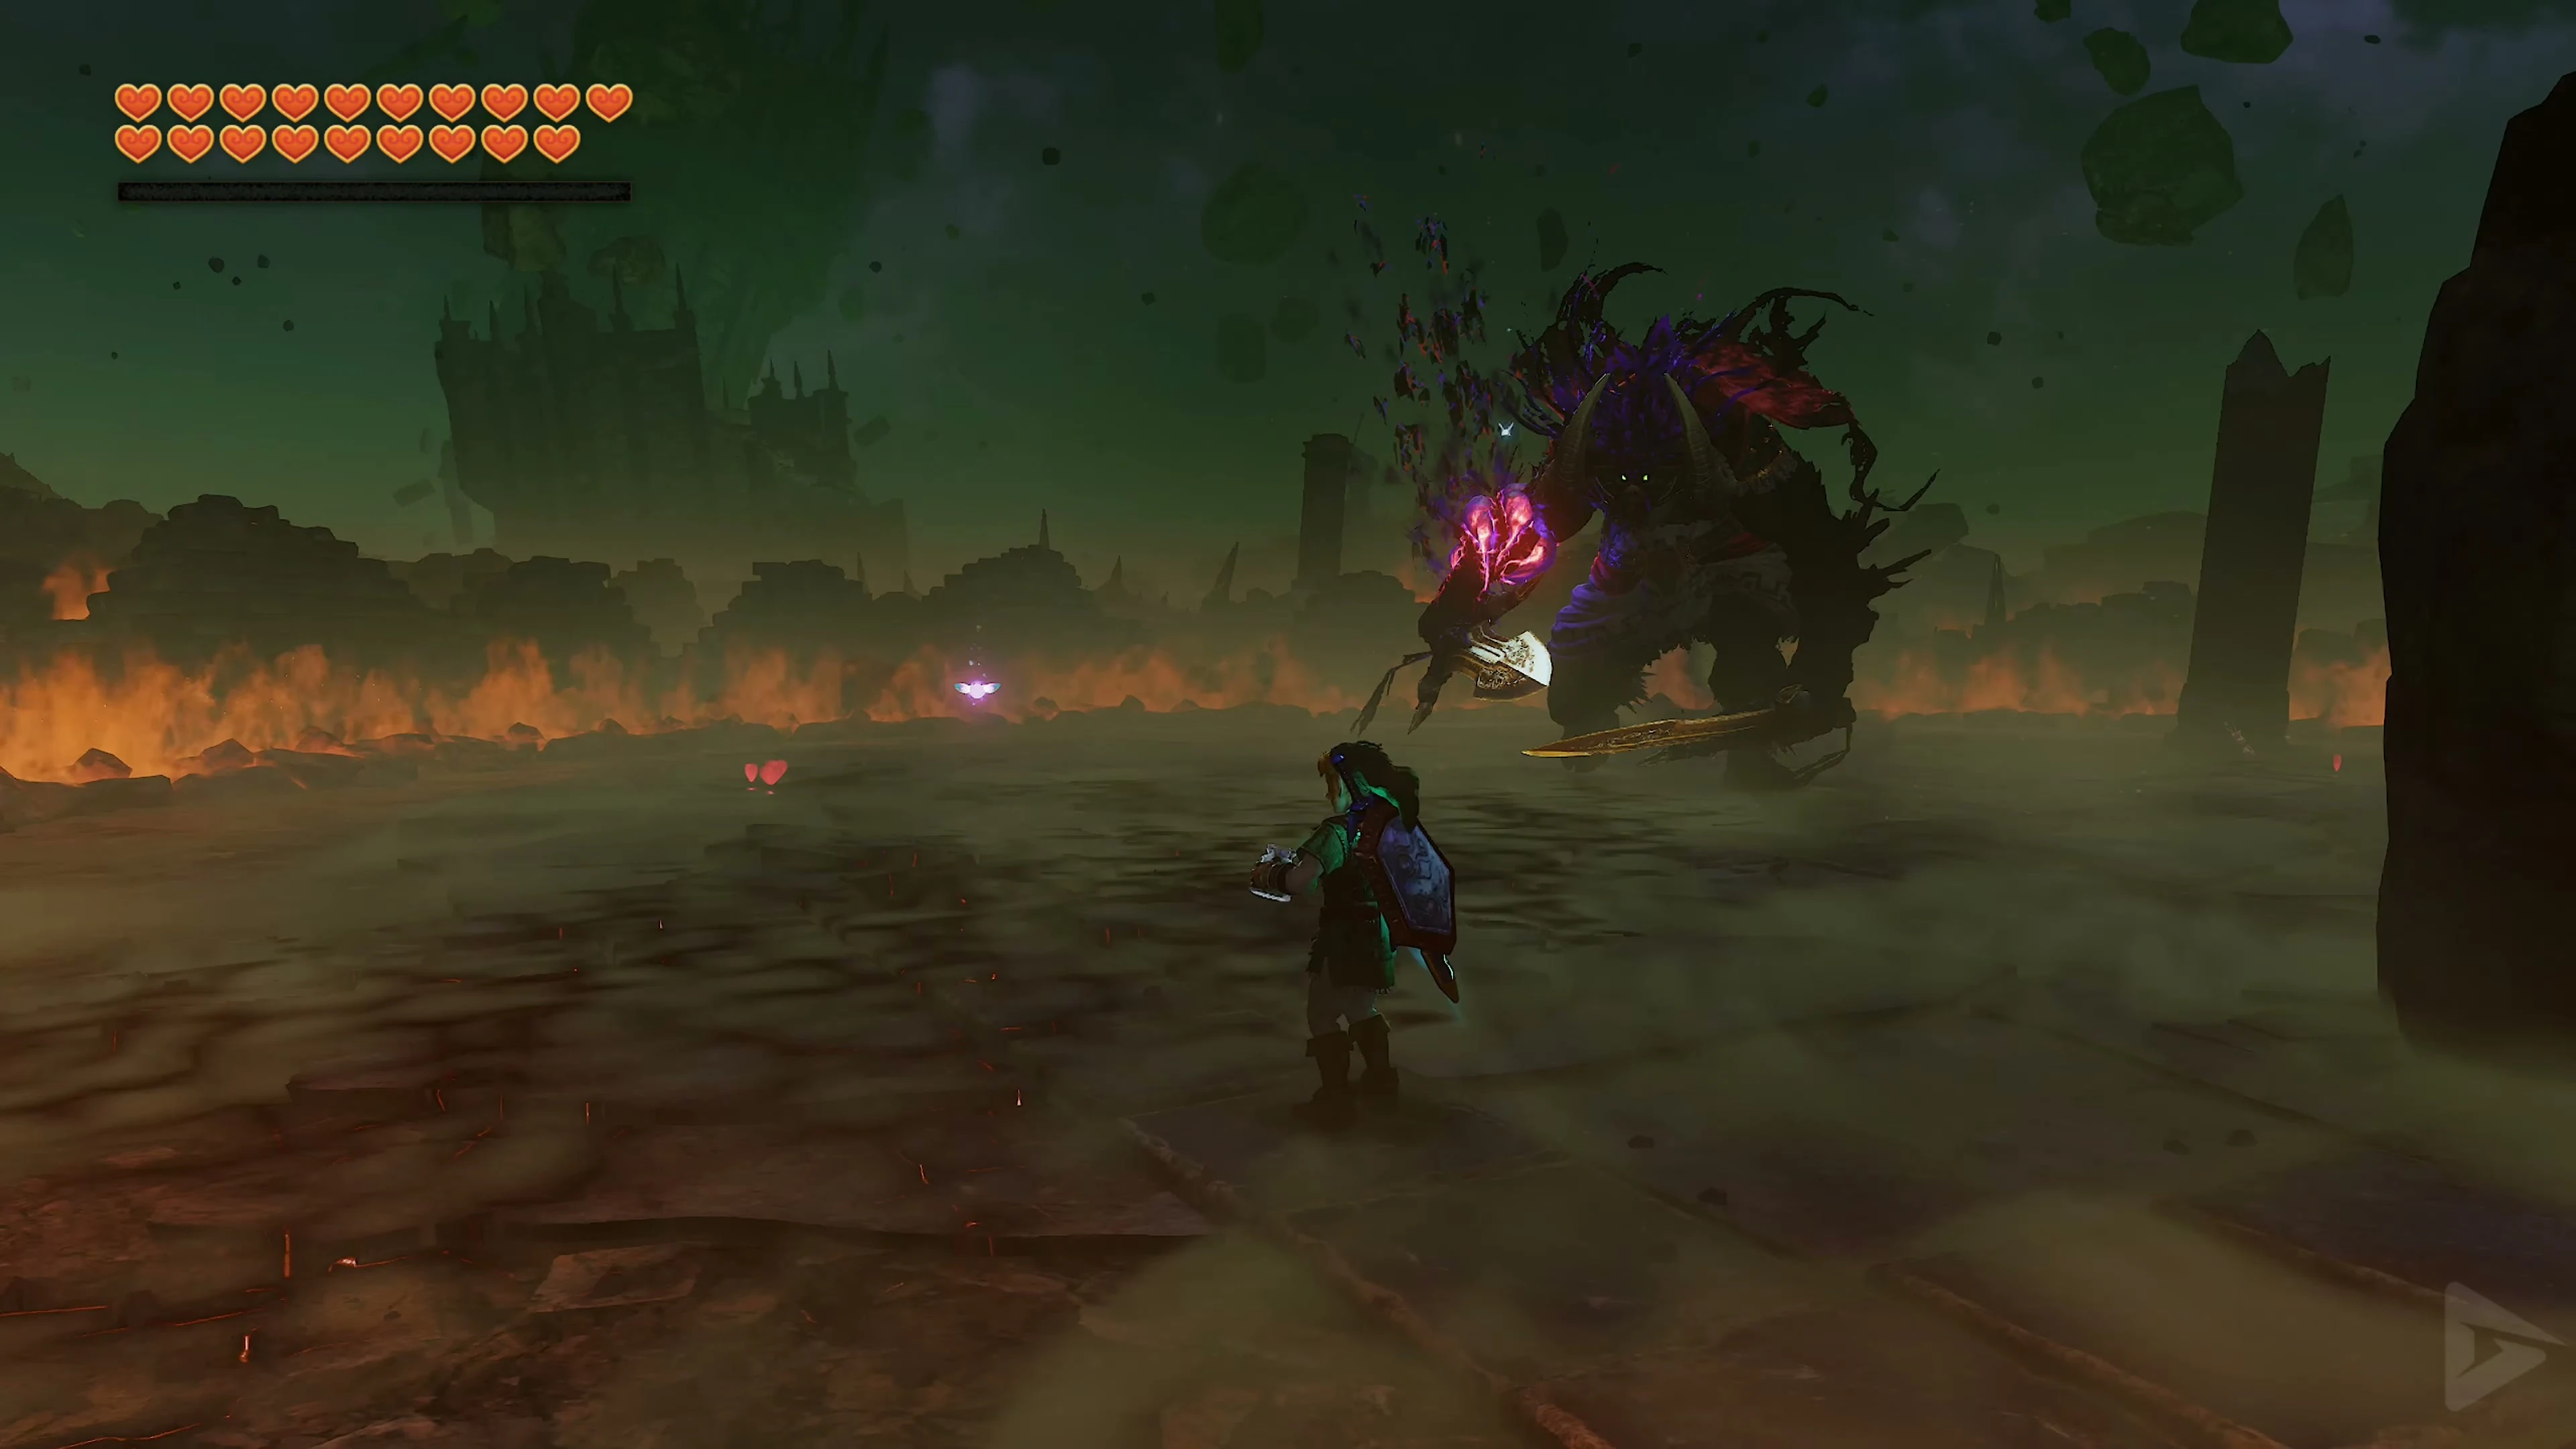
Retrieve supplies between attacks.
When supplies are low, let Ganon smash the remaining walls and debris at the edge of the arena. Inside are hearts, magic, and arrows. Collect the supplies after dodging an attack and keep your distance again. Stun him again and attack his tail until the fire circle falls, allowing you to retrieve the Master Sword.
Retrieve the Master Sword and hit his arms.
After the first phase, take the Master Sword of Zelda . Ganon now uses stronger ground attacks and lightning. His glowing forearms are the next weak points. Wait at a distance for the attack where his blade briefly sticks in the ground. Dodge the shockwave, run to the lowered arm, and land one or two sword strikes. Retreat and repeat on the other side until both arms lose their glow.
The Final Blow
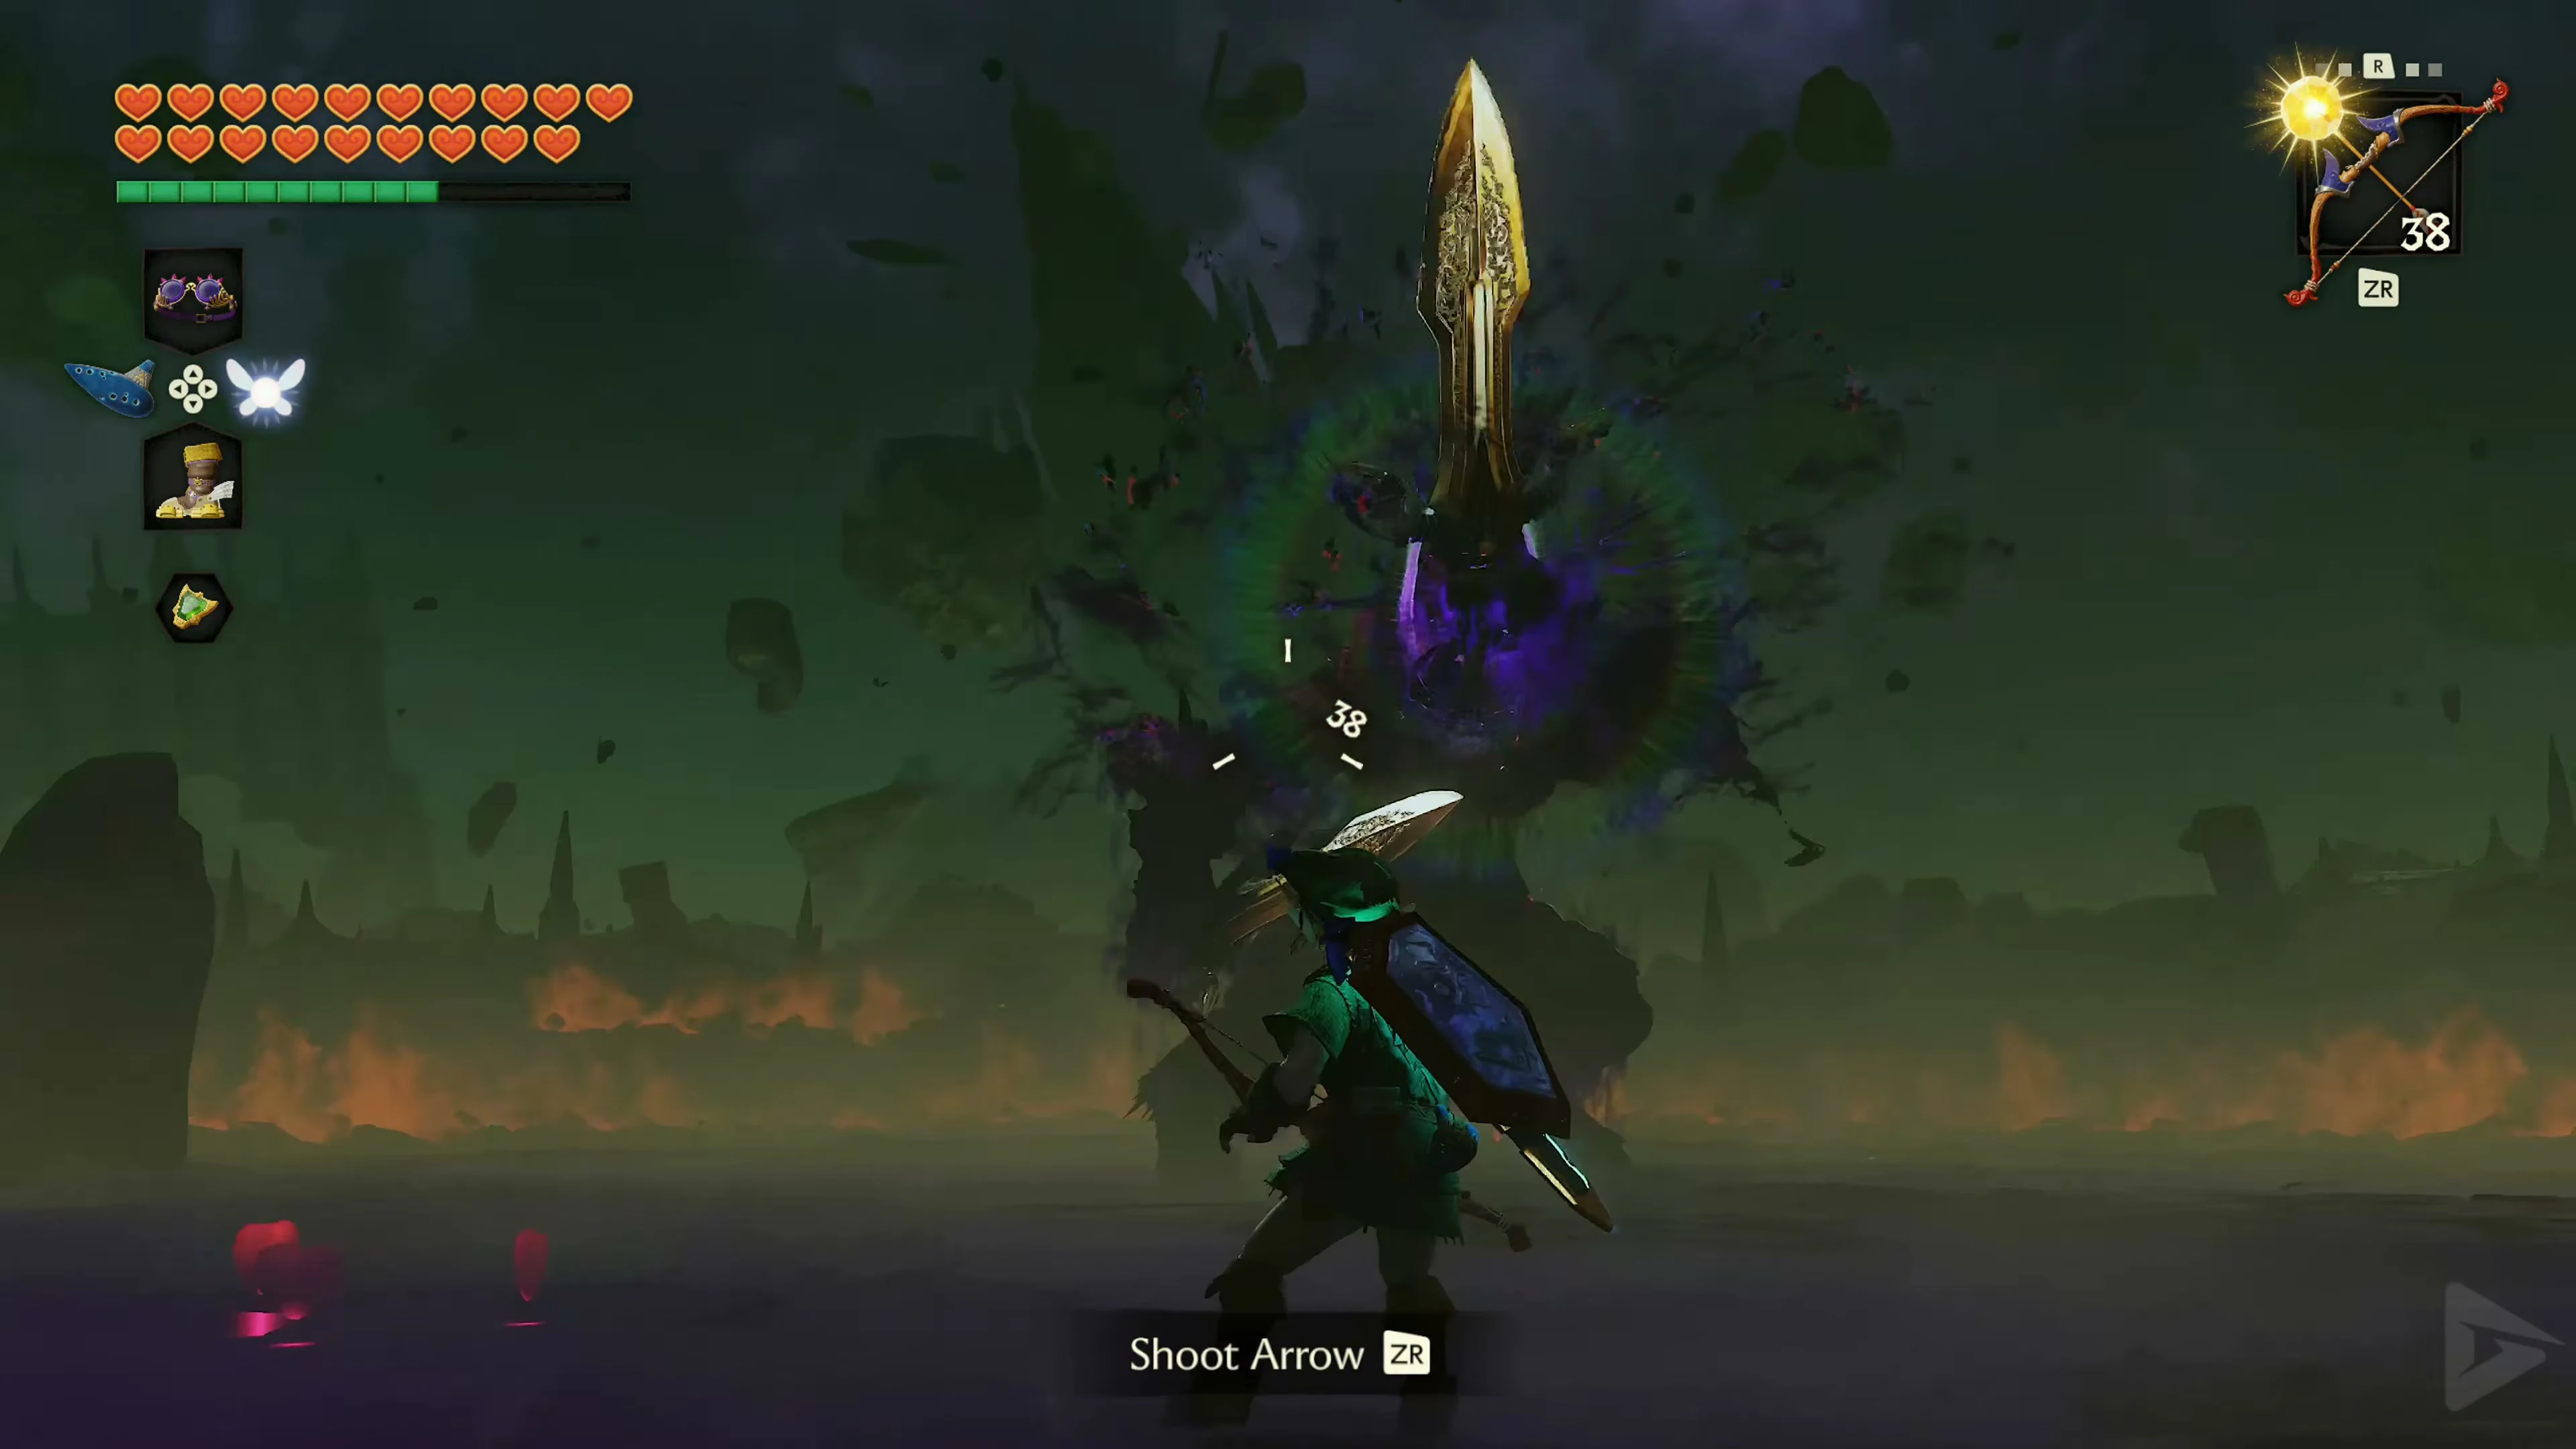
After being hit on both arms, Ganon becomes enraged and temporarily invulnerable. Keep running and dodging his attacks until Zelda exposes the weak spot on his forehead . Shoot Light Arrows at it as soon as you have a clear view. After several hits, he will fall to his knees. Run up and perform the indicated final attack with the Master Sword .
The End of Ocarina of Time
The six sages unite their powers and open the seal to the Sacred Realm. Ganondorf, along with the Triforce of Power, is pulled into the banished dimension. Even during his sealing, he refuses to accept his defeat and swears revenge on Link, Zelda, and their descendants. After the immediate danger has passed, Link and Zelda meet in a silent white room. Zelda realizes that her previous attempt to stop Ganondorf unintentionally triggered the very events that allowed him access to the Sacred Realm. She therefore asks Link to return the Ocarina of Time to her. With its power, Zelda sends Link seven years into the past. In the Temple of Time, young Link places the Master Sword back into the Pedestal of Time and closes the Door of Time. Navi then leaves Link and flies away through one of the tall windows.
During the credits, life returns to Hyrule. The inhabitants of the land celebrate together at Lon Lon Ranch. The Six Sages observe the saved kingdom from Death Mountain as Hyrule slowly recovers from Ganondorf’s rule. In the final scene, young Link returns to the castle gardens. There, he meets Princess Zelda at a time before Ganondorf was able to enter the Sacred Realm. Unlike their first encounter, however, Link now possesses knowledge of the coming future and can warn Zelda of the true consequences of Ganondorf’s plans. Congratulations – you have completed The Legend of Zelda: Ocarina of Time!
Chests and their contents
Show all 16 chests
| Floor | Quantity | Contents | Note |
|---|---|---|---|
| Ground Floor | 1 | 20 Rupees | |
| Ground Floor | 1 | 5 Bombchus | |
| Ground Floor | 2 | 5 Arrows | |
| Ground Floor | 3 | 5 Rupees | |
| Ground Floor | 1 | Golden Gauntlets | |
| Ground Floor | 4 | Green Rupee | Trap |
| Ground Floor | 1 | Green Rupee | |
| Ground Floor | 1 | Business Scrub Seed | |
| Ground Floor | 1 | Small Key | Lenses of Truth |
| 4th Floor | 1 | Boss Key |