
The Hyrule Field
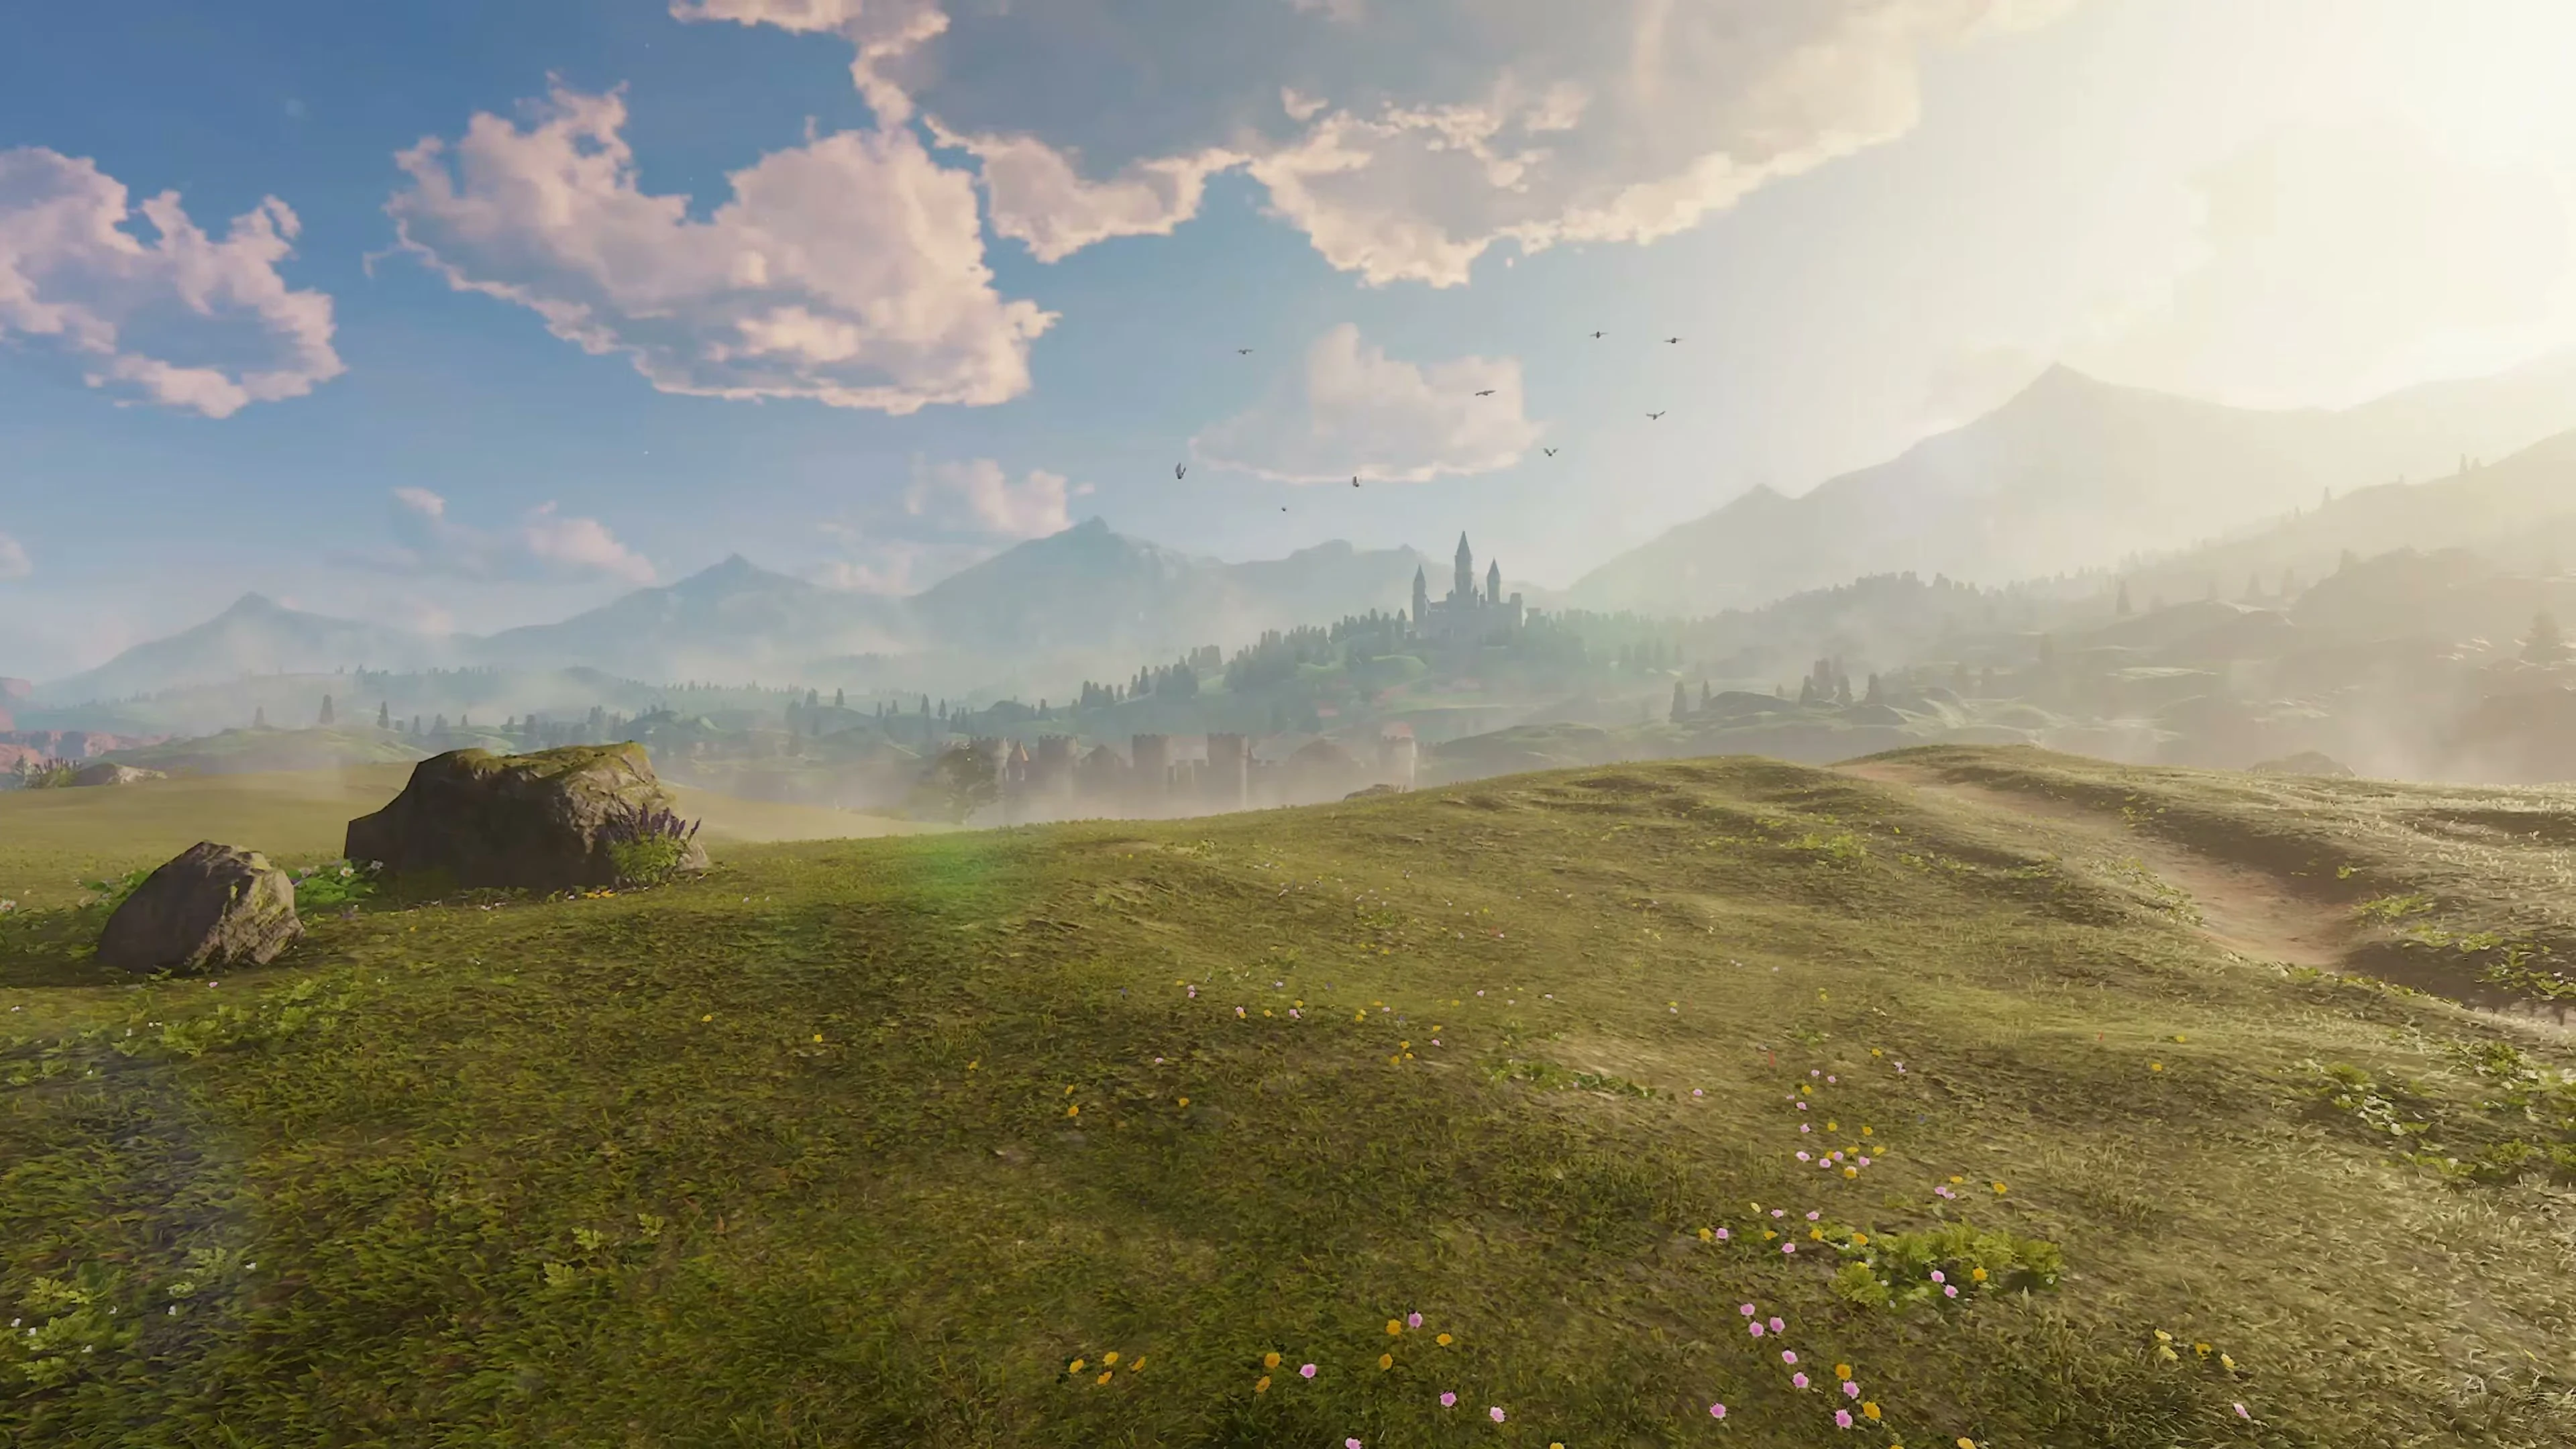
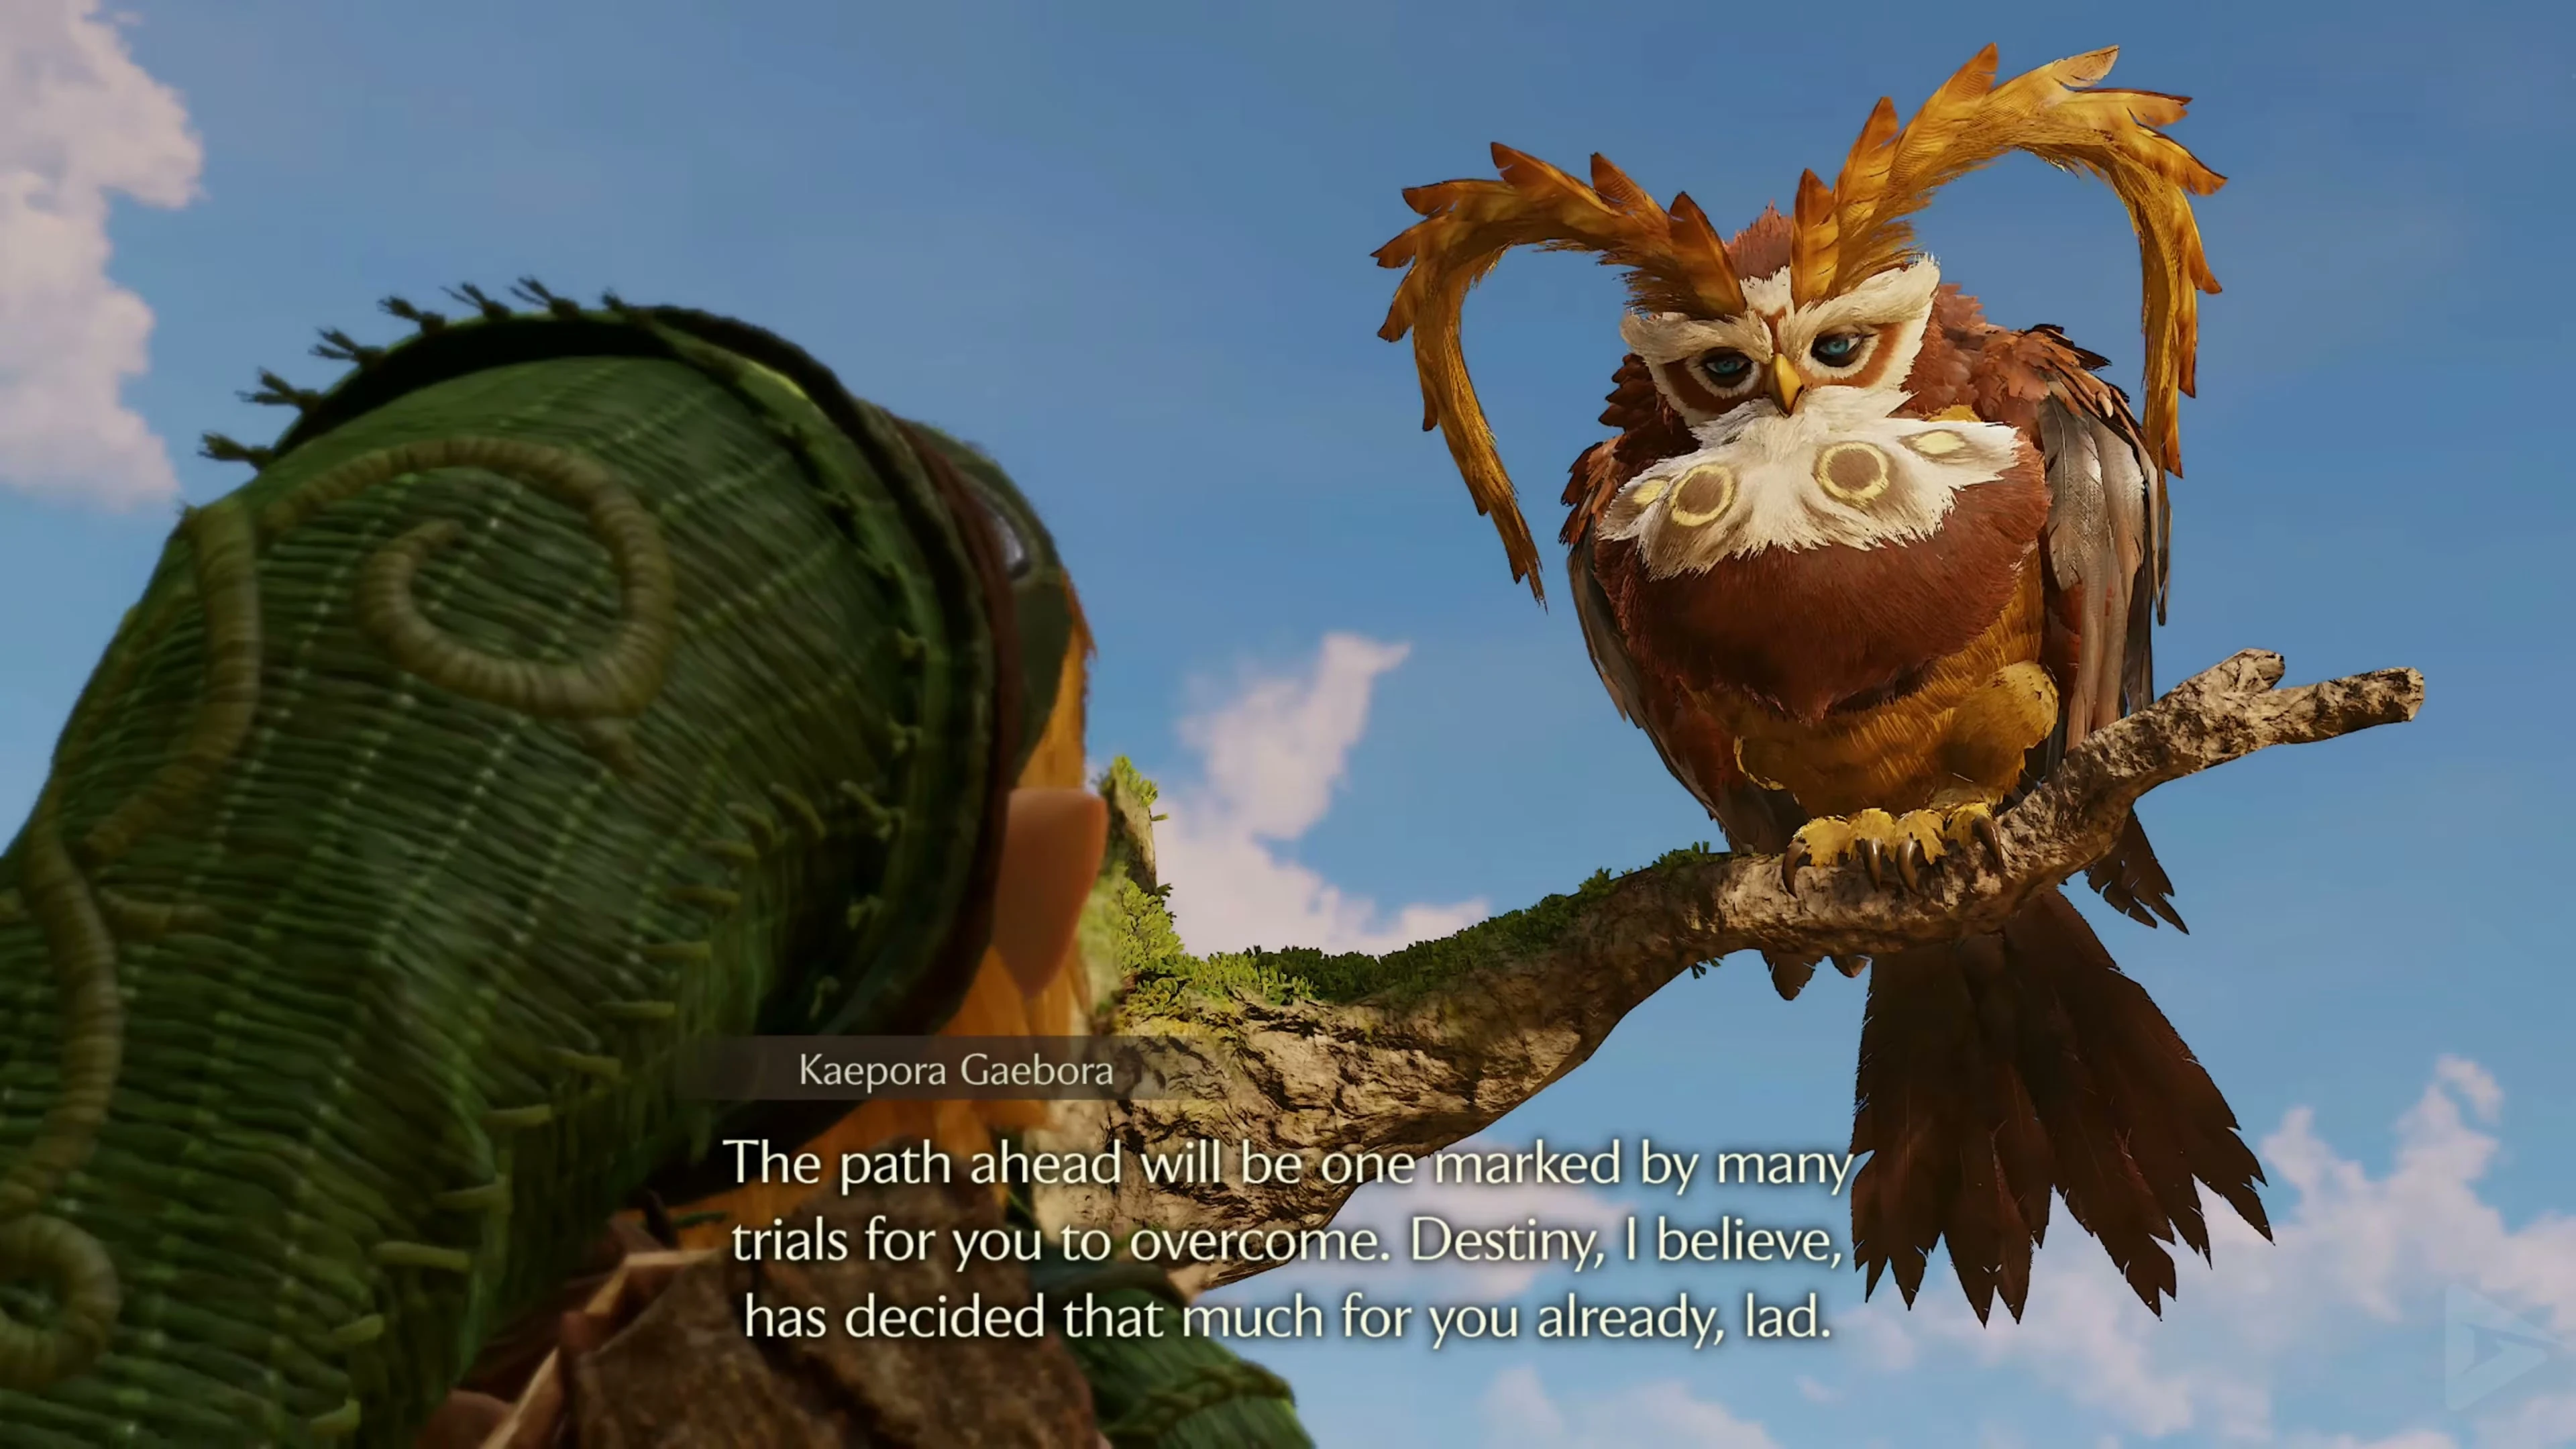
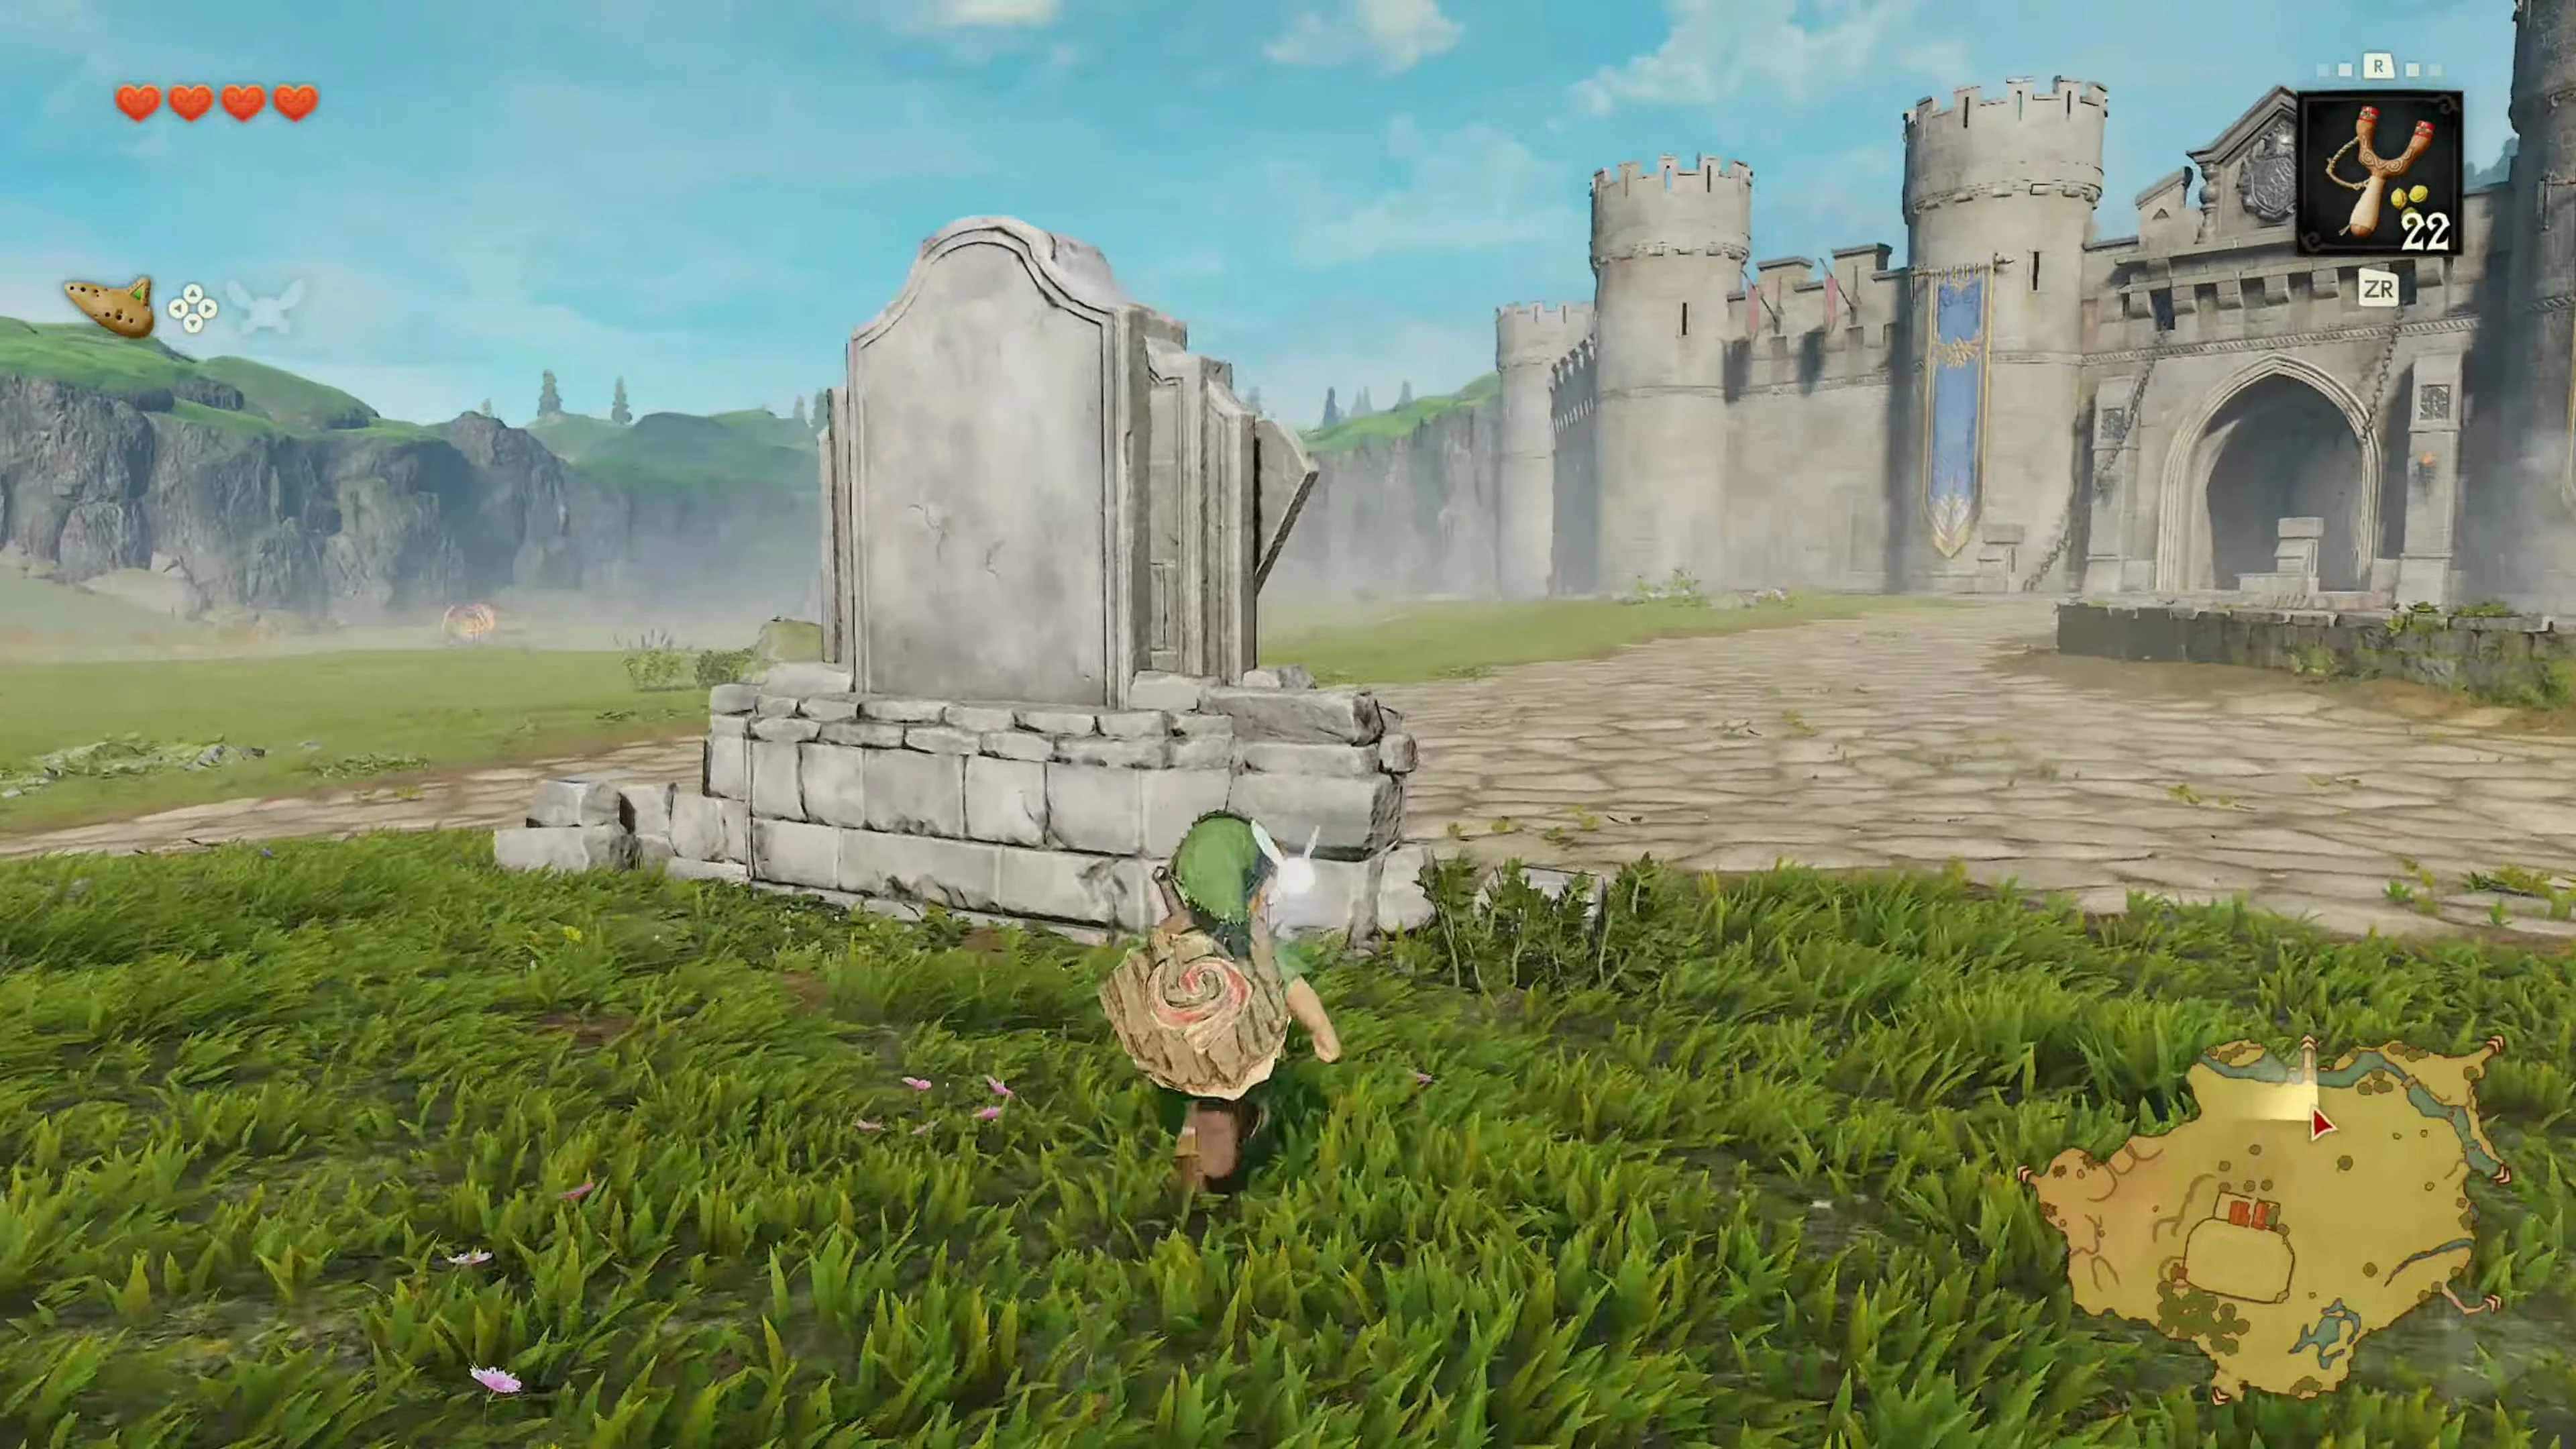
Follow the path from the forest north towards the large city wall. After talking to Kaepora Gaebora you can continue walking across Hyrule Field. Stalchild appear at night; move past them or defeat them for rupees. Hyrule Castle Town’s drawbridge stays down even at night. You can therefore enter the city at any time. The daily change also continues in the market square and in Kakariko Village. You don’t need to take a detour out of the respective location for night tasks.
Hyrule Castle Town and the Skulltula in the guardhouse
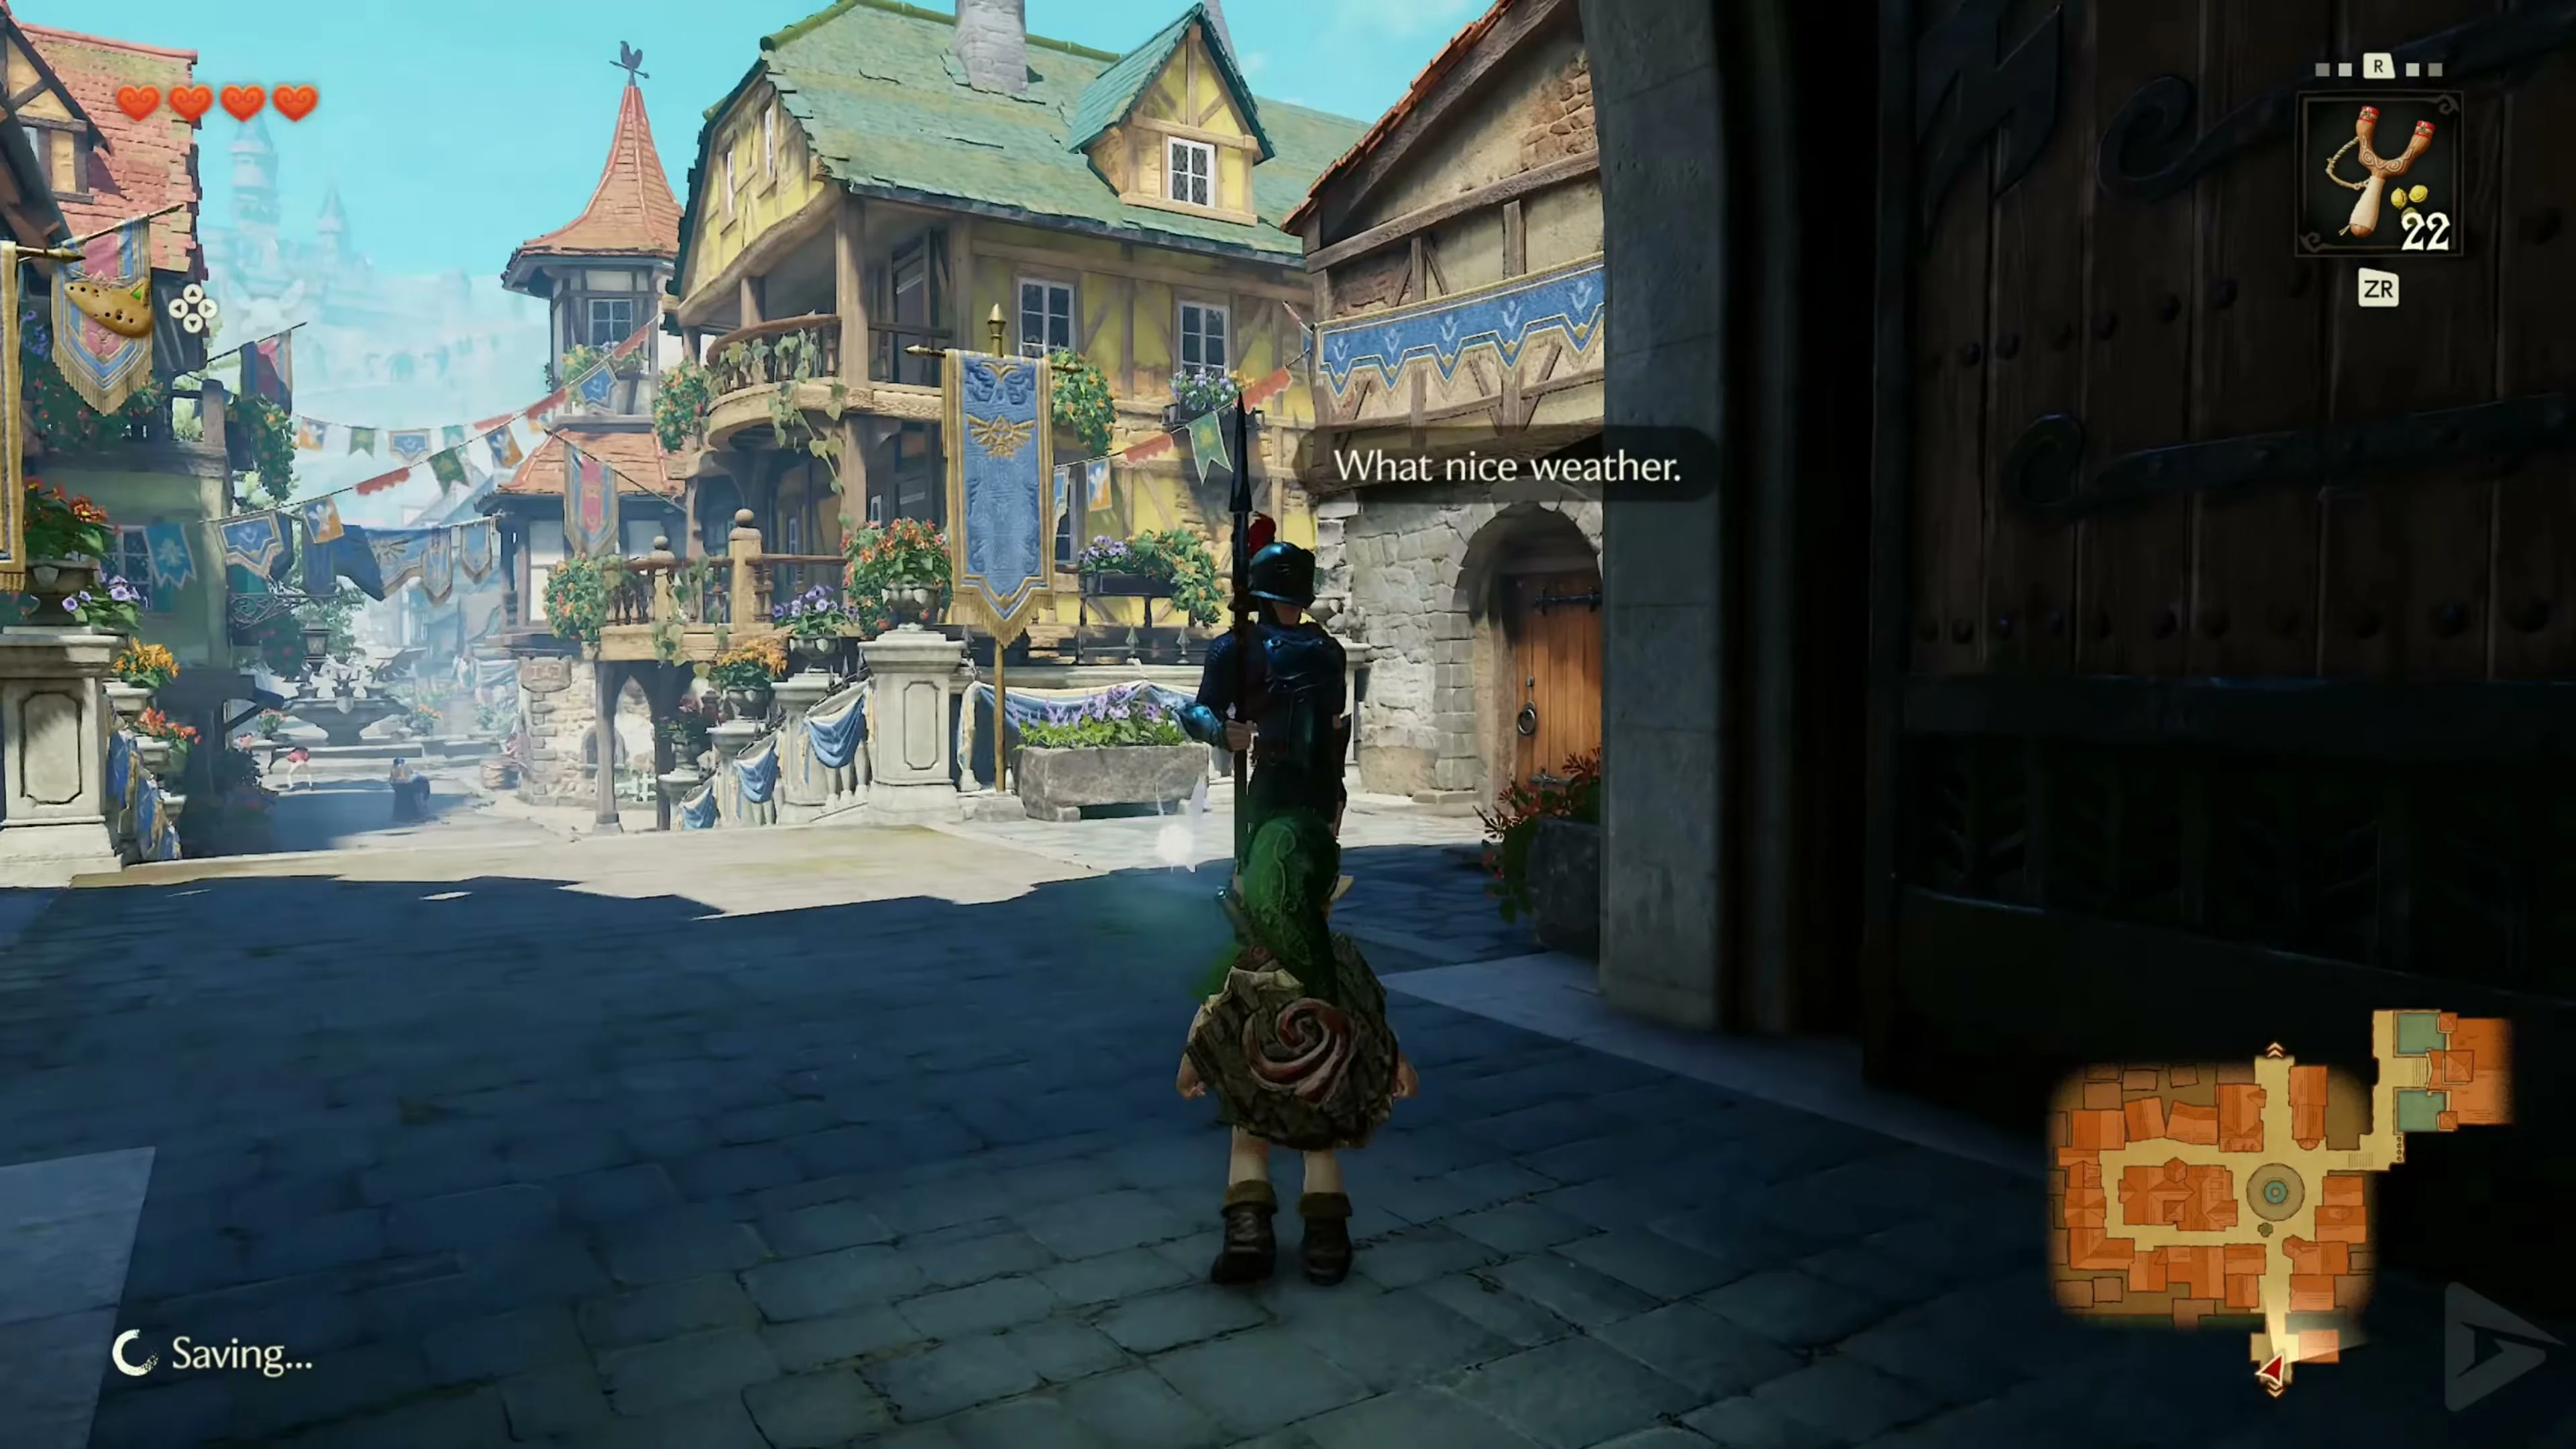
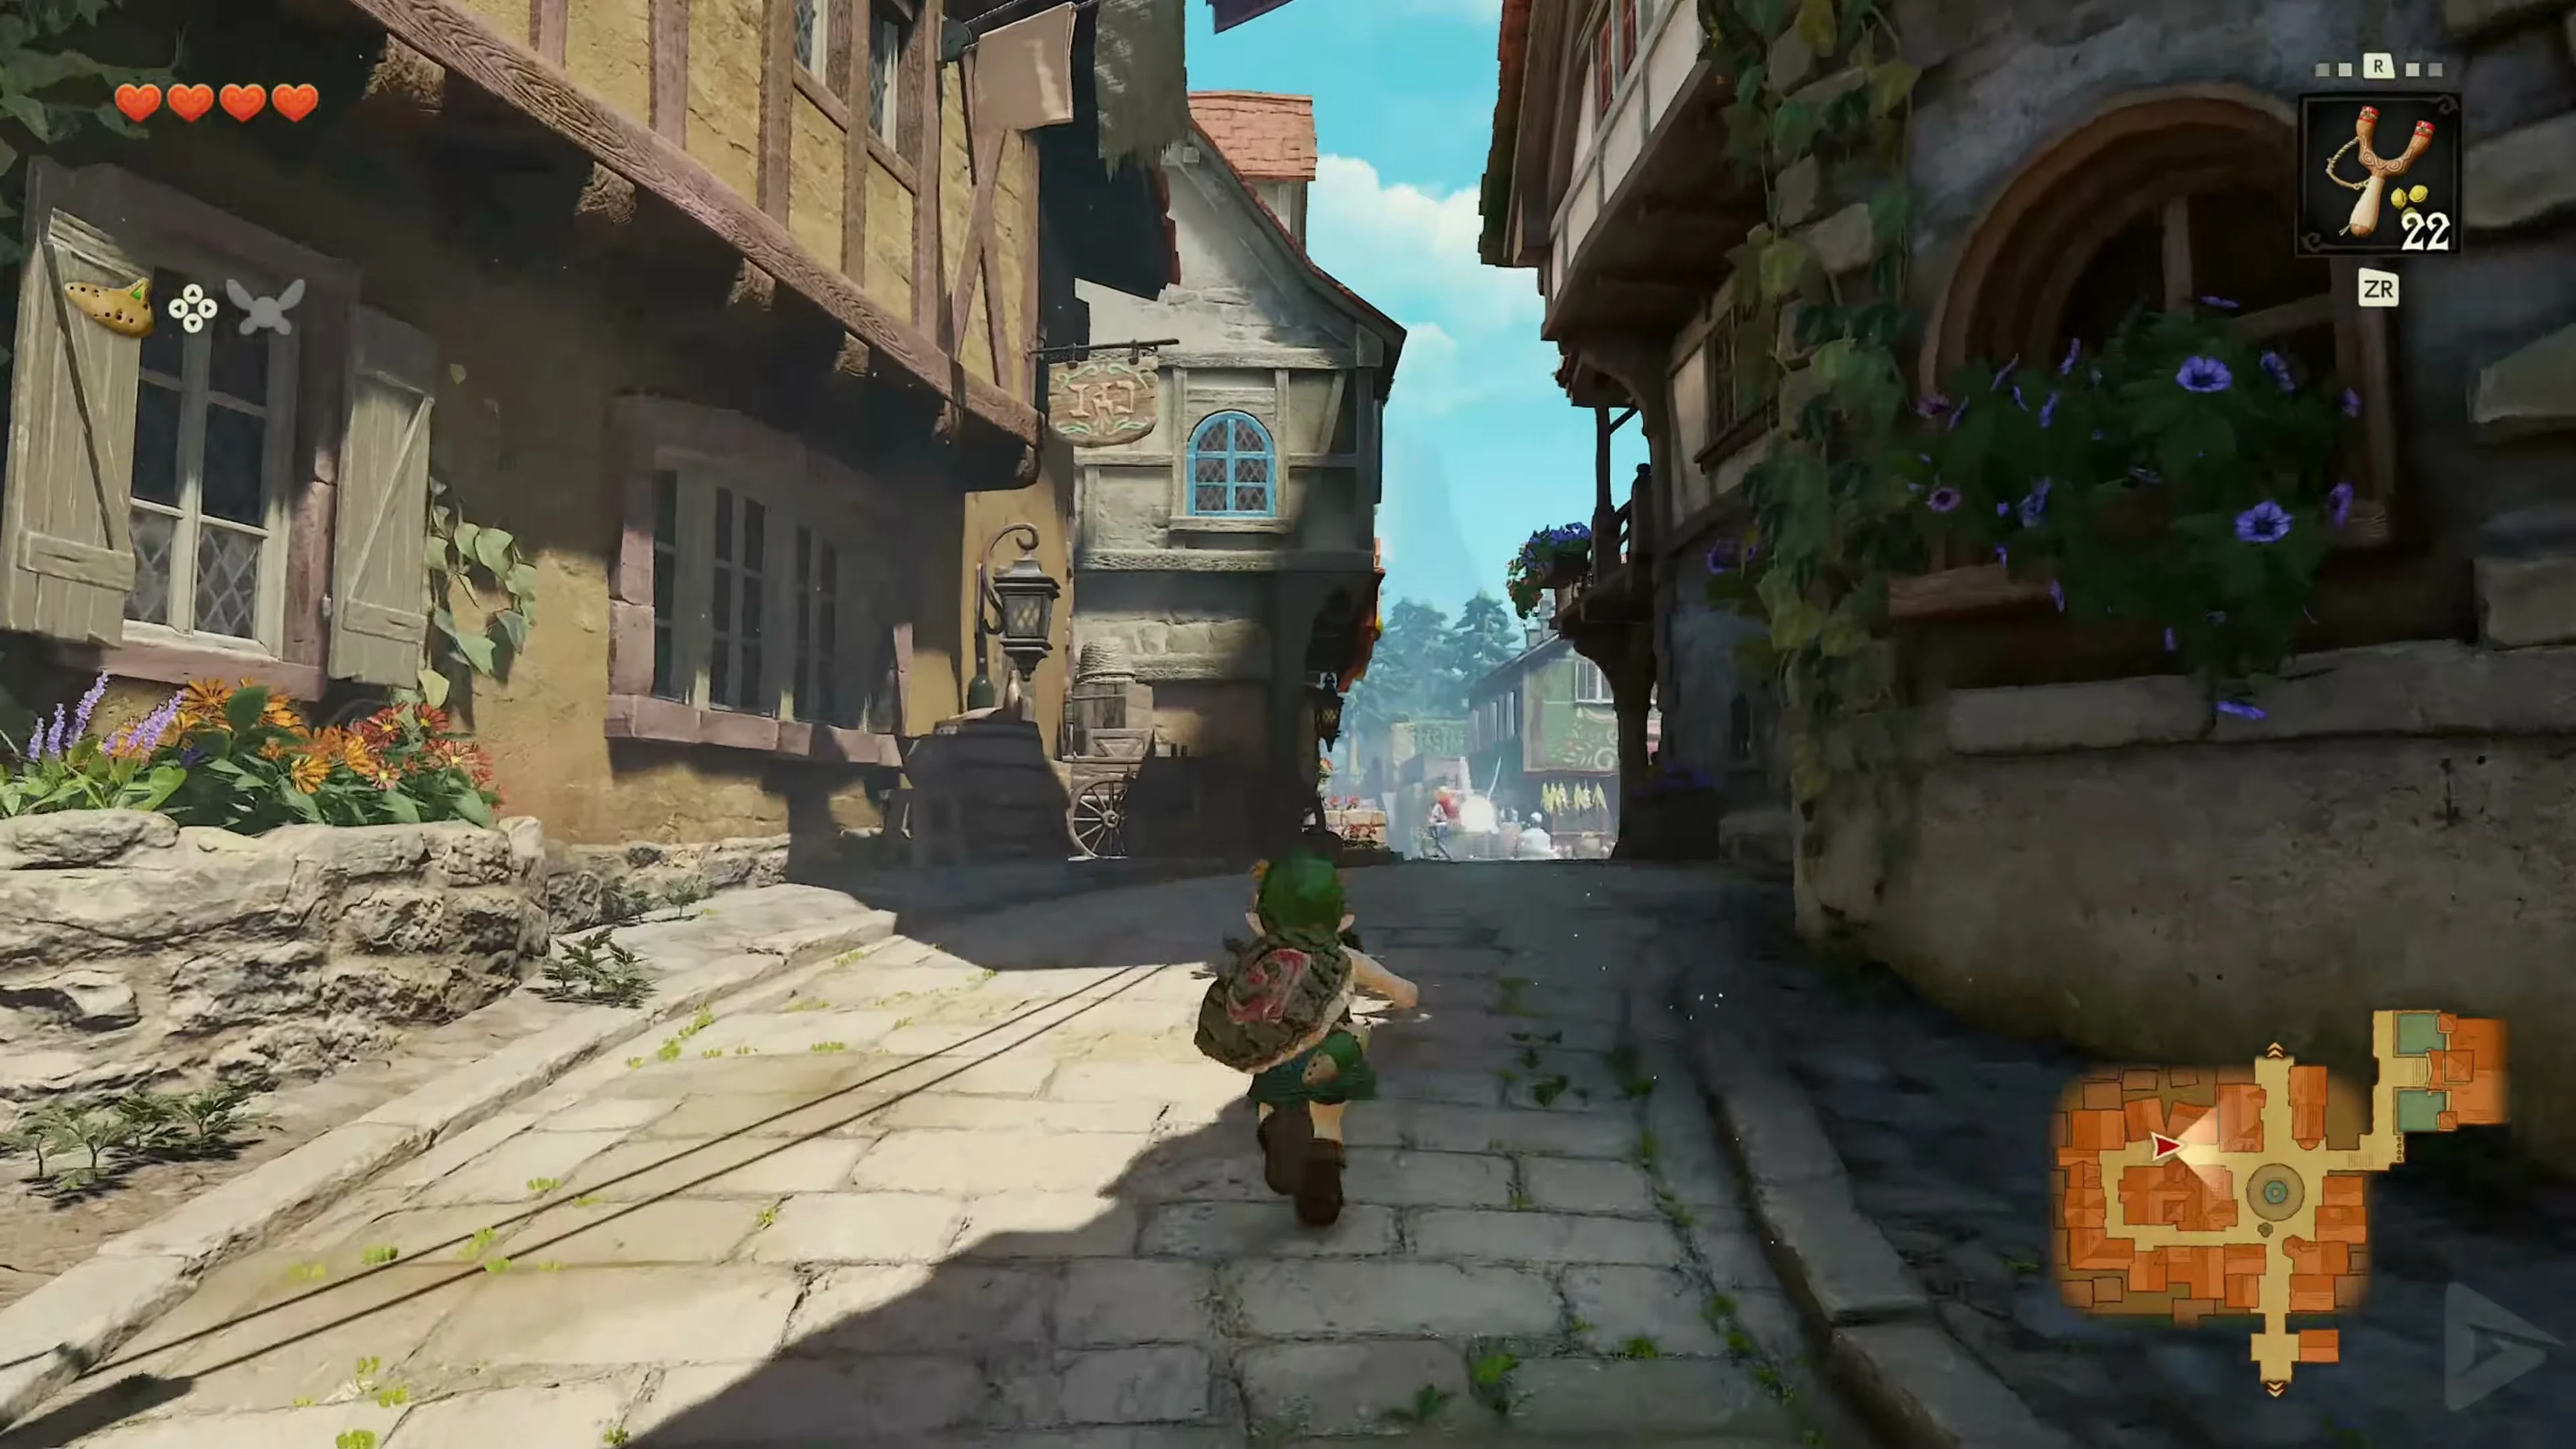
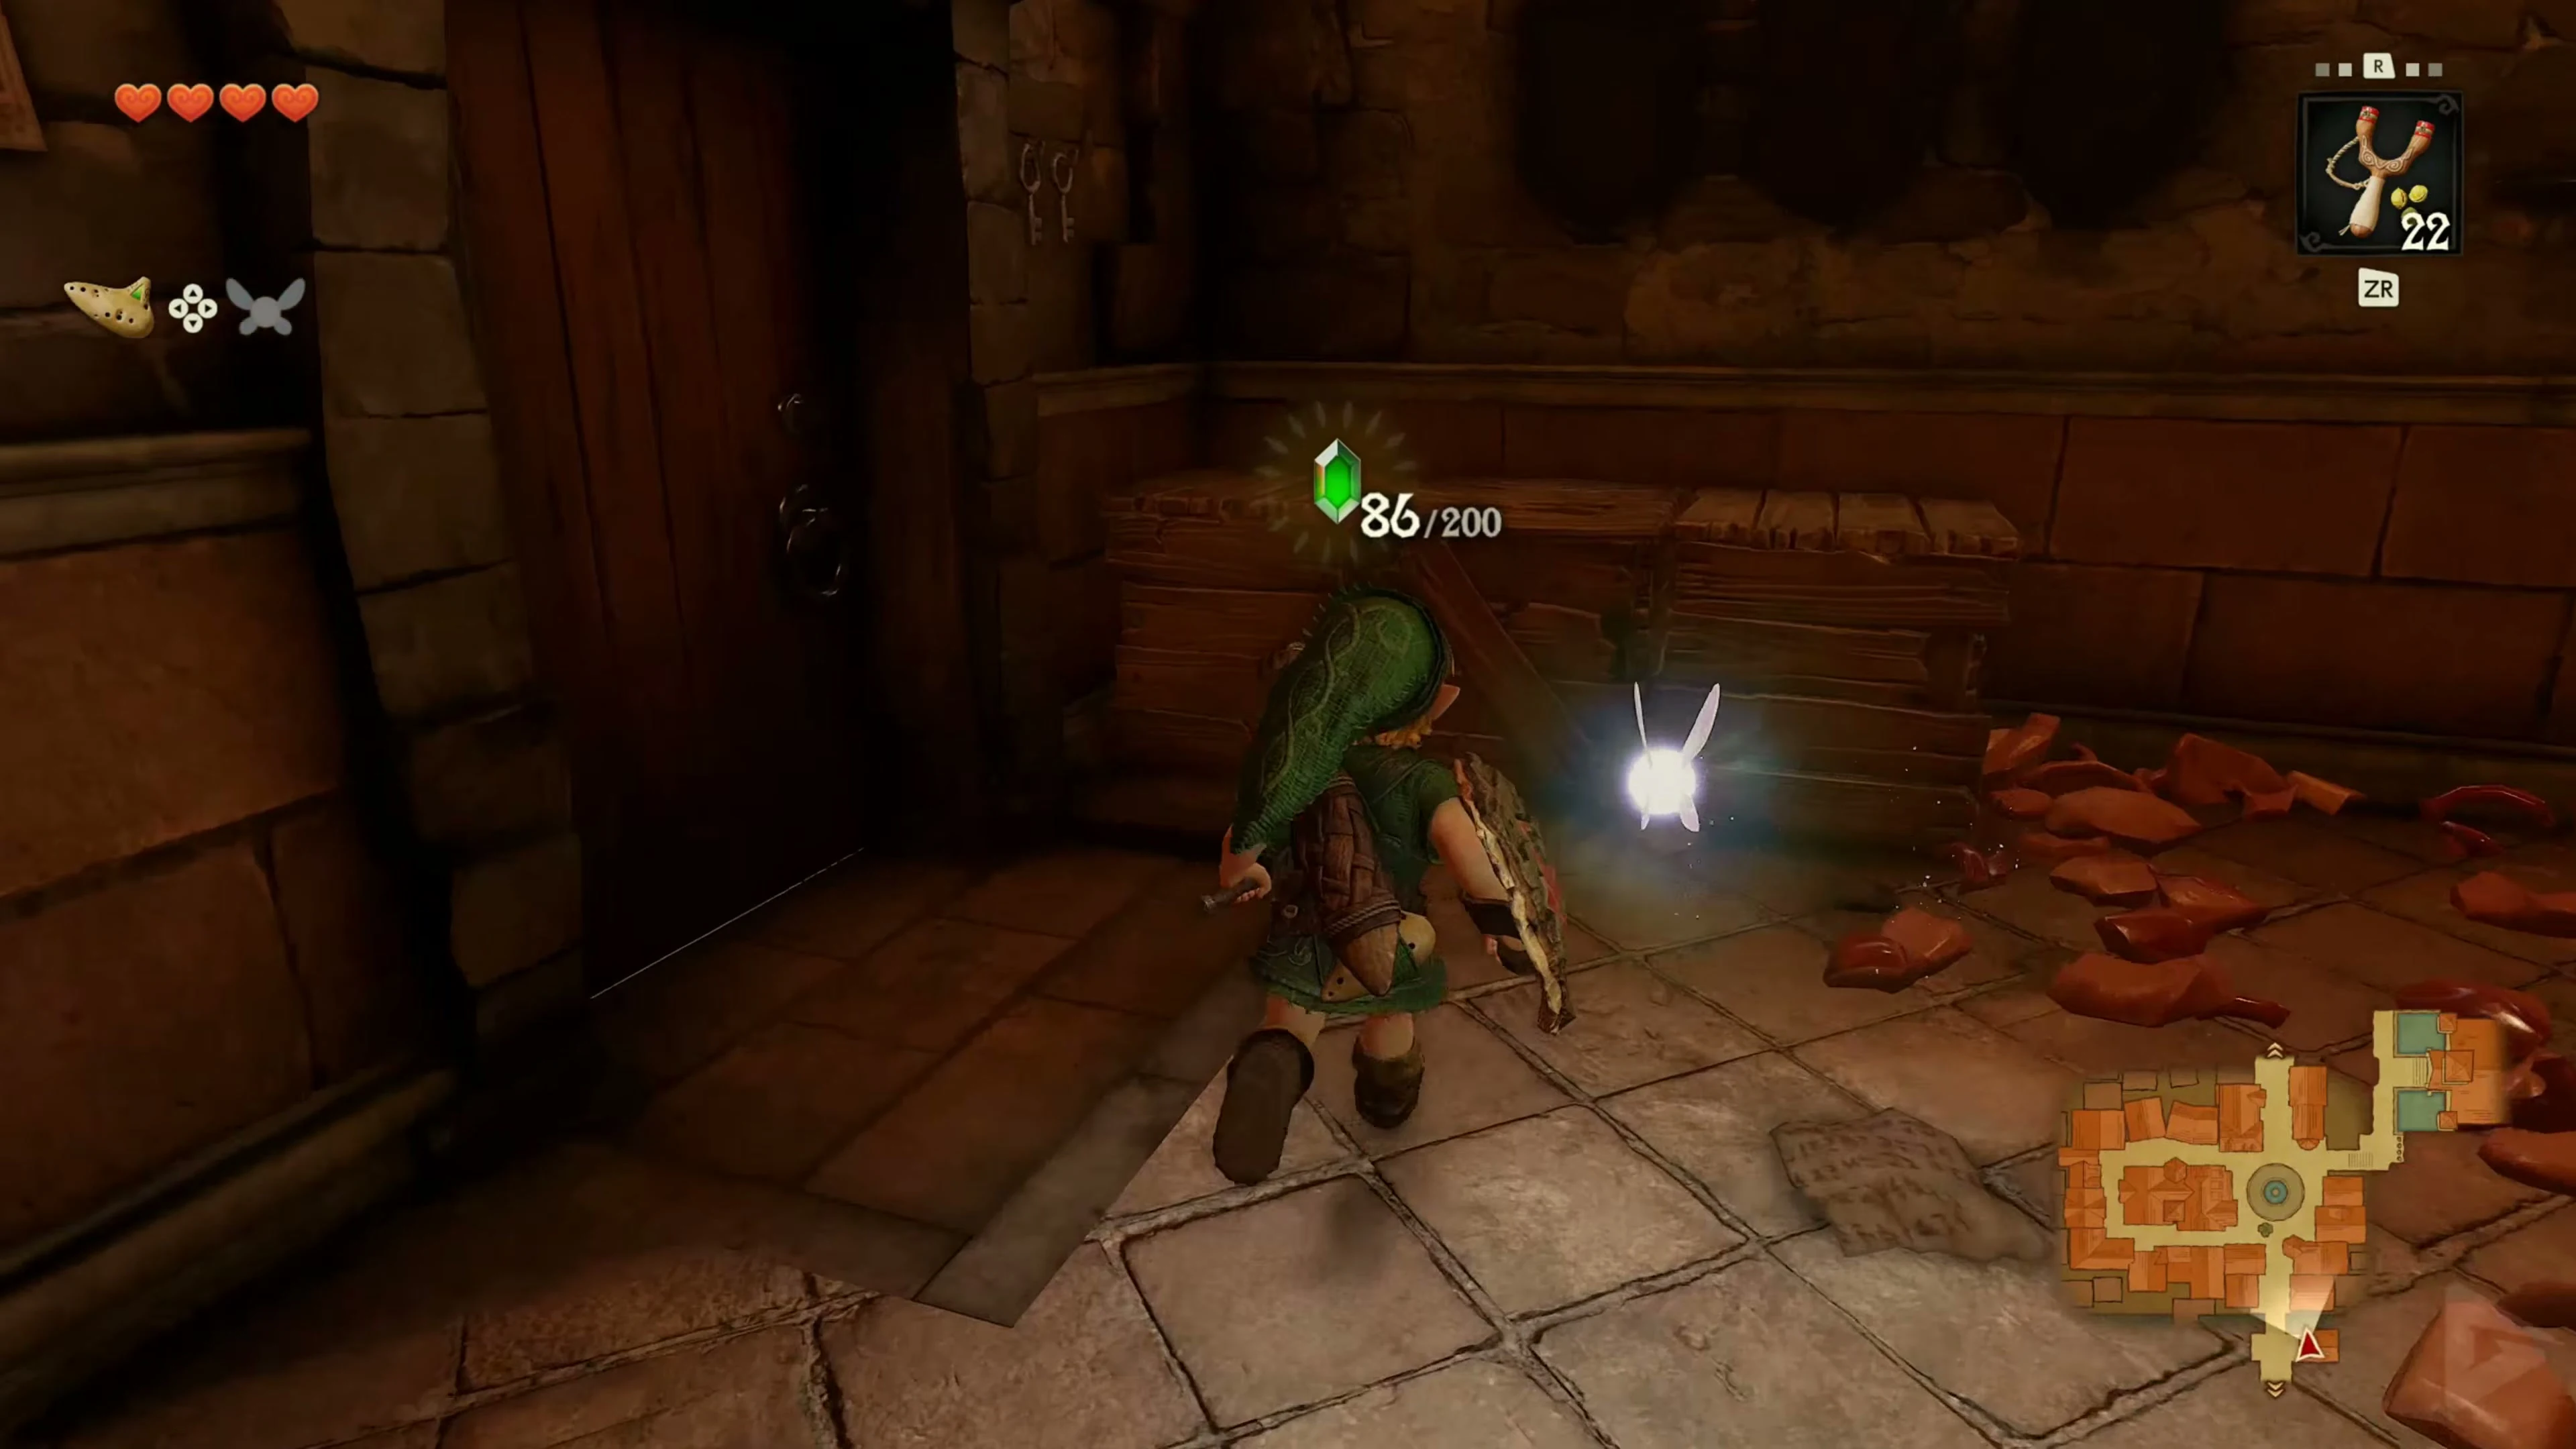
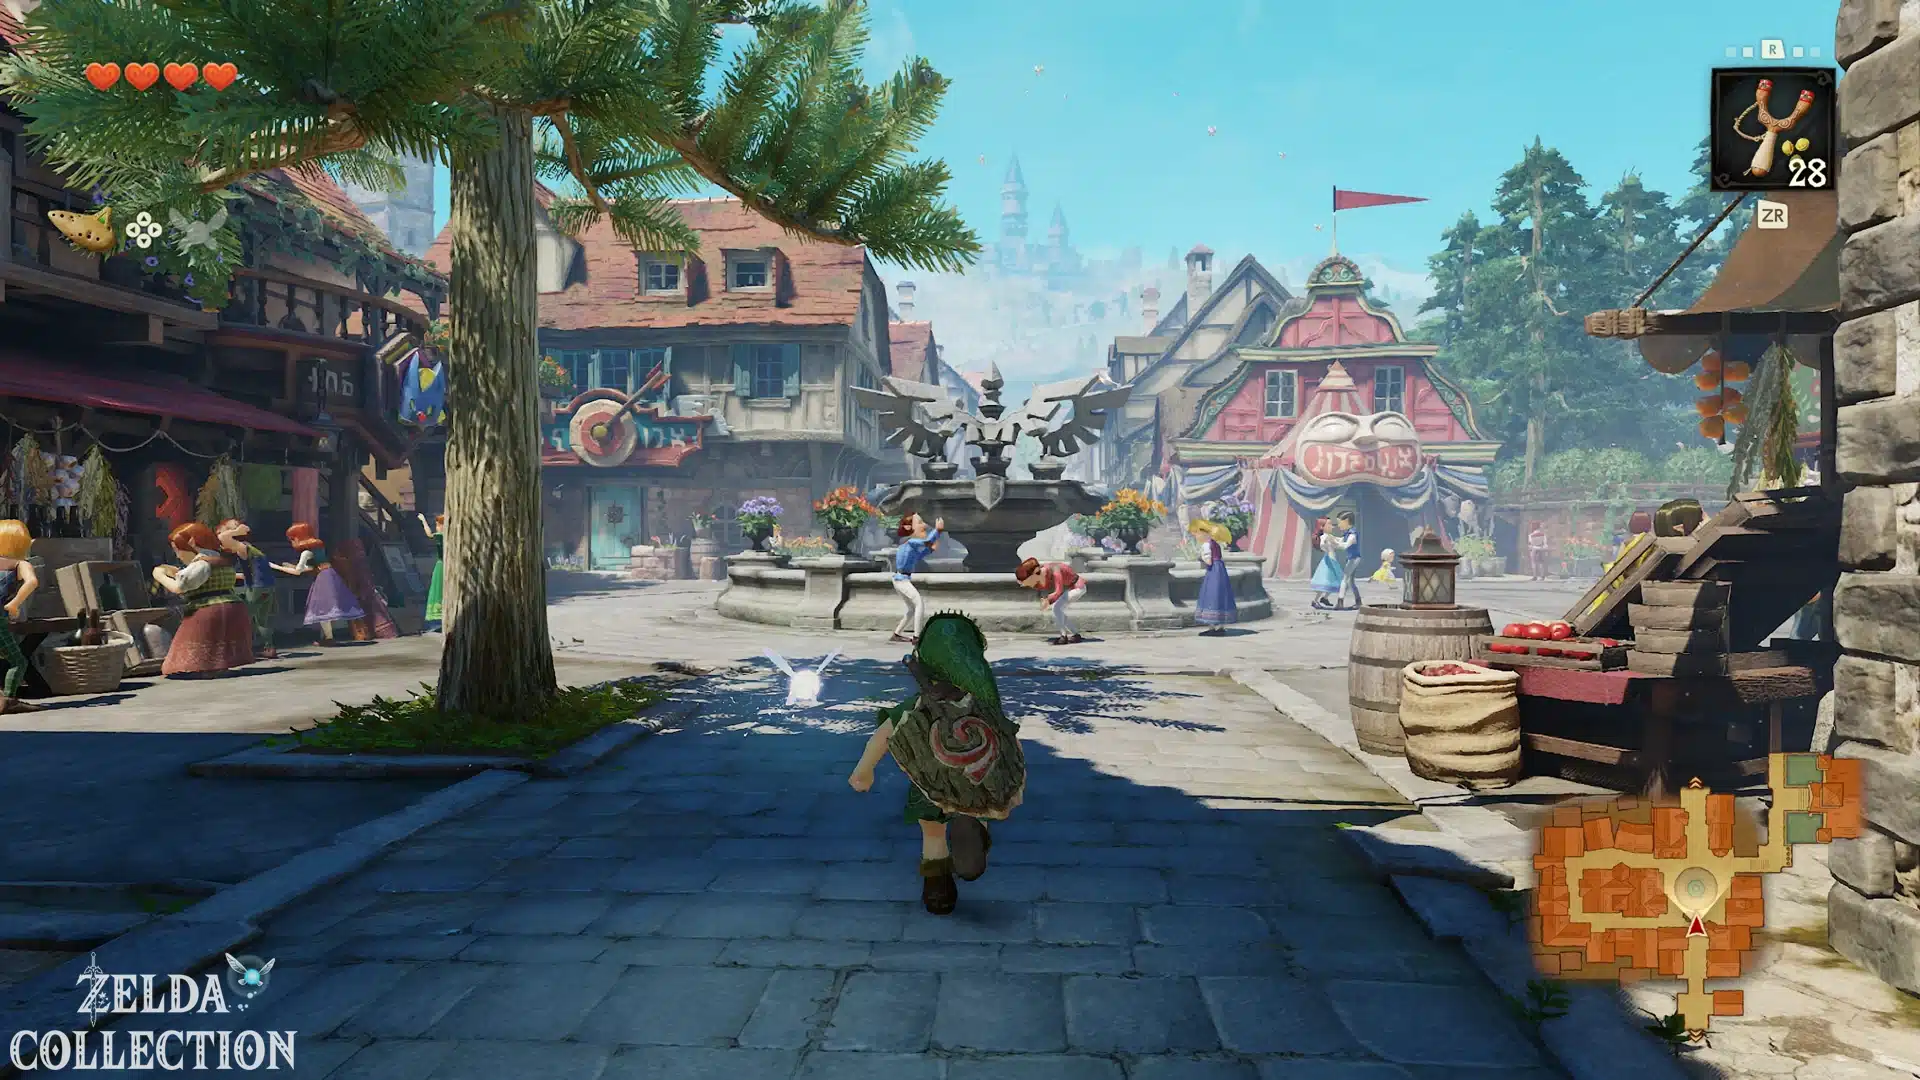
Go into the guardhouse on the right immediately behind the city gate . Break the jars to collect rupees for the upcoming mini-games. At the far end is a wobbling wooden box. Roll against it, defeat the Gold Skulltula that falls out, and pick up its token from the ground. Return outside and walk to the square with the fountain. You can use it as a guide for all of the following paths.
First bottle – the beetle in the potion shop
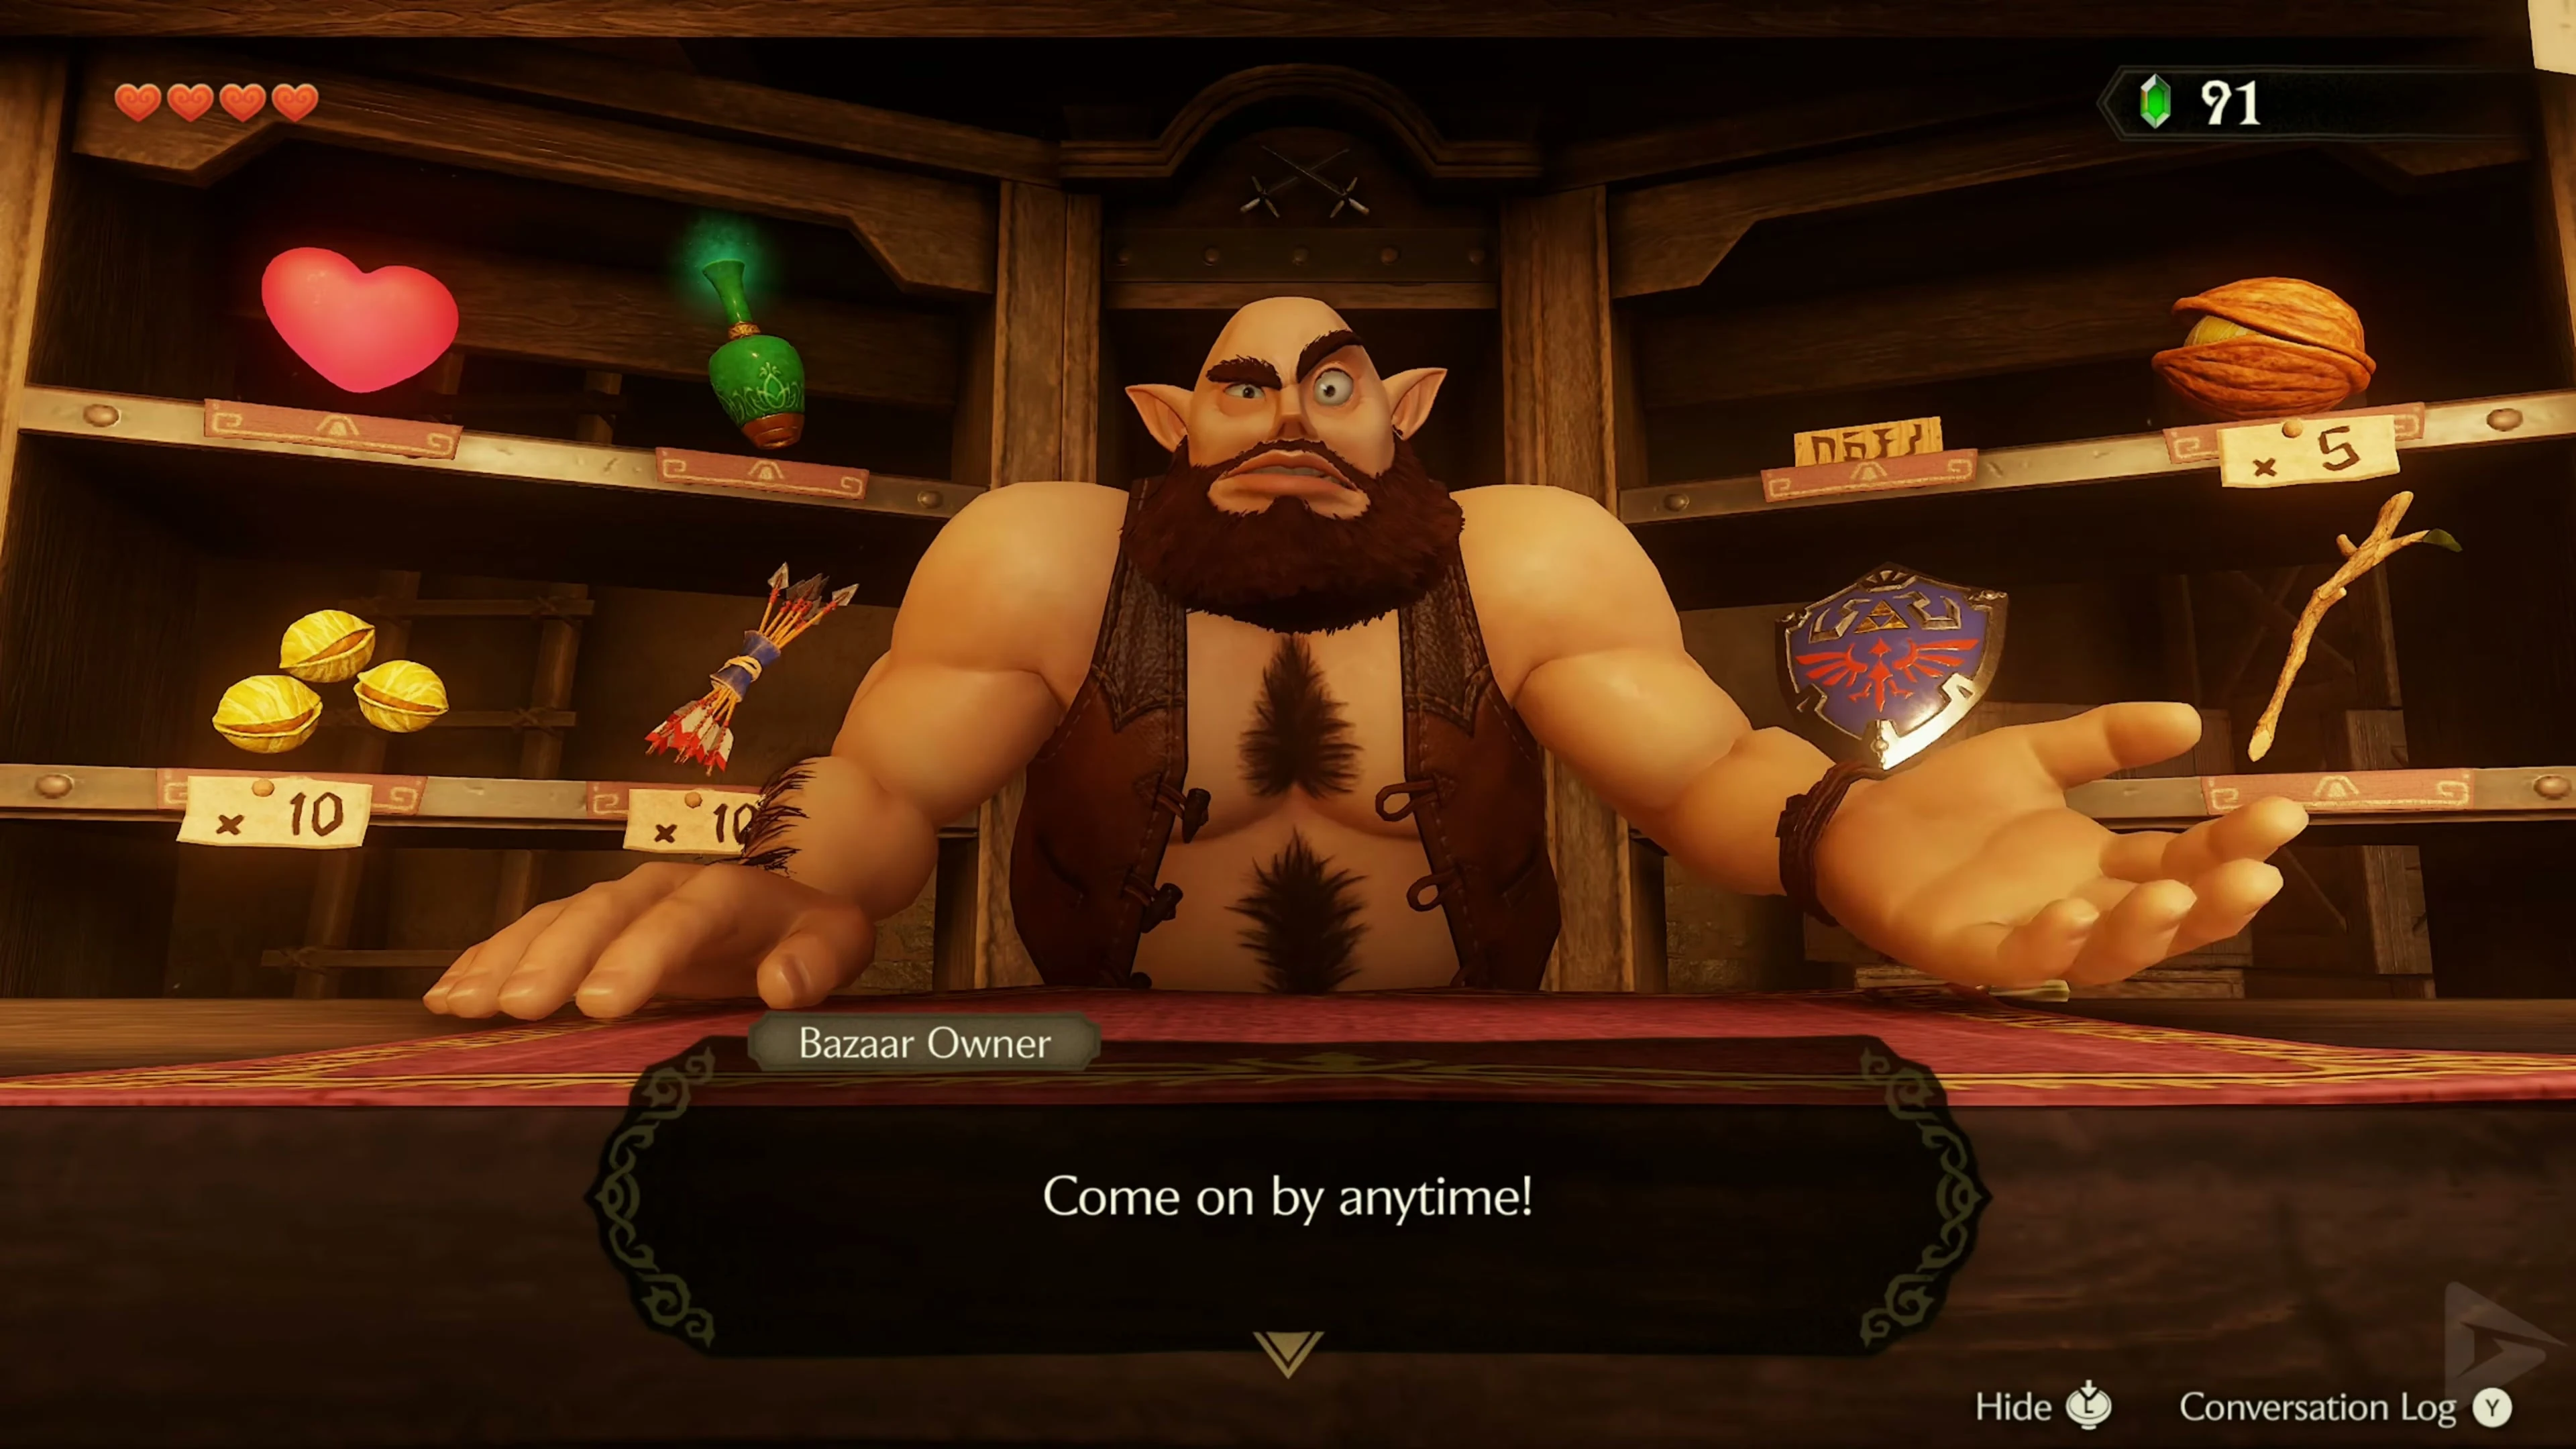
From the well, head east to the Potion Shop . The merchant asks you to catch his escaped beetle and gives you a bottle. Turn around in the shop, approach the crawling creature, and swing the equipped bottle right next to it. Then talk to the merchant again. He keeps the bug, you get to keep the first bottle and get it back with Red Potion. For the later holes in the ground, you’ll need to catch a new bug.
Shooting gallery and first Deku-Seed Bag upgrade
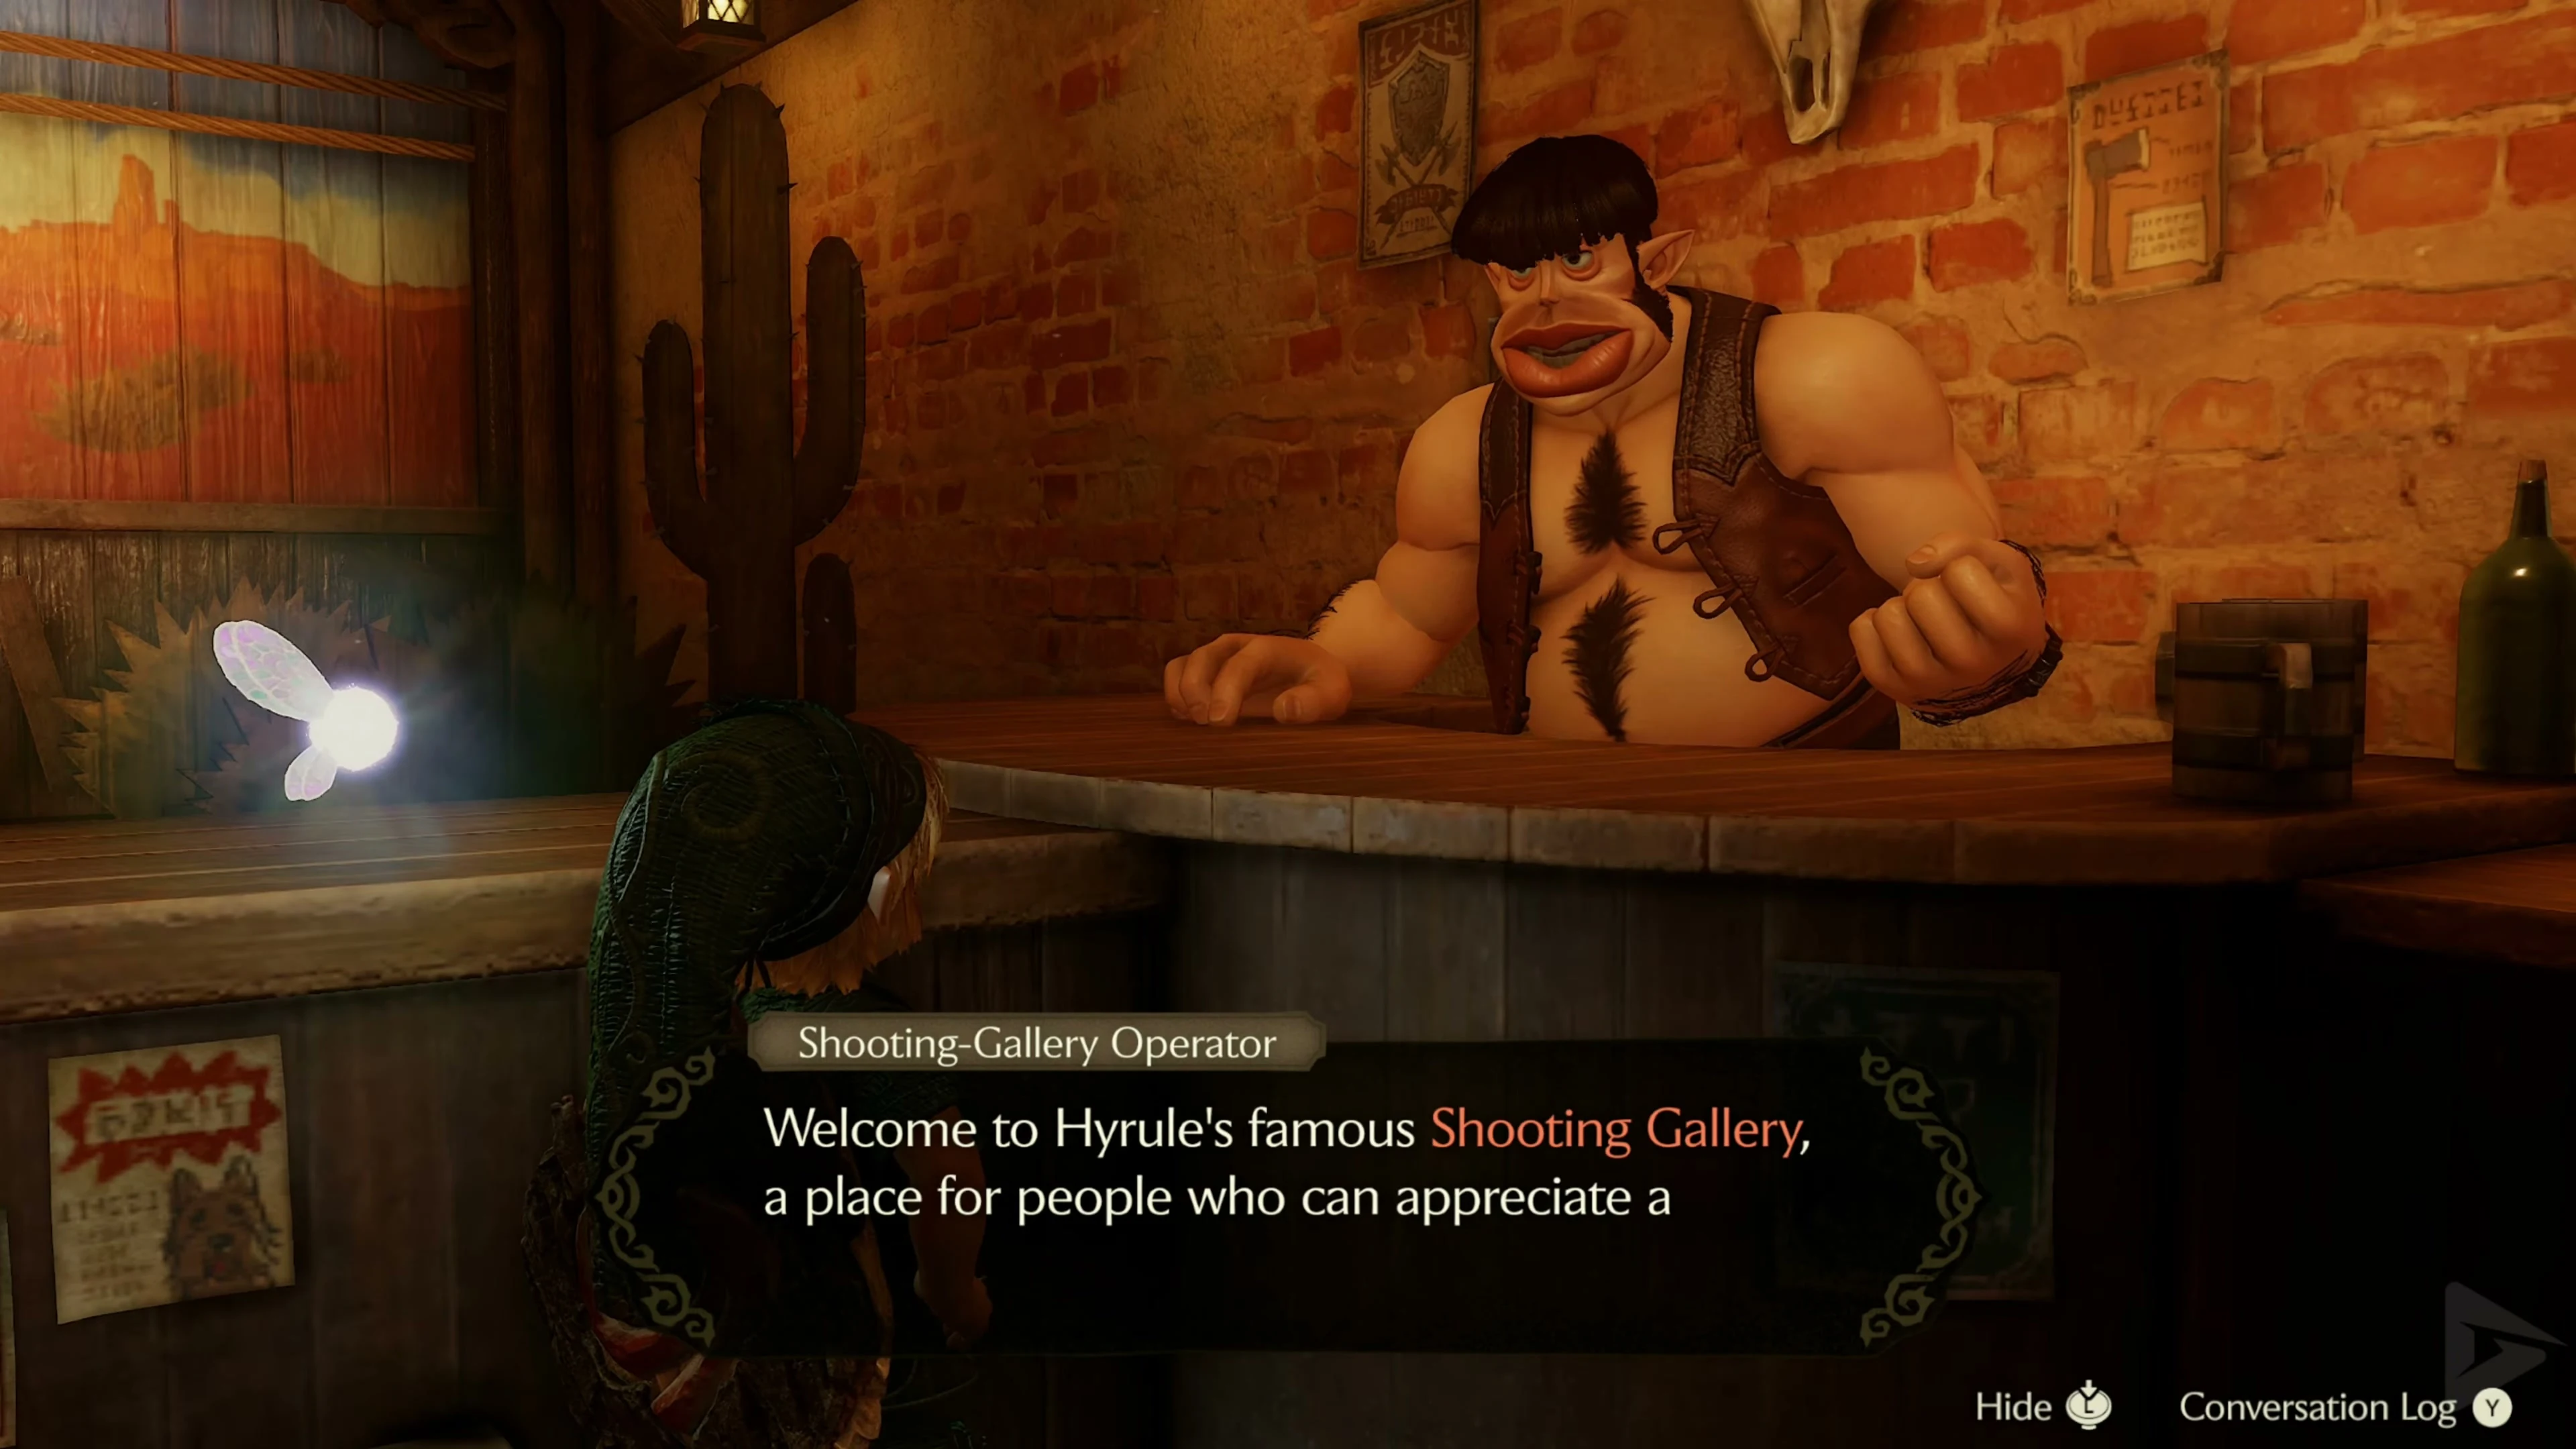
North of the well is the shooting gallery. Talk to the operator and play the target shooting round with the Fairy Slingshot. You must hit all ten targets to win the larger Deku-Seed Bag. During your attempt, observe the directions from which the targets appear and aim your next shot early. The first upgrade you win increases your supply to 40 Deku Seeds . The second Deku-Seed Bag upgrade is obtained during the forest collection route.
Richard – the Piece of Heart at night
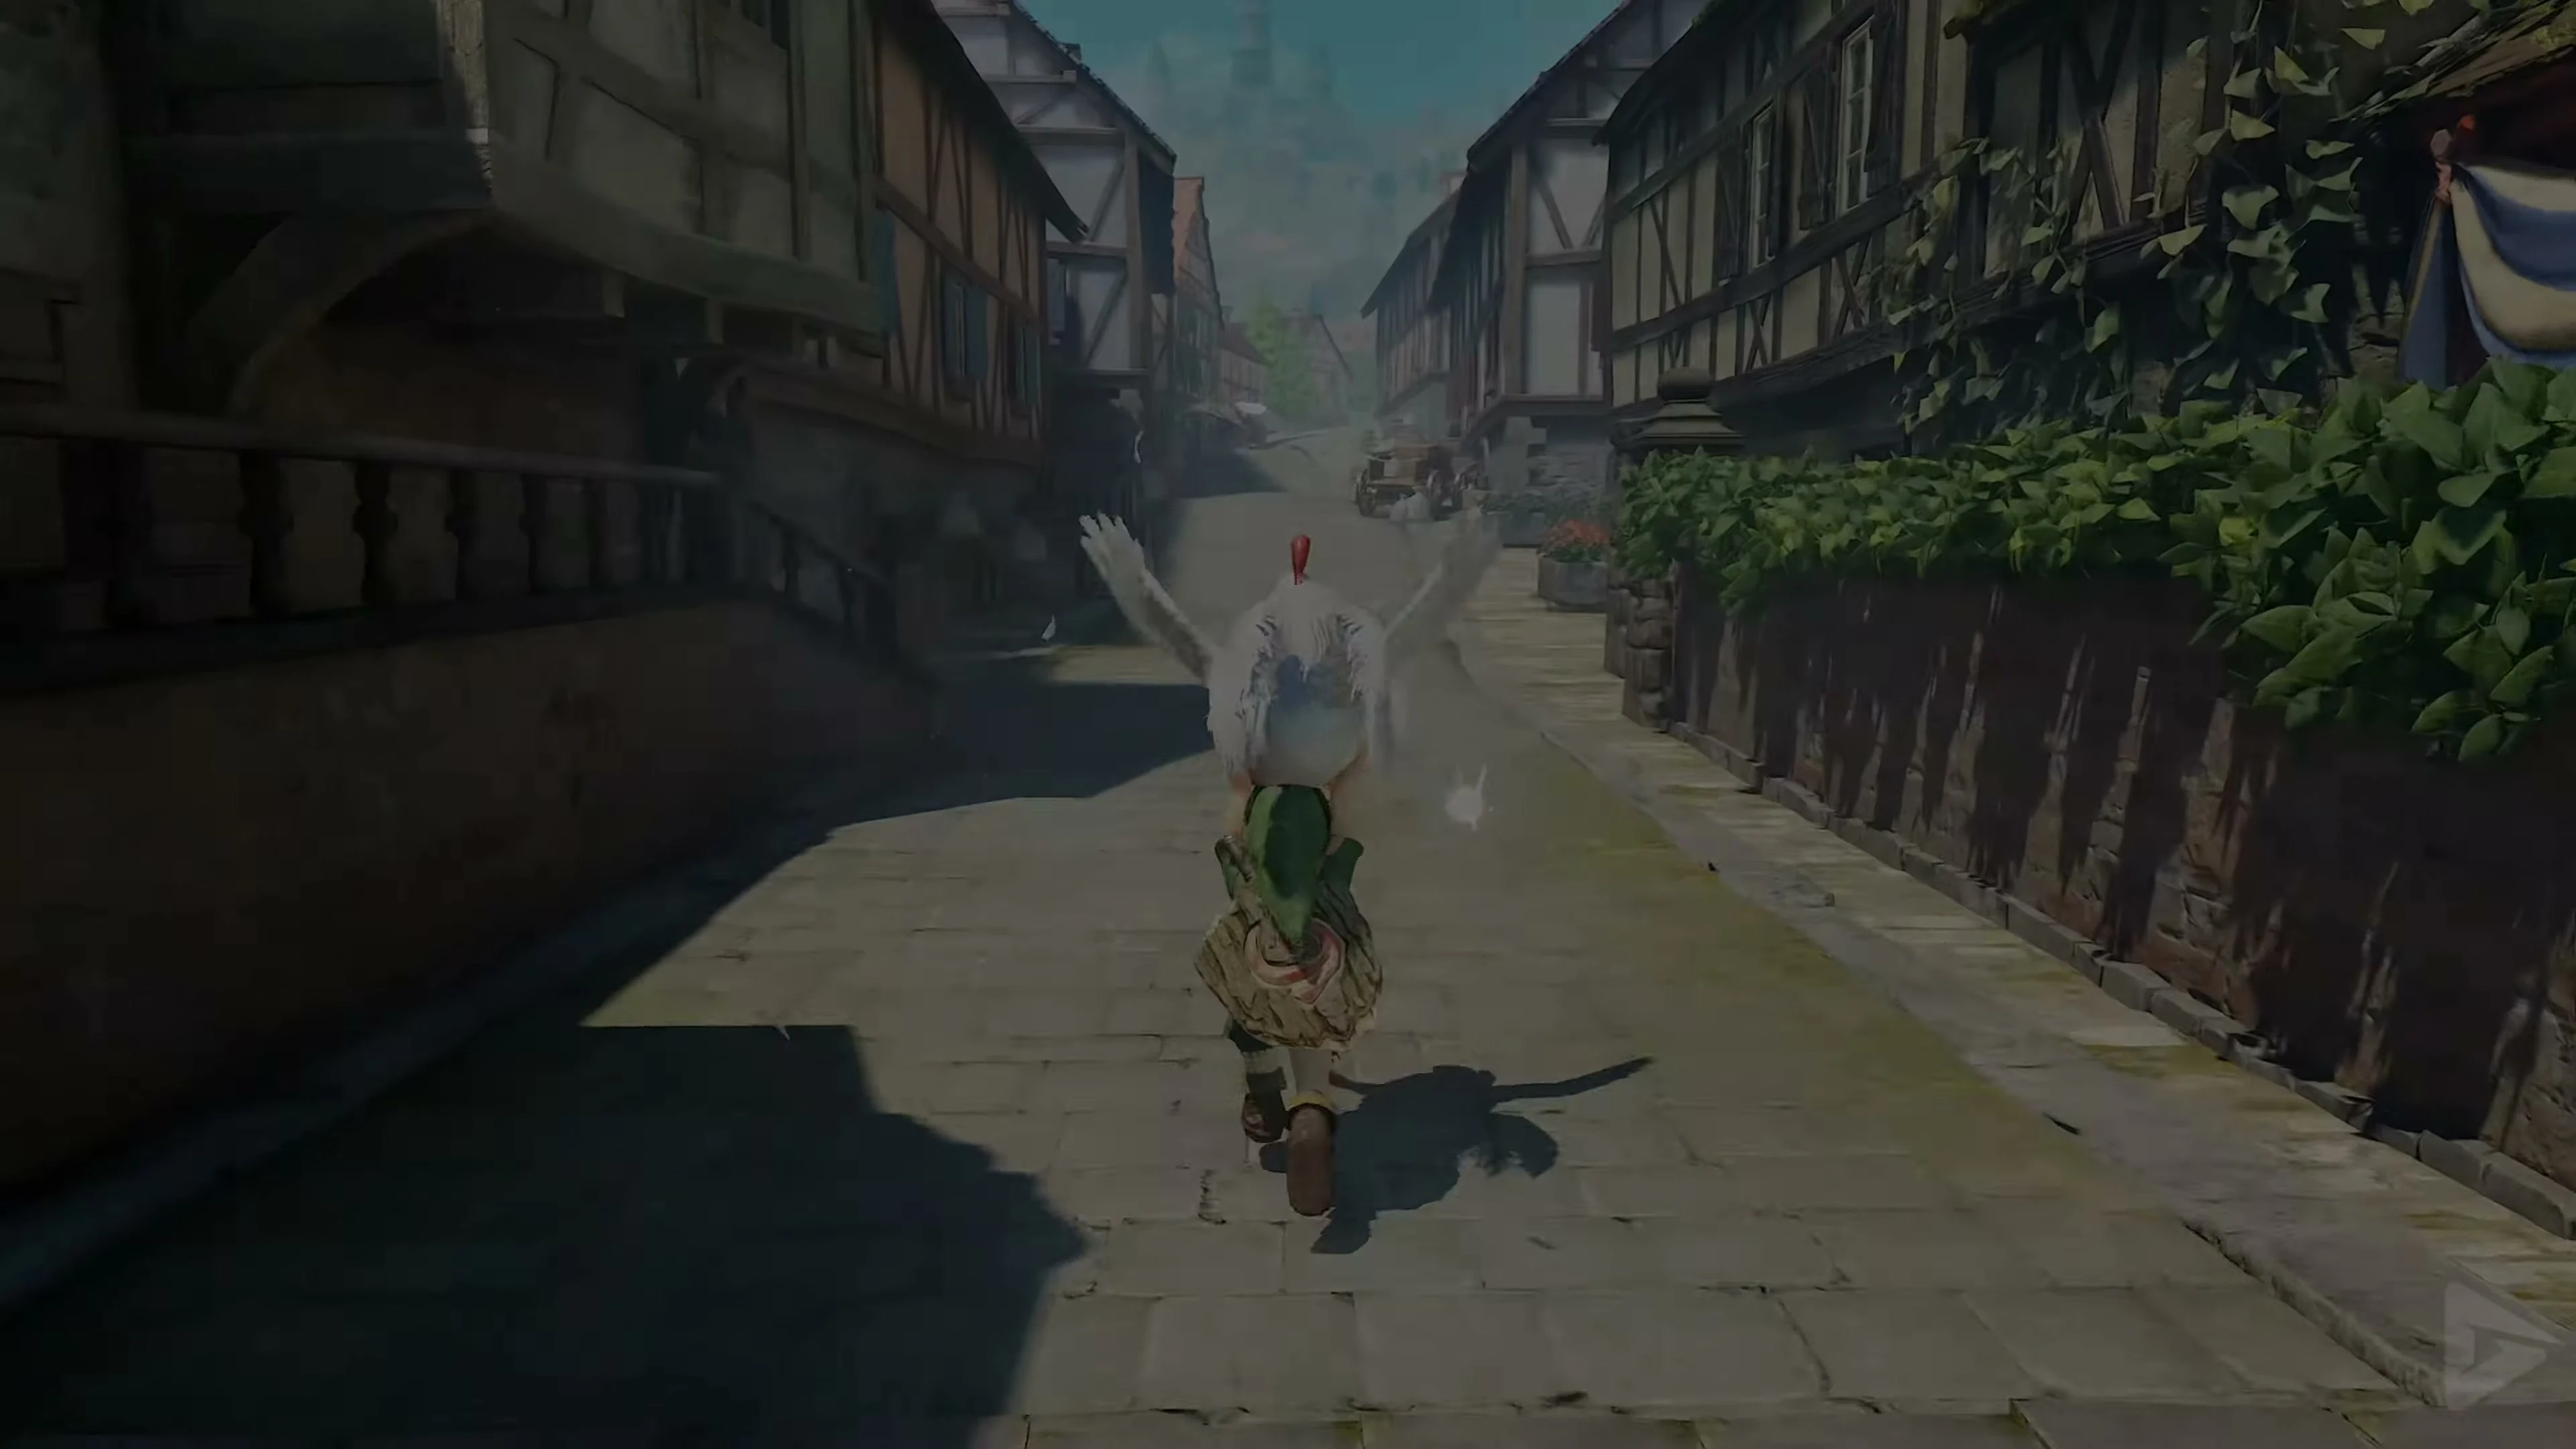
Once it’s night, go to the alley to the left of the shooting gallery. The white dog Richard is running around there. Speak to him and choose the game action so that he follows you. You can also recognize Richard among the similar-looking white dogs by his noticeably high-pitched bark. Lead him back to his owner at the lower part of the marketplace and talk to her with the dog in tow. For Richard you will receive a Piece of Heart . If it’s still day, you can stay in town and visit the shops while the evening falls.
To Hyrule Castle – Malon and the Weird Egg
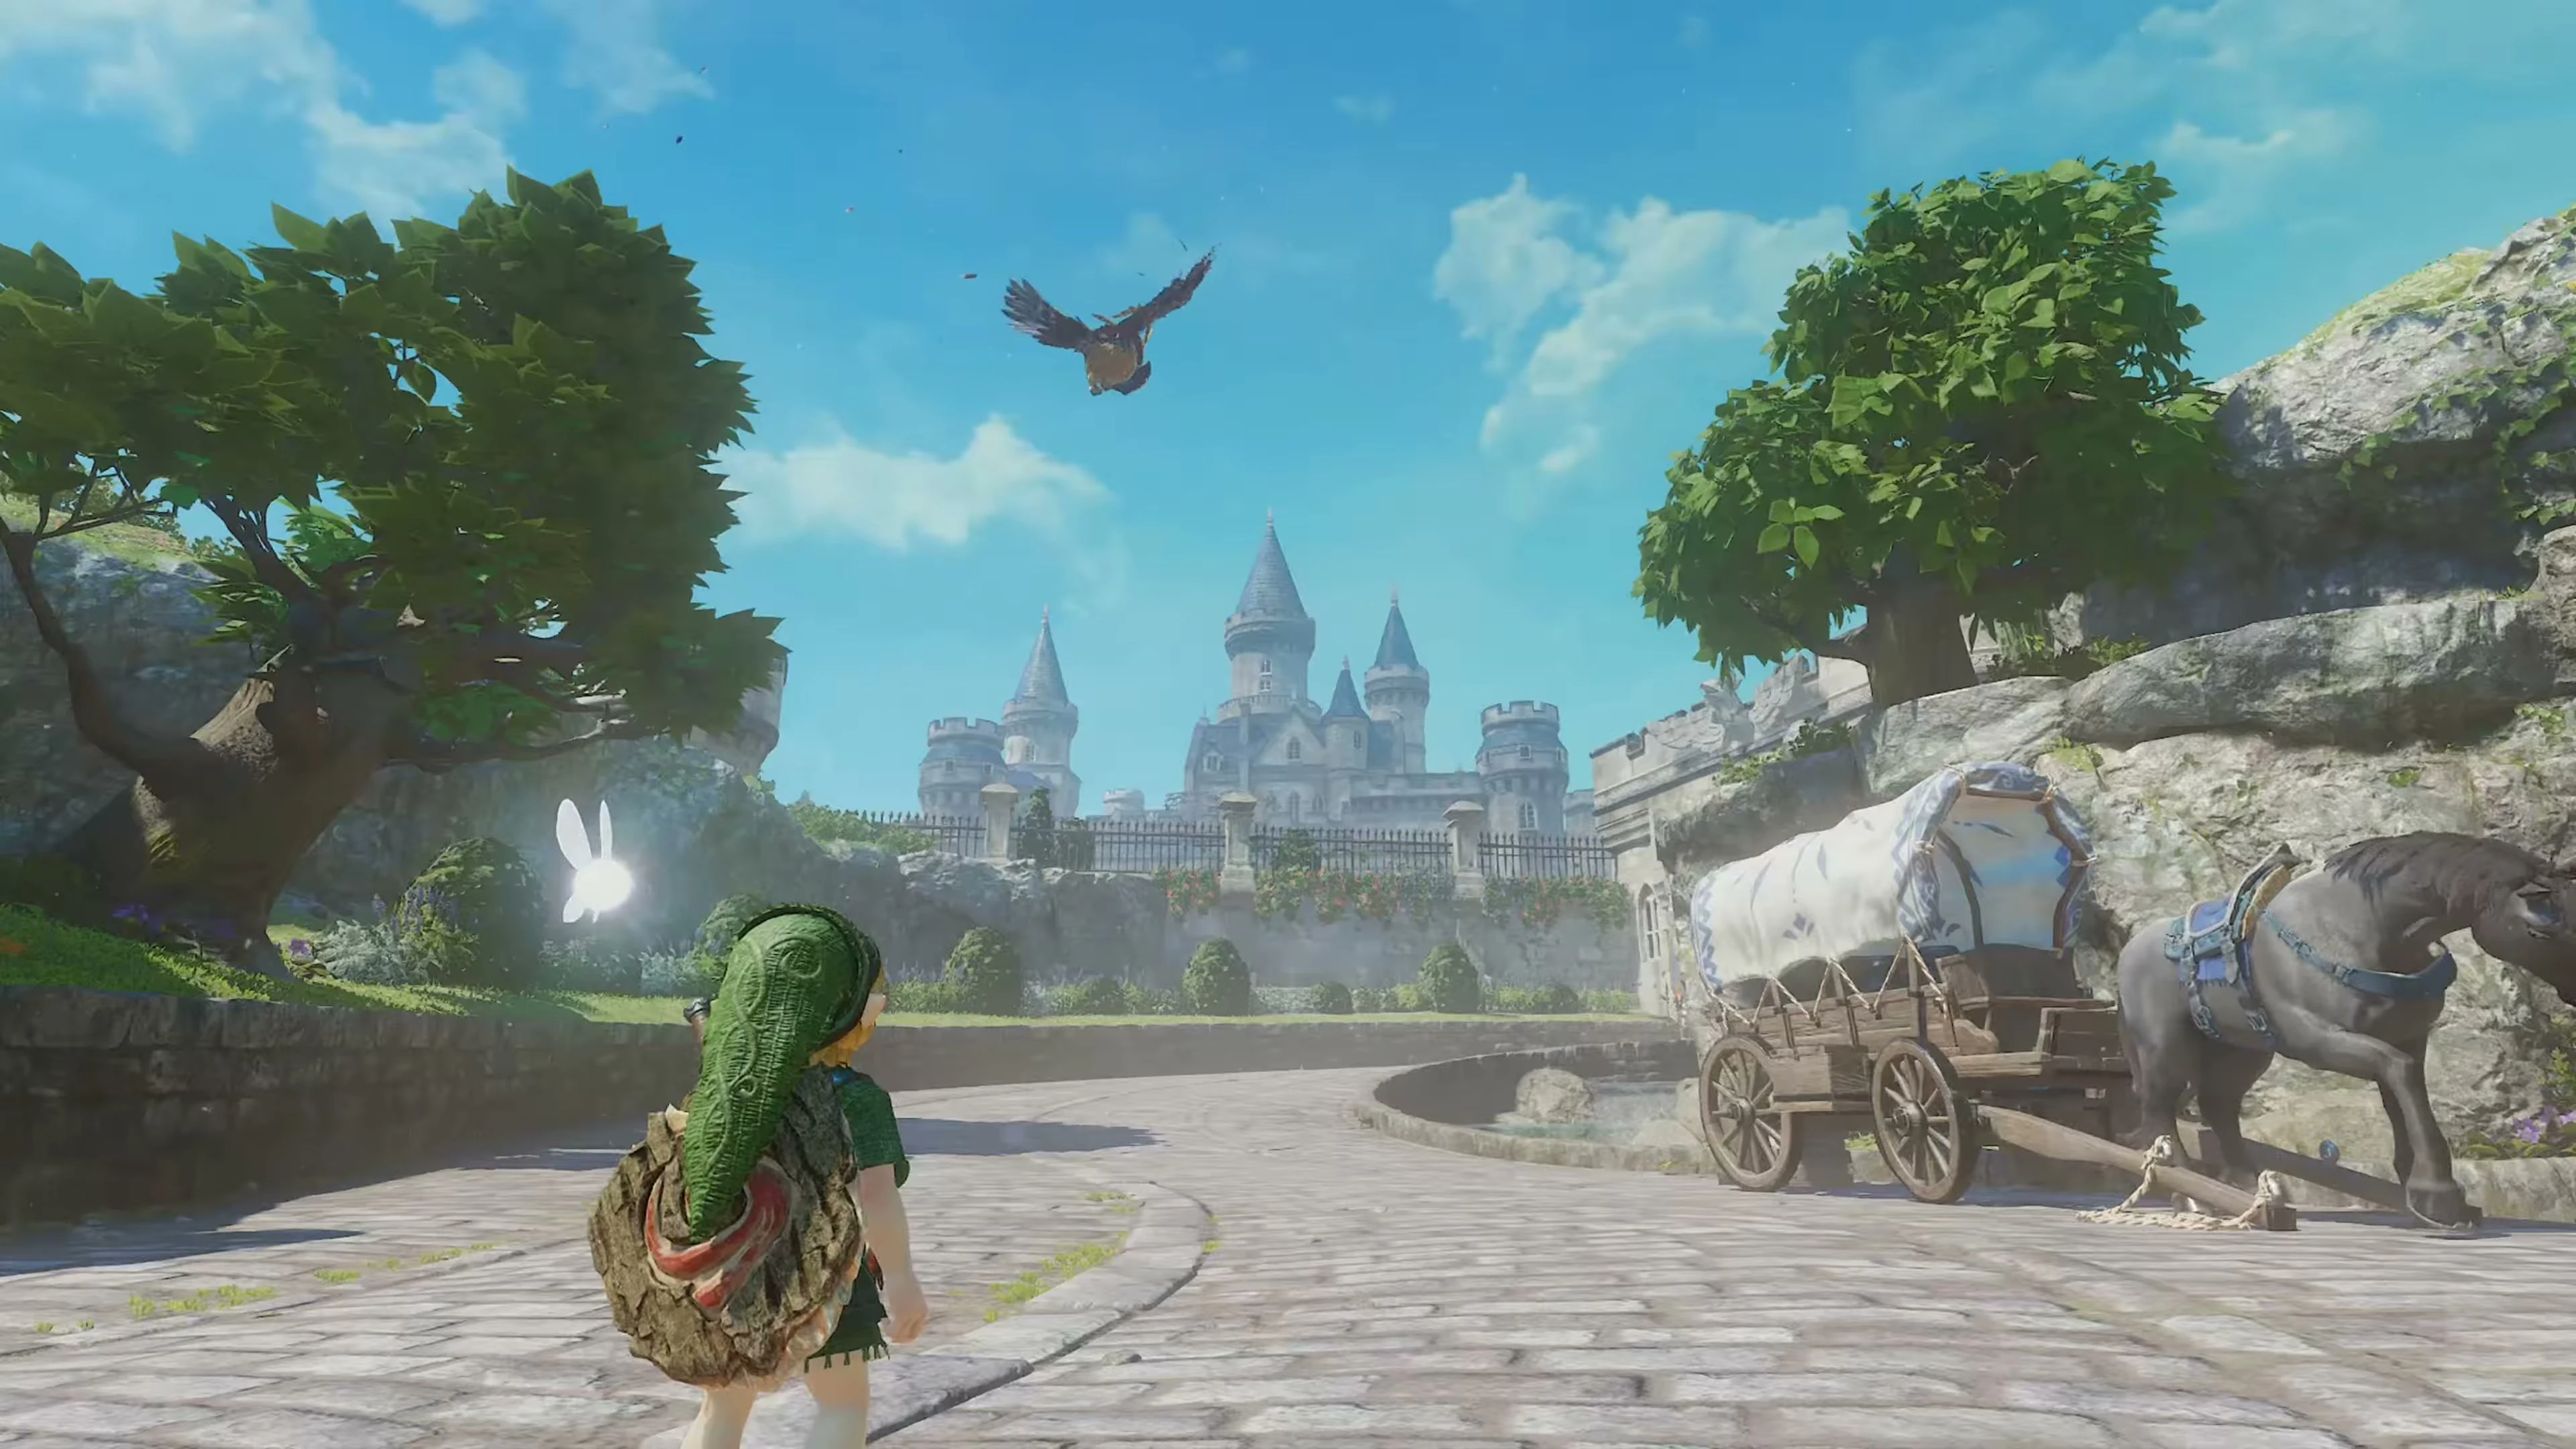
Take the northern exit from the market square to Castle Road. Malon is waiting on the right at the horse and milk cart . Talk to her about her father, Talon, who didn’t return from a delivery. She gives you the Weird Egg . Keep the egg in your inventory until the Wake-Up Cucco hatches. Behind Malon, vines lead up the rock face. Climb the ledges to the gate and climb down the ladder on the other side.
Through the guarded castle park
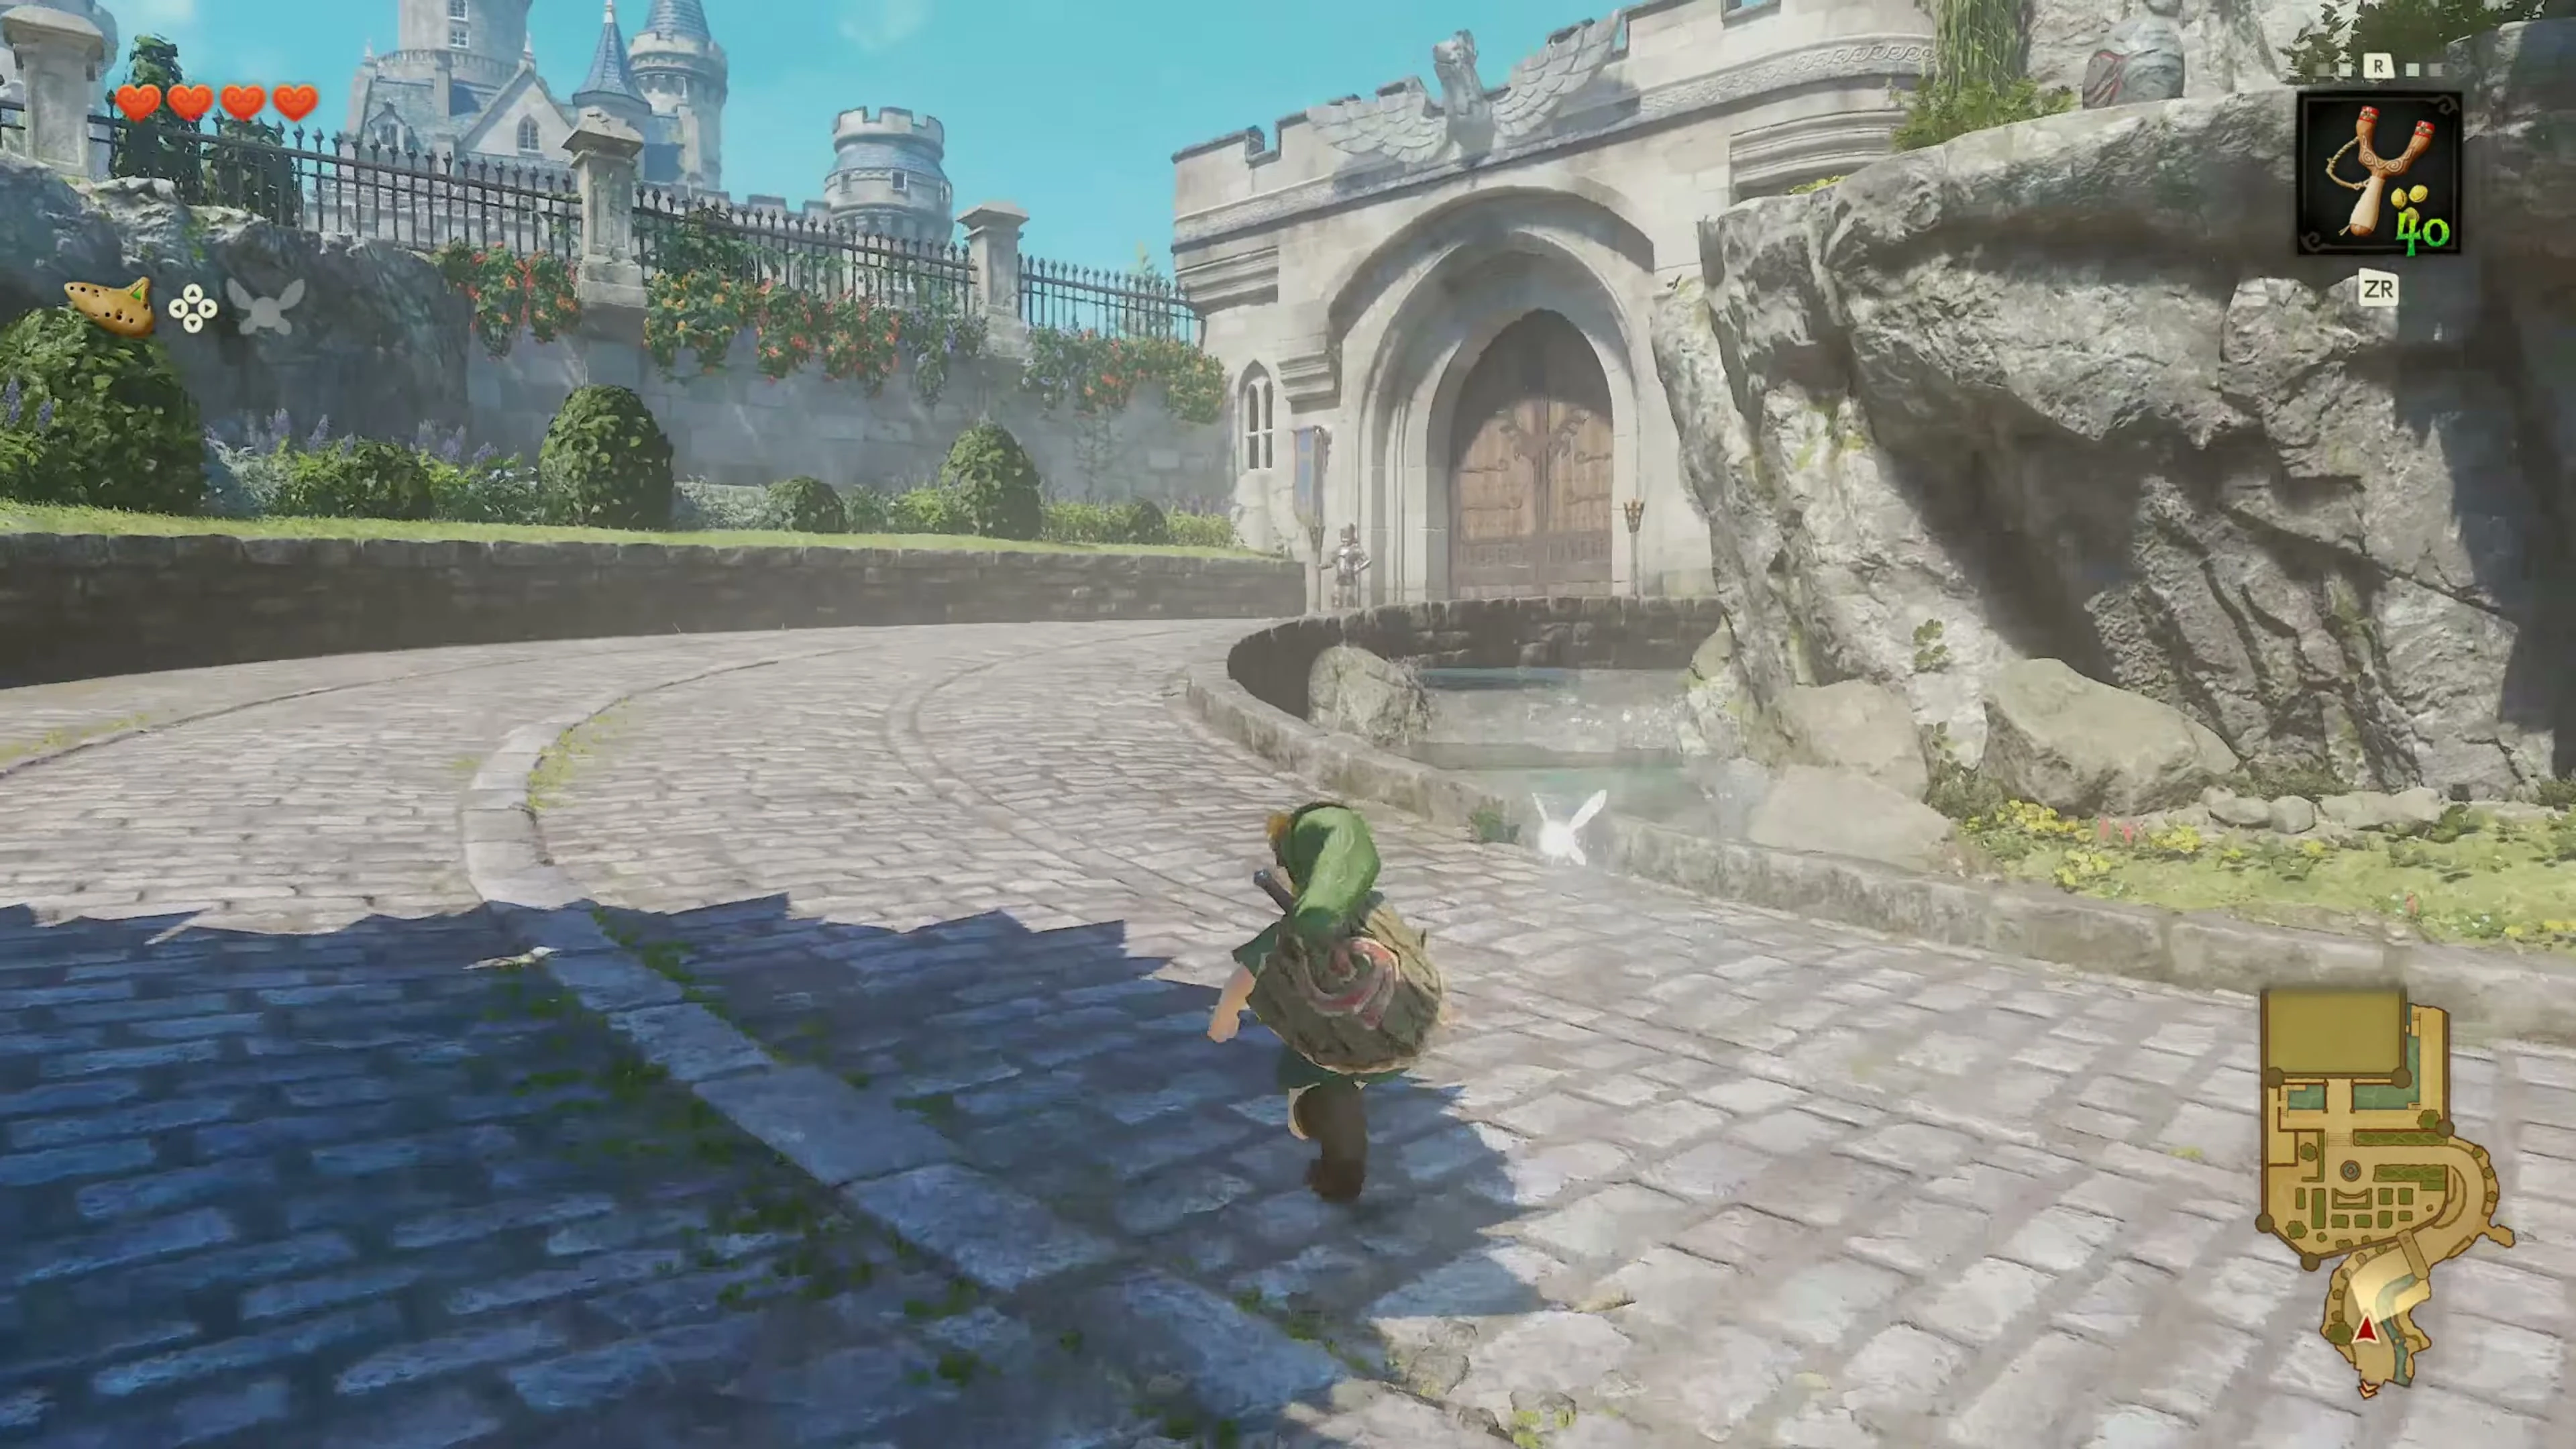
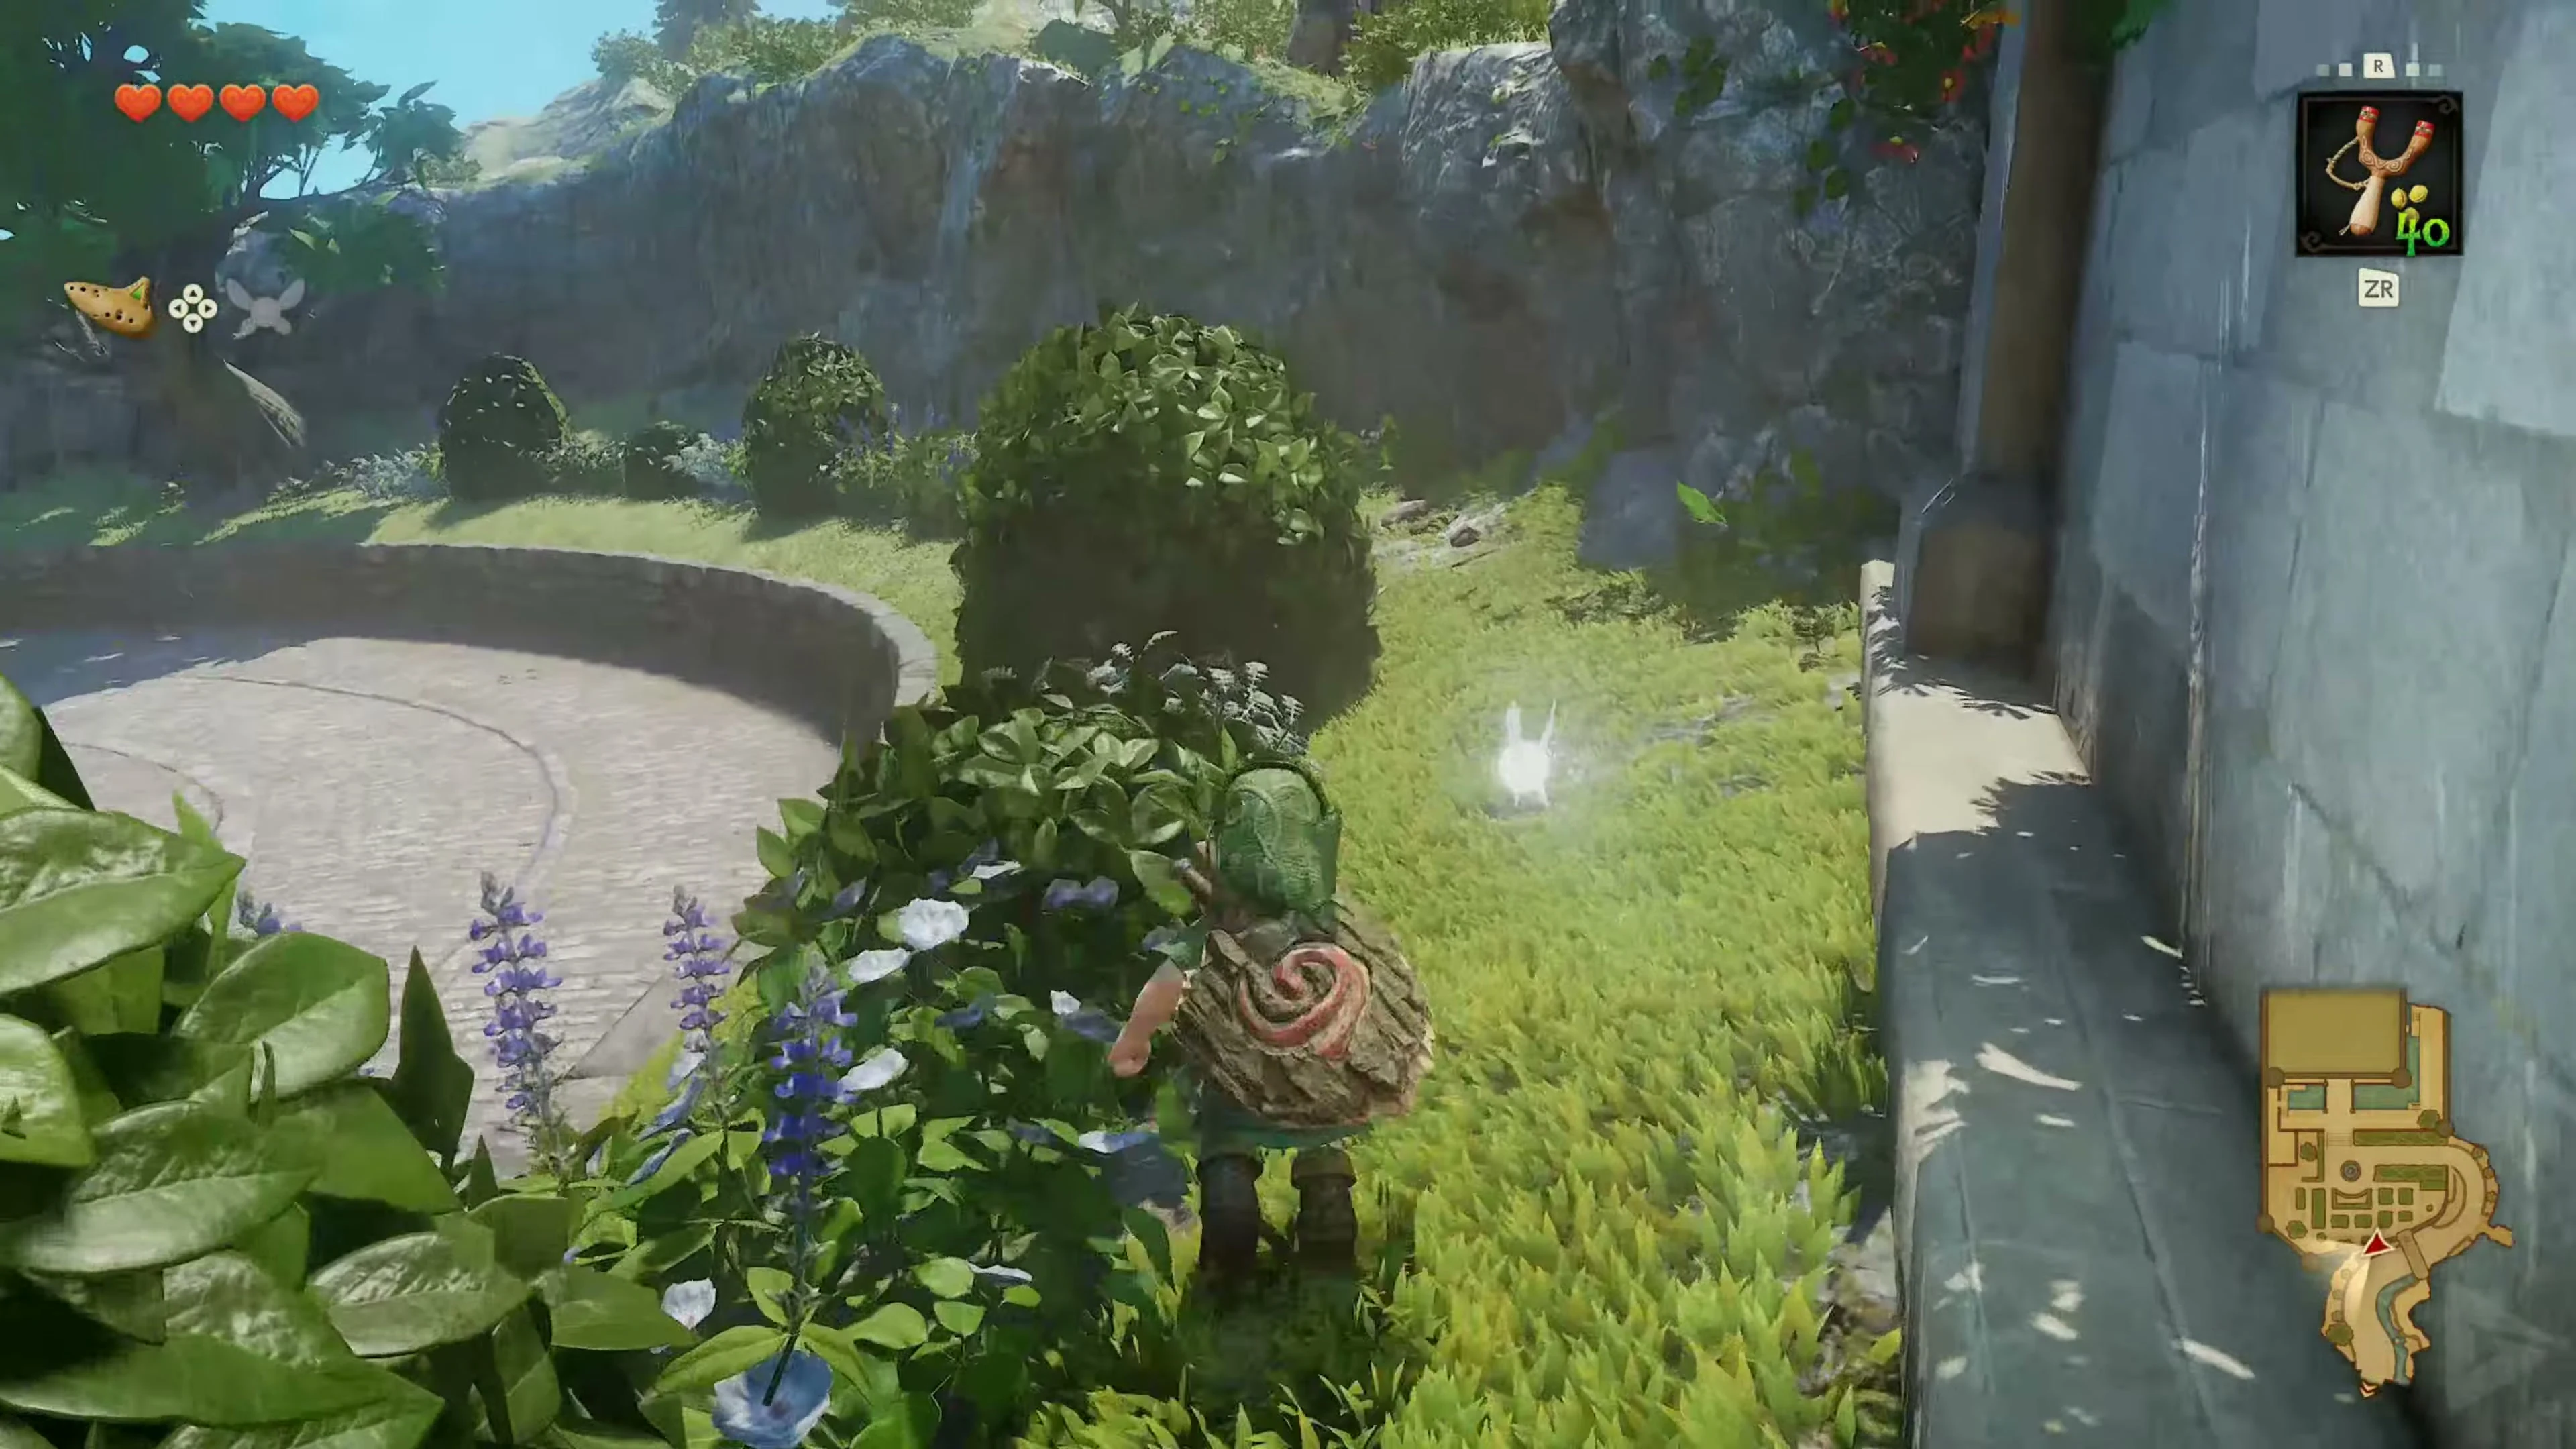
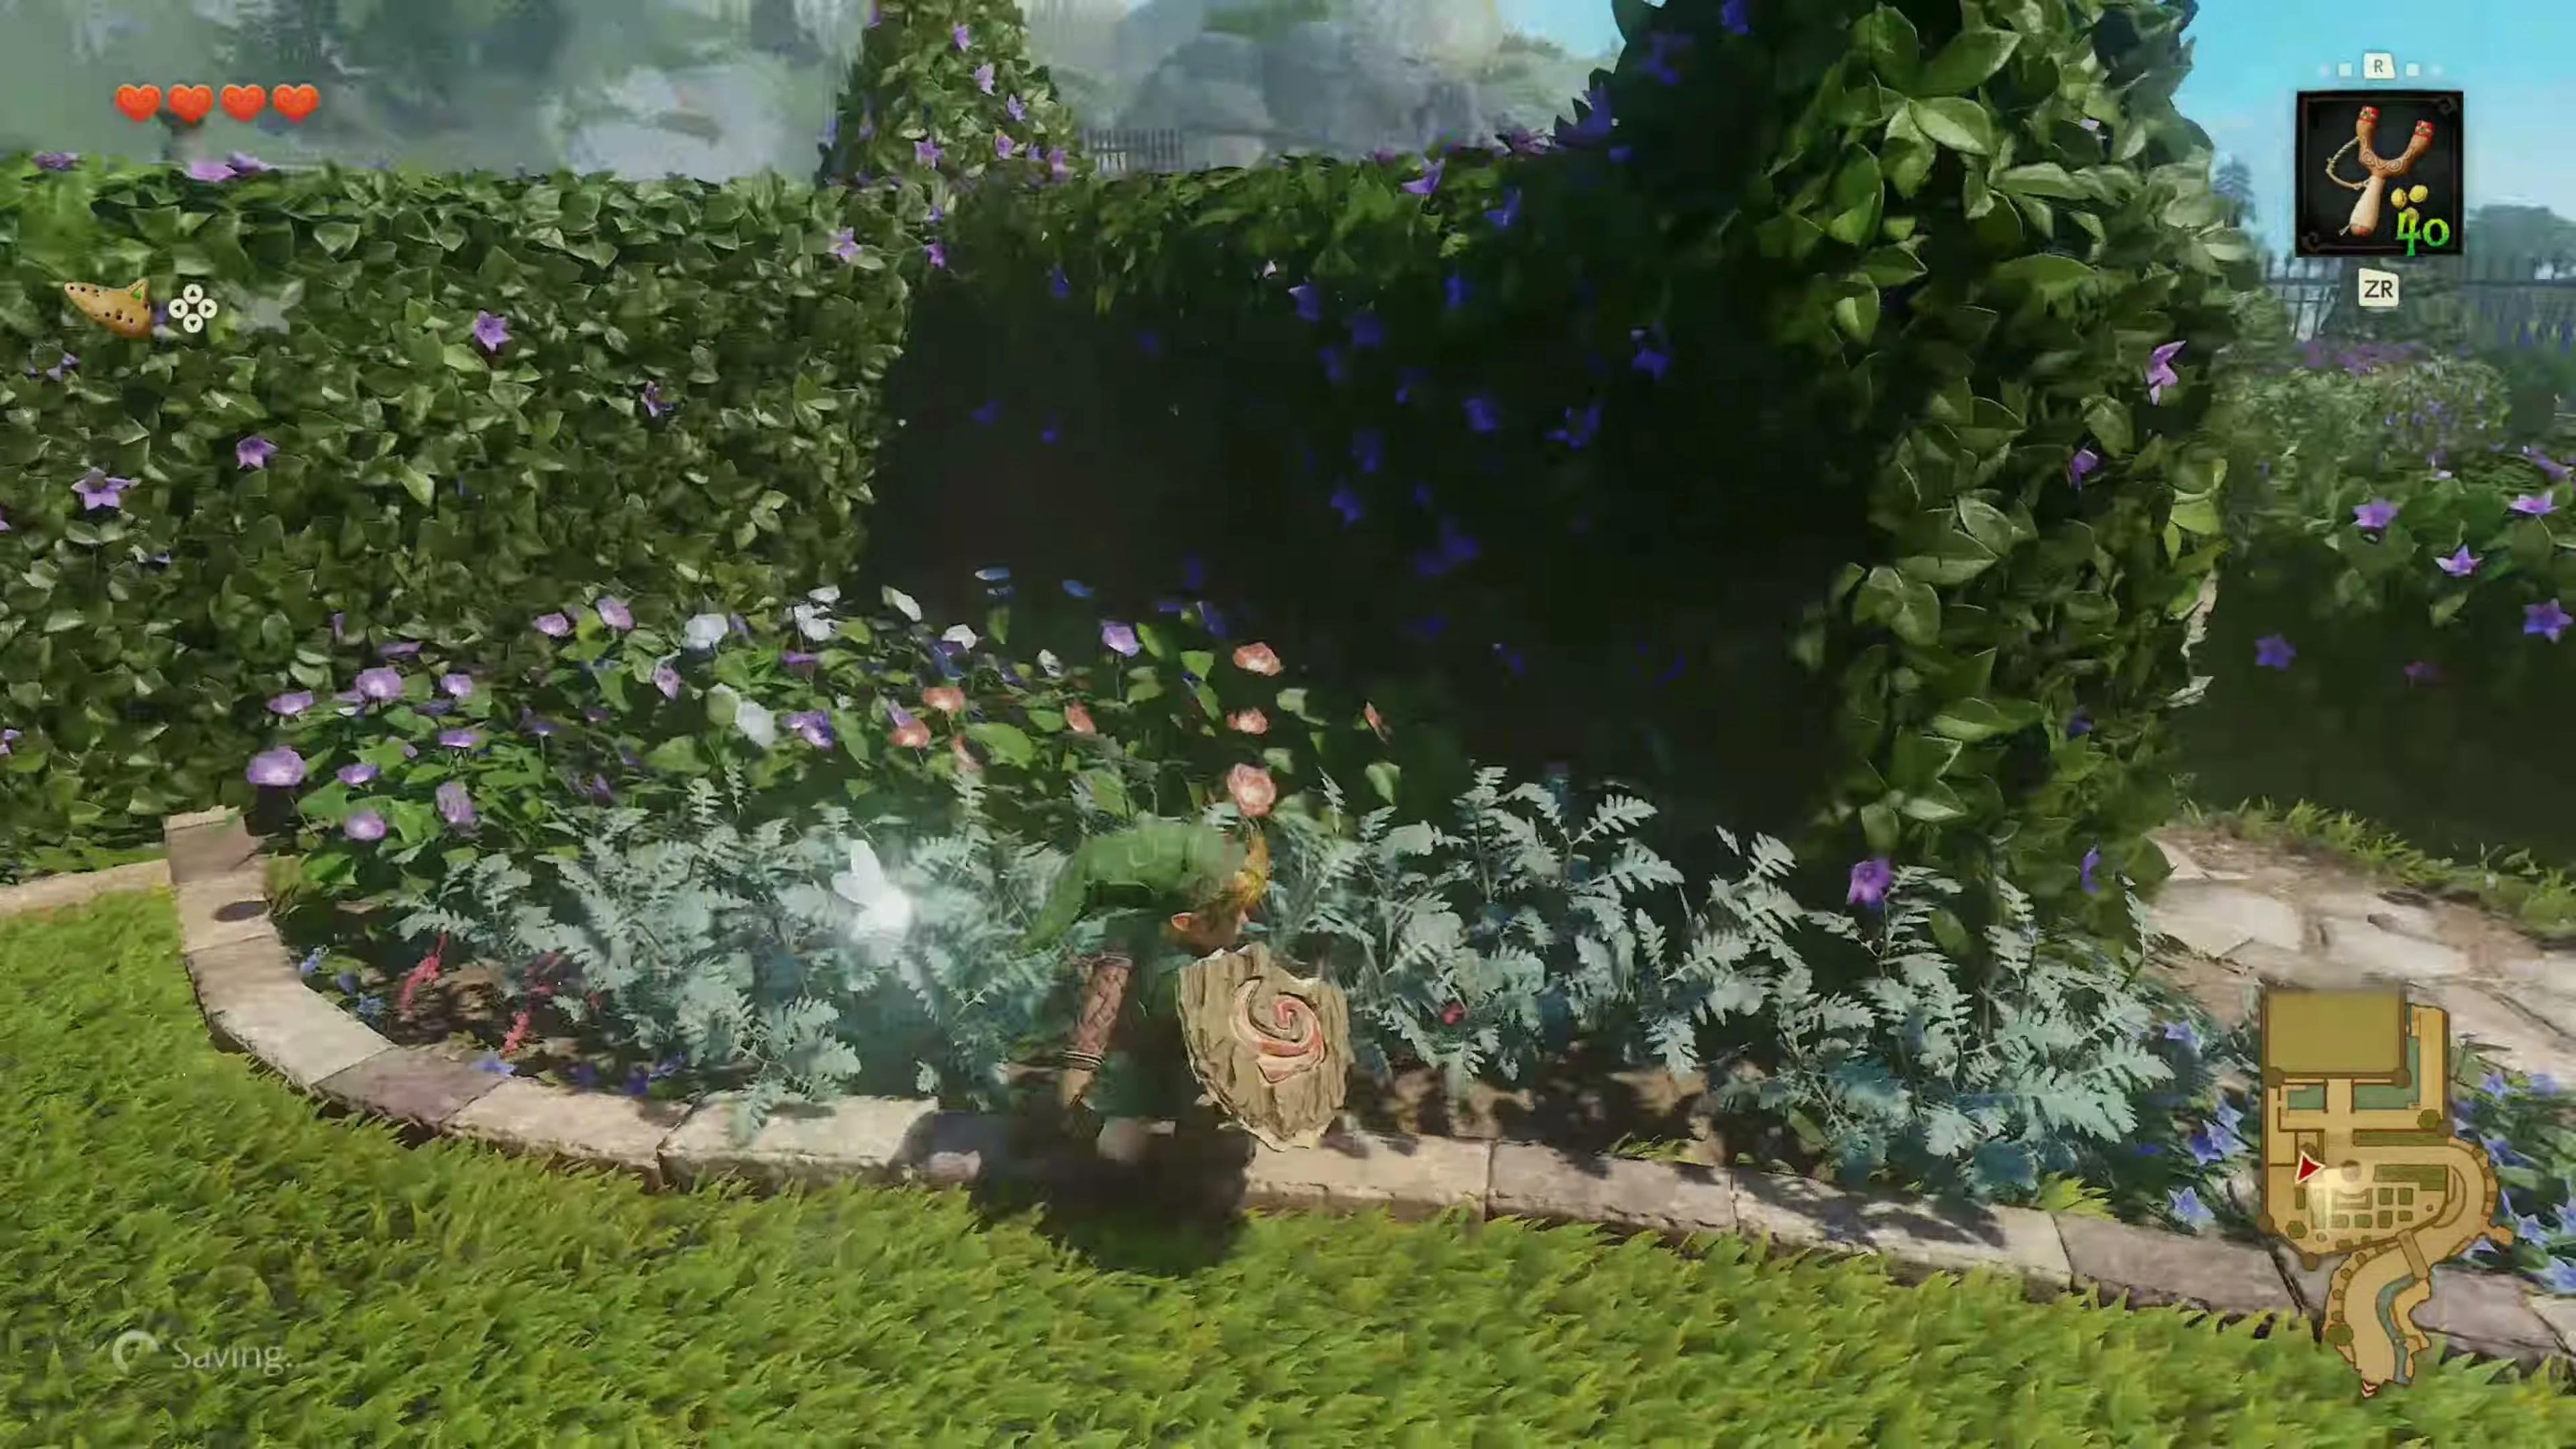
Continue up the path behind the gate and climb the low wall to the left to the flowerbeds. Stay between the two guards’ sightlines and walk slowly; They hear you more easily when running. Use the hedges near the fountain for cover. Go through the middle path between the hedges, take the second-to-last branch to the left and follow the path to the right until you reach the vines on the wall. Before climbing, roll against the tree to the right of these vines. A Gold Skulltula falls out of the crown. Defeat them and collect the token. Then climb up the vines and go down the steps to the moat.
Wake up Talon and get in via the milk crates
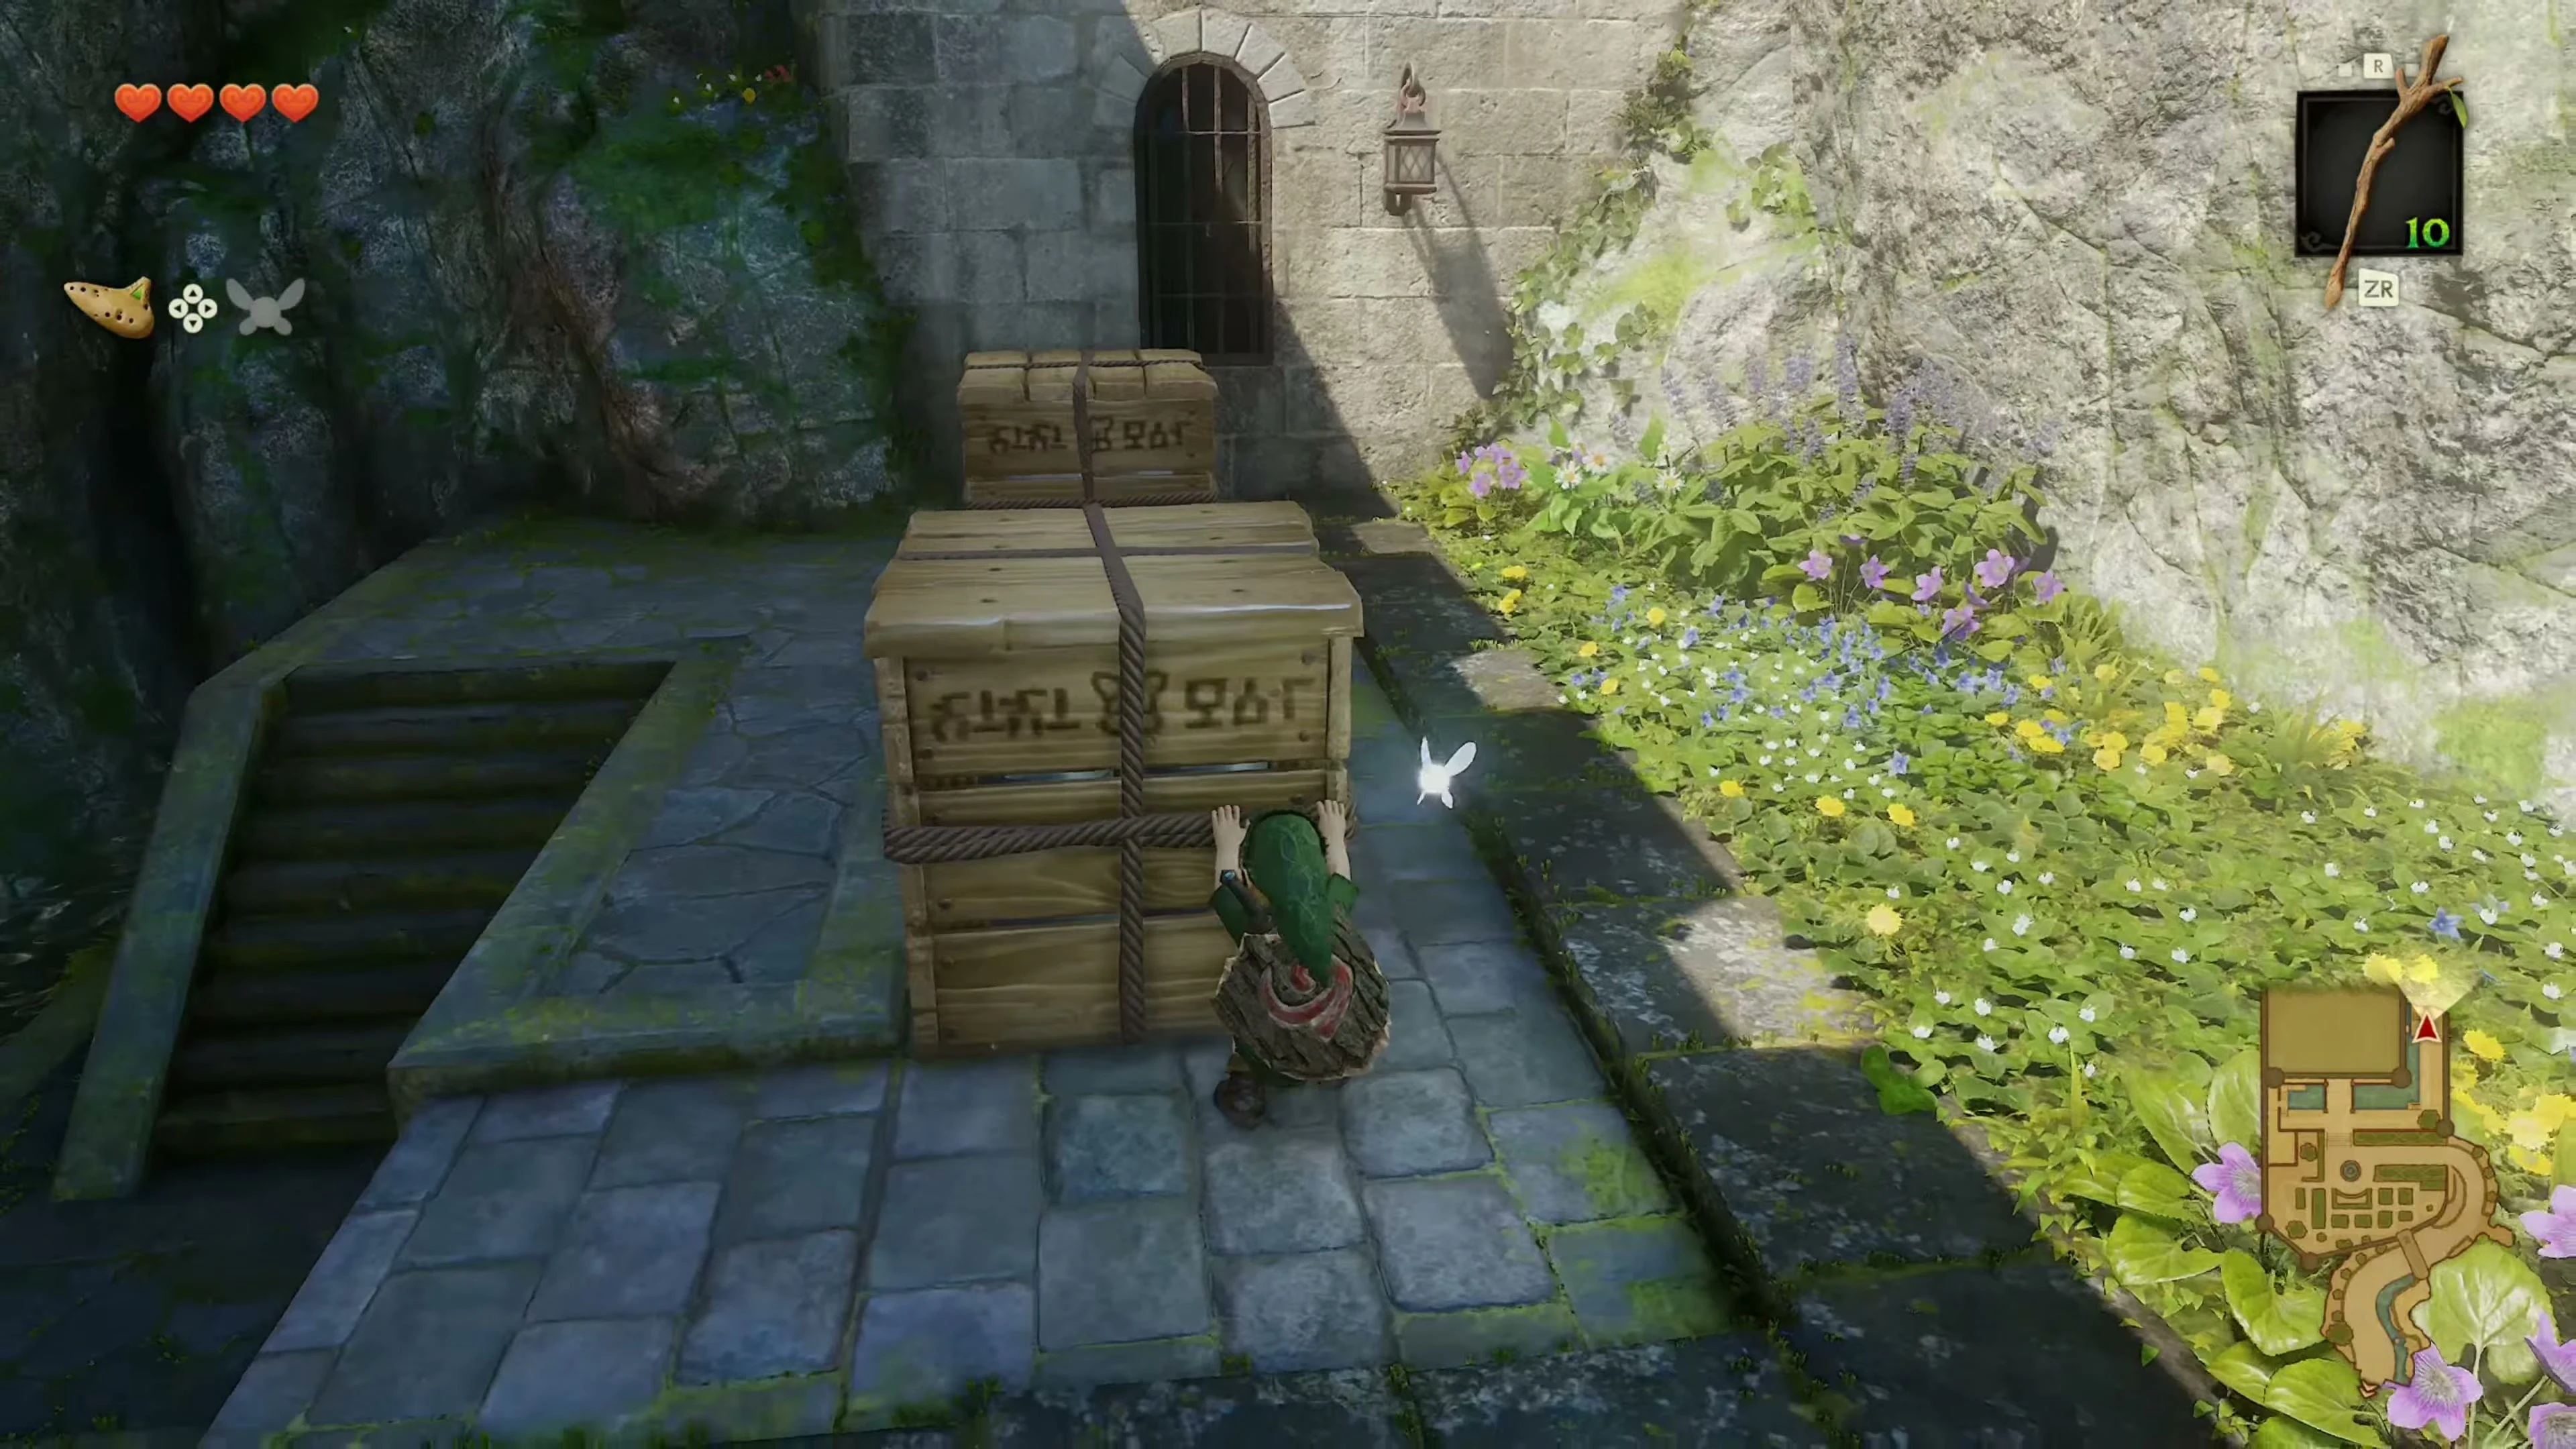
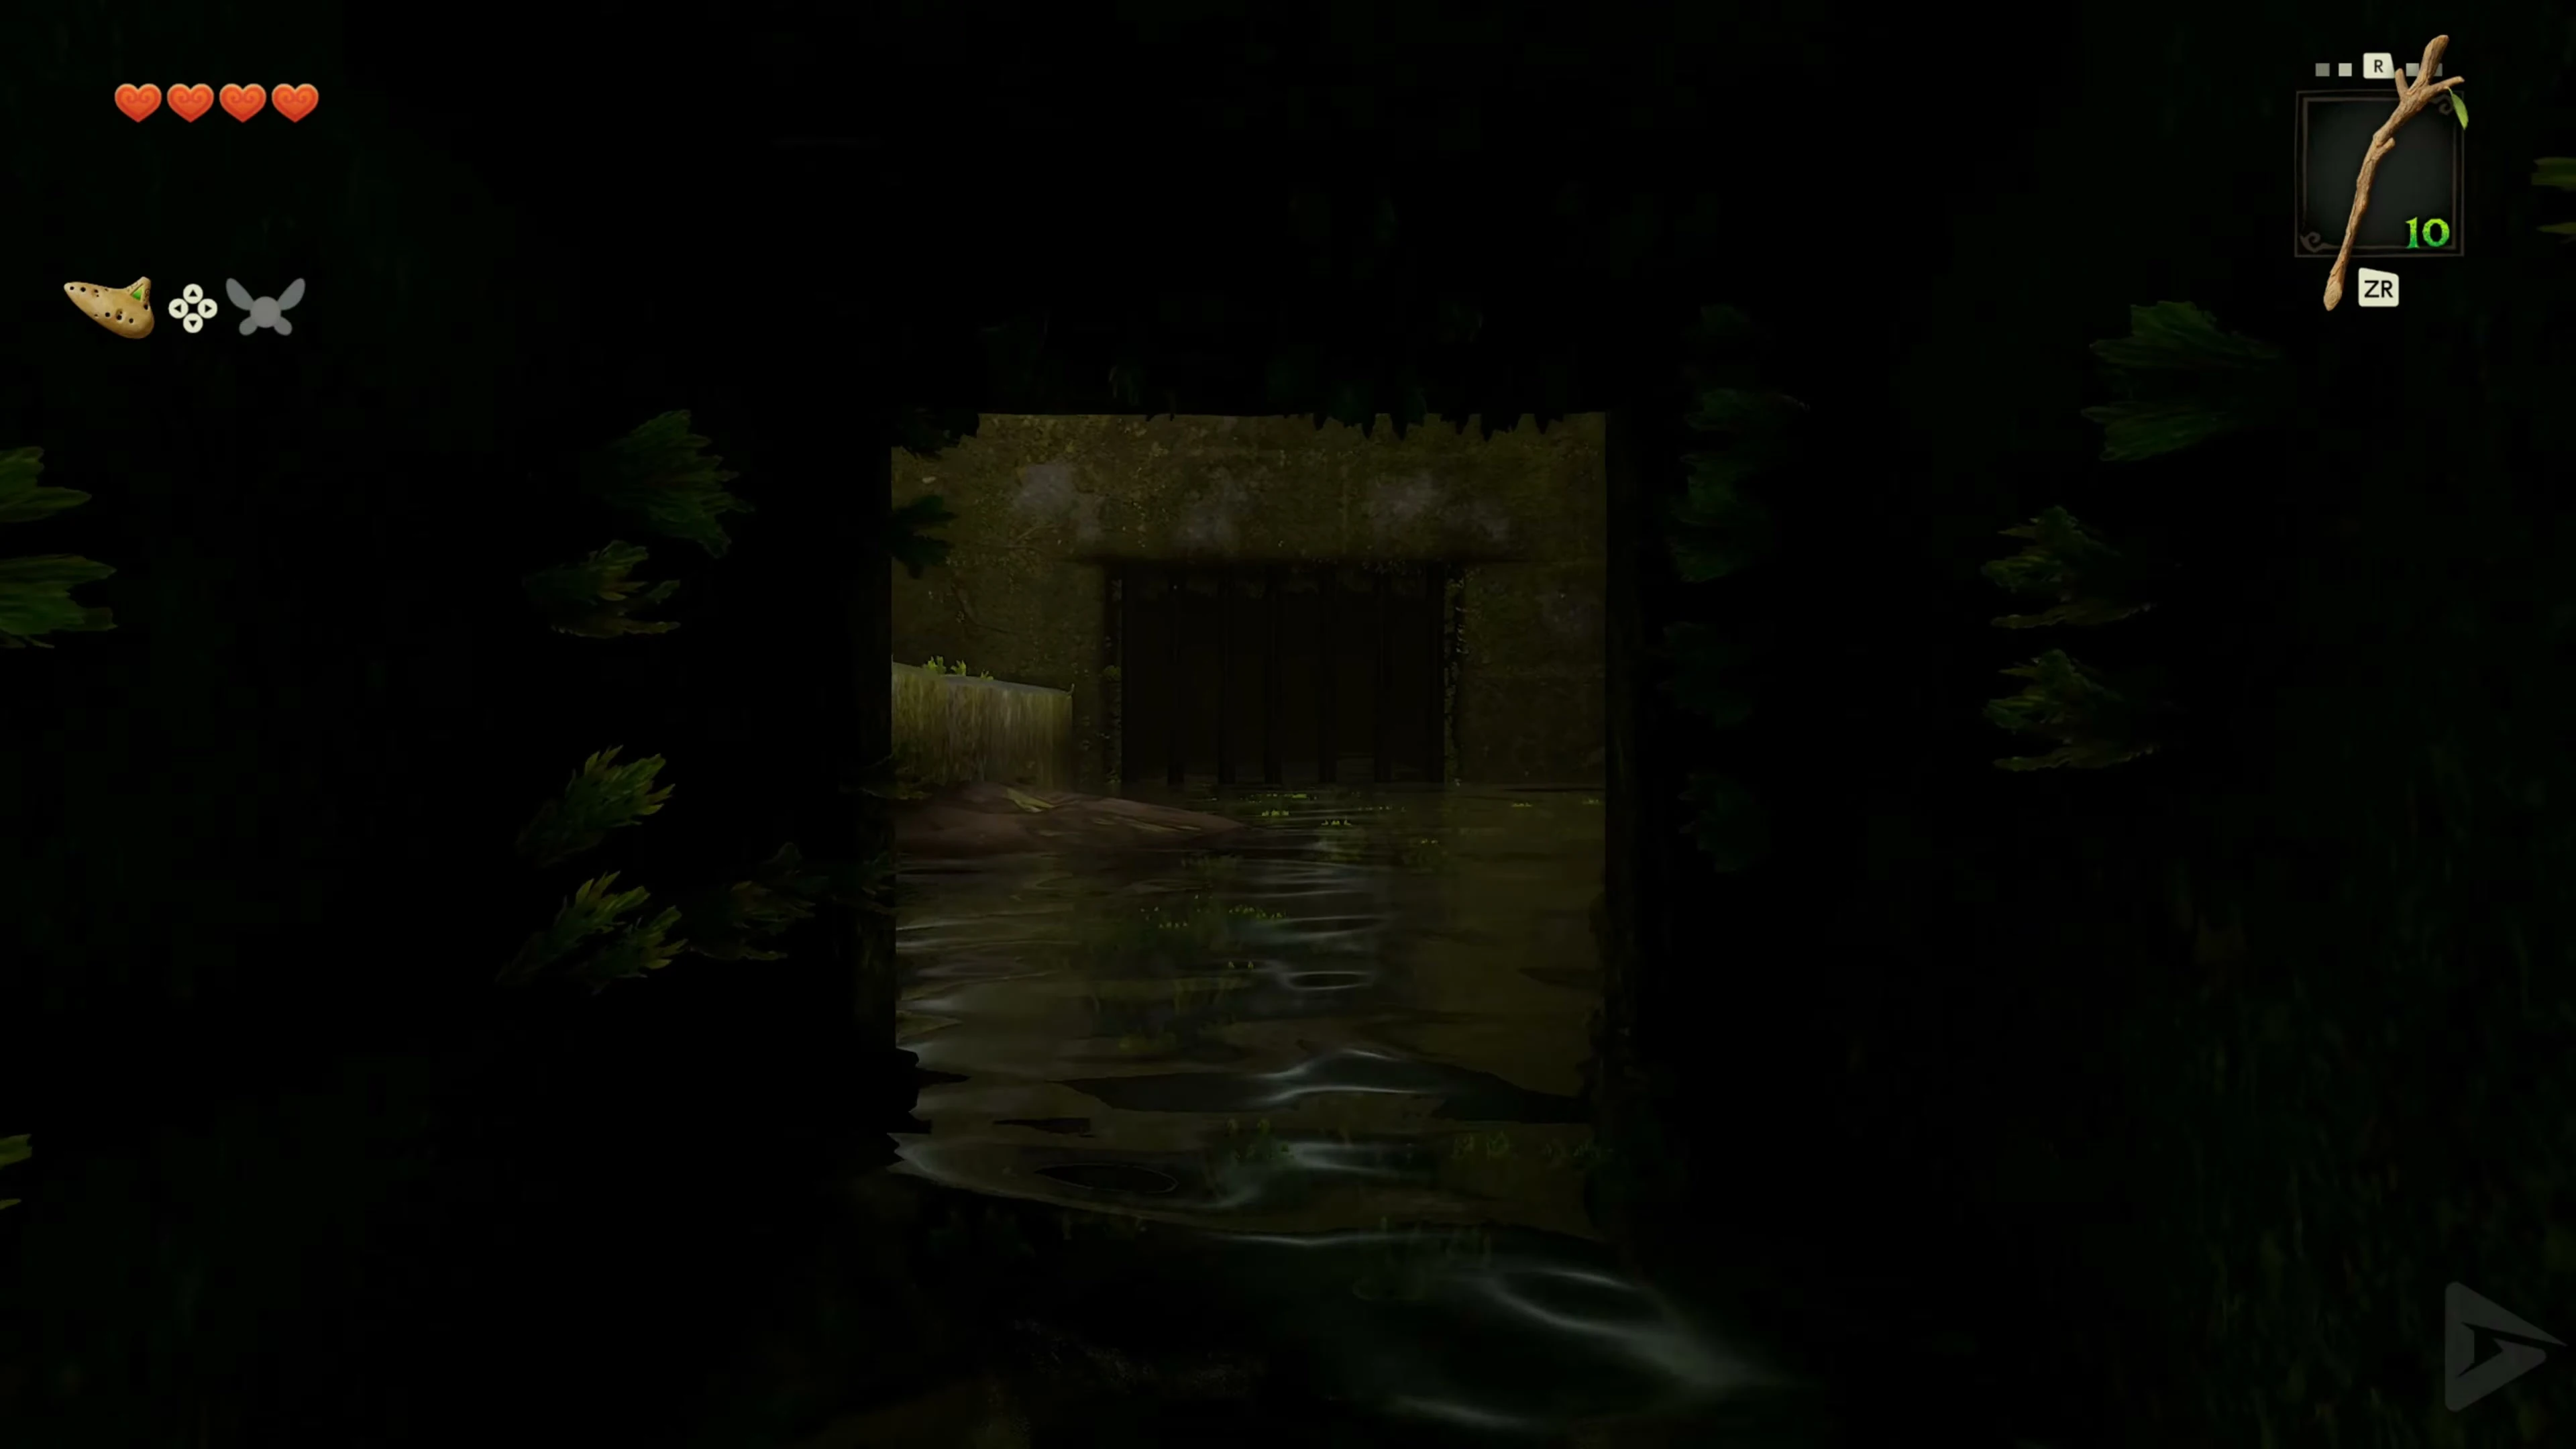
Jump into the moat and swim under the bridge. Follow the water around the back-left corner and climb out at the end. Talon is sleeping beside the milk crates. If necessary, wait until the Weird Egg hatches, then use the Wake-Up Cucco beside him and speak to him. After he leaves for the ranch, pull back the first crate and push it over the edge into the channel. Push the second crate onto it. Climb the stack, jump to the low opening where water runs from the castle wall, and crawl inside. Climb the ladder beyond.
Through the labyrinth in the castle garden
- Over the first guard. After the crawlspace, climb up the ladder. Get on the crates and go to the other side via the raised walkway behind the guard.
- Through the hedge maze. Wait at the entrance until the front guard goes off to the left. Stay behind the hedge until the second guard turns his back on you. Sneak into the shady hallway and take the door at the back left.
- Through the storage room. Wait at the edge until the patrolling guard is at the back right. Advance forward and wait for her to make her way to the left corner. As soon as the soldier in the middle looks away, cross the aisle and go through the open door. Behind it, turn left to Zelda.
Meeting Princess Zelda
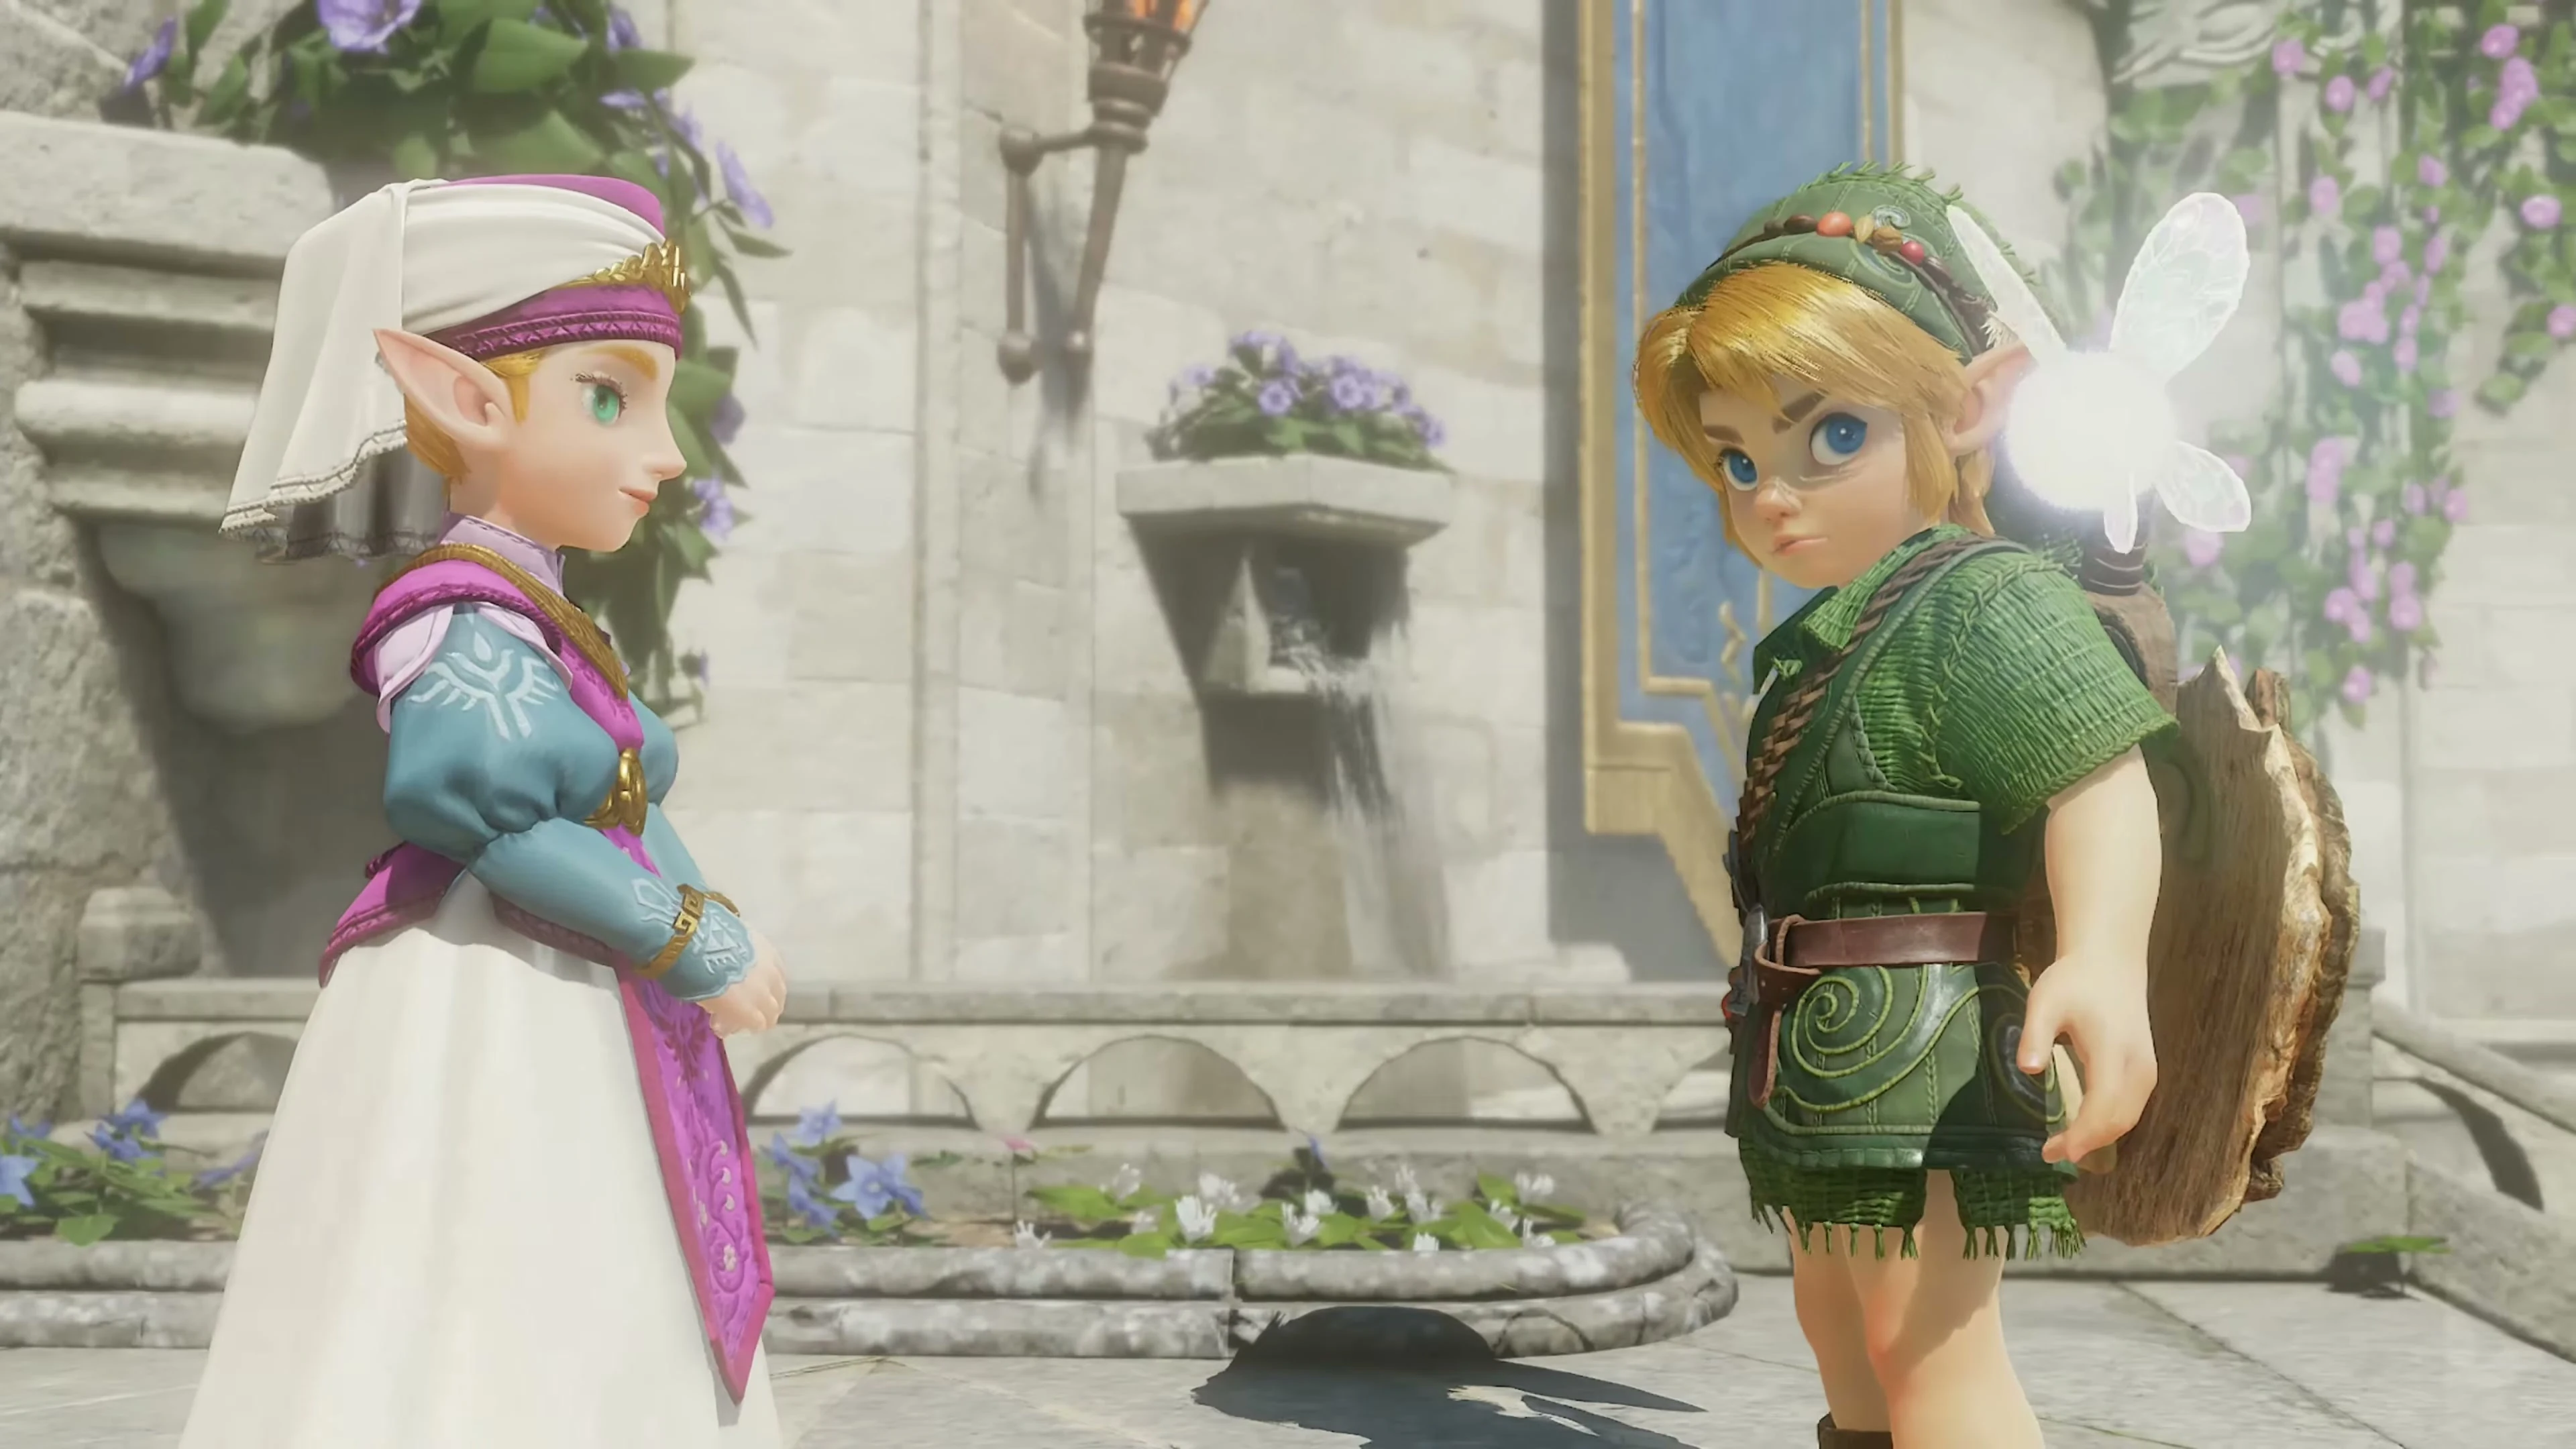
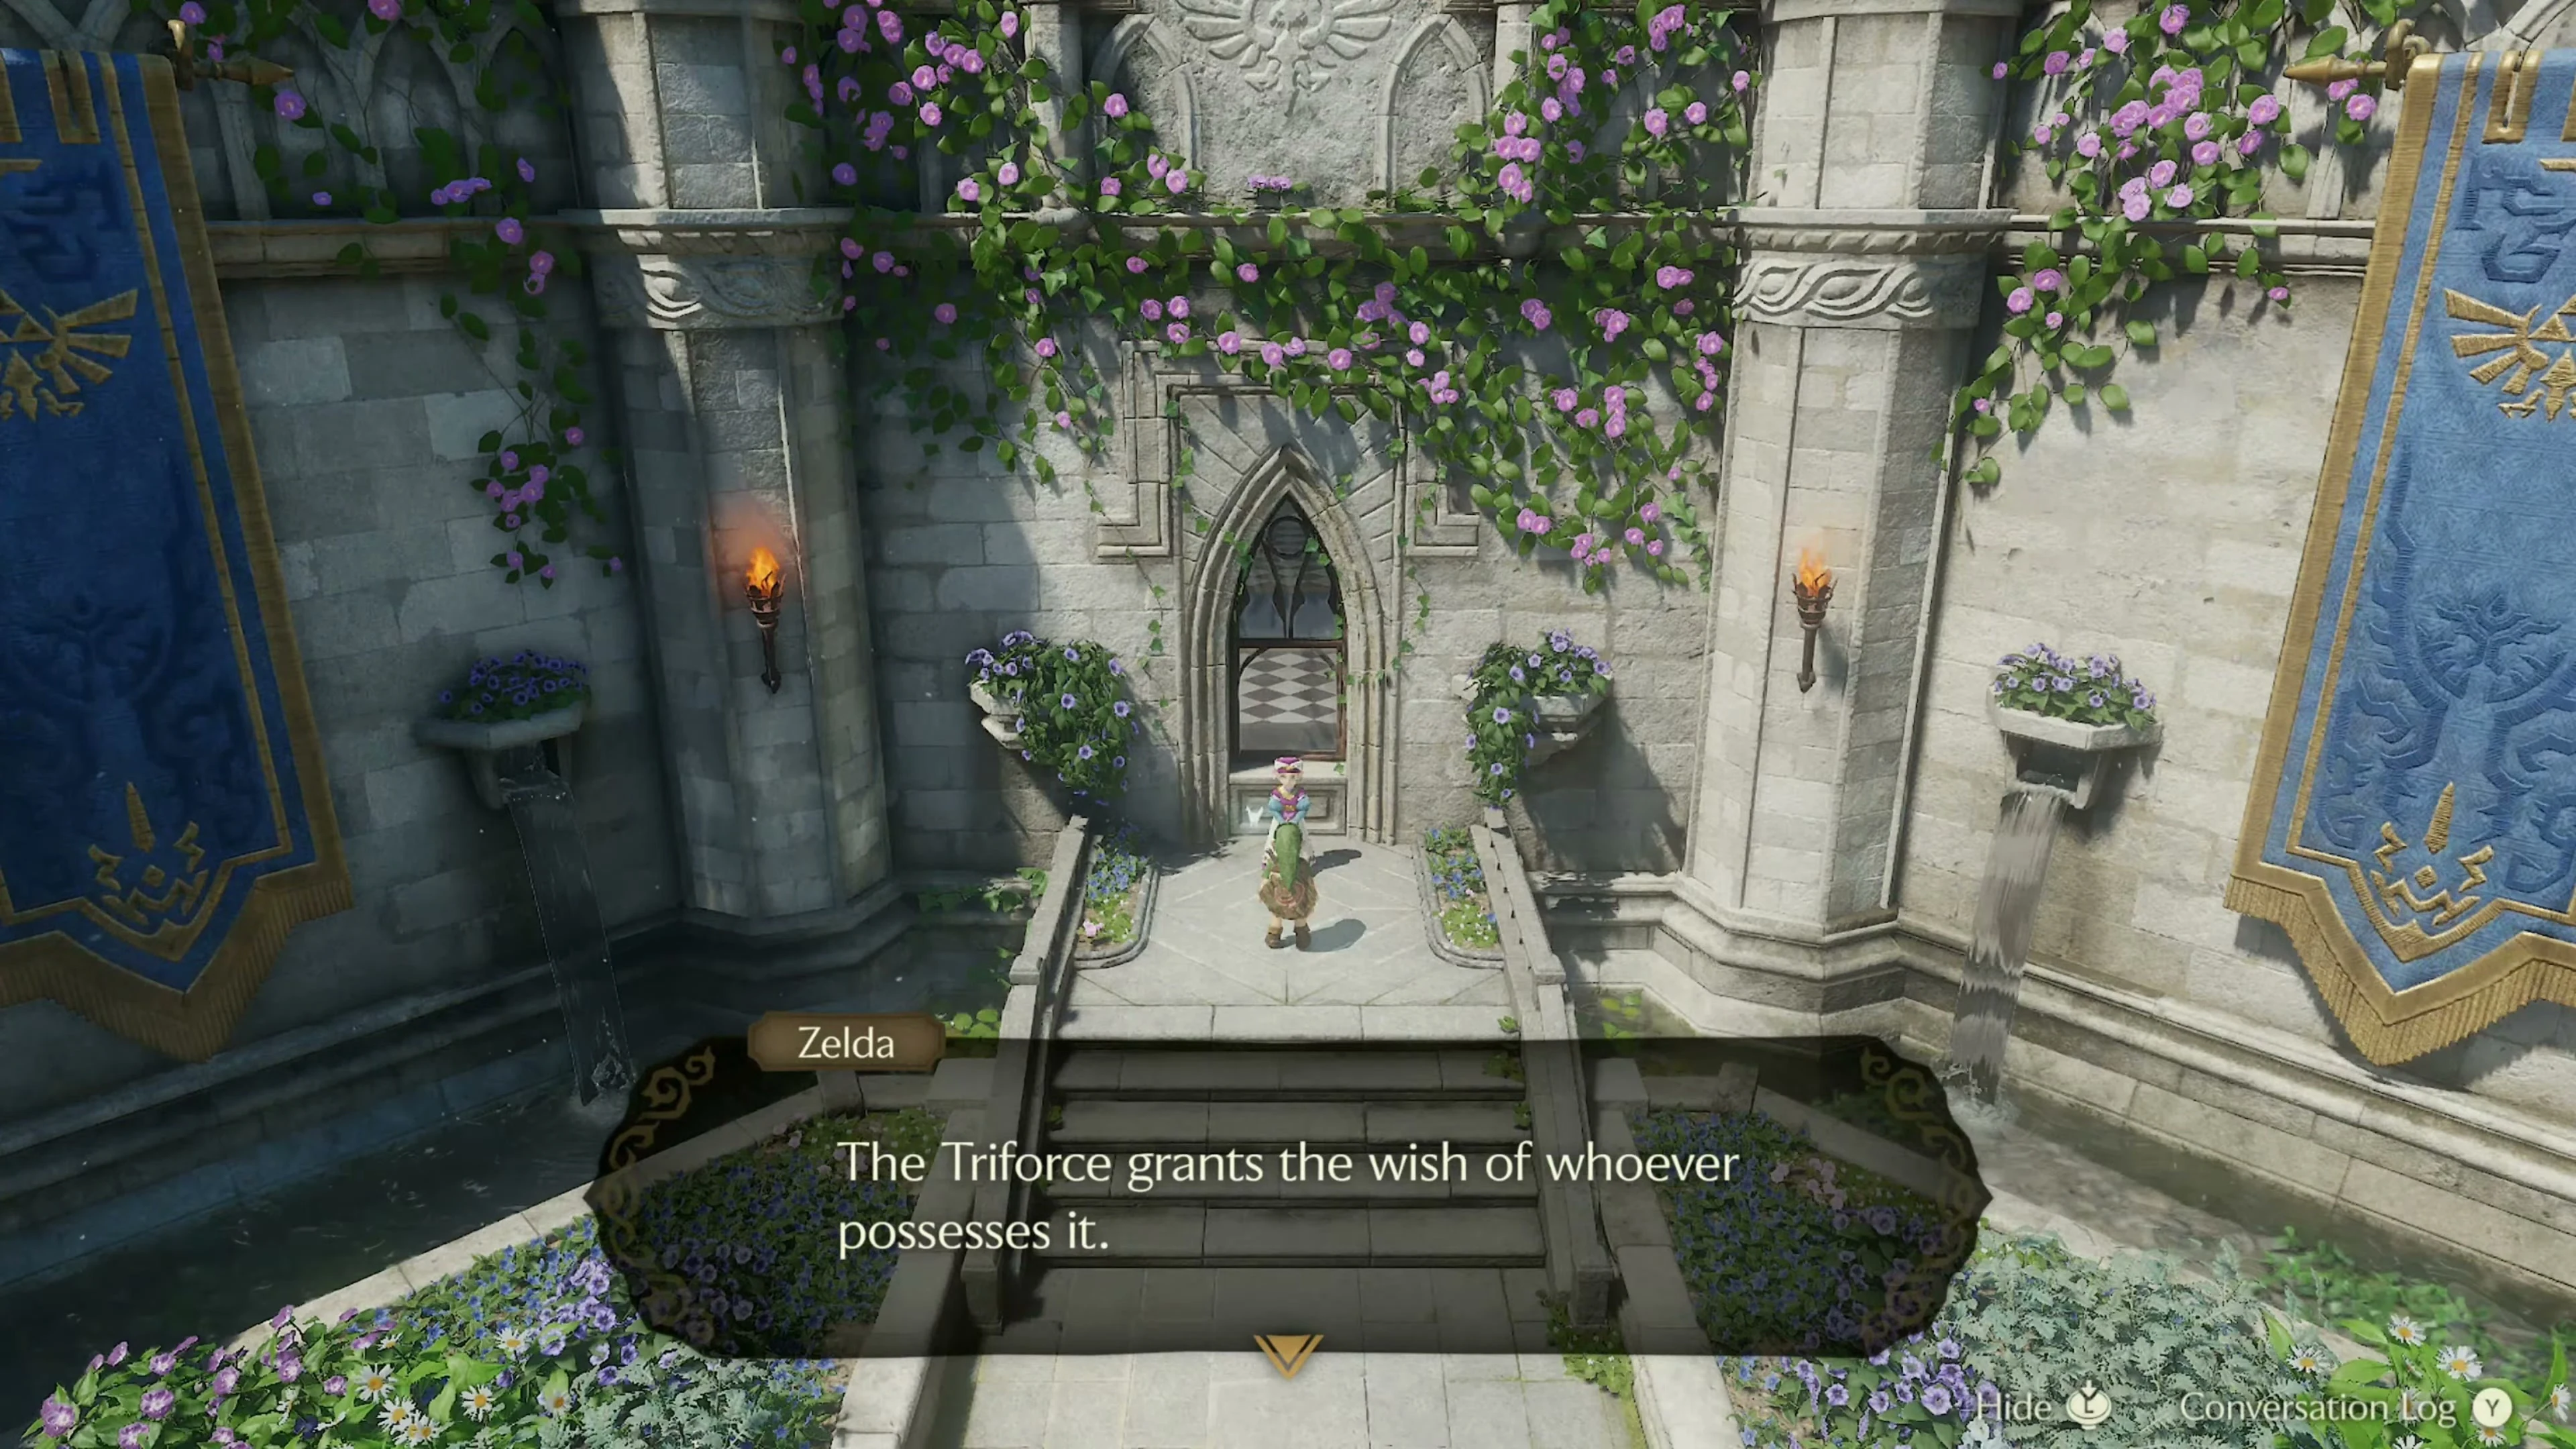
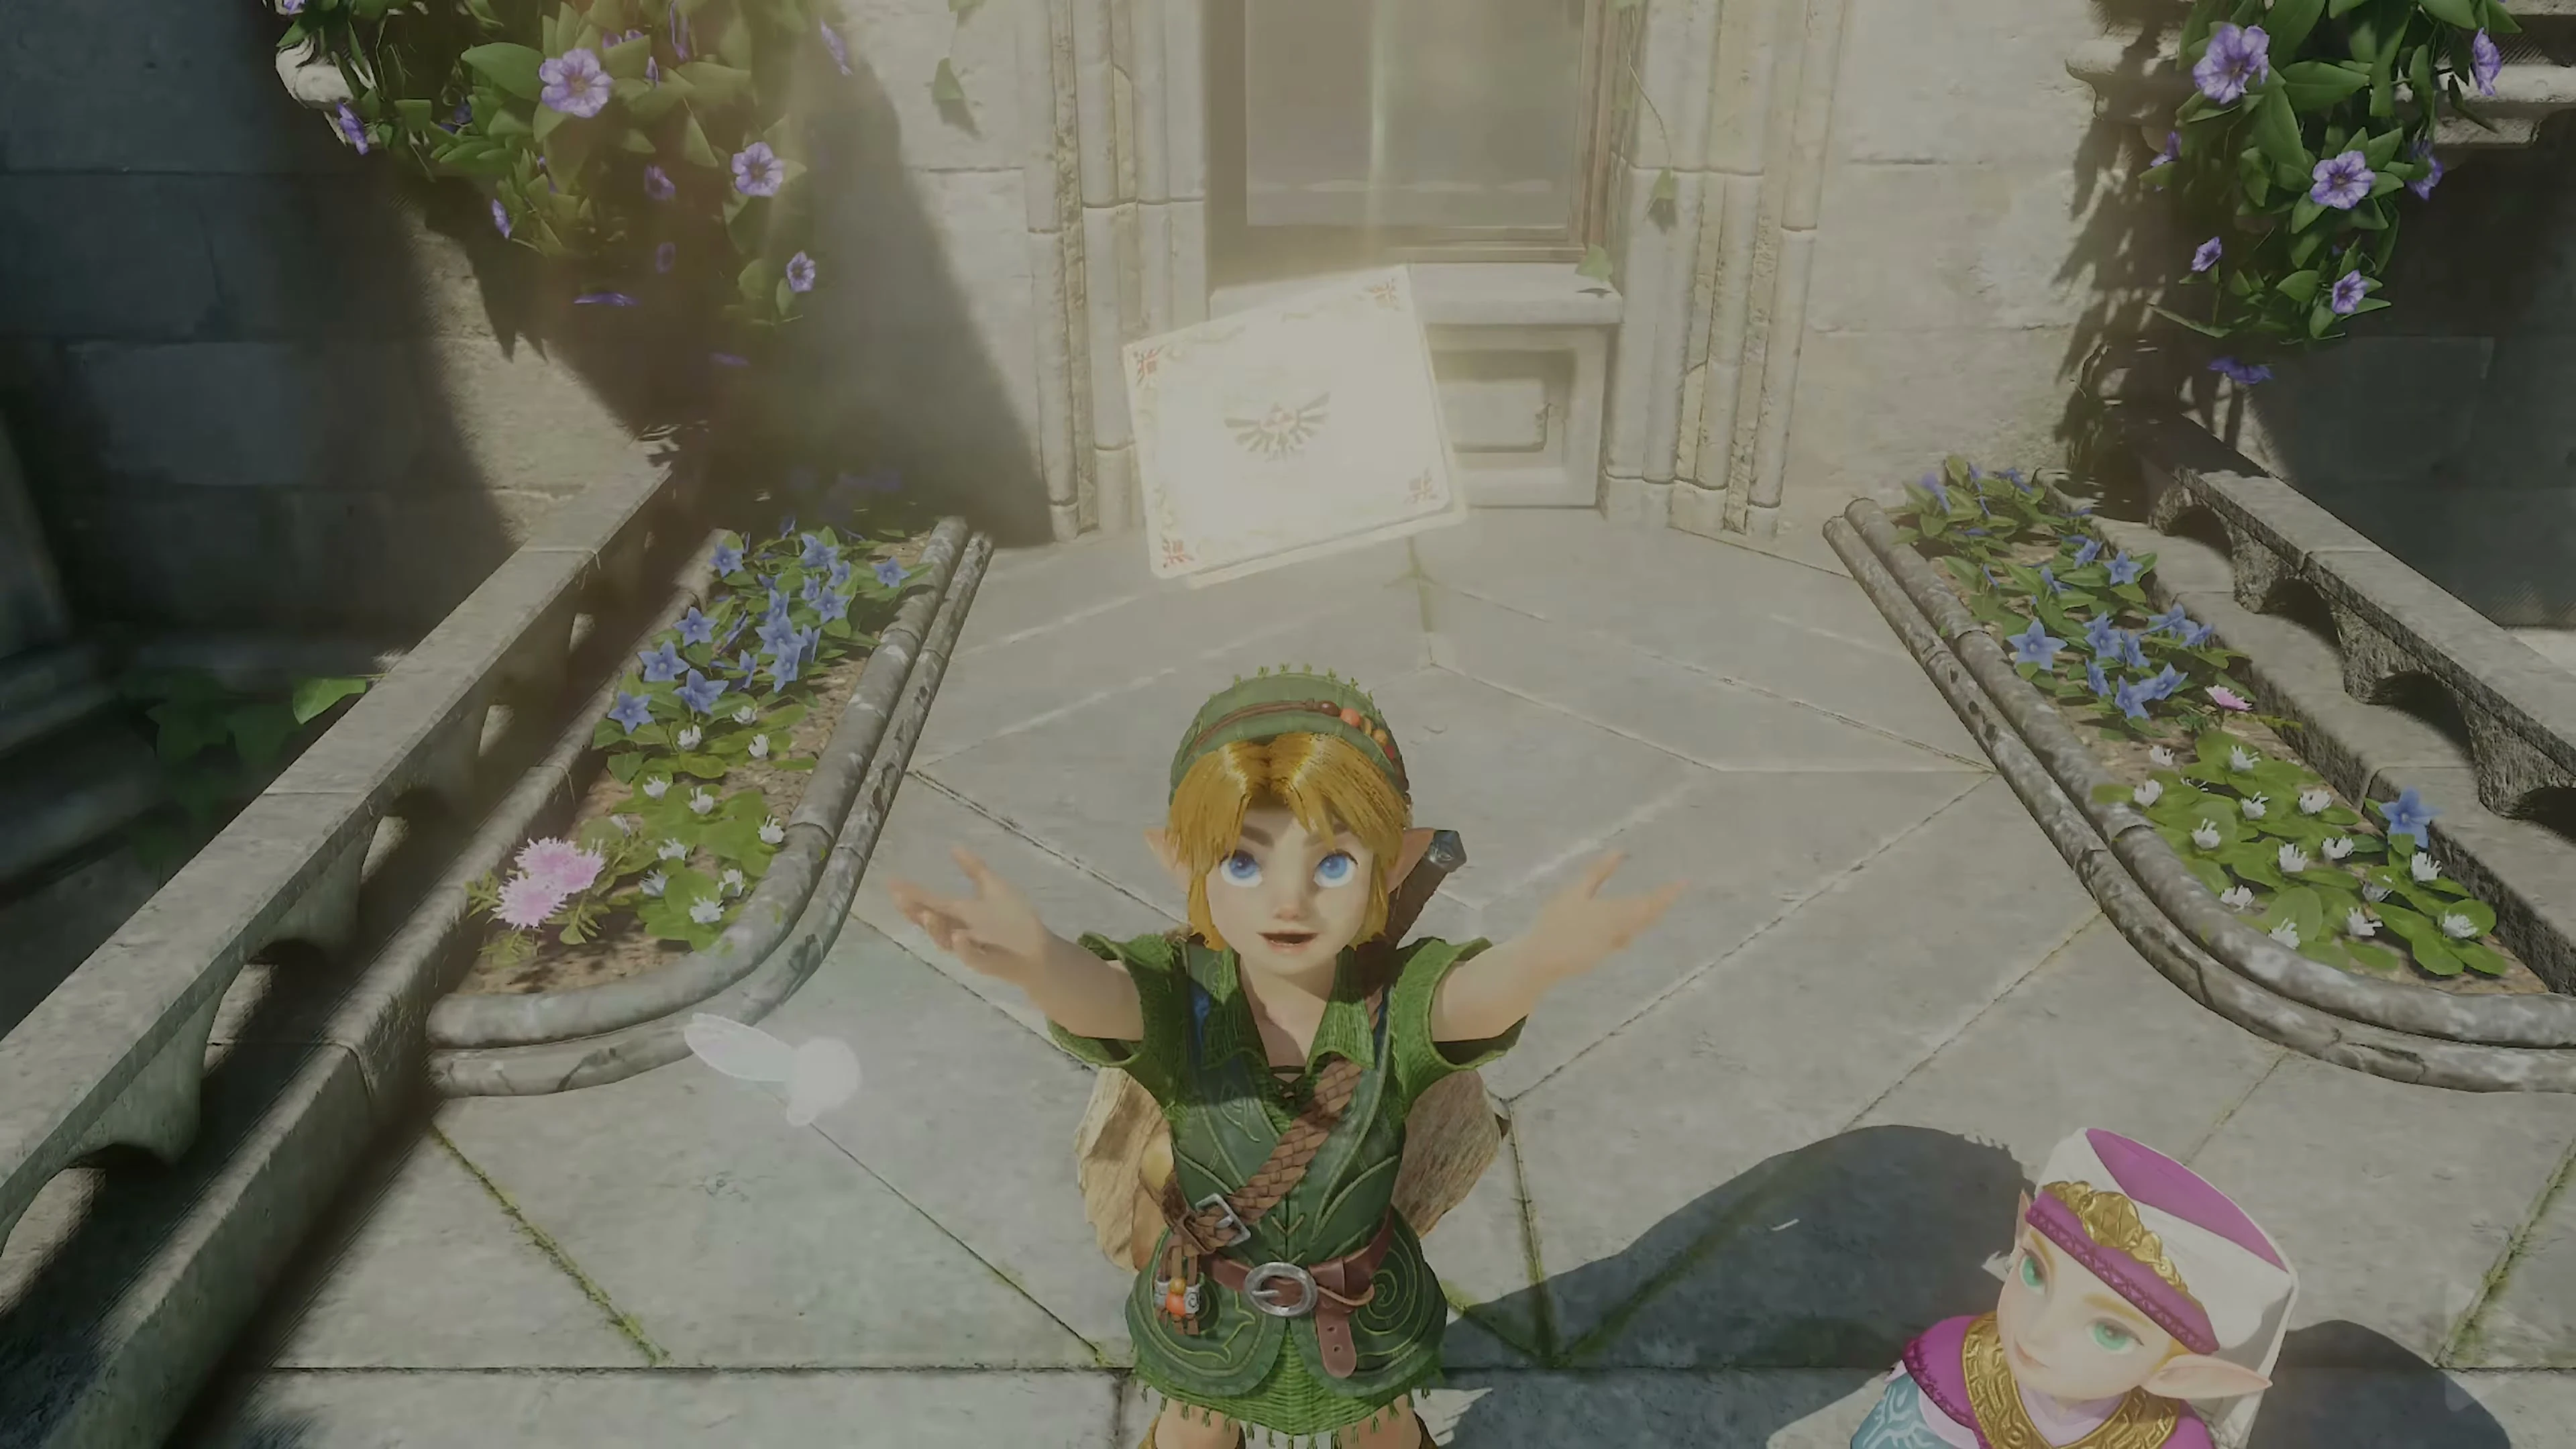
Talk to Zelda and listen to her story. When she asks you to look through the window, take a look at Ganondorf in the castle. Then confirm that you will help her. You will receive Zelda’s Letter , which you can later use to identify yourself at the gate to Death Mountain.
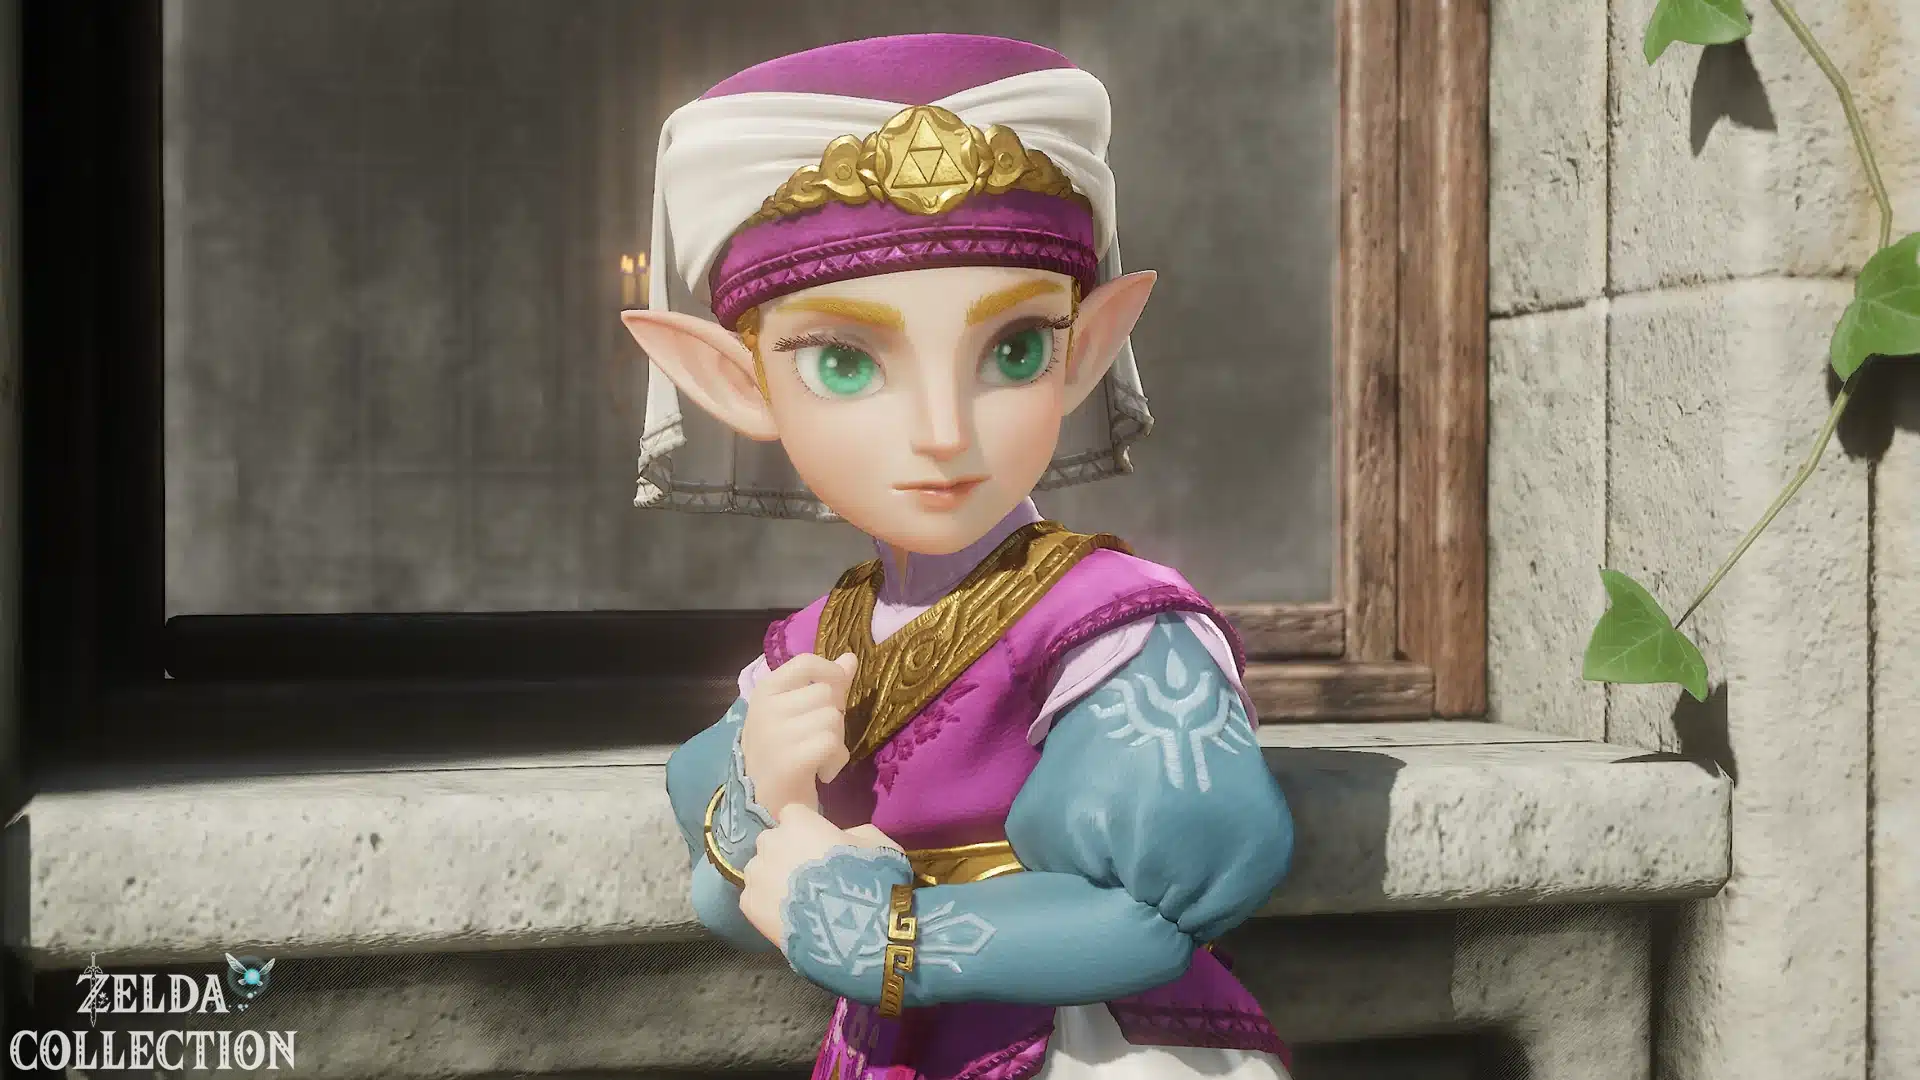
Zelda’s Lullaby
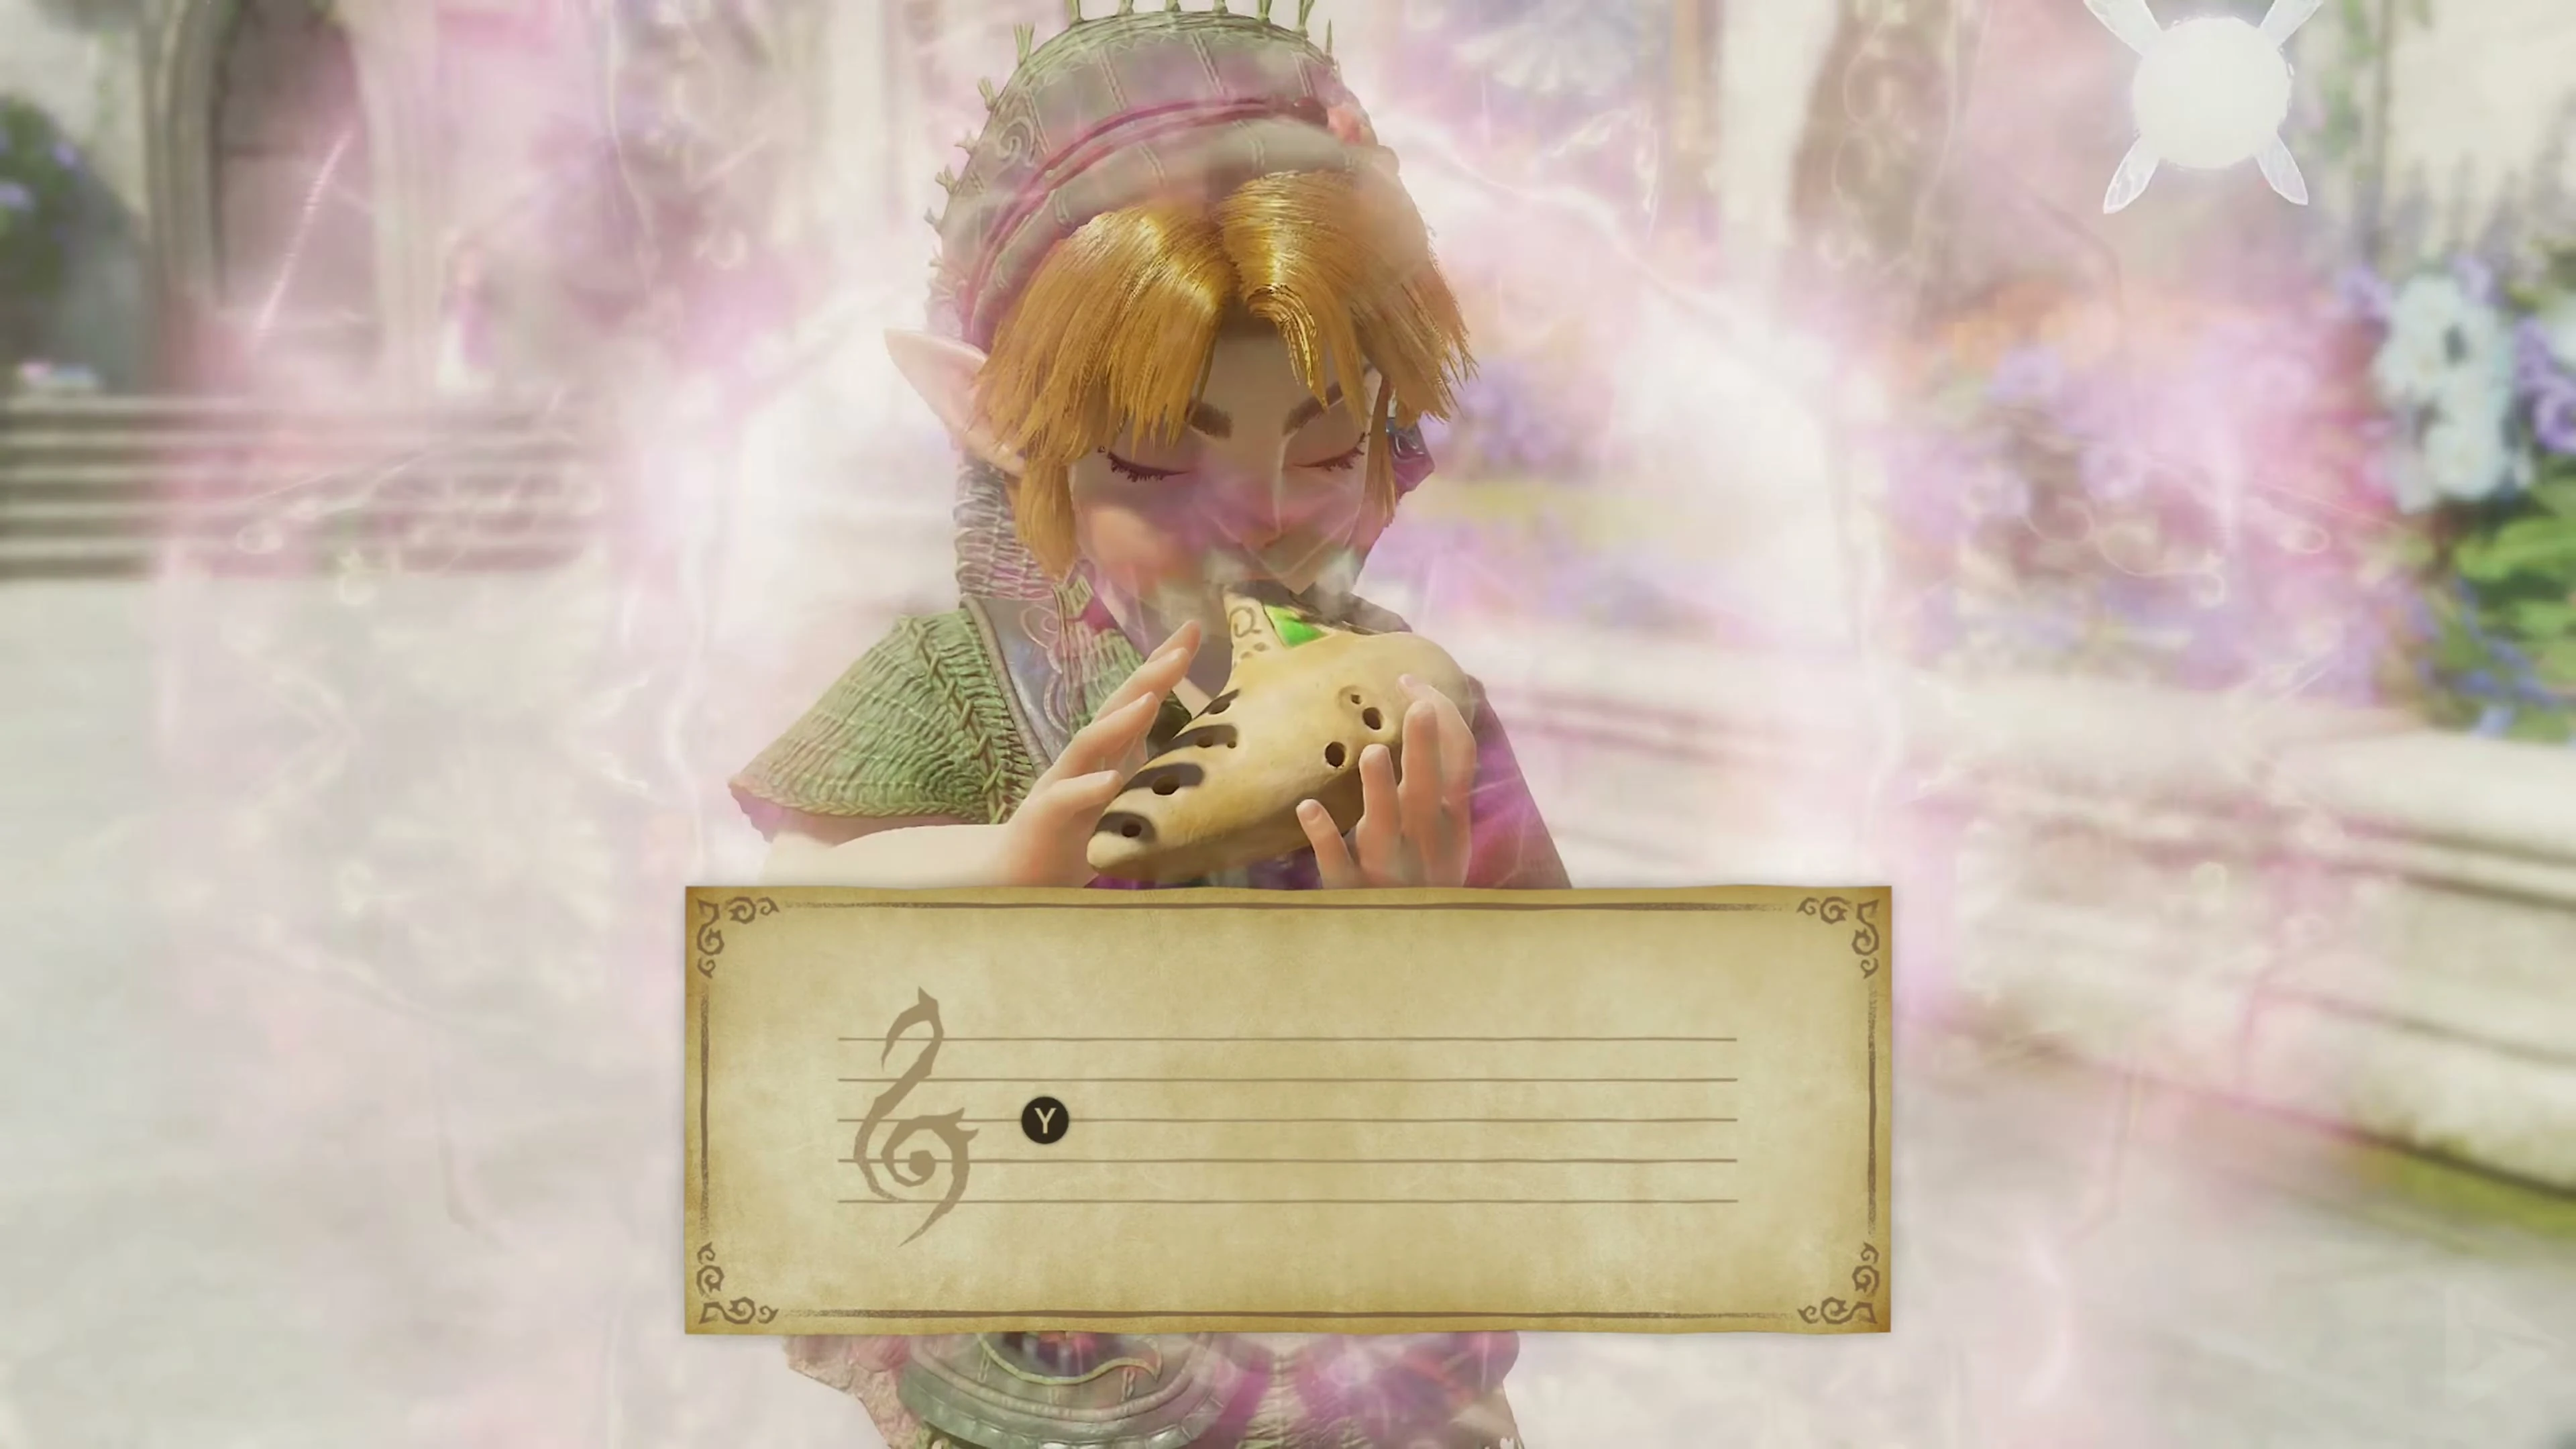
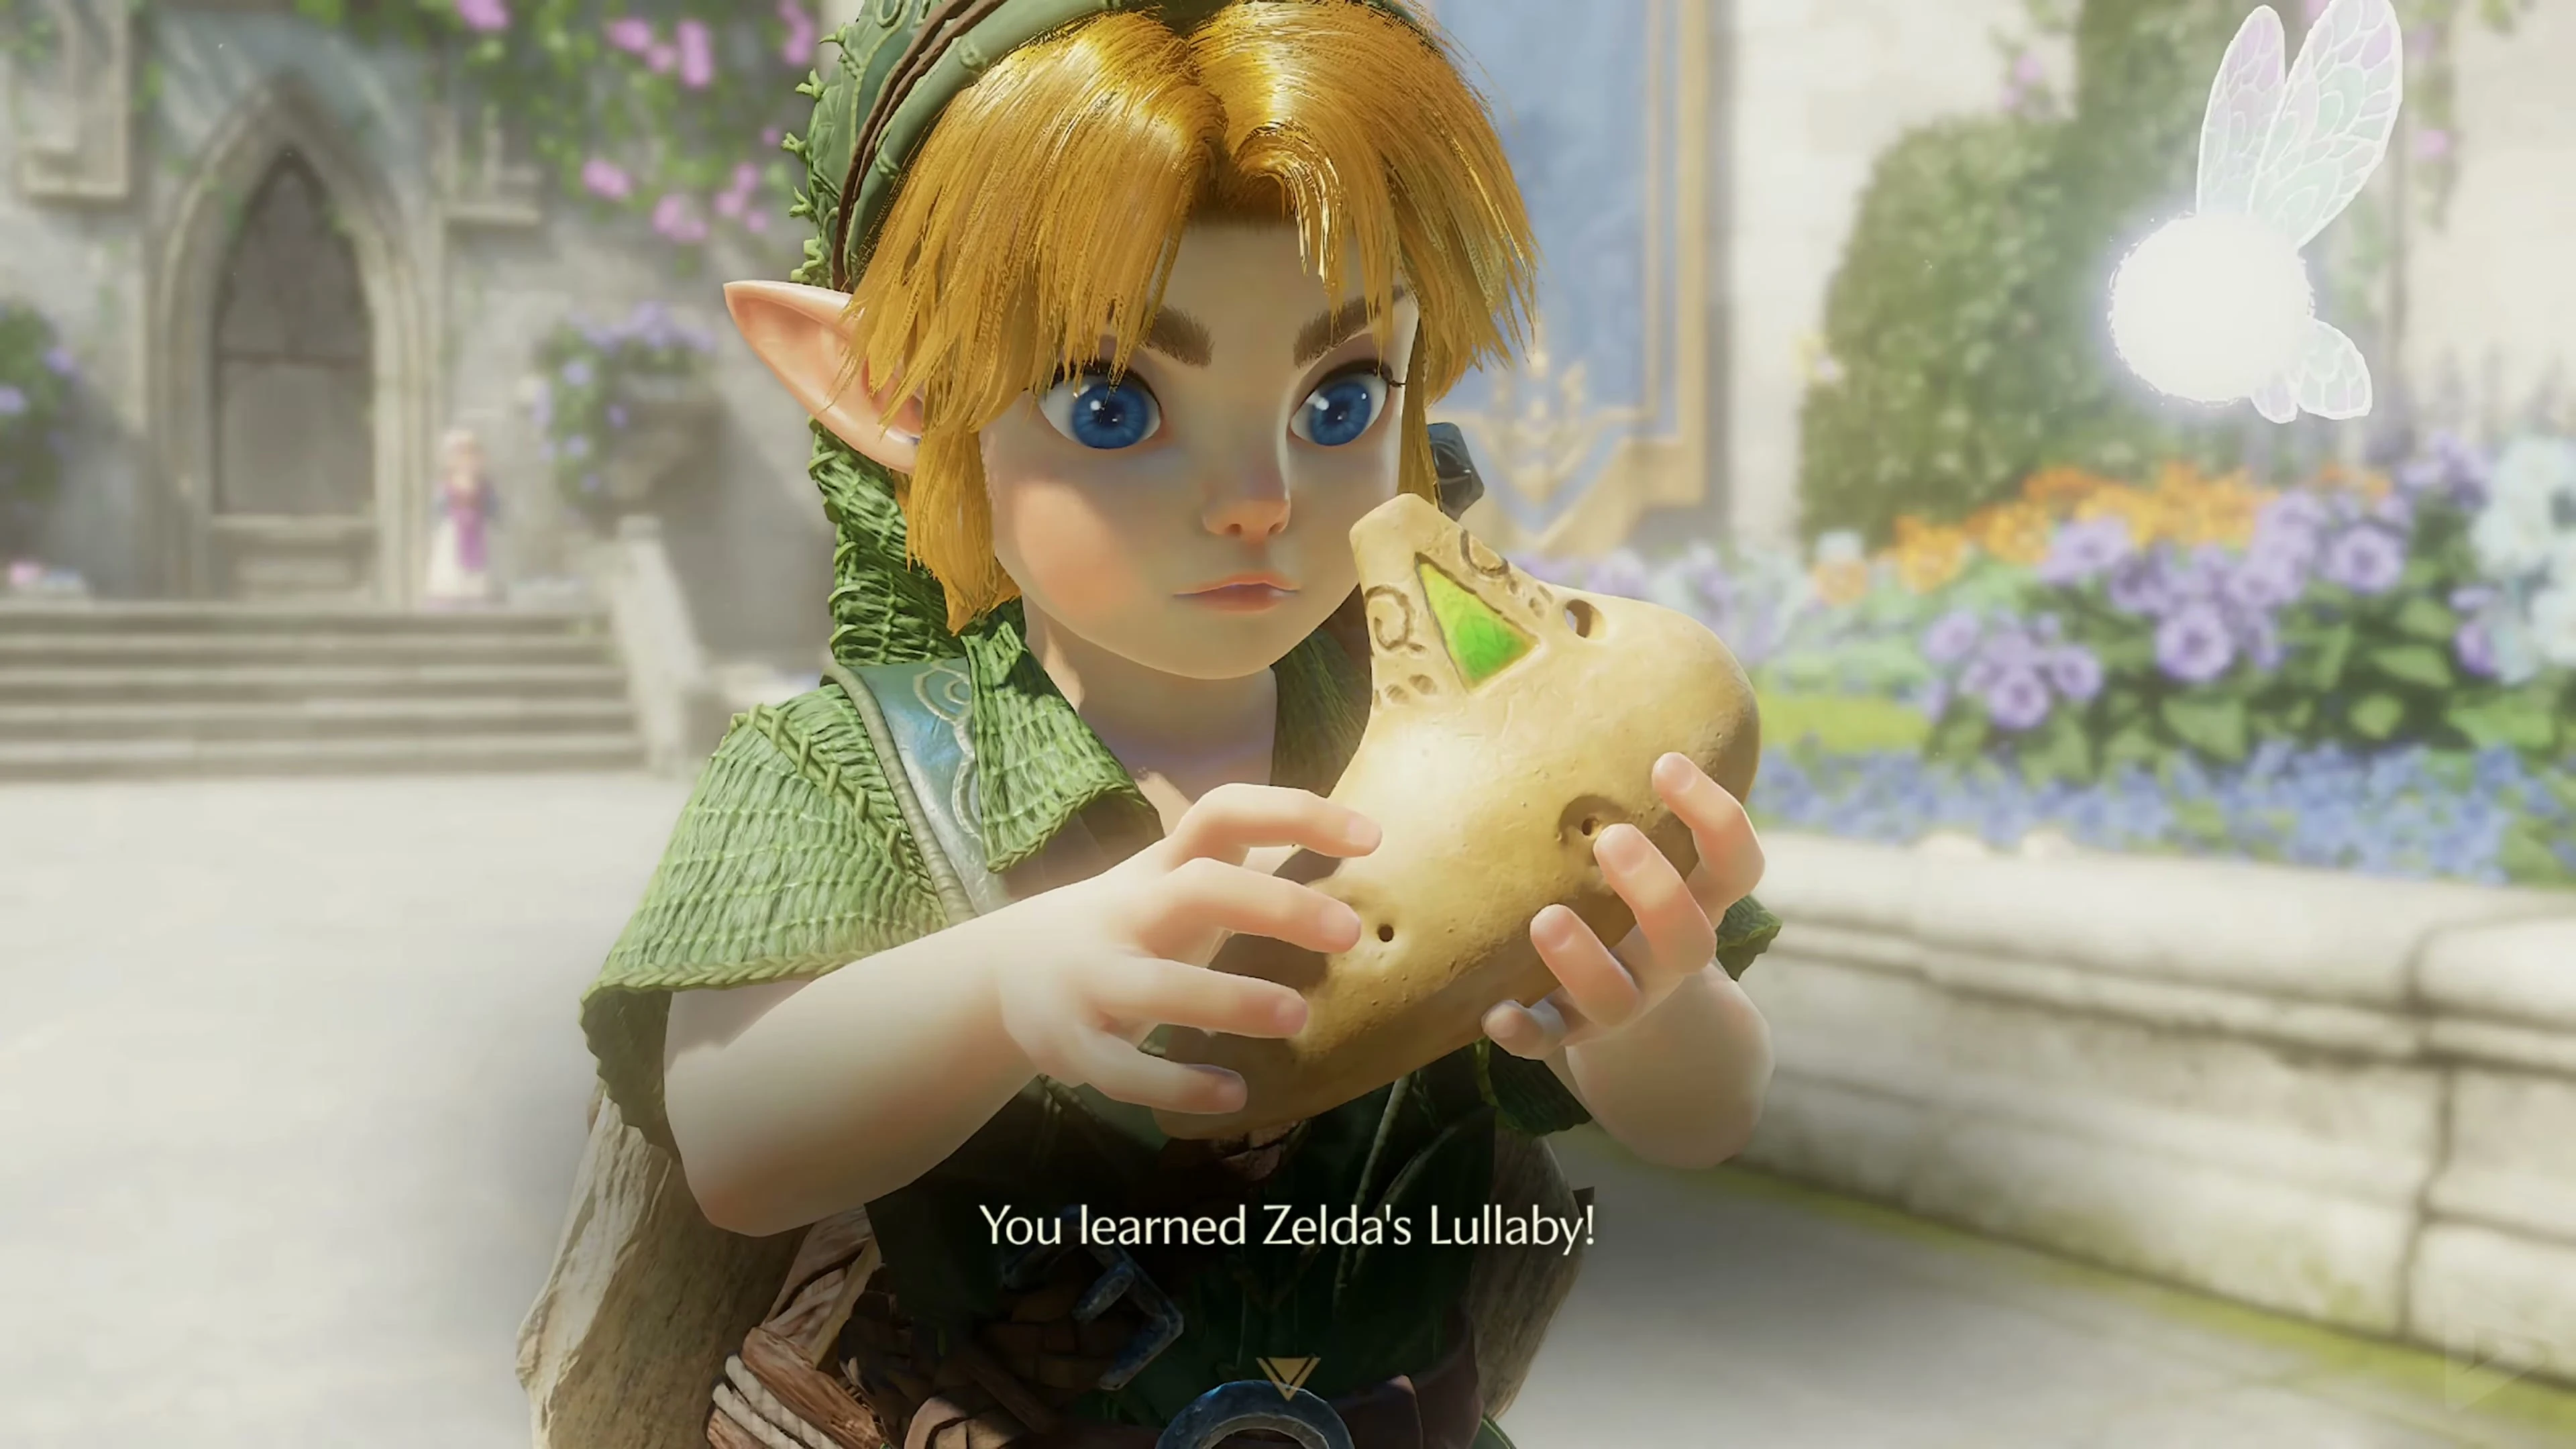
As you leave the garden you meet Impa. She teaches you Zelda’s Lullaby and then leads you out of the castle. The melody opens royal doors when played on a Triforce sign. Before you set off for Kakariko Village, the path takes you to Lon Lon Ranch.
Lon Lon Ranch
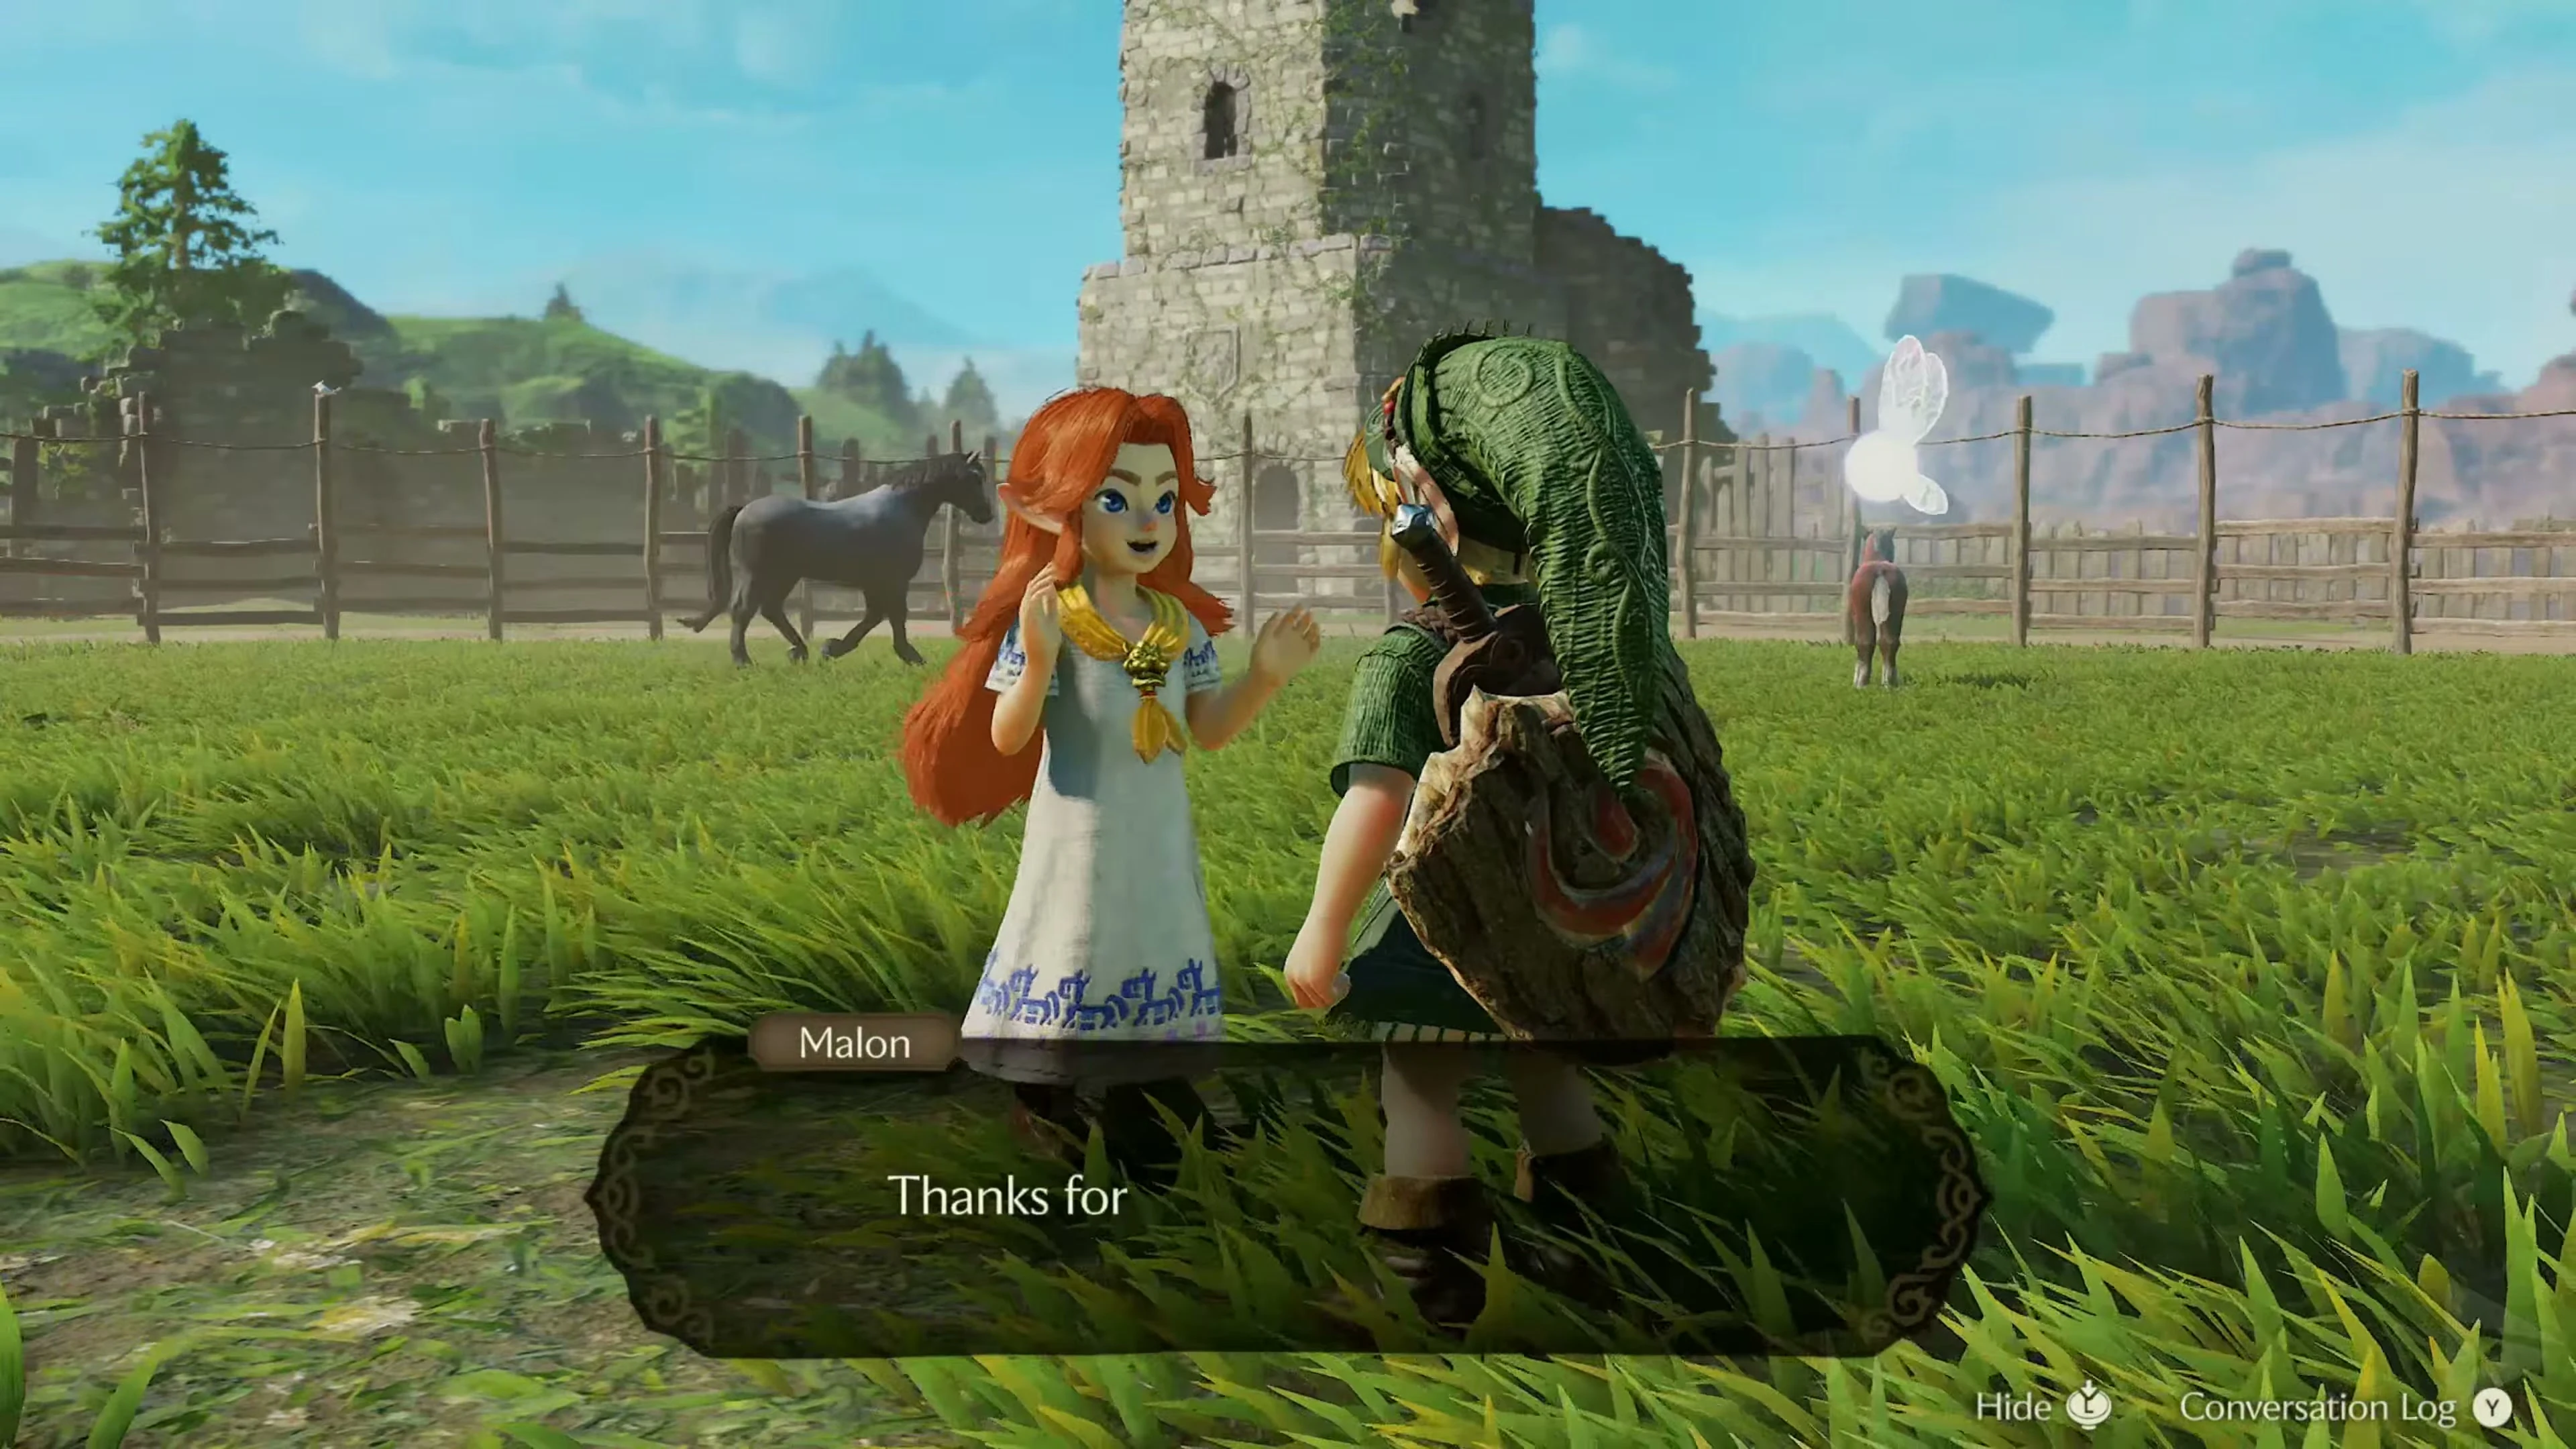
Leave Hyrule Castle Town and follow the path south to the farm area in the middle of Hyrule Field. Talon and Malon are back after the castle encounter. At the entrance on the left is the building for Talon’s chicken game. The paddock with Malon is further inside, the stone warehouse on the southwestern edge of the farm.
Super Chicken Game – the second bottle
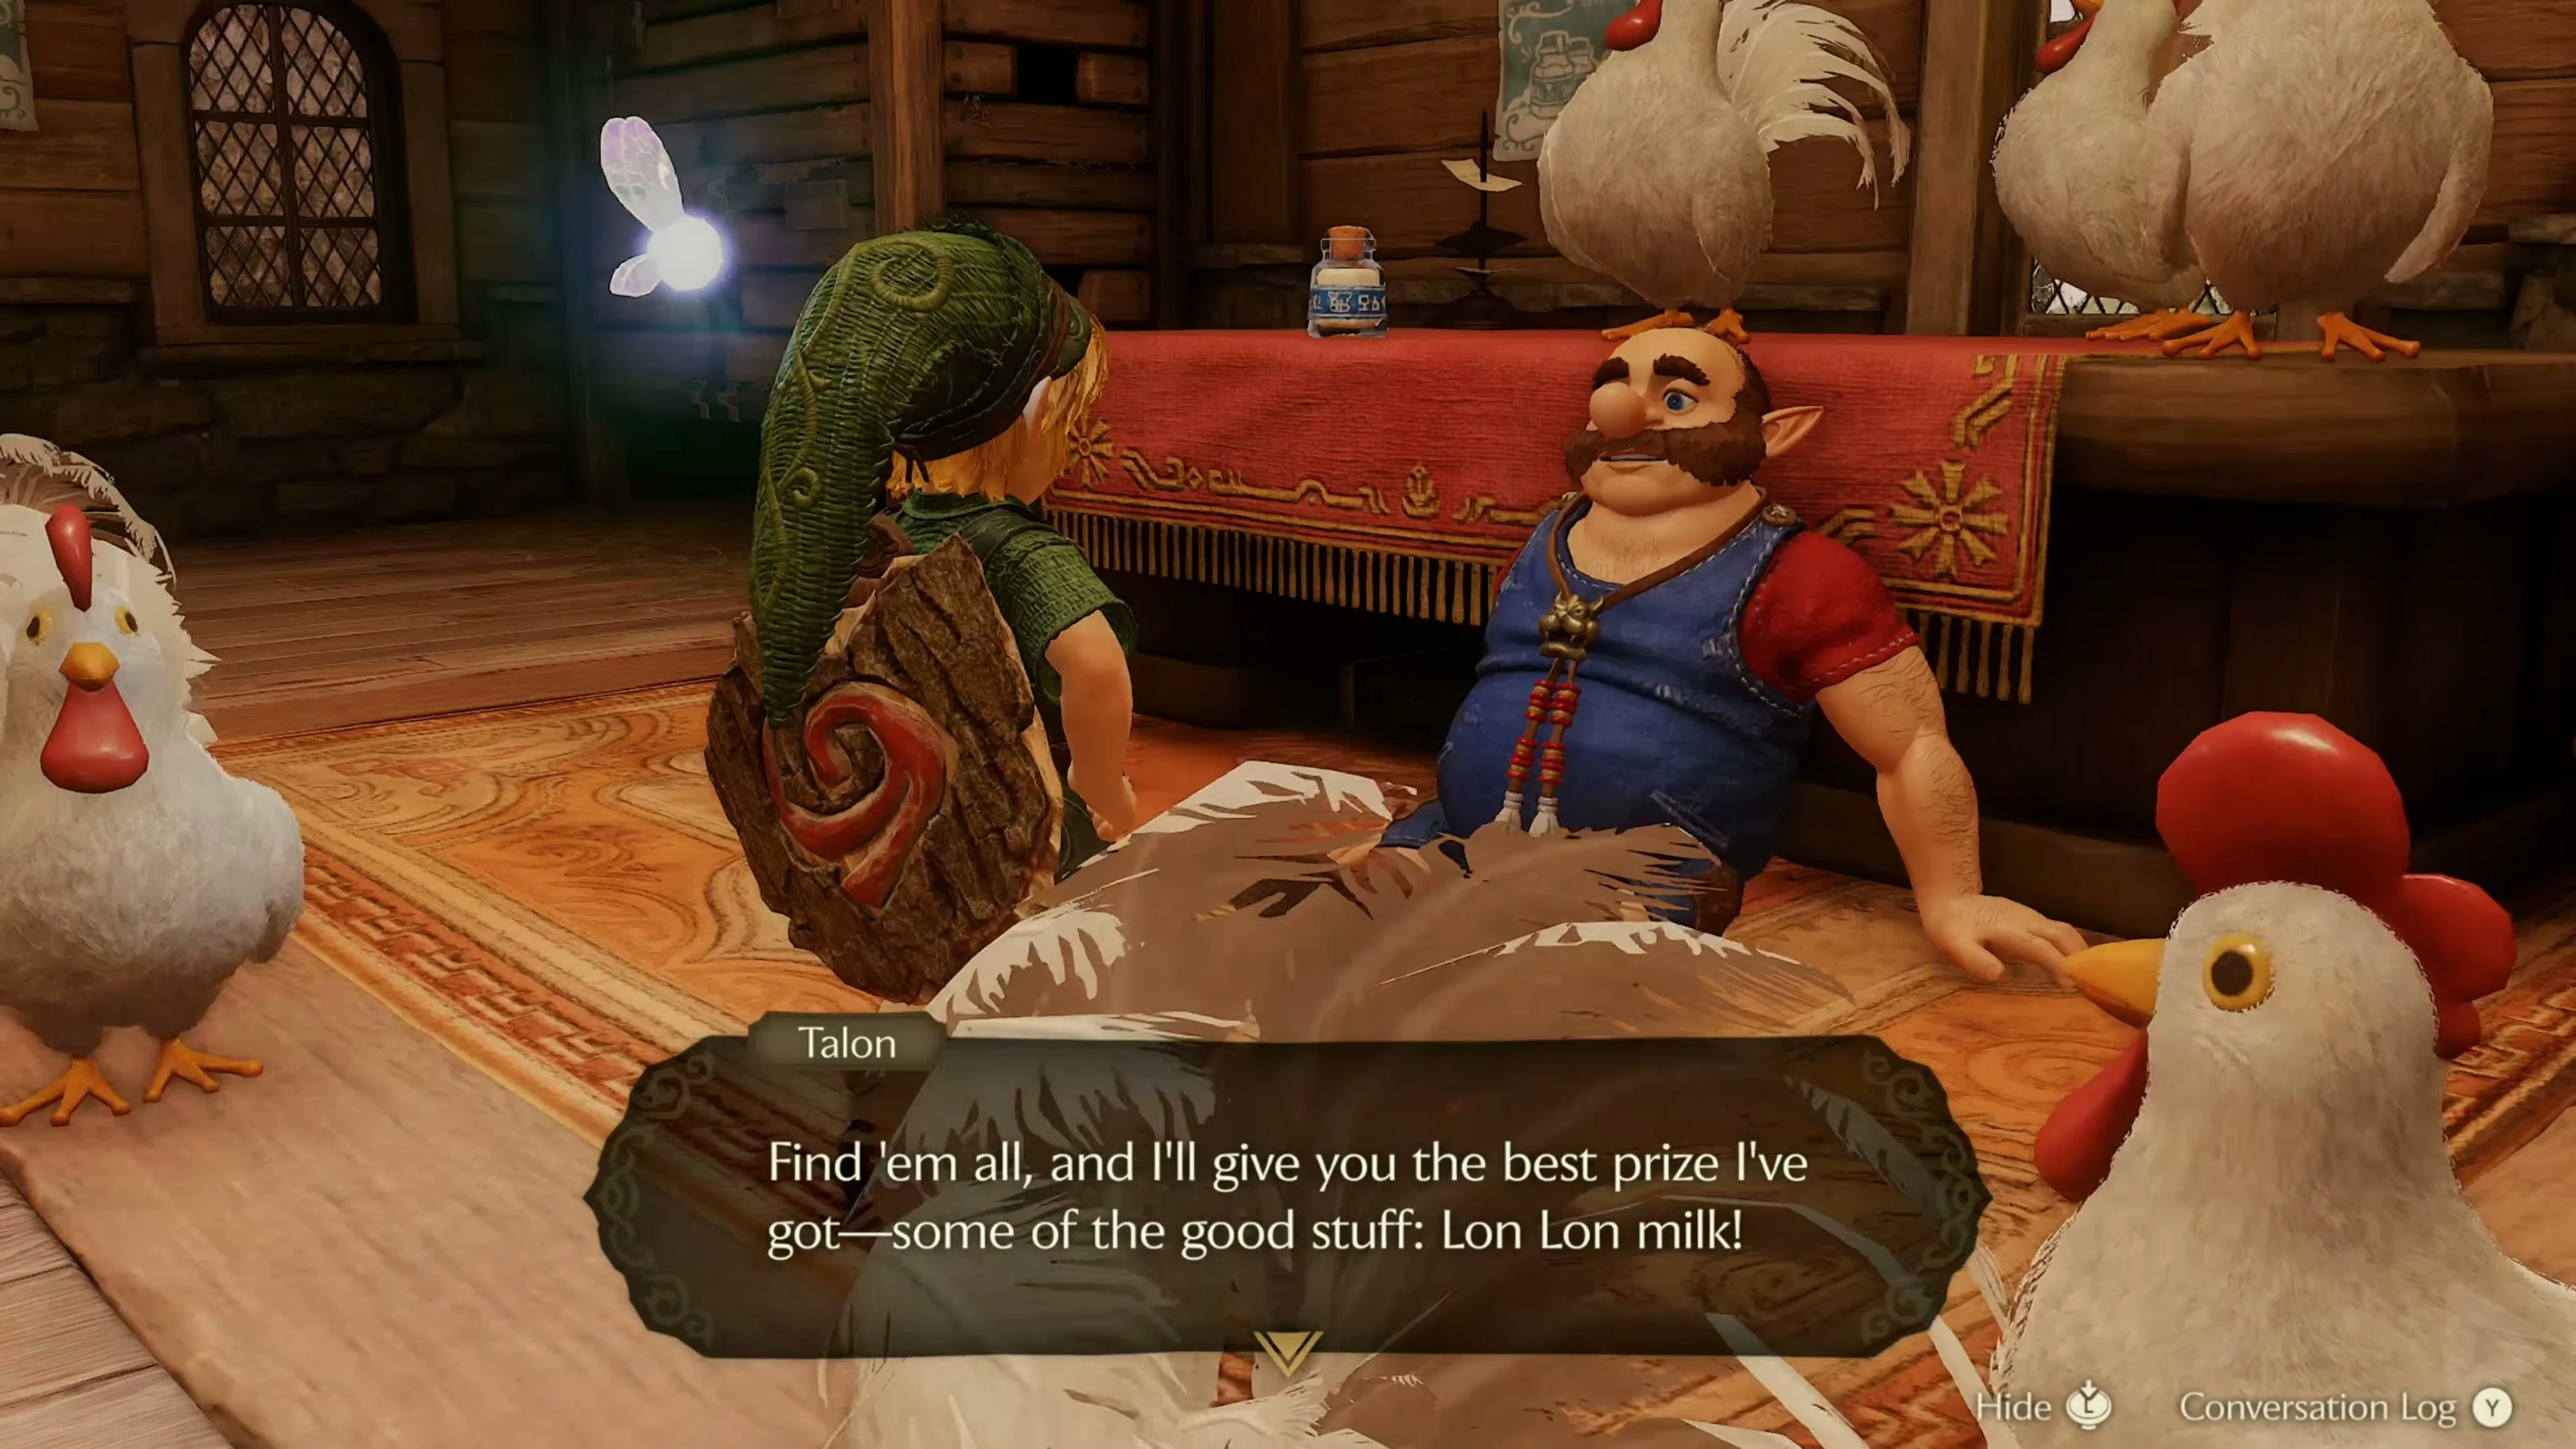
Enter the first door on the left and talk to Talon. Participation in his game costs 10 Rupees . Within 30 seconds you have to pick up three super chickens from among the common animals. Pay attention to their posture: The chickens you are looking for carry their heads higher, stick out their chests and lift their wings. Normal chickens usually peck on the ground with their heads down. Pick up the three conspicuous animals until Talon confirms success. As a prize you will receive your second bottle with Lon Lon Milk . After the two milk portions, the bottle remains empty in the inventory.
Learn Epona’s Song
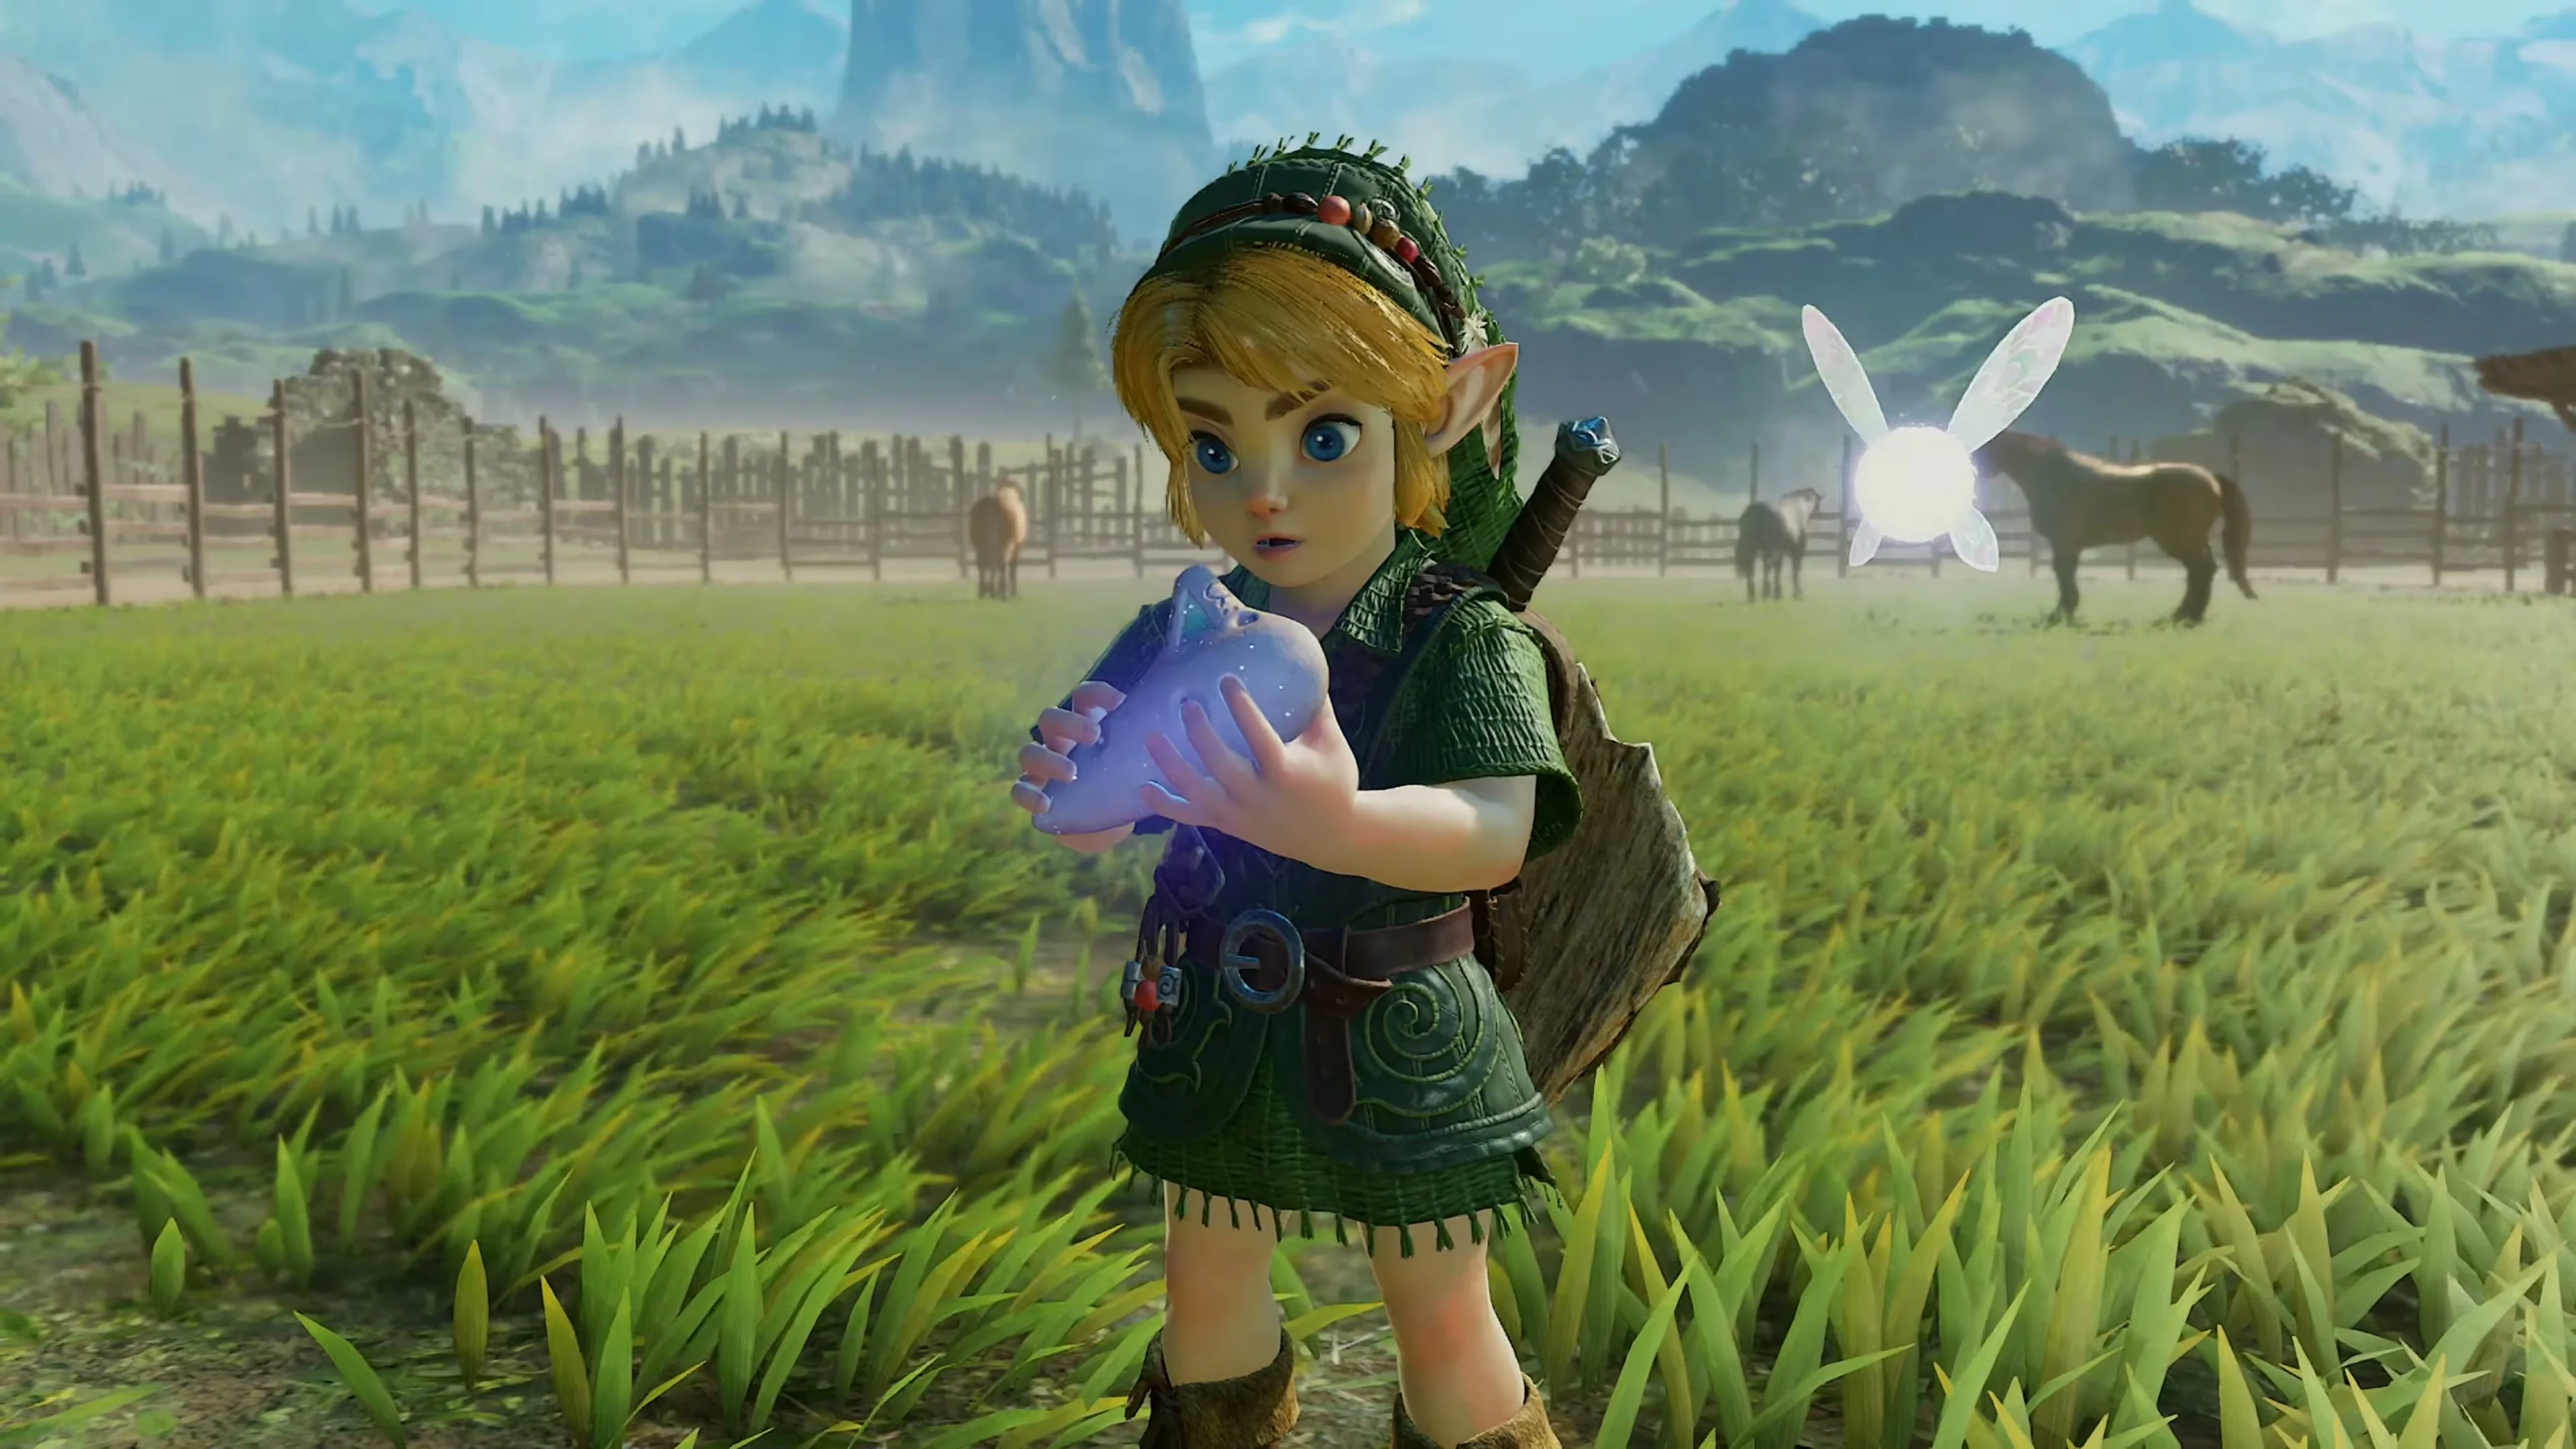
Continue to the large paddock and look for Malon among the horses. Talk to her several times until she tells about her mother’s song. Then bring out the Fairy Ocarina in front of her and play the given notes. This will teach you Epona’s song . Then play it with the young foal. You can also address cows with the song: If you have an empty bottle, they will give you milk.
Piece of Heart in the southwest warehouse
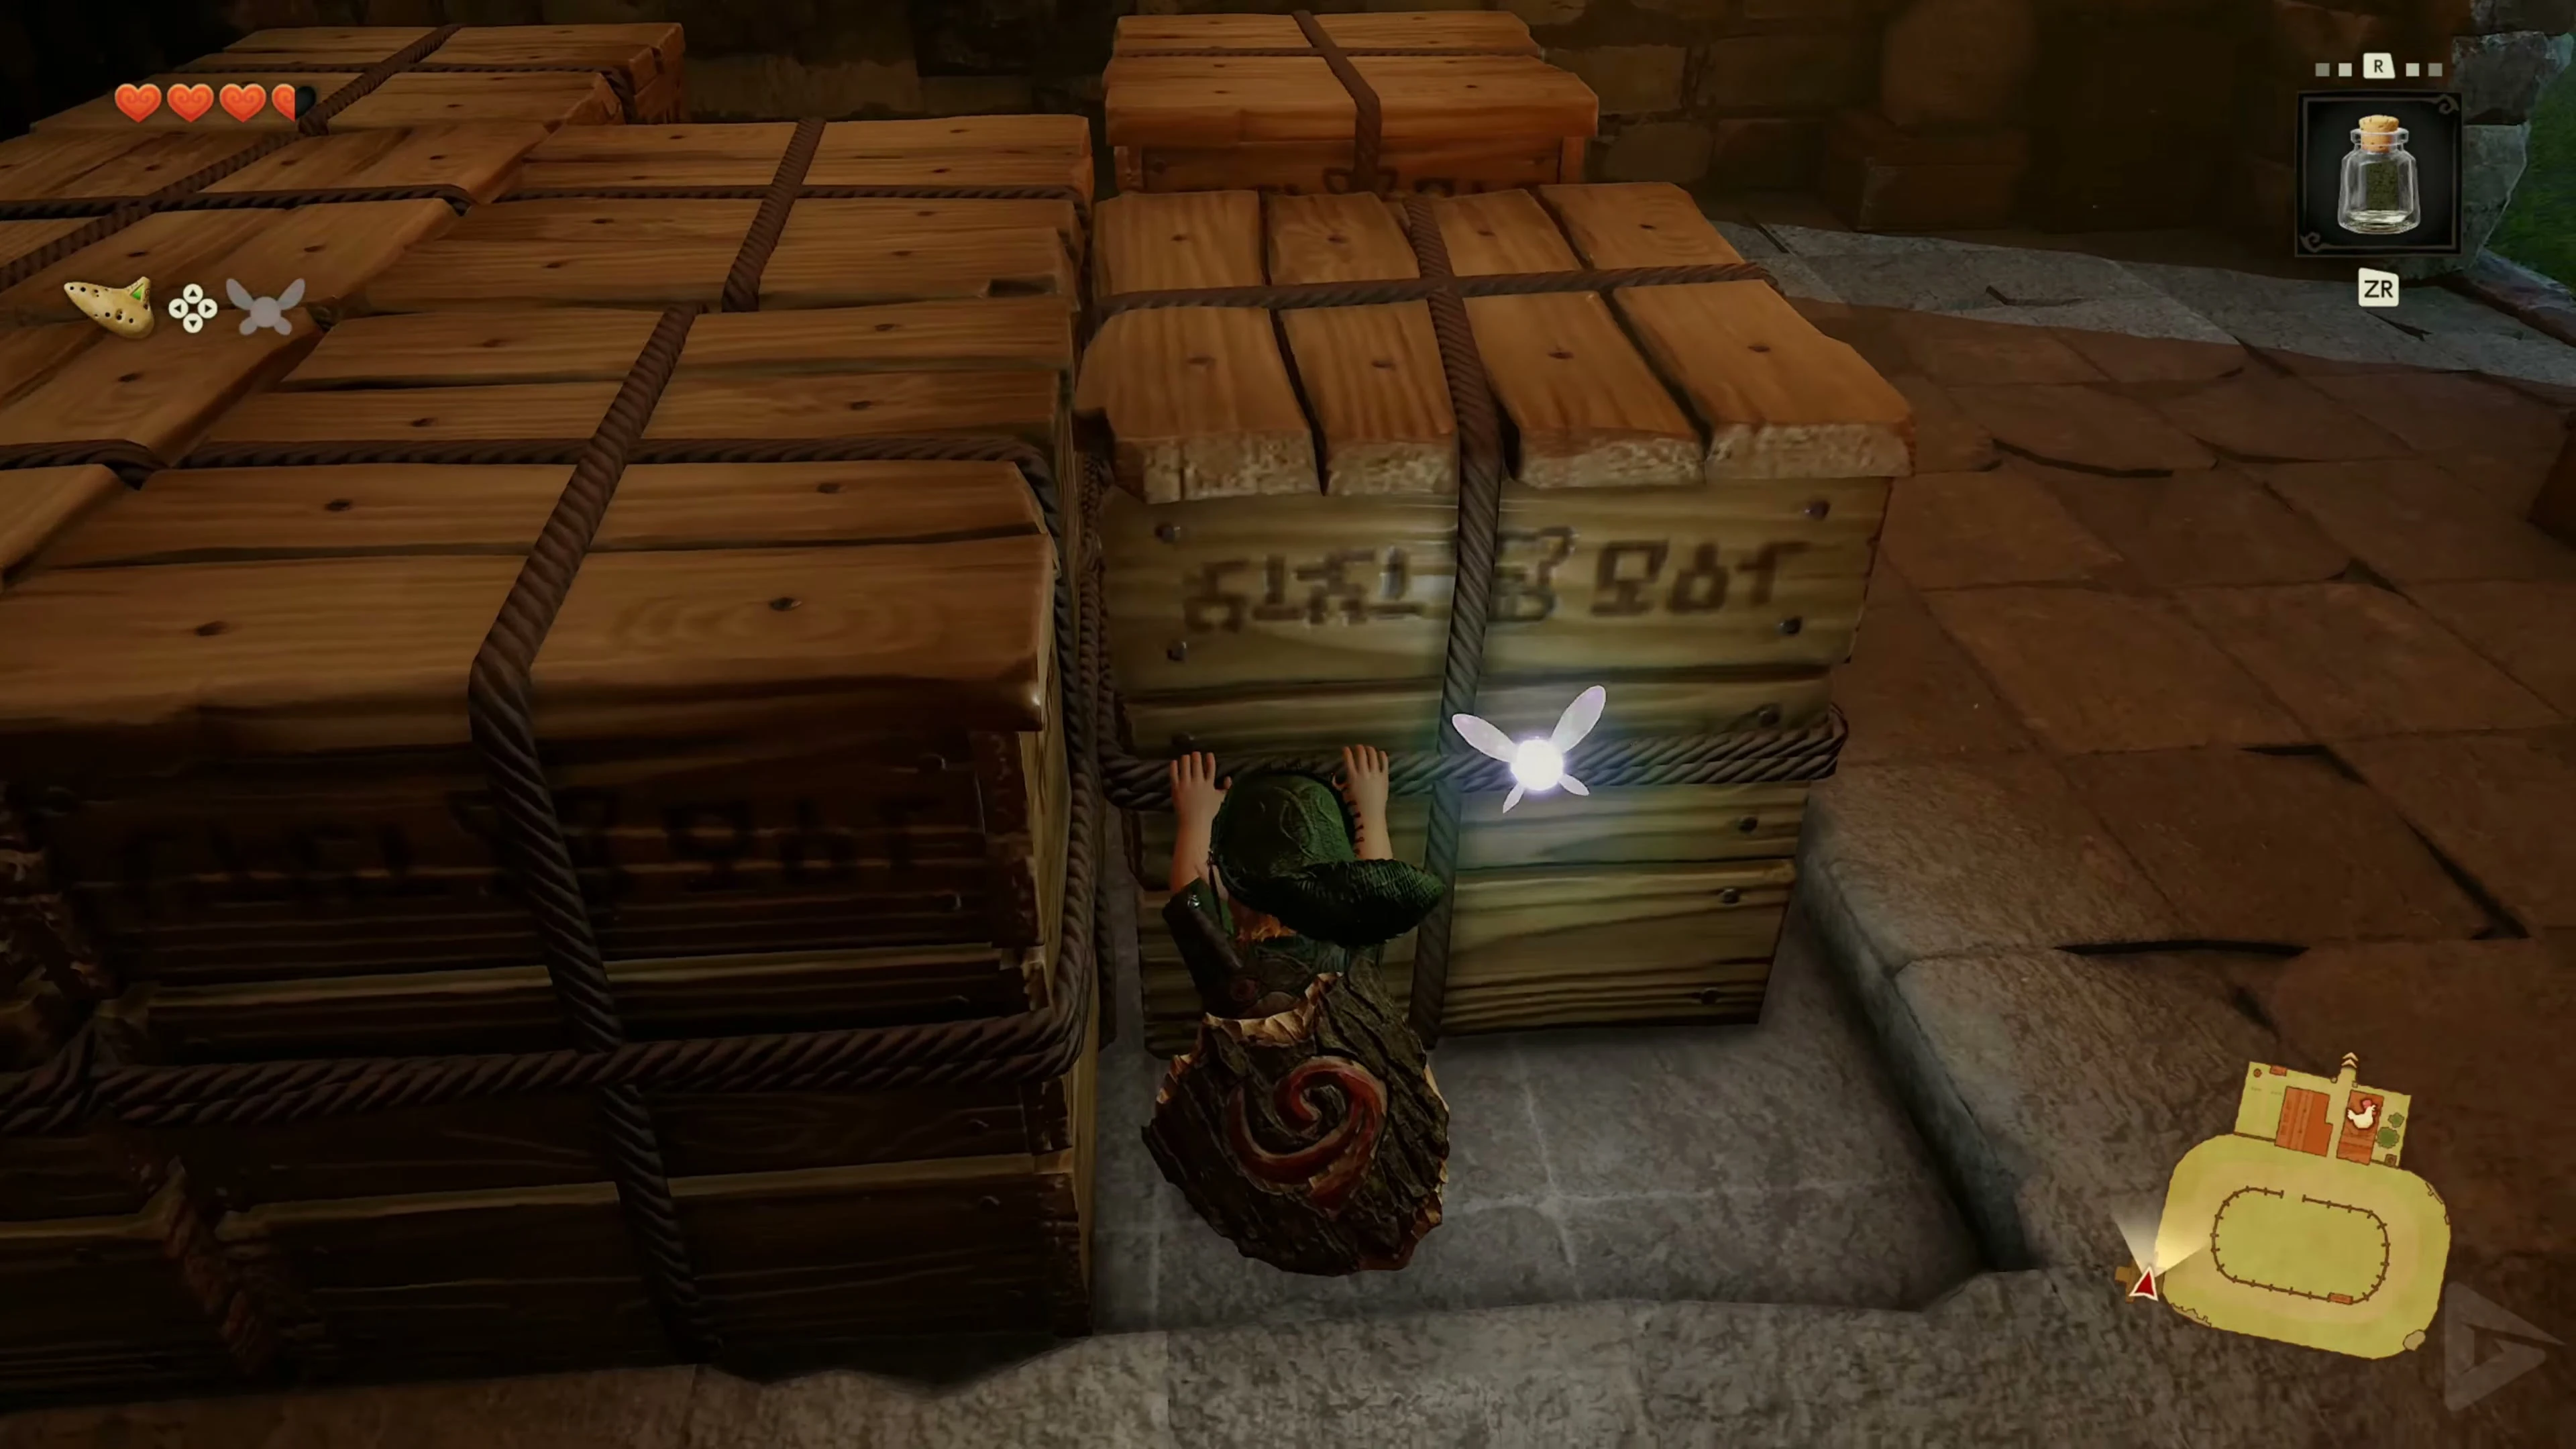
Run from the paddock to the southwest edge of the farm . The low stone warehouse is there. Go inside and move the large boxes until you reach the narrow opening in the wall behind the grate. Crawl through and pick up the Piece of Heart in the separated room. Leave the warehouse again through the crawlspace.
Gold Skulltula behind Talon’s house
On your way back to the ranch entrance, go behind the building used for Talon’s Super Cucco game. Roll into the two tree trunks. A Gold Skulltula falls from one of them. Defeat it and collect the token. Leave the ranch and head northeast across Hyrule Field, then cross the small bridge and follow the road between the rocks to Kakariko Village.
Kakariko Village – Zelda’s Letter and the chickens
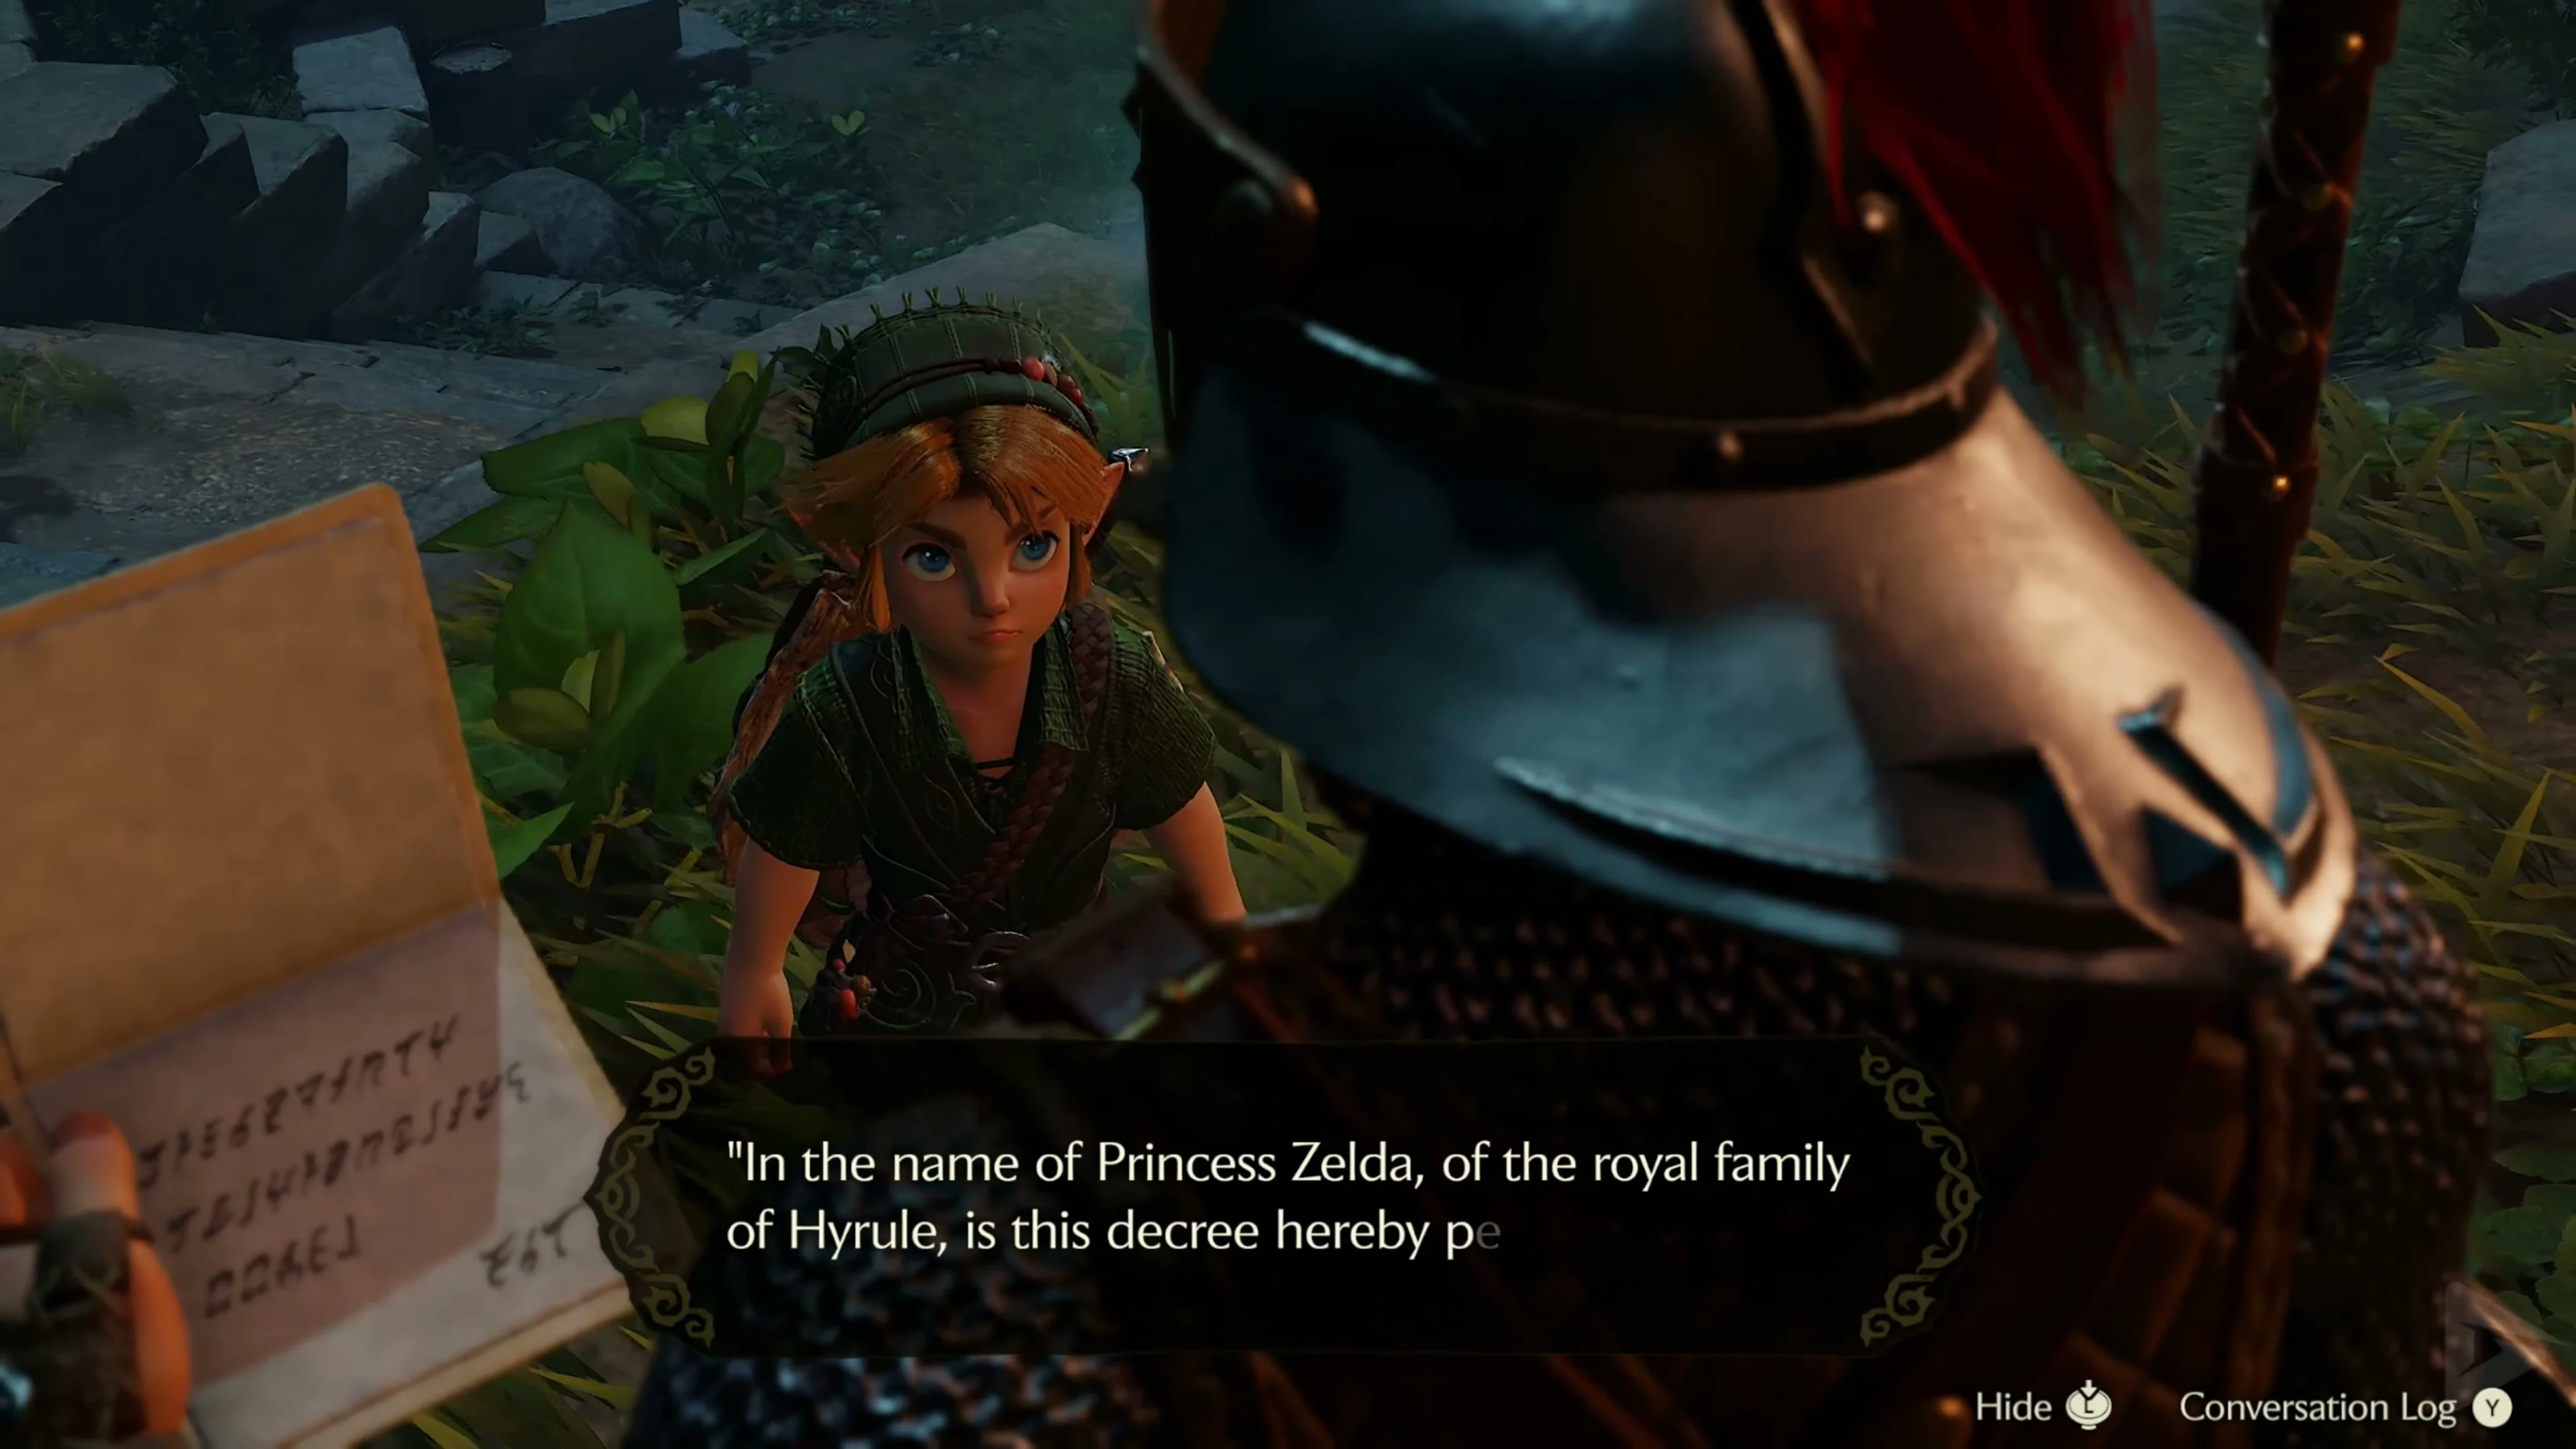
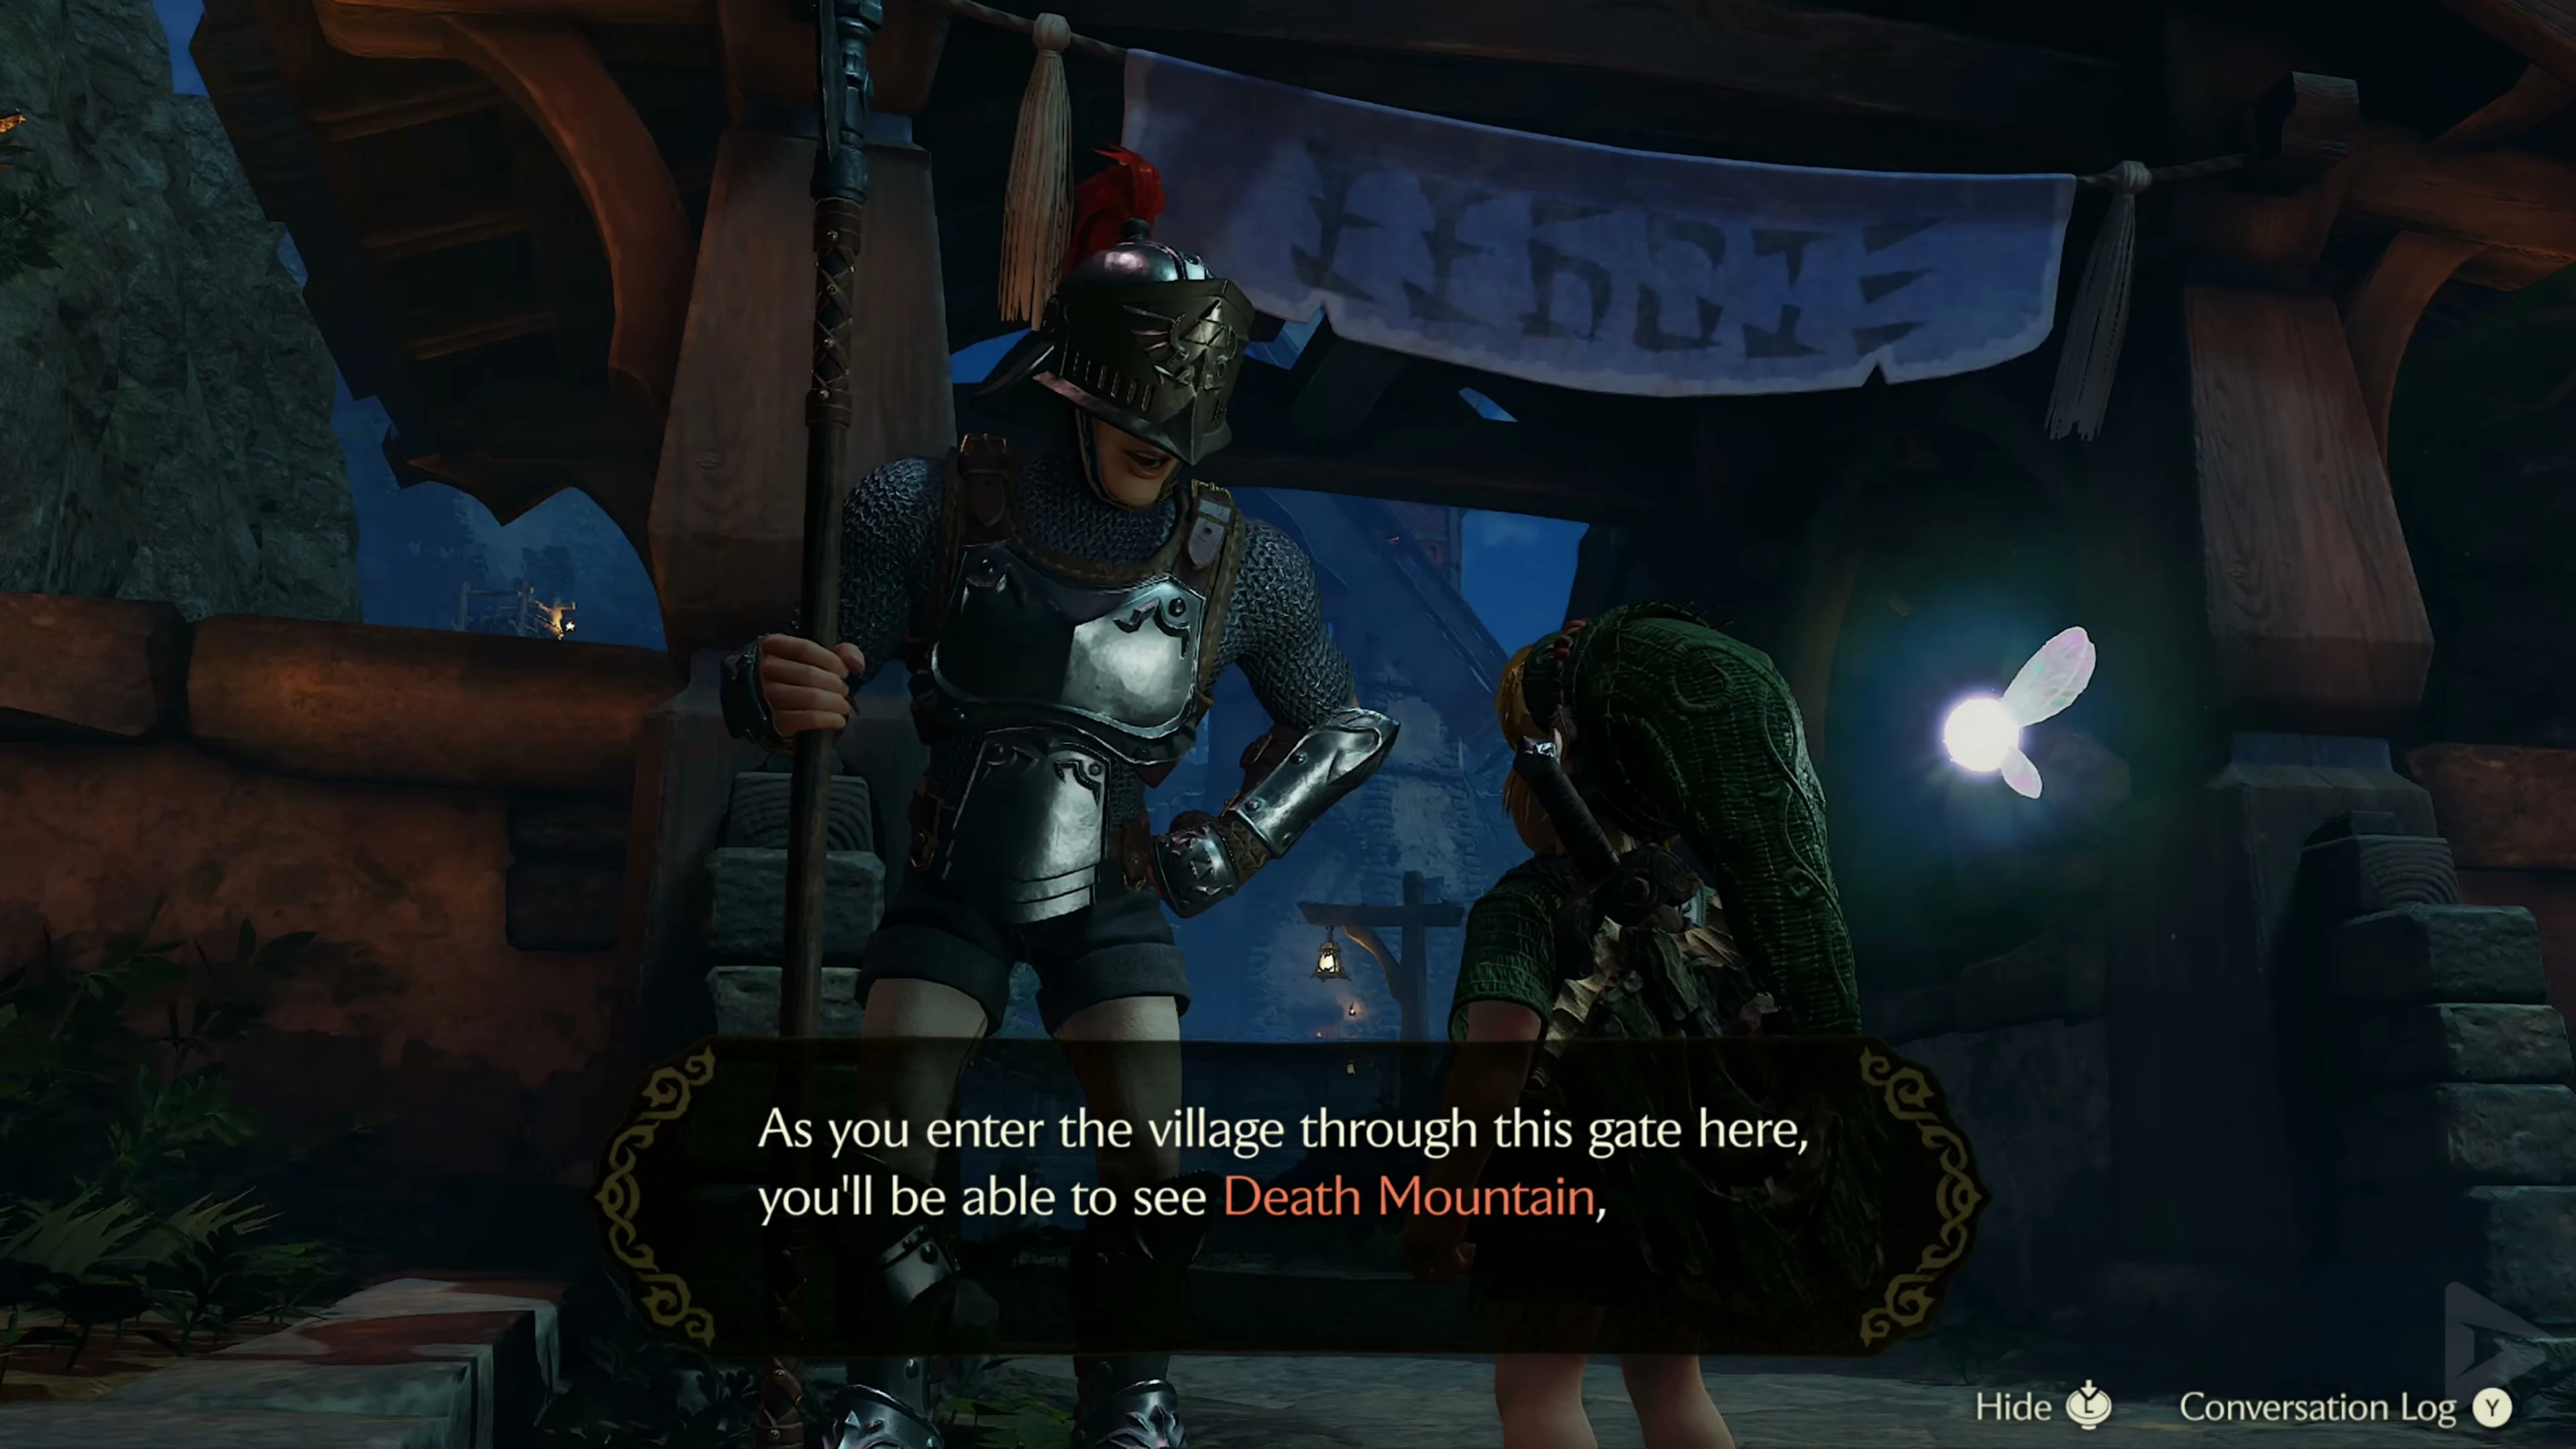
In the village, climb the northern stairs to the guard at the Death Mountain gate and show Zelda’s Letter . The guard opens the gate and asks for the Keaton Mask.
Sell Keaton Mask to guard
Rent the Keaton Mask from the Mask Dealer northeast of the well in Hyrule Castle Town. Return to the guard at Death Mountain Gate and speak to them with your mask on. She will pay you 15 Rupees .
All seven chickens and the Piece of Heart on the roof
Collect the free-roaming animals on the lower levels and save one for the jumps. The locations can be walked from the village square in this round:
- At the village entrance: The first chicken runs near the path to Hyrule Field.
- On the construction site: Next to the chicken enclosure there is an animal standing near the small scaffolding and the unfinished house.
- In the shaking box: From the entrance, go past the big tree to the central house on the entrance street. Roll against the wooden box on the house wall.
- At the northern staircase: Search the path to the Death Mountain gate and the small guard post at the house with the well. There is another chicken running there.
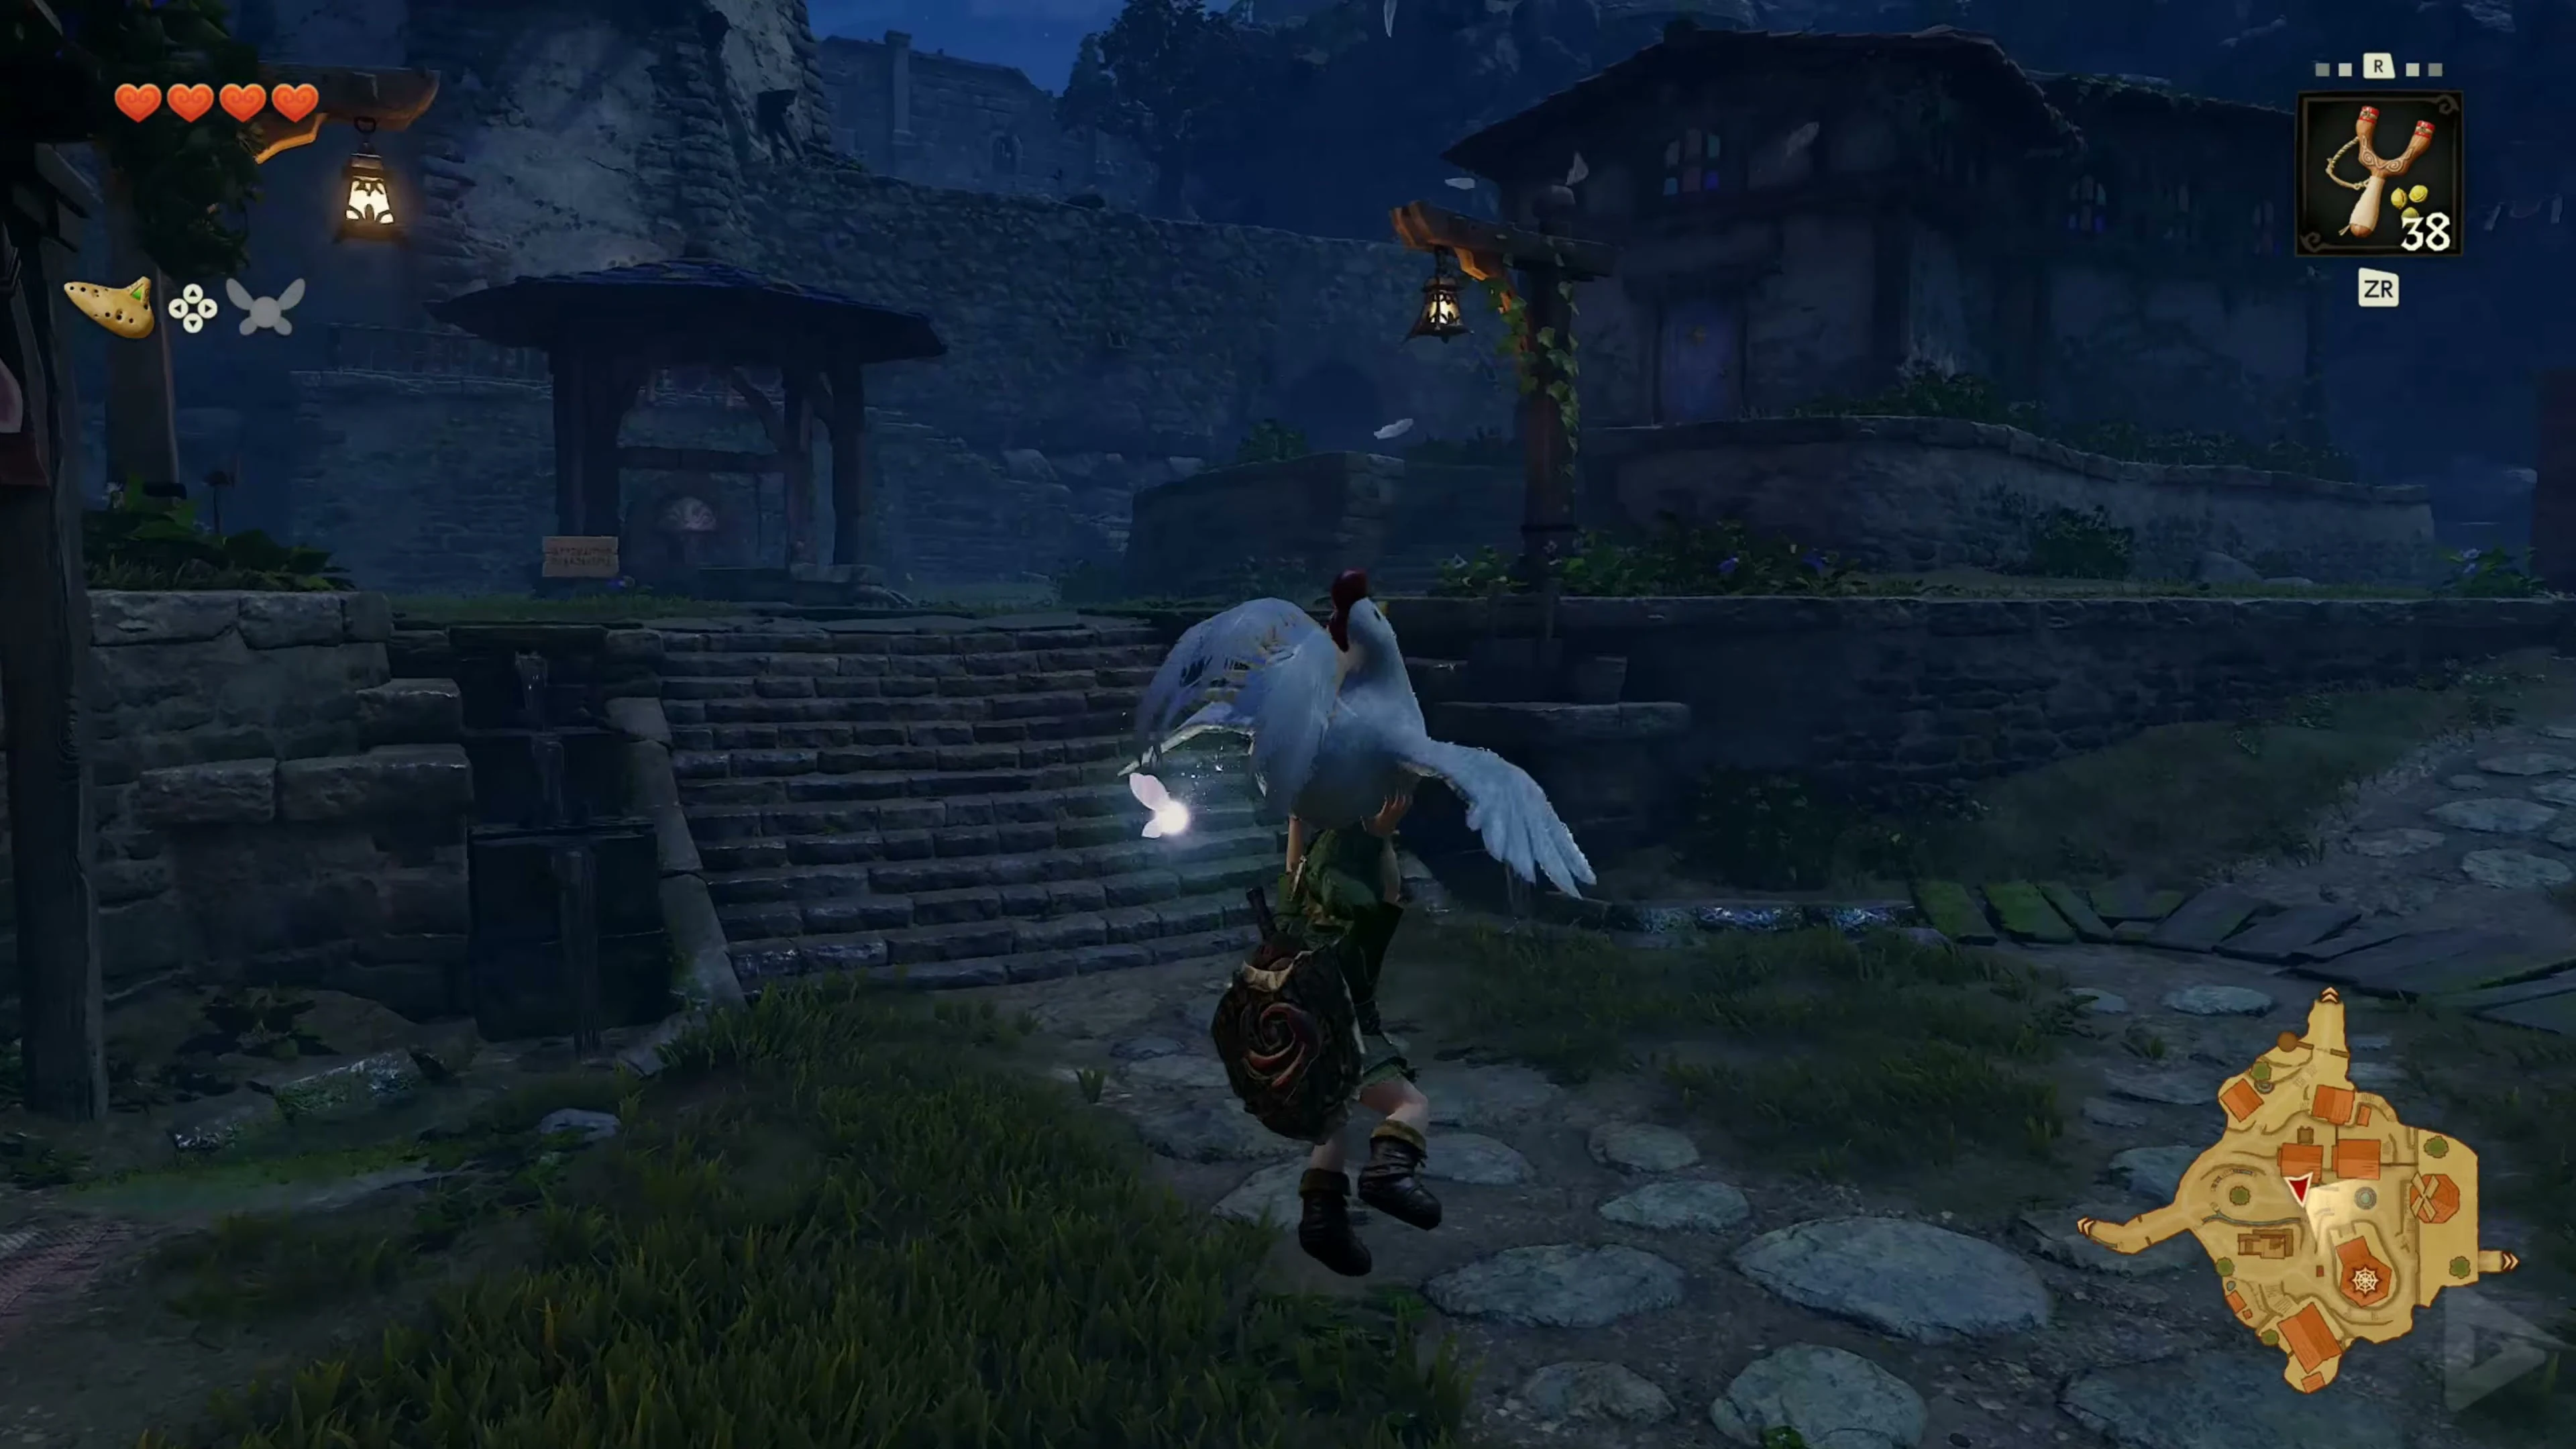
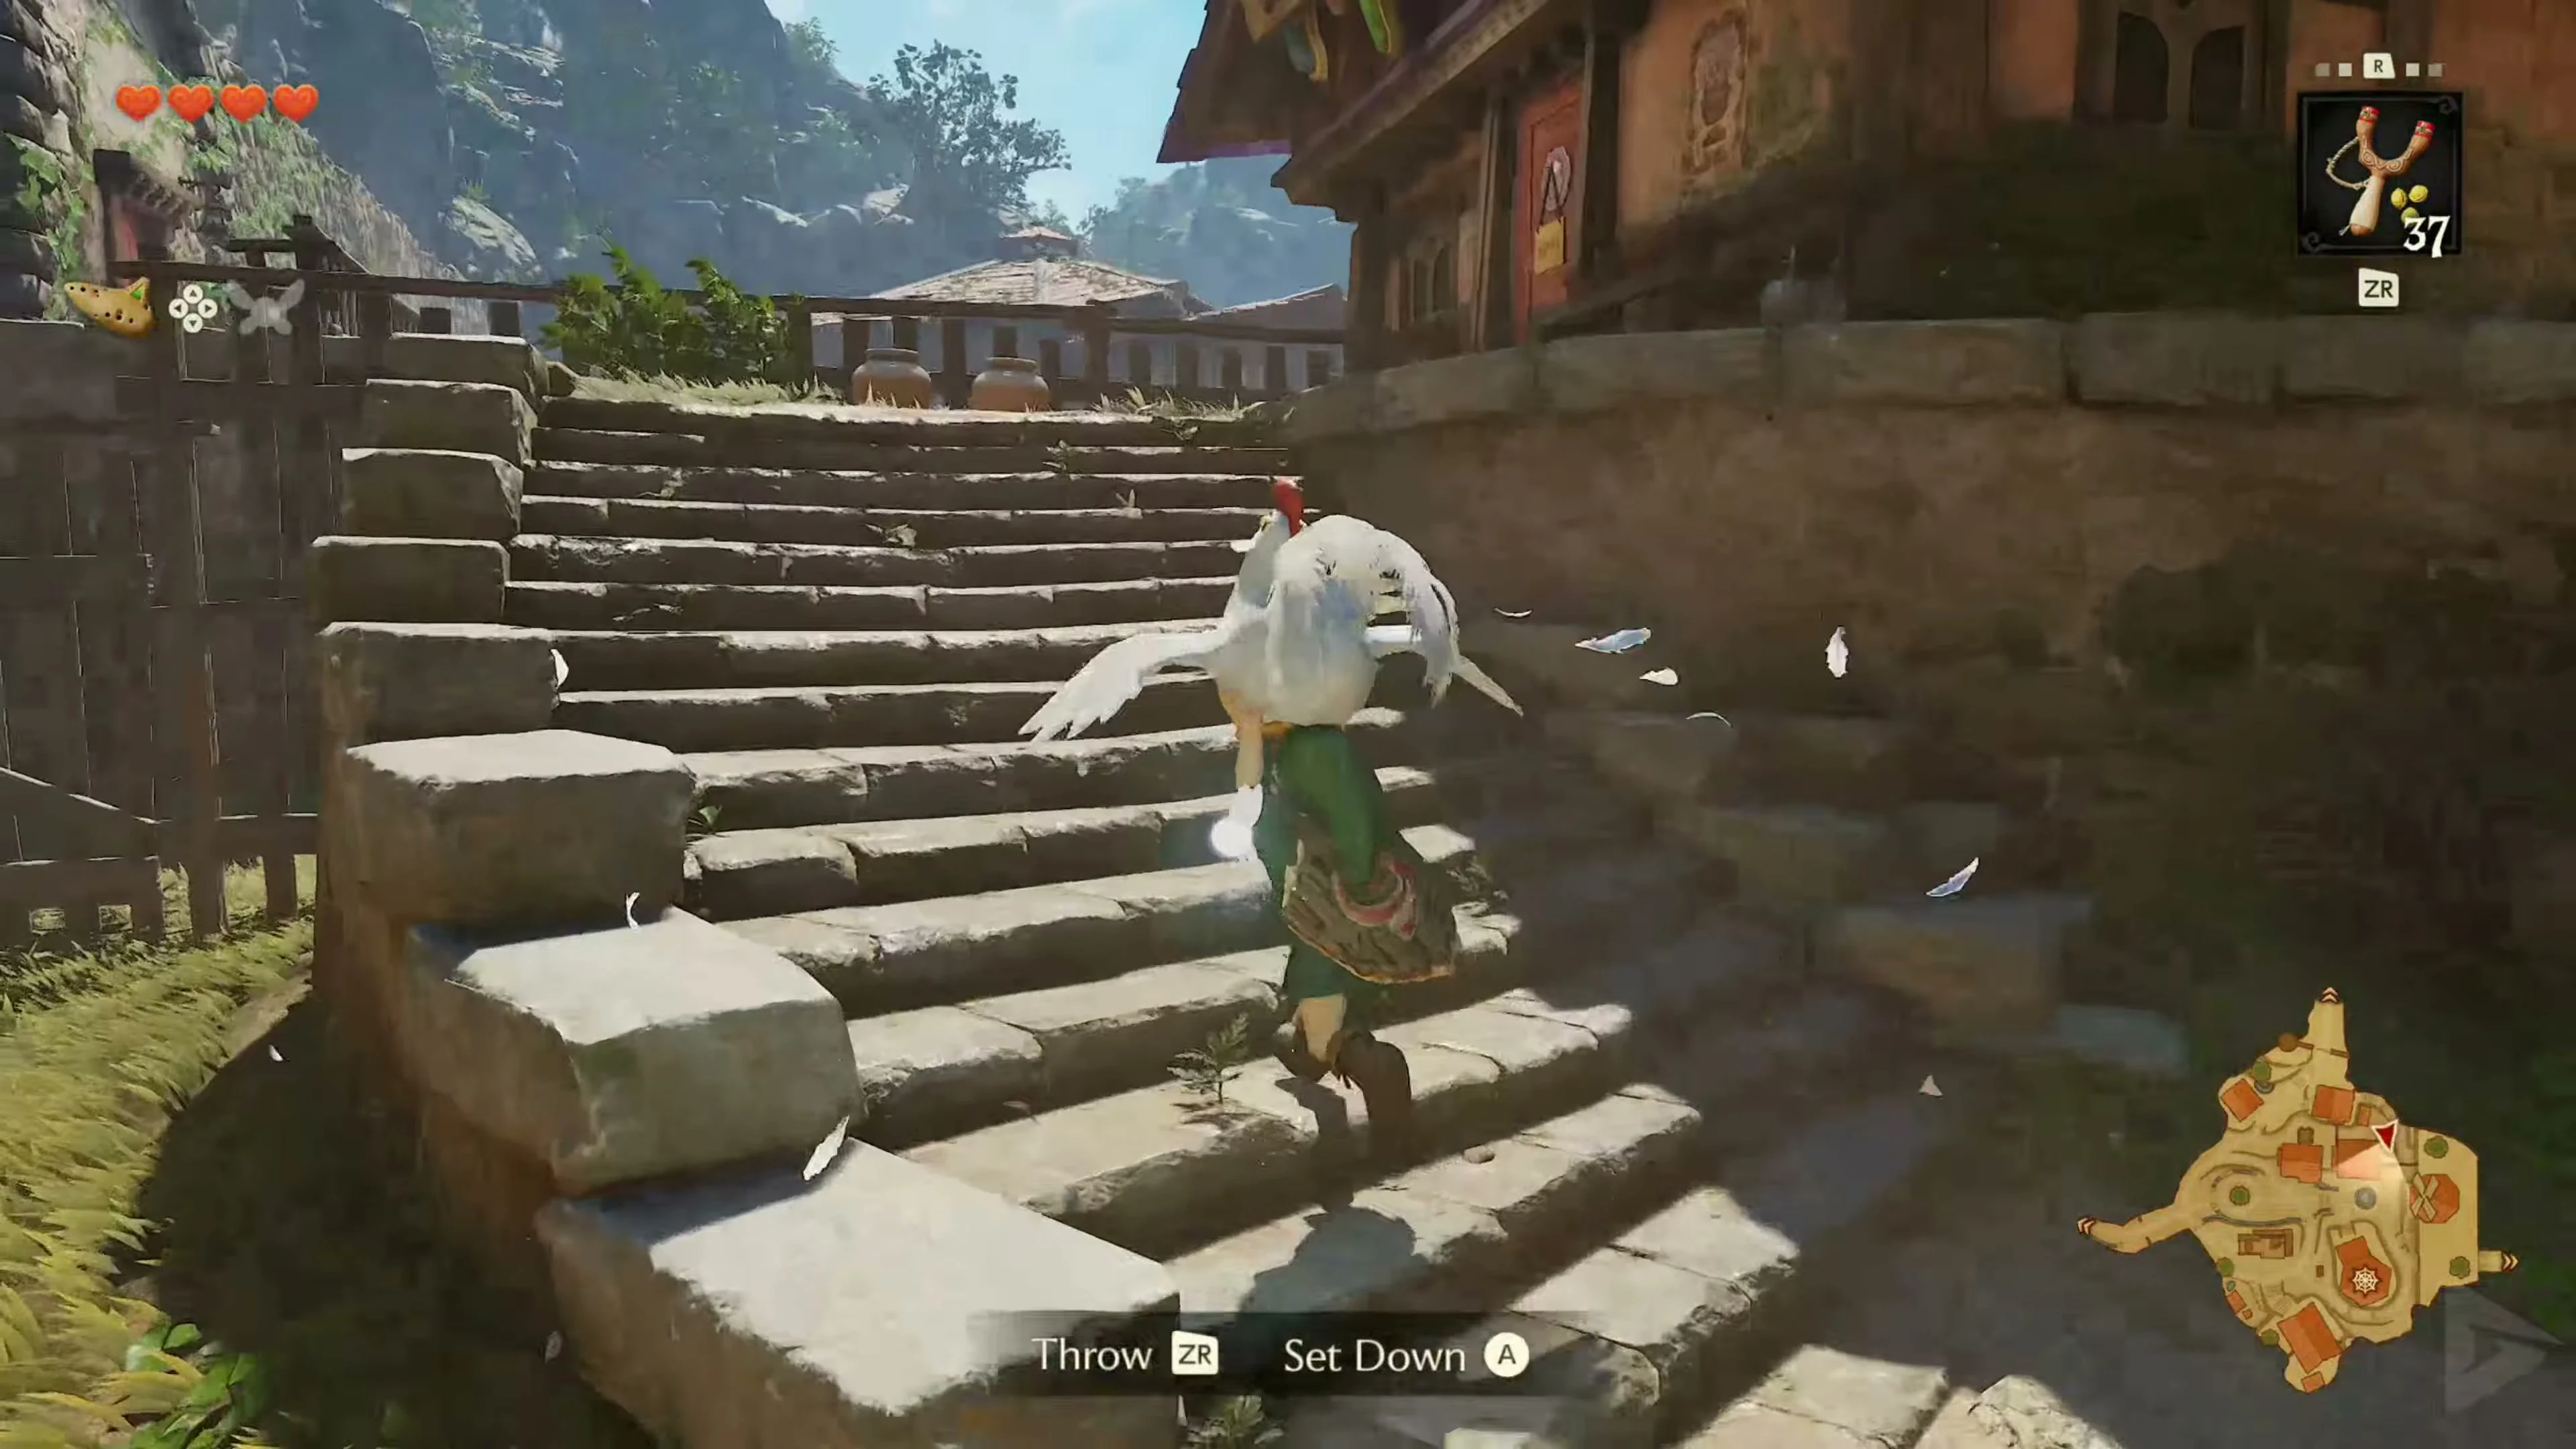
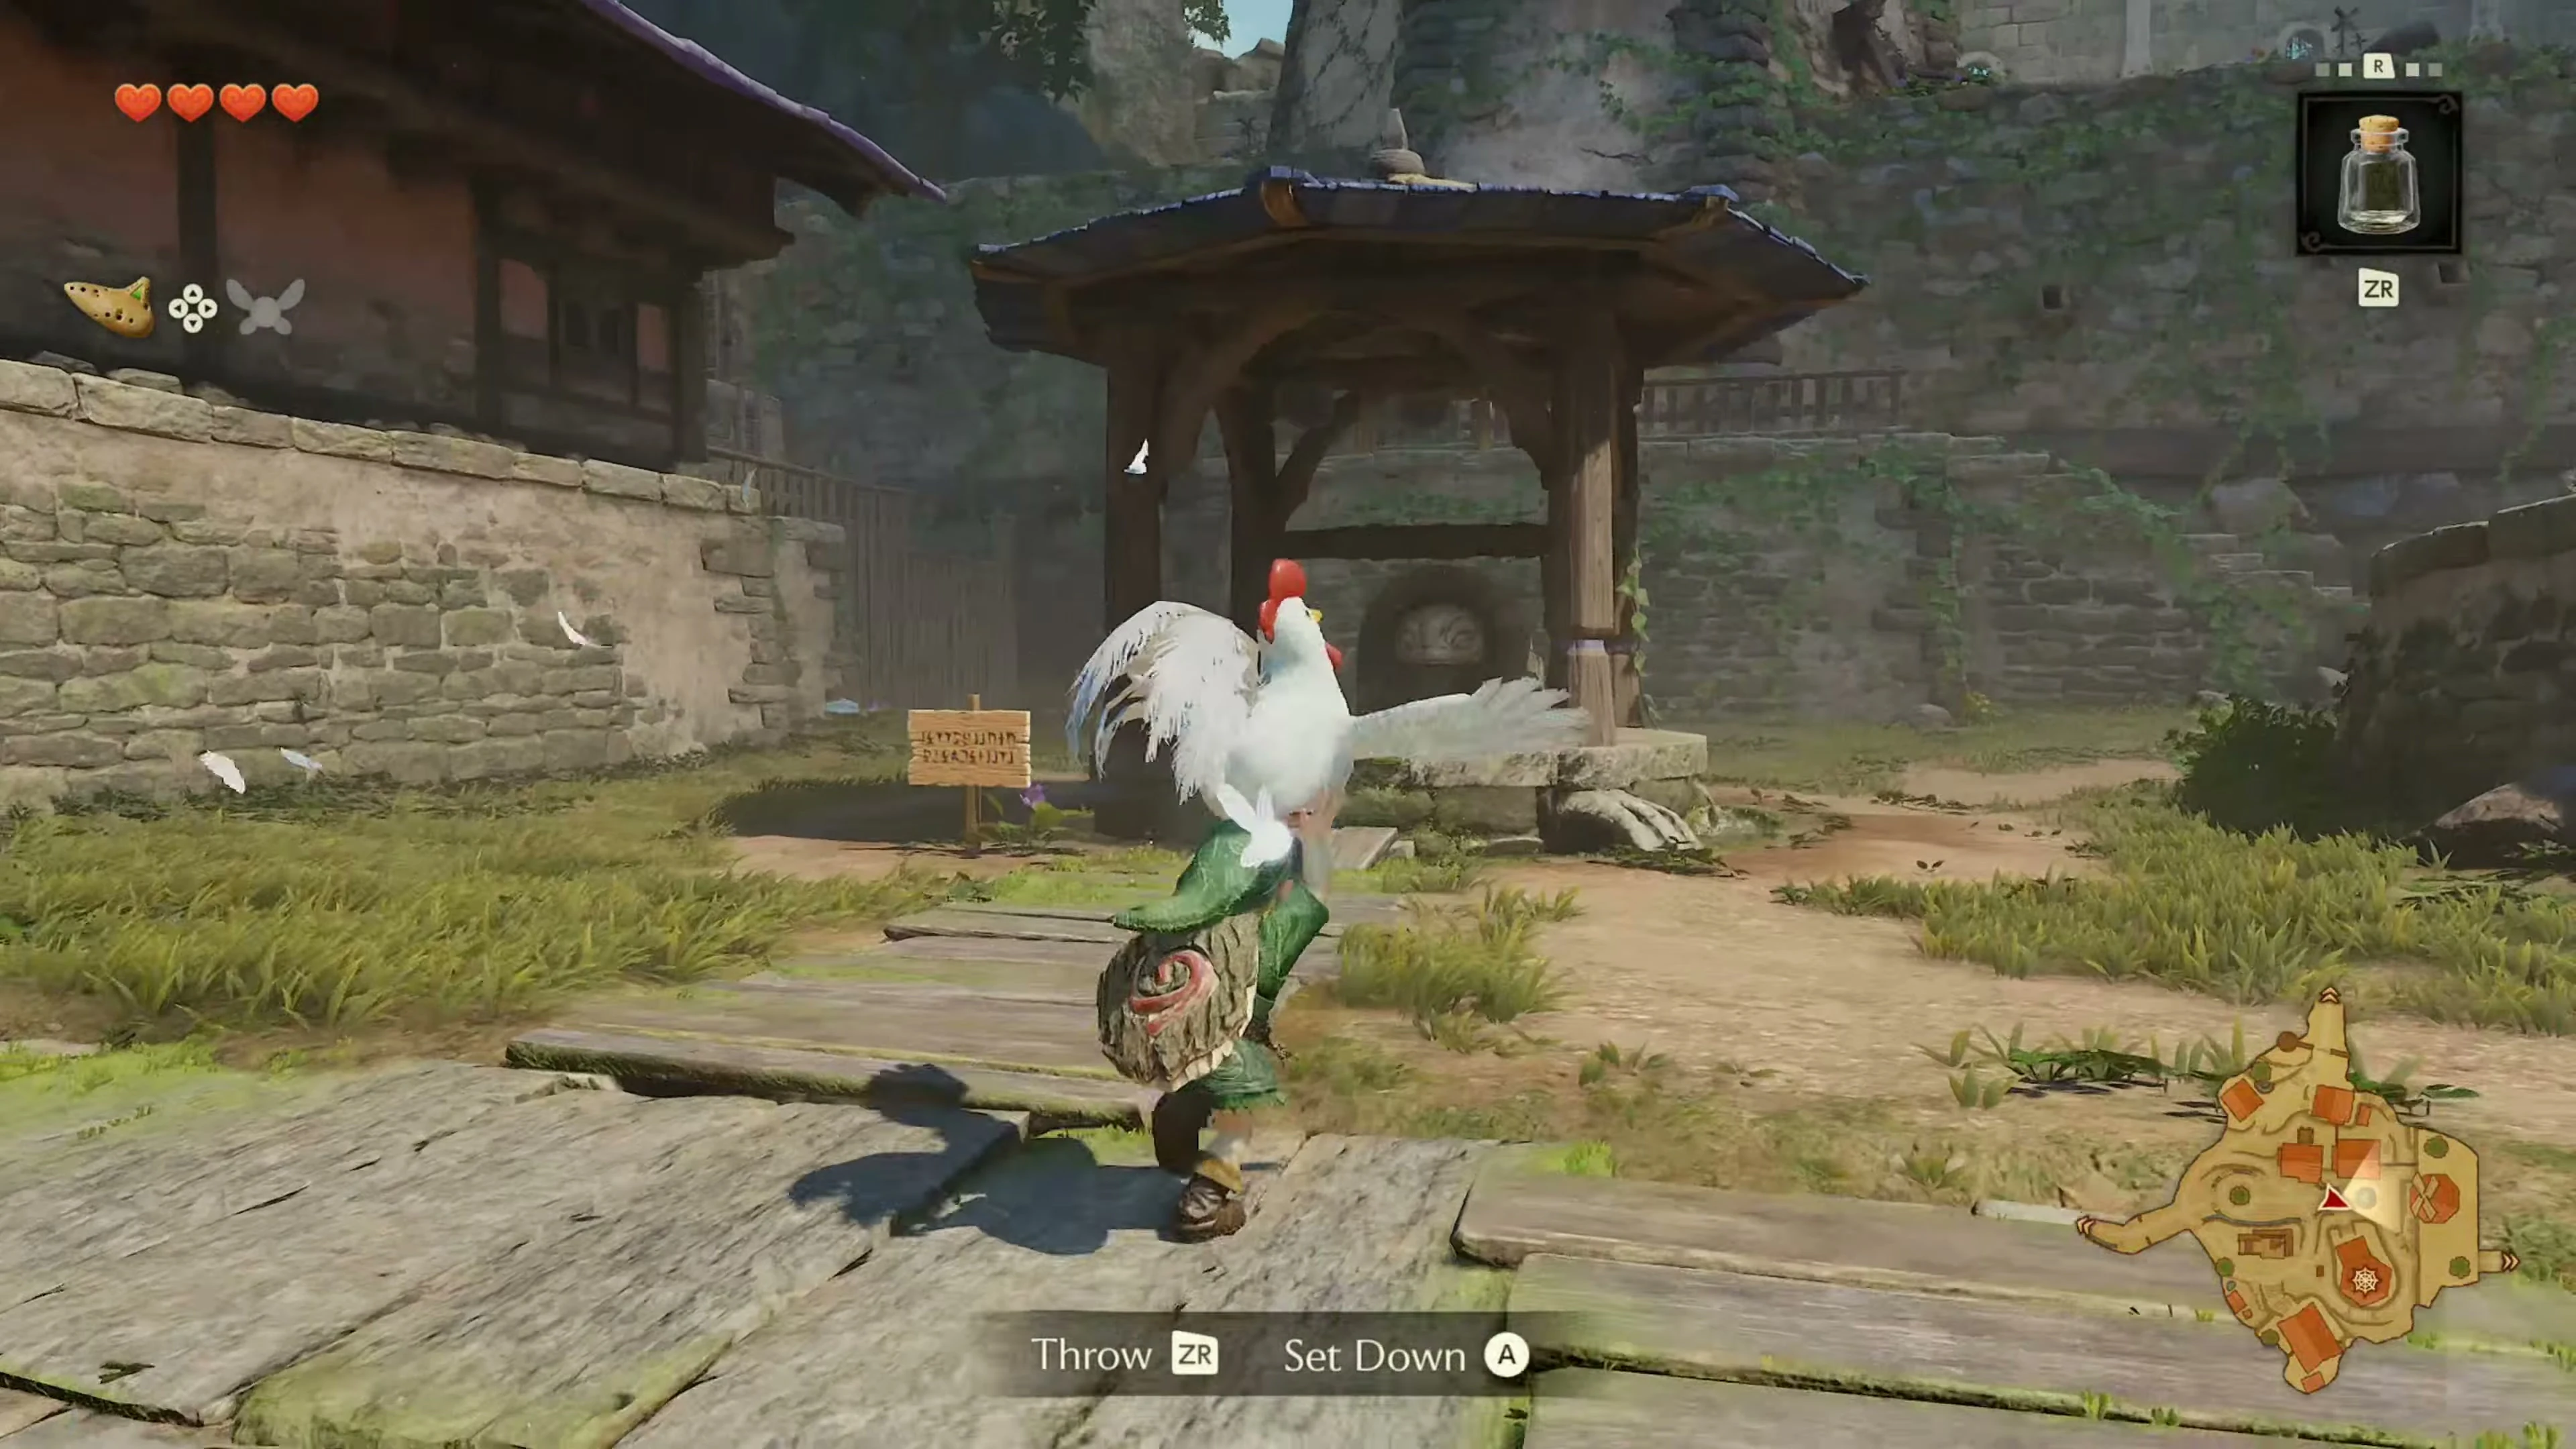
- On the large stack of bricks: Take a chicken up the steps next to the chicken lady and slide from the raised landing onto the stack of stones at the construction site. Throw both animals down into the village square.
- Behind the fence by the windmill: Carry a chicken to the windmill entrance to the east. Look north and jump over the lower part of the opposite fence. Maintain the gliding motion as you jump. The sixth chicken is running on the other side. Throw it and the animal you brought with you back towards the fountain from the nearby steps, but stay behind the fence yourself.
- On the hill behind the windmill: Climb up the two ladders on the wall in the fenced area. At the top you will find the last chicken.
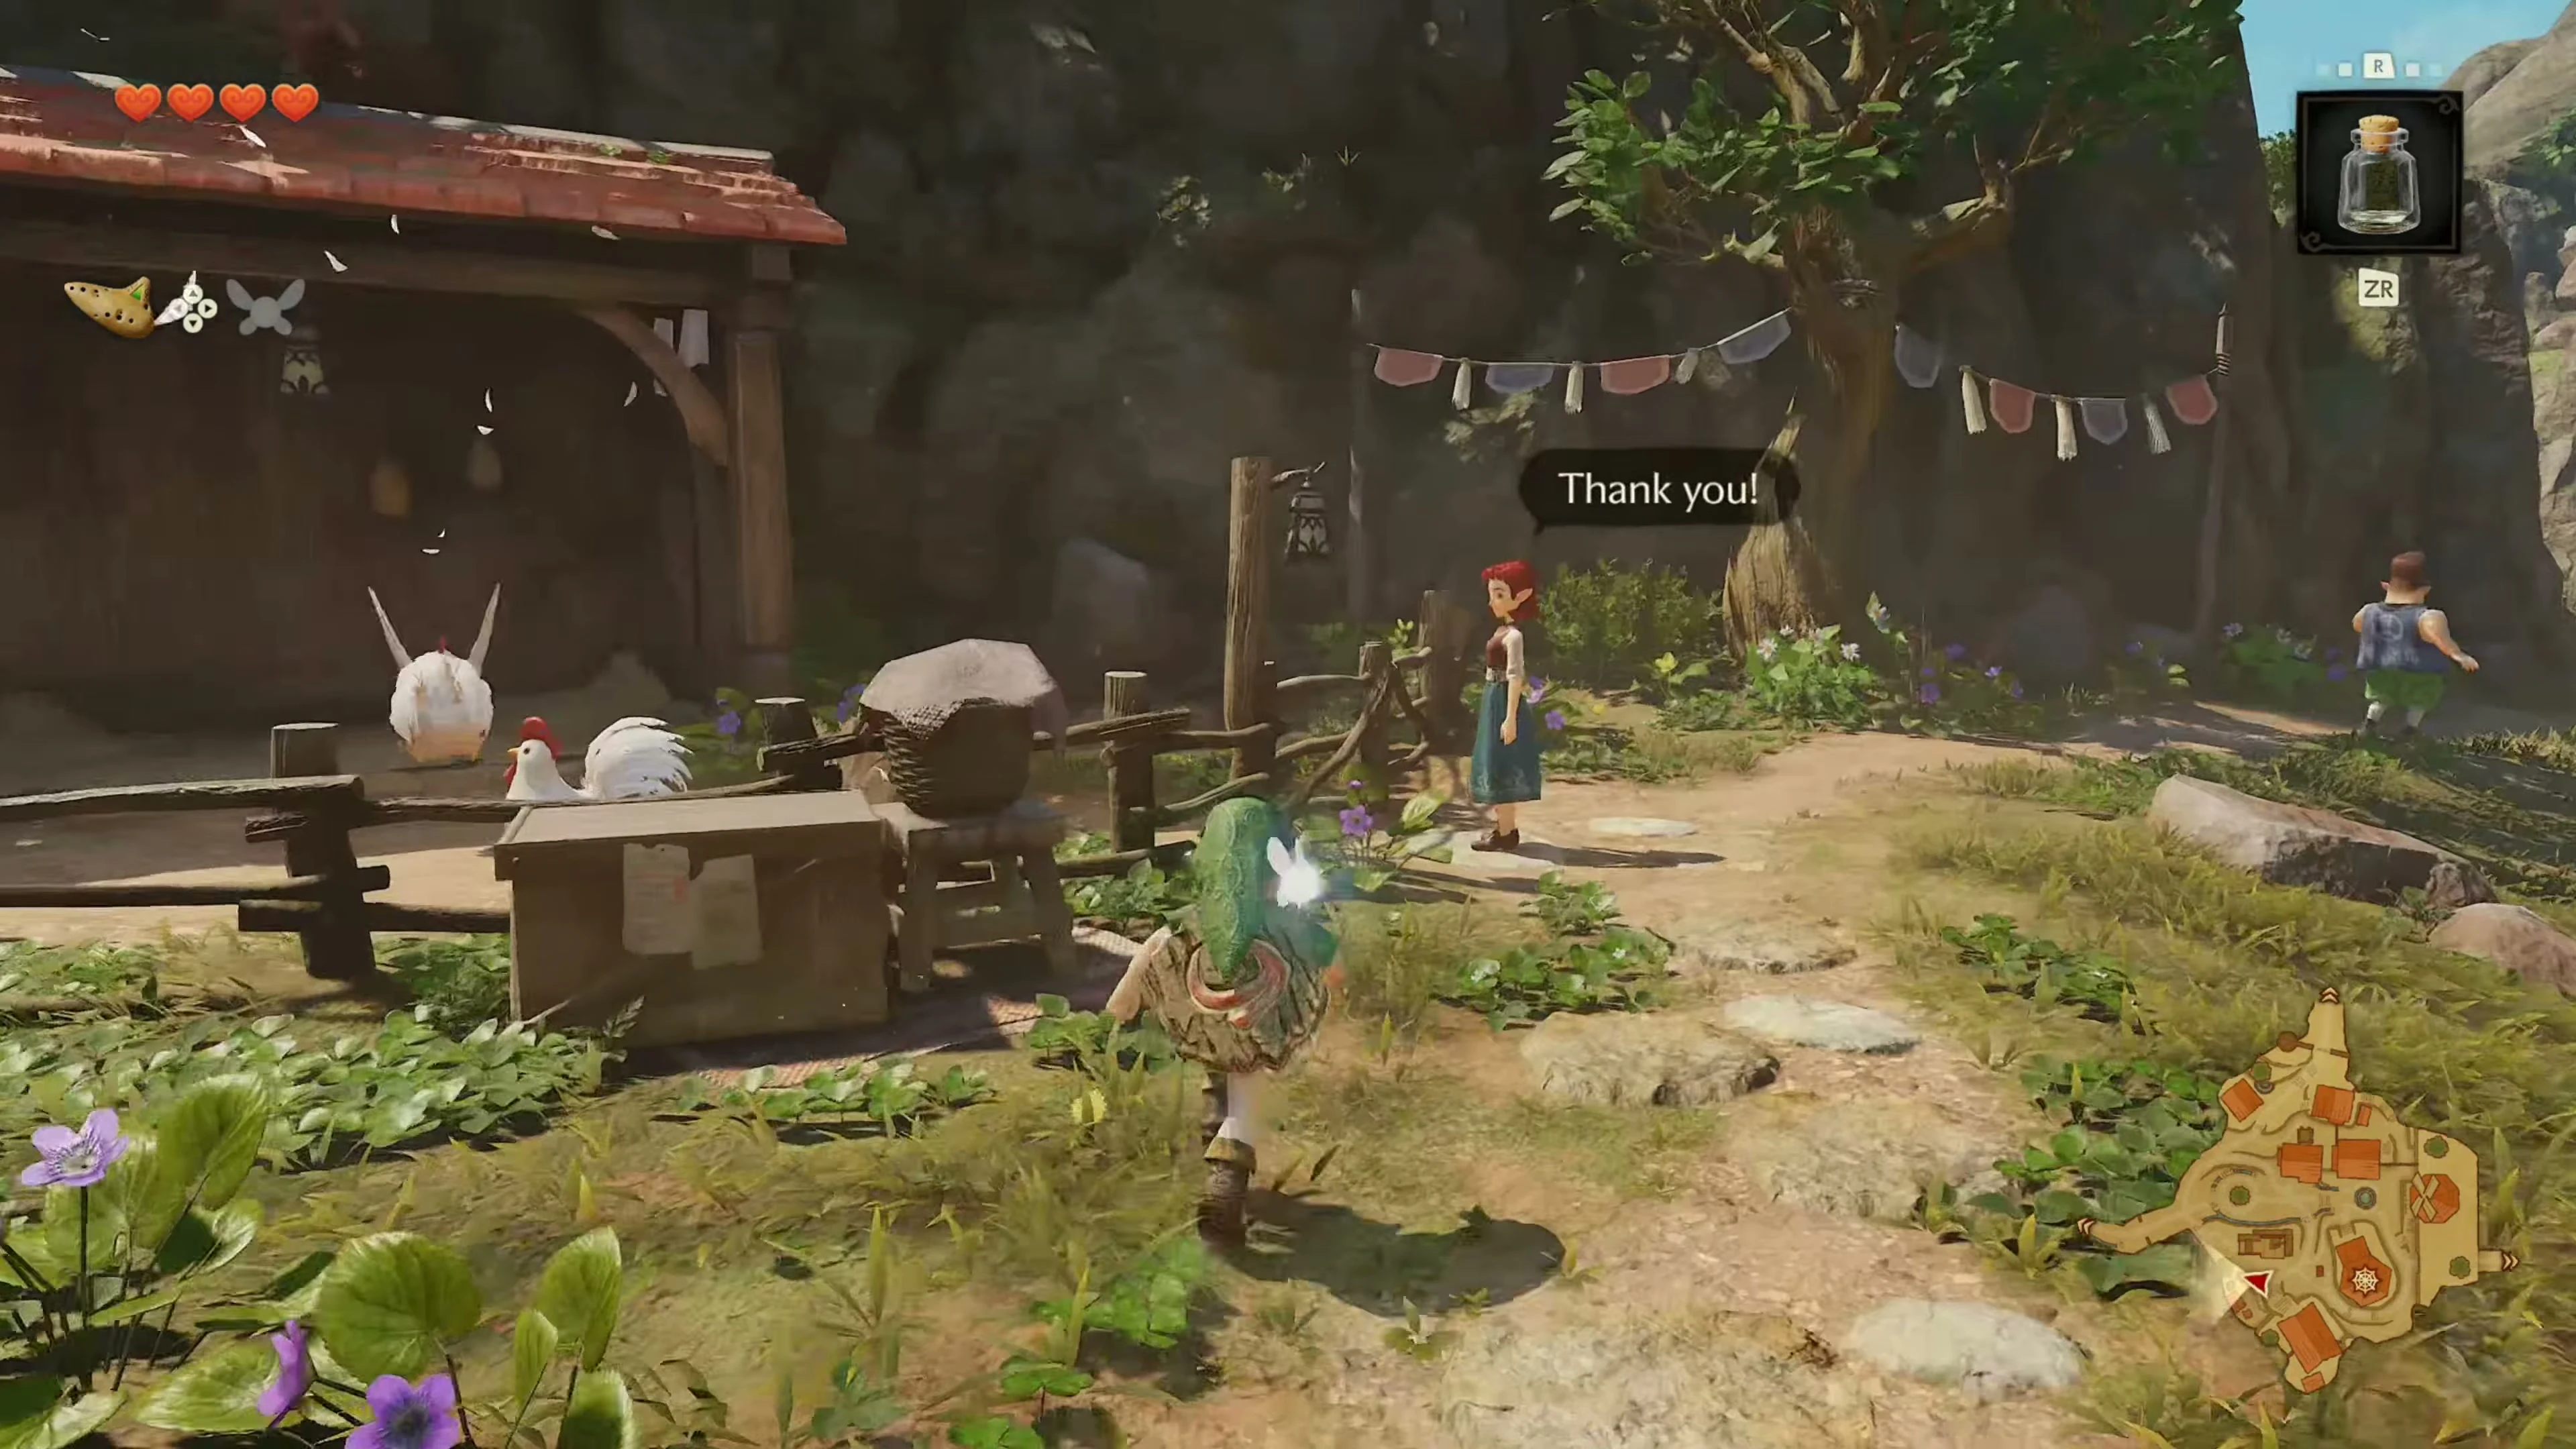
Hold the seventh chicken in your hands and glide from the hill onto the blue roof opposite the windmill . Go across the roof area to the other side. Below you a man sits on a canopy. Lower yourself down to him and speak to him; he gives you a Piece of Heart . Pick up the chicken again and slide into the village square. Then bring all discarded and free-roaming animals into the enclosure. Talk to the chicken lady once all seven are inside. You will receive the third bottle .
The Graveyard of Kakariko Village
Take the eastern passage to the Graveyard. Right at the entrance you will find beetles on the right under a small stone. Catch one in an empty bottle and take it with you for the soft earth in the Lost Woods and Death Mountain Trail.
Dampé’ Grave Horror Tour
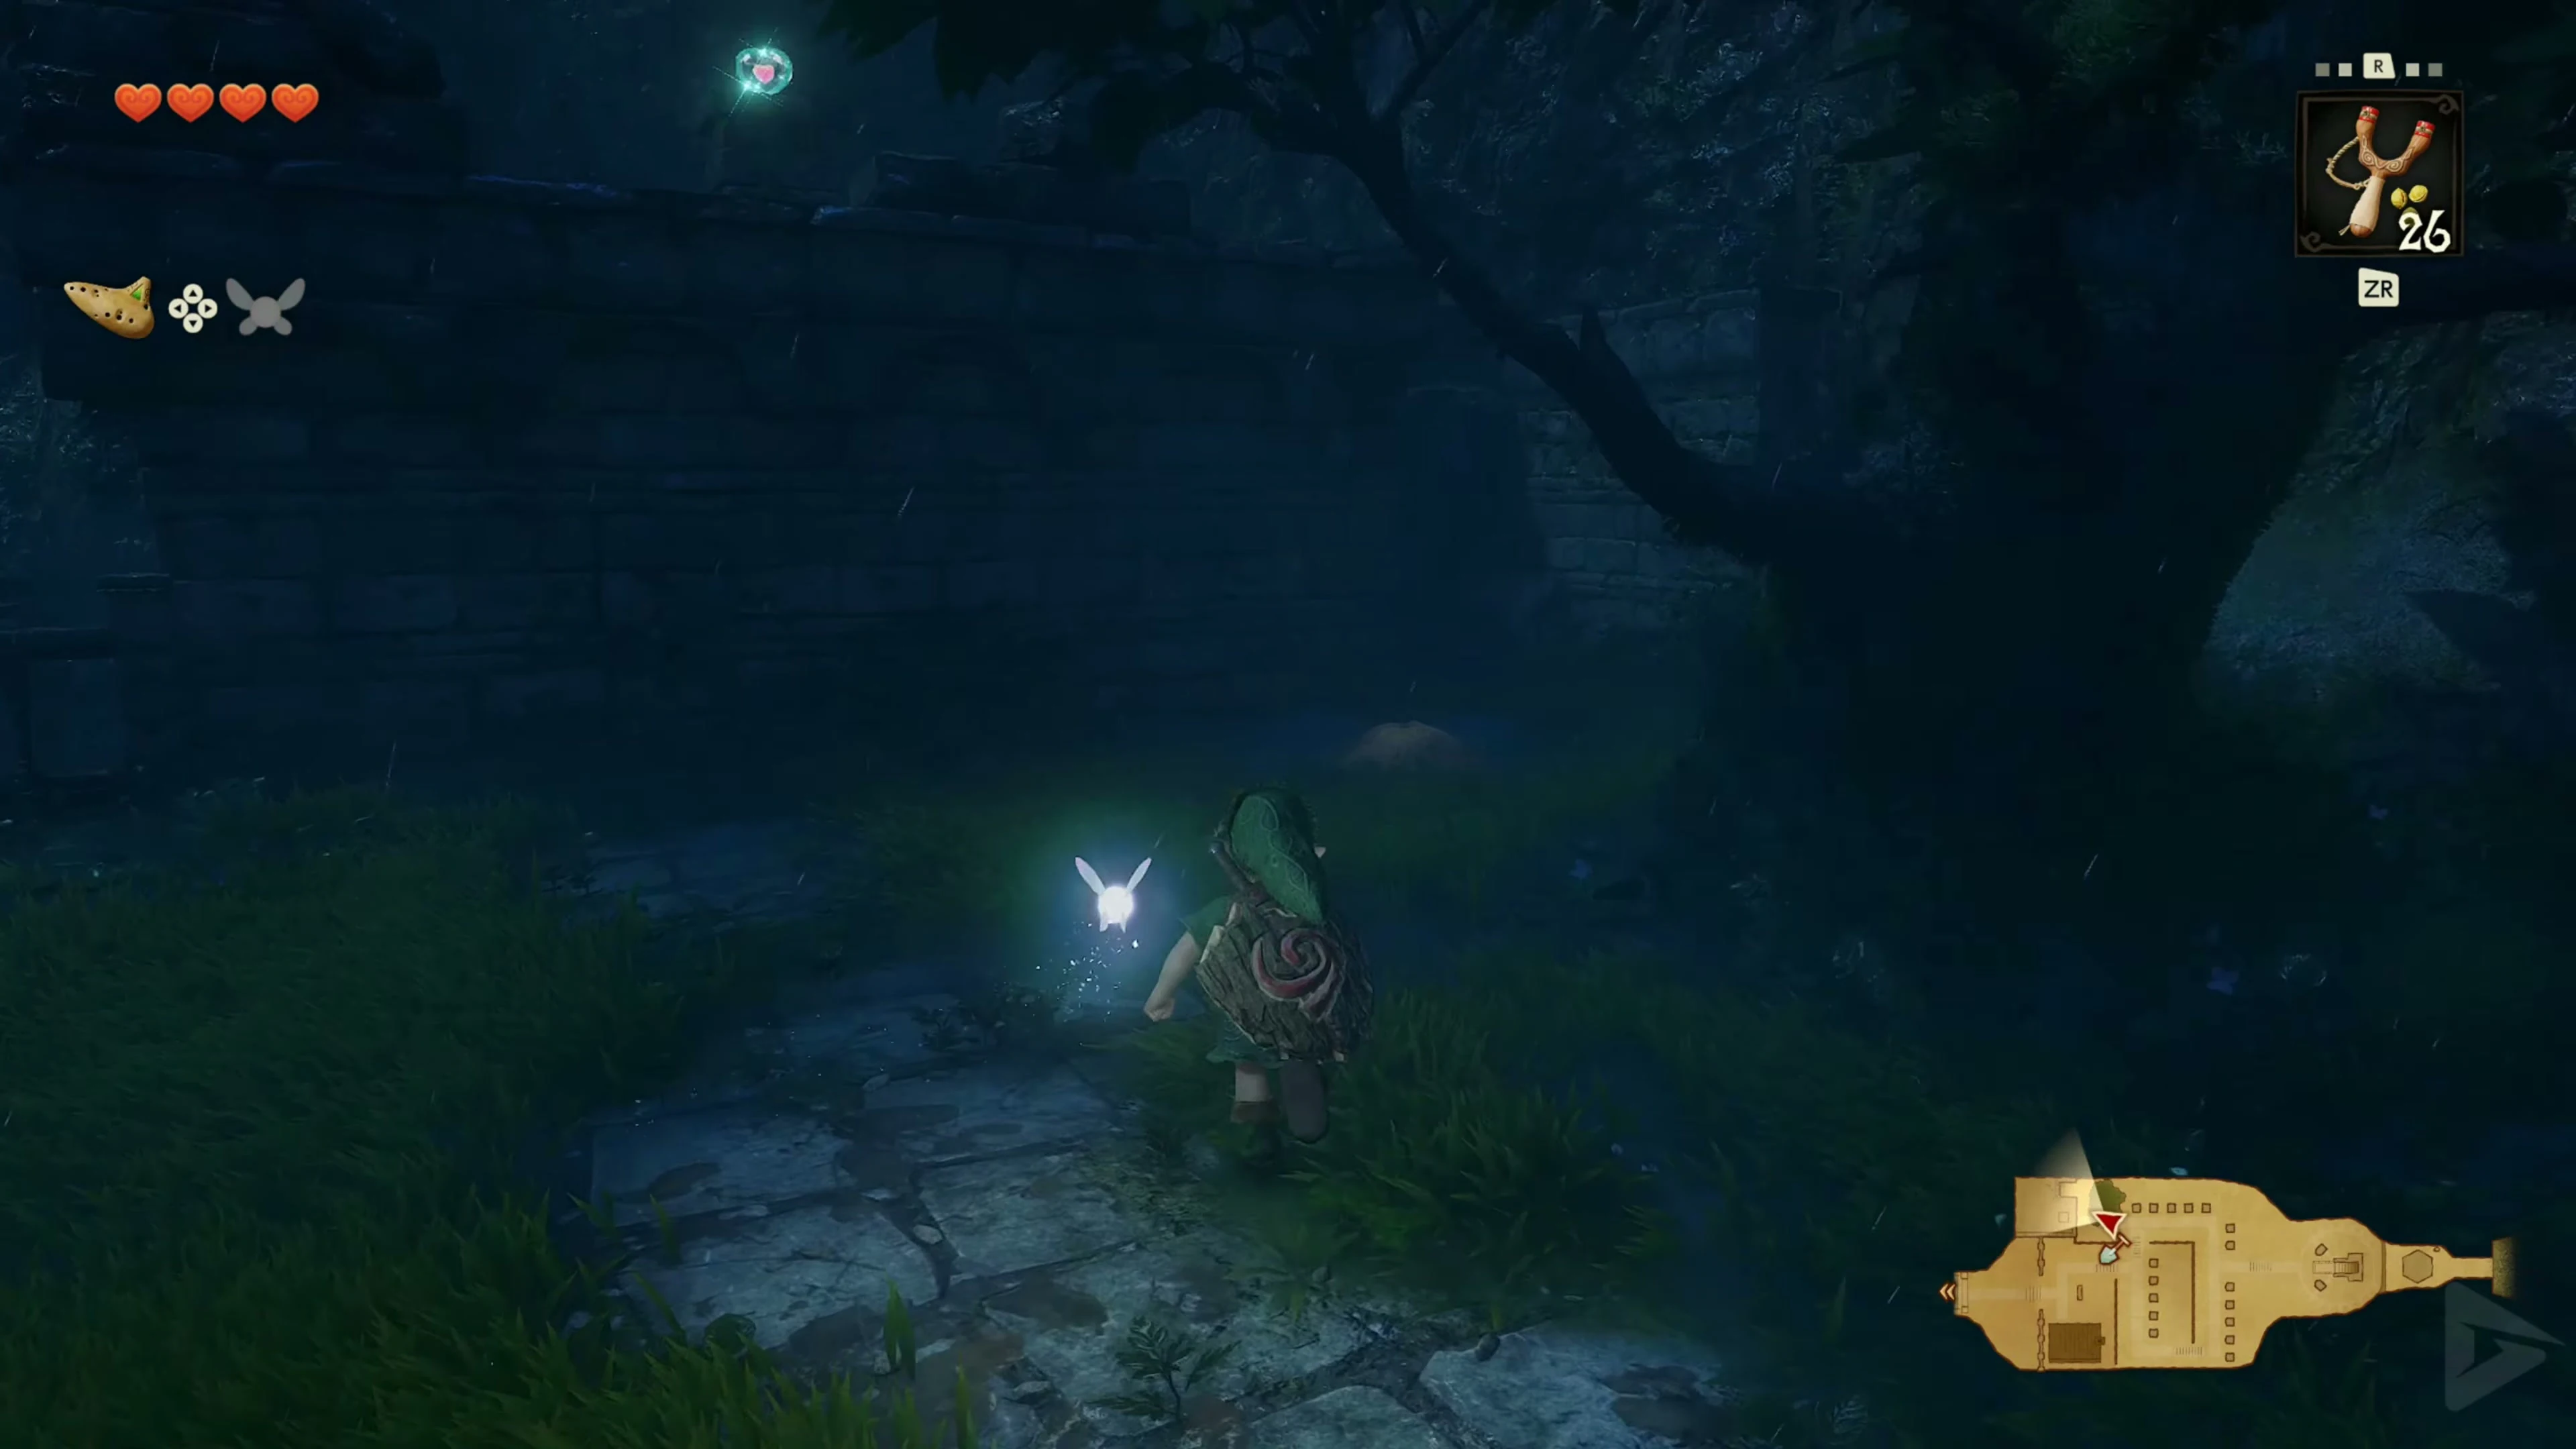
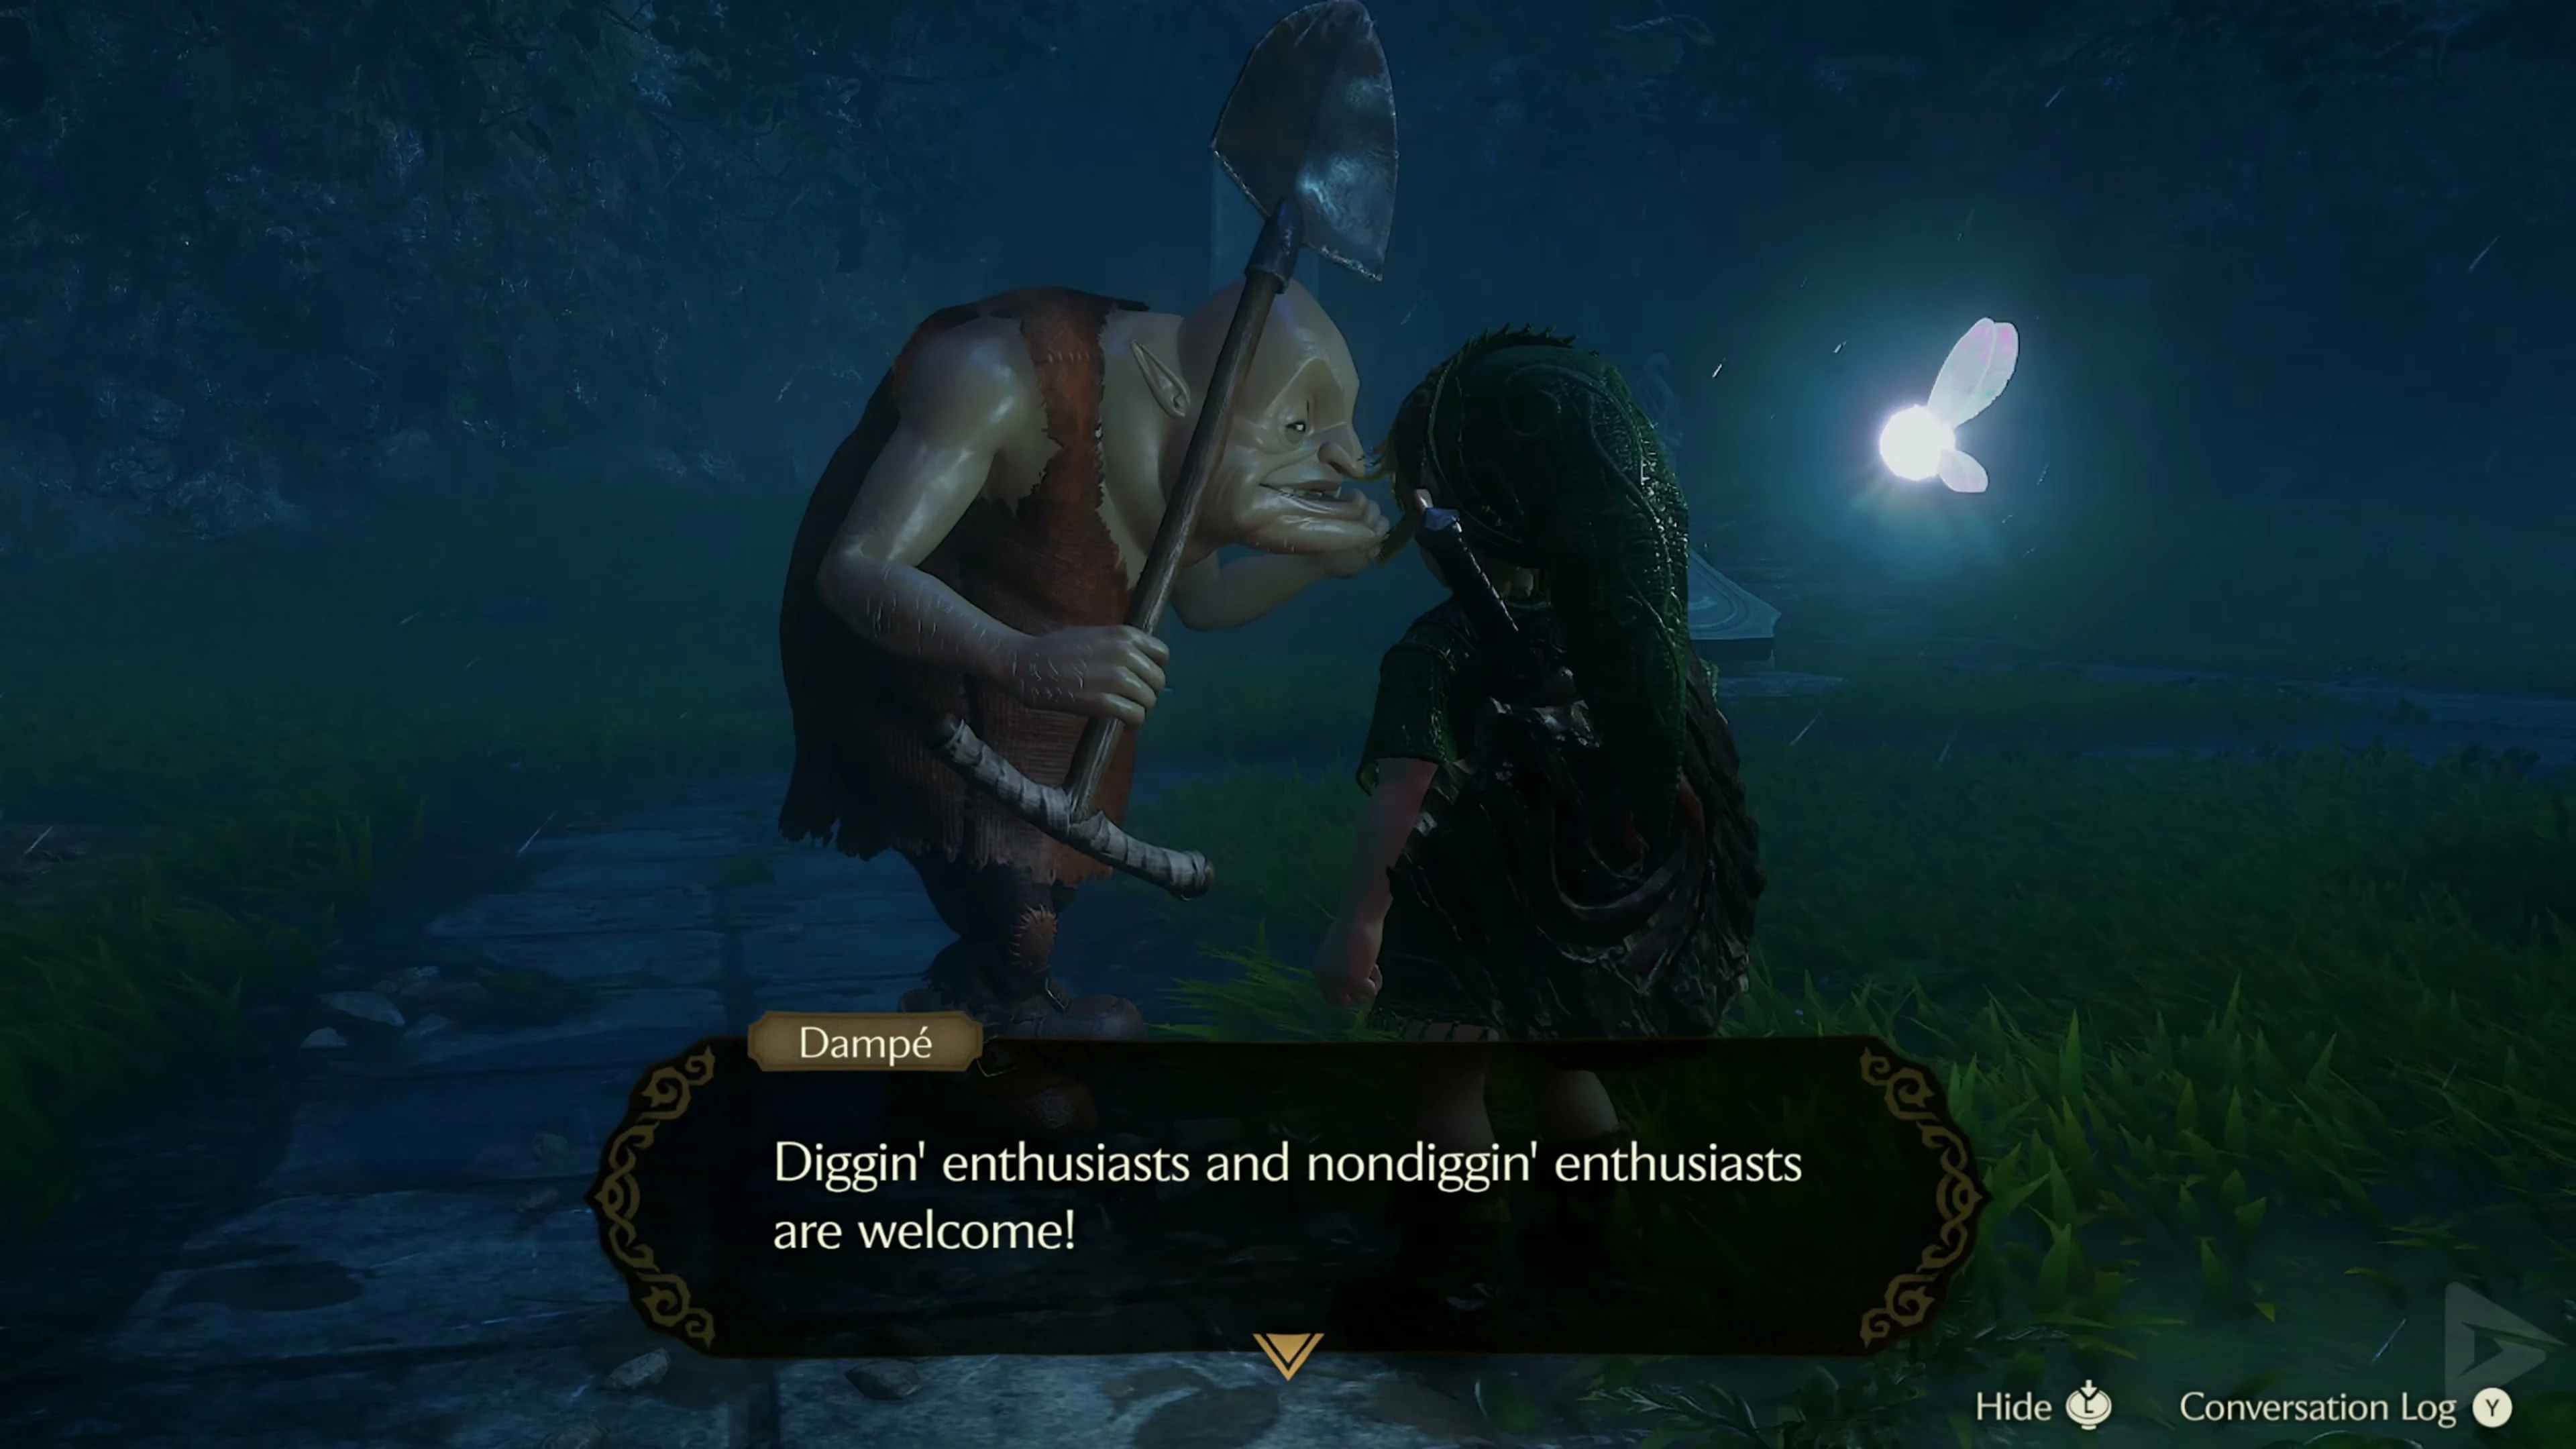
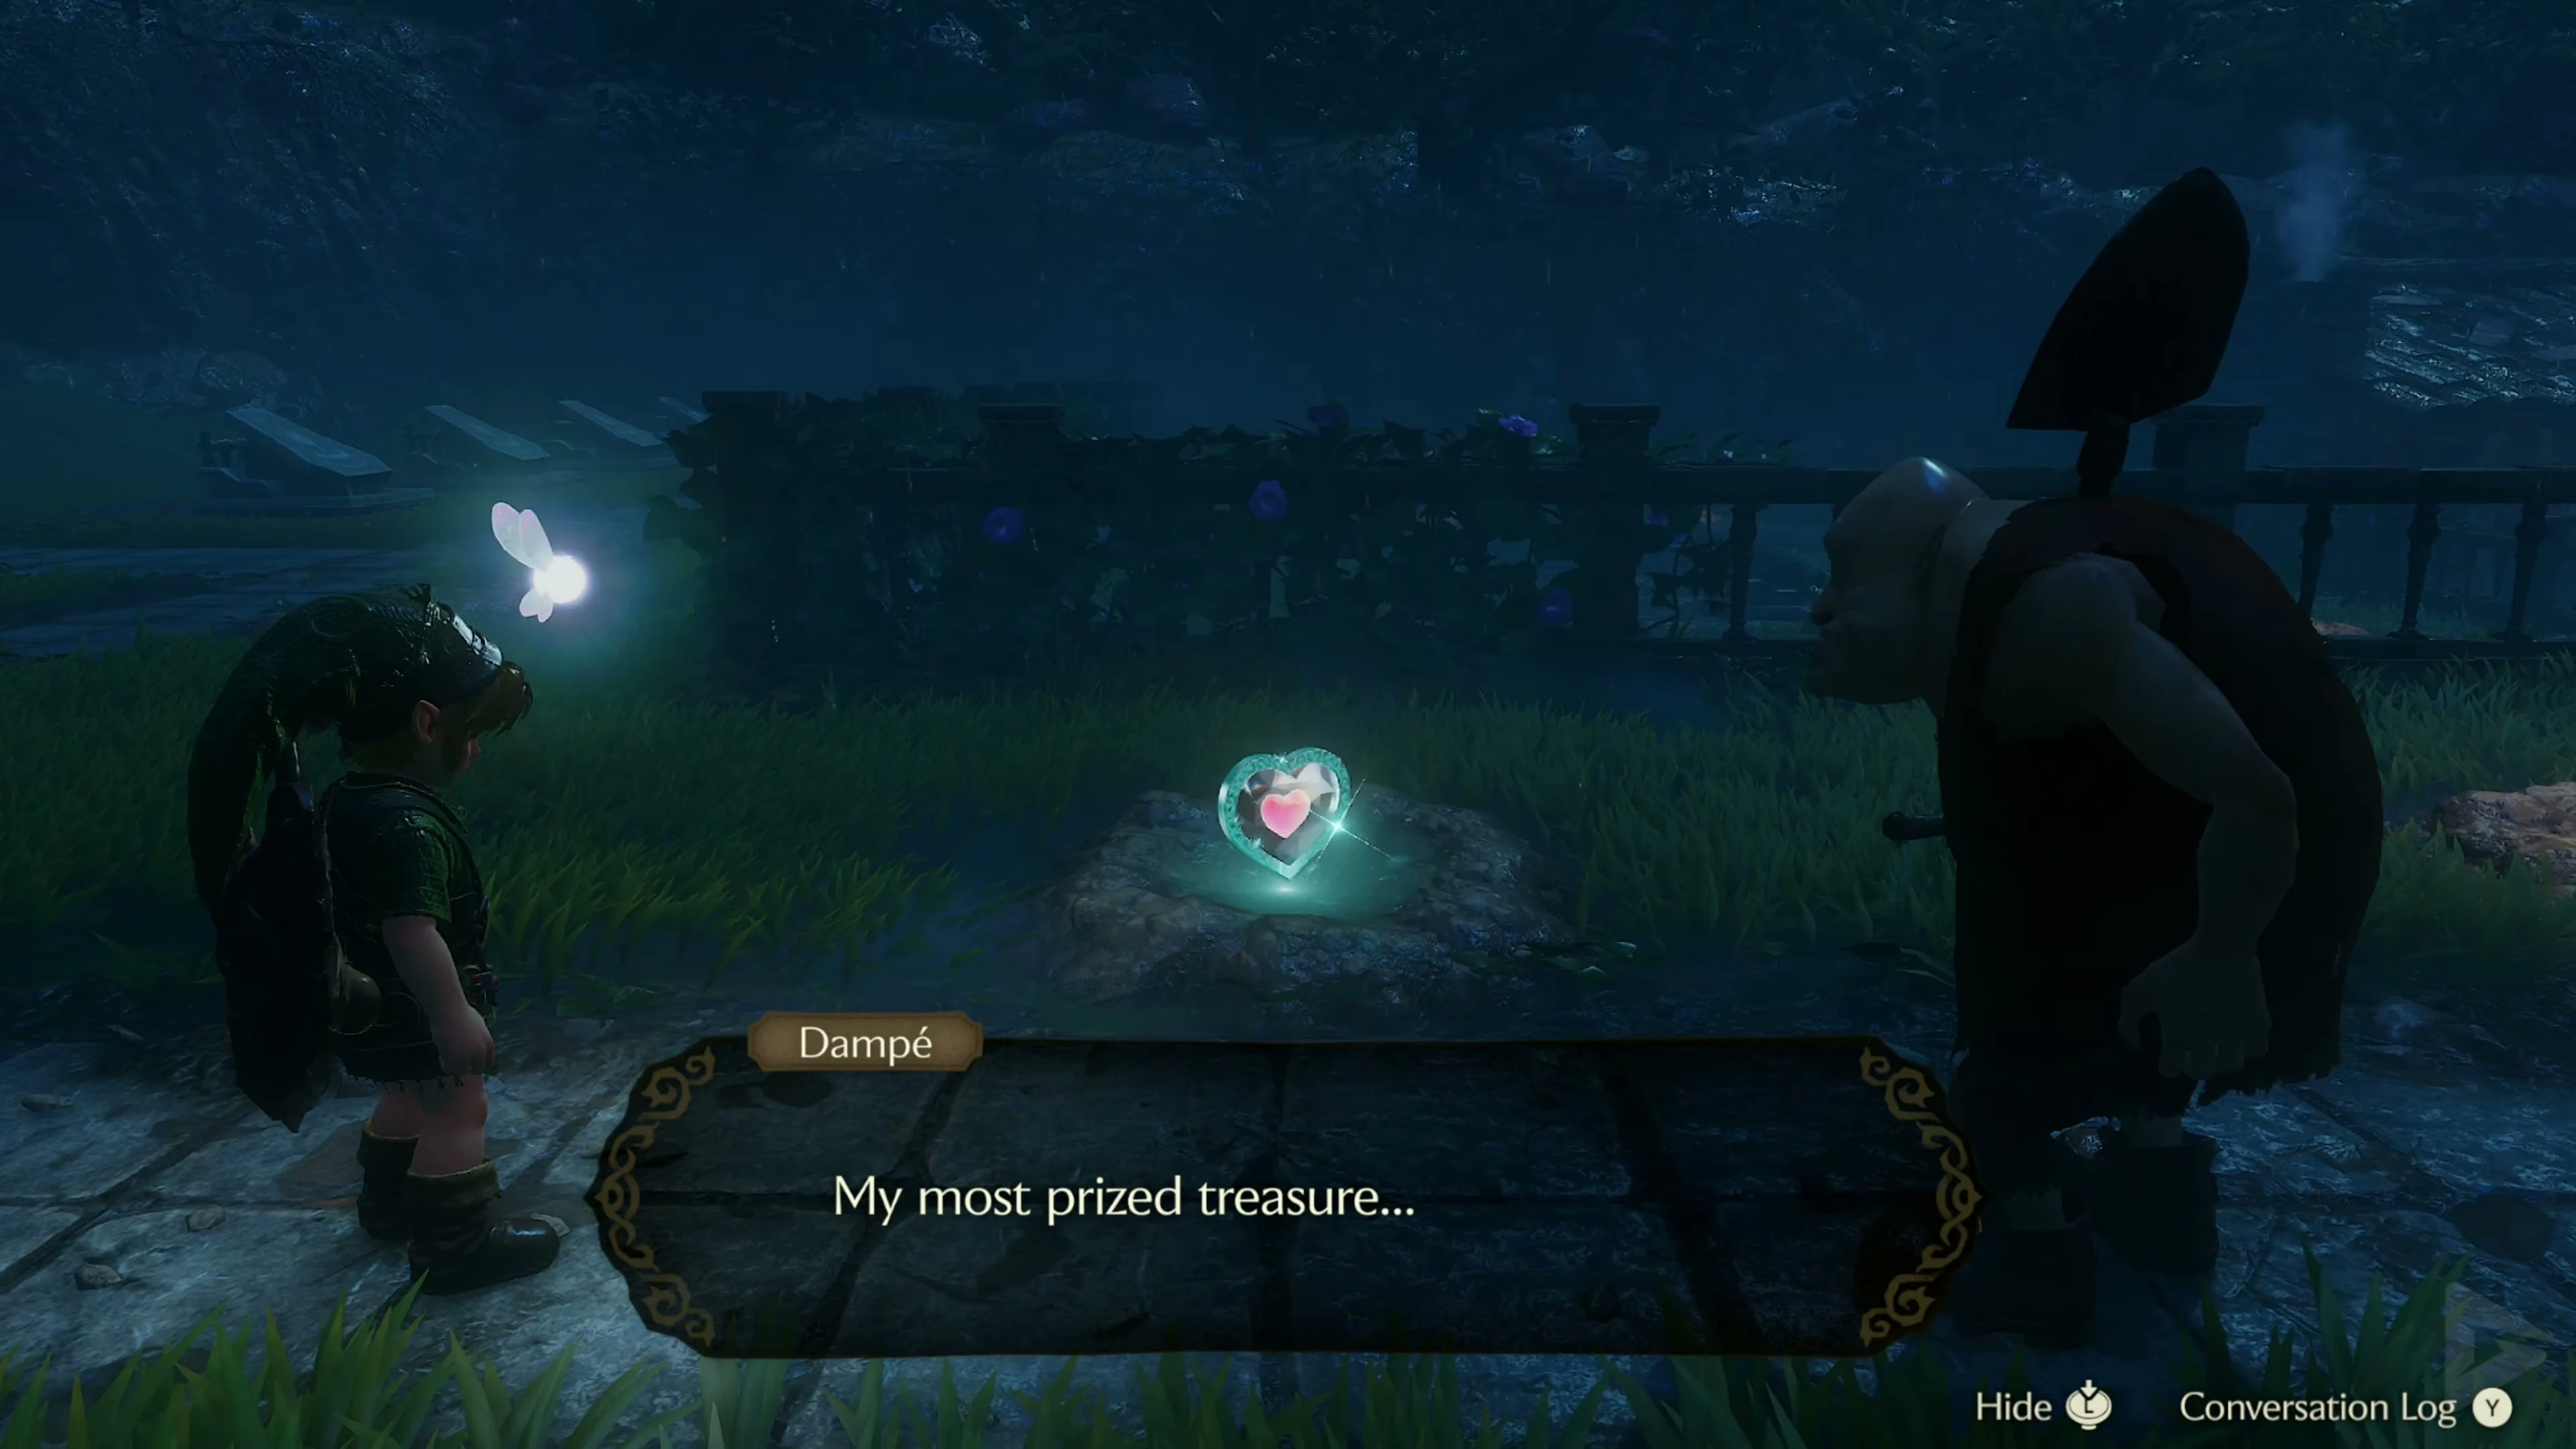
Wait in the Graveyard until night and talk to Dampé about his grave spooky tour. If possible, take around 100 rupees with you so that you can pay for multiple attempts. Dampé follows you to the excavation sites. An excavation costs 10 Rupees ; if he comes across something hard, he can demand another 5 Rupees . Pay this surcharge too. Among the finds is a Piece of Heart . The places are distributed again with a new night, so try to dig several places on the same nightly round if possible. Pick up the Piece of Heart as soon as it is in front of you.
The Royal Family Tomb and the Sun’s Song
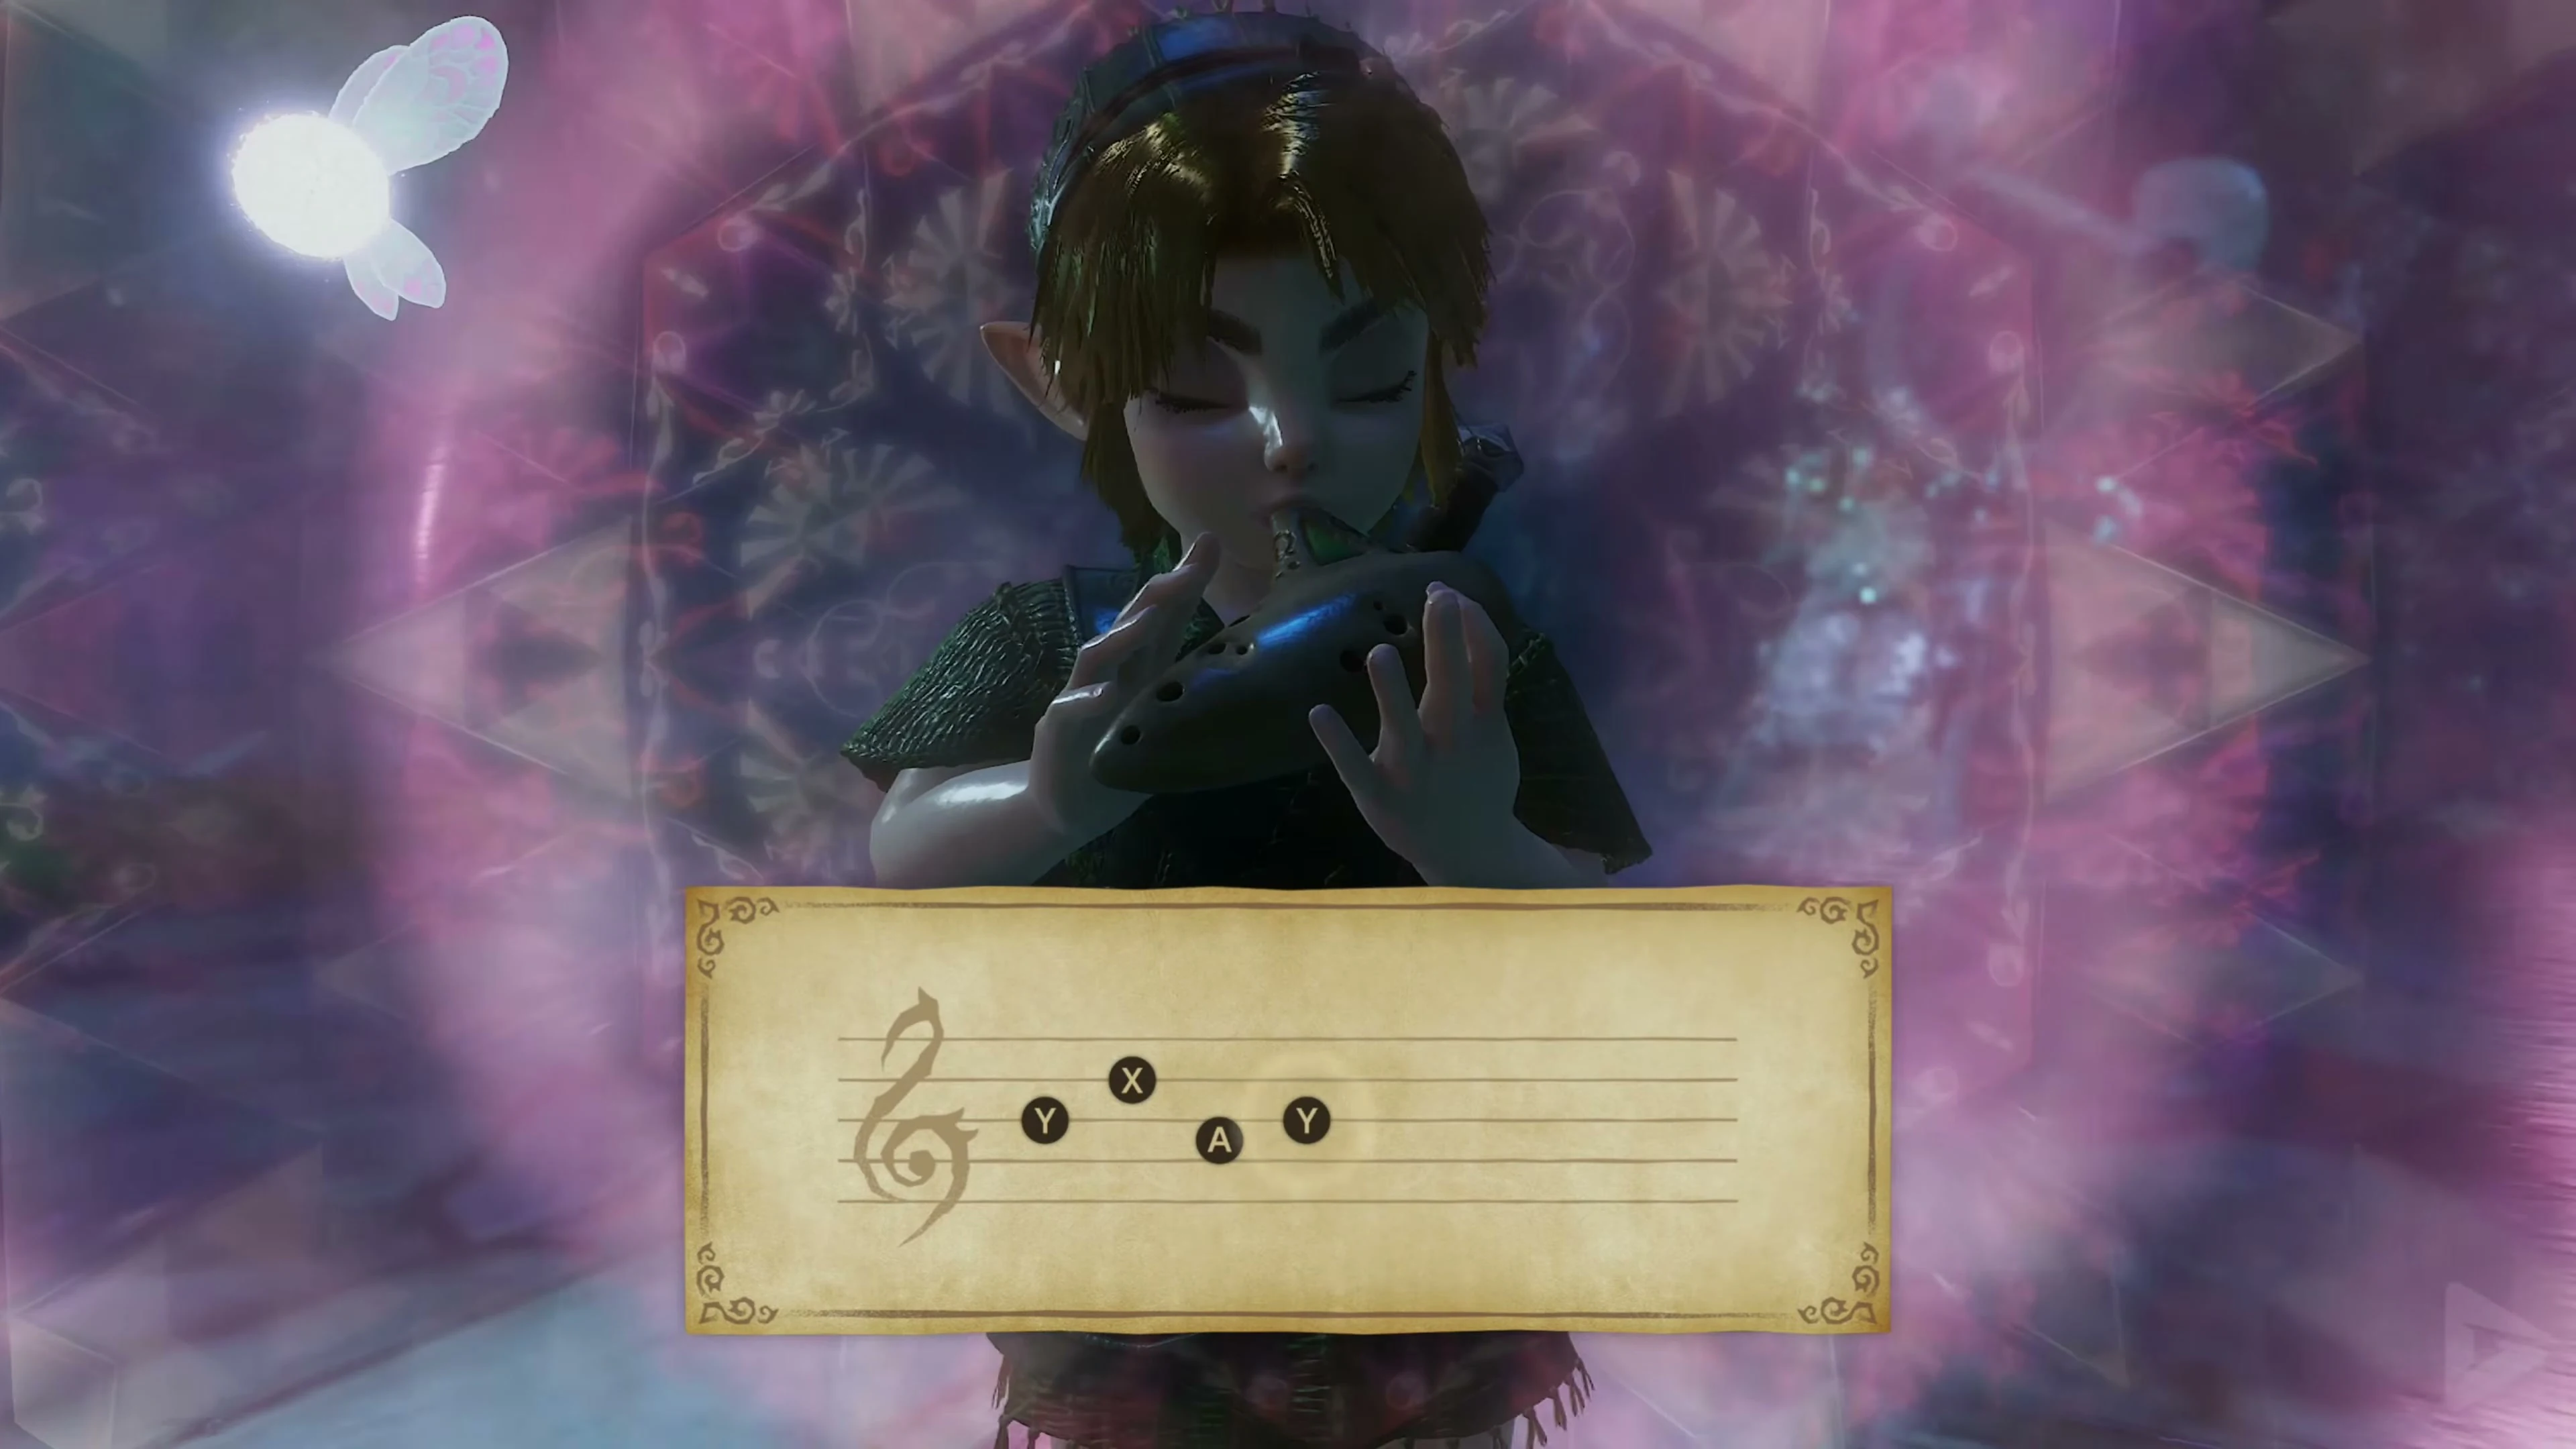
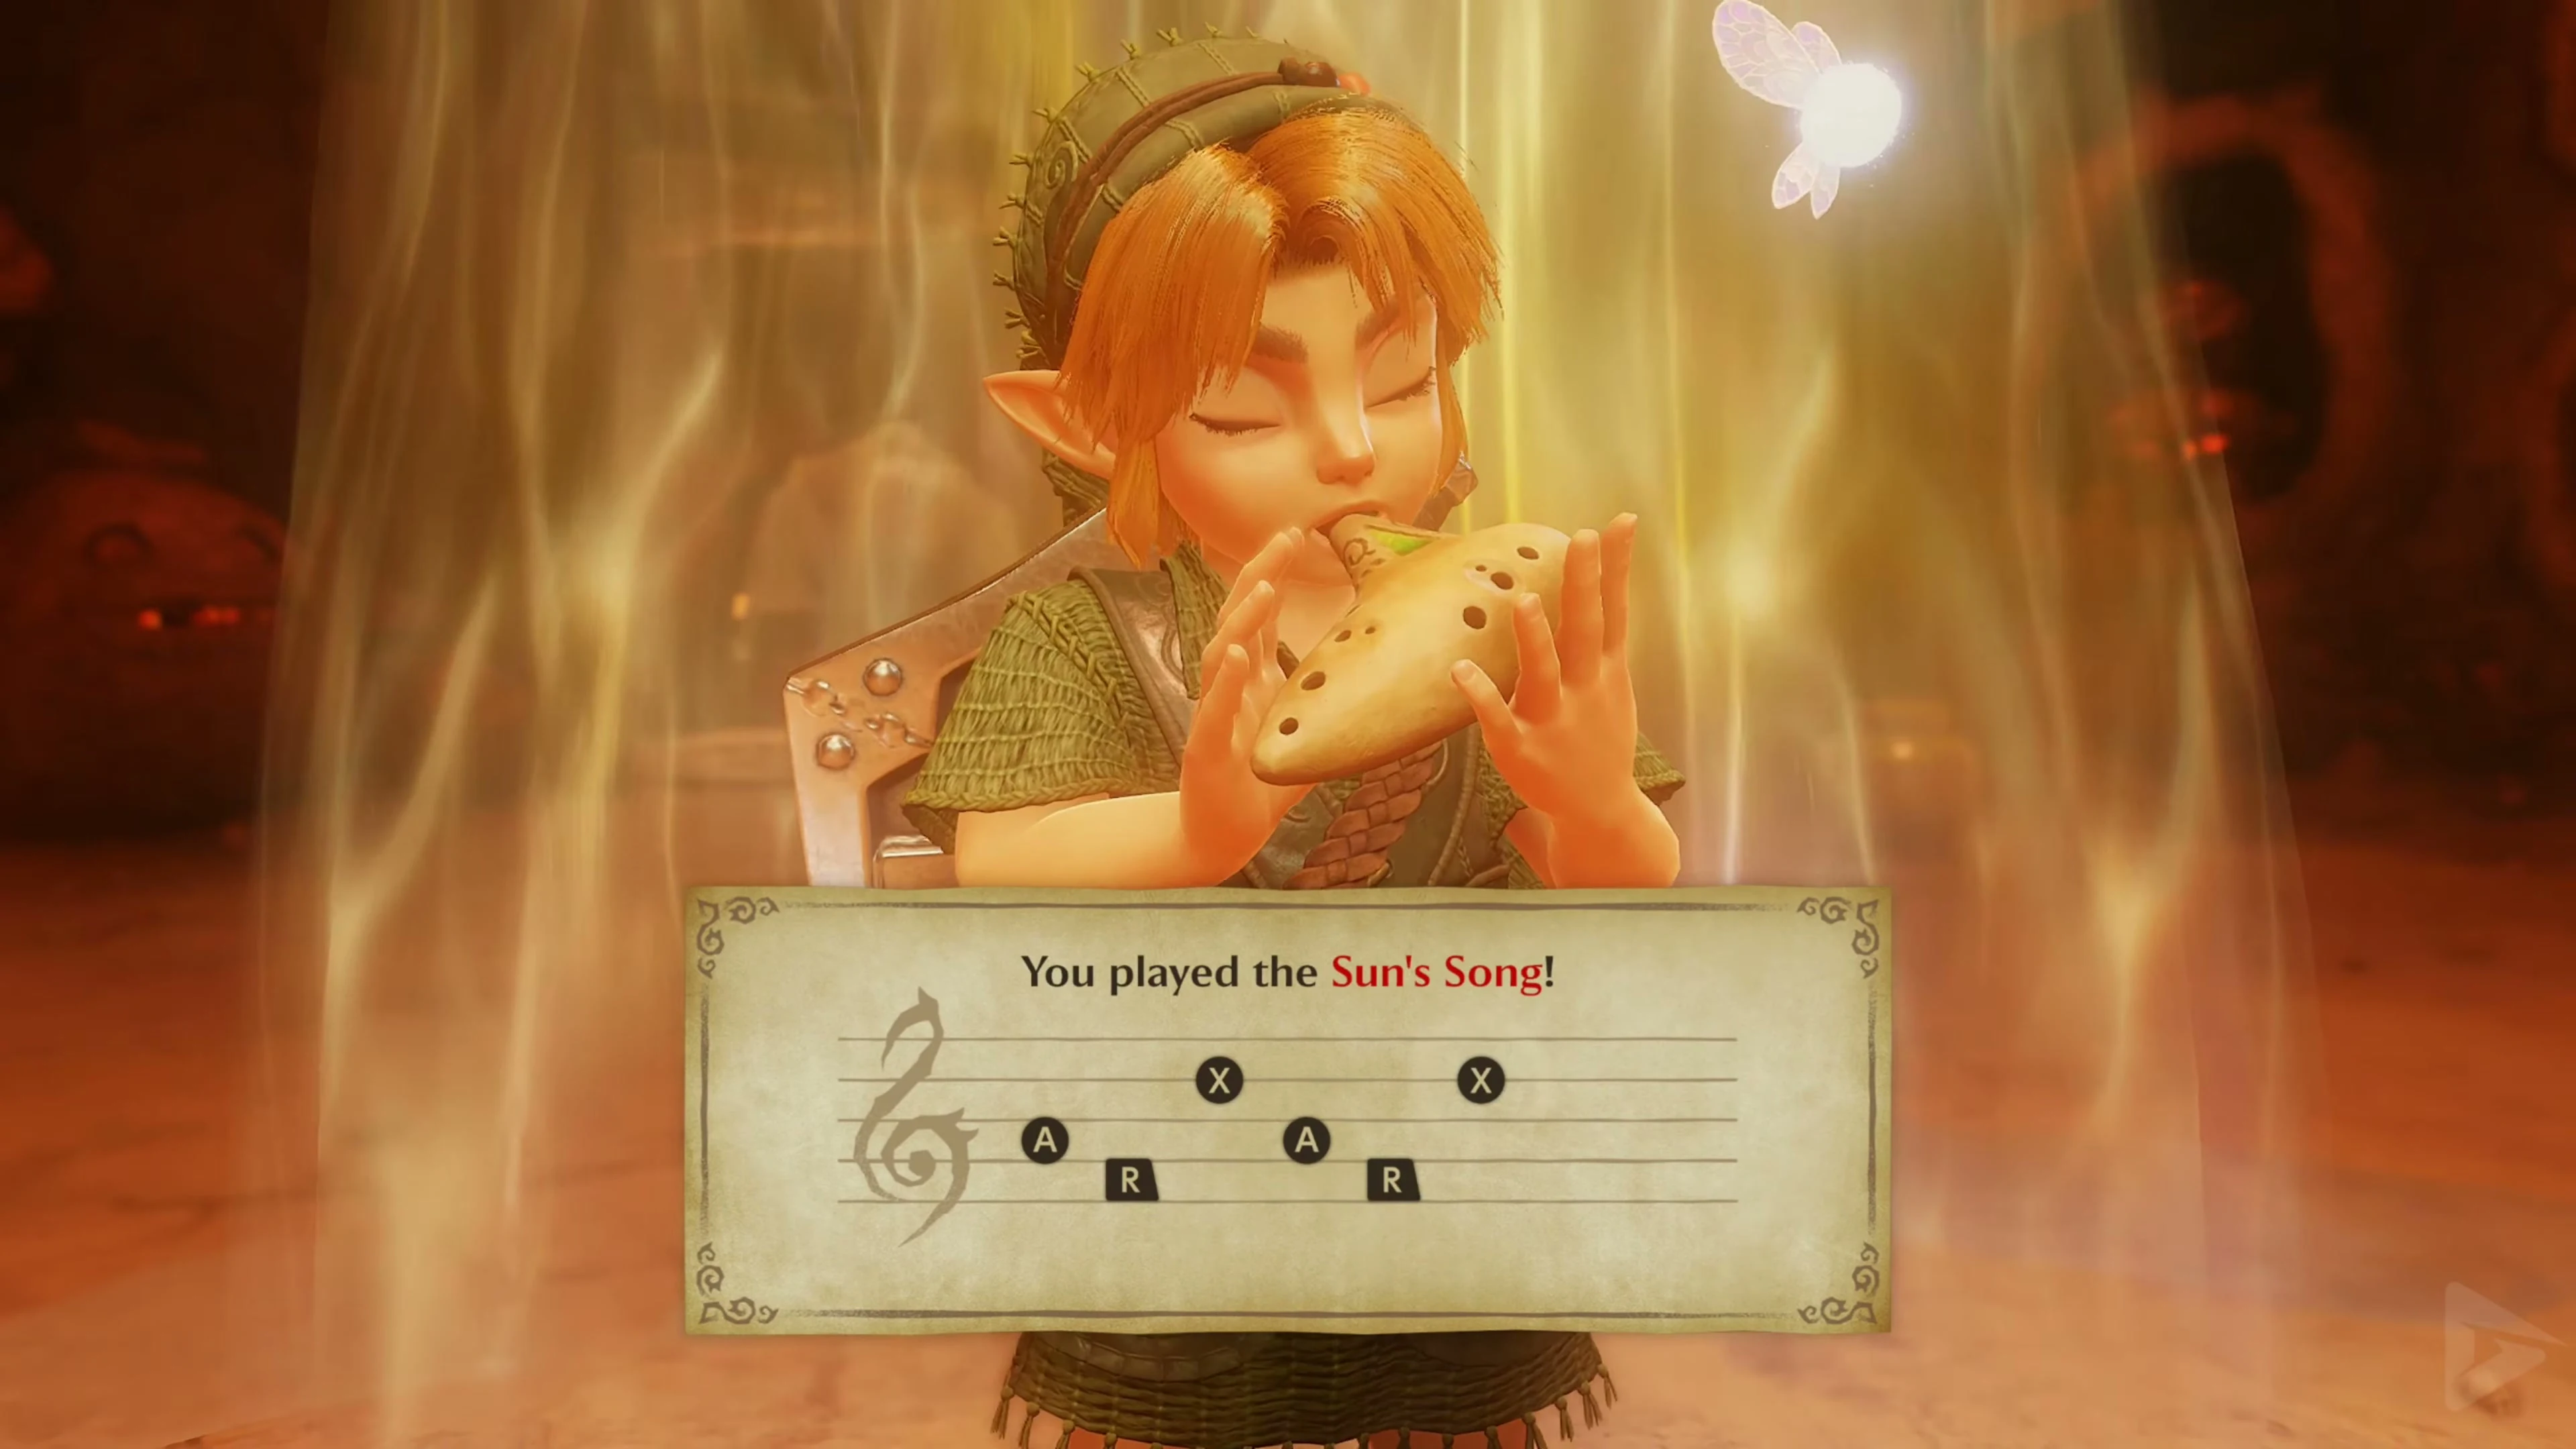
Go to the large Royal Family Tomb at the back of the cemetery. Stand on the Triforce sign and play Zelda’s Lullaby. After the lightning you can jump into the opened grave. Defeat all the Keese in the first room. Go through the unlocked door and keep your distance from the ReDeads in the next room. Run around the damaging floor areas to the stone tablet at the back. Read them to learn the Sun’s Song . It alternates day and night and paralyzes ReDeads. Return to the surface through the crypt.
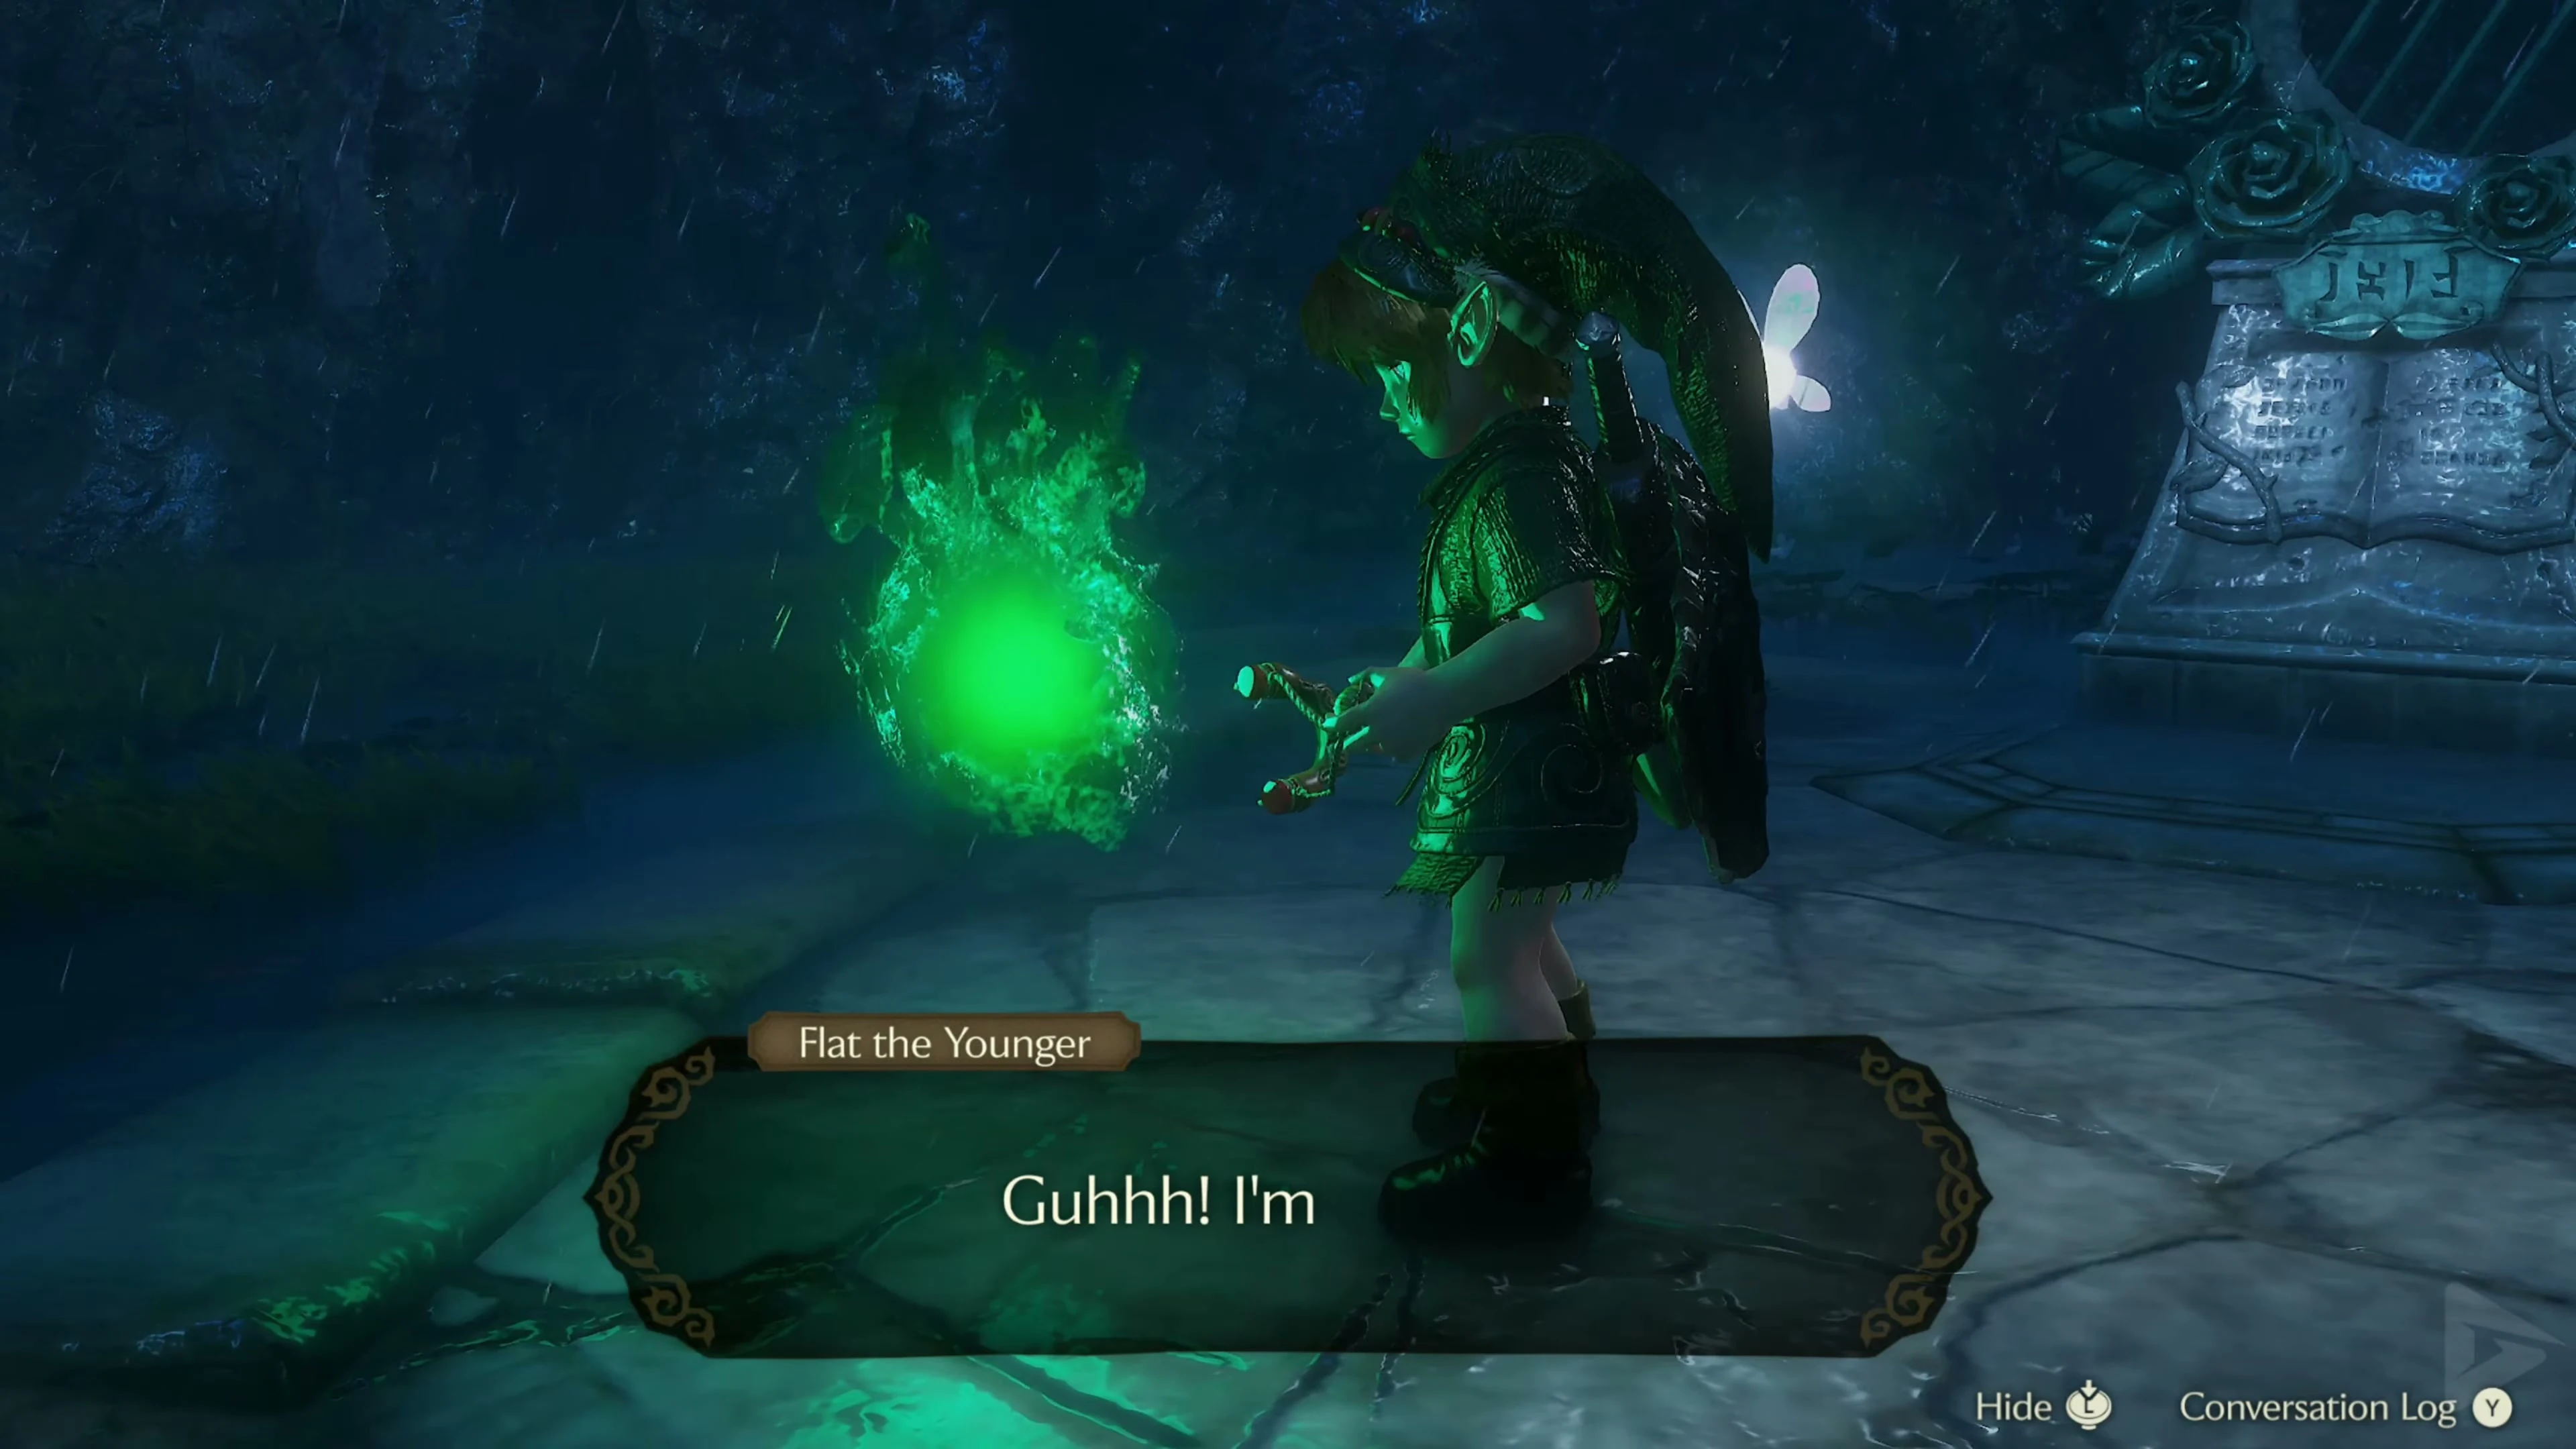
Free Hylian Shield
Stand on the cemetery path and look at the large Royal Family Tomb. Find the second grave to the right of the path . At night you can pull back the tombstone and jump into the shaft. Paralyze the ReDead below with the Sun’s Song and defeat him. Then open the chest with the Hylian Shield . Equip him for the fiery rooms in Dodongo Cavern; the Deku Shield remains in the inventory for returning Deku Nuts.
Piece of Heart in the right grave
At night, also open the rightmost ordinary tomb when facing the Royal Family Tomb. The next Piece of Heart lies in the small crypt. Return upstairs. You can get the Gold Skulltula behind Dampé’s hut with the boomerang.
Five Gold Skulltulas in Kakariko Village
Return to Kakariko Village and set the night with the Sun’s Song. Roll against the large tree at the village square and collect the falling token. Then go to the Skulltula house with the blue door ; The next Gold Skulltula sits directly outside of the entrance. The third one can be found on the scaffolding of the unfinished house . Climb the construction site to reach the token after defeating it.
Next, shoot the Skulltula off the ladder of the tall watchtower and climb to its token. For the last one, go behind the northwest house near the entrance to Death Mountain Gate ; it’s sitting on the brick back wall. All five are now accessible as a child. Afterward, visit the Skulltula House. For at least ten tokens , you’ll receive the Adult’s Wallet for 500 Rupees . The following rewards and further locations are listed in the Gold Skulltulas Guide .
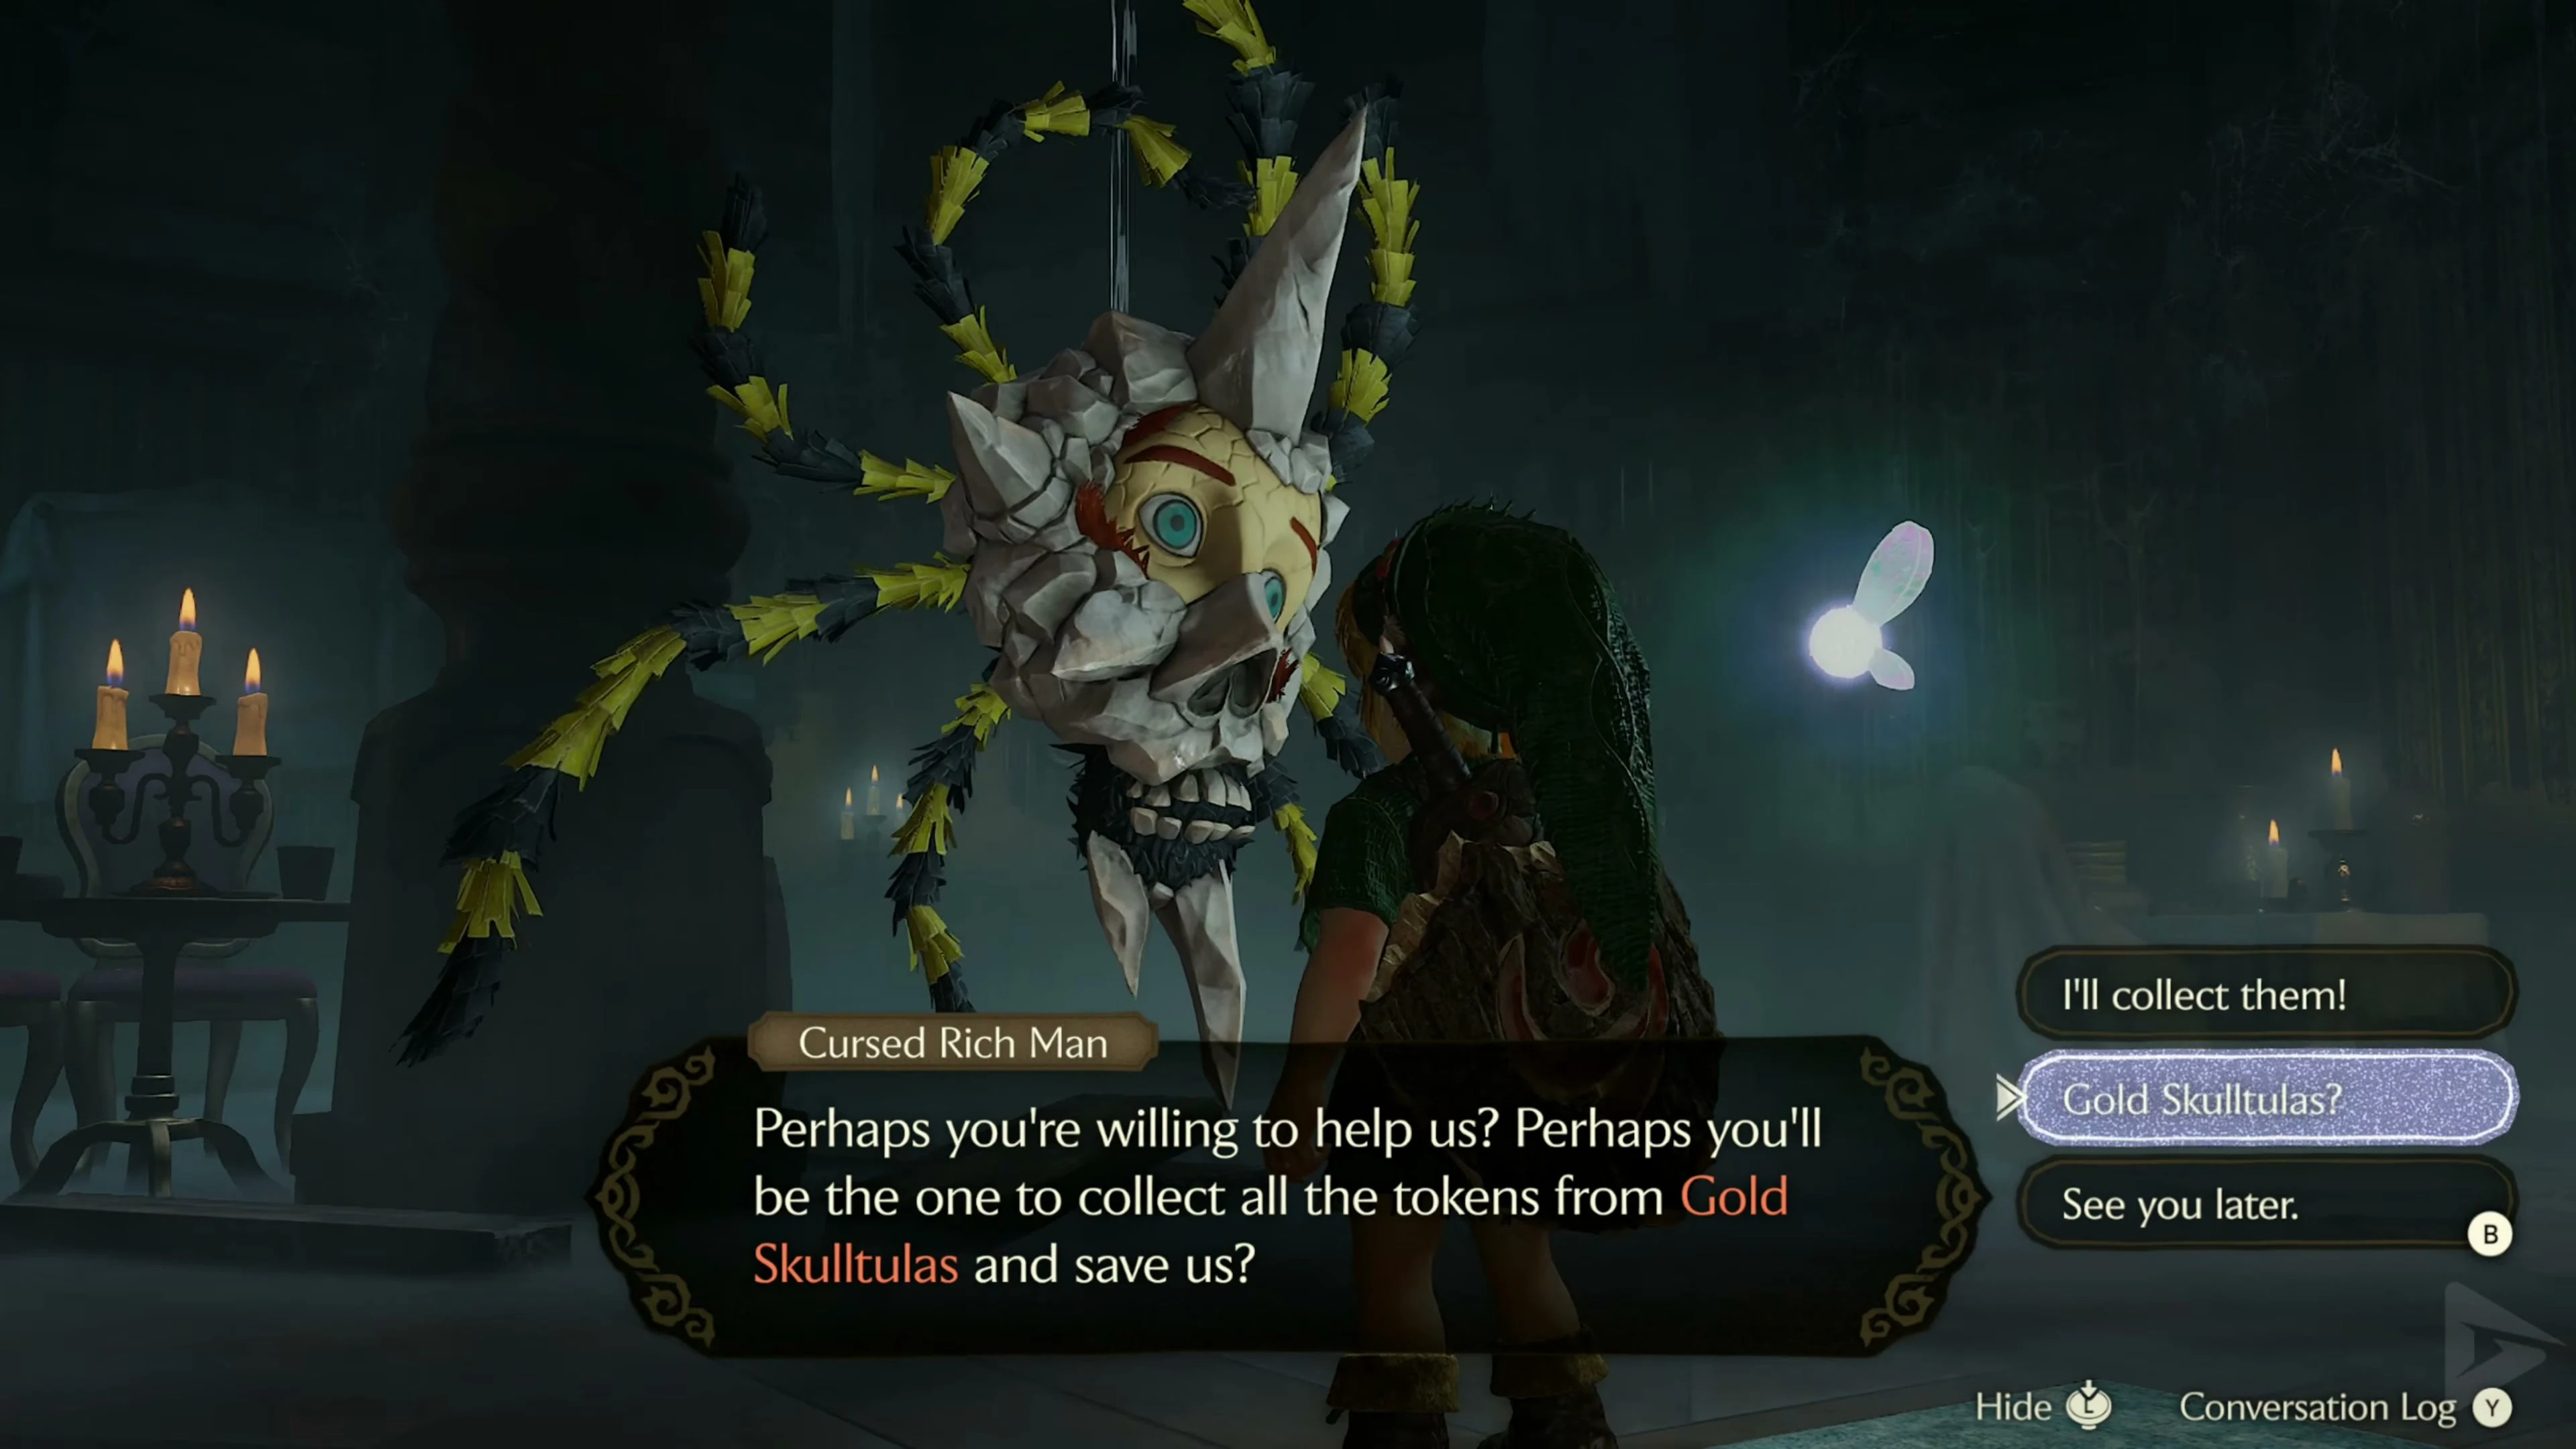
Collect Skull Mask from dealer
Go to Mask Vendor in Hyrule Castle Town. Settle the sale at the guard with 10 Rupees and borrow the Skull Mask . Return to Goron City via Kakariko Village. Keep the mask in your luggage. After the diving game in Zora Domain, the shortcut on the Zora River takes you to the forest stage and the Skull Kid .
Death Mountain Trail to Goron City
Pass through the Death Mountain Trail gate. Follow the ravine and attack the Red Tektites after they jump. Climb up the net next to the resting Goron and follow the path past the rolling Gorons to the entrance to Goron City.
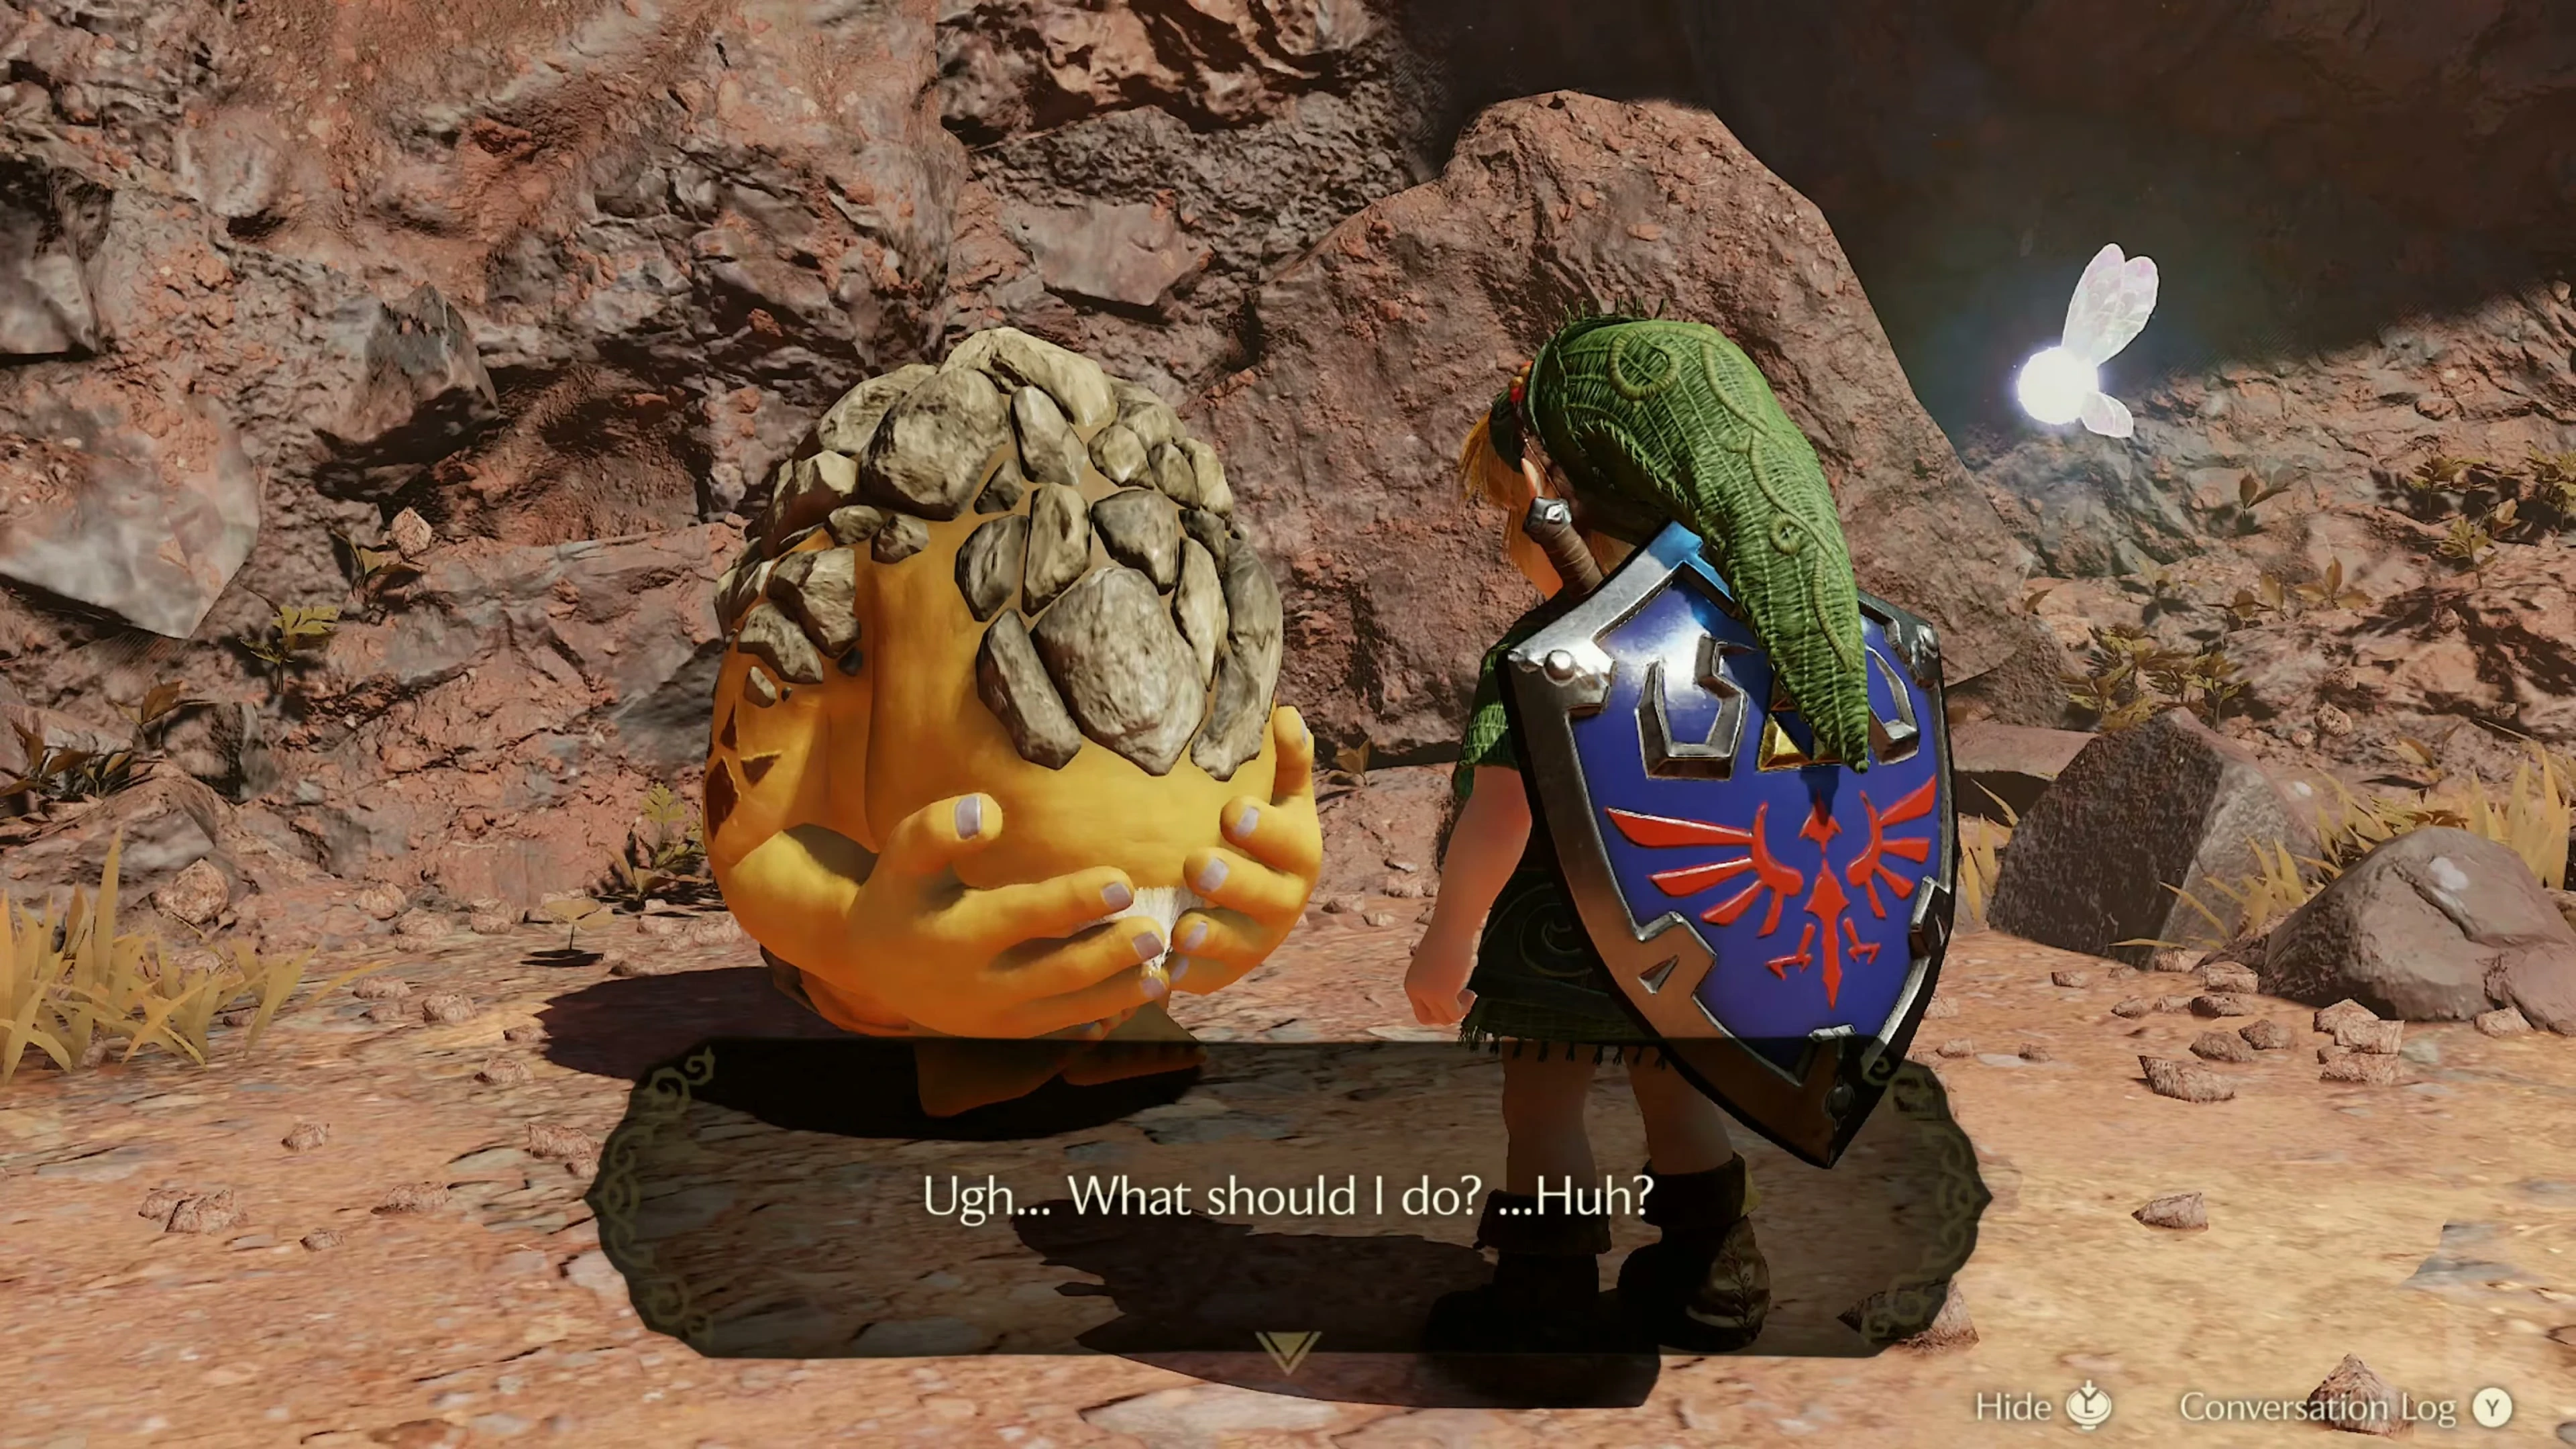
Goron City – Open Darunia’s Door
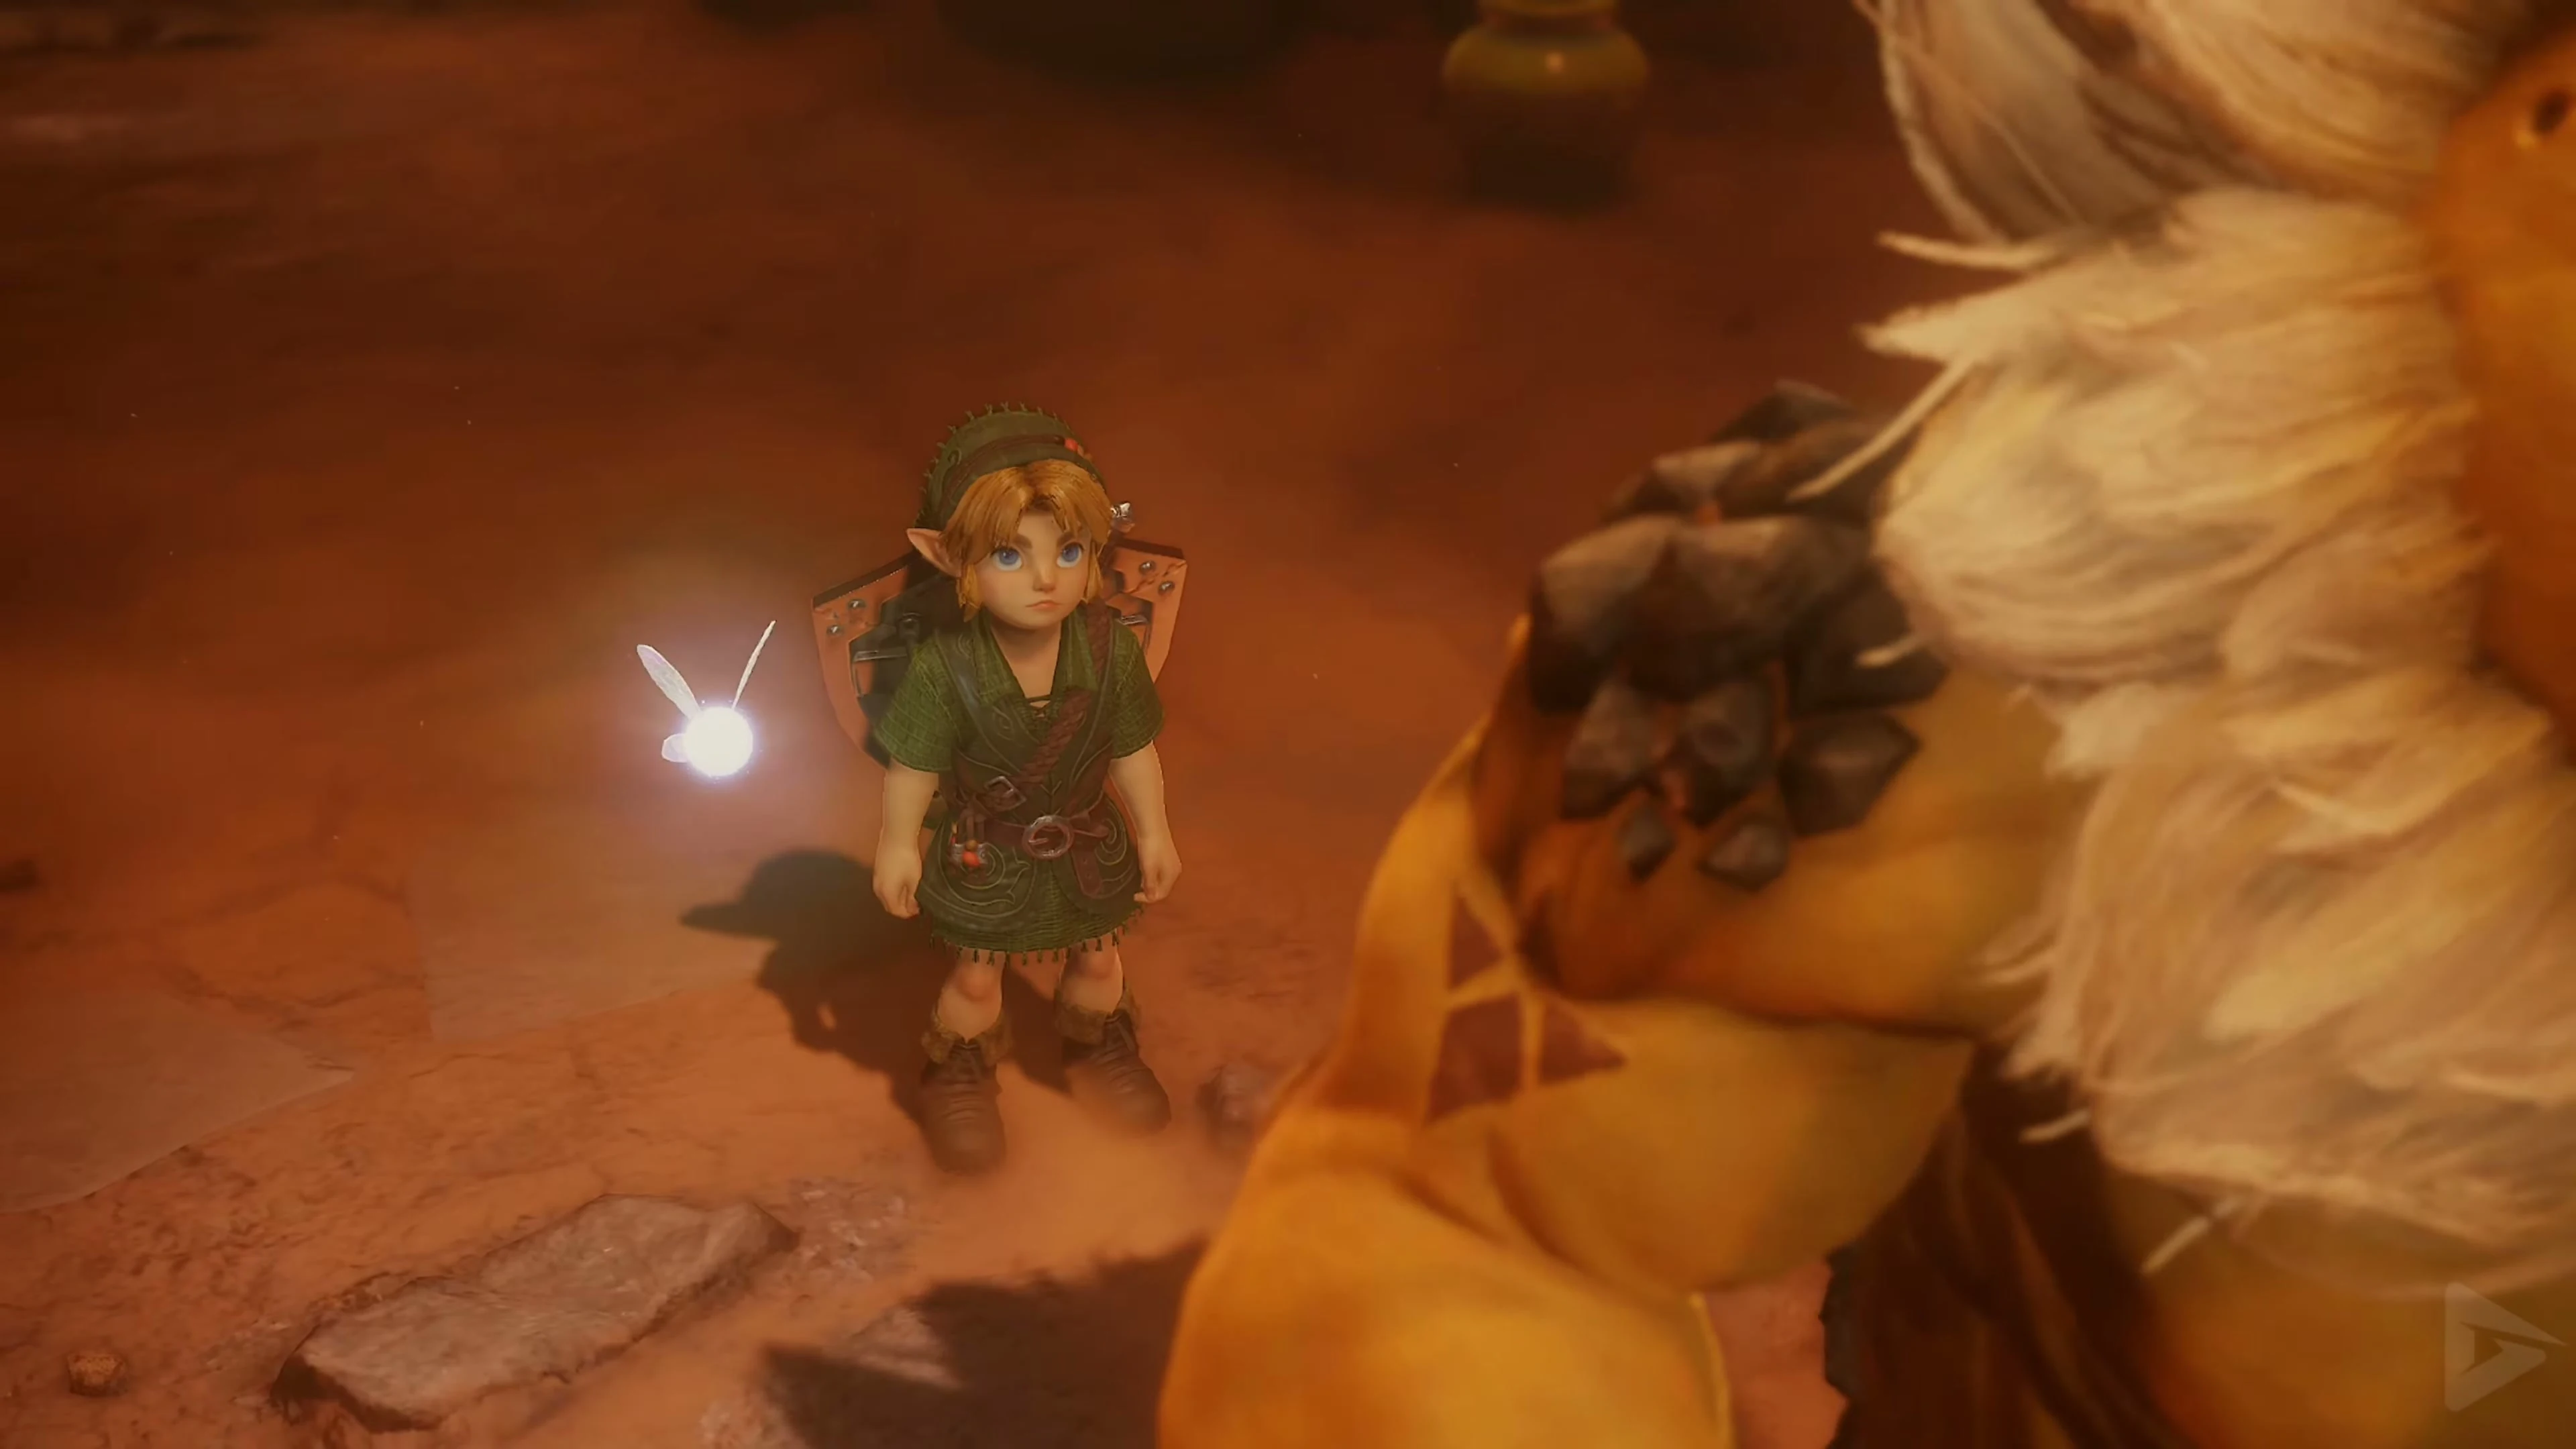
In Goron City, run across the ring-shaped levels down to the lowest floor. On the northern wall in front of Darunia’s locked chamber there is a carpet with Triforce symbol . Play Zelda’s Lullaby on it. Speak to Darunia in the opened chamber. To cheer him up, you still need Saria’s song. The door remains open and the burning torches in his room give you the fire for the forest tunnel.
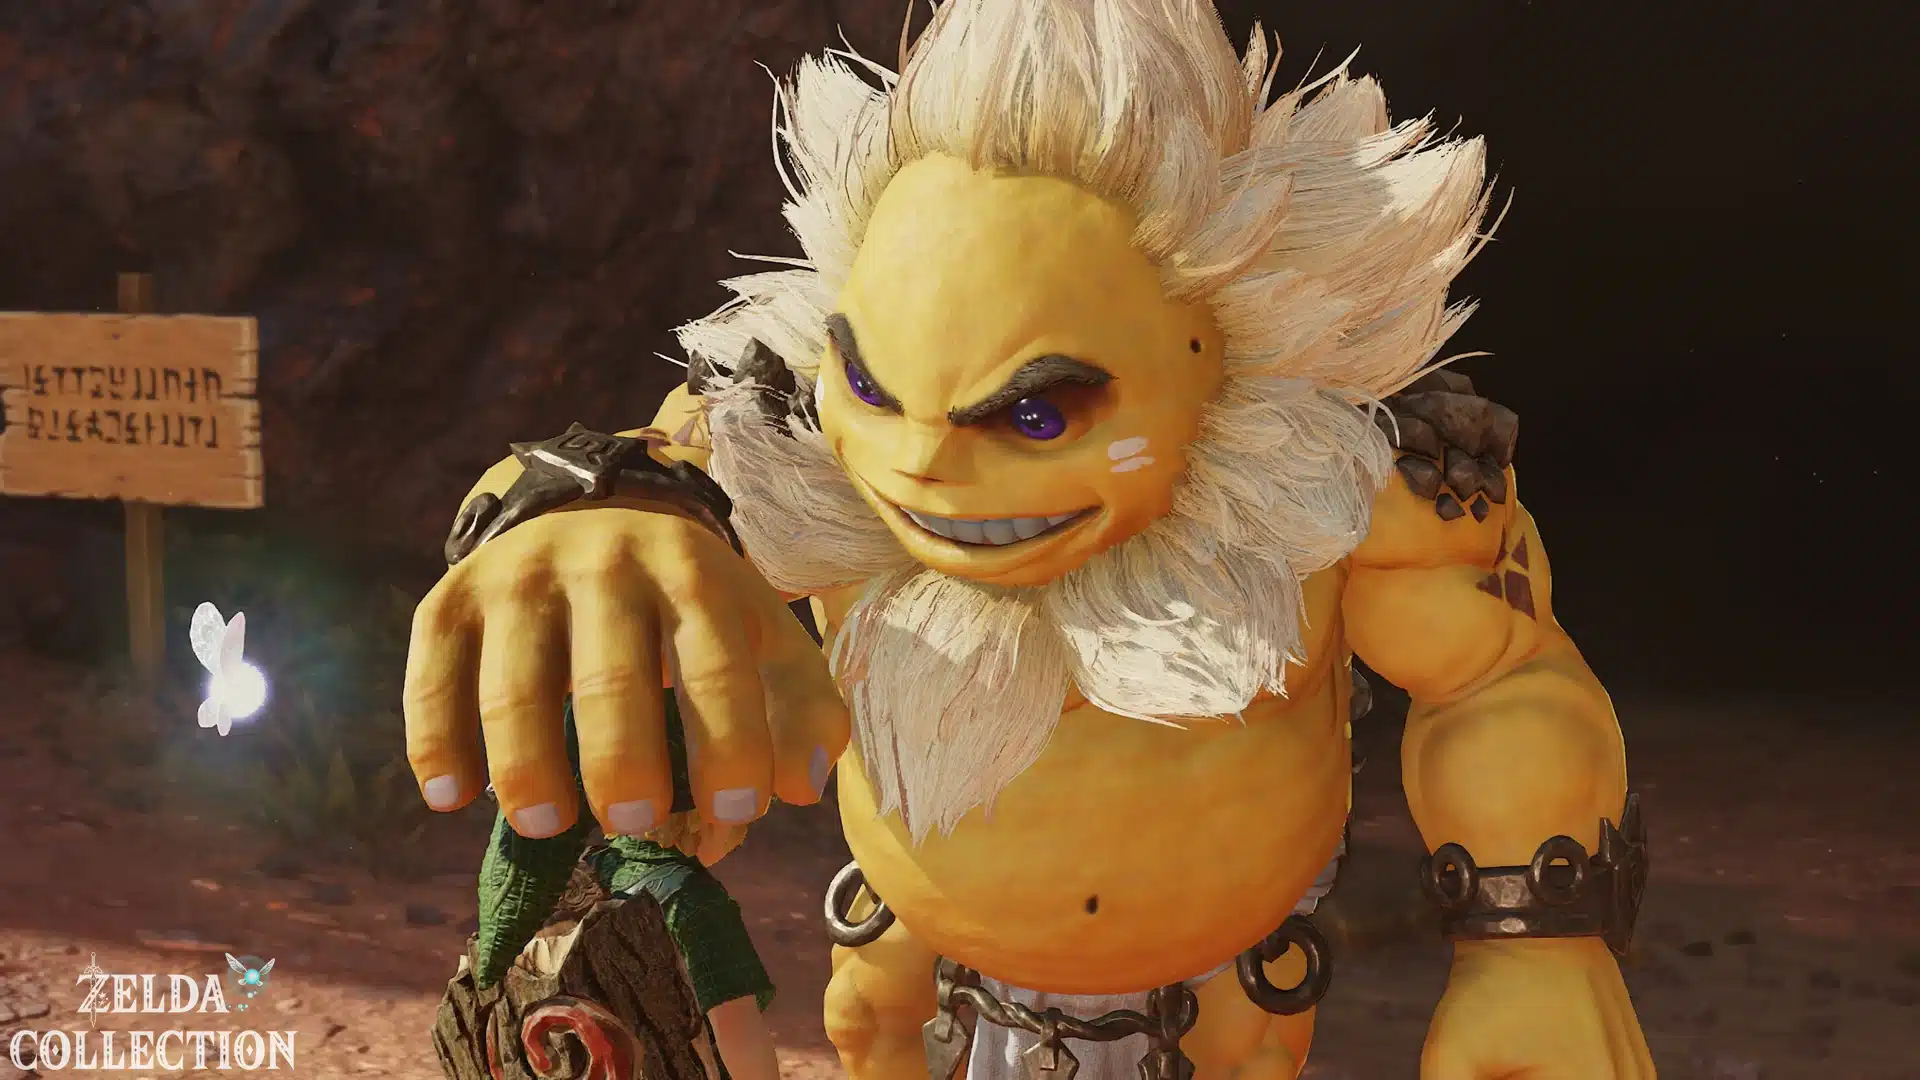
The torches and the forest tunnel ignite
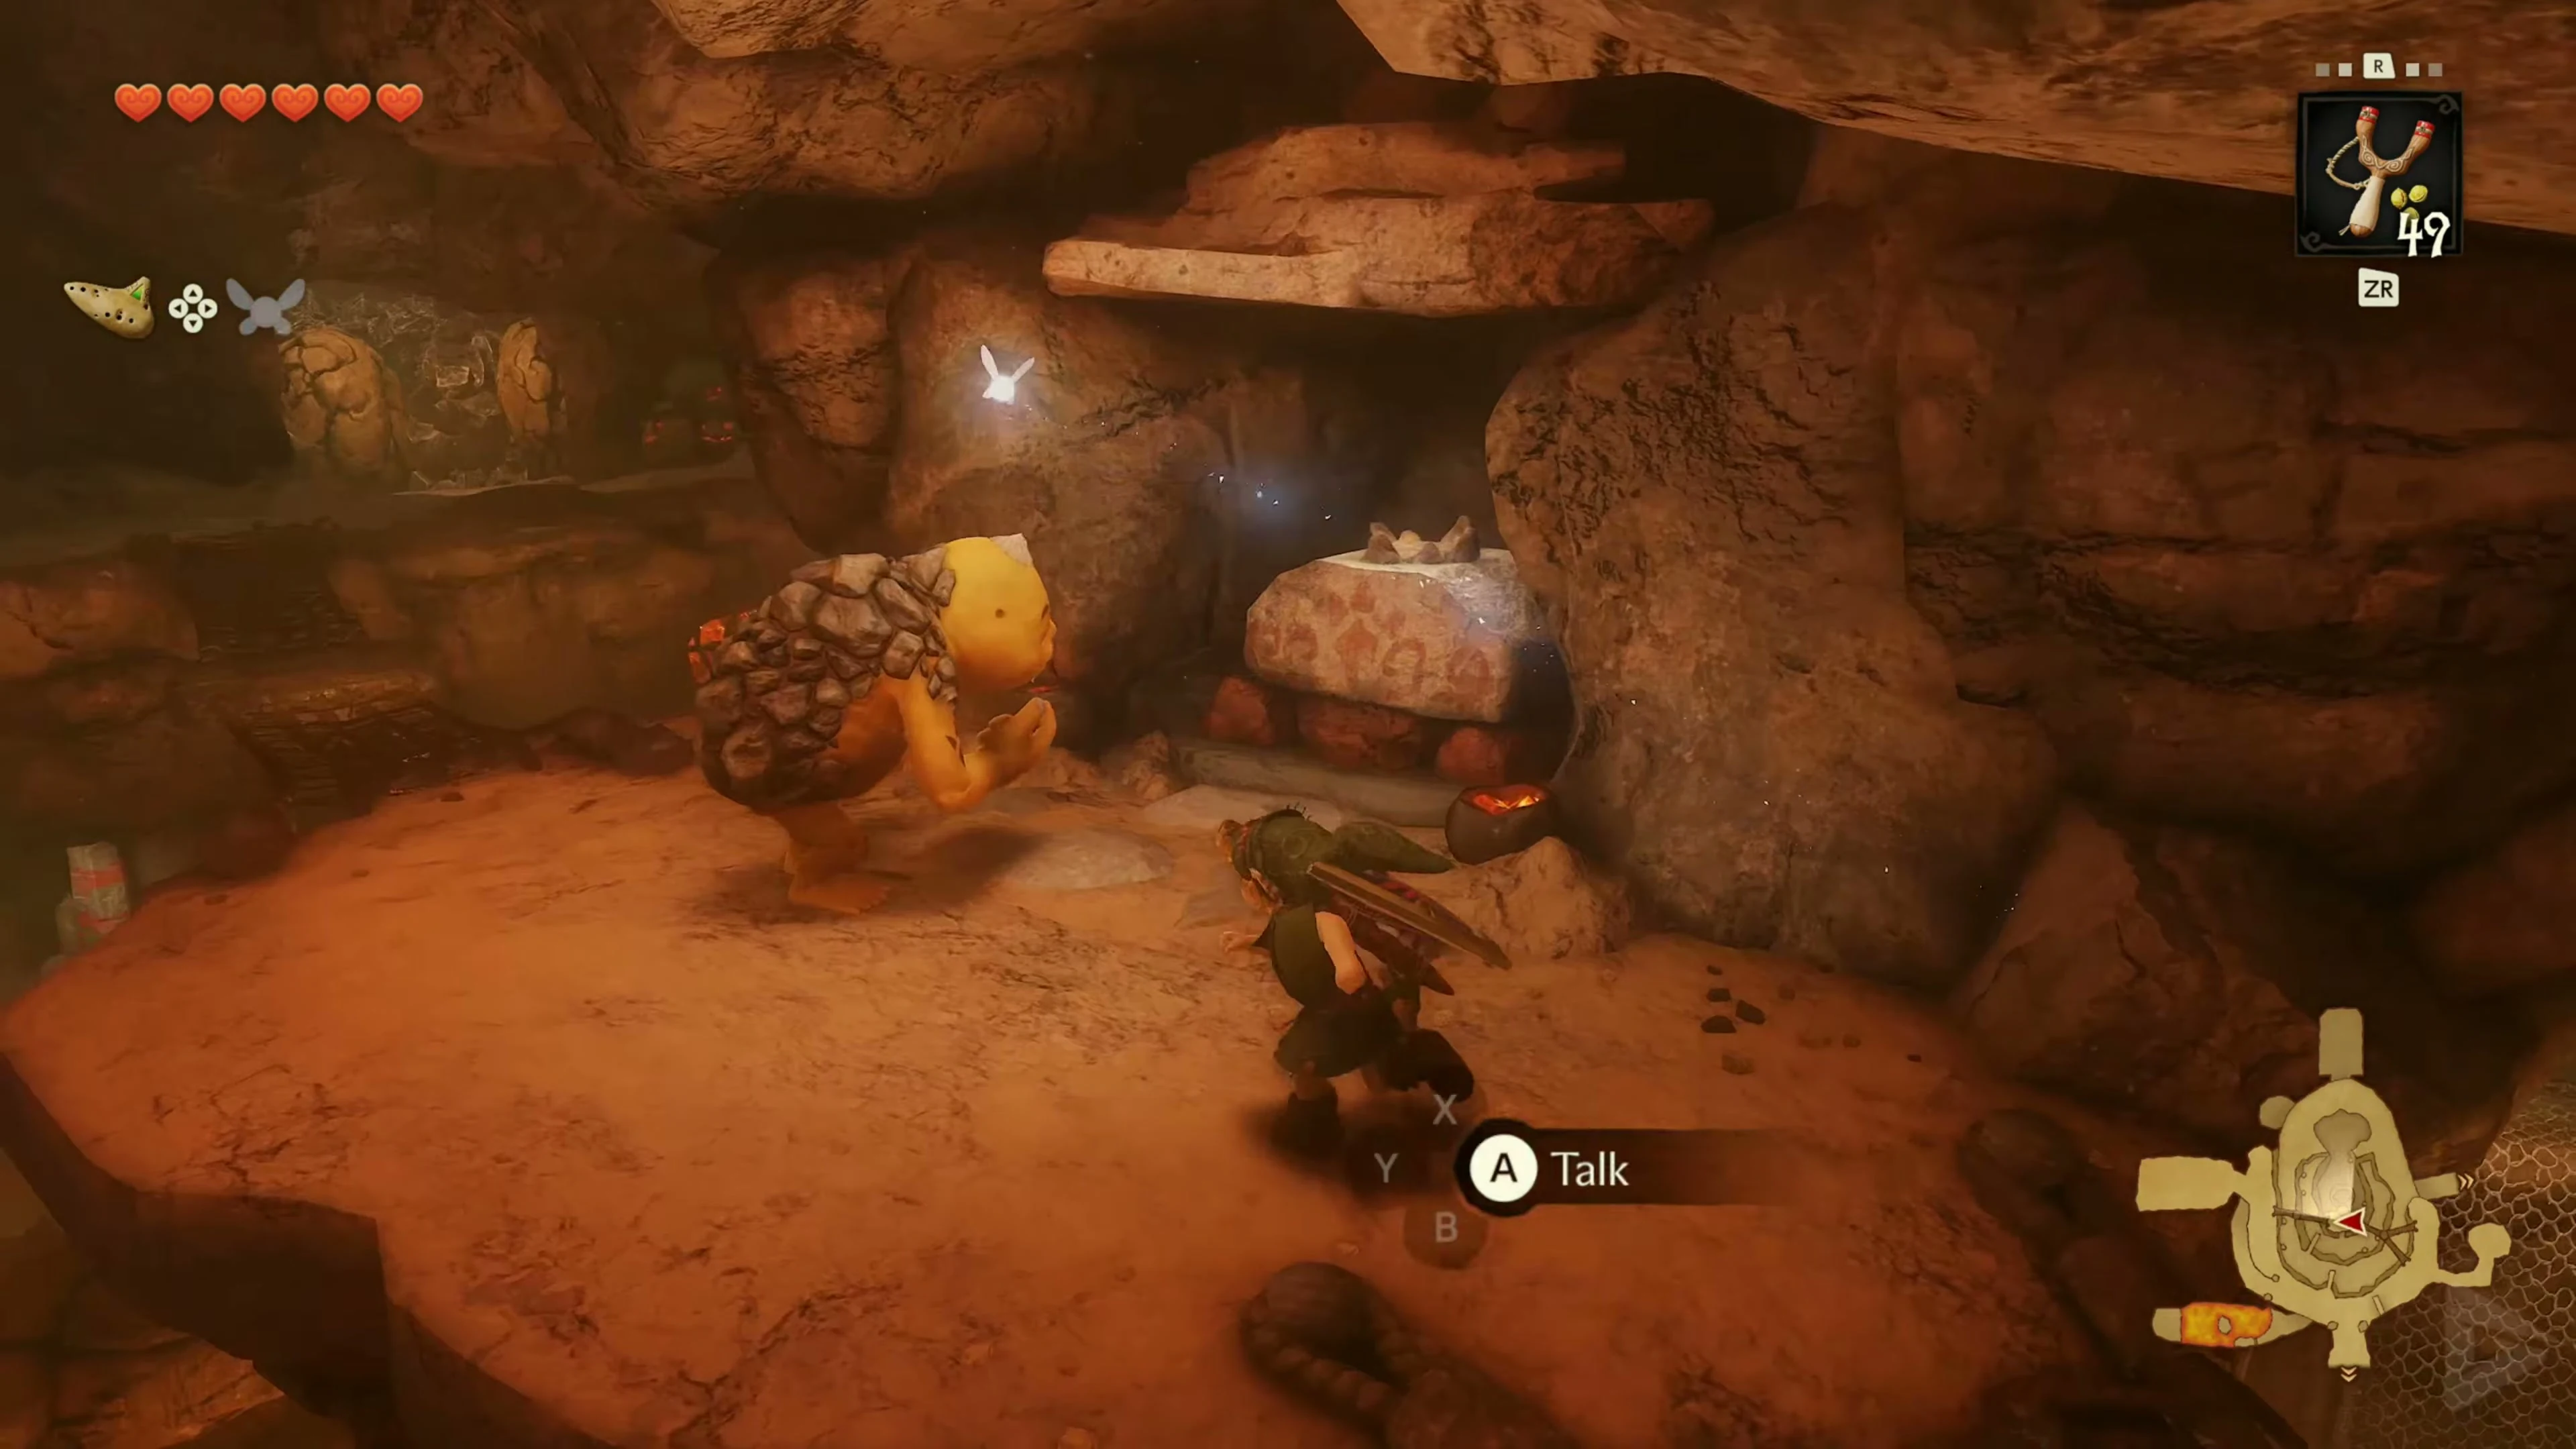
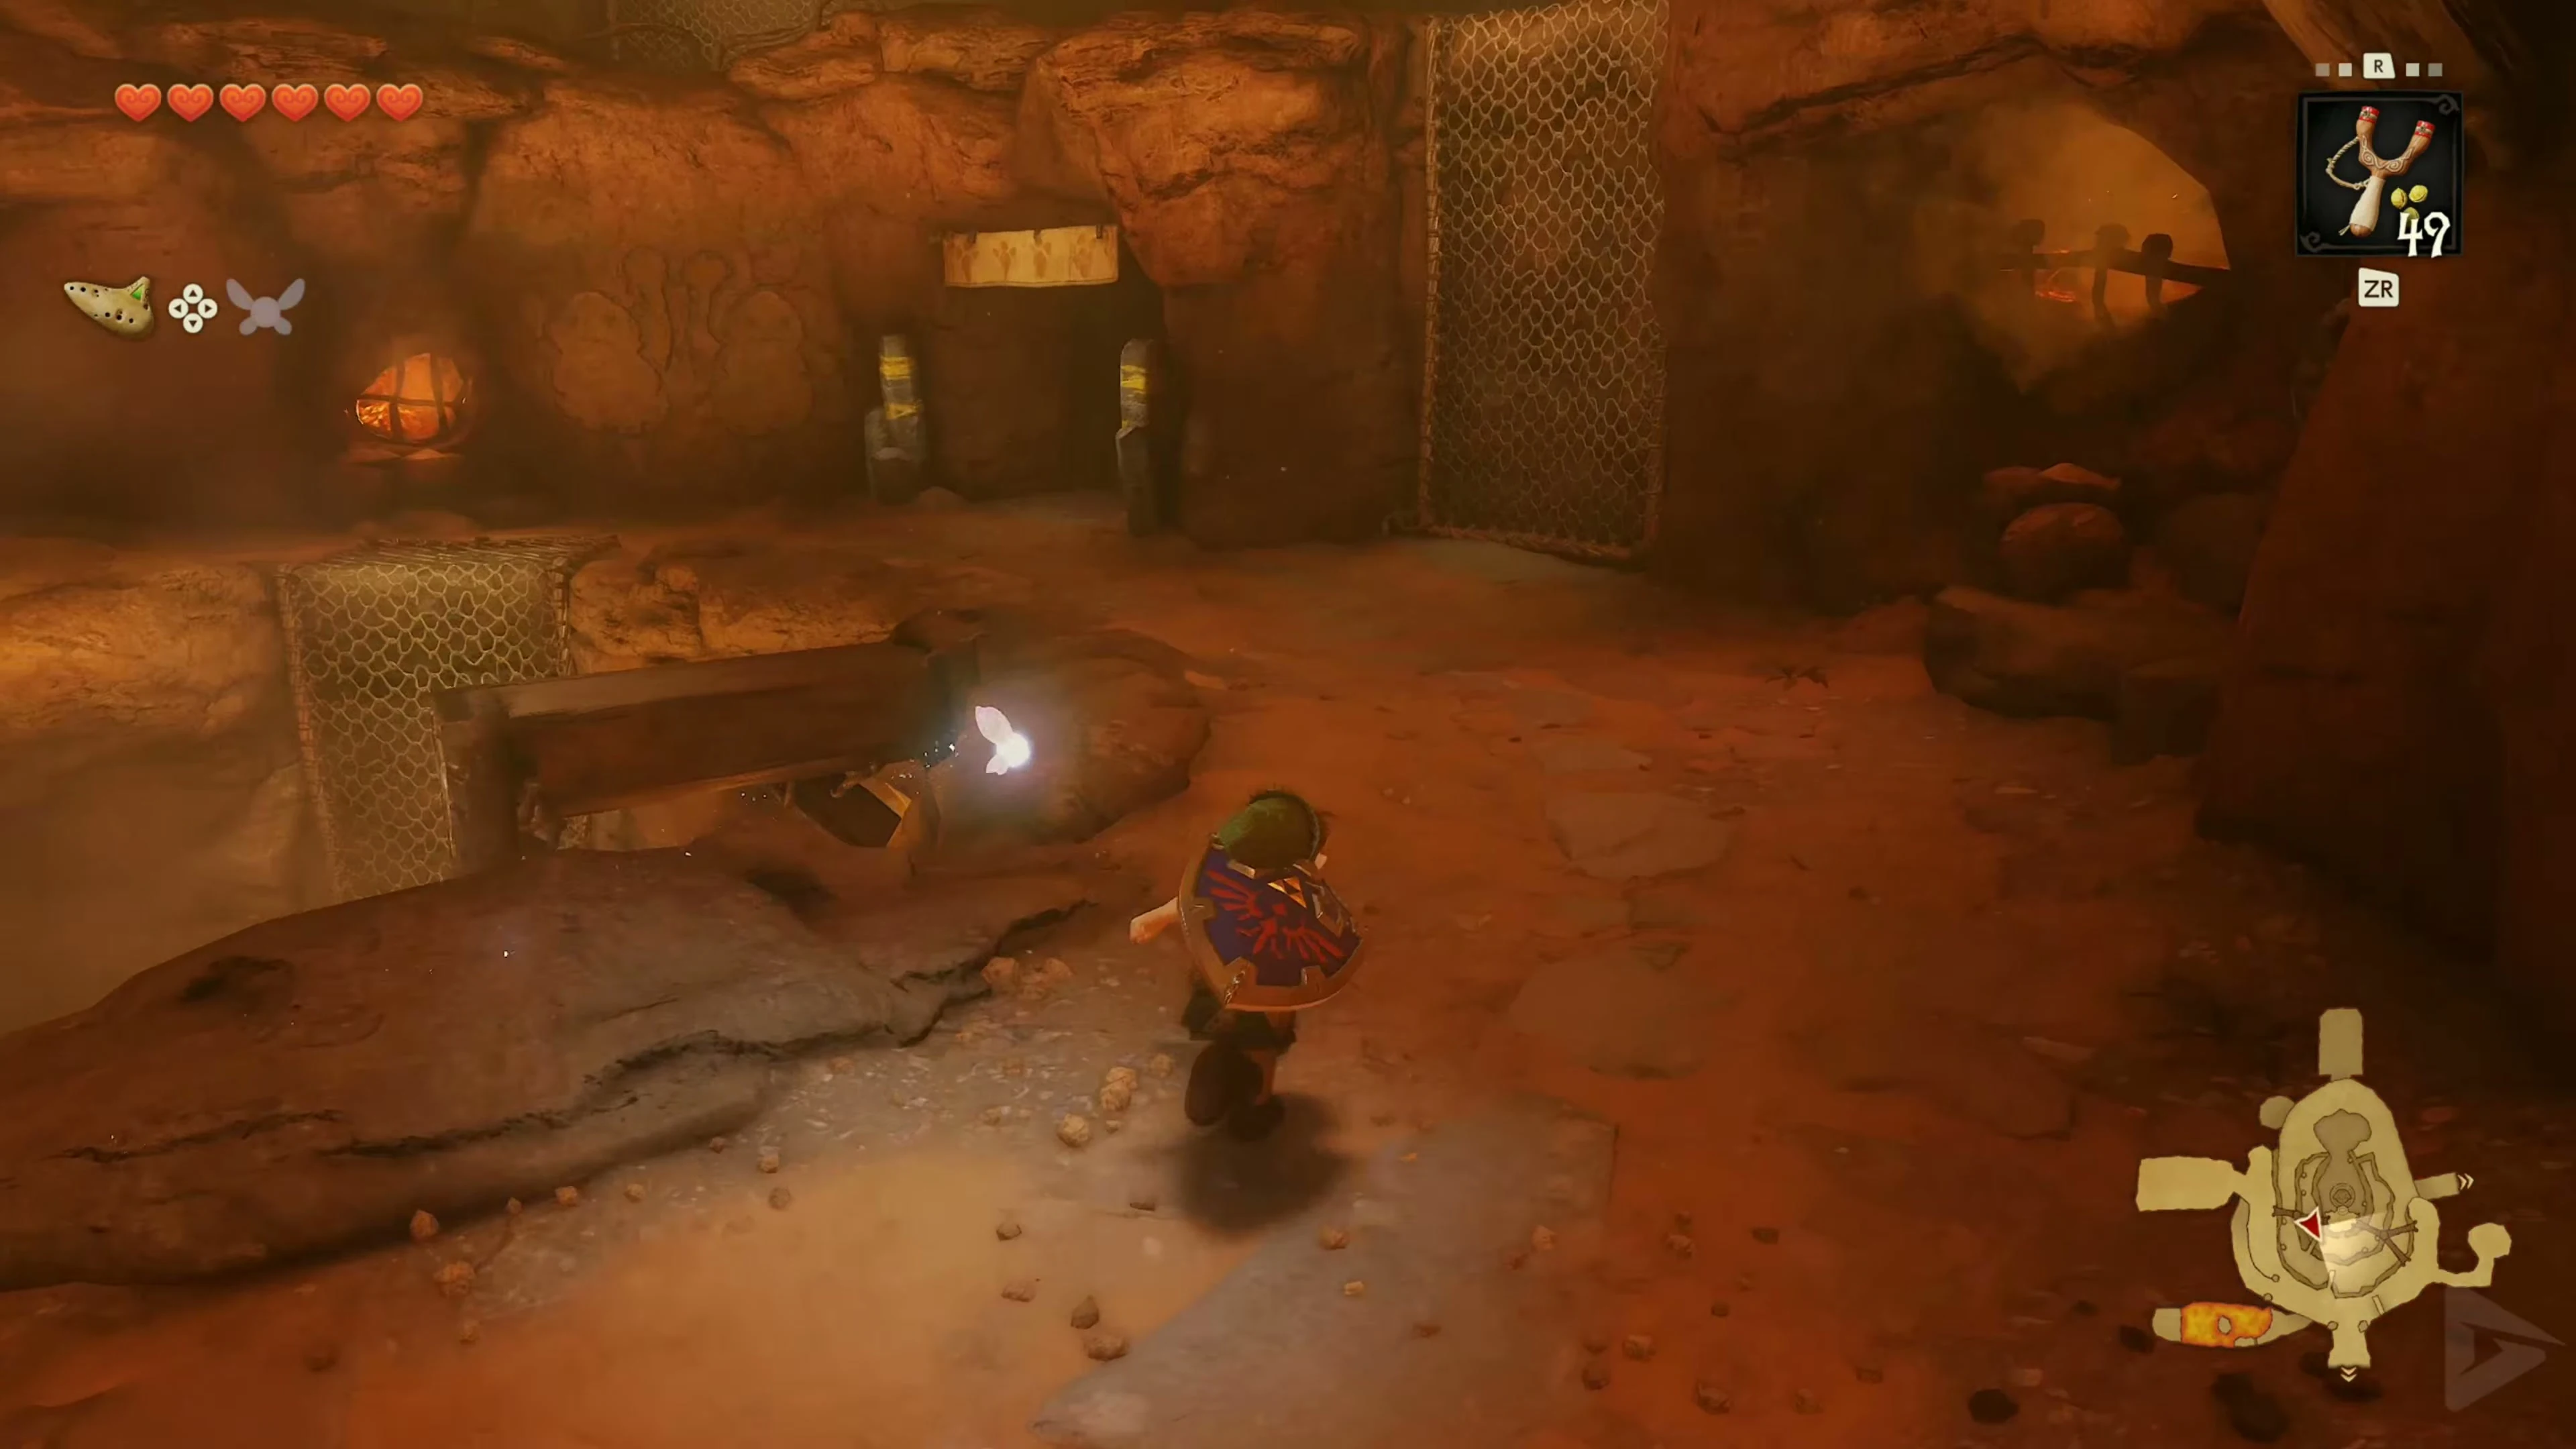
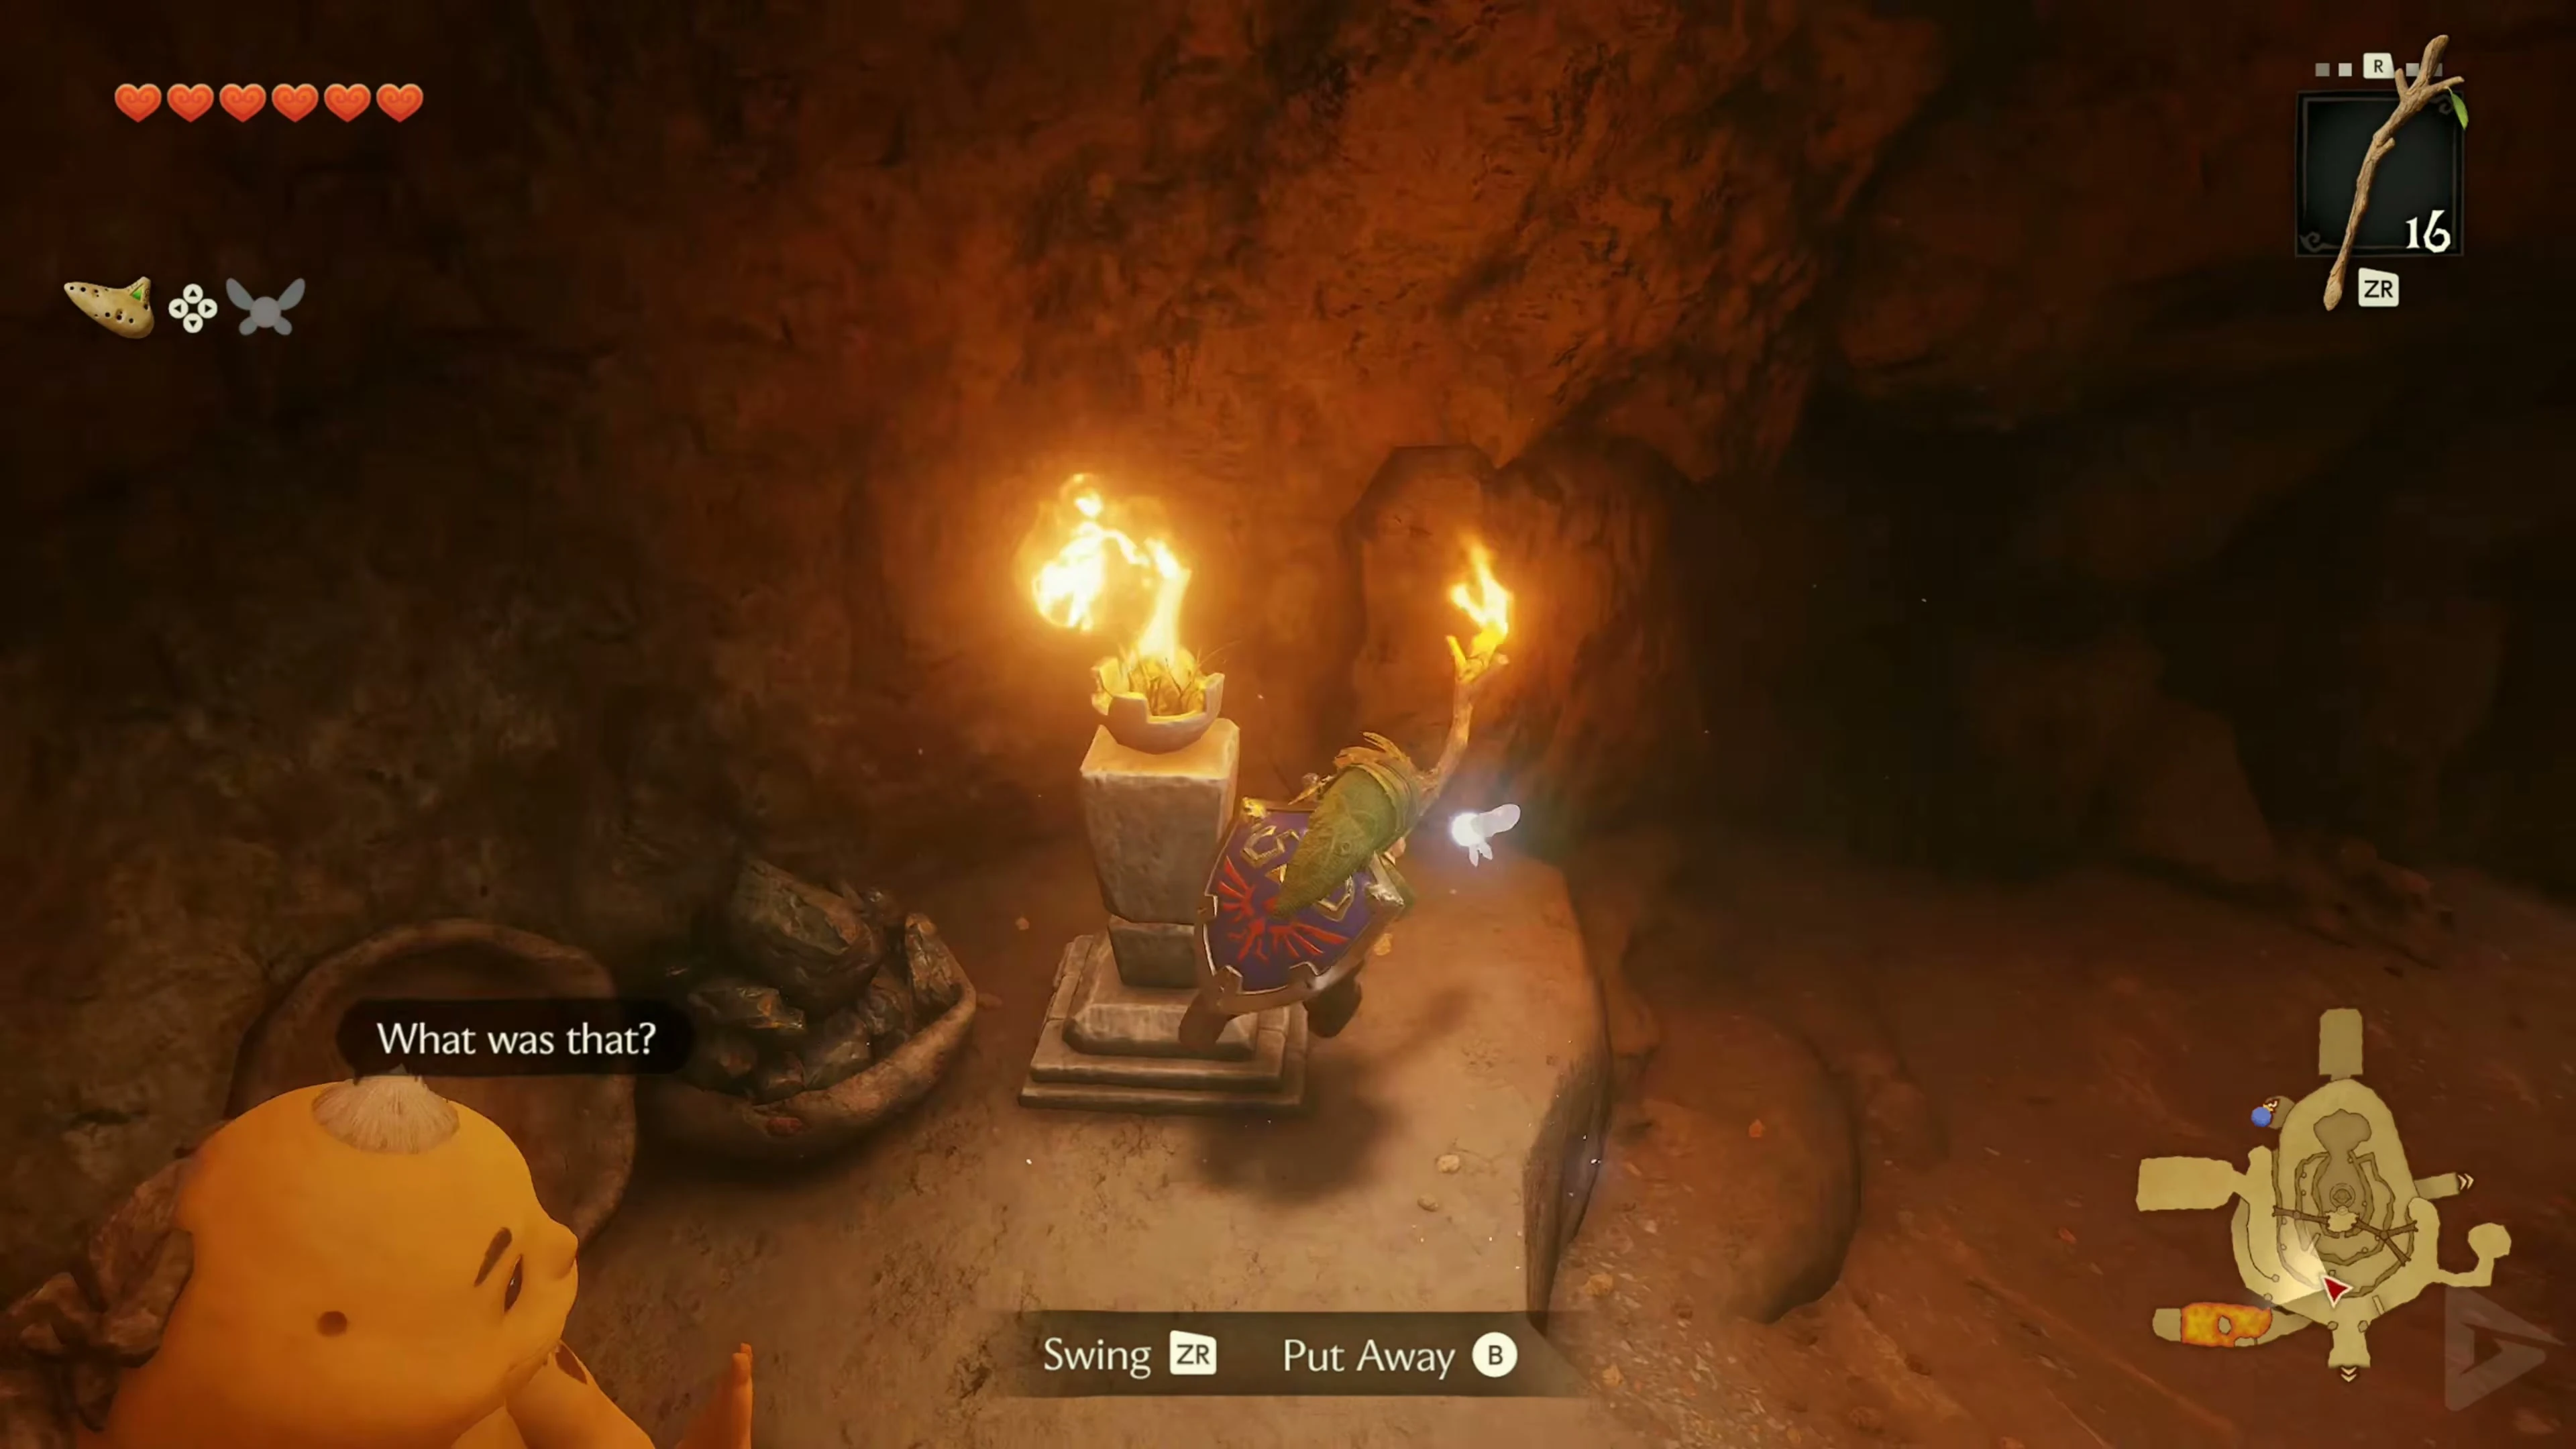
Light a Deku Stick in Darunia’s Chamber. Just to the right of his door you can use it to trigger the Bomb Flower on the rock barrier and open the Goron shop. Then light the four torches around the large vase . When all of them burn, they remain lit and the vase begins to spin. Use these fire pits to relight the branch, climb the ramp to the next level, and light the torch at the roost along the way. Follow the hallway further up. On the right, rocks block the passage with two Bomb Flowers on the wall . Touch the plants with the burning branch and step back. The explosion opens the tunnel. Behind you you can hear the forest music; go through into the Lost Woods.
Lost Woods – Target and Music Game
The tunnel from Goron City brings you into the middle of the Lost Woods. Remember it for your return. To begin the following route at the Kokiri Forest entrance, walk into a wrong tunnel to return to the village, then re-enter the woods. All directions below are relative to Link as he enters each clearing. First, turn right to reach the hanging target.
Deku-Seed Bag and Piece of Heart from Skull Kids
Stand in front of the large target and repeatedly shoot precisely in the center, so that each hit scores 100 points counts. Keep hitting targets until the Deku Scrub appears and gives you the upgrade. Along with your shooting gallery winnings, your bag now holds 50 Deku Seeds . Below the target are the tree stumps of the two Skull Kids. Jump onto the free stump, draw the Ocarina, and play their melodies. Win all three rounds; after collecting the Rupees, you’ll receive a Piece of Heart . Then return through the entrance to the first forest clearing.
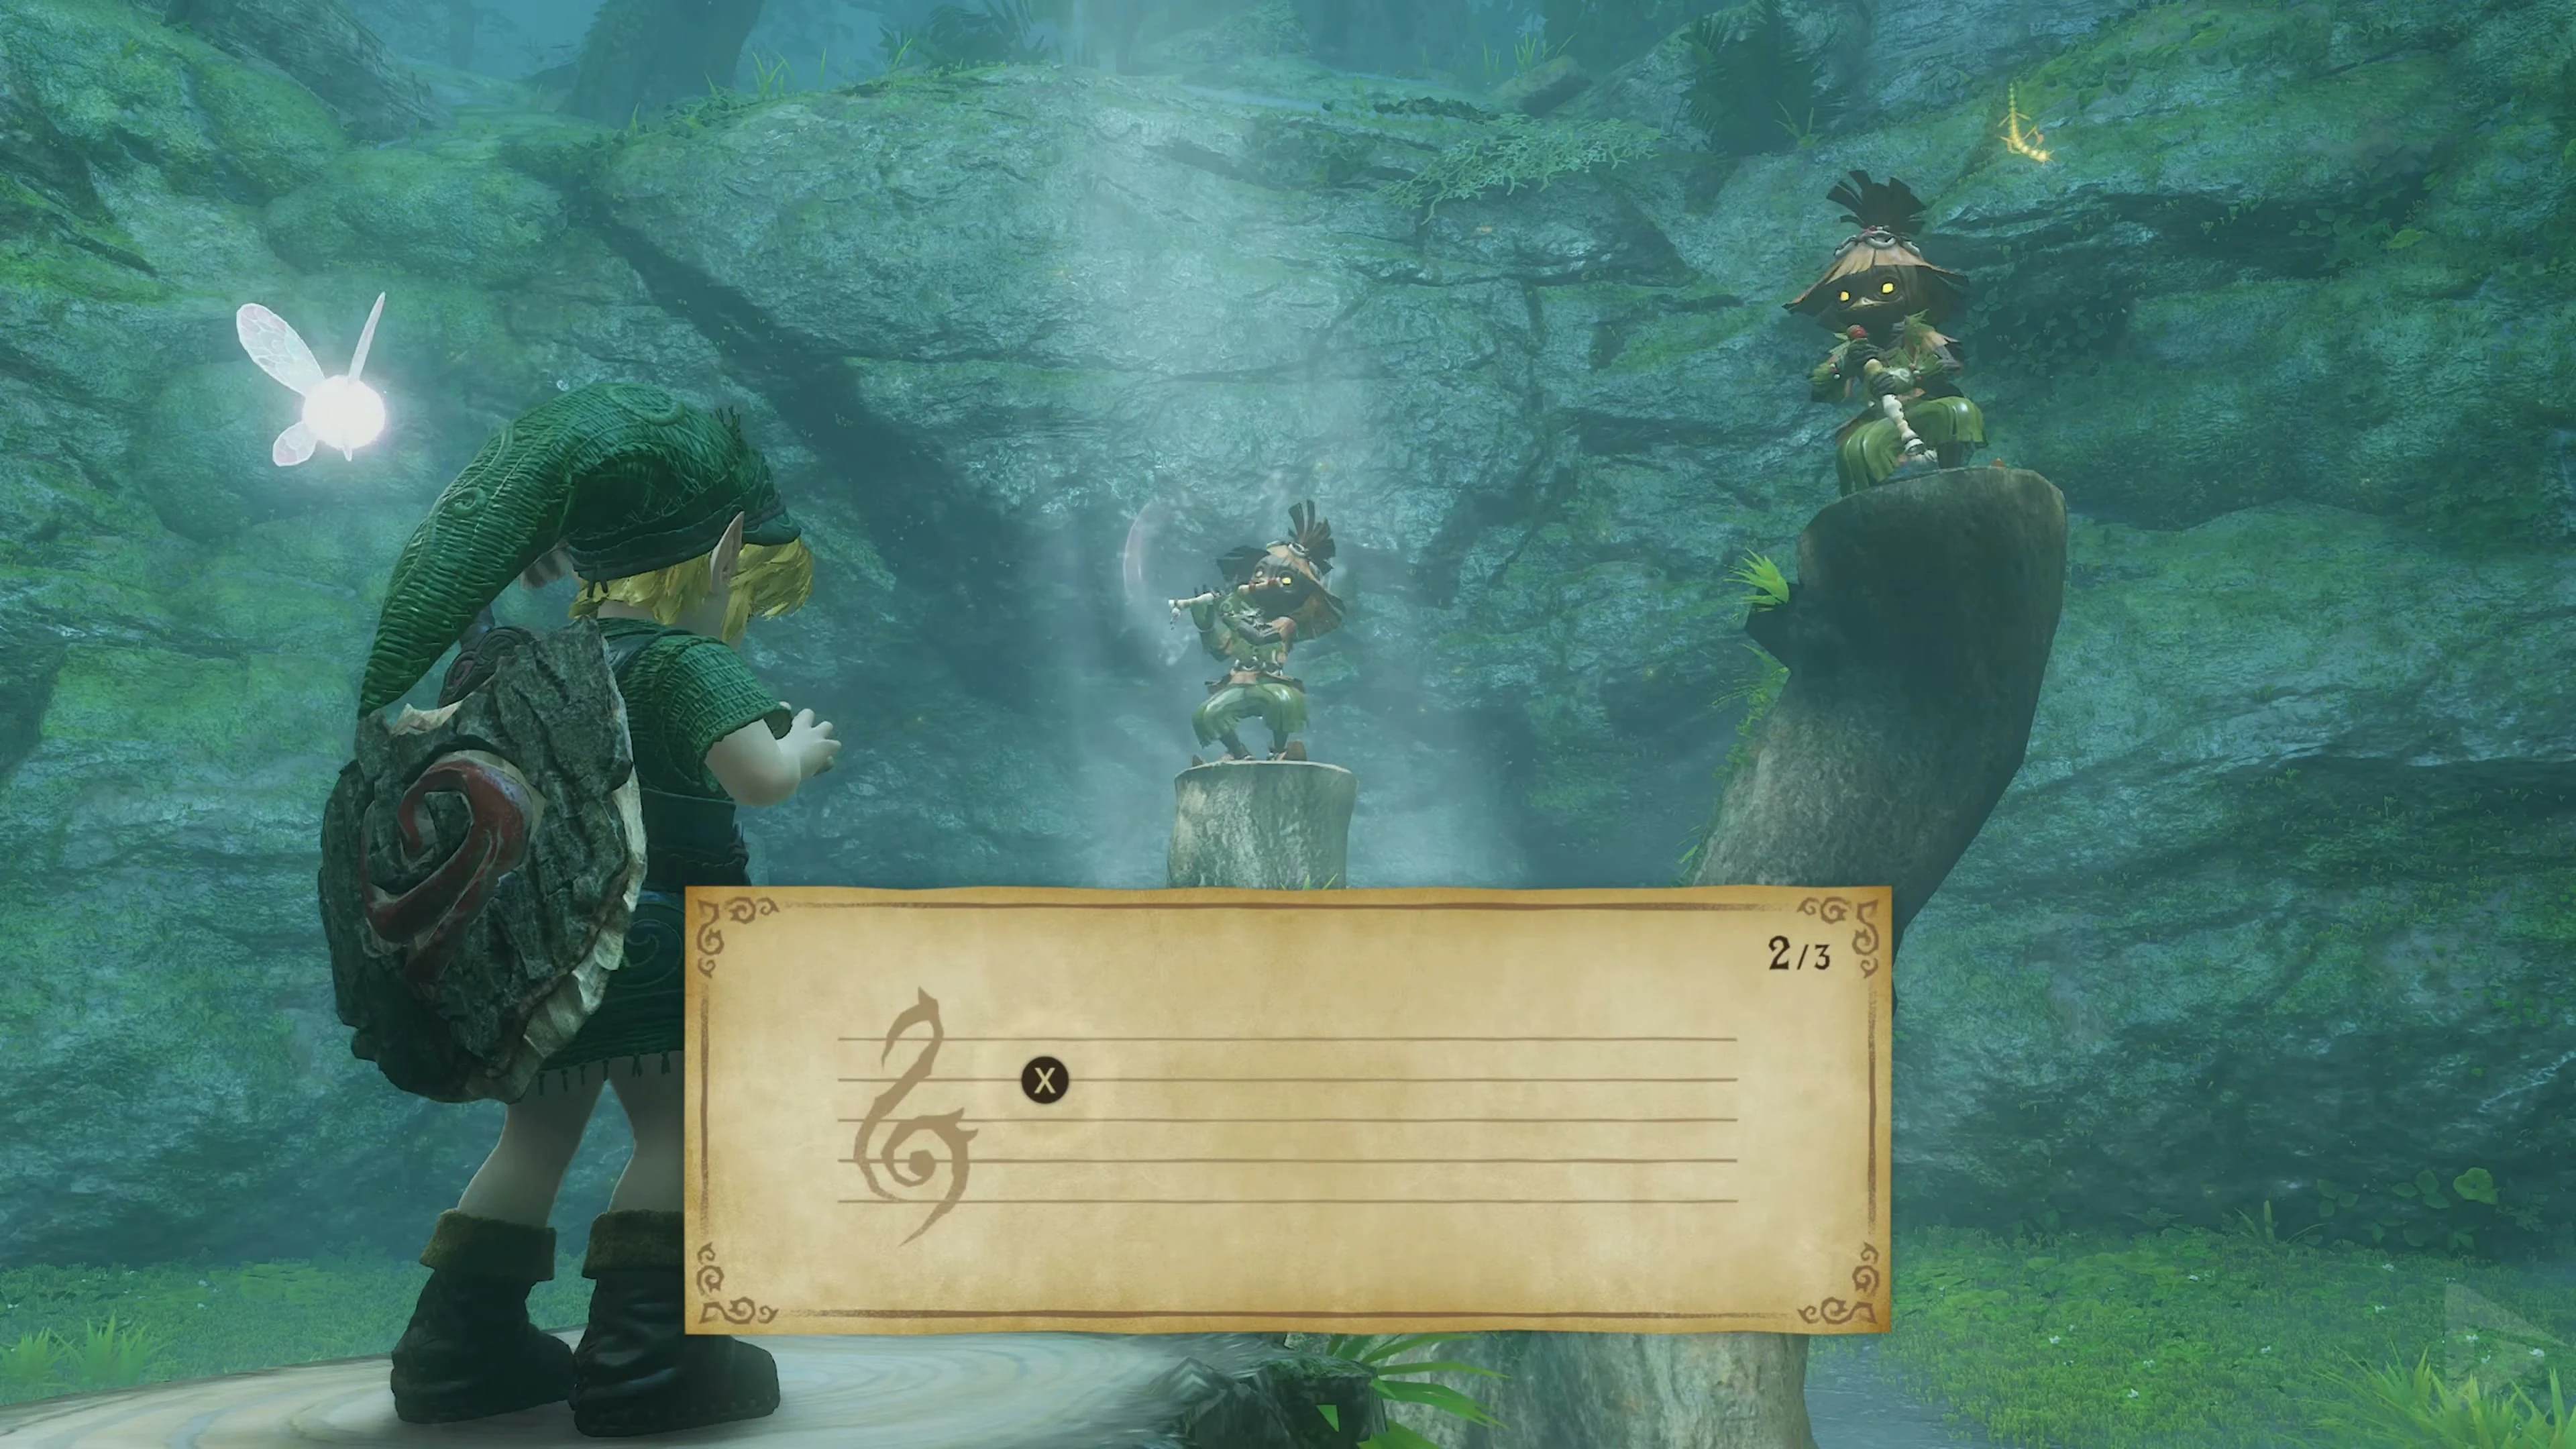
Soft Earth on the Bridge and Deku Stick Upgrade
From the Kokiri entrance go left to the single Skull Kid and through the further exit again left . Under the bridge you will find the next field of soft earth. Release beetles on it and collect the Gold Skulltula. At the far end of this area sits a business scrub. Reflect his nut with the Deku Shield and talk to him. For 40 Rupees it increases your Deku-Stick Bag to 20 branches . Return through the two clearings to the Kokiri entrance. You visit the individual Skull Kid again after Saria’s Song.
Sacred Grove and Saria’s Song
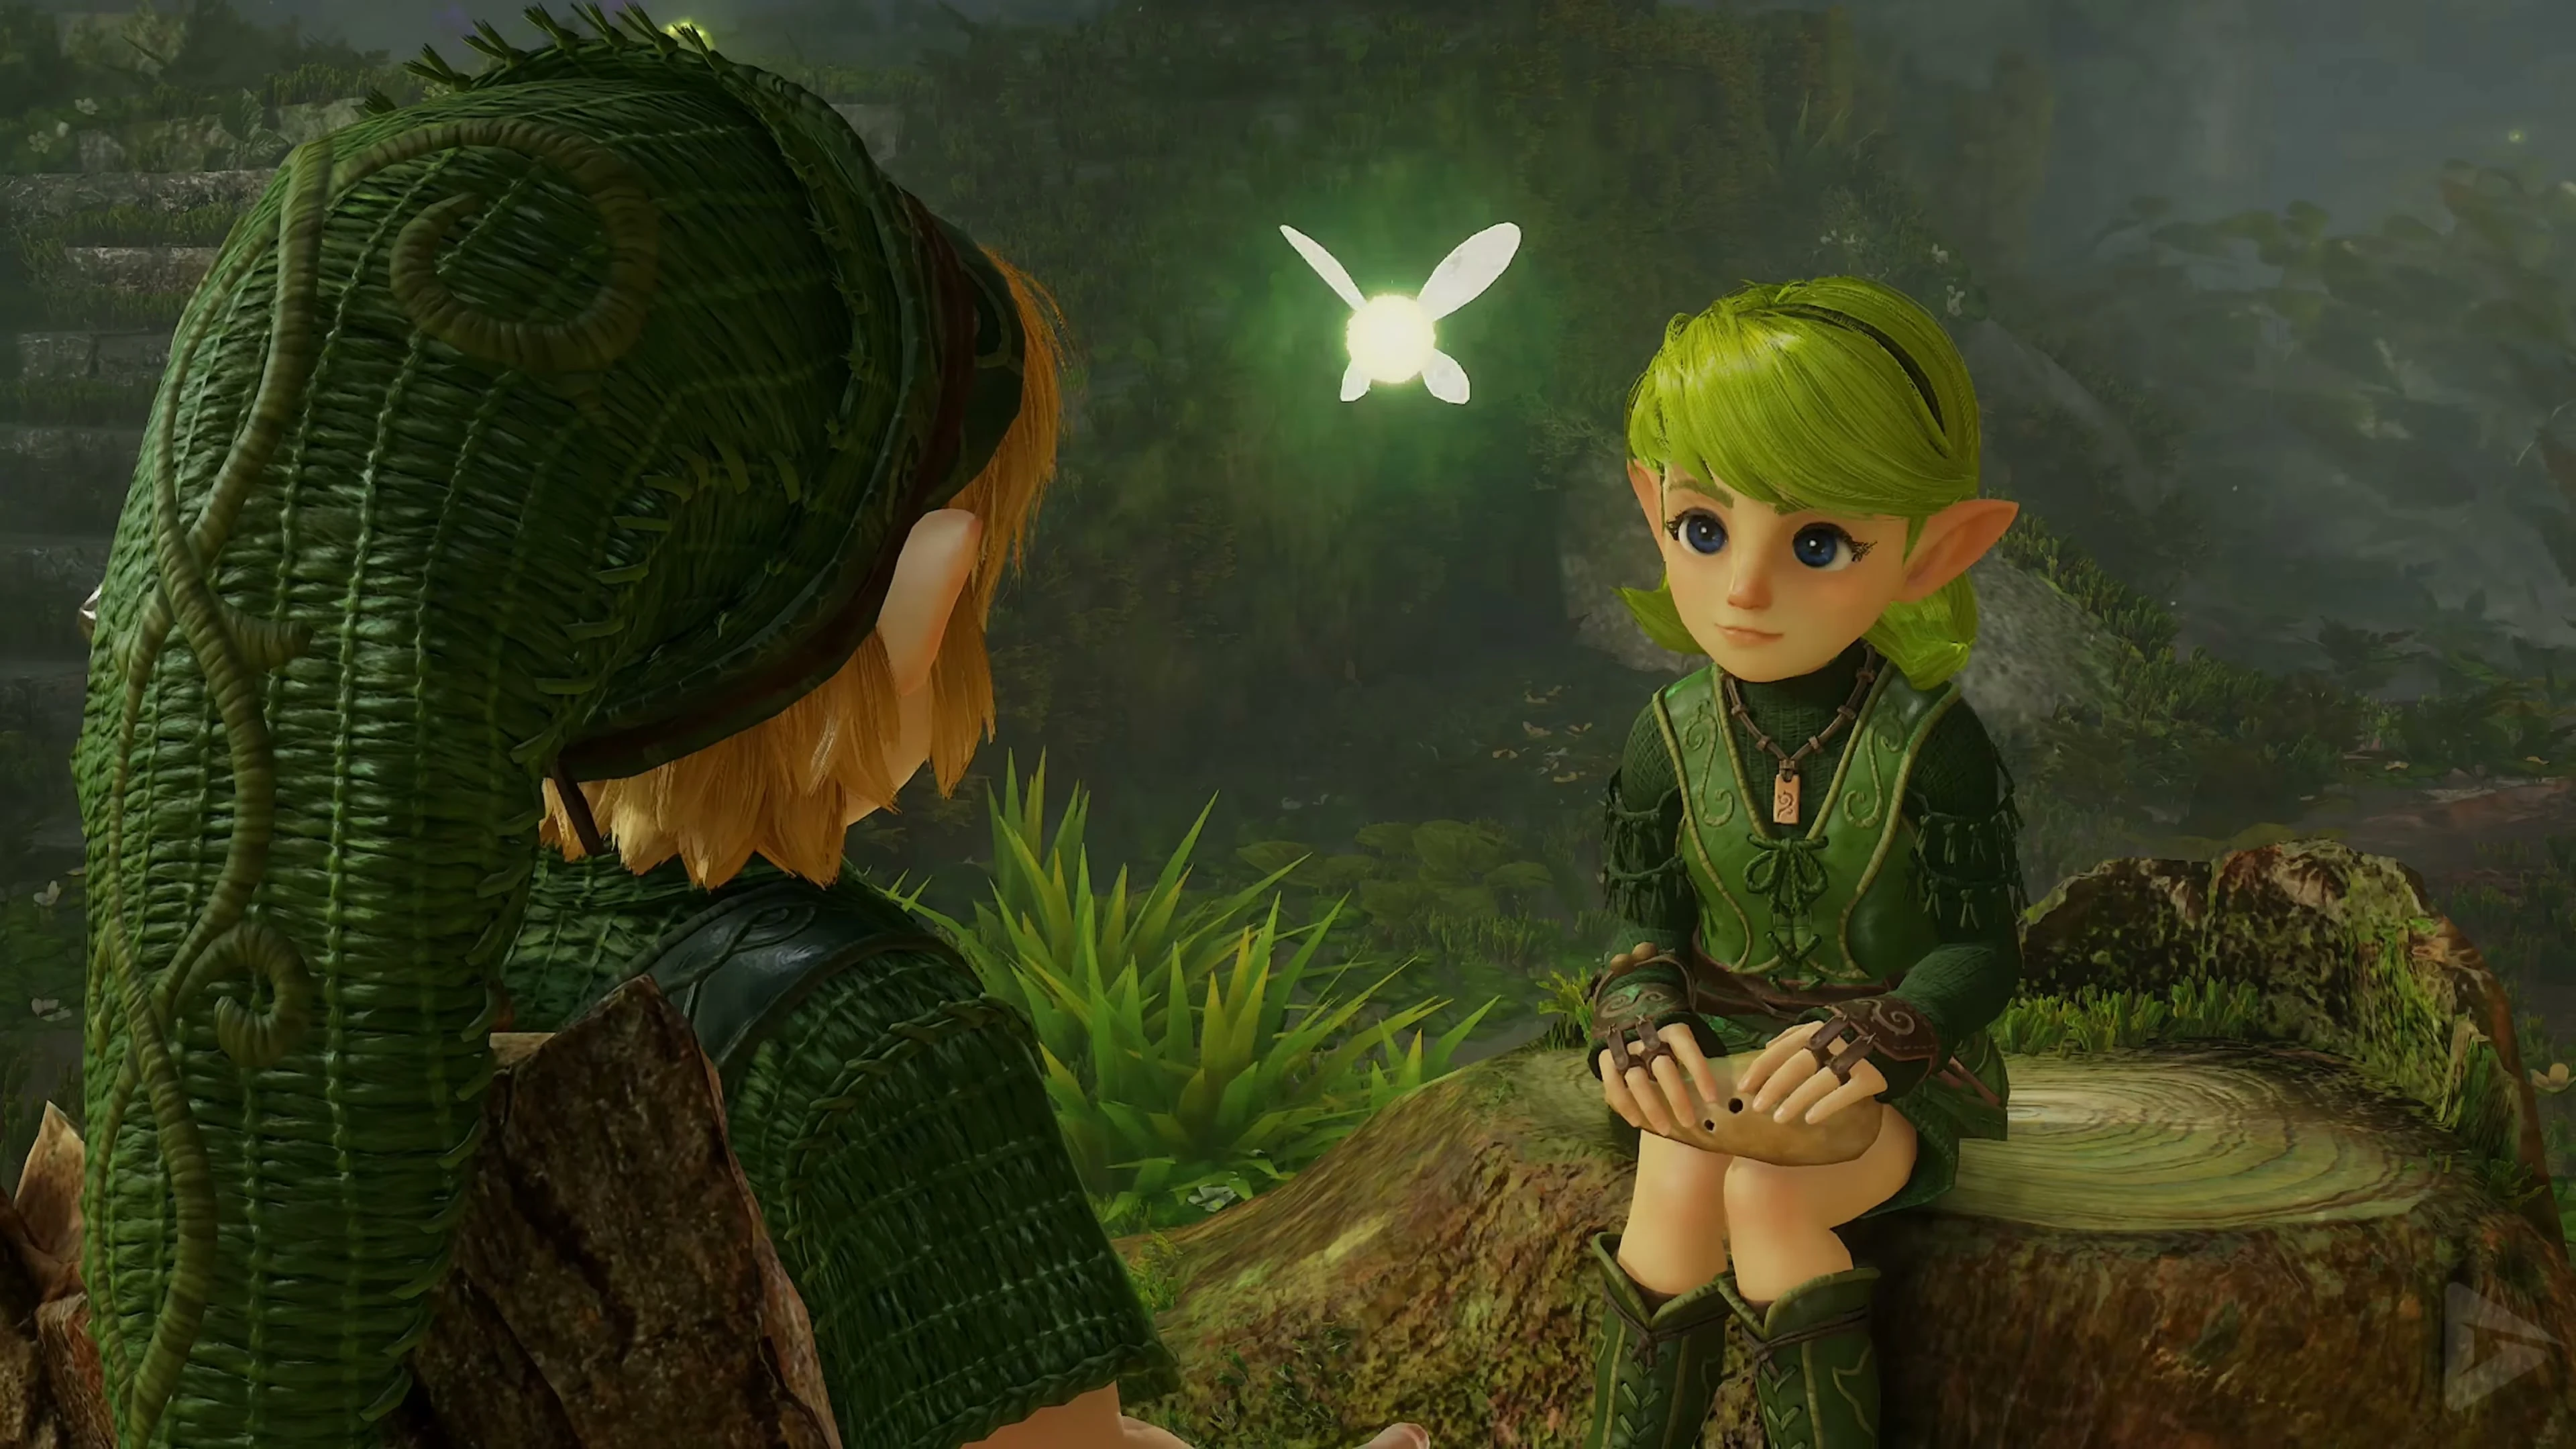
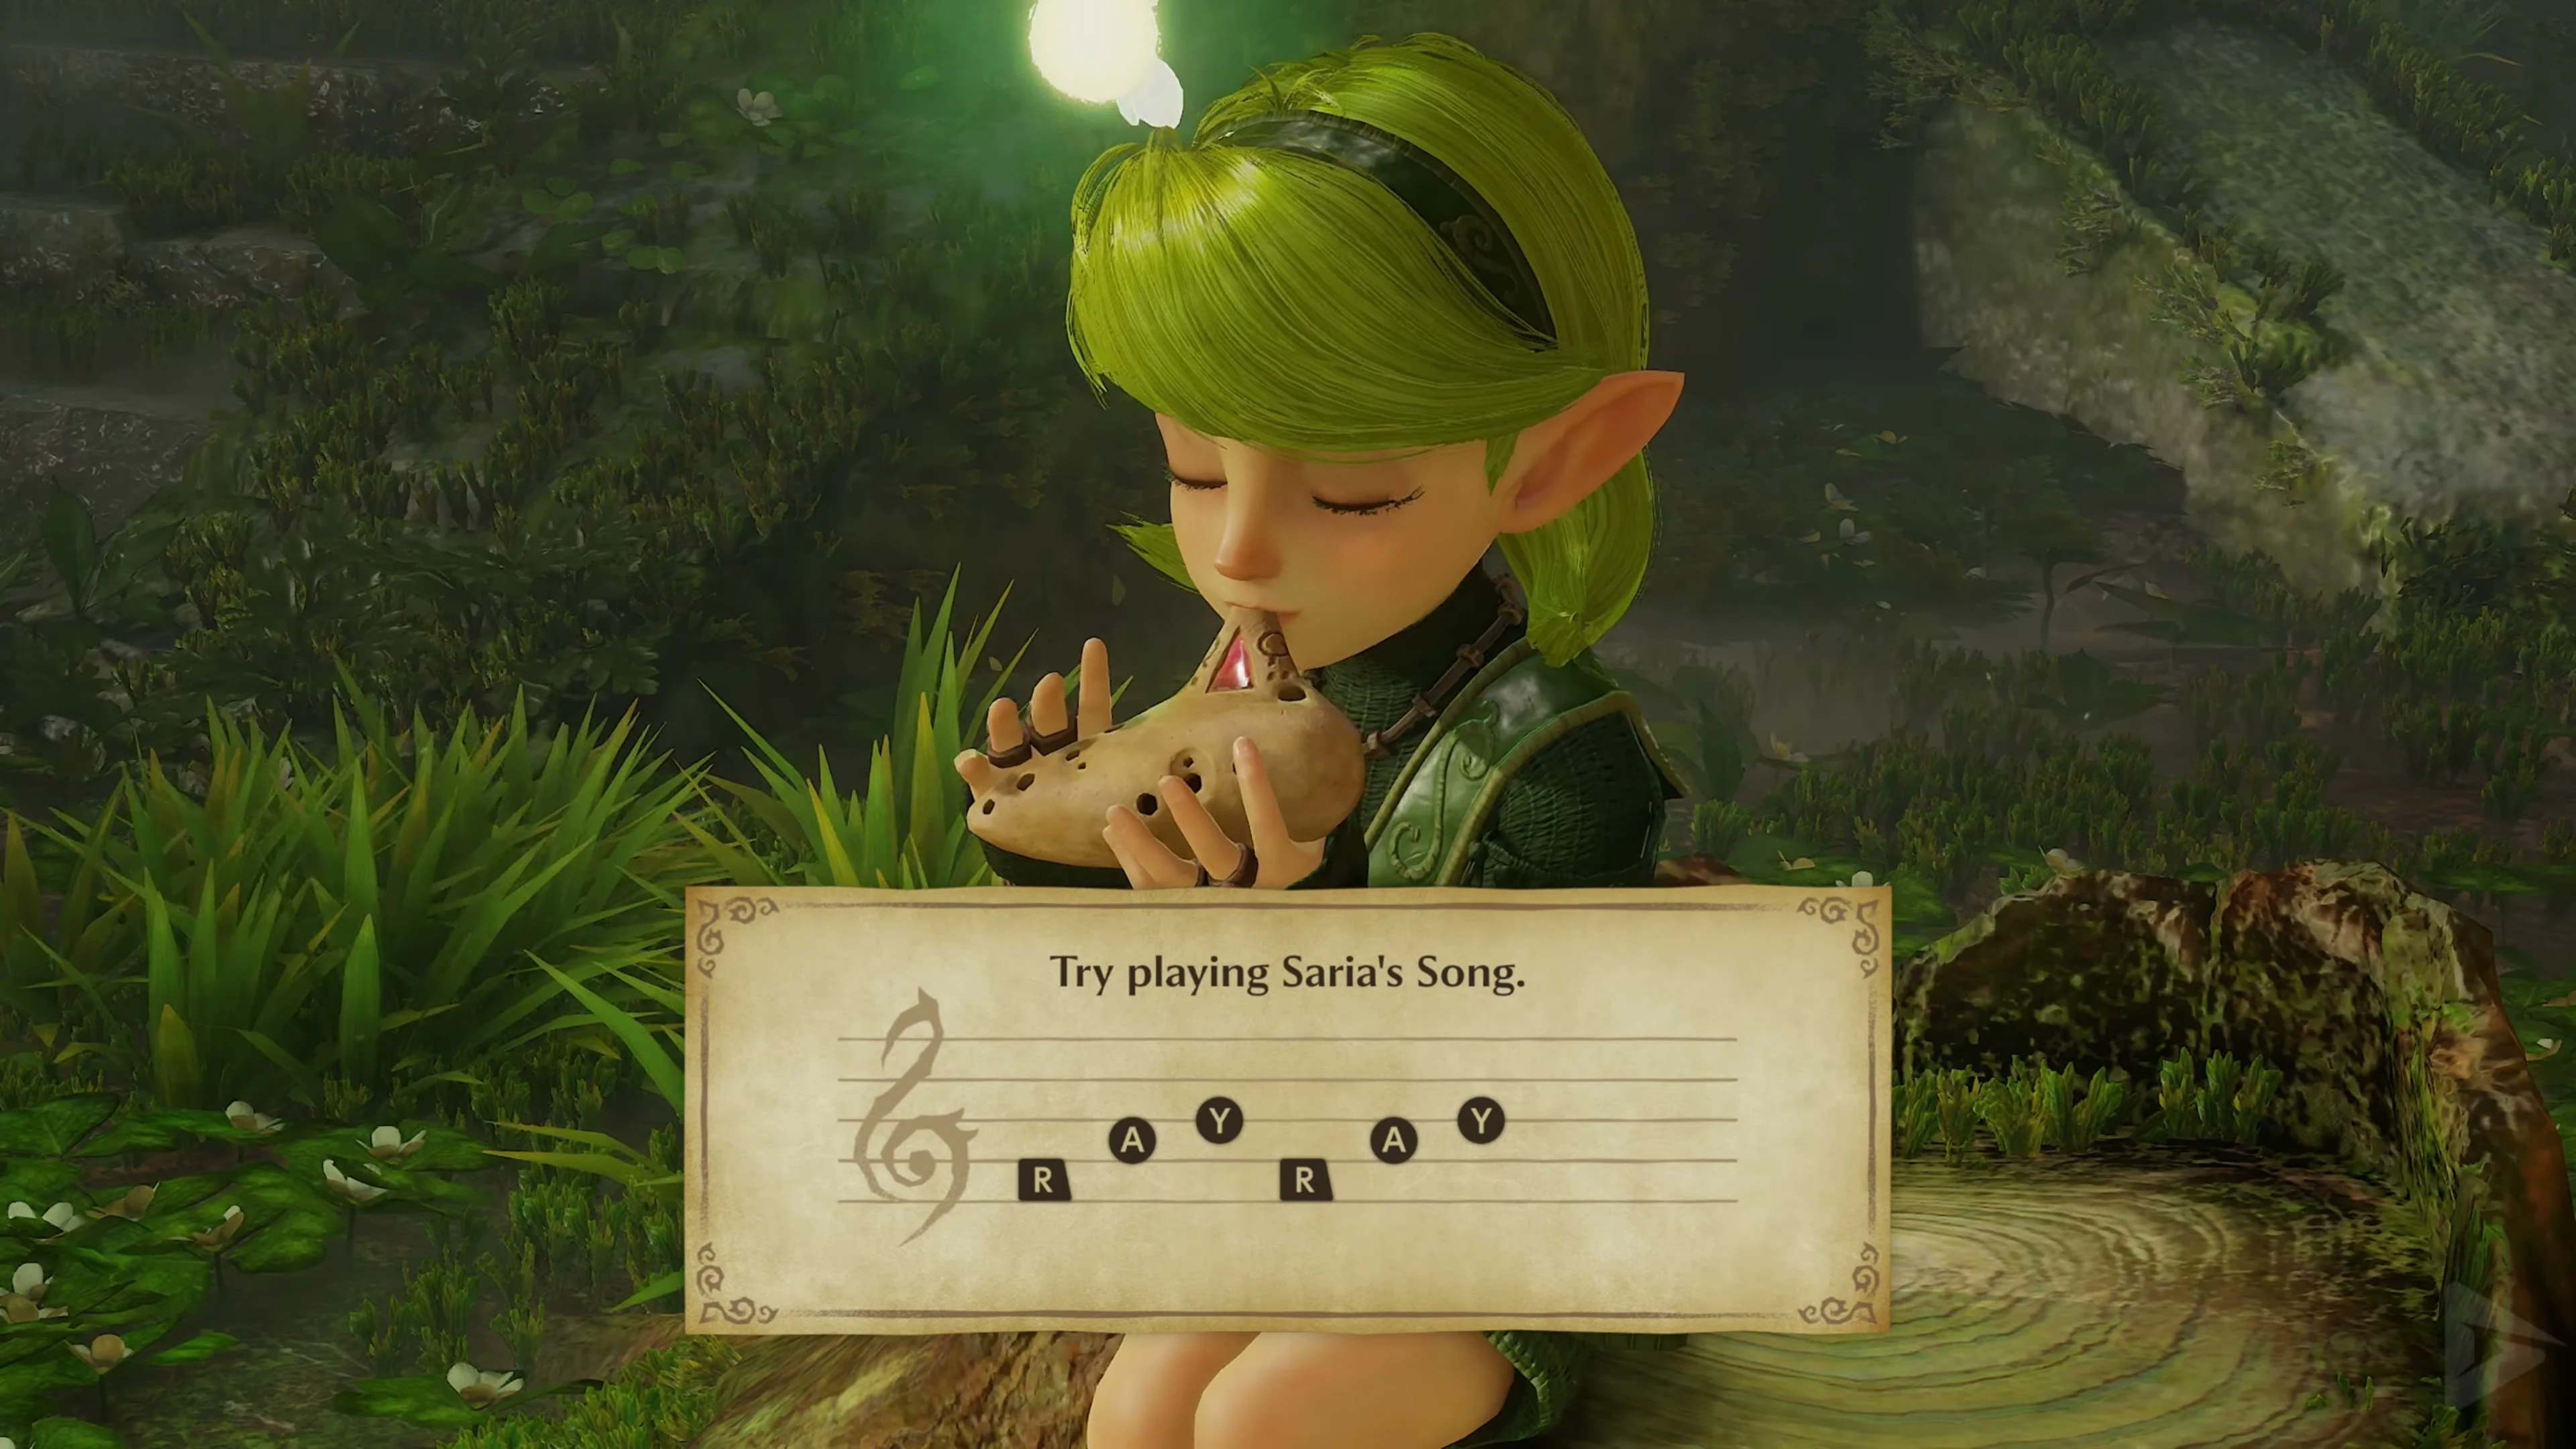
From the Kokiri entrance go right → left → right → left → straight → left → right to the Sacred Grove. Follow the music as it gets louder and the green notes at the correct tunnels. A Wolfos appears at the entrance to the clearing. Lure out his claw attack, dodge sideways and strike his unprotected side. After his death the gate opens. Follow the paths through the ruins and deflect the Deku’s nuts back with the Deku Shield. In front of the long staircase to the north is a small area with a ladder and a hole in the ground to the fairy spring . Fill up your hearts here and, if necessary, catch a fairy in one of the free bottles. Have a bottle of bugs ready for the Death Mountain Trail. Then climb the large stairs, pass the last Dekus and talk to Saria. She teaches you Saria’s song . For additional resources, see Great Fairies and Fairy Fountains .
Piece of Heart at Skull Kid
On your way back, return to the Kokiri Entrance of the Lost Woods. A fake tunnel will take you directly back to the village if needed. Re-enter the woods and turn left . Stand on the low tree stump opposite the lone Skull Kid and play Saria’s Song . You will receive a Piece of Heart . Pick up some fresh bugs if your bug bottle is empty.
Return via the forest tunnel to Goron City
Return to the Kokiri entrance from the Skull Kid Glade. Go right, then left and in this clearing take the straight stone passage to Goron City . Now you cross the already opened stone tunnel back to the Goron city. Climb down to Darunia’s chamber.
Saria’s Song for Darunia and the Goron Bracelet
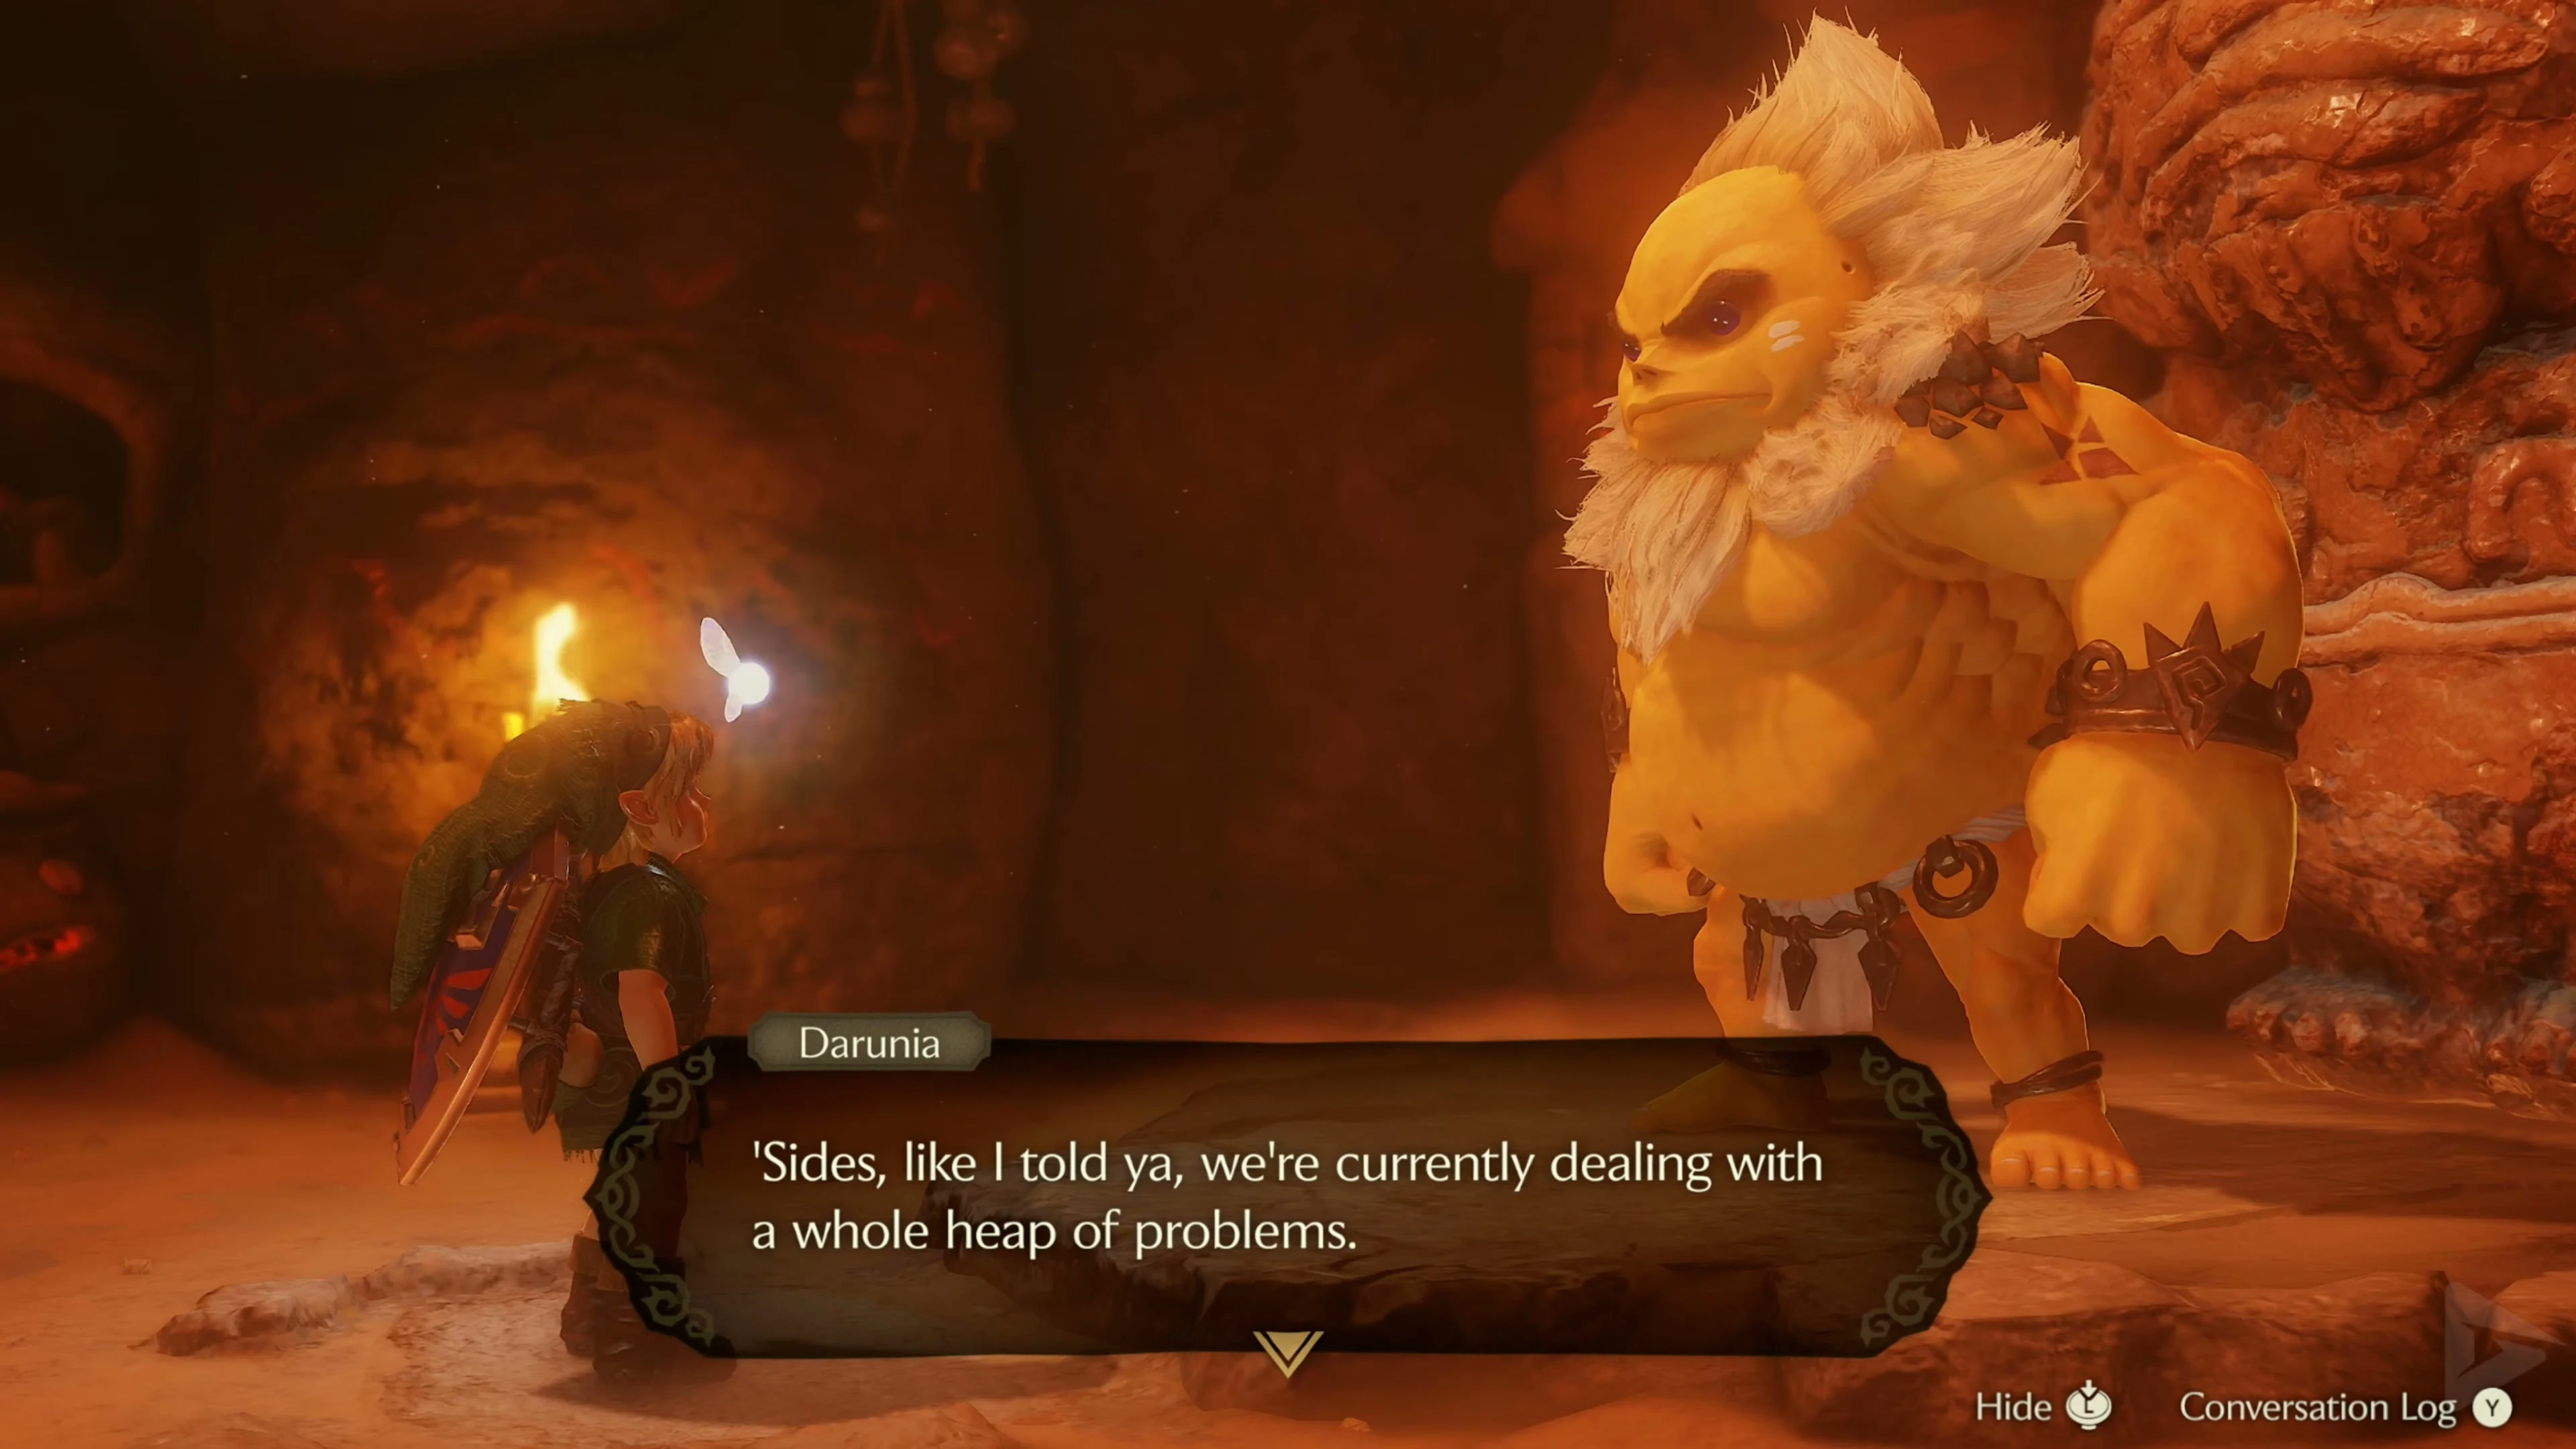
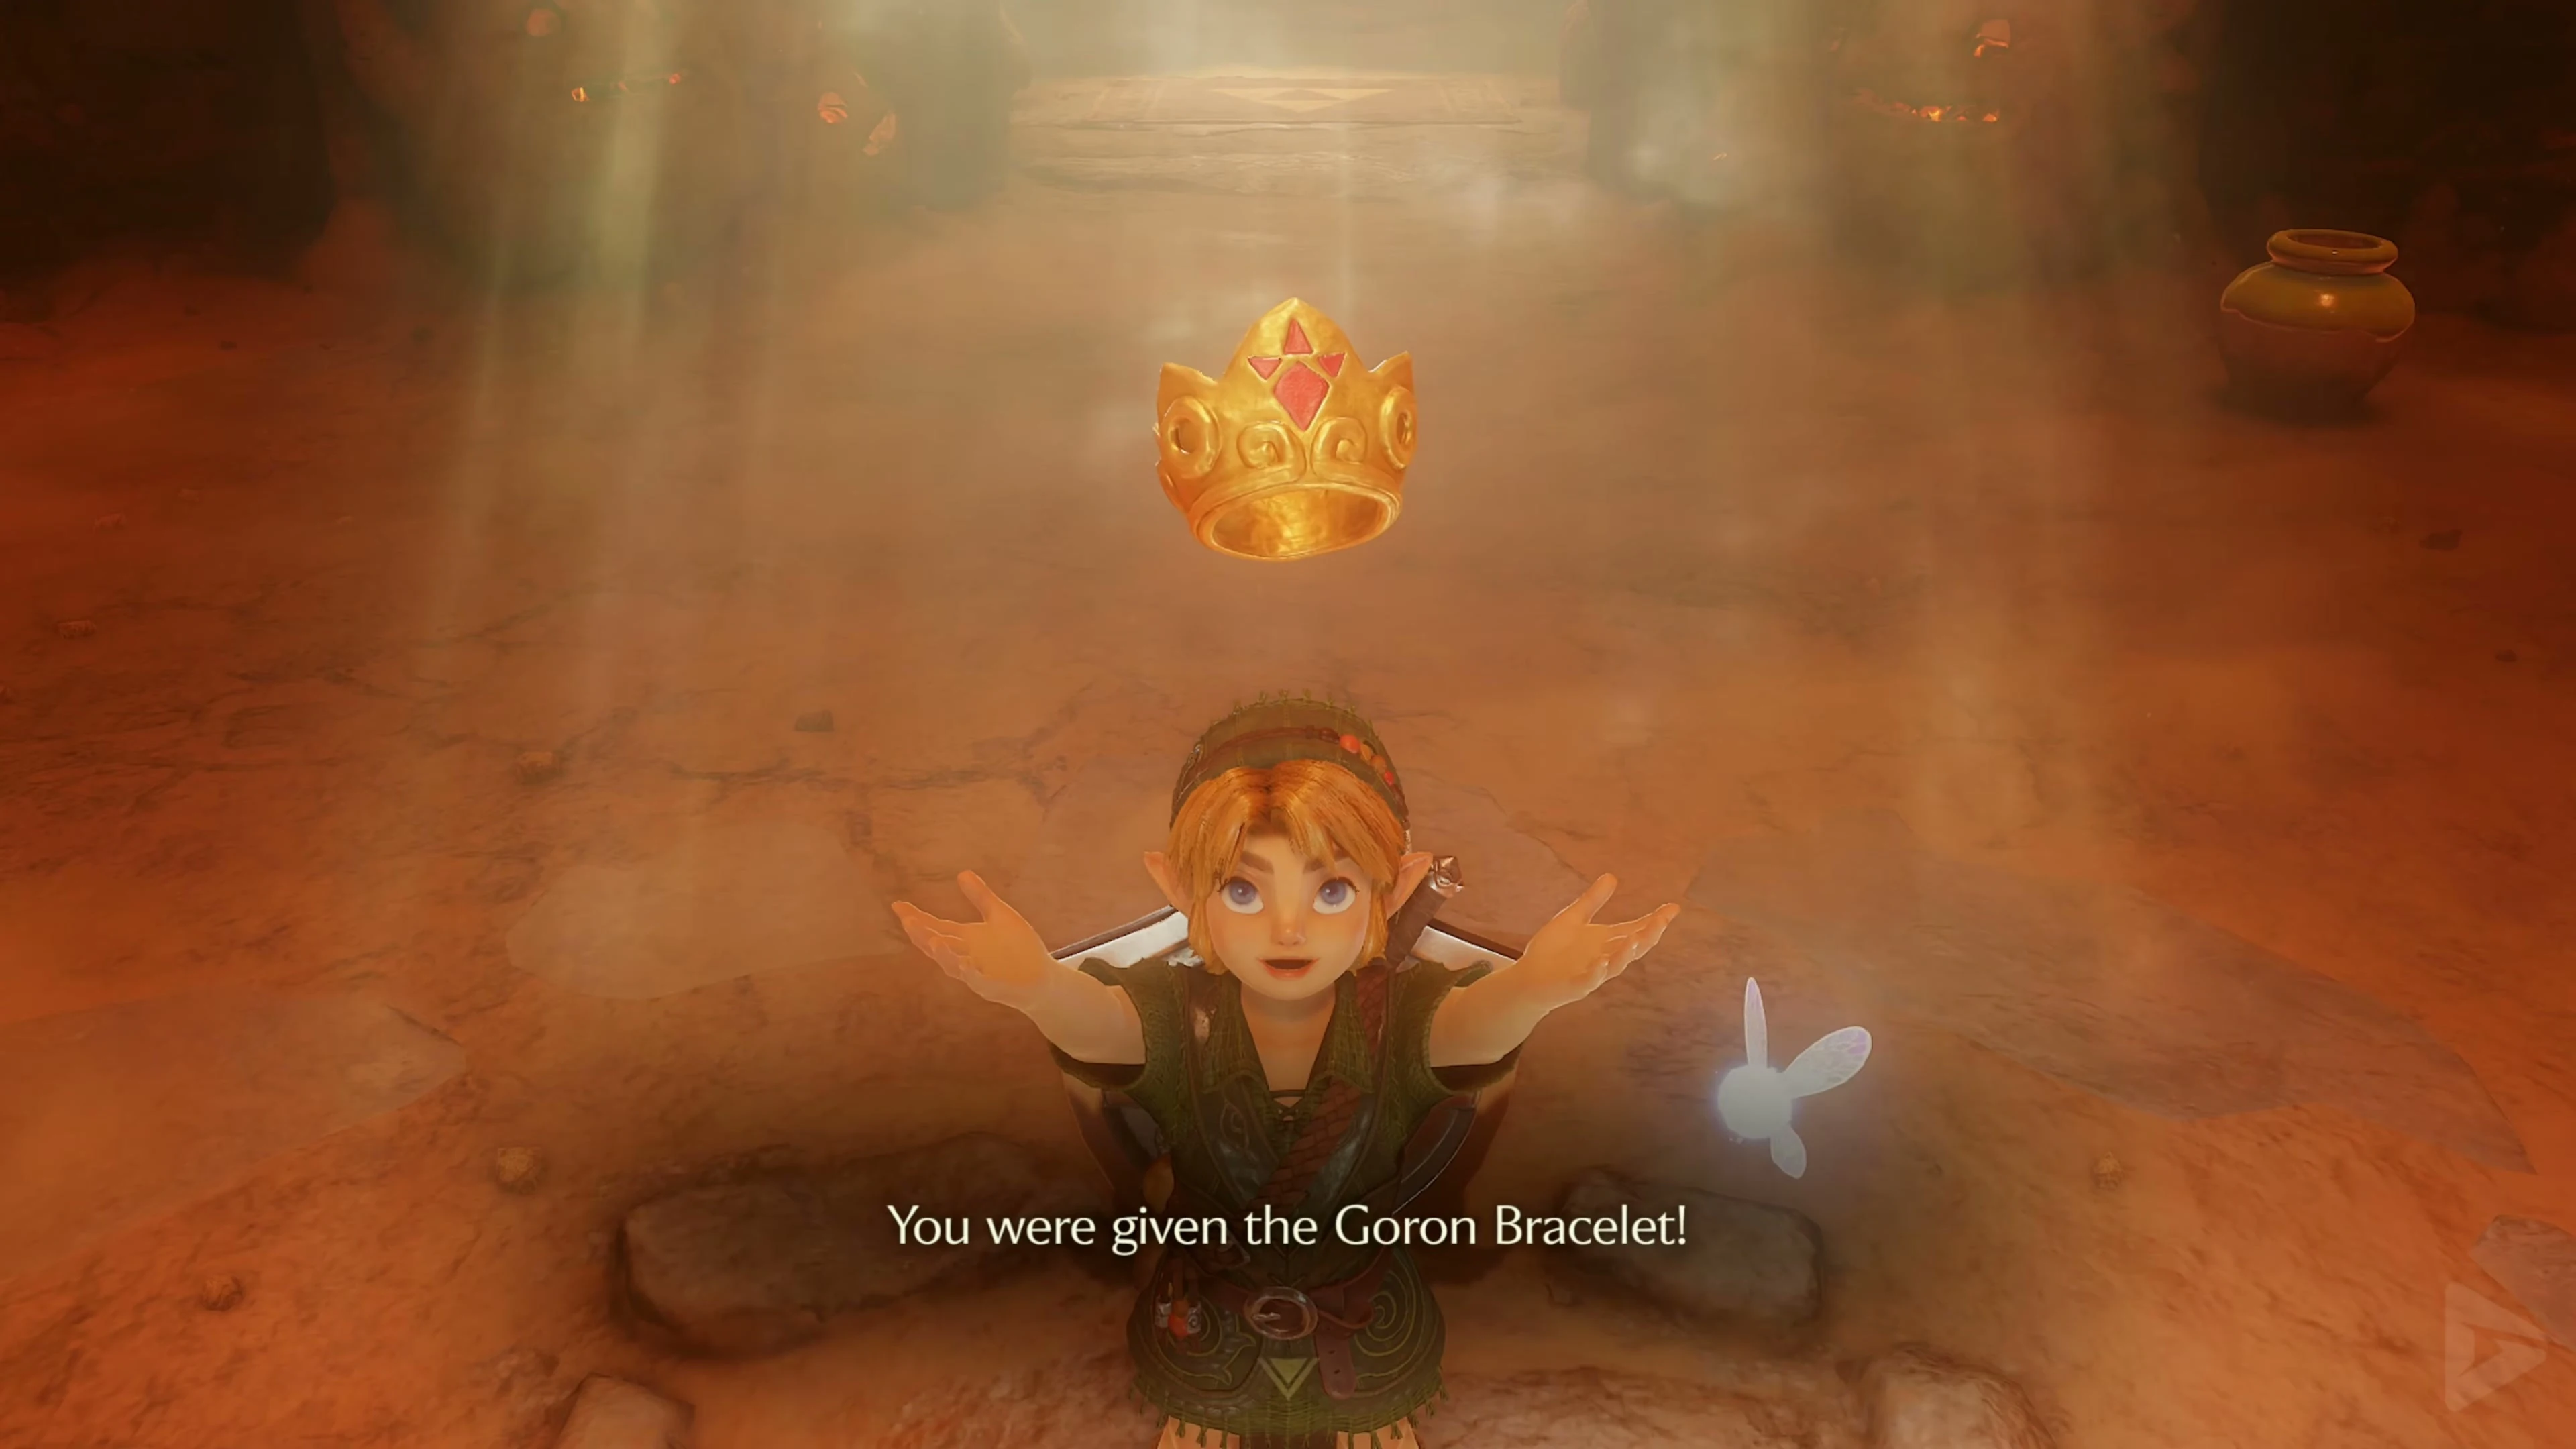
Play Saria’s Song to Darunia. After dancing, he explains the Gorons’ problem and gives you the Goron Bracelet. You can now pick up and throw Bomb Flowers. The tunnel to the Lost Woods remains open as a shortcut.
Piece of Heart from the Goron vase
The four torches on the lowest level are already burning and the large vase is rotating. Climb up to the forest tunnel level and look for a Bomb Flower in the northwest corner. Throw it down into the open vase from the ledge next to the climbing net. After the explosion, the vase stops on a face. If she shows the laughing face , she throws out a Piece of Heart . If the result is different, take the next Bomb Flower and try again. Pick up the Piece of Heart below.
Open Dodongo Cavern
Exit Goron City via the upper south exit to Death Mountain Trail. Go to the Goron near the Bomb Flower on the railing above the blocked cave entrance. Pick up the flower and throw it over the railing down to the large rock. Their explosion opens the entrance to Dodongo Cavern . Descend to the lower path and go to the opened entrance. The soft earth can now be reached there. Release the bugs you brought with you on it and take the golden token. Equip the Hylian Shield and enter the cave.