
Equip the Hylian Shield and have your slingshot and Deku Sticks ready. Go through the already opened entrance to Dodongo Cavern.
Entrance and central lava hall
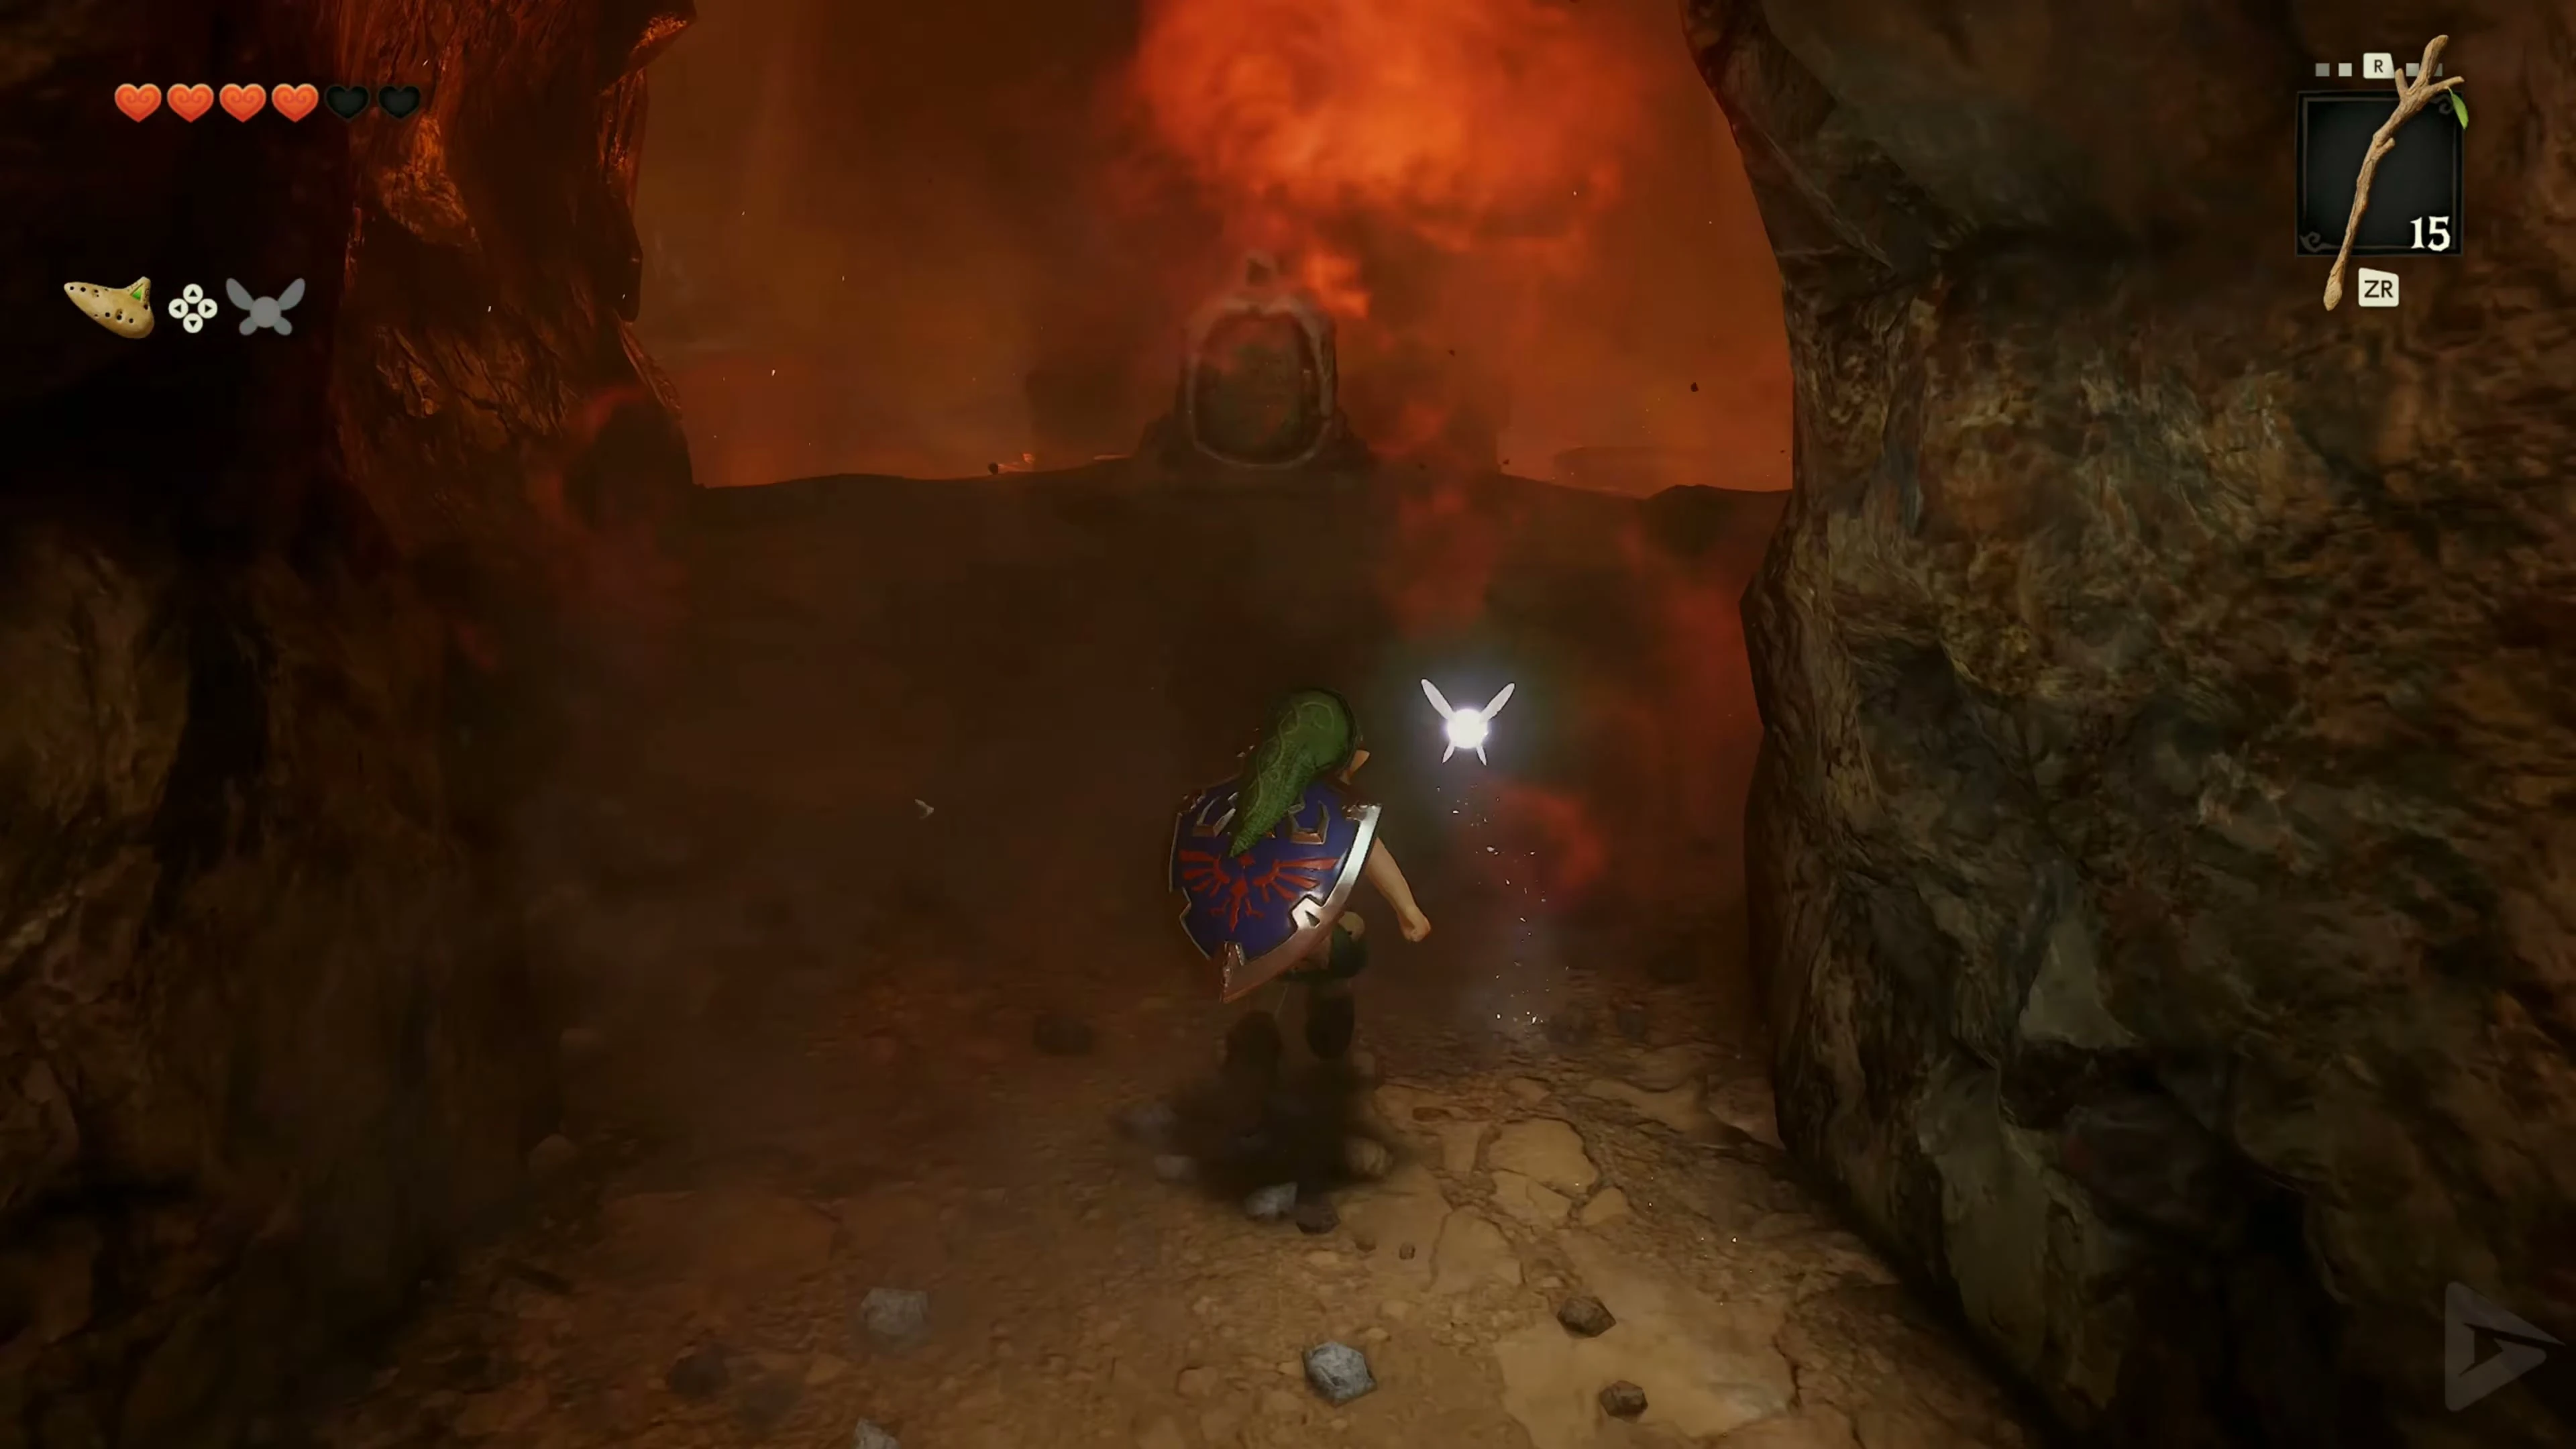
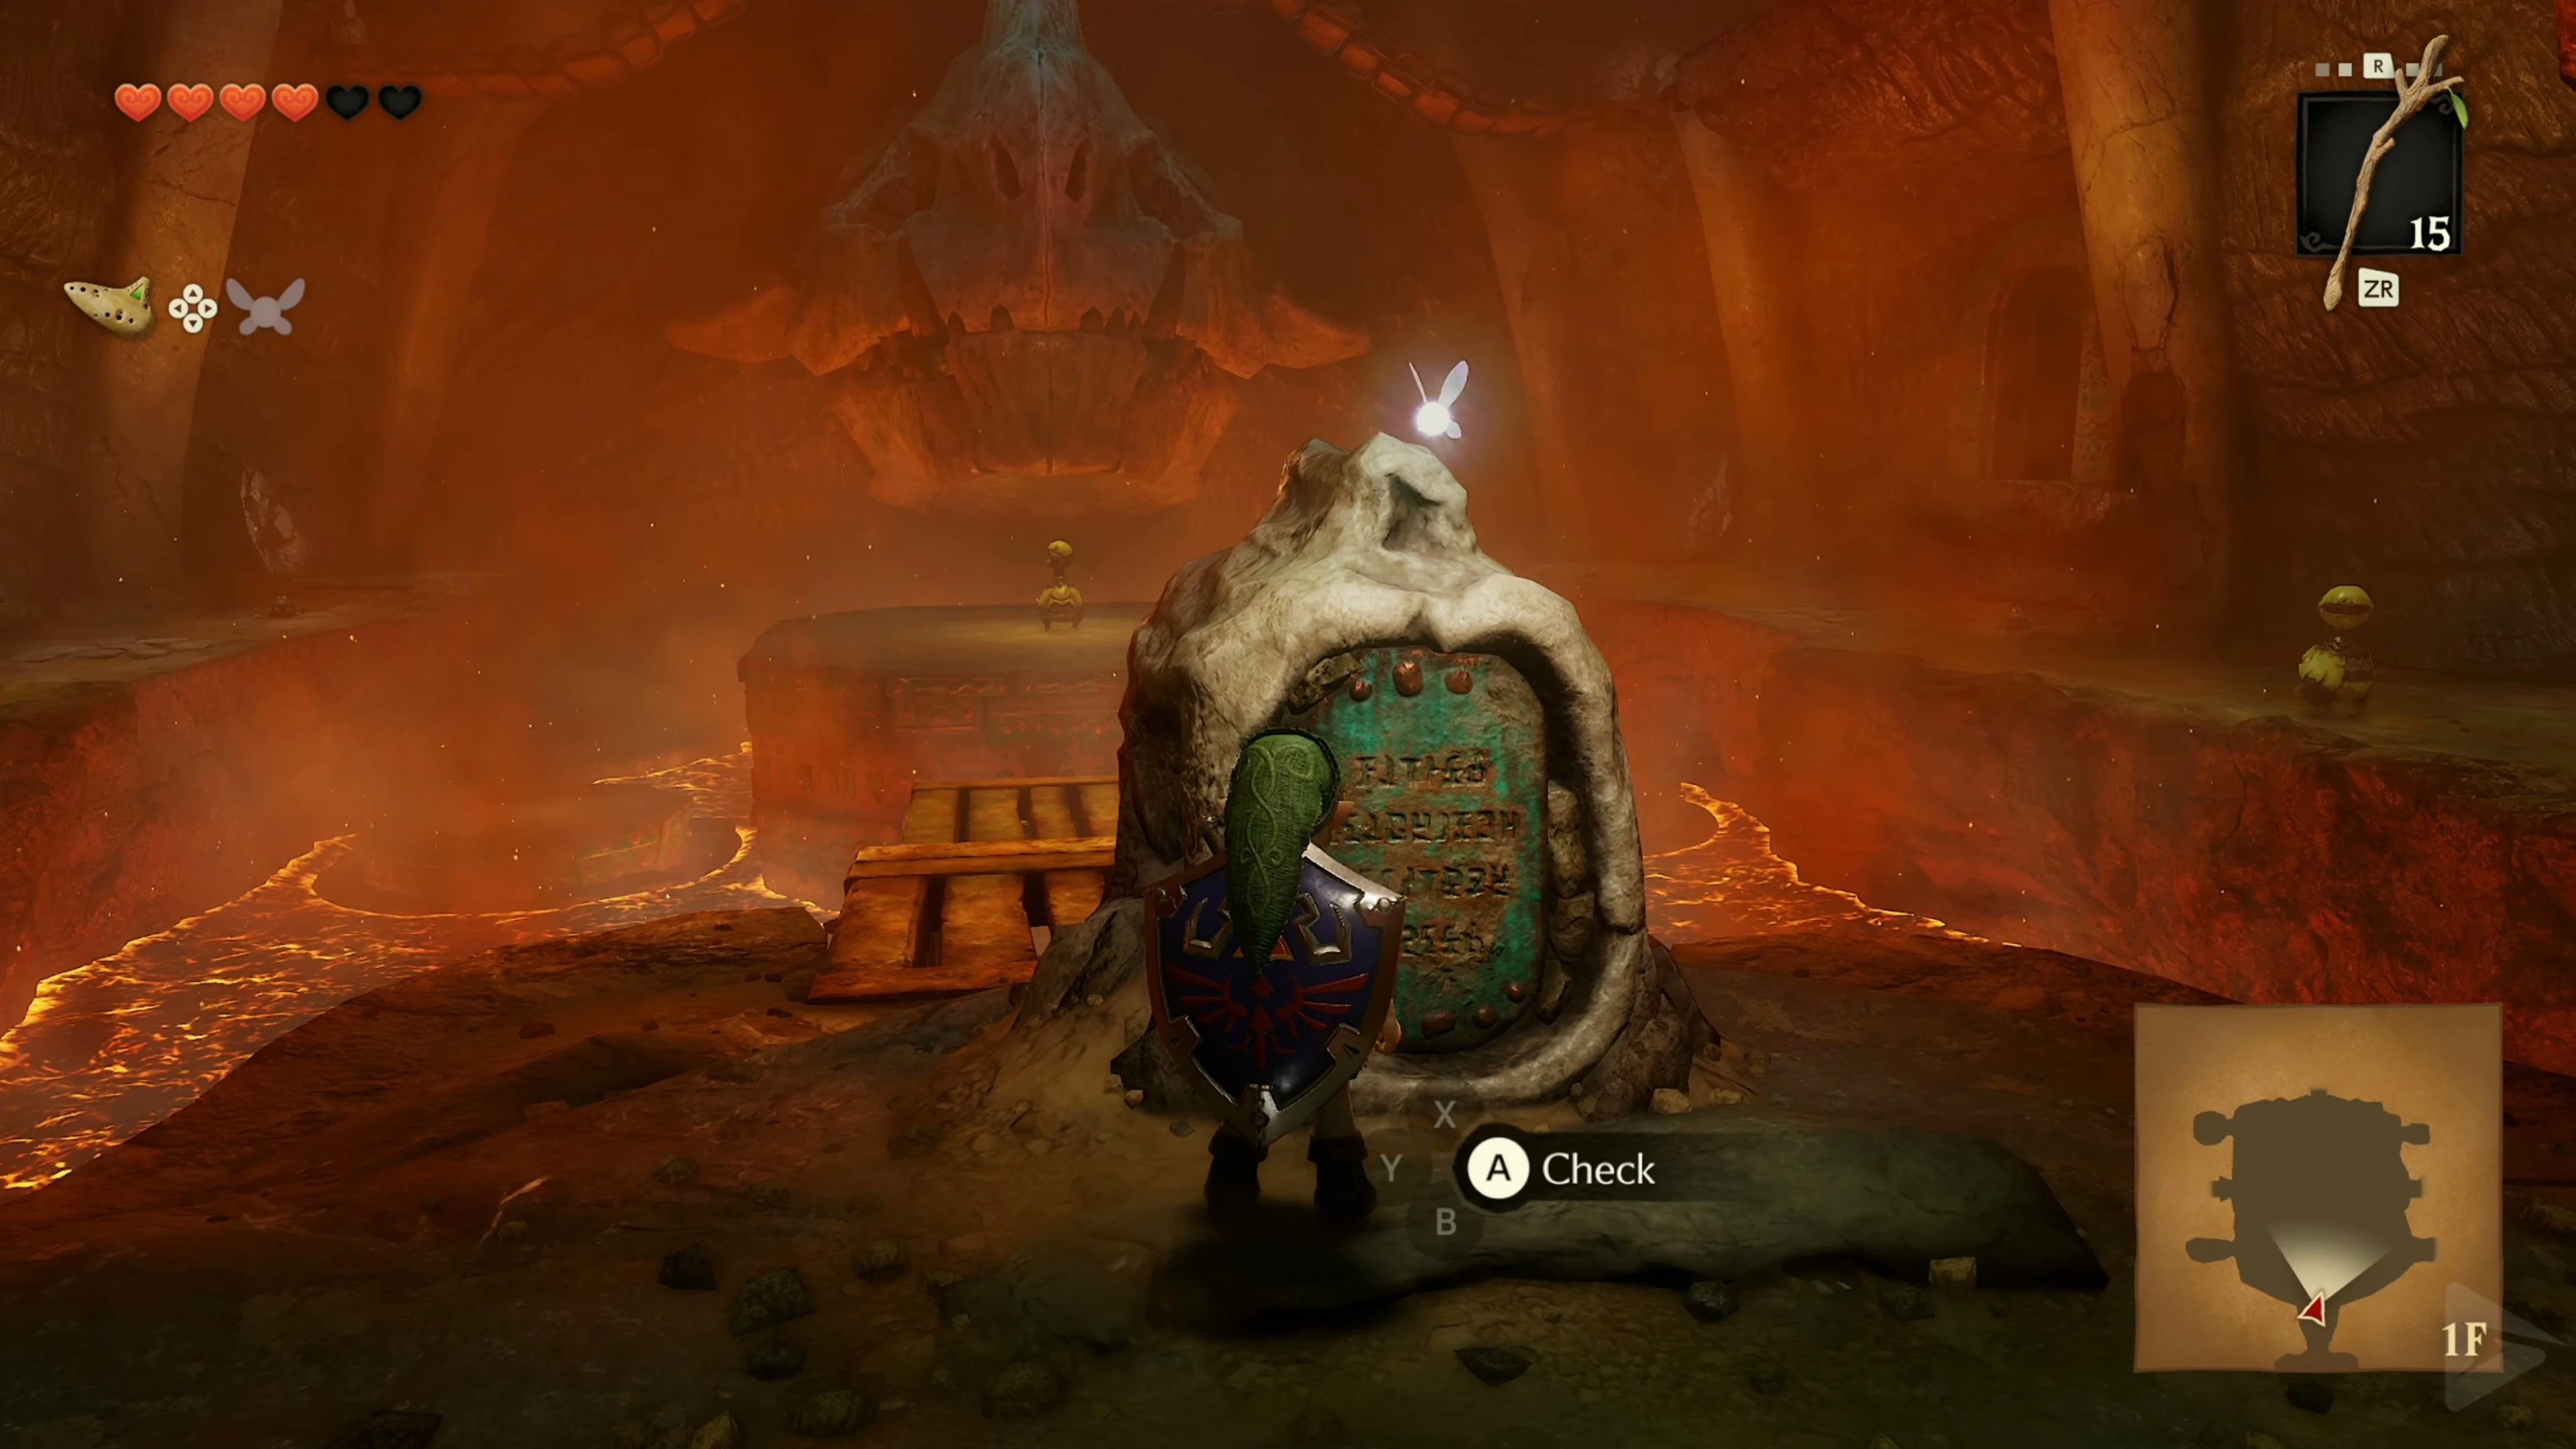
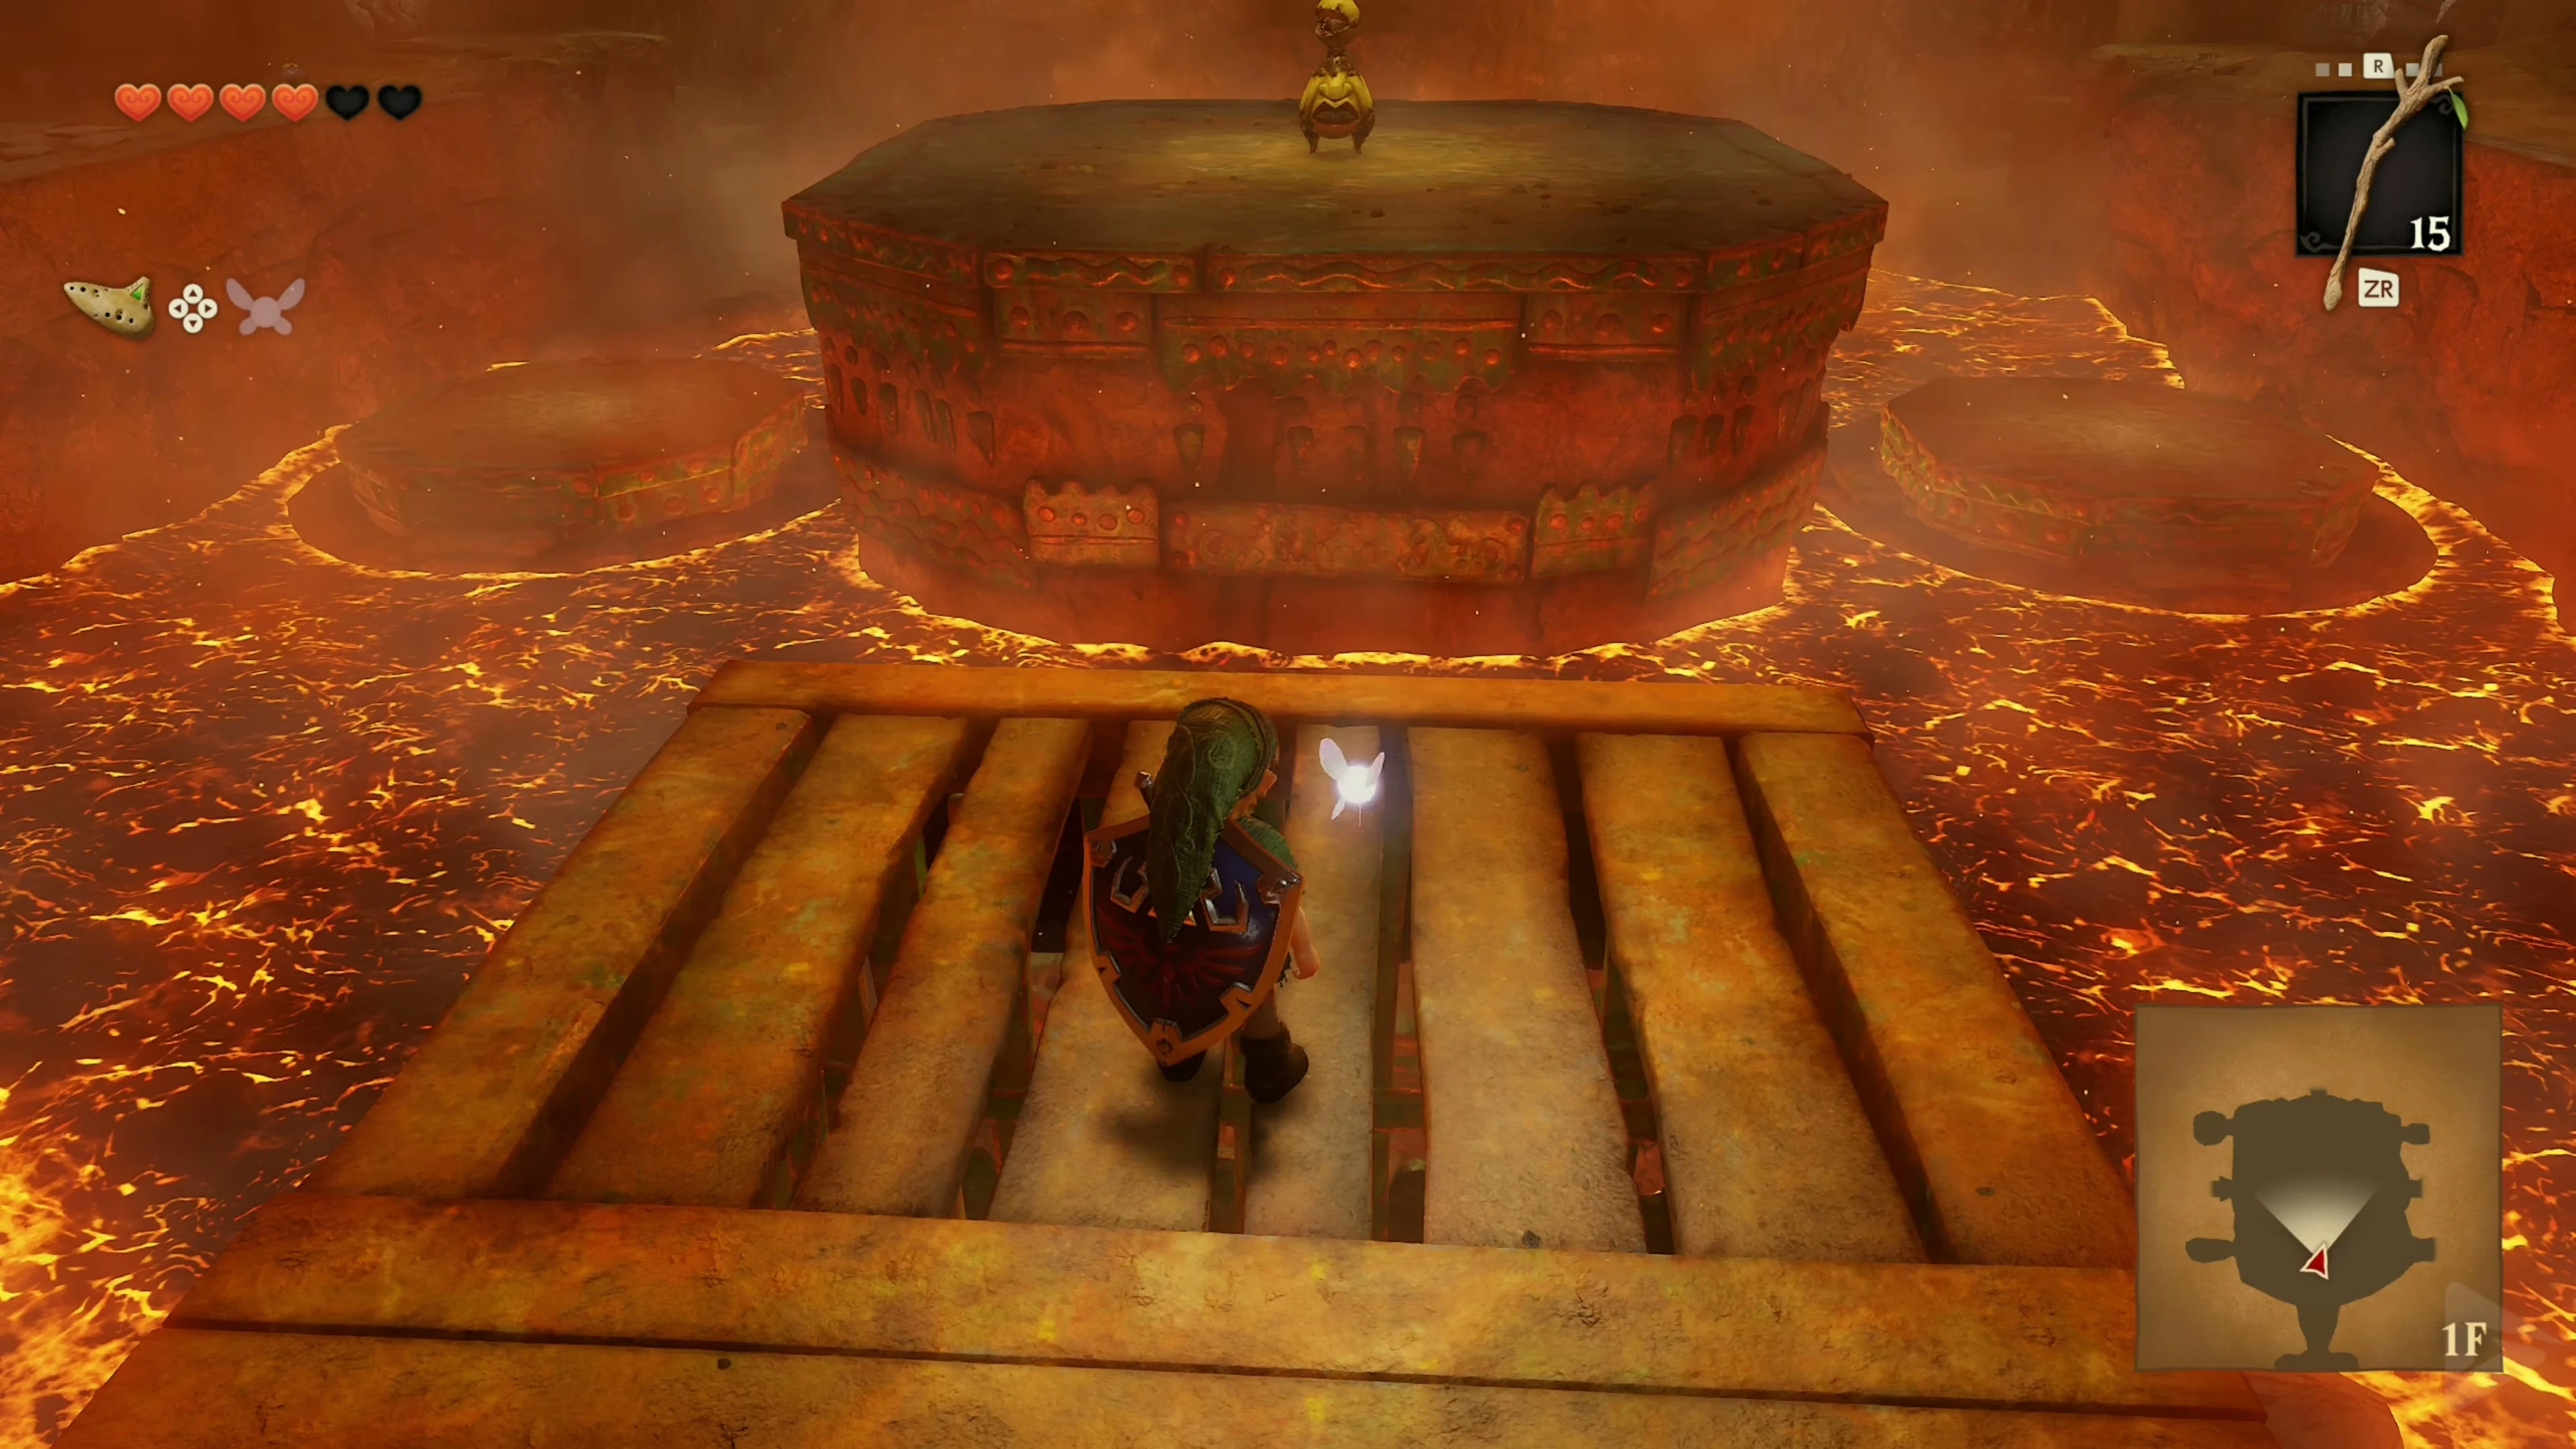
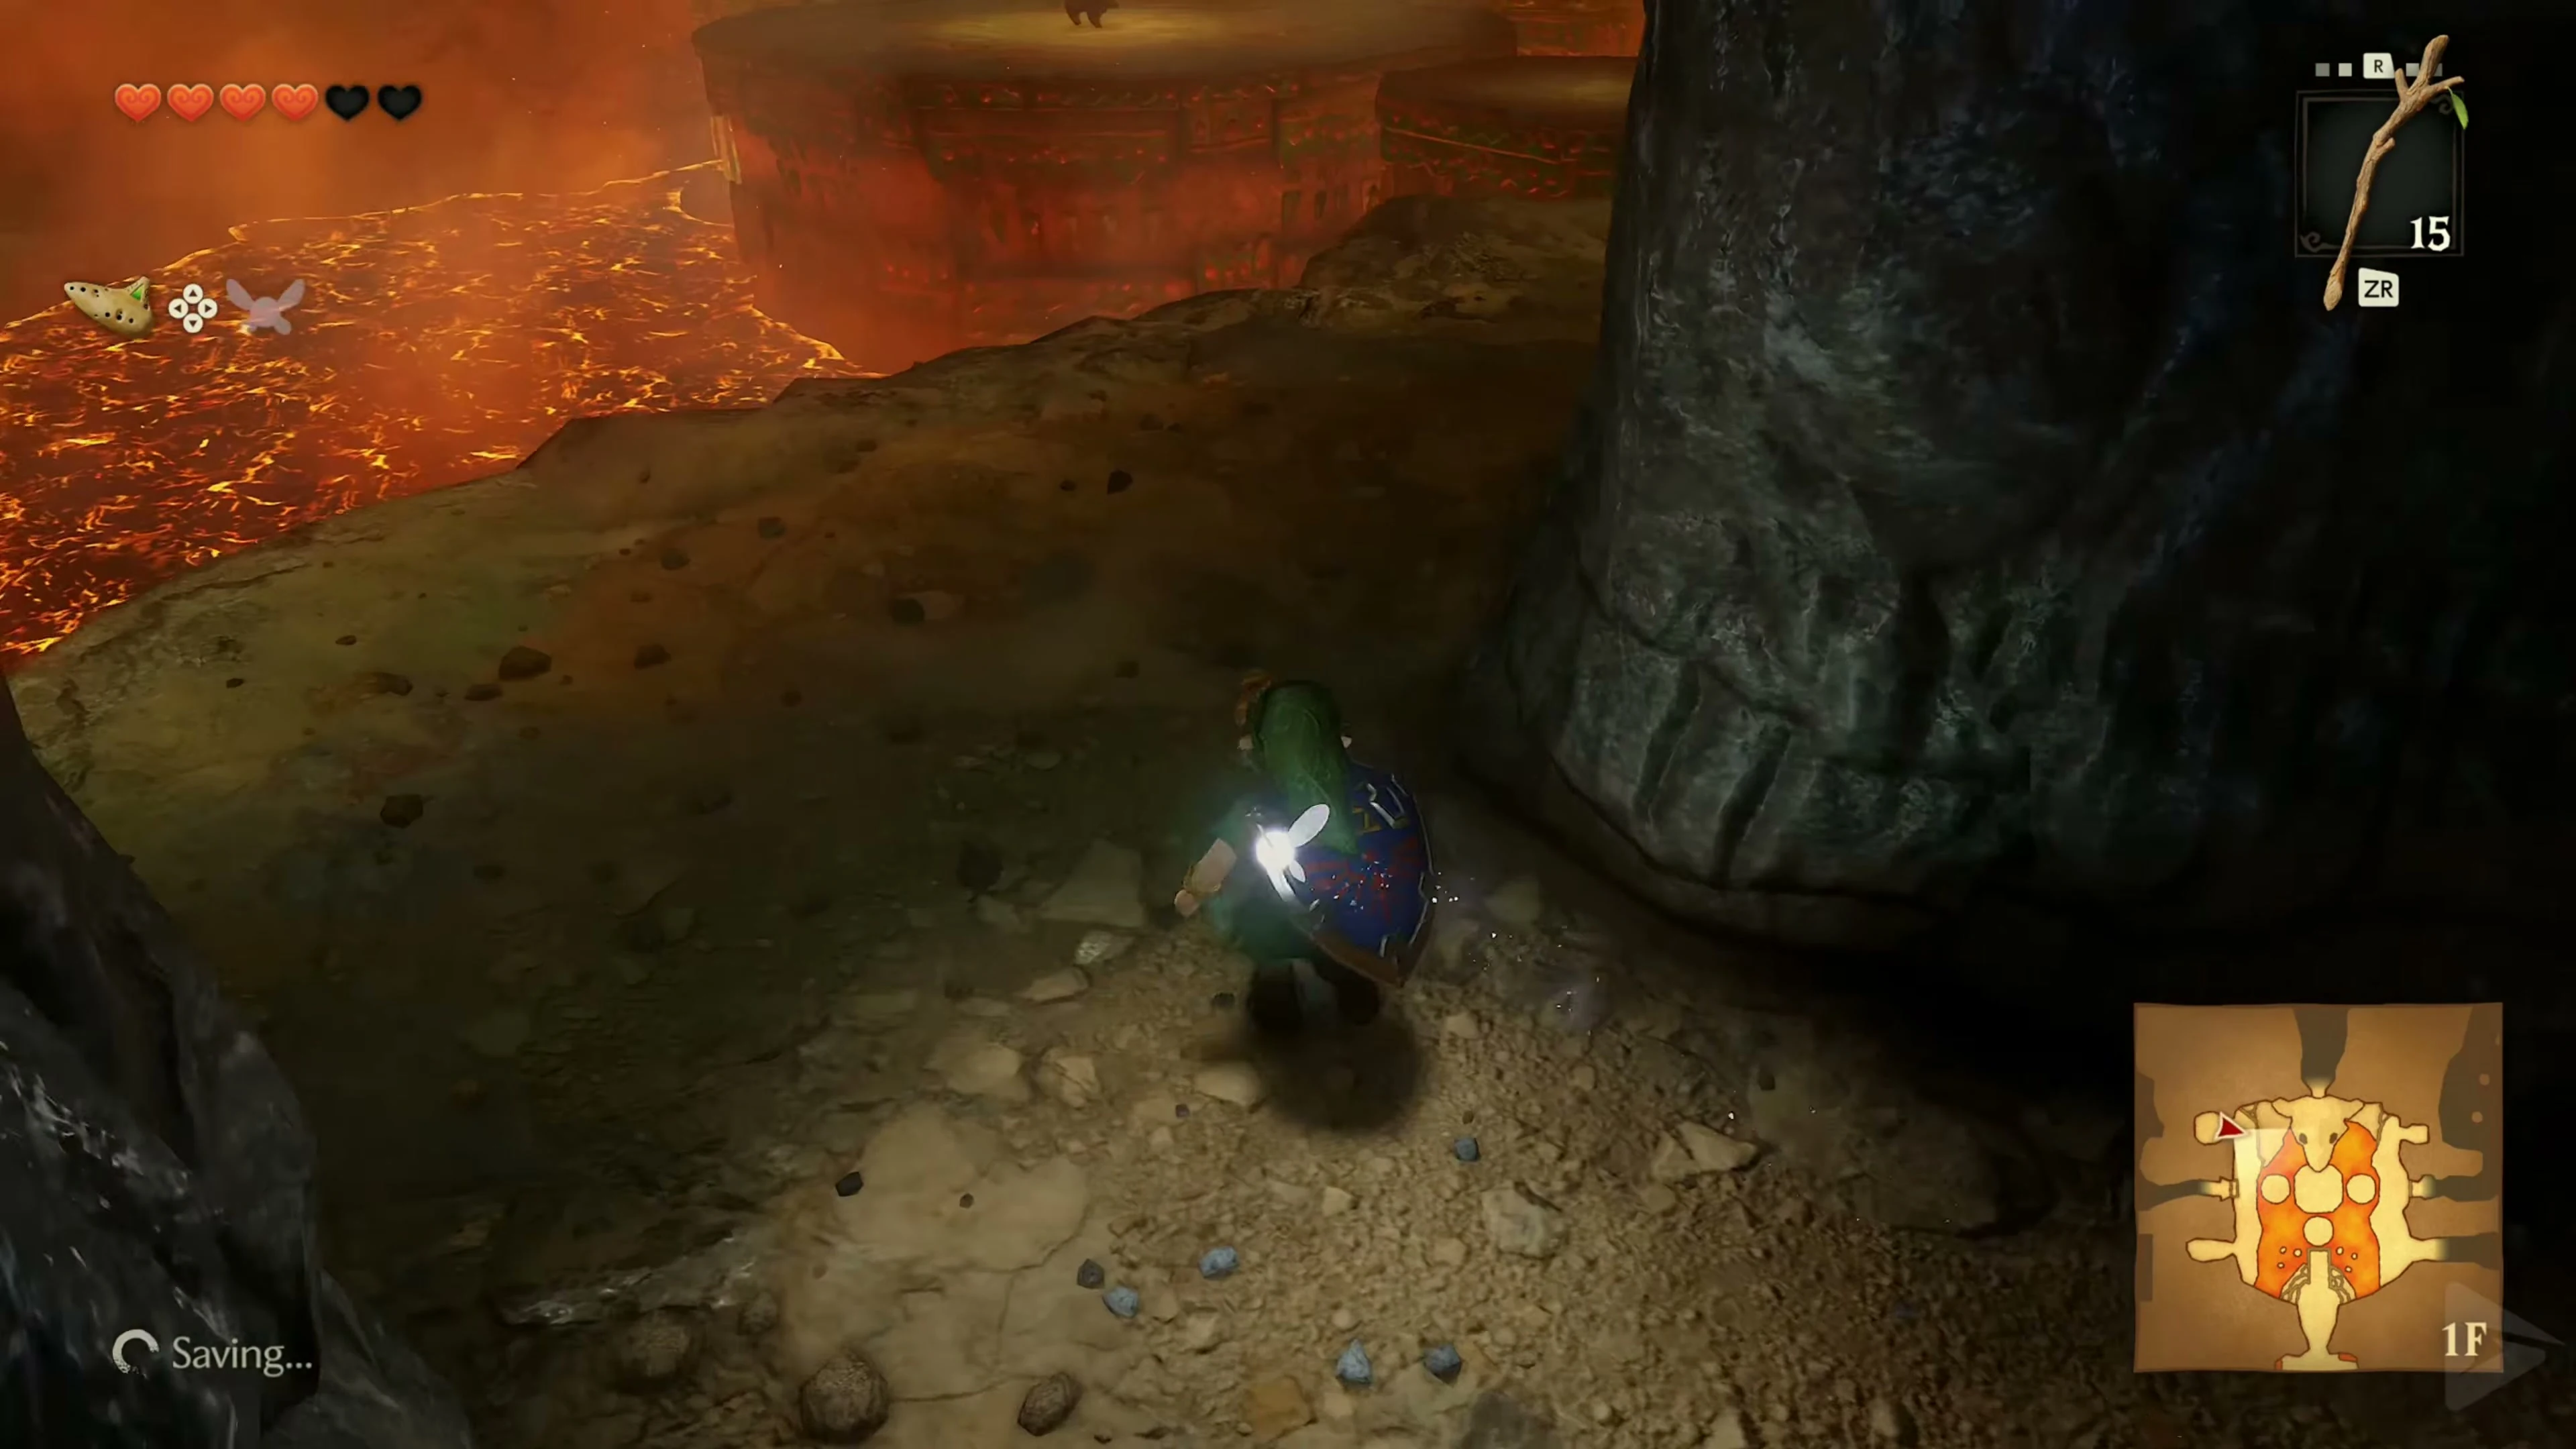
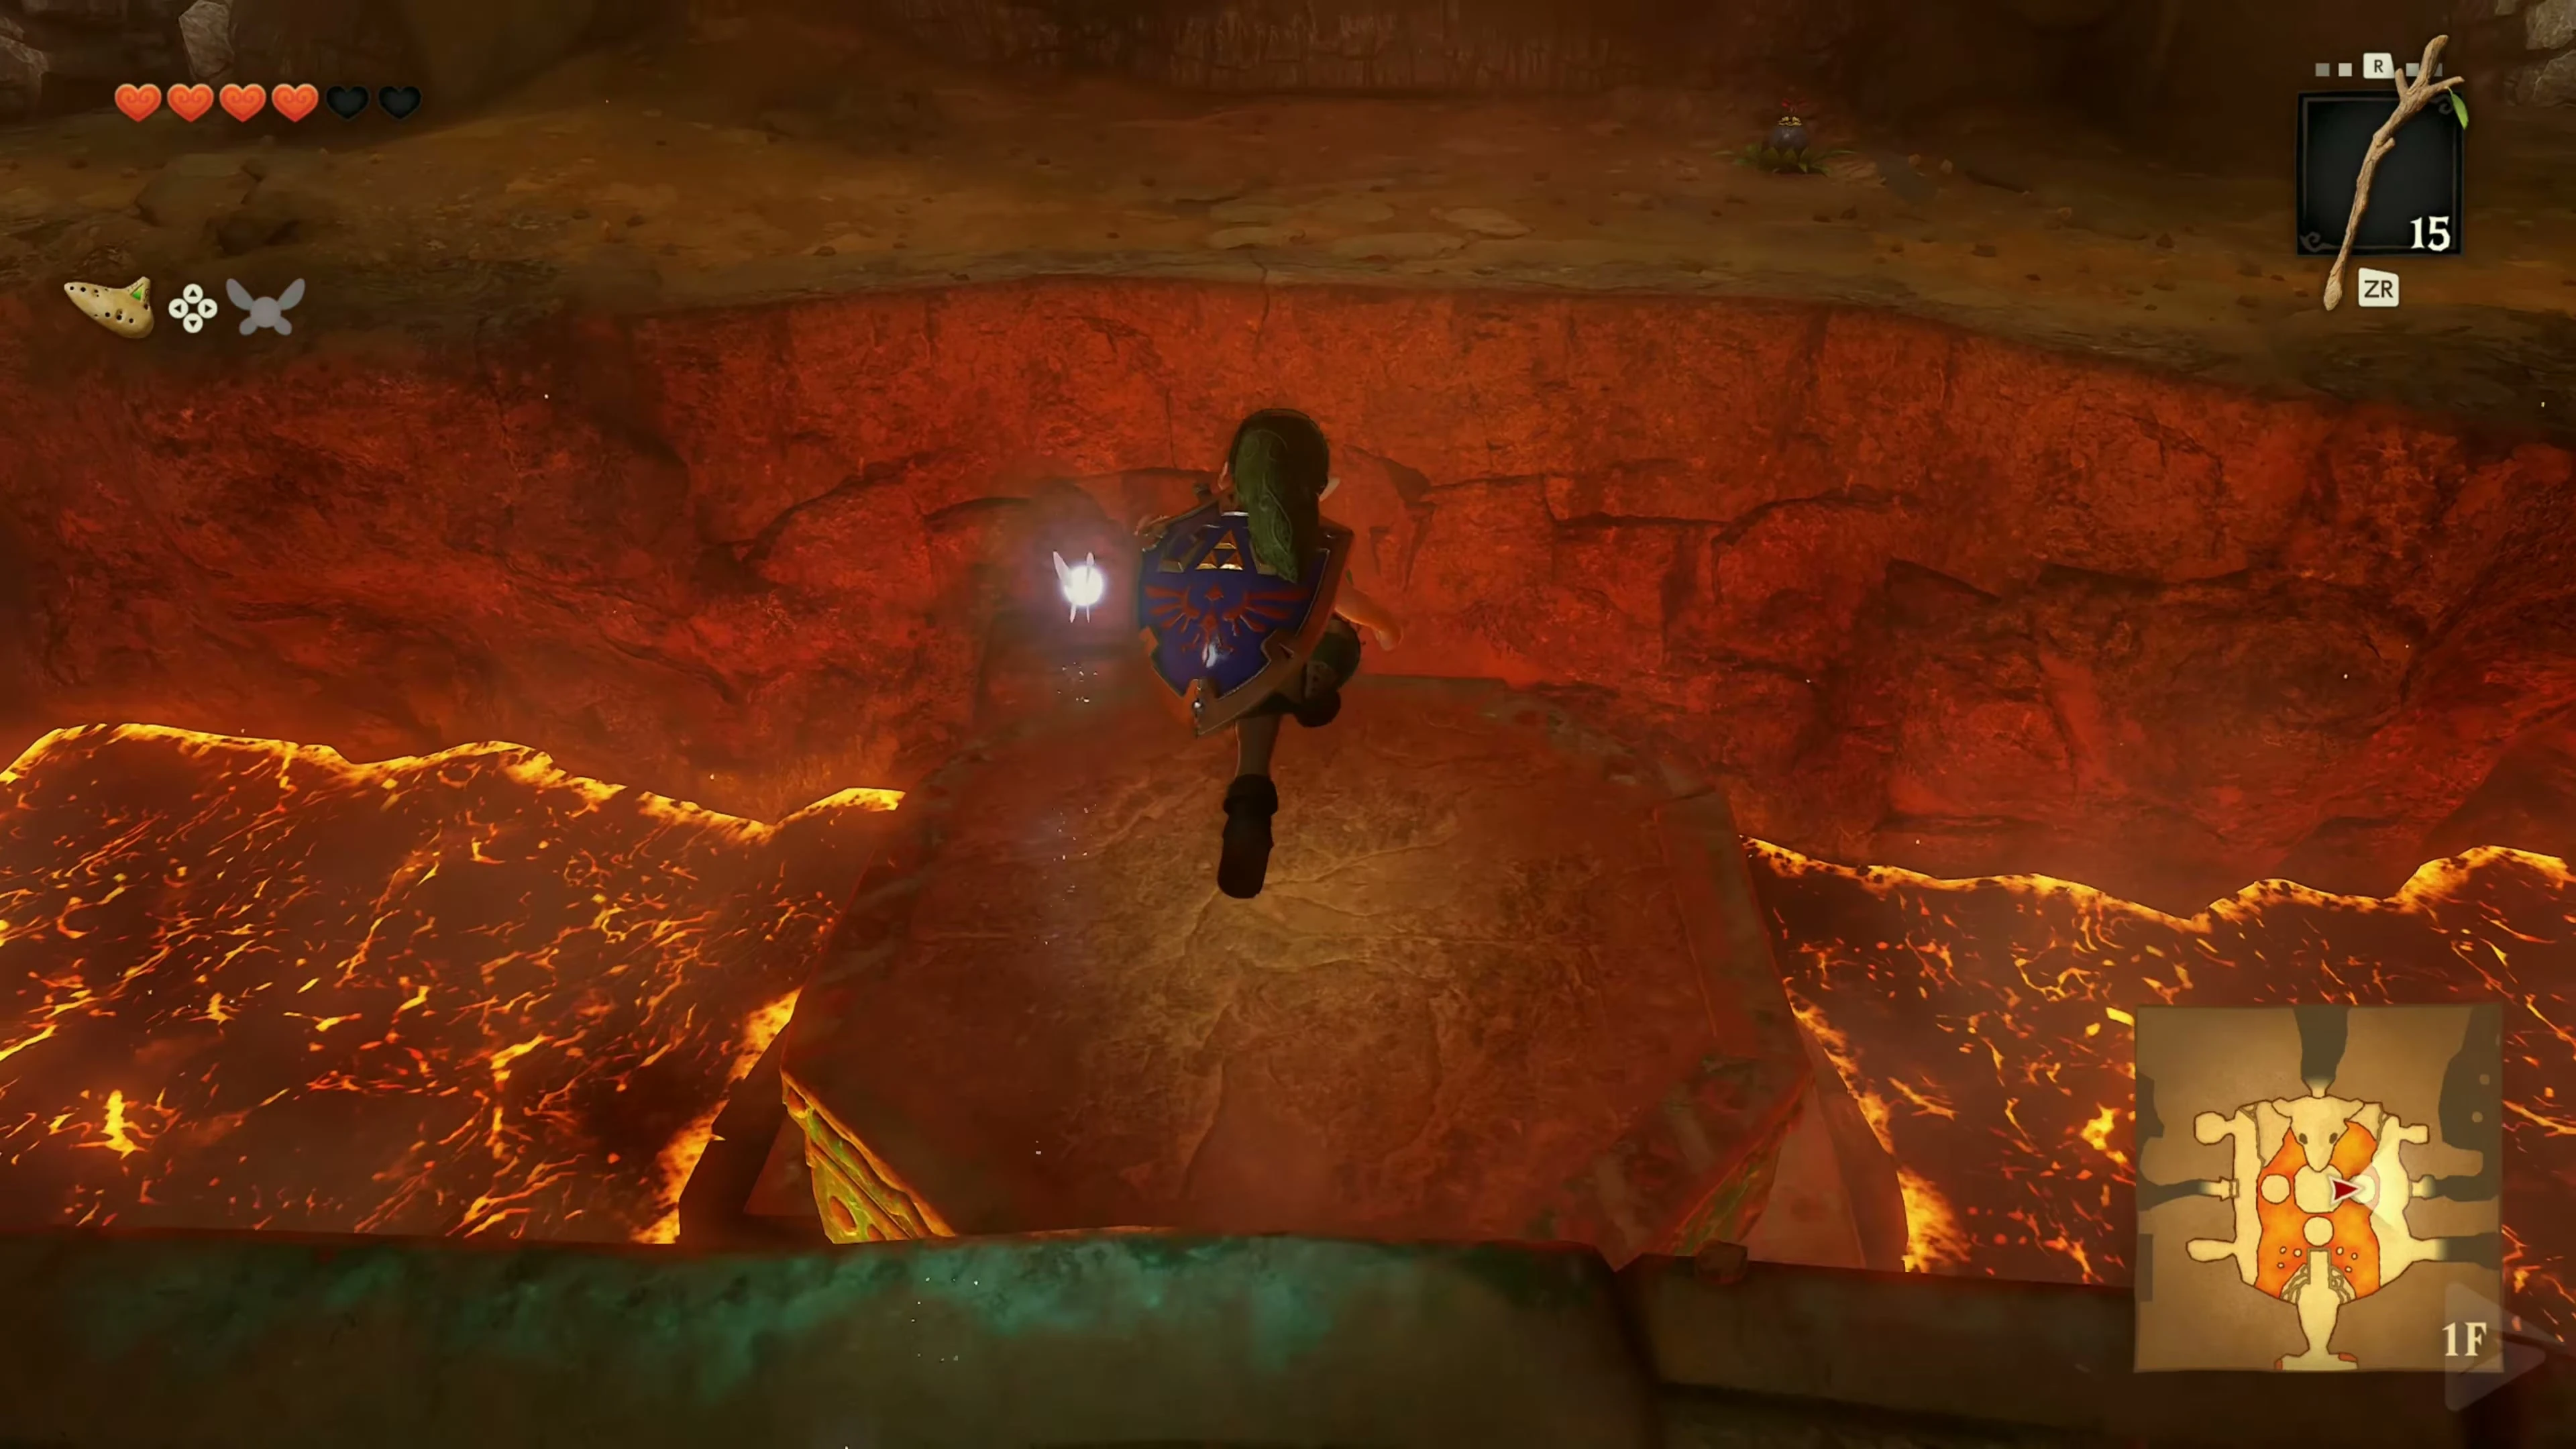
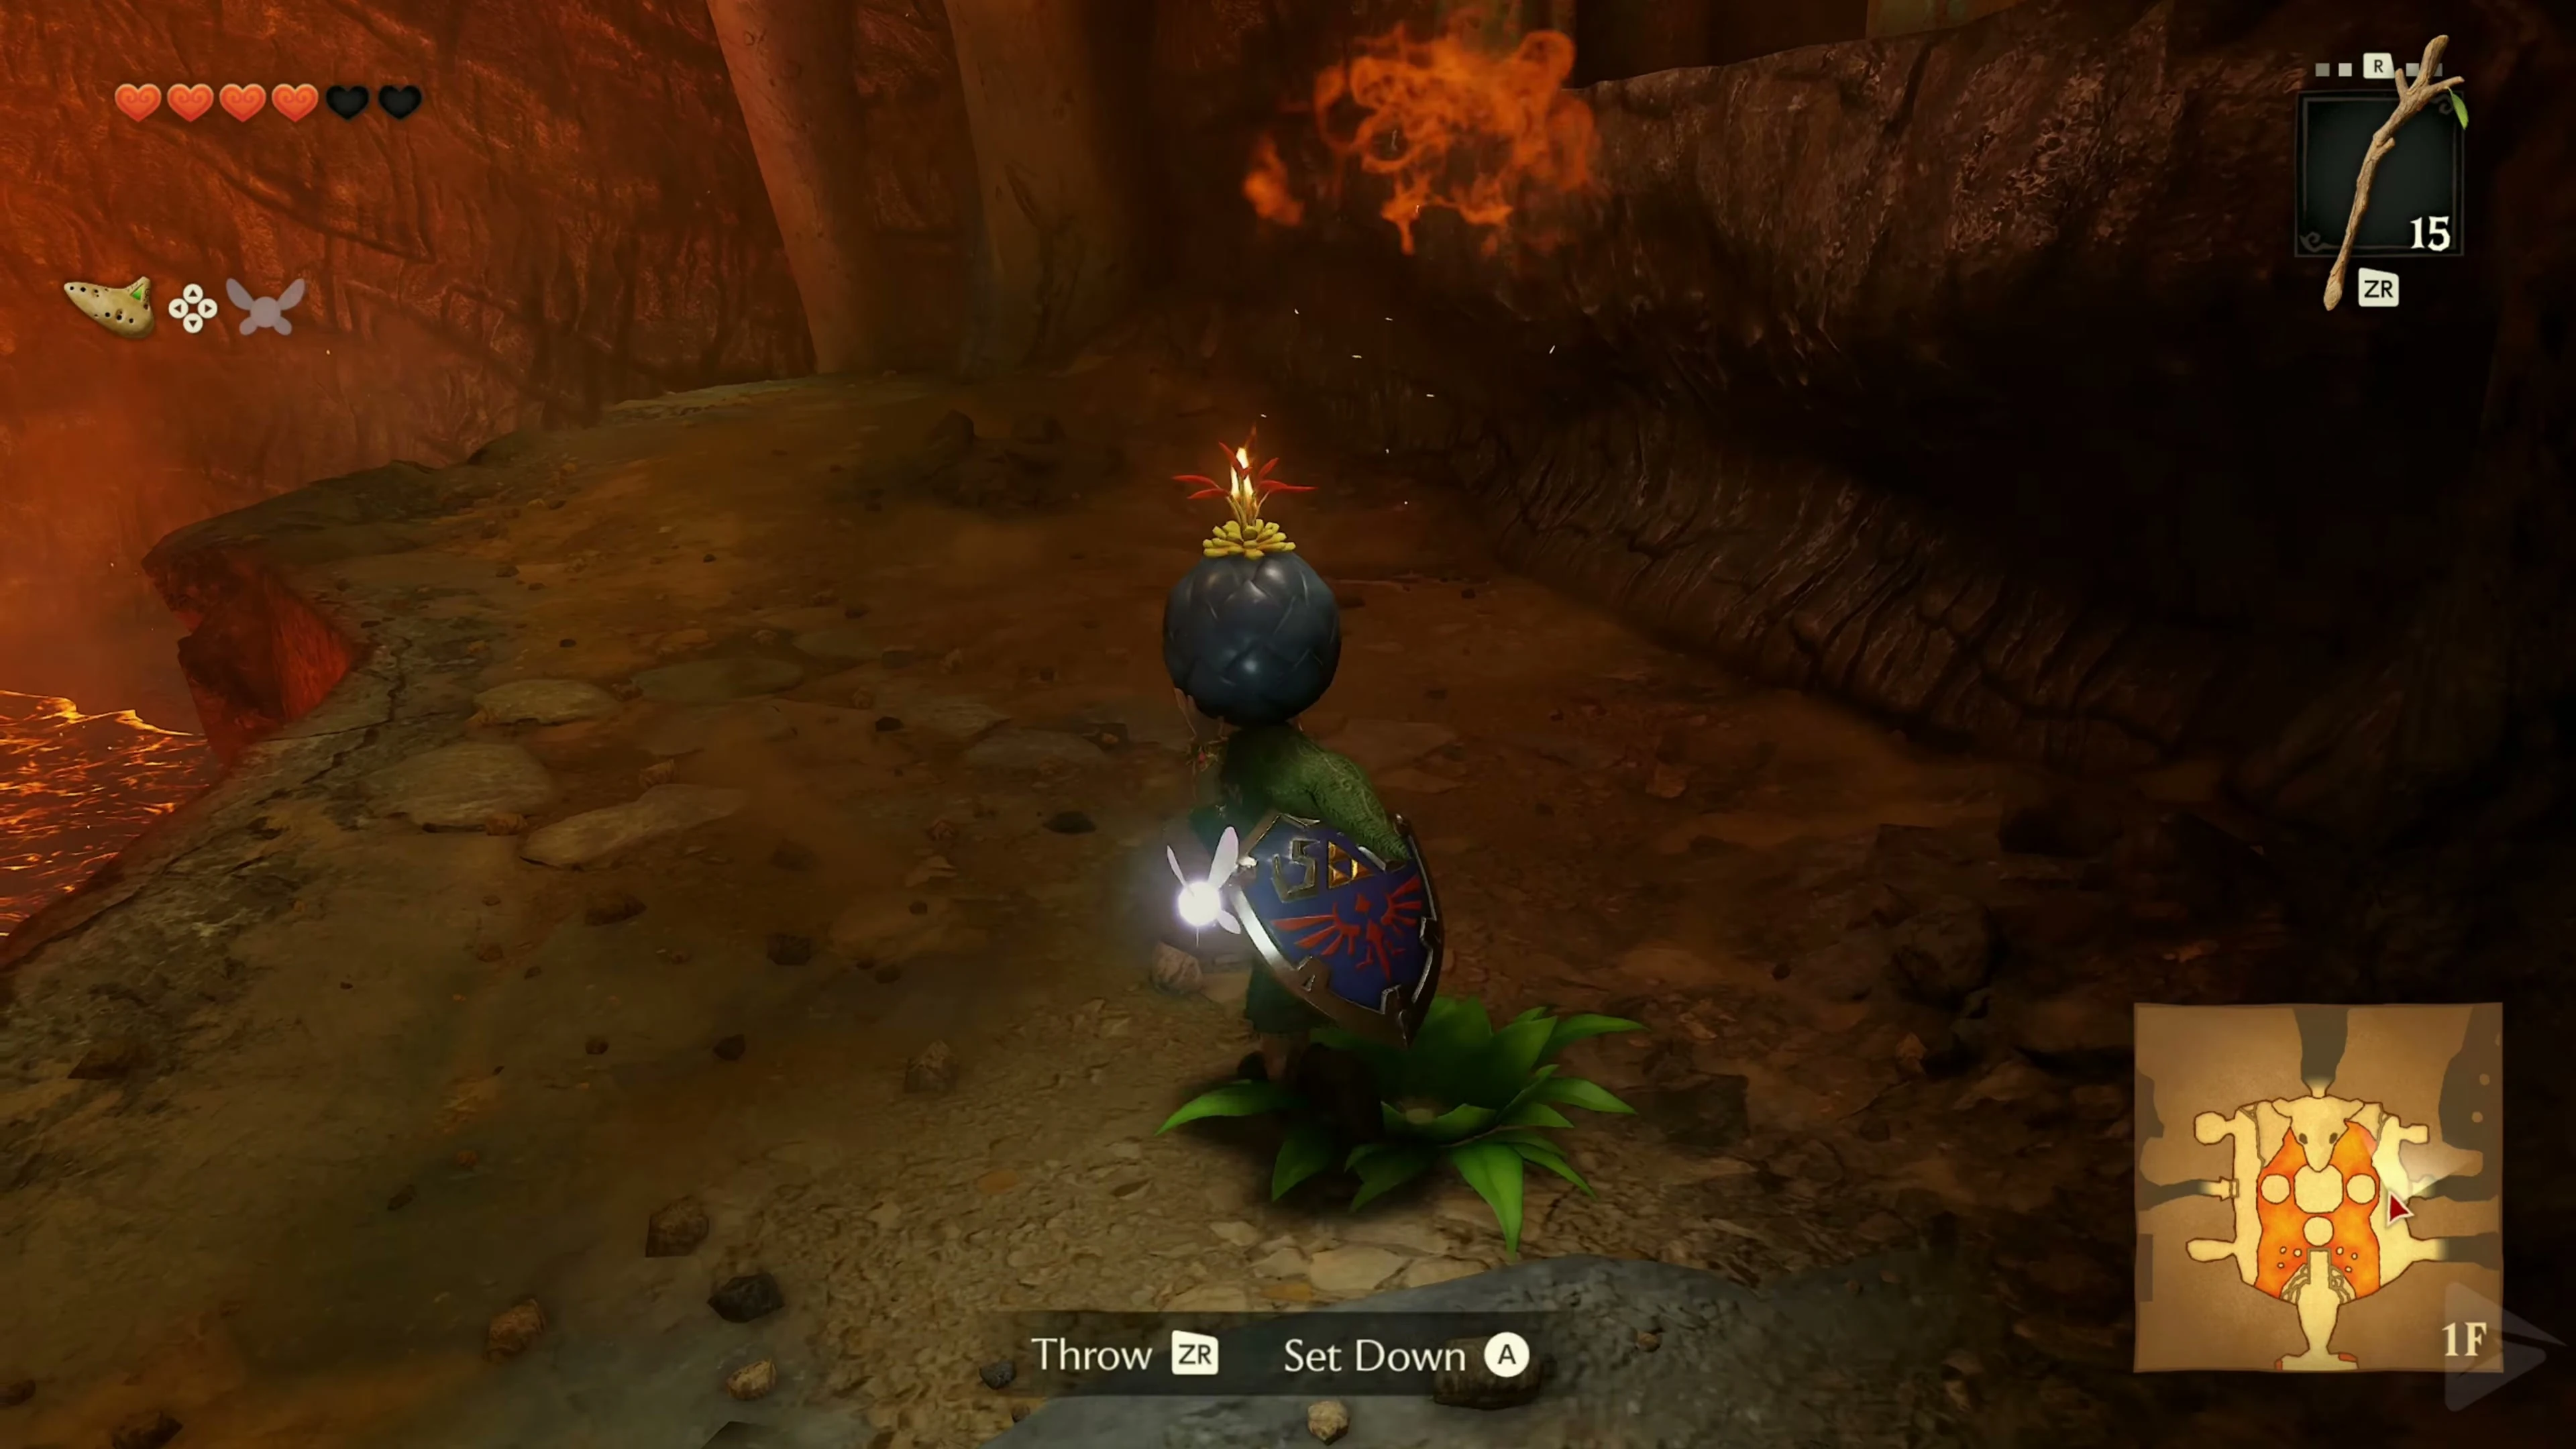
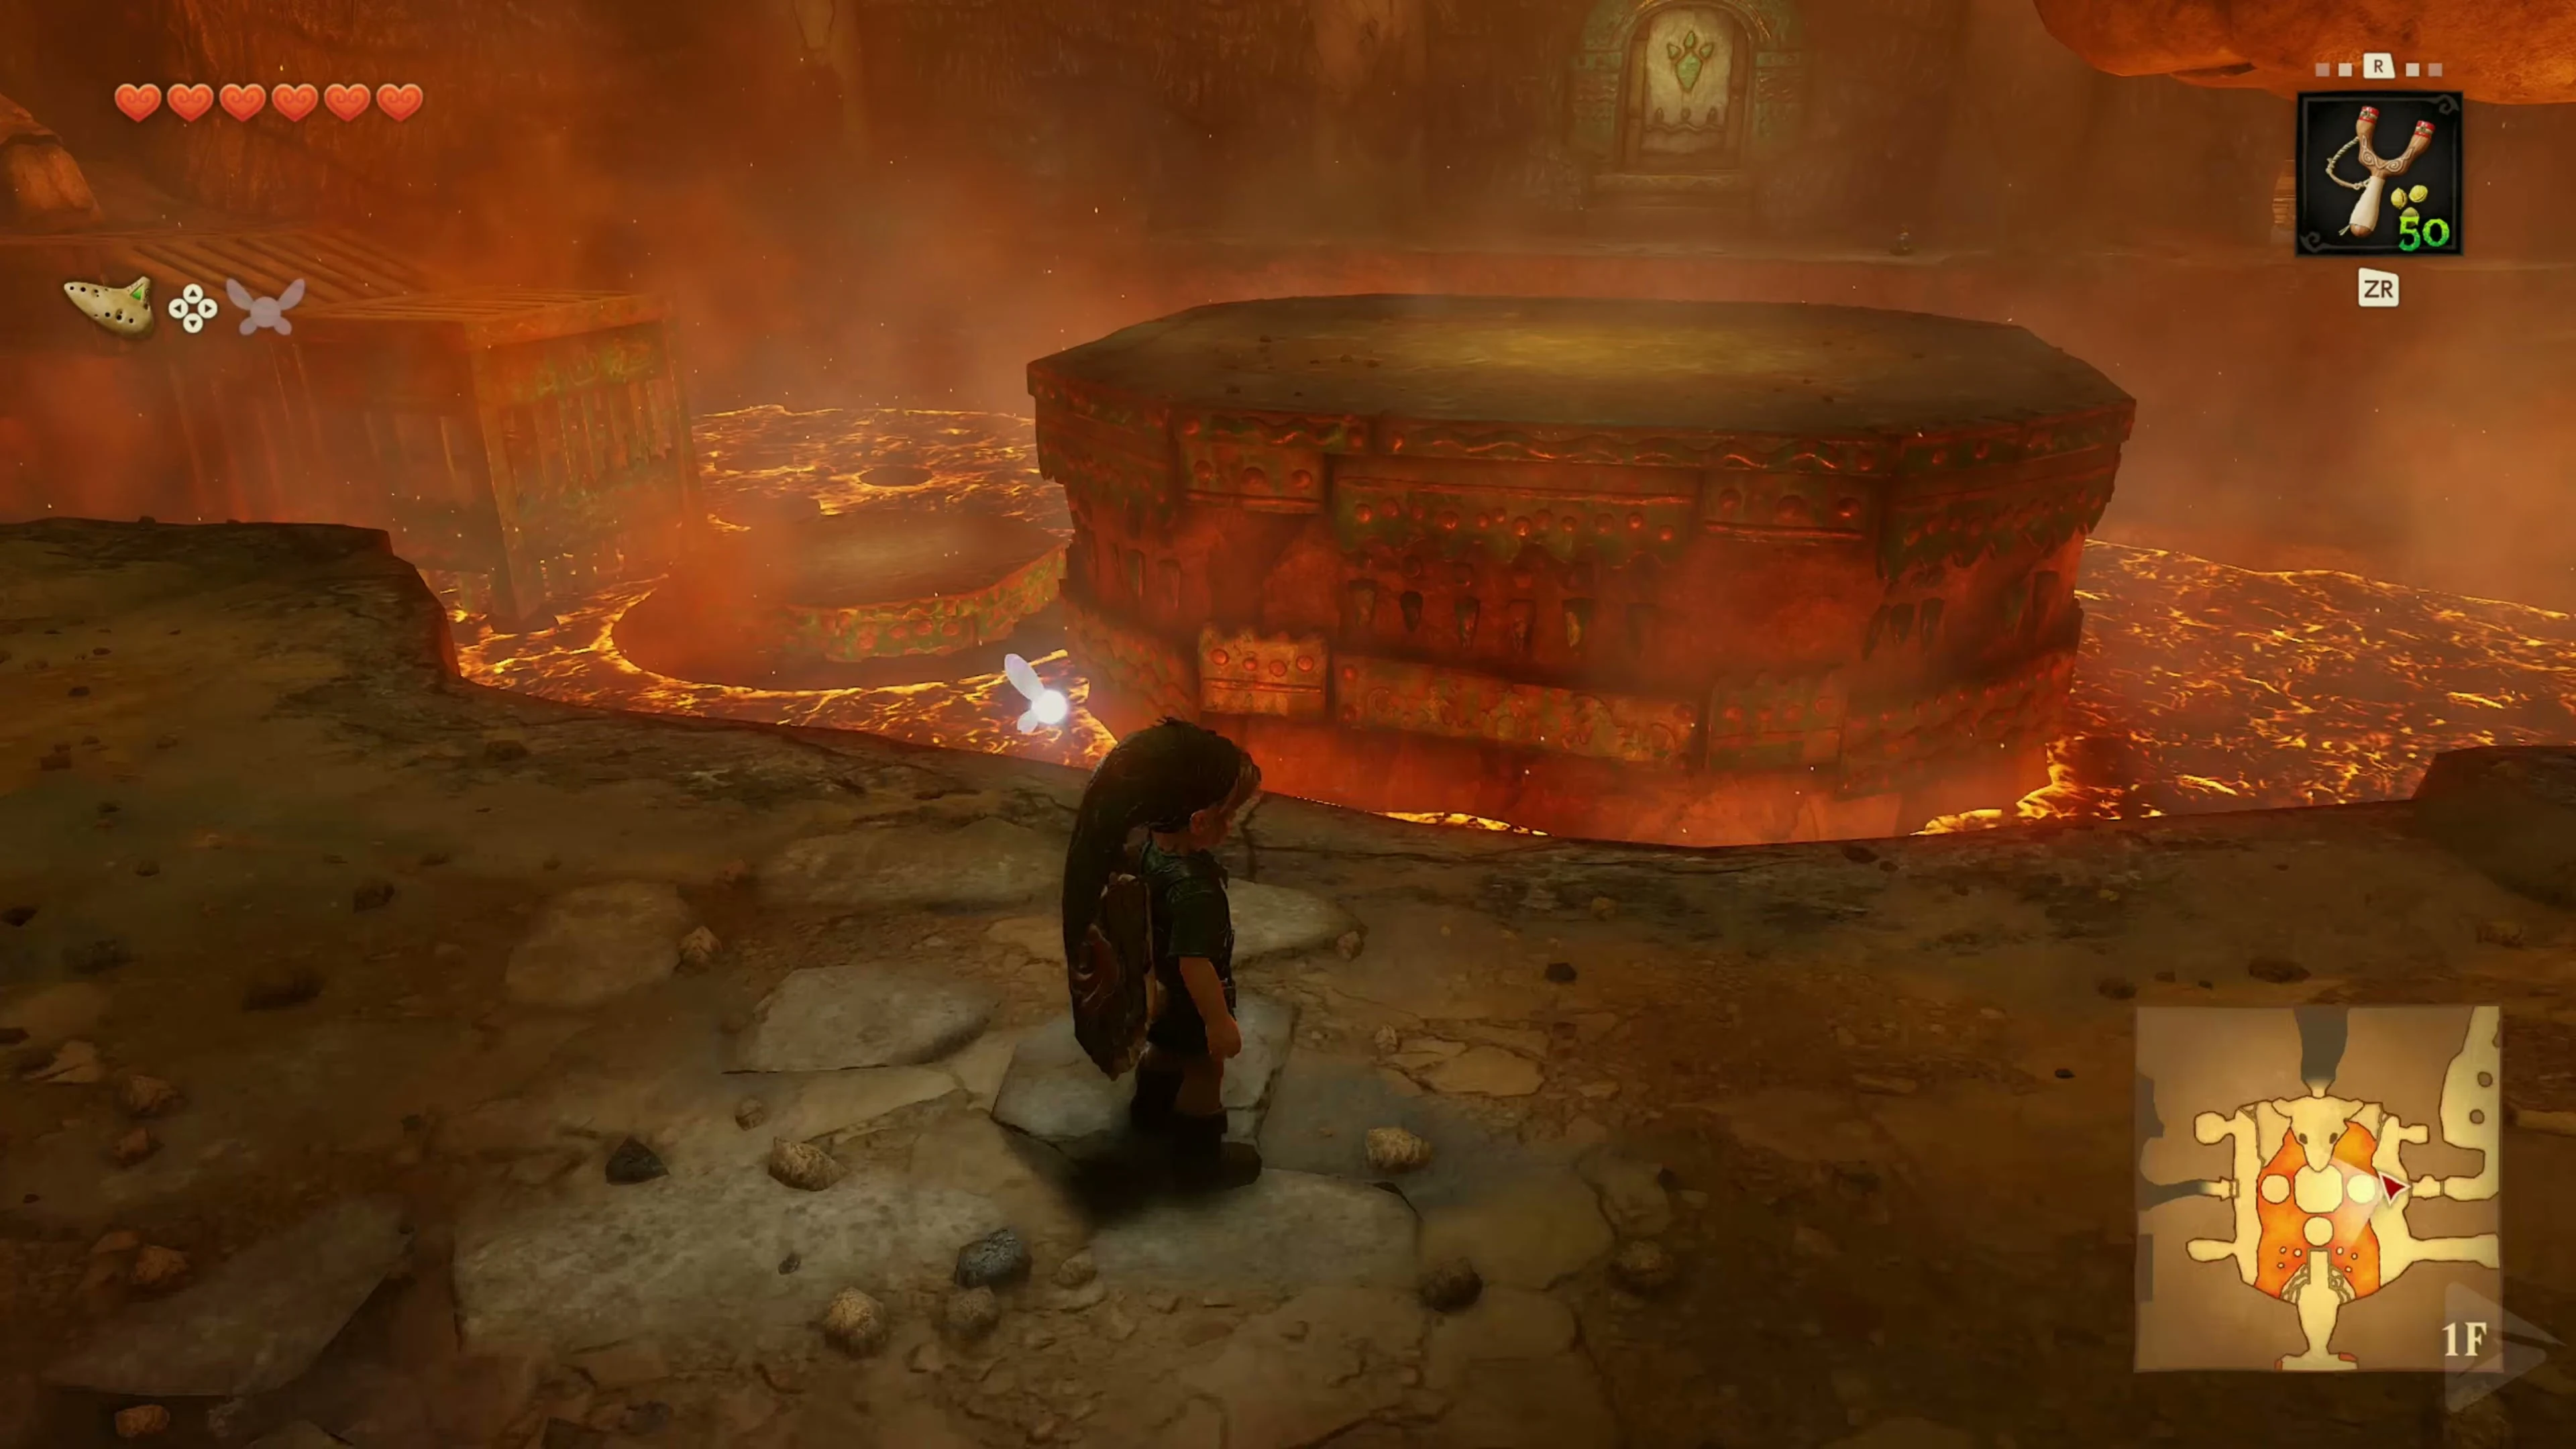
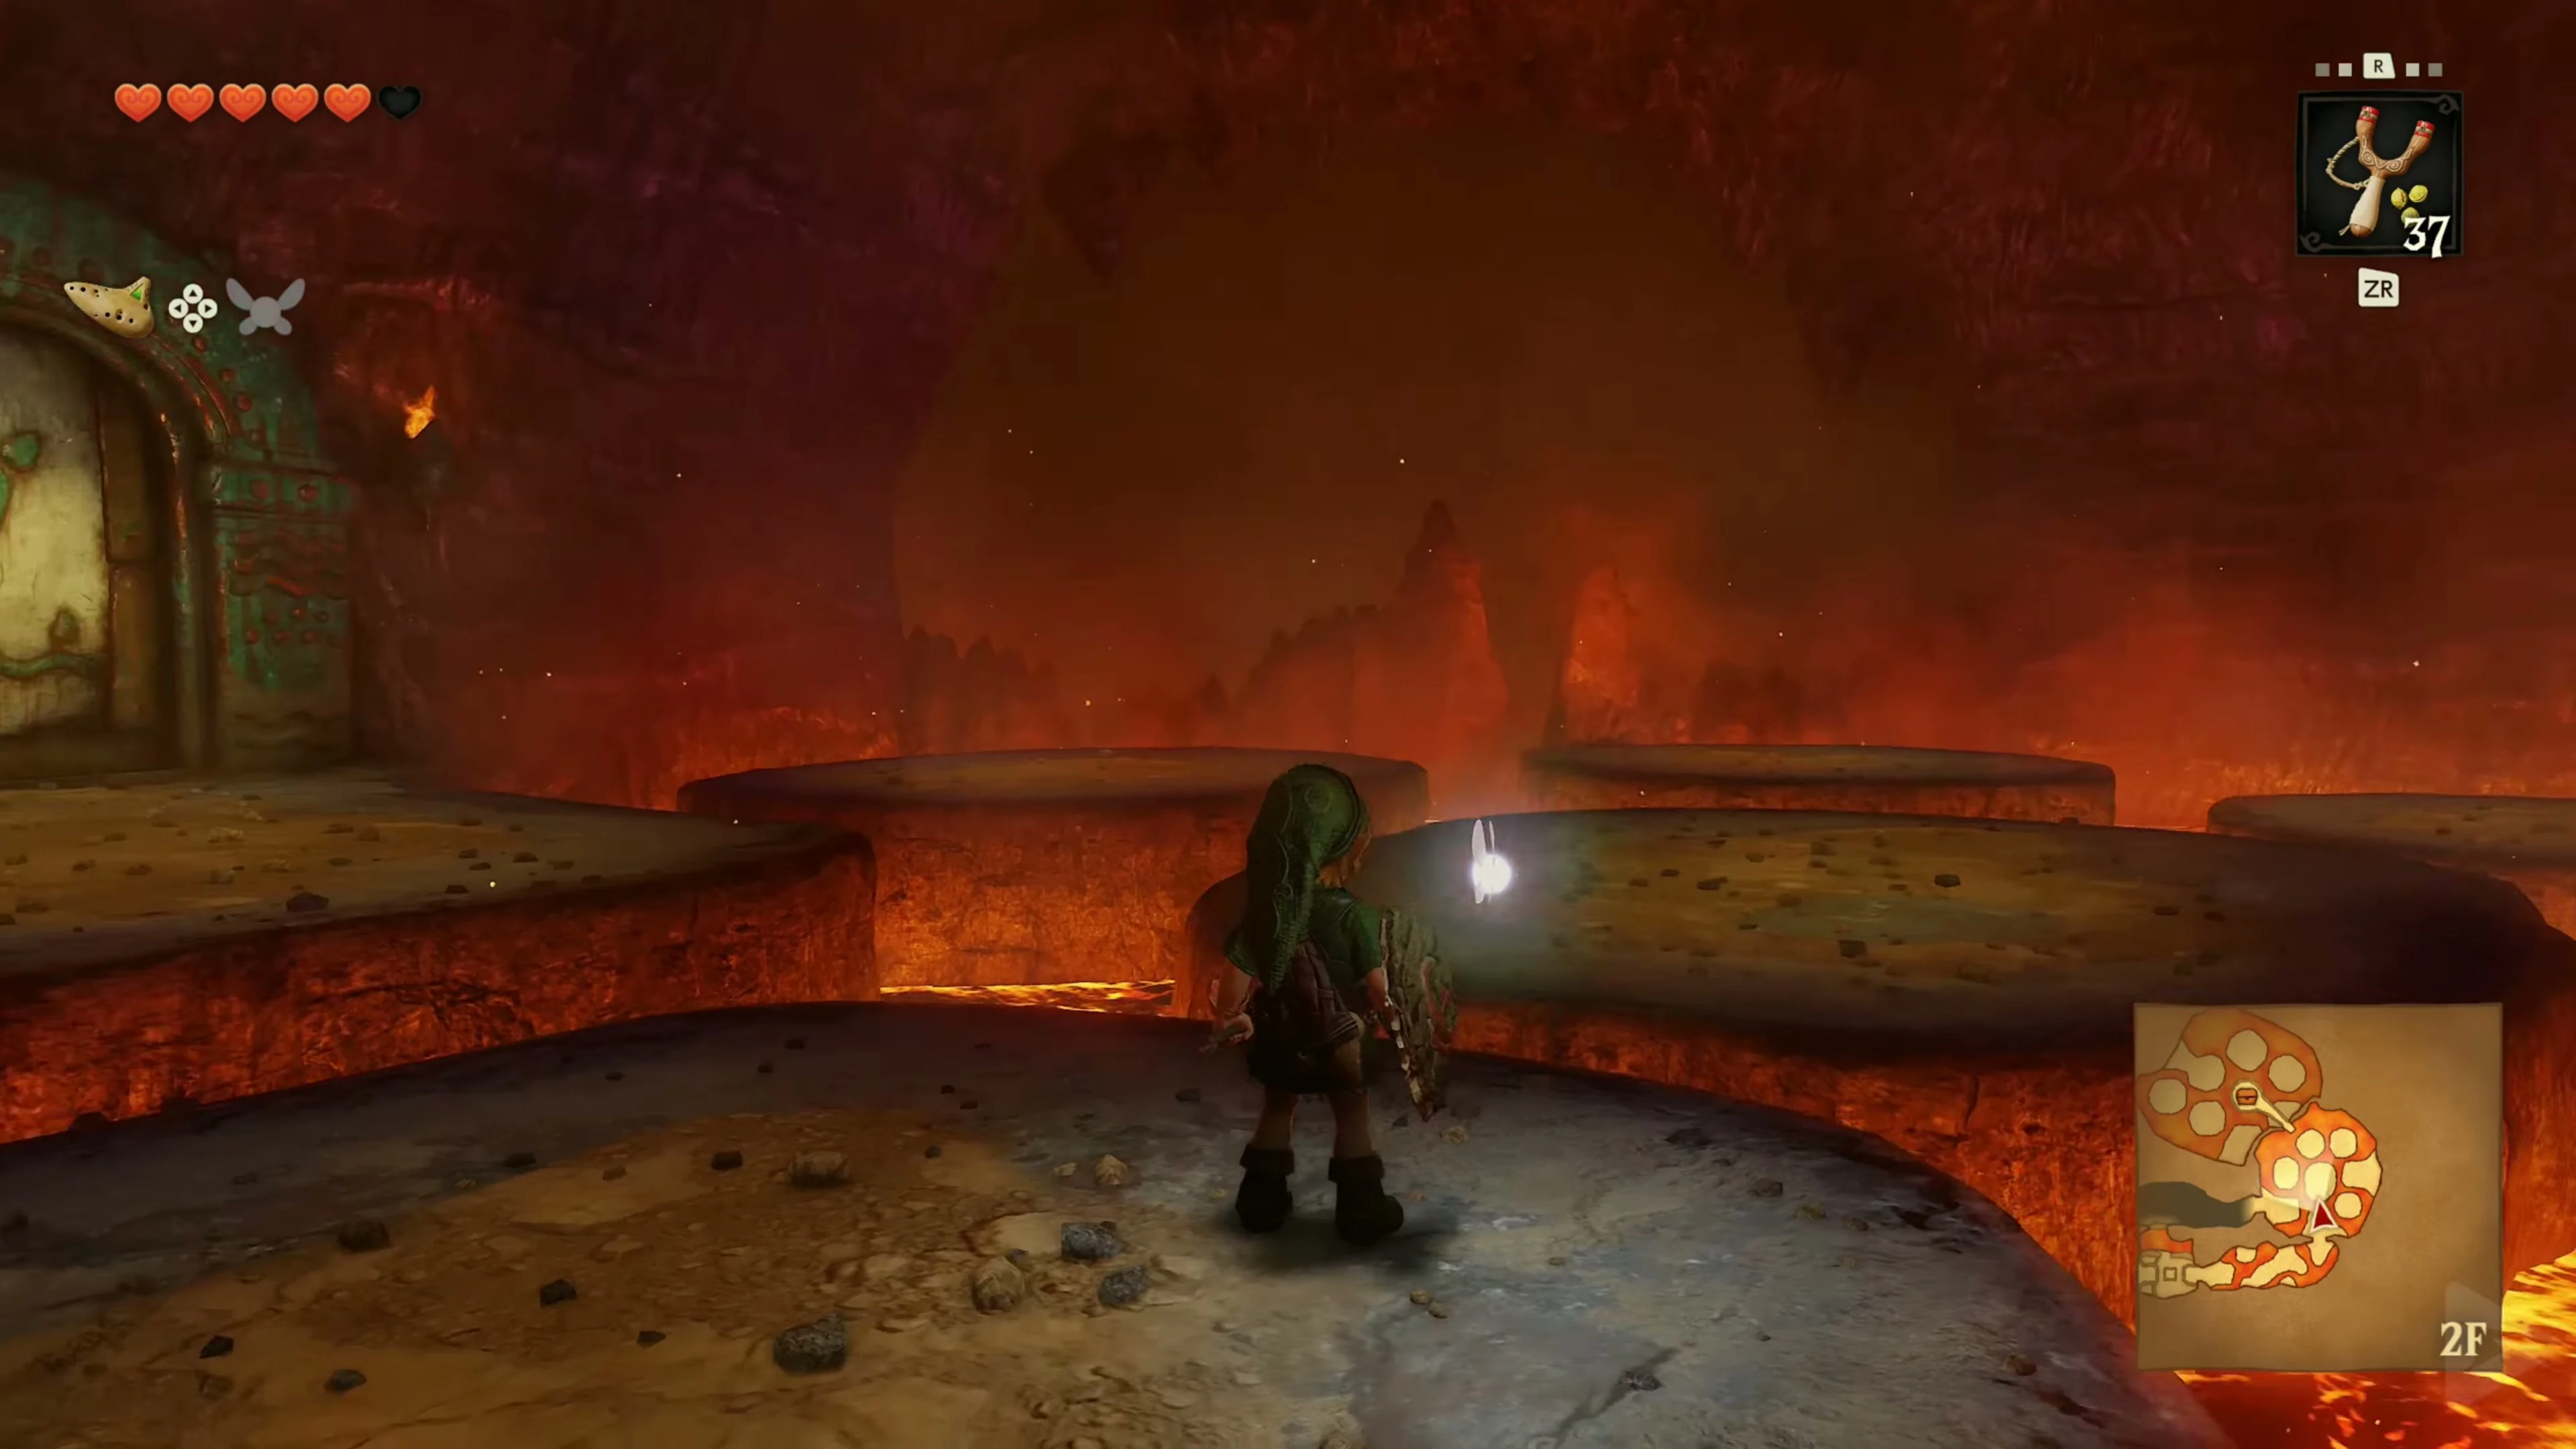
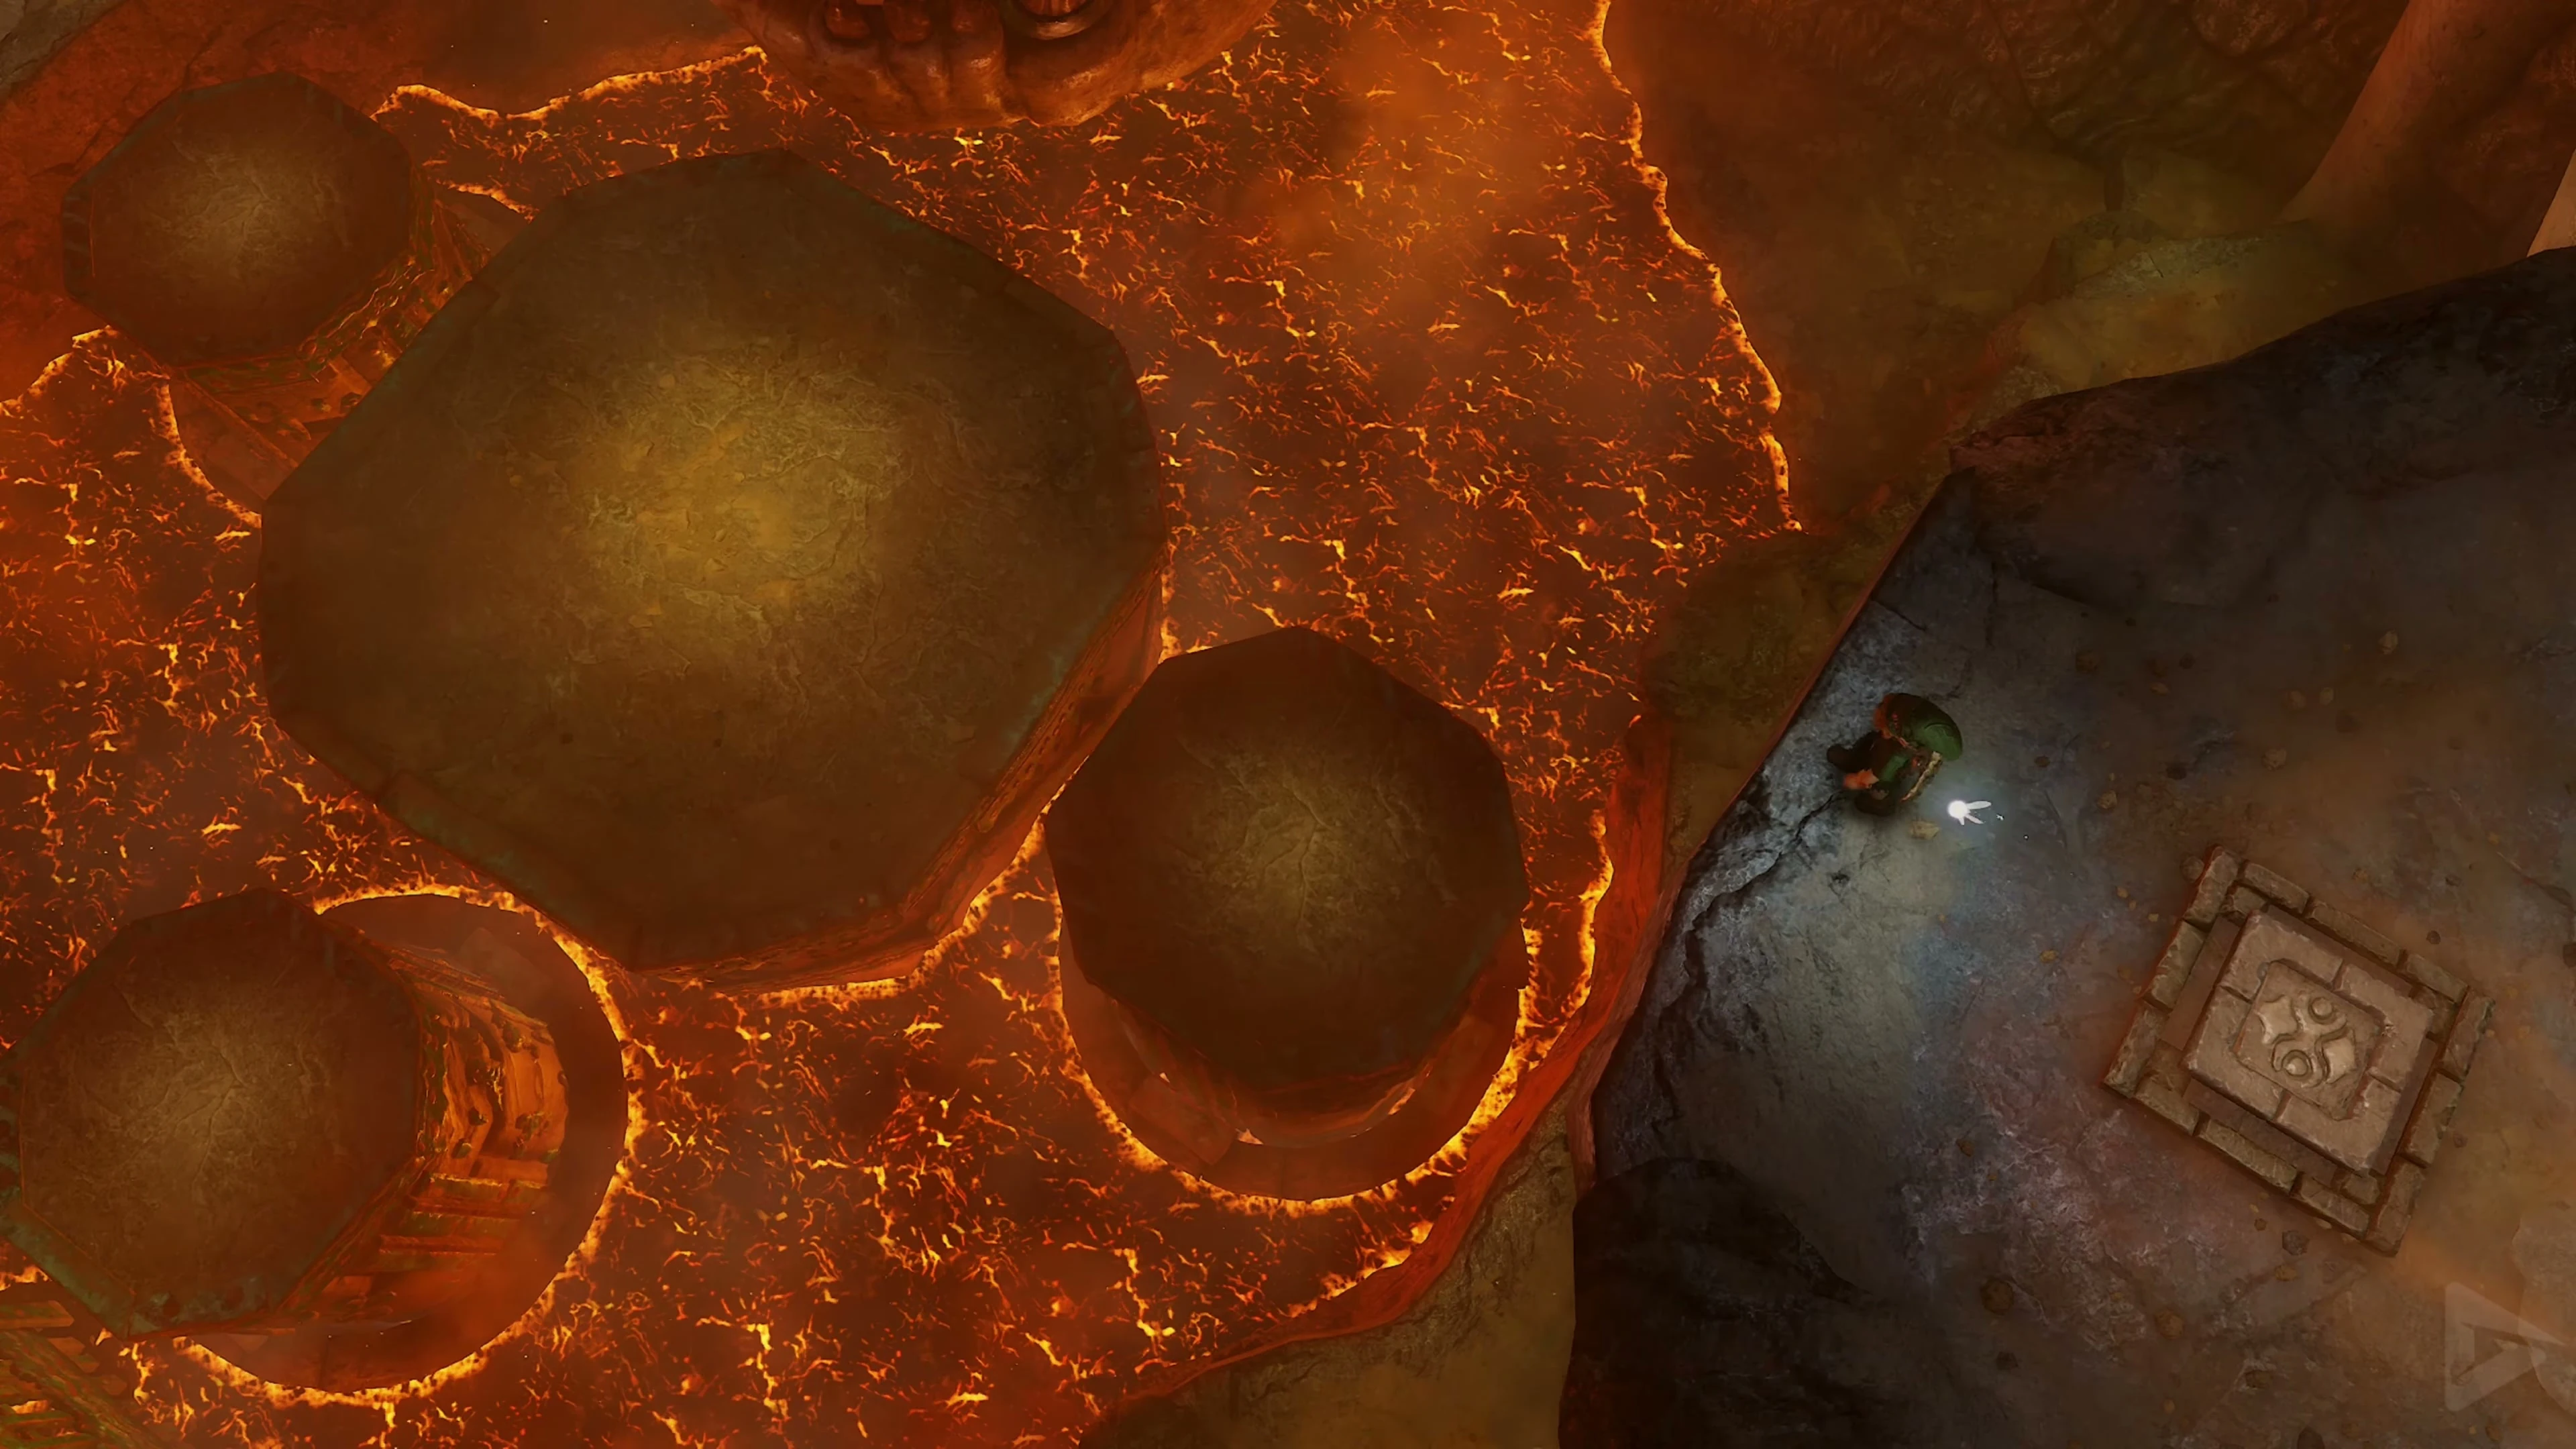
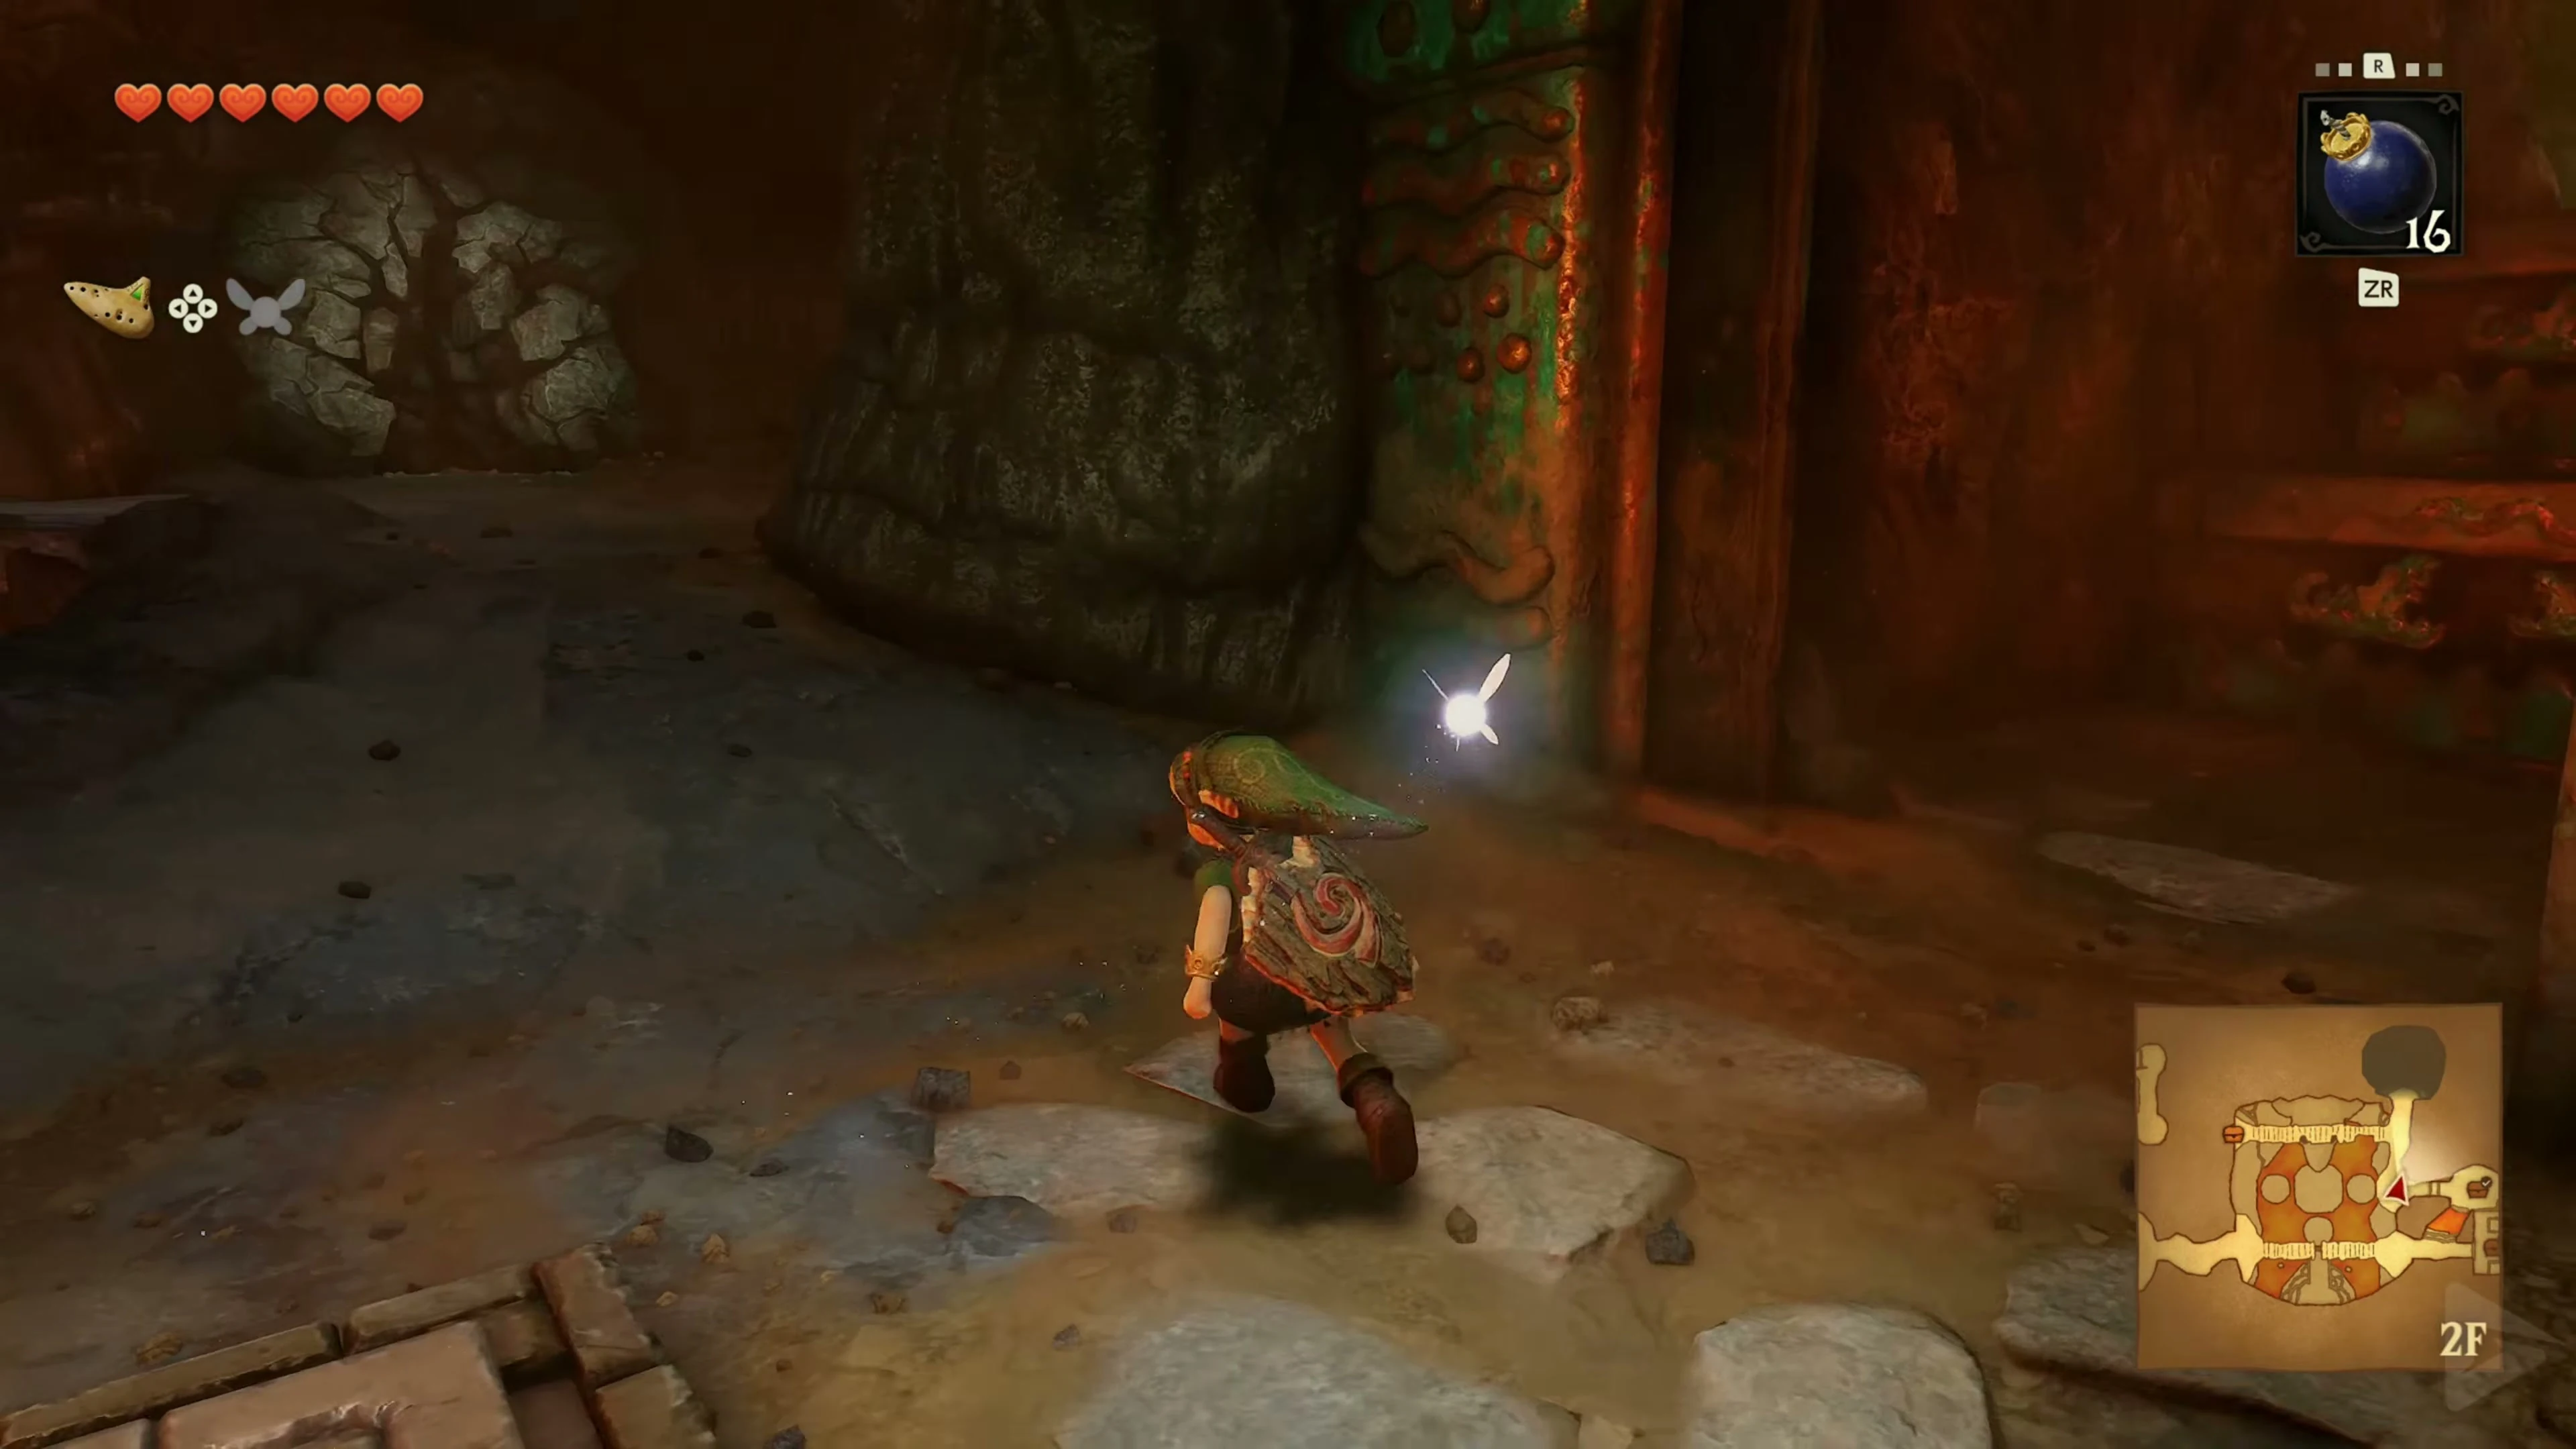
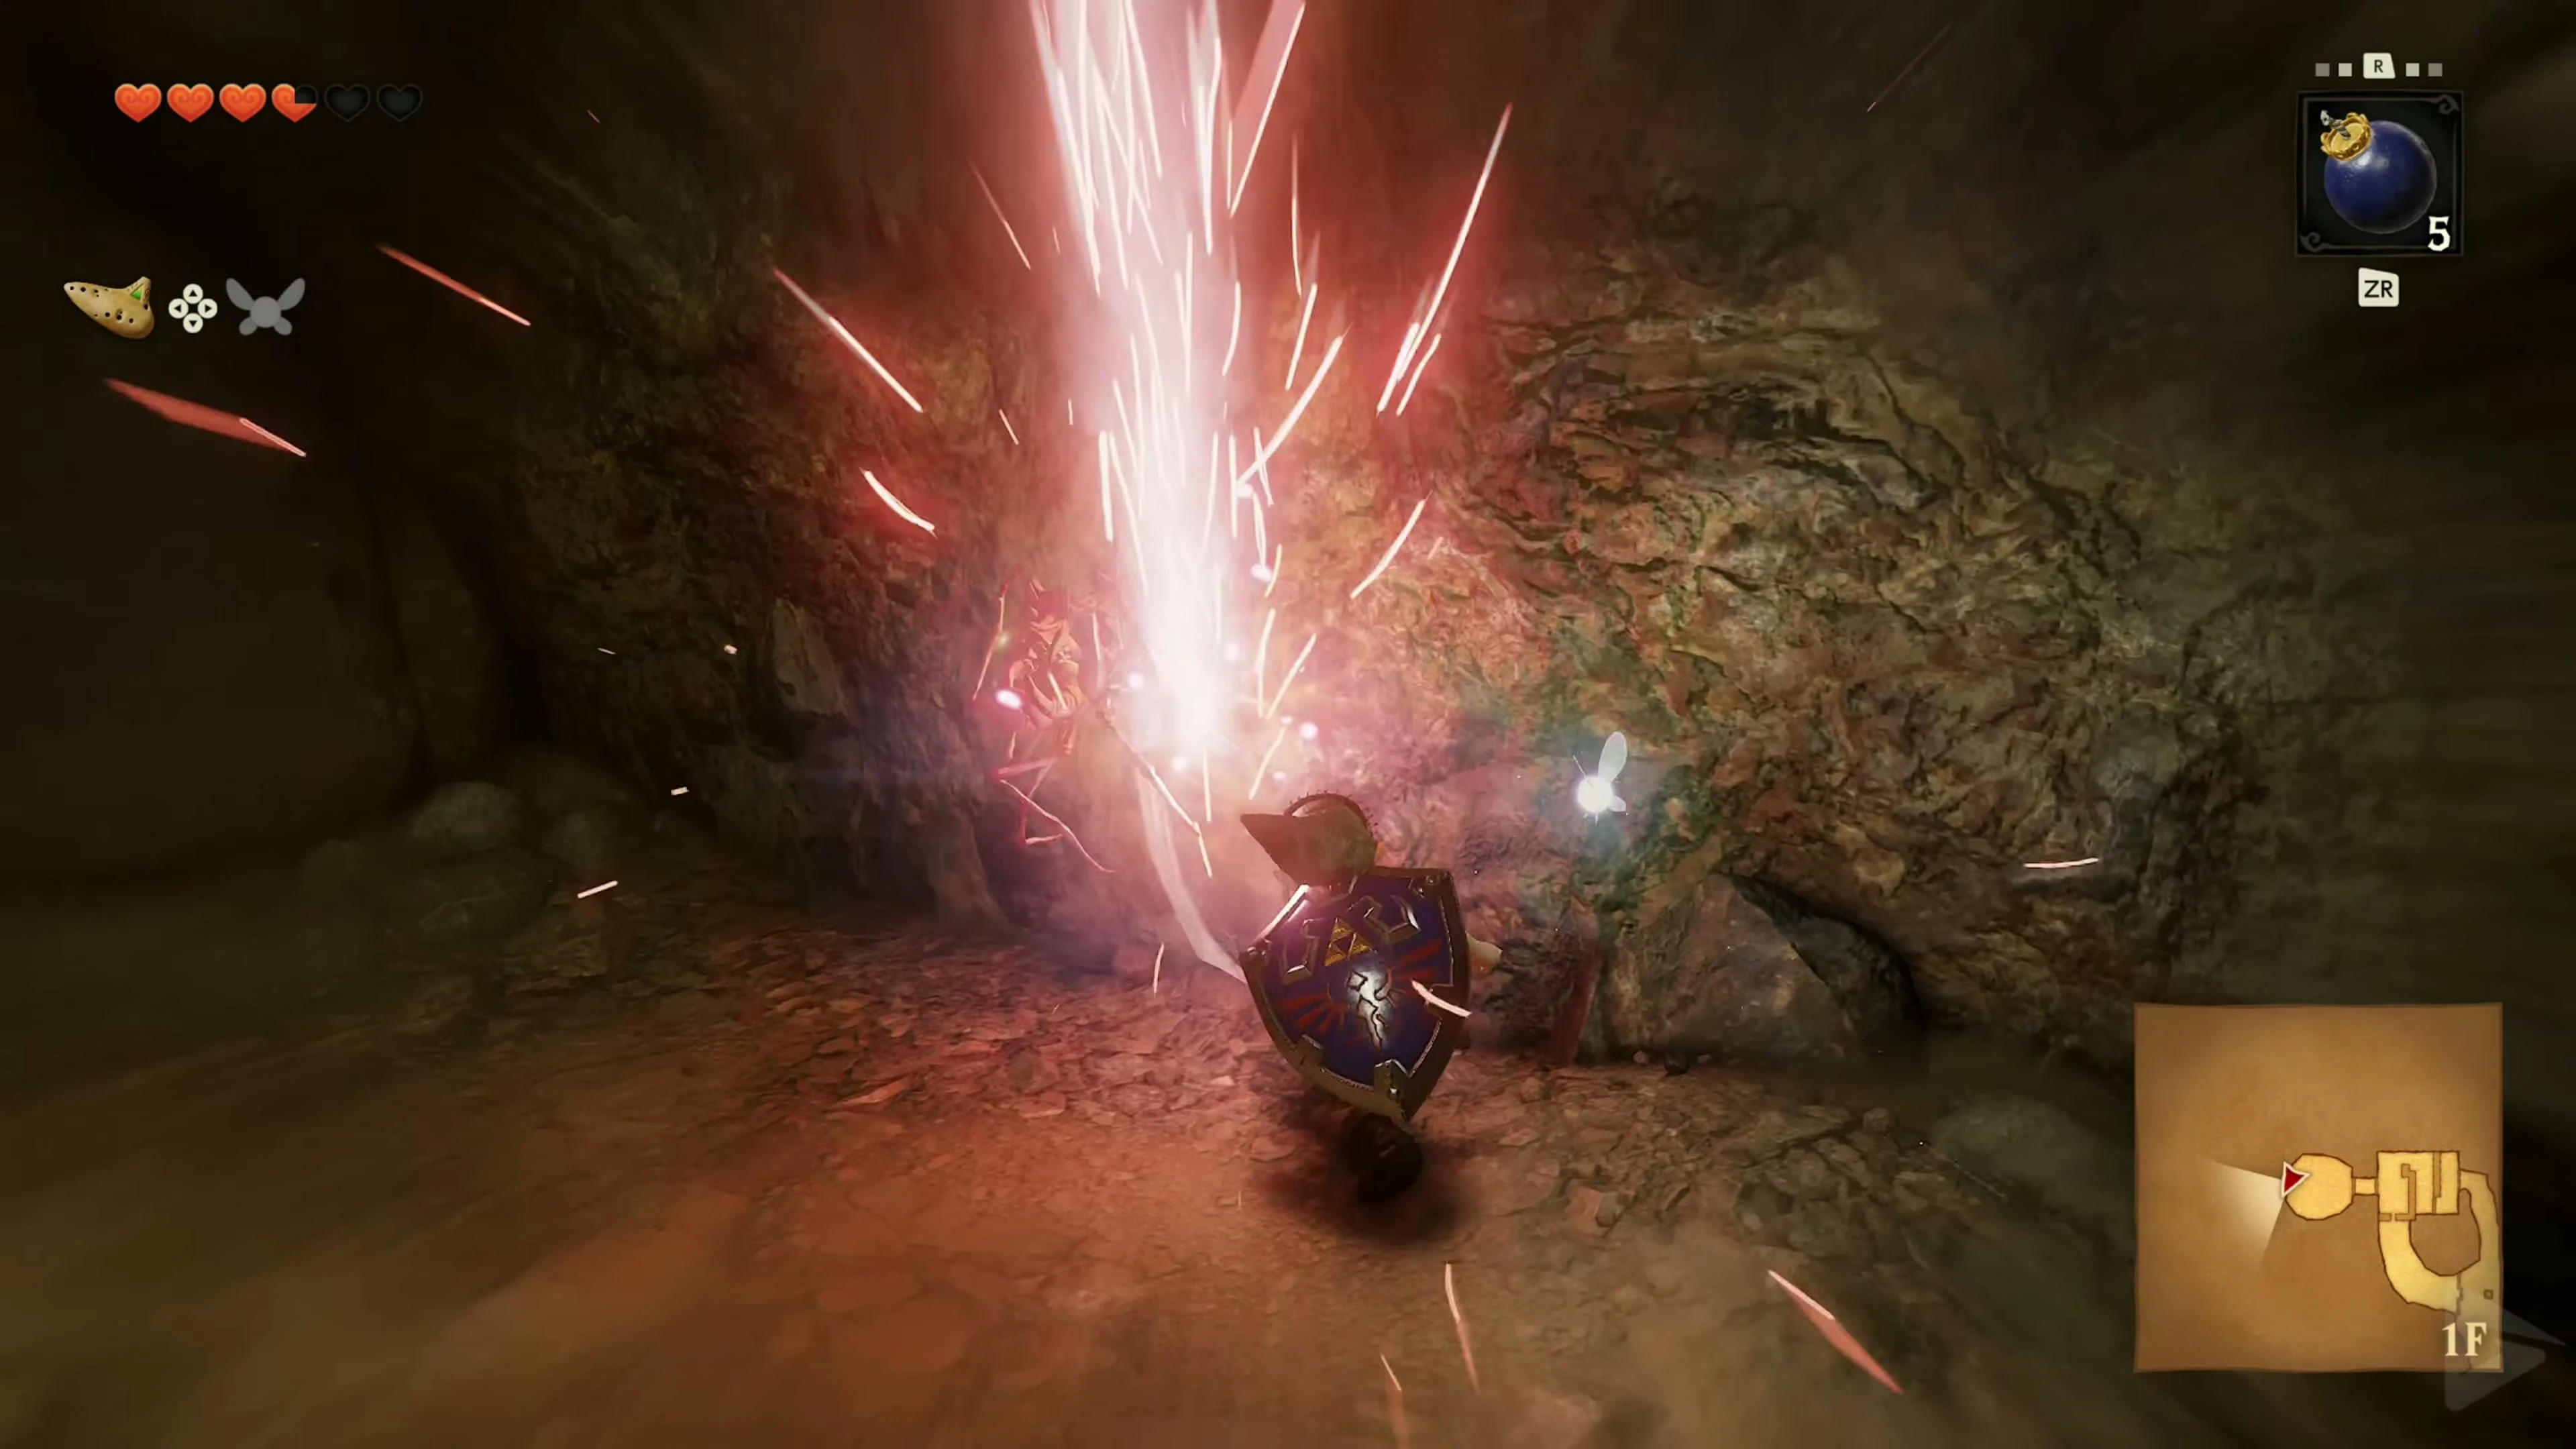
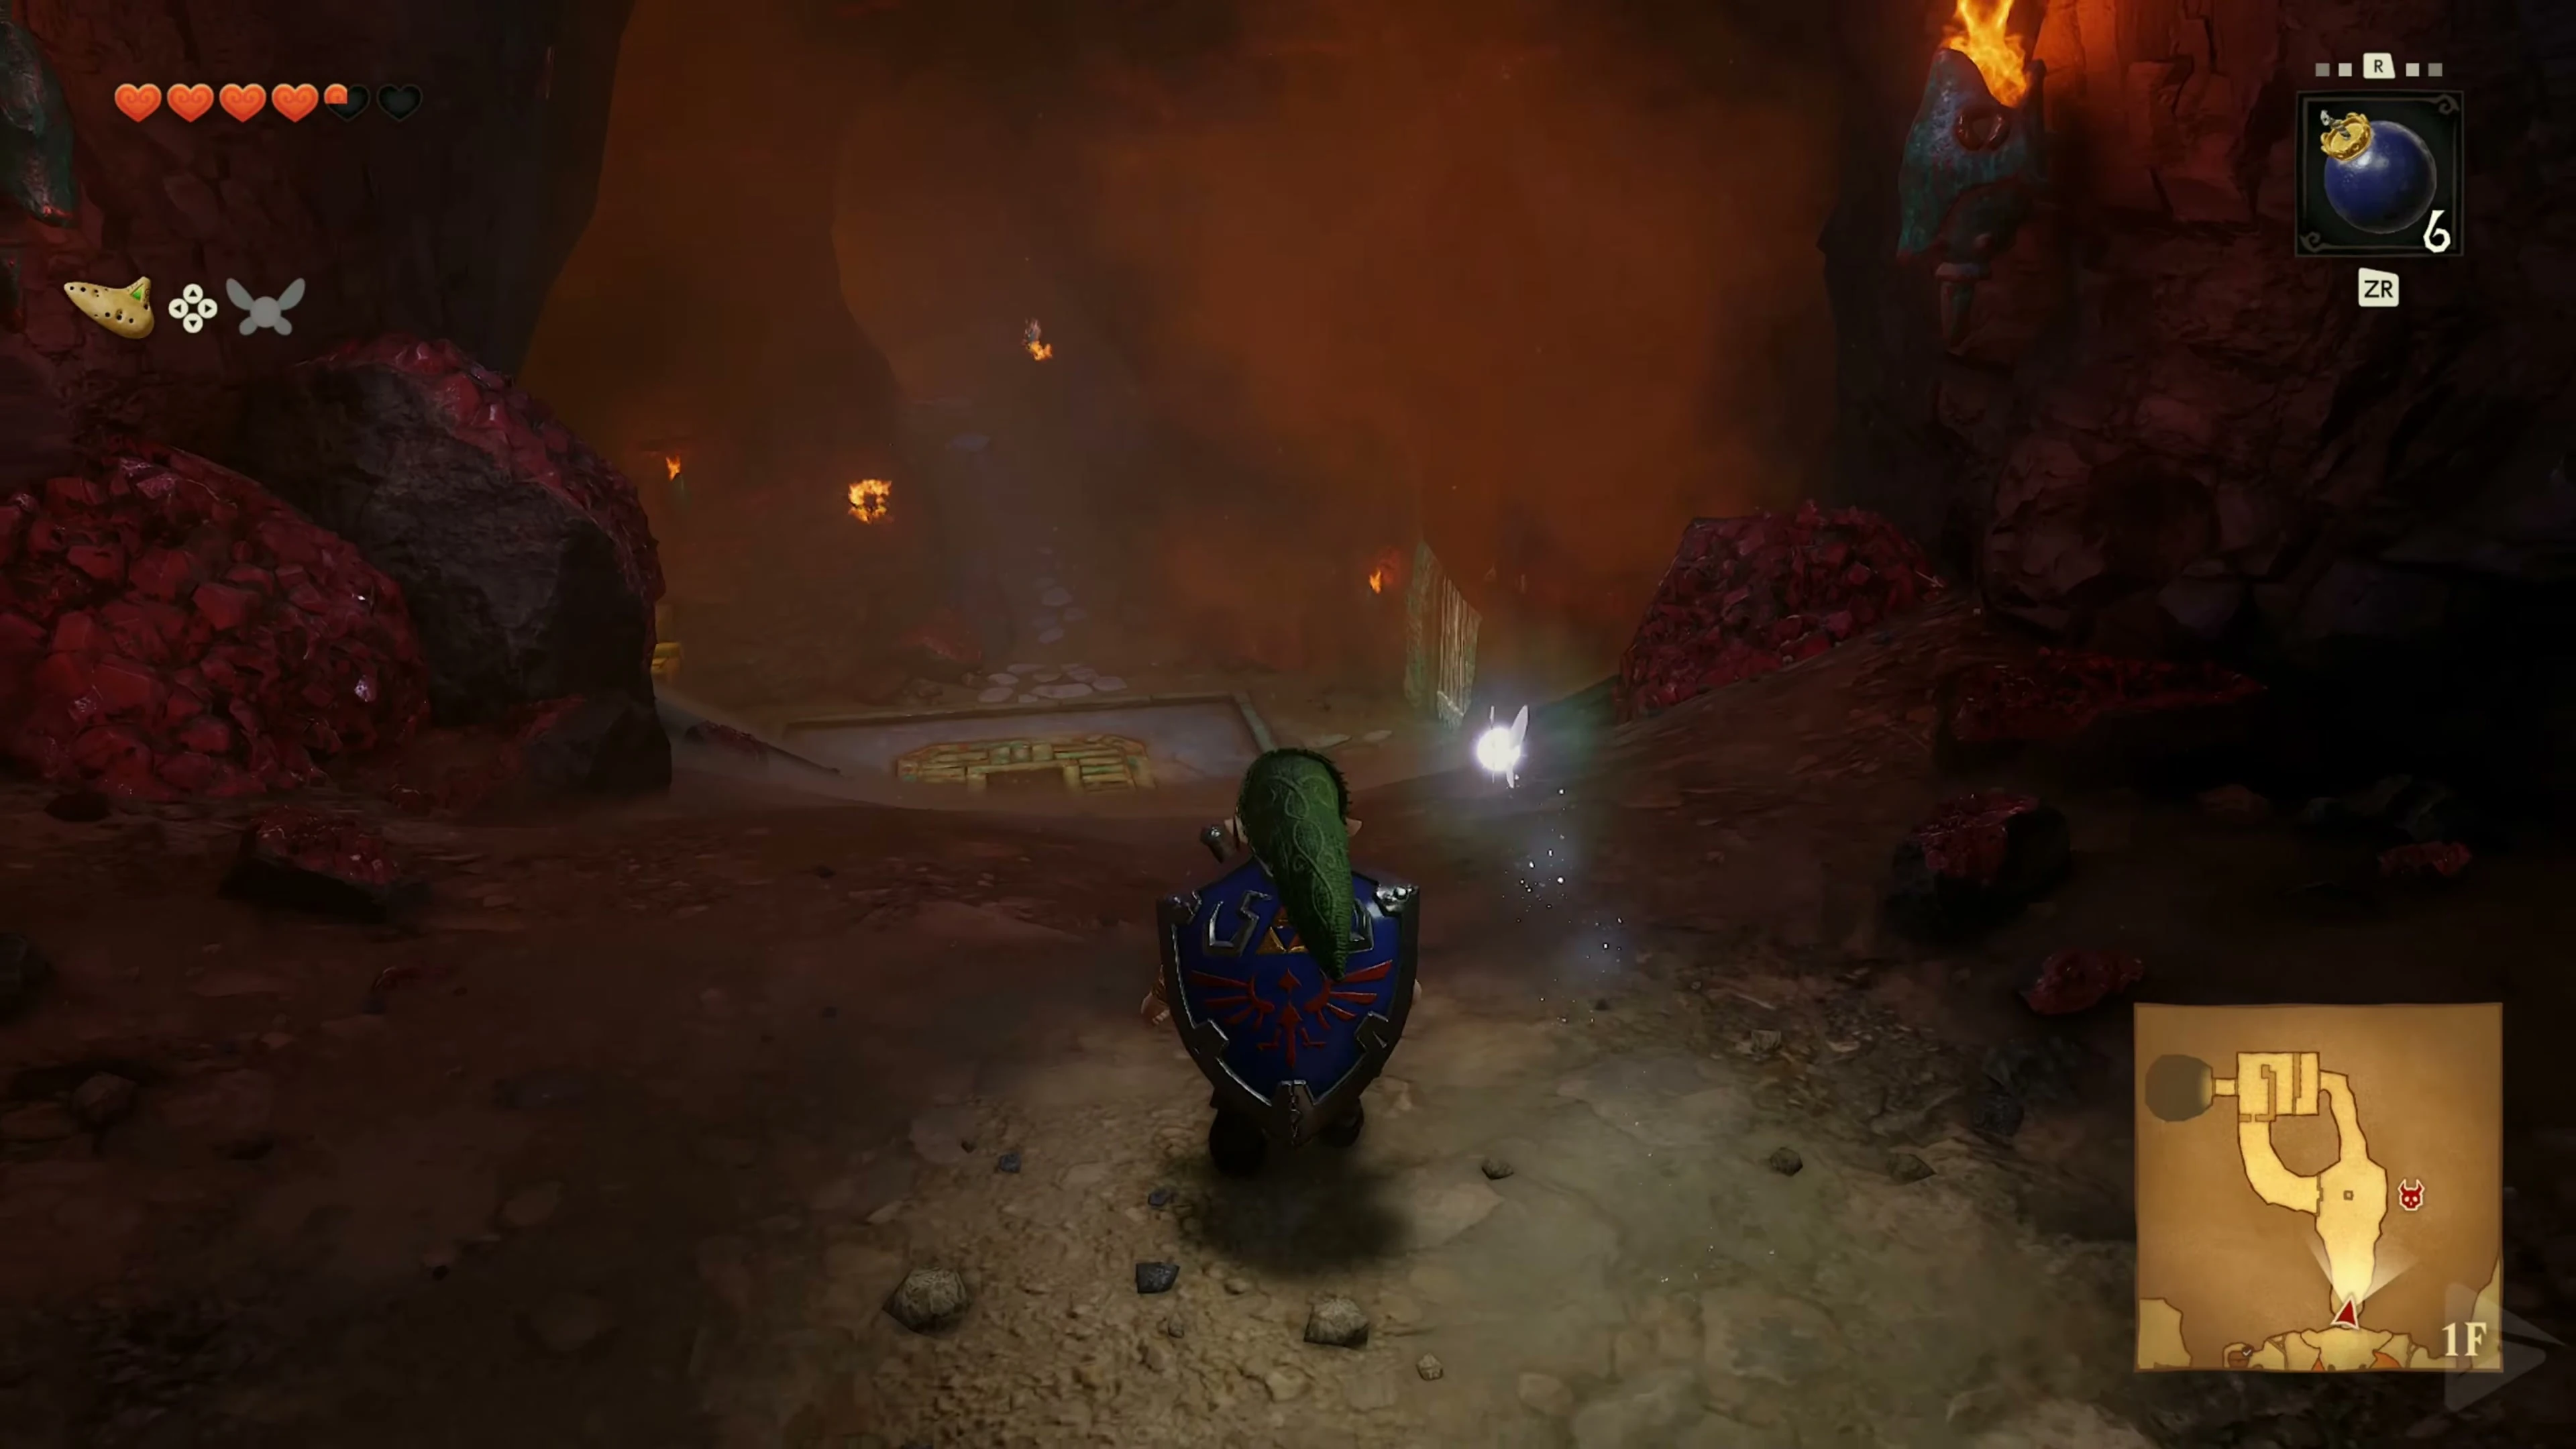
A Bomb Flower grows directly behind the entrance. Place it on the crumbling wall in front of you and step back. Behind it lies the high lava hall with the moving platforms, several Beamos and the huge Dodongo skull. Jump across the platforms first to West . Stay away from the Beamos’ field of vision or eliminate them with a thrown Bomb Flower. You will later open the large skull from above.
The Dungeon Map
On the west side, grab a Bomb Flower and blow open the northwest niche . Open the chest with the Dungeon Map. The southwest alcove only contains a small chest with 5 Rupees . Here you can replenish your supplies if necessary before moving to the east side via the platforms.
Eastern Baby Dodongo Gang and Skulltula 1
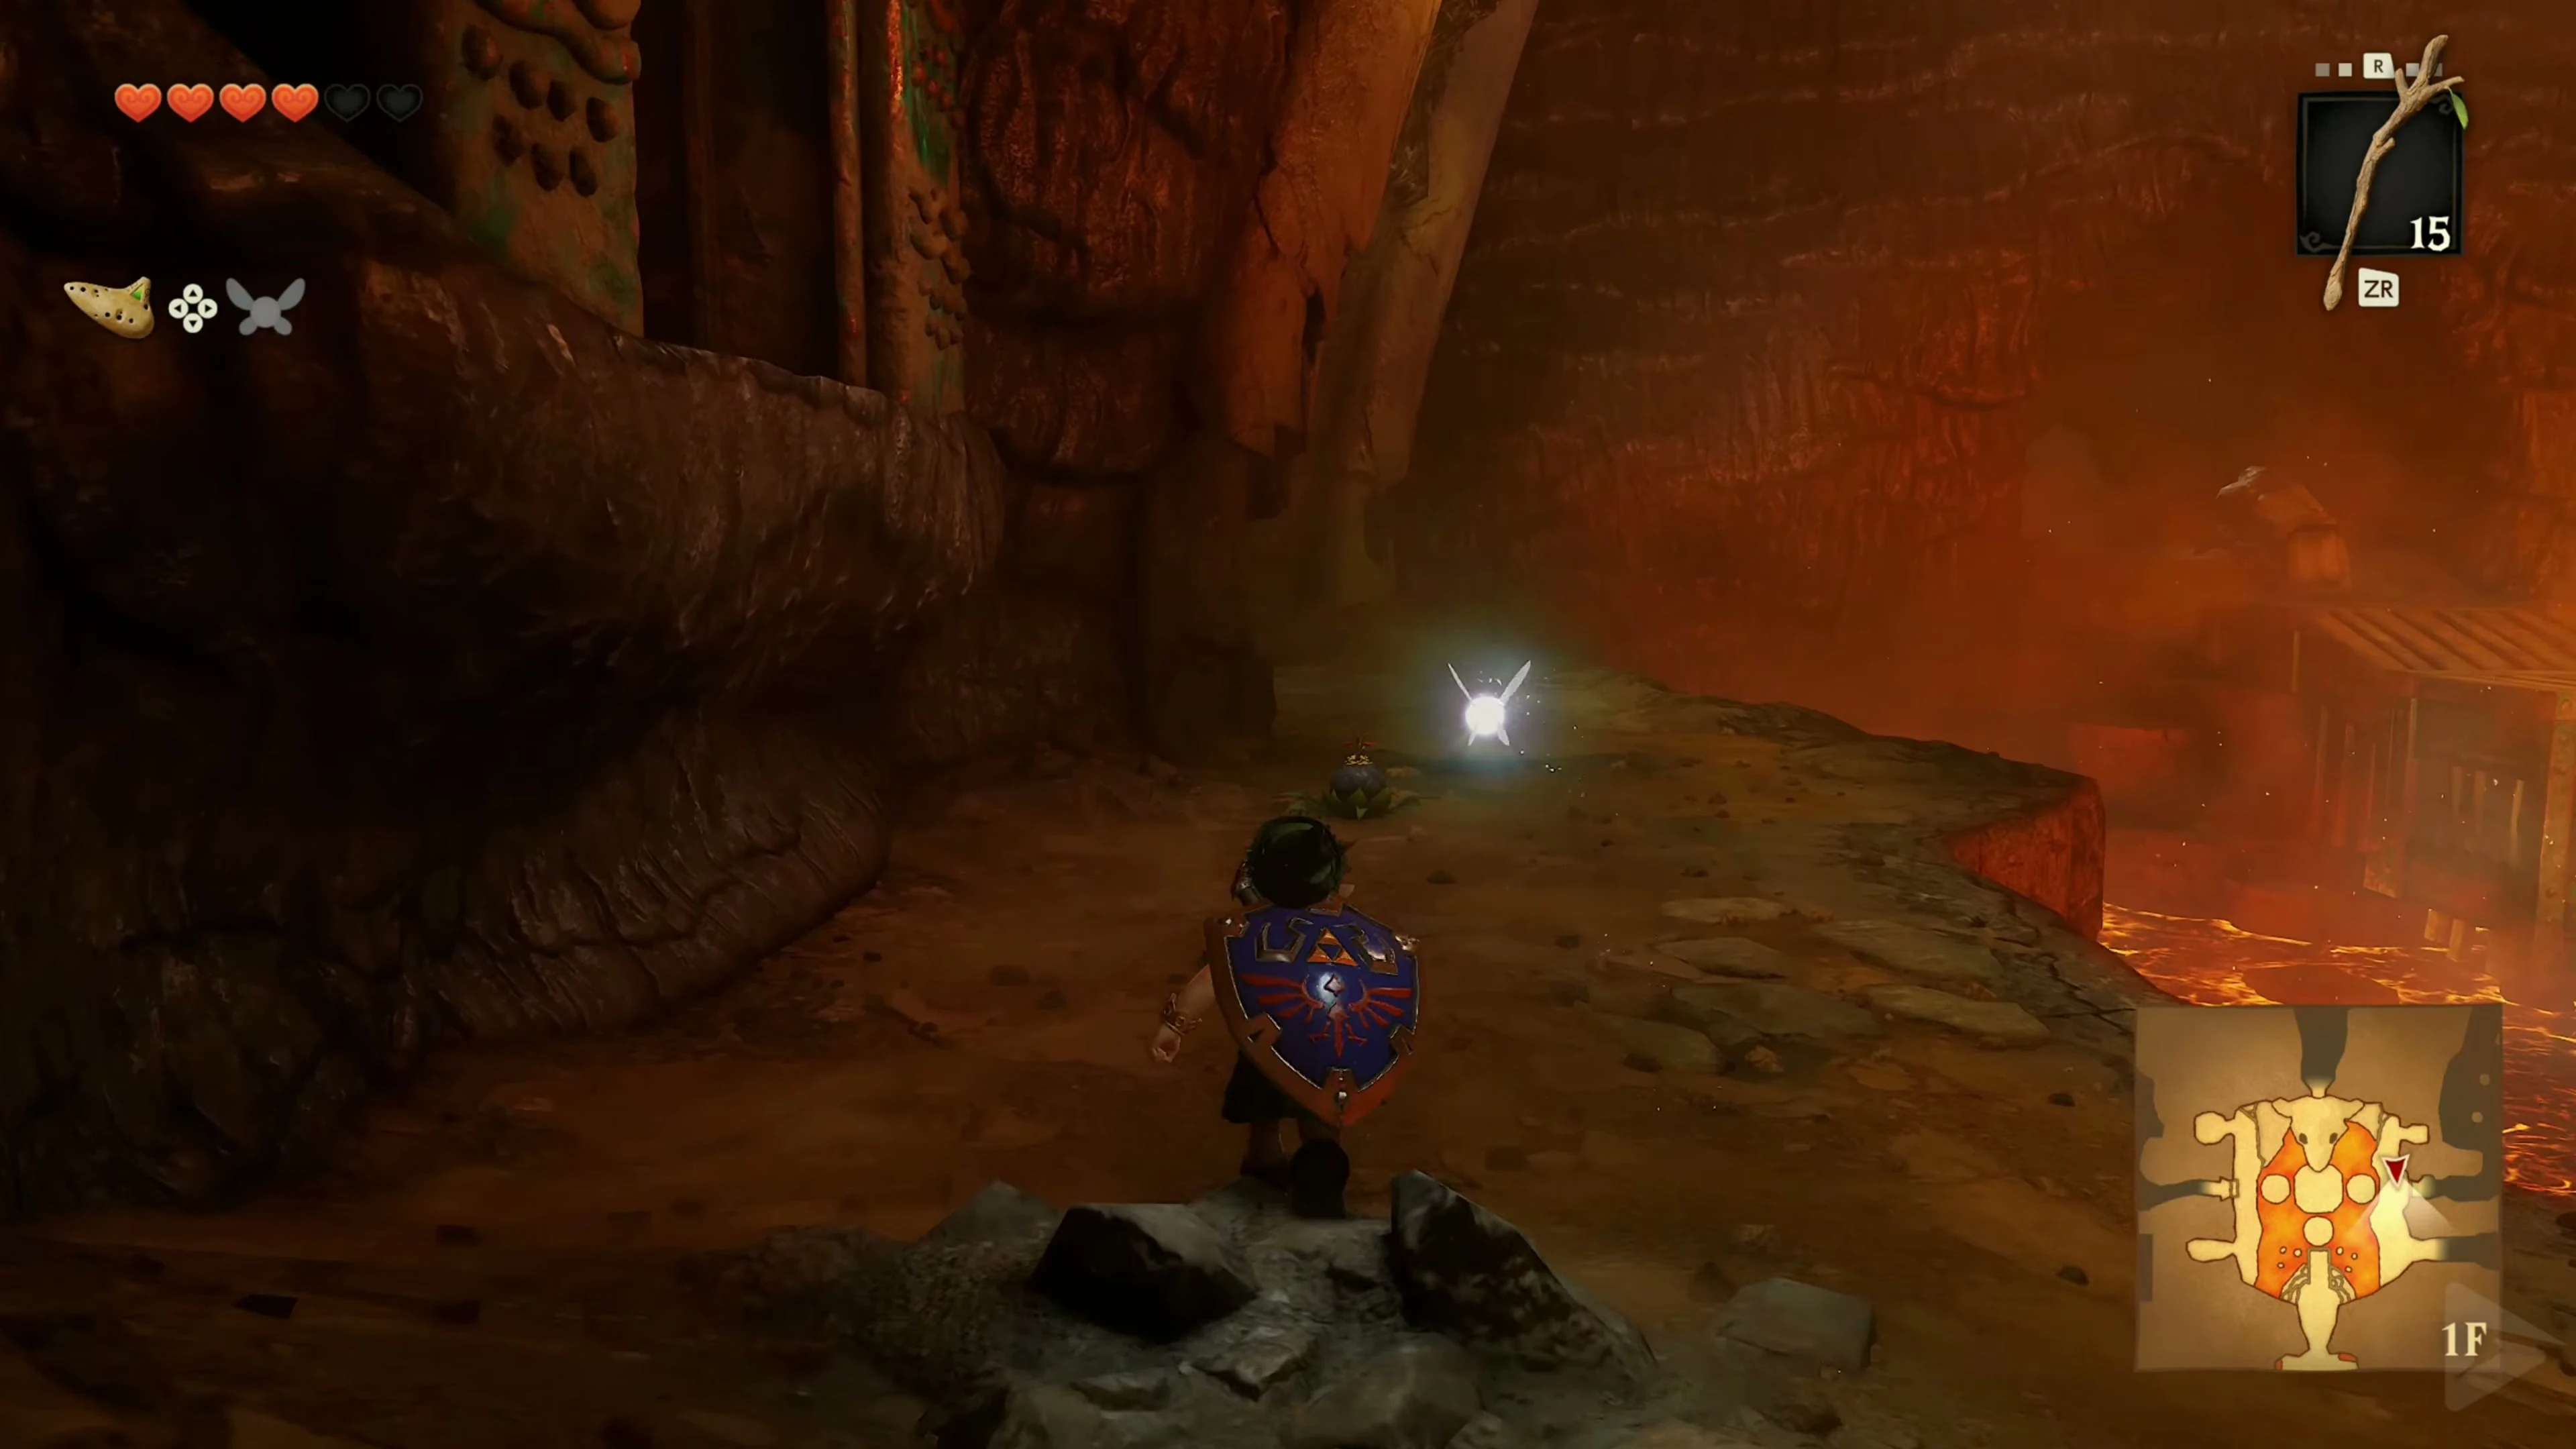
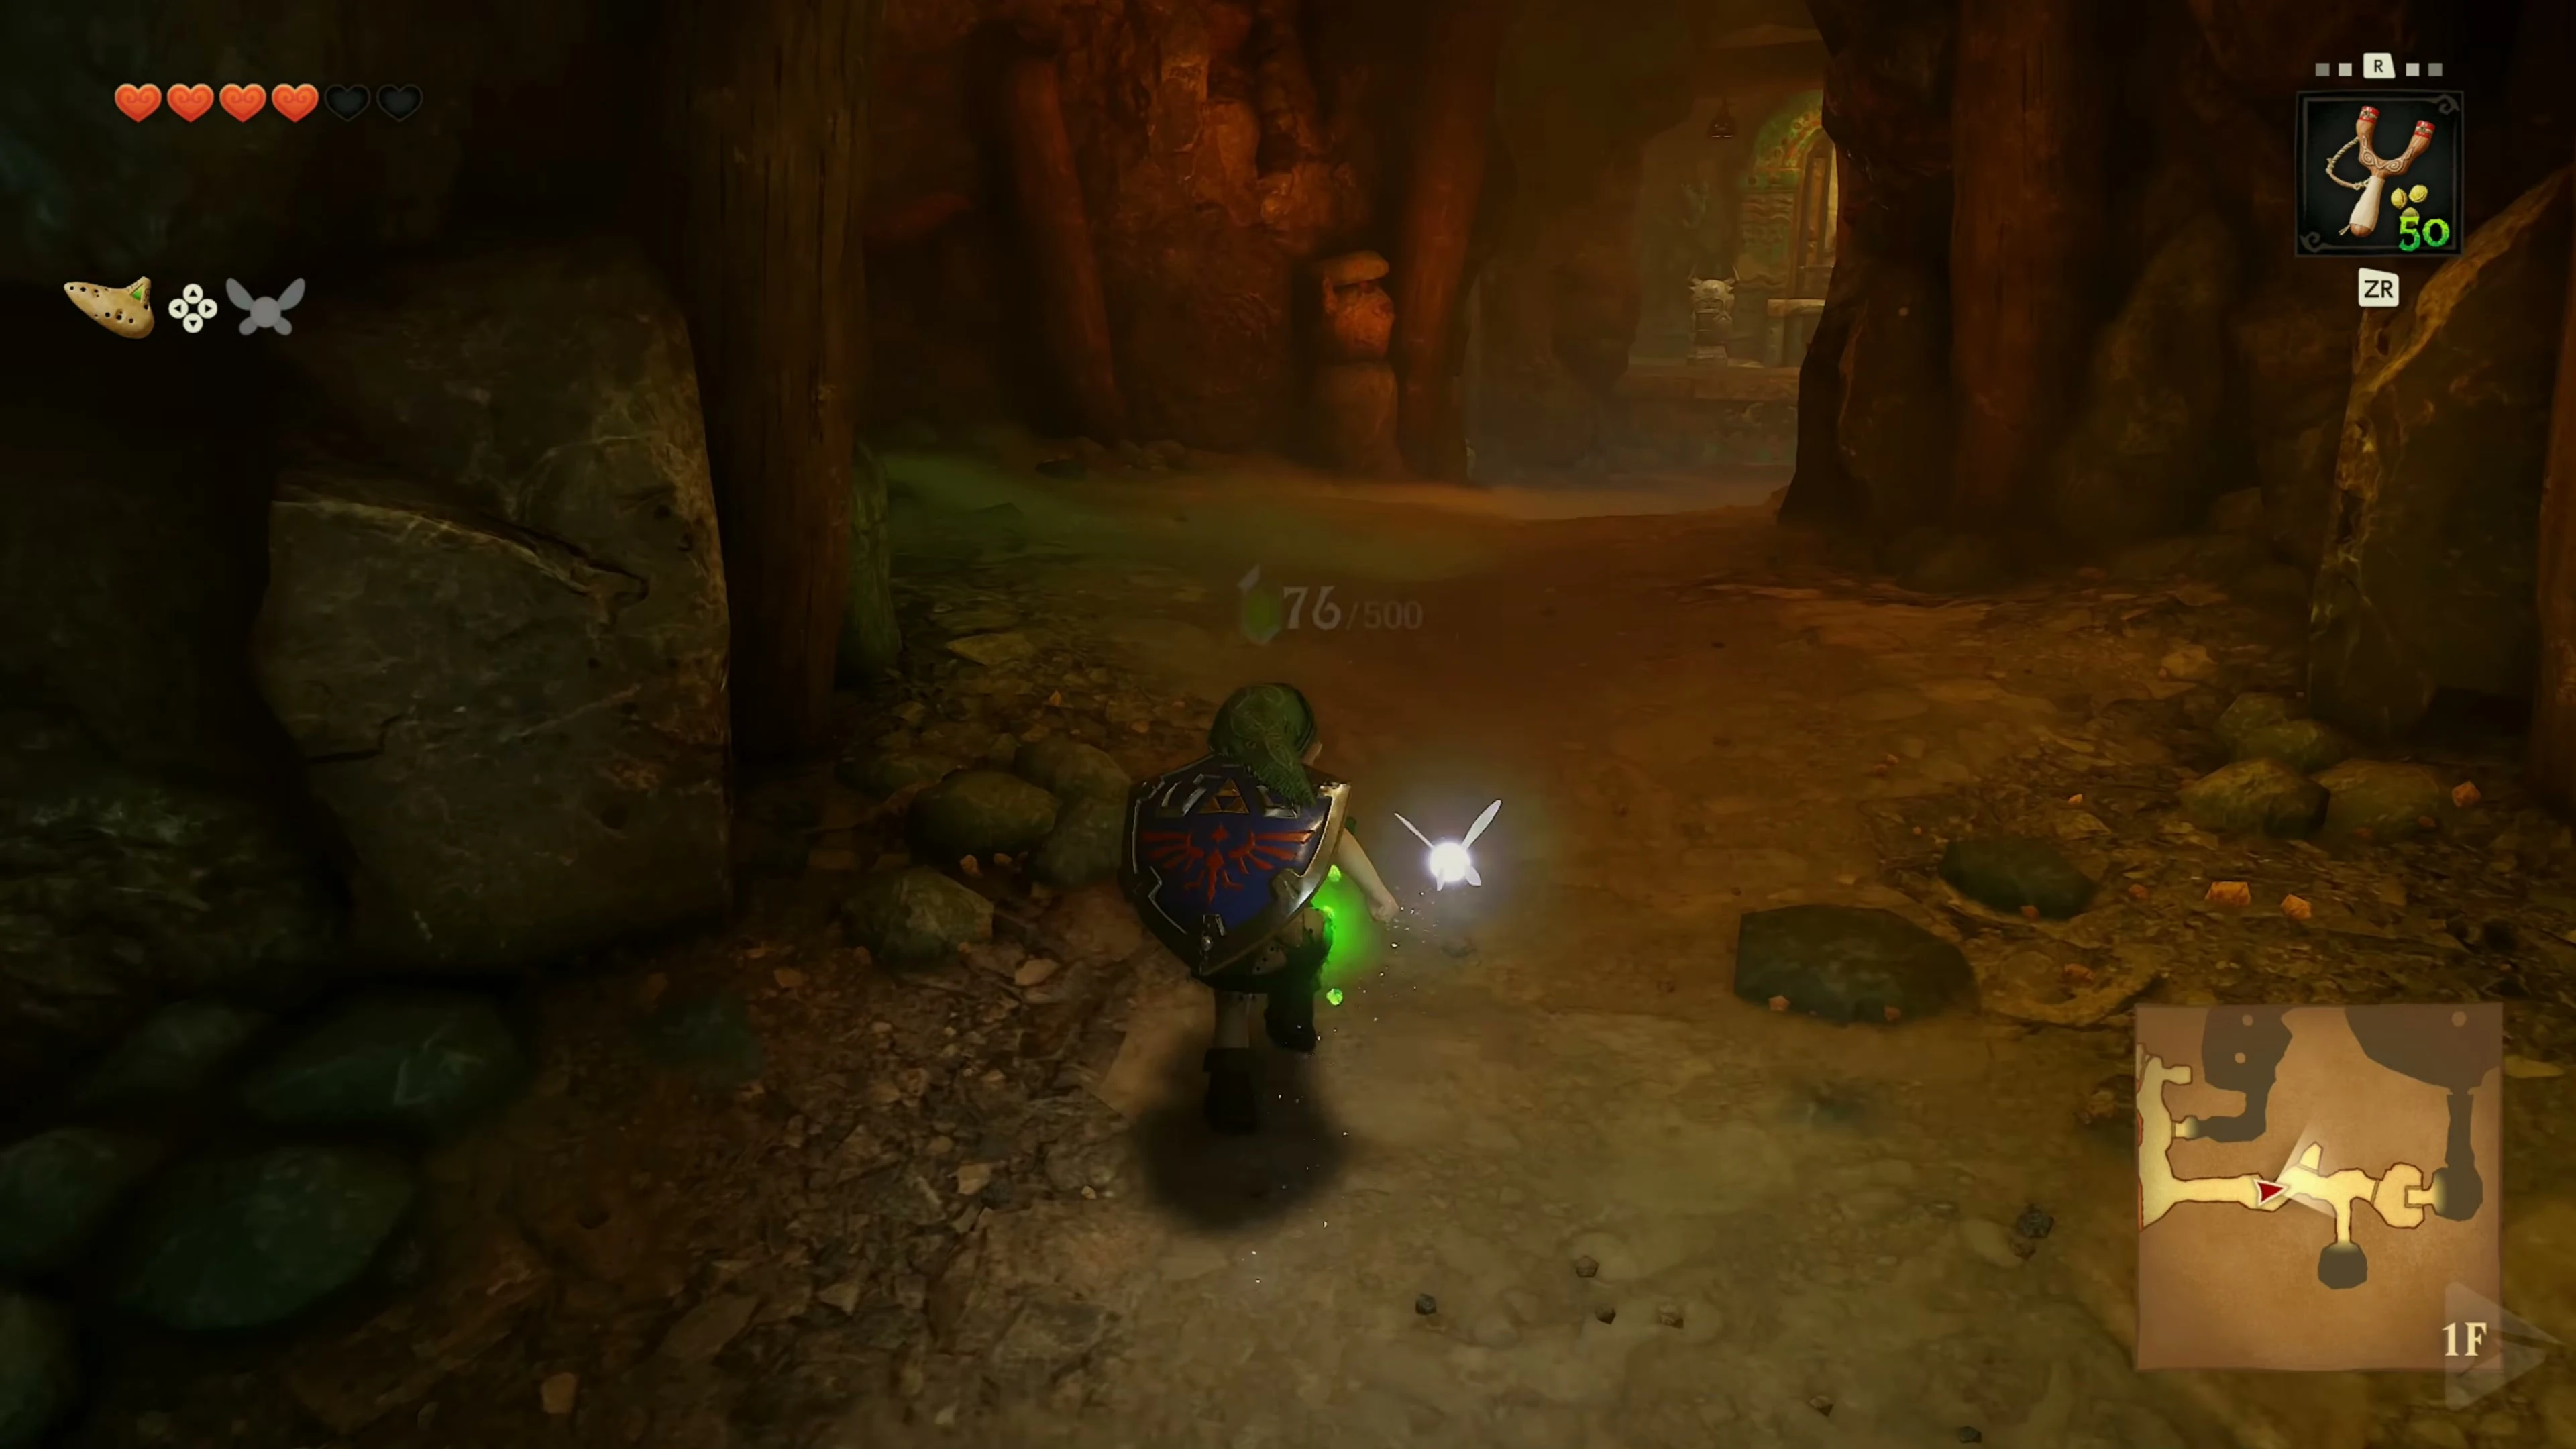
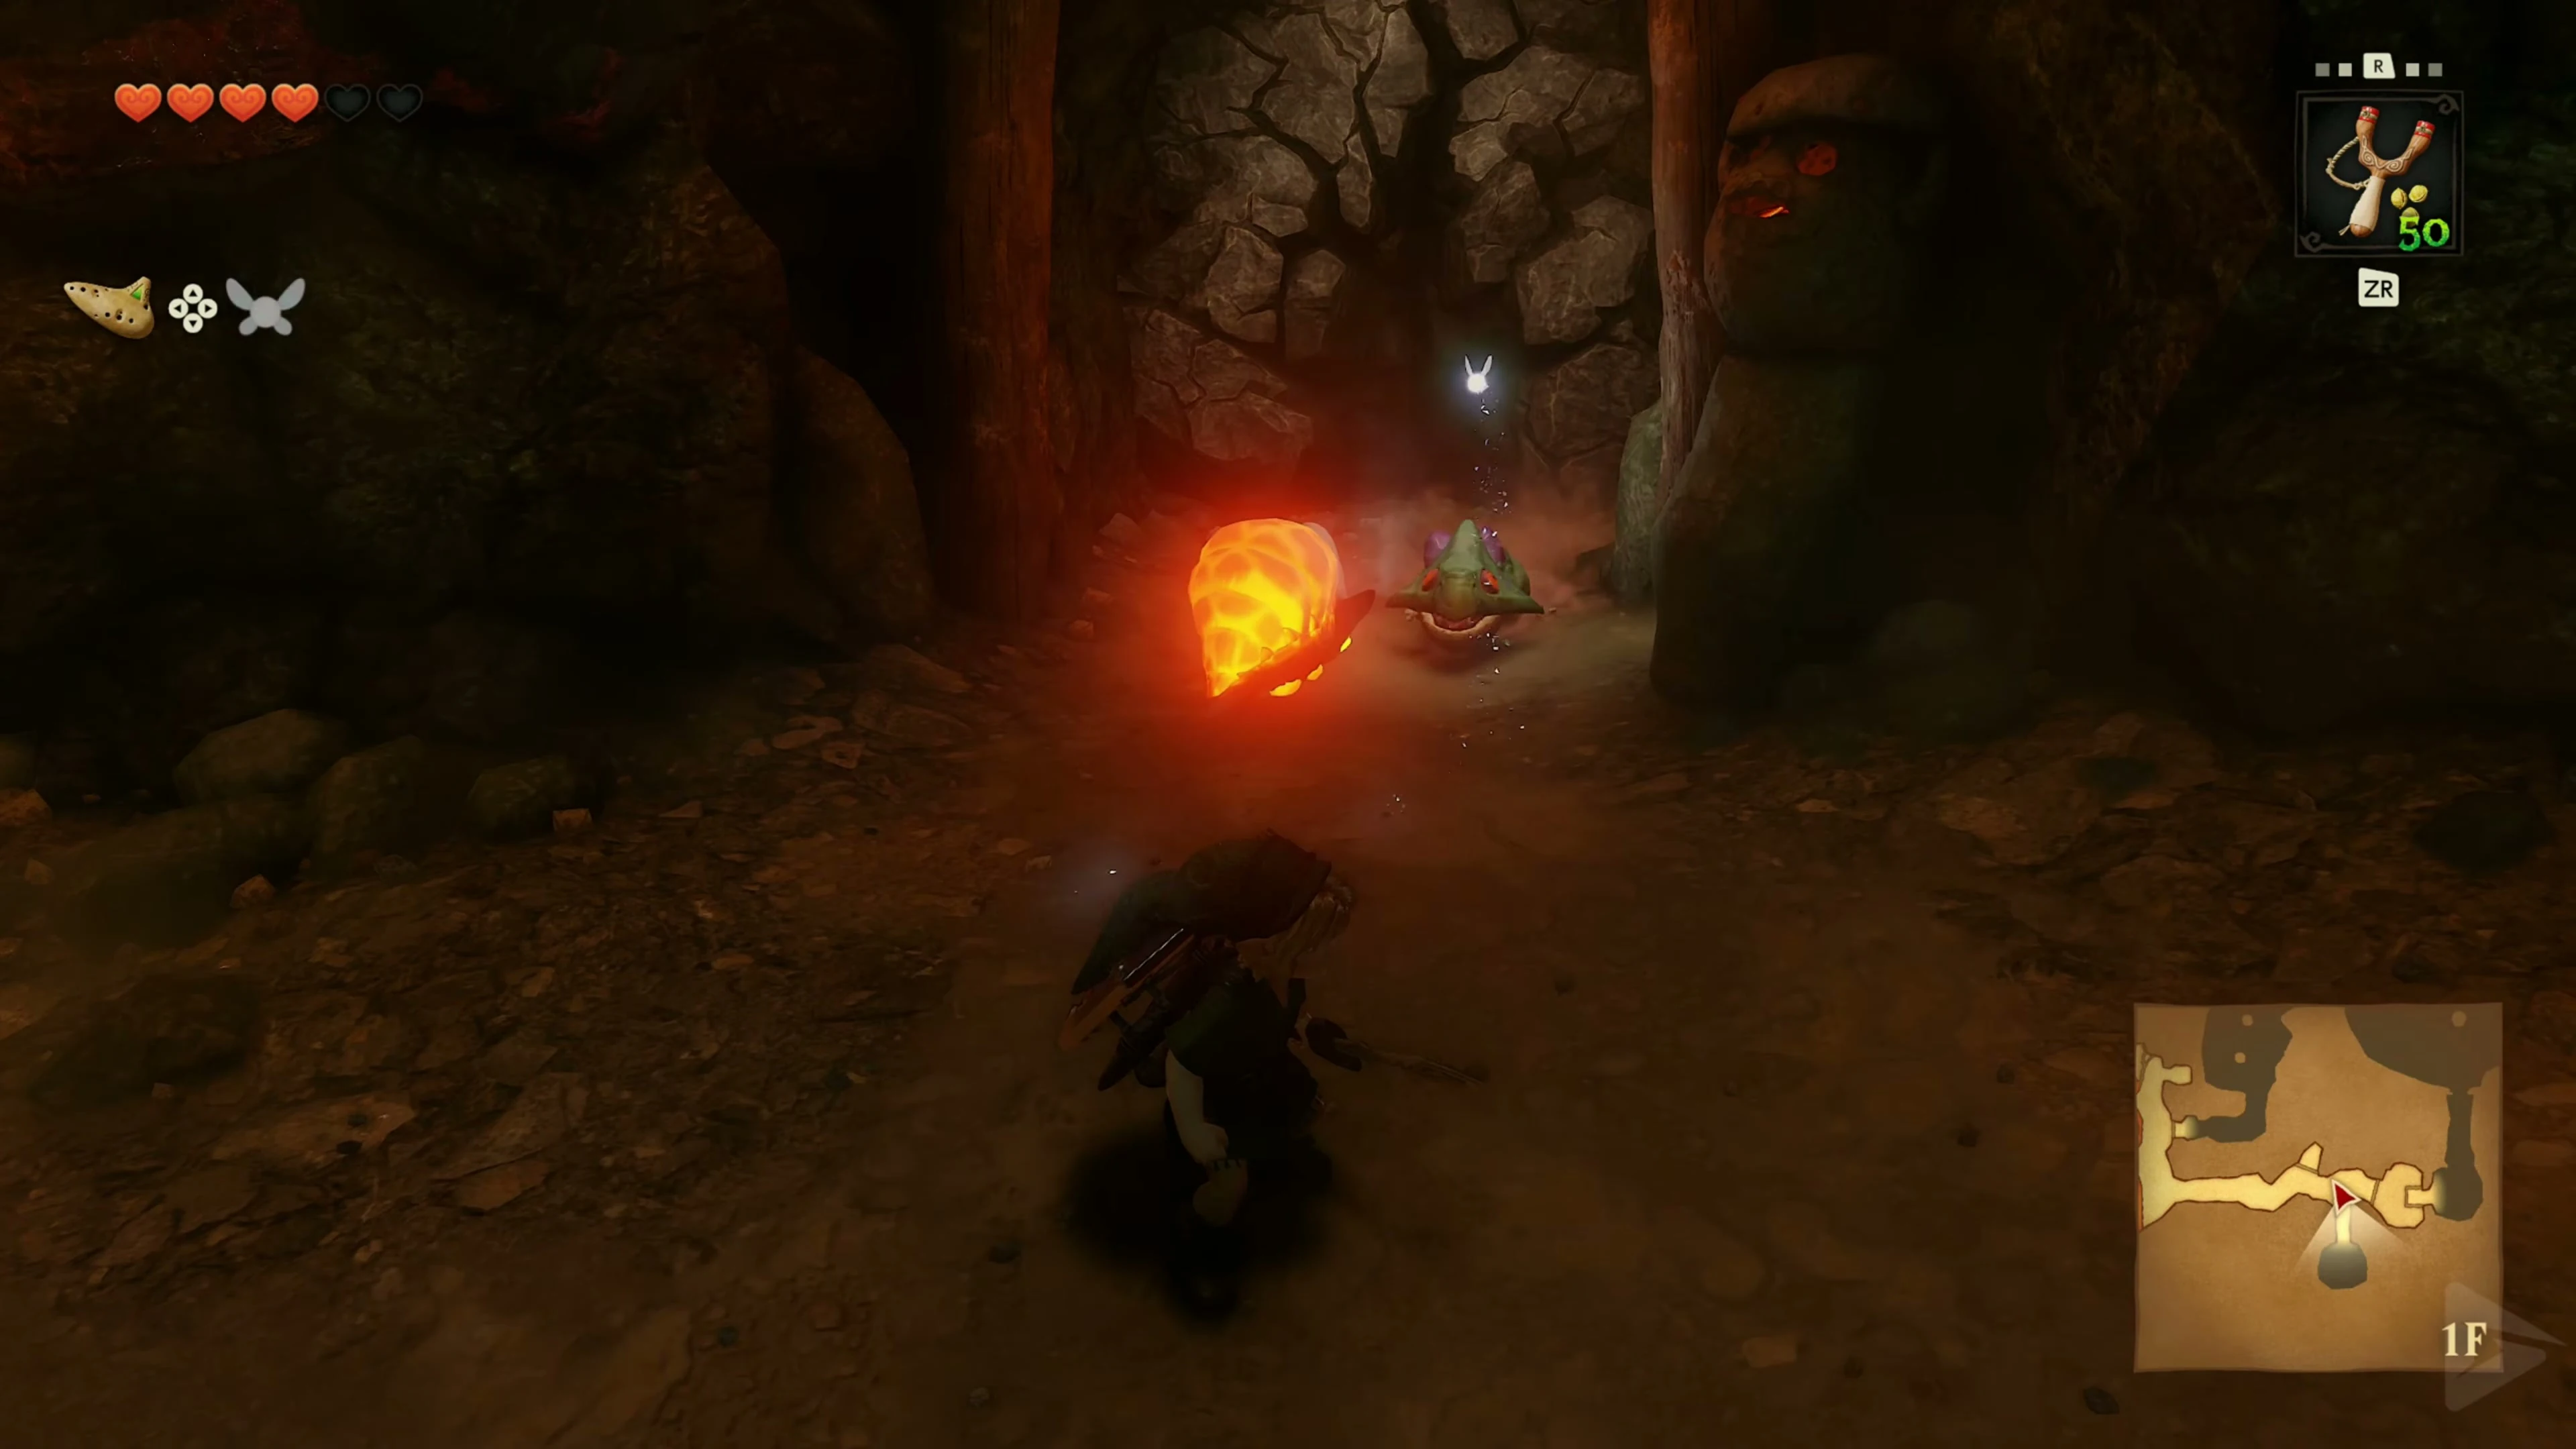
On the east side, blow up the southern wall and enter the hallway. The northern niche on the same side of the hall only leads to a Gossip Stone. In the south-eastern corridor, first single and then several baby dodongos appear. Hit them with your sword or sling and move away as soon as they flash before exploding. For the last group, stick to the brittle right aisle wall . Lure one of the animals directly in front of it and defeat it there. His explosion exposes the small side room. Inside, shoot the Keese and defeat the Gold Skulltula 1/5 on the wall. Jump from the nearby ledge to the token.
Push the statue onto the switch
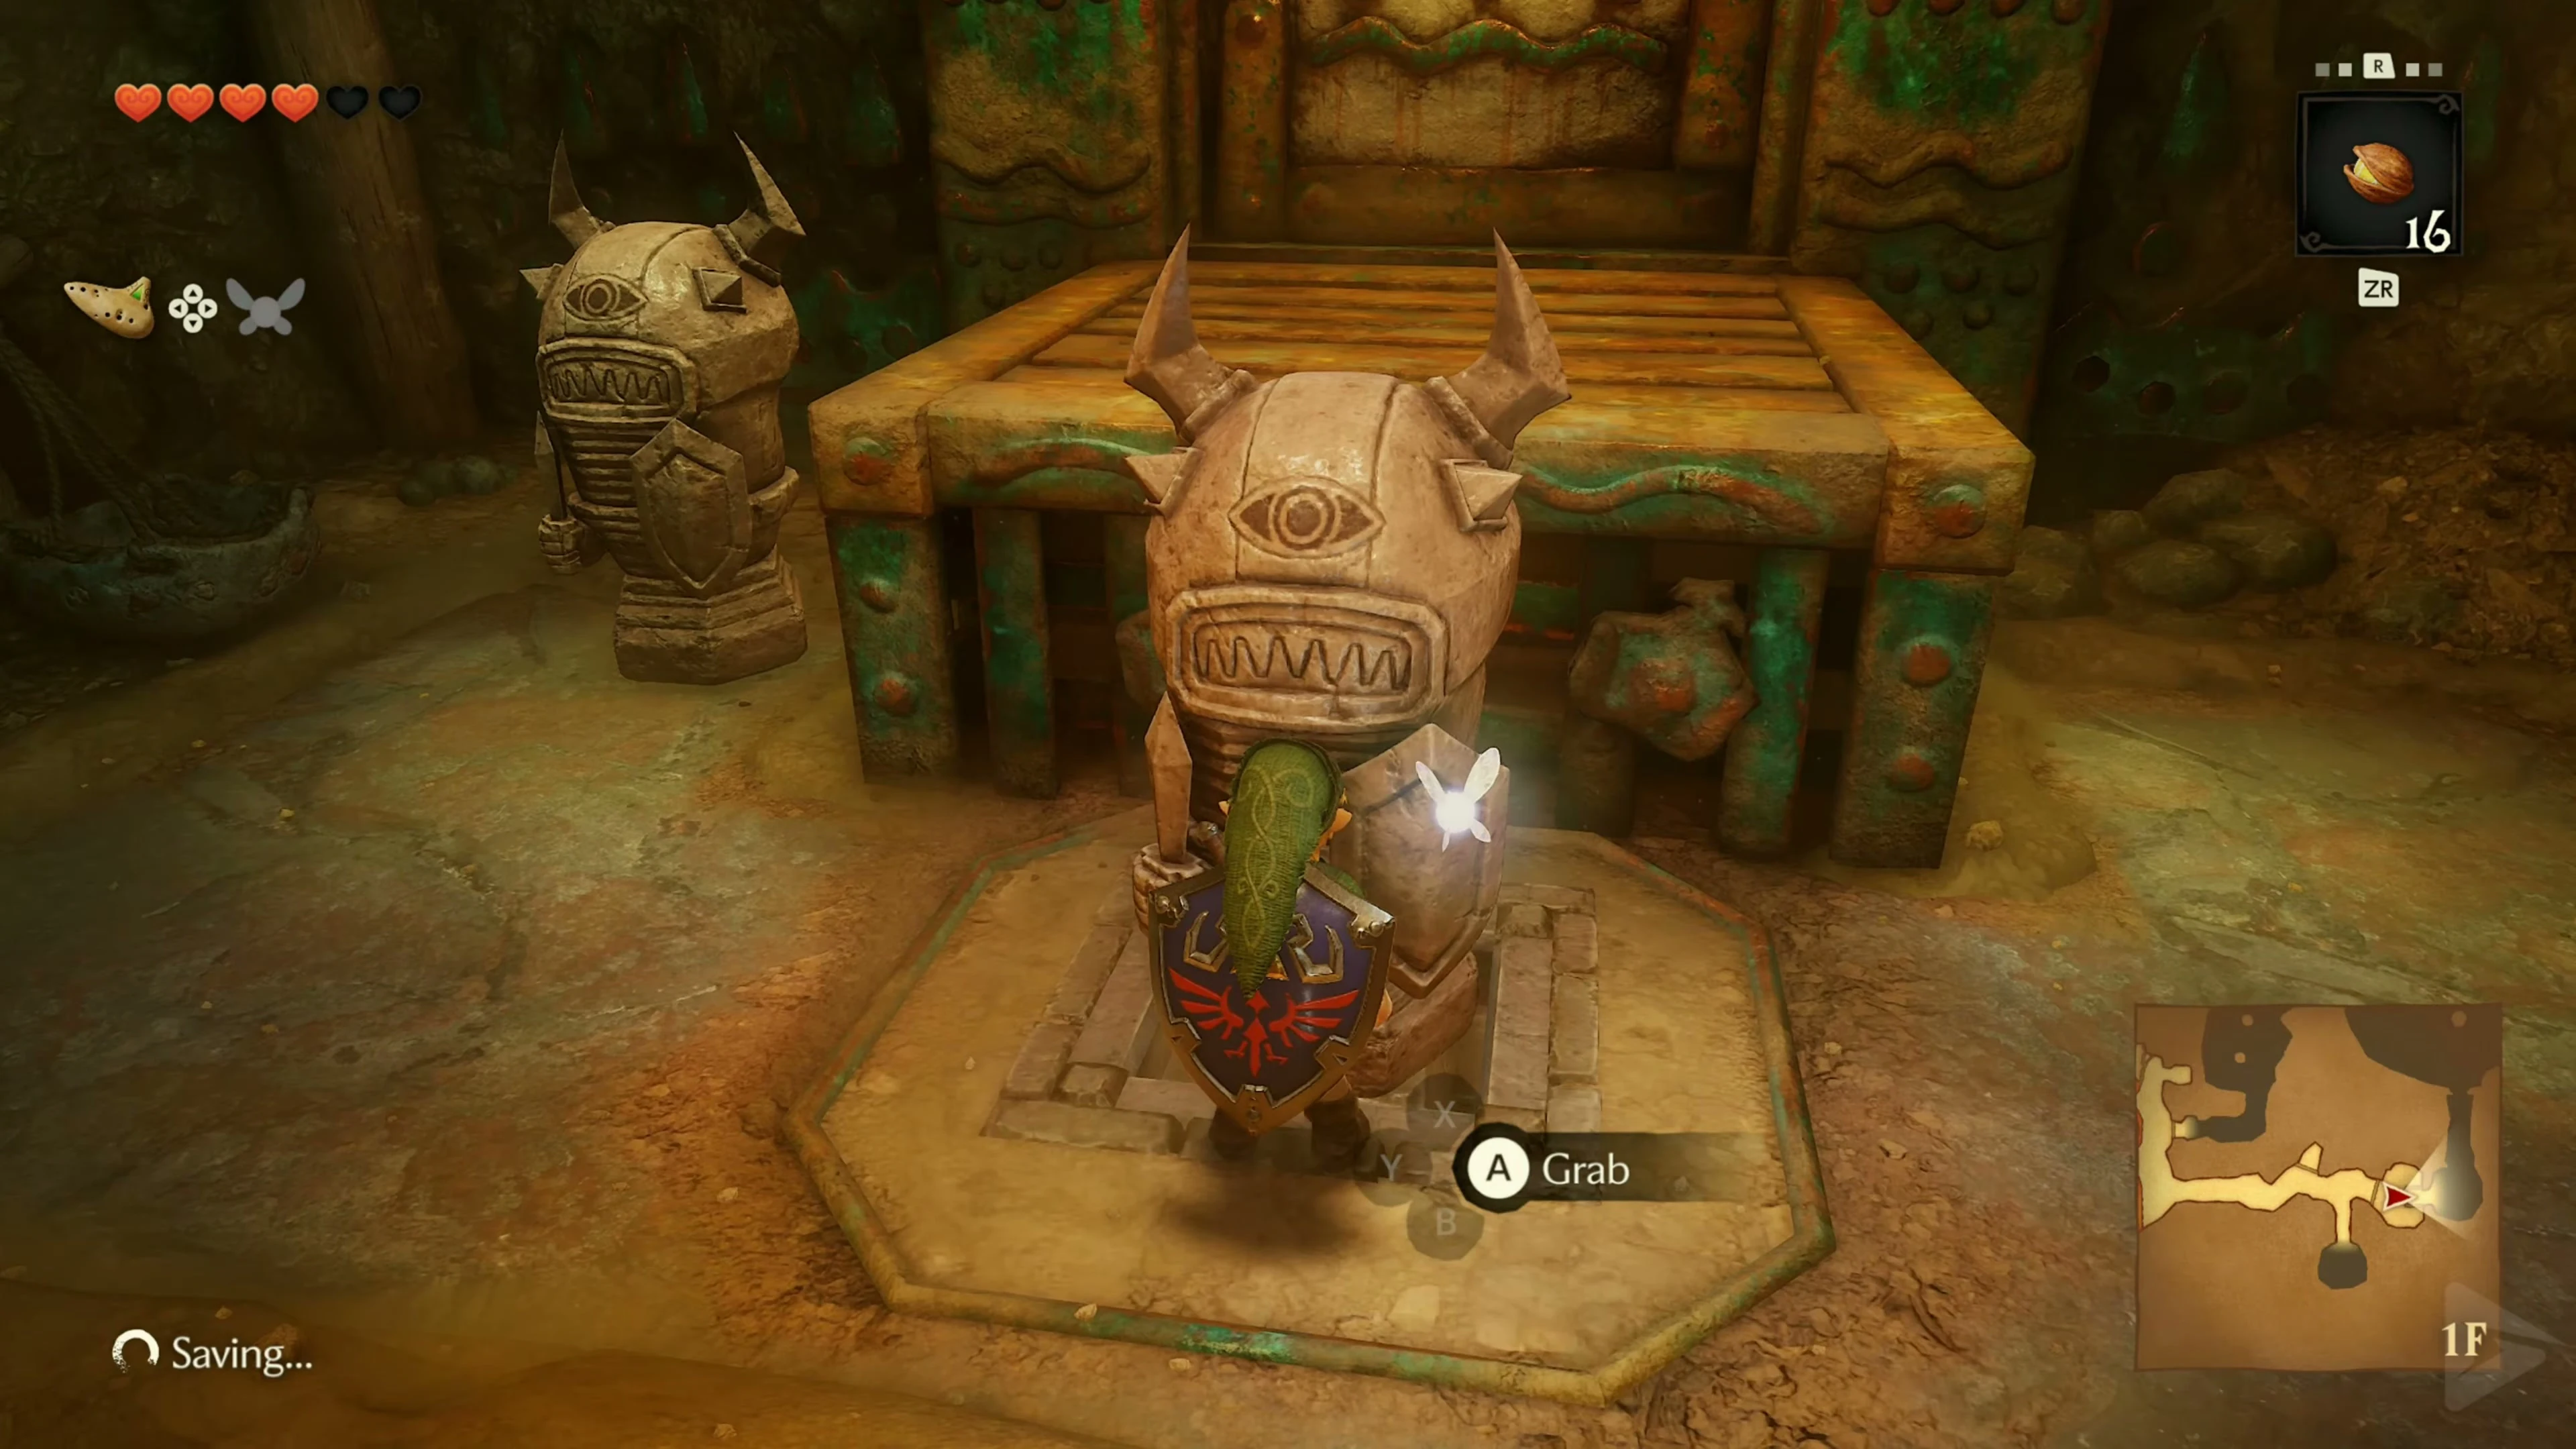
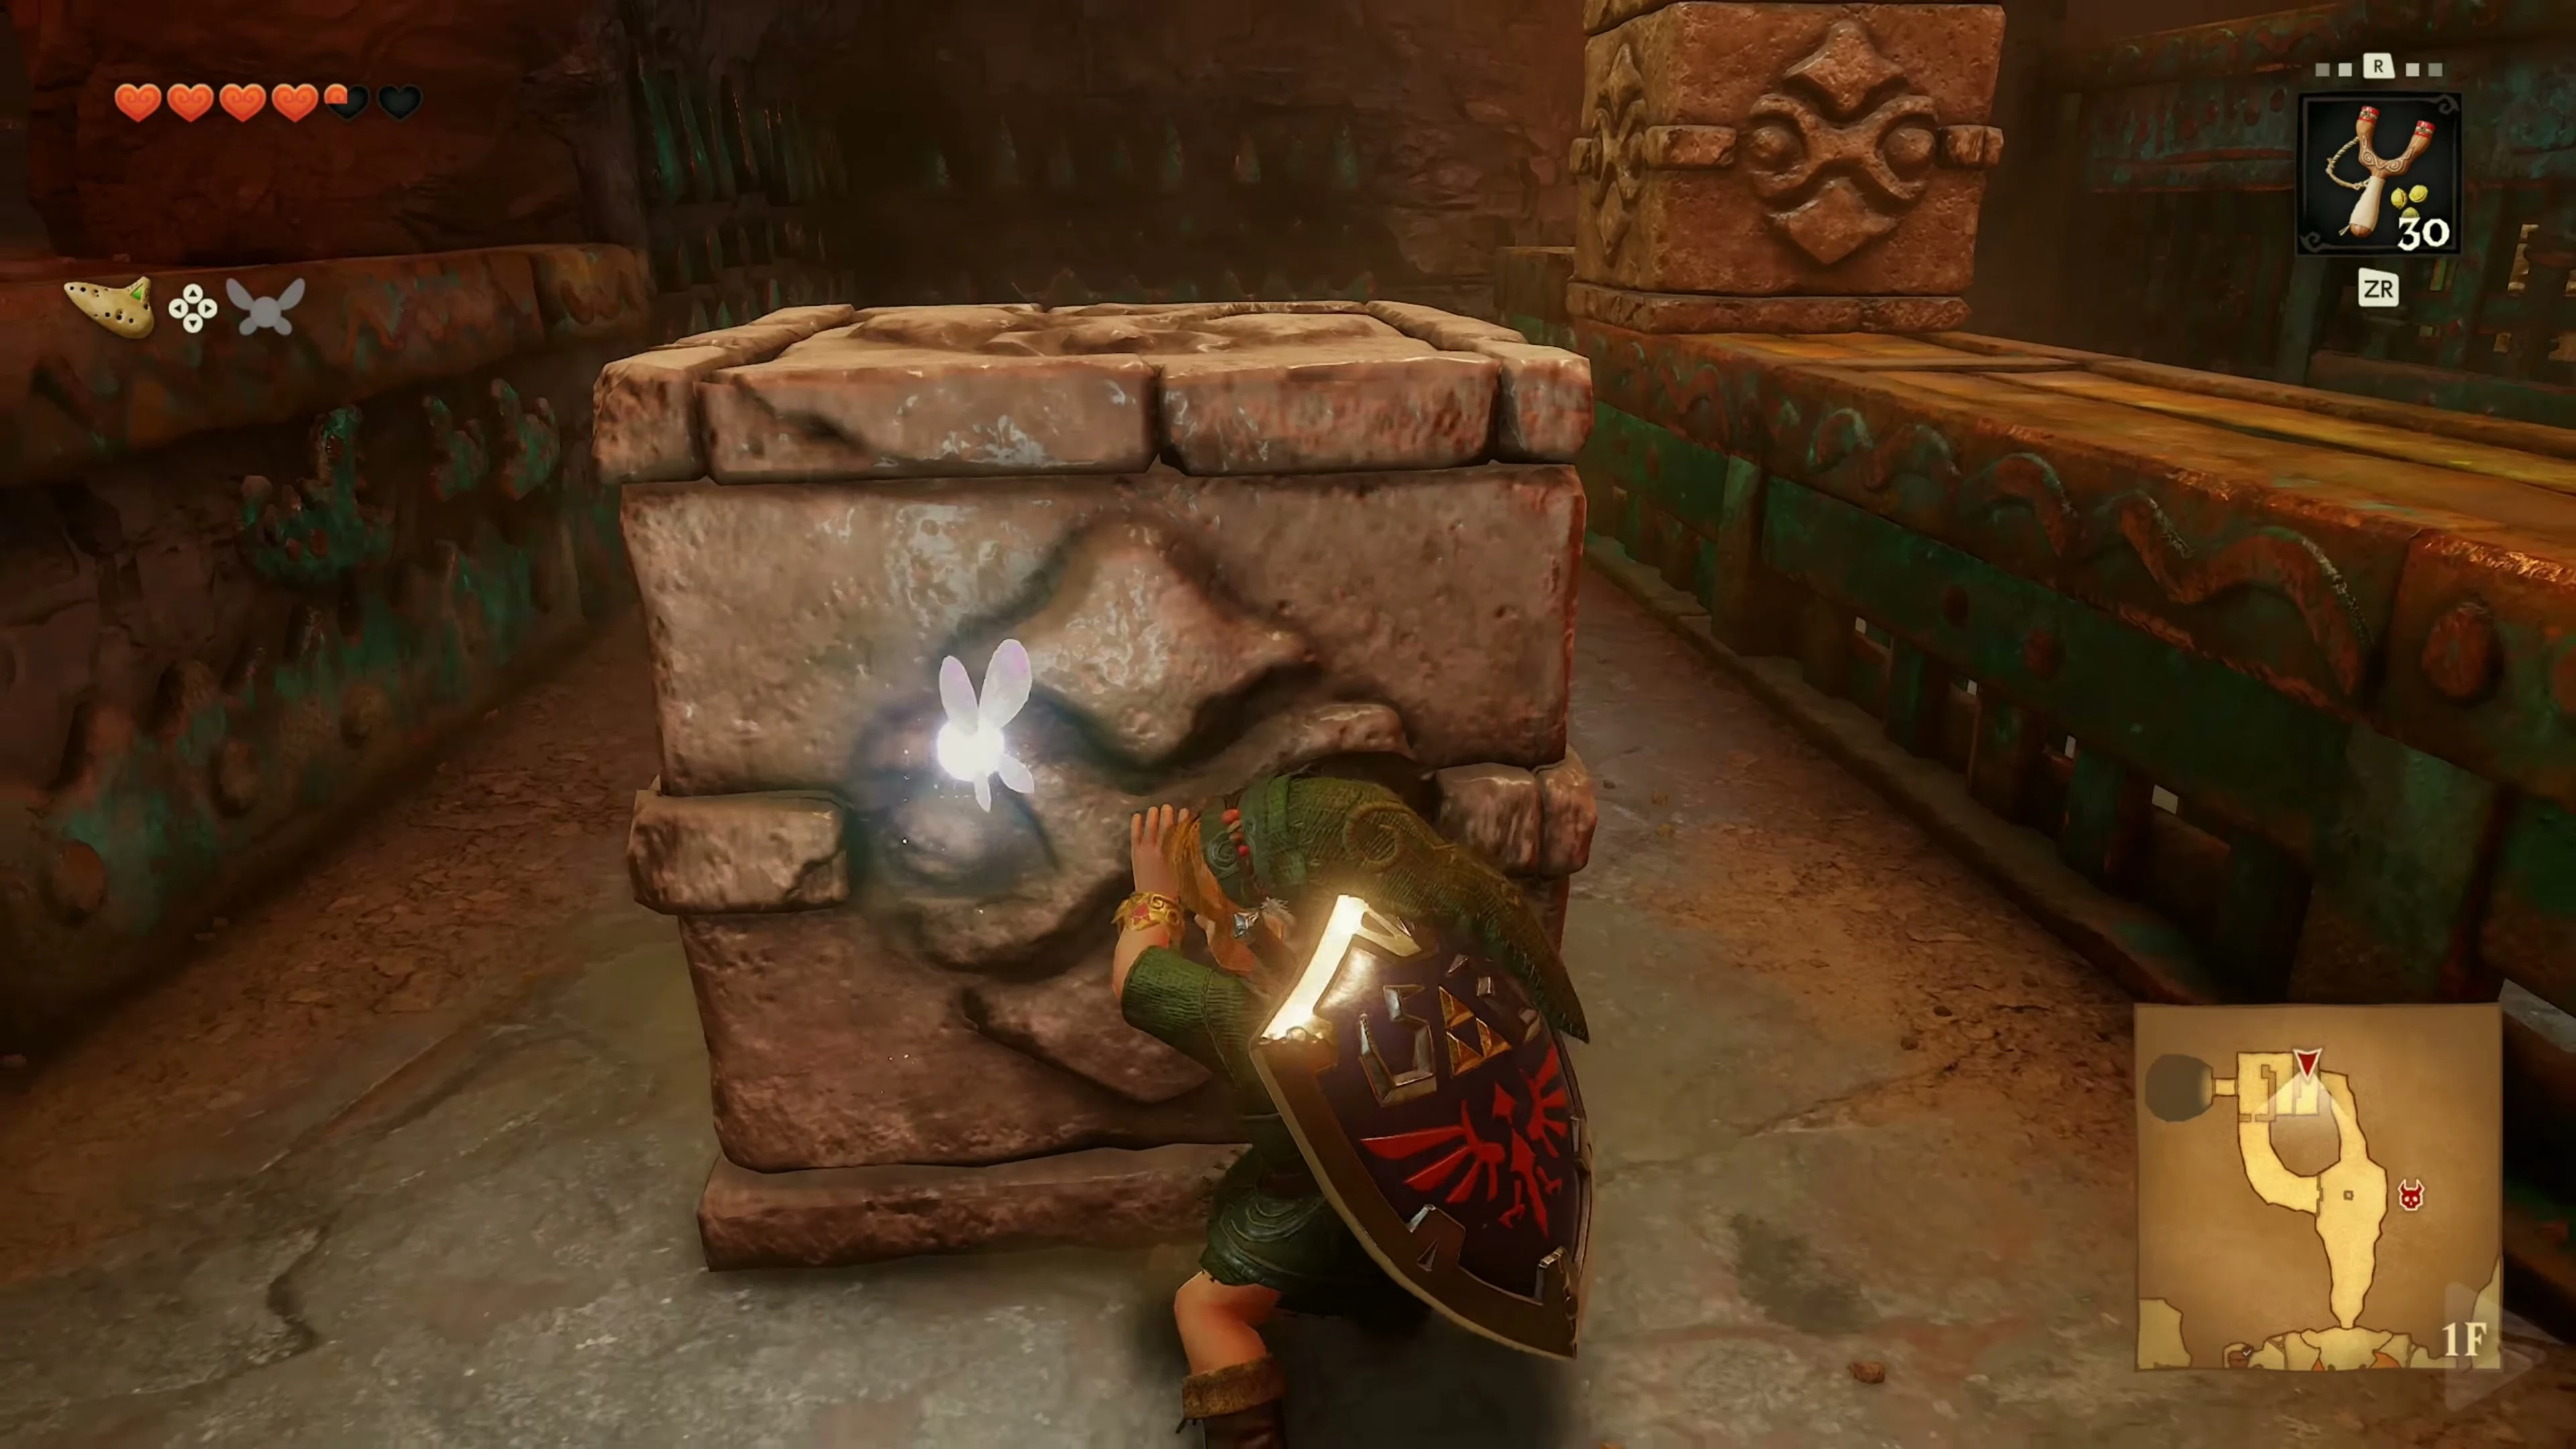
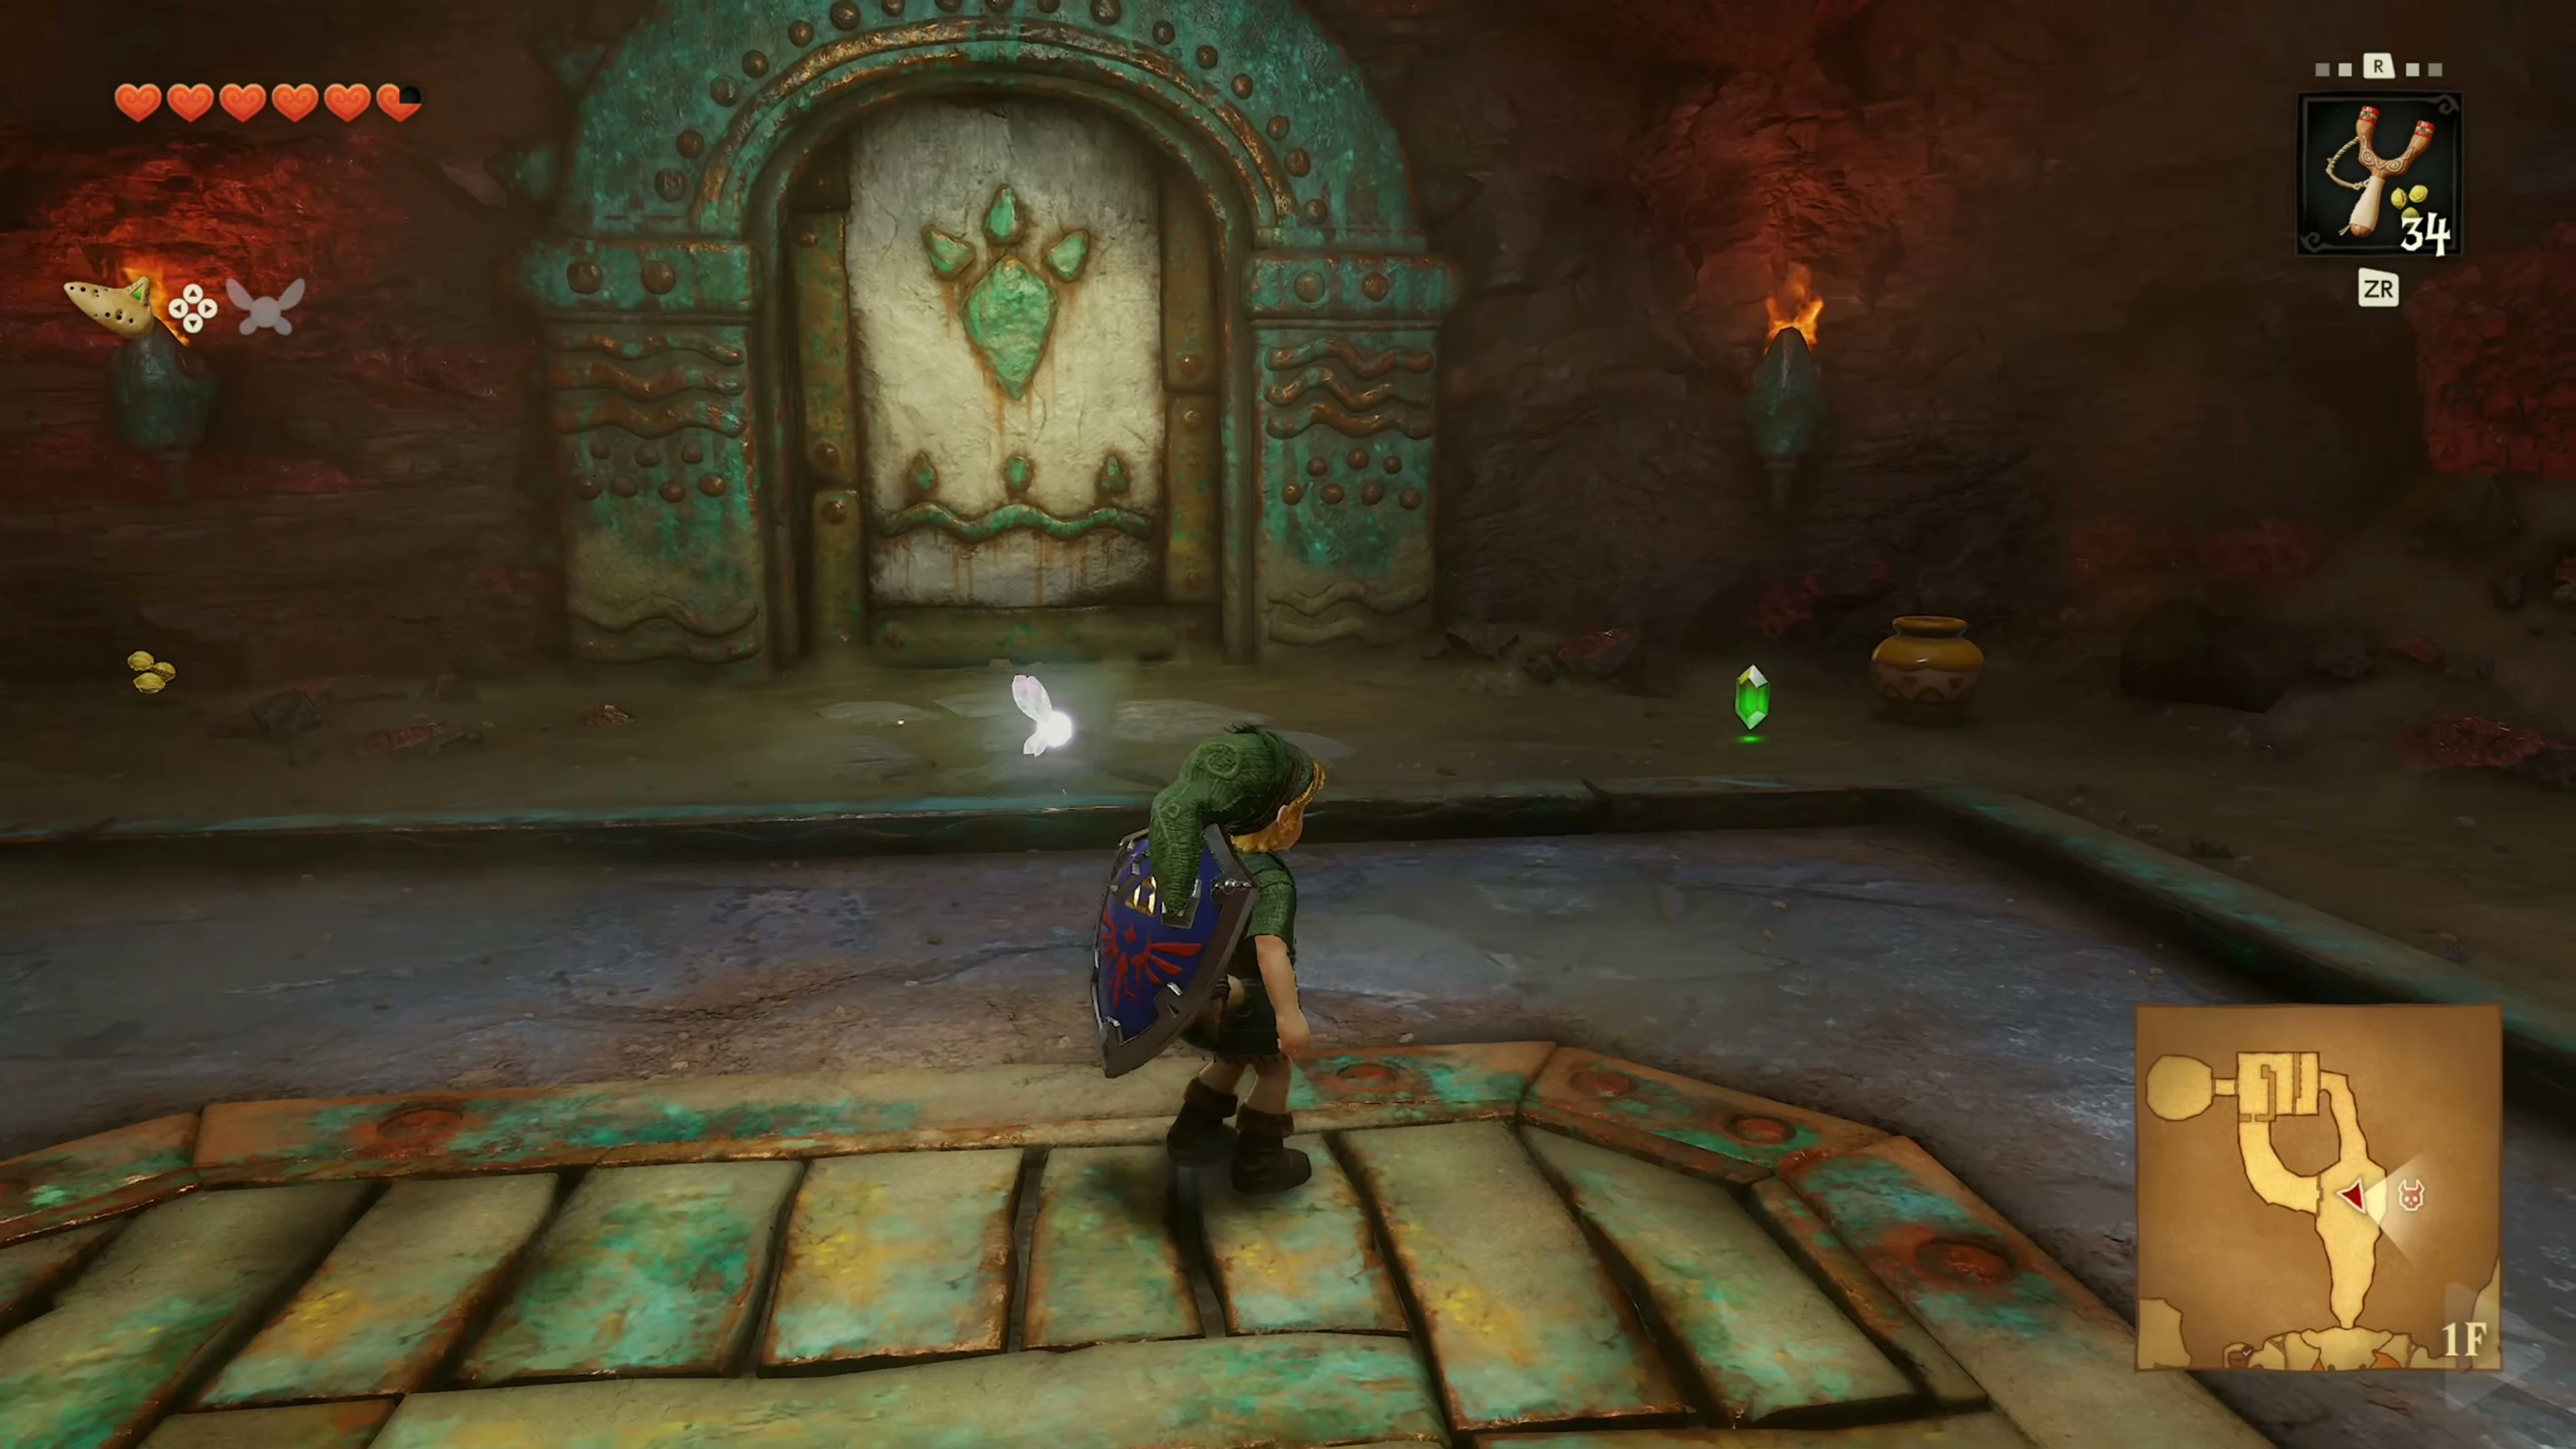
At the end of the main corridor there is a pressure switch in front of a grille. Stand on it for a moment to see the effect, then push one of the stationary statues onto the switch. The grid remains open. Go through and shoot the Keese in the connecting passage.
Miniboss: Two Lizalfos
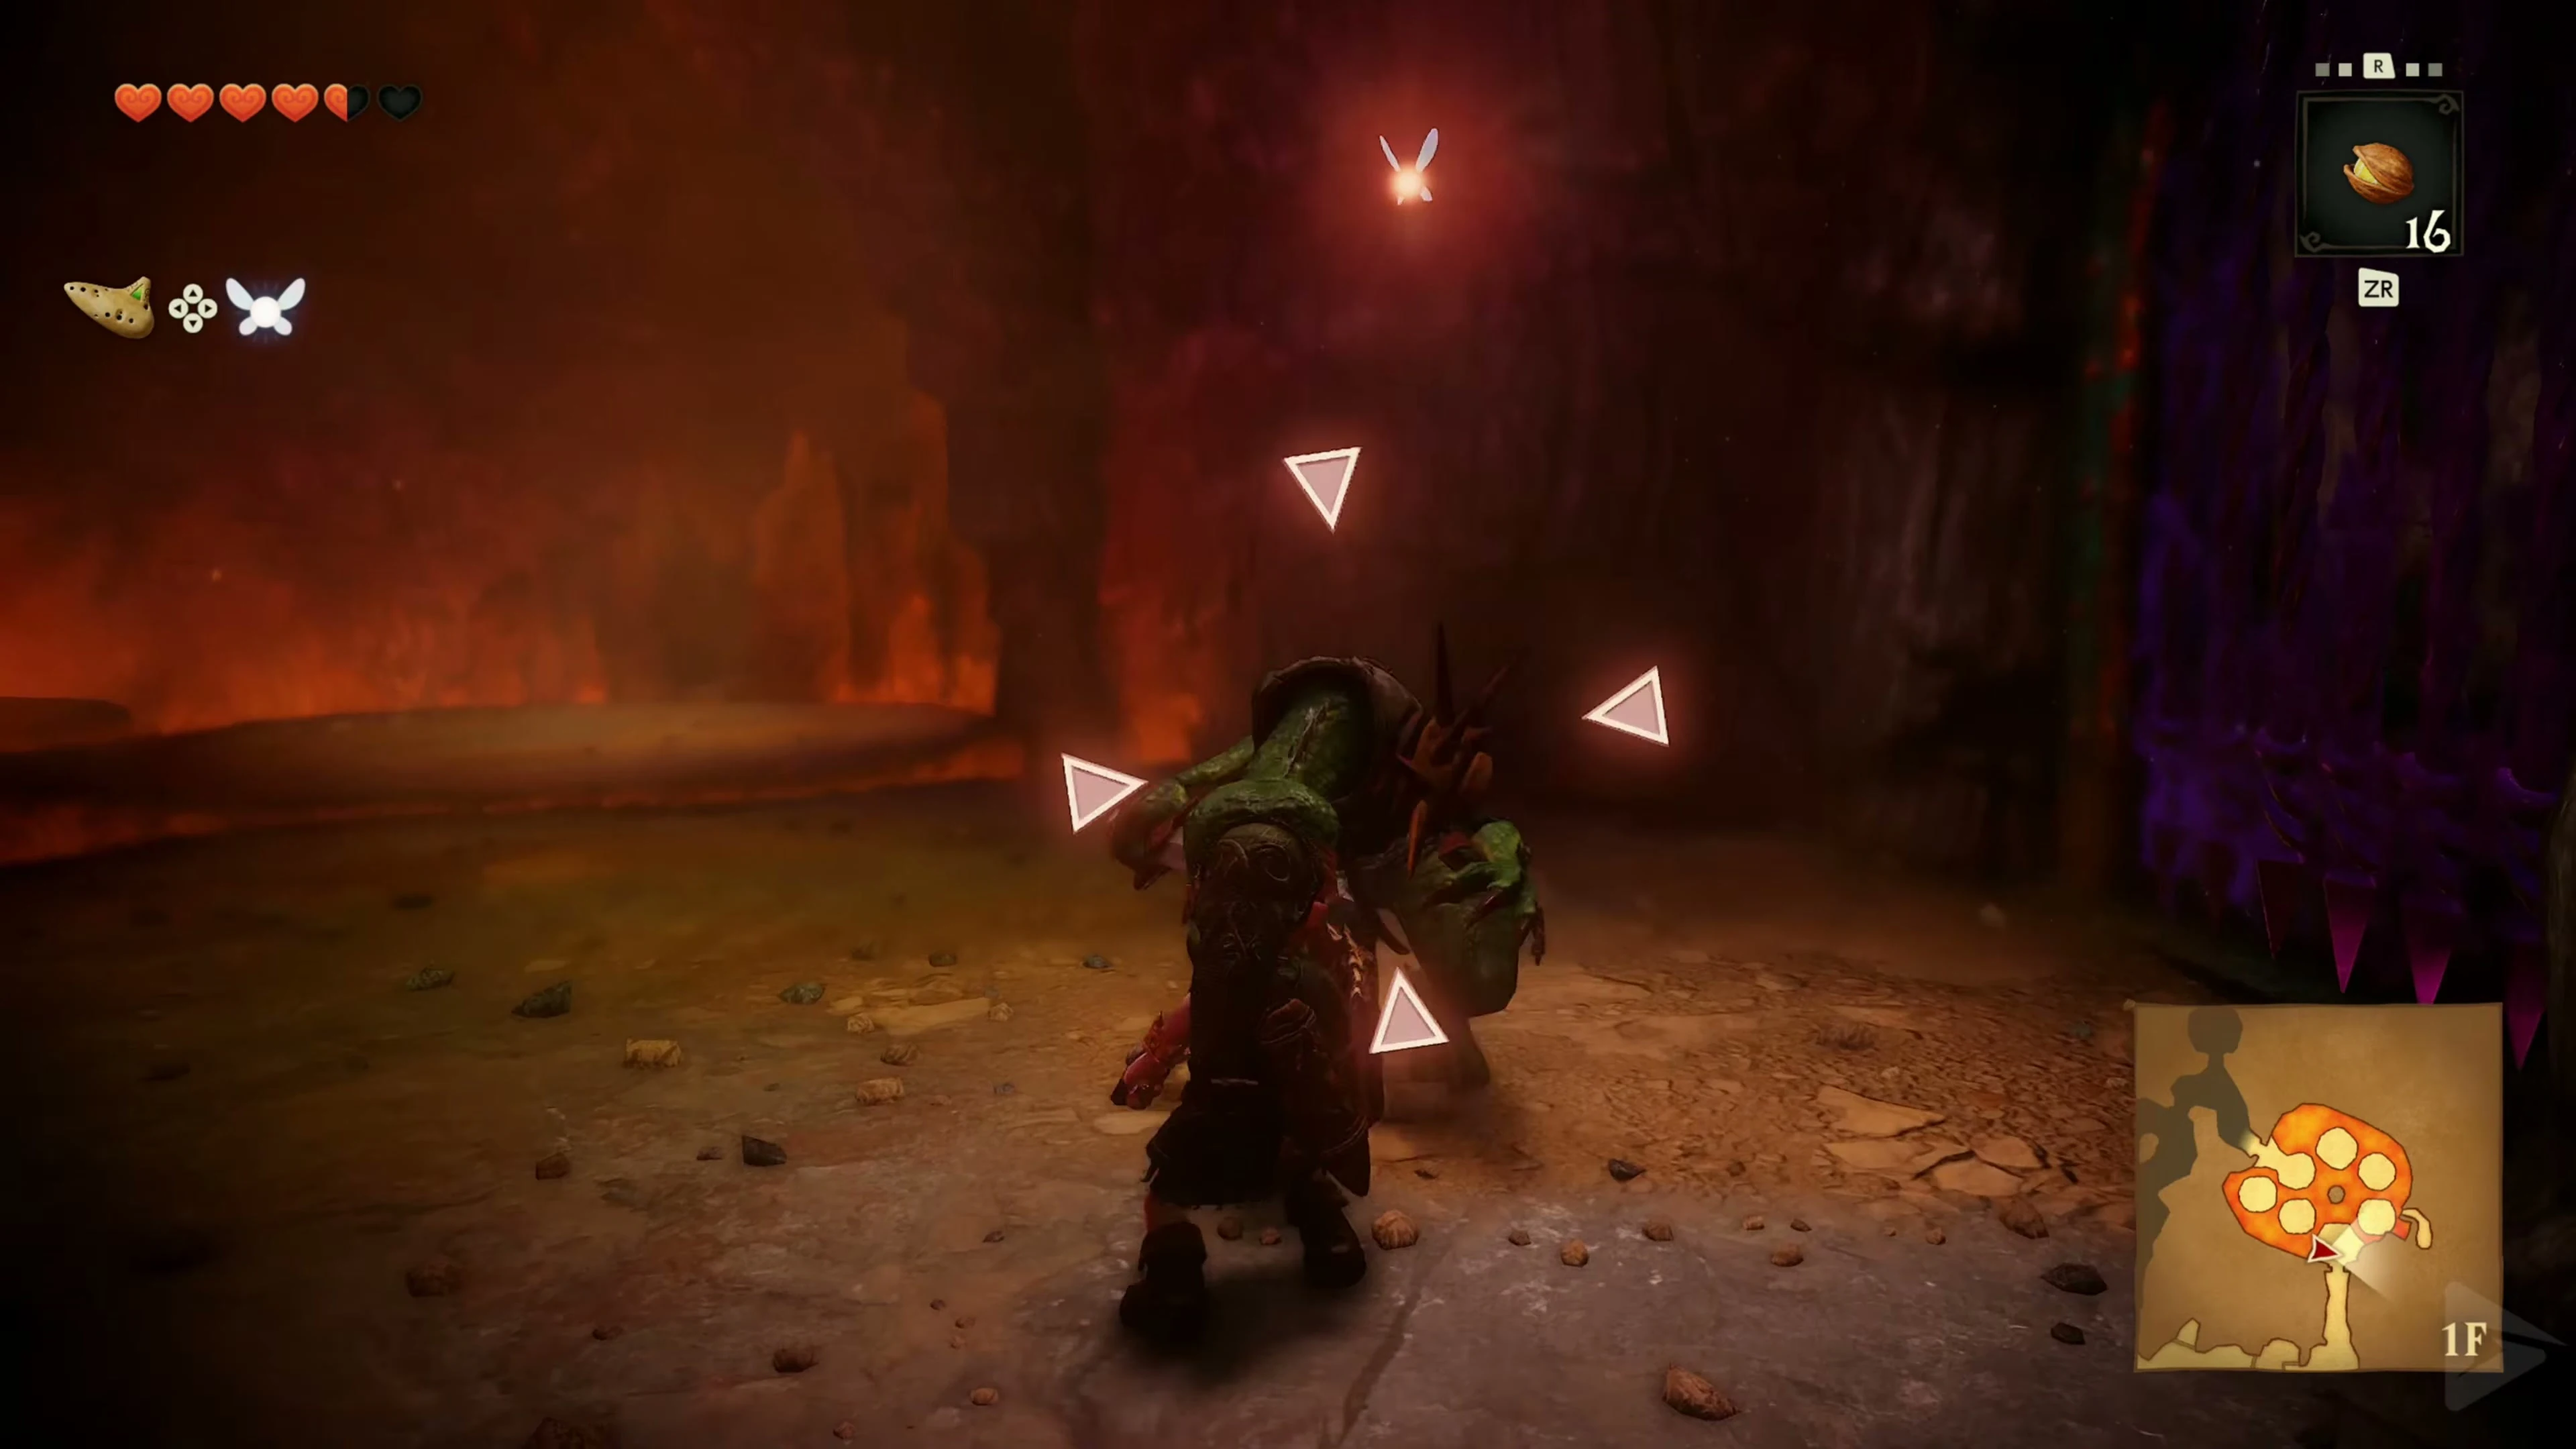
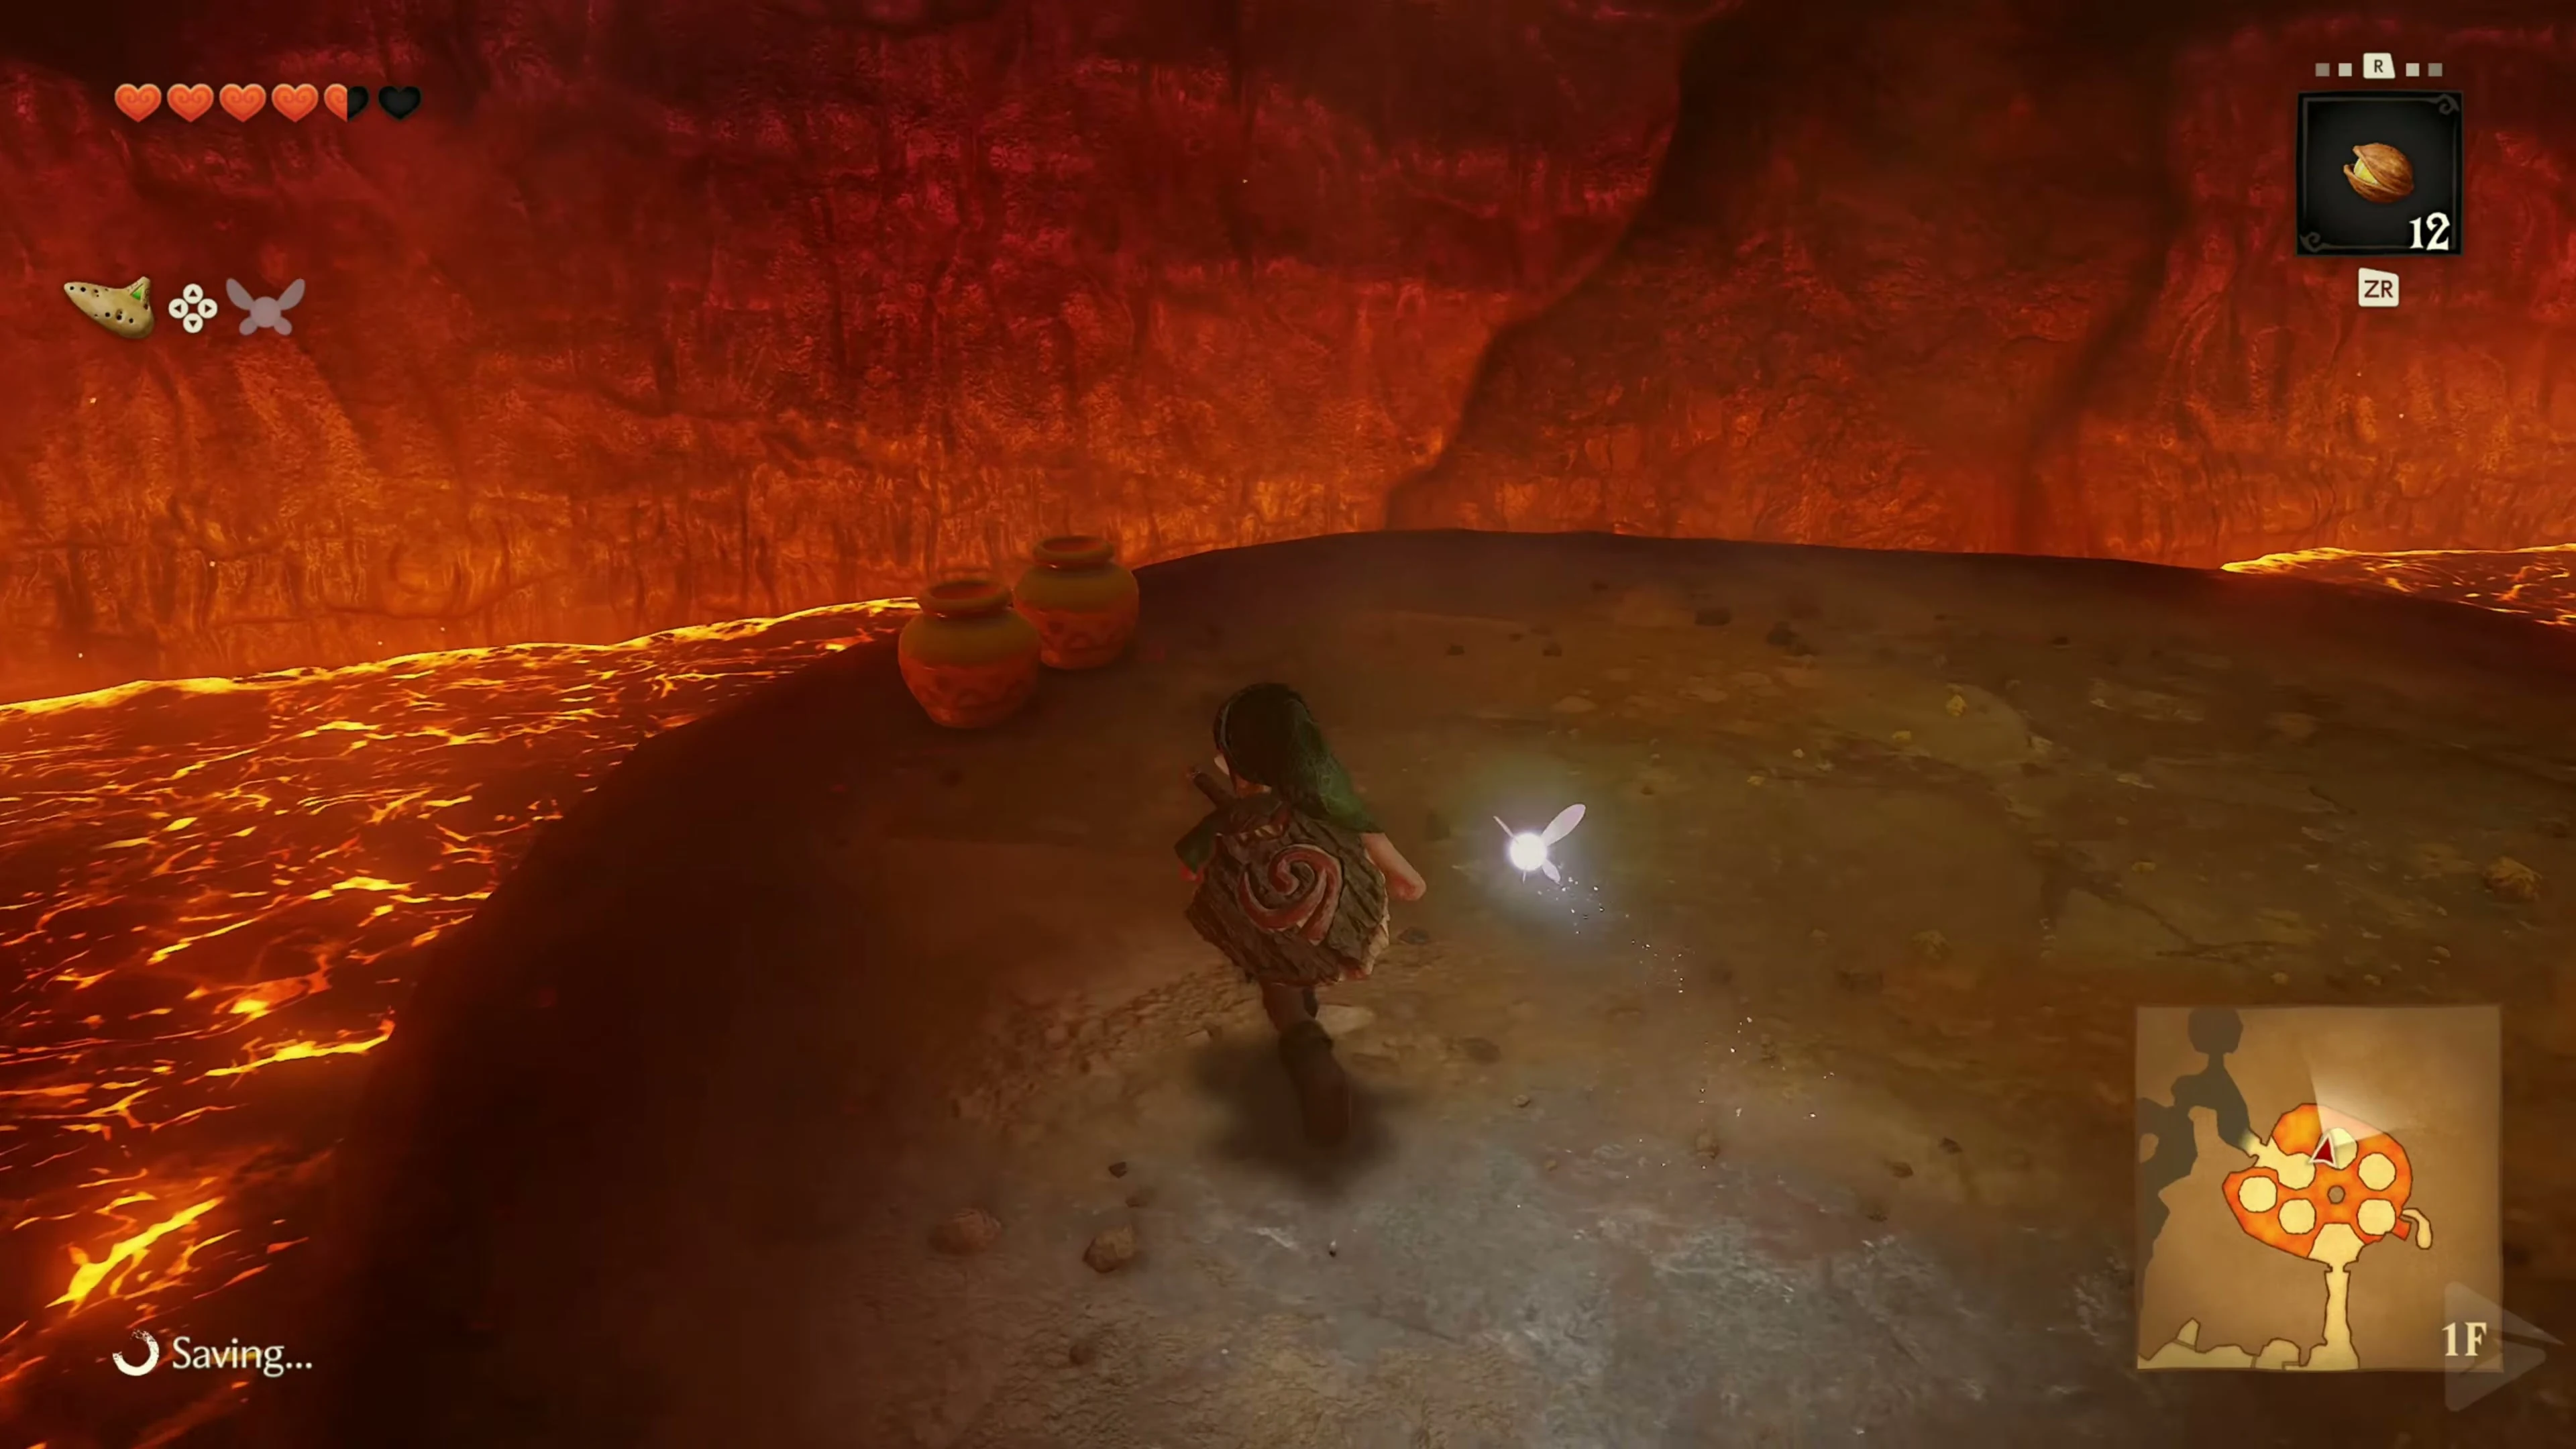
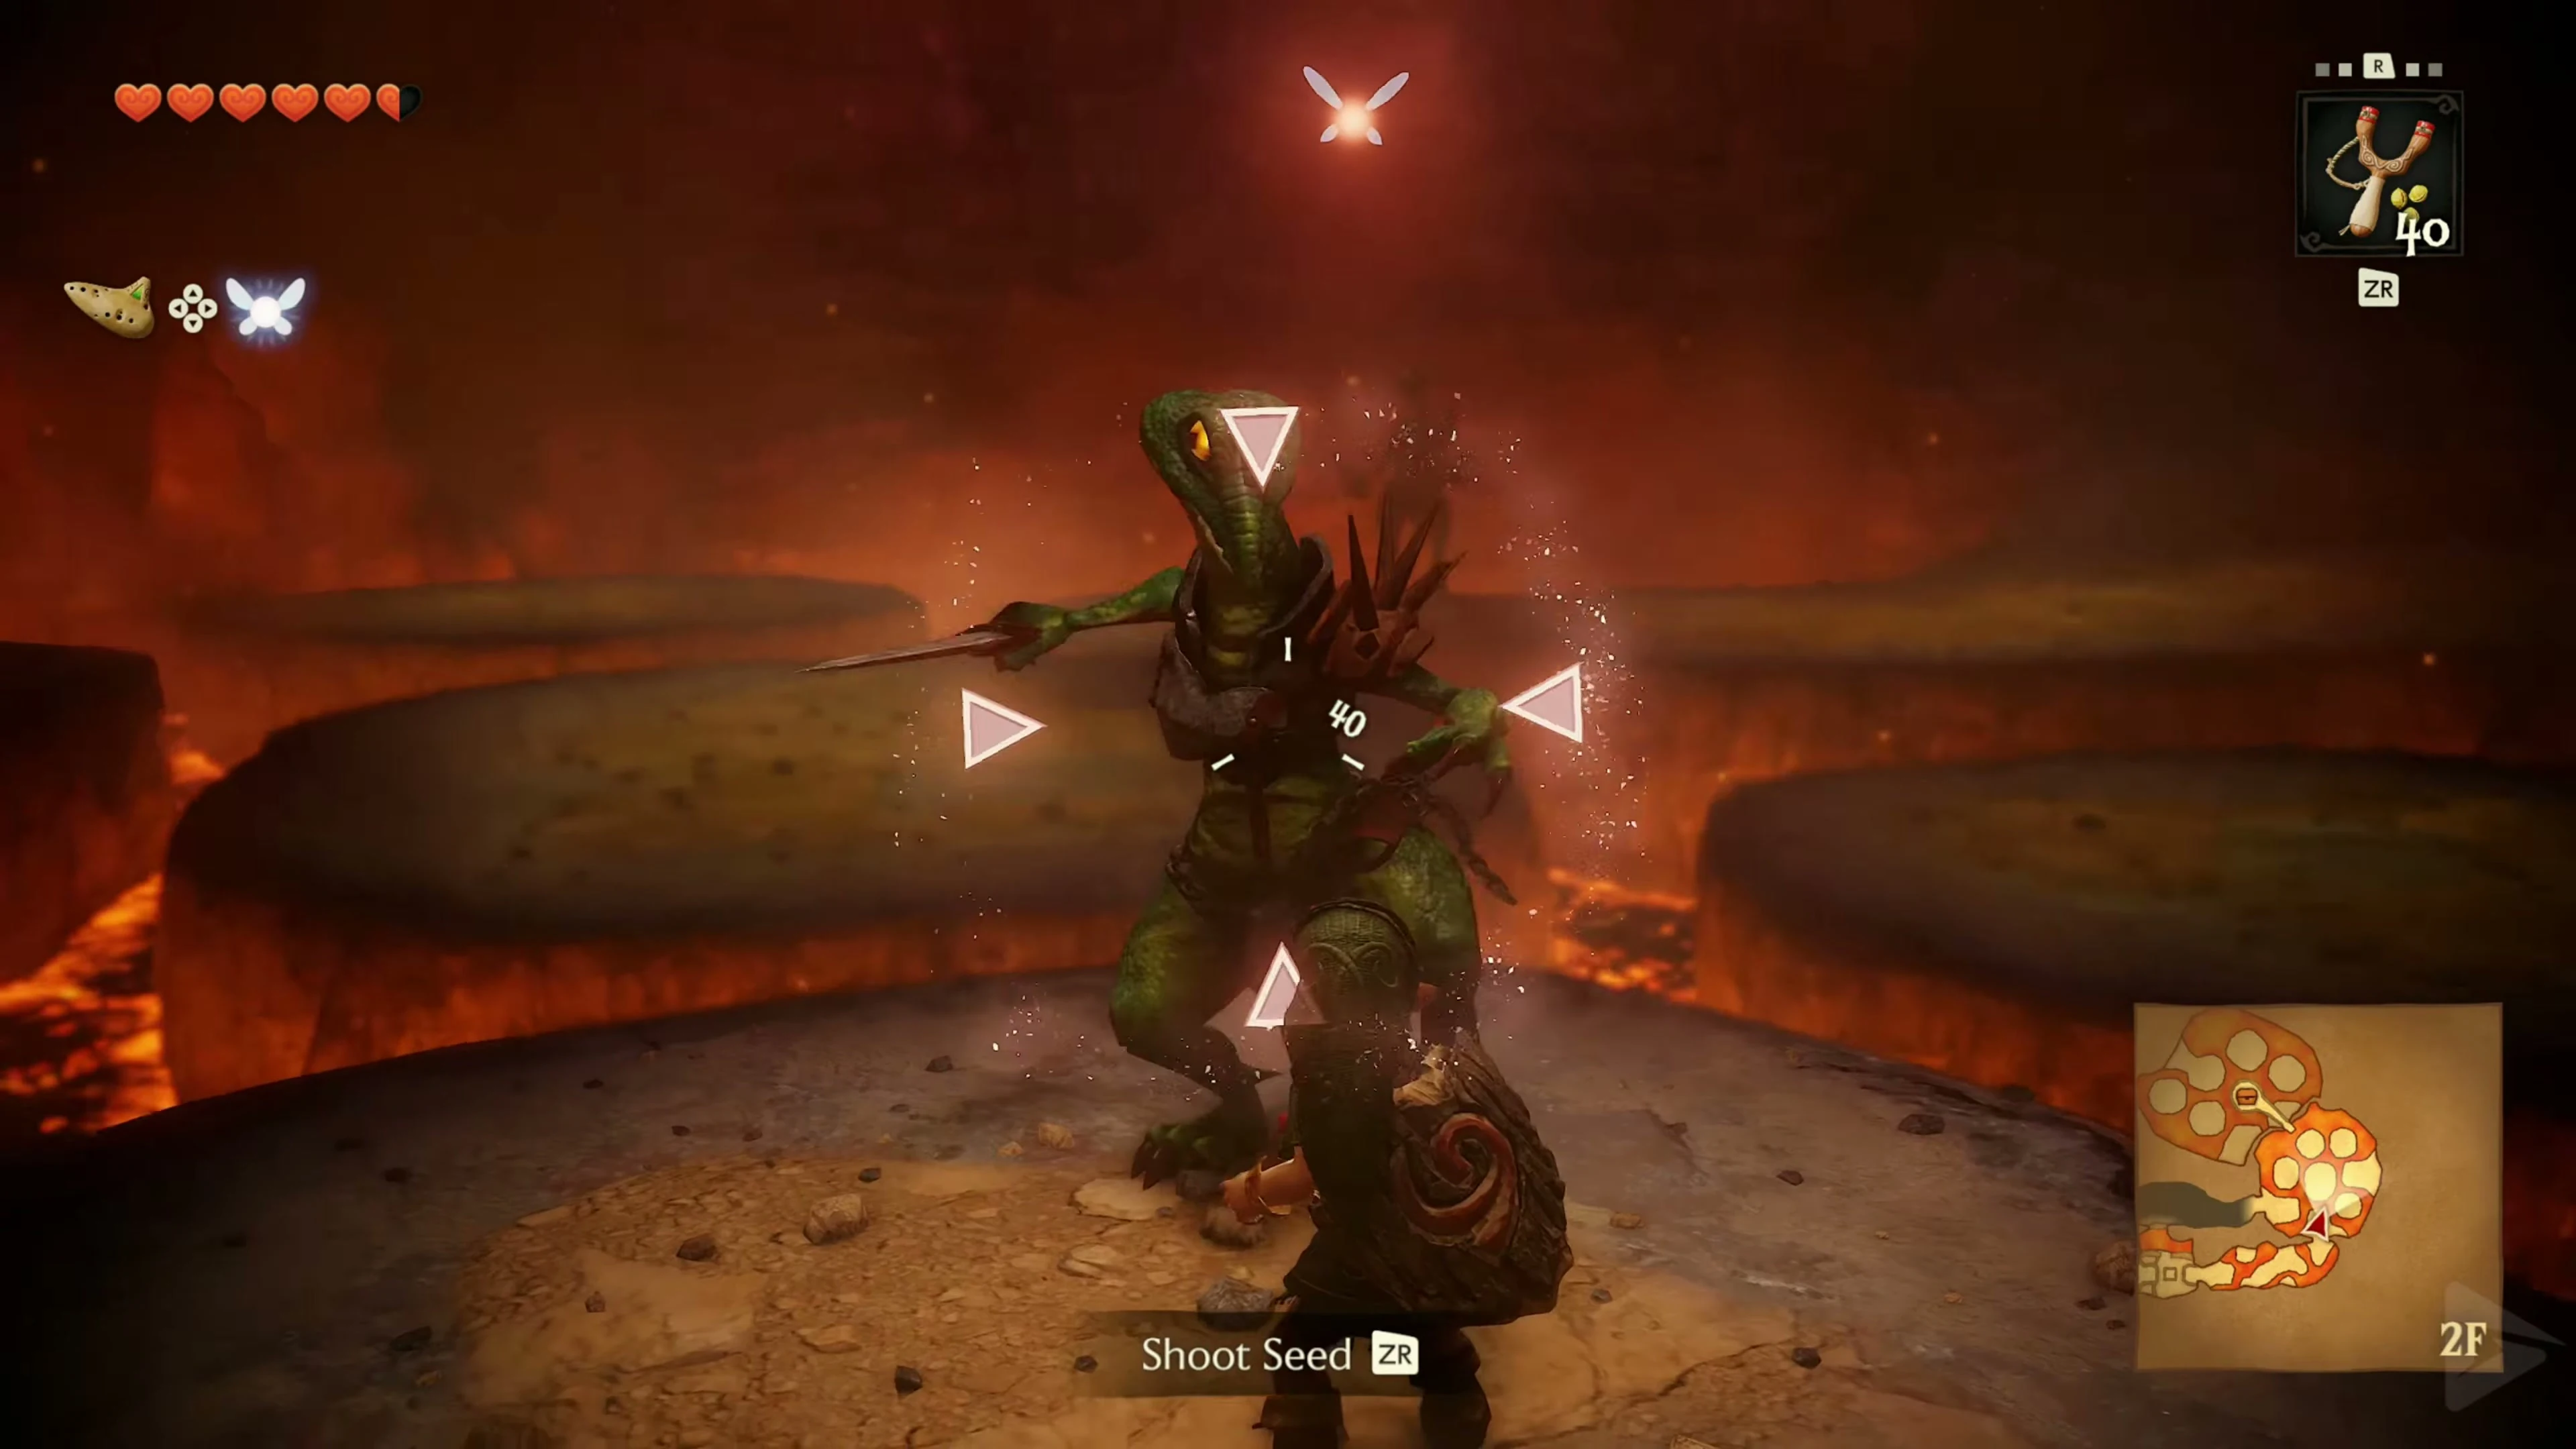
Two Lizalfos confront you in the lava room. First, stay on a wide platform near the entrance and let the active opponent jump to you. Aim at him, intercept his sword strike with the shield and counter if he loses his balance. Spin with him as he jumps over Link. When changing opponents, wait in your safe location instead of running after them across the lava. After the victory, a chest with a red rupee will appear. Exit the room via the northwest door .
Dodongos and the three torches
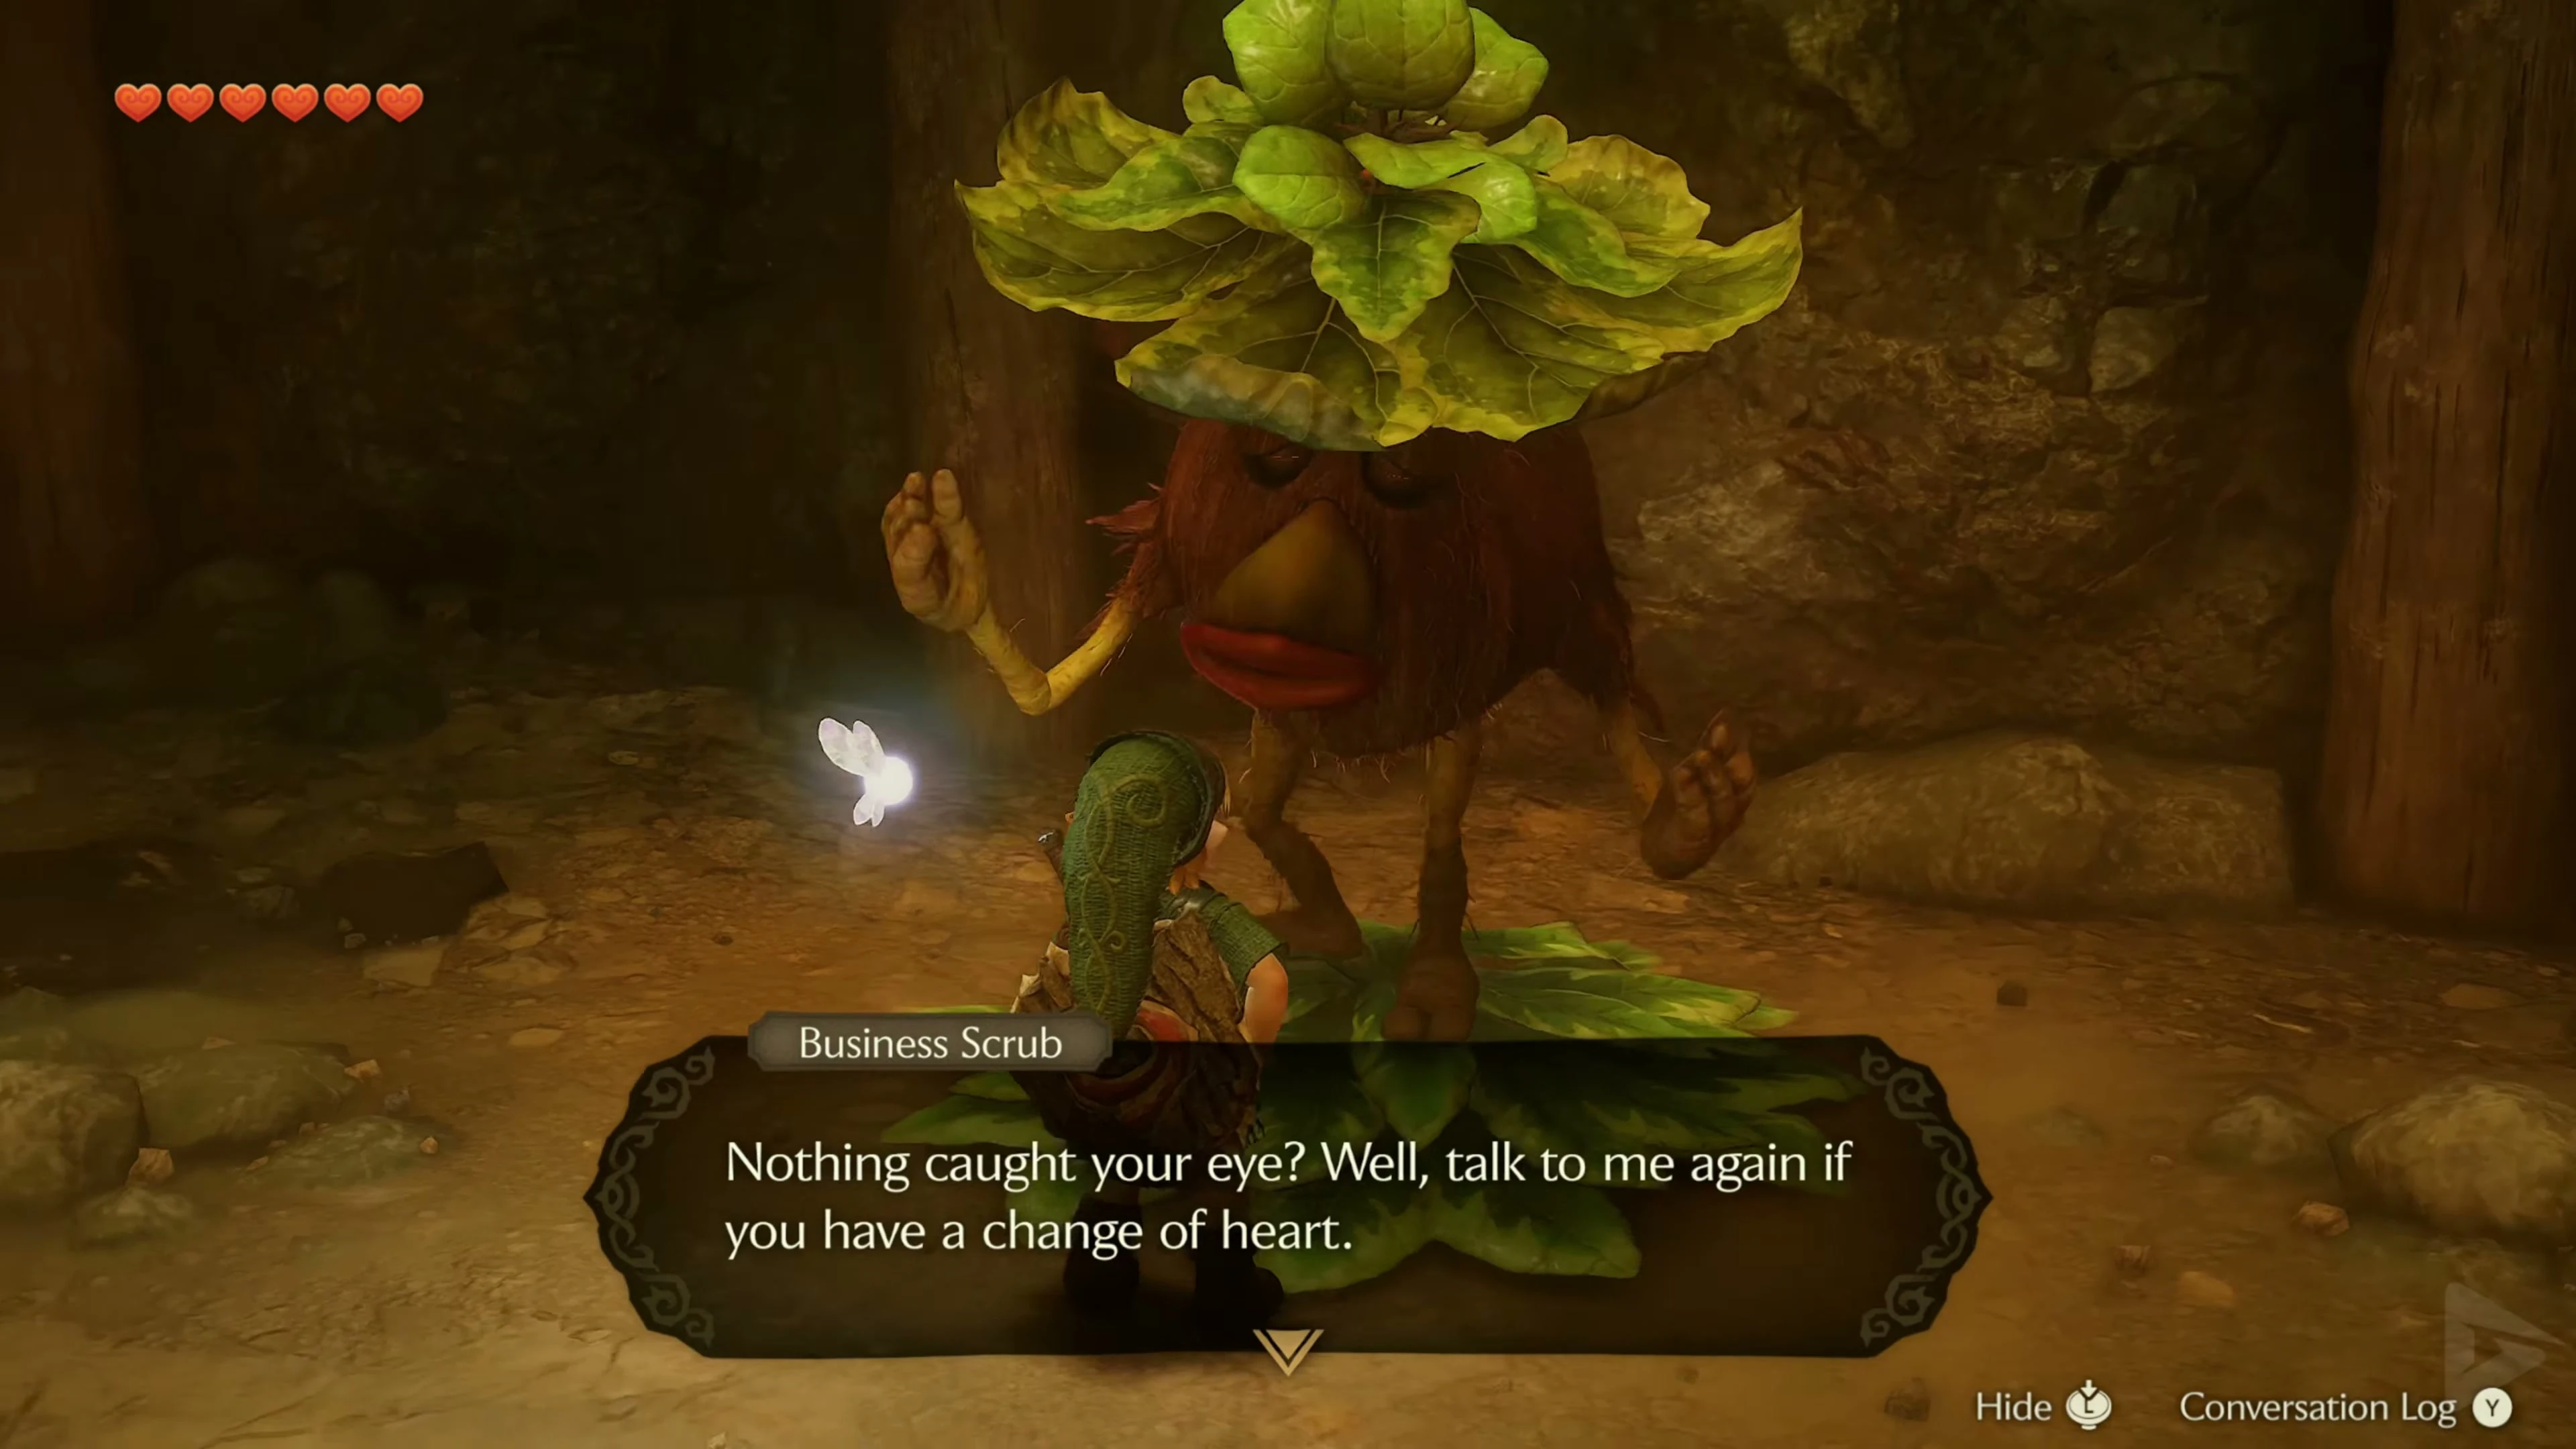
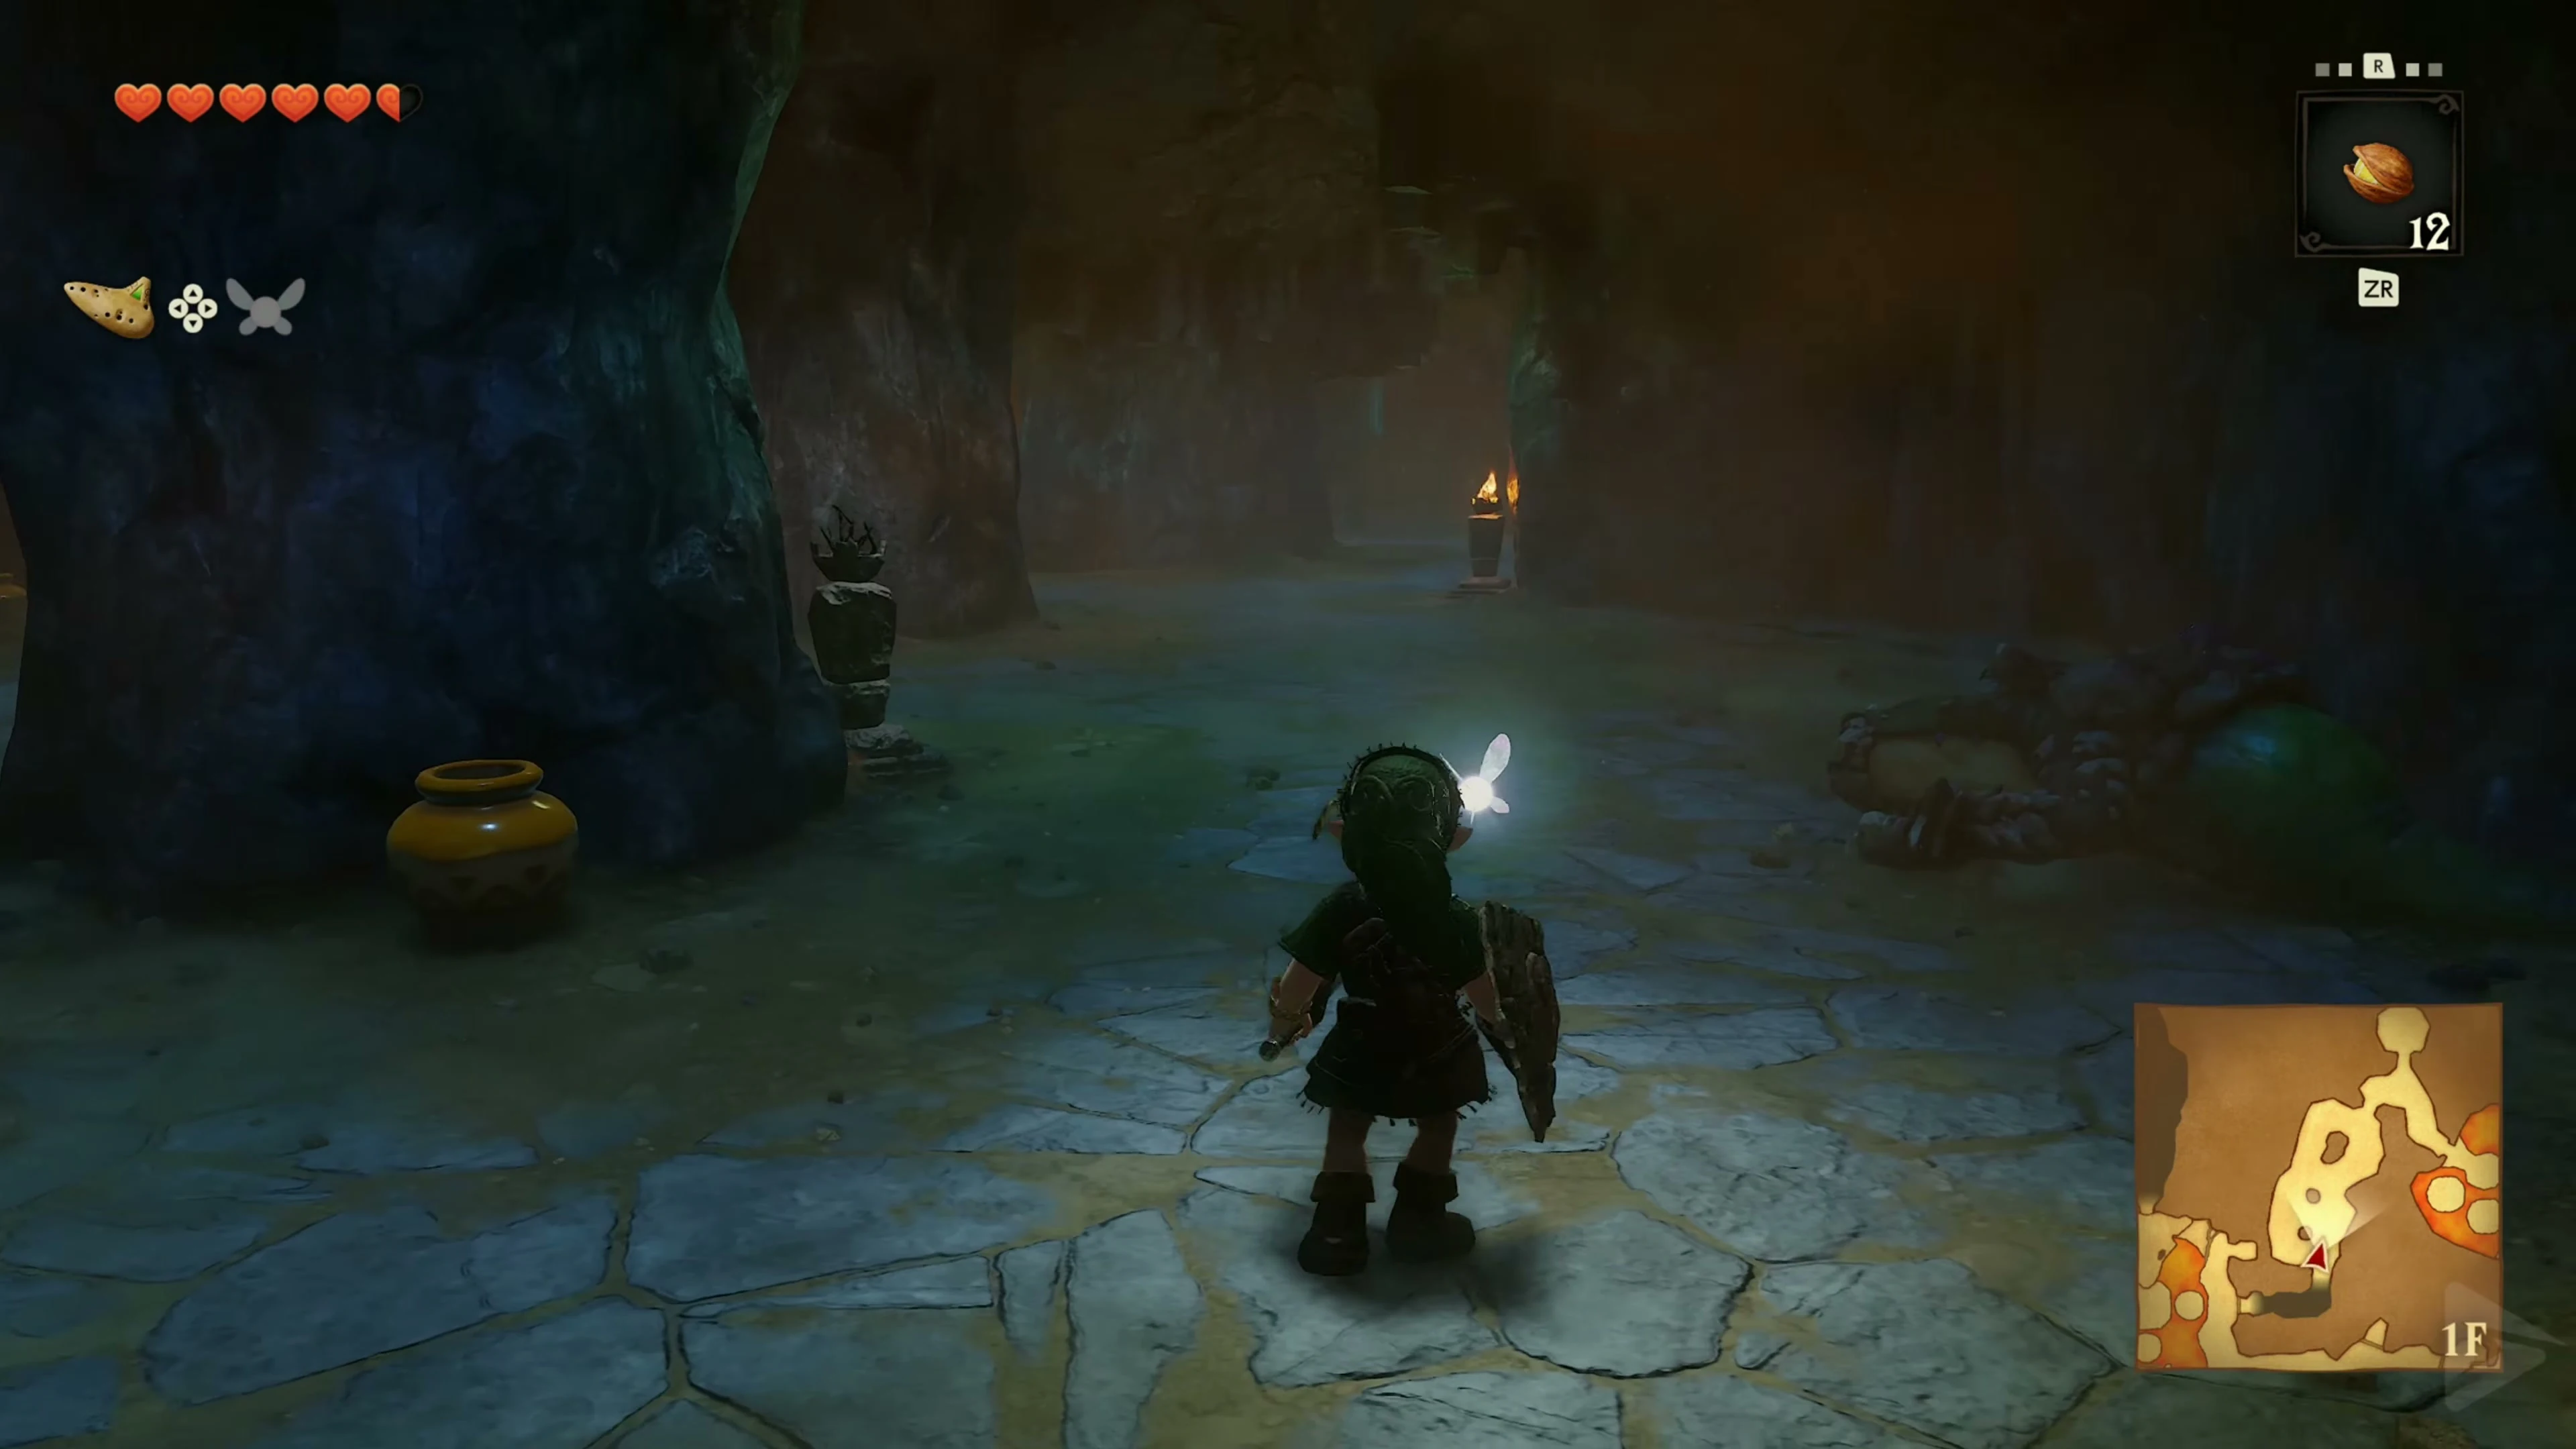
In the next passage, use the nearby Bomb Flower to open the northern side wall. Behind it, a Business Scrub sells branches and nuts; replenish your branch supply if needed. Further southwest, adult Dodongos await. Their fronts are armored. Lure out their fire breath, run sideways behind the creature, and attack its tail. Alternatively, throw a Bomb Flower in front of its open mouth. Even after his death, keep your distance from the explosion. Then light a Deku Stick at the burning torch and carry the flames one after the other to the three extinguished torches . The southern gate will open.
Main Hall Switch and Compass
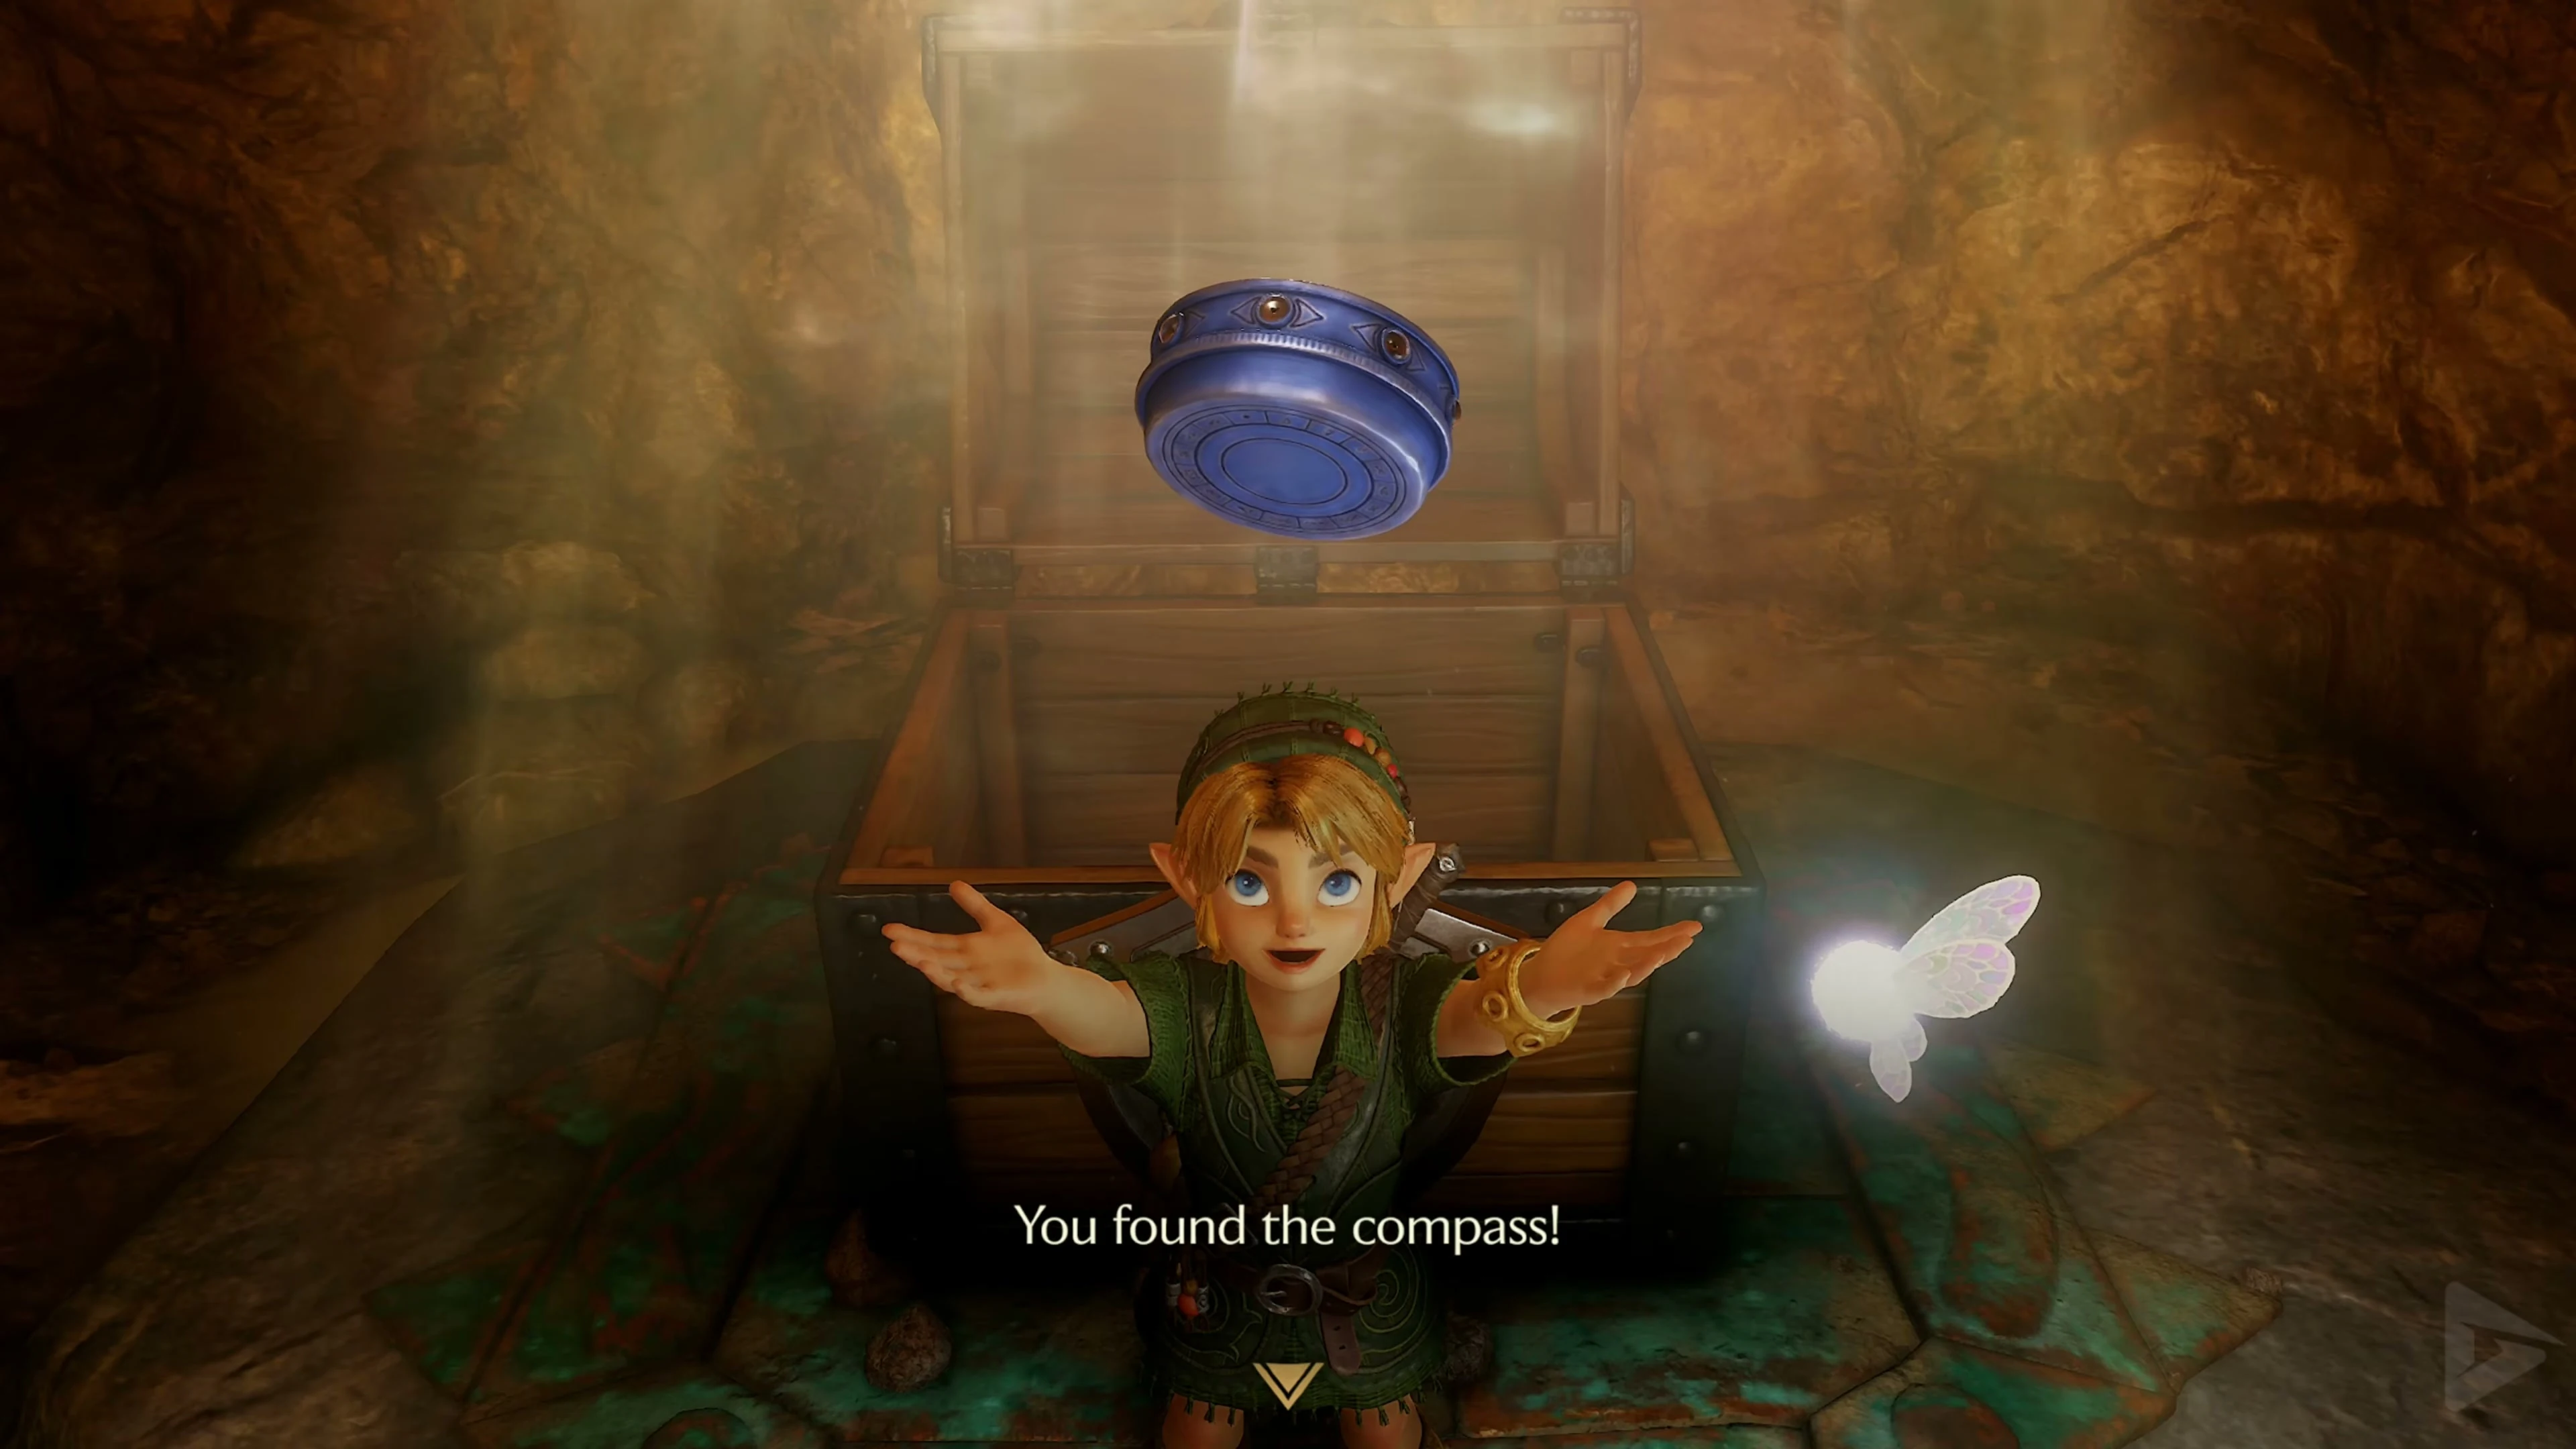
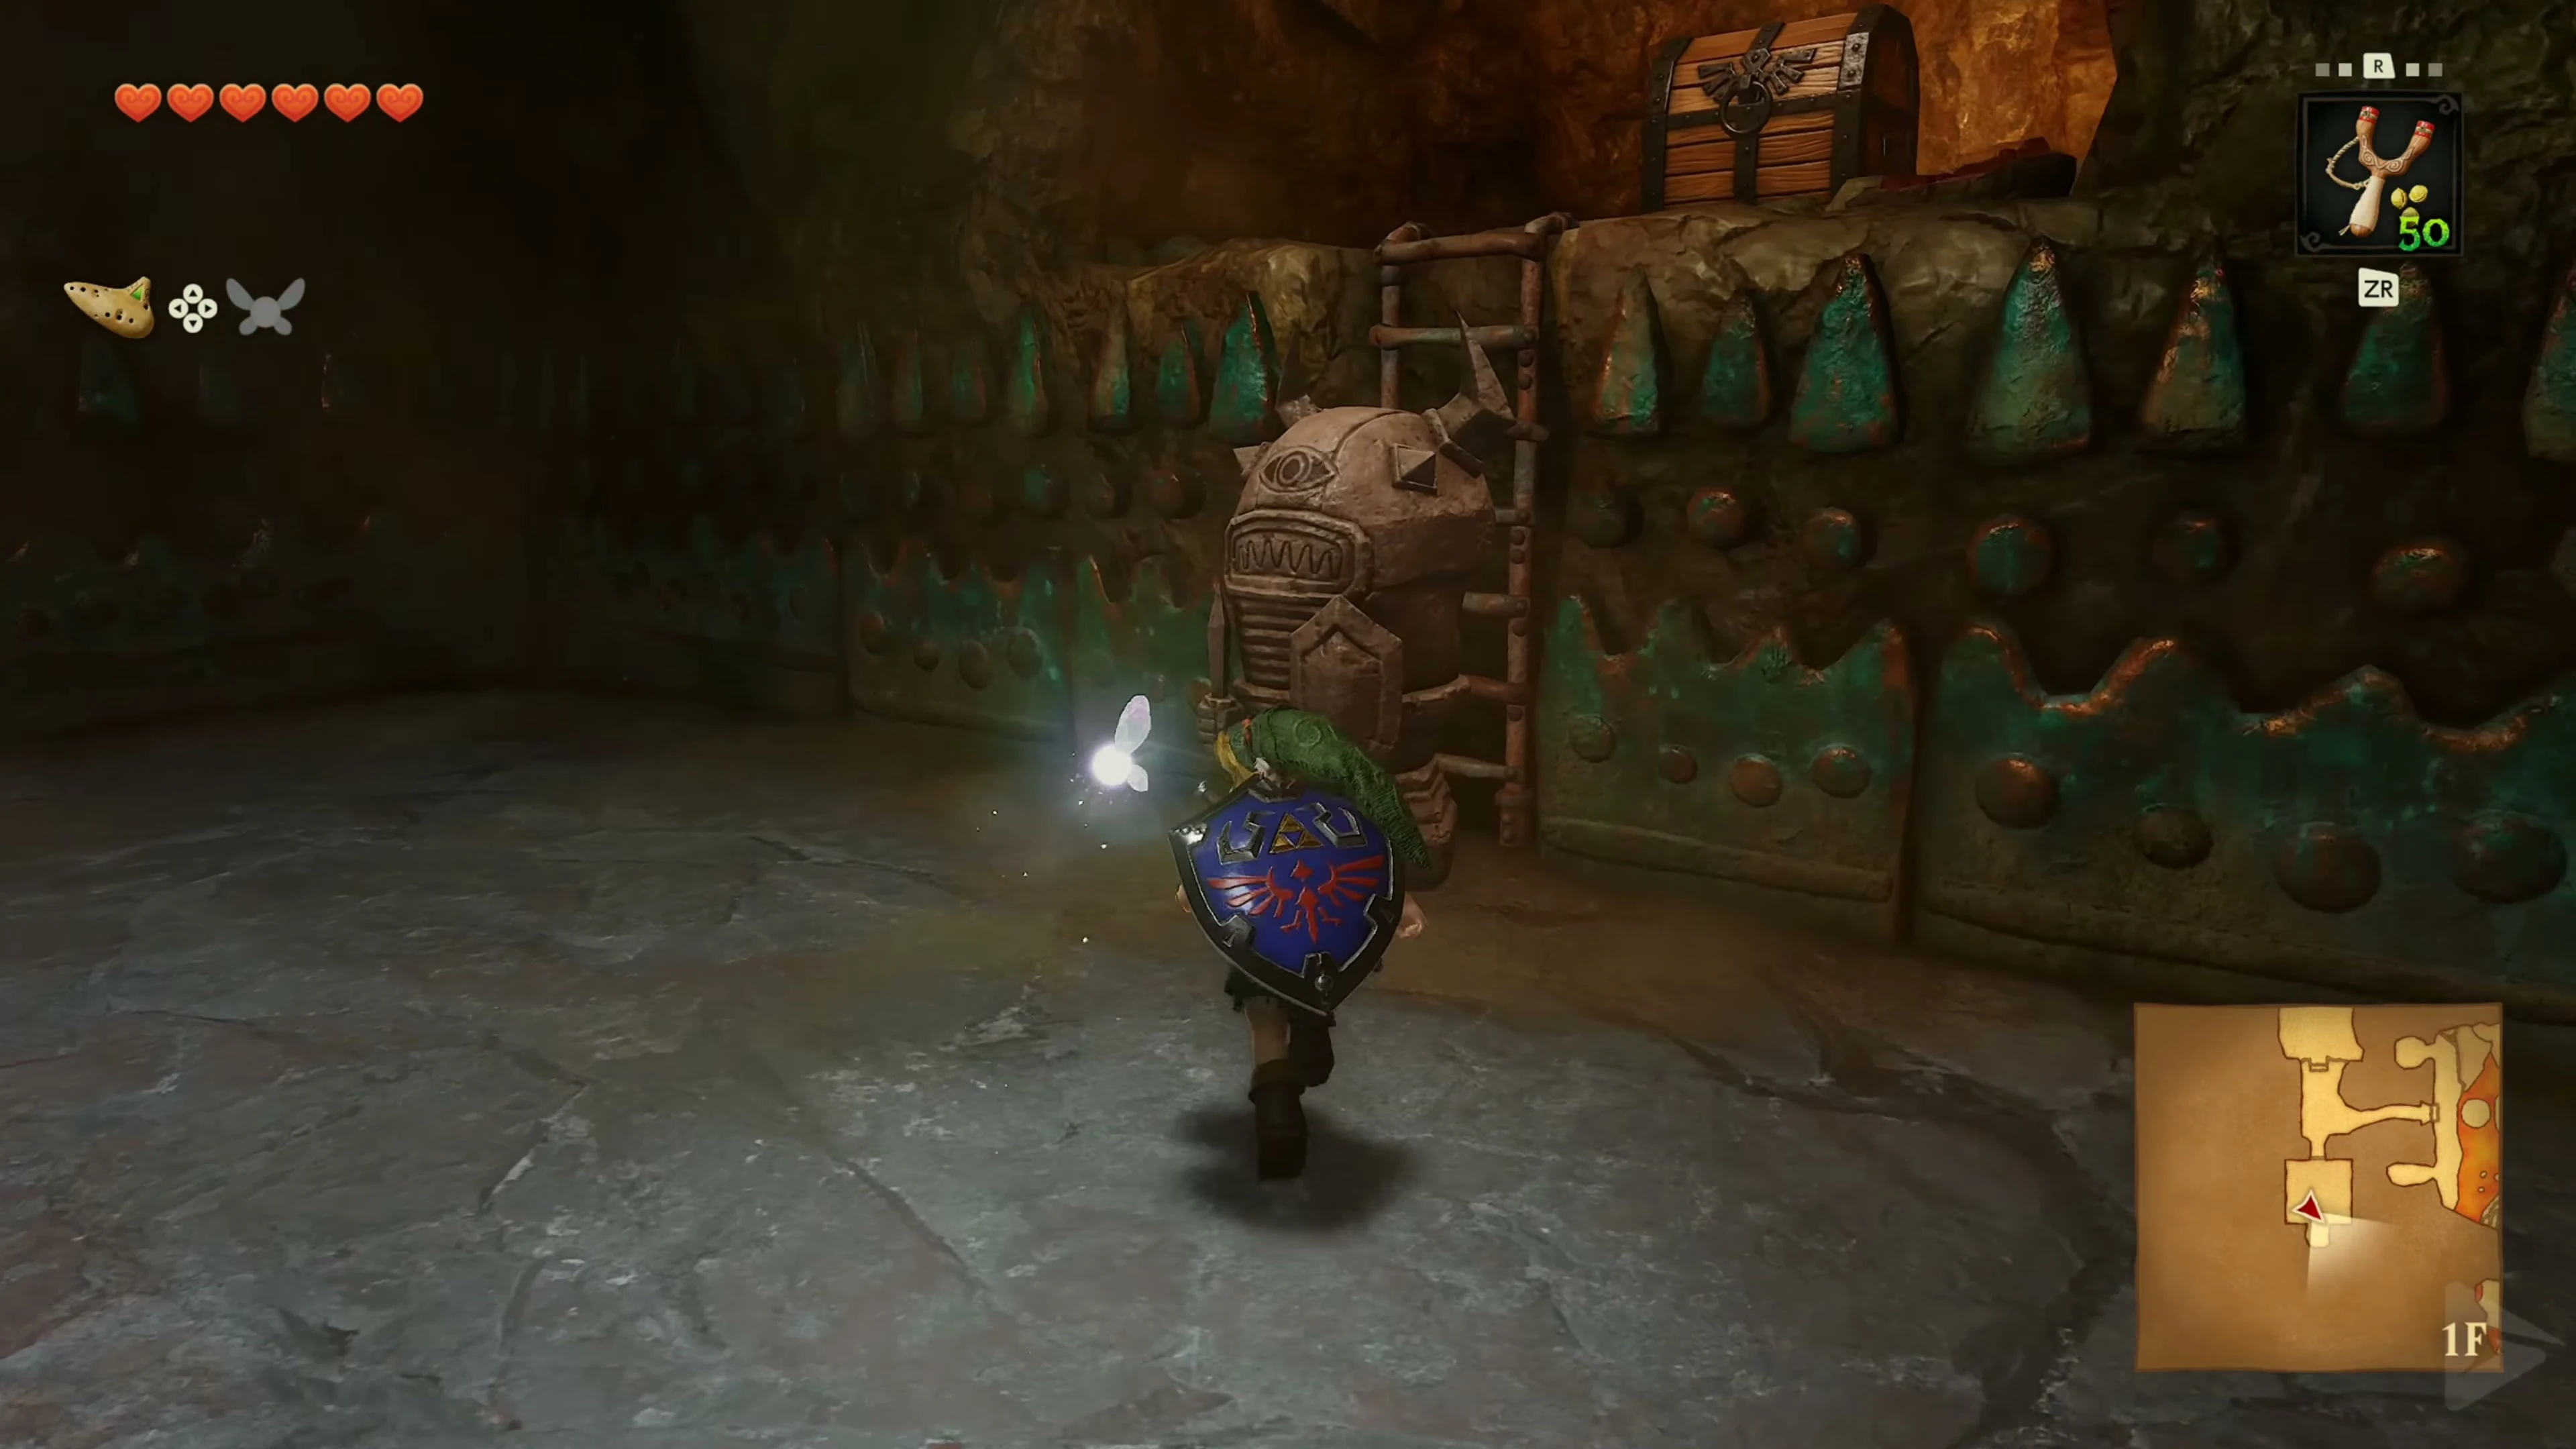
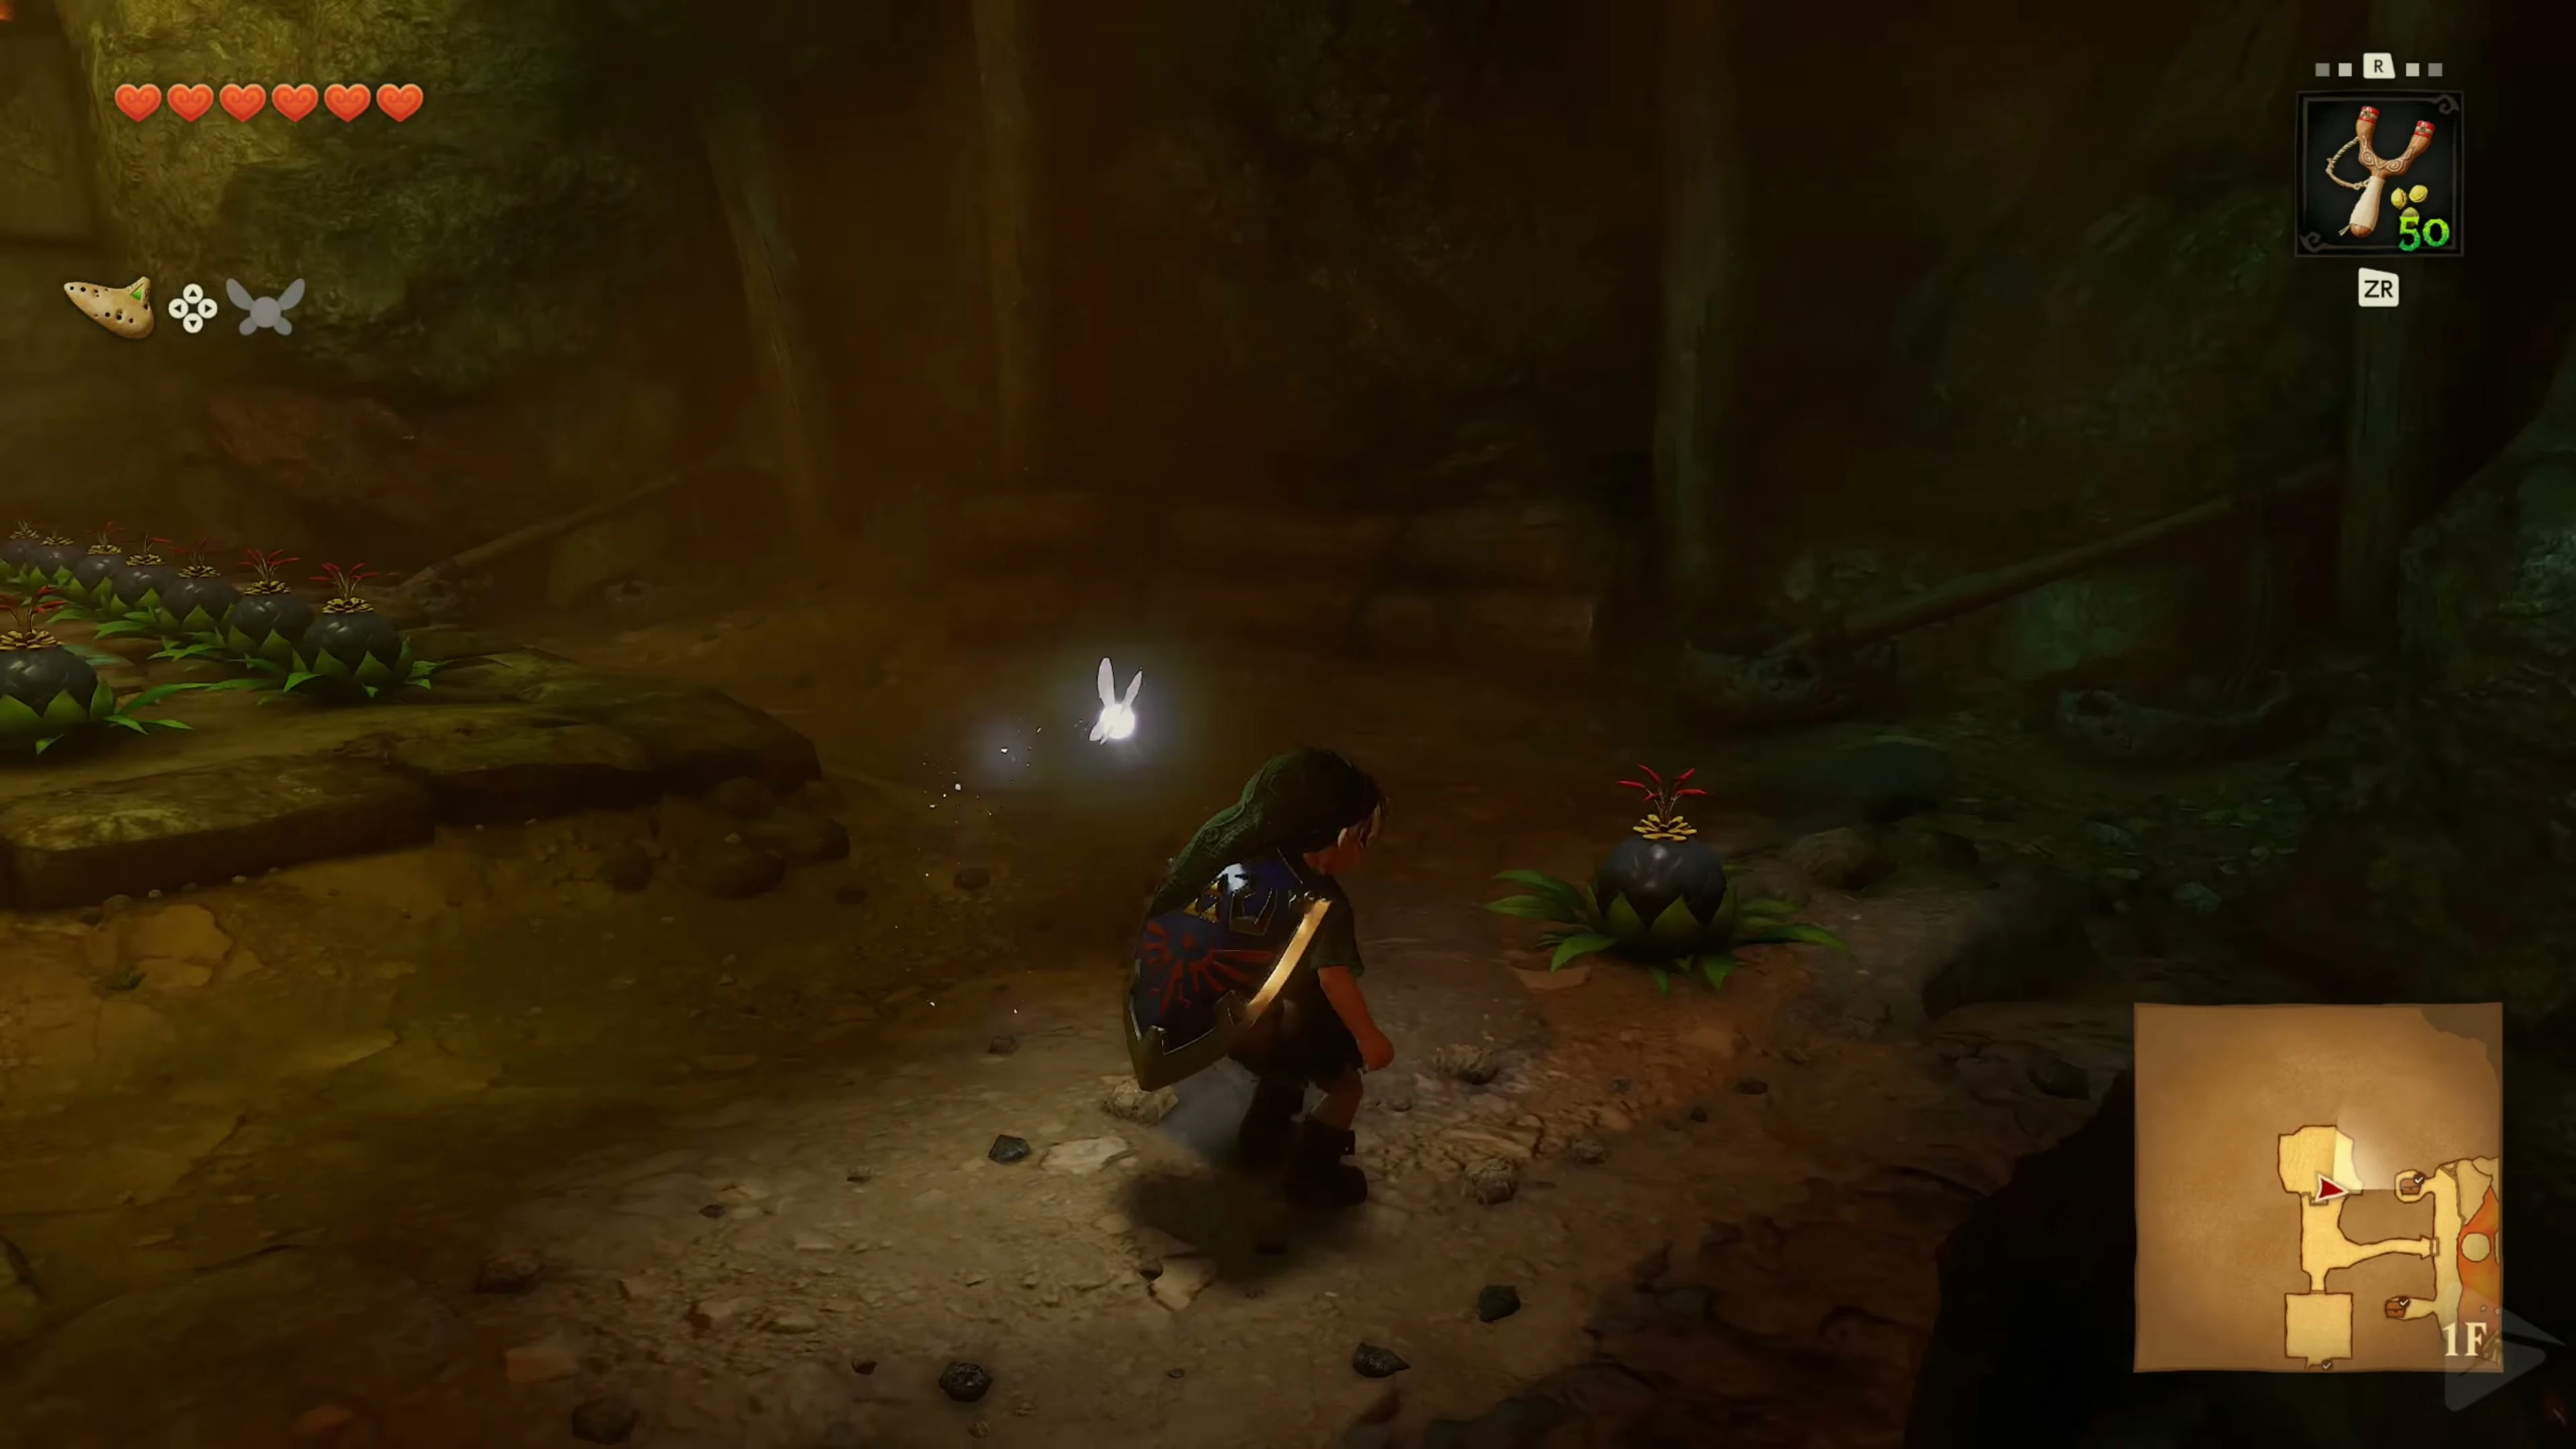
The corridor takes you back to an elevated landing in the main hall. Step on the floor switch to open the grate on the west side. Cross the lava hall and go through this door into the Bomb Flower room. First blow up the left or south side passage . In the room beyond, one of the Armos statues awakens. Use a Bomb Flower on her and back away as she frantically runs around before her final explosion. Climb up to the large chest and take the Compass . Return to the stairwell.
Bomb Stairs and Skulltula 2
In front of the large stone pillar are two rows of Bomb Flowers with a gap between their front ends. Pick up the single plant next to them and place it exactly in the middle of the gap. . The explosion must hit both rows simultaneously. The chain reaction will lower the pillar, forming a massive staircase. Climb it and continue along the top edge to the left or right. There you will see the climbing wall with the Gold Skulltula 2/5 . Shoot the regular spider first, then the golden one. Climb to the golden token.
Armos statues on the upper level
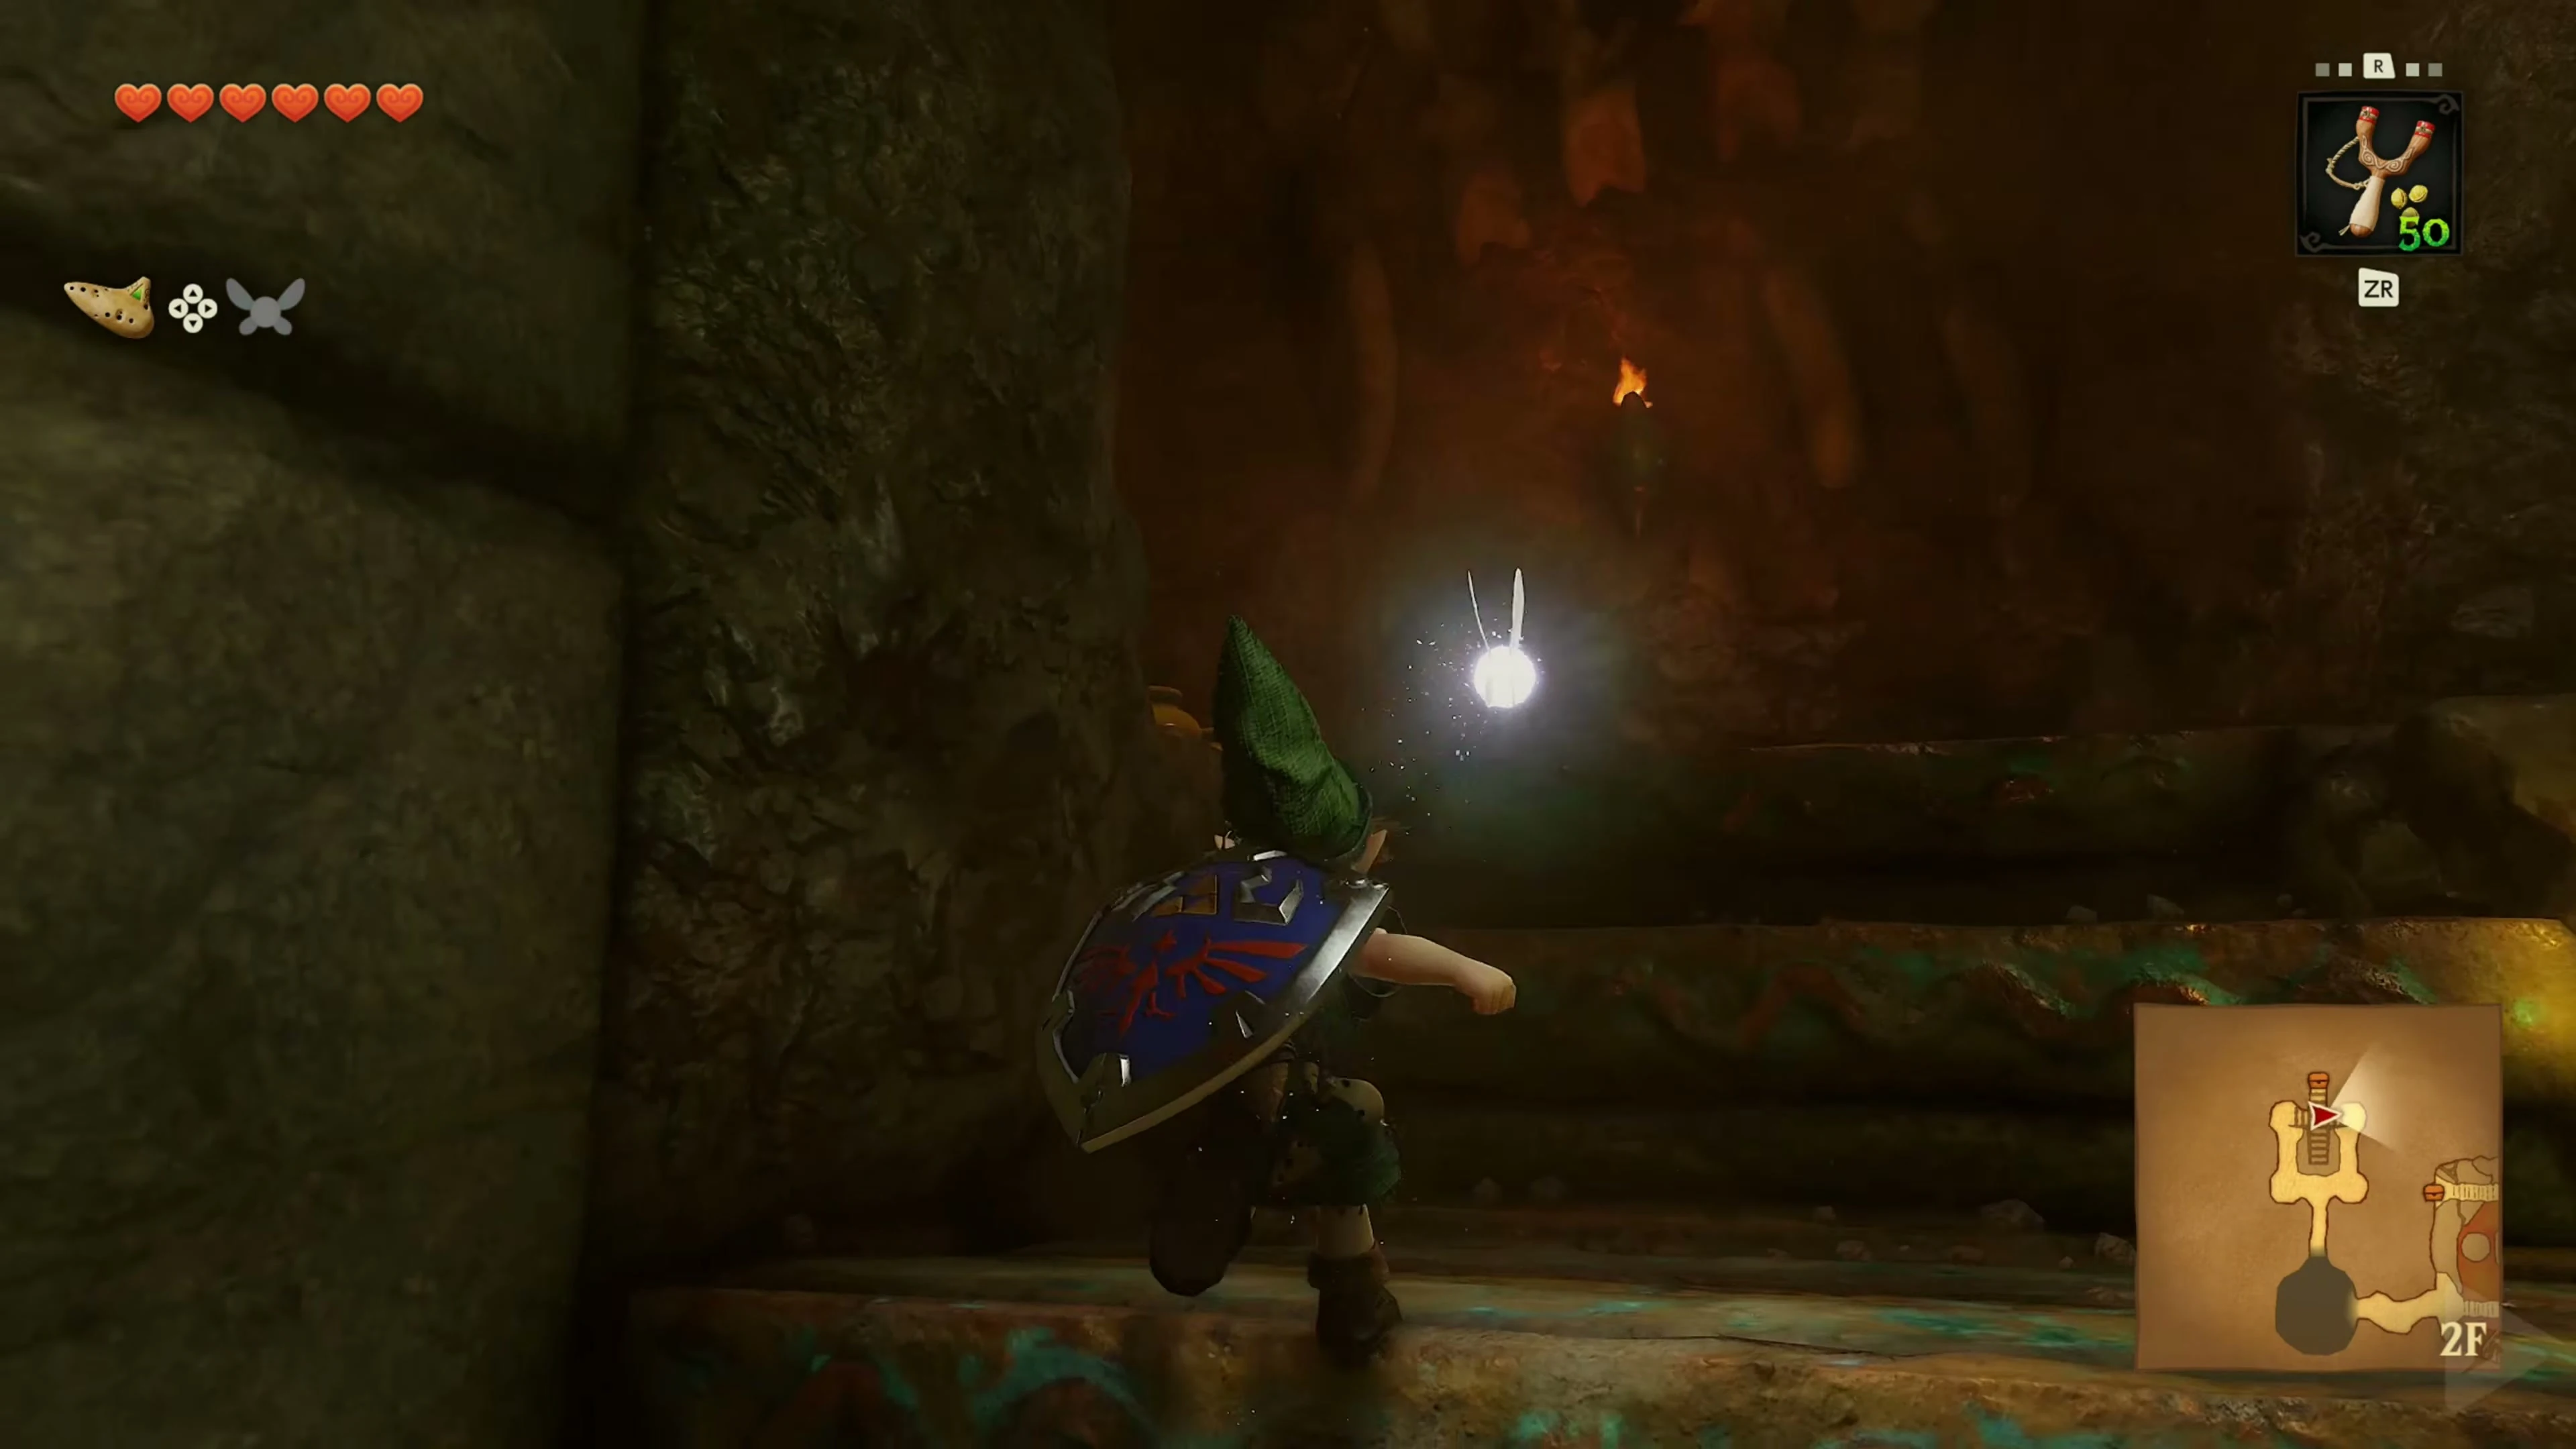
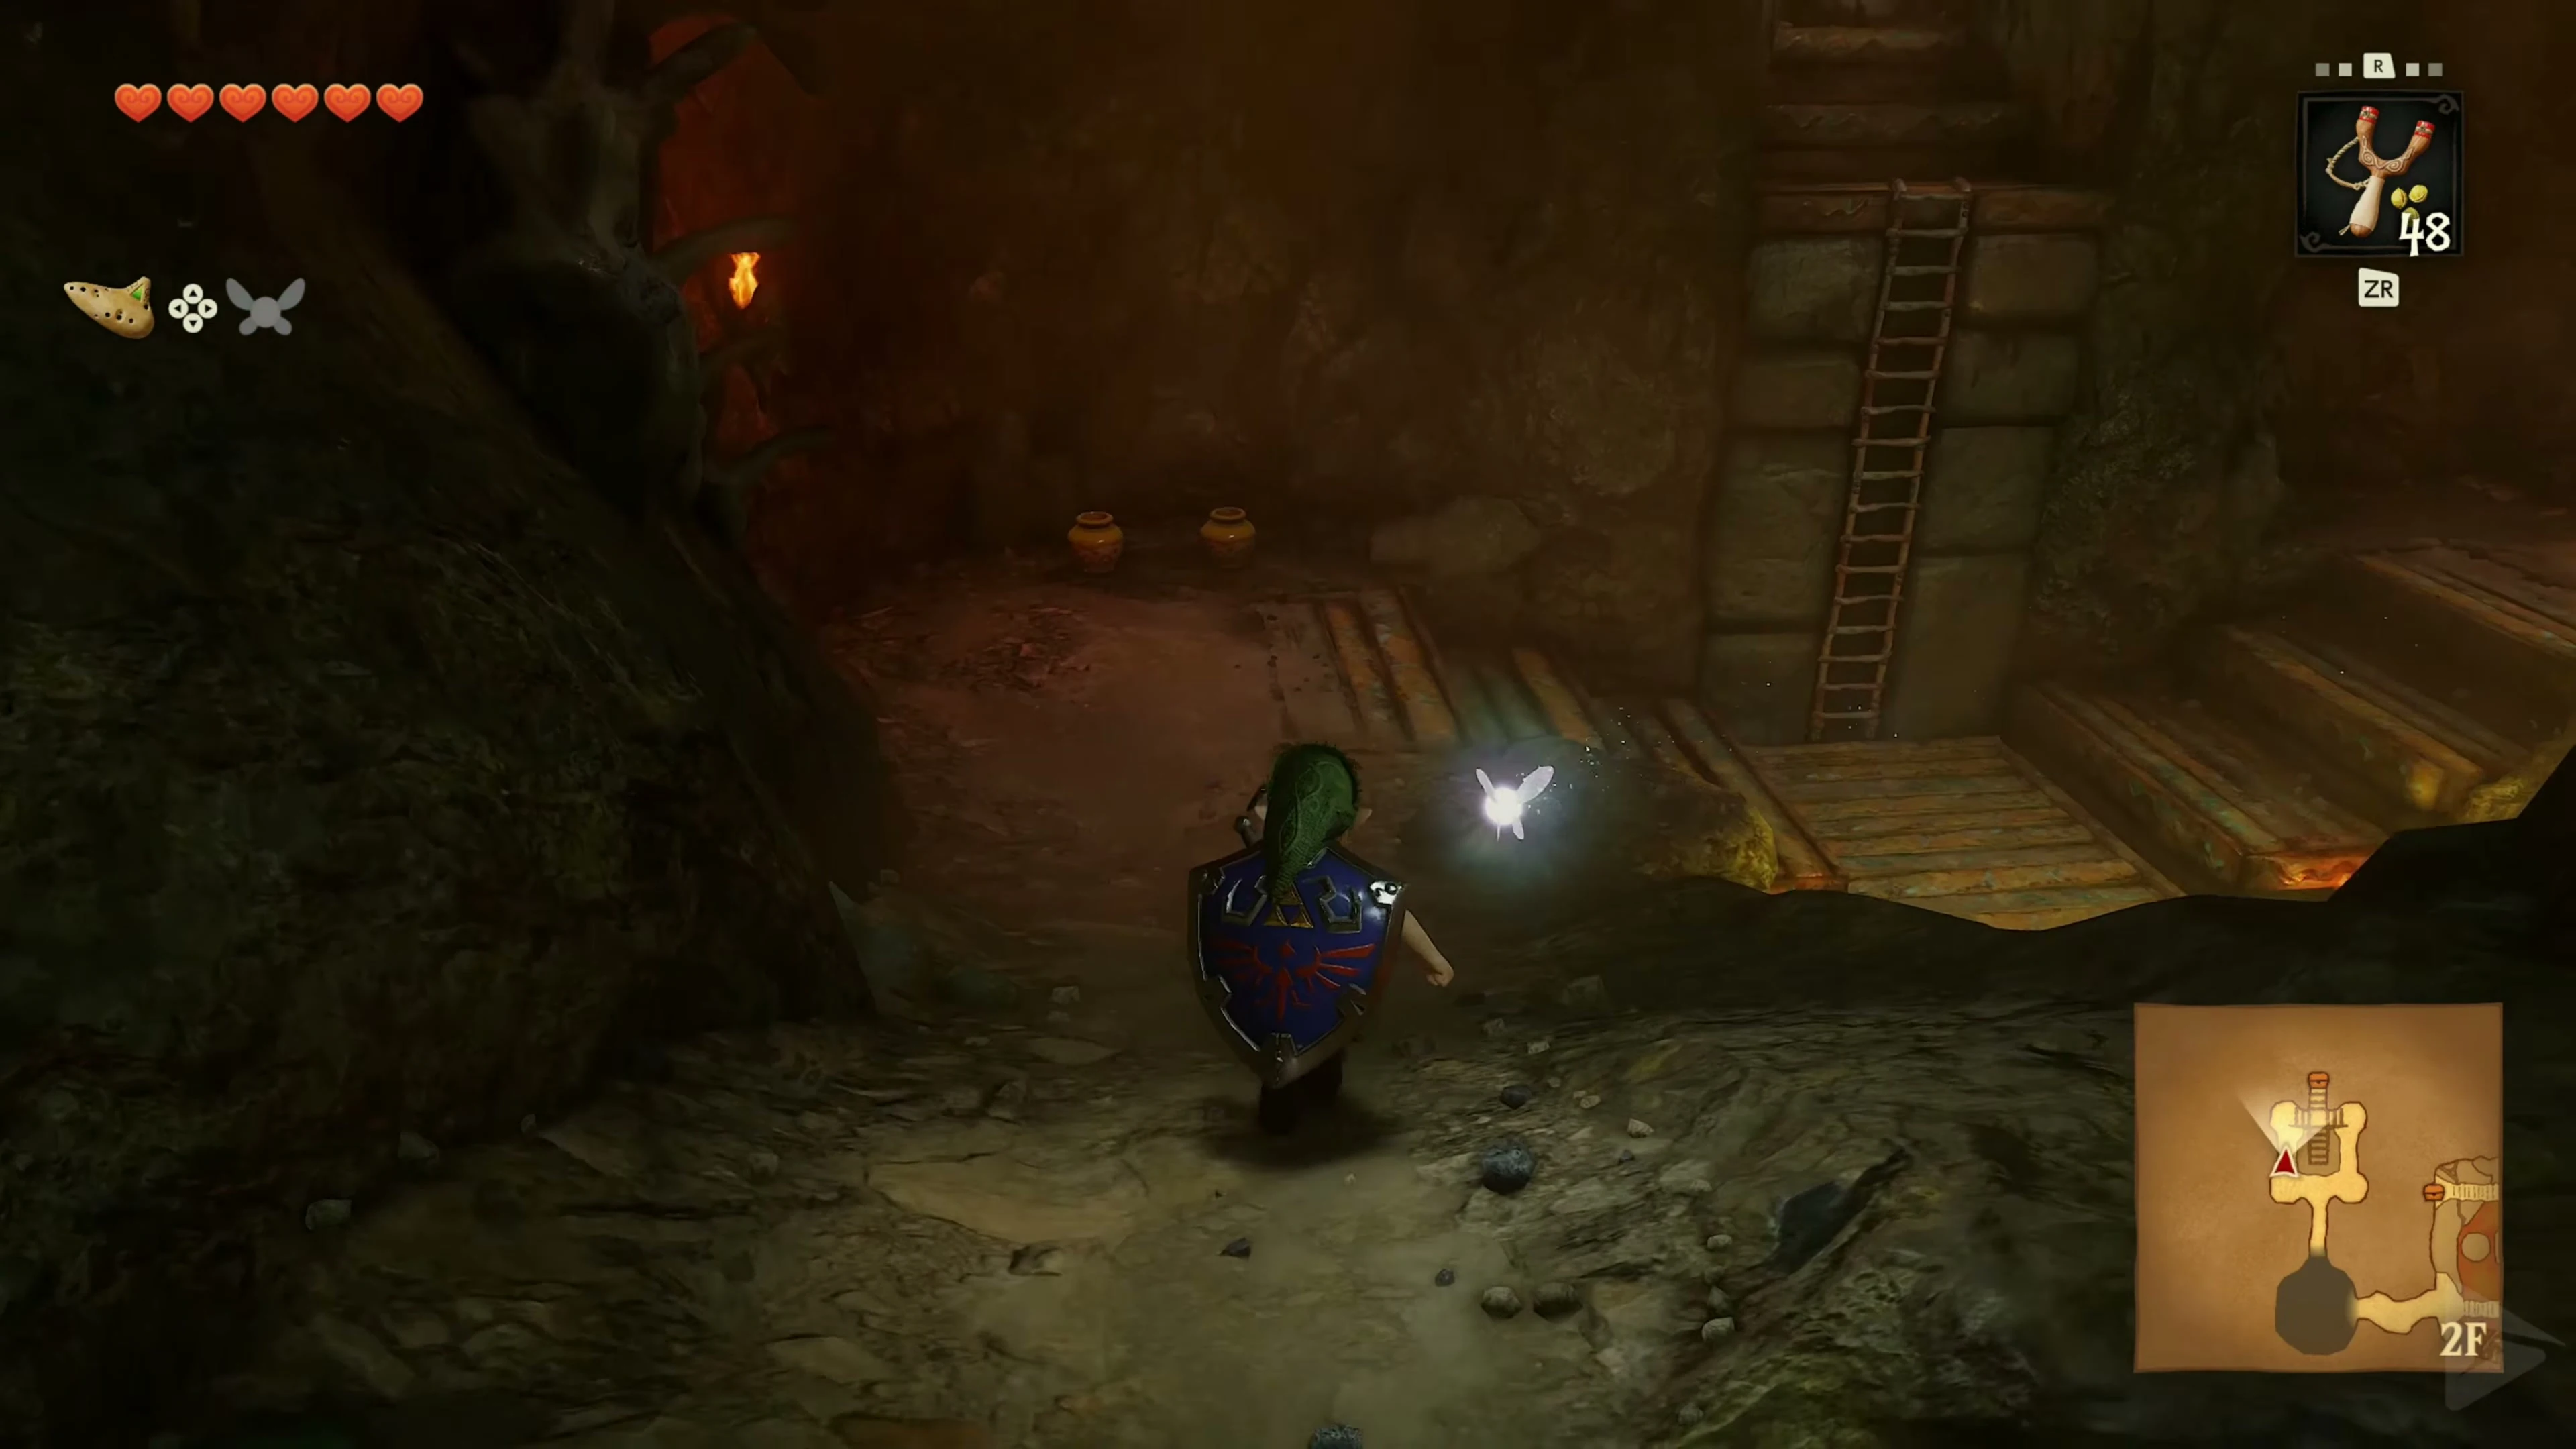
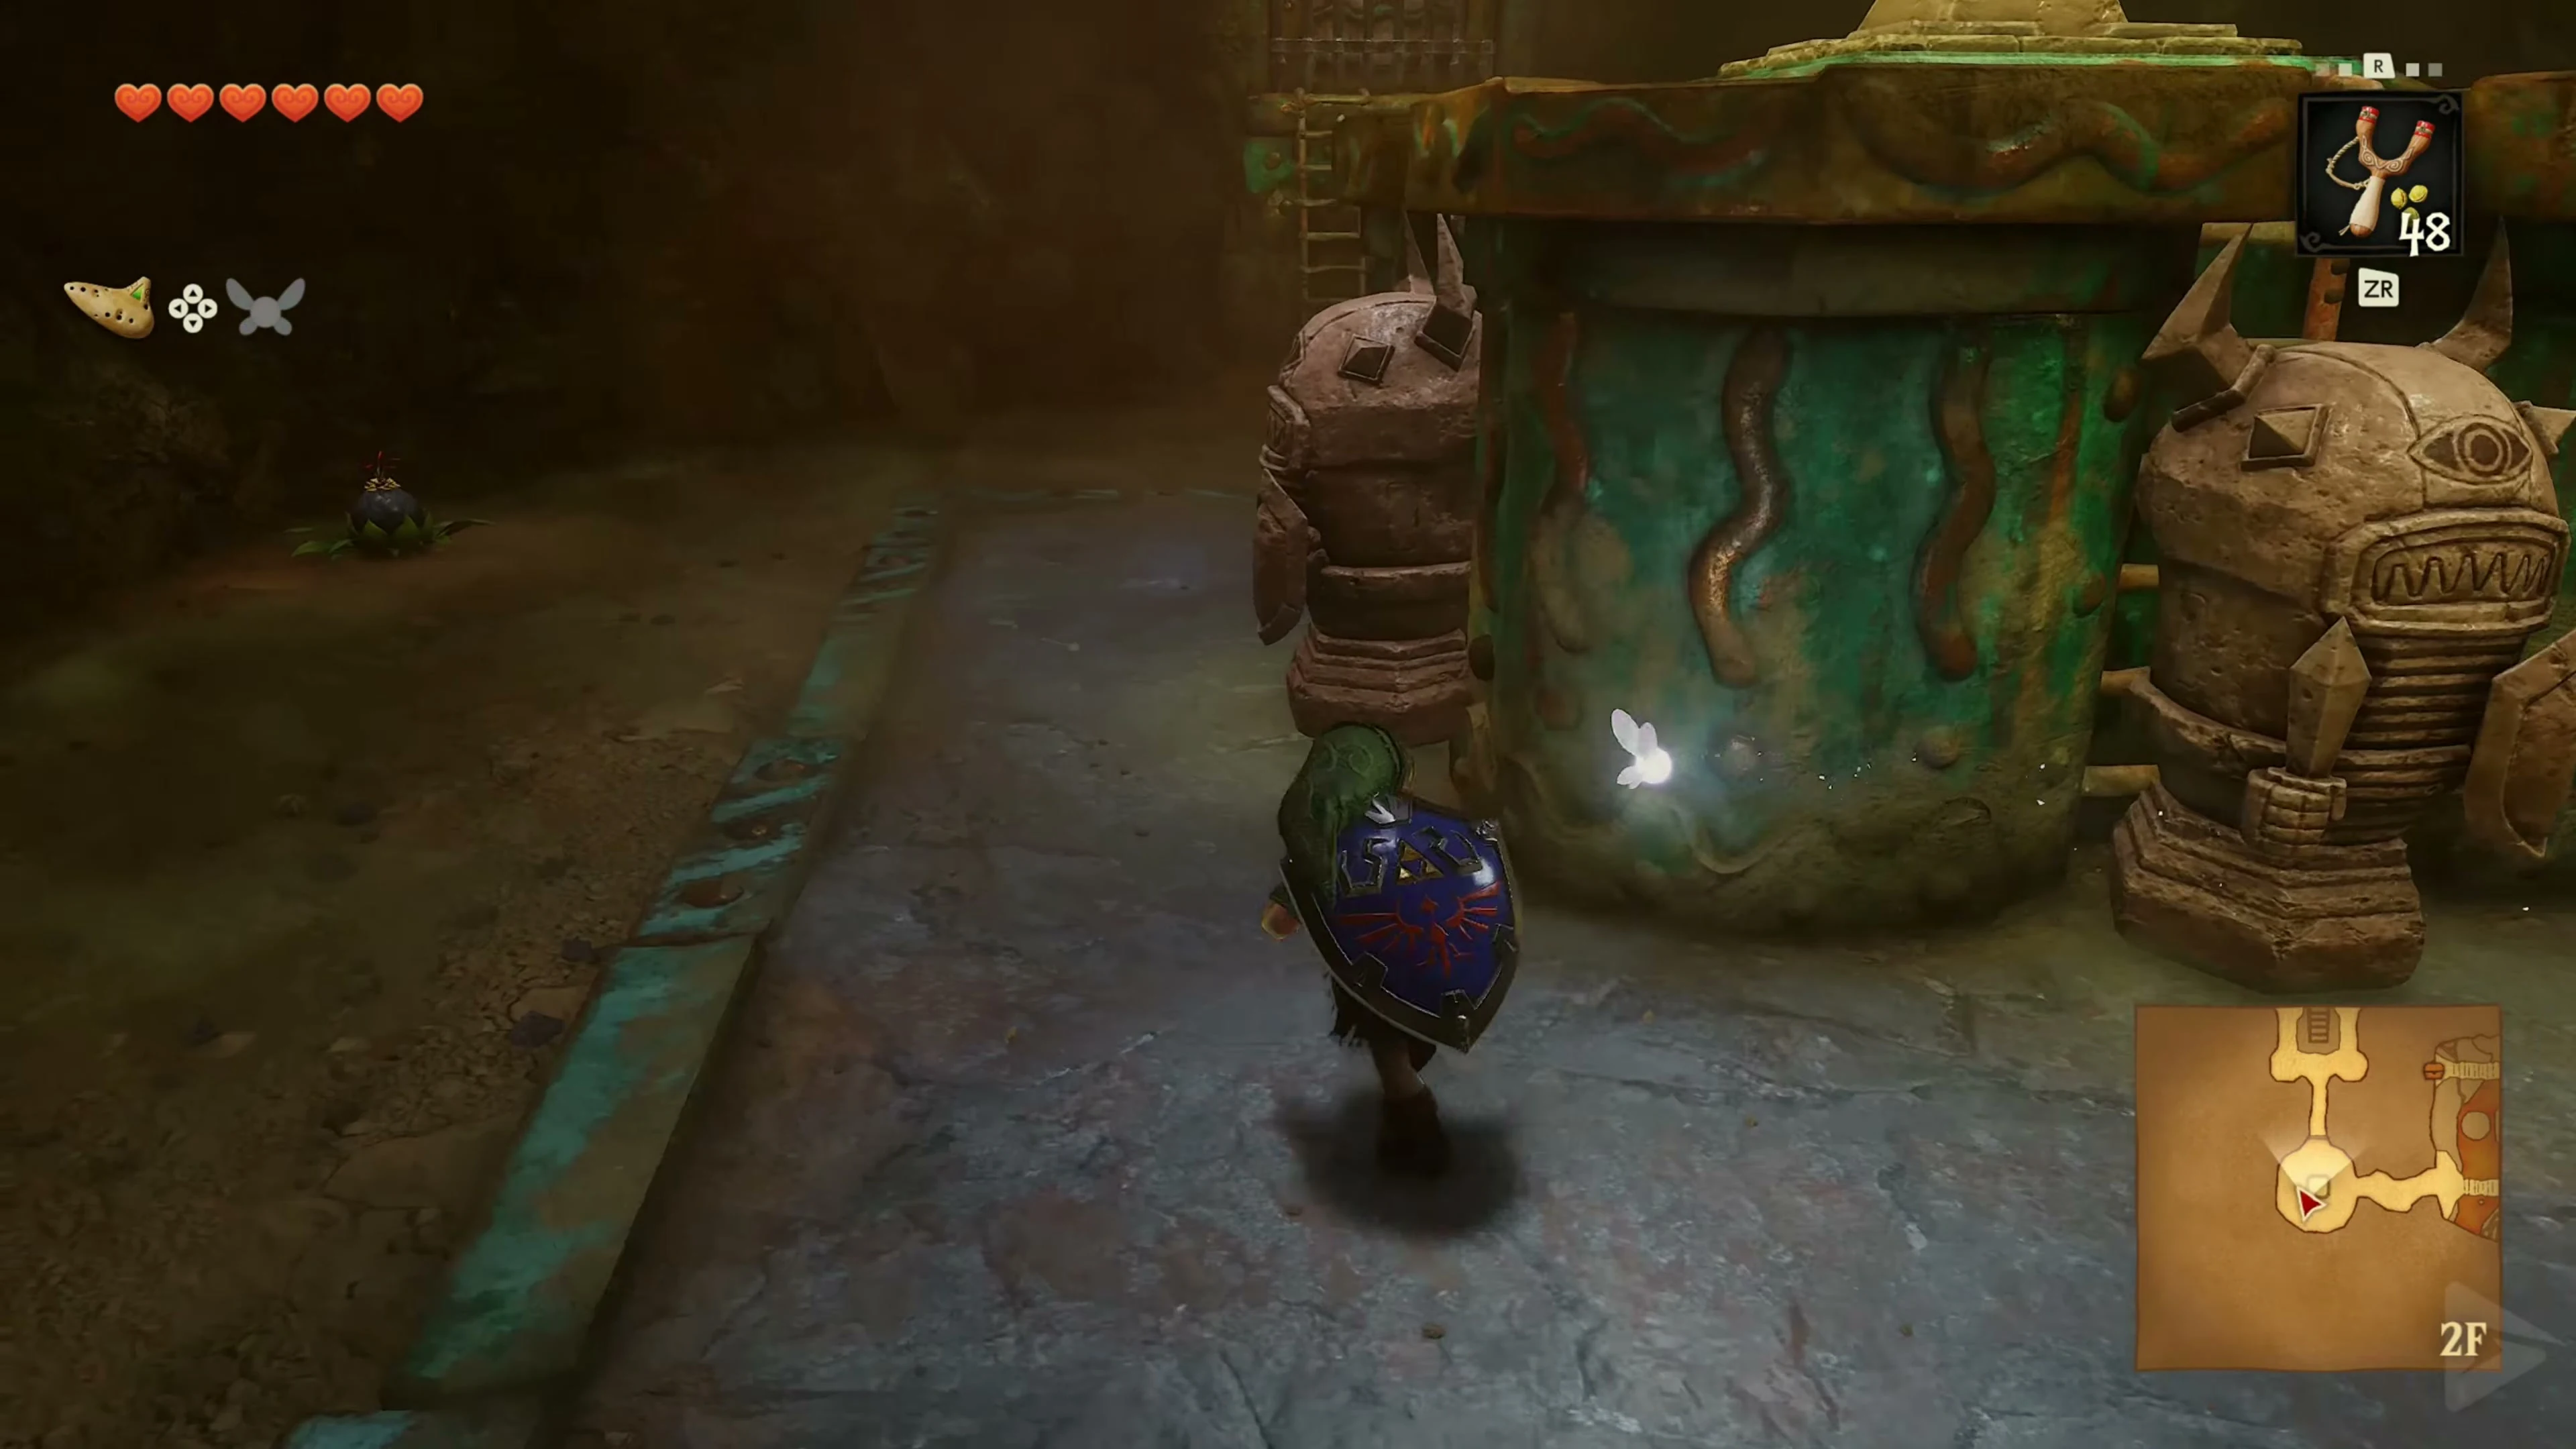
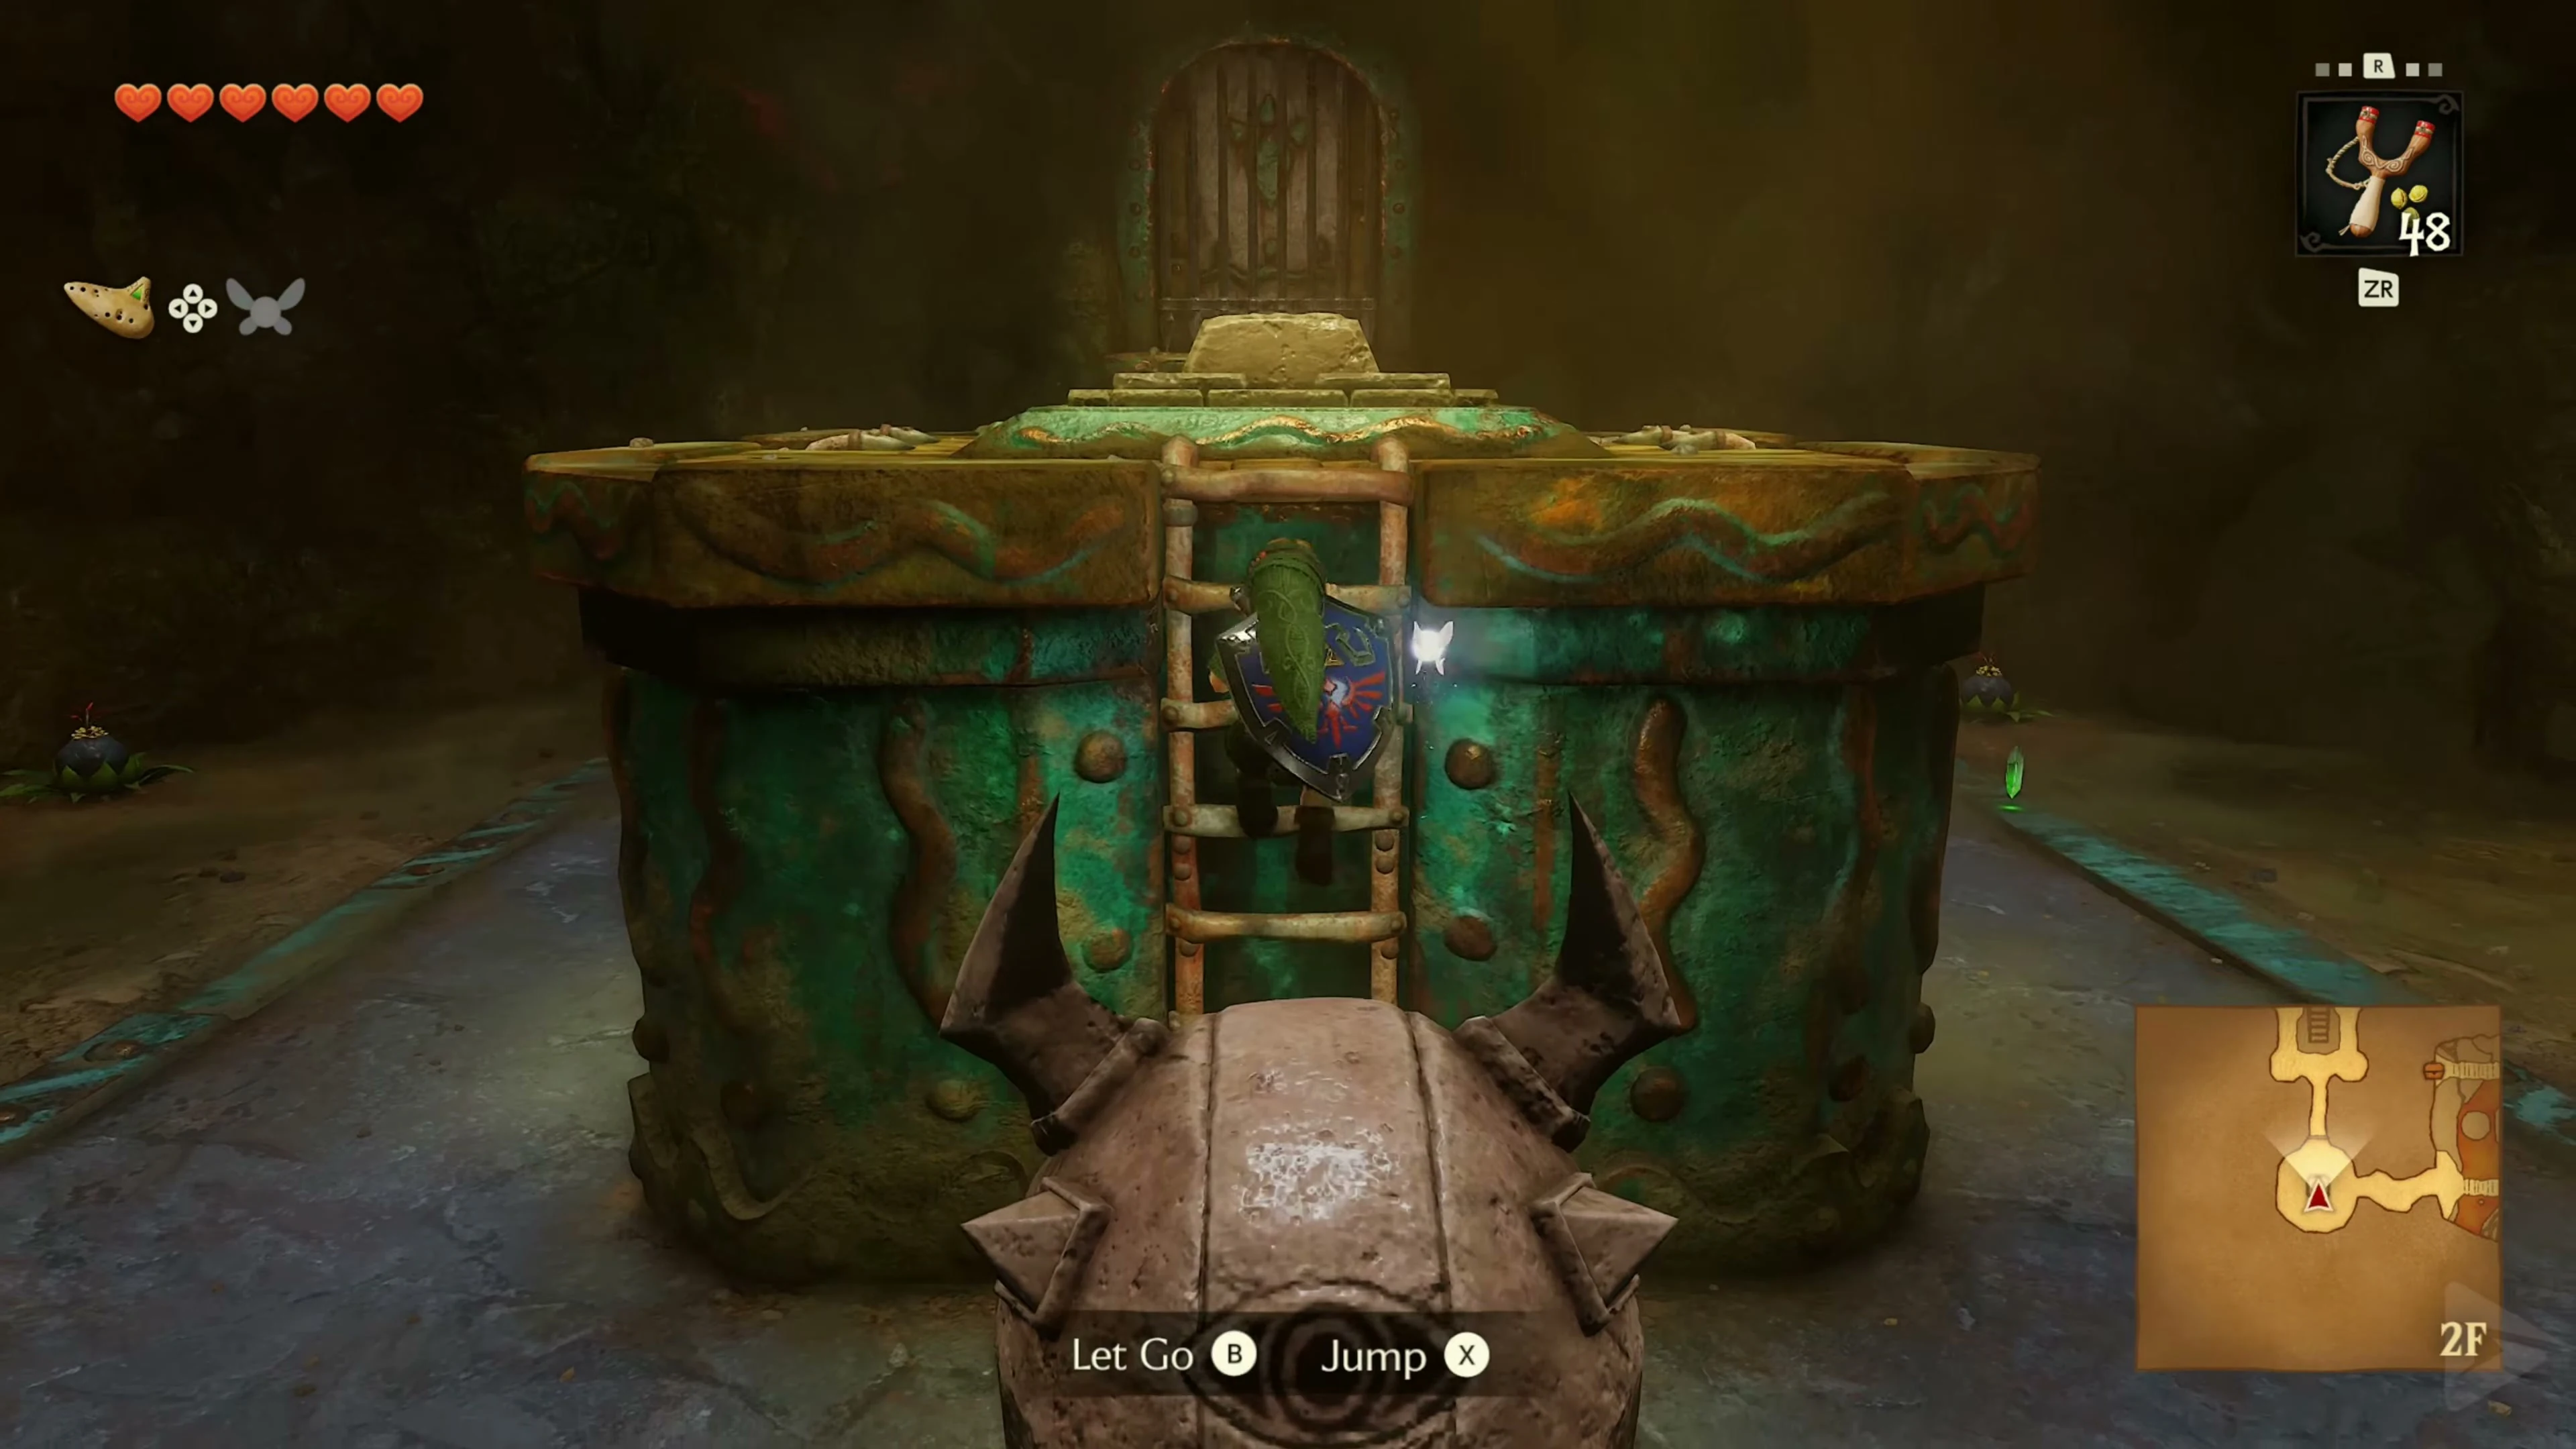
Shoot the two Fire Keese as you enter. In the center, four statues stand around the raised platform. The southern statue opposite the entrance can be safely pulled to the side. The others wake up when we approach. Fight them with Bomb Flowers if necessary and stay away from their explosions. Pull the southern statue away from the ladder, climb up and step on the switch. This opens the eastern exit.
Over the suspension bridge
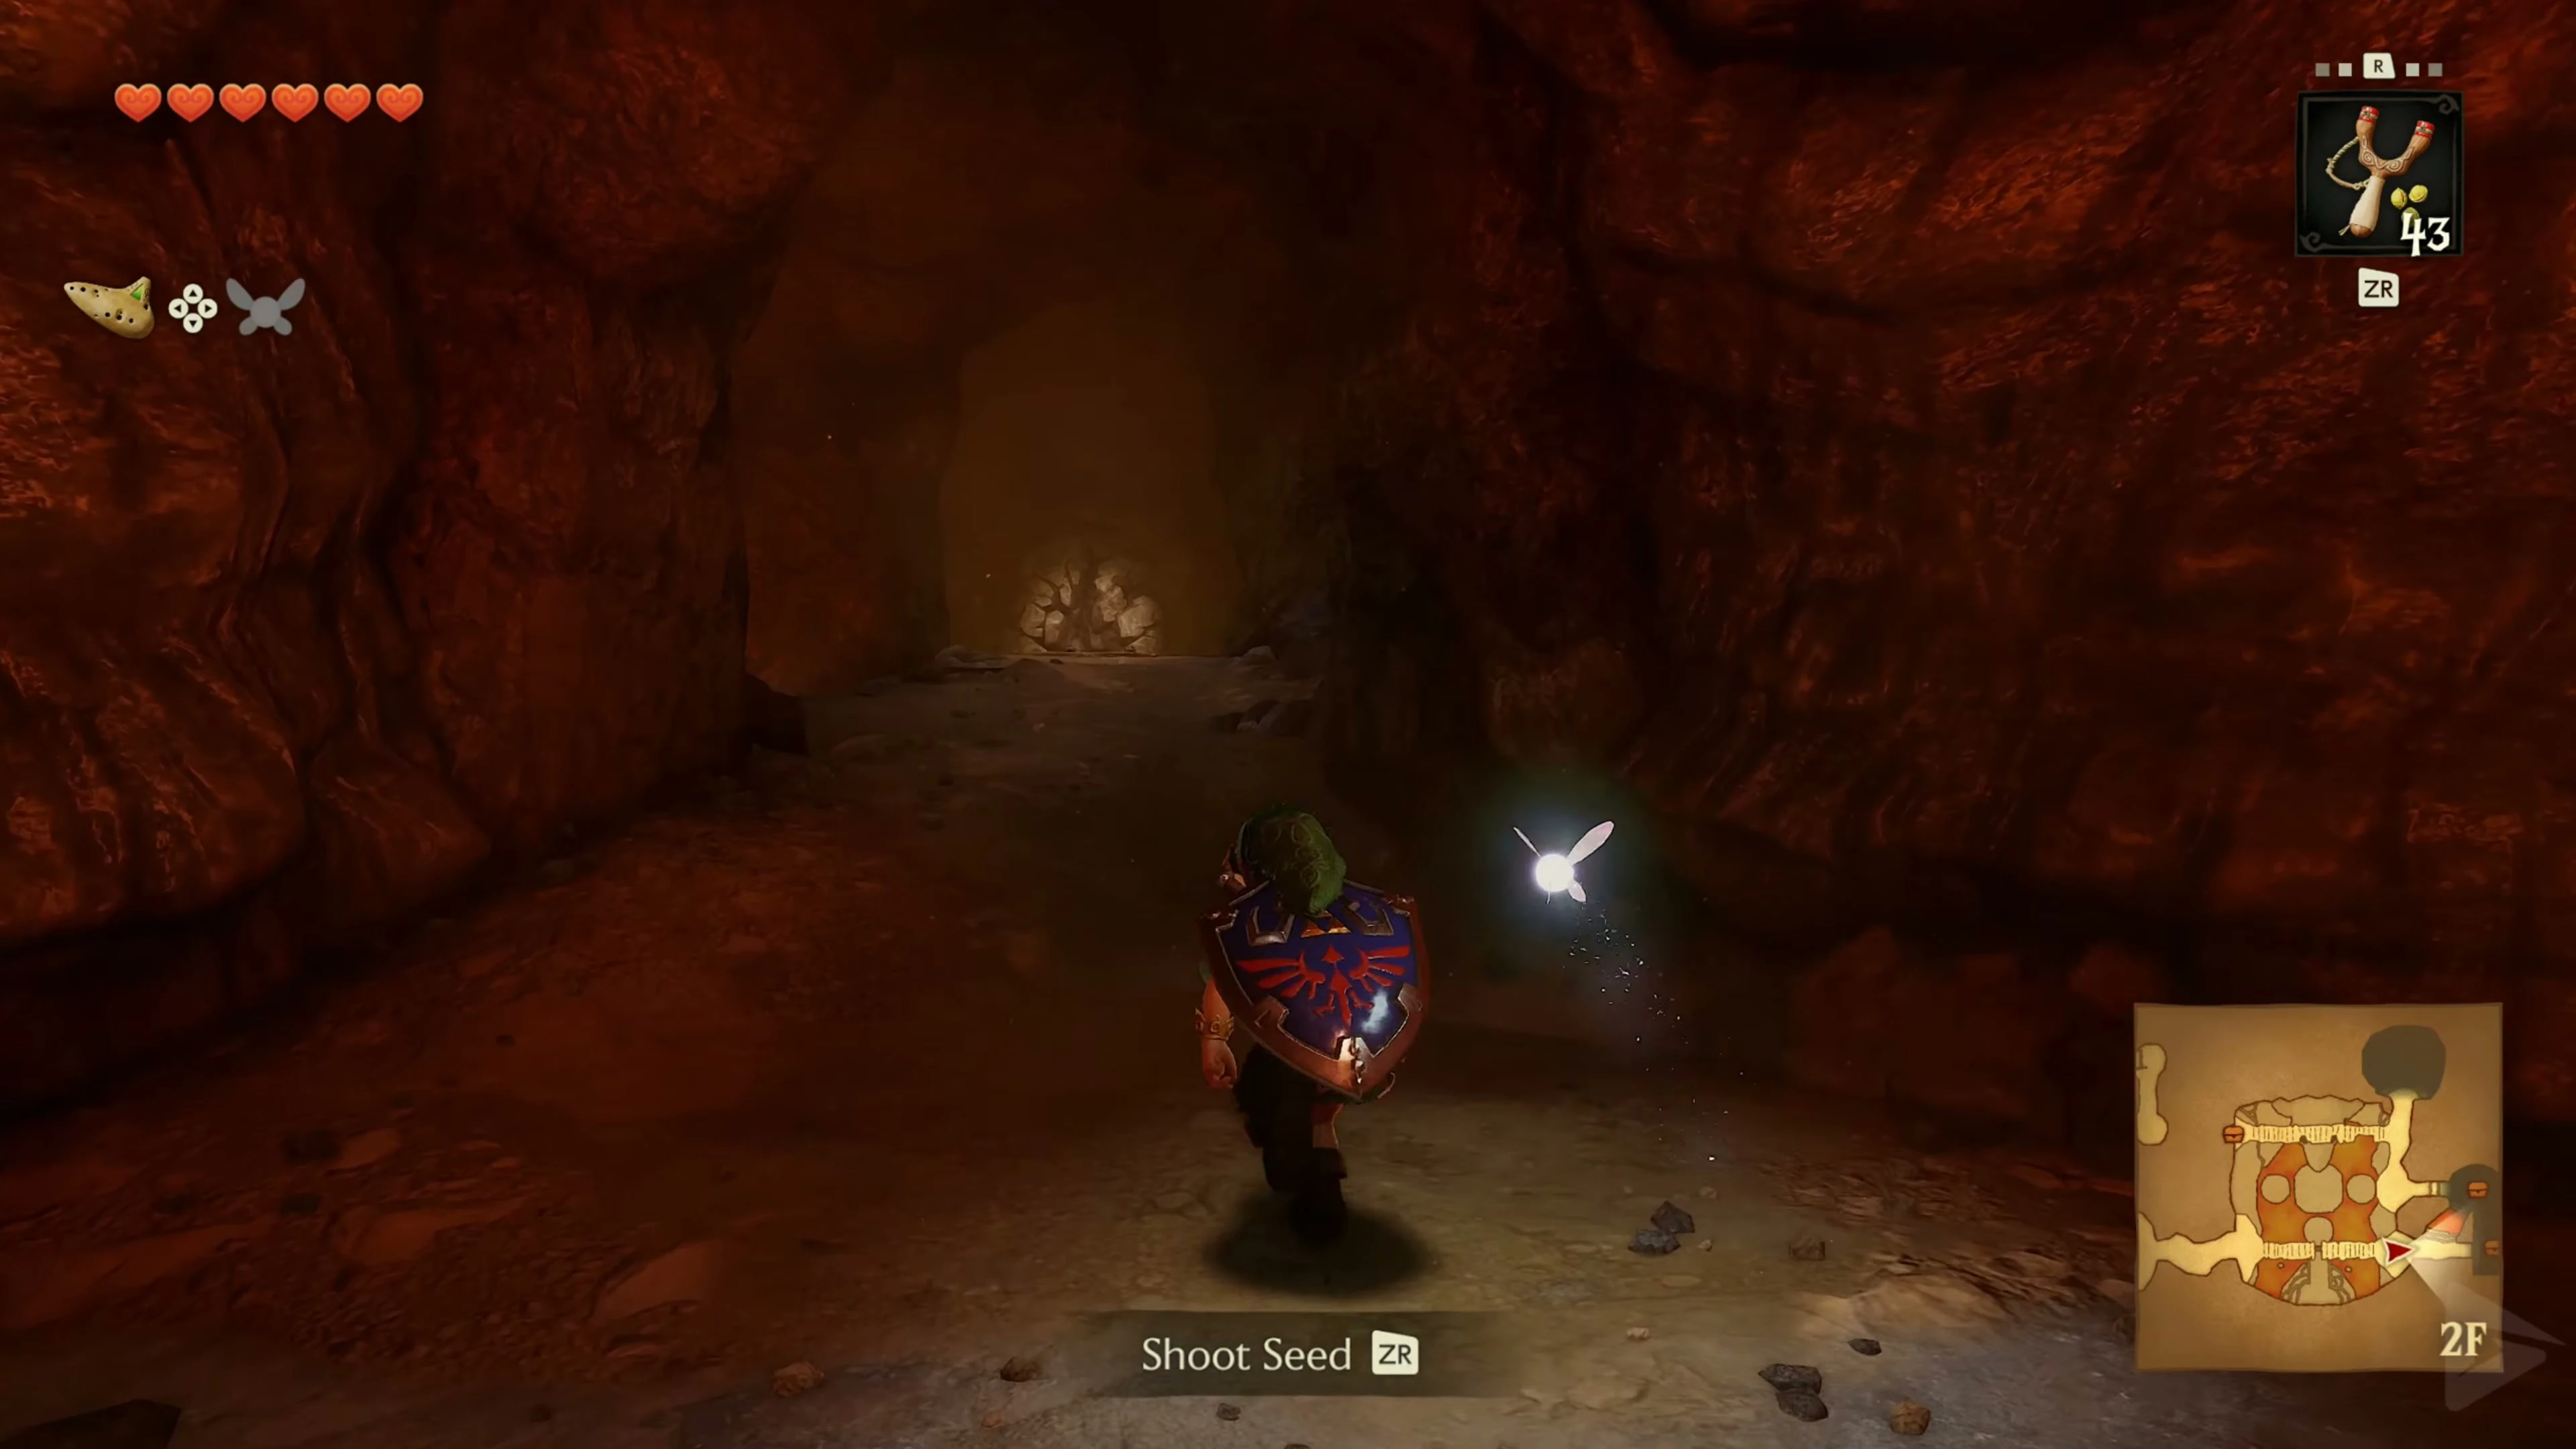
Go to the high bridge above the main hall. Kill the Fire Keese from a distance and safely jump over the gap in the middle. Through the door on the other side you get to the room with the blade traps.
blade traps and the raised wall
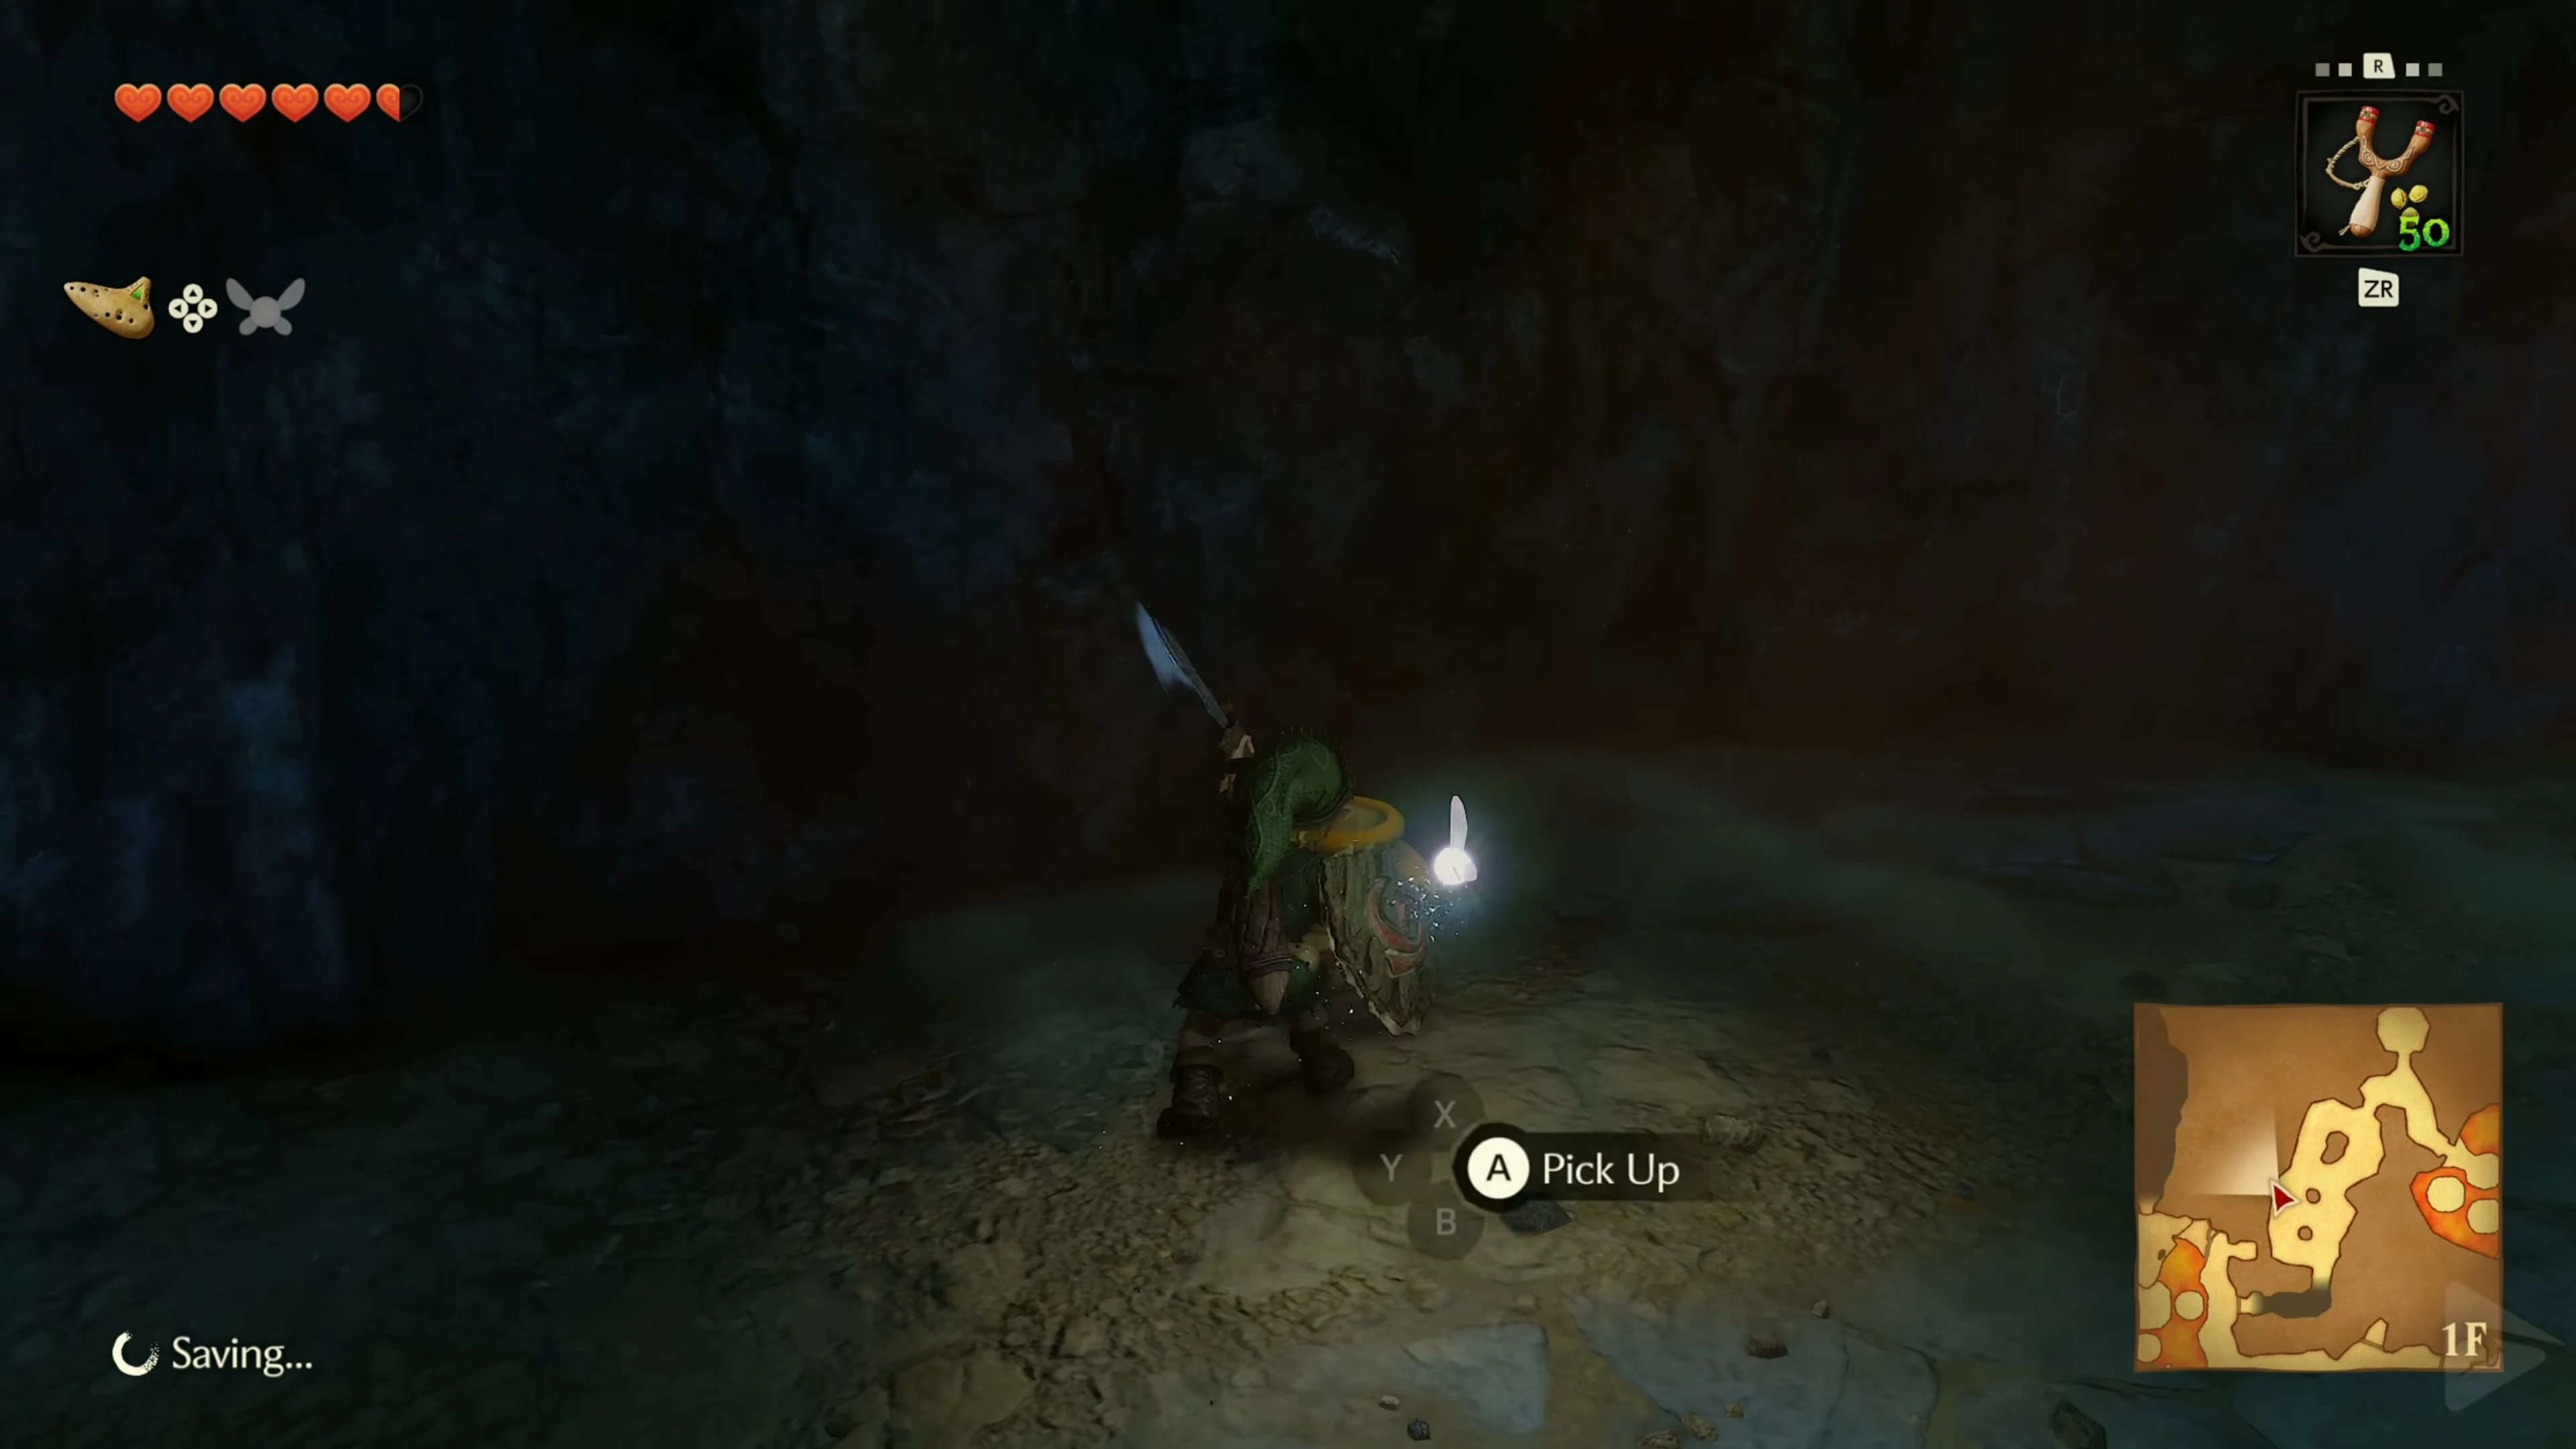
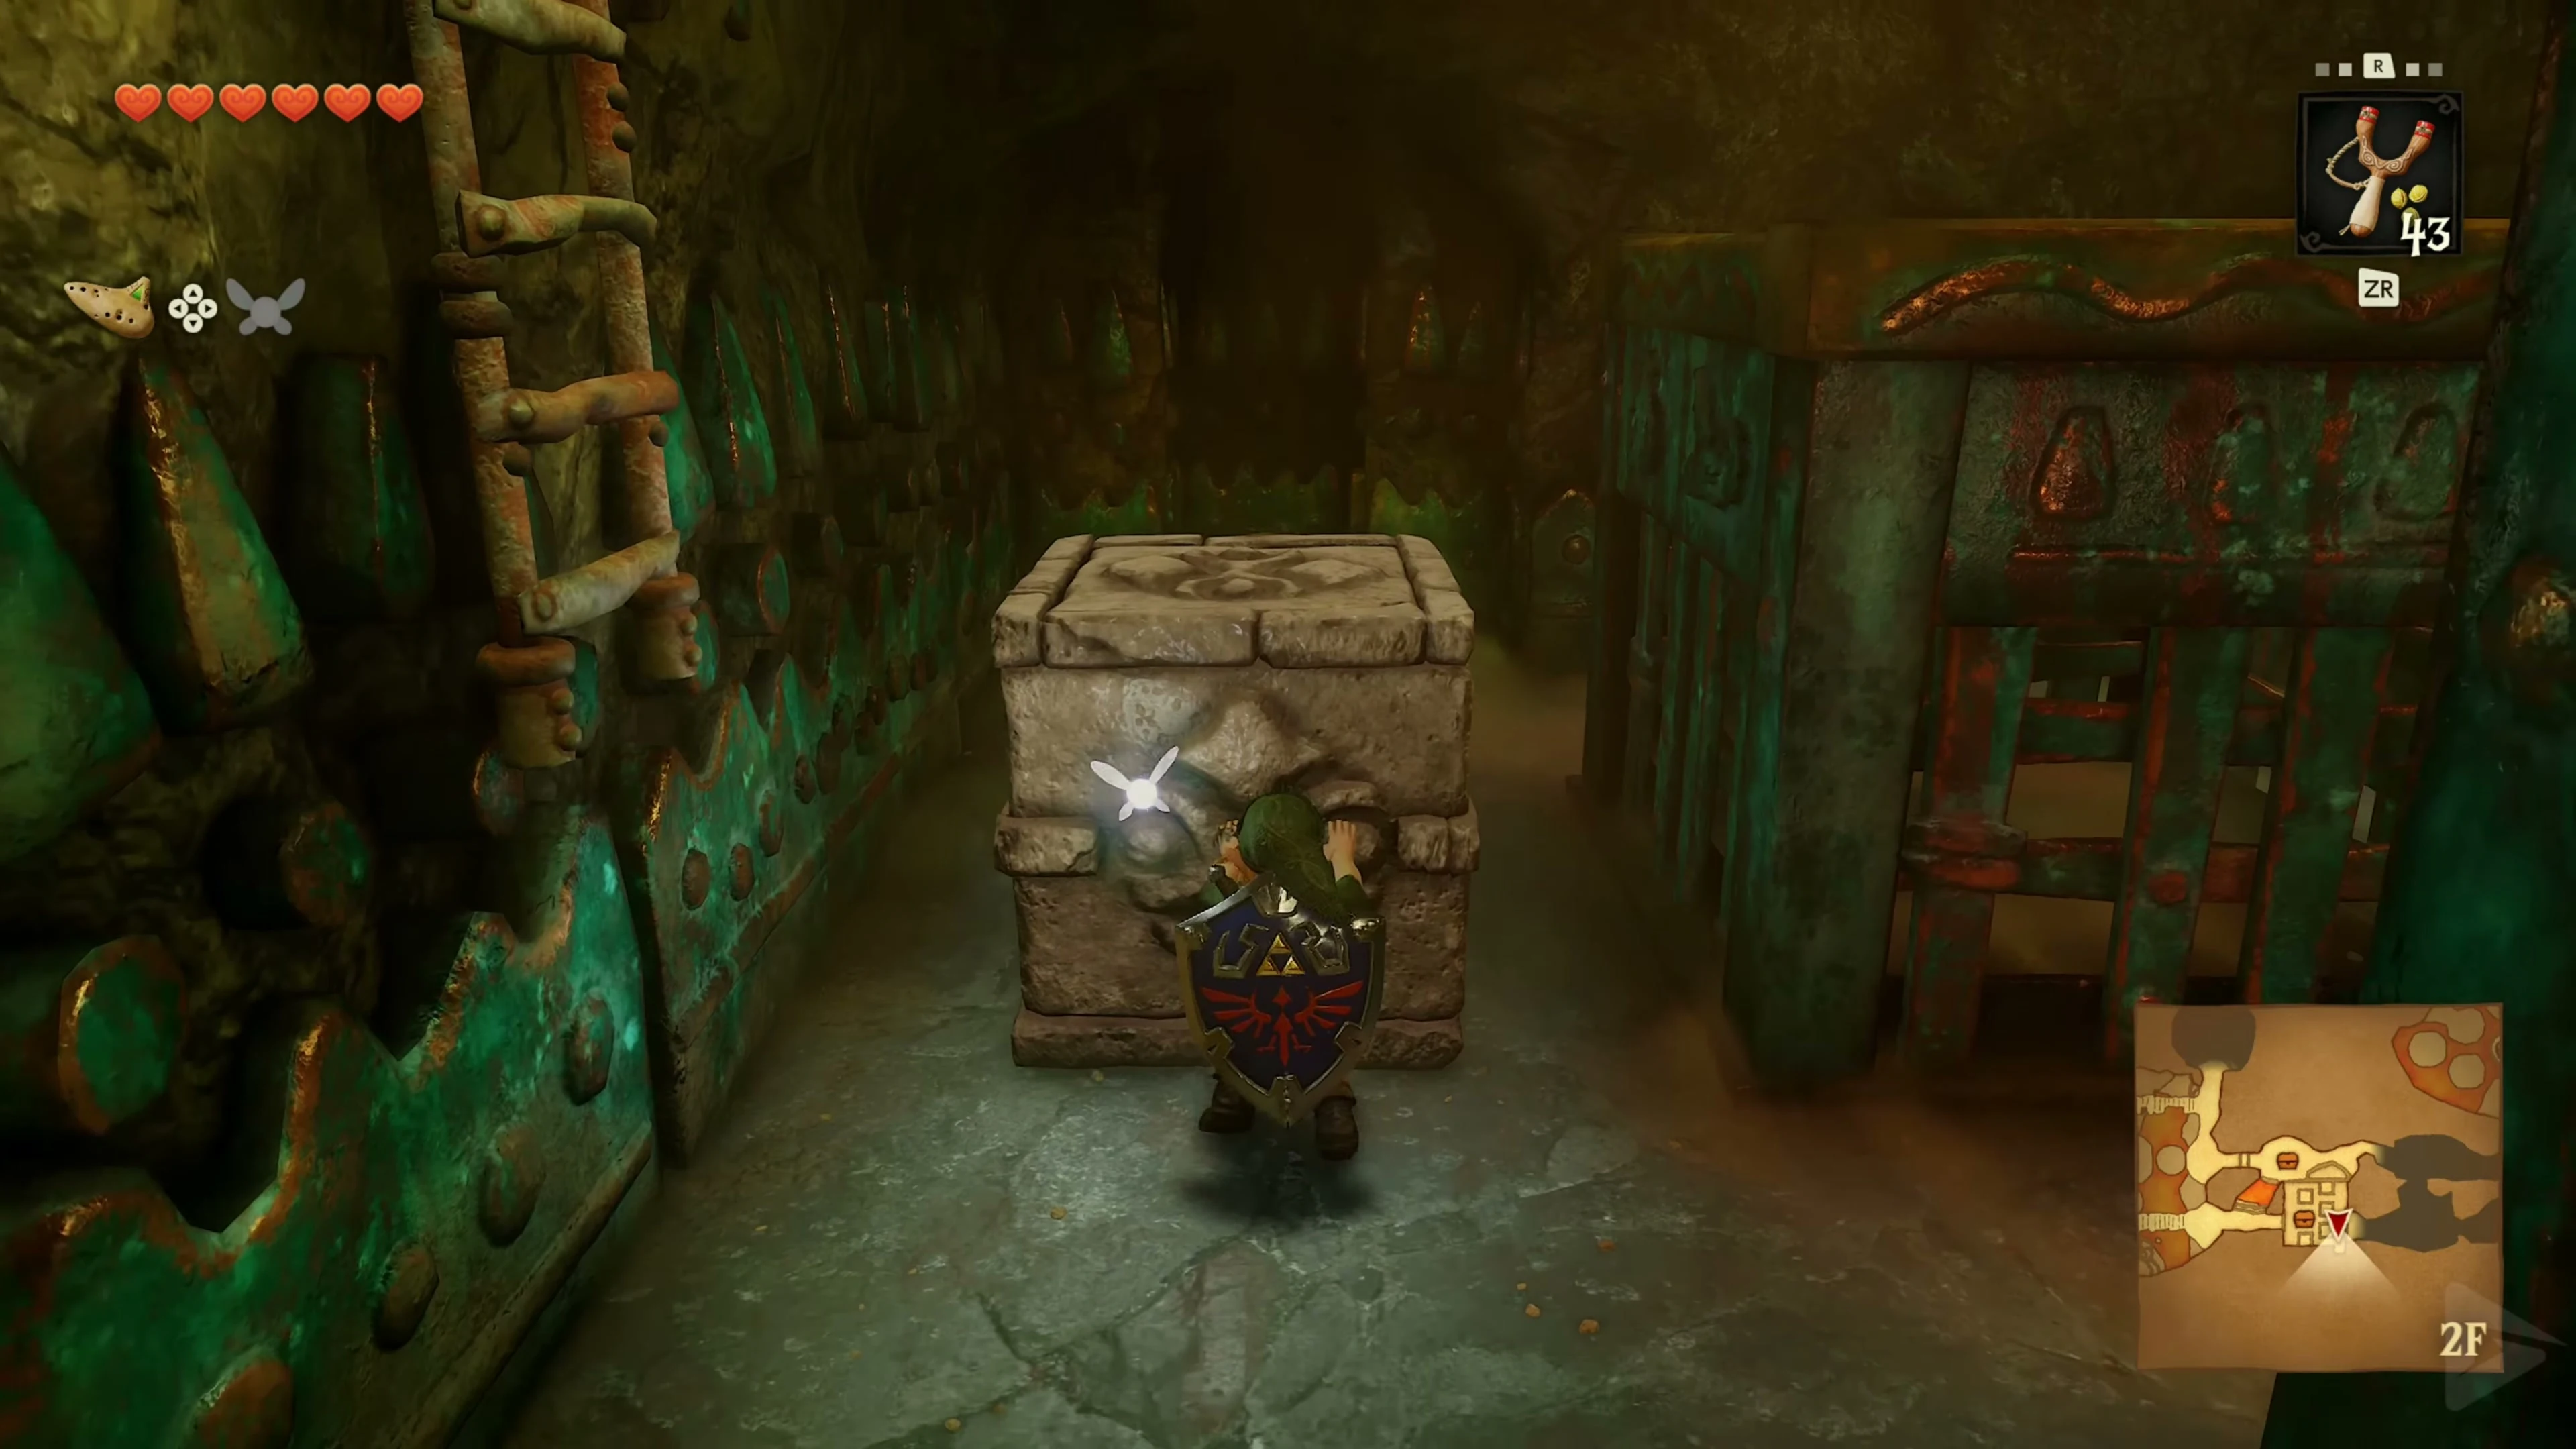
In the Blade Trap Room, drop down to the lower level and dodge into the alcoves between the tall blocks. Pull out the block in the southeast corner and climb over it to reach the ladder. At the top is a small chest containing a Deku Shield . Since you already have it, you will receive 5 Deku Seeds instead. . Next, take the Bomb Flower and throw it at the raised, brittle east wall at just the right moment so that it explodes on the rock. Climb the ladder to the revealed passage.
The first eye switch puzzle
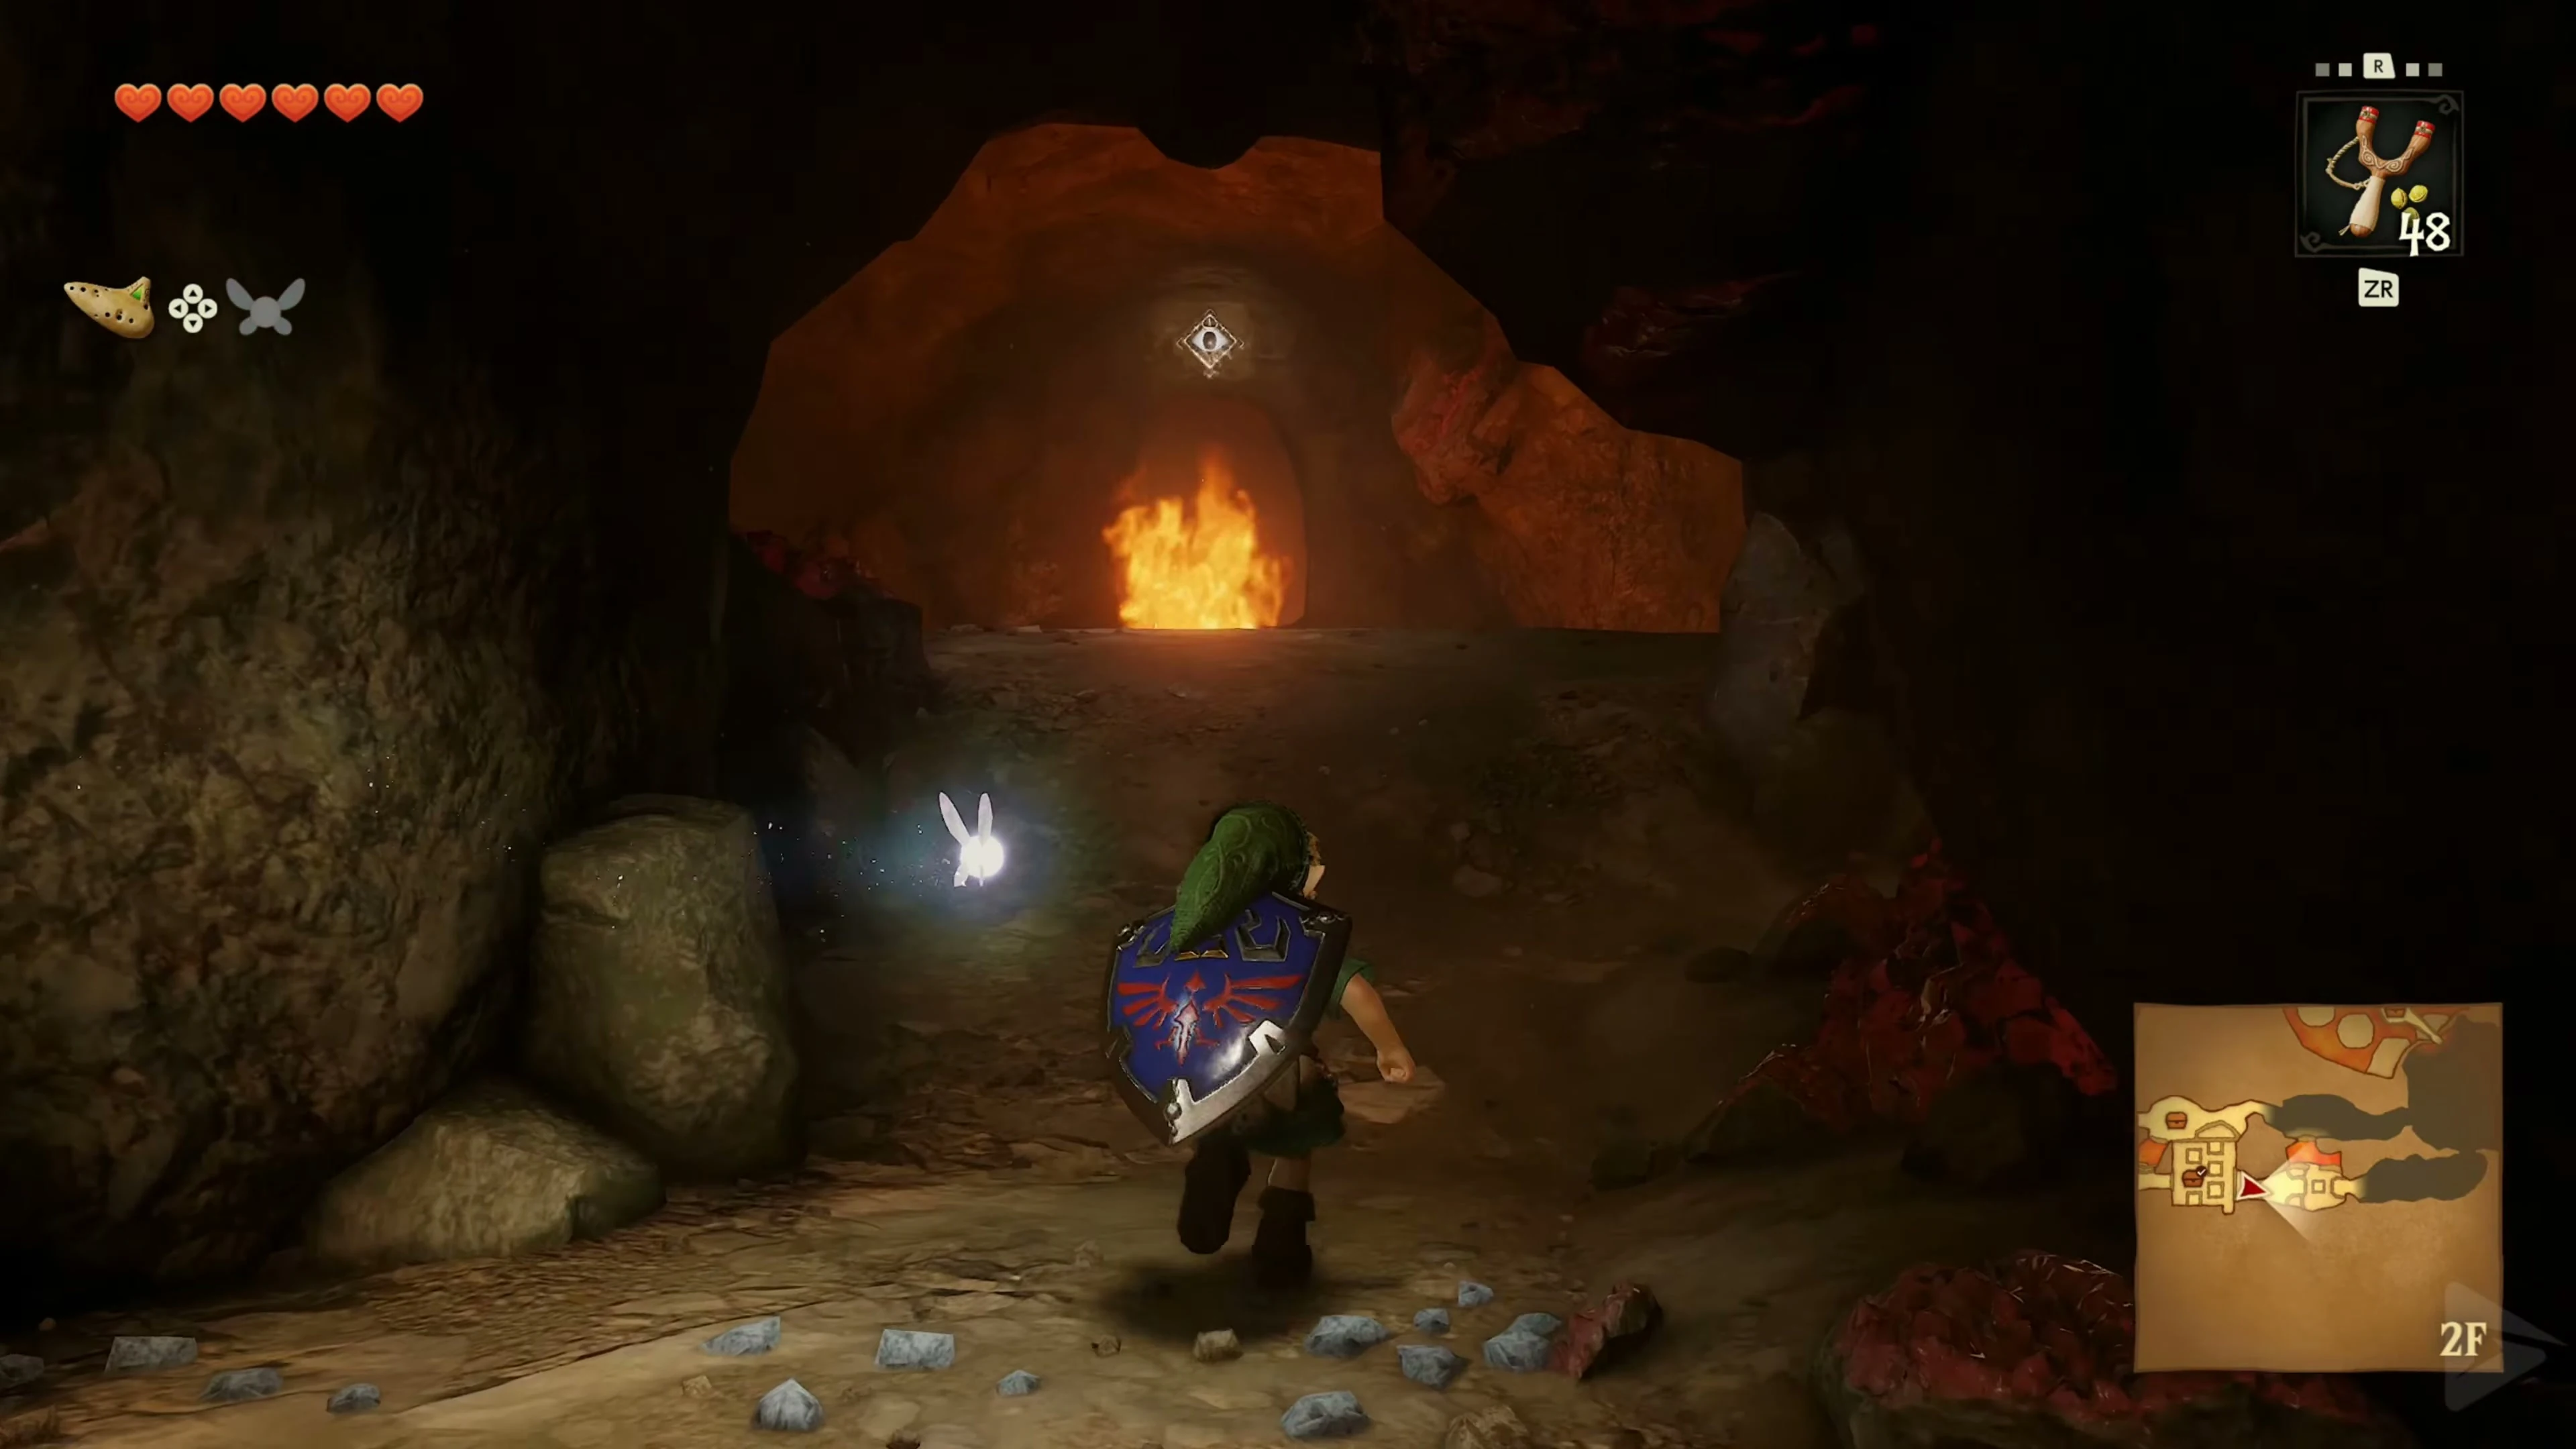
A fire barrier burns in front of you. Shoot the eye behind and above the flame . As soon as the fire disappears, jump over the free platform and continue east. In the next corridor, eliminate the baby Dodongos and stay away from their explosions.
Second fight against two Lizalfos
Two Lizalfos are waiting in the following lava room. Stay on a safe platform, block the attacking enemy and follow up with your sword after his blow. Once both are defeated, the next door opens. In the back part of the room you can reach a small chest with a Business Scrub Seed via the narrow path. Use the nut to summon a Business Scrub for supplies. Afterwards, continue through the unlocked door.
The two fire platforms
First hit the visible eye above the back passage. Jump onto the first now free platform and turn to the left . The second eye is in the side niche. Shoot it too and cross the second platform before the flames return.
The Bomb Bag
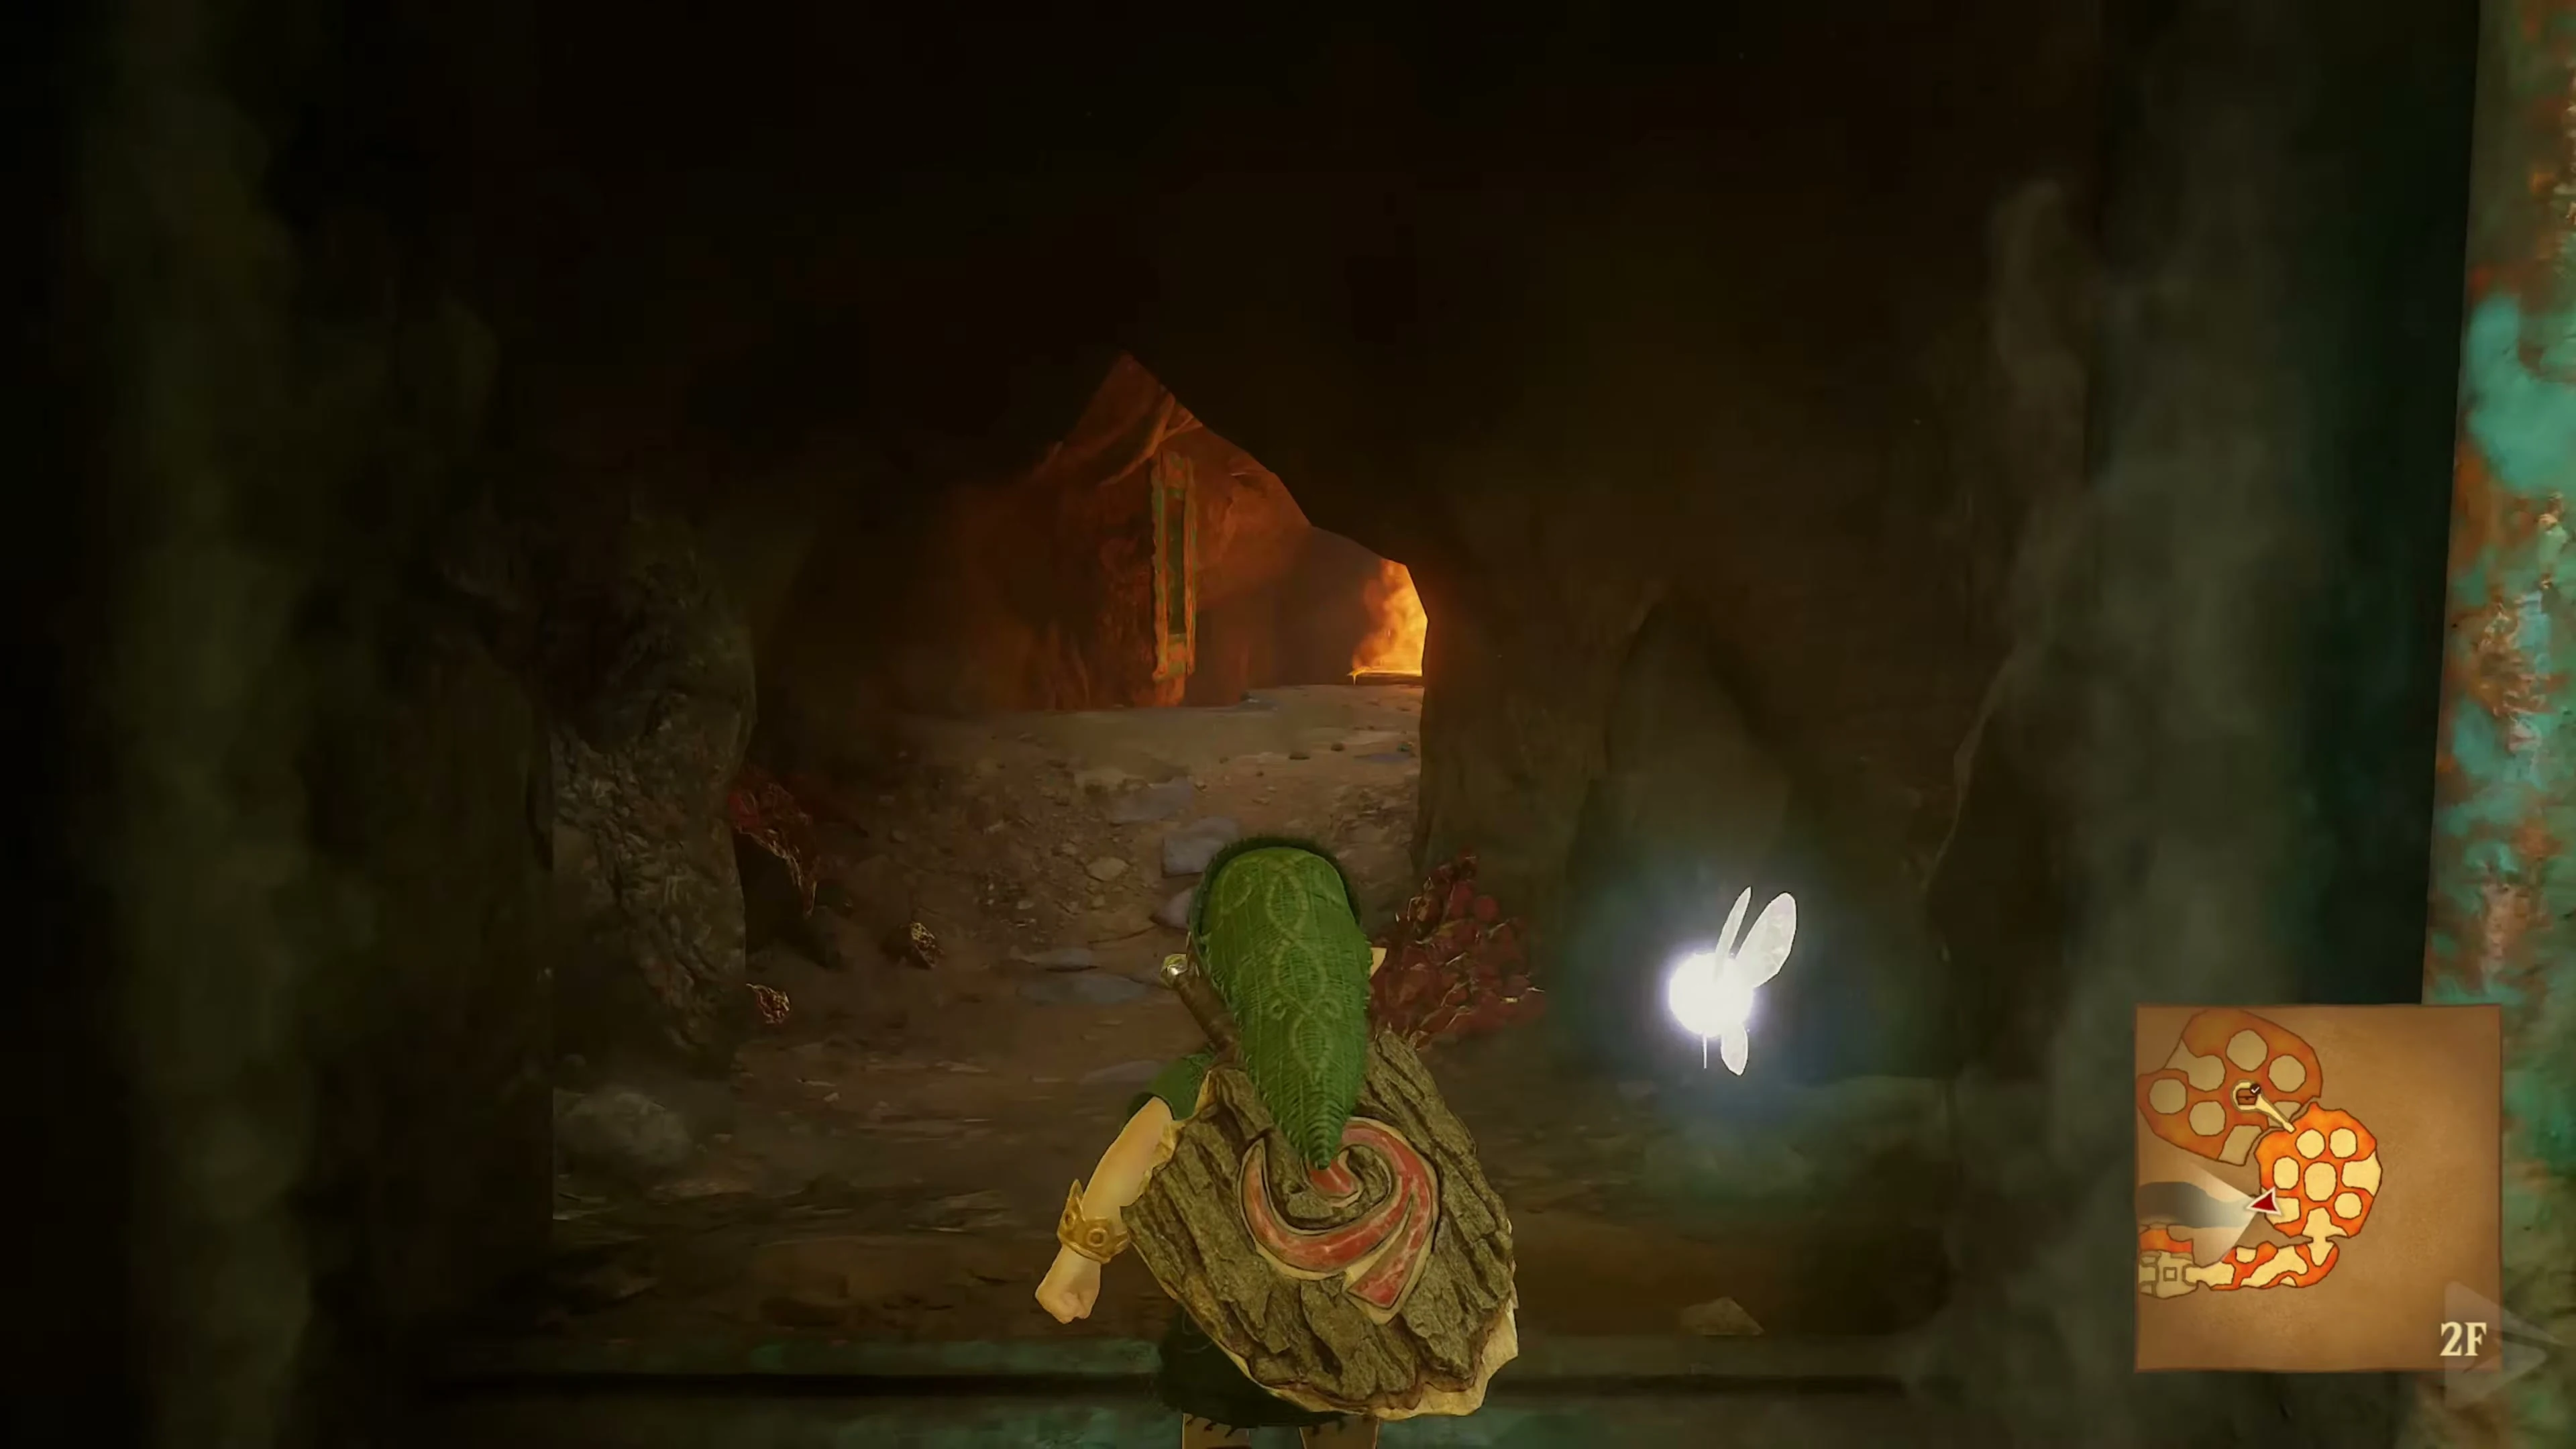
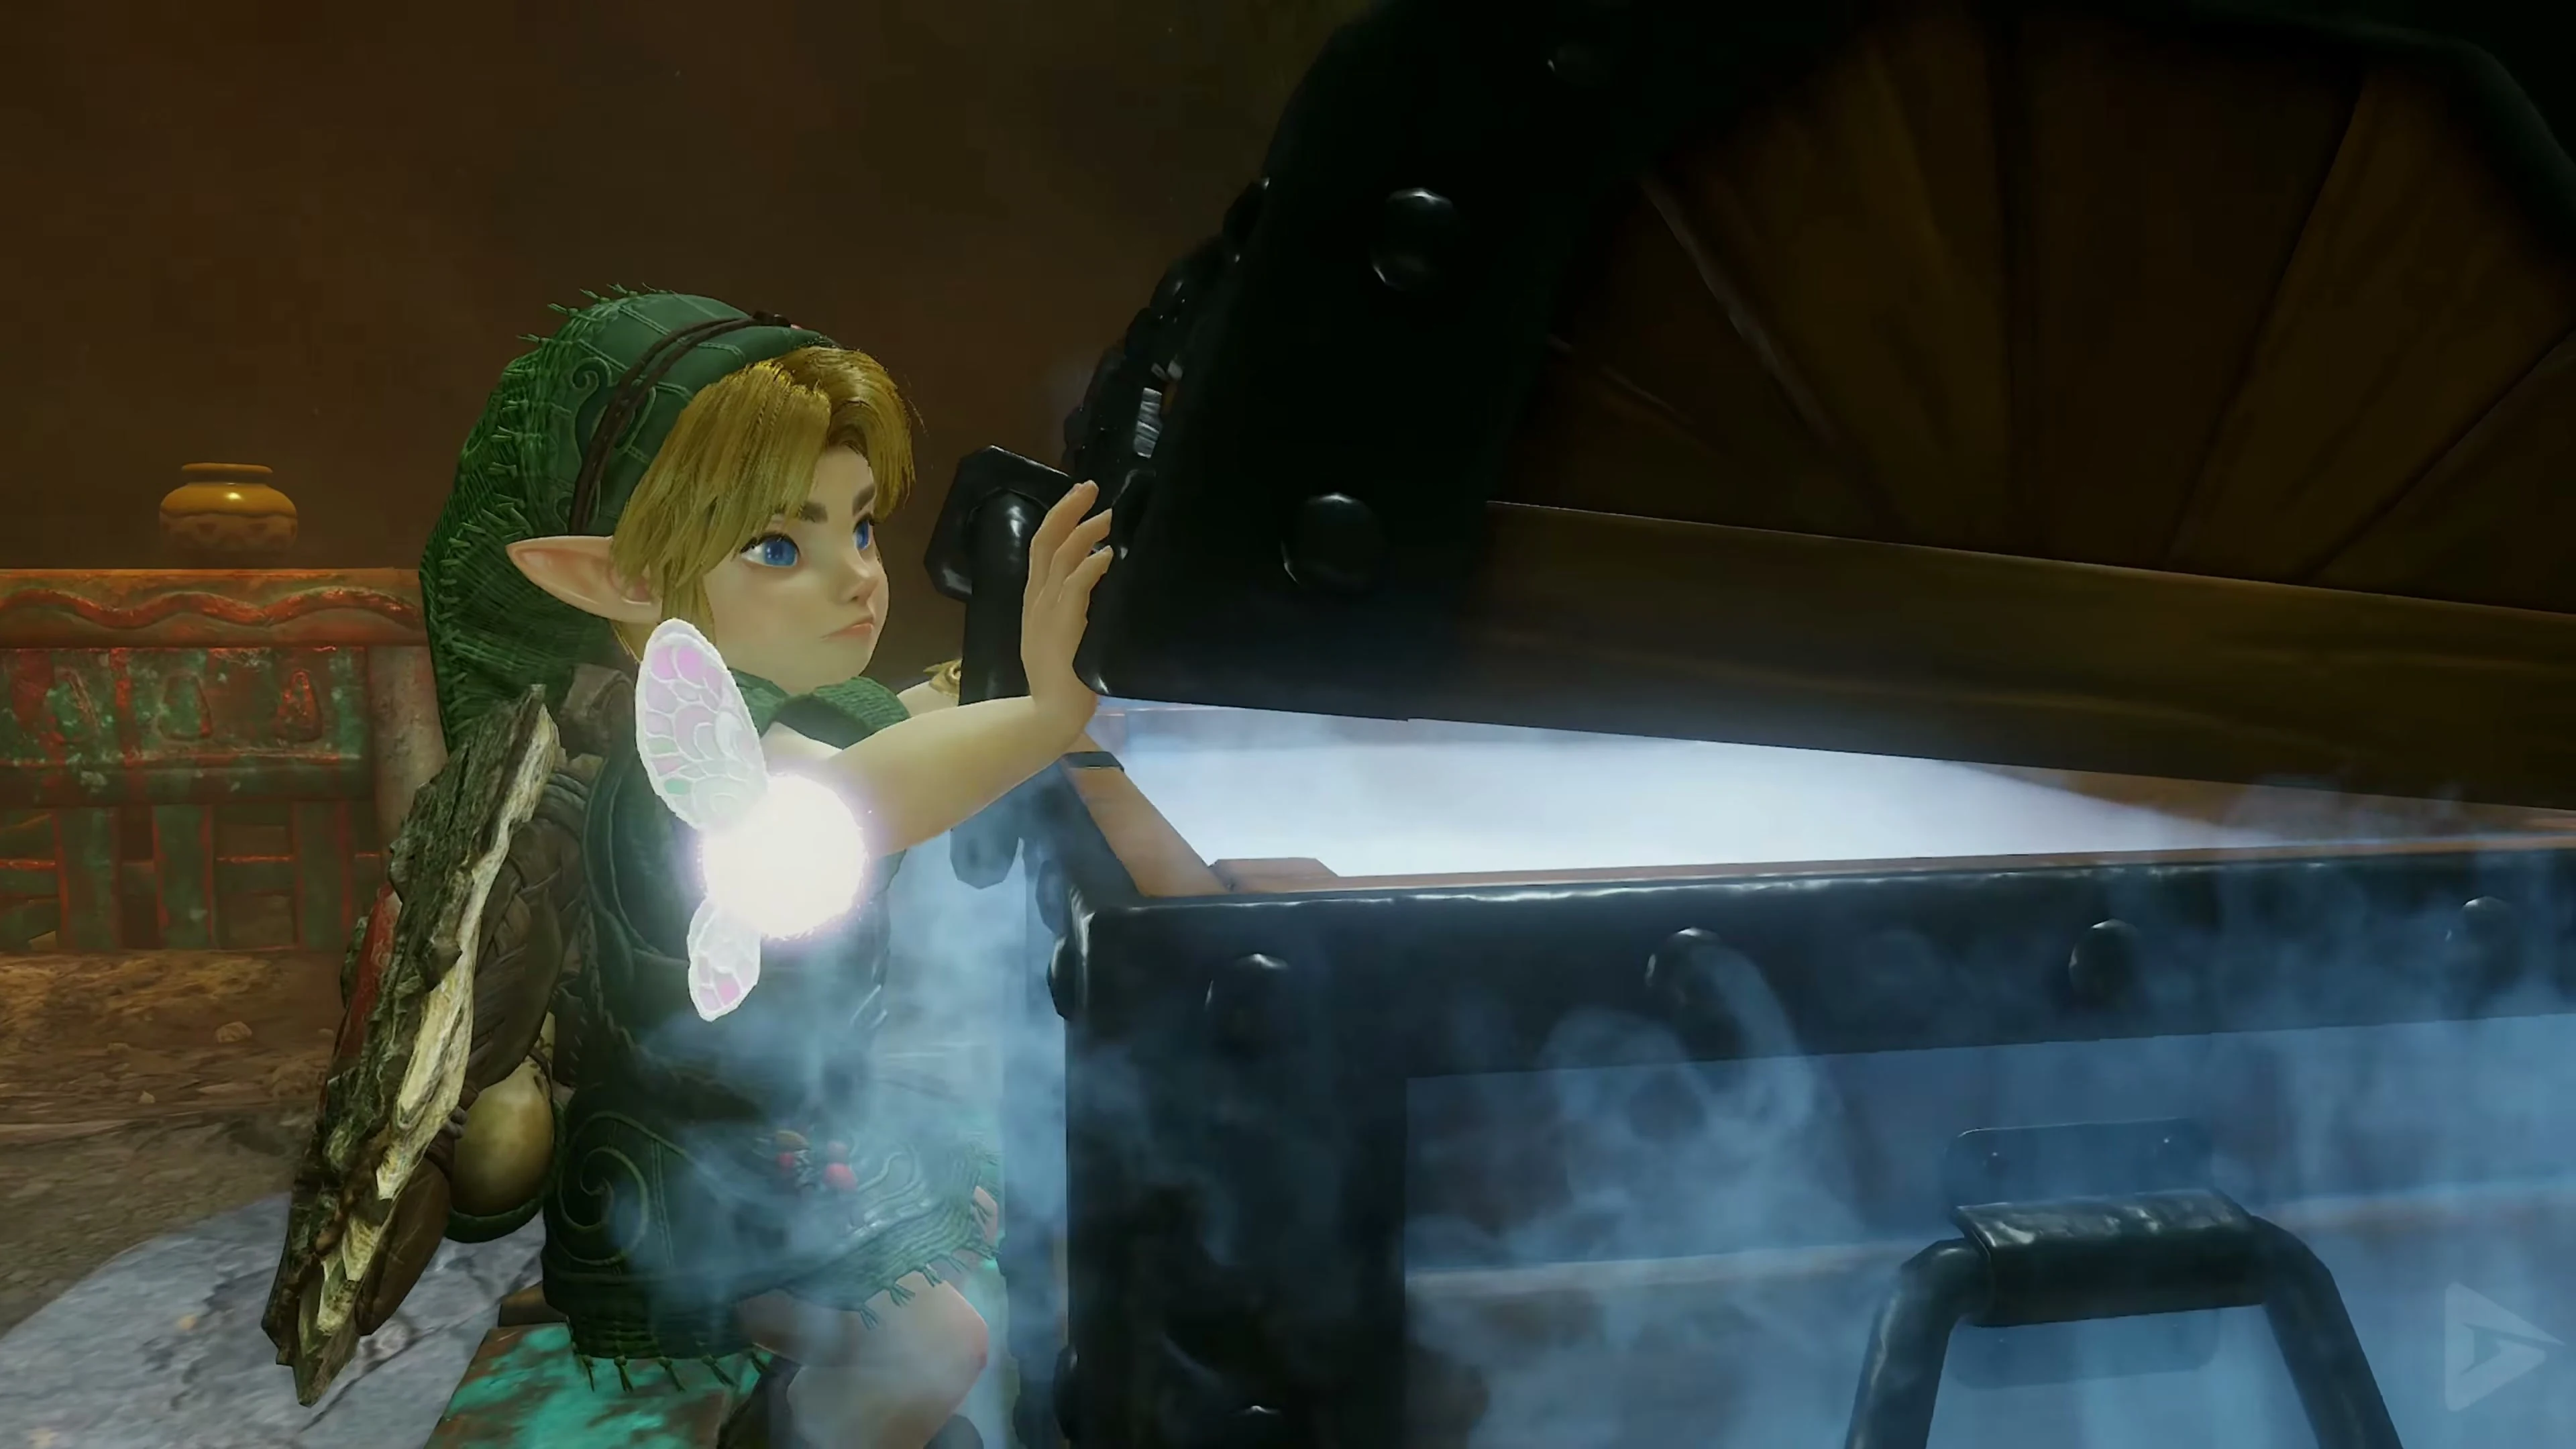
Directly behind this fire section, the upper corridor leads to the large chest with the Bomb Bag . Stay on the elevated path and open it. Link receives a supply of 20 bombs . Then blow up the wall immediately behind or west of the chest . The passage takes you back to the upper level of the main hall.
Elevator and Skulltula 3 on the northeast wall
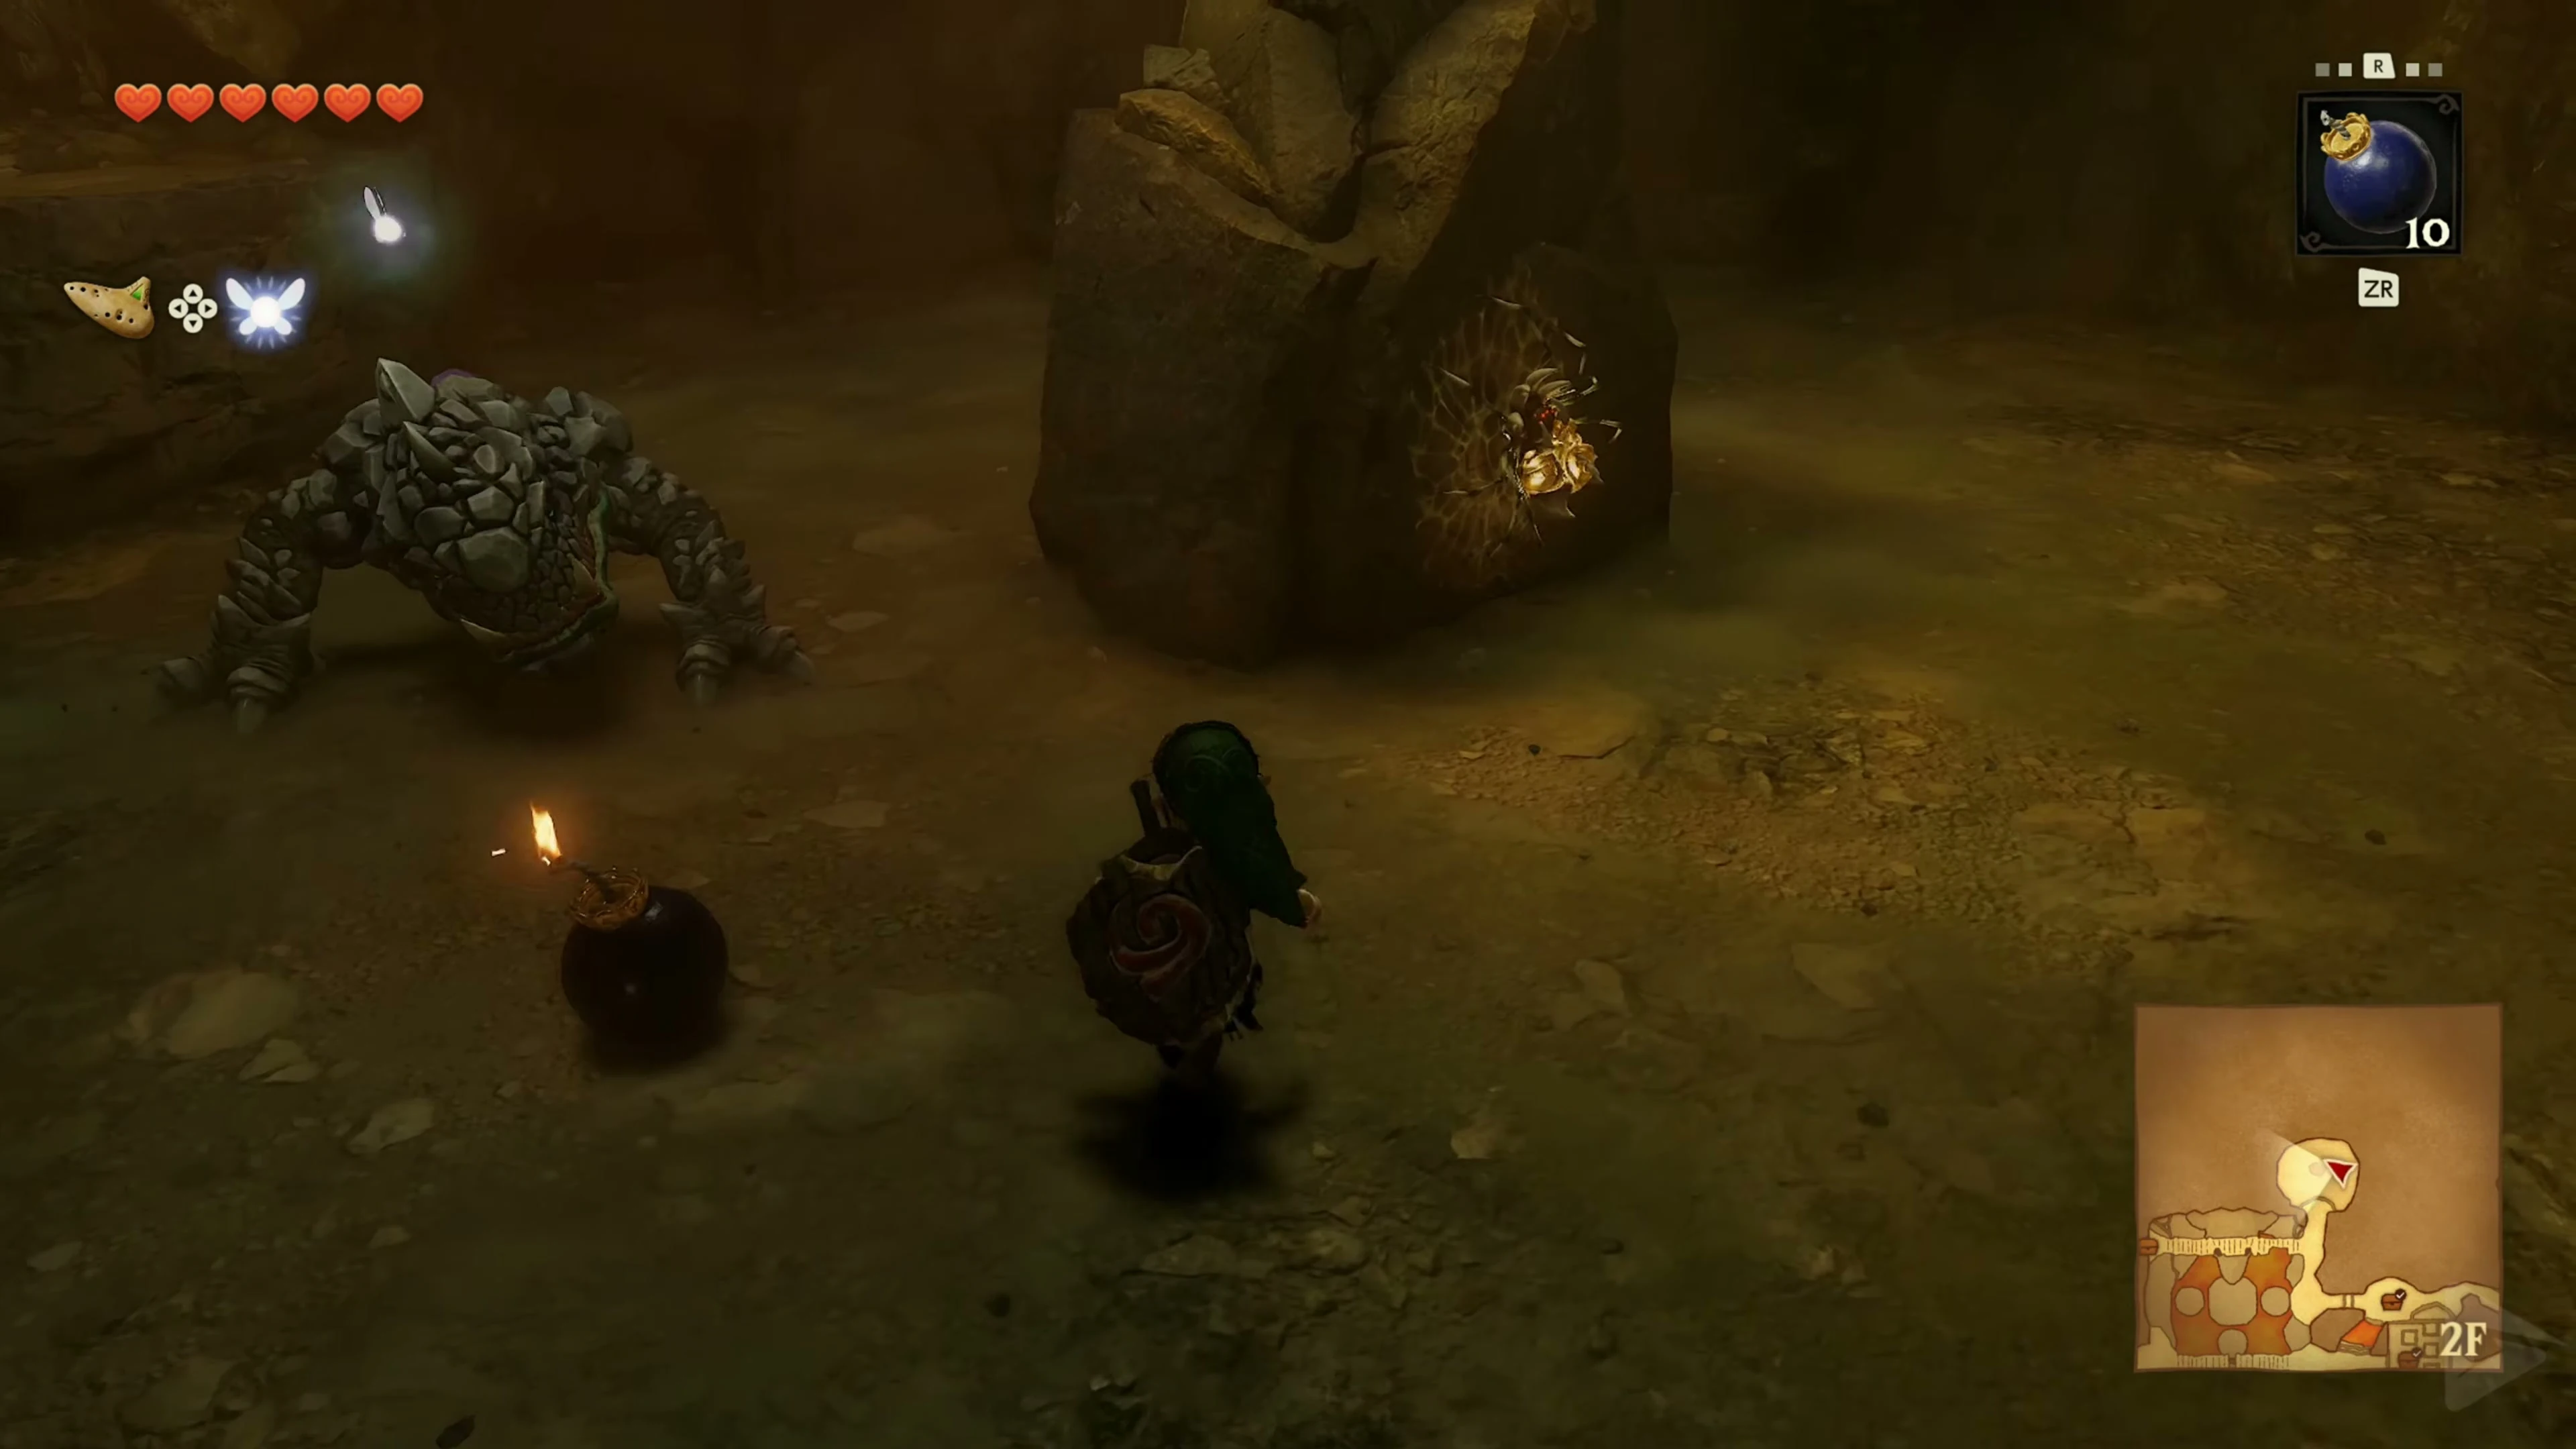
First press the ground switch on the return path. The movable platform now moves up to the upper level and connects it to the entrance. From here, go north to the crumbling northeast wall of the main hall . Blow them up with one of your new bombs. Two Dodongos are waiting in the round room behind. Defeat them and go behind the large rock in the middle. Gold Skulltula 3/5 sits there. Take the token with you and return to the upper hall path.
The eyes of the large Dodongo skull
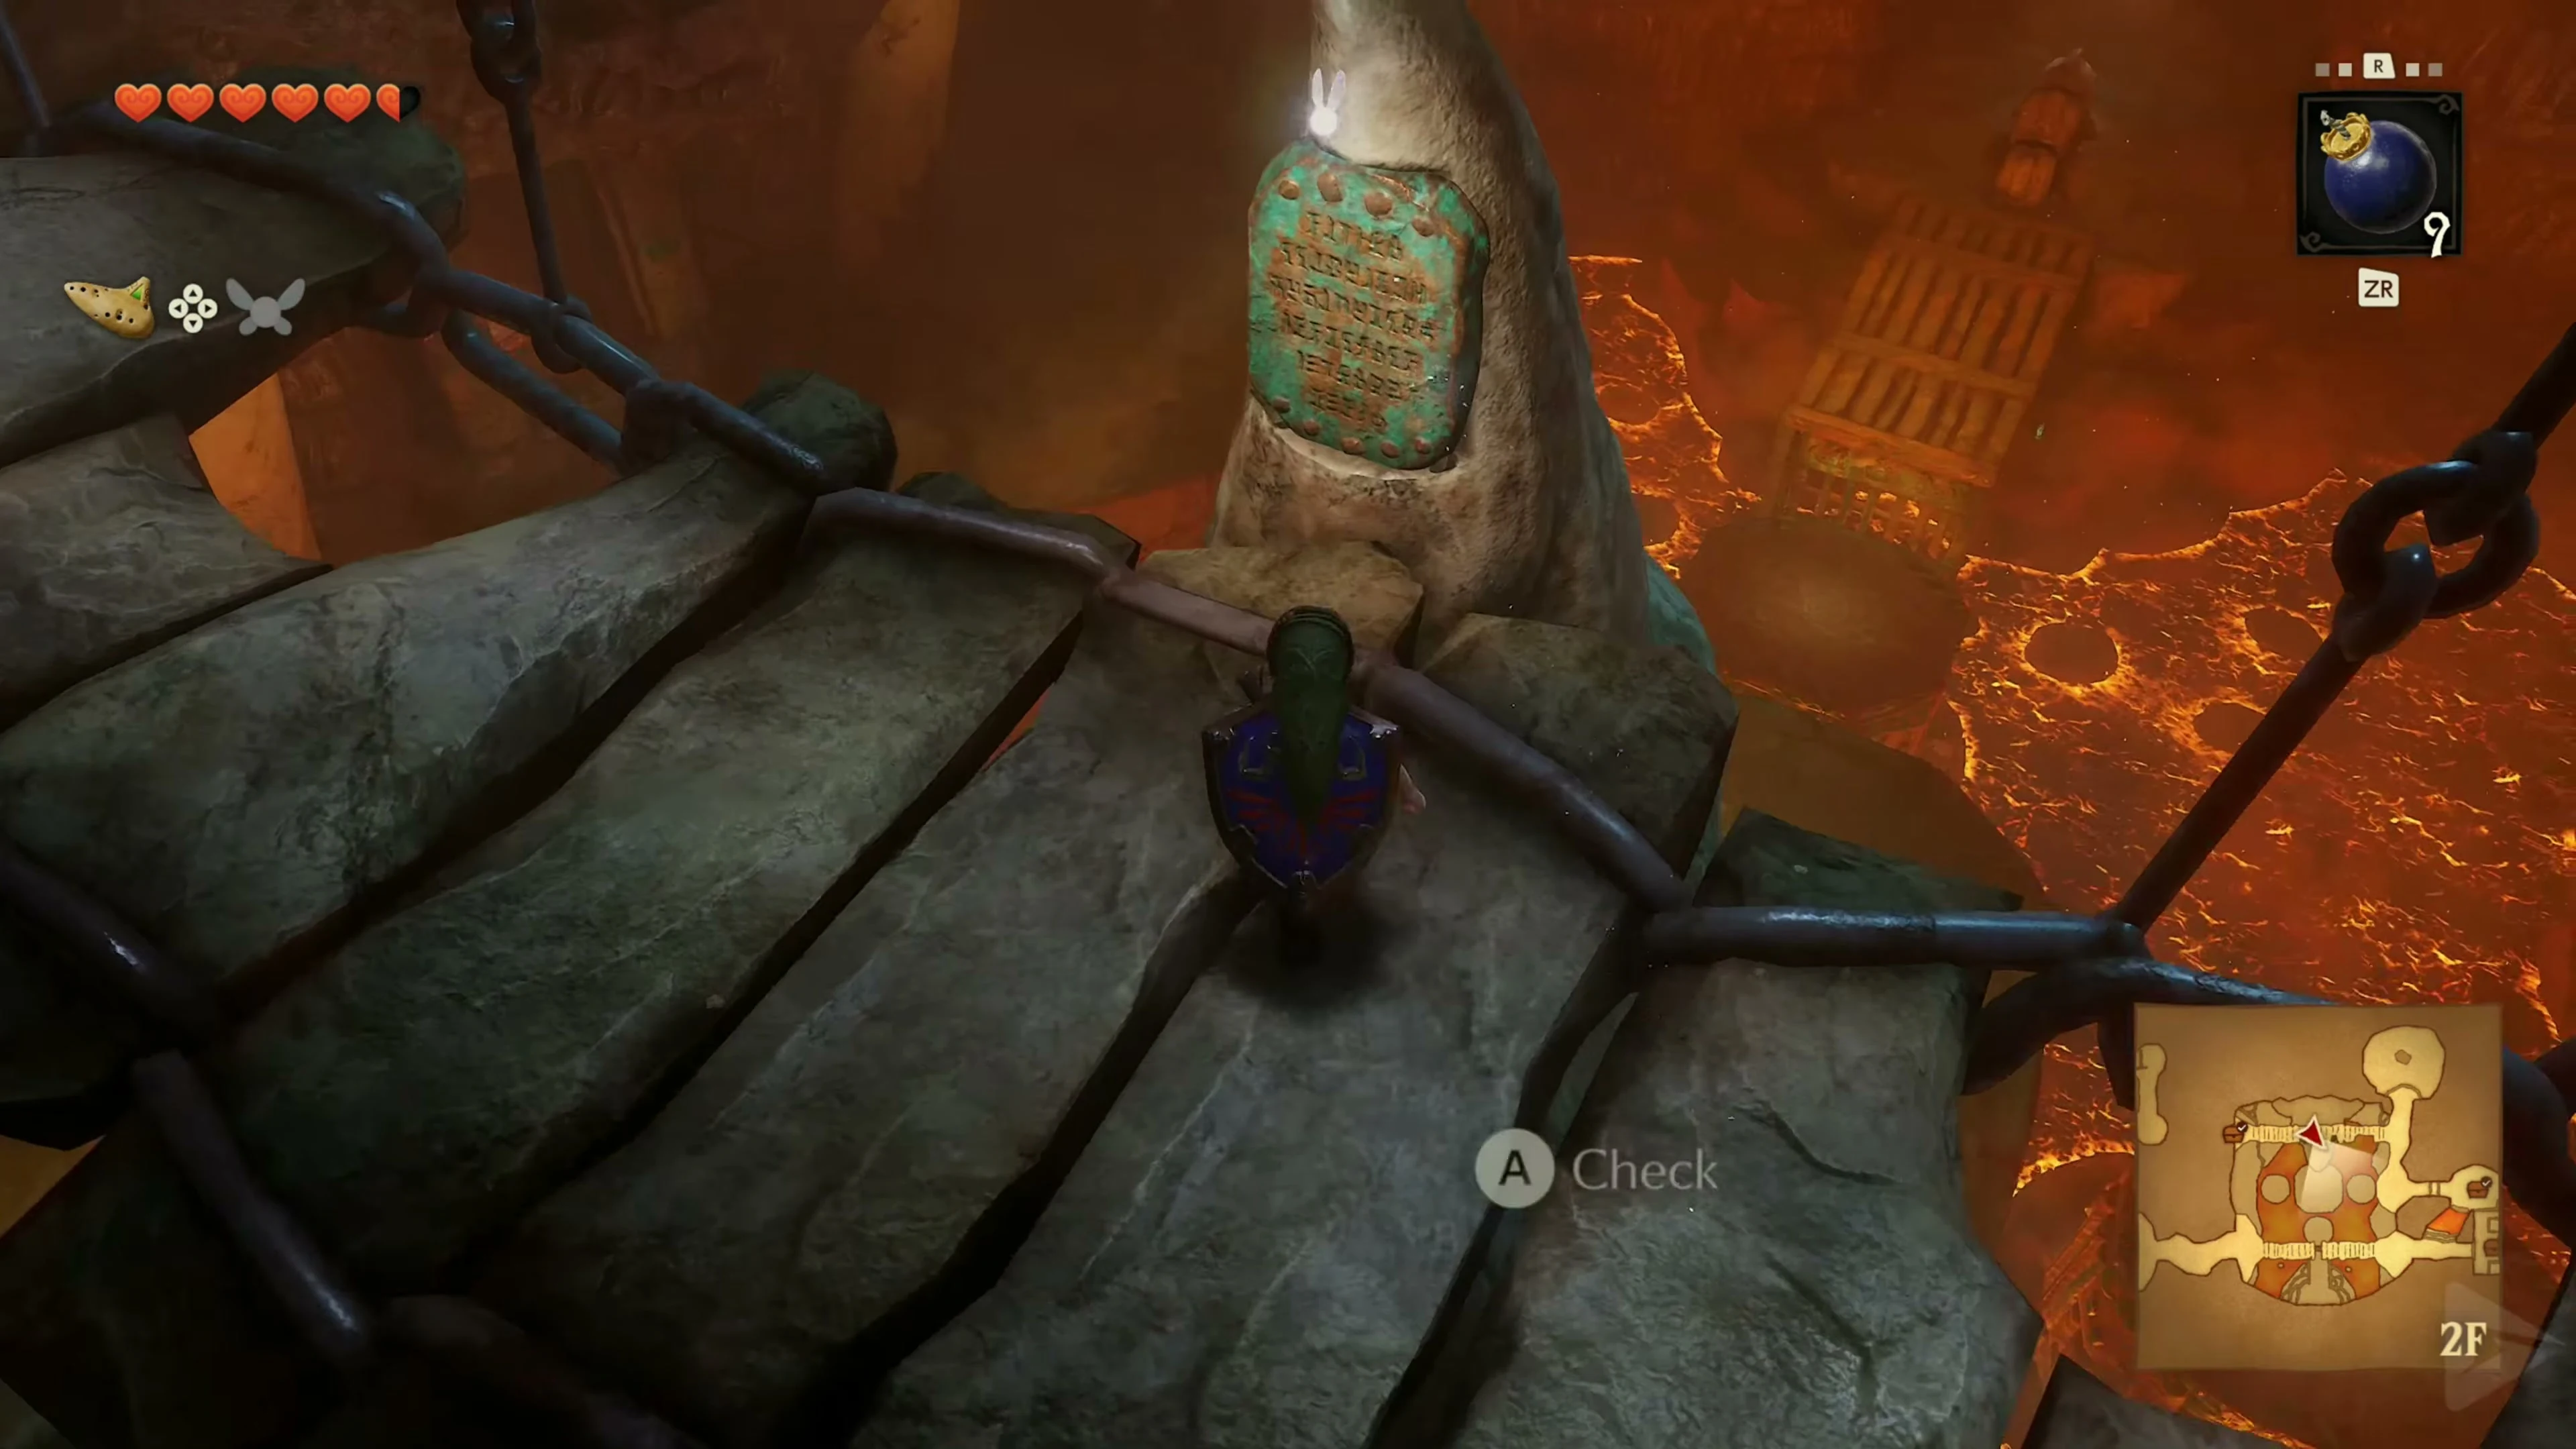
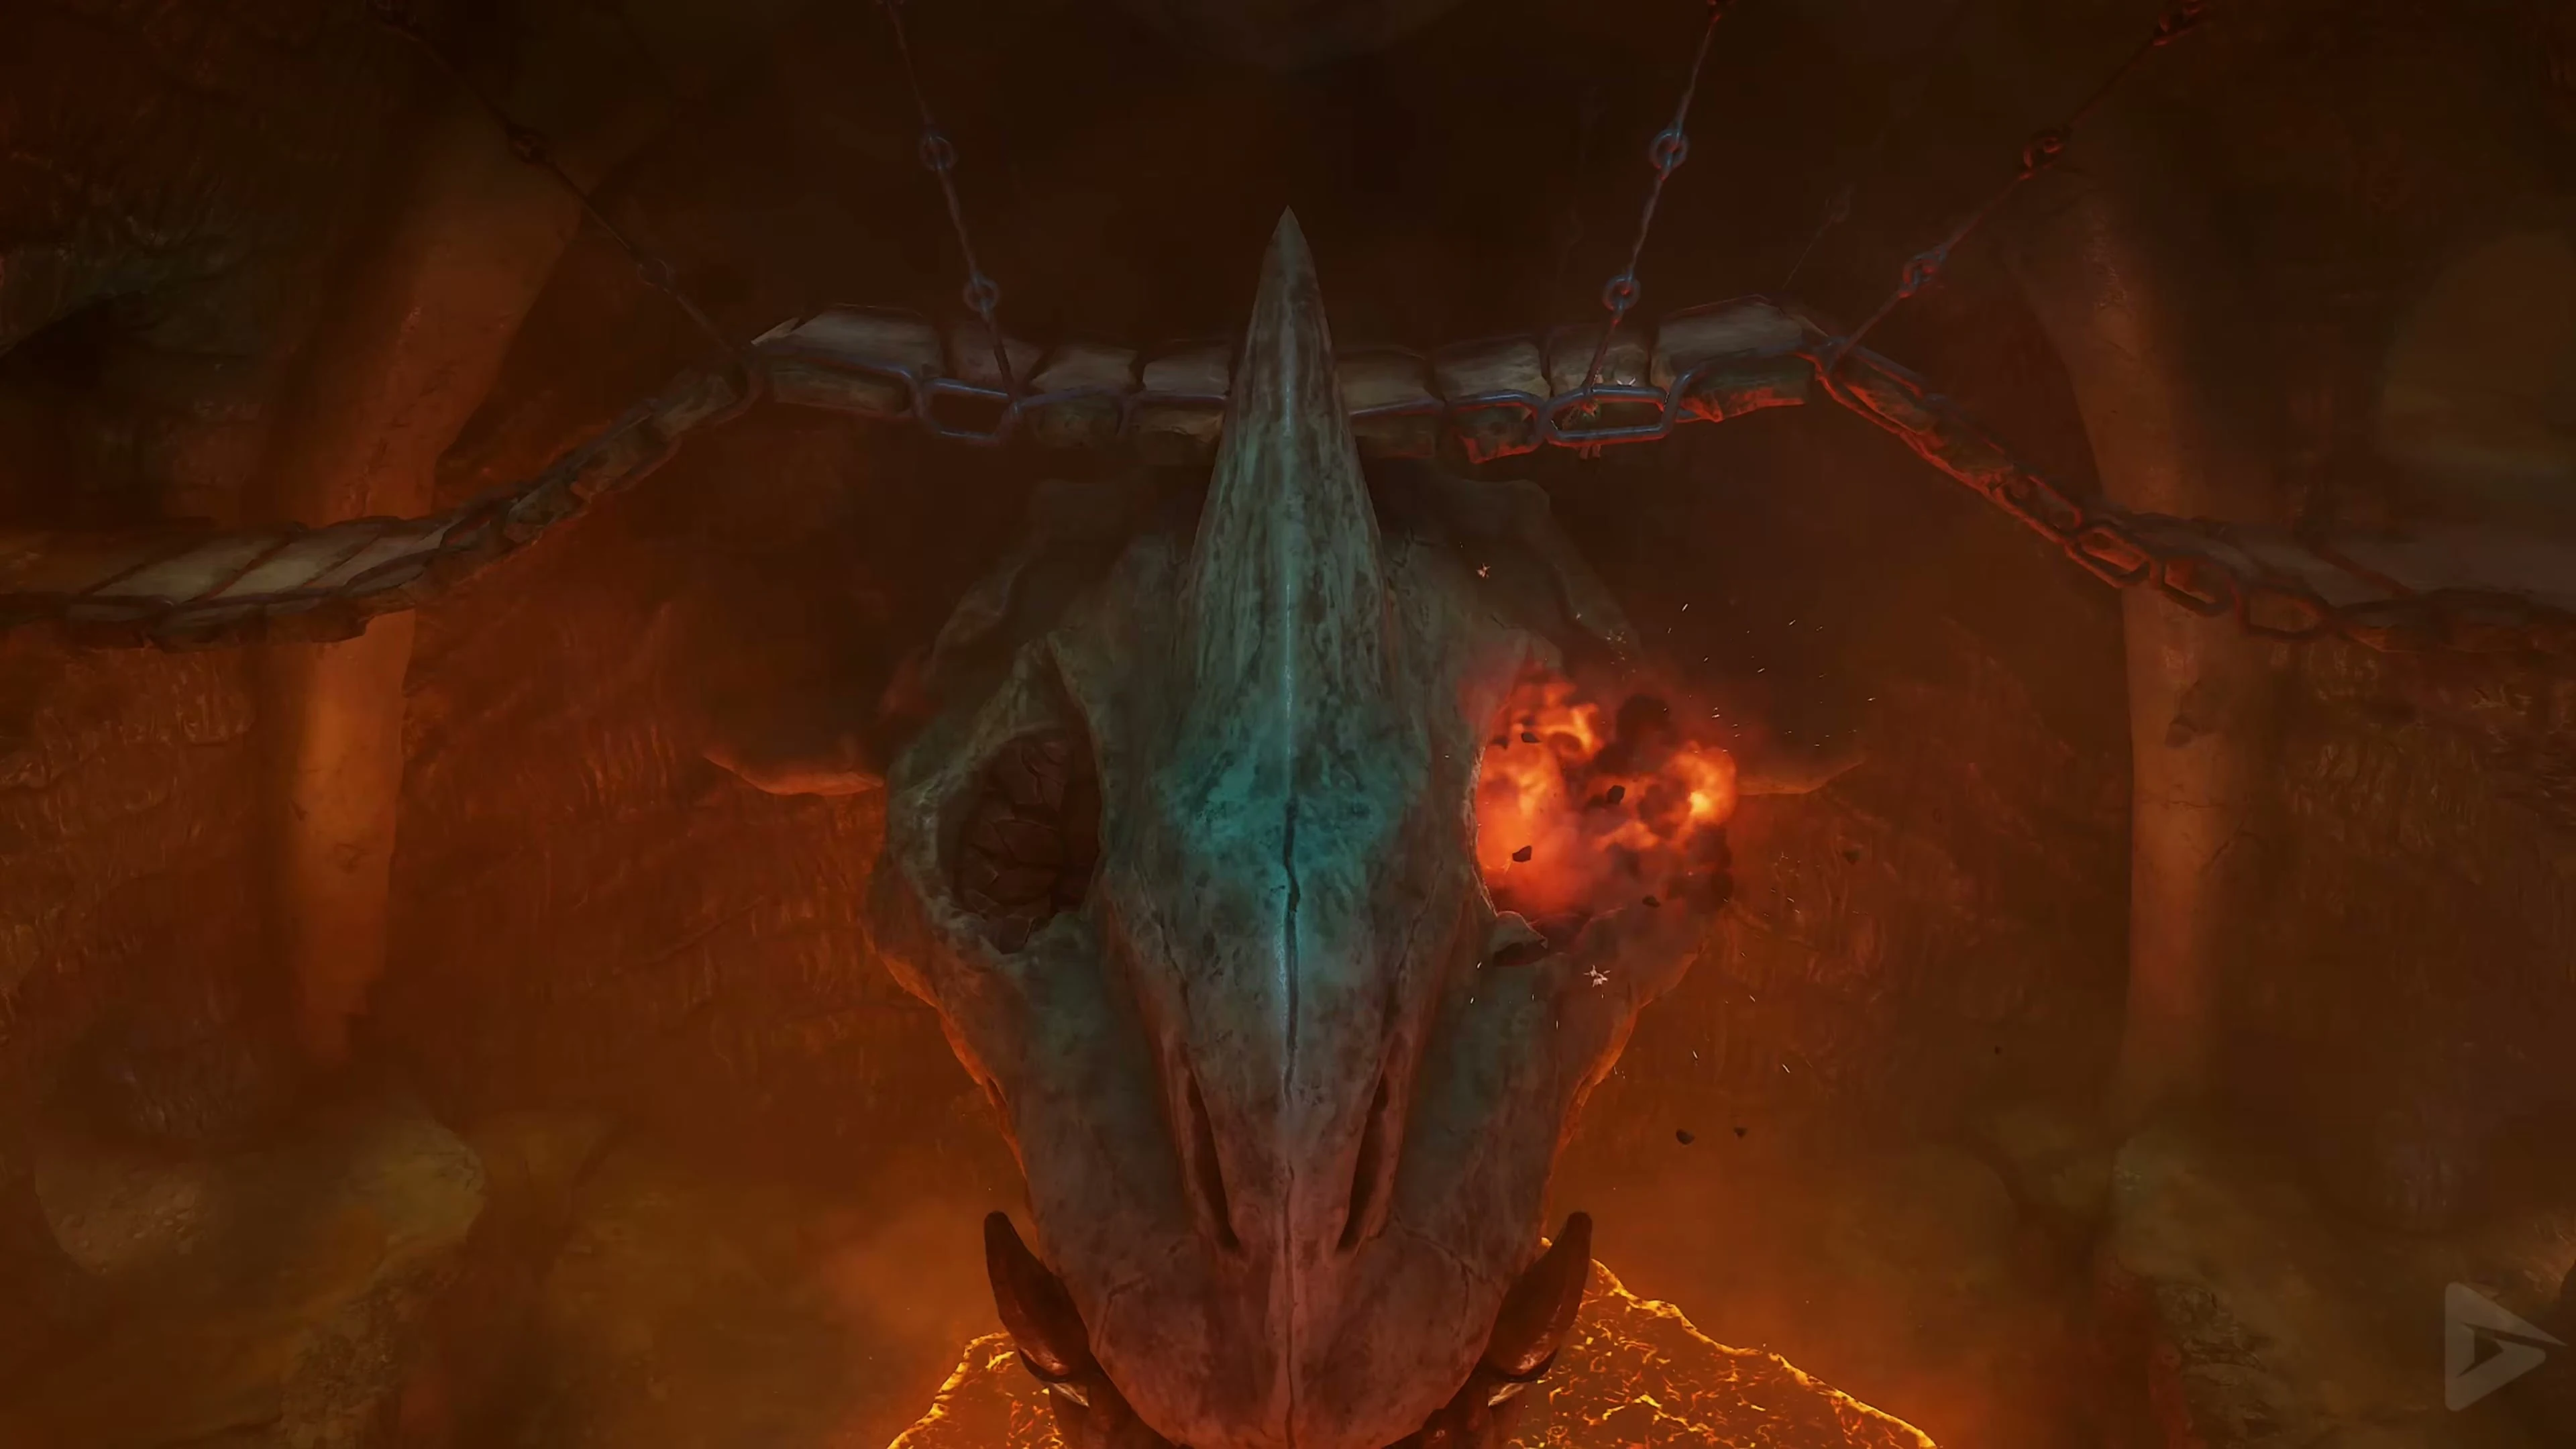
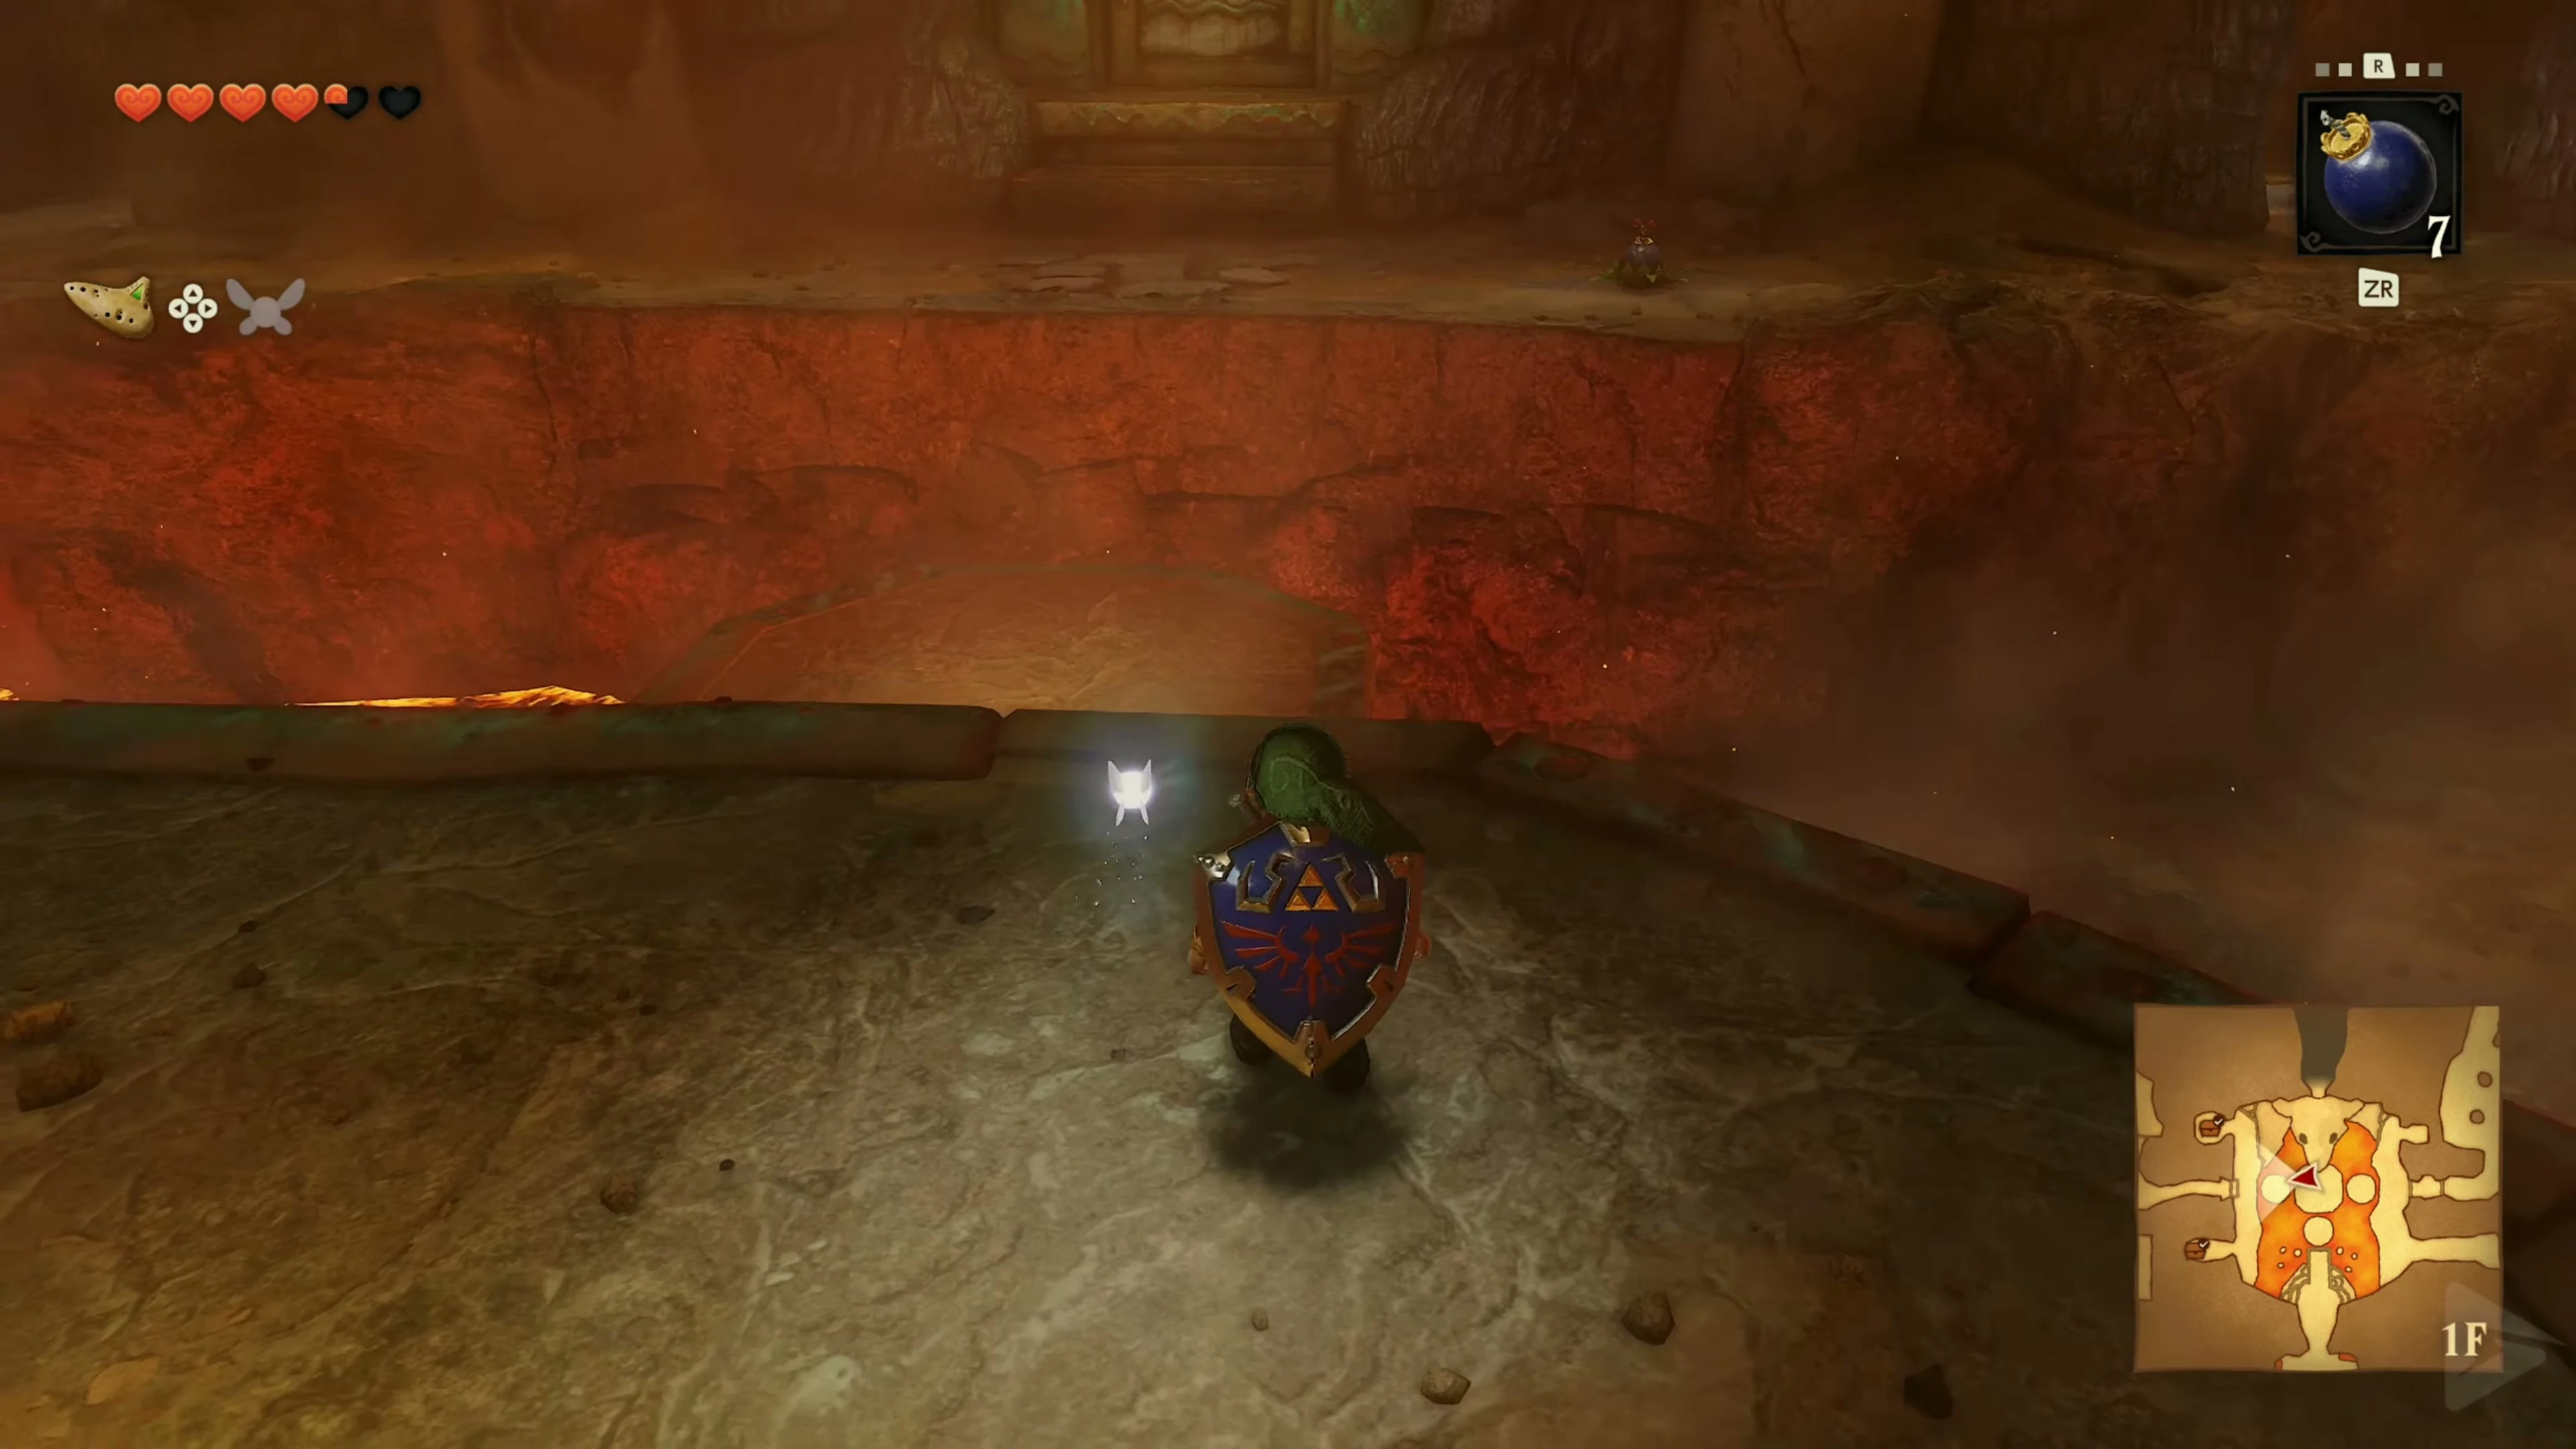
Go to the northern bridge over the stone Dodongo head . The two openings in the bridge floor are above his eye sockets. Stand at the first one and place a bomb so that it falls directly into the eye. Once the explosion causes it to light up red, repeat this on the second hole. If both eyes are inflamed, the lower jaw drops. At the other end of the bridge, behind a wall that can be blown up, there is only a small chest with a Deku Shield ; since you already own it, you will receive 5 Rupees . Then go down to the lower hall and enter the opened mouth.
Block Puzzle and Skulltula 4
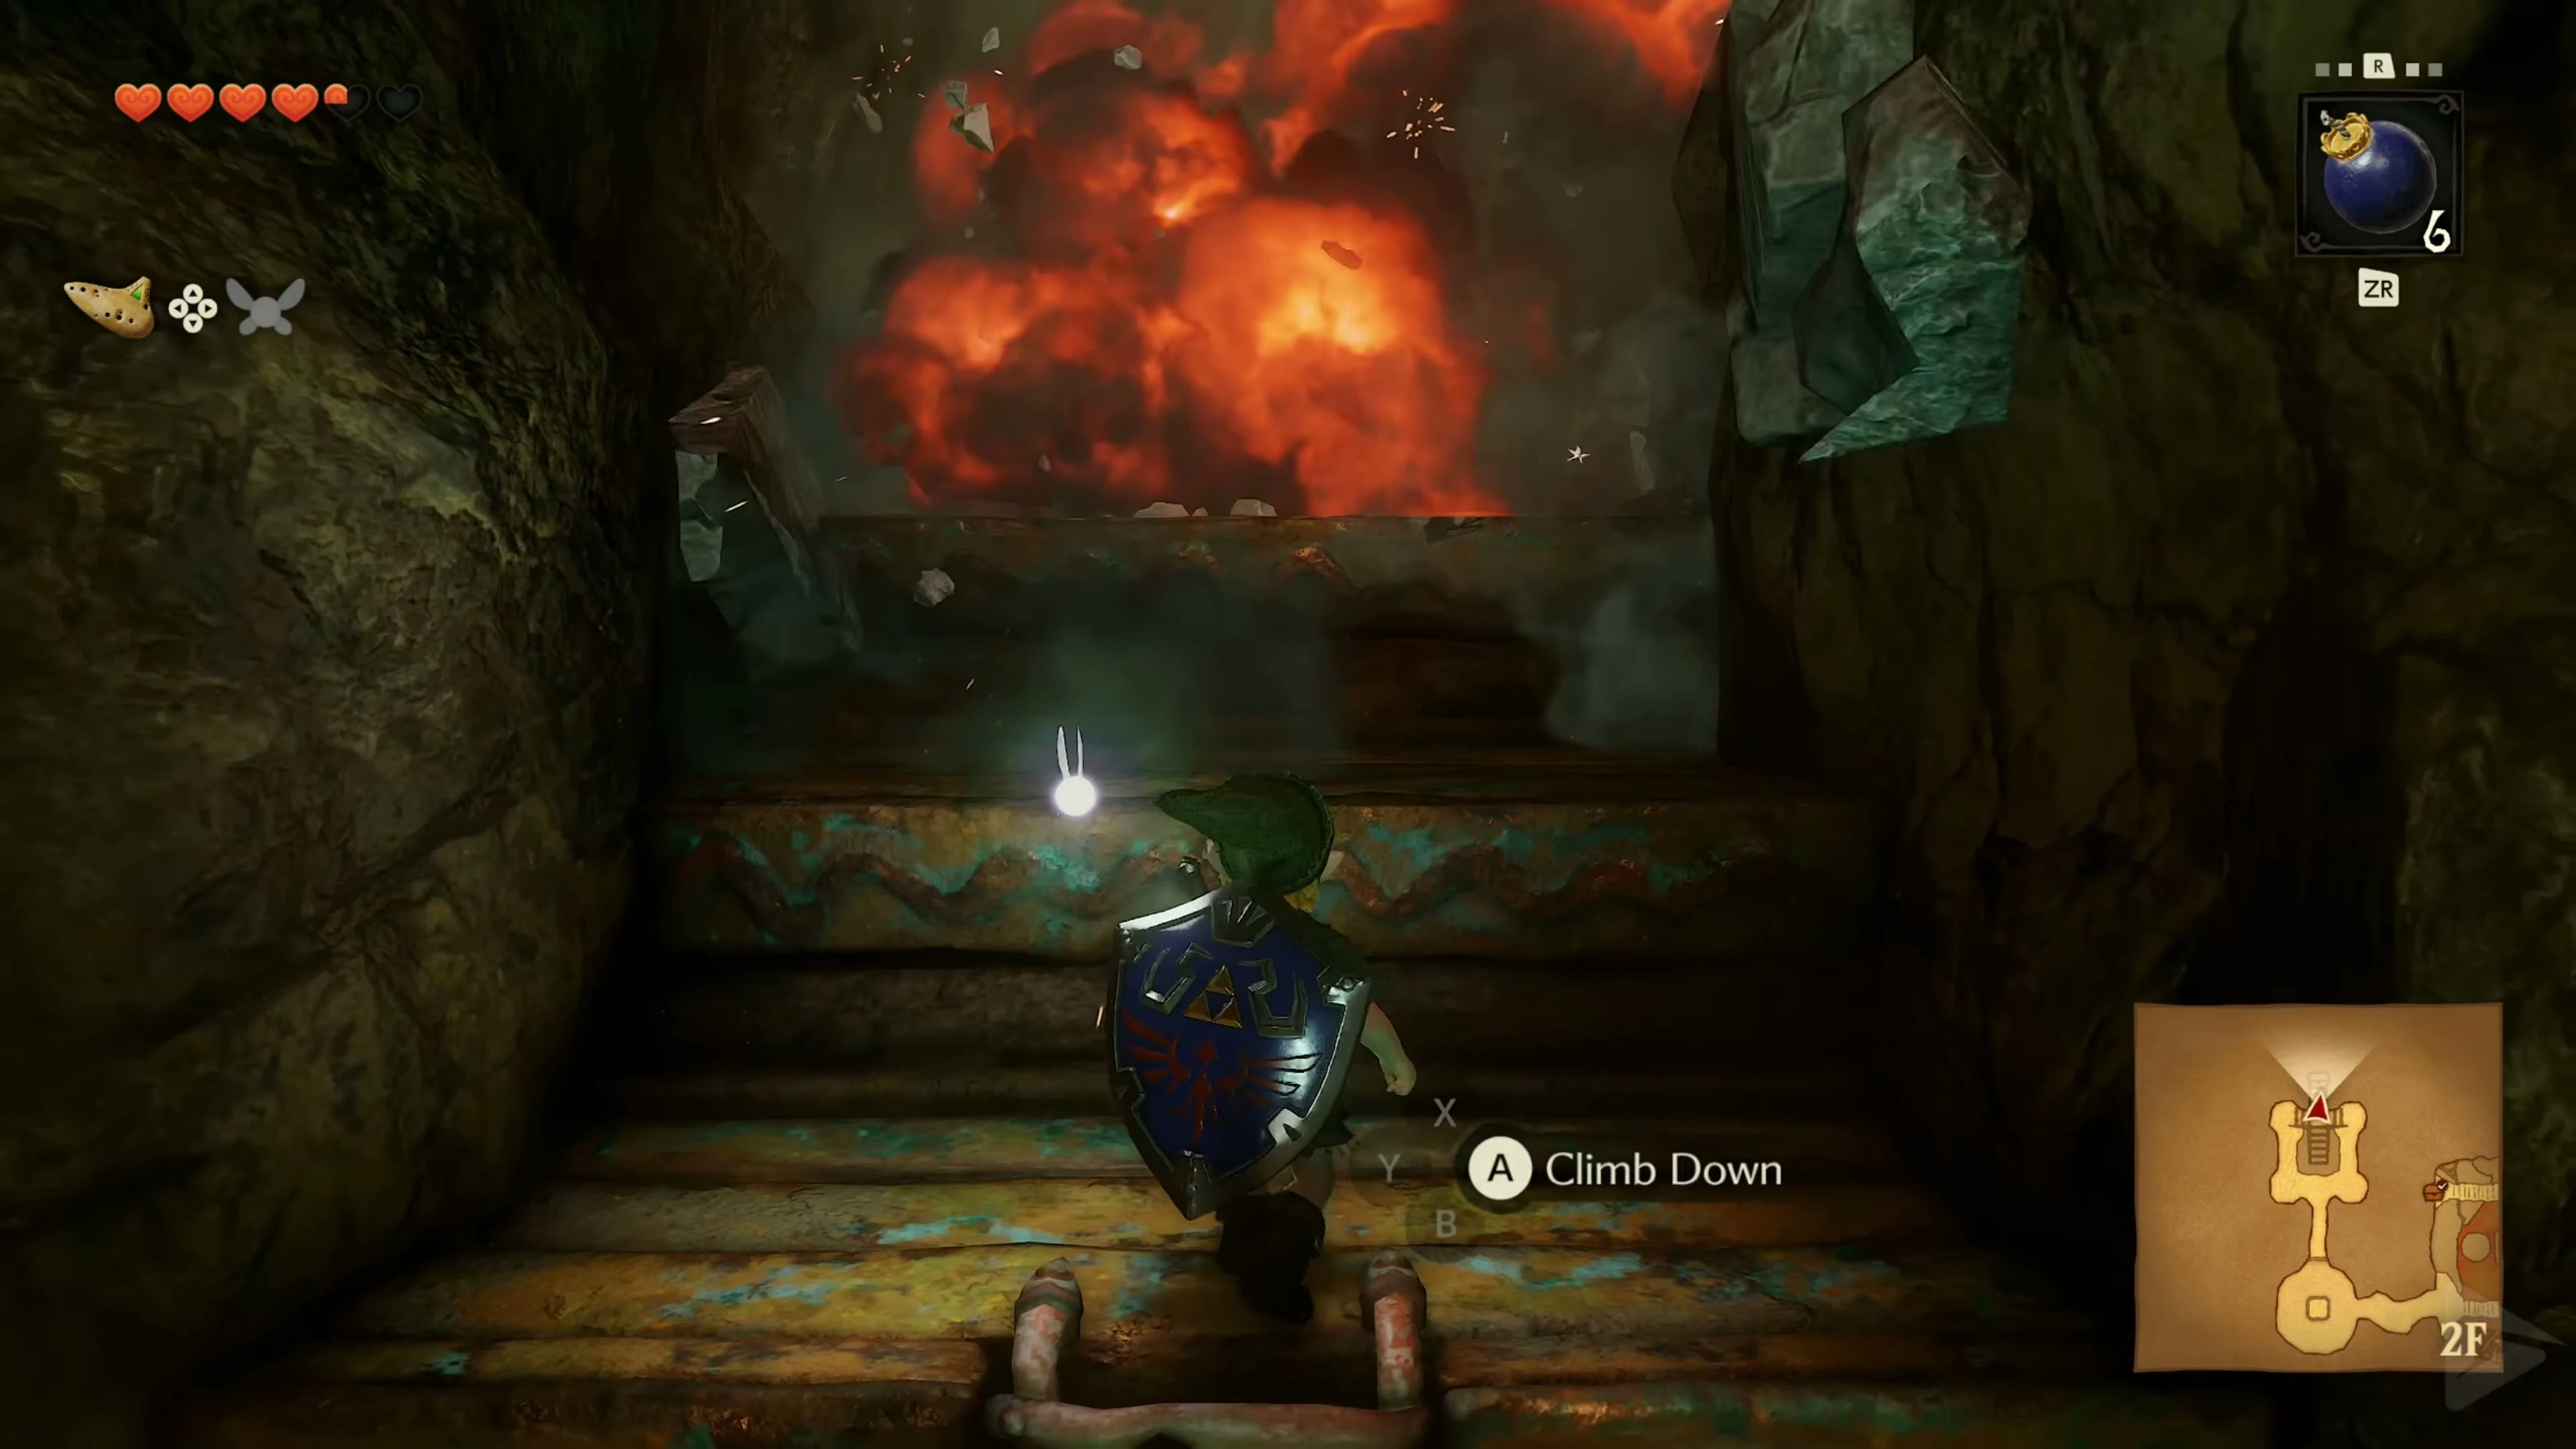
Behind the Dodongo Skull, stone steps lead to a cracked wall. Blow it up and open the chest in the wooden alcove for another Business Scrub Seed .
Defeat the Fire Keese in the room behind the skull. The switch for the boss path is in the depression in the floor; You can reach a suitable block via the back corridor. Follow the climb into the room with the moving stone blocks. Drag the lower block in front of the higher block . Climb onto it and push the top stone down from the parapet. First drag this stone to the western wall under the cracked section . Place a bomb on the block to blow up the raised side entrance. Three baby Dodongos and a living Armos statue wait behind him. Lure the enemies out of your direction, eliminate them and defeat Gold Skulltula 4/5 on the back wall. Collect her token . Your own bombs are necessary for this detour; it is right next to the normal block puzzle.
Push the last block onto the floor switch
Return to the large stone block and drag it further to the southern edge of the room . From there you reach the next raised block. Push it out of the way and climb into the passage behind it. There you reach the last stone, which you push down over the edge. Finally, slide it into the recess on the floor switch. The door to the boss area now remains open. You can find healing in the pots along the way if you need it; You can take a fairy with you in one of your free bottles.
To the boss room
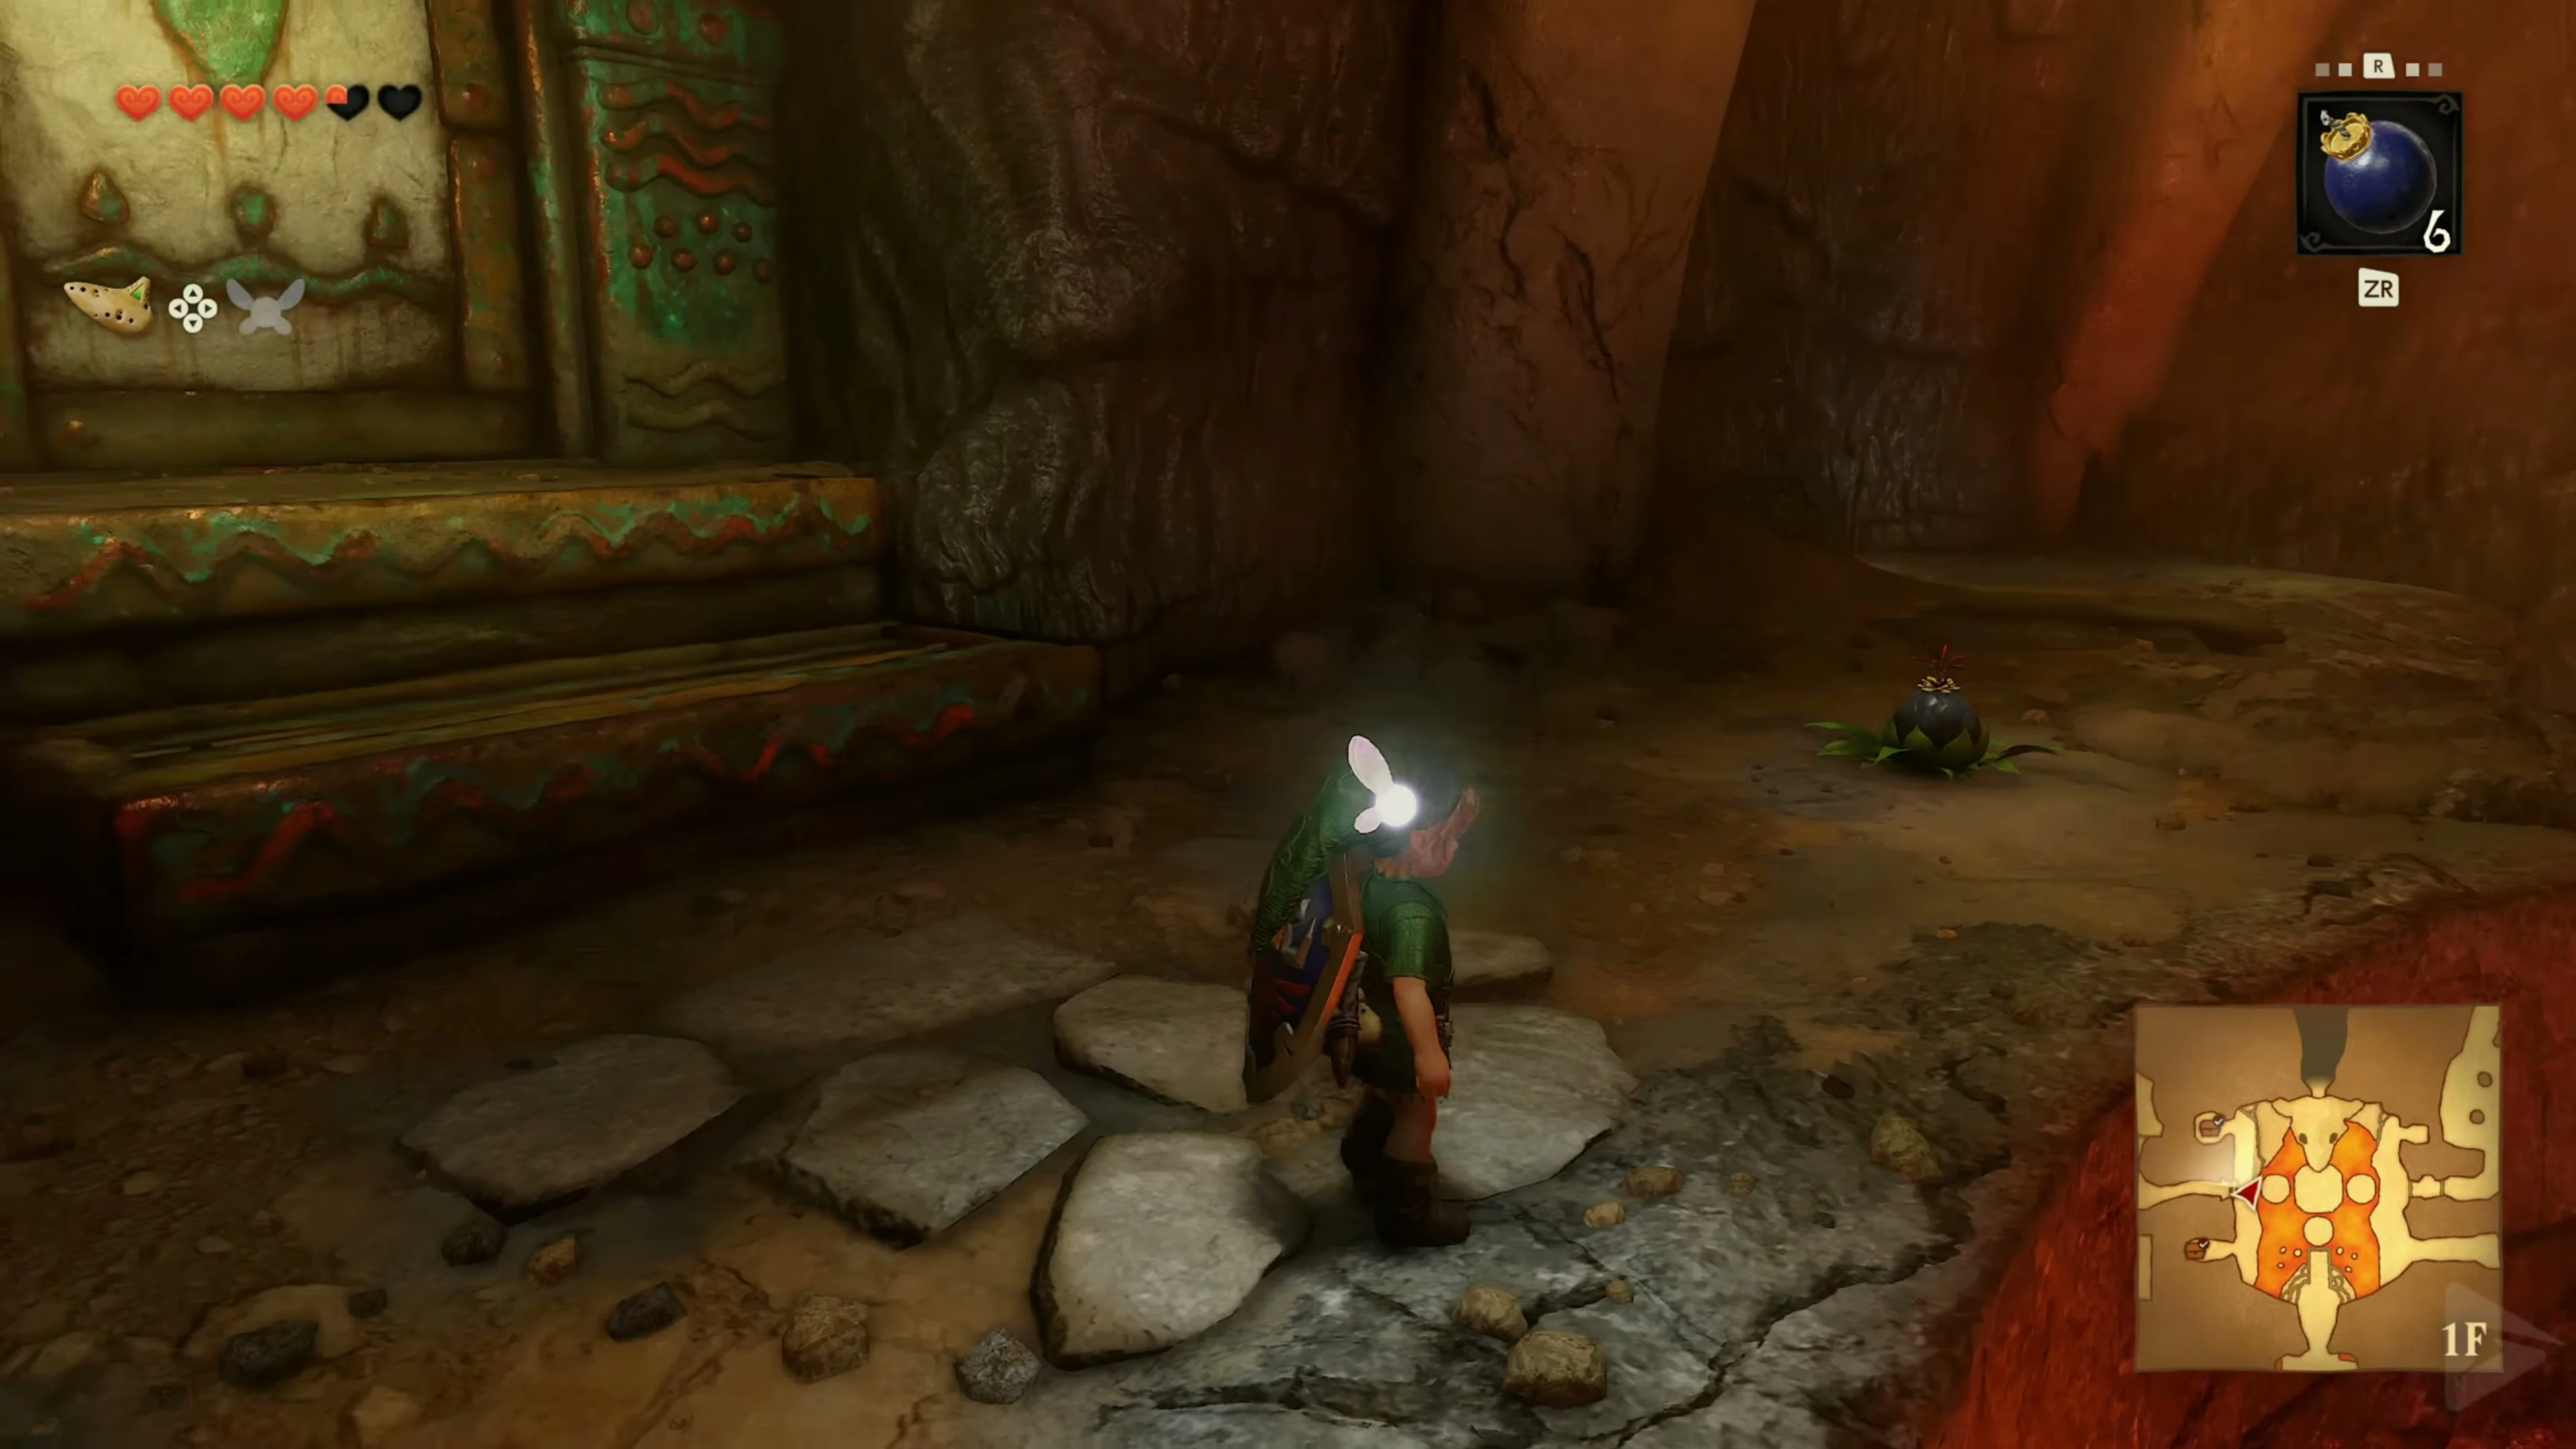
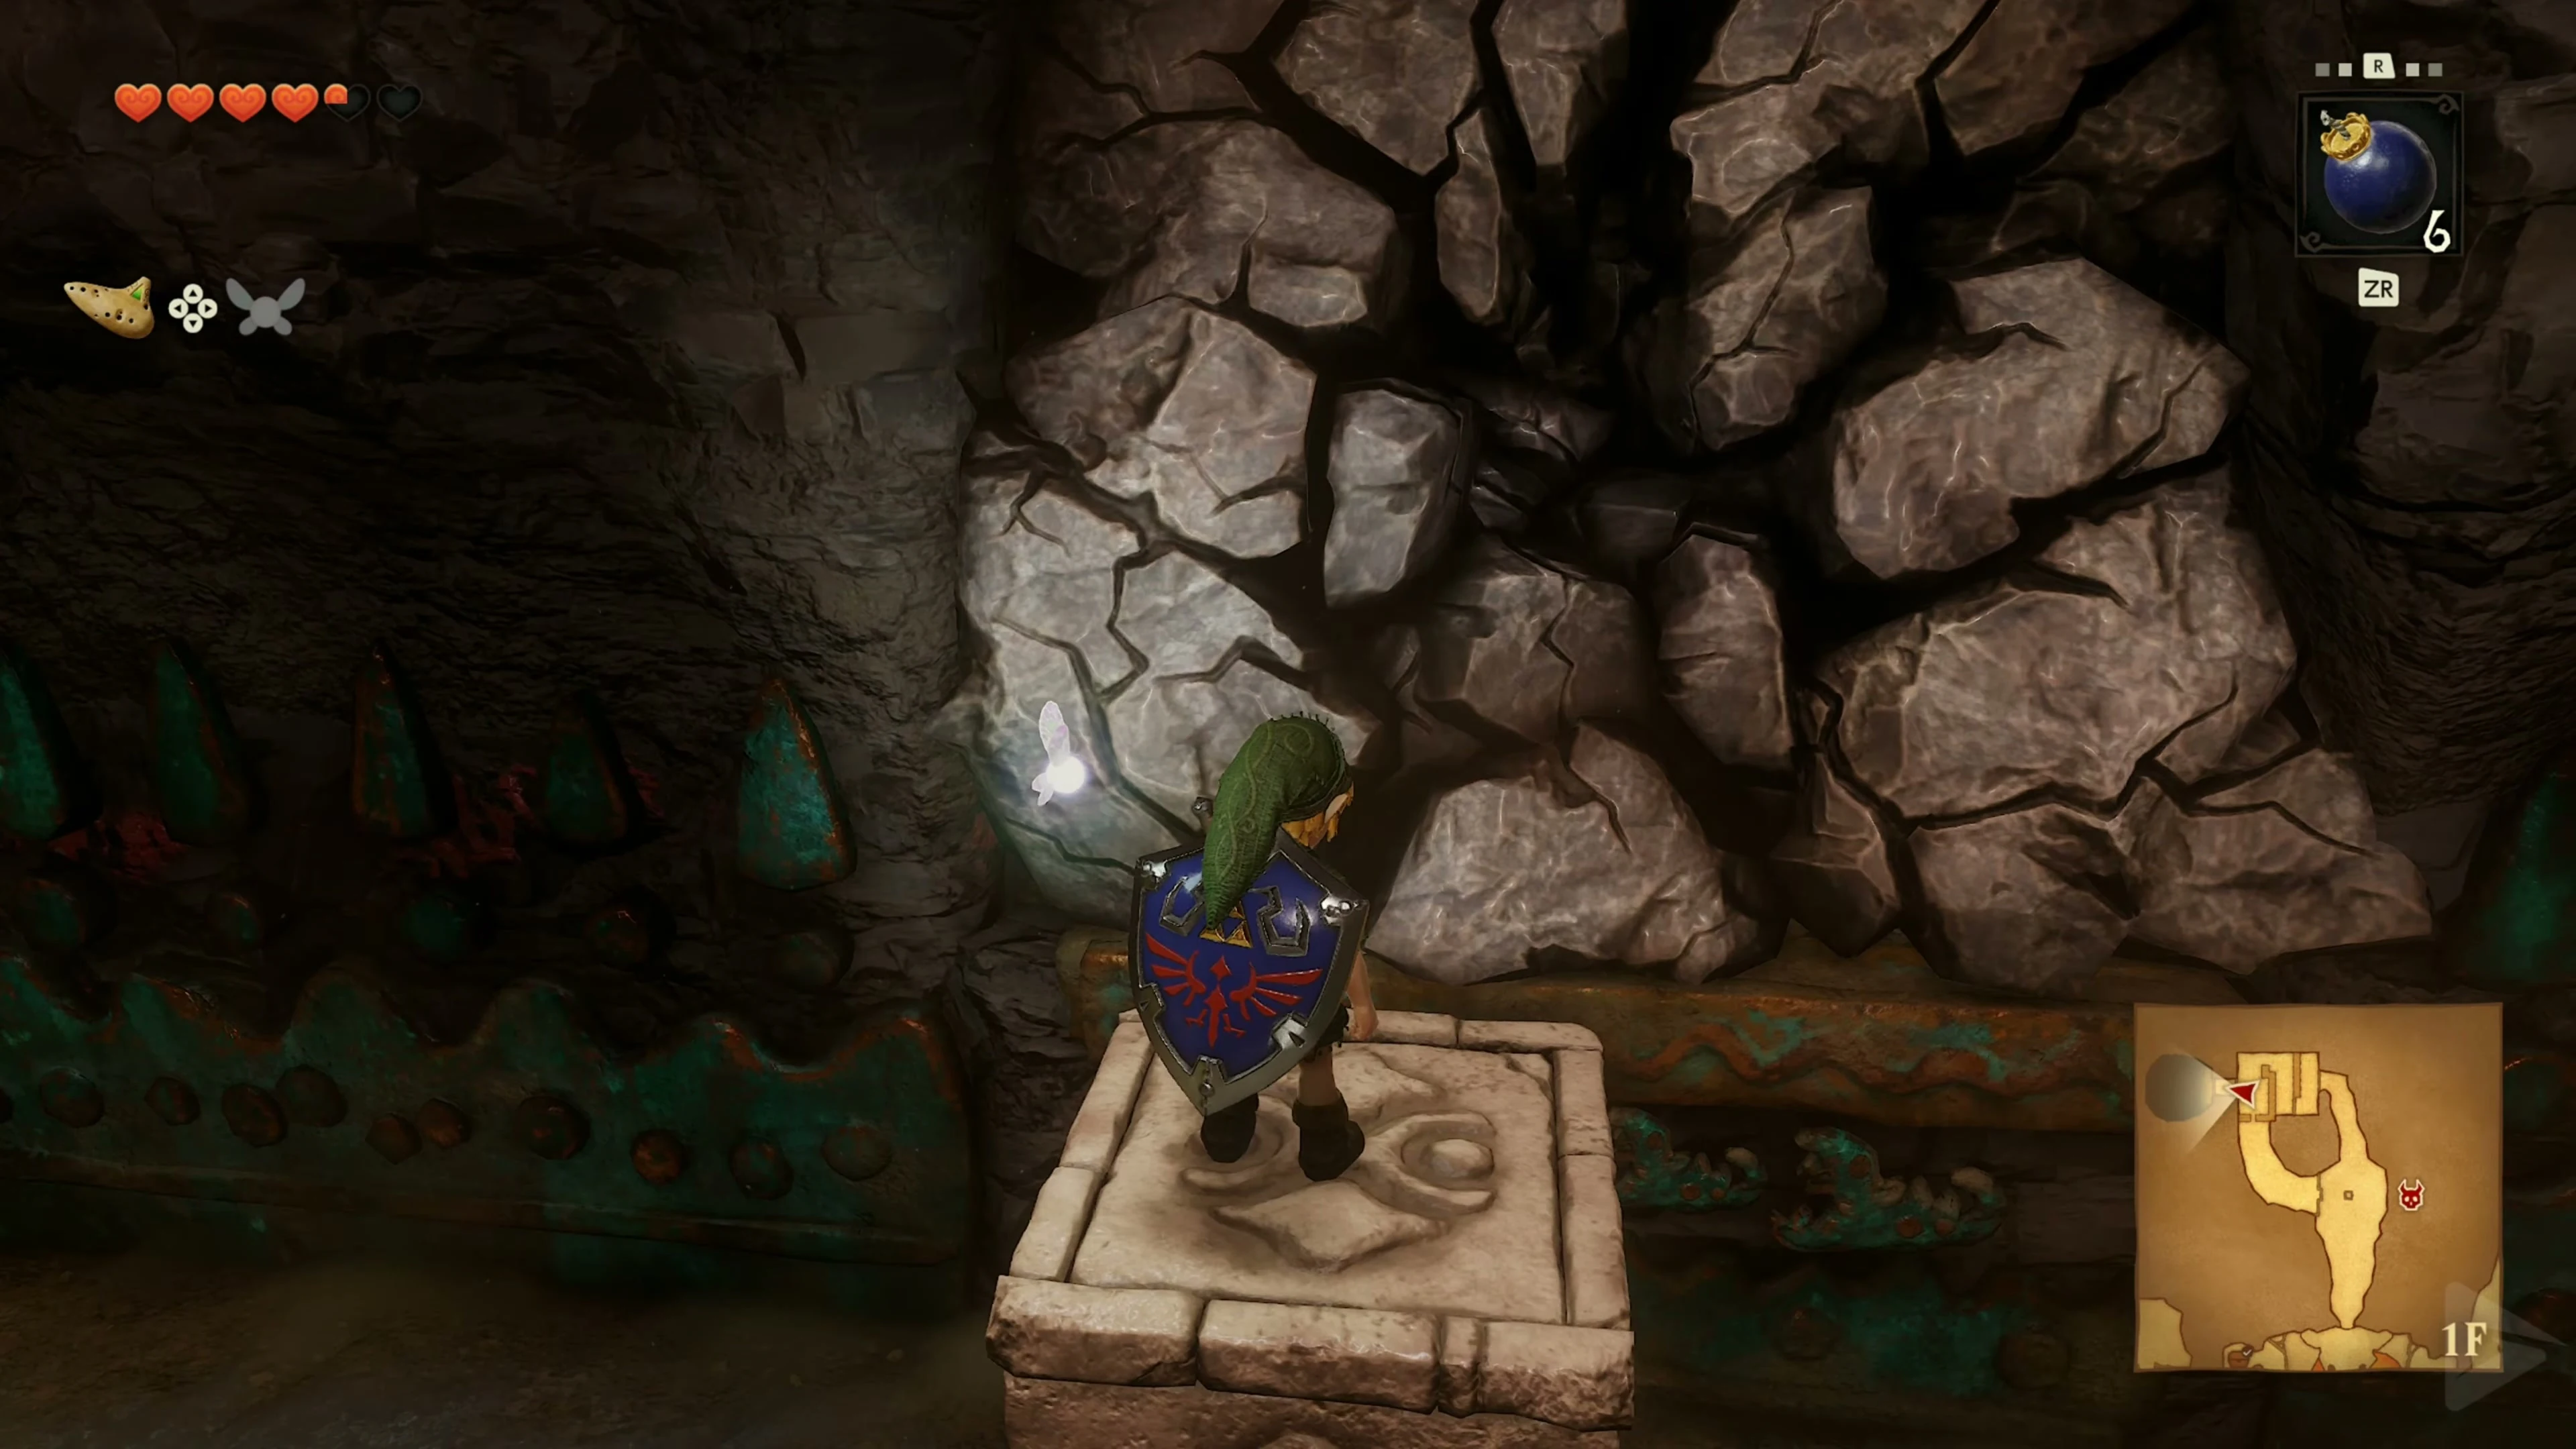
Fill up your bombs in the last room and place a bomb on the fragile floor area in the middle . Step back and jump through the hole after the explosion. The fight against King Dodongo begins below.
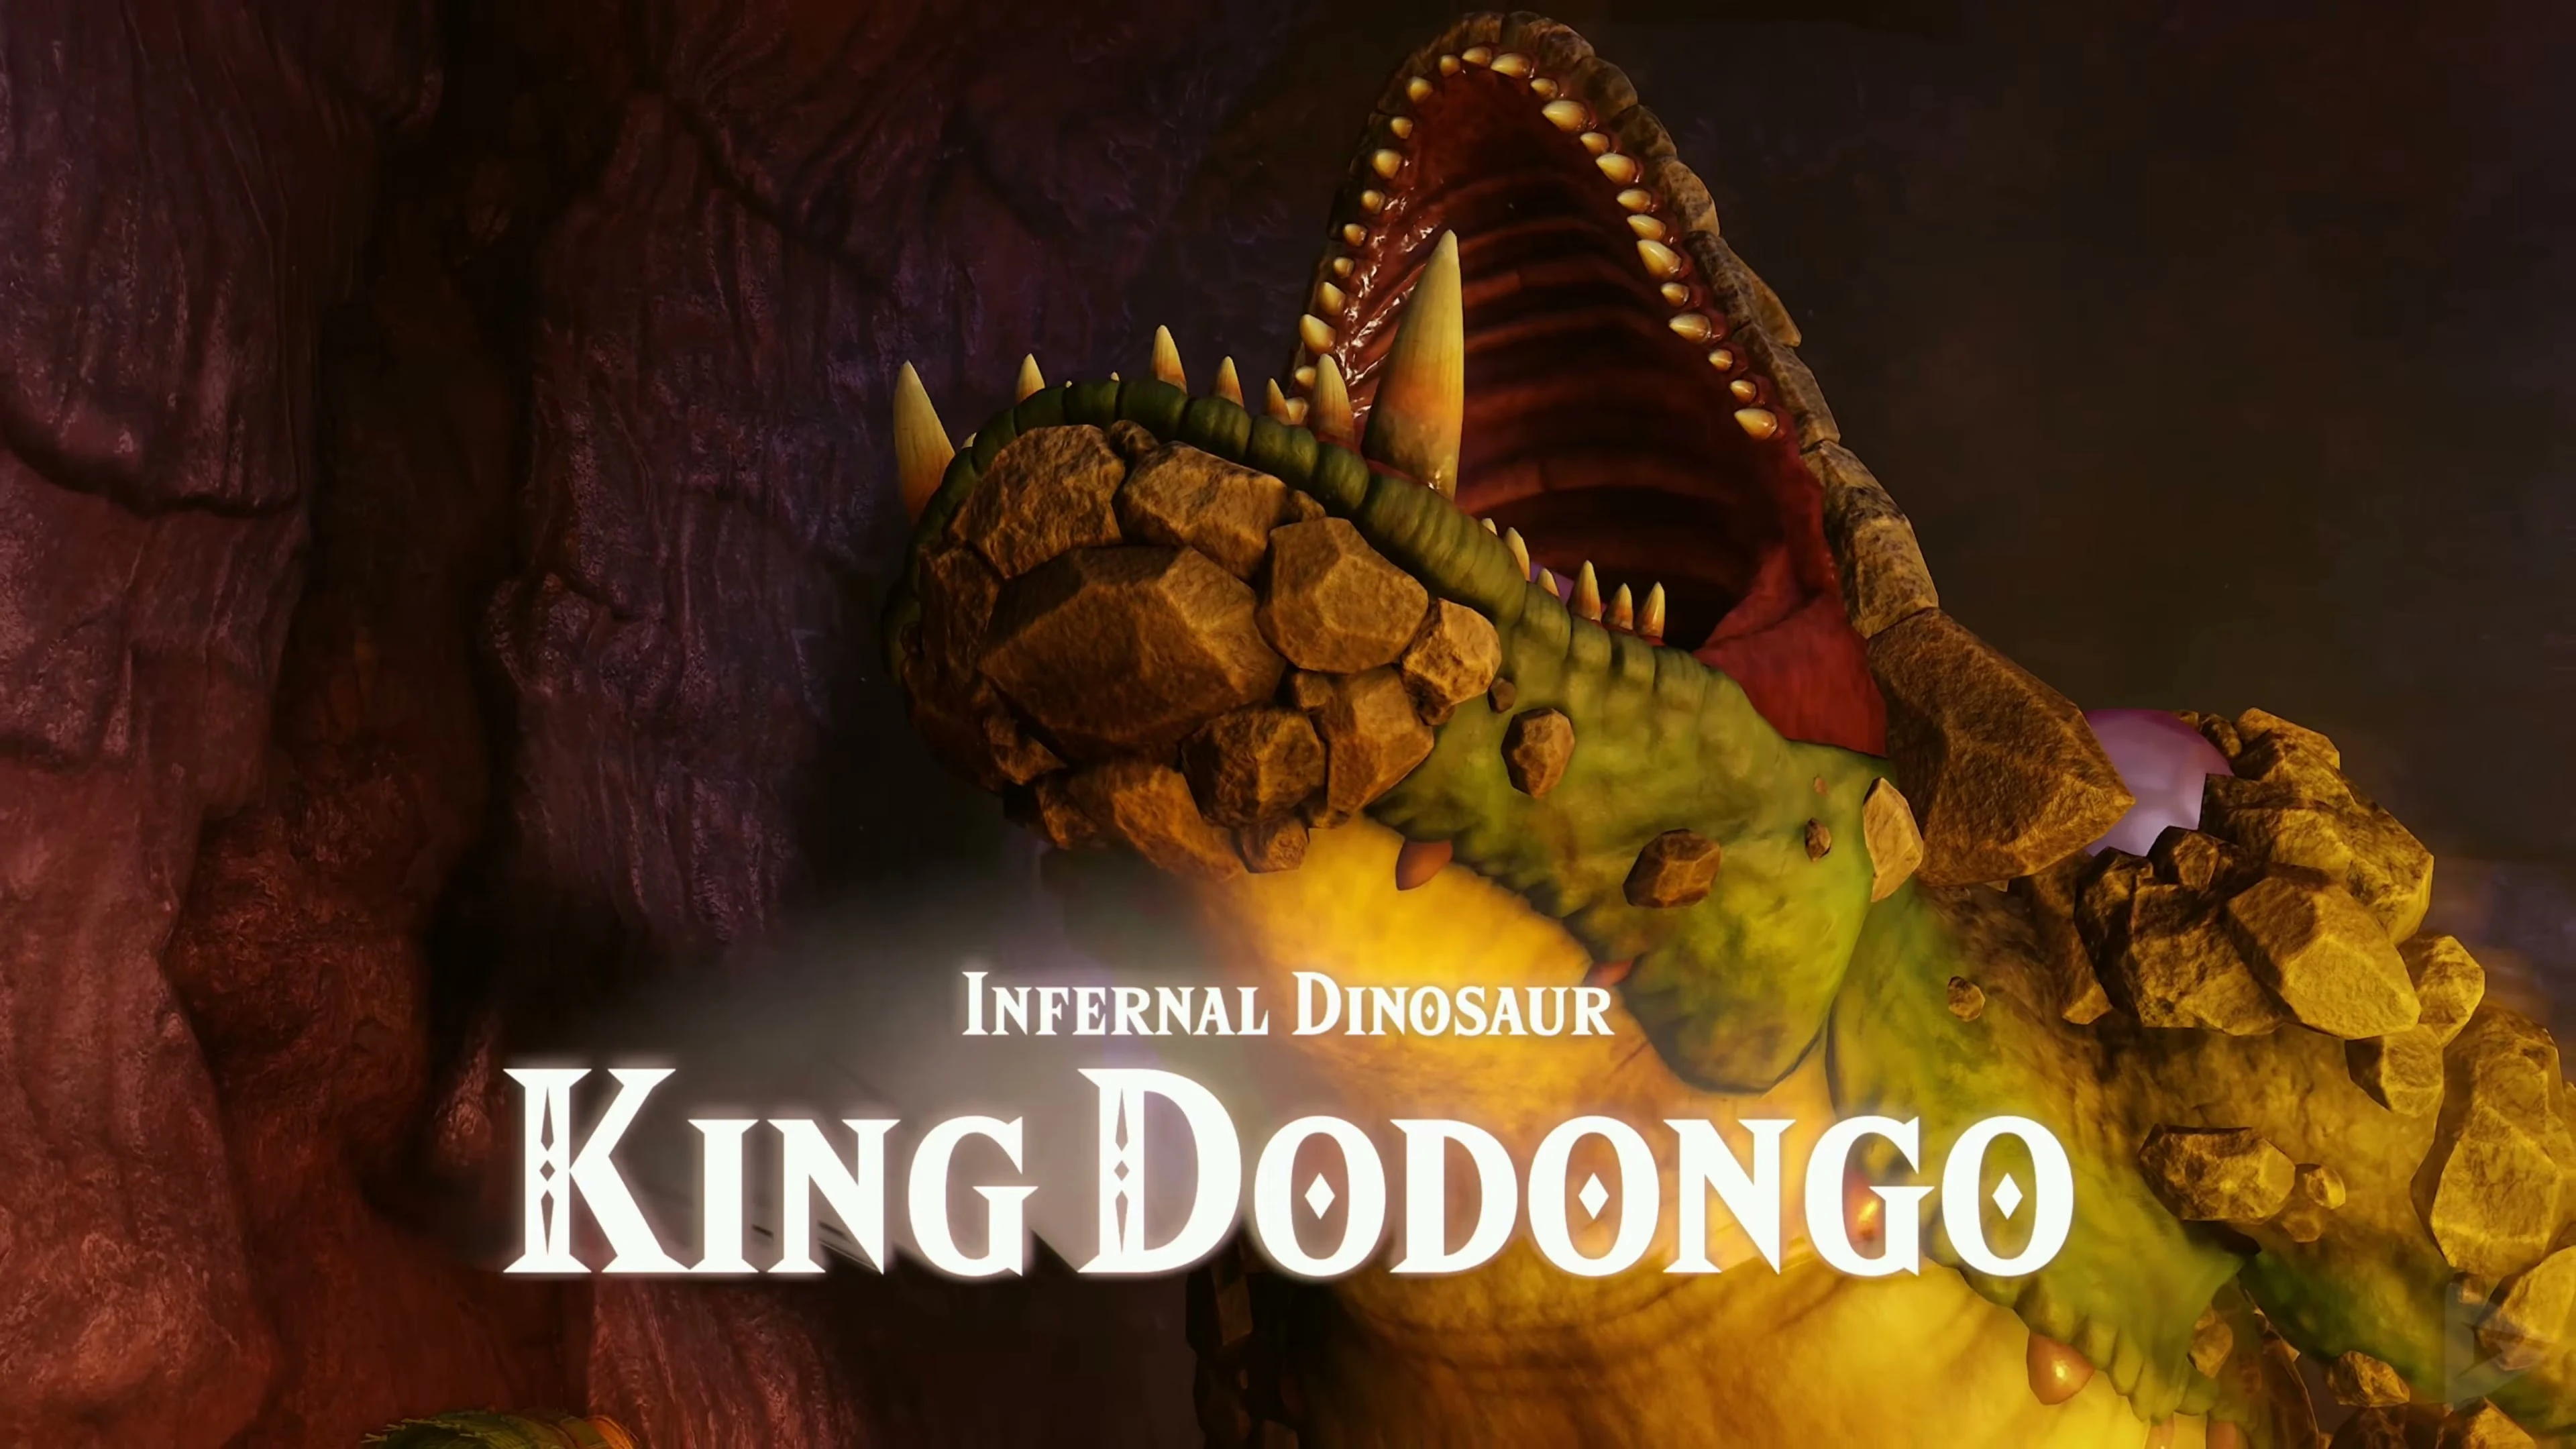
Infernosaurus King Dodongo
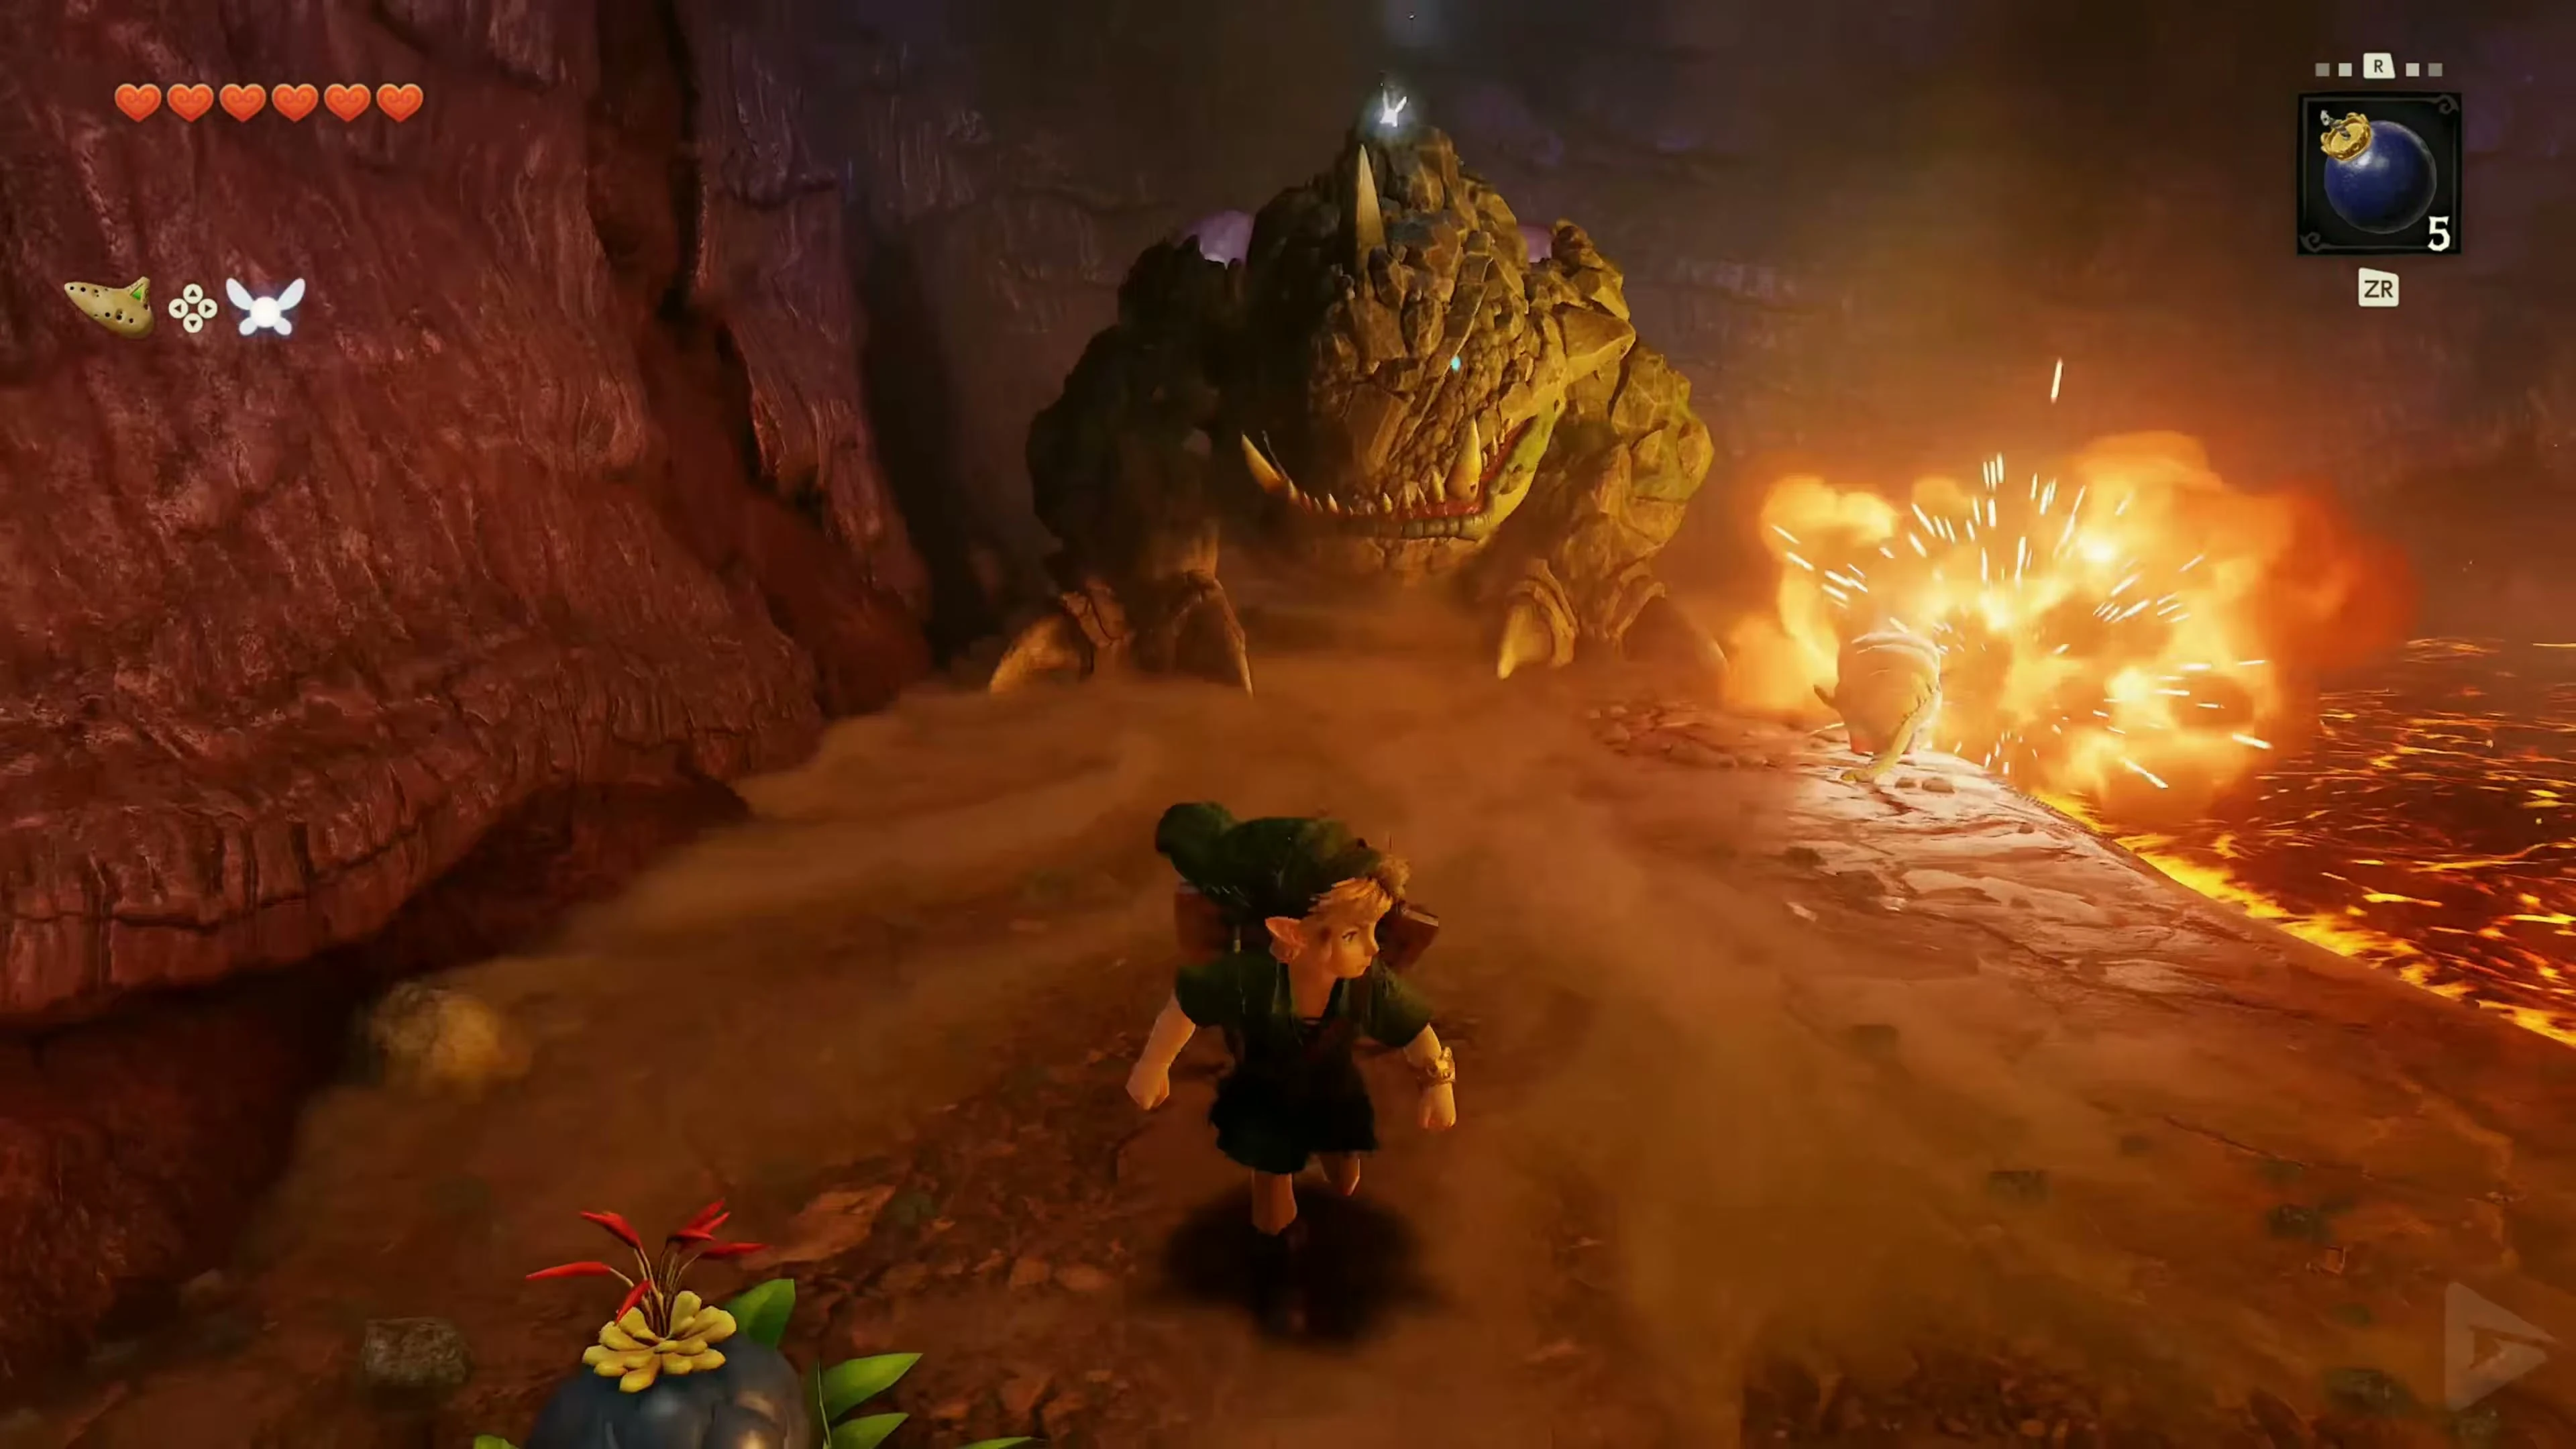
King Dodongo moves on the fixed path around the lava. Aim at his head and stay on the stone floor. He breathes fire and, after a damage phase, switches to rolling or charging. To attack, wait until it opens its mouth wide and sucks in air.
Bomb into the open mouth
Throw a Bomb into the open mouth before the fire breath starts. After the explosion, his head falls to the ground. Run up and attack him with the Kokiri Sword. A jump attack makes good use of the short opening. Back away as soon as he gets back up. When your bombs run out, you can use the Bomb Flowers at the edge of the arena. Eliminate baby dodongos that appear before they cut you off.
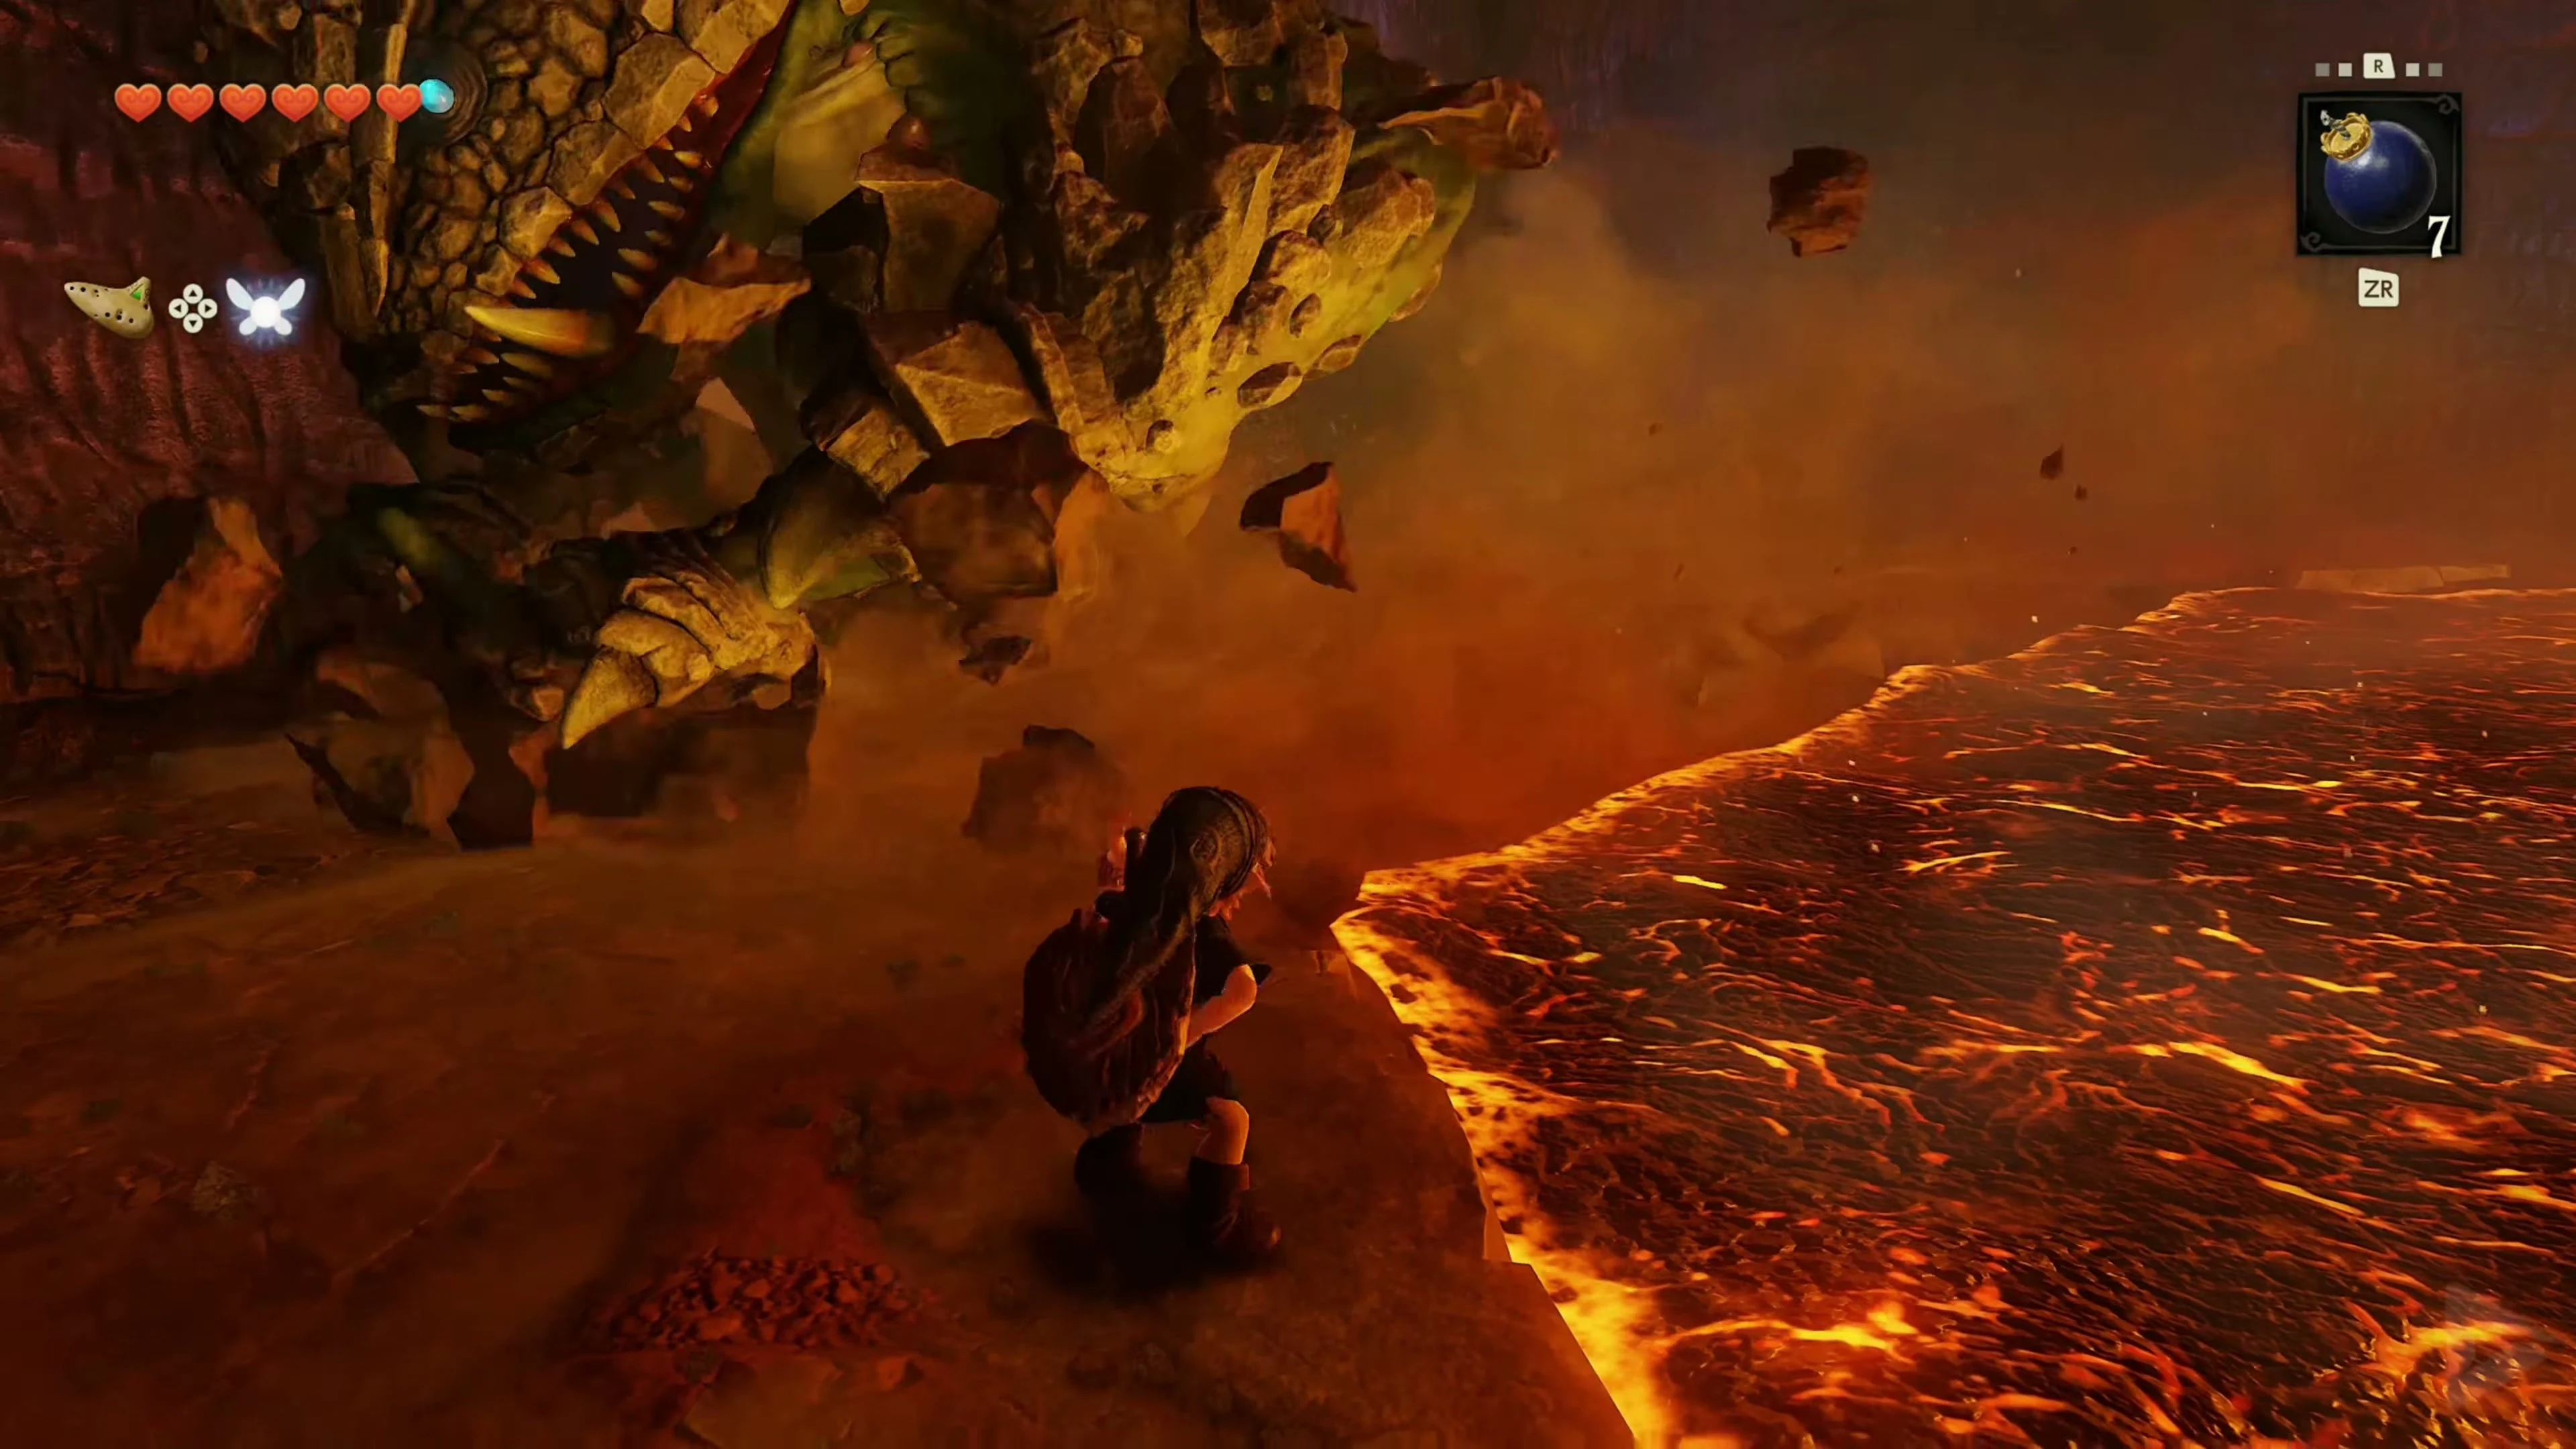
Dodge the roll attack
Pull back to an inner corner of the solid path right next to the lava and let King Dodongo pass on the outside. Stay on the stone floor. Wait until he stands again and turns to you. Then repeat Bomb and Sword Attack. If you miss the open mouth, avoid the fire to the side and wait for the next opportunity.
Heart Container and Goron Ruby
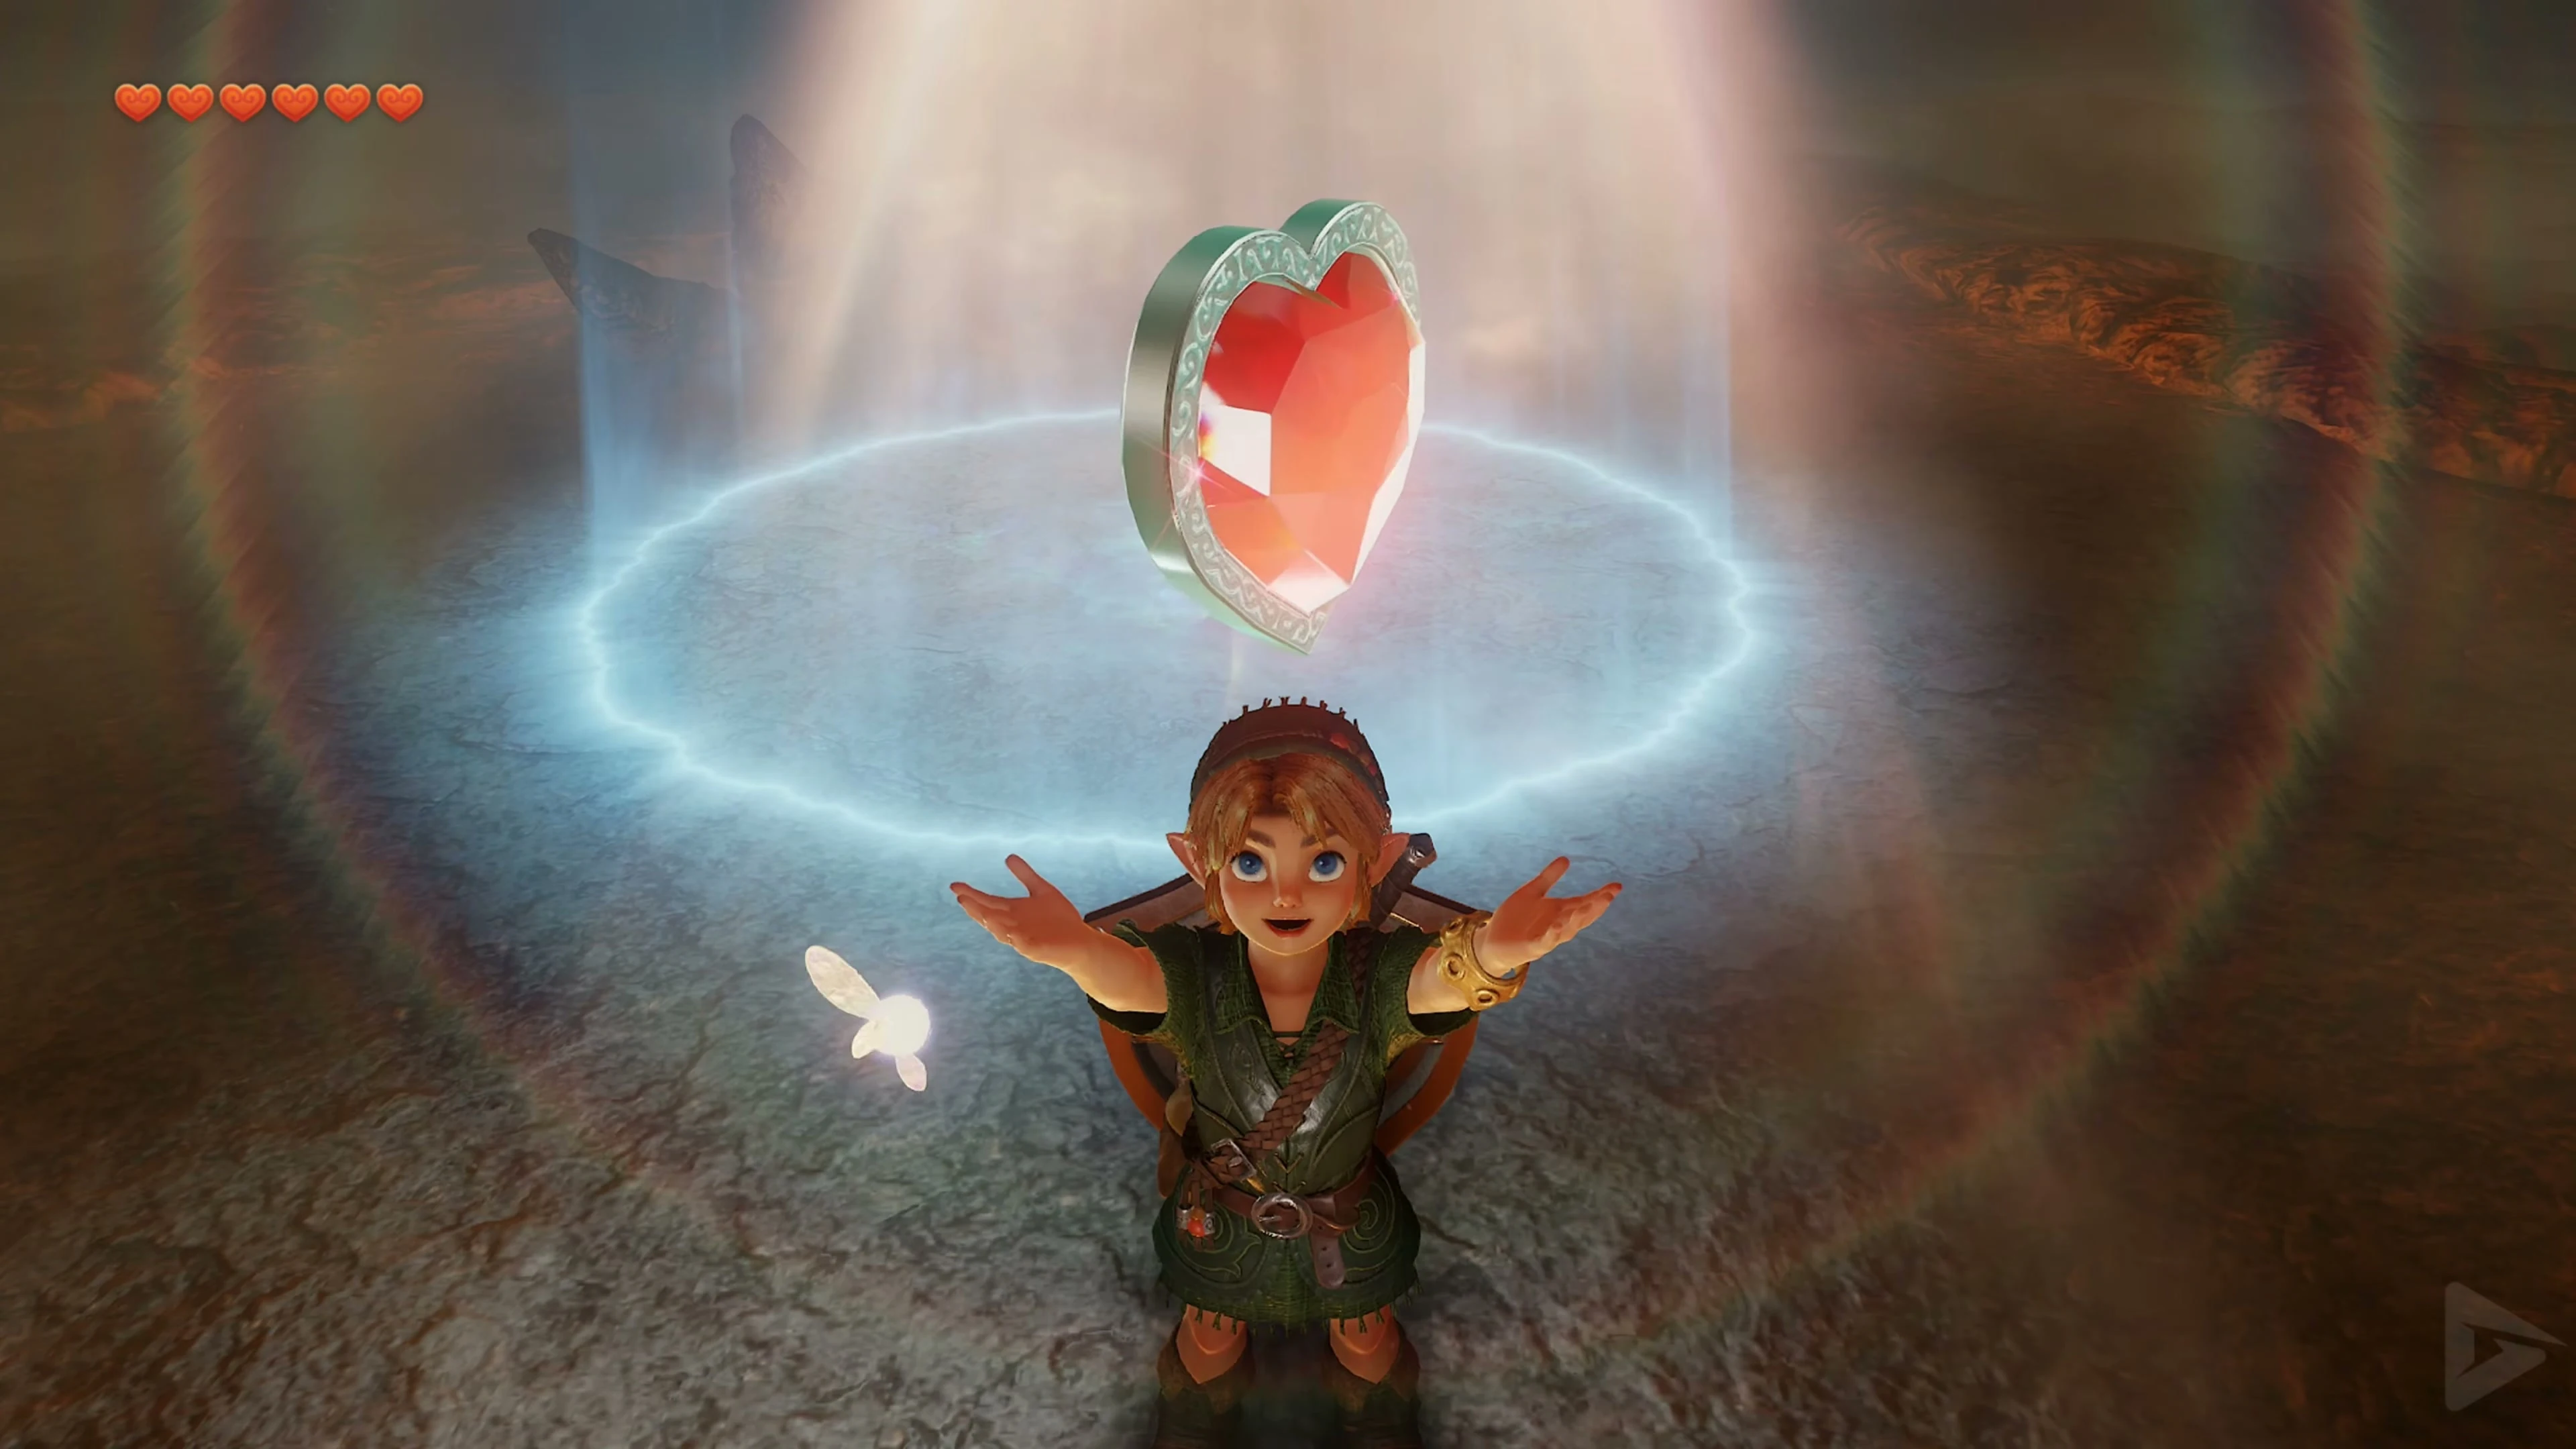
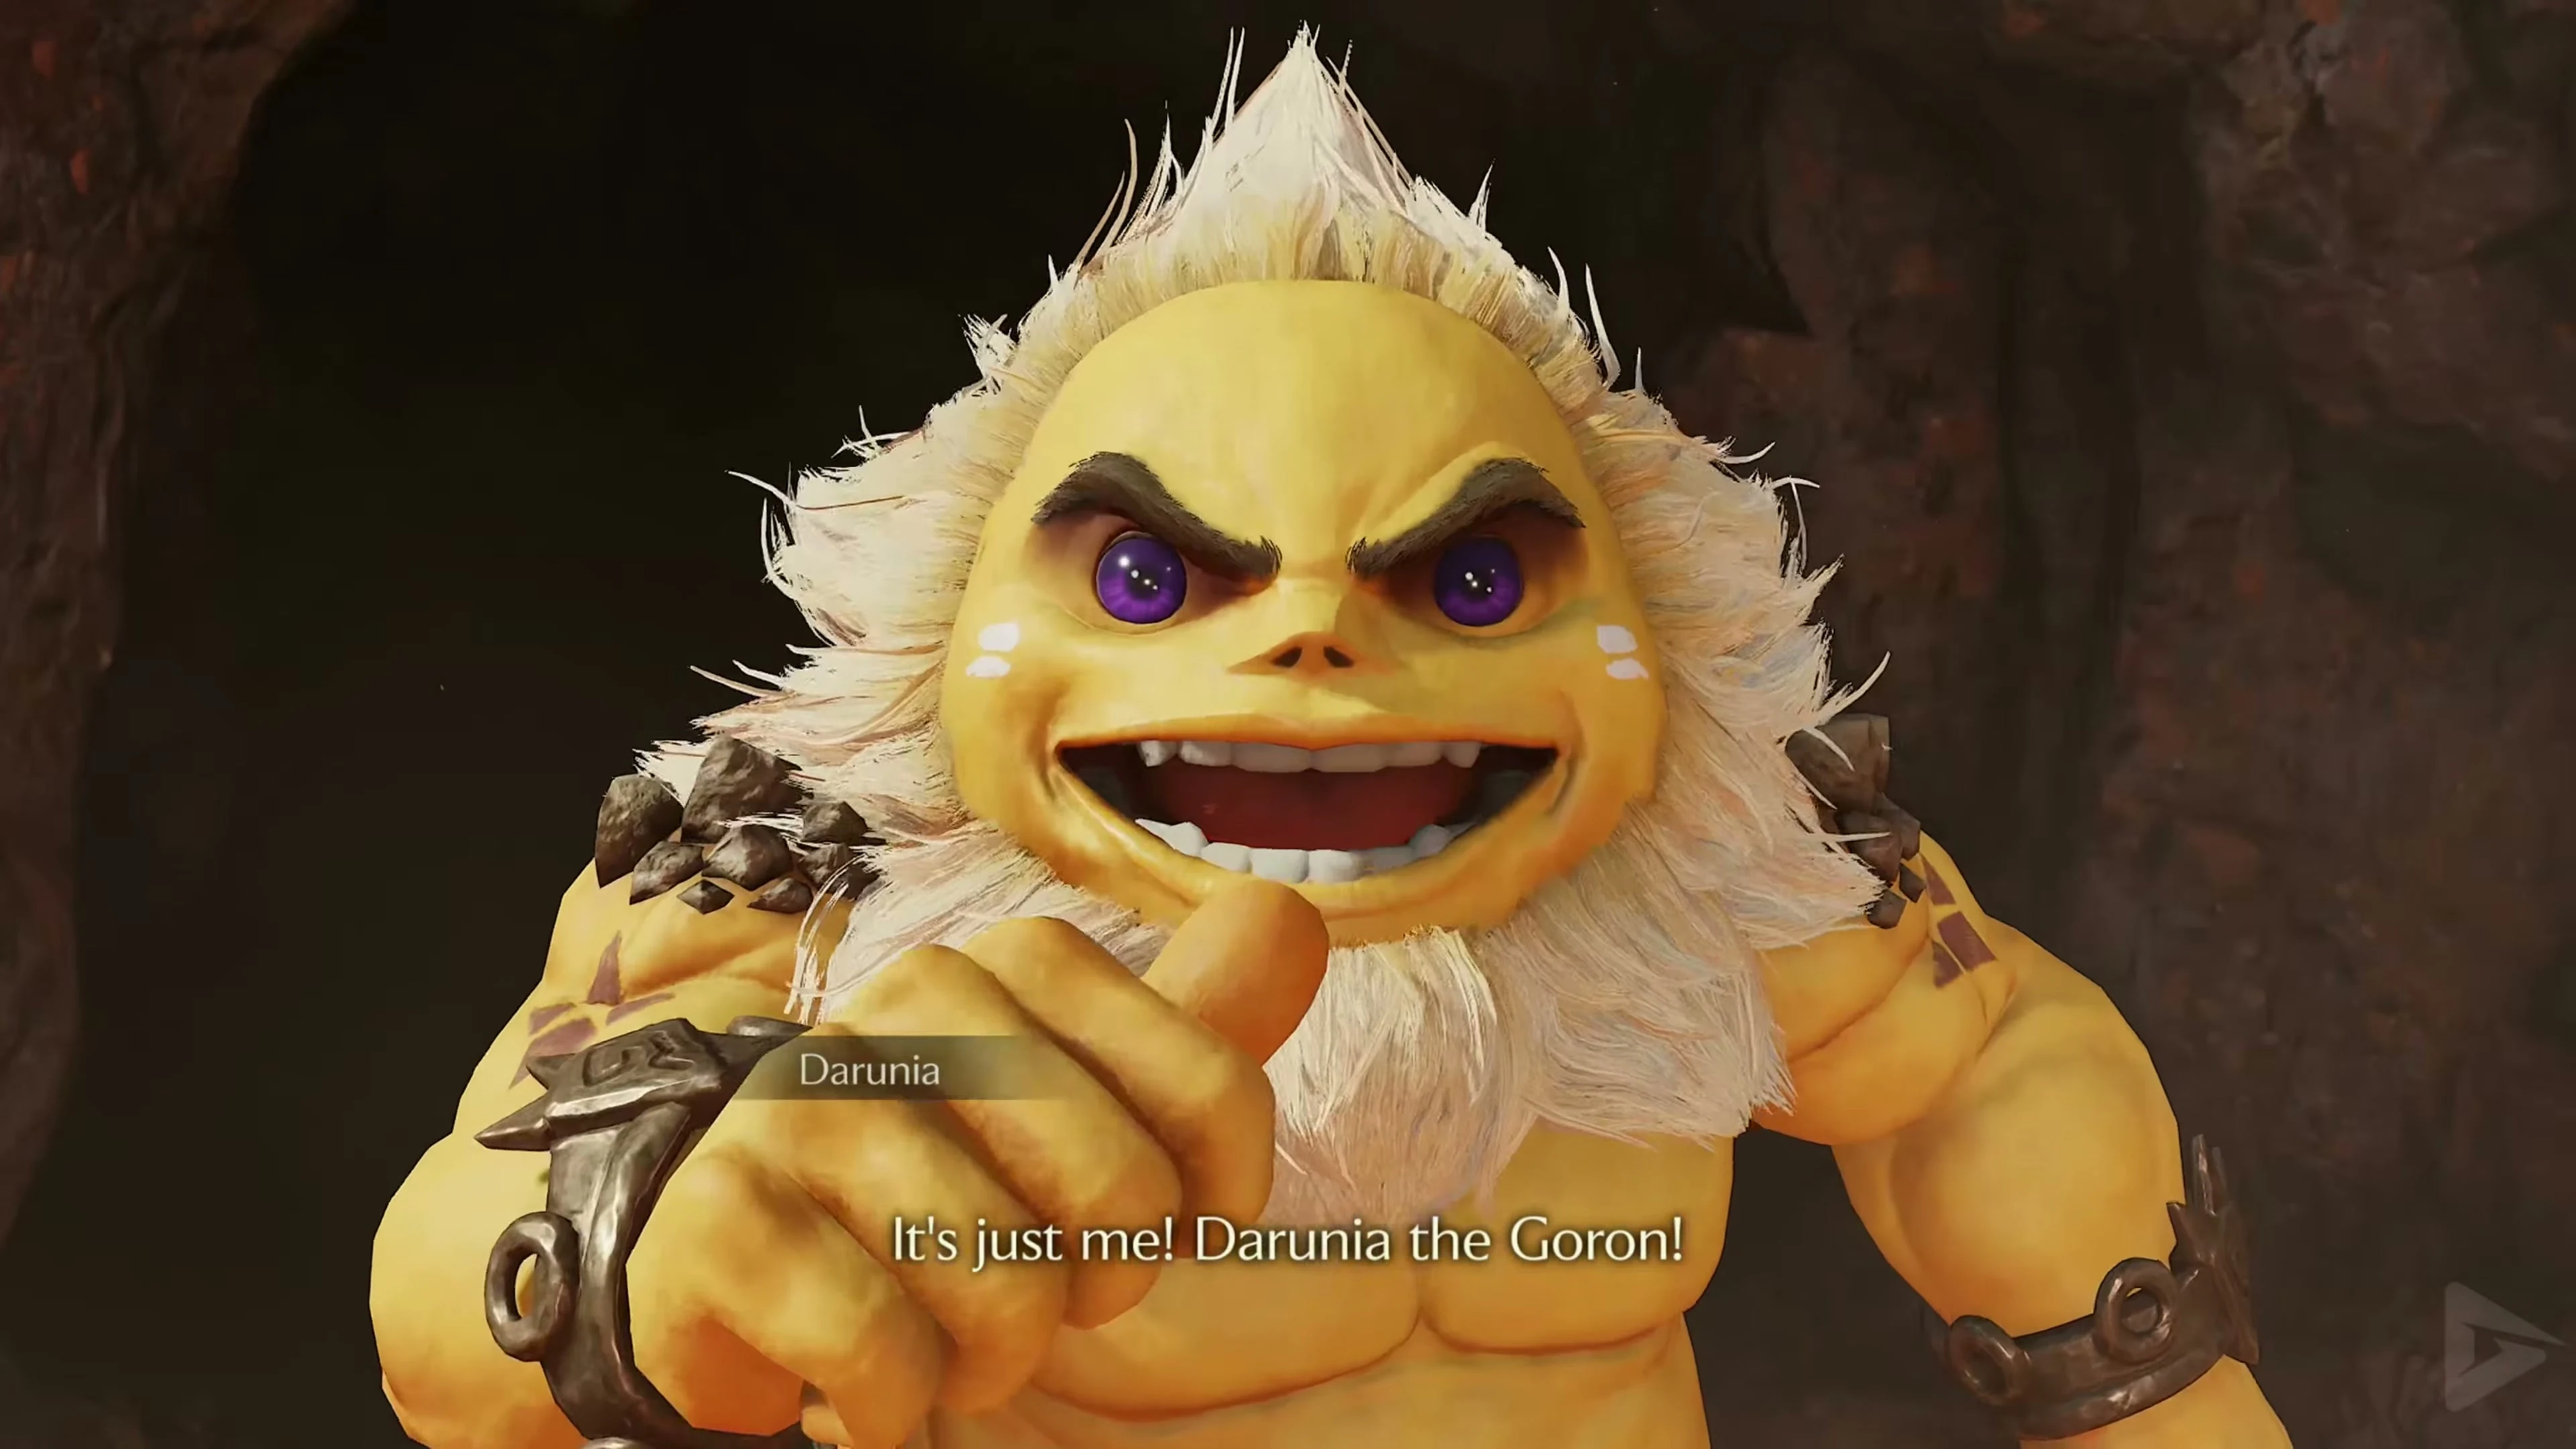
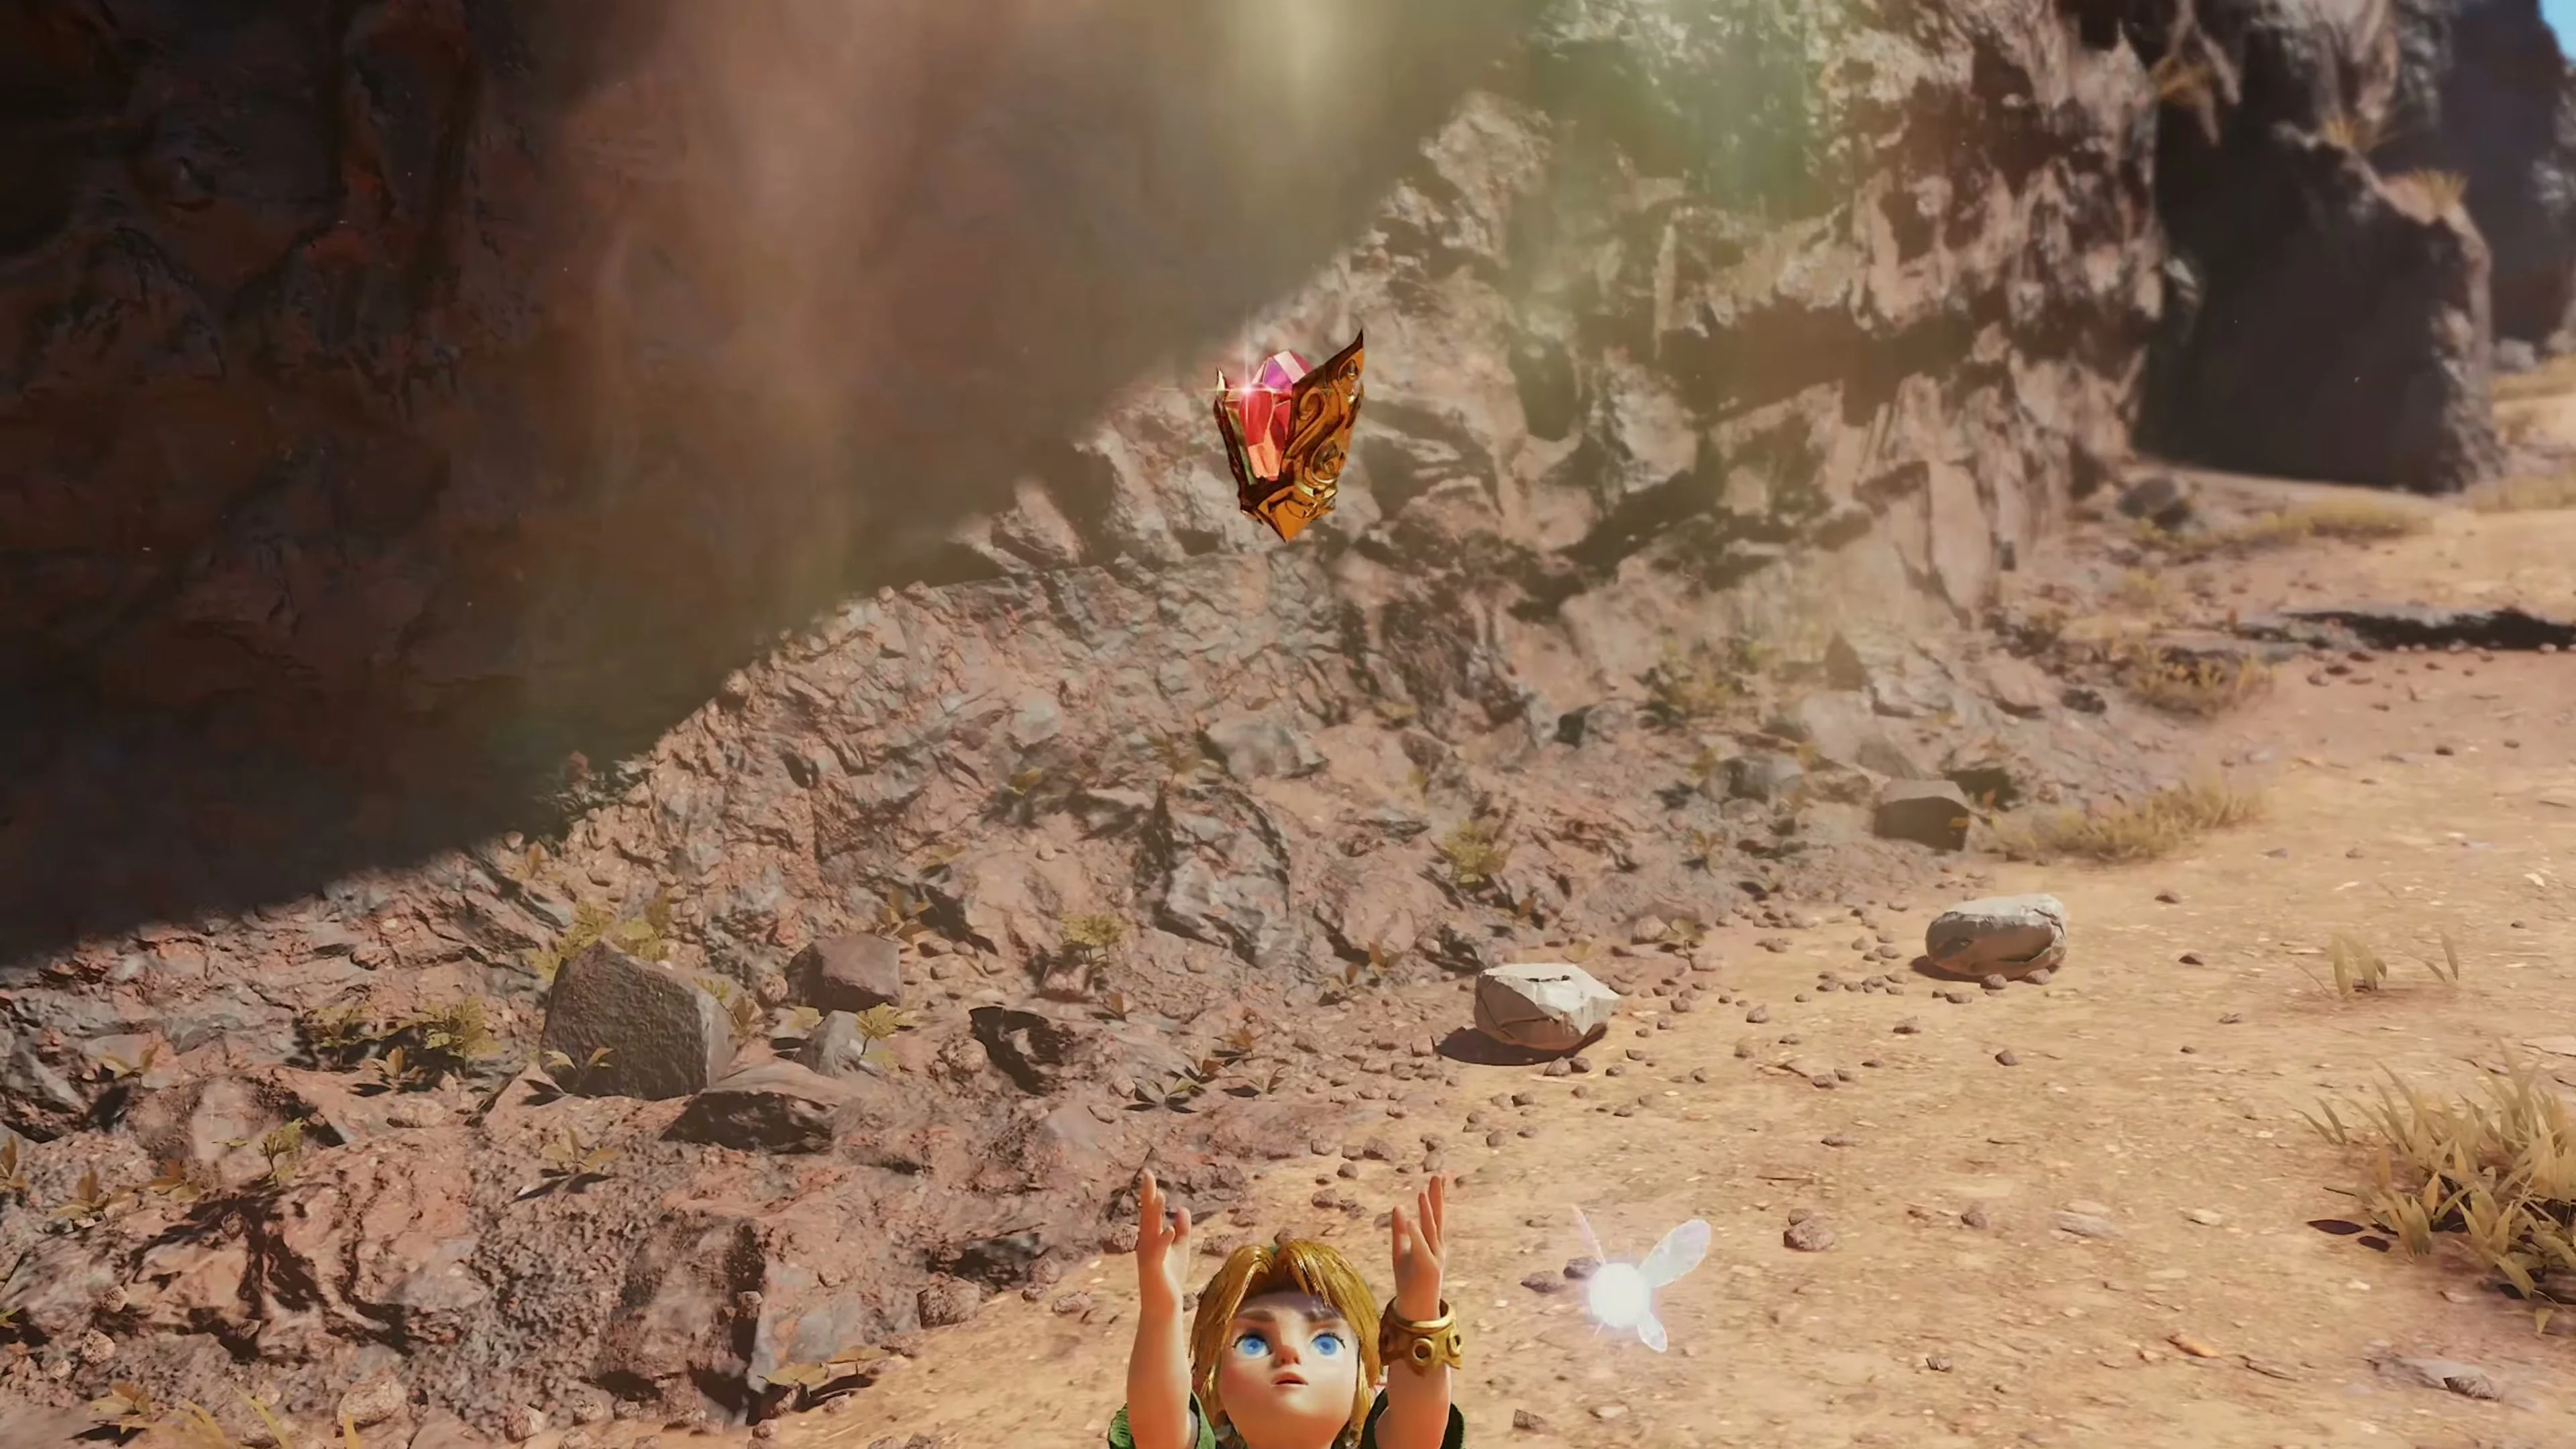
After the last hit, King Dodongo collapses. Pick up the Heart Container and enter the blue light. Darunia is waiting in front of the cave. He thanks you for saving the Gorons and gives you the Goron Ruby , the second Holy Stone.
To Dodongo Cavern – Death Mountain Trail, Goron City and Peak
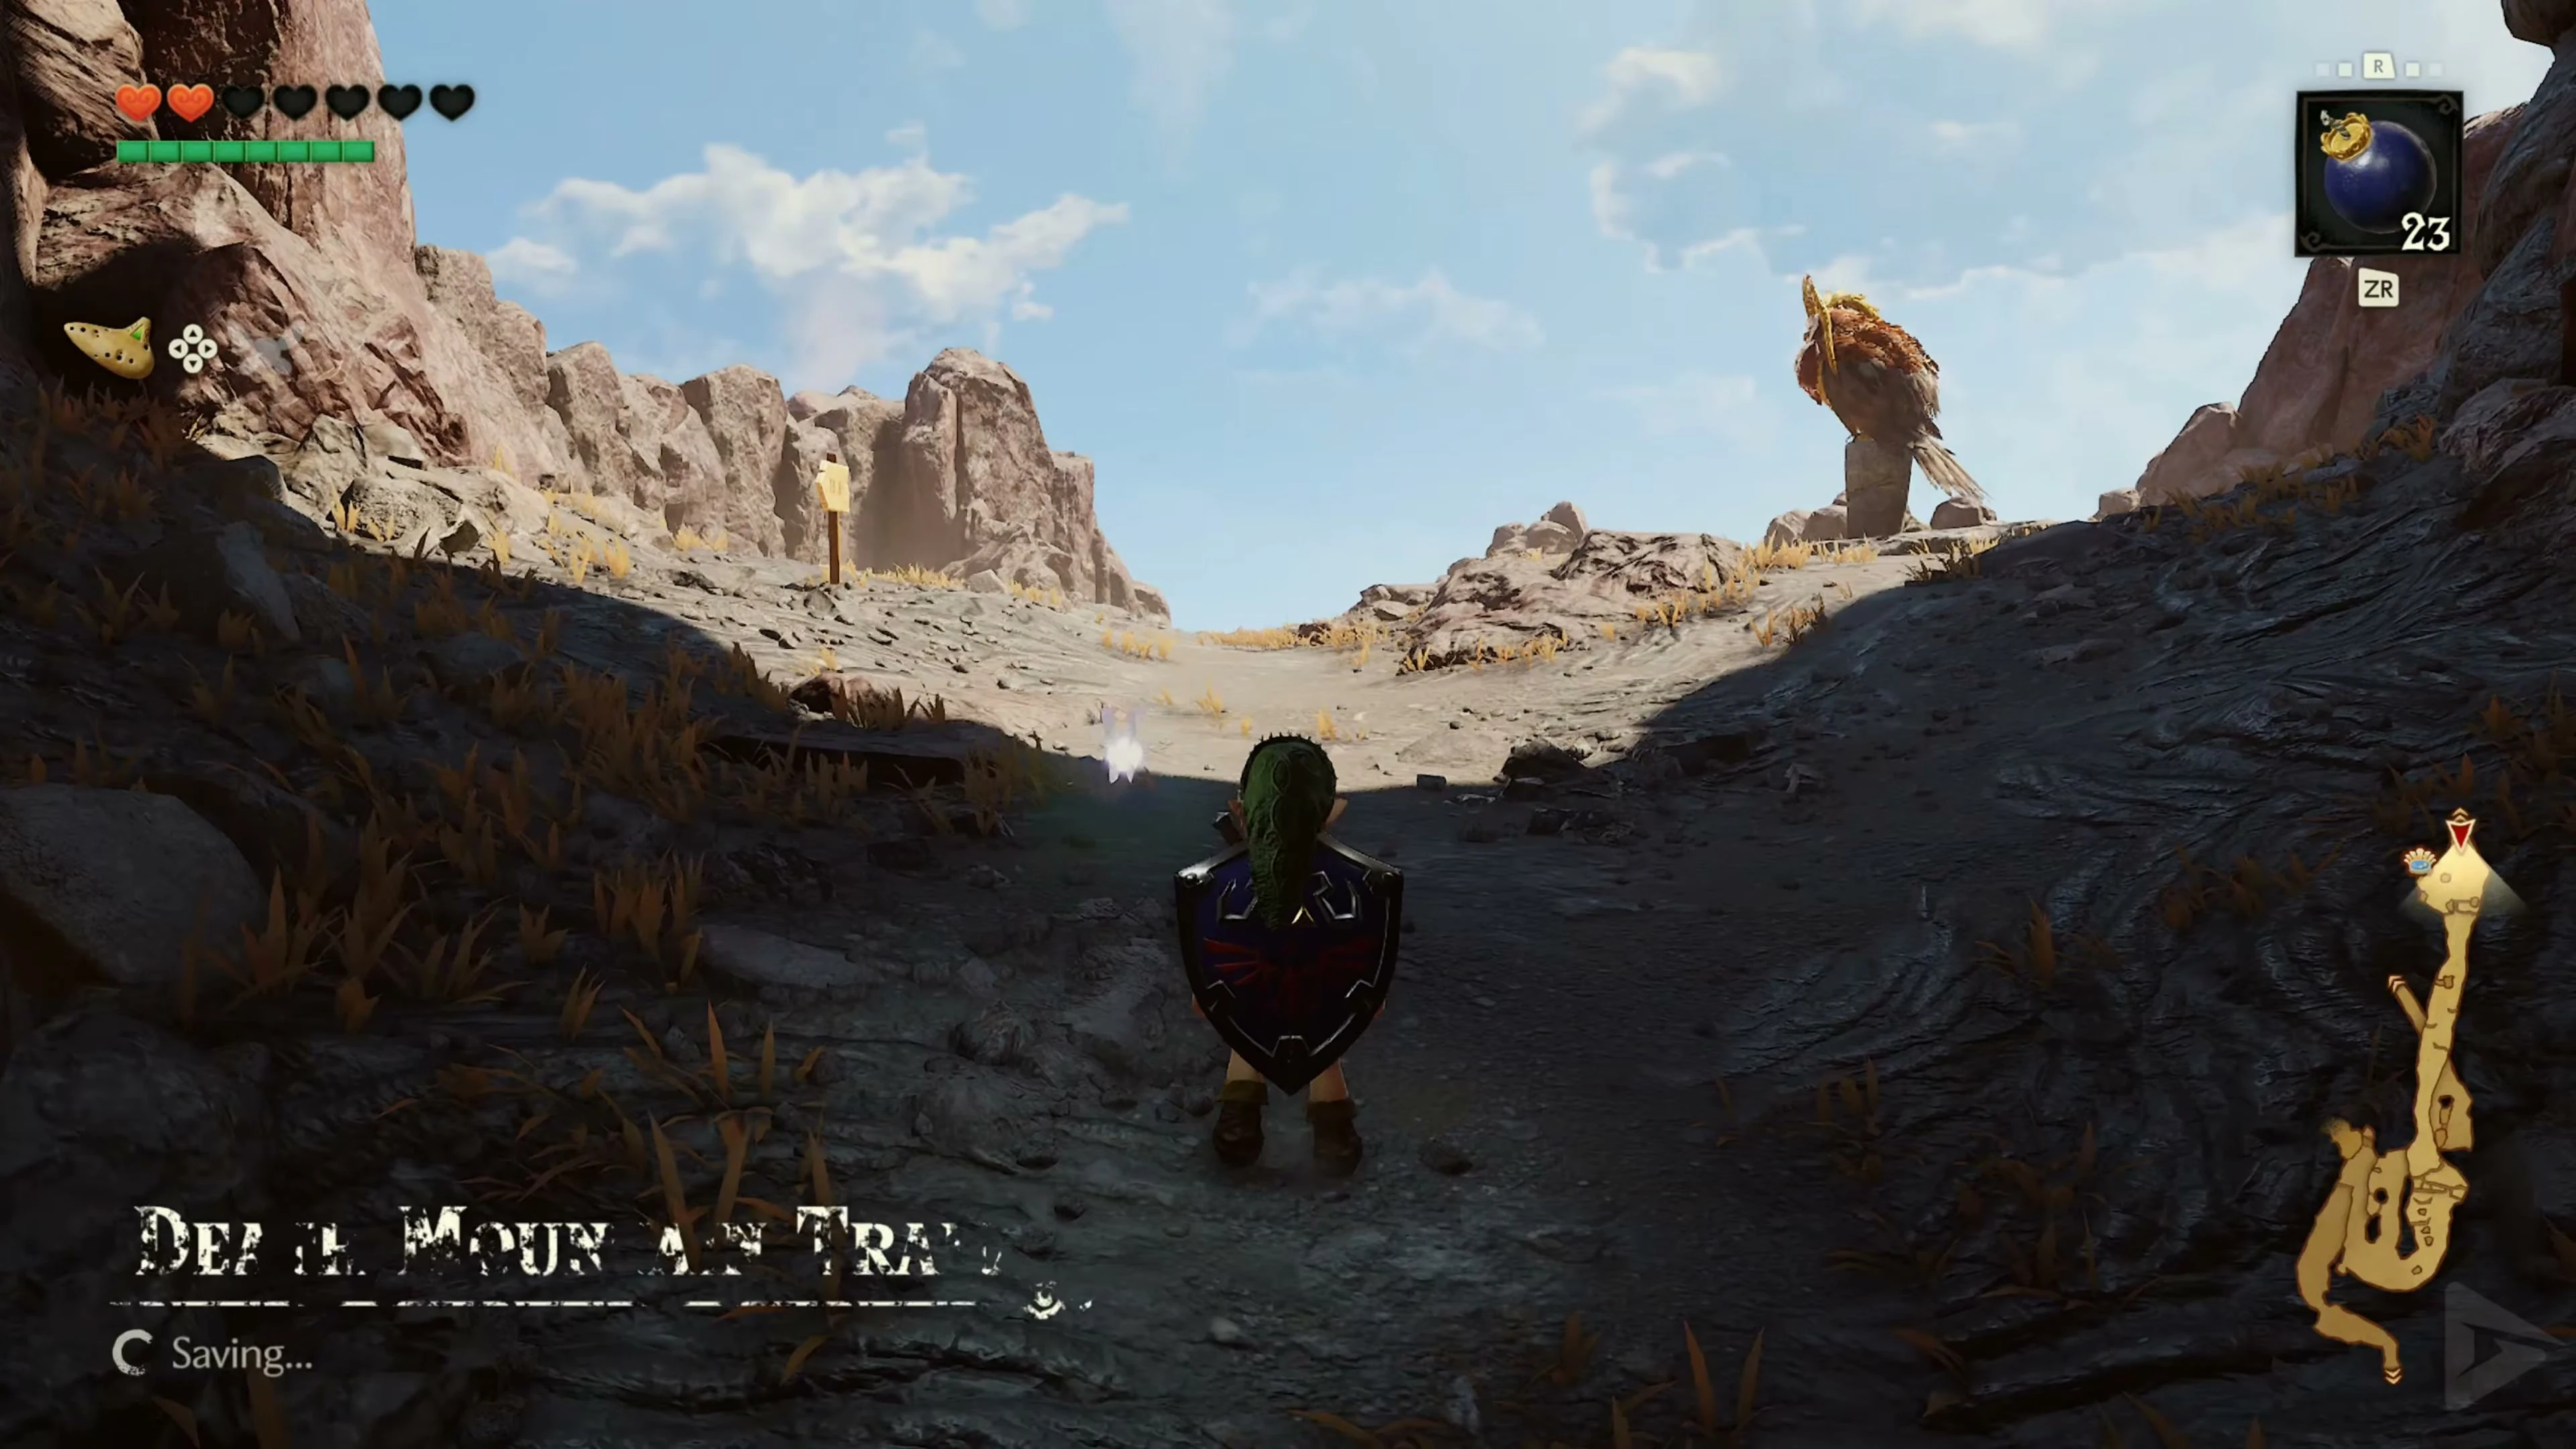
After talking to Darunia, first go down the Death Mountain Trail a bit towards Kakariko Village. Blast the cracked rock wall on the left side of the slope , just below the cave entrance. A Gold Skulltula sits in the exposed niche. Defeat her and get her token. Afterwards, return uphill to Goron City.
Bomb Bag Upgrade and Goron City Skulltula
On the middle level, look for the Goron who is constantly rolling in circles. A sign tells you to stop him right there. Plant or throw a bomb so that it explodes at the shield immediately next to the Goron . Talk to him after stopping. You will receive the larger Bomb Bag for 30 bombs. Then climb to the top level and take the western entrance to the rock labyrinth . Blast a path through the crumbling rock barriers. At the end there are small chests and a Gossip Stone; roll against the brown wooden box next to it and defeat the hidden Gold Skulltula.
Leave the labyrinth and go back up the mountain from Goron City. At the junction, blow up the cracked wall that is on the right when climbing just before the junction to Goron City . The small chest behind it contains a Business Scrub Seed.
Ascent to the summit
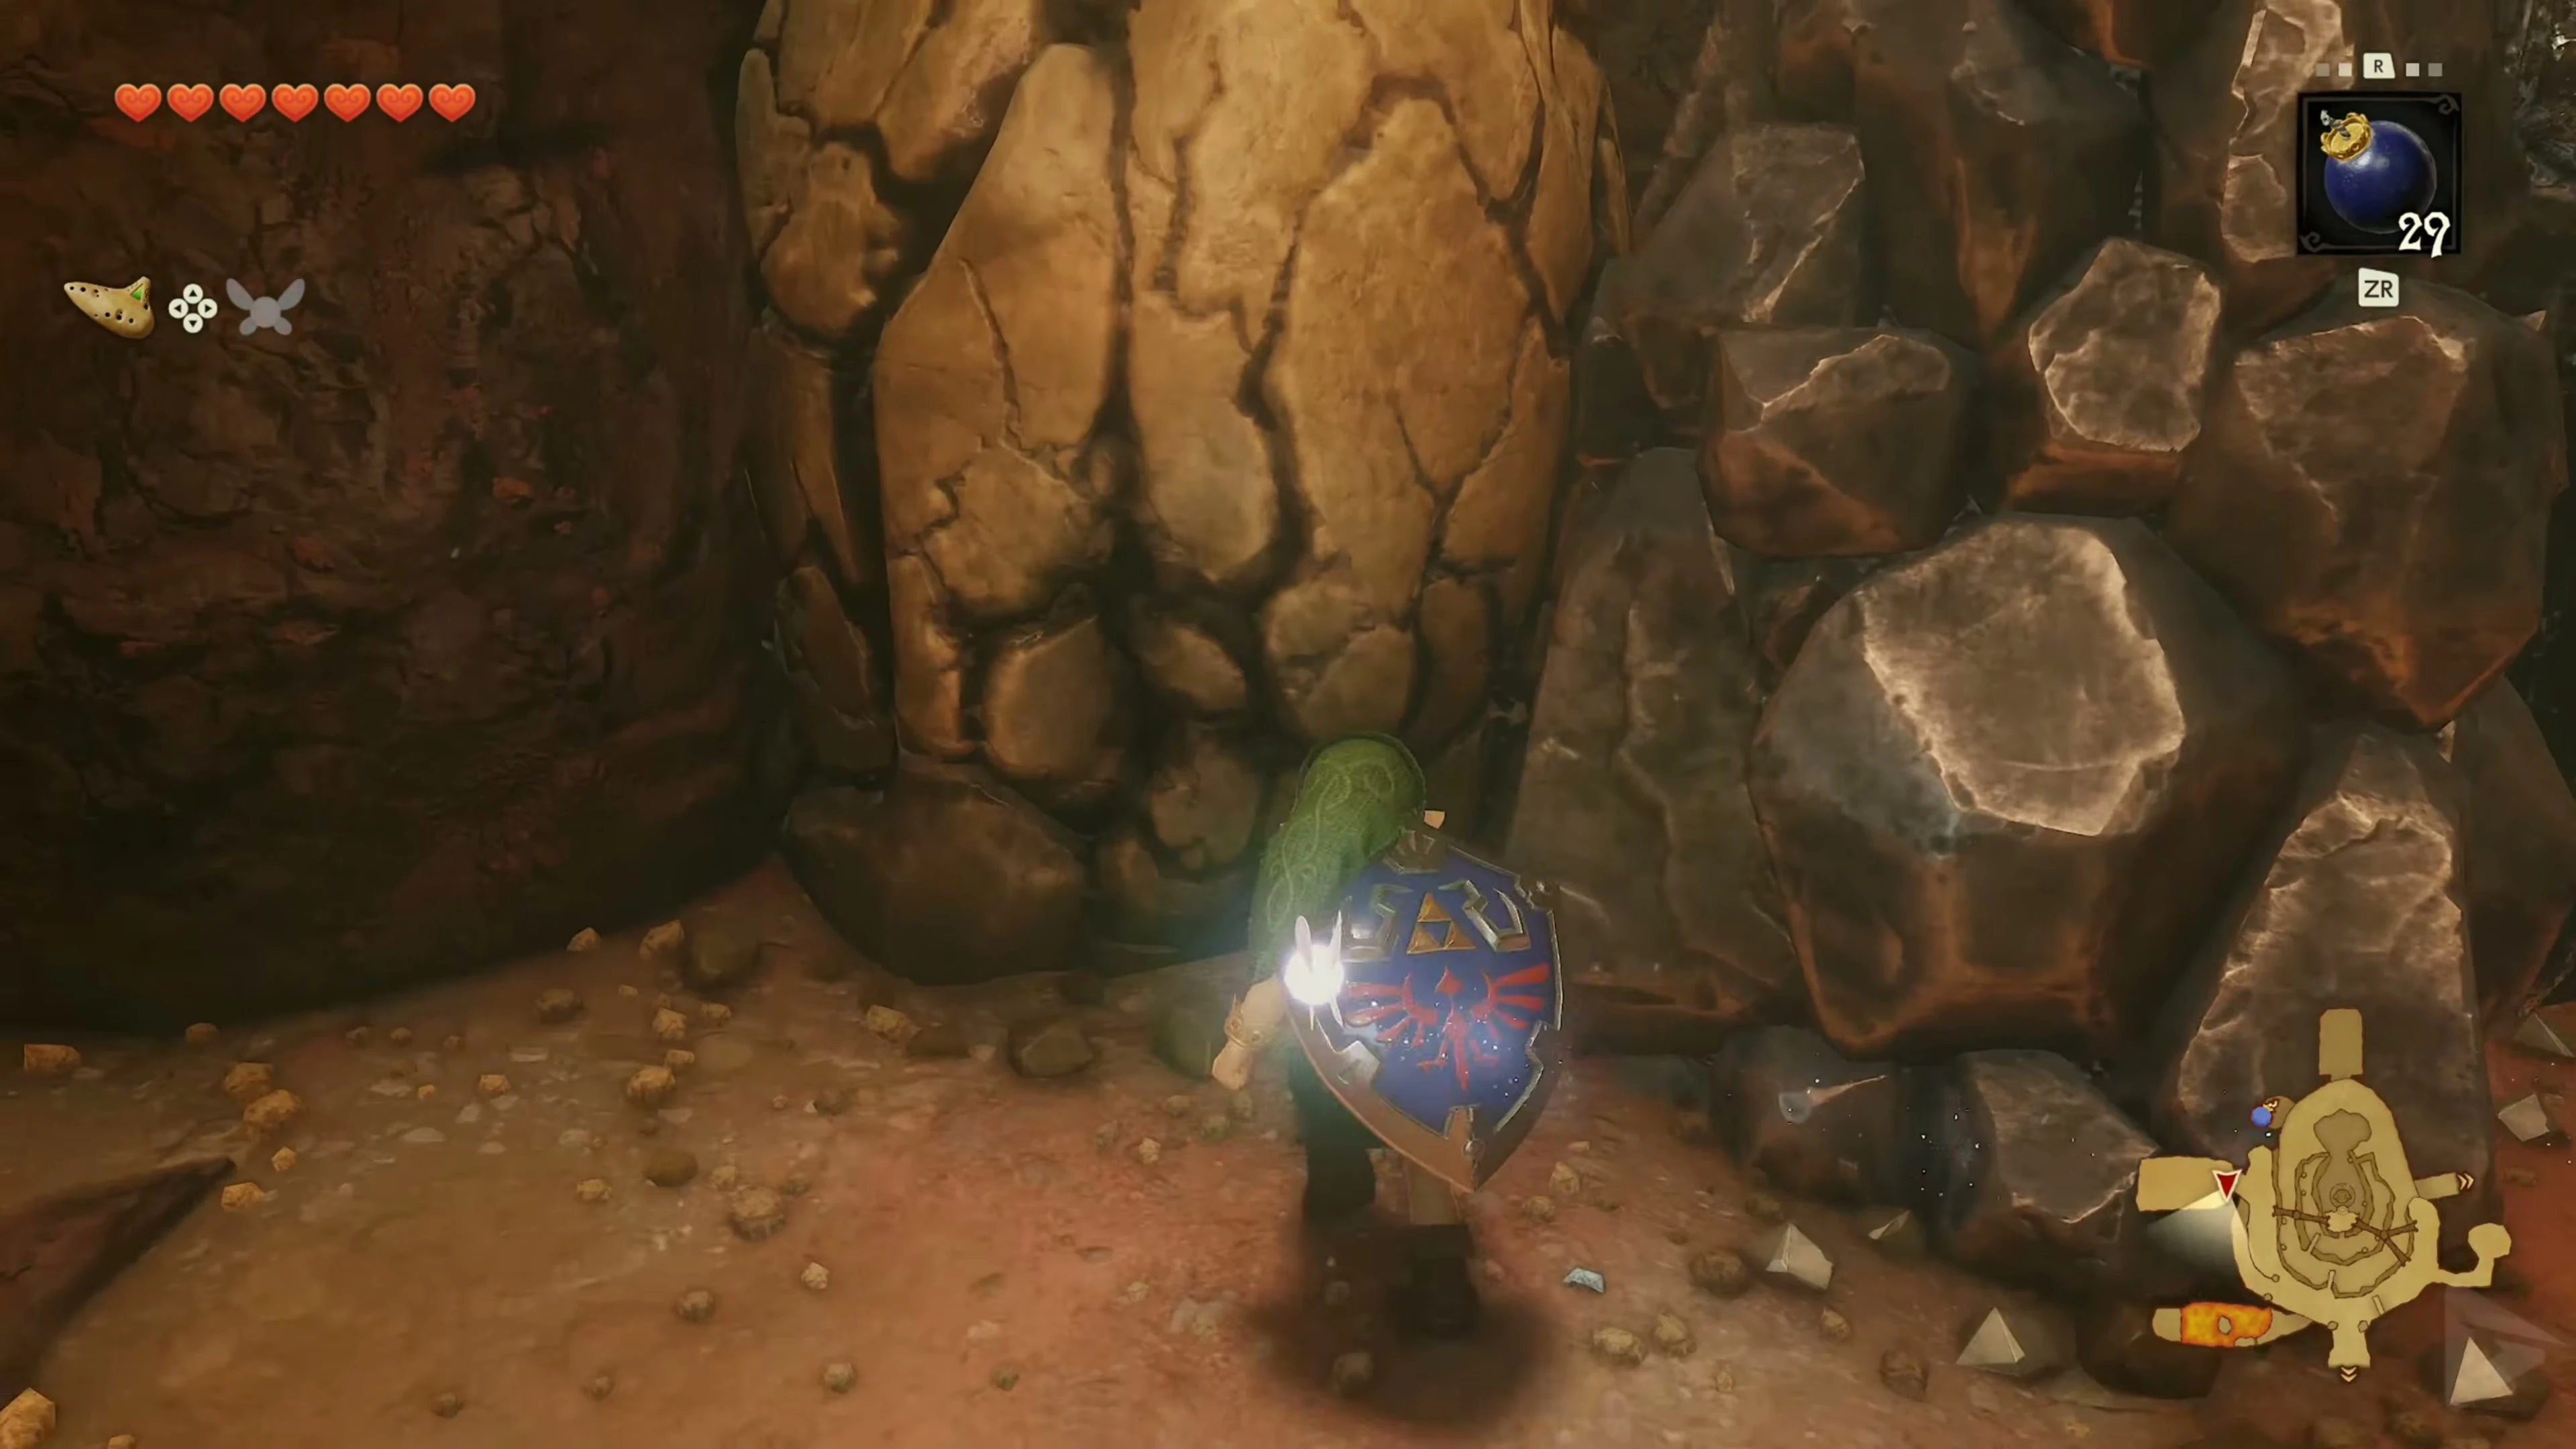
Now take the junction on the Death Mountain Trail to the summit and remove the blocking rocks with bombs.
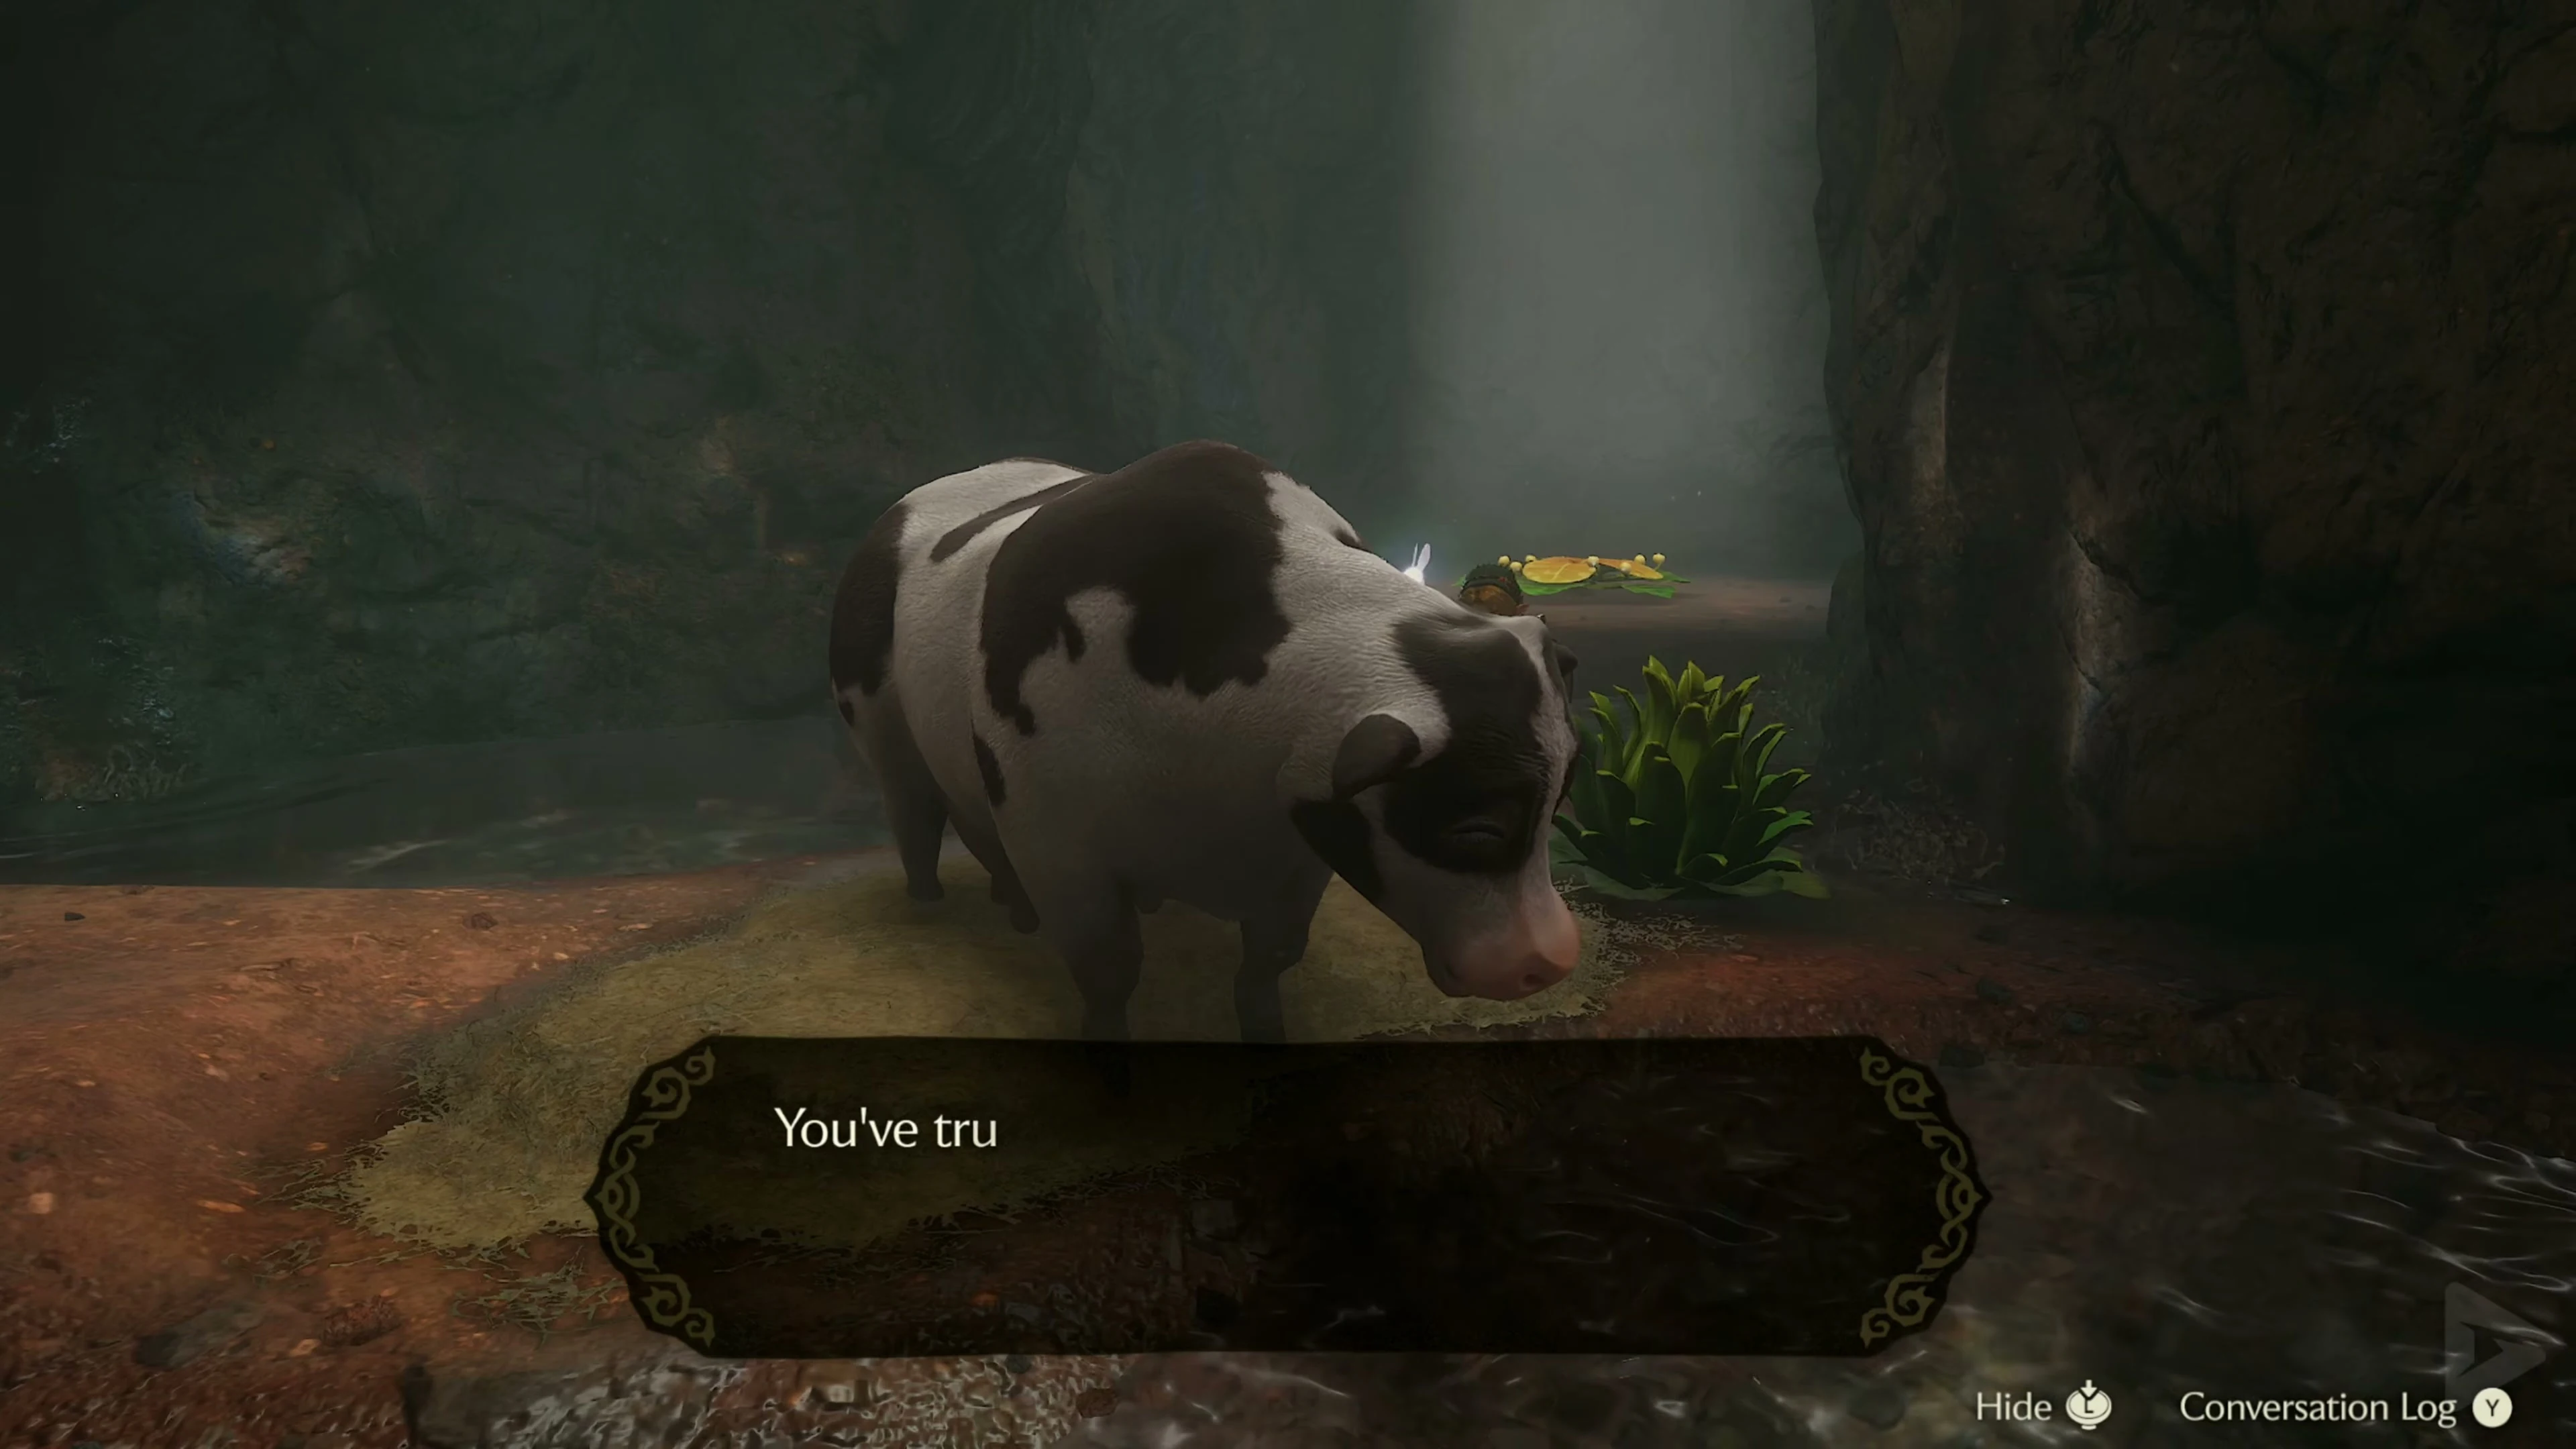
Blow up the single rock to the left in front of the long climbing net . Below there is a grotto with a cow. With Epona’s Song you can get milk when the bottle is free.
As you continue your climb, the Hylian Shield protects you from falling rocks.
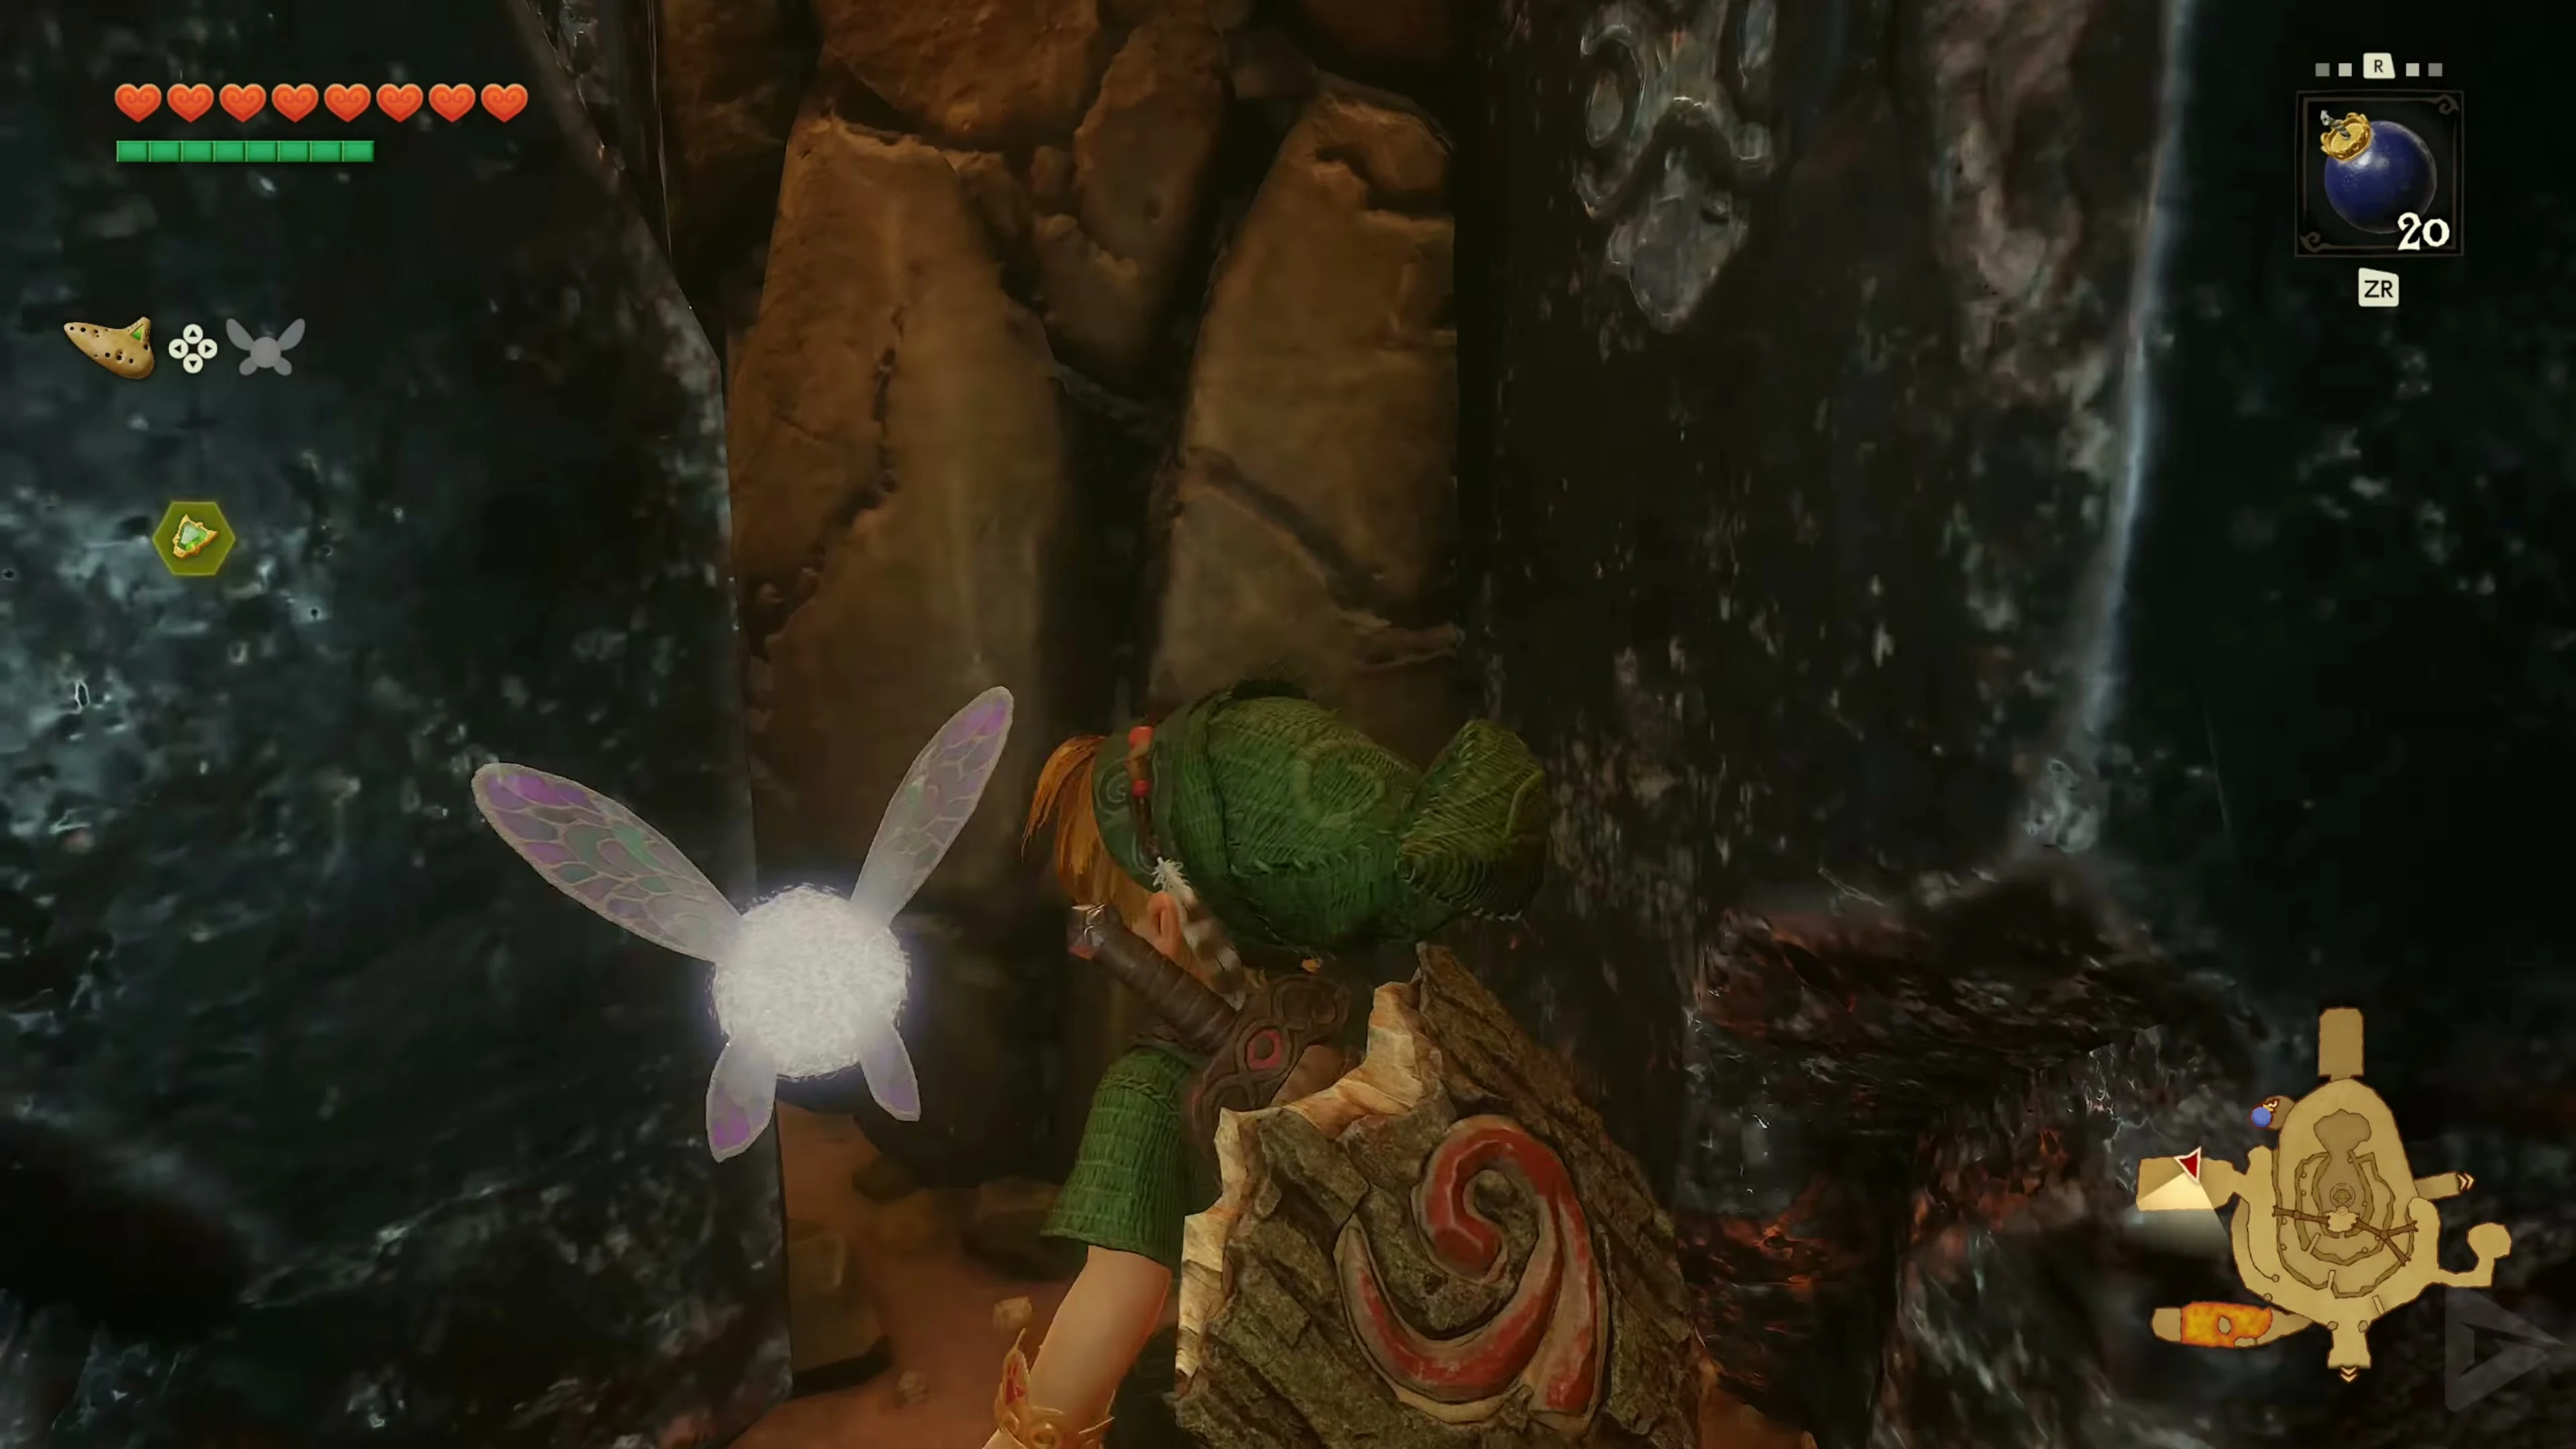
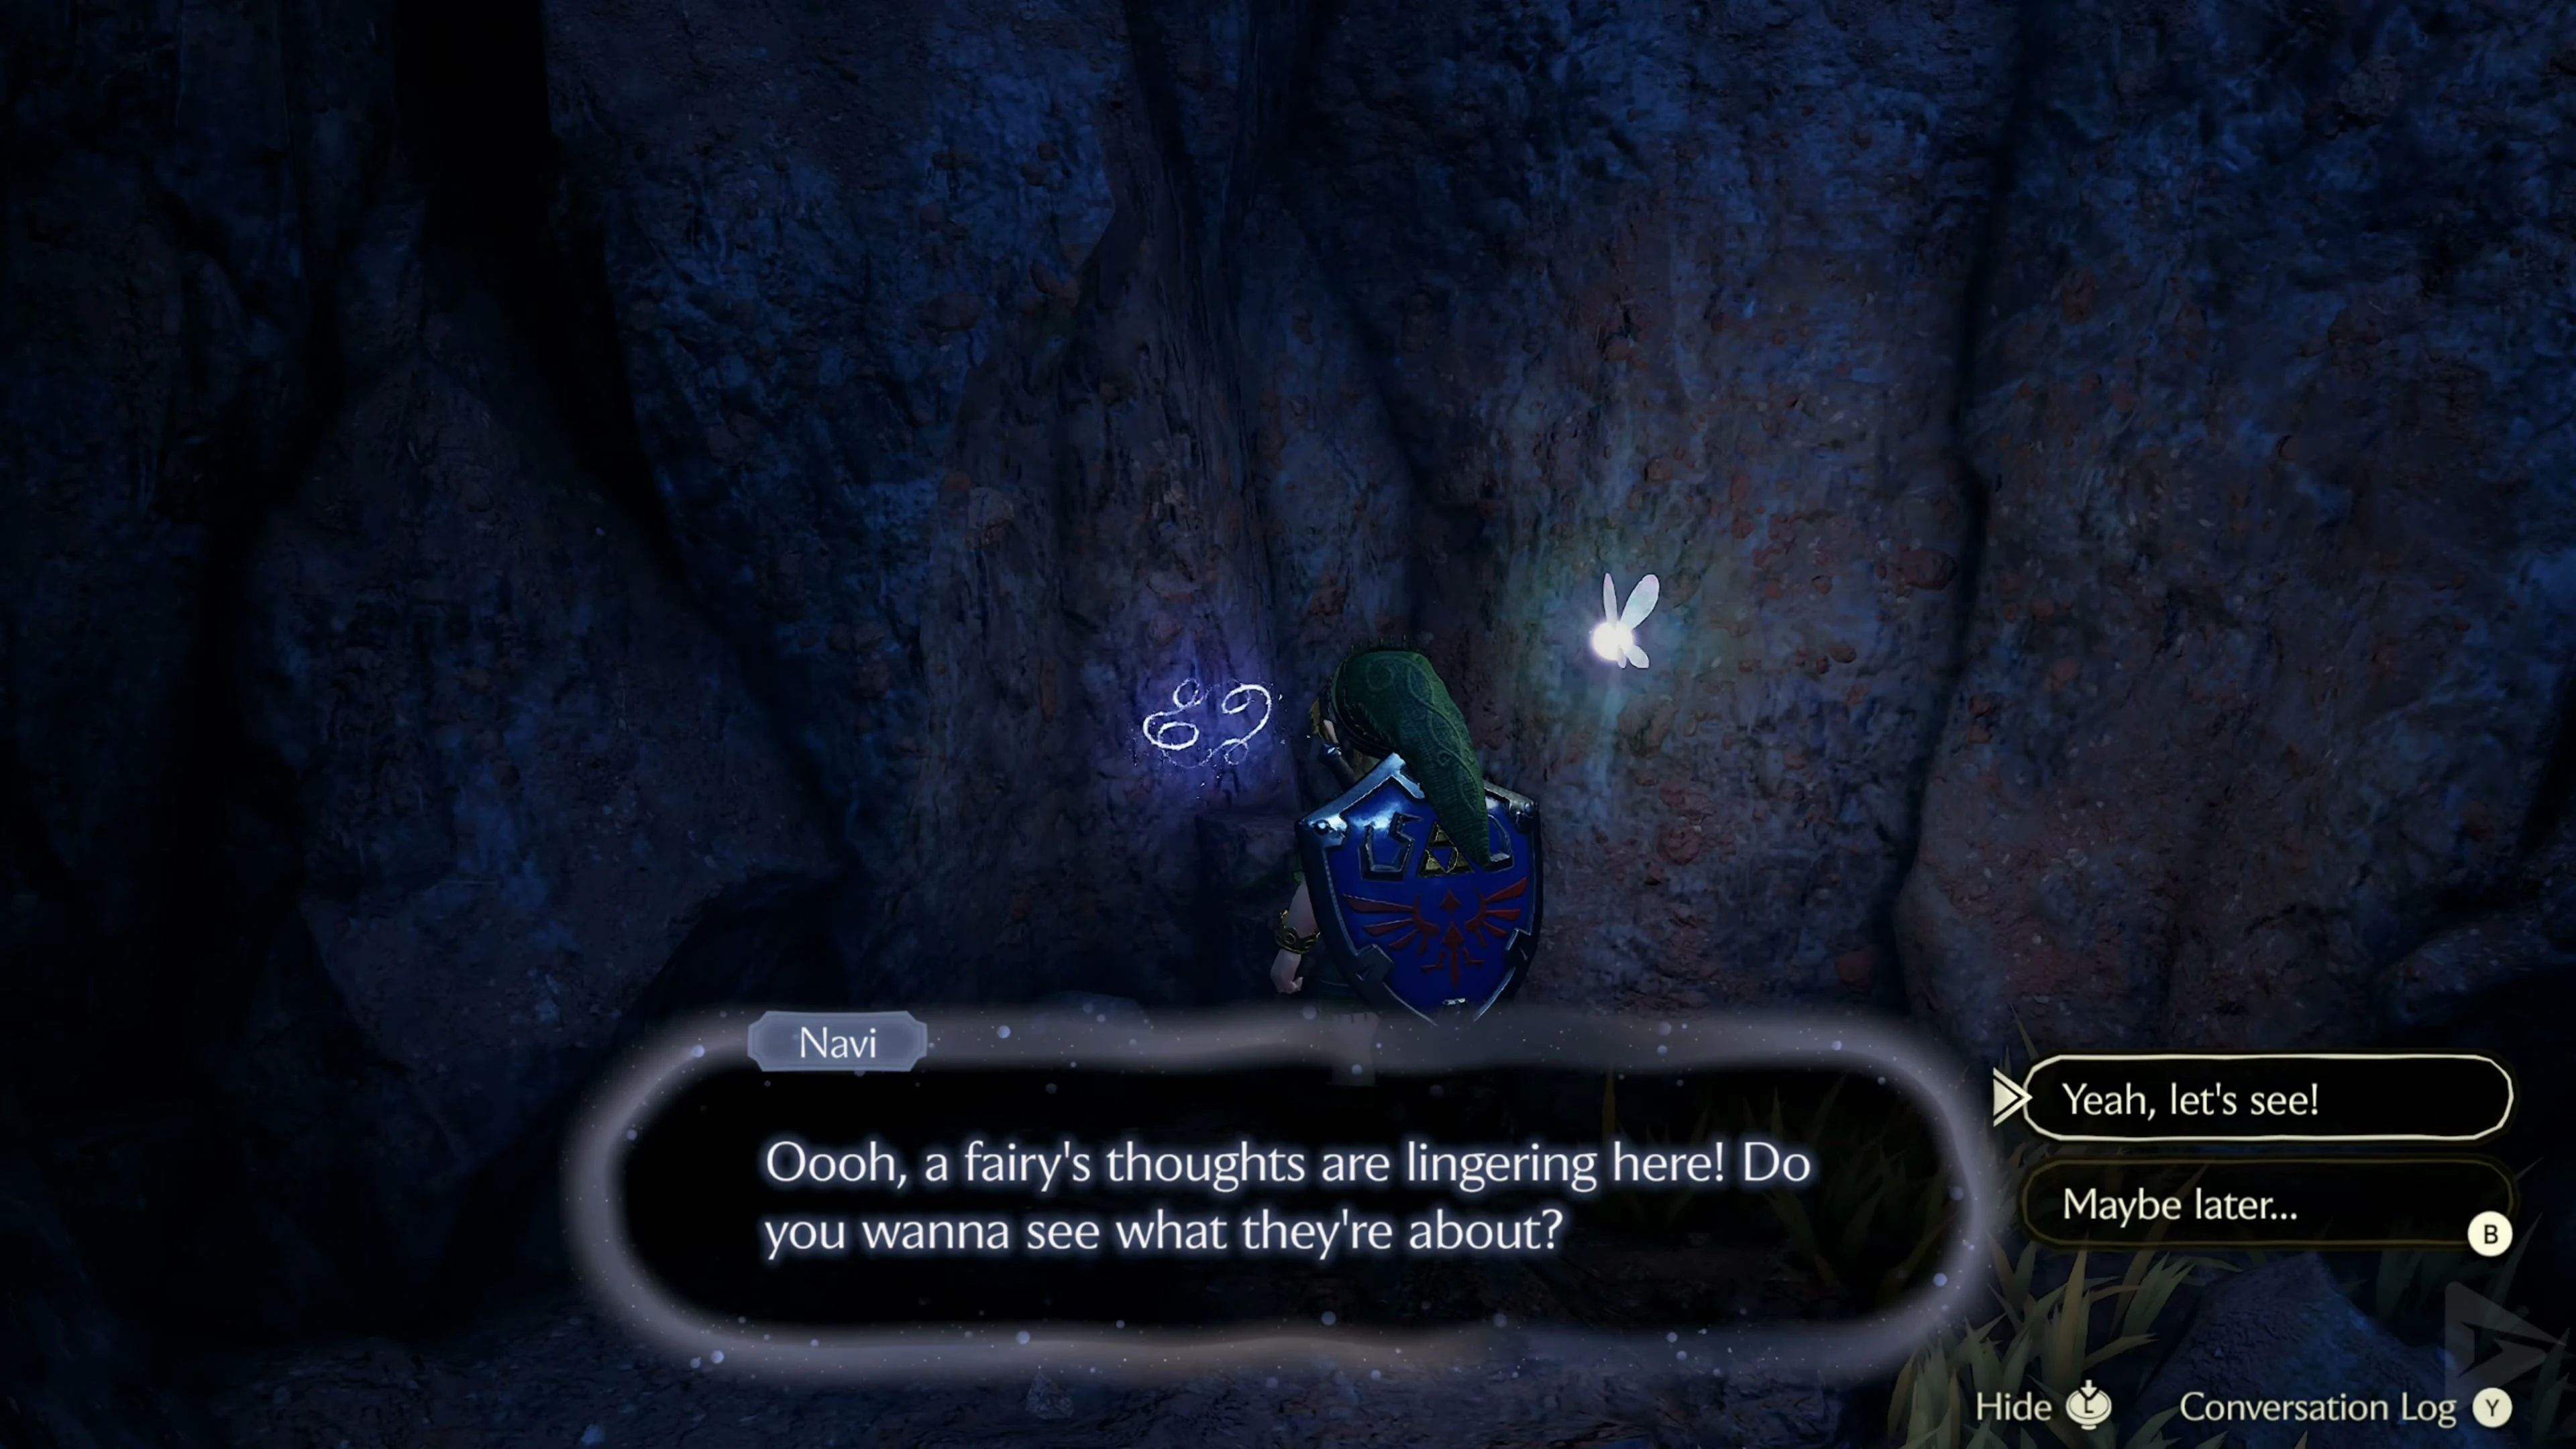
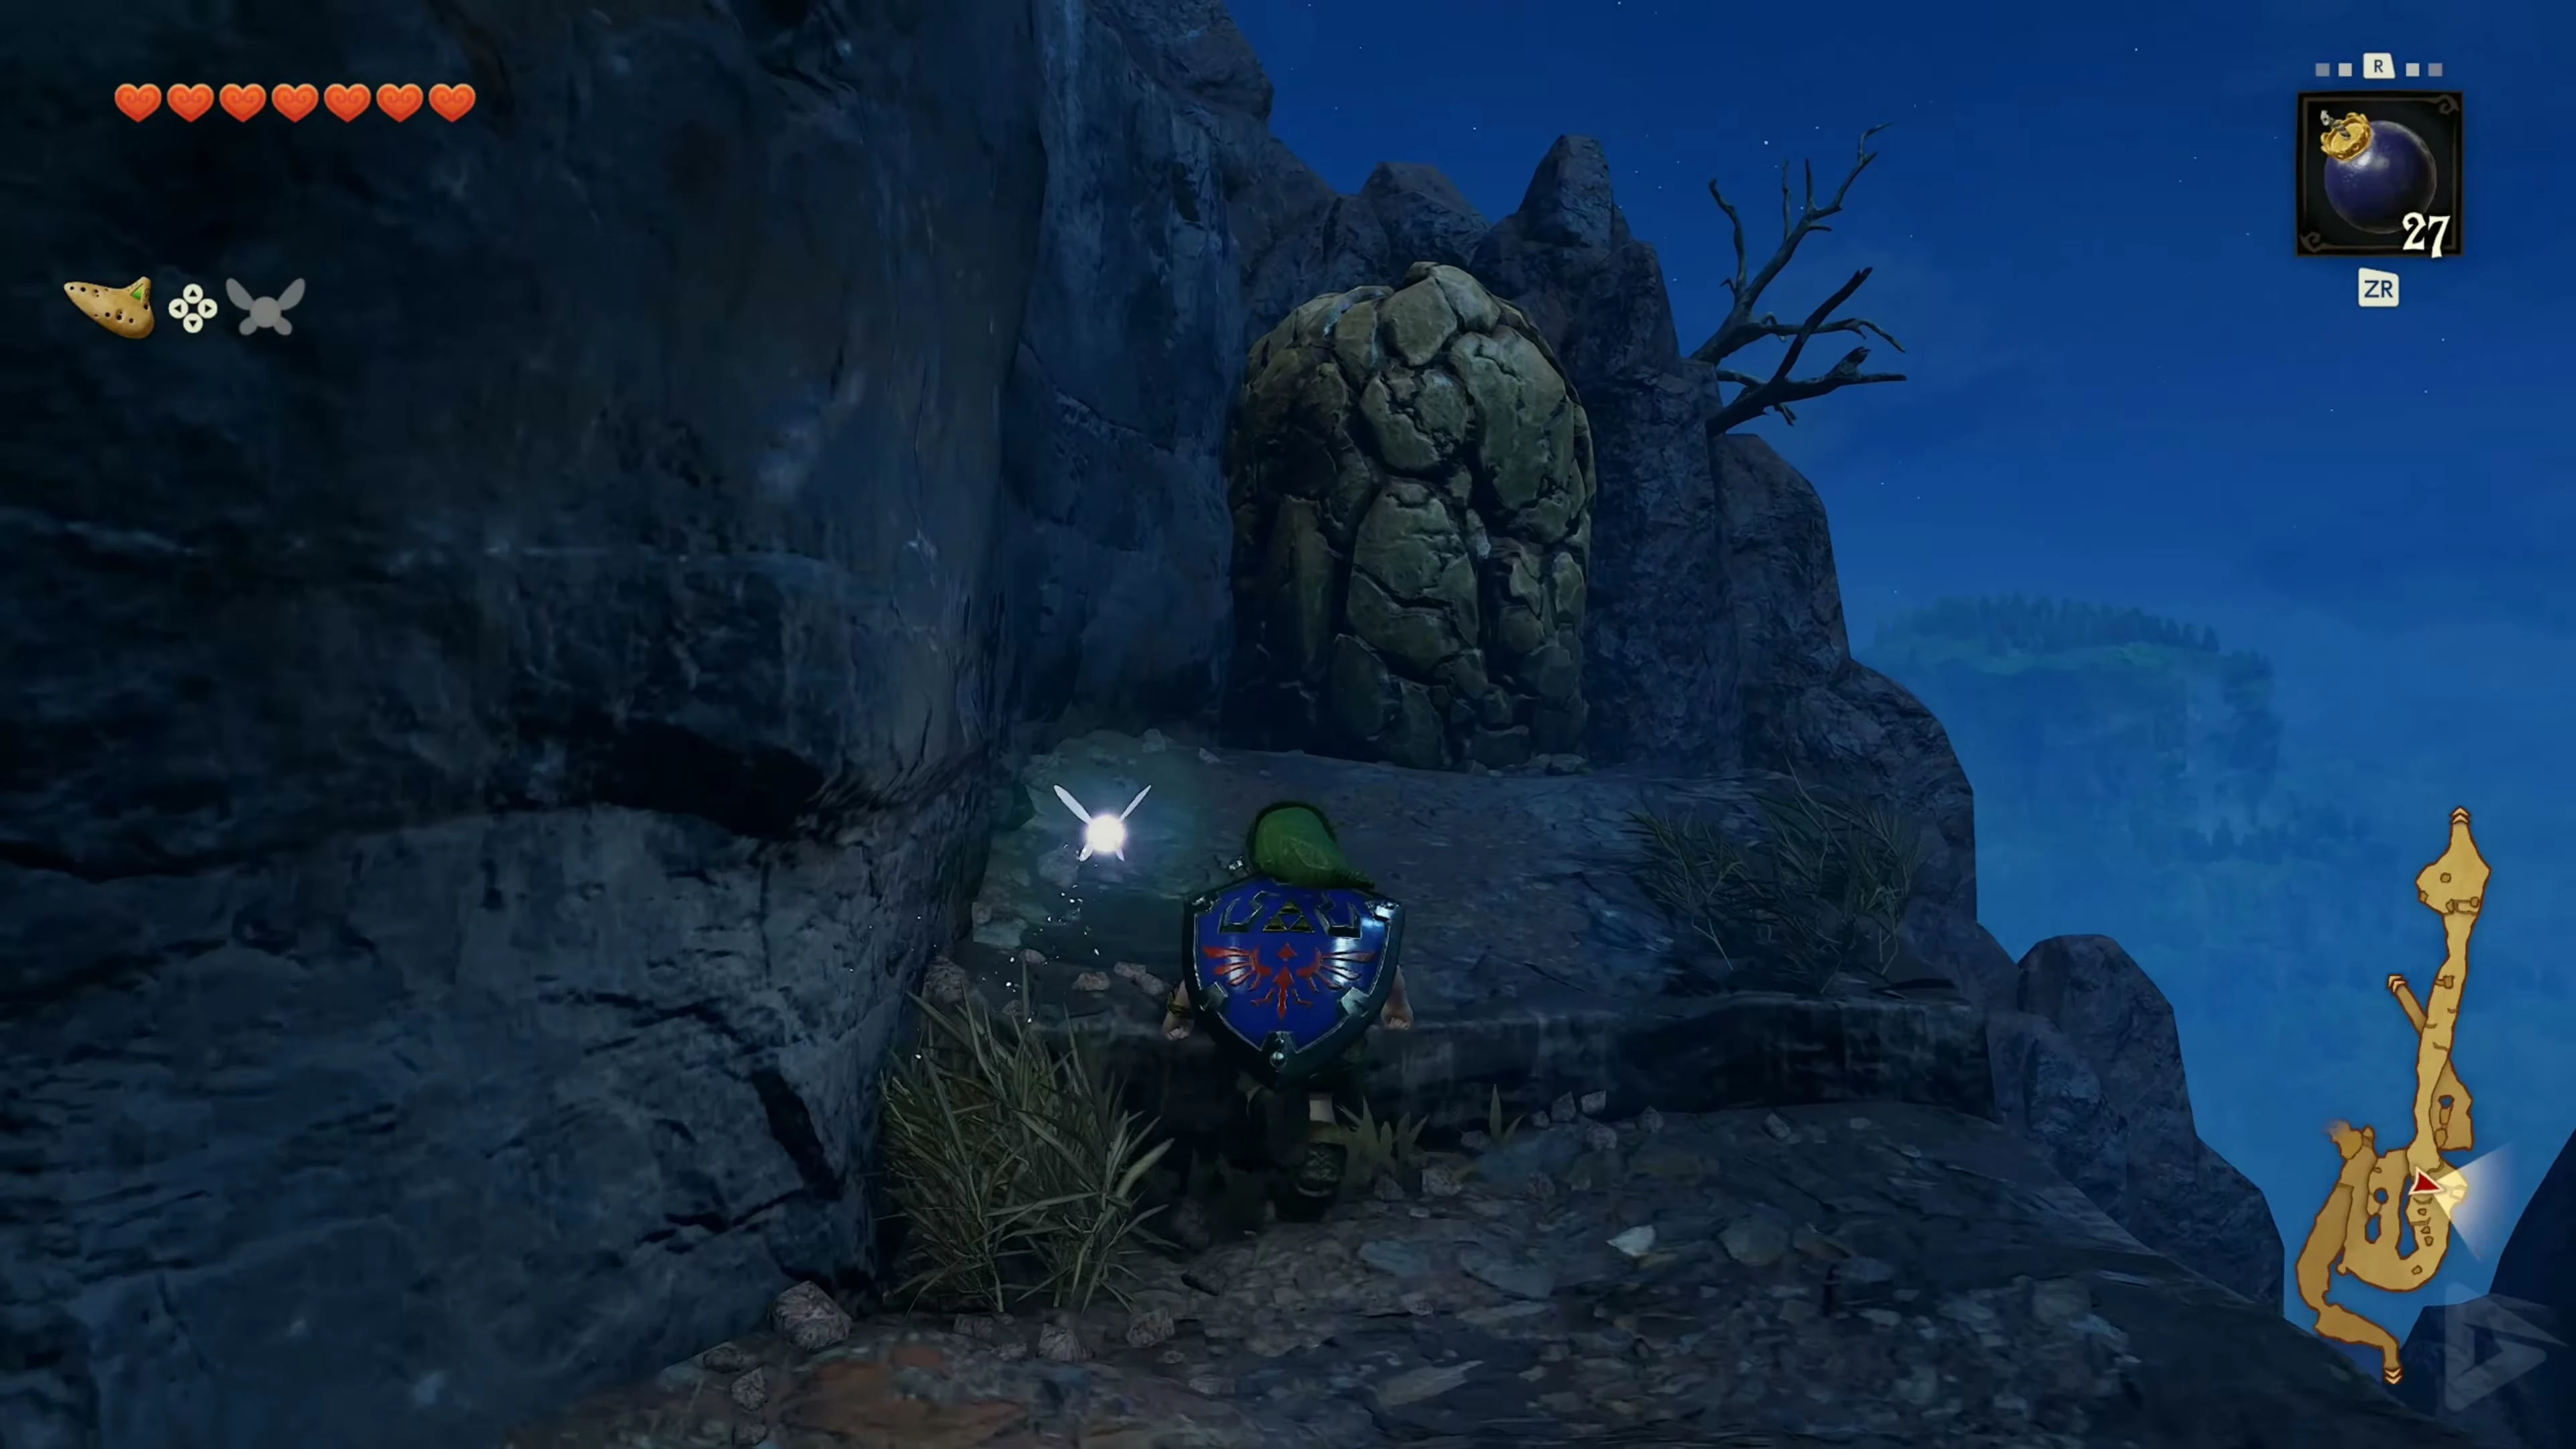
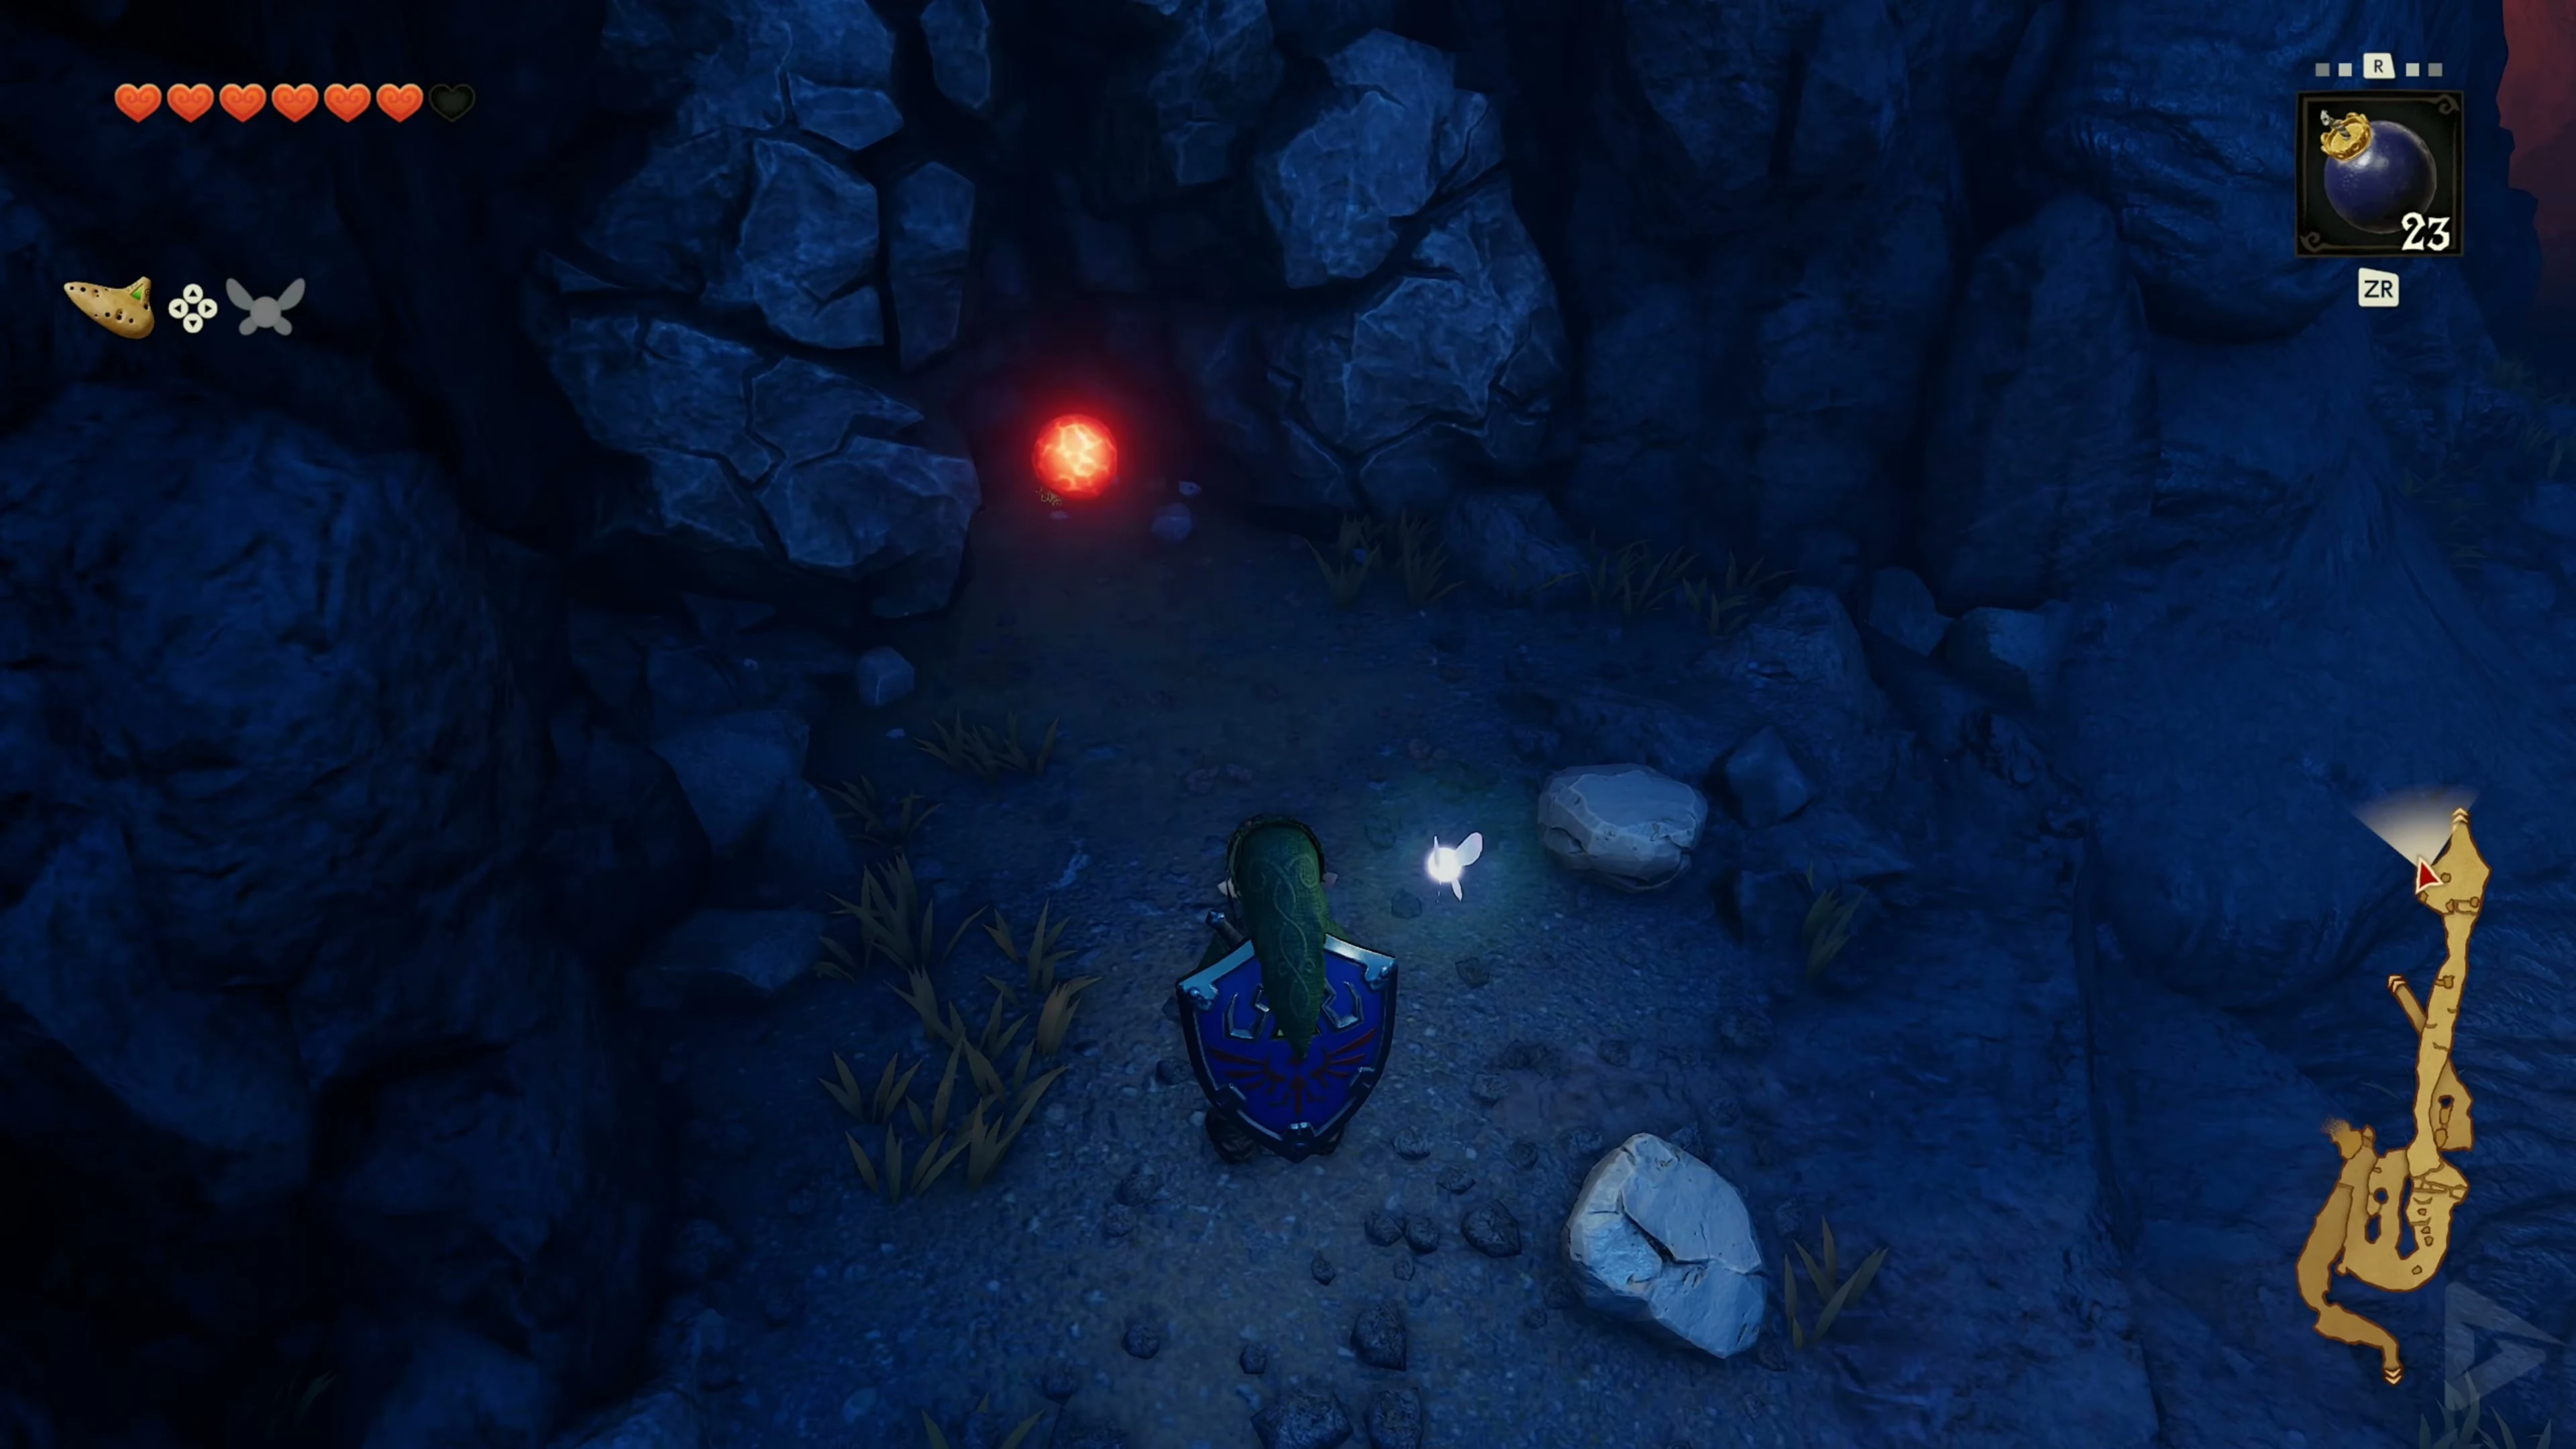
Shoot the Skullwalltulas from the long climbing net and climb to the top.
The Great Fairy on Death Mountain
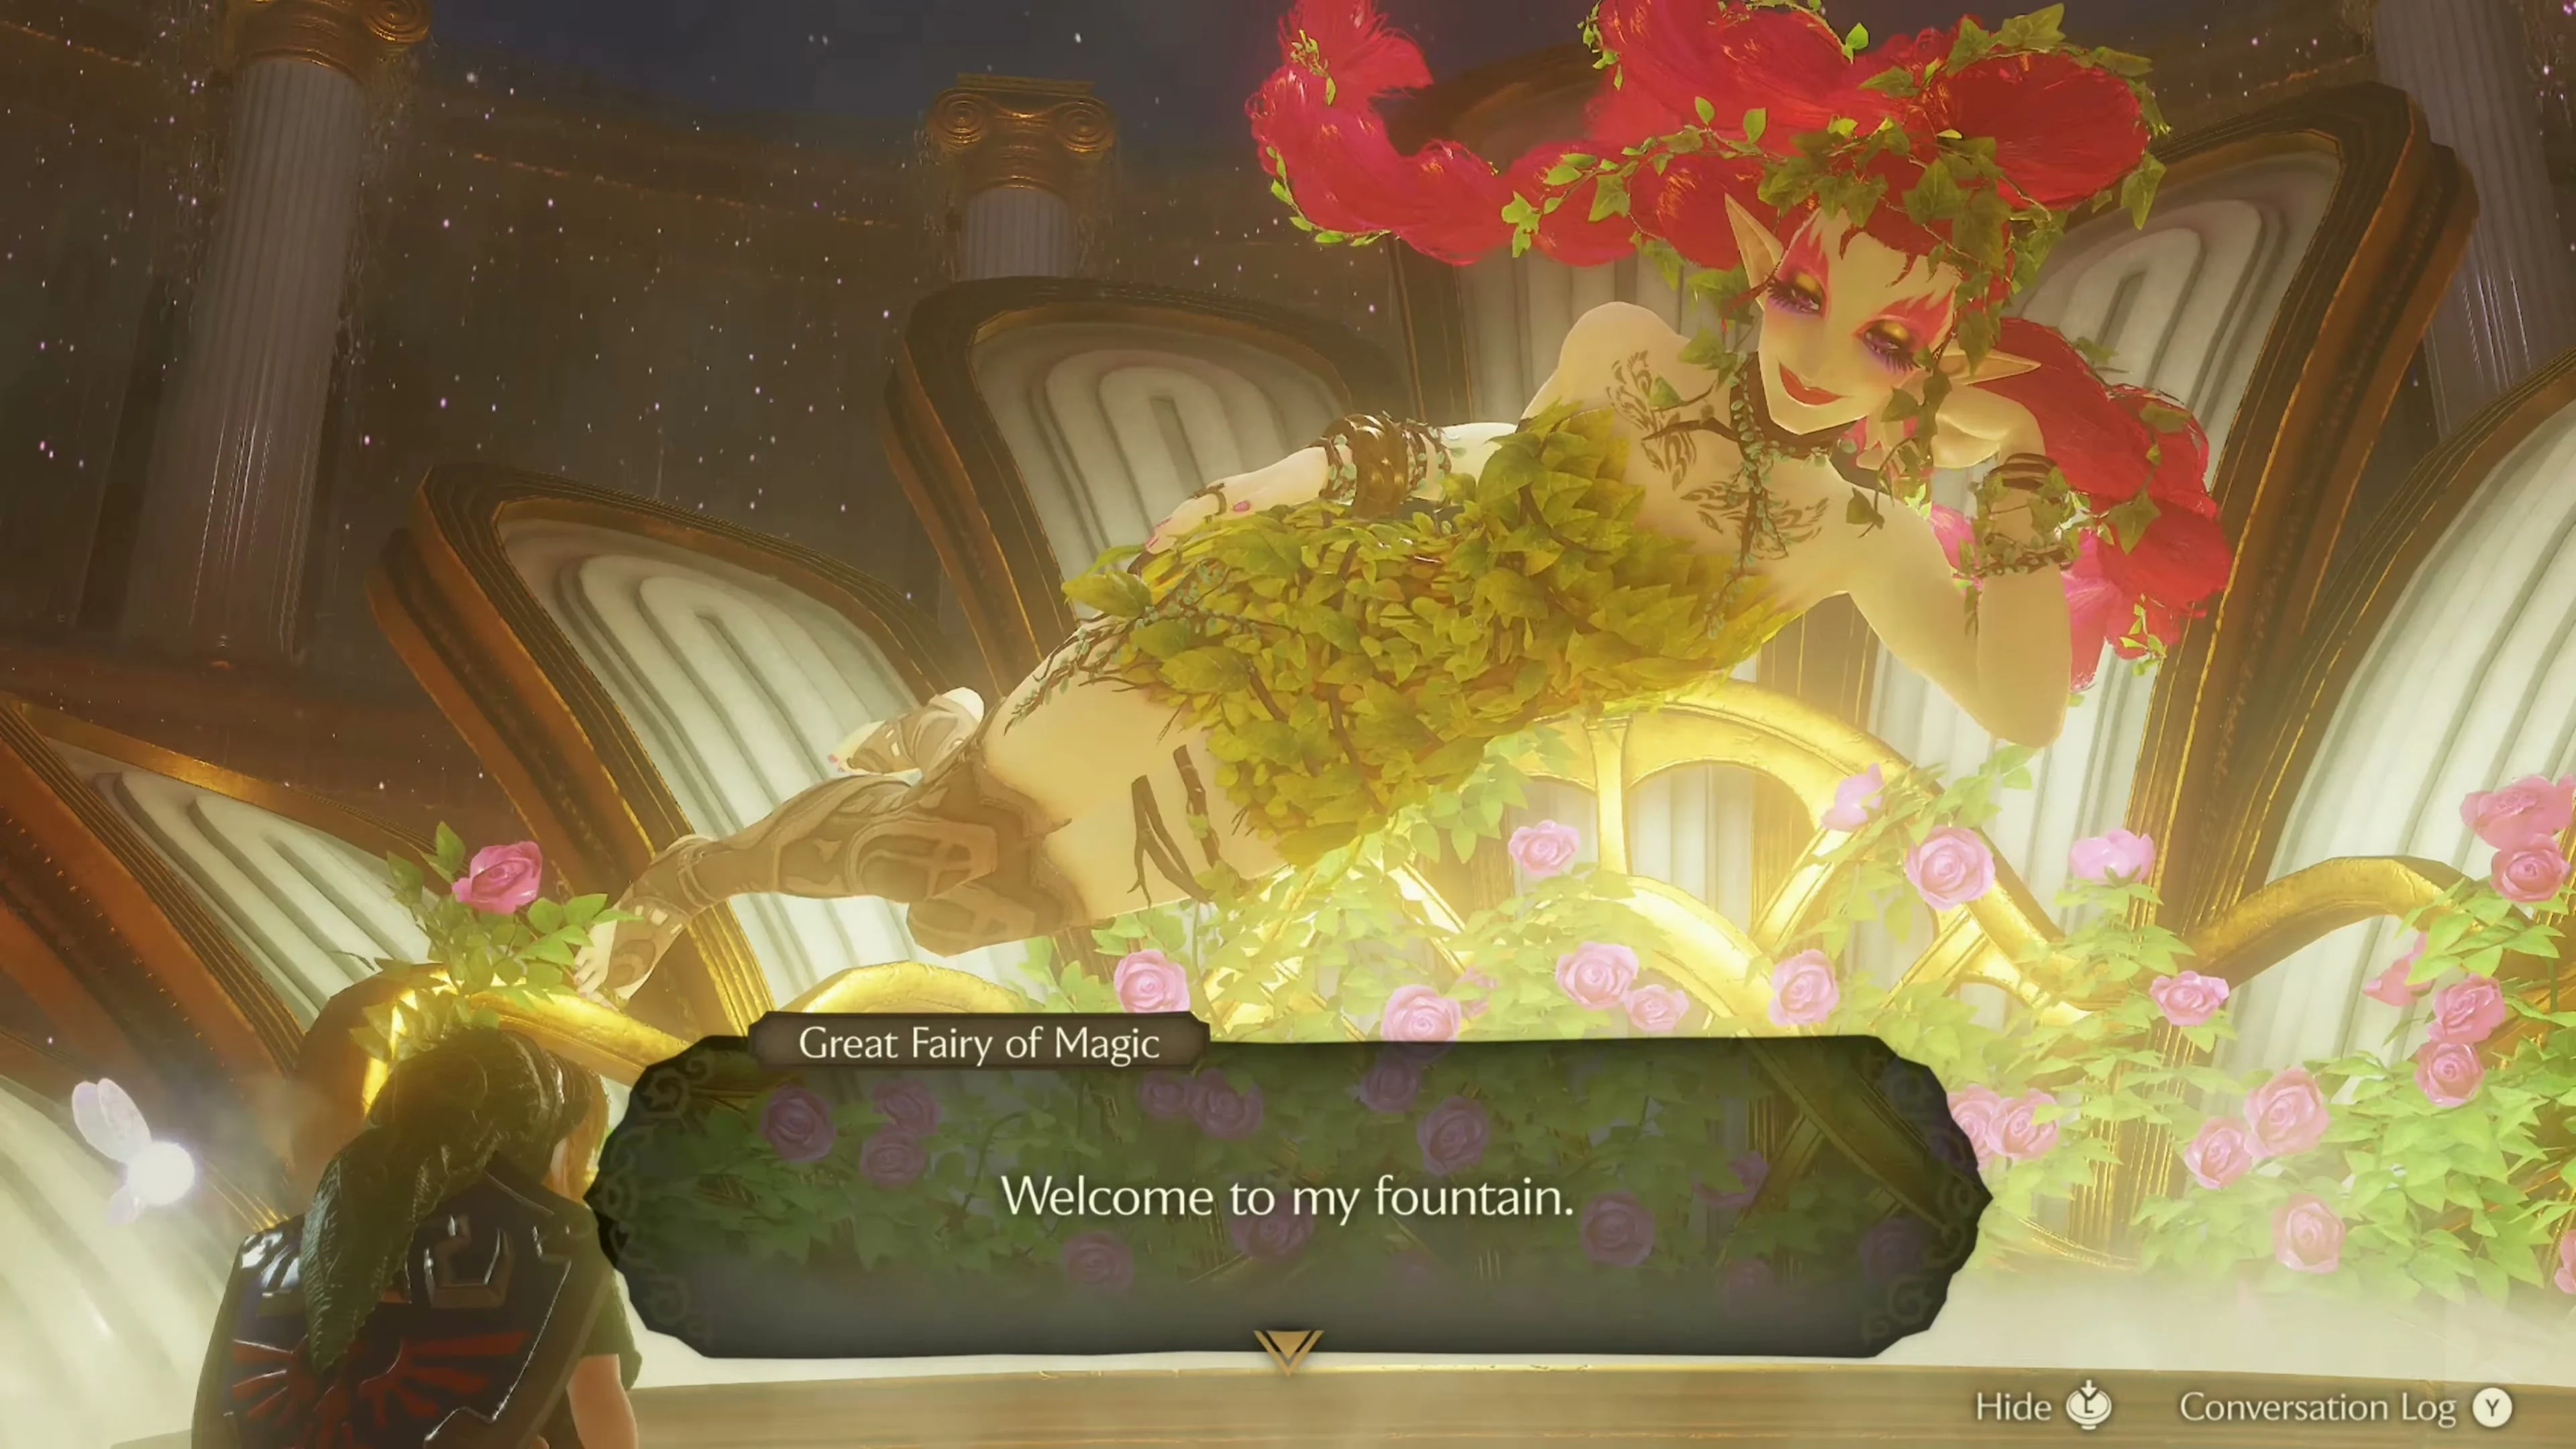
Blow up the wall to the left of Kaepora Gaebora and enter the fairy spring. Play Zelda’s Lullaby on the Triforce sign and pay the 25 Rupees . The Great Fairy gives you the Magic Meter and Din’s Fire . You can get the improved spin attack when you visit the castle later for 50 rupees; The locations are also described in the fairy spring guide .
Short detour to Death Mountain Crater
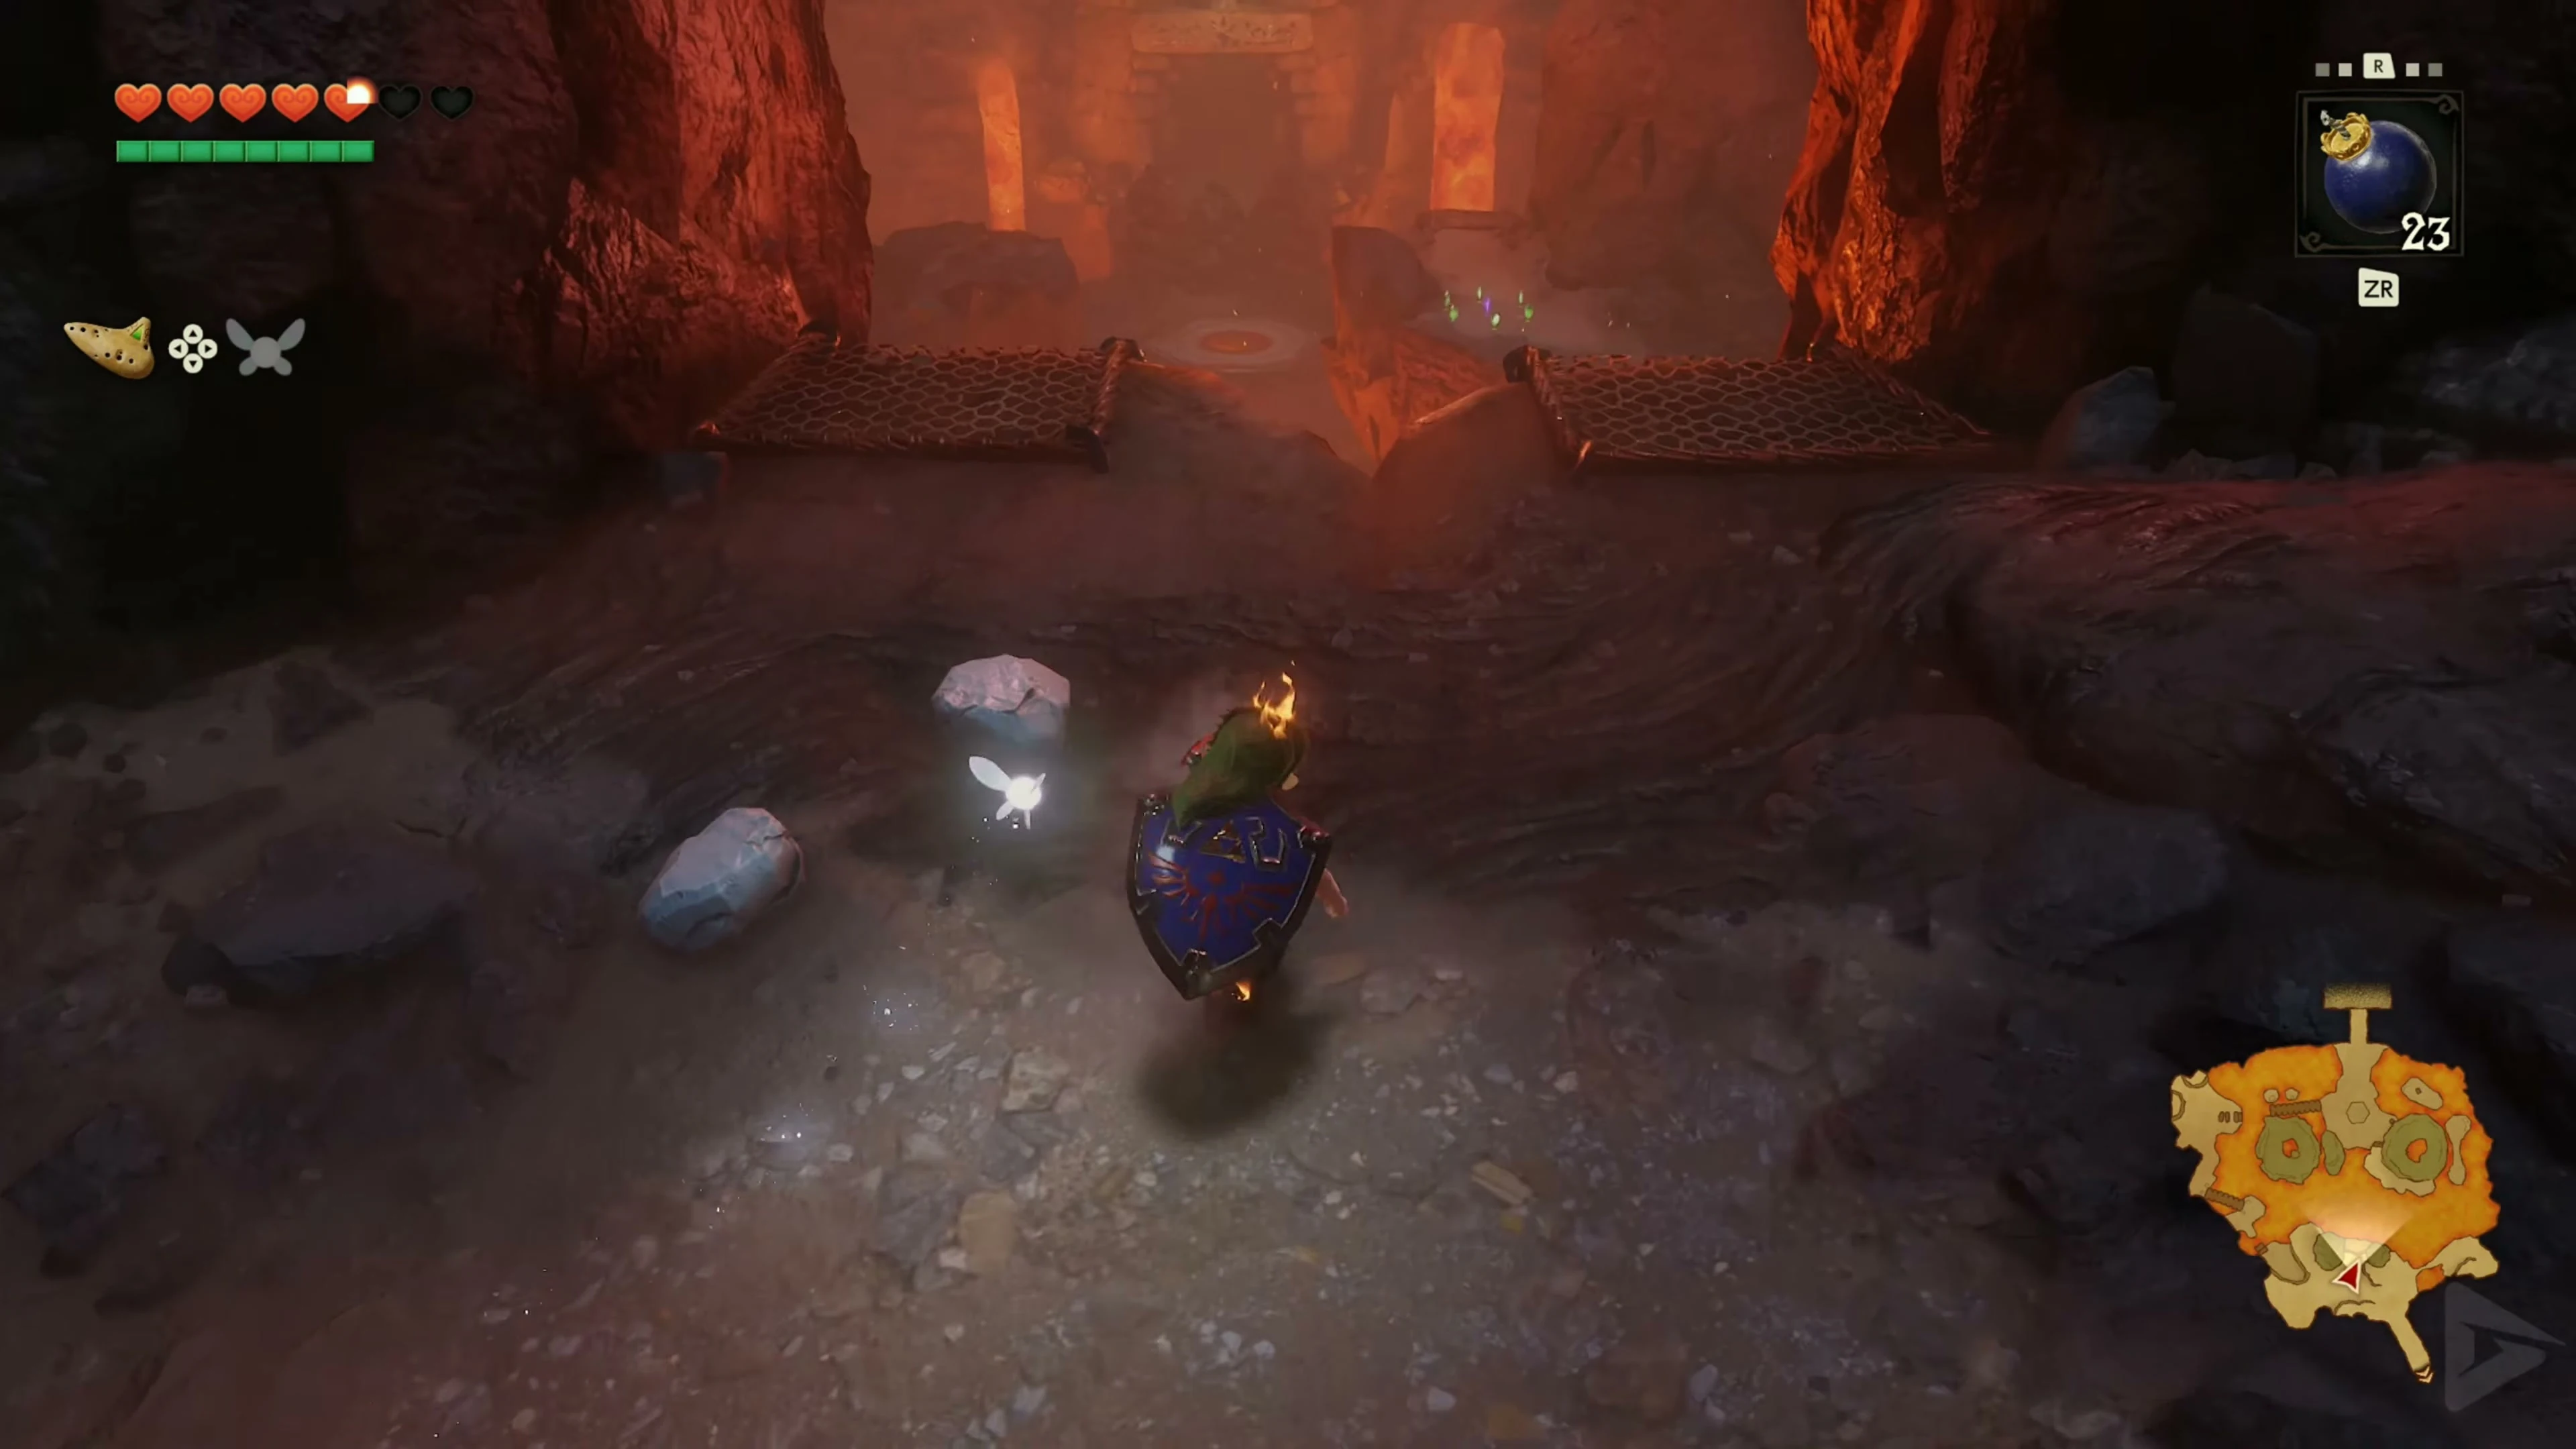
Fill up your hearts and take 100 rupees for the merchant. Enter the crater at the summit via the northern passage at Kaepora Gaebora. As a child, heat damage occurs after a few seconds. If you are low on energy, return to the entrance and collect the remaining finds in a second pass.
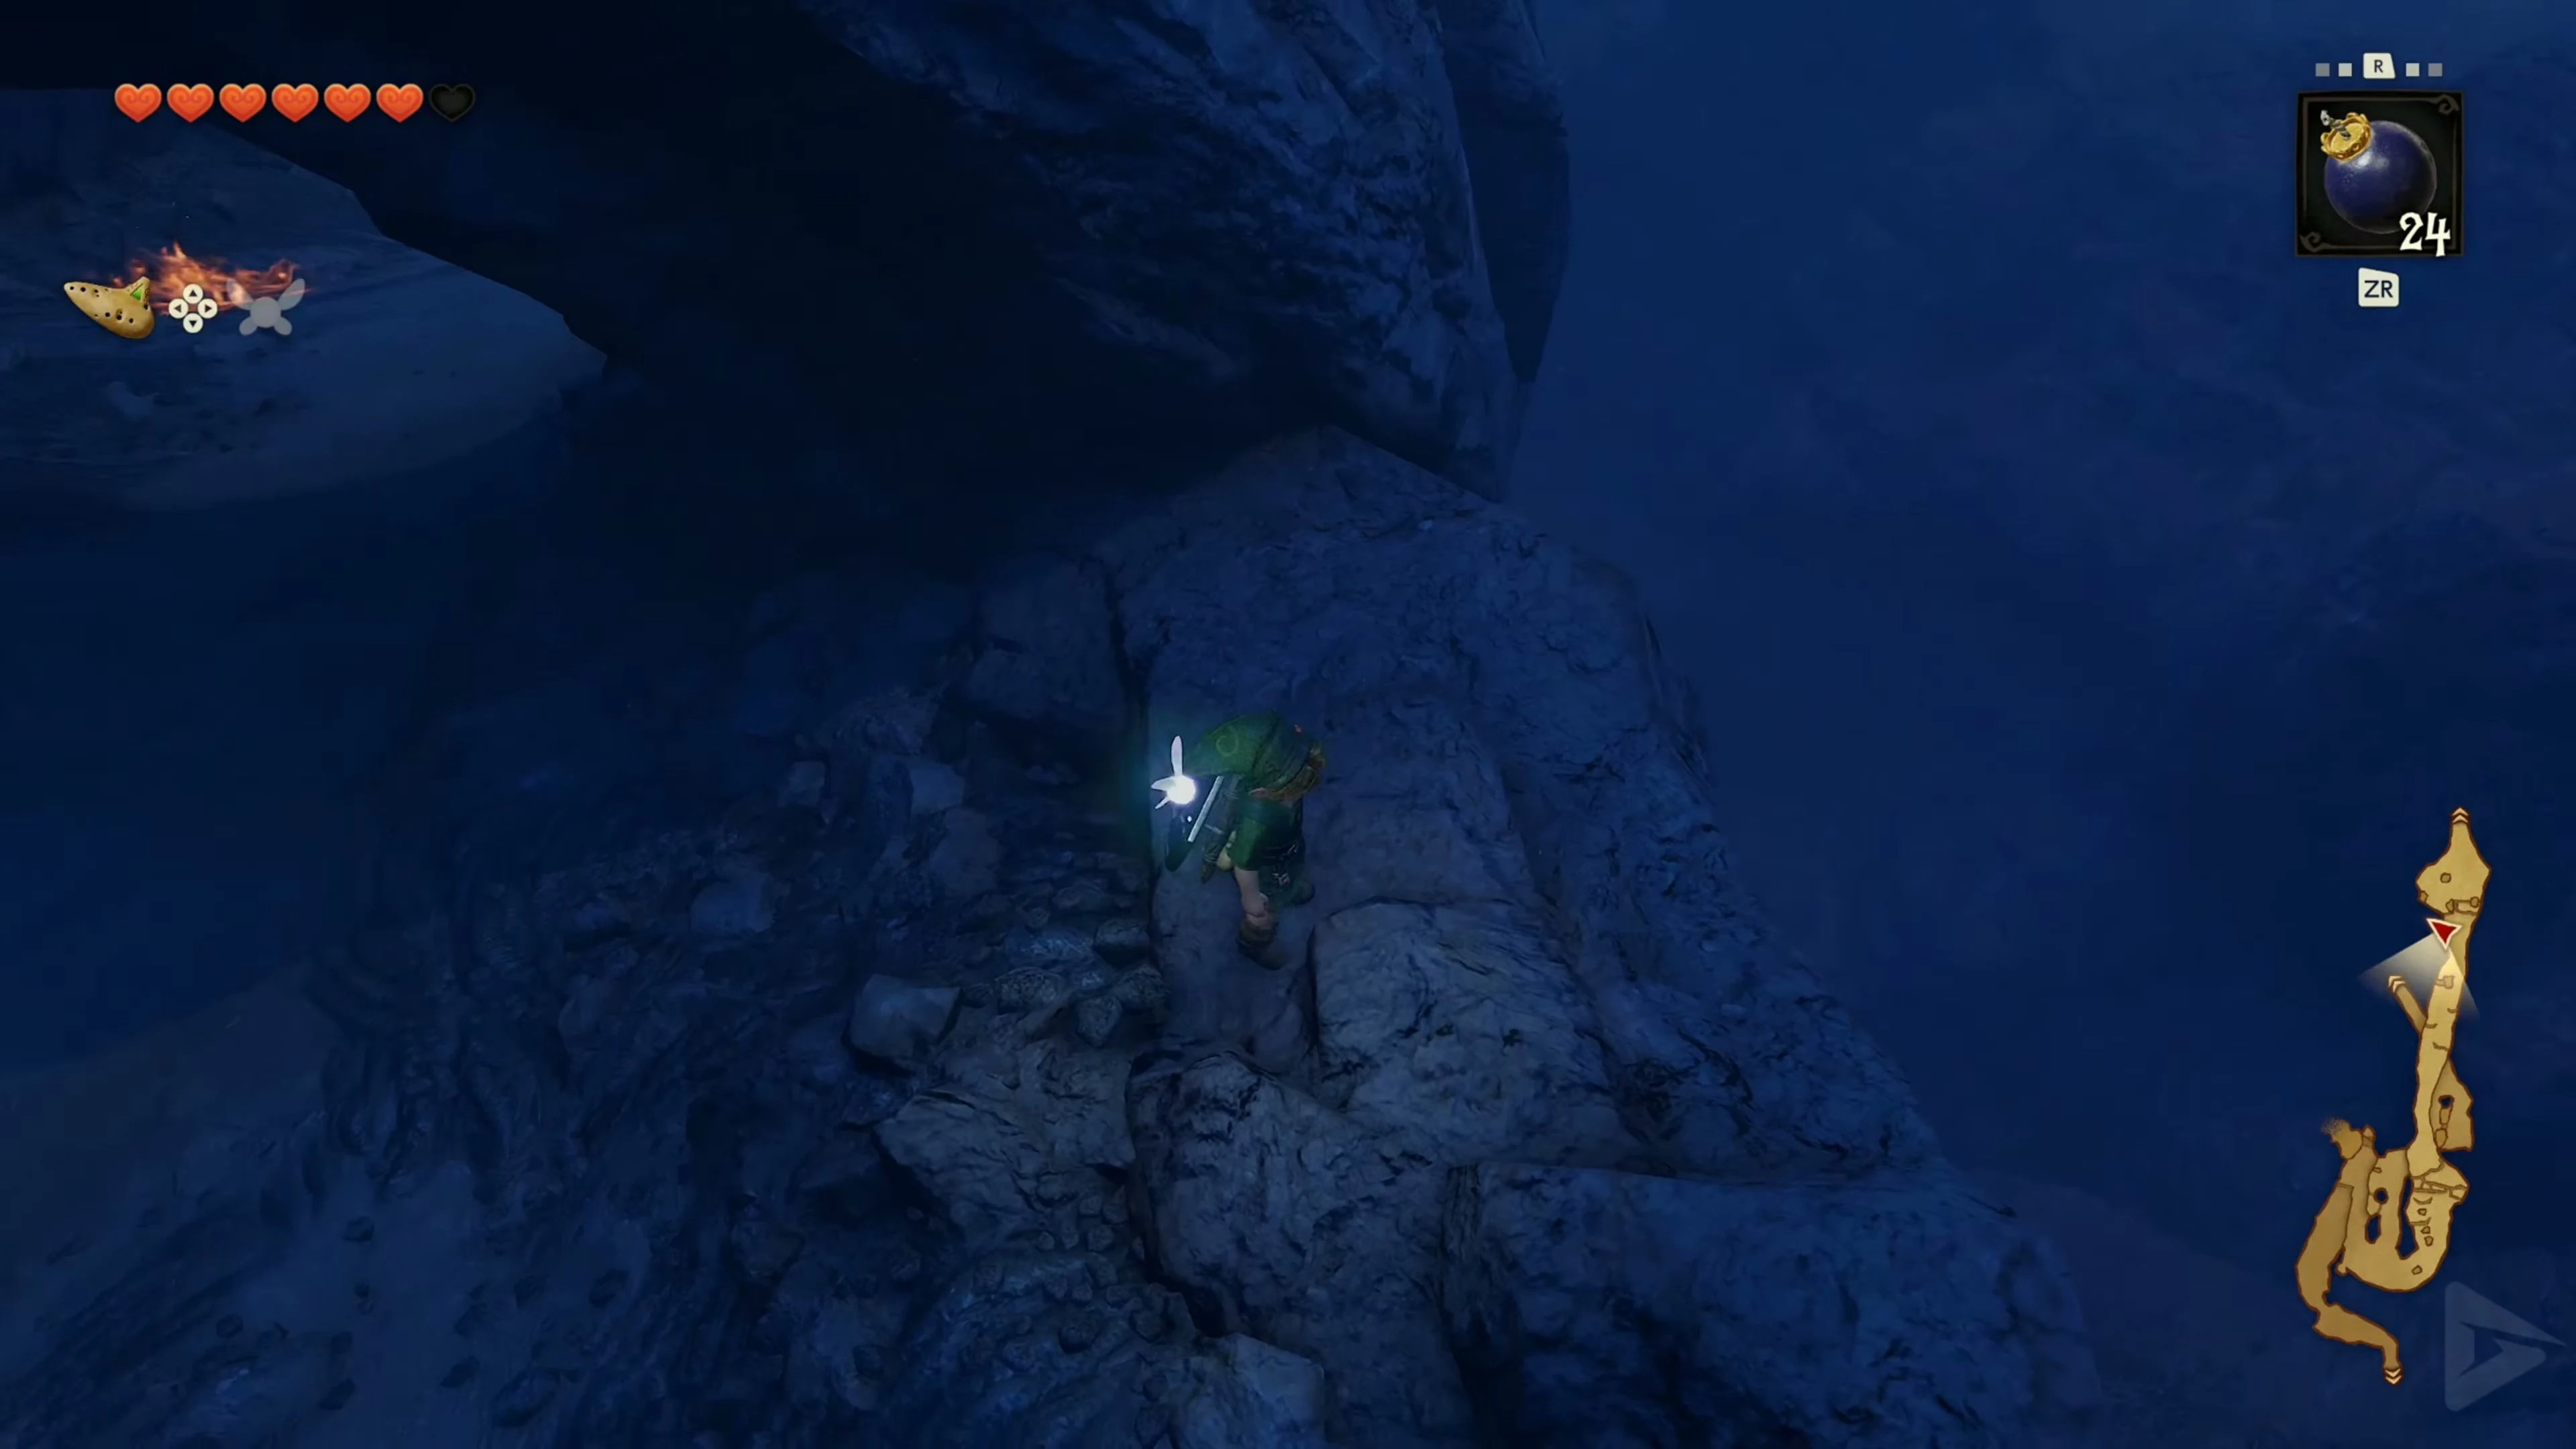
- Roll against the at the back of the two wooden boxes on the left at the summit entrance , right next to the jug. Defeat the Gold Skulltula and take her token.
- The first climbing net hangs to the right of the boxes. Climb down it to the niche between the nets and take the Piece of Heart. The find fills your hearts. Climb the same net back to the upper path.
- At the top, follow the path downhill to the west . Climb down the next net on the left. Target the Business Scrub and deflect its projectile back with the Hylian Shield. Talk to him as a child and buy the Piece of Heart for 100 Rupees .
- Climb back up from the merchant at the second net. Blast the single rock southwest of the net . In the grotto below there is a Business Scrub Seed in a chest. Then return to the summit exit via the upper path.
With Kaepora Gaebora to the Piece of Heart in Kakariko Village
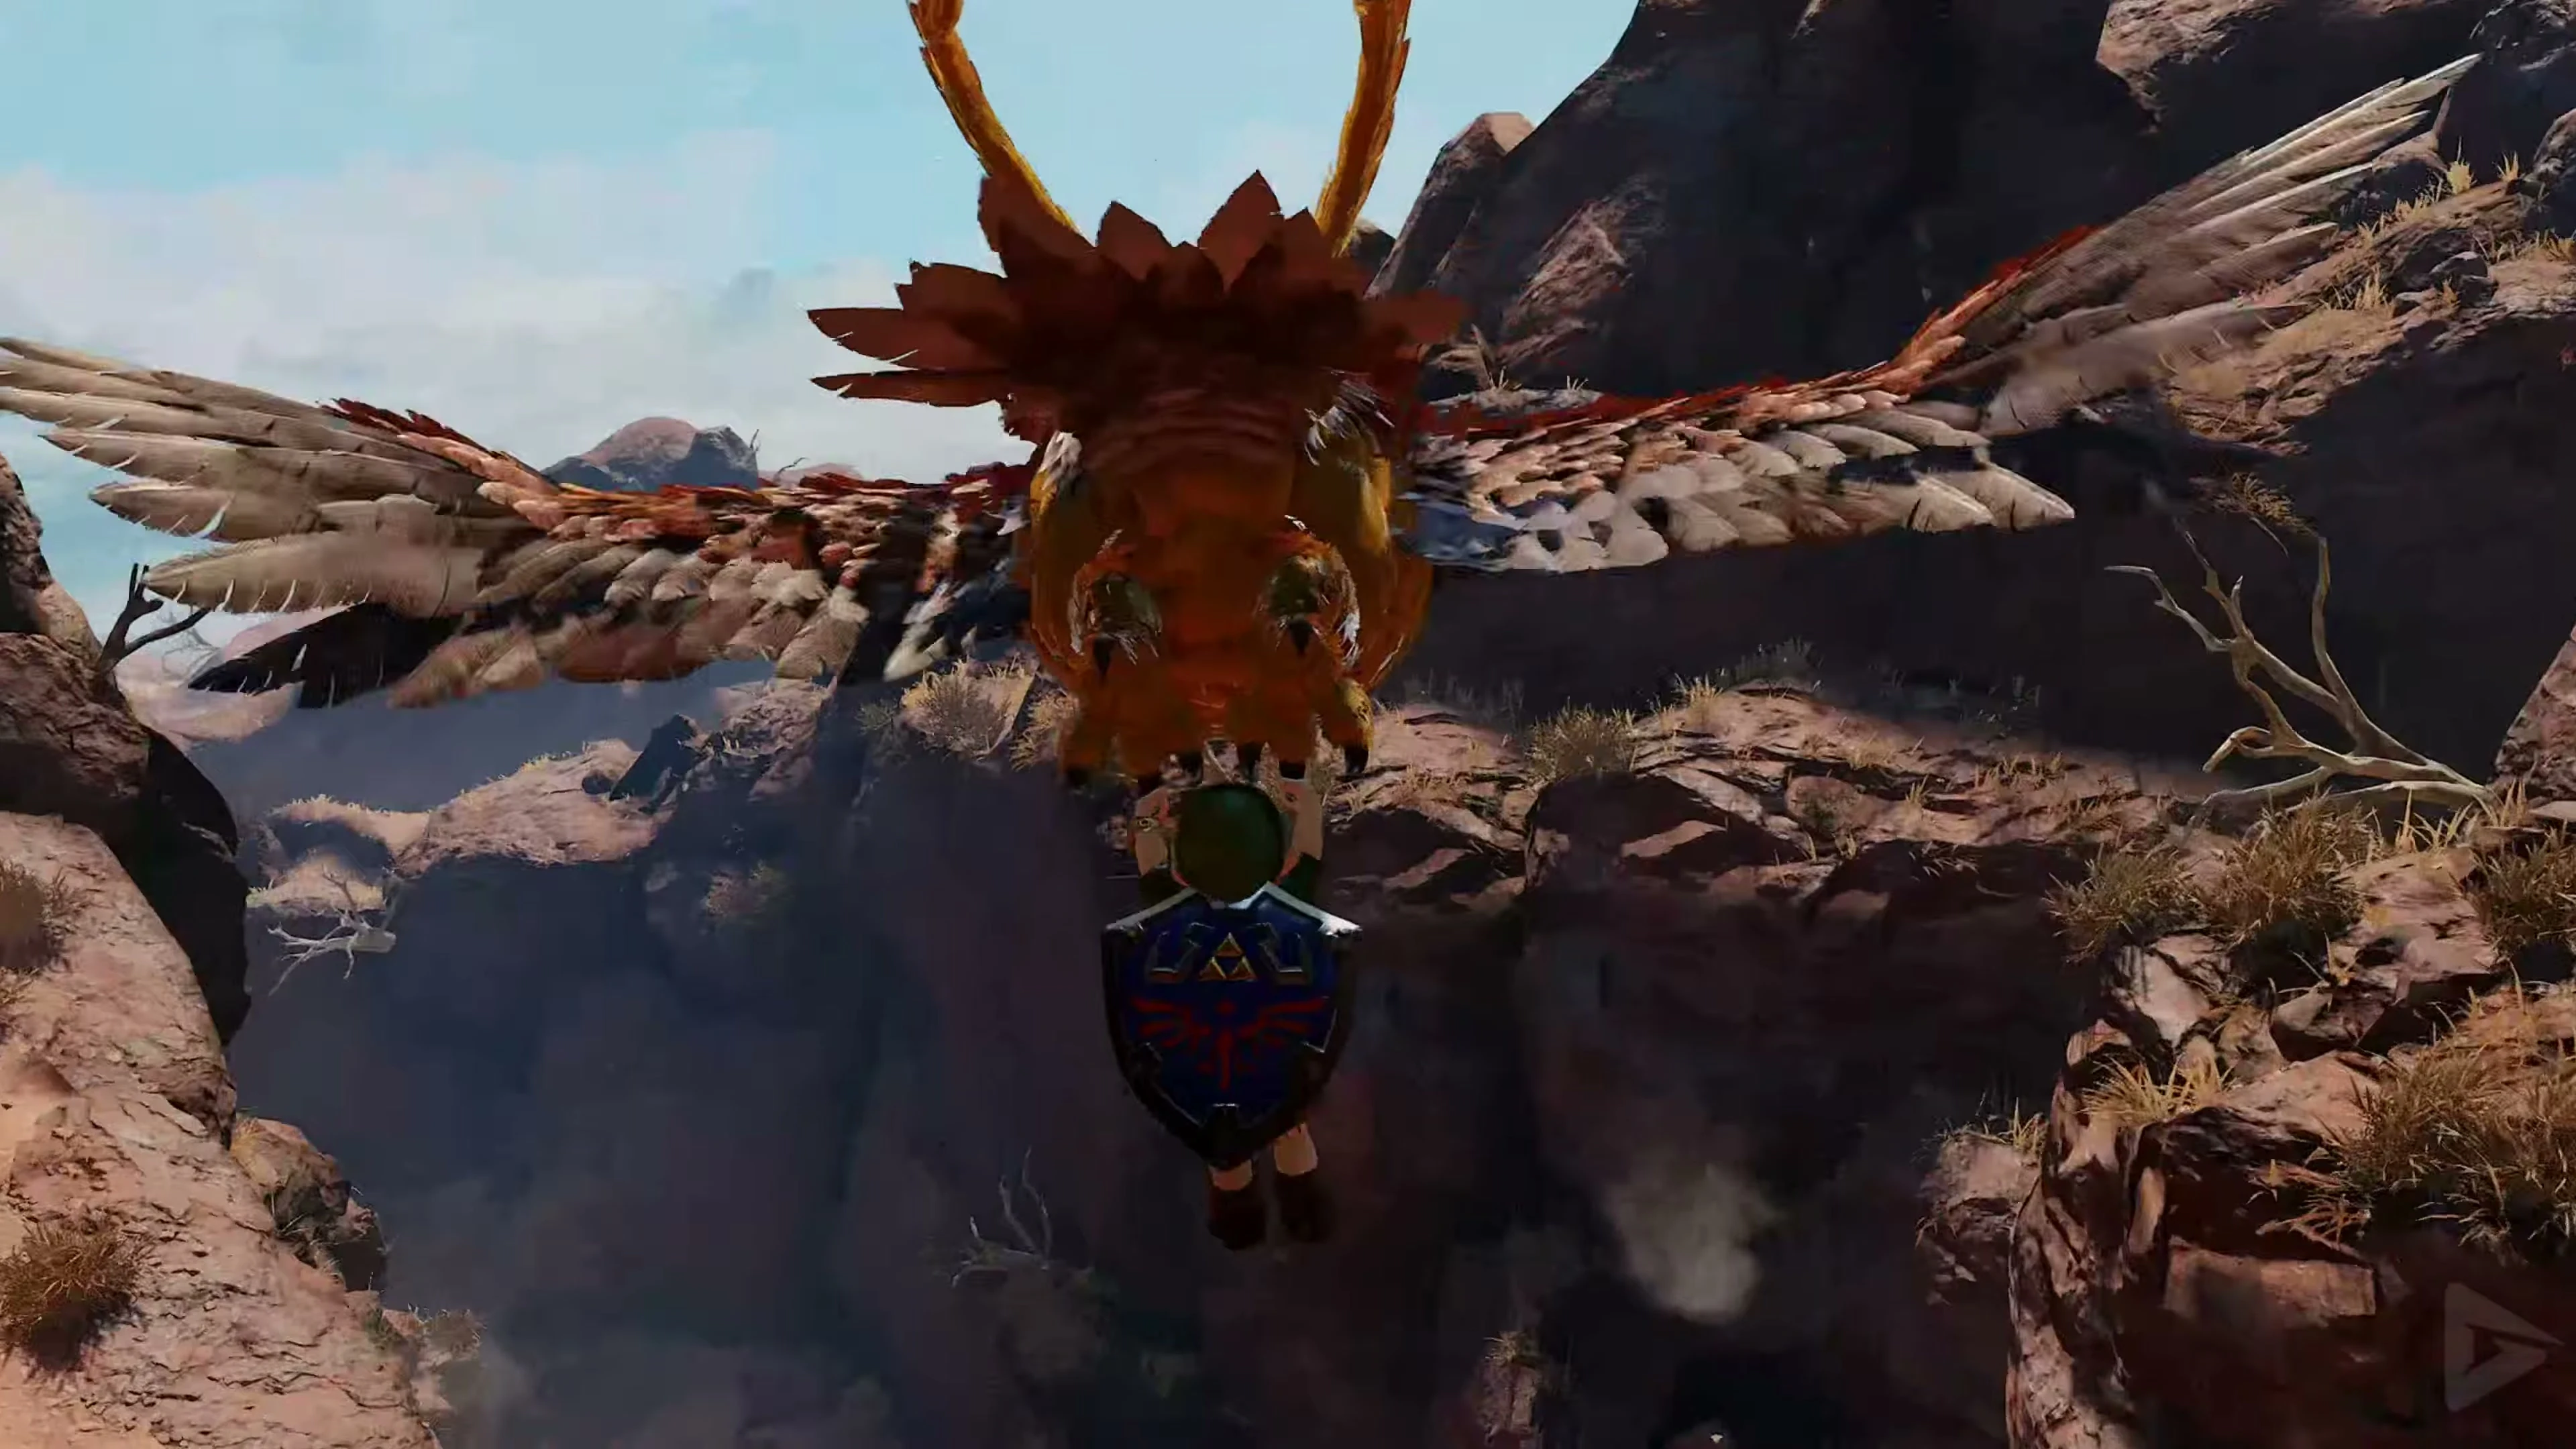
Speak to Kaepora Gaebora at the summit and take his flight to Kakariko Village. He drops you on a roof. From there, go south and jump onto the lower red roof at Impa’s house . Collect the Piece of Heart that you were missing from your first visit to Kakariko Village.
Echo Gem for 20 Skulltula Symbols
Descend into the village and go to the Skulltula house with the blue door . With 20 Gold Skulltula Symbols you talk to the second freed son and get the Echo Gem . The symbols continue to count towards the next reward. Equip the stone to alert you to nearby Gold Skulltulas.
Then go across Hyrule Field to Hyrule Castle Town and on to Zora River .
Chests and their contents
View all 9 chests
| Floor | Quantity | Contents | Note |
|---|---|---|---|
| Ground floor | 1 | 20 Rupees | |
| Ground floor | 1 | 5 Rupees | |
| Ground floor | 1 | Dungeon Map | |
| Ground floor | 1 | Compass | |
| 1st floor | 1 | Bomb Bag | |
| 1st floor | 1 | Deku Shield | If you already have Deku Shield: 5 Rupees |
| 1st floor | 1 | Deku Shield | If you already have Deku Shield: 5 Deku Cores |
| 1st floor | 2 | Business Scrub Seed |