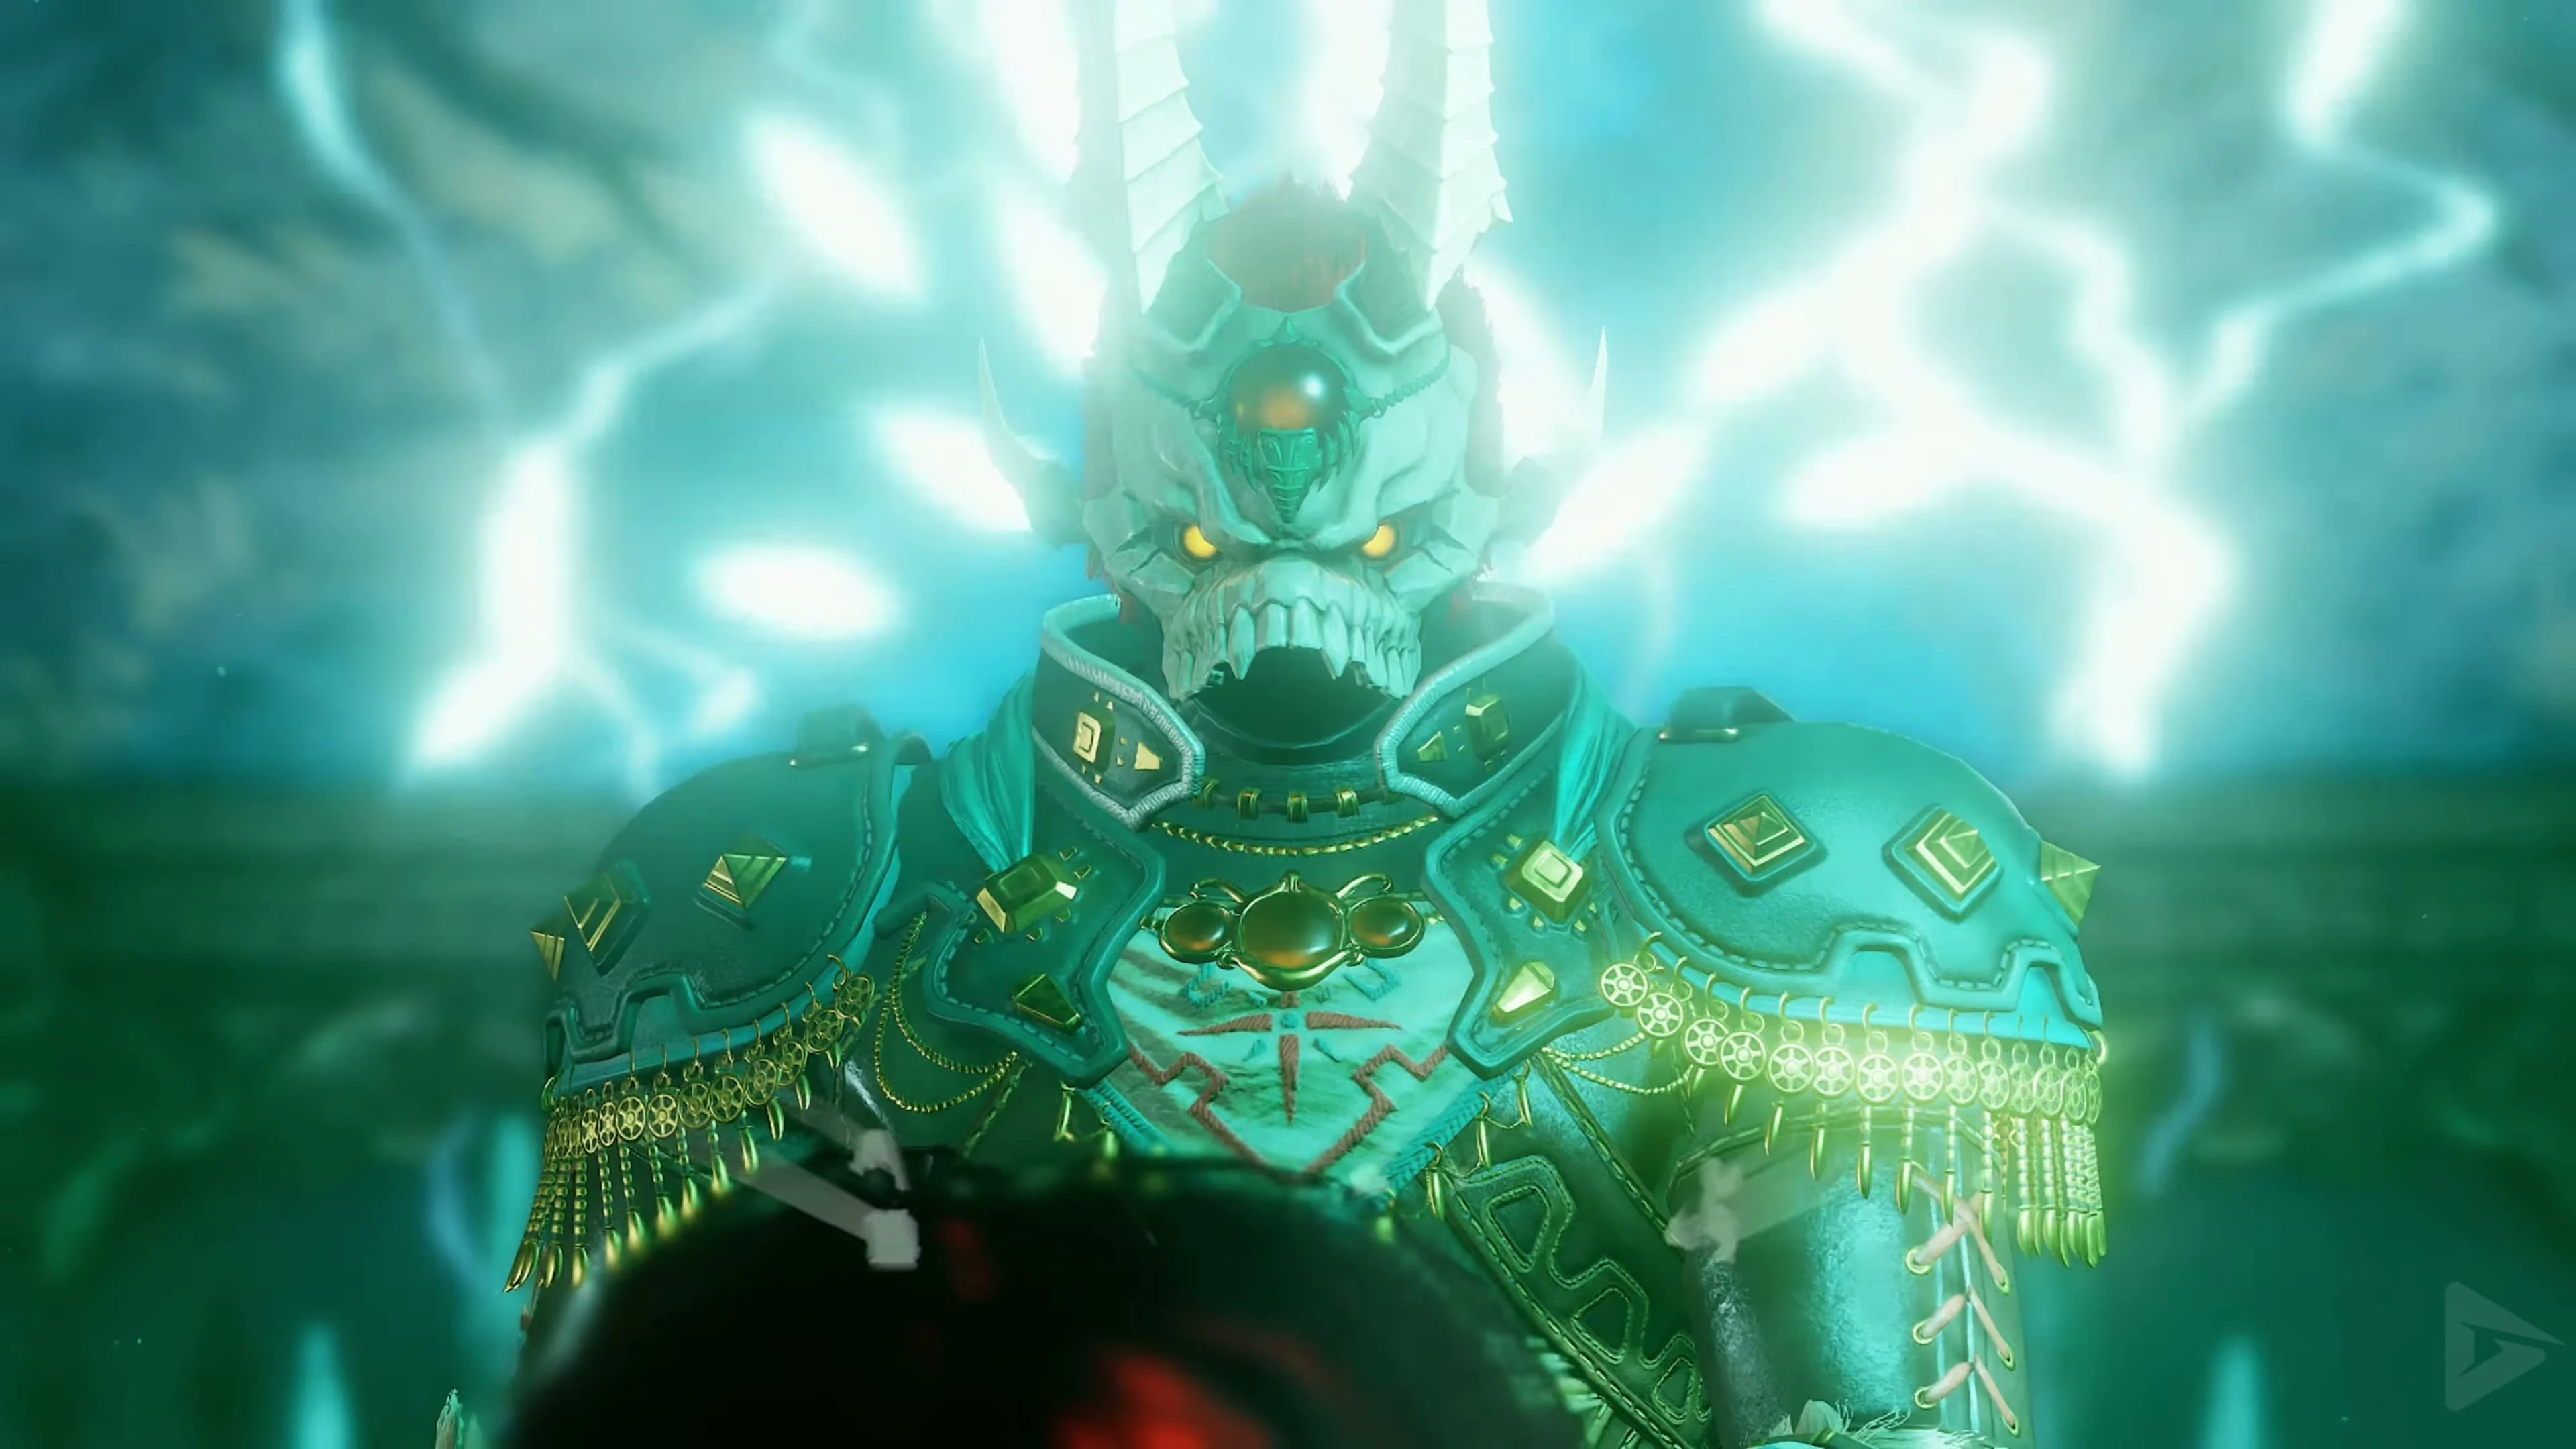

The following strategies will guide you through the ten major boss battles. Replenish your hearts, magic, and ammunition before each fight. Pick up the Heart Container after defeating a dungeon boss before entering the blue light.
Hall of Fallen Foes
After completing the Forest Temple and learning the Prelude of Light, a glowing green bed opens the entrance to the Hall of Fallen Foes. You can find such a bed, for example, in the Kakariko Village Inn. Kaepora Gaebora explains the hall to you; his conversation at the village entrance as a child is another opportunity to learn about it. Examine the statues of defeated enemies in the hall. The statues along the edges unlock rematches against unlocked bosses. Speak to Kaepora Gaebora to leave. You will receive the supplies used in the hall back in the main adventure.
Gohma
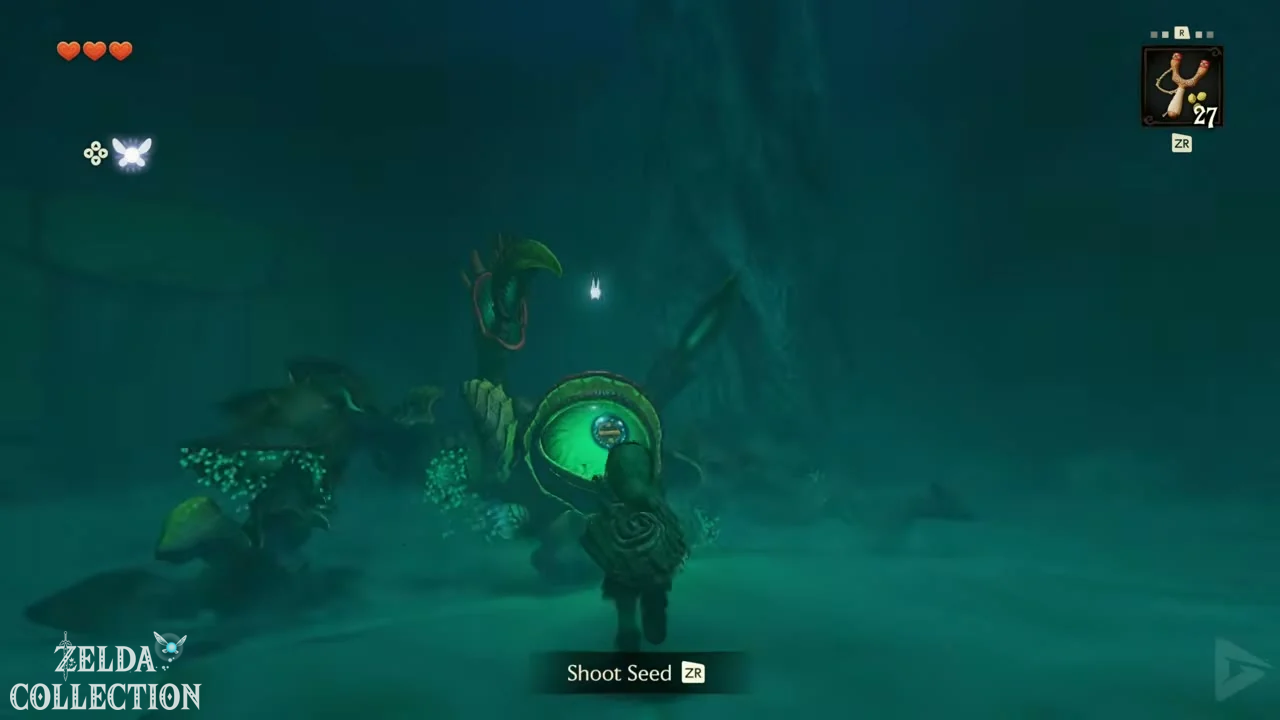
Deku Shield, slingshot, and sword will keep you going in the fight. Move out of Gohma’s melee attack and hit the eye with the slingshot as soon as the protective limbs release it. Attack the stunned eye with the sword. You can shoot them from the ceiling while the eye is open; destroy any laid eggs early. You can find the complete path in chapter Gohma .
King Dodongo
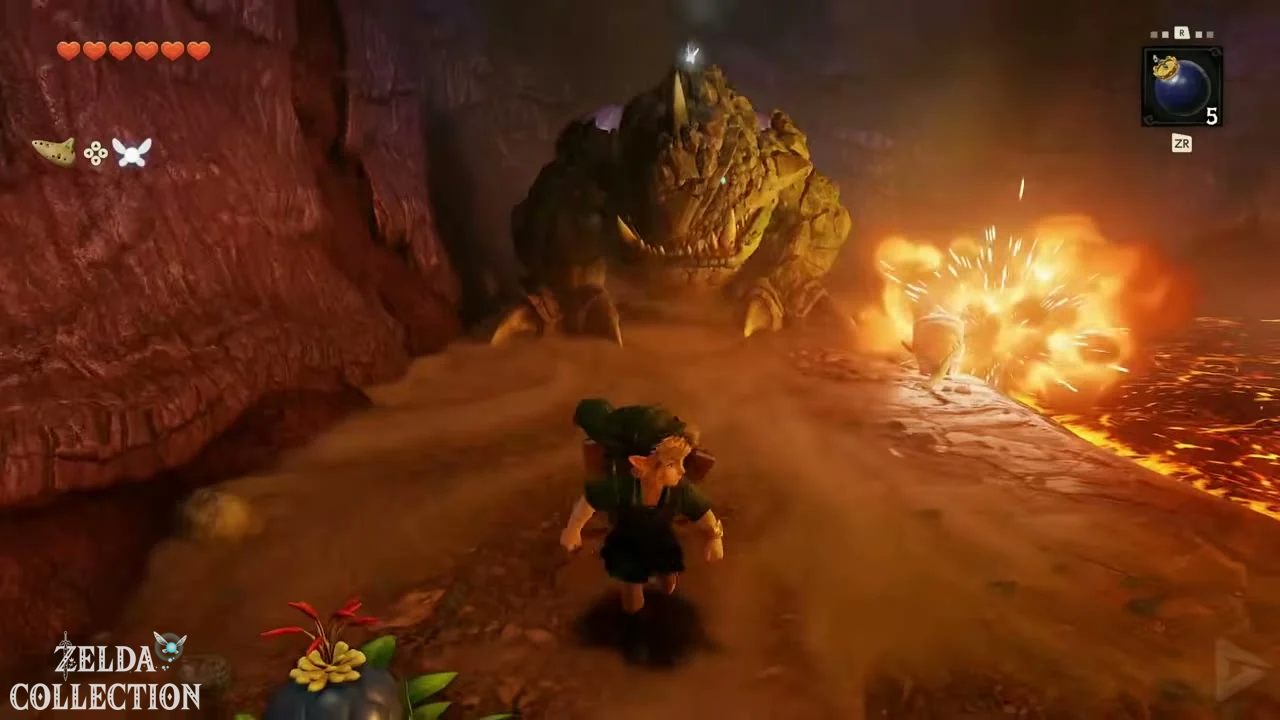
Wait outside its fire path until it opens its mouth and sucks in air. Throw a bomb inside and attack its sunken head with your sword. Dodge its rolling attack by moving to an inside corner of the stone path. If you run out of bombs, the Bomb Flowers at the edge of the arena will help. You can find the complete path in the chapter King Dodongo .
Barinade
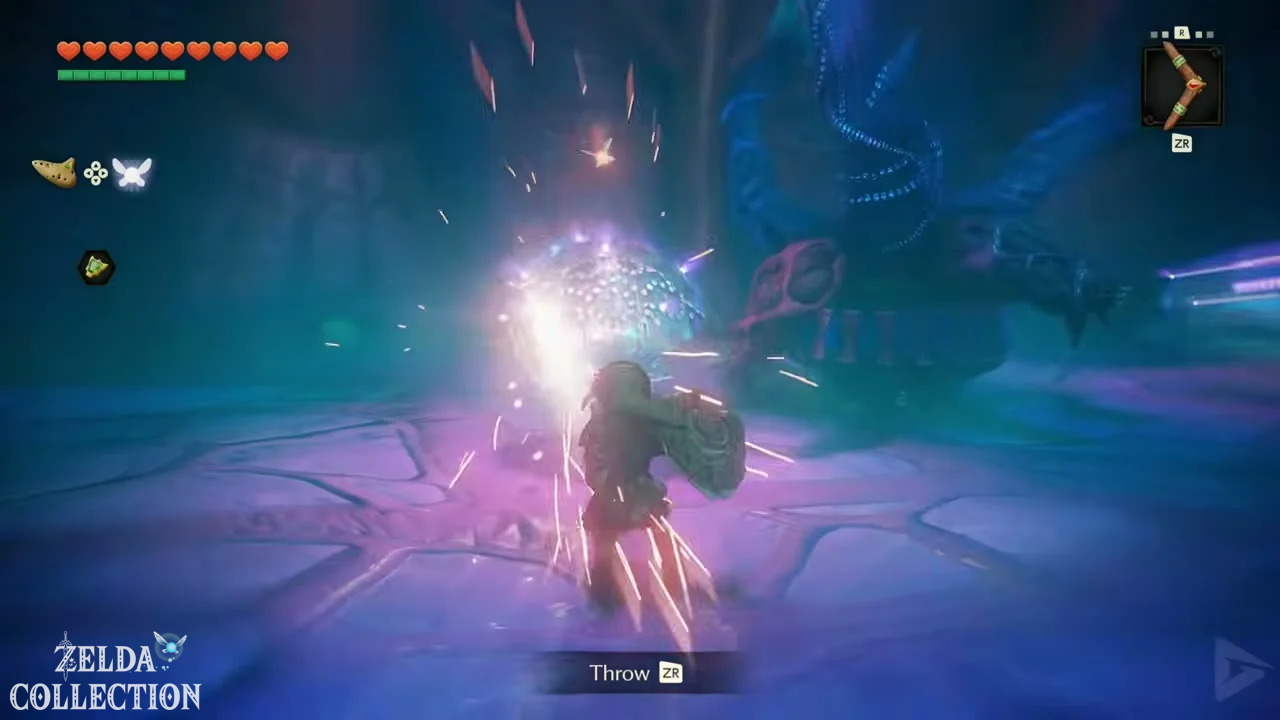
First, hit the ceiling connections with the boomerang. Then, stun the body and destroy the protective jellyfish as soon as they detach. Keep moving during the electric attacks. Once the jellyfish are gone, stun Barinade again and attack the body with your sword. You can find the complete path in the chapter Barinade .
Phantom Ganon
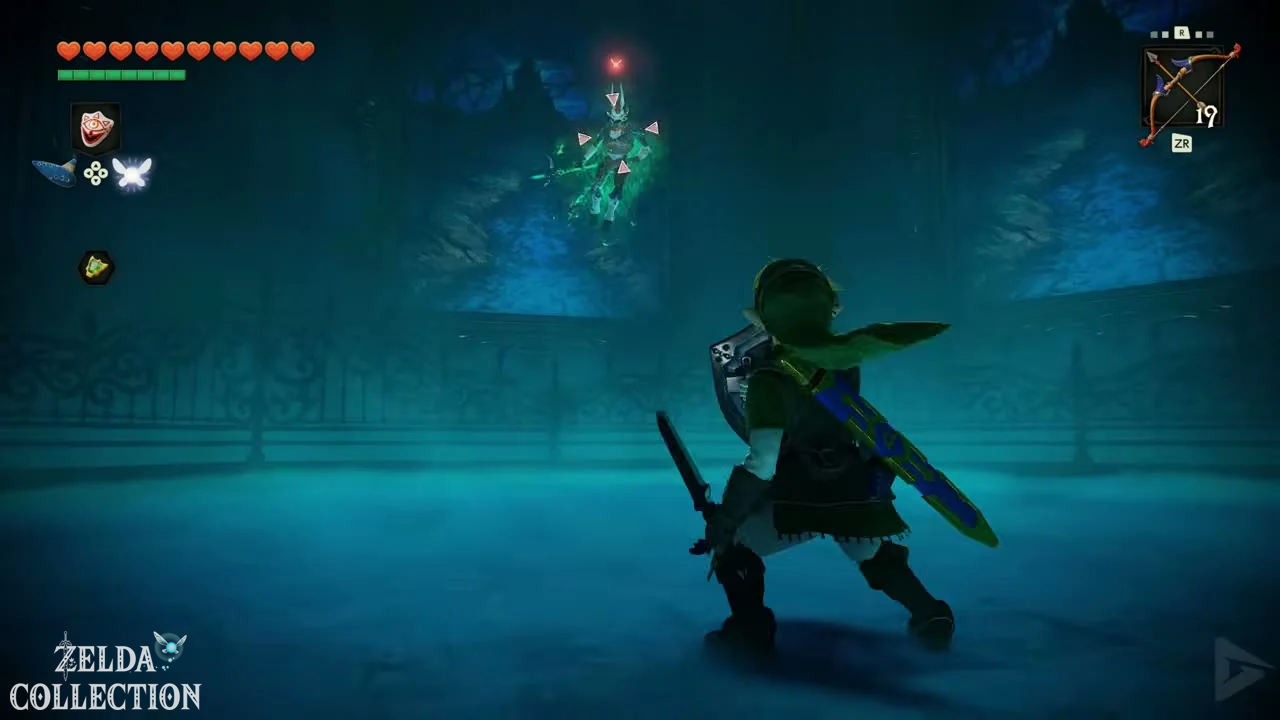
Observe the paintings and shoot the real rider with the purple shimmer when he comes out of the picture. As soon as he is floating freely, deflect his energy orb with your sword. Win the exchange of blows and attack him on the ground. You can find the complete path in the chapter Phantom Ganon .
Volvagia
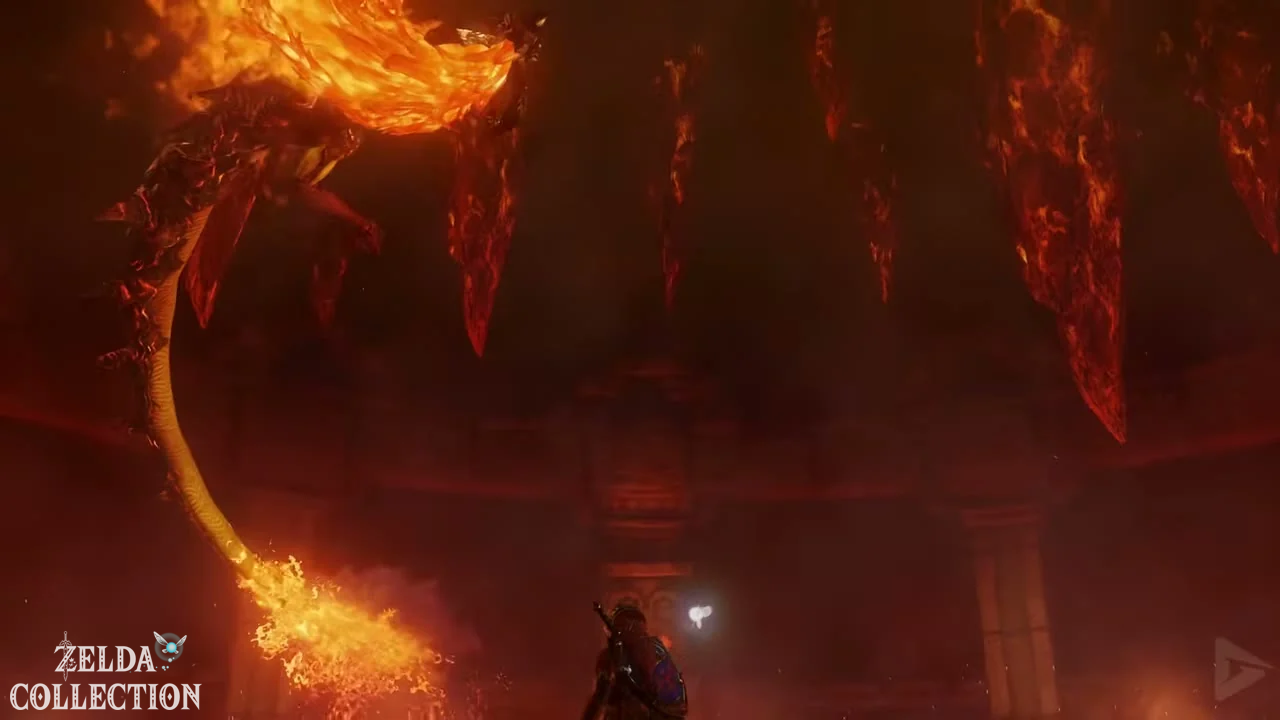
Watch the lava pits. Only approach when the head actually appears, and hit it with the Megaton Hammer. Attack the stunned head with your sword. During the flight, dodge fire to the side and watch out for shadows on the ground during the rockfall. You can find the complete path in chapter Volvagia .
Morpha
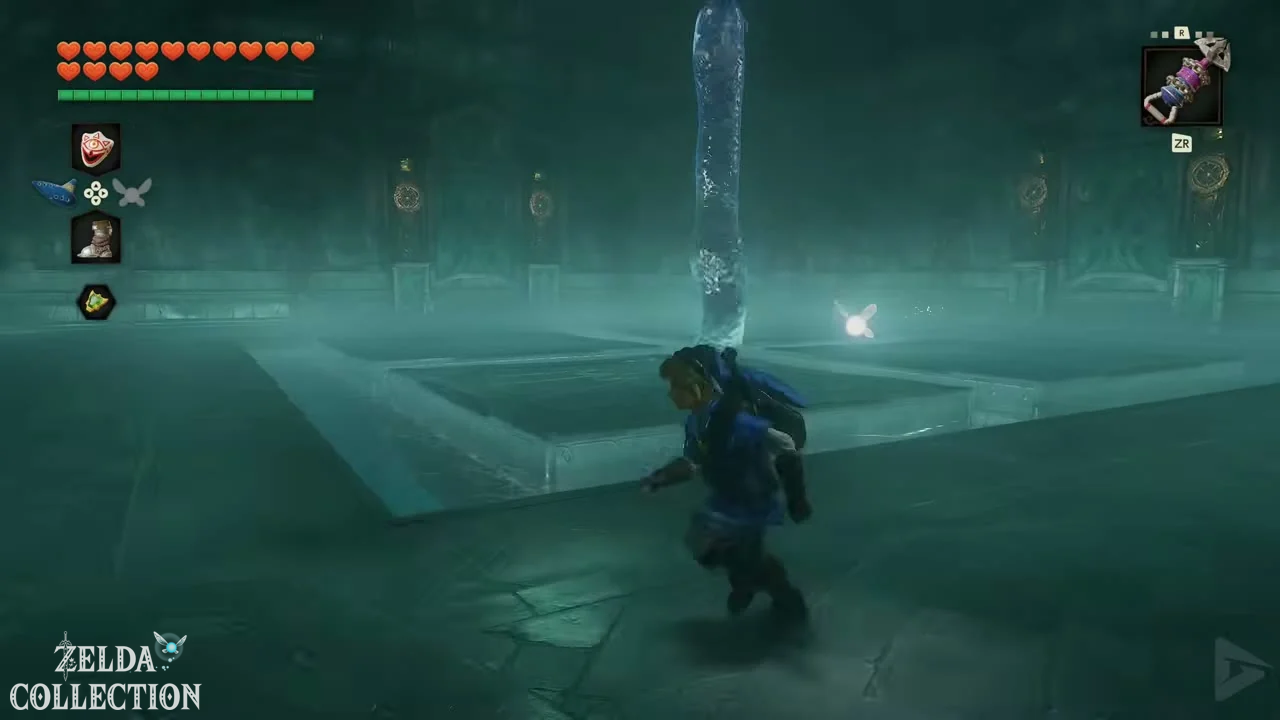
Fight from the wide edge of the pool. Pull the red core out of the water tentacle with the Longshot and immediately attack it with your sword. Keep your distance from the grasping tentacles and move back to an open edge after each attack. You can find the complete path in the chapter Morpha .
Bongo Bongo
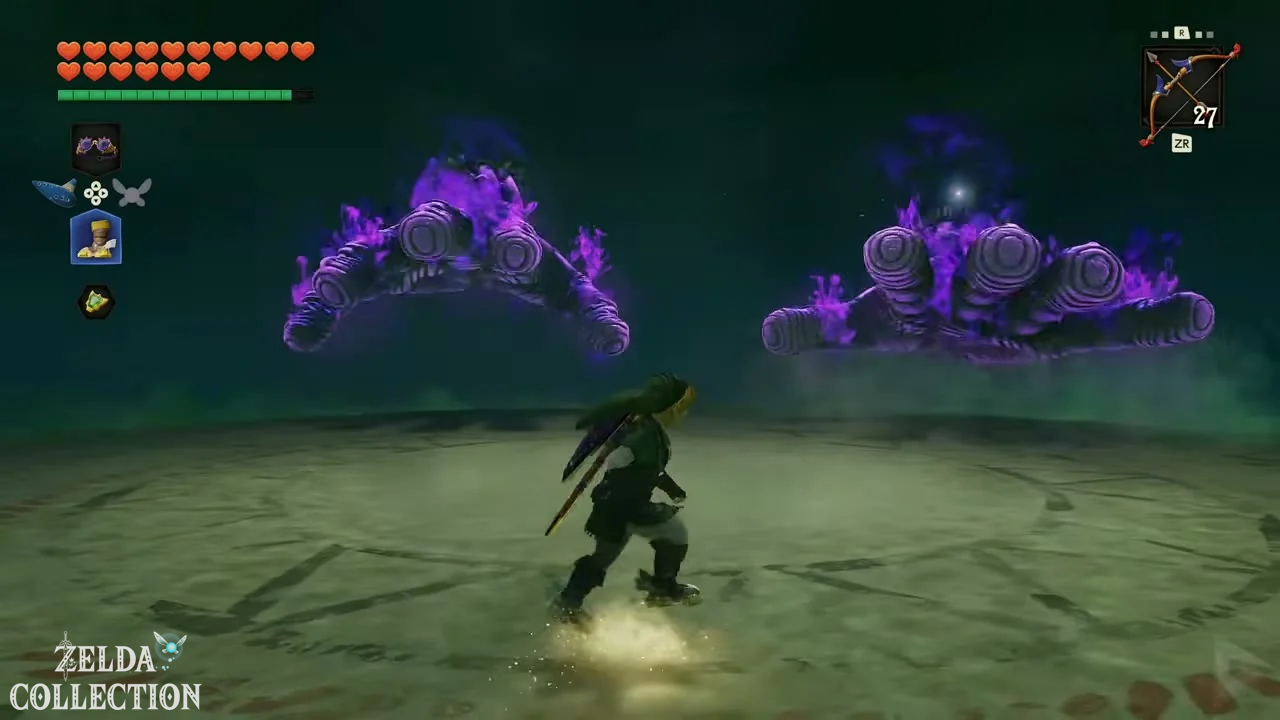
Stun both hands quickly, one after the other, with arrows. Then activate the Lenses of Truth and hit the charging eye with another arrow. Run to the collapsed body and attack the eye with your sword. Deactivate the Lenses of Truth between attacks to conserve magic. You can find the complete path in chapter Bongo Bongo .
Koume, Kotake, and Twinrova
Use the Mirror Shield to reflect the fire beam at the Ice Witch and the ice beam at the Fire Witch. After they merge, you will catch three beams of the same element. Dodge the other element. Aim the discharge at the witch, jump to the hit platform, and attack with your sword. You can find the complete path in the chapter Koume and Kotake .
Ganondorf
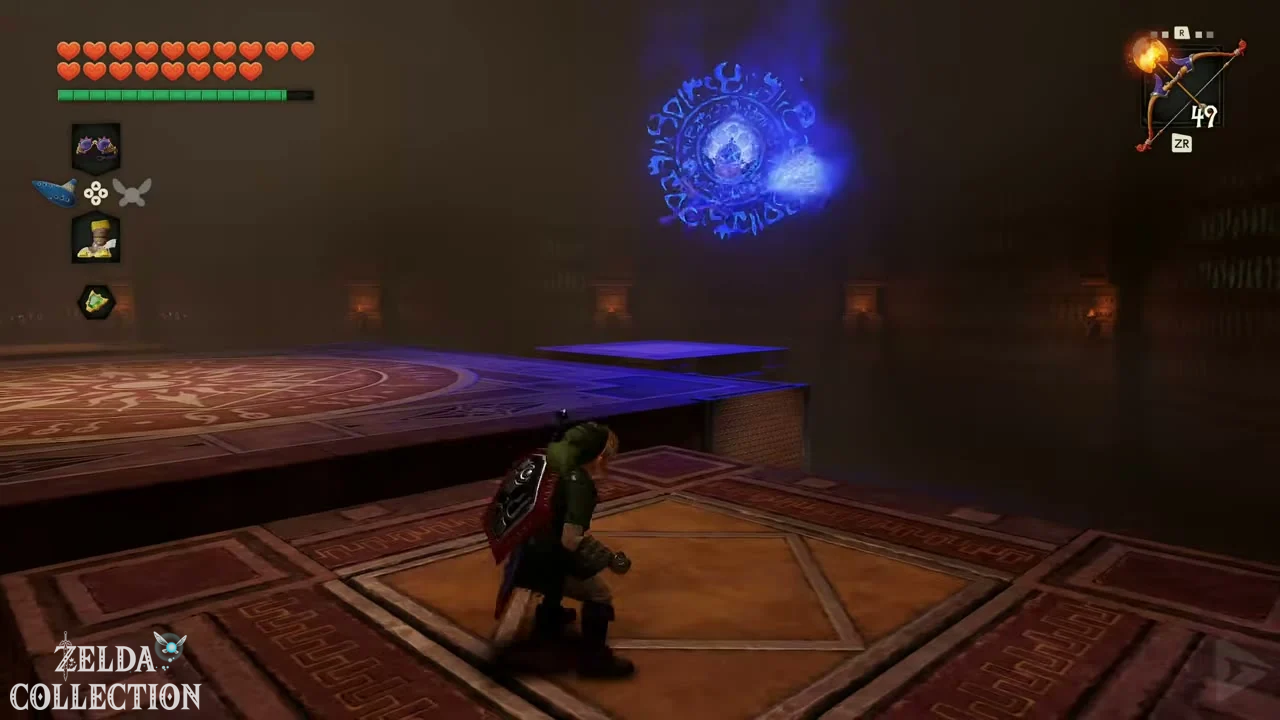
Deflect the energy ball until Ganondorf is hit. Immediately fire a Light Arrow at him and jump to the center to attack with your sword. Then retreat to the edge of the arena. You can interrupt the charged multi-attack with a Light Arrow. The complete path can be found in the chapter Ganondorf .
Ganon
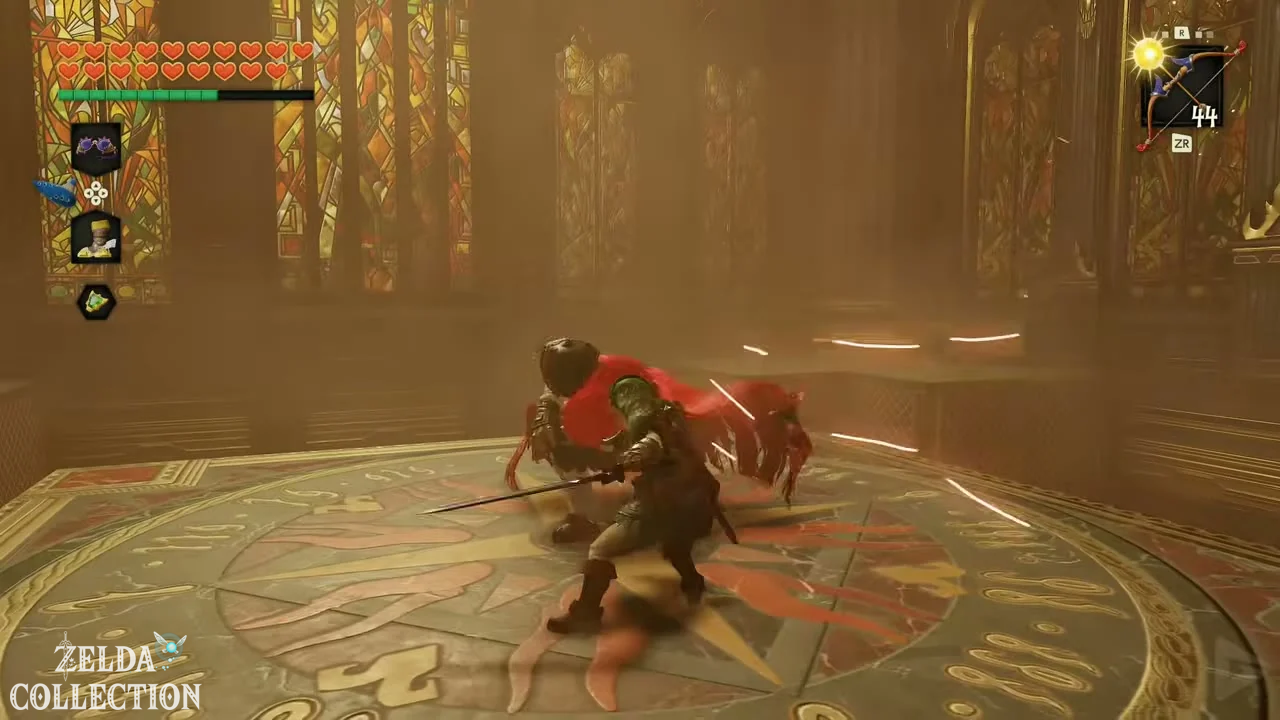
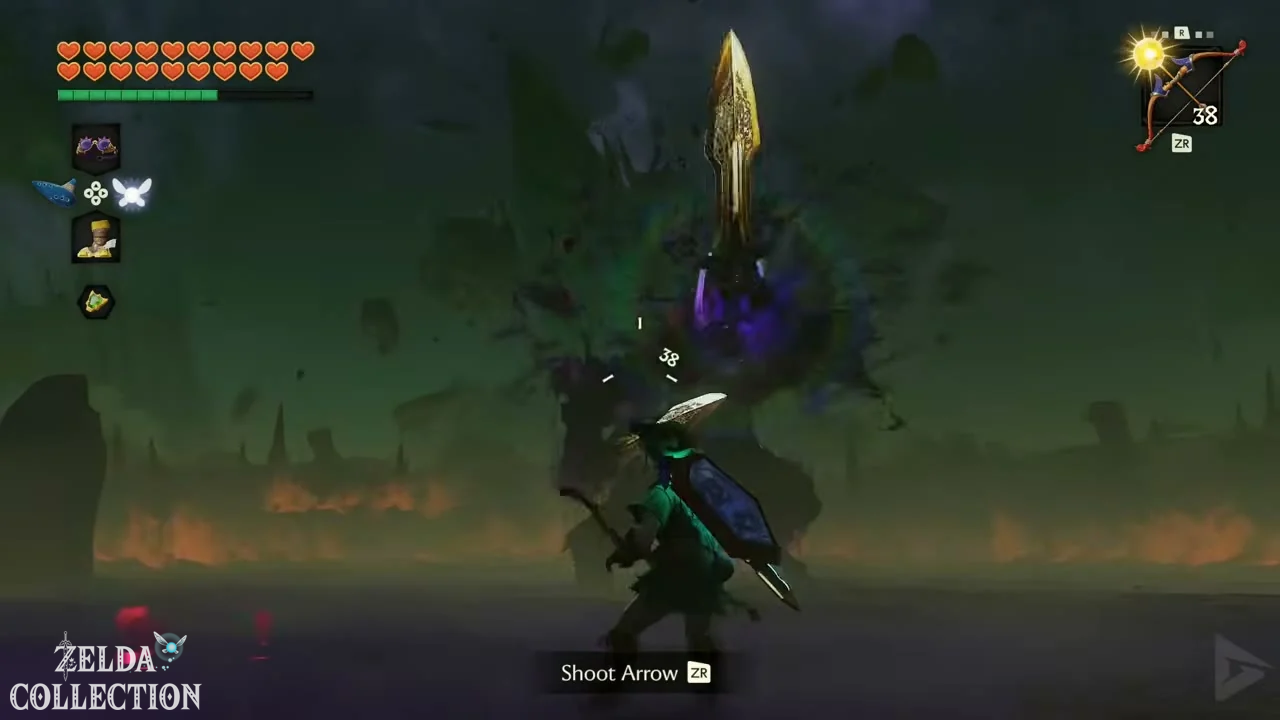
After losing the Master Sword, stun Ganon with Light Arrows and attack the crystals on his tail with Megaton Hammer or Biggoron Sword. Retrieve the Master Sword as soon as the fire circle falls. Then, watch for the glowing weak points on his lowered forearms and strike them with the sword after the ground slam. Once both arms are hit, dodge the enraged beast until Zelda exposes his forehead. Hit this weak point repeatedly with Light Arrows and perform the final attack with the Master Sword. You can find the complete path in chapter Ganon .
Further tasks and transitions between the temples can be found in the walkthrough overview .