

On this page we give you an overview of all shrines in The Legend of Zelda: Tears of the Kingdom, which are located in West Necluda and the associated airspace. In addition to the respective locations, we explain in detail how to pass the tests, complete the shrine tasks and reach all Treasure Chests.
According to our zoning, there are a total of eight shrines in West Necluda. The Josiu Shrine and the Ukoojisi Shrine are located on Sky Islands. The Tokiy Shrine and the Susub Shrine, on the other hand, are hidden beneath the surface.
You can find an overview of all regions in our Tears of the Kingdom Walkthrough. Our overview with all 152 shrines will also help you with your search.
West Necluda contains the following shrines:
- Joju-u-u Shrine
- Josiu Shrine – Shrine in North Necluda Sky Archipelago
- Eshos Shrine
- Jochisiu Shrine – Rising from the Waters
- Makasura Shrine
- Tokiy Shrine – Shrine in the Oakle’s Navel Cave
- Ukoojisi Shrine – Shrine in West Necluda Sky Archipelago
- Susub Shrine
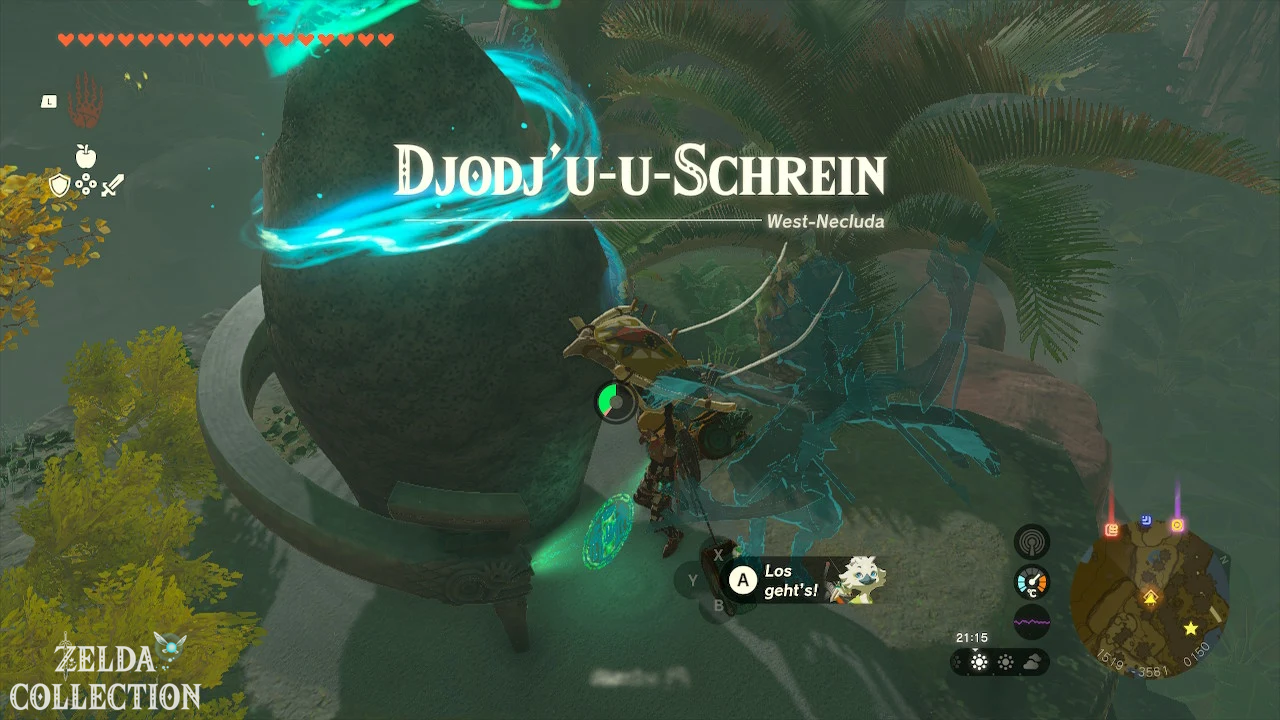
Joju-u-u Shrine
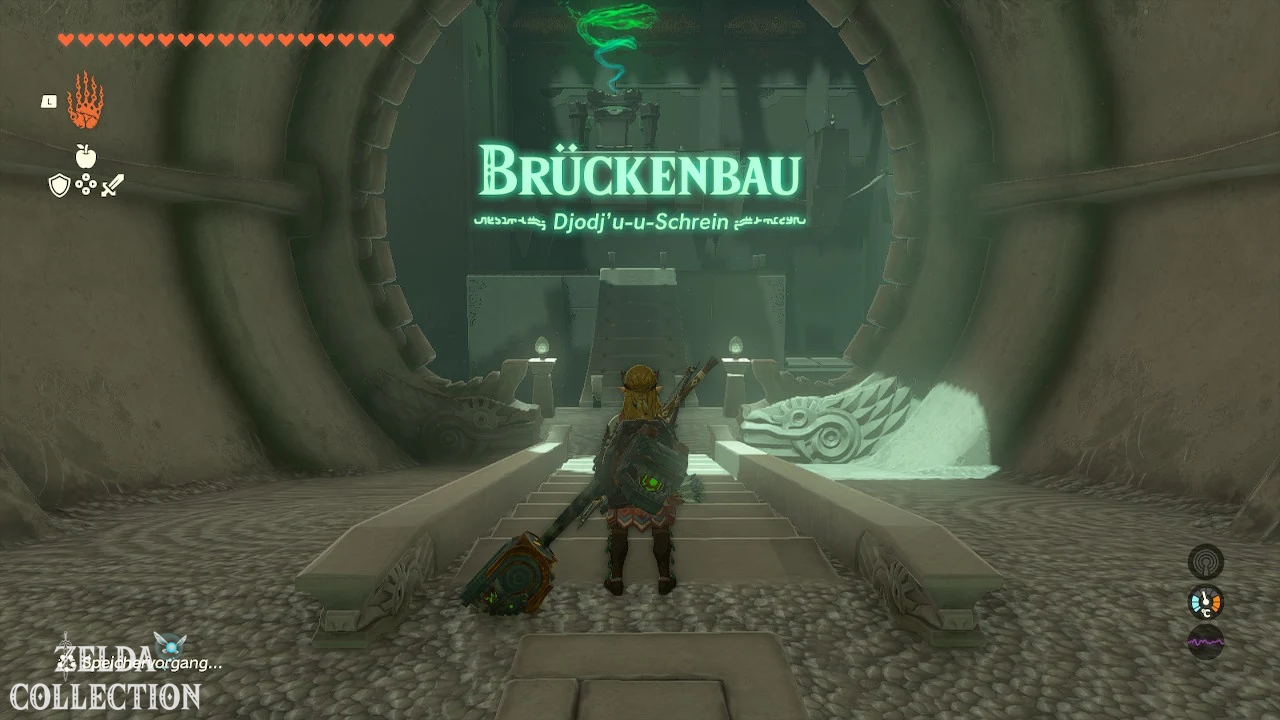
Exam: Bridge construction
Reward: Large Zonaite and a Light of Blessing
Location: On the Ubota height, southwest of the Lakeside Stable
Coordinates: approximately 1516, -3576, 0142
Find Joju-u-u Shrine
The Joju-u-u Shrine lies far to the south of West Necluda on the elevated Ubota Heights. It is located southwest of the Lakeside Stable and above the road that runs through the southern part of the region.
The Rabella Wetlands Skyview Tower is suitable as a starting point. Launch yourself into the air and glide southwest to the Lakeside Stable. The shrine stands on a ledge above the stable.
From the ground you can use the cavities and ledges below the shrine. Stand under suitable rock cover and use the Ascend repeatedly to reach the high ground.
Solve Joju-u-u Shrine
In the “Bridge Construction” test you have to repair several damaged suspension bridges. The individual bridge elements can be separated from each other and reconnected with the Ultrahand.
Repair first bridge
Directly behind the entrance, part of the first bridge hangs downwards. Grab the loose end with the Ultrahand and lift it to the opposite bridge part.
Connect the two ends together. The repaired bridge spans the abyss and you can walk to the other side.
Shorten second bridge
The next bridge consists of too many individual stone slabs and therefore hangs too far down. Remove the fourth plate from the right or loose end of the bridge.
Then grab the shortened bridge end and attach it to the opposite bracket. Climb up the ladder and cross the bridge.
Tip: If you want to loosen a specific plate, move it slightly back and forth with the Ultrahand. This makes the adhesive connection visible and can be separated in a targeted manner.
Weigh the bridge with a cube
In the following area the bridge hangs below a raised crossbar. Take the heavy stone cube on the right and attach it to the loose end of the bridge.
Pull the weighted end over the crossbar. The weight of the cube keeps the bridge taut and prevents it from falling back down.
Climb up the ladder and carefully walk over the structure.
Get large Zonaite from the Treasure Chest
The Treasure Chest is on a side platform to the left of the last bridge. Remove the stone cube from the middle or end of the bridge and attach it to the left part of the bridge.
The weight pulls the bridge towards the Treasure Chest. Cross it and open the chest. Inside is a Large Zonaite.
Reach The Altar
Return to the main bridge and align it with the exit again. Attach the cube so that the structure is stable on the crossbar.
Cross the last bridge, follow the short path to the altar and collect the Light of Blessing.
Josiu Shrine
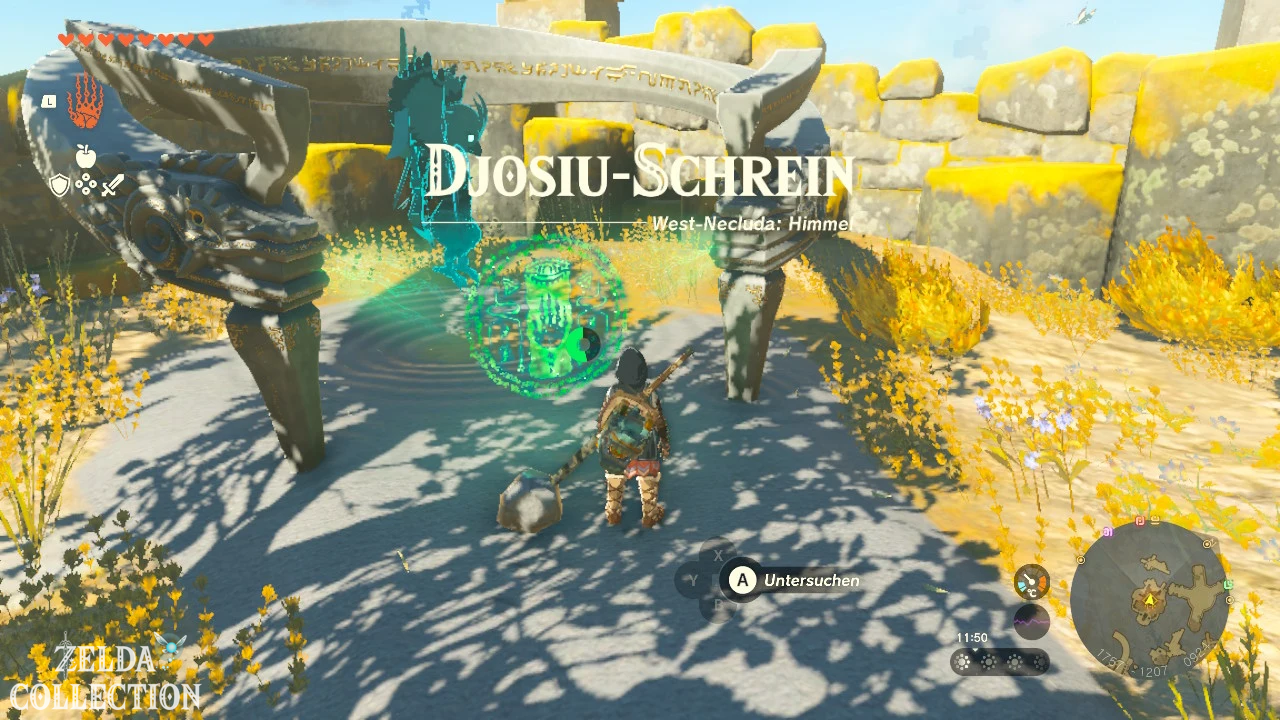
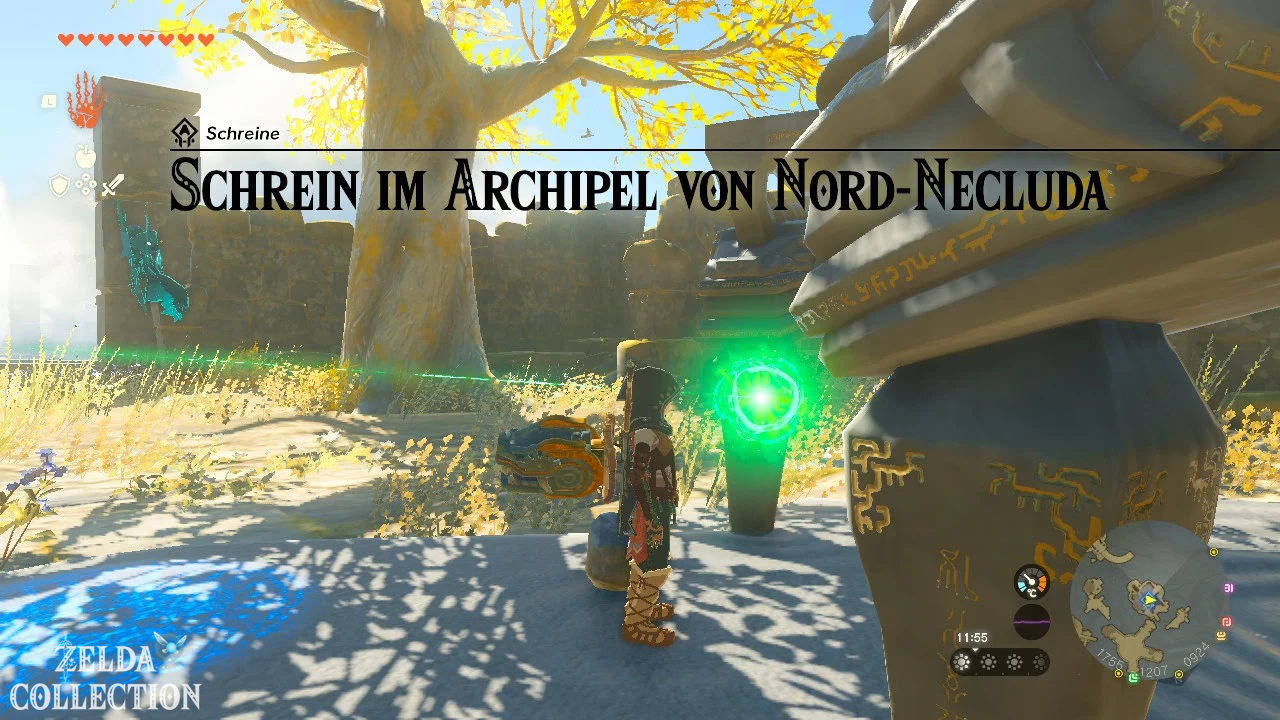
Shrine Task: Shrine in North Necluda Sky Archipelago
Exam: Raurus Blessing
Reward: Large Zonai Charge and a Light of Blessing
Location: North Necluda Sky Archipelago in heaven
Coordinates: approximately 1758, -1208, 0937
Reach Josiu Shrine
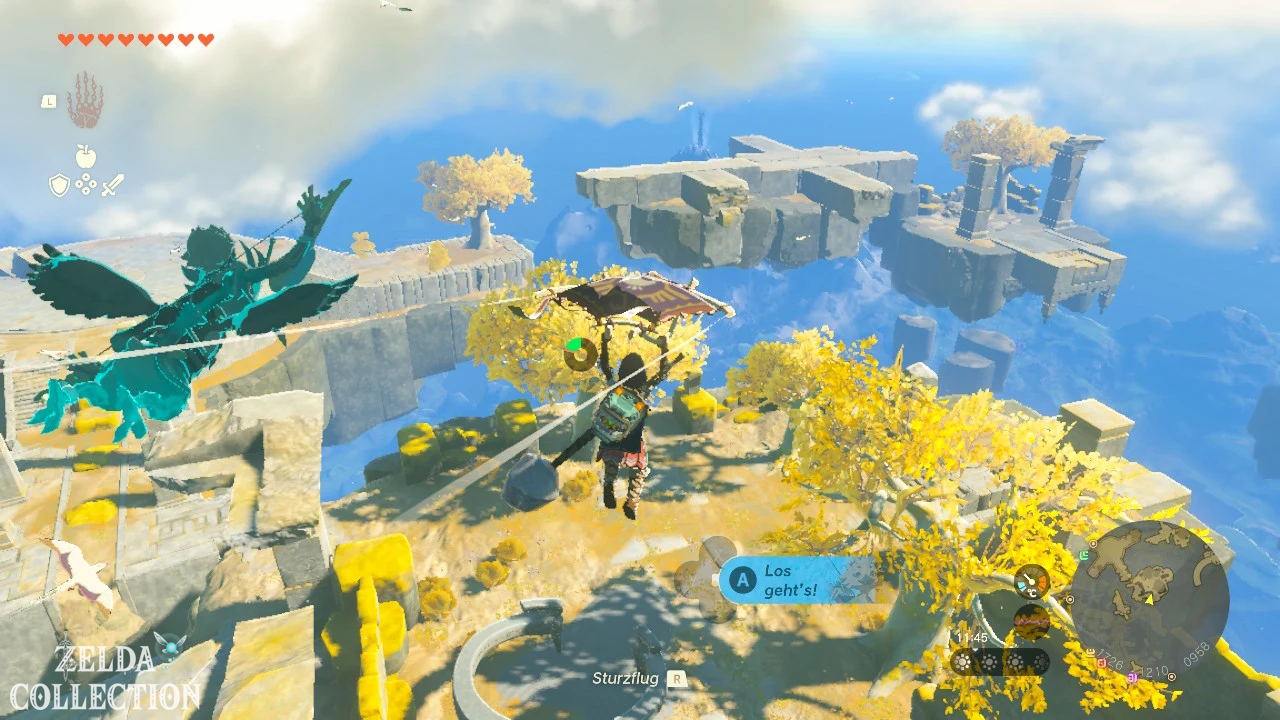
Josiu Shrine is located on a sky island east of Kakariko Village. Let the Sahasra Slope Skyview Tower launch you into the air and glide east to the North Necluda Sky Archipelago.
If you don’t have enough stamina for the entire route, you can land on one of the small floating rocks or use a stamina dish.
Solve shrine in North Necluda Sky Archipelago
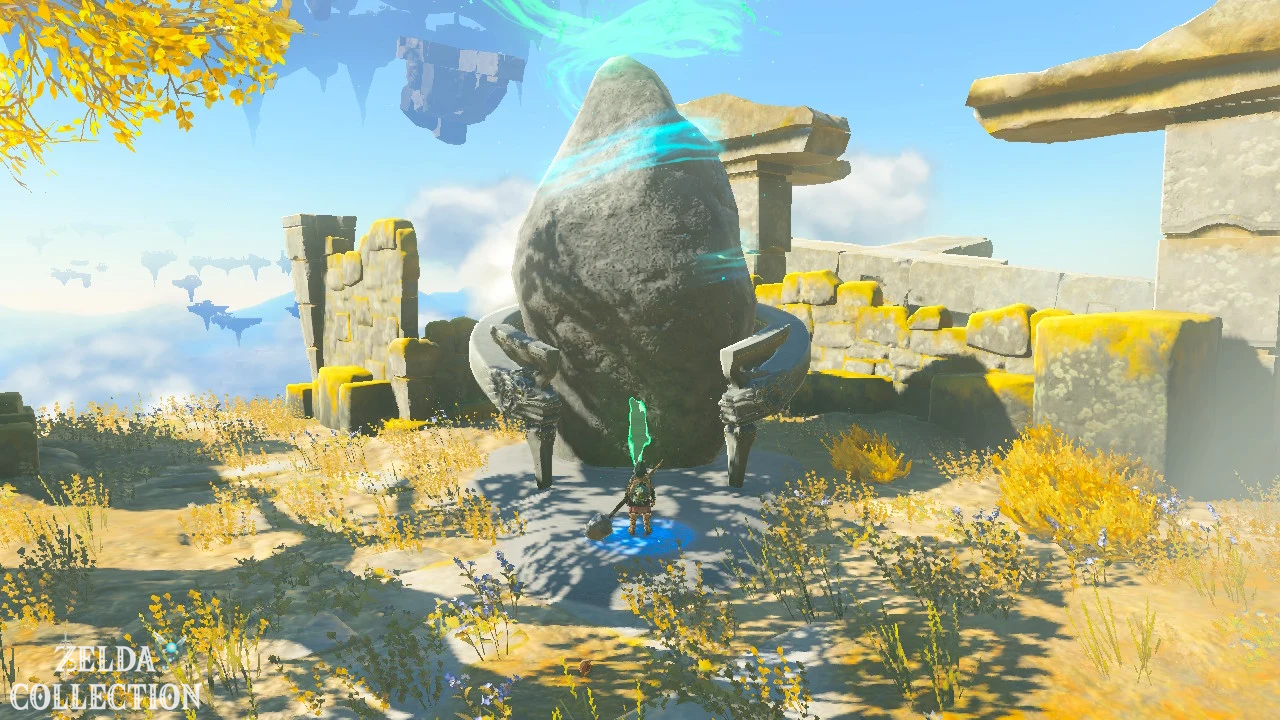
Examine the incomplete shrine platform. A green beam of light shows you the location of the missing crystal on a neighboring sky island.
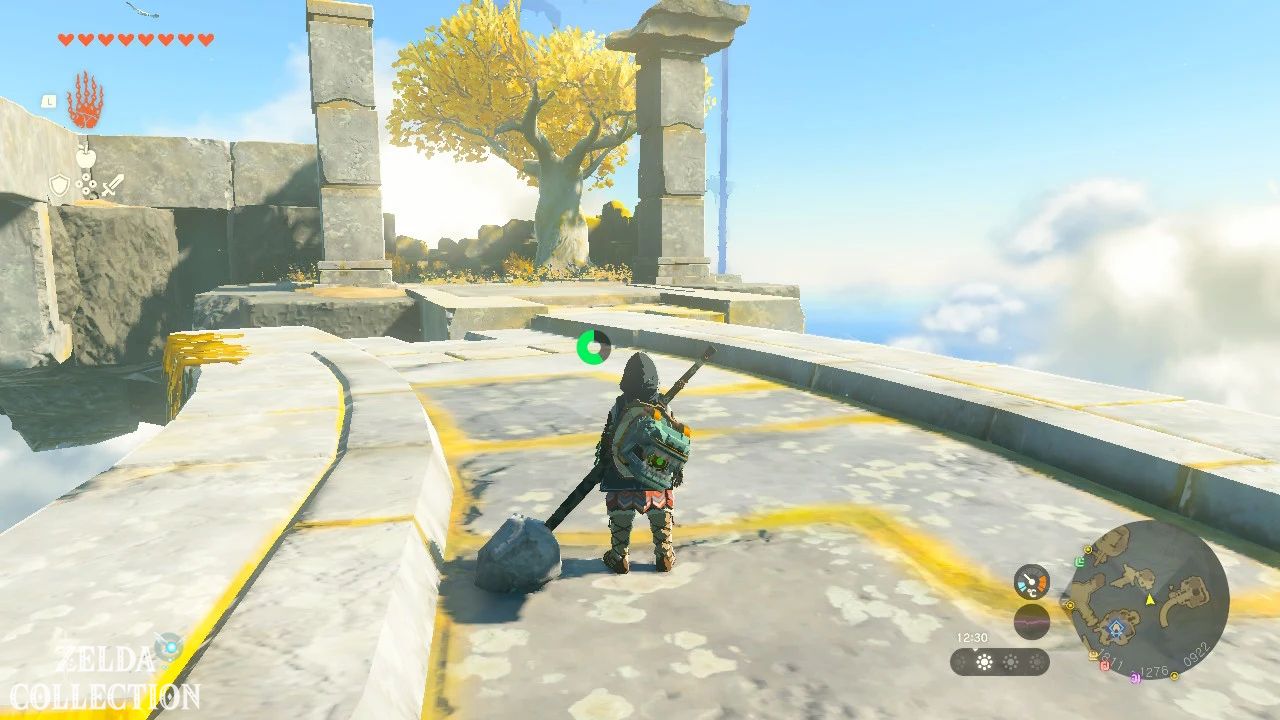
Align curved bridge
There is a small stone model floating near the shrine platform. It has the same curved shape as the large bridge between the islands.
Grab the model with the Ultrahand and rotate it. The large bridge moves at the same time. Orient it so that it connects the southern island with the green crystal island.
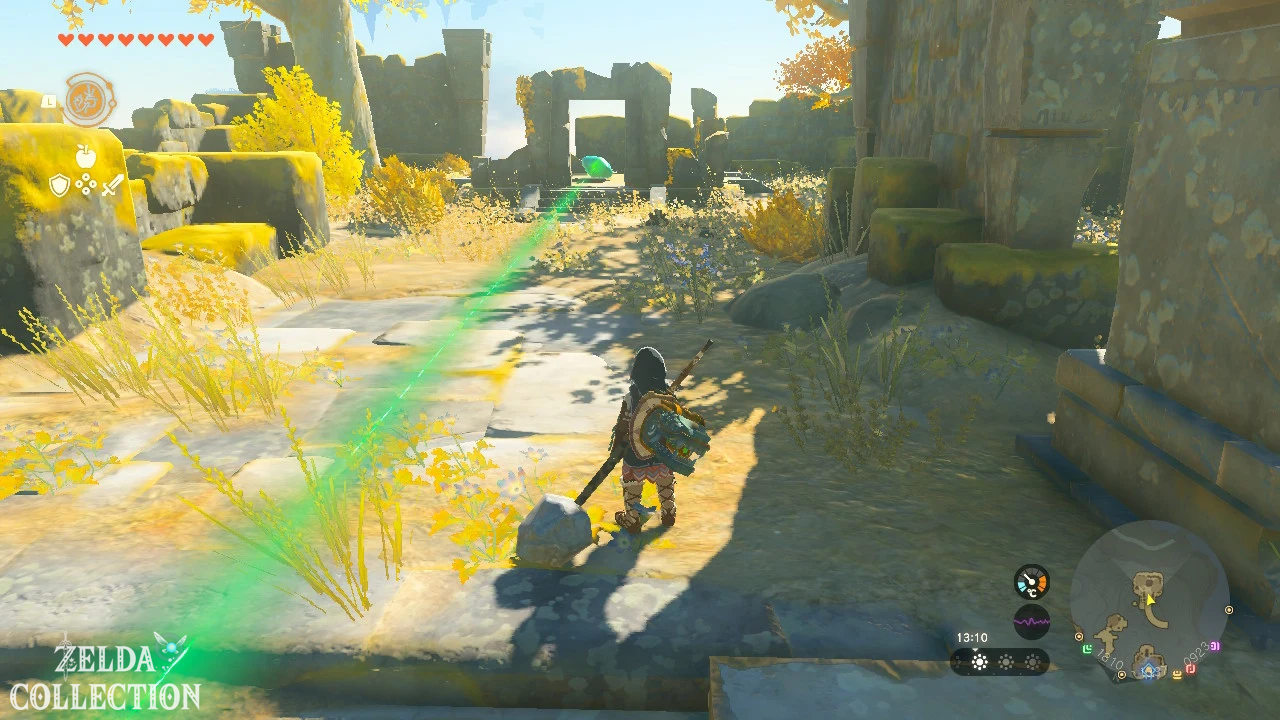
Get to Crystal Island
Go to the eastern island with the large launcher. Use the crank to turn the device towards the island where the bridge begins.
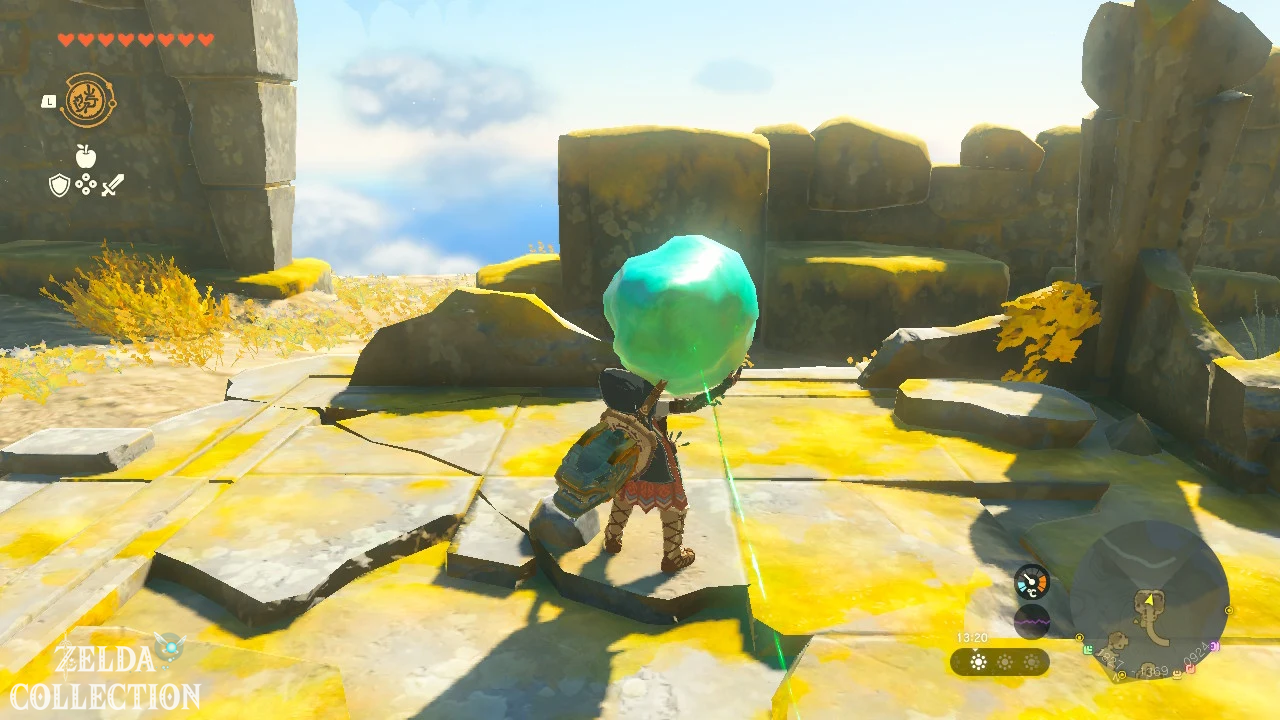
Stand on the moving block and let it catapult you to the next island. Then cross the previously aligned bridge and pick up the green crystal with the Ultrahand.
Retrieve crystal with the bridge
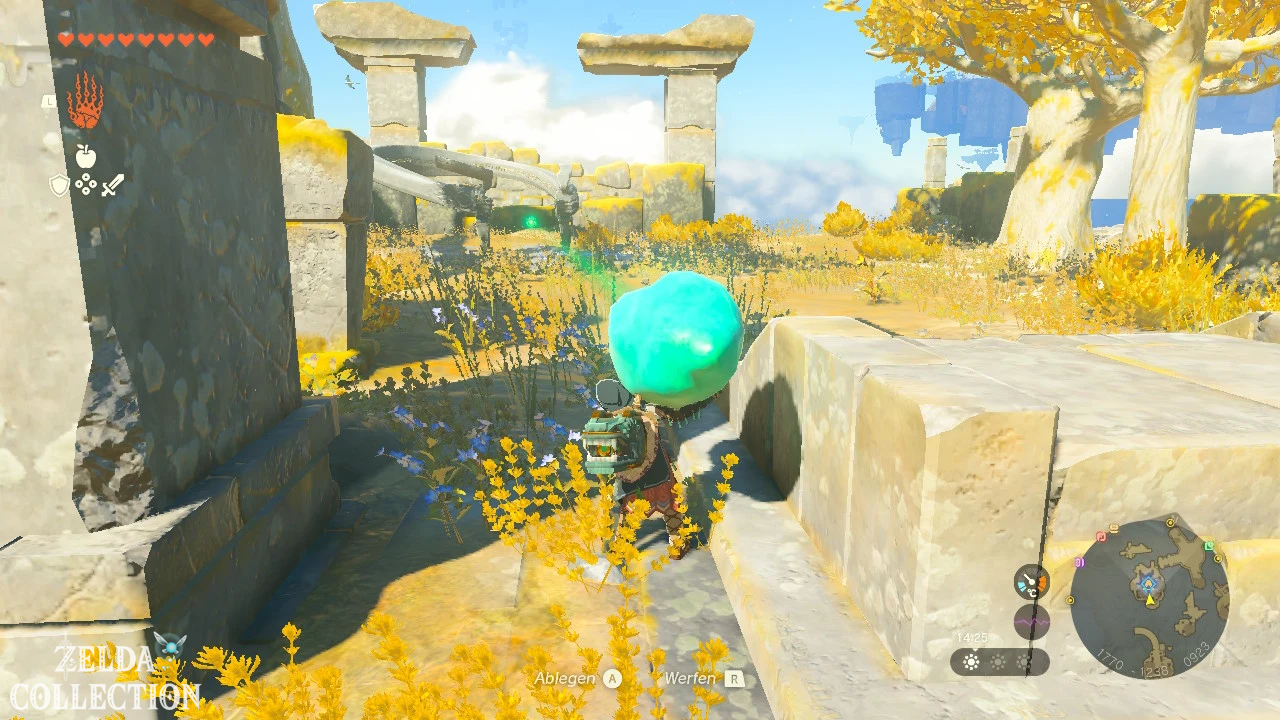
Place the crystal on the curved bridge. Climb a raised rock formation on the adjacent island and Paraglider back to the rotating stone model.
Now turn the bridge so that the crystal moves towards the shrine island. Axyl it up again and carry it to the green socket.
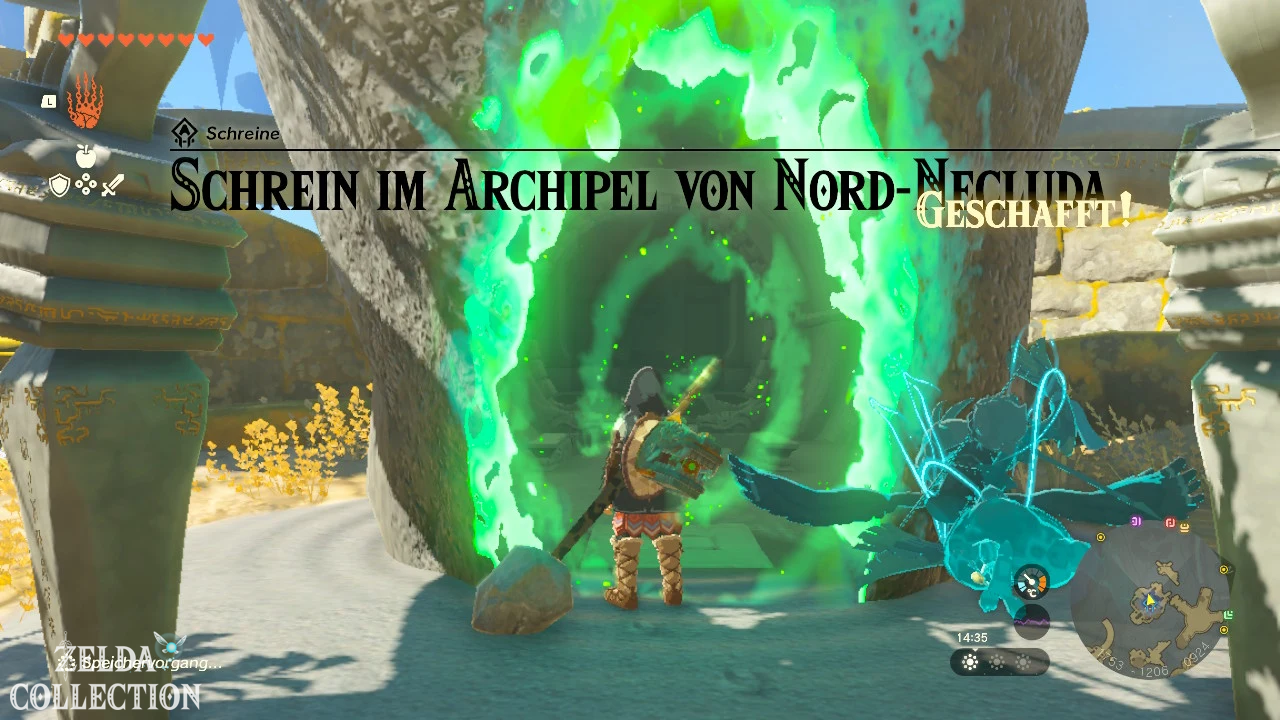
As soon as you put down the crystal, the complete Josiu Shrine is created.
Obtain Rauru’s blessing
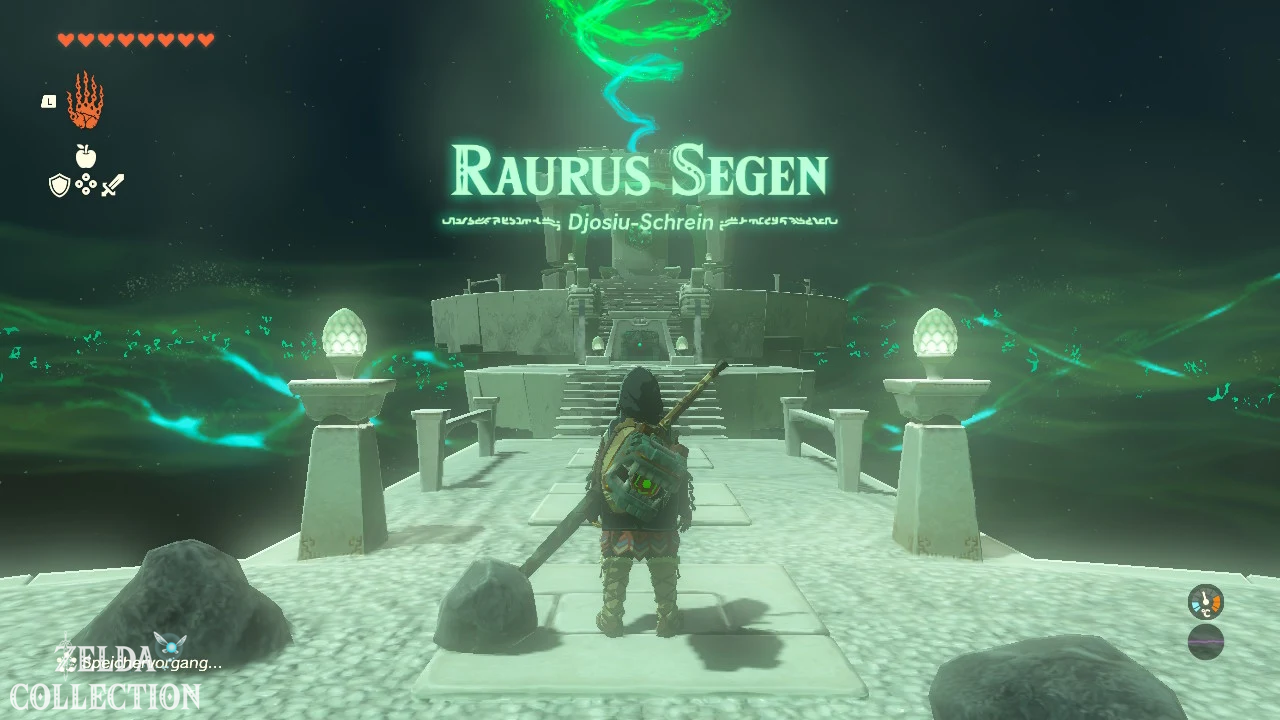
There is no further mystery waiting in the shrine. Open the Treasure Chest with the Large Zonai Charge and then pick up the Light of Blessing at the altar.
Tip: Place the crystal in the middle of the curved bridge if possible. If it is right on the edge, it can fall down when turning.
Eshos Shrine
Trial: Combat Techniques: Shield
Reward: Massive Zonaite Shield and a Light of Blessing
Location: On the eastern slope of the northern twin mountain
Coordinates: approximately 1565, -1944, 0157
Find Eshos Shrine
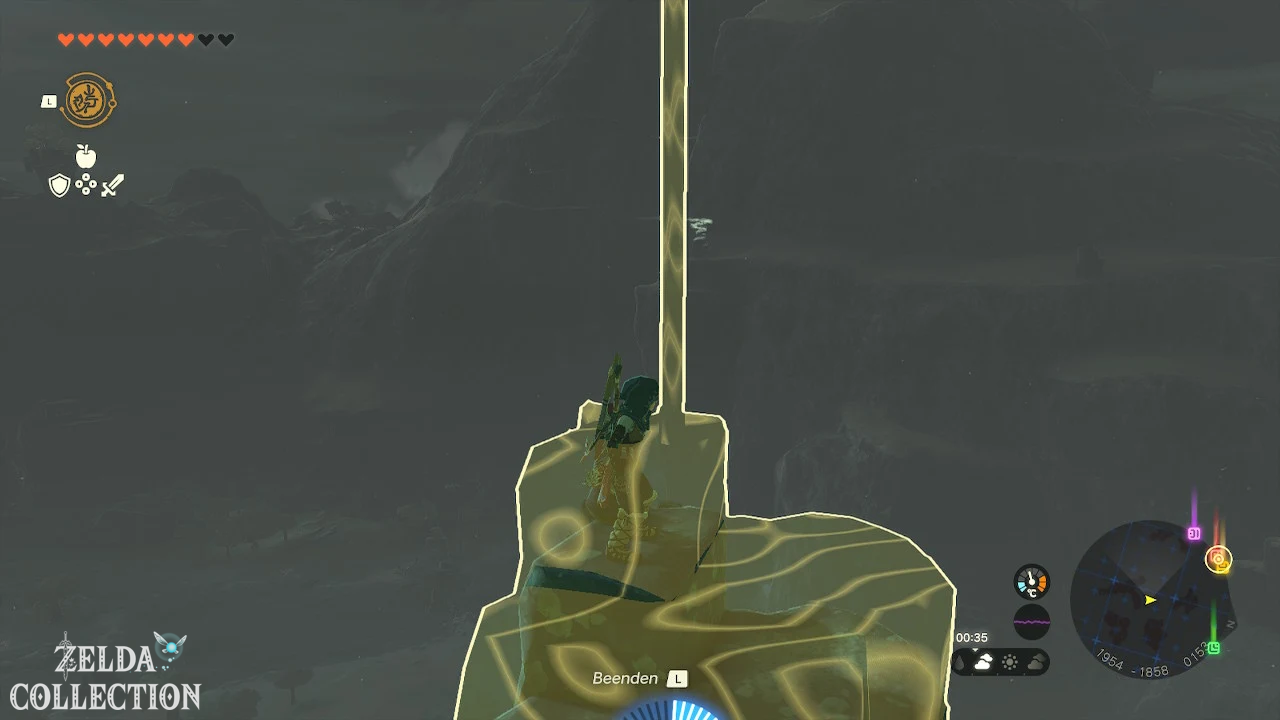
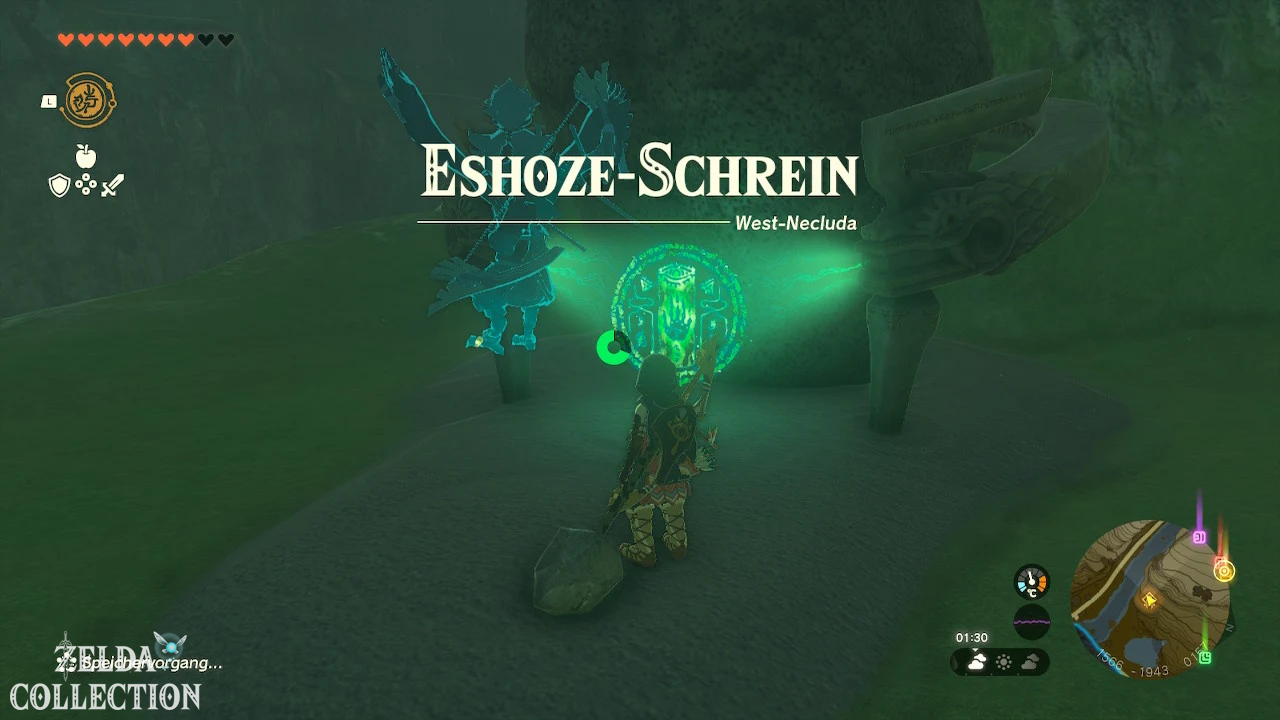
The Eshos Shrine stands on the eastern slope of the northern twin mountain. It is located west or northwest of Dueling Peaks Stable on an elevated rock platform.
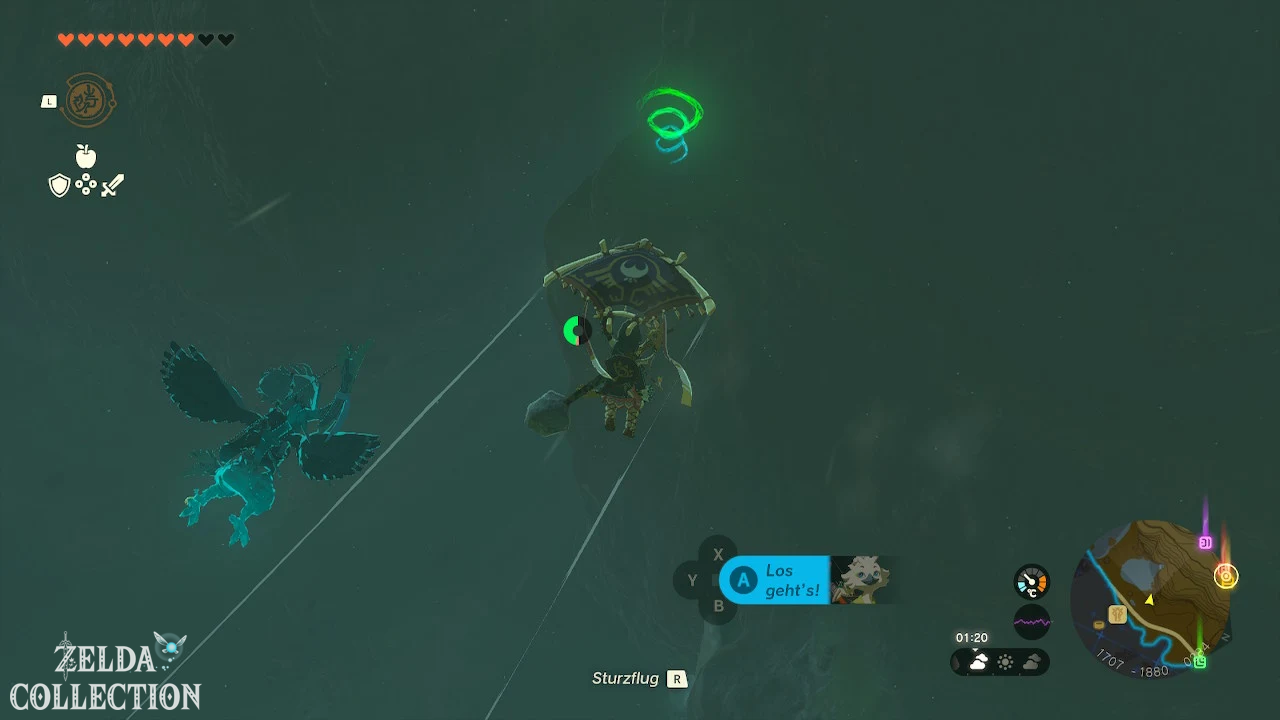
The easiest way to reach it is via the Sahasra Slope Skyview Tower or the Popla Foothills Skyview Tower. Launch yourself into the air and glide towards the Dueling Peaks.
Solve Eshos Shrine
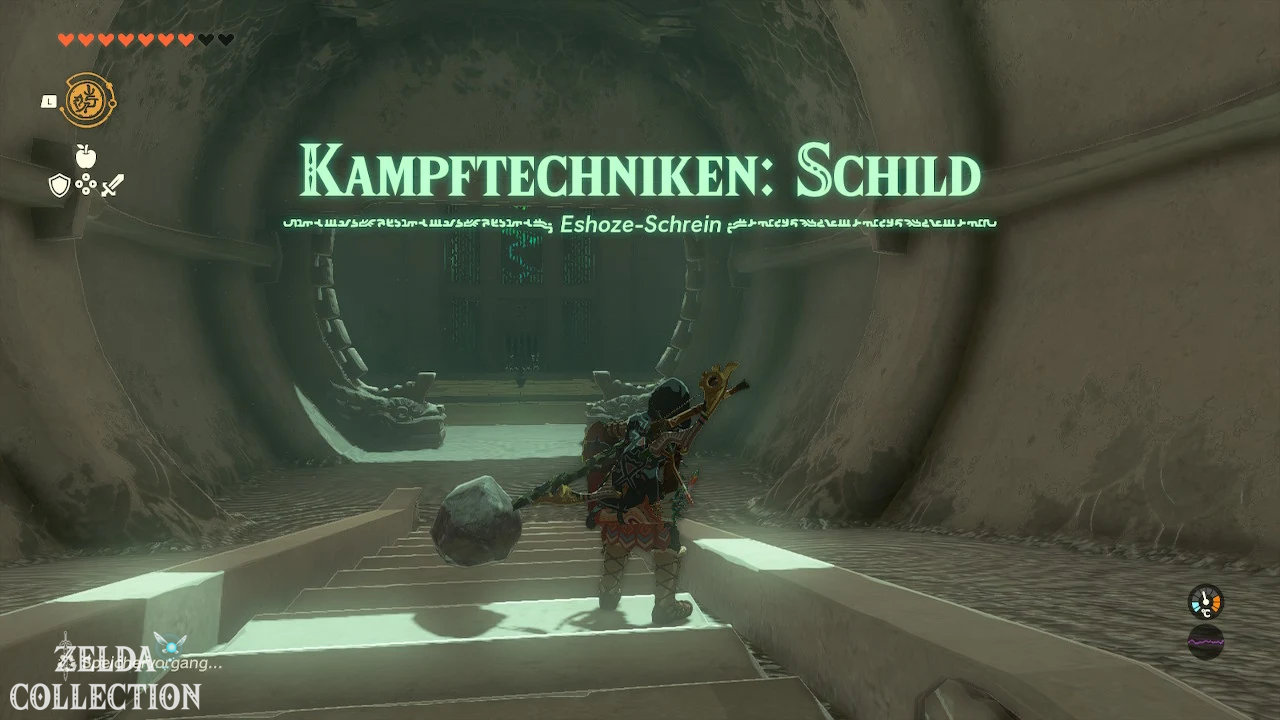
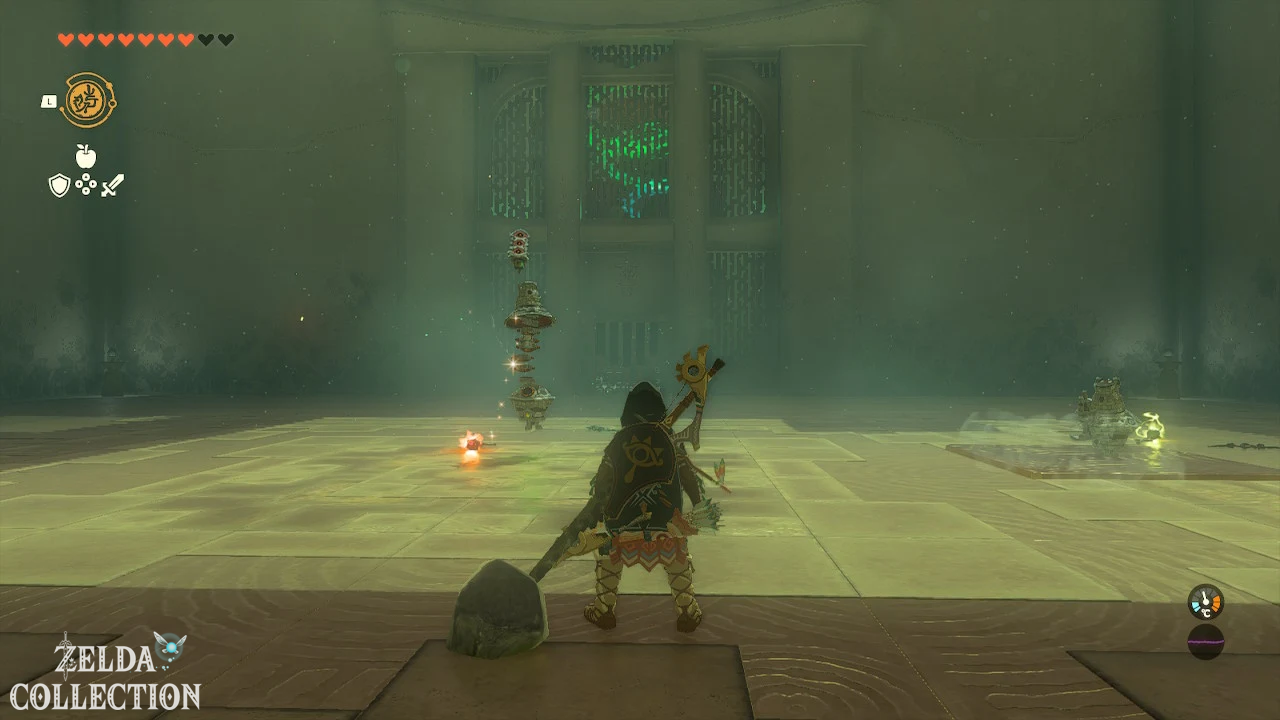
In the Eshos Shrine you will learn to reflect enemy projectiles with a targeted shield strike.
Fireball reflect
Axyl up one of the wooden shields provided and go into the battle arena. Target the Elite Construct with ZL.
The construct shoots a fireball at you. Have your shield ready and press the A button immediately before impact. A successful shield strike reflects the bullet and hits the opponent.
Fire and electric ball repel
After the first hit, a second construct appears. One of the enemies shoots fireballs, the other shoots electric projectiles.
It’s best to use a wooden shield for the electric ball, as a metal shield can electrify Link. Aim at the respective opponent and parry the bullet just before impact.
If you have successfully reflected the projectiles of both constructs, the test is considered passed.
Treasure Chest and Light of Blessing
Go through the opened gate and open the Treasure Chest. Inside lies a Solid Zonaite shield. You will then receive the Light of Blessing at the altar.
Tip: Don’t press the A button until the ball almost touches the shield. Hitting the shield too early is not considered a successful parry.
Jochisiu Shrine
Shrine task: Born from the water
Test: Rauru’s blessing
Reward: Big Battery and a Light of Blessing
Location: South of the Zank river, west of the Dueling Peaks
Coordinates: approximately 0931, -1903, 0030
Born from the water begin
The Jochisiu Shrine is not initially visible. Look south of the Strife River for a small stone ruin surrounded by yellow trees.
There is a Steward Construct under the roof. Speak to him to begin the Shrine Quest “Spring from the Waters”. On the back wall you will see three diamond-shaped openings of different sizes.
Make three ice keys
To the right of the Steward Construct are a Frost Emitter and a Flame Emitter. Carry the Frost Emitter to the water with the Ultrahand and activate it.
Direct the cold air flow towards the water surface. After a short time, square sheets of ice emerge. Craft a total of three slabs and bring them to the stone openings.
Insert large ice plate
The first ice sheet is already the right size for the largest opening. Use the Ultrahand to rotate it 45 degrees and slide it into the large diamond-shaped socket.
Melt medium ice sheet
Hold the second ice plate in the Flame Emitter or over a lit campfire for a short time. Remove it from the heat as soon as it fits into the middle socket.
Insert the reduced ice plate into the middle opening.
Make small ice sheet
Melt the third ice slab for significantly longer. Check its size regularly and place it in the smallest opening as soon as it fits.
When all three ice plates are inserted, the Jochisiu Shrine appears on the roof of the ruins. Use the Ascend to go up.
Tip: If an ice sheet melts too much, you can always make a new one. The Frost Emitter remains available throughout the task.
Obtain Rauru’s blessing
There is no other mystery in the shrine. Open the Treasure Chest with the Big Battery and then pick up the Light of Blessing.
Makasura Shrine
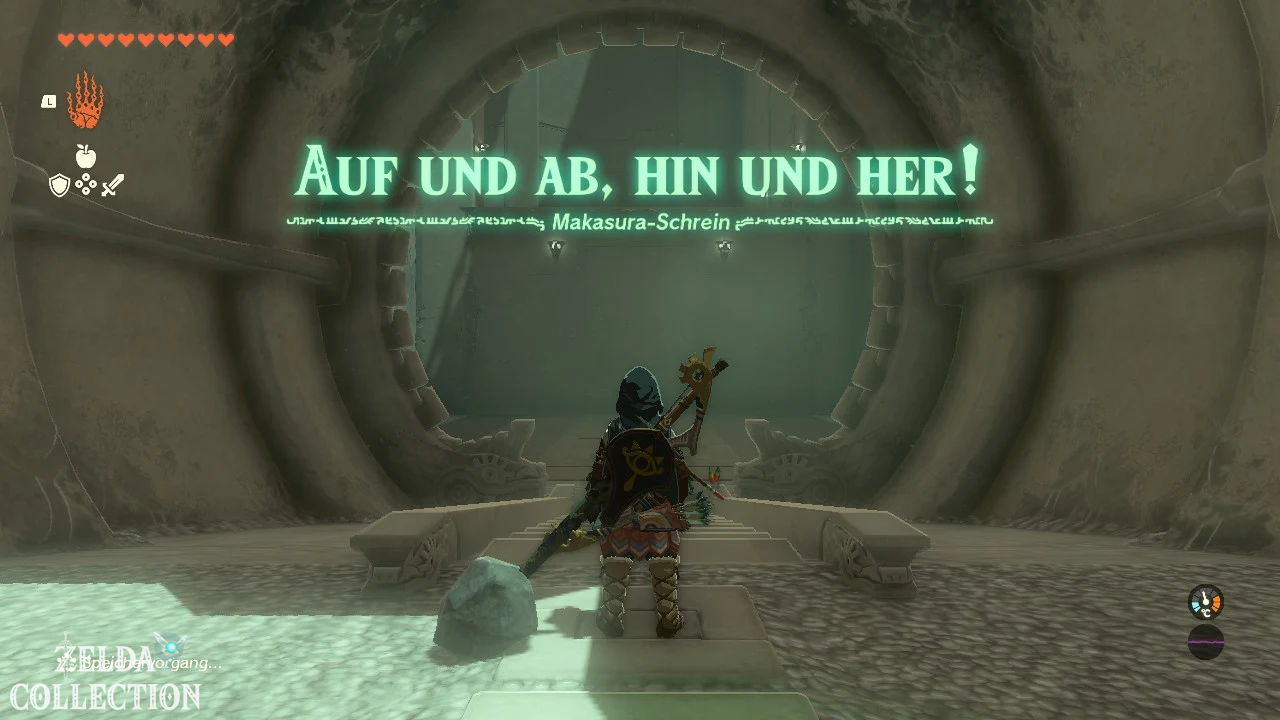
Exam: Up and down, back and forth!
Reward: Fairy Tonic and a Light of Blessing
Location: On the hill southwest of Kakariko Village
Coordinates: approximately 1770, -1052, 0166
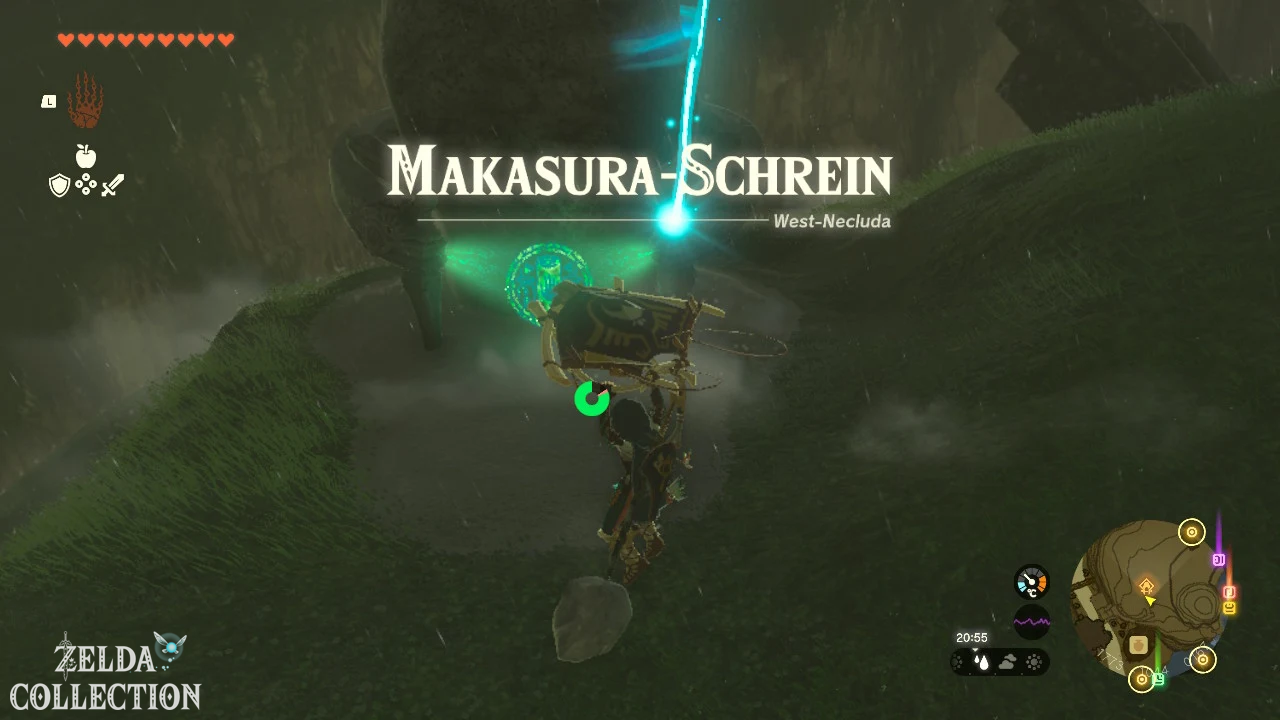
Find Makasura Shrine
Makasura Shrine stands on a raised platform southwest of Kakariko Village. It is the closest shrine to the village and is therefore suitable as a fast travel point.
From the southern entrance to the village, follow the wooden scaffolding on the rock. Stand under each platform and use the Ascend repeatedly until you reach the shrine.
Solve Makasura Shrine
In the exam you will learn how to use the Zonai-Sonnau component Stabilizer. If you activate the device, it will automatically stand vertically.
Overcome the first abyss
At the beginning, use the Ascend to get to the upper level. There you will find an L-shaped metal plate with a Stabilizer.
Activate the device. The metal plate stands up. Climb up and glide over the abyss with the Paraglider.
Get behind the grille
In the next area is another L-shaped metal plate. Place them horizontally on the high grid and activate the Stabilizer.
The plate stands up and forms a ladder. Climb up and jump to the other side of the grate.
Get
Fairy Tonic from the Treasure Chest
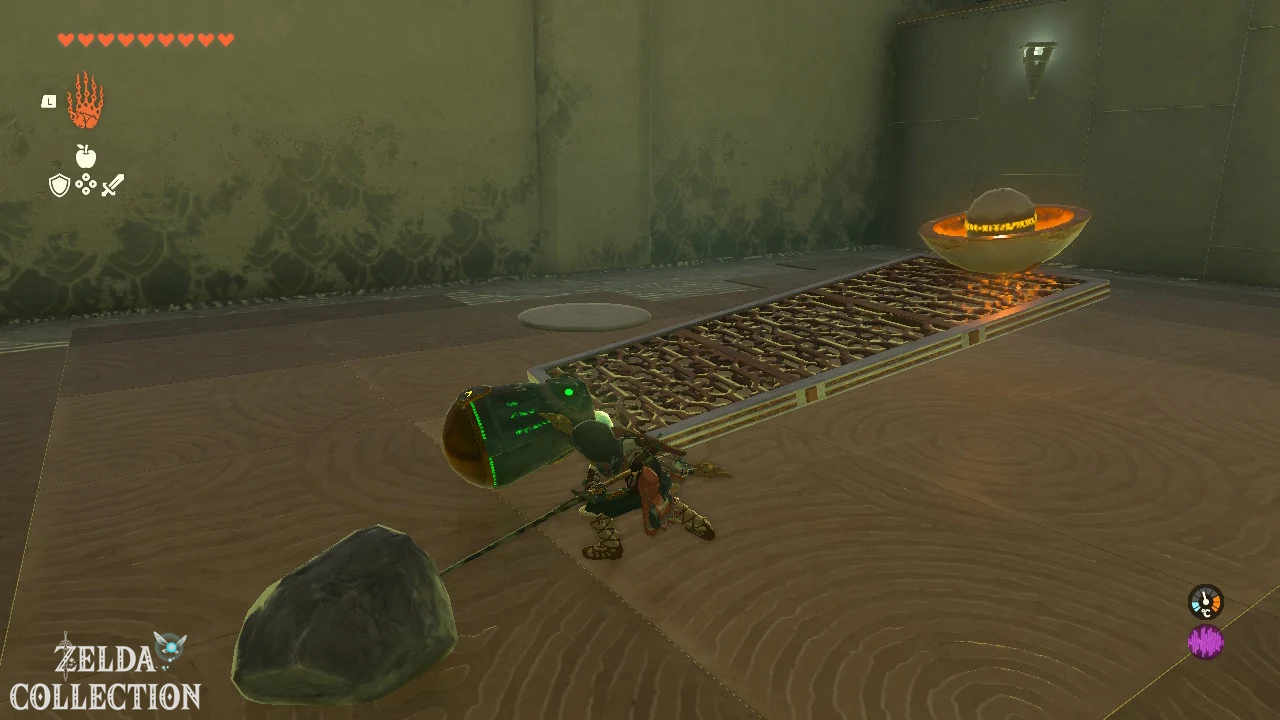
Behind the grille you will find a long plate with a semicircular bowl. Attach a Stabilizer to the opposite end.
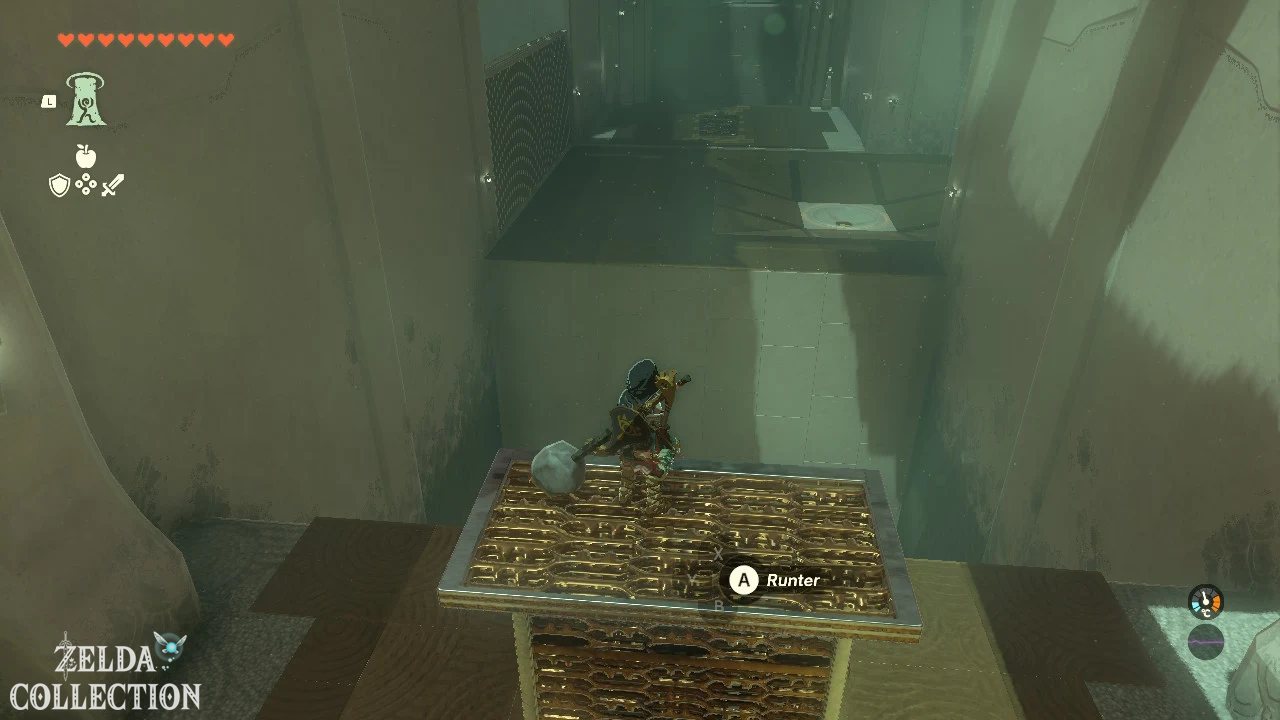
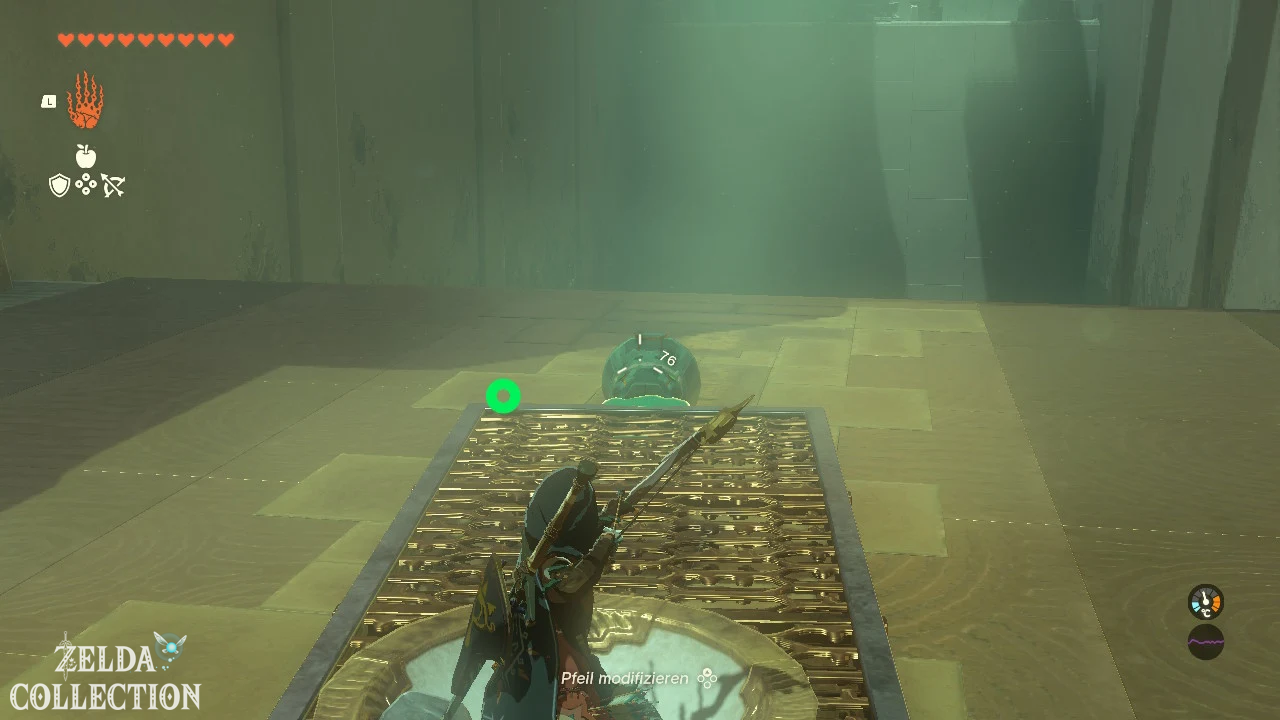
Stand in the bowl and shoot an arrow at the Stabilizer. The construction stands up abruptly and throws you to the raised platform with the Treasure Chest.
Open the chest and take the Fairy Tonic.
Throw the ball over the grid
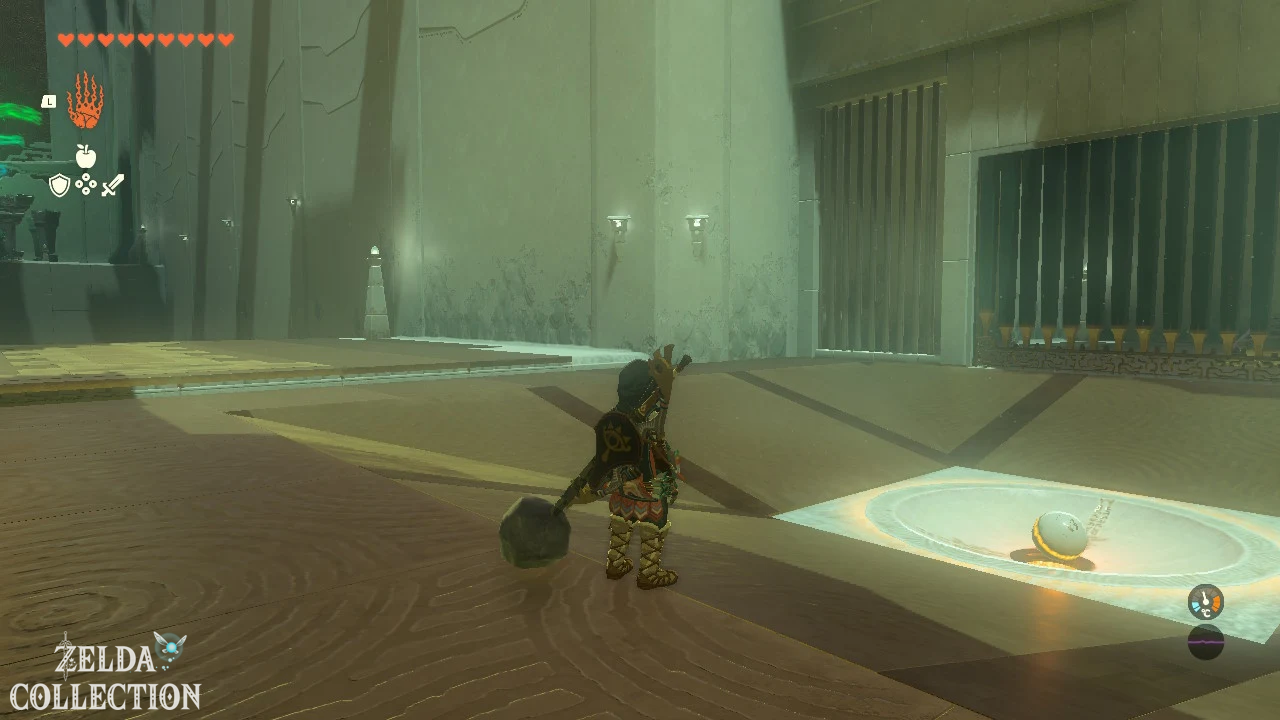
Place the large ball loosely in the bowl. Align the construction with the main area and activate the Stabilizer.
The ball is thrown over the grid. Return with the Ascend or the same catapult design and place the ball in the ground depression. This will open the next gate.
Build a large catapult
In the last area you will find another long metal plate. Connect them to the plate where the bowl is located. A particularly long catapult is created.
Attach the Stabilizer to the end of the structure and align the bowl with the platform with the altar.
Stand in the bowl and activate the device with an arrow. At the highest point, open the Paraglider and glide to the altar to get the Light of Blessing.
Tip: Attach the Stabilizer as far away from the shell as possible. The longer lever ensures a significantly higher flight altitude.
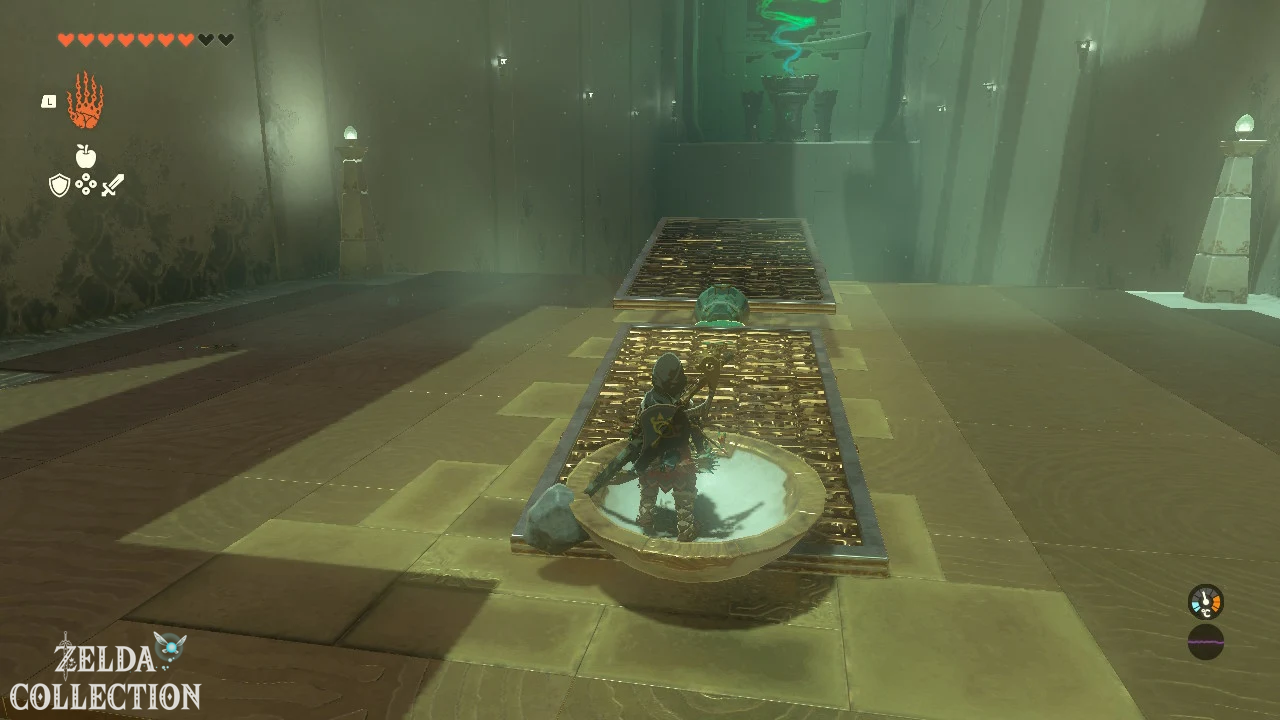
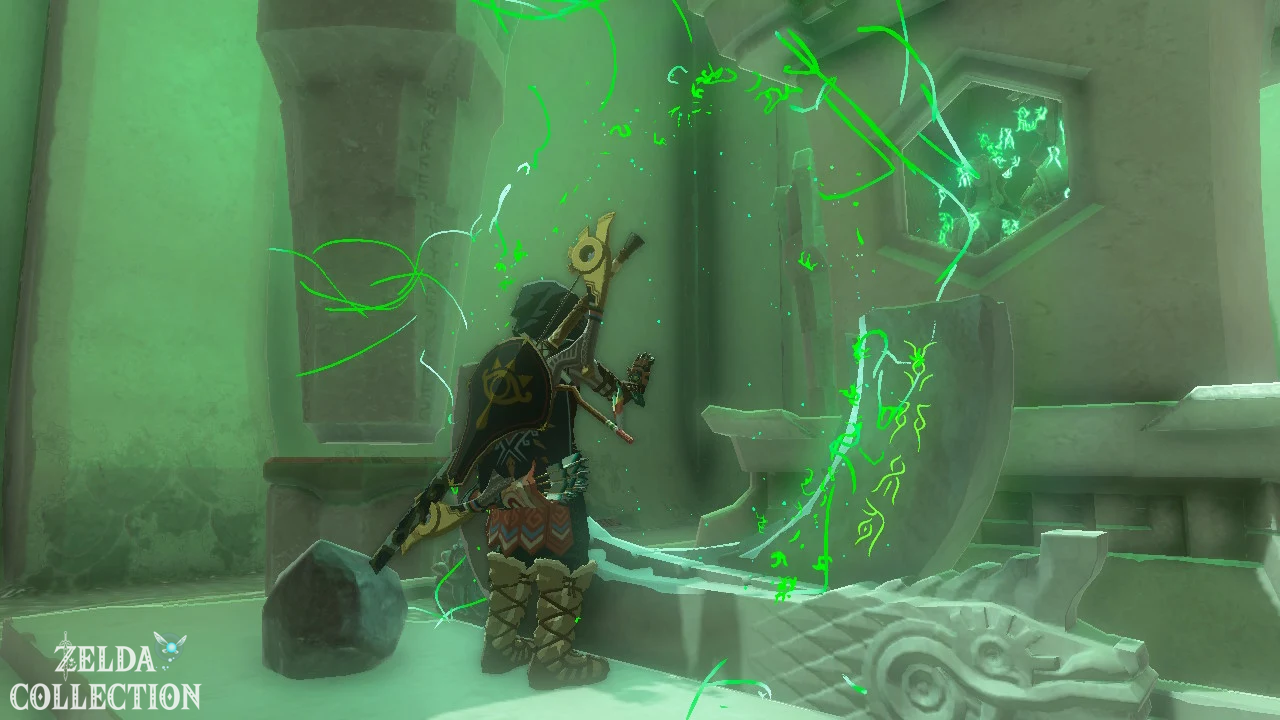
Tokiy Shrine
Shrine task: Shrine in the Oakle’s Navel Cave
Test: Raurus blessing
reward: Large Zonai Charge and a Light of Blessing
Location: Oakle’s Navel Cave, south of Rozudo Mountain
Coordinates: approximately 2304, -2378, -0016
Find Tokiy Shrine
The Tokiy Shrine is located deep in the Oakle’s Navel Cave. The cave entrance is at the small lake south of Rozudo Mountain.
The Popla Foothills Skyview Tower is suitable as a starting point. Let yourself be thrown into the air and glide east or southeast to Oakle’s Navel.
Solve shrine in the Oakle’s Navel Cave
Follow the cave passage to the green shrine crystal and examine it. This begins the shrine task and the previously locked door opens.
Bring crystal past the rolling rocks
Grab the crystal with the Ultrahand and carry it into the first large room. Heavy boulders regularly roll through the hall from both sides.
First, stand on the wall and observe the rhythm of the rocks. After each boulder rolls past, run to the next safe area.
Hold the crystal in front of you with the Ultrahand. This gives you a larger field of vision and allows you to react faster than if Link was carrying him in his arms.
Return large boulder
In the final corridor, a huge boulder rolls down the entire width of the corridor. Put the crystal down briefly and activate the Recall on the rock.
The chunk rolls its way backwards up the slope. Axyl up the crystal again and follow it before the Recall ends.
Carry crystal to shrine platform
At the end of the slope is the incomplete shrine platform. Place the green crystal in the socket to make the Tokiy Shrine appear.
Obtain Rauru’s blessing
In the shrine, open the Treasure Chest with the Large Zonai Charge. You will then receive the Light of Blessing at the altar.
Tip: If you are hit by a boulder, the crystal will often roll back a bit. Therefore, save your progress after completing each cave section.
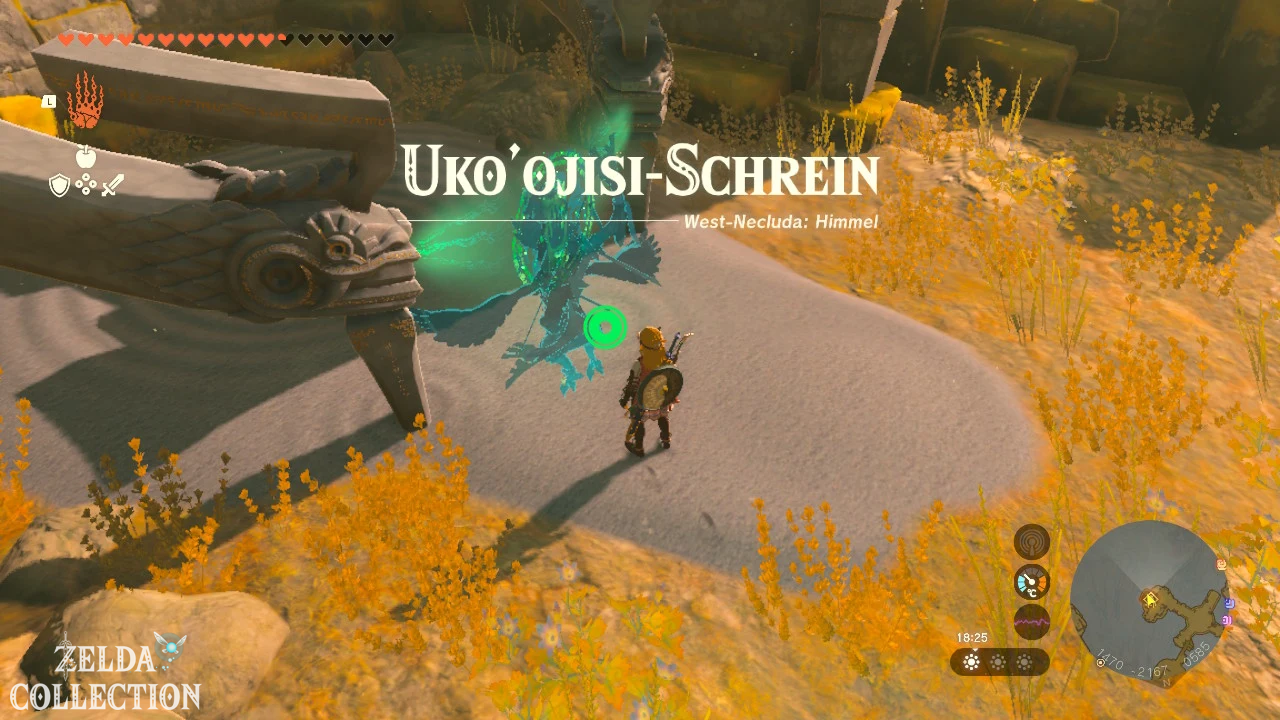
Ukoojisi Shrine
Shrine Task: Shrine in West Necluda Sky Archipelago
Exam: Raurus Blessing
Reward: Solid Zonaite Shield and a Light of Blessing
Location: West Necluda Sky Archipelago in heaven
Coordinates: approximately 1464, -2165, 0585
Reach Ukoojisi Shrine
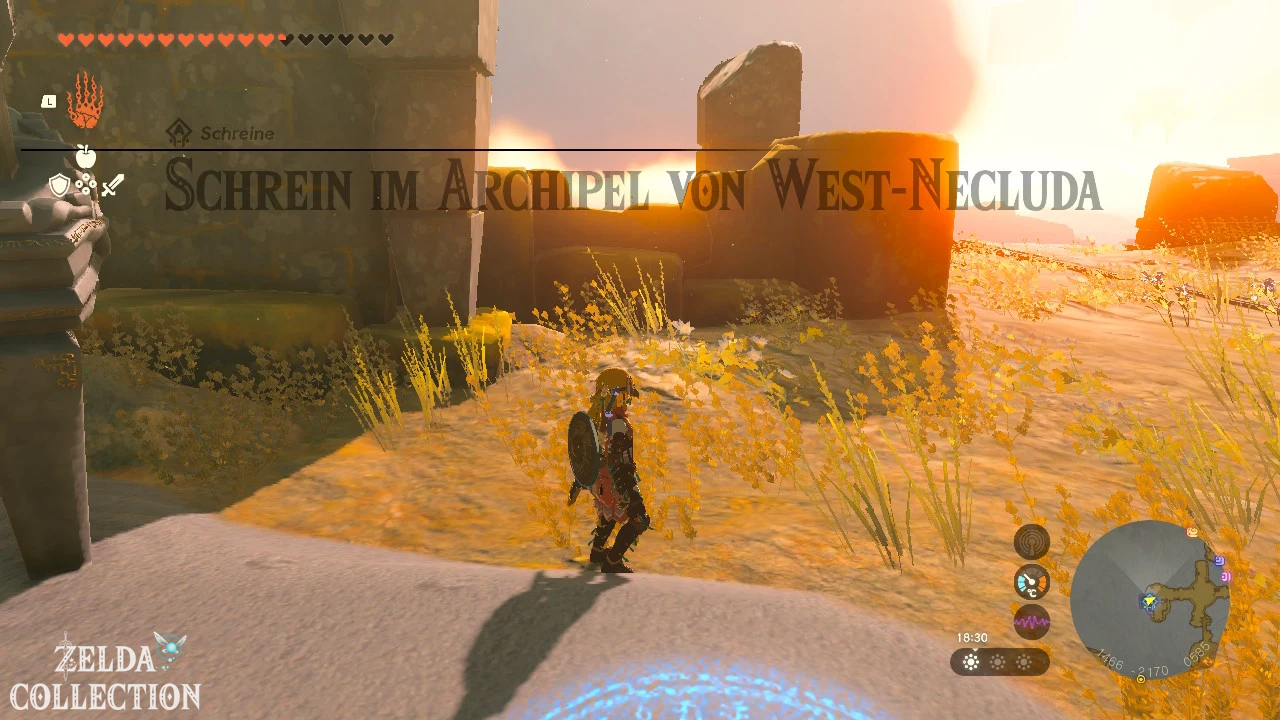
The Ukoojisi Shrine is located on a large sky island above the Twin Mountains. The Popla Foothills Skyview Tower is suitable as a starting point.
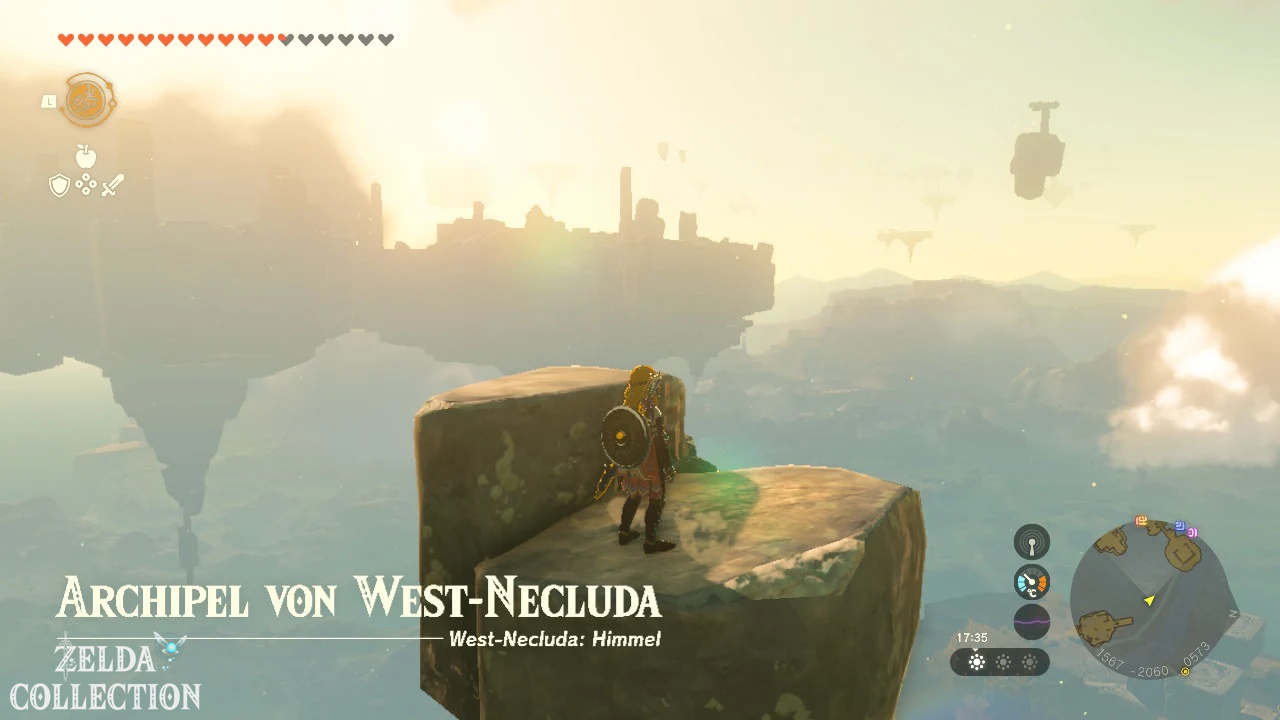
Let yourself be thrown into the air and glide east to the first small sky rocks. Use the rocks as intermediate stations and use the Recall to climb further up a fallen piece of island.
On the archipelago you will find a larger cross-shaped island with the incomplete shrine platform.
Solve shrine in West Necluda Sky Archipelago
Activate the platform. The green beam of light points to a more distant island where the crystal is located.
Reach Crystal Island
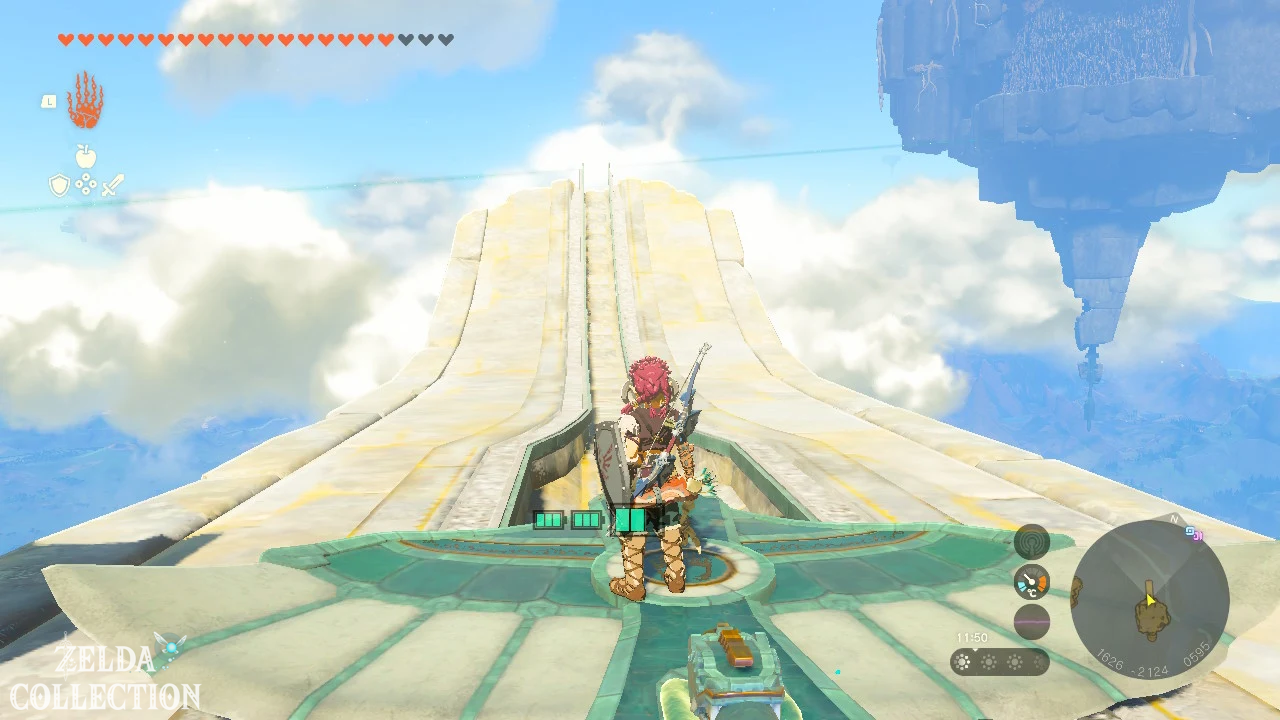
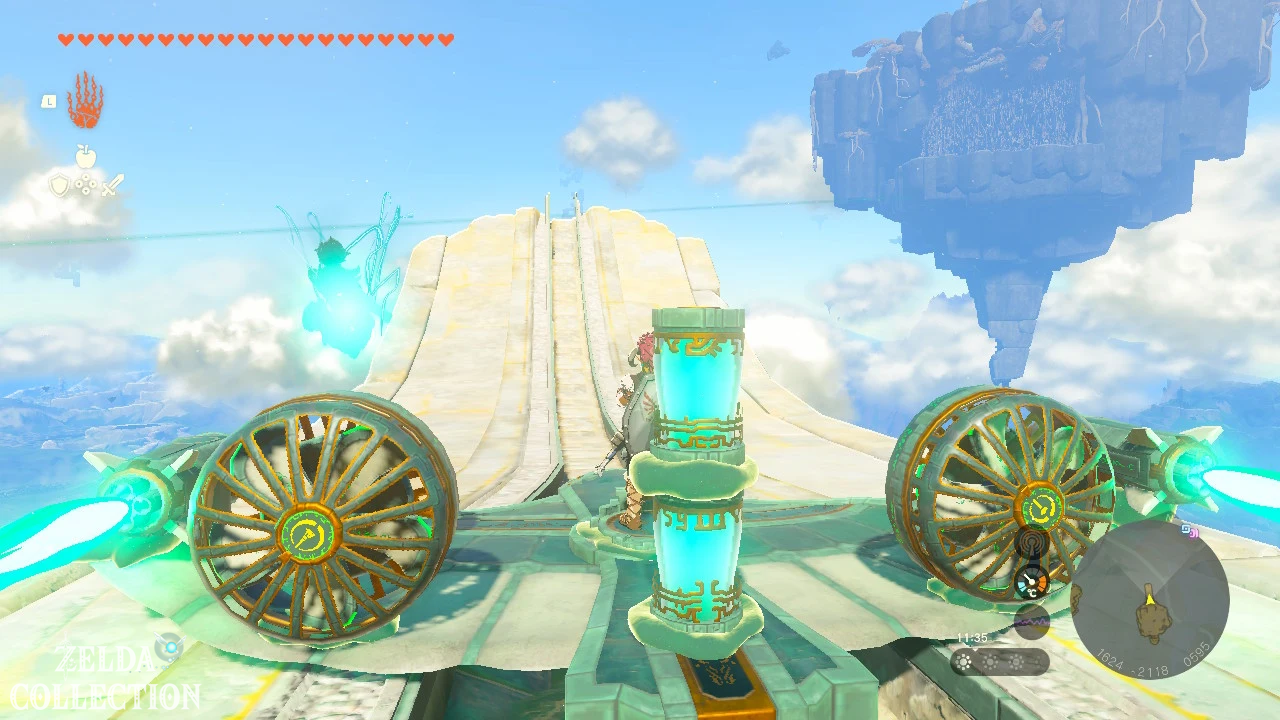
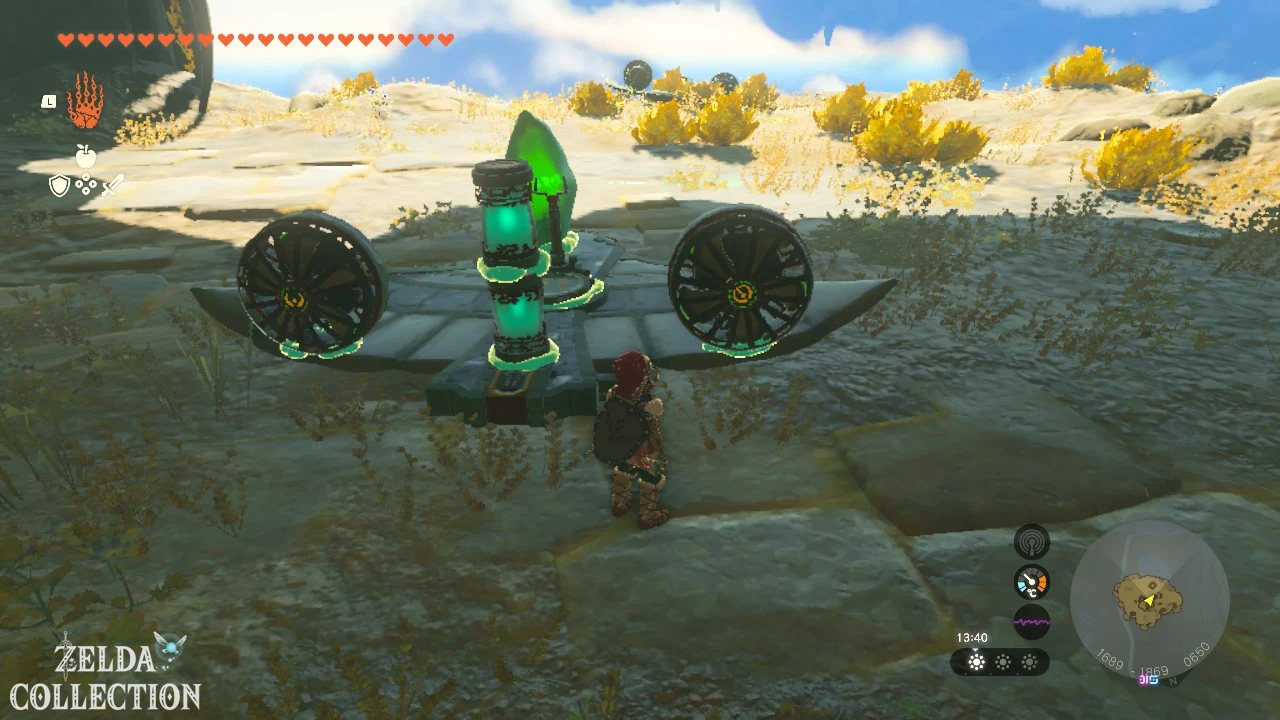
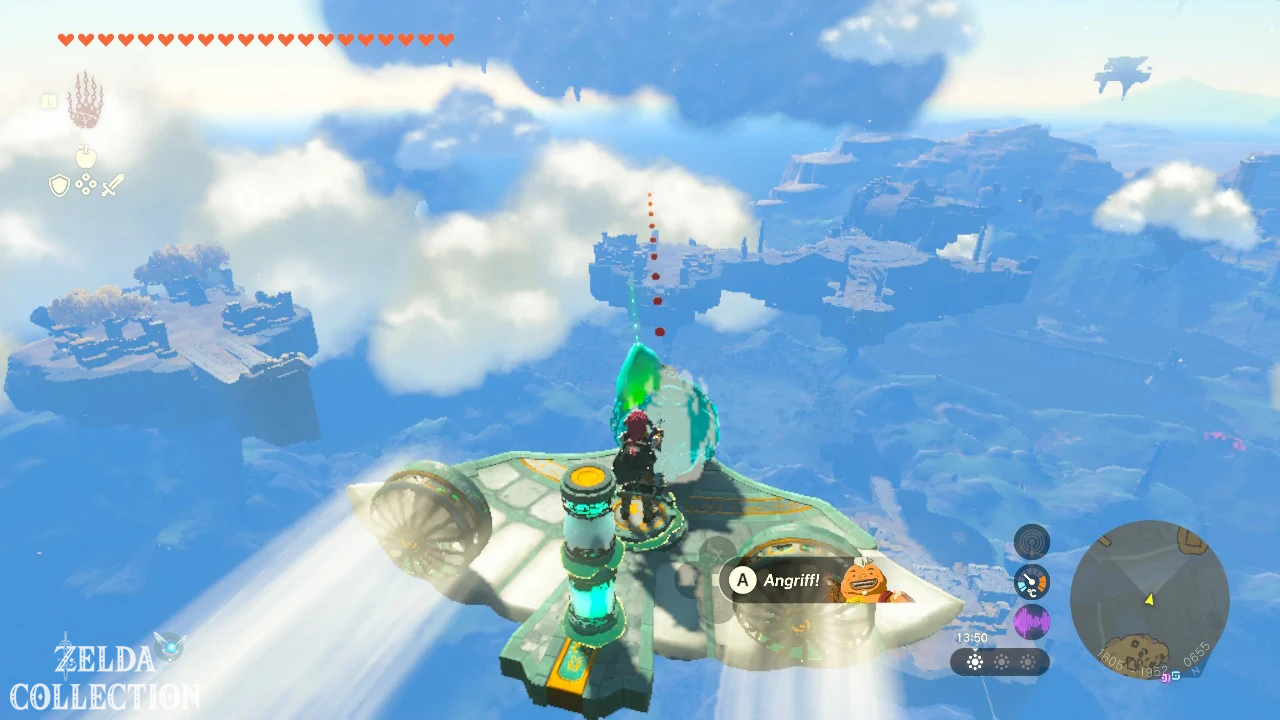
You can reach the Crystal Island with a self-made aircraft. On the sky islands you will find Zonai wings, carts, fans and control units.
Attach a cart or a Sled in the middle under a wing. Attach two fans symmetrically at the back and a control unit in the middle. Align the vehicle with the green beam of light.
Alternatively, you can let the Sahasra Slope Skyview Tower throw you directly towards the Crystal Island.
Find crystal behind the vines
On the southern side of the island there is a small niche blocked by dry vines. Burn the vines with a Fire Fruit, Flame Emitter, or other fire source.
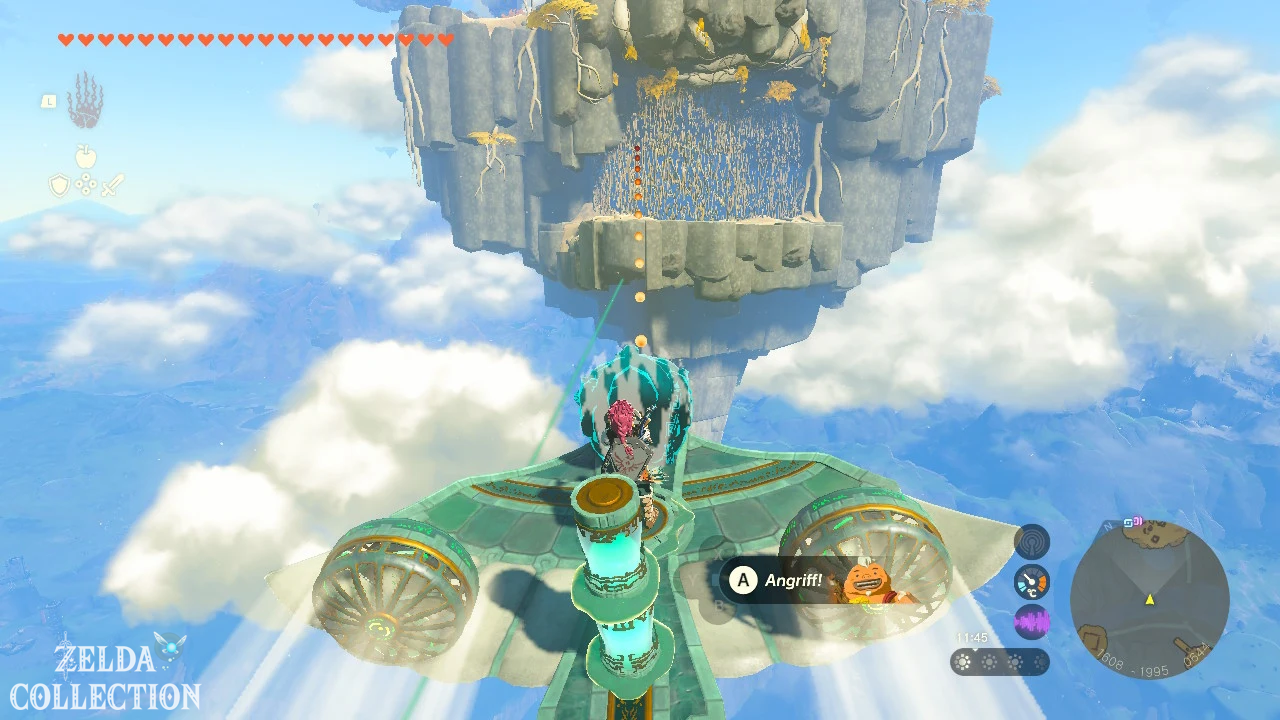
The green shrine crystal is in the niche. Attach it as centrally as possible to the aircraft that is available or that you have built yourself.
crystal fly back
Aim your vehicle at the shrine island and follow the green beam of light. Just steer carefully so that the wing doesn’t tip to the side.
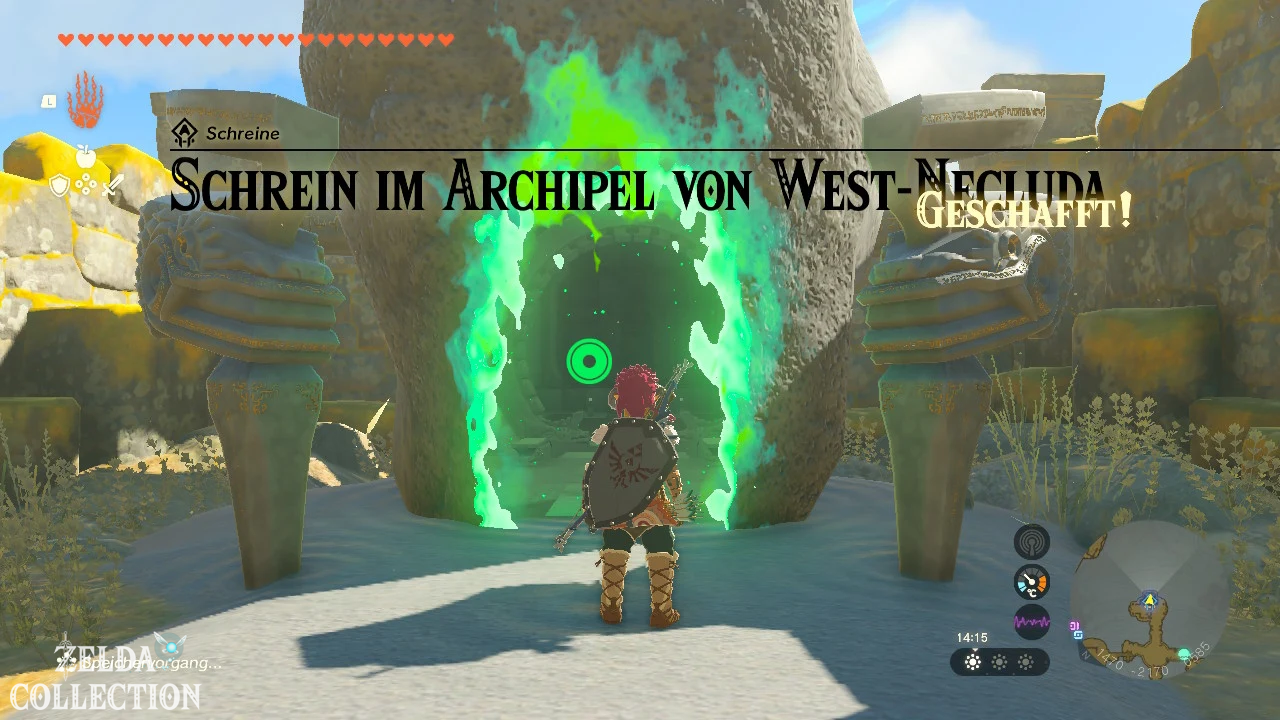
Land as close to the incomplete platform as possible. Remove the crystal from the vehicle and place it in the green socket. The complete Ukoojisi Shrine then appears.
Obtain Rauru’s blessing
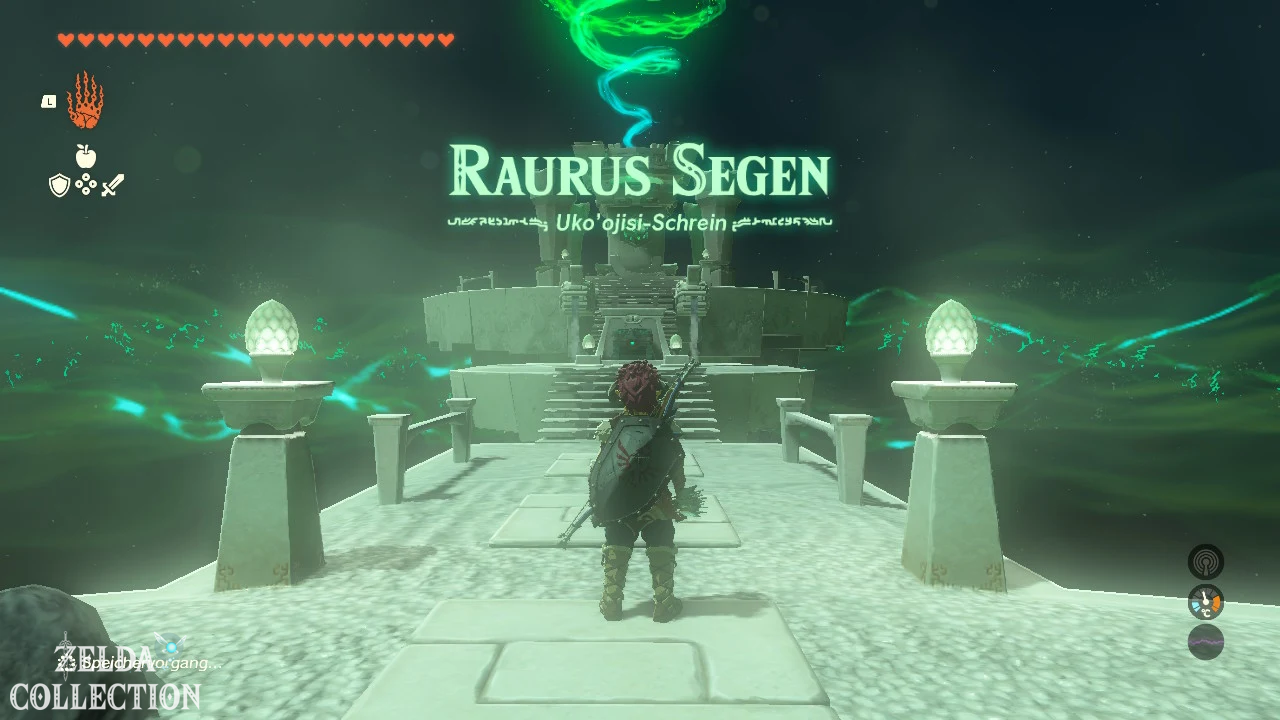
No further puzzle awaits you in the shrine. Open the Treasure Chest with the Solid Zonaite Shield and then take the Light of Blessing.
Tip: Additional batteries or a Large Zonai Charge prevent the aircraft from losing power during the return journey.
Susub Shrine
Trial: Raurus Blessing
Reward: Long Wand and a Light of Blessing
Location: Under the ruins of Deya Village Ruins, accessible via the eastern well
Coordinates: approximately 0349, -2052, -0014
Find Susub Shrine
The Susub Shrine is located in a large underground cave beneath the ruins of Deya Village Ruins. The easiest access is from the eastern well of the Deya Village Ruins ruins.
Castle Town Fountain is located near Lake Deya Village Ruins, west of Popla Foothills Skyview Tower. Its opening is partially covered with brittle rock.
Destroy the stones with a bomb flower or a hammer weapon and jump into the well. Open the Paraglider in good time during the fall.
Path through cave
After descending, stick to the left cave wall. Follow the narrow path around the water and climb onto the raised rock platform.
In the middle of the cave there is a light Stone Talus. You can defeat him, but you don’t necessarily have to fight for the shrine.
Stay on the outer edge of the cave and run past the enemy. The Susub Shrine stands on an elevated level at the southern or rear end of the cave.
Climb up the short rock face or use the Ascend under a suitable ledge.
Tip: The eastern well takes the shortest route to the shrine. You can also enter the cave via the other wells in the Deya Village Ruins ruins, but you have to take a much longer route.
Obtain Rauru’s blessing
Finding the hidden shrine is the actual test. Inside you can open the Treasure Chest directly. It contains a Long Wand.
Connect the wand to a Rupee, Sapphire or Topaz to fire elemental projectiles. Then accept the Light of Blessing at the altar.
All shrines in West Necluda at a glance
| Shrine | level | exam or task | Location | Chest Reward |
|---|---|---|---|---|
| Joju-u-u Shrine | surface | Bridge construction | Ubota height | Large Zonaite |
| Josiu Shrine | Sky | Shrine in North Necluda Sky Archipelago | North Necluda Sky Archipelago | Large Zonai Charge |
| Eshos Shrine | surface | Combat Techniques: Shield | Dueling Peaks | Solid Zonaite shield |
| Jochisiu Shrine | surface | Born from the water | quarrel flow | Big Battery |
| Makasura Shrine | surface | Up and down, back and forth! | Kakariko Village | Fairy Tonic |
| Tokiy Shrine | Cave | Shrine in the Oakle’s Navel Cave | Oakle’s Navel Cave | Large Zonai Charge |
| Ukoojisi Shrine | Sky | Shrine in West Necluda Sky Archipelago | West Necluda Sky Archipelago | Solid Zonaite shield |
| Susub Shrine | Underground | Raurus blessing | Ruins of Deya Village Ruins | Long Wand |