

In the Hyrule Field and the immediately adjacent areas can be found as a whole 15 shrines. These include hidden cave shrines, combat trials, classic puzzle shrines and even a shrine high above Hyrule in the form of the Jinodok Shrine South Hyrule Sky Archipelago.
On this page we show you the Locations of all the shrines in the Hyrule Field, their coordinates, tests and rewards. For each shrine you will also find a detailed solution to the respective puzzle or a description of how to reach the partially hidden entrance.
If you also need help in other regions, you can find an overview of all shrines, main tasks, Side Quests and other secrets in Hyrule in our Tears of the Kingdom Walkthrough.
These 15 shrines belong to the Hyrule Field:
- Jinodok Shrine
- Jojon Shrine
- Kamizun Shrine
- Kyokugon Shrine
- Mayachin Shrine
- Ren-iz Shrine
- Riogok Shrine
- Runakit Shrine
- Sinakawak Shrine
- Tadarok Shrine
- Tajikats Shrine
- Teniten Shrine
- Tenmaten Shrine
- Tsutsu-um Shrine
- Sonapan Shrine
Jinodok Shrine
Exam: Raurus blessing
Shrine Task: Shrine in South Hyrule Sky Archipelago
Reward: Diamond and Light of Blessing
Location: South Hyrule Sky Archipelago in Central Hyrule Sky
coordinates: approx. -1257, -1487, 1022
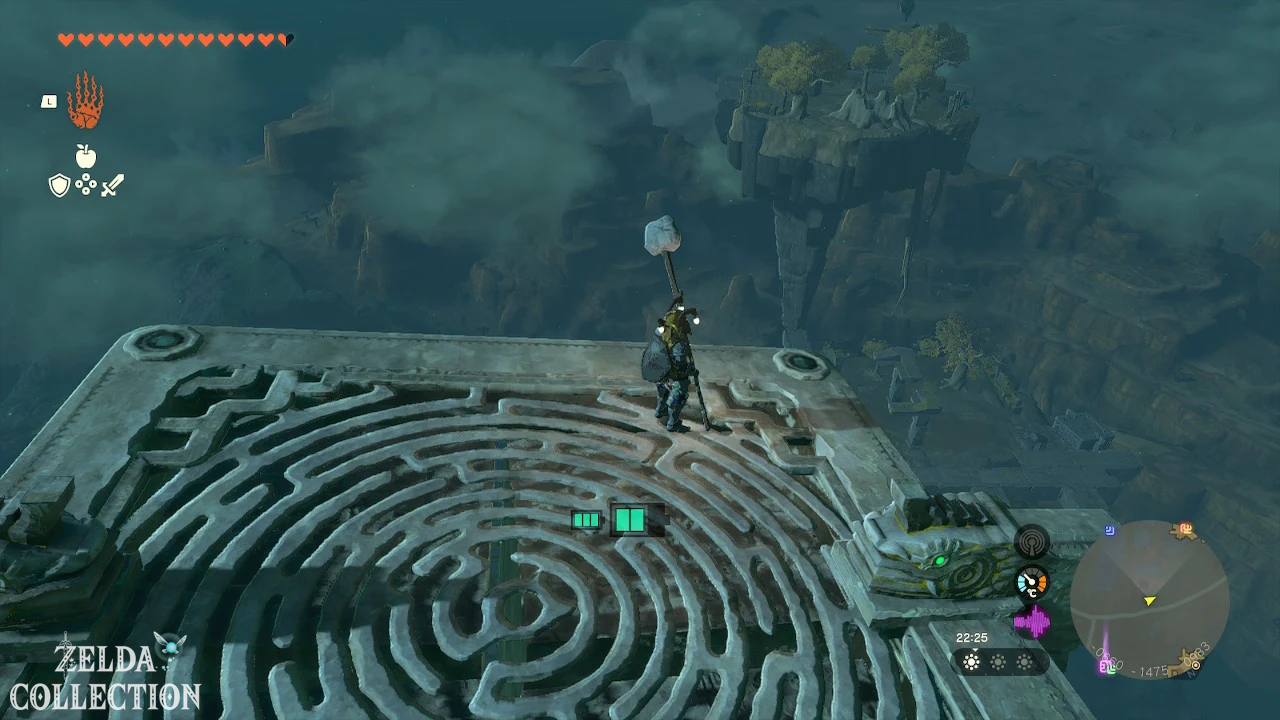
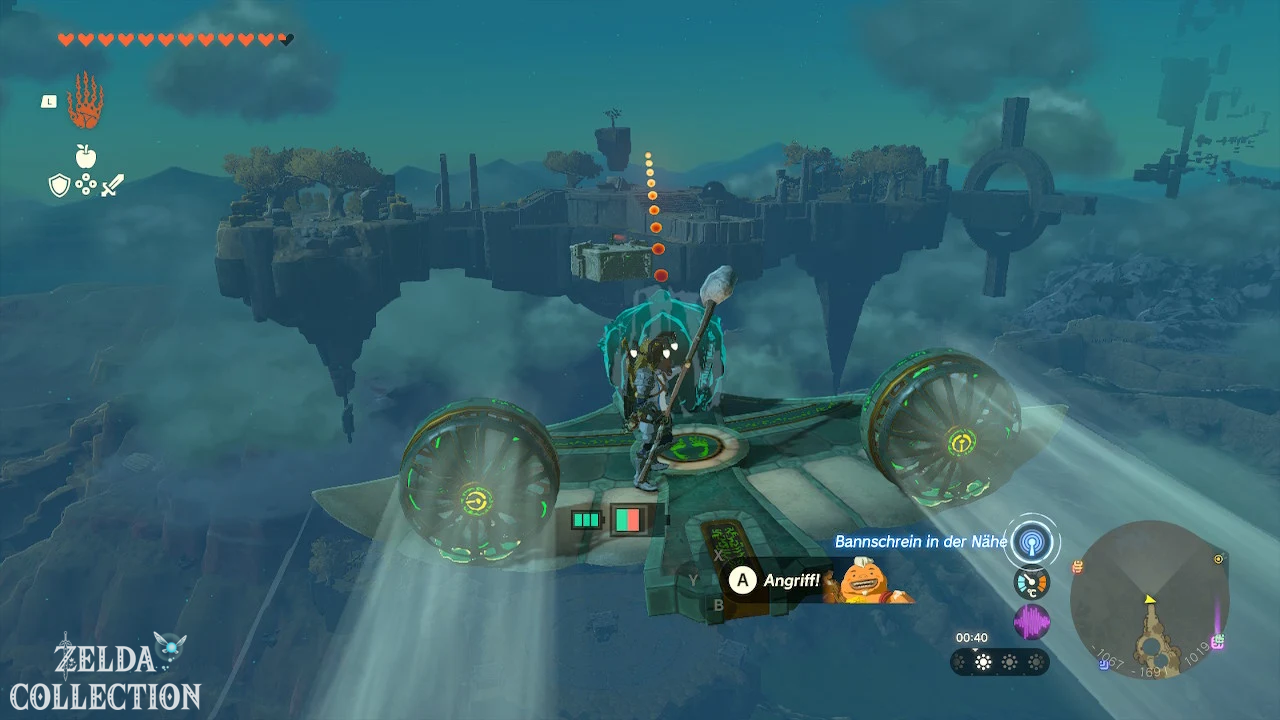
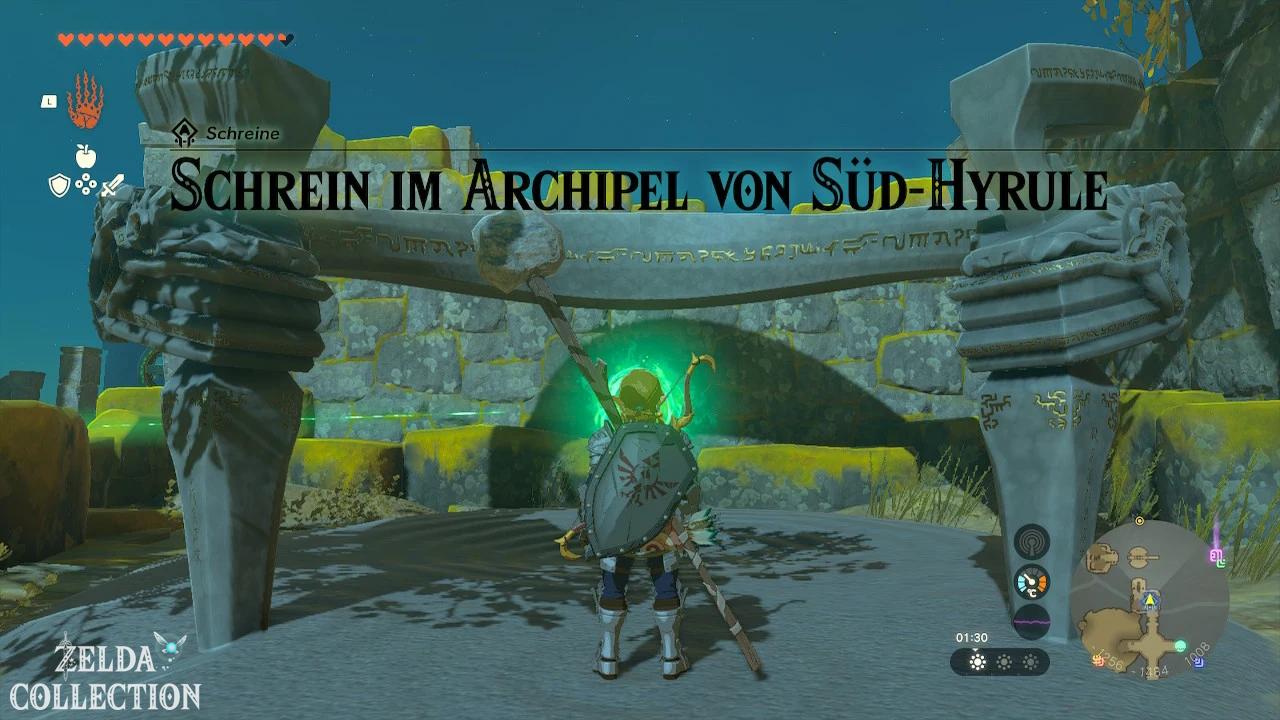
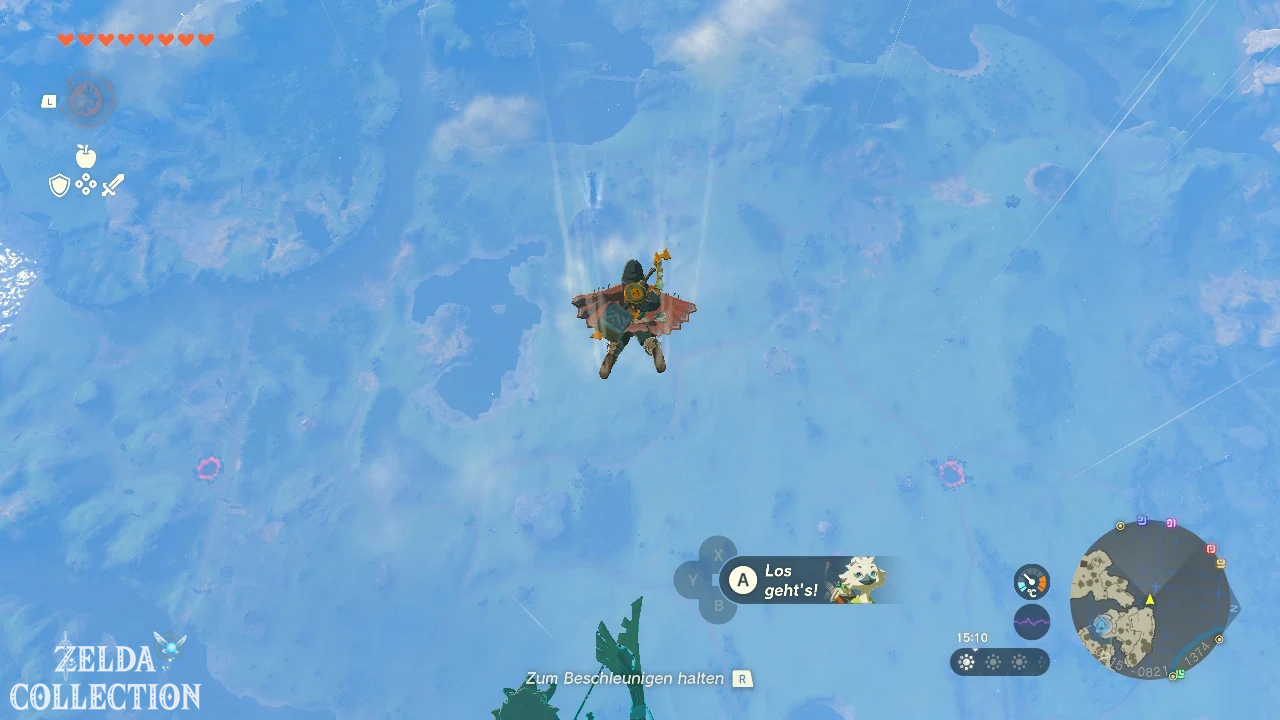
Solution: The Jinodok Shrine is not on the actual surface, but high above the Hyrule Field in the South Hyrule Sky Archipelago. To reach the archipelago, you can glide in their direction from the Great Sky Island, for example. Tulin’s ability and additional stamina make the path much easier.
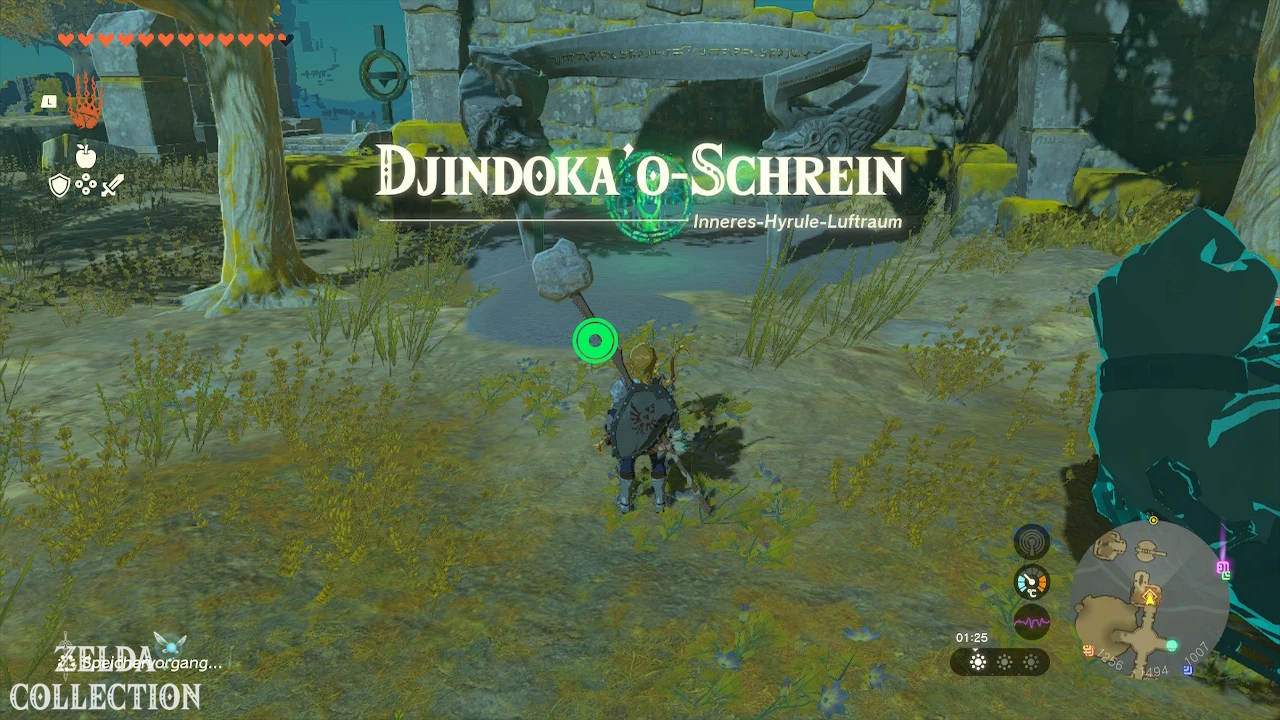
At Location only the outer version of the shrine initially stands. Examine them to start the shrine quest “Shrine in South Hyrule Sky Archipelago”. A green beam of light will show you where the missing crystal is.
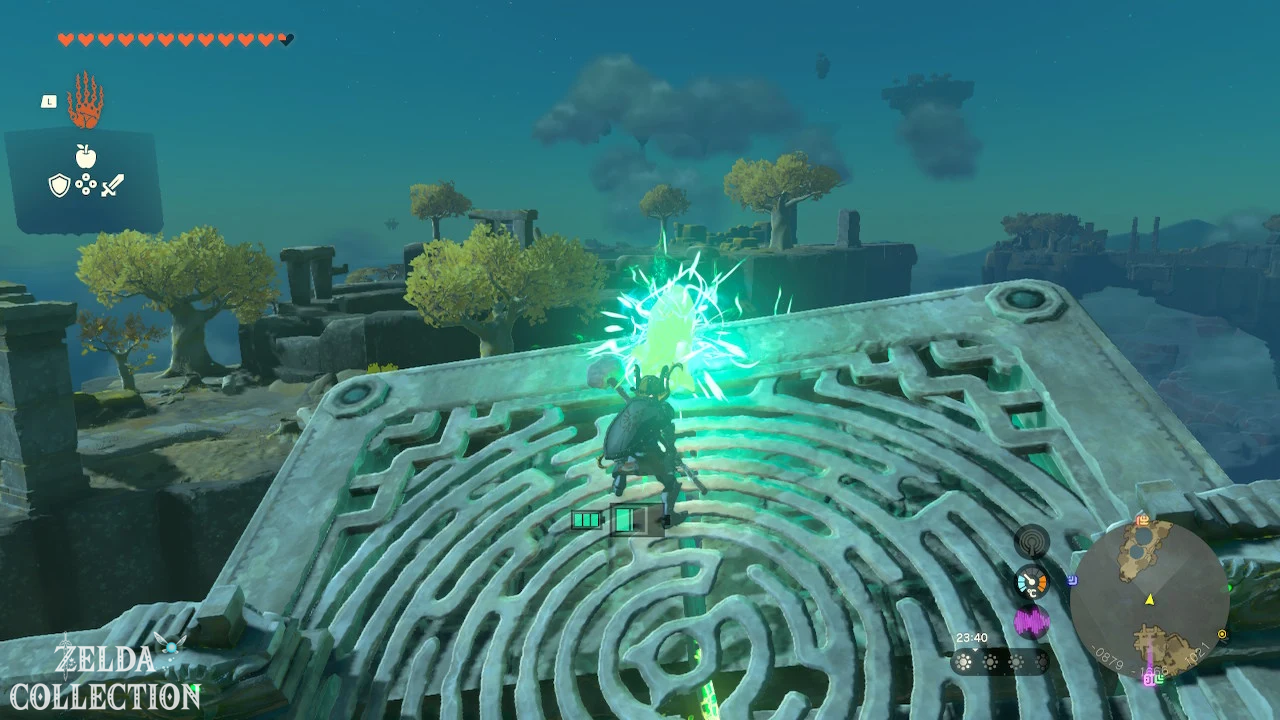
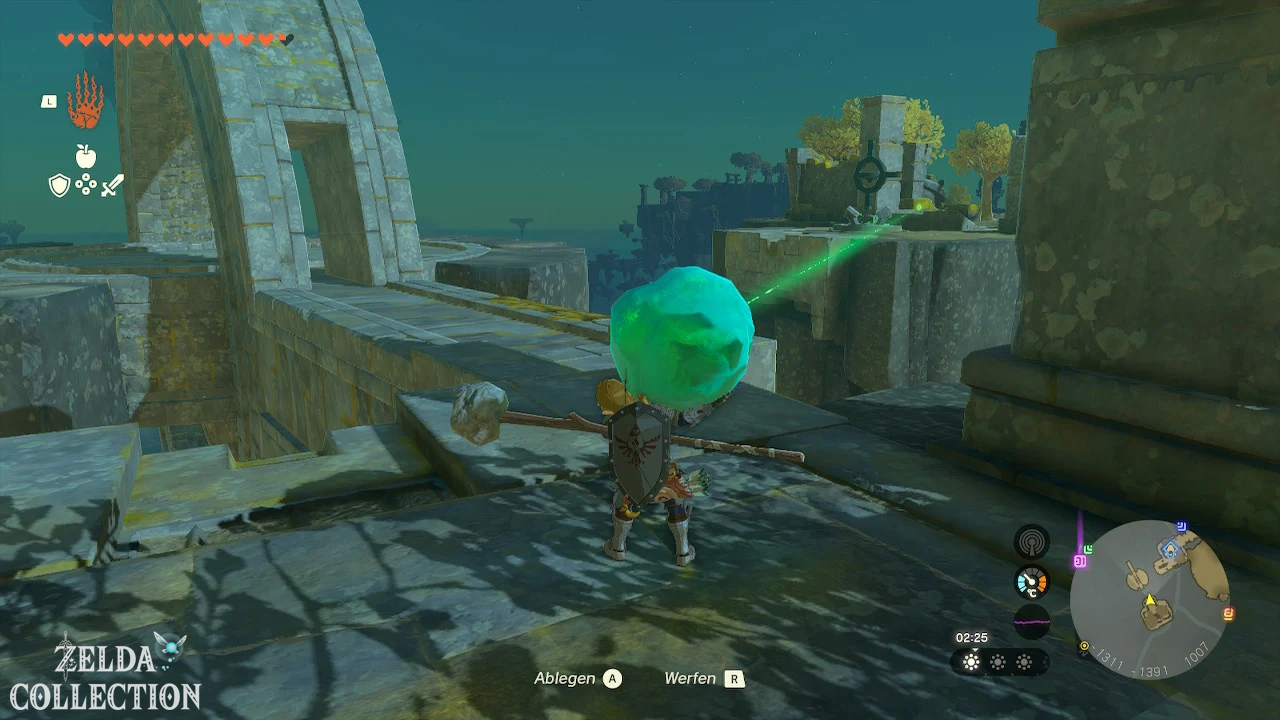
There is a movable stone structure between you and the crystal. There is a circular control on the island that you can rotate with the Ultrahand. This means that the associated stone platform or the footbridge in the abyss rotates at the same time.
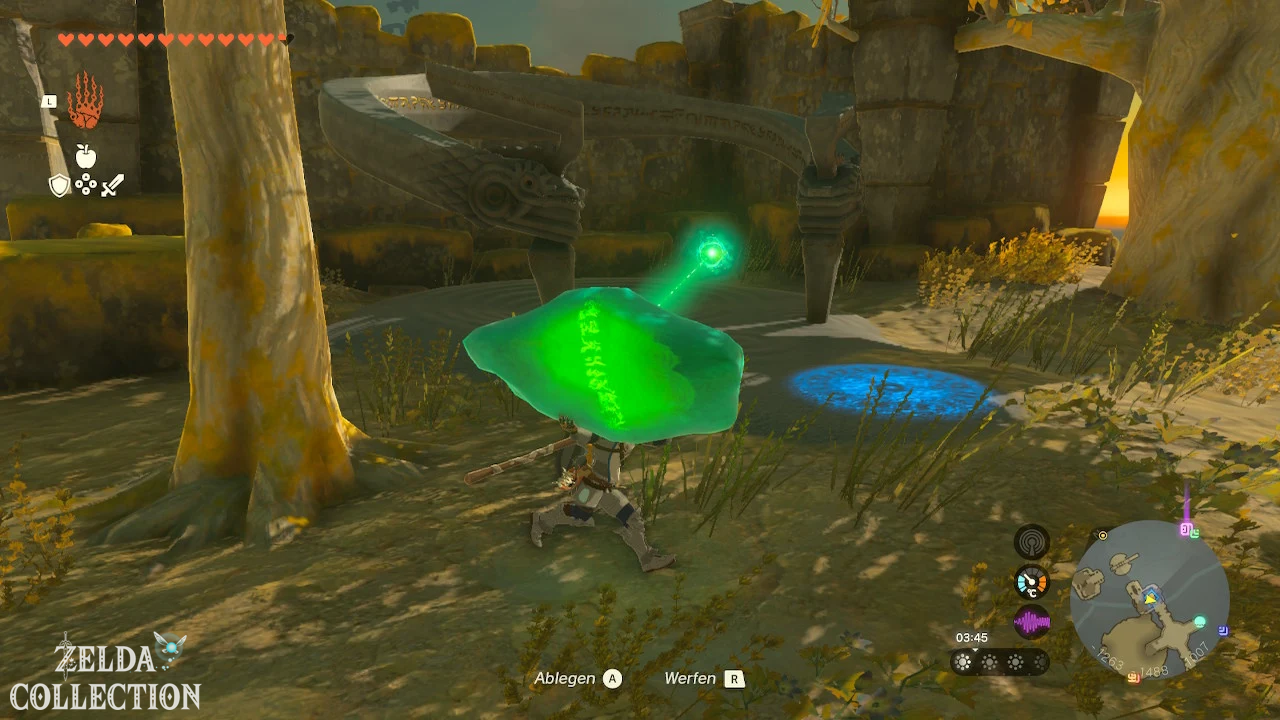
First align the moving structure so that you get a path to the island with the green crystal. Cross the bridge and bring the crystal onto the moving platform. Then return to the controls and rotate the structure again until it is connected to the shrine island again.
Finally, carry the crystal along the green beam of light to the shrine socket. As soon as you place it there, the full Jinodok Shrine will appear and the shrine task will be completed.
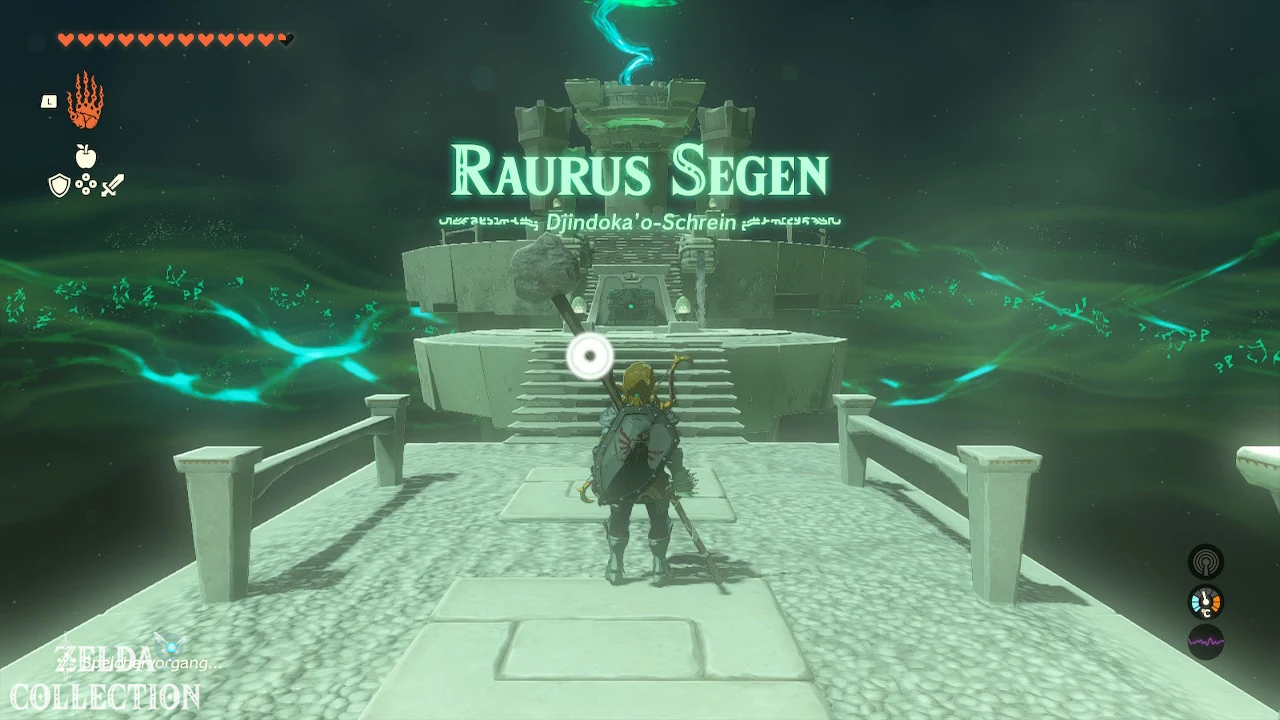
No further puzzle awaits you inside. Since you have already completed the actual test outside the shrine, you will receive Rauru’s Blessing. Open the Treasure Chest with the diamond and then get the Light of Blessing.
Jojon Shrine
Exam: Bare Survival – Rotates
Reward: Short Wand and Light of Blessing
Location: Crenel Peak Cave, east of Lookout Landing
coordinates: approx. 1202, 0330, 0027
Solution: The Jojon Shrine is not open on the surface, but rather deep within the Crenel Peak Cave. The cave has two entrances. Inside you have to destroy several rubble walls and work your way through the branching corridors. Head towards the central and deeper cave area until you reach the shrine.
Upon entering, the “Naked Survival – Rotates” exam starts. As with all naked survival shrines, all of your equipment, weapons, bows and shields will first be removed from you. You must defeat all constructs using only the items you find inside the shrine.
Take the wooden stick, the thick stick and the old wooden shield right at the beginning. First attack the individual constructs on the lower level and use their dropped horns and weapons to Fuse. This way, your improvised weapons will become significantly more powerful.
The shrine spans multiple levels and is themed around rotating gears and other moving structures. On the lower level you will find, among other things, a construct bow, arrows and Bomb Flowers. It’s better to use these items offensively rather than saving them for later – you won’t be able to take any of them with you after completing the shrine anyway.
A Spring will take you to one of the raised platforms. There you can attack the constructs from a safe distance with your bow. Thunder Flowers are particularly useful when several enemies are close together.
In the area with the large vertical gear you can use the Recall to change its direction of rotation and get to the upper level. Also use the existing Flame Emitter and other Zonai Devices against the constructs when an opportunity arises.
Once you have defeated all enemies, you will receive your original equipment back. The gate to the altar opens and a Short Wand awaits in the Treasure Chest. You can then receive the Light of Blessing.
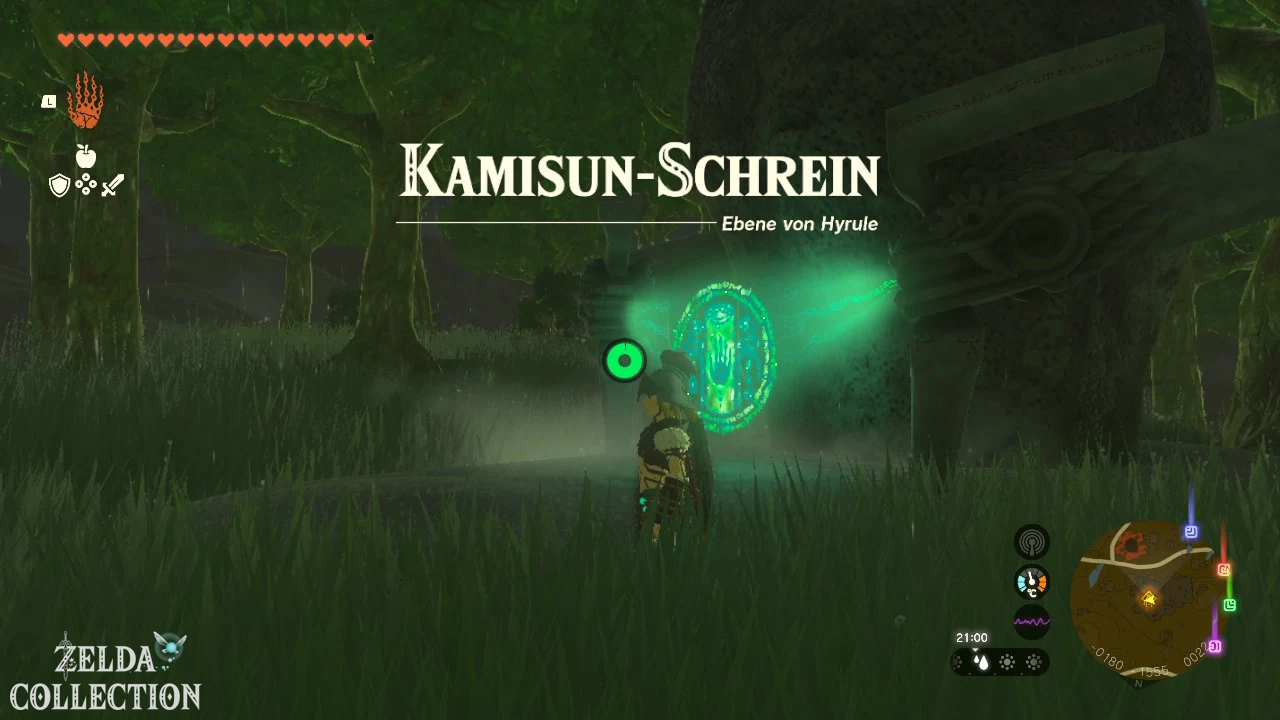
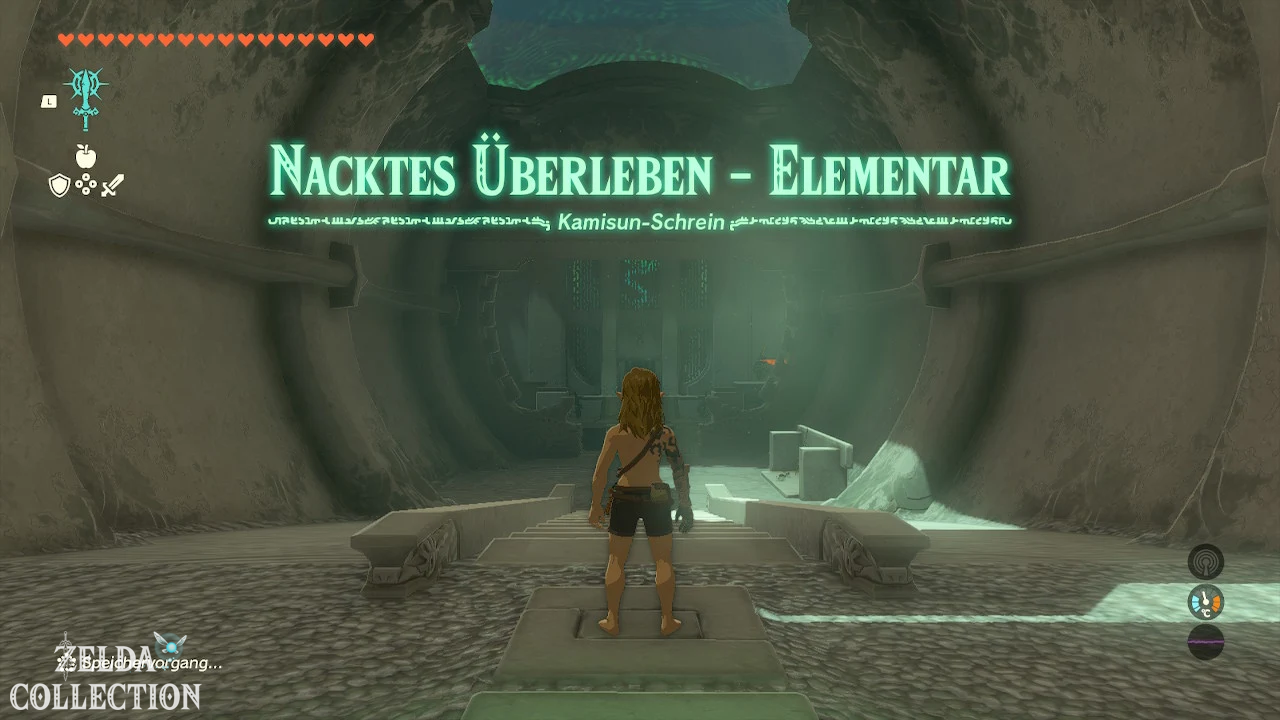
Kamizun Shrine
Exam: Bare Survival – Elemental
Reward: Spring Shield and Light of Blessing
Location: Forest of Time, north of the ruins of the
outpost
coordinates: approx. -0178, -1558, 0037
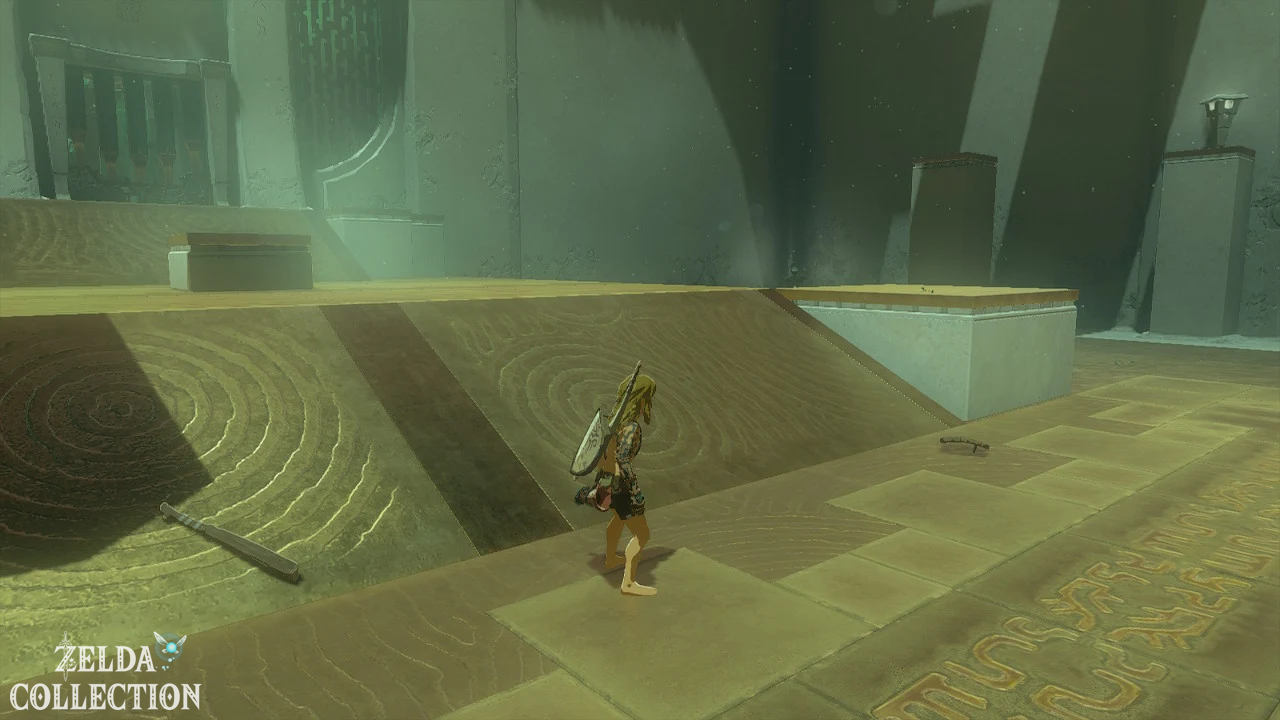
Solution: When you enter Kamizun Shrine, your equipment, weapons and shields will be temporarily removed. Therefore, first collect the wooden stick, the bow, the shield and the arrows in the entrance area. There are several soldier constructs waiting for you in the arena, one of which is located on a raised rock pillar.
First run to the long stick and the large spiked ball. Combine both items with the Fuse ability to get a long-range and comparatively powerful weapon. You can use this to take out the three constructs on the ground one after the other. Avoid being surrounded by all enemies at once and retreat a bit between attacks.
The final construct shoots arrows at you from an elevated position. You can either hit it with your bow or use the spiked ball to destroy the fragile rock pillar it is standing on. Once all constructs have been defeated, the gate to the altar will open. Your equipment will be returned to you and in the chest you will find a Spring Shield. Then pick up the Light of Blessing.
Kyokugon Shrine
Exam: Heaven and Earth
Reward: Maxi-Elixir and Light of Blessing
Location: Cave at Great Plateau, on the north side of the Forgotten Plateau
coordinates: approx. -0709, -1551, 0020
Solution: The Kyokugon Shrine is hidden in the cave at Great Plateau. You can find the entrance at the northern foot of the plateau, south of Lake Aquame. In front of the entrance or just behind it, large walls of rubble block the way. Therefore, take a hammer, a weapon synthesized with a stone or enough Bomb Flowers with you.
Follow the cave passage and eliminate the Horriblins. Behind more massive rubble walls you finally reach the shrine. If you also want to collect the Bubbulfrog sign of the cave, you should also examine the noticeable brittle side wall.
The riddle “Heaven and Earth” awaits in the shrine. In the main room there are ten round depressions in the floor, but only four balls. The solution is – in keeping with the name of the test – not on the ground, but above you.
Look at the ceiling. There you will see four green glowing Circular Design. Each mark is located exactly above one of the wells in which a ball belongs. Axyl up the four balls with the Ultrahand and place them in the four troughs, each of which has a green circle glowing above it. As soon as all balls have been placed correctly, the gate opens.
In the next room, don’t immediately run to the altar. There is another green circle on the ceiling. Look directly below on the floor and activate the Ultrahand. One of the floor plates can be moved. Lift it up to reveal a hidden ball cavity.
Places the ball provided in this hollow. The side grille opens and reveals the Treasure Chest with a Maxi-Elixir. After that you can go to the altar and get the Light of Blessing.
Mayachin Shrine
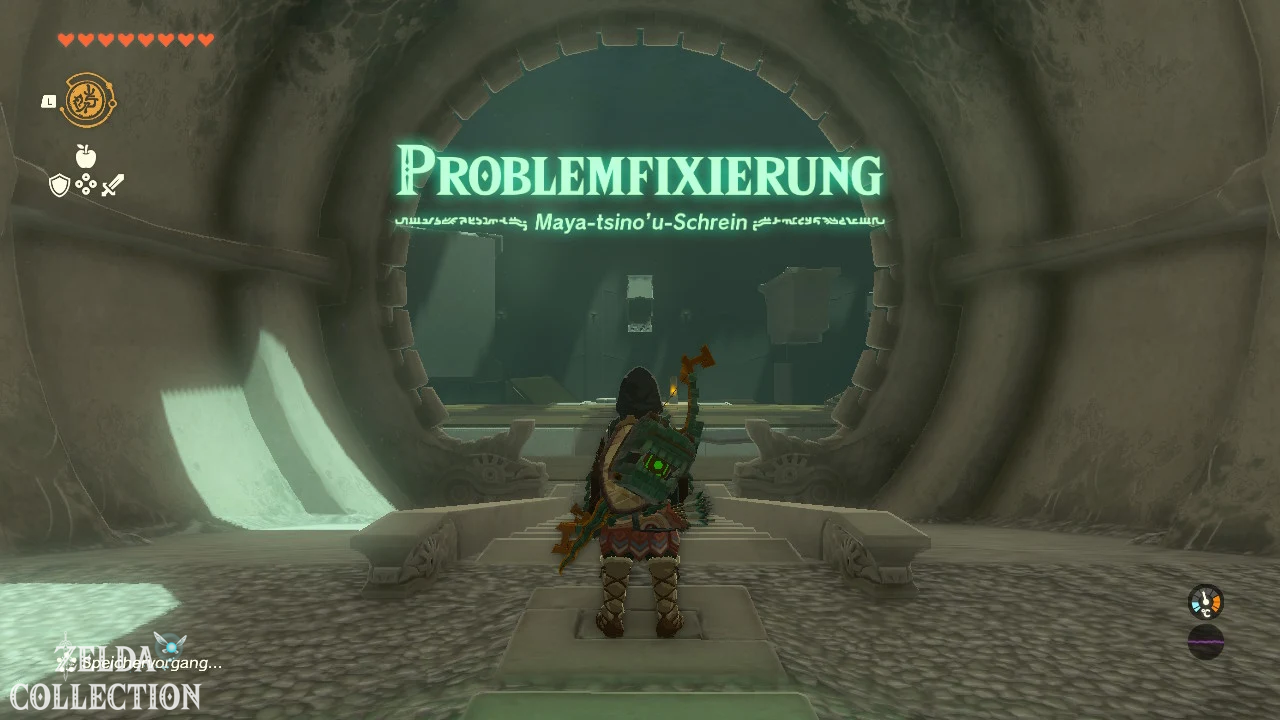
Check: Problem fix
Reward: Endurance-Elixir and Light of Blessing
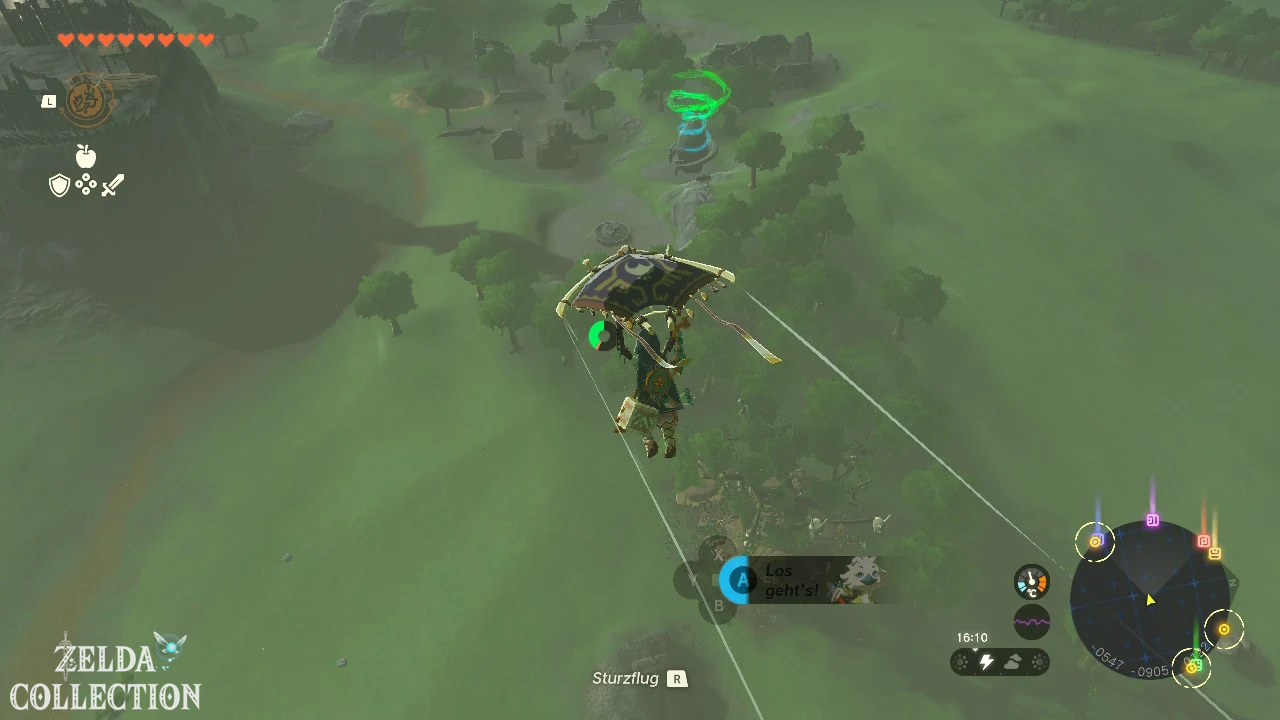
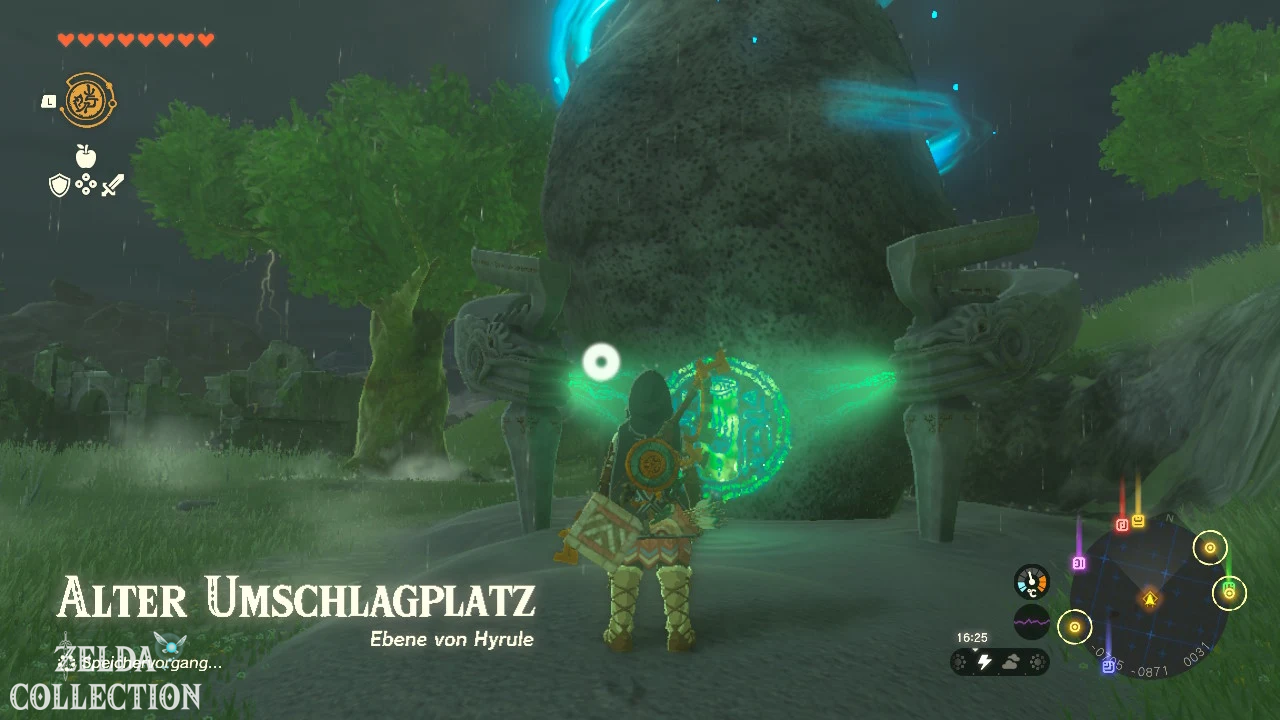
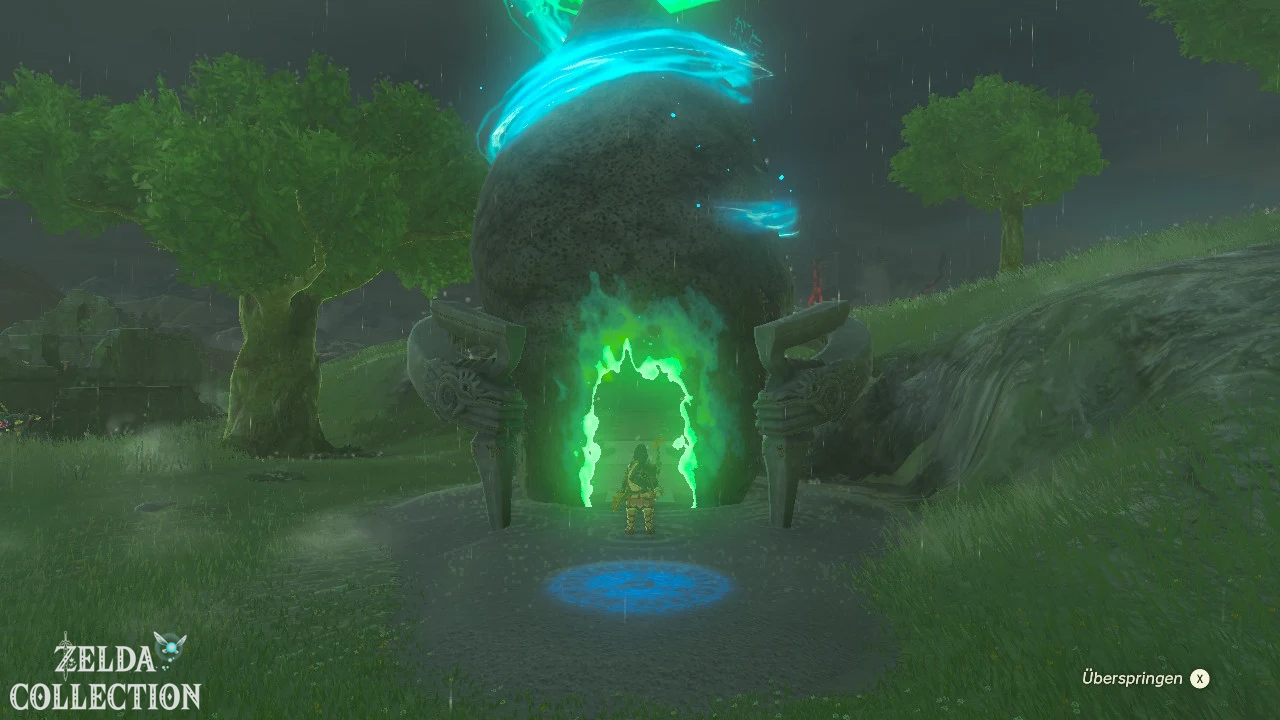
Location: Exchange Ruins, northeast of Hyrule Field Skyview Tower
coordinates: approx. -0705, -0869, 0031
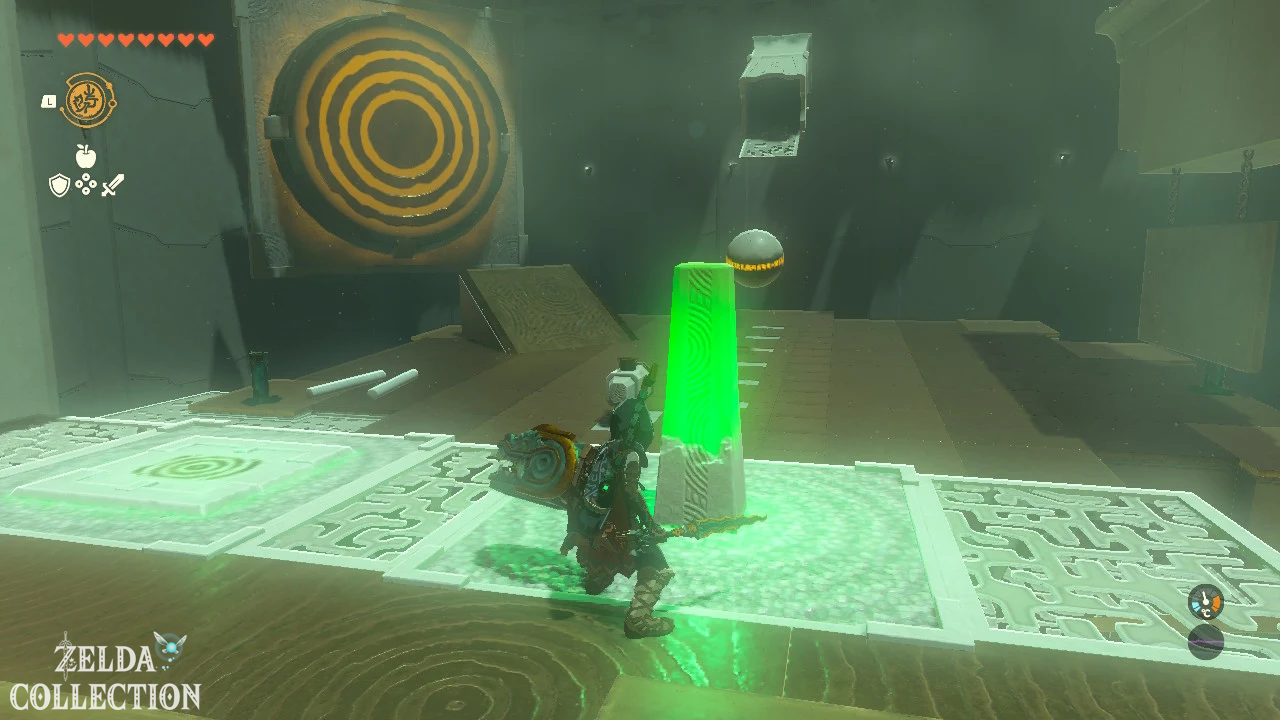
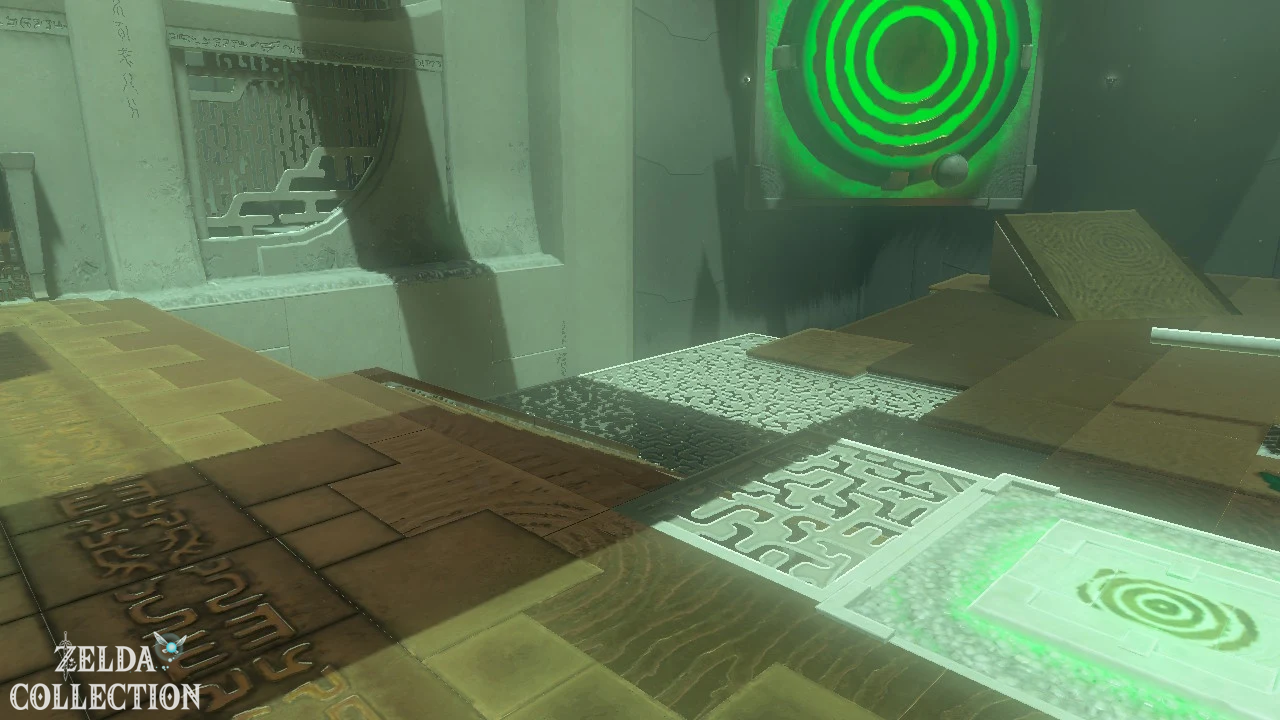
Solution: At the beginning, jump onto the rotating stone platform and let it carry you over the abyss. In the large room you will see a ball rolling out of an opening at regular intervals, a yellow glowing pillar, and a device that spins jerkily when it hits the pillar.
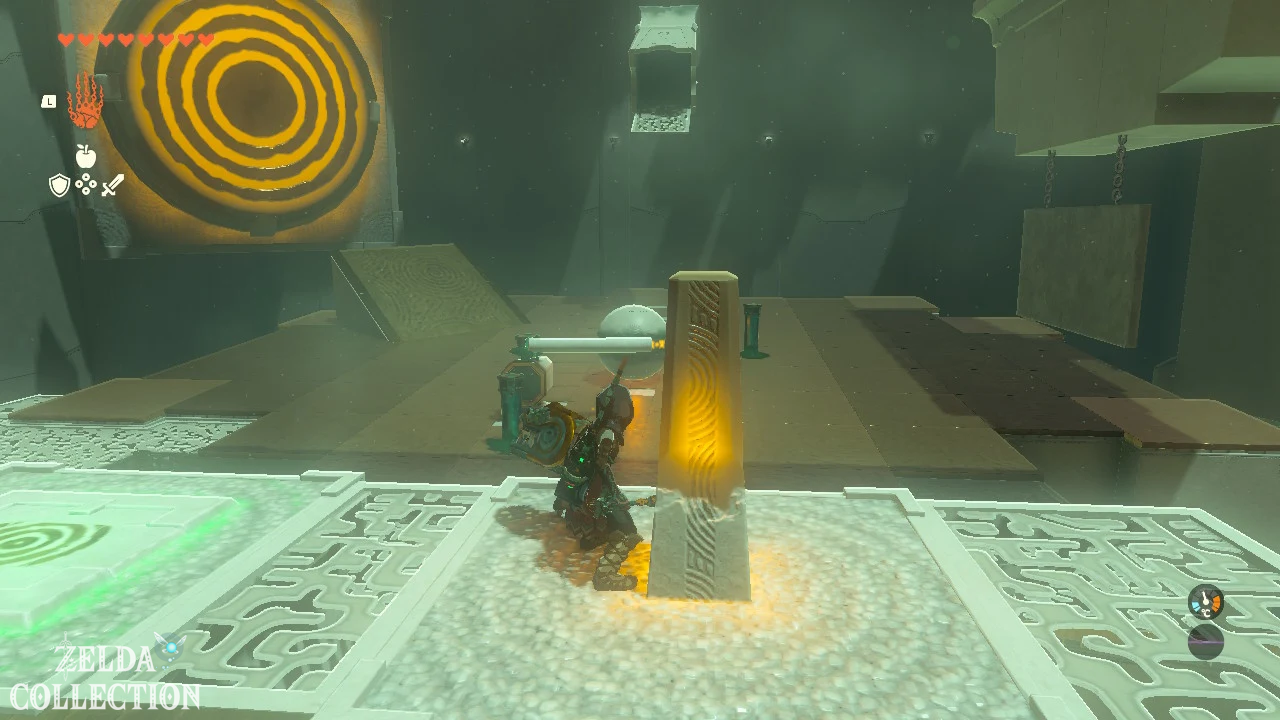
First, stand on the Floor Switch next to the yellow pillar. This will cause a large target to appear on the left side. Then go down to the device. Pull one of the green Zonai stakes out of the ground and place it horizontally in the rotating holder. Attach the two white poles to the stake one behind the other. This creates a long racket.
Return to the yellow pillar and watch the ball roll down. Hit the pillar at the right moment so that the homemade bat catches the ball and throws it against the left target. As soon as the target is hit, the gate to the altar opens.
For the optional chest you also have to hit the target on the right side. A plate hangs on chains in front of her and blocks the ball’s path. Lift the plate up with the Ultrahand and fix it to the ceiling with one or more stakes. Wait for a ball again and press the bat a little later than before so that the ball flies to the right. Behind the opened gate you will find a Staminan elixir. Afterwards you can get the Light of Blessing at the altar.
Ren-iz Shrine
Test: springform pan
Reward: Zonaite Stable Shield and Light of Blessing
Location: Crenel Hills, in a large hollow tree stump east of Hyrule Castle
coordinates: approx. 0756, 0824, 0096
Solution: The Ren-iz Shrine is easy to miss from the outside as it is hidden in a huge hollow tree stump. In the first room, after pressing the yellow pillar, a ball rolls down the ramp and falls into the abyss. Take the metal plate from the floor and place it diagonally on the edge. It must be aligned like a ski jump and reach as close as possible to the collecting basket opposite.
Then hit the yellow pillar. The ball rolls over the plate, jumps over the abyss and lands in the depression. This opens the gate to the second room.
Here you will find a long and a square metal plate. For the Treasure Chest, first connect both of them to make the longest possible bridge and place it over the gap on the right side. Cross the bridge and open the chest containing a Sturdy Zonaite Shield.
Then separate the two plates from each other again. Attach the smaller plate at a right angle to the front end of the long plate to create another jump. Align the construction with the collecting basket and activate the yellow column. If the ball flies into the recess, the last gate opens and you can receive the Light of Blessing.
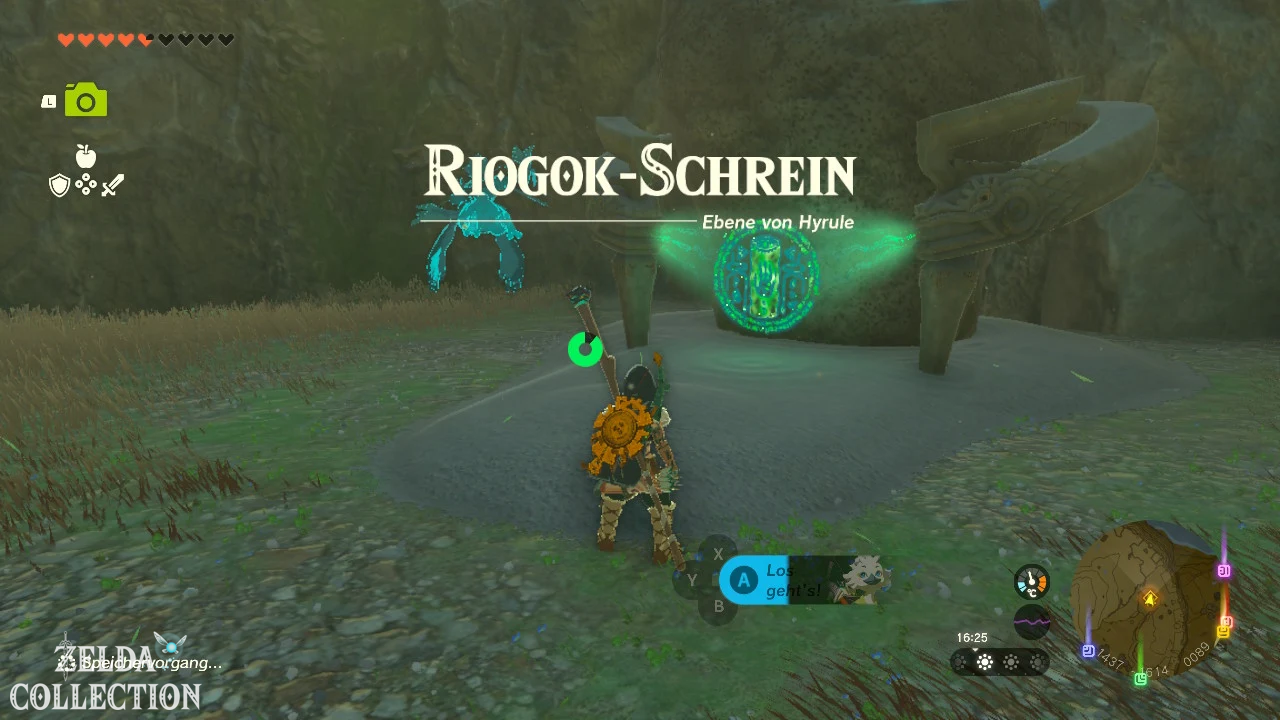
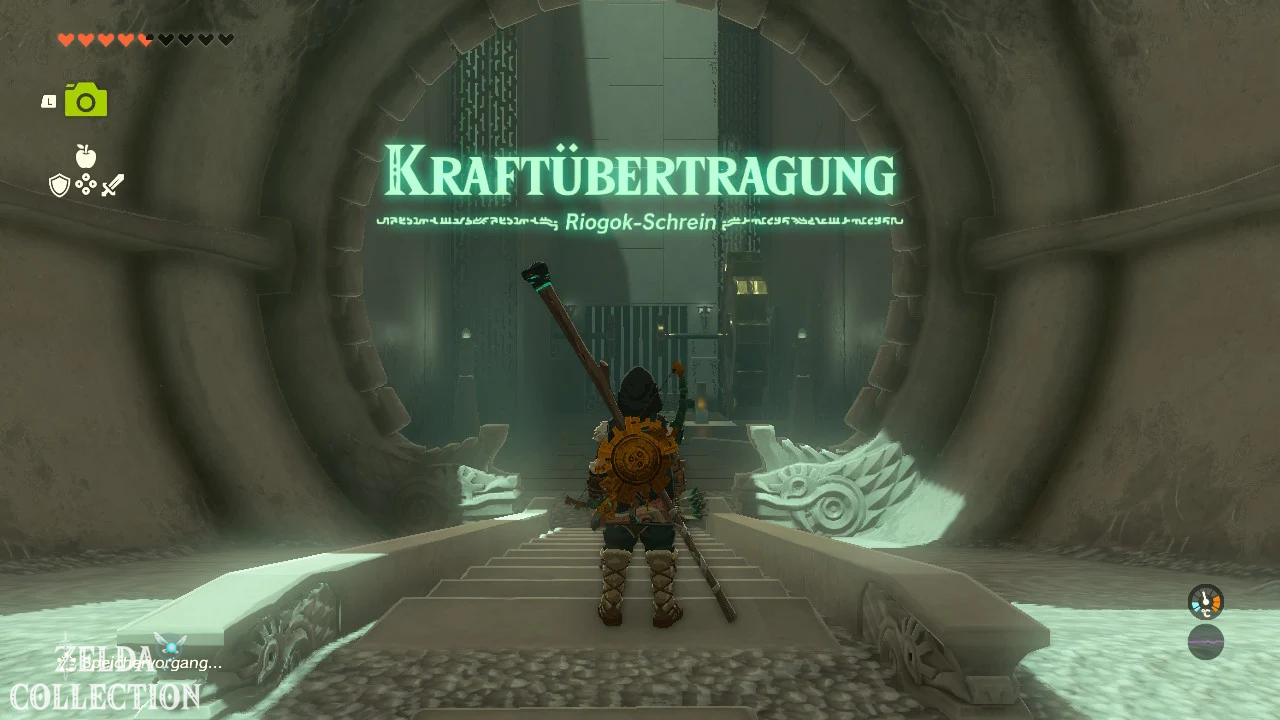
Riogok Shrine
Test: power transmission
Reward: Powerful Construct Bow and Light of Blessing
Location: West of Hopper Pond, on the northwestern edge of the Forgotten Plateau
coordinates: approx. -1440, -1616, 0089
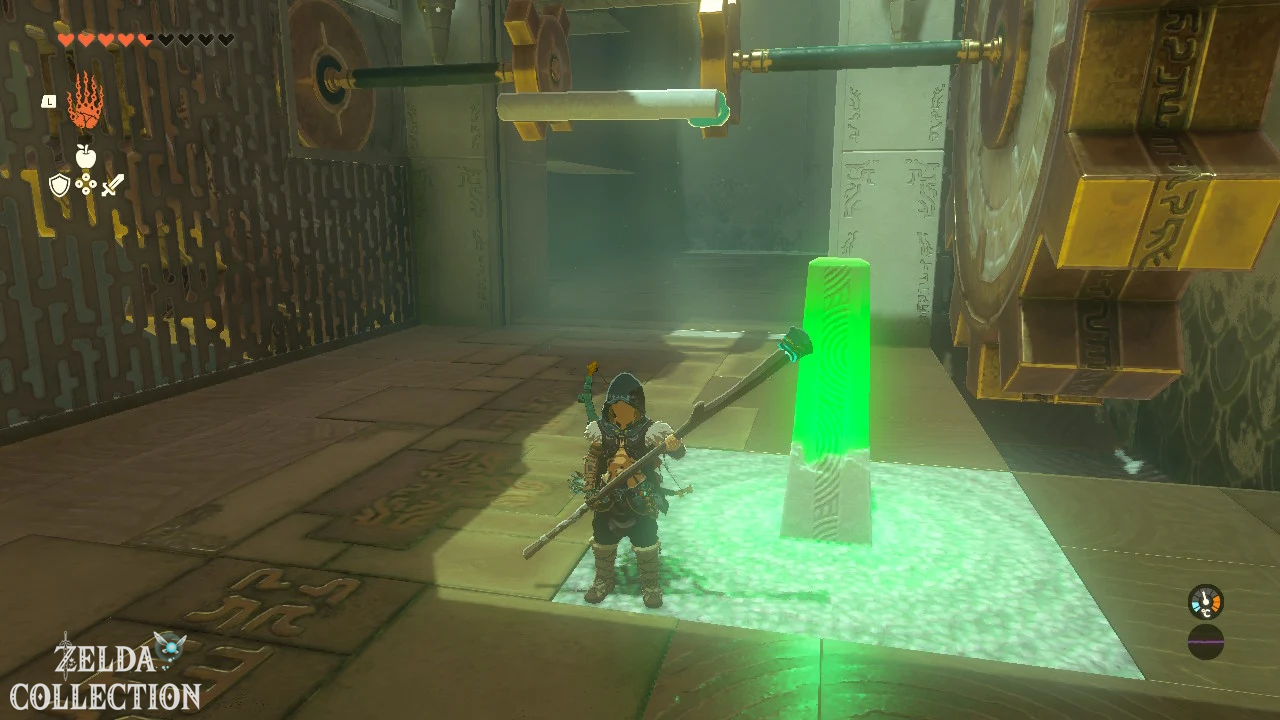
Solution: In the first room of the Riogok Shrine there are two gears with a small gap between them. Axyl up the rod from the ground and attach it between the two small gears so that it can transmit the rotational movement. Then hit the yellow pillar. The gears start moving and the gate opens.
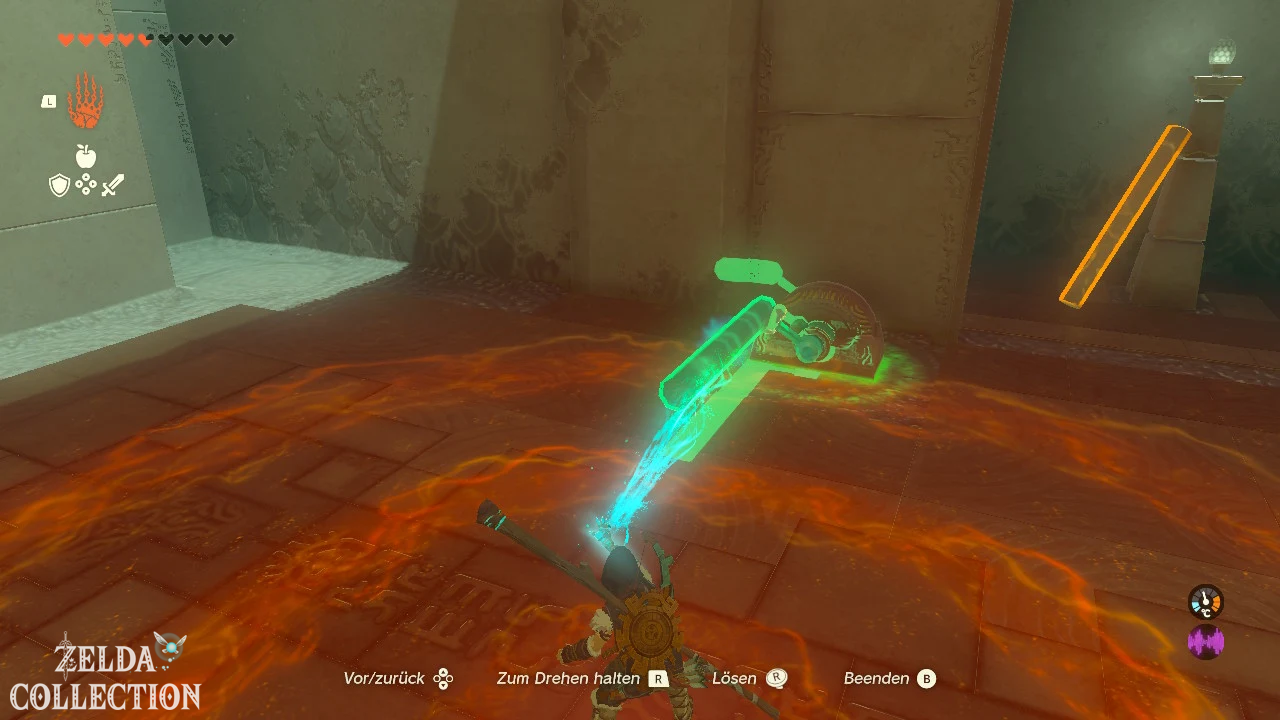
In the second room, the switch on the right side is missing its lever. Attach the rod lying there to the switch device and move it with the Ultrahand. This will open a small chamber where you will find another rod.
The Treasure Chest stands elevated in a niche. Connect the two bars together and attach them to the chest to pull it down from its place. Then remove the bars again and open the chest. Inside is a Powerful Construct Sheet.
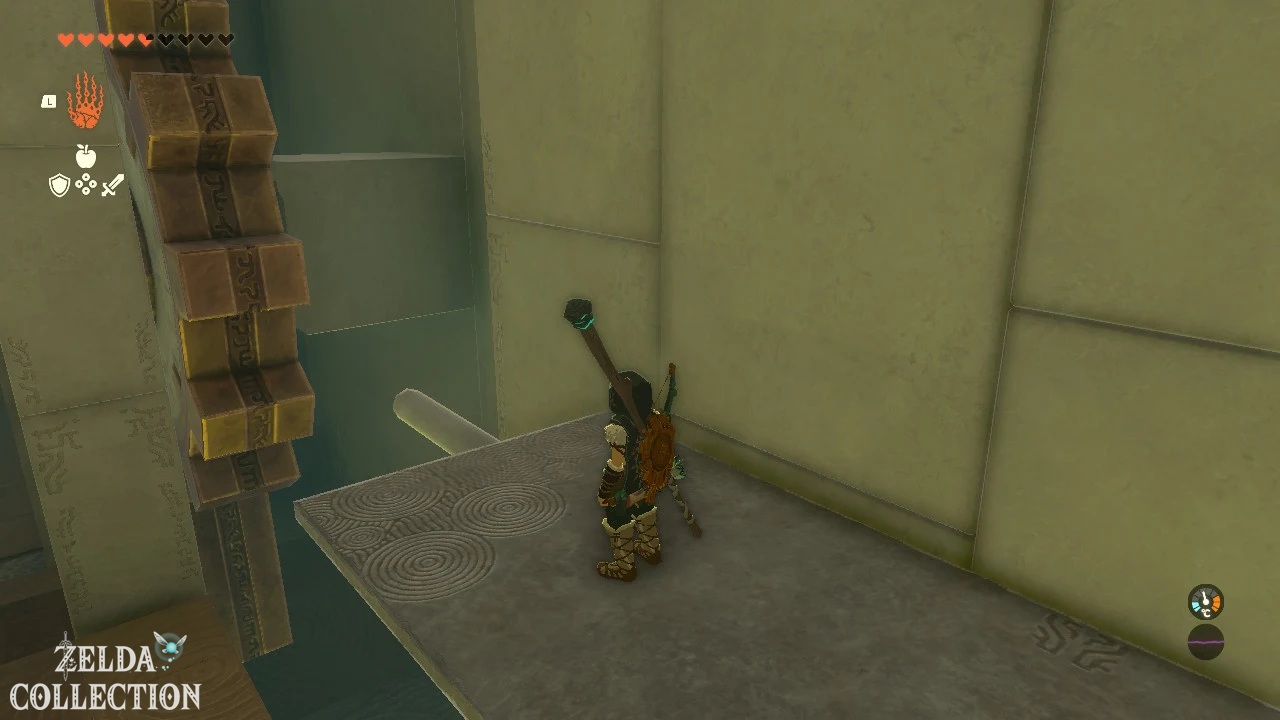
On the left side of the room you will see two sliding stone platforms. Attach a rod to the bottom platform so that the protruding part of the rotating gear can grab the rod and raise the platform. Use the second pole to connect the lower platform to the platform above. Use the Ascend as soon as the platforms move up. From the upper platform you will finally get to the altar and receive the Light of Blessing.
Runakit Shrine
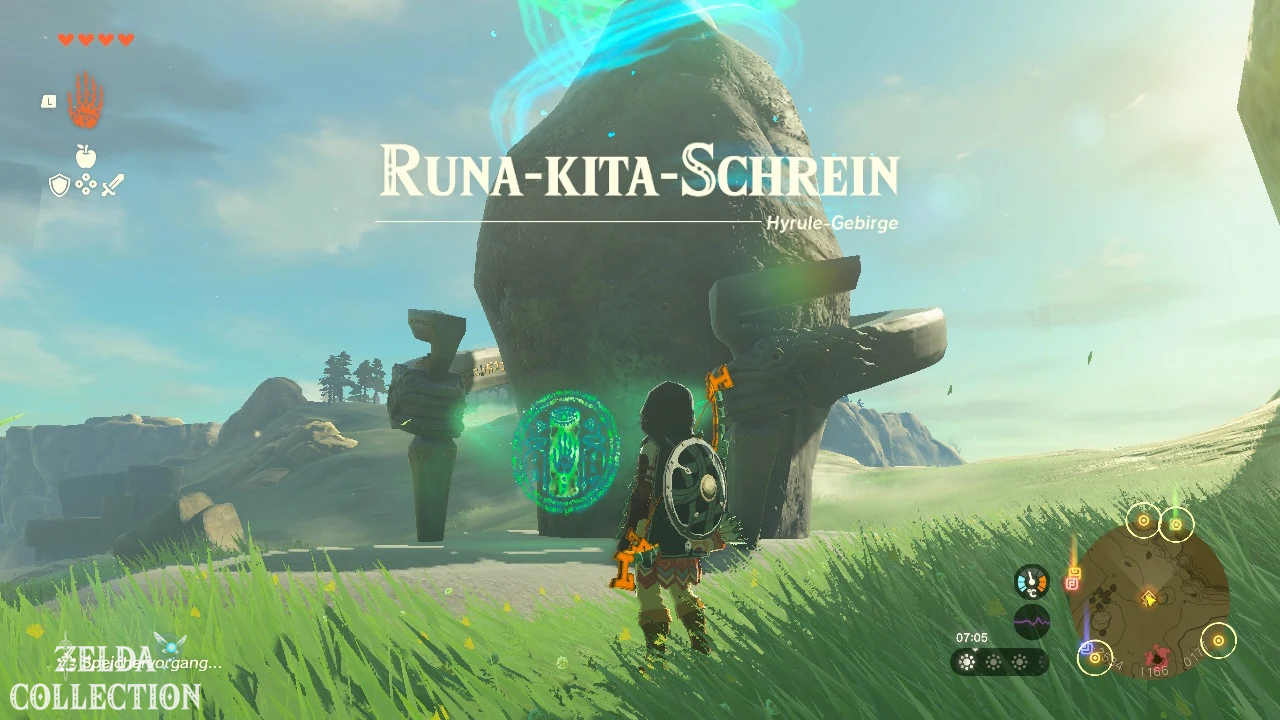
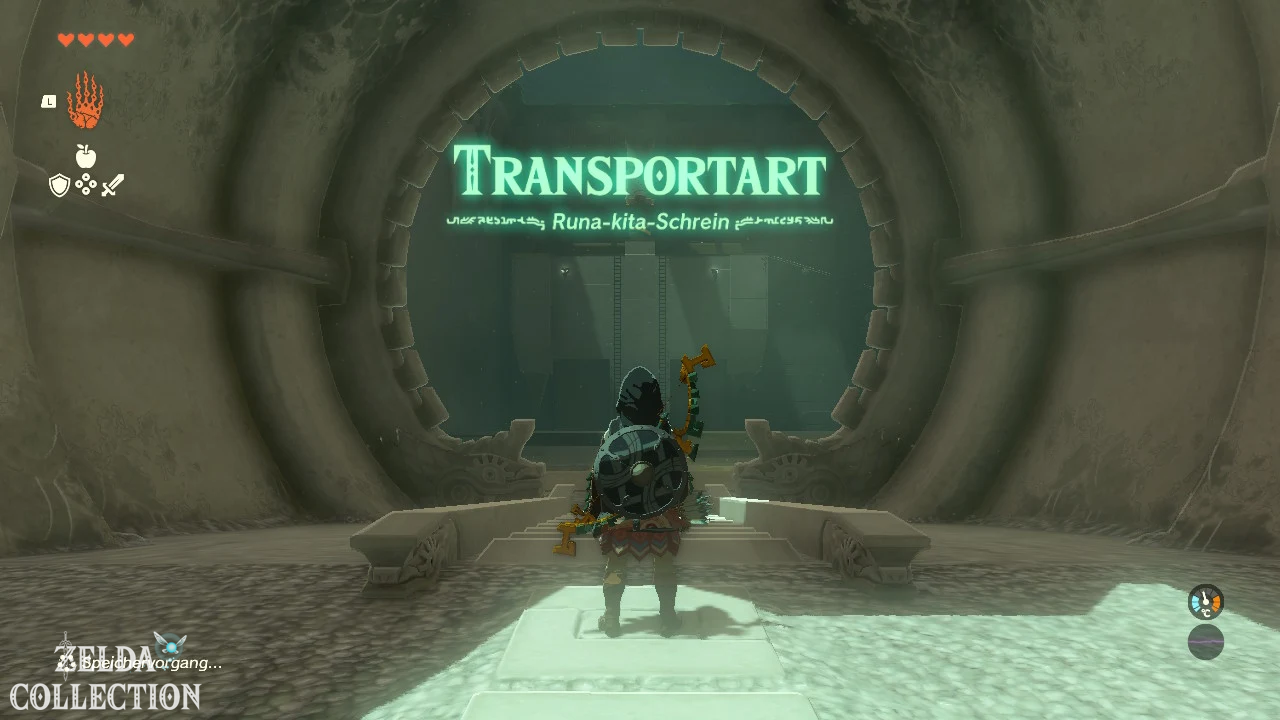
Test: Transport type
Reward: Construct Sheet and Light of Blessing
Location: Between the Mount Rhoam and the Upland Lindor, west of the Lindor’s Brow Skyview Tower
coordinates: approx. -2530, 1170, 0191
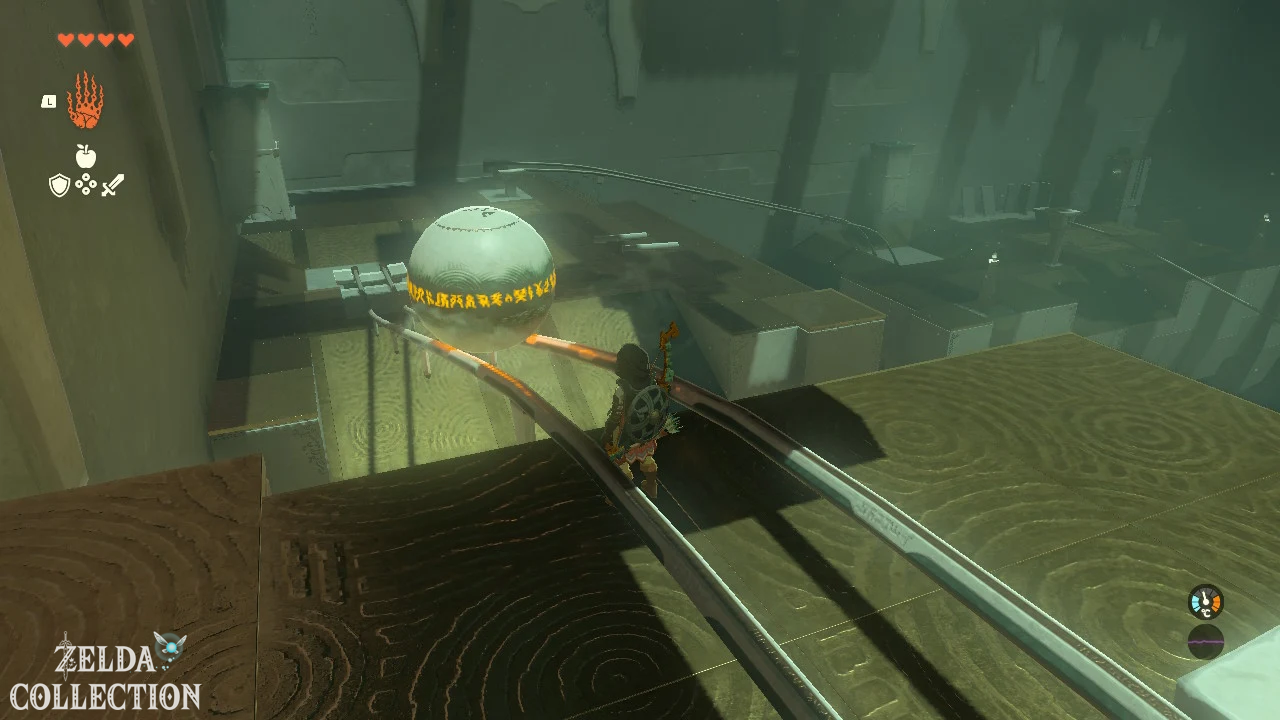
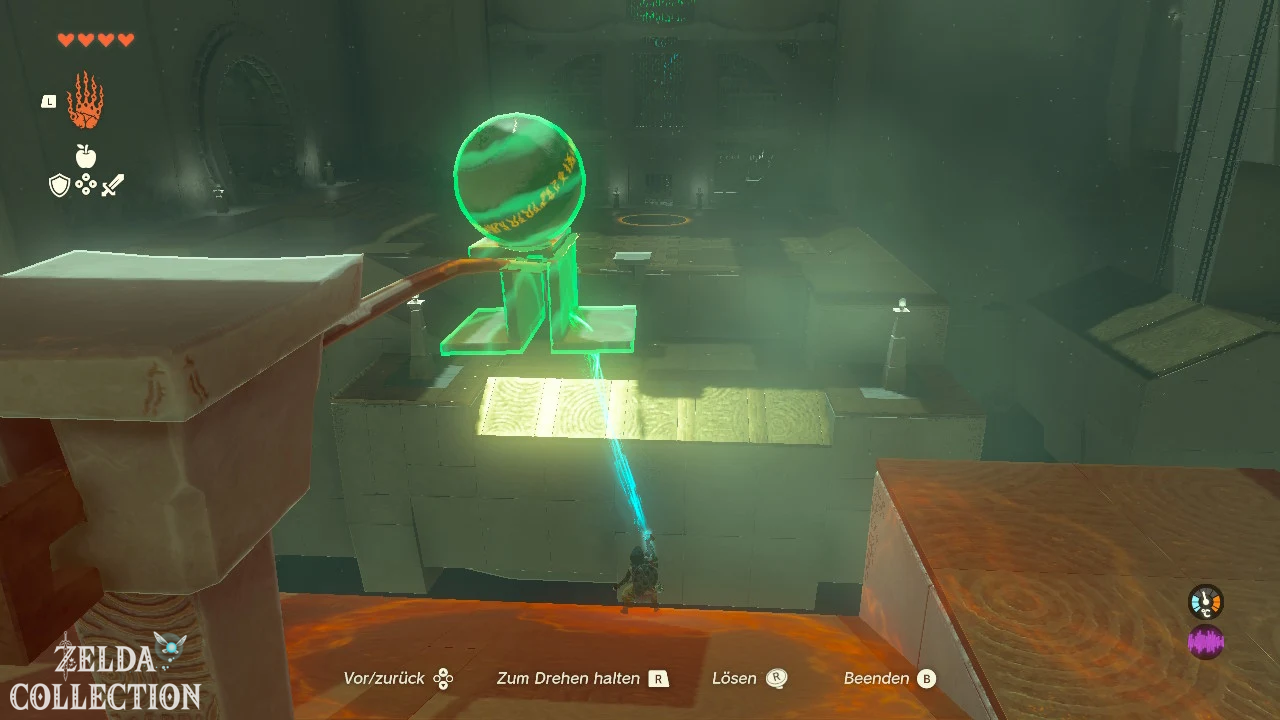
Solution: In the Runakit Shrine you have to transport a large ball over several rail systems to the entrance area. First run straight ahead and glide with the Paraglider to the opposite platform. Climb up one of the long ladders there. The ball you are looking for is at the top.
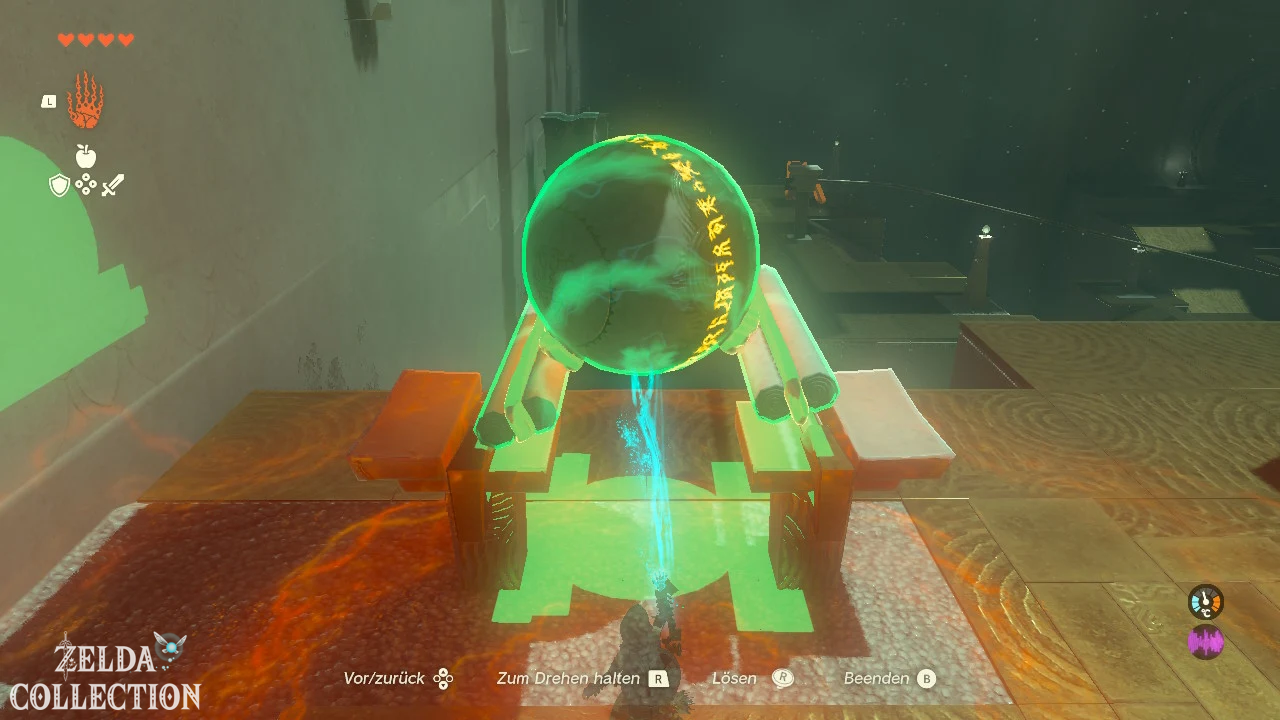
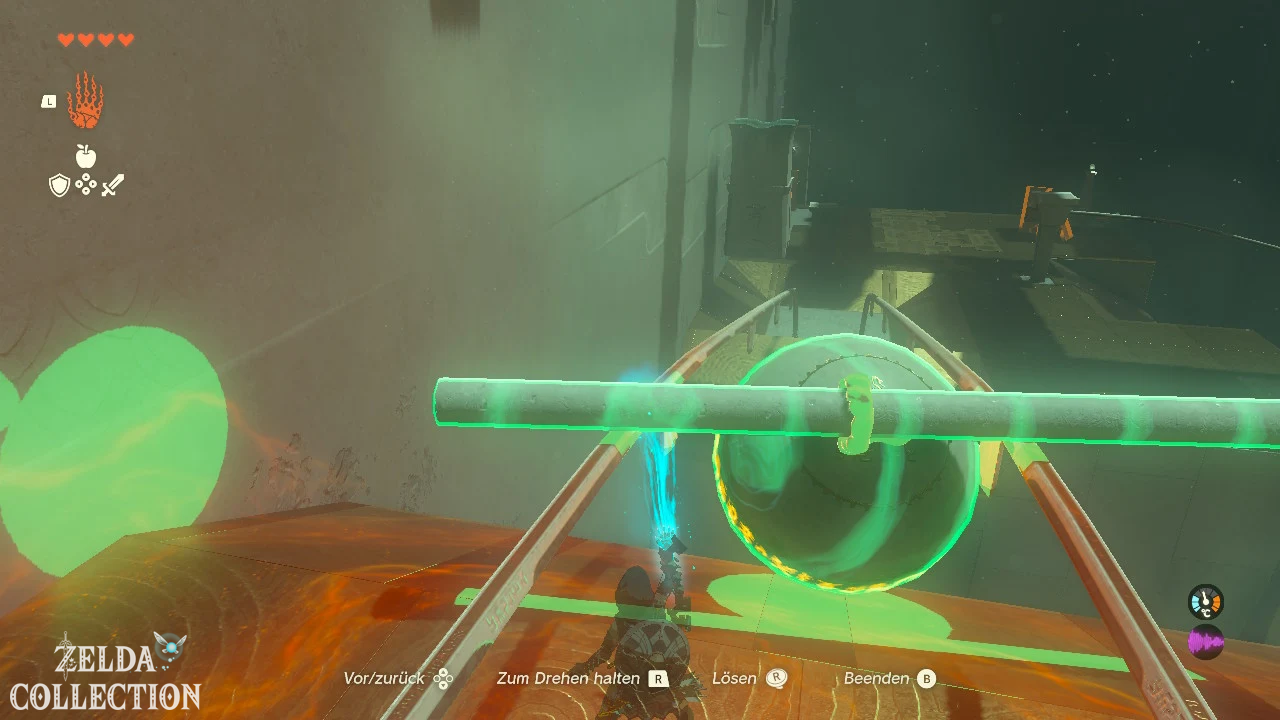
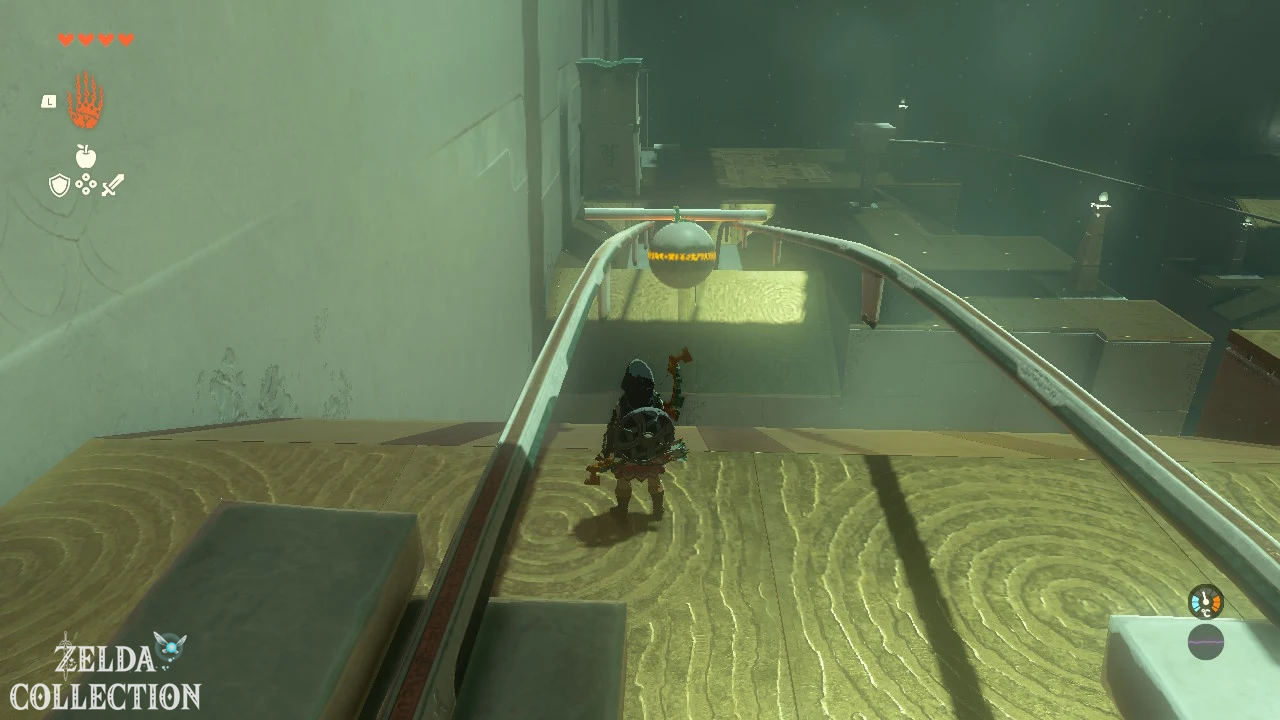
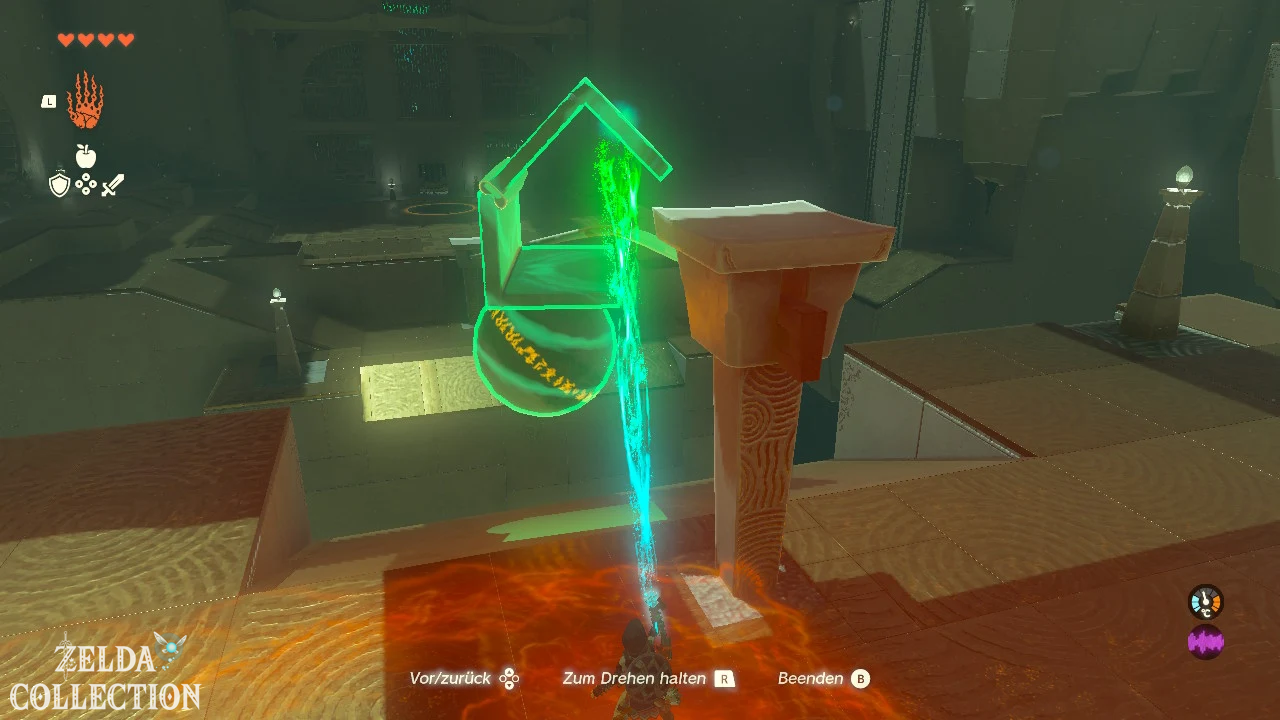
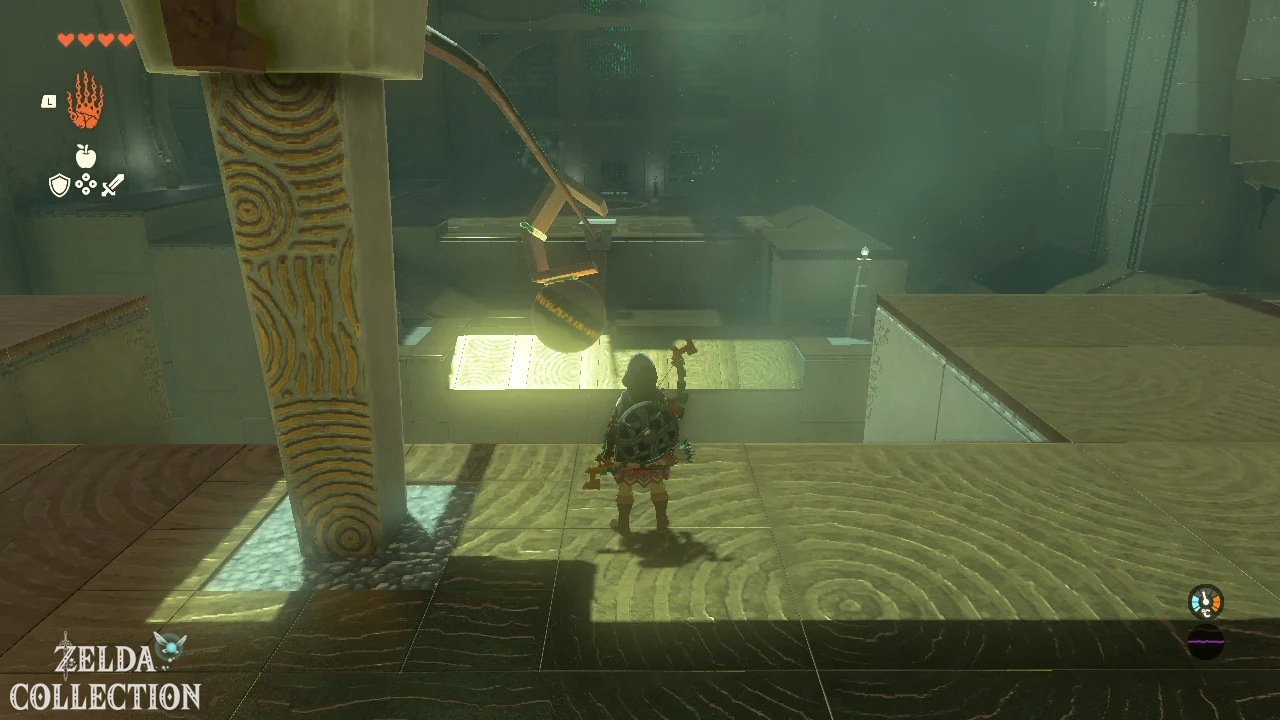
Place the ball with the Ultrahand on the two rails. It rolls independently into the next section. Follow her with the Paraglider. The second pair of rails is so far apart that the ball would fall through. Therefore, attach a rod to each of two opposite sides of the ball. The ends of the rods now rest on the rails and carry the ball safely downwards.
In the following area you can access the optional Treasure Chest. Connect several stone slabs and angle pieces to form a long, sturdy bridge and place it over the rails towards the ladder. Cross the structure, climb up and open the chest. Inside is a construct sheet.
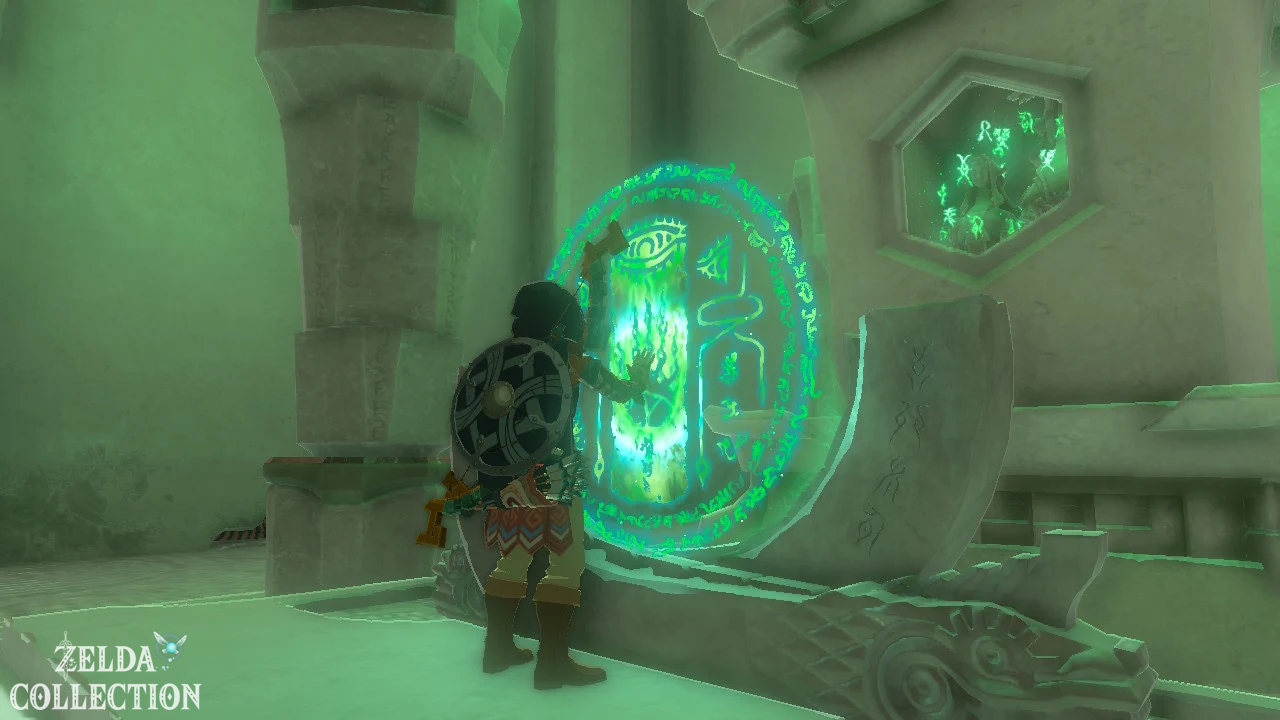
Only a single rail is available for the final transport section. Using the existing panels, build a box-shaped bracket that surrounds the rail on several sides. Attach the ball to this structure and place everything together on the rail. At the end you remove the ball again and place it in the round recess. The gate opens and you can pick up the Light of Blessing.
Sinakawak Shrine
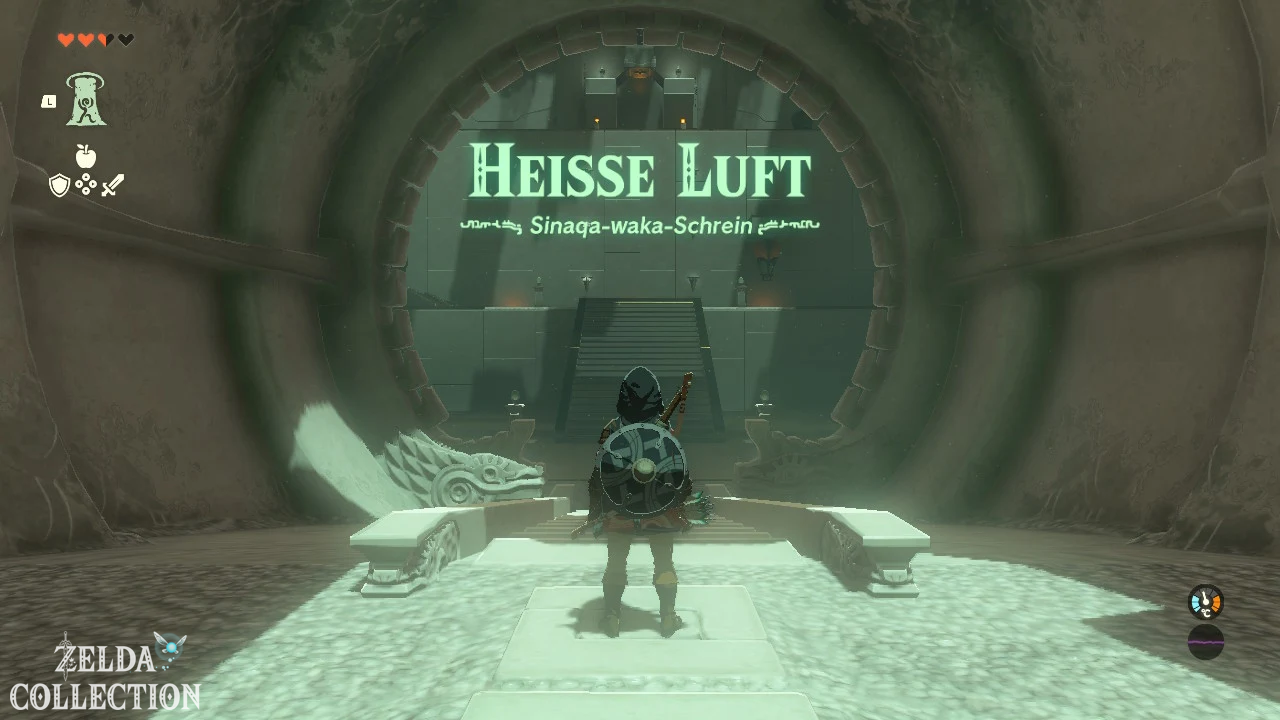
Test: Hot Air
Reward: Opal and Light of Blessing
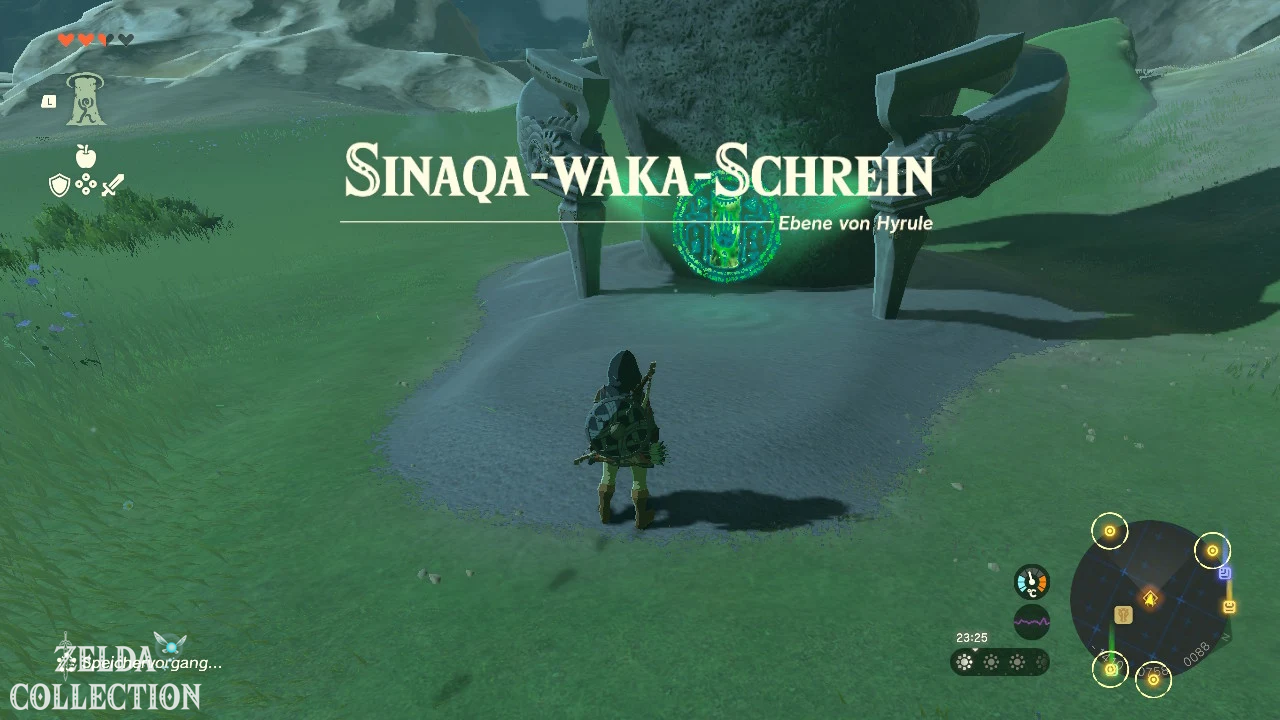
Location: Directly northwest of the New Maritta Stable
coordinates: approx. -1415, 0757, 0102
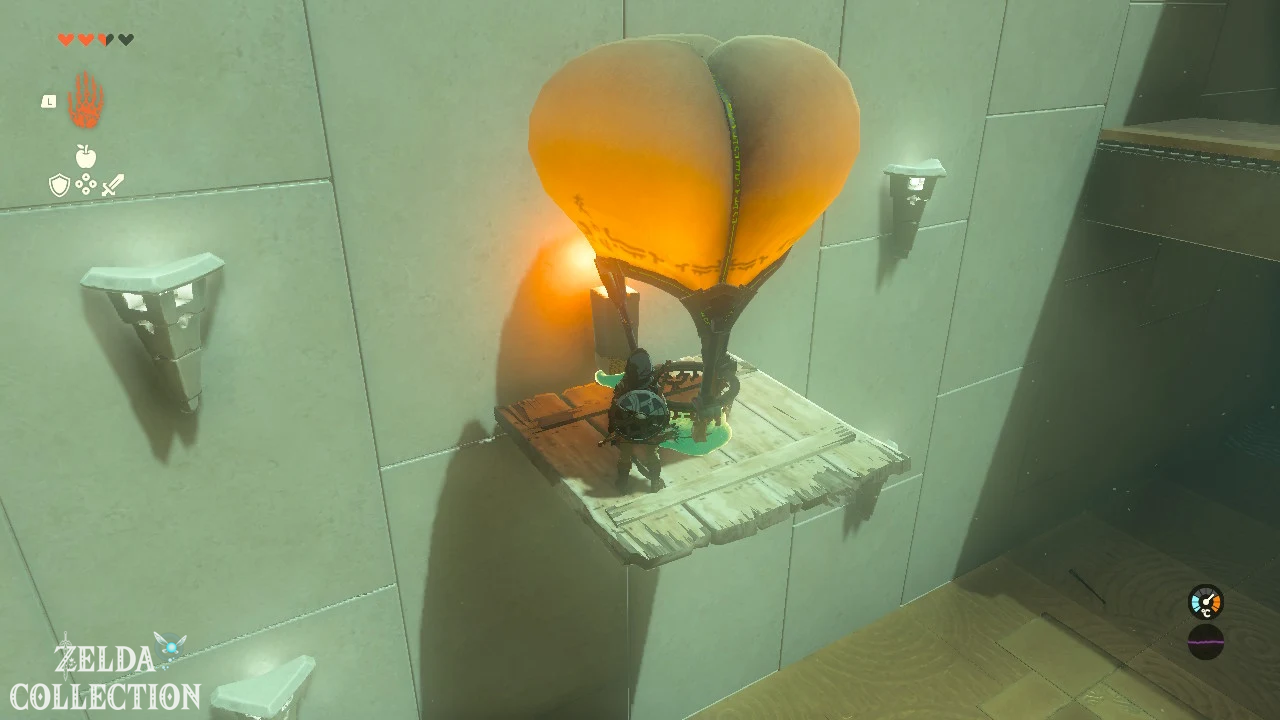
Solution: In the first room you will find wooden boards, balloons and burning torches. Attach a torch or other fire source to a wooden platform and place a balloon over it. Stand on the platform and let the hot air balloon carry you up. Jump off on the upper level.
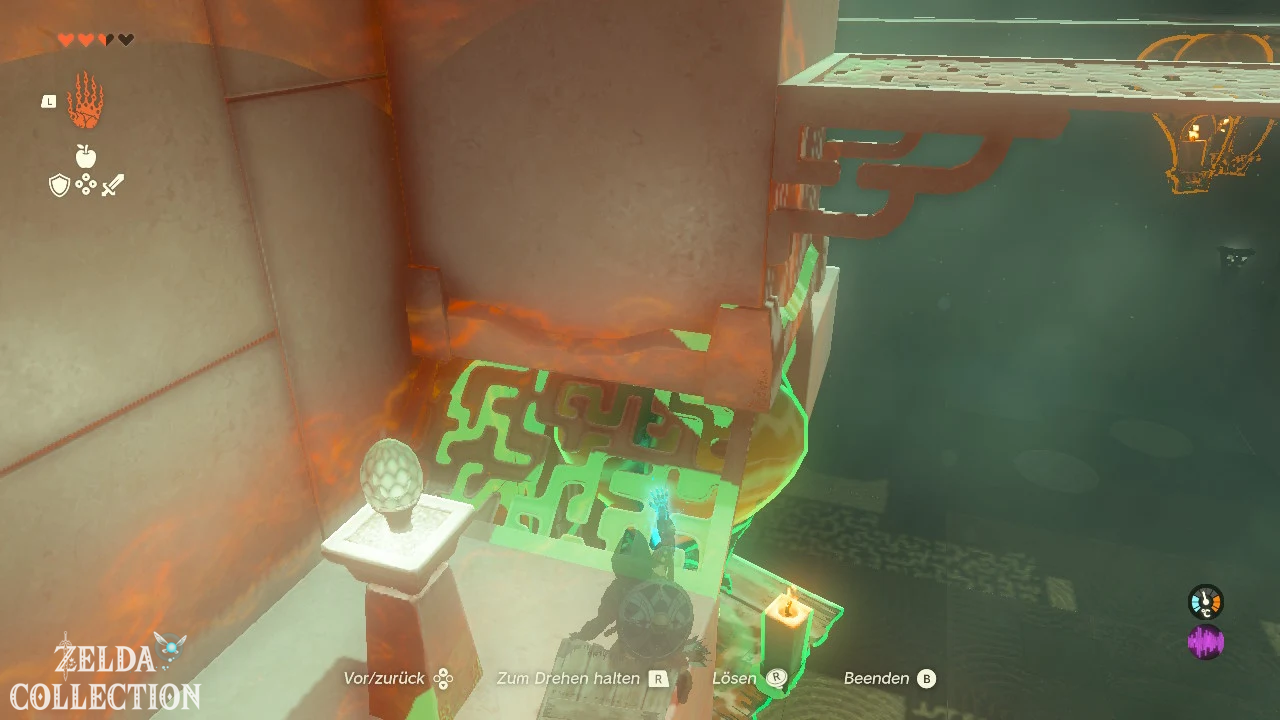
There is a switch on the ceiling in front of the next door. Attach a lit torch under a balloon and position the structure directly under the switch. The balloon rises, touches the switch and opens the gate.
In the last room there is a small and a large ball on the lower level. Use a balloon to transport both balls up. You can attach it to a platform or directly under a combination of Flame Emitter and balloon. Then climb back to the upper level using the ladder or the ceiling jump and pull the balls towards you with the Ultrahand.
Place the large ball in the right, larger cavity. This opens the chamber with the Treasure Chest, in which there is an opal. The small ball belongs in the left recess and opens the gate to the altar. There you will receive your Light of Blessing.
Tadarok Shrine
Test: Fire and Water
Reward: Mighty Zonaite Shield and Light of Blessing
Location: River of the Dead Waterfall Cave on Great Plateau
coordinates: approx. -1082, -2187, 0143
Solution: The Tadarok Shrine is located in the River of the Dead Waterfall Cave on the southeastern edge of the Forgotten Plateau. You can reach the entrance directly at the waterfall. You can either slide through or behind the waterfall from above or use the side cave entrance.
Inside the cave, among other things, there is a Like Like waiting. Defeat the enemy or run past him and follow the cave passage to the shrine.
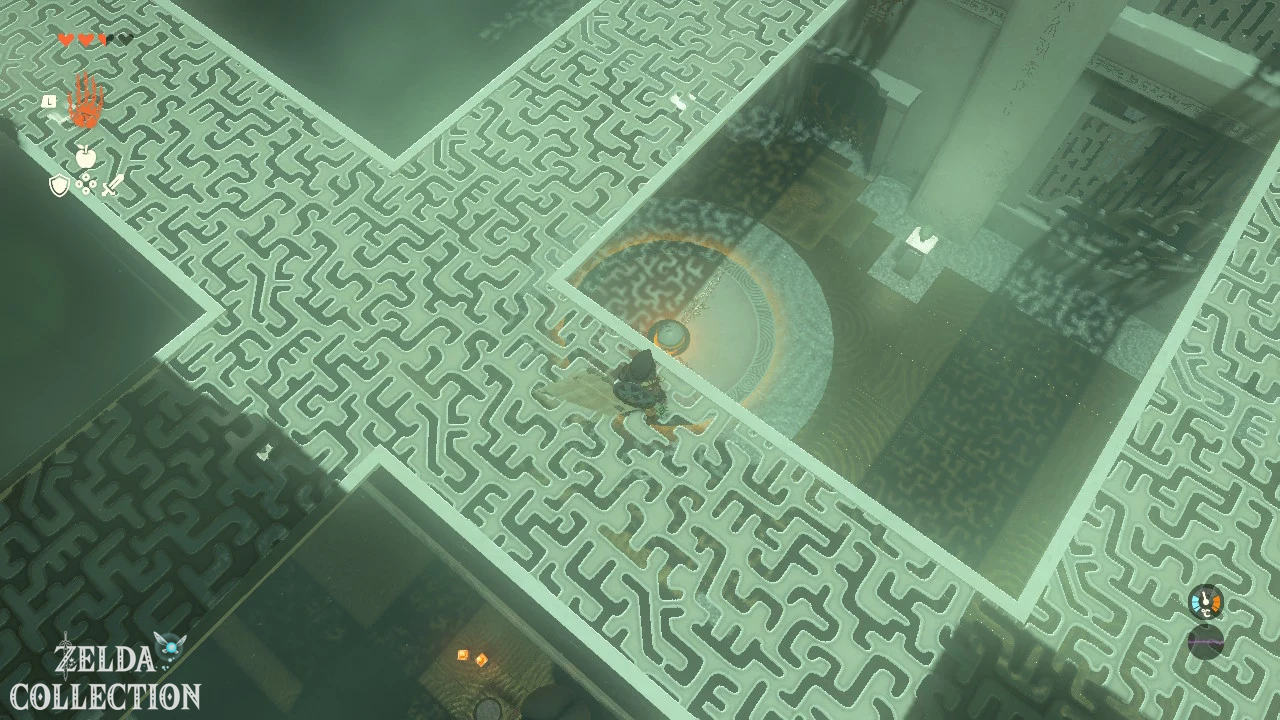
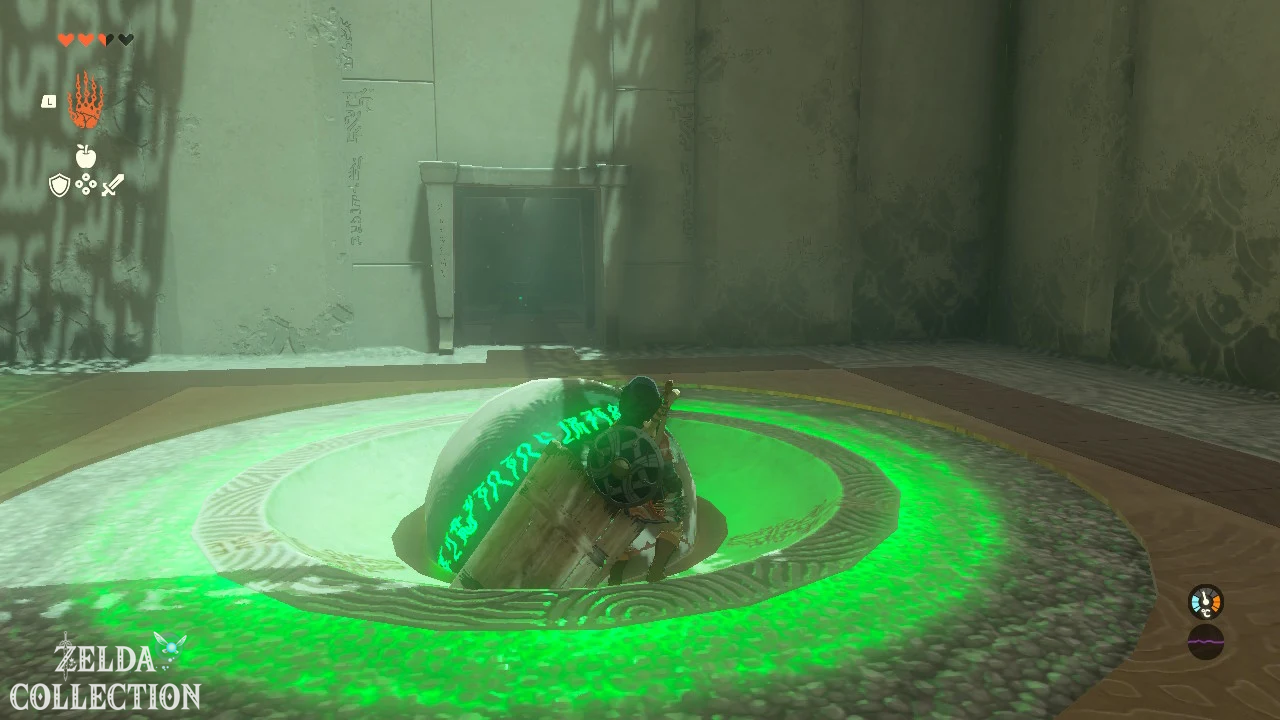
In the first section of the test you will see an electrified pool of water. Take the large stone cube with the Ultrahand and place it in the water. Since stone doesn’t conduct electricity, you can use the cube as a safe stepping surface and get to the other side.
Then take the stone cube back with you. On the right, large blocks of ice are created, which are immediately melted by a jet of flame. Place the stone cube in front of the flames and block the heat. Wait until the largest possible ice cube falls down.
You can use the ice cube directly for the Treasure Chest. Place it under the raised platform, climb up and open the chest. Inside lies a Mighty Zonaite Shield.
For the rest of your journey you have to cleverly combine the different materials with each other. First, remove the conductive metal objects from the electrified pools of water so that you can move around more safely. You can extinguish a burning wooden cube in water and use it afterwards.
Stone, metal, wood and ice are ultimately used to build a tall structure below the last platform. Make sure that the ice is not directly exposed to the flames and that conductive metal is not left uncontrolled in the water.
Position the structure so that you can stand underneath it and use the Ascend to get up through the blocks on top of each other. If necessary, you can raise a previously moved block again with the Recall and thus gain additional height.
Once at the top the path to the altar is clear and you can get the Light of Blessing.
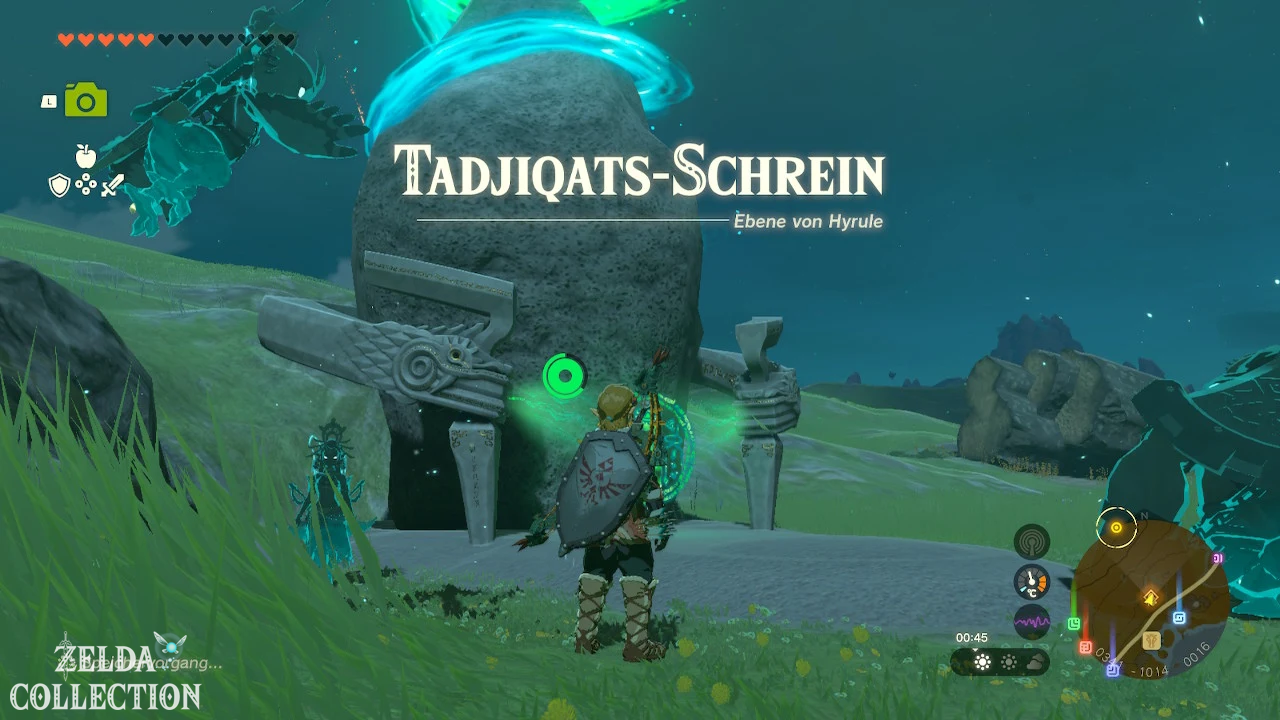
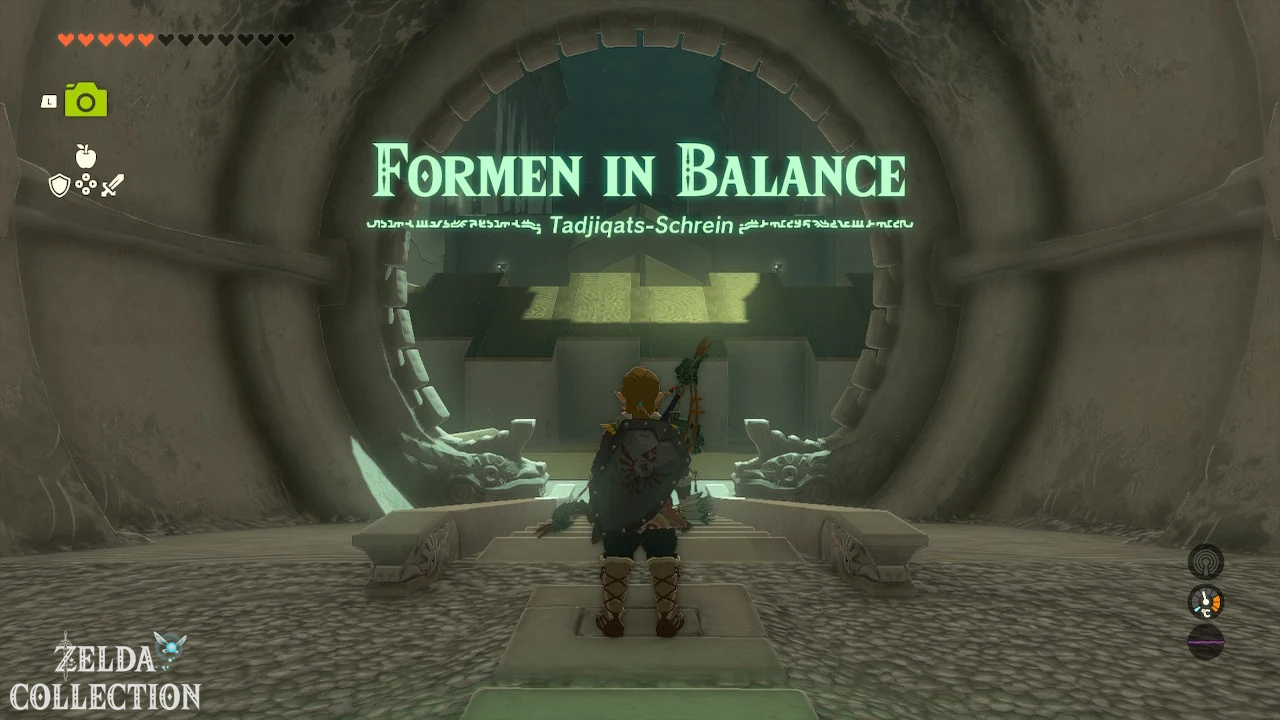
Tajikats Shrine
Test: Forms in balance
Reward: Spiked Shield and Light of Blessing
Location: Whistling Hill, immediately north of Riverside Stable
coordinates: approx. 0344, -1009, 0031
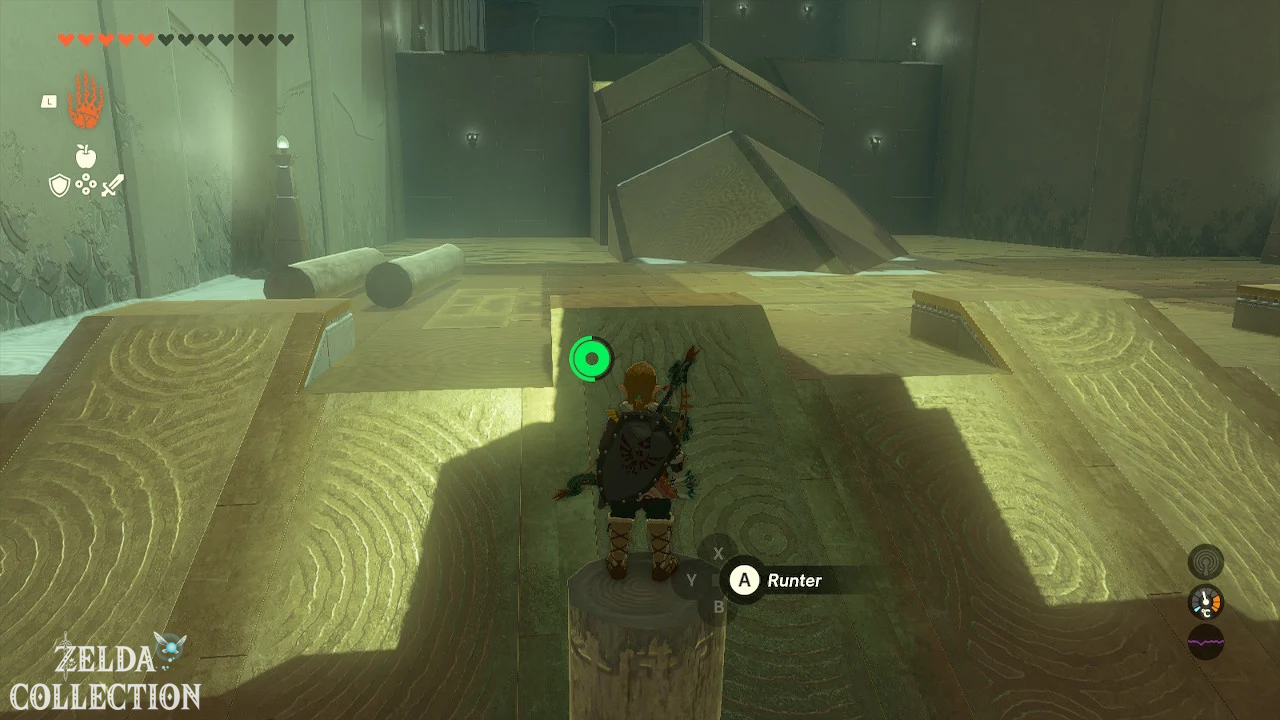
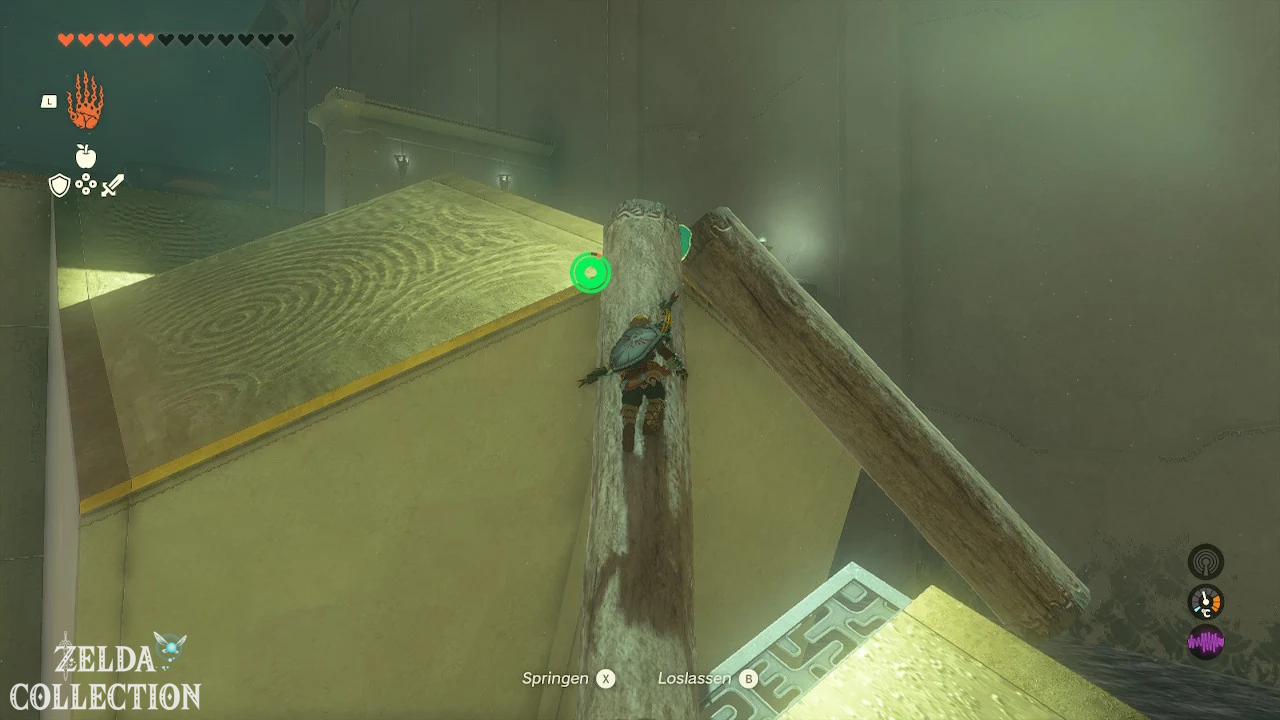
Solution: In the Tajikats Shrine you use tree trunks as ramps, bridges and rafts. Place the first tree trunk diagonally into the recess in the wall and run up it. Then use the Ultrahand to pull the trunk towards you, as you can use it again in the following tasks.
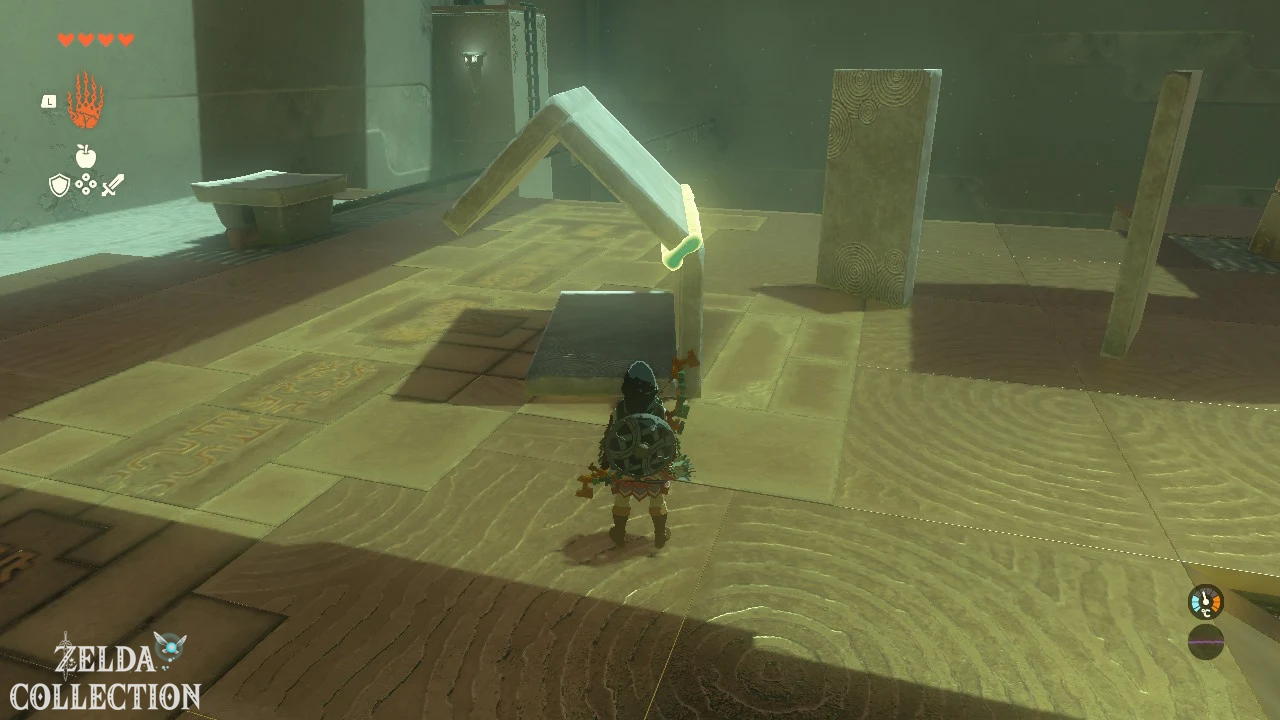
In the next section, two more trunks lie in front of a roof-shaped elevation. Connect them parallel or slightly offset and place the middle of the construction on the tip. The trunks support each other on both sides and form a safe transition.
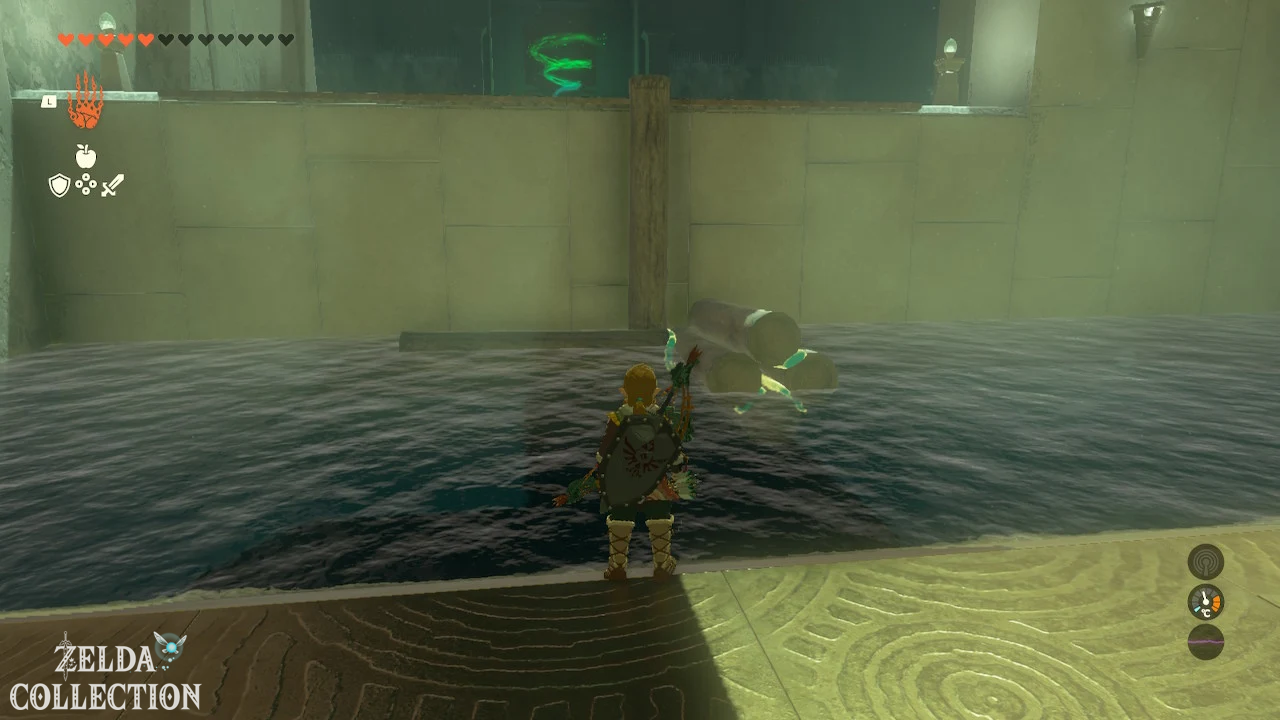
Afterwards you have to overcome several bodies of water. Connect two tree trunks lengthwise and place them as a bridge over the first gap. In the next section, you connect three or four logs to form a particularly long ramp. Place it diagonally on the higher platform and climb up. A log secured crosswise can prevent the structure from rolling to the side.
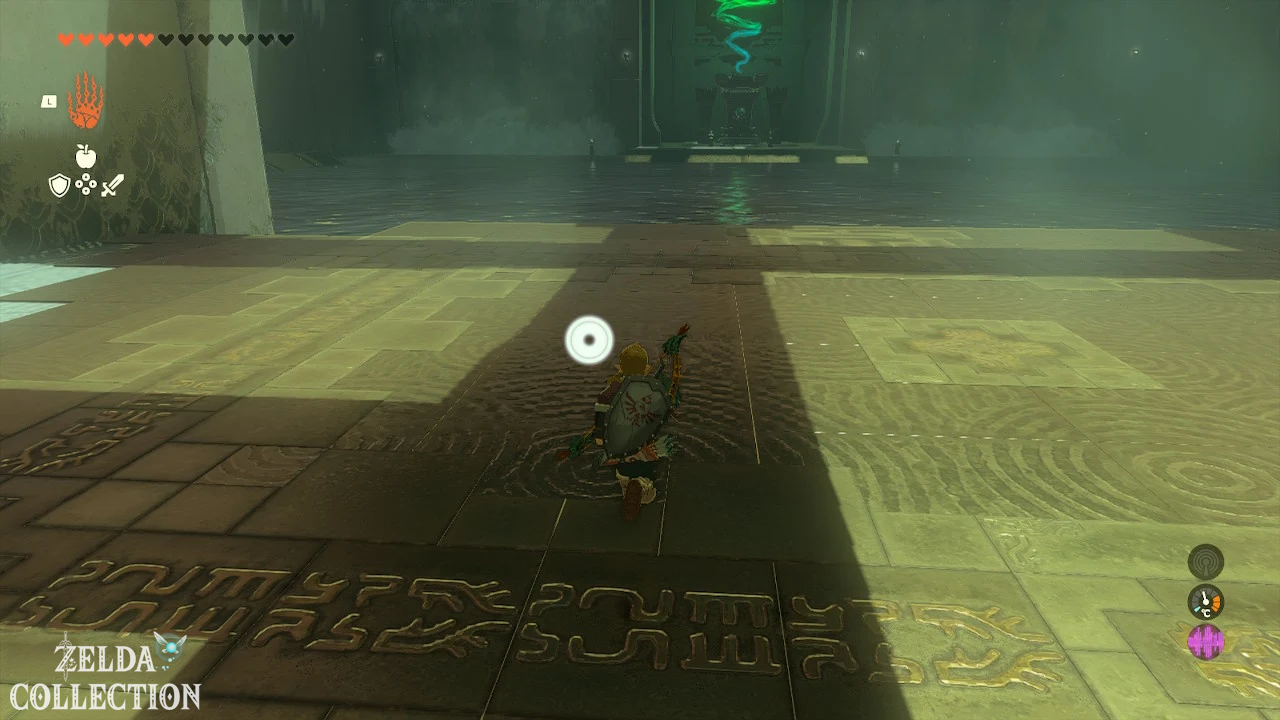
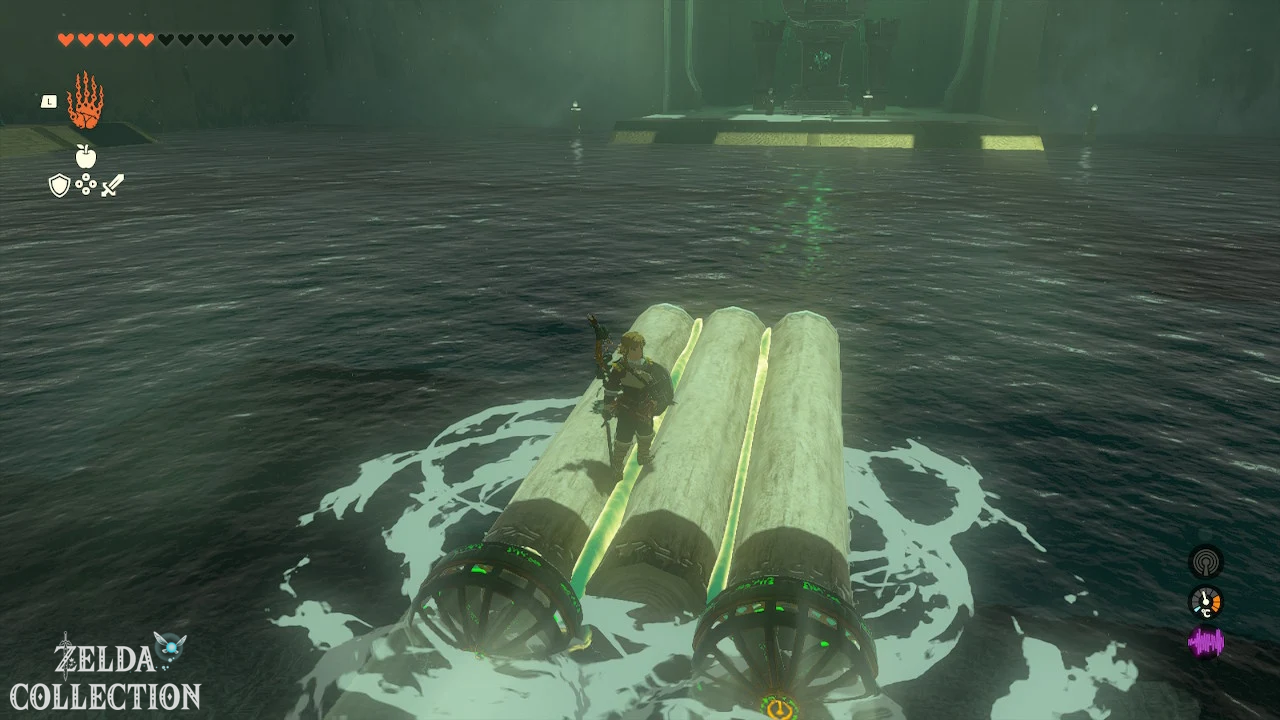
In the last room you build a raft from at least three logs next to each other. Attach one or two fans evenly to the back. First, align the raft with the platform on the left wall and activate the fans. There you will find the Treasure Chest with a spiked shield. Then put the raft back in the water and ride to the middle platform with the altar to get the Light of Blessing.
Teniten Shrine
Exam: Fighting Techniques – Throwing
Reward: Zonaite Lance and Light of Blessing
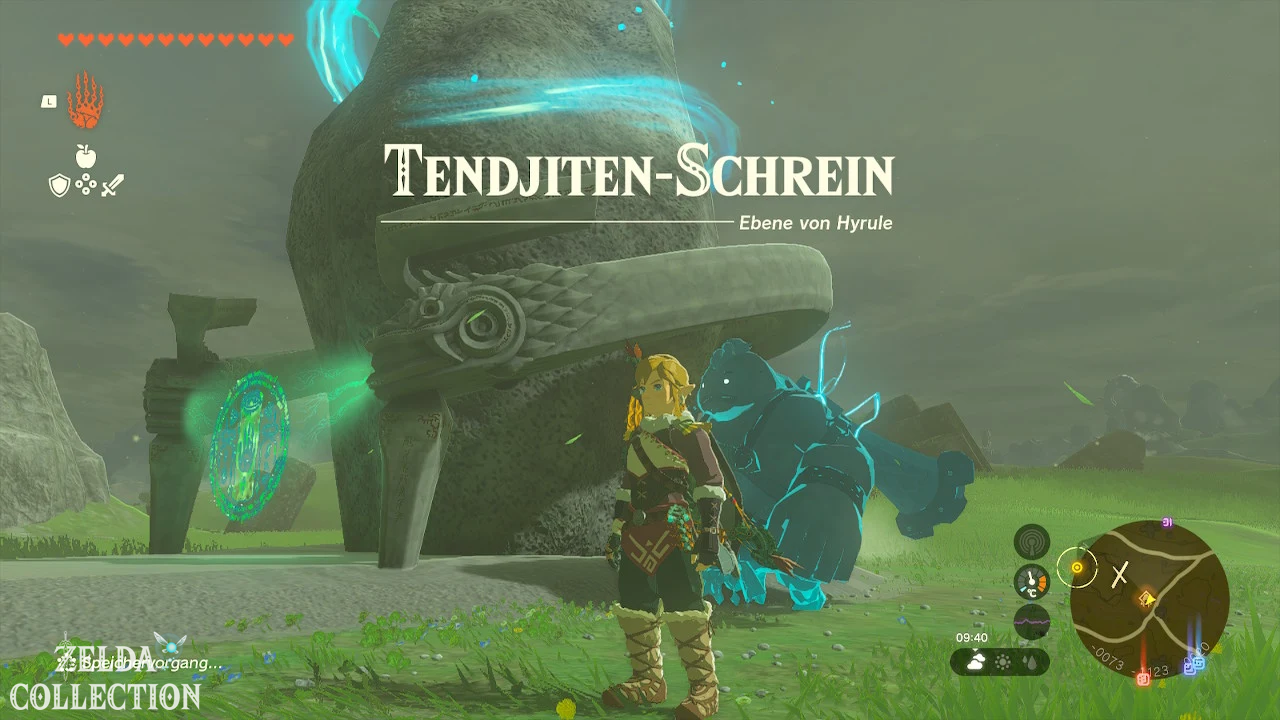
Location: East of Lake Kolomo and west of Riverside Stable
coordinates: approx. -0075, -1116, 0035
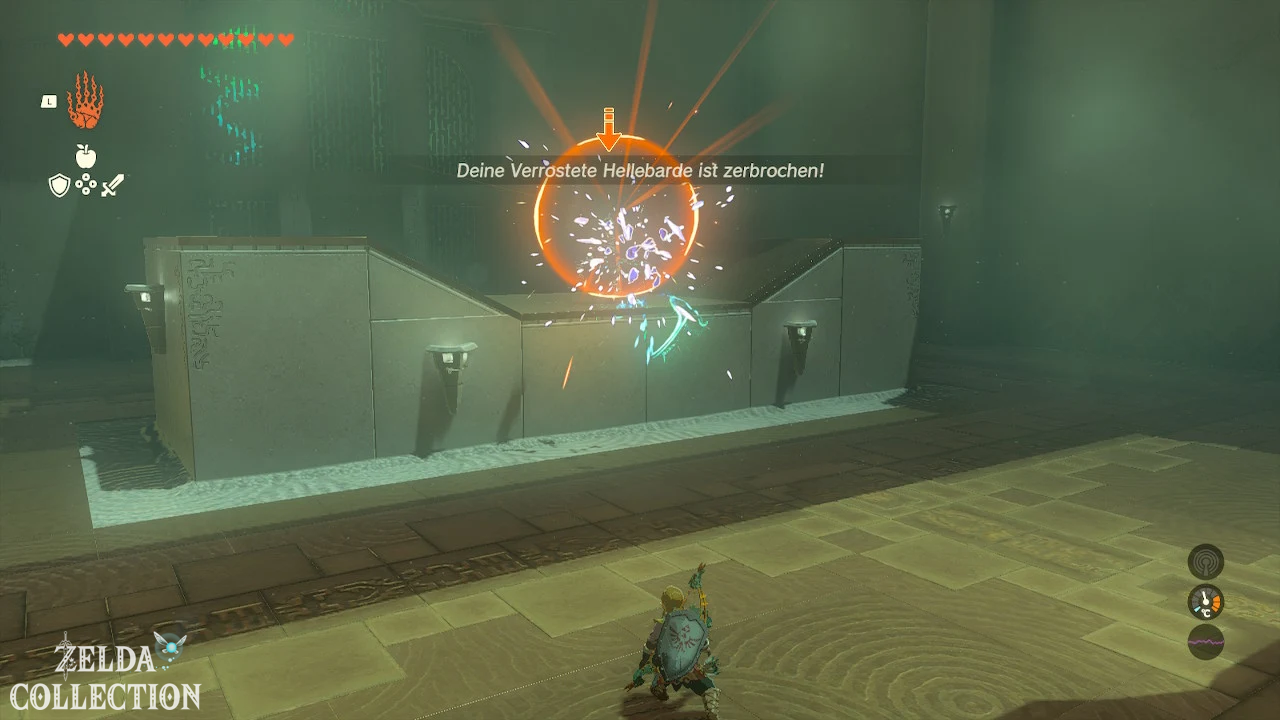
Solution: The Teniten Shrine is a short combat test in which you learn how to throw melee weapons. Axyl up one of the rusty halberds on the ground. Hold down the R button, aim the displayed trajectory at the construct and release the button to throw the weapon.
After the first hit, the construct begins to move on its platform. Axyl up another weapon, track the opponent’s movement and throw slightly in front of his current position. As soon as the second hit is successful, the test is considered passed. The gate opens and in the chest you will find a Zonaite lance. You will then receive the Light of Blessing at the altar.
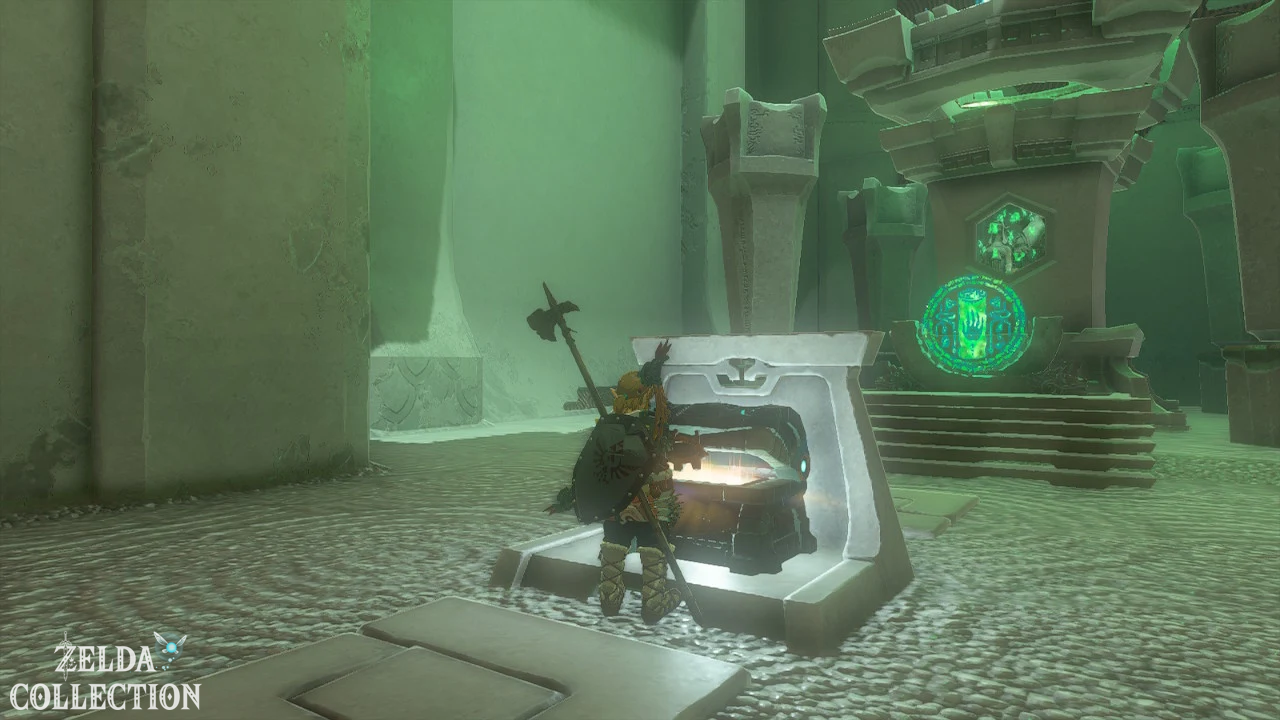
Tenmaten Shrine
Exam: Raurus blessing
Reward: Large Zonai Charge and Light of Blessing
Location: Deep below the Elma Knolls, accessible via the Elma Knolls Well
coordinates: approx. -0595, 1551, -0001
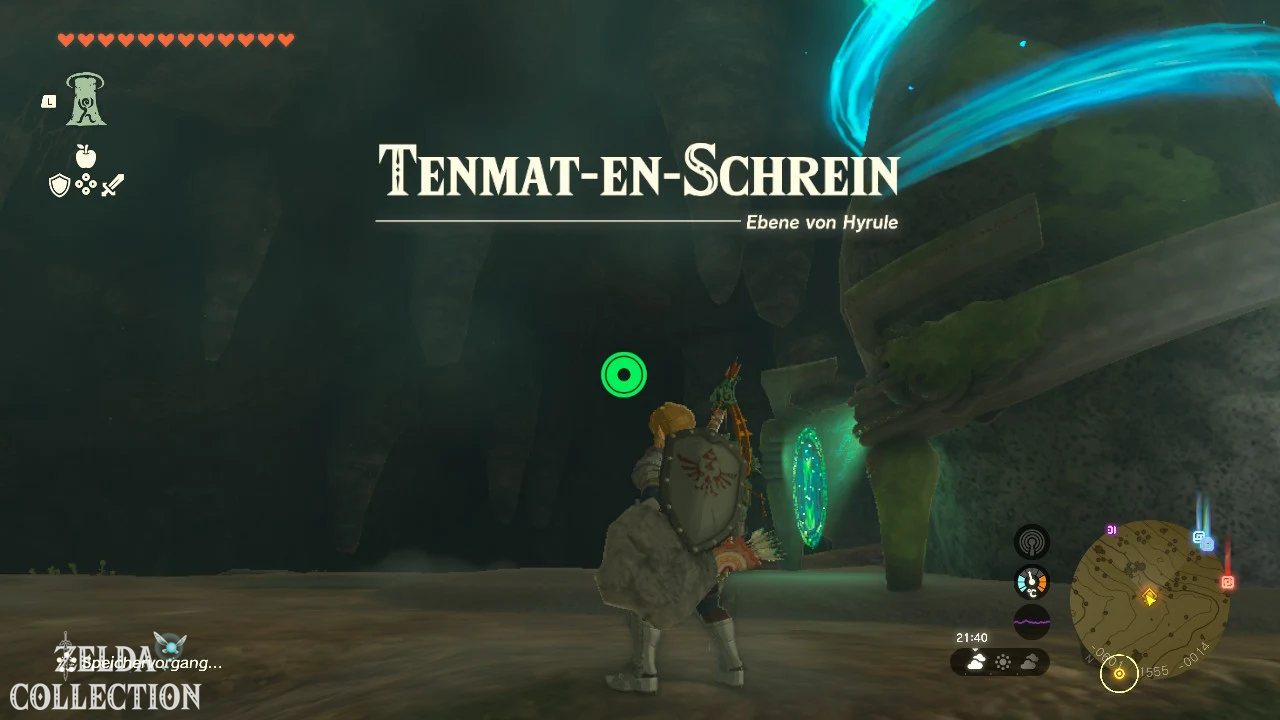
Solution: The Tenmaten Shrine is one of the best hidden shrines of the Hyrule Field. You can’t reach it via a normal cave entrance, but via the Elma Knolls Well northwest of Hyrule Castle.
Jump into the well and follow the underground cave system further and further down. The corridors are almost completely dark in places. Therefore, take enough Brightbloom Seed or large Brightbloom Seed with you and shoot or throw them ahead regularly.
Horriblins await you in the first section. Defeat them and follow the downward path. Along the way you can collect additional Brightbloom Seed and find various ore deposits.
Finally you reach a large underground lake. If you have enough stamina, you can swim through the water. However, it is safer to use the wooden boards lying around as intermediate stations or to build a small raft with them together with a Zonai fan.
Head towards the fire like on the other side of the water. You can eliminate the opponent or run past him. Shortly behind you will finally reach the Tenmaten Shrine.
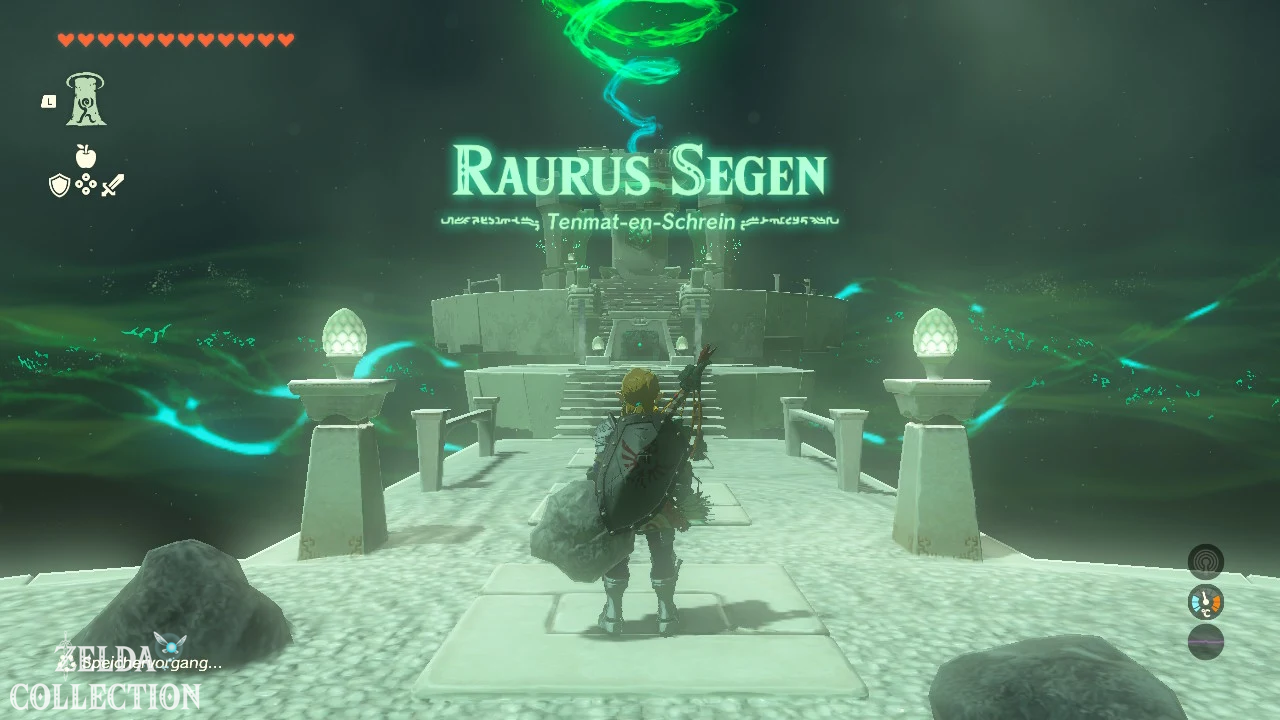
The long journey is the real test. That’s why Rauru’s blessing is waiting for you inside. Open the Treasure Chest with the Large Zonai Charge and then pick up the Light of Blessing.
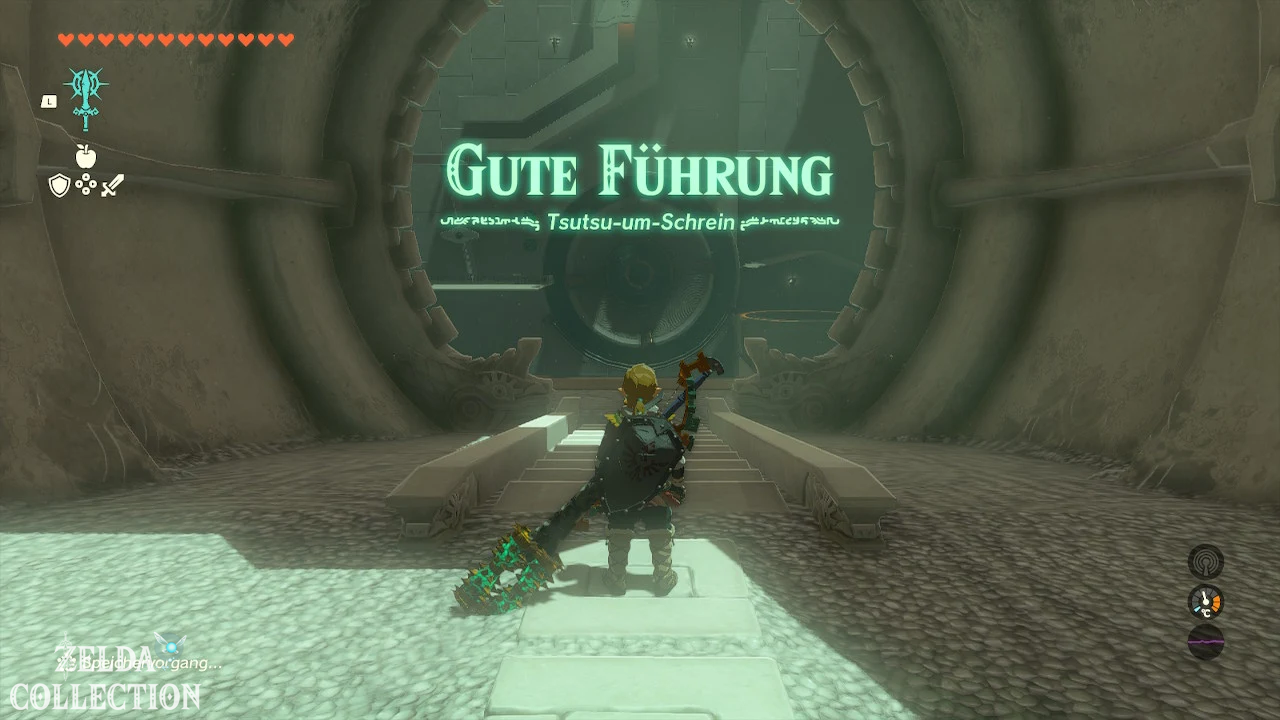
Tsutsu-um Shrine
Exam: Good leadership
Reward: 5 wooden arrows and Light of Blessing
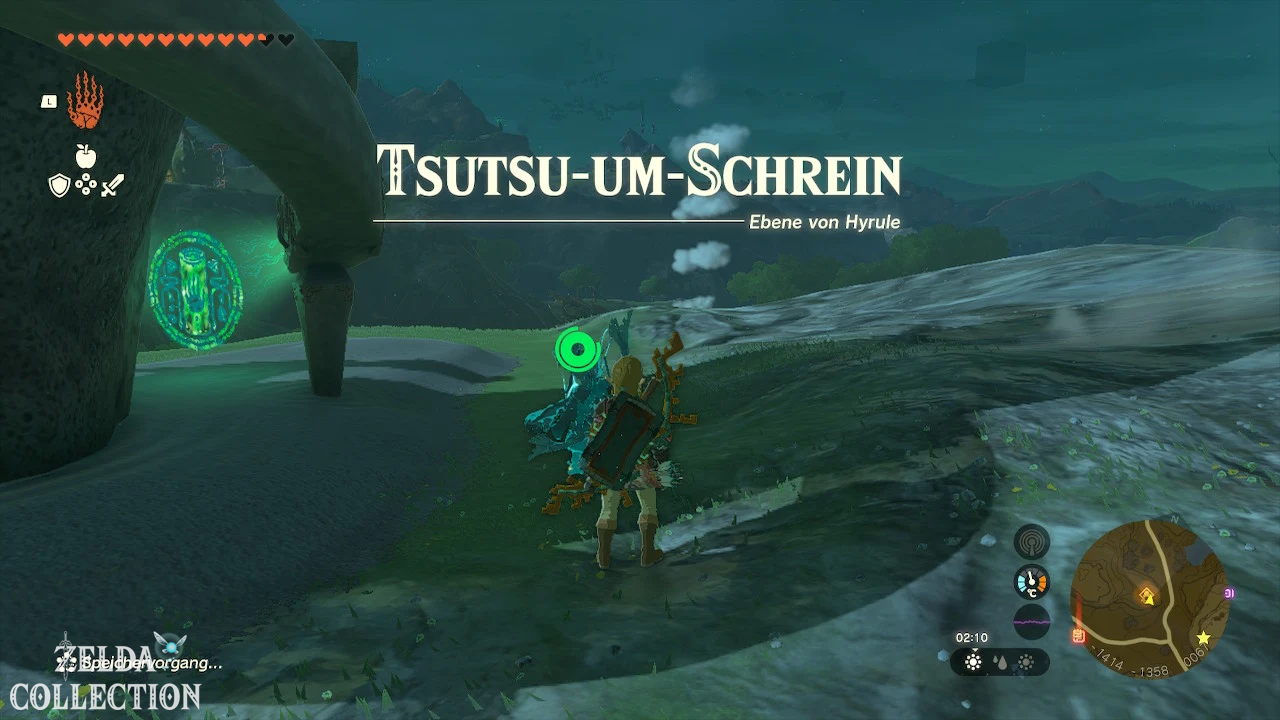
Location: On a hill south of Outskirt Stable
coordinates: approx. -1423, -1351, 0082
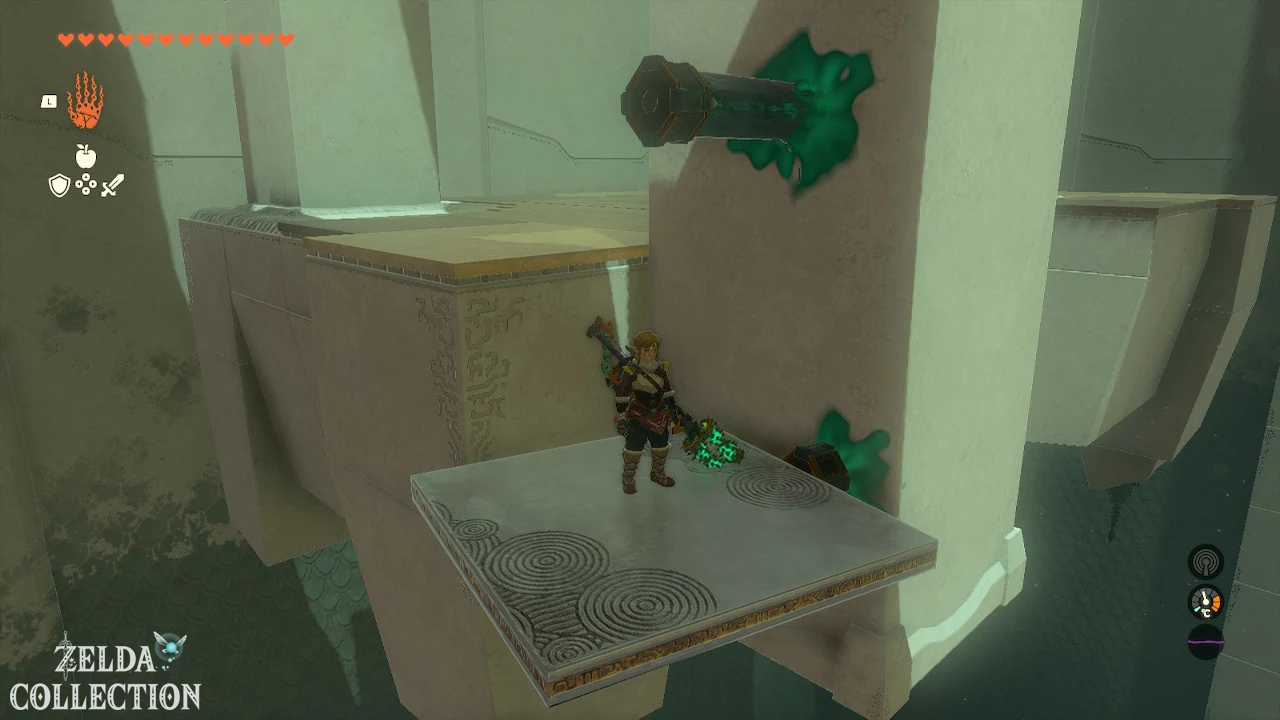
Solution: At the beginning, pick up the Zonai stake and one of the square stone slabs with the Ultrahand. Attach the plate to the stake and insert it into the column, which moves up and down regularly. Stand on the plate and let it carry you up. From there you can jump or glide to the opposite level.
On the back of the movable column is the optional Treasure Chest. Move the stake with the plate attached to it accordingly, ride up again and jump over to the chest. Inside you will find five wooden arrows. If possible, take the stakes and plates with you into the main area.
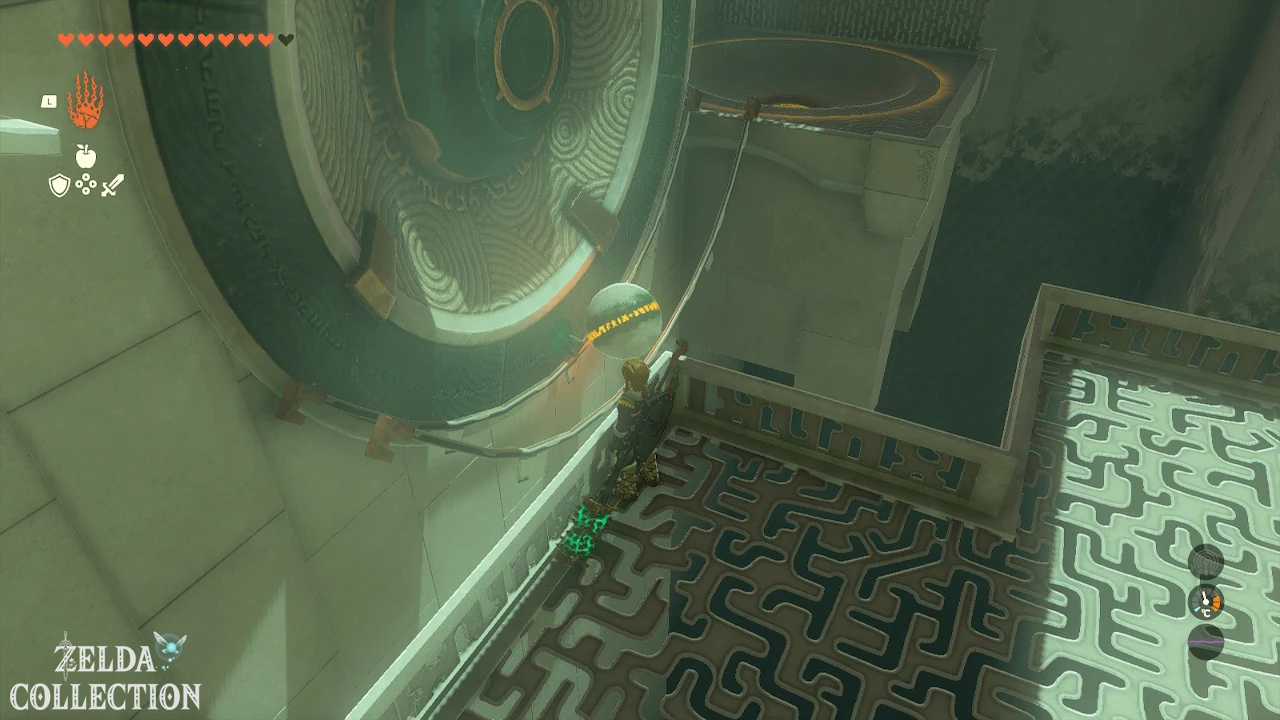
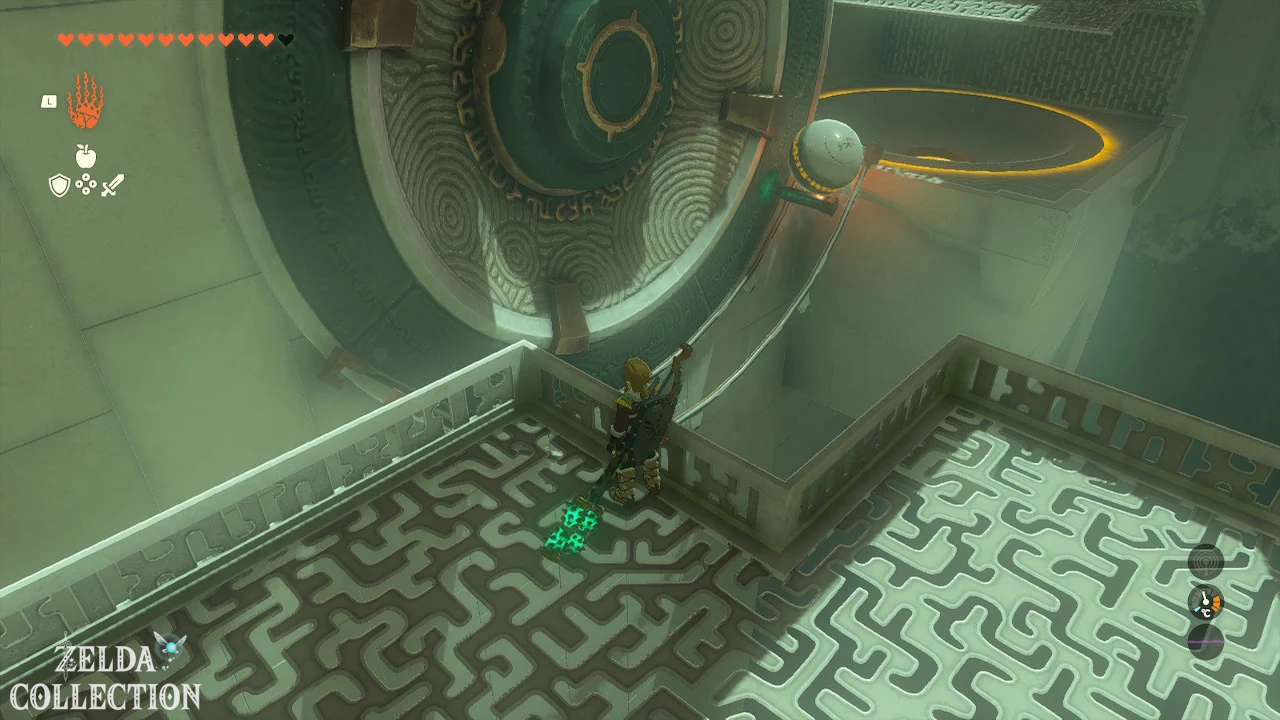
In the actual puzzle, a ball regularly falls into the system from above. Use the stone slabs and stakes as guide rails. Attach a plate to the wall so that the ball does not fall past the intended path, but is directed onto the movable seesaw. Fix the seesaw with another stake at the appropriate angle so that the ball continues to roll towards the rotating device.
Finally, attach a stone slab to the rotating wall with a stake. The plate now acts like a slider and pushes the ball further with each revolution. As soon as it lands in the round depression, the gate opens. Return to the exit area via the airflow or platforms and get the Light of Blessing.
Sonapan Shrine
Check: Missing path
Reward: 5 wooden arrows and Light of Blessing
Location: On the eastern slope of Satori Mountain, near the large apple orchard
coordinates: approx. -1922, -0359, 0243
Solution: In the first room, run under the raised platform and use the Ascend. At the top you will find a freely movable metal block on the right side. Take it to the left side of the room, where there is a Treasure Chest embedded in a niche in the wall.
There is another block there that can be moved on a guide rail. Push this block towards the chest and attach the metal block you brought with you to the side of it. Stand under your construction and use the Ascend. In this way you will get directly in front of the chest and receive five wooden arrows.
Then take the freely movable block back with you and place it on the higher platform. Stand underneath and use the Ascend to jump through the block and platform into the next room.
Remove the metal block under the ledge there and place it in the water, directly below the platform that leads to the exit. First use the Ascend on the low ledge. From there, slide onto the floating metal block and use the Ascend again to get through the upper platform. Now you can walk to the altar and receive the Light of Blessing.
More shrines in The Legend of Zelda: Tears of the Kingdom
Once you have completed all 15 shrines of the Hyrule Field, you can continue your search in the neighboring regions. The Hyrule Ridge and Central Hyrule in particular contain other shrines, some of which are also hidden in caves or in places that are difficult to reach.
- Shrines in Hyrule Ridge
- Shrines in Central Hyrule
- Shrines in the Akkala Highlands
- Shrines in the mountains of Eldin
A complete overview of the other solutions can be found in our Tears of the Kingdom Walkthrough.