

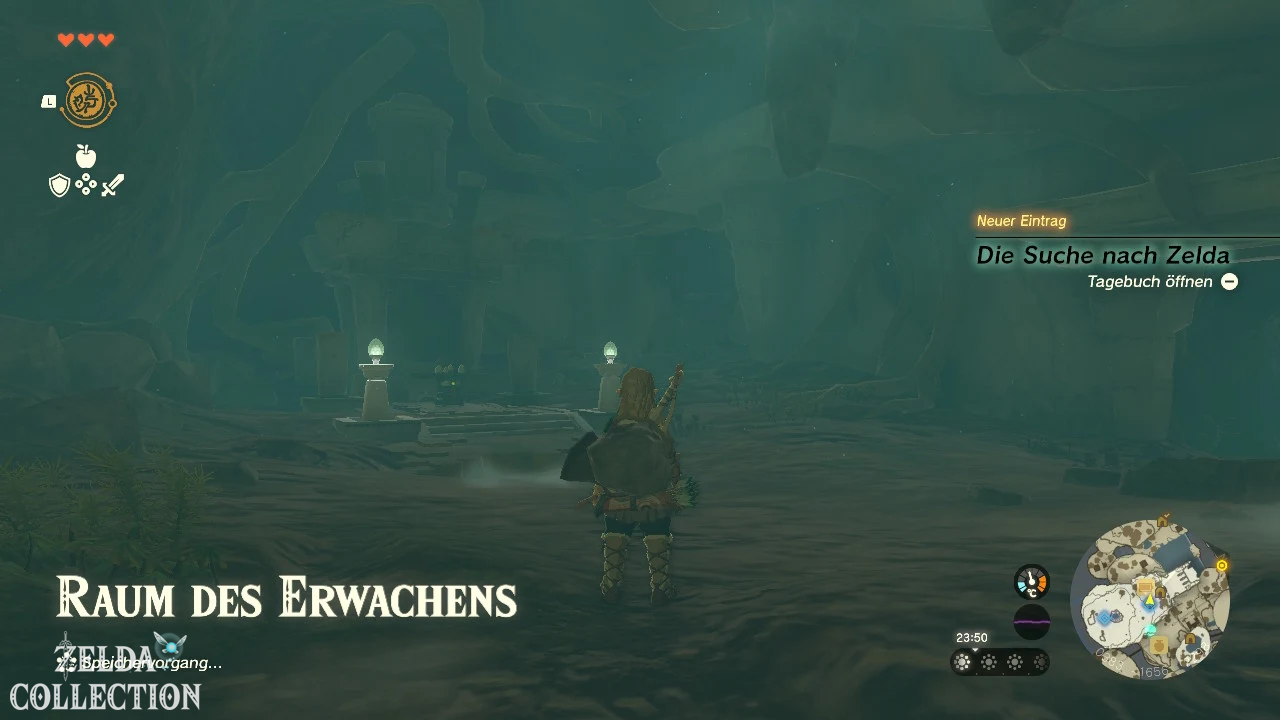
The main quest “Find Princess Zelda” begins after Link leaves the Room of Awakening and receives the Purah Pad on the Great Sky Island. Your first destination is the Temple of Time, which is visible from afar.
The direct route there ends in front of a locked gate. In order to enter the temple, you must first complete three shrines and thereby regain the lost powers of Link’s new arm. Later the plot takes you to a fourth shrine, whose Light of Blessing you need for an additional Heart Container.
On the Great Sky Island you will learn the four basic abilities of The Legend of Zelda: Tears of the Kingdom: Ultrahand, Fuse, Ascend and Recall. Nintendo describes these abilities as core tools for moving and connecting objects, upgrading equipment, traversing ceilings, and reversing movement sequences.
The four shrines at a glance
| Shrine | coordinates | exam | capability | Treasure Chests |
|---|---|---|---|---|
| Ukouh Shrine | 0275, -0913, 1473 | Creative power | Ultrahand | Amber |
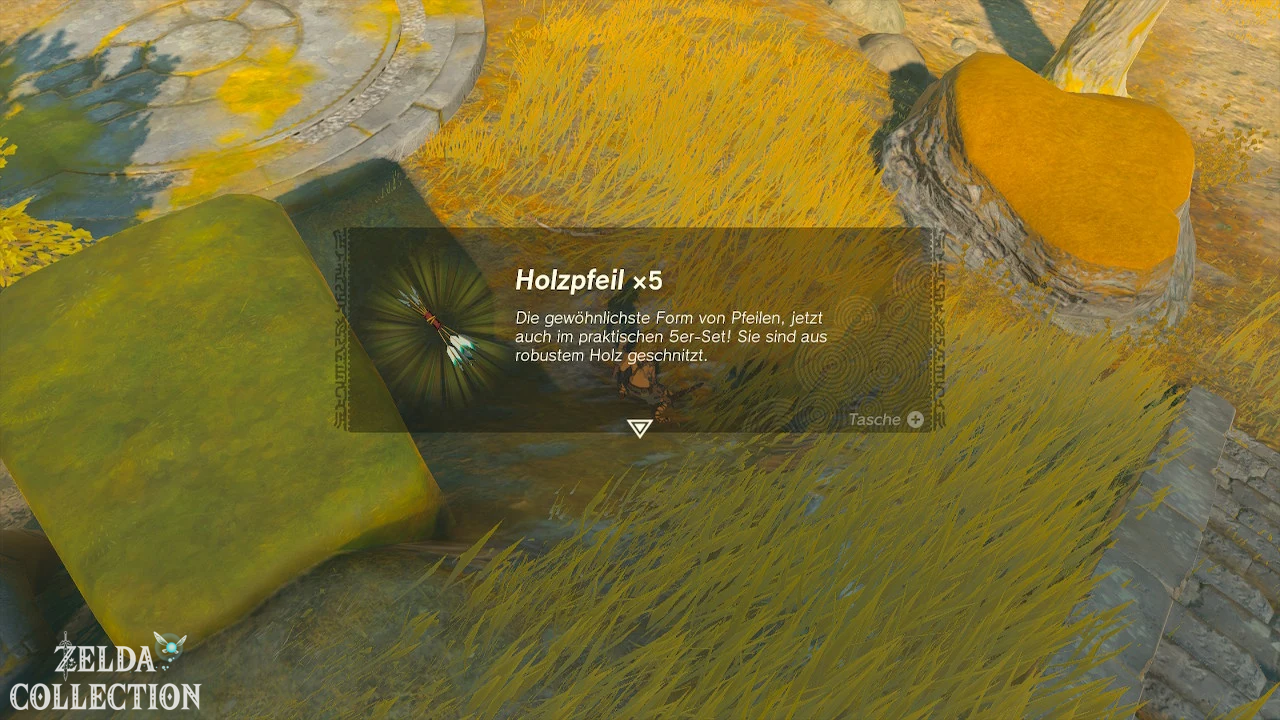
| In-isa Shrine | 0026, -1504, 1422 | combination | Fuse | 5 wooden arrows and Small Key |
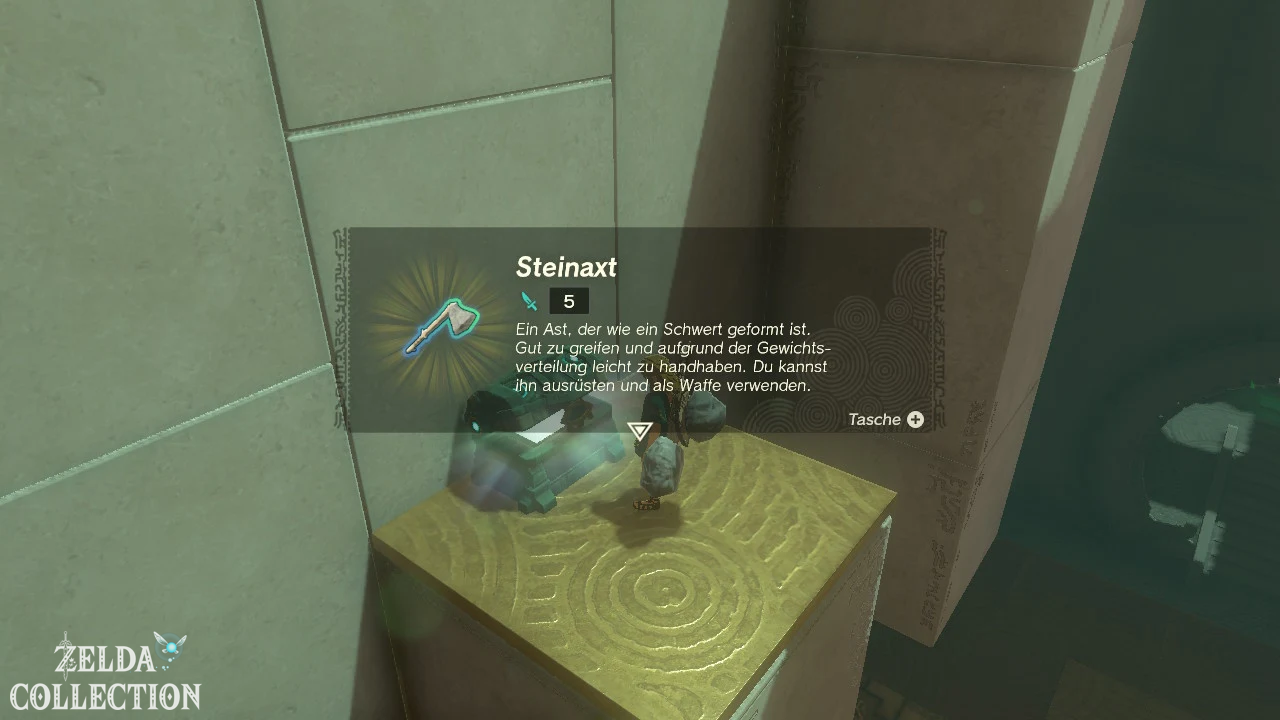
| Gutanbac Shrine | 0709, -1383, 1598 | Ascent | Ascend | Stone Ax and Construct Bow |
| Nachoyah Shrine | 0389, -1661, 2299 | reversal | Recall | 10 wooden arrows |
The coordinates may vary slightly depending on the exact location in front of the shrine. The shrine locations and chest rewards have been aligned with the German game data and several complete shrine lists.
Find Princess Zelda: With the Purah Pad to the Temple of Time
After the Steward Construct has handed you the Purah Pad, you can open it with the minus key. A yellow marker will appear on the map at the Temple of Time.
First examine the green seal next to the construct. Left’s new arm reacts to this and extends a stone bridge. Cross the bridge and talk to the Steward Construct on the other side.
It explains to you that not all constructs on the island are peaceful. The armed warrior constructs attack Link, while servant, forester, craftsman, and mining constructs usually remain friendly.
Target acquisition and initial equipment
Next to the construct lies a Wooden Stick. Axyl it up and hold down the ZL button to target the construct. Don’t attack it – it specifically asks Link to just practice targeting.
In the surrounding area you will also find apples, Skyshrooms and an inactive construct with a Zonai Charge. Collect as many ingredients as possible. Link initially only has three hearts, and even simple opponents can cause significant damage.
Jump to the lower island area
Go to the jump point on the right and jump into the pool of water below you. As long as Link lands in deep water, he takes no falling damage.
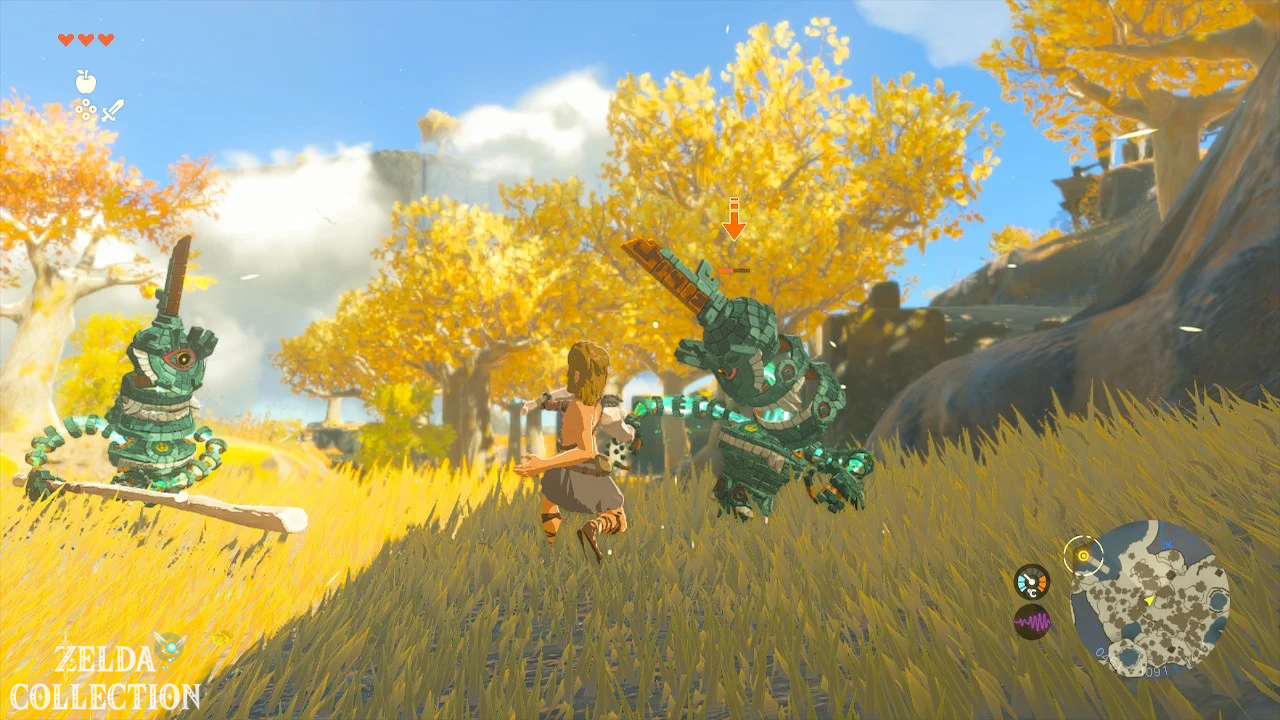
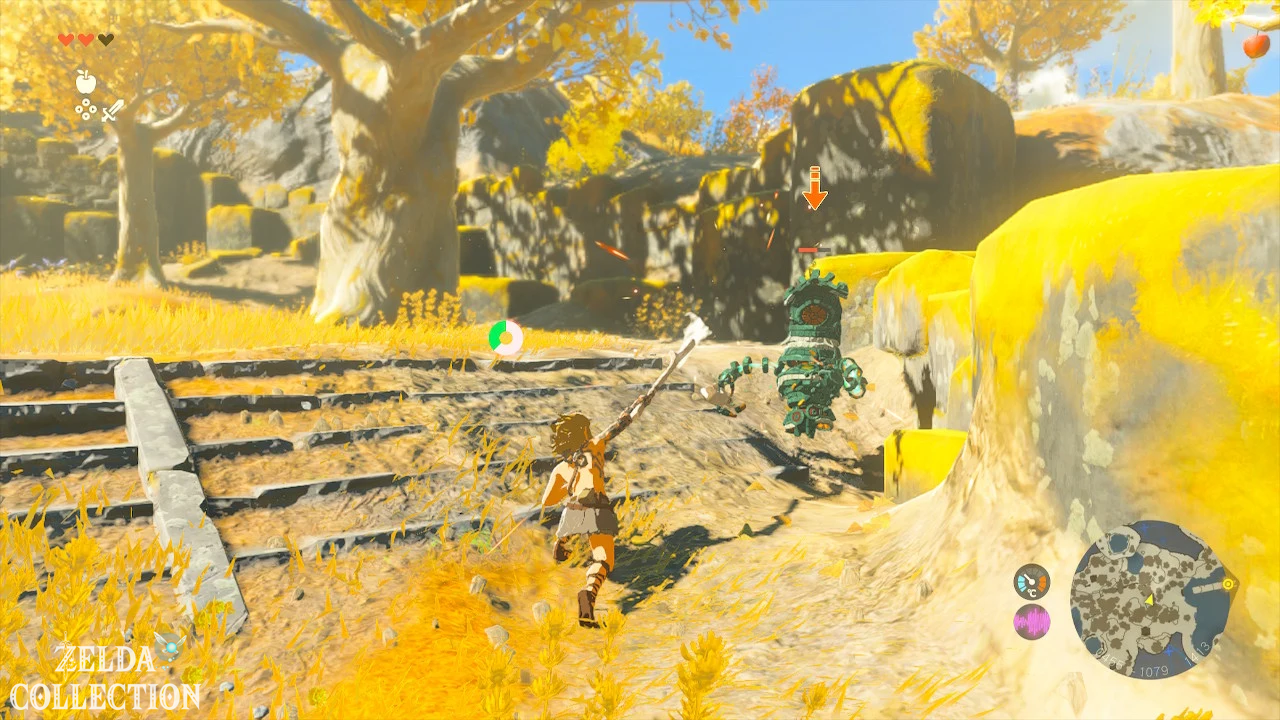
Swim to shore and follow the yellow marker. A Soldier Construct approaches from the left. Equip a branch, a rod or the Wooden Stick and target the enemy with ZL.
Wait for the construct to prepare its attack and dodge sideways. After a few hits it is defeated. Take his Construct Horn and Zonai Charge with you. The horns seem inconspicuous at first, but become valuable weapon attachments once the Fuse is unlocked.
Path through the Garden of Time
Follow the main path towards the temple. In the Garden of Time you will encounter several warrior constructs. You can fight them or avoid them with enough distance.
If you want to fight, you should attract the opponents individually if possible. Do not run directly into a group of three constructs. A single stick can only withstand a few attacks, and multiple enemies can quickly surround Link.
Combat Tip: Axyl up at least two spare weapons. If a weapon starts flashing red, it is about to break. The final hit from a breaking weapon deals additional damage.
Roasting food on a campfire
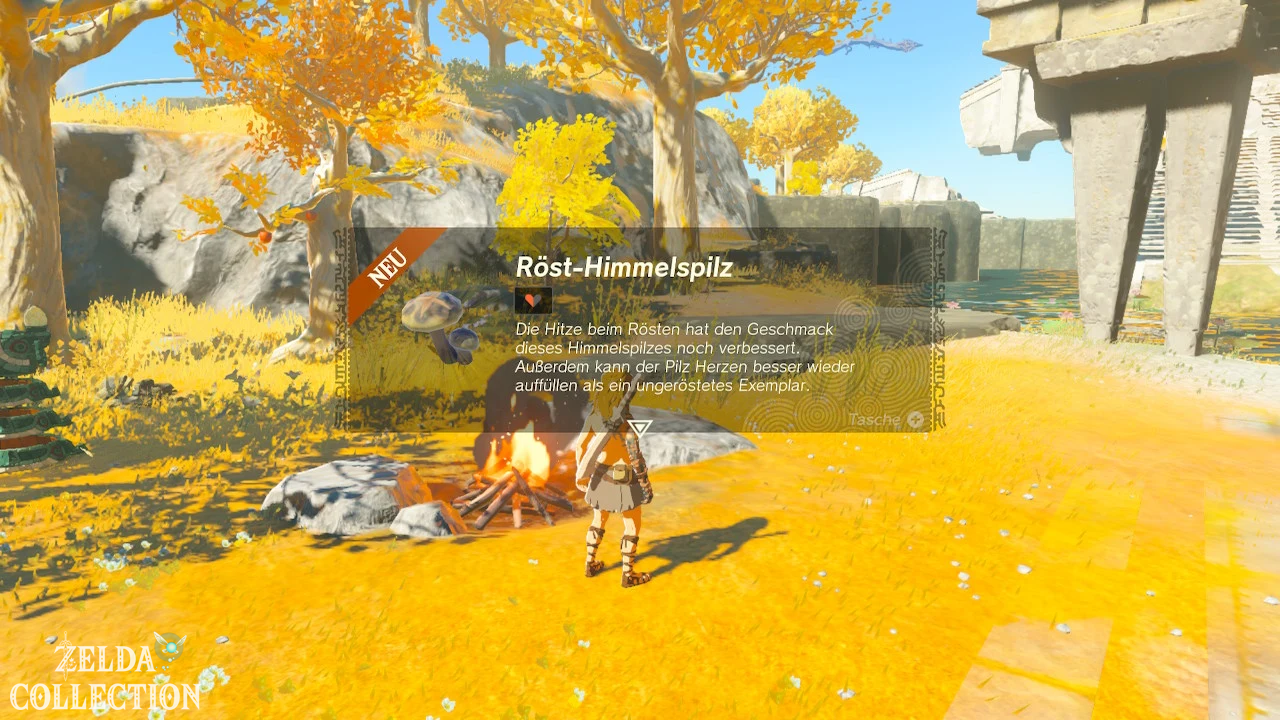
To the left of the stairs to the temple is a Steward Construct sitting at a campfire. Next to him lies a roasted Skyshroom.
The construct explains to you how ingredients are roasted directly in the fire. Open the inventory with the plus button, switch to the materials and take an apple or Skyshroom in your hand. Leave the menu and place the ingredient next to the fire.
After a few seconds it turns into roasted food. Roasted ingredients restore slightly more health energy than their raw versions, but do not have any special cooking effects.
Important: Do not put too many ingredients in the fire at the same time. If roasted food is left in the flames for too long, it can burn and disappear.
Reach the Temple of Time
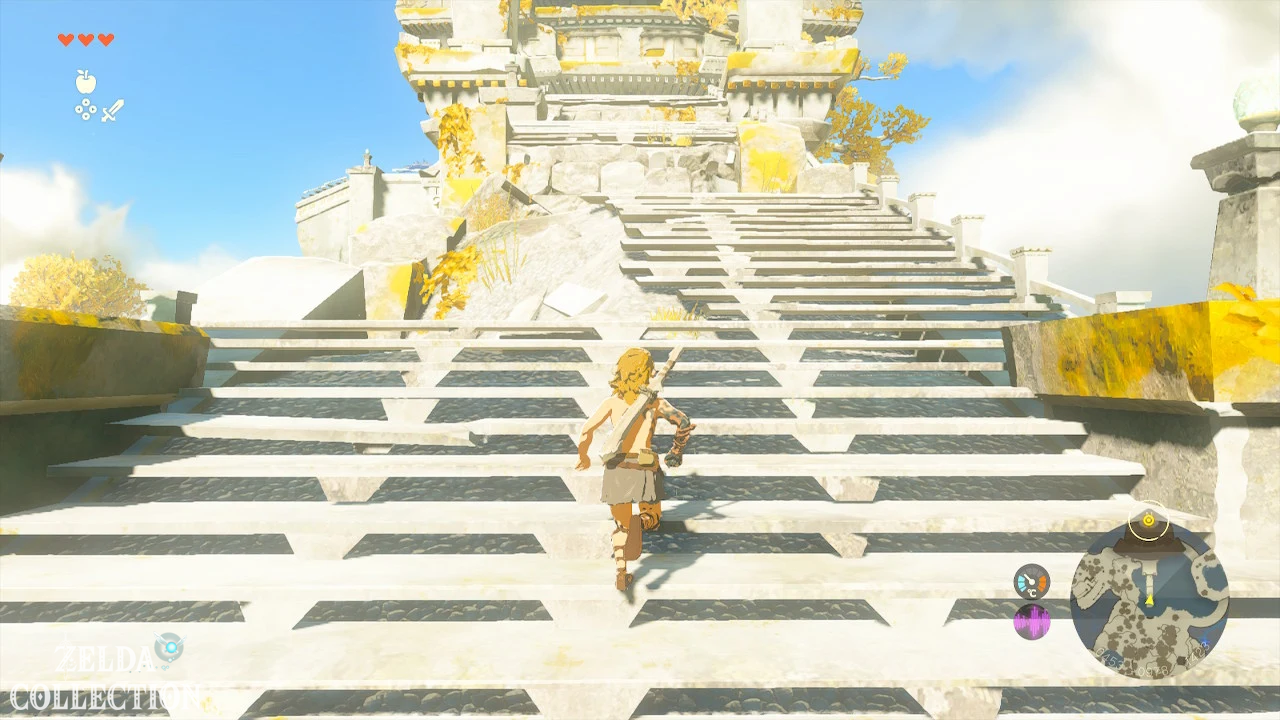
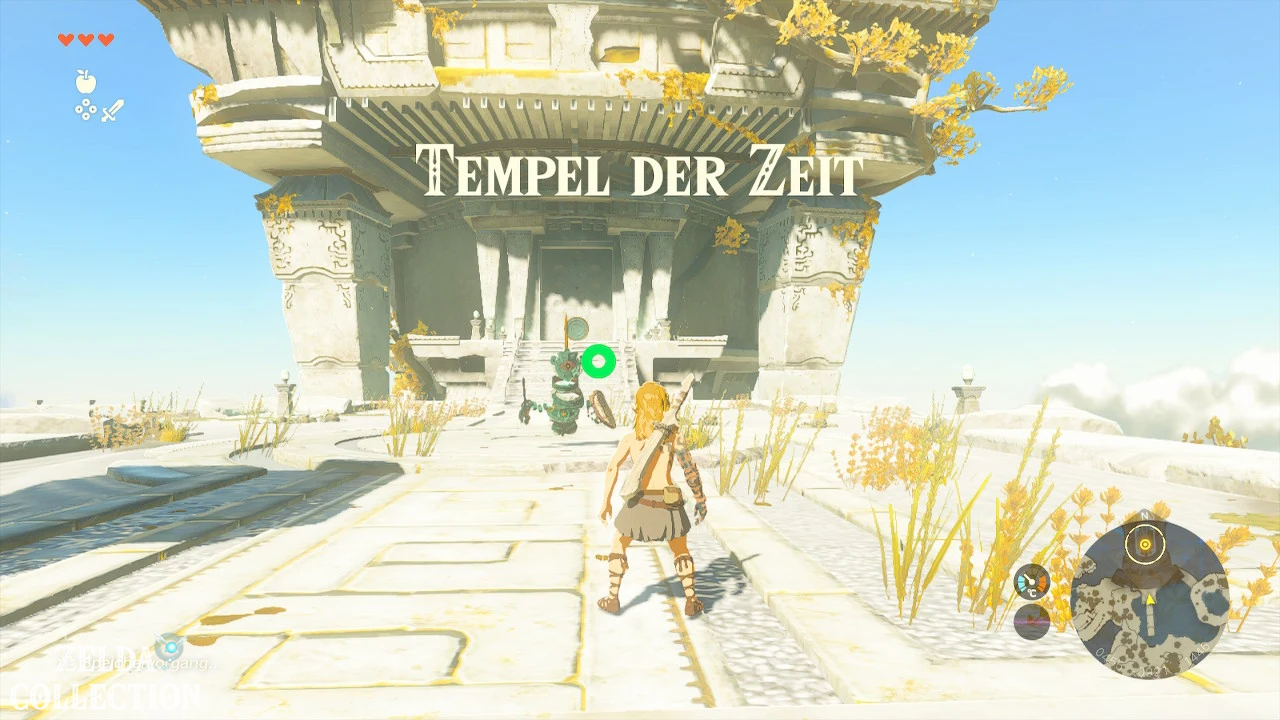
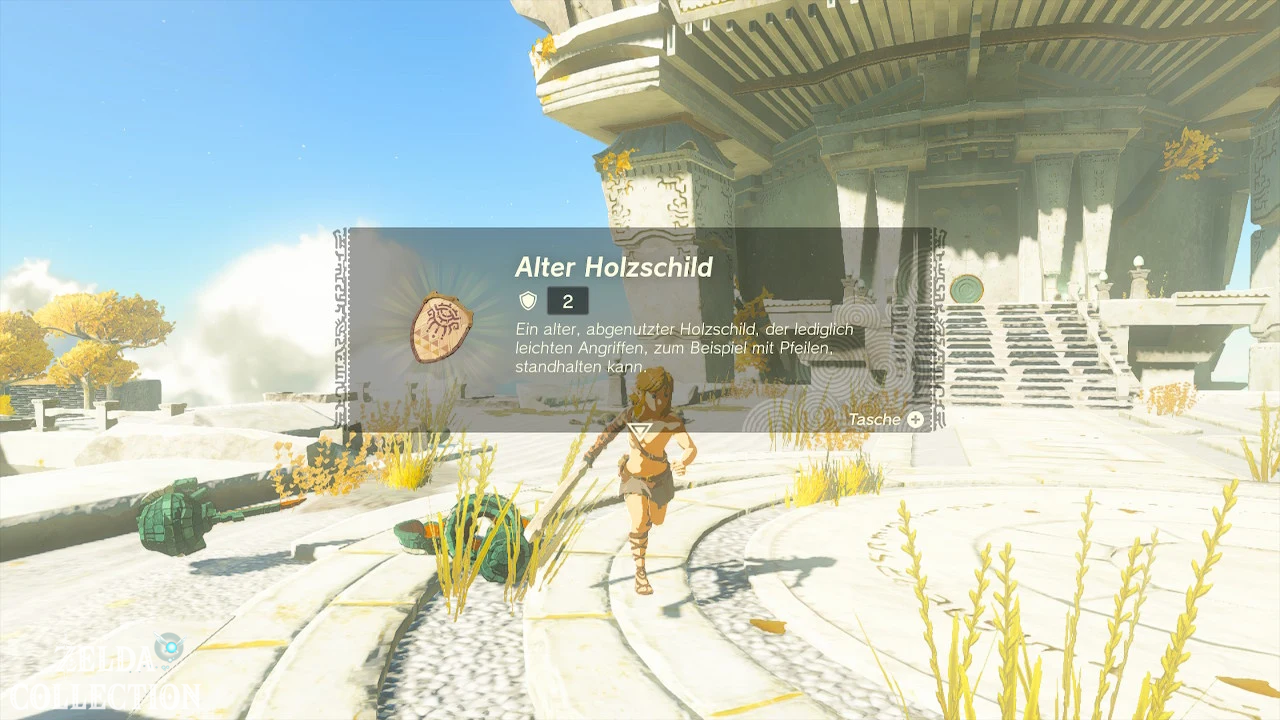
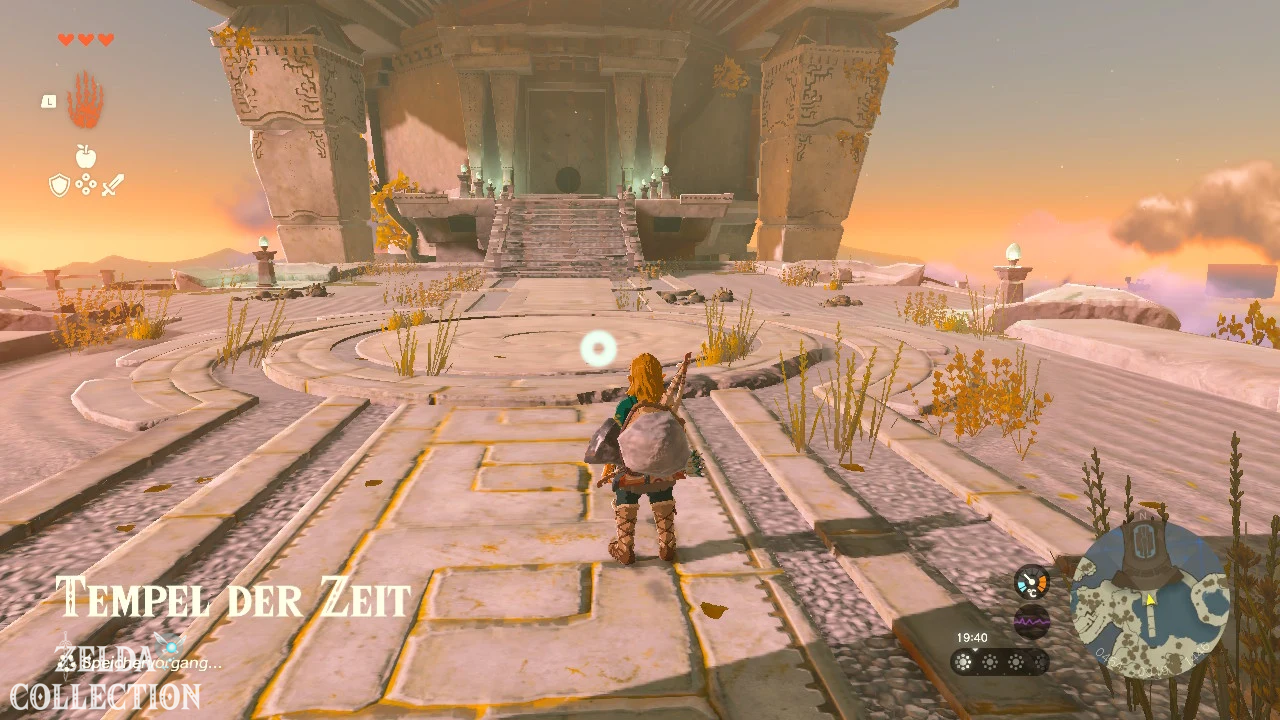
Cross the shallow water and climb the large stairs. Another Soldier Construct patrols in front of the temple entrance. Defeat it or run past it.
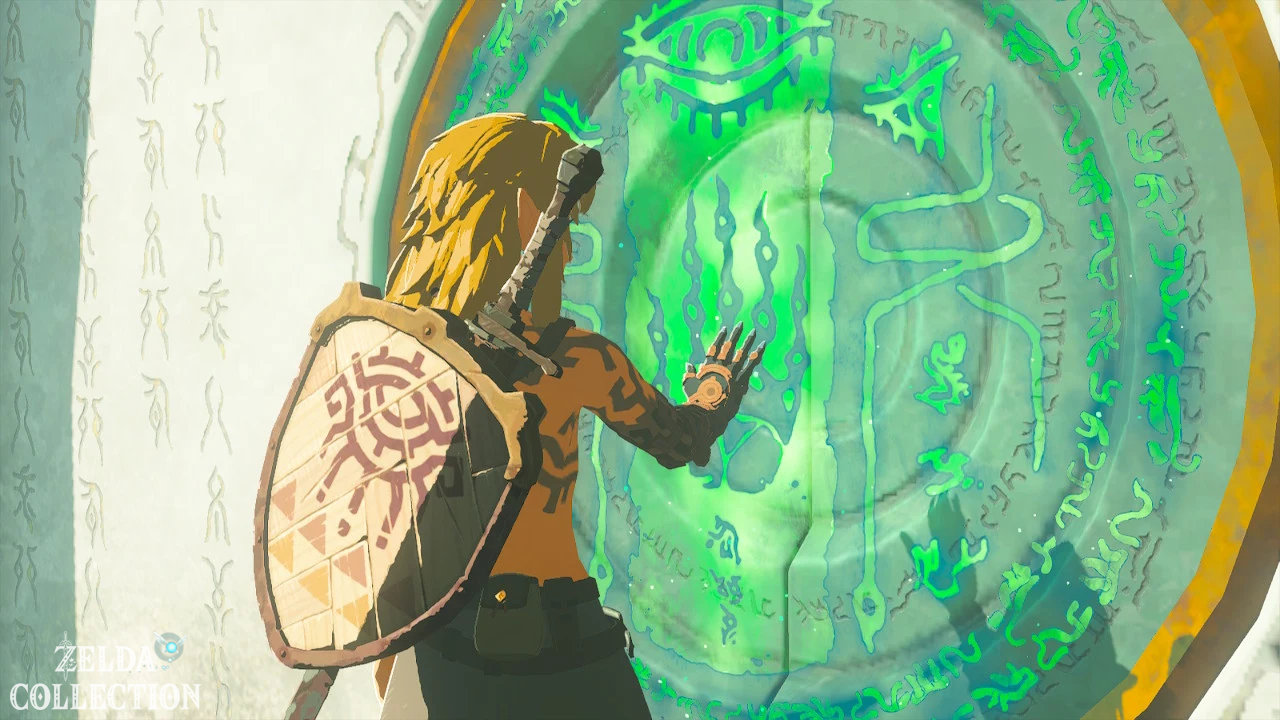
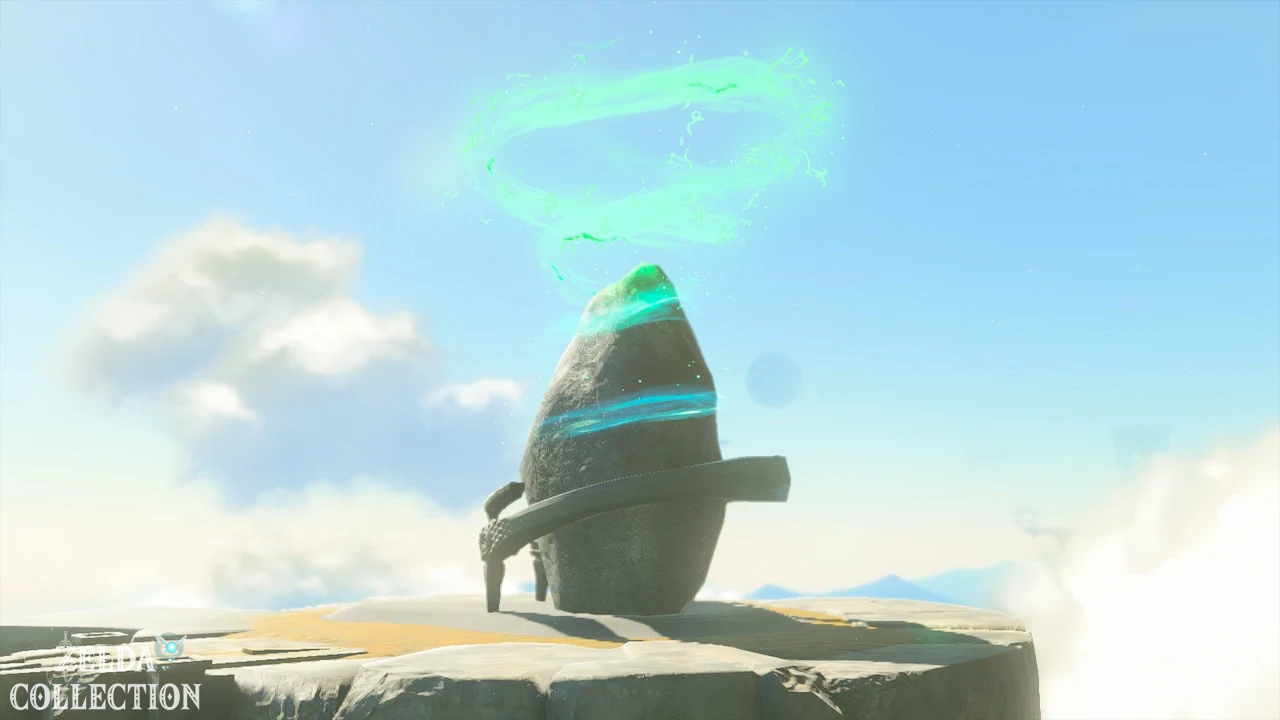
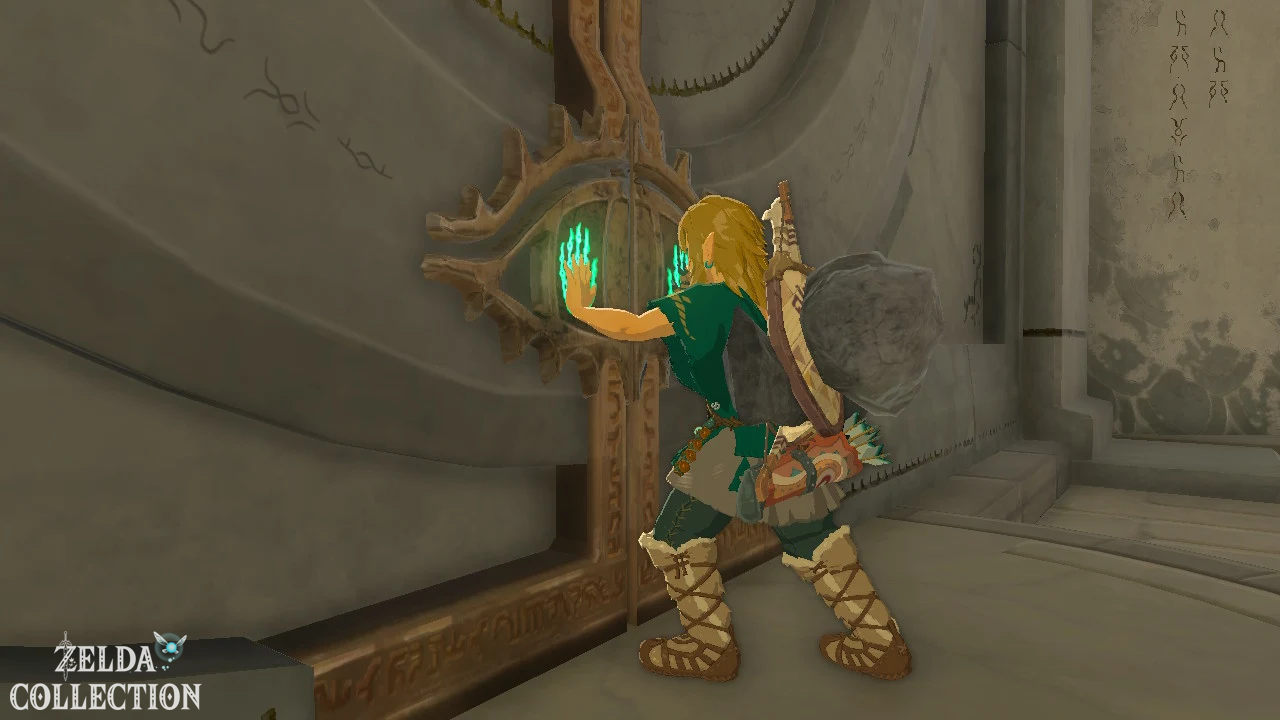
Then examine the green seal in front of the large door. Link tries to open the gate, but doesn’t have enough strength yet.
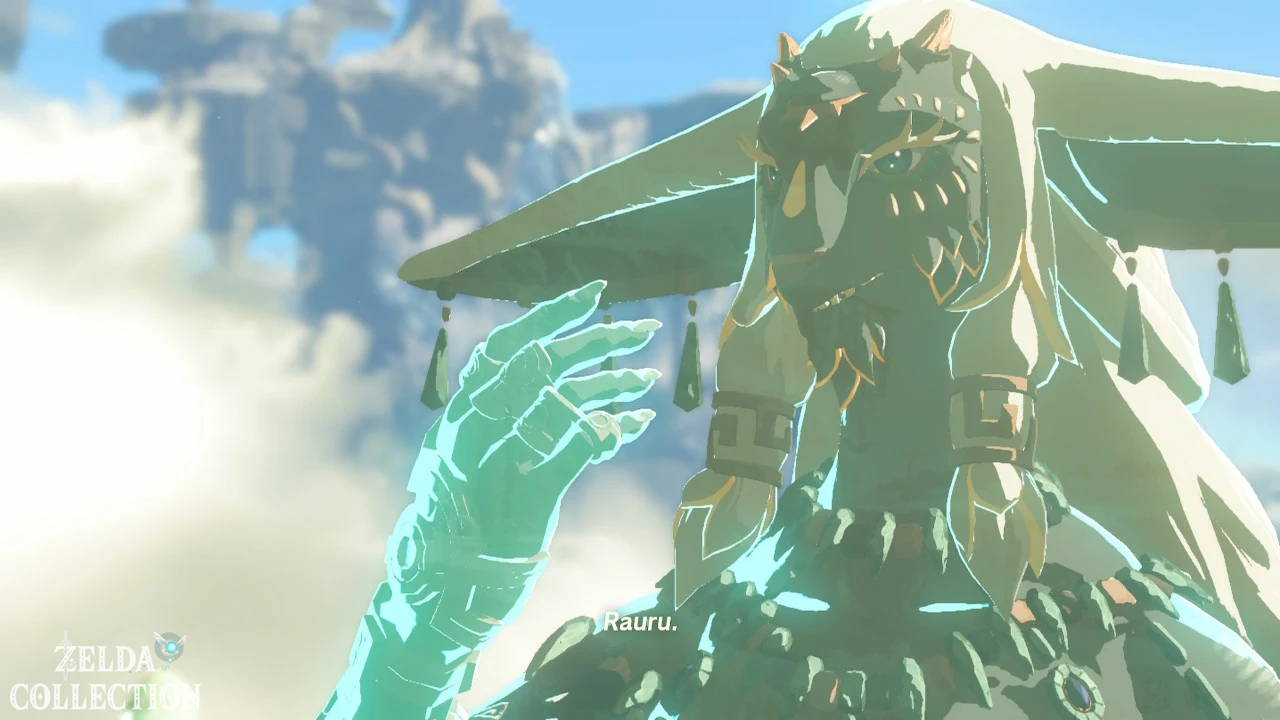
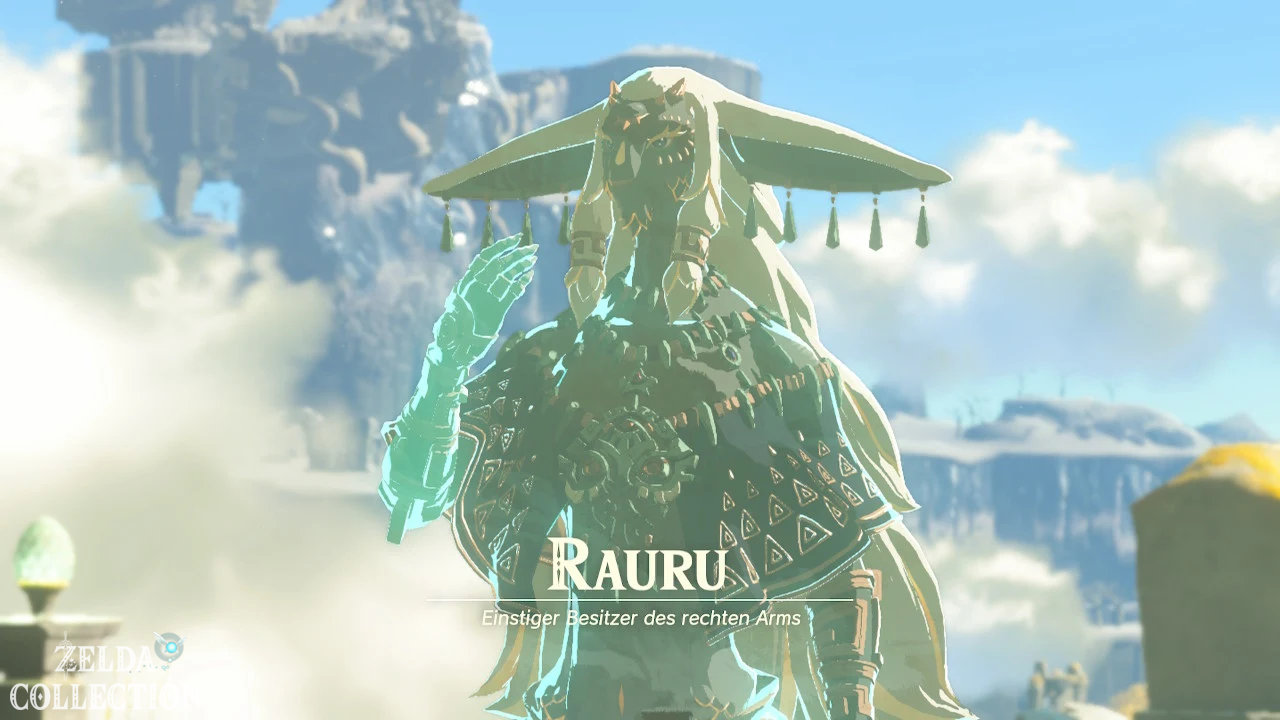
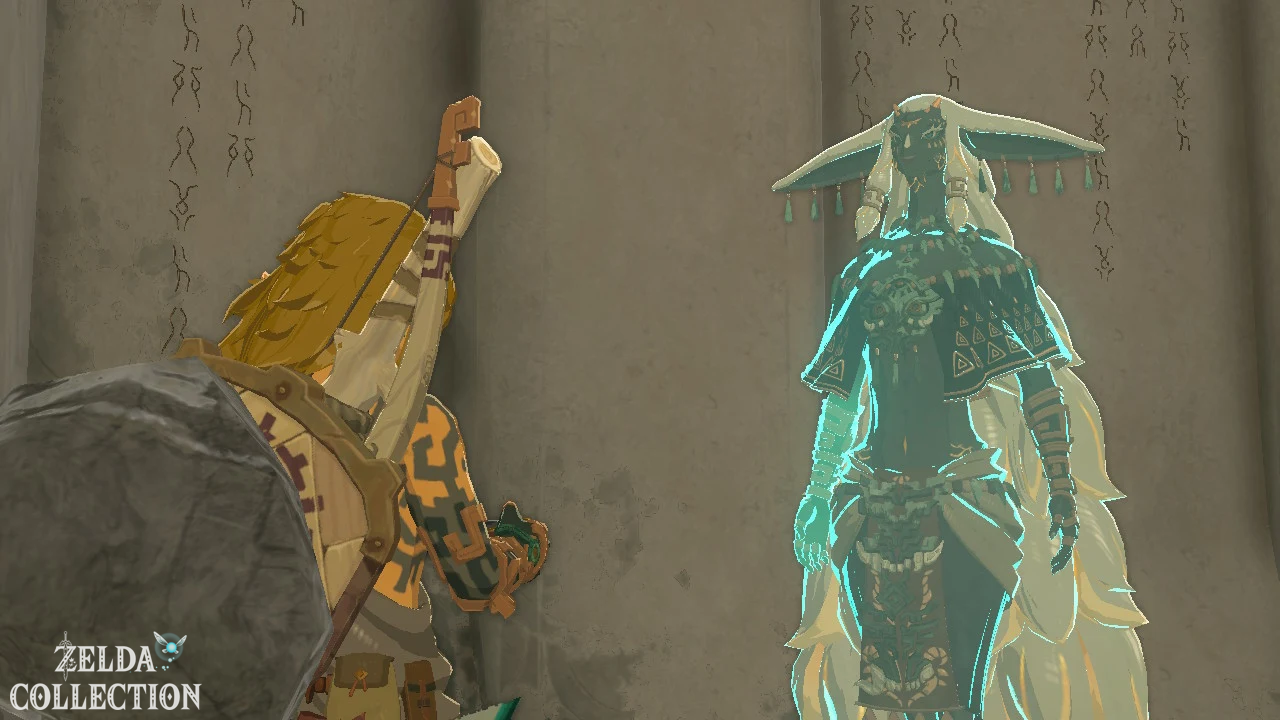
The following sequence shows Rauru for the first time. The mysterious Zonai explains that Link’s right arm once belonged to him. In order to restore his lost power, Link should visit the shrines scattered around the island.
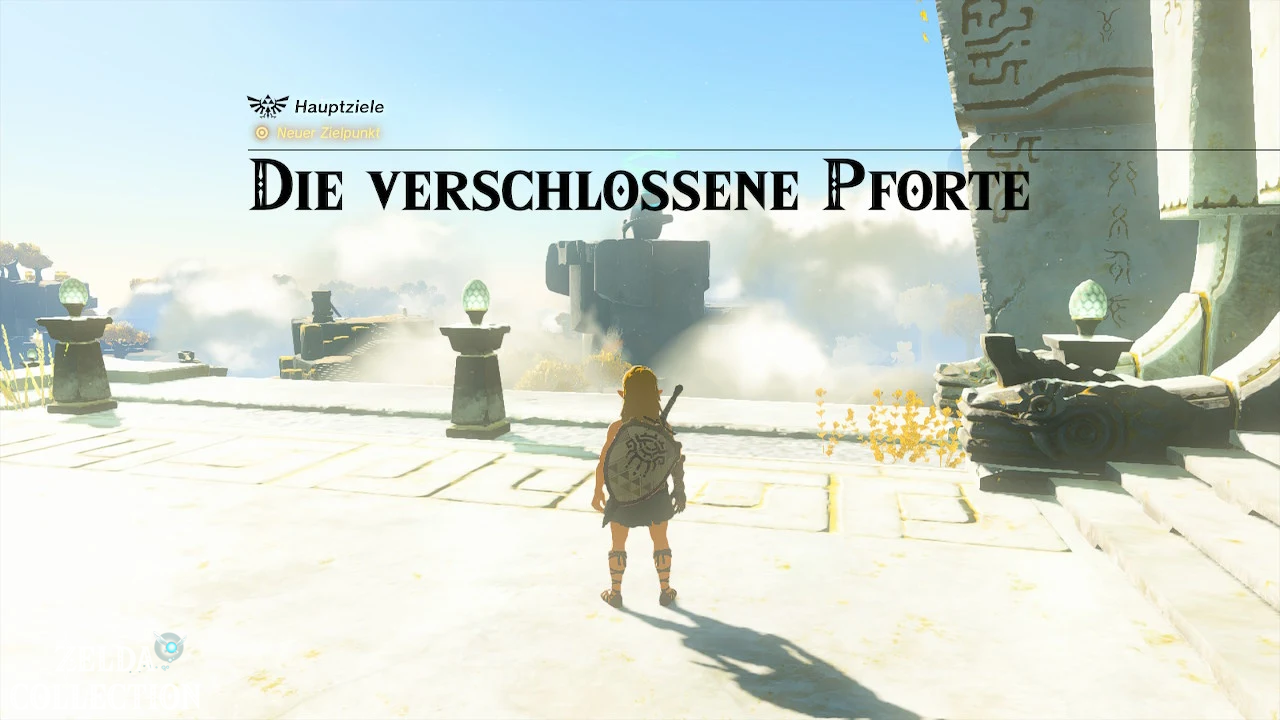
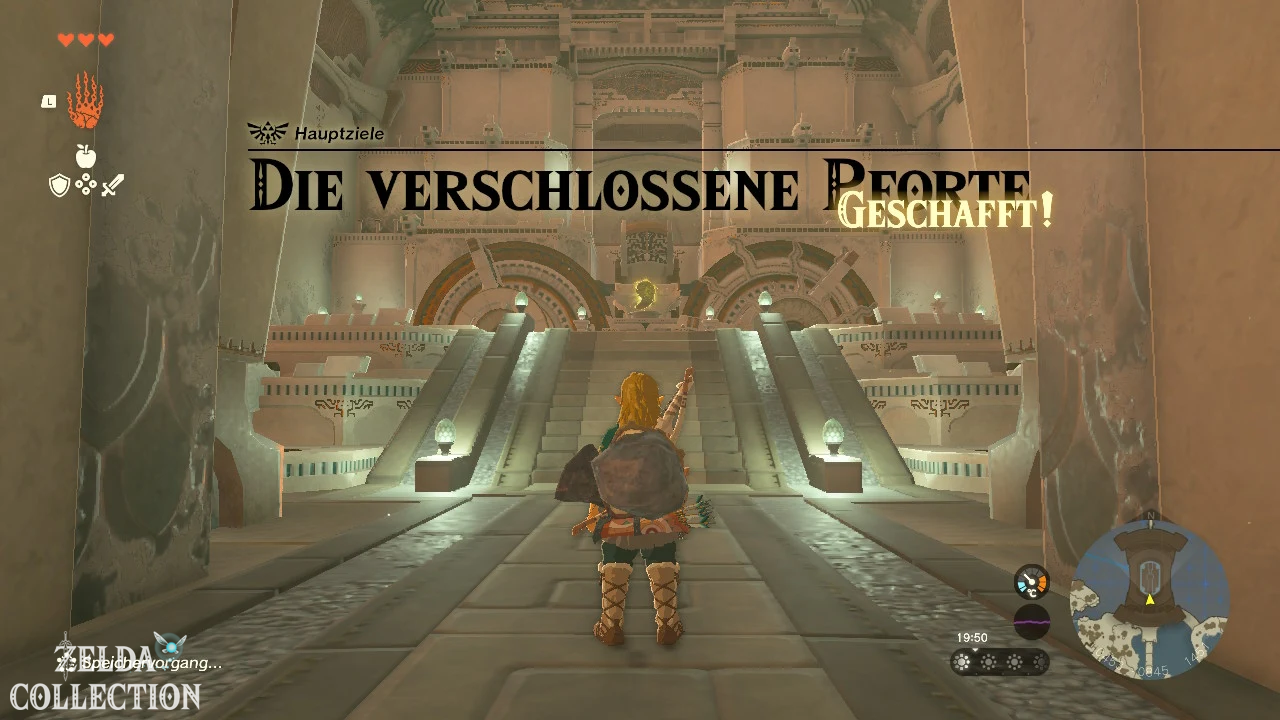
This begins the main quest “The Closed Door”. The quest initially leads to three shrines: Ukouh in the northwest, In-isa in the southwest and Gutanbac in the snowy east of the island.
Path to Ukouh Shrine
Location: Northwest of the Temple of Time
coordinates: approximately 0275, -0913, 1473
exam: creativity
Capability: Ultrahand
Treasure Chest: Amber
The Ukouh Shrine is the first designated shrine. After the conversation at the temple, Rauru will show you his position straight away.
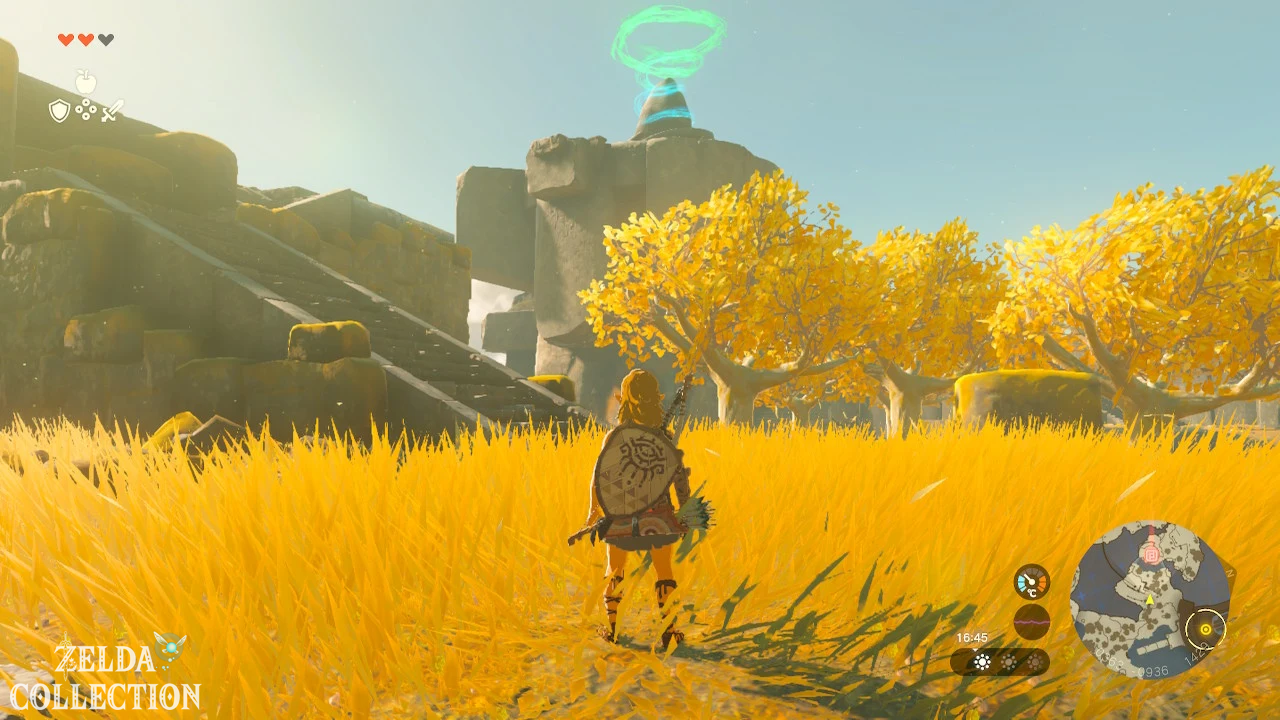
Jump from the temple forecourt in a northwesterly direction to the lower level. Cross the small pool of water and follow the damaged stone stairs up.
Some sections of stairs have collapsed. Climb the accessible rock walls and rest on the ledges when you’re running low on stamina. Several sprintlings grow on the walls, which you can later use for dishes with higher running speeds.
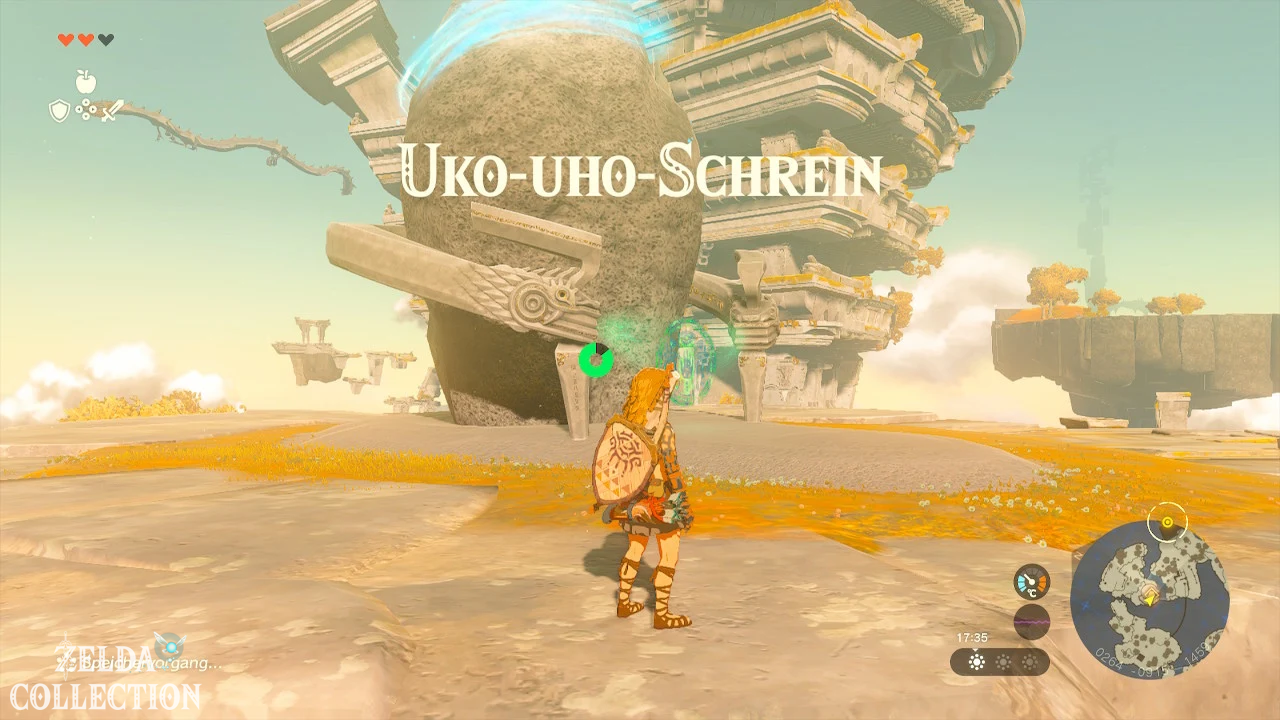
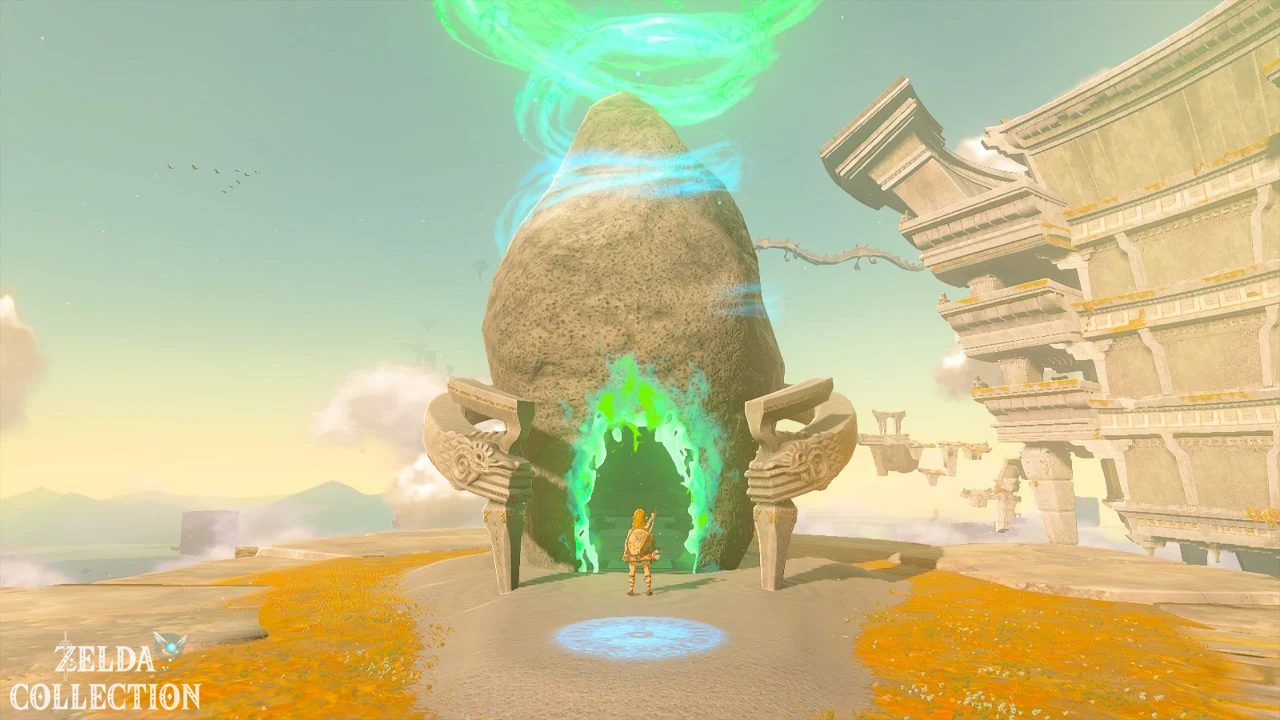
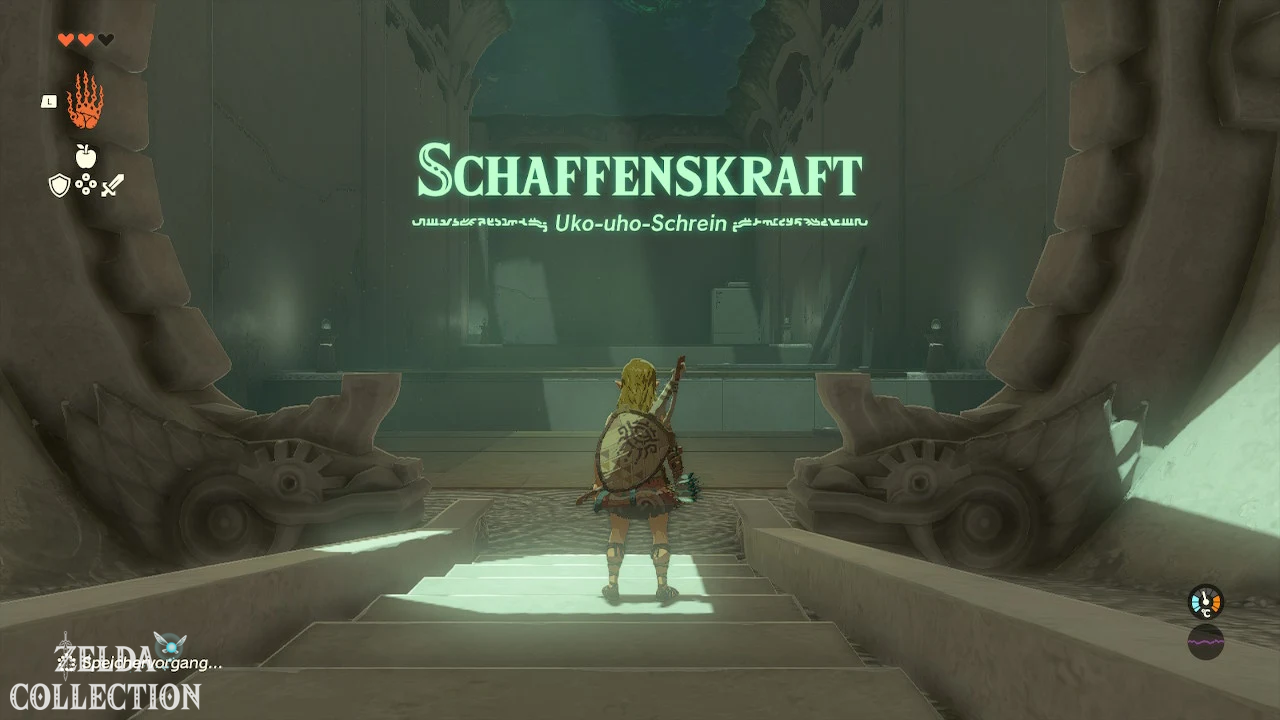
At the top of the stairs you reach the spiral-shaped glowing Ukouh Shrine. Activate the green seal to make the shrine available as a fast travel point in the future and enter it.
Solve Ukouh Shrine
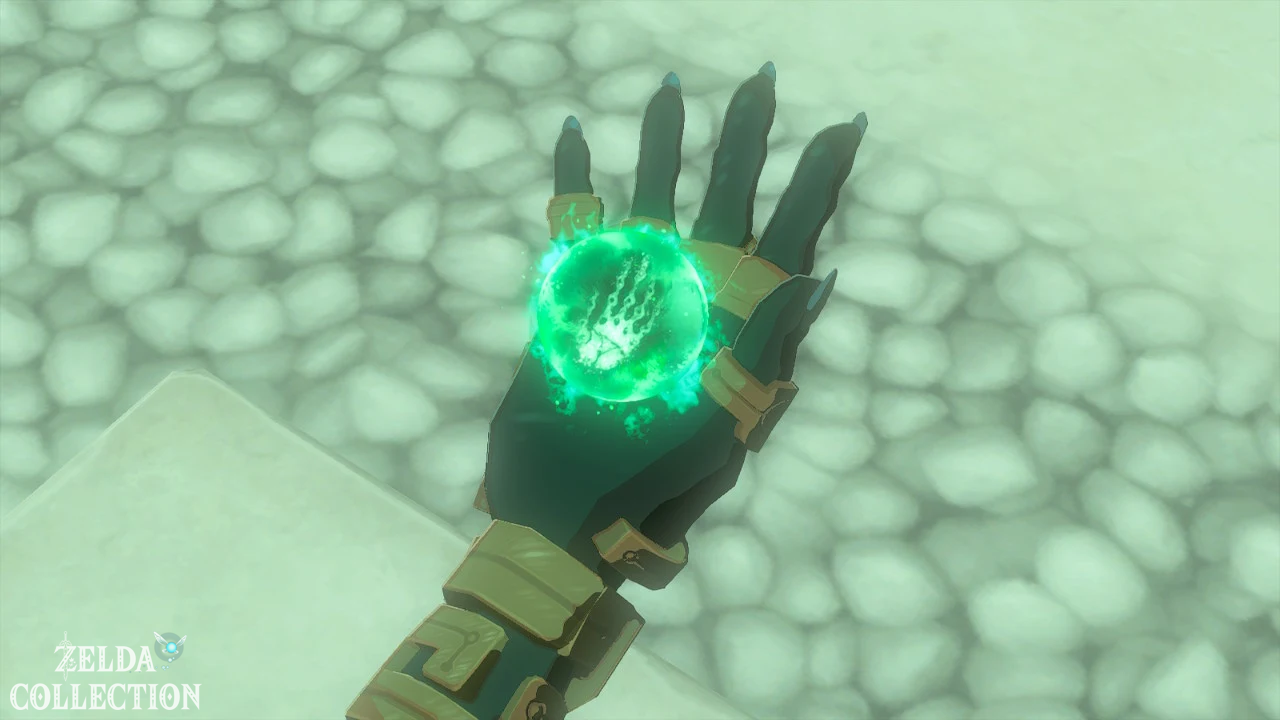
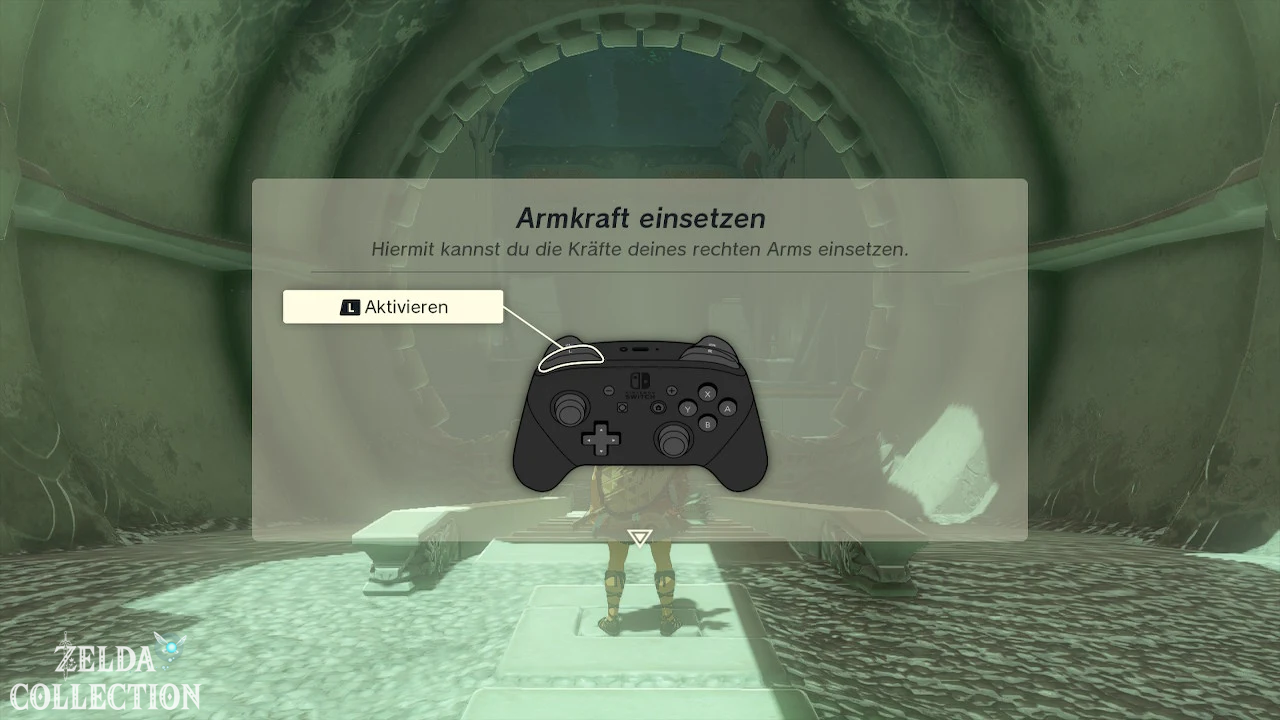
Inside you meet Rauru again. He gives Link the Ultrahand. With it you can pick up, rotate, move and connect many objects. Unlike the magnet from Breath of the Wild, the Ultrahand doesn’t just work on metal objects.
Use first stone slab as a bridge
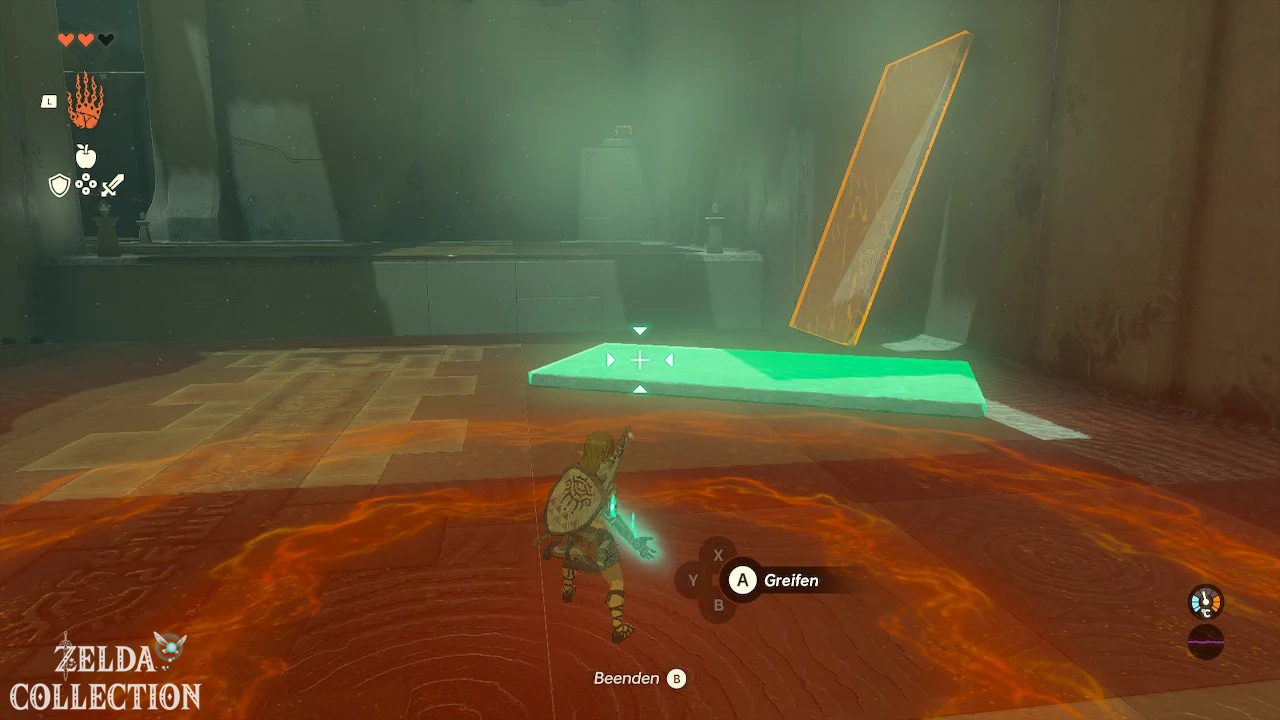
Hold down the L button and select the Ultrahand. Aim at the single stone slab and pick it up with the A button.
Moves the plate over the first gap and places it horizontally as a bridge. If it is crooked, pick it up again and rotate it using the buttons shown.
The exact alignment does not have to be perfect. The only important thing is that both ends of the plate are on solid ground.
Connect two plates together
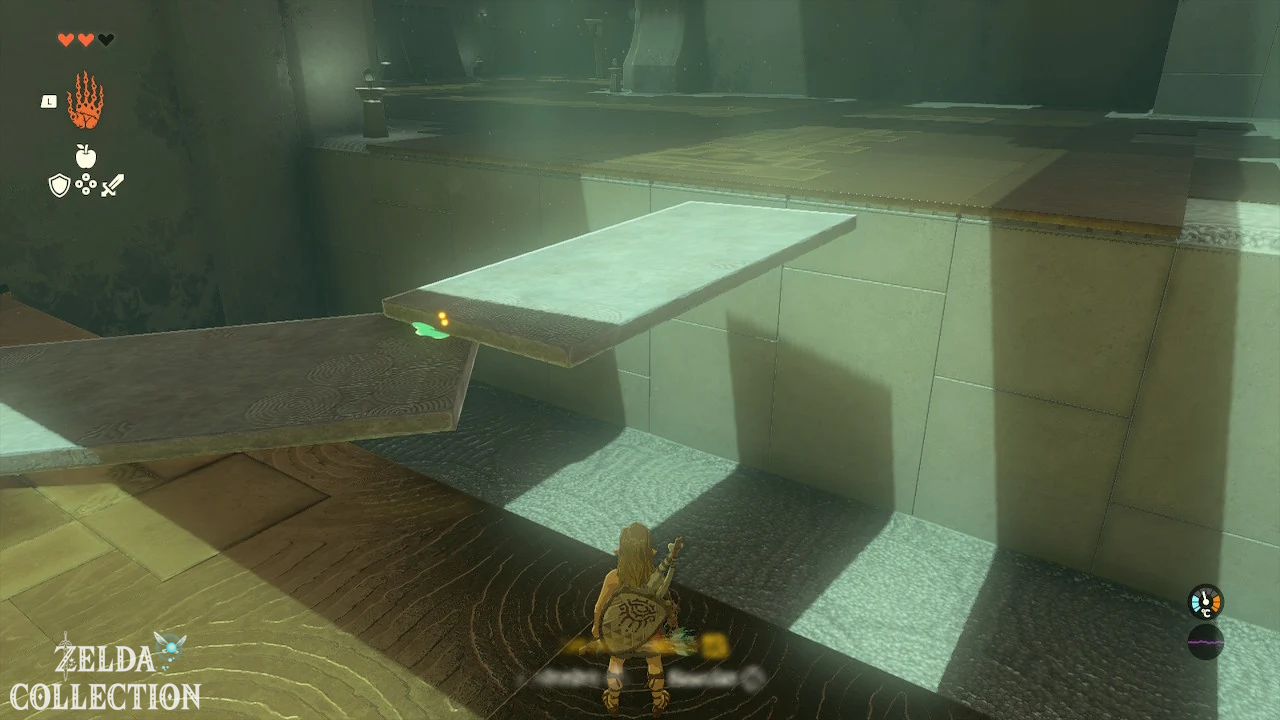
The second gap is wider. There are two stone slabs here.
- Lays the first plate flat on the ground.
- Record the second record with the Ultrahand.
- Hold its short side at the end of the first plate.
- Press the A button as soon as the adhesive area is marked green.
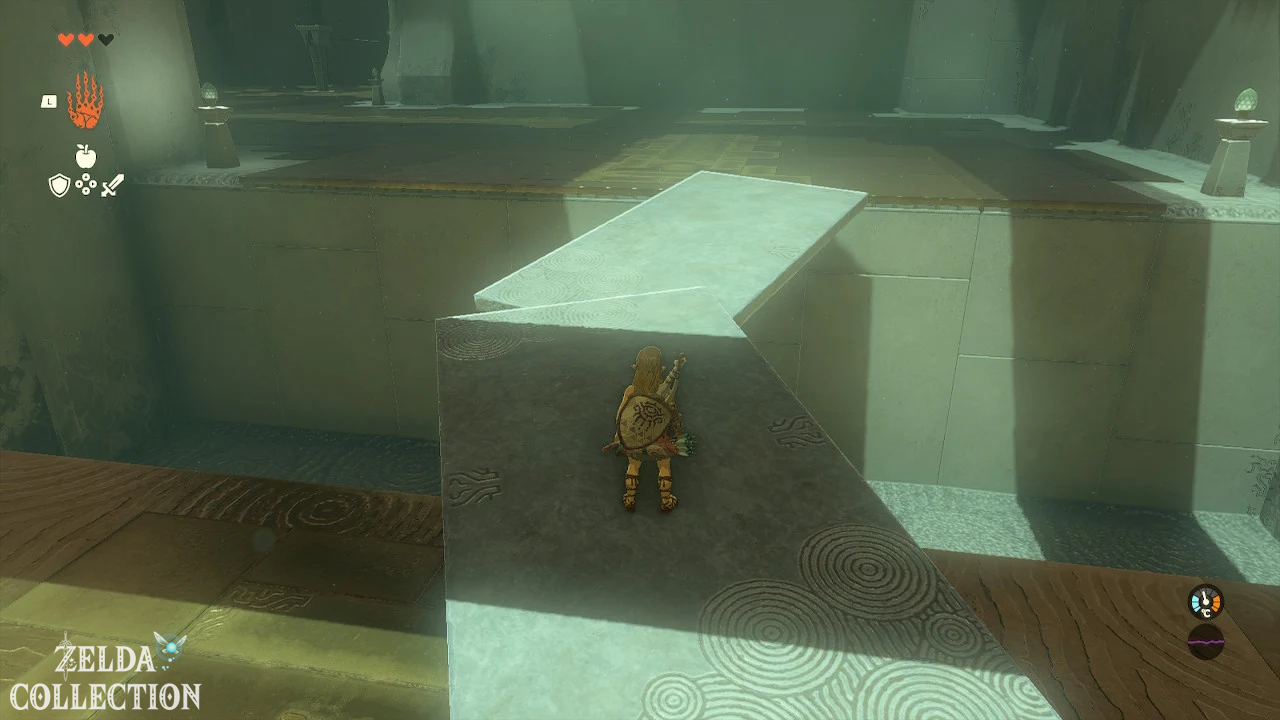
- Lays the long structure over the abyss.
If the connection fails, pick up the construction and shake the right stick to separate the plates from each other.
Get amber from the Treasure Chest
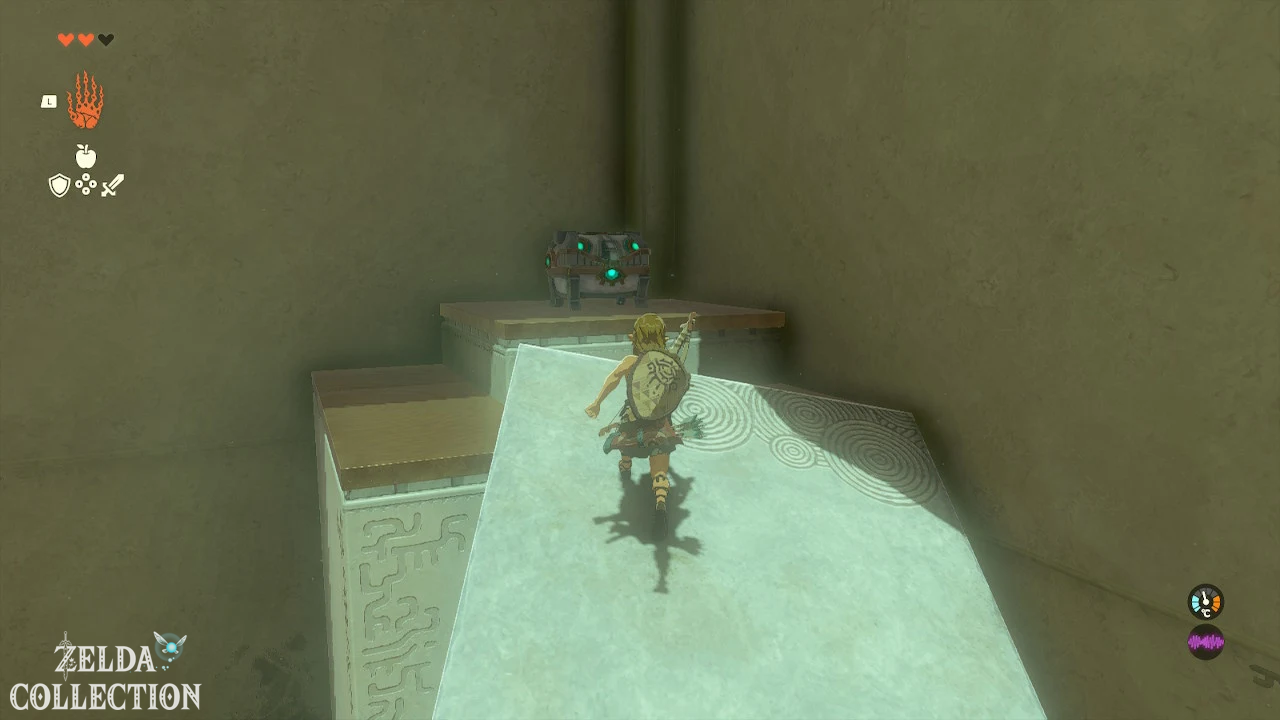
On the right is a Treasure Chest on a raised ledge. Get the long bridge from the previous section and lean it diagonally against the platform.
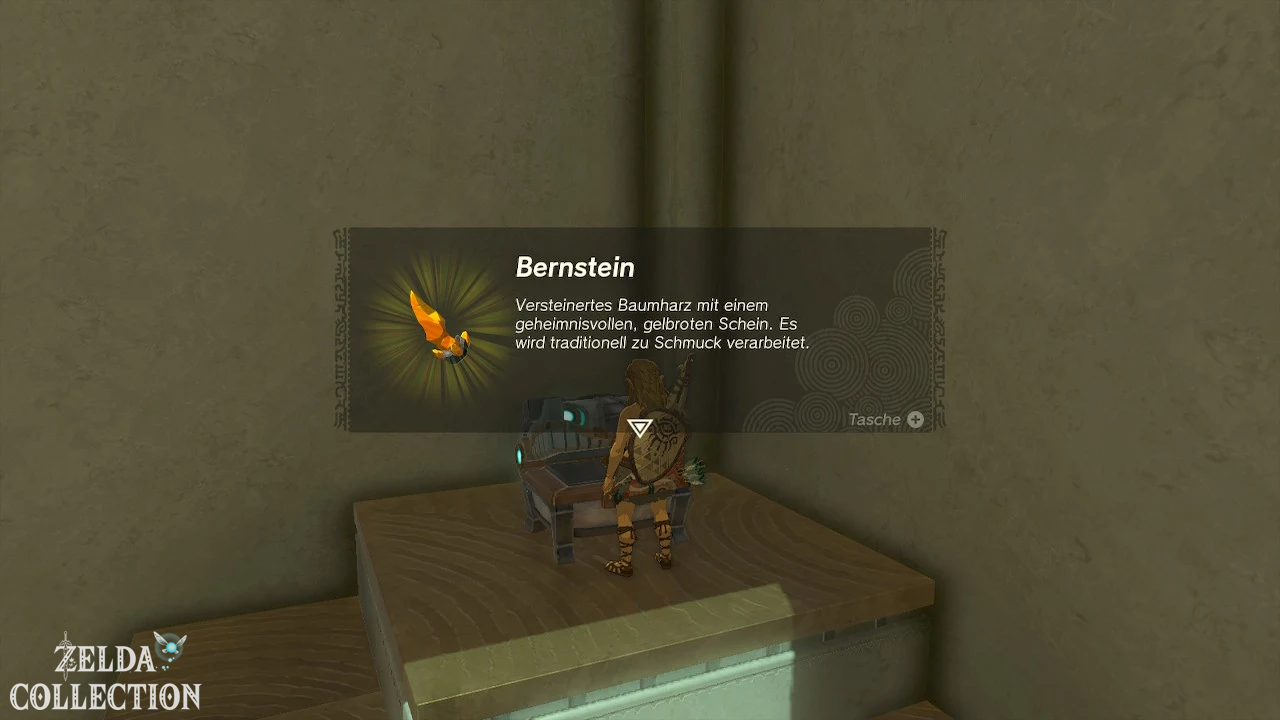
Alternatively, you can connect two plates at right angles and use a third plate as an upper ramp. Climb or run over your construction to the chest. Inside is a amber. The chest contents are also listed as amber in the German shrine data.
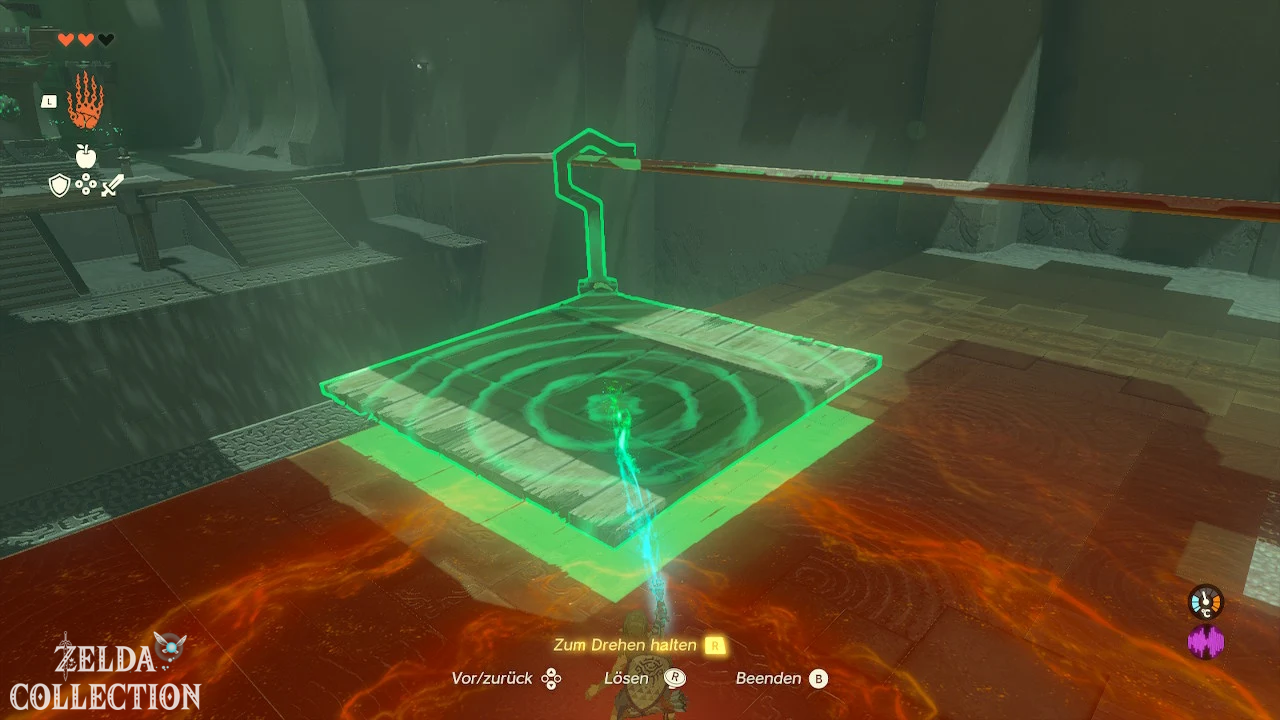
Move over the rail with hooks
In the last room there is a large wooden board and several metal hooks. A rail runs over the abyss.
A single hook is sufficient for a stable construction:
- Lays the wooden board flat on the floor.
- Attaches a hook in the middle of the top.
- Record the entire construction.
- Hangs the hook over the rail.
- Release the platform at the start of the downhill section.
- Quickly jump onto the wooden board.
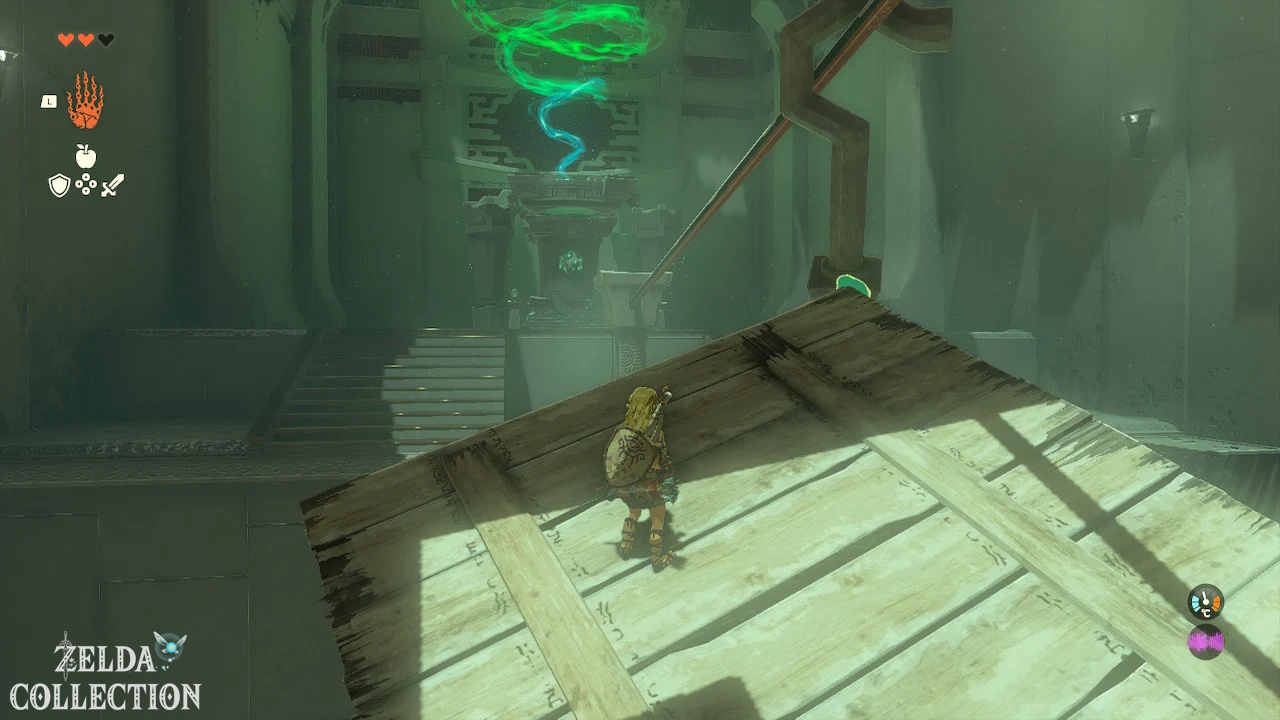
The platform slides over the rail to the other side. If you attach two hooks symmetrically to the board, the ride will be a little more stable, but this is not absolutely necessary.
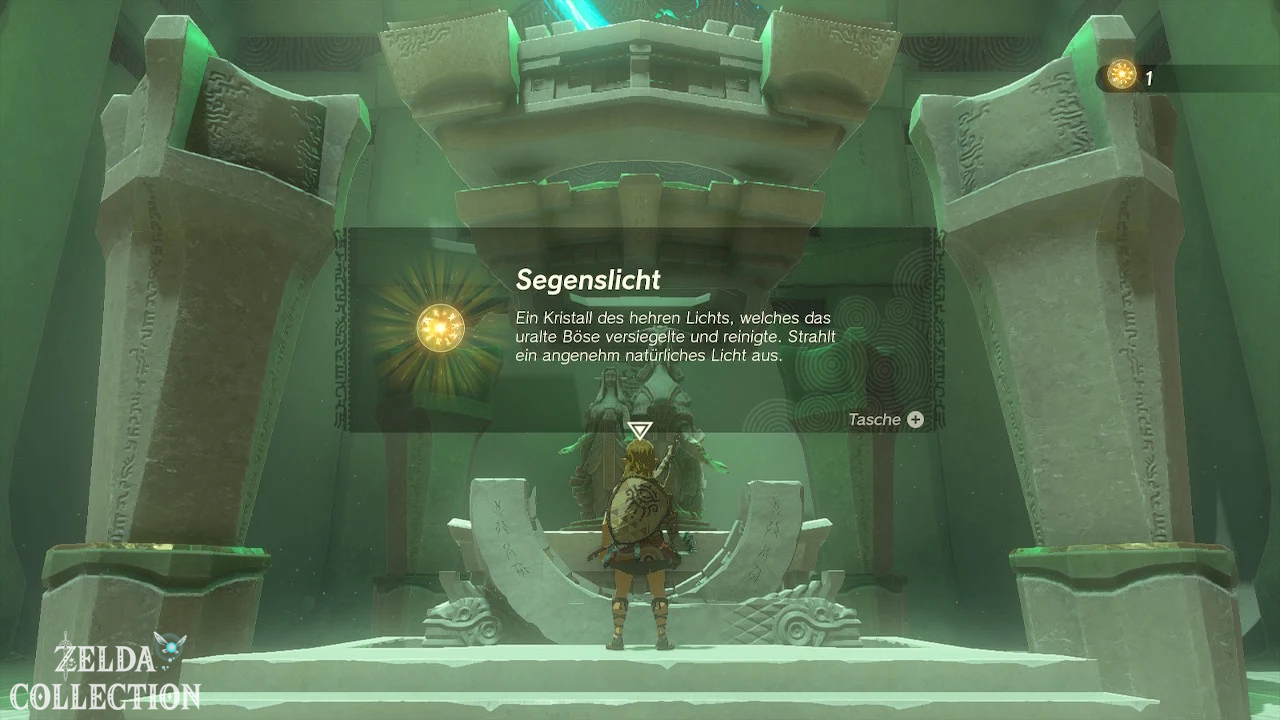
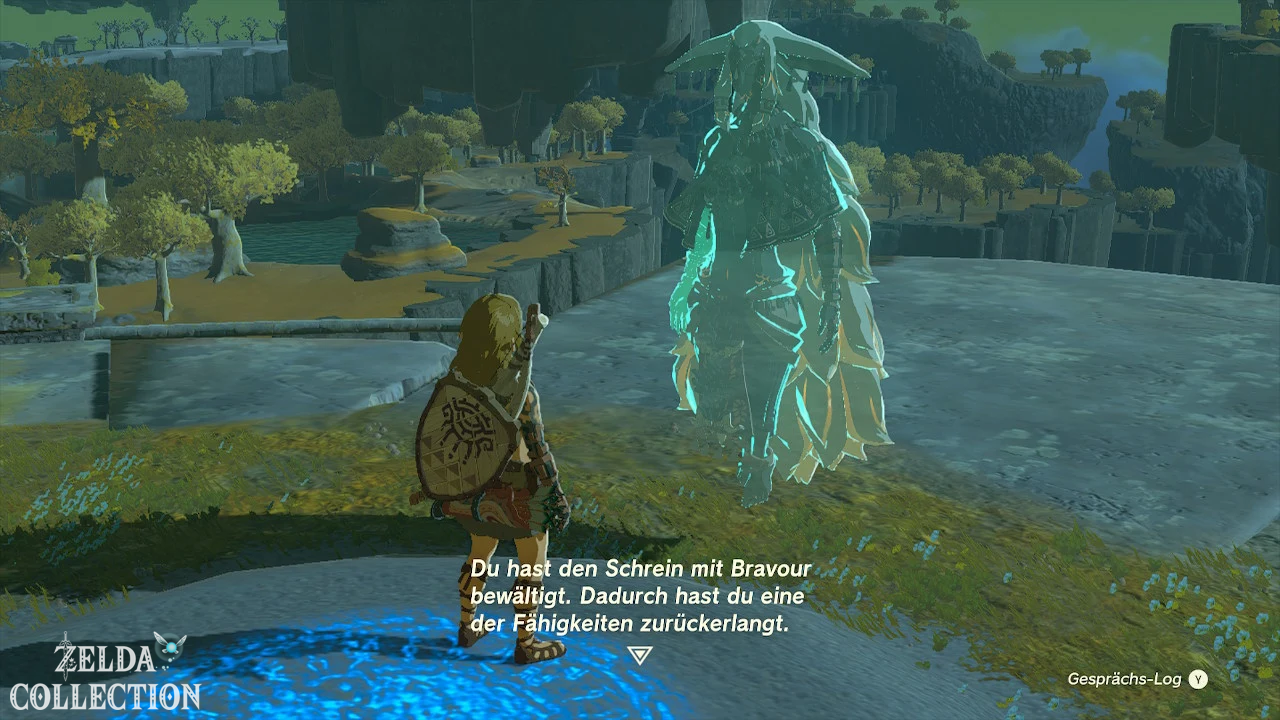
At the end, examine the stone sign and take the first Light of Blessing. After leaving the shrine, Rauru explains that there are two more powers that need to be restored.
The next shrines mark
Press the right stick in to open the Purah Pad’s binoculars. Look to the southwest and east and mark the two visible shrines with the A button.
The order is basically free. However, the route to In-isa Shrine is the more sensible next step, as you will receive the Fuse and then the intended circular route leads to Gutanbac Shrine.
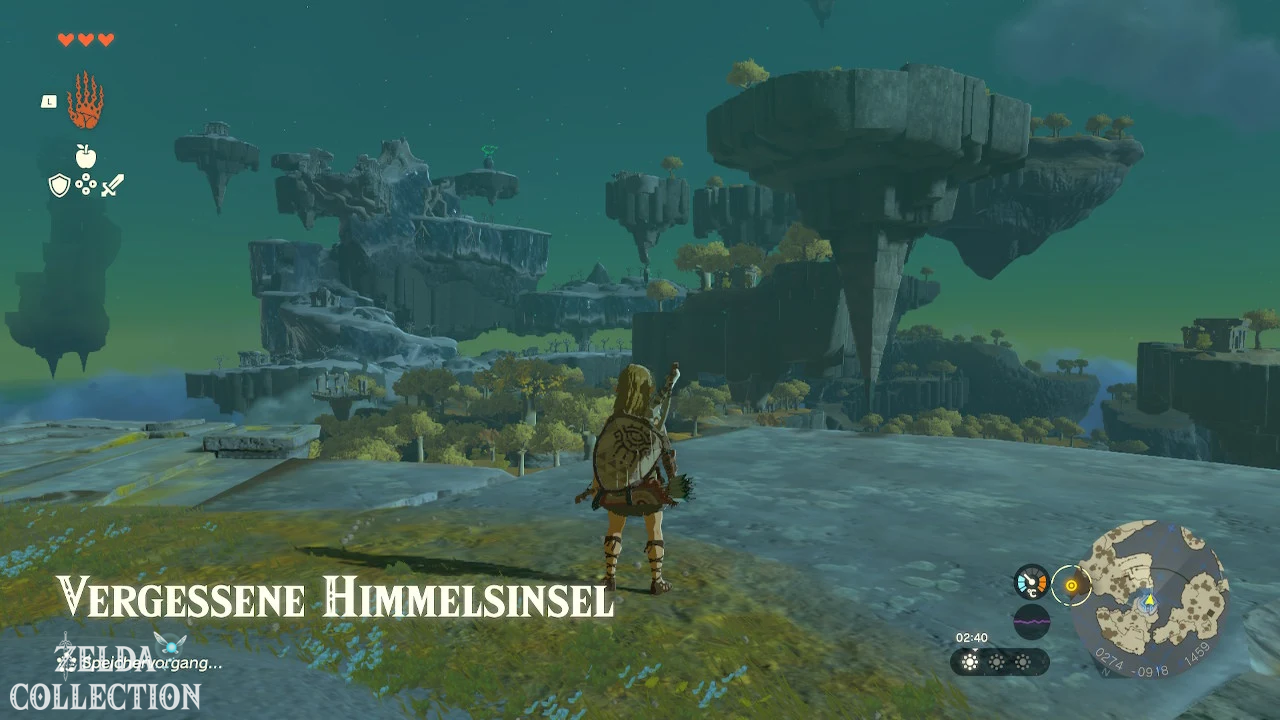
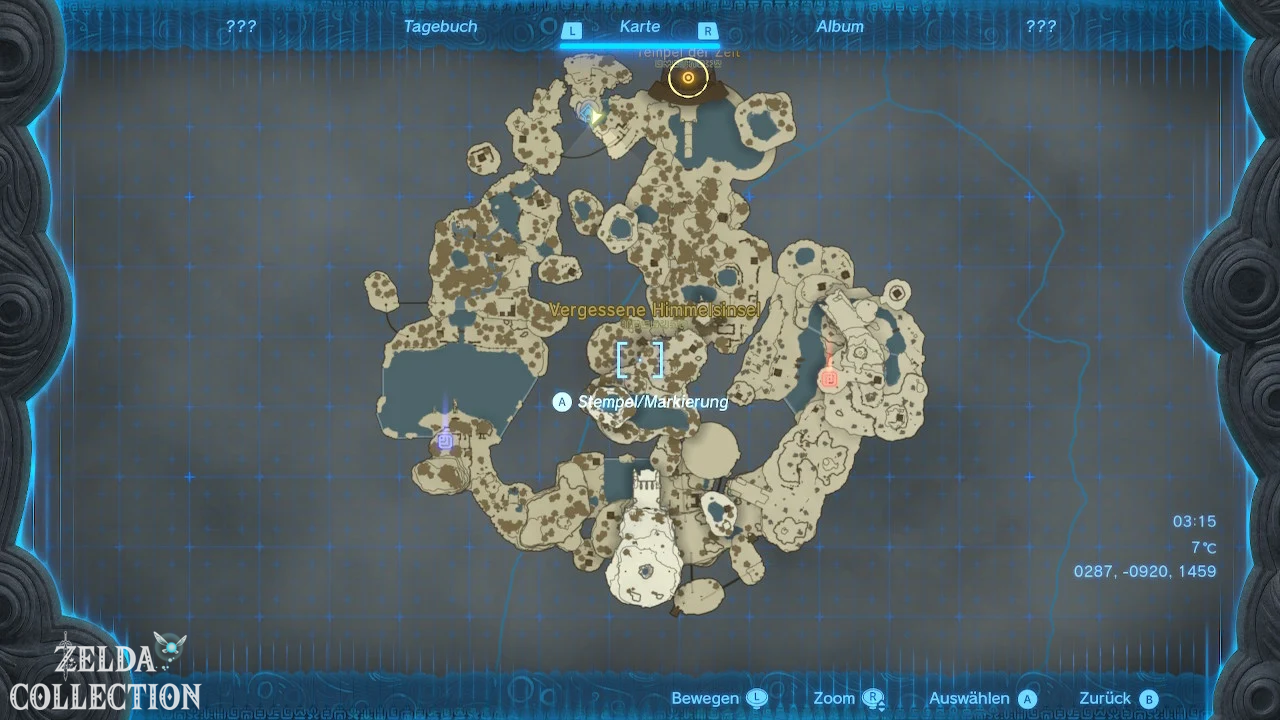
way to In-isa Shrine
Location: Southwestern part of the Great Sky Island
coordinates: approximately 0026, -1504, 1422
test: combination
Capability: Fuse
Treasure Chests: 5 wooden arrows and Small Key
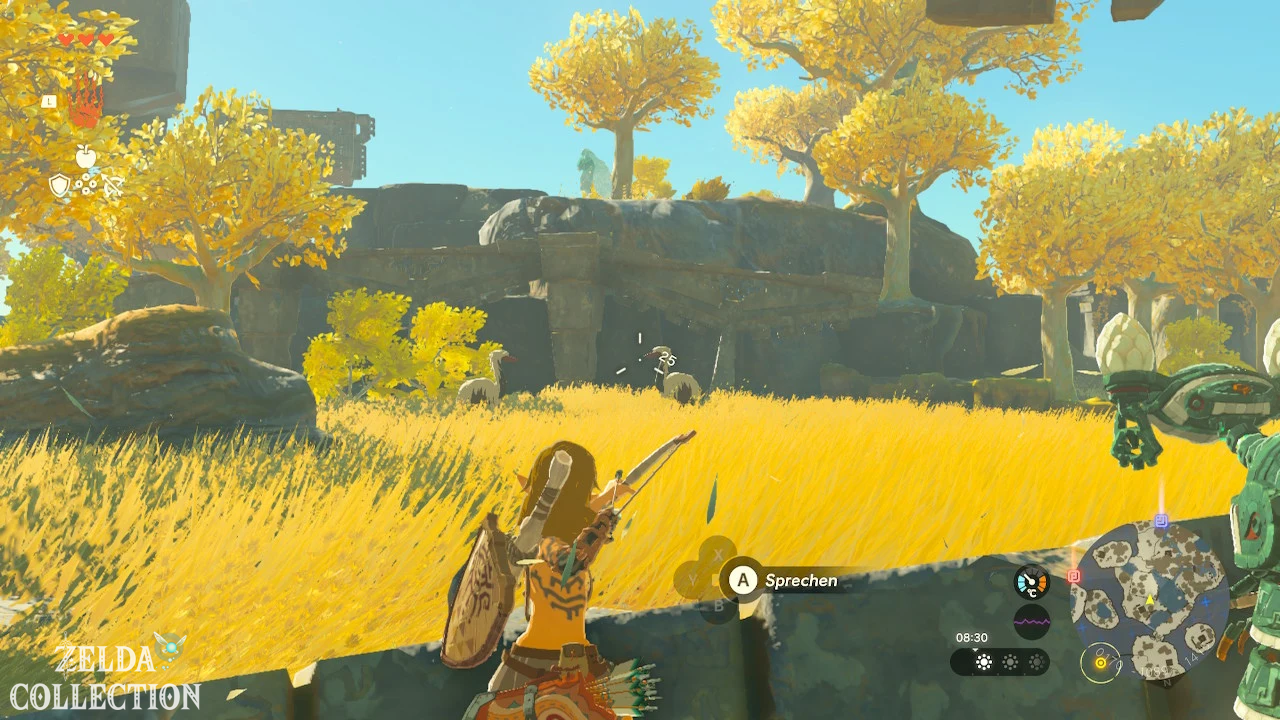
With a hook platform over the rail
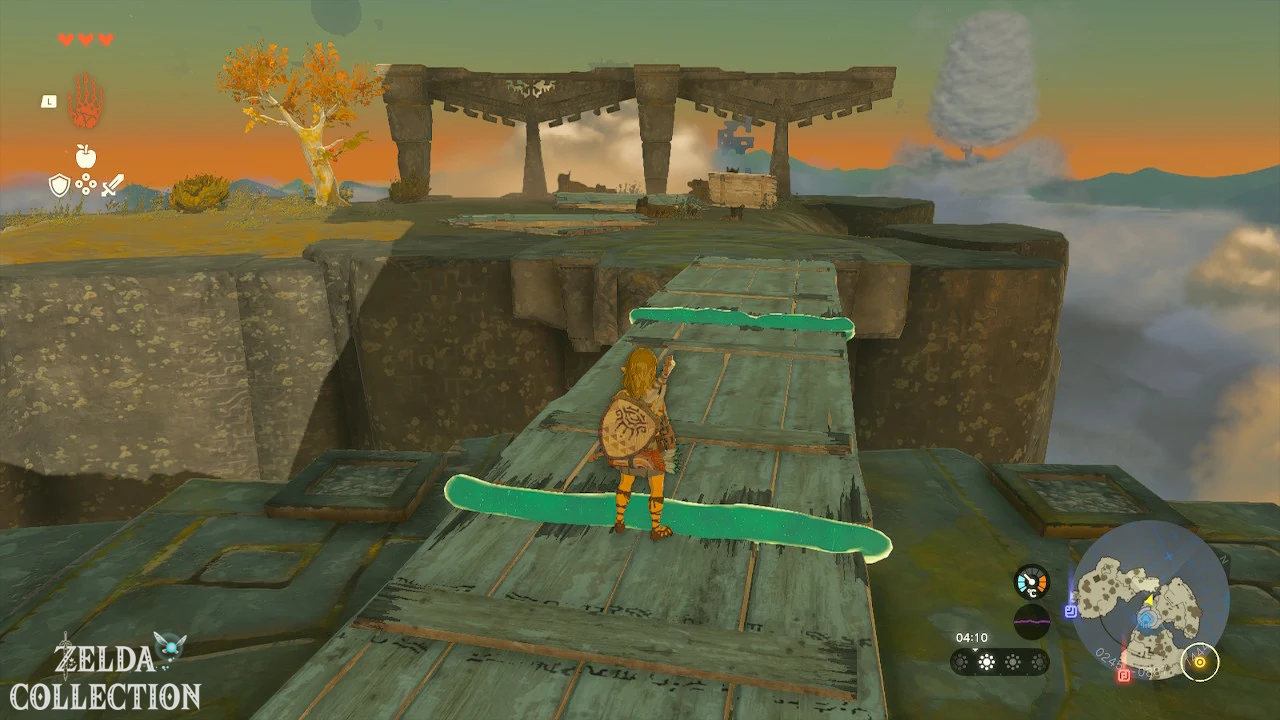
Leave the Ukouh Shrine and go to the edge of the platform. A long rail begins below and leads to an island further south.
There are wooden boards and hooks nearby. Build another small hook platform:
- Attaches a hook to the center of a wooden board.
- Hangs the hook over the rail.
- Stand on the board.
- Release the construction and go down.
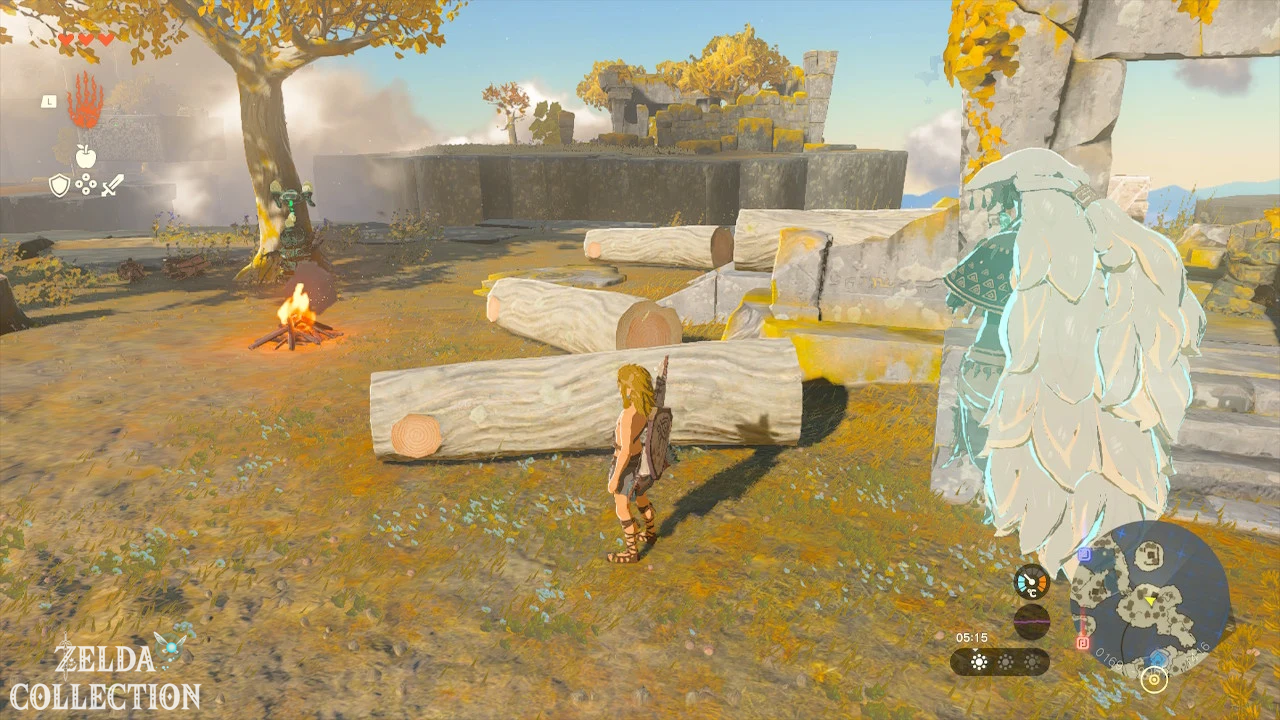
On the other side, Rauru sits by a campfire. In the ruins you will find a bundle of wood and a Zonai Charge.
Cut down trees and build a trunk bridge
A Maker Construct works on a tree and explains how to use axes. There is a stone ax next to him.
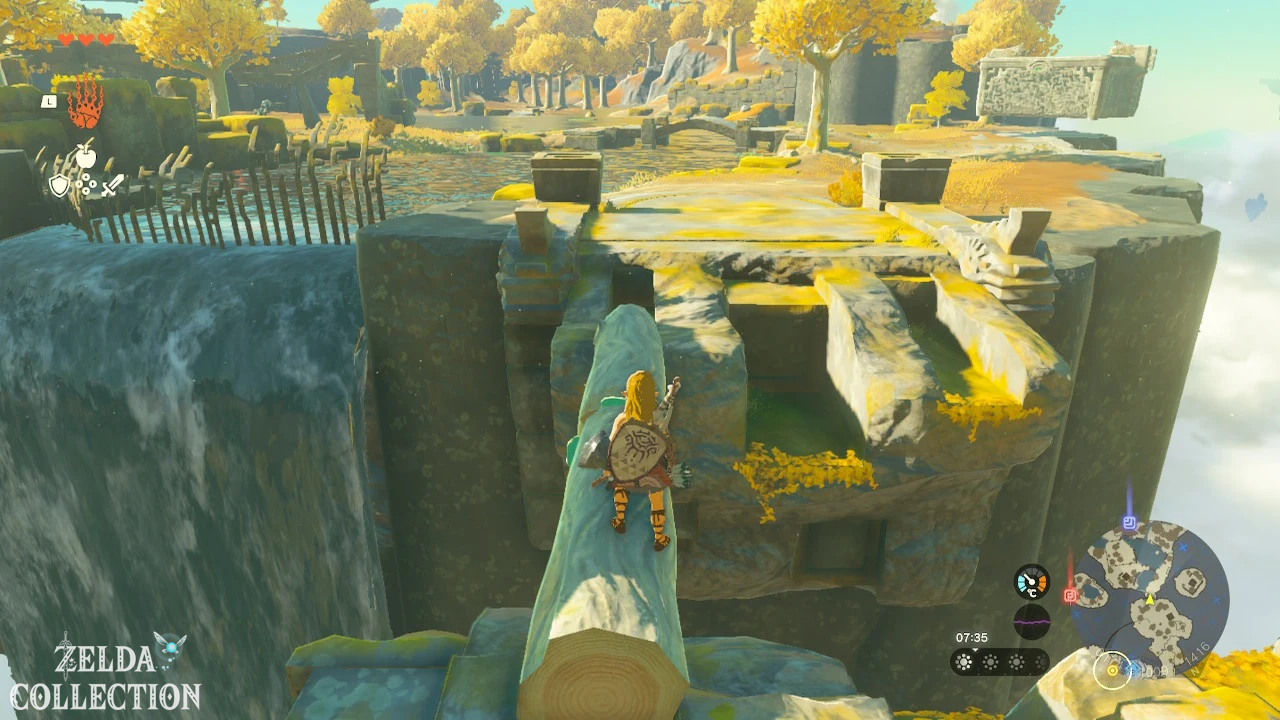
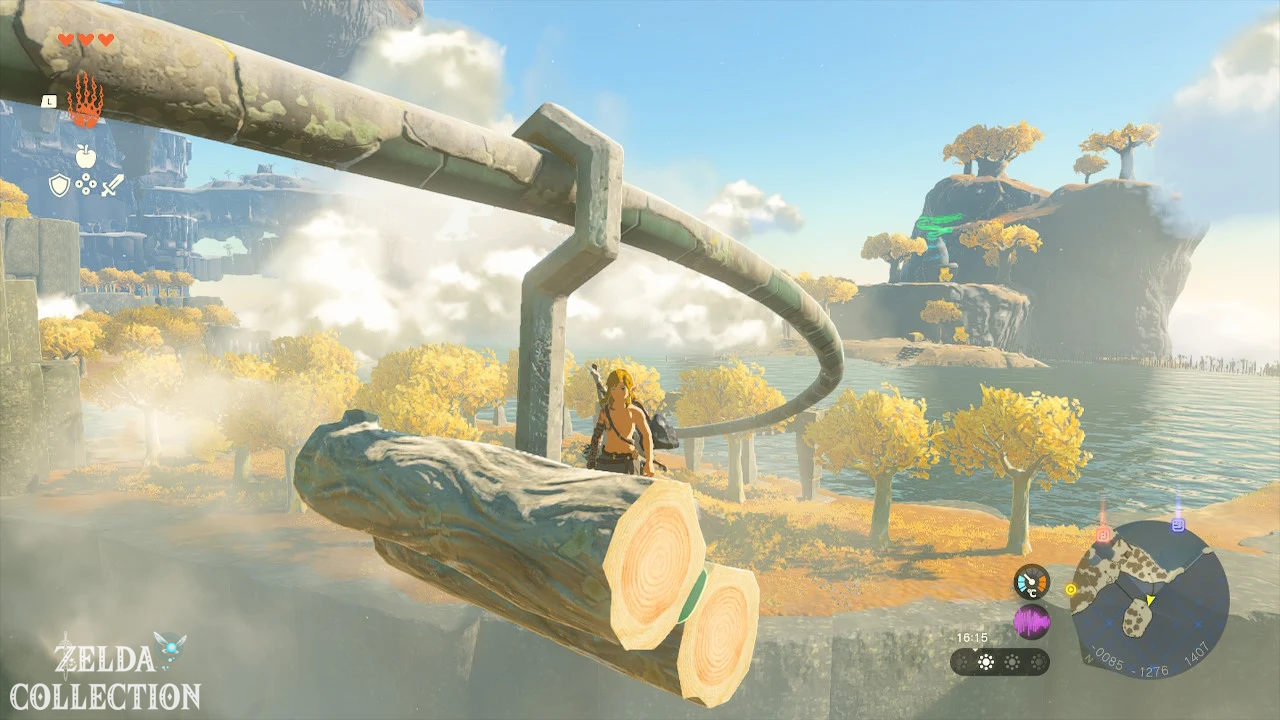
Equip the ax and cut down at least two of the thin trees. Then grab the tree trunks with the Ultrahand and connect them lengthwise.
Places the finished trunk bridge over the gap to the next island. Make sure that both ends lie sufficiently far on the ground so that the bridge does not slip.
Get your first bow and practice hunting
On the following island you will meet a Ranger Construct. It explains how to duck and sneak up on wild animals as quietly as possible.
Nearby you will find a Old wooden bow and arrows. Draw the bow with the ZR button and release the button to shoot an arrow.
Don’t waste the arrows on animals far away. You need it right away in In-isa Shrine and on the way there.
Cooking instead of just roasting
Follow the path southwest. In a small hut there is a Culinary Construct standing at a cooking pot.
Unlike roasting, you can combine up to five ingredients when cooking. Open the inventory, pick up several ingredients and throw them into the hot pot.
Simple combinations of apples and mushrooms are suitable to start with. However, save the hot peppers for later on your way to the snowy area.
Cooking Note: Do not randomly mix ingredients with different special effects. Several incompatible effects cancel each other out when cooking.
construct bearing and optional Treasure Chest
In front of the large lake there is a camp with several warrior constructs. One of the constructs stands elevated on a stone pillar and attacks with a bow.
Take out the archer first. A head hit with the bow causes additional damage and can knock the opponent off the pillar.
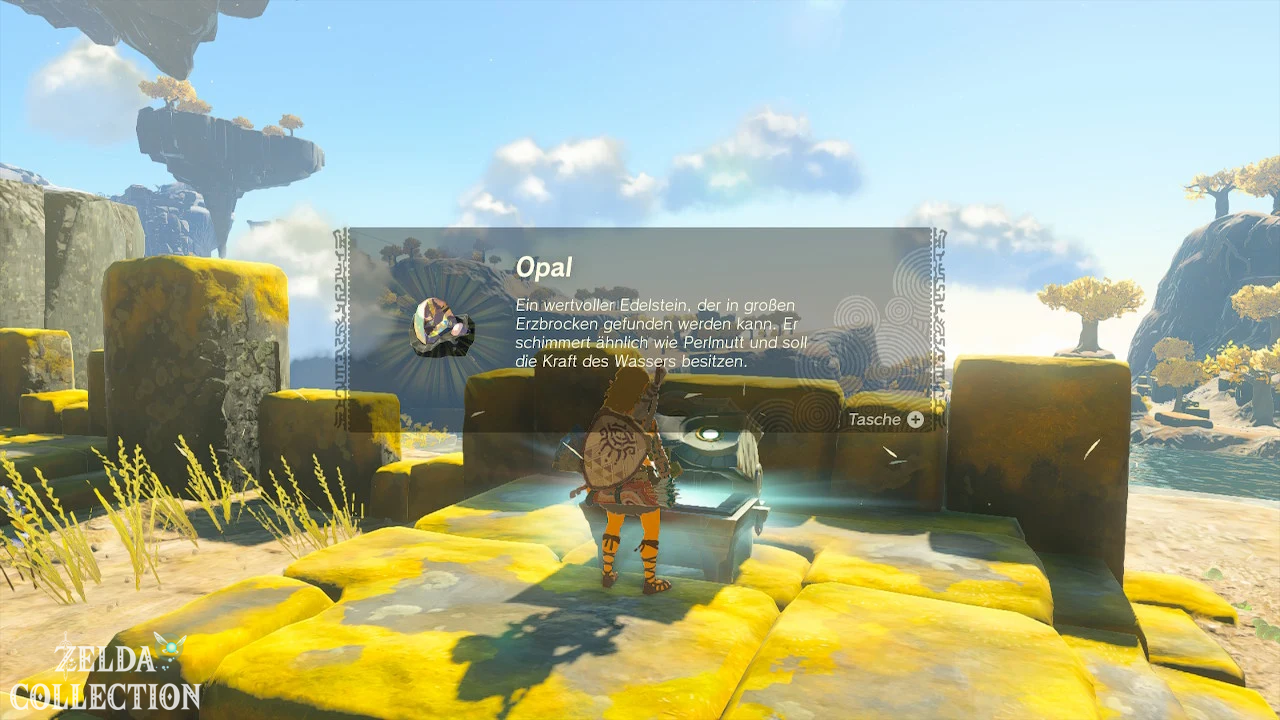
Then defeat the remaining constructs. The locked storage chest will only open once all enemies in the area have been eliminated. It contains a opal. The regional loot data also lists a storage chest containing opal at this location.
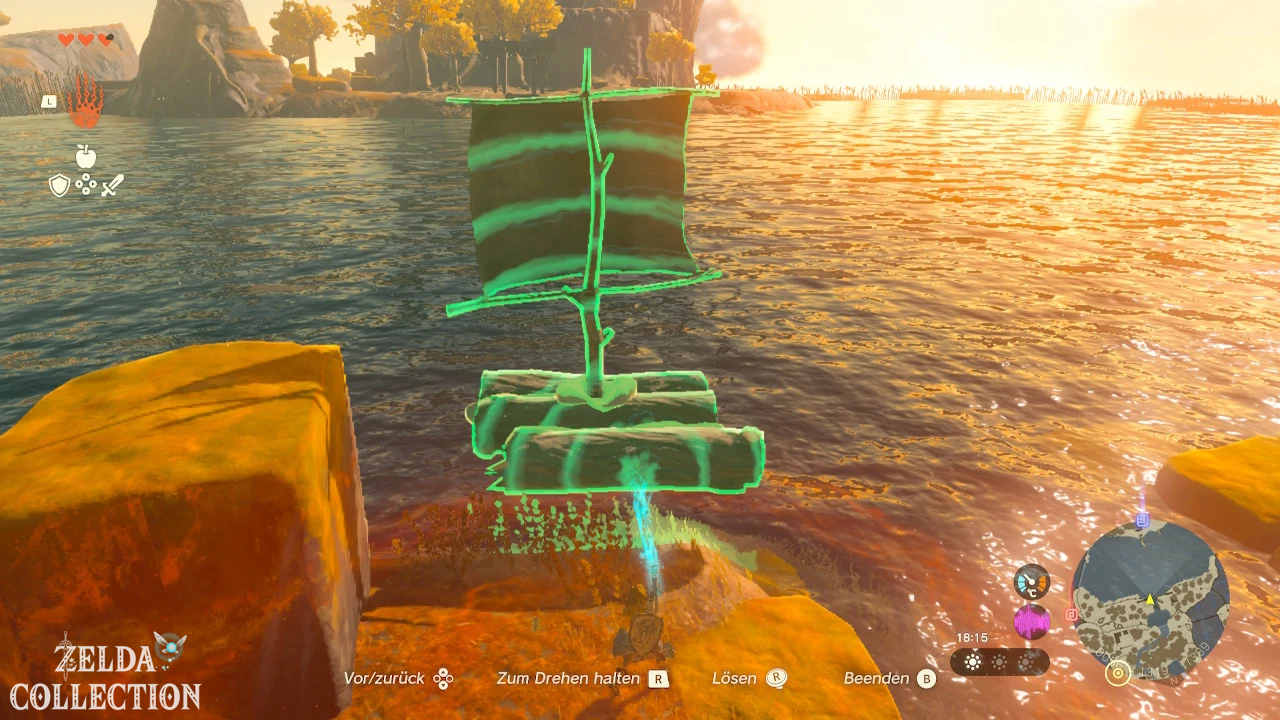
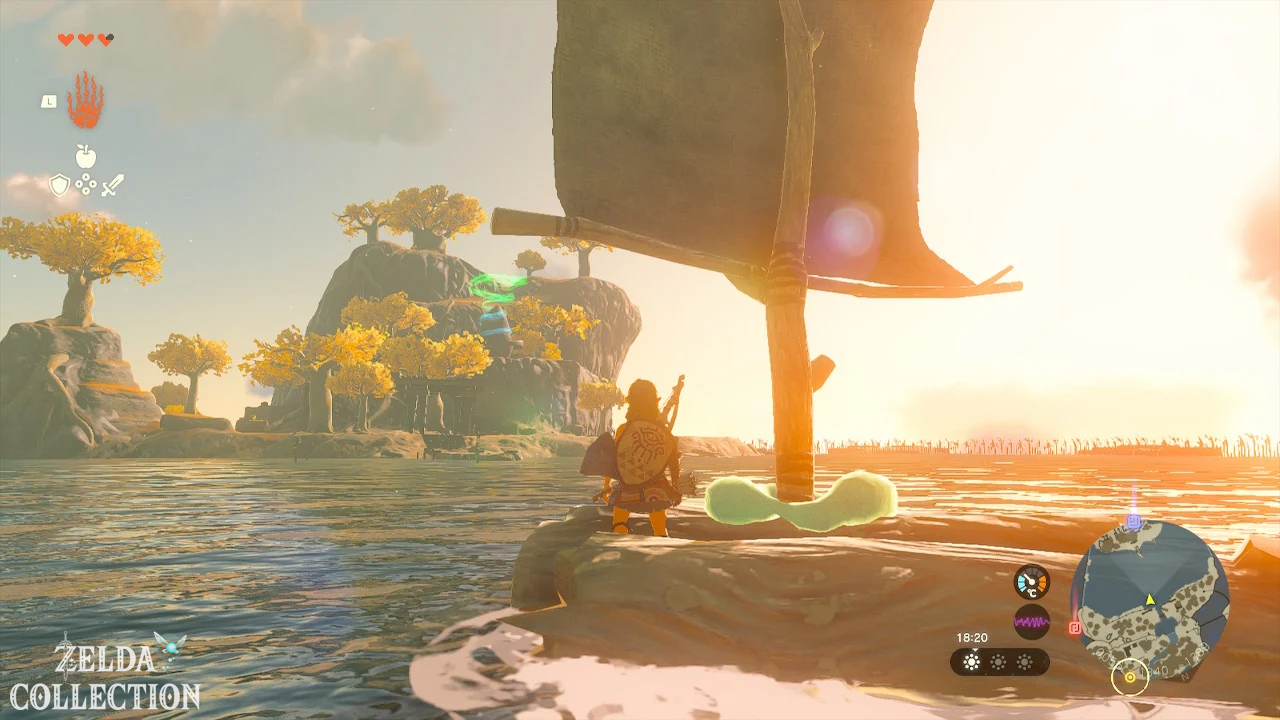
Building a raft for the big lake
The lake in front of In-isa Shrine is too wide to swim safely with Link’s initial stamina.
There are tree trunks and a sail on the bank. Build a raft out of it:
- Connects at least two tree trunks next to each other.
- Attaches the sail vertically in the middle.
- Puts the raft in the water with the Ultrahand.
- Get up and let the wind carry you across the lake.
If the raft is poorly aligned, bring it back to the bank and turn it. The sail must be positioned in such a way that the wind pushes the craft towards the shrine.
Alternatively, you can follow a narrow path on the left at the edge of the lake behind the waterfall. This trail requires some climbing but does not require a raft.
On the other side you climb the stairs to In-isa Shrine.
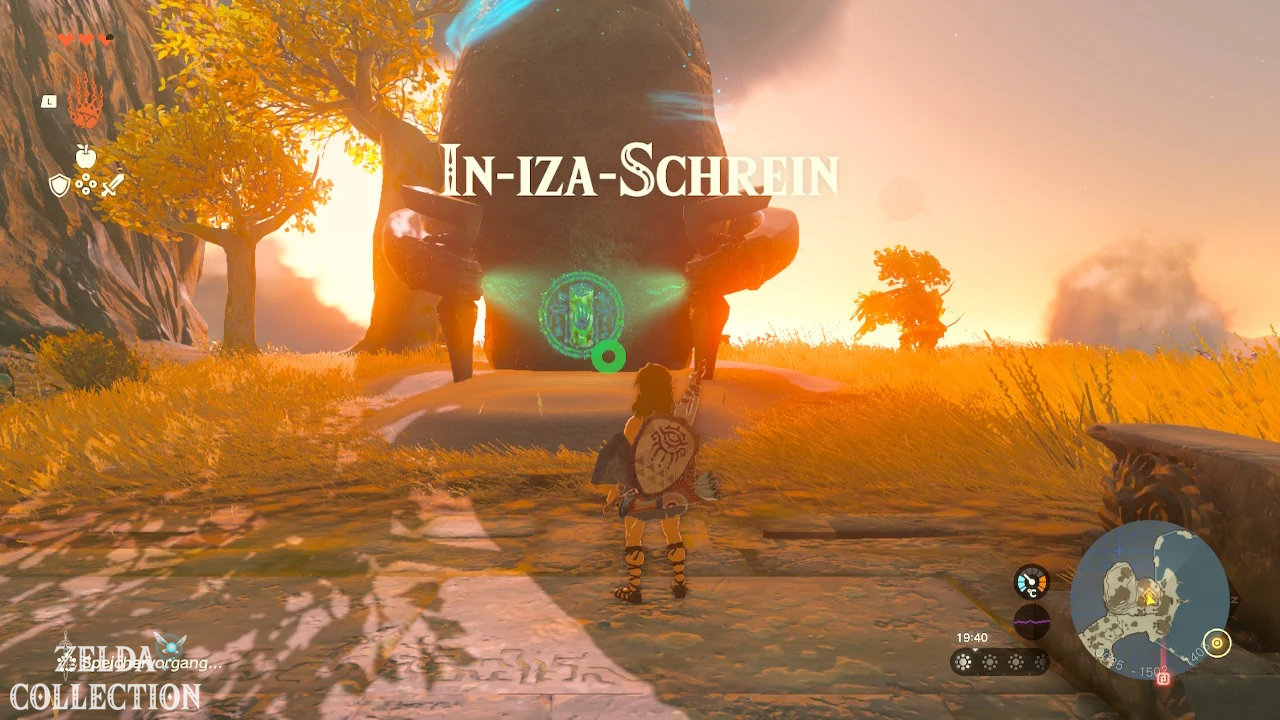
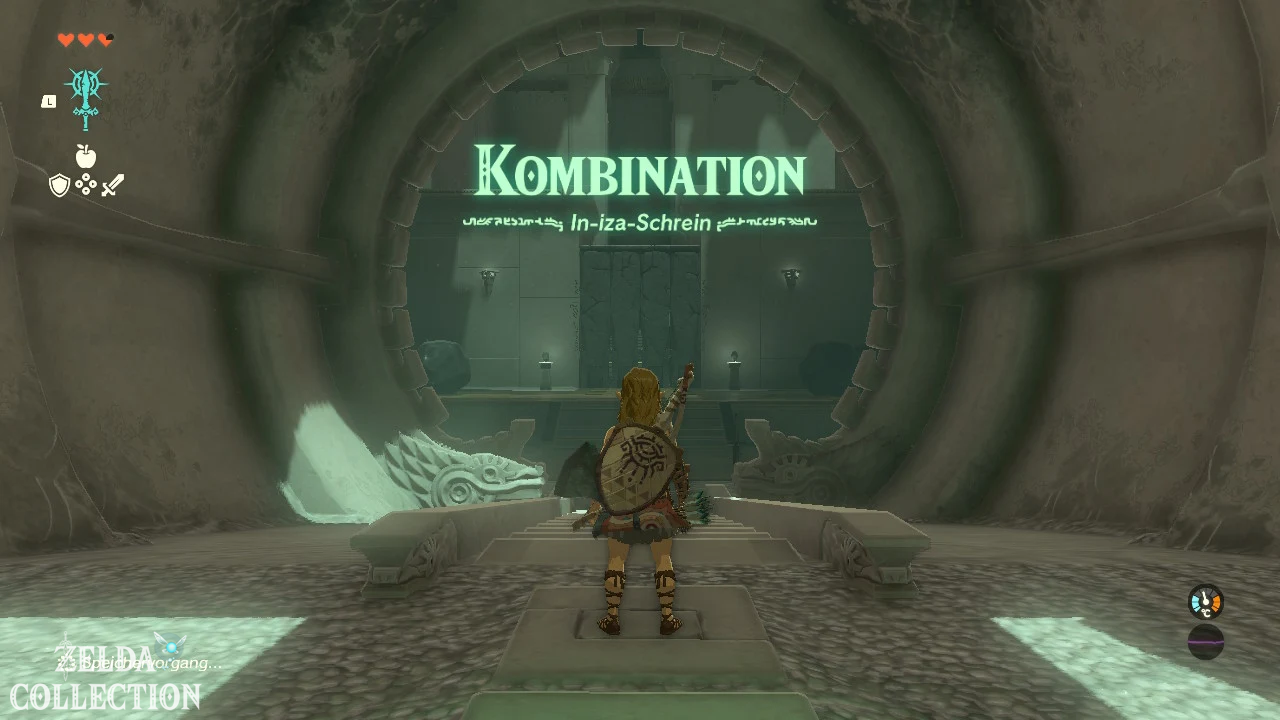
Solve In-isa Shrine
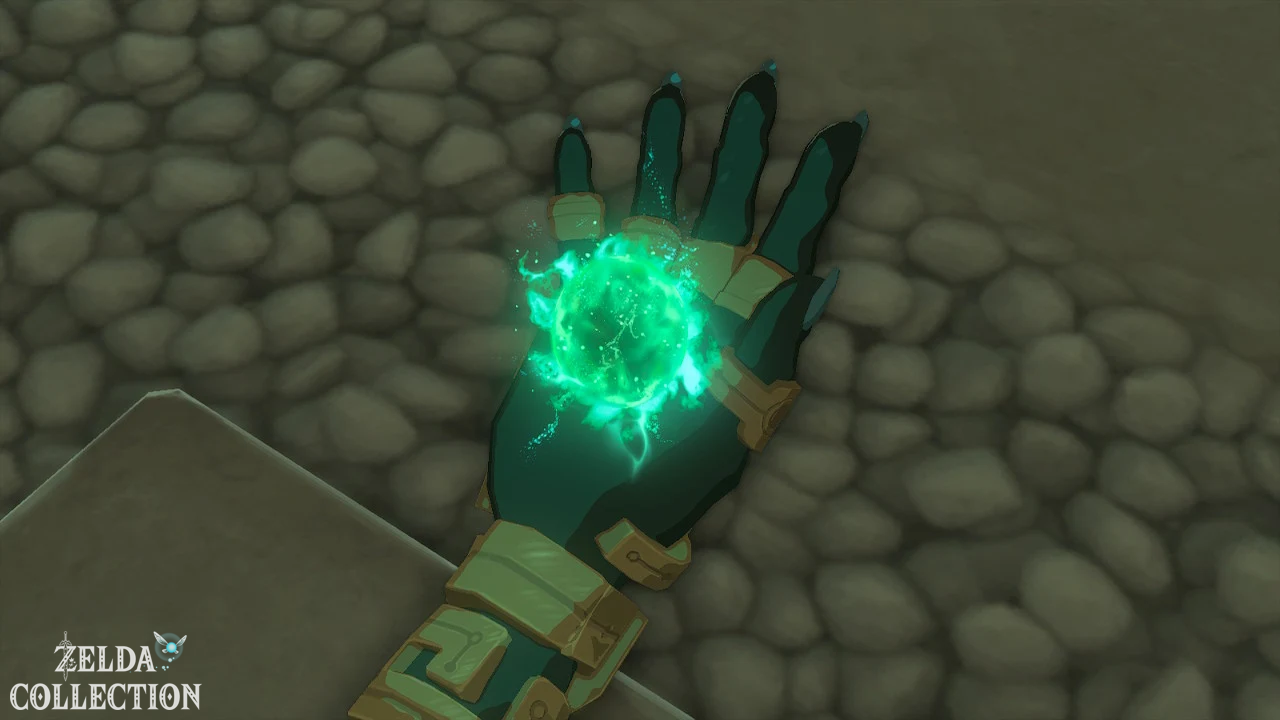
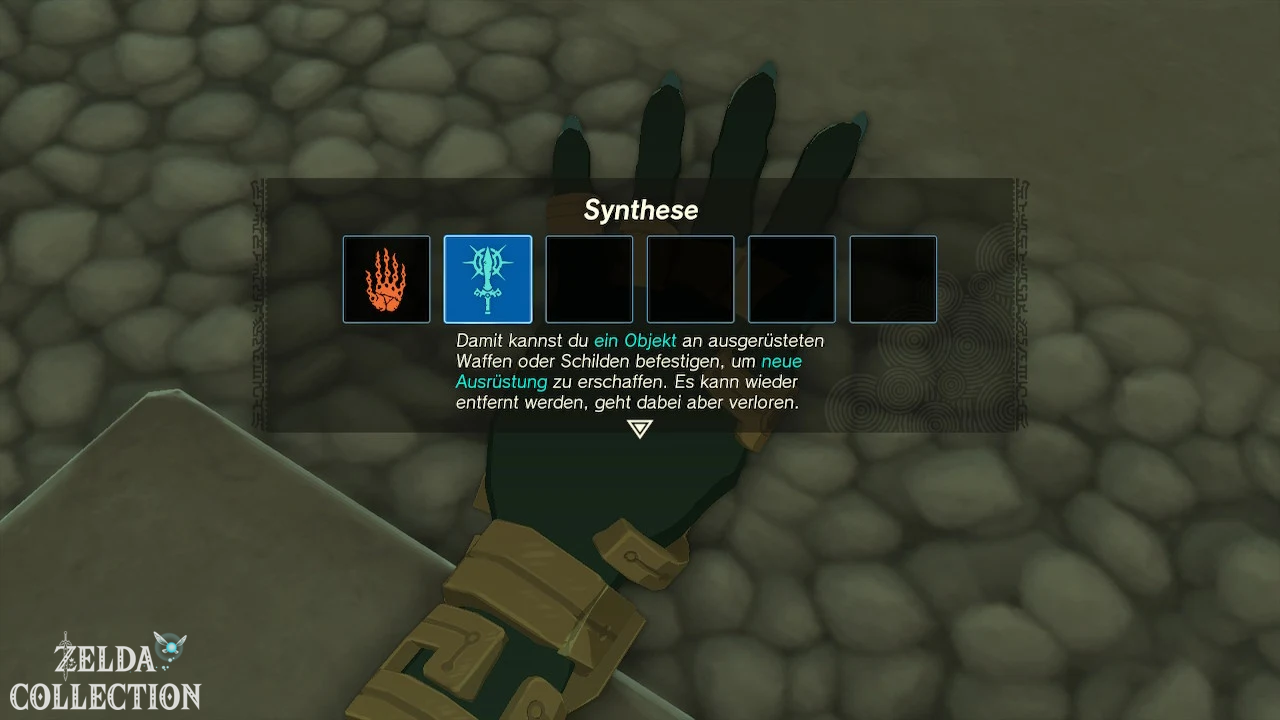
In the In-isa Shrine, Rauru Link transmits the Fuse. You can use it to attach an item or material to an equipped weapon or shield. Materials can also be connected to arrows while aiming.
Make rock hammer
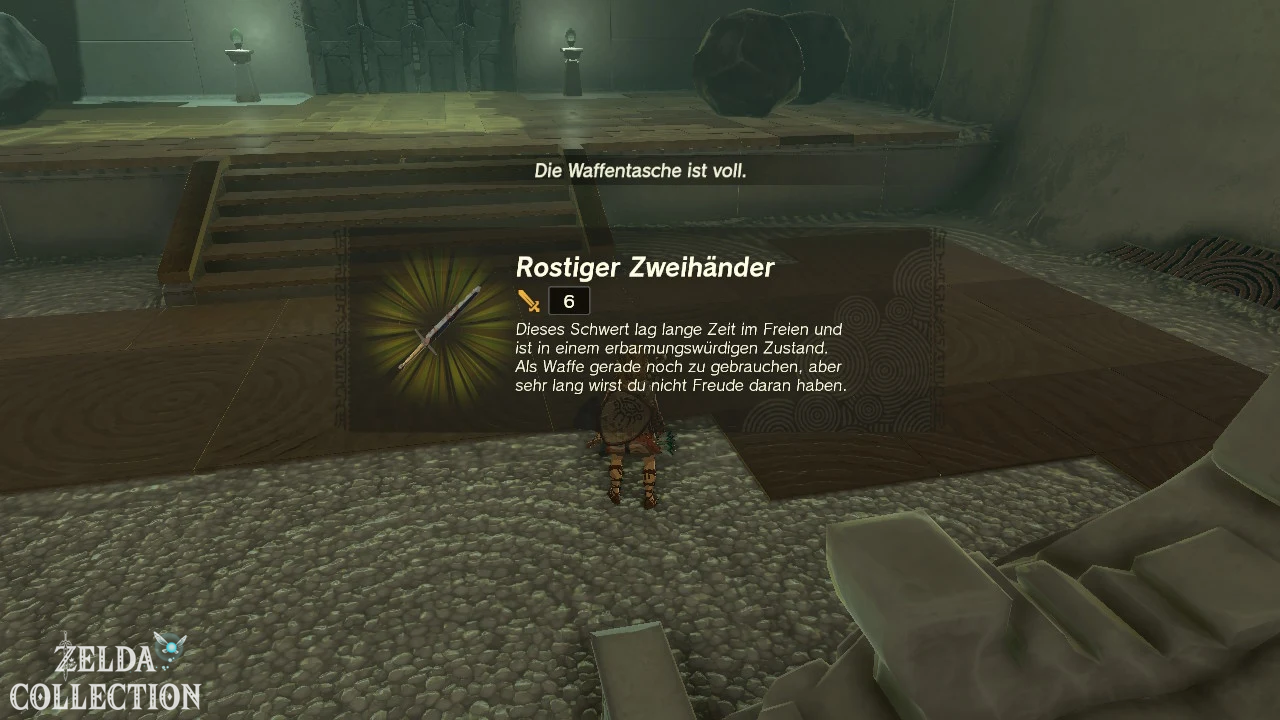
In the first room there is a Rusty Two-Handed Sword in the ground. There are large boulders next to it.
- Equip the two-handed sword.
- Hold the L button and select the Fuse.
- Targets a boulder.
- Press the weapon synthesis button that appears.
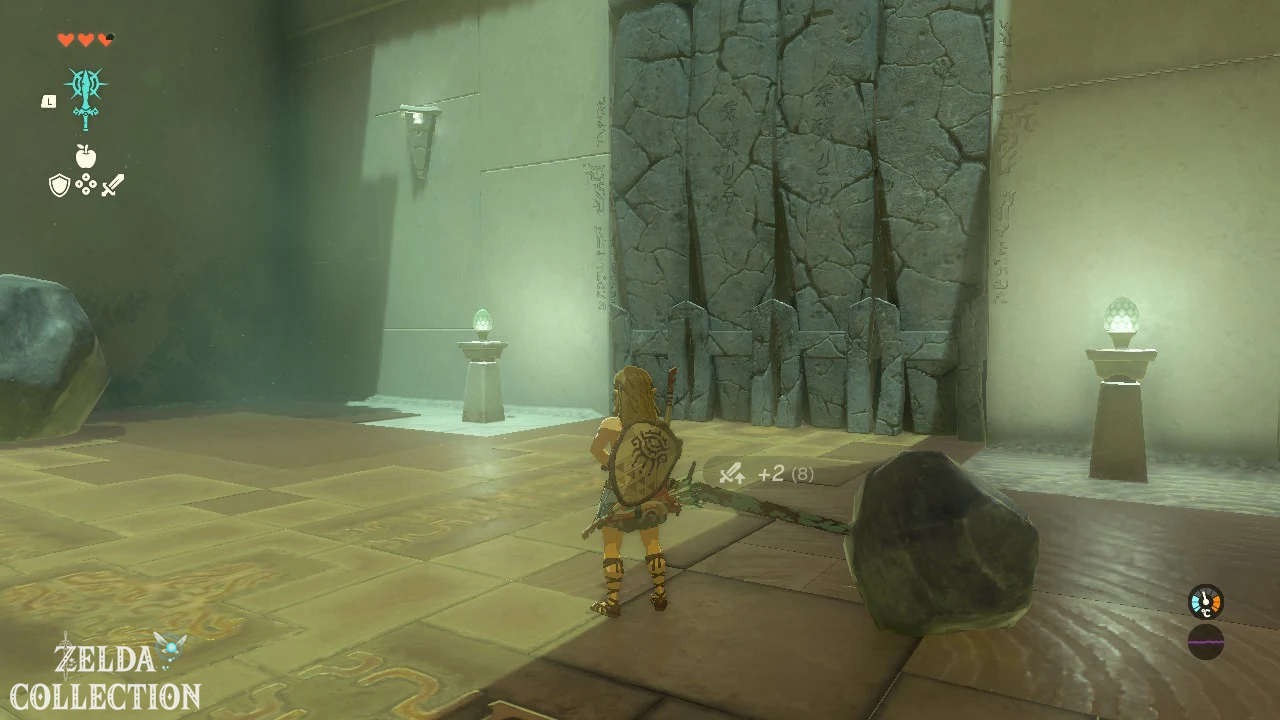
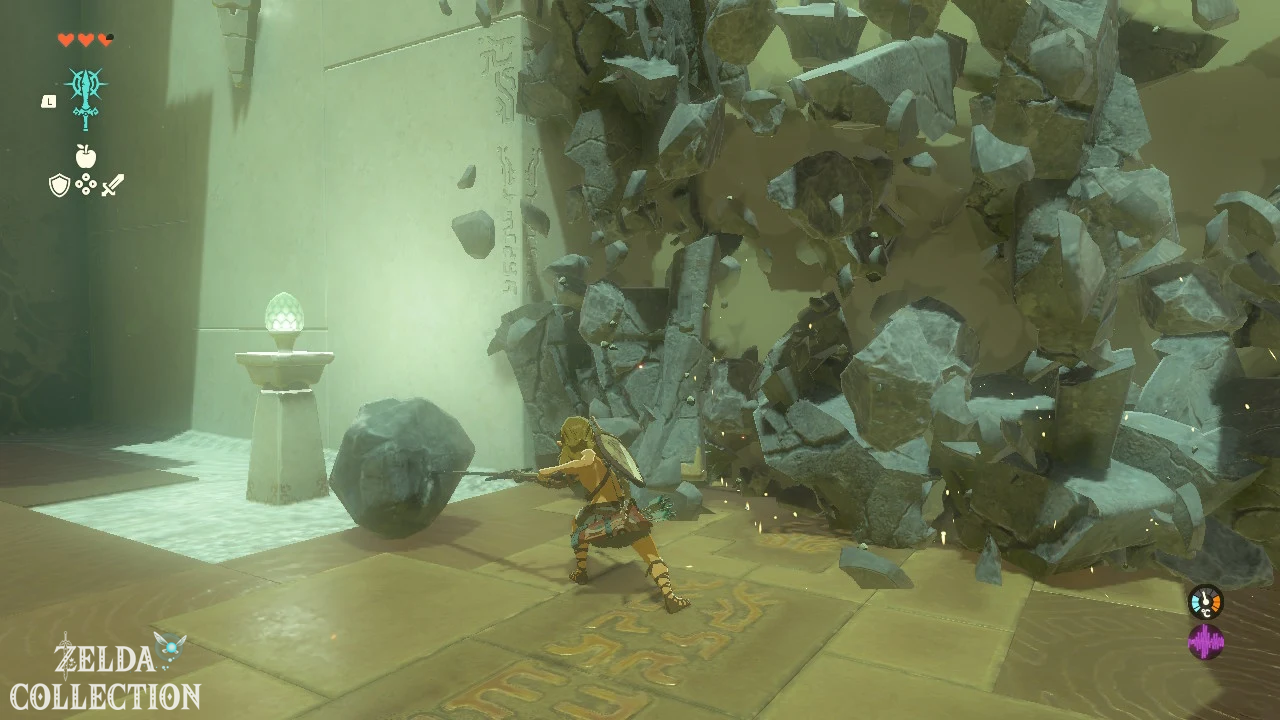
You will receive a heavy rock hammer. Hit the cracked stone wall with it until it breaks.
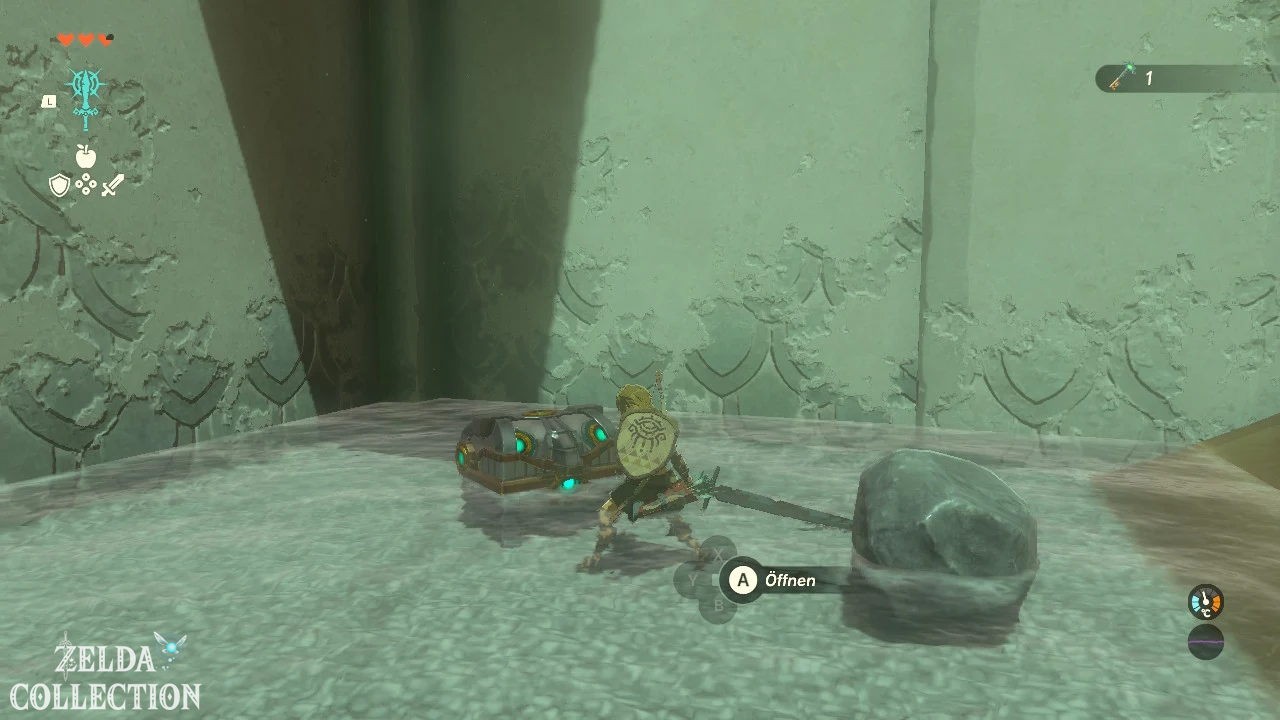
Hidden chest with five wooden arrows
Behind the first wall there is a brittle stone pillar in the hallway. Smash them with the rock hammer too.
The Treasure Chest standing on it falls to the ground. Open it and take the five wooden arrows. The Arrow Chest is part of the shrine’s regular reward.
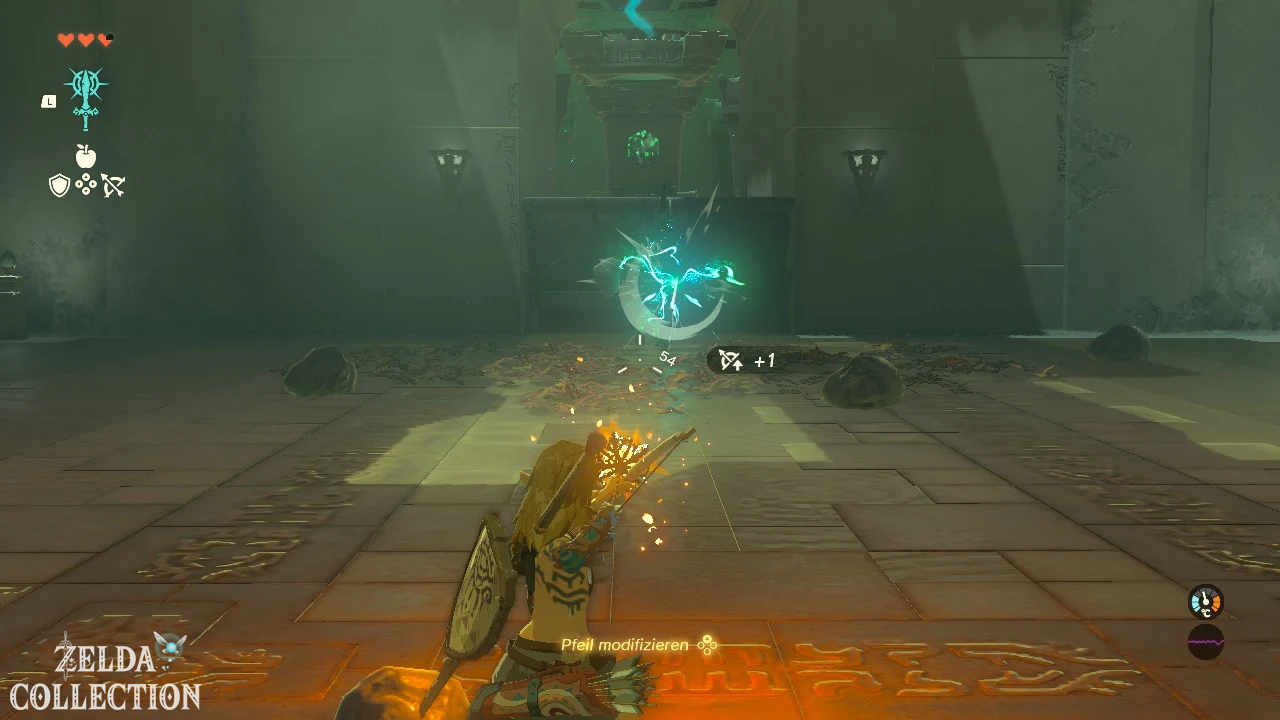
Attach fire fruit to an arrow
Go to the right side room and collect the Fire Fruit, the old wooden bow and the arrows.
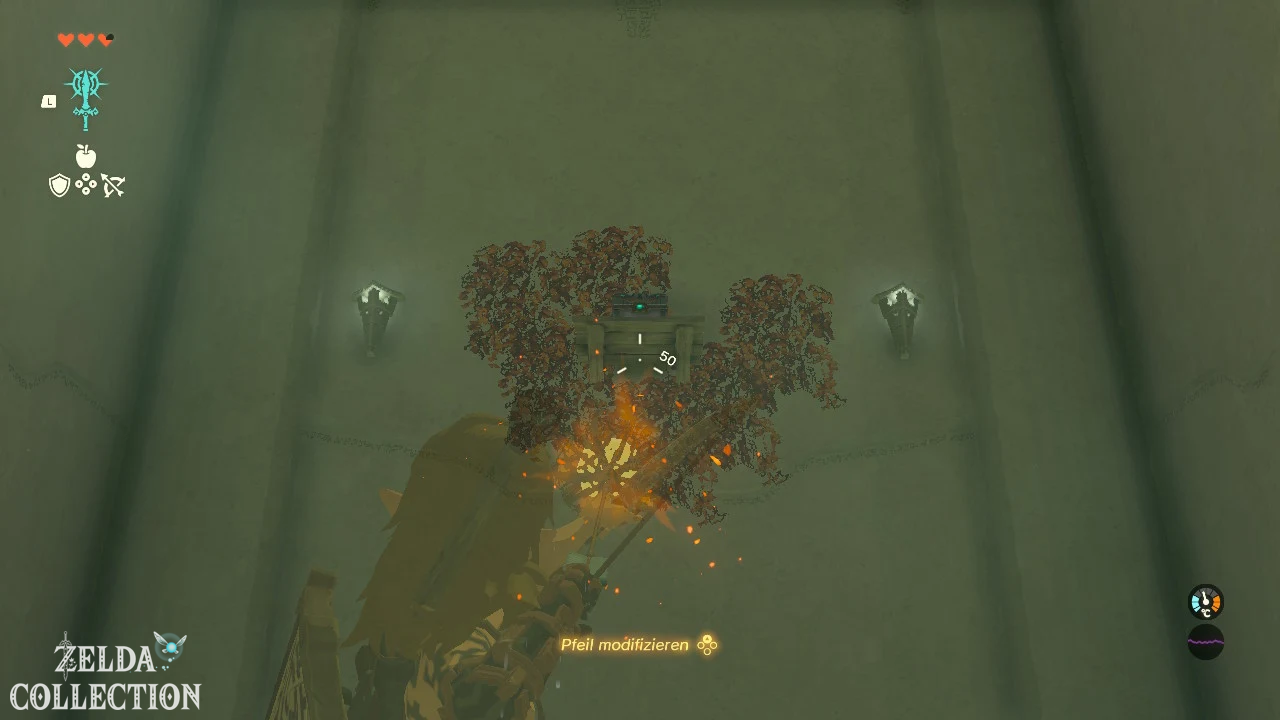
Above you is a Treasure Chest hanging on a wooden frame surrounded by dry leaves.
- Hold ZR to draw the bow.
- Press and hold the top direction button.
- Select a fire fruit.
- Release the direction button.
- Shoots the dry leaves.
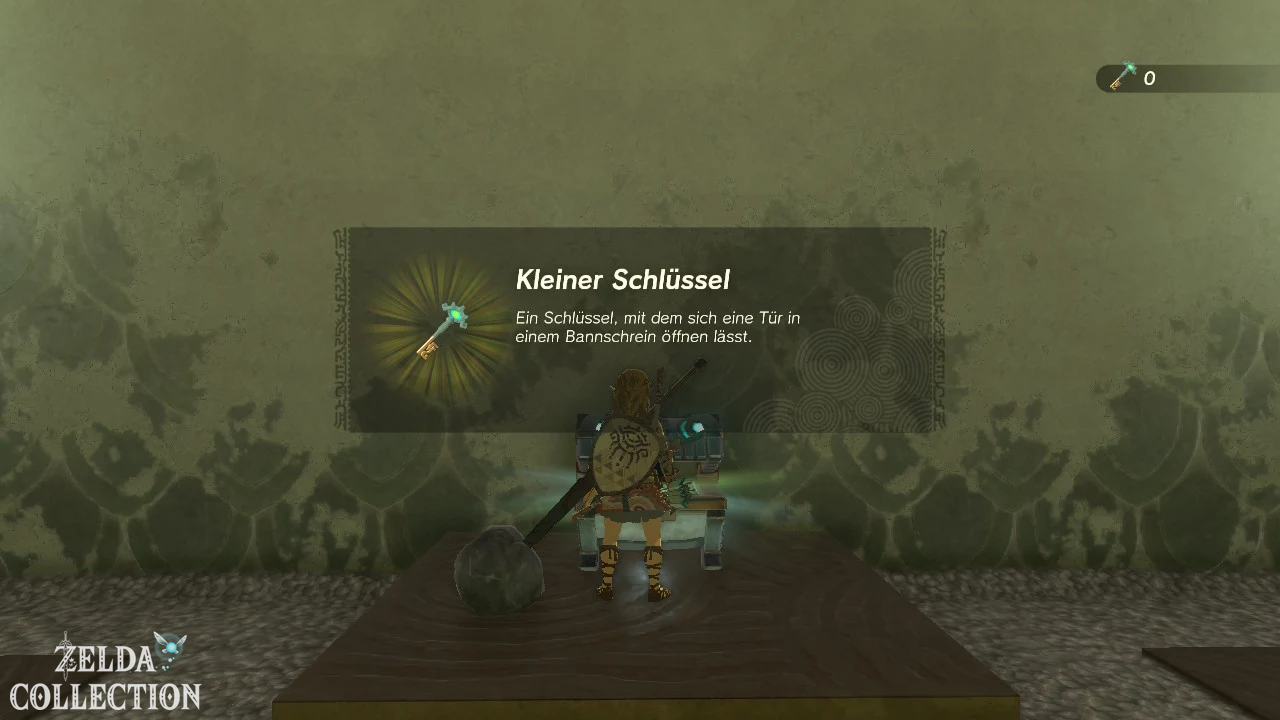
The fire destroys the scaffolding and the Treasure Chest falls down. Inside is a Small Key.
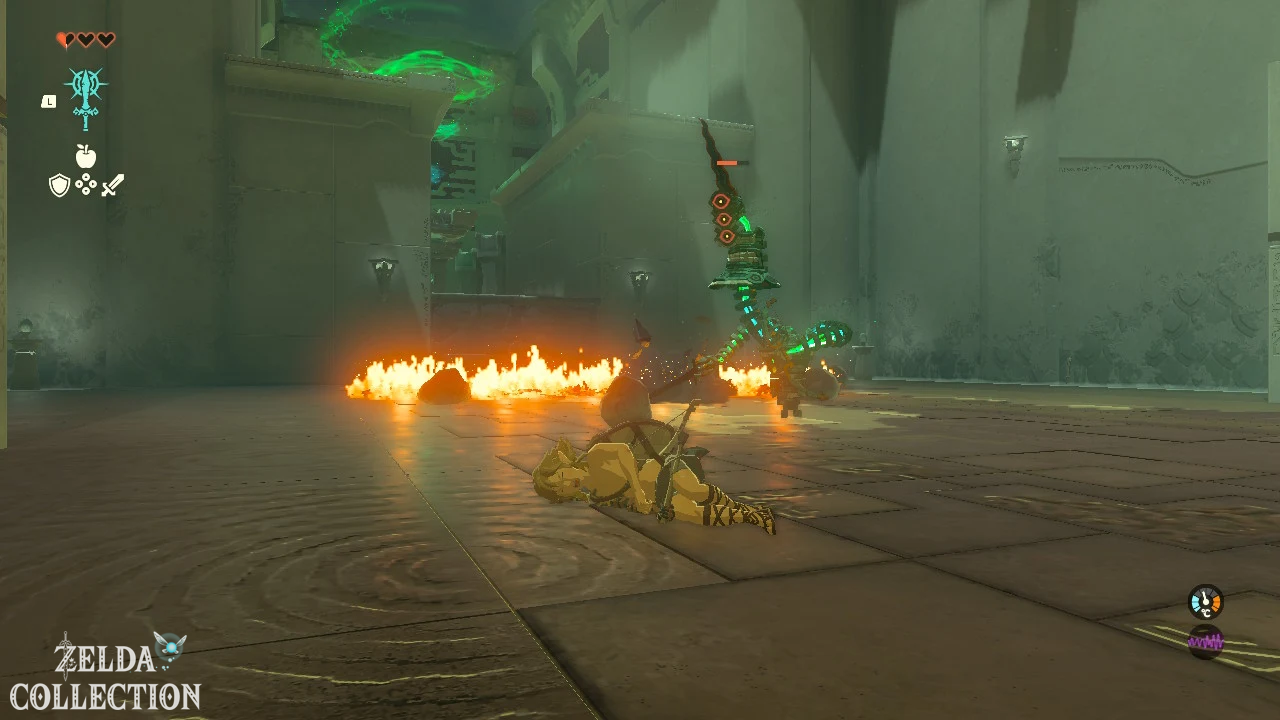
Defeat Elite Construct
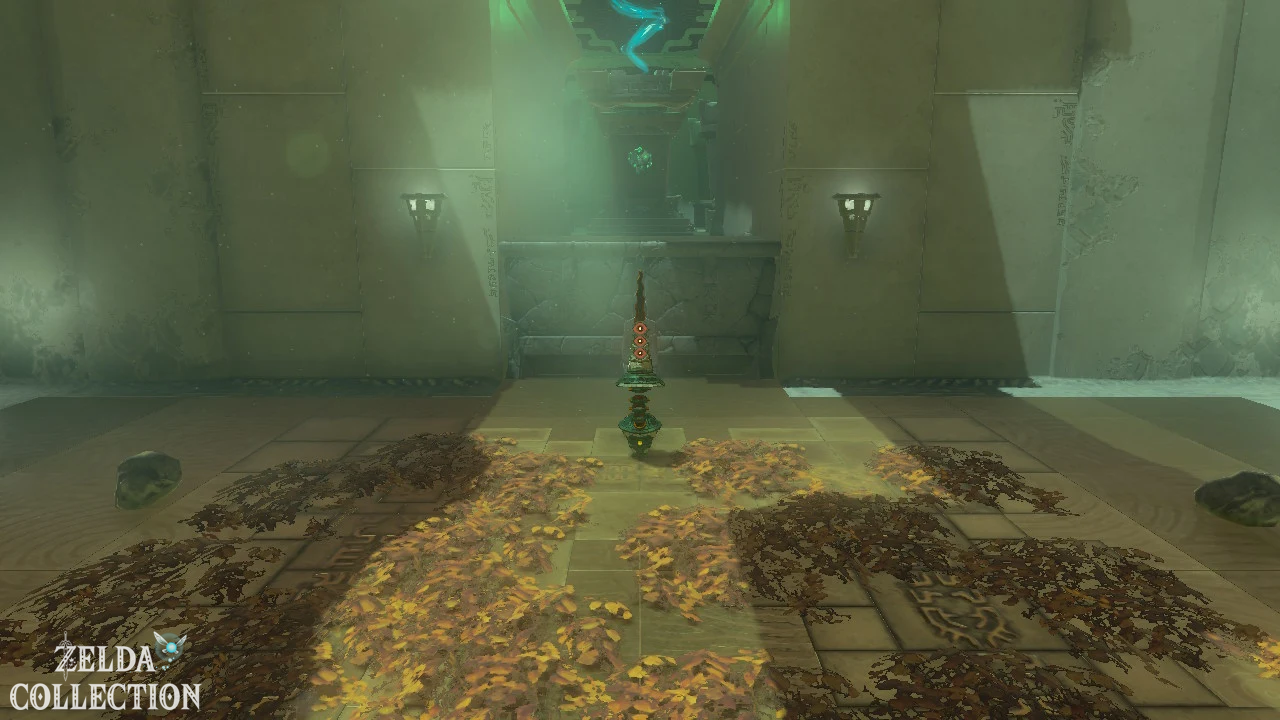
Use the key on the green door in the main room. Behind it is a stronger construct that also uses a synthesized weapon.
You have several options:
- Attack in melee with your rock hammer.
- Shoot Fire Fruit arrows at the dry leaves on the ground.
- Climb onto the side platforms and shoot at the enemy from above.
- Connects a construct horn to a replacement weapon.
Don’t stay in the flames if you light the leaves. Wait until the construct has been weakened by the fire, then follow up with melee attacks.
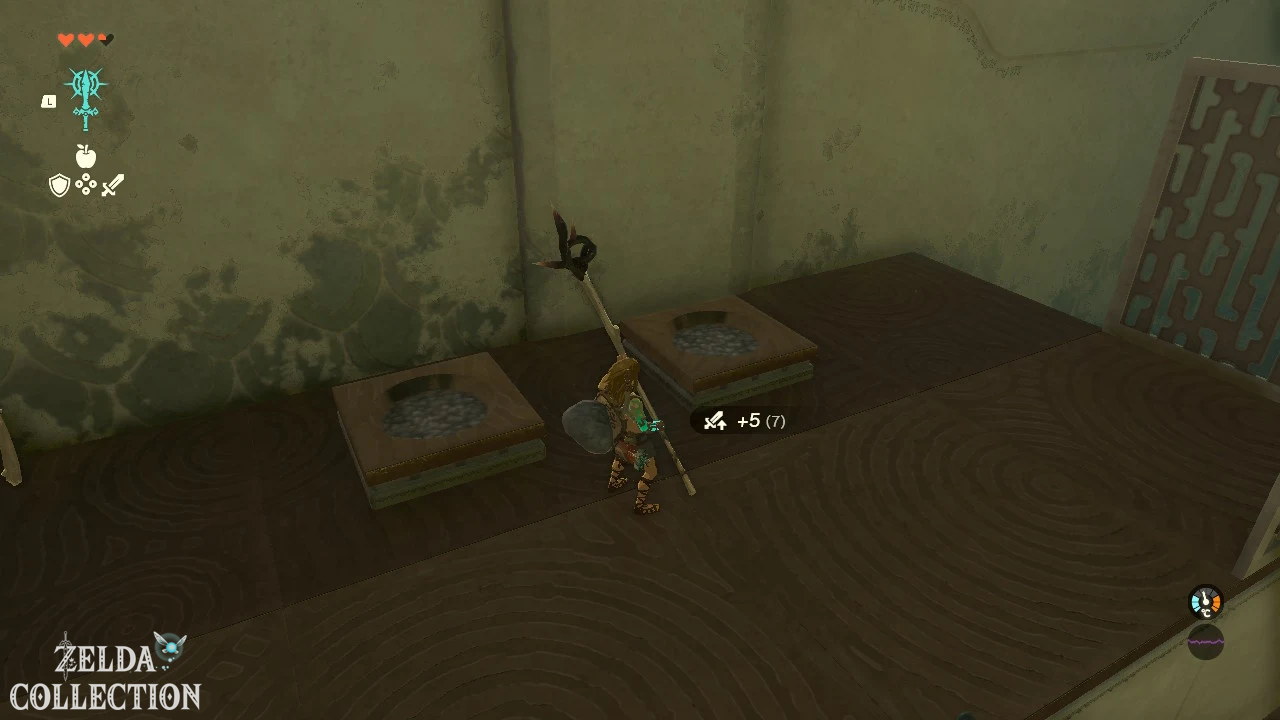
After victory, you can pick up his construct bow, construct horn and synthesized weapon, among other things.
Complete Shrine
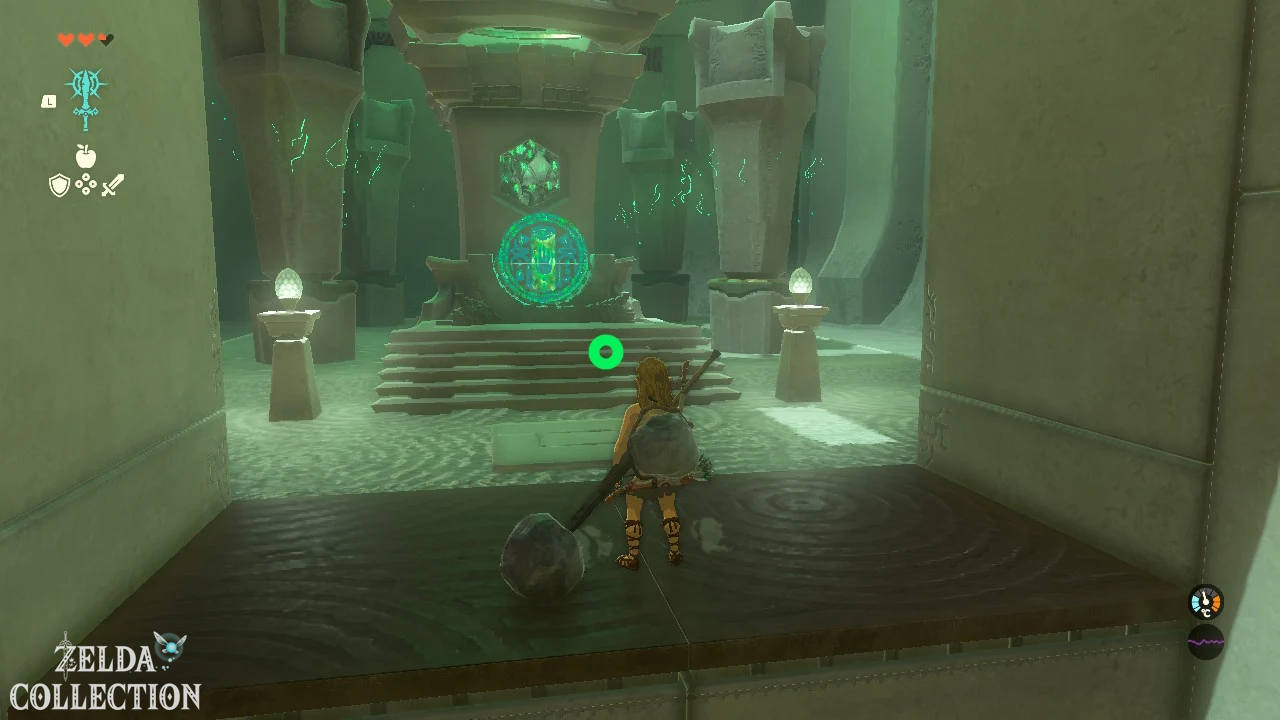
Destroy the last cracked stone wall with your rock hammer. Behind it is the altar. Take the second Light of Blessing and leave the shrine.
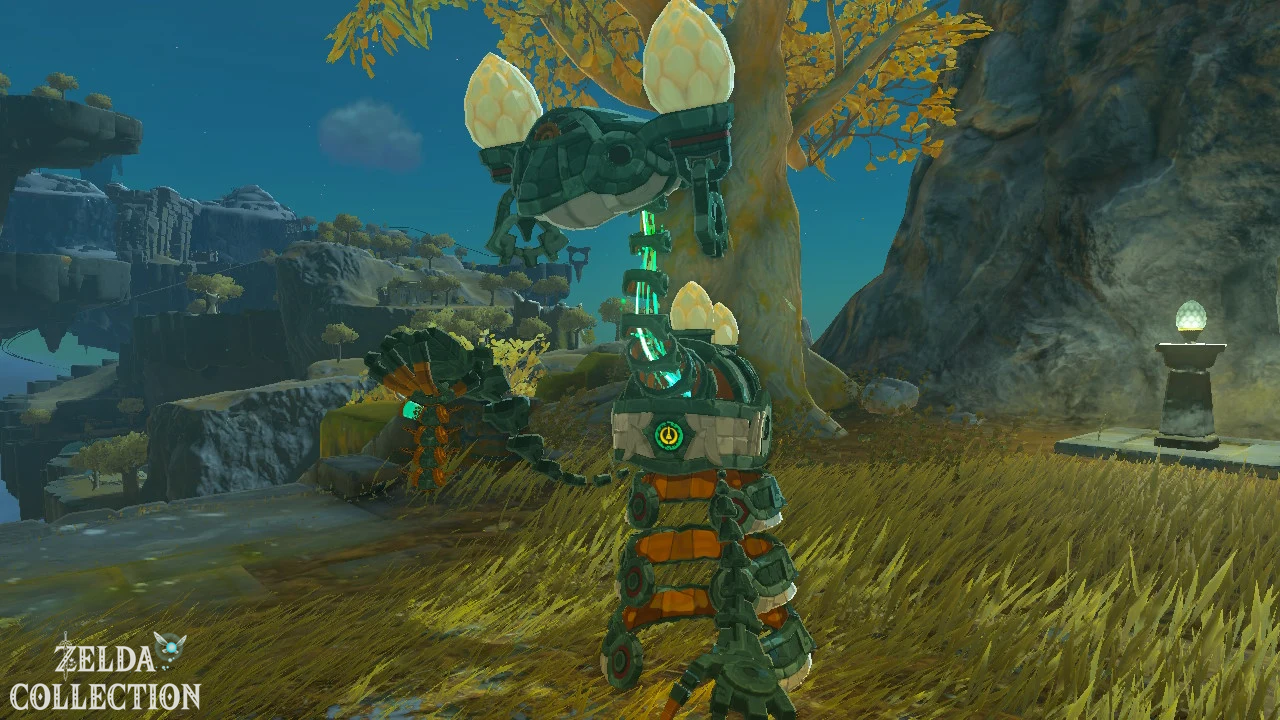
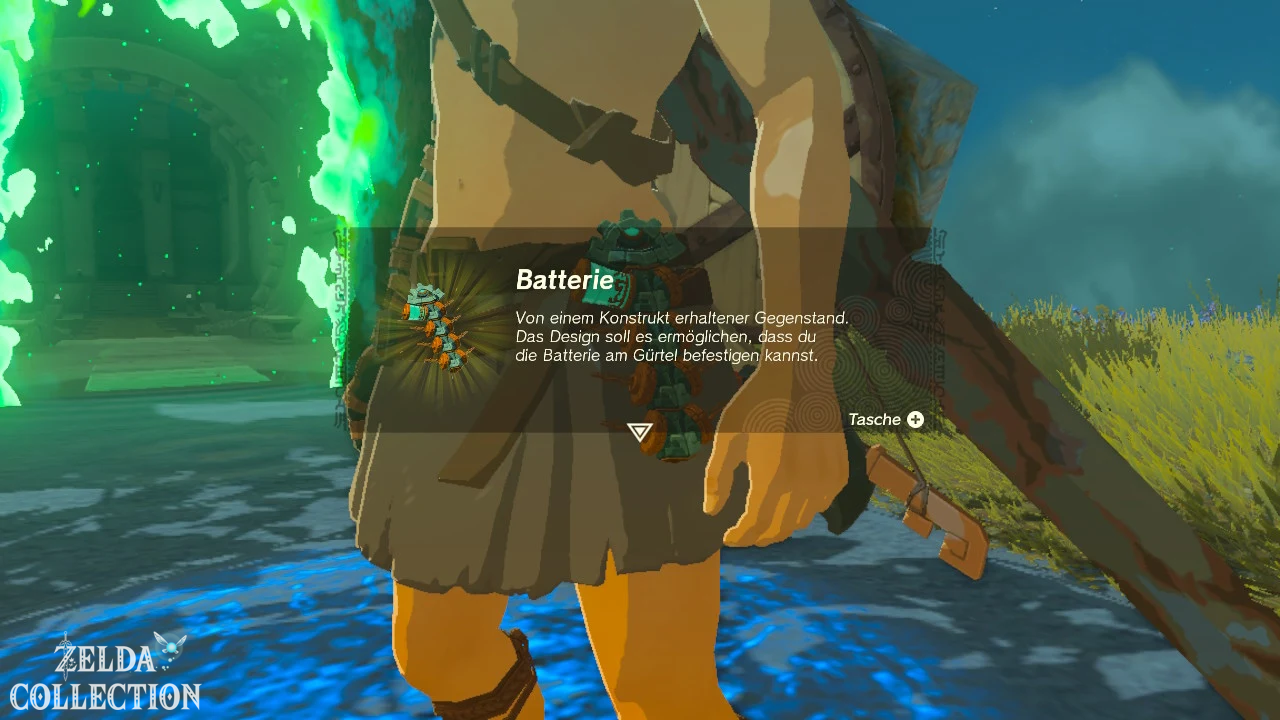
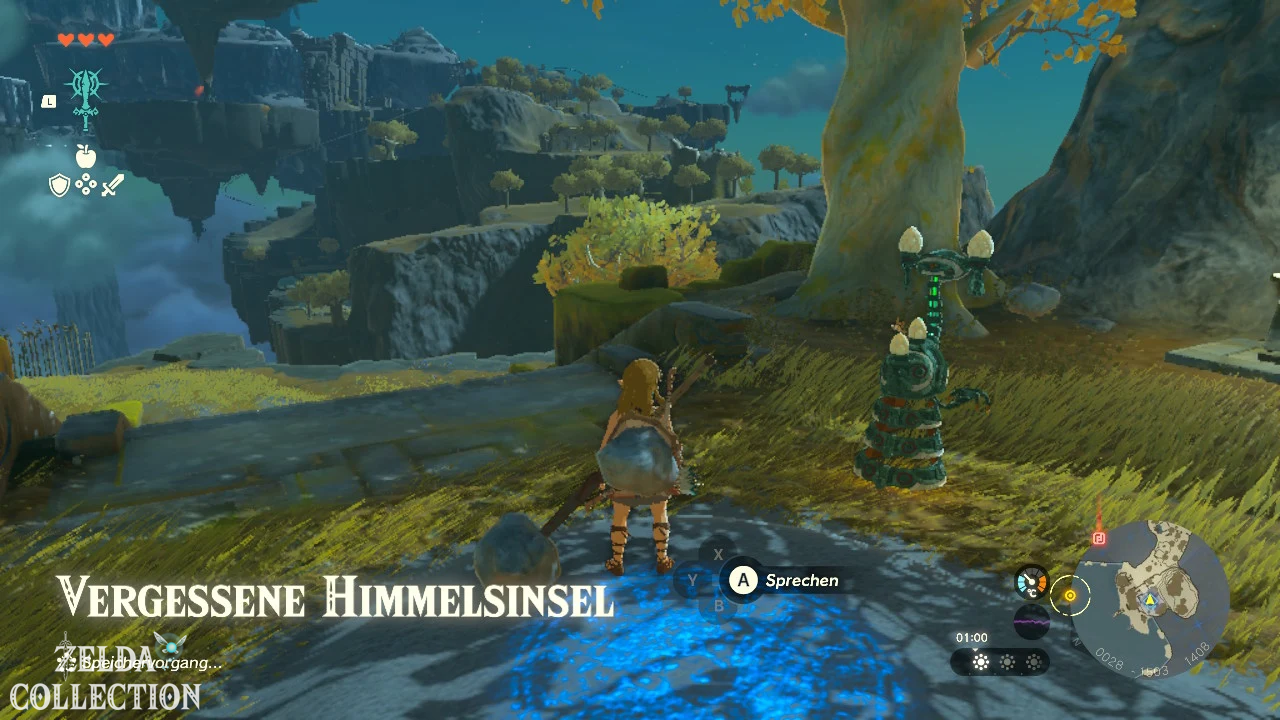
A Steward Construct is waiting in front of the exit. It gives you a Zonai battery. The battery supplies active Zonai Devices with energy. The more energy cells you unlock later, the longer vehicles and machines can operate.
Path to Gutanbac Shrine
Location: Snowy southeast of the Great Sky Island
coordinates: approximately 0709, -1383, 1598
exam: advancement
Capability: Ascend
Treasure Chests: Stone Ax and Construct Bow
The path to the third shrine is the longest section of the Great Sky Island. You will get to know caves, Brightbloom Seed, Zonaite, mine carts, capsule dispensers, Zonai Devices and protection against the cold.
Construct Camp below In-isa Shrine
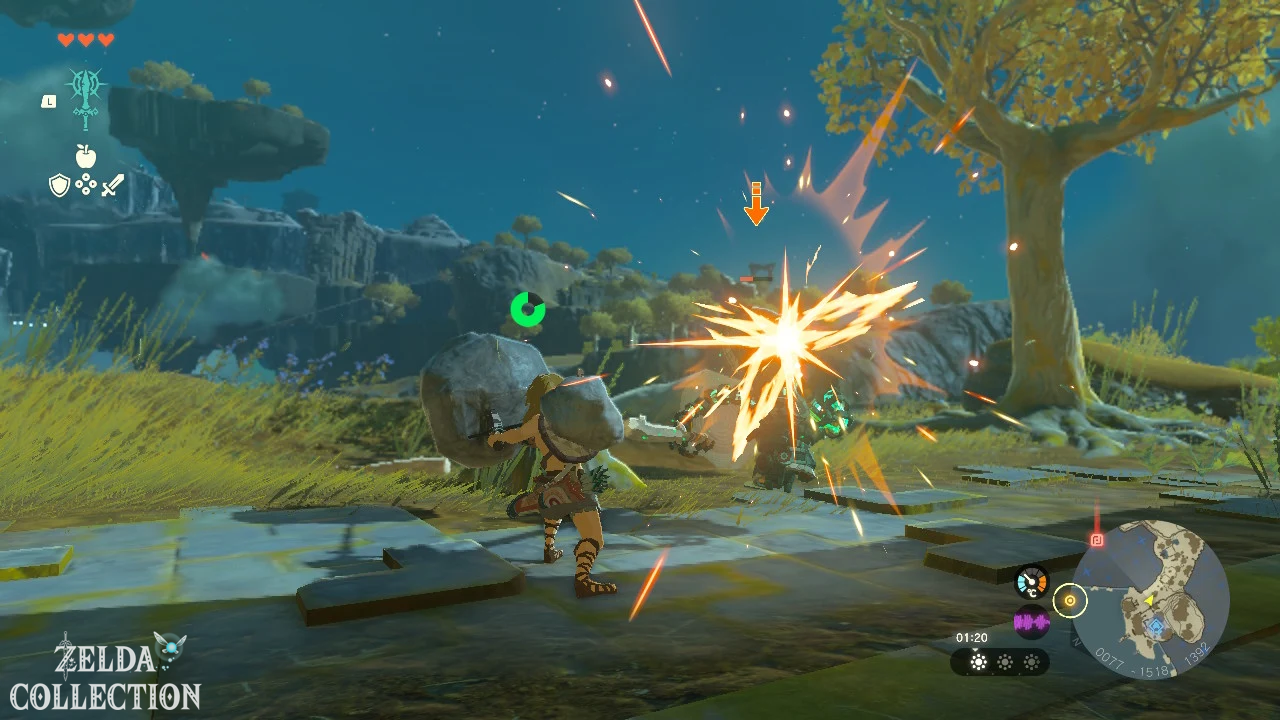
Follow the path from the shrine to the southeast. At a campfire, several constructs guard a Treasure Chest.
Defeat enemies one at a time. Use your newly acquired Fuse and connect construct horns or stones with Wooden Sticks.
There is an improved construct weapon in the storage chest. Also take a shield with you if you don’t already have one.
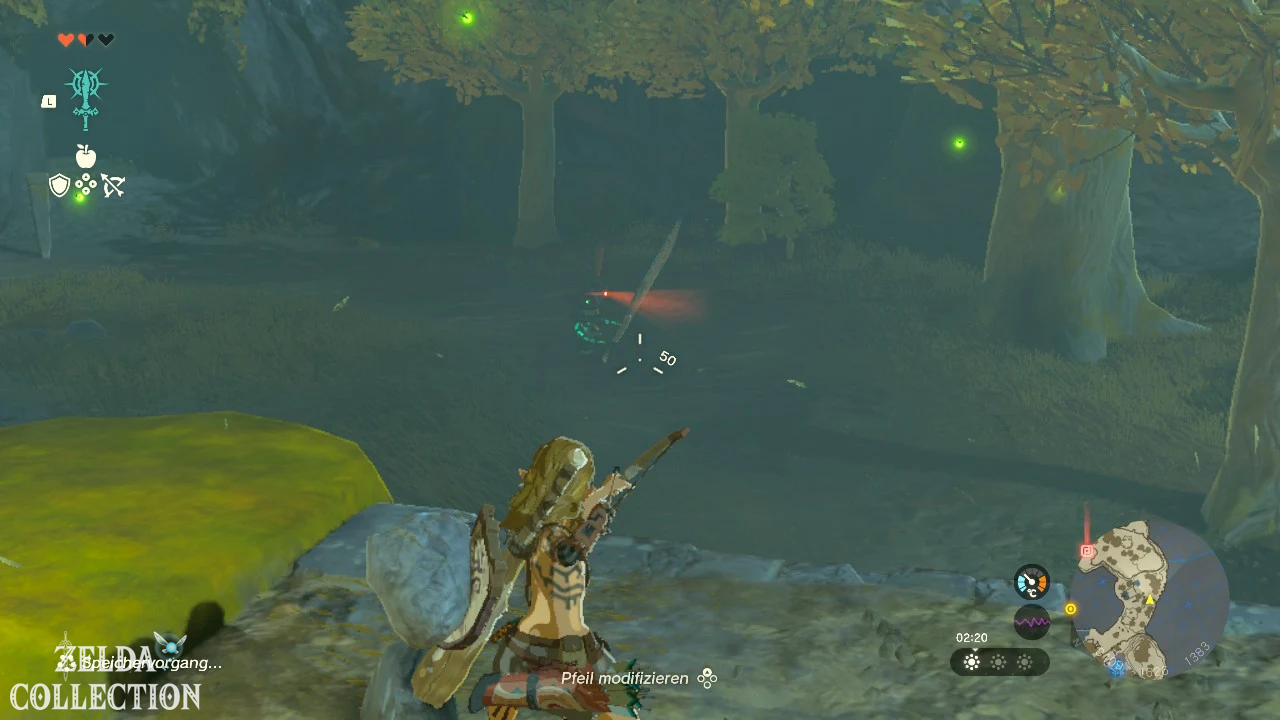
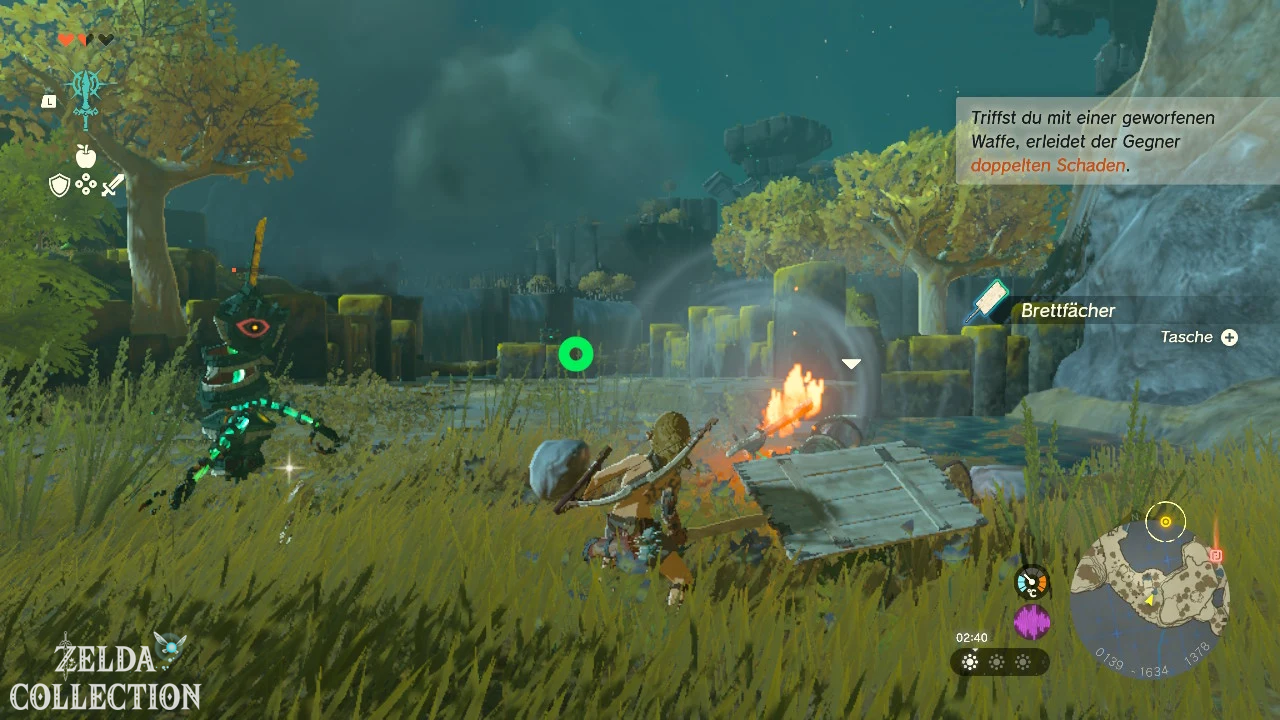
Pondside Cave enter
To the right of the warehouse is the entrance to Pondside Cave. Collect the first Brightbloom Seed inside. They serve as mobile light sources for dark caves and later for the Depths.
Defeat the Keese and take its eyes and wings with you. A Keese Eyeball attached to an arrow automatically tracks a target, while a wing increases the flight distance of an arrow.
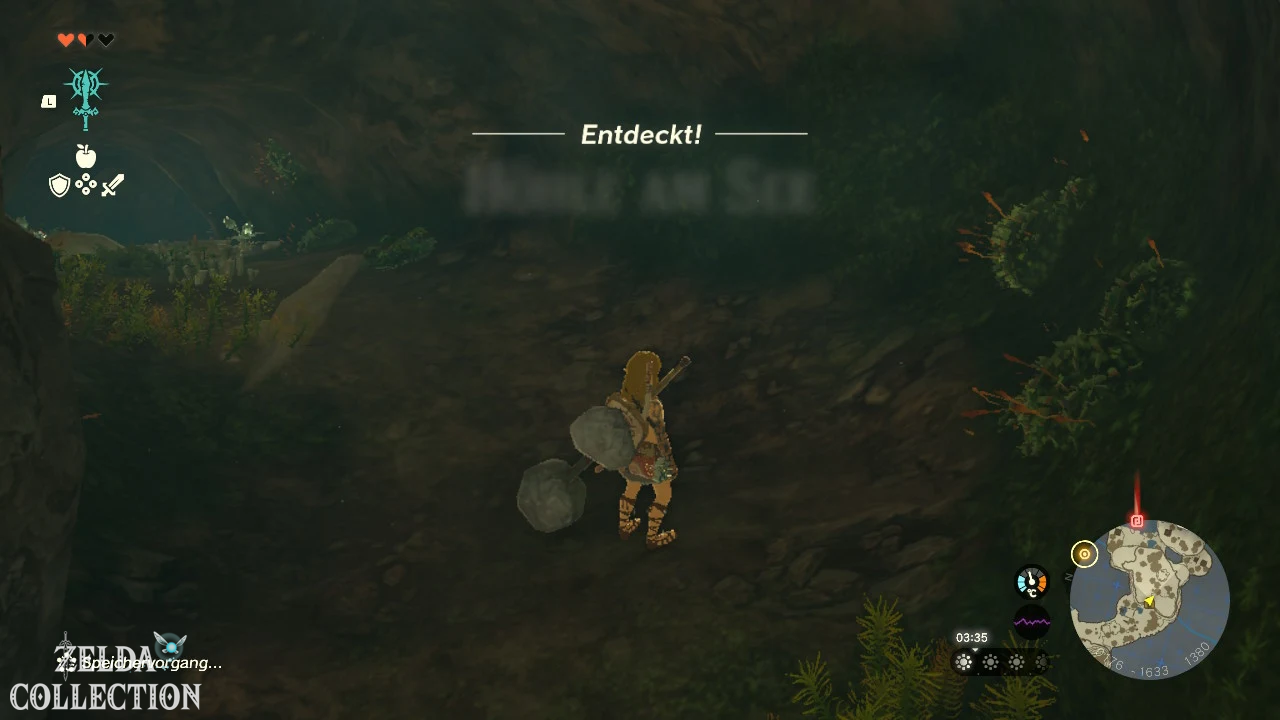
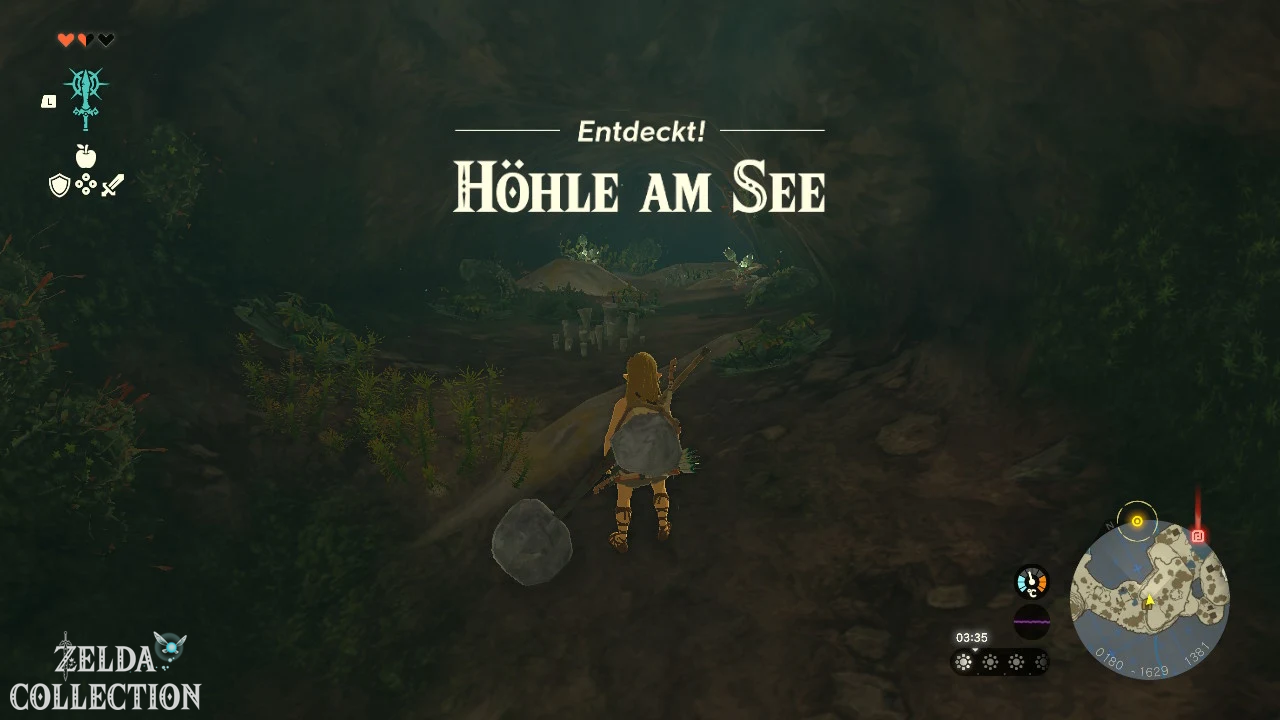
Mine ores
You can see dark ore deposits on the cave walls. Hit it with a blunt weapon, such as a rock hammer.
The deposits may contain flint, rock salt or other minerals. Do not use sharp swords for mining as they will break unnecessarily quickly.
Bubbulfrog and Bubbul Gem
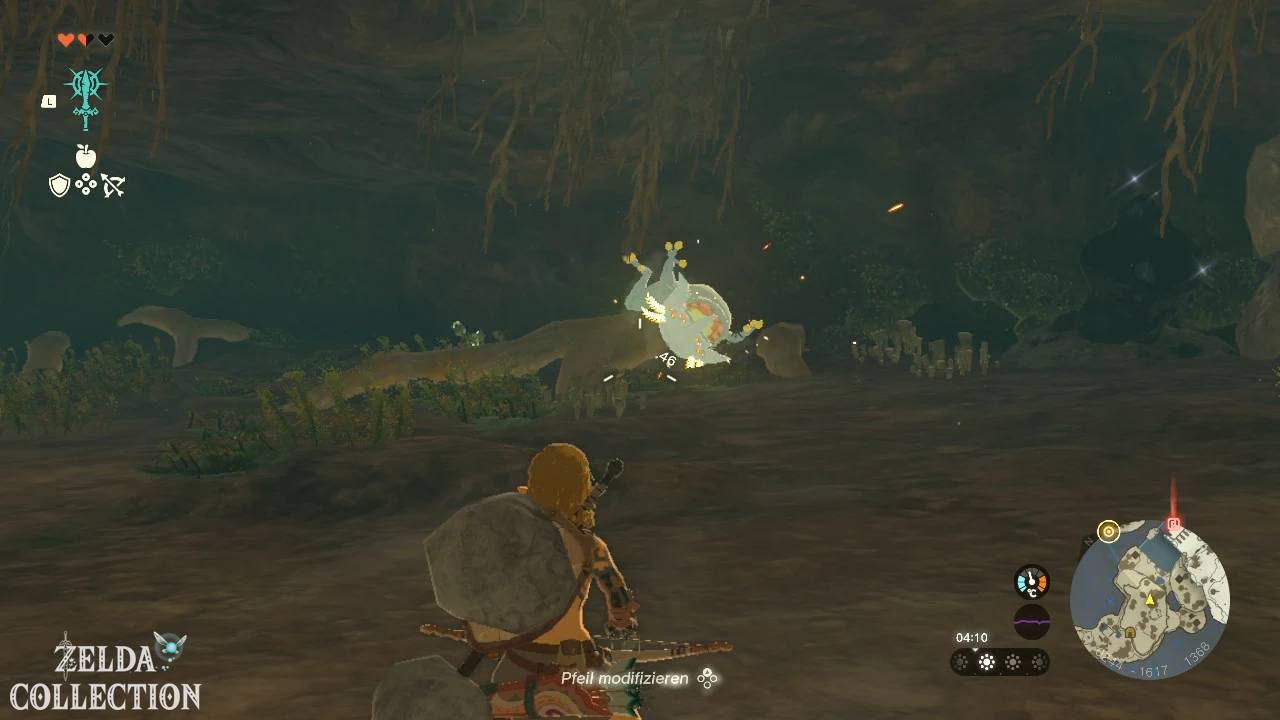
In the cave, a bluish glowing Bubbulfrog crawls on the wall or ceiling. Shoot him down with an arrow and then attack in melee.
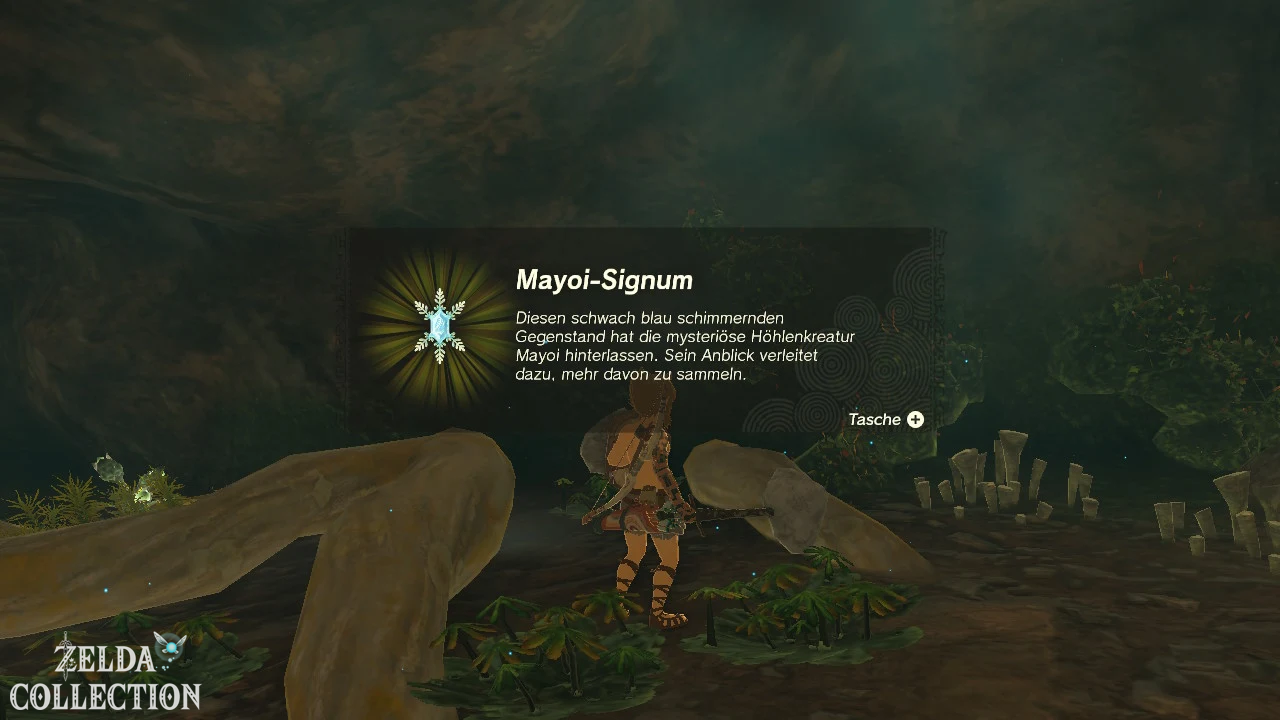
After the victory, he leaves behind a Bubbulfrog signum. These collectibles only become important later in the game, but they should be picked up now.
Find Old Toga
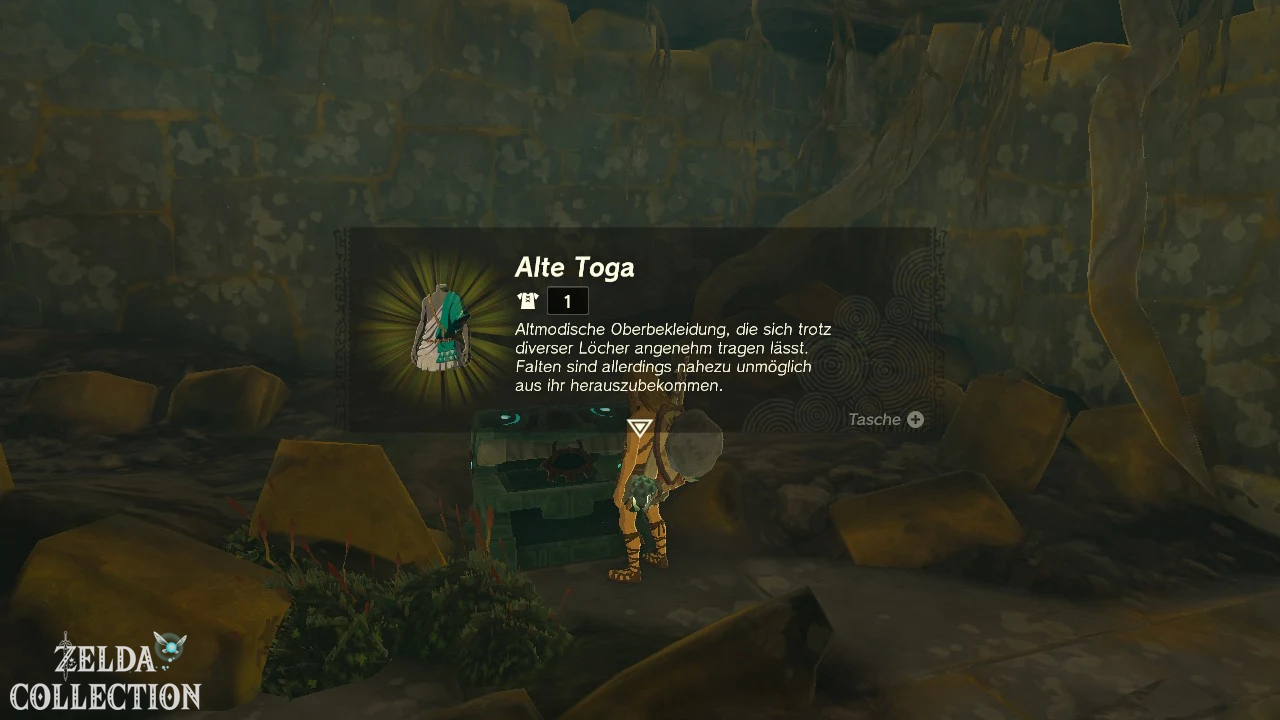
In a Treasure Chest in the cave you will find the Old Toga. Equip it straight away as it slightly increases Link’s defense.
Together with the Archaic Legwear from the Room of Awakening, it forms the Old Set.
Build a raft with fans
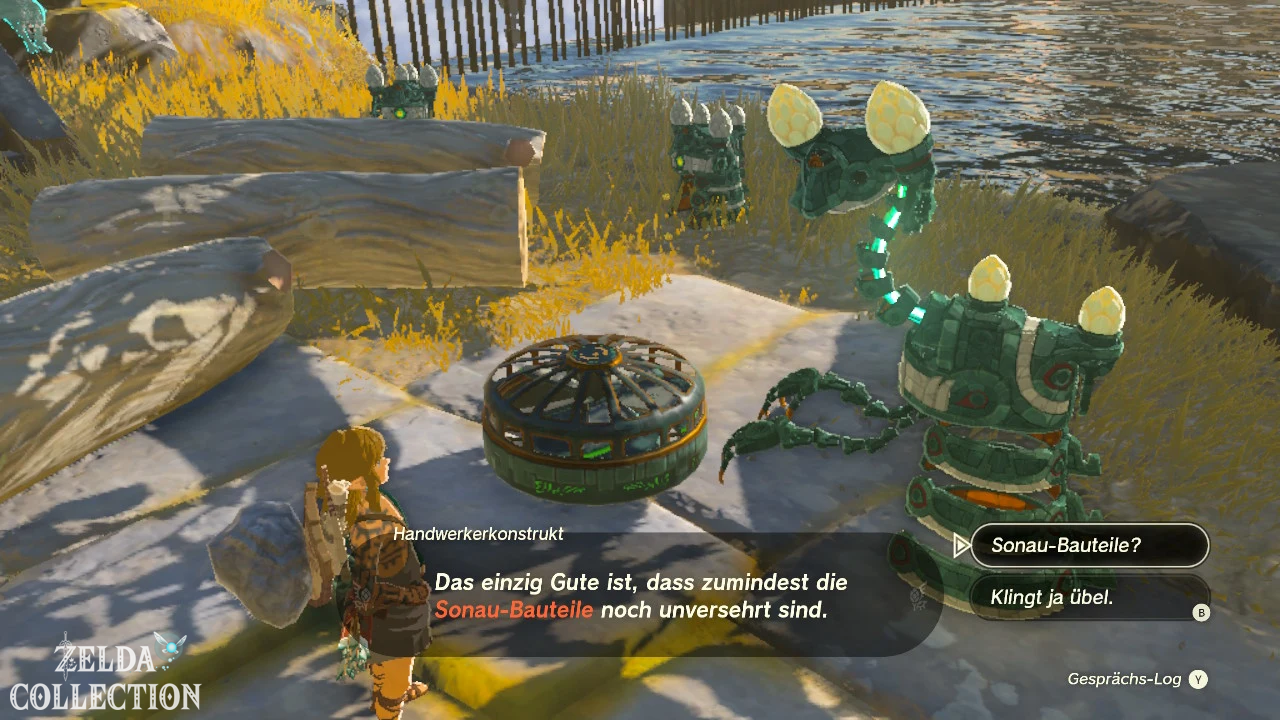
Leave the cave. At the water you will meet several craftsmen constructs who are working on Zonai Devices.
There are tree trunks, wooden barrels and fans on the bank. For a simple raft, two or three connected logs and a fan are enough.
- Connects the tree trunks next to each other.
- Attaches the fan to the center of the back.
- The airflow must point backwards away from the raft.
- Puts the raft in the water.
- Climb up and hit the fan once.
The fan consumes energy from links Energy Cell. If the Energy Cell runs low, it switches off temporarily until the energy is automatically recharged.
Construct camp in front of the mining cave
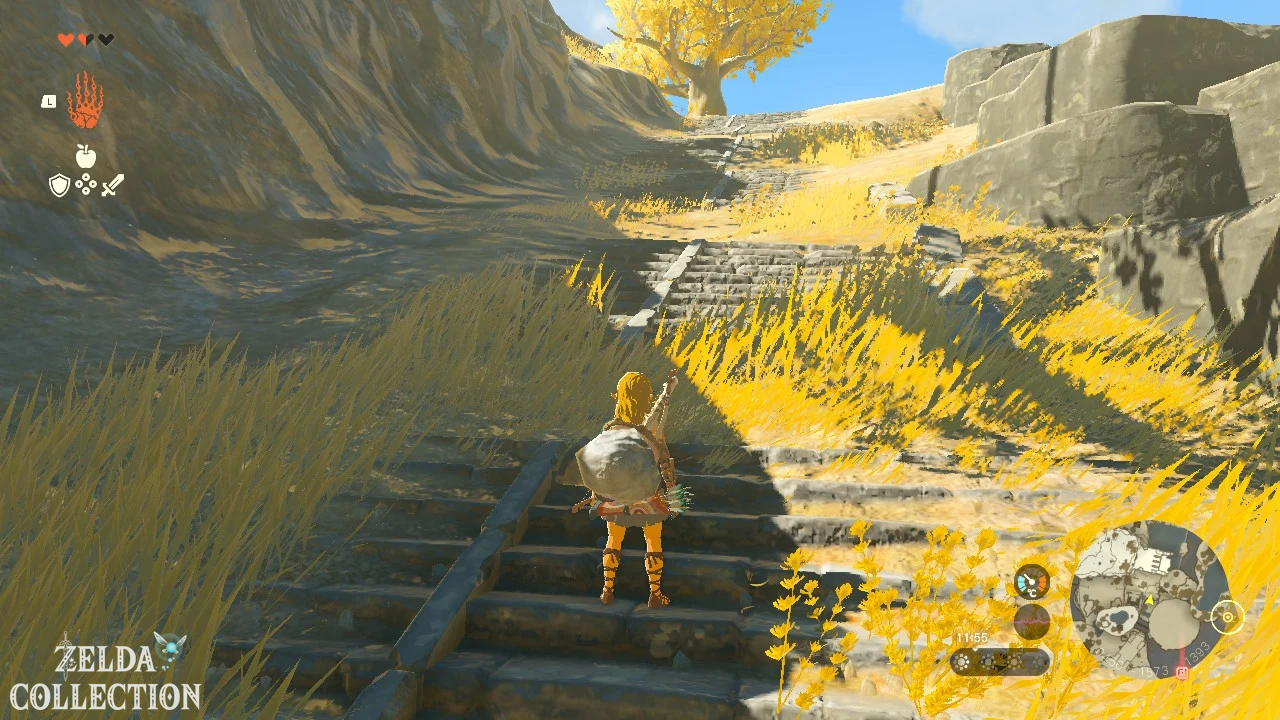
Follow the mountain path on the other side. On the left, several constructs guard a storage chest.
You can lift wooden crates and tree trunks with the Ultrahand and drop them on enemies. Alternatively, you fight them with arrows or synthesized weapons.
After the victory, the chest opens with another opal. There is also a bow, a rusted shield and a melee weapon in the area.
With the cart into the Mining Cave
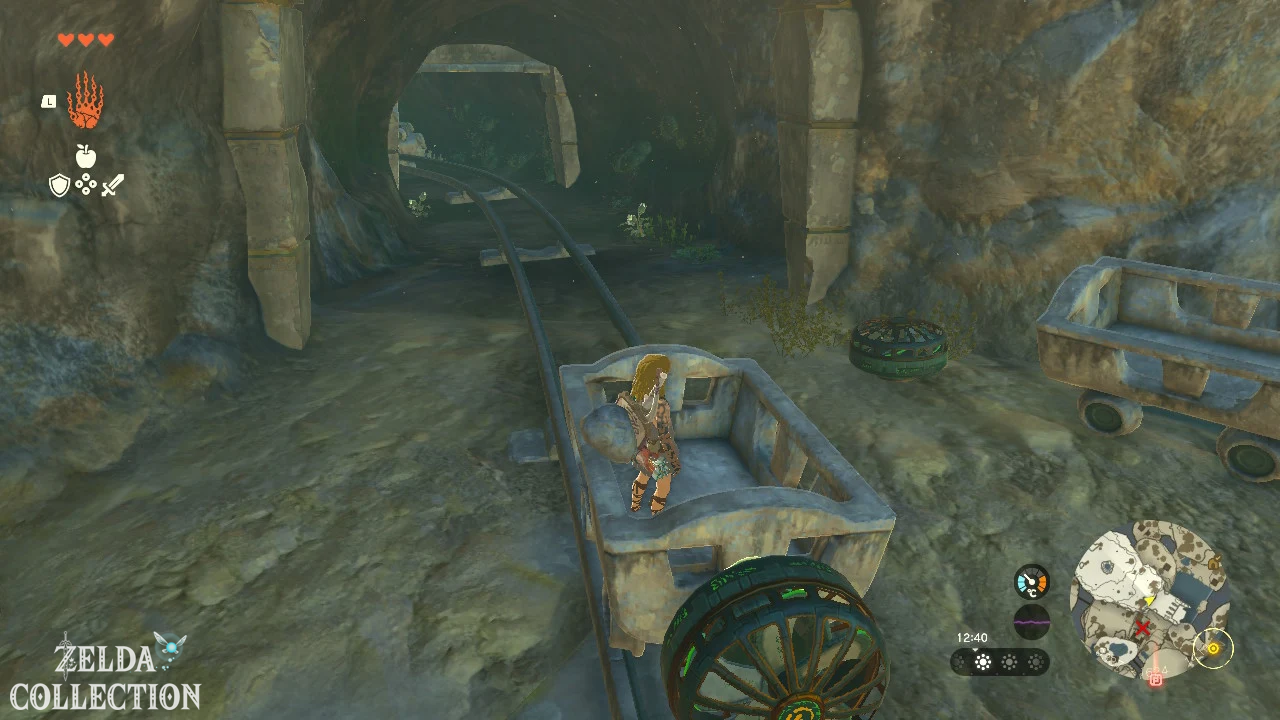
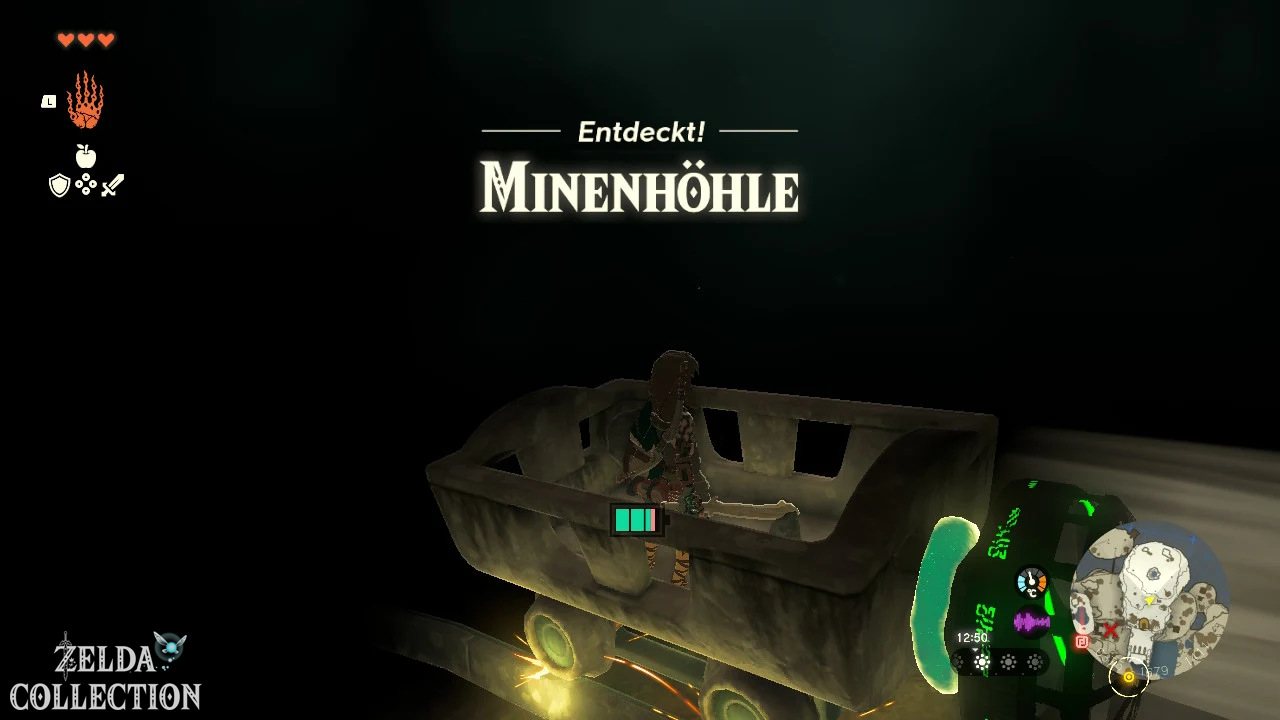
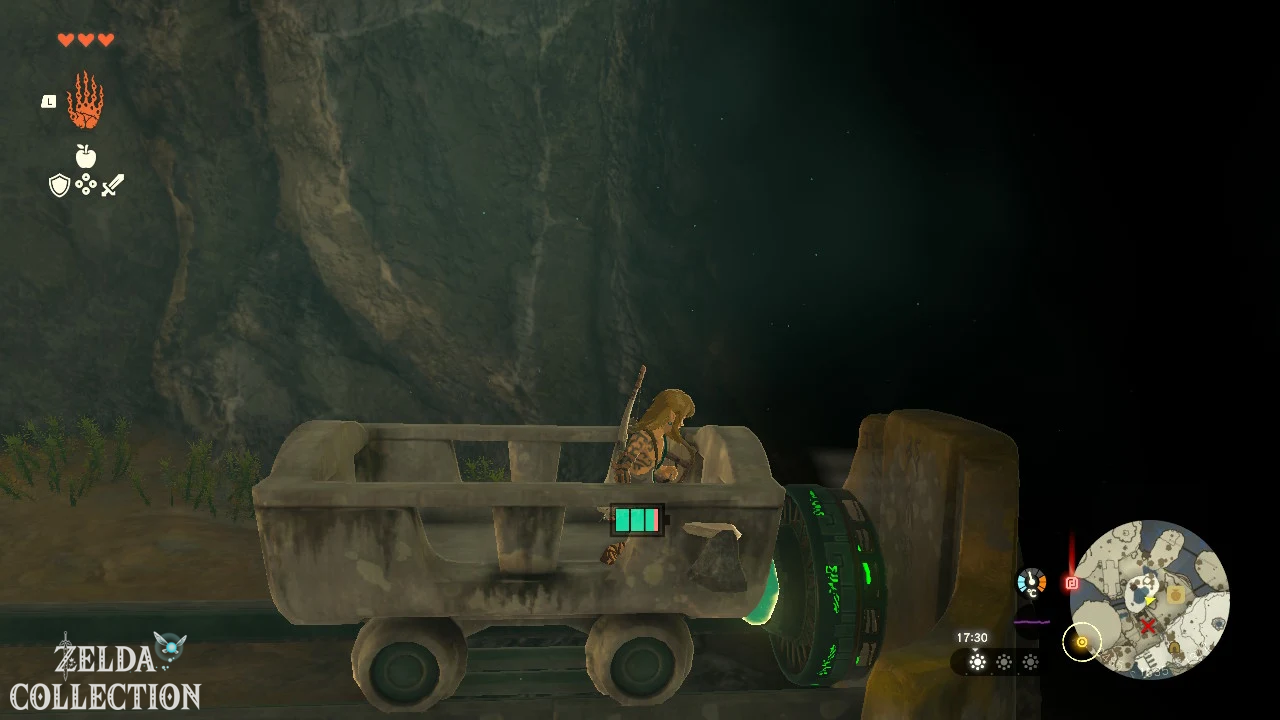
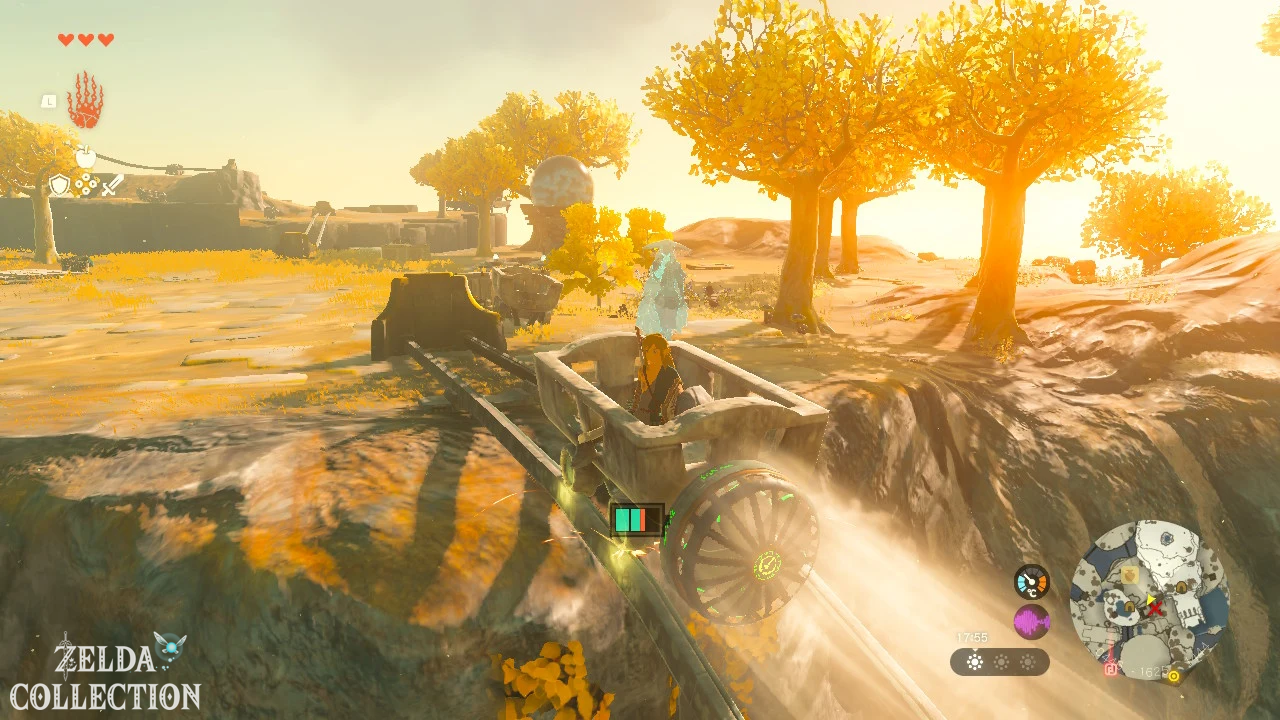
Place a cart on the rails and attach a fan to the back. Get in and activate the fan.
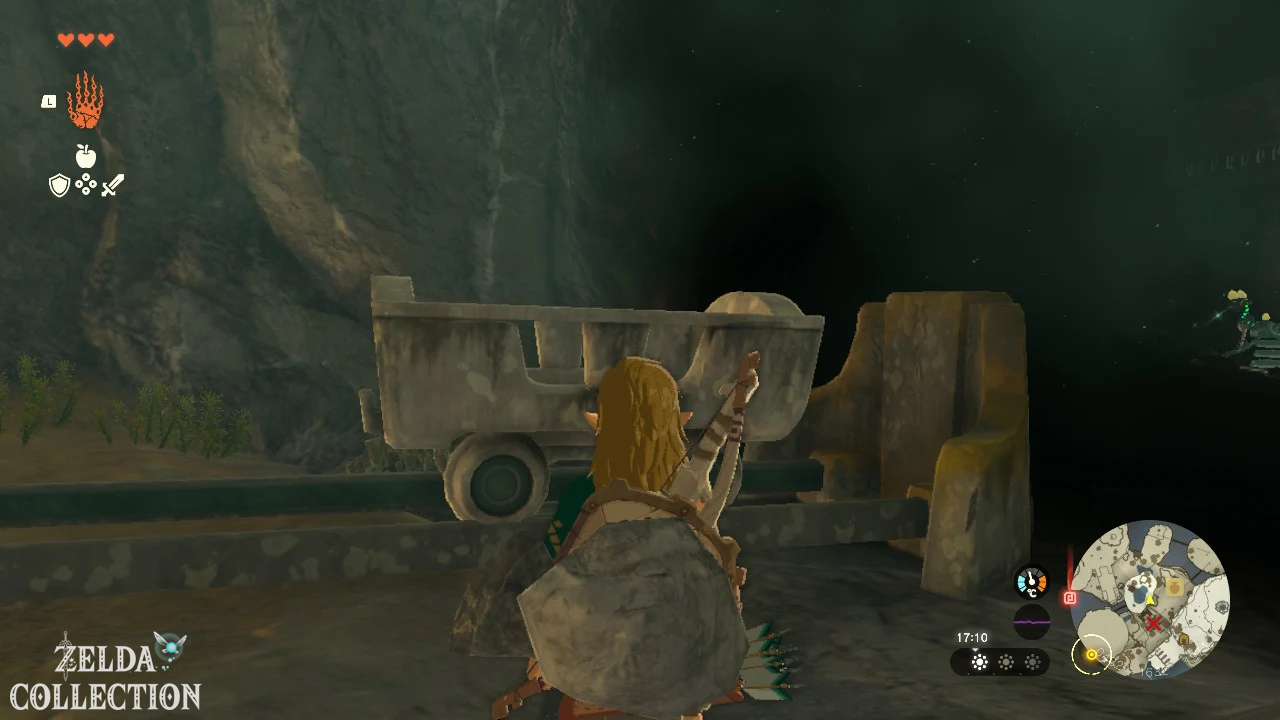
The journey ends in front of a pile of rubble. Get out and talk to the mining construct. It explains to you that the following tunnel is completely dark.
Brightbloom Seed use
You can activate Brightbloom Seed in two ways:
- Axyl up a seed, throw it on the ground and hit it.
- Attach a Brightbloom Seed to an arrow and shoot it at a wall or ceiling.
The second variant illuminates a larger area and is particularly practical if you can’t yet see where the path leads.
Remove
Zonaite and replace
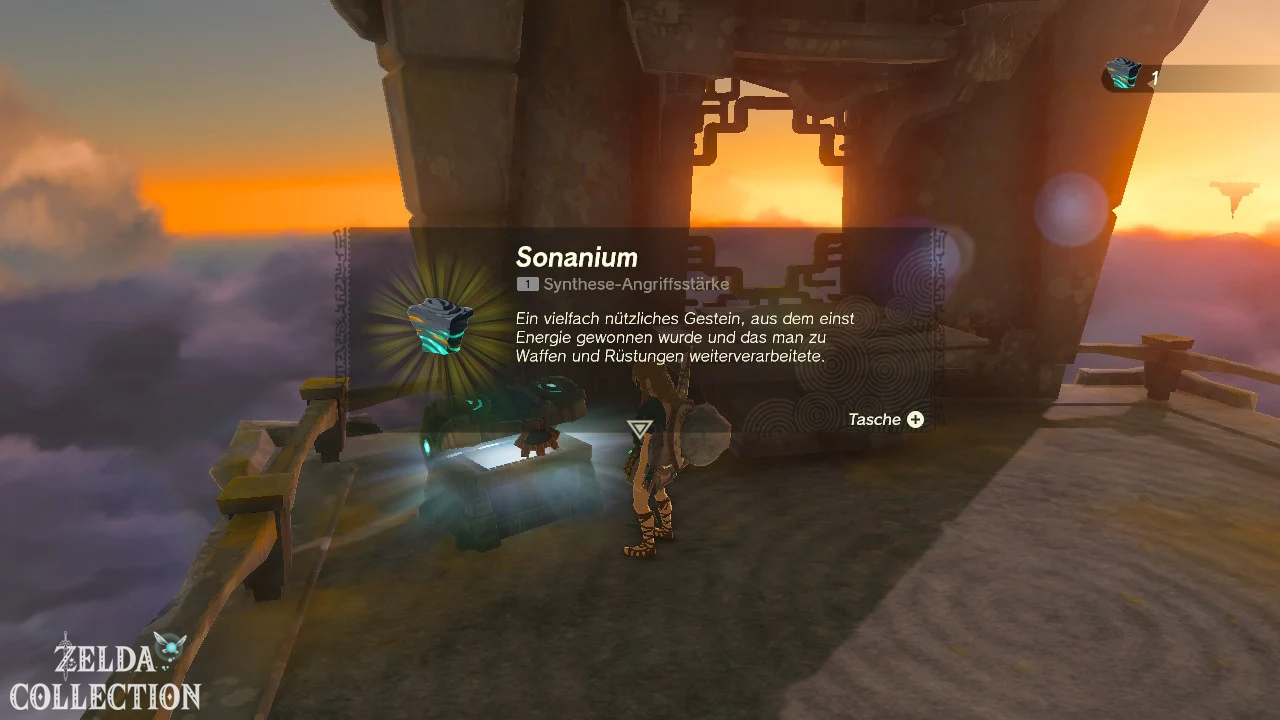
In the mine you will find blue-green glowing sonanium deposits. Smash them with a hammer weapon and collect the Zonaite.
At the end of the dark tunnel you will meet a Forge Construct. There you can exchange Zonaite for Zonai Charges and Zonai energy crystals, among other things.
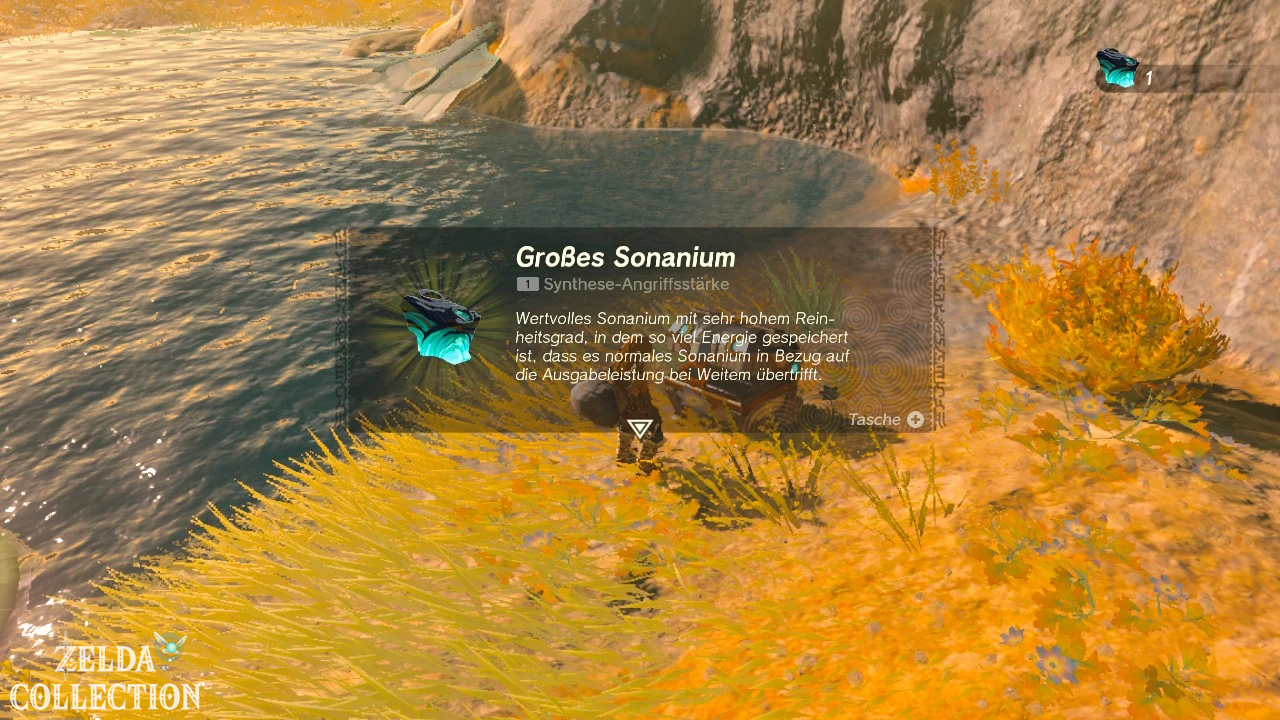
The energy spheres fill links Energy Cell and can be used in capsule dispensers. Energy crystals will be needed later to expand battery capacity.
With the trolley to the capsule dispenser
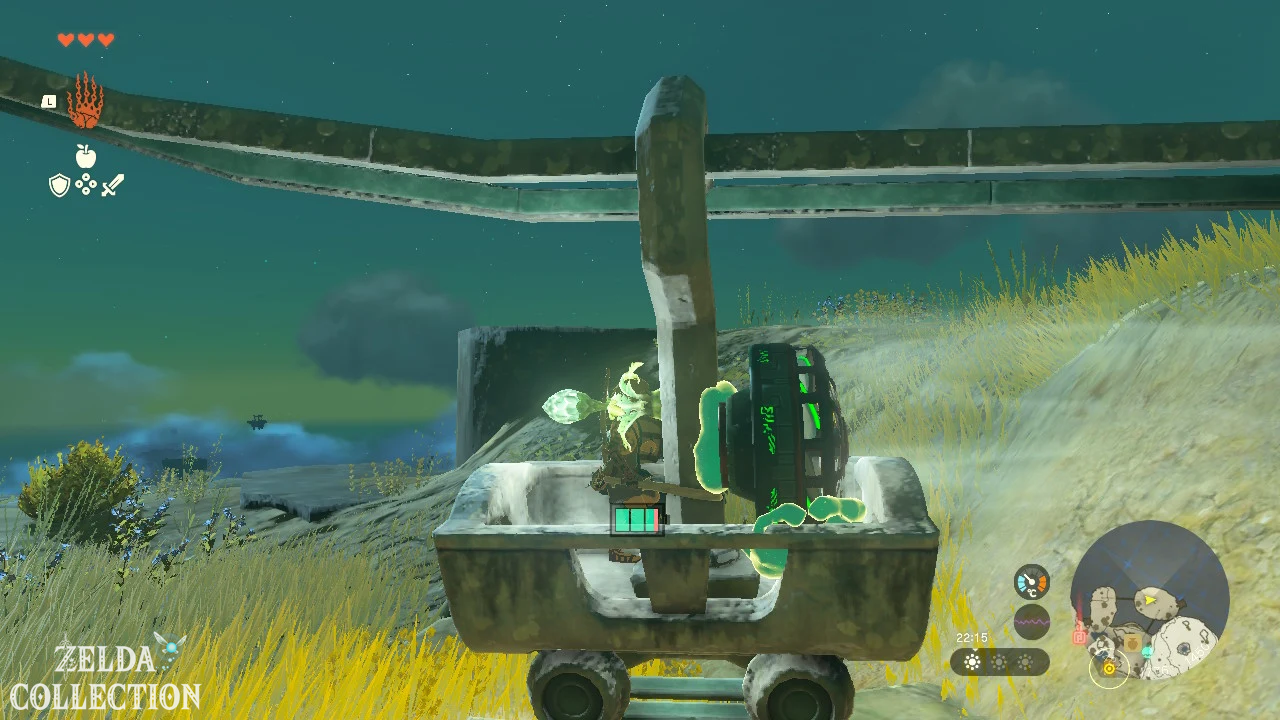
Speak to the mining construct in the next hallway. It will give you several fans.
Put a cart on the rail, attach a fan to the back and drive up. At the top you will meet Rauru and a Maker Construct at a capsule dispenser.
capsule dispenser use
Axyl up Zonai Charges or other suitable Zonai materials and throw them into the dispenser’s bowl.
After a short time you will receive several capsules with Zonai Devices. Capsules can be transported in inventory and later placed on the ground. However, an unpacked component cannot be converted back into a capsule.
The dispenser in this island area can dispense fans, Flame Emitter and travel cooking pots, among other things.
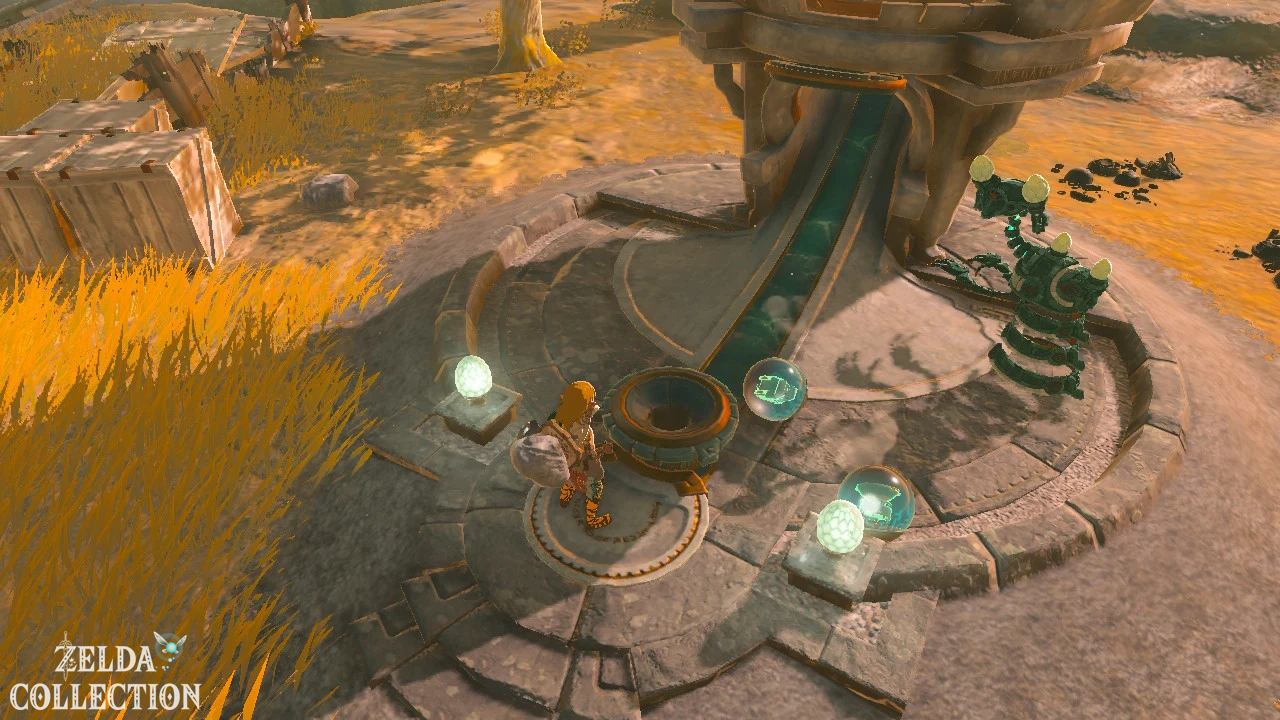
Optional: Bring the two Koroks together
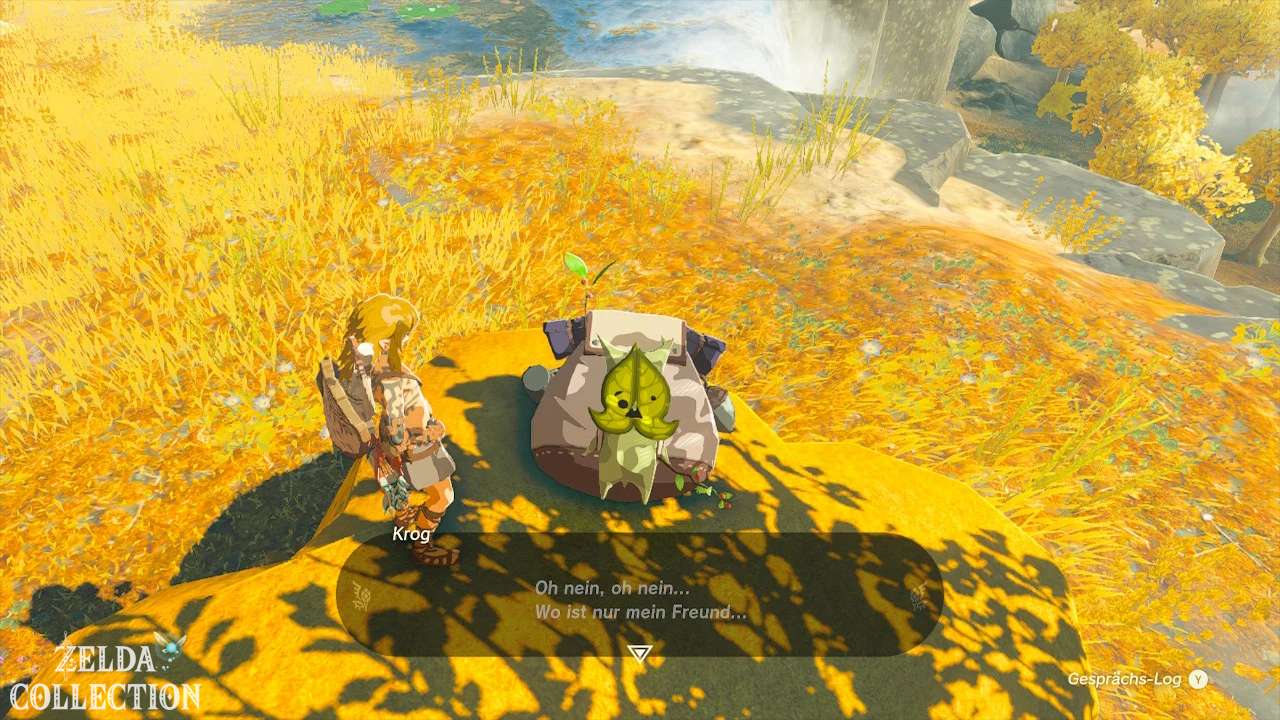
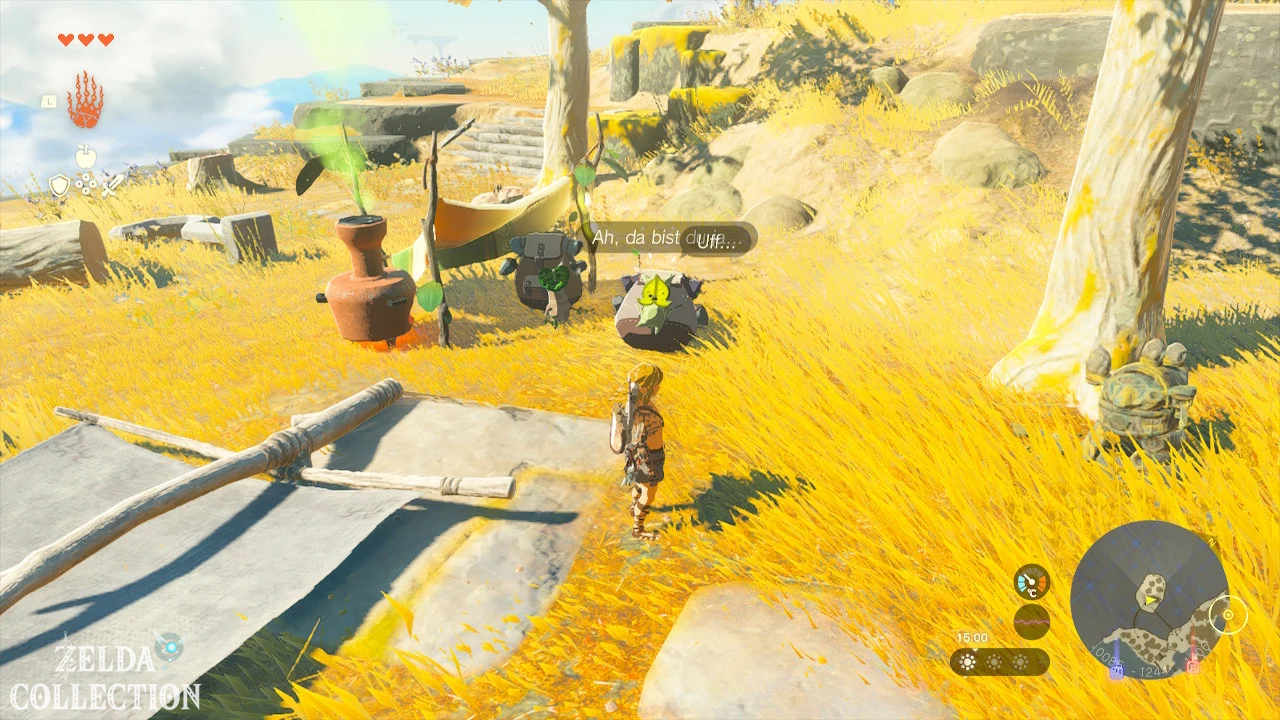
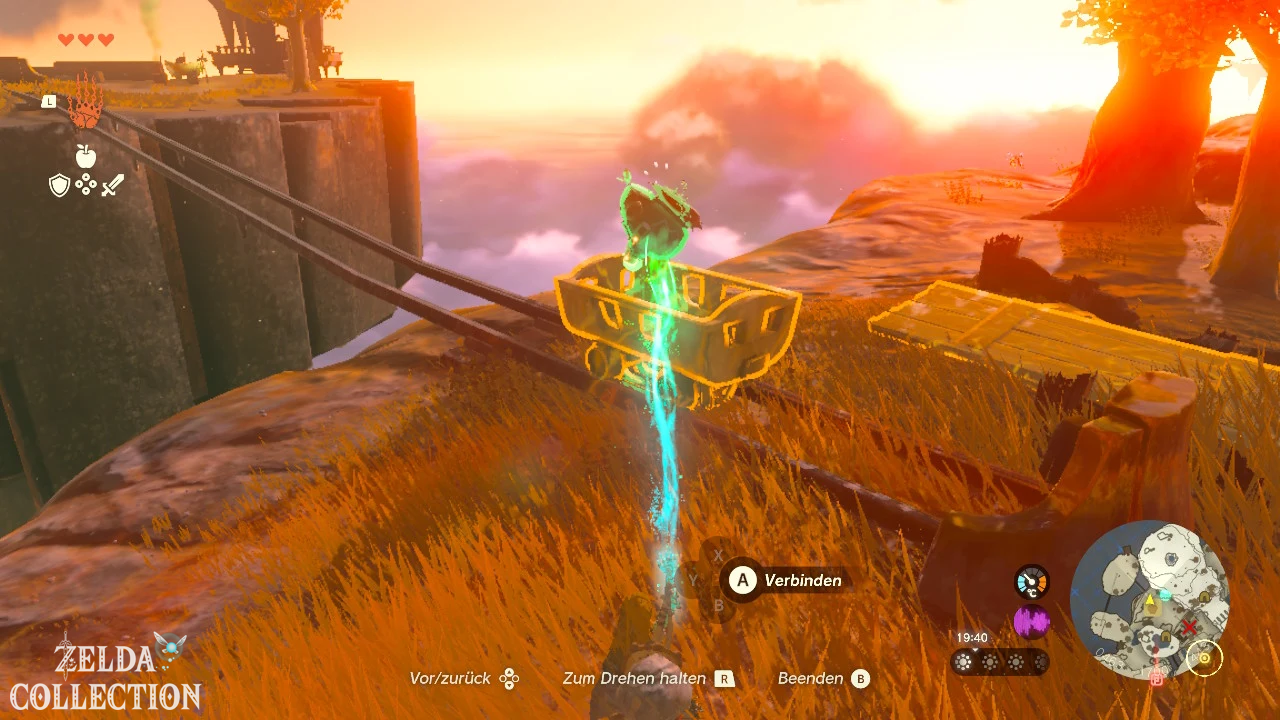
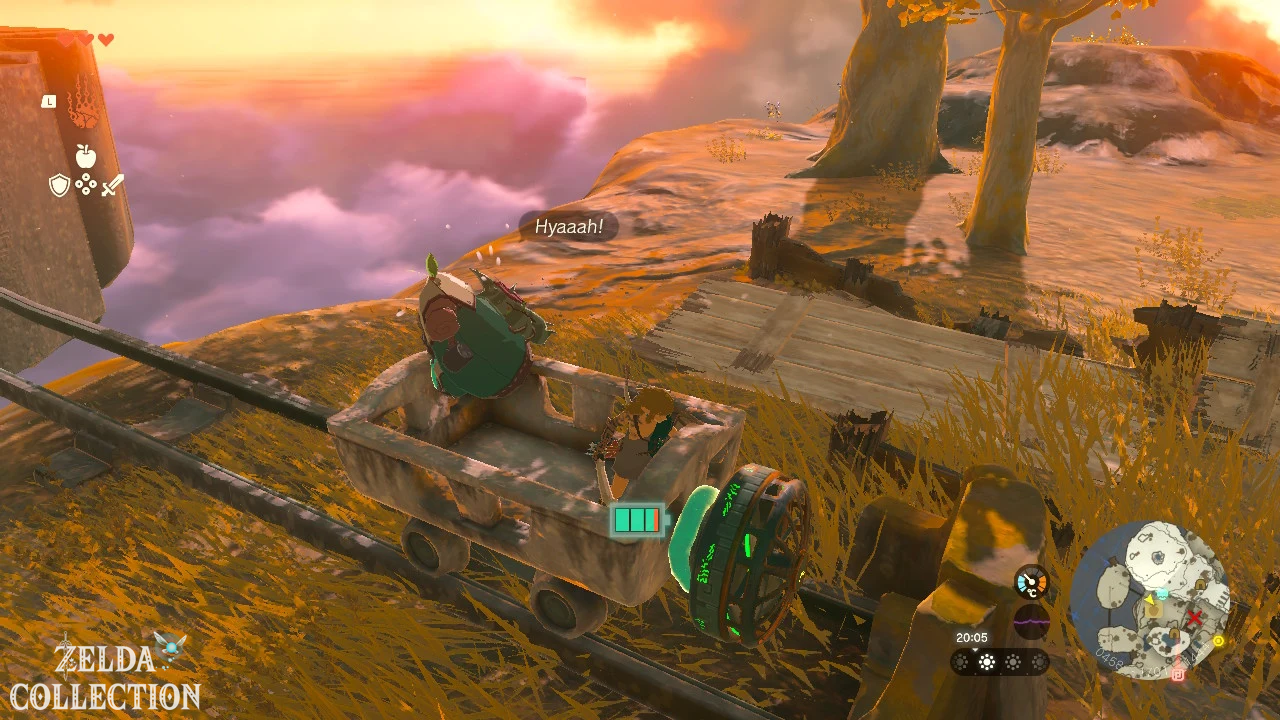
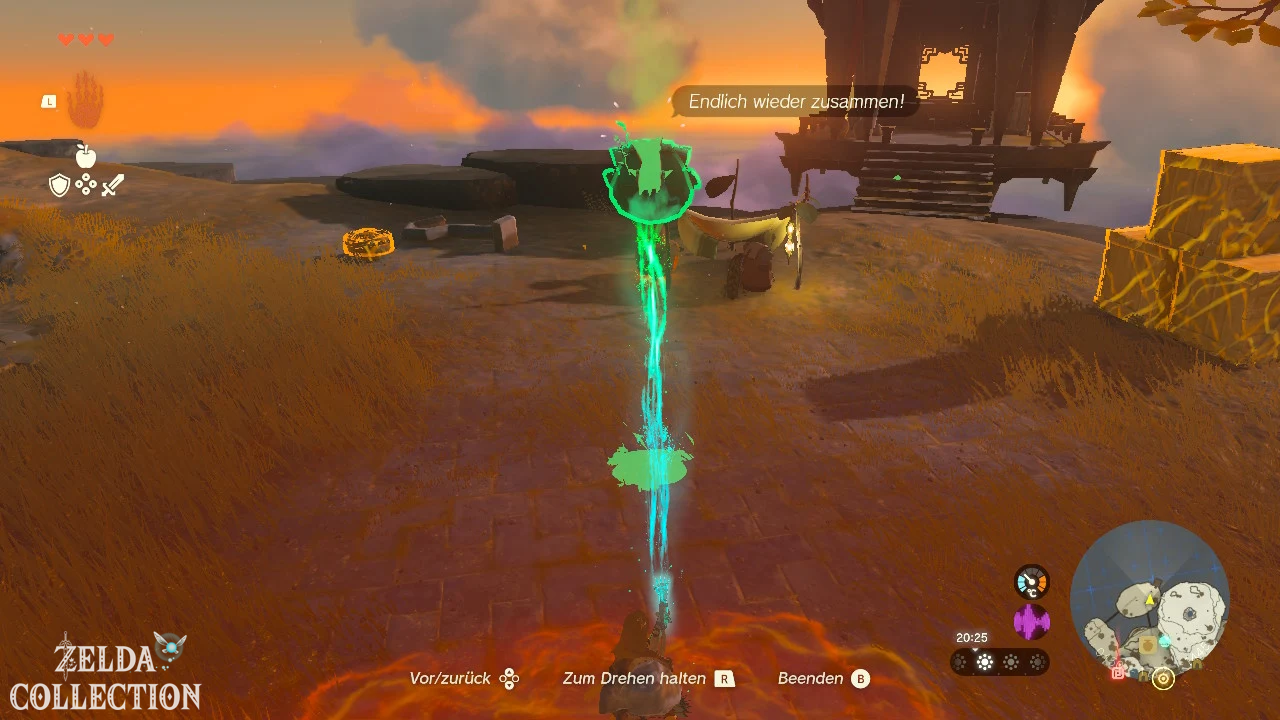
There is a Korok lying next to a tree with a huge backpack. His friend is waiting on the opposite island and sends a smoke signal.
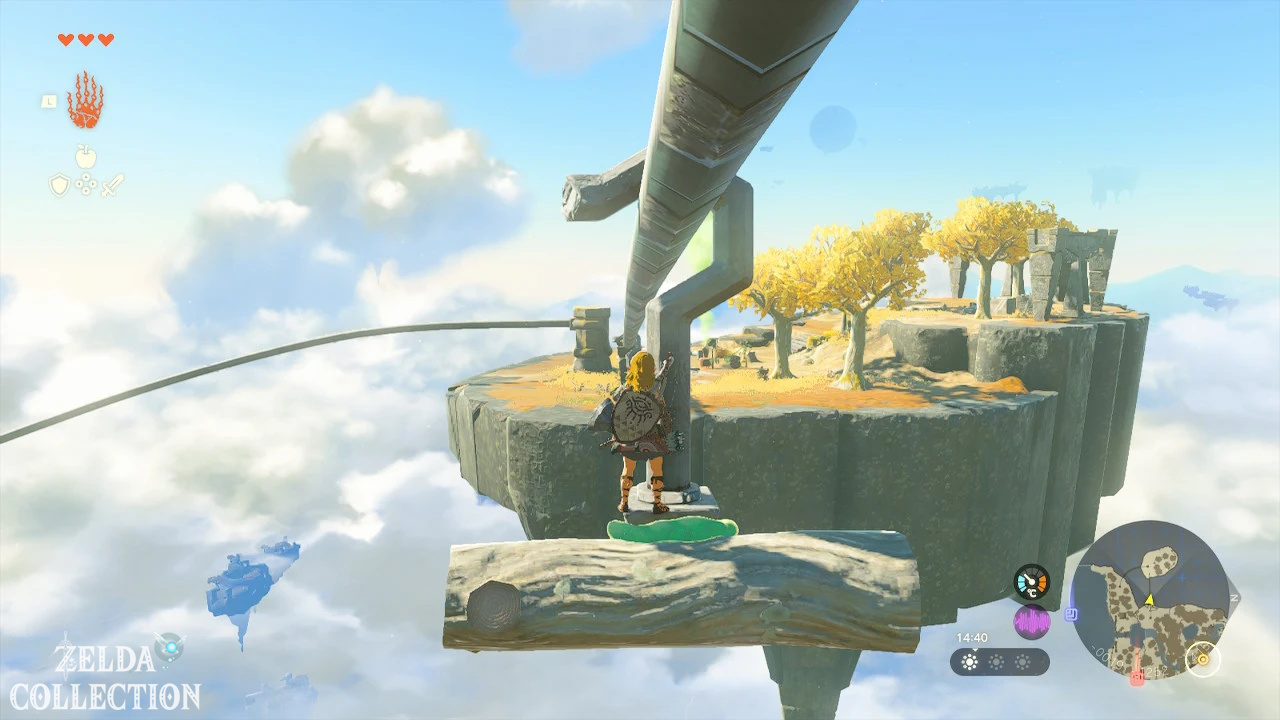
Place a cart on the rail and attach a fan to it. Lift the exhausted Korok into the lorry with the Ultrahand and drive across together.
Drop him off next to his friend and talk to both of them. As a reward you will receive two Korok Seed.
Optional loot at the South Pavilion
In a nearby pavilion you will find a chest with Zonaite. A damaged rail leads to another small island.
Driving over the defective rail is optional. You can stabilize a cart with several fans or visit the section later with better components.
On the distant island there is a chest with a Portable Pot. The item is useful if you need to cook additional cold protection in the upcoming snowy area.
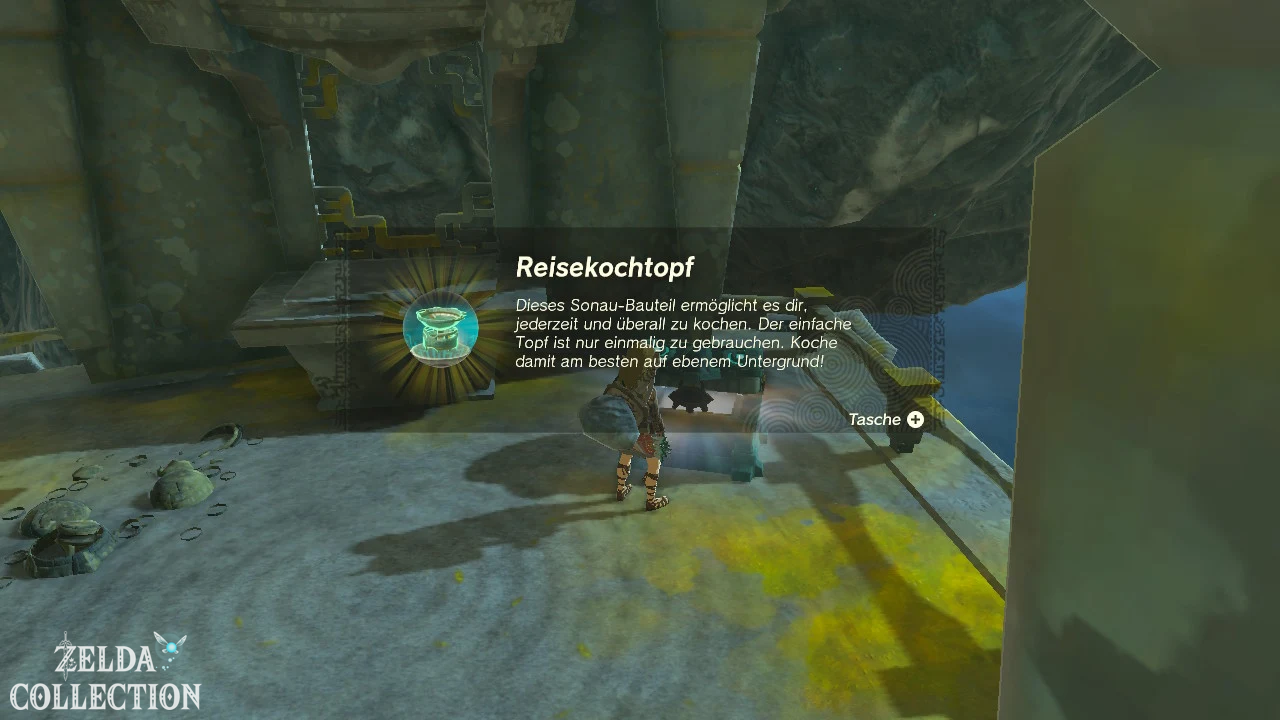
Cold protection for the way to the shrine
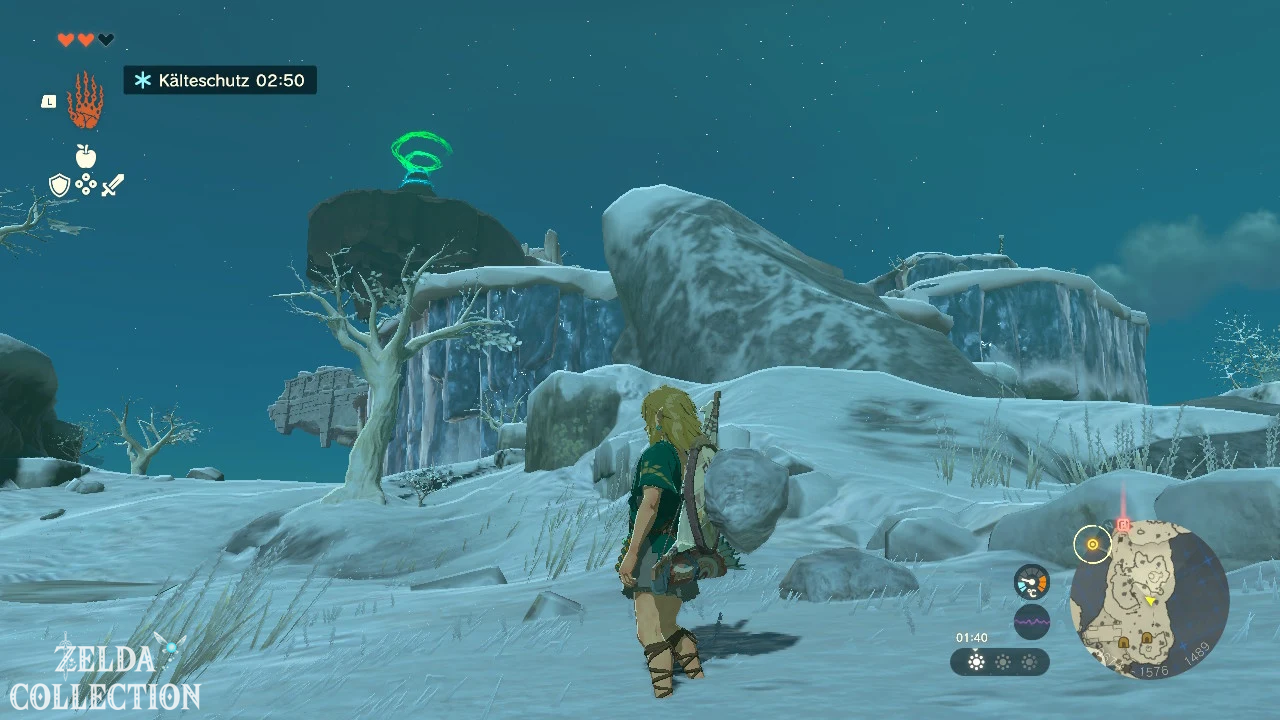
The Gutanbac Shrine is located in a snowy mountain region. Without protection from the cold, Link continually loses his health.
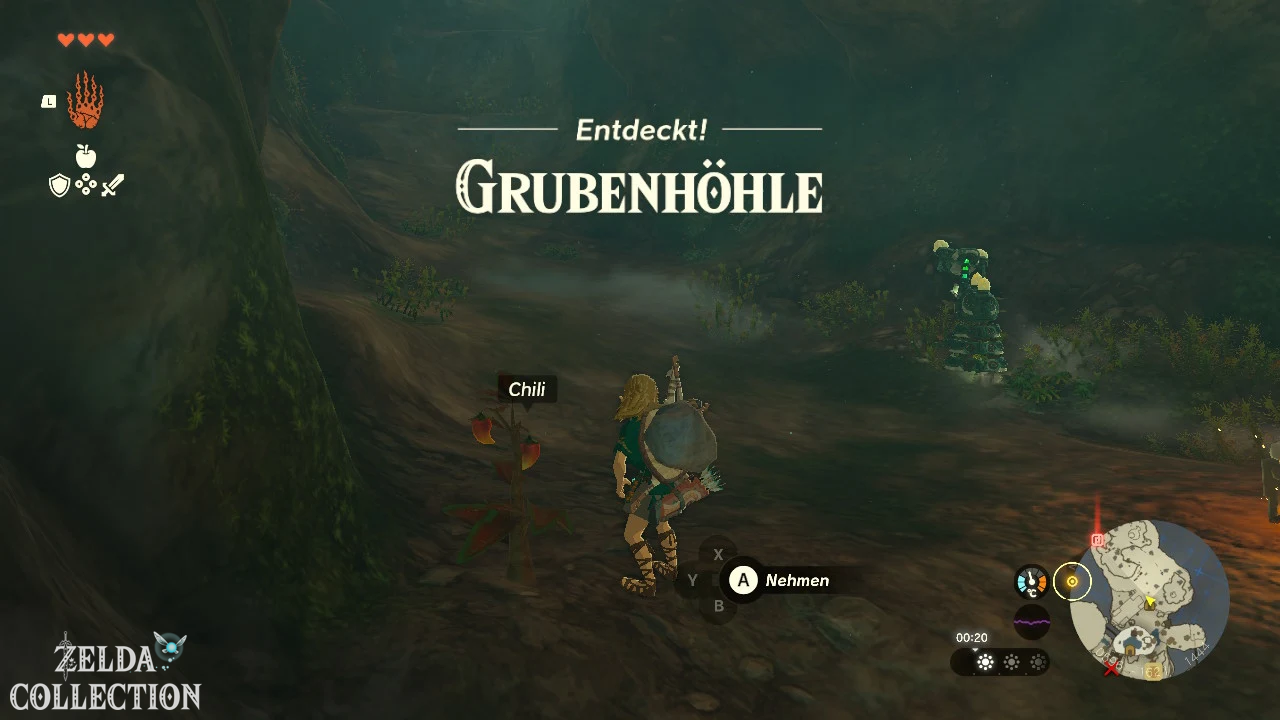
The intended path leads through the Pit Cave. Speak to Ranger Construct at the entrance and pick the hot peppers in the area.
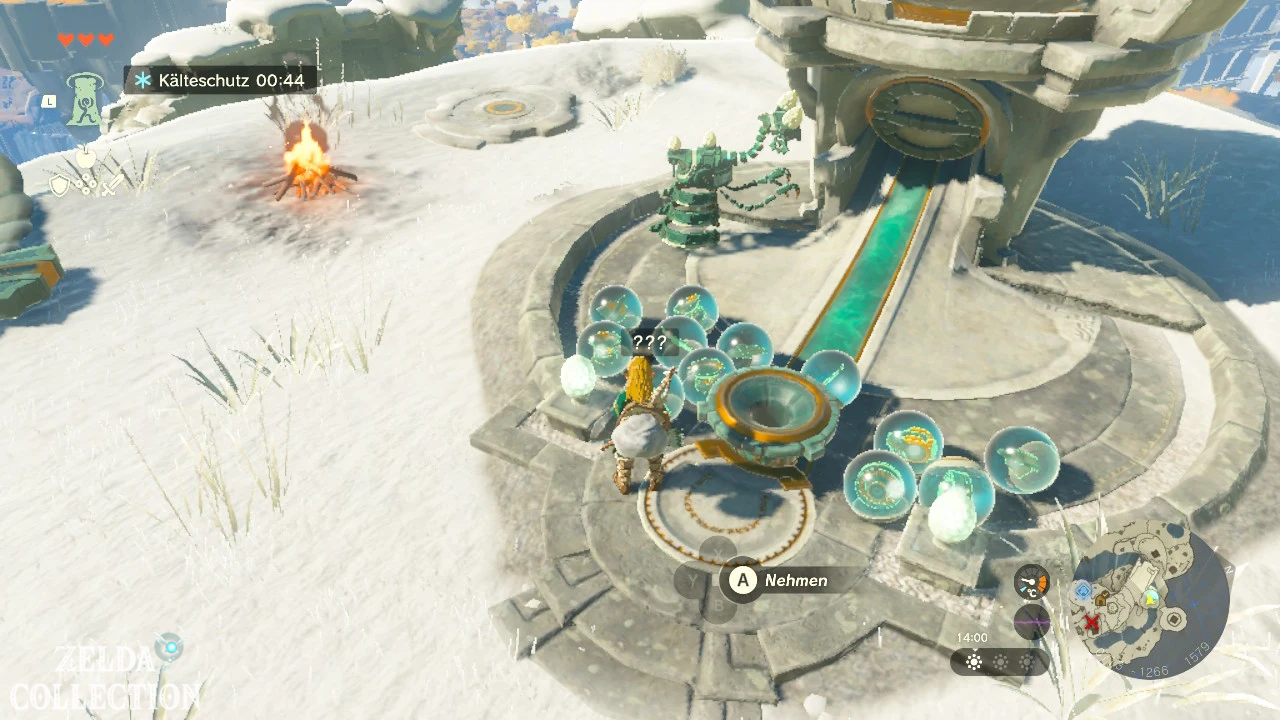
Cooking hot peppers
Throw Hot Peppers into the cooking pot to create a dish with cold protection. More peppers generally extend the duration of the effect.
| Ingredients | Approximate duration of cold protection |
|---|---|
| 1 Hot pepper | about 2:30 minutes |
| 2 Hot peppers | about 5 minutes |
| 3 Hot peppers | about 7:30 minutes |
It is best to cook at least two dishes. Although the path is not particularly long, the first portion can run out when exploring and fighting.
Traverse pit cave
Follow the ascending cave path. There is another Bubbulfrog in a small side corridor. You can also mine a more valuable ore deposit nearby.
At the exit a pile of rubble blocks the way. Combine a boulder with a weapon and shatter the stones.
Leave the cave and immediately eat a dish with cold protection. Rauru appears on the right side of the path before you continue climbing up the snowy mountain.
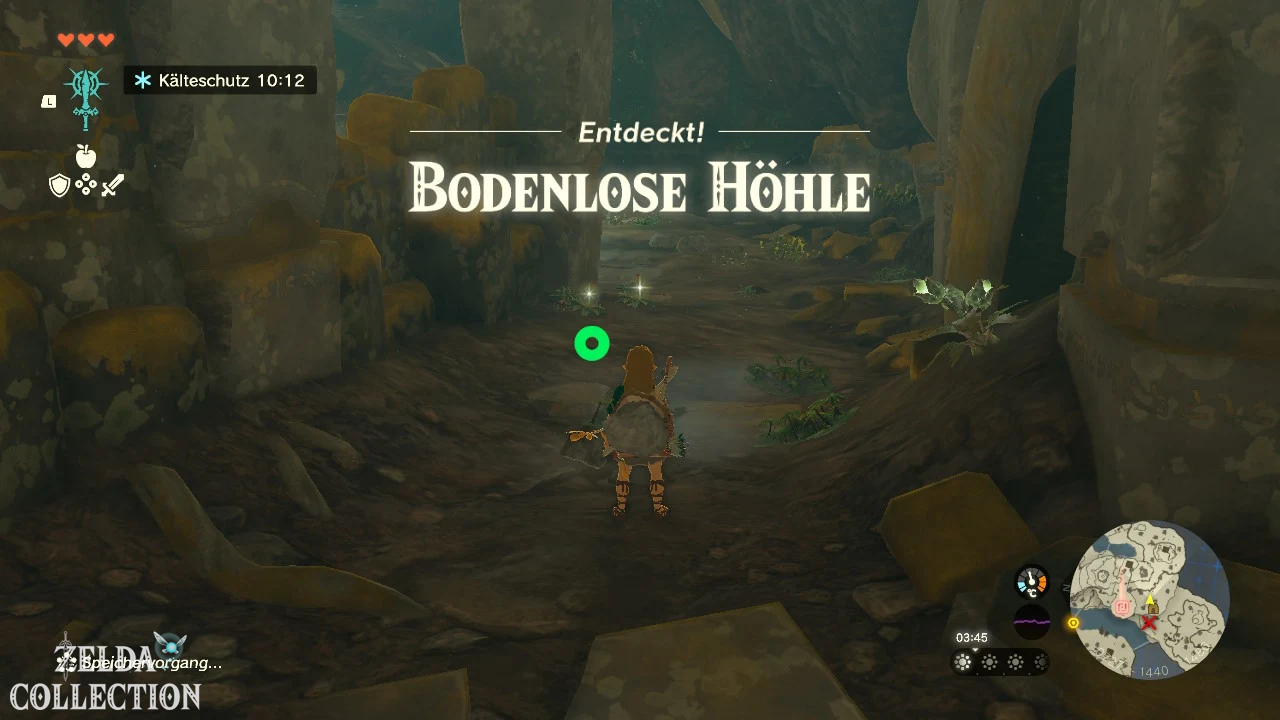
Optional: Bottomless cave
Below the shrine lies the Bottomless Cave. It offers additional materials, several chests and loot slimes.
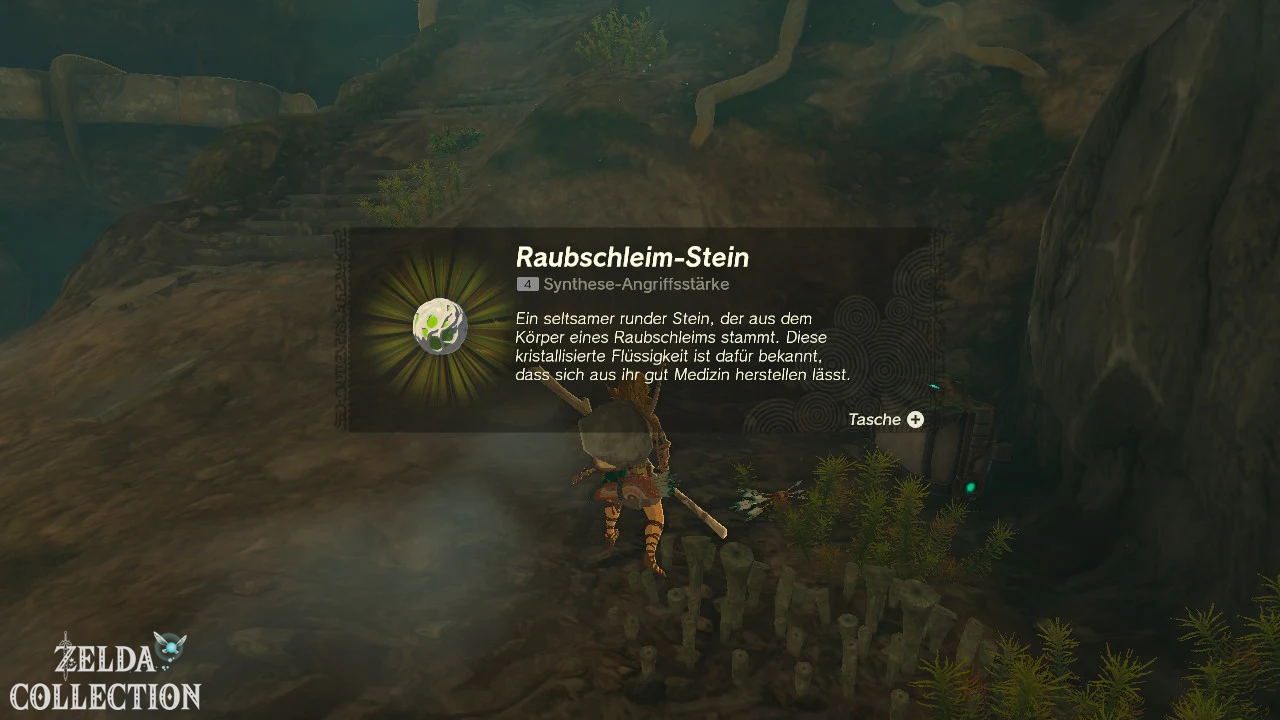
Collect the bomb flowers at the entrance. They can be attached to arrows and are particularly good against predatory slimes.
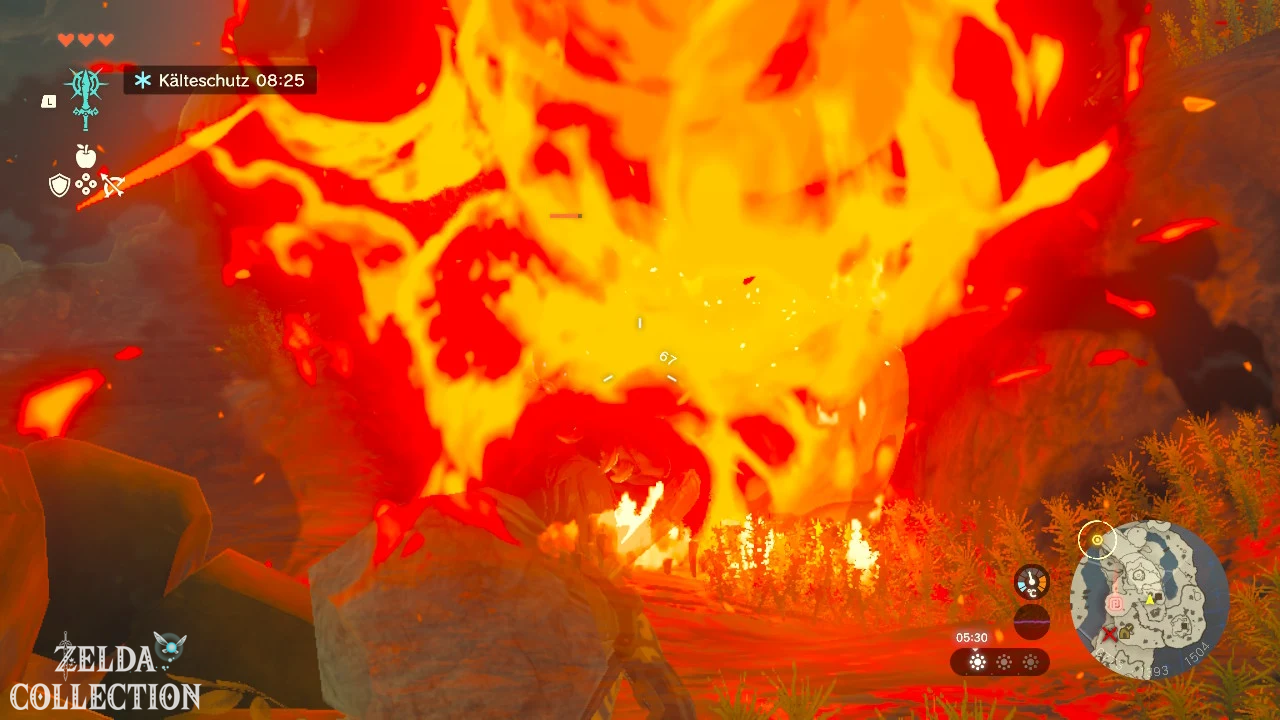
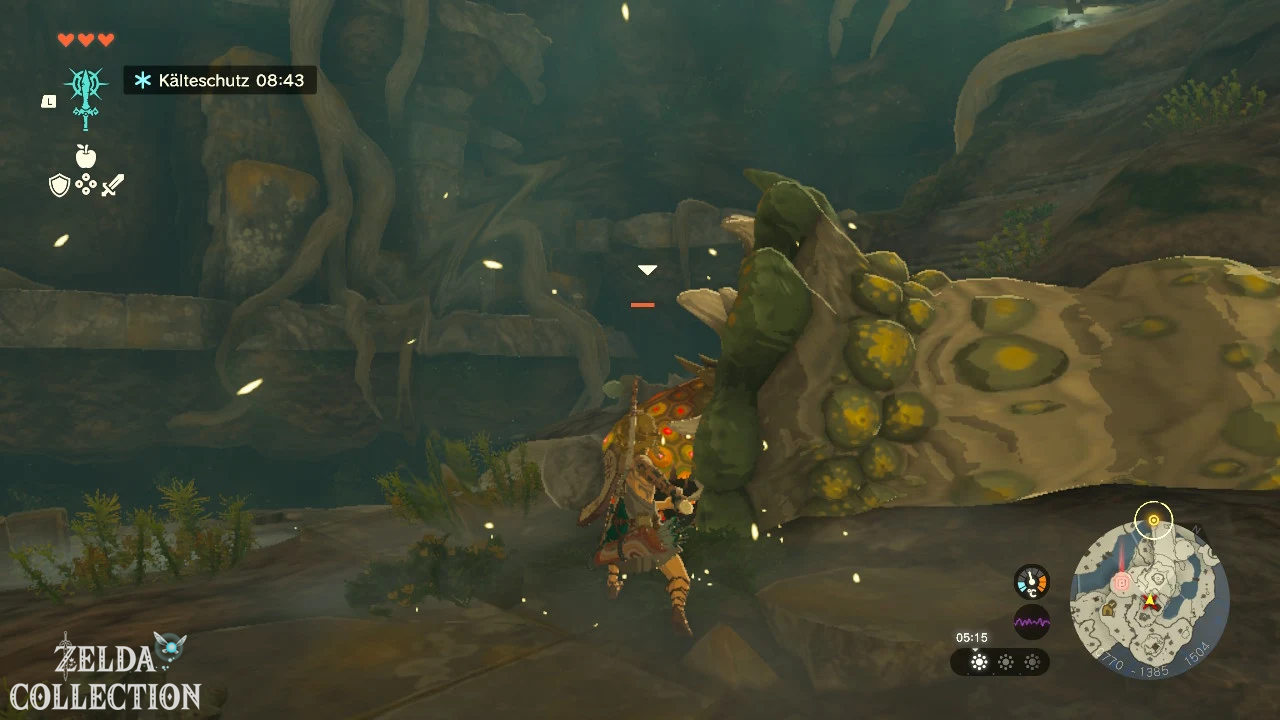
A Like Like initially protects its sensitive core behind its mouth. Shoot him with bomb, fire or ice materials. As soon as the core is exposed, attack in close combat.
In the cave you can find amber, opals, a Flame Emitter and other weapons. The visit is not required for the main quest.
Find old winter trousers
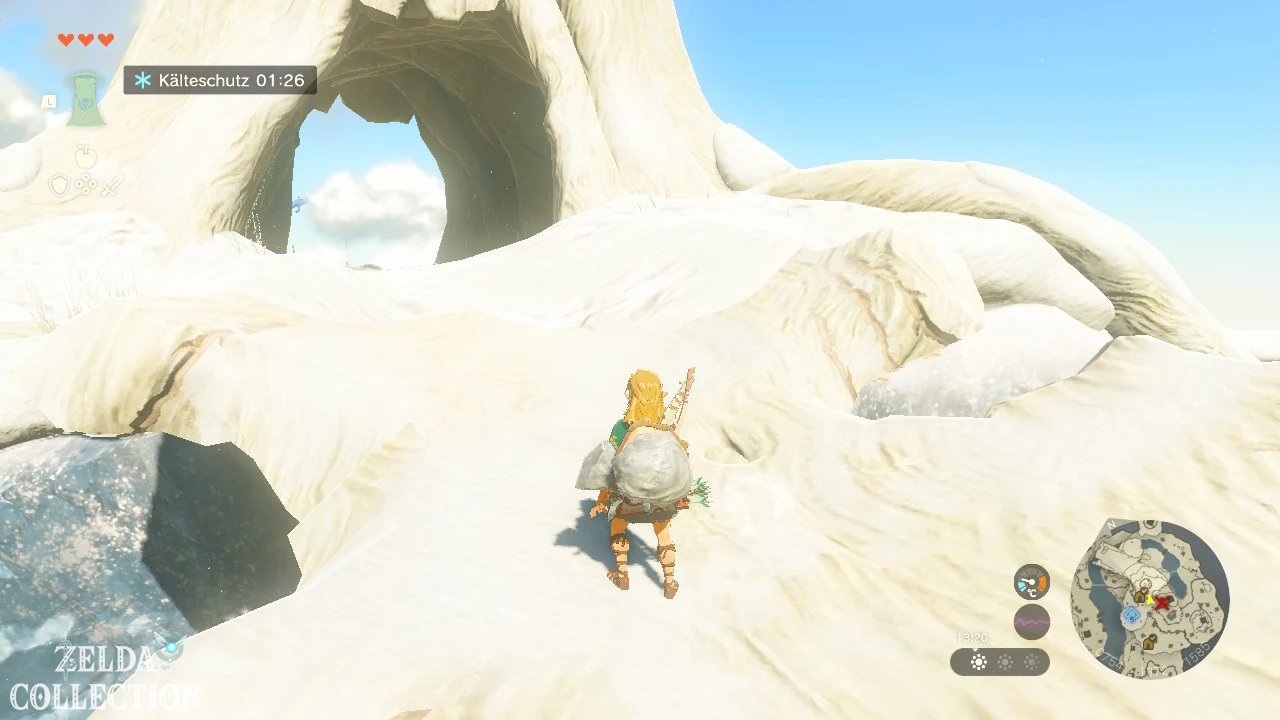
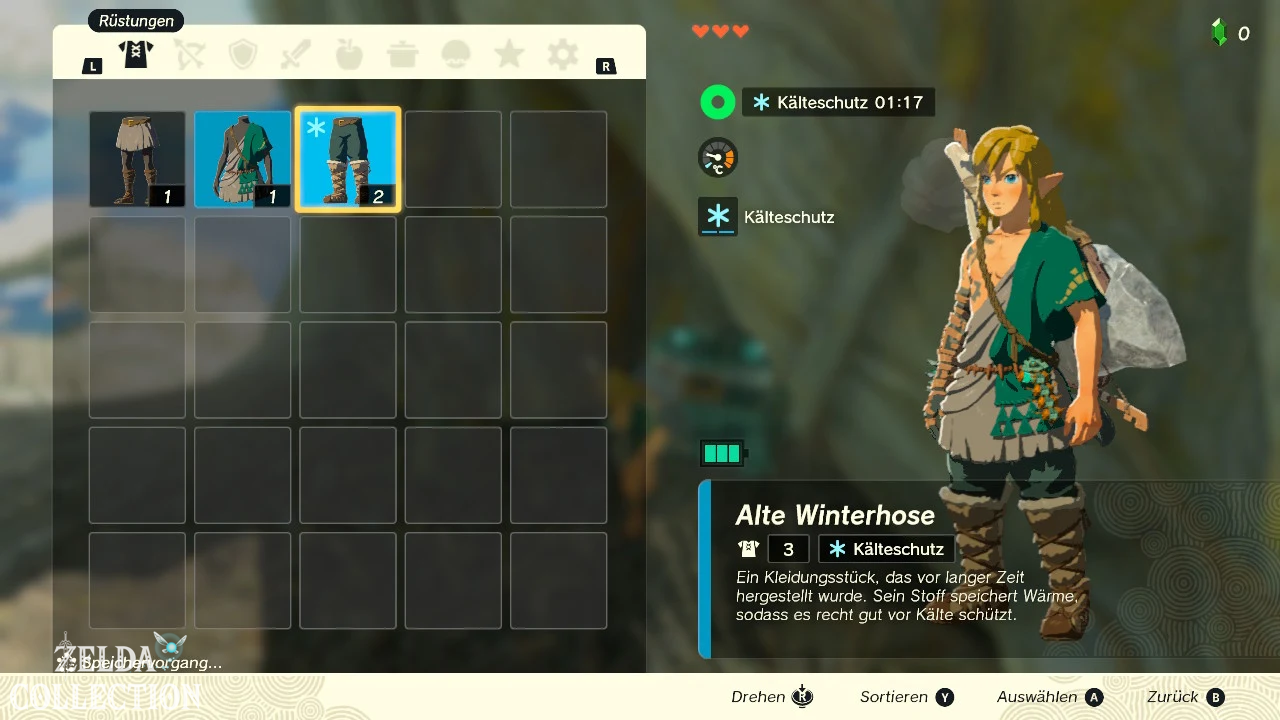
There is a hollowed out tree trunk near the Gutanbac Shrine. Inside is a Treasure Chest with the old winter trousers.
The pants have two defense points and provide one level of cold protection. As soon as you put them on, you are no longer solely dependent on pepper dishes in the snowy area.
The chest is located approximately at coordinates 0768, -1338, 1587 northeast of the shrine.
Highly recommended: Get the Old Winter Pants after the shrine at the latest. The garment makes further exploration of the Sky Island much easier.
Climb up to Gutanbac Shrine
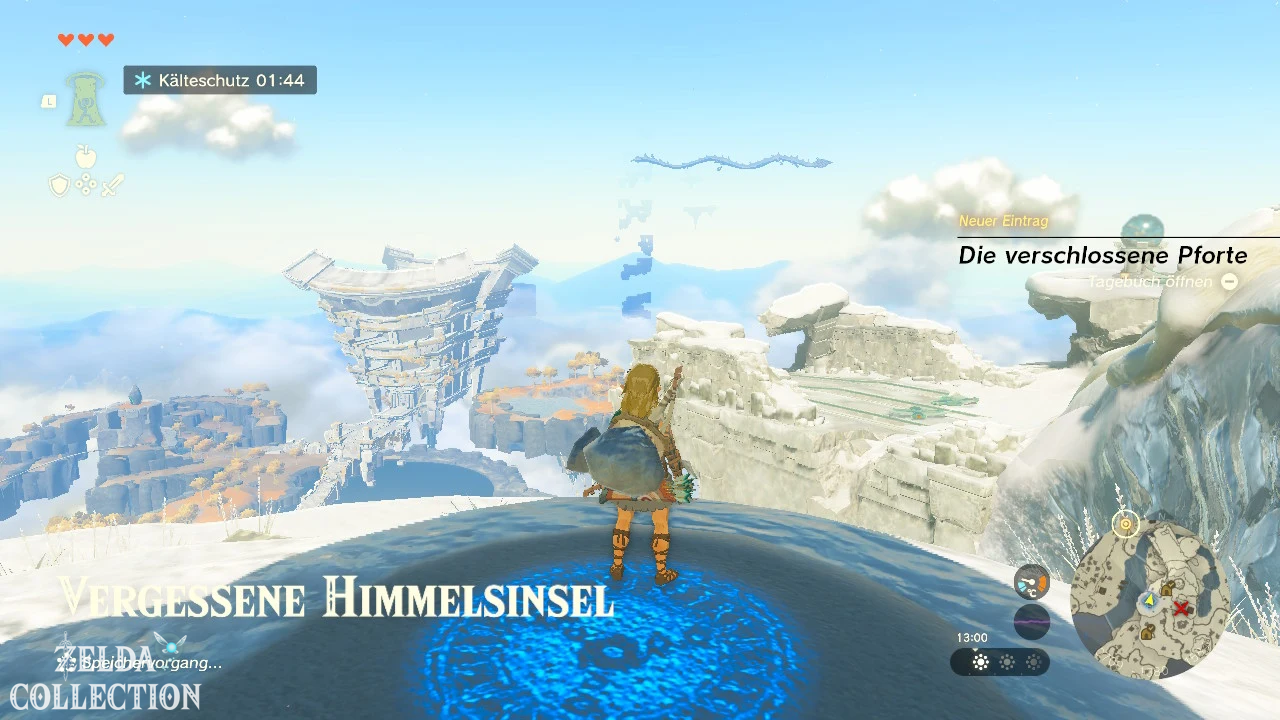
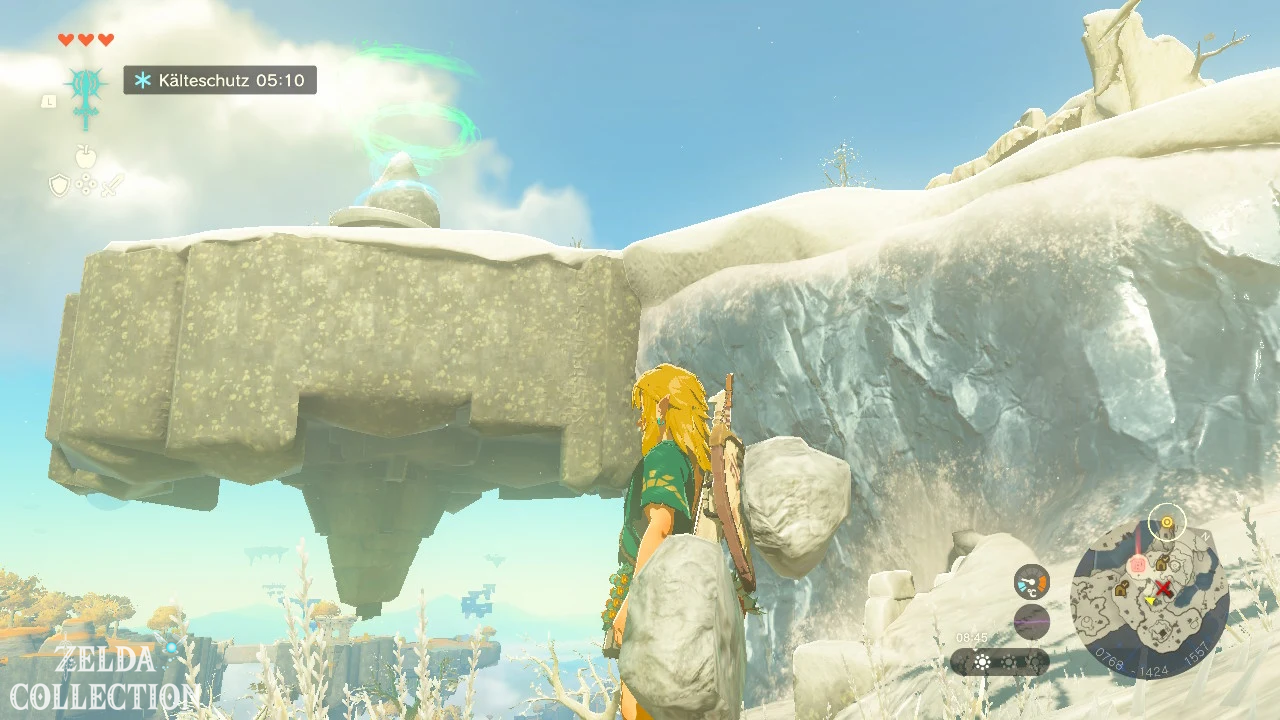
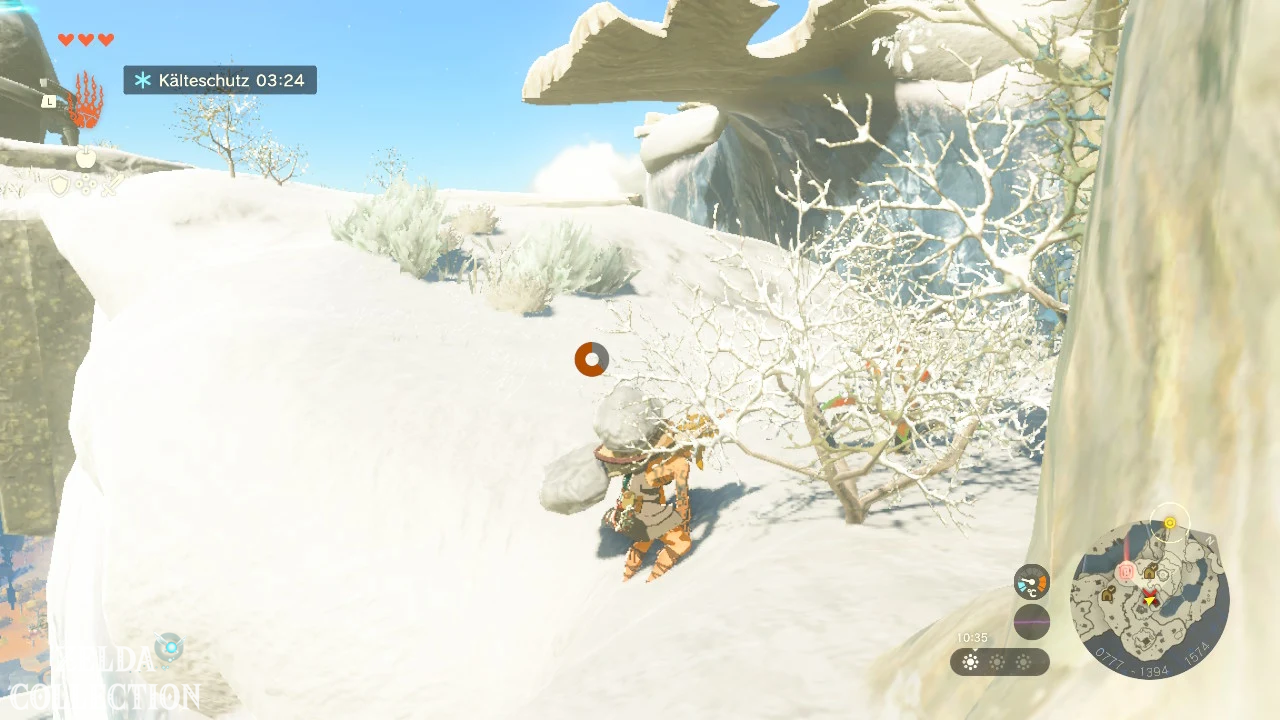
The icy rock walls directly below the shrine are slippery and cannot be climbed normally.
Uses one of the following routes instead:
- Climb up the large tree root behind the Bottomless Cave.
- Cuts down several trees and builds a long trunk ramp.
- Follow the rocky path behind the waterfall, where there is no smooth ice surface.
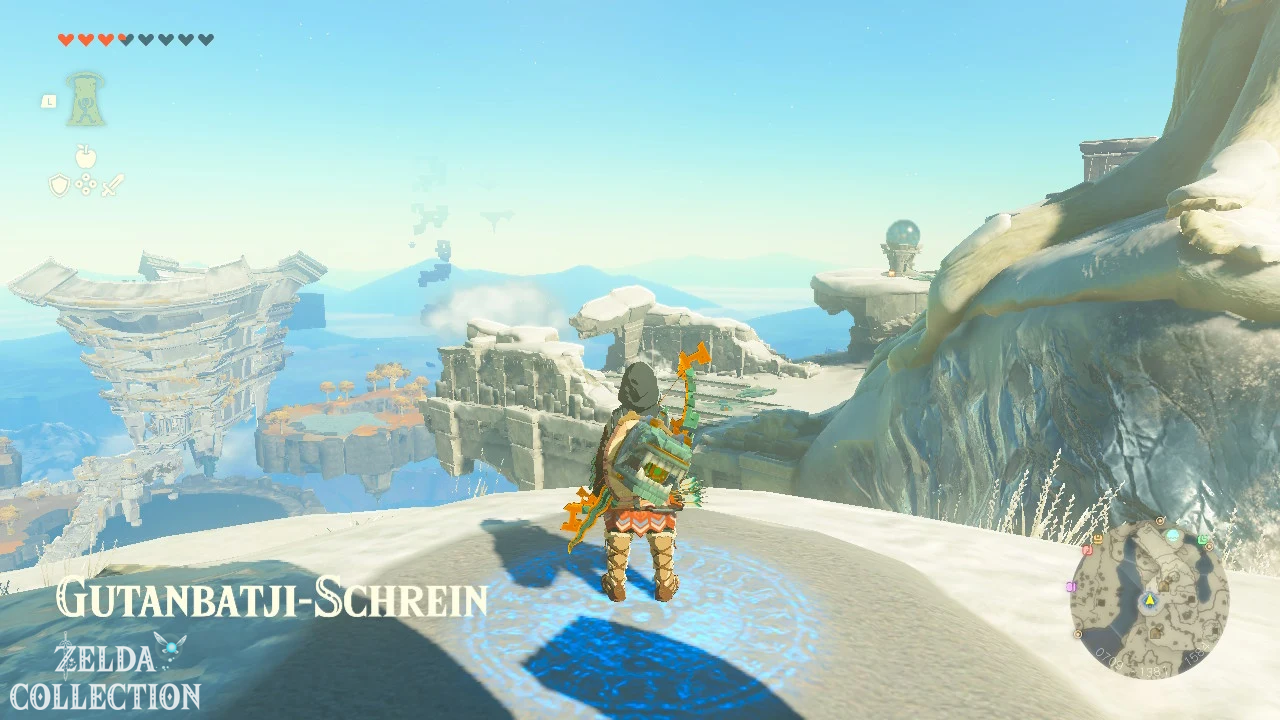
At the summit you reach the Gutanbac Shrine.
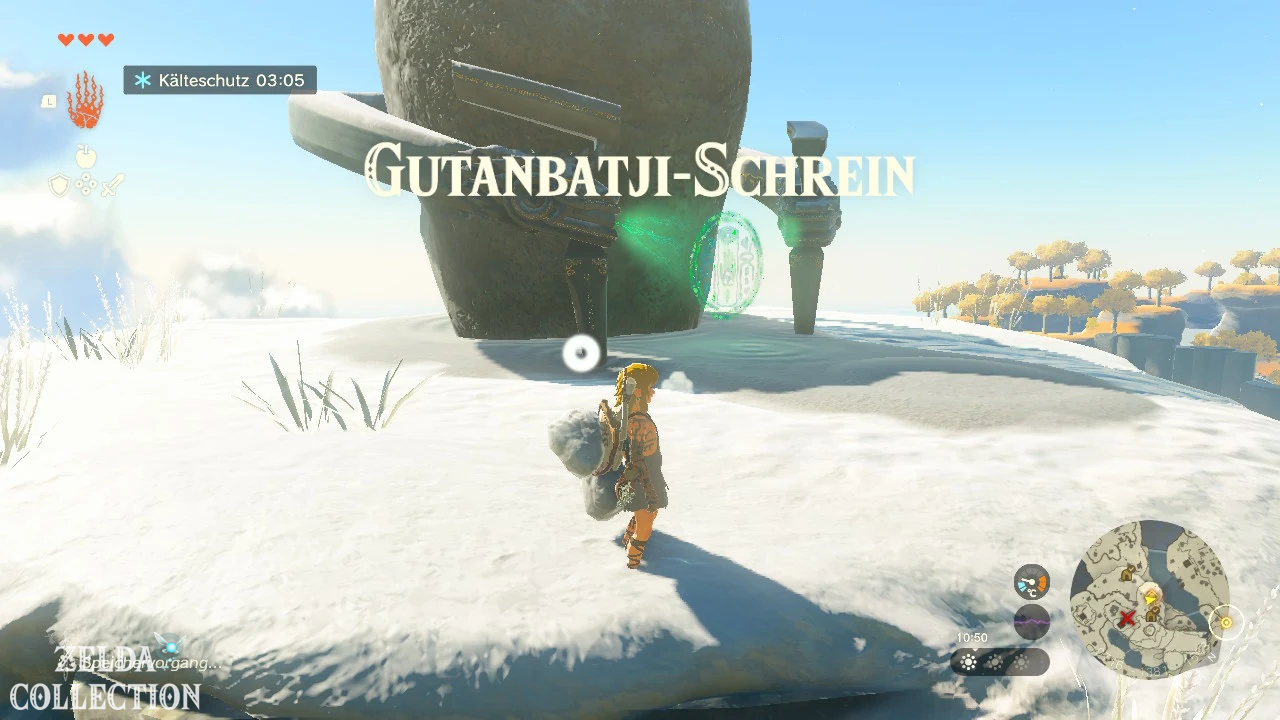
Solve Gutanbac Shrine
Get and use
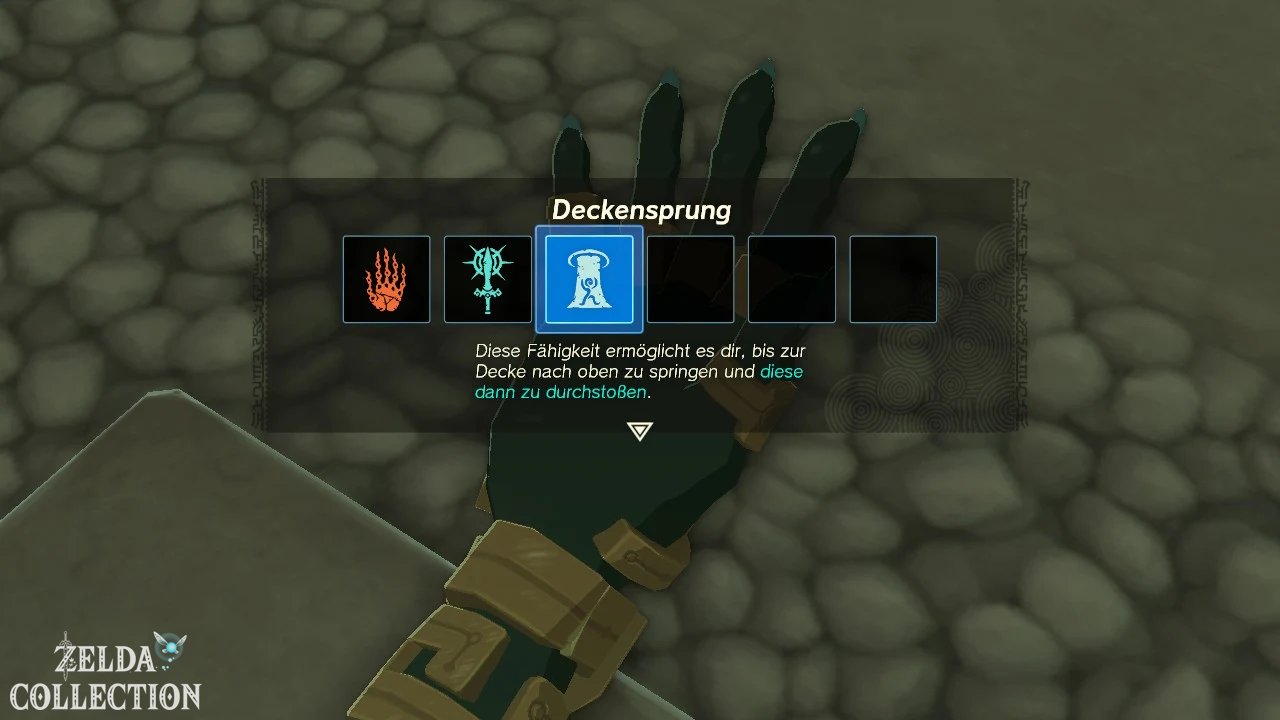
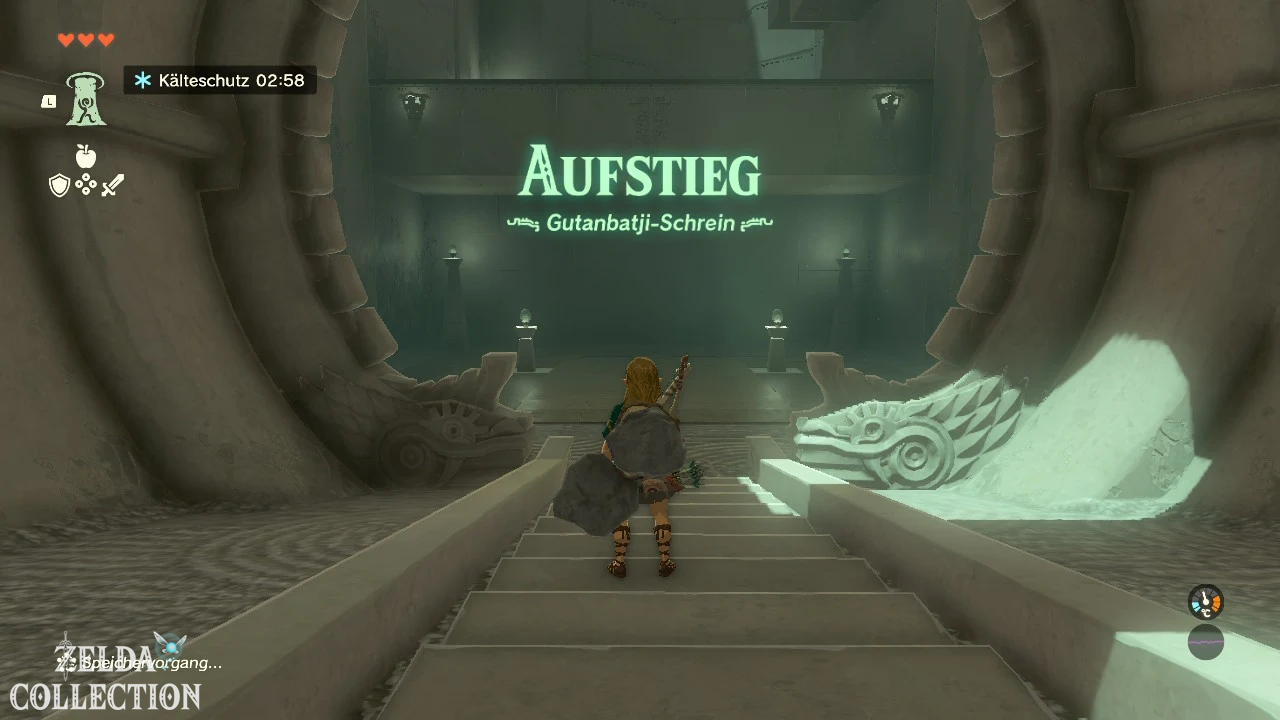
Rauru gives Link the Ascend in the shrine. This allows Link to get to the top through suitable ceilings and platforms. A green marker indicates whether the ability works in a location.
Jump through the first ceiling
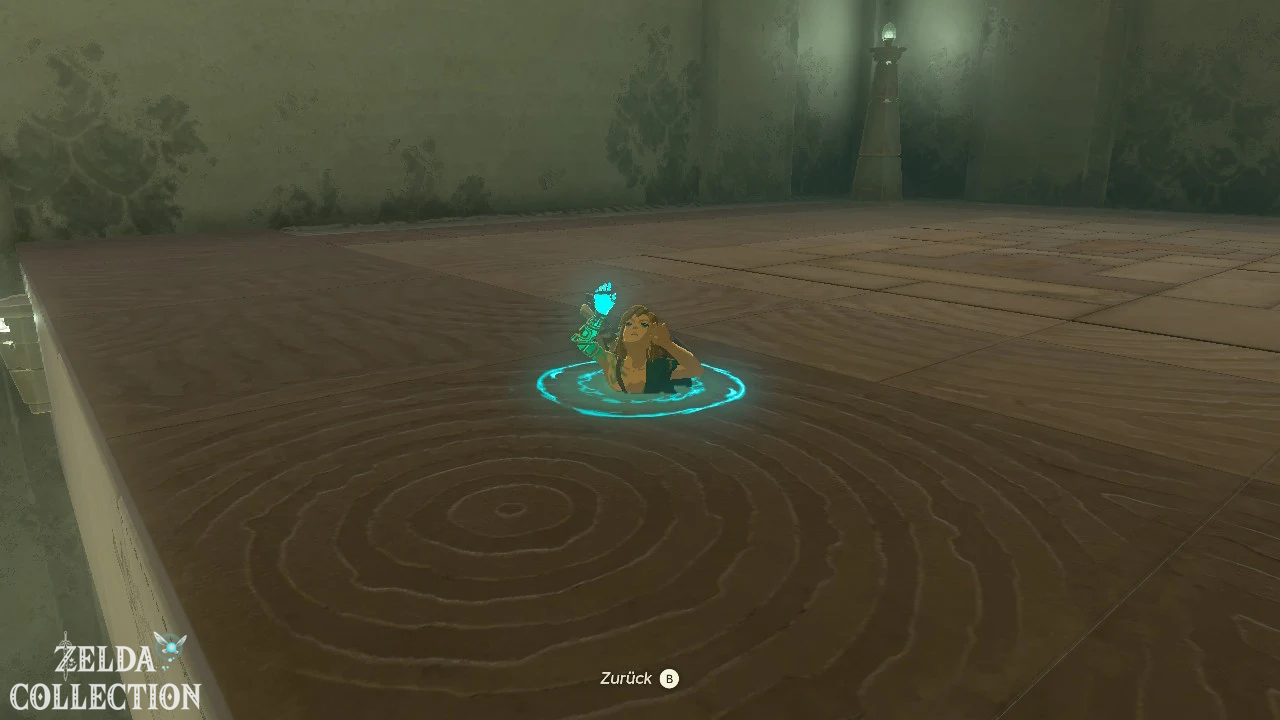
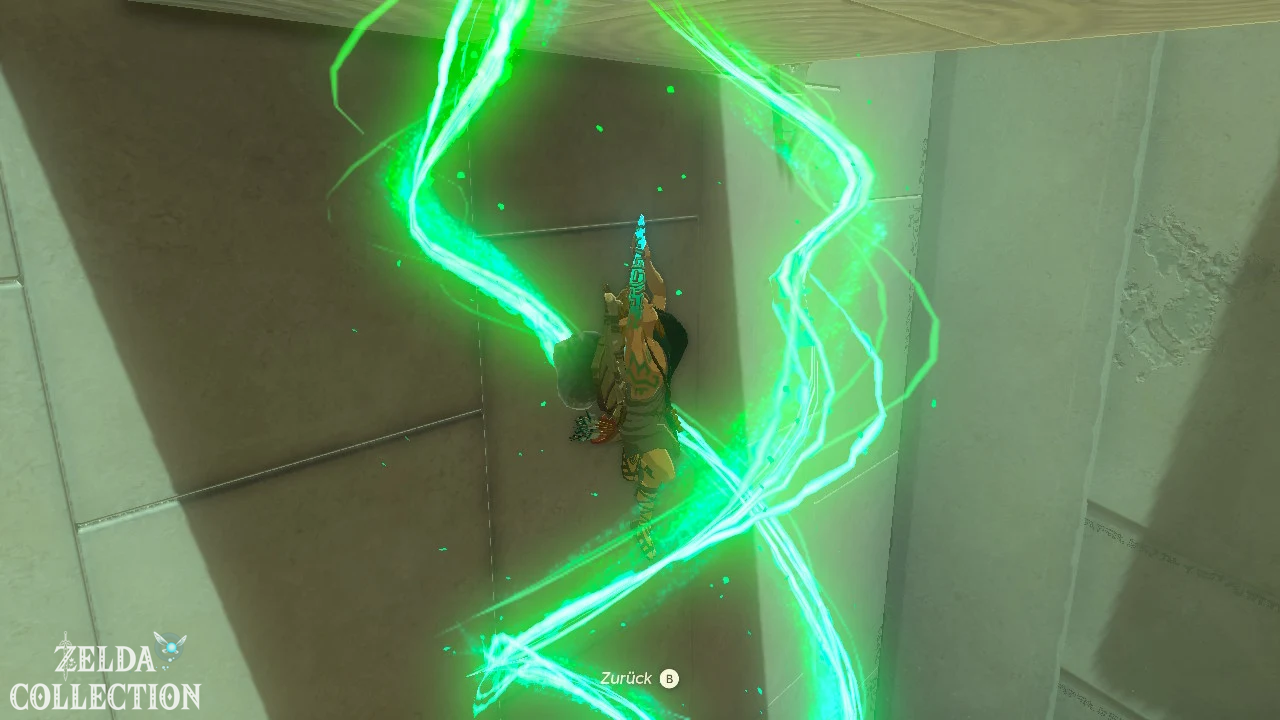
Stand under the low stone ceiling. Select the Ascend with the L button and look up.
As soon as the marker appears green, press A. Link swims through the material and gets stuck briefly below the surface. Confirm with A again to emerge.
Stone ax from the first Treasure Chest
In the next area there are two raised stone blocks on the left and right. Use the Ascend first under the smaller left block.
Above is a Treasure Chest with a Stone Ax. Then jump back down and use the Ascend under the higher right block to continue the main path.
construct sheet from the second Treasure Chest
Defeat the Soldier Construct on the upper level. Then go right to the two wooden boxes that block a small niche.
Smash the crates with a sharp weapon or the stone axe. Stand in the niche and use the Ascend.
The second Treasure Chest is on the level above. It contains a construct sheet. Both chests – Stone Ax and Construct Bow – are confirmed in the shrine lists.
Lower hanging platform
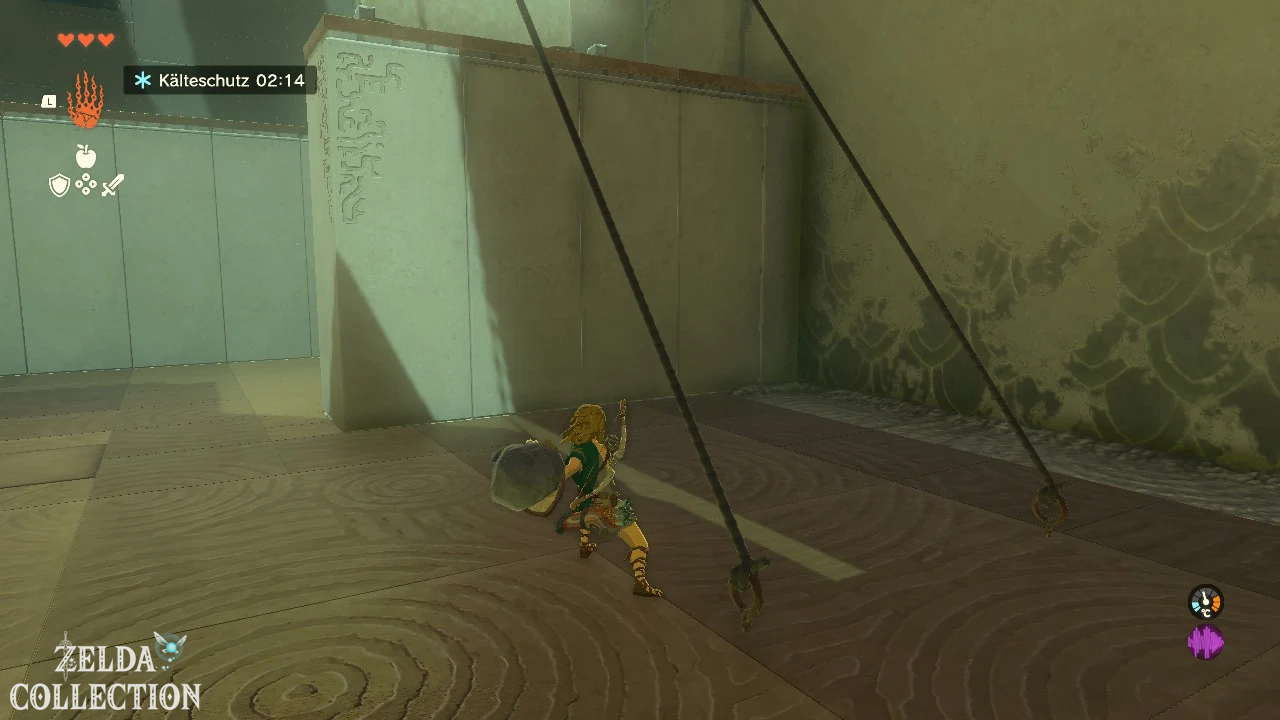
On the other side, a stone slab hangs on two ropes. Cut both ropes with a sharp weapon or arrows.
The plate falls down and forms an accessible ceiling. Stand underneath and use the Ascend.
Moveable platform use
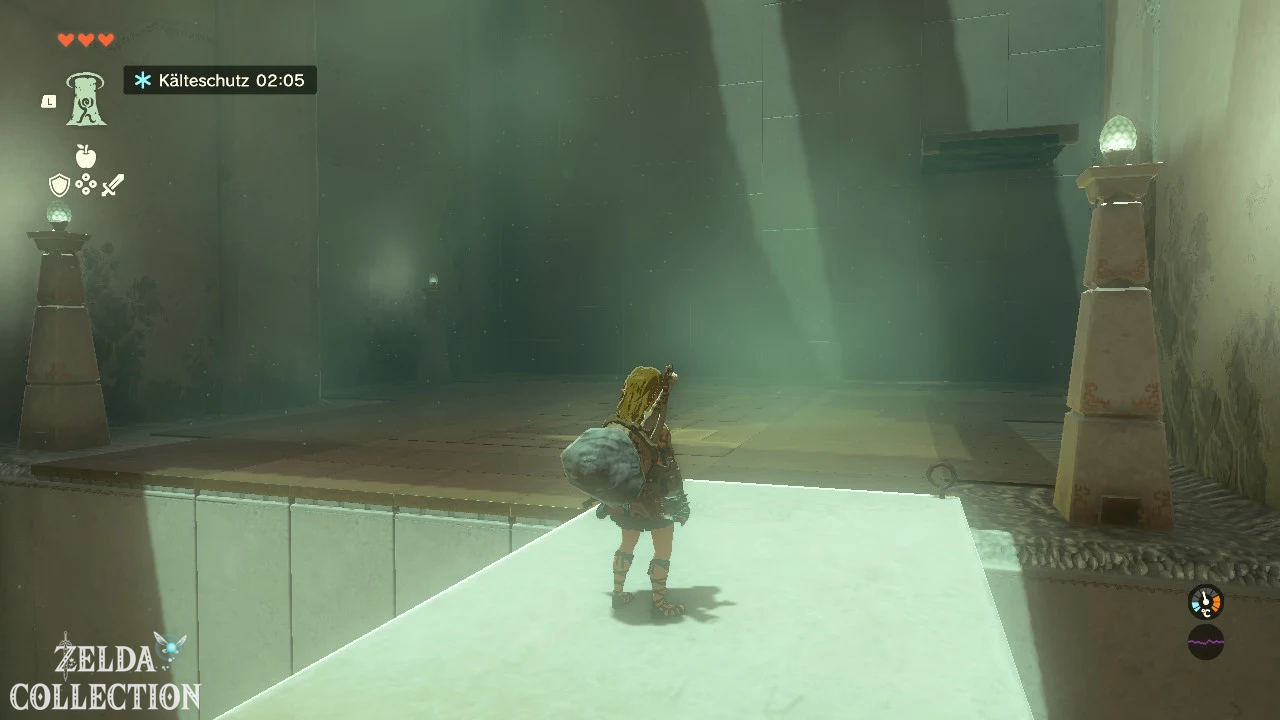
In the last area a platform regularly moves back and forth. Stand under her track and wait until she is above Link.
Use the Ascend to get onto the moving platform. Drive it under the last solid block and use the Ascend again.
Follow the stairs to the altar and receive the third Light of Blessing.
Return to the Temple of Time
After the shrine, Rauru explains that Link’s arm should now have enough strength to open the temple door.
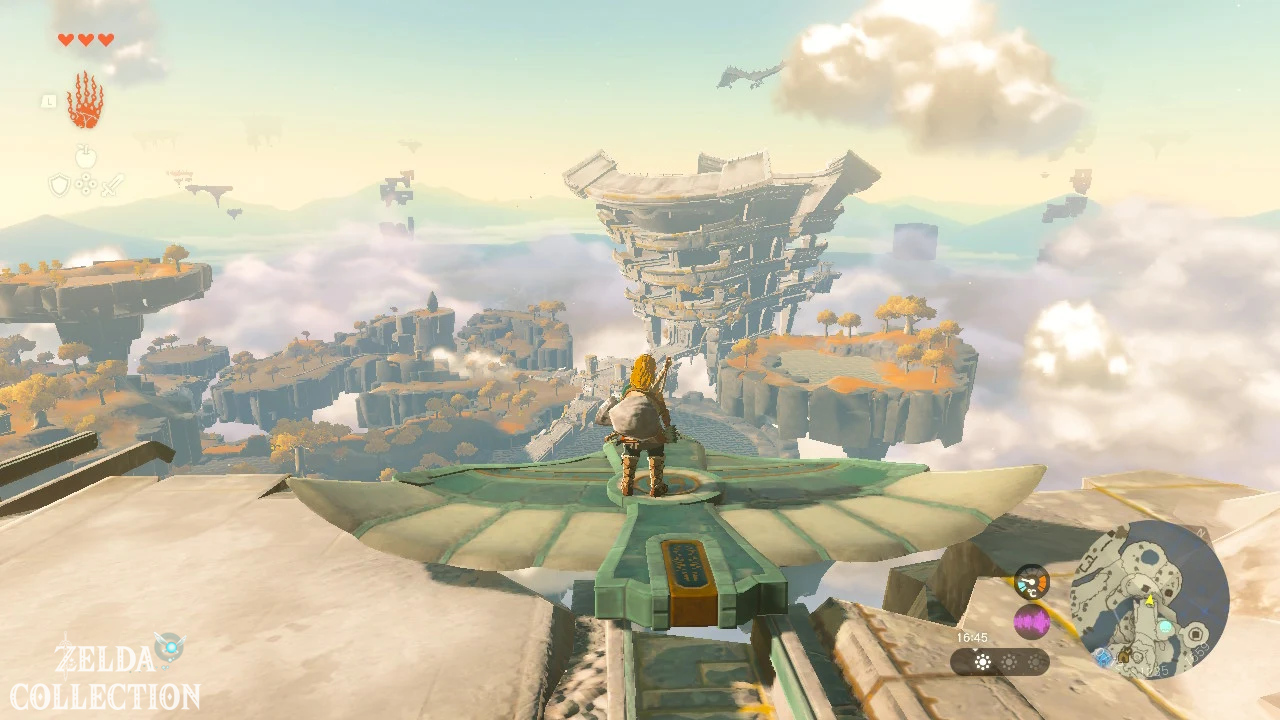
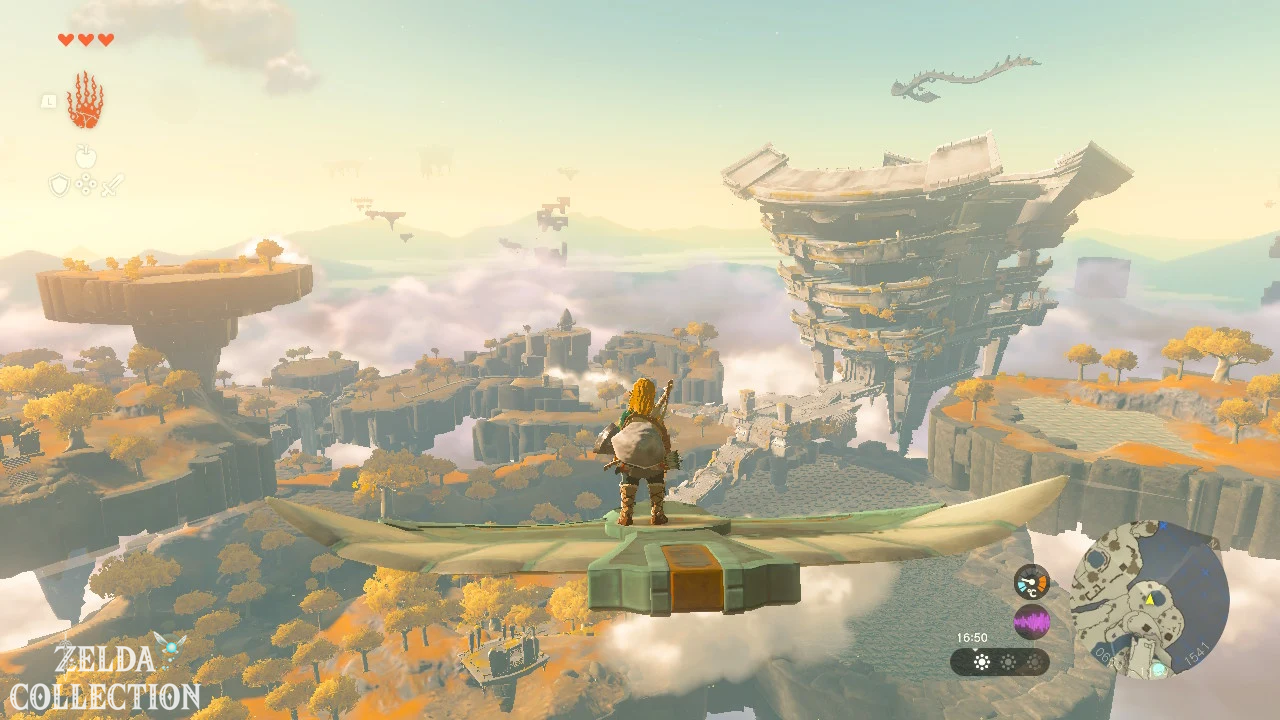
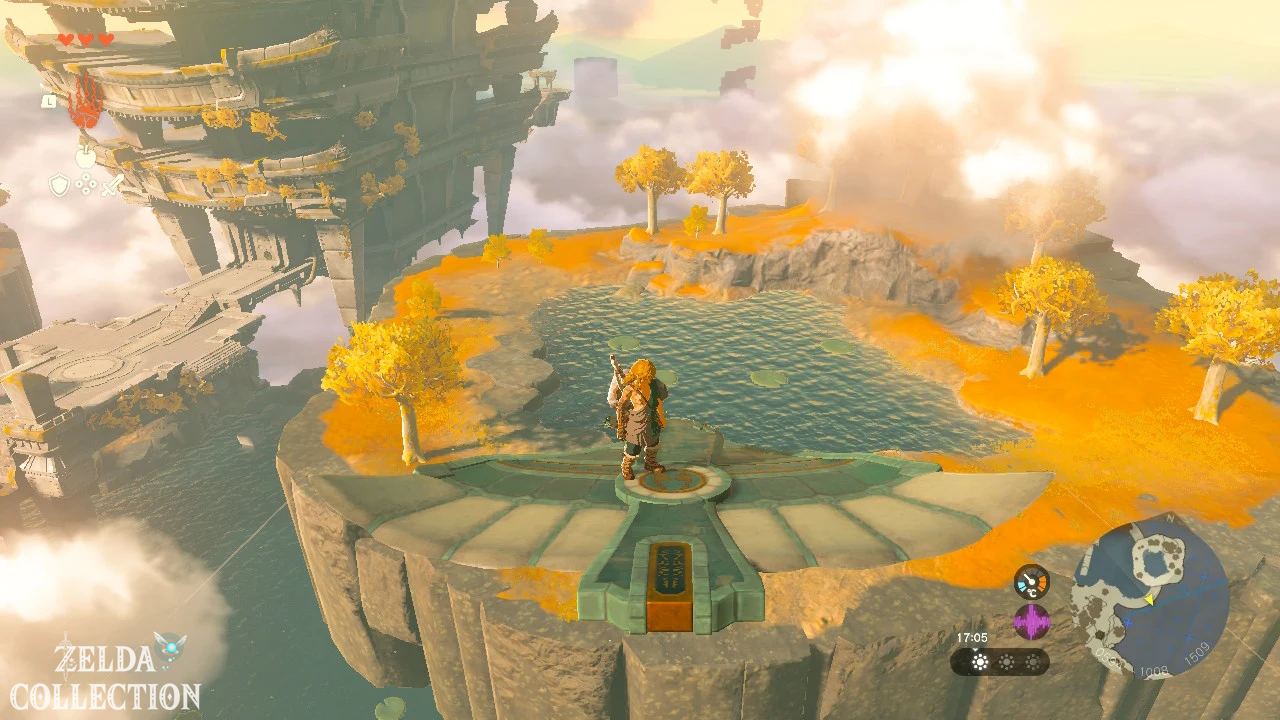
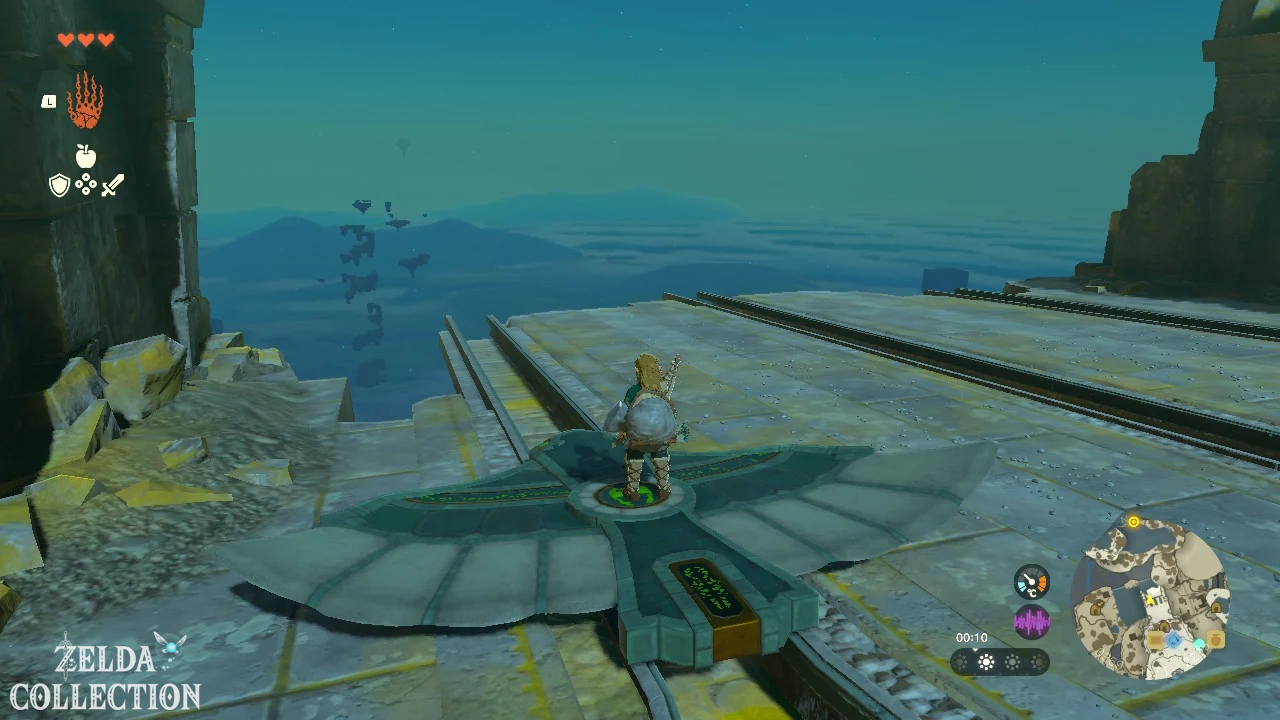
In the area there are Zonai-Wing lying on stone starting rails. Place a Wing straight on the rail, stand on it as centrally as possible and let it slide down towards the temple.
If Link moves left or right on the Wing, the direction of flight changes. Run forward to lower the tip and backwards to raise the Wing slightly.
Land near the temple and examine the green seal on the door again. The three blessing lights react with Link’s arm and open the locked gate.
Enter Temple of Time and get Recall
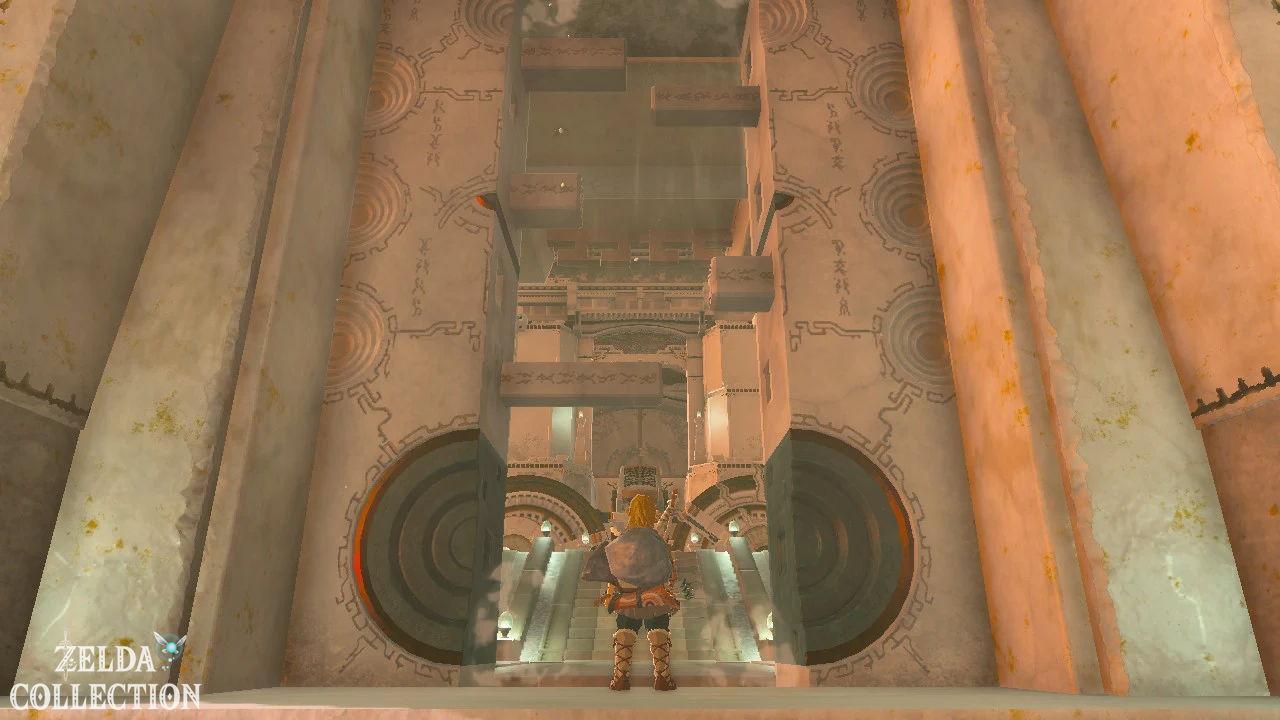
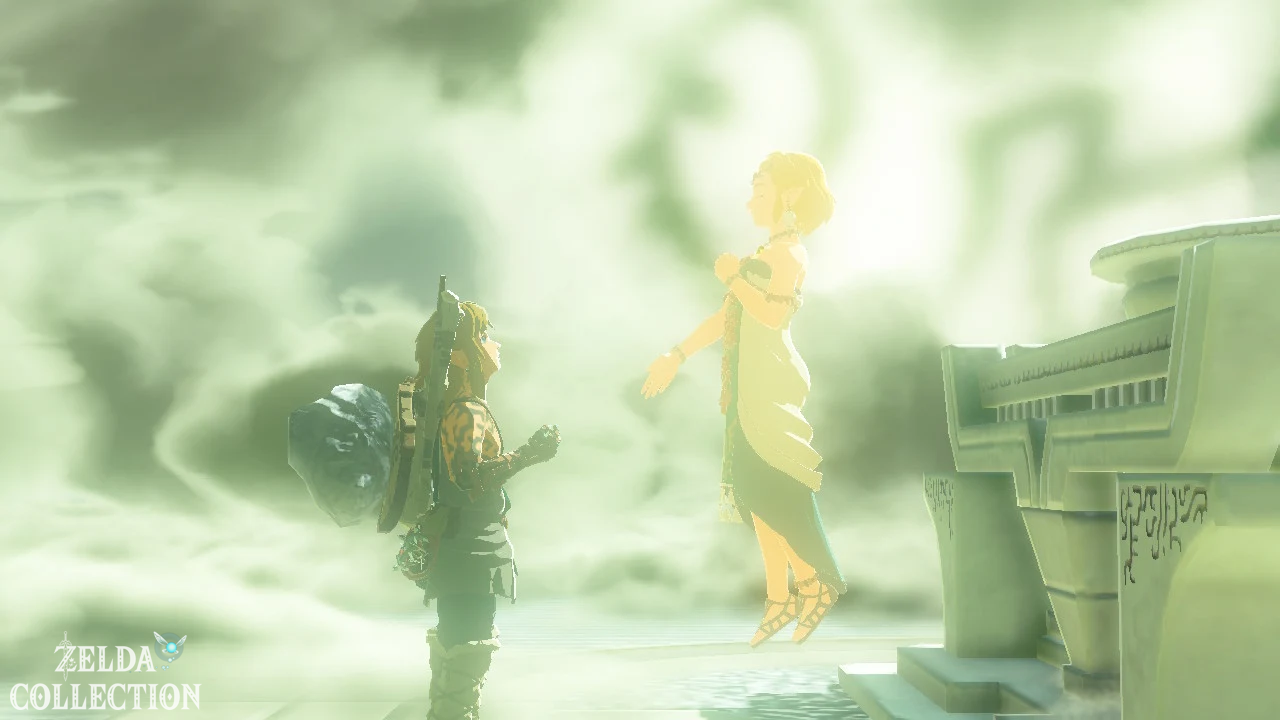
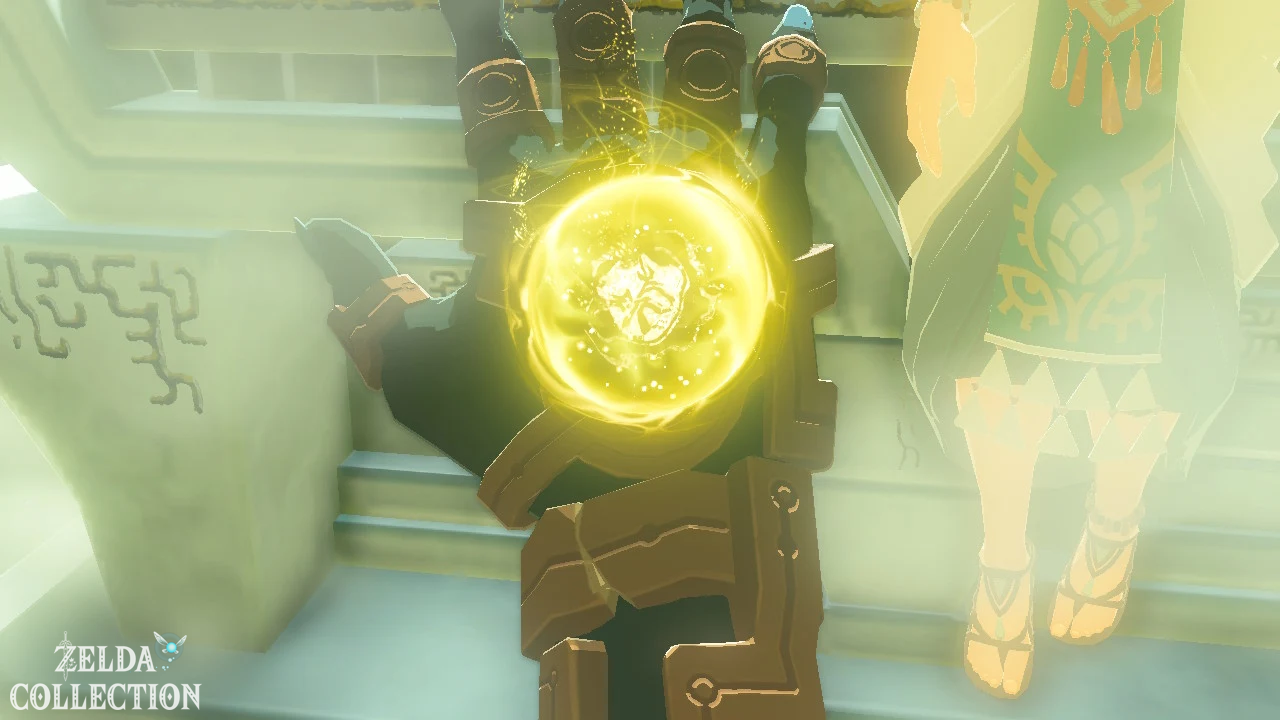
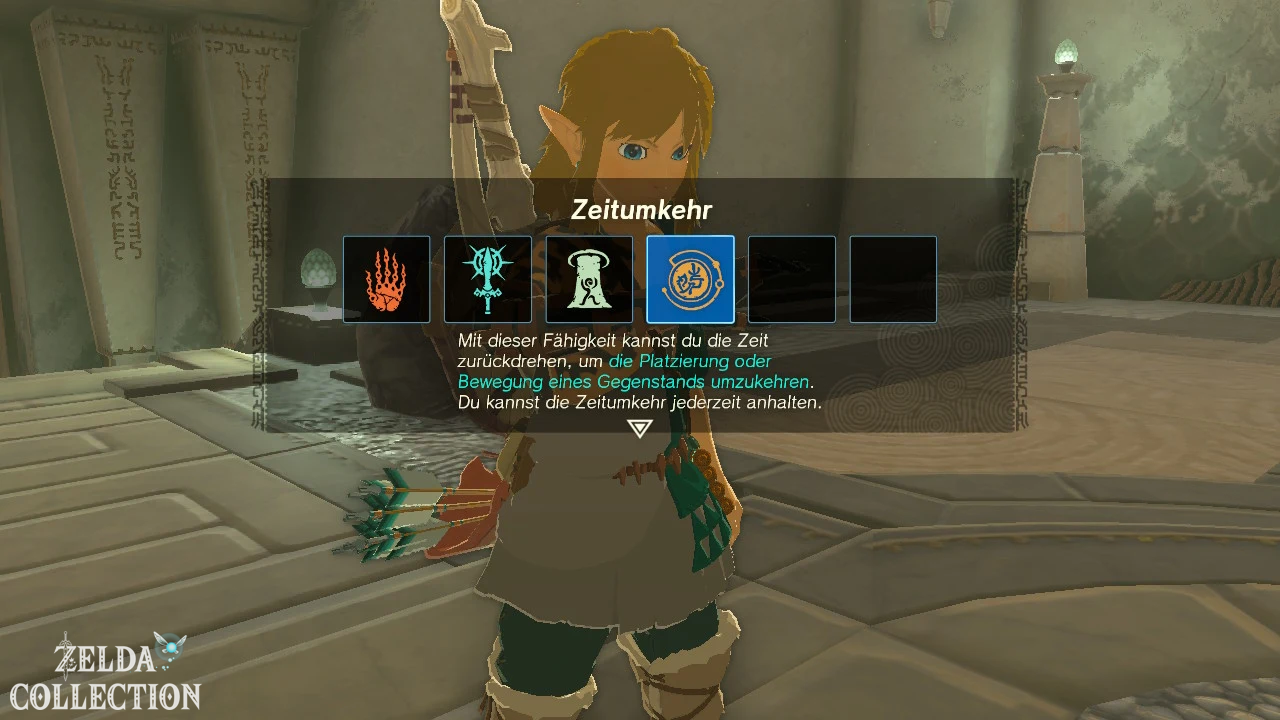
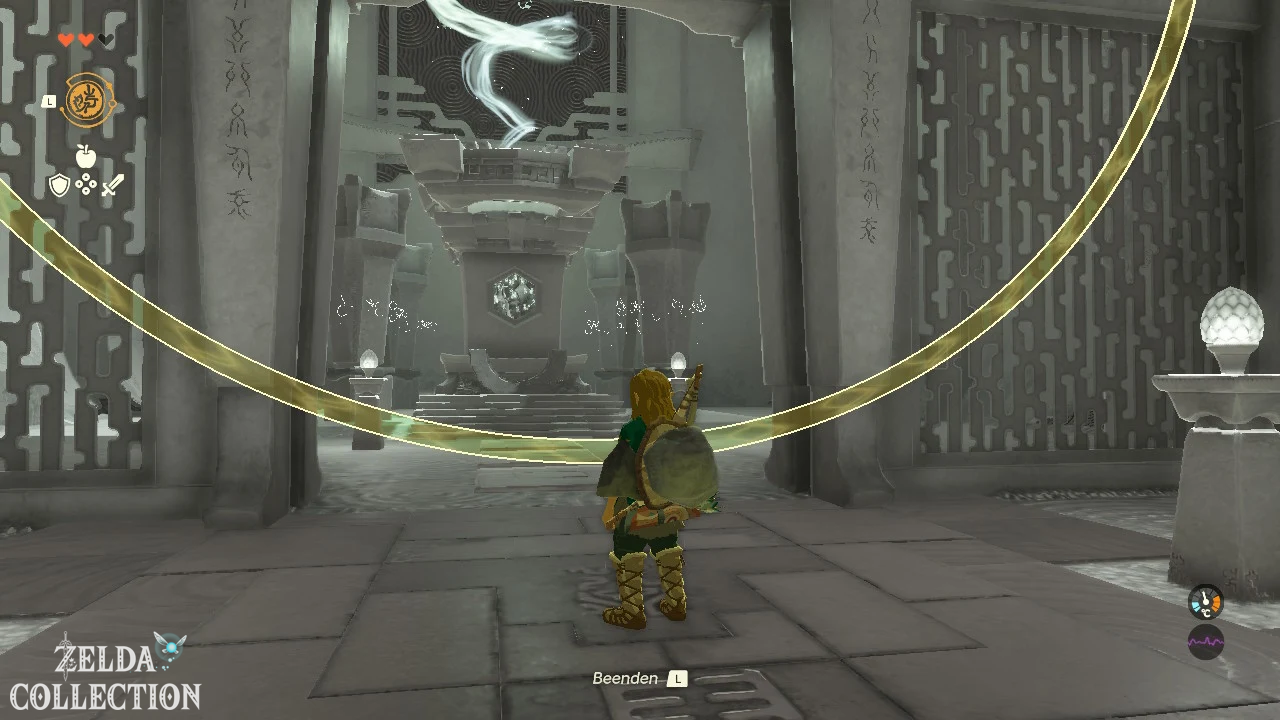
Enter the temple and go to the glowing pedestal. An apparition of Zelda touches the Decayed Master Sword and gives Link the fourth ability: the Recall.
With the Recall you can run the previously recorded movement of many objects backwards. The ability does not create a fundamentally new movement, but rather reverses the path an object took recently.
Reverse water wheels
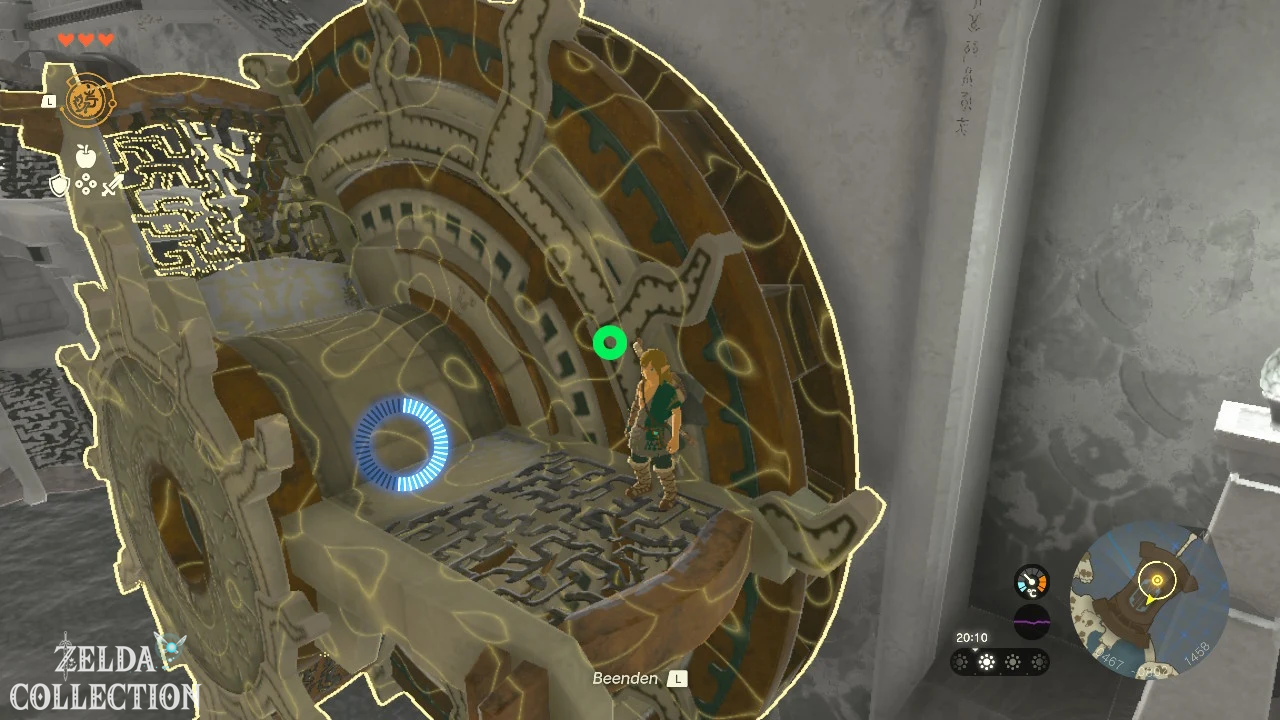
Large water wheels rotate behind the base. Puts the Recall on the first Big Wheel. Its rotation direction is reversed and the platforms move upwards.
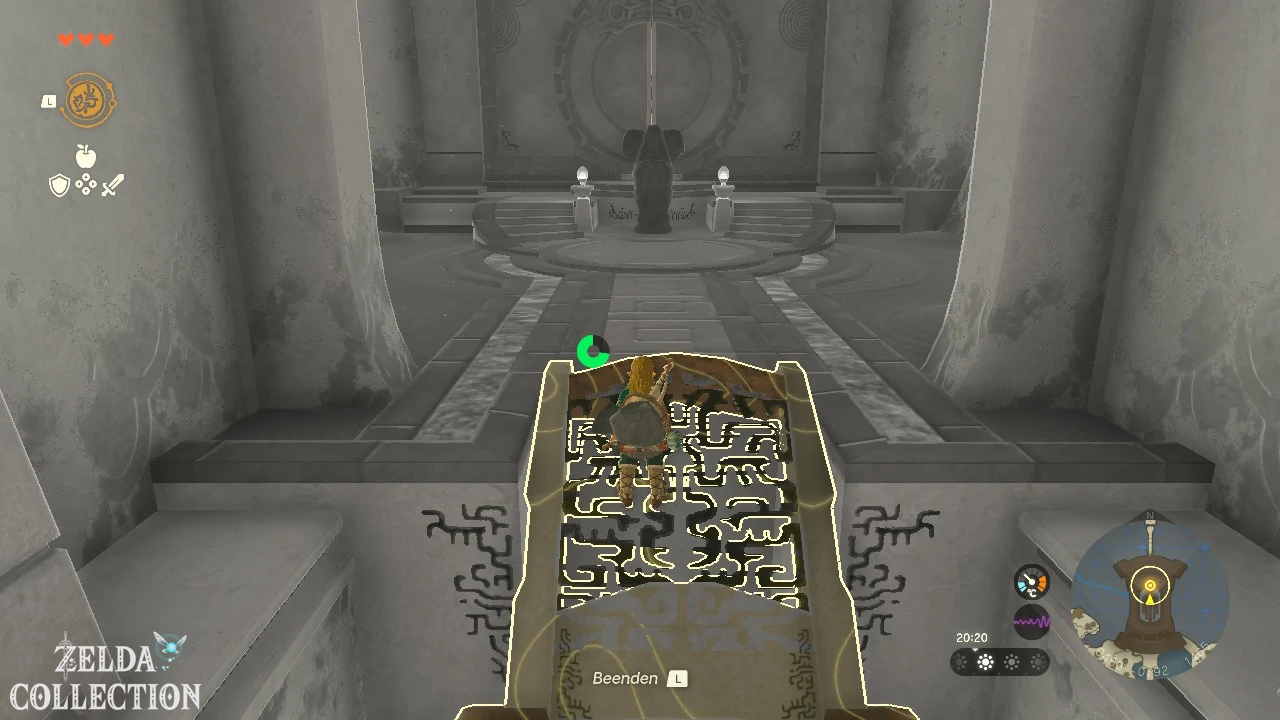
Jump onto one of the platforms and let yourself be carried onto the intermediate column. Then activate the Recall on the second Big Wheel and reach the upper level.
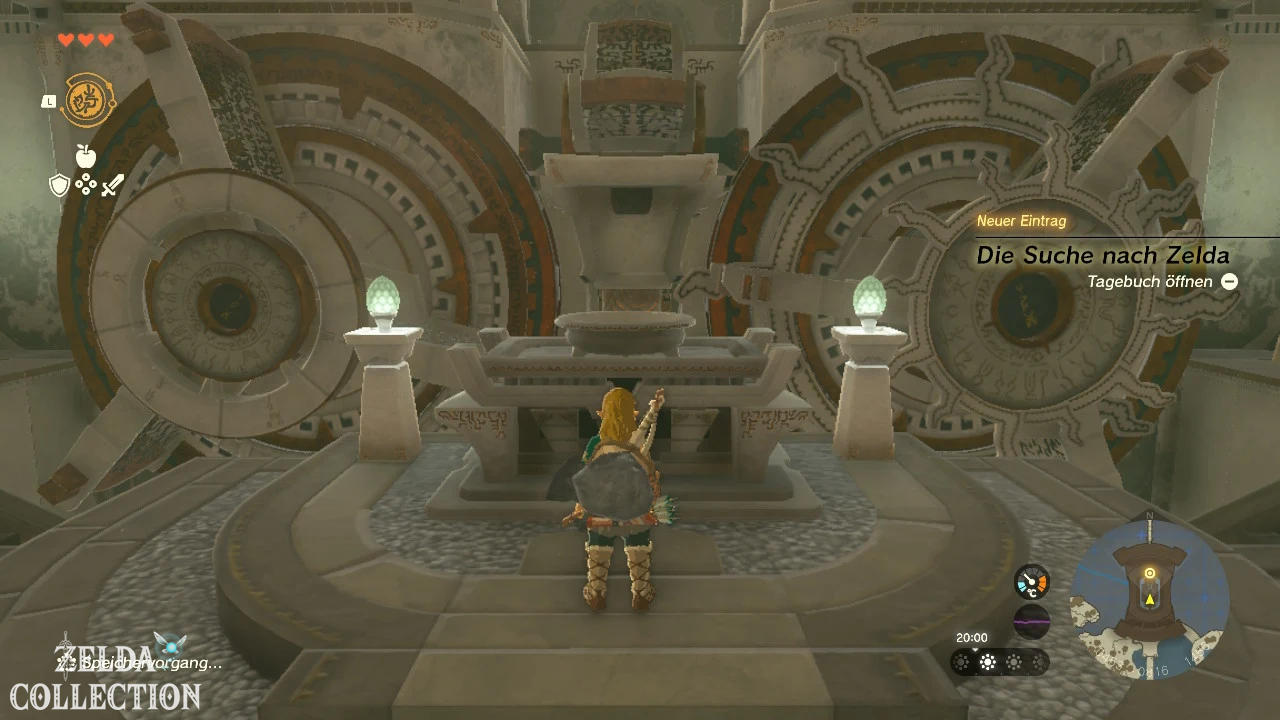
Goddess statue and locked heart door
Examine the Goddess Statue. With only three Lights of Blessing, you still can’t get Heart Container. Four blessing lights are required for an improvement.
Then try to open the large door behind the statue. Link only has three hearts and is not yet strong enough.
Rauru appears and points you to a fourth shrine in the Room of Awakening. At the same time, fast travel is activated.
The intended order – three shrines, return to the temple, Recall and then the fourth shrine – is also described in the walkthroughs for Great Sky Island.
way to Nachoyah Shrine
Location: Above the Room of Awakening
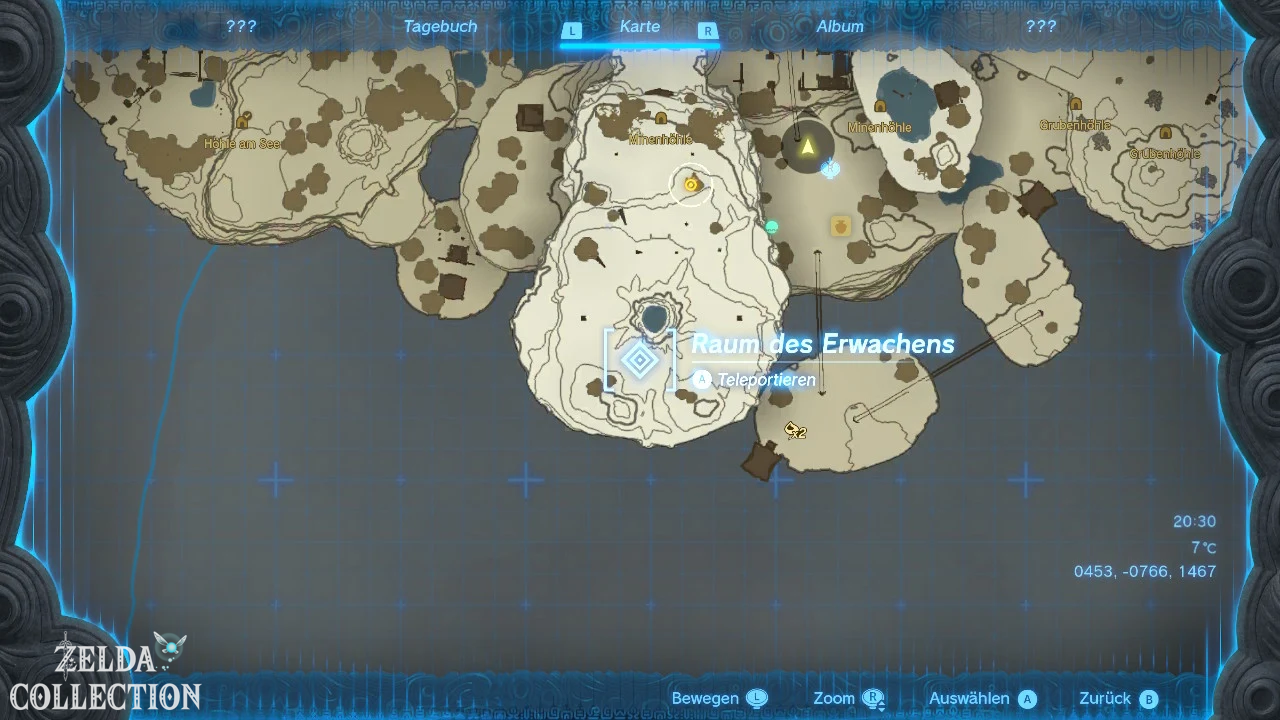
coordinates: approximately 0389, -1661, 2299
test: reversal
Capability: Recall
Treasure Chest: 10 wooden arrows
Open the map and travel to Room of Awakening in the far south of Sky Island.
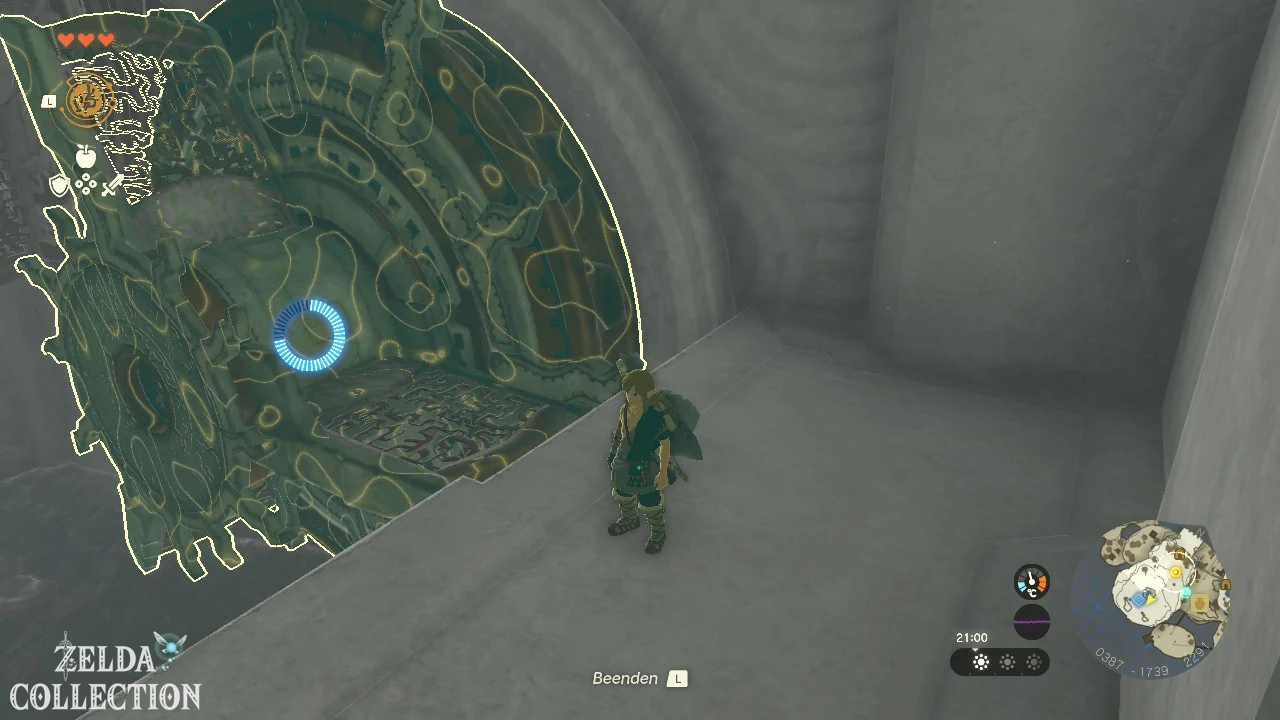
After fast travel you will be back in the chamber with the large gears. First use the Ascend to reach the upper level next to the wheels.
Activates the Recall on a gear and jumps onto one of the teeth. The Big Wheel carries you backwards up to the corridor behind it.
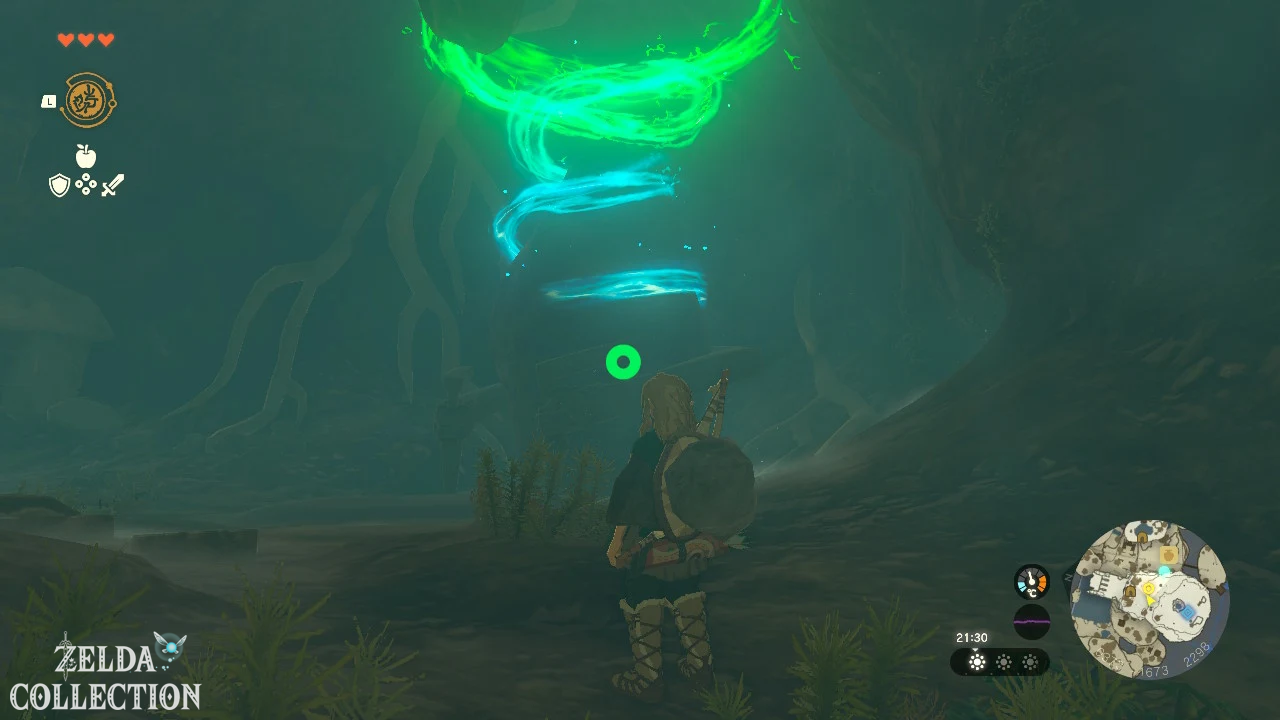
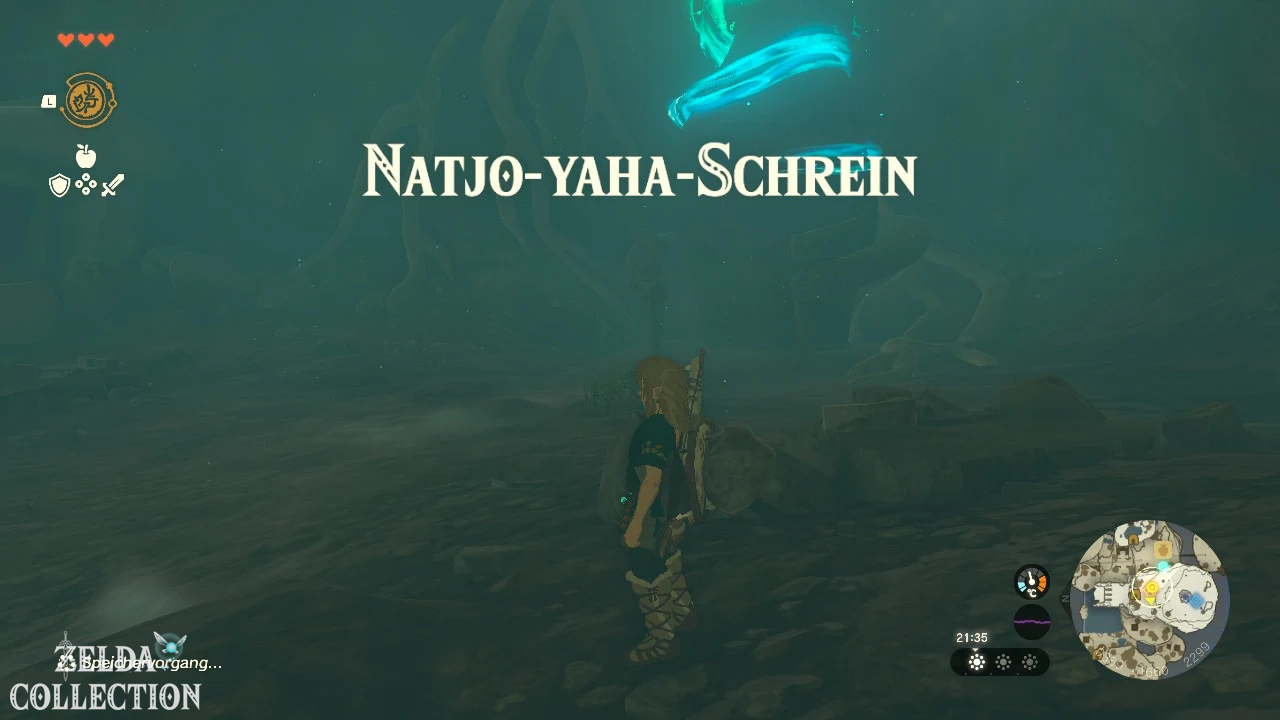
Energy Cell expand
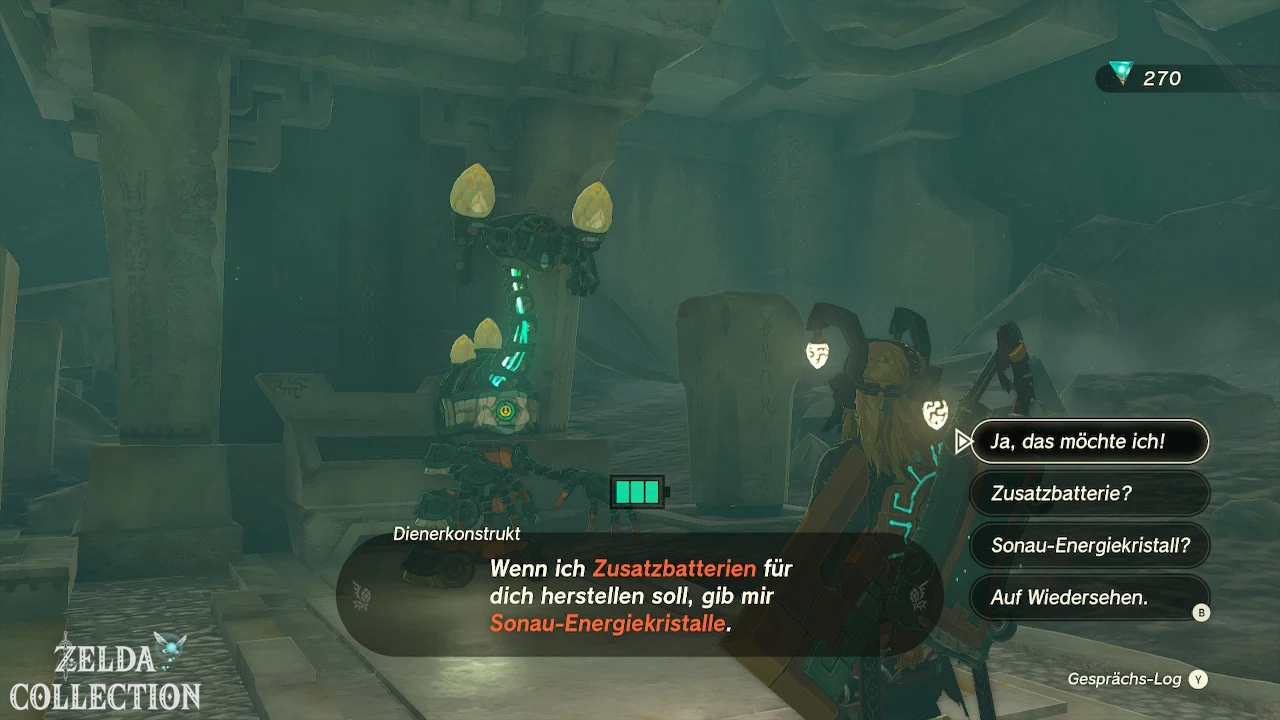
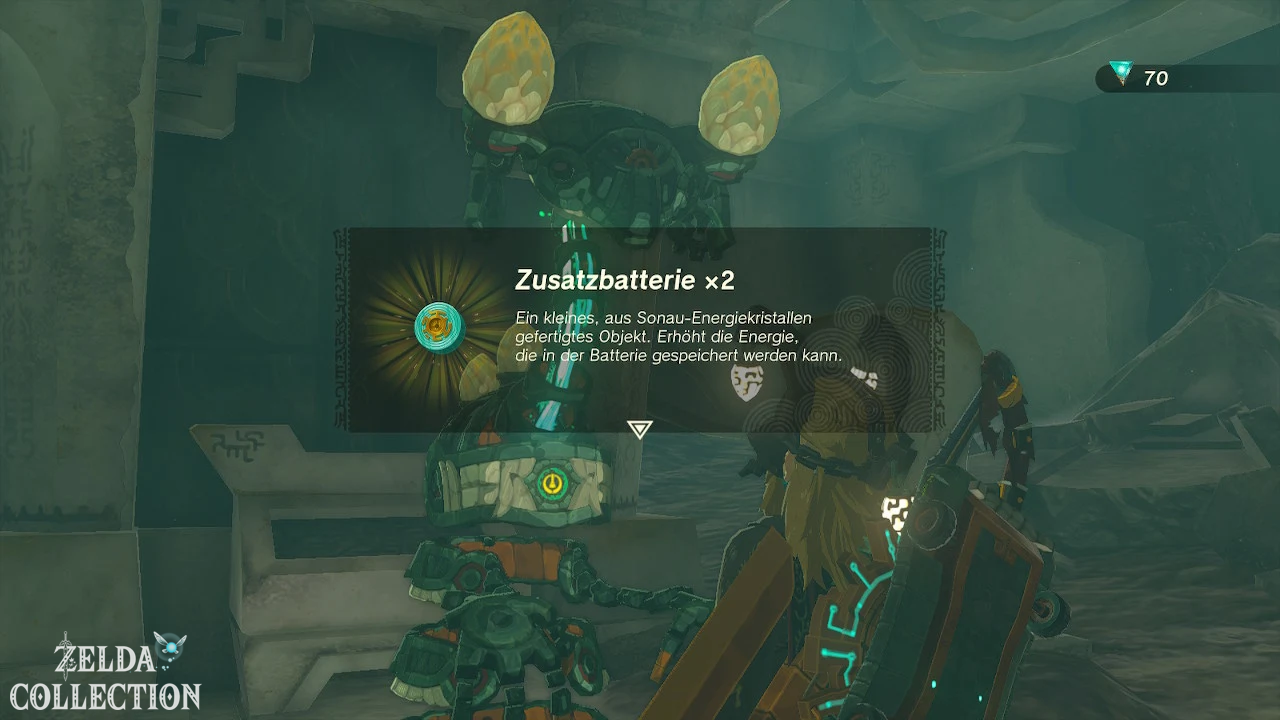
In front of the Nachoyah Shrine there is a Steward Construct at a crystal refinery. There you can exchange Zonai energy crystals for additional battery capacity.
A full expansion unit costs 100 Zonai Energy Crystals. At this early stage you usually don’t have enough. Remember the fast travel point and return later.
Then follow the dark corridor to Nachoyah Shrine.
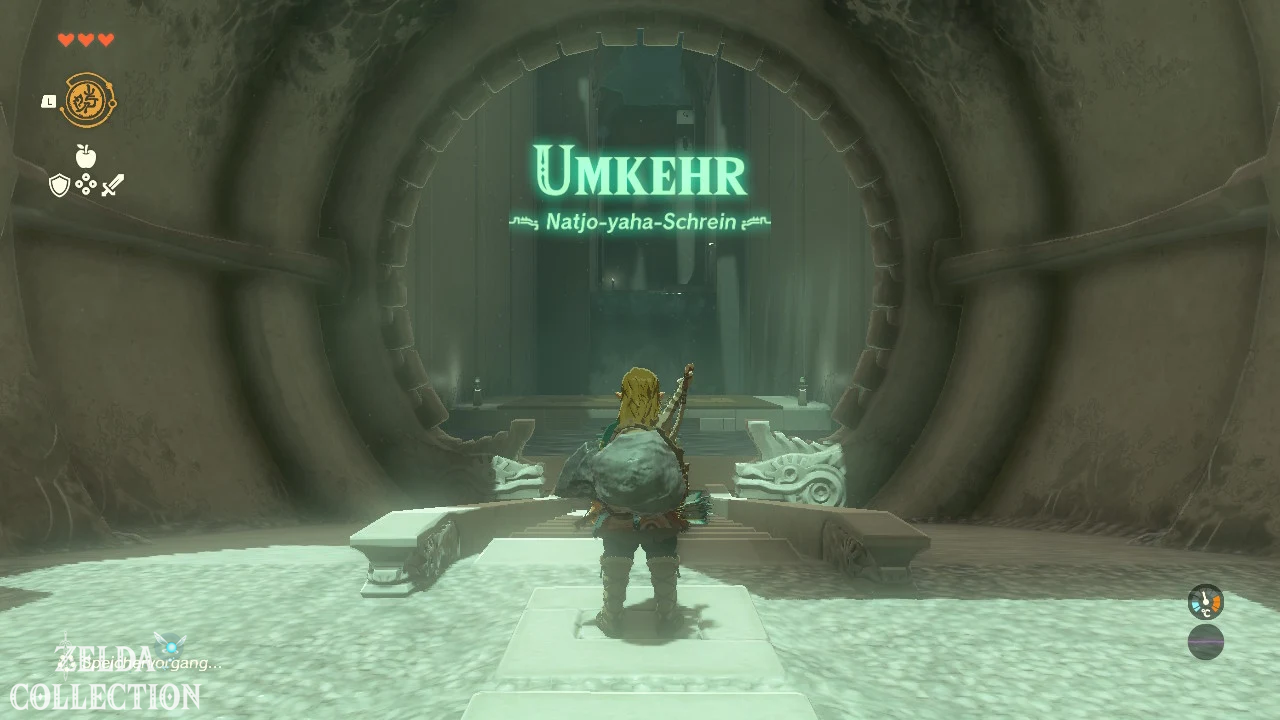
Solve Nachoyah Shrine
The fourth shrine only tests the use of the Recall. You have already received the ability and do not need to unlock it again.
With the raft against the current
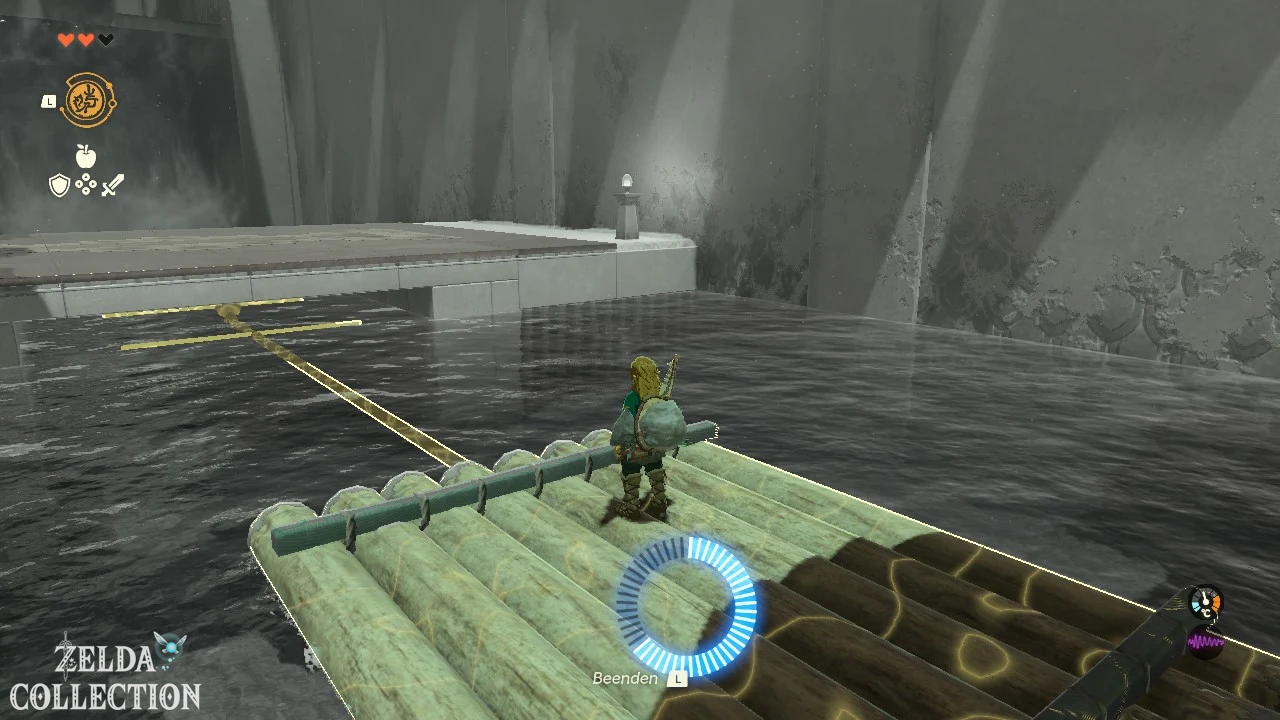
In the first room, wooden rafts float towards you on a water channel.
Wait until a raft is close enough and use the Recall on it. Then jump onto the raft. It will now move back its previous path and take you to the other side.
Driving up the waterfall
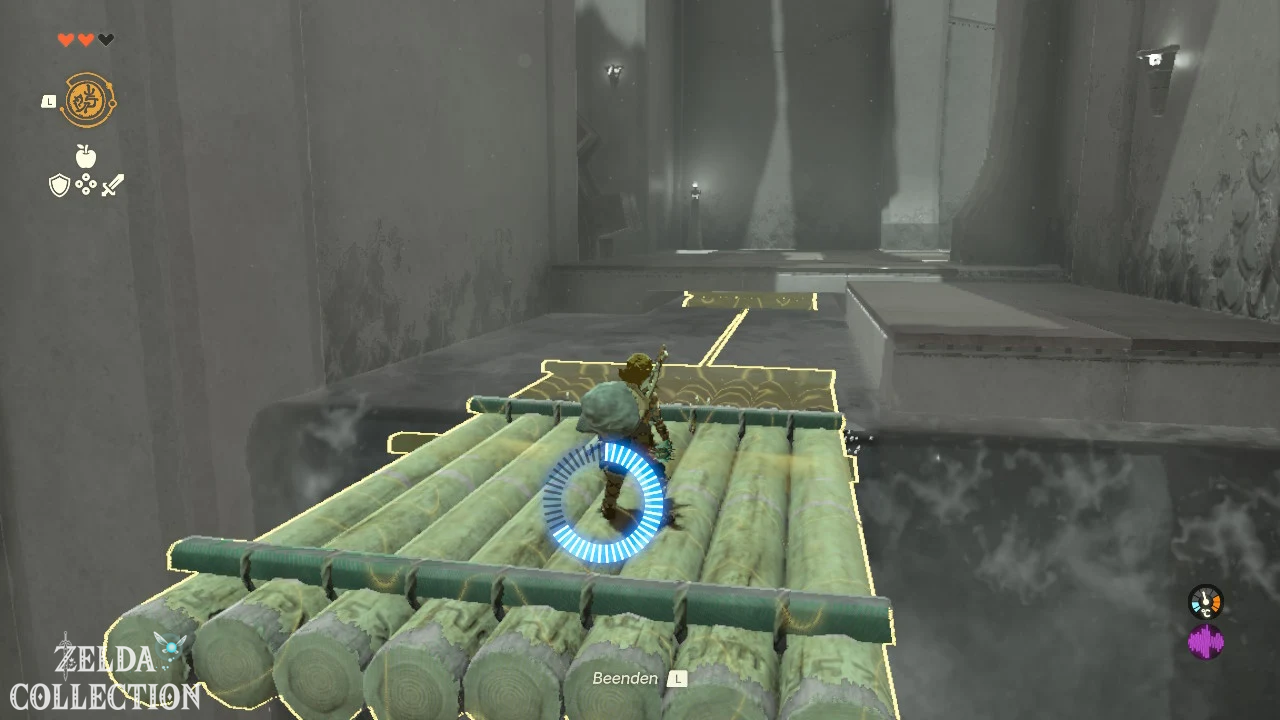
In the next section, rafts fall down a waterfall. Wait until one arrives in the lower pool.
Activate the Recall on the raft and climb onto it. The raft backs up the waterfall and carries you to the upper level.
Chest with ten wooden arrows
On the upper level, a large gear rotates on the left. Next to it is a Treasure Chest.
Use the Recall on the gear and jump onto one of its teeth. Let yourself be carried to the platform with the chest.
Open it and take the ten wooden arrows. The arrow reward and shrine coordinates are confirmed in the full shrine data.
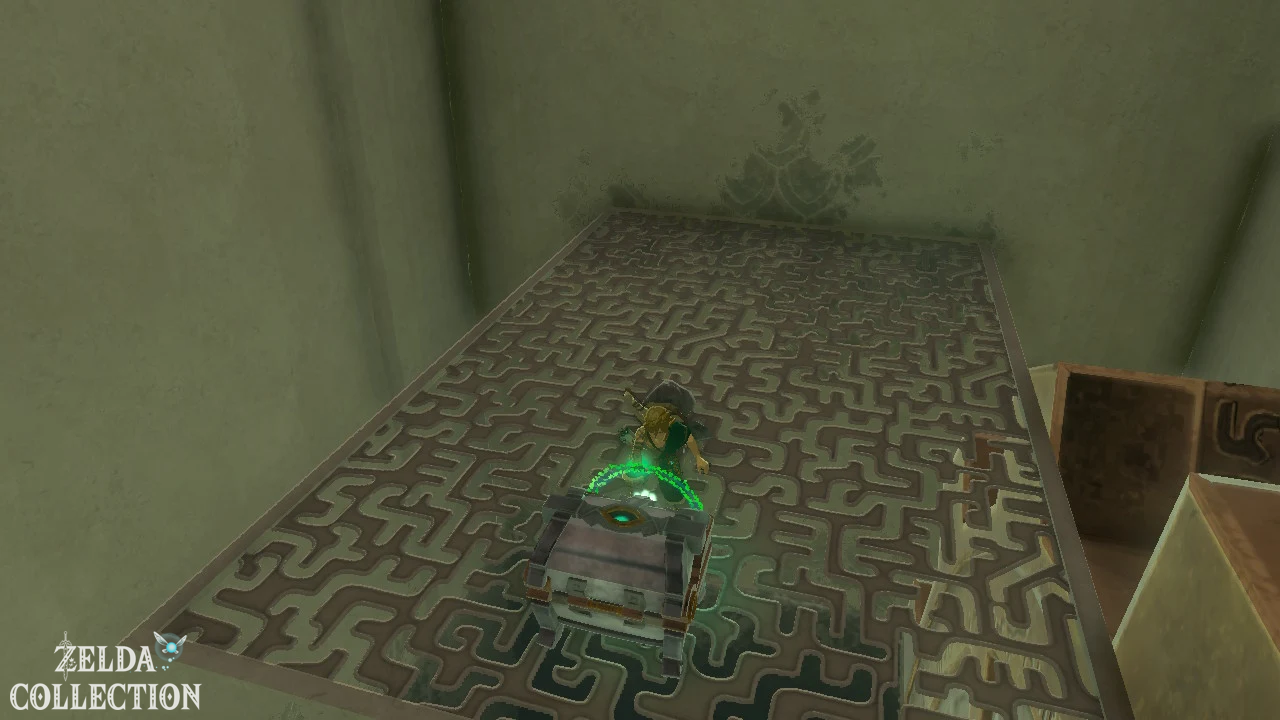
The two pointers overlap
In the last room, two large hands rotate with different rhythms in front of a locked grille.
The gate only opens as long as both pointers are exactly above each other.
- Watches the hands.
- Waits until they completely overlap.
- Activates the Recall at this moment.
- Both hands now move backwards together.
- Run through the opened grate.
Behind the gate you reach the altar and receive the fourth Light of Blessing.
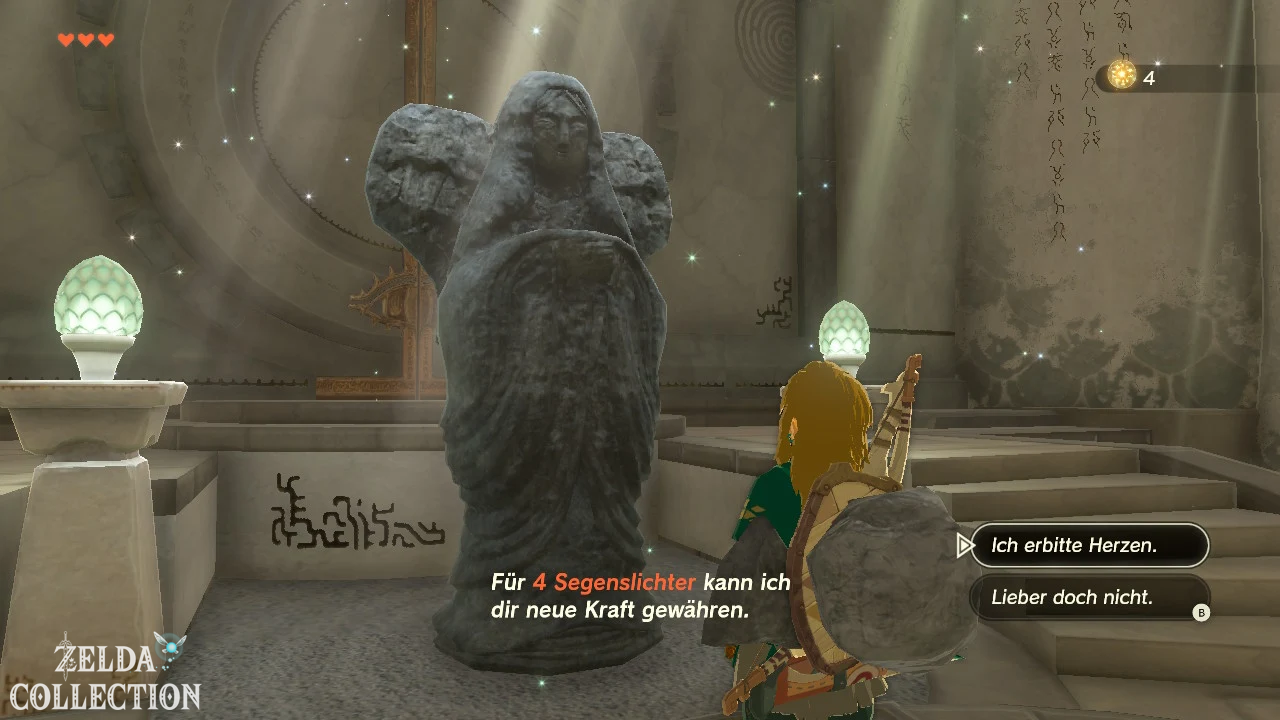
Exchange four blessing lights for one Heart Container
Fast travel to Ukouh Shrine or another shrine near the Temple of Time. Return to the goddess statue in the temple.
Pray in front of the statue and exchange the four blessing lights for a Heart Container. Link’s maximum health increases from three to four hearts.
With four hearts you can now open the heavy door behind the statue. Shrines also permanently serve as fast travel points; Four blessing lights can be exchanged for an improvement at goddess statues.
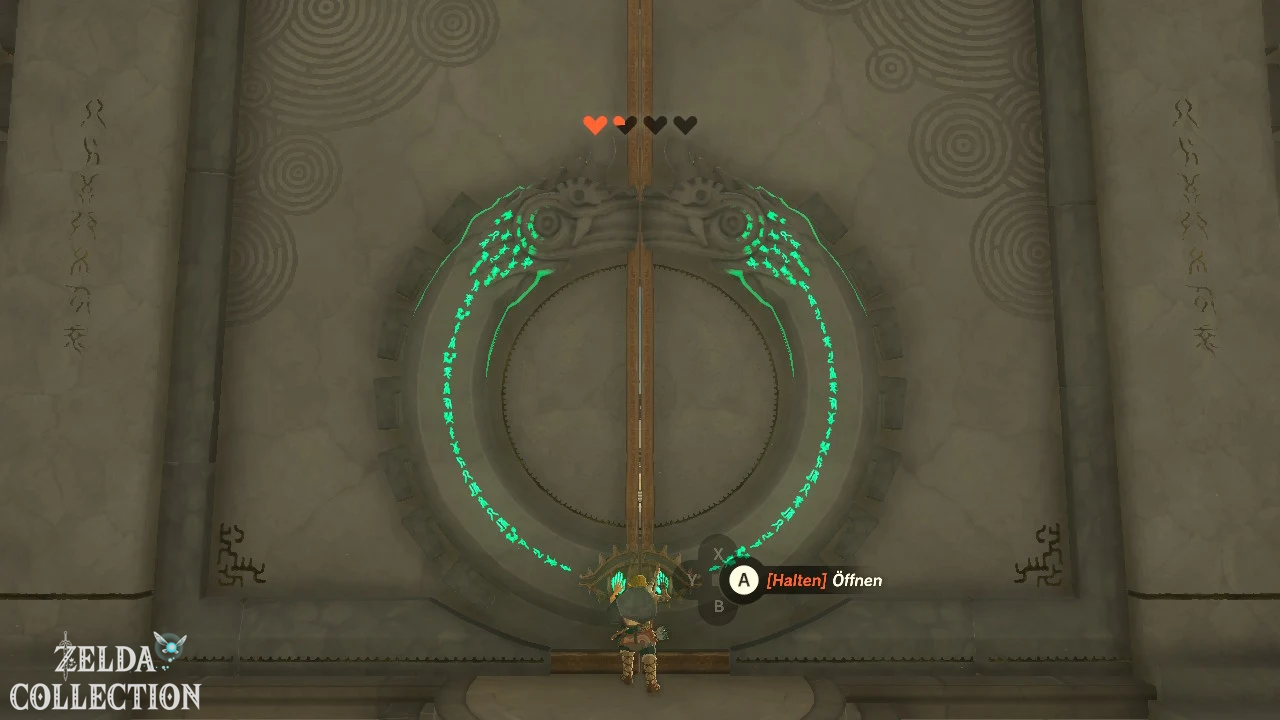
Cross the back part of the temple
Push open the large door and follow the narrow path. The bridge is destroyed in several places.
At the first break, carefully drop down onto the lower platform. Look up and use the Ascend through the accessible ceiling.
Repeat Ascend on the next overhang until you reach the highest platform with the altar.
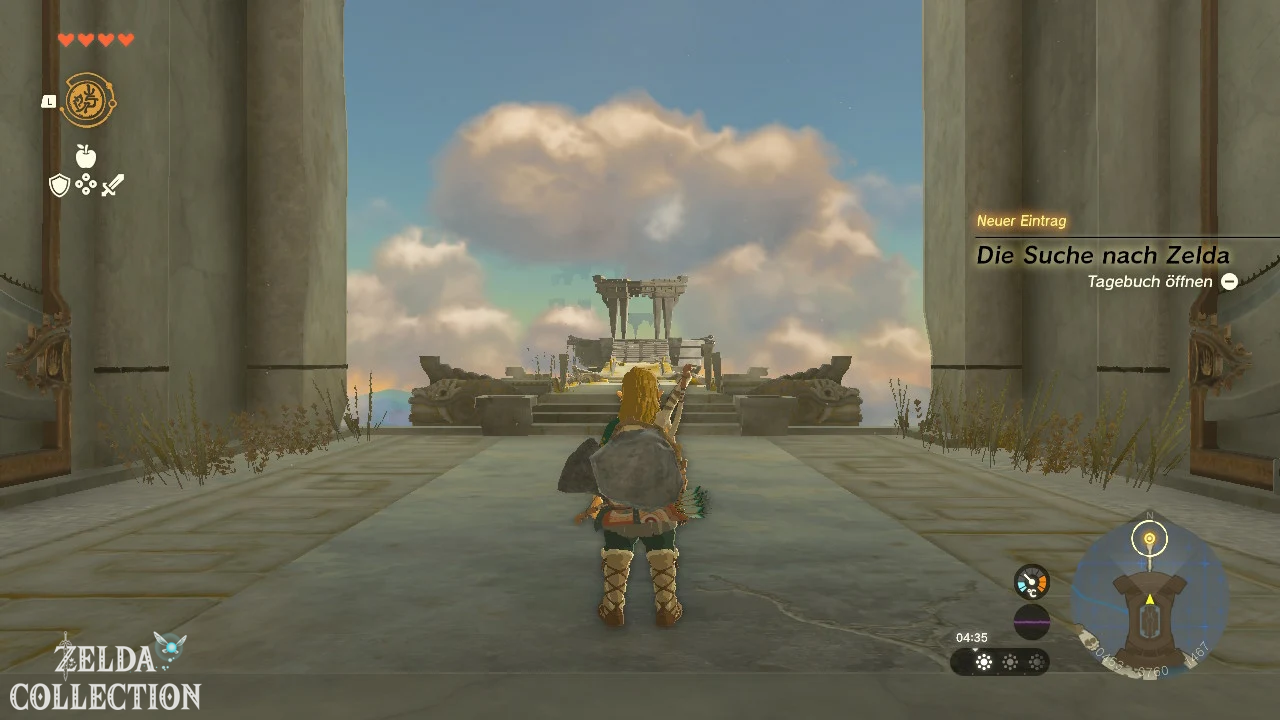
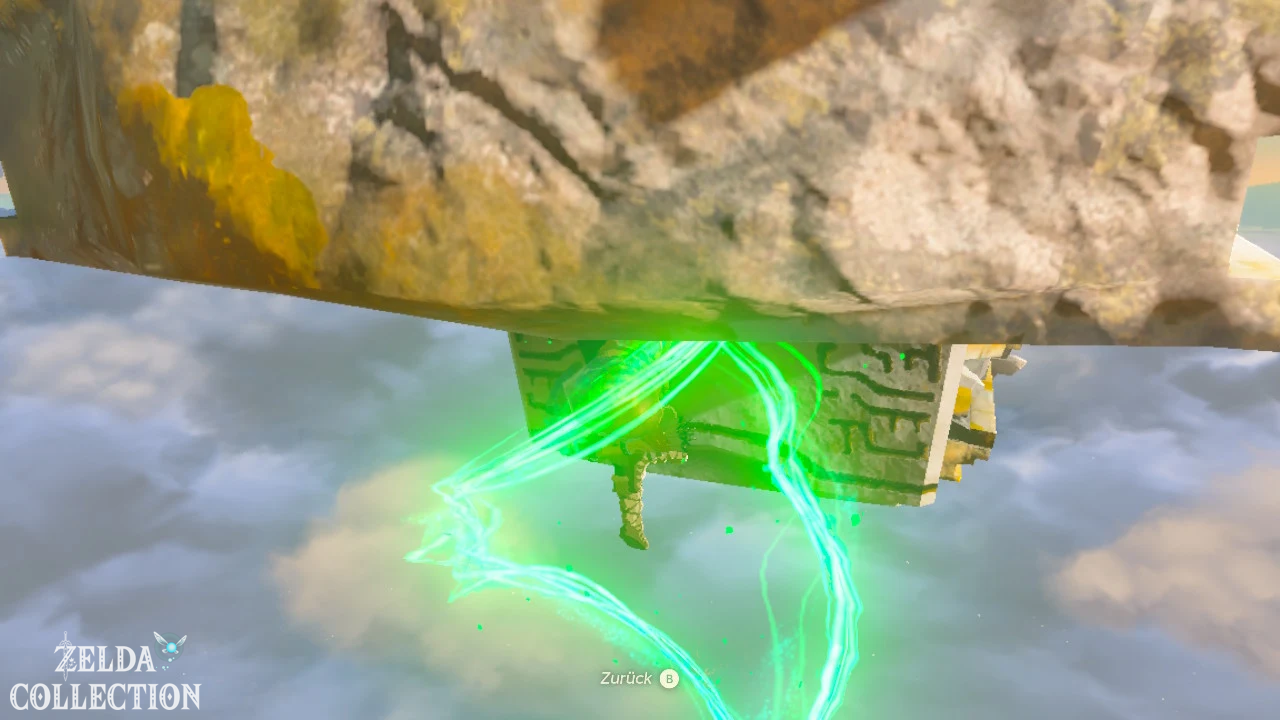
The Decayed Master Sword and Zelda
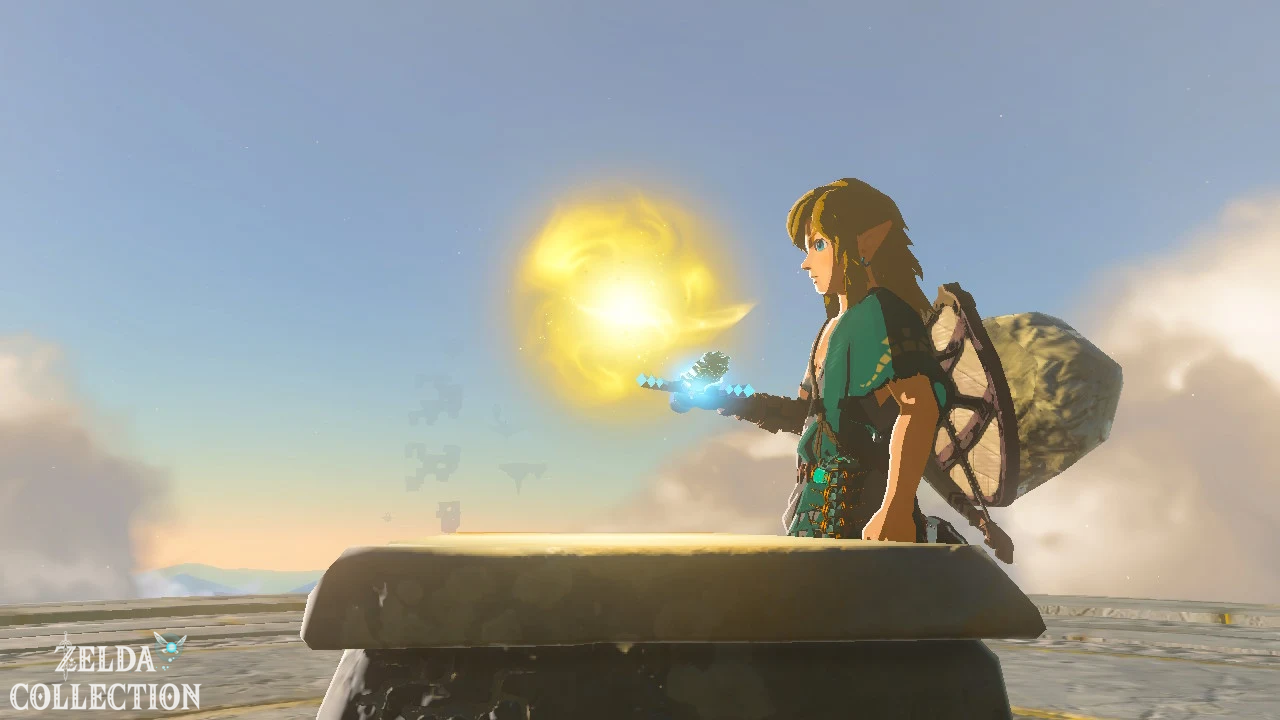
Examine the glowing dot at the end of the path. In the following sequence, the corroded Master Sword reacts to the mysterious power.
The damaged blade disappears in a stream of light. Link also receives another clue to Zelda’s’s whereabouts and the path that now lies ahead of him.
The main quest “Find Princess Zelda” is not yet completed. It will be interrupted for the time being and will only be continued on the surface of Hyrule.
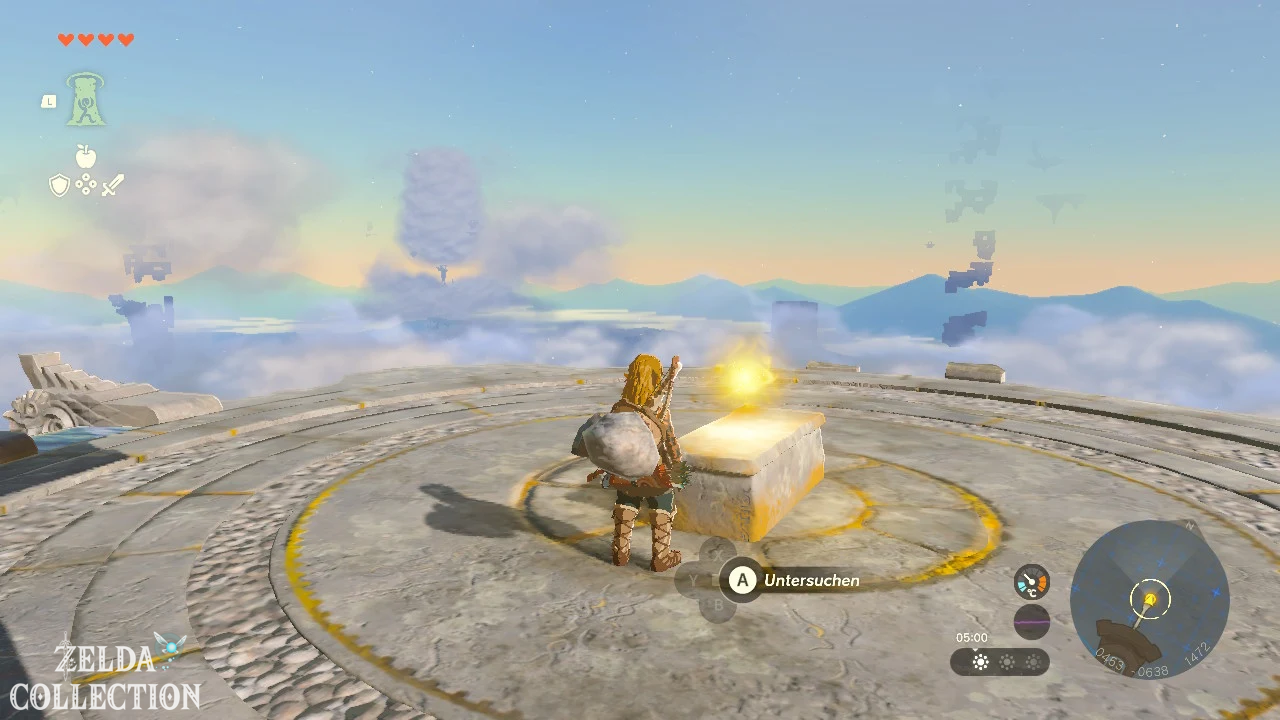
Great Sky Island leave
Follow the path to the edge of Sky Island. Below you lies the Hyrule Kingdom.
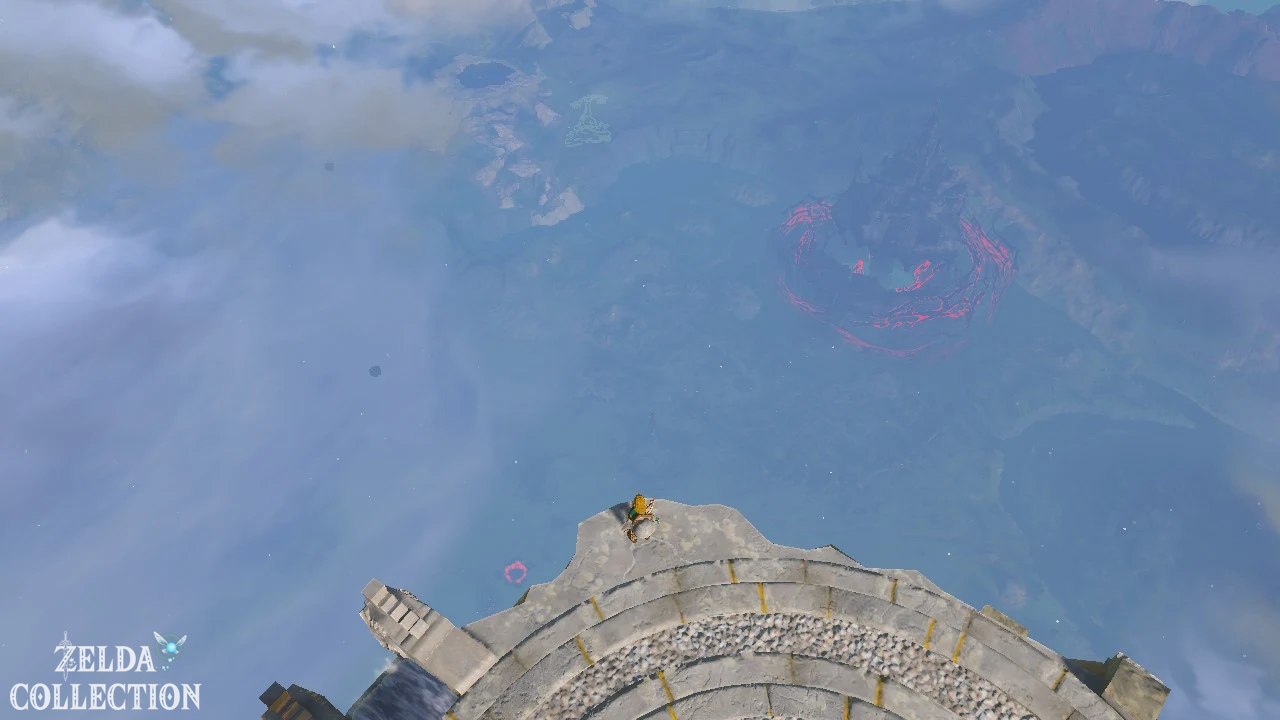
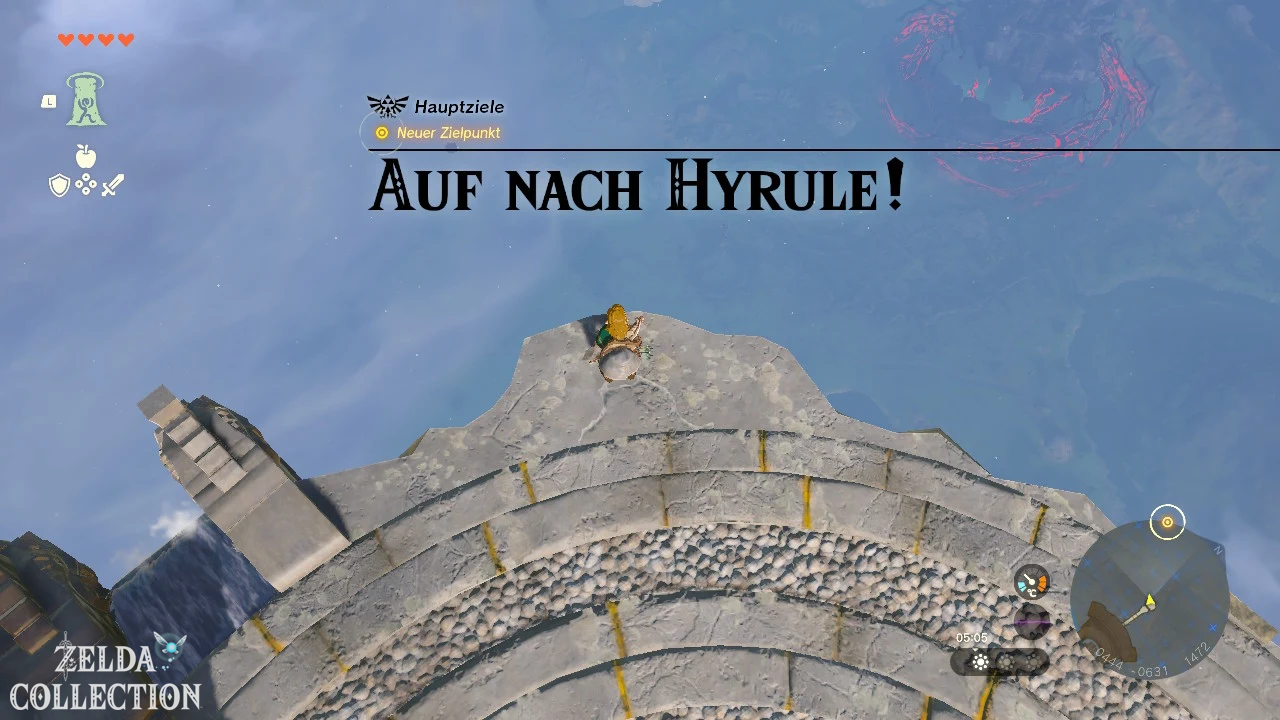
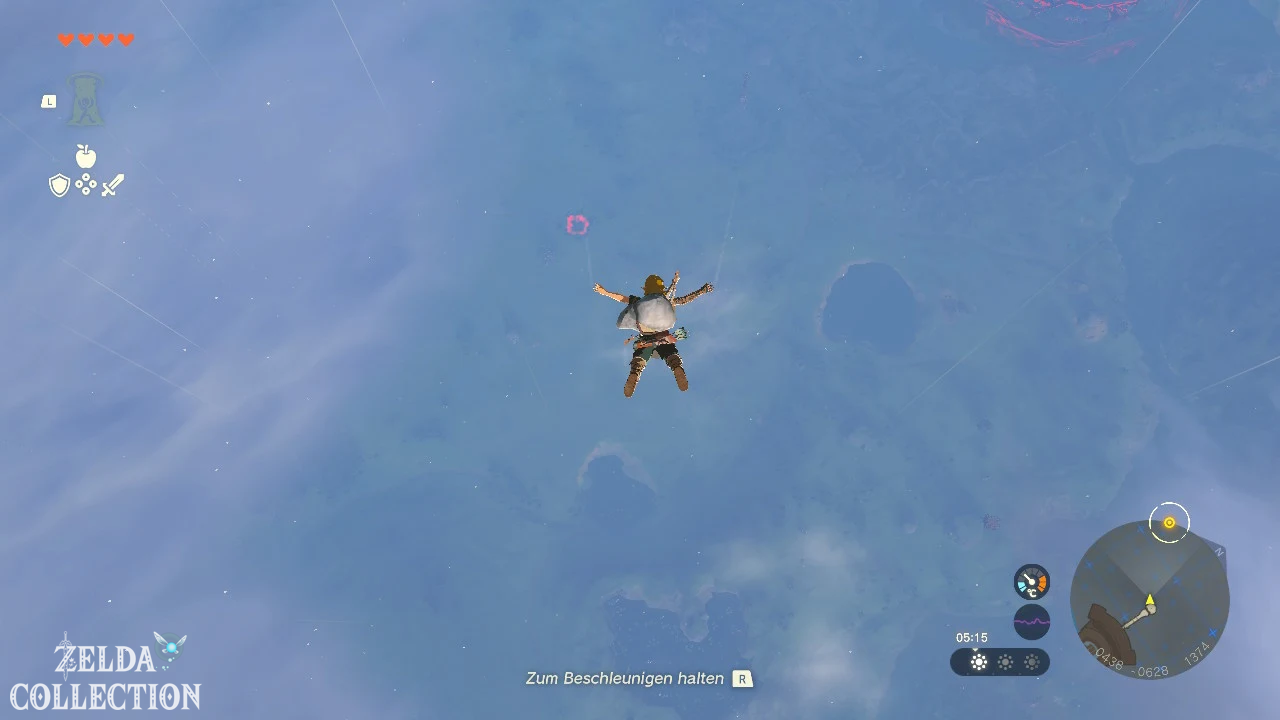
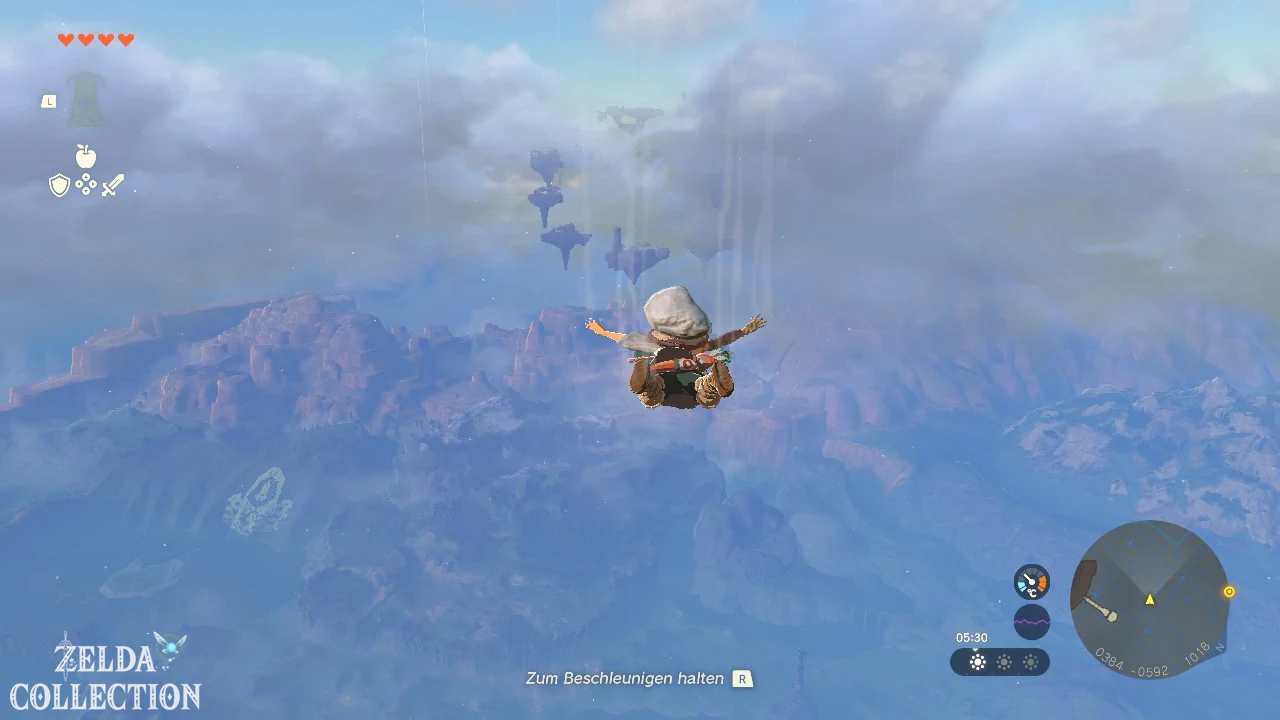
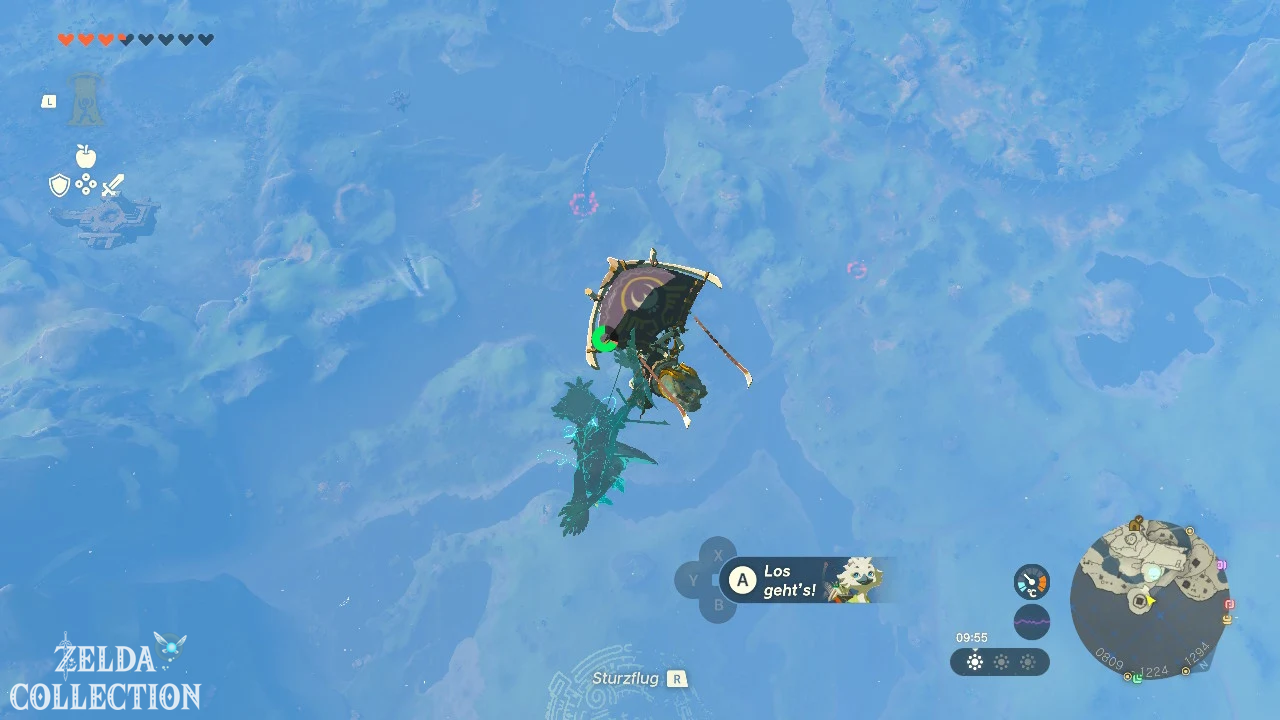
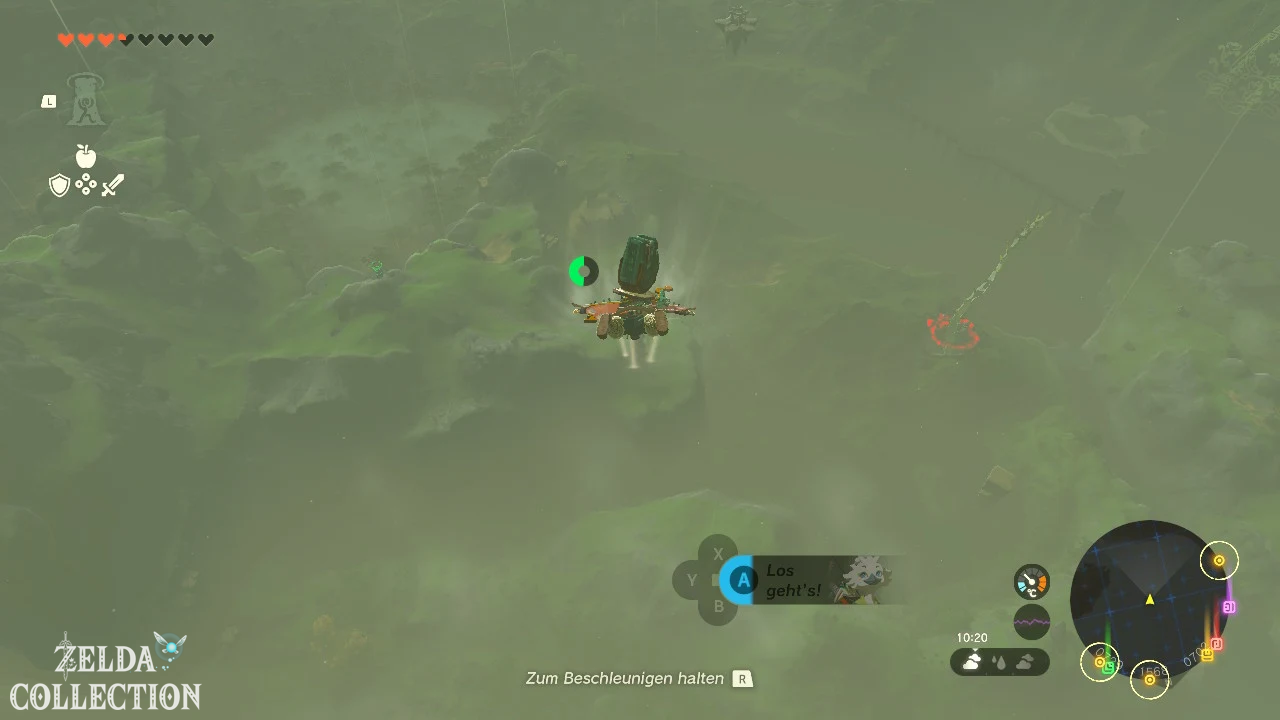
Jump from the platform and steer Link during the free fall towards the large pool of water below the lookout post. Since you don’t yet have a Paraglider, you definitely need to land in sufficiently deep water.
With the jump to Hyrule the next main quest begins:
Important items on the Great Sky Island
| Item | Location | Use |
|---|---|---|
| Old trousers | Room of Awakening | First armor piece |
| Old Toga | Pondside Cave | Top of the old set |
| Old winter trousers | Hollowed tree at Gutanbac Shrine | Provides cold protection to |
| Purah Pad | Steward Construct in the Garden of Time | card, diary and other functions |
| Zonai-Energy Cell | After the In-isa Shrine | Powers Zonai Devices with energy |
| Four Lights of Blessing | In the four shrines | Will be exchanged for a Heart Container |
Recommended order of shrines
- Ukouh Shrine: Unlock Ultrahand.
- In-isa Shrine: Unlock Fuse.
- Gutanbac Shrine: Unlock Ascend.
- Temple of Time: Recall received.
- Nachoyah Shrine: Collect fourth Light of Blessing.
- Statue of the Goddess: Heart Container received.
- Exit Sky Island: Jump down to Hyrule.
The first two shrines could theoretically be visited in reverse order. However, the circular route described is much simpler and corresponds to the intended introduction to the game mechanics.