

On this page we give you an overview of all shrines in The Legend of Zelda: Tears of the Kingdom, which are located in the Eldin Canyon and the associated airspace. In addition to the respective locations, we explain in detail how to pass the tests, find hidden cave shrines and reach all Treasure Chests.
According to our regional division, there are a total of eleven shrines in this region. The Kadaunar Shrine is located in the South Eldin Sky Archipelago. Several other shrines are hidden in caves and old mines. For some areas you will also need fire protection.
You can find an overview of all regions in our Tears of the Kingdom Walkthrough. Our overview with all 152 shrines will also help you with your search.
This area contains the following shrines:
- Jiotak Shrine
- Isisim Shrine
- Kadaunar Shrine
- Kimayat Shrine
- Kisinona Shrine
- Marakuguc Shrine
- Mayachideg Shrine
- Momosik Shrine – Death Crater Shrine
- Moshapin Shrine – Shrine in the Lake Intenoch Cave
- Sibajitak Shrine
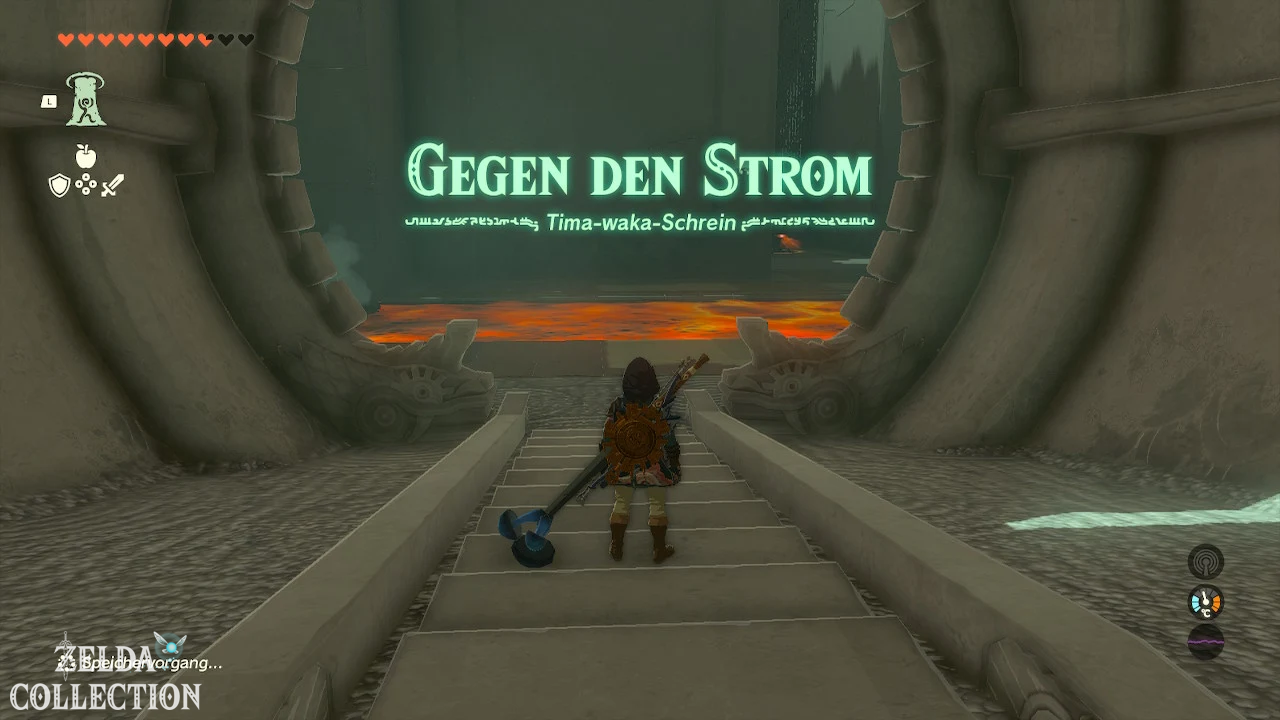
- Timawak Shrine
Jiotak Shrine
Trial: Raurus Blessing
Reward: Long Wand and a Light of Blessing
Location: Isle of Rabac Gallery, northeast of Goron City
Coordinates: approximately 1834, 3180, 0260
Find Jiotak Shrine
The Jiotak Shrine lies deep within the Isle of Rabac Gallery. Extremely high temperatures prevail in the mine. Therefore, equip at least two pieces of anti-fire armor or use a suitable fire protection Elixir.
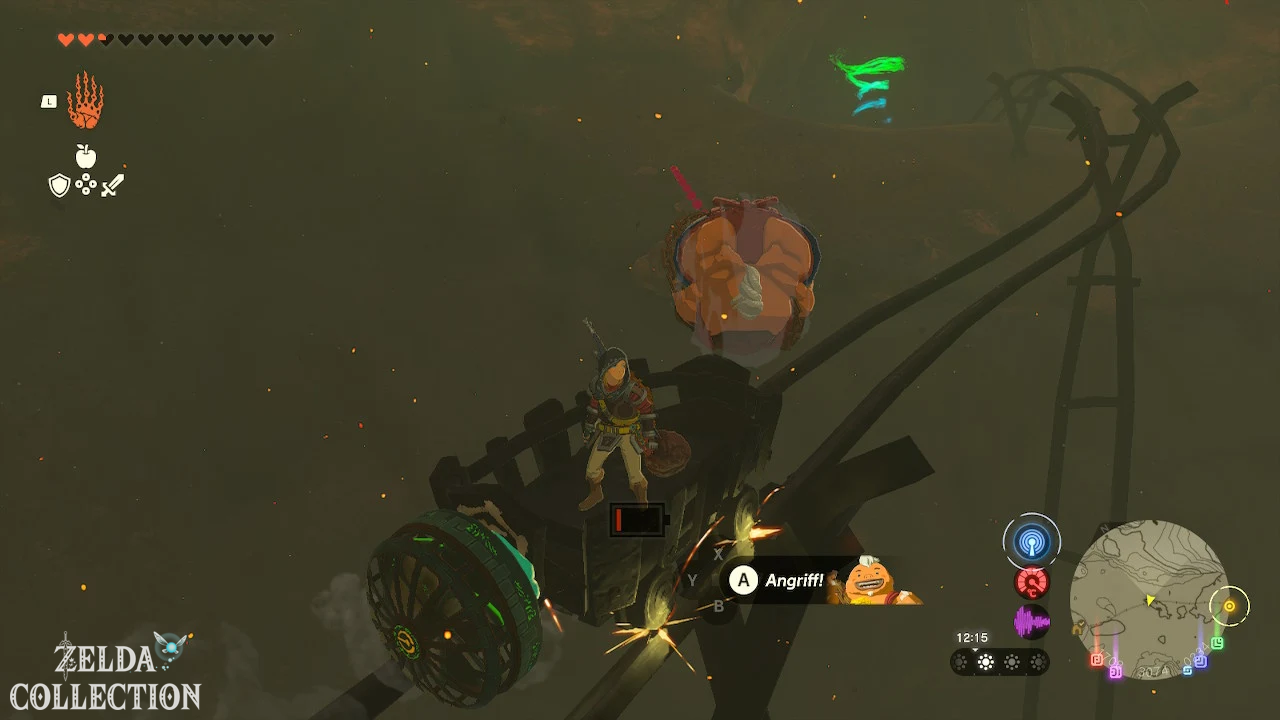
You can find the entrance to the tunnel northeast of Goron City. Jump into the large opening and follow the path to the wagons and rails.
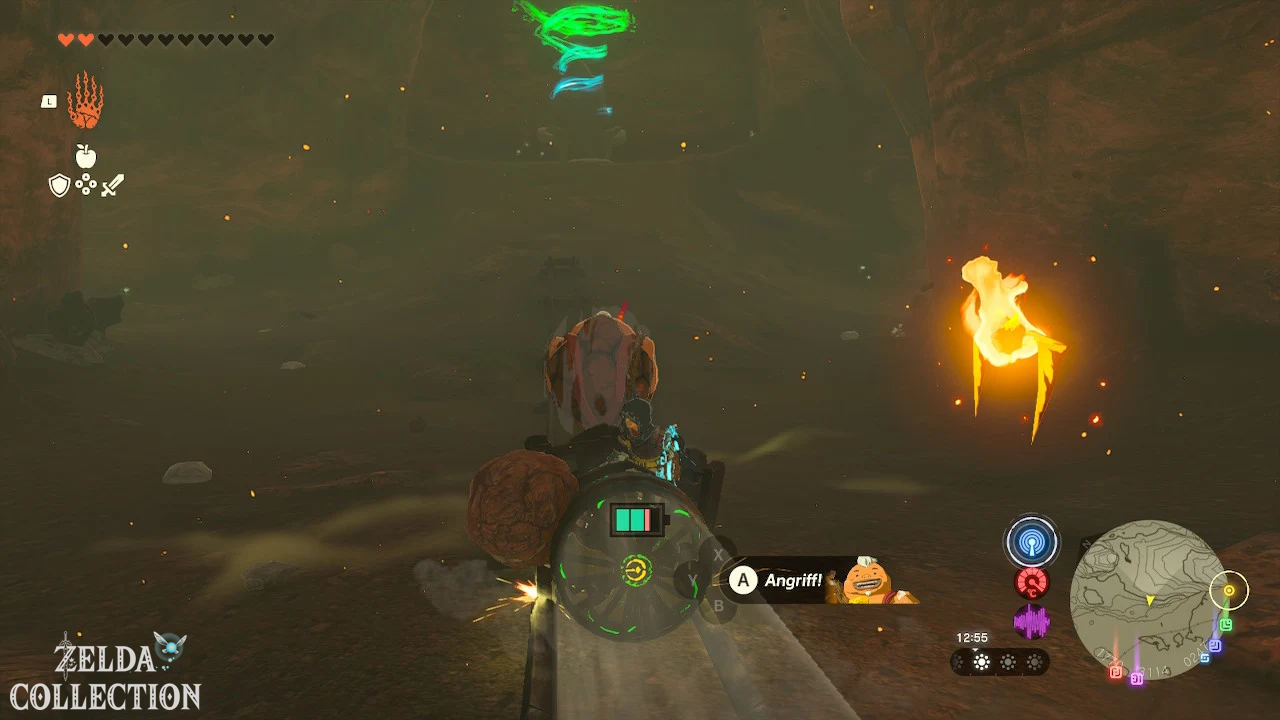
Place a cart on the rails and attach a fan to the back. Make sure the airflow is pointing backwards. Get in and activate the fan.
Take the correct rail route
While driving you reach a switch. Shoot the orange switch with an arrow in time so that the cart switches to the left rail path. If you miss the switch, the route loops back and you can try again.
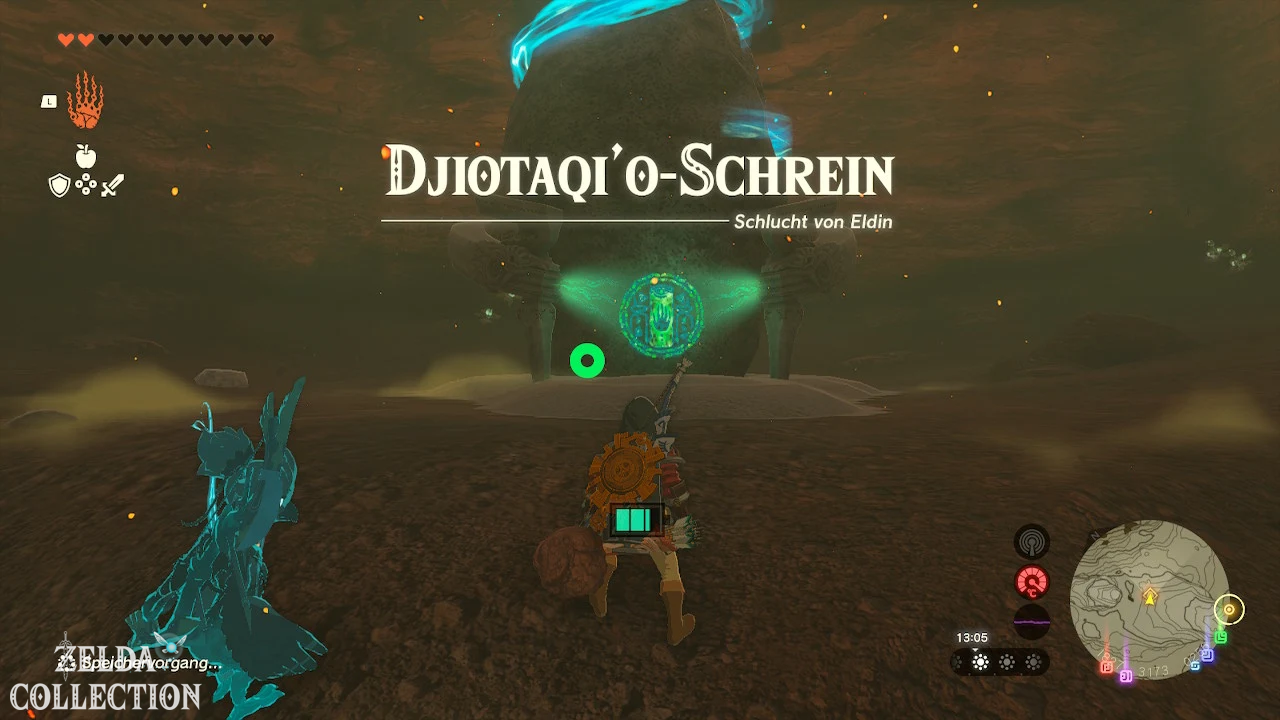
Keep an eye on the right side of the cave as you continue your journey. The glowing green shrine stands on a raised ledge next to the tracks.
Jump out of the moving lorry and immediately open the Paraglider. Glide to the ledge and climb the last few meters to the shrine.
Tip: Save before the lorry journey. This means that if you fail to jump off, you don’t have to walk through the entire tunnel again.
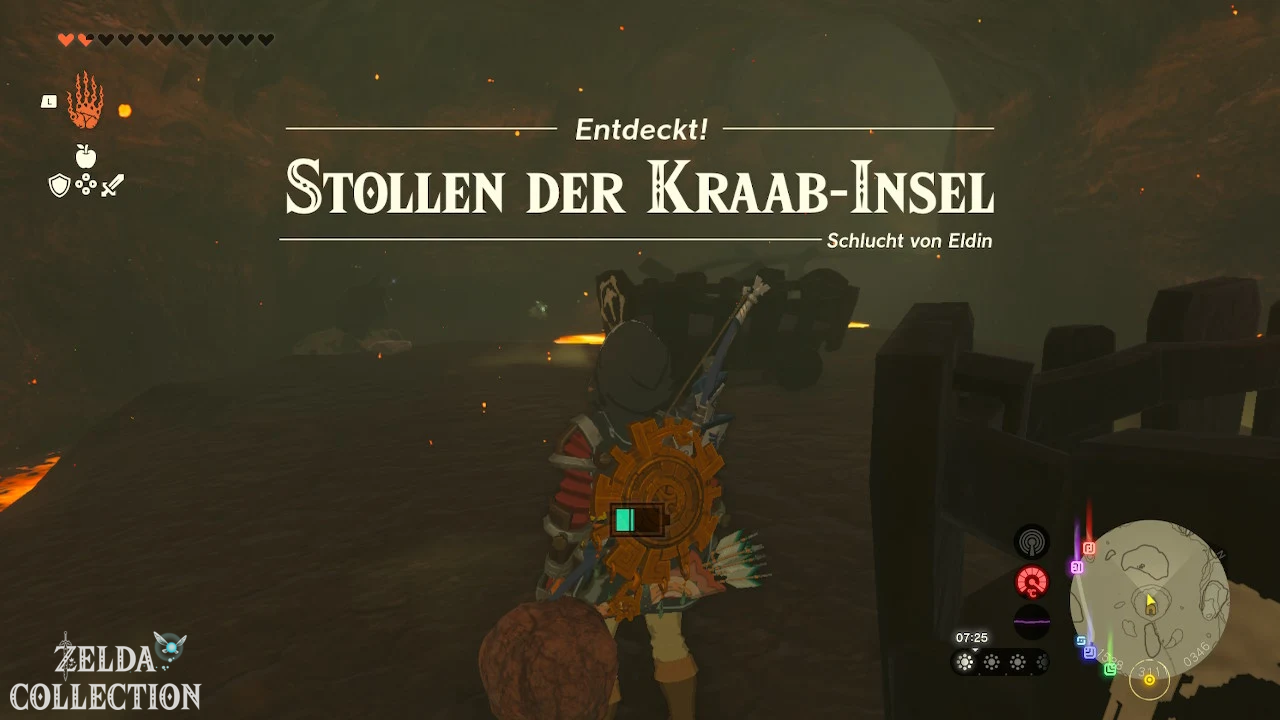
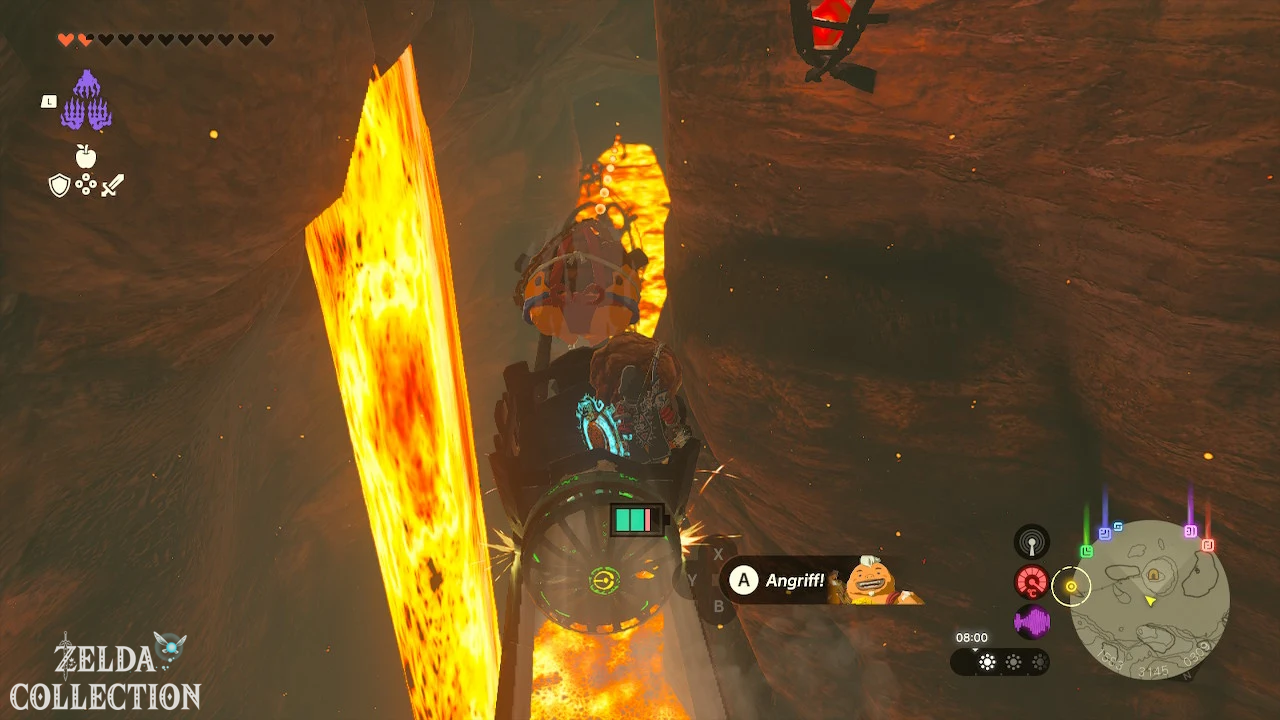
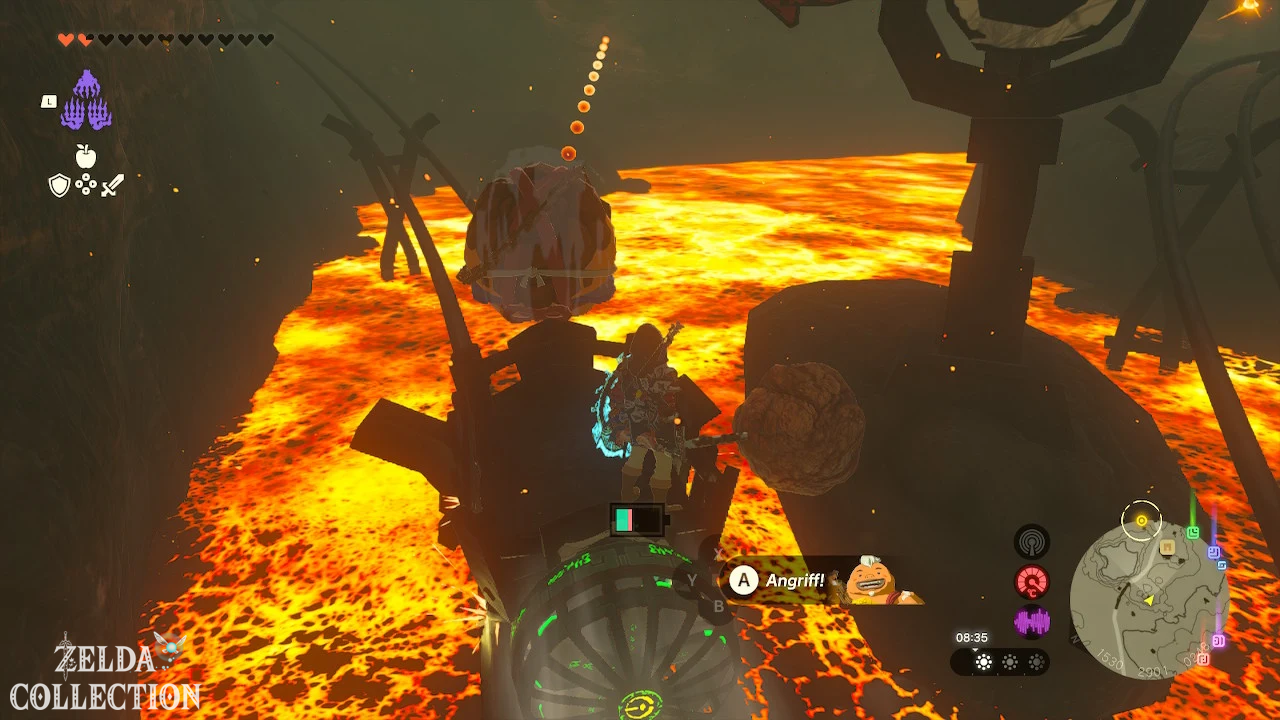
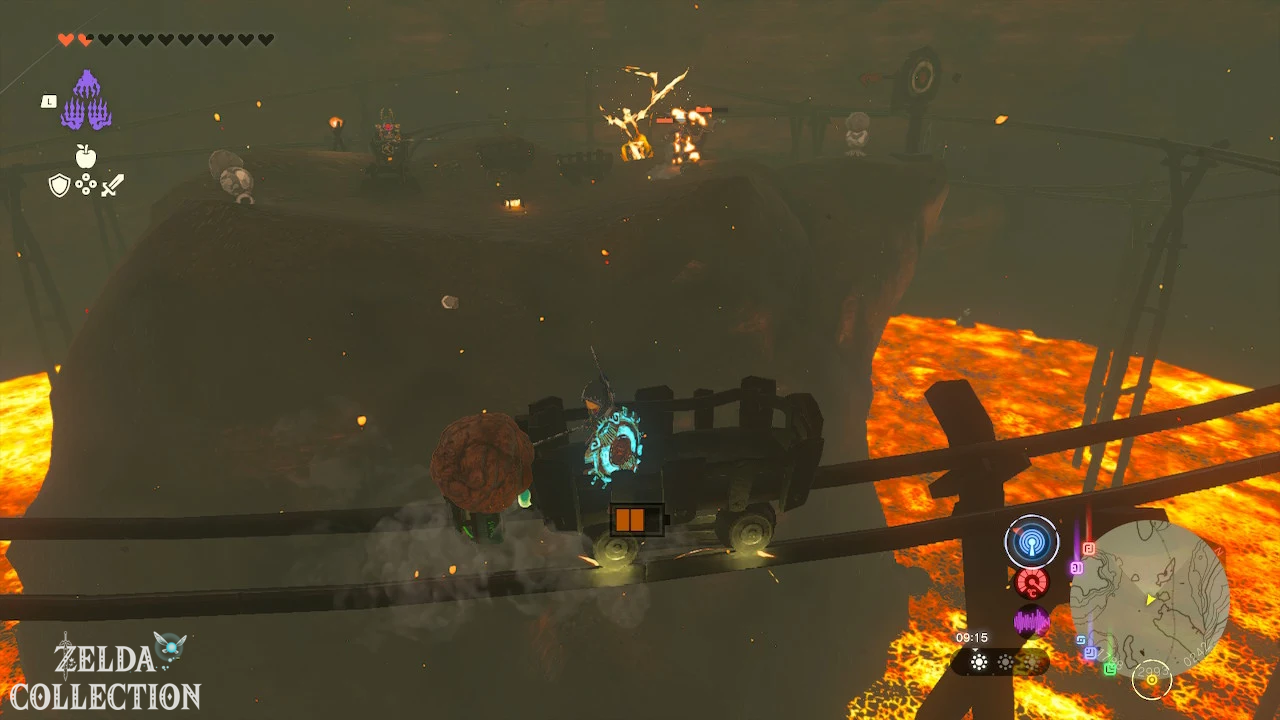
Obtain Rauru’s blessing
The journey through the tunnel is the actual test. No further puzzle awaits you inside the Jiotak Shrine.
Open the Treasure Chest with the Long Wand. Pair it with a Rupee, Sapphire, or Topaz to create powerful elemental attacks. You will then receive your Light of Blessing at the altar.
Isisim Shrine
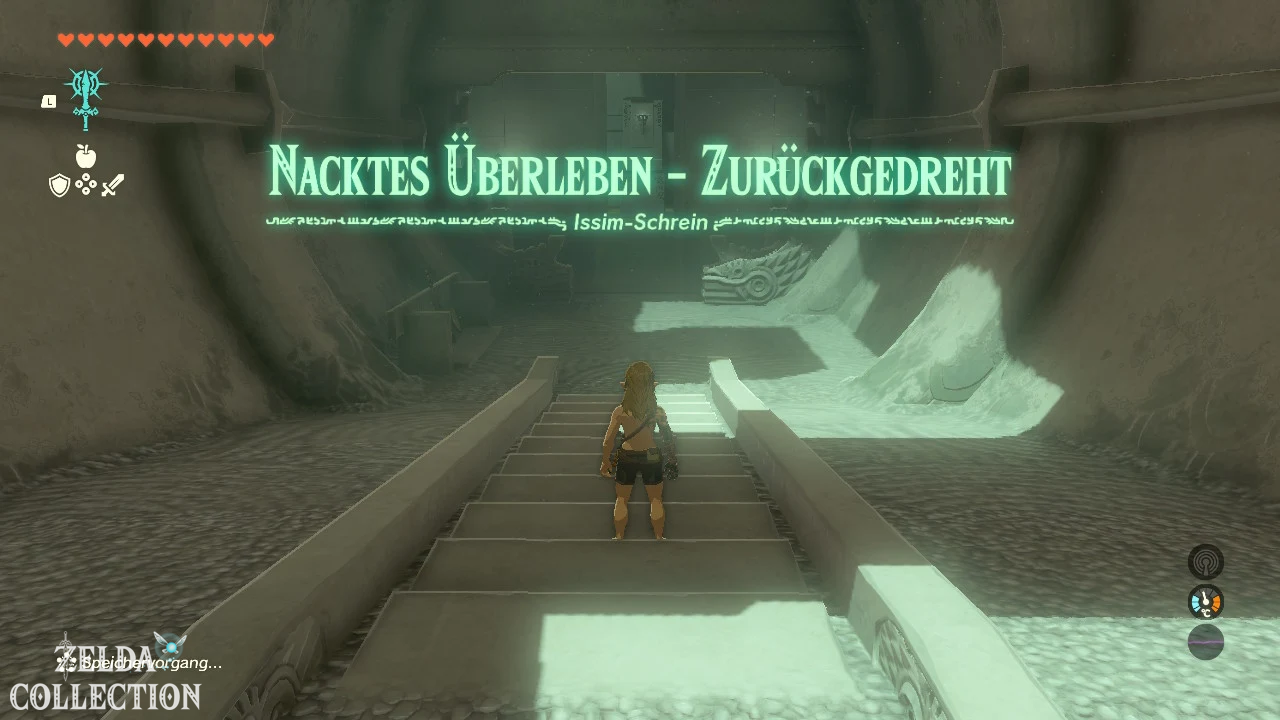
Trial: Bare Survival – Turned Back
Reward: Short Wand and a Light of Blessing
Location: YunoboCo HQ East Cave
Coordinates: approximately 1842, 2842, 0364
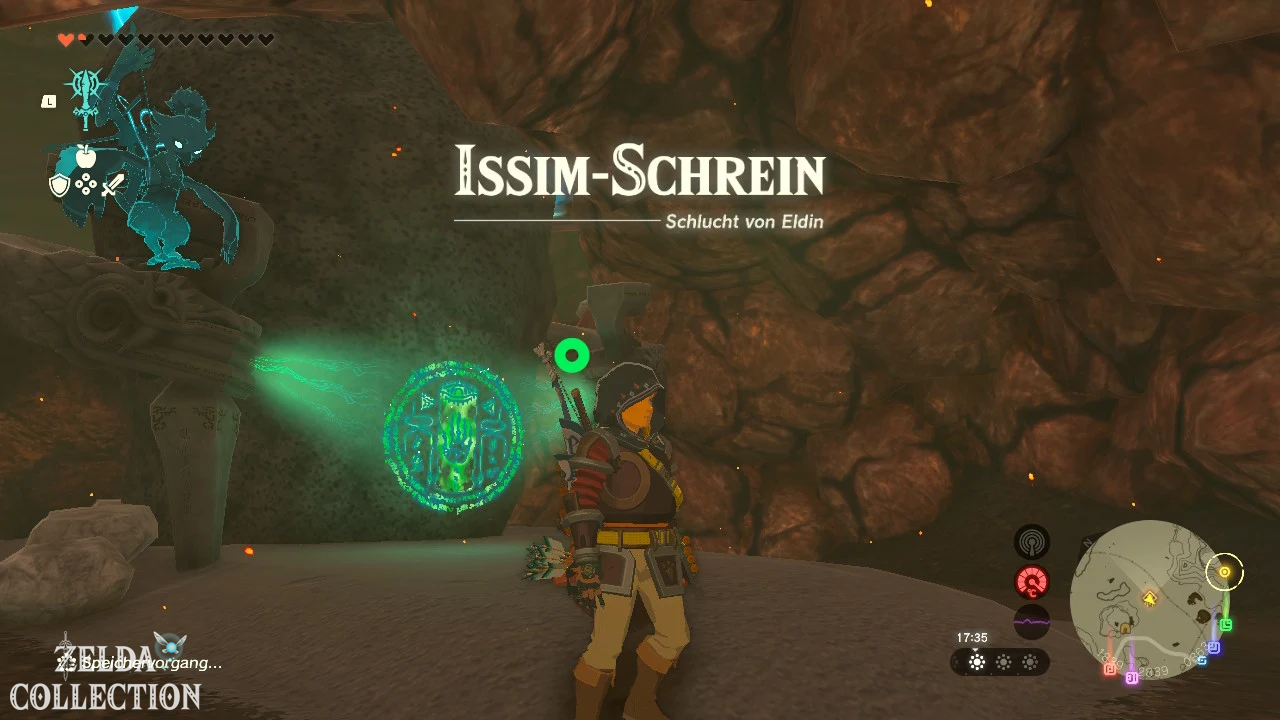
Find Isisim Shrine
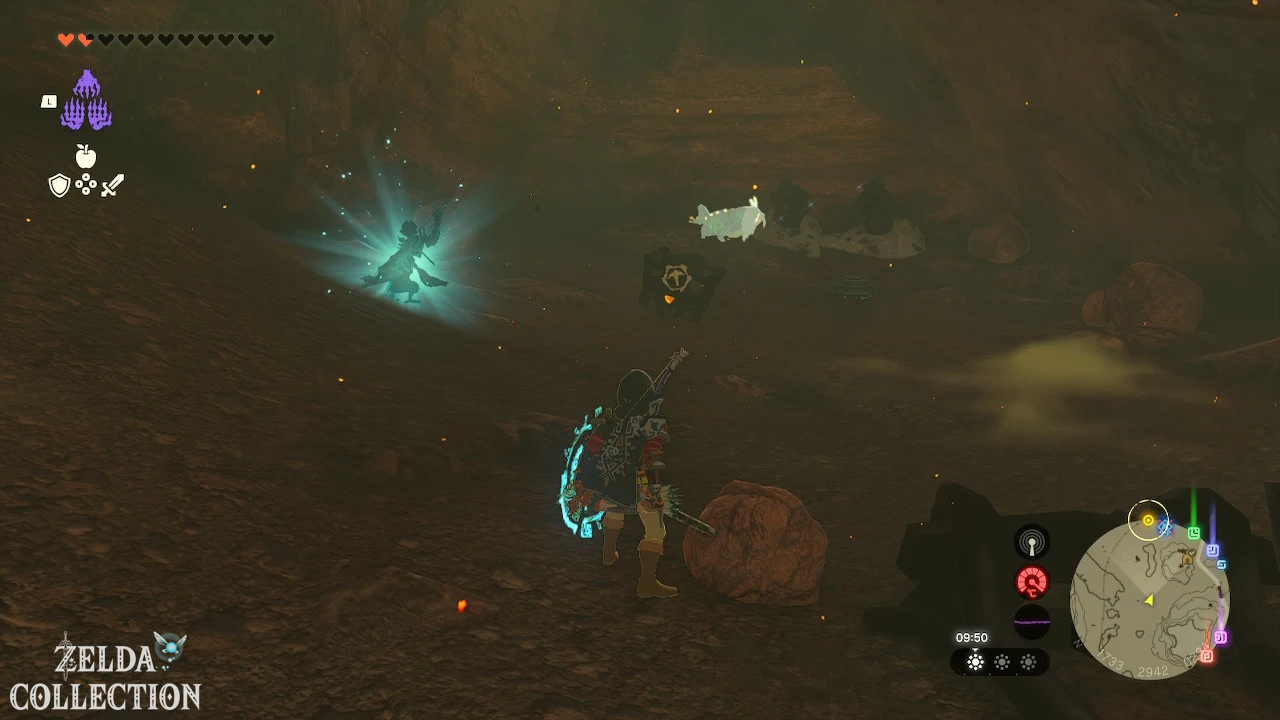
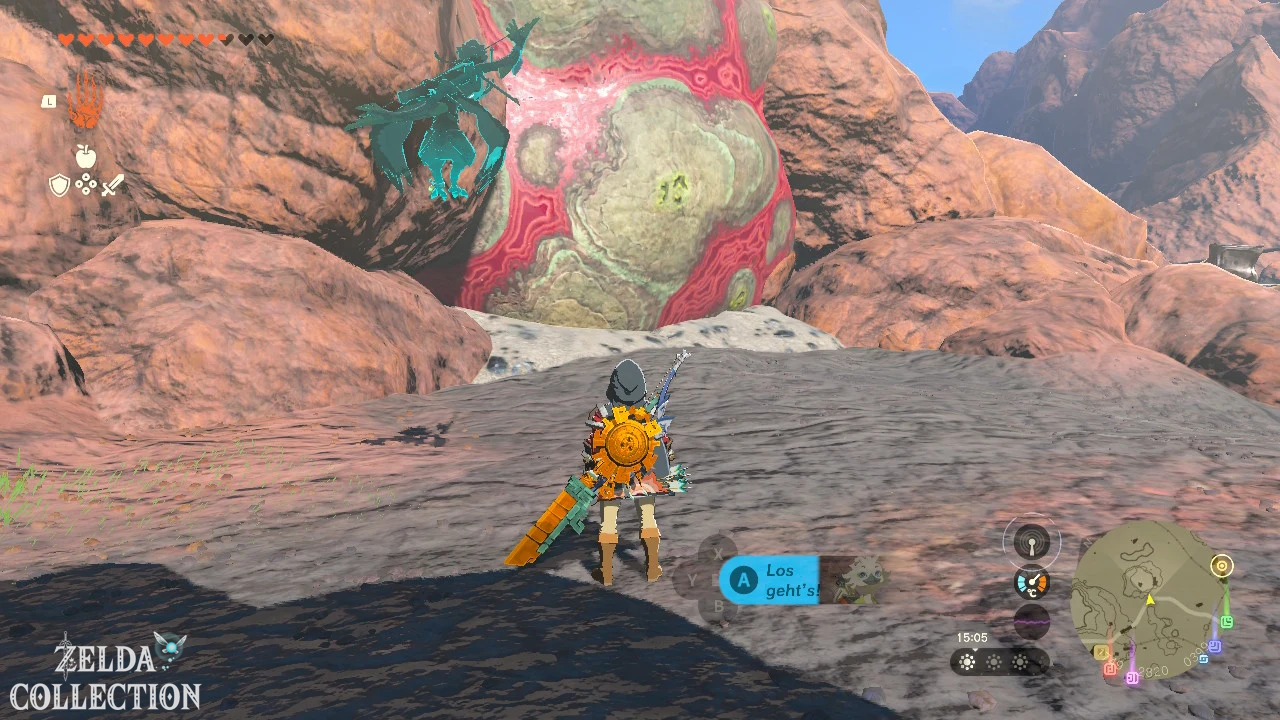
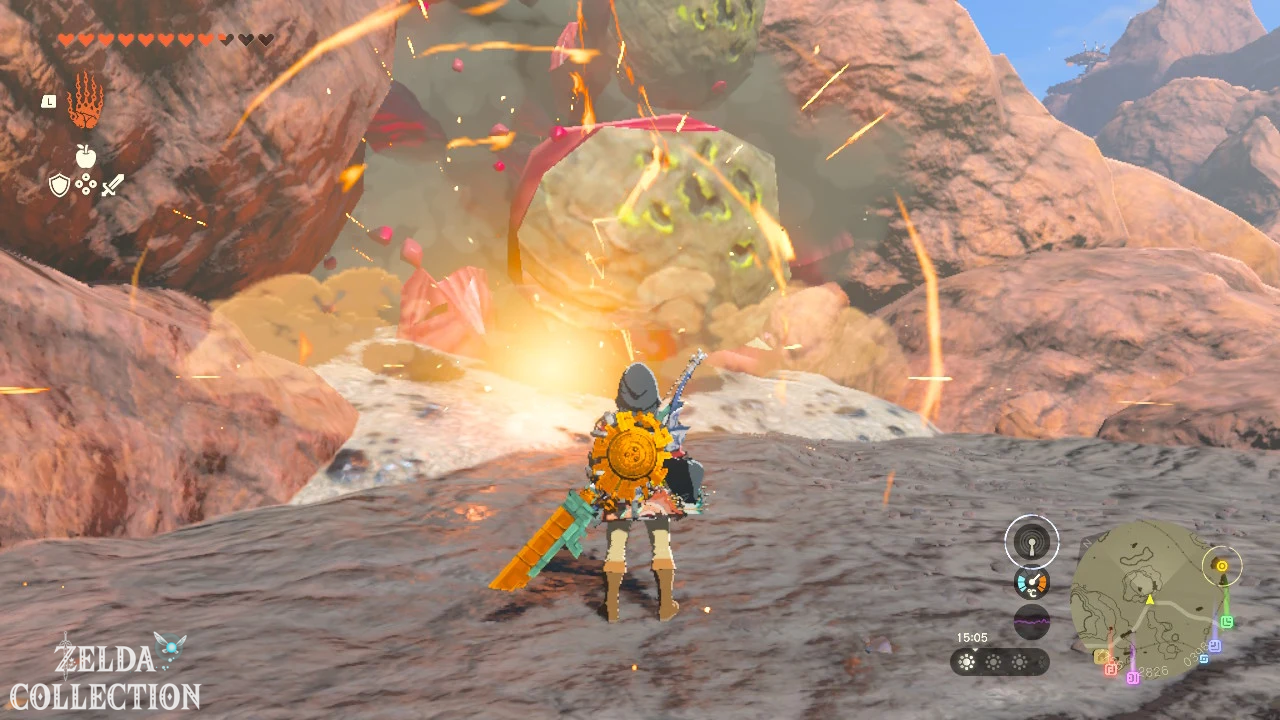
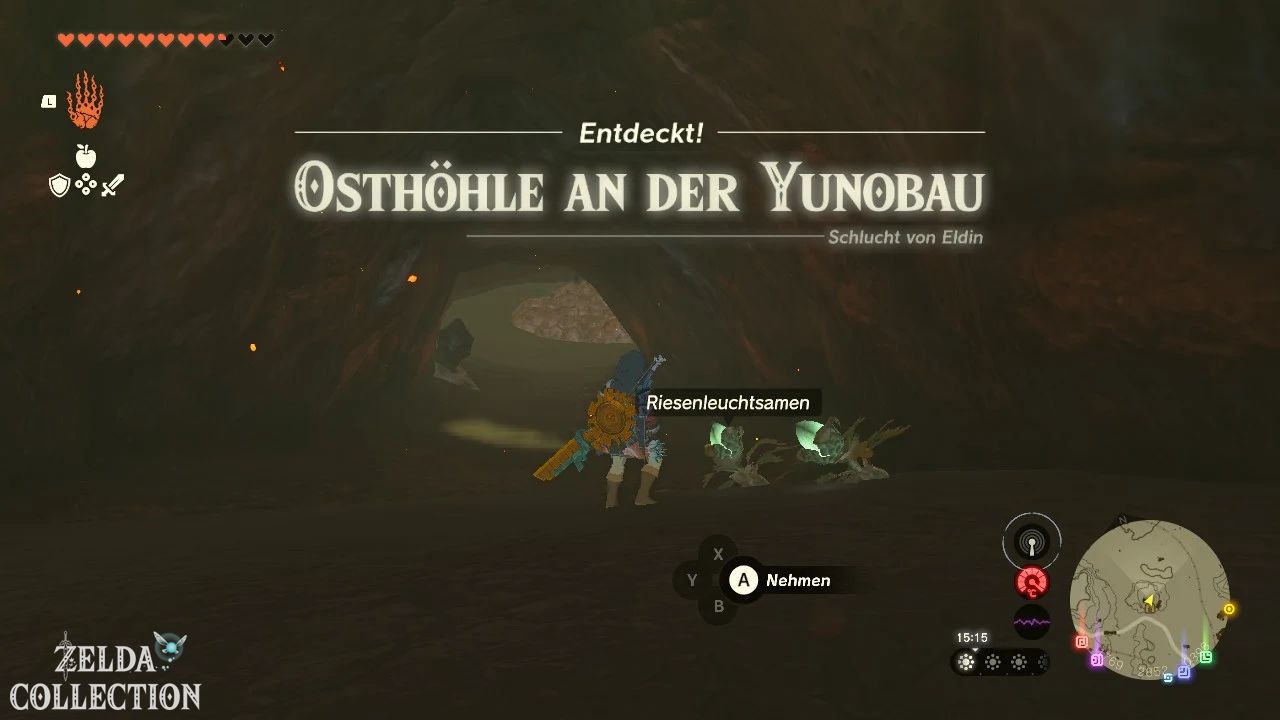
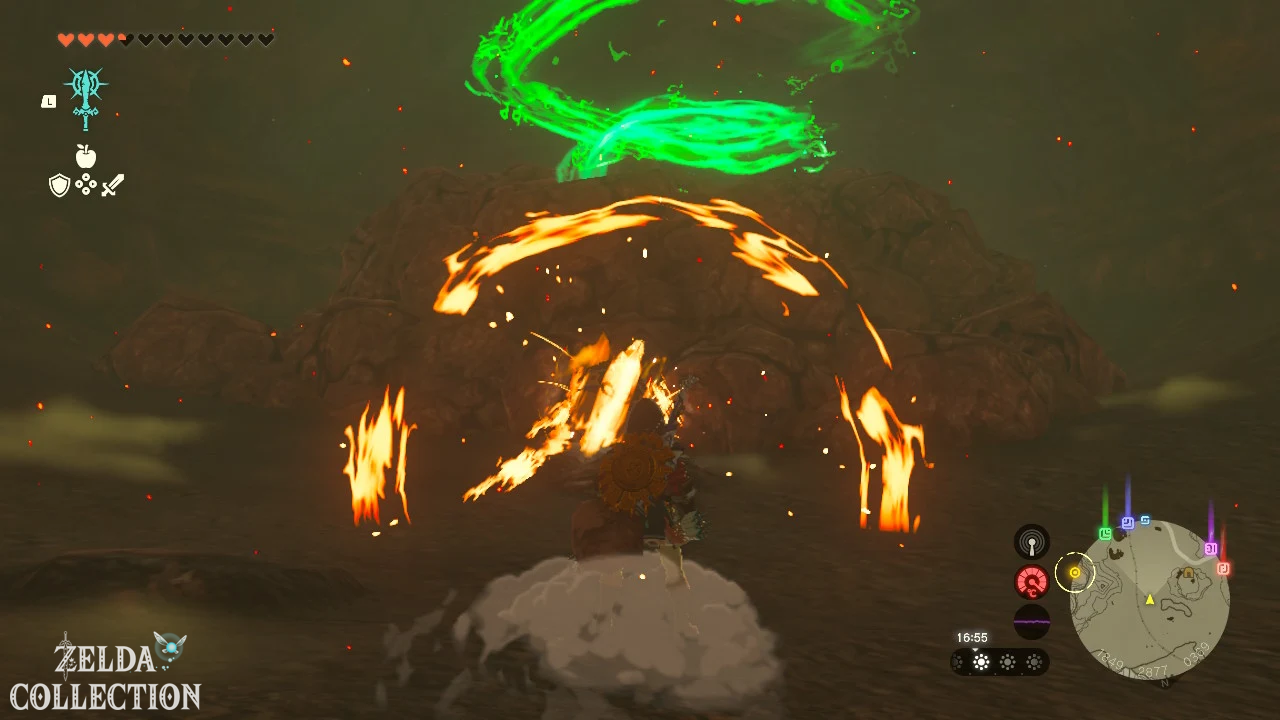
The Isisim Shrine is located in the YunoboCo HQ East Cave headquarters. Access is initially blocked by particularly solid red rock. You can destroy this during the main quest “Yunobo of Goron City” using Yunobo’s rolling attack.
Follow the cave passage and defeat or avoid the Horriblins and Fire Robber Slimes. In a larger chamber, the shrine is hidden behind a thick layer of brittle rock. Destroy the rubble with Yunobo, Bomb Flowers or a Hammer Weapon.
Solve Isisim Shrine
When you enter, your weapons, shields, bows and pieces of armor will be temporarily taken away. First, collect the wooden stick, the thick stick and the old wooden sign near the entrance.
The arena consists of several levels. Large gears and moving platforms connect the individual floors with each other.
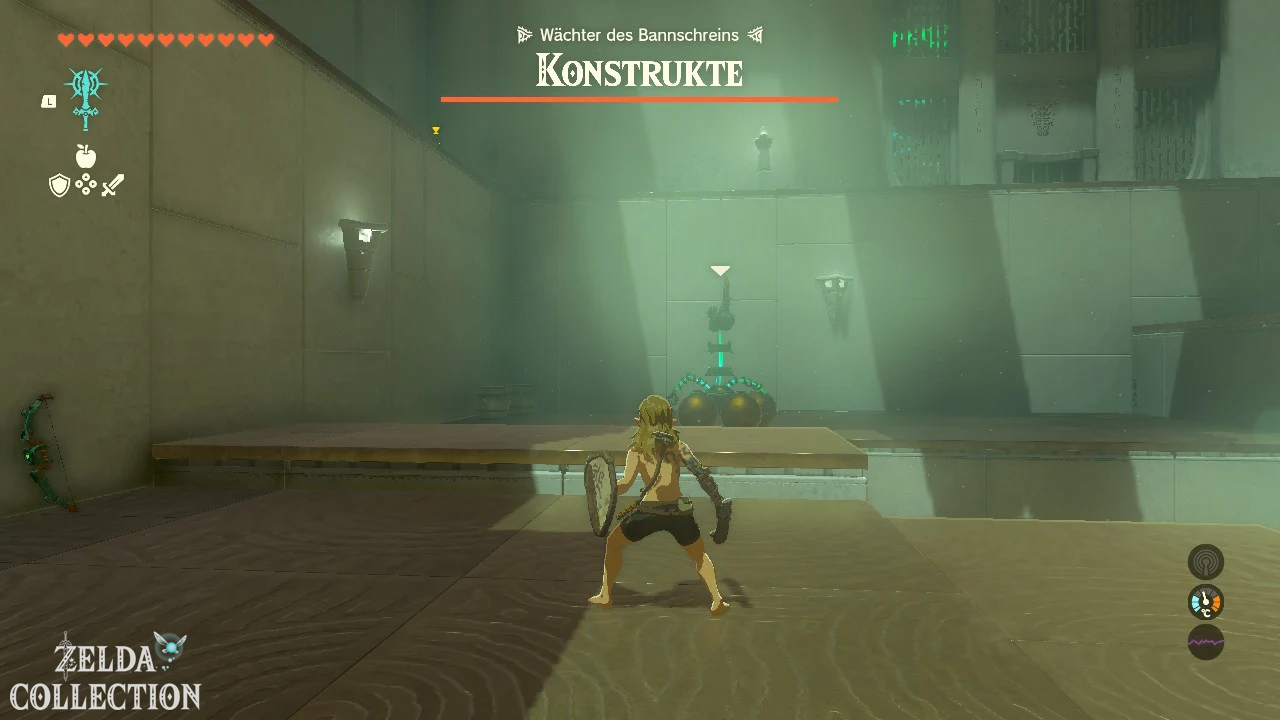
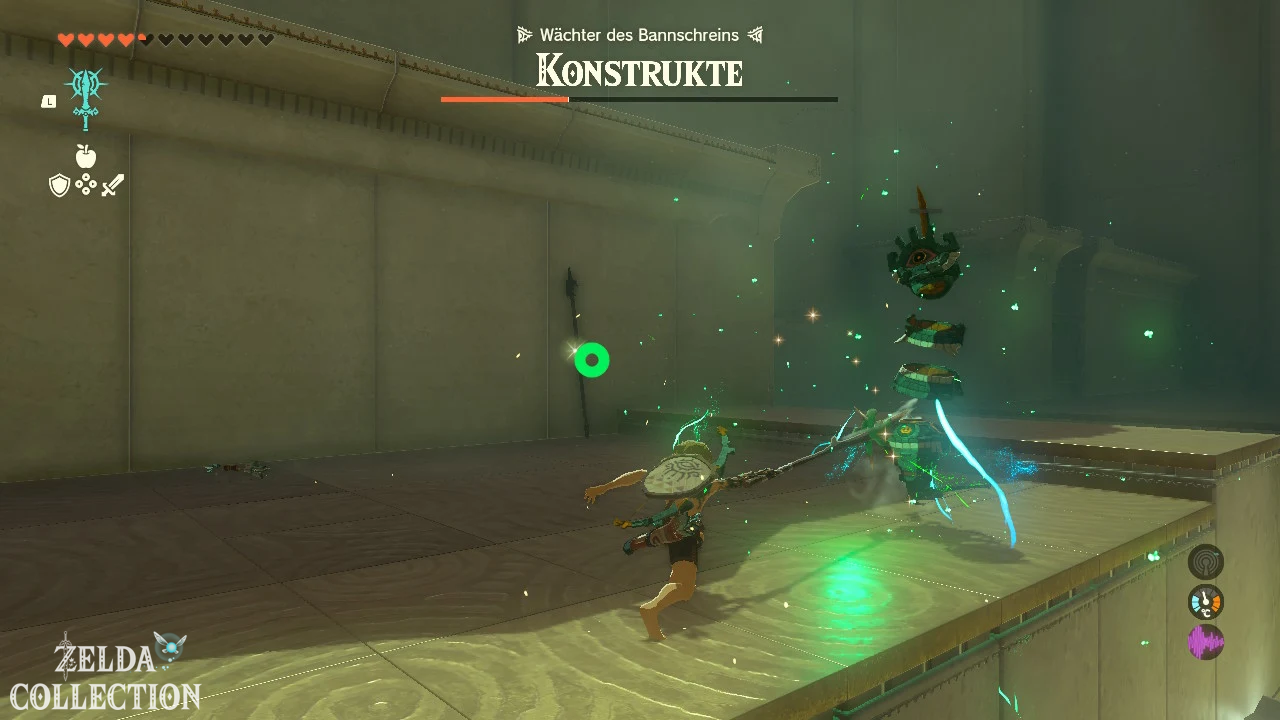
Switch off first construct
First go up the left ramp and pick up the bow and arrows provided. If possible, defeat the first construct with a headshot.
Collect his equipment and connect the Construct Horn to one of your sticks. This gives you a significantly stronger melee weapon.
gears with the Recall use
Use the Recall on one of the large gears. The direction of rotation is reversed and you can be carried on a tooth to the next floor.
Several constructs use time bombs. You can pick up the bombs with the Ultrahand and throw them back to the enemies. Alternatively, activate the Recall on a bomb that has already been thrown so that it returns to its starting point.
Find Elemental Materials
Additional materials and gems are hidden behind two crumbling walls. Blow up the walls with time bombs. A Rupee or Ruby can be linked to a weapon to create fire attacks.
Use the gears and the Ascend to reach the upper levels. If possible, fight the constructs individually and use your own bombs against them.
Defeat last opponent
The strongest construct is at the upper level. First, stun it with an explosion or a headshot and then attack with your best captured weapon.
Once all constructs are defeated, your normal equipment will be returned to you. In the last room, open the Treasure Chest with the Short Wand and then take the Light of Blessing.
Enter
Tip: The time bombs are the most powerful tools available. Keep your distance as her explosion can also hurt Link.
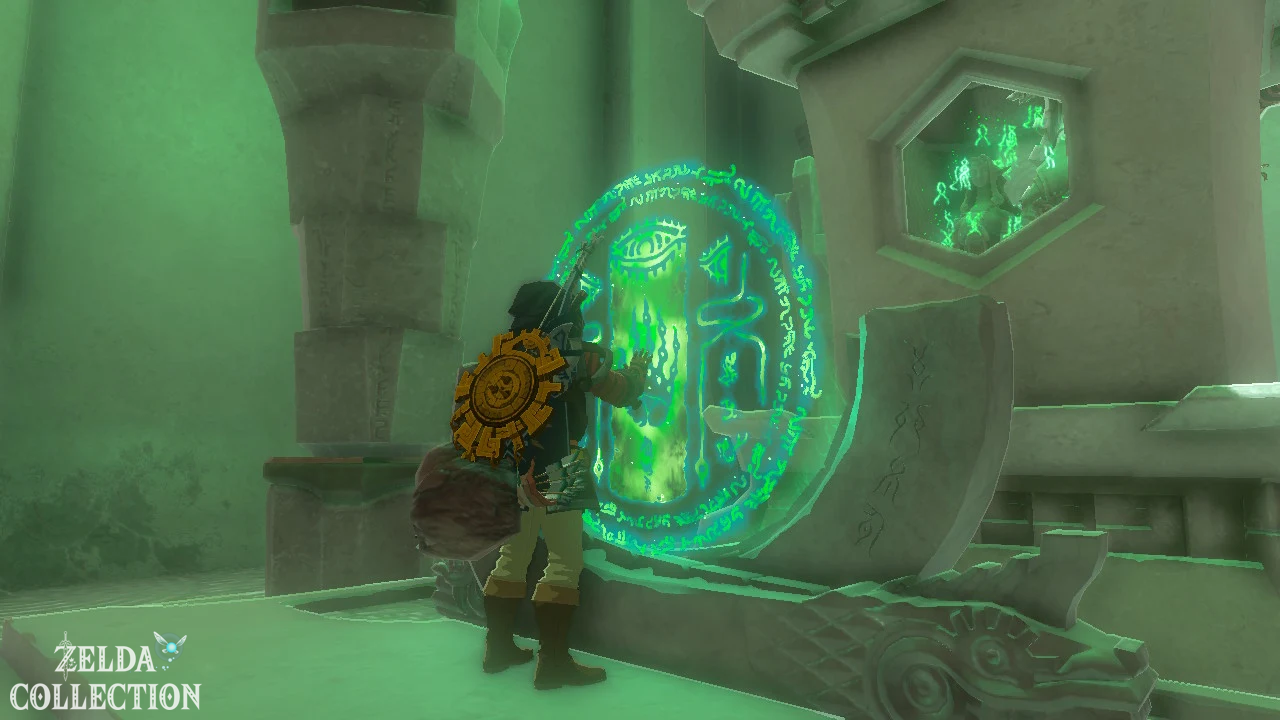
Kadaunar Shrine
Trial: Waterways
Reward: Strong Construct Bow and a Light of Blessing
Location: South Eldin Sky Archipelago in heaven
Coordinates: approximately 1882, 1203, 1251
Find Kadaunar Shrine
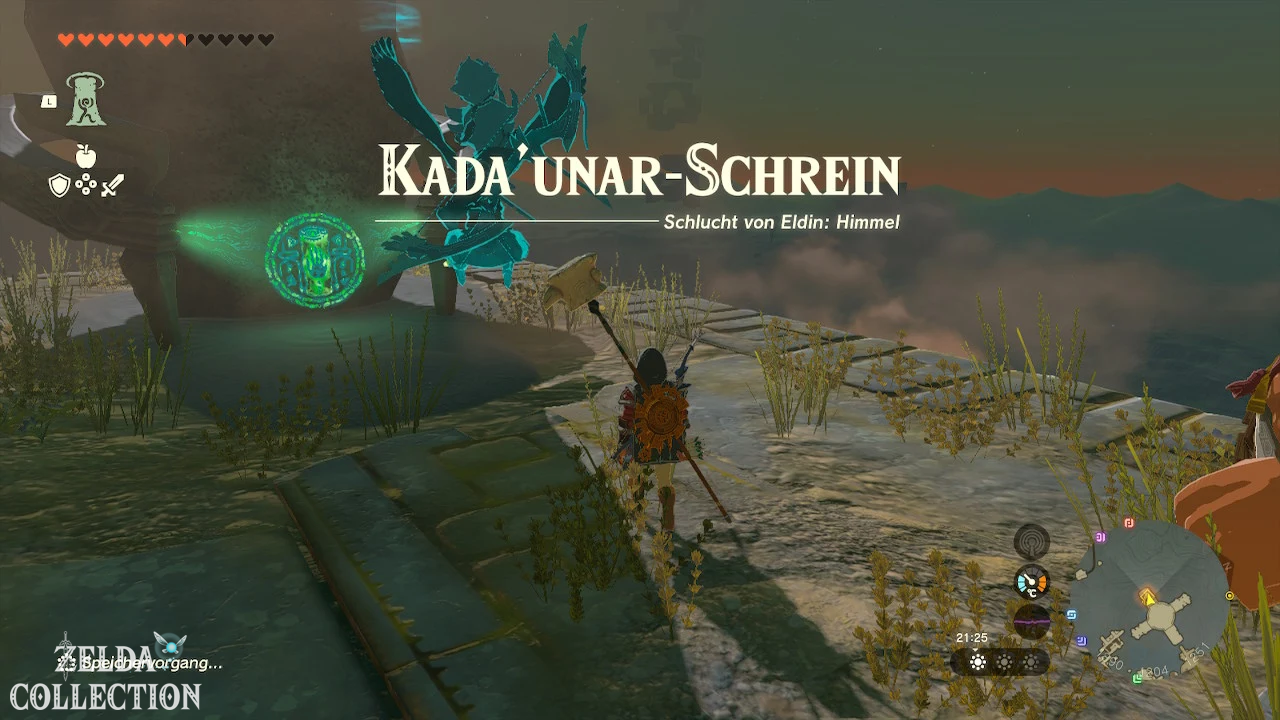
The Kadaunar Shrine is located on a large island in the South Eldin Sky Archipelago. Let the Eldin Canyon Skyview Tower launch you into the air and glide to the nearest sky island.
Use the carts and rails to move between each island. At one point the rail ends below the next platform. Once there, use the Ascend to reach the upper level with the shrine.
Solve Kadaunar Shrine
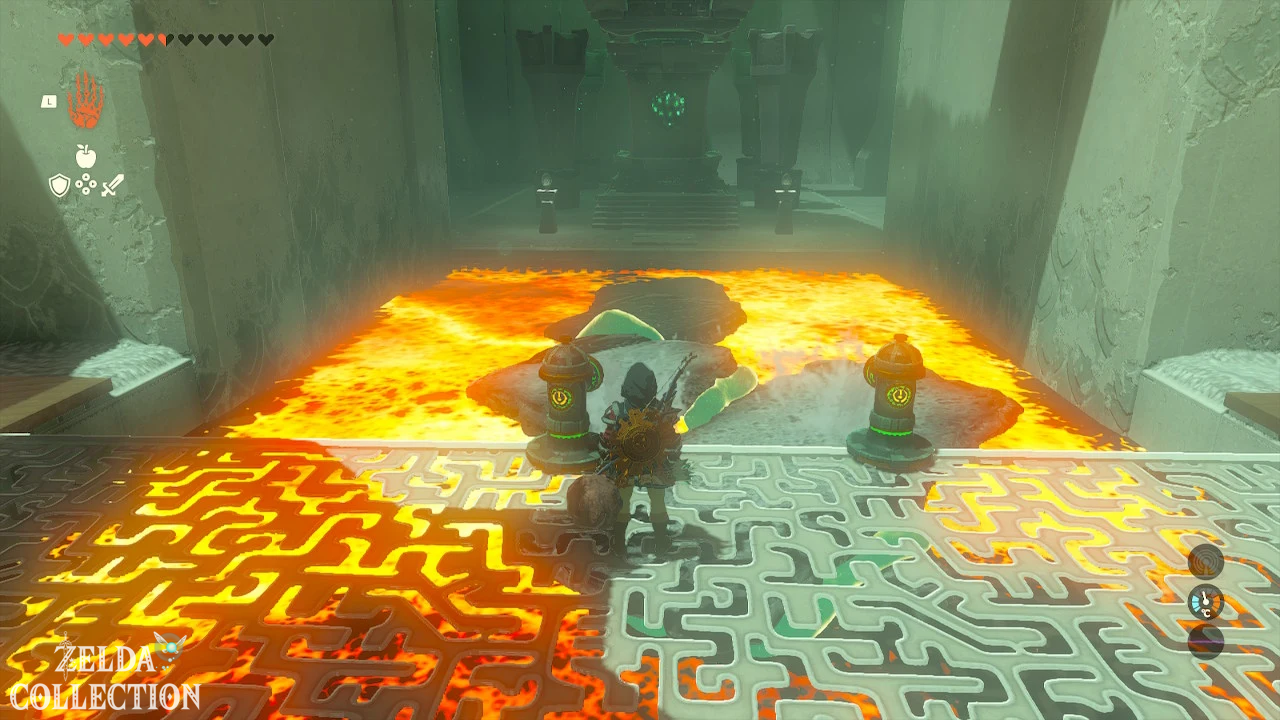
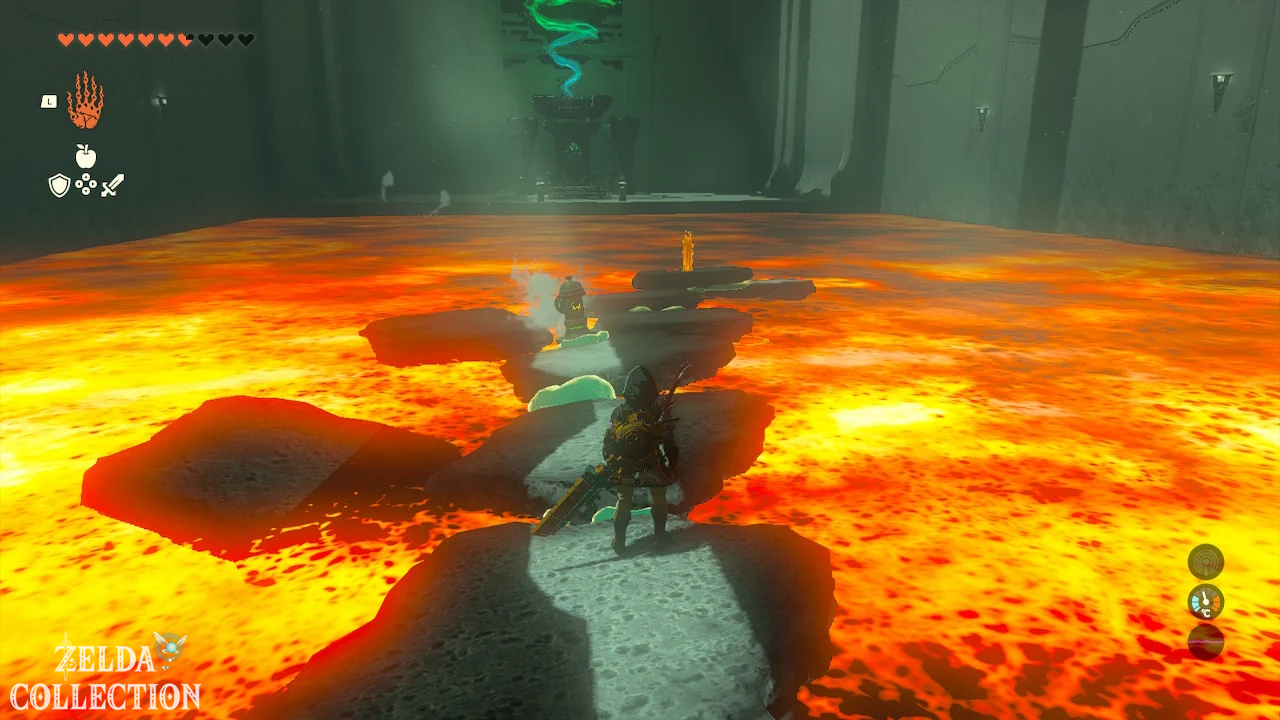
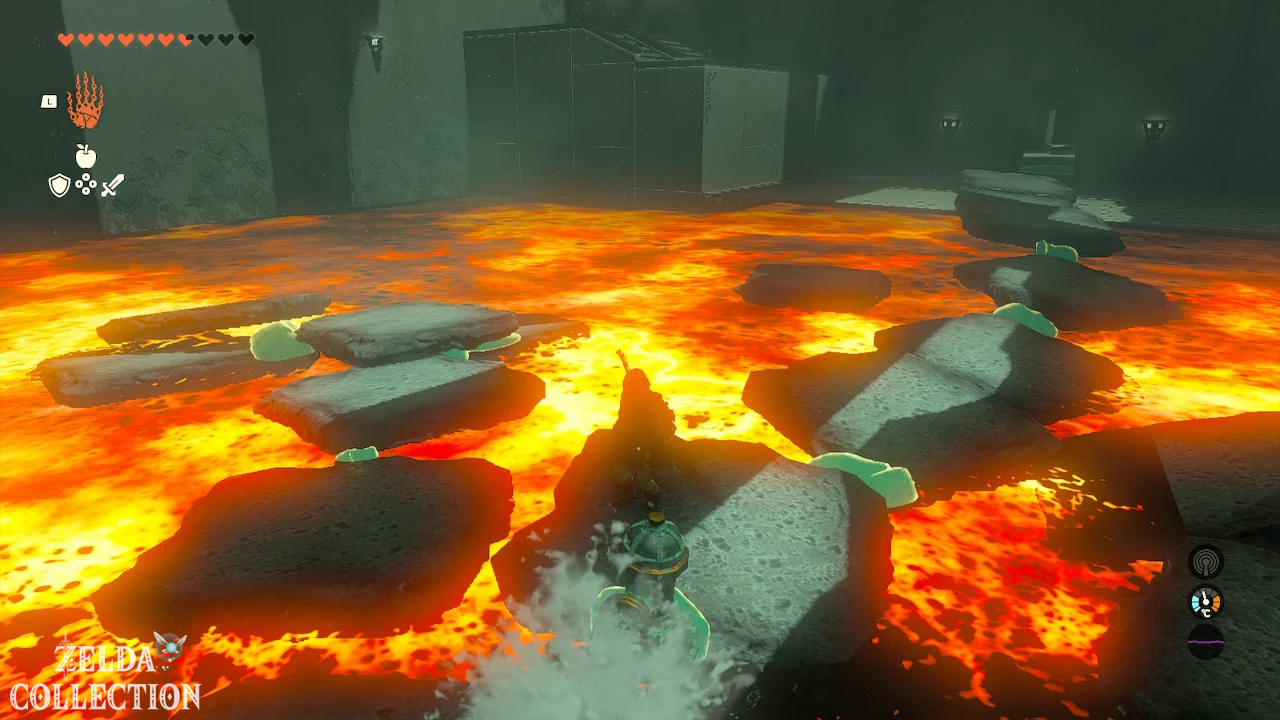
In the first room, water flows onto a lava lake. Rectangular stone slabs are formed where the water touches the lava.
Build a bridge from lava slabs
Take the first cooled plate with the Ultrahand from the frame. Wait for more panels to appear and connect at least four of them in a row.
Place the finished construction over the lava as a bridge and cross it.
Achieve Strong Construct Bow
Axyl up the plate bridge again and lean it against the raised ledge on the left side as a ramp. Run up and open the Treasure Chest with the Strong Construct Sheet.
Destroy fragile wall
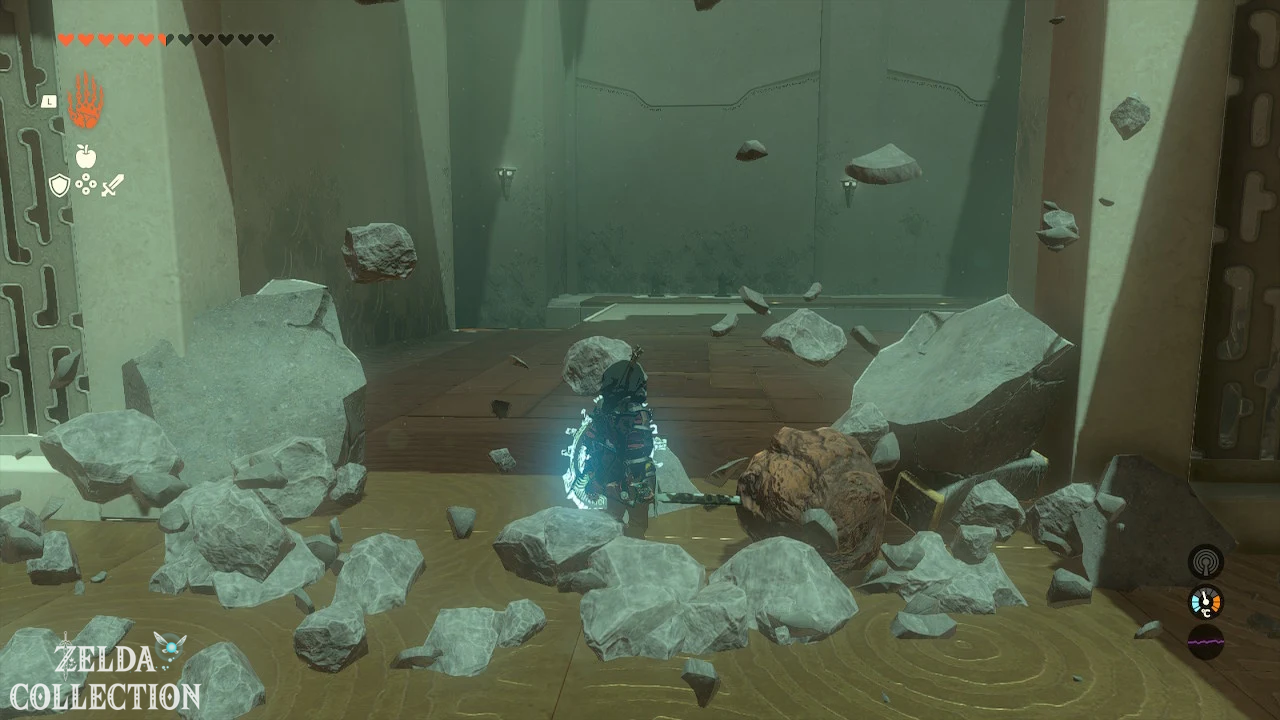
Before the next area, a crumbling stone wall blocks the way. Connect one of the lava plates to the rusty two-handed sword provided. You can smash the wall with this heavy hammer weapon.
arrive via the second lava flow
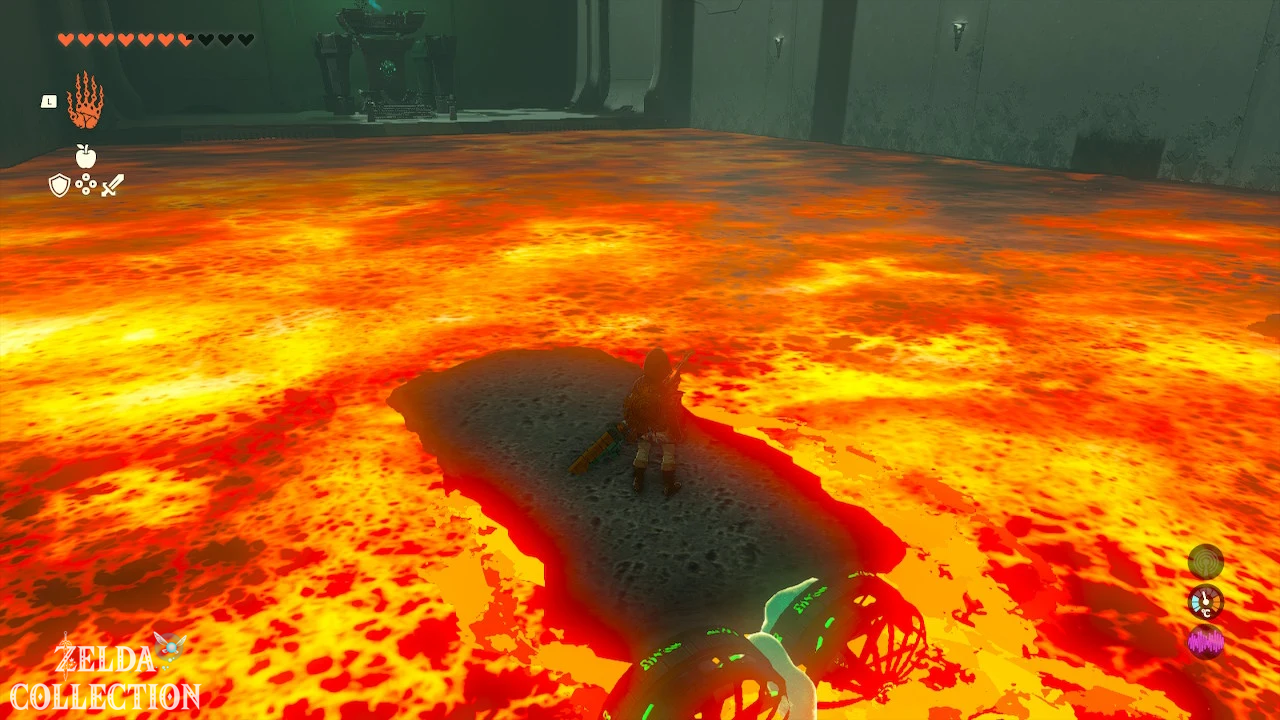
Activate the fire hydrant and hold it over the flowing lava with the Ultrahand. Create a single stone slab as far towards the exit as possible.
Wait for the plate to be carried towards you by the current and jump onto it. Then activate the Recall. The plate moves back its previous path and carries you to the other end of the lava flow.
Jump onto the target platform and get the Light of Blessing from the altar.
Tip: After creating the required plate, put the hydrant aside. Otherwise, new platforms will continue to emerge that can block each other.
Kimayat Shrine
Trial: Bare Survival – Shattered
Reward: Beta Elite Blade and a Light of Blessing
Location: Northeast of the Gut Check Rock
Coordinates: approximately 2864, 3638, 0241
Find Kimayat Shrine
The Kimayat Shrine is located far to the north of the Eldin Canyon. You can find it northeast of Gut Check Rock on a rocky plain.
The Eldin Canyon Skyview Tower or the Sibajitak Shrine is suitable as a starting point. There are no extreme temperatures in this part of the region, but the path leads through uneven terrain with several enemy camps.
Solve Kimayat Shrine
When you enter, all of your equipment will be taken away. First collect the simple wooden weapons, the bow and the Ice Fruit at the entrance.
There are a total of six constructs waiting in the arena. Several enemies stand on a raised platform in the middle of a pool of water.
Defeat First constructs
First, take out the constructs at the edge of the arena. Try to lure individual enemies with arrows so you don’t have to fight the entire group at the same time.
Connect the horns of the defeated constructs to your wooden weapons. This increases the attack power significantly.
Ice slabs create
Throw an Ice Fruit into the water to create an ice sheet. Use it as a floating platform and approach the structure in the middle of the pool.
There are also large spiked balls in the area. Attach one of these to a stick or two-handed weapon.
Smash support pillars
The platform with the constructs stands on several fragile pillars. Hit the pillars with your spiked weapon. If you break enough supports, part of the system will fall into the water.
The constructs also fall and are immediately disabled in deep water. Stay on a slab of ice so that Link doesn’t fall into the water himself.
Eliminate remaining enemies
Defeat the constructs that survived the collapse. Use headshots, Ice Fruit and the spike weapon to stun them and take them out quickly.
After the last enemy you get your equipment back. Open the Treasure Chest with the Beta Elite Blade and accept the Light of Blessing at the altar. Depending on world progress, the exact level of the construct weapon may vary.
Tip: Collapse of the platform is much safer than directly fighting all constructs at once.
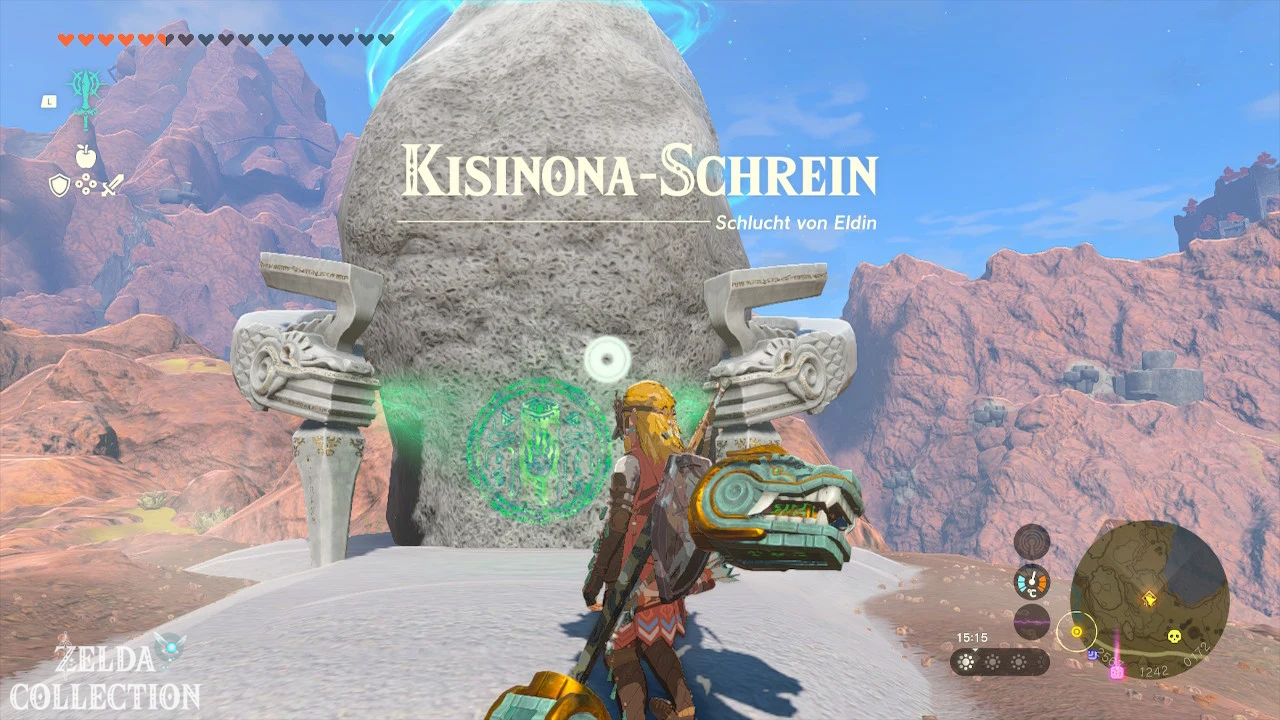
Kisinona Shrine
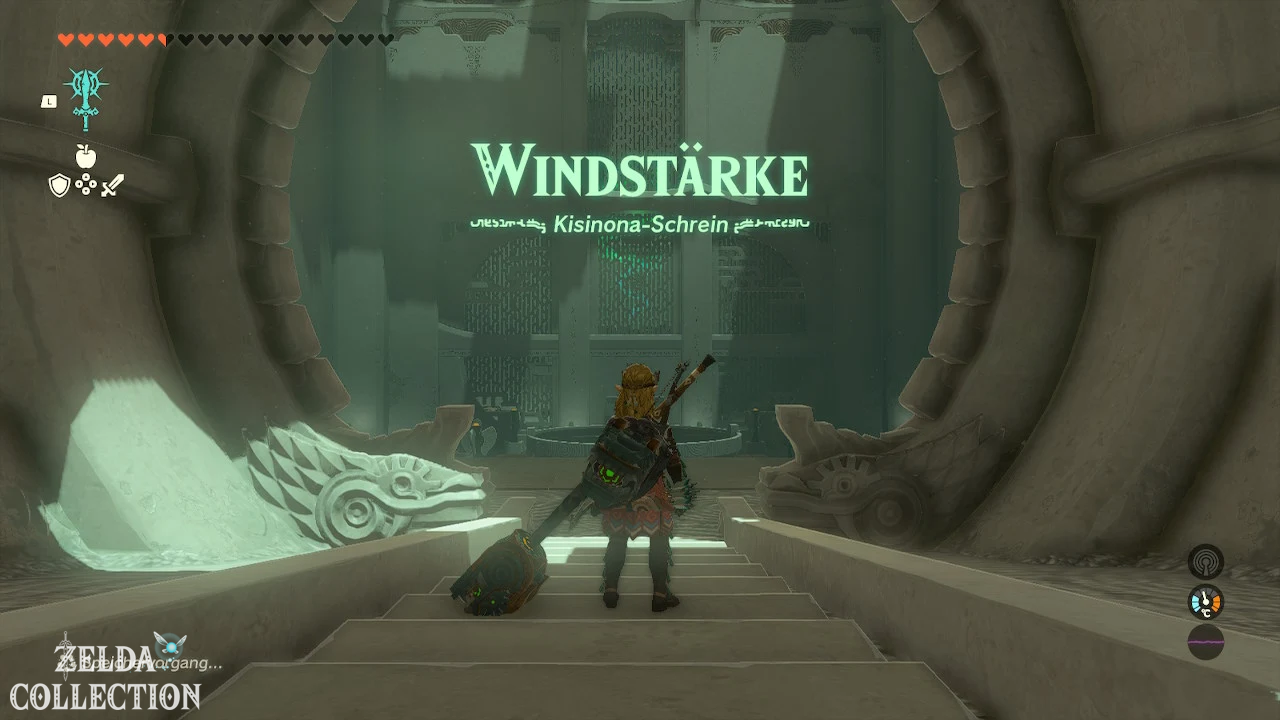
Trial: Wind Strength
Reward: Powerful Construct Bow and a Light of Blessing
Location: At Foothill Stable, on the shore of Askalt Lake
Coordinates: approximately 2568, 1246, 0173
Find Kisinona Shrine
Kisinona Shrine is right next to Foothill Stable. From Eldin Canyon, follow the main road towards Goron City. The shrine stands on a small hill on the shore of Lake Askalt.
Solve Kisinona Shrine
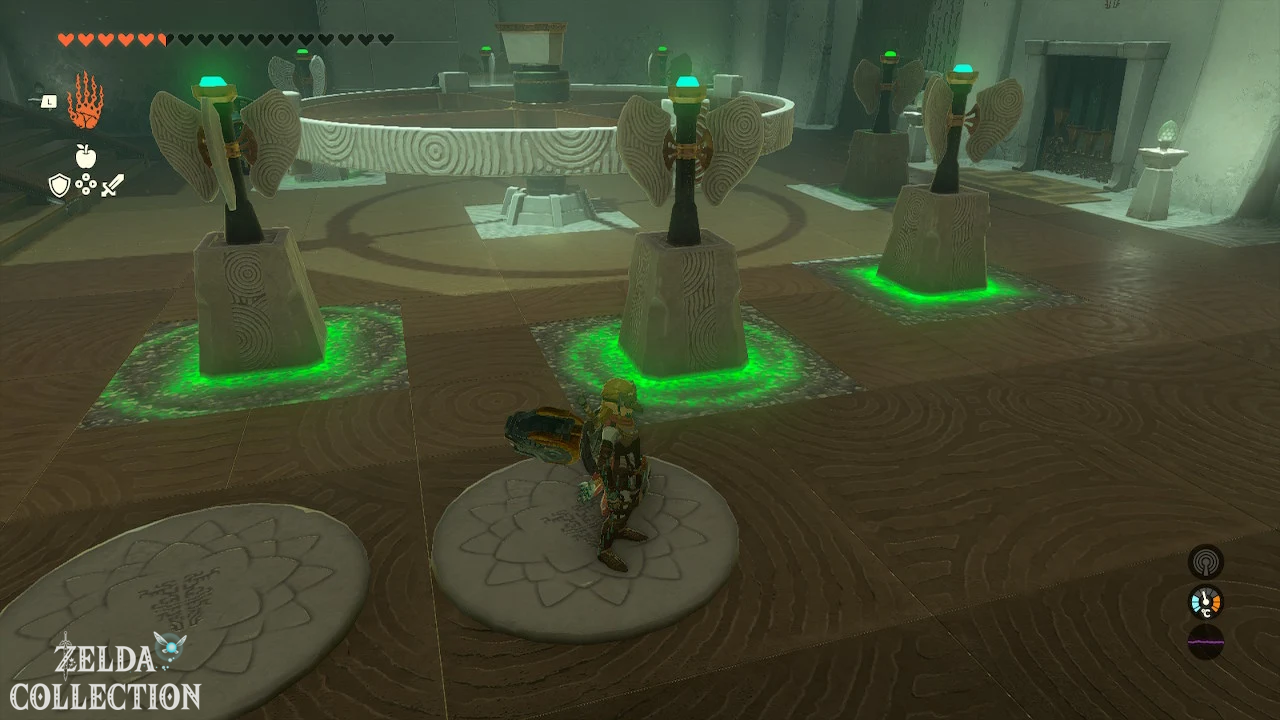
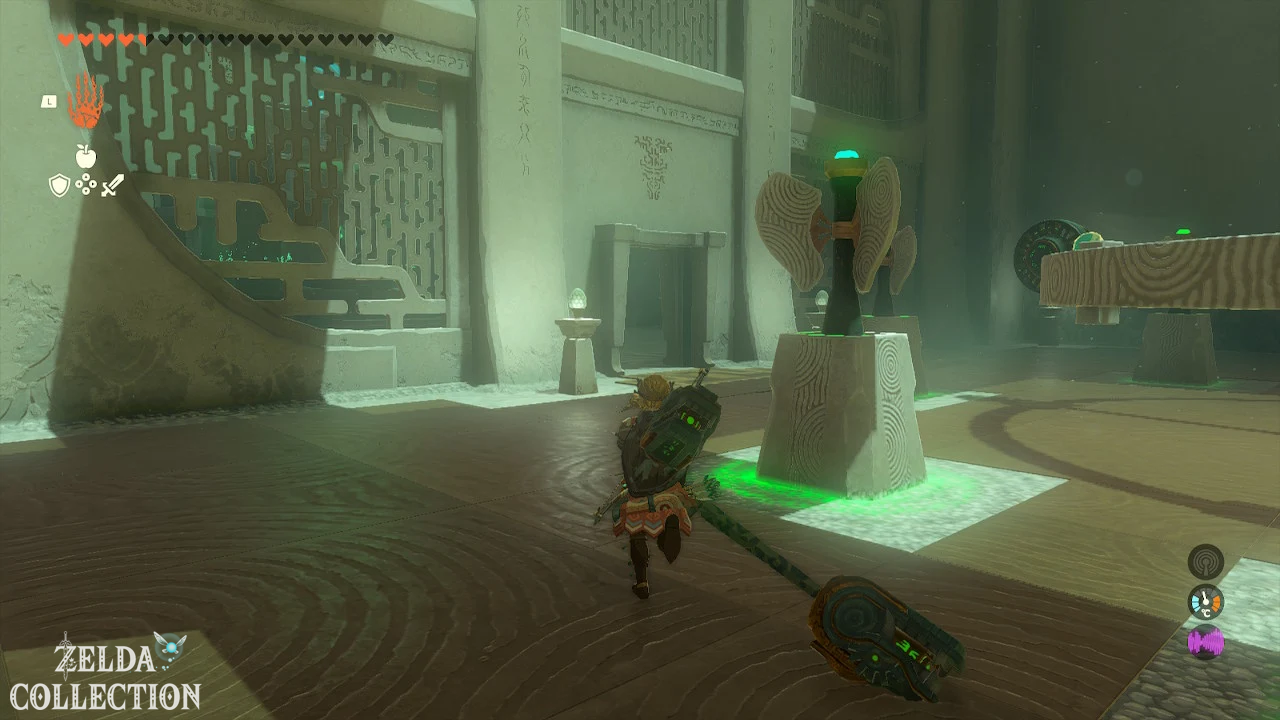
In the only large room there is a circular Big Wheel. There are six small wind turbines around the Big Wheel. The exit gate only opens when all six wind turbines rotate at the same time.
Get Mighty Construct Bow
First, take a fan and place it underneath the raised platform with the airflow pointing upwards. Activate it, jump into the updraft and open the Paraglider.
Glide up to Treasure Chest and open it. Inside lies a Mighty Construct Sheet.
Large Big Wheel power
Get both fans and attach them to opposite parts of the large wheel. The fans must be oriented laterally and drive the Big Wheel in the same direction.
Activate both devices. The large Big Wheel accelerates and creates a powerful airflow. As soon as all six small wind turbines rotate at the same time, the gate opens.
If necessary, remove a fan and attach it a little further out. The greater the distance to the center of the wheel, the stronger the drive.
Go through the opened gate and collect your Light of Blessing.
Tip: If the fans point in opposite directions, their forces cancel each other out. Both air flows must move the Big Wheel in the same direction of rotation.
Marakuguc Shrine
Trial: Well done
Reward: Strong construct sheet and a Light of Blessing
Location: On the eastern edge of Goron City
Coordinates: approximately 1762, 2510, 0437
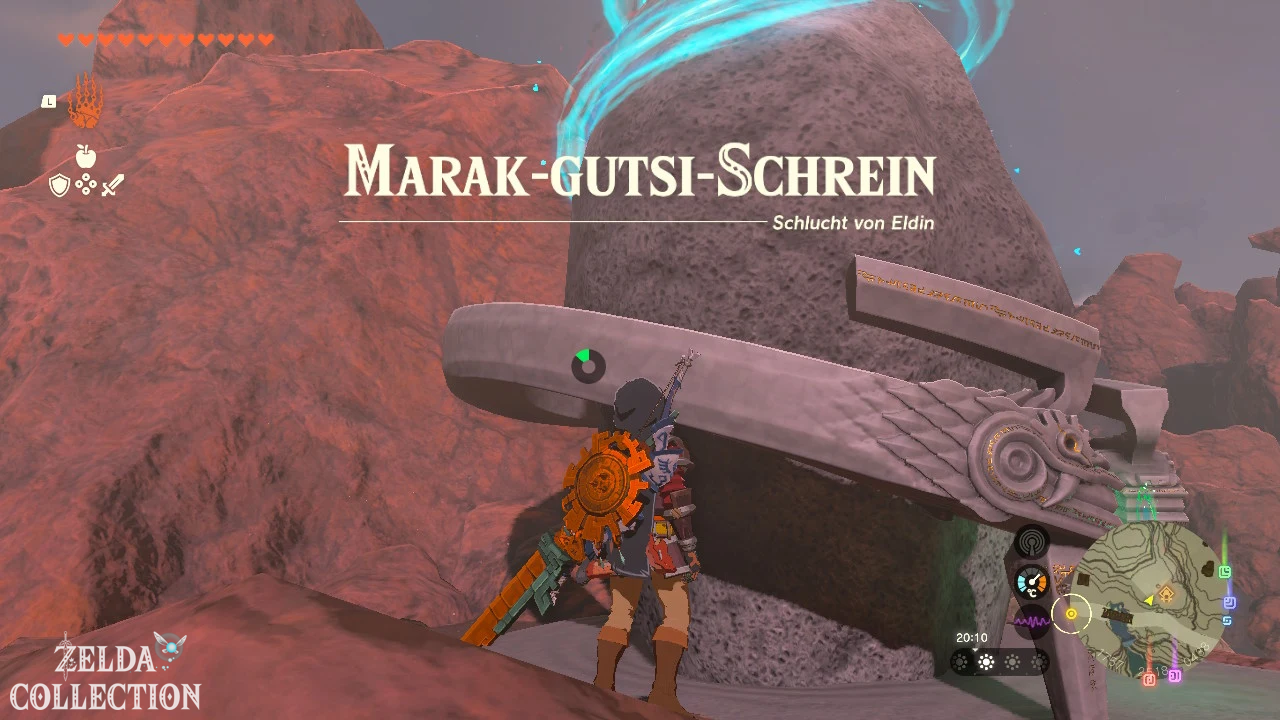
Find Marakuguc Shrine
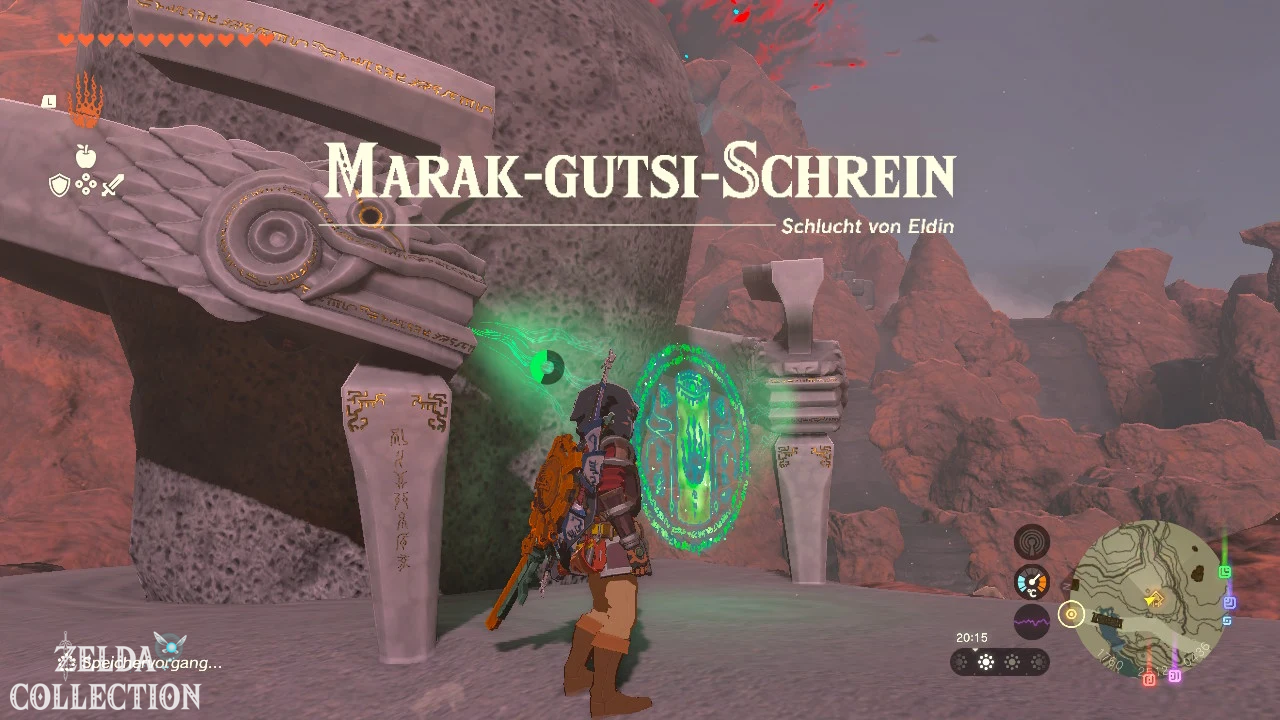
The Marakuguc Shrine stands immediately east of Goron City. From the city center, follow the path uphill for a short distance. The shrine is freely accessible and is suitable as a fast travel point for the Goron City.
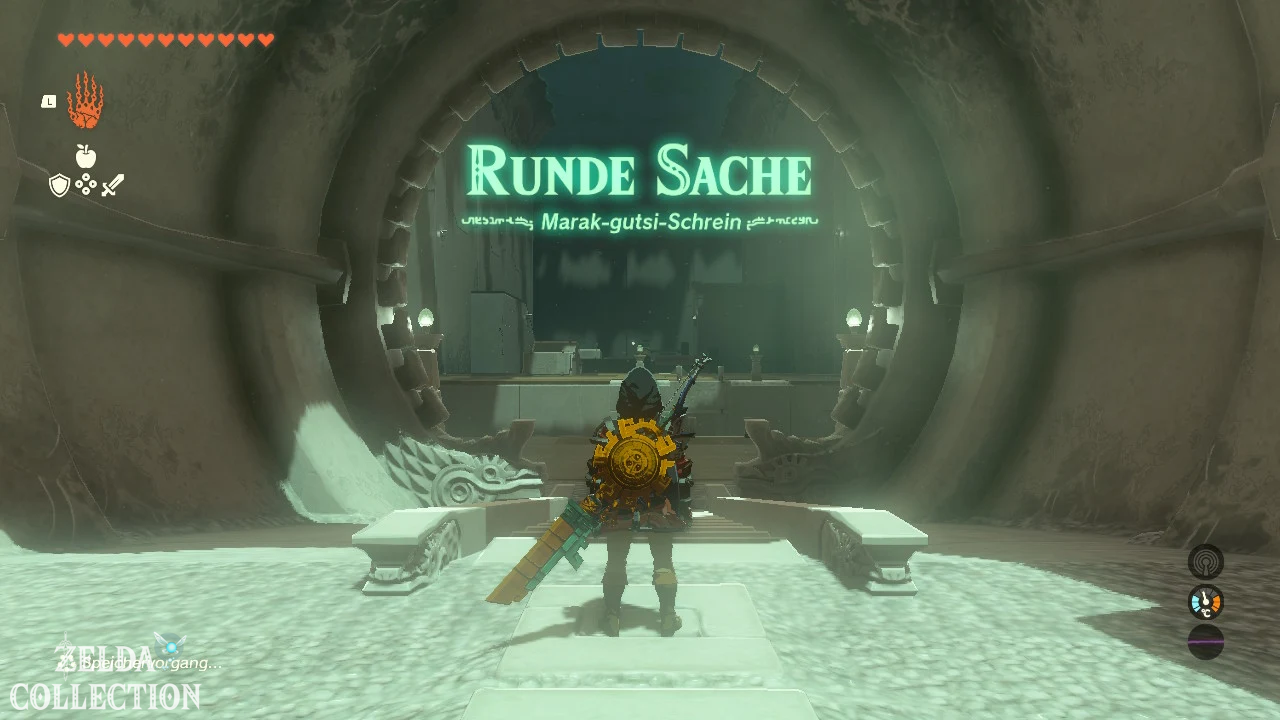
Solve Marakuguc Shrine
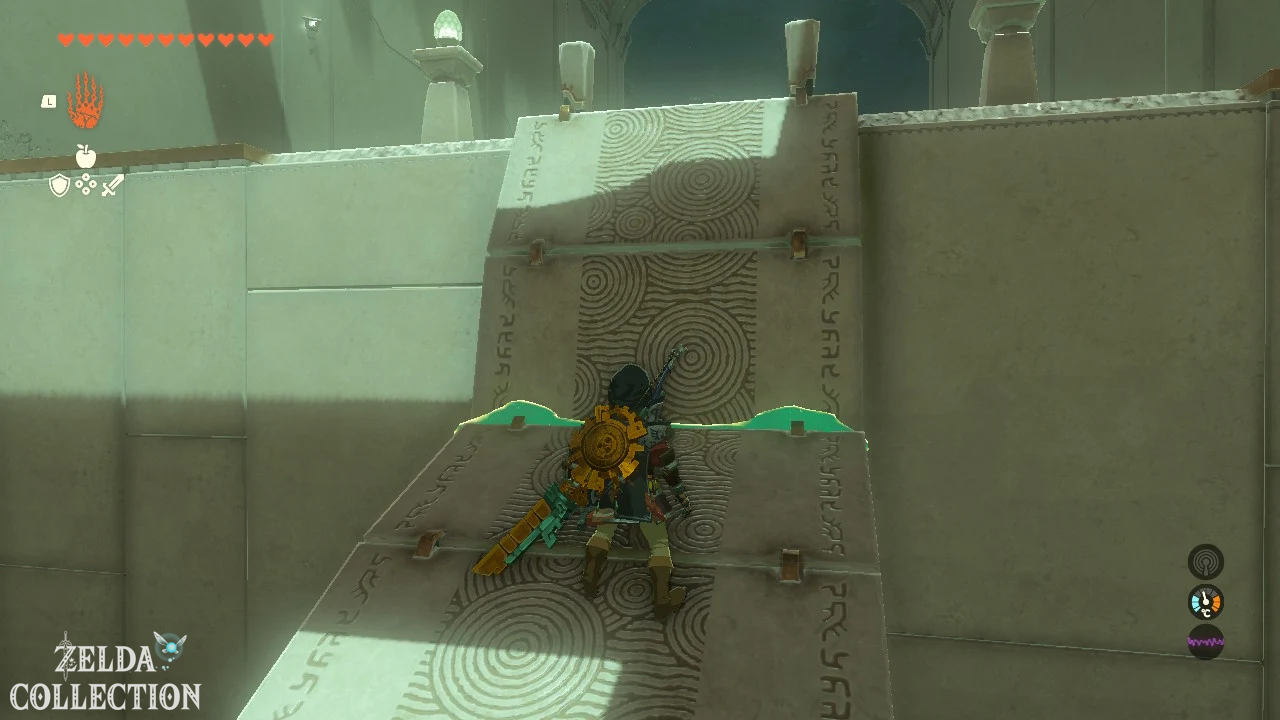
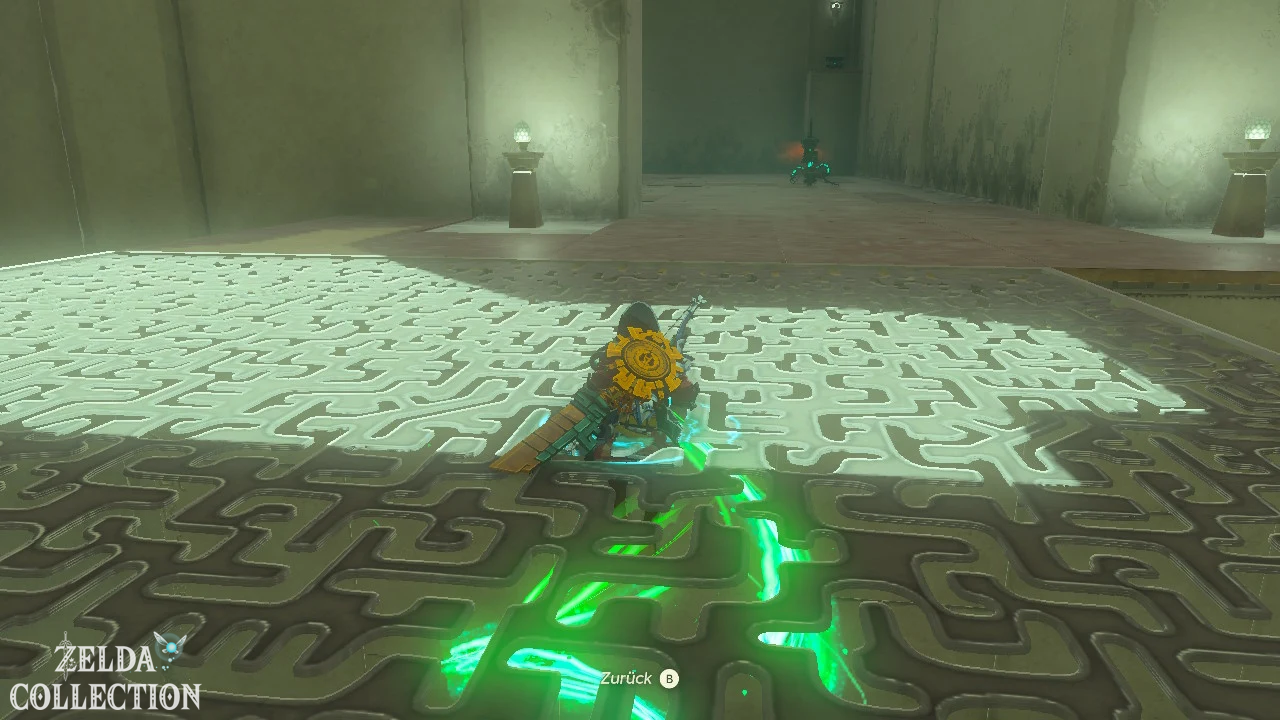
The exam introduces you to the use of the large Zonai wheels. You use them to power vehicles, roll out bridges, and move numerous balls.
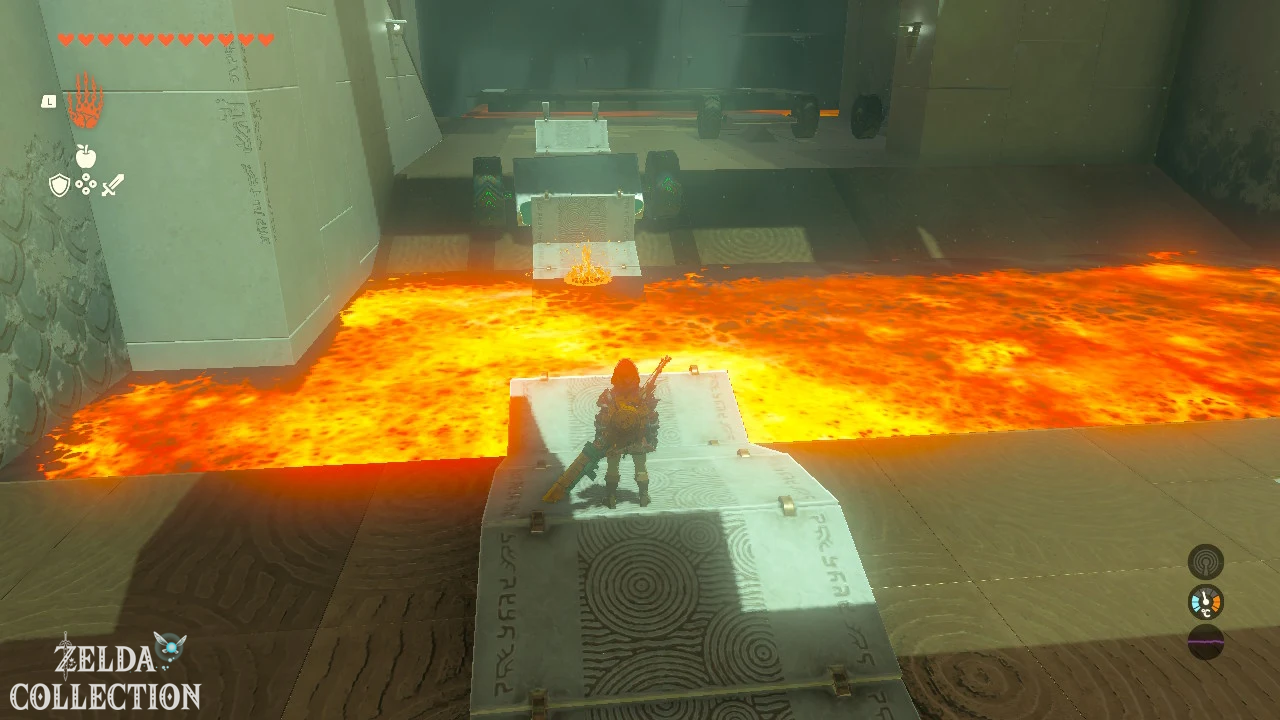
Assemble the first bridge
Jump into the ditch and grab the long end of the rolled bridge with the Ultrahand. Connect it to the short bridge part on the other side.
The construction spans the gap and you can reach the opposite platform.
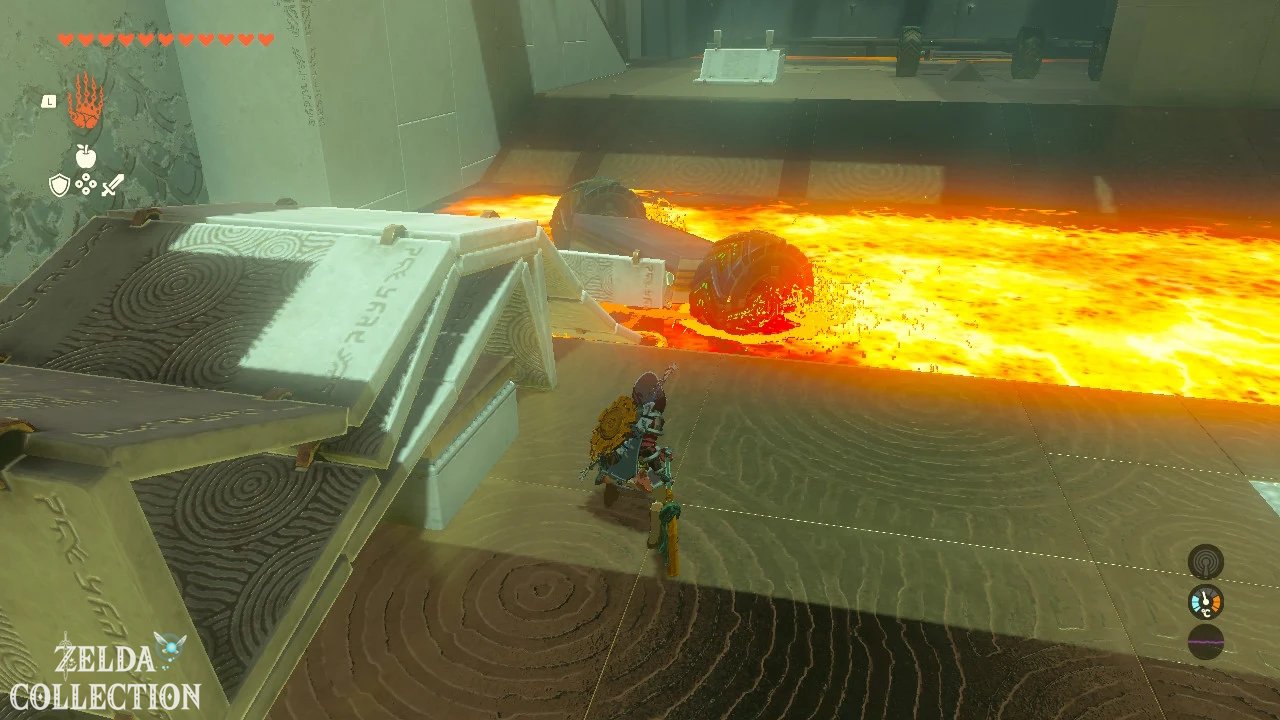
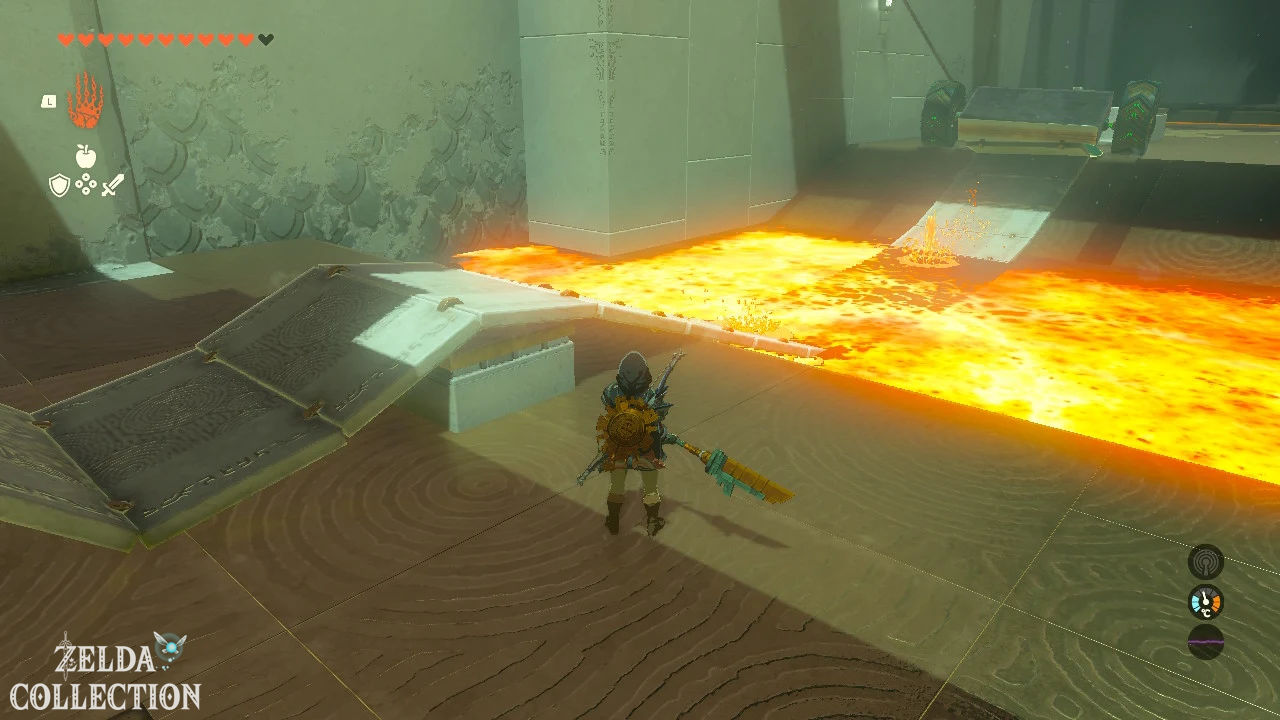
Draw a bridge over the lava flow
In the next area is the end of another rolled-up bridge on the bank. Attach it to the middle of the vehicle with the two large wheels.
Activate the vehicle. It drives to the other side of the lava flow and pulls the bridge behind it. Cross the resulting connection.
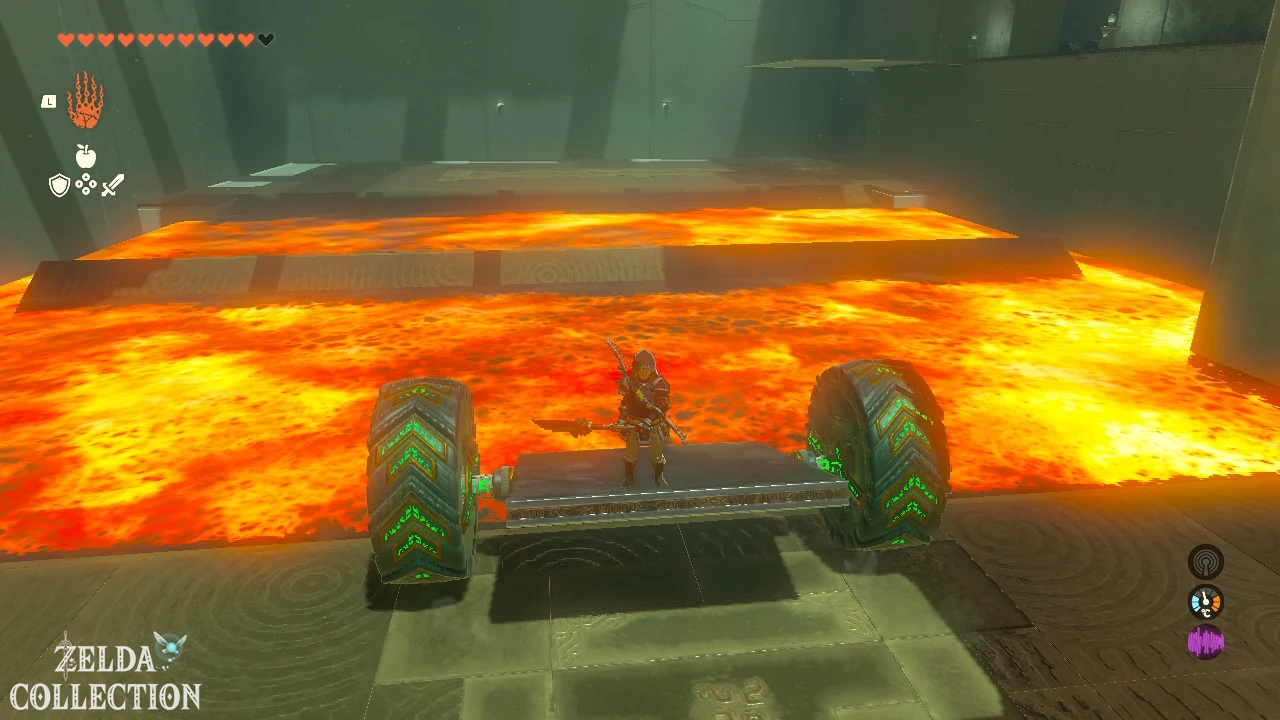
four-wheel vehicle build
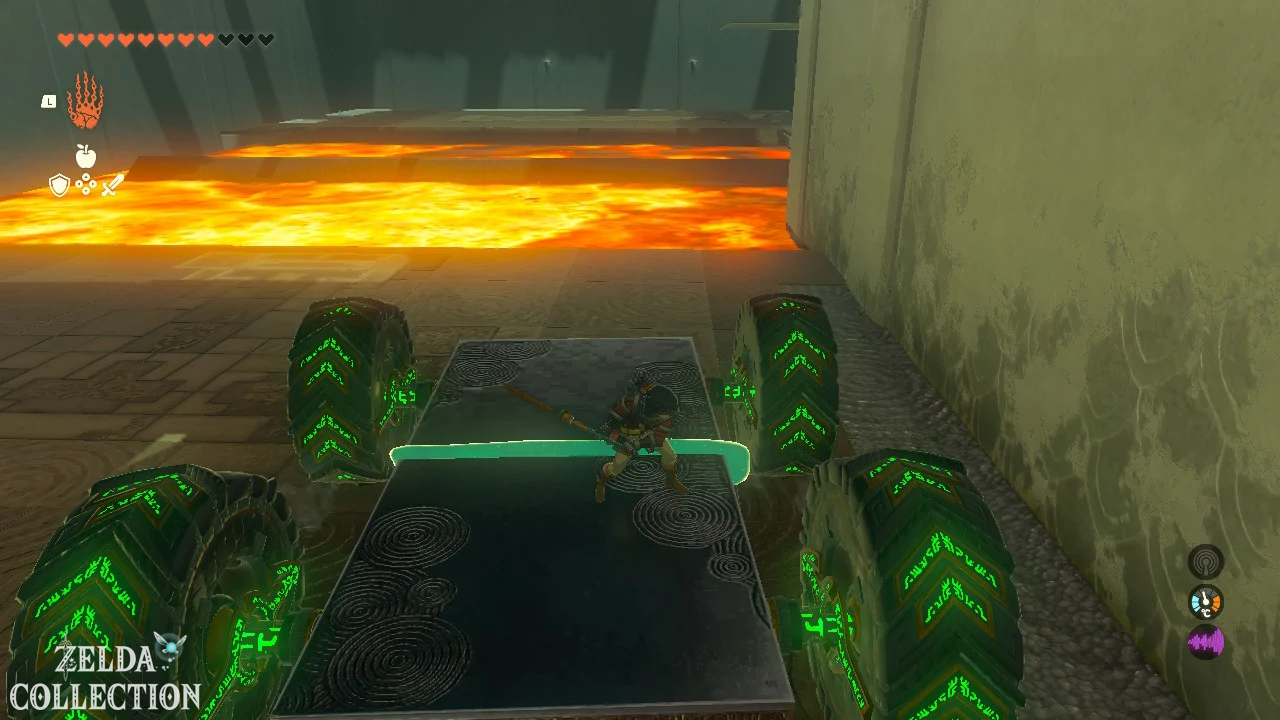
There are two vehicles ready at the next lava flow. Connect them to form a wide platform with four wheels. Make sure that all wheels are facing the same direction of travel.
Climb onto the construction and activate the wheels. The vehicle carries you safely across the lava.
Achieve Strong Construct Bow
In the last large room, the Treasure Chest is on a raised platform. Connect a metal plate to a vehicle and place it under the ledge as a ramp.
Alternatively, you can use the Ascend under the platform. In the chest you will find a Strong Construct Bow.
Slide balls onto the weight switch
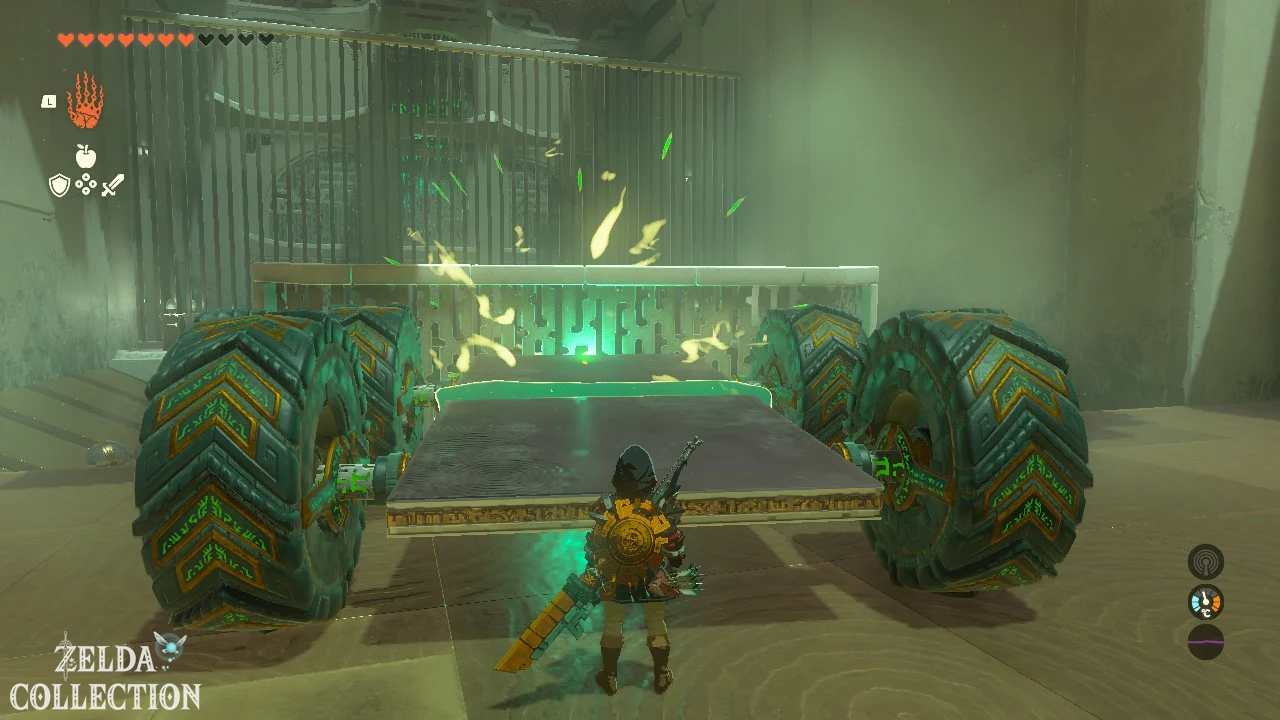
First, defeat the construct in the upper area. Then connect the two wheeled vehicles together and attach the large metal plate across the front of the structure.
This creates a kind of bulldozer. Activate the vehicle and drive through the large collection of stone balls. Push as many balls as possible through the opening in the partition.
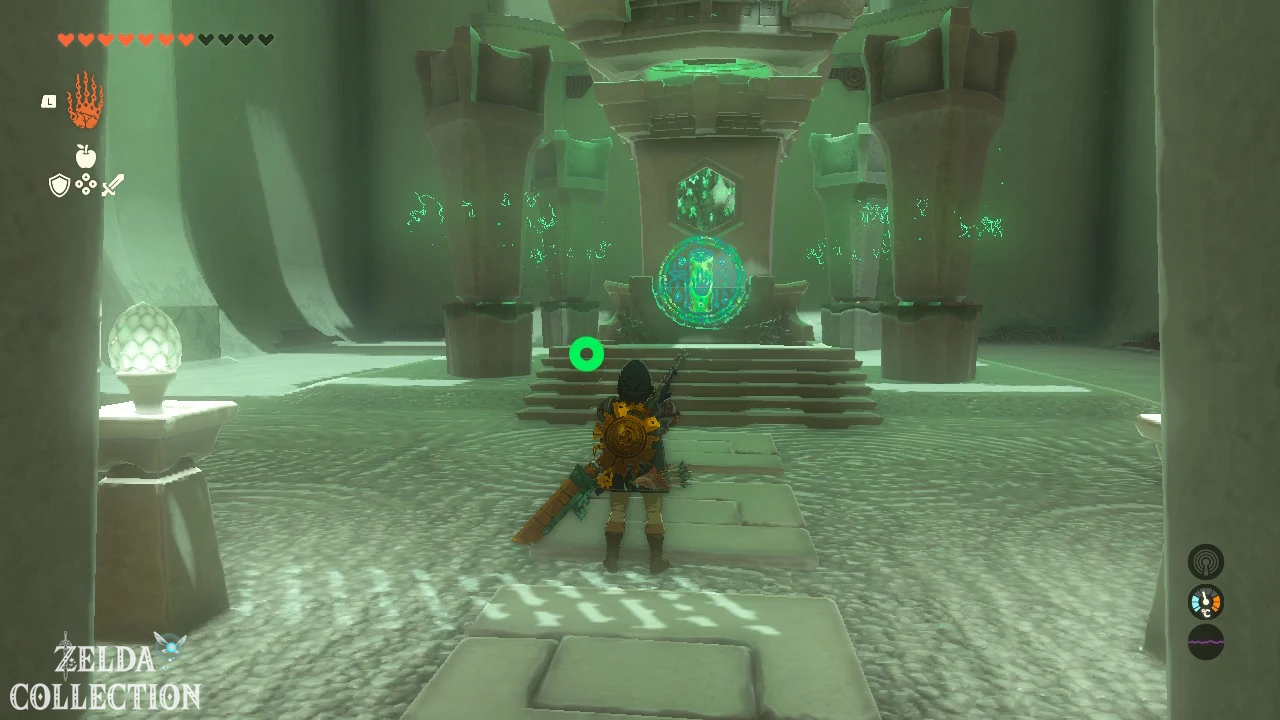
The balls land on a large weight switch. As soon as there is enough weight on it, the gate to the altar opens.
Tip: If individual balls are too far to the edge, move them a little closer to the center before driving with the Ultrahand.
Mayachideg Shrine
Trial: Bare Survival – Hunted
Reward: Strong Zonaite Lance and a Light of Blessing
Location: Northwest of South Akkala Stable
Coordinates: approximately 3061, 1823, 0216
Find Mayachideg Shrine
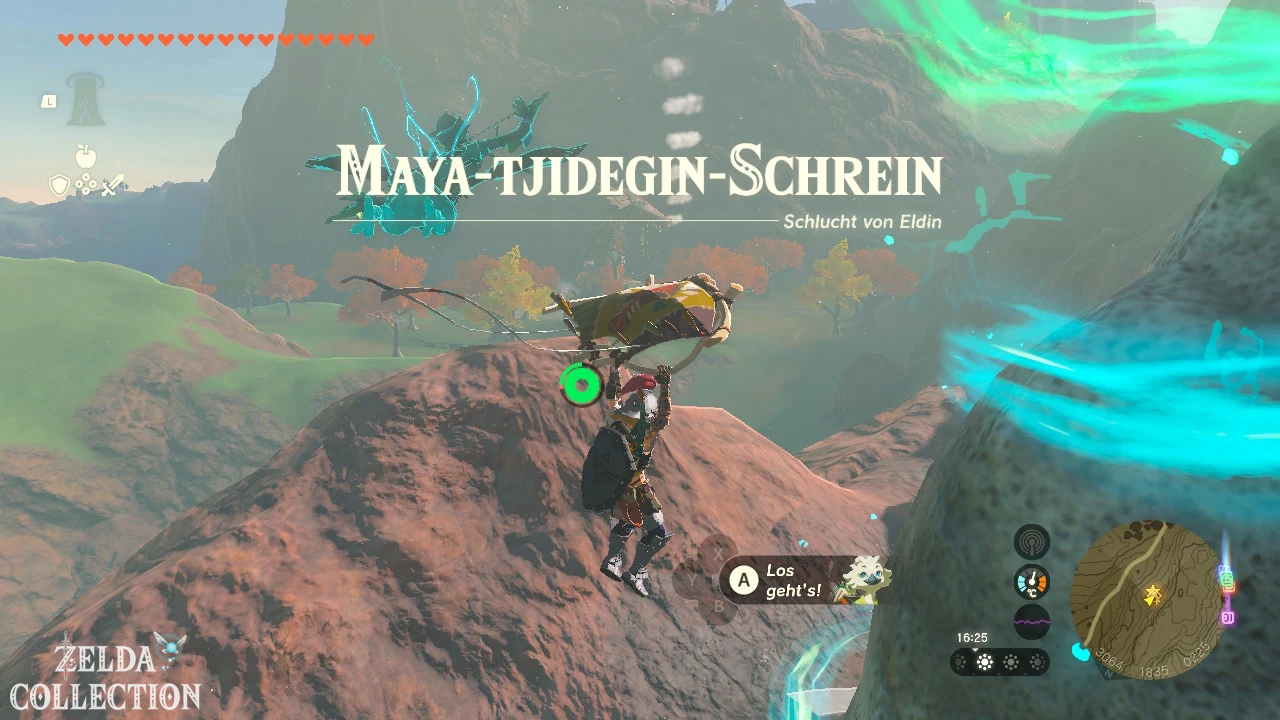
The Mayachideg Shrine is located on a ledge northwest of the South Akkala Stable. Although the stable already belongs to Akkala, according to our territorial division the shrine is assigned to the Eldin Canyon.
From the stable you follow the rising terrain towards the northwest. The shrine is clearly visible from the street.
Solve Mayachideg Shrine
When you enter, all of your equipment will be taken away. In contrast to other combat tests, here you are not supposed to fight exclusively yourself. Instead, you can send small automatic vehicles towards the constructs.
Activate First combat vehicles
Collect the wooden sticks and shields provided. There are several small search constructs in front of you. Activate them with one hit.
The devices independently search for opponents and draw their attention to themselves. Use the distraction to attack the first construct from behind.
Equip vehicles with Zonai devices
In the arena you will find various Zonai Devices, including stun guns, Flame Emitter and Frost Emitter. Attach the devices to the front of the search constructs.
Then activate several vehicles at the same time. They pursue the constructs and electrify them, freeze them or cause fire damage.
Kill enemies one at a time
First stay at the edge of the arena and let the vehicles make the first attack. Attack stunned enemies with a Fuse weapon and collect their equipment.
Connect construct horns to your weapons. This gives you enough attack power for the stronger opponents at the back of the arena.
Strongest Construct Defeat
Send as many search vehicles as possible to the last enemy at the same time. A combination of Frost Emitter and a stun gun is particularly effective.
Attack the frozen or stunned construct with your strongest weapon. Once all enemies have been defeated, you will receive your normal equipment back.
Open the Treasure Chest with the Strong Zonaite Lance and then get the Light of Blessing.
Tip: Only activate the small vehicles after you have attached Zonai Devices to them. When unarmed, they serve primarily as a distraction.
Momosik Shrine
Shrine Quest: Death Crater Shrine
Trial: Raurus Blessing
Reward: Big Battery and a Light of Blessing
Location: Eastern rim of Death Crater
coordinates: approximately 2960, 2758, 0524
Unlock Momosik Shrine
On the eastern edge of the Death Crater you will initially only find an incomplete shrine platform. Examine them to begin the shrine quest “Shrine of the Crater of Death.”
A green beam of light leads to the Death Mountain East Tunnel. The entrance is located northeast of the shrine and is blocked by blue, particularly resistant rock.
Destroy the rock with Yunobo’s ability or multiple Bomb Flowers. You need strong fire protection in the tunnel.
Driving the cart through the tunnel
Defeat the Horriblin at the entrance and attach a fan to the waiting cart. Place them on the rails and ride across the lava river.
A Igneo Talus is waiting at the other end of the tunnel. The green shrine crystal is in a chunk of ore on his back.
Defeat Igneo Talus
Cool down the Igneo Talus with Water Fruit, blue Chuchu Jelly or Sidon’s ability. Only then can you safely climb onto his body.
Attack the ore chunk on its back with a heavy two-handed weapon. Jump down as soon as the Igneo Talus starts shaking.
Repeat the process until the enemy is defeated. The green crystal then detaches from his body.
Transport crystal back
Securely attach the crystal to the cart and return the same way through the tunnel. Then carry it to the incomplete shrine platform.
If you place the crystal in the green socket, the complete Momosik Shrine appears.
Obtain Rauru’s blessing
There is no further mystery waiting in the shrine. Open the Treasure Chest with the Big Battery and accept the Light of Blessing at the altar.
Tip: Prepare several water fruits before the fight. The Igneo Talus keeps catching fire after a short time.
Moshapin Shrine
Shrine task: Shrine in the Lake Intenoch Cave
Test: Raurus blessing
Reward: Solid Zonaite Shield and a Light of Blessing
Location: Lake Intenoch Cave
Coordinates: approximately 2679, 1904, 0131
Find Moshapin Shrine
The Moshapin Shrine is located in Lake Intenoch Cave, south of Death Mountain. Enter the cave via the entrance on the western or southwestern edge of the lake.
There is a risk of fire inside. Use the anti-fire armor or a fire protection Elixir.
Follow the cave passage and destroy the brittle rocks. Behind the stone wall you will reach a chamber with a lava lake, a Fire Like and the green shrine crystal.
Bring crystal over the lava lake
First defeat the Fire Like. Use Water Fruit, Ice Fruit, or blue Chuchu Jelly to extinguish its flames.
Then activate the fire hydrant and direct its water jet at the lava. This creates a rectangular stone slab.
Attach a fan to the back of the plate. Place the green crystal as centrally as possible on the vehicle.
Place the raft on the lava lake and activate the fan. Steer past the lava falls and rocks to the opposite side.
Remove the crystal from the raft there and carry it to the incomplete shrine platform. This will cause the Moshapin Shrine to appear.
Obtain Rauru’s blessing
In the shrine, open the Treasure Chest with the Zonaite Solid Shield. You will then receive a Light of Blessing at the altar.
Tip: Attach the fan exactly in the middle of the stone slab. If he sits sideways, the raft can rotate in the lava lake.
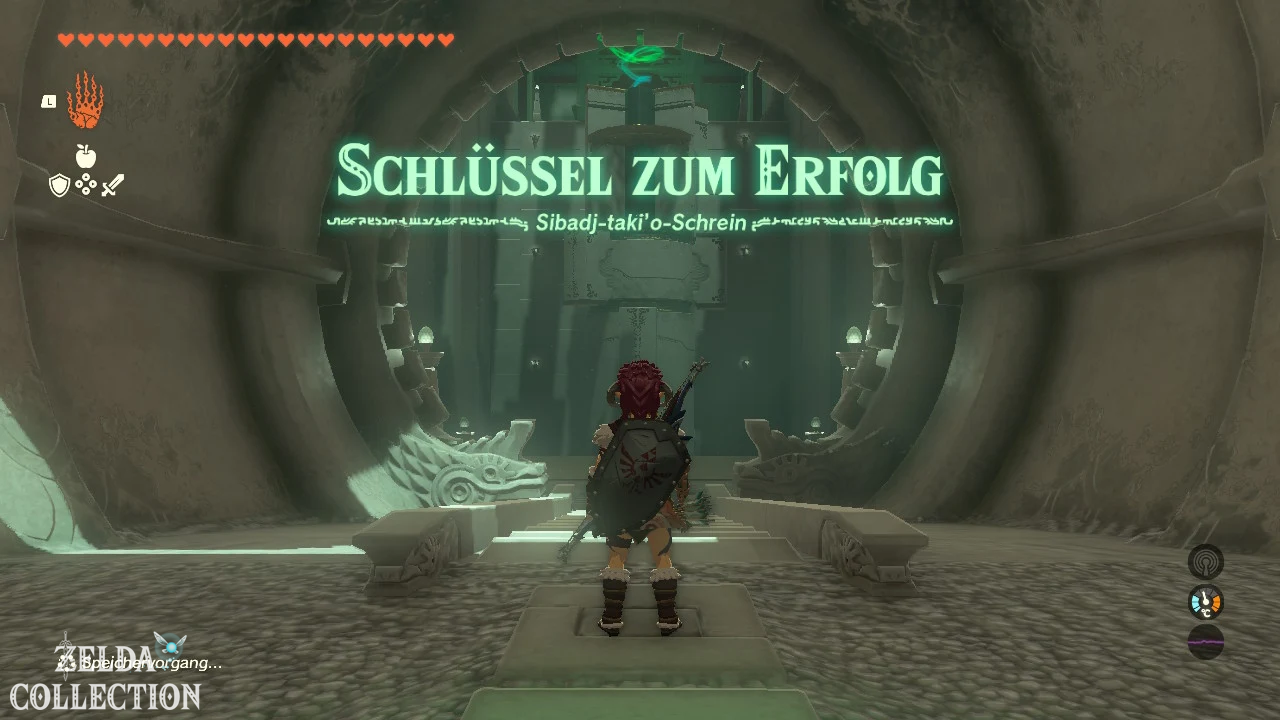
Sibajitak Shrine
Trial: Key to Success
Reward: Strong Zonaite Greatsword and a Light of Blessing
Location: Eastern edge of Lake Darman
Coordinates: approximately 2400, 3275, 0403
Find Sibajitak Shrine
The Sibajitak Shrine is located on the eastern edge of Lake Darman. You can reach it from Death Mountain or fly north from Eldin Canyon Skyview Tower.
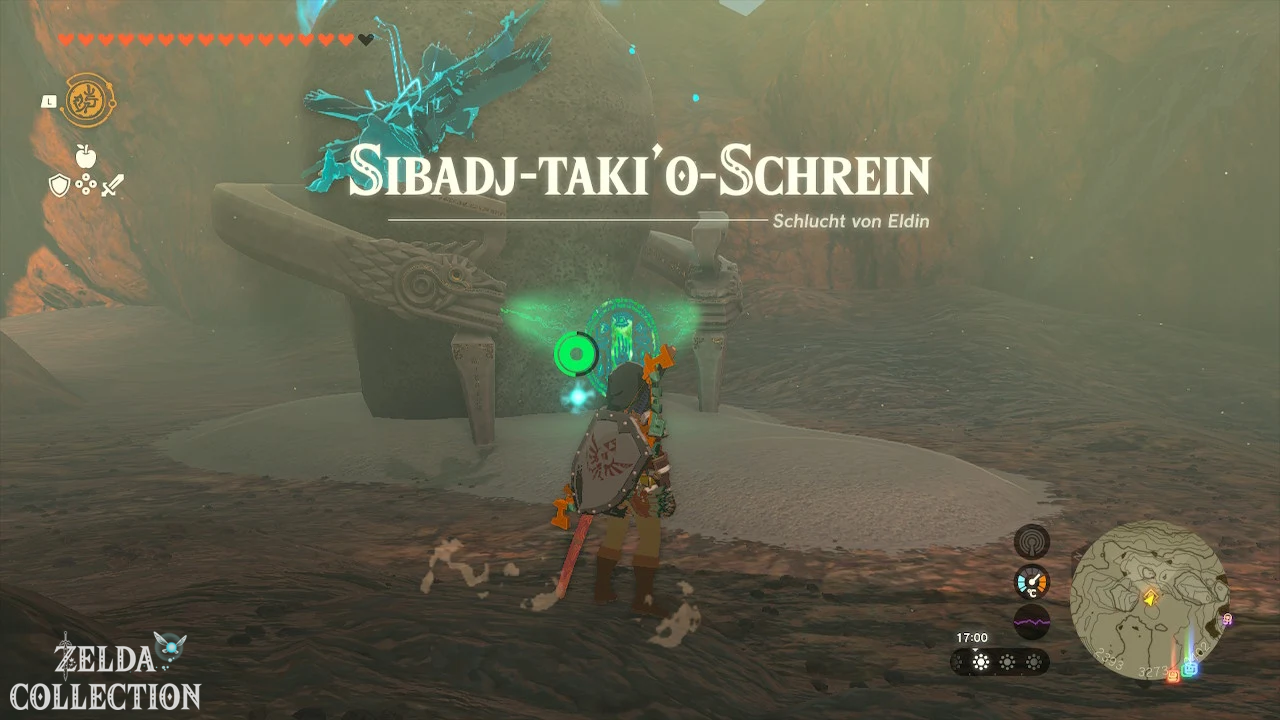
Solve Sibajitak Shrine
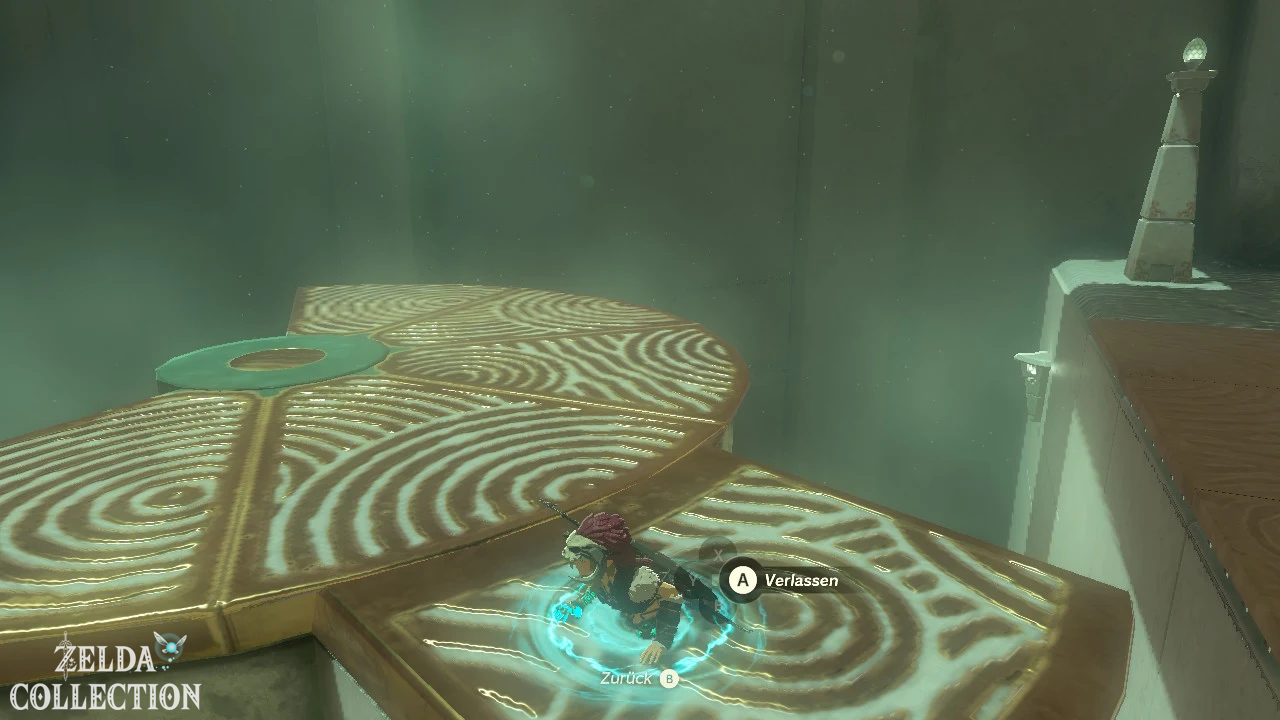
In the shrine there is a high tower made of three rotating cylinders one above the other. Each cylinder has a large recess. You need to align the three openings using the Recall.
First two recesses connect
First observe the movement of the bottom two cylinders. Wait until their openings are as close to each other as possible.
Activate the Recall on one of the cylinders. Its direction of rotation is reversed and the two recesses meet.
Stand in the bottom opening and use the Ascend. You reach the middle part of the tower.
Strong Zonaite Greatsword achieve
Align the two lower cylinders so that their recesses face the side platform with the Treasure Chest.
Climb through the openings and jump to the ledge. In the chest is a Strong Zonaite Greatsword.
Align all three openings
Return to the tower and now observe all three cylinders. Insert the Recall onto the movable levels one after the other until the three recesses form a continuous shaft.
Stand at the bottom of the tower and use the Ascend. Link traverses the stacked levels and reaches the top.
Follow the short path to the altar and pick up the Light of Blessing.
Tip: The cylinders do not have to remain permanently aligned. It is sufficient if the openings are briefly on top of each other during the ceiling jump.
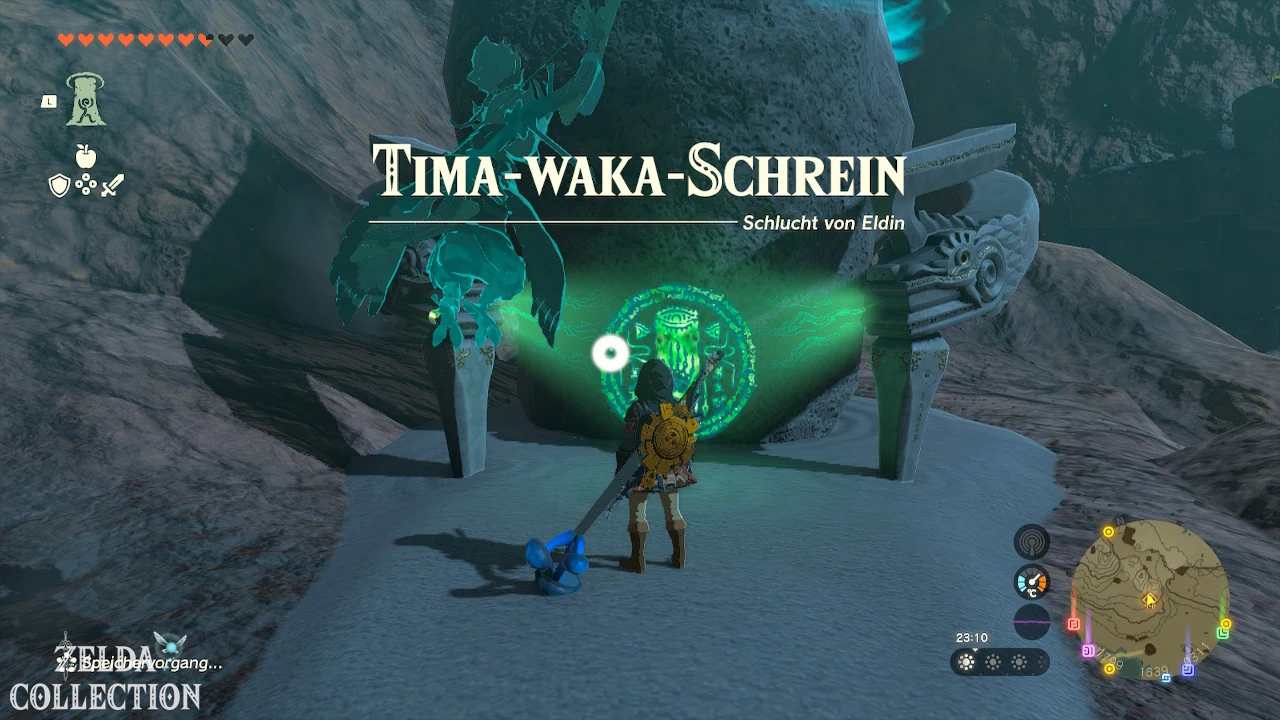
Timawak Shrine
Trial: Against the Current
Reward: Stable Zonaite Shield and a Light of Blessing
Location: Dry Lake Goronbi, at Bedrock Bistro
Coordinates: approximately 1800, 1640, 0311
Find Timawak Shrine
The Timawak Shrine stands on the dried out Goronbi Lake south of Goron City. It is located near the Bedrock Bistro restaurant and is clearly visible from the main road.
Solve Timawak Shrine
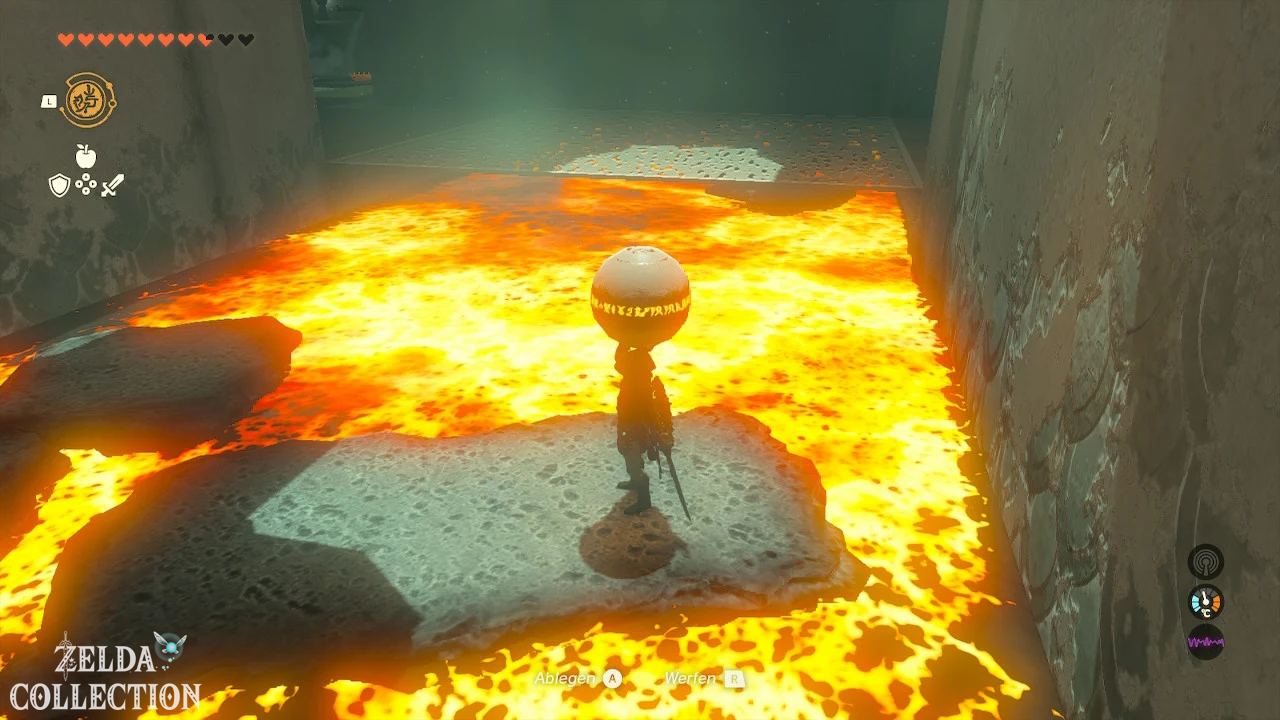
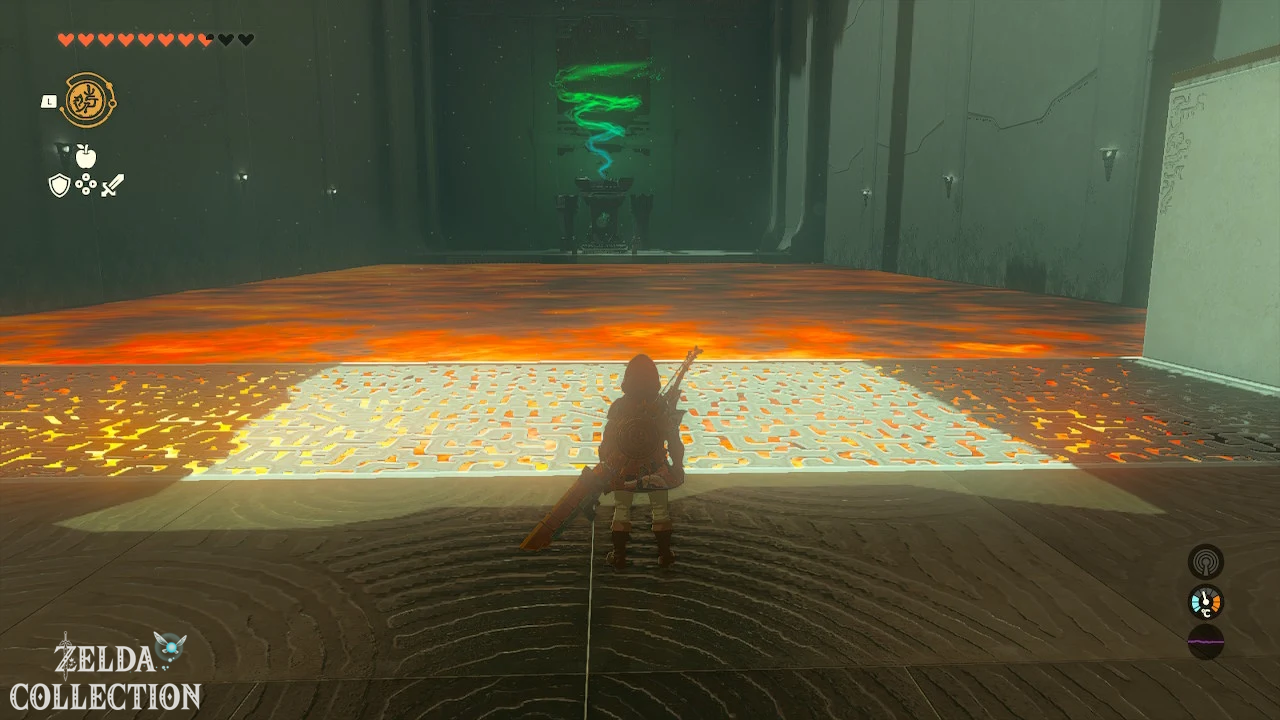
The test combines fire hydrants, lava plates, the Recall and fans. You have to move against the direction of flow of the lava several times.
Cross the first lava flow
Activate the fire hydrant at the entrance. The water creates several rectangular stone slabs on the lava.
Jump onto the plates one after the other and cross the lava flow. Be careful not to get caught between two platforms.
Reach ball and Treasure Chest
In the next area, the lava slabs flow away from the sphere. First, defeat the construct with the bow.
Jump onto a passing plate and activate the Recall. It now moves against the current and carries you to the back platform.
There you will find the ball you need and on the back wall the Treasure Chest with the stable Zonaite sign.
Return ball
Place the ball on one of the lava plates and jump to it. Use the Recall again or let the normal current carry you to the starting point.
Axyl up the ball on the bank with the Ultrahand and place it in the round recess. This opens the gate to the final section.
Build a boat from lava plates
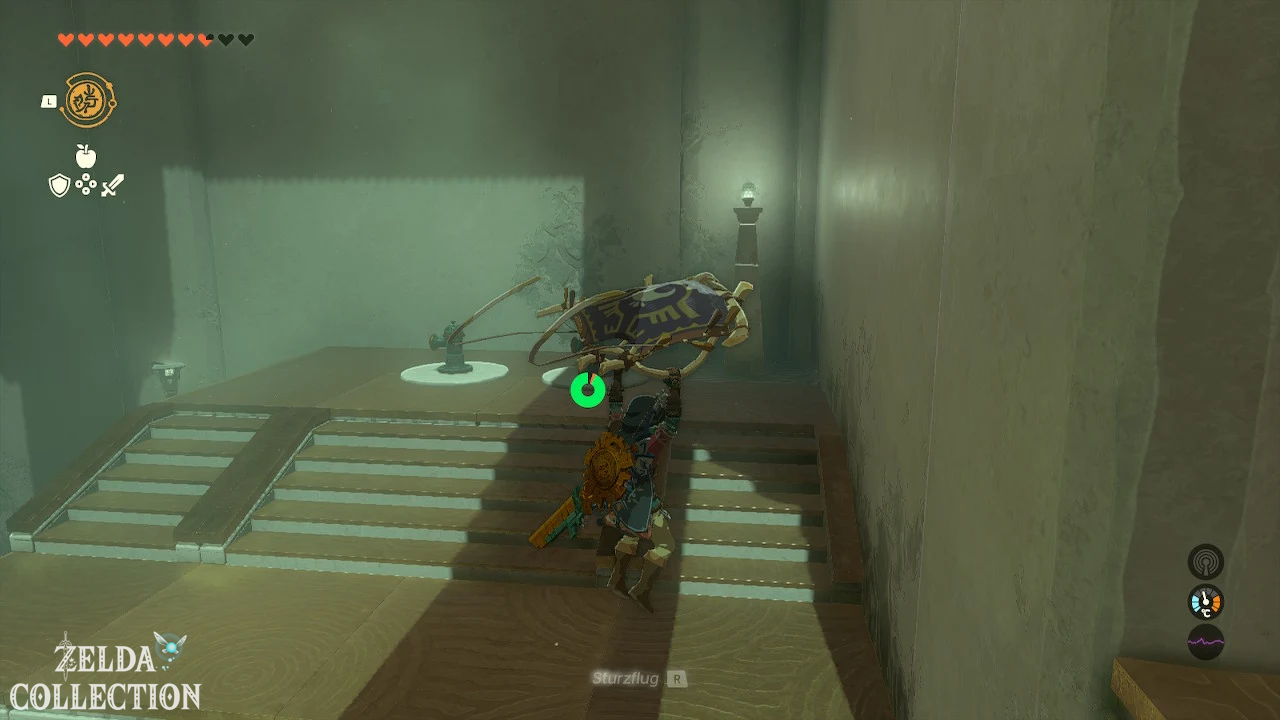
There is a large lava lake in front of you. Position the provided fan with the airflow pointing upwards and allow yourself to be carried onto the raised platform. There you will find several fire hydrants.
Activate a fire hydrant and create a larger stone slab on the lava. Attach one or two fans to the back.
Place the finished vehicle on the lava lake and climb up. Activate the fans and ride to the opposite platform.
Get off there and receive your Light of Blessing at the altar.
Tip: A single large lava slab is enough for the last vehicle. However, two plates connected together offer more space and stability.
All shrines in the Eldin Canyon at a glance
| Shrine | level | exam or task | Location | Chest Reward |
|---|---|---|---|---|
| Jiotak Shrine | Cave | Raurus blessing | Isle of Rabac Gallery | Long Wand |
| Isisim Shrine | Cave | Naked Survival – Turned Back | YunoboCo HQ East Cave | Short wand |
| Kadaunar Shrine | Sky | Waterways | South Eldin Sky Archipelago | Strong Construct Bow |
| Kimayat Shrine | surface | Bare Survival – Smashed | Gut Check Rock | Beta Elite Blade |
| Kisinona Shrine | surface | wind strength | Foothill Stable | Powerful Construct Bow |
| Marakuguc Shrine | surface | Well rounded | Goron City | Strong Construct Bow |
| Mayachideg Shrine | surface | Bare Survival – Hunted | At the South Akkala Stable | Strong Zonaite lance |
| Momosik Shrine | Surface/Cave | Death Crater Shrine | Death Caldera | Big Battery |
| Moshapin Shrine | Cave | Shrine in the Lake Intenoch Cave | Lake Intenoch Cave | Solid Zonaite shield |
| Sibajitak Shrine | surface | Key to success | Lake Darman | Strong Zonaite Greatsword |
| Timawak Shrine | surface | Against the current | Goronbi Lake | Stable Zonaite shield |