

On this page we give you an overview of all shrines in The Legend of Zelda: Tears of the Kingdom, which are located in the Great Hyrule Forest and the associated airspace. In addition to the respective locations, we explain in detail how to pass the tests, complete the shrine tasks and reach all Treasure Chests.
According to our regional division, there are a total of nine shrines in this region. Seven shrines lie on the surface. However, you can find the Mayam Shrine and the Simosiwak Shrine on islands in the North Hyrule Sky Archipelago.
You can only easily reach several shrines inside the Korok forest after you have freed the Great Deku Tree from the Gloom. As long as the forest is still influenced by darkness, the mysterious fog often returns you to the starting point.
You can find an overview of all regions in our Tears of the Kingdom Walkthrough. Our overview with all 152 shrines will also help you with your search.
The following shrines are located in Great Hyrule Forest:
- Ekochiu Shrine
- Kikakin Shrine
- Kiuyoyou Shrine
- Mayam Shrine – Shrine in North Hyrule Sky Archipelago
- Musanokir Shrine
- Ninjis Shrine – Maca’ very special place
- Pupunke Shrine – Sparkling Stone and Gold Apples
- Simosiwak Shrine
- Sakunbomar Shrine – Access prohibited?
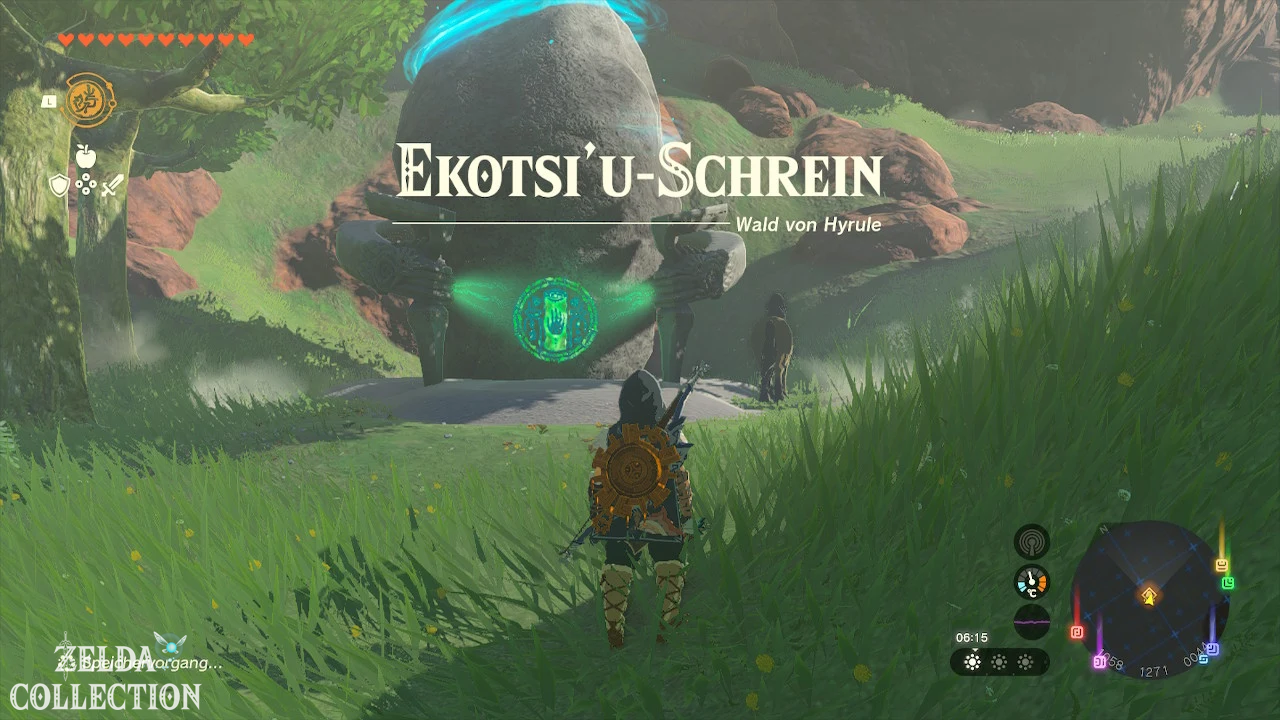
Ekochiu Shrine
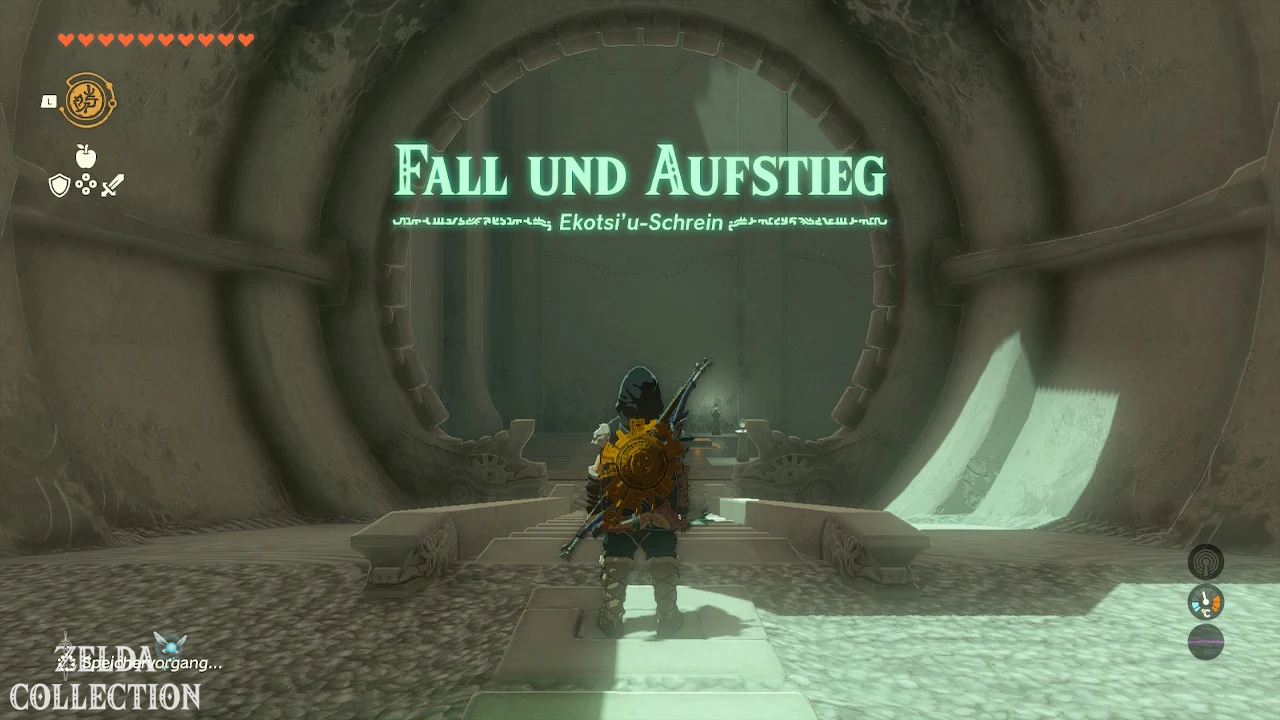
Trial: Fall and Rise
Reward: Zonaite Shield and a Light of Blessing
Location: Immediately north of the Woodland Stable
Coordinates: approximately 1063, 1280, 0046
Find Ekochiu Shrine
The Ekochiu Shrine is located directly north of the Woodland Stable. From Lookout Landing, follow the road northeast and cross the Hylia River. The glowing green shrine stands on a small hill behind the stable and is freely accessible.
Solve Ekochiu Shrine
In the “Fall and Rise” exam you will primarily use the Recall. You first let moving blocks travel their normal path and then use their recorded movement to reach higher platforms.
Cross the first abyss
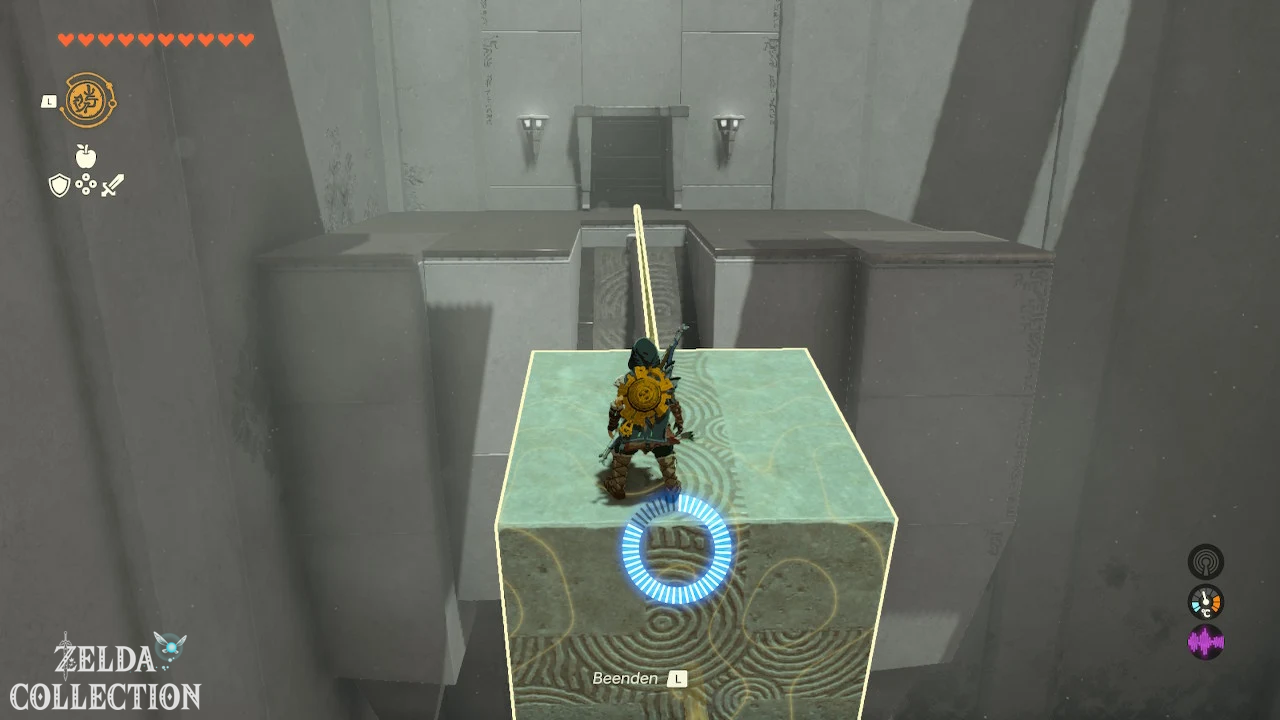
Stand on the Floor Switch in the first room. This causes the large stone block to move on the rail to the opposite side. Exit the switch again and wait for the block to return.
Climb onto the block and activate the Recall. He now reverses his previous path and takes you over the abyss to the next platform.
Get
Zonaite shield from the Treasure Chest
In the second room, a large stone block regularly falls into a pool of water. Wait for the block to fall into the water and float back up.
Jump on the block and use the Recall. He backs his way up the wall. While driving, turn around and slide to the side platform with the Treasure Chest. Inside there is a Zonaite plate.
Then return to the pool of water and repeat the block ride to reach the upper main level.
Overcome the last height difference
In the last room you will find a movable cube at the bottom right and a catapult plate in the middle. Use the Ultrahand to lift the cube and place it on the plate.
Press the Floor Switch to send the cube flying upwards. If necessary, repeat the movement a second time to create a sufficiently long movement recording.
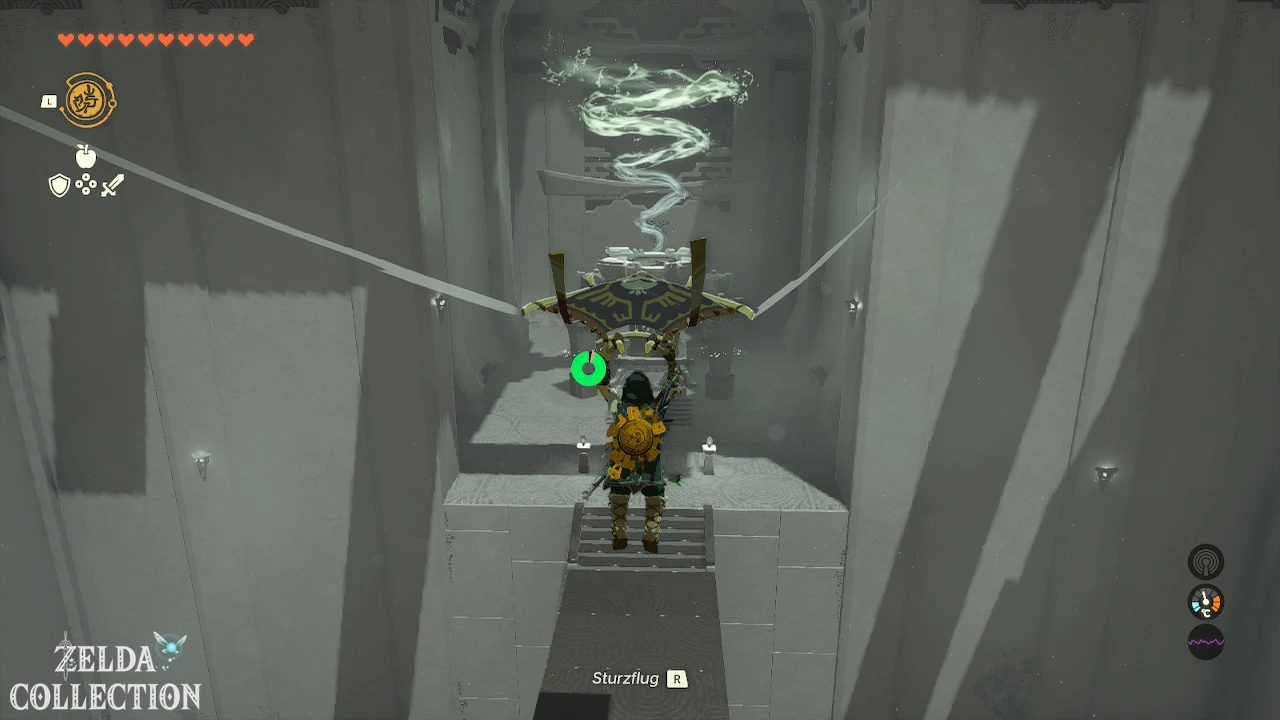
Then stand on the cube and activate the Recall. The cube repeats its flight and carries you upwards. At the highest point, open the Paraglider and glide to the platform with the altar. There you will receive the Light of Blessing.
Tip: Only activate the Recall after you are securely standing on the cube. If you break it off too early, the cube will fall back onto the catapult plate.
Kikakin Shrine
Trial: Light in the Dark
Rewards: Amber, Luminous Stone, Zonaite Arch, Opal and a Light of Blessing
Item required: Small Key
Location: At Mount Drena, northwest of Korok forest
Coordinates: approximately -0396, 2736, 0301
Find Kikakin Shrine
The Kikakin Shrine is located northwest of the Korok forest and southwest of the Thyphlo Ruins Skyview Tower. It stands on a rocky mountainside and can be entered without a prior shrine task.
The Thyphlo Ruins Skyview Tower is suitable as a starting point. Launch yourself into the air and glide southwest to Mount Drena.
Solve Kikakin Shrine
It is almost completely dark in the Kikakin Shrine. Axyl up the portable lamp at the entrance and use it for guidance. Alternatively, you can shoot Brightbloom Seed at the walls.
Find Amber
From the entrance, turn left and follow the hallway. In a corridor with spikes, there is a metal cube in the wall on the right.
Pull out the cube with the Ultrahand. There is a Treasure Chest hidden behind it, in which you will find a amber.
Reach luminous stone
Continue along the path and pass two walls that periodically close and reopen. Run through it as soon as both spiked walls move apart.
At the end of the hallway is another Treasure Chest. It contains a luminous stone.
Find Small Key
Return to the previous hallway and keep right at the next intersection. Run past a single moving spiked wall.
At the end of the path there are several square floor tiles. Lift the middle plate with the Ultrahand. Below there is a chest with the Small Key, which you need to open the exit gate.
Zonaite bow and opal pick
On the way back you see a bright opening in the ceiling. Stand underneath and use the Ascend. On the upper level you will find a Treasure Chest with a Zonaite bow.
Return to the dark labyrinth and go through the passage with the two moving spiked walls. Behind the laser beams there is a dead end with the last chest on the left. It contains a opal.
Open output
Return to the entrance room and use the Small Key on the locked door. Immediately behind it is the altar with the Light of Blessing.
Tip: Do not place the lamp in an aisle that you will no longer be able to clearly find again later. Brightbloom Seed remain in place and can therefore also serve as route markers.
Kiuyoyou Shrine
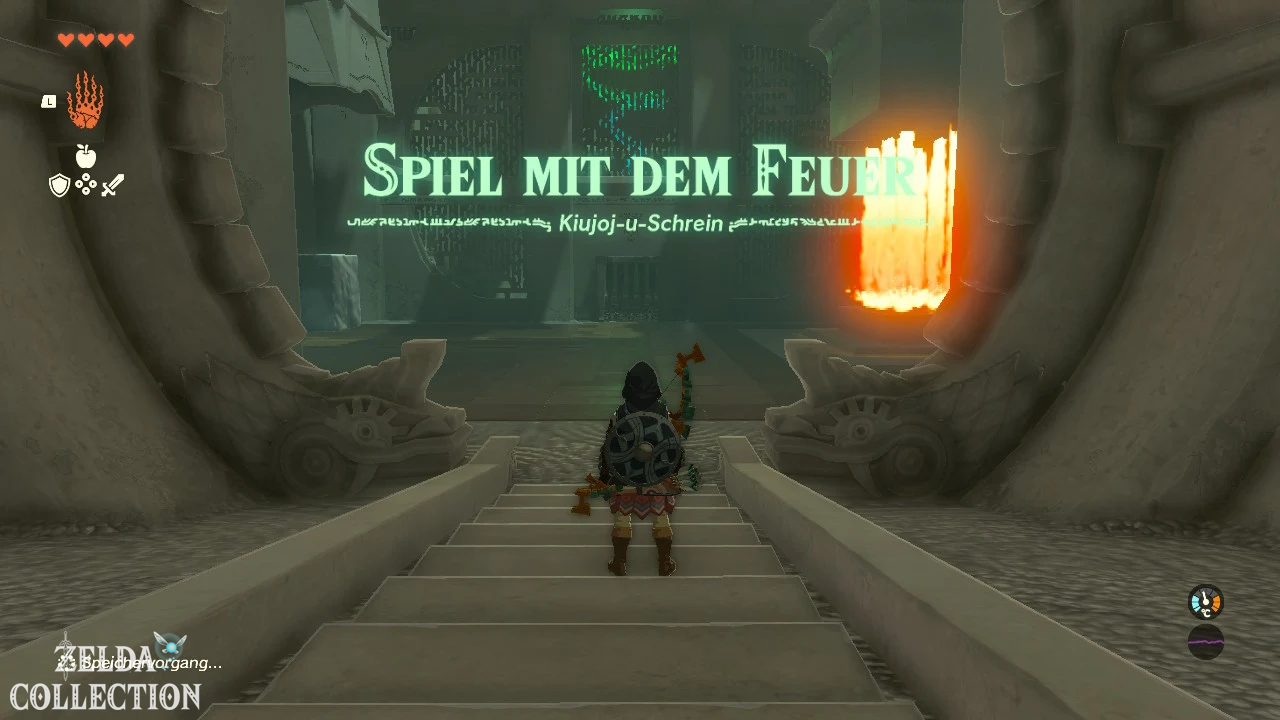
Trial: Playing with Fire
Reward: Zonaite lance and a Light of Blessing
Location: Rowan Plain, west of Great Hyrule Forest
Coordinates: approximately -1107, 2088, 0104
Find Kiuyoyou Shrine
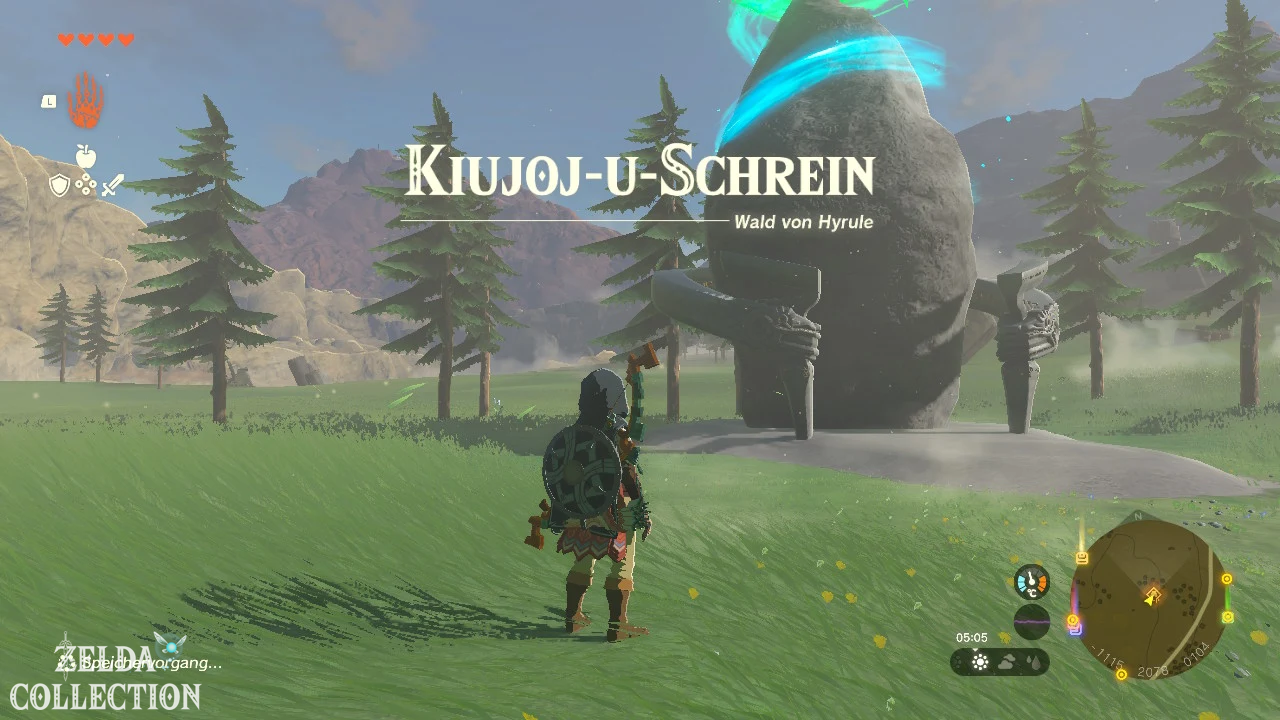
The Kiuyoyou Shrine is located on Rowan Plain west of the Korok forest. It is located directly on the road that leads north from Maritta’s New Stable.
Solve Kiuyoyou Shrine
The test combines fire, ice blocks, weight plates and a ramp covered with Spikes. You have to reduce the size of the ice in a controlled manner and then protect it from the flames with a stone slab.
Reduce the size of the first ice block
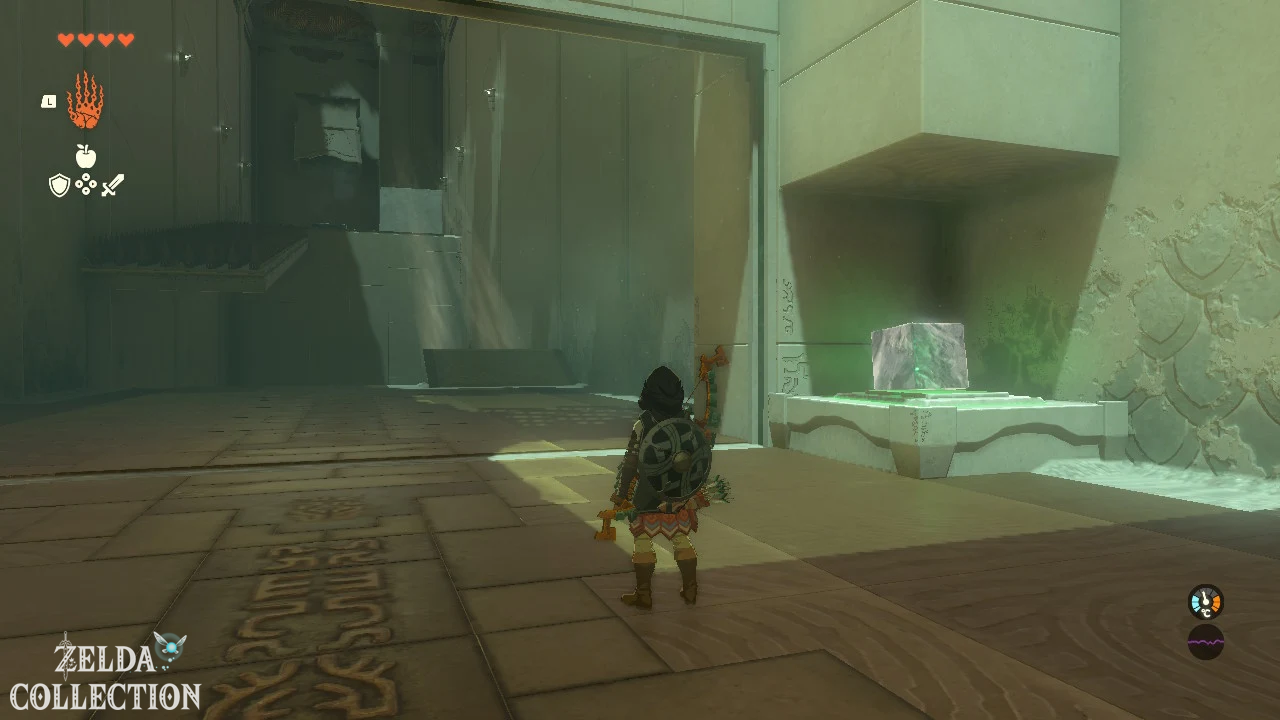
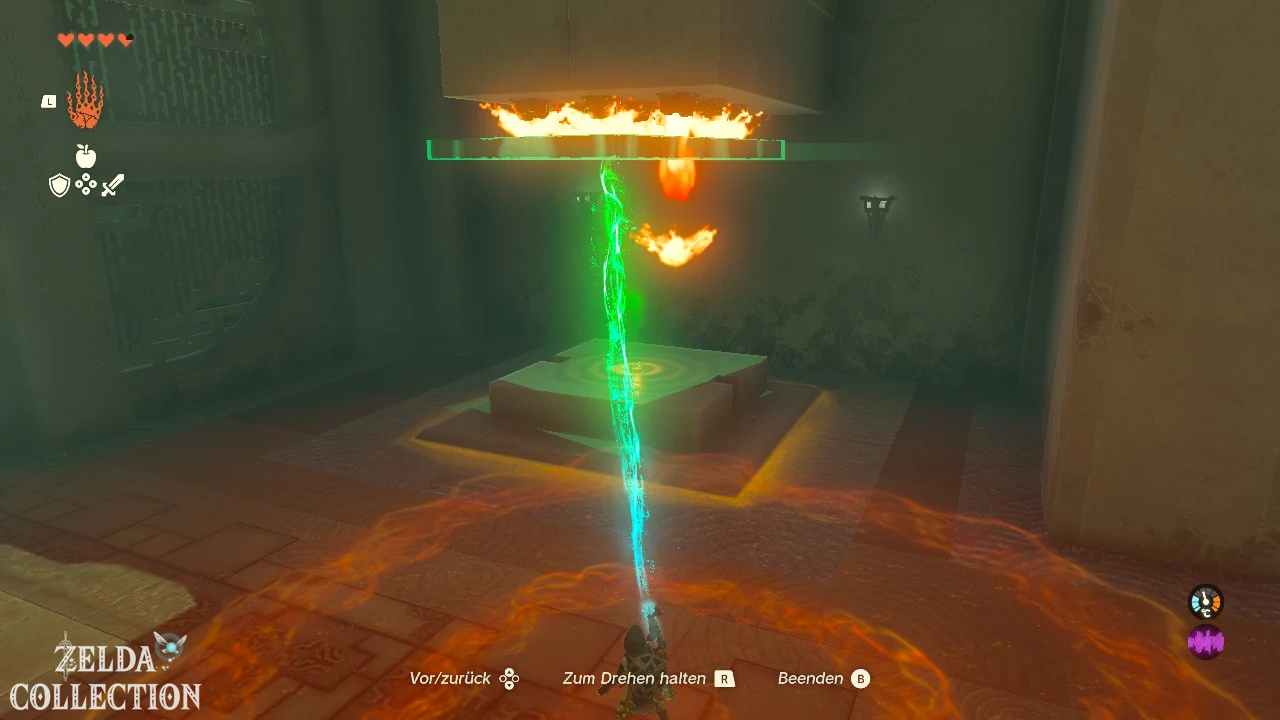
Axyl up the large ice block in the first room with the Ultrahand. Hold it just under the flames on the right side until it is small enough to fit into the hole on the left side.
Place the reduced ice block on the Floor Switch. The weight opens the gate to the next section.
Reach Zonaite lance
First, take the ice block with you to the new area. Place it under the raised ledge and use it as a step.
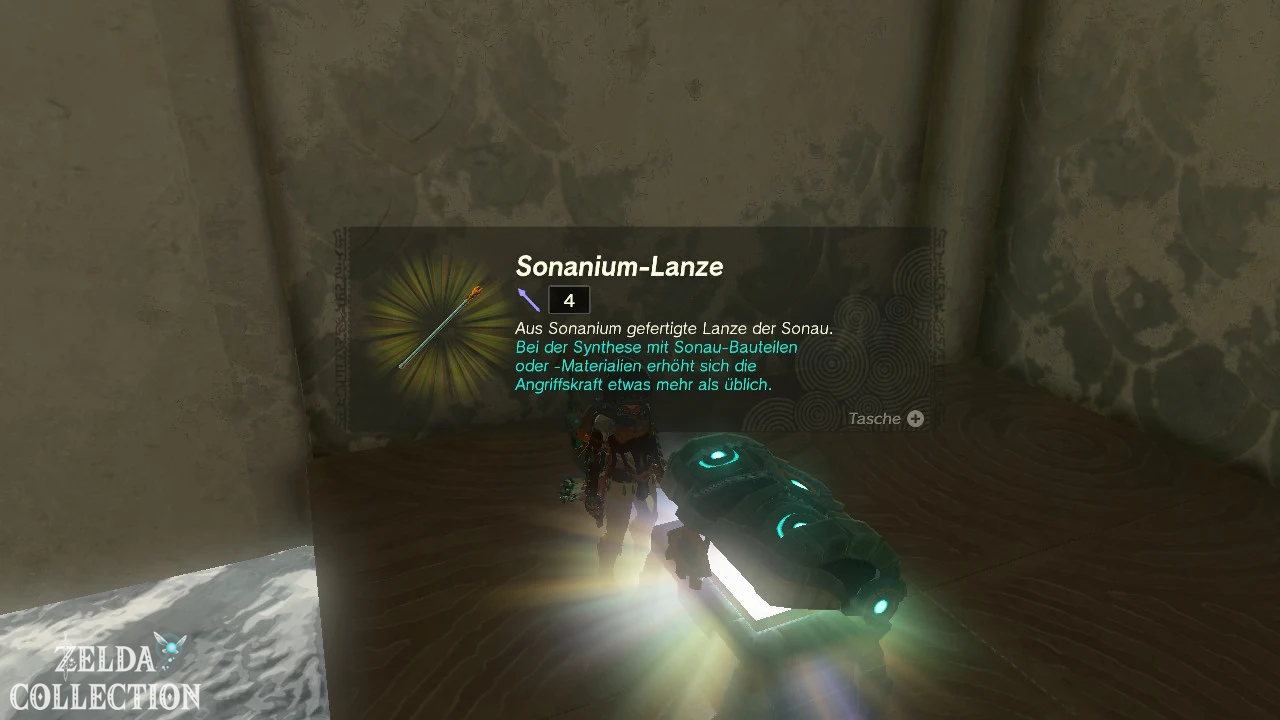
Then pull the block onto the platform with the Ultrahand and use it again as a climbing aid. In the Treasure Chest on the upper level there is a Zonaite lance.
Protect new ice block from the flames
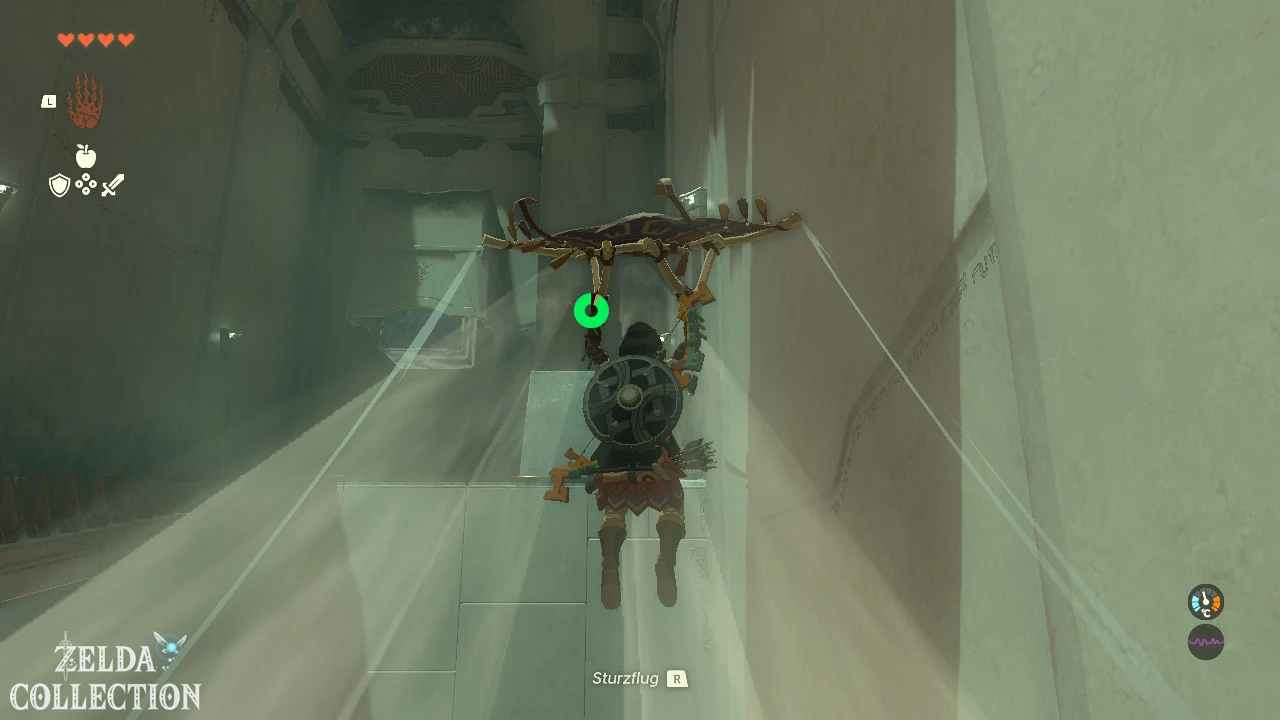
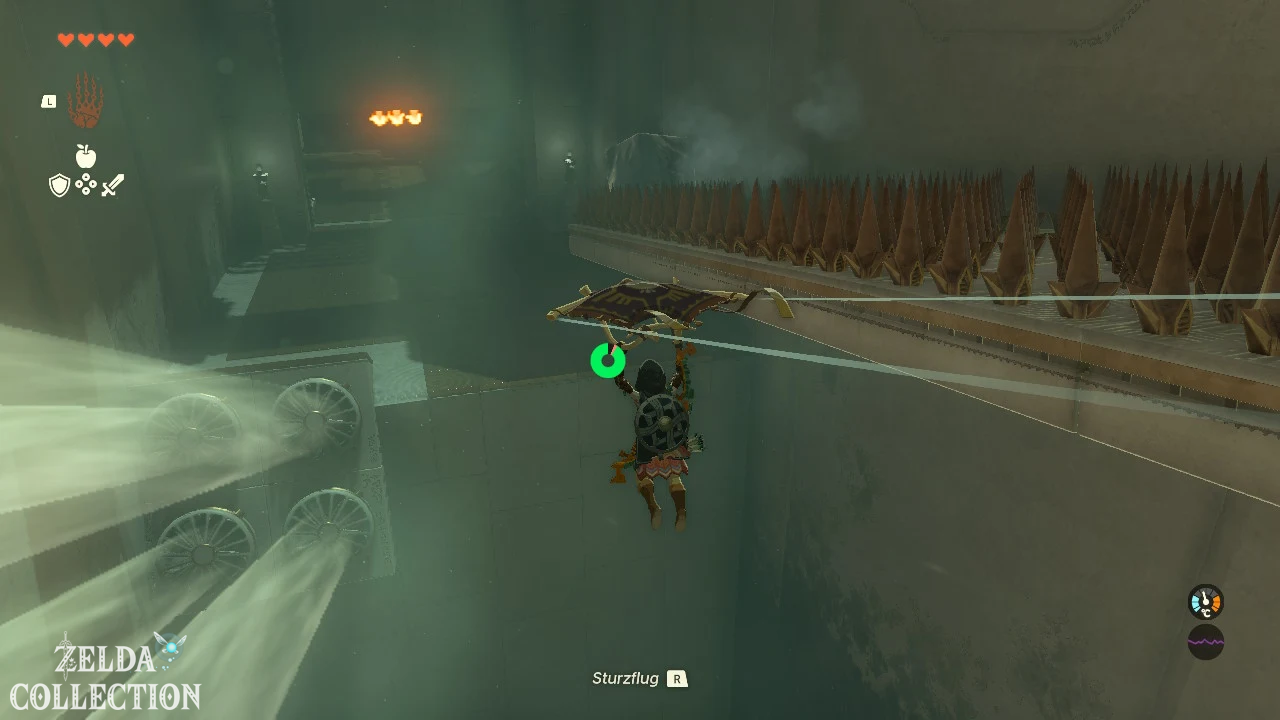
Jump into the updraft and glide to the opposite side. There, a new block of ice regularly falls directly into several jets of flame and melts immediately.
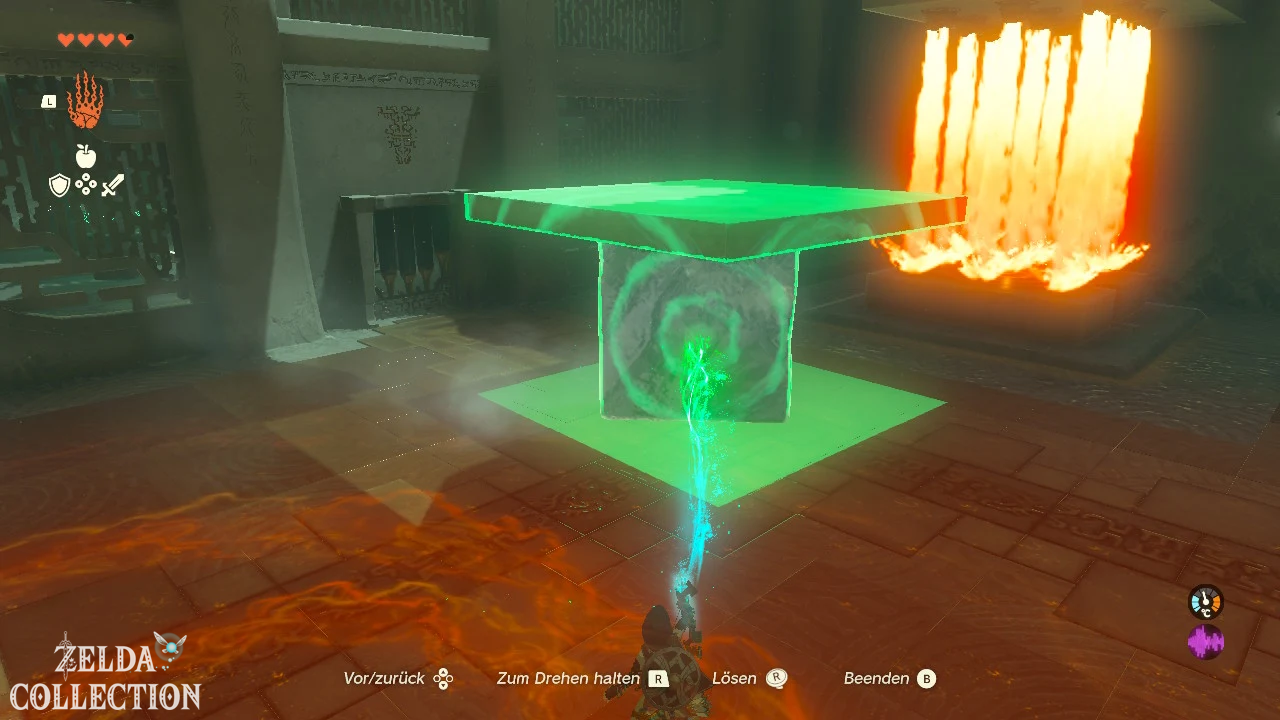
Take the large stone slab and place it vertically in front of the flames. The next block of ice now falls to the ground behind the plate without melting completely.
Transport the ice block over the spike ramp
Place the stone slab flat on top of the ice block. Place the construction on the slanted spiked track. The ice slides down while the stone slab remains on top.
Slide behind and carry the construction back to the entrance area.
Activate Last Floor Switch
Place the ice block under the vertical flame jets. The attached stone plate protects the ice from the heat. At the same time, the weight of the ice block pushes the switch underneath down.
The gate to the altar opens and you can receive the Light of Blessing.
Tip: Leave the first ice block in the flames for only a few seconds. If it becomes too small, its height is no longer sufficient to reach the Treasure Chest.
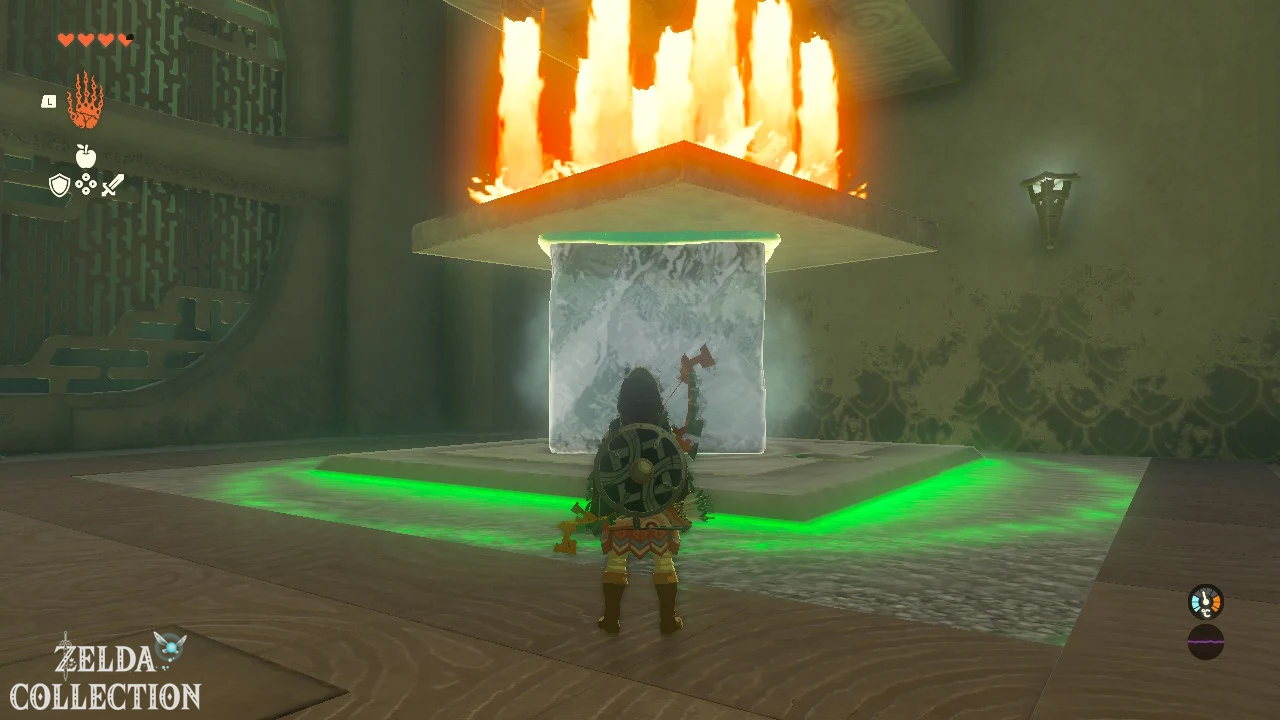
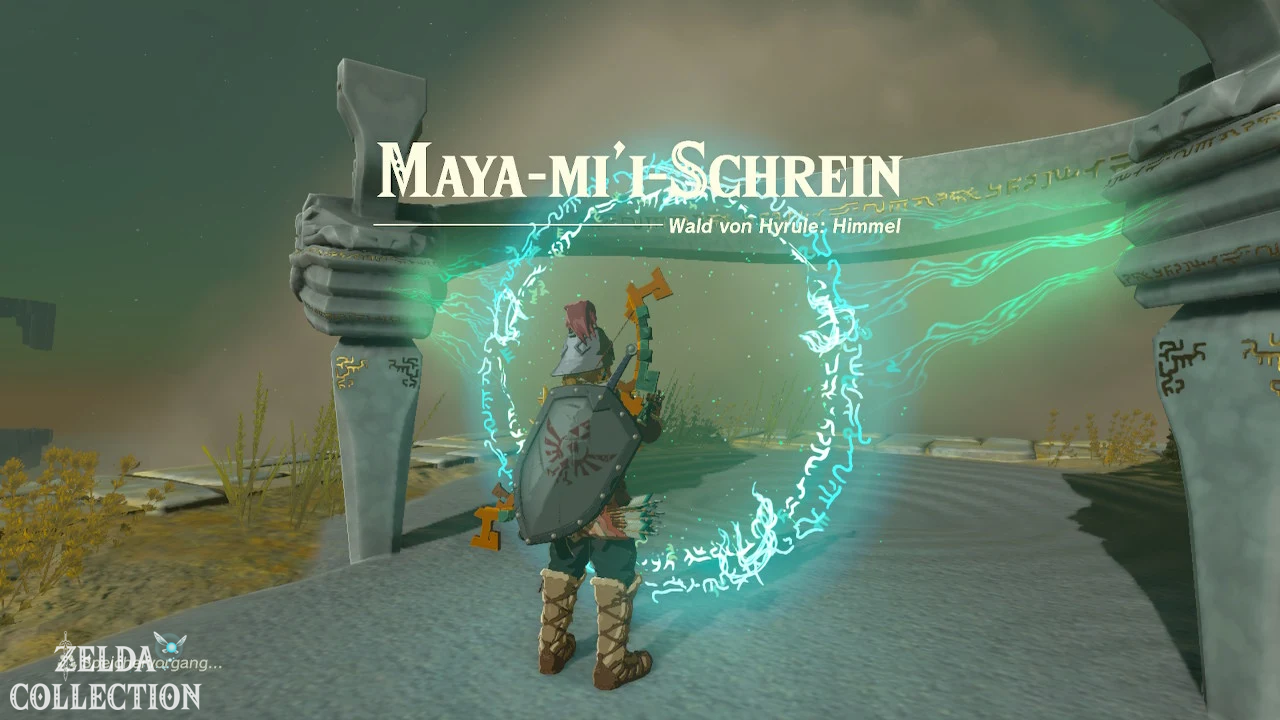
Mayam Shrine
Shrine task: Shrine in North Hyrule Sky Archipelago
Exam: Raurus Blessing
Reward: Short Wand and a Light of Blessing
Location: North Hyrule Sky Archipelago
Coordinates: approximately 0340, 2815, 1834
Reach Mayam Shrine
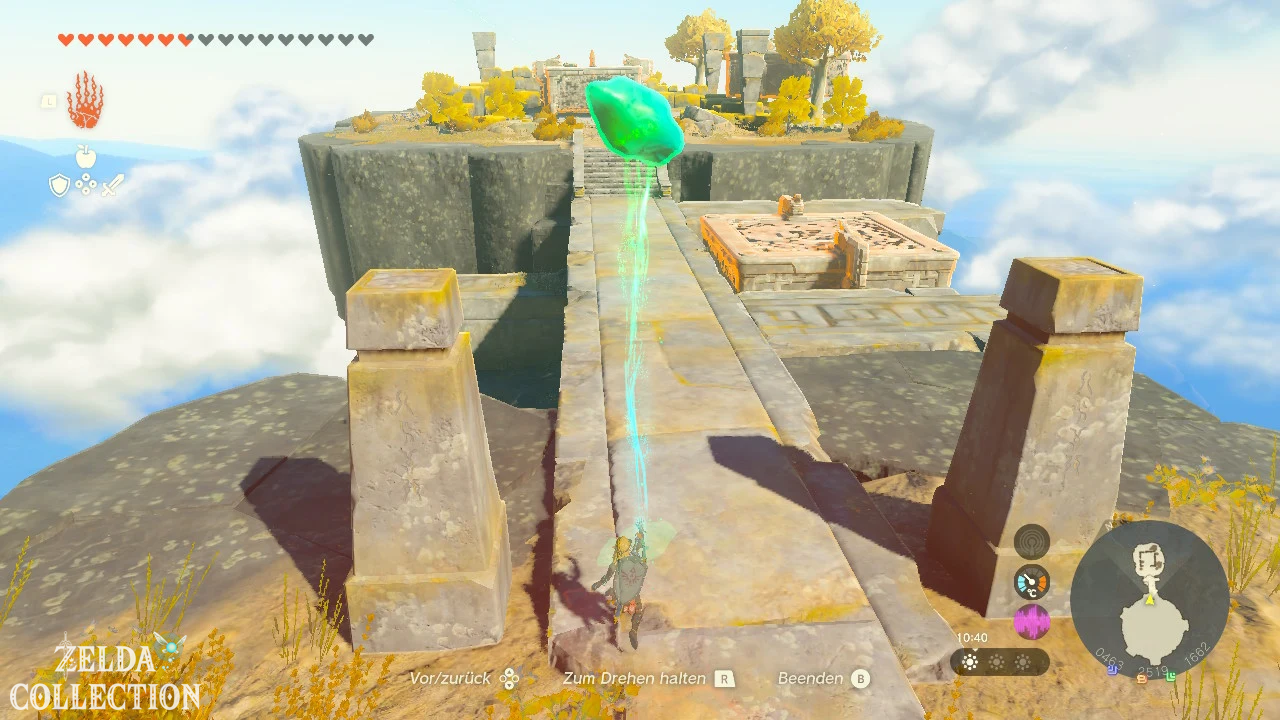
The Mayam Shrine is located on a very high island above the northern Great Hyrule Forest. The Thyphlo Ruins Skyview Tower is suitable as a starting point.
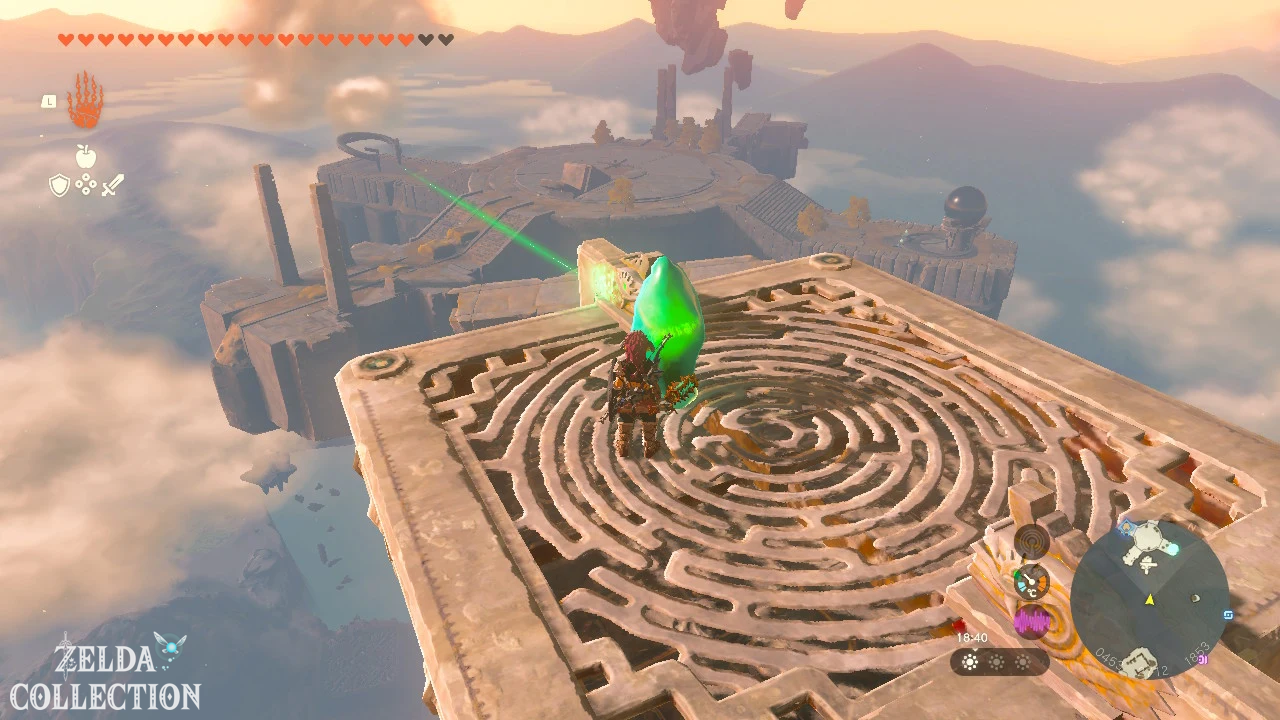
Let the tower launch you into the air and glide to the North Hyrule Sky Archipelago. On the target island you will initially only find an incomplete shrine platform. Examine it to reveal a green beam of light indicating the location of the missing crystal.
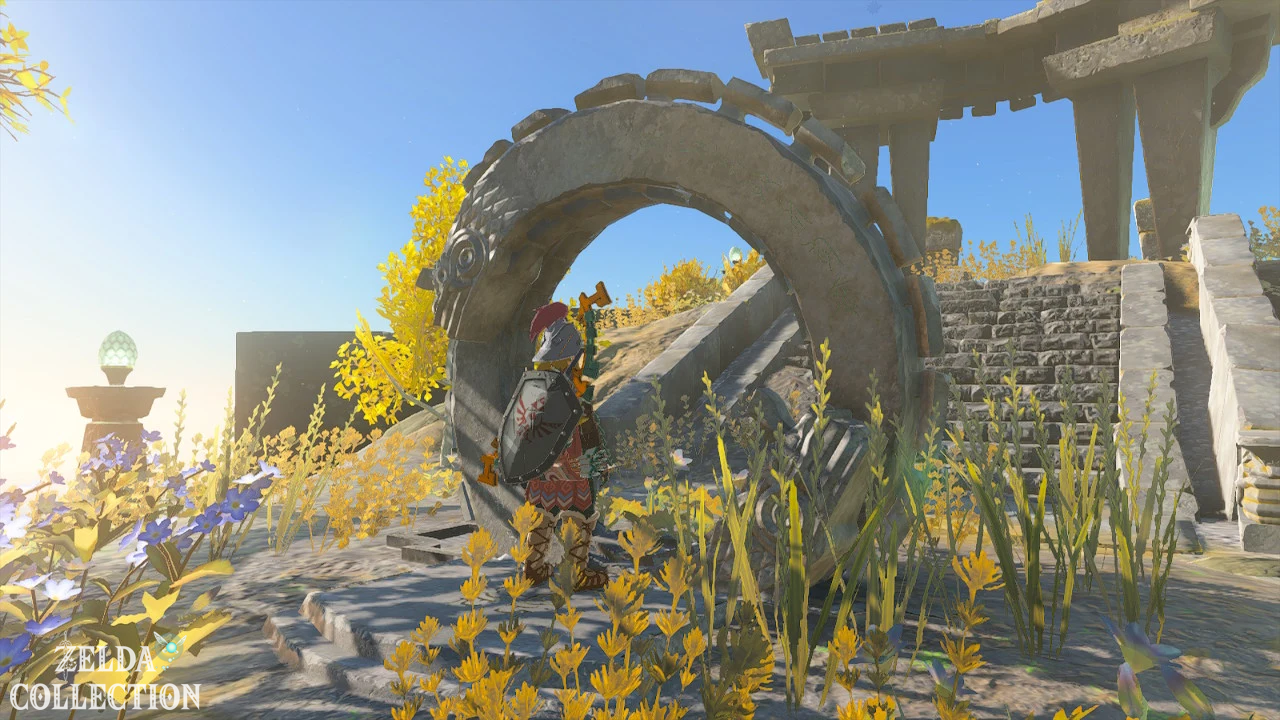
Get crystal from block construct
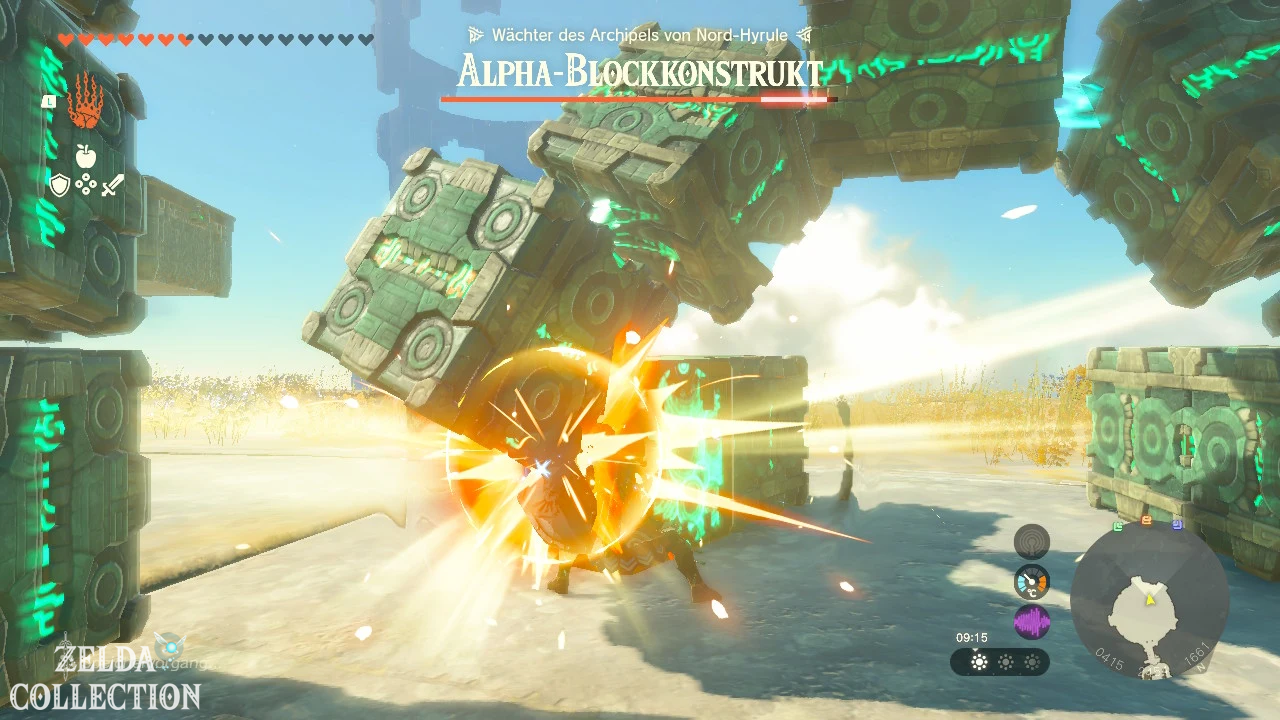
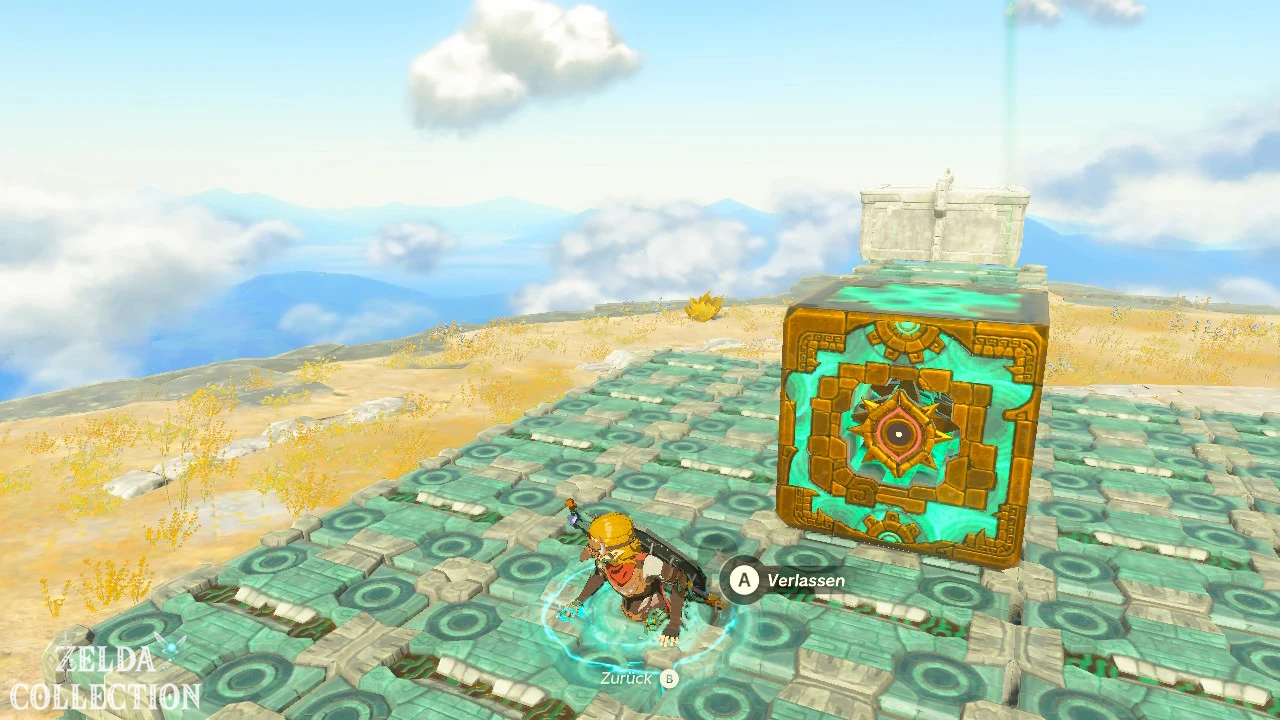
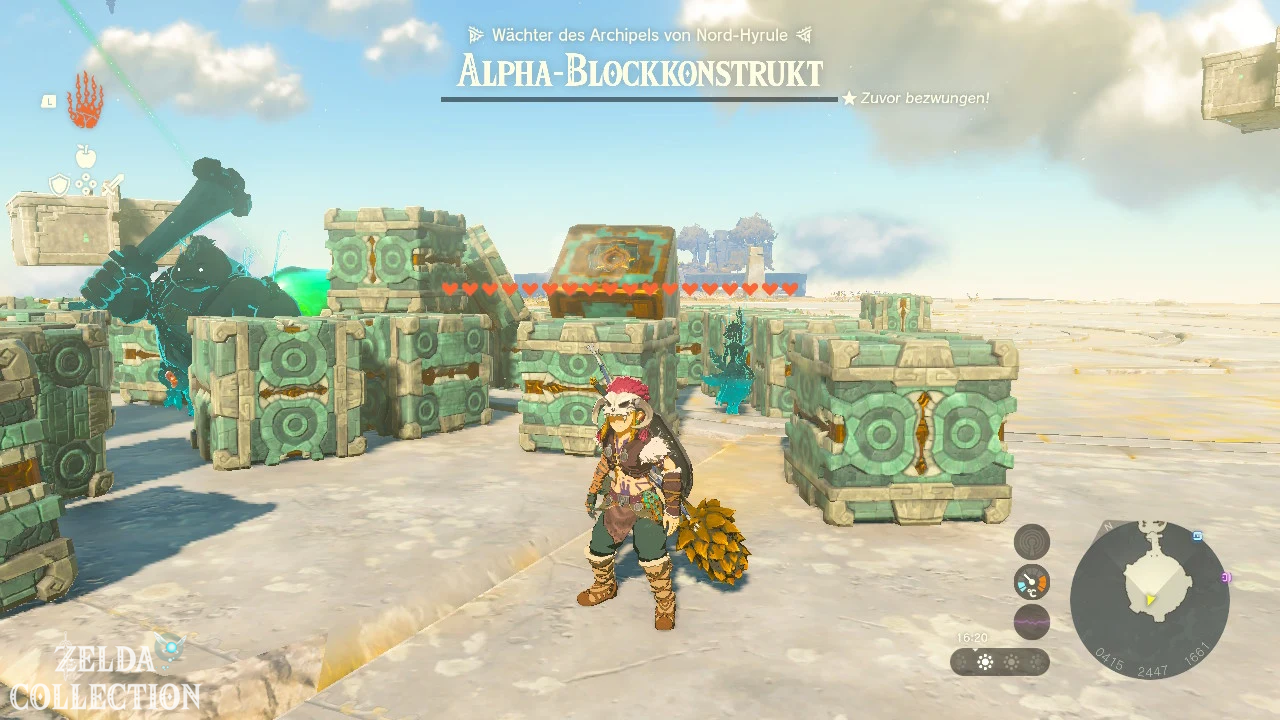
The beam of light leads to a lower circular island. There is a Flux Construct I with the green shrine crystal attached to its body.
Grab the construct’s green glowing control cube with the Ultrahand and pull it out. The opponent breaks down into individual blocks for a short time.
You can defeat the block construct completely or just solve the shrine crystal and then retreat.
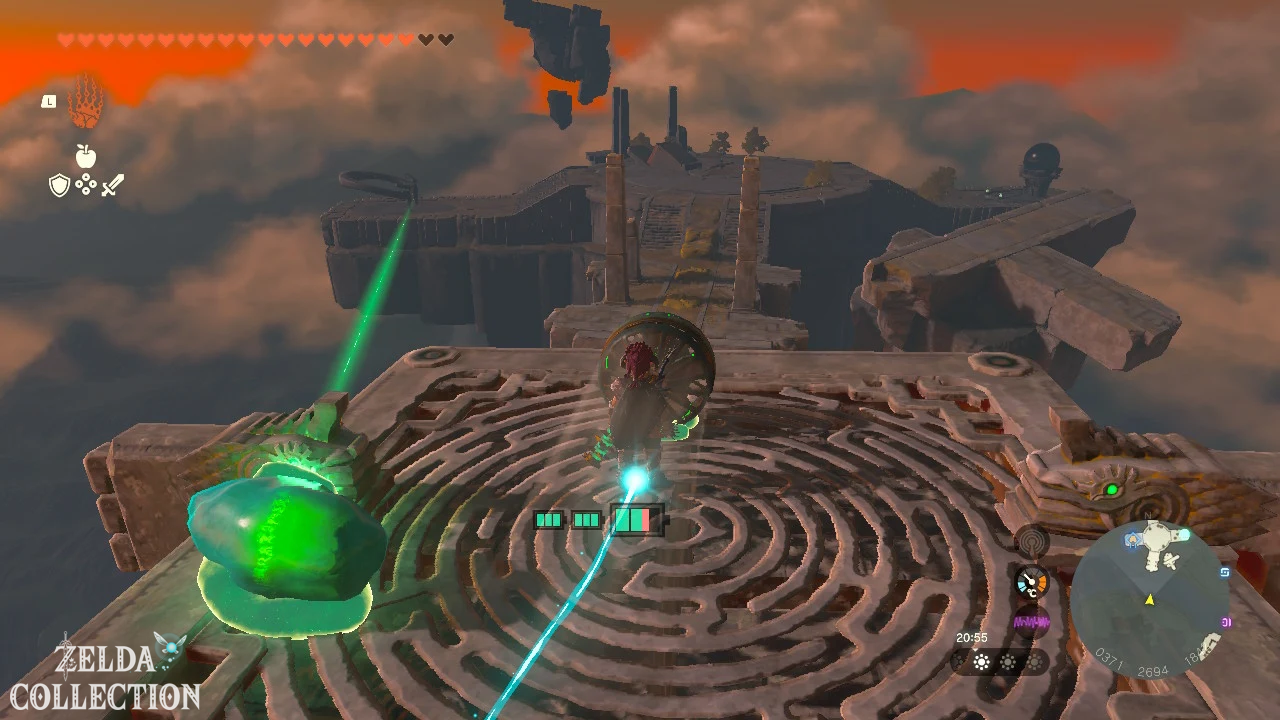
Bring crystal back to shrine platform
Carry the crystal to the small floating platform at the edge of the island and attach it securely to it. Attach a rocket to the platform and activate it to gain altitude again.
Use a second rocket to fly sideways to Shrine Island. After landing, detach the crystal from the platform and place it in the green socket.
The complete Mayam Shrine appears and can be entered.
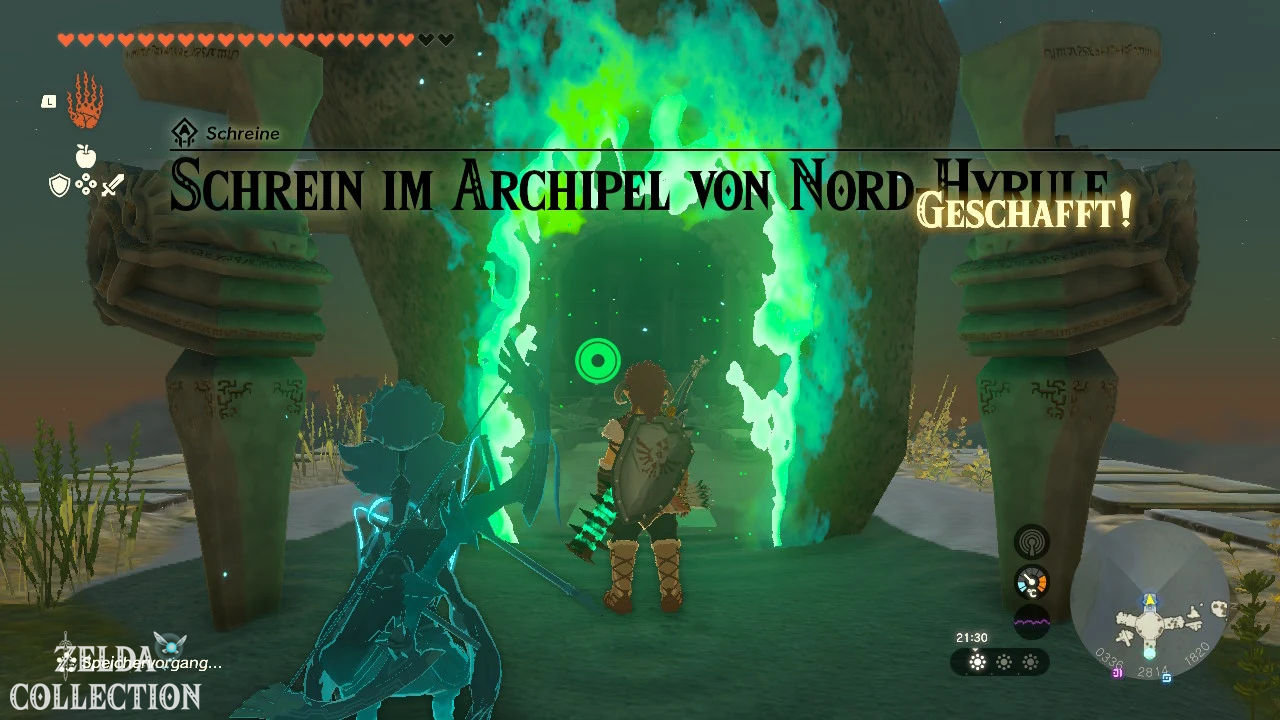
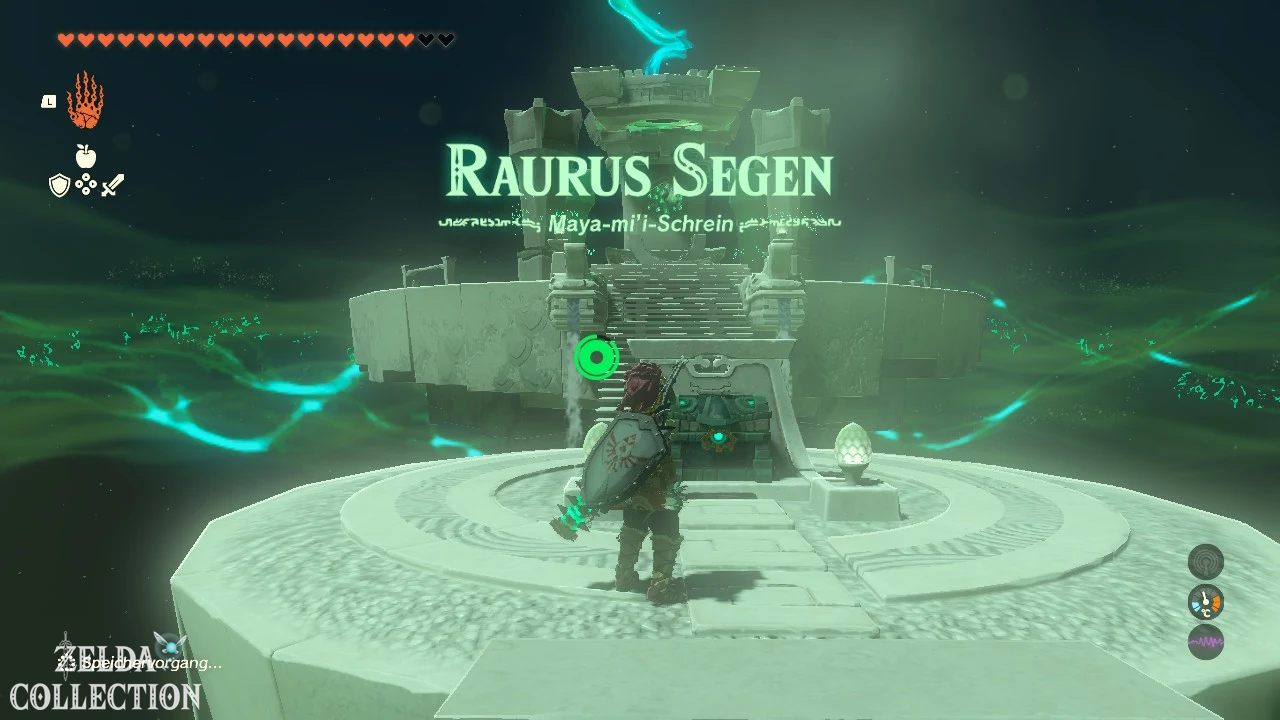
Obtain Rauru’s blessing
No further testing awaits in the shrine. Open the Treasure Chest with the Short Wand and then pick up the Light of Blessing.
Tip: Attach the crystal as centrally as possible to the floating platform. One-sided weight distribution can cause the platform to tilt during rocket launch.
Musanokir Shrine
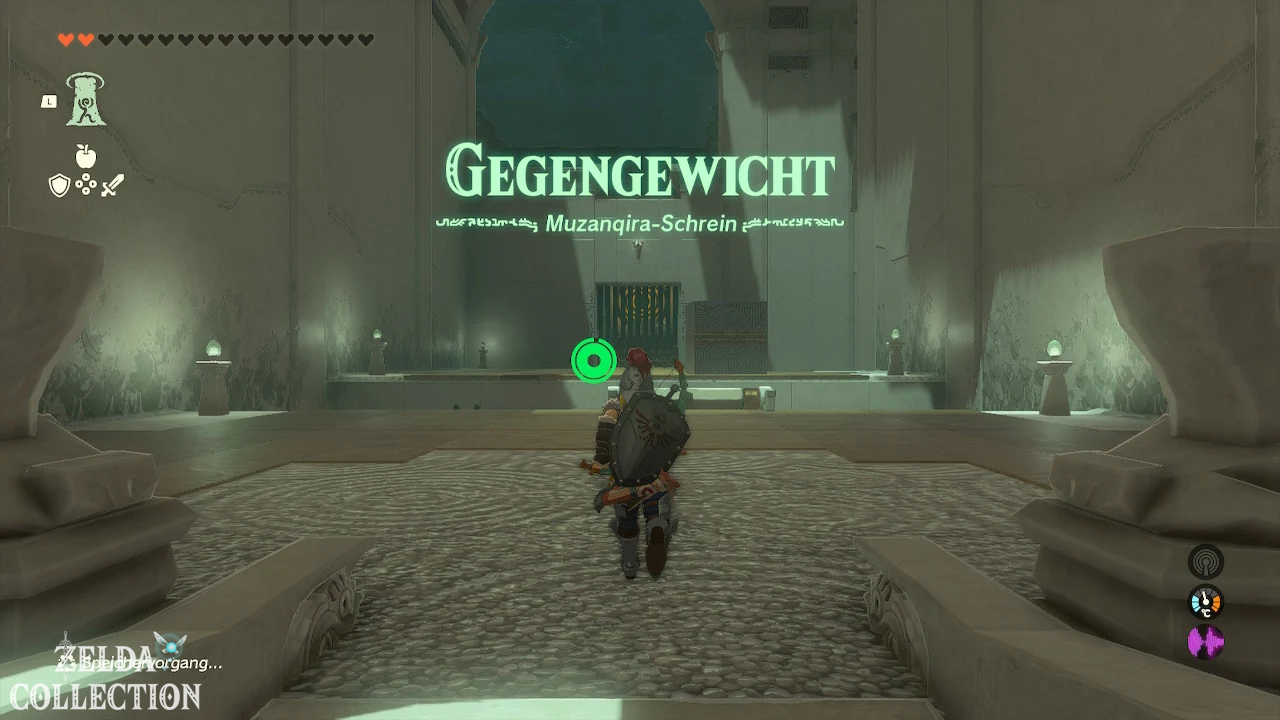
Test: Counterweight
Reward: Large Zonai Charge and a Light of Blessing
Location: In the Korok Forest, near the Great Deku Tree
Coordinates: approximately 0408, 2133, 0144
Find Musanokir Shrine
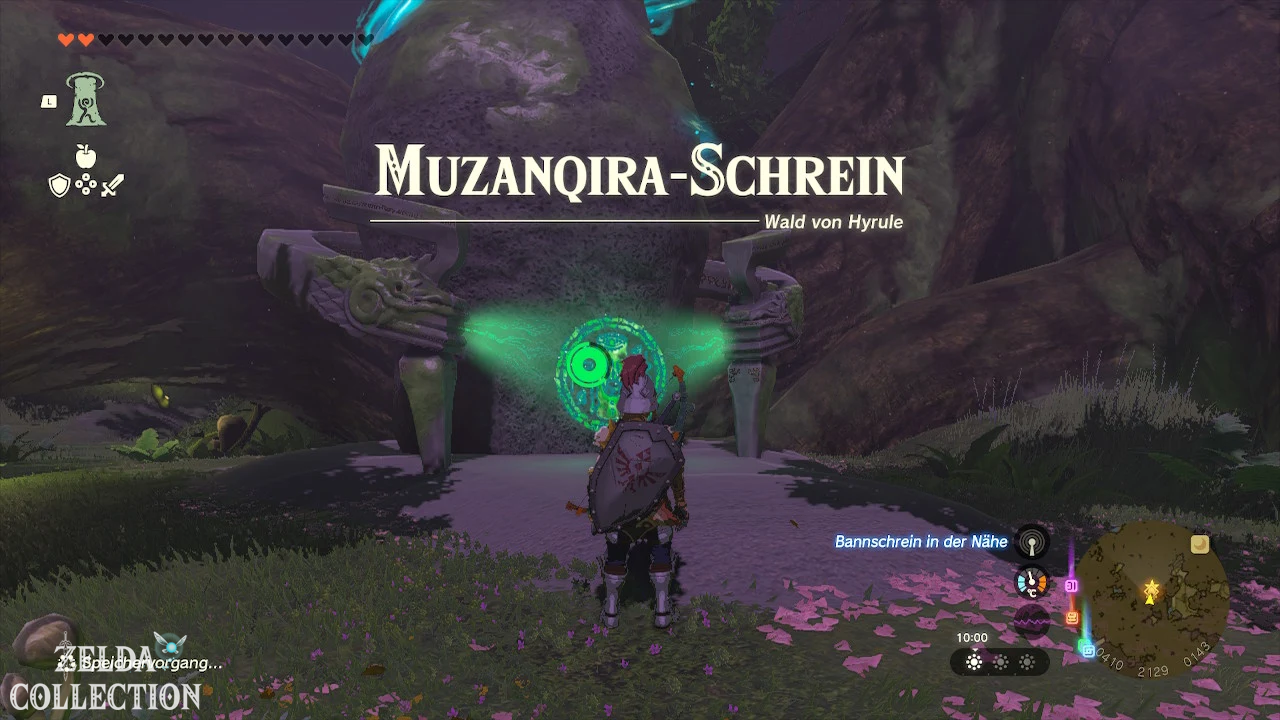
The Musanokir Shrine is located in the center of the Hyrule Forest, just a short distance west or northwest of the Great Deku Tree. You can reach it reliably after you have entered the Korok Forest via the Depths and freed the Great Deku Tree from the Gloom.
Solve Musanokir Shrine
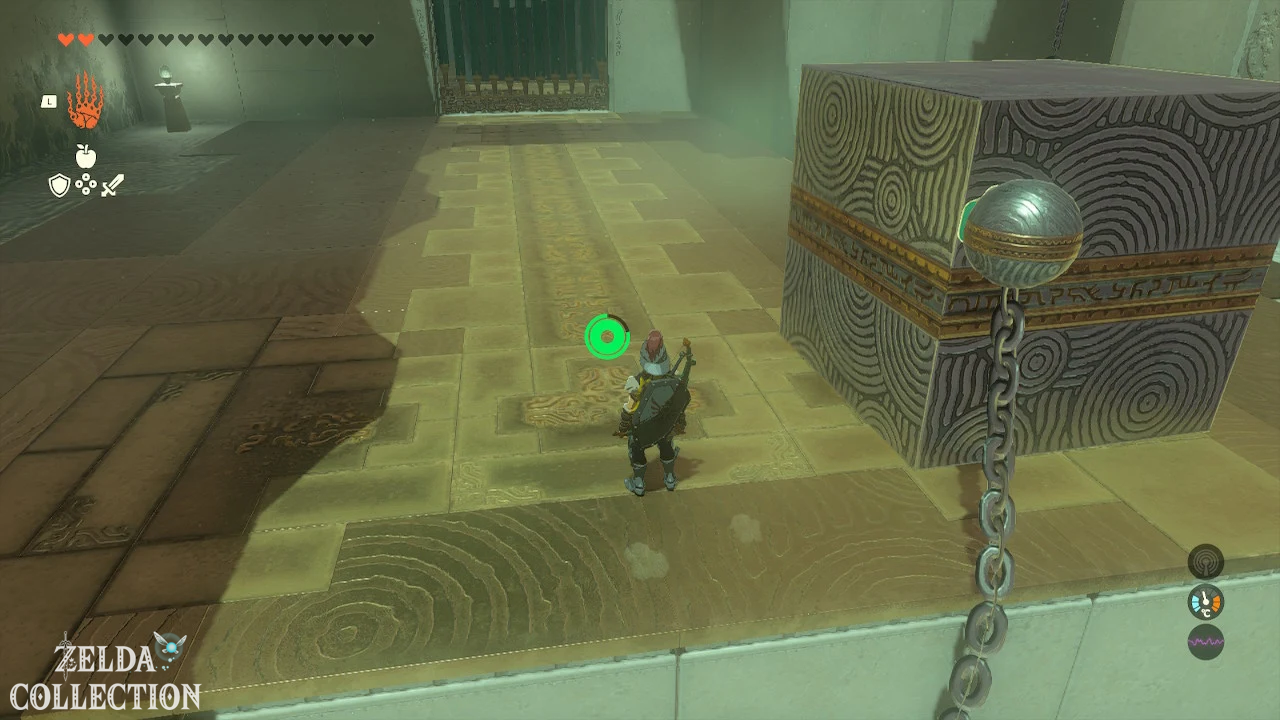
In the Counterweight test you use cubes, chains and large balls as weights or pendulums.
Lower bascule bridge
There is a raised bridge in front of you. A ball hangs on a chain at the front end. Attach the ball or the end of the chain to the heavy cube with the Ultrahand.
The additional weight pulls the bridge down. Cross it and then remove the cube again.
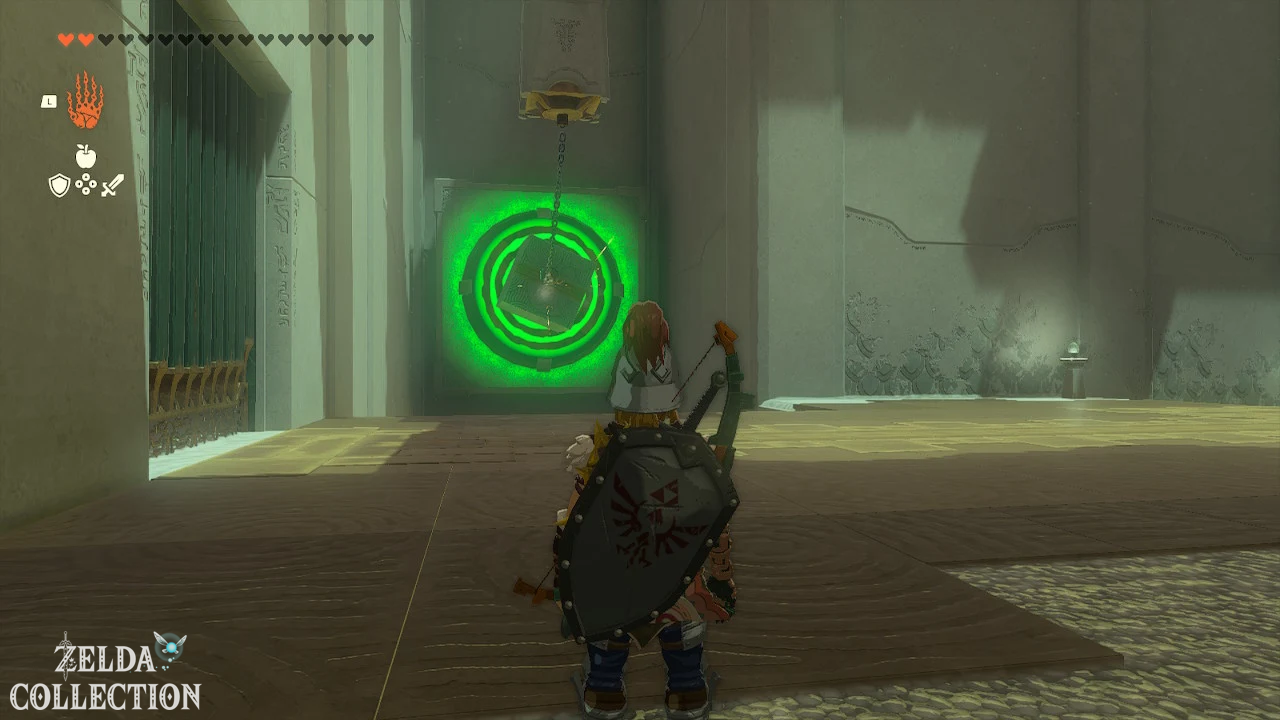
Hit first target
Attach the cube to the hanging chain on the right side. Use the Ultrahand to pull the cube far back.
Release it so that it swings forward like a pendulum and hits the large target. If you get a successful hit, the gate to the next room opens.
Reach Large Zonai Charge
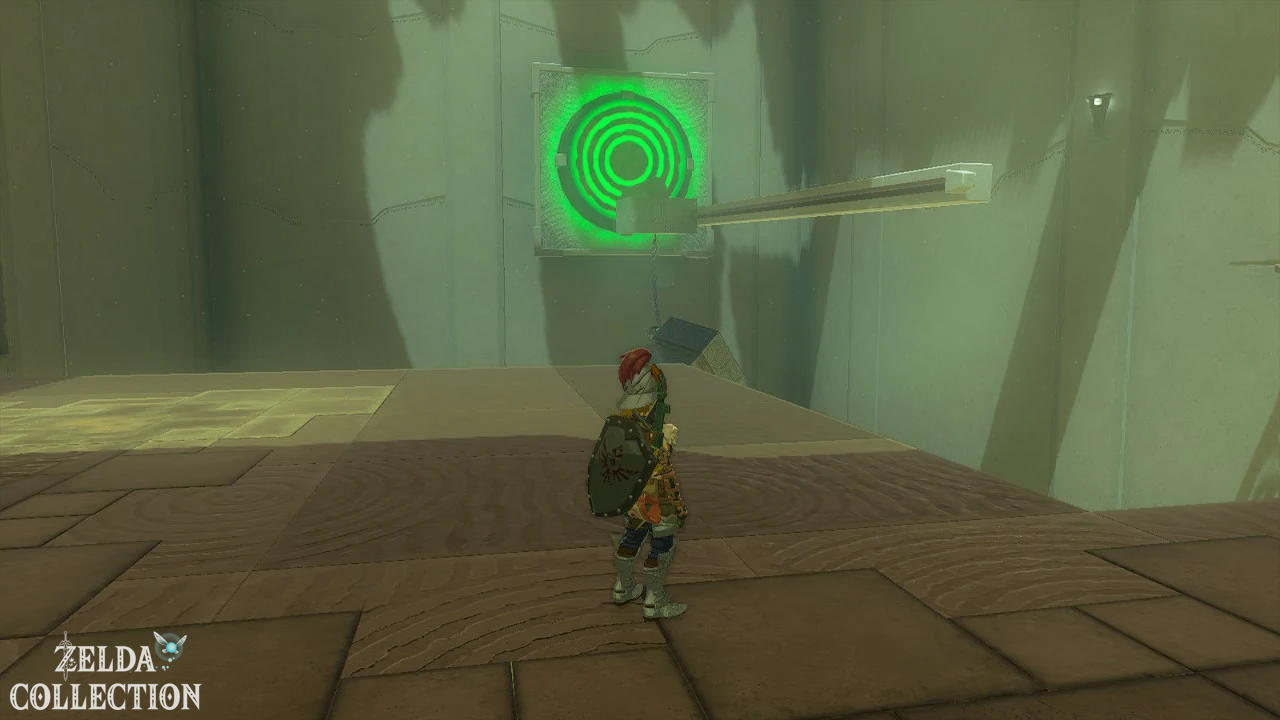
In the following area there is a long pillar and a moving platform. Attach the pillar to the platform so that it extends over the edge and serves as a narrow bridge or ramp.
Go over the construction and jump to the side ledge with the Treasure Chest. Inside is a Large Zonai Charge.
Activate last target
Return to the platform and attach the long pillar so that it protrudes significantly on the left side. Then connect the cube to the ball on the pendulum.
Pull the pendulum back and release it. The swinging structure hits the platform while the protruding column hits the higher target.
The final gate opens. Follow the path to the altar and collect the Light of Blessing.
Tip: Attach the cubes to the balls as centrally as possible. A tilted pendulum loses some of its power as it swings and can miss the target.
Ninjis Shrine
Shrine task: Maca’ very special place
Exam: Raurus blessing
Reward: Powerful Construct Bow and a Light of Blessing
Location: Remote clearing south of the Korok forest
coordinates: approximately 0355, 1892, 0193
Start shrine task
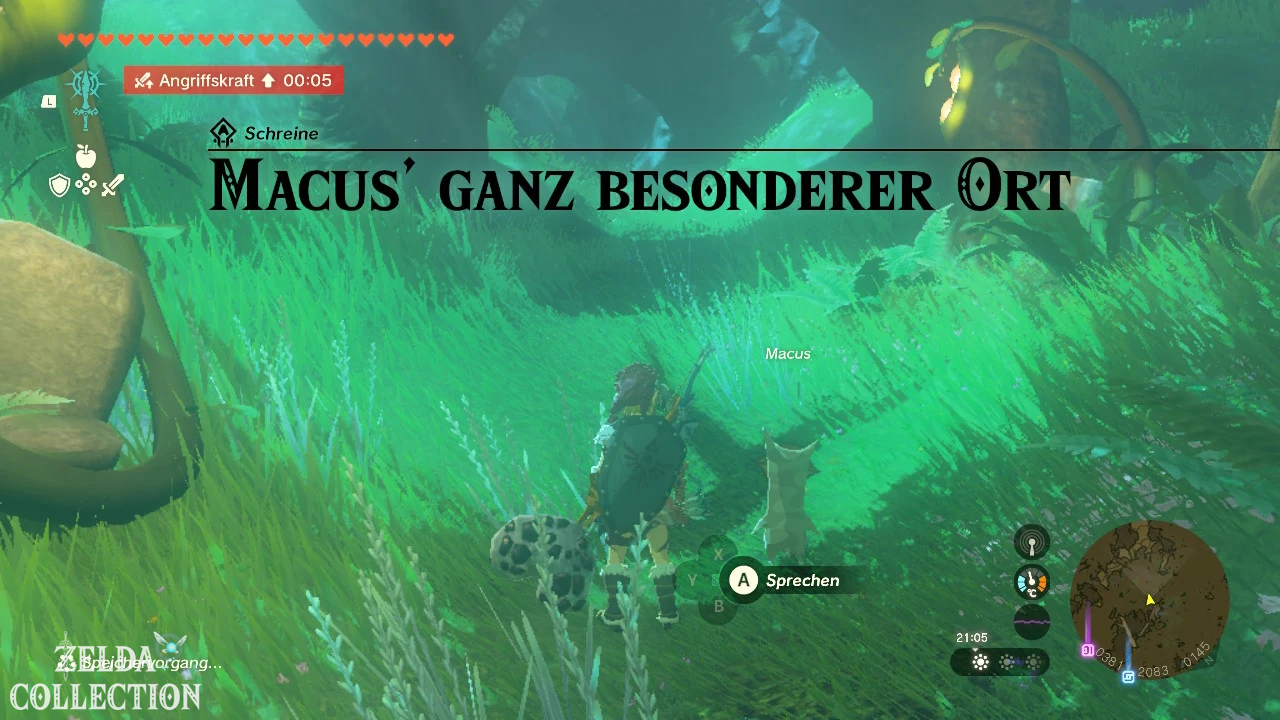
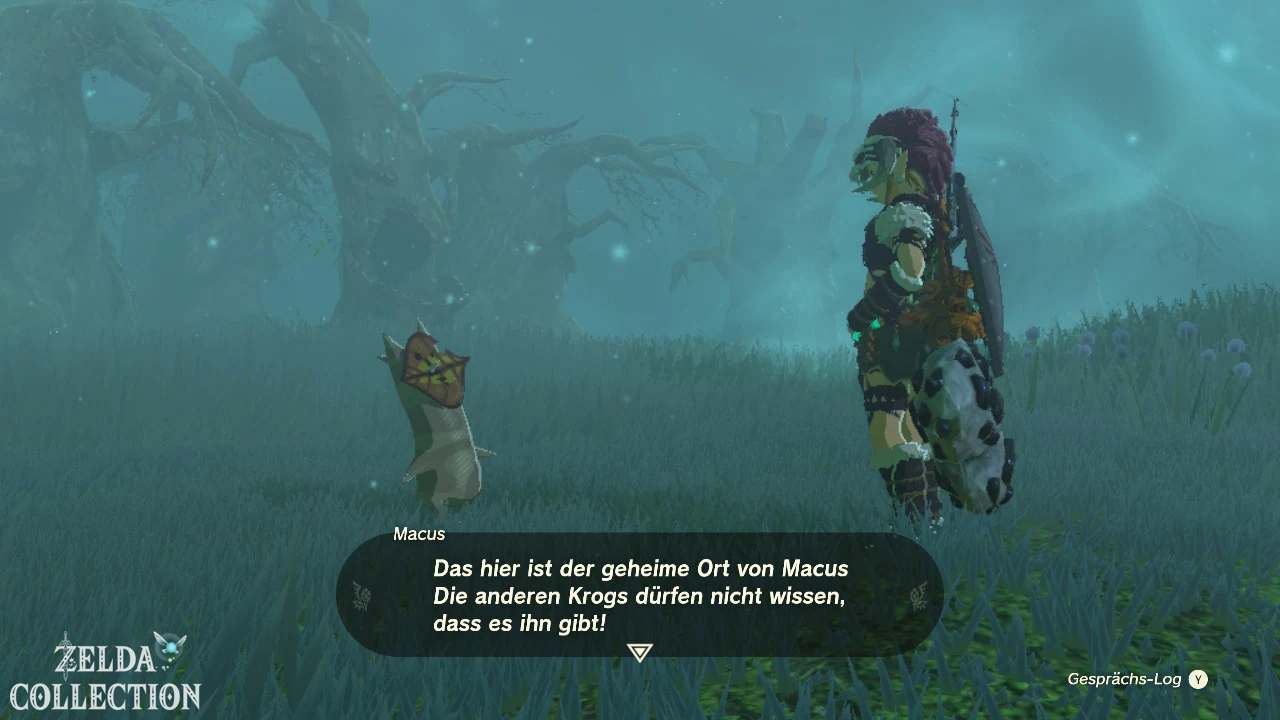
After healing the Deku Tree, talk to the Korok Maca in the Korok Forest. He tells you about his very special place south of the forest.
The clearing you are looking for cannot be reached via the normal forest floor due to the thick fog. Therefore, do not try to walk directly south from the Korok forest.
Reach Ninjis Shrine
Travel to the Isle of Valor or Simosiwak Shrine in the sky above the forest. Southeast of the large island is a smaller sky island with a tree stump.
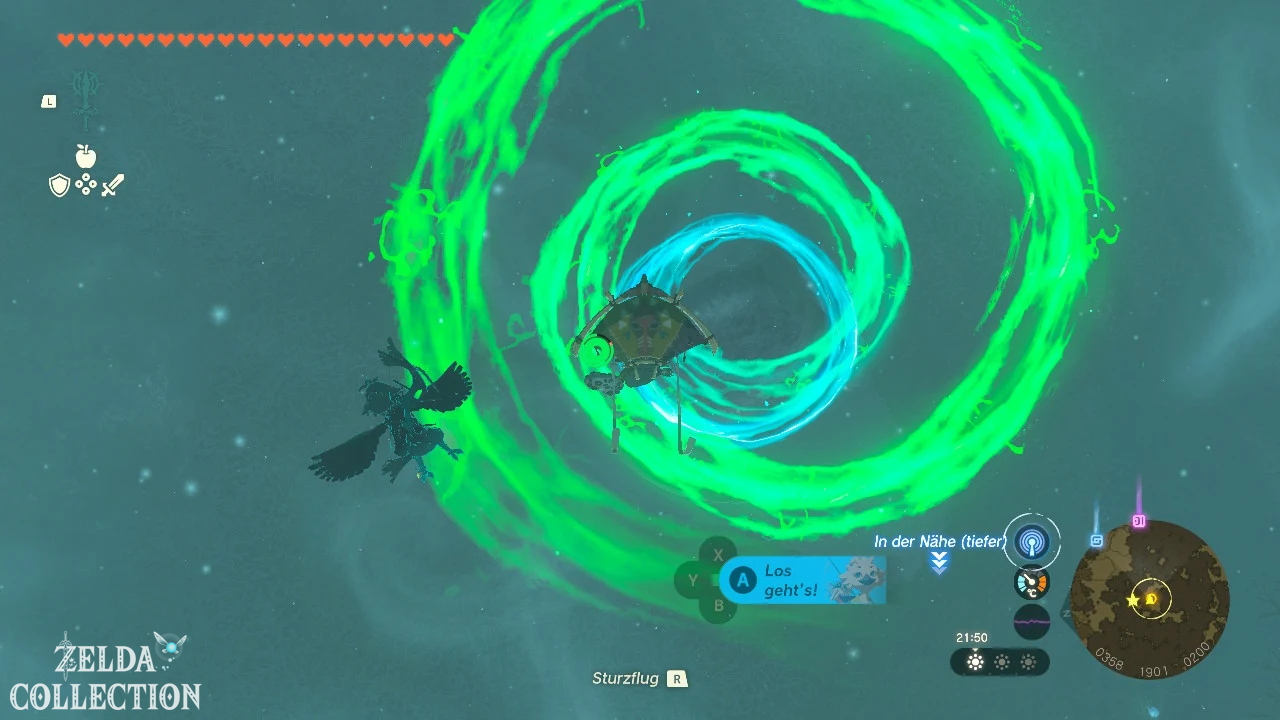
From there, jump towards the surface. During the fall, you can see the green glow of the Ninjis Shrine in an isolated clearing.
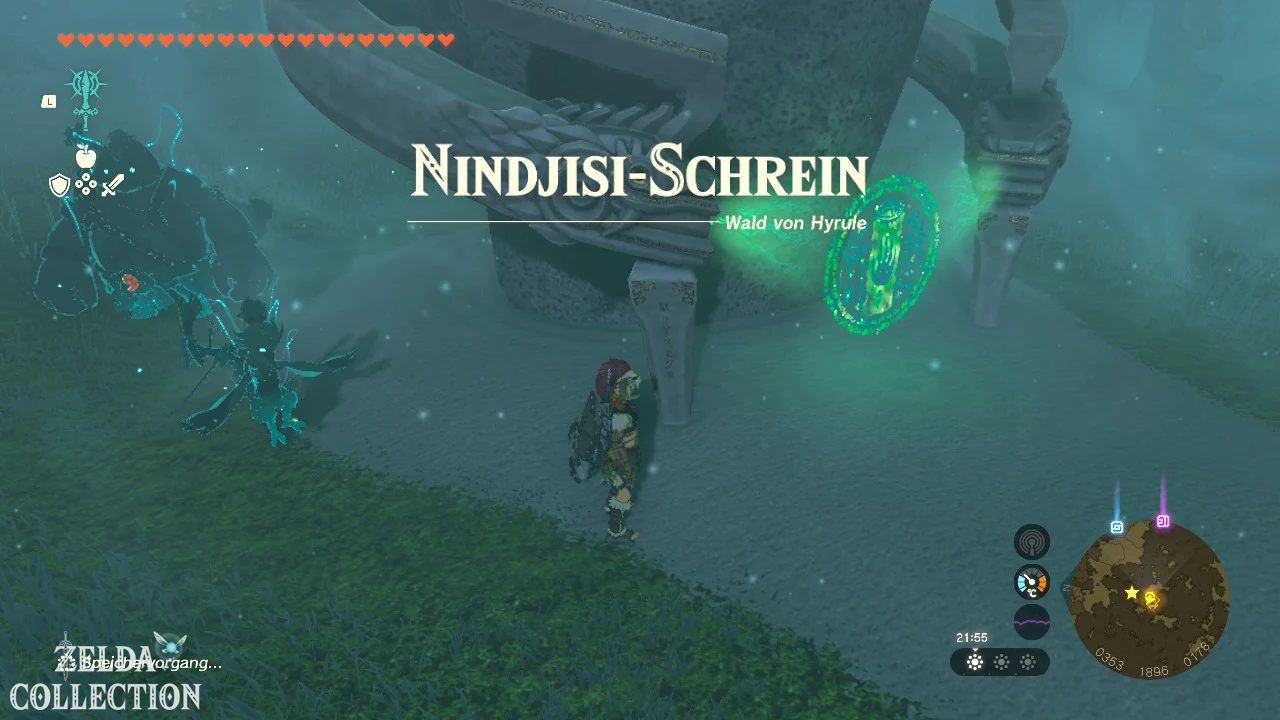
Open the Paraglider in time and land right next to the shrine. Reaching the clearing completes the actual task.
Obtain Rauru’s blessing
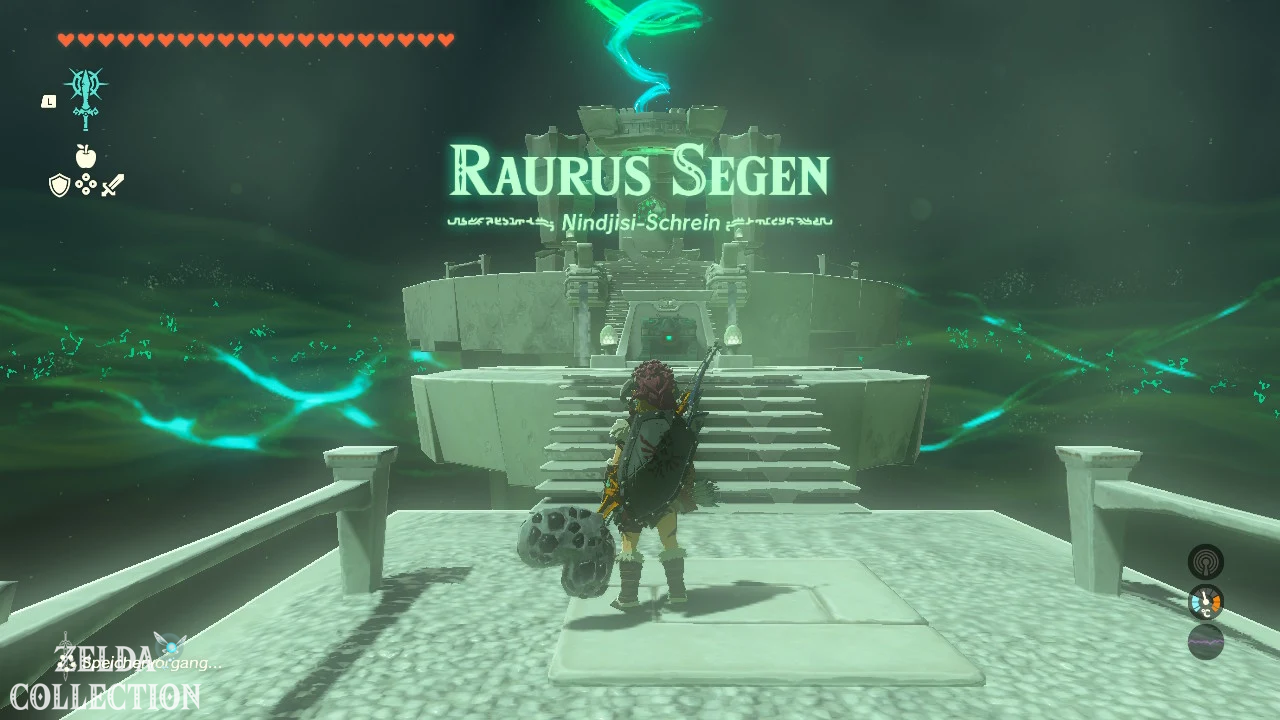
There is no additional puzzle waiting inside. Open the Treasure Chest with the Powerful Construct Sheet and then receive the Light of Blessing.
Tip: Before jumping, place a map marker on the coordinates of the shrine. Because of the treetops, the clearing is not always immediately visible from a height.
Pupunke Shrine
Shrine Task: Sparkling Stone and Gold Apples
Test: Raurus Blessing
Reward: Mighty Zonaite sword and a Light of Blessing
Location: Eastern part of the Korok forest
coordinates: approximately 0603, 2218, 0162
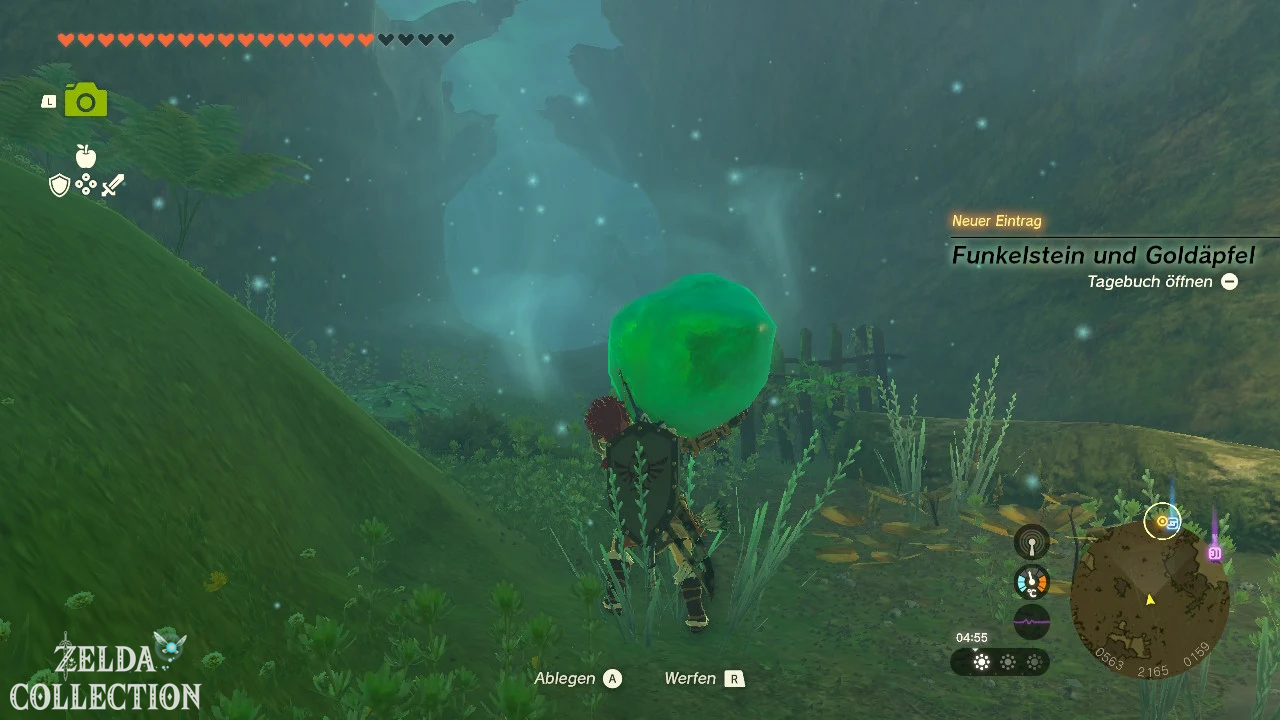
Sparkling Stone and Gold Apples begin
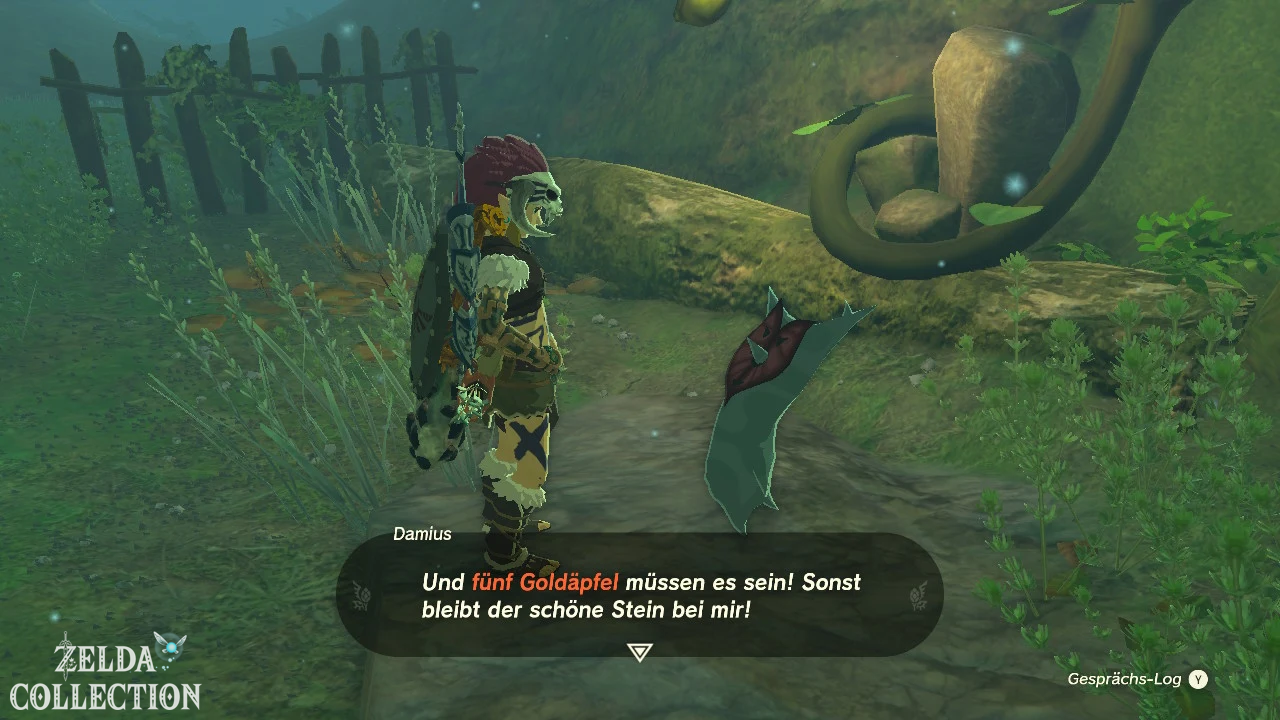
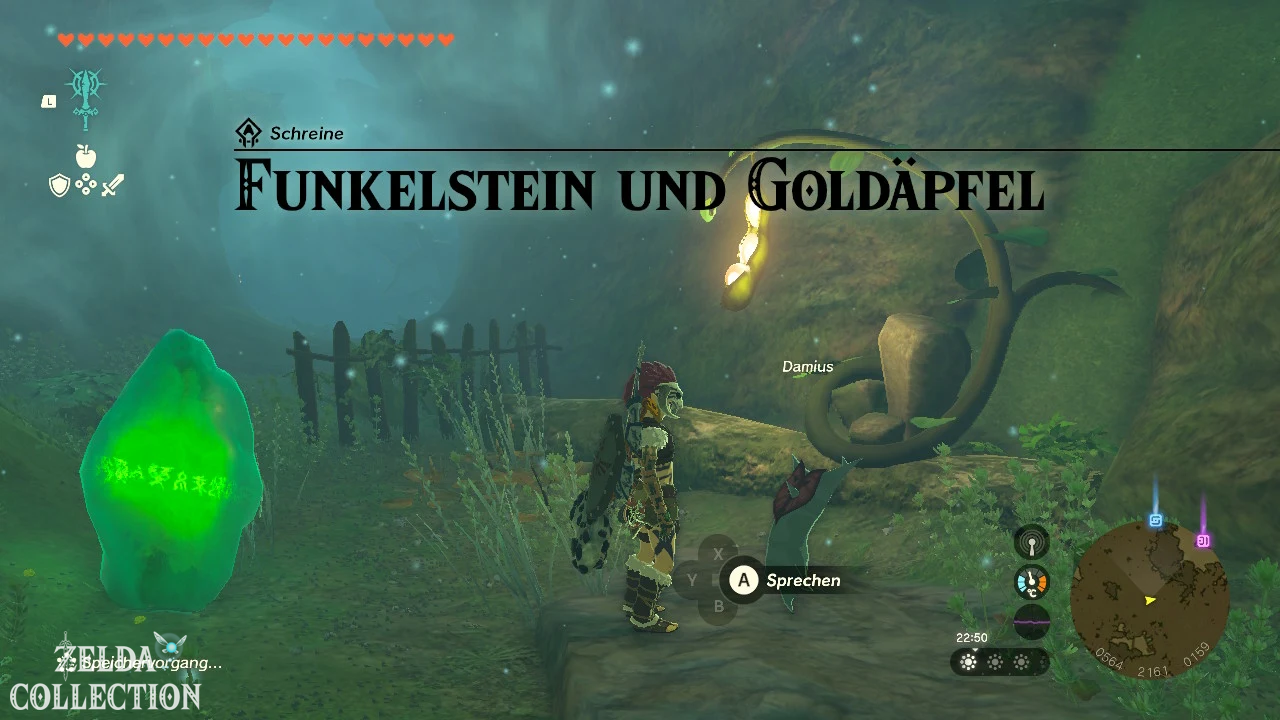
Follow the eastern forest path from Great Deku Tree and talk to Korok Damia. He has the green shrine crystal, but doesn’t want to give it away without something in return.
Damia requires five golden apples. Golden apples grow occasionally on normal apple trees and can be found in orchards and forest areas, among other places.
Bring crystal to shrine platform
Give the five golden apples to Damia. You will then receive the green crystal.
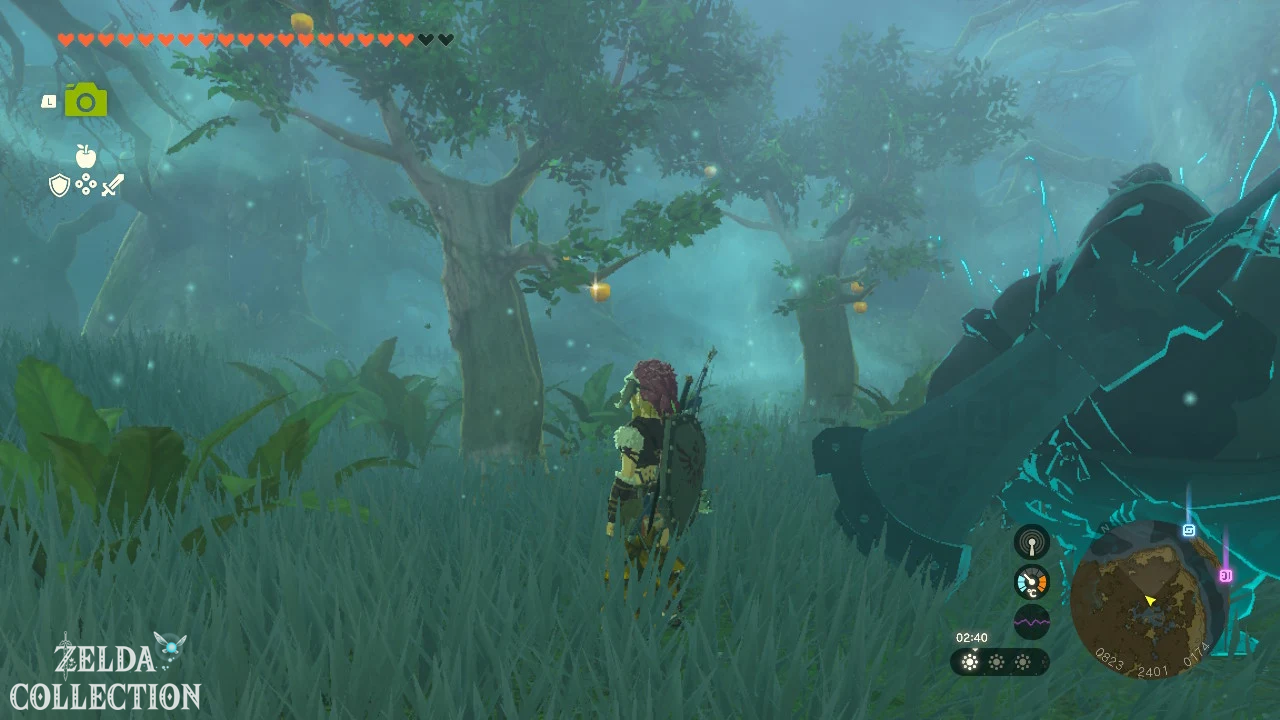
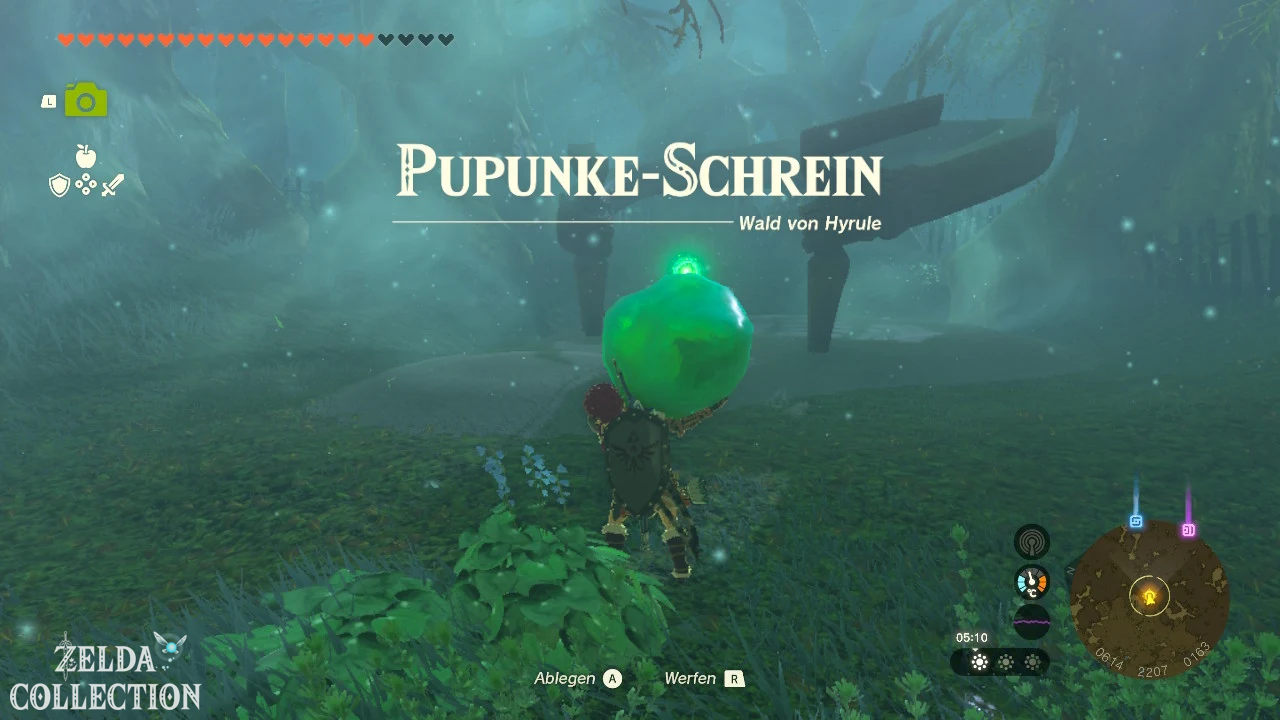
Axyl up the crystal with the Ultrahand and follow the green beam of light through the forest. Stay on the visible path so the fog doesn’t set you back.
Place the crystal in the socket of the incomplete shrine platform. It then transforms into the full Pupunke Shrine.
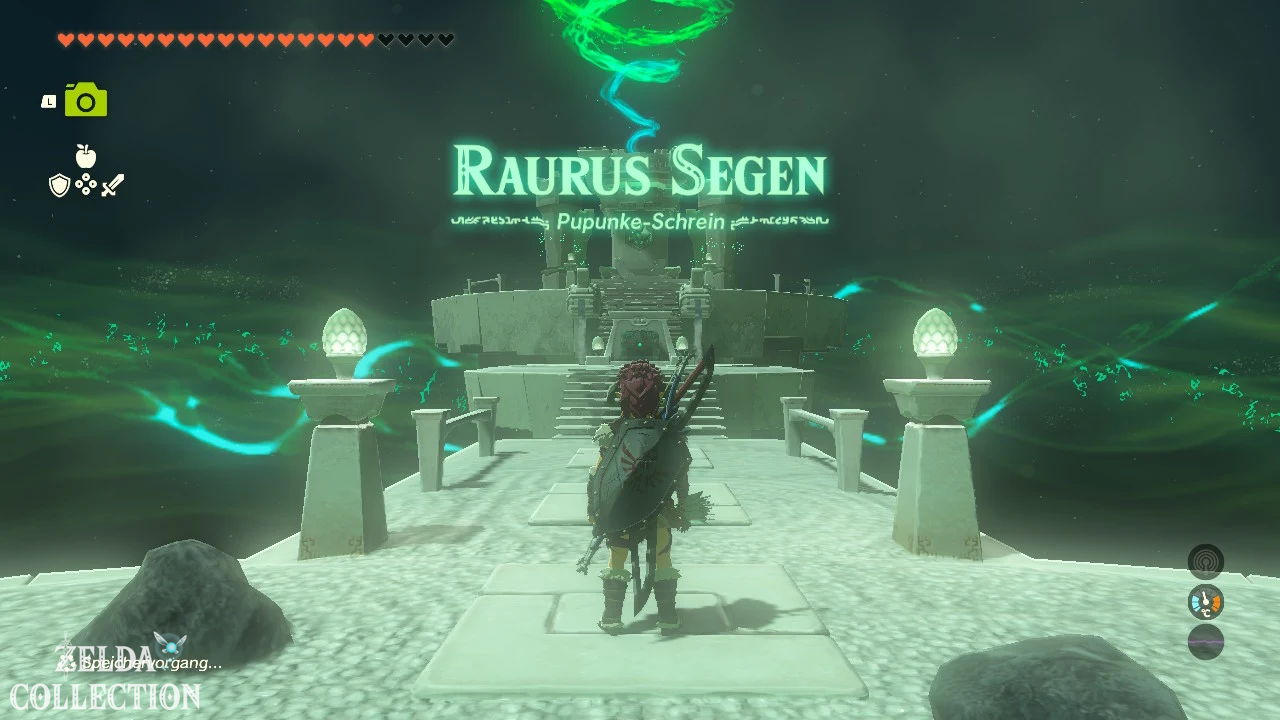
Obtain Rauru’s blessing
No further puzzle awaits you in the shrine. Open the Treasure Chest with the Mighty Zonaite Sword and then pick up the Light of Blessing.
Tip: Always collect golden apples during your journey. They are not only needed for this task, but also improve the effect of numerous dishes
Simosiwak Shrine
Trial: Bare Survival – Darkened
Reward: Luminous Elixir and a Light of Blessing
Location: Isle of Valor in North Hyrule Sky Archipelago
Coordinates: approximately 0163, 1972, 0759
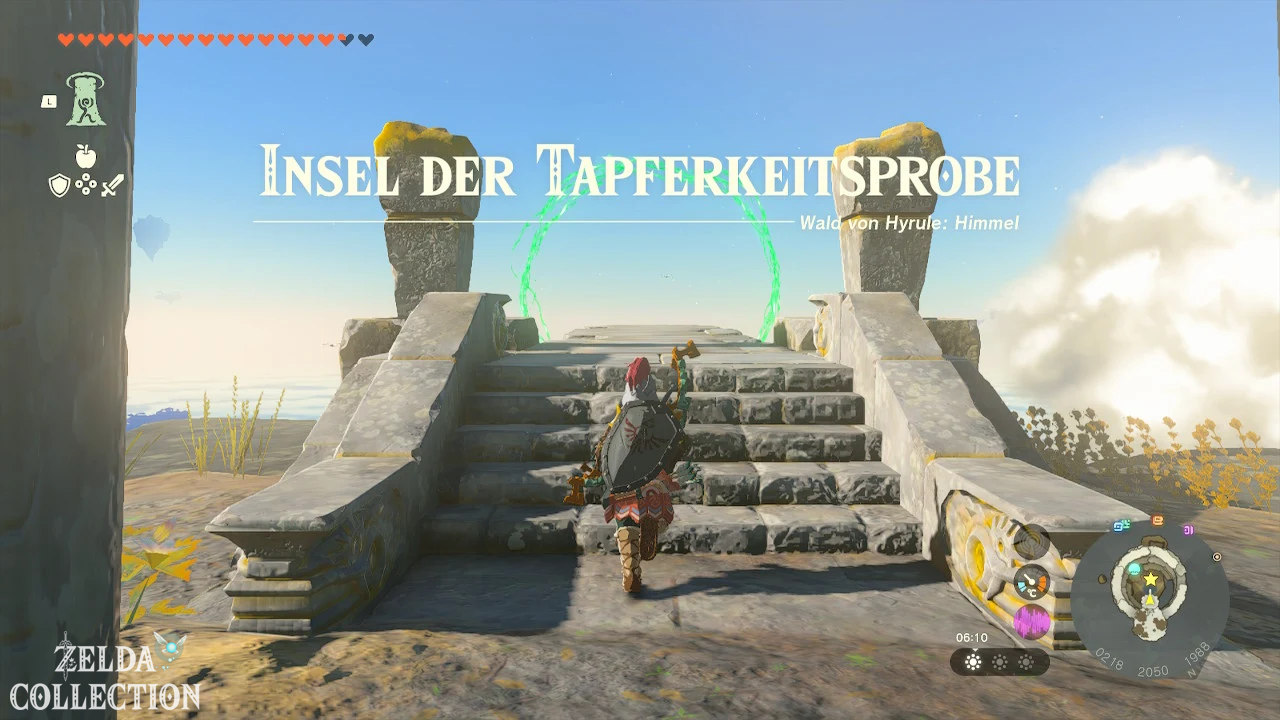
Reach Isle of Valor
Let the Thyphlo Ruins Skyview Tower launch you into the sky and glide south to the large, multi-ringed sky island.
If you don’t have enough stamina for the route, you can use the smaller islands and the slingshot devices, hover platforms and rockets that are available there.
Simosiwak Shrine unlock
On the upper level, examine the large green ring and jump down. Pass through all the glowing rings while diving.
Only open your Paraglider briefly when you need to correct your direction. After successfully landing in the water basin, the Simosiwak Shrine appears on the lowest level.
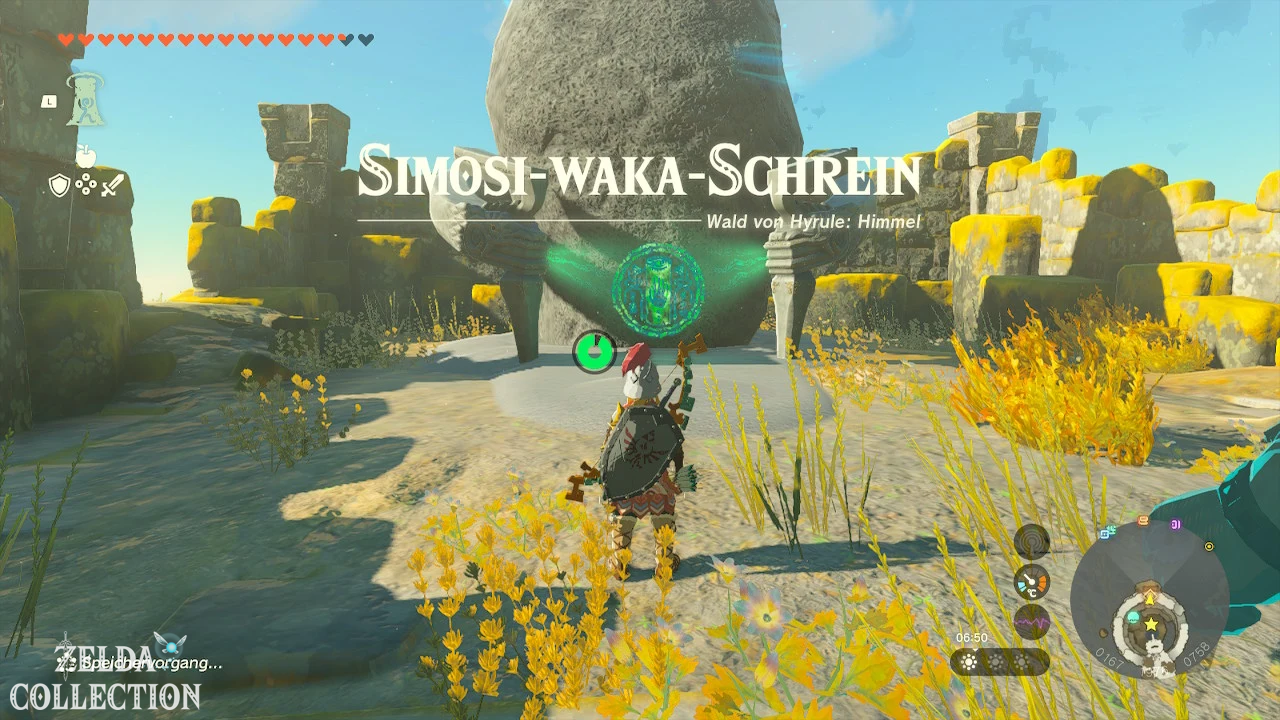
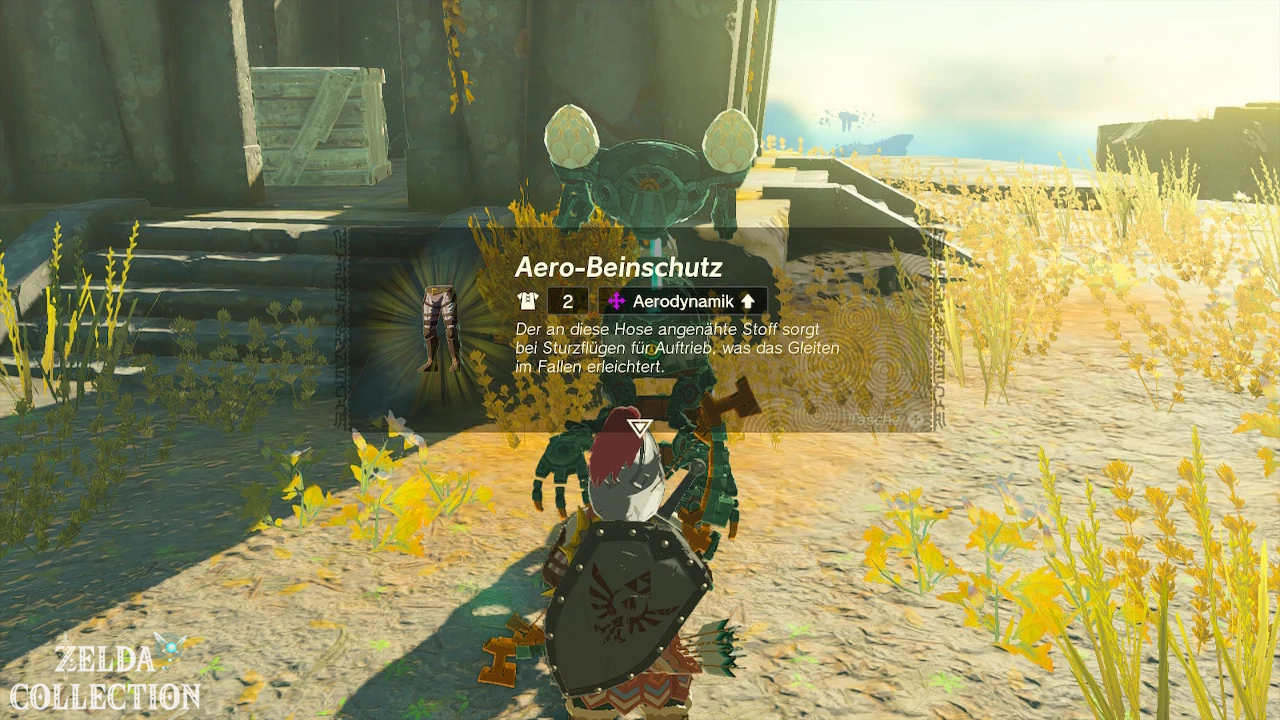
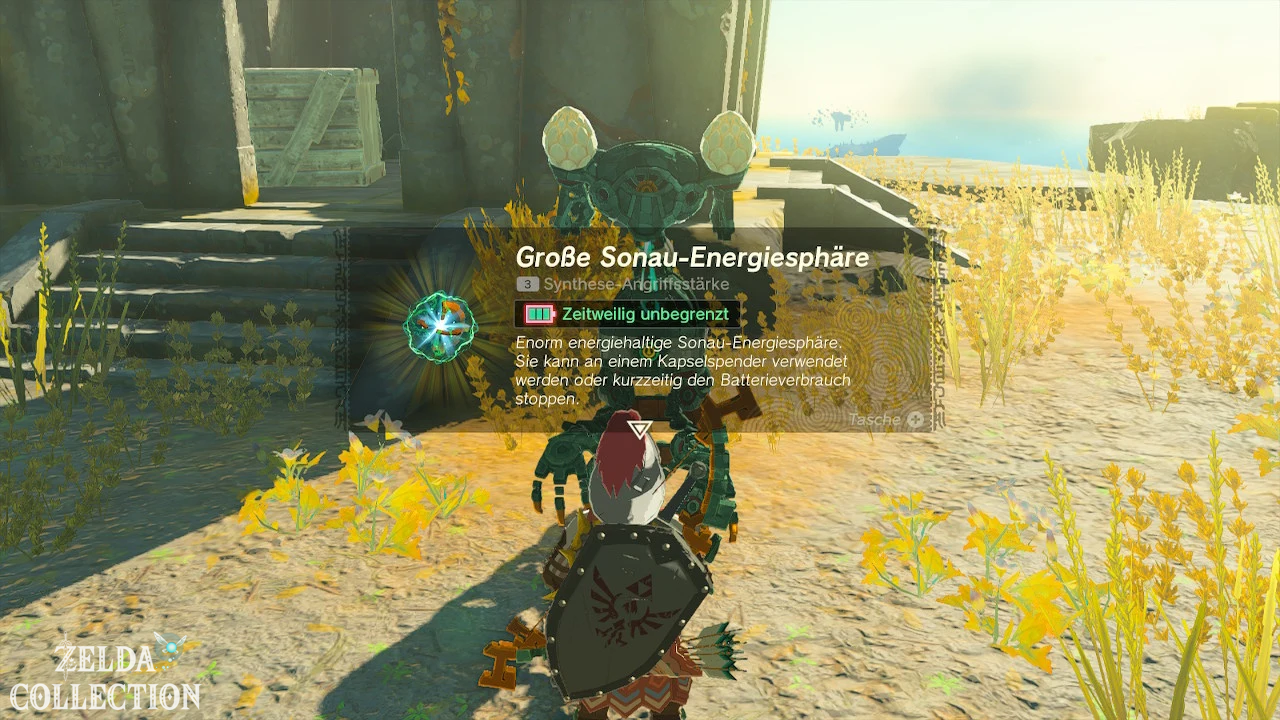
Solve Simosiwak Shrine
Upon entering you will be stripped of your normal equipment, weapons and shields. At the same time, the entire arena is almost completely dark.
accommodate basic equipment
Axyl up the wooden stick and one of the shields with Light attached at the entrance. The beam of light makes orientation easier, but consumes shield durability when blocked.
First construct surprise
Move slowly through the dark corridor and pay attention to the red eyes of the constructs. If possible, sneak up on the first enemy from behind and perform a sneak attack.
Then pick up his weapon and horn. Connect the horn to your wooden stick to get a more powerful melee weapon.
Rhodonite and Flame Emitter use
There are several Rhodonites on an elevated platform. Attach a Ruby to a weapon to shoot fireballs.
In a lower gear you will also find a Flame Emitter. Connect it to a shield or a long stick. The fire illuminates the surrounding area while also dealing damage to the constructs.
Defeat all constructs
A total of three constructs are waiting in the arena. Try to attract them one at a time. The construct with the flame weapon can also hit other enemies with its spinning attacks.
After the last enemy you get your equipment back and the gate to the altar room opens.
Obtain luminous Elixir
Open the Treasure Chest behind the gate. It contains a light Elixir with a strong lighting effect. You can then receive the Light of Blessing.
Tip: The glowing eyes of the constructs are also visible without Light. Therefore, only switch on the shield if you need to see the exact course of the corridors.
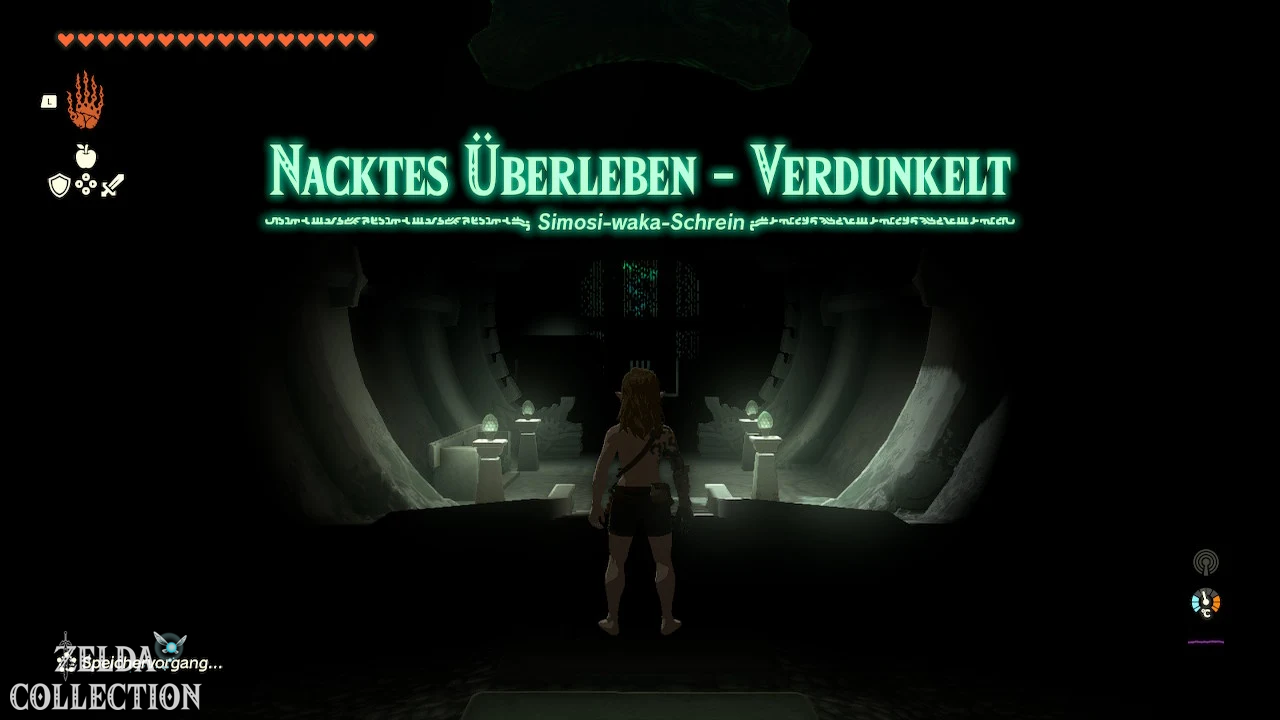
Sakunbomar Shrine
Shrine task: Access prohibited?
Trial: Raurus Blessing
Reward: Diamond and a Light of Blessing
Location: Northwestern part of Korok forest
Coordinates: approximately 0167, 2320, 0193
Access prohibited? start
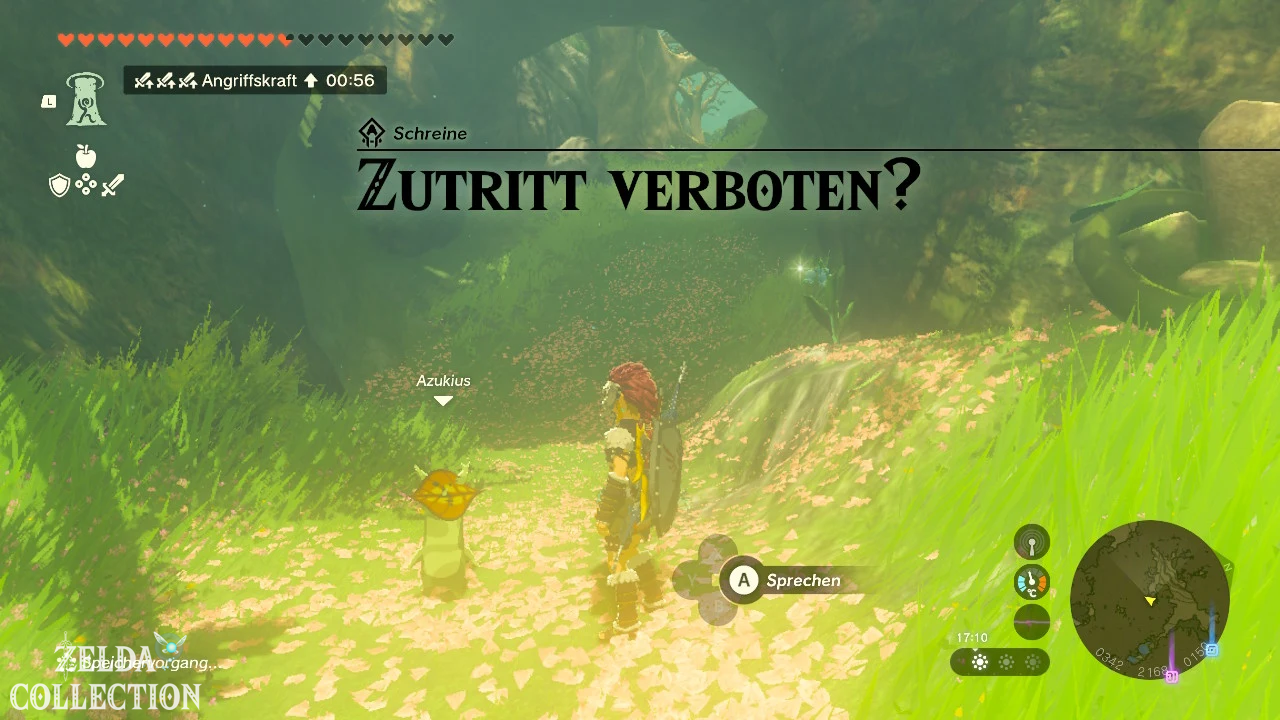
After healing the Deku Tree, talk to the Korok at the northwest forest path. He warns you about the dangerous path and starts the shrine task “Entry forbidden?”.
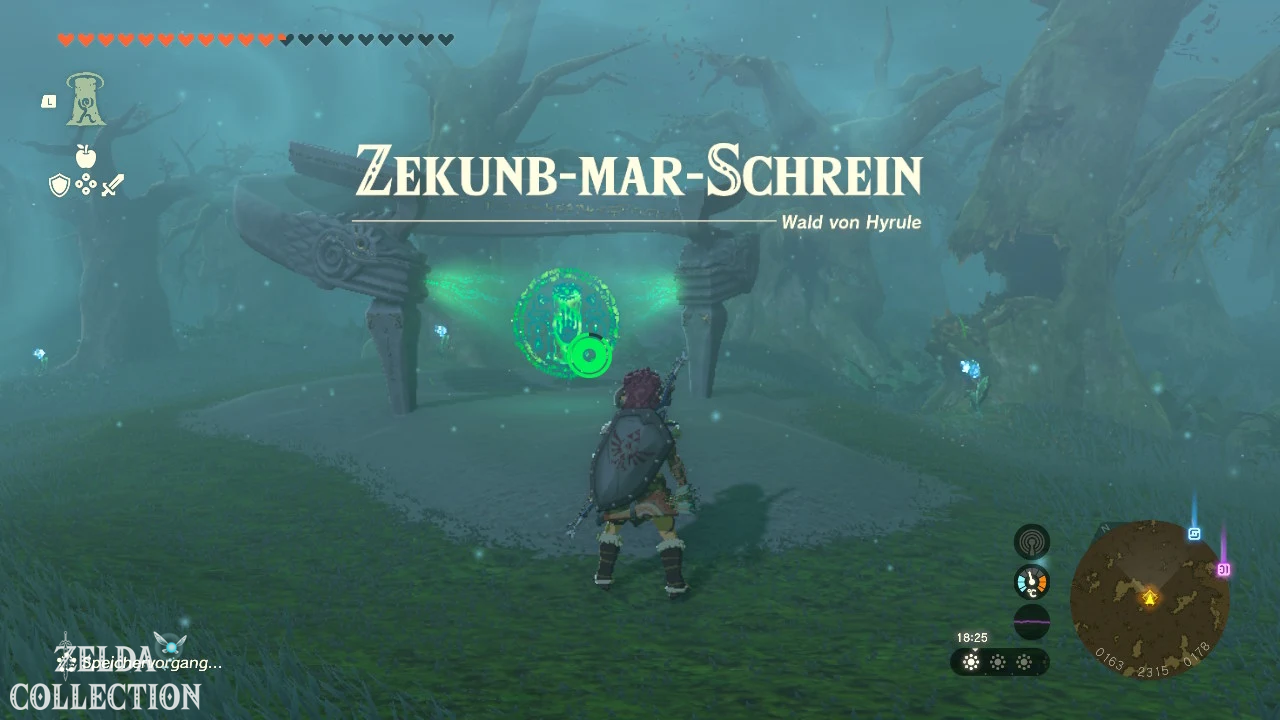
Follow the marked path and the plants or tracers through the fog. If you stray too far from the intended path, you will be reset to the beginning.
Get
crystal from Stone Talus
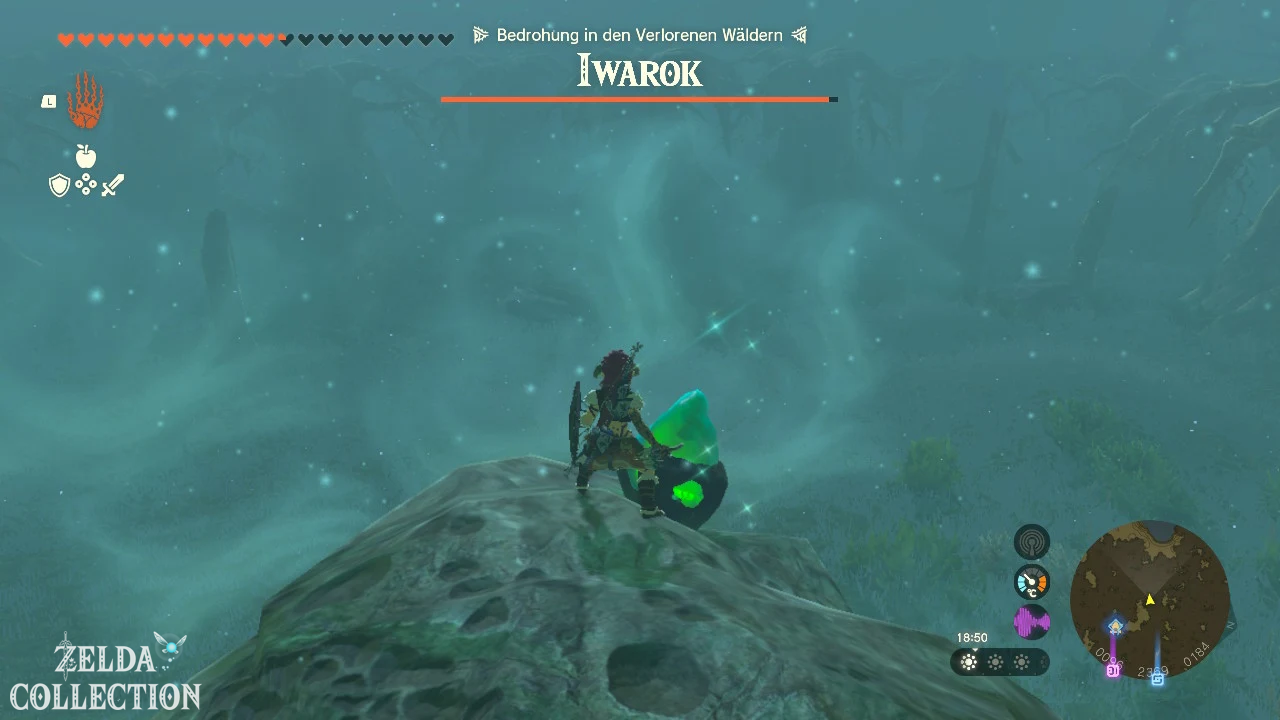
At the end of the forest path you will reach a clearing with a Stone Talus. The green shrine crystal is in the ore chunk on his body.
Shoot dem Stone Talus First throw an arrow at the boulder of ore to bring it to the ground. Then climb onto its back and attack the chunk with a heavy hammer or two-handed weapon.
Jump down as soon as the Stone Talus stands up and tries to shake you off. Repeat the process until the enemy is defeated.
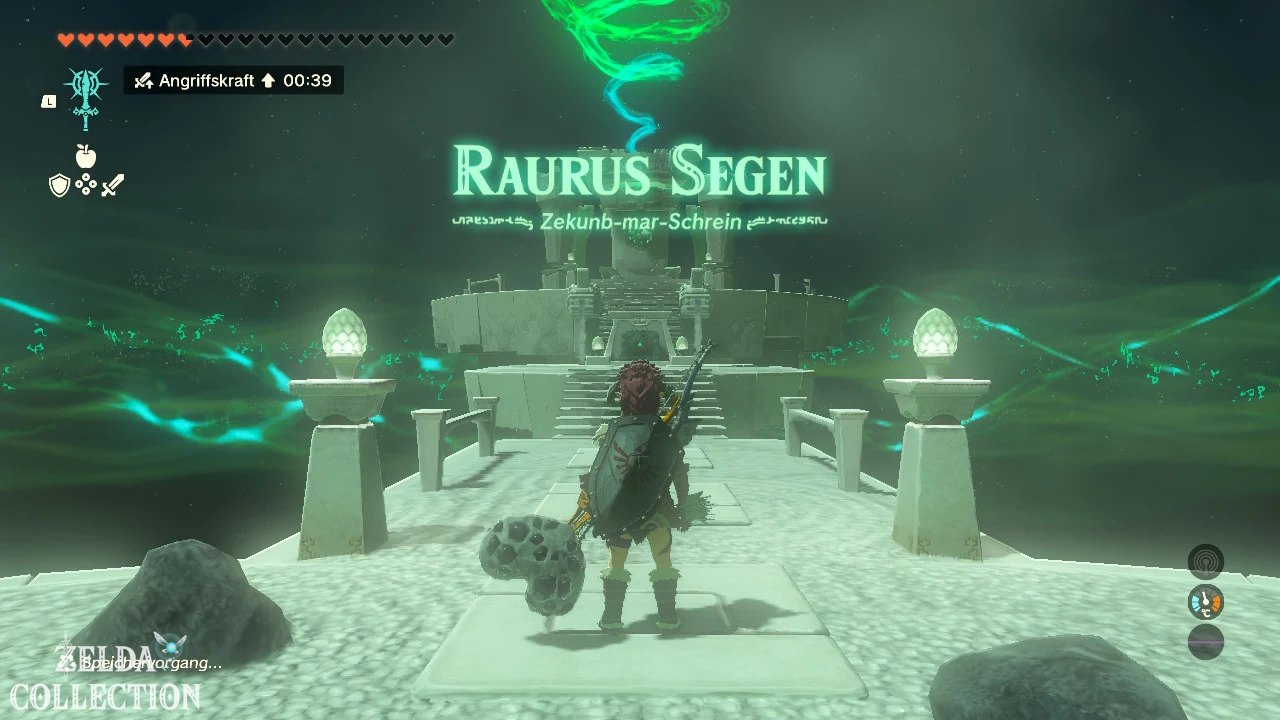
Bring crystal to shrine
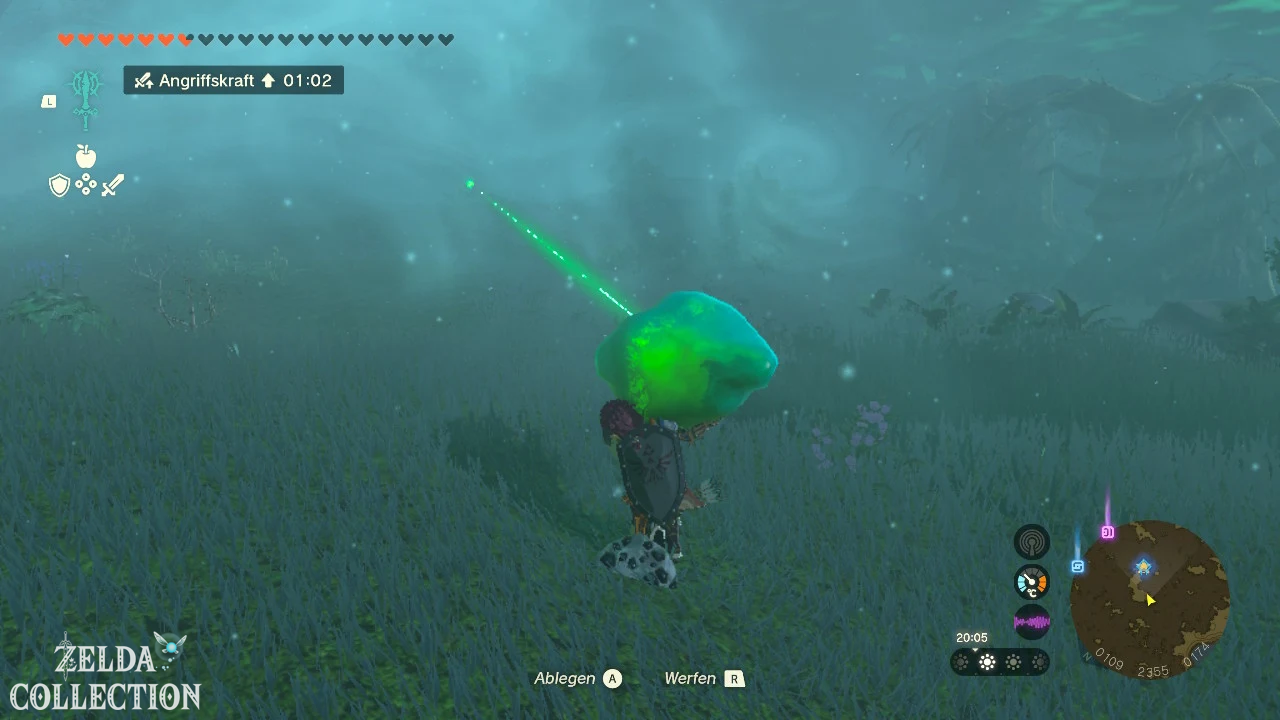
After the fight, the green crystal remains in the clearing. Axyl it up with the Ultrahand and follow the green beam of light to the incomplete shrine platform.
Place the crystal in the setting. The complete Sakunbomar Shrine will then appear.
Obtain Rauru’s blessing
There is no further test in the shrine. Open the Treasure Chest with the diamond and then receive the Light of Blessing.
Tip: Use a hammer weapon against the ore chunk. Swords and spears cause significantly less damage to a Stone Talus.
All shrines in the Great Hyrule Forest at a glance
| Shrine | level | exam or task | Location | Chest Reward |
|---|---|---|---|---|
| Ekochiu Shrine | surface | fall and rise | Woodland Stable | Zonaite plate |
| Kikakin Shrine | surface | Light in the dark | Mount Drena | amber, luminous stone, Zonaite arch and opal |
| Kiuyoyou Shrine | surface | Playing with fire | Rowan Plain | Zonaite lance |
| Mayam Shrine | Sky | Shrine in North Hyrule Sky Archipelago | North Hyrule Sky Archipelago | Short wand |
| Musanokir Shrine | surface | Counterweight | Korok Forest | Large Zonai Charge |
| Ninjis Shrine | surface | Maca’ very special place | Southern forest clearing | Powerful Construct Bow |
| Pupunke Shrine | surface | sparkling stone and gold apples | Eastern Korok Forest | Mighty Zonaite sword |
| Simosiwak Shrine | Sky | Naked Survival – Blacked out | Isle of Valor | light-Elixir |
| Sakunbomar Shrine | surface | Access prohibited? | Northwest Korok Forest | Diamond |