

On this page we give you an overview of all shrines in The Legend of Zelda: Tears of the Kingdom, which are located in East Necluda and in the airspace above. In addition to the respective locations, we explain in detail how you can pass the tests, find hidden cave entrances and reach all Treasure Chests.
There are a total of nine shrines in East Necluda. Seven of them are on the surface. However, you can find the Yansamin Shrine and the Kumamayn Shrine on distant sky islands via Necluda.
You can find an overview of all areas in our Tears of the Kingdom Walkthrough. For orientation you can also use our interactive map with all shrines.
This area contains the following shrines:
- Anedamimik Shrine
- Bamitok Shrine
- Jogou Shrine
- Yansamin Shrine
- Kumamayn Shrine
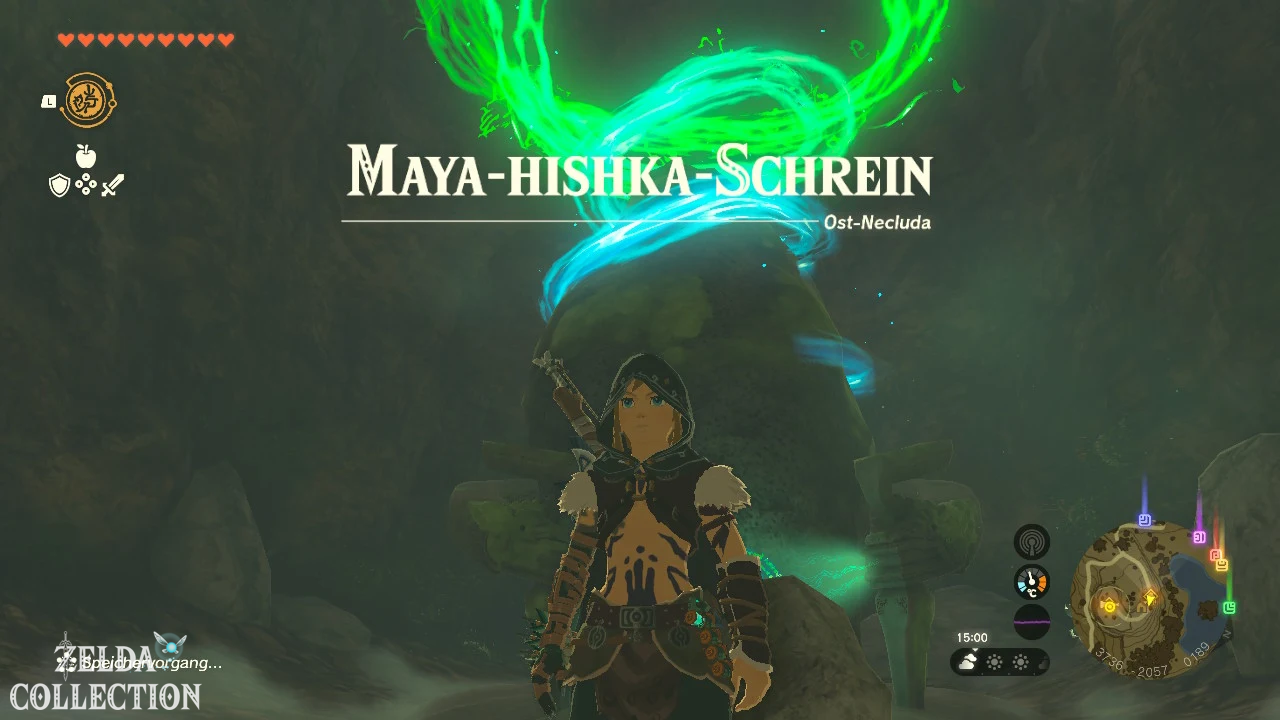
- Mayahisik Shrine
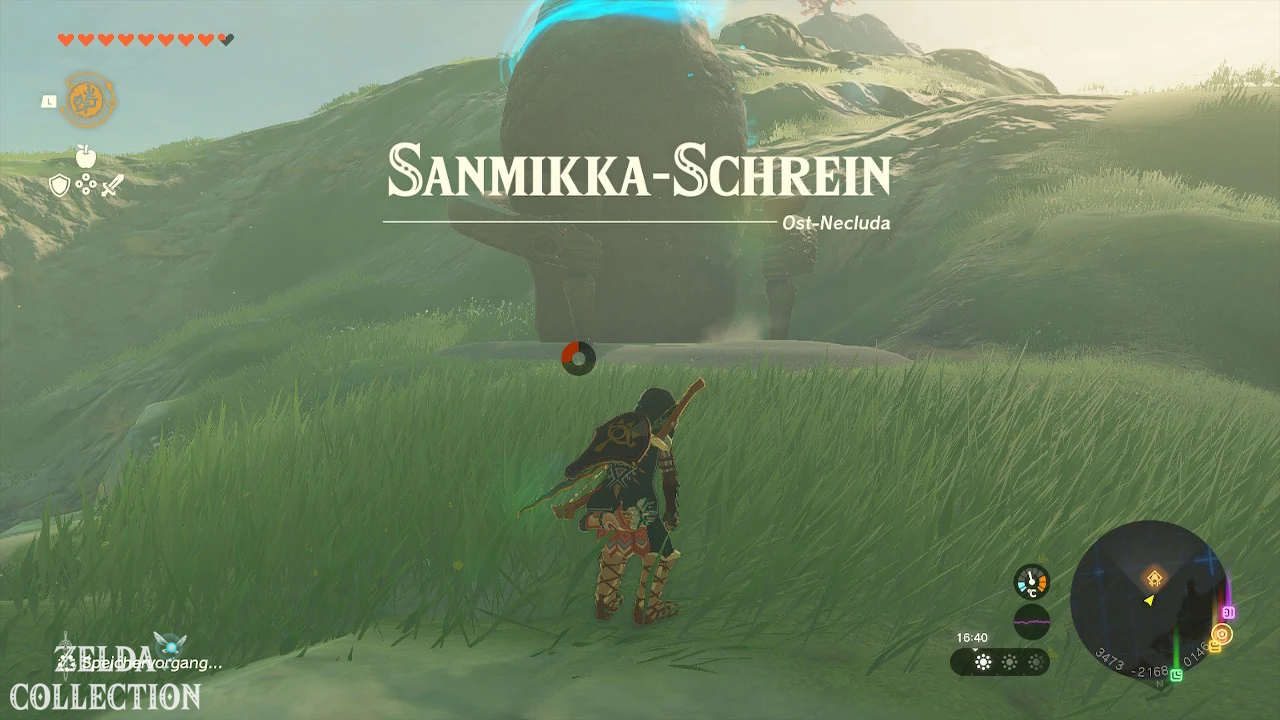
- Zanmik Shrine
- Sifumim Shrine
- Utojis Shrine
Anedamimik Shrine
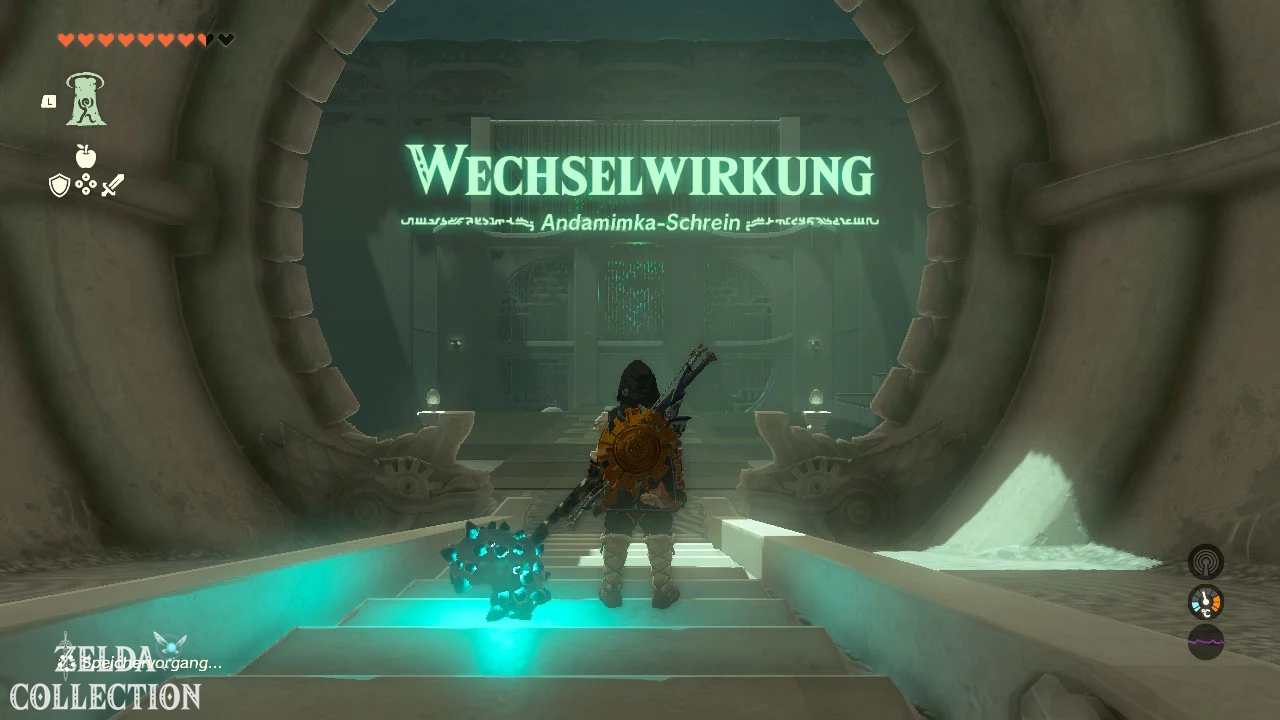
Trial: Interaction
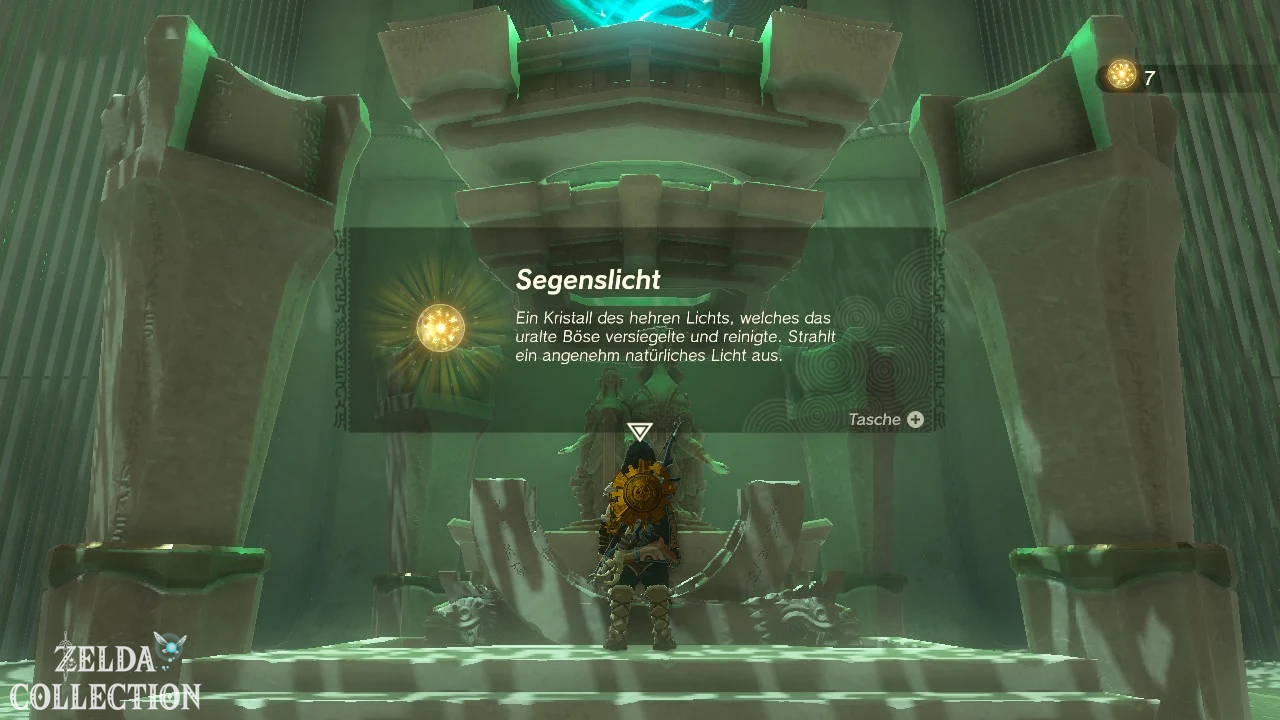
Reward: Large Zonaite Energy Sphere and a Light of Blessing
Location: Deepback Bay Cave, east of the Hateno Village Institute
Coordinates: approximately 4232, -2178, -0012
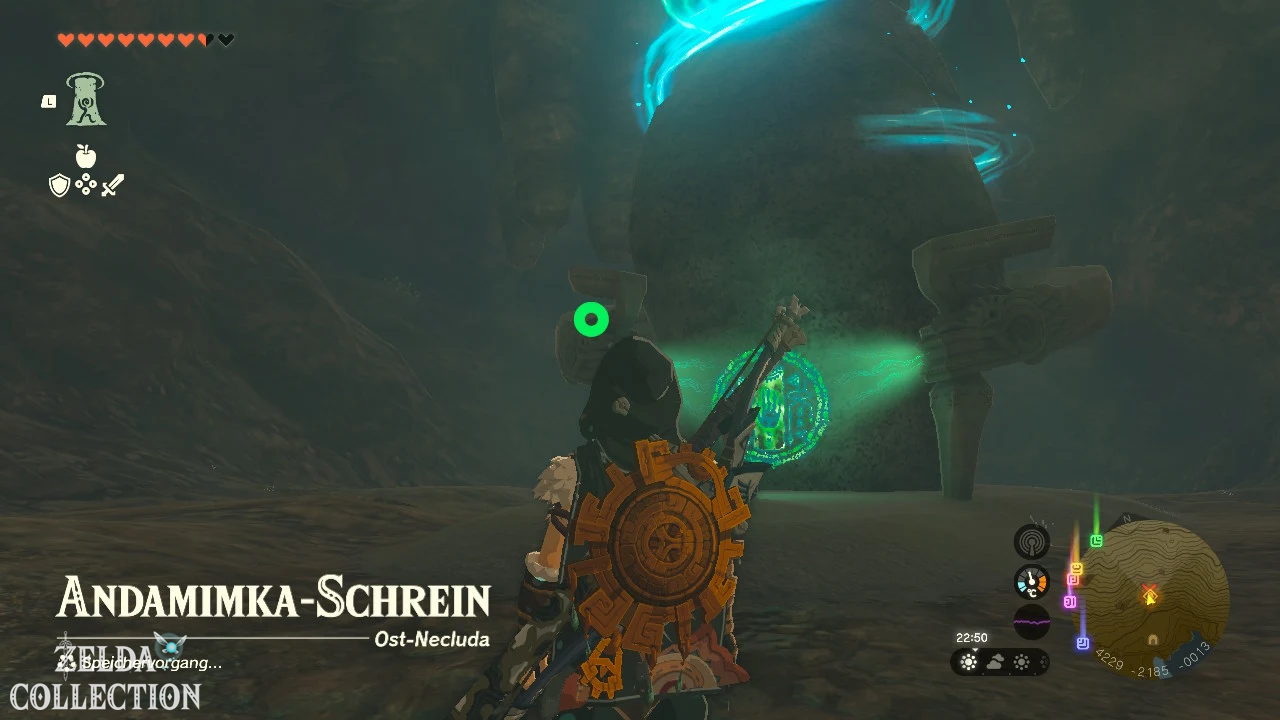
Find Anedamimik Shrine
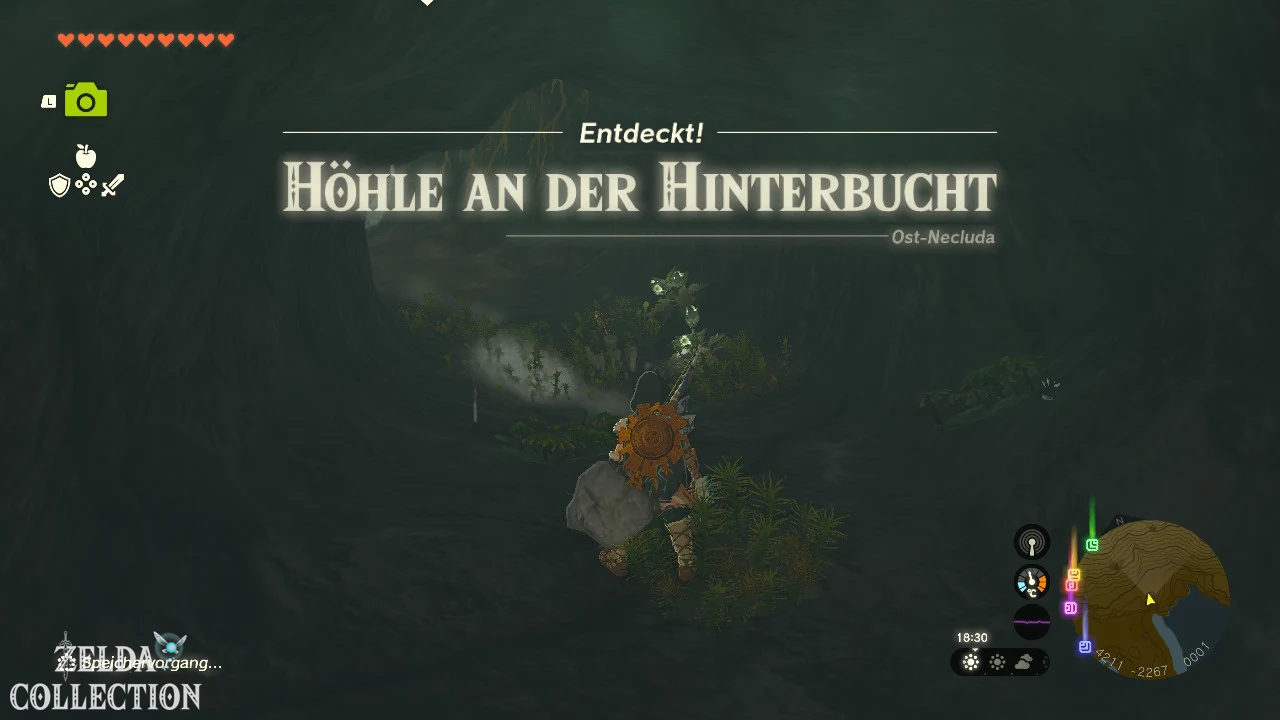
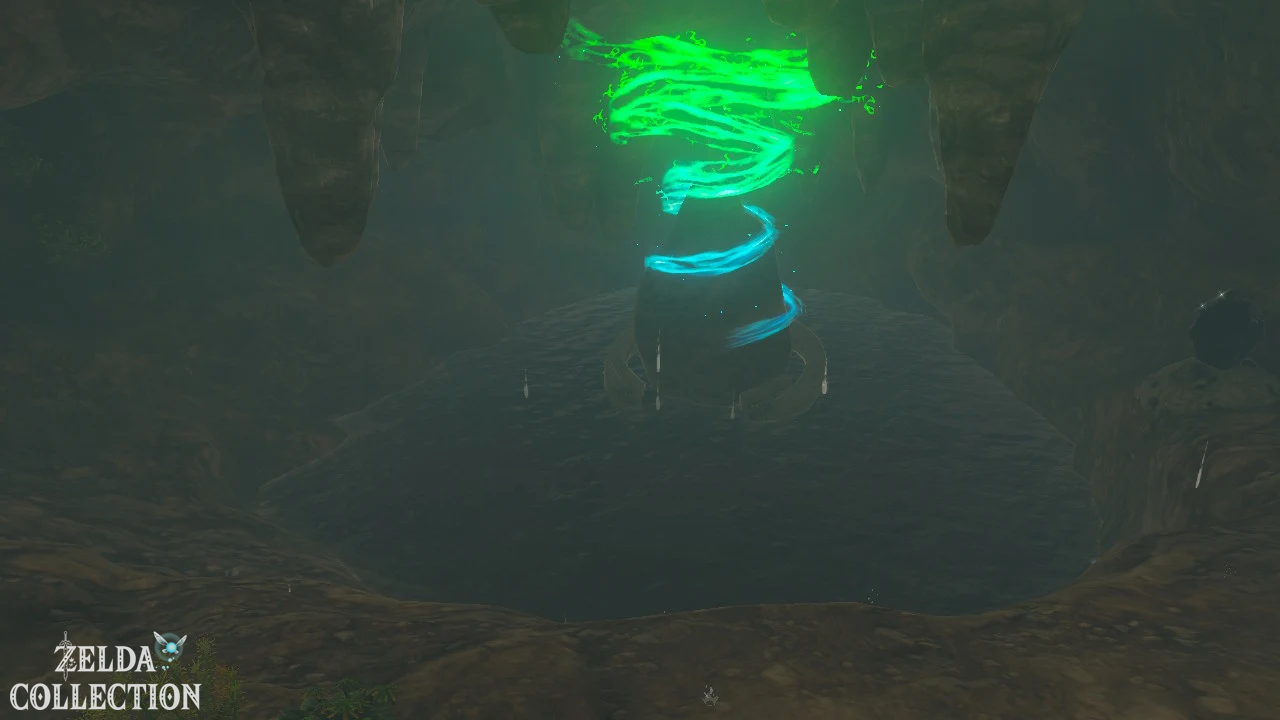
The Anedamimik Shrine lies below the coast in the Deepback Bay Cave. First travel to Hateno Village and follow the road past Hateno Ancient Tech Lab towards the east. Then descend to the small bay below the cliffs.
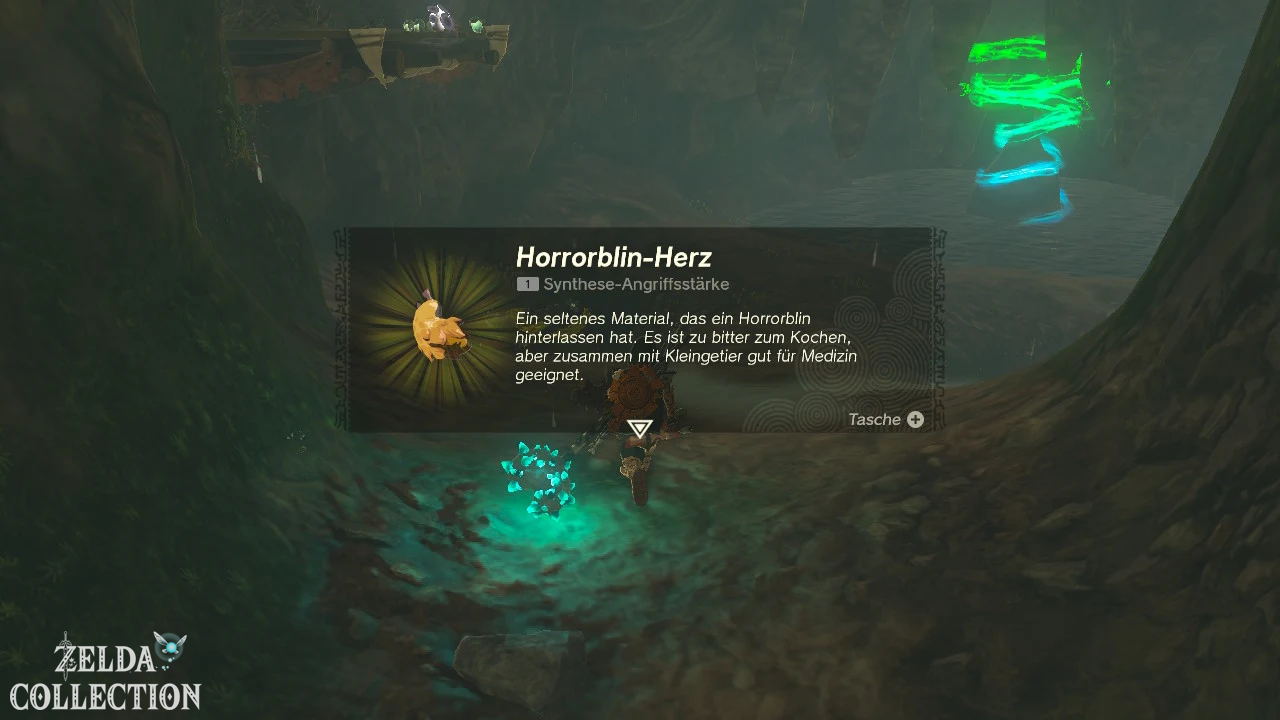
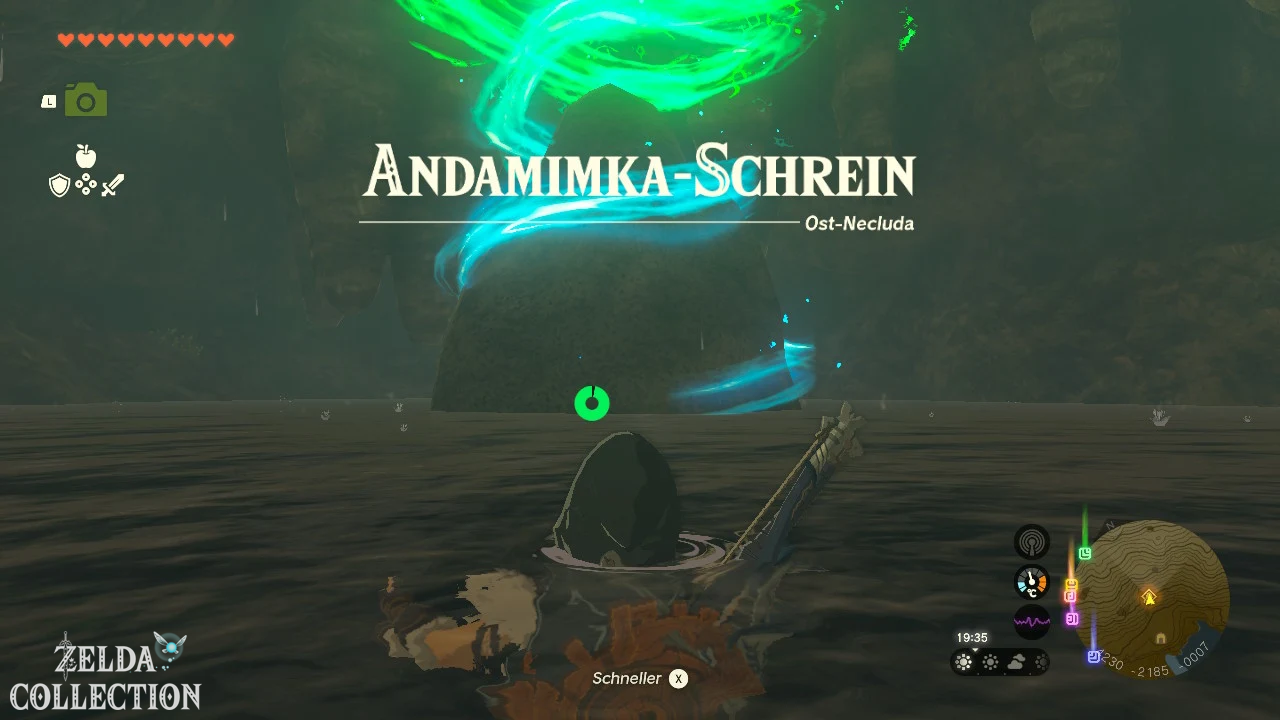
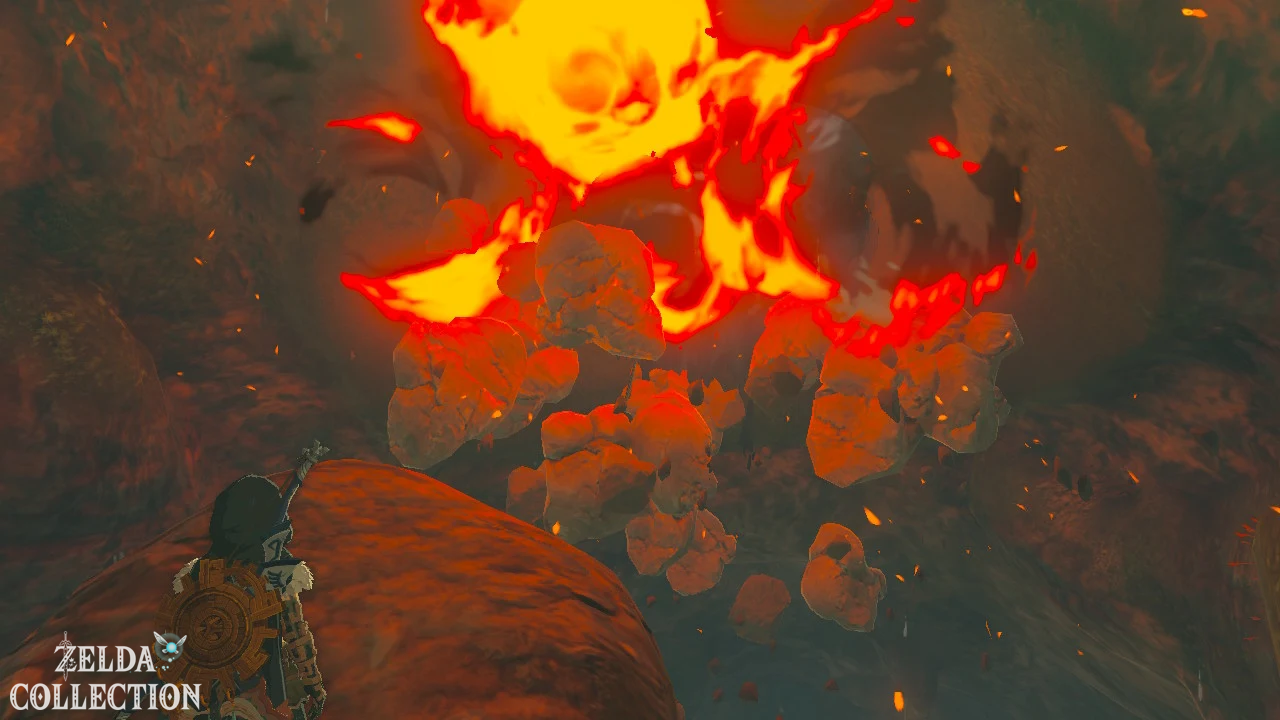
The shrine is initially in an area filled with water and cannot be entered. Go next to the shrine to the lower level. Above a rocky outcrop you can see brittle rock in the ceiling. Destroy it with a bomb flower or a hammer weapon.
The water then flows out through the resulting opening. Use the Ascend to get back to the now exposed entrance to the shrine.
Solve Anedamimik Shrine
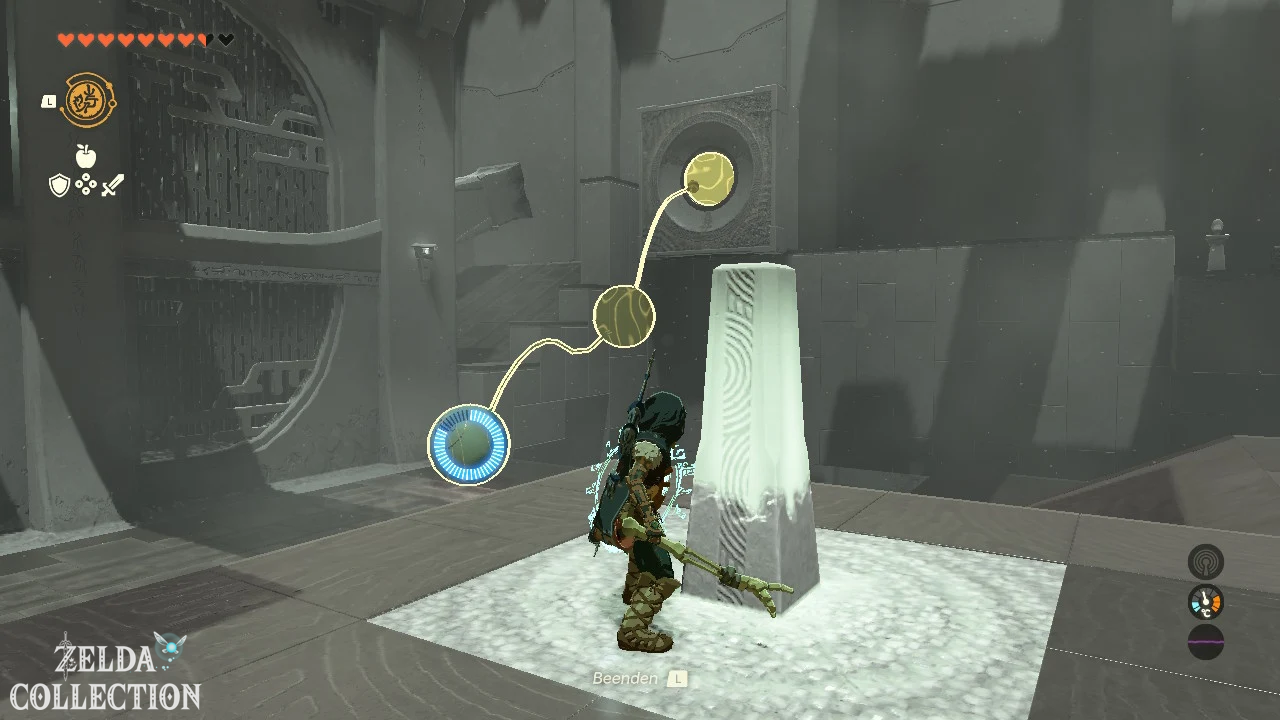
In front of you you see a bullet source, a ramp, a bullet receiver and an orange Crystal Switch. Hitting the switch changes the position of the ramp.
First hit the switch so that the slanted track retracts. Then go to the right side of the room and use the Ascend below the raised platform. There you will find the Treasure Chest with a large Zonaite energy sphere.
Return to the Crystal Switch and hit it again to cause a ball to roll out of the source. Let them roll down the track and then press the switch again.
Now insert the Recall onto the ball. It moves backwards up its previous path and is guided into the ball receiver by the changed position of the track. The gate opens. Run through while the Recall is still active and get the Light of Blessing at the altar.
Tip: Only activates the Recall when the ball has traveled a large part of its path. This gives you more time to pass through the opened gate.
Bamitok Shrine
Trial: Raurus Blessing
Reward: Big Battery and a Light of Blessing
Location: Cave on Dunsel Mountain, northeast of Lurelin Village
Coordinates: approximately 3094, -3209, 0082
Find Bamitok Shrine
The Bamitok Shrine lies deep in the cave on Dunsel Mountain. The more easily accessible cave entrance can be found northeast of Lurelin Village above Gama Bay.
Swim through the entrance and cut through the vines blocking the first tunnel. A Horriblin is waiting behind them. Defeat him or run past him and follow the passage into the next chamber.
Stay left there and cut through more vines. In the following area you will encounter two electric Like Likes. Stay on the right edge of the chamber if you want to avoid the enemies.
Follow the tunnel behind it and jump over the large chasm. Open the Paraglider in the air and land on the opposite side. Then climb up the damp wall. A stick Elixir or part of the toad set makes the climb easier, but is not absolutely necessary.
There are more predatory slimes in the last tunnel. Behind them you finally reach the Bamitok Shrine.
Solve Bamitok Shrine
The arduous path through the cave is the real test. There is no additional puzzle inside the shrine.
Opens the Treasure Chest immediately in front of you. Inside is a Big Battery. Then go to the altar and receive the Light of Blessing.
Tip: Take a sharp weapon to cut the vines and some Brightbloom Seed. Parts of the cave are dark and the junctions are otherwise easy to miss.
Jogou Shrine
Test: Raurus Blessing
Reward: Maxi-Elixir with four extra hearts and one Light of Blessing
Location: Lanayru Road East Cave
Coordinates: approximately 3346, -1187, 0058
Find Jogou Shrine
The Jogou Shrine is located in the Lanayru Road East Cave. Travel to Lanayru Road – East Gate and follow the path a little west. Climb down to the water below the road and swim into the cave.
Inside you will reach a large, almost circular chamber with a lake. The shrine is on an island in the middle, but is not directly accessible from the normal cave path.
Swim around the central rocky island and look for a small passage just above the surface of the water. Depending on the path you choose, you can also destroy a fragile stone wall on the southern side of the island.
Go through the opening and climb up to the inner platform. The Jogou shrine is there.
Solve Jogou Shrine
Since discovering the hidden entrance is already a test, Rauru’s blessing awaits you in the shrine.
Open the Treasure Chest and take the Maxi-Elixir. It fills up your hearts and grants you four additional yellow hearts. At the altar you will then receive the Light of Blessing.
Tip: Activate the Shiekah-Sensor + if you can’t find the small entrance to the central island. The signal will become stronger as soon as you are on the correct side of the rock face.
Yansamin Shrine
Trial: Bare Survival – Facilitated
Reward: Large Zonaite and a Light of Blessing
Location: Zonaite Forge Island in the sky over East Necluda
Coordinates: approximately 2351, -1783, 1475
Reach Zonaite Forge Island
The Yansamin Shrine is located inside the high altitude Zonaite Forge Island. The Rabella Wetlands Skyview Tower or the Sahasra Slope Skyview Tower are suitable as a starting point.
First glides to one of the offshore sky islands and uses a wing, rockets and fans to reach the large factory island. Since it is very high, you should take additional batteries or large Zonai Charges with you.
After landing, activate the green terminal on the lower level. This turns on the strong updrafts in the outside chimneys. Let them carry you to the top of the island.
Jump into the central shaft there and fall down between the laser barriers. If you touch a laser, the lower gate closes. If necessary, brake briefly with the Paraglider and immediately end the gliding flight again. If you have avoided all lasers, you will end up directly at the shrine.
Solve Yansamin Shrine
When you enter, your weapons, shields and bows will be temporarily taken away. First collect the simple weapons next to the entrance.
Due to the low gravity you can jump particularly high and far. Use this advantage to reach the first construct on the left platform. Then pick up his equipment.
Jump to the opposite platform and, if possible, surprise the next construct with a sneak attack. You can reach the enemies above via the Ascend.
There is a ray thrower on one of the platforms. Activate it and direct the energy beam at the constructs on the opposite side. You can then connect the beam thrower to a weapon.
There is an explosive barrel in the last section. Use the Ultrahand to place it on the rising and falling column. The barrel hits the fragile ceiling and opens the way to the last enemy.
Defeat the remaining construct. Your equipment will be returned to you and the gate to the altar will open. In the chest you will find a Large Zonaite.
Tip: The low gravity extends your jumps considerably. So just steer carefully so that you don’t float past the narrow platforms.
Kumamayn Shrine
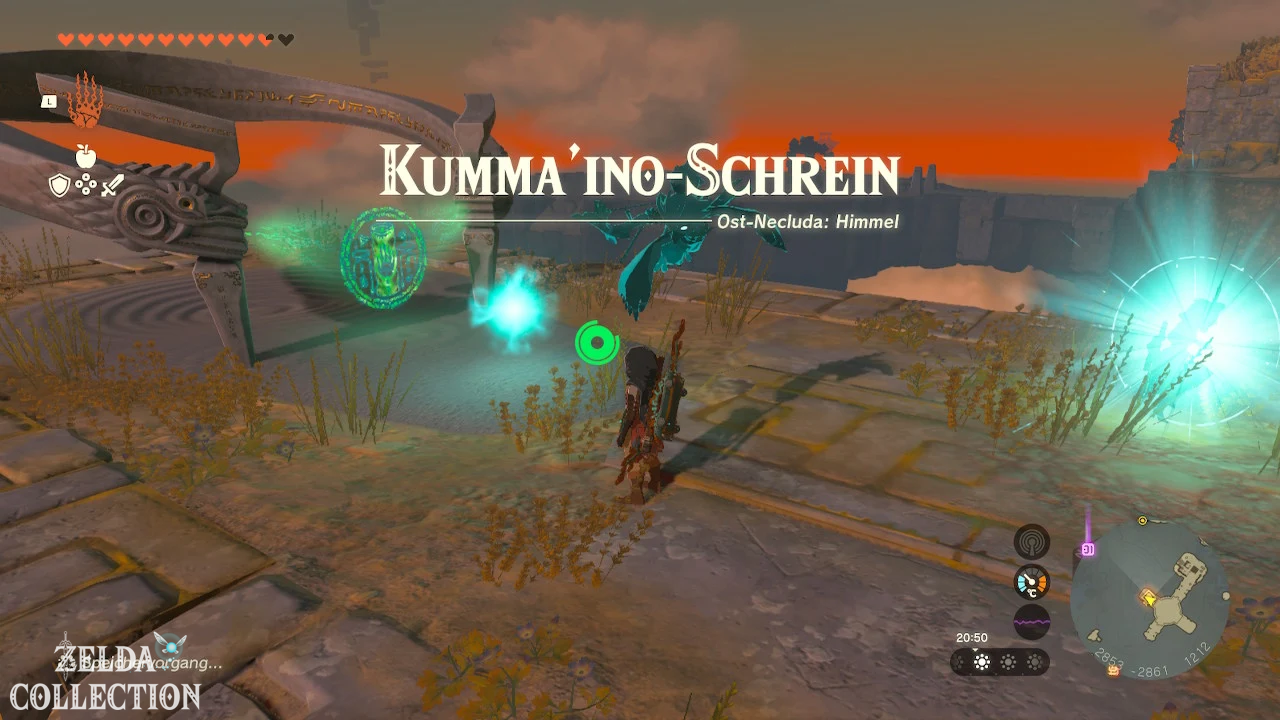
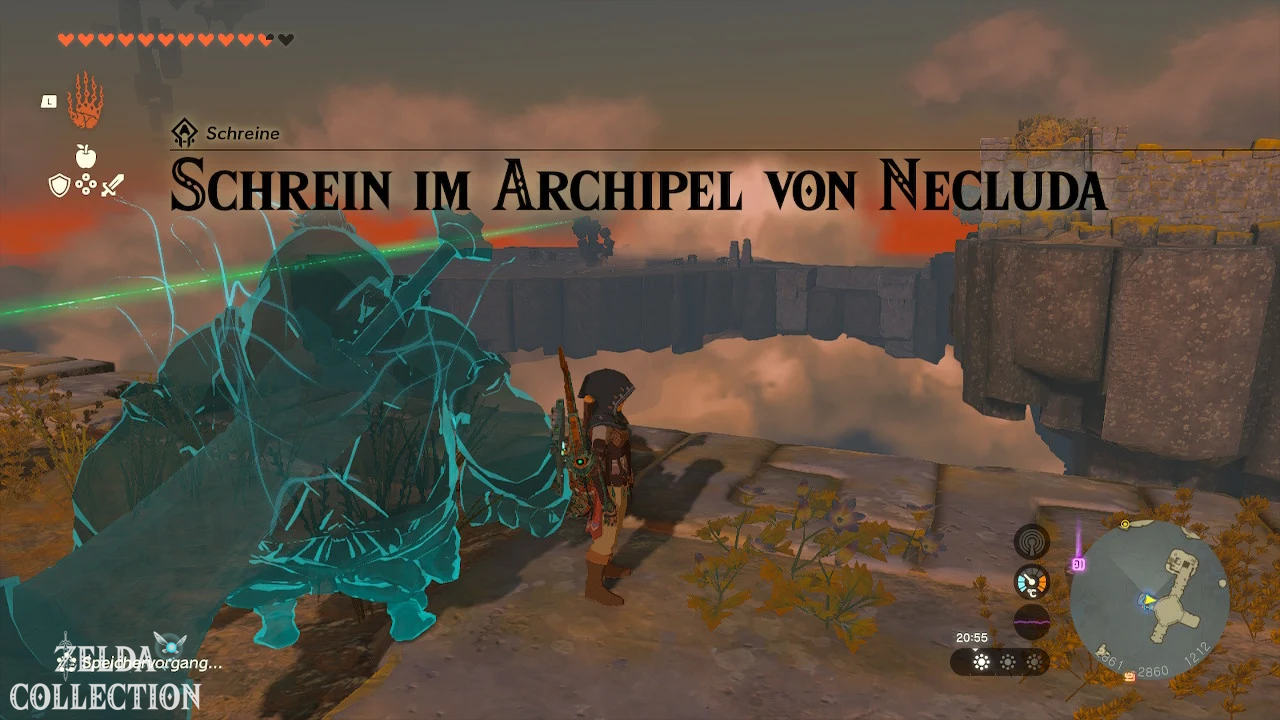
Shrine task: Shrine in the archipelago of Necluda
Exam: Raurus Blessing
Reward: Zonaite Bow and a Light of Blessing
Location: Archipelago of Necluda in heaven
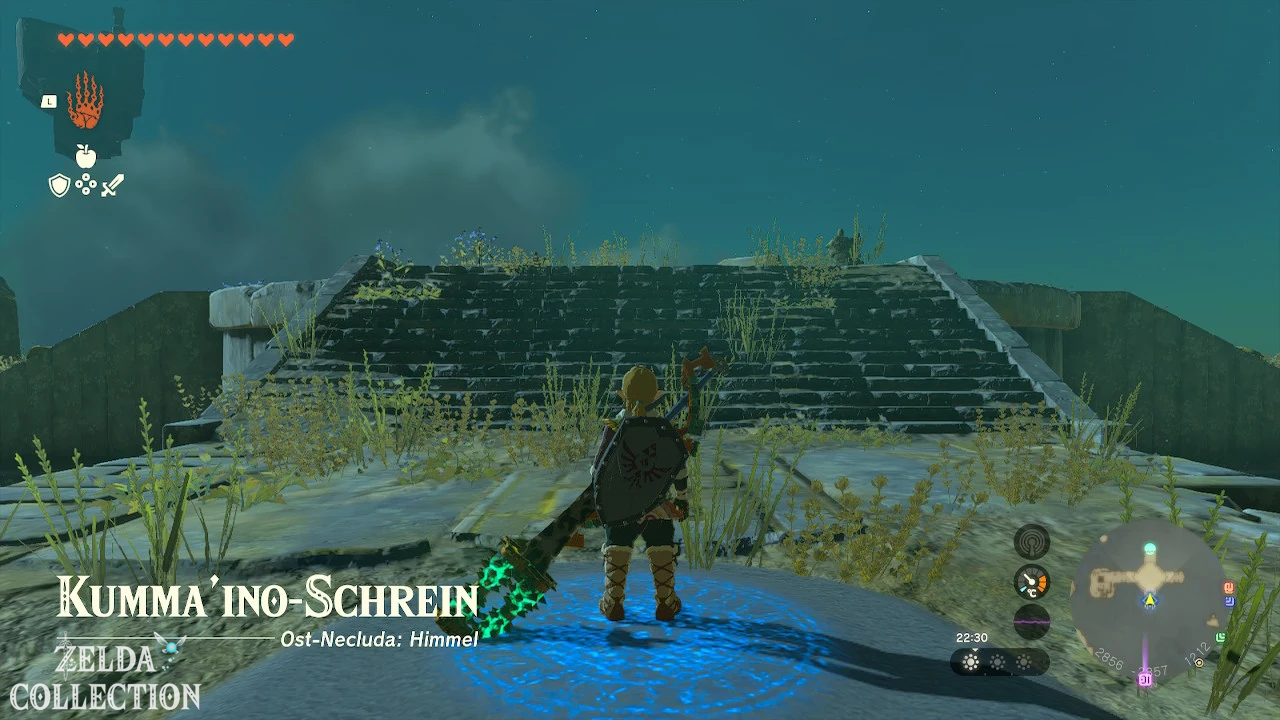
Coordinates: approximately 2856, -2857, 1212
Reach Kumamayn Shrine
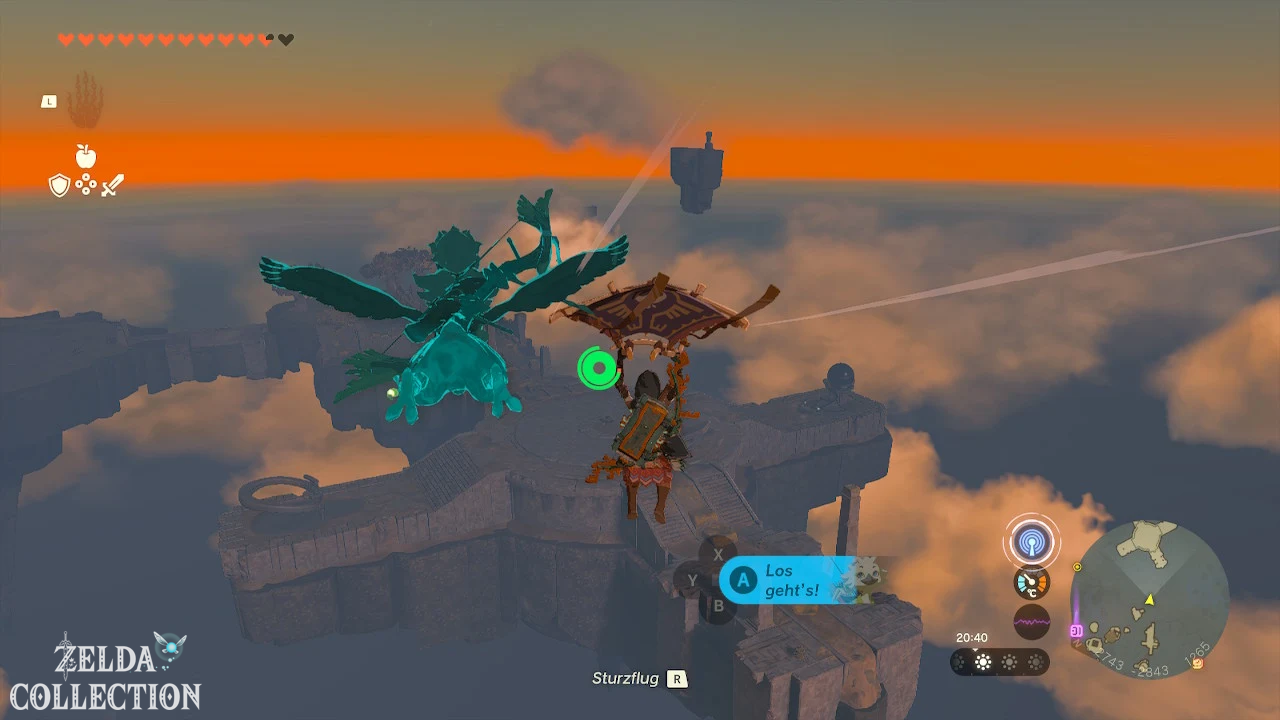
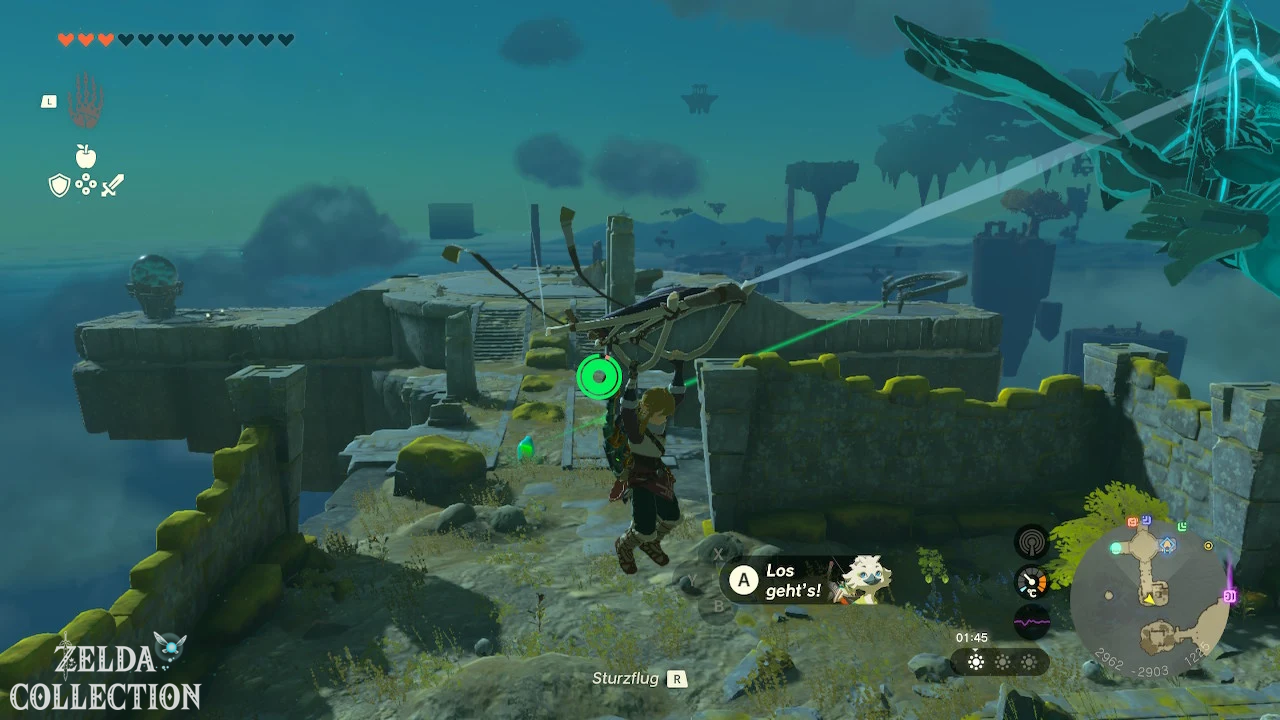
Let the Rabella Wetlands Skyview Tower throw you into the air and glide towards the east or southeast. Land on the island with the incomplete shrine platform and examine the green symbol.
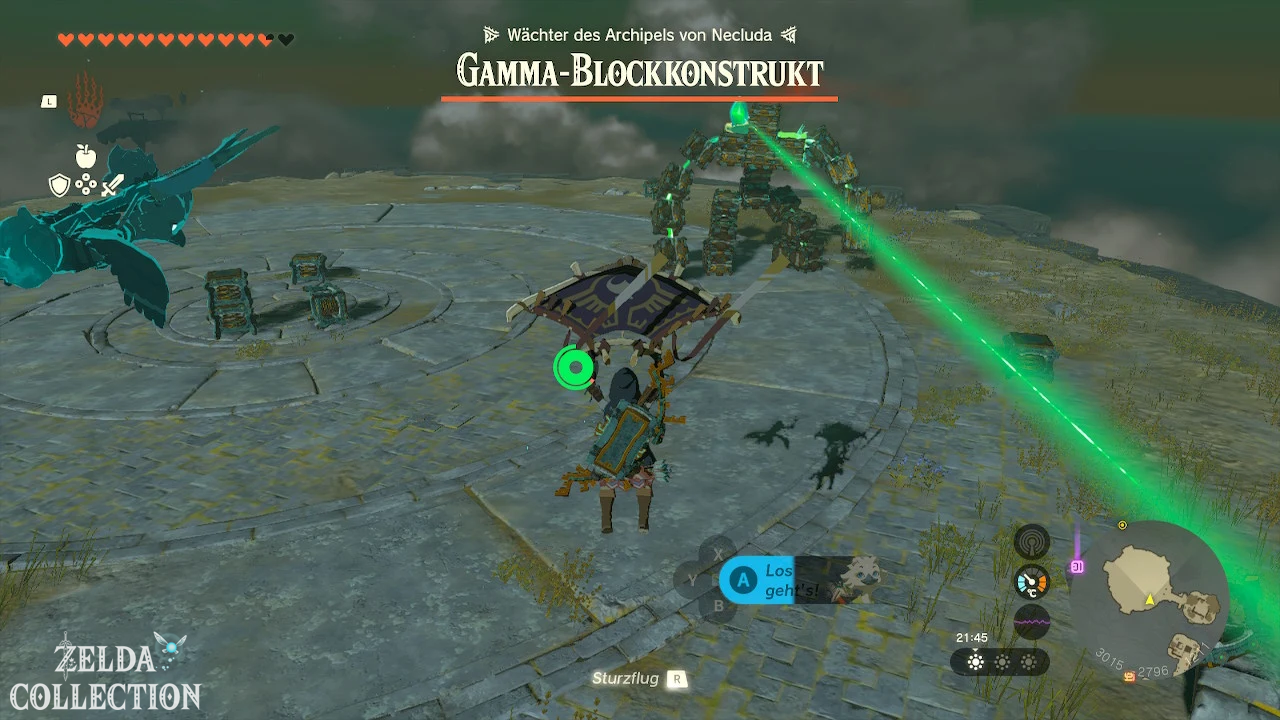
This begins the shrine task “Shrine in the Archipelago of Necluda”. A green beam of light will show you the location of the required crystal on a circular island northeast of the shrine.
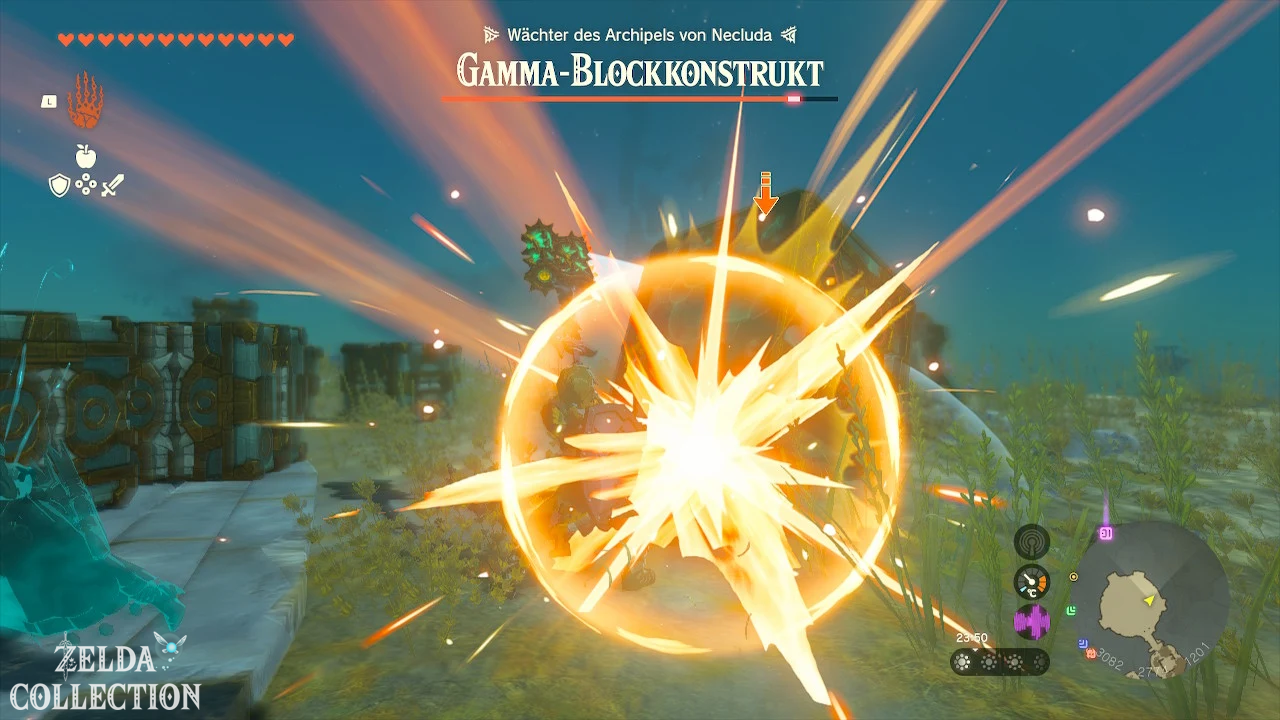
Get crystal from block construct
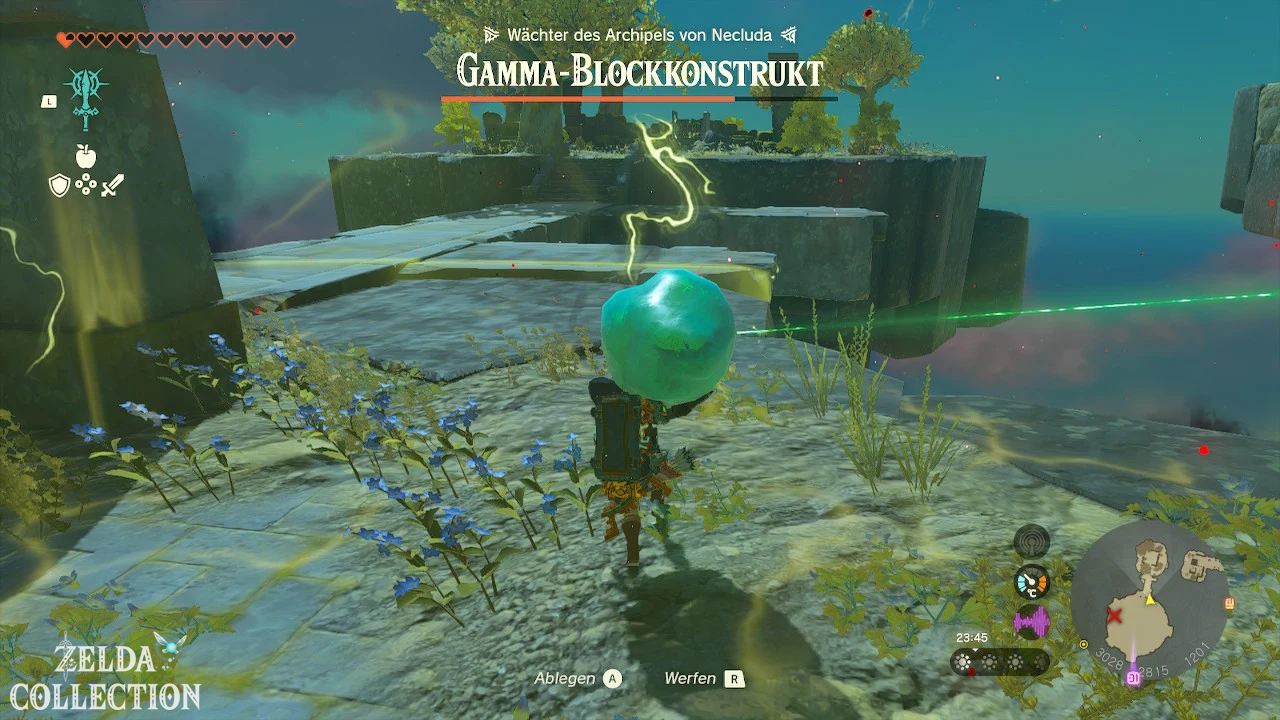
A third level block construct is waiting on the target island. The green shrine crystal is connected to his body.
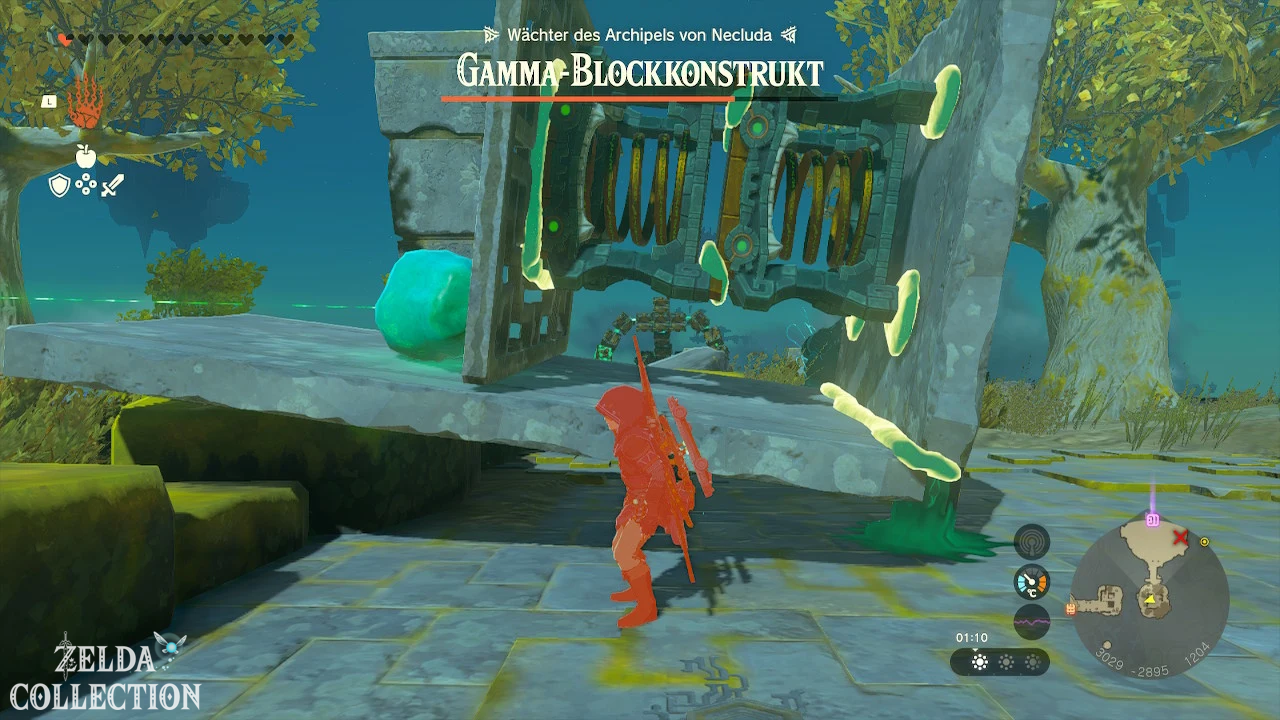
Grab the glowing control cube with the Ultrahand and pull it out of the construct. The opponent then briefly disintegrates. Attack the cube with your strongest weapons and repeat the process until the block construct is defeated.
In its cube shape you can also pull out the control block with the Ultrahand. If it turns into a floating platform, use the Recall on a blocked block and ride it up.
Transport crystal to shrine
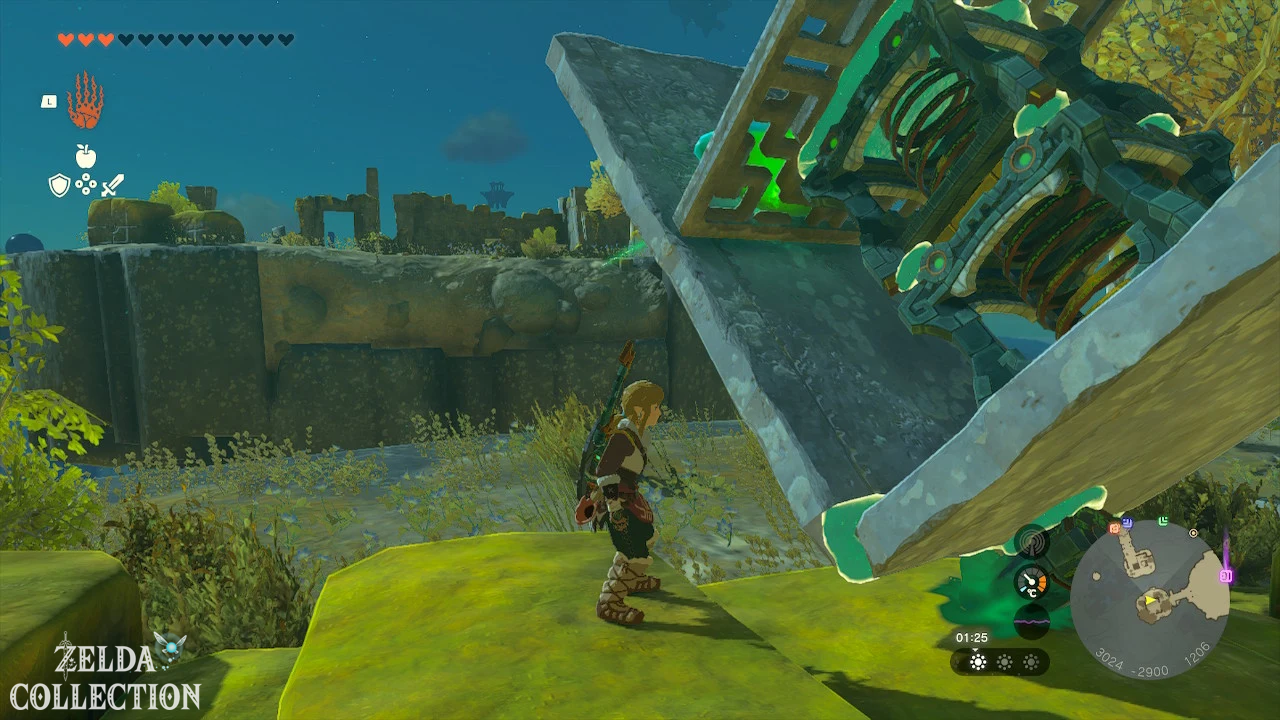
After the fight, pick up the green crystal. Use the Zonai Devices available on the Sky Islands to build a simple flying platform. Securely attach the crystal to the vehicle and align yourself with the green beam of light.
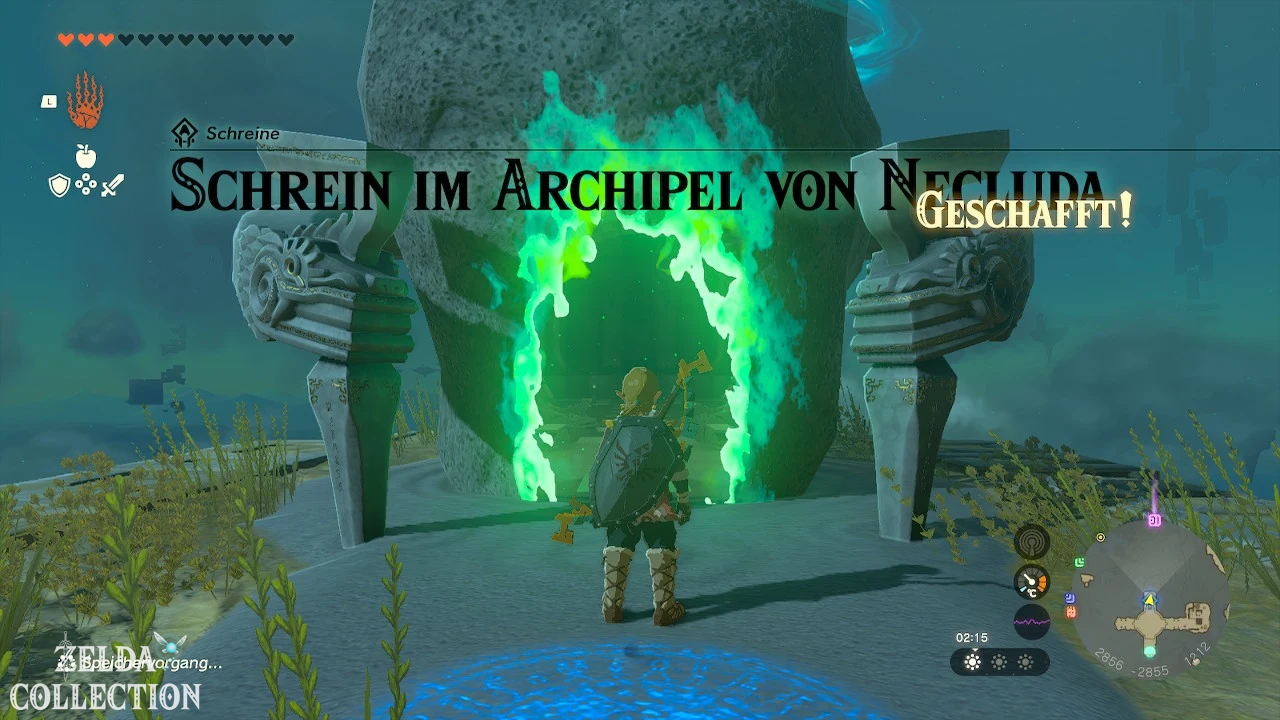
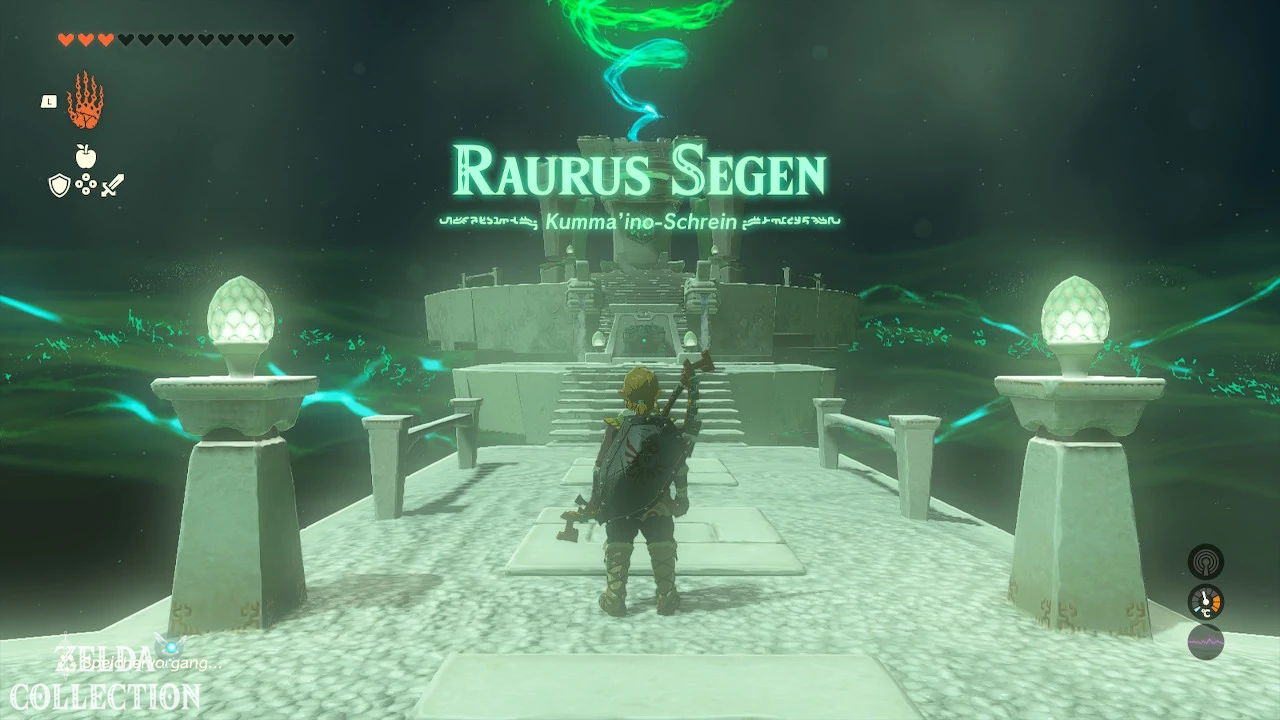
Fly back to the shrine island and only solve the crystal when you have landed directly in front of the platform. Place it on the green symbol to create the complete Kumamayn Shrine.
Obtain Rauru’s blessing
No further testing awaits inside. Open the Treasure Chest with the Zonaite sheet and then accept the Light of Blessing at the altar.
Tip: You don’t necessarily have to completely defeat the block construct if you manage to solve the crystal with the Ultrahand and transport it safely away. However, combat is the most reliable course of action.
Mayahisik Shrine
Trial: Raurus Blessing
Reward: Great Wand and a Light of Blessing
Location: Retsam Forest Cave, northwest of the Hateno Village Institute
Coordinates: approximately 3729, -2059, 0189
Find Mayahisik Shrine
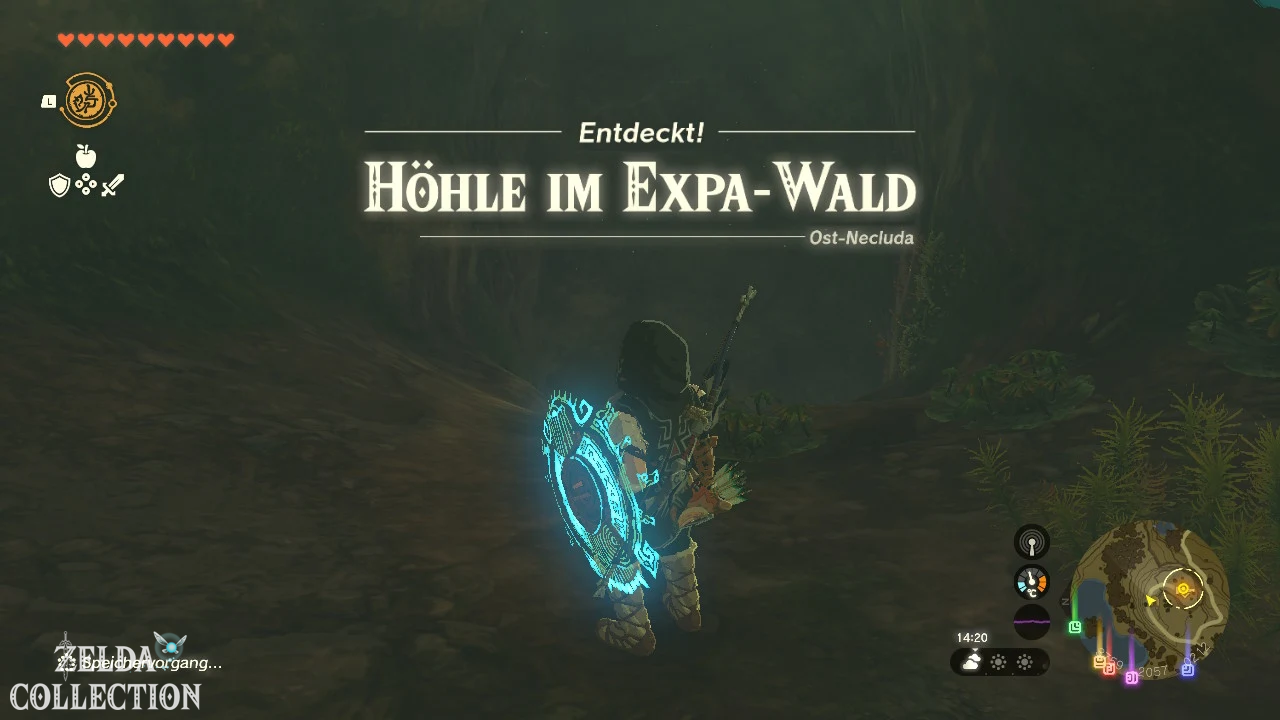
The Mayahisik Shrine is in the Retsam Forest Cave. The search for him is closely linked to unlocking the Shiekah sensor in the Hateno Ancient Tech Lab.
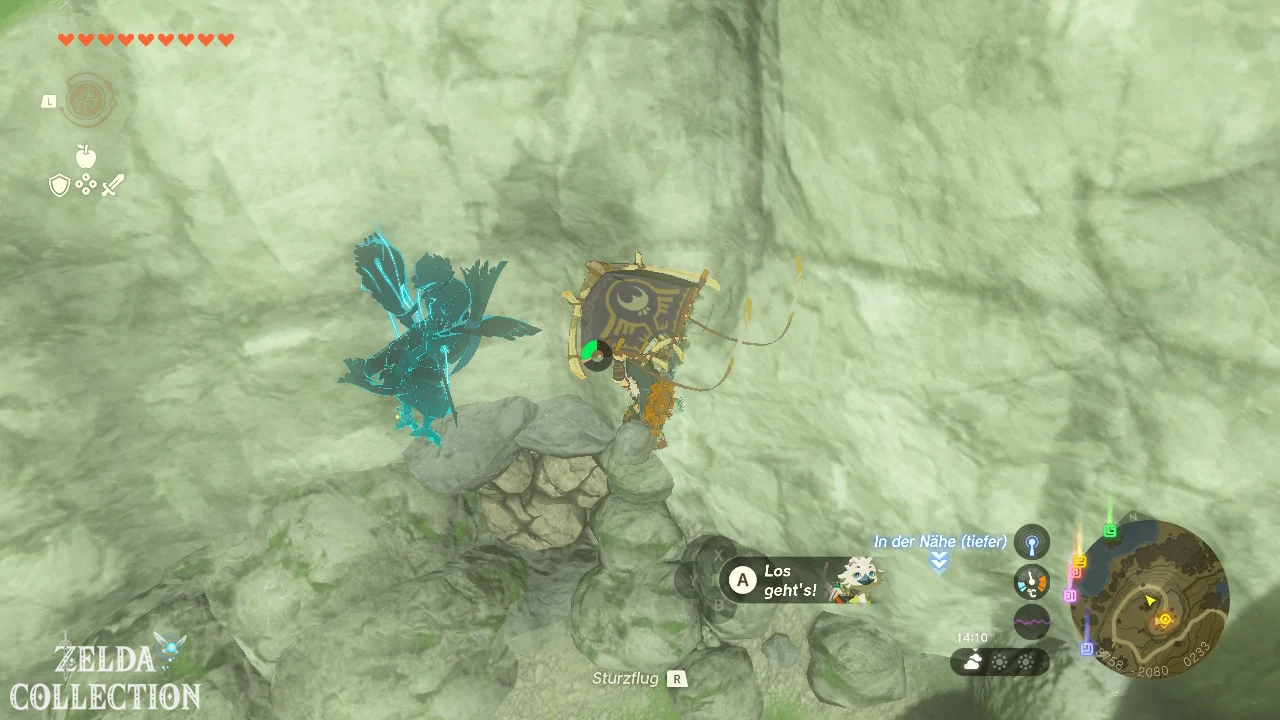
Leave the institute and head towards the Expa Forest. The cave entrance is blocked by a wall made of brittle rock. Connect a rock to a weapon or use a bomb flower to reveal the passage.
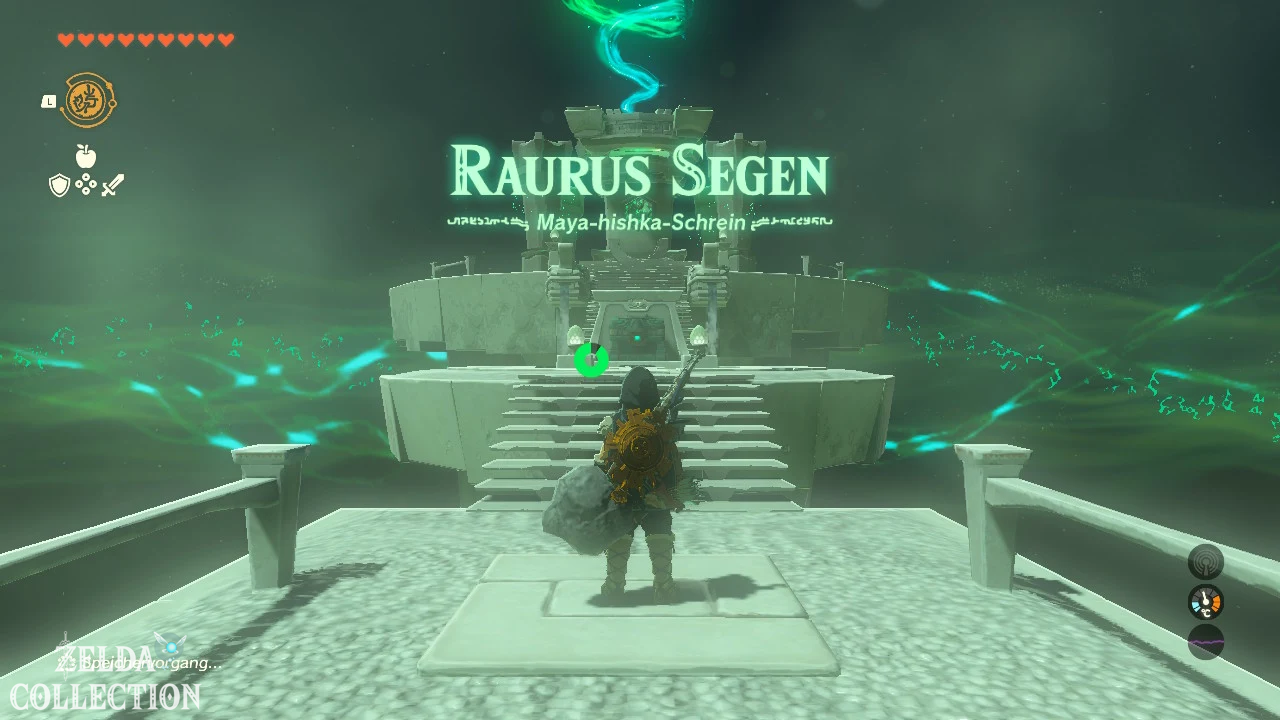
Follow the short cave passage. The shrine is open at the back and requires no further task.
Solve Mayahisik Shrine
Rauru’s blessing awaits you in the shrine. Open the Treasure Chest immediately in front of the altar. It contains a Large Wand.
Magic wands develop their real effect when you connect them with a gemstone. For example, a sapphire creates ice attacks while a Rupee shoots fire. Then accept the Light of Blessing.
Tip: If you are on the move as part of the Sensor + task, simply follow the increasing strength of the shrine signal. The goal of the task is to find the hidden cave entrance using the sensor.
Zanmik Shrine
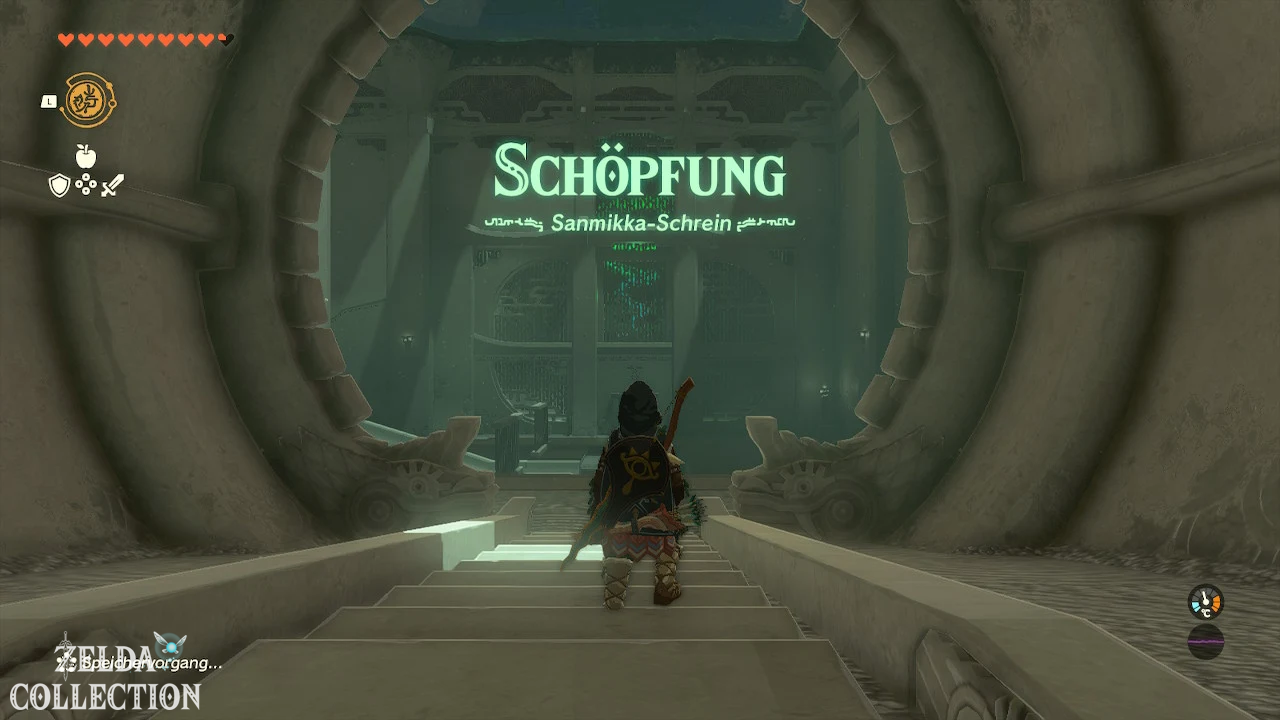
Trial: Creation
Reward: Strong Zonaite Greatsword and a Light of Blessing
Location: On a hill in the center of Hateno Village
Coordinates: approximately 3470, -2181, 0148
Find Zanmik Shrine
The Zanmik Shrine stands on the prominent hill in the center of Hateno Village. From the village entrance, follow the ascending path or climb directly up the slope. The shrine is freely accessible.
Solve Zanmik Shrine
After entering, go to the lower level. There you will see a large spherical container, a Big Wheel, several metal plates and a broken circuit.
Take a metal plate with the Ultrahand and place it over the two open contacts on the ground. As soon as the plate touches both contacts, the large Big Wheel is energized and begins to rotate.
Move a ball up
The quickest solution is to attach a ball directly to the outside of the rotating wheel. Wait on the upper level until the ball is brought up and release it there with the Ultrahand.
Alternatively, you can build a large shovel using the remaining metal plates. Attach the construction to the Big Wheel so that the open side is guided through the ball container when turning. The shovel automatically lifts one or more balls upwards.
Places a bullet in the round receiver on the upper level. The gate to the altar opens.
Find hidden Treasure Chest
Before you complete the shrine, you should put the balls in the lower container aside. There is a hidden Treasure Chest underneath them.
Grab the chest with the Ultrahand and pull it out of the ball crowd. Inside is a Strong Zonaite Greatsword.
Then climb up the ladder and accept the Light of Blessing at the altar.
Tip: You don’t necessarily have to build a perfect shovel. A ball attached directly to the Big Wheel is faster and works just as reliably.
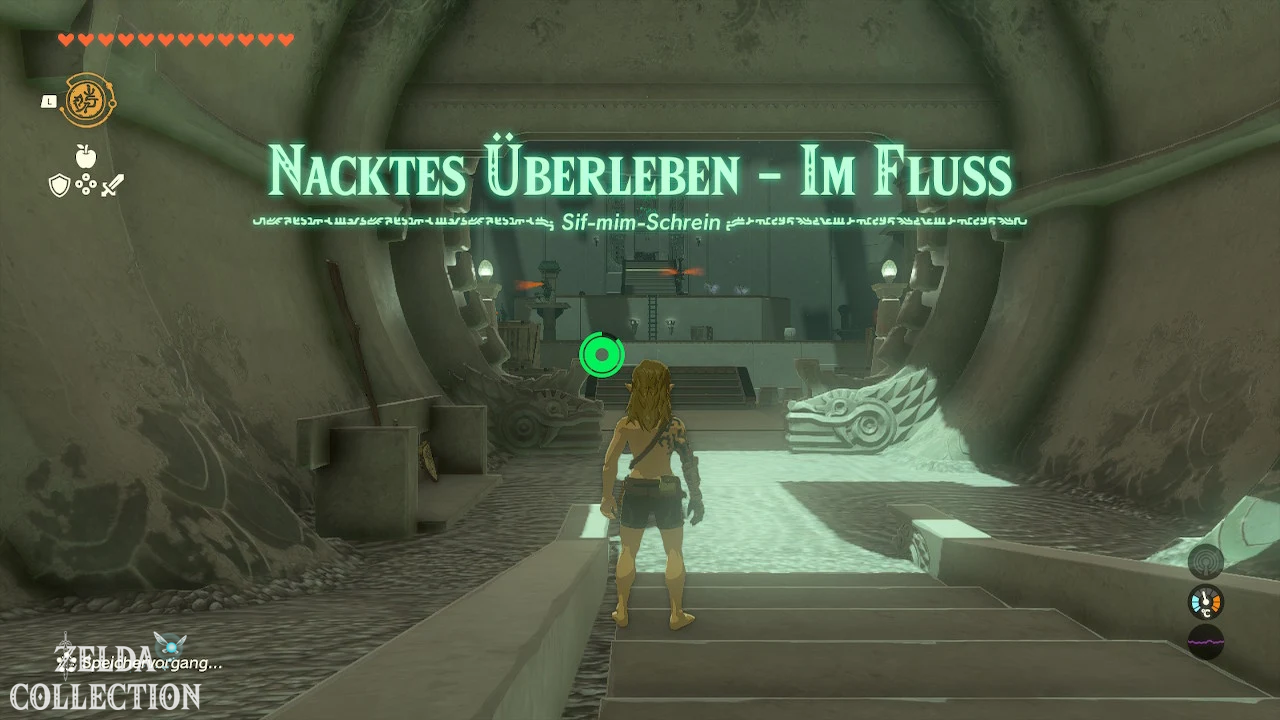
Sifumim Shrine
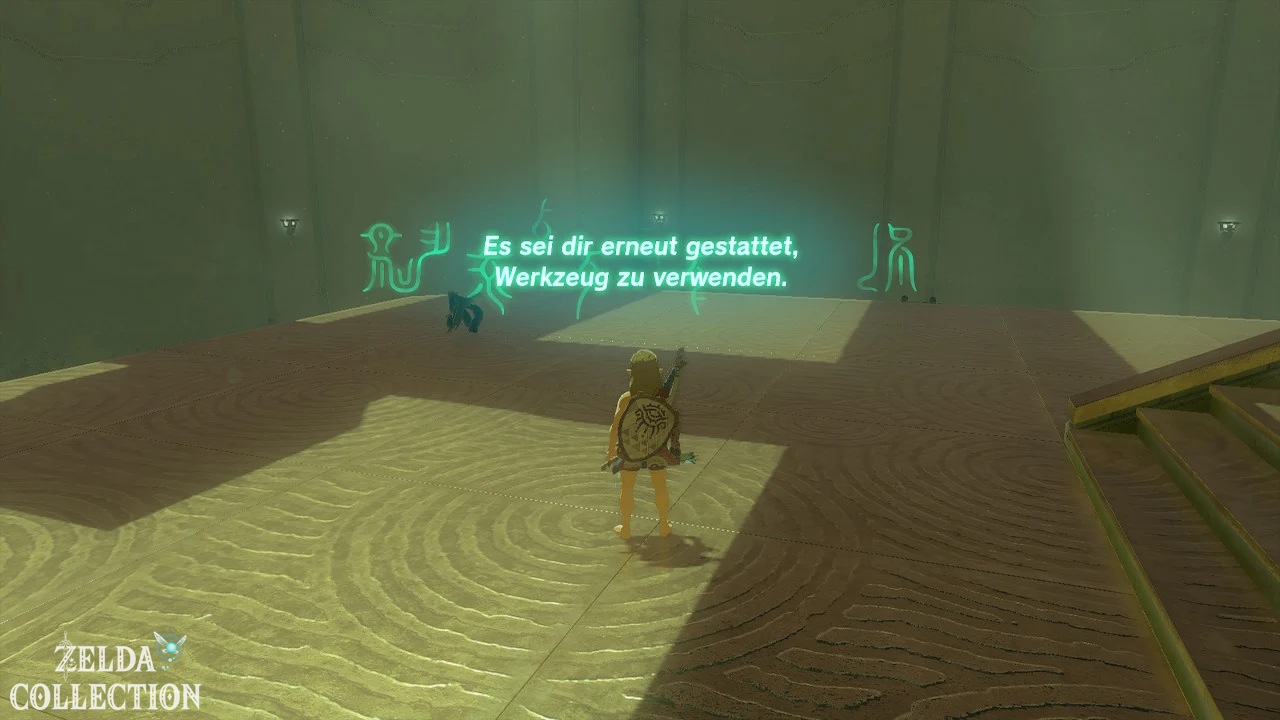
Trial: Bare Survival – In the River
Reward: Captain’s Scythe and a Light of Blessing
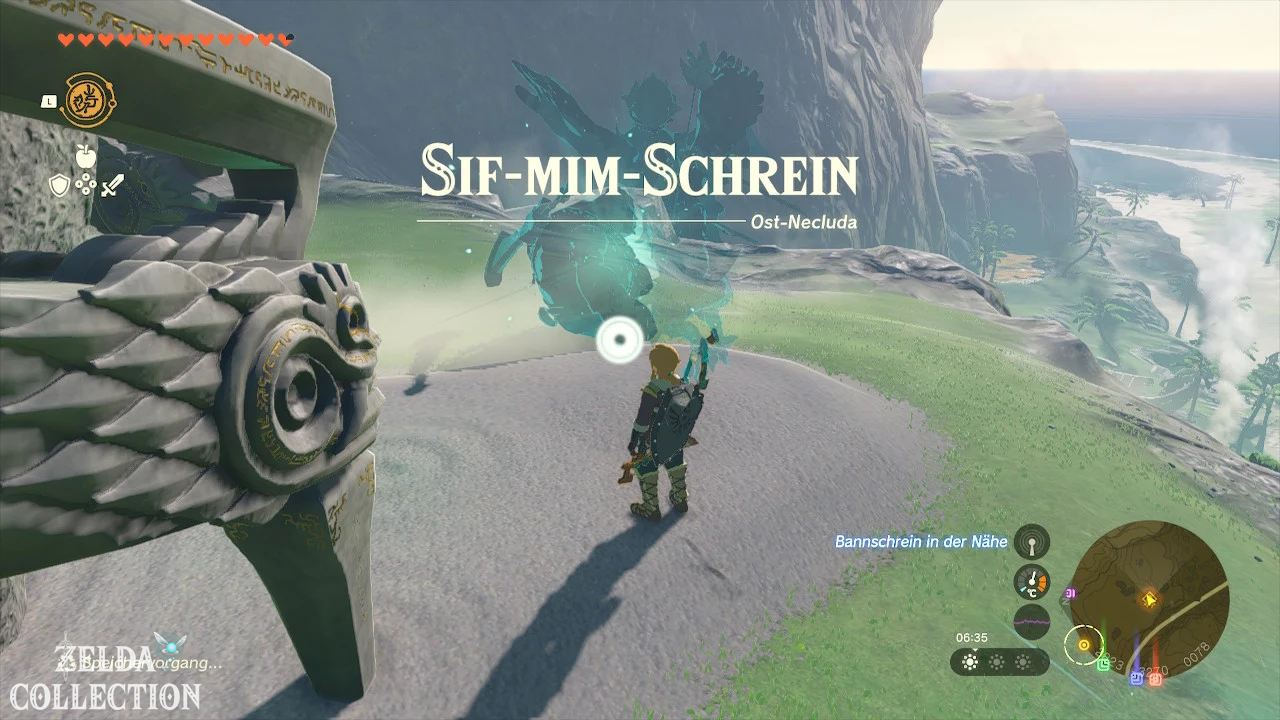
Location: Southeast of Lurelin Village on the coastal road
Coordinates: approximately 2826, -3271, 0078
Find Sifumim Shrine
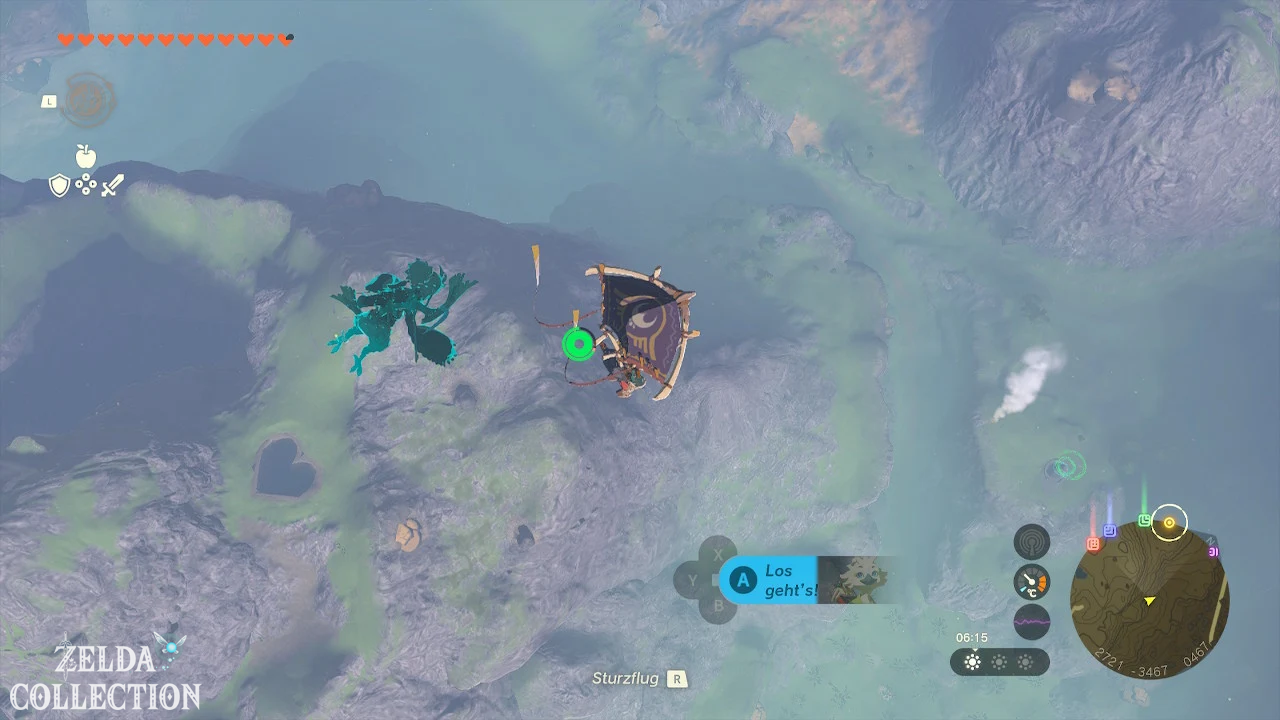
The Sifumim Shrine is located on the road southeast of Lurelin Village. The Rabella Wetlands Skyview Tower is suitable as a starting point. Launch yourself into the air and glide southeast to the coast.
Solve Sifumim Shrine
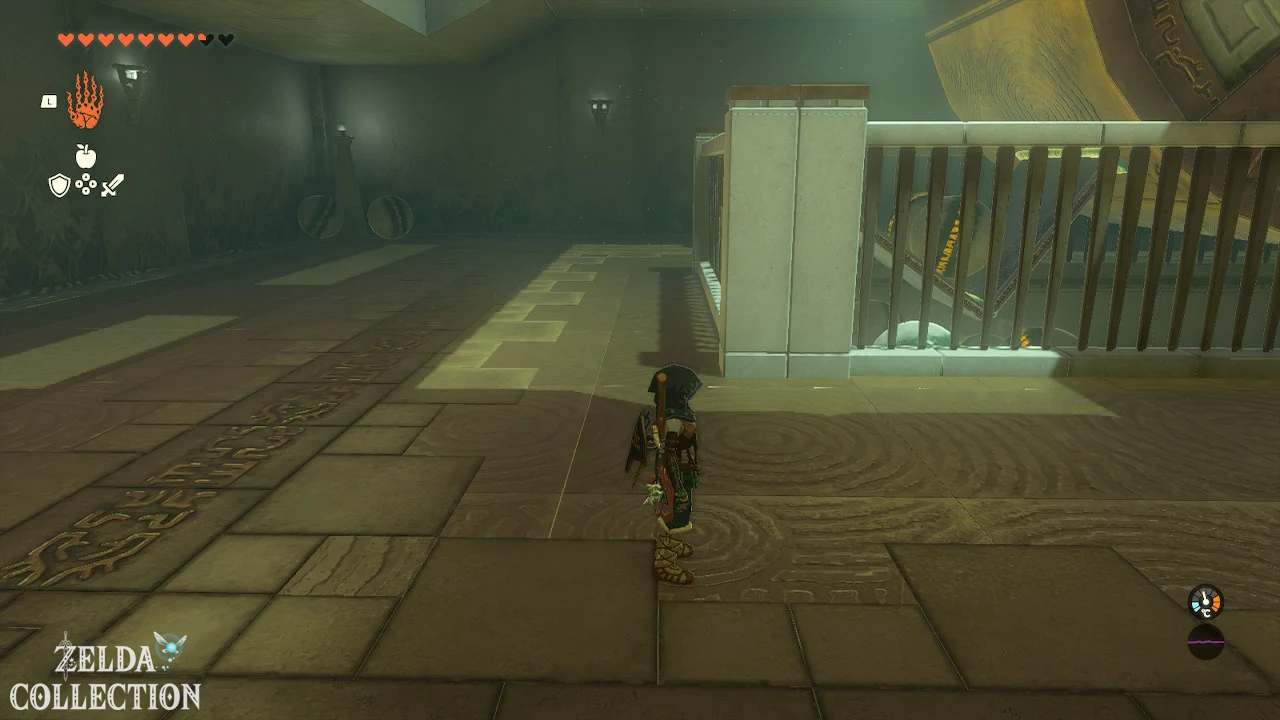
When you enter, all of your equipment, weapons and shields will be confiscated. First collect the simple weapons near the entrance.
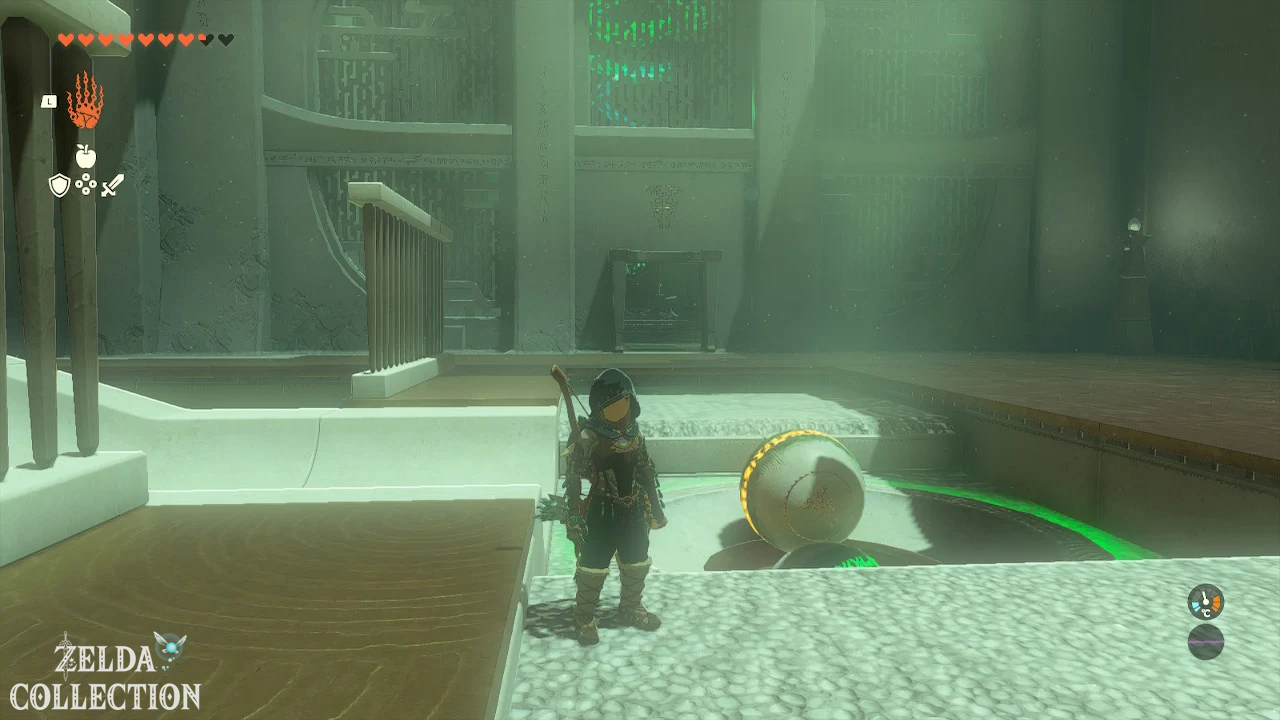
Several constructs ride on rafts through a ring-shaped watercourse. Take cover behind the Wooden Box on the right side and wait for the first raft to approach.
Grabs the raft with the Ultrahand and tilts it sideways. The construct falls into the water and is immediately switched off. Collect his bow and arrows.
Then climb the ladder onto one of the raised platforms. From there you can take out the passing constructs with headshots or knock over their rafts again with the Ultrahand.
Stay constantly moving as multiple enemies shoot arrows at you at the same time. The constructs on the lower rafts are the easiest to push into the water. You can surprise the captain on the upper level with a sneak attack or shoot him from a distance.
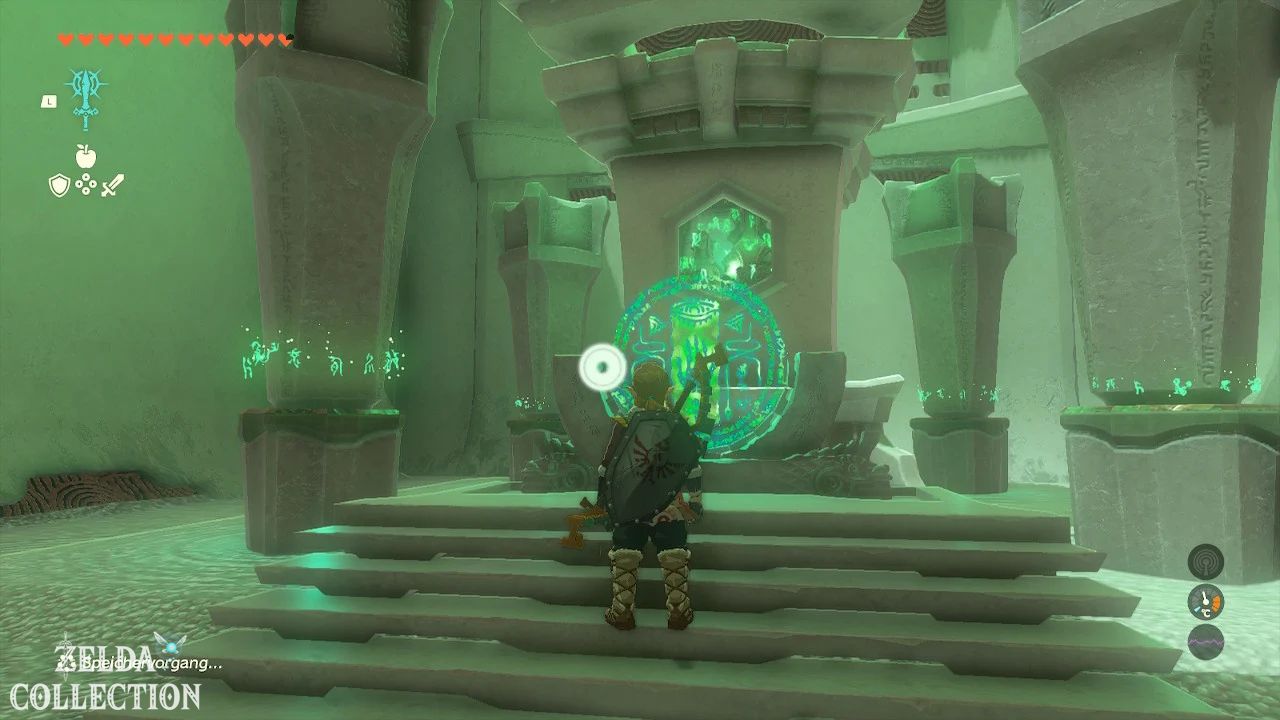
Once all constructs are defeated, you will receive your equipment back. The gate opens and you can open the Treasure Chest with a Captain’s Scythe. The exact level of the weapon may depend on your game progress.
Tip: If possible, do not destroy the rafts with explosive barrels. Intact rafts make it easier for you to reach other enemies and collect their equipment.
Utojis Shrine
Shrine Quest: The Winged Lance
Trial: Raurus Blessing
Reward: Large Zonai Charge and a Light of Blessing
Location: Tobio’s Hollow Cave
Coordinates: approximately 1217, -2542, 0096
Find Utojis Shrine
The Utojis Shrine is initially not visible. Head to Tobio’s Hollow Cave west of Lake Dracoto and southeast of Dueling Peaks.
Follow the cave passage to a small campsite with a worn diary. Nearby lies a Zonaite lance and several Keese wings. There is a strikingly glowing ring in front of you.
Unlock the winged lance
Axyl up the Zonaite lance and connect it to a Keese Wing using the Fuse ability. The wing improves the flight characteristics of the thrown weapon.
Stand on the designated pedestal and point the lance at the glowing ring. Hold down the throw button, correct your aim and release the button.
If the winged lance flies completely through the ring, the Utojis Shrine appears and the shrine task is considered completed.
If you miss the target, you can collect the lance again and repeat the attempt. Alternatively, any other spear-like weapon will work as long as it has been attached to a suitable wing.
Obtain Rauru’s blessing
There is no other mystery in the shrine itself. Open the chest with the Large Zonai Charge and then pick up the Light of Blessing.
Tip: Stand right in the middle of the podium. Even a small lateral deviation can cause the lance to fly past the edge of the ring.
All shrines in East Necluda at a glance
| Shrine | level | exam | Location | Chest Reward |
|---|---|---|---|---|
| Anedamimik Shrine | surface | interaction | Deepback Bay Cave | Large Zonaite Energy Sphere |
| Bamitok Shrine | surface | Raurus blessing | Cave on Dunsel Mountain | Big Battery |
| Jogou Shrine | surface | Raurus blessing | Lanayru Road East Cave | Maxi Elixir |
| Yansamin Shrine | Sky | Bare Survival – Made Easier | Zonaite Forge Island | Large Zonaite |
| Kumamayn Shrine | Sky | Raurus blessing | Archipelago of Necluda | Zonaite-Arch |
| Mayahisik Shrine | surface | Raurus blessing | Retsam Forest Cave | Large Wand |
| Zanmik Shrine | surface | Creation | Hateno Village | Strong Zonaite Greatsword |
| Sifumim Shrine | surface | Naked Survival – In the River | coastal road at Lurelin Village | Captain’s Scythe |
| Utojis Shrine | surface | Raurus blessing | Tobio’s Hollow Cave | Large Zonai Charge |
More shrines in Necluda
Once you have completed all nine shrines in East Necluda, you can continue your search in the adjacent areas: