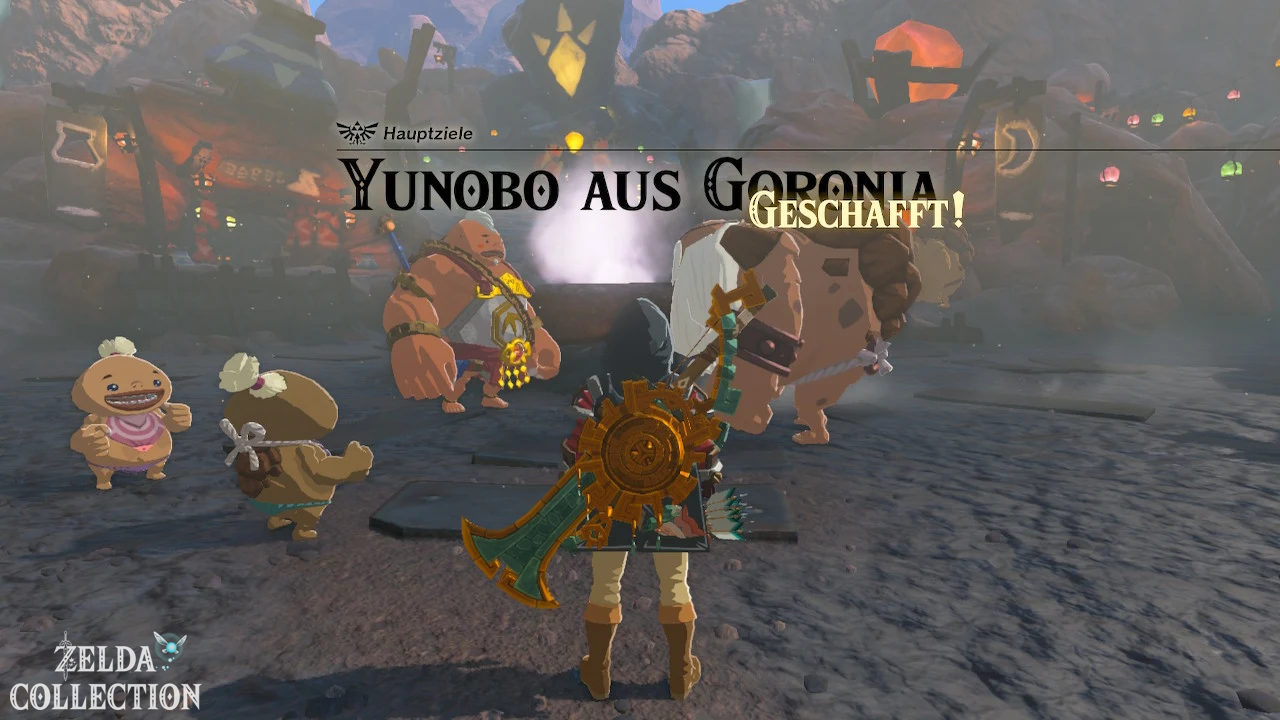
The path to the Gorons in The Legend of Zelda: Tears of the Kingdom is part of the main quest “Regional Phenomena”. Your destination is in the northeast of Hyrule, where a mysterious phenomenon has spread around Goron City and the Death Mountain.
How you reach the volcanic region Eldin depends on which Skyview Towers and shrines you have already activated. Below we will cover both the classic route via the upper world and a much faster journey through the sky. The solution then takes you completely through “Yunobo of Goron City”, through the Death Mountain and the Depths to the Fire Temple and to Final boss Marbled Gohma, Scourge of the Fire Temple.
Navigation
- Preparation for Eldin and the Fire Temple
- Goron City reach
- Fast path through the sky
- Goron City and Marakuguc Shrine
- YunoboCo HQ and anti-fire armor
- Fight against Yunobo
- Advance to Death Mountain
- Boss: Moragia
- Cross abyss at Death Mountain
- Fire Temple reach
- Fire Temple – Gorondia
- Castle 1: Southern ground floor
- Castle 2: North Upper Floor
- Lock 3: Raised chime
- Lock 4: Top area
- Castle 5: Locked Tower
- All 13 Treasure Chests
- Boss: Marbled Gohma
- Graduation and Oath of Yunobo
via the overworld
Preparation for Eldin and the Fire Temple
On the open surface of Eldin, Link initially does not require permanent fire protection. However, in the hot caves, Death Mountain Crater, parts of the underground, and Fire Temple, it begins to burn within a short period of time. Take at least 700 Rupees for the anti-fire armor, several metal or sonanium weapons, two usable bows, about 30 arrows, Brightbloom Seed, healing and stamina dishes, a hammer weapon and some Zonai Charges.
Wooden weapons, shields and bows can ignite in areas with extreme fire hazards. This happens even if Link himself is protected by armor or Elixir. Uses mostly metal, Zonaite or stone equipment in Death Mountain Crater and Fire Temple.
A piece of anti-fire armor is usually sufficient for the intended quest path. The cheapest part is the chest armor for 700Rupees. If you want to unlock additional safety or the complete set bonus, you can also buy a helmet and pants later. You can find an overview of the set and other equipment in our guide all armor in Tears of the Kingdom.
Fire protection medicine as a temporary solution
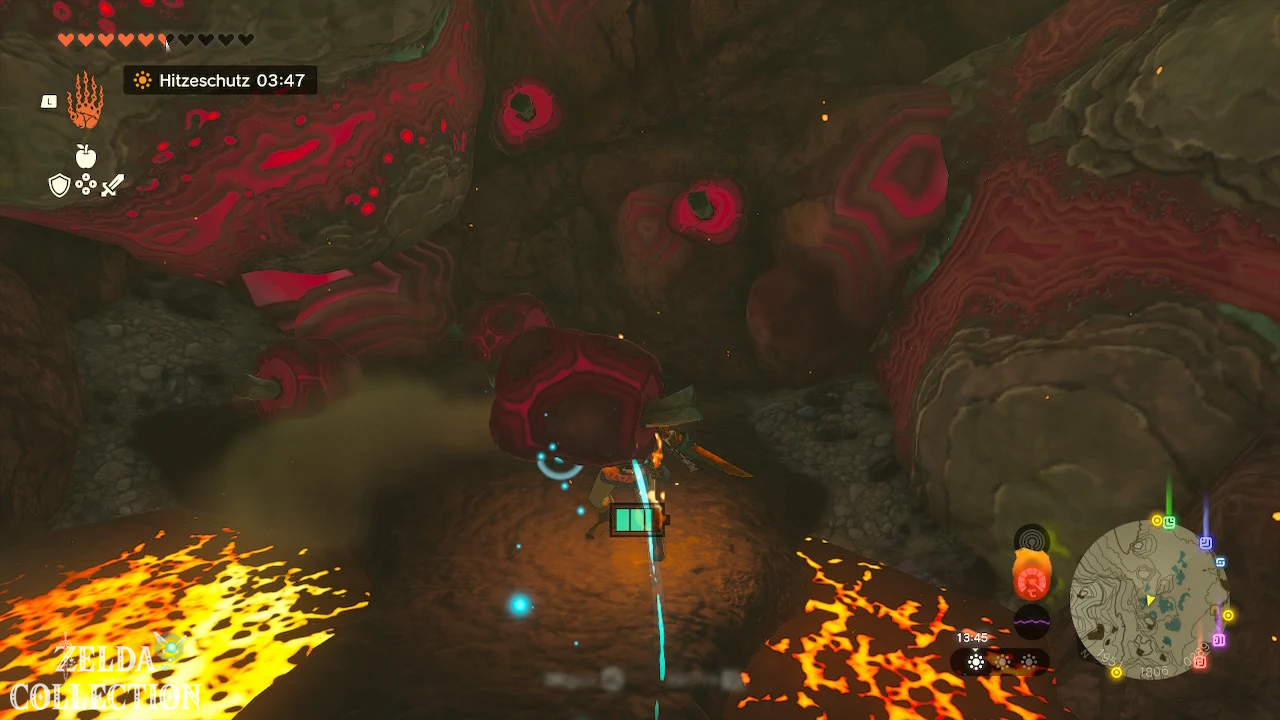
Fire Prevention Medicine is cooked from a fire lizard or fire wing and at least one monster part. It only protects for a limited time and has to be renewed several times for longer stays. Be careful not to confuse fire protection with normal heat protection: desert heat dishes do not prevent Link from catching fire in volcanic caves.
Reach Goron City
via the overworld
For example,
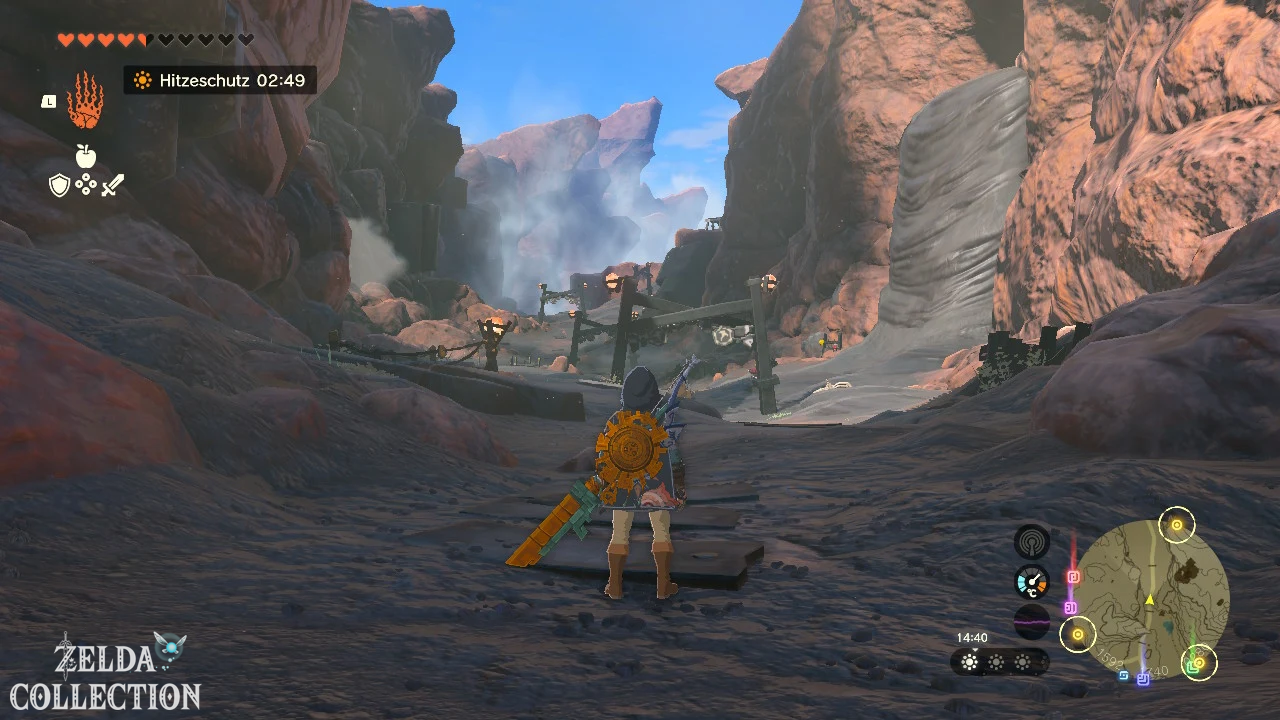
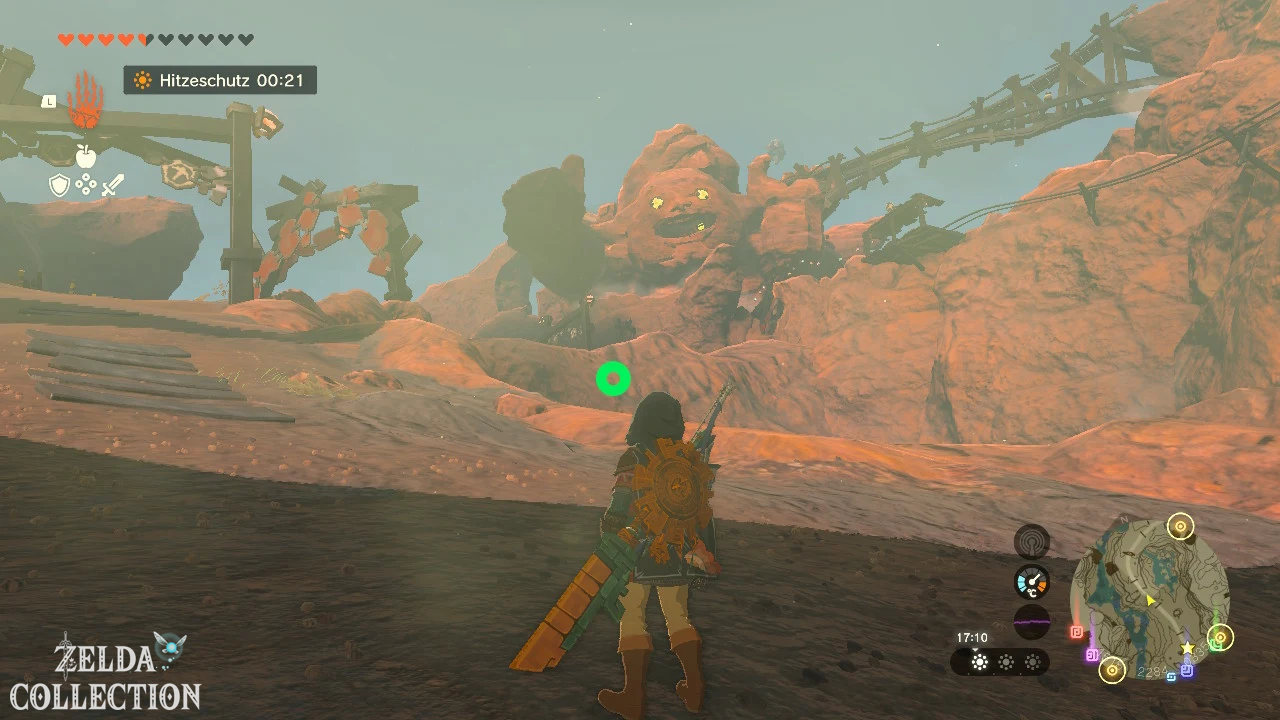
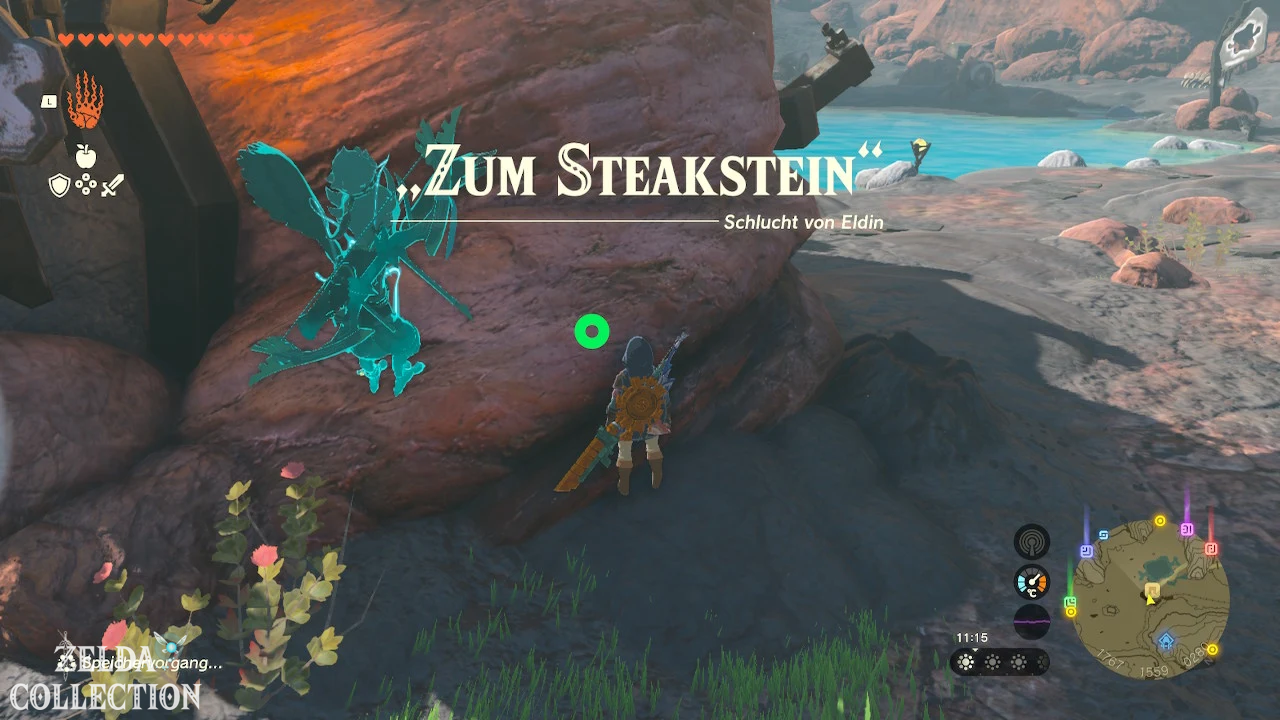
starts at Lookout Landing and follows the main road northeast. The huge Death Mountain is visible from a great distance and serves as a reliable landmark. The longer but beginner-friendly route goes from Lookout Landing towards Woodland Stable, further to the southern foot of Death Mountain, past Bedrock Bistro and Timawak Shrine and then north on the road to Goron City.
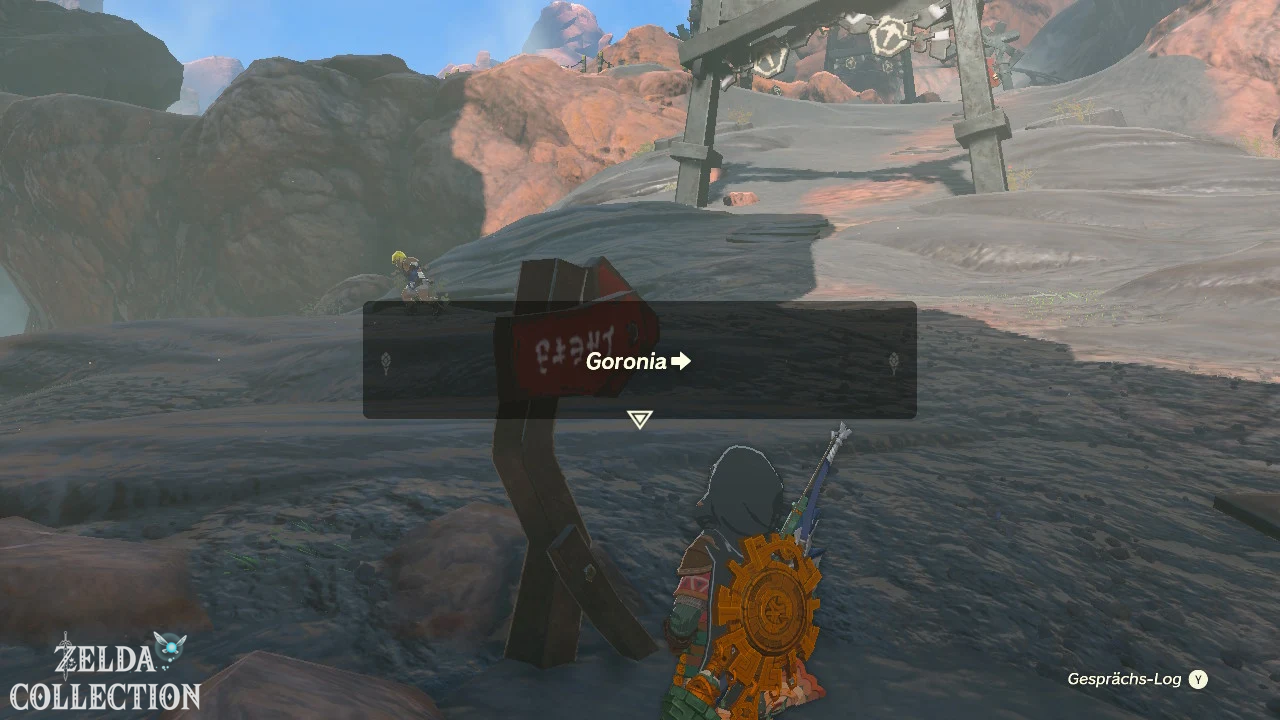
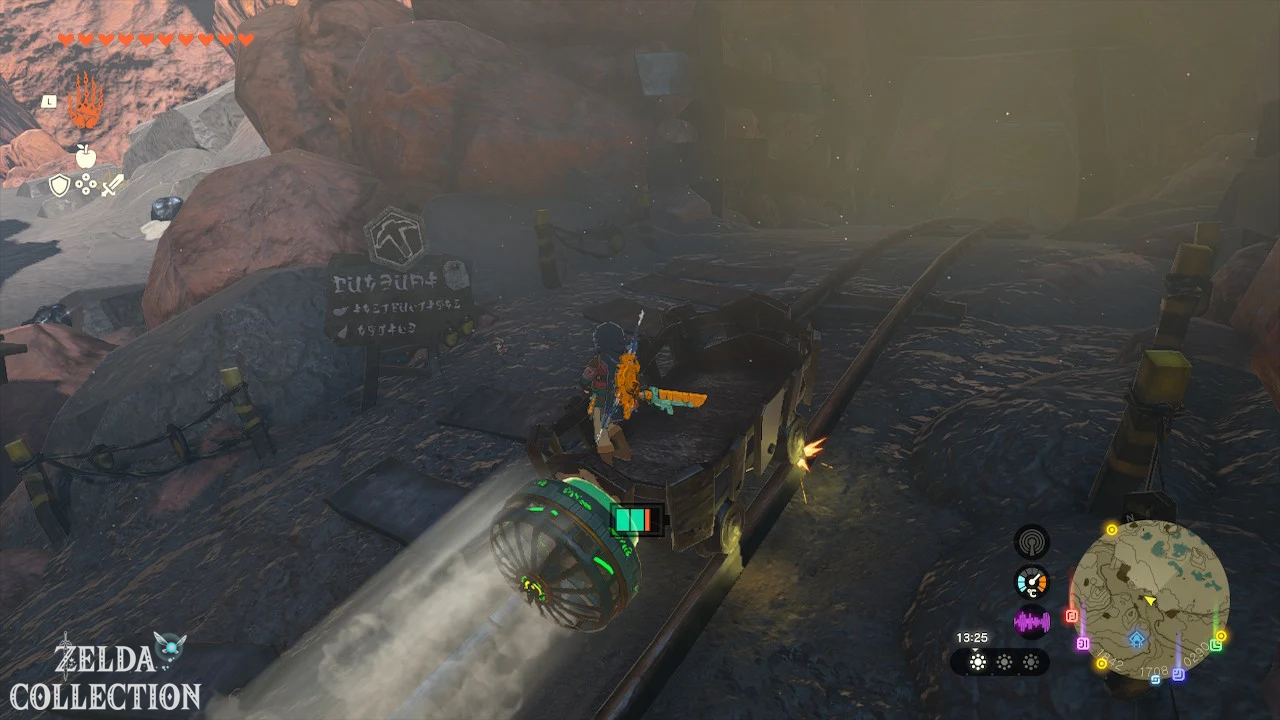
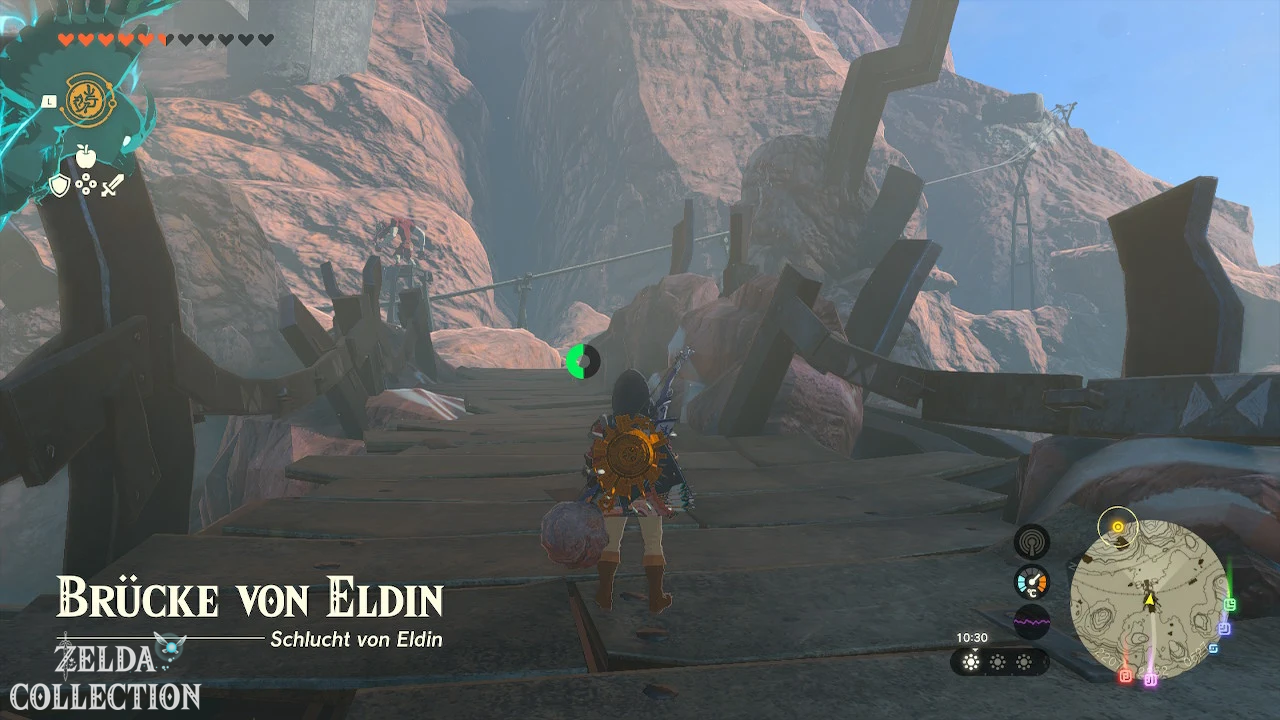
The dry lava fields on the surface are mostly harmless. Follow the lanterns, signposts and mine tracks. You don’t have to cross active lava on this part of the route or climb the Death Mountain directly.
Useful stopovers
The Bedrock Bistro is located south of Death Mountain. There you will find out that many Gorons behave suspiciously and have become dependent on the so-called feasting stones. Also activates the nearby Timawak Shrine. You don’t have to complete his trial immediately; activating it is enough to register it as a fast travel point.
The fast way through heaven
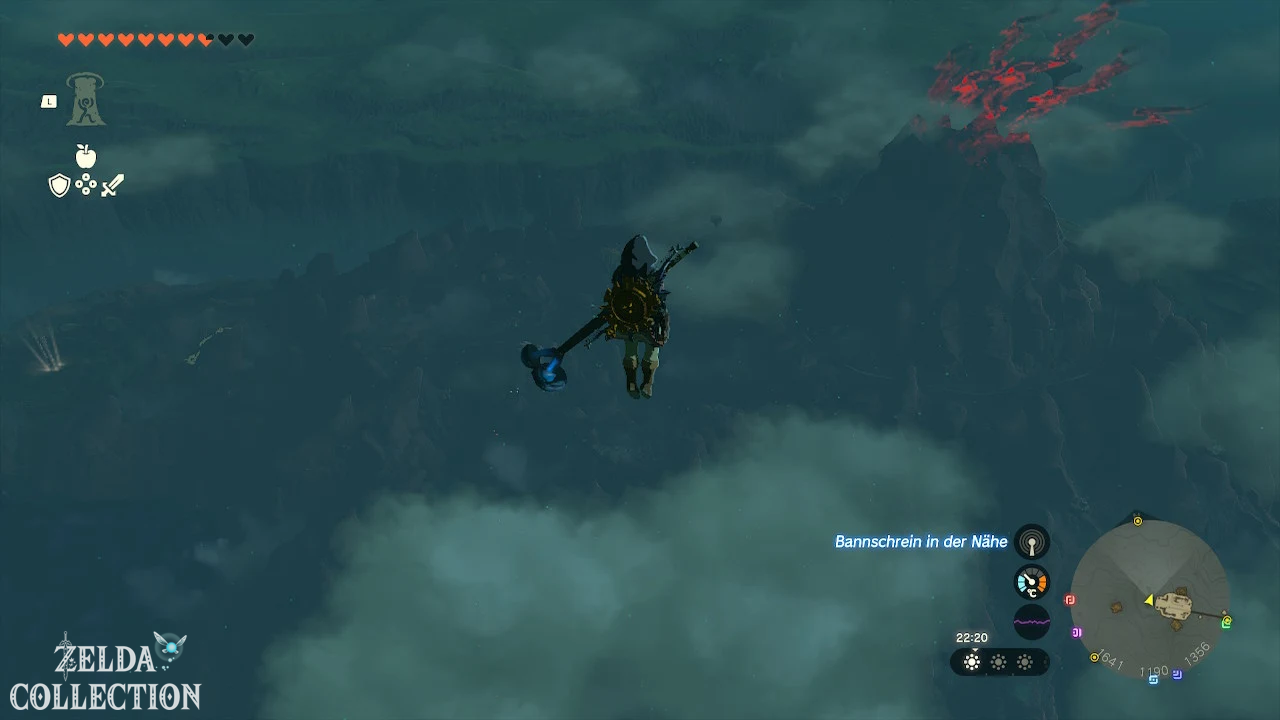
If you have already reached Eldin Canyon Skyview Tower, you can shorten the long hike considerably. Let yourself be shot into the sky from the tower and glide towards Death Mountain or Goron City.
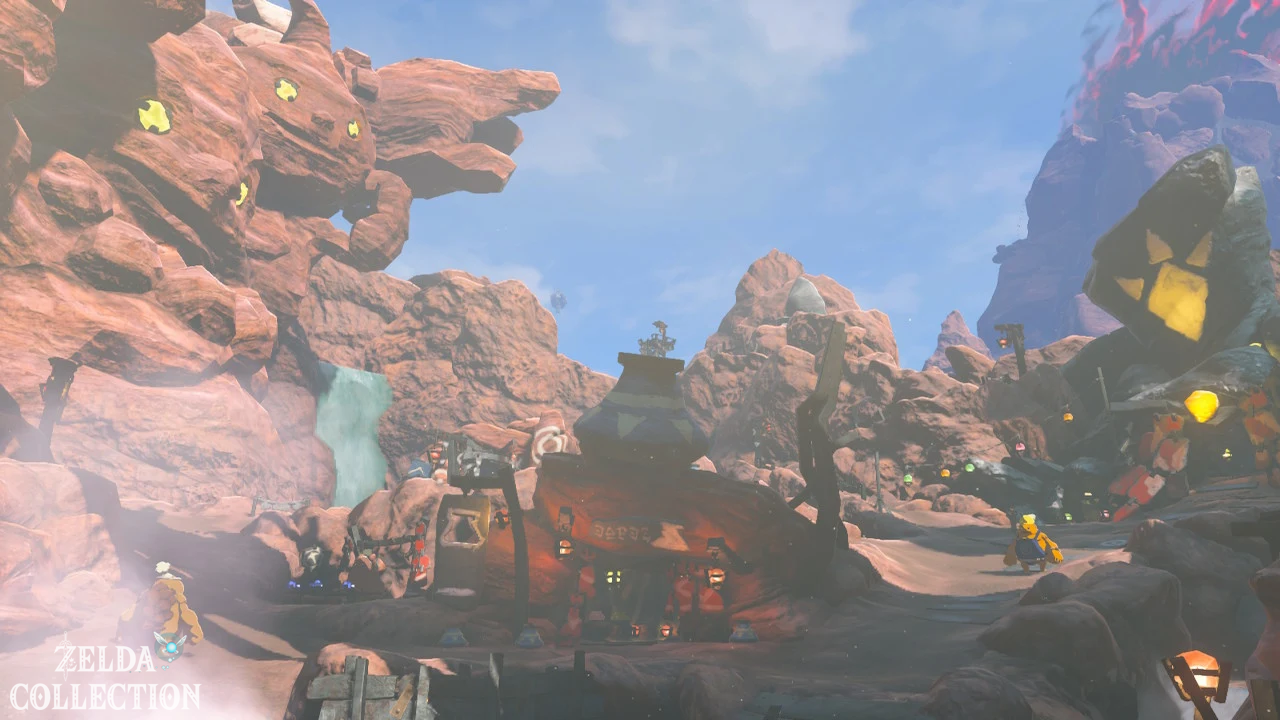
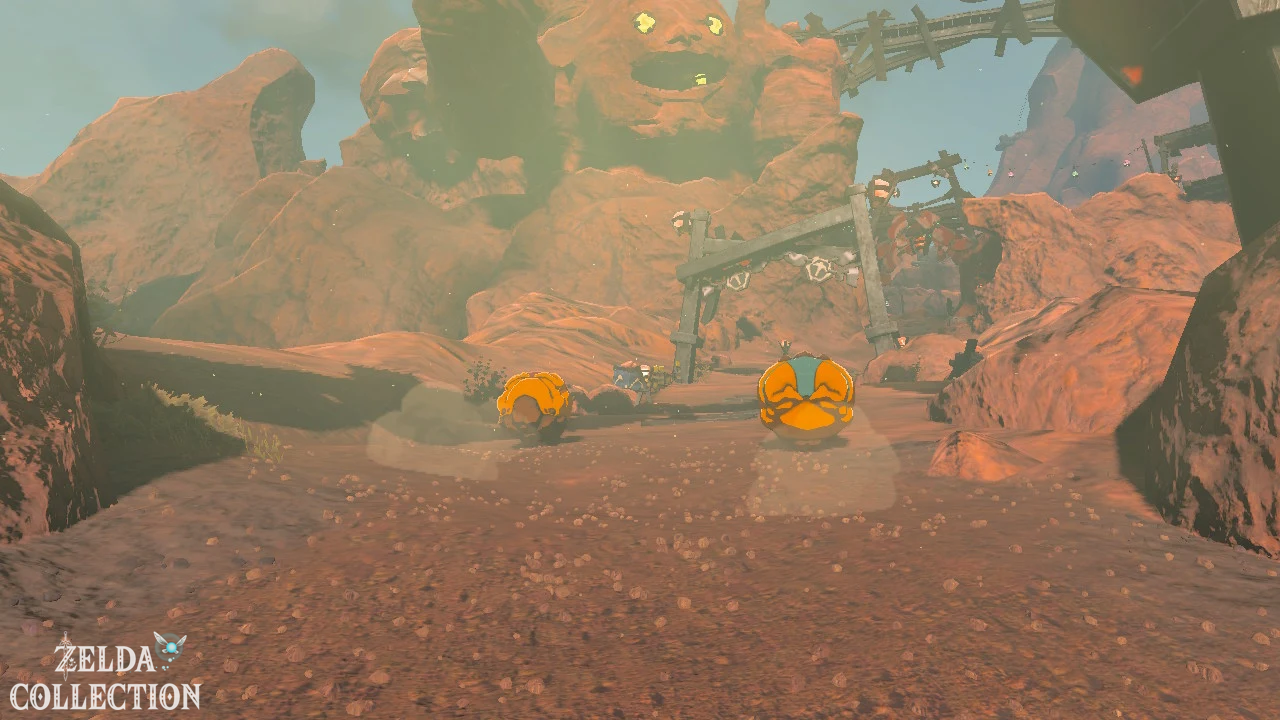
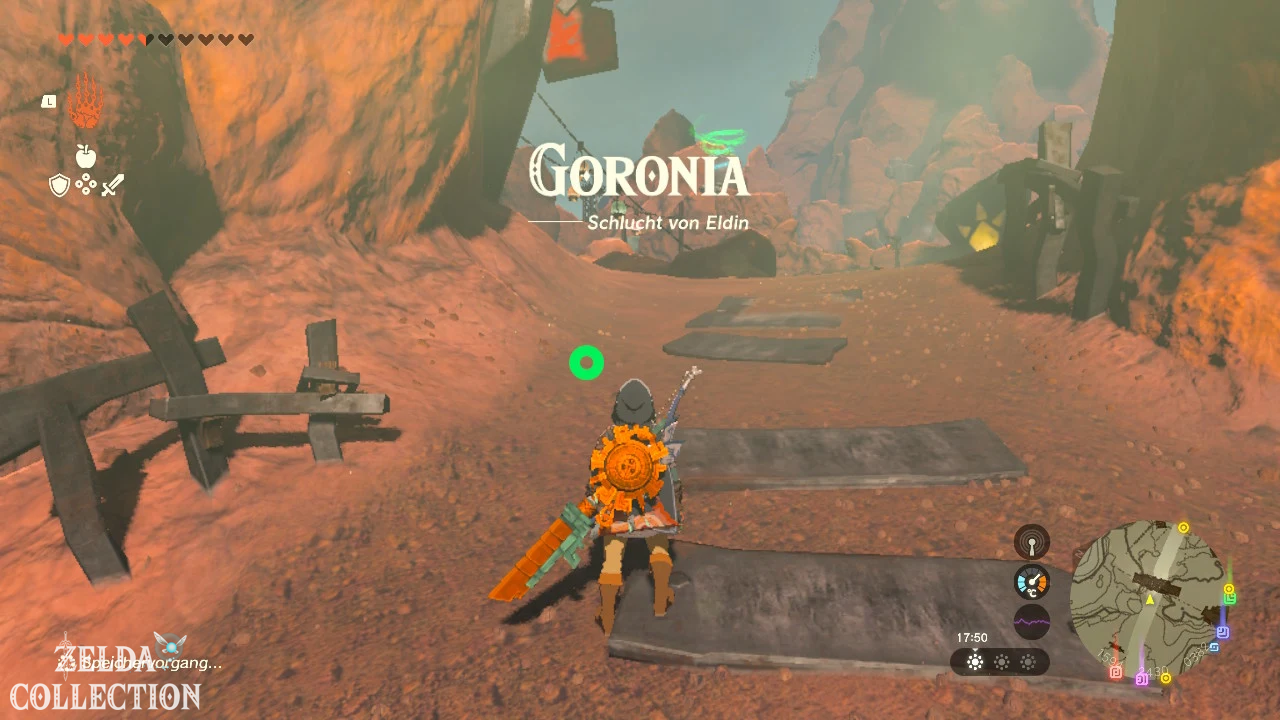
With some improved stamina, a stamina dish, or Tulin’s Gust of Wind, you can land right near the city. If you don’t have enough stamina, land on a higher ledge and continue on foot. Goron City is located on the west side of Death Mountain and is hard to miss due to the large stone buildings and rail systems.
Goron City and the Marakuguc Shrine
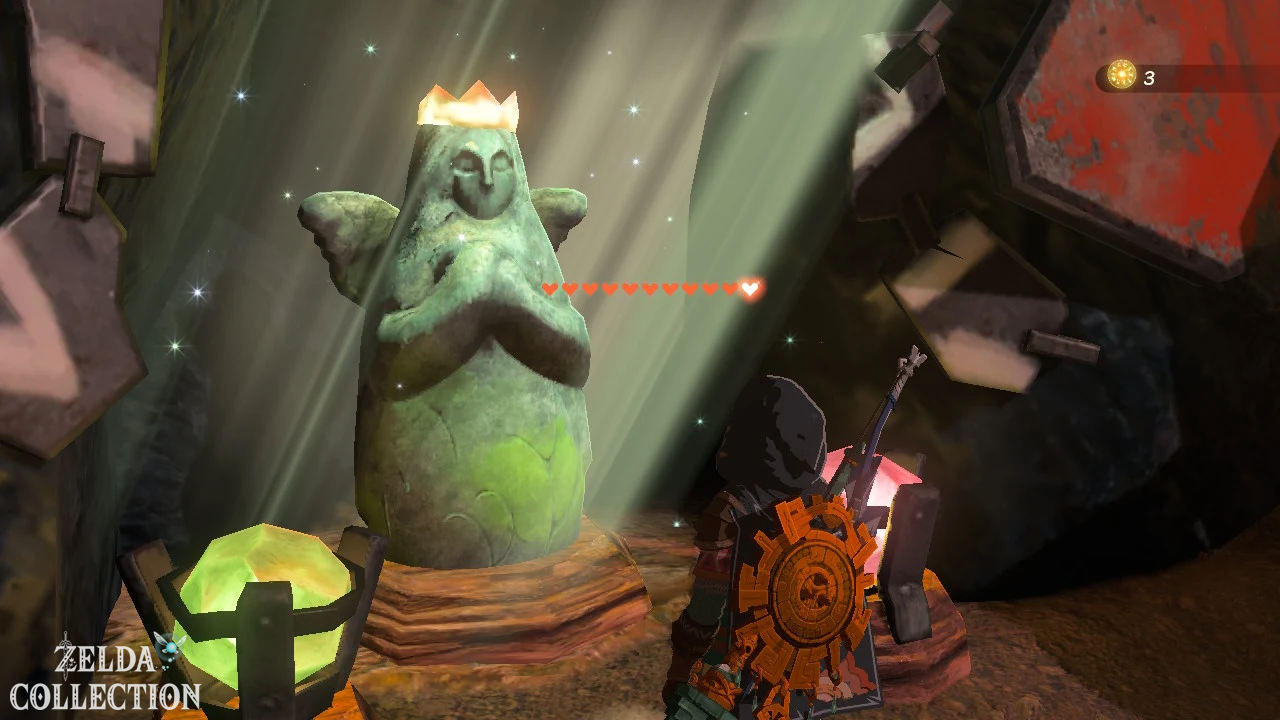
After arriving, first activate the Marakuguc Shrine on the edge or above the city. It will become your main fast travel point for the following sections. You can find more shrines in the region in our overview of the shrines at Death Mountain.
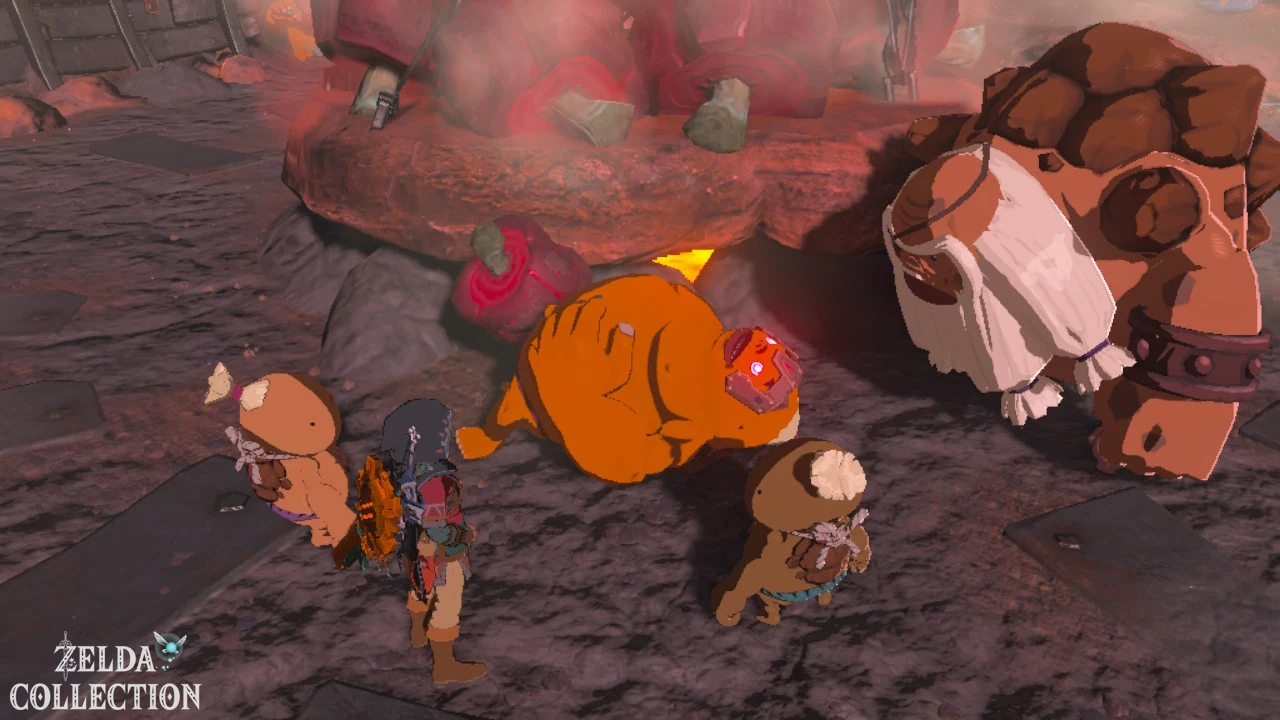
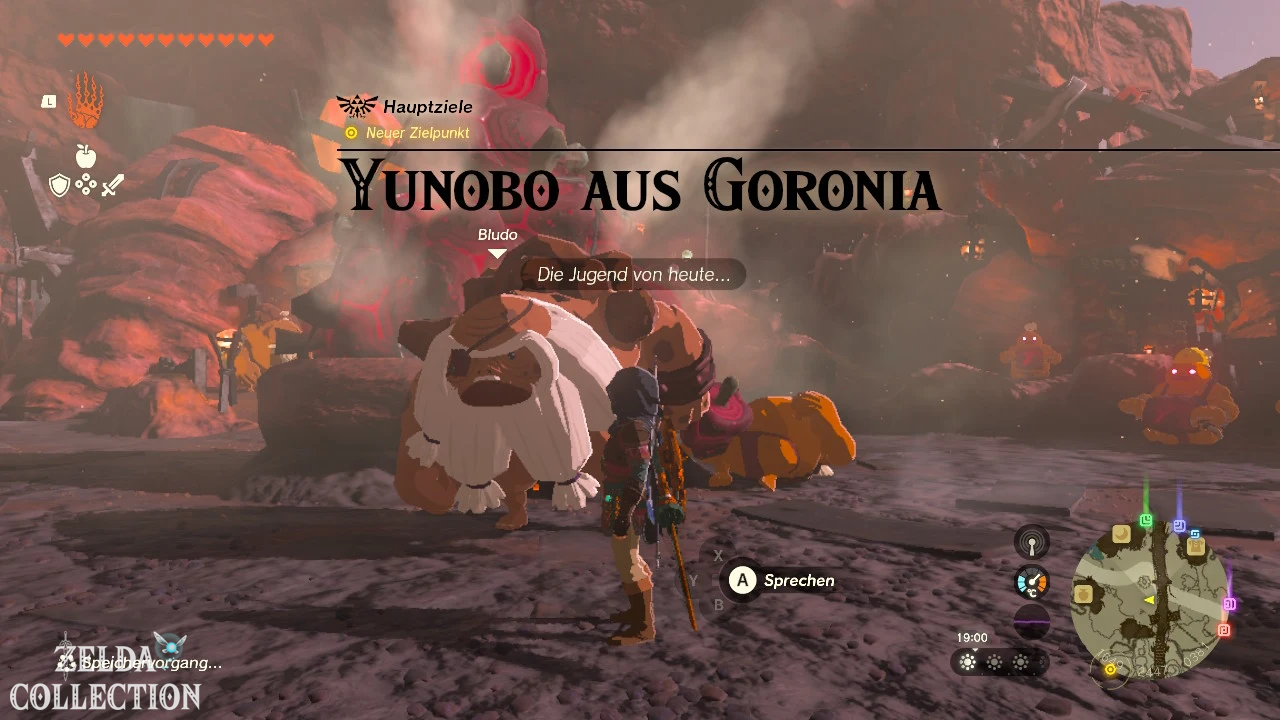
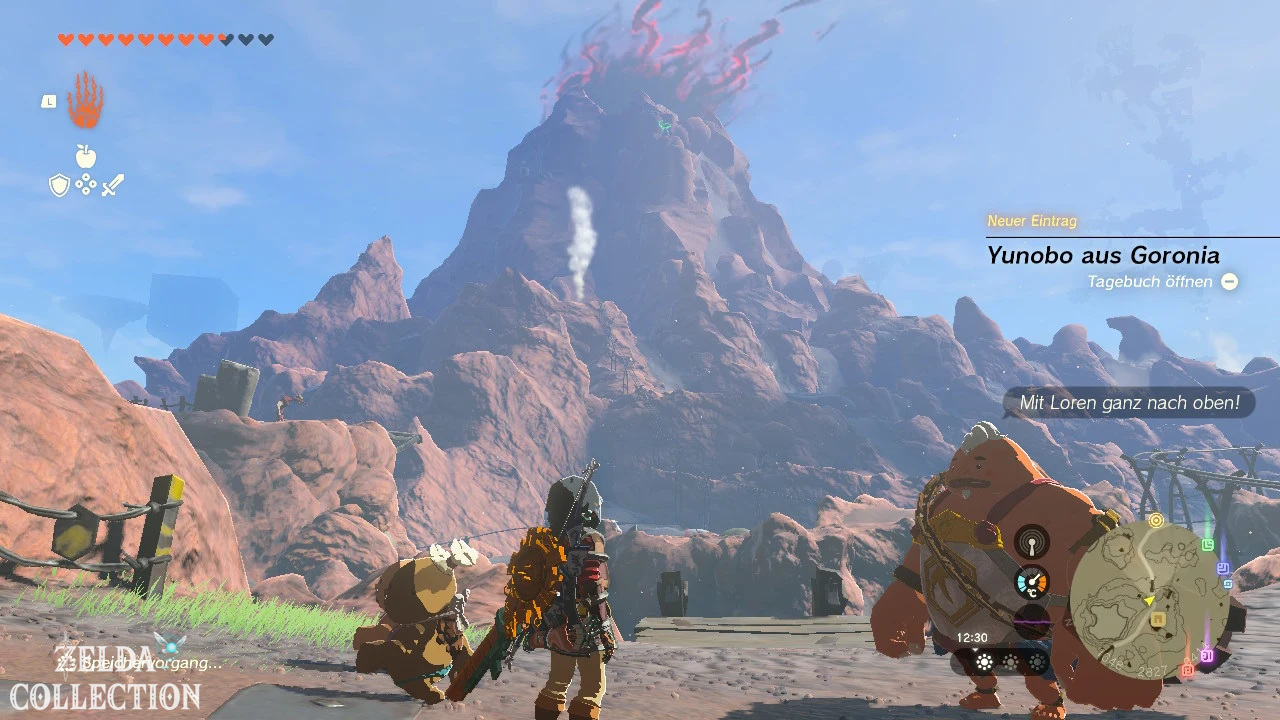
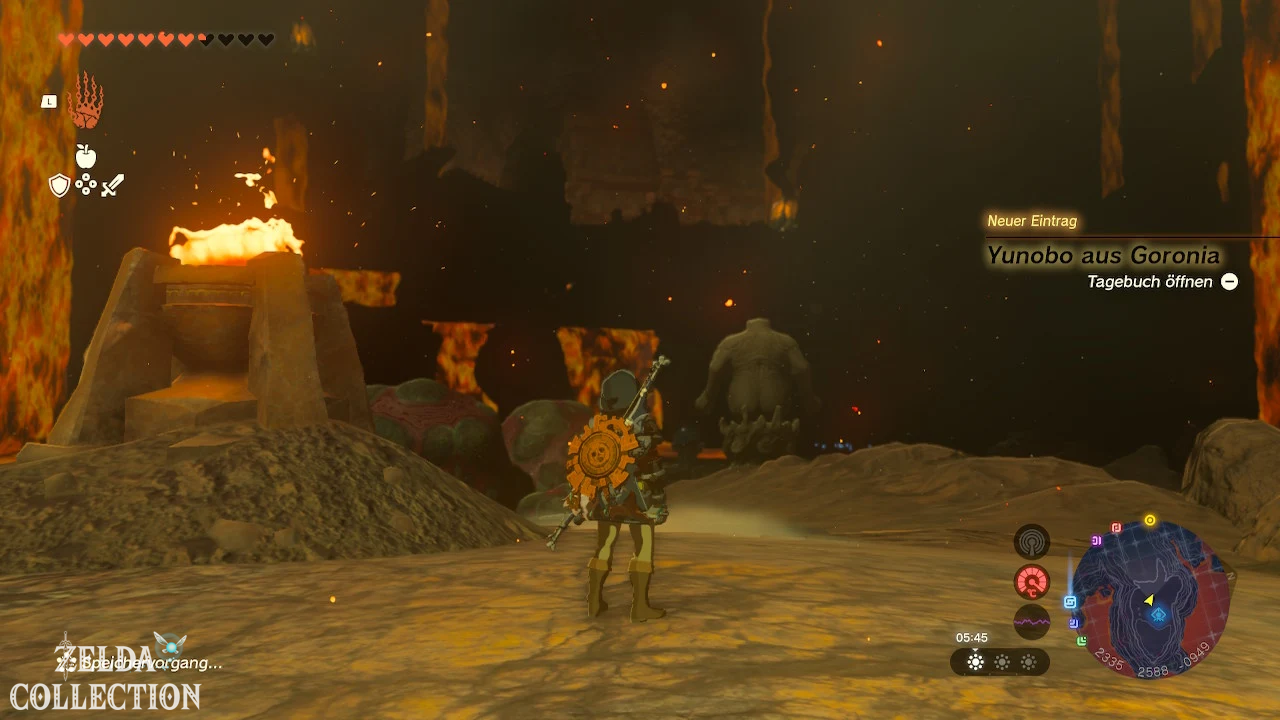
Then go to the central square with the large pile of feasting stones. There you will meet the Goron elder Bludo and the young Gorons Offrak and Slergo. Speak to them to start the main quest “Yunobo of Goron City”.
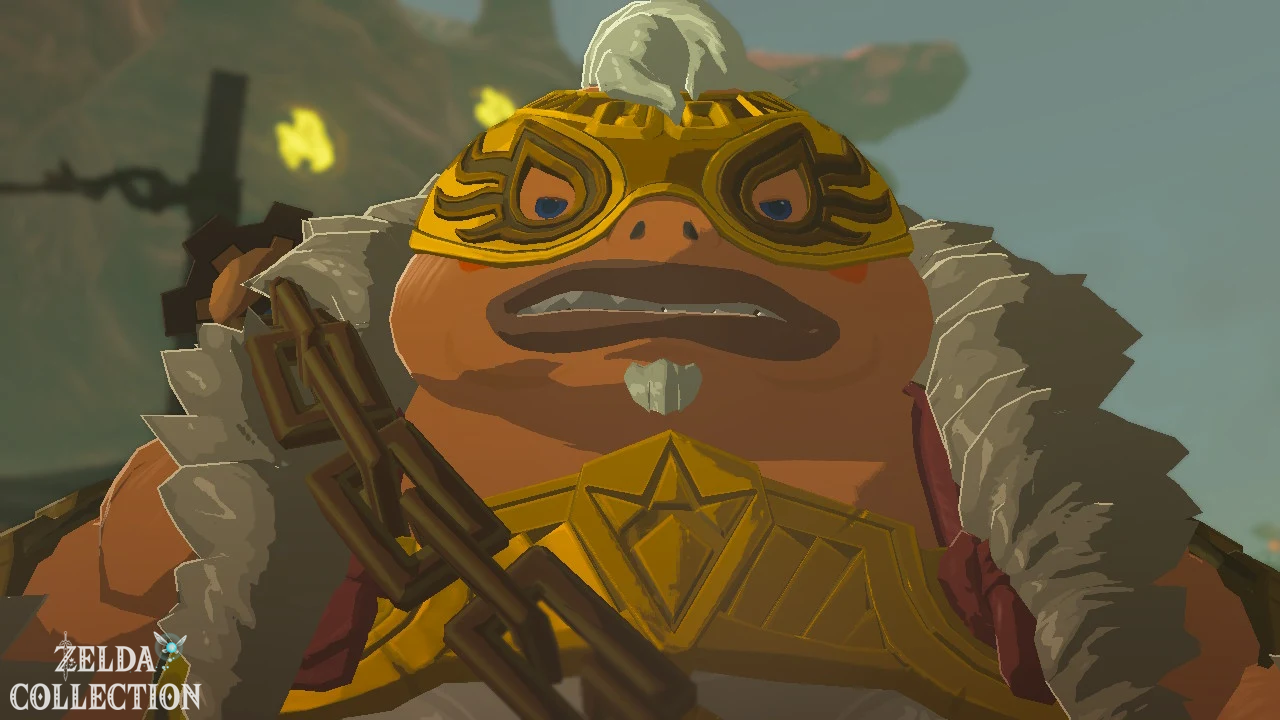
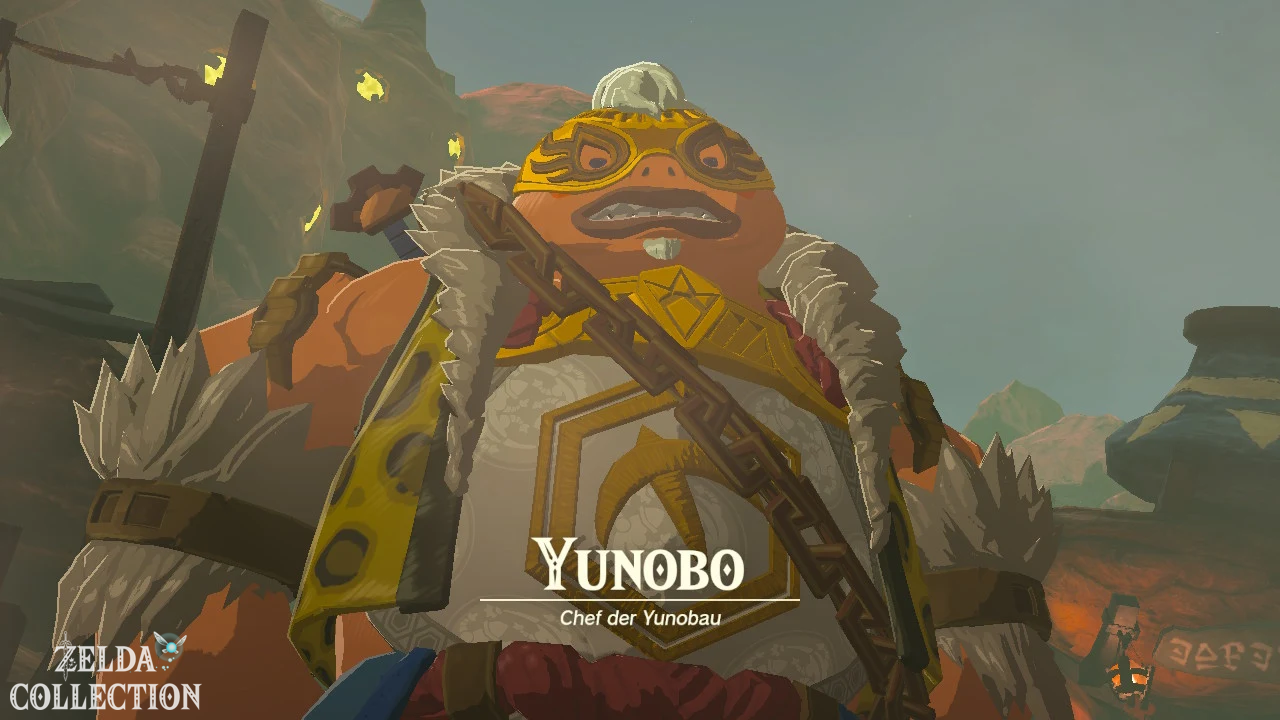
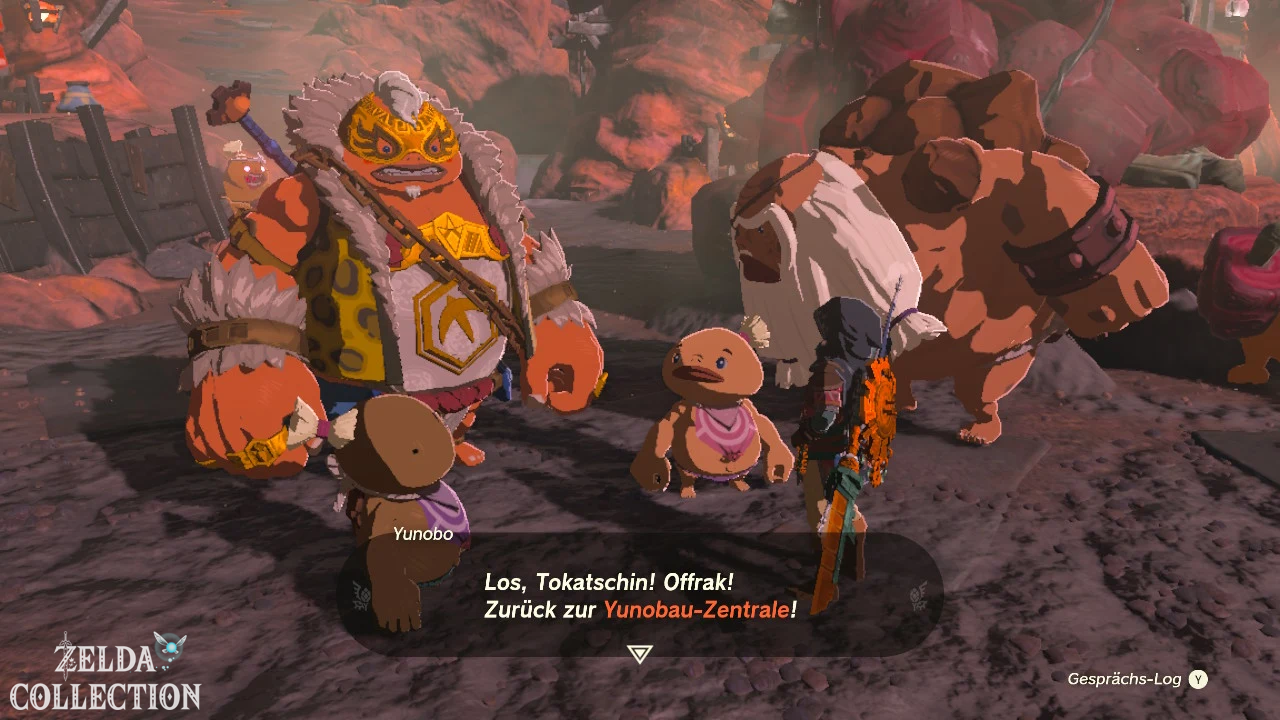
During the following scene, Yunobo appears, completely changed since receiving a strange mask. He has more and more feasting stones dismantled, treats his friends dismissively and then goes back to the YunoboCo HQ.
Reach YunoboCo HQ
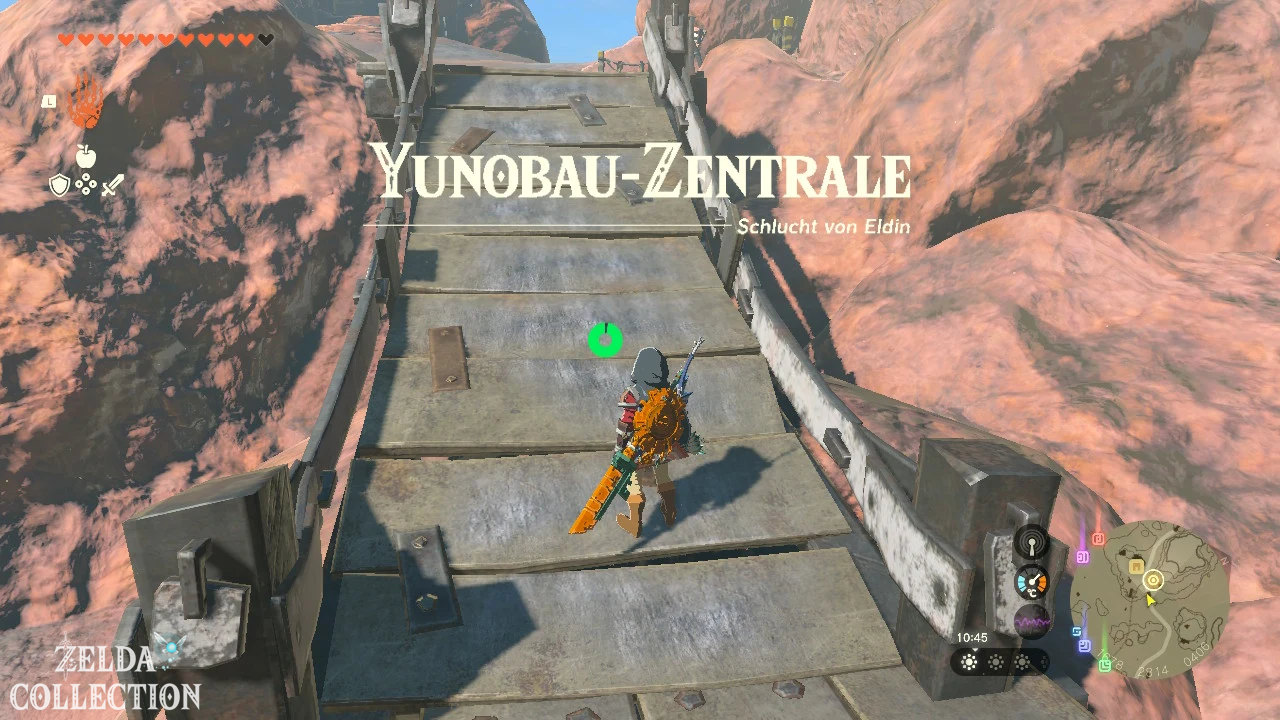
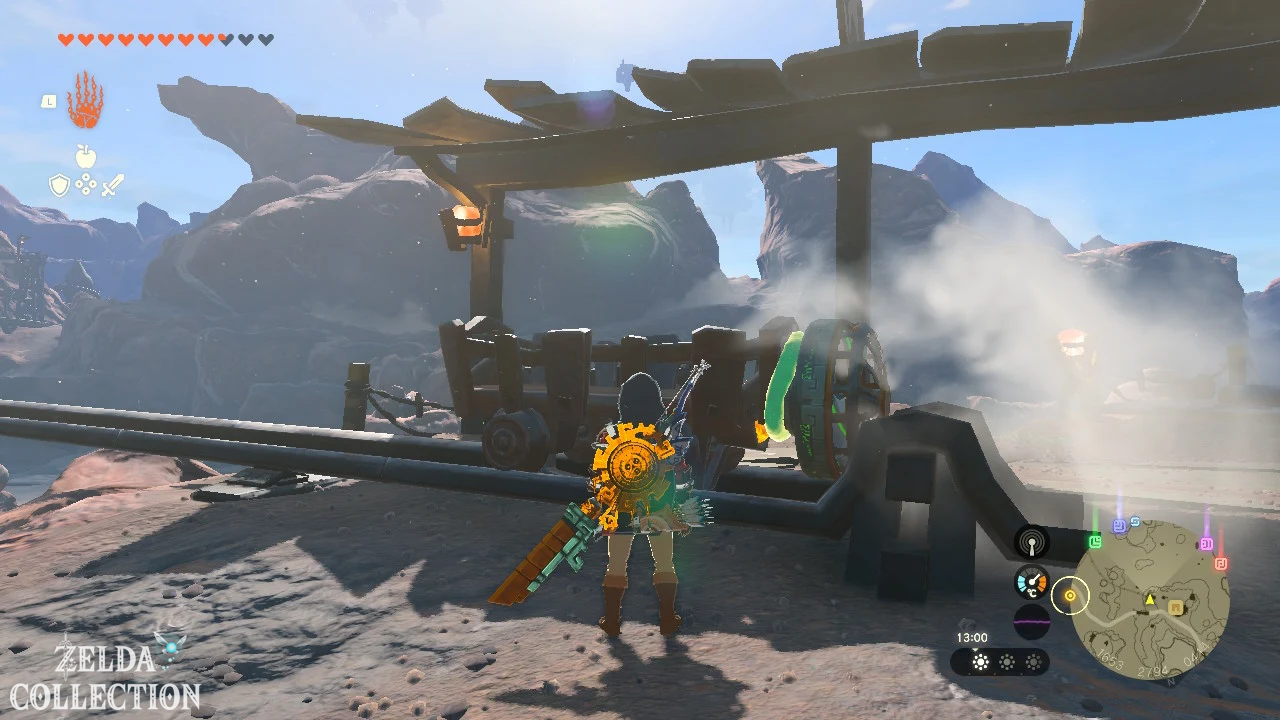
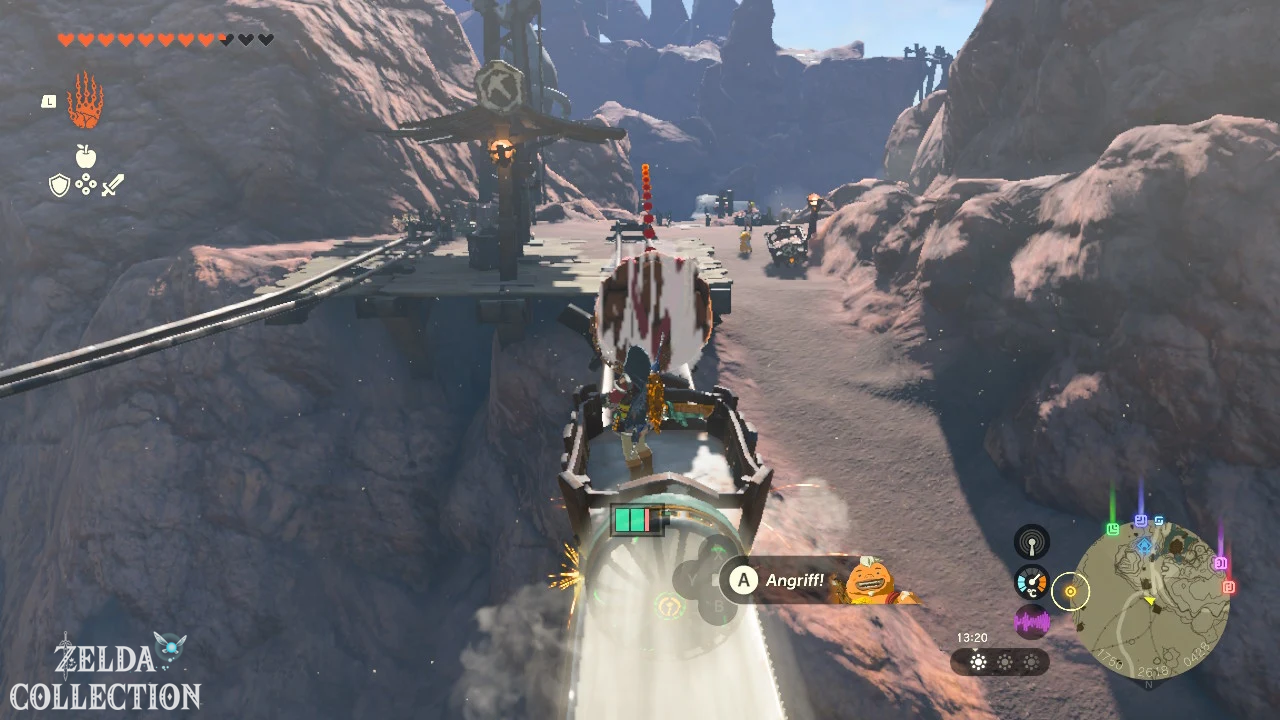
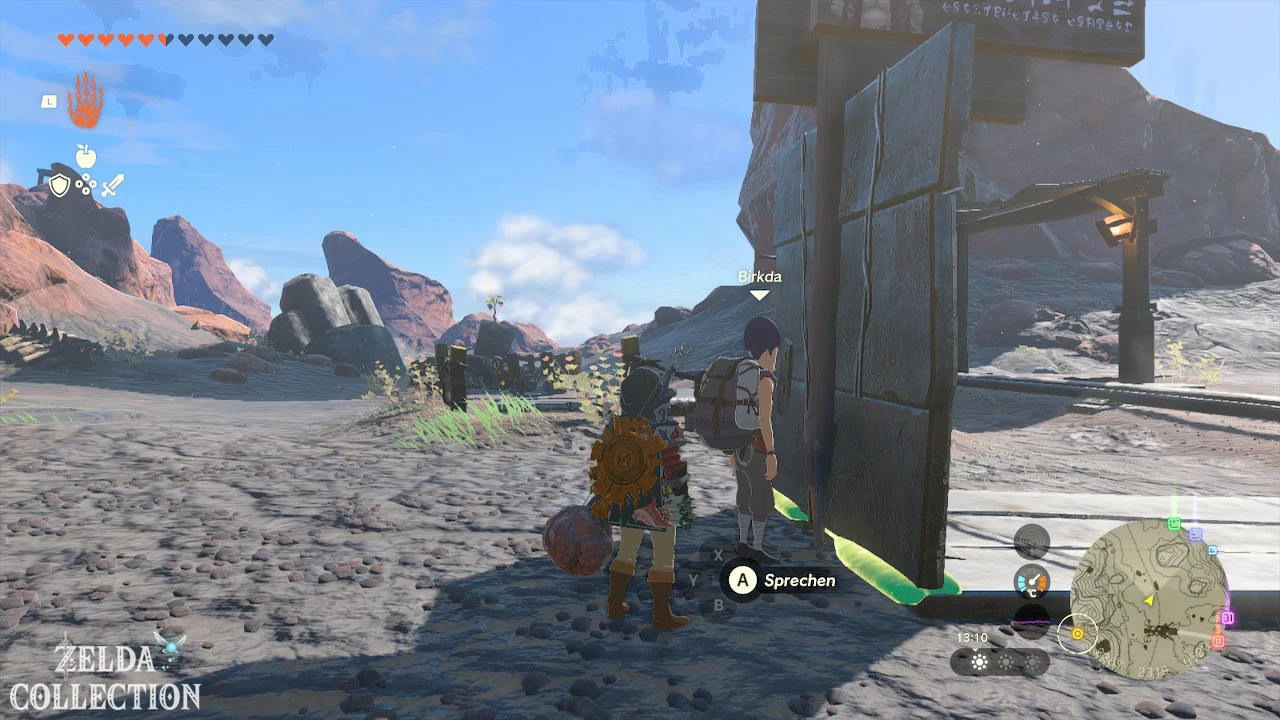
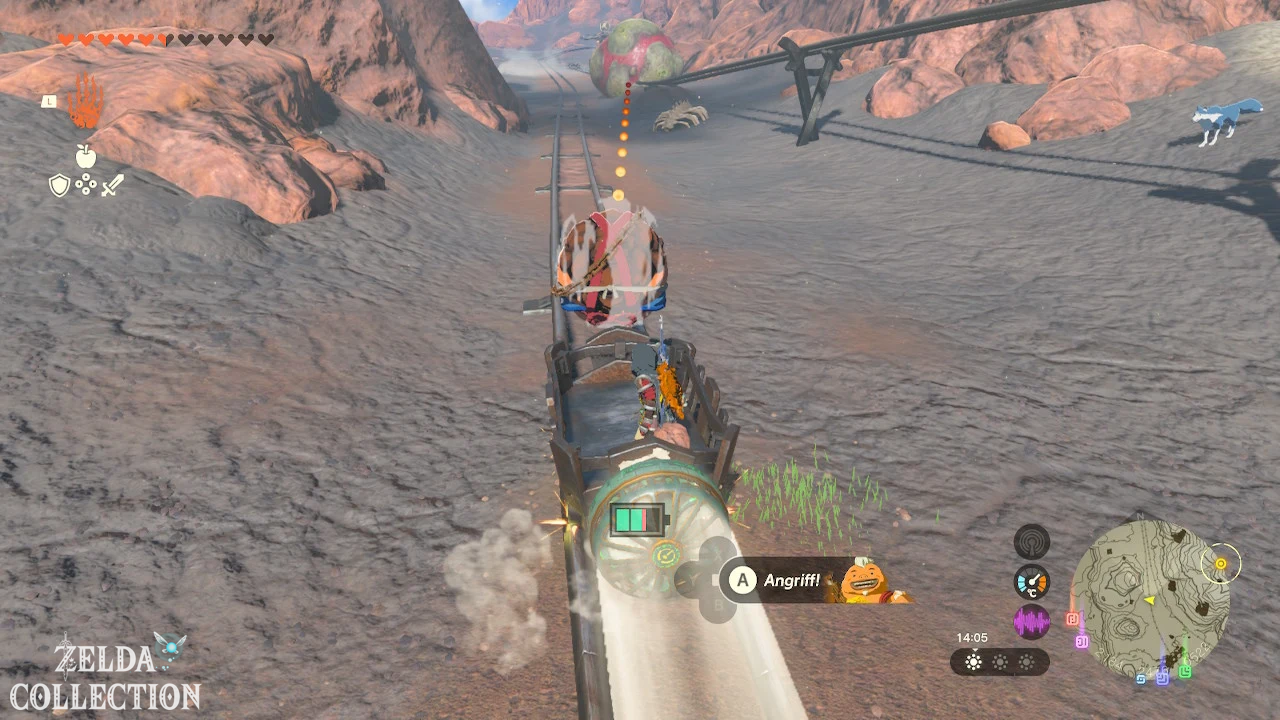
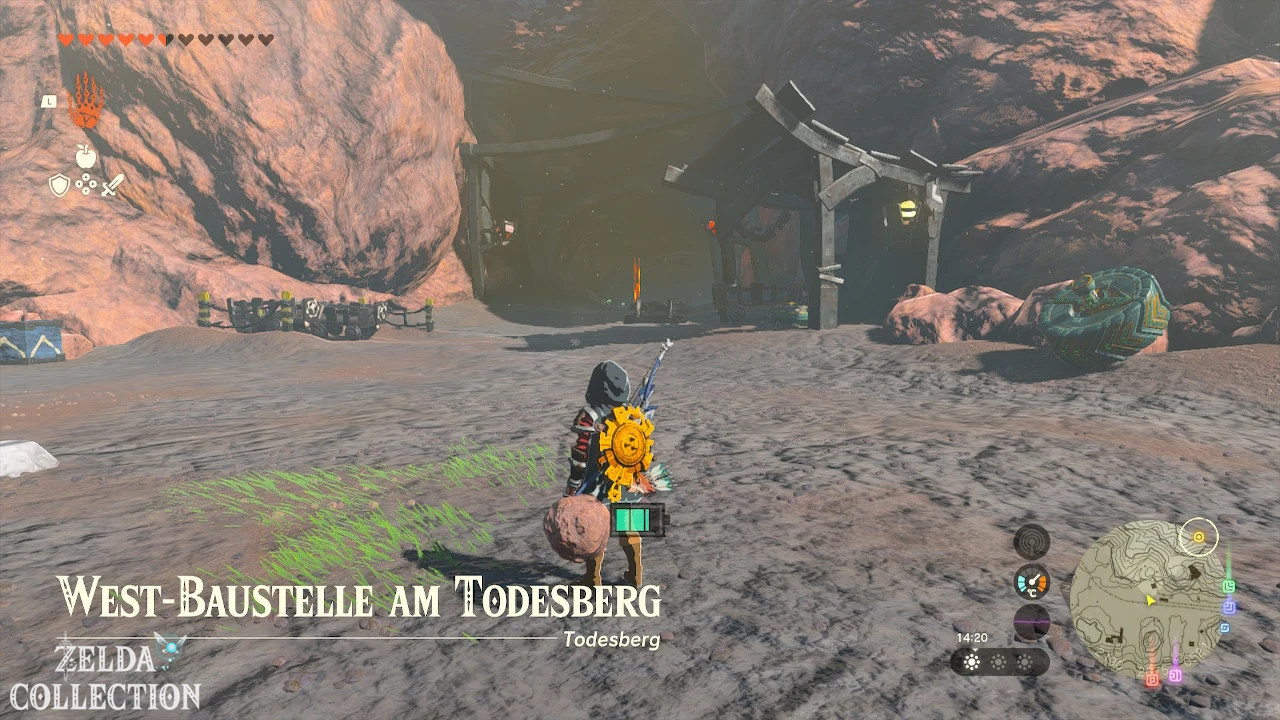
The YunoboCo HQ is located north of Goron City in the former north mine. You can cover the route on foot. It’s quicker with the lorry route on the northern edge of the city: put a lorry on the rails, attach a fan to the back, get in and activate it with one blow. The lorry automatically follows the route over the gorge.
Buy anti-fire armor
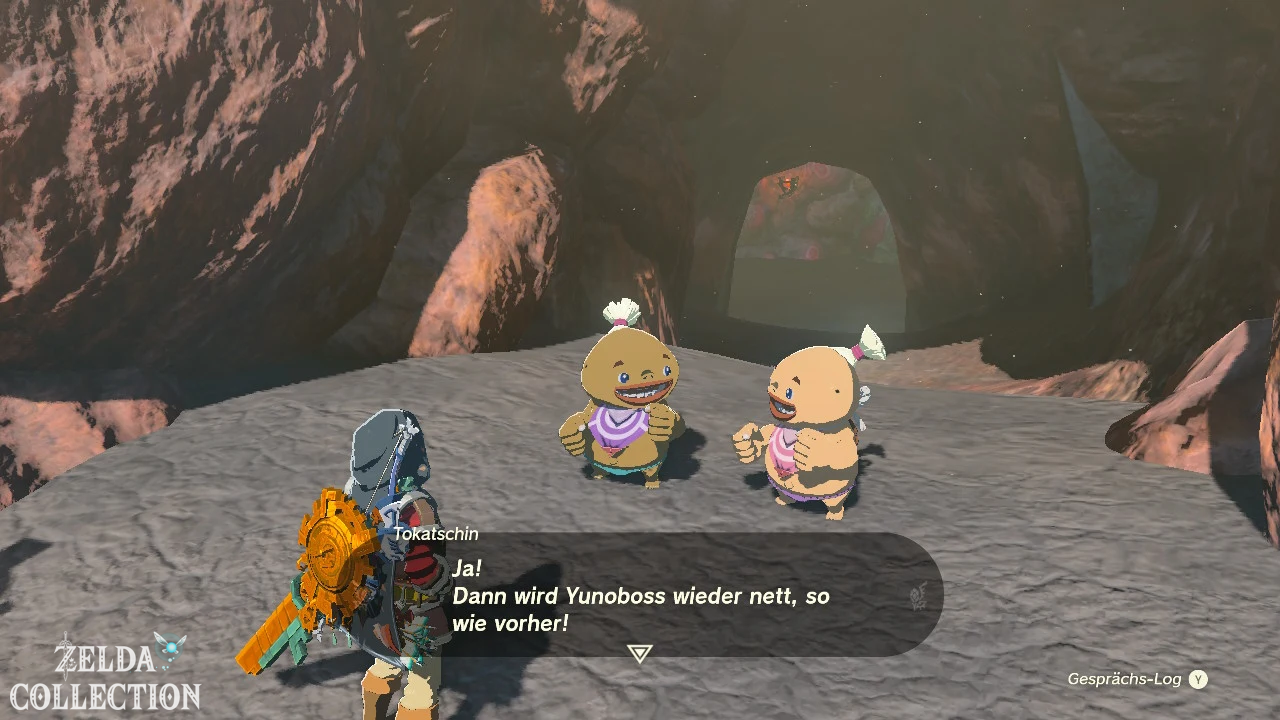
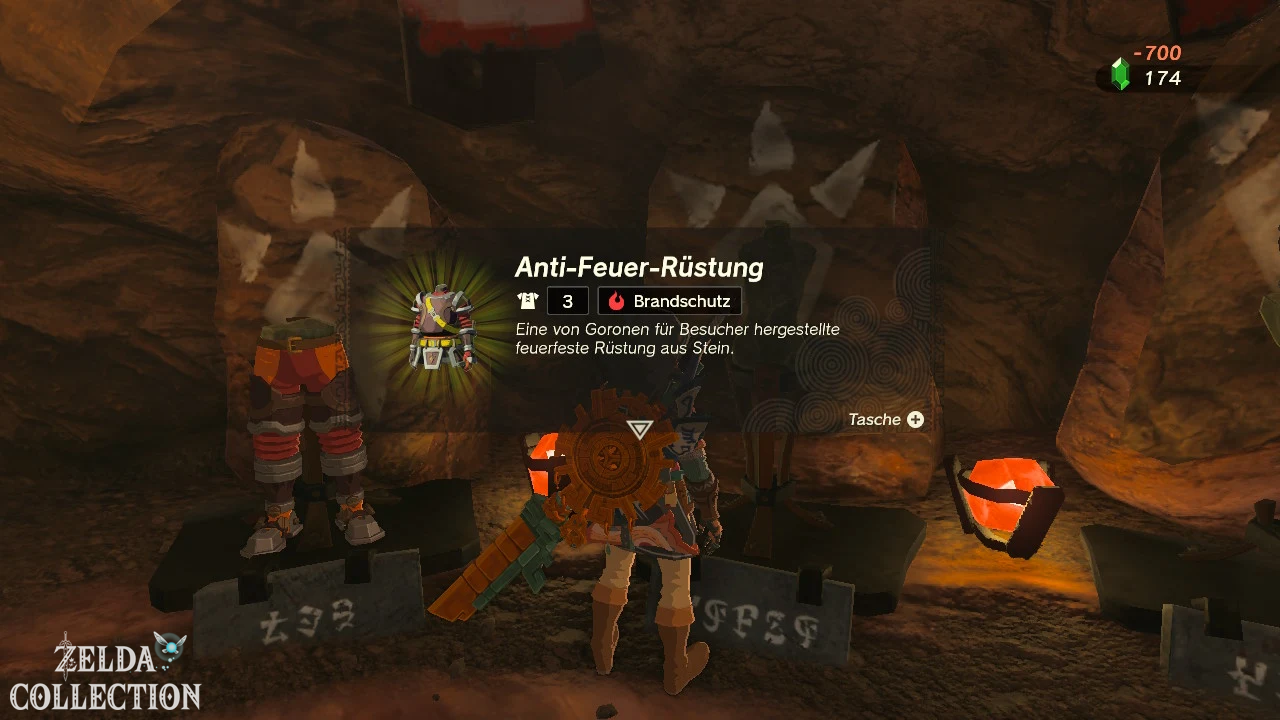
At the YunoboCo HQ, Dayto sells you the anti-fire armor for 700 Rupees. Be sure to buy them before entering the adjacent cave. If you are missing Rupees, you can sell surplus gemstones or mine the numerous ore deposits around the headquarters.
| Armor part | price |
|---|---|
| Anti-fire armor | 700 Rupees |
| anti-fire trousers | 1.200 Rupees |
| anti-fire helmet | 1.400 Rupees |
For the main quest, anti-fire armor for 700 Rupees is usually enough. Put it on straight away and then talk to Offrak and Slergo in front of the YunoboCo Storage.
Fight against Yunobo
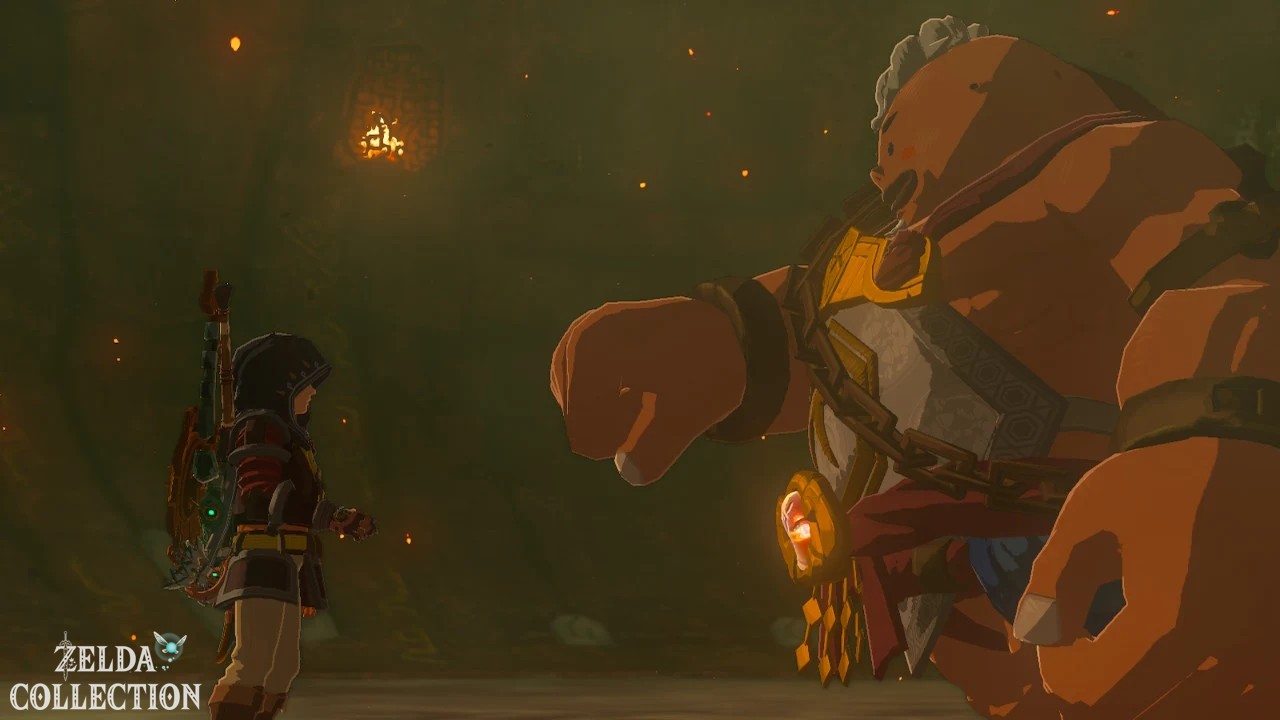
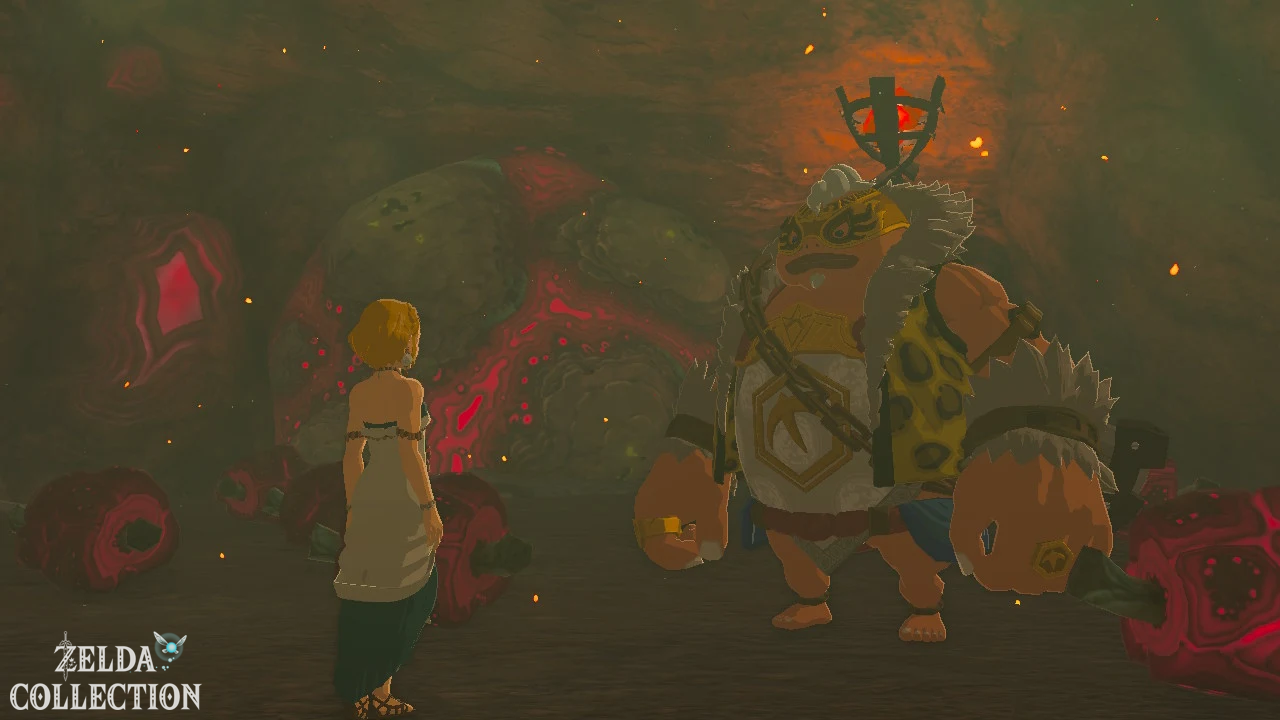
After the conversation you can enter the extremely hot cave. Inside you meet Yunobo and the supposed Princess Zelda. The strange mask begins to glow, forcing Yunobo to attack Link.
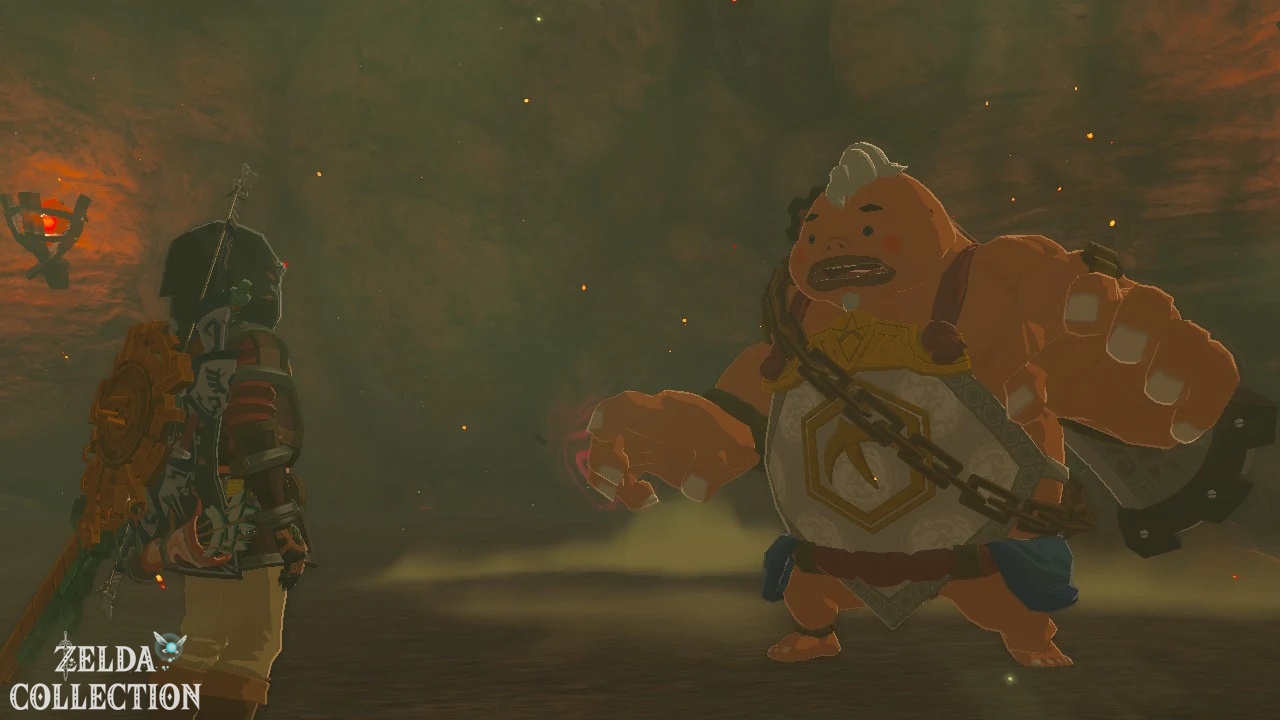
This is how you defeat Yunobo
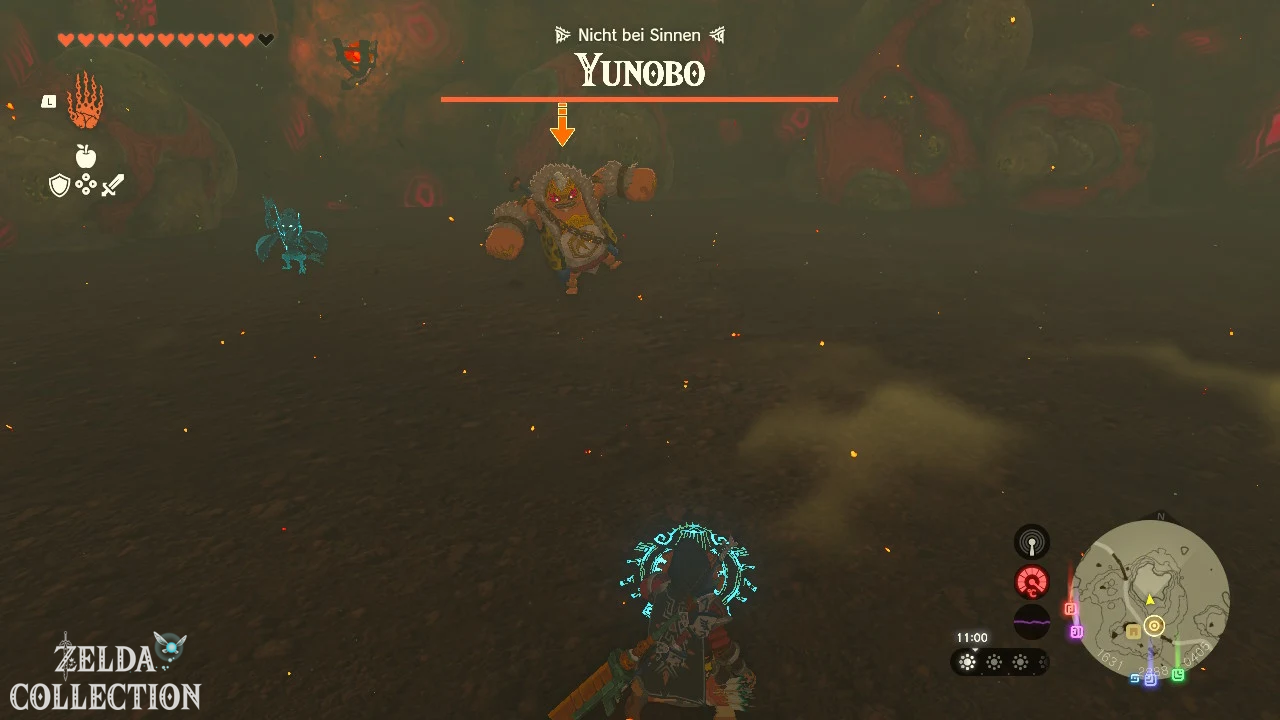
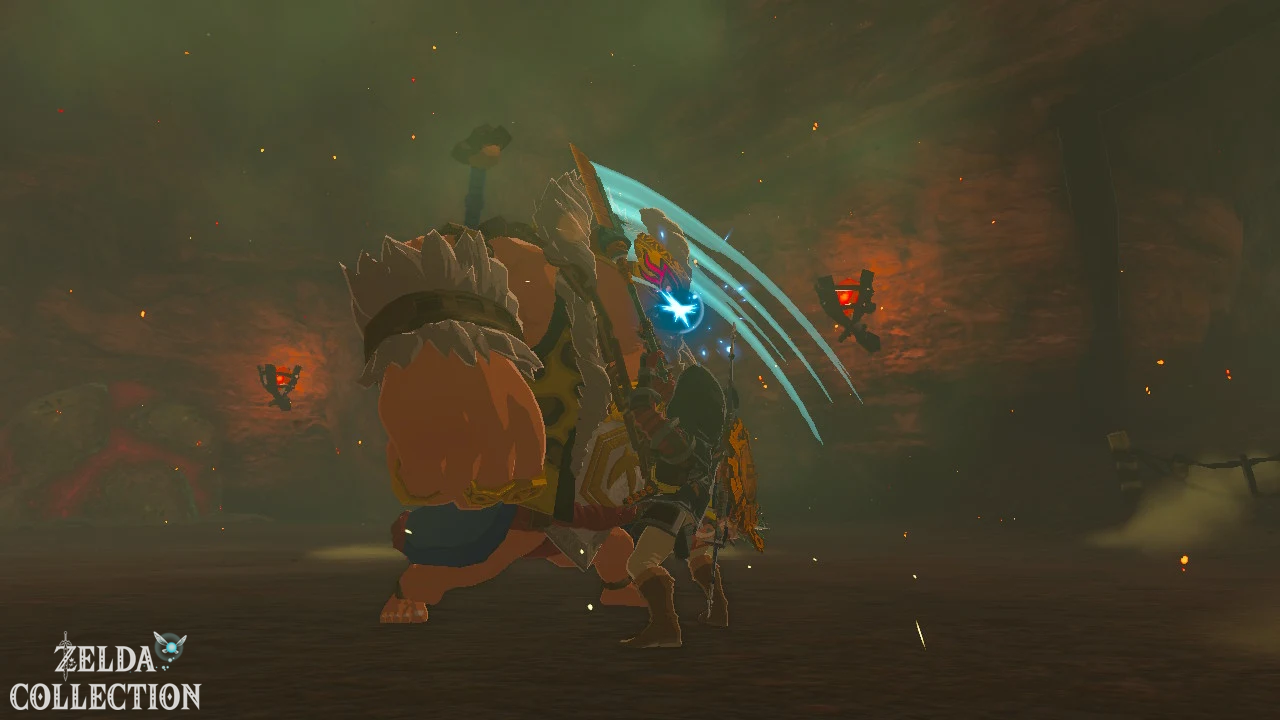
Normal attacks initially do no damage. You have to get Yunobo to roll against one of the cave walls. Stand in front of a wall at a distance and wait until he curls up and aims at Link. Jump to the side immediately before impact. Yunobo crashes into the wall and lies there, dazed.
Run up to him and hit his mask several times. As soon as he gets up again, you stand in front of a wall again and repeat the process. After a total of three successful collisions, the mask breaks and Yunobo comes to.
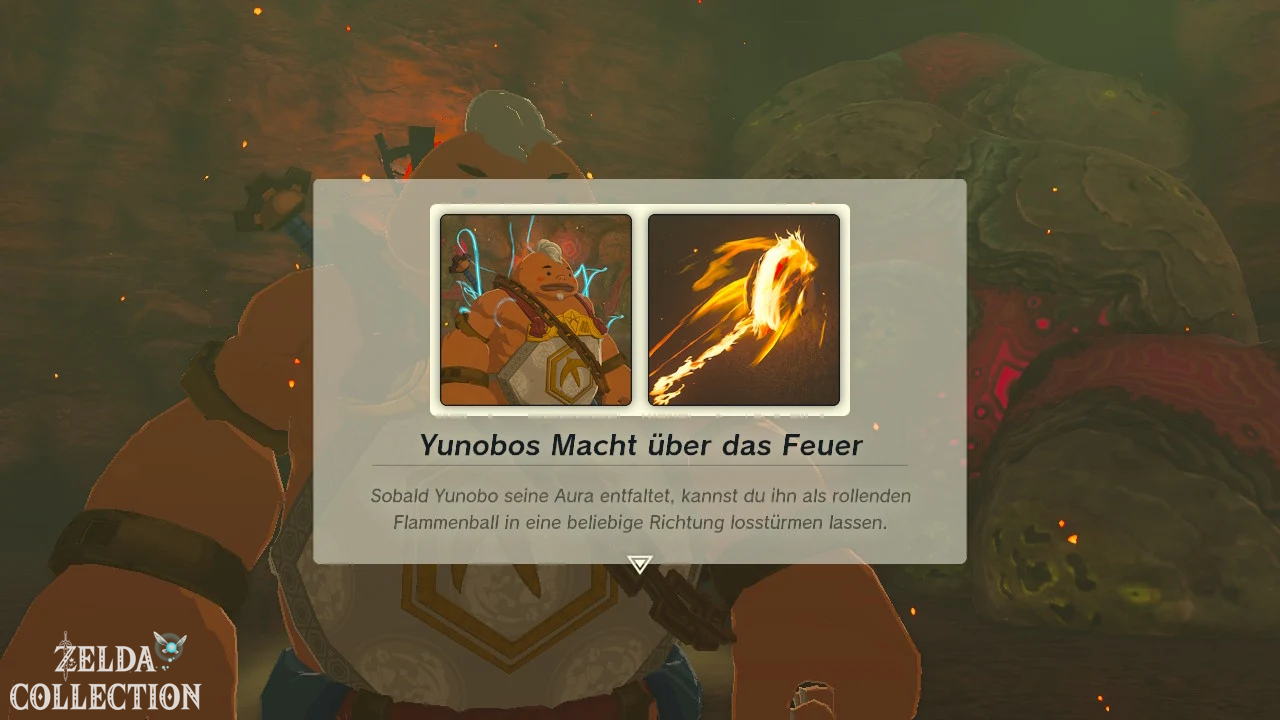
Use Yunobo’s firepower
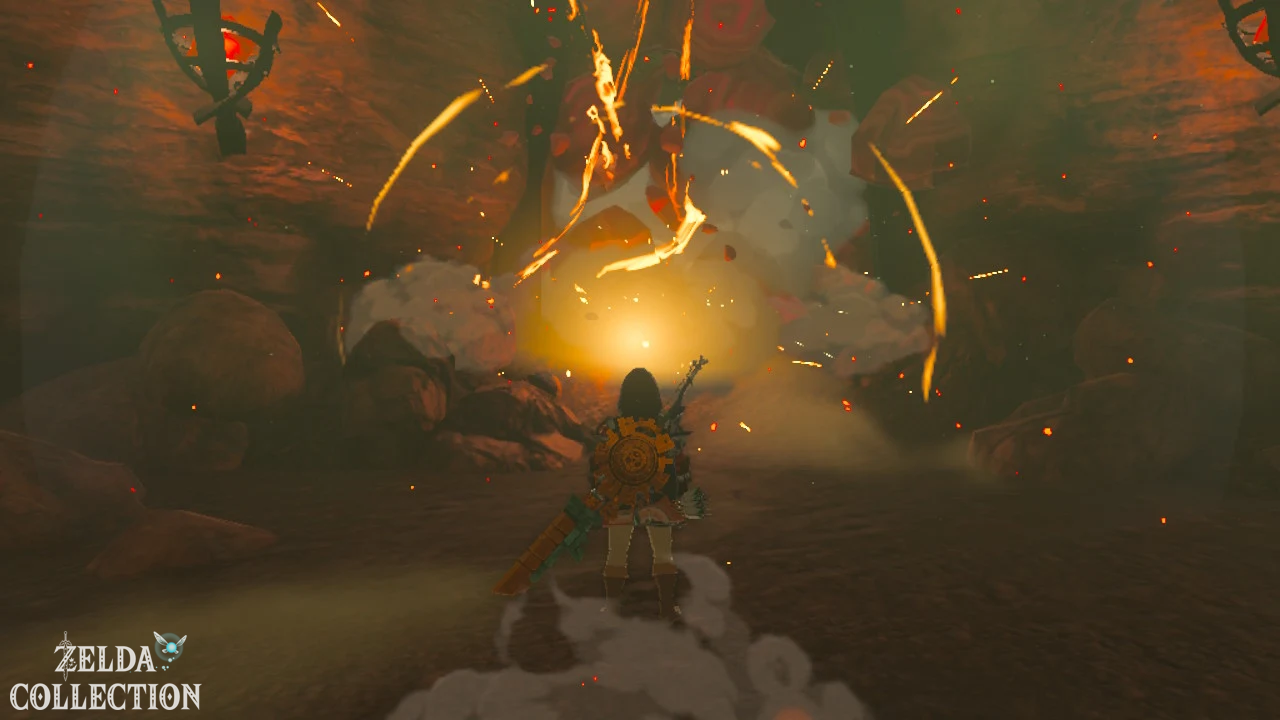
After the fight, a large feasting stone blocks the exit from the cave. Activate Yunobo’s ability, aim the indicated trajectory at the blockage and let him roll against it as a flaming ball. Yunobo can now destroy Schlemmstein barriers and larger rock blockades, knock over opponents, activate rail switches from a distance and hit the five gongs in the Fire Temple.
While Link controls a vehicle, Yunobo floats in front of the vehicle and can be fired like a missile. You need this mechanic both when climbing the Death Mountain and for several puzzles in the Fire Temple.
The climb to Death Mountain
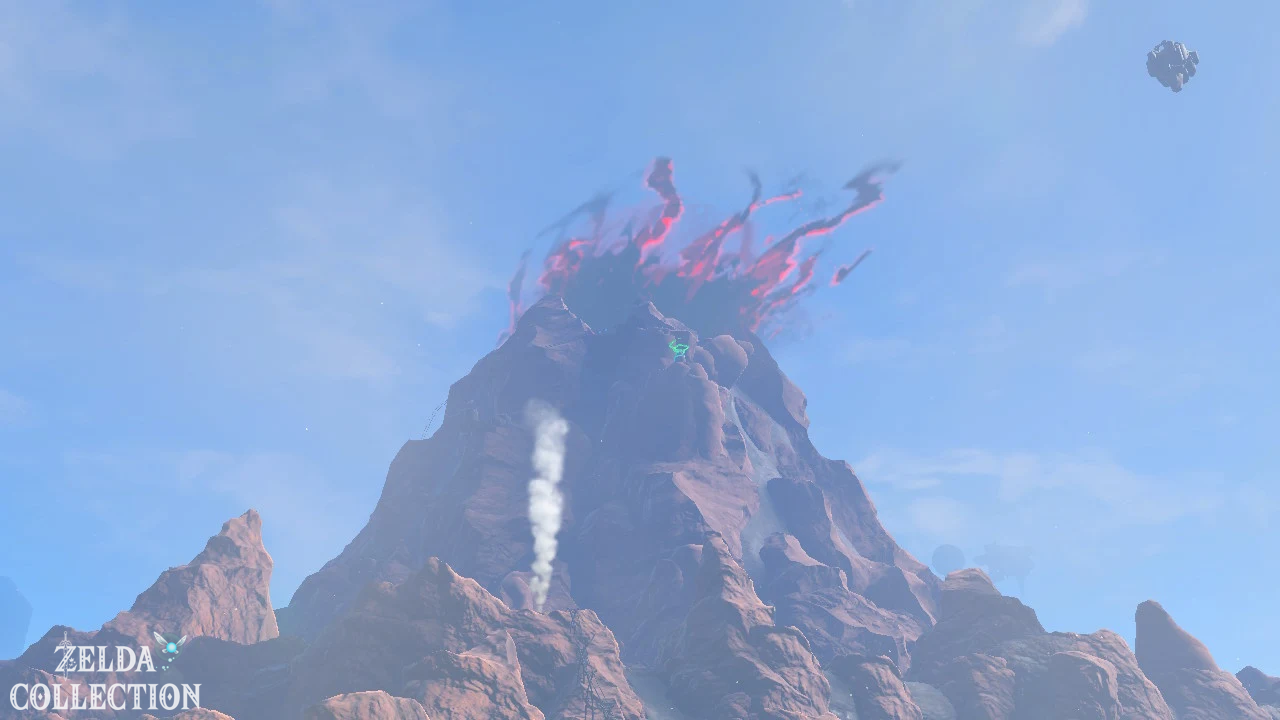
After leaving the cave, your attention turns to the summit of Death Mountain. The supposed Zelda moves there and a threatening black mass rises from the crater. Head back towards Goron City and then follow the wagon route on the west side of the mountain.
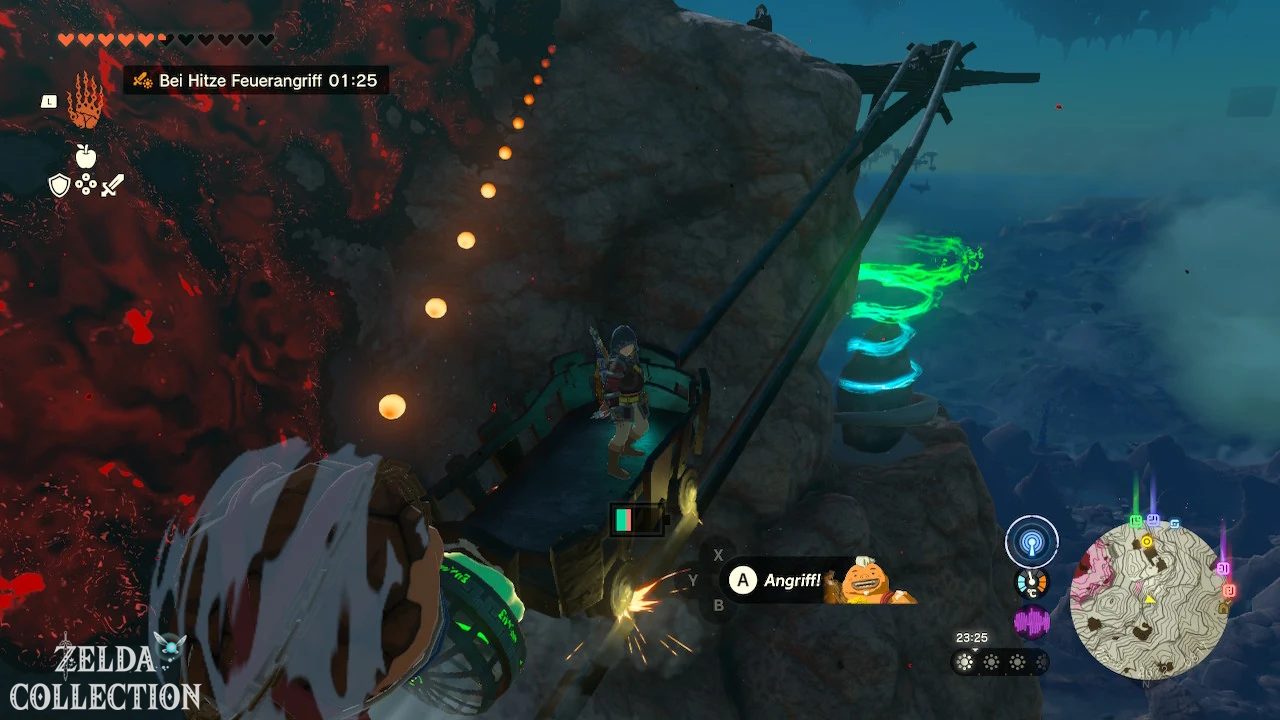
With the lorry to the summit
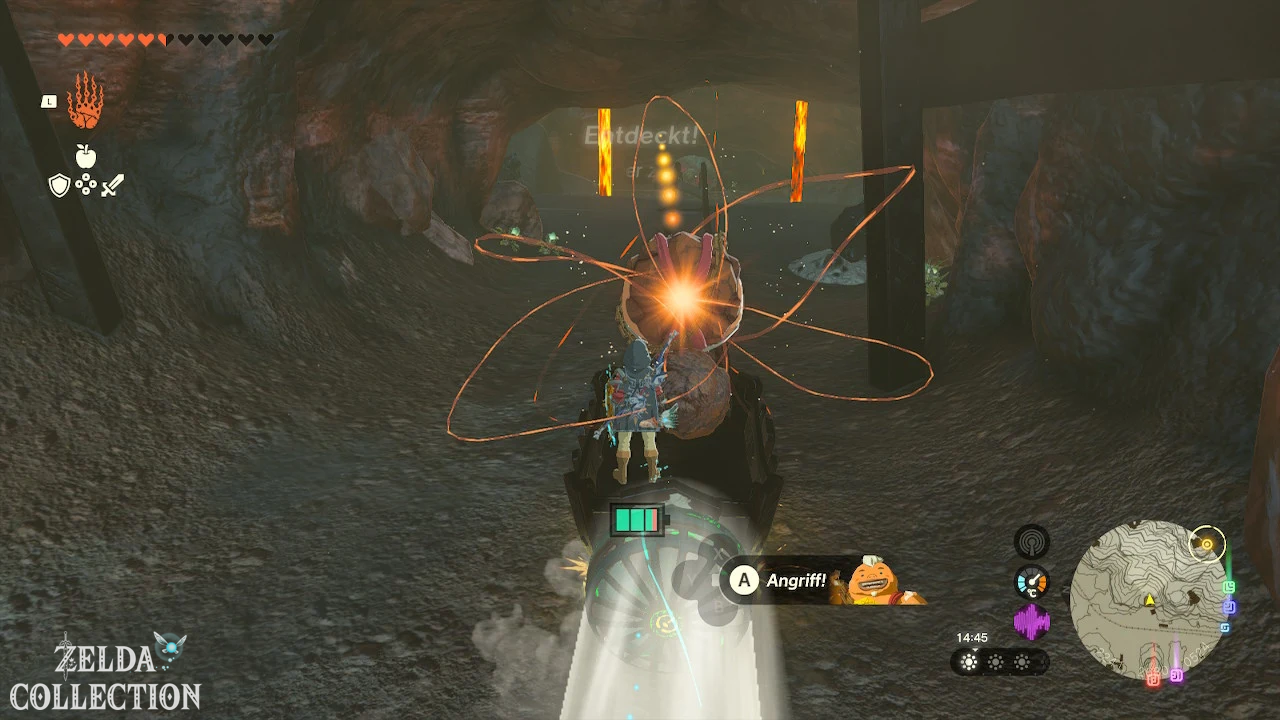
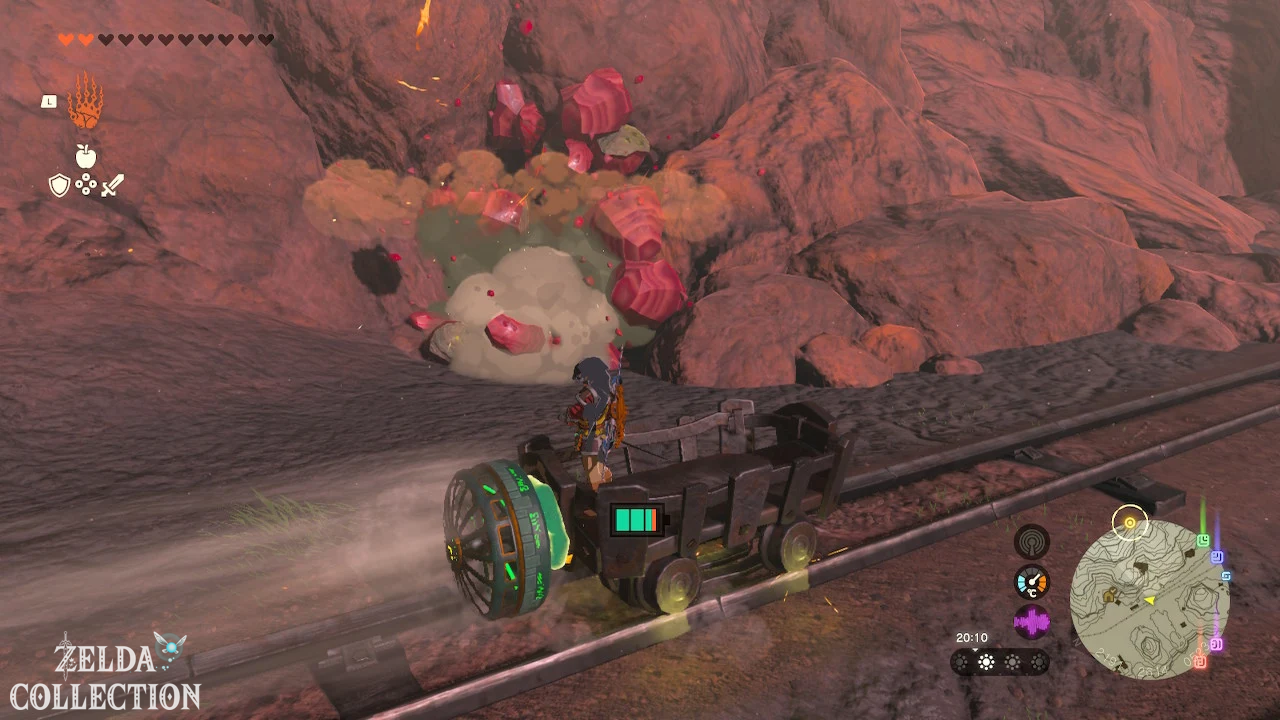
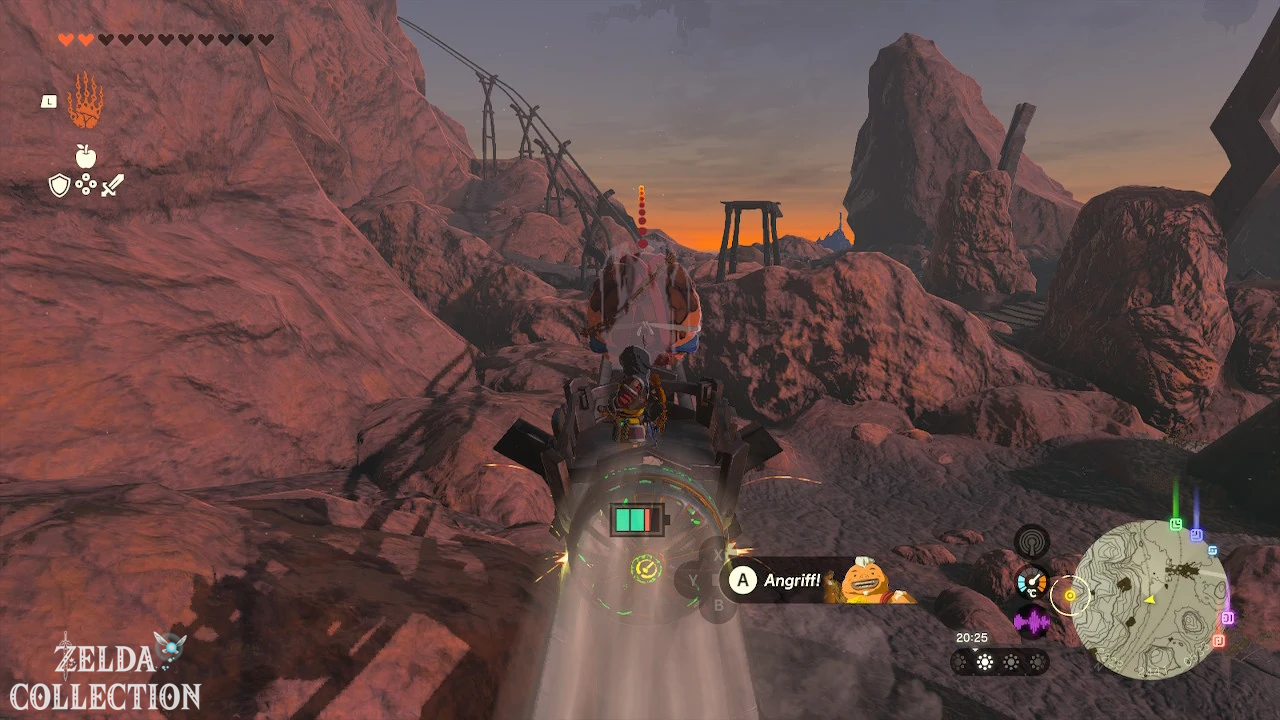
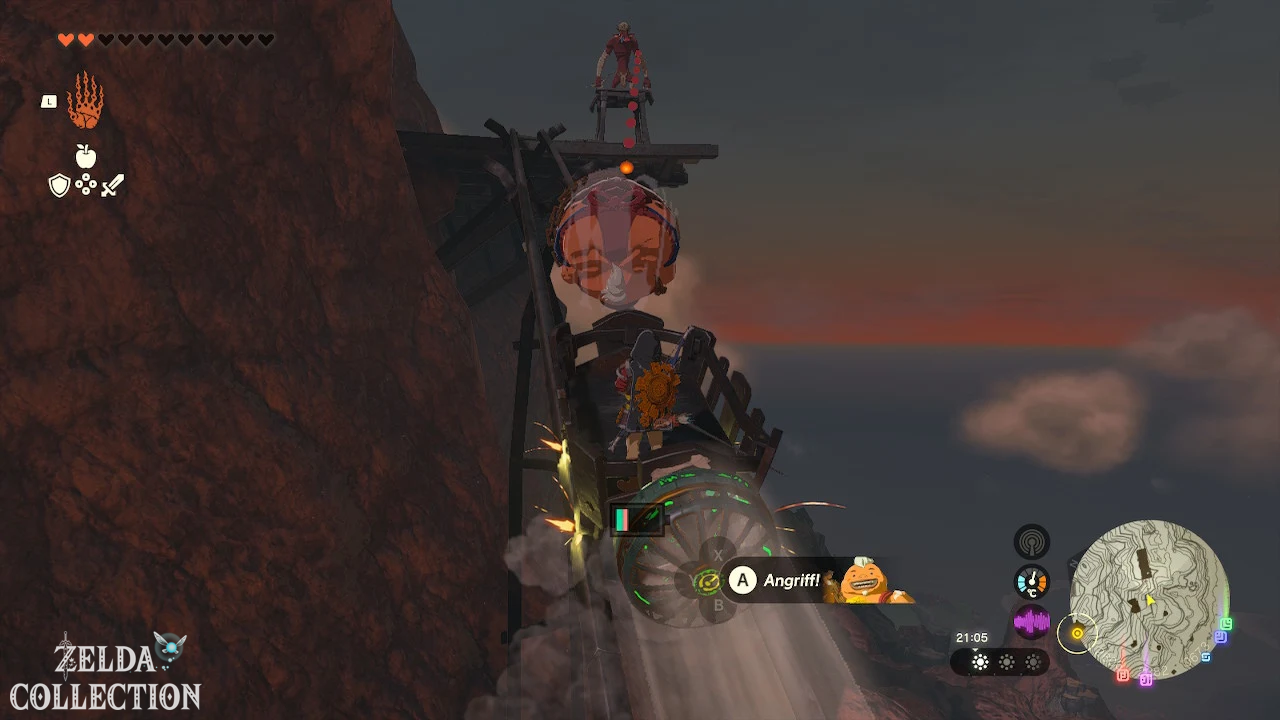
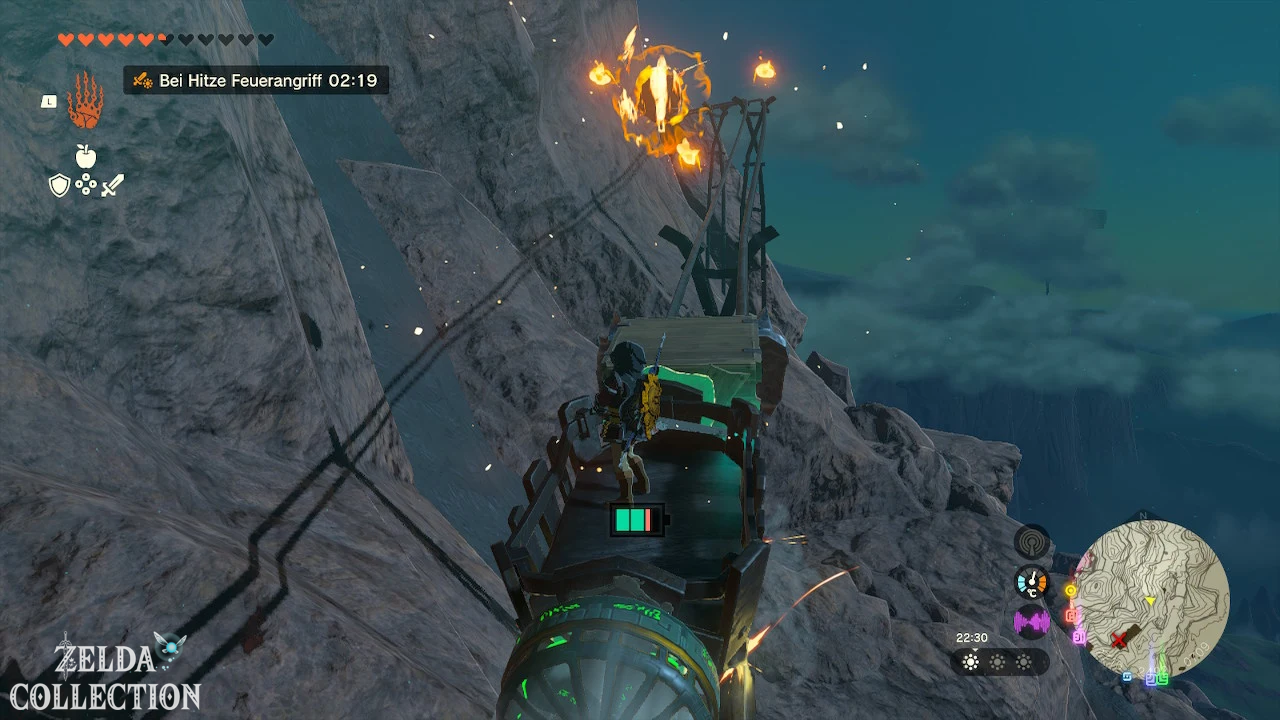
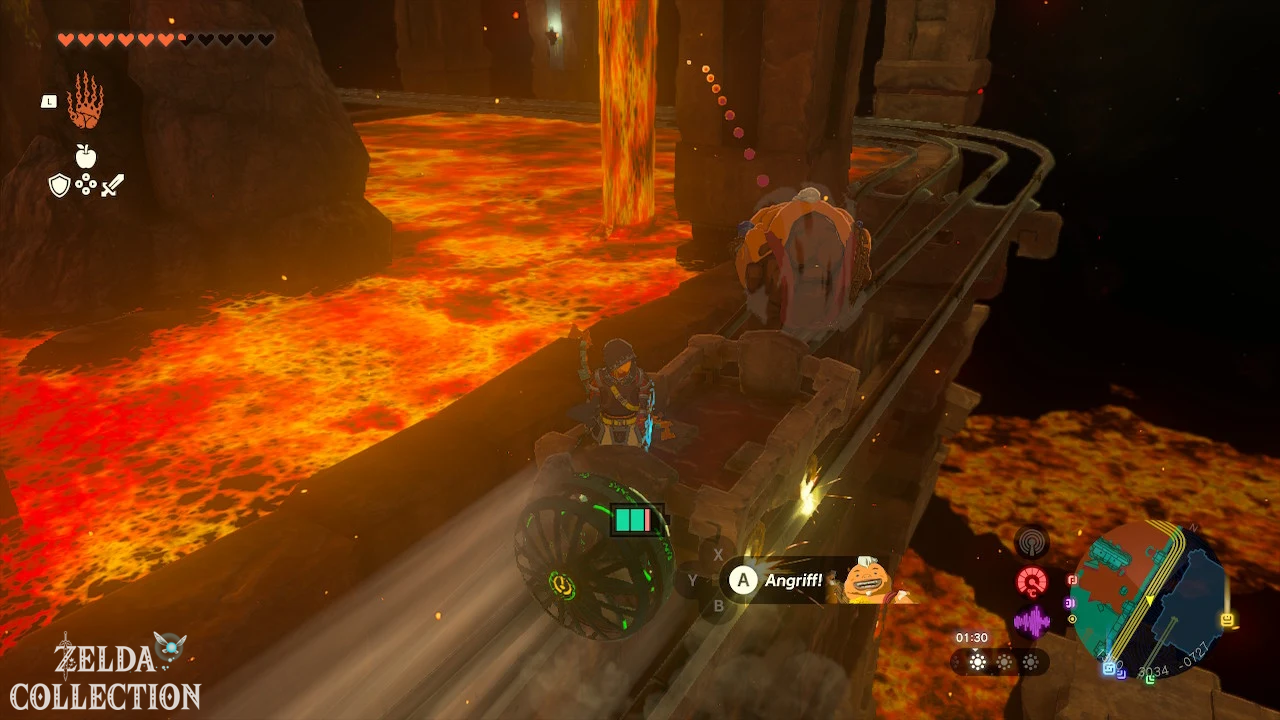
Lorries and fans are available at the beginning of the mountain route. Attach a fan to a cart, place it correctly on the rails and activate the drive. Fires Yunobo at blockages, rail switches and enemies while driving. At intermediate stations you may have to get out, change the direction of travel or switch to another route.
On the way, Fire Keese, Octoroks, Moblins and constructs attack. Since Yunobo sits in front of the lorry, you can hit many enemies before they reach Link. The vehicle’s Energy Cell can be charged at an intermediate station. A Treasure Chest there also contains a spike that you can optionally attach to the front of the cart.
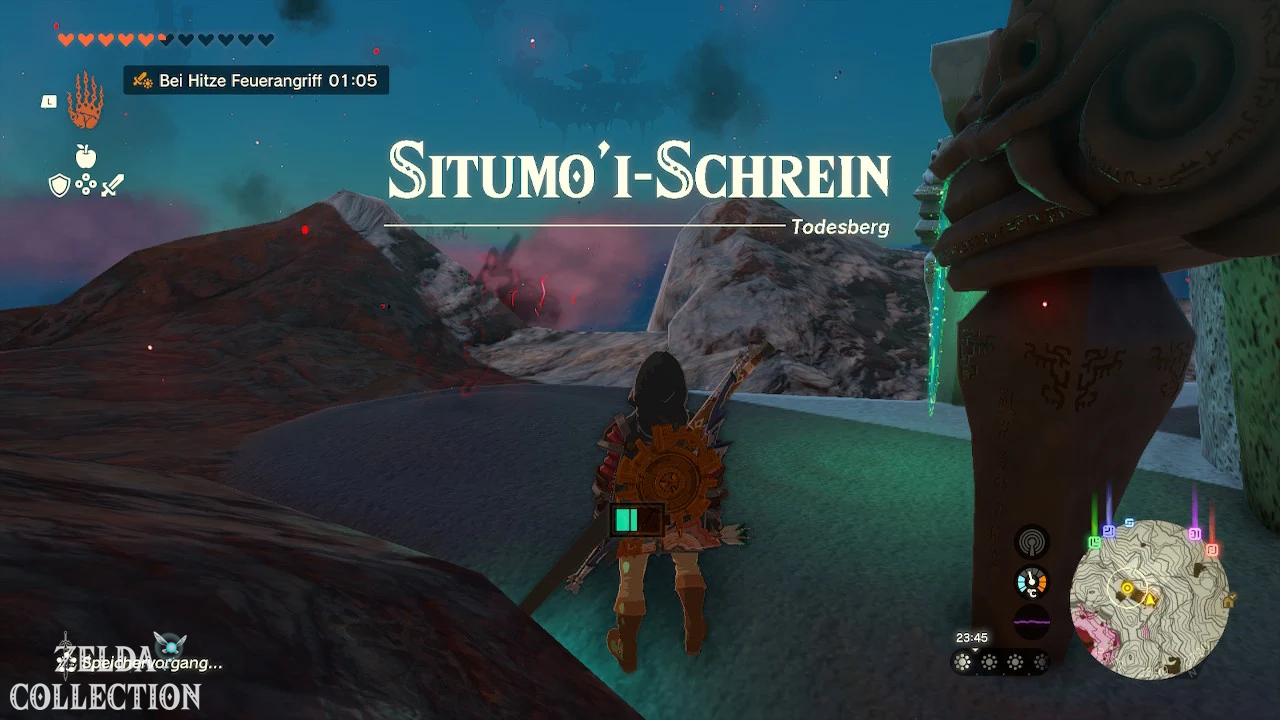
Activate Sitsum Shrine
Shortly before the summit you reach the Sitsum Shrine. Be sure to activate it before following the supposed Zelda. The shrine is the last reliable fast travel point before the fight against Moragia. If you fall, lose fire protection or need new supplies, you can return directly to the summit from here.
Boss: Moragia, Spawn of Death Mountain Crater
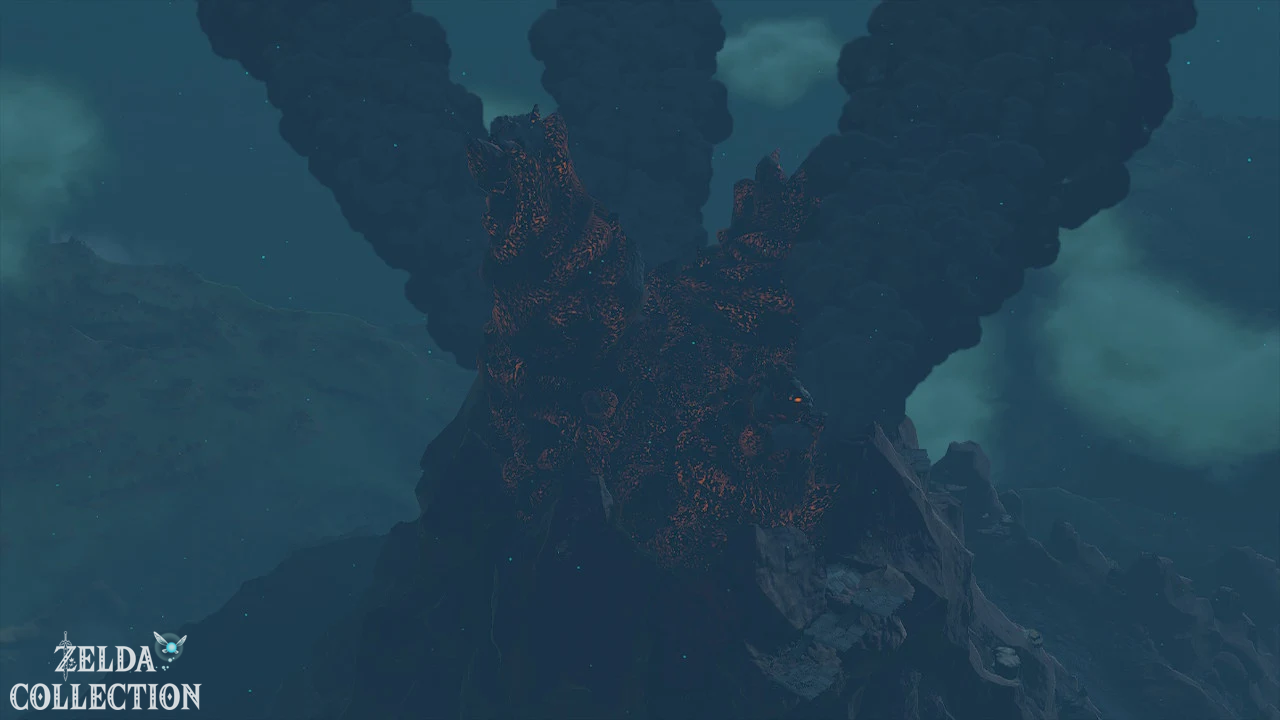
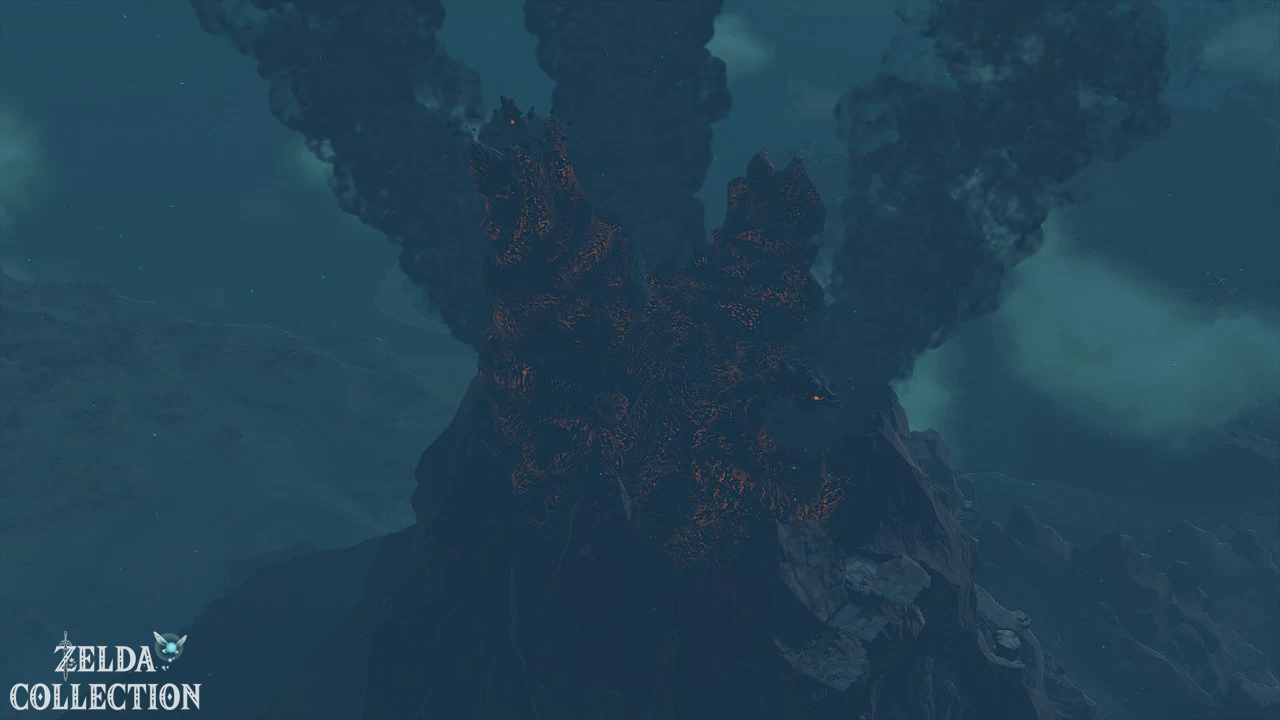
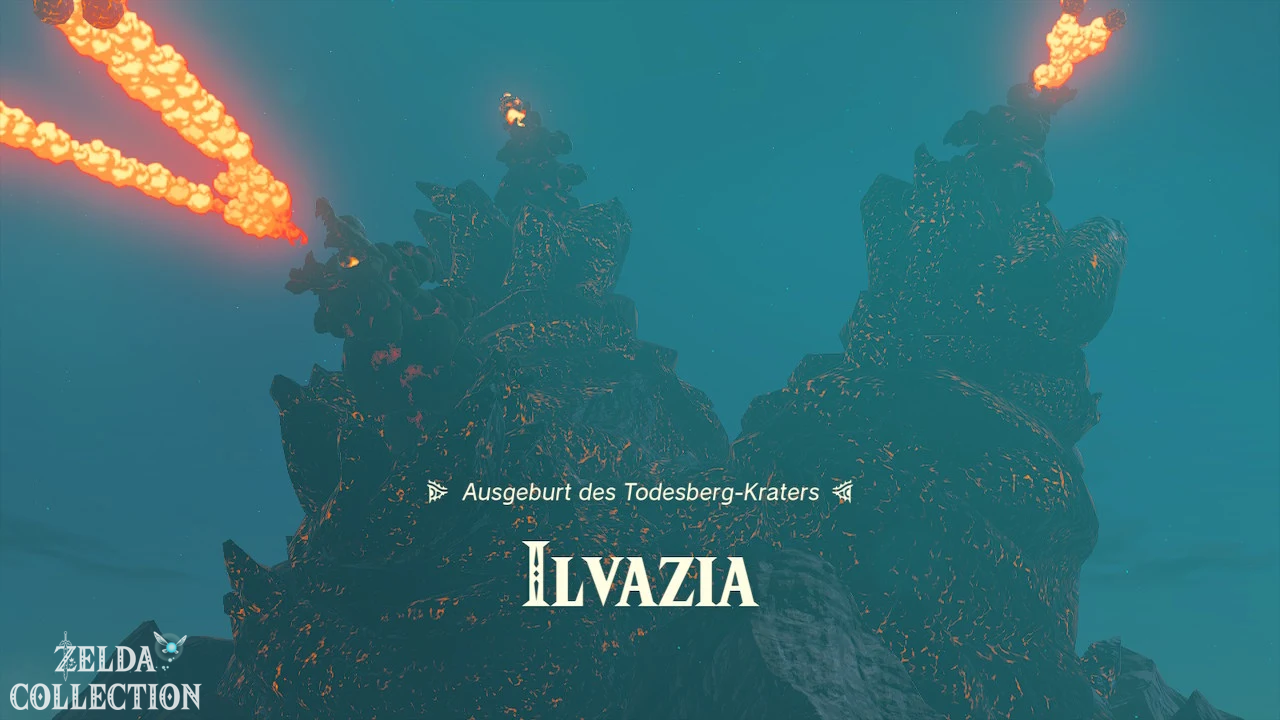
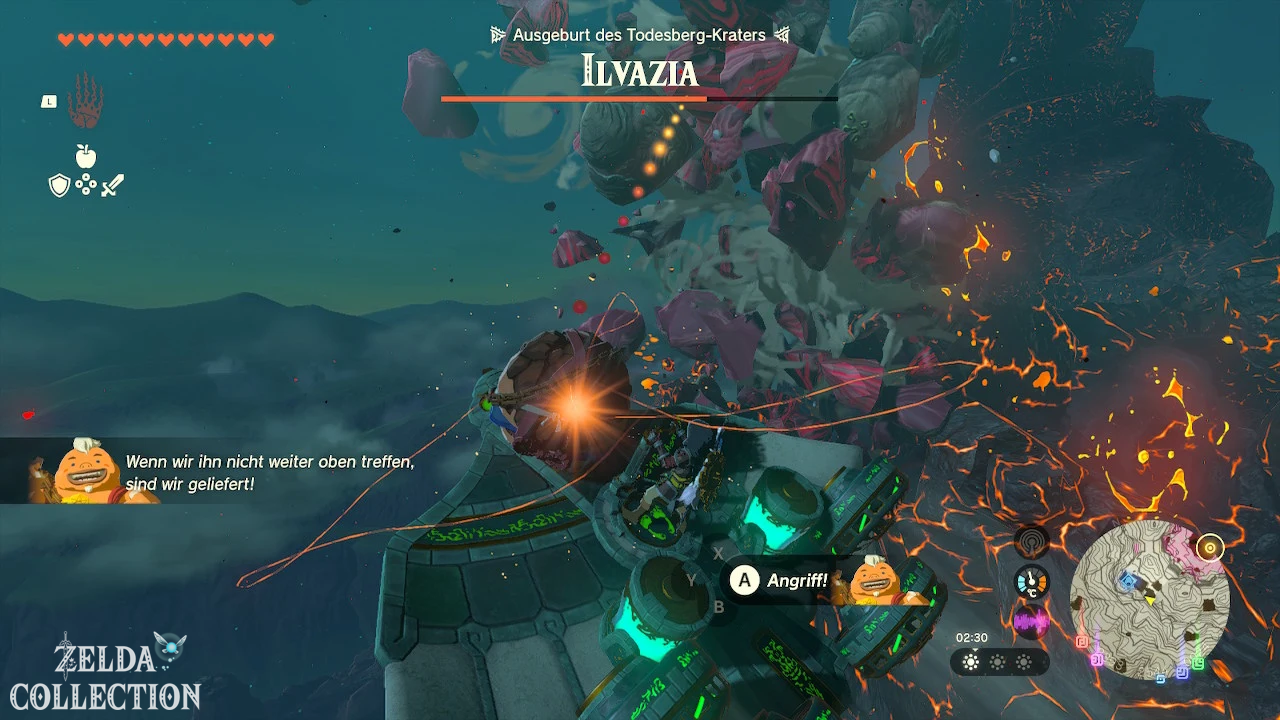
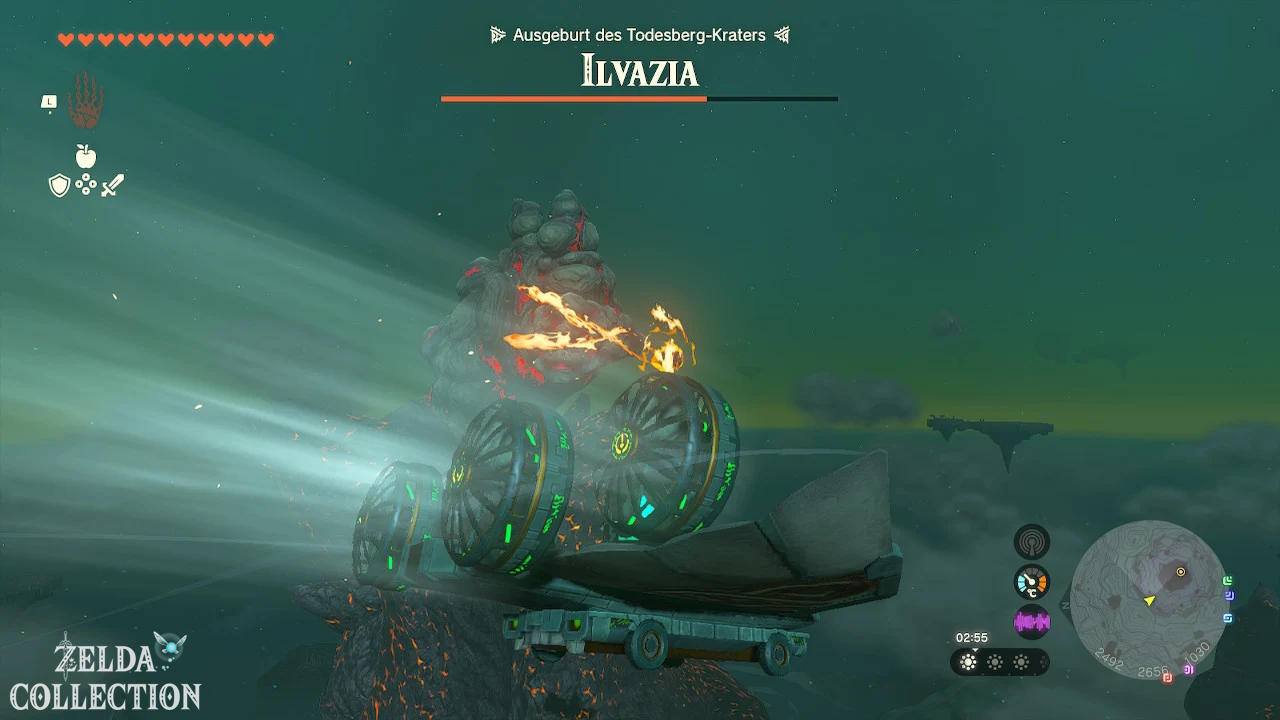
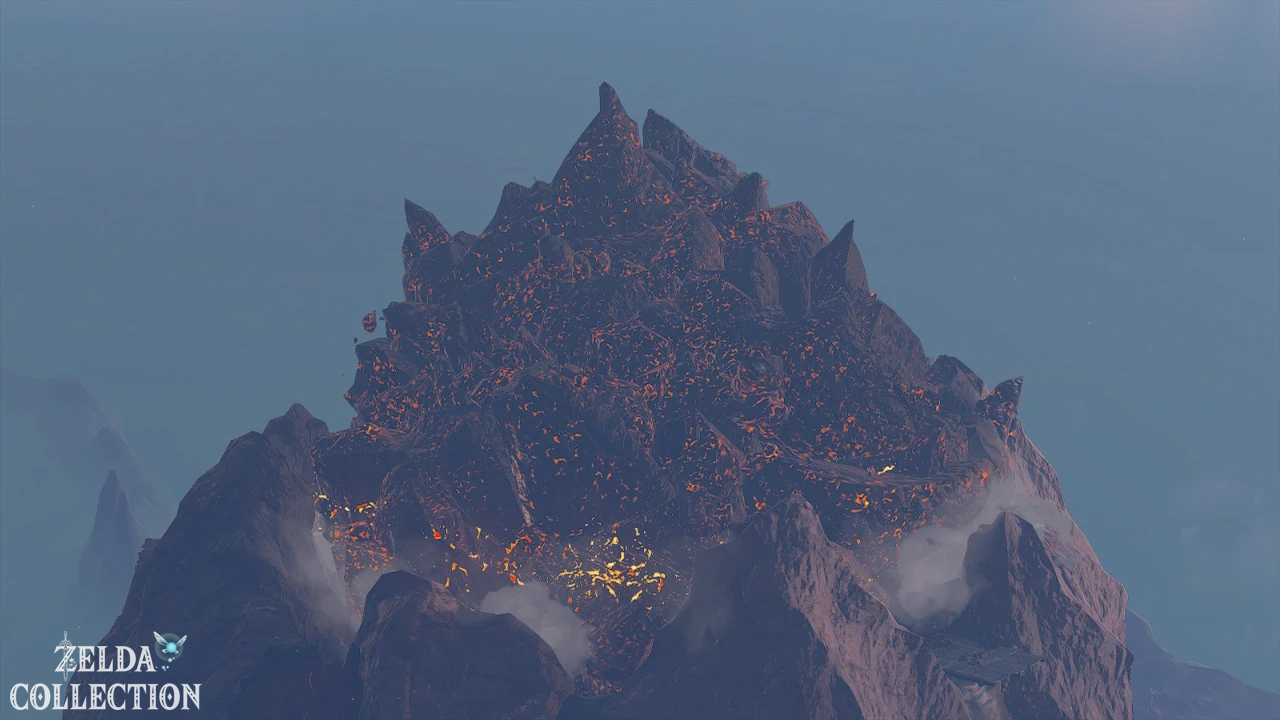
The supposed Zelda disappears at the summit. Shortly afterwards, Moragia rises from Death Mountain Crater. The monster consists of three huge, worm-like or dragon-like heads and cannot be effectively fought from the ground.
Prepare the aircraft
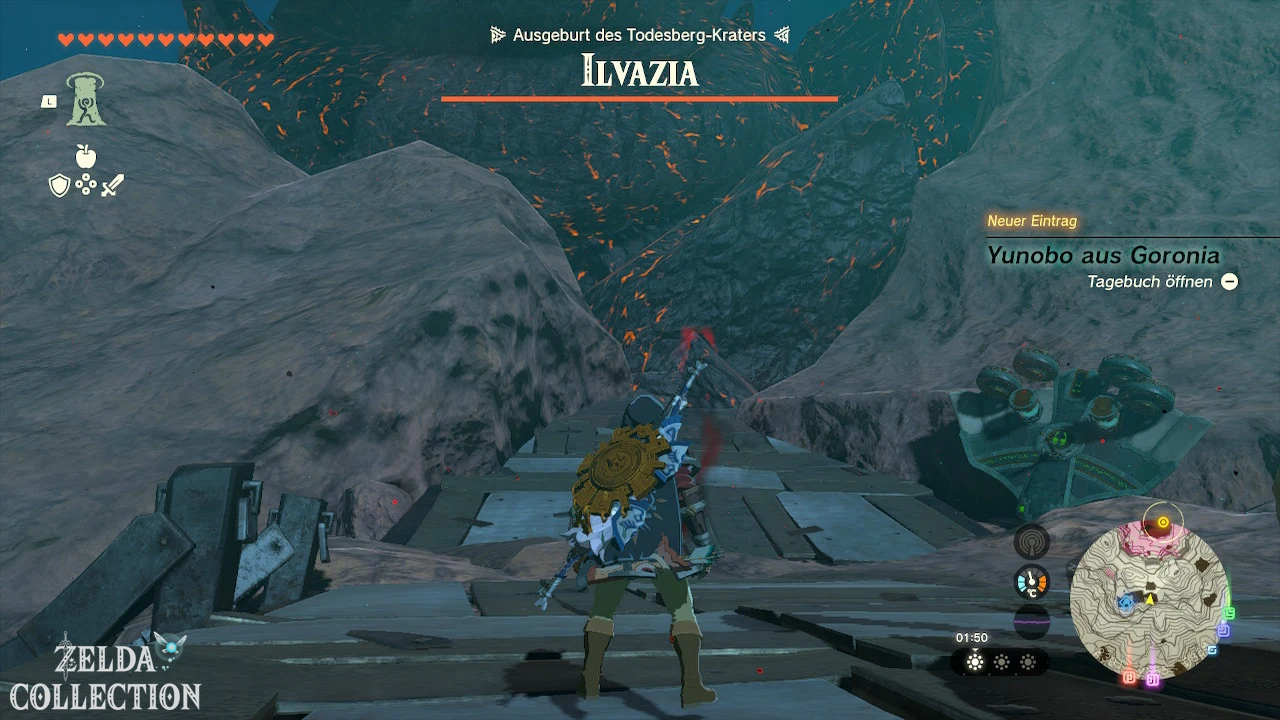
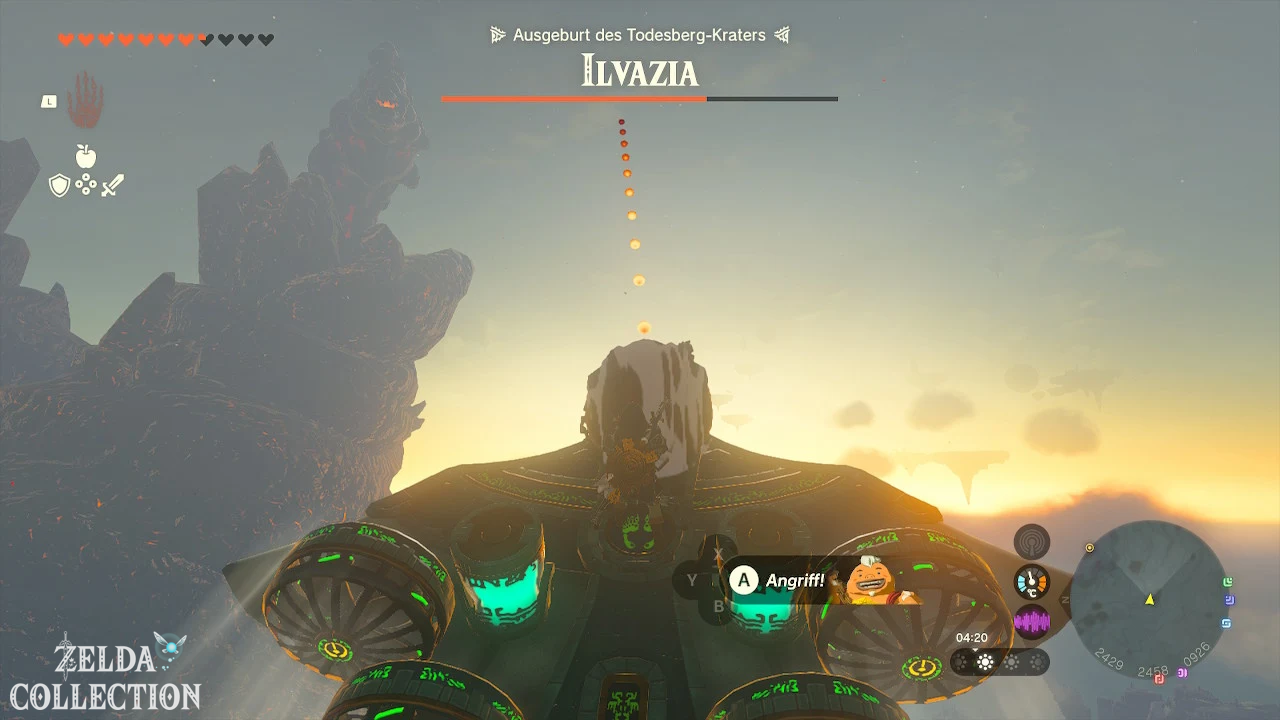
Several Zonai aircraft with a Wing, four fans, large batteries and a control stick are already available nearby. If the selected aircraft is upside down, align it with the Ultrahand. Climb onto the platform and operate the control stick. Yunobo automatically takes his position at the front.
Defeat Moragia
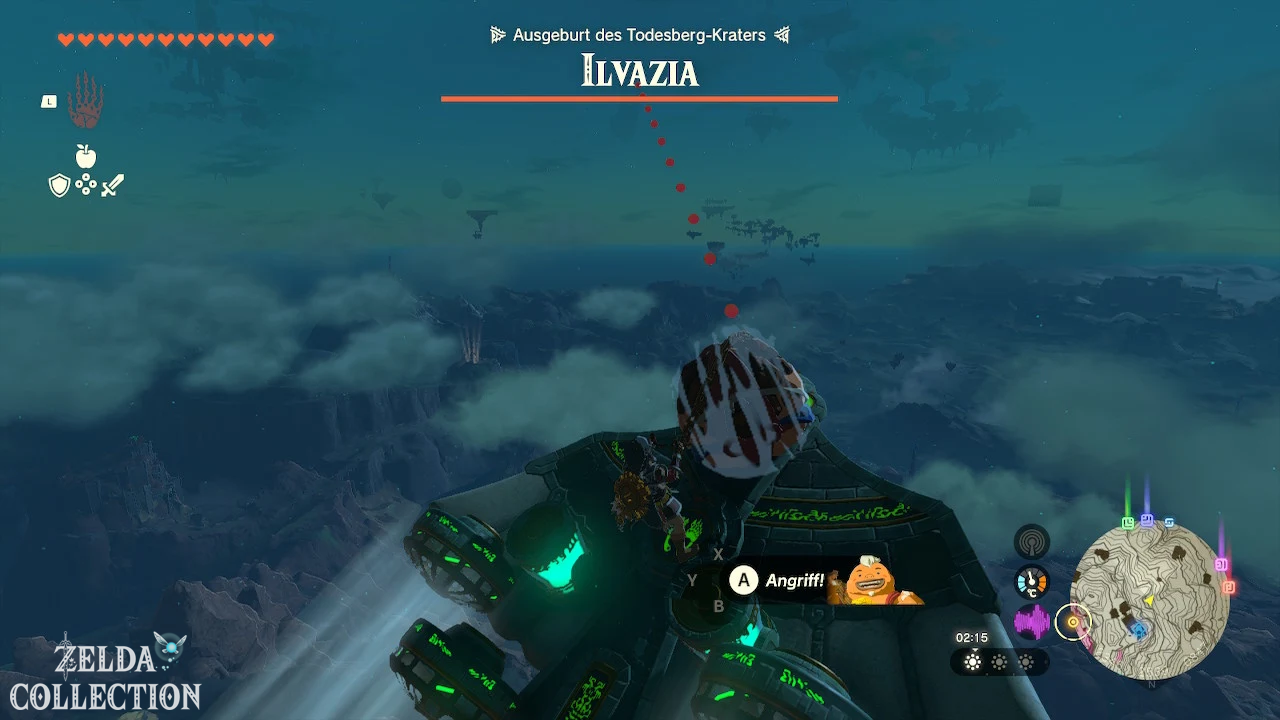
Each of the three heads must be hit by Yunobo once. Do not fly directly towards the open mouth, but approach slightly to the side and only fire Yunobo when the displayed trajectory clearly points to the respective head.
Moragia attacks with fire breath and glowing boulders. Steers sideways or upwards out of the flight path. After a hit, the corresponding head breaks. Once all three heads have been destroyed, Moragia is defeated.
Photograph Moragia before the last hit if you want to record the entry for the Hyrule Compendium yourself. After the battle, this enemy will not appear again on Death Mountain.
Jump into the abyss at Death Mountain
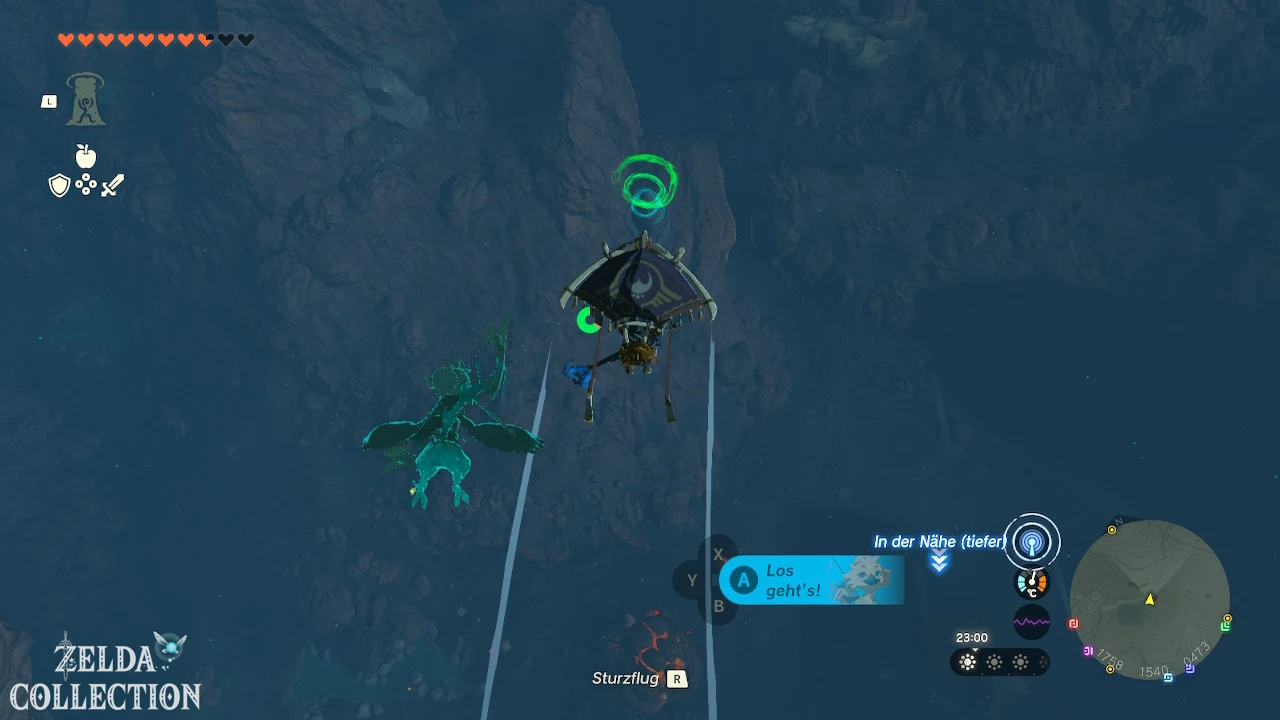
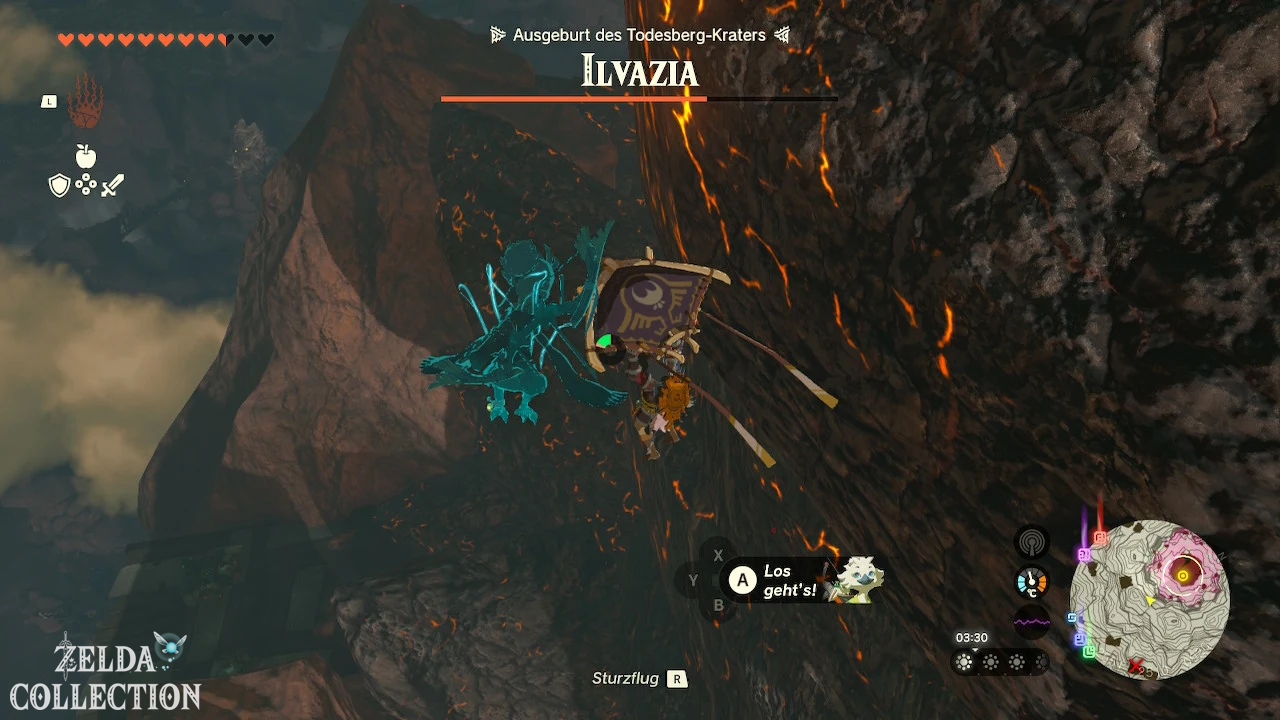
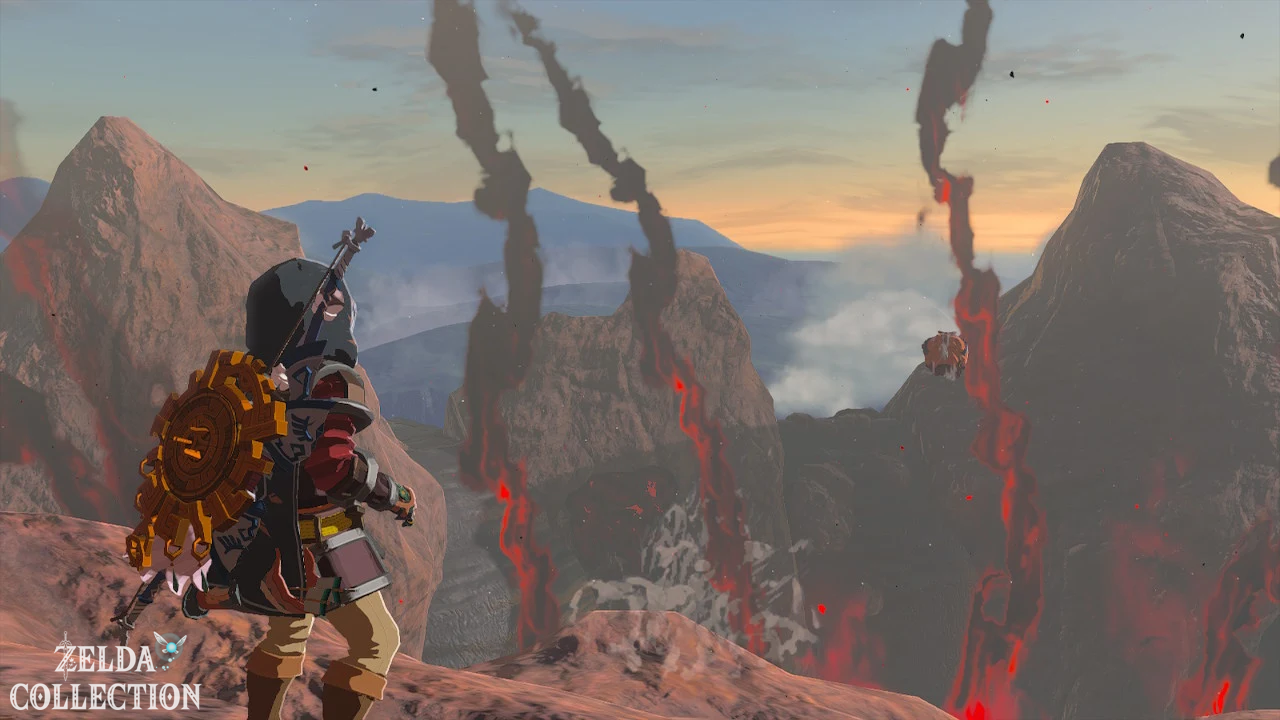
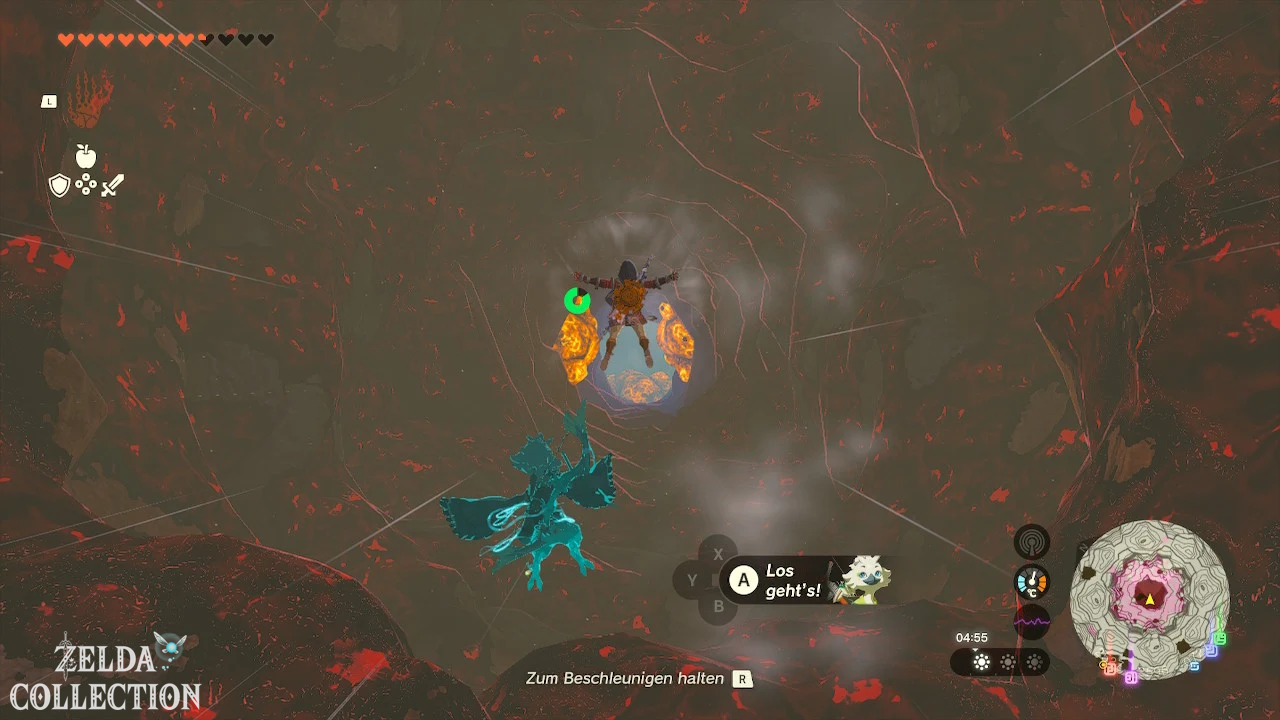
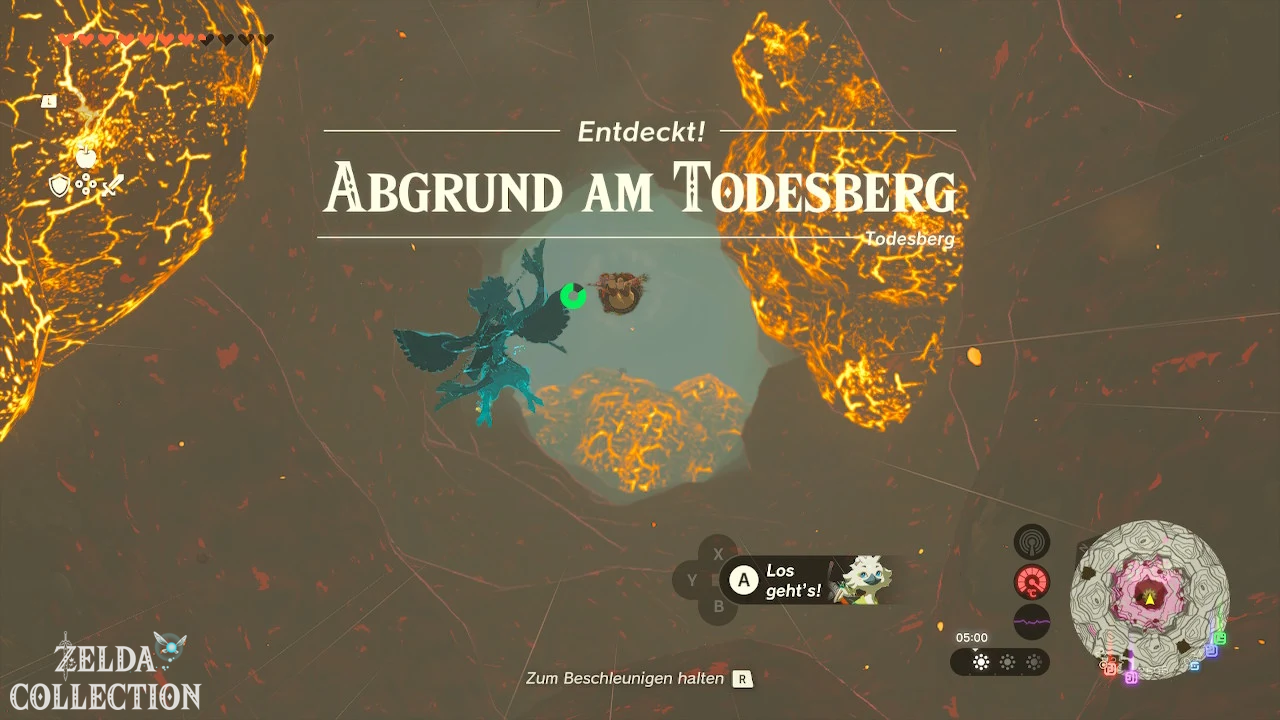
Moragia’s defeat reveals the entrance to Death Mountain Crater. Talk to Yunobo and then jump into the abyss. As it falls, glowing columns of rock and lava rise from the walls. Slow down with the Paraglider and correct your direction of flight as soon as you get too close to such a pillar.
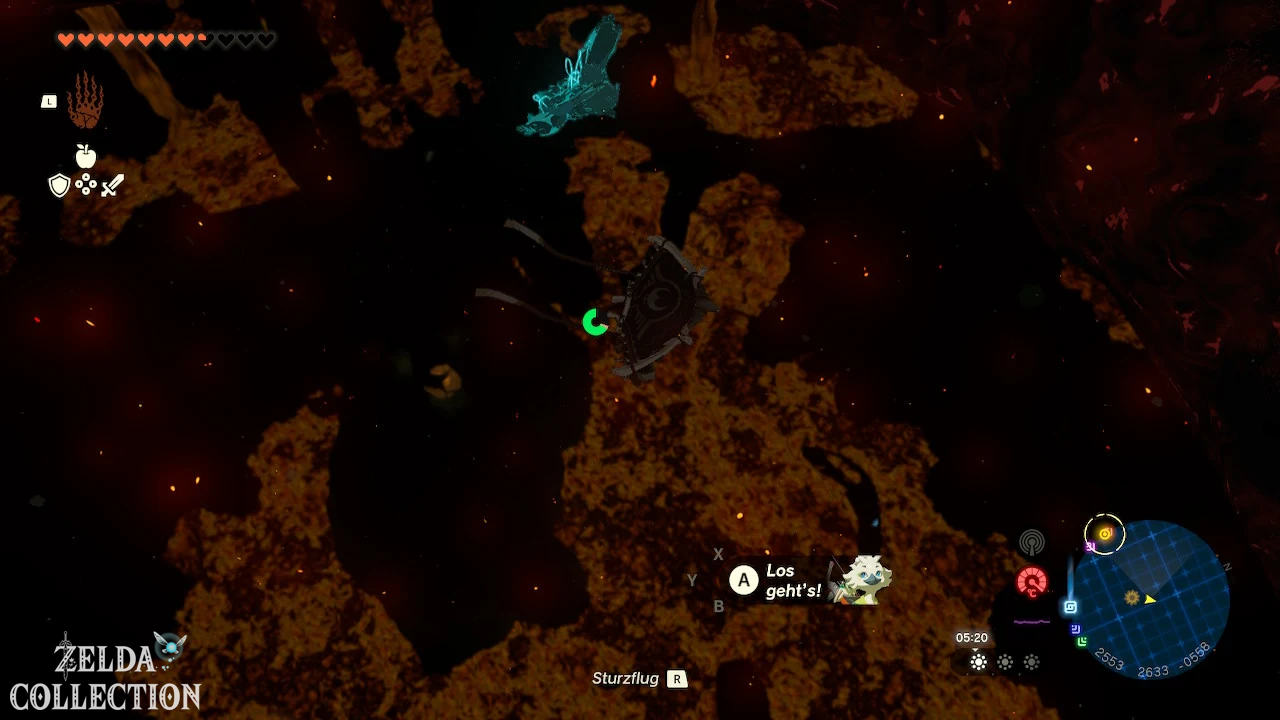
Activate Mustis Lightroot
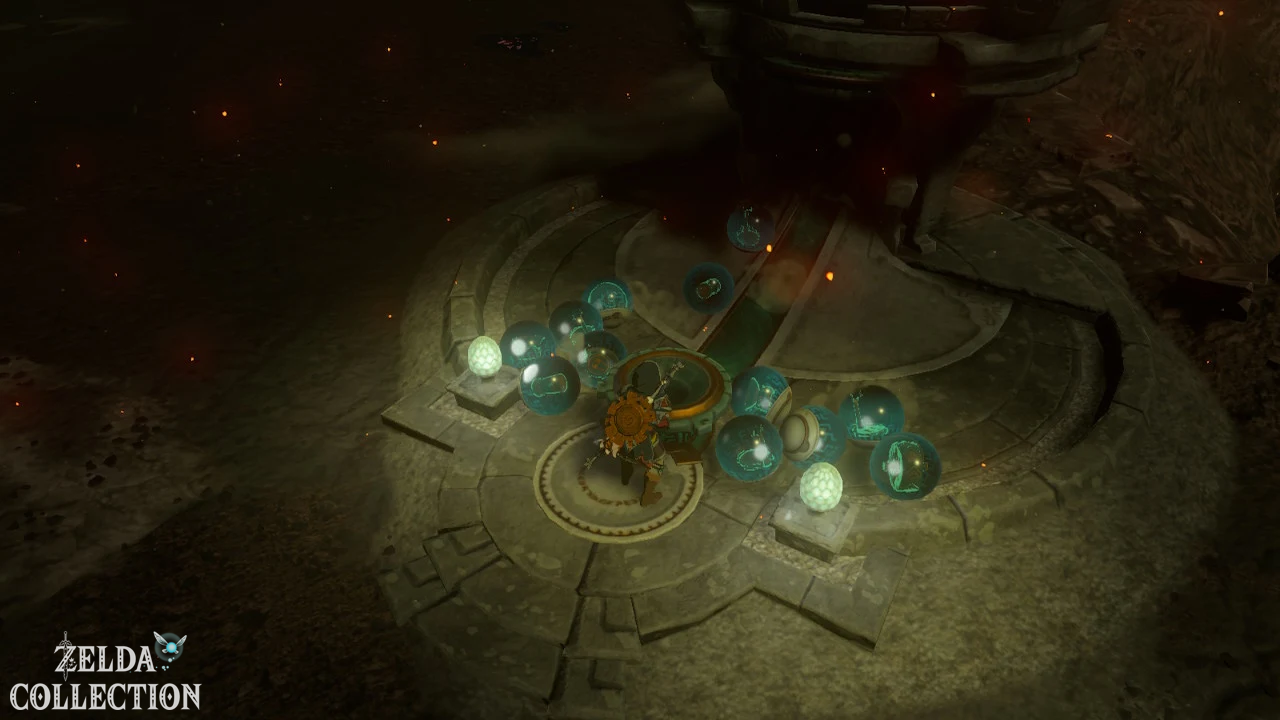
In the lower area you can see the glowing Mustis Lightroot. Glide as directly as possible to it and activate it. This illuminates part of the underground, appears on the map, gives you a fast travel point, and restores hearts blocked by Gloom.
Afterwards, talk to Yunobo. The Fire Temple can already be seen as a huge ruin to the west. Our underground map with all roots provides further orientation.
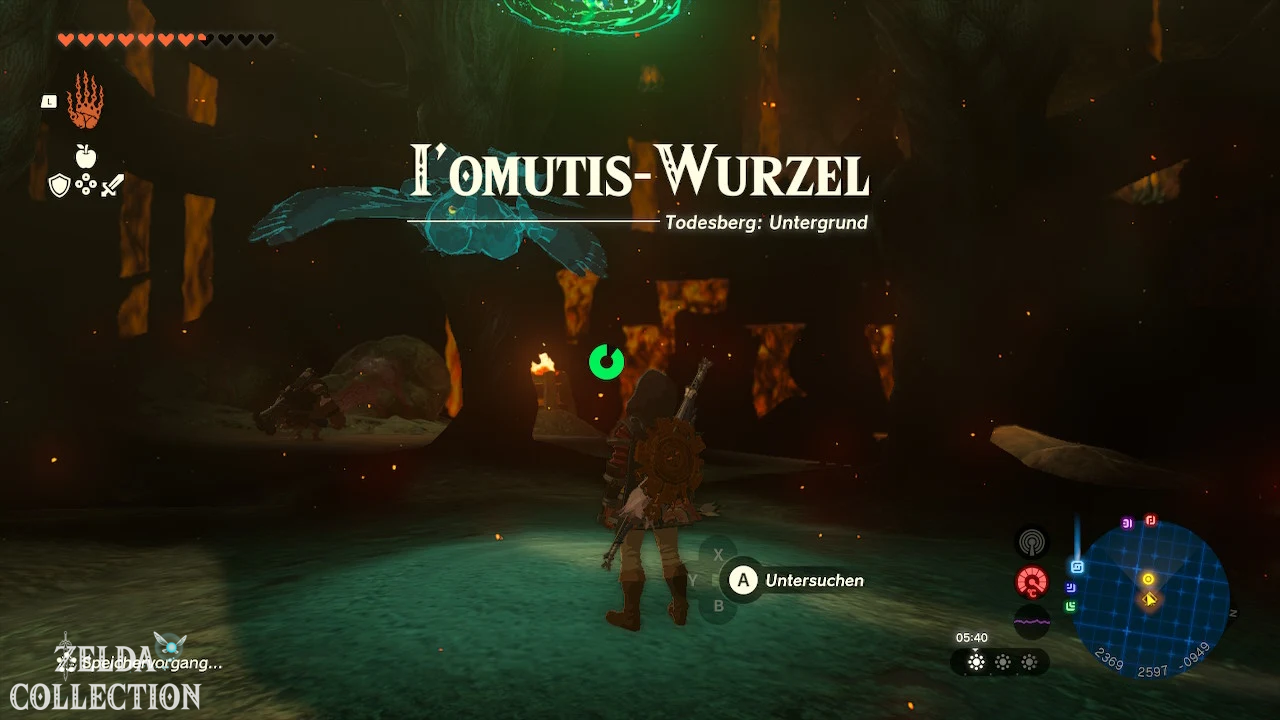
Through the Depths to the Fire Temple
Follow Yunobo west, destroying the Schlemmstein barriers with his firepower and using Brightbloom Seed regularly. Nearby is a Zonai component dispenser with large wheels, control sticks, batteries and mobile cooking pots. The components can be used for a vehicle across the lava.
Activate Misisi Lightroot
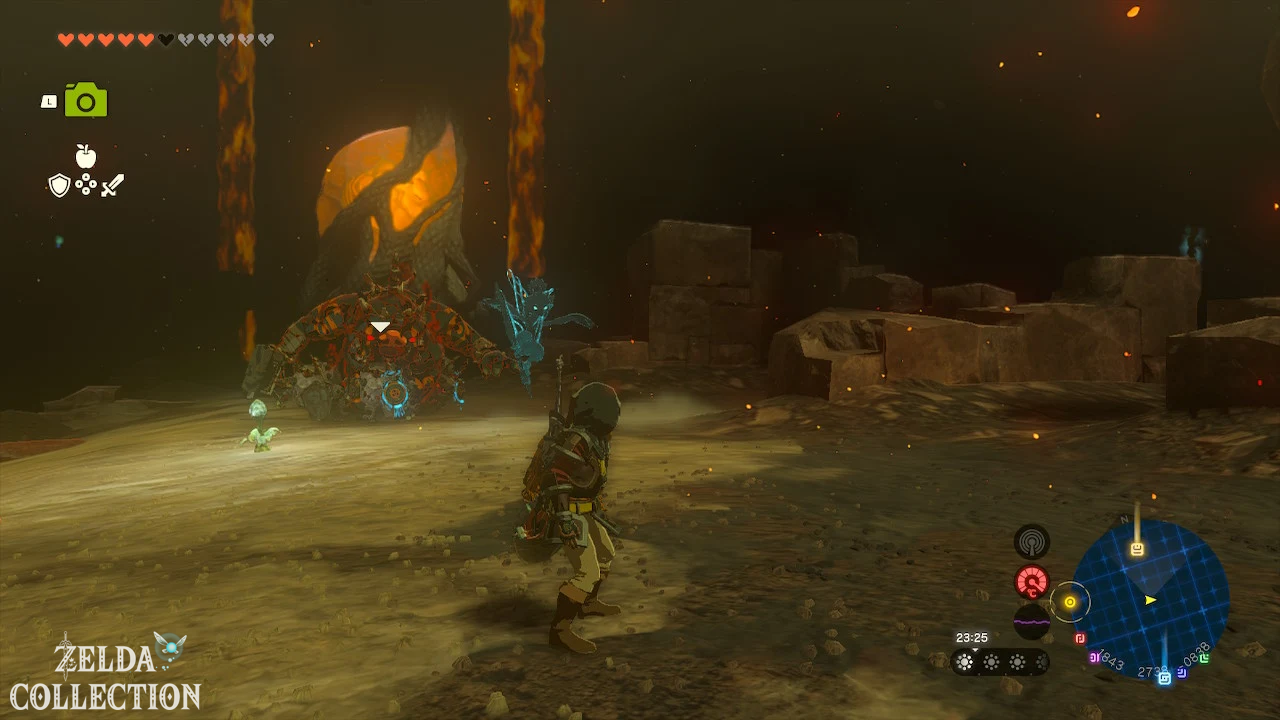
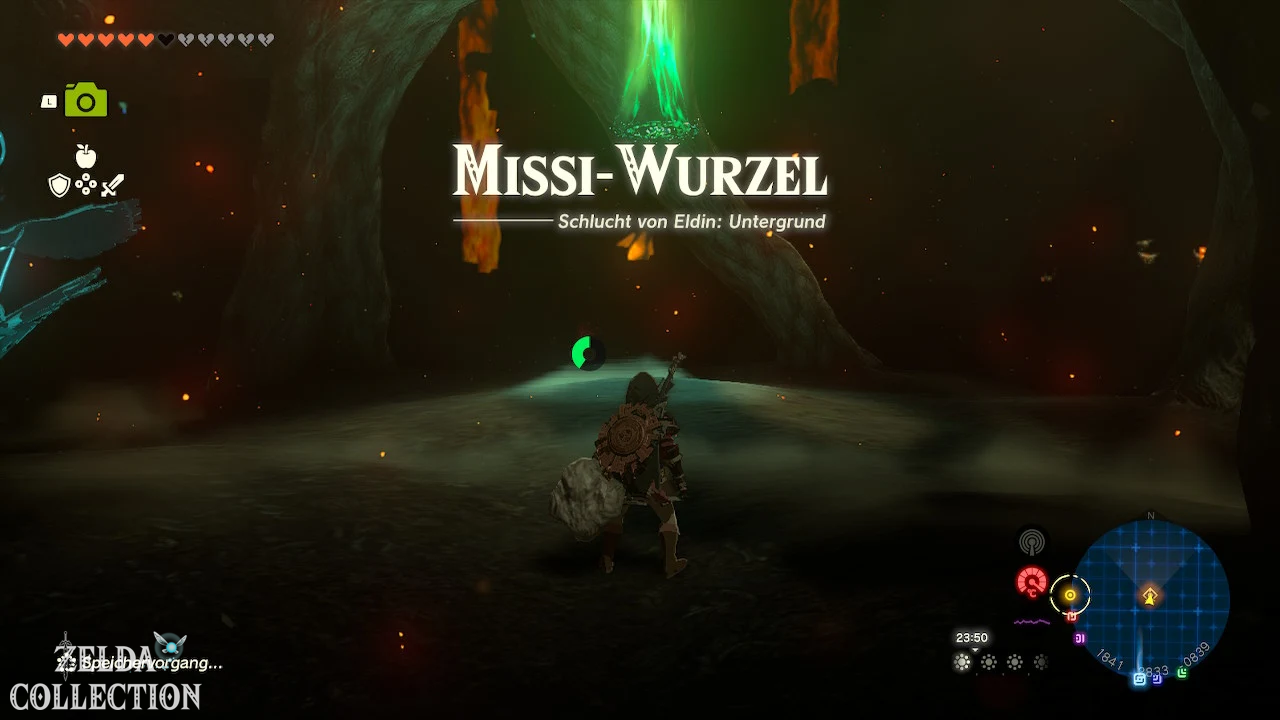
On the way to the temple you can activate the Misisi Lightroot. An enemy group infested with the Gloom is patrolling nearby with a Boss Bokoblin. You can fight the group or avoid it at a sufficient distance. The root is the last comfortable reset point before the Fire Temple.
Cross the last lava field
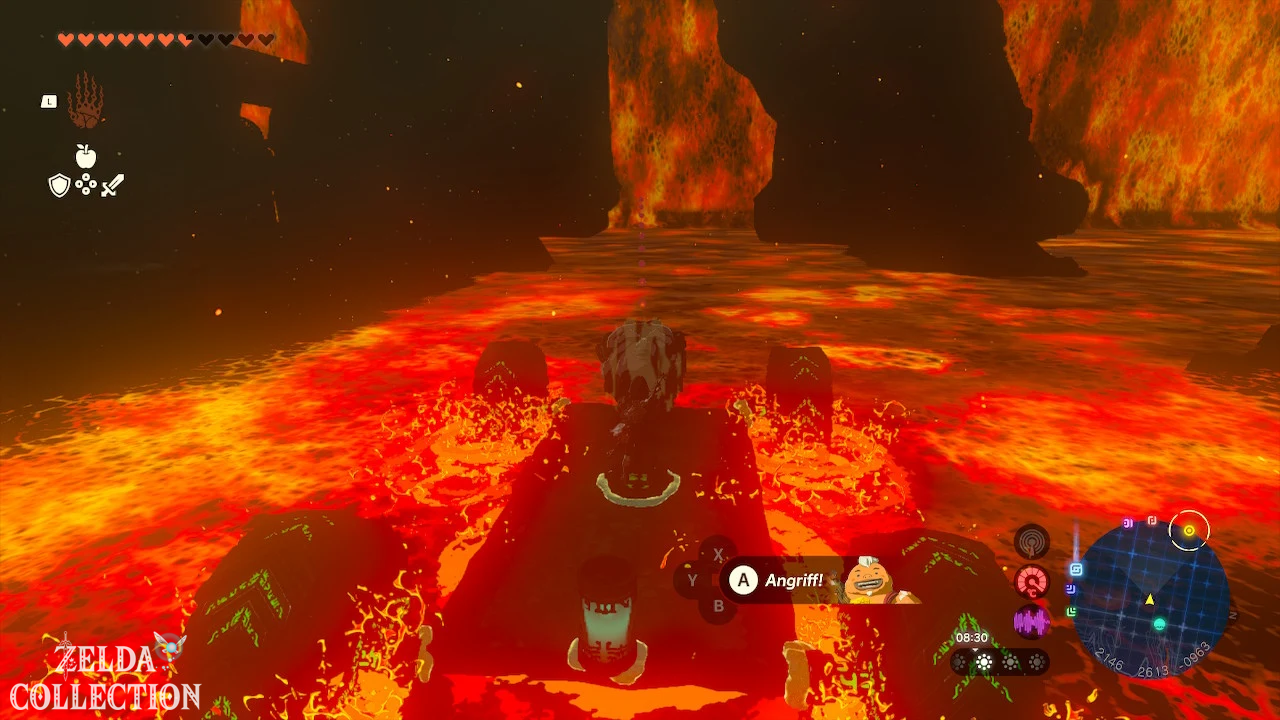
There is a wide lava flow in front of the temple. On the bank there are stone slabs, fans and a control stick. Place a large stone slab on the lava, attach a fan to the back end, place the control stick in the middle of it and steer to the opposite bank.
Alternatively, you can use existing rails and carts. Watch out for armored Bokoblins: their armor must be broken with a blunt weapon or Yunobo’s attack. At the entrance to the fire temple, destroy the feasting stone with Yunobo and enter the central hall.
Fire Temple – Gorondia
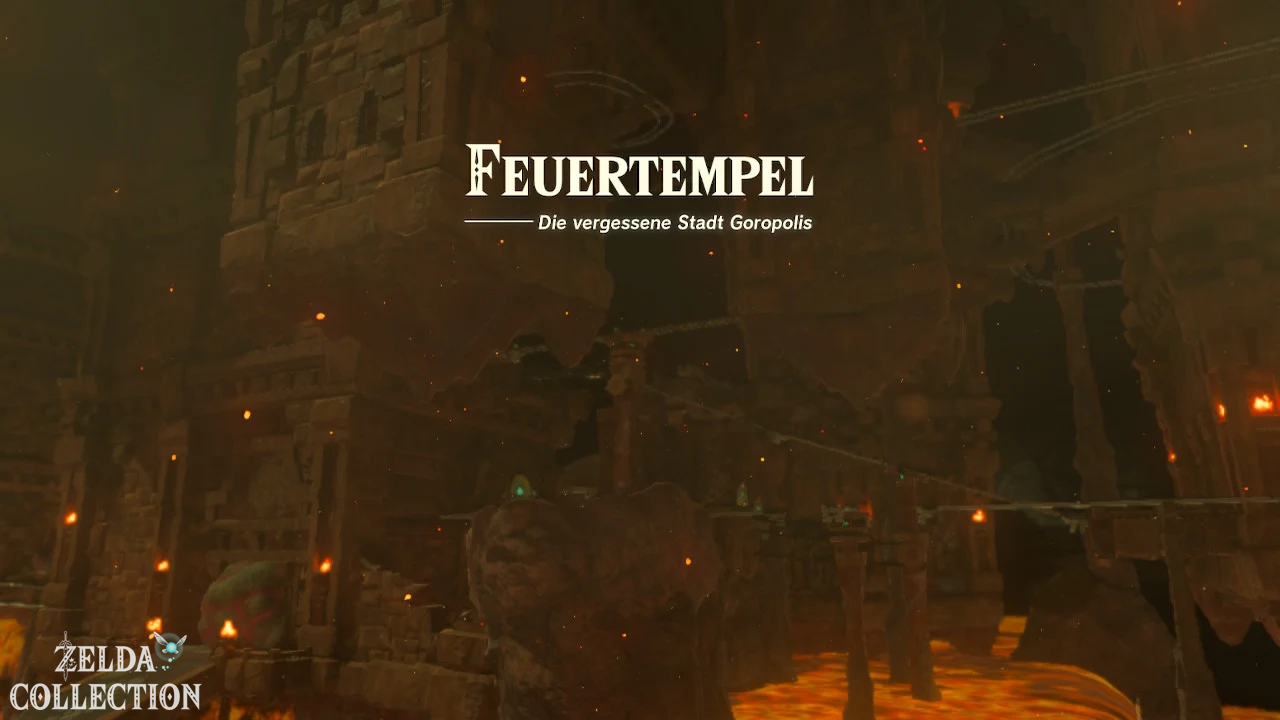
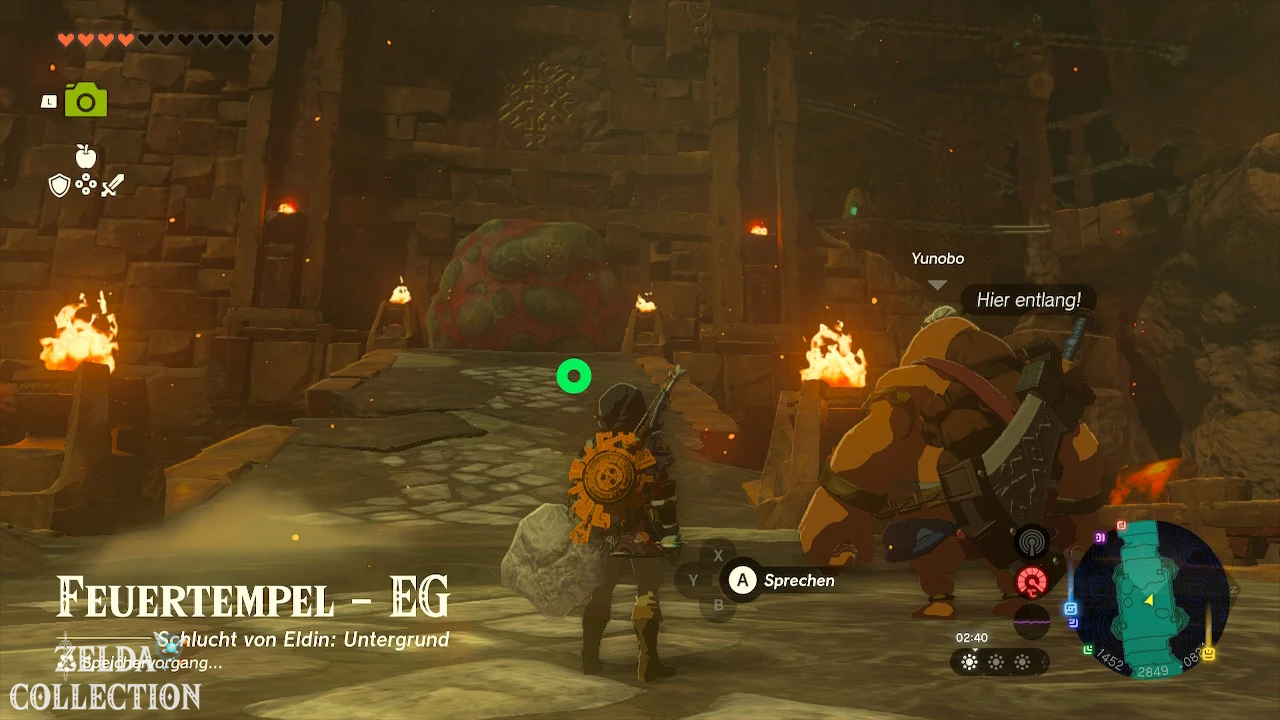
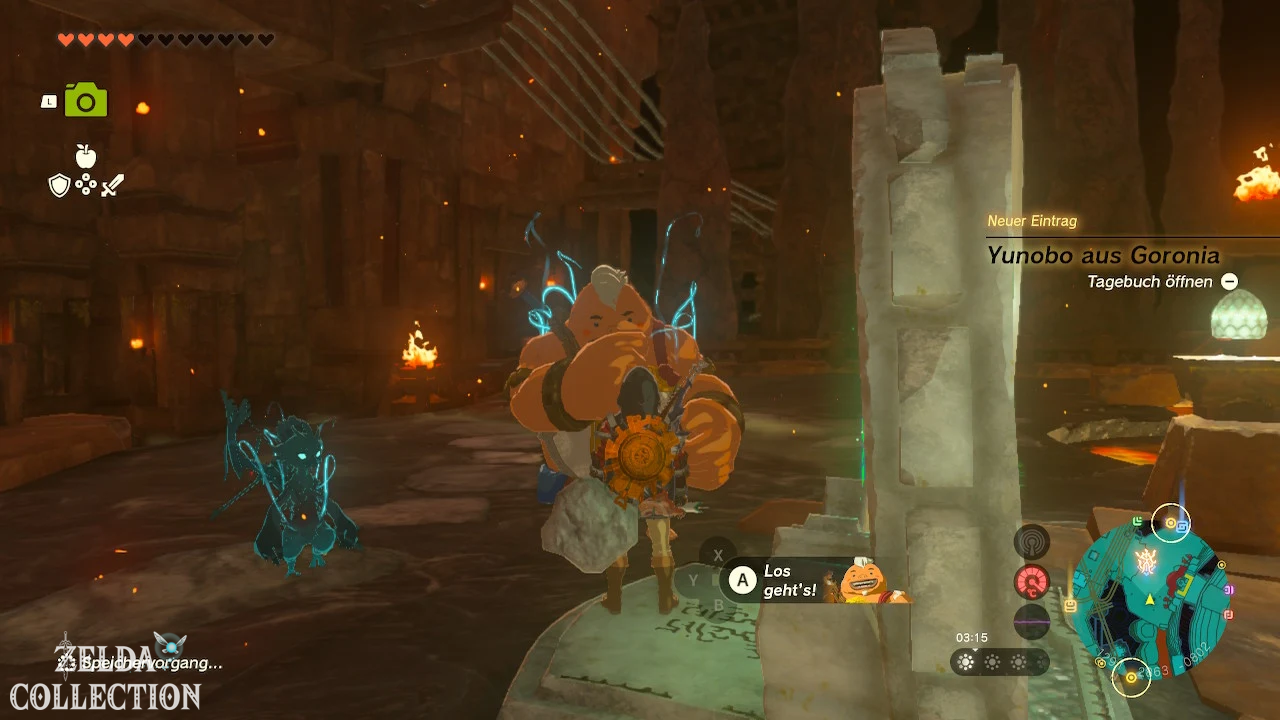
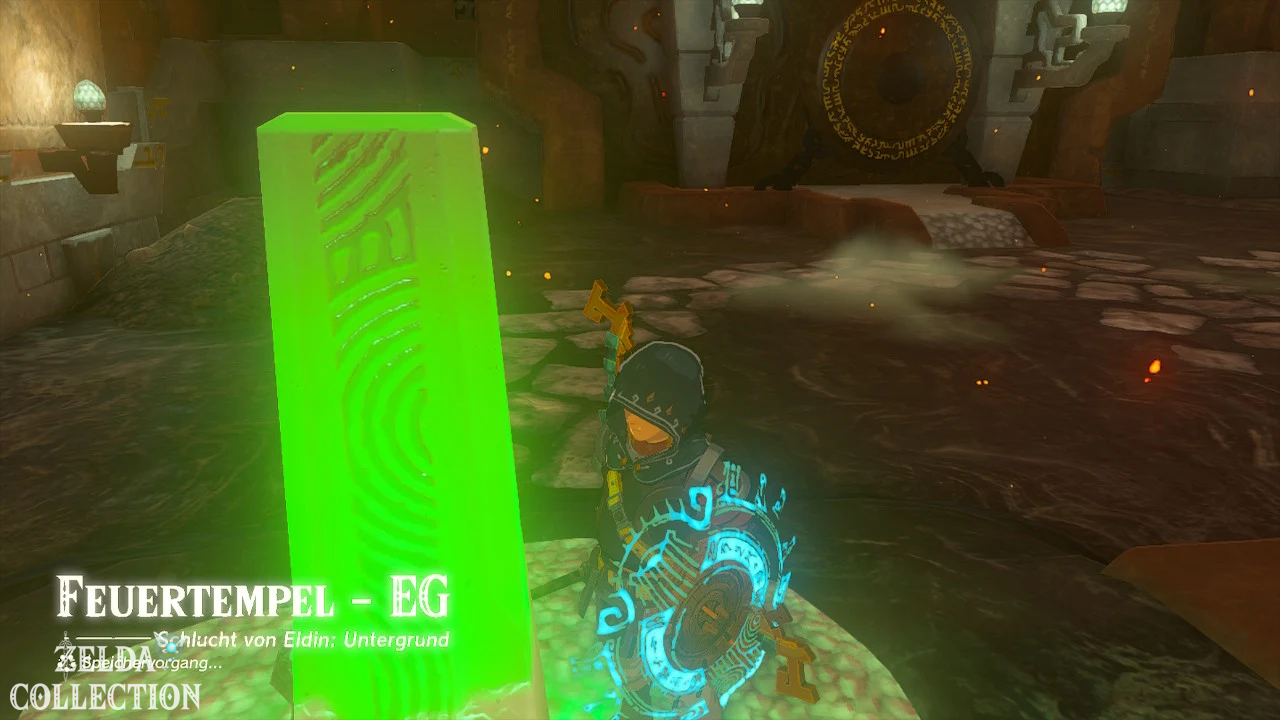
The Fire Temple consists of the ground floor and four levels above. First activate the green Zonai terminal in the central room. This registers the temple as a fast travel point.
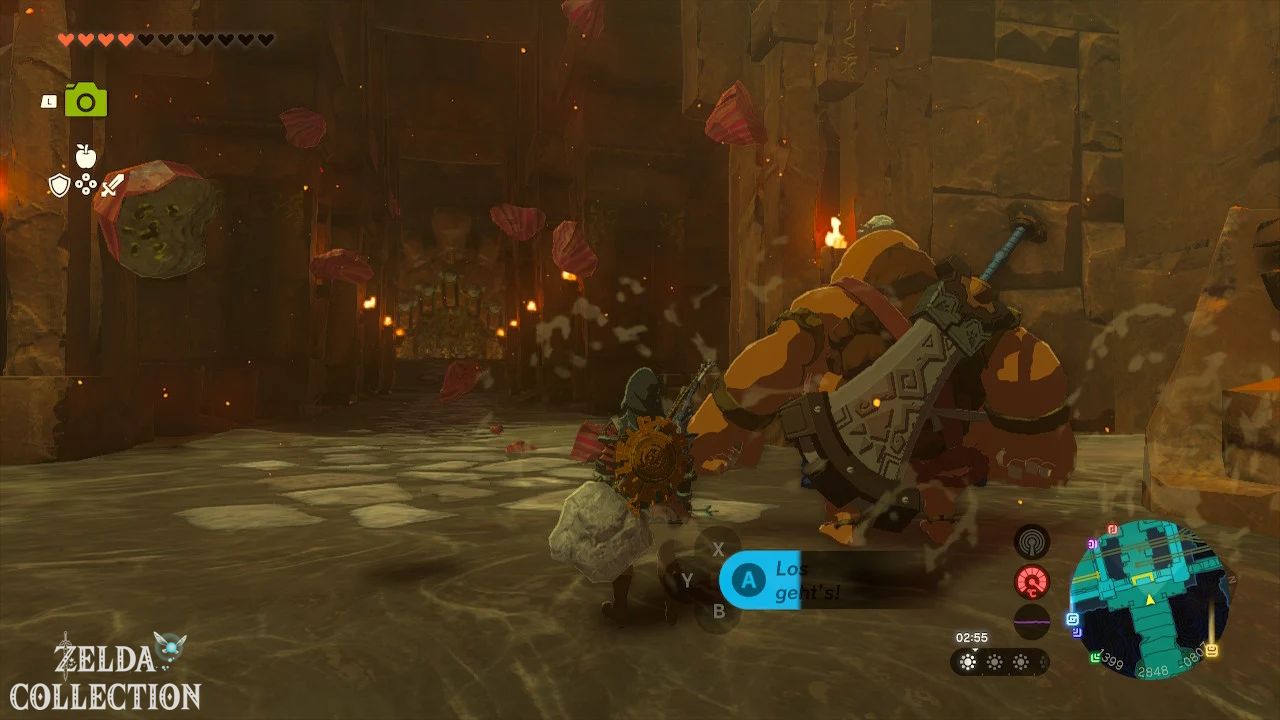
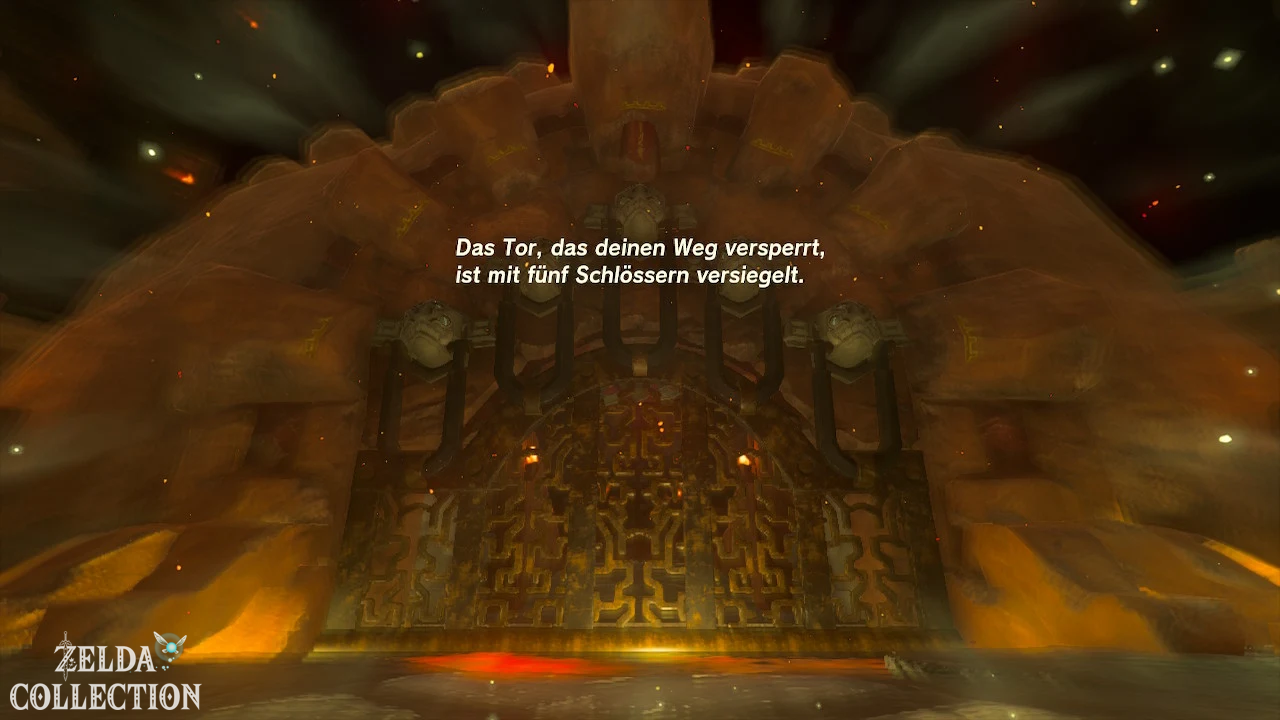
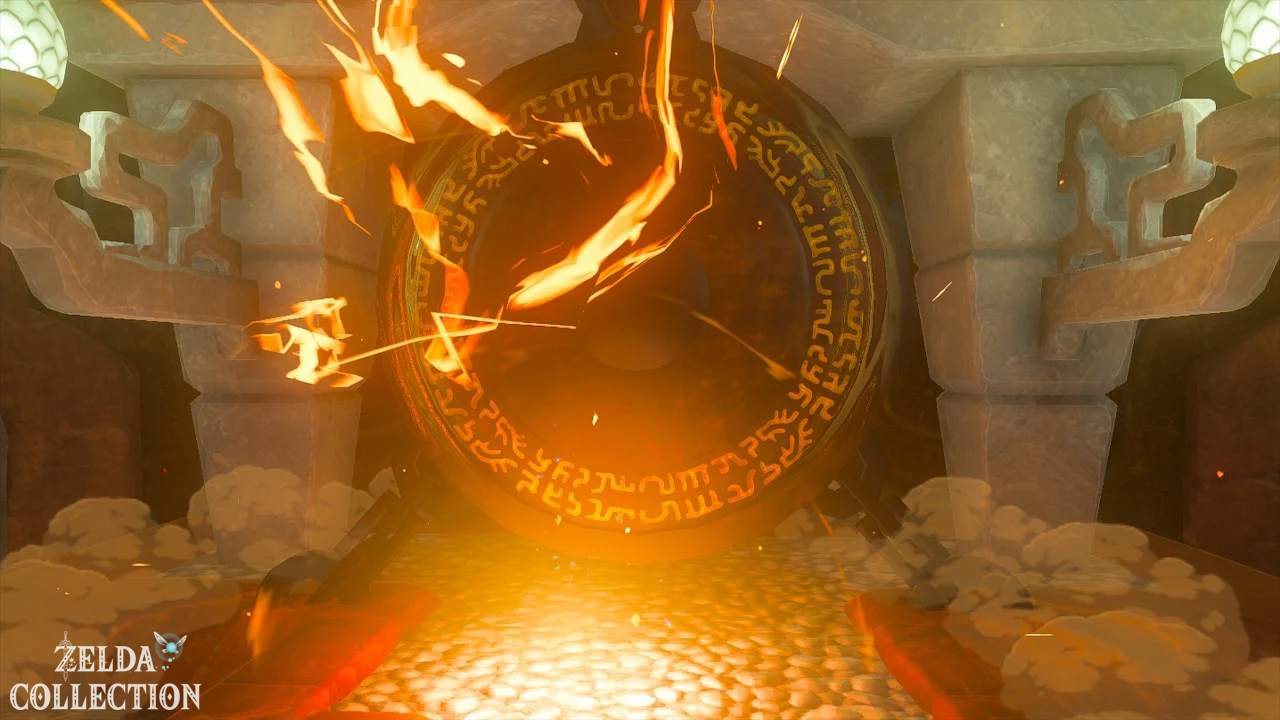
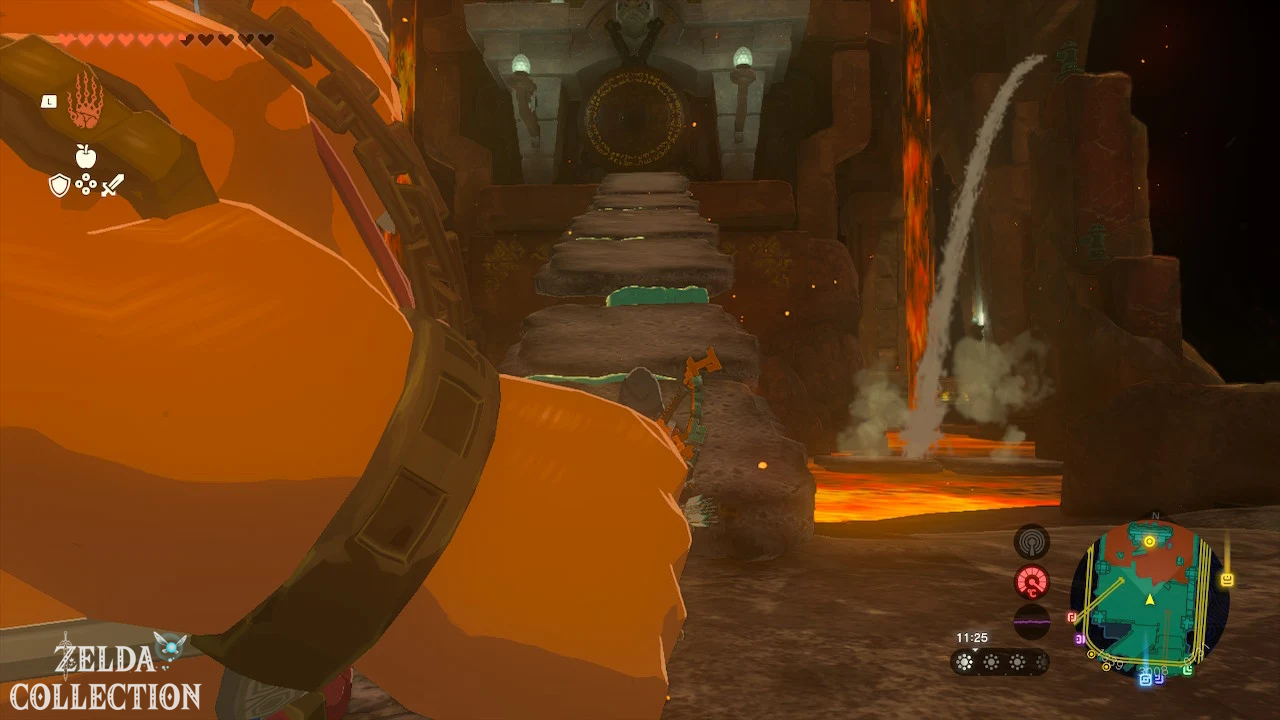
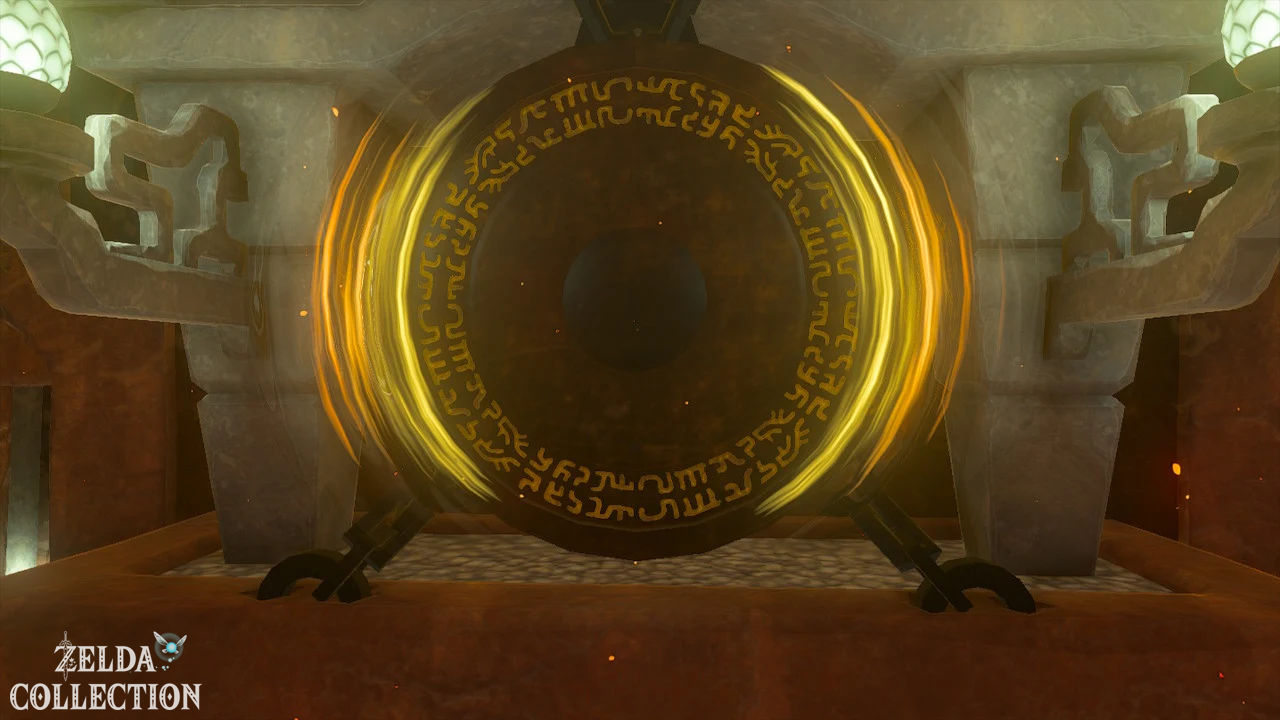
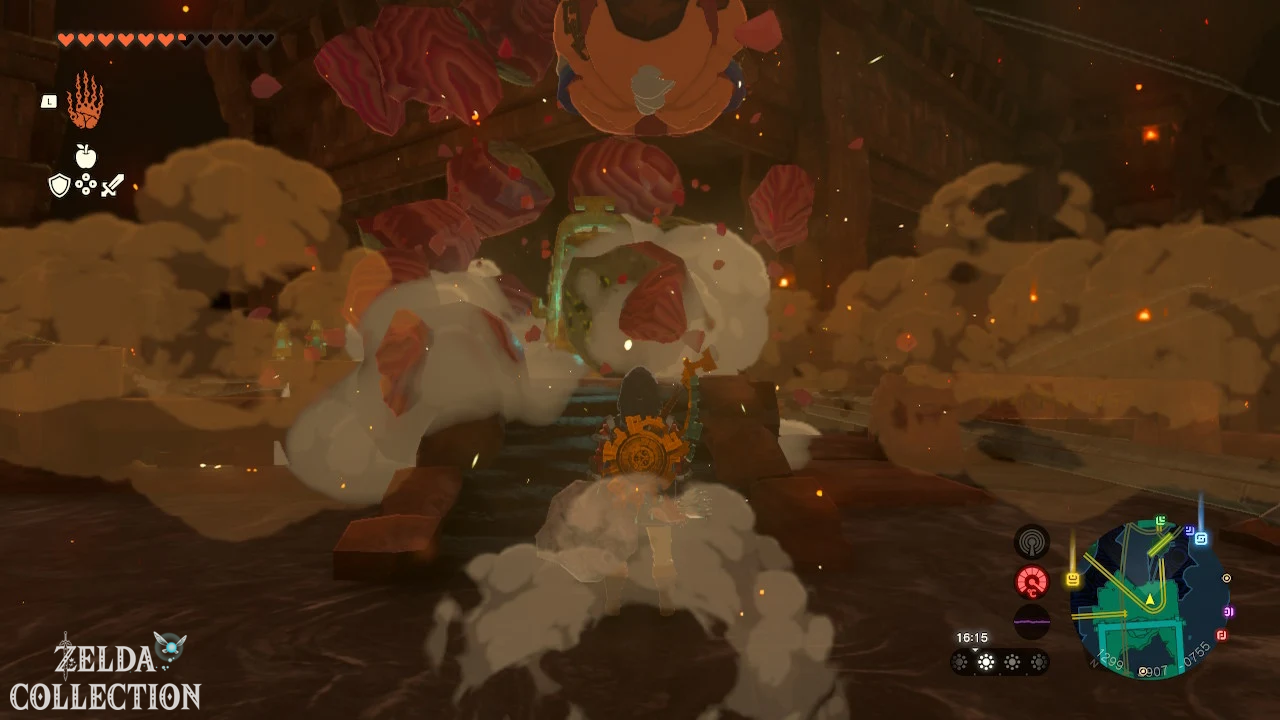
The supposed Zelda disappears behind a large gate that is secured by five locks. Each lock is connected to a gong. Aim Yunobo head-on at the respective gong and let it roll against it to open the associated lock.
orientation in the Fire Temple
- Ground floor: entrance, boss room and two gongs
- 1st floor: northern gong and several lava chambers
- 2nd floor: central junction of the
- 3rd floor: raised gong and southwestern ruins
- 4th floor: highest area and hidden Treasure Chest
lorry routes
The order of the five locks is basically free. The following route is based on the intended lorry and puzzle paths and collects the majority of the Treasure Chests without any major detours.
Castle 1: Gong on the southern ground floor
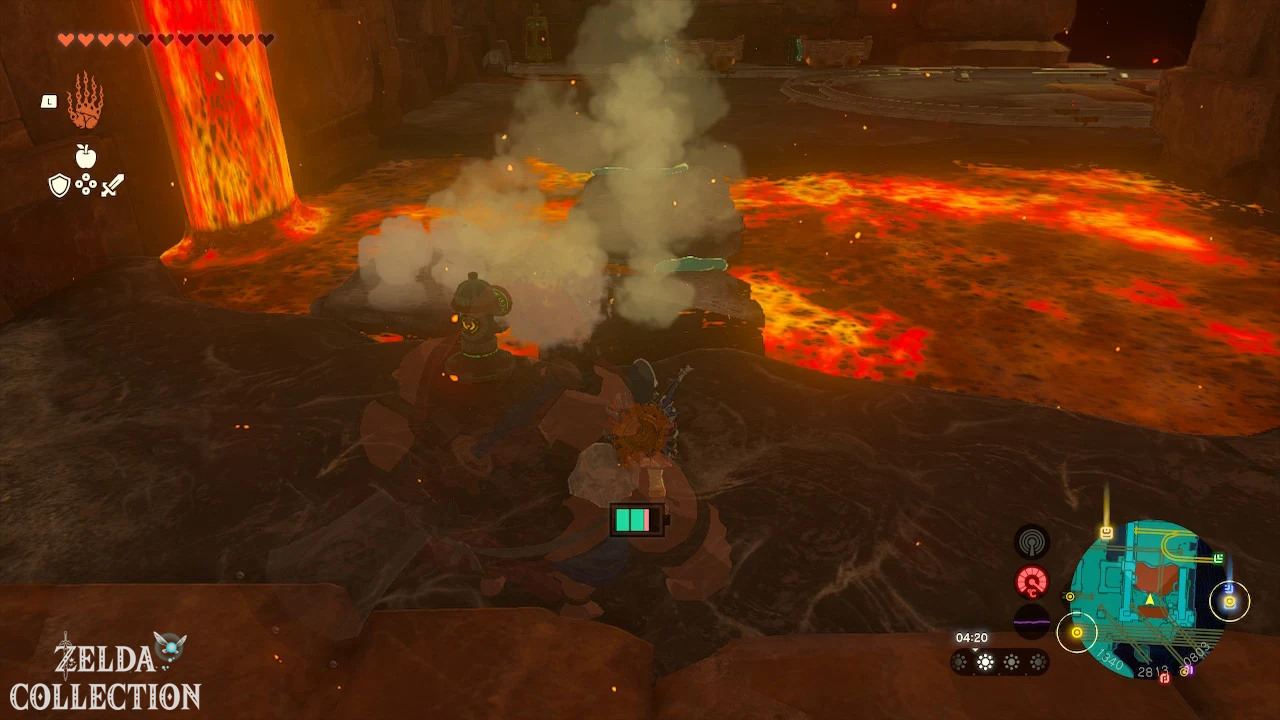
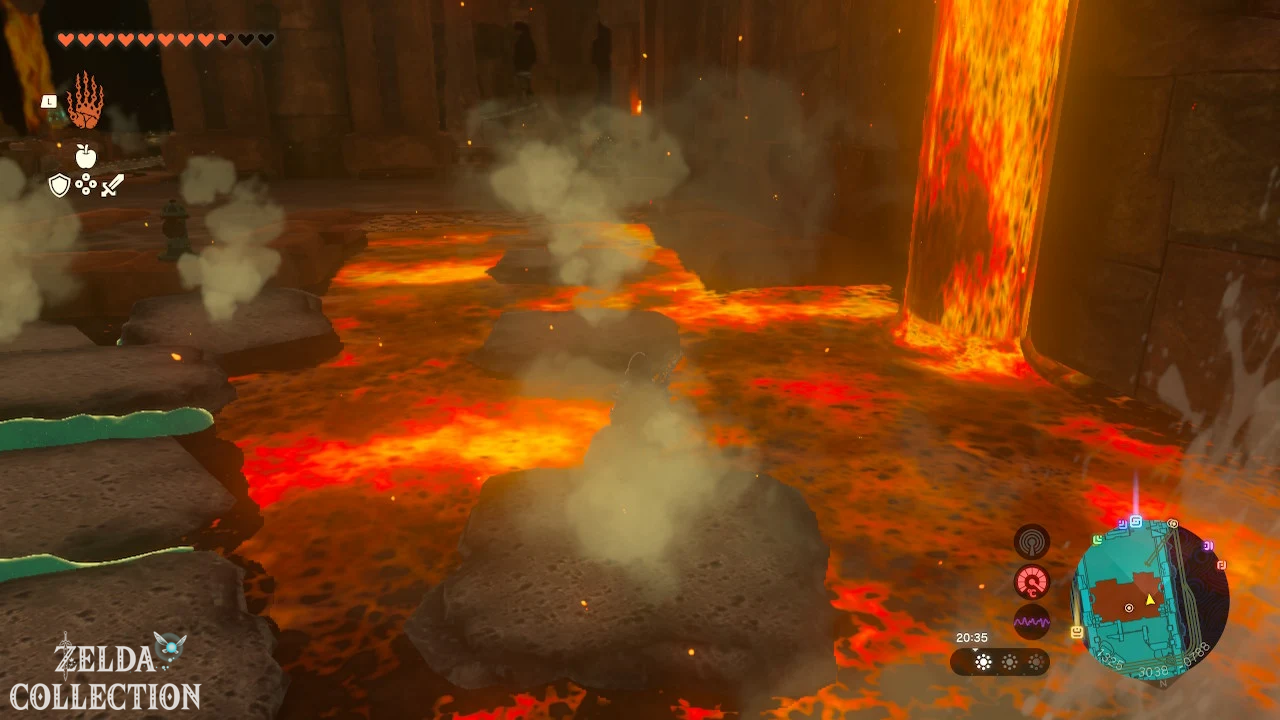
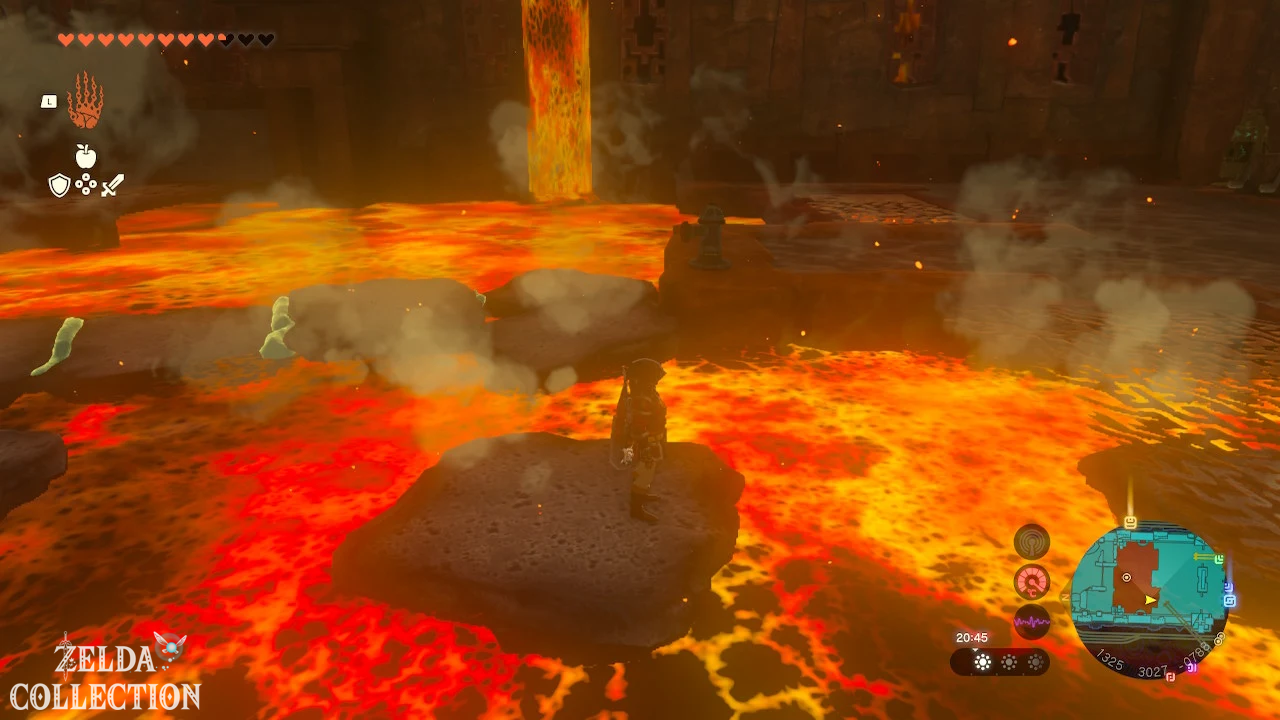
Leave the central room to the south and turn east at the intersection. You reach two lava fields. At the first lava flow, a fire hydrant automatically creates stone slabs that you can jump over to the other side.
For the second lava pool you have to activate the hydrant yourself. Take it to the edge with the Ultrahand, direct the water jet at the lava and wait until several stone slabs appear. Connect the plates to form a temporary bridge and cross the pool.
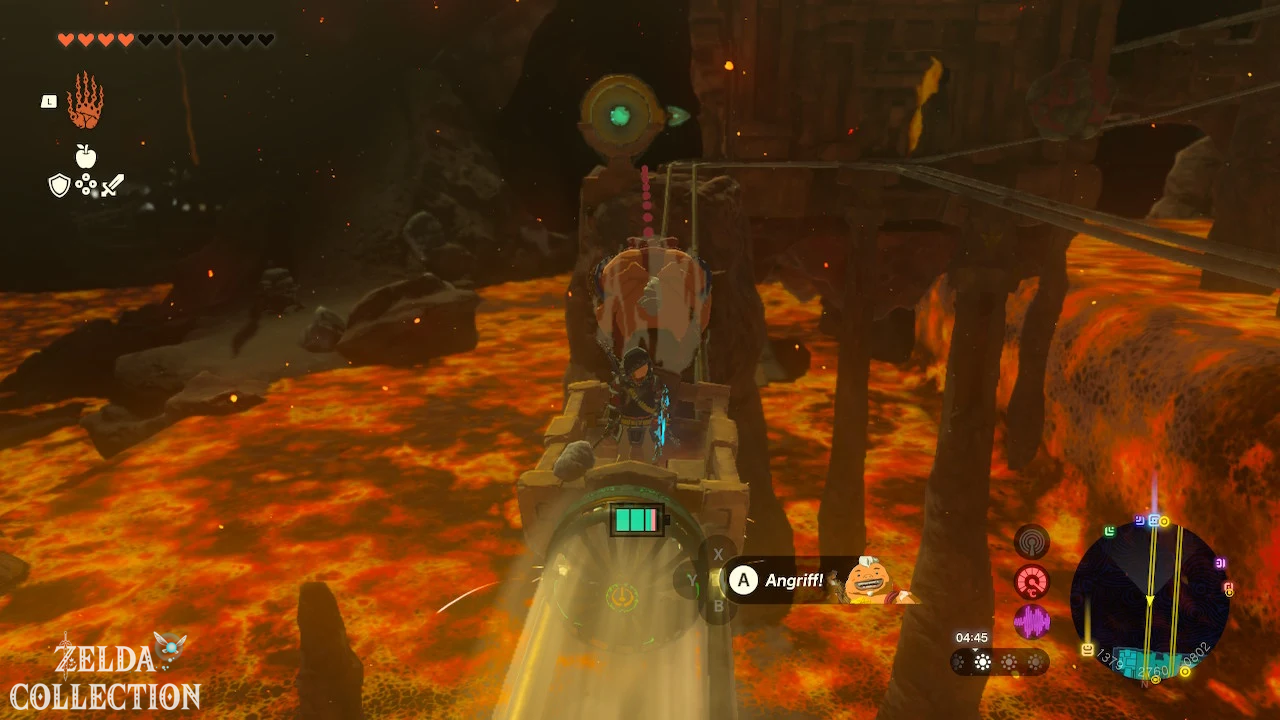
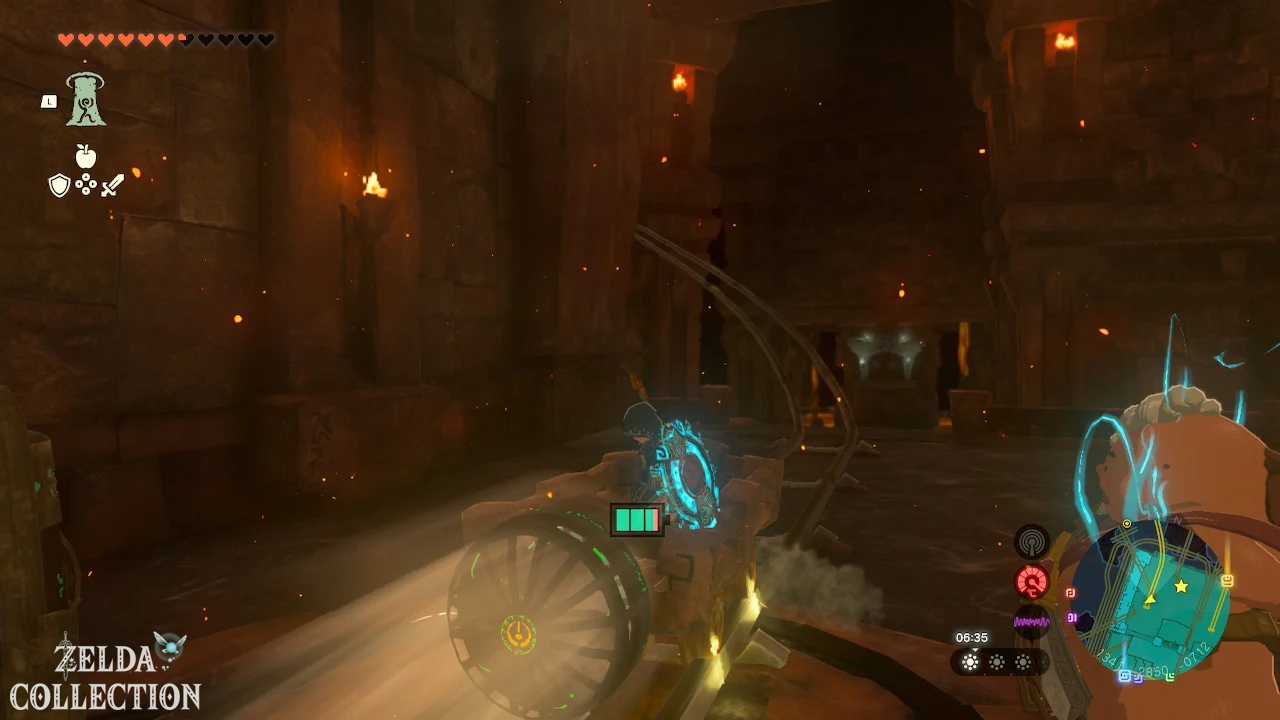
Then climb into the lorry and activate the fan. Fire Yunobo at the rail switch so that the cart travels to the southern room.
Defeat Fire Like
There is a Fire Like hanging on a wall or pillar in the room. Wait until it opens its mouth and hit the exposed weak point with an arrow. Ice fruits or White Chuchu Jelly are particularly effective. Then attacks the tongue that has fallen out.
Build Yunobo’s ramp
Have a fire hydrant create several stone slabs and connect them with the Ultrahand to form a long ramp. Aim the construction at the feasting stone on the other side of the lava pool and shoot Yunobo over it. Enter the uncovered chamber and let him roll against the gong. This opens the first lock.
Castle 2: Gong on the northern floor
Return to the lorry and press the bell-shaped switch to open the gate. Then ride up the rising rails. You destroy a Schlemmstein blockade on the route with Yunobo.
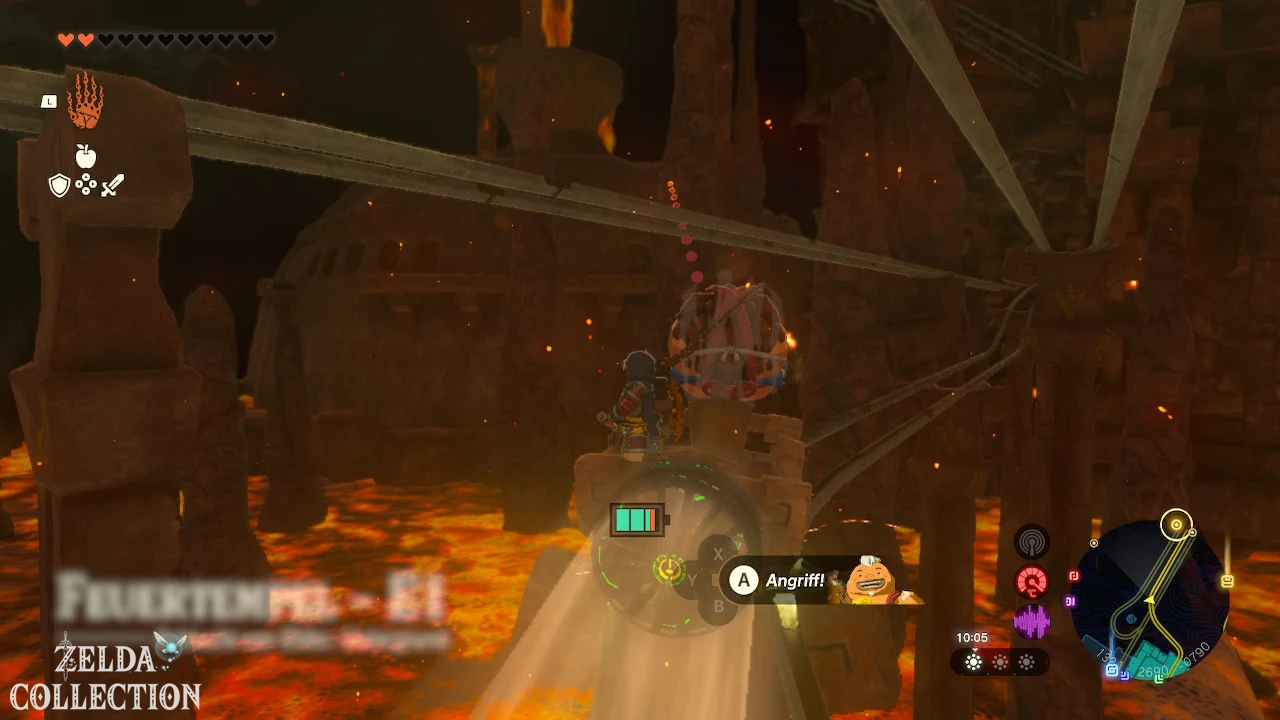
At the end of the route you turn the cart over using the switch there. Drive off again and shoot Yunobo at the arrow switch to make the rail point north. Get off at the middle platform, cross the small bridge and hit the bell-shaped switch. This will lower another rail.
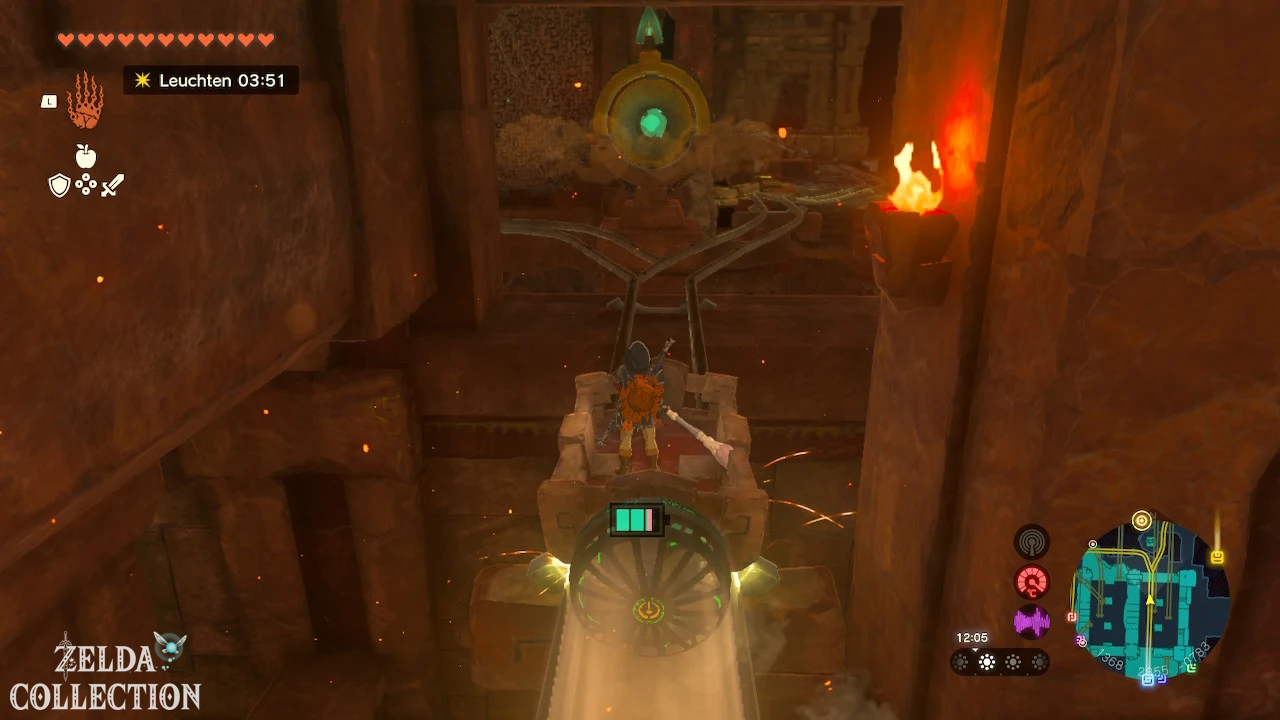
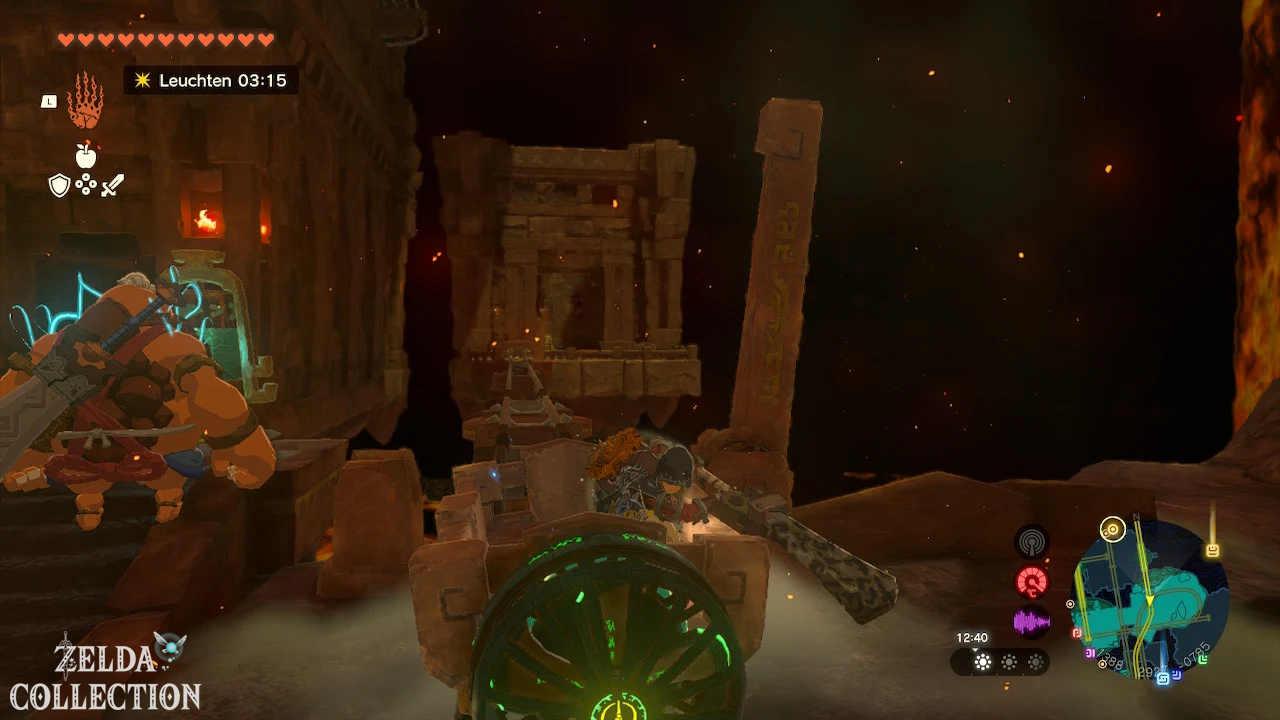
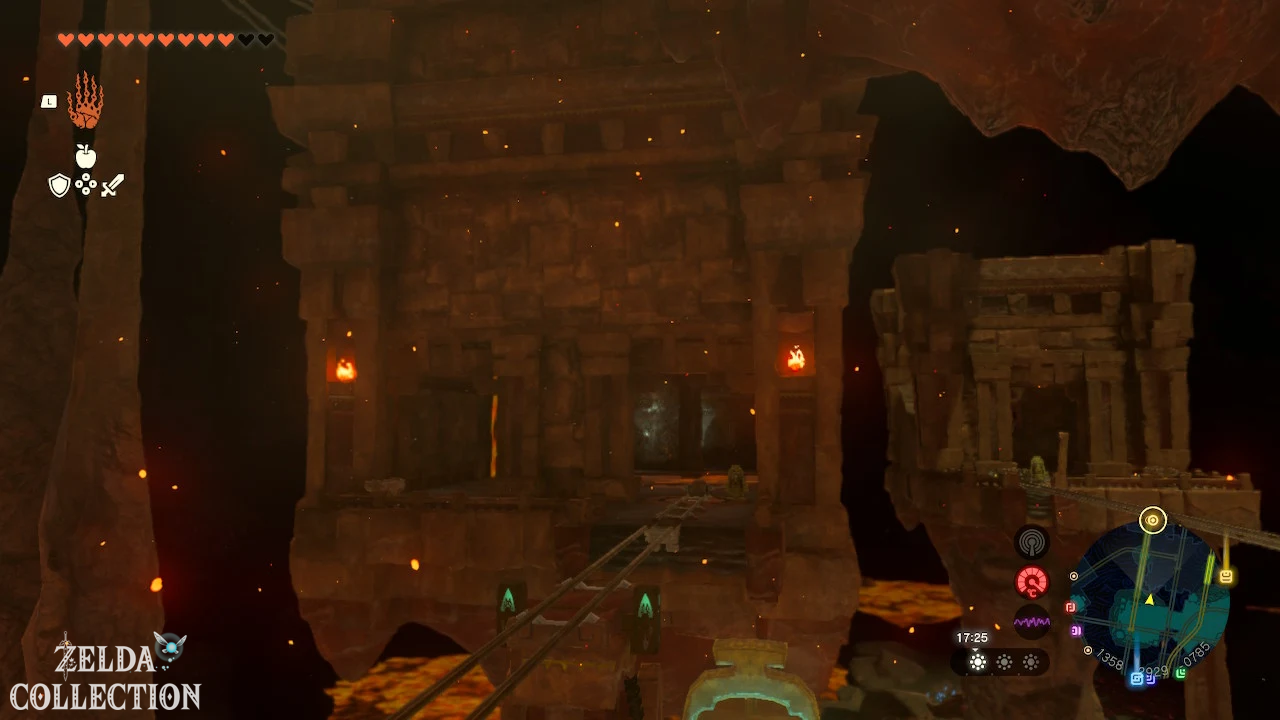
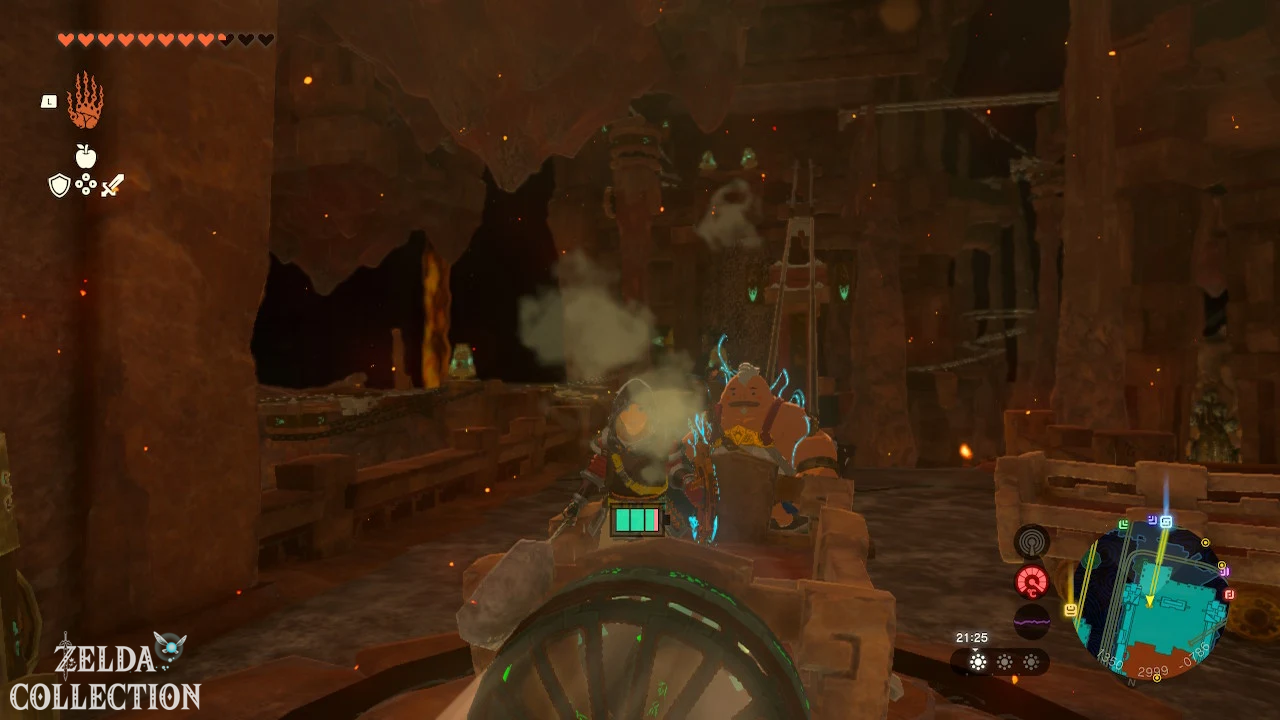
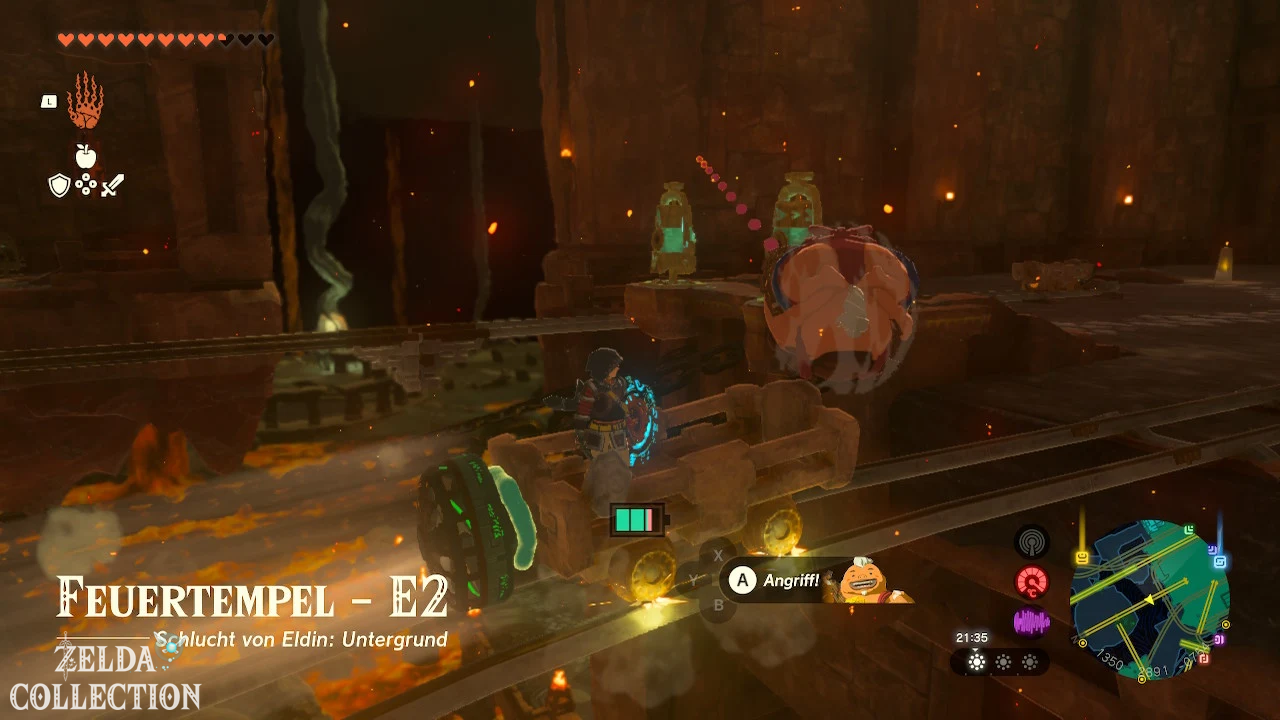
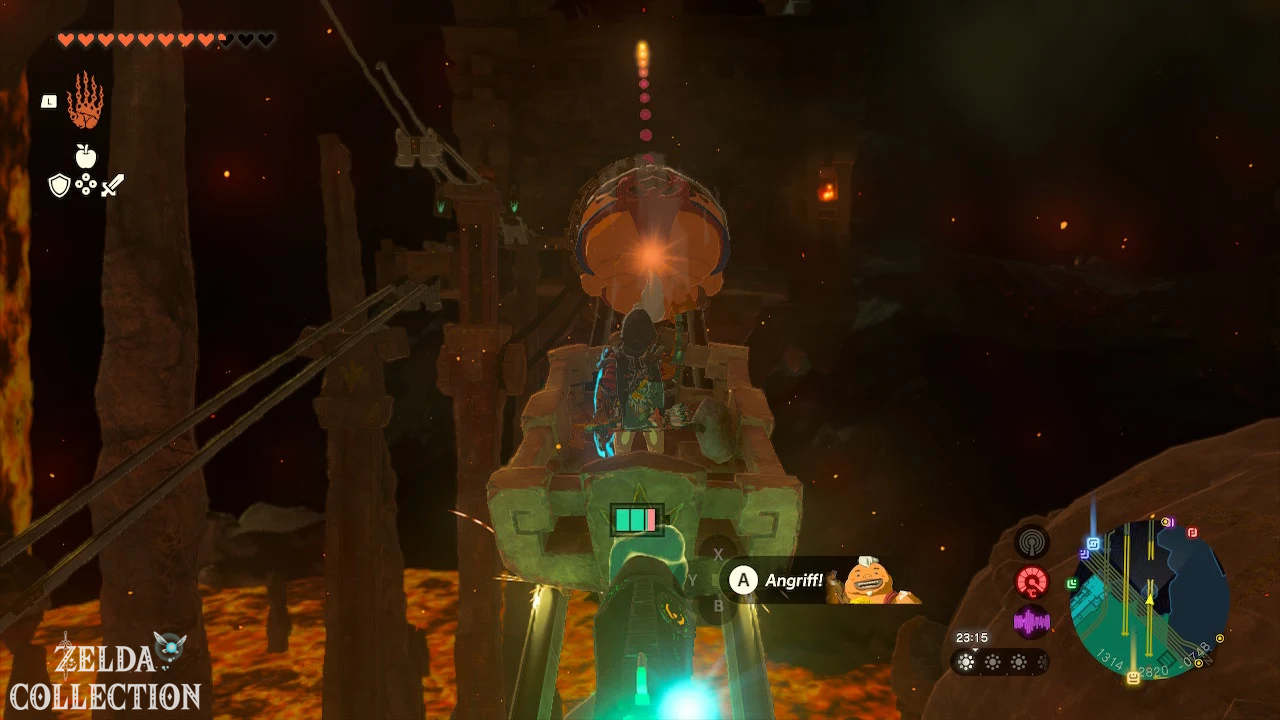
With the Recall over the lava
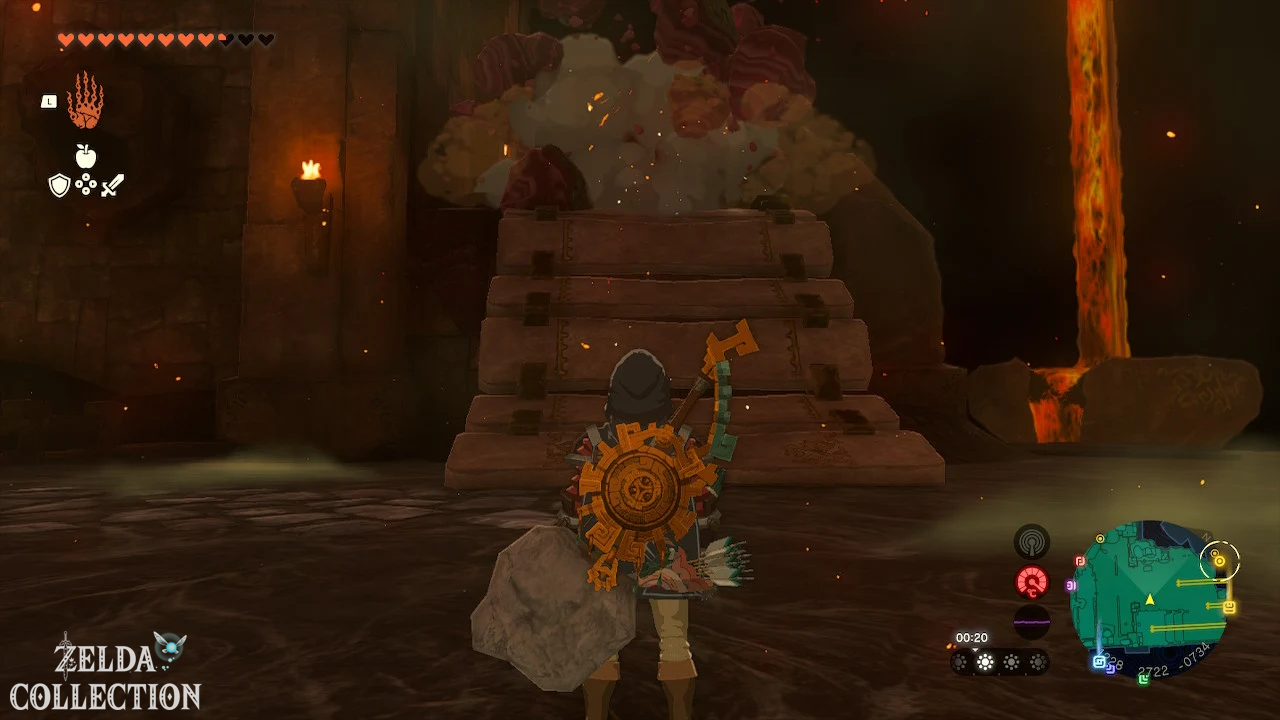
Put the cart on the lowered track and drive to the northern room. In the center of the lava basin lies a Schlemmstein. Destroy it with Yunobo so that the water from a fire hydrant above hits the lava and creates new stone slabs.
Wait until a plate floats towards you, jump on it and activate the Recall. The plate reverses its previous path and takes you to the opposite side. Defeat the construct there and shoot Yunobo against the gong. The second lock is open.
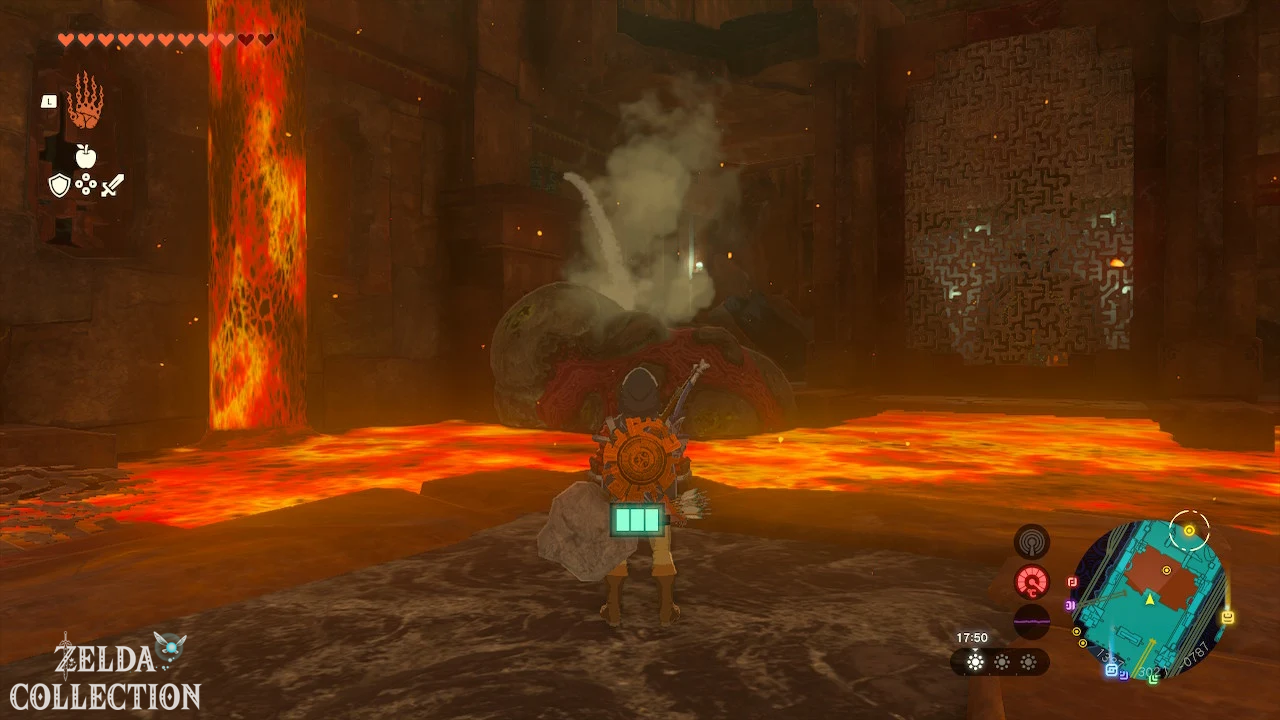
Reach central traffic junction
Return over the lava and drive to the previous cart platform. Place the cart on the ascending track and hit the switch higher up with an arrow to raise the rail. An arrow with a Keese Wing has a longer range and makes it easier to hit.
The lore takes you to the central hub of the temple. Activate the elevator to the ground floor there. This means you can later switch between the entrance and the upper levels without having to travel all the cart routes again.
Lock 3: Raised chime
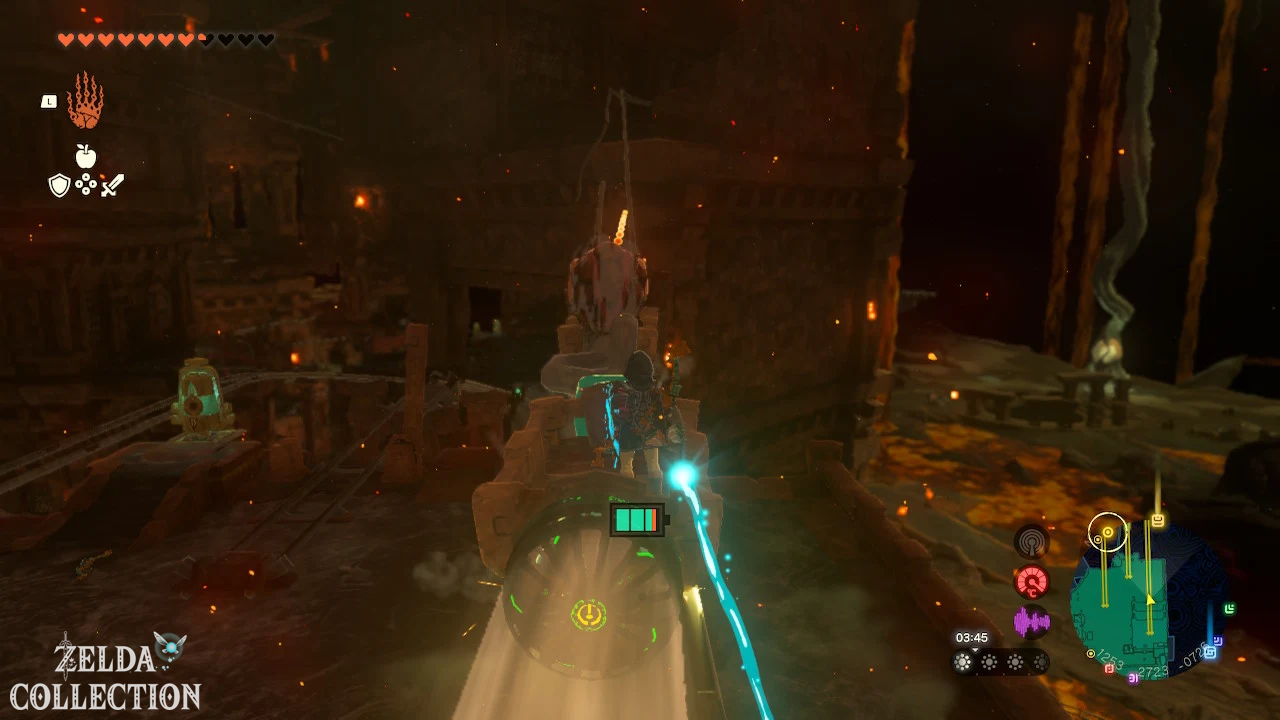
In the northern part of the central junction there are two switches for different rail directions. For the intended route, hit the left switch twice and the right switch once. Then get into the lorry and drive along the circular route.
There is a construct on a neighboring lorry. Shoot it with an arrow or hit it with Yunobo. Jump out of the lorry at the platform with the stairs.
Build the big gong ramp
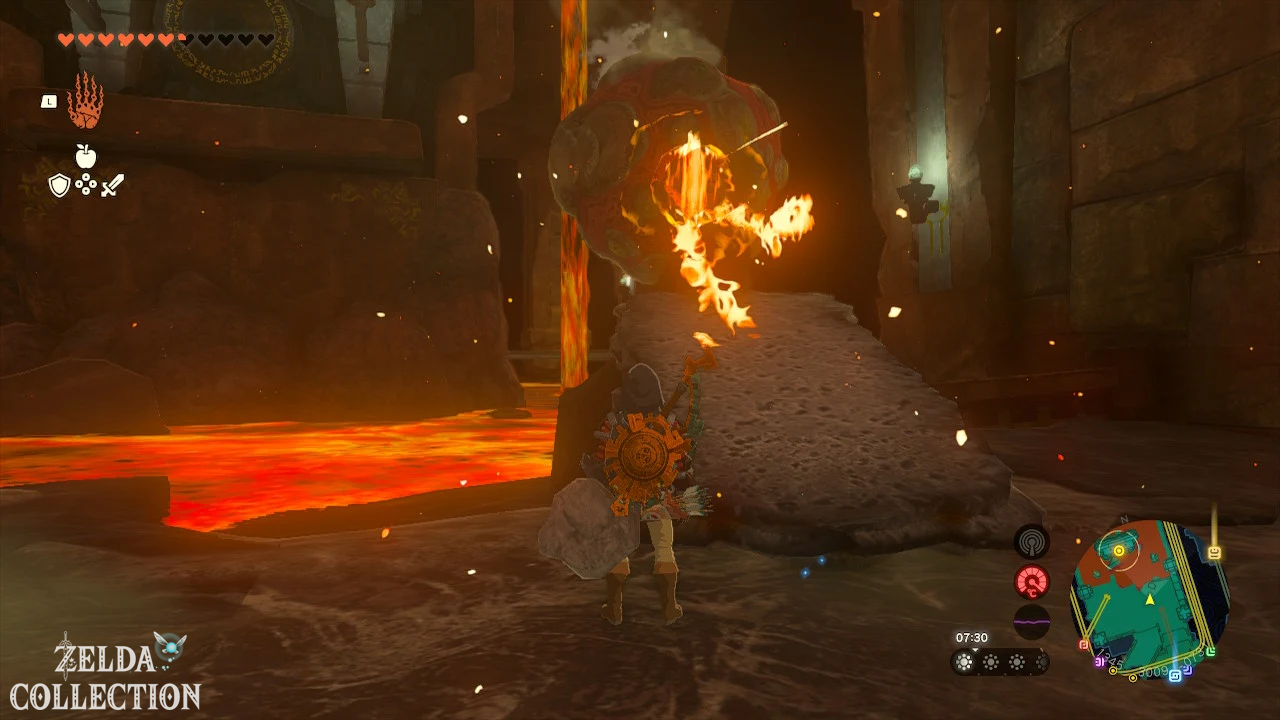
At the top of the slope you will see a high gong and a feasting stone. First shoot Yunobo over the existing small ramp against the Schlemmstein. A fire hydrant is uncovered behind it.
Use the fire hydrant to create several stone slabs and connect them to form a longer ramp. The inclination must be chosen so that Yunobo ultimately flies at the height of the gong. Shoot him over the ramp and hit the gong to open the third lock.
Lock 4: Gong in the top area
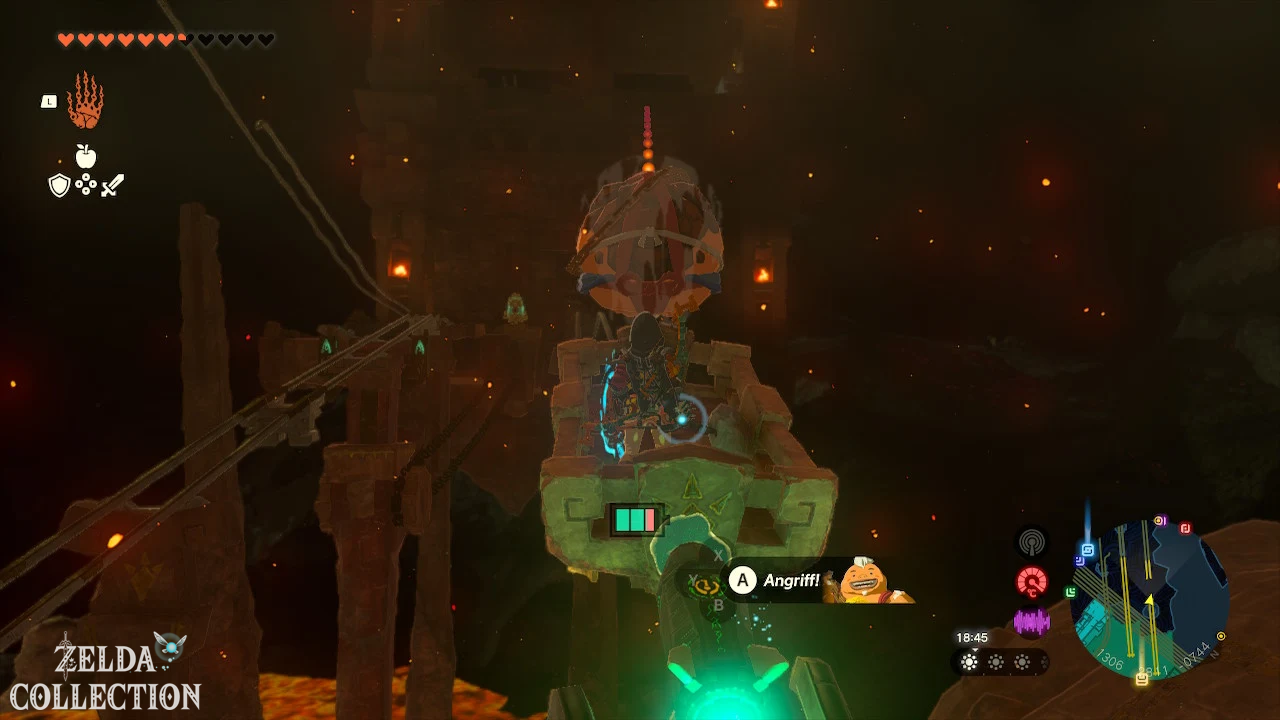
Returns to the central transport hub. In the southwest you can see an interrupted lorry route. Place a cart on the damaged rail and attach a rocket so that it points forward and slightly upwards. Get in and activate the rocket to send you flying across the gap to the other side.
Alternatively, you can overcome the abyss with enough endurance, a balloon or a self-built Zonai construction.
Repair the broken bridge
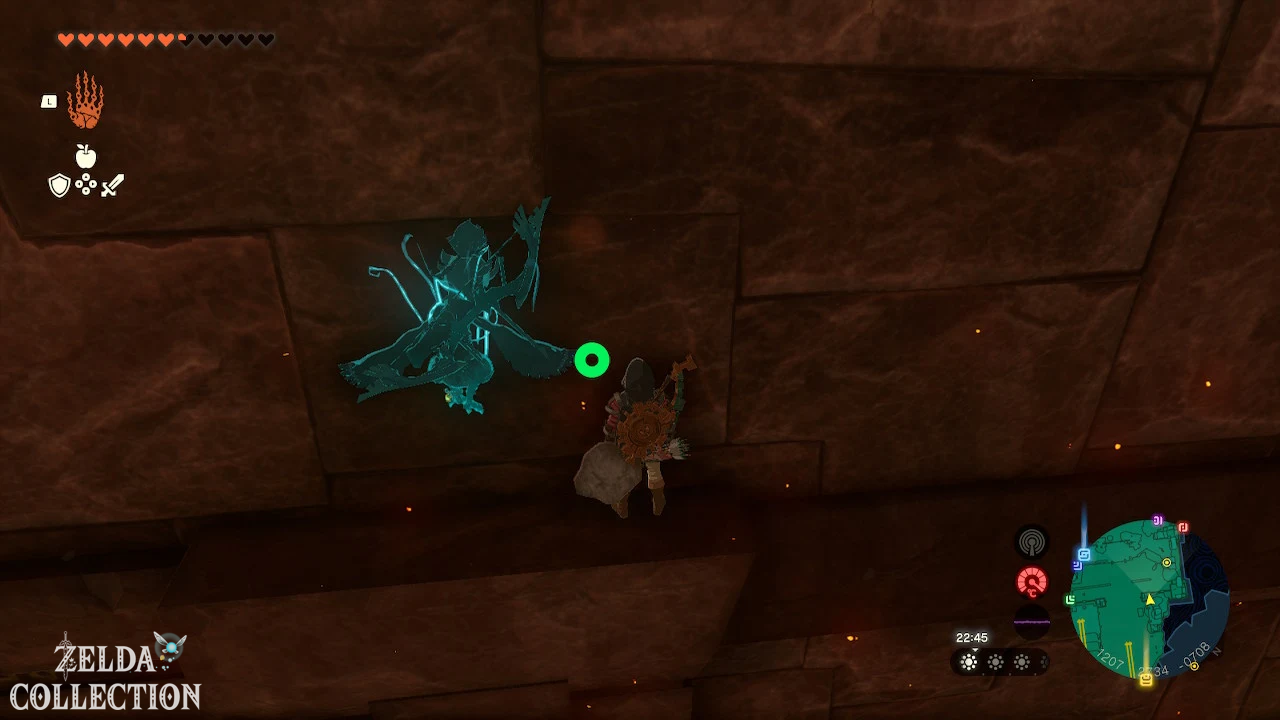
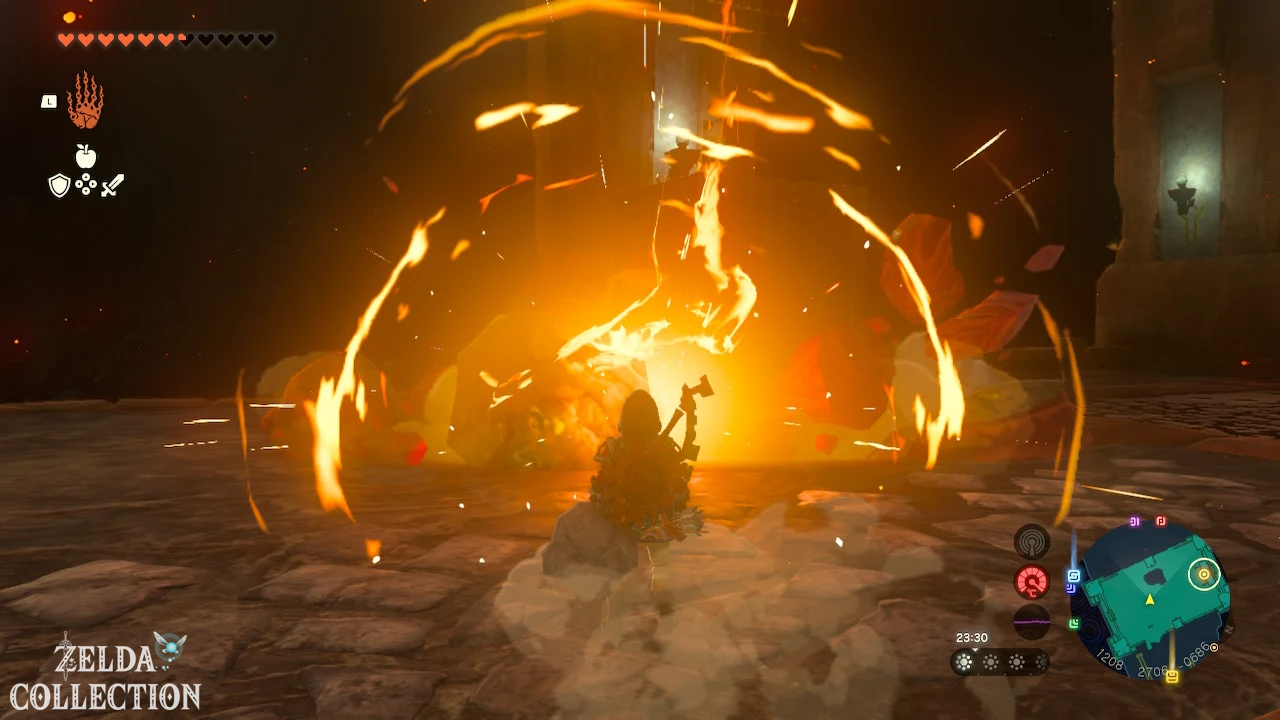
There is a partially collapsed bridge at the back of the chamber. Grab the loose bridge part with the Ultrahand and connect it to the still attached section. This creates an upward ramp. Behind or under the bridge there is also a Treasure Chest with a Rupee.
Return the falling block
Stand in front of the repaired bridge and shoot Yunobo against the stone on the ceiling. A large block falls down. Wait until it is on the ground, climb on it and activate the Recall. The block moves back up, taking Link to the level above.
Jump off at the top and run to the gong on the left. Activate it with Yunobo to open the fourth lock.
Castle 5: Gong in the locked tower
For the last castle you have to get into a high, locked tower and fall through its interior to the ground floor. Return to the area of the raised third gong and align the ramp built there to the southwest towards the Schlemmstein on the neighboring tower.
If necessary, extend the ramp with more stone slabs and shoot Yunobo against the rock to create an opening in the tower. You can reach the entrance with a long stone slab bridge, by gliding from the area of the fourth gong or with the help of a balloon or another Zonai construction.
Fall through the tower
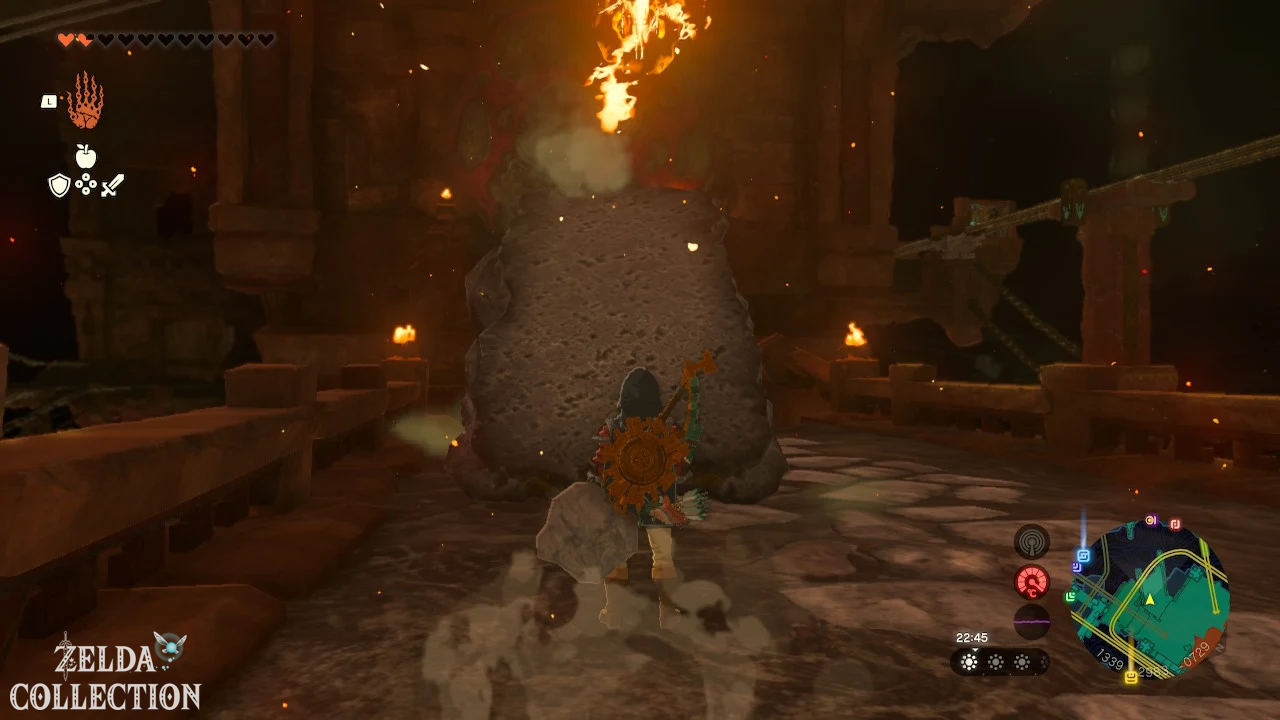
Enter the tower and drop down the central shaft. Open the Paraglider several times during the fall and look into the niches on the side. There are several Treasure Chests there, including a Soldier II scythe or a weapon that has been improved according to your game progress.
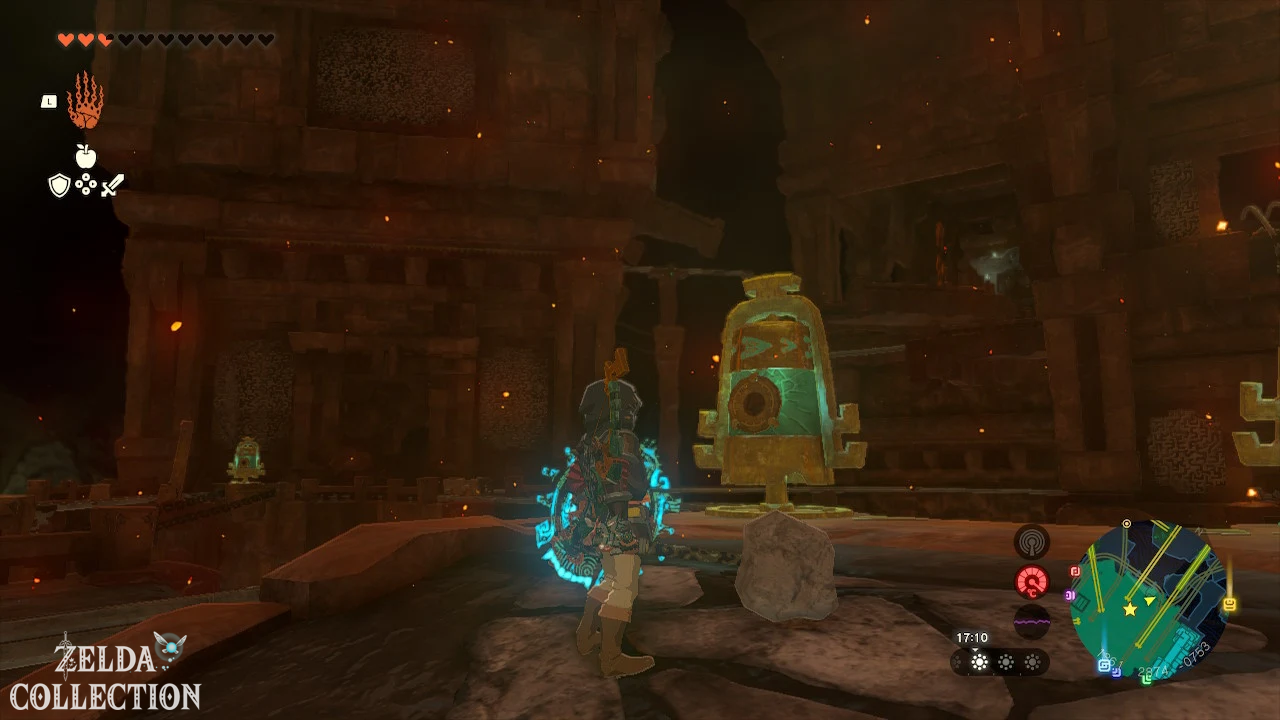
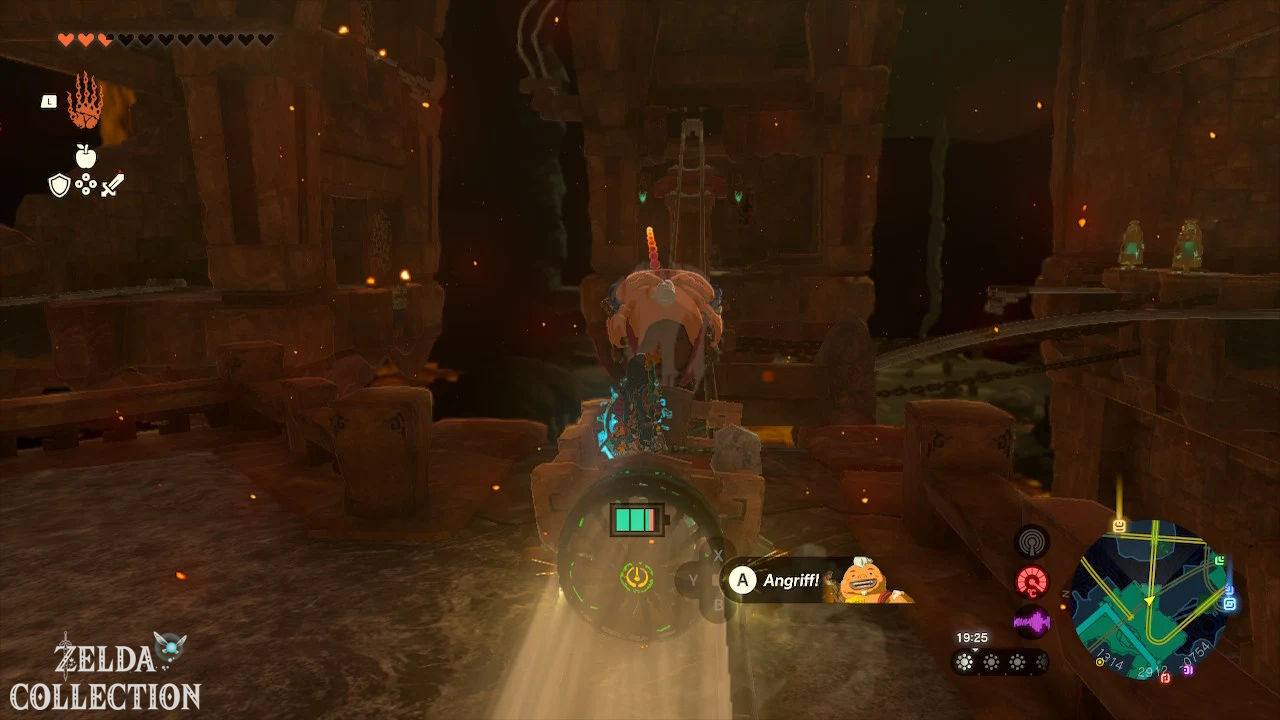
At the bottom of the tower is the fifth gong. Shoot Yunobo at it and then press the nearby switch to open the gate to the central area.
All 13 Treasure Chests in Fire Temple
There are 13 permanently placed Treasure Chests in the Fire Temple. Weapons and shields may appear in stronger variants depending on your internal game progress.
| level | Contents | Location |
|---|---|---|
| EG | 10 arrows | North chamber of the entrance hall |
| EG | Strong Zonaite Greatsword | In the northern, initially locked tower |
| 1st floor | 10 arrows | Projection on the northern rail curve |
| 1st floor | Diamond | Raised platform in the southern room |
| 1st floor | 10 arrows | Platform of cooled lava to the northeast |
| 1st floor | 3 Zonaite | Eastern ledge in the northwestern room |
| 2nd floor | 10 arrows | Under the material storage in the central area |
| 2nd floor | Strong Zonaite shield | East side room |
| 2nd floor | Soldier II Scythe | Niche in the northwest tower |
| 3rd floor | 10 arrows | Under the grid plates in the southwest room |
| 3rd floor | Rupee | South side of the central area |
| 3rd floor | 10 arrows | North side of the central area |
| 4th floor | Large Zonai Charge | Locked Chamber; Accessible from the floor below via Ascend |
Hidden Treasure Chest in the top area
The chest with the large Zonai Charge is located in a fence that cannot be entered directly from above. Destroy the nearby Schlemmstein and go to the level below. Stand directly under the locked chamber and use the Ascend.
Open the big gate
After the fifth gong, return to the Zonai terminal on the central ground floor. Equip the anti-fire armor, fully heal Link, equip your strongest melee weapon and manually save the game.
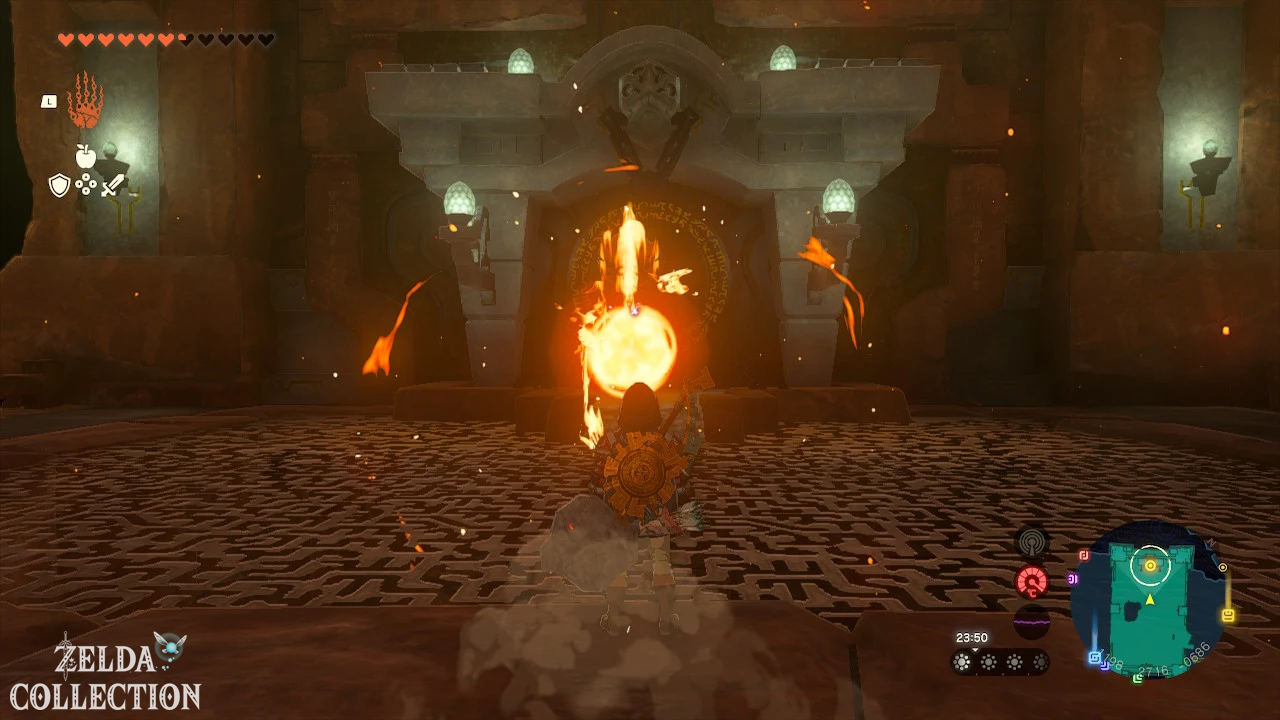
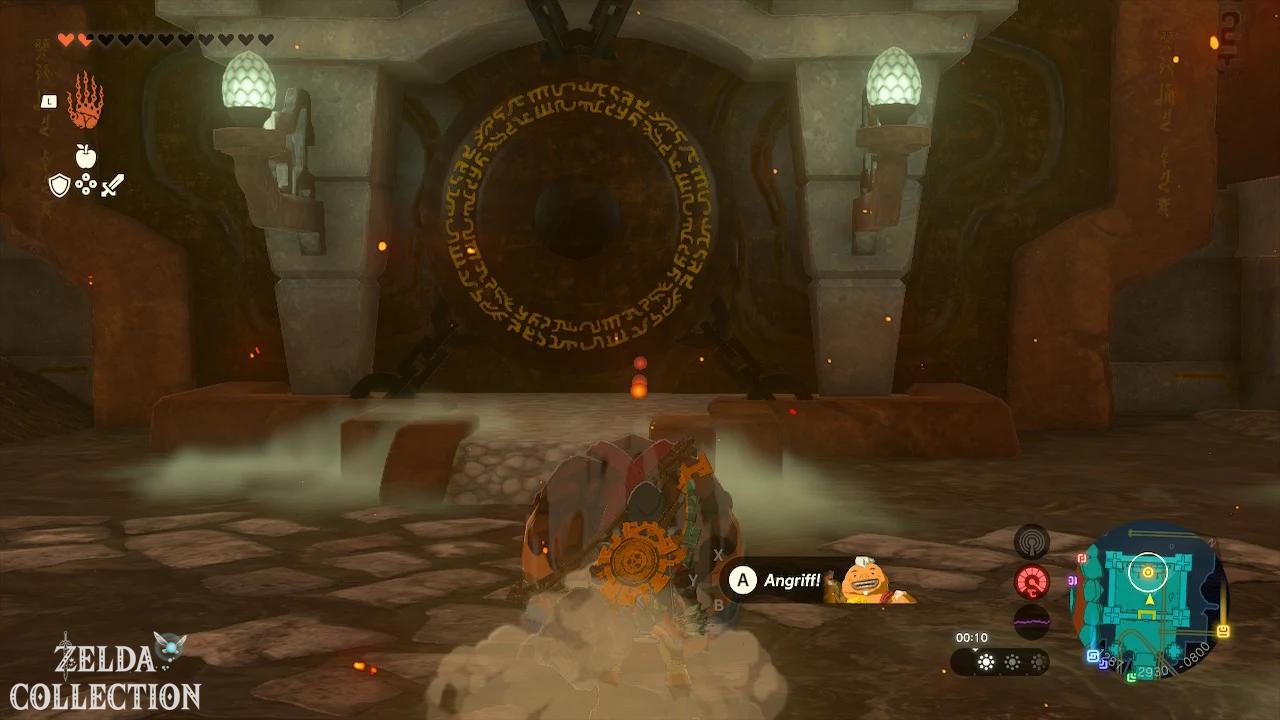
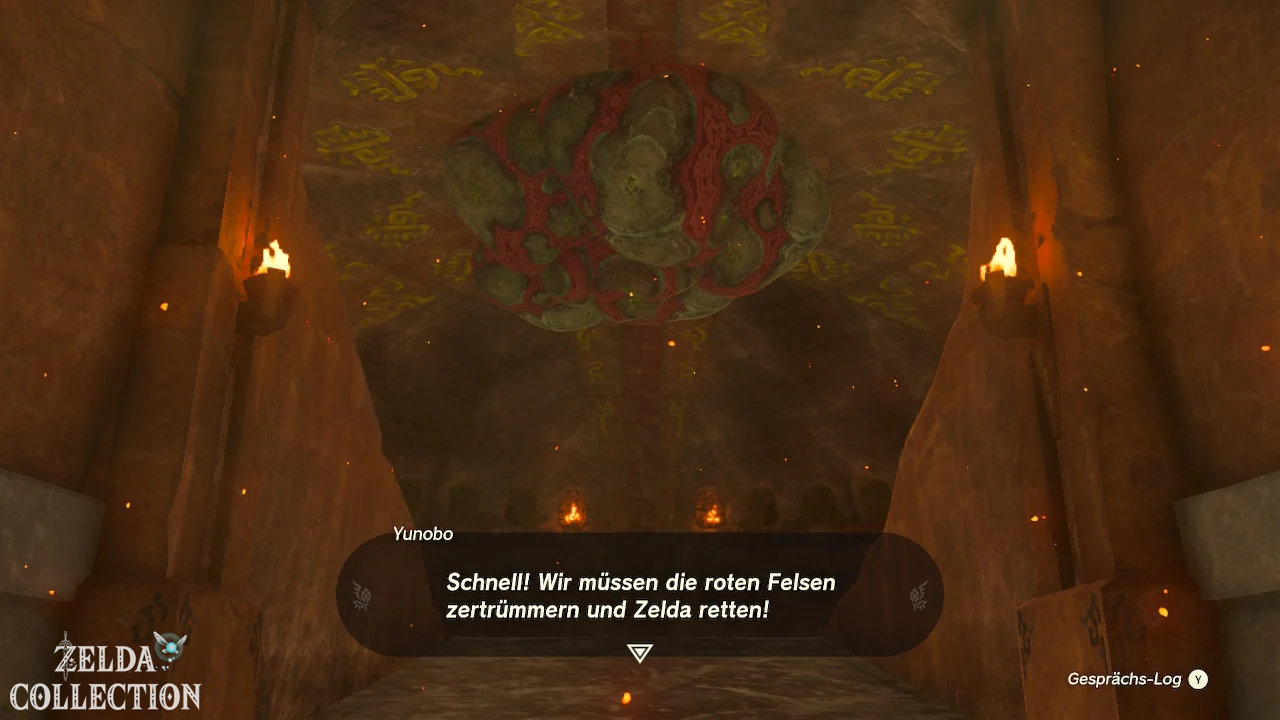
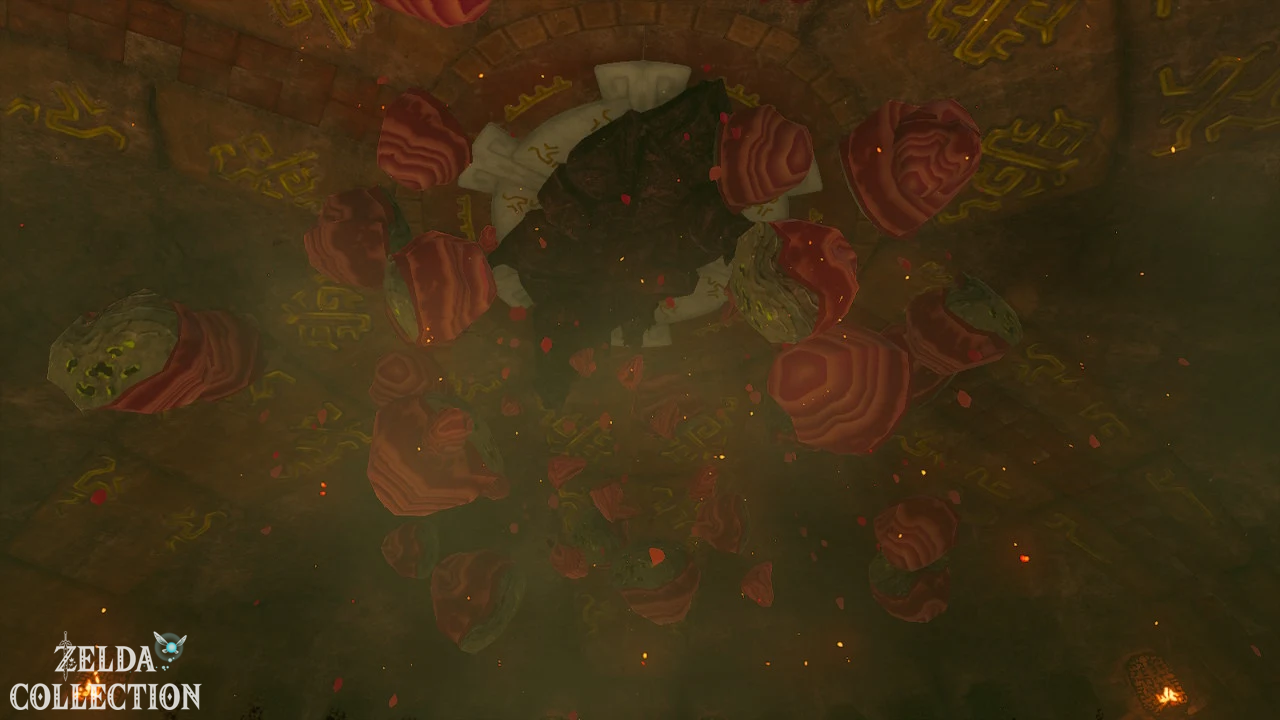
Then activates the terminal. The five locks release and the gate to the dome-shaped boss room opens. Inside, a large feasting stone hangs from the ceiling. Aim Yunobo so that he rolls up the curved wall and hits the rock. Hidden underneath is Marbled Gohma.
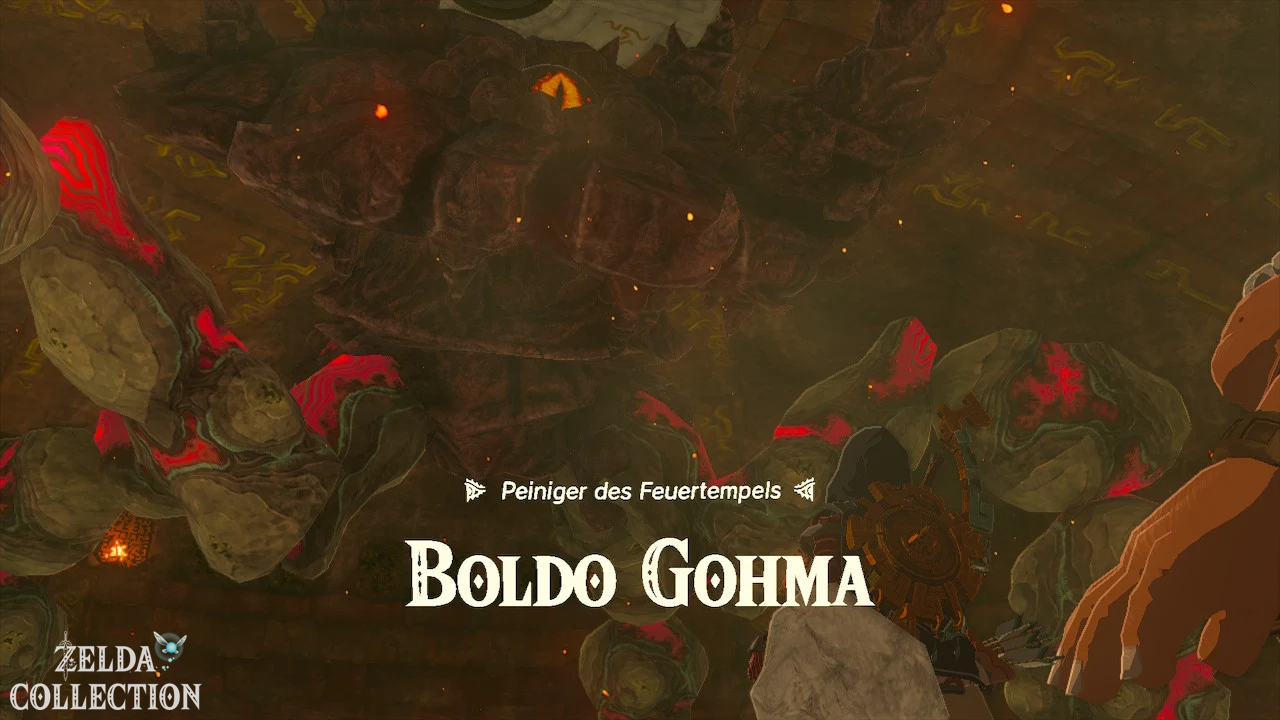
Boss: Marbled Gohma, Scourge of the Fire Temple
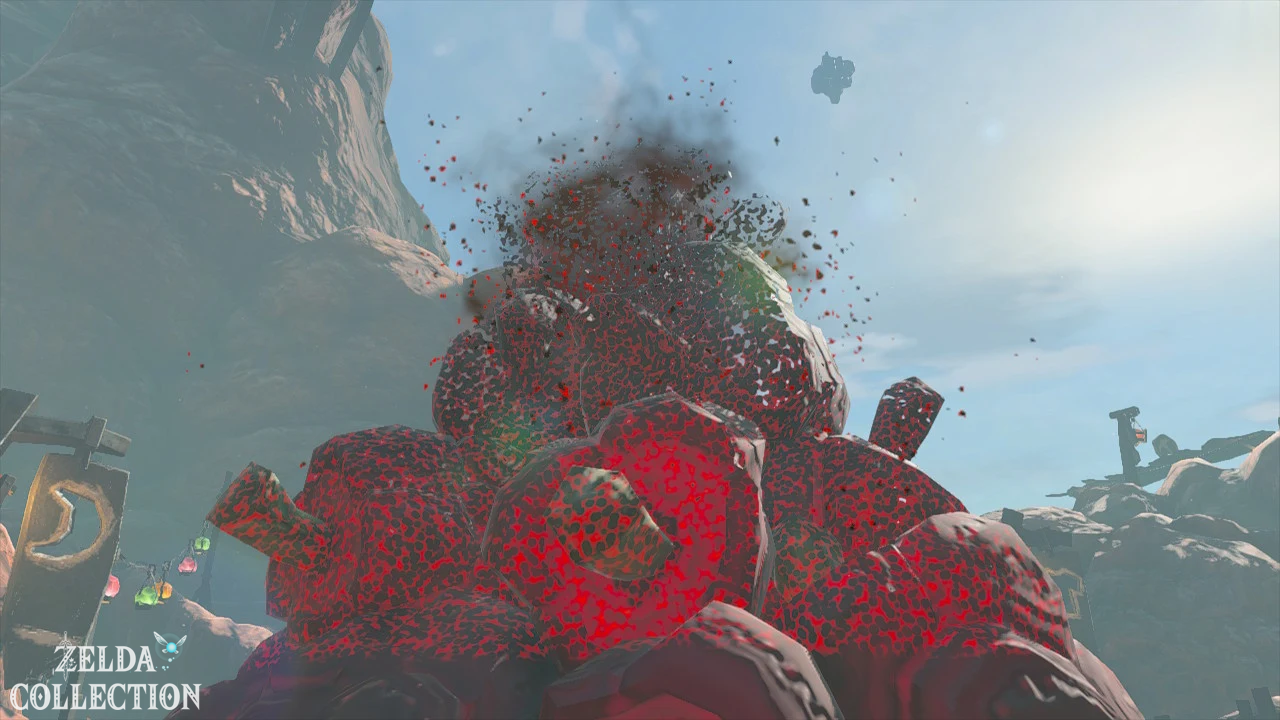
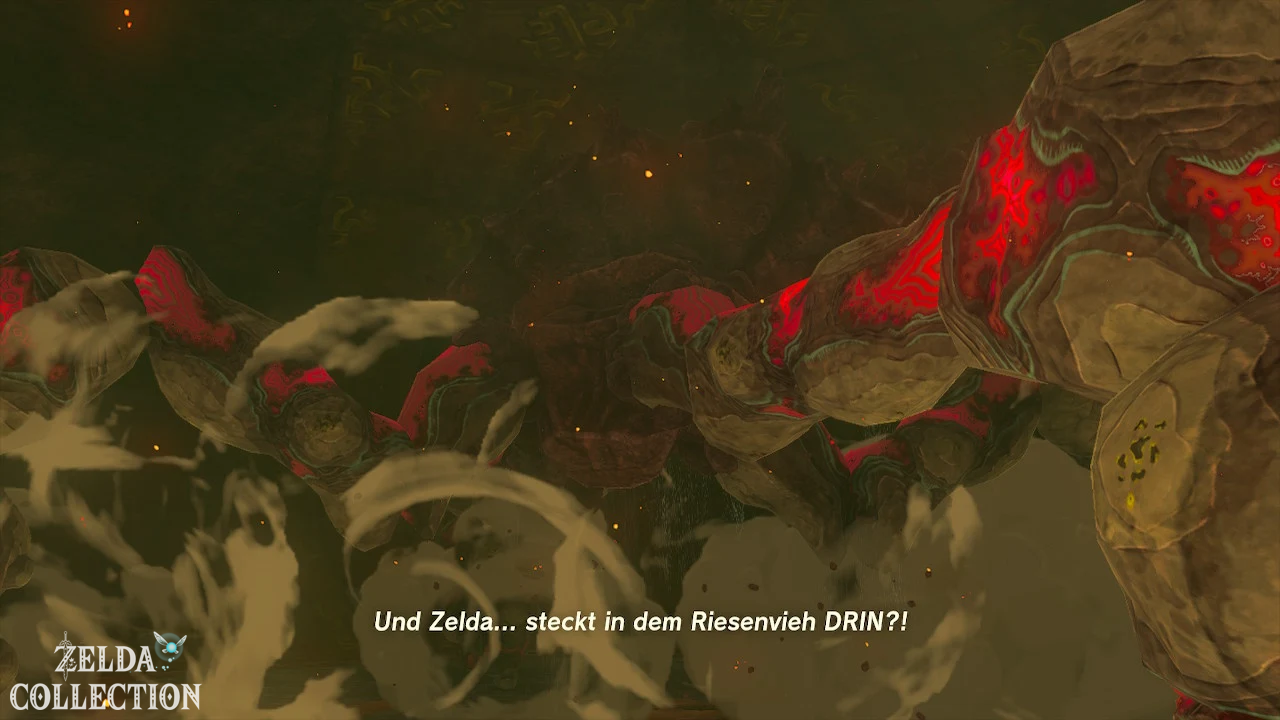
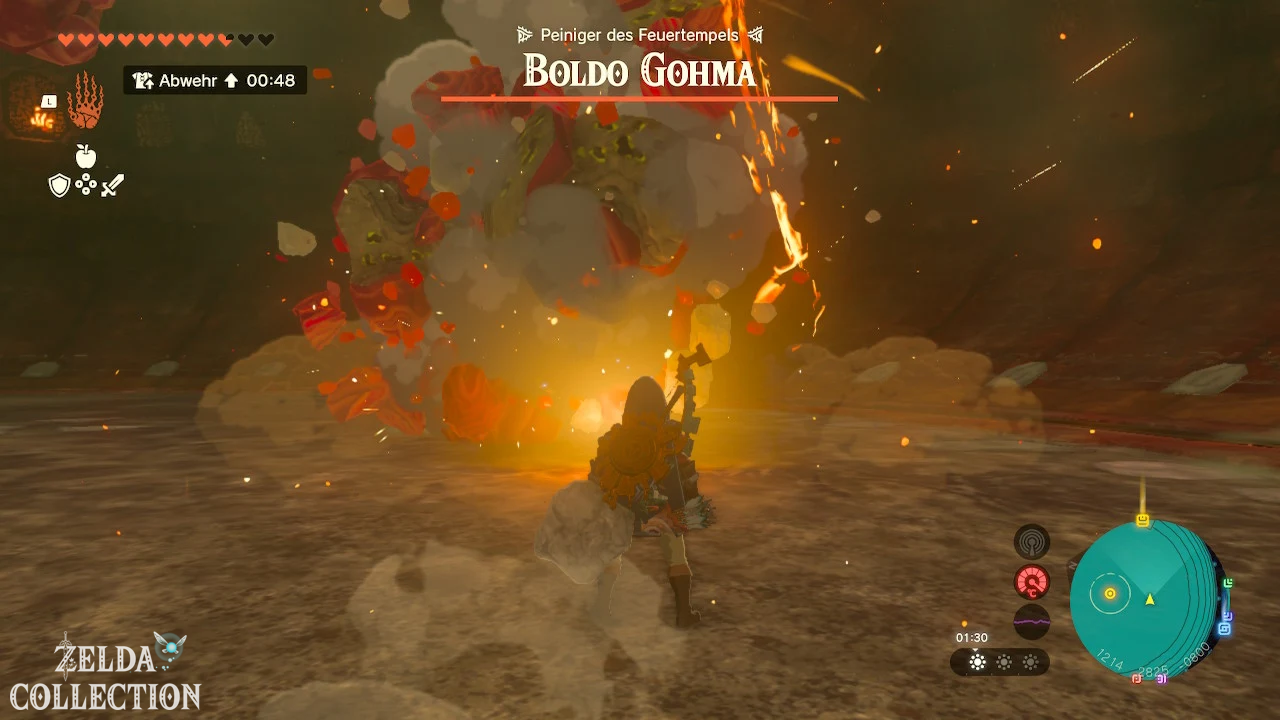
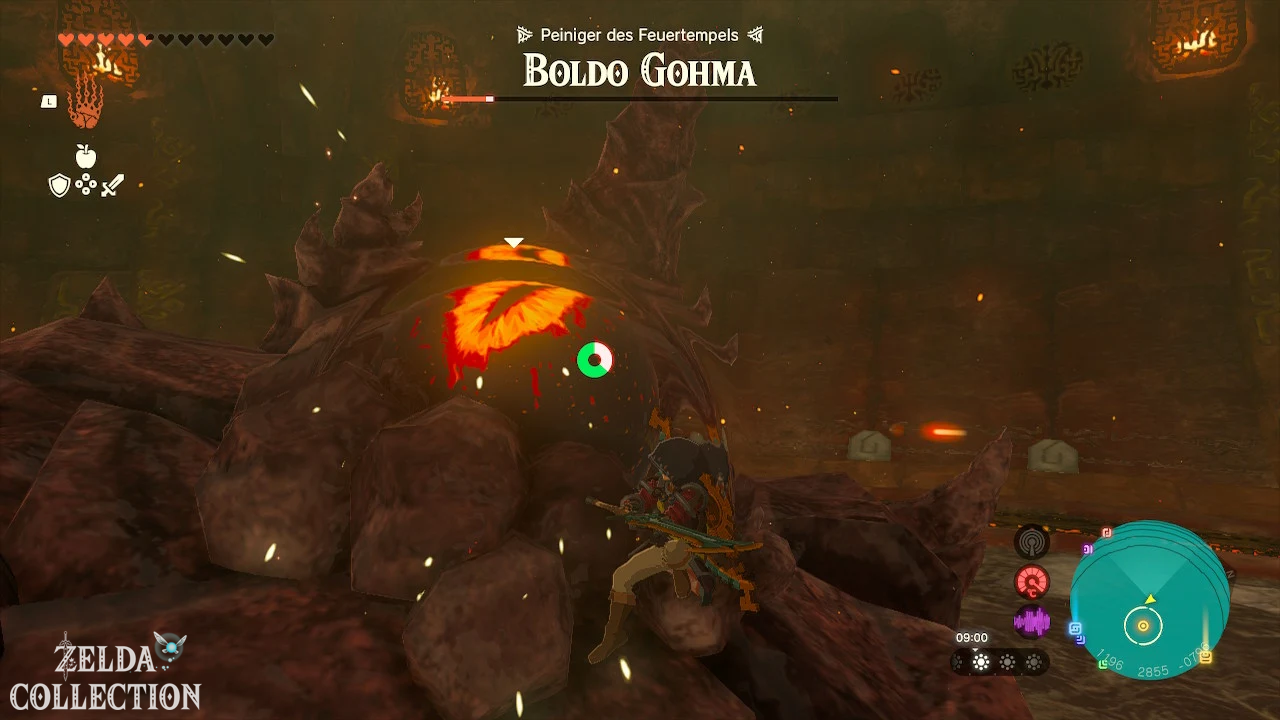
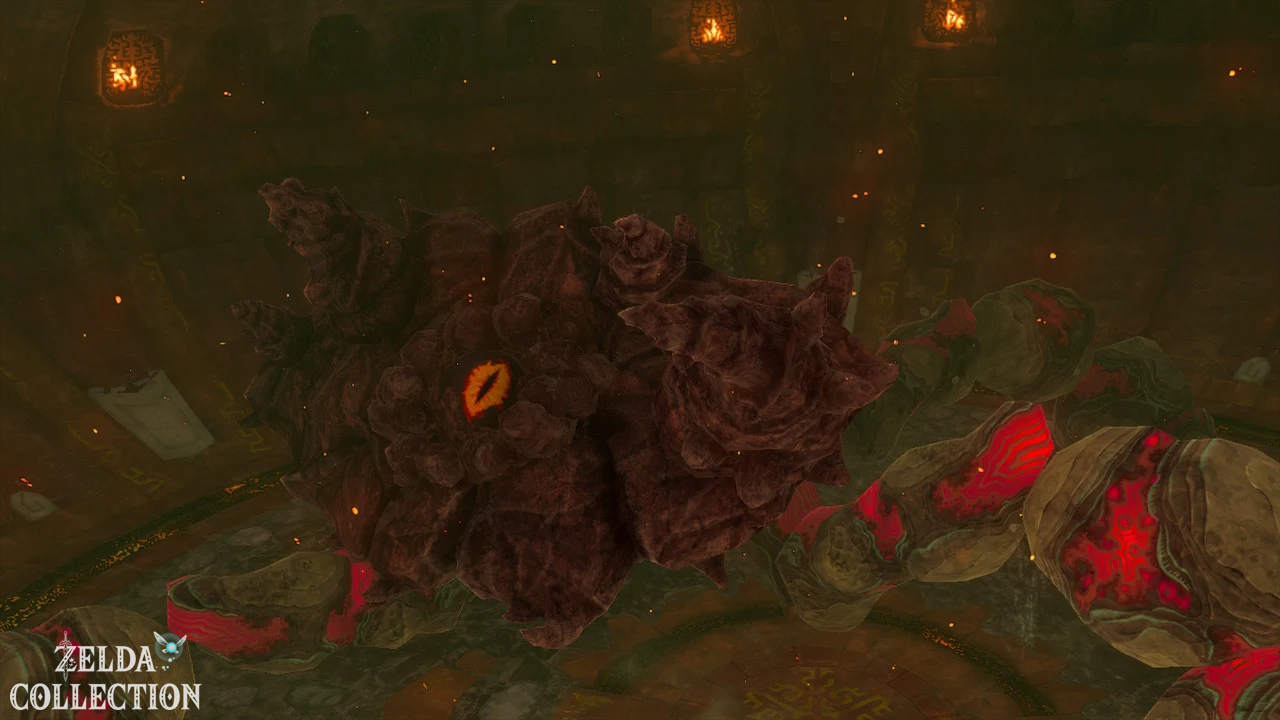
Marbled Gohma has a large single eye and several legs made of Schlemmstein. The eye is the real weak point, but can only be reliably attacked after Yunobo has destroyed the legs. The fight consists of two phases.
Phase 1: Marbled Gohma on ground
The boss throws explosive rocks in Left’s direction, stomping the ground with single legs and occasionally creating a circular blast wave. Run sideways out of the marked areas, do not stop between multiple explosive balls and move away from a raised leg.
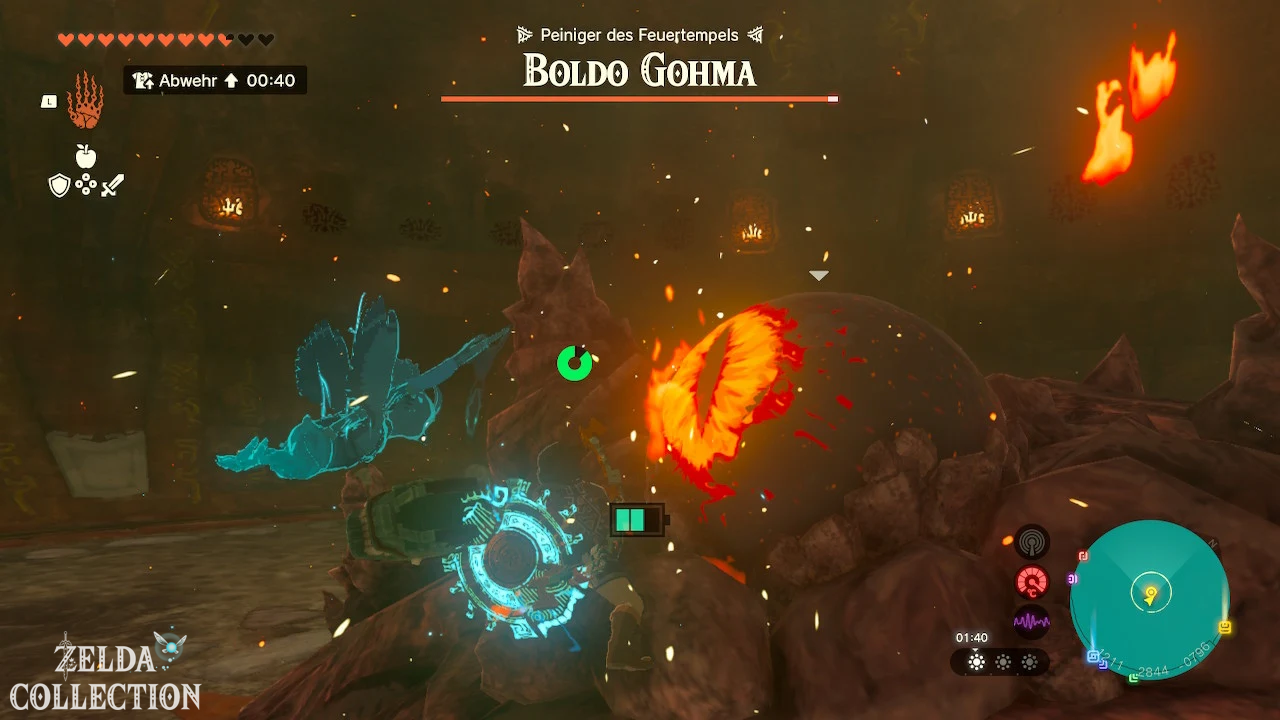
Target one of the Schlemmstein legs and shoot Yunobo at it. After two legs are destroyed, Marbled Gohma loses balance and falls to the ground.
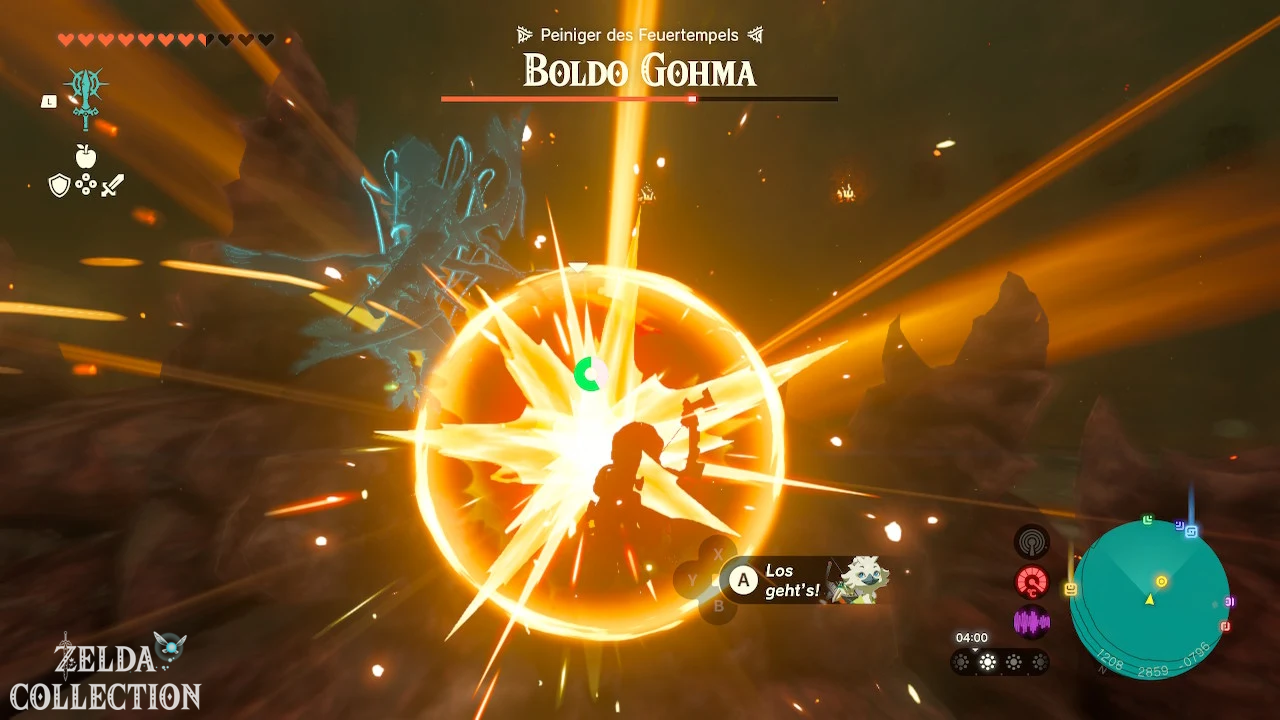
Run to the fallen boss, climb onto his body and hit the eye with your strongest melee weapon. Attack dishes and strong synthetic materials shorten the fight significantly. As soon as Marbled Gohma stands up or starts shaking violently, jump down and move away. Repeat the process until about half of its energy is used up.
Phase 2: Marbled Gohma on the ceiling
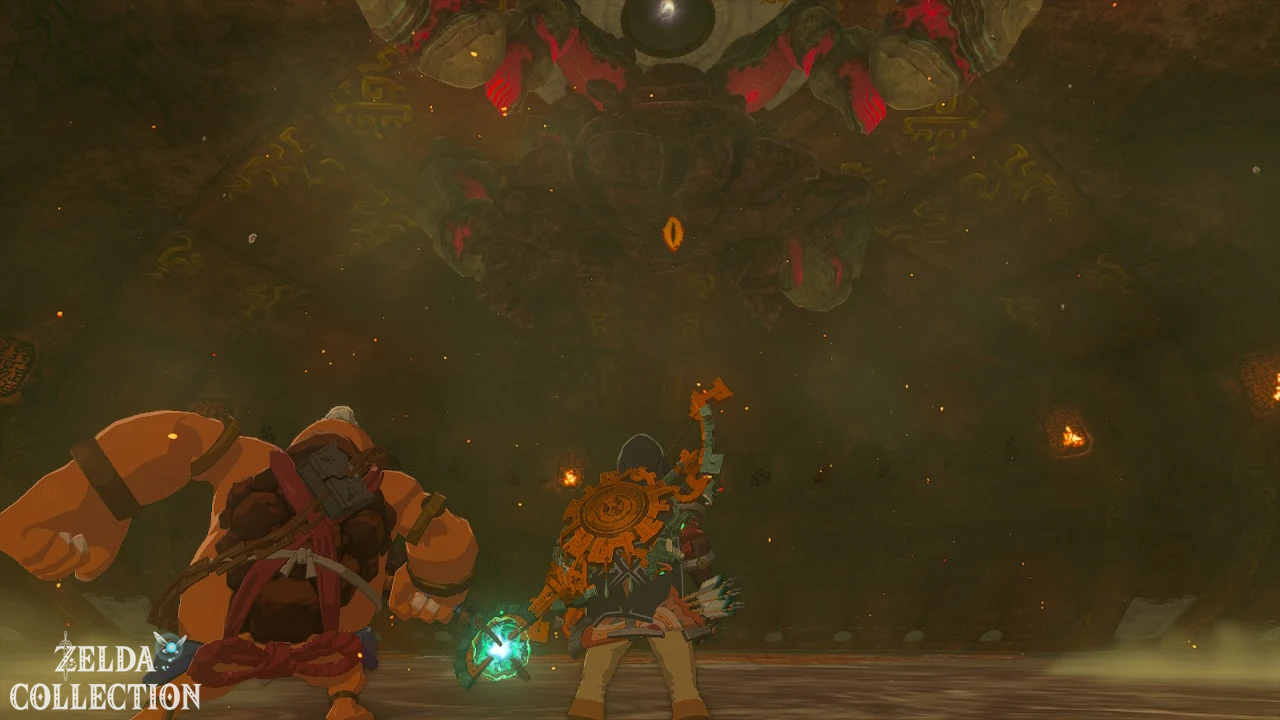
In the second phase, Marbled Gohma climbs to the ceiling. Yunobo’s attack follows the curved walls of the boss room. Position yourself so that the trajectory shown leads first over the ground, then up the wall and finally to one of the boss’s legs.
Prefers to target a leg further away. This gives Yunobo enough distance to roll completely up the wall.
Escape from the rock cage
Marbled Gohma drops several explosive rocks around Link, forming a closed ring. Immediately shoot Yunobo against one of the rocks and run through the resulting gap before the remaining projectiles explode.
Alternatively, you can use the Recall on a thrown rock. This causes him to move back along his previous trajectory, although his explosion can briefly affect the boss.
Get
Marbled Gohma from the ceiling
Hits two legs with Yunobo again. The boss then falls from the ceiling. Avoid his crash site, run to the exposed eye and attack it with your strongest weapon.
Repeat the process: break through the rock cage, shoot Yunobo up the wall, destroy two legs, avoid the crash site and attack the eye. After the final attack phase, Marbled Gohma is defeated.
Completion of the Fire Temple
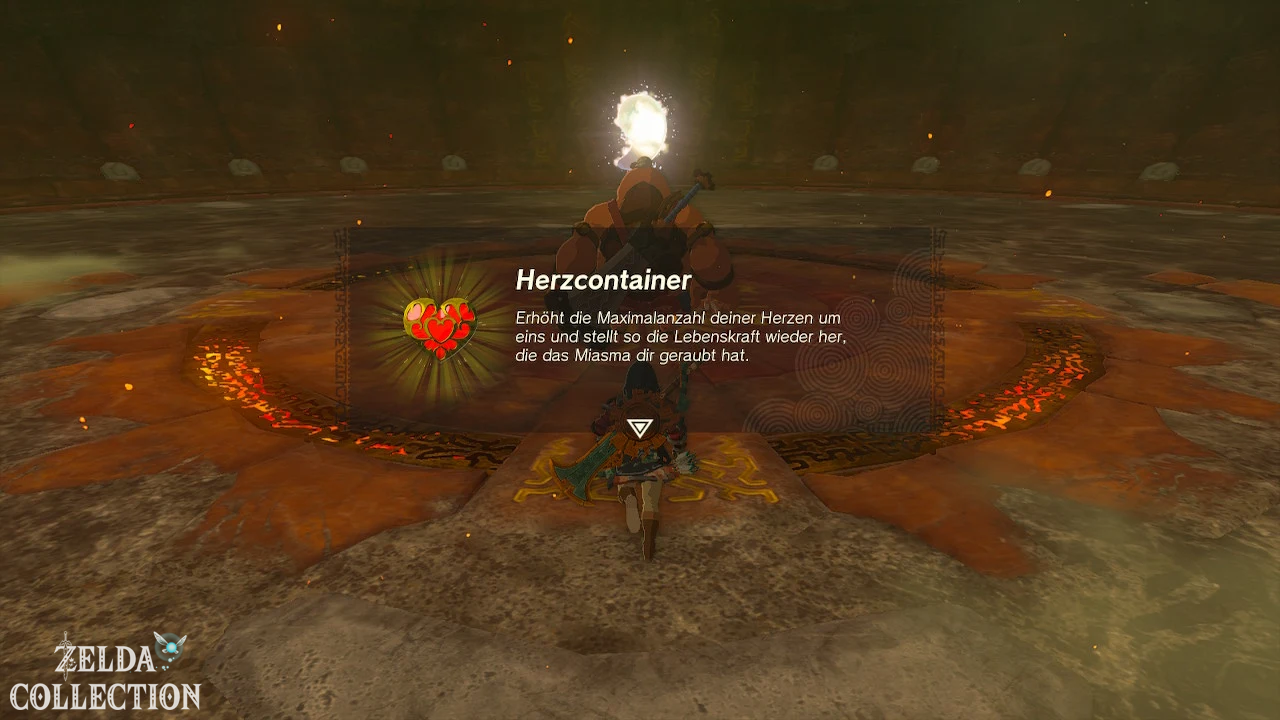
After the fight, a Heart Container will appear. Collect it before speaking to Yunobo. In the subsequent cutscenes, Yunobo learns more about his ancestor and takes over the Sage of Fire’s Secret Stone.
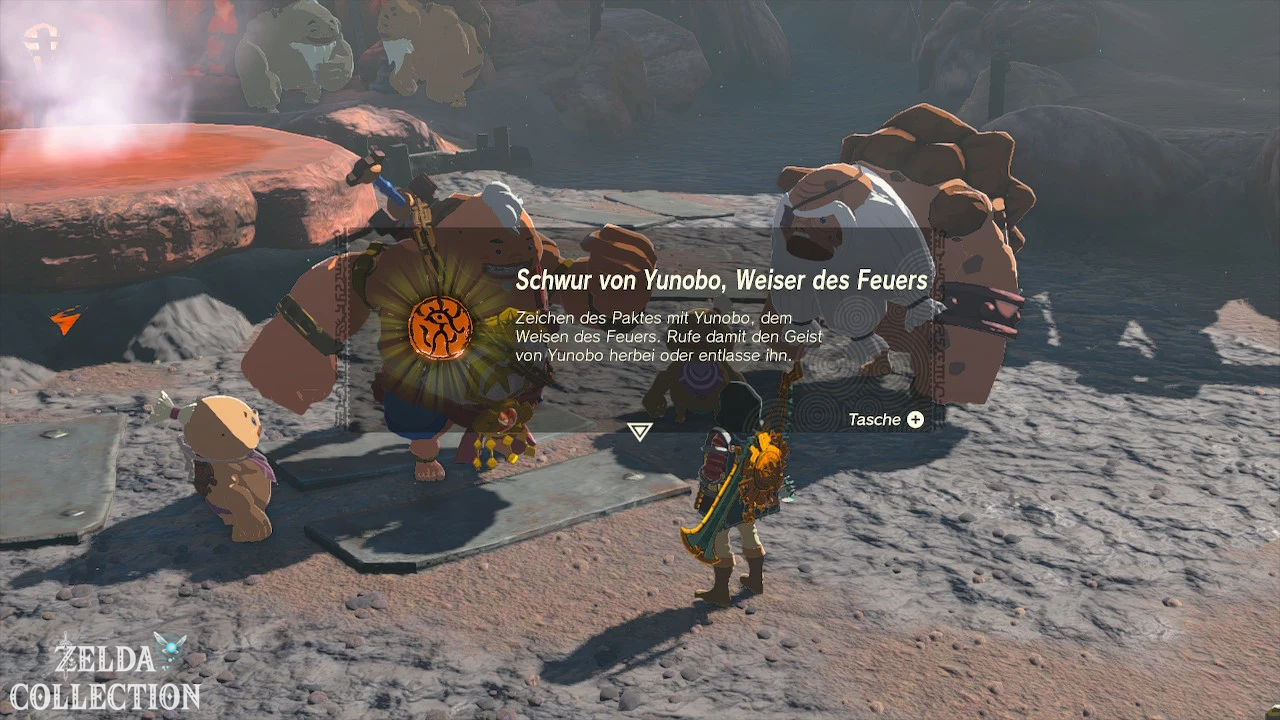
Afterwards, Link and Yunobo will automatically return to Goron City. The effect of the feasting stones ends and the Gorons come back to their senses. As a permanent reward you will receive the Vow of Yunobo, Sage of Fire.
You can summon or dismiss Yunobo’s avatar from the important items menu. Its firepower can now destroy rock walls and ore deposits, hit armored opponents, ignite grass, knock over large enemies and be used as a projectile when piloting vehicles.
Completing the quest also earns a Heart Container and unlocks new conversations, Side Quests and rewards in Goron City. If you haven’t examined the other regions yet, you can then use Tulin of Rito Village, Sidon of the Zora or Riju of Gerudo Town continue. After all four regions, the story continues with “Crisis at Hyrule Castle”.
Further solutions:
Tears of the Kingdom – walkthrough
All cartography towers activate
All armor and Locations
Underground map with all roots
Tulin of Rito Village
Sidon of the Zora
Riju Gerudo Town
The floating lock