

On this page we give you an overview of all the shrines in The Legend of Zelda: Tears of the Kingdom, which are located in the mountains of Eldin. In addition to the respective locations, we explain in detail how to pass the tests, reach hidden Treasure Chests and find the underground Minetak Shrine.
There are a total of three shrines in the mountains of Eldin. The Mayak Shrine and the Sikukuu Shrine are freely accessible on the surface. The Minetak Shrine, on the other hand, is hidden deep in the dark Deplian Badlands Cave.
You can find an overview of all regions in our Tears of the Kingdom Walkthrough. For orientation you can also use our interactive map for Tears of the Kingdom.
This area contains the following shrines:
Mayak Shrine
Exam: Fugitive Case
Reward: Large Zonai Charge and a Light of Blessing
Location: East Deplian Badlands, west of Eldin Great Skeleton
Coordinates: approximately 1270, 3733, 0119
Find Mayak Shrine
The Mayak Shrine is located far north of the mountains of Eldin on the East Deplian Badlands. It stands west of Eldin Great Skeleton and northeast of Thyphlo Ruins.
The easiest way to reach the shrine is via the Thyphlo Ruins Skyview Tower. Let the tower throw you into the air and then glide in a northeasterly direction over the Deplian Badlands. Since the route is comparatively long, you should have enough stamina or, as a precaution, take an endurance Elixir with you.
The shrine is in a cold area. Depending on the time of day and the weather, you will need a dish with cold protection or a suitable piece of armor.
Solve Mayak Shrine
In the “Fleety Fall” test you have to let large stone balls roll over long tracks and activate a catch platform at the right moment. It is crucial that you press the respective switch before the ball reaches the end of its path.
Catch first ball
After entering the shrine, go to the catapult plate on the left. Stand on it and let yourself be thrown onto the higher platform. There you will find a large stone ball and a sloping path.
Axyl up the ball with the Ultrahand and place it at the beginning of the track. As soon as you let go of it, it begins to roll downwards.
Jump off the platform immediately behind the ball and slide to the orange switch on the floor. Hit the switch in time with a weapon or hit it from a distance with an arrow.
The hit causes a collection platform to rise out of the ground for a short time. If you have caught the right moment, the ball lands on the platform and rolls from there into the round recess. The gate to the second area opens.
Tip: If you released the ball too early, you can use the Recall on it. Use this to stop them briefly or move them back a little to give yourself more time to get to the switch.
Reach Hidden Treasure Chest
There is another catapult plate in the second area. Let it throw you upwards and draw your bow as you fly. Time is slowed down when aiming and you can take a closer look around the high shaft.
In one corner, a Treasure Chest hangs on a rope over a small pool of water. Shoot the rope with an arrow. The chest then falls down without being damaged.
Land next to the pool of water and open the chest. Inside is a Large Zonai Charge.
Catch second ball in time
Return to the first catapult plate and let yourself be transported up again. This time land on the level above and use the second catapult plate there. She throws you up to the highest platform in the room.
At the top you will find another stone ball and a long track. Stand as close to the edge as possible, place the ball with the Ultrahand on the track and let it go.
Immediately jump into the deep shaft afterwards. Dive so that you can reach the ground faster than the ball. Only open your Paraglider shortly before landing to avoid fall damage.
Then hit the orange switch before the ball reaches the end of the track. The collection platform extends and guides the ball into the recess. This will open the last gate and you can receive the Light of Blessing at the altar.
Alternative solution: Let the ball roll and then briefly use the Recall on it. Then jump down, finish the Recall and press the switch. This means you don’t have to make as many calculations if you fall.
Minetak Shrine
Trial: Raurus Blessing
Reward: Large Energy Cell and a Light of Blessing
Location: In the Deplian Badlands Cave, north of the Thyphlo Ruins
Coordinates of the shrine: approximately 0394, 3485, 0082
Cave entrance coordinates: approximately 0306, 3582, 0089
Find Minetak Shrine
The Minetak Shrine is not visible on the overworld. It is located underground in the Deplian Badlands Cave, which is located north of the Thyphlo Ruins Skyview Tower.
Let the tower throw you into the air and glide north. Look for a monster lair on the elevated level. The comparatively small cave entrance is located on the southern slope below or near this camp.
Before entering the cave you should collect enough Brightbloom Seed or Giant Brightbloom Seed. Inside it is almost completely dark and without additional lighting it is difficult to see junctions, enemies and abysses.
path through the Deplian Badlands Cave
Throw a Brightbloom Seed onto the ground directly behind the entrance or shoot one with an arrow at a distant wall. Also collect the Brightbloom Seed that grow in the cave. This way you don’t have to waste valuable materials.
Follow the sloping path to the first larger chamber. Several Horriblins live in the cave and move along the ceiling. You can use arrows to take them down from the ceiling and then defeat them on the ground. Alternatively, you can walk past them as long as you have enough light on the path.
Keep left at the first major junction and follow the ring-shaped main path. On the way you will encounter more Horriblins, Fire Slimes and Fire Keese. Use Brightbloom Seed regularly so that you don’t miss any side openings.
After the fire enemies you will reach another fork in the road. Take the right passage here. Shortly afterwards you will see the green glow of the Minetak Shrine.
Tip: The cave is largely ring-shaped. If you took a different turn at a junction, you can still reach the shrine. Orient yourself with the green light and mark already explored paths with Brightbloom Seed.
Solve Minetak Shrine
The real test is to reach the hidden shrine in the dark cave. Therefore, no further task awaits you inside.
Run straight to Treasure Chest and open it. Inside is a Large Energy Cell, which you can use as a Zonai component for your vehicles and constructions.
Then go to the altar and receive the Light of Blessing. This completes the Minetak Shrine and will now be available to you as a fast travel point in the northern mountains of Eldin.
Bubbulfrog note: If you want to completely close the cave, you should also examine the smaller side chambers. The Bubbulfrog of the cave is hidden away from the direct path to the shrine.
Sikukuu Shrine
Trial: Right or Left
Reward: Strong Zonaite Greatsword and a Light of Blessing
Location: Southeast of Thyphlo Ruins Skyview Tower
Coordinates: approximately 0699, 2793, 0226
Find Sikukuu Shrine
The Sikukuu Shrine is located in the western part of the Eldin Mountains. You can find it southeast of Thyphlo Ruins Skyview Tower on an open hill.
Activate the tower, let yourself be thrown into the air and then glide to the southeast. The large geoglyph with the Master Sword serves as a landmark. The shrine is located north or northeast of it and can be easily seen from the air.
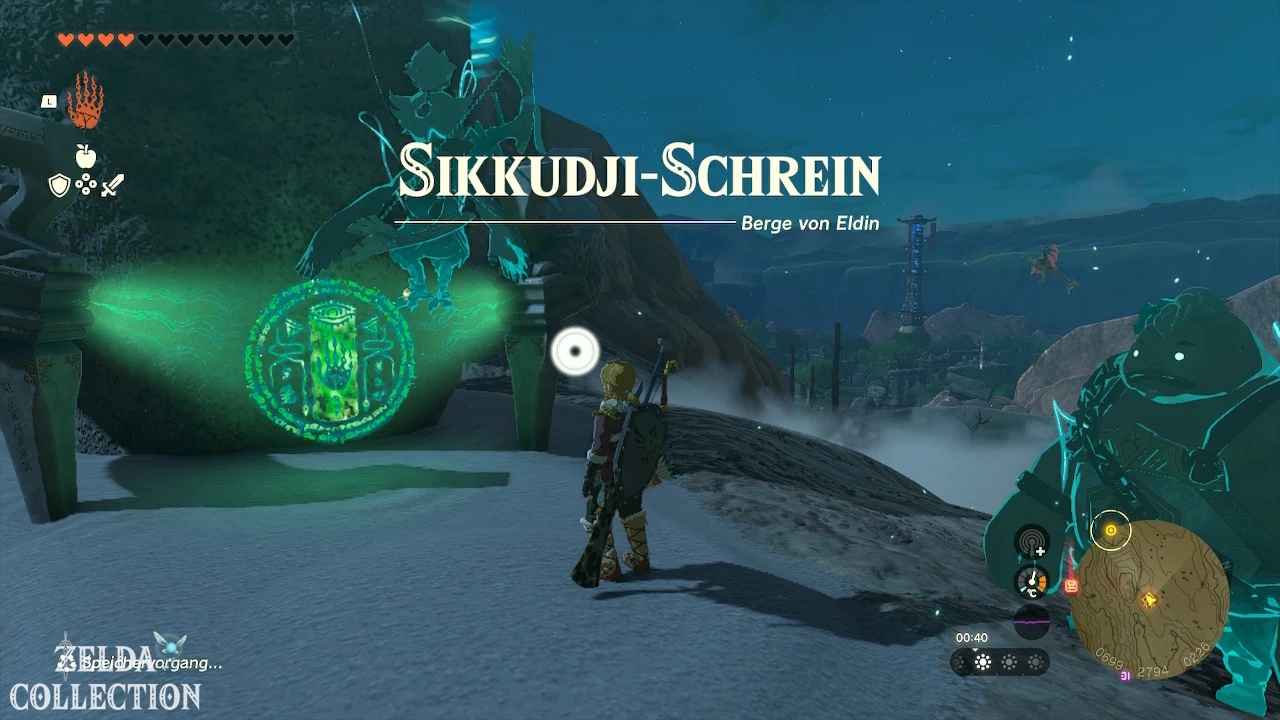
Solve Sikukuu Shrine
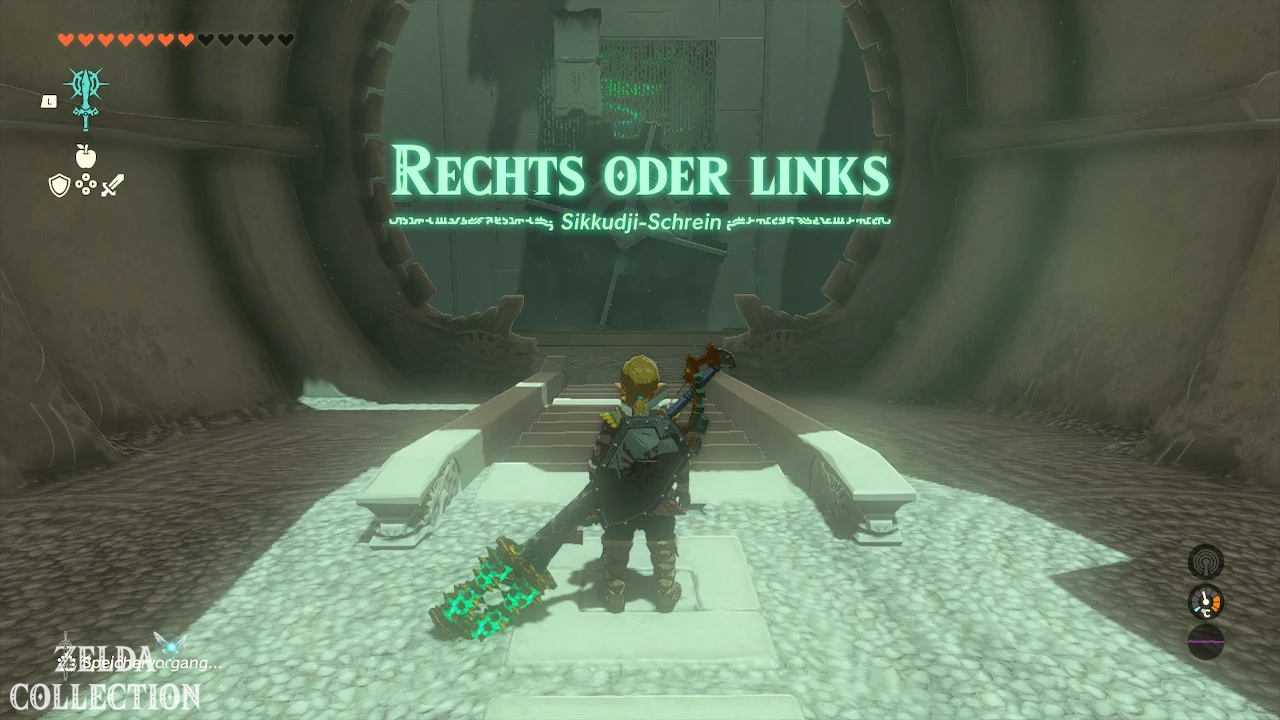
In the test “Right or Left” you have to change the direction of rotation of large gears. To do this, you combine the Ultrahand with the Recall.
Move ball to the right side
After entering the shrine, go down the stairs. A large gear wheel rotates in front of you, onto which small balls fall at regular intervals.
In the original direction of rotation, the balls are transported to the left and fall into the abyss. Wait until there is a ball on the gear and then activate the Recall on the Big Wheel.
The gear now rotates backwards and transports the ball to the right. There it falls into the intended recess. As soon as the ball stops lying there, the gate to the second room opens.
Tip: If the ball lands on the right side but misses the recess, you can pick it up with the Ultrahand and insert it yourself.
Crank and gear operate
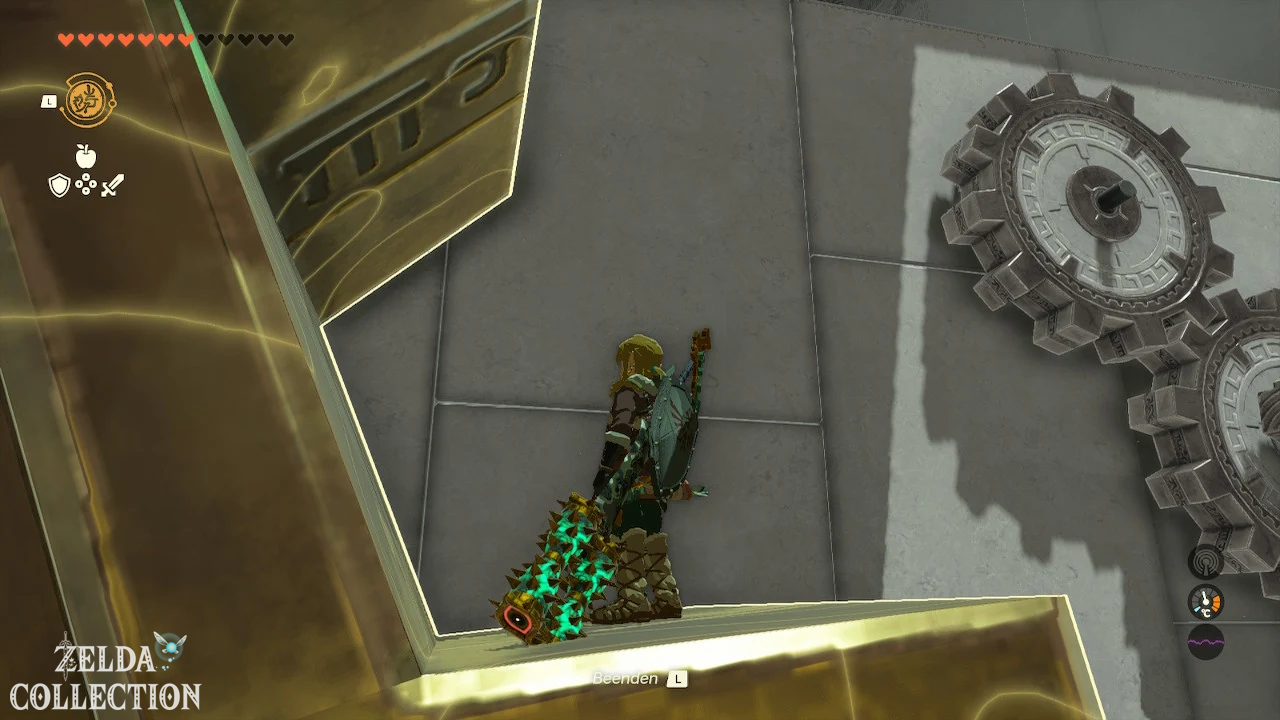
In the second area you will find another large gear. To the right there is a crank that you can turn with the Ultrahand.
The direction of rotation that you specify for the crank is then reversed by the Recall. If you turn the crank counterclockwise and then insert the Recall, the gear moves clockwise. If you turn the crank clockwise, it then runs in the other direction through the Recall.
Hidden Treasure Chest Get
First rotate the crank several complete revolutions counterclockwise. Finish the movement and stand on one of the lower teeth of the large wheel.
Now activates the Recall on the gear. It moves backwards and carries you down to a hidden area below the main room.
Get off the gear in time and open the Treasure Chest that is there. Inside is a Strong Zonaite Greatsword.
Then stand under the blanket and use the Ascend. This will take you back to the room with the crank.
Drive up to the altar
This time turn the crank several revolutions clockwise. Then stand on a tooth of the big wheel again and use the Recall.
The gear now rotates in the opposite direction and carries you upwards. Stay on the tooth until you reach the platform with the exit.
Jump onto the platform, follow the short path to the altar and take the Light of Blessing.
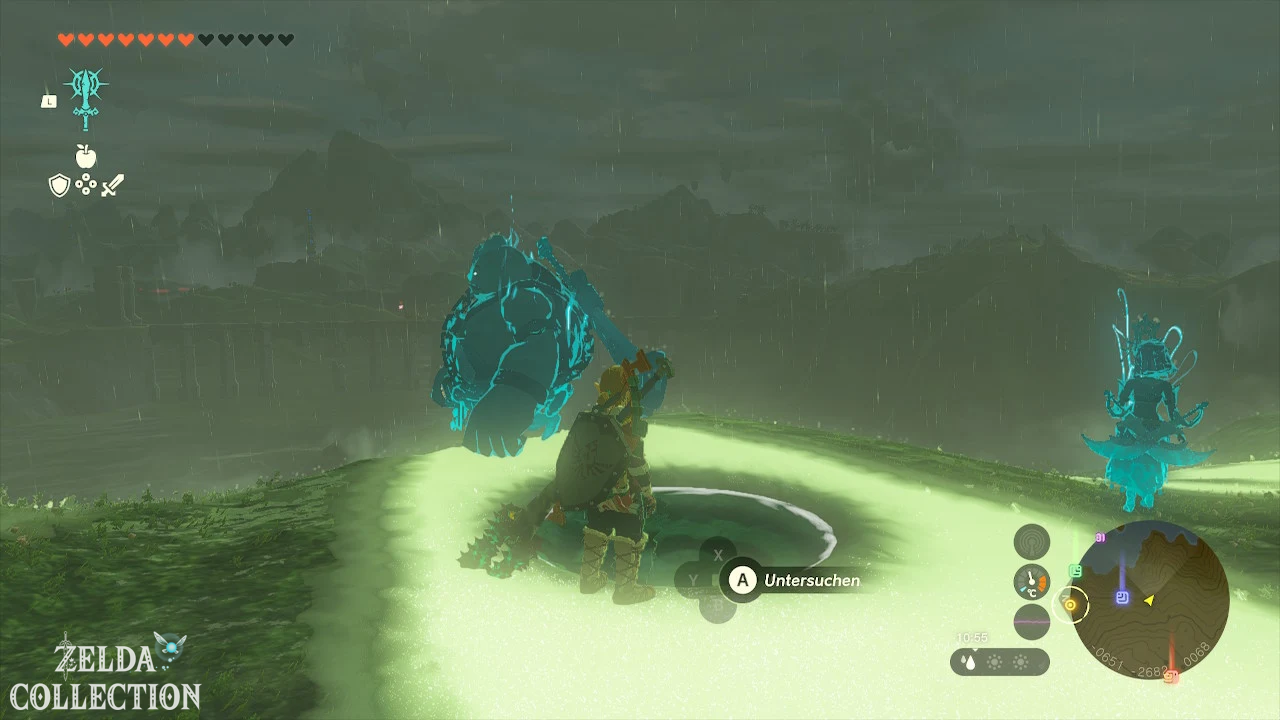
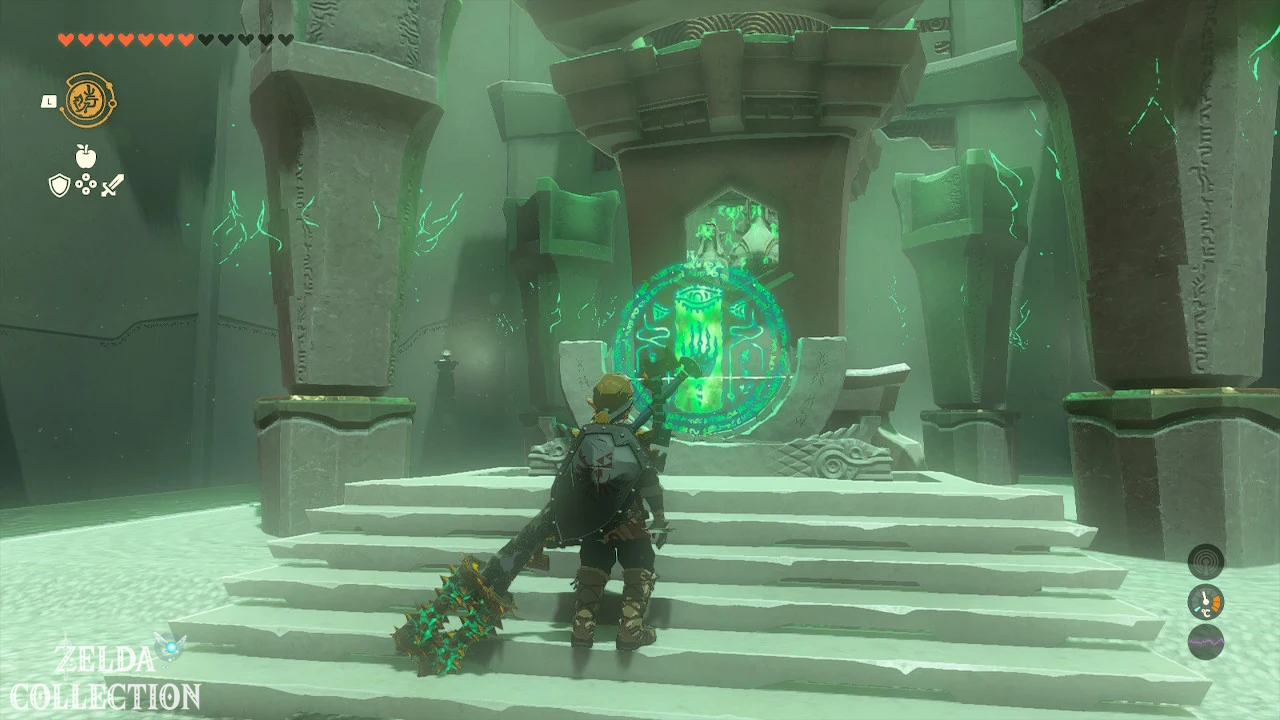
All shrines in the mountains of Eldin at a glance
| Shrine | exam | Location | Chest Reward |
|---|---|---|---|
| Mayak Shrine | Fugitive case | East Deplian Badlands | Large Zonai Charge |
| Minetak Shrine | Raurus blessing | Deplian Badlands Cave | Large Energy Cell |
| Sikukuu Shrine | Right or left | Southeast of Thyphlo Ruins | Strong Zonaite Greatsword |
More shrines in the region Eldin
Once you have completed all three shrines in the mountains of Eldin, you can continue your search in the adjacent areas: