

On this page we give you an overview of all the shrines in The Legend of Zelda: Tears of the Kingdom, which are located at the springs of Lanayru and in the airspace above. In addition to the respective locations, we explain in detail how to pass the tests, complete shrine tasks and reach all Treasure Chests.
In this region there are a total of ten shrines. The Igoshon Shrine, the Jirutagumac Shrine and the Sihajog Shrine lie on islands in the sky. Several other shrines are hidden in caves or must first be unlocked through a shrine task.
You can find an overview of all areas in our Tears of the Kingdom Walkthrough. Our overview with all 152 shrines will also help you with your search.
At the springs of Lanayru there are the following shrines:
- Apogek Shrine
- Igoshon Shrine
- Ihen-a Shrine
- Jirutagumac Shrine
- Yomizuk Shrine
- Joniu Shrine – Shrine in Ralis Channel
- Kurakat Shrine – Turn white into black
- Mogawak Shrine
- O-ogim Shrine – Shrine on Lanayru Street
- Sihajog Shrine
Apogek Shrine
Test: Swinging in the Wind
Reward: Strong or Powerful Zonaite lance and a Light of Blessing
Location: South side of the Jaabu Plateau, southeast of the Eastern Reservoir
Coordinates: approximately 3883, -0208, 0164
Find Apogek Shrine
The Apogek Shrine is located on an elevated area southeast of the Eastern Reservoir. From the Zora village, follow the path southeast and then climb up to the Jaabu Plateau.
You can reach the shrine more conveniently via the tower on the Mount Lanayru or from one of the higher islands above the area. As you glide, pay attention to the green glowing spiral south of the reservoir.
Solve Apogek Shrine
In the first room you will see a large ball on the opposite side. Axyl up the ready Zonai grand piano with the Ultrahand and place it on the rail. Then attach the ball to the middle of the wing.
Stand on the aircraft and let it slide down the track. As soon as the wing leaves the rail, it carries you over the abyss. On the other side, loosen the ball and place it in the round recess. This will open the gate to the next area.
Reach Hidden Treasure Chest
In the second room, several fans create a strong updraft. Jump in and open your Paraglider. The Treasure Chest is located on an elevated platform.
If the existing updraft is not enough, take one of the fans with the Ultrahand and place it below the platform. Activate it and let the Paraglider carry you up. Depending on your progress, there is a Strong or Powerful Zonaite Lance in the chest.
Use the wing to get to the altar
Take the next Zonai wing and attach the two fans to its back. Make sure that both devices point in the same direction and are mounted as symmetrically as possible.
Place the wing on the rails, stand on the control unit and activate the fans. The aircraft carries you over the final abyss. Dismount on the target platform and get the Light of Blessing at the altar.
Tip: Stand in the middle of the wing if possible during the flight. If you move far to the left or right, the direction of flight changes.
Igoshon Shrine
Trial: Floating Water
Reward: Large Zonai Charge and a Light of Blessing
Location: Island of Bubbling Waters in the sky above Lanayru
Coordinates: approximately 3480, 0664, 1325
Find Igoshon Shrine
Igoshon Shrine is located on the Island of Sparkling Waters. You will pass him almost automatically during the main task surrounding Sidon and the Water Temple.
From the Mipha site you follow the floating ruins and waterfalls further and further up. With the Zora armor you can swim up the falls. The shrine is on one of the larger islands just before Water Temple.
Solve Igoshon Shrine
In Igoshon Shrine, you use large, floating water balls as elevators and transportation. First jump into the first water ball. It automatically carries you upstairs. Swim to the top of the sphere and jump onto the platform.
Obtain Large Zonai Charge
In the next area, the Treasure Chest regularly falls from above. Use the Ultrahand to push one of the floating water balls under the chest’s falling track.
The chest is caught in the water and only sinks slowly. Grab her with the Ultrahand and pull her onto solid ground. Inside is a Large Zonai Charge.
Reverse falling water ball
On the right, a water ball falls down from a higher platform. Wait for her to reach you and use the Recall on her. Jump into the ball and let its reverse path carry you upwards.
Deflect last water ball
In the last section, water balls are shot horizontally across the room. Place the large stone slab at an angle on the movable block. It must be aligned like a ramp.
When a water ball hits the slanted plate, it is redirected upwards to the starting platform. Jump into the ball, let it carry you up and slide the last few meters to the altar.
Tip: You can pull items and even the Treasure Chest out of the water balls with the Ultrahand. You don’t have to jump into every ball yourself.
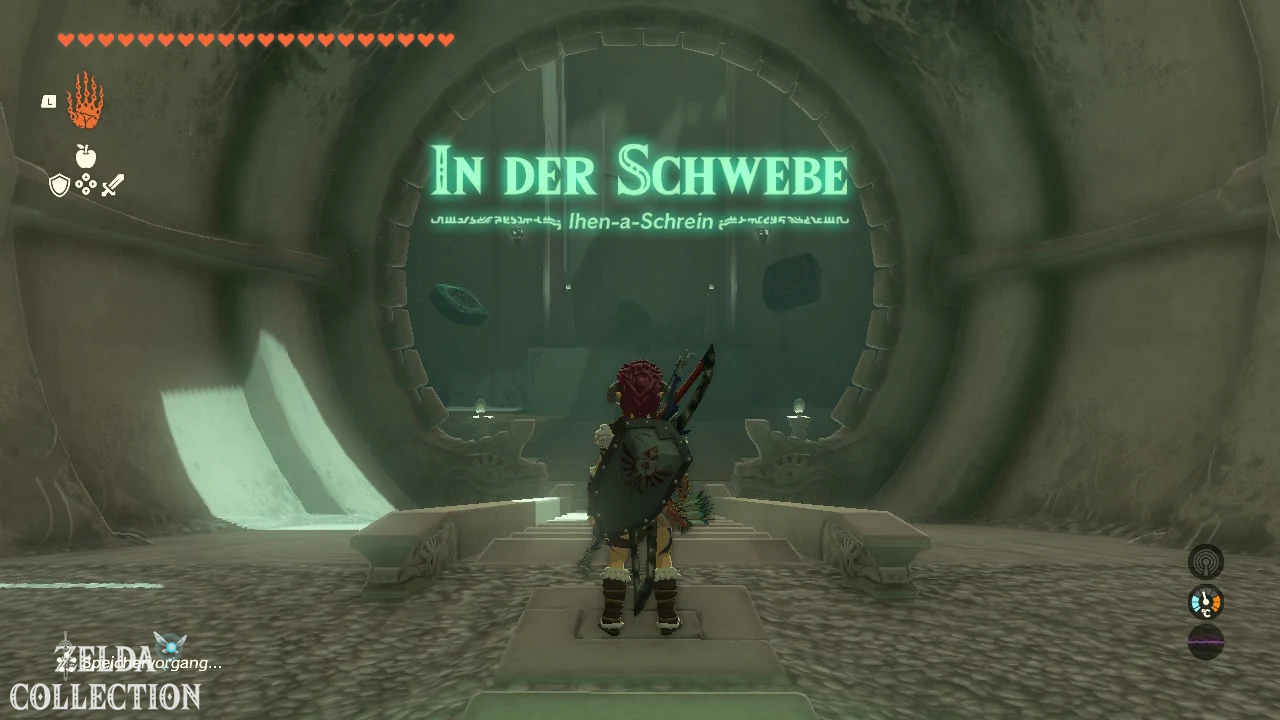
Ihen-a Shrine
Trial: In limbo
Reward: 5 wooden arrows and a Light of Blessing
Location: Mipha site on the Ploymus Mountain
Coordinates: approximately 3786, 0578, 0500
Ihen-a Shrine find and clean
The Ihen-a shrine stands at the Mipha site east of the Zora village. When you first arrive, its entrance is completely covered in mud.
Throw a Splash Fruit at the mud or connect it with an arrow. Alternatively, blue Chuchu Jelly, Sidon’s water ability or a Zonai hydrant work. Once the mud has been removed, you can activate the shrine.
Solve Ihen-a Shrine
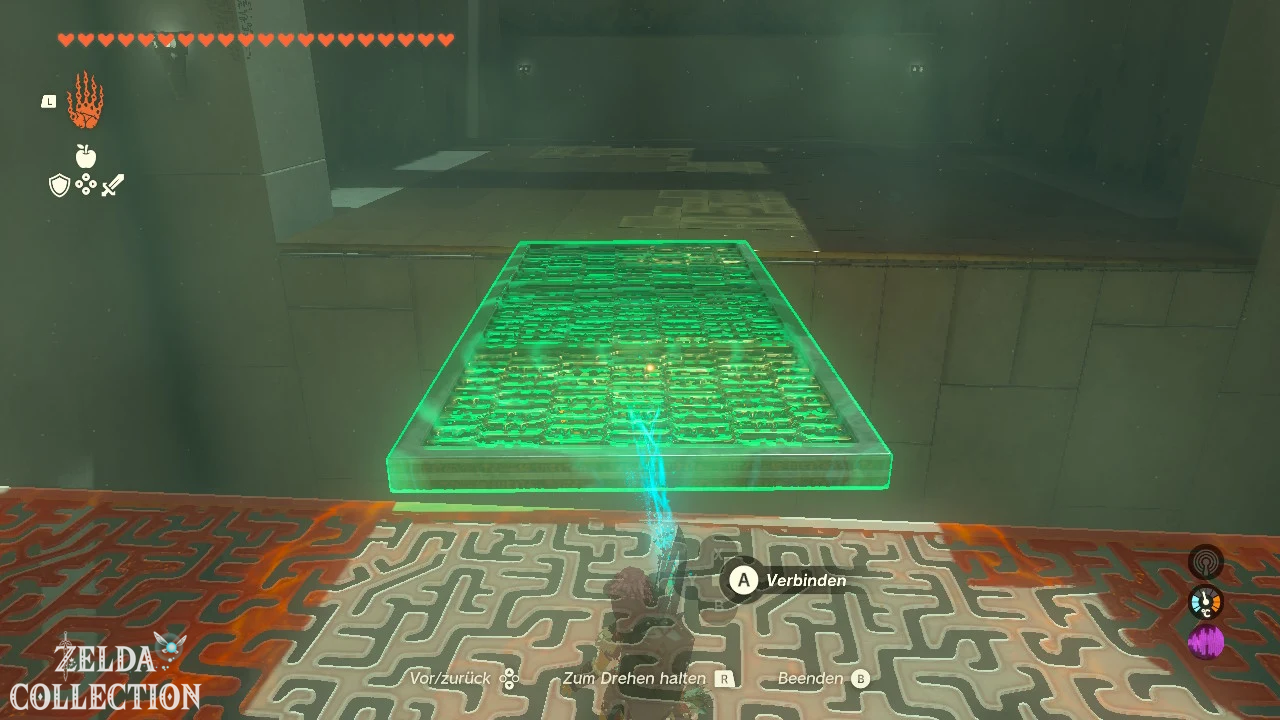
There are several floating Zonai platforms in the first room. Hit a platform to turn it on. Lay them horizontally on the ground and place a second platform slightly higher in front of them. This way you build a small staircase to the next level.
Build a floating bridge
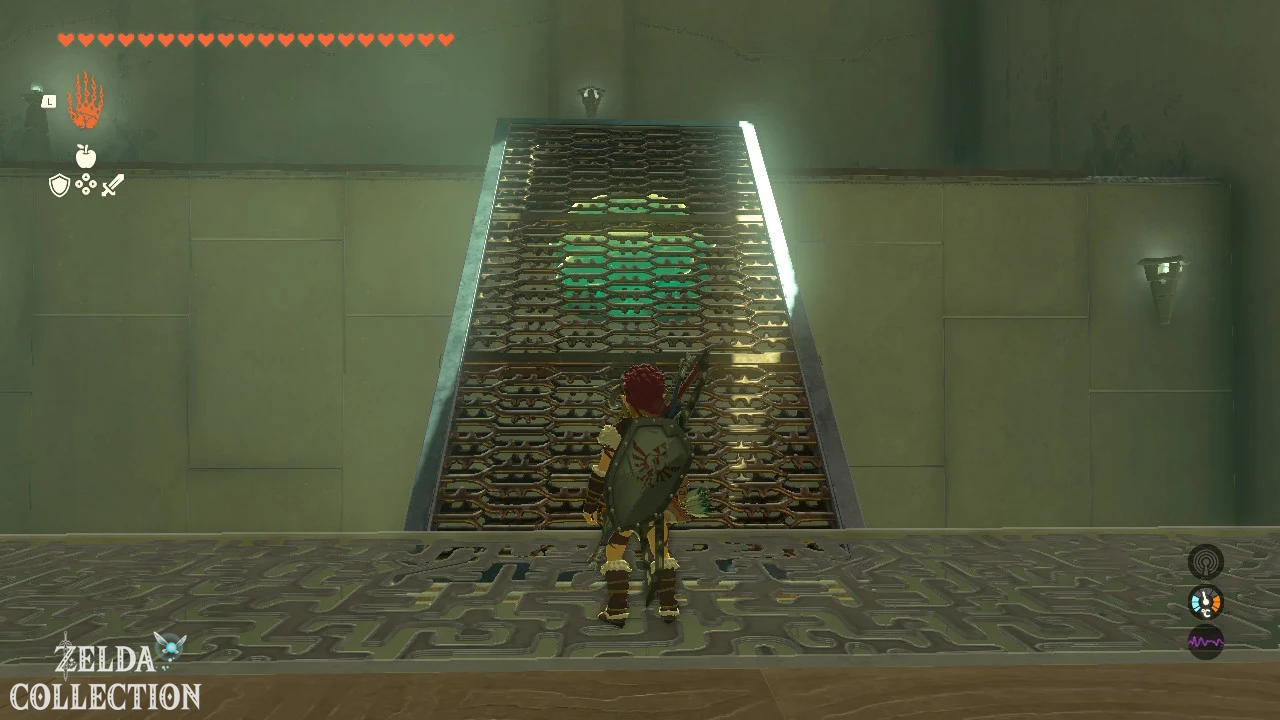
In the following section you will find a large metal plate. Attach it to a powered hover platform and align the structure horizontally. Use it as a bridge over the abyss.
For the higher level, you then turn the plate at an angle. The hover platform keeps them in the air and forms a ramp.
Treasure Chest with five wooden arrows
The Treasure Chest is located elevated on the side of the room. Position a hover platform below the ledge and place a second one above it if necessary. Climb the platforms and open the chest with the five wooden arrows.
Transport ball over the abyss
In the last room, attach the large ball to a floating platform. Stand on the launcher with the ball and hit the orange switch. The structure is thrown over the abyss.
On the other side, remove the ball and place it in the recess. The final gate opens and you receive the Light of Blessing.
Tip: Active hover platforms stay in place even when you attach heavy objects to them. This allows you to build almost any bridges and stairs.
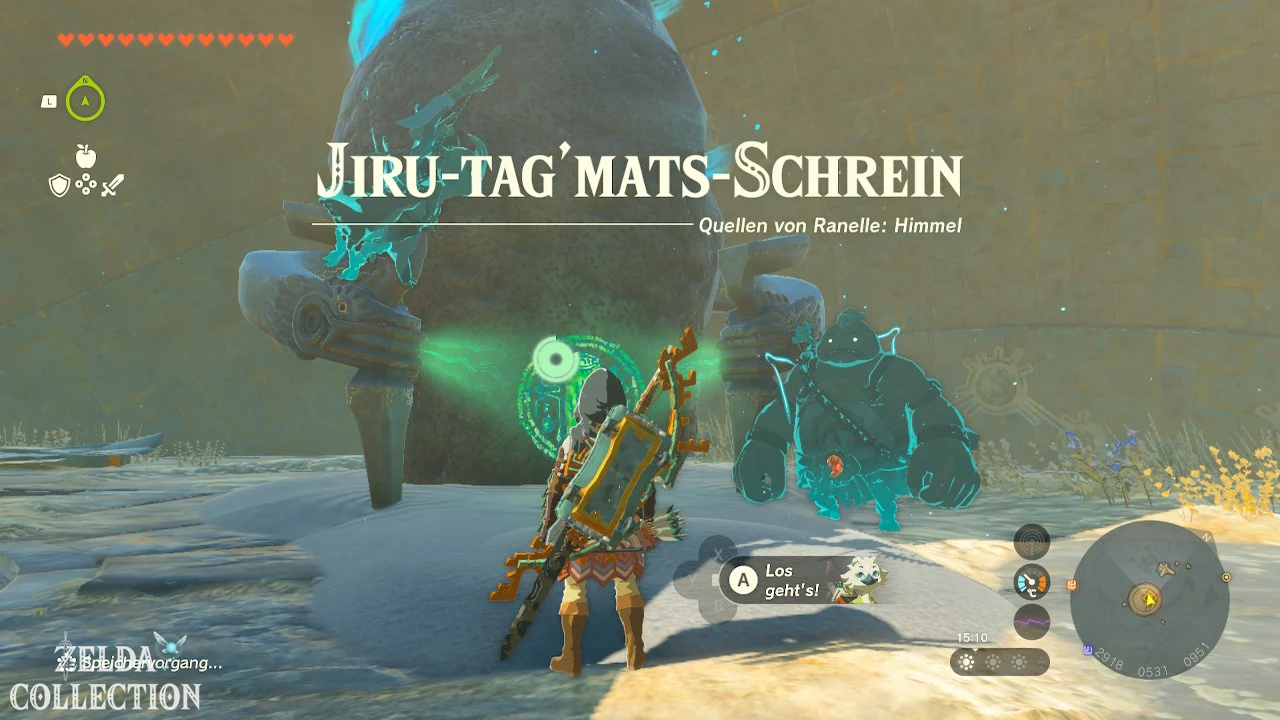
Jirutagumac Shrine
Trial: Vibrant
Reward: Large Zonaite and a Light of Blessing
Location: In a spherical sky island in the archipelago of Lanayru
Coordinates: approximately 2916, 0534, 0965
Find Jirutagumac Shrine
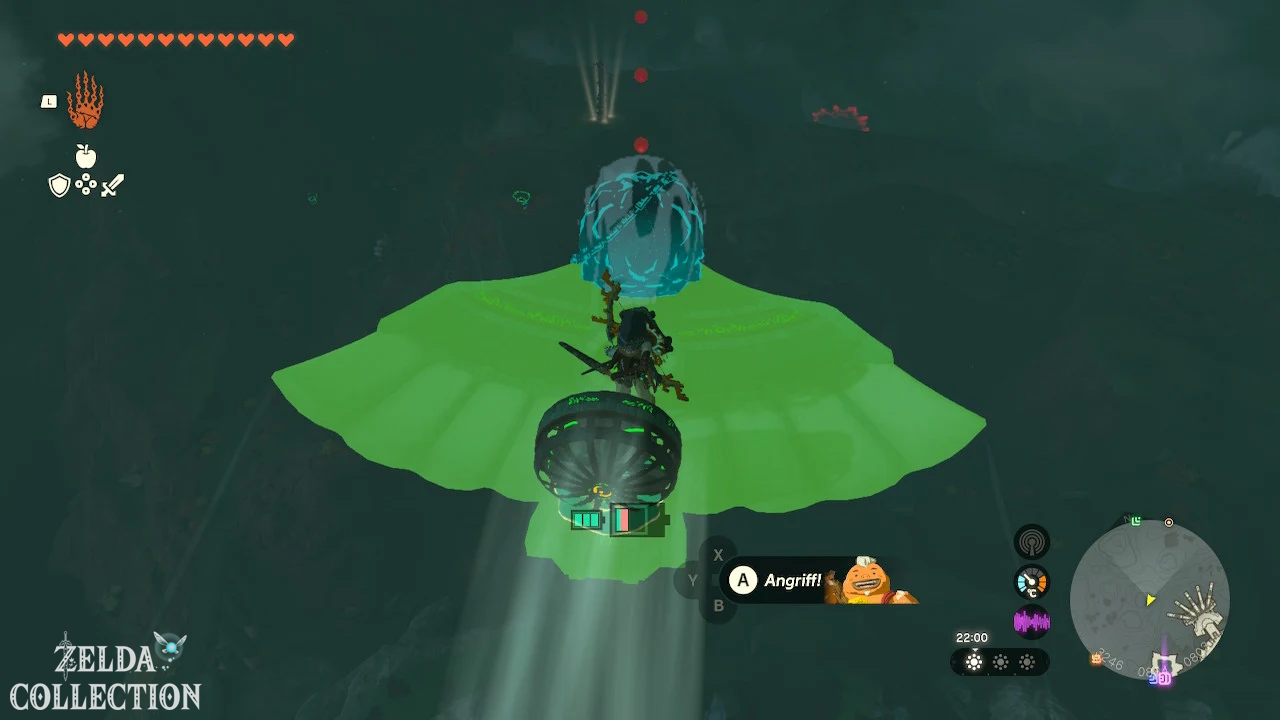
The Jirutagumac Shrine is located inside a large rotating sphere in the sky above Lanayru. The tower on Mount Lanayru is a suitable starting point.
Let yourself be thrown into the sky and glide to the ball that can be seen from far away. The entrance moves with the rotation of the island. Wait until the opening is pointing up or towards you and slide in.
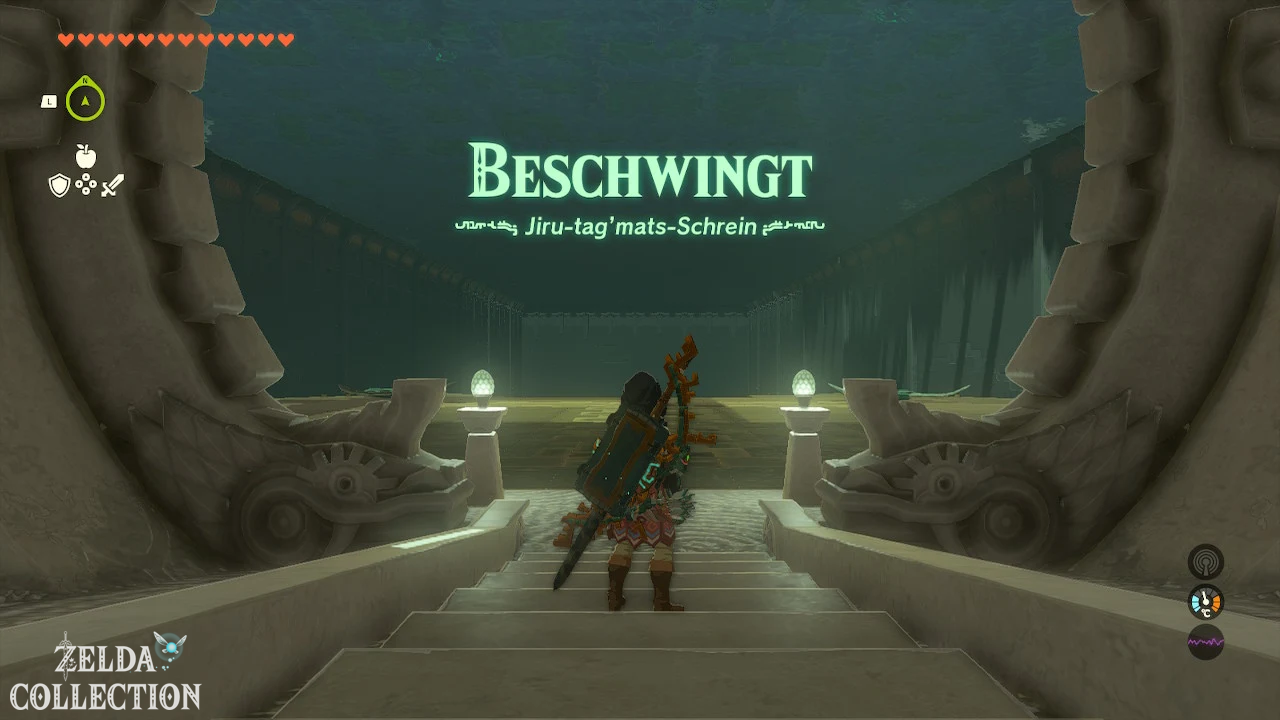
Solve Jirutagumac Shrine
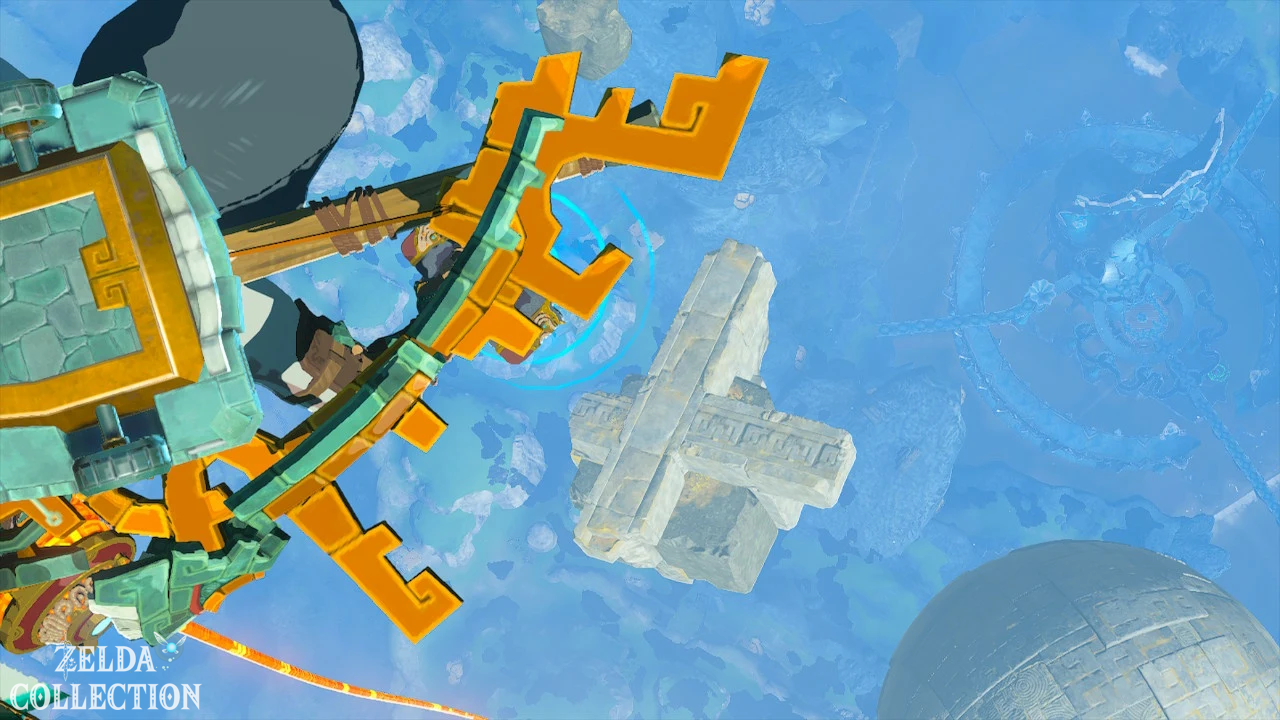
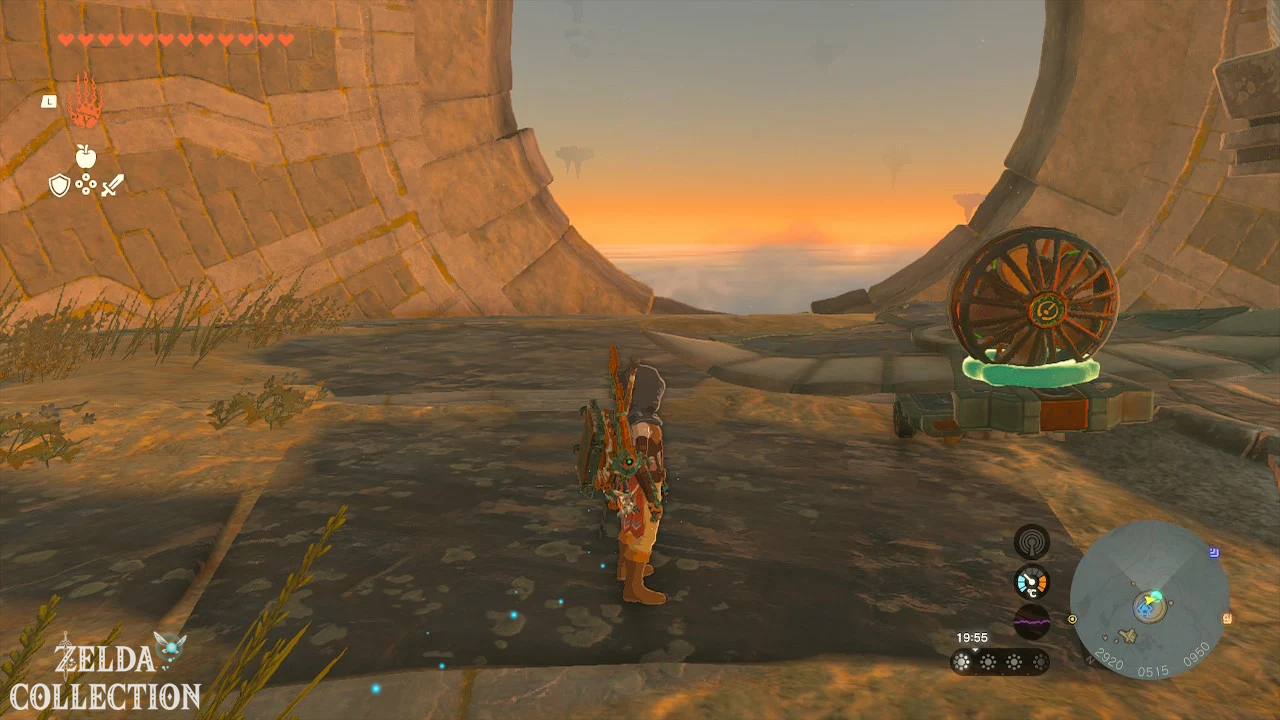
In the exam you have to build a functioning aircraft using Zonai wings, carts and fans.
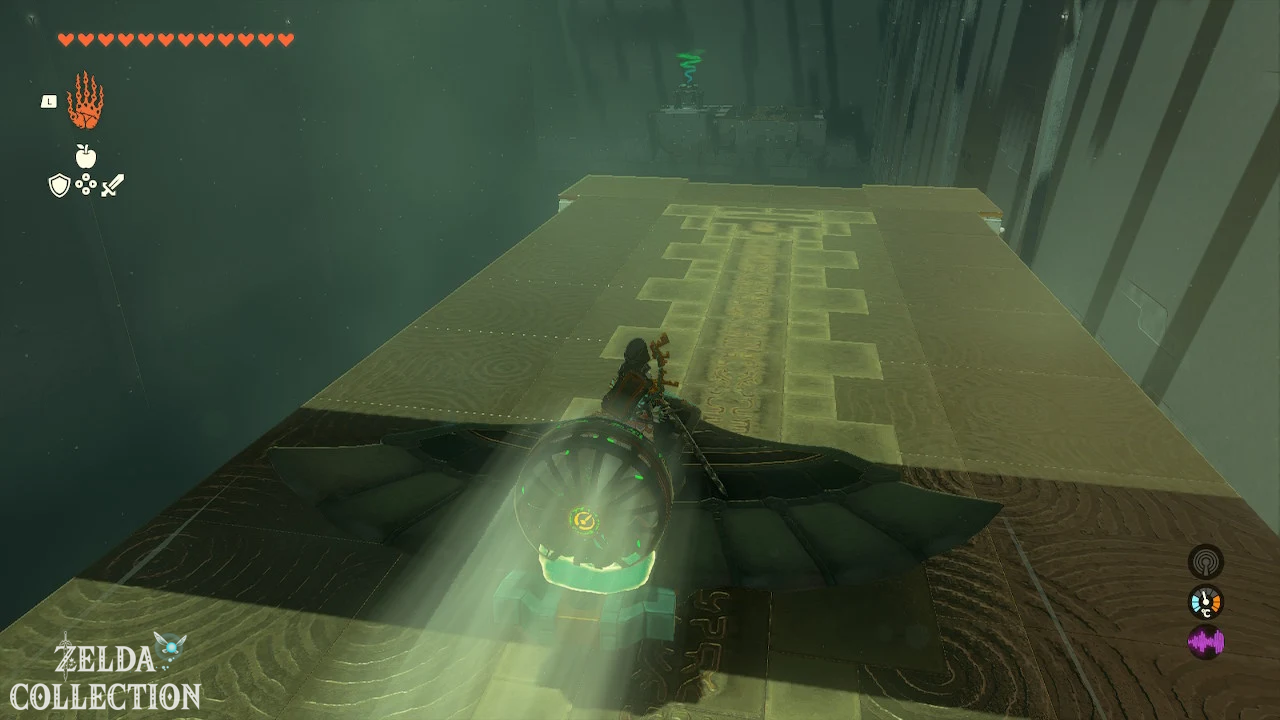
First take a wing and position it on the slanted rail. Stand on the wing and let it slide down. The momentum will carry you to the next platform.
Get the large Zonaite from the chest
The Treasure Chest is on an elevated platform. Place a Zonai wing horizontally under the ledge and stand underneath it. Use the Ascend to get through the wing to the upper level.
Open the Treasure Chest. Inside is a Large Zonaite.
Build aircraft for the last section
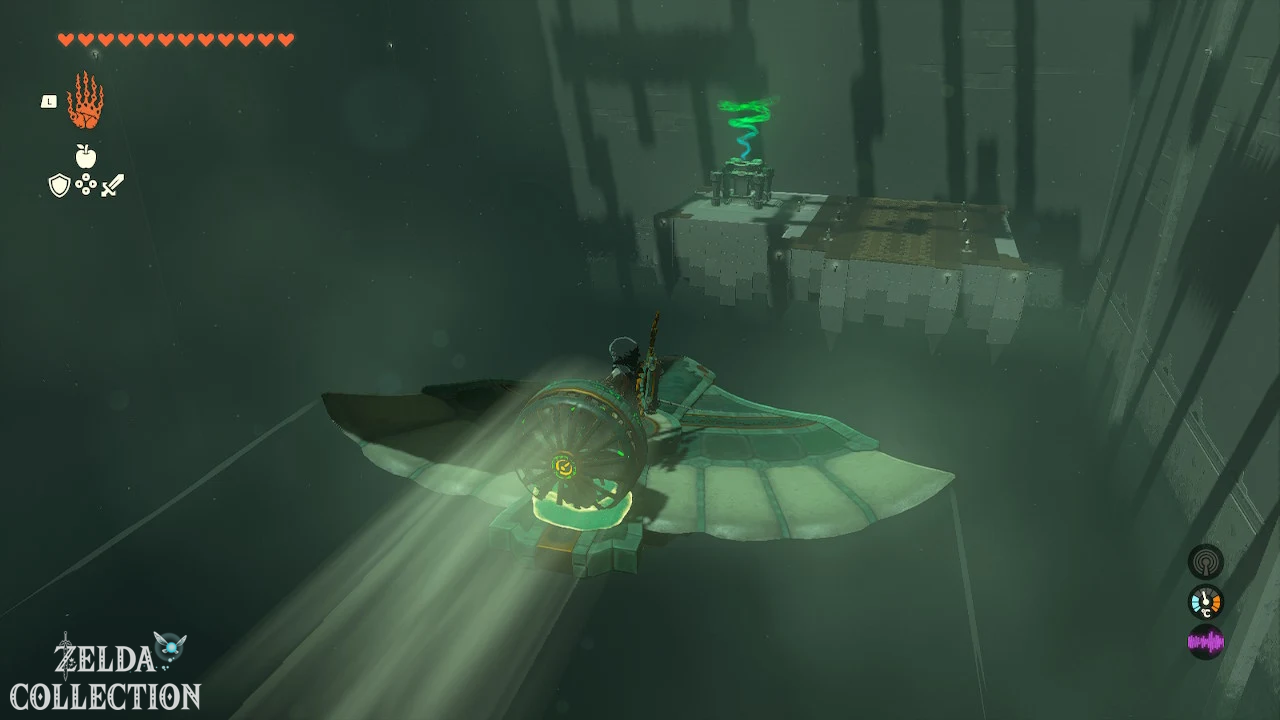
Attach a small cart in the middle under the Zonai wing. The lorry serves as a guide for the rail. Then attach a fan to the back of the wing.
Place the vehicle on the launch rail, stand on it and activate the fan. The cart initially keeps the aircraft on course. At the end of the rail, the wing takes off and carries you to the platform with the altar.
Tip: Attach the cart exactly in the middle of the wing. If it sits too far to the side, the vehicle will tip over on the rail.
Yomizuk Shrine
Trial: Raurus Blessing
Reward: Diamond and a Light of Blessing
Location: Tarm Point Cave
Coordinates: approximately 4411, -0604, 0034
Find Yomizuk Shrine
The Yomizuk Shrine lies deep in the Tarm Point Cave. You can find the cave entrance on the coast below the high cliffs to the east of Lanayru.
Slide from the top of the cape down to the waterline and swim into the large opening. The water level in the cave rises and falls regularly. This causes spikes and other obstacles to become visible at times.
You can swim the way or build a small raft out of wooden boards and a fan. Follow the cave to the raised platform with the shrine.
Solve Yomizuk Shrine
Crossing the cave is the real test. Rauru’s blessing awaits you in the shrine.
Open the Treasure Chest immediately in front of the altar. Inside is a valuable diamond. You can then receive the Light of Blessing.
Tip: Avoid falling on the spikes when the water level is low. It’s better to wait a moment for the water to rise again or use a raft.
Joniu Shrine
Shrine task: Shrine in the Ralis Canal
Test: Rauru’s blessing
Reward: Large Zonai Charge and a Light of Blessing
Location: Ralis canal southwest of the village of the Zora
Coordinates: approximately 2918, 0509, 0155
Find Joniu Shrine
The Joniu Shrine is located in a cave in the Ralis Channel. You can find access below the Ralis pond. Follow the stream into the cave until you discover the incomplete shrine platform.
Examine the platform. A green beam of light shows you the location of the crystal, which is further down the channel.
Solve Shrine in Ralis Channel
Near the crystal you will find several wooden planks, a fan and a control unit. Connect the boards into a raft and attach the fan to the back. Place the control unit as centrally as possible on the raft.
Securely attach the green crystal to the platform and place the vehicle in the water. Steer through the channel in the direction of the green beam of light.
At the destination, detach the crystal from the raft and carry it to the shrine platform. Once you place it in the socket, the full Joniu Shrine will appear.
Obtain Rauru’s blessing
There is no other mystery inside. Open the chest with the Large Zonai Charge and then get the Light of Blessing.
Tip: Do not attach the crystal too far forward on the raft. Otherwise, its weight could unbalance the platform.
Kurakat Shrine
Shrine Task: Turn White into Black
Trial: Raurus Blessing
Reward: Short wand and a Light of Blessing
Location: Quatta’s Shelf southwest of the Zora village
Coordinates: approximately 2361, -0511, 0156
Find Kurakat Shrine
On the Quatta’s Shelf you initially discover no shrine, but a Steward Construct and a large rotating stone construction. Speak to the construct to begin the Shrine Quest “Turn White into Black.”
Turn white into black Solve
There is a white pattern on the rock wall. Your task is to cover the entire pattern with the shadow of the stone structure.
Grab the large Big Wheel with the Ultrahand and rotate the construction. Orient the side with the T-shaped recess approximately to the east or in the direction of the servant construct.
There is a narrow wooden slab nearby. Insert it into the left area of the recess. This gives the shadow the shape that matches the white pattern.
Then rest by a campfire until morning. Between approximately 5 and 7 o’clock the sun falls on the structure at the right angle. If the shadow completely covers the white pattern, the Kurakat Shrine appears.
Obtain Rauru’s blessing
Open the Treasure Chest in the shrine. Inside lies a Short Wand. You will then receive your Light of Blessing at the altar.
Tip: The mold can be built correctly and still not work immediately. The position of the sun in the early morning is also crucial.
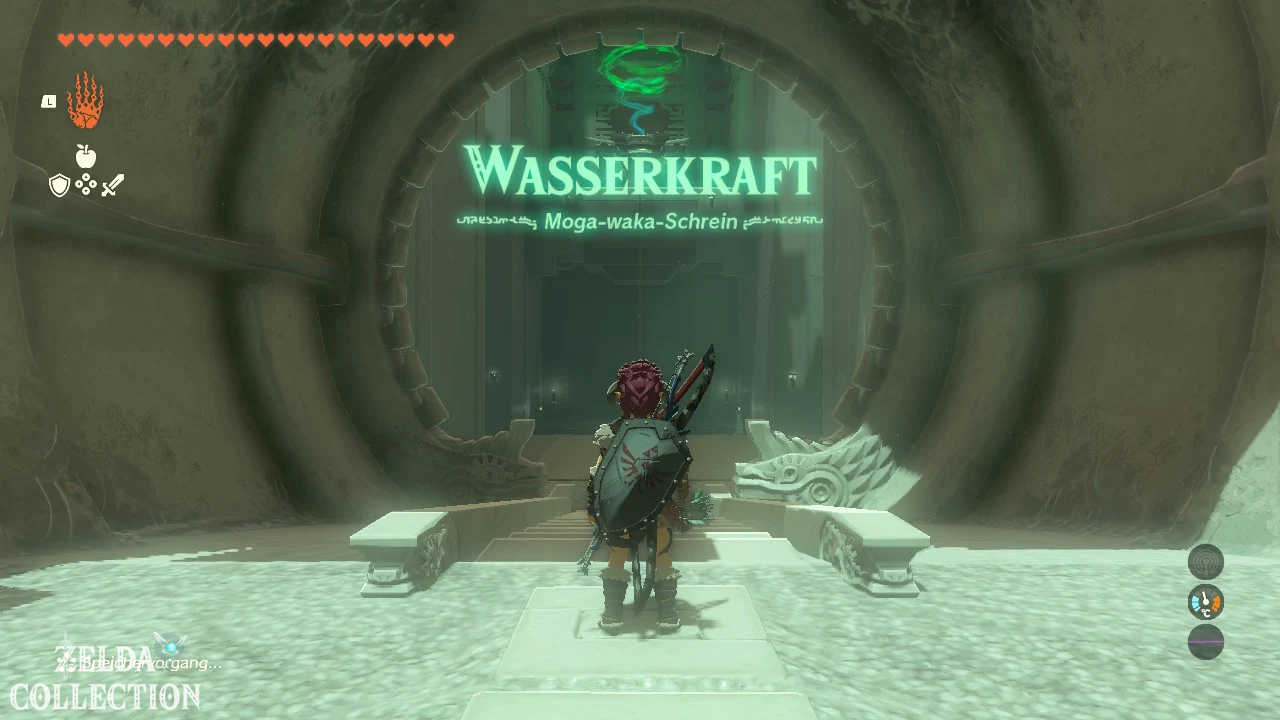
Mogawak Shrine
Trial: Hydropower
Rewards: Short Wand, Opal and a Light of Blessing
Location: Below the Zora’s Domain
Coordinates: approximately 3300, 0424, 0126
Find Mogawak Shrine
The Mogawak Shrine stands directly below the Zora’s Domain. Jump from one of the bridges to the lower level of the village or follow the stairs down. The shrine serves as a particularly convenient fast travel point for the area.
Solve Mogawak Shrine
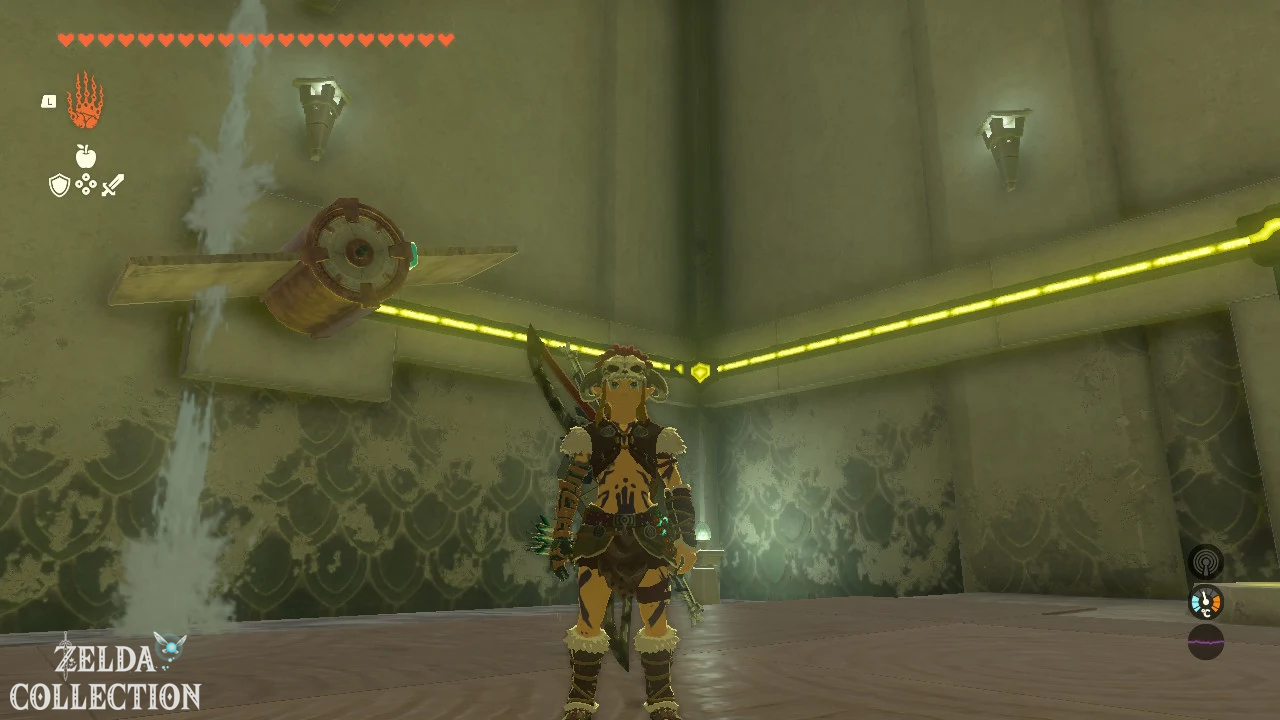
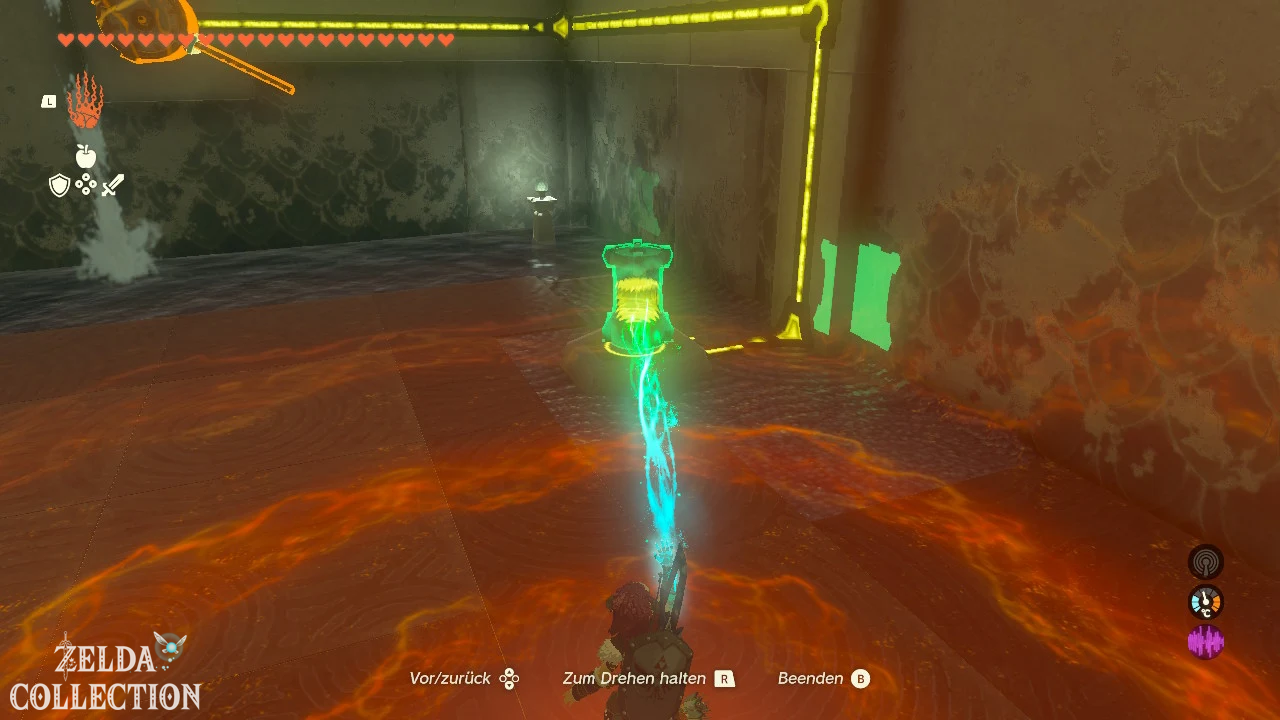
In the Mogawak Shrine you use a water wheel to generate electrical energy and use it to charge a portable Energy Cell.
Retrieve short wand from water
First, go to the right side of the room. There is a Treasure Chest in the water. Use the Ultrahand to pull it ashore and open it. Inside is a Short Wand.
Start water wheel
There is an additional metal plate next to the large water wheel. Attach it to the opposite side of the existing blade.
Rotate the Big Wheel with the Ultrahand until the water catches both blades. The Big Wheel begins to rotate continuously and generates electricity.
Place the empty Energy Cell on the charging station. Once fully loaded, record it with the Ultrahand.
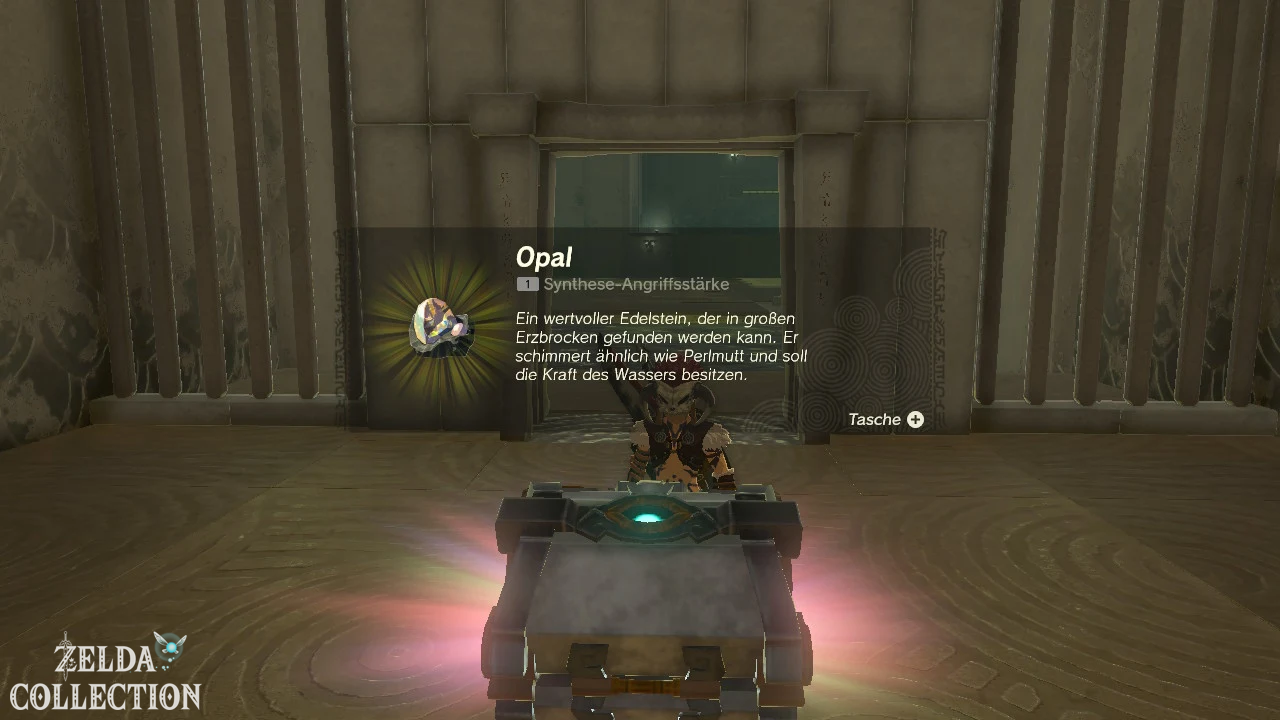
Second Treasure Chest with Opal
Carry the Energy Cell to the left side of the room and place it on the contact there. There are two metal balls in the water. Move them so that they connect the electrical contacts together.
The current opens the grid in front of the second Treasure Chest. Instead of swimming through the electrified water, move along the dry edge. There is a Opal in the chest.
Activate elevator to The Altar
Charge the Energy Cell again on the water wheel. Then stand on the platform in the middle of the main room and use the Energy Cell on the contact.
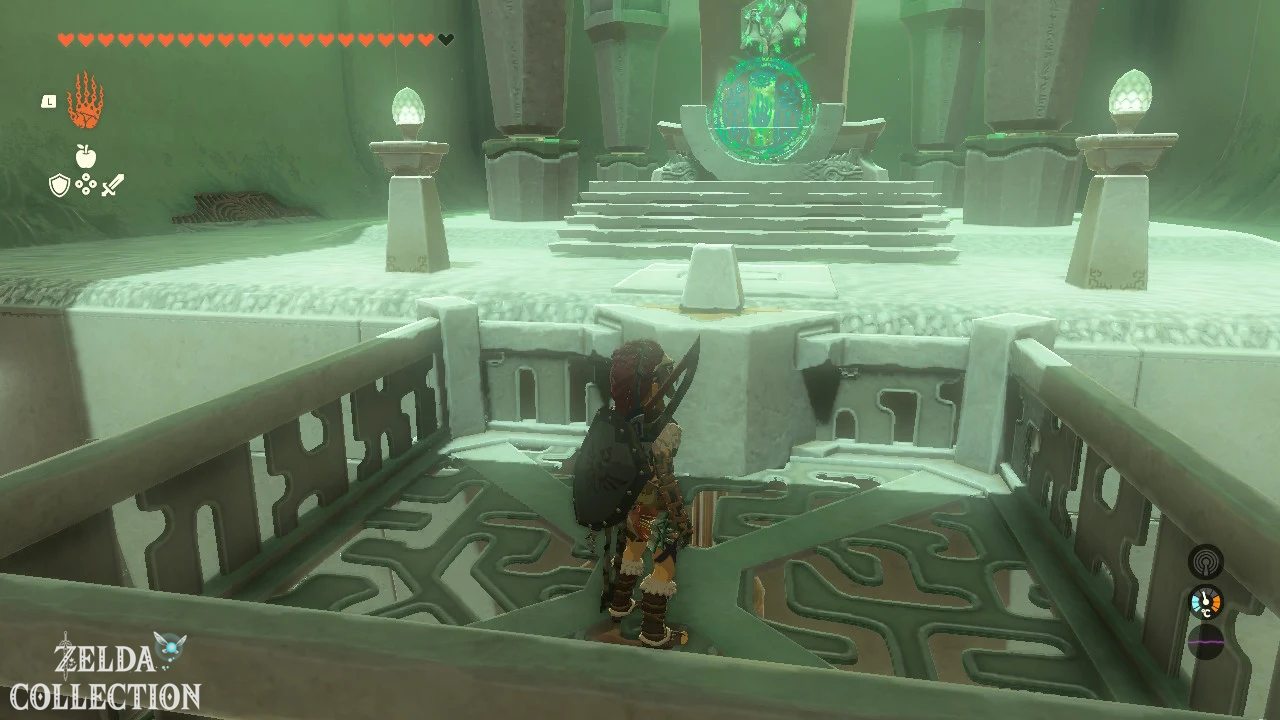
The elevator goes up. Get out on the upper level and get the Light of Blessing.
Tip: Always place the Energy Cell on a dry Depths. If it falls into the water, you will have to pull it out again and possibly recharge it again.
O-ogim Shrine
Shrine Task: Shrine on Lanayru Road
Test: Raurus Blessing
Reward: Big Battery and a Light of Blessing
Location: North of the Lanayru Street
Coordinates: approximately 2756, -1089, 0100
Find O-ogim Shrine
The O-ogim Shrine is located at the ruins of Lanayru Road. At first you only discover an incomplete shrine platform. Examine it to see a green beam of light indicating the location of the crystal.
The beam of light leads through a waterfall into the southern cave of the Lanayru road. Use the ruins and ledges next to the waterfall to reach the cave entrance.
Shrine on Lanayru Road Solve
Follow the cave path and cross the chasms. At the point where the beam of light points, brittle rock blocks the path. Destroy it with bomb flowers or a hammer weapon.
Behind it you will find the green shrine crystal and several Zonai Devices. Attach the crystal to a Zonai wing. A rocket or a fan provides the necessary propulsion.
Align the wing with the exit behind the waterfall and activate the vehicle. Follow the crystal and then bring it back across the ruins to the shrine platform.
As soon as you place the crystal in the green socket, the O-ogim Shrine appears.
Obtain Rauru’s blessing
Open the Treasure Chest with the Big Battery. Then go to the altar and receive the Light of Blessing.
Tip: Attach the crystal to the middle of the wing. A sideways position may cause the aircraft to tip over during takeoff.
Sihajog Shrine
Challenge: Test of Courage
Trial: Raurus Blessing
Reward: Diamond and a Light of Blessing
Location: Isle of Audacity in the sky above Lanayru
Coordinates: approximately 4546, -0846, 1124
Reach Isle of Daring
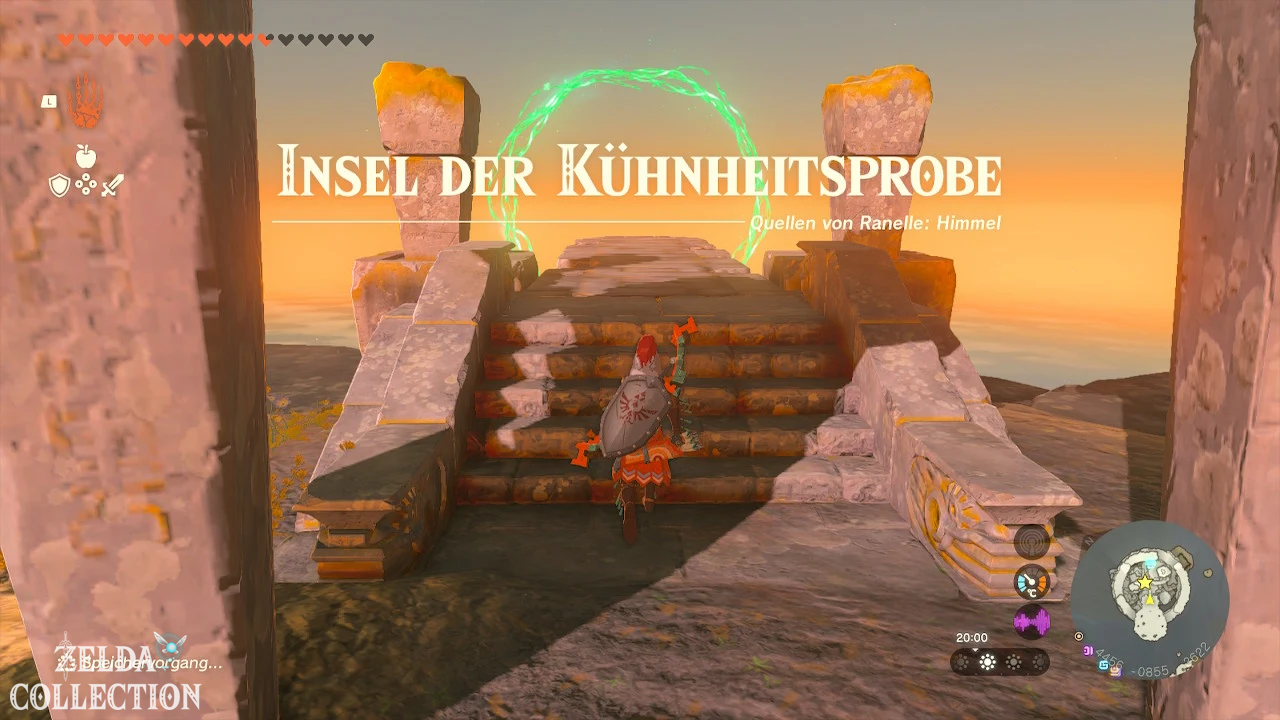
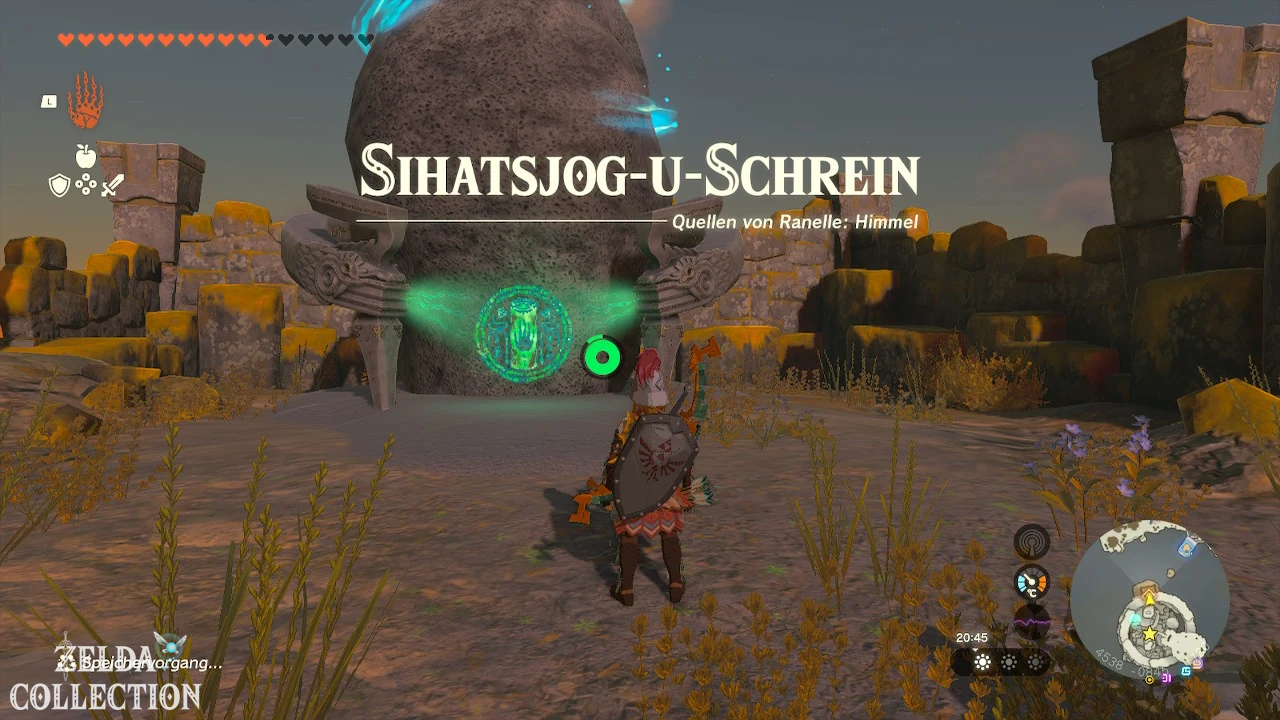
The Sihajog Shrine is located on the lowest level of the Isle of Daring. The sky island hovers far east over the Lanayru region.
The tower on the Mount Lanayru is a suitable starting point. First glide to the offshore sky islands and use a Zonai aircraft there to bridge the long distance to the test of courage.
Sihajog Shrine Unlock
There is a large green ring on the top level. Examine it and then jump into the depths.
Fall through all the glowing rings. Only open your Paraglider briefly if you need to correct your direction of flight. At the end you end up in the water basin on the lowest level.
There is no strict time limit for the first round. The only important thing is that you don’t miss any rings. After a successful landing, the Sihajog Shrine appears.
Obtain Rauru’s blessing
No further trial awaits you in the shrine. Open the Treasure Chest with the diamond and then get the Light of Blessing.
Tip: Activate the shrine before attempting the Daring test again. This means you can travel straight back to the lowest level of the island at any time.
All shrines at the springs of Lanayru at a glance
| Shrine | level | exam or task | Location | Chest Reward |
|---|---|---|---|---|
| Apogek Shrine | surface | Swinging on the Wind | Jaabu Plateau | Zonaite lance |
| Igoshon Shrine | Sky | Floating water | Island of Bubbling Waters | Large Zonai Charge |
| Ihen-a Shrine | surface | In limbo | Mipha site | 5 wooden arrows |
| Jirutagumac Shrine | Sky | Vibrant | Archipelago of Lanayru | Large Zonaite |
| Yomizuk Shrine | Cave | Raurus blessing | Tarm Point Cave | Diamond |
| Joniu Shrine | Cave | Shrine in Ralis Channel | Ralis channel | Large Zonai Charge |
| Kurakat Shrine | surface | Turn white into black | Quatta’s Shelf | Short wand |
| Mogawak Shrine | surface | Hydroelectric | Village of Zora | Short Wand and Opal |
| O-ogim Shrine | Surface/Cave | Shrine on Lanayru Street | Lanayru-Road | Big Battery |
| Sihajog Shrine | Sky | Test of Audacity | Isle of Daring | Diamond |