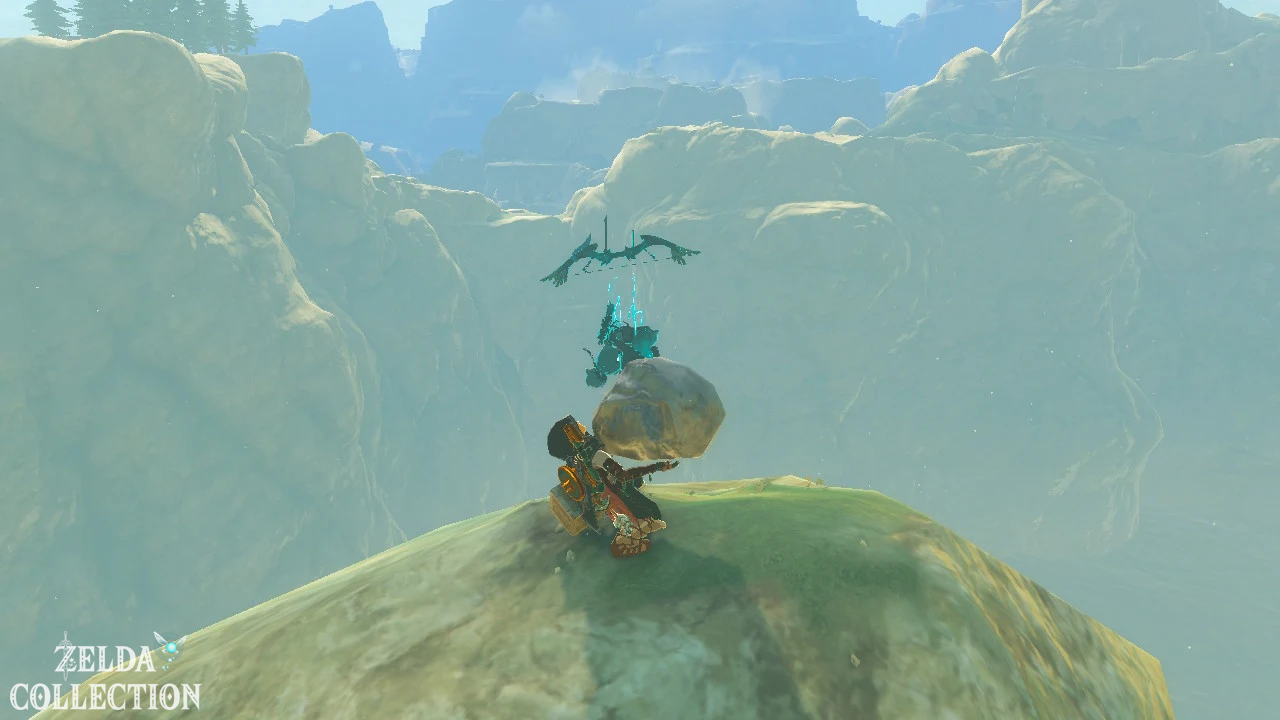
The path to the Rito village becomes relevant in The Legend of Zelda: Tears of the Kingdom as part of the main quest “Regional Phenomena”. Purah sends Link into four parts Hyrule’s, in which mysterious phenomena have been occurring since the Upheaval. In the northwest you should find out why the Rito area is being hit by an unusually strong snowstorm.
The village is located in the Tabantha Frontier in the middle of Lake Oronini. The route from Lookout Landing is comparatively long, but leads almost entirely over clearly visible roads. On the way you will pass two stables, several shrines, a Skyview Tower and the Lucky Clover Gazette. The solution then takes you through the main quest “Tulin from the village of the Rito”, the Hebra Mountains, the Rising Island Chain and the Wind Temple to the boss Colgera.
Recommended first region: You can examine the four regional phenomena in any order. The northwest is a particularly good first destination, as Tulin’s later-unlocked Gust of Wind makes exploring the surface, sky islands, and underground much easier.
Navigation
- Preparing for the trip to Tabantha
- From Lookout Landing to the new Maritta stable
- Lindor’s Brow Skyview Tower activate
- stable and bridge from Tabantha
- Lucky Clover Gazette reach
- Destroyed bridge to cross village
- Rito Village and Orni Armor
- Tulin of Rito Village start
- Hebra South Summit Cave
- Find Tulin and the stolen bow
- Climb over the Rising Island Chain
- Wind Temple – the legendary Stormwind Ark
- Turbine 1: Main deck
- Turbine 2: Laser shaft
- Turbine 3: East side U1
- Turbine 4: West side U1
- Turbine 5: Bottom U2
- All ten Treasure Chests
- Boss: Colgera
- Graduation and Oath from Tulin
Preparing for the trip to Tabantha
Before you leave the Lookout Landing, you should have the Paraglider and have activated the Skyview Tower on the Lookout Landing. Without the Paraglider, crossing the destroyed bridge in front of the Rito village becomes unnecessarily difficult. For the journey we recommend a horse, at least 500 Rupees for the Orni robe, several dishes or an elixir with cold protection, healing dishes, a bow with around 15 arrows, a Hylian Pine Cone and a fire fruit or flint.
The temperatures are still normal on the lower part of the route. However, at the latest when switching to the Tabantha Frontier, the temperature drops significantly. One level of cold protection is usually sufficient for the route to the village. On the later climb through the Hebra Mountains and up to the Wind Temple, two steps are required.
Cold protection through clothing and dishes
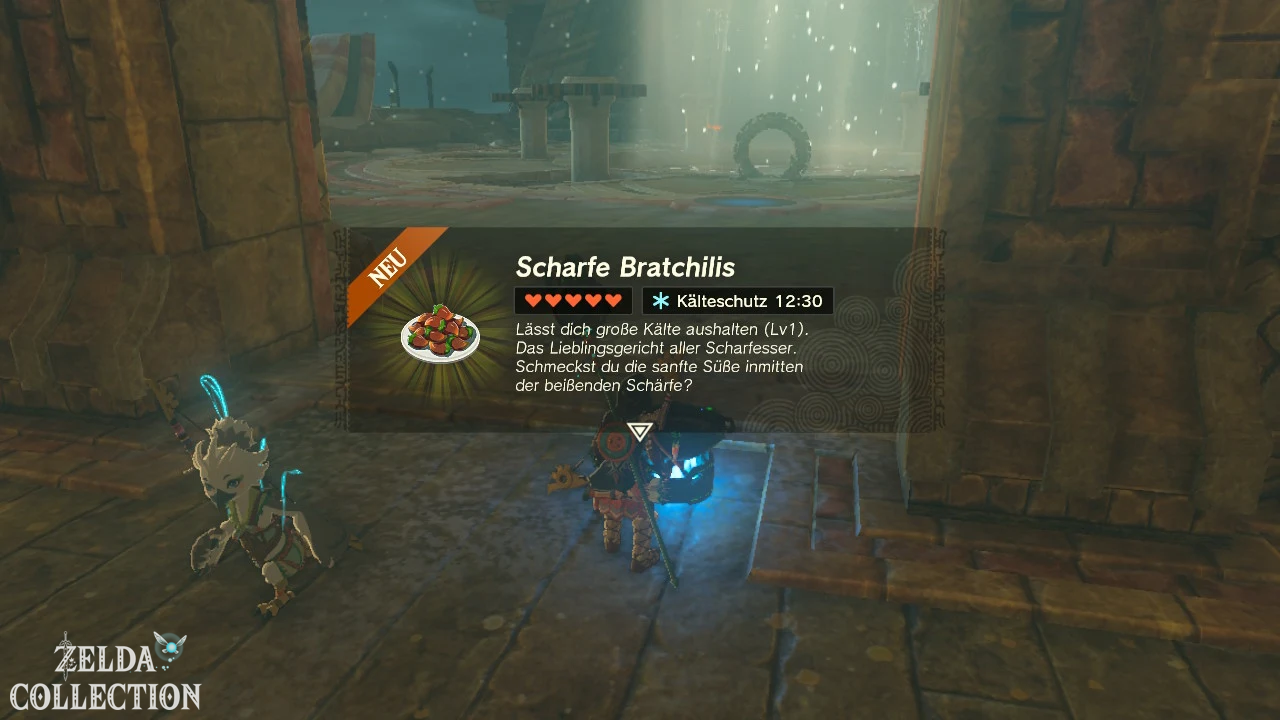
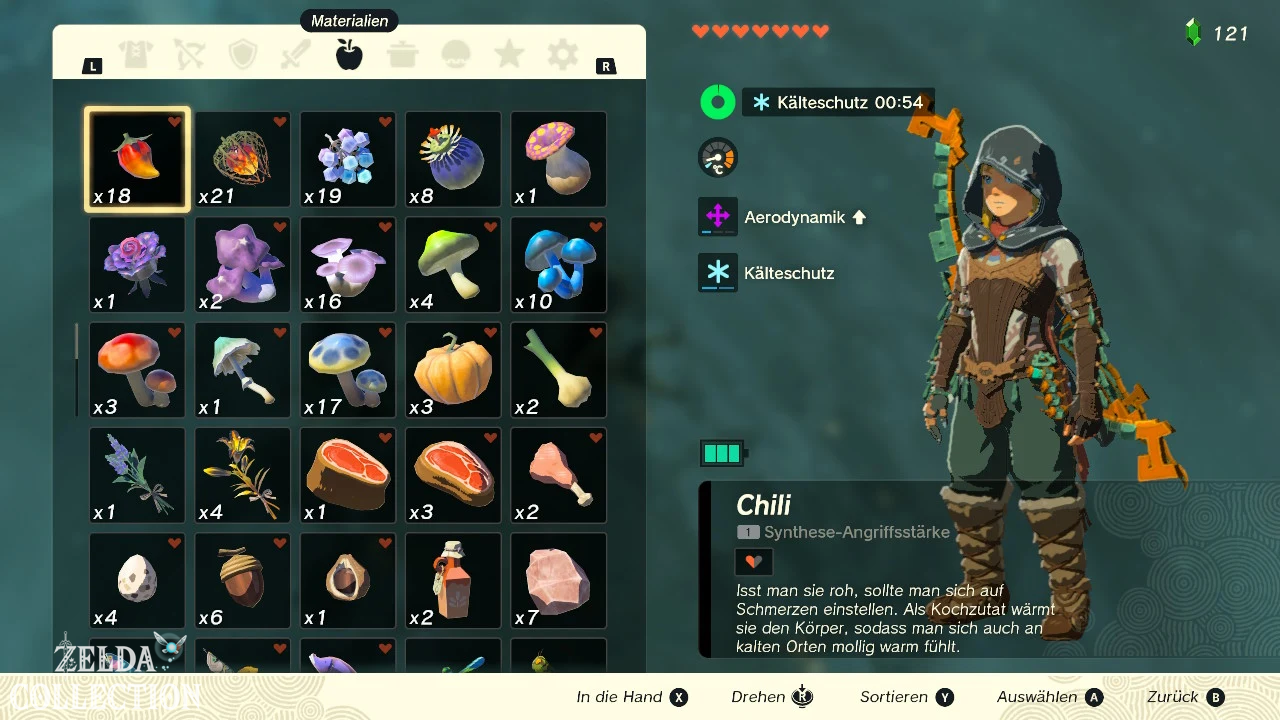
If you still have the old winter trousers from Great Sky Island, you can put them on first. Alternatively, you can prepare spicy dishes from hot peppers, sun mushrooms, Warm Safflina or other warming ingredients. A dish with several similar ingredients lasts longer than a meal with just one hot pepper.
Does not mix ingredients with different special effects. For example, if you put an ingredient for cold protection and an ingredient for attack power in the same dish, the special effects can cancel each other out.
Sharp Elixir make
Another option is Scharfe Elixir. To do this, cook an Ember Dragonfly or Ember Wing together with any monster ingredient. The resulting Elixir increases Link’s resistance to cold for a limited time.
Rupees save: You don’t have to buy the complete Orni set just to get to the village. First take the Orni robe for 500Rupees and combines it with the old winter trousers or a strong cold protection dish in extreme cold. You can find further equipment in our overview all armor in Tears of the Kingdom.
Route to the village of Rito at a glance
| intermediate destination | Approximate coordinates | Important feature |
|---|---|---|
| Lookout Landing | -0253, 0086, 0021 | Starting point of the main quest |
| New Serenne Stable | -1352, 0734, 0086 | Register horse and Sinakawak Shrine activate |
| Lindor’s Brow Skyview Tower | -1910, 1245, 0297 | Reveal Western Area Map |
| Tabantha Bridge Stable | -2918, 0546, 0169 | Last big rest area before Tabantha |
| Lucky Clover Gazette | about -3250, 1770, 0120 | Start episode “In Search of Truth” |
| Village of Rito | about -3619, 1796, 0186 | Start of “Tulin of Rito Village” |
Coordinates may vary slightly depending on Link’s exact location. Along the way, also use the streets, signposts and visible buildings to orient yourself.
From Lookout Landing to the new Maritta stable
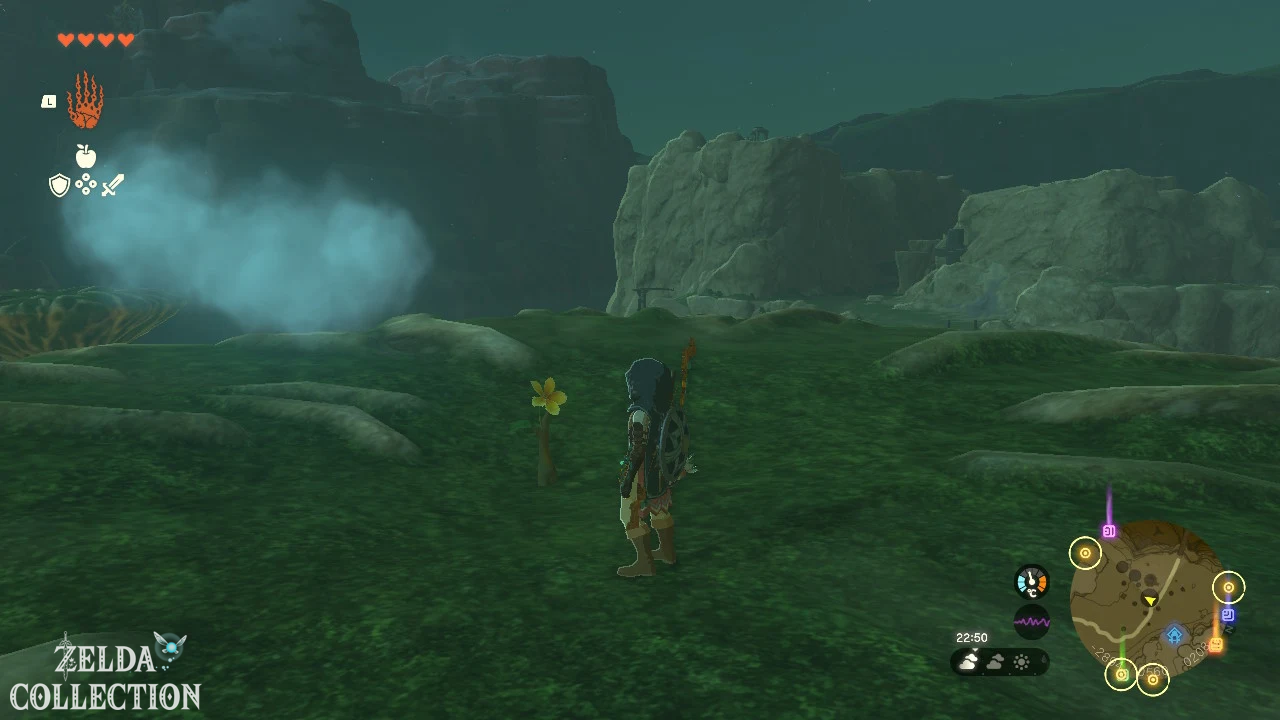
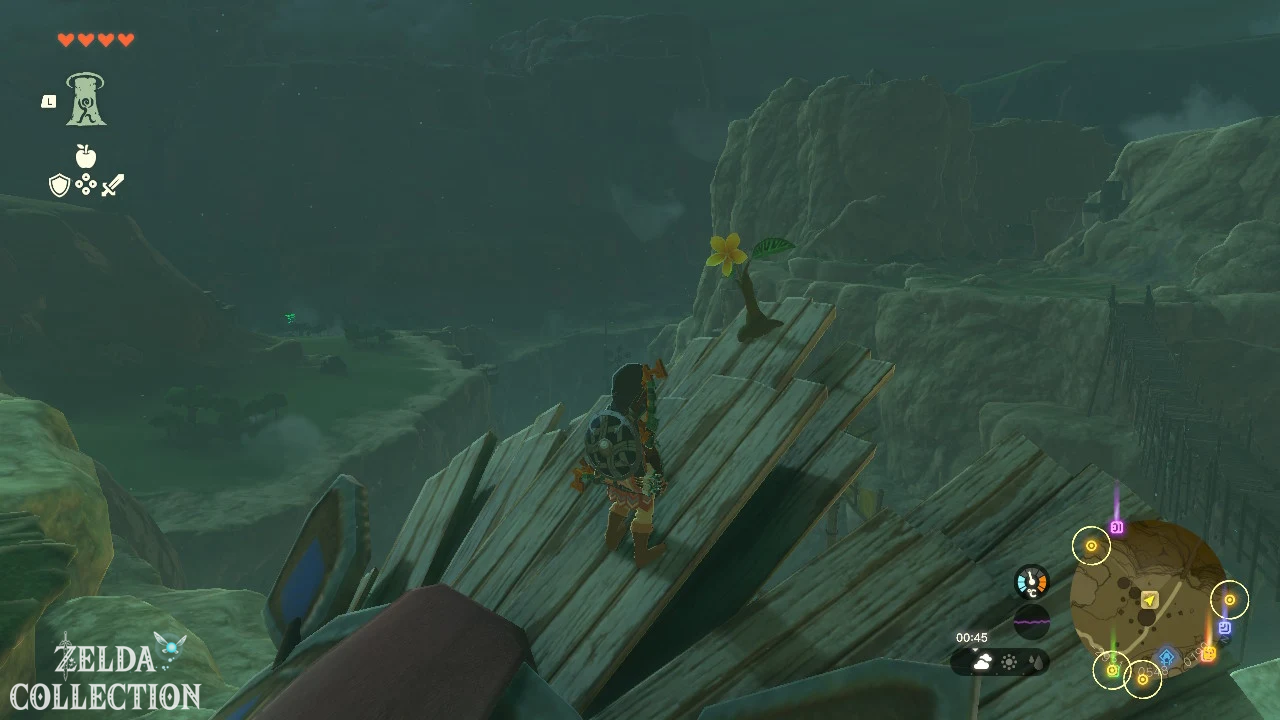
Leave the Lookout Landing through the western or northwestern gate and follow the road through the northern Hyrule Field. The path leads past Hyrule Forest Park and then over the Carok Bridge.
A Hinox often sleeps on the bridge. You don’t have to defeat him to travel to the Rito village. Ride past him at a sufficient distance or sneak along the edge of the bridge. Behind the bridge, follow the road further northwest and after a short while you will reach the new Maritta stables.
Activate Sinakawak Shrine
Immediately next to the stable is the Sinakawak Shrine at approximately -1415, 0757, 0089. Be sure to activate it as a fast travel point, even if you don’t want to solve its test yet. The shrine belongs to the Hyrule Field region. You can find more Locations in our overview of the shrines in the Hyrule Field.
Capture and register horse
If you don’t have a horse yet, you can catch one in the surrounding meadows. Approach from behind while crouching, get on and calm the animal with the L button. Then register it at the stable. A horse is particularly practical for the long stretch of road to the Tabantha Frontier. As long as you stay on the road, it follows the path mostly automatically.
Optional: Impa and the geoglyphs
Directly north of the stable you can meet Impa at a large geoglyph. The main quest “Impa and the geoglyphs” starts there. The detour is not necessary to get to the Rito, but it can be easily combined with the trip.
Activate Lindor’s Brow Skyview Tower
From the New Maritta Stable, follow the road westwards. To the northwest of the stable, on a rock in the middle of a lake, is Lindor’s Brow Skyview Tower. The tower is not absolutely necessary for the further journey, but should be activated now if possible. It covers a large portion of the Hyrule Mountains and the eastern Tabanta borderlands.
Reach Rocks in the lake
Long wooden planks lie on the bank. Connect several of them with the Ultrahand to form a bridge and place it between the bank and the tower rock. Alternatively, you can swim to the rock. Be careful not to use up all your stamina in the water, as you still have to climb the rock wall afterwards.
The tower has no actual puzzle. Once you have reached the upper plateau, you can open the entrance and activate the terminal. You can find a complete overview in our guide all Skyview Towers.
Optional: Hestu help
On the way to the tower you can encounter Hestu and start the episode “Hestu in Trouble”. Once freed, he can enlarge Link’s weapon, bow and shield pouches against Korok Seed. A larger weapon bag is extremely helpful for the following main quests, but the detour remains optional.
To Tabantha Bridge Stable
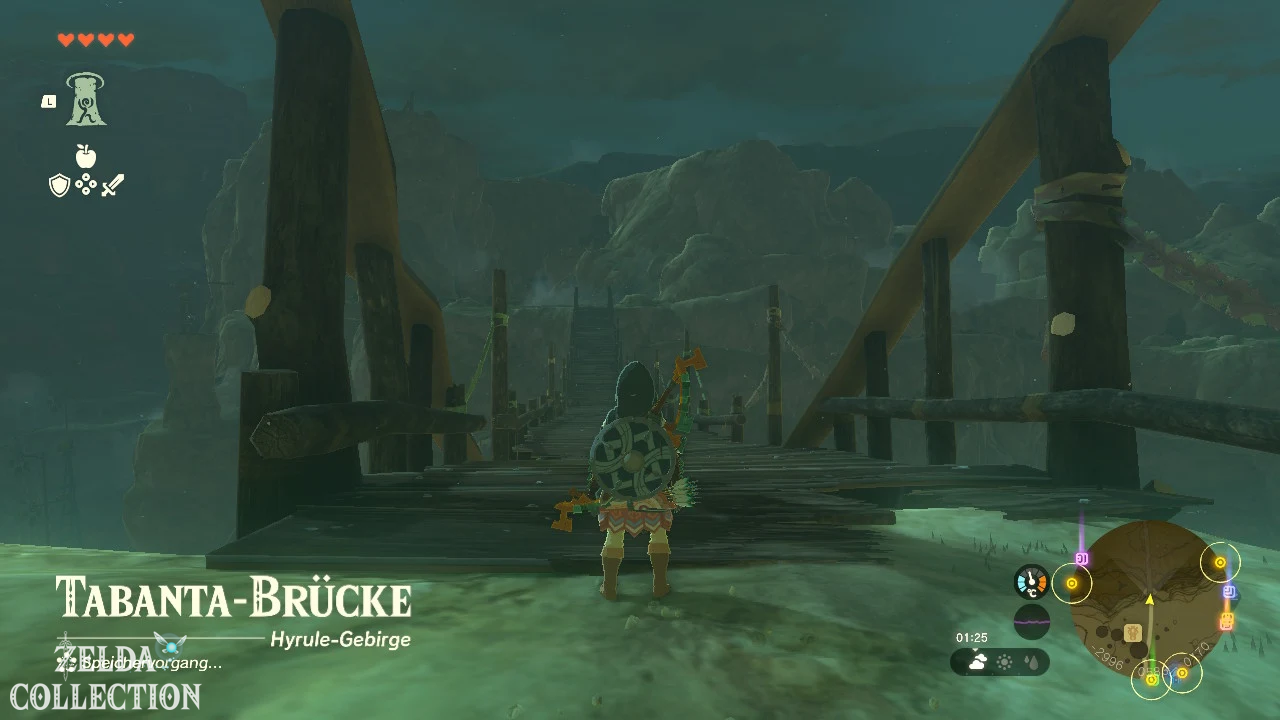
Return to the main road and follow it southwest. The path winds through the Hyrule Ridge to the Tabantha Bridge Stable. The stable is located approximately -2918, 0546, 0169 and is the last major rest area before crossing the deep Tanagar Canyon.
Activate Makurukis Shrine
The Makurukis Shrine is located in the immediate vicinity of the stable. Activate it as a fast travel point too. The shrines of this region are summarized in our overview of the shrines in the Hyrule Ridge.
At the stable you can rest or change your horse, sleep in a bed, buy ingredients from merchants, cook new dishes and start various Side Quests. Prepare several meals with protection from the cold here at the latest, as the temperatures drop significantly after crossing the Tabantha Great Bridge.
The Tabantha Great Bridge cross
Leave the stable to the west and cross the long Tabantha Great Bridge. It forms the most important road crossing over the Tanagar Canyon and connects the Hyrule Ridge with the Tabantha Frontier. The bridge itself is not destroyed. Stay on the path and avoid enemies or falling rocks.
After the bridge follow the road up the slope. The route goes around several hills and then continues north. In the western Tabantha Frontier you cross another, significantly narrower bridge with the Kolami Bridge. There may be a Battle Talus underneath. Stay on the road and don’t provoke the opponent. You don’t have to climb down or fight him to get to the village.
Start of cold zone
The warning about low temperatures appears in this section at the latest. Equip the Old Winter Pants or another piece of armor with cold protection. Alternatively, you can eat one of the prepared dishes. If Link slowly loses hearts despite protection, his current cold resistance is not enough. Combines a piece of armor with a dish or an elixir to achieve a second level of protection.
Reach Lucky Clover Gazette
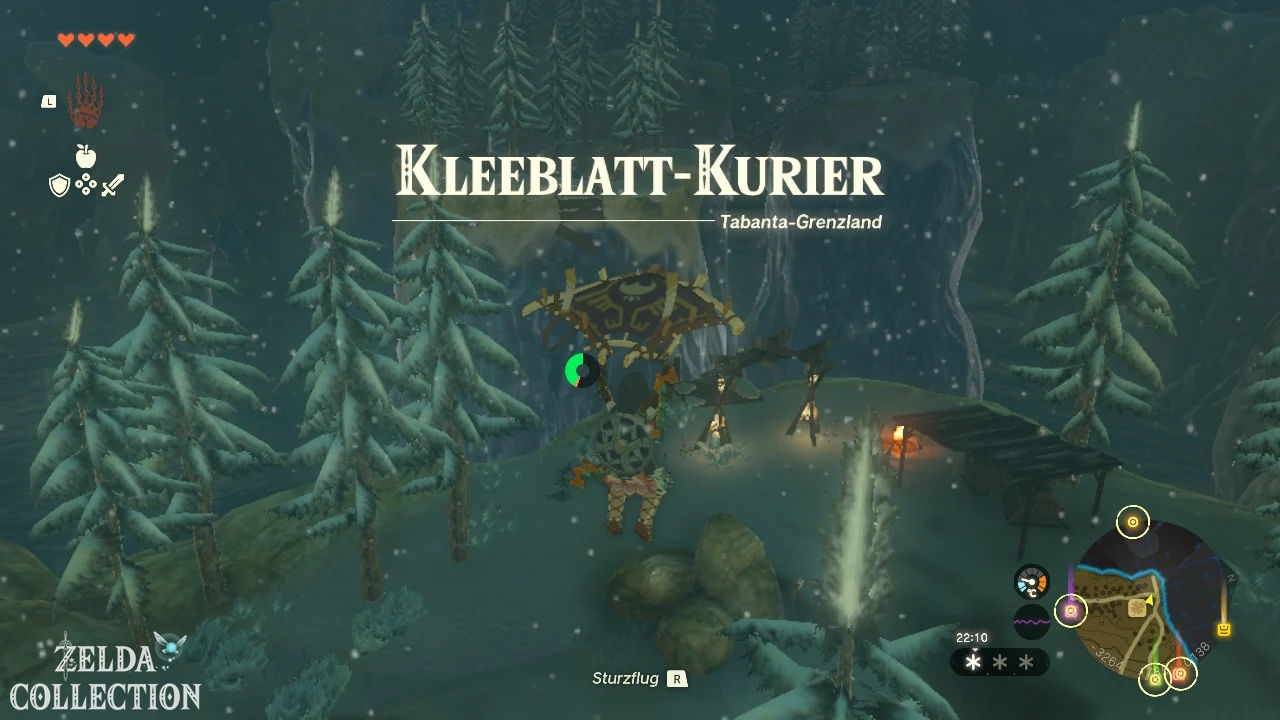
Continue following the road north until you reach a large building with a cloverleaf-shaped sign. This is the Lucky Clover Gazette. The building was the stable of the Rito in Breath of the Wild. Because of the snowstorm and the destroyed bridge, travel decreased, so the newspaper took over the building.
In Search of Truth Start
Enter the building and speak to editor-in-chief Traysi and the Orni reporter Penn. This begins the extensive episode “In Search of Truth”. During the course of this quest, you and Penn will visit the Hyrule’s stables and investigate rumors of sightings of Princess Zelda.
As a long-term reward you can receive the Toad Set. It’s best to start the episode now, even if you don’t want to continue it until later. Several stable tasks and the activation of the Great Fairies require contact with the Lucky Clover Gazette. You can find the complete series of tasks in our guide to “In Search of the Truth”. Our guide to the Great Fairies provides further information on improving armor.
Hylian Pine Cone collect
Residents report food shortages and an exceptional cold snap. Due to the destroyed bridge, deliveries can no longer be delivered directly to the Rito village. Hylian Pine Cone grows near the building. Collect at least one of these as you will need it right before the destroyed bridge.
Destroyed bridge to the village of Rito cross
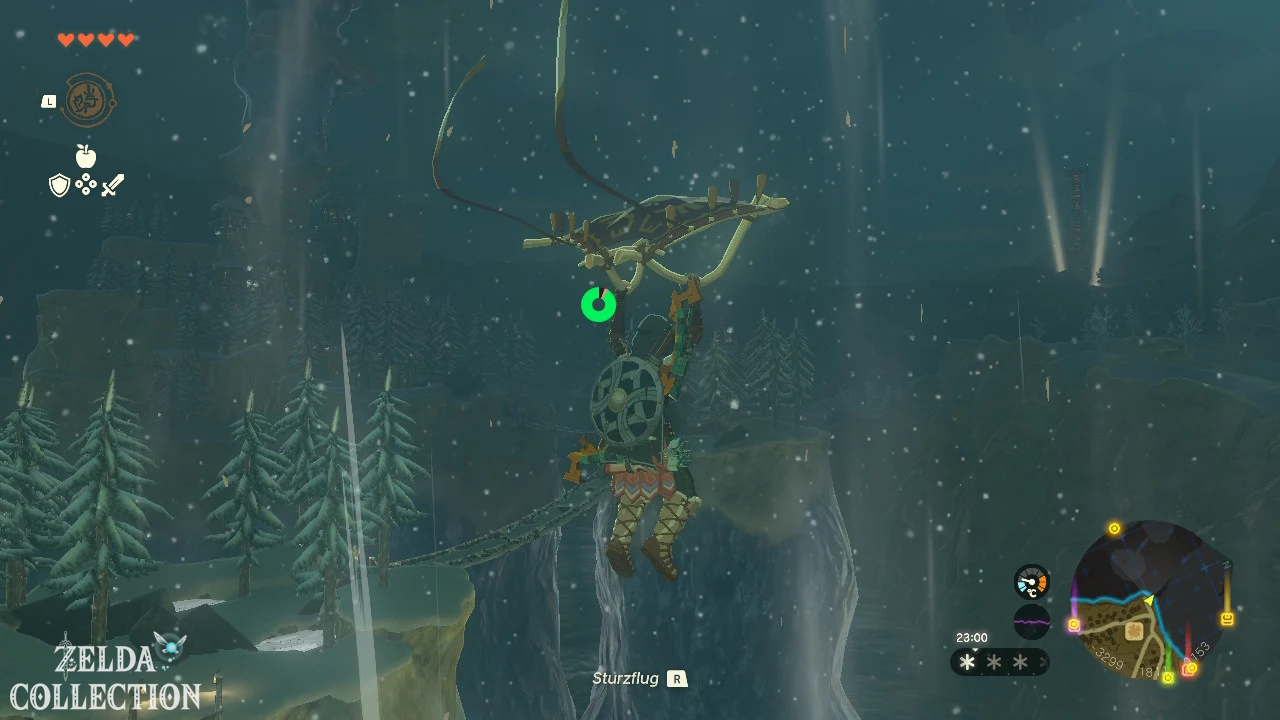
Behind the Lucky Clover Gazette the road ends at a large gap. The suspension bridge to the Rito village has been destroyed since Upheaval. A person next to the campfire points out that Hylian Pine Cone are particularly flammable. The proposed solution takes advantage of the resulting updraft.
Create updraft with a pine cone
- Stand next to the burning campfire.
- Open the inventory and pick up a Hylian Pine Cone.
- Exit the menu and place the cone in the flames.
- The fire suddenly grows larger and creates a strong updraft.
- Jump over the fire and open the Paraglider.
- Let yourself be carried up and slide to the opposite side.
A Hylian Pine Cone strengthens a campfire so much that a high updraft is created. This mechanic is specifically introduced at the destroyed bridge and can later be used in many other places.
Fire has gone out
If the campfire isn’t burning, place a bundle of wood on the ground and light it with a fire fruit. Alternatively, place flint next to it and hit it with a metal weapon. Only throw the pine cone in after a real campfire has started.
Alternative routes over the gorge
The updraft is the simplest and intended solution. However, you can also overcome the gap with a very long bridge made of tree trunks, a rocket shield, a Zonai-Wing, an aircraft or a glider from the Rospro Pass Skyview Tower. The pine cone method does not require many components or a lot of stamina and is therefore most reliable on the first visit.
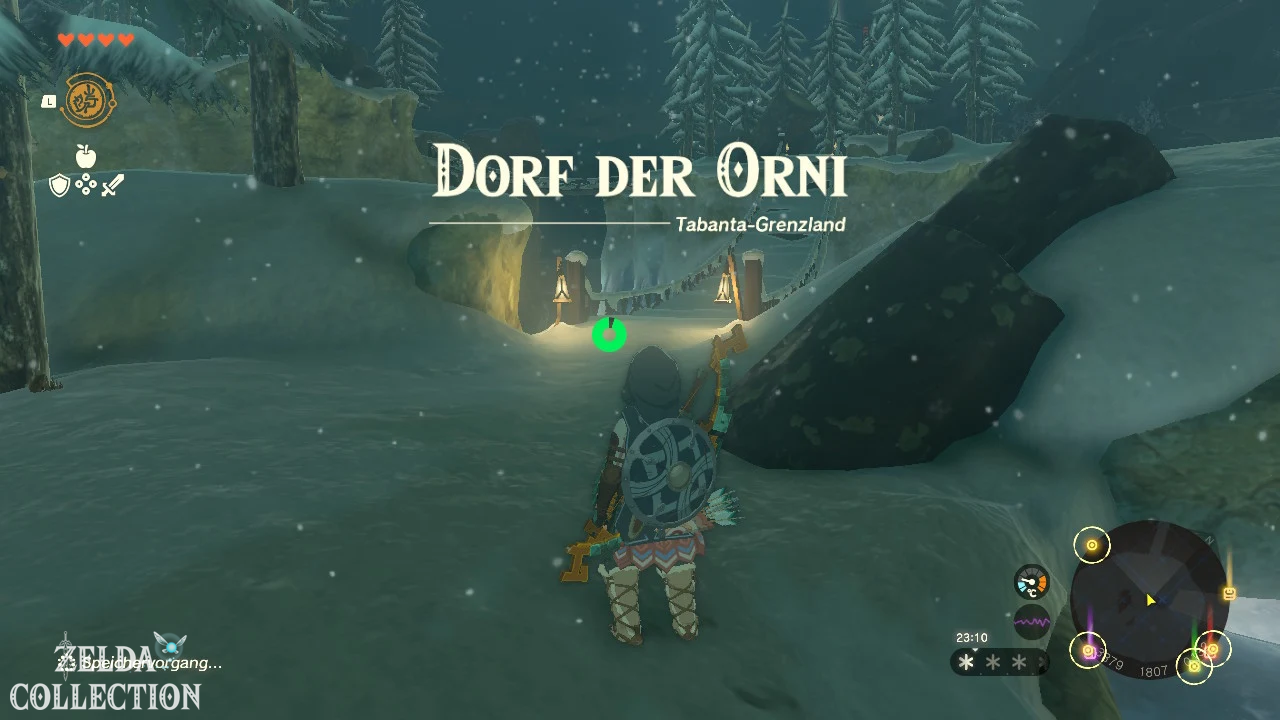
Enter the Rito village
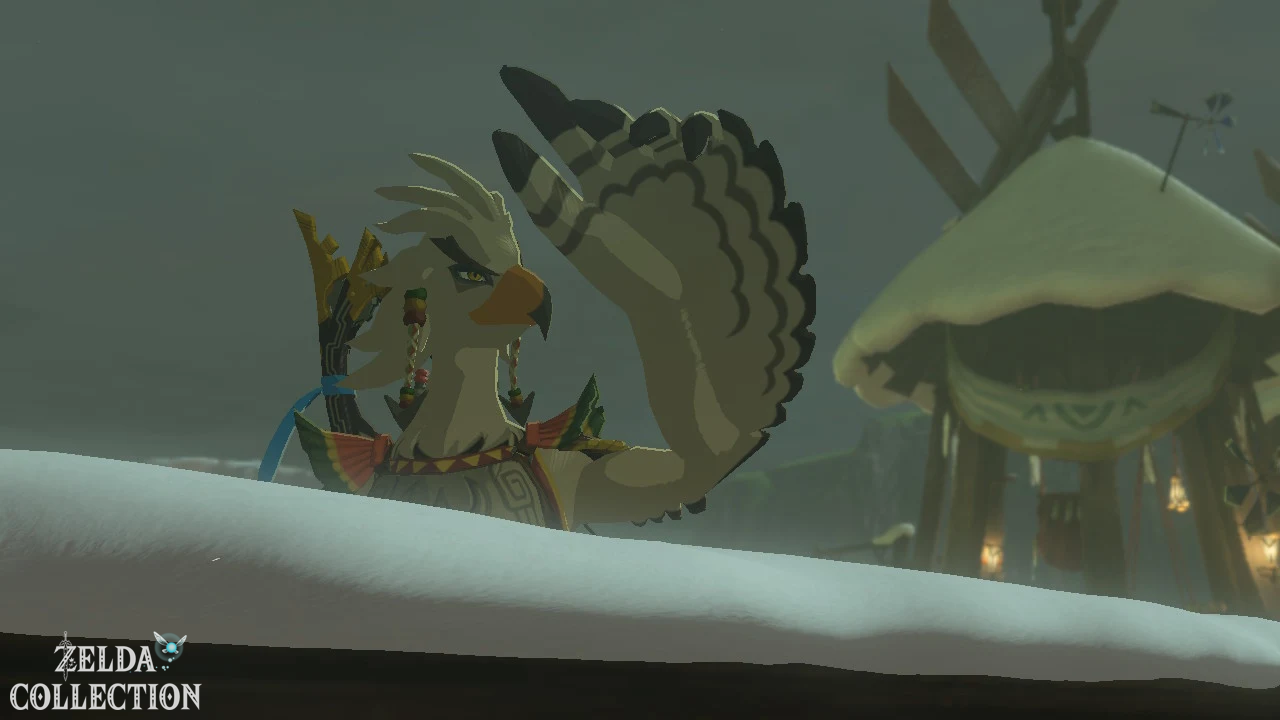
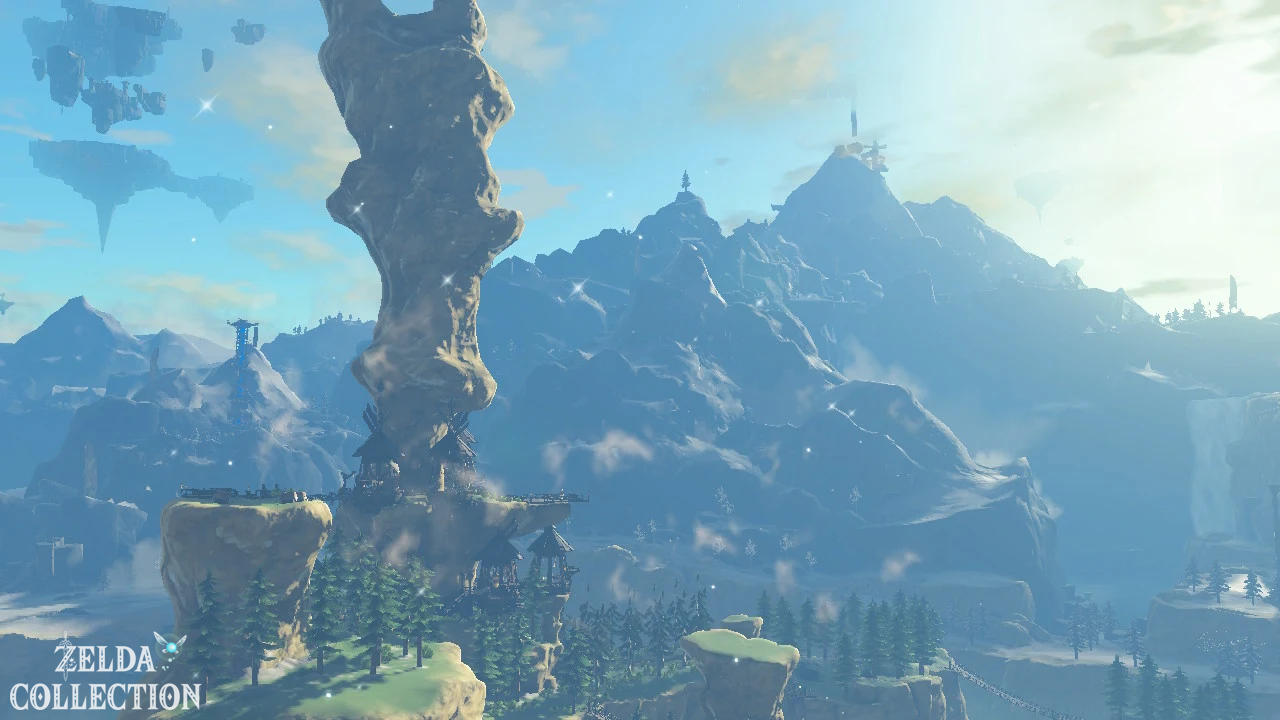
After landing, follow the wooden bridges and platforms up. The village was built around a high rocky pinnacle in Lake Totori. Due to the snowstorm, many adults Rito are busy gathering food and defending themselves. In the village you will therefore meet an unusually large number of children who have taken on adult tasks.
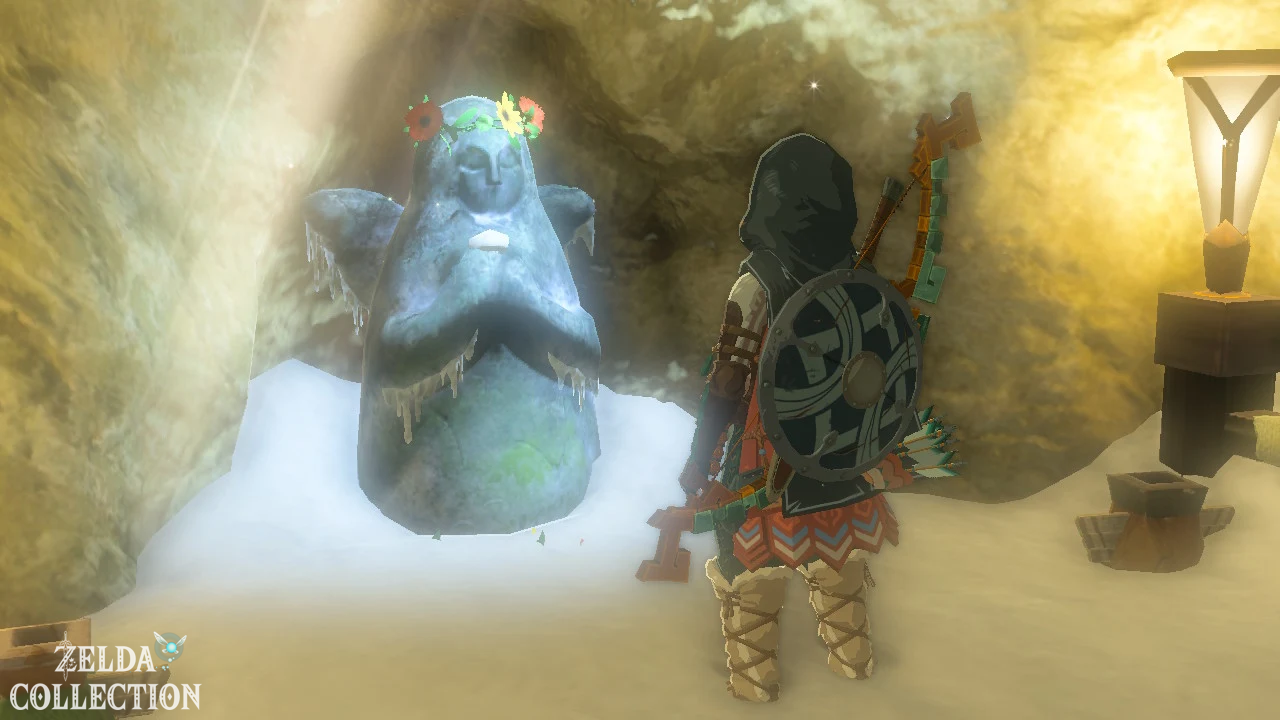
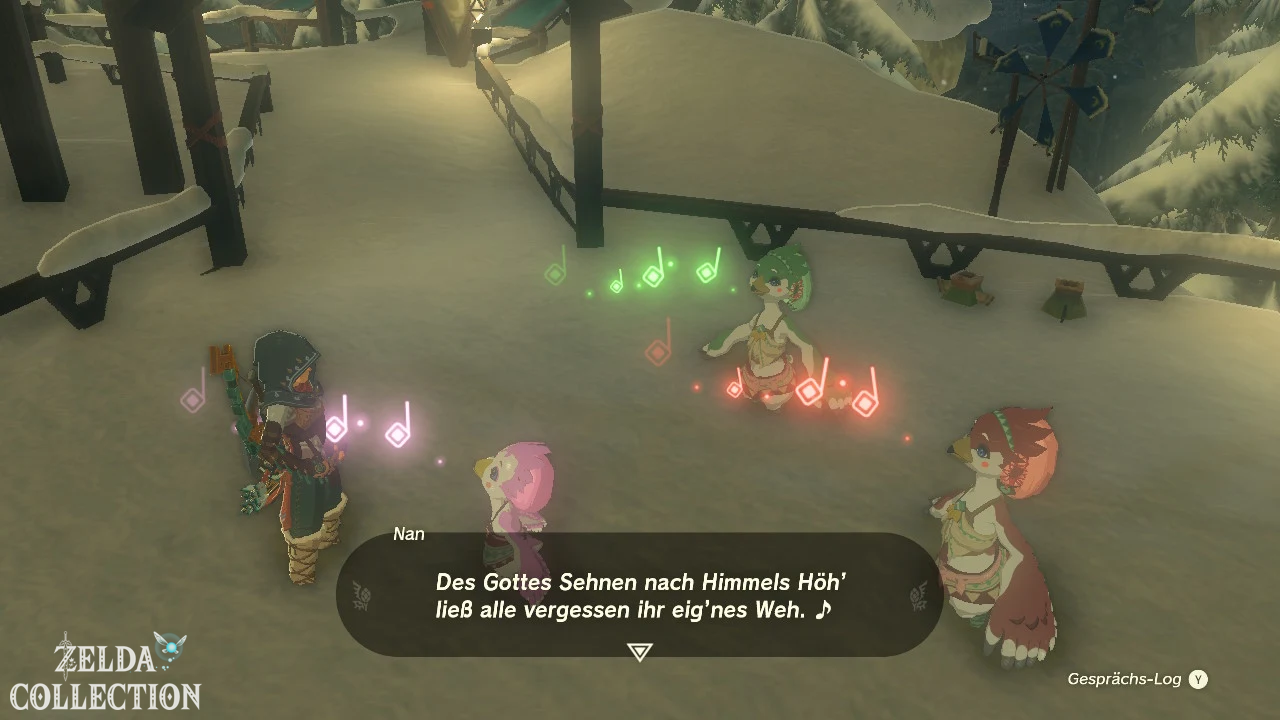
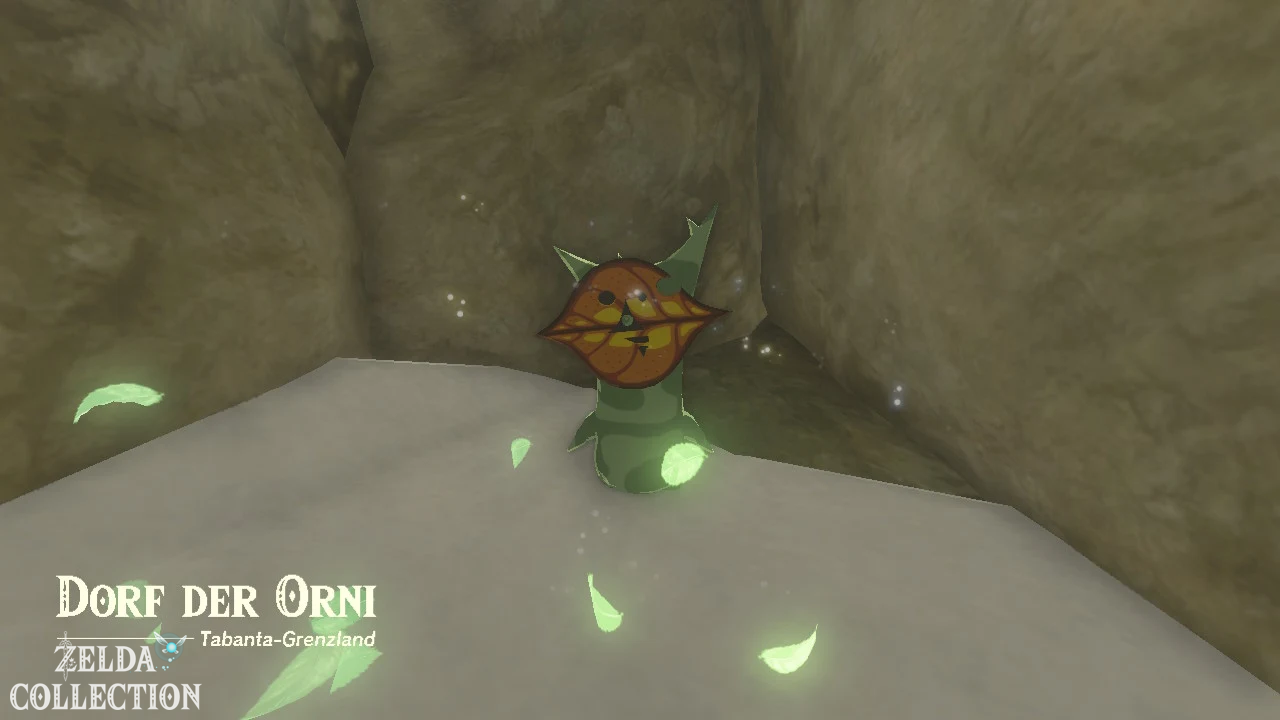
Activate Gatakis Shrine
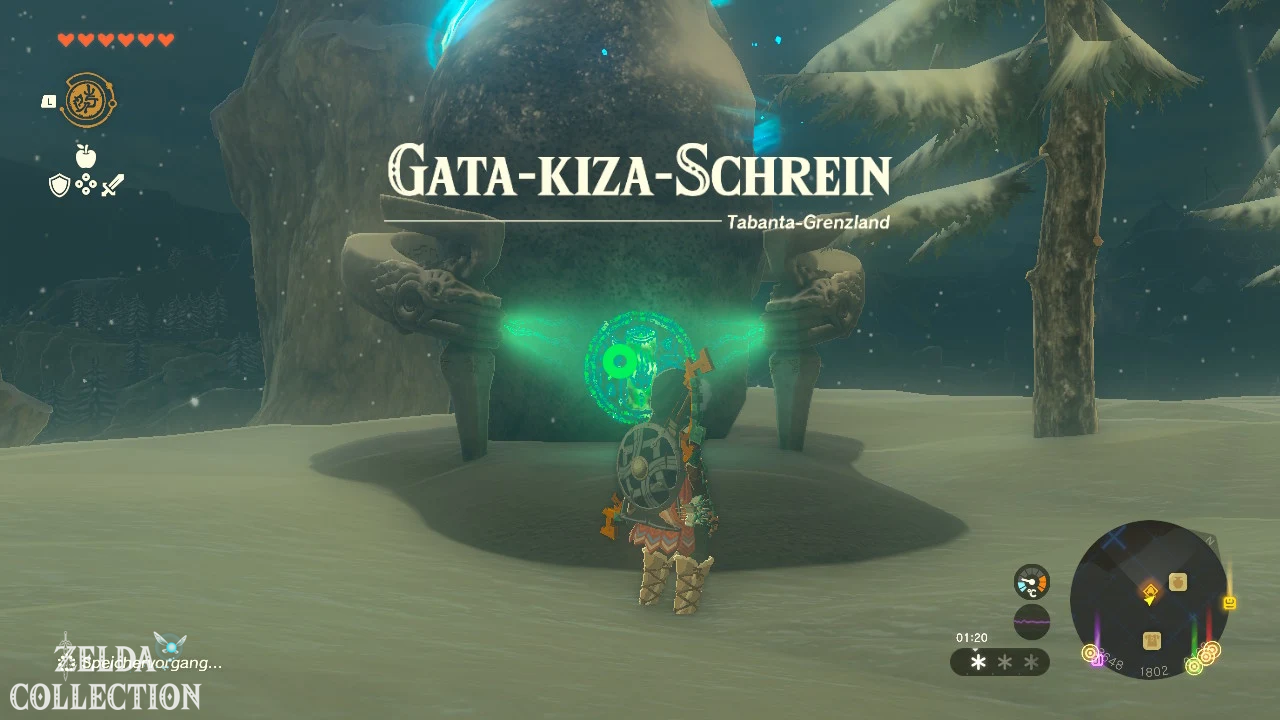
On a lower level of the village, the Gatakis Shrine is at approximately -3652, 1806, 0168. Be sure to activate it before continuing the main quest. The shrine serves as a direct fast travel point to the village and saves you from having to cross the destroyed bridge again. You can find other shrines in the area in the overview of Tabantha Frontier.
Red Peacock Armor Shop
The Red Peacock Armor Shop sells the full Orni set. Each piece offers a level of cold protection. The Orni Robe for 500 Rupees has the best value for money and should be purchased first.
| Armor part | price | Effect |
|---|---|---|
| Orni robe | 500 Rupees | cold protection |
| anti-snow springs | 650 Rupees | cold protection |
| Orni trousers | 1.000 Rupees | cold protection |
For the later journey through the Hebra Mountains you need two levels of cold protection. Combine the Orni robe with the old winter trousers, for example. So you don’t have to spend any more Rupees at first. If you don’t have the required 500 Rupees, you can sell unneeded gemstones to a dealer. However, do not sell all the monster parts as you will need them later for Elixir and armor improvements.
The main quest “Tulin from the Rito Village”
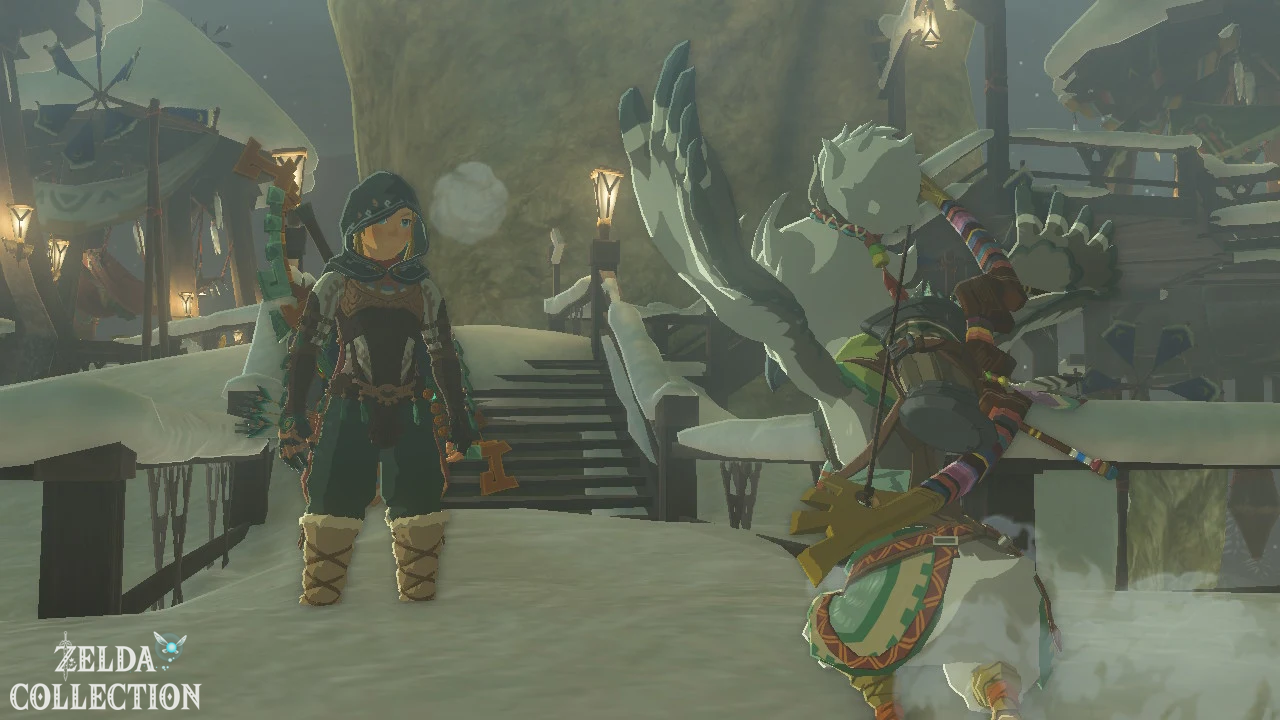
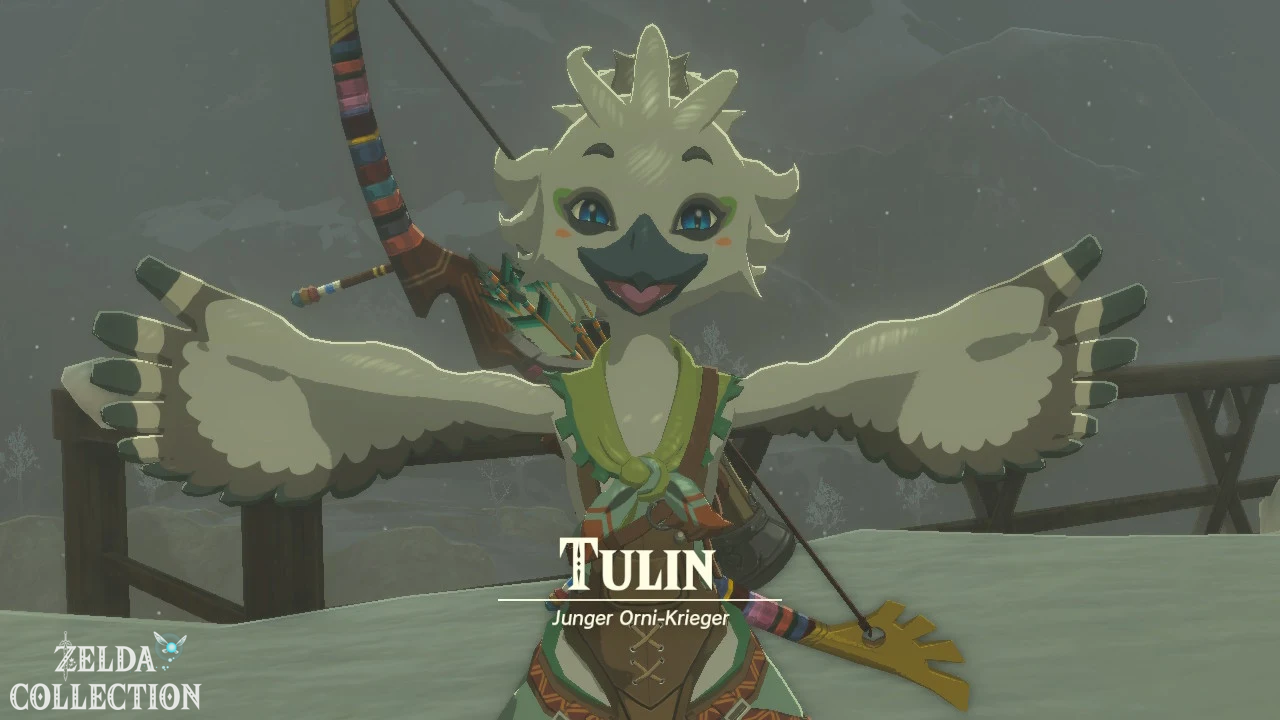
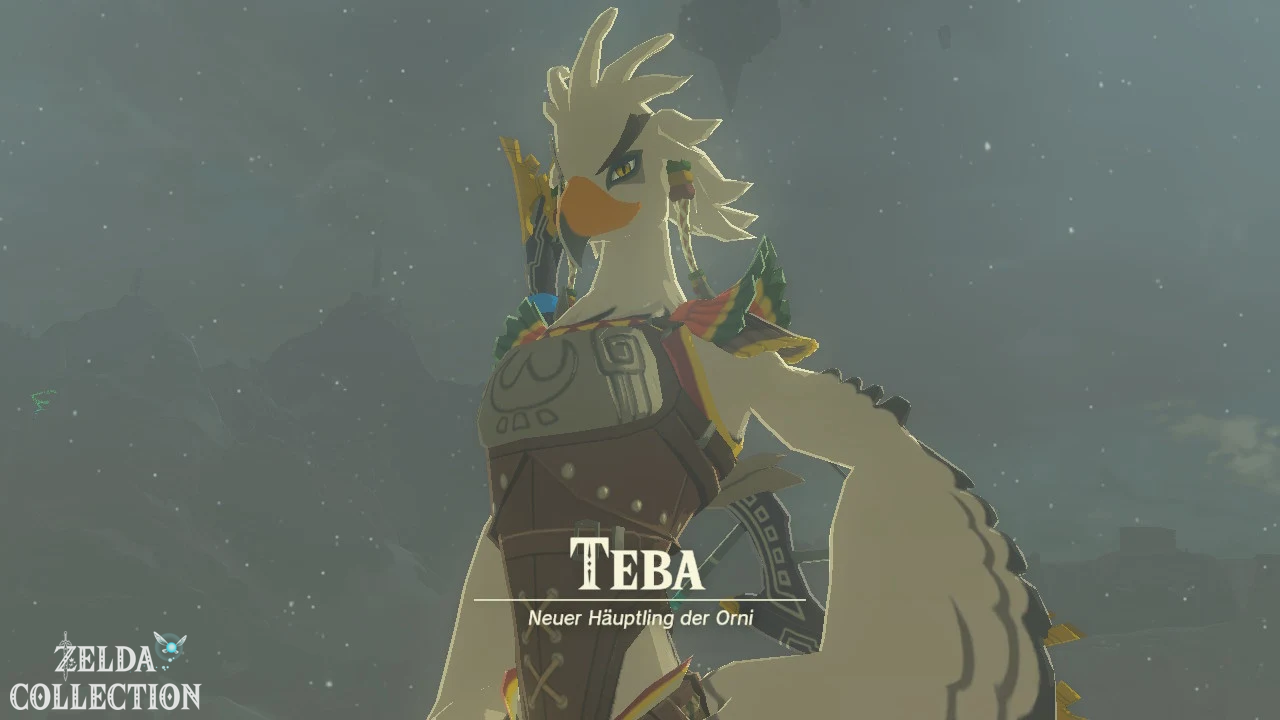
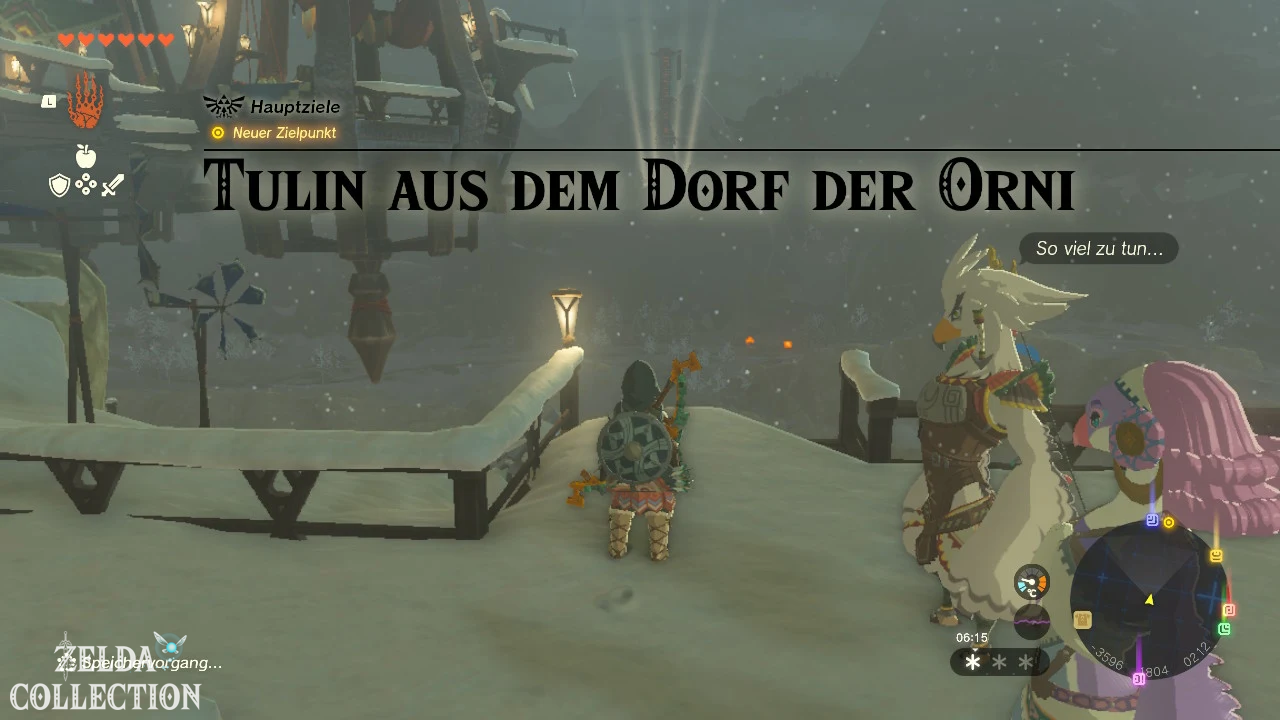
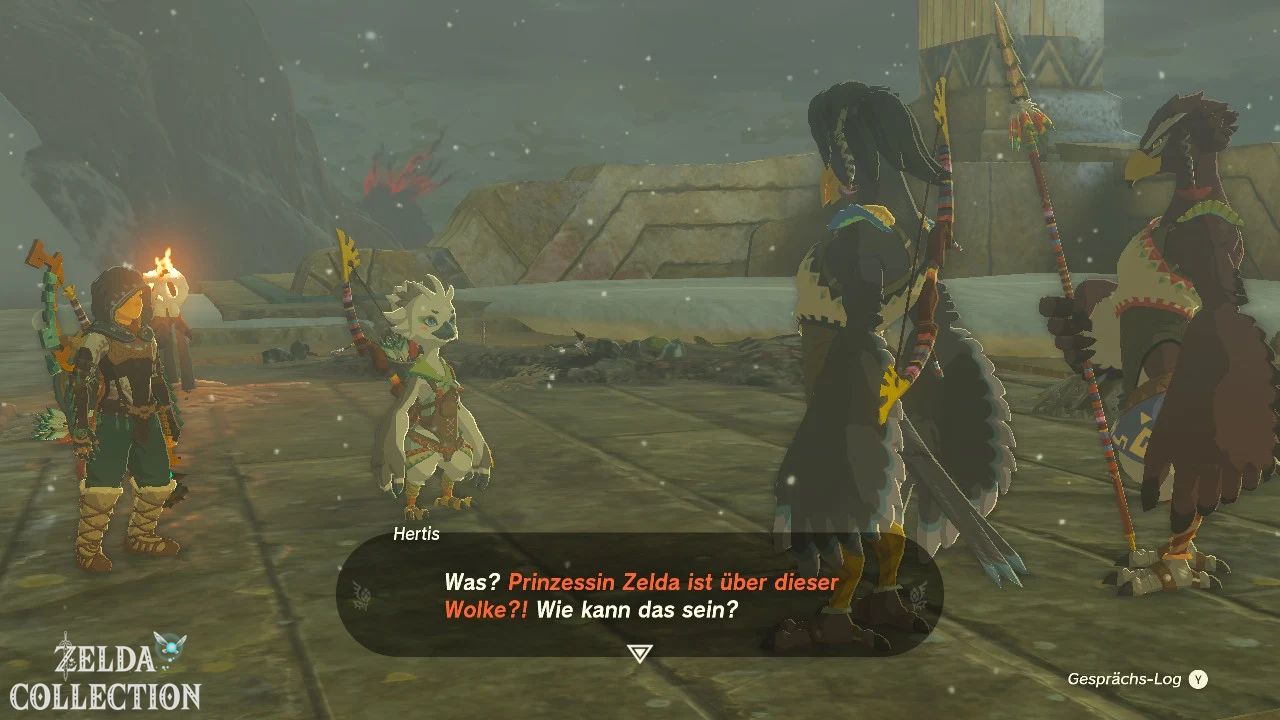
Follow the stairs and wooden walkways further up. On the central platform you will meet Teba, Saki and Tulin. The Rito report that a huge snowstorm is raging over the Hebra Mountains and a huge whirlwind of clouds has appeared in the sky. At the same time, Princess Zelda was seen in the region.
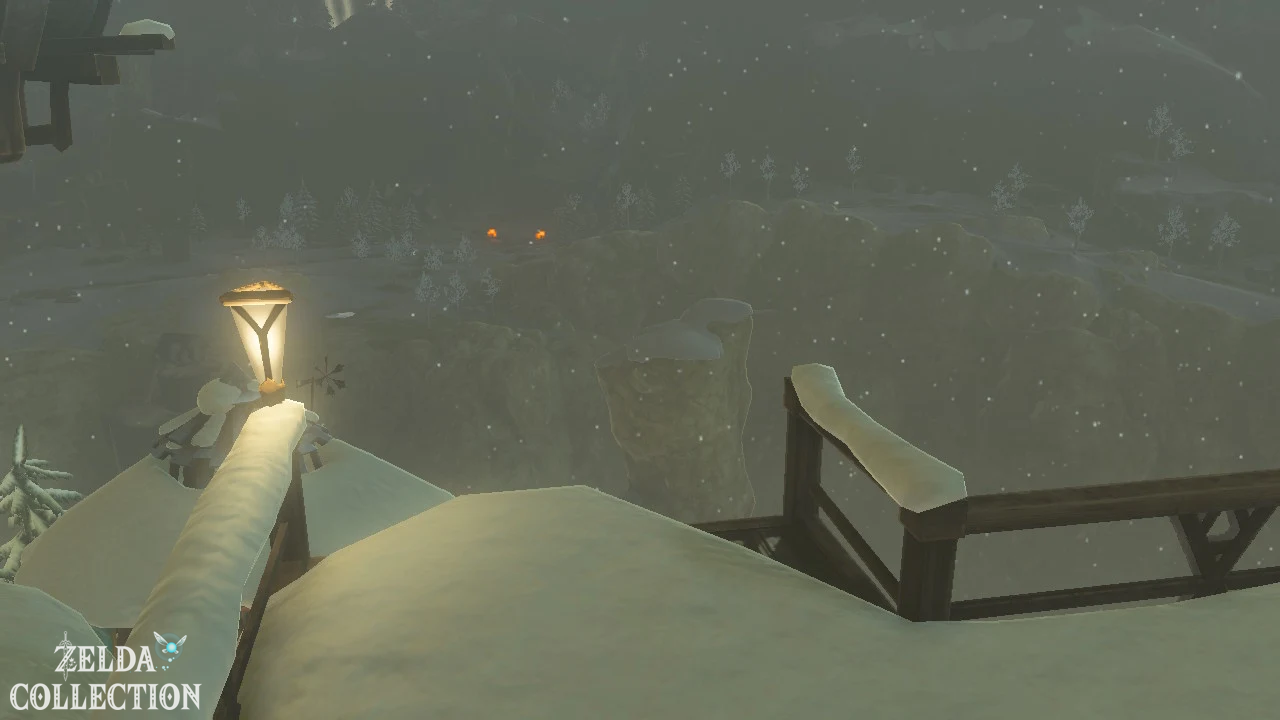
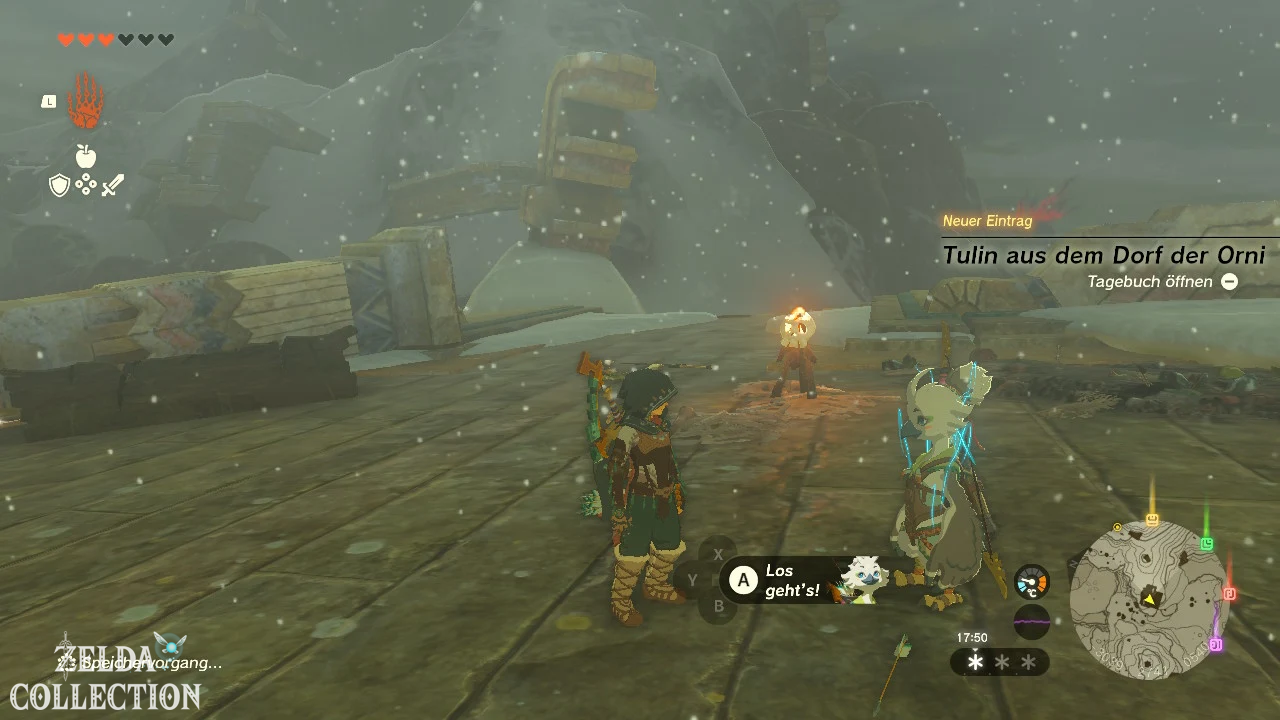
Speak to Teba. This begins the main quest “Tulin from the Village of the Rito”. Teba sends you to Harth, who is in Hebra Trailhead Lodge north of the village. From the upper part of the village you can see the large beacons on the other side of the gorge.
Before you set off, you should have activated the Gatakis Shrine, bought at least the Orni robe and cooked several healing and endurance dishes. The following section is much longer and more dangerous than the previous journey to the village.
Preparing for Ascension
On the higher sky islands at the latest you need level 2 cold protection. For this, two pieces of the Orni set or one piece of armor in conjunction with a strong cold protection meal are sufficient. Also, take at least two usable bows, 30 or more arrows, Fire Fruit, some Hylian Pine Cone, and stamina recovery dishes.
Colgera can later be defeated completely without arrows. However, for the first pass, the bow method is easier to control. Therefore, make sure that at least one bow remains intact until you reach the final boss.
Harth in the Hebra Trailhead Lodge
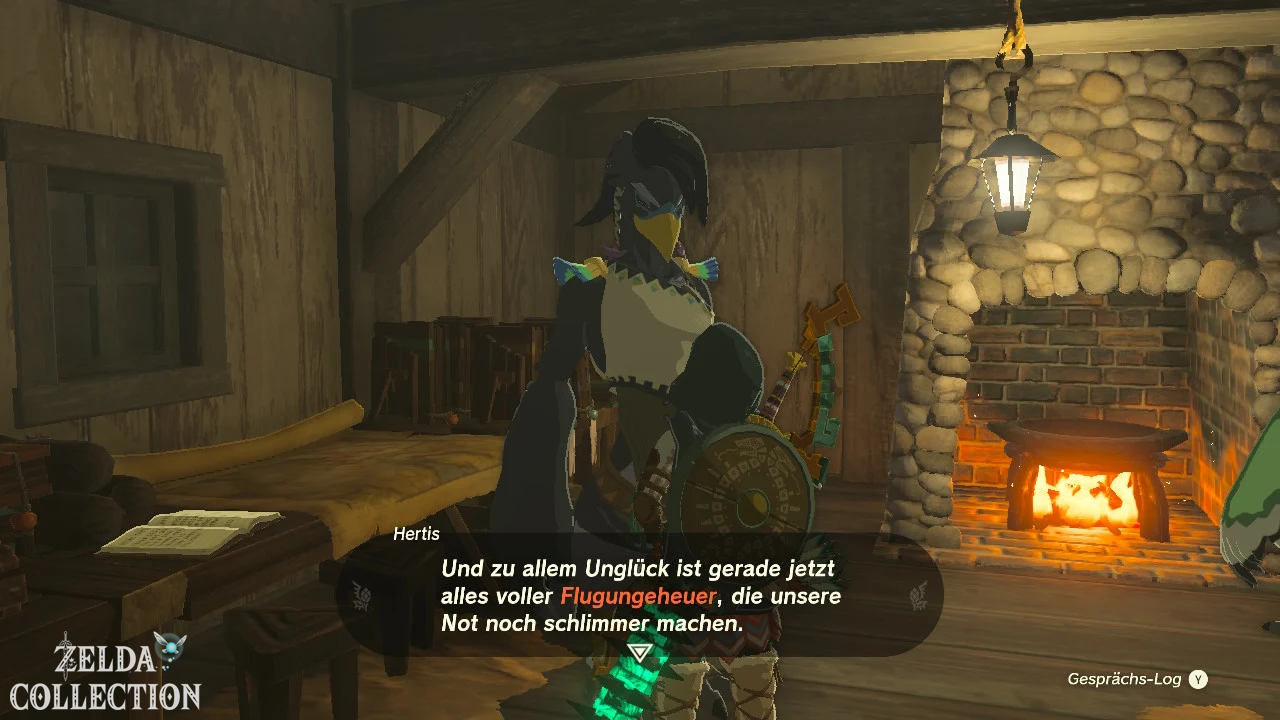
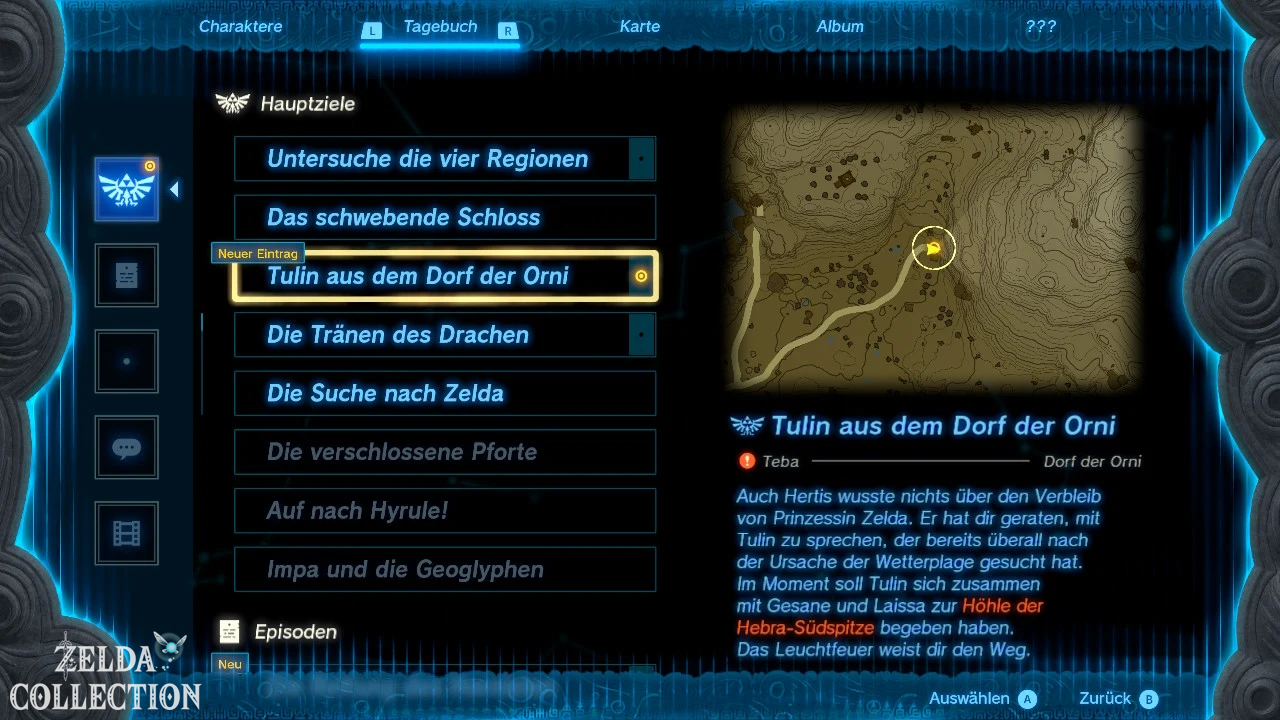
Uses the Paraglider and, if necessary, a campfire updraft reinforced by a Hylian Pine Cone to reach the Hebra Trailhead Lodge. Speak to Harth there. He reports that Tulin, along with Gesane and Laissa, are looking for food and supplies in the Hebra South Summit Cave.
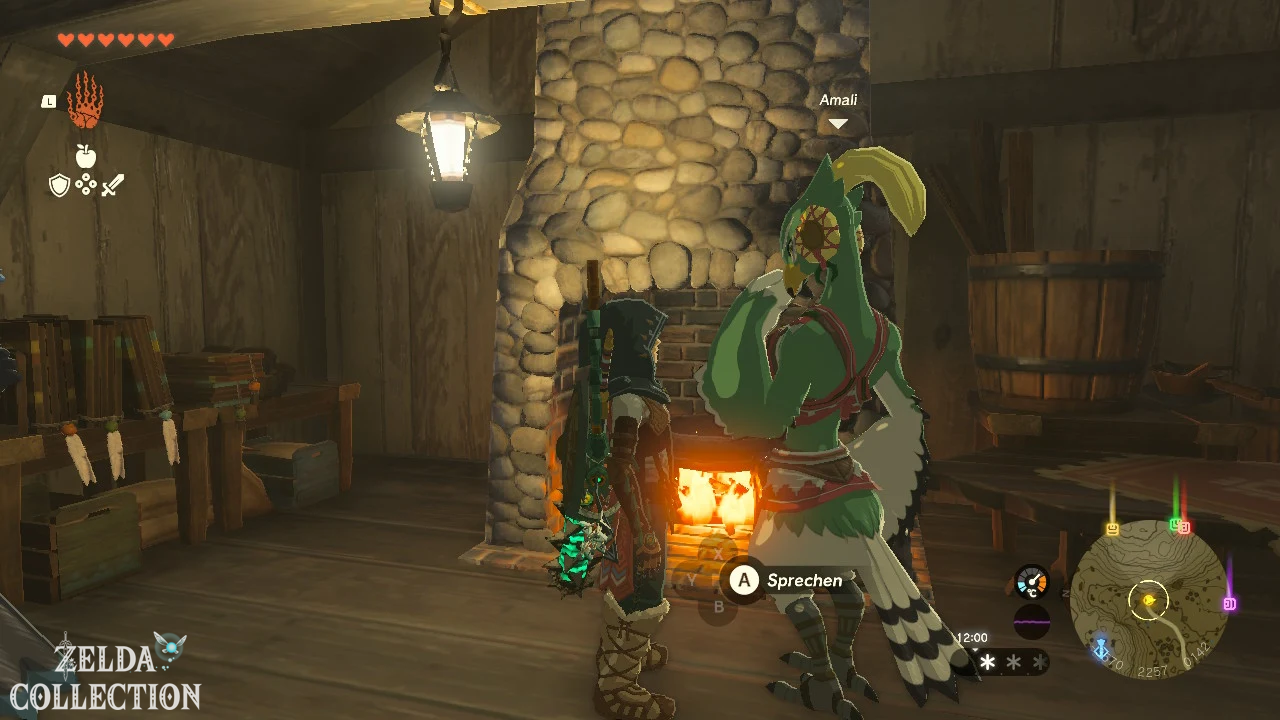
Leave the hut and follow the snowy path to the northeast. There is a campfire burning at the entrance to the cave. Laissa is also waiting there.
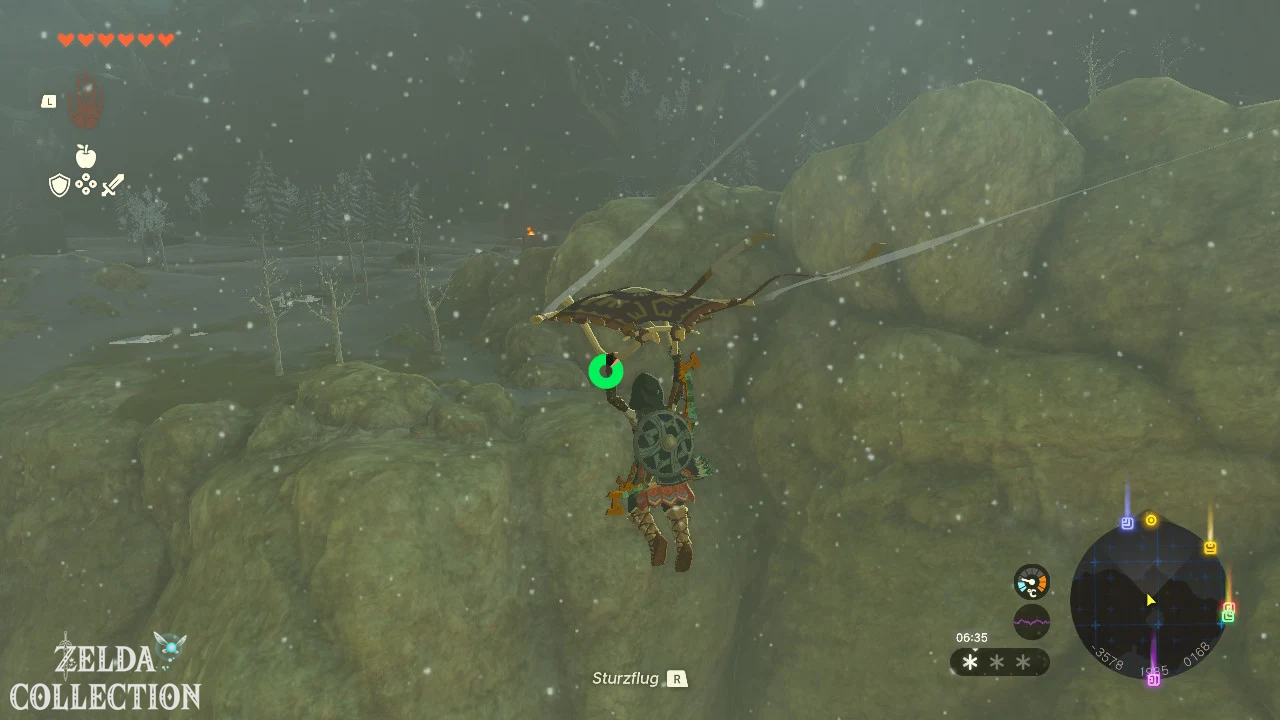
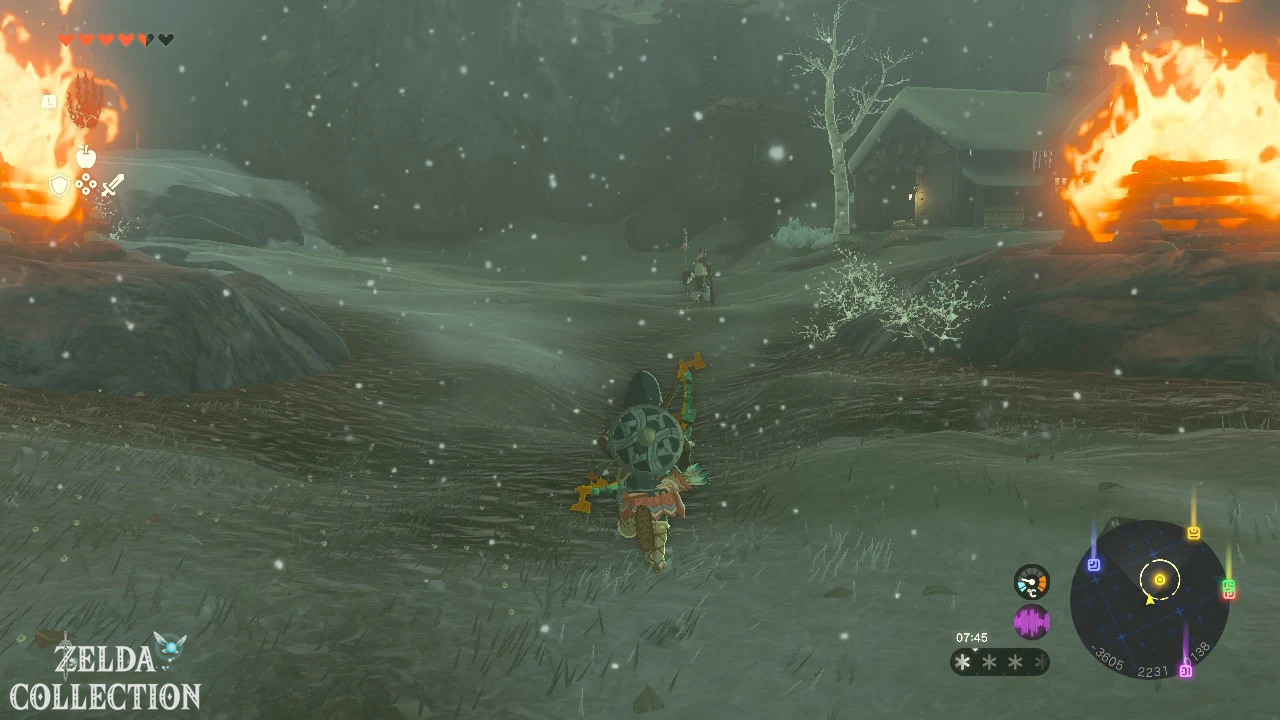
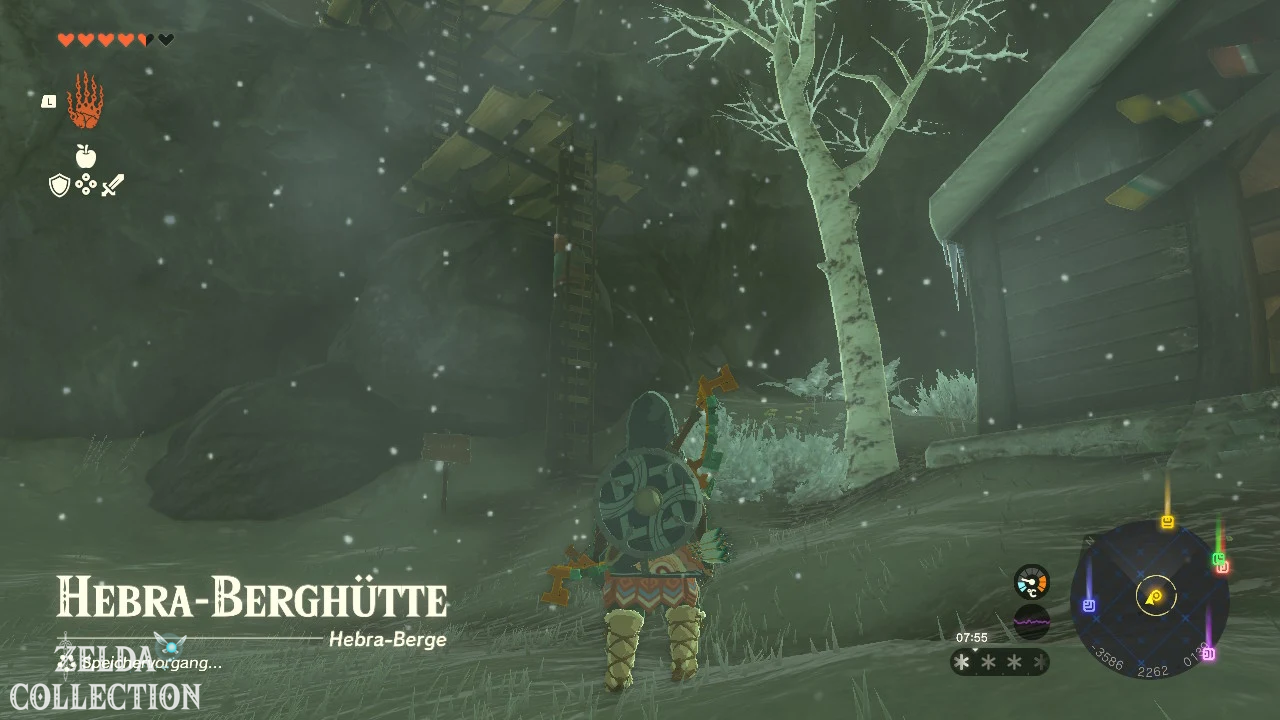
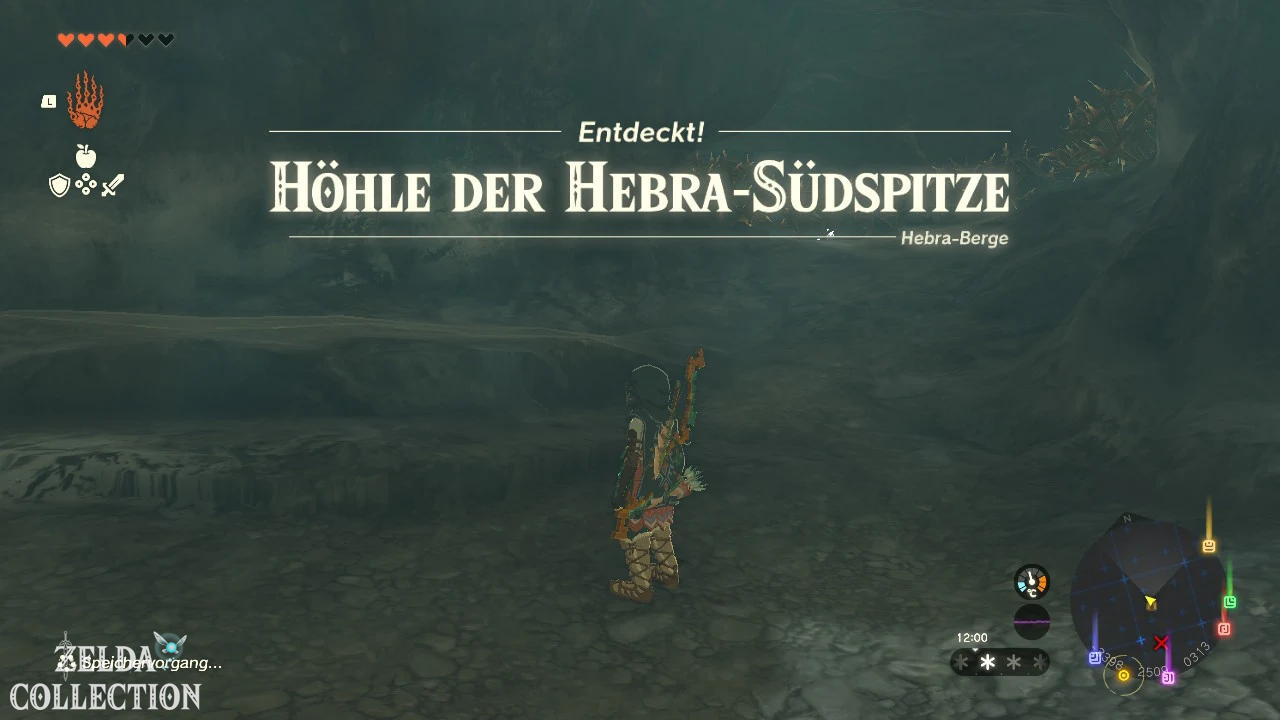
Hebra South Summit Cave
Enter the cave and talk to Laissa. Then follow the main tunnel. The thorns in the cave can be removed with fire, but you don’t have to burn every vine. Stick along the open spaces and jump into the rising airflow at the end of the first section.
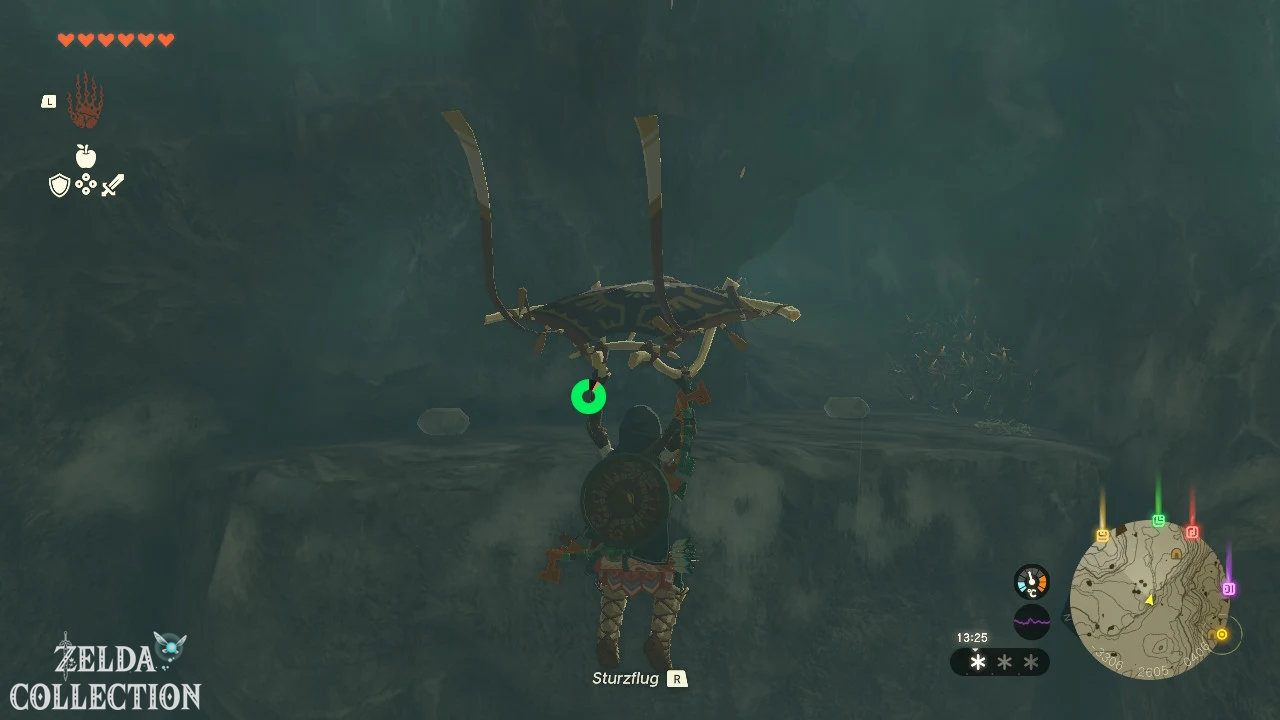
Open the Paraglider and let yourself be carried upwards. As you climb, turn to the side tunnel and slide into it. There is a Horriblin hanging on the ceiling near the glowstone deposits. An arrow to the head will cause it to fall down so you can finish it off on the ground.
Campfire and pine cones
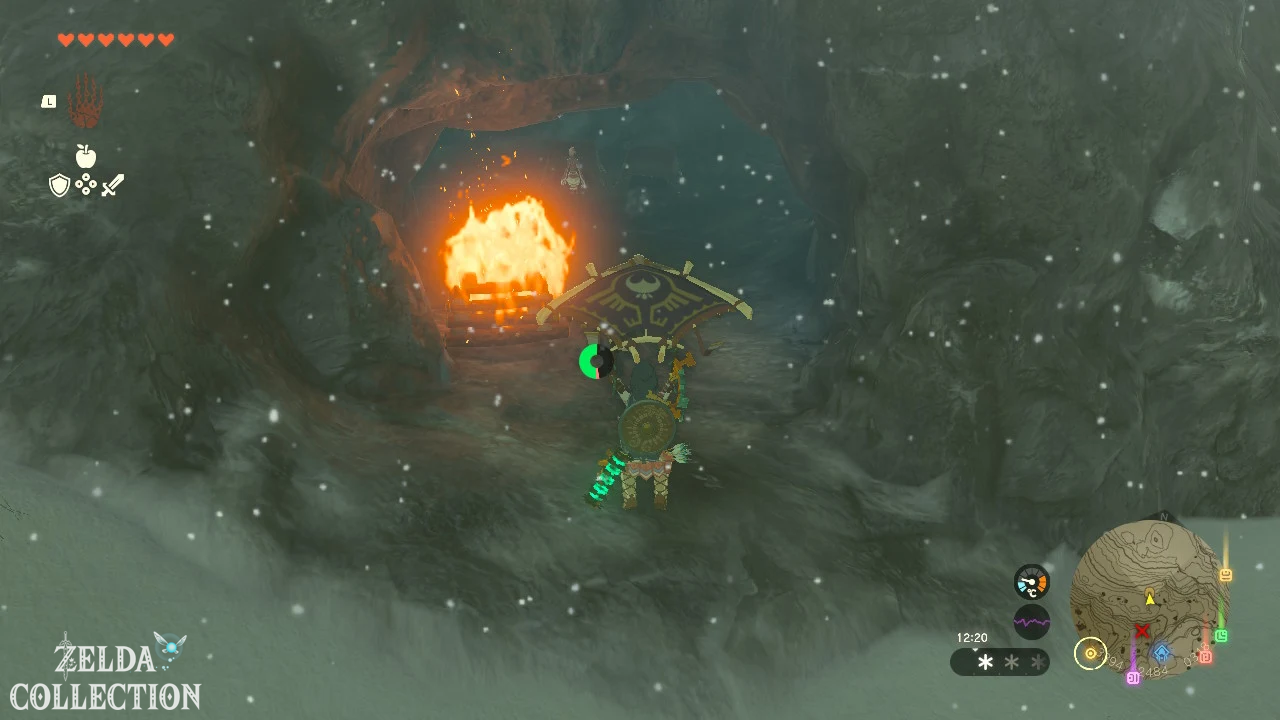
In the next larger area there is an extinguished campfire. Ignite it with flint and a metal weapon or with a fire fruit. Then throw a Hylian Pine Cone into the fire, open the Paraglider using the updraft and let it carry you to the upper ledges.
Avoid the thorns and follow the eastern tunnel. The northern side path optionally leads to a Bubbulfrog and several ore deposits.
General note
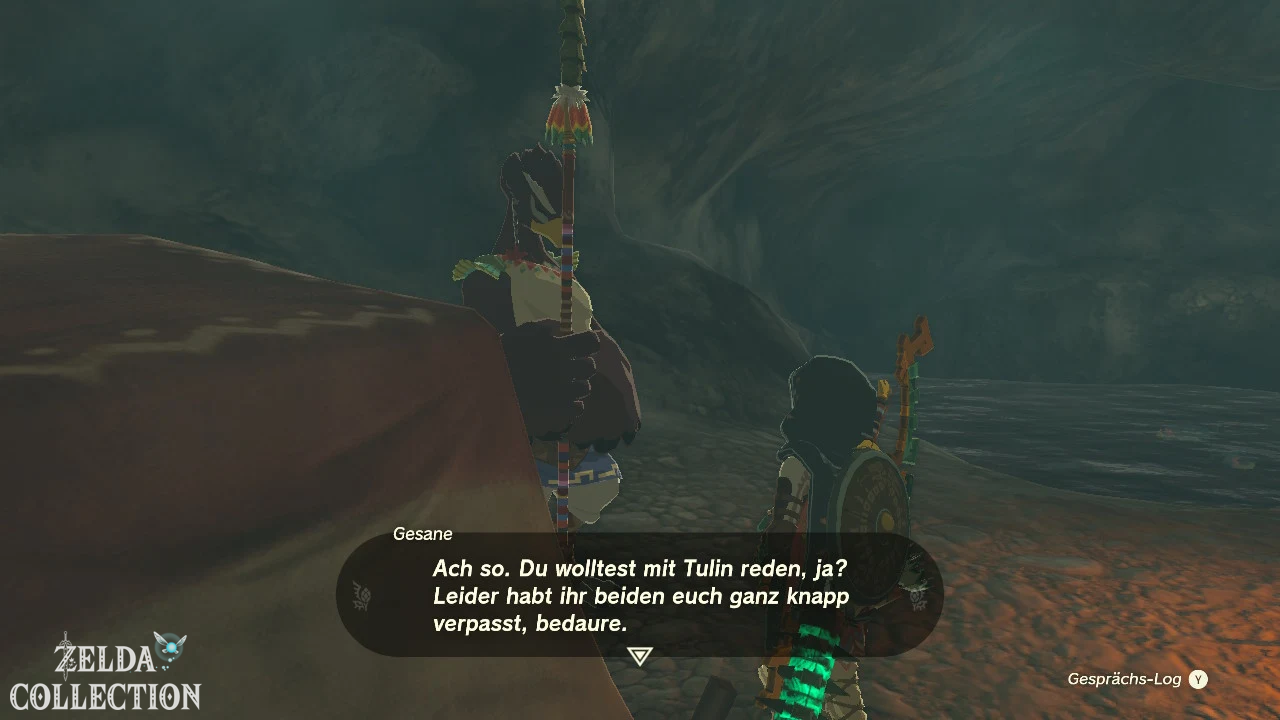
You will meet Gesane at the upper cave exit. He explains that Tulin was chasing a monster. Leave the cave and look northeast to the prominent mountain peak with the single cedar tree. Tulin is waiting by this tree on the Talonto Peak.
Tulin and the stolen bow
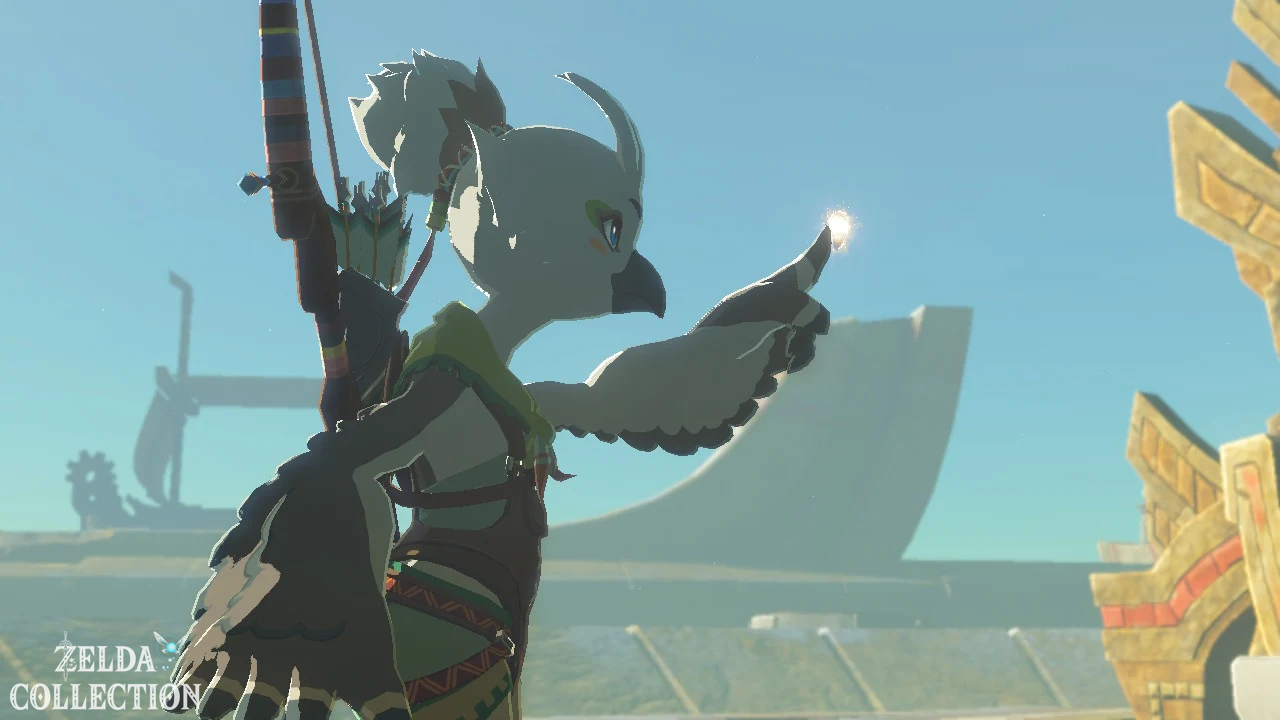
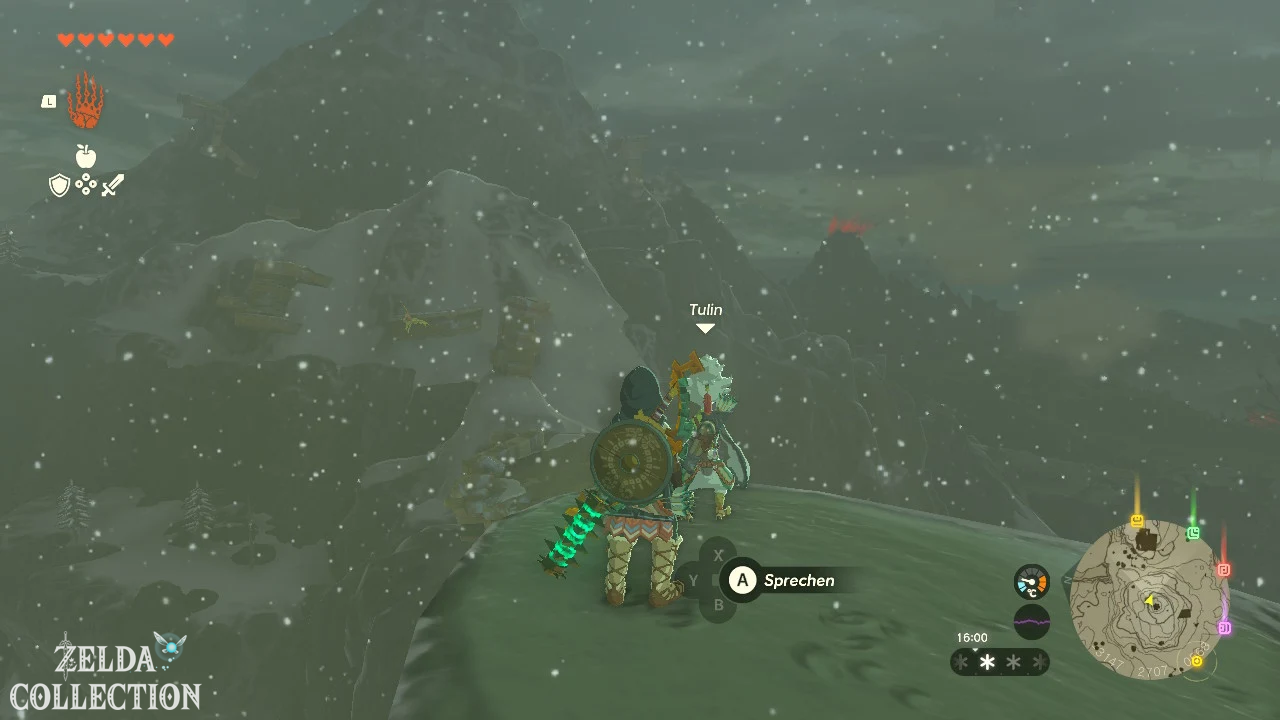
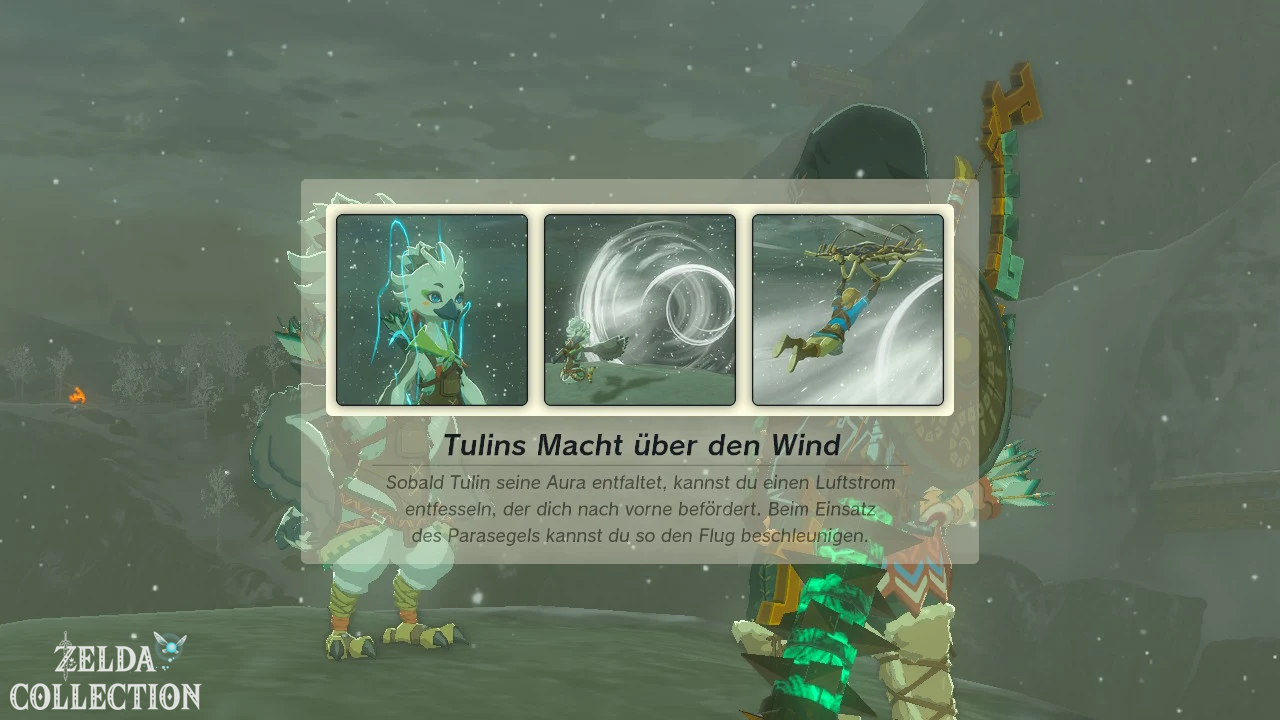
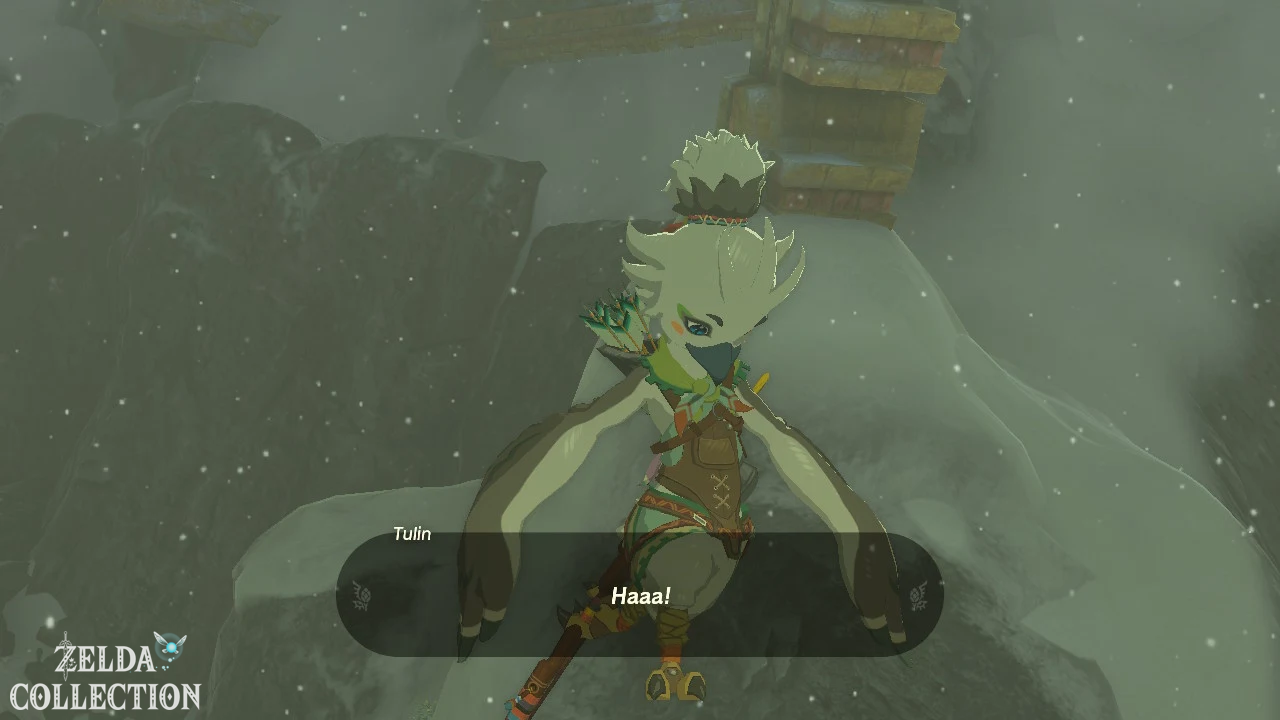
Climb up to the single cedar tree and talk to Tulin. Shortly afterwards you will see a Aerocuda carrying away his bow. Jump off the edge, open the Paraglider and activate Tulin’s ability. His horizontal gust of wind carries Link forward and allows you to reach the flying monster.
Approach the Aerocuda and shoot it with an arrow. The stolen bow falls onto the platform and can be picked up by Tulin.
Defeat Bokoblins together with Tulin
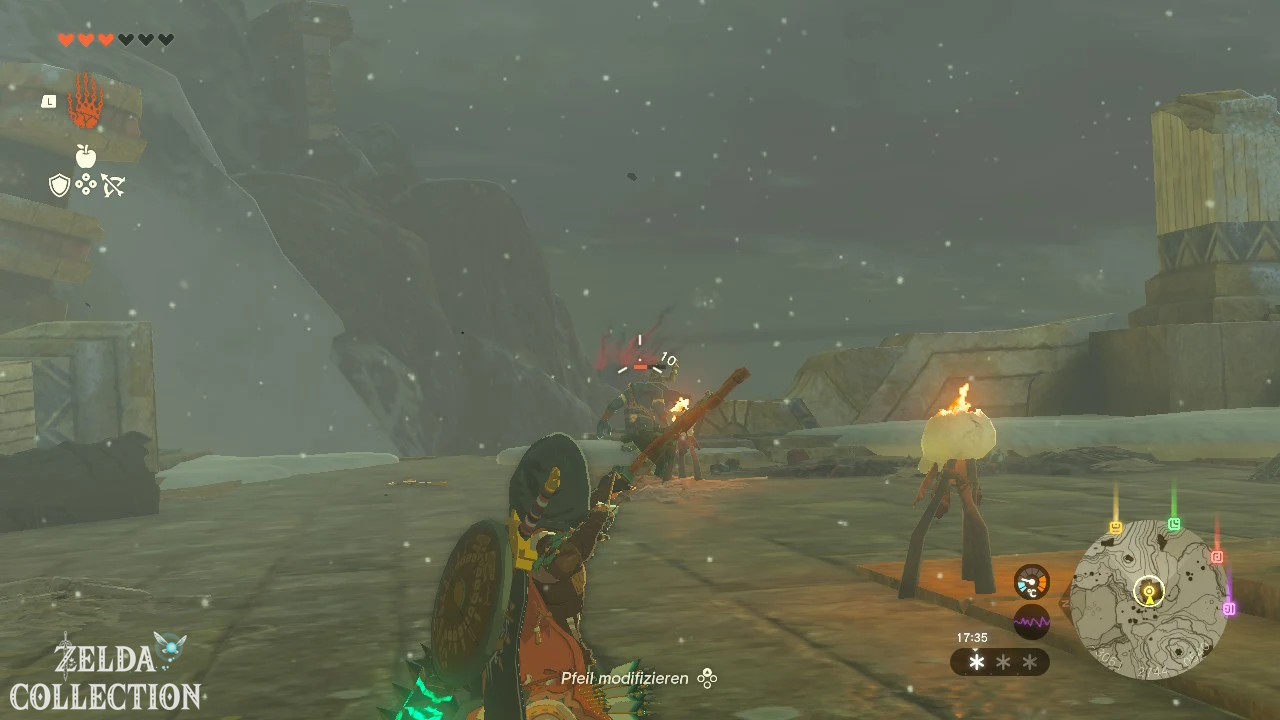
Afterwards several Bokoblins appear. Defeat the opponents together with Tulin. If possible, stay in an elevated position, as Tulin reliably hits flying and unprotected opponents with his bow.
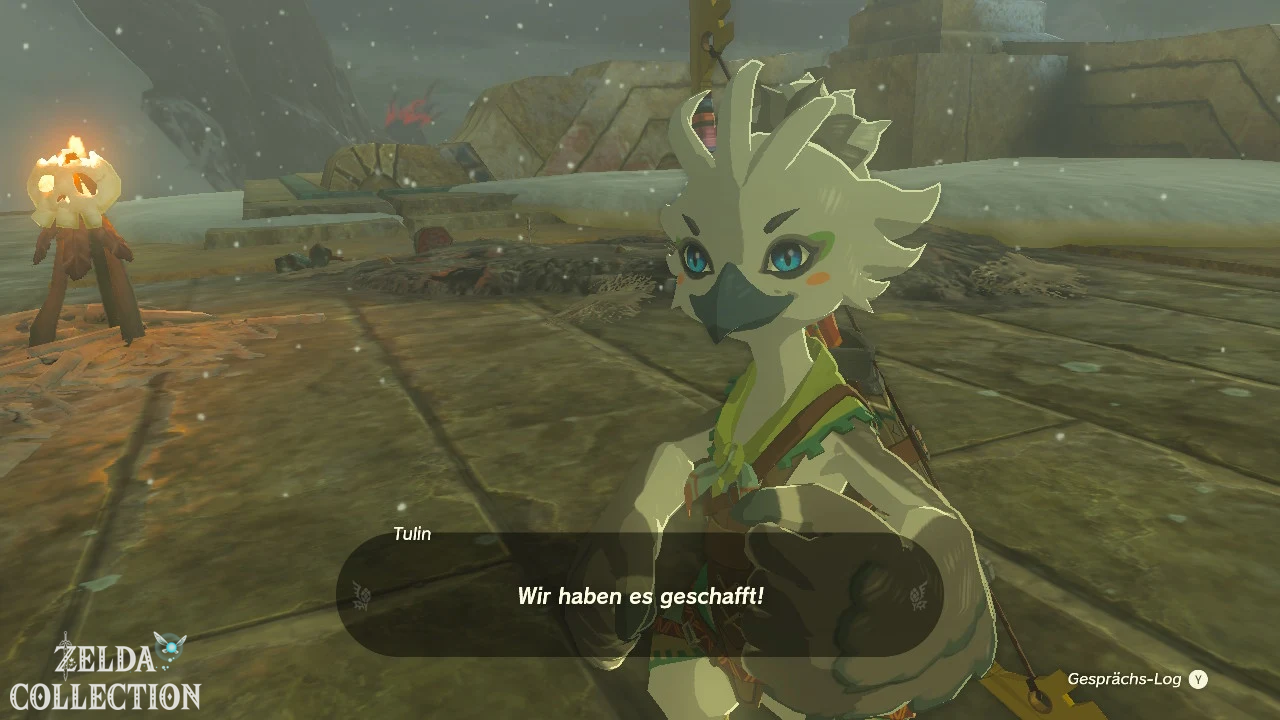
After the fight, Gesane and Laissa arrive. Tulin is given permission to accompany Link to investigate the storm cloud. From now on, his wind ability is permanently available to you during the ascent.
Advance to the Rising Island Chain
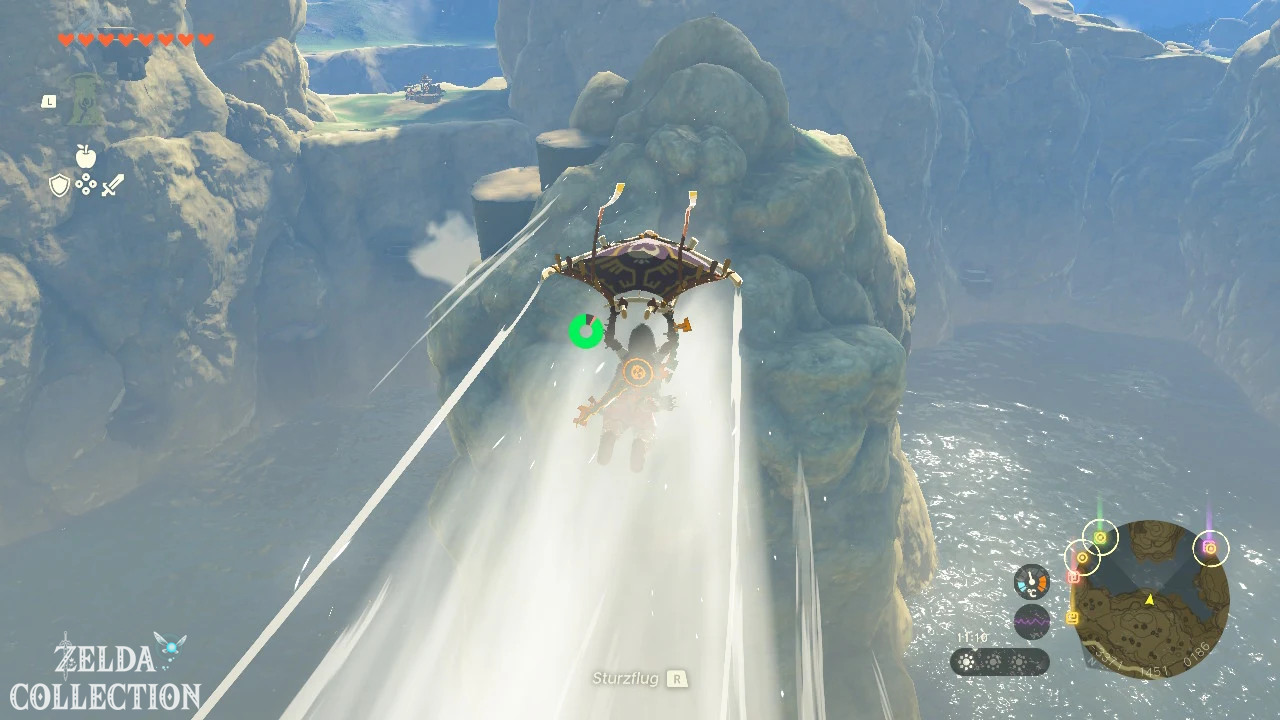
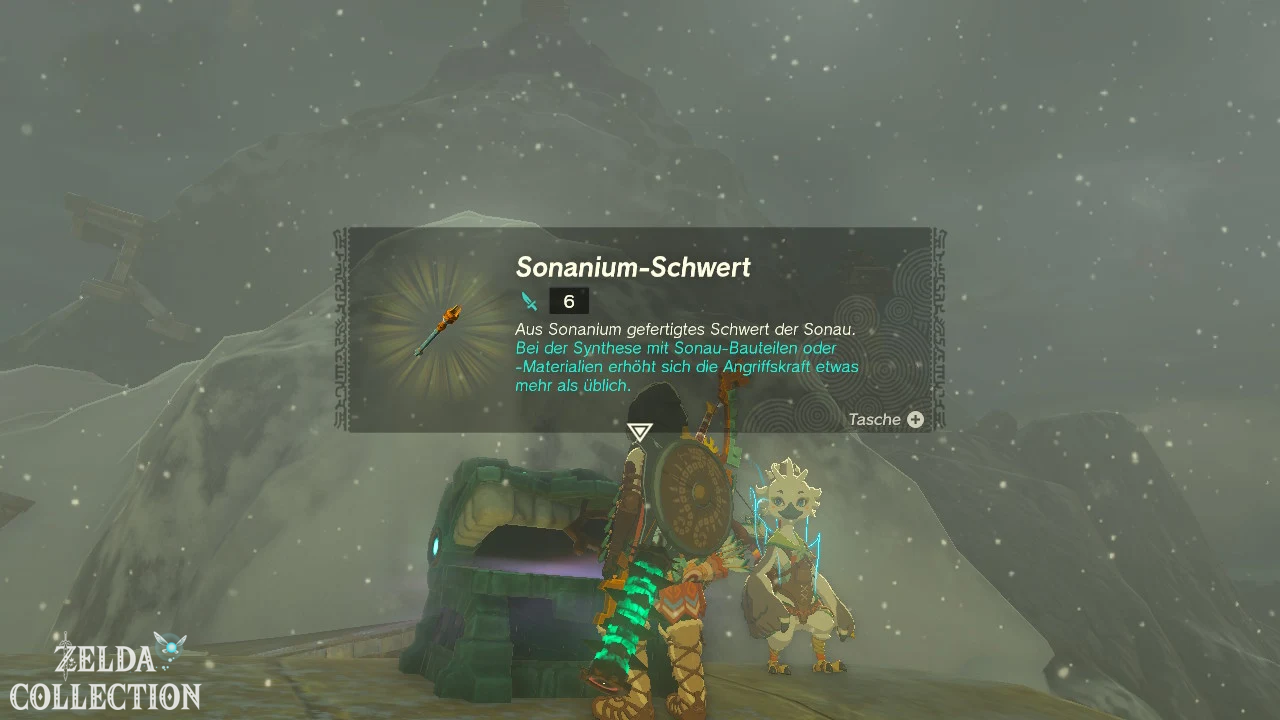
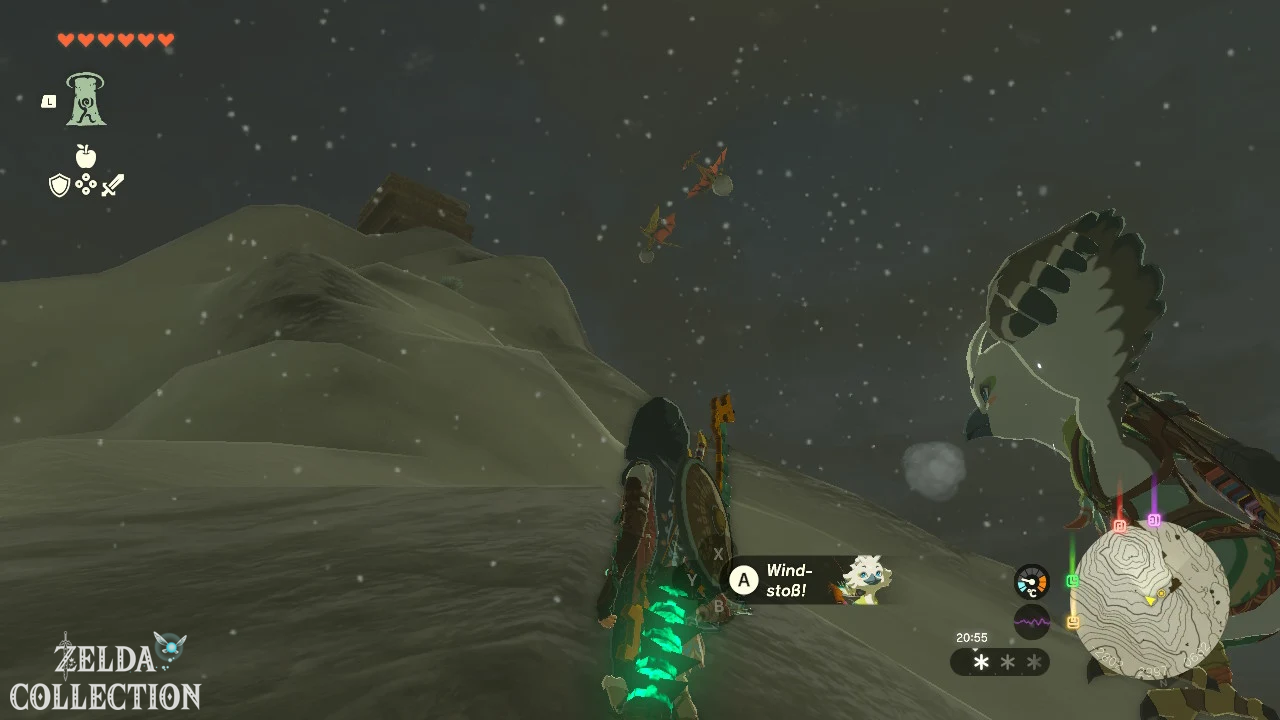
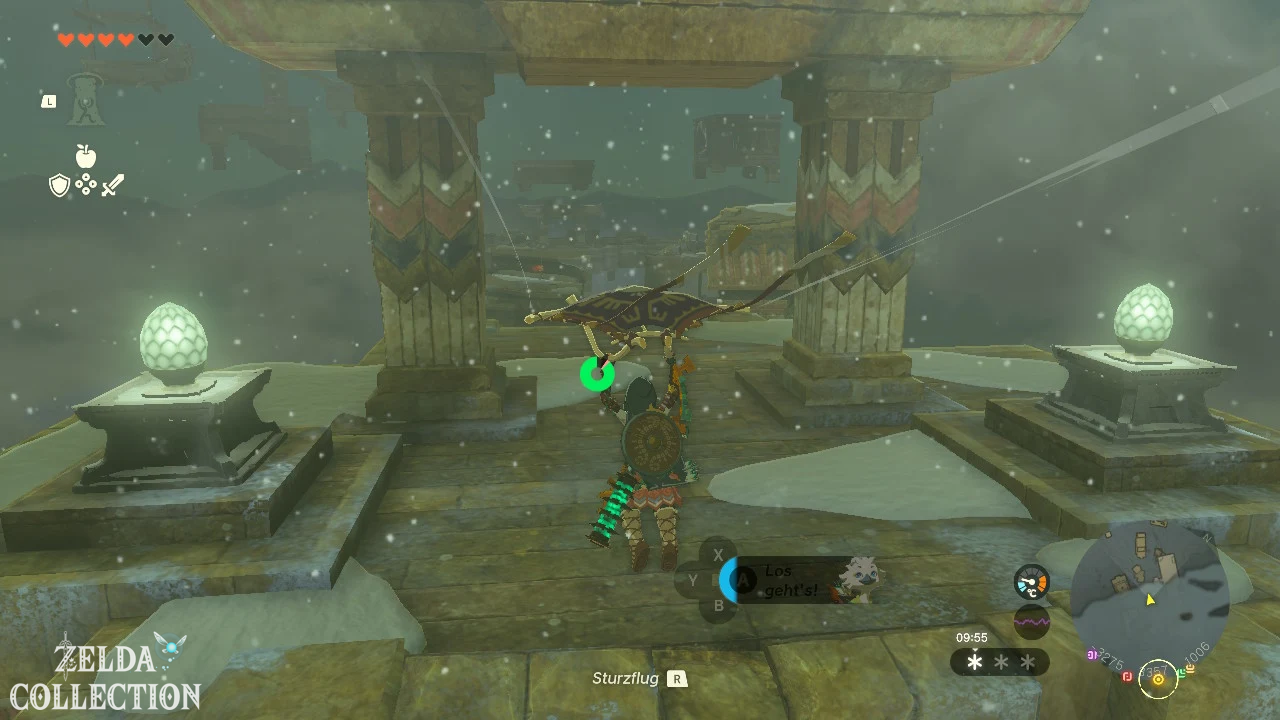
Tulin’s wind ability works while gliding. Open the Paraglider, aim Link at the desired target, wait for Tulin to appear next to or behind Link, and activate his gust of wind. There is a short cooldown after each use.
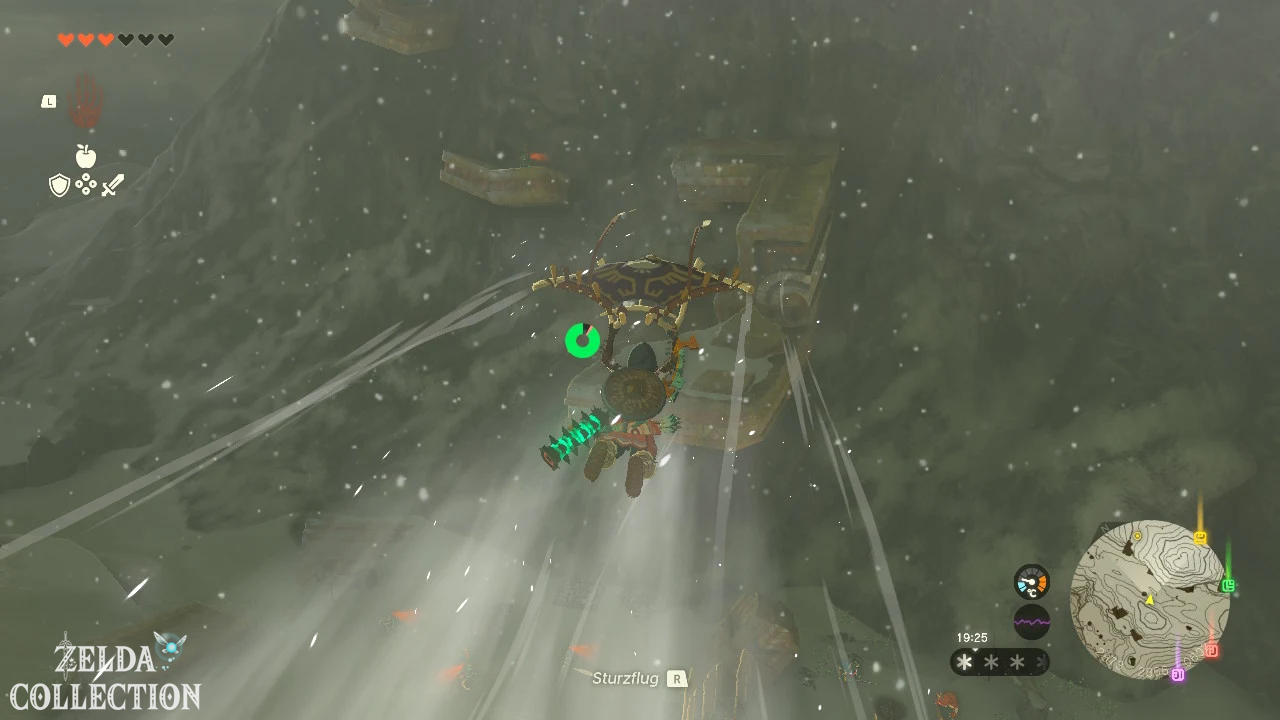
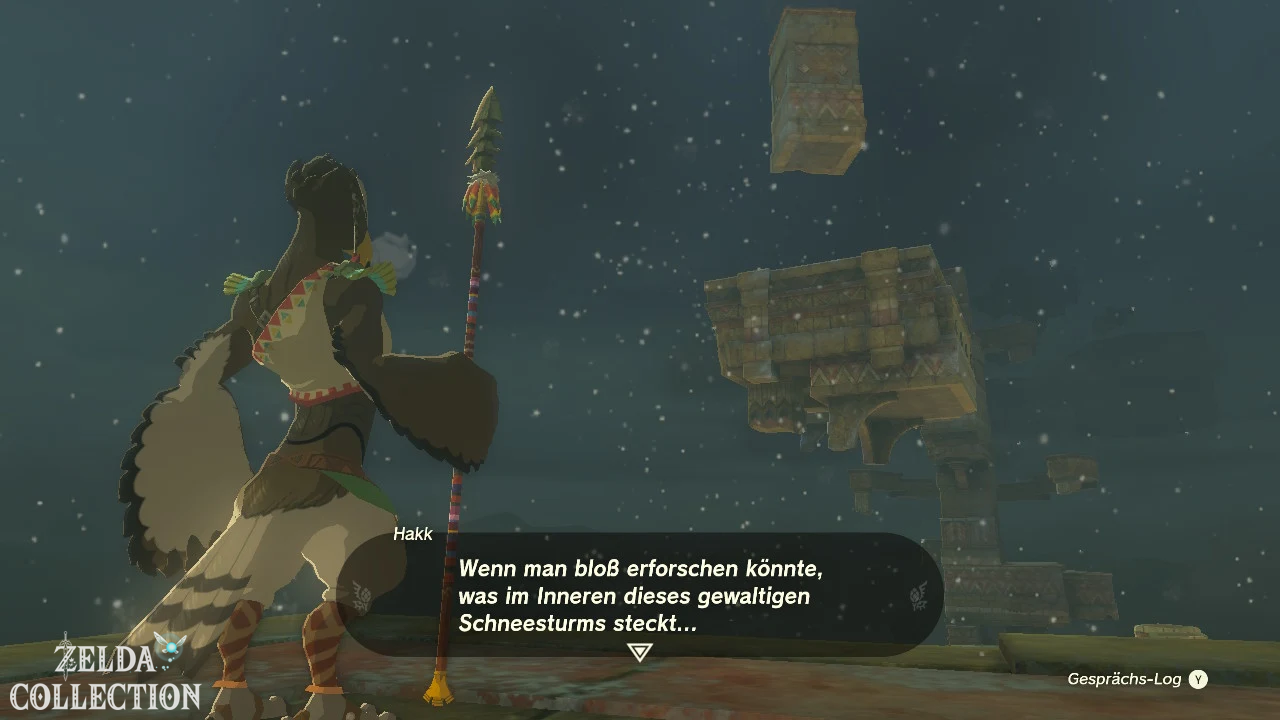
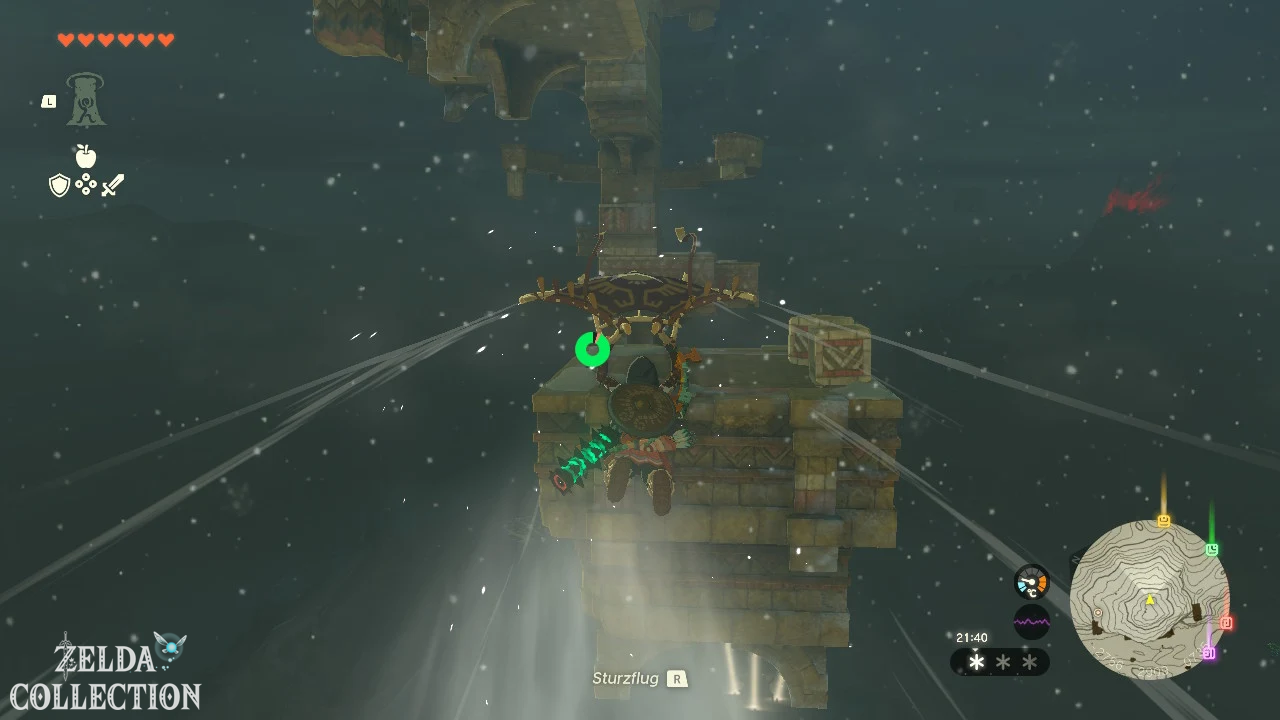
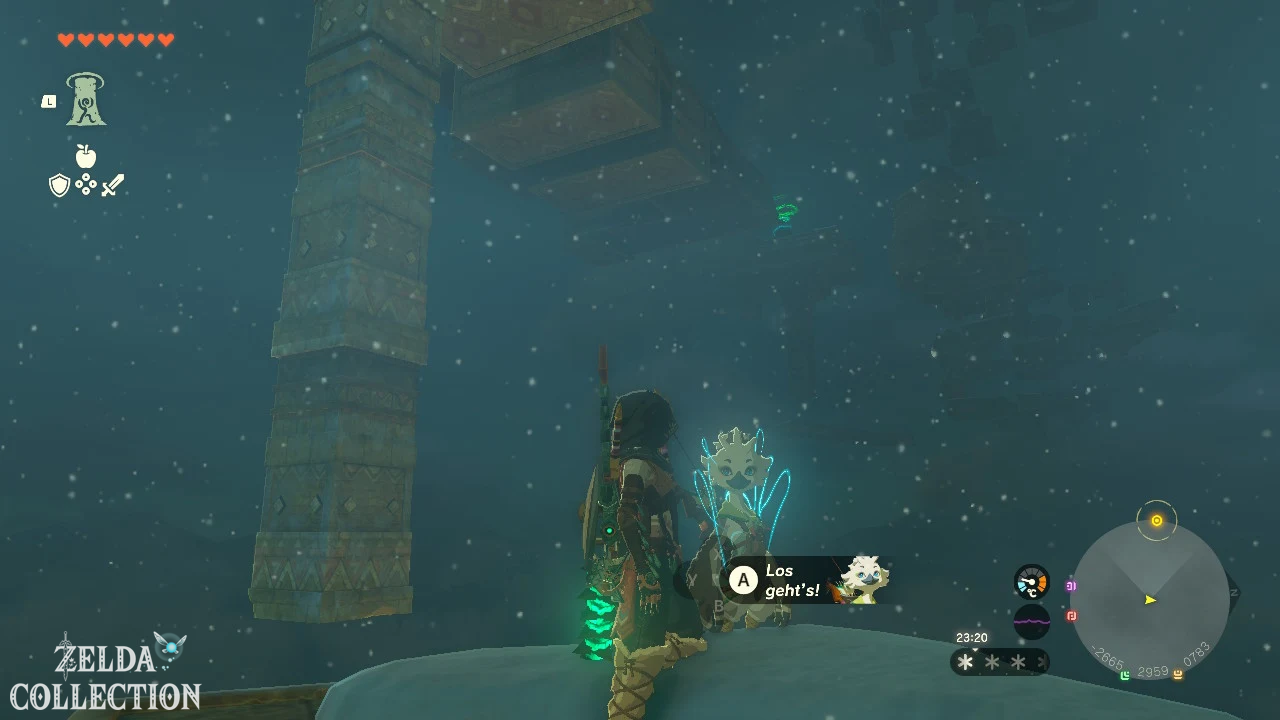
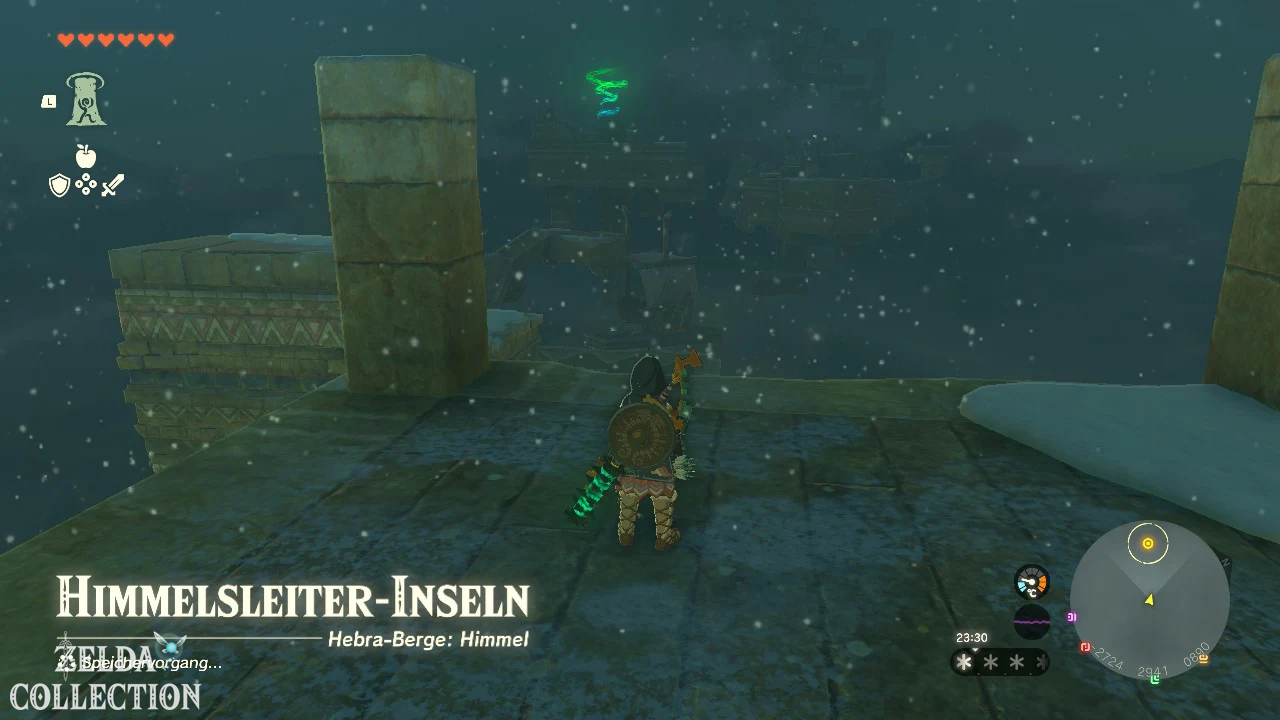
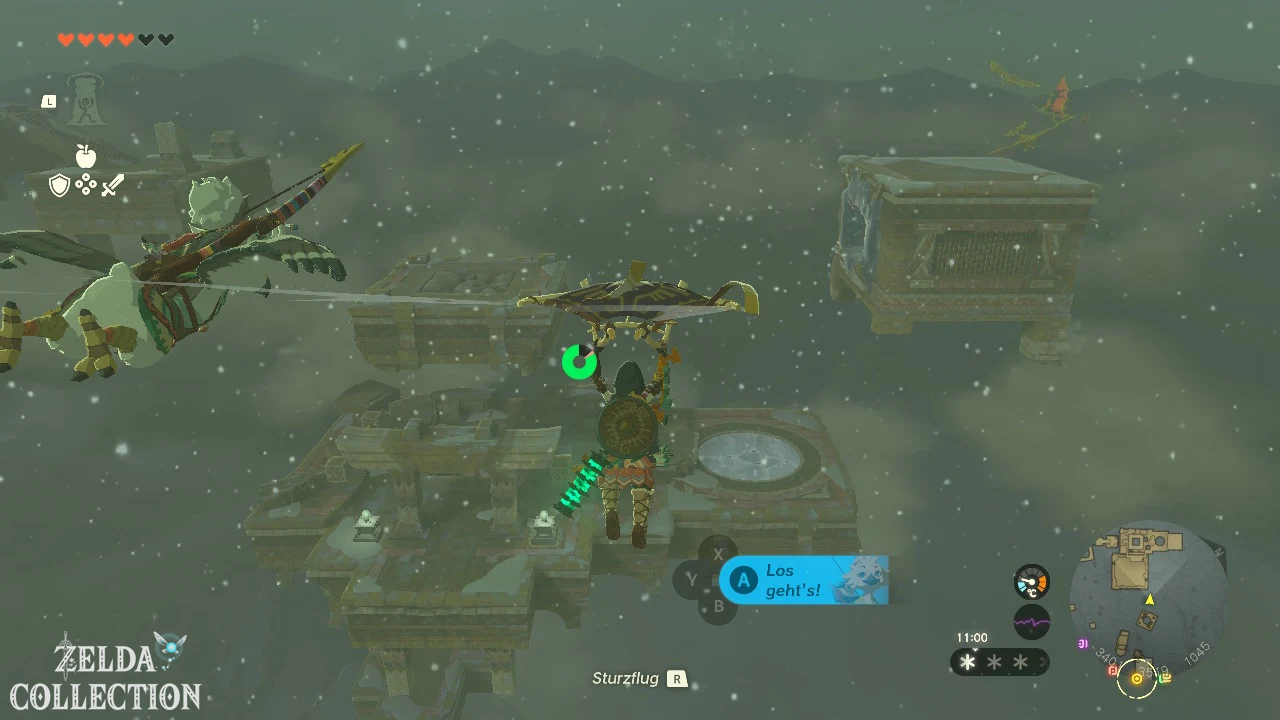
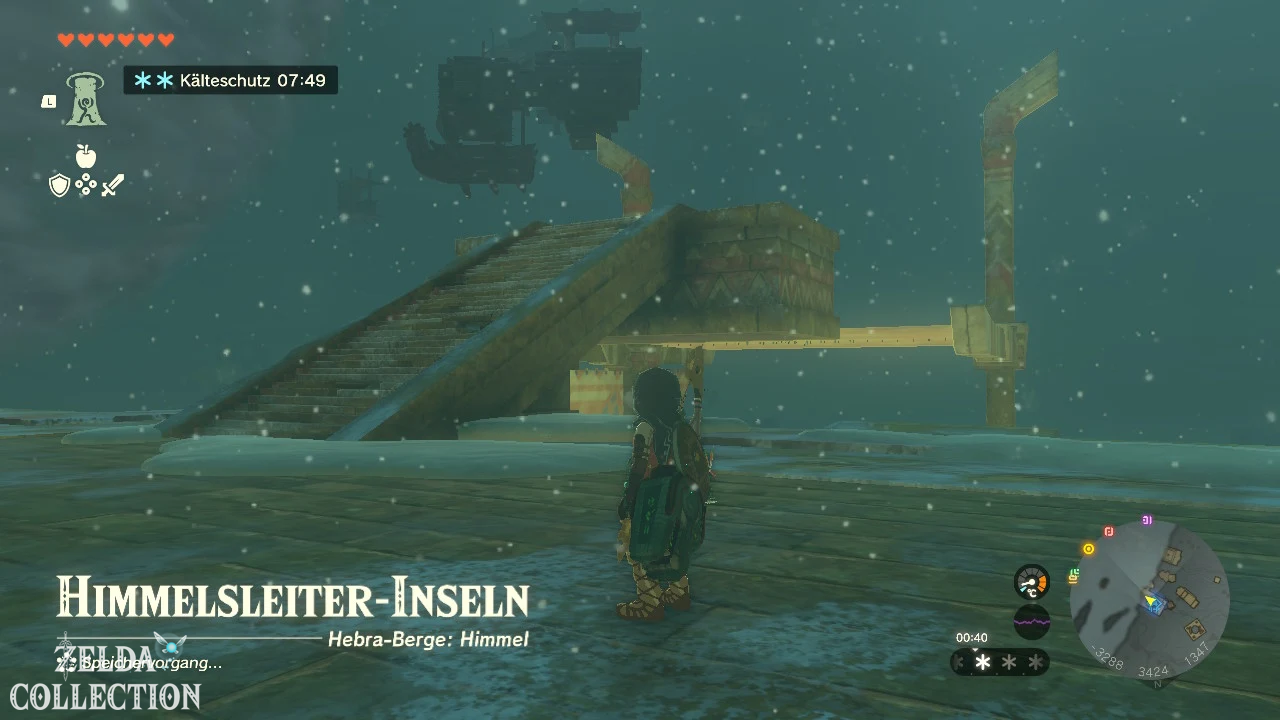
Follow the floating ruins up. The basic approach repeats throughout the climb: glide to the nearest ruin with Tulin’s Gust, use the Ascend under overhanging platforms, send falling boulders back into the sky with the Recall, and use campfires with pine cones when extra height is needed.
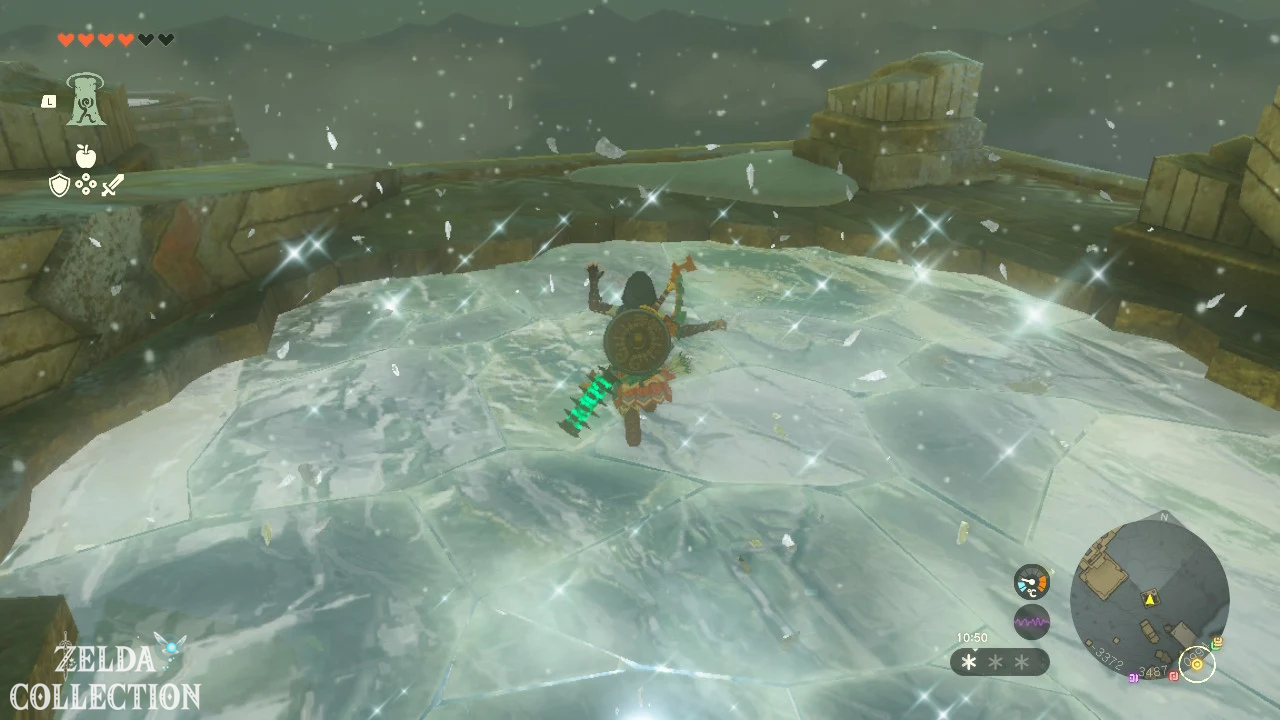
You should walk or jump carefully on ice surfaces so that Link doesn’t slip. On the way, speak to the Rito Huck, who is holding a position on a platform, and then continue the climb together with Tulin.
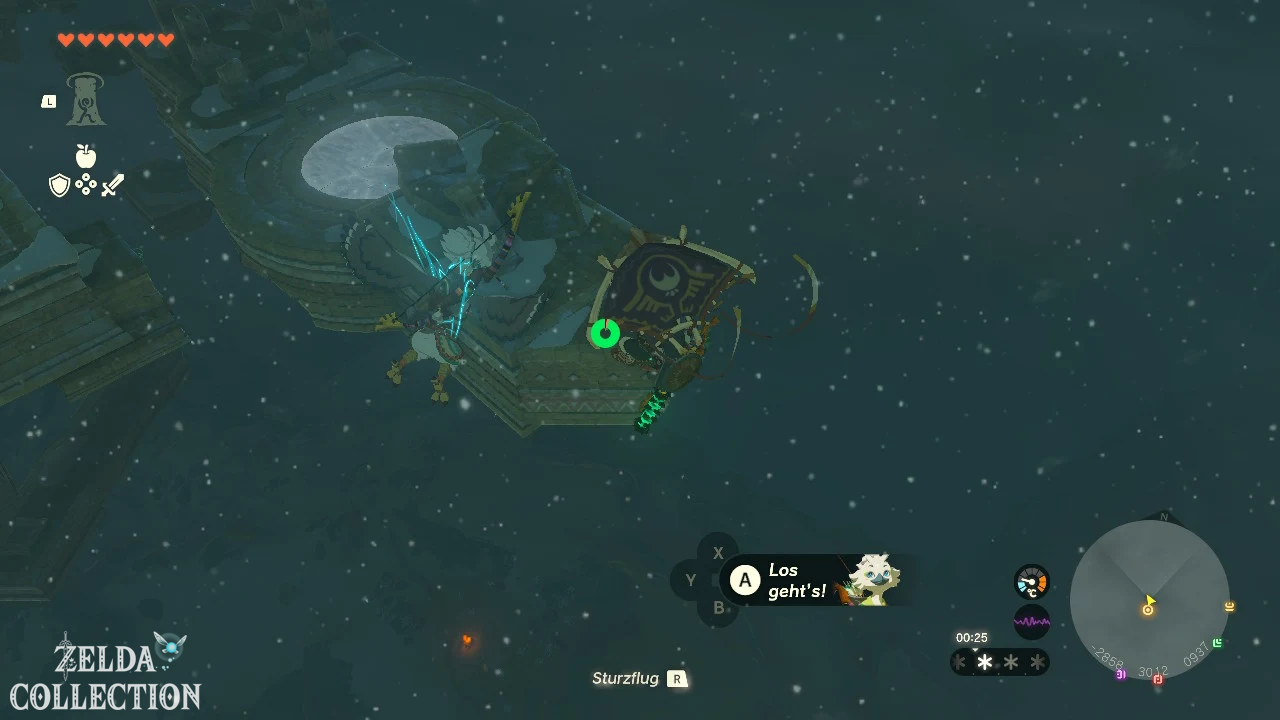
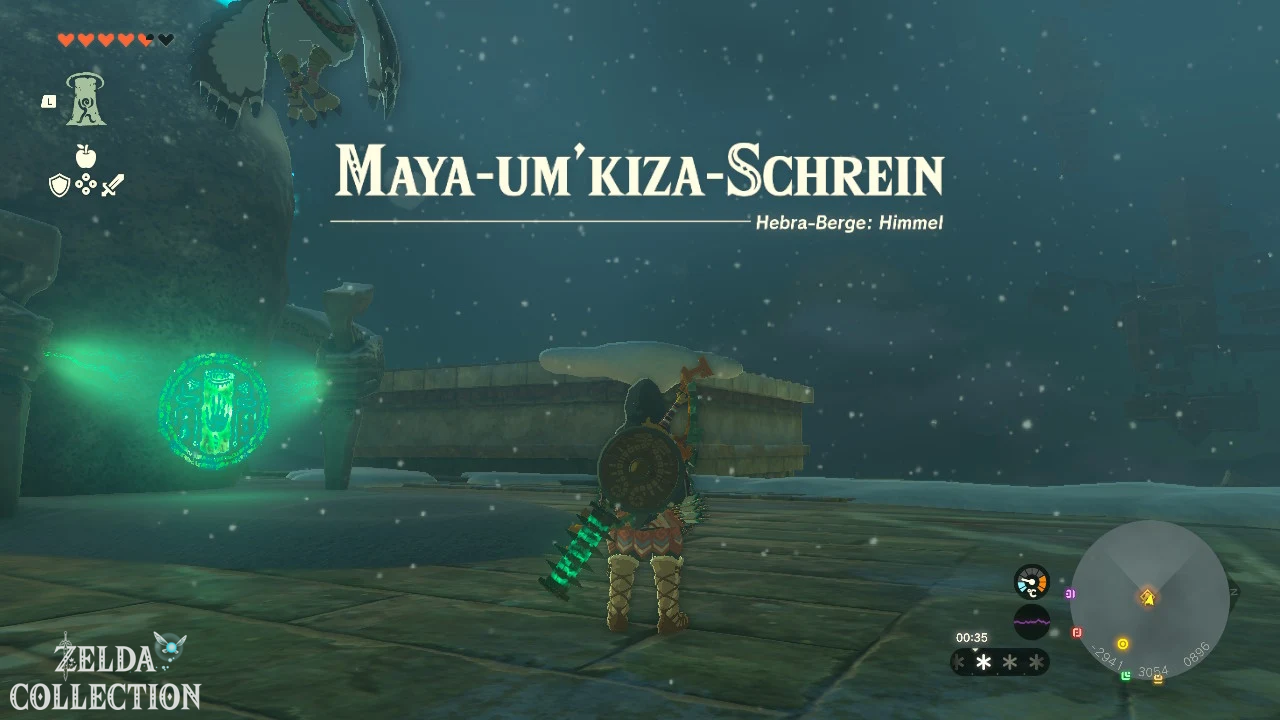
Mayaumekis Shrine as reset point
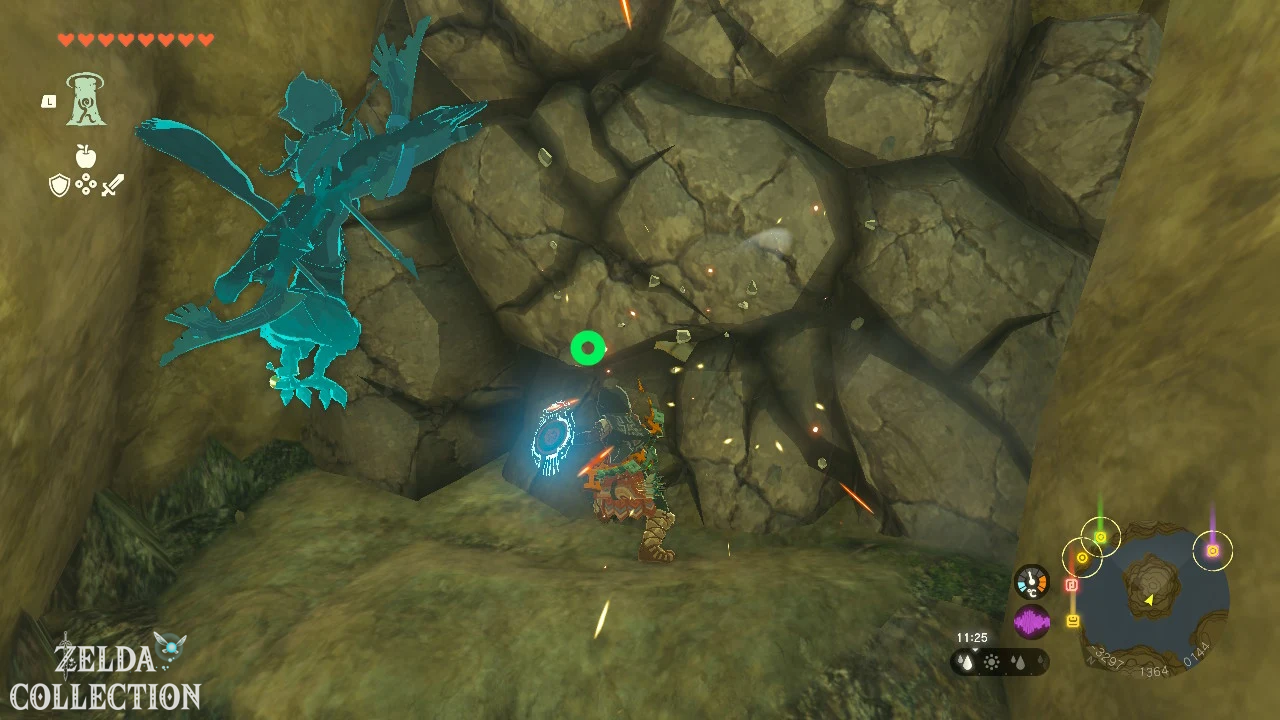
Absolutely activates the Mayaumekis Shrine. It’s directly on the ascension route and serves as an important fast travel point in case you crash or need to catch up on supplies.
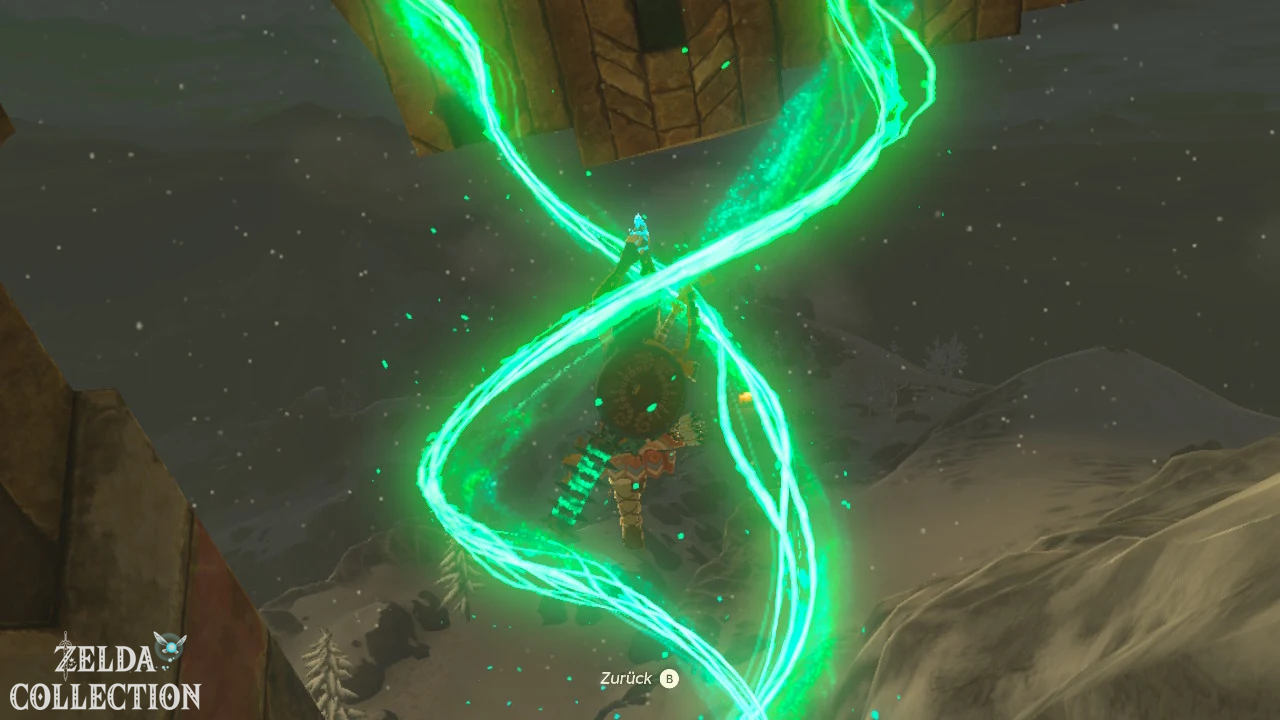
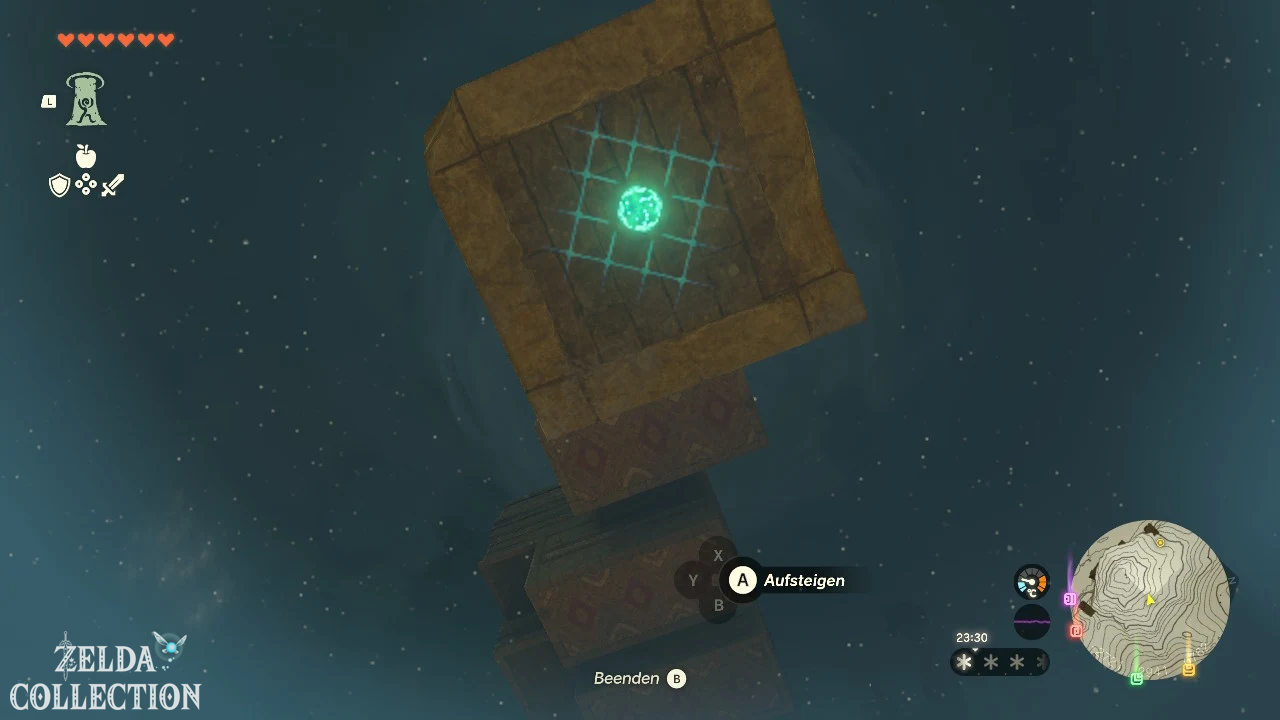
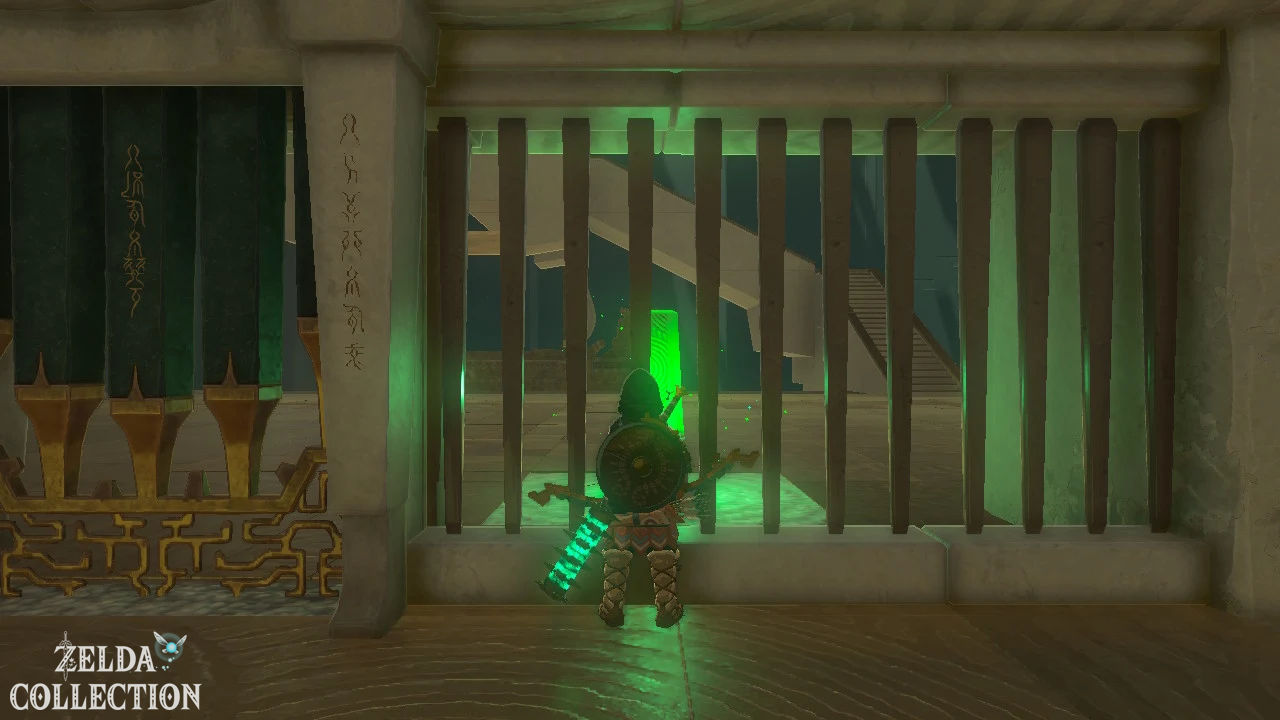
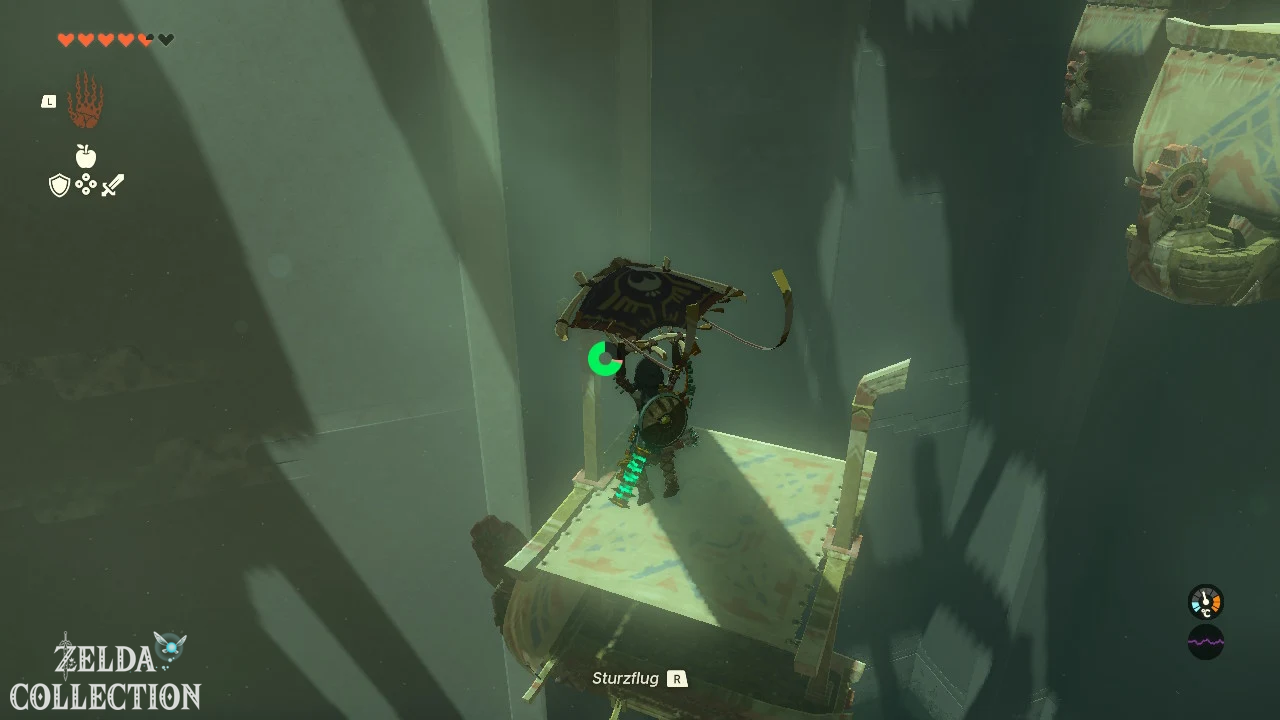
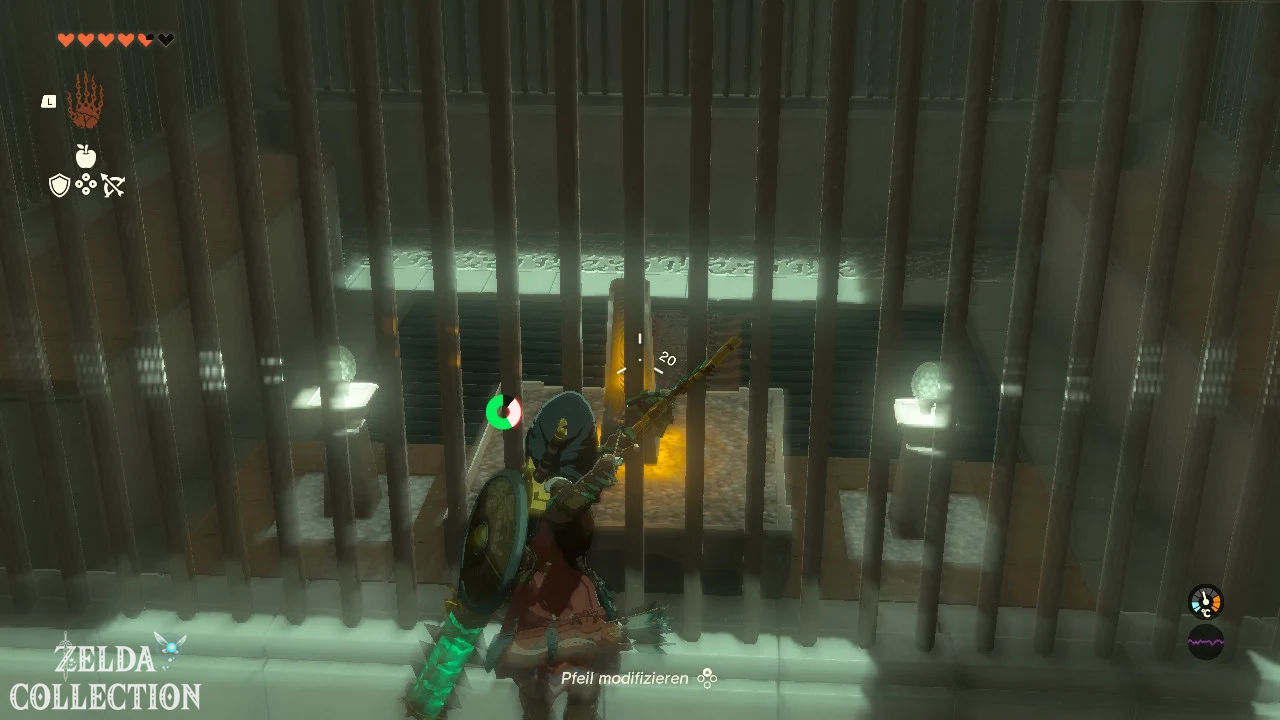
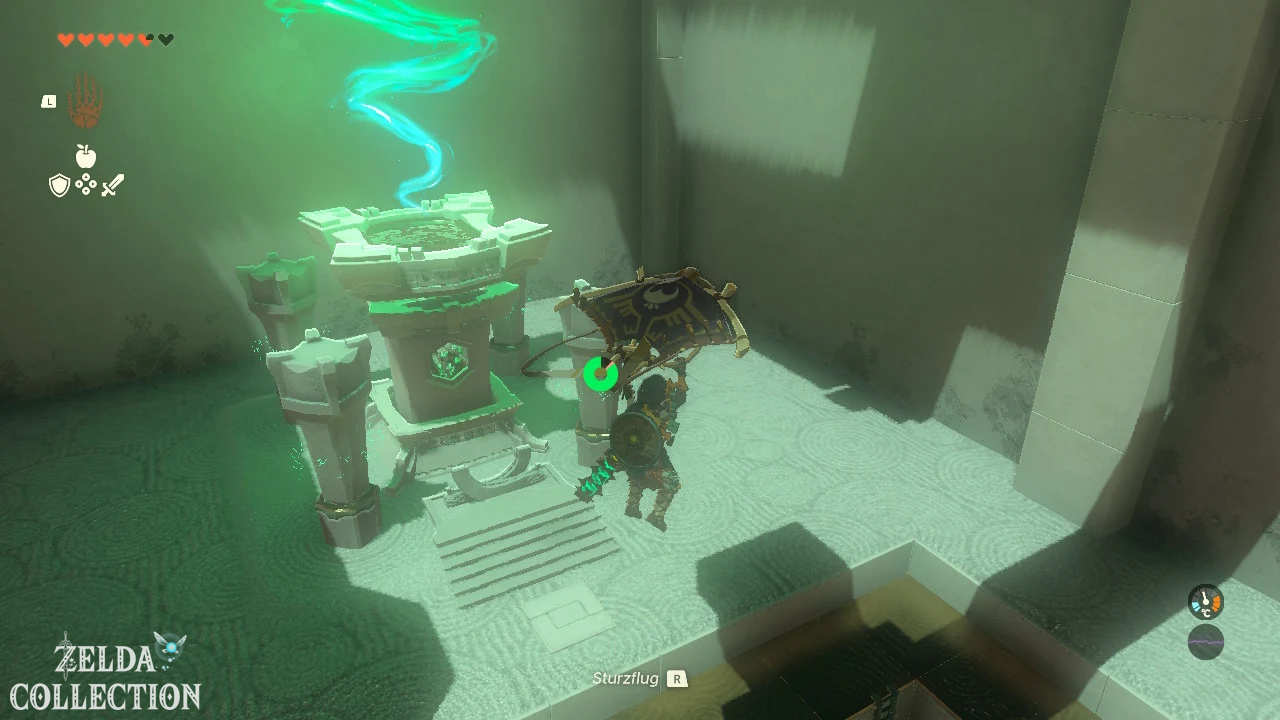
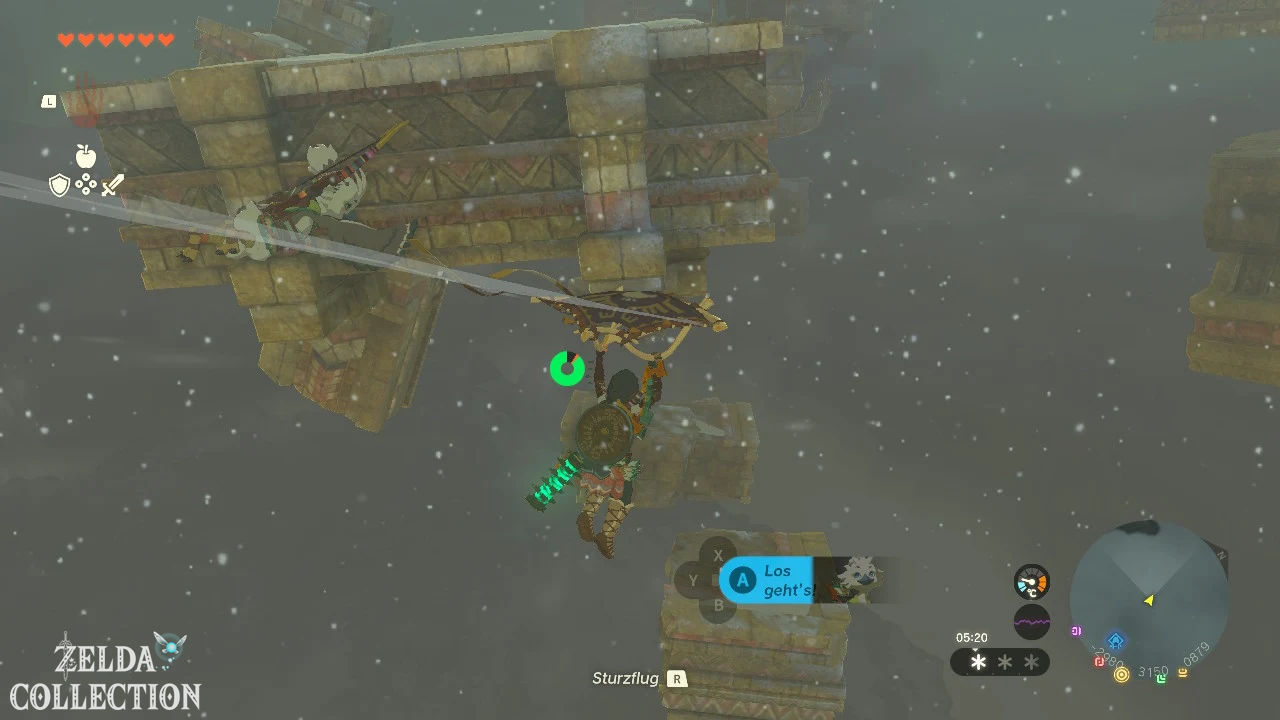
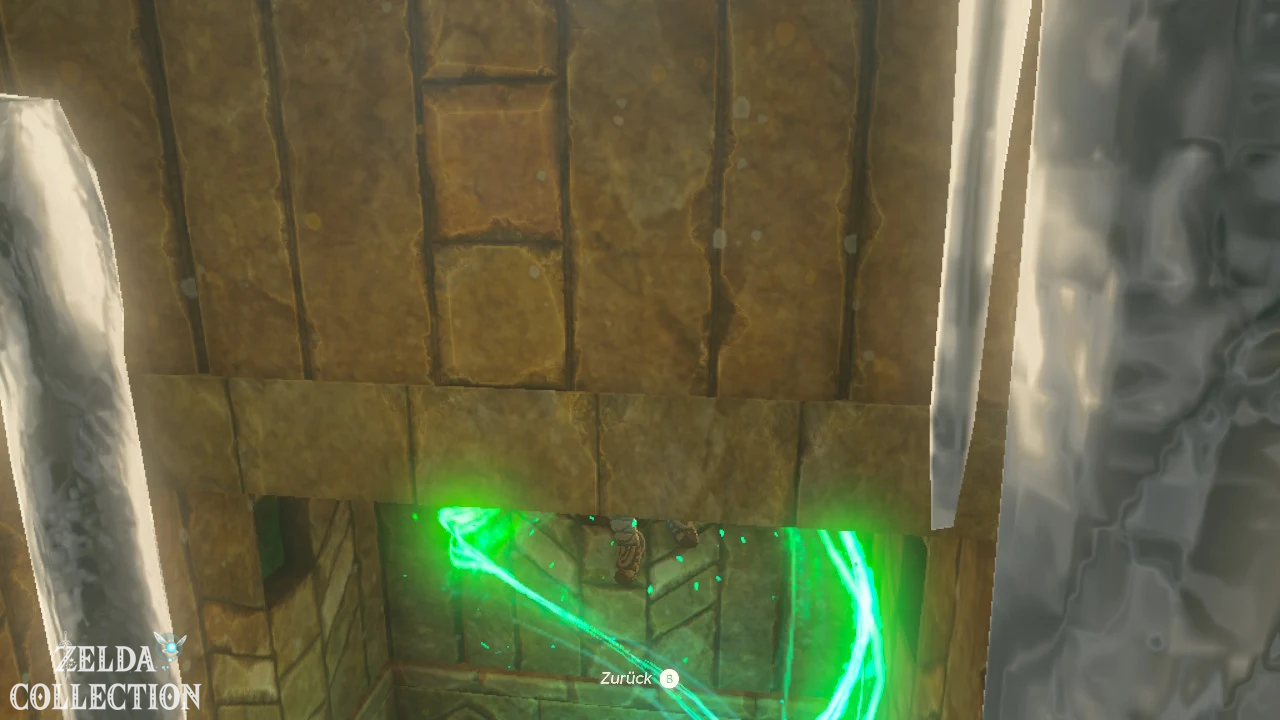
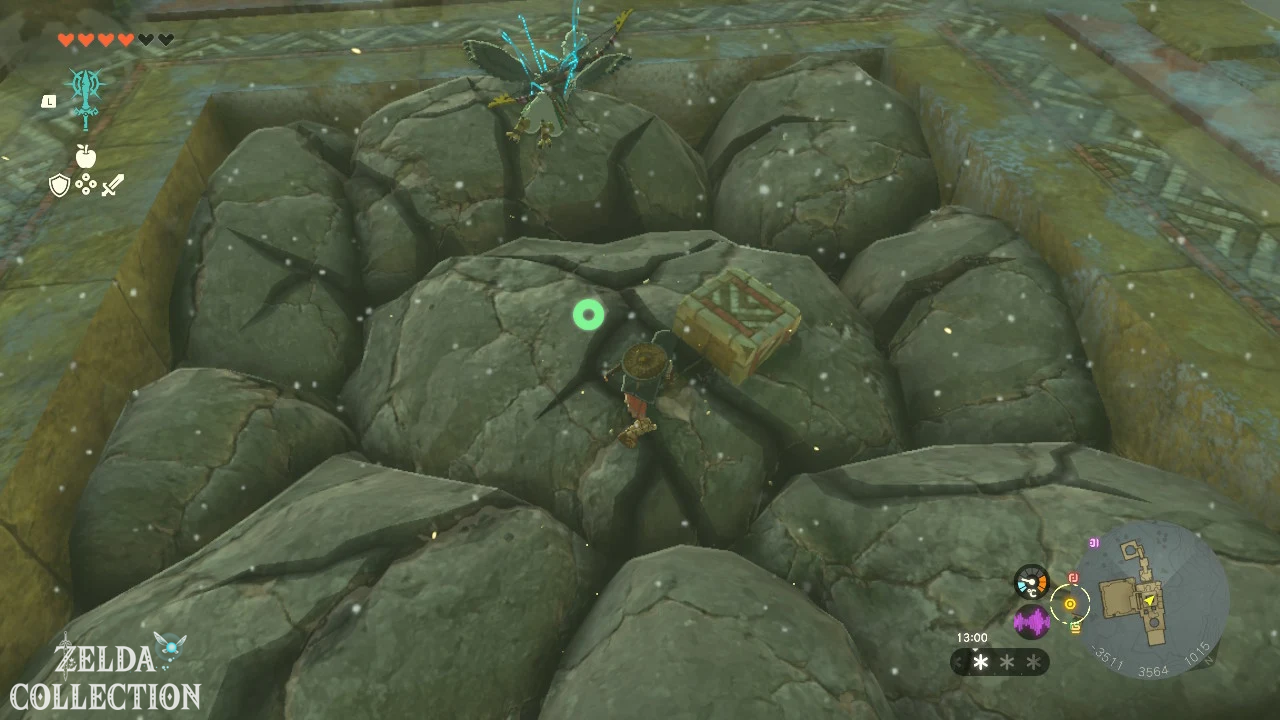
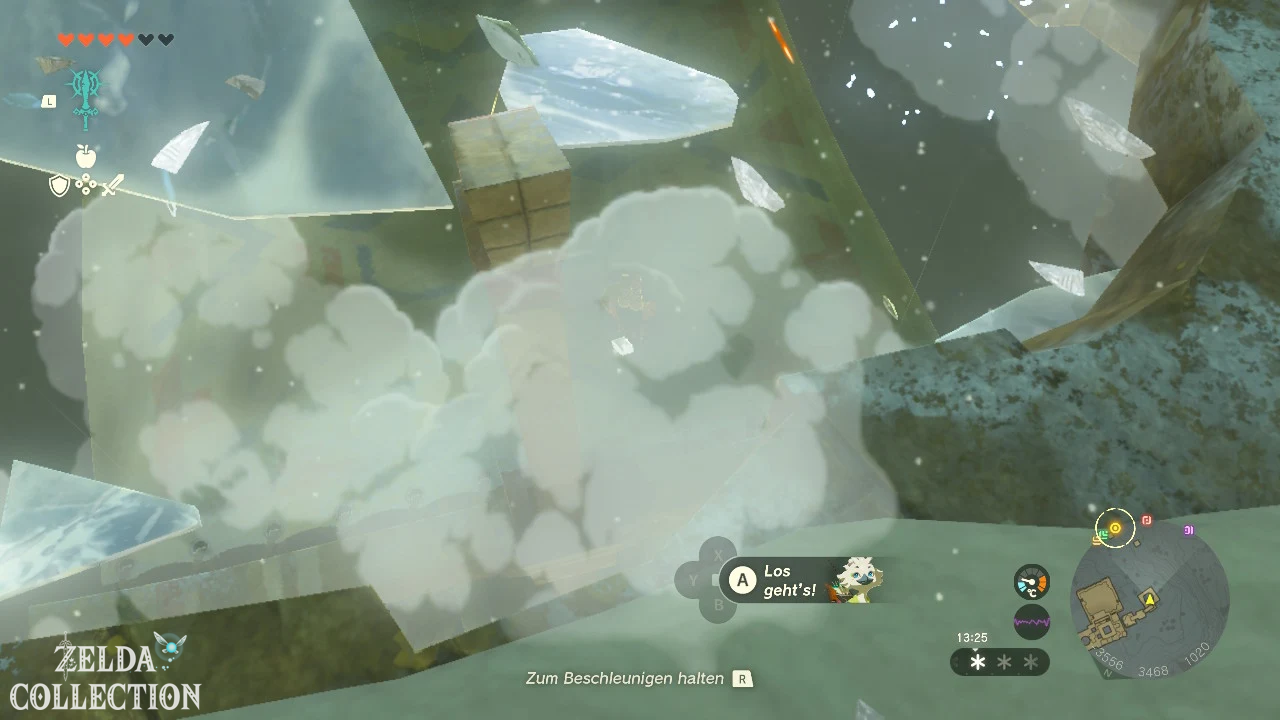
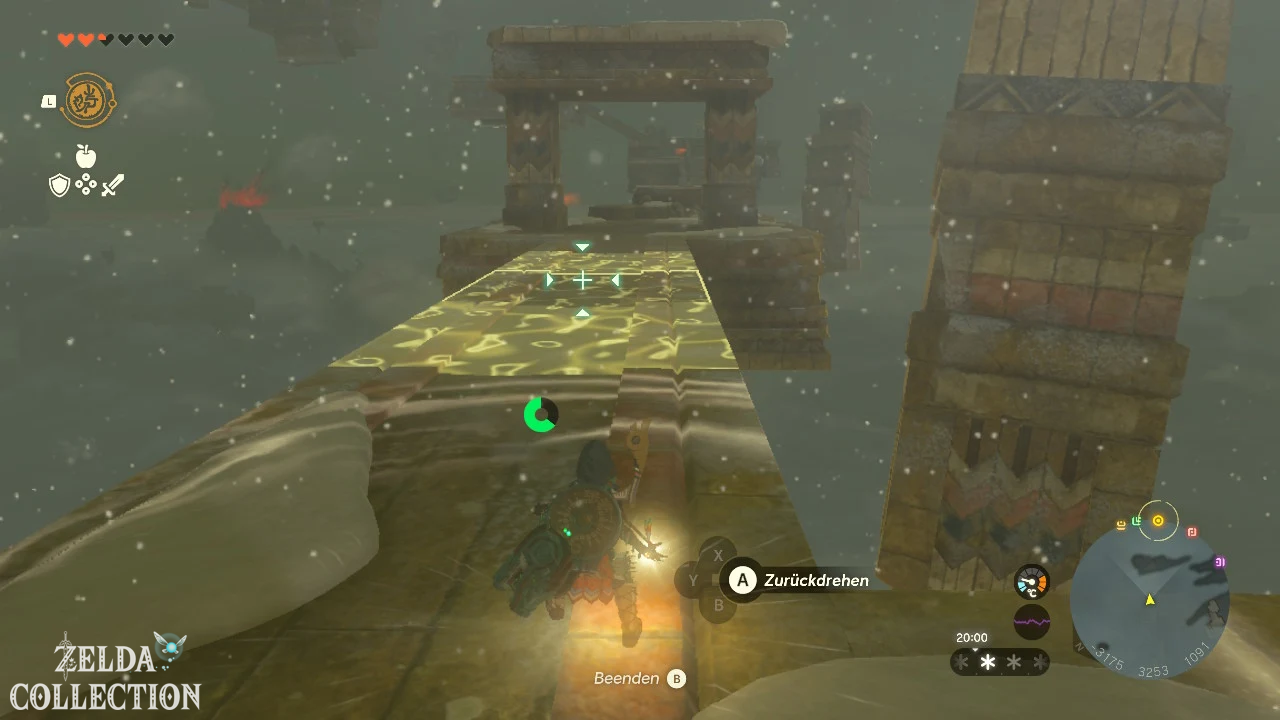
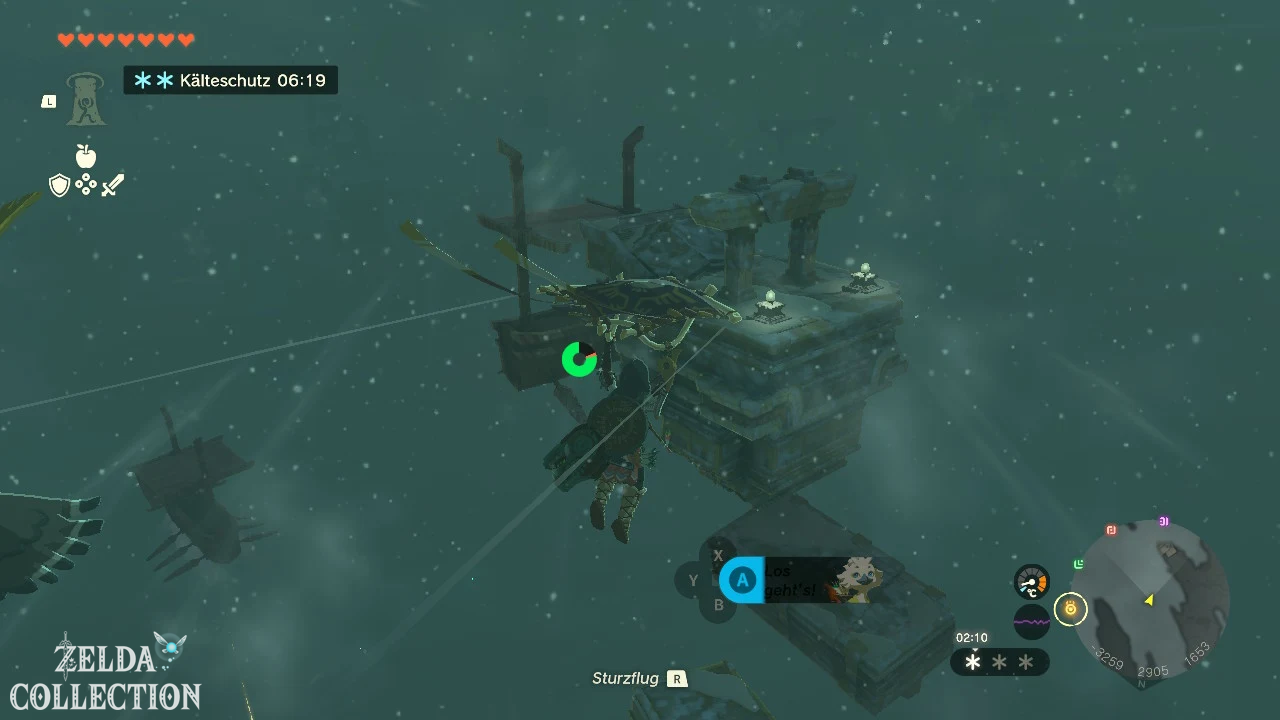
In the shrine you use the sails of small airships as jumping surfaces. First shoot through the bars at the yellow switch. Then jump onto the ship’s sails, let yourself be thrown up and open the Paraglider at the highest point.
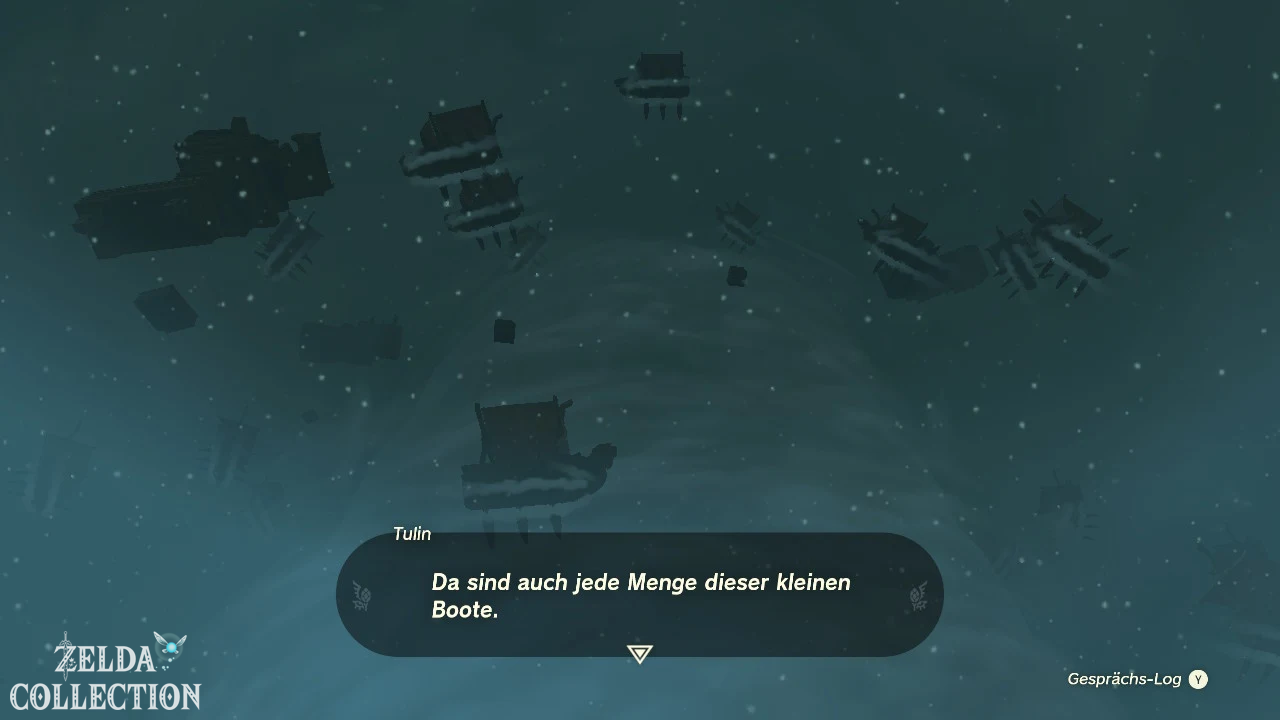
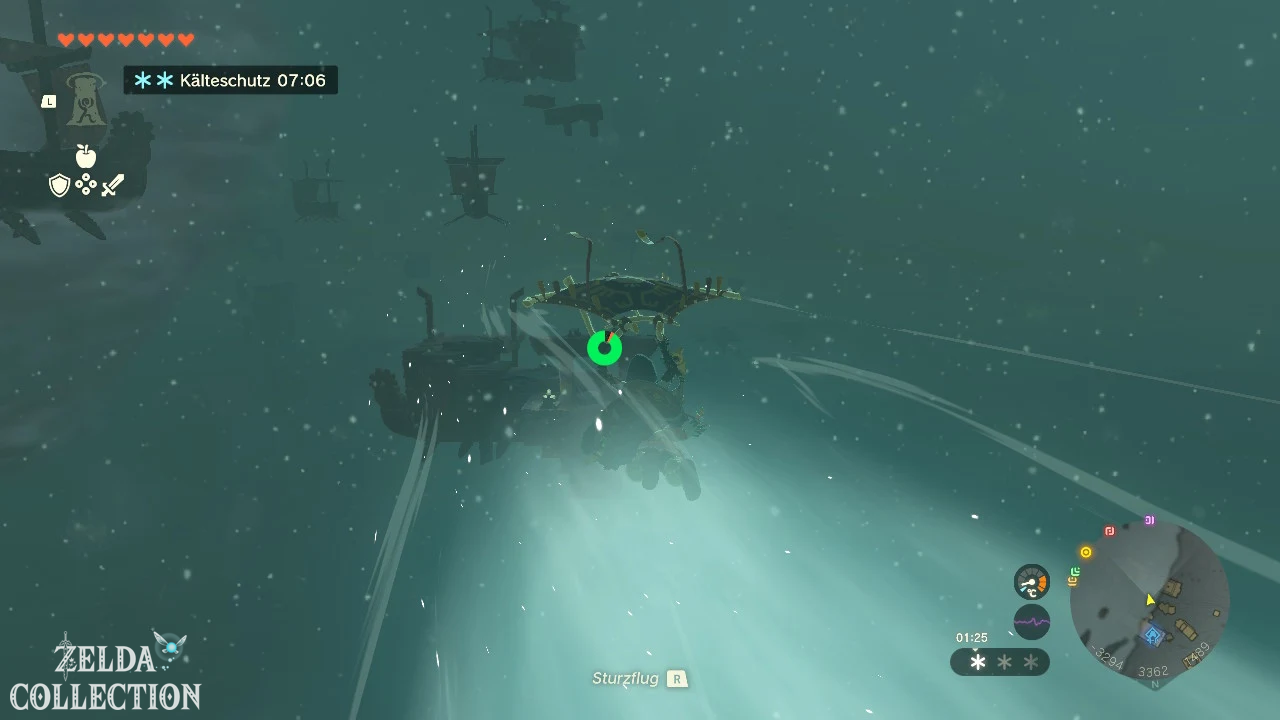
The circling airships
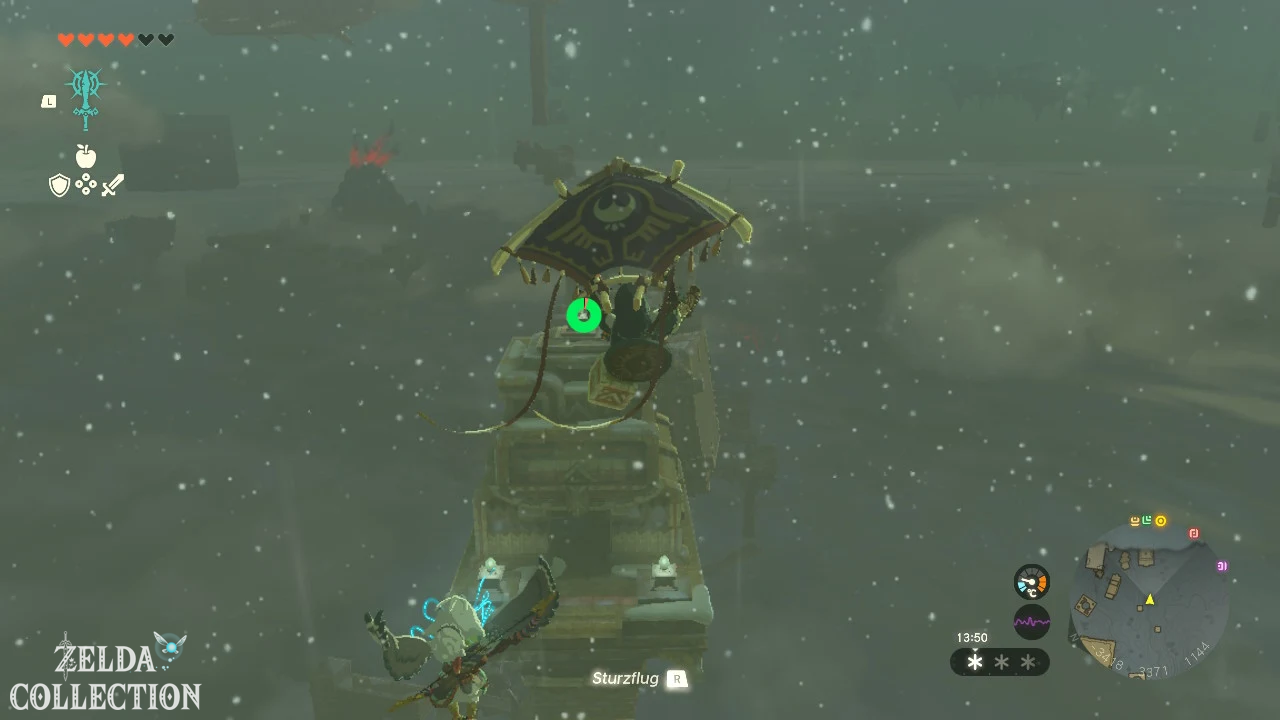
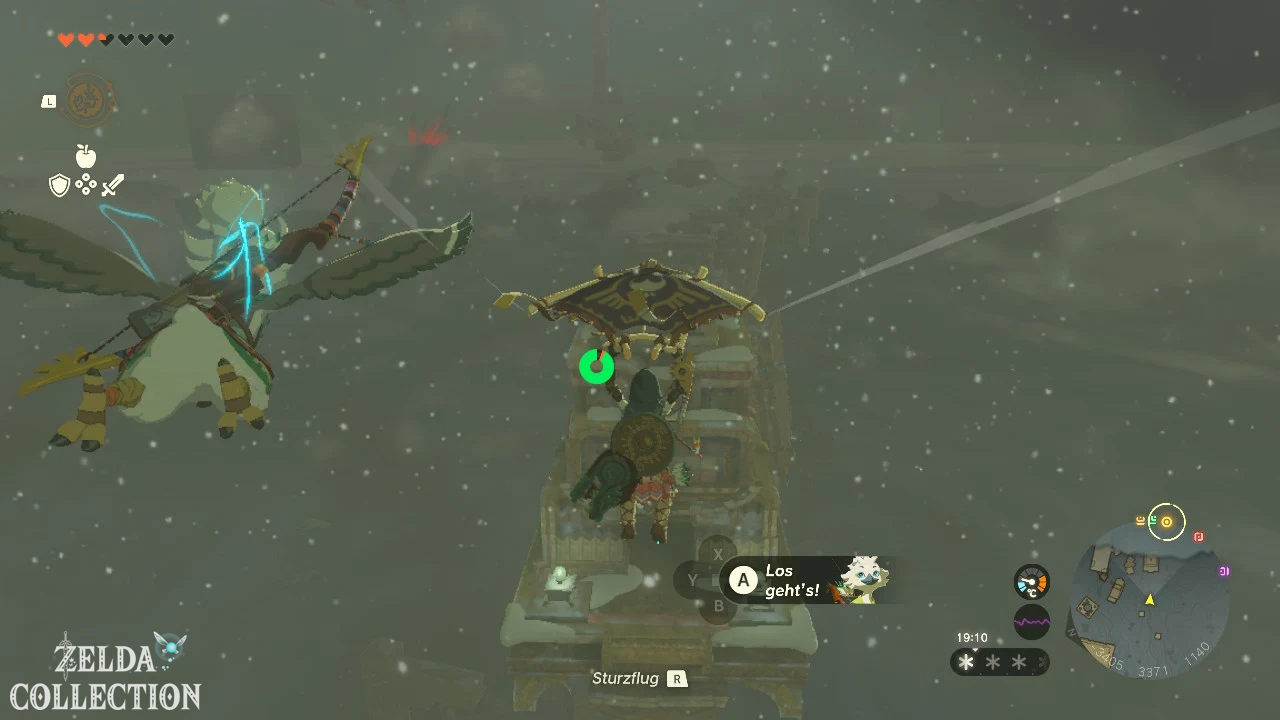
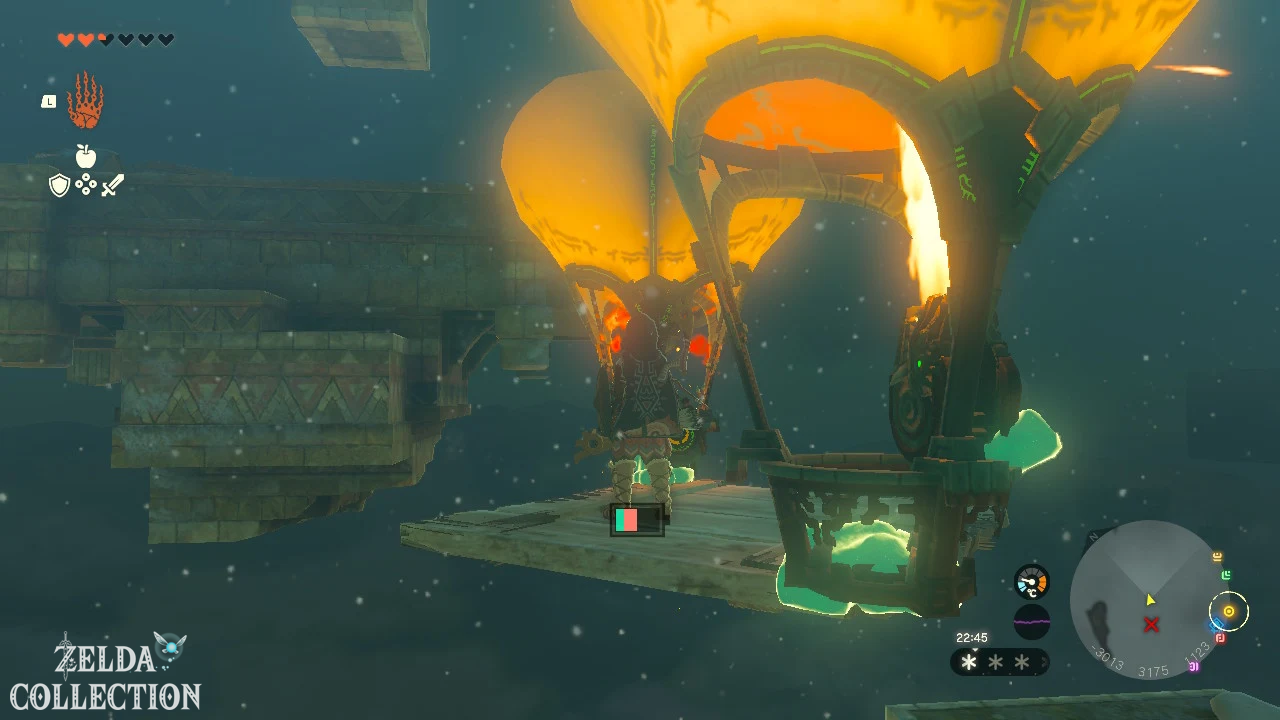
More and more small Orni ships appear above the shrine. Their covered roofs look like trampolines. Land as centrally as possible on a sail, allow yourself to be thrown vertically upwards and only open the Paraglider near the highest point. Use Tulin’s Gust of Wind to reach the nearest ship and work your way up in a spiral around the storm cloud.
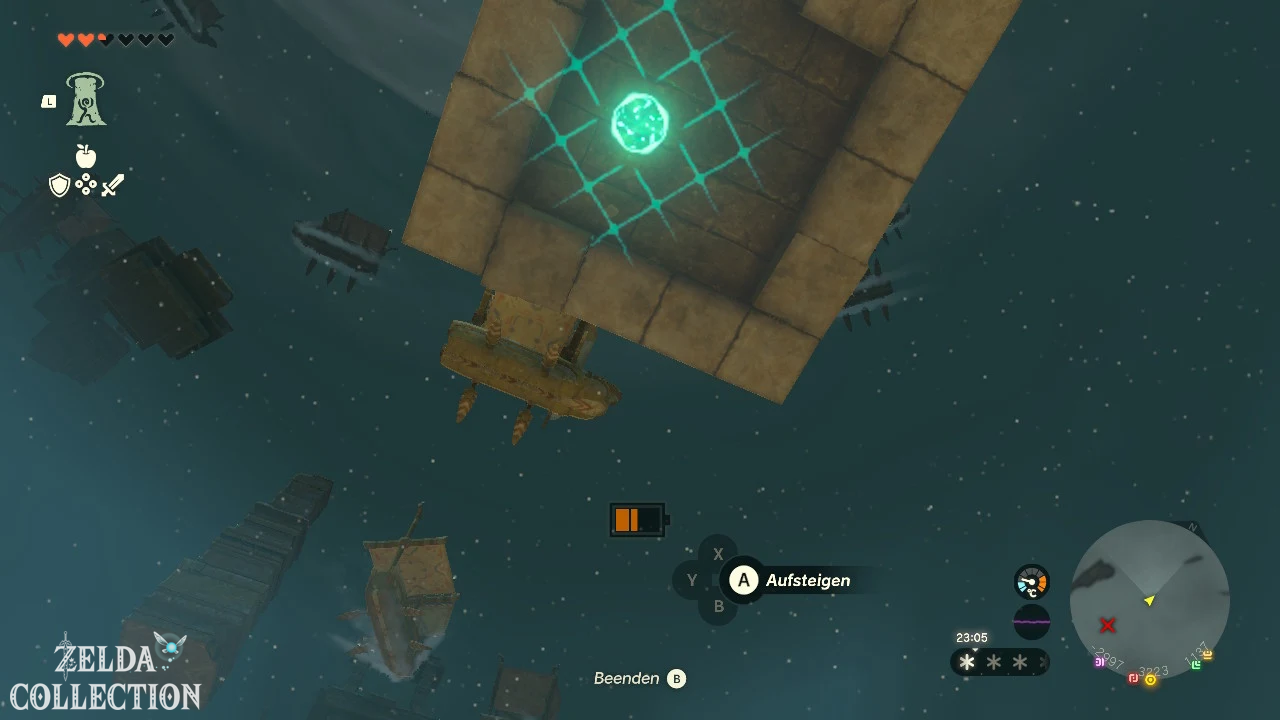
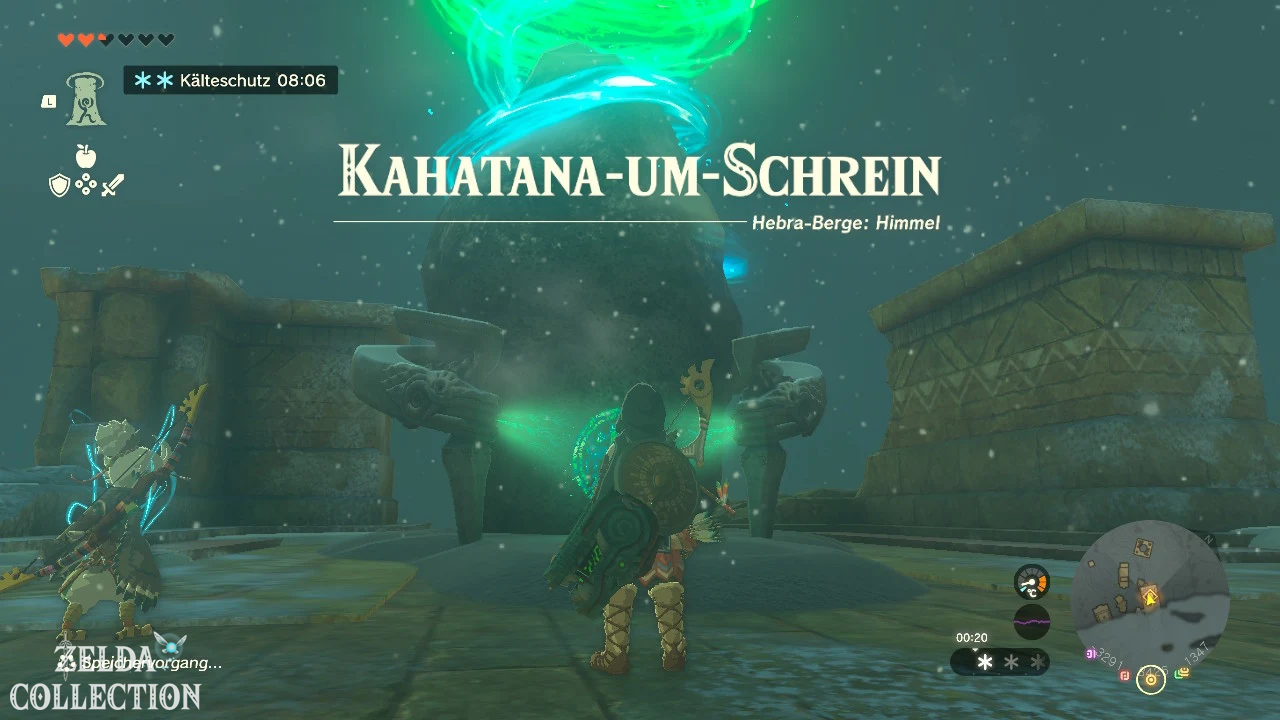
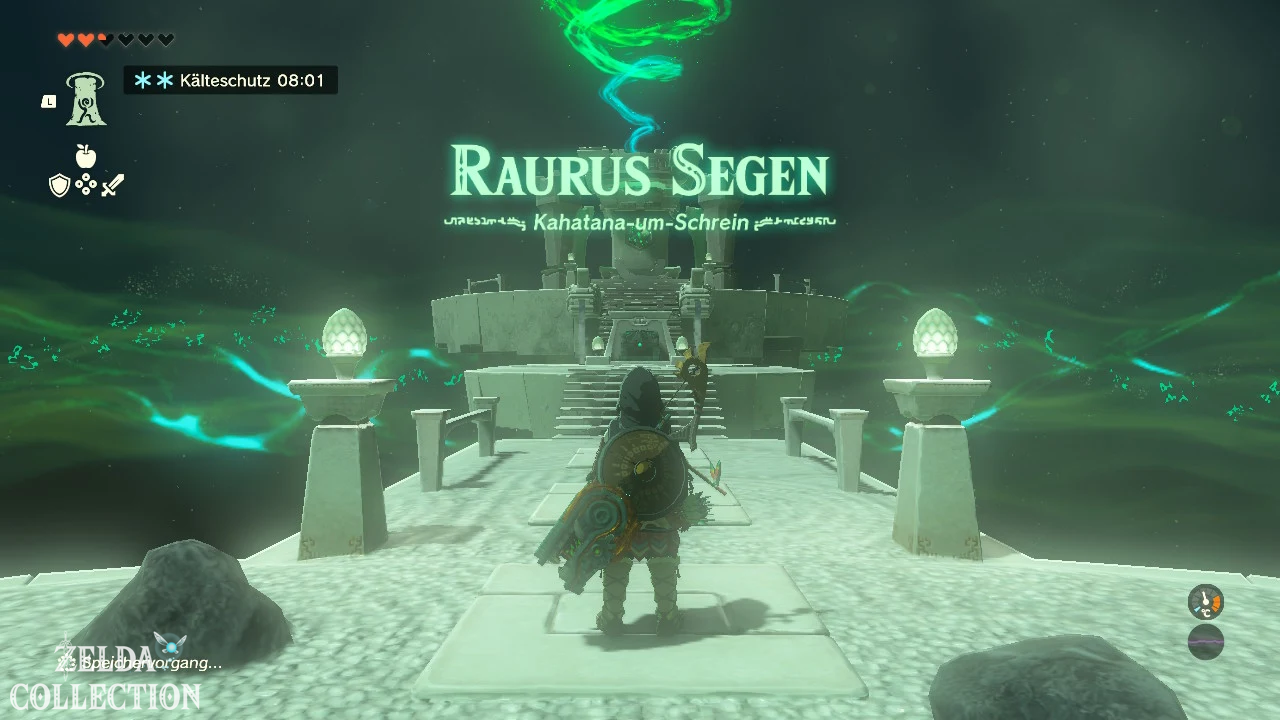
Kahatanaum Shrine
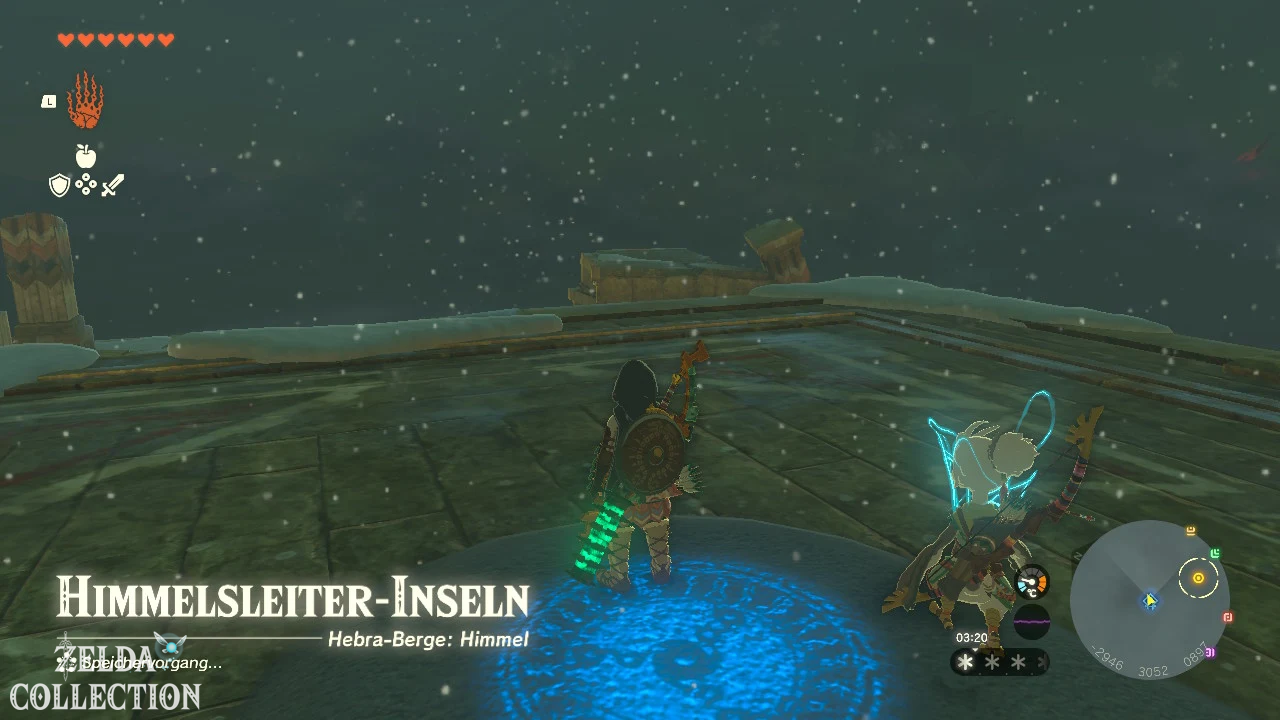
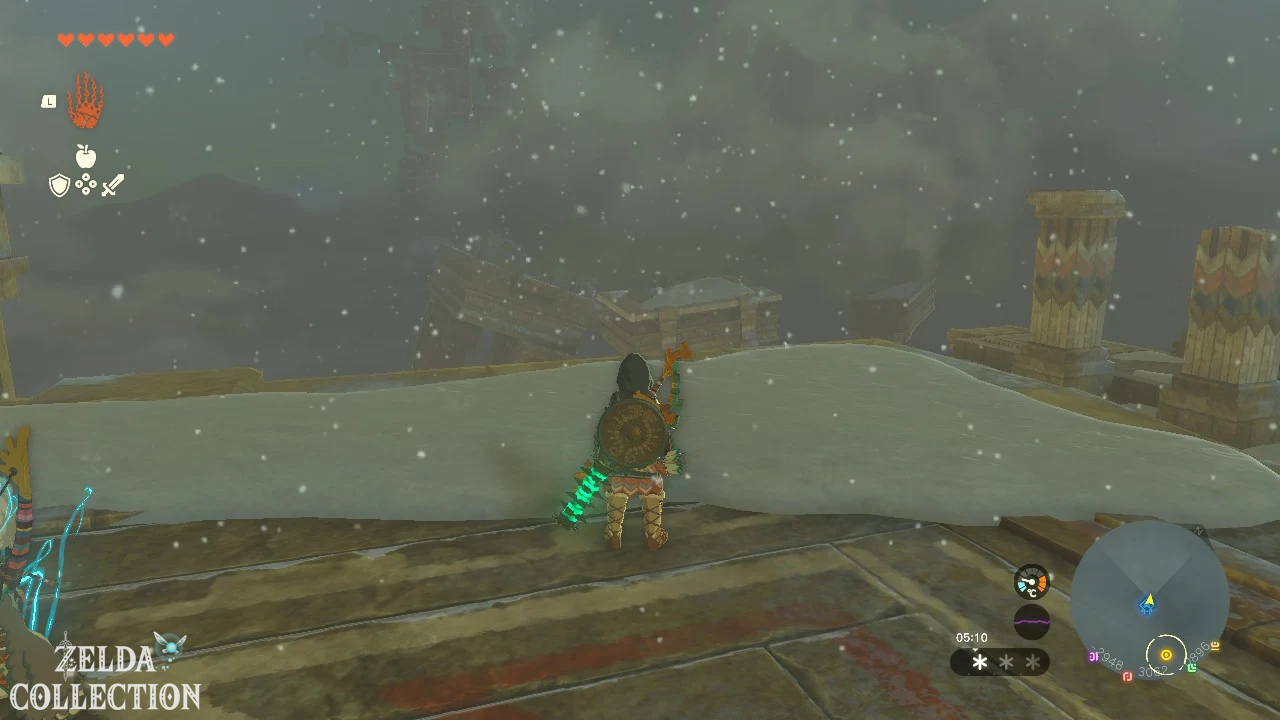
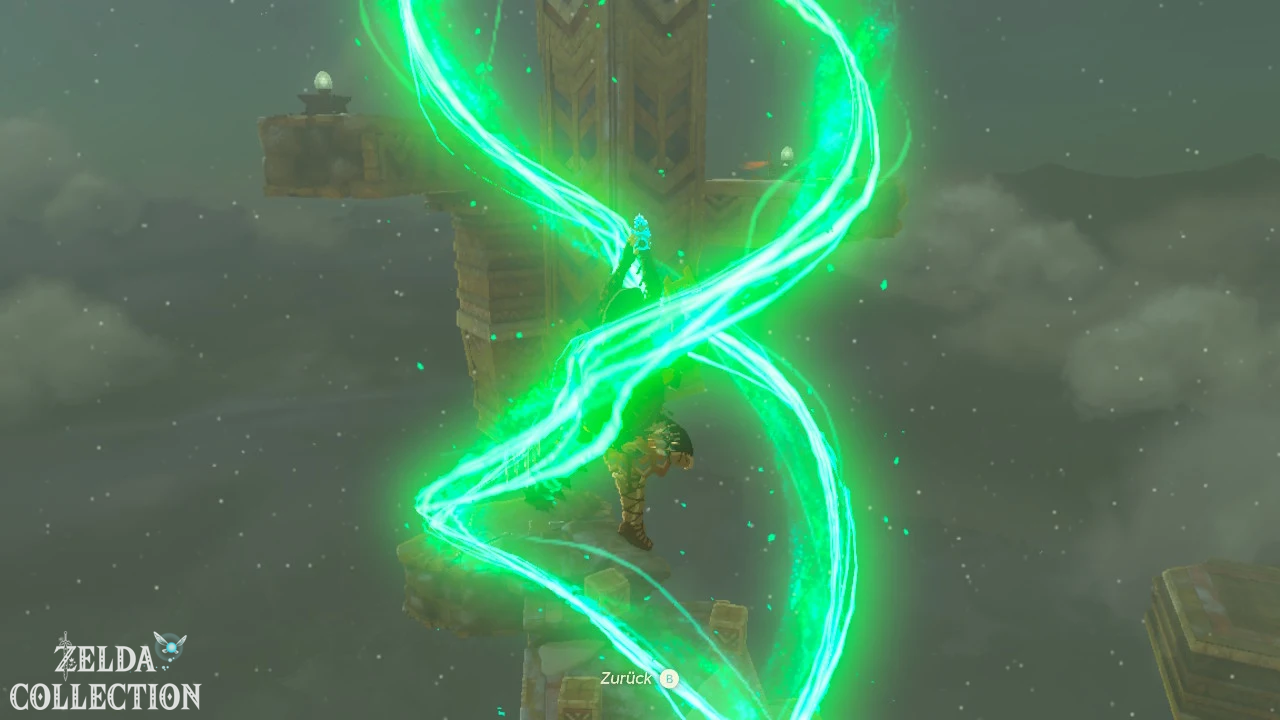
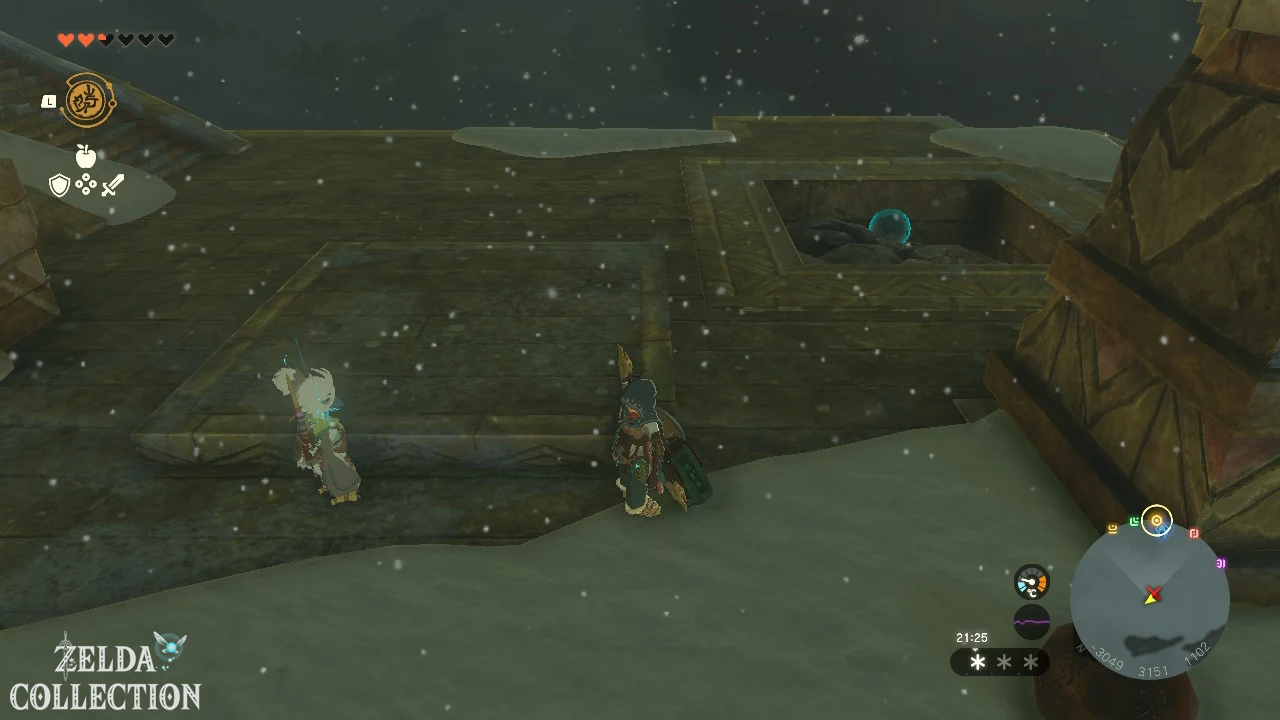
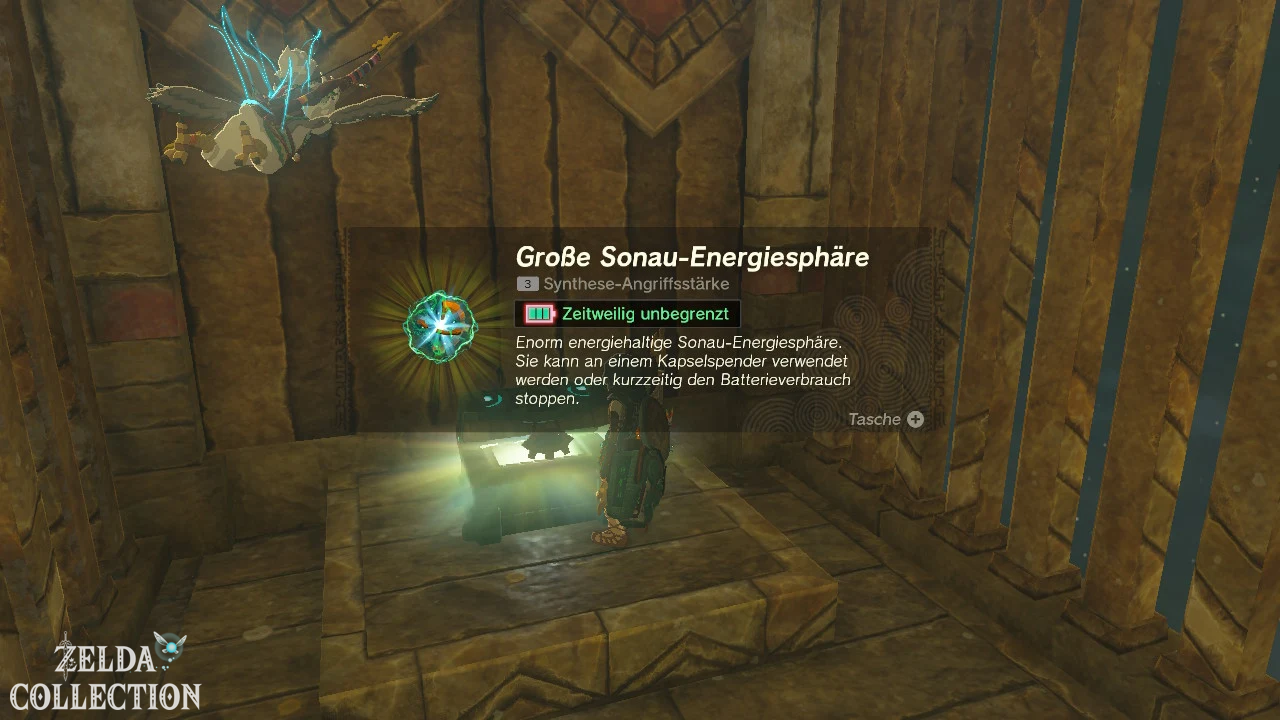
Activates the Kahatanaum Shrine just before the highest section. This is a blessing shrine without any actual mystery. There is a Large Zonai Charge in the Treasure Chest. The shrine is the last safe fast travel point before the Wind Temple.
You can find an overview of both shrines and other Locations in our guide to the shrines in the Hebra Mountains.
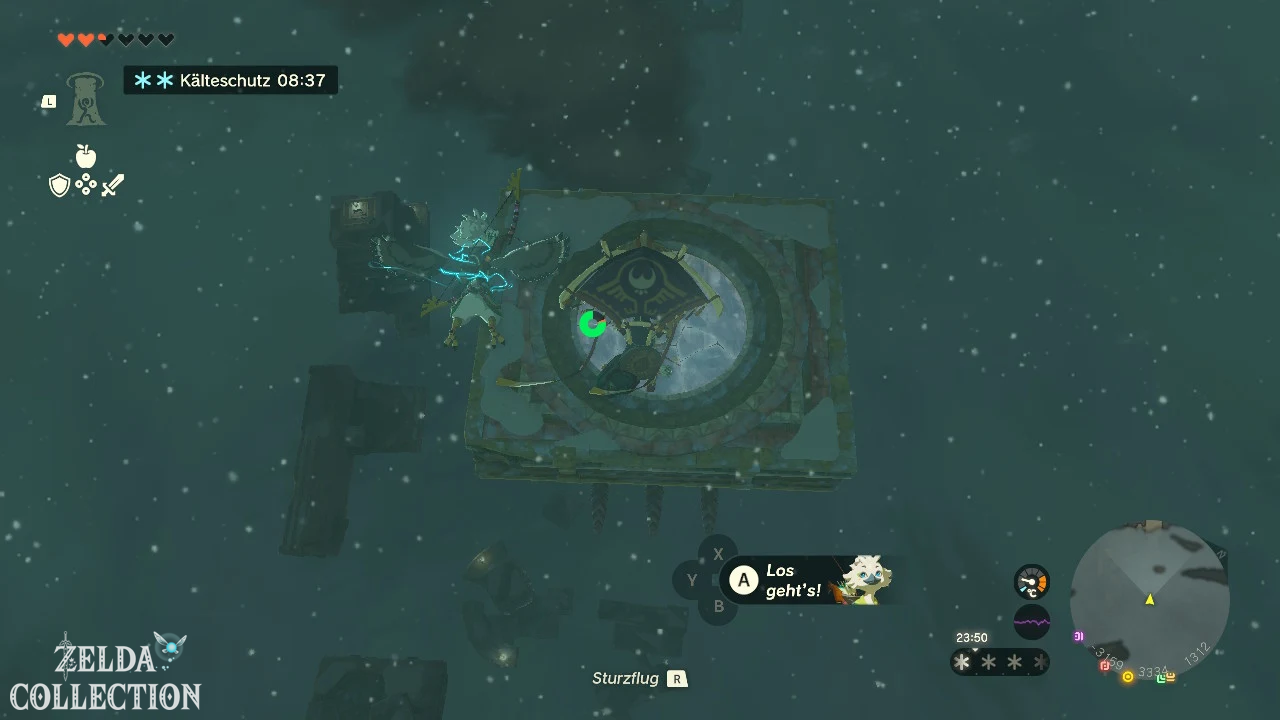
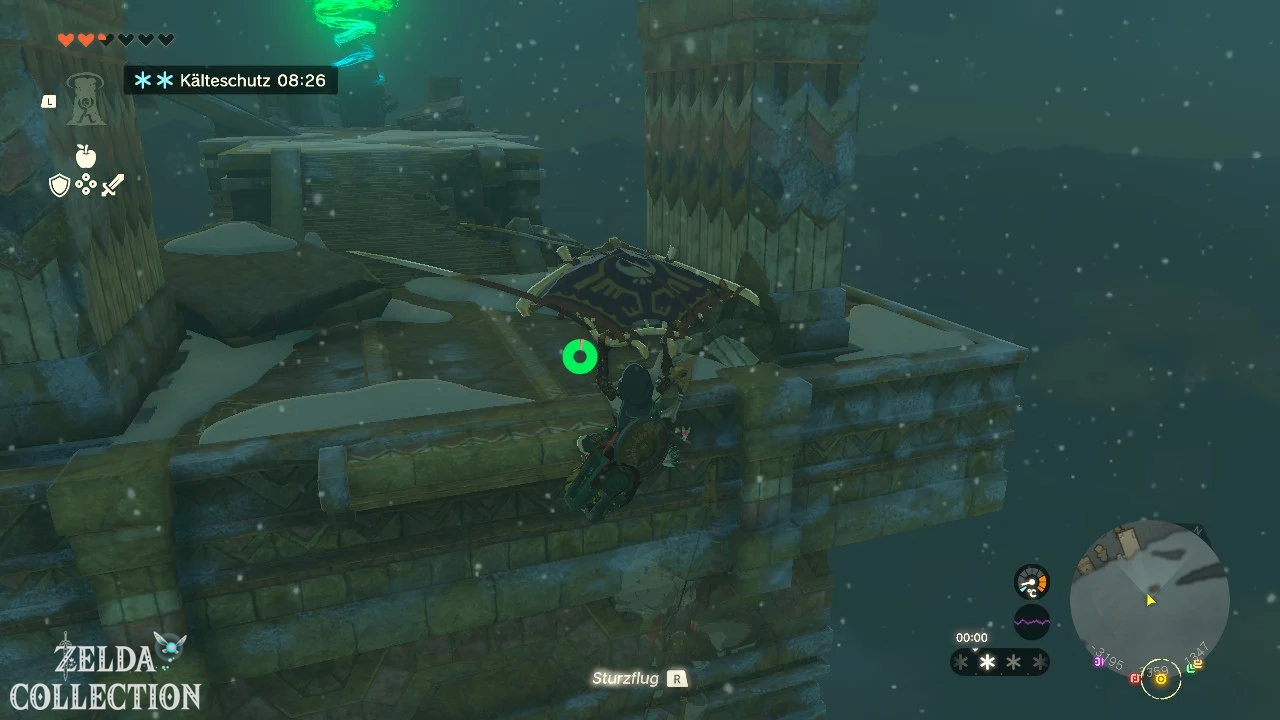
Jump into the storm cloud
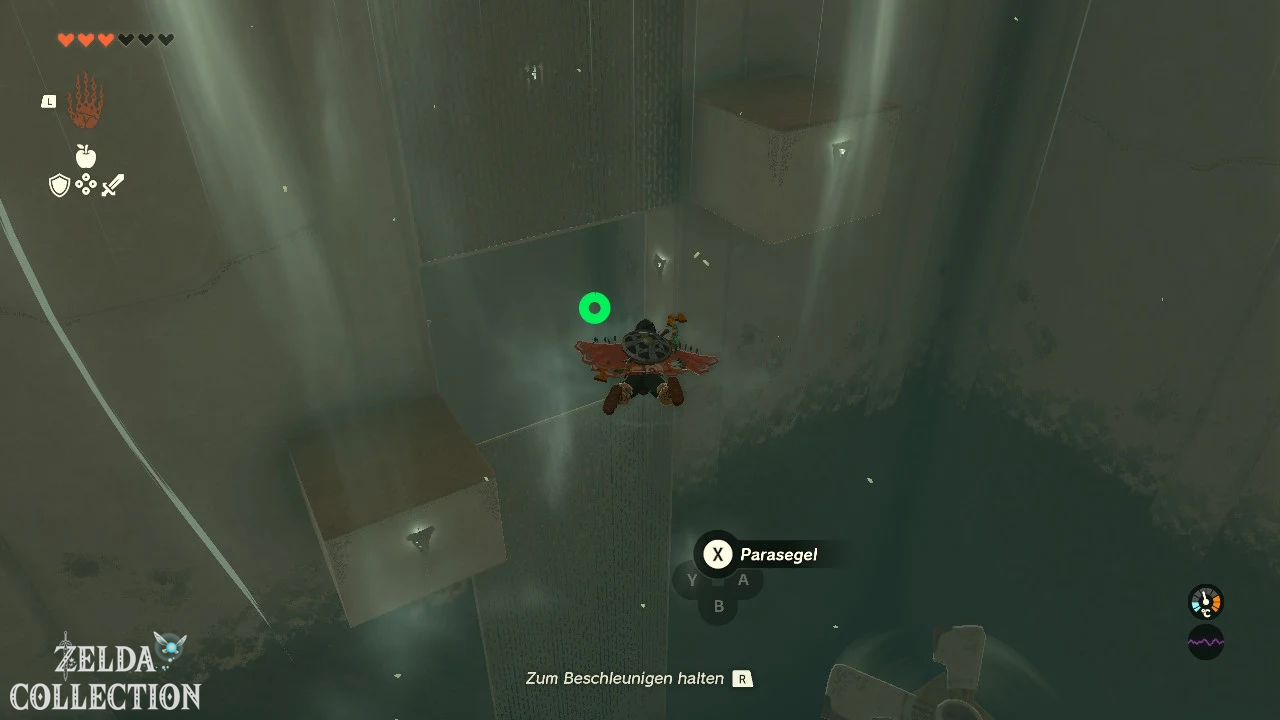
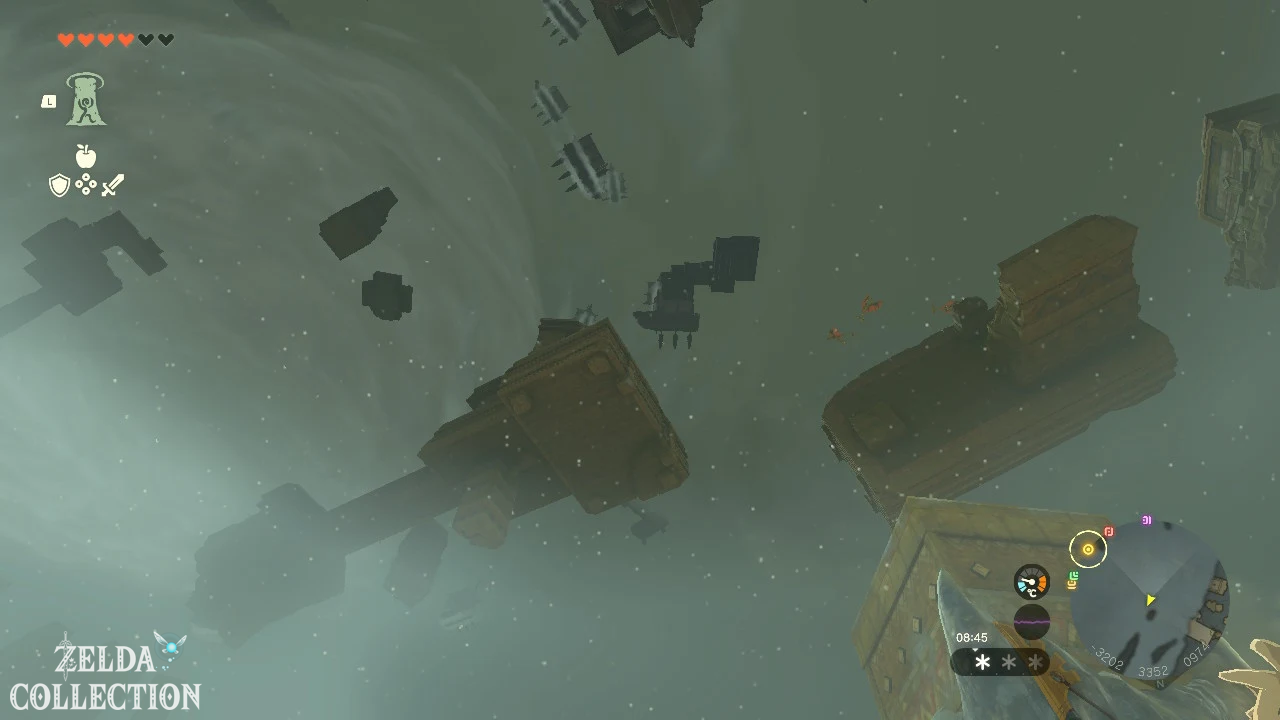
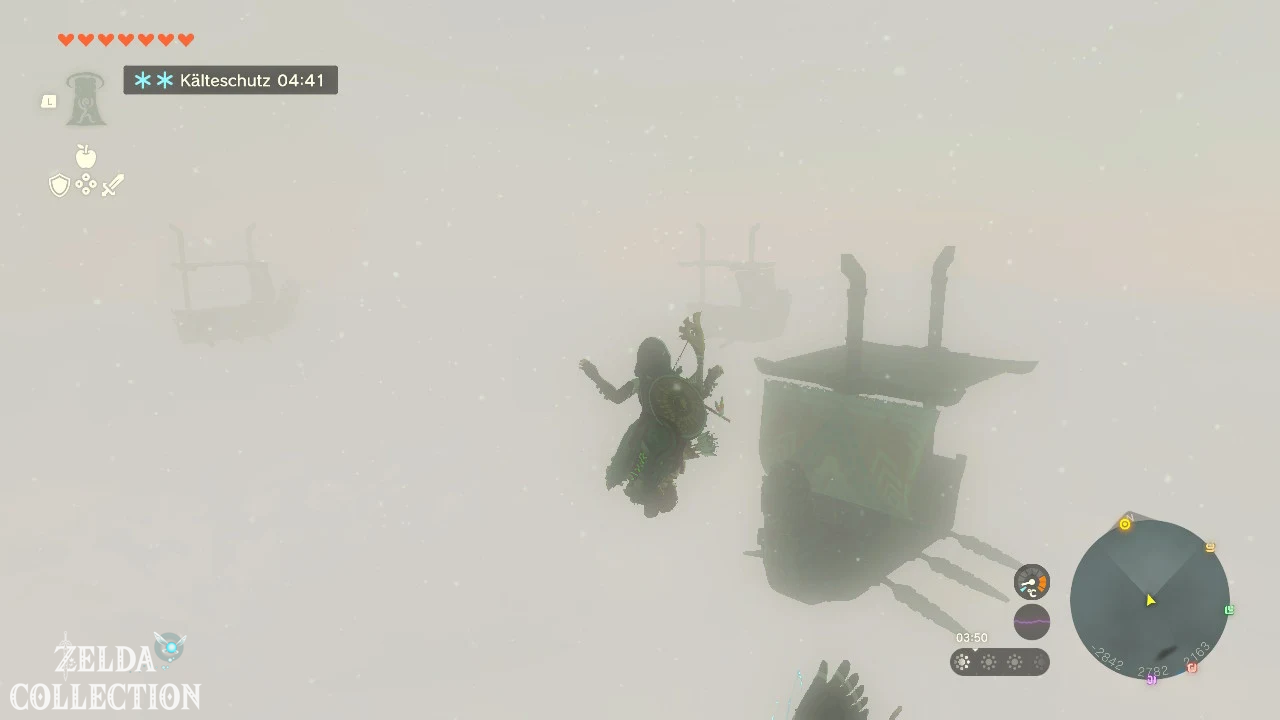
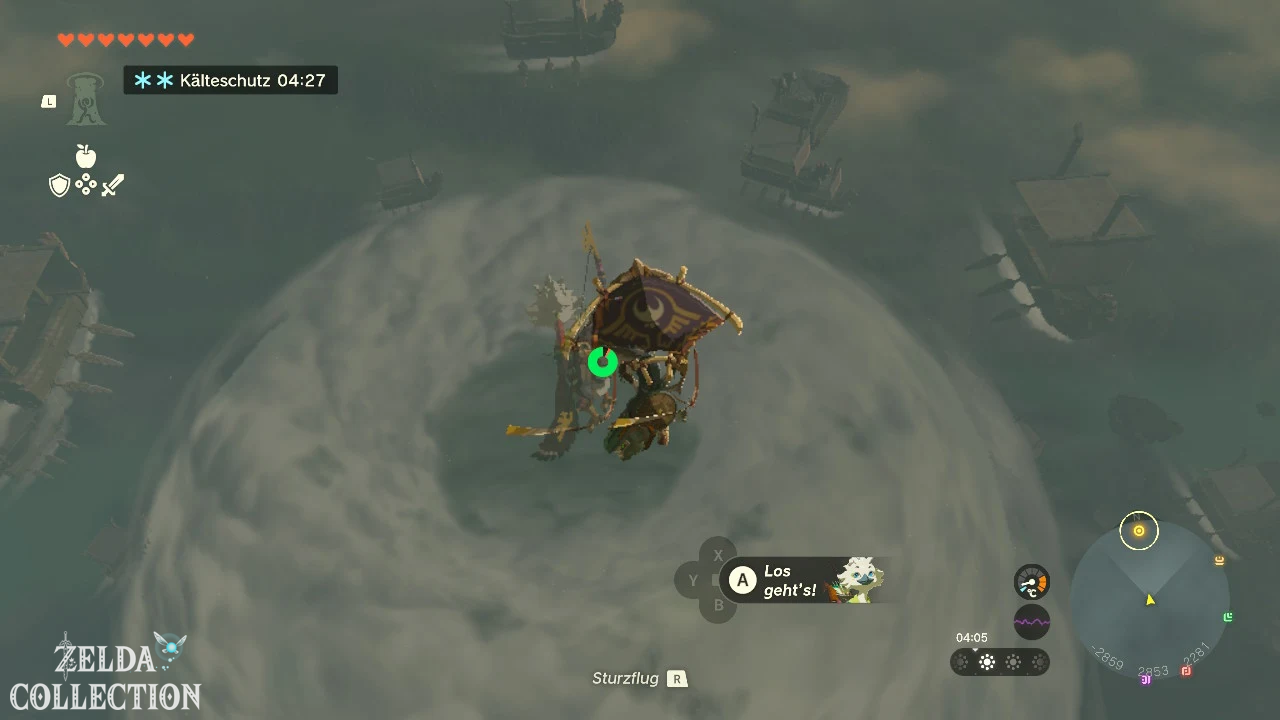
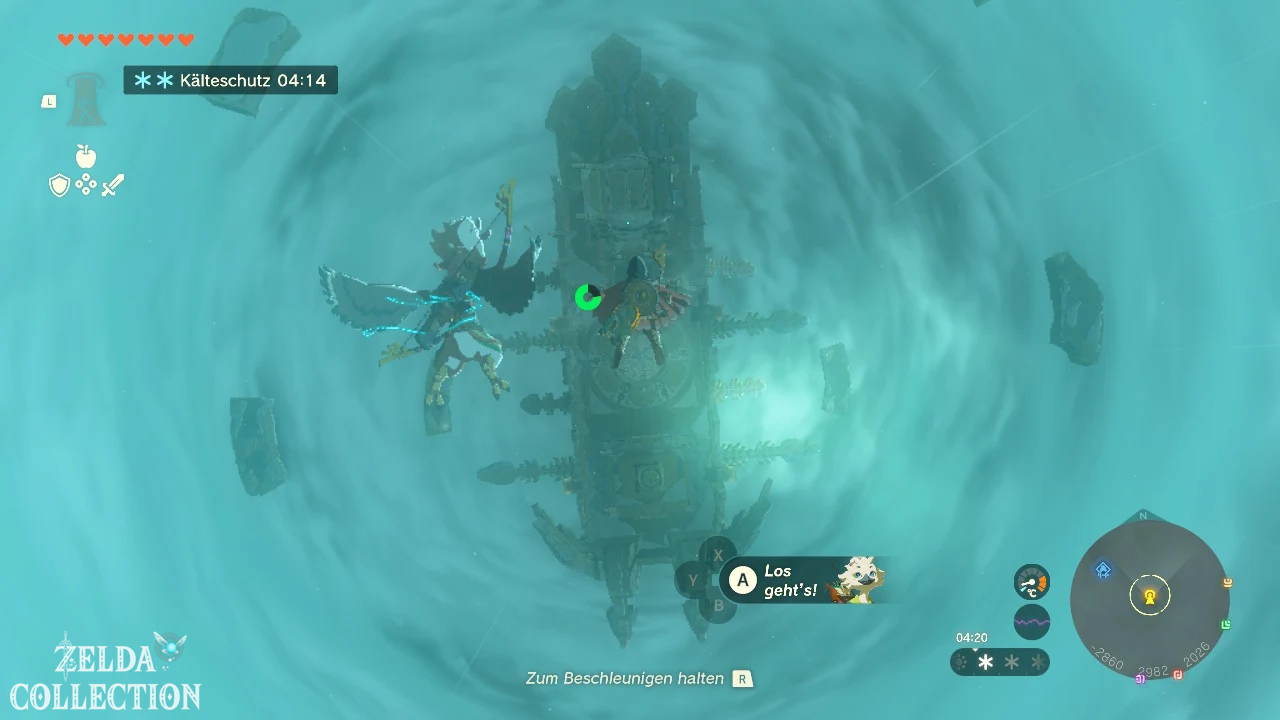
As soon as you get above the cloud cover, the sky suddenly becomes clear. Jump into the large hole at the center of the storm and fall through the clouds. Open the Paraglider just in front of the huge ship and land on its main deck.
Wind Temple – the legendary Stormwind Ark
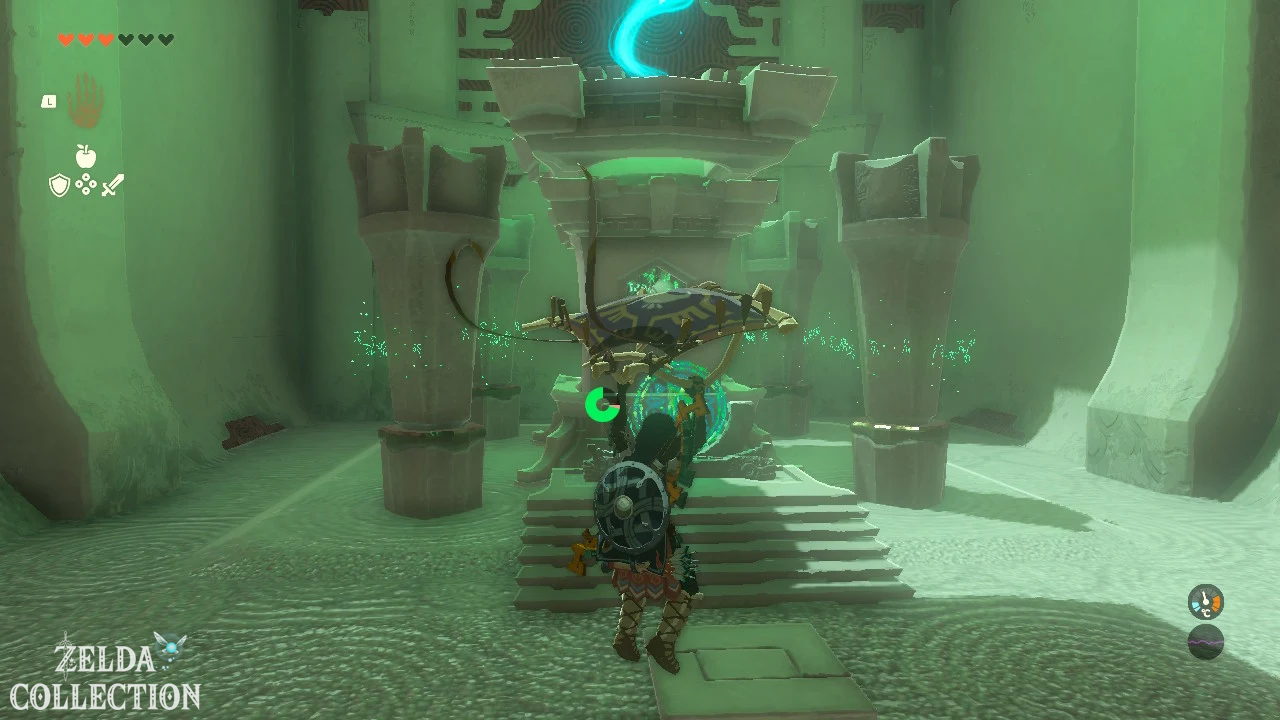
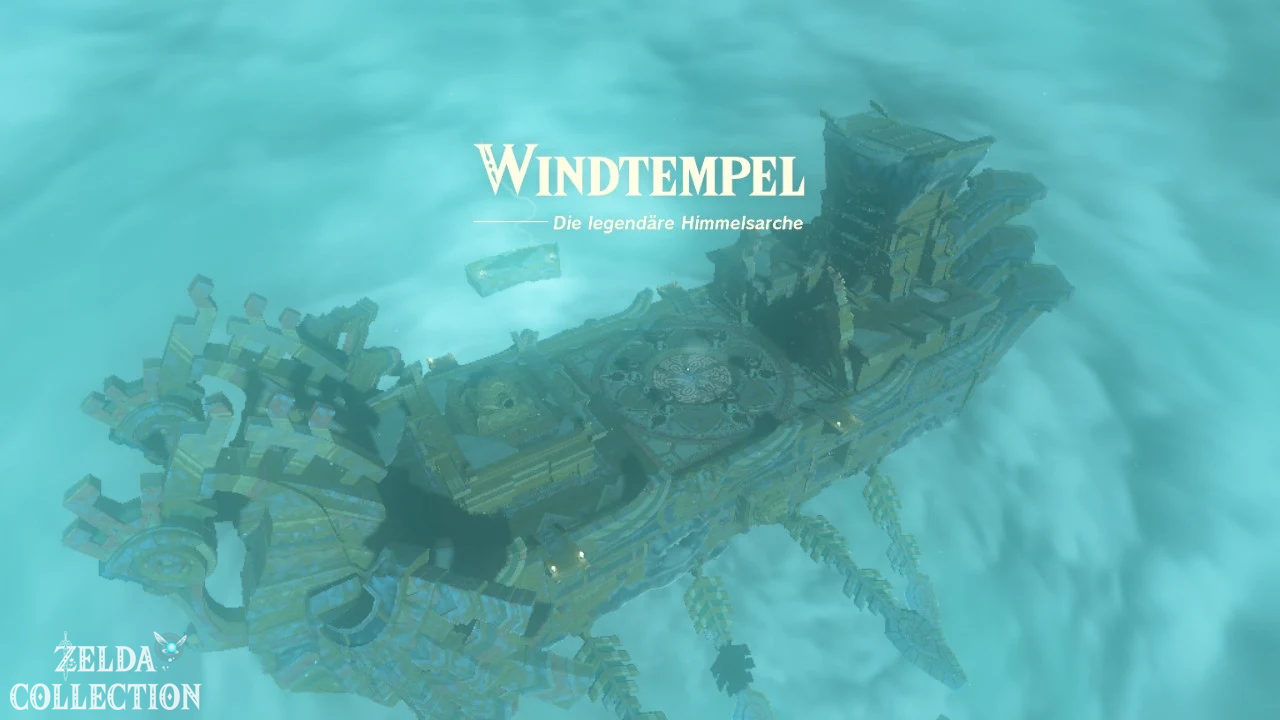
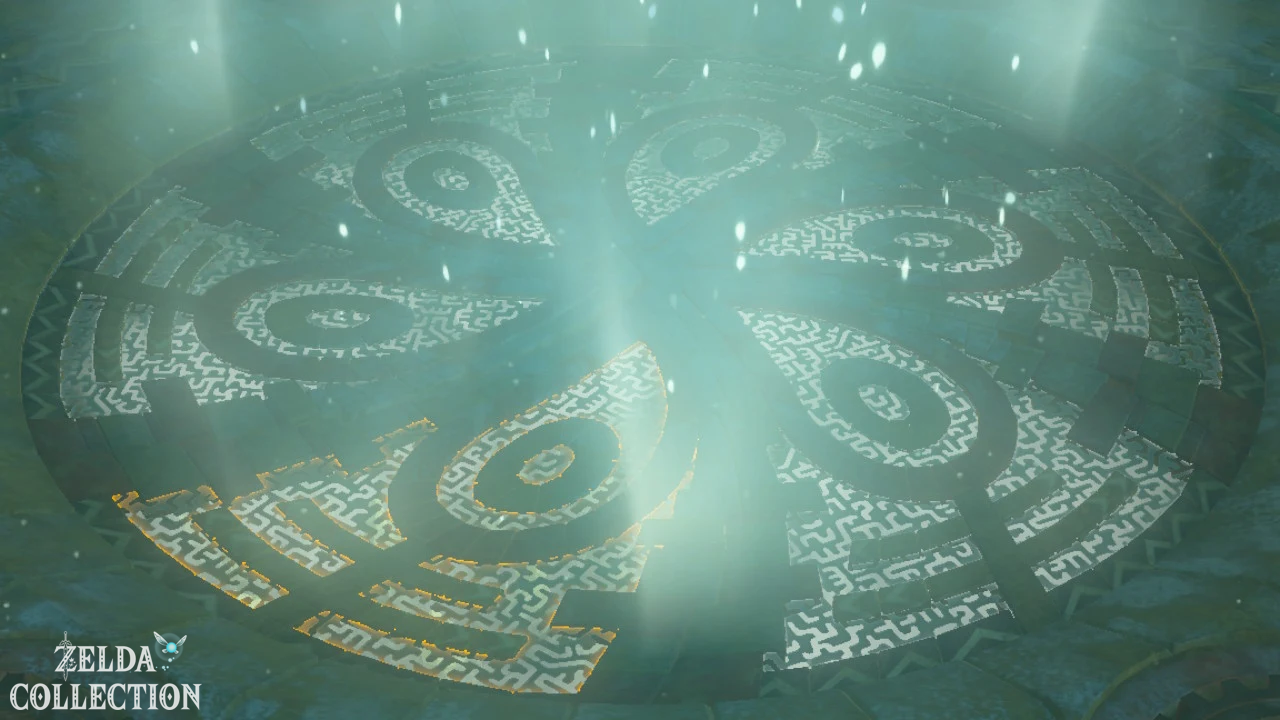
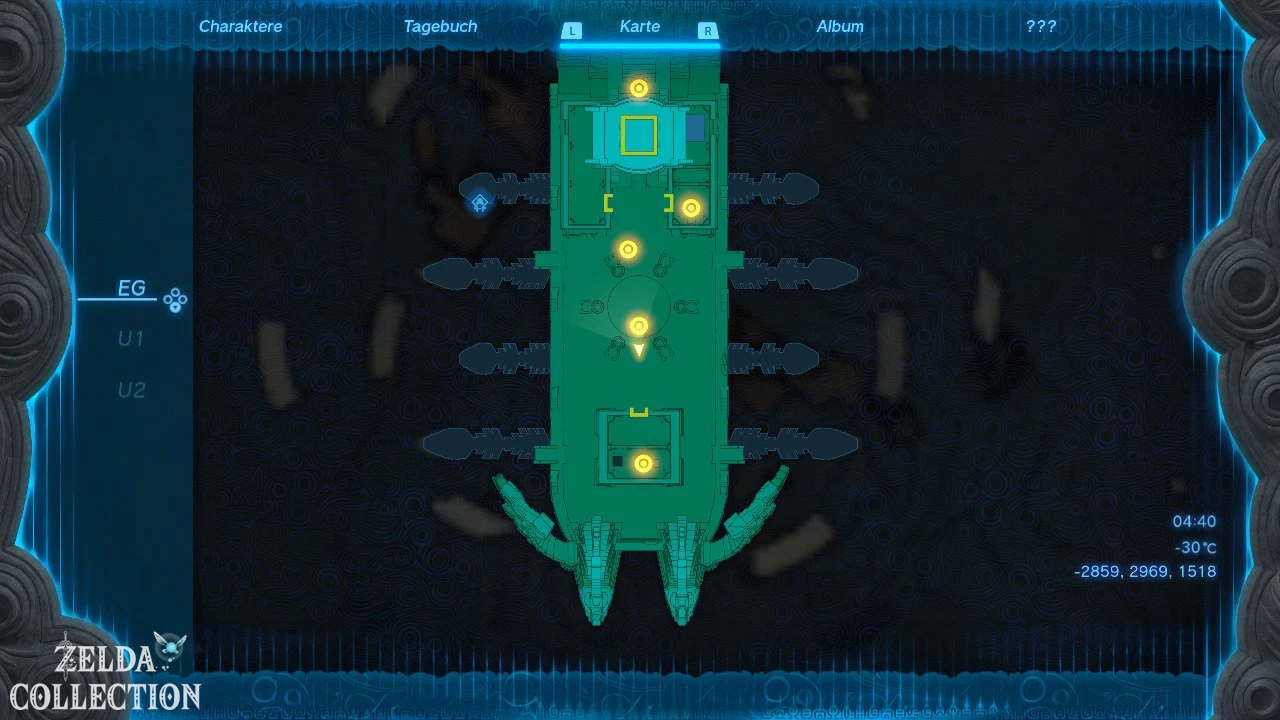
First activate the green Zonai terminal on the main deck. This will register the Wind Temple as a fast travel destination. The map shows the main deck and two levels below. The large gate in the center is secured with five locks. Each castle is connected to a turbine that can only be activated with Tulin’s gust of wind.
The order of the turbines is basically freely selectable. The following route connects the puzzles clearly and prevents unnecessary detours.
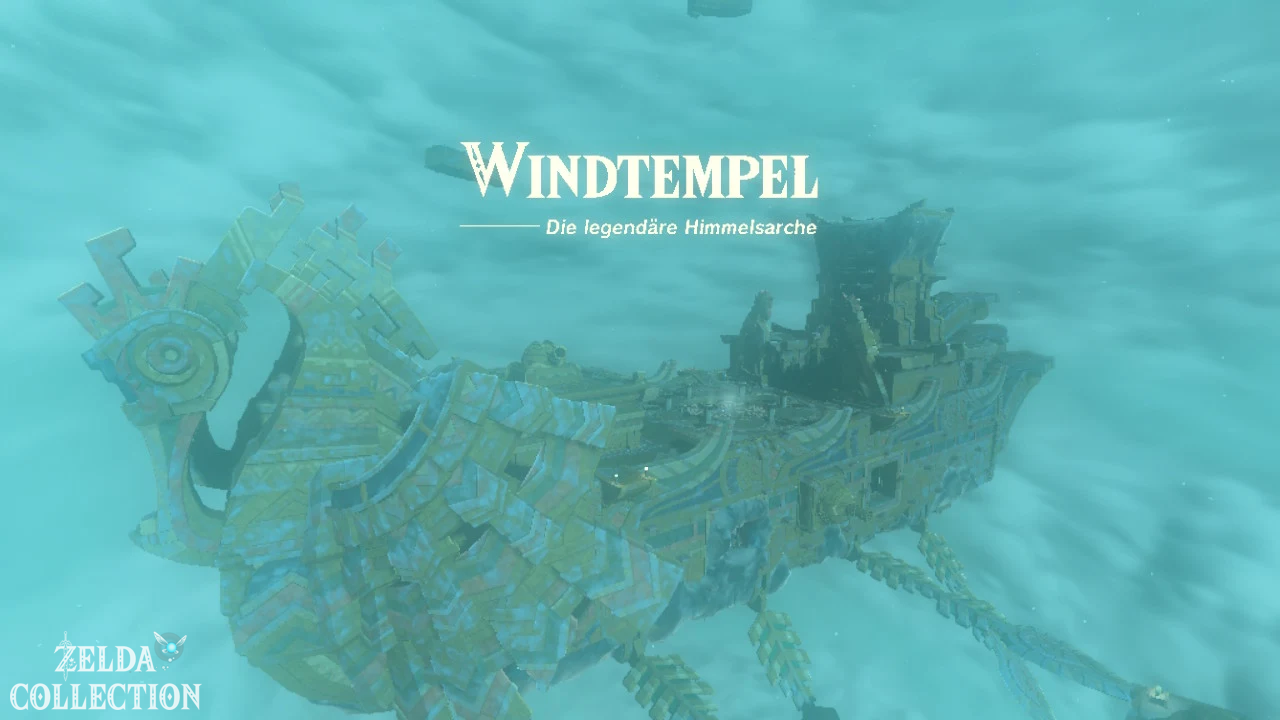
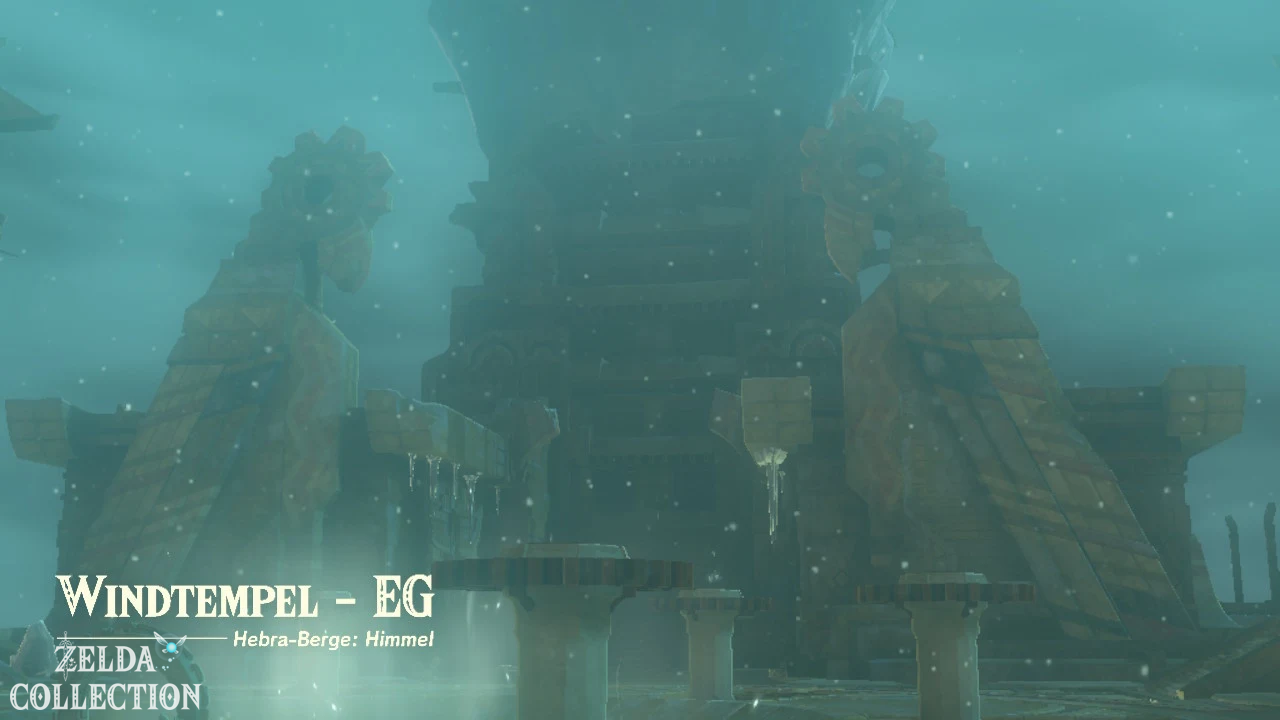
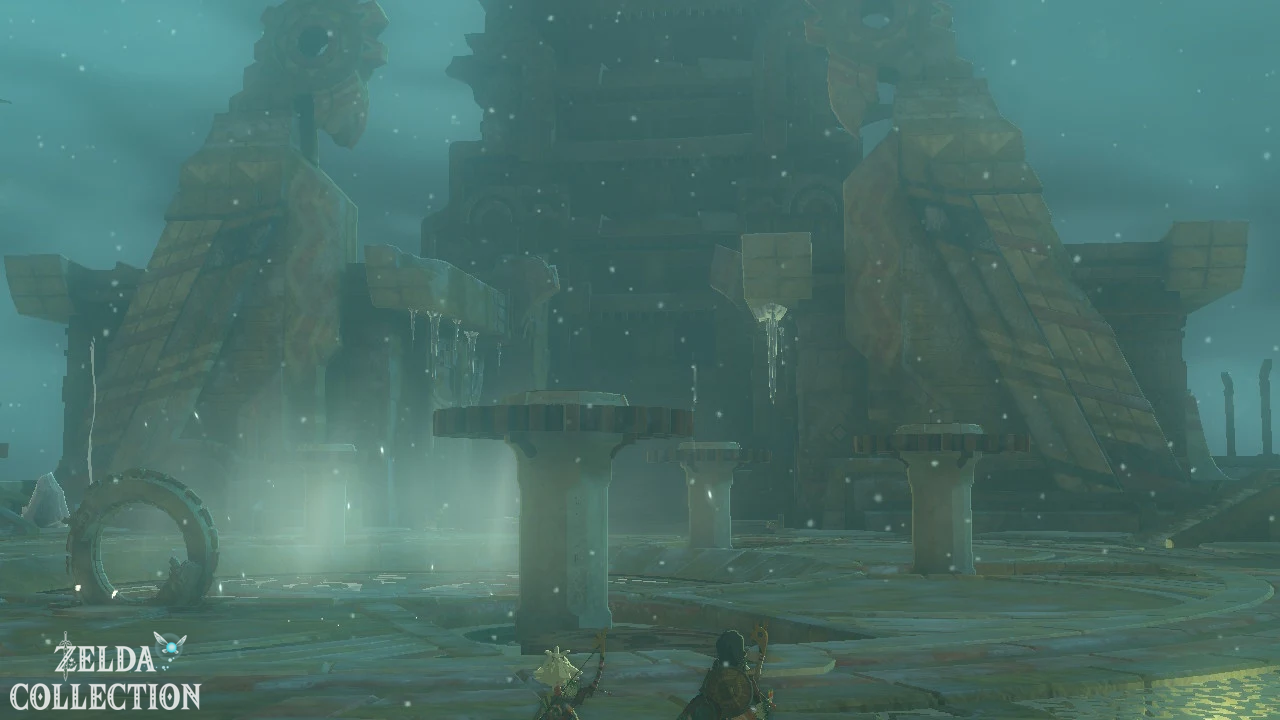
Orientation on the ship
- The high superstructure or bow is in the north.
- The fast travel point is located south of the central updraft.
- With the big updraft in the middle of the ship you can reach roofs and outer platforms.
- You can travel back to the temple entrance at any time using the map.
- The levels are referred to as 1F, B1 and B2 on many maps.
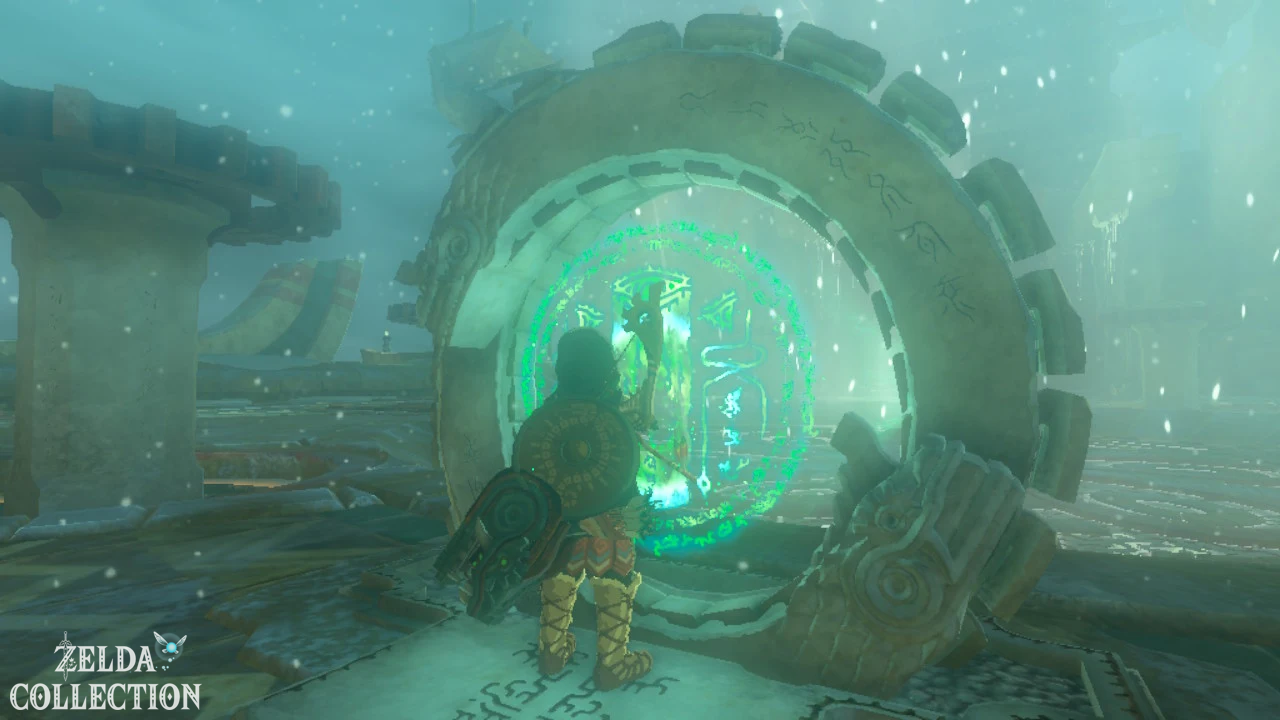
Exterior Treasure Chests of the Wind Temple
Before you activate the turbines, you can collect a large part of the loot on the main deck and the outer platforms. The first six chests can be reached without major detours.
Chest 1: Soldier’s Lance II
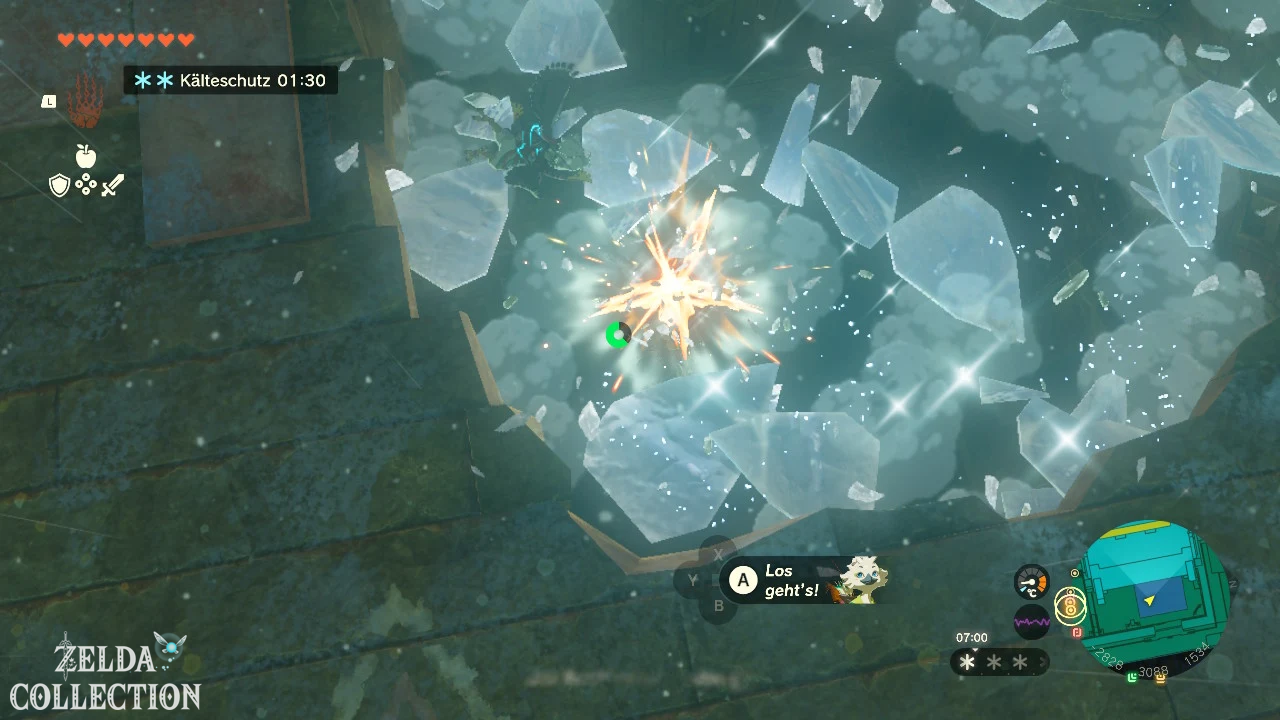
Go to the southern structure of the main deck and melt the large ice block there. Inside is a Treasure Chest with a Soldier’s Lance II. The exact quality level of certain weapons may vary depending on your game progress.
Chest 2: Ten Arrows
Use the central updraft and land on the roof of the northwestern structure. Melt the ice block on the roof. The chest contains ten arrows.
Chest 3: Opal
At the northern end of the main deck, two barred cabins face each other. One side has a working lever. Move it with the Ultrahand, defeat the construct in the room and open the chest with the opal.
Chest 4: Zonaite Shield
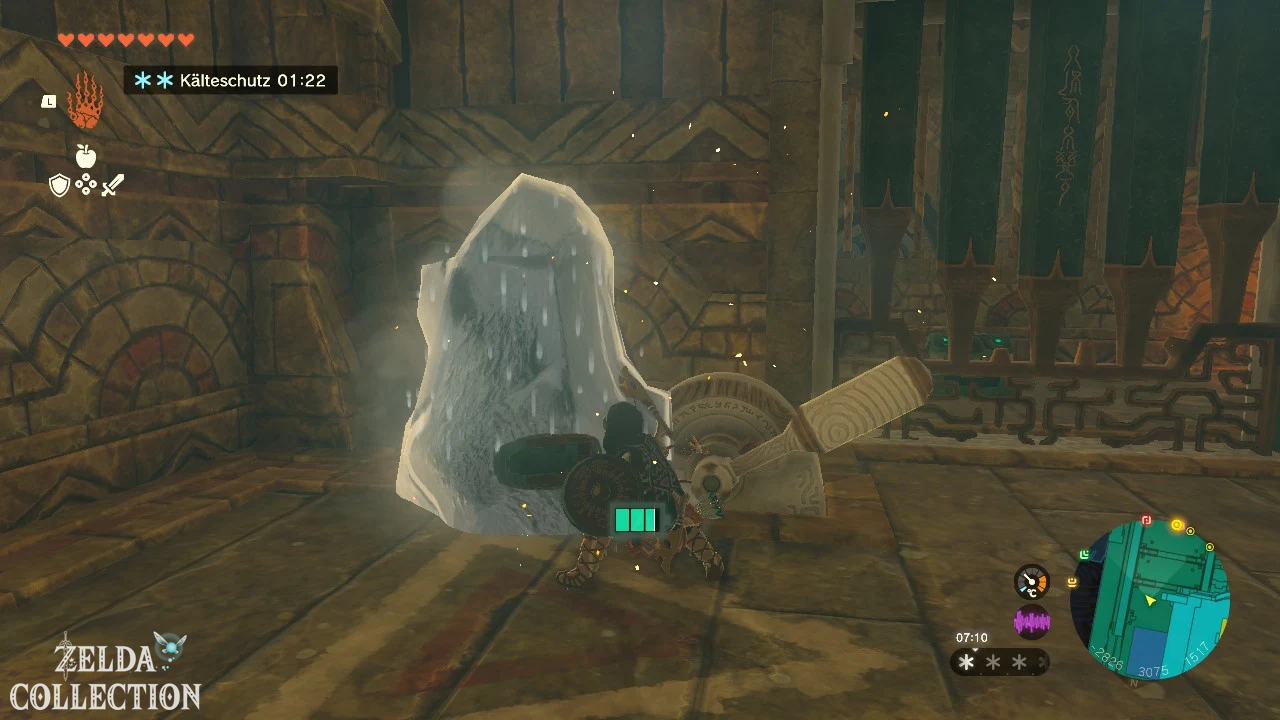
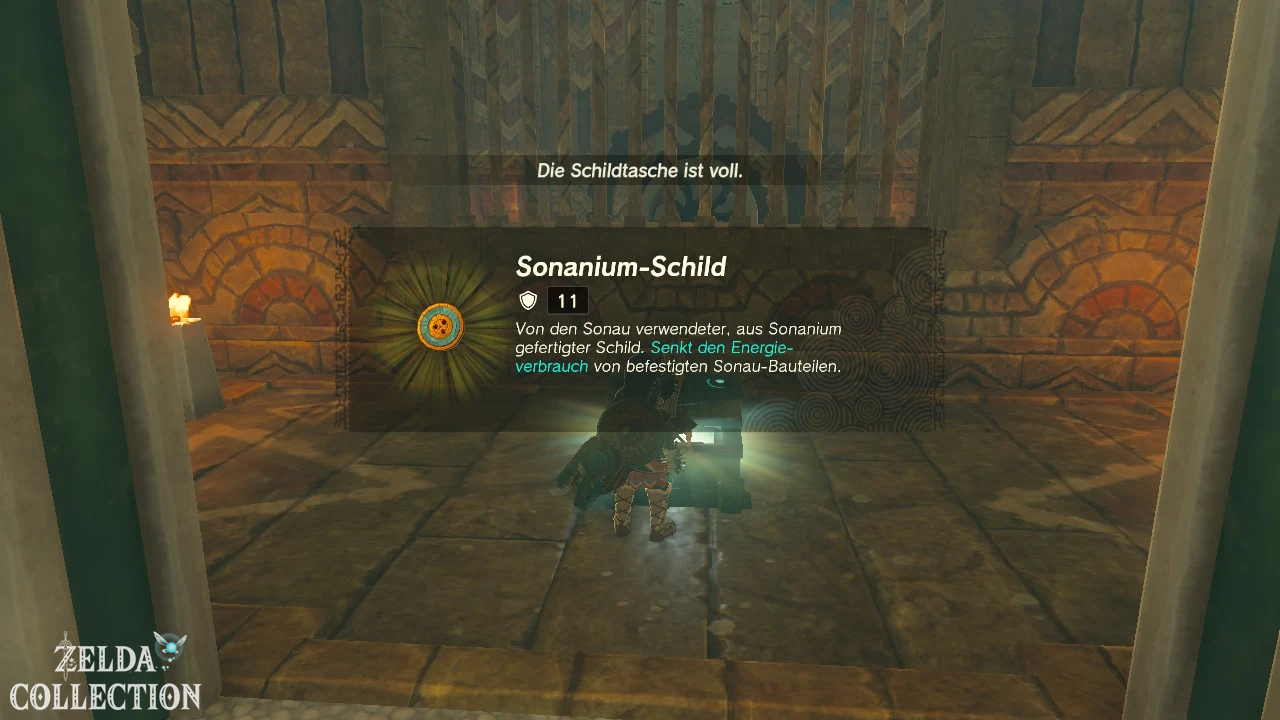
There is a fragile ice surface on or next to the northeastern structure. Jump on it or melt it and drop into the room below. Clear the ice on the mechanism and open the chamber with the Zonaite shield.
Chest 5: Large Zonaite
Let the central updraft carry you up and, with Tulin’s help, glide to the floating ruins west of the ship. The chest there contains a large Zonaite. Then travel across the map back to the main deck.
Chest 6: Construct Sheet
Repeat the process on the eastern side. There is a chest with a Construct Bow on a floating platform. Its exact quality level may be higher depending on your game progress.
Turbine 1: Main deck
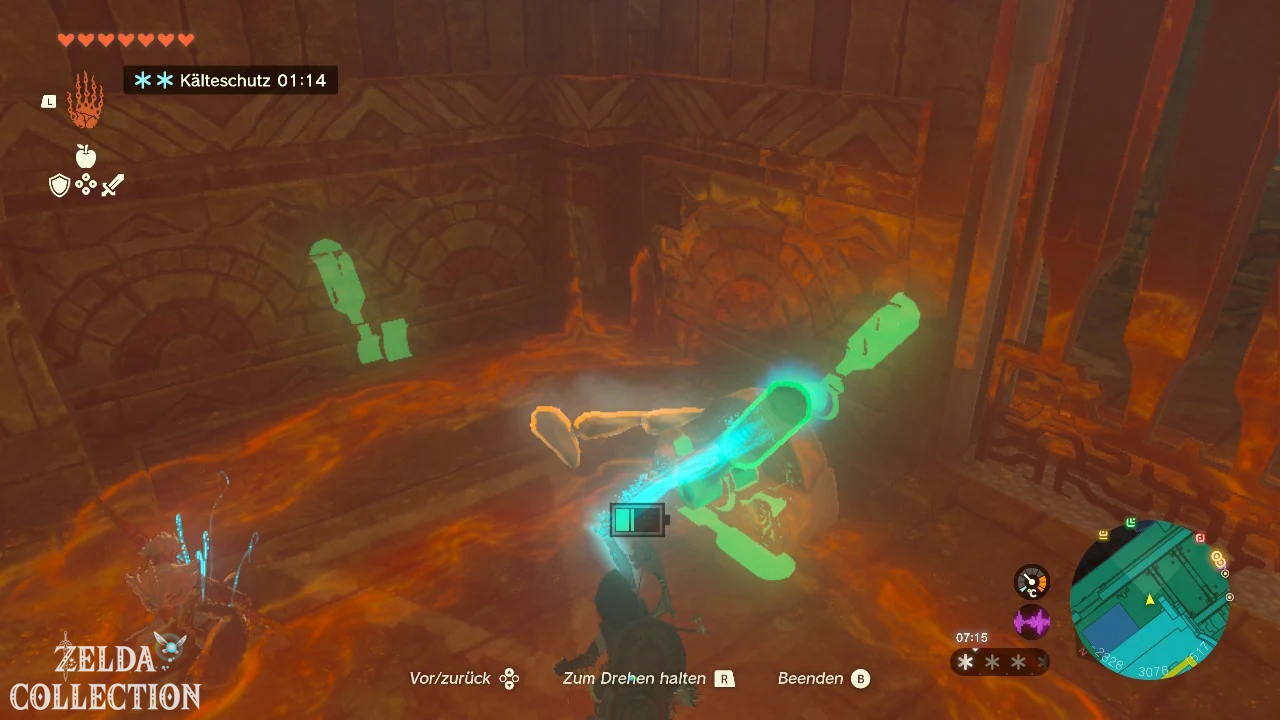
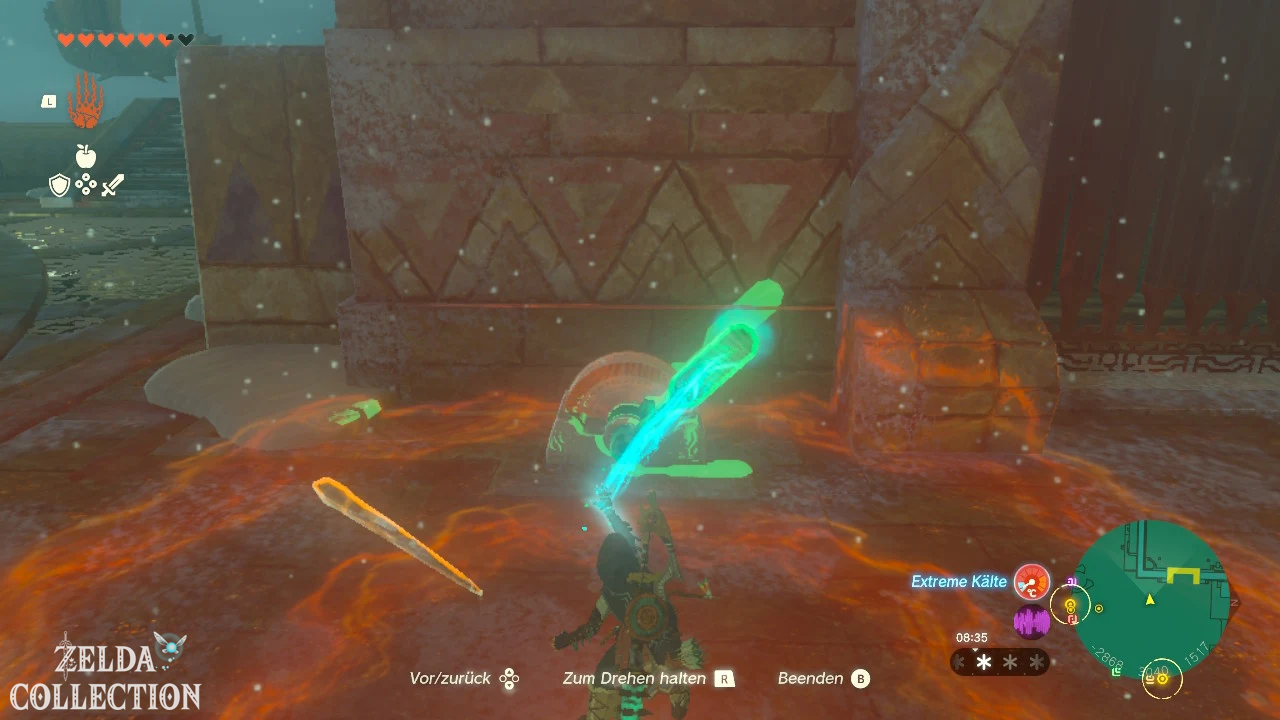
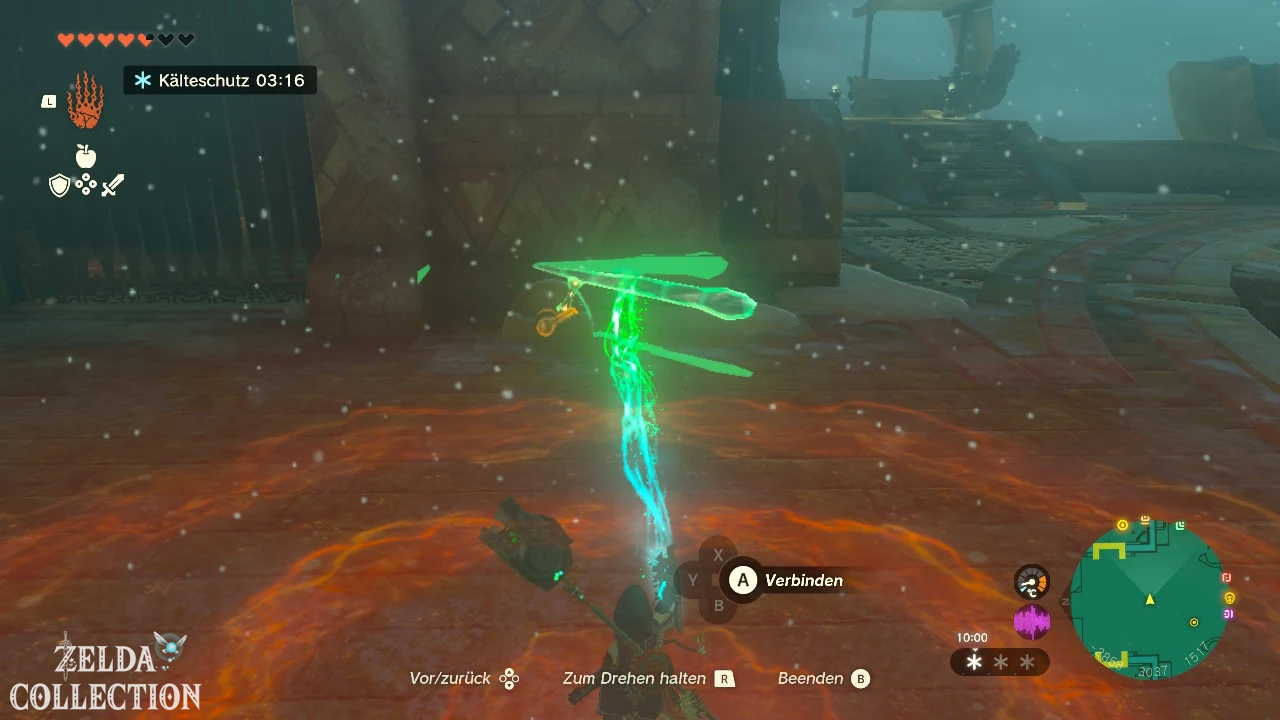
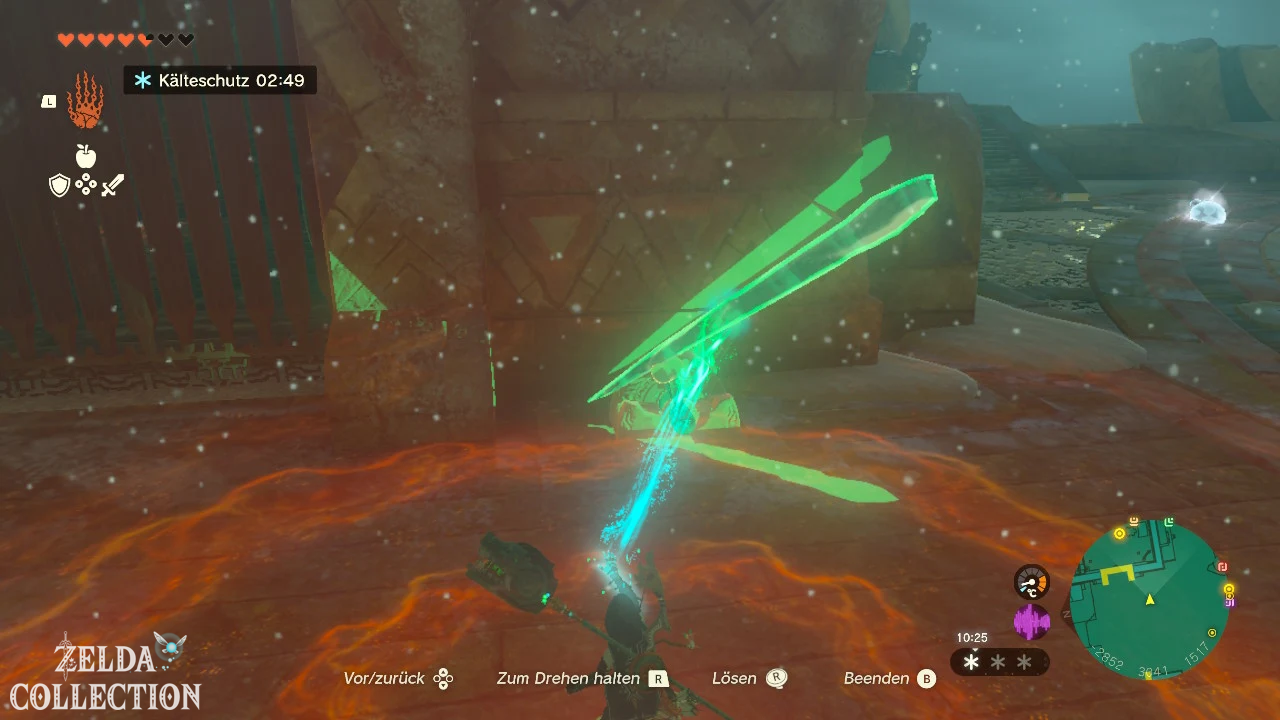
Go to the two barred cabins at the north end of the main deck. The lever of the second cabin broke off. Axyl up one of the long icicles with the Ultrahand and attach it horizontally to the remaining part of the lever.
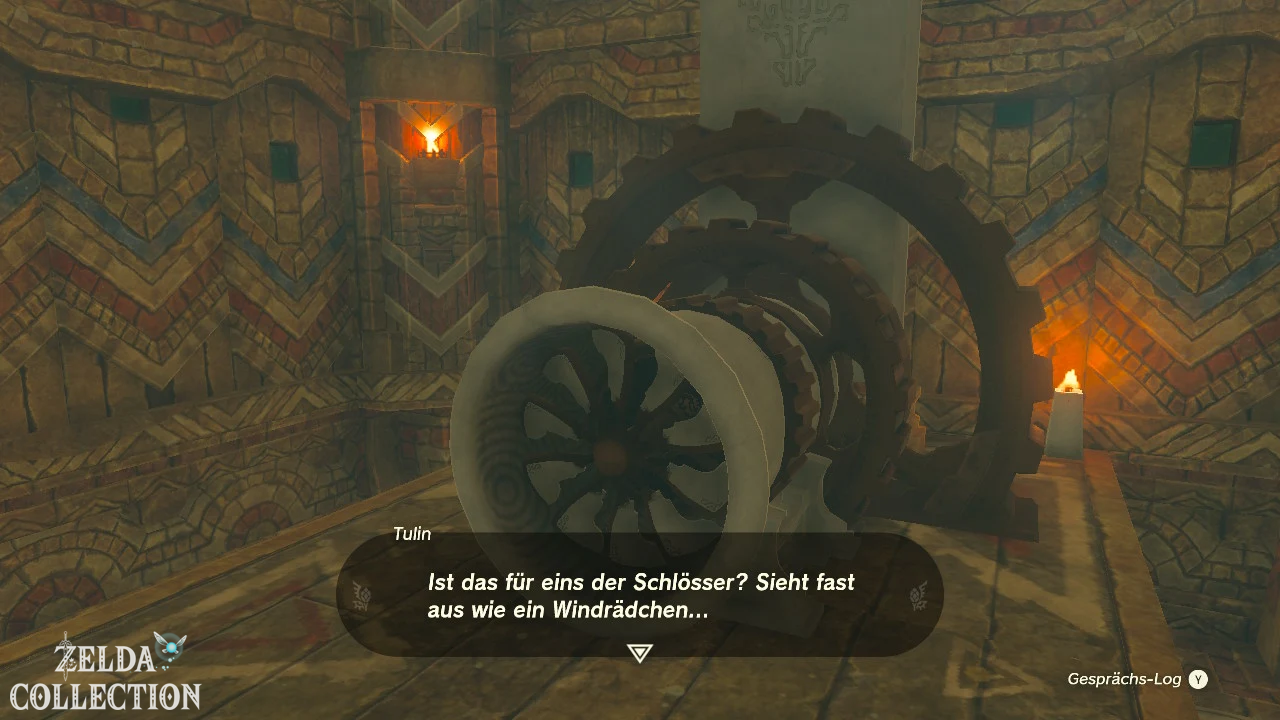
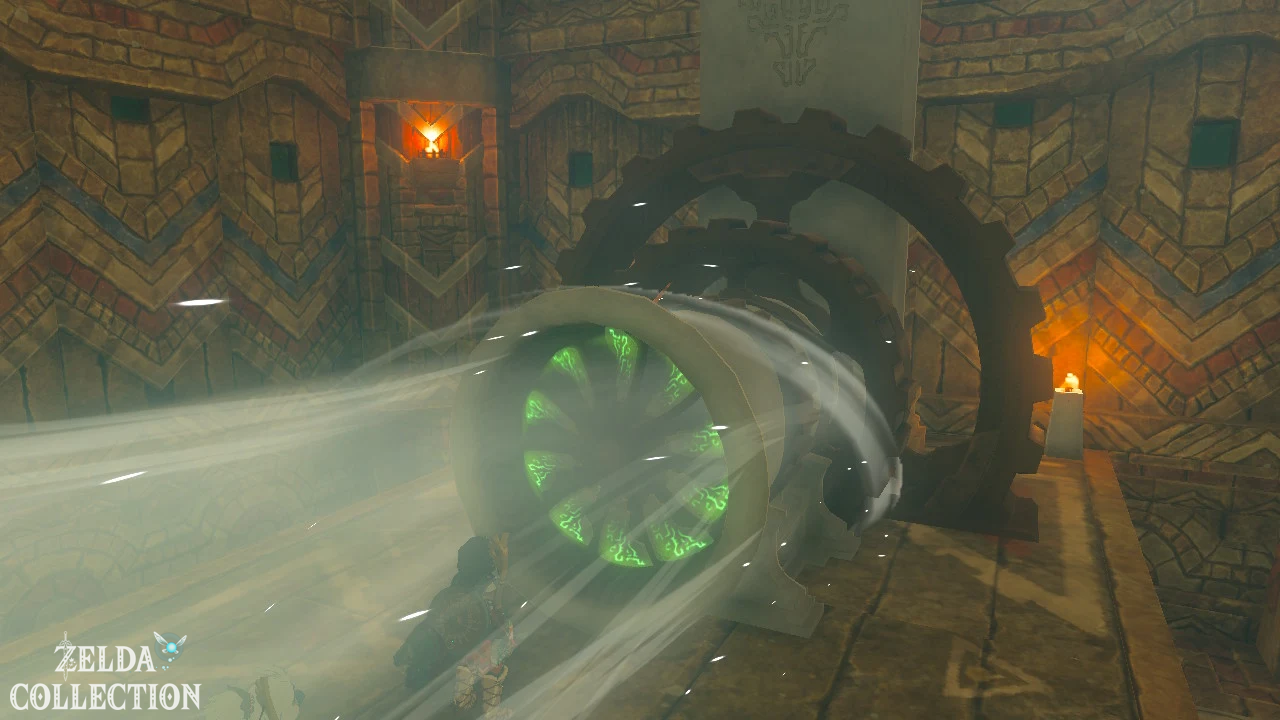
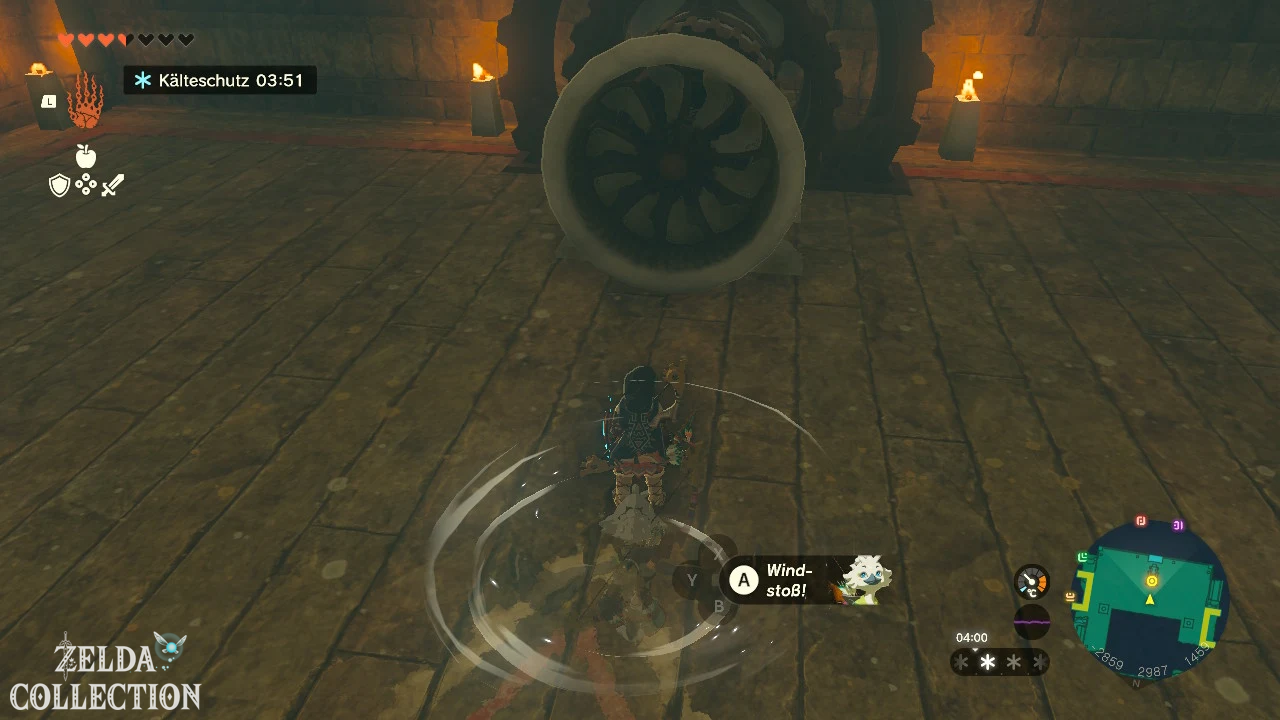
Grab the extended construction again with the Ultrahand and turn the lever to the side until the grille opens. Stand in front of the turbine, activate Tulin and let his gust of wind flow frontally through the rotor blades. The first lock is unlocked.
Turbine 2: The laser shaft
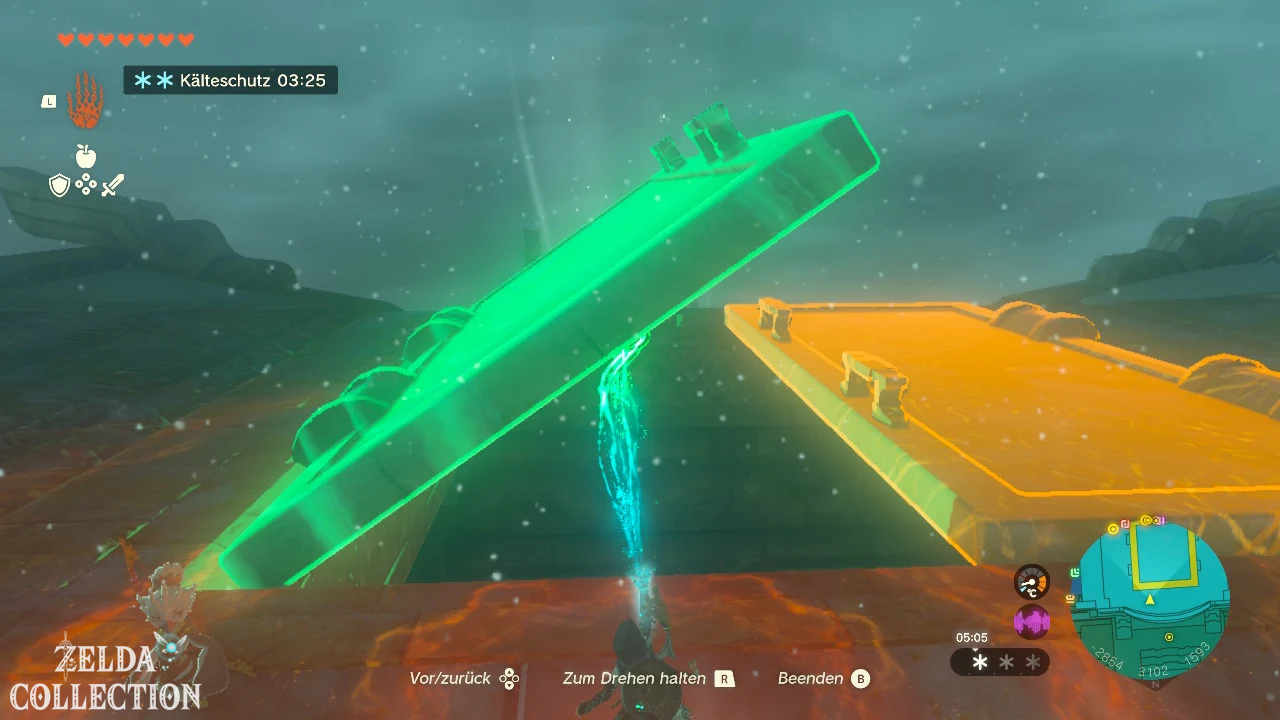
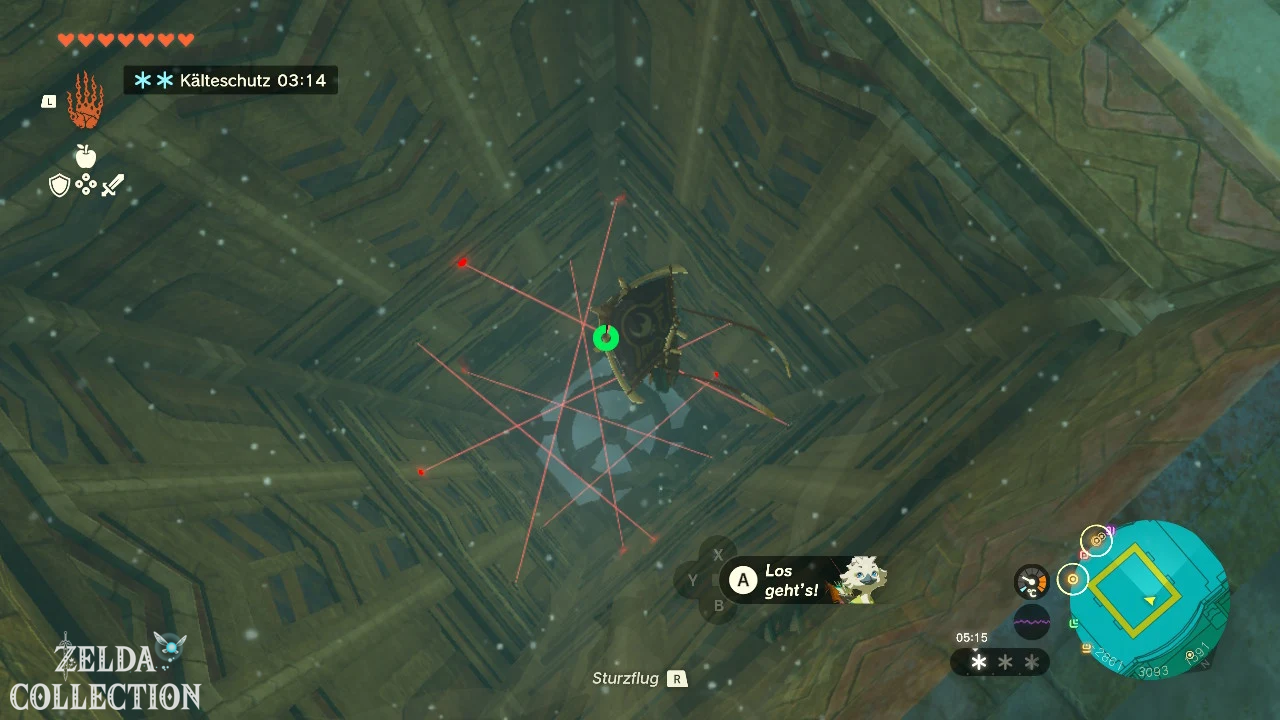
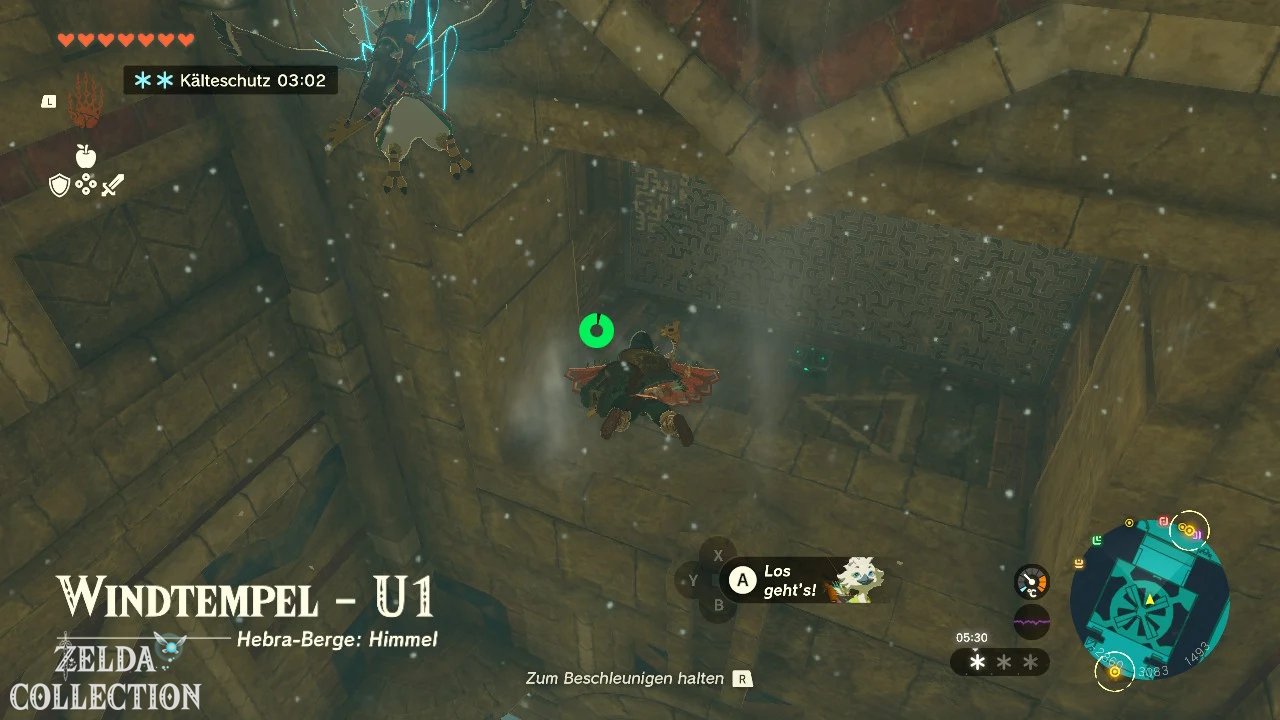
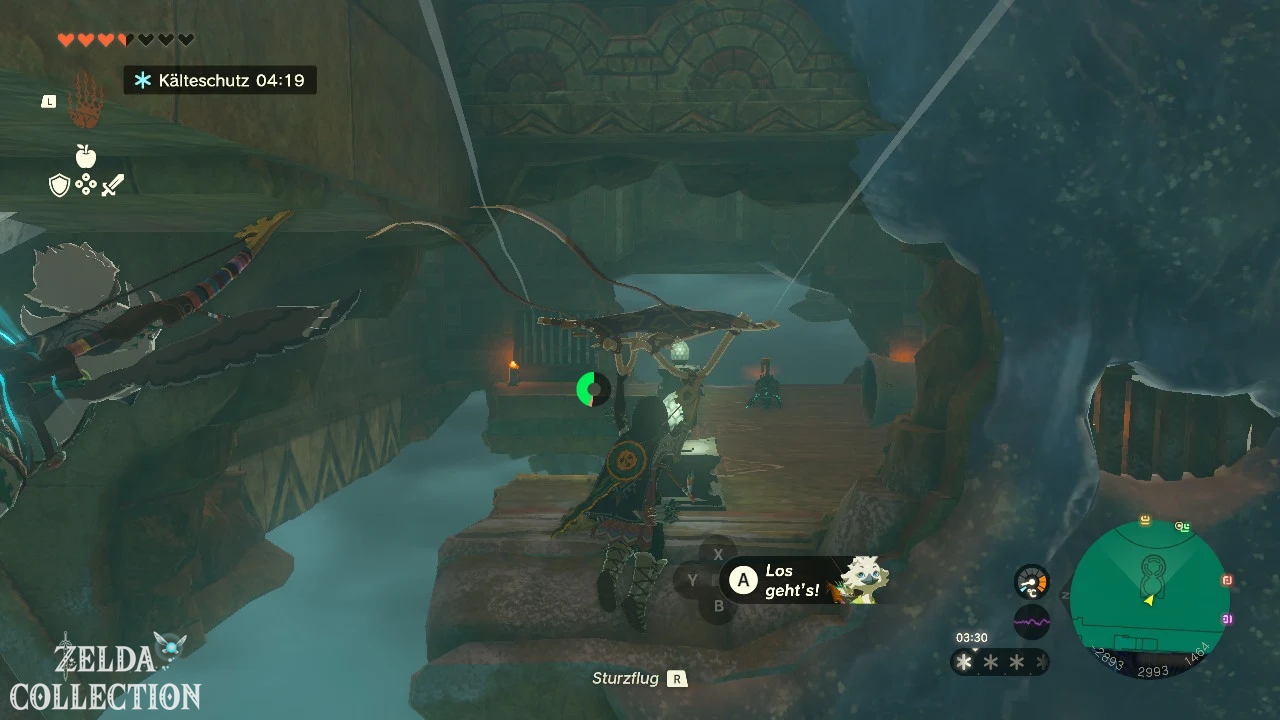
Return to the central updraft and let yourself be carried above the highest northern structure. The small airships next to the temple can provide additional altitude. There are two large metal flaps on the roof. Open both with the Ultrahand and look into the deep shaft.
Carefully let yourself fall down between the red laser beams and only open the Paraglider just before the lower platform. Land on the north side of the shaft and activate the second turbine with Tulin’s Gust of Wind.
If you touch a laser beam, the lower grille will temporarily close. Open the Paraglider and let the updraft carry you back up until access is clear again.
Chest 7: Soldier’s Sword
Before you leave the shaft, slide onto the small ledge opposite. There is a chest with a soldier’s sword there. You can then let the updraft carry you back up to the roof or teleport you to the entrance to the Wind Temple.
Turbine 3: East side of the first sublevel
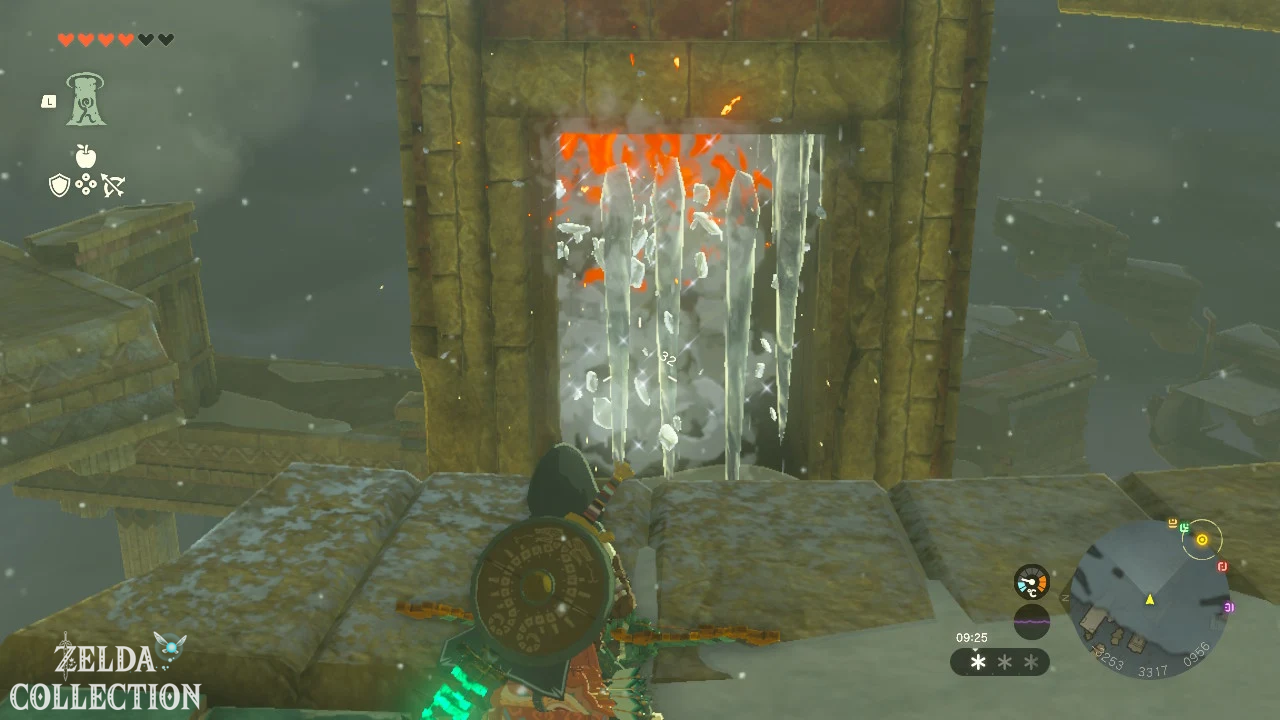
Jump from the eastern edge of the main deck and slide down the outer wall. Look for a side entrance blocked by large icicles. Smash the icicles and enter the first sublevel.
Chest 8: Sapphire behind the grille
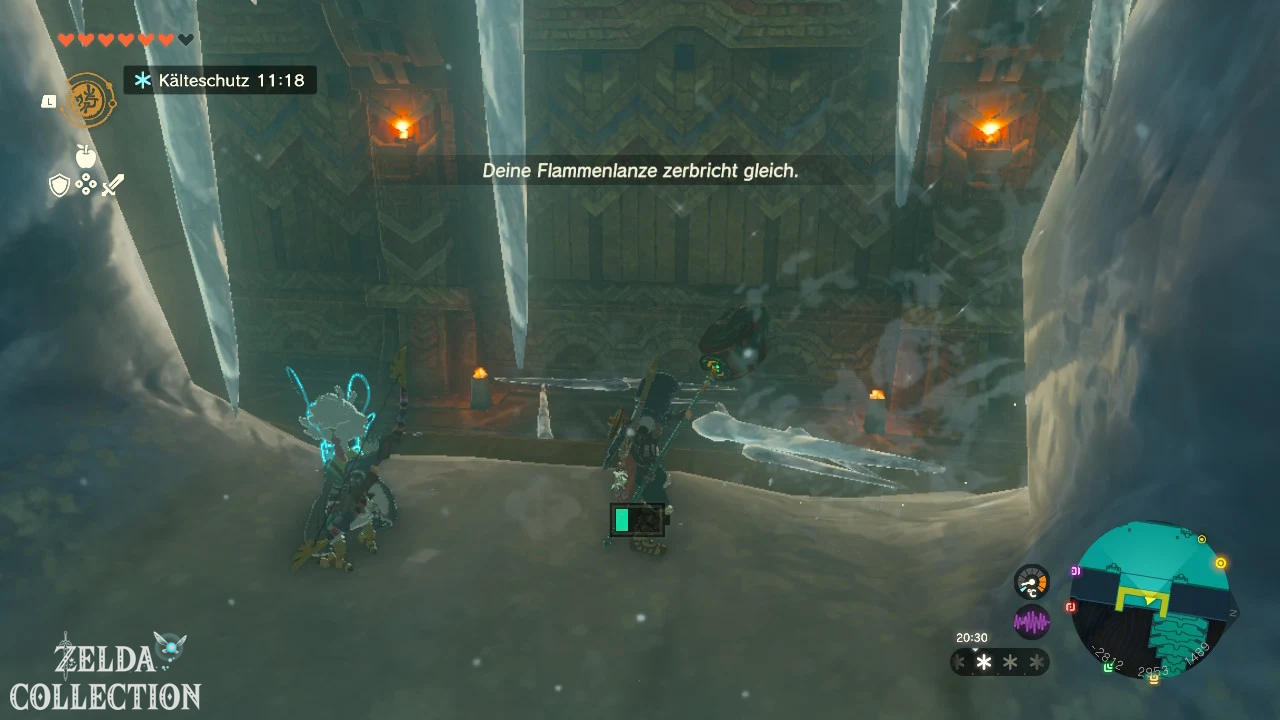
In a side room there is a chest behind a grille with a small opening. Shoot a long icicle from the ceiling, grab it with the Ultrahand and push it through the opening. Attach the icicle to the chest and pull it towards you. There is a sapphire inside.
The reverse Big Wheel
Follow the aisle and use the Recall on the large rotating Big Wheel. Jump onto the Big Wheel, which is now running backwards, and let yourself be transported to the other side.
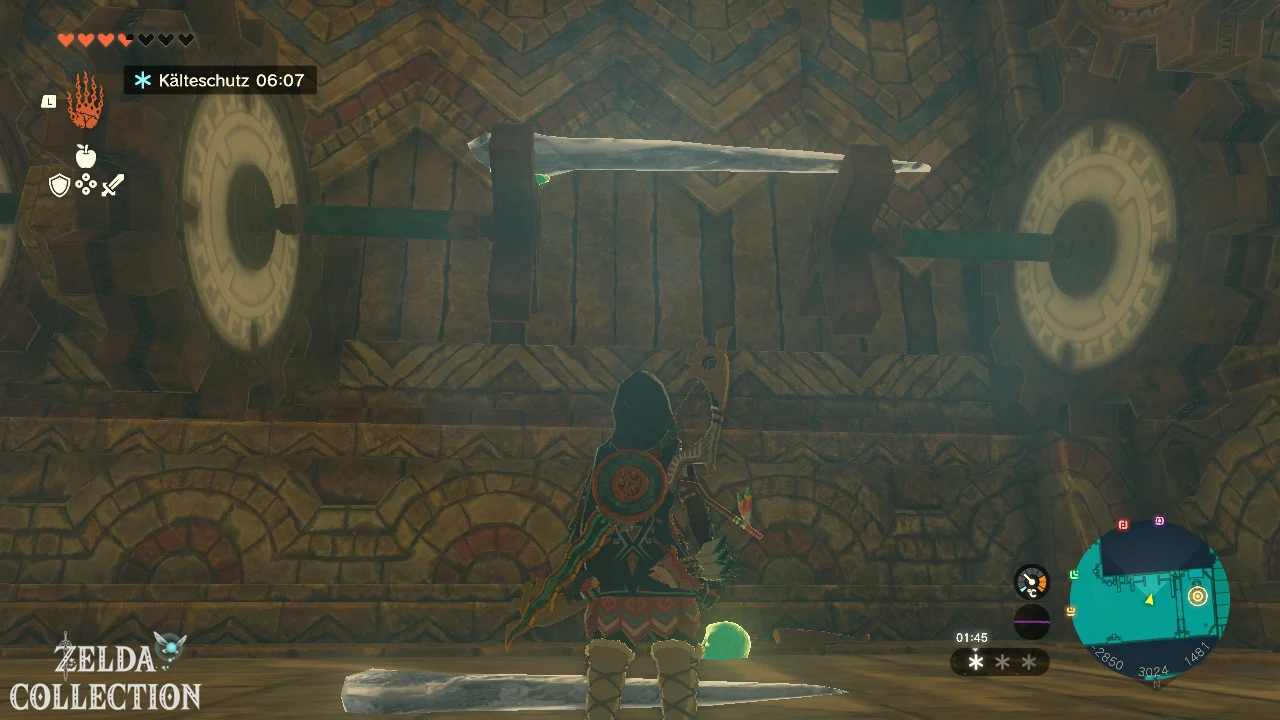
There you can see two gear mechanisms. The left gear rotates but does not reach the right one. Shoot a large icicle from the ceiling and attach it between the cross-shaped arms of both gears. The icicle transmits the movement to the second gear and opens the grid to the turbine. Activate it with Tulin’s Gust of Wind.
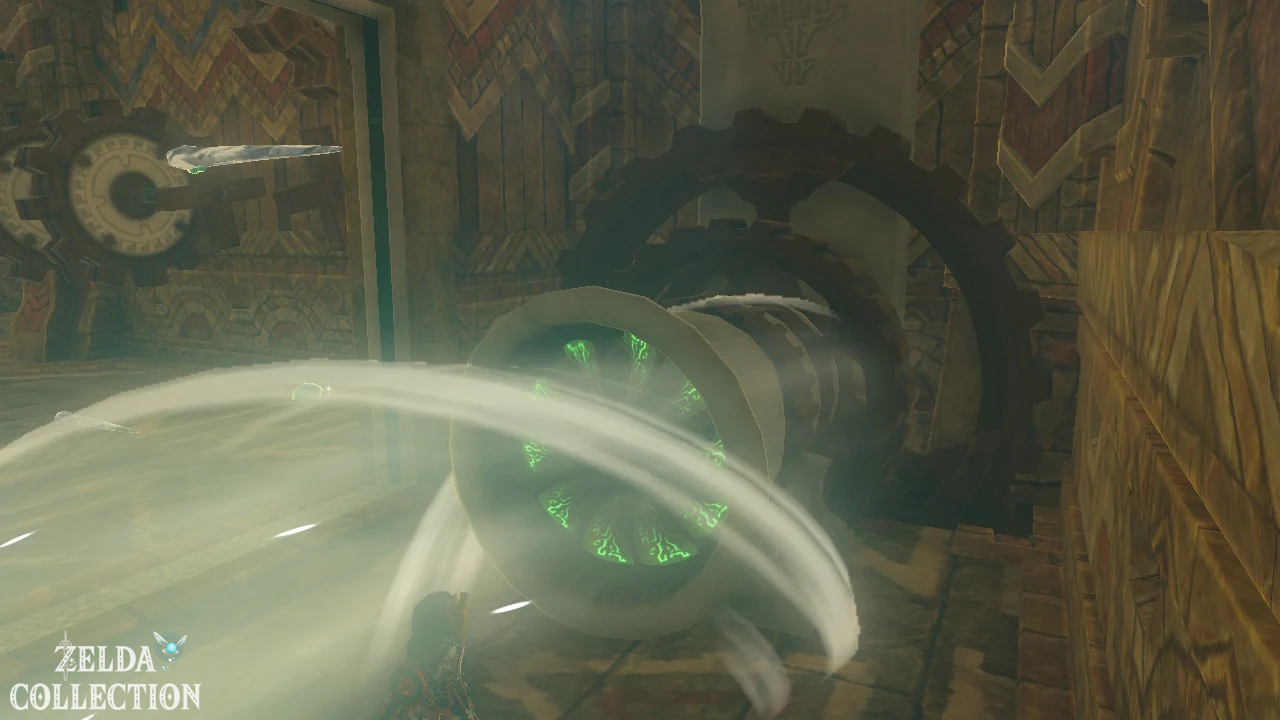
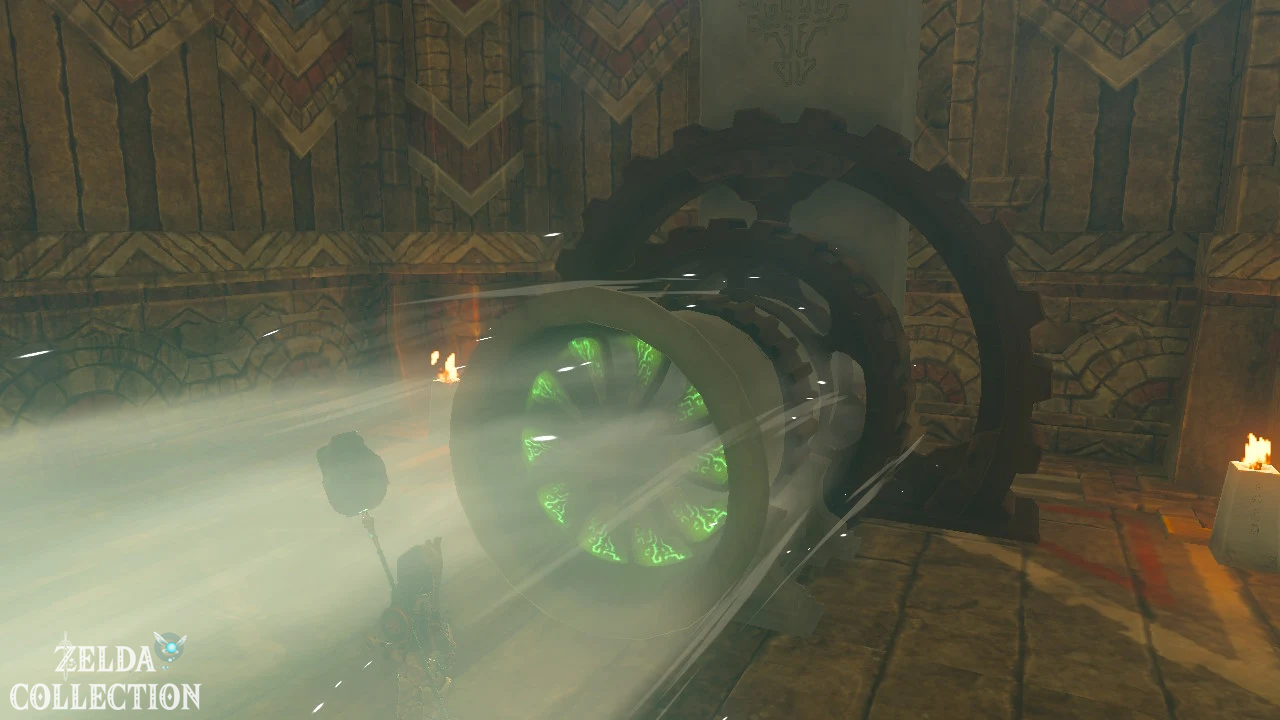
Turbine 4: West side of the first sublevel
Teleport to the main deck and this time jump down the west side. Slide into the open side entrance and first defeat the construct in the hallway.
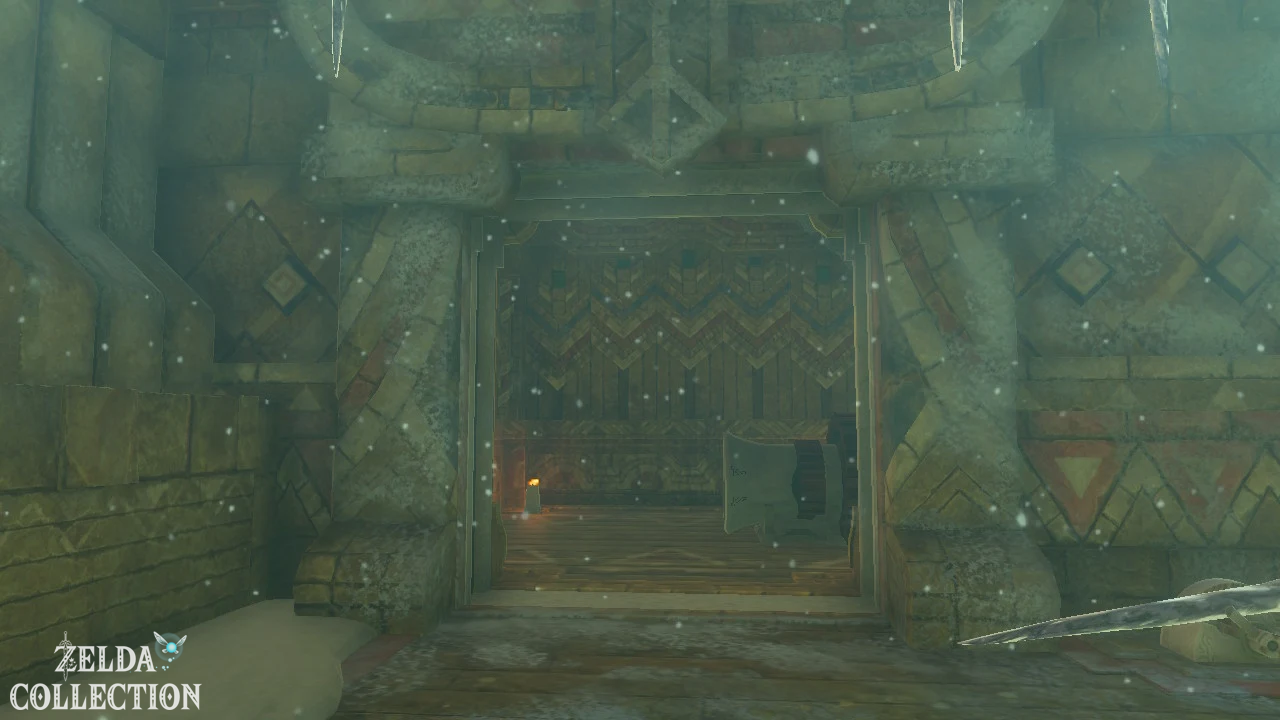
Chest 9: Rupee
There is a laser trap in the northern side area. Duck under the high beams and jump over the low-level lasers. Behind the trap is a chest with a Rupee.
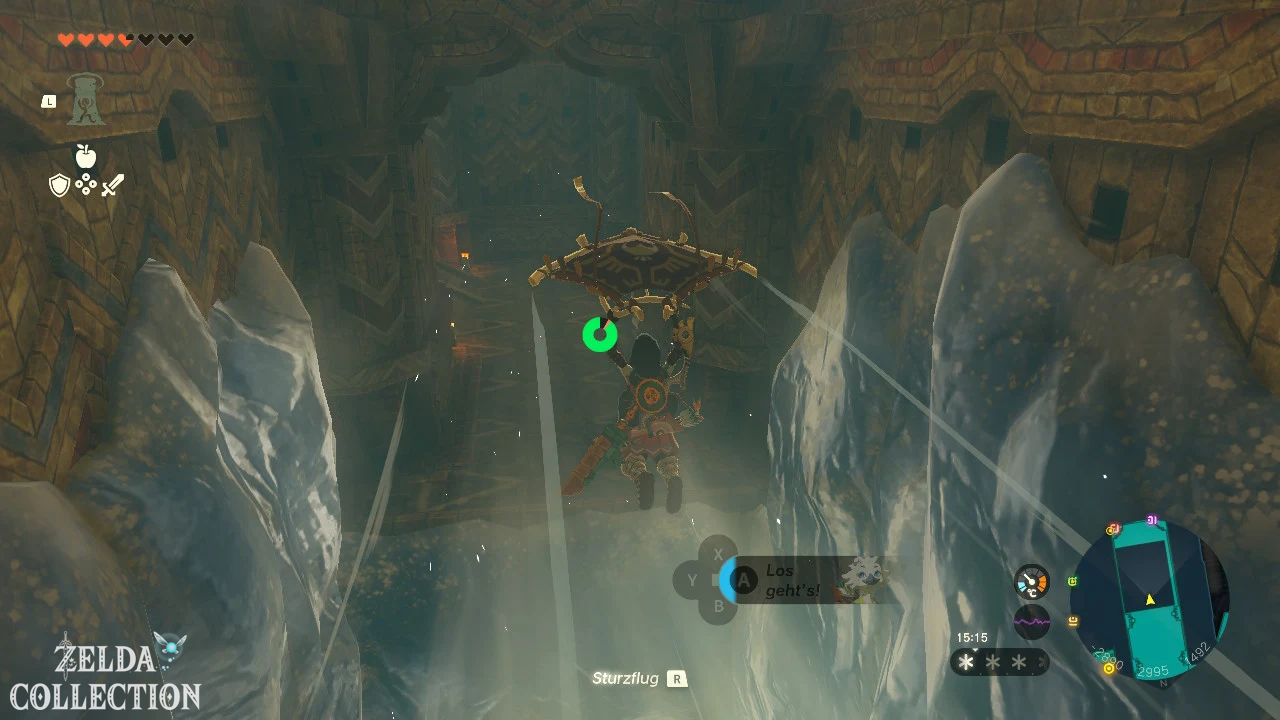
Then return to the main corridor and glide over the icy abyss with Tulin’s gust of wind. Defeat the next construct and use the Ascend under the raised platform.
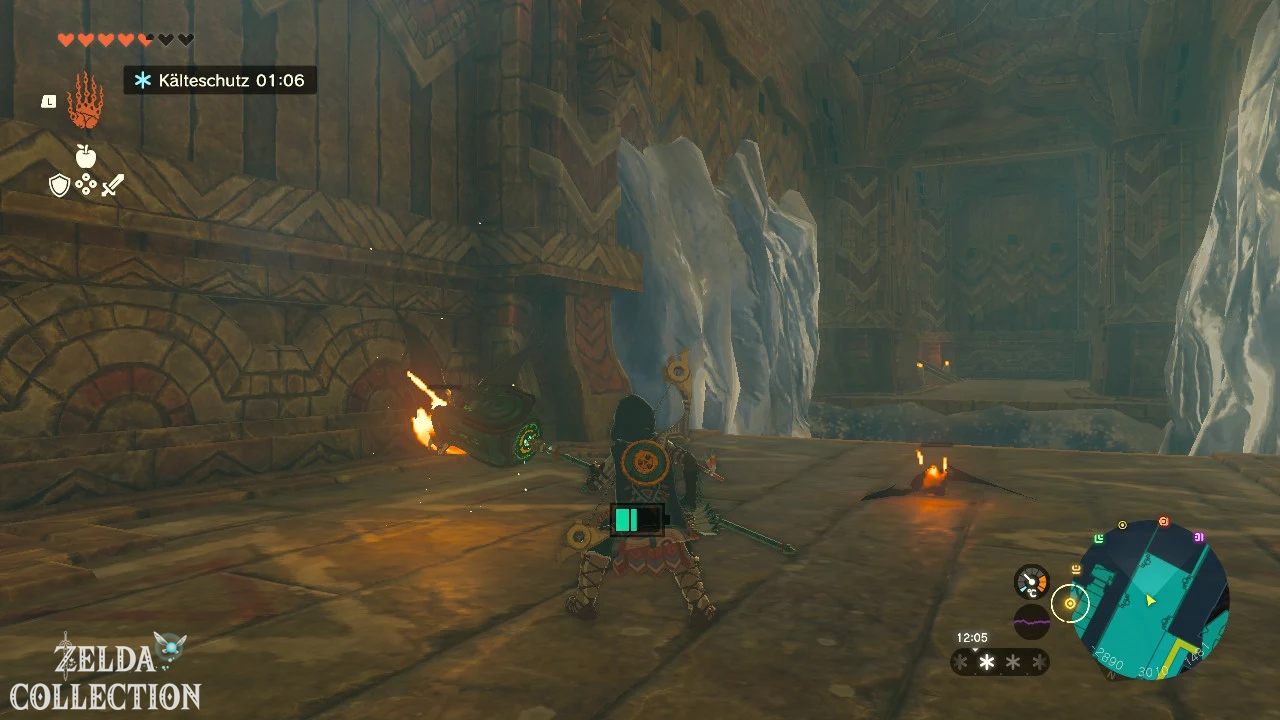
Chest 10: Captain I Scythe
There are several large stone slabs in the upper room. Clear them aside with the Ultrahand. Among them is a chest with a Captain I Scythe.
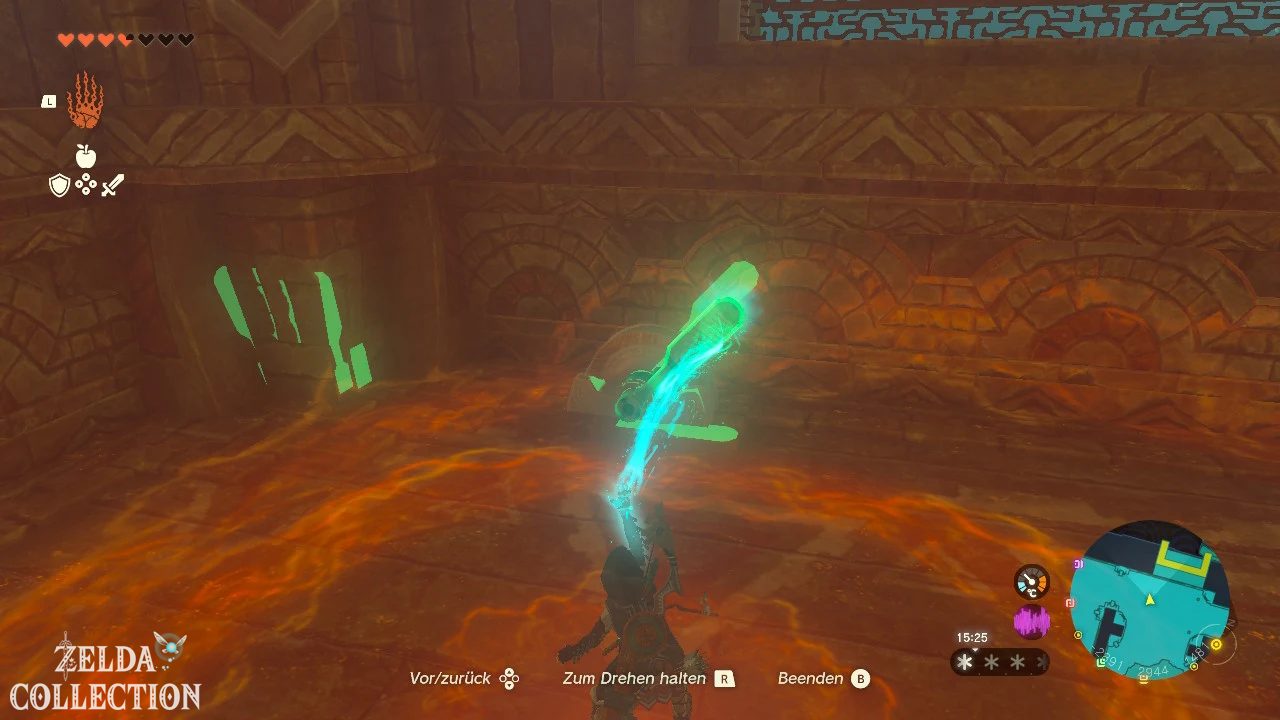
Building a wind turbine from stone slabs
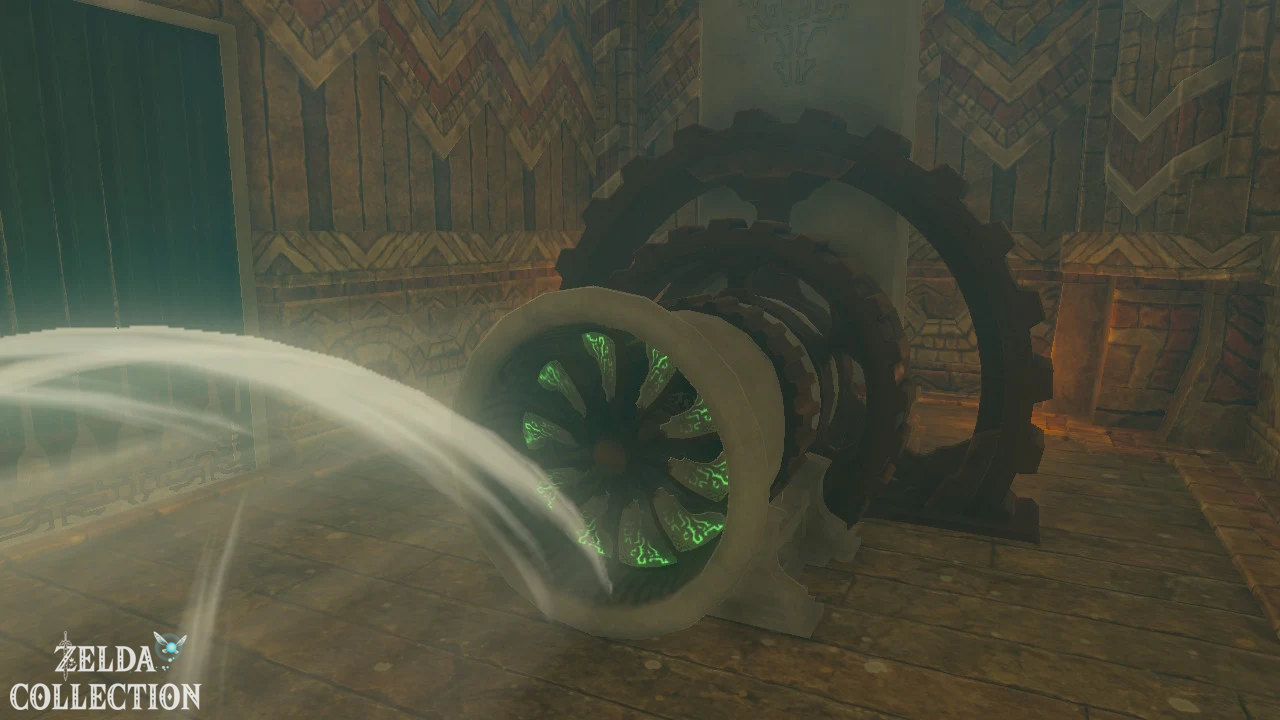
An axle protrudes from the ground. Attach a stone plate to the side of the axle so that it protrudes like a wind sail. Position yourself so that Tulin’s gust of wind hits the stone slab and activate his ability.
The axis begins to rotate and opens the gate on the ladder. Run through, climb up and activate the fourth turbine. If the grid closes too early, attach a second stone slab to the opposite side. This causes the rotor to rotate more evenly.
Turbine 5: Underside of the ship
The final turbine is located deep beneath the Wind Temple. You can access it from the main deck or from one of the outer areas on the first sublevel.
Jump to the side of the temple, slide far down and point the camera towards the underside of the ship. Find the open chamber at the deepest level. Only use Tulin’s gust of wind when you are approximately level with the opening and allow yourself to be carried horizontally into the entrance.
Defeat the construct in the chamber. There are no other puzzles here. Activate the turbine with Tulin’s blast of wind, unlocking the fifth and final lock. Then teleport back to the entrance to the Wind Temple.
All ten Treasure Chests of the Wind Temple
| No. | Contents | Location |
|---|---|---|
| 1 | Soldier Lance II | Ice block in the southern superstructure on the main deck |
| 2 | 10 arrows | Ice block on the northwest roof |
| 3 | Opal | North cabin on the main deck |
| 4 | Zonaite plate | Under the northeastern structure |
| 5 | Large Zonaite | Floating ruin west of the ship |
| 6 | Construct Sheet | Floating ruin east of the ship |
| 7 | Soldier’s sword | lead in the laser shaft |
| 8 | Sapphire | Behind the grate on the east side of the first sublevel |
| 9 | Rupee | Behind the laser trap on the west side |
| 10 | Captain I-Scythe | Under the stone slabs in the southwest room |
Unlike the shrines, the temple map does not show a special chest symbol when you have found all of the Treasure Chests. So check your collection using the table. The quality level of individual weapons can vary depending on the internal game progress.
Open the big gate
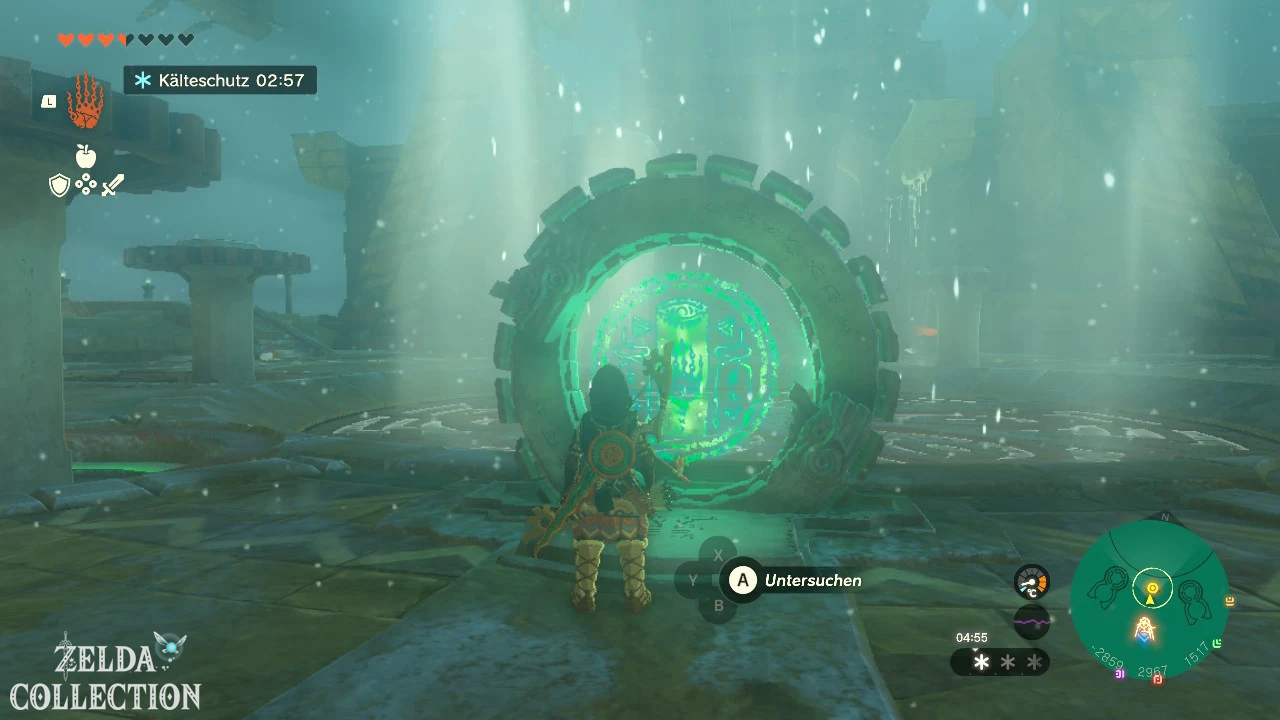
After activating the fifth turbine, examine the Zonai terminal on the central updraft again. The five latches release and the massive gate in the ship’s deck opens.
Before activating, equip level 2 Cold Ward, fully heal Link, prepare an intact bow and sufficient arrows, and save the game manually. Stamina-restoring dishes are particularly useful in this entirely aerial boss fight.
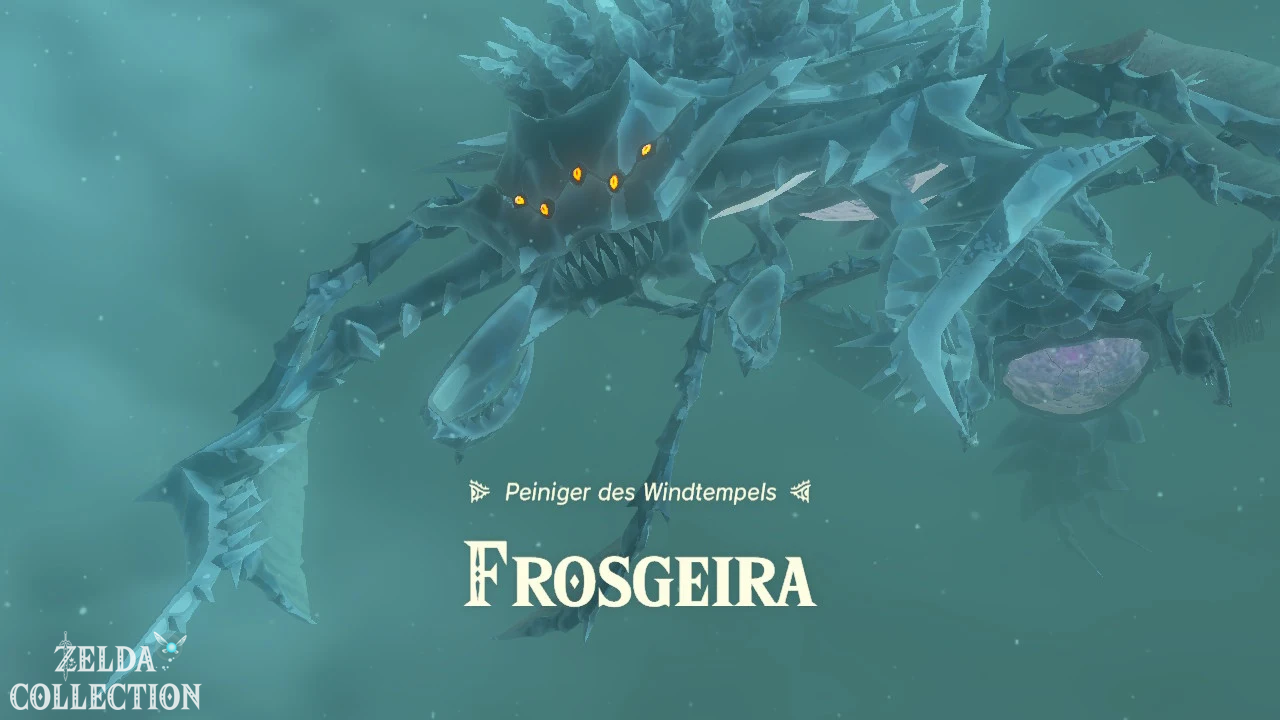
Photograph Colgera during battle if you want to record the entry for the Hyrule Compendium yourself. After the cutscene, the fight against Colgera, Scourge of the Wind Temple begins.
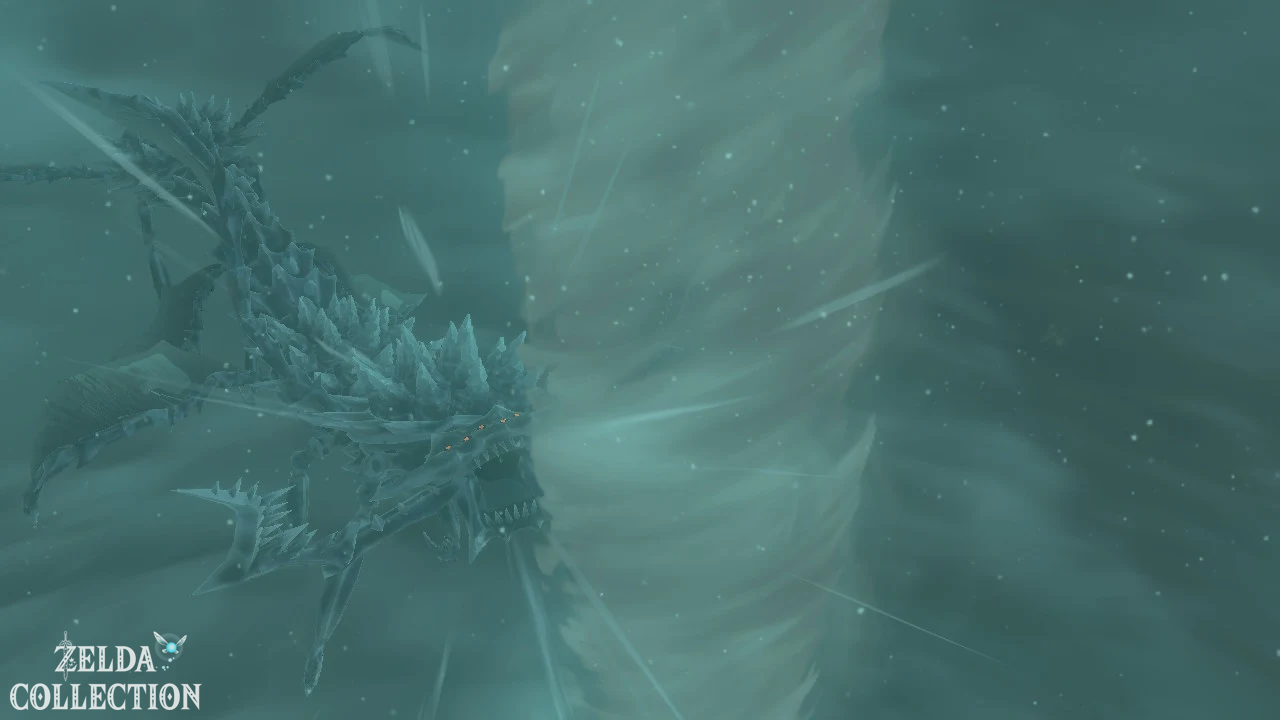
Boss: Colgera, Wind Temple Scourge
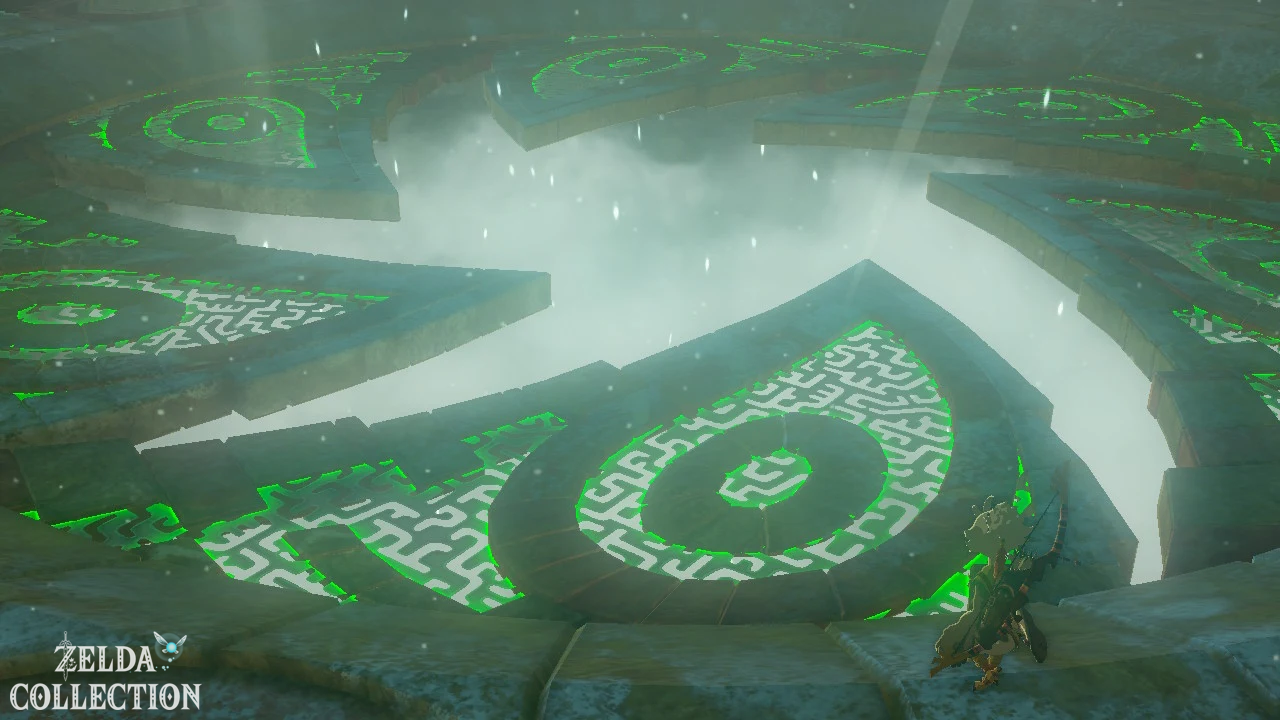
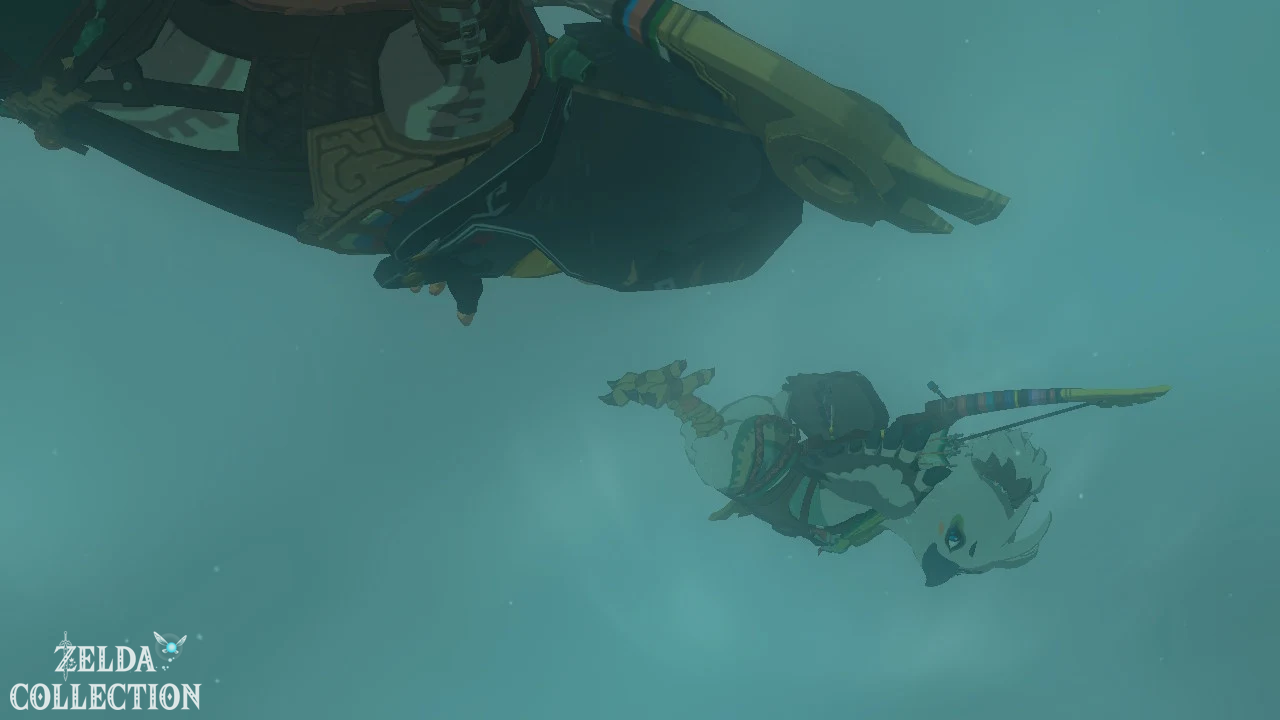
The entire fight takes place in the air. A sustained updraft prevents Link from crashing completely. You can close the Paraglider at any time, enter a dive, and then open it again to control altitude and speed.
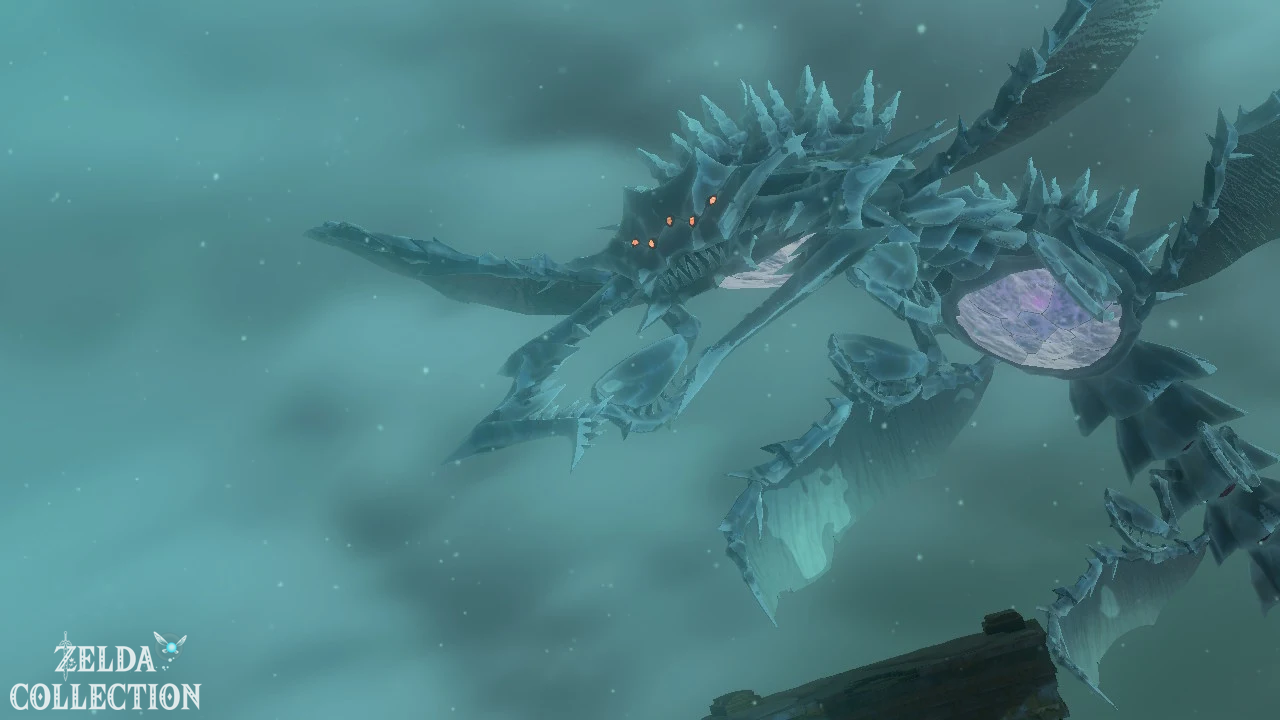
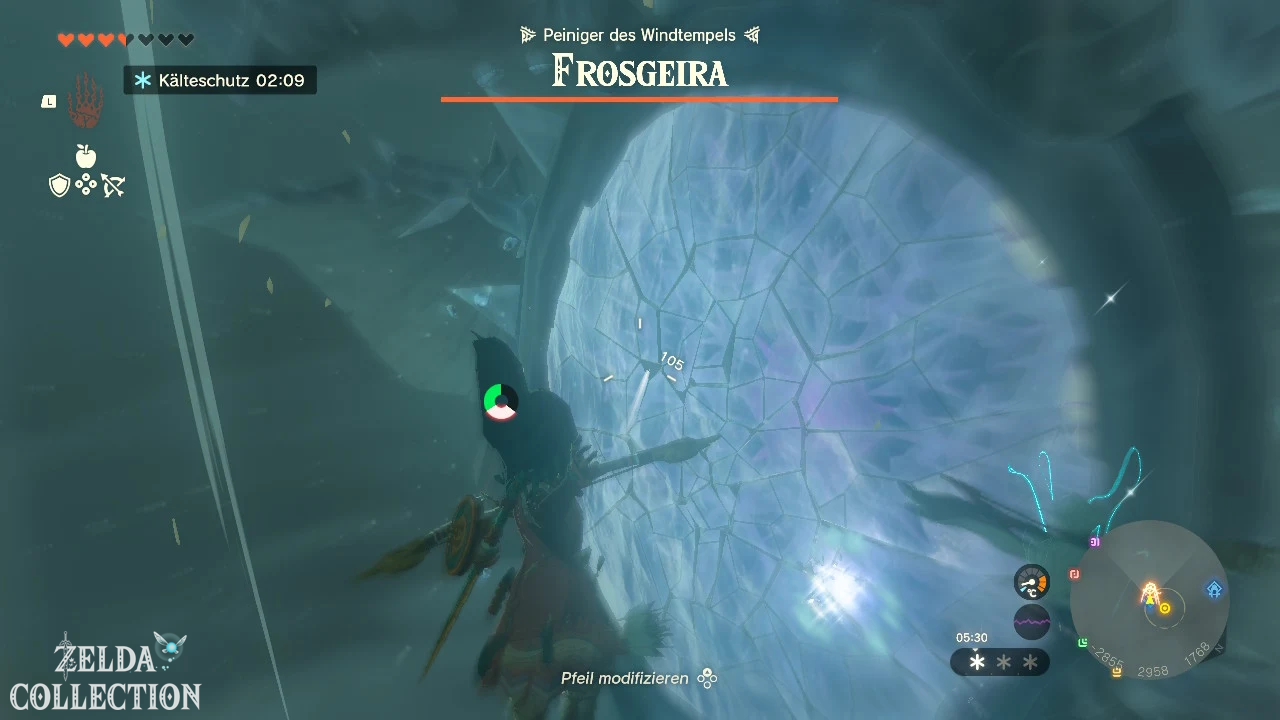
Colgera has three circular body segments. Each segment consists of an outer layer of ice and a pulsating weak point. In each of the two combat phases, all three weak points must be destroyed. In total you have to destroy six hit zones.

Method 1: Hit weak points with arrows
Slide under Colgera and approach one of the transparent belly segments. Briefly close the Paraglider and draw the bow during the free fall. Time is slowed down and you can aim precisely at the ice layer.
First destroy the outer layer of ice and then hit the exposed purple core. Normal arrows are sufficient. Arrows linked to Fire Fruit can destroy the ice faster. Keese Eyeballs automatically send arrows flying to the target while Keese Wing increases their range.
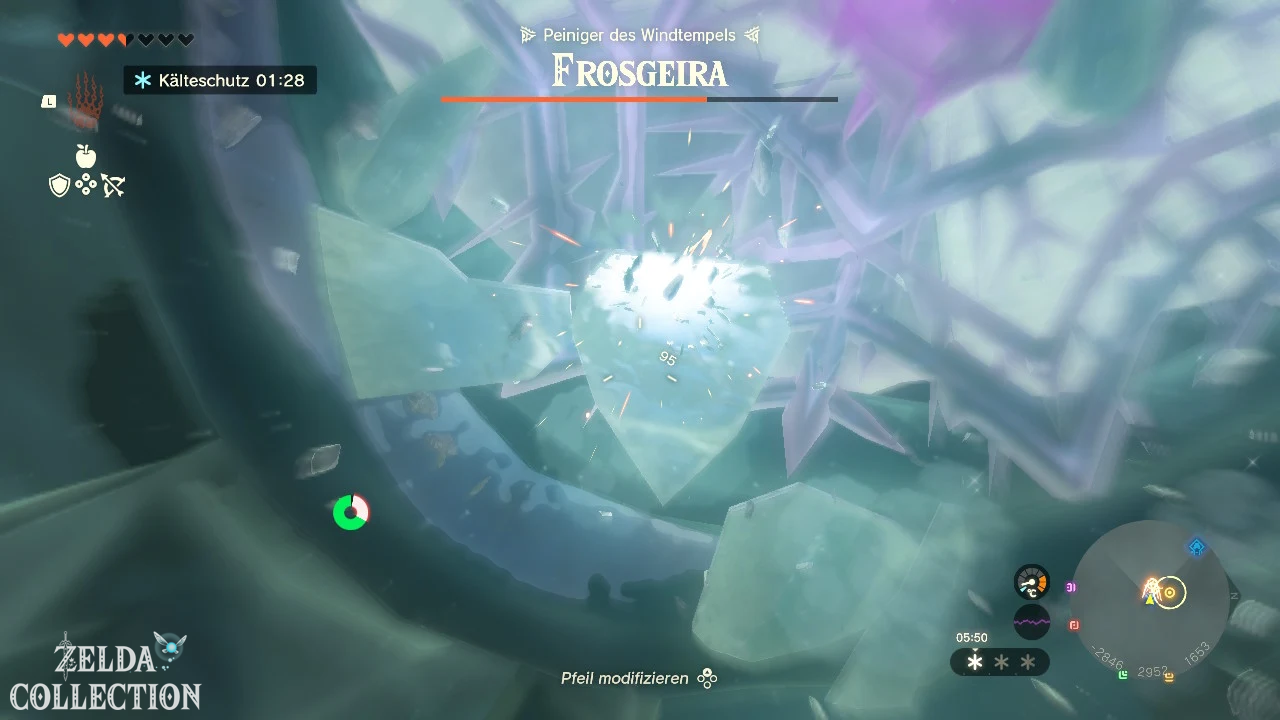
Method 2: Fall through the body
Colgera regularly throws the ice spikes from his back. The relevant segment is then exposed from above. Position Link directly over the unprotected area, close the Paraglider and fall directly towards the center point.
Link breaks through the ice layer and the underlying core with his body. Using this method, you can completely defeat Colgera without using a single arrow. Just make sure to hit the center of the segment cleanly.
Phase 1
Colgera initially circles around the temple and uses several different attacks. At the ice spikes, the boss fires several spikes upwards. Glides sideways out of its flight path or briefly dives. Once the spikes have been shot off, the top side in question is unprotected and can be breached.
After destroying a weak point, Colgera disappears into a circular portal. Shortly afterwards he appears under Link and shoots upwards with his mouth open. Tulin warns you about the attack. Turn the camera downwards and use his wind blast sideways as soon as Colgera comes out of the portal.
Sometimes Colgera flies almost horizontally towards Link. Briefly close the Paraglider, lose some height and then open it again immediately. Tulin’s Wind Blast is also good for a quick side dodge move.
Destroy all three weak points one after the other. Once the third core breaks, Colgera regenerates its body segments and the second phase begins.
Phase 2
In the second phase, the weak points and attack options remain unchanged. Additionally, Colgera produces several large hurricanes. Instead of flying straight into a tornado, look for a gap between two vortices and boost your movement with Tulin’s Gust.
If no safe gap can be seen, go into a dive, pass under the upper part of the vertebrae and then open the Paraglider again. At the same time, keep an eye on Colgera. He can also dive into a portal and shoot out from below during tornado attacks.
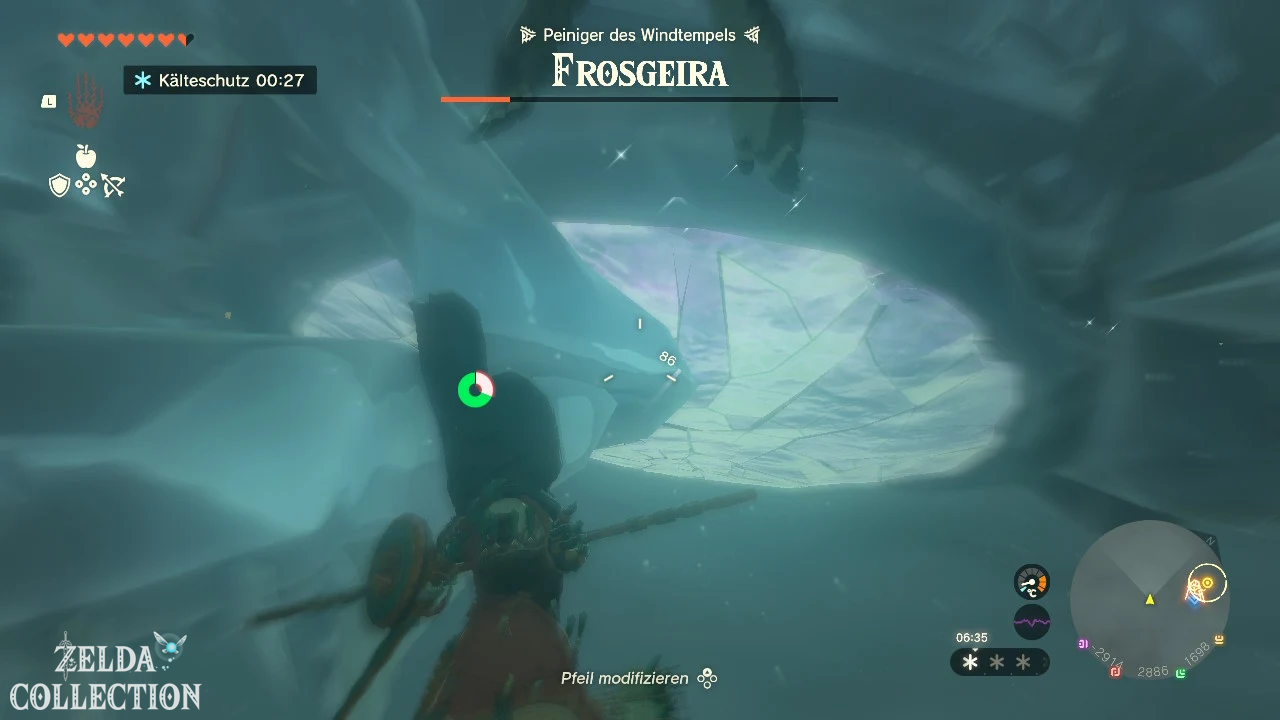
Break the ice layer of the three body segments again with arrows or wait for the spike attack. Hit the pulsating core or fall through the segment, sidestep the subsequent portal attack and reposition yourself between the tornadoes.
The dive method can destroy any segment in a single clean approach. With the bow method there is enough time as long as you draw the bow in free fall and thereby activate slow motion. After destroying the sixth weak point, Colgera is finally defeated.
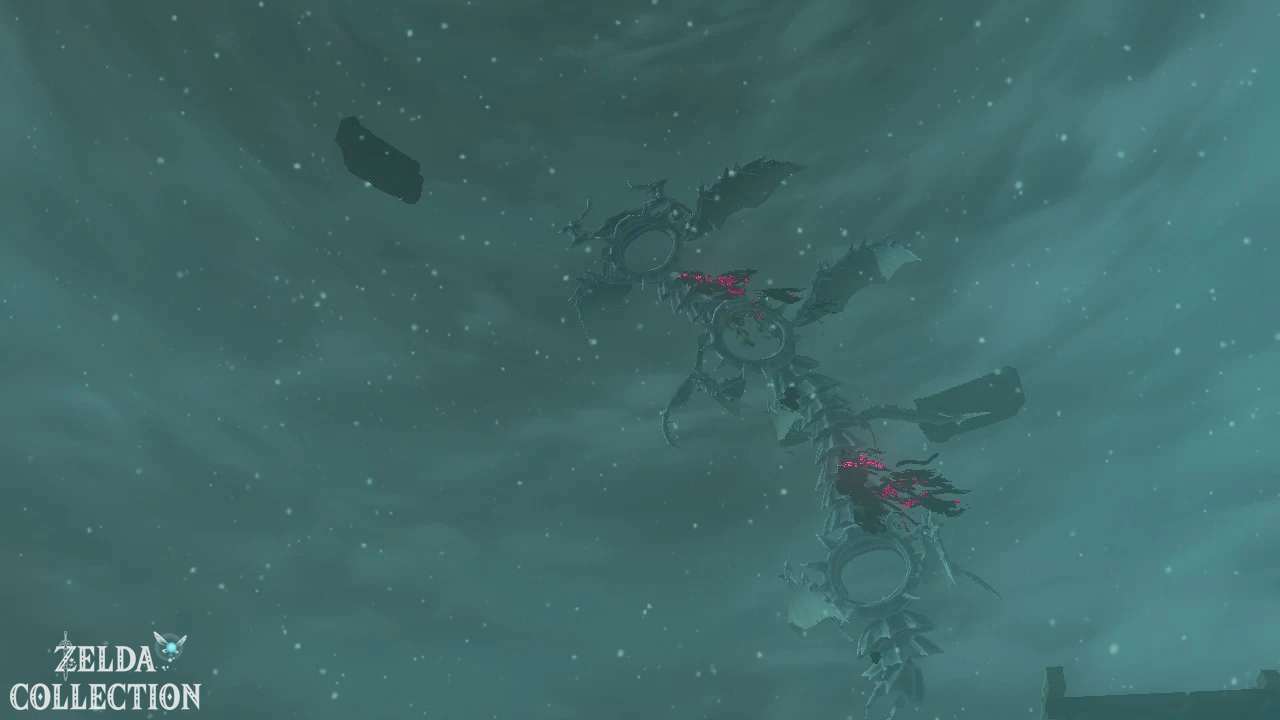
Completion of the Wind Temple
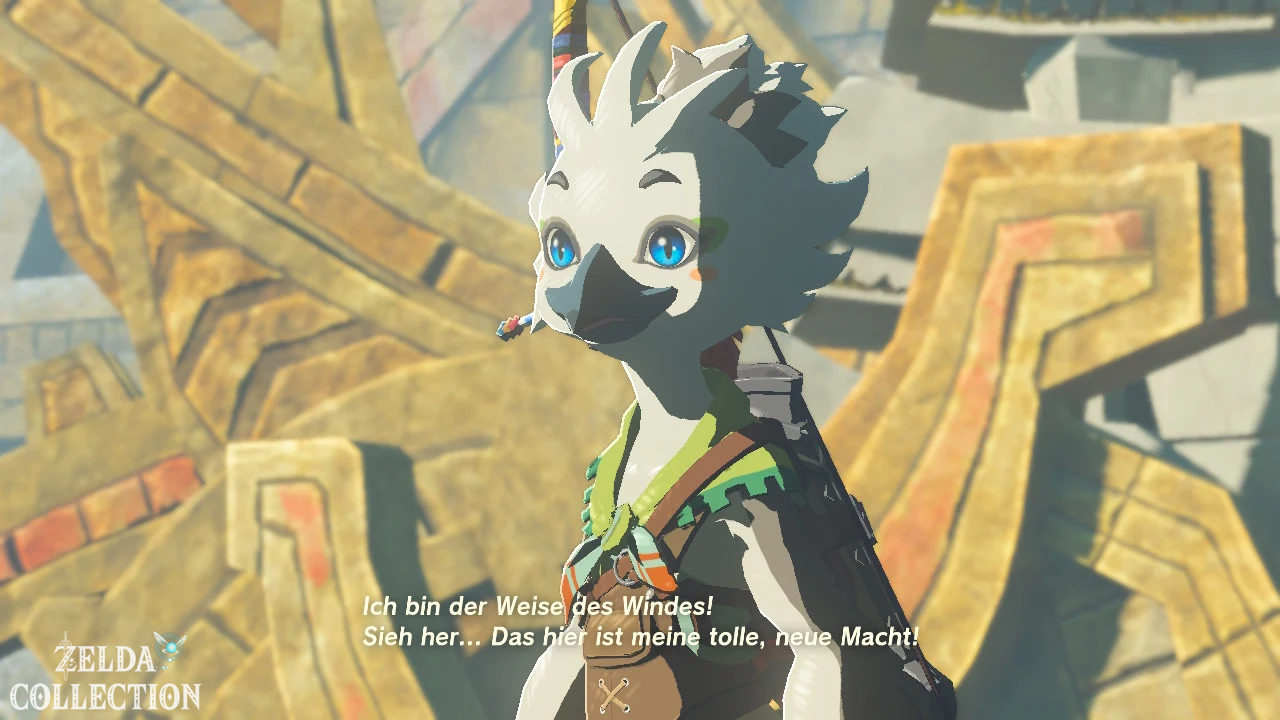
After the victory, a Heart Container lands on the temple deck. Collect it and then talk to Tulin. During the following cutscenes, he learns about the former Sage of the Wind and receives his Secret Stone.
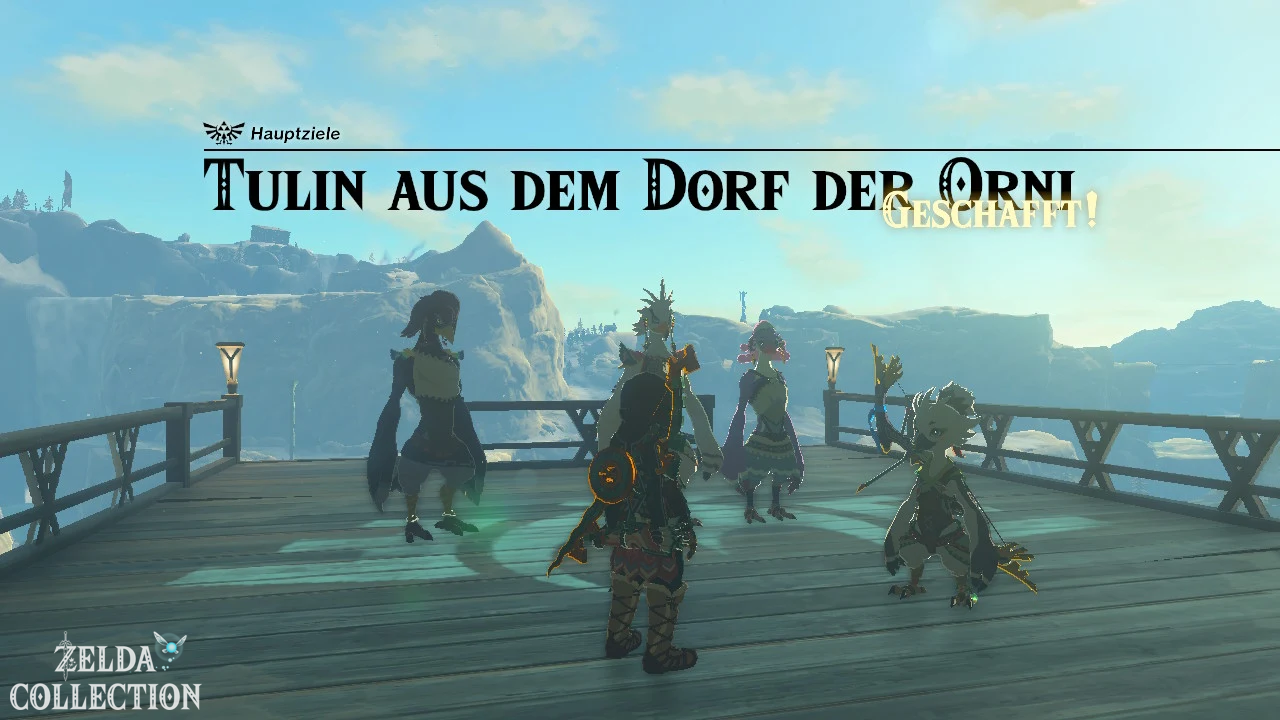
Afterwards, Link and Tulin automatically return to the Rito village. The snowstorm ends and residents resume their normal daily lives. The main quest “Tulin of Rito Village” is now completed.
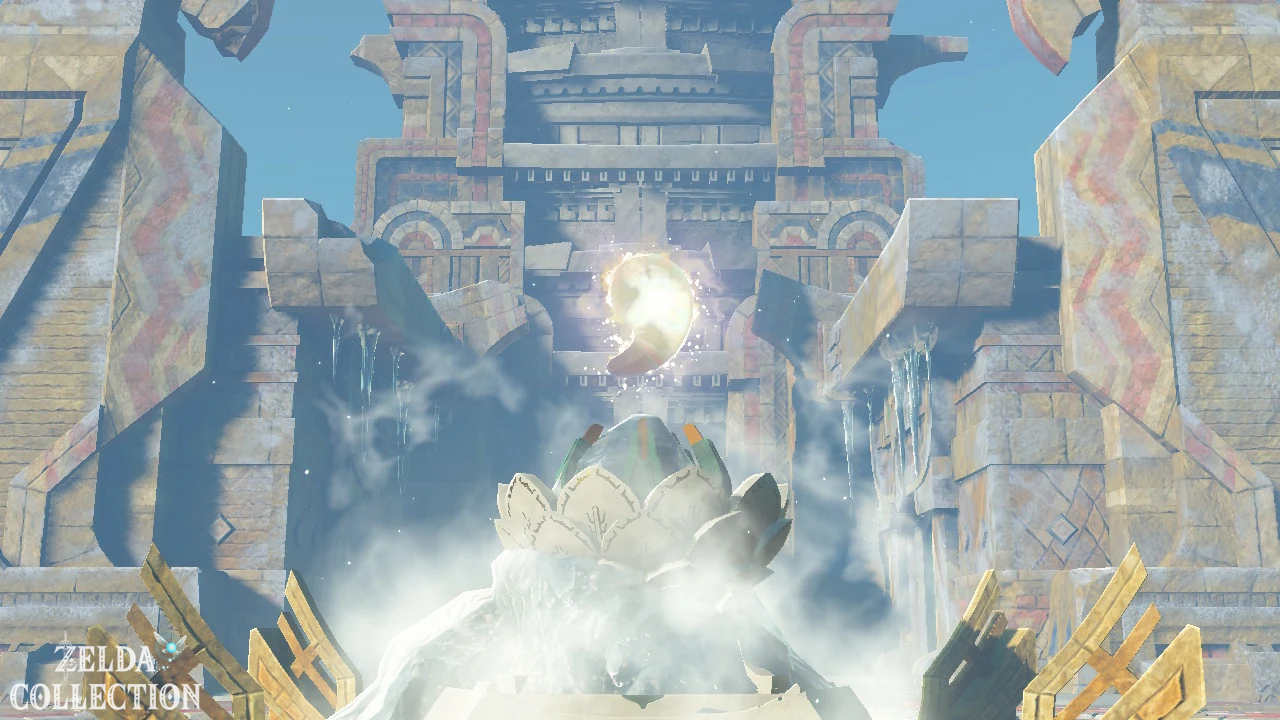
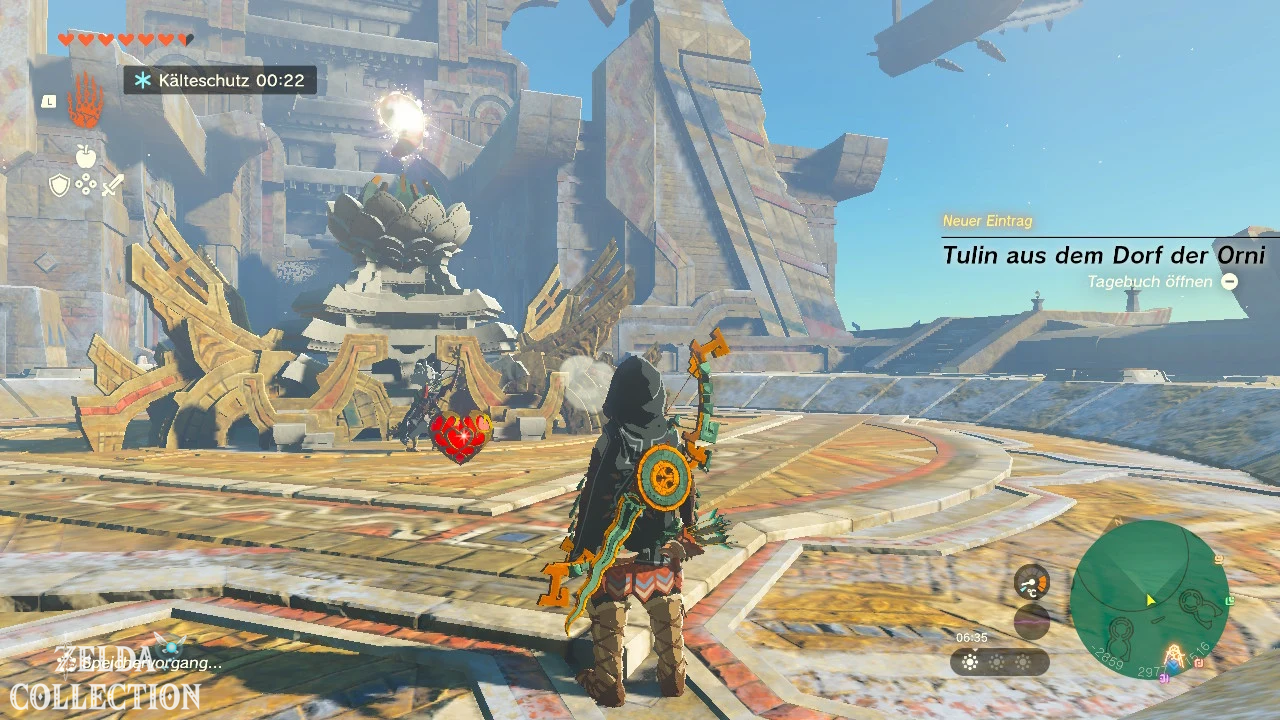
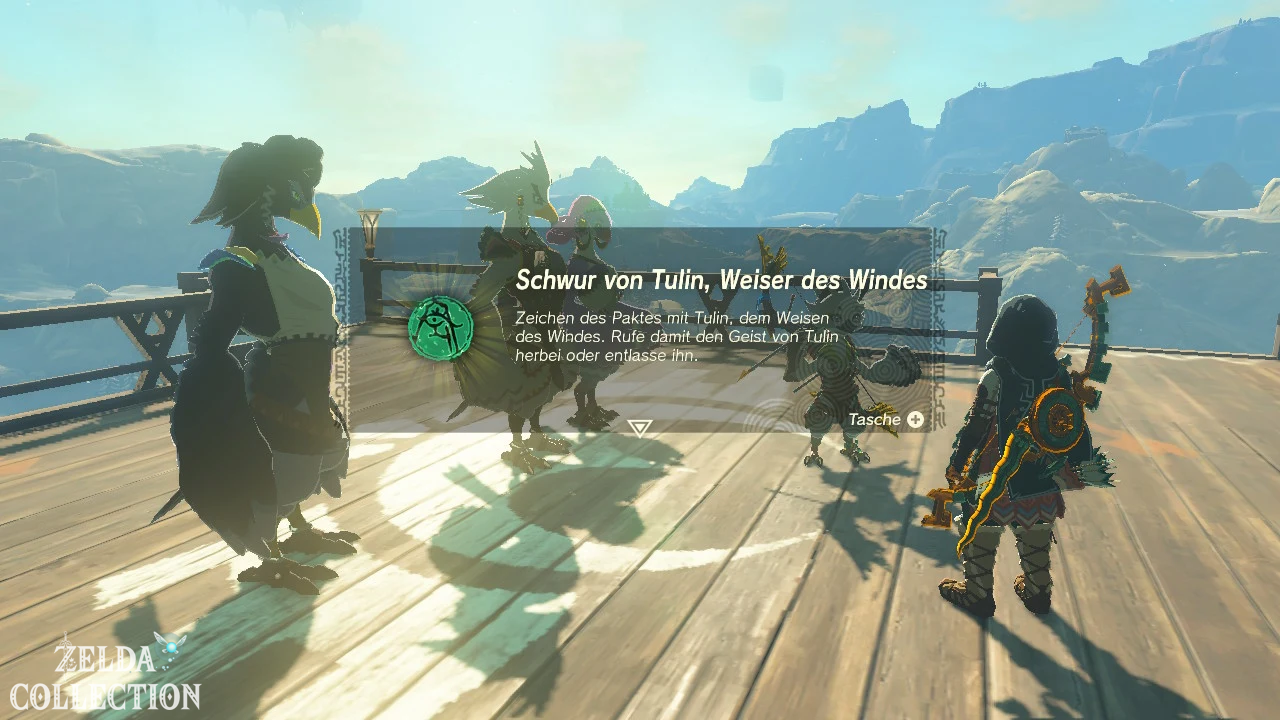
Vow of Tulin, Sage of Wind
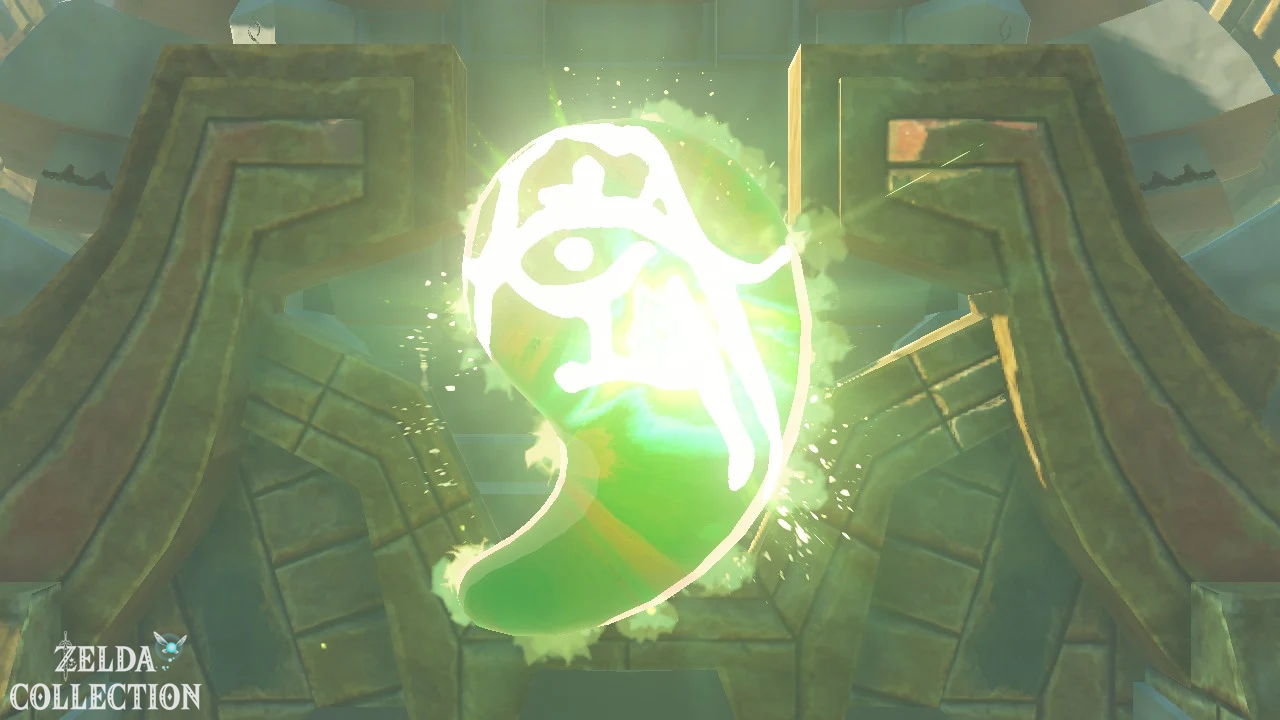
As a permanent reward you will receive the Vow of Tulin, Sage of Wind. You can summon or send away Tulin’s avatar via the important items menu.
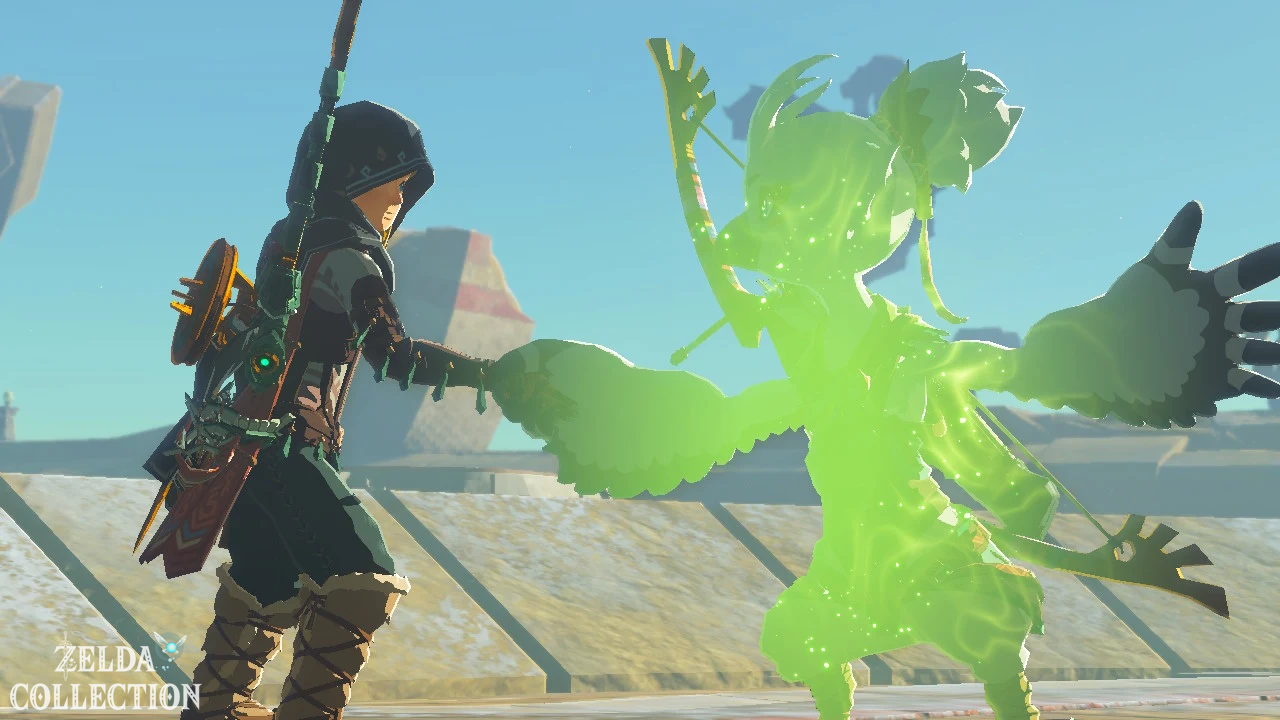
His gust of wind is then available to you when exploring Hyrule’s, the sky islands and the underground. Open the Paraglider and activate Tulin to accelerate Link horizontally forward. In combat, his avatar also attacks opponents independently with a bow and often lands hits in the head.
If you haven’t examined the other regions yet, you can then use Yunobo of Goron City, Sidon of the Zora or Riju of Gerudo Town continue. After completing all four regions, the main story continues with “Crisis at Hyrule Castle”.