

The main quest “Secret of the Ring Ruins” in The Legend of Zelda: Tears of the Kingdom starts as part of the quest “Find the Fifth Sage”.
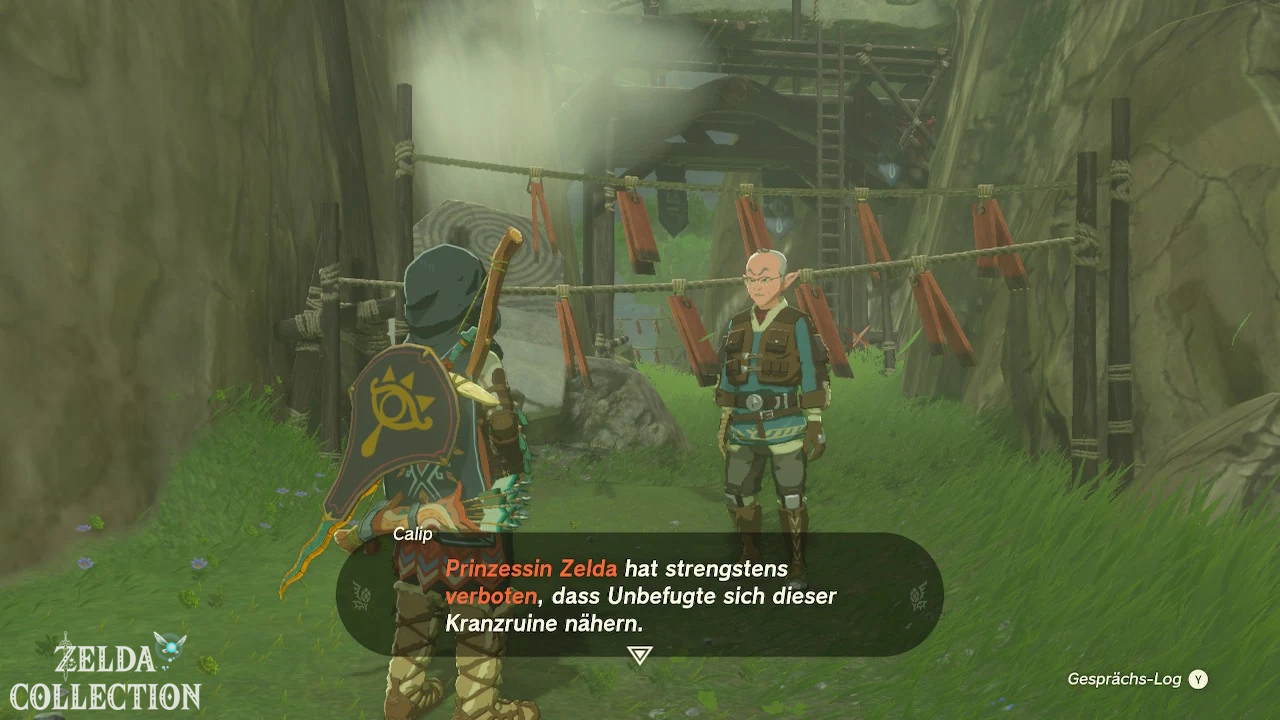
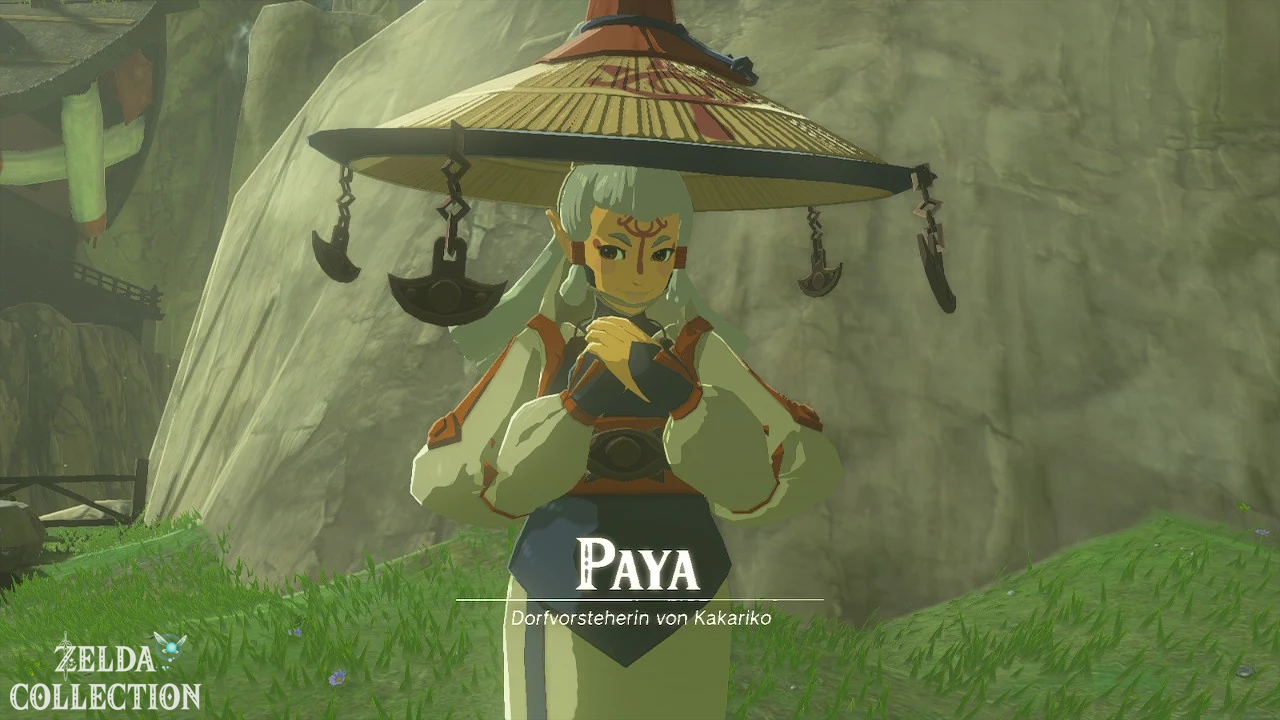
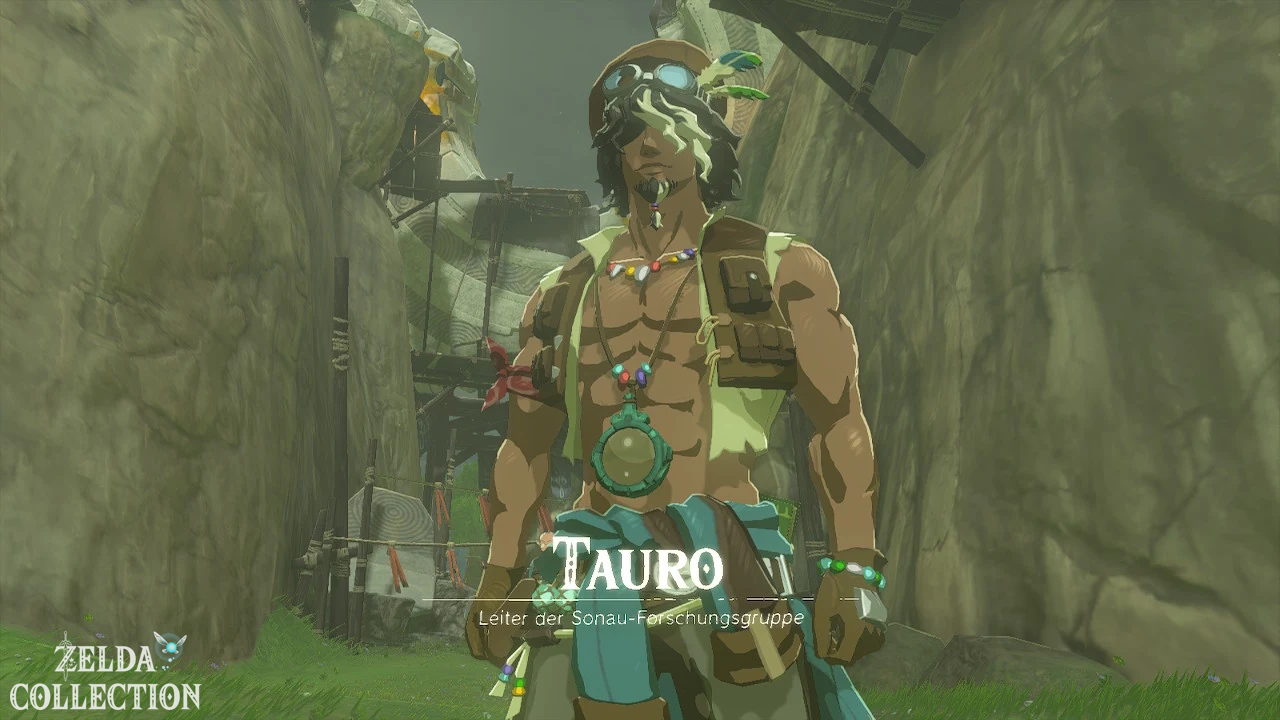
After reaching Kakariko Village, we need to talk to Paya and Tauro in the northern part of the village. They point out the floating ruins above the village, which are the sought-after ruins from the time of legends. Paya lifts Princess Zelda’s ban on entering the ruins and the quest starts at this point.
Use the Ascend to the right of Tauro or climb up the wooden scaffolding. For the following examination you need the photo function of the Purah pad. If you haven’t unlocked it yet, you first have to follow the main quest “Camera Work in the Depths”.
Navigation
- Investigate Ring Ruins in Kakariko Village
- Zonai Ruins in Faron reach
- Solve the snake puzzle
- The Altar activate at the tail tip
- Traverse Thunderhead Isles
- Reach Joku-usin Shrine
- Dragonhead Island and Dragon Eye reach
- Secret of the Ring Ruins complete
Investigate Ring Ruins in Kakariko Village
Climb up the scaffolding and ladders to the right of Paya and Tauro. Pay attention to the areas covered with red fabric panels. Stand there under the floating Ring Ruins and use the Ascend to get directly inside.
In the small chamber there is a large stone tablet with Zonai characters. Open the skill wheel, select the photo function and photograph the entire board. The game will recognize the recording as soon as the name of the stone tablet appears and a red frame surrounds it.
Then leave the ruins with another Ascend or jump out of one of the openings and glide down with the Paraglider. Talk to Tauro again and show him the photo. Paya, Tauro and Calip can decipher parts of the inscription and recognize a reference to a dragon land to the southeast.
The next target is the Zonai Ruins in Faron. The quest sets a marker at Popla Foothills Skyview Tower, which is southwest of Kakariko Village. If you haven’t activated the cartography tower yet, you can find the solution in our guide to the cartography towers in Tears of the Kingdom.
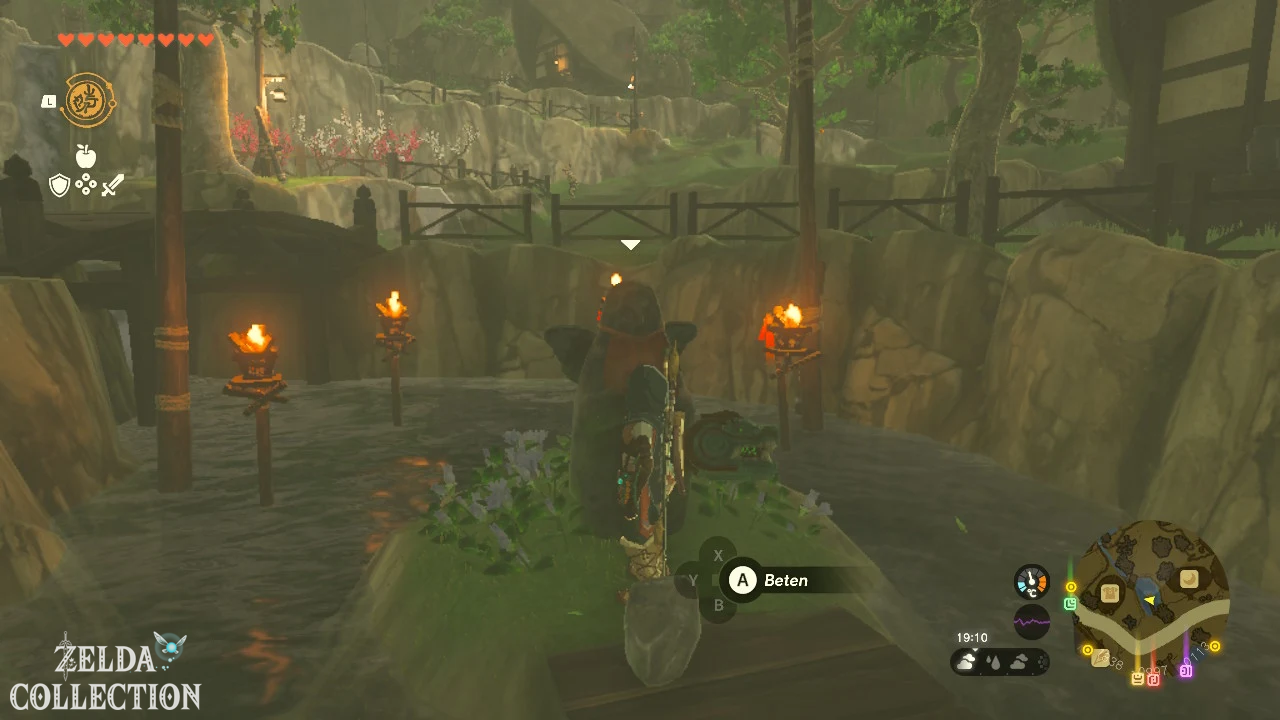
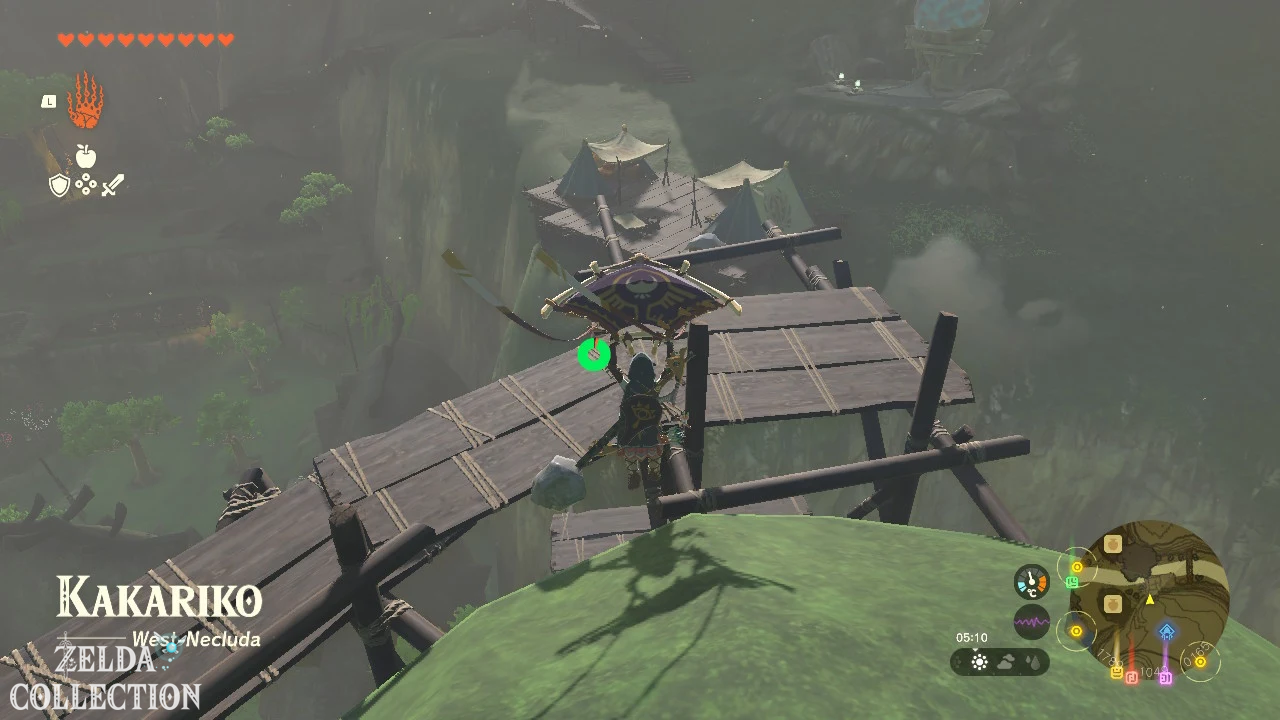
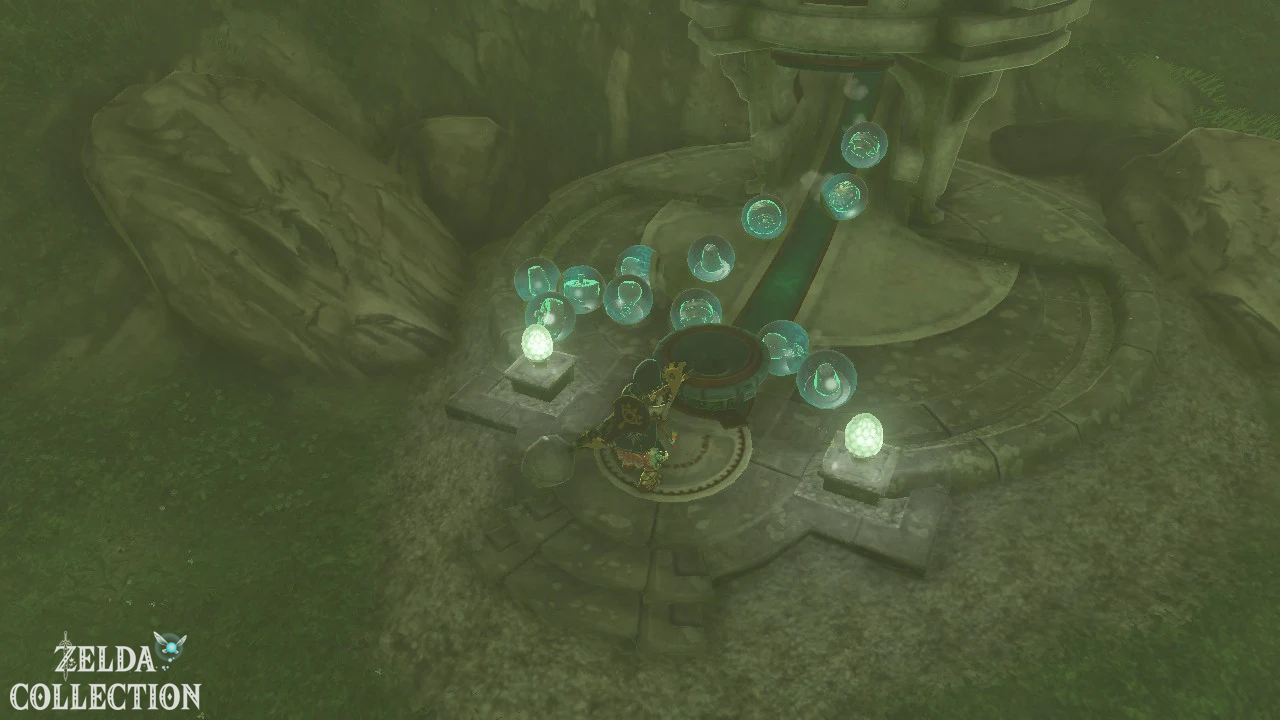
Reach Zonai Ruins in Faron
Teleport to Popla Foothills Skyview Tower and talk to Calip who is waiting near the entrance. If he sleeps, you can sit by the campfire until the next morning or noon. Tauro has already set off for the Zonai Ruins on Dracozu Lake.
Launch yourself into the air from the cartography tower and glide southeast. The Dracozu Lake is easy to recognize on the map: together with the Dracozu River it forms a huge queue. The wide lake to the north represents its open mouth, while the narrow and winding river forms the body up to the tip of the tail.
On the northeastern edge of Lake Dracoto you will discover a campfire and Tauros research site. The entrance to the ruins is directly behind it at the approximate coordinates 0968, -2531, 0008. Enter the chamber and speak to Tauro.
On the mural you can see a person in a special outfit. The accompanying inscription describes a riddle: We should put on the lightning ray costume guarded by long-necked dragons and then offer a Zonai Charge at the tip of the tail of the large serpent at the altar.
Solve the snake puzzle
The large snake is the Dracozu River and the lightning bolt costume you are looking for is a three-piece armor set. You need the lightning cape, the lightning trousers and the lightning headdress. All three parts are located in ruin chambers along the river.
Important: The lightning beam set does not protect Link from a direct lightning strike. It improves his charged attacks during thunderstorms. You should continue to put down metallic weapons, bows and shields when lightning strikes.
Find Charged Shirt
The Charged Shirt is already in the chamber where you talk to Tauro. Walk past him and open the Zonai chest on the raised platform in the back. The Location is located approximately at the coordinates 1002, -2539, 0013.
Put on the lightning cloak directly and talk to Tauro again. He confirms that it is part of the costume depicted in the mural. The remaining two pieces of armor lie further south along the Dracoto River.
Find Charged Trousers
Leave the chamber and follow the stream south. After about a third of the river’s course, you will see another rectangular entrance on the western side, which is blocked by brittle rock. The entrance is approximately at 0951, -2706, 0013.
Smash the rocks with a hammer weapon, use Yunobo’s ability, or blast them with a Bomb Flower. In the chamber behind there is a Treasure Chest with the flash trousers. Put them on straight away so that no part of the set is forgotten later.
Charged Headdress Find
Follow Dracozu River further south. After the river bends significantly to the west, you will discover a third chamber of ruins on the southern side. The entrance is located approximately at 0985, -2829, 0013 and is overgrown with vines.
Cut the vines with a sharp weapon or burn them with fire. In the rear and slightly elevated area of the chamber is the chest with the lightning bolt headdress. Now equip all three parts of the Charged Set at the same time.
The complete Charged Set
- Charged Shirt from the Chamber at Tauro
- Lightning ray pants behind the destructible rock wall
- Lightning bolt headdress behind the vines
The complete set is required to solve the snake puzzle. Other armor with lightning protection or electricity resistance will not work on the altar. An overview of other armor and their Locations can be found in our guide all armor in Tears of the Kingdom.
Activate The Altar at the tail tip
With the Lightning Beam set fully equipped, follow the river to its southwestern end. The tip of the snake’s tail is where the watercourse ends and the path continues to the west. On the outer wall of the ruins you can see a final rectangular entrance.
Enter the chamber and approach the stone altar. Open the inventory, select a Zonai Charge, pick it up and leave the menu. Then place the energy sphere directly into the bowl on the altar. Don’t throw it from a distance and make sure Link still has all three pieces of the Charged Set.
A cutscene will then start. The large dragon pillars along the river attract lightning and send their energy into the sky. The thick fog over the Sky Islands of Faron clears, revealing the path through the Thunderhead Isles. Rain and thunderstorms will continue there, but visibility is now much better.
Thunderhead Isles traverse
Before you set off, you should prepare well. On the later Dragonhead Island you have to open a large door that requires ten completely filled hearts. If you don’t have ten Heart Container yet, complete more shrines and exchange the blessing lights for a statue of the goddess.
Endurance dishes, some Zonai Charges, fans, rockets and a control stick are also recommended. Because of the constant rain, the toad kit or adhesive medicine help with climbing. Tulin should also be activated, as his wind blasts make multiple jumps and glides much easier.
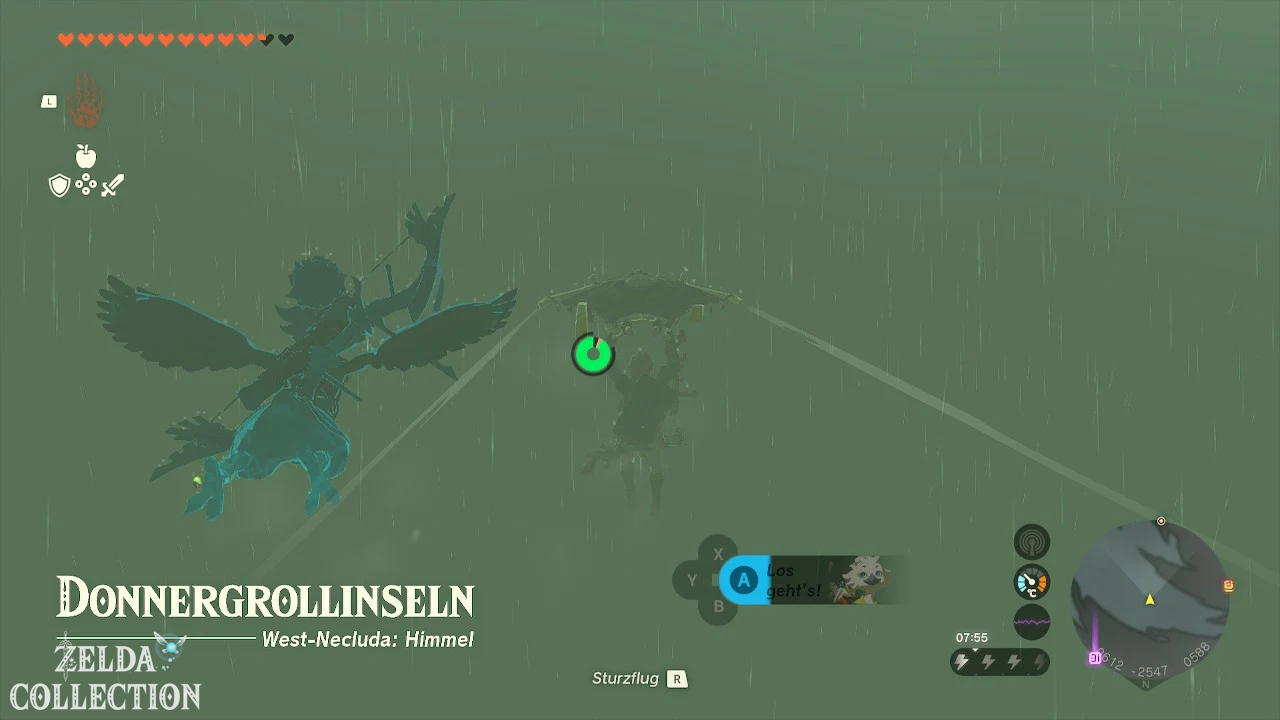
Teleport back to Popla Foothills Skyview Tower, launch yourself into the air and glide southeast to the Thunderhead Isles. Head for the northwestern or northern beginning of the long island chain. Open the sky map every now and then to make sure you don’t fly too far east to the lower Dragonhead Island.
Remove all metallic weapons, bows and shields before landing. As soon as electrical sparks gather on Link and the lightning display becomes faster, an impact is imminent. Lightning Armor does not prevent this damage.
Use the first flash mechanism
Land on the bottom of the first island and use the Ascend to get to the top. Follow the path southeast until you reach a dragon statue with a lightning rod and a slanted stone slab.
Stand on the white or slanted starting plate and wait. After a short time, lightning strikes the arrester and activates the mechanism. Link is thrown forward to the next island. Open the Paraglider in time to land safely.
Build wooden bridge and rail car
On the following section you have to cross a gap in a destroyed staircase. Connect the wooden boards lying around with the Ultrahand to form a simple bridge. An Electric Wizard patrols above the stairs and can be fought from a safe distance with arrows or bypassed entirely.
A little later you reach an interrupted railway line. Metal plates, wooden boards and fans lie nearby. Metal parts attract lightning during thunderstorms. You can either cover the existing metal plate with an insulating wooden board or build your own cart out of the wooden boards.
Attaches a smaller board vertically underneath a large board so that the bottom part hangs between the rails and stabilizes the cart. Attach one or two fans to the back, place the construction on the rail and activate the fans with one blow.
Reach Chest in the water basin
At the end of the rail, use the Ascend to get to the area above. In a small pool of water there is a raised column with a Treasure Chest. Connects the floating plate and the existing wooden boxes to form a climbing aid. There is a Shock Emitter in the chest, which you can take with you for later battles or construction.
Reach Joku-usin Shrine
Slide southwest from the pool of water to a lower island with several soldier constructs. Defeat the enemies or run past them. On the next rail, build another T-shaped cart out of wooden boards and attach a fan to the back.
Start the car and stand while driving so that you can see the island above you. As soon as the ceiling is marked green, you can still use the Ascend while driving. This will take you to the closed room with the Joku-usin Shrine at approximately 1077, -3349, 0786.
Be sure to activate the shrine as a fast travel point. His test is called “Naked Survival – Under Power”. You must defeat all constructs without your normal equipment. Use electric fruits, arrows, and the shrine’s electrical systems to disarm enemies. The test is not mandatory to complete the main quest, but the teleport point can be very helpful in the event of a crash.
Second Shock Emitter align
Leave the shrine area via the stairs and use the Ascend on the pillar above. On the roof you will reach another lightning mechanism with a rotating crank. Turn the crank with the Ultrahand until the sloping starting plate points towards the southeast and thus towards the continuation of the island chain.
Stand in front of the sloping plate and wait for a lightning strike again. The mechanism hurls Link to the next island. Open the Paraglider and correct the flight direction with Tulin’s gust of wind.
arrives via the eastern islands
In the following section, more rails lead over large chasms. Build T-shaped wagons again from the stone or wooden slabs. With a steeply rising rail, you attach a rocket to the back and only activate it after the structure is securely seated on the rail.
On an interrupted route, the usable rail car is on the opposite side. First place a second wagon on the closer rail and connect several boards and tree trunks to form a long bridge. Push the bridge to the distant car, cross it and attach a fan there. Remove the bridge before departure or make sure it does not block the car.
Then follow the curved path clockwise and defeat the constructs there. Drop down to the lower level at the dead end, follow the narrow path to the southeast and use the Ascend at the end. There are many pillars hanging down on the Thunderhead Isles. Their flat undersides are usually an indication that you are making progress with the Ascend.
Last jump to Dragonhead Island
Continue gliding east to a final dragon statue with a lightning rod. Stand on the sloping plate and wait for the impact. There are several Shock Emitter in the chest on the next island.
Follow the path to a ledge with a glowing circle. Stand on the circle and activate the mechanism there. Link is thrown far forward towards Dragonhead Island. Have the Paraglider ready and orientate yourself on the large, eye-shaped hole in the center of the island.
Reach Dragonhead Island and Dragon Eye
The goal of the quest lies not at the highest peak of the Dragonhead Island, but deep within it. From the air, look for a circular stone structure that looks like a dragon’s eye. Fall through the opening and open the Paraglider just before the ground.
Inside you can reach the Joku-u Shrine at approximately 1375, -3339, 0429. Immediately activate it as a fast travel point. It is a shrine with Rauru’s blessing, so there is no further puzzle to solve inside. There is a diamond in the Treasure Chest.
Leave the shrine and remove the vines on the northern side with a sharp weapon or fire. The further path is behind the tendrils. There is also a statue of the goddess in a side area where you can exchange blessing lights.
Open the big door with ten hearts
Examine the large locked door in the north wall. Hold down the indicated button so that Link transfers his life force to the door. You need ten completely filled Heart Container. Release the button in time if your hearts are not enough.
Additional yellow hearts or a partially depleted life bar can cause problems depending on the condition. Therefore, heal Link fully before attempting and it is best to ensure at least ten regular Heart Container. After successful opening, the door remains open permanently.
Secret of the Ring Ruins Complete
Behind the door you will discover a mysterious Zonai relic in the form of a large mask. Examine the relic. An unknown female voice refers to Link as Zelda’s Chosen Swordsman and asks him to take the relic to the place pointed to by its light.
The mask emits a green beam of light towards the surface and opens the bottom of the chamber. This completes the main quest “Secret of the Ring Ruin”. At the same time, the next main quest “Guidance from Ages Past” starts automatically.
In the following quest you have to transport the Zonai relic from the Dragonhead Island to the constructorium in the Depths, assemble Mineru’s new body and then reach the Spirit Temple.
Further solutions:
Find the fifth wise man – walkthrough
Guidance from Ages Past – constructorium and Spirit Temple
All armor and Locations
Tears of the Kingdom – walkthrough