

In The Legend of Zelda: Tears of the Kingdom there are a total of 139 Side Quests. They are listed in the journal separately from the 60 episodes and 31 shrine tasks. No Side Quest is permanently missable.
Many tasks only appear after regional main quests, after completing an episode, or after Link has unlocked a specific ability. In this Walkthrough you will find all German quest names, starting conditions, the crucial solution steps and the most important rewards.
Navigation
- All 139 Side Quests
- Side Quests by region
- Important task chains
- Checklist and counter
- Best Rewards
- Last Side Quest find
- solutions of all 139 Side Quests
All 139 Side Quests at a glance
Side Quests by region
| Region | Focus | number |
|---|---|---|
| Central Hyrule | Lookout Landing, Castle and Monster Operations | 12 |
| Hyrule Field | Stables, Ruins and Southern Plain | 9 |
| Great Hyrule Forest | Koroks and Great Deku Tree | 3 |
| Lanayru | Zora village, swamp and Mount Lanayru | 13 |
| Akkala | Tarrey Town, Institutes and Coast | 11 |
| Eldin | Goron City, Death Mountain, Lorenland and Misko | 20 |
| Necluda | Kakariko Village, Hateno Village and Dueling Peaks | 17 |
| Faron | stables, Lurelin Village and jungle | 9 |
| Gerudo | Desert, city and plateau | 20 |
| Hebra and Tabantha | Orni village, snowfield and borderland | 20 |
| sky and Depths | Maze Castles, Shrines and Special Vendors | 5 |
Important task chains
Miskos Treasures
“The Hunt for Misko’s Treasure” opens several manuscript tasks. The Awakening series consists of three consecutive puzzles, as the Grim Deity and Tingles distribute three pieces of armor across separate caves. An additional overview is provided by Misko’s treasure.
Legendary Weapons of the Nations
After the four regional temples, Teba, Fugo, Dento and Isha can craft the warrior weapons. Each requires a regional basic weapon, diamonds and other materials. If the weapon breaks, it can be made again by the same blacksmith.
Hateno School and Umes Field
“Object Lesson” and “Object Lesson 2” lead to “Uma’s Crops”. After that, you can grow plants regularly. The other village tasks are summarized in our guide to Hateno Village.
stable pictures
After a regional main quest and the Camera, you can examine a blank picture in almost every stable. Every requested motif must be clearly recognized by the Camera and shown to the stable owner.
Fossils and Goddess Statues
The giant fossils are solved in the order Eldin, Hebra and Gerudo. The statues of strength, wisdom and courage each require a claw from the corresponding dragon and lead to the mother goddess statue.
Lurelin Village and Tarrey Town
Lurelin Village’s quests only become available after “A Village Full of Monsters” and the episode “Lurelin Village’s Rebirth”. Your own dream house in Tarrey Town, on the other hand, requires “Mattison’s departure”.
Checklist of all 139 Side Quests
Particularly valuable Side Quests
- Your very own dream house: your own, freely assembleable house in Akkala.
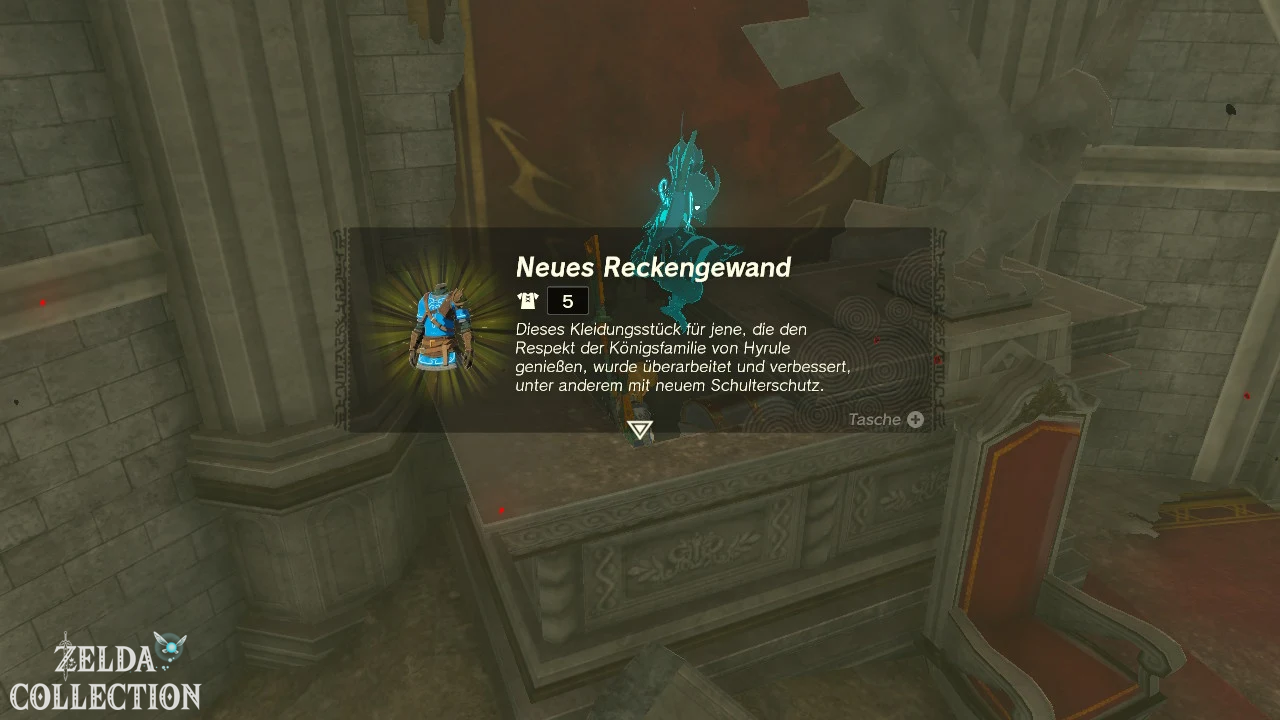
- A new warrior’s robe: the new warrior’s robe in the Sanctum from Hyrule Castle.
- Misko’s Treasure: Grim Deity, Tingle and Awakening Equipment.
- Legendary Weapons: Eagle Bow, Mountain Cleaver, Lightscale Lance, Treasure Saber and Treasure Shield.
- Castle Town Fountain Fan: Rupees for each of the 58 wells and the completion reward.
- Umes crops: a permanently usable cultivation field in Hateno Village.
- The Diligent Pilgrim: Ancient Heroic Spirit for all 152 shrines.
- Goddess Statues: White Sword of Heaven after all three dragon sacrifices.
Find the last missing Side Quest
The full counter will be visible in the diary after the final boss. Pay particular attention to stable pictures, tasks in rebuilt locations, quests for the regional temples, the three giant fossils, the three goddess statues and small barter transactions.
Some NPCs only give their task during the day, during class, after completing a previous quest, or after an additional conversation. If a client does not have a red exclamation mark, first check the stated requirement. Tasks that have already been completed remain in the diary under “Done”.
solutions of all 139 Side Quests
Central Hyrule
2. Attack of the Pirates
Start: At Garini in the Lookout Landing.
Prerequisite: Complete at least two regional main quests.
Garini is concerned about the residents of Lurelin Village. Travel to the southeastern coast, complete “A Village Full of Monsters” and talk to the rescued residents or Rozel. Then return to Lookout Landing and report to Garini that the village is safe again.
Reward: Rupees; Requirement for “A Boat in Distress”.
40. Castle Town Fountain fan
Start: At Fera in any well; later in Lookout Landing.
Requirement: Open Emergency Shelter in Lookout Landing.
Discover all 58 wells. Each fountain counts as soon as its name is displayed. Fera pays each new find individually. After the last fountain you return to her at Lookout Landing.
Reward: 10 Rupees per well and the All’s Well as an important collector’s item.
48. The unfinished shelter
Start: At Karson in Lookout Landing.
Prerequisite: Open Emergency Shelter, talk to Scorpis and complete a regional main quest.
Uses the Ultrahand to connect the stored boards and beams to form a roof over the training area. The construction must touch all intended support points and must not have any large gaps. After the exam, talk to Karson.
Reward: 50 Rupees; Requirement for further tasks in Lookout Landing.
100. Operation Three-Headed Monster
Start: At Gralens in Lookout Landing.
Prerequisite: Complete Operation Hinox, Stone Talus and Molduga.
Defeat the marked Flame Gleeok on the Bridge of Hylia or at the specified location. Shoot all three heads with bat-biter eyes and attack the fallen body. Get in touch with Gralens.
Reward: 100 Rupees and progress to the Monster Medal.
101. Operation Sky Giant
Start: At Gralens in Lookout Landing.
Prerequisite: Complete the first three operations.
Travel to the marked Flux Construct I in the sky. Use the Ultrahand to release the green core from the body and attack it until the construct is defeated. Returns to Gralens.
Reward: 100 Rupees.
102. Operation Hinox
Start: At Gralens in Lookout Landing.
Requirement: None.
Defeat the marked Hinox. Hit the eye with an arrow and attack his legs while he’s fallen. Report victory to Gralens.
Reward: 100 Rupees.
103. Operation Stone Talus
Start: At Gralens in Lookout Landing.
Requirement: None.
Defeat the marked Stone Talus. Climb onto his back or use the Ascend and destroy the ore deposit. Sends thrown arms back with the Recall.
Reward: 100 Rupees.
104. Operation Molduga
Start: At Gralens in Lookout Landing.
Requirement: None.
Defeats the marked Molduga in the Gerudo Desert. Throw an object on the sand, wait for the jump and detonate a bomb. Attacks the stunned body.
Reward: 100 Rupees.
105. Operation Giant Silhouette
Start: At Gralens in Lookout Landing.
Prerequisite: Complete the first three operations.
Defeats the marked Frox in the Depths. Hit his eye, run under the body and use Ascend on the back. Destroy the ore deposits there.
Reward: 100 Rupees.
113. Misko’s Treasure: Awakening Series 3
Start: Through the letter after part 2.
Prerequisite: Complete Awakening Series 2.
Travels to Thundra Plateau in Hyrule Ridge. Wait until midday, when the shadow of the southern pillar falls to the north. Use the pillar and its shadow according to the clue to open the hidden cave entrance. The awakening mask lies in the Treasure Chest.
Reward: Awakening Mask.
127. Daily menu
Start: At Burmano in the Emergency Shelter of the scout post.
Requirement: Open Emergency Shelter.
Give Burmano an apple. He cooks a dish from it and explains the daily supply at Emergency Shelter.
Reward: fruit and mushroom mix.
137. Where is my horse?
Start: At Lester in Lookout Landing.
Prerequisite: At least two sages and “The Unfinished Shelter”.
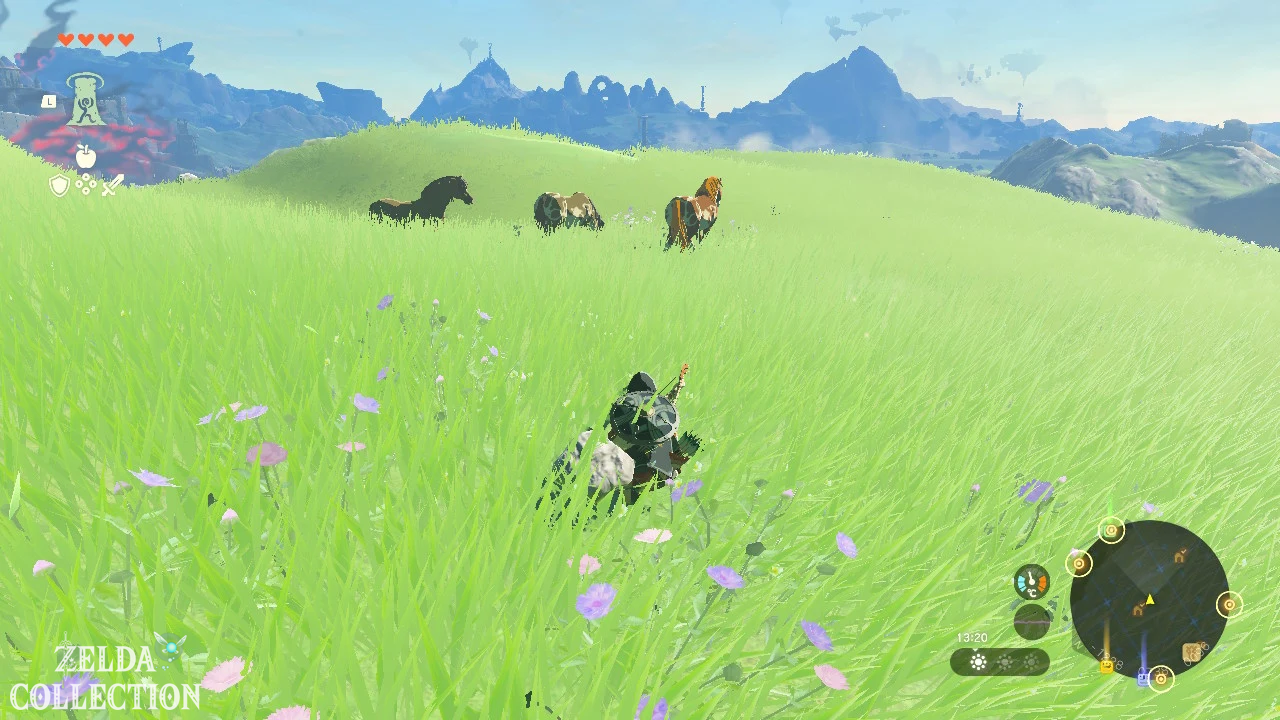
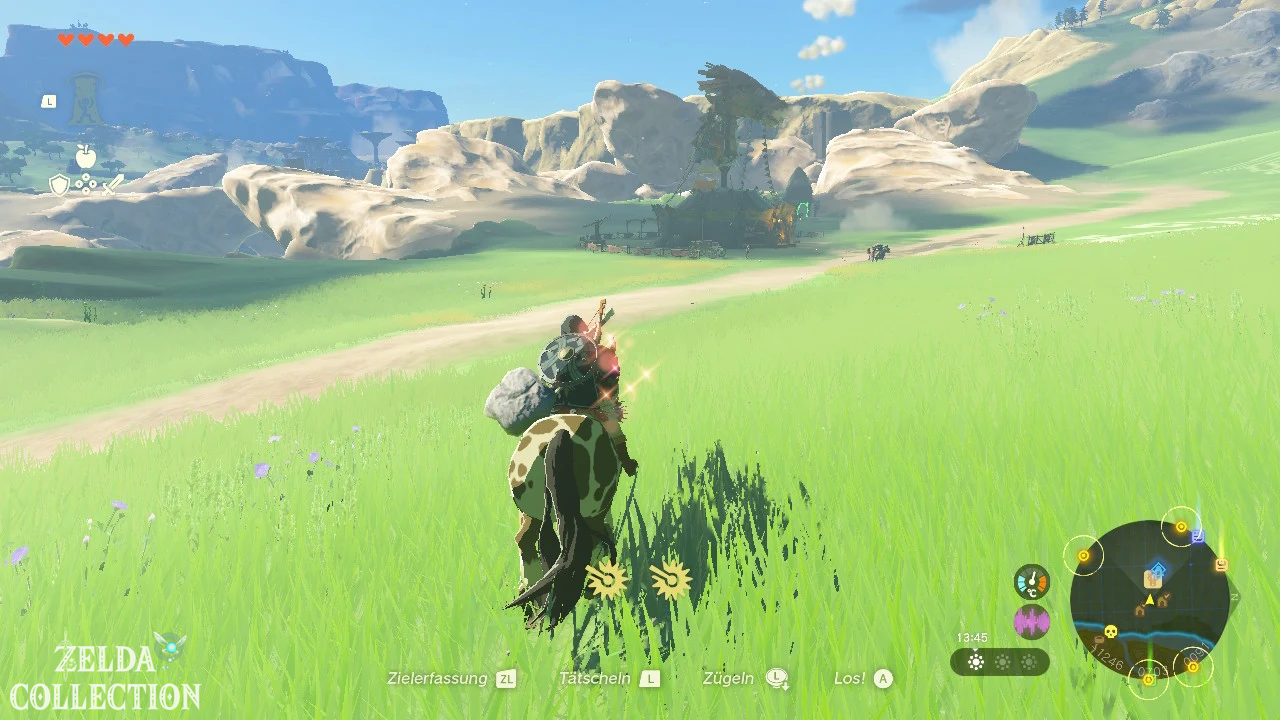
Find Lester’s favorite horse, Spot, southwest of the scouting post. It has striking spotted fur. Approach, calm it down and ride back to Lookout Landing. You can then keep and register Spot.
Reward: Spot as a horse and 50 Rupees.
Hyrule Field
11. The picture in the new stable of Maritta
Start: Sprinn in the New Stable of Maritta
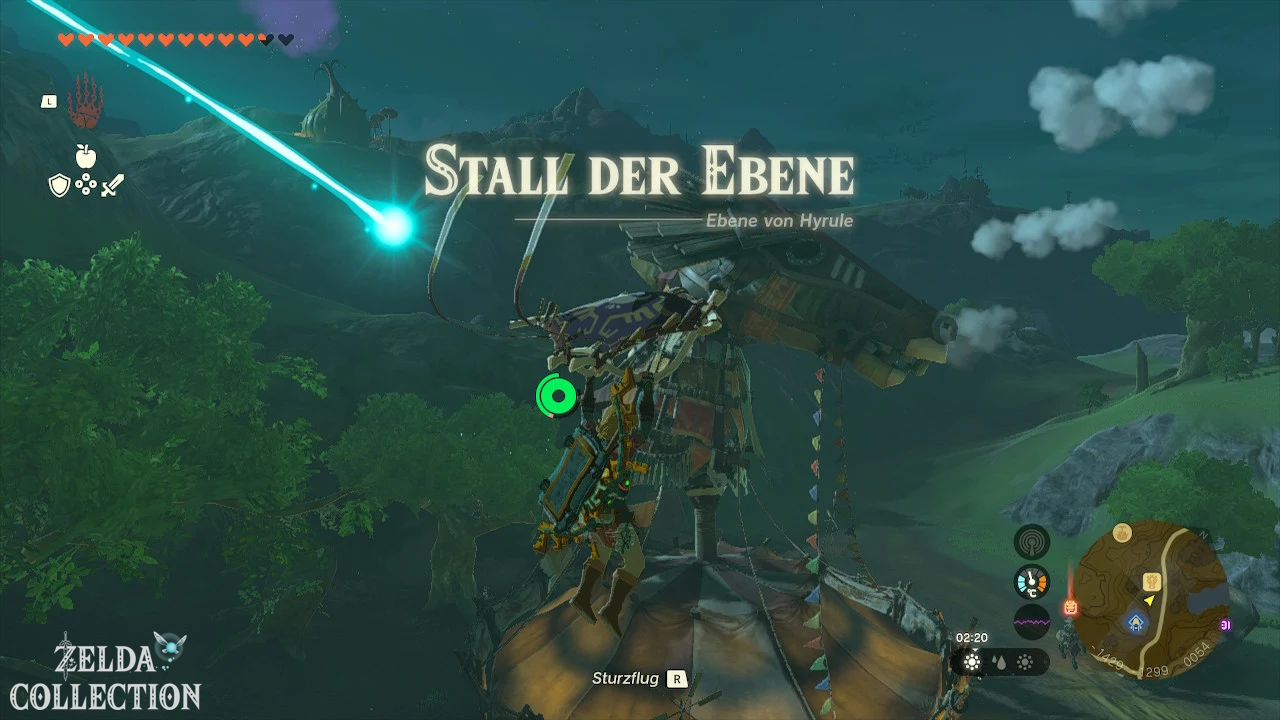
Requirement: At least one regional main quest, Camera and stable membership.
Photograph the large geoglyph immediately north of the stable from an elevated position. The balloon at Impa or a nearby hill provides the right image detail. Then show the photo to the stable owner and have it framed.
Reward: 1 stall point and a small reward.
13. The image in Riverside Stable
Start: Ember in Riverside Stable
Requirement: At least one regional main quest, Camera and Stable membership.
Travel to the Forgotten Temple and photograph the large goddess statue in the back. The subject must be recognized by the Camera. Then show the photo to the stable owner and have it framed.
Reward: 1 stall point and a small reward.
15. The image in Outskirt Stable
Start: Embry in Outskirt Stable
Requirement: At least one regional main quest, Camera and stable membership.
Photographs a blossoming cherry tree. The tree on Satori Mountain is particularly suitable and is accessible at any time. Then show the photo to the stable owner and have it framed.
Reward: 1 stall point and a small reward.
19. The image in Wetland Stable
Start: Lawdon in Wetland Stable
Requirement: At least one regional main quest, Camera and stable membership.
Photographs one of the large Ring Ruin in Kakariko Village. A shot from the village street is sufficient when the name is displayed. Then show the photo to the stable owner and have it framed.
Reward: 1 stall point and a small reward.
52. The stable worker’s request
Start: At Toffa on Outskirt Stable.
Requirement: None.
Shows Toffa a Stalpferd first. These appear at night in the Sanidin Park Ruins or in Depths. Then bring a rideable animal that is not a normal horse, such as a deer or bear. You just have to lead the animals to the stable, you don’t have to register them.
Reward: 100 Rupees and stall points.
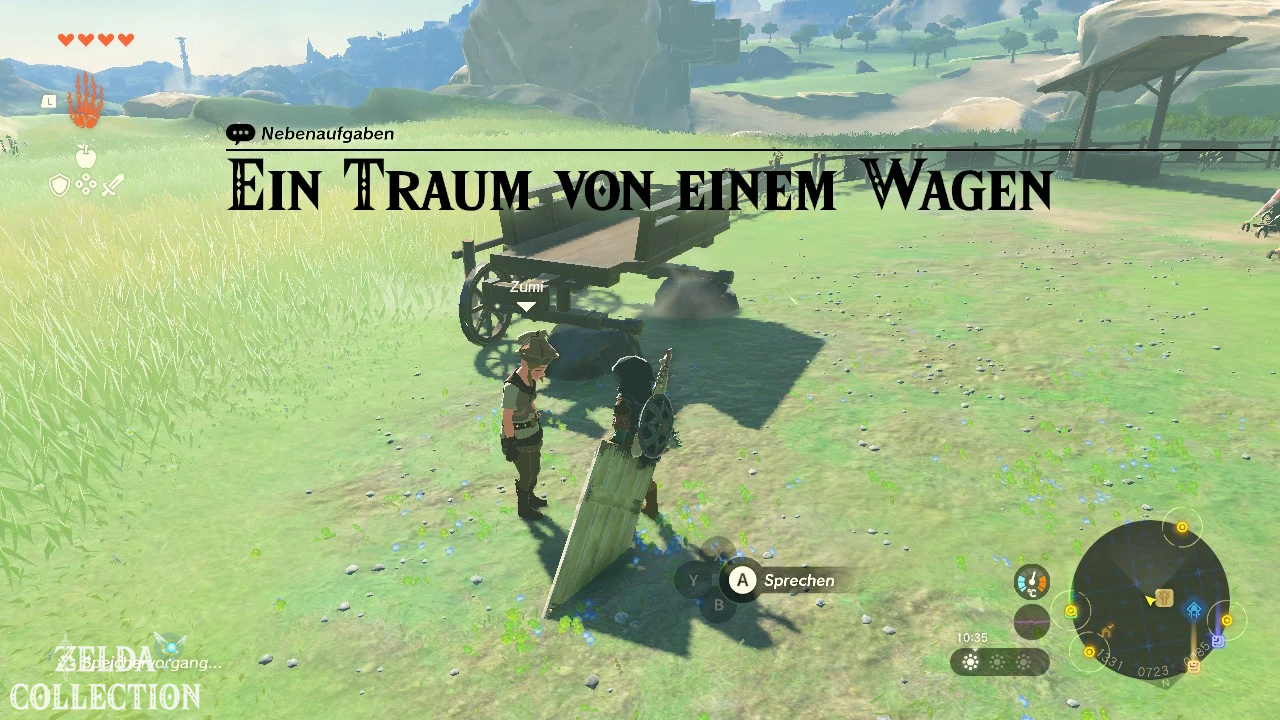
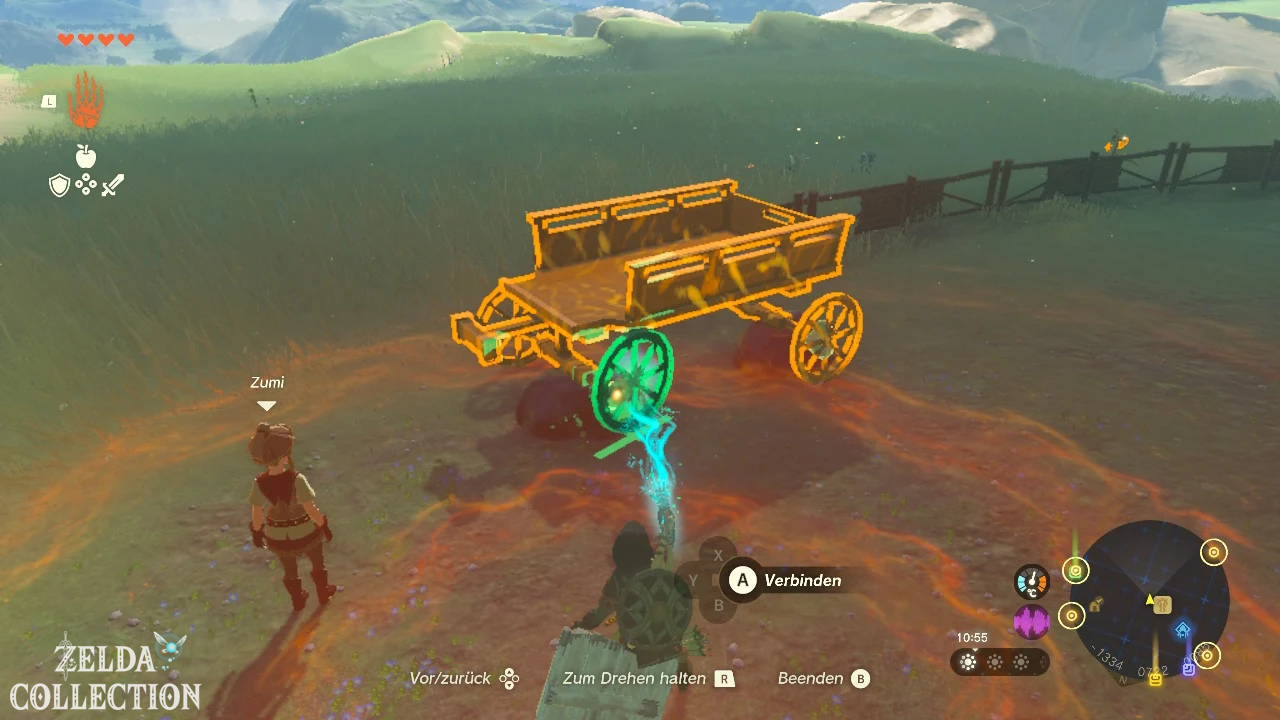
79. A dream of a car
Start: At Zumi at Maritta’s new stable.
Requirement: None.
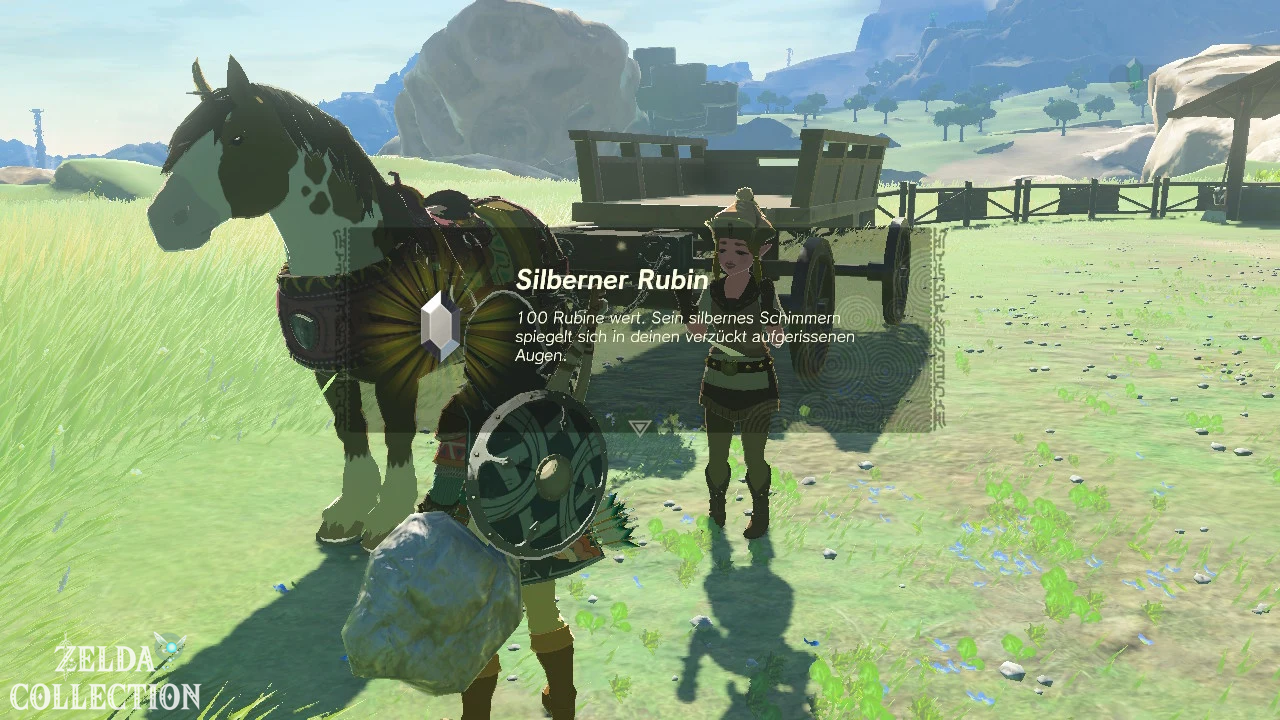
Repairs Zumi’s two-wheeled cart. Then catch a wild horse nearby, calm it down and bring it to her. The horse does not have to be registered at the stable.
Reward: 100 Rupees.
80. An uninvited guest
Start: At Ami on Wetland Stable.
Requirement: None.
Defeat the Like Like or the monsters that have nested under or next to the stable. With the Like Like you hit the visible core and then attack the tongue.
Reward: 20 Rupees and a meal.
90. Hunt for quick chickens
Start: At Teli on Riverside Stable.
Prerequisite: Complete “Foodie Missing”.
Catch the five chickens around the coop and throw them into the enclosure. Approach them crouched, grab them from behind and use high places if they escape onto roofs.
Reward: 100 Rupees.
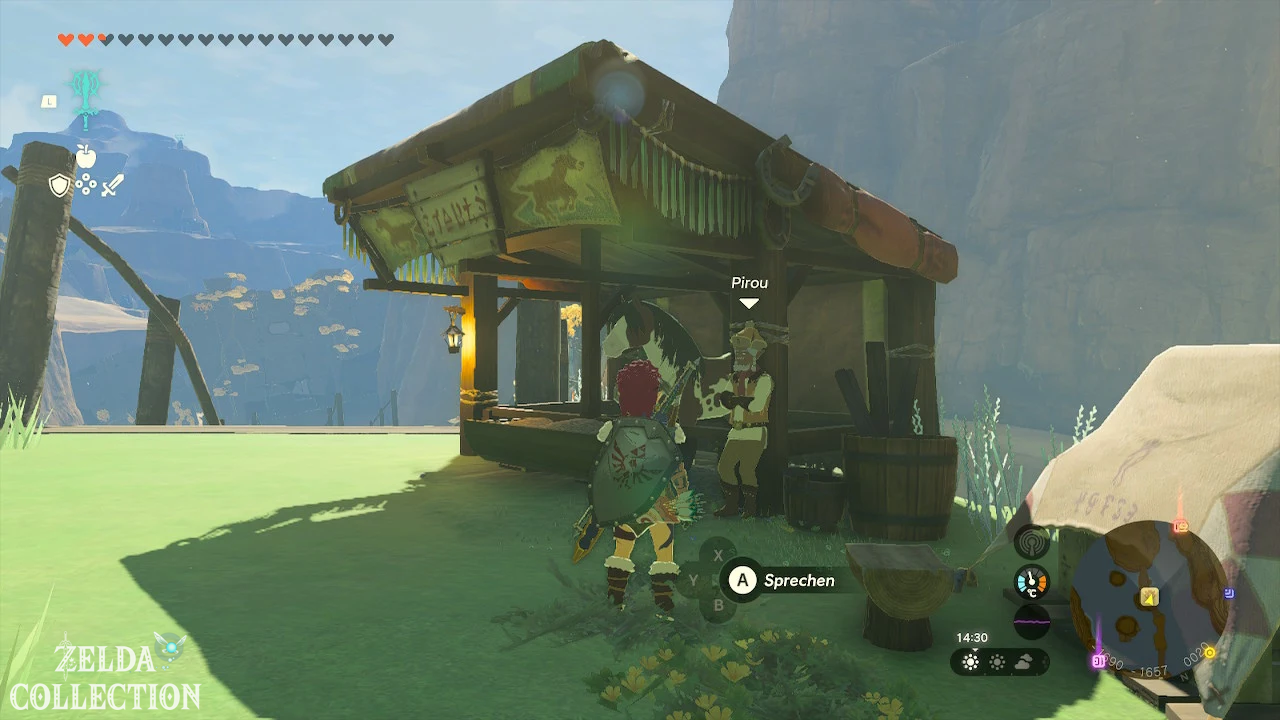
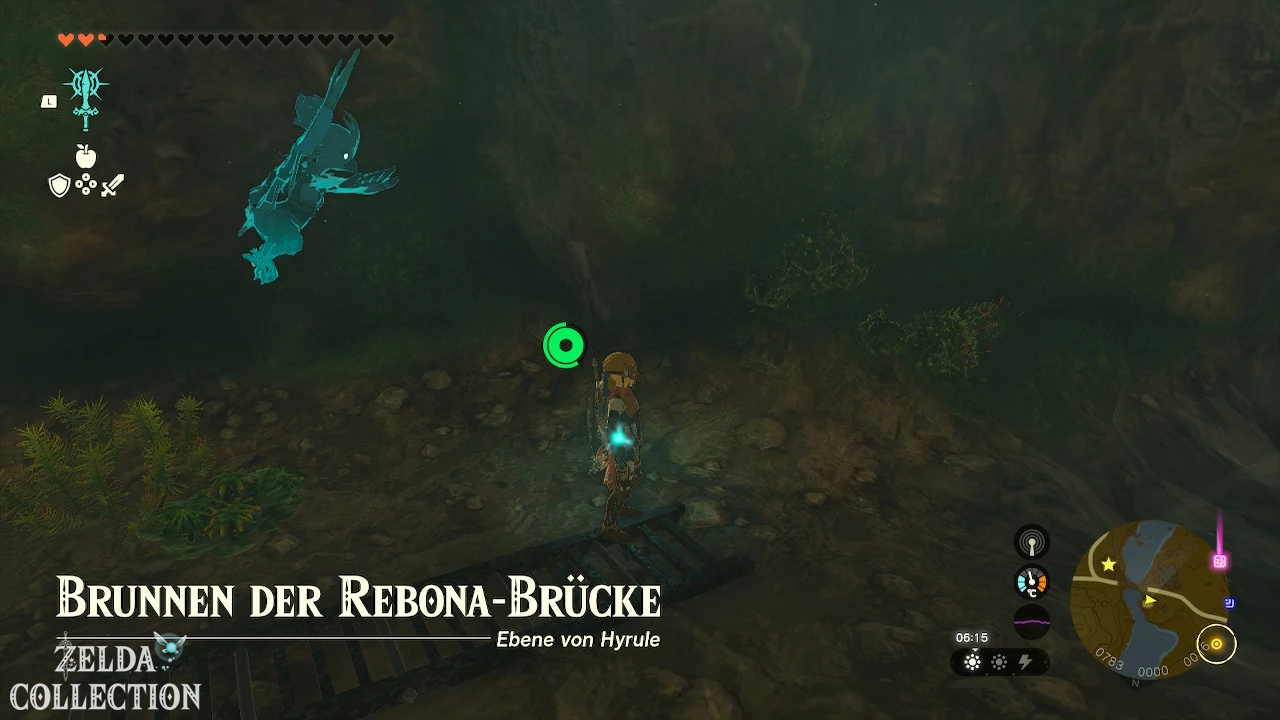
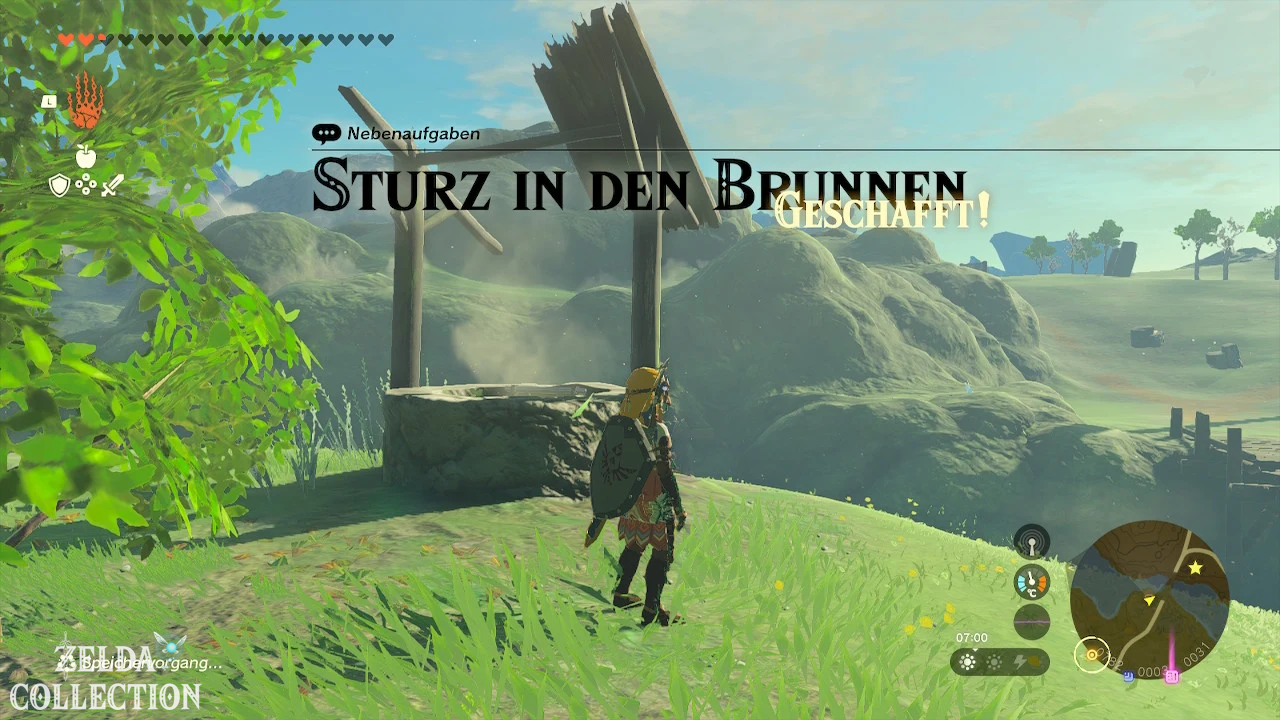
124. Falling into the well
Start: At Dillie’s in the Rebonae Bridge Well.
Requirement: None.
Attach the loose wooden parts to the broken ladder with the Ultrahand or build a sloping ramp up to the edge of the well. Talk to Dillie after a walk-in exit appears.
Reward: 50 Rupees.
Great Hyrule Forest
84. Secret room in Great Deku Tree
Start: At Oaki in the Korok Forest.
Requirement: Free Great Deku Tree from Gloom.
Brings Oaki four Blue Nightshade and two Brightbloom Seed. He uses the materials to set up the secret room inside the Deku Tree.
Reward: Korok Fabric.
134. Walton‘ Treasure Hunt
Start: At Walton in the Korok Forest.
Requirement: Free Great Deku Tree.
Solve Walton’ three weapon puzzles. Bring or show him a forest lance, a forest sword and a forest shield. The items are located in and around the Korok Forest or can be obtained from Korok constructs.
Reward: Diamond.
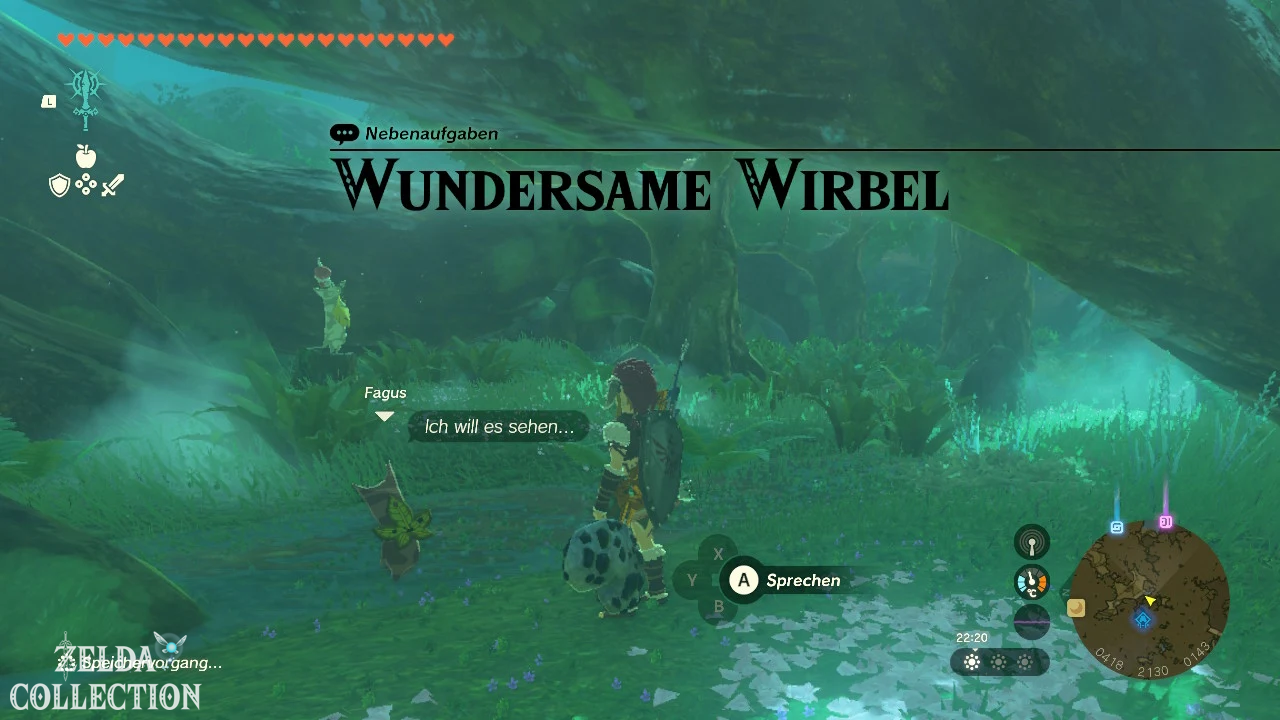
138. Miraculous Vertebrae
Start: At Kula in the Korok Forest.
Requirement: Free Great Deku Tree.
Photographs a sand whirlpool and a water whirlpool. You can find sand whirlpools in the Gerudo Desert, water whirlpools in the Lake Hylia, among others, or in water caves. Kula shows both images.
Reward: 5 Mighty Bananas and 5 Water Fruits.
Lanayru
34. The perfect dish?
Start: At Moza in Rikoka Hills Well.
Requirement: None.
Give Moza a Dubious Food or a Hard Piece. To do this, intentionally cook incompatible ingredients or monster parts with food. An existing failed meal can be handed over immediately.
Reward: A normal dish and 50 Rupees.
39. The blue stone
Start: At Ledo on the eastern bank of the reservoir in the Zora’s Domain.
Prerequisite: Complete Water Temple.
Build a raft from a stone slab, fan and Steering Stick and travel to the Reservoir Lakefront Cavern. Attach a blue Luminous Stone to the vehicle and return it to Ledo without losing it in the water.
Reward: Zora Fabric.
42. The Treasure of Gratitude
Start: At Kodah in the Zora’s Domain.
Prerequisite: Complete Water Temple.
Go to Tarm Point Cave and talk to Sasan there. Place him on the raft provided and transport him through the cave to Finley. The water level rises and falls regularly: only continue sailing when the water is high and keep the raft away from rocks and the ground when the water is low. Speak to both of them at the shrine.
Reward: 2 Opals.
45. The Treasure of the Big Fish
Start: Near Sidon in the Zora’s Domain.
Prerequisite: Complete Water Temple.
Go under the long bridge in the Zora village and cross the first waterfall. In the hidden cave you follow the passage to a second waterfall. Run through this water curtain and open the chest in the room behind it.
Reward: Vah-Ruta Helmet.
54. The endless lecture
Start: At Chroma in the Zora’s Domain.
Prerequisite: Complete Water Temple.
Travel to Scaledance Island, fastest via the waterfall near Ihen-a Shrine. Go to the tail fin and look over the edge on the northeast side of the transition between body and tail. Slide into the small opening in the island wall and open the chest with the Zora Helmet.
Reward: Zora Helmet.
55. The festivals on the Jaabu Plateau
Start: At Gaddison in the Zora’s Domain.
Prerequisite: Complete Water Temple.
Travel to the monster fortress on Jaabu Plateau and defeat all enemies. First, take out archers on the towers and use Sidon’s shield against electrical attacks. Then return to Gaddison.
Reward: 100 Rupees.
61. The splendor of the Zora
Start: Near Dento in the Zora’s Domain.
Prerequisite: Complete Water Temple.
Bring Dento a Zora Lance, three diamonds and five flints. Zora lances are located in the village, in the Zora sanctuary or with opponents in the region. He uses it to forge the lightscale lance.
Reward: Lightscale Lance.
67. The carefree wife
Start: At Fronk in the Zora’s Domain.
Prerequisite: Complete Water Temple.
Travel to the Isle of Bubbling Waters south of the Water Temple. Mei sits by a small rectangular pond and fishes. The quickest way to reach them is from the Igoshon Shrine or via a waterfall with the Zora Armor. Speak to her and then return to Fronk in the Zora’s Domain.
Reward: Hearty fish skewer.
72. The Zora Princess in the Moonlight
Start: At Seggin in the Zora’s Domain.
Requirement: Water Temple and Camera.
Wait until night and photograph the Mipha statue on Mipha Mountain in the moonlight. The moon and the illuminated statue should be visible together in the image. Seggin shows the recording.
Reward: 100 Rupees.
77. A crabbulous business
Start: Near Cleff in the Zora’s Domain.
Prerequisite: Complete Water Temple.
Bring ten Stamina Crabs to Cleff. They live on banks and rocks around the village and the reservoir. Cleff then repeatedly exchanges crabs for arrows or goods.
Reward: Sapphire and unlocking an exchange.
106. Sacrifice for Friendship
Start: Near Yona in the Zora’s Domain.
Prerequisite: Complete Water Temple.
Enter the Ancient Zora Sanctuary via the Eastern Reservoir. Cross the upper room, follow the stairs down and jump into the hole behind the central tower. In the lower cave there are three waterfalls and an optional Stone Talus. The chest with the leg guard is behind the middle waterfall.
Reward: Zora Leg Armor.
120. What a mess
Start: At Bazz on Upland Zorana Skyview Tower.
Requirement: None.
Cleans Bazz and the Cartography Tower entrance with water. Throw water fruits, use blue Chuchu Jelly or a fire hydrant. Once the mud is removed, talk to him again.
Reward: Zora Lance.
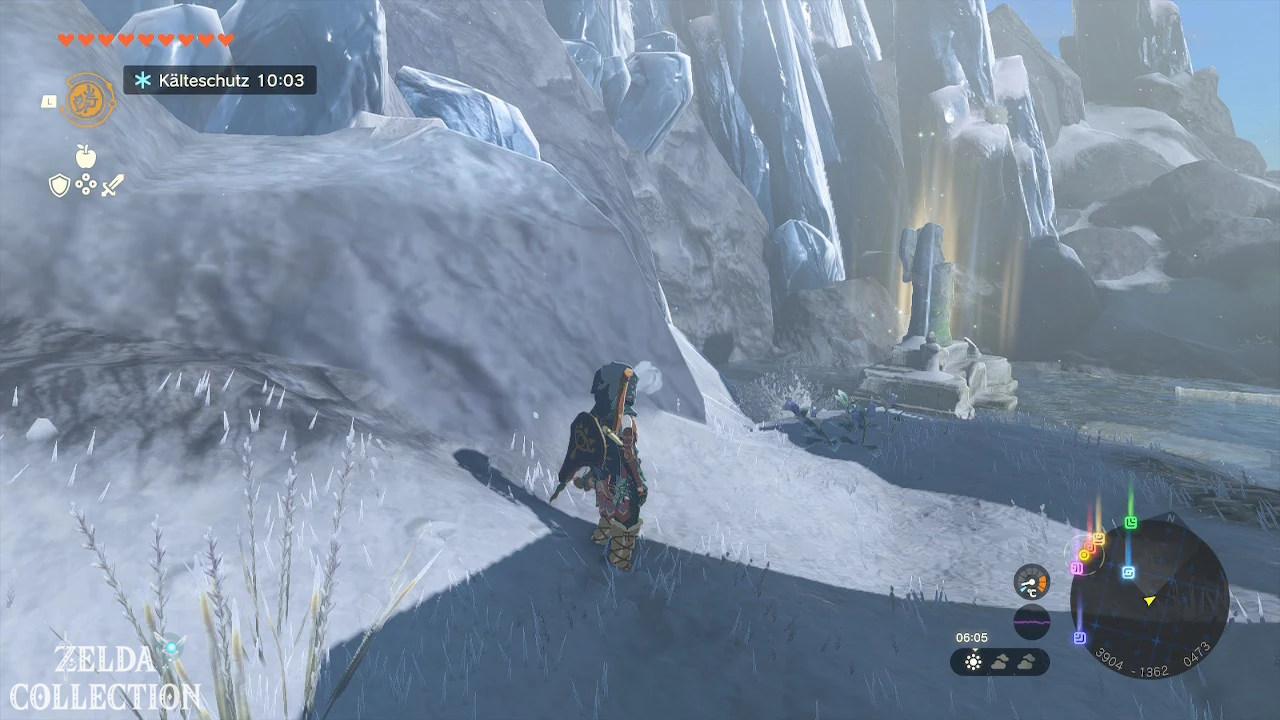
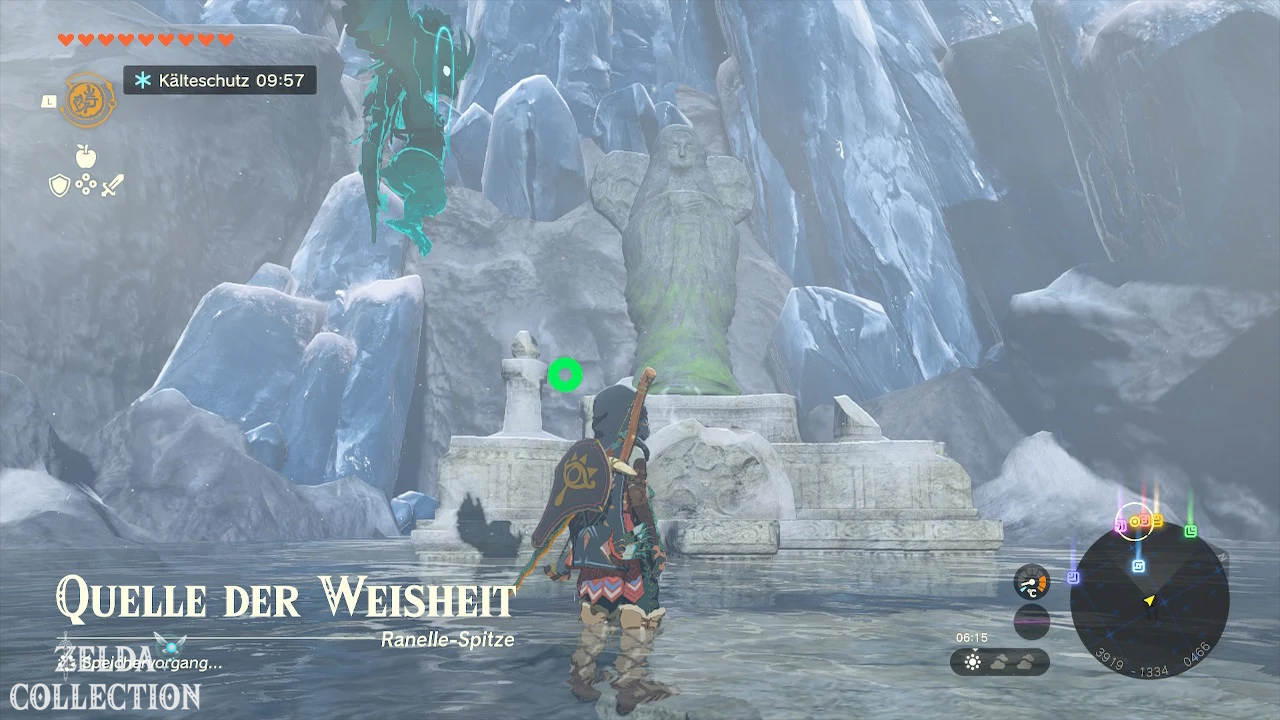
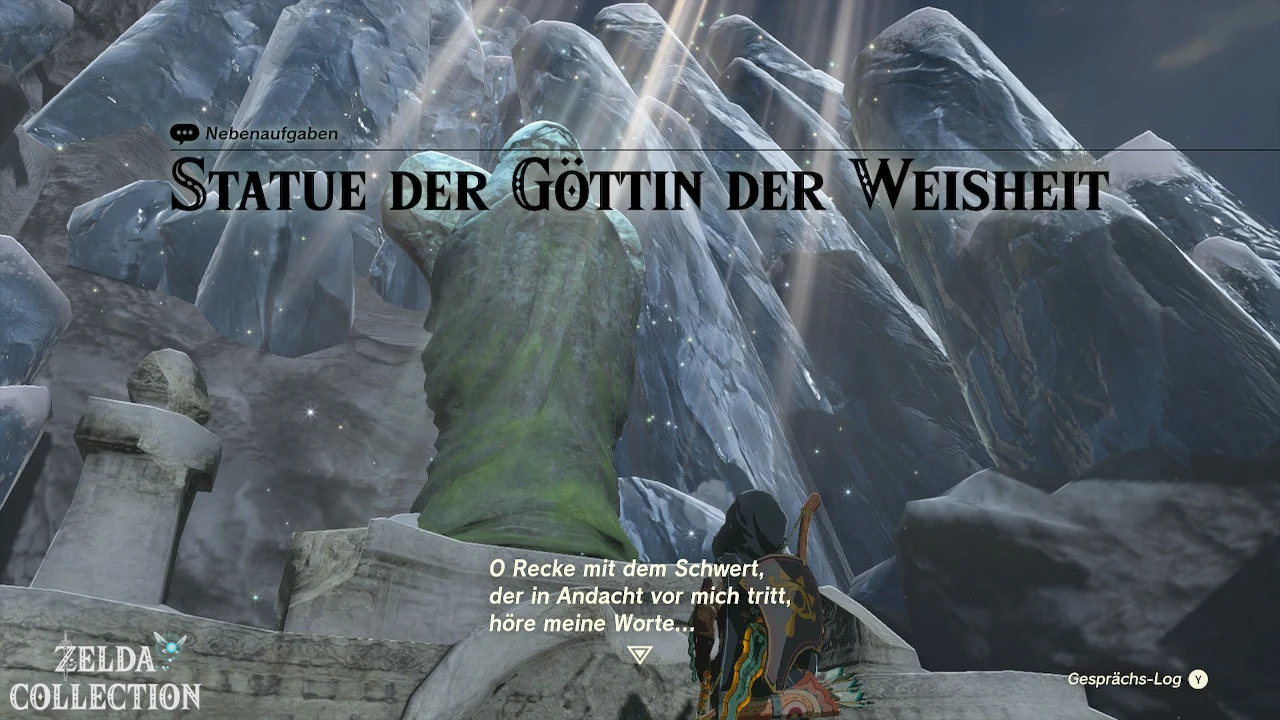
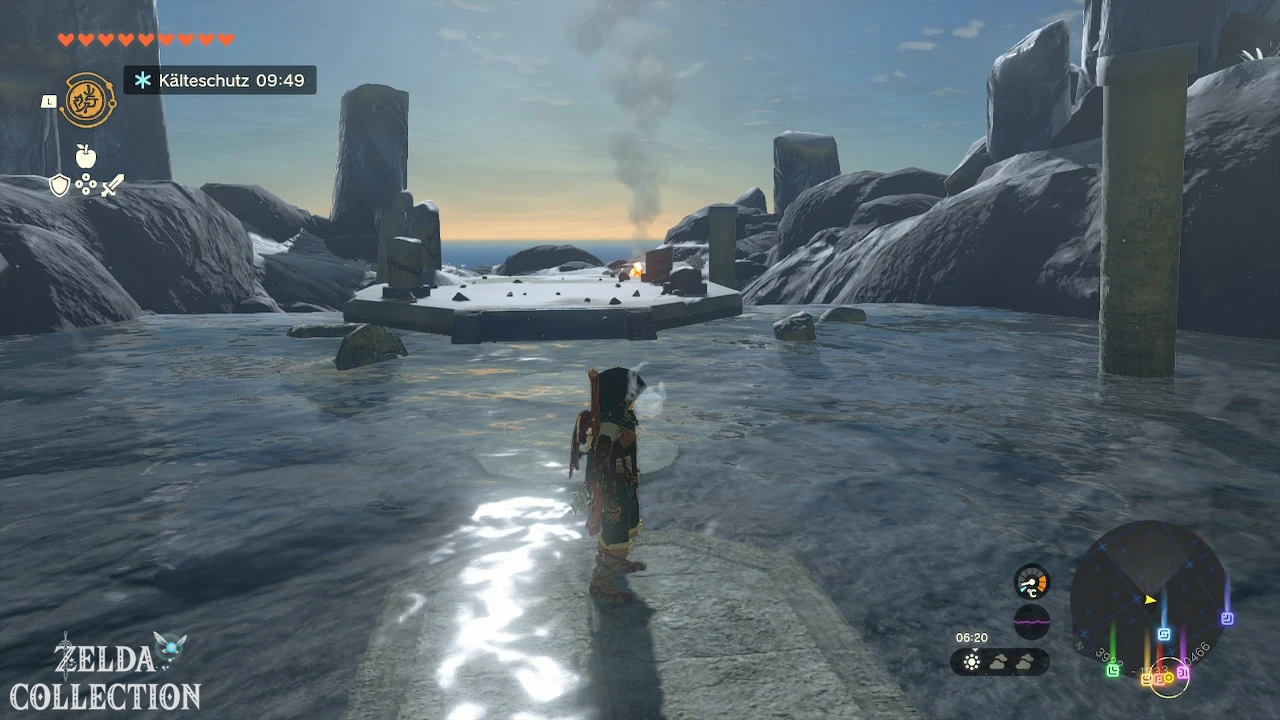
122. Statue of the Goddess of Wisdom
Start: At the Source of Wisdom on the Mount Lanayru.
Requirement: None.
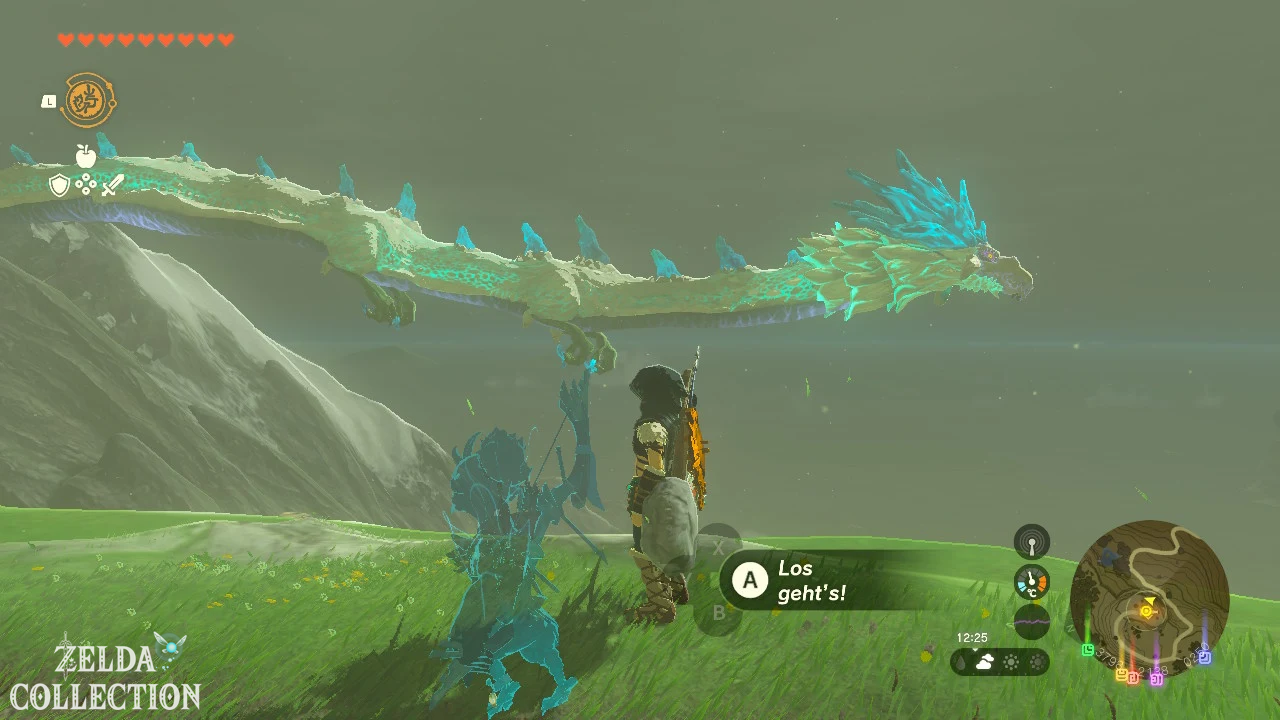
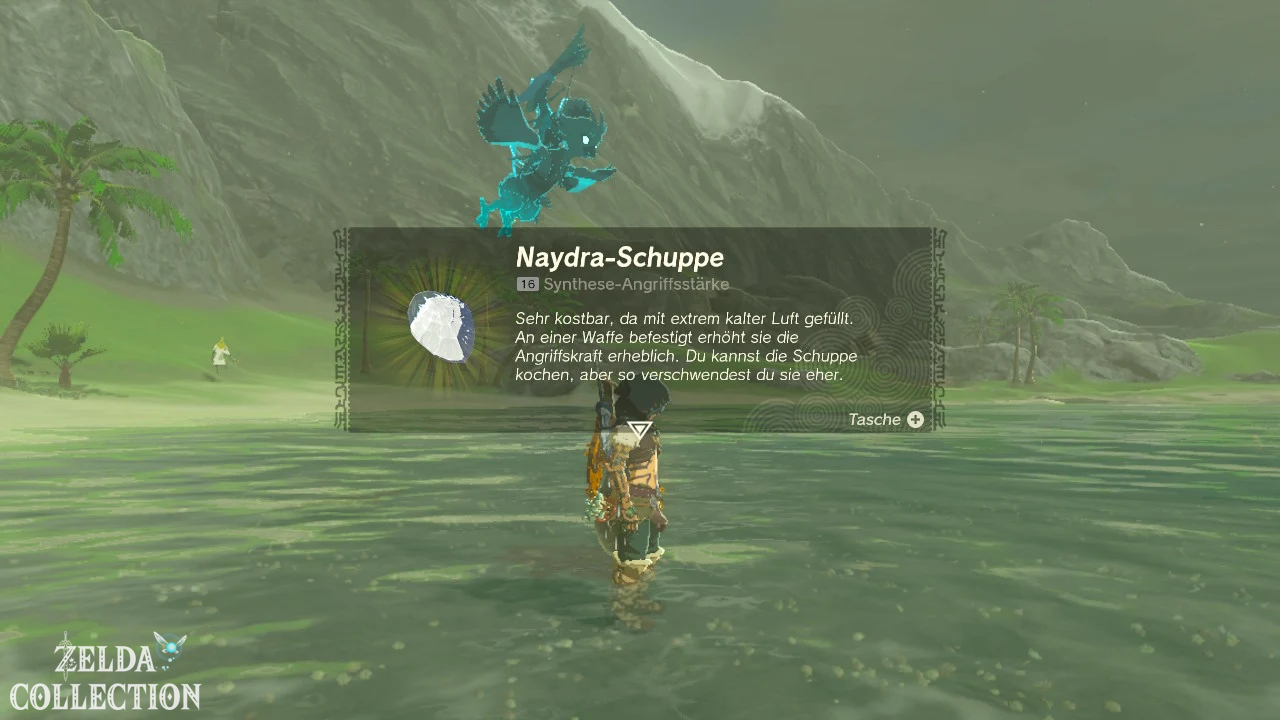
Hit Naydra by a claw, collect the claw and place it in the water in front of the statue. Protection from the cold is necessary on the mountain.
Reward: Sapphire and progress to Mother Goddess Statue.
Akkala
7. In one fell swoop
Start: At Parcy at the South Akkala stables.
Requirement: None.
Target the chunk of ore that is waiting and destroy it with a single hit. Combines a powerful two-handed weapon with a rock, a Stone Talus heart, or a powerful monster horn. A charged attack also counts as a strike.
Reward: 50 Rupees.
24. The picture in the East Akkala stable
Start: Rudi in East Akkala Stable
Requirement: At least one regional main quest, Camera and stable membership.
Photographs the Octorok Lake in the rain. Wait for bad weather or sleep by the fire several times and take in the lake from a hill. Then show the photo to the stable owner and have it framed.
Reward: 1 stall point and a small reward.
25. The image in South Akkala Stable
Start: Dmitri in the South Akkala Stable
Requirement: At least one regional main quest, Camera and stable membership.
Photographs the big lucky bell in Tarrey Town. Stand in the central square and pick up the entire bell. Then show the photo to the stable owner and have it framed.
Reward: 1 stall point and a small reward.
26. The Eldin Great Skeleton
Start: At Loone northeast of East Akkala Stable.
Requirement: None.
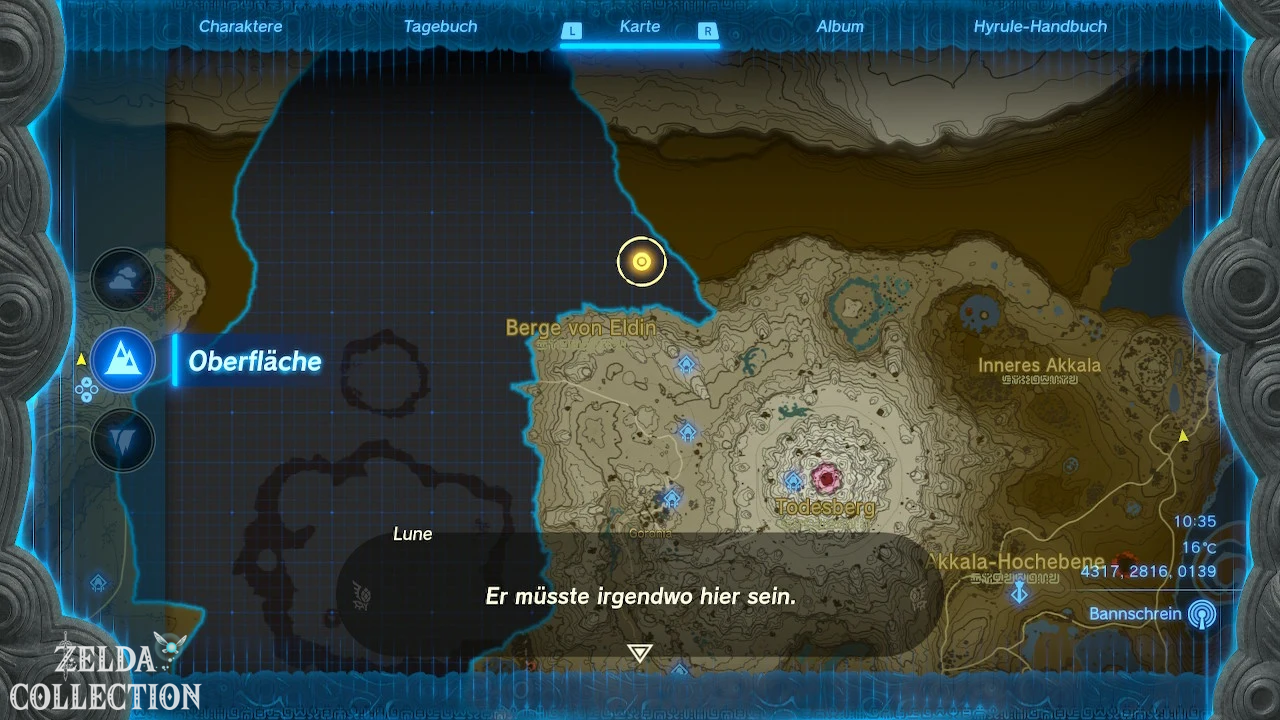
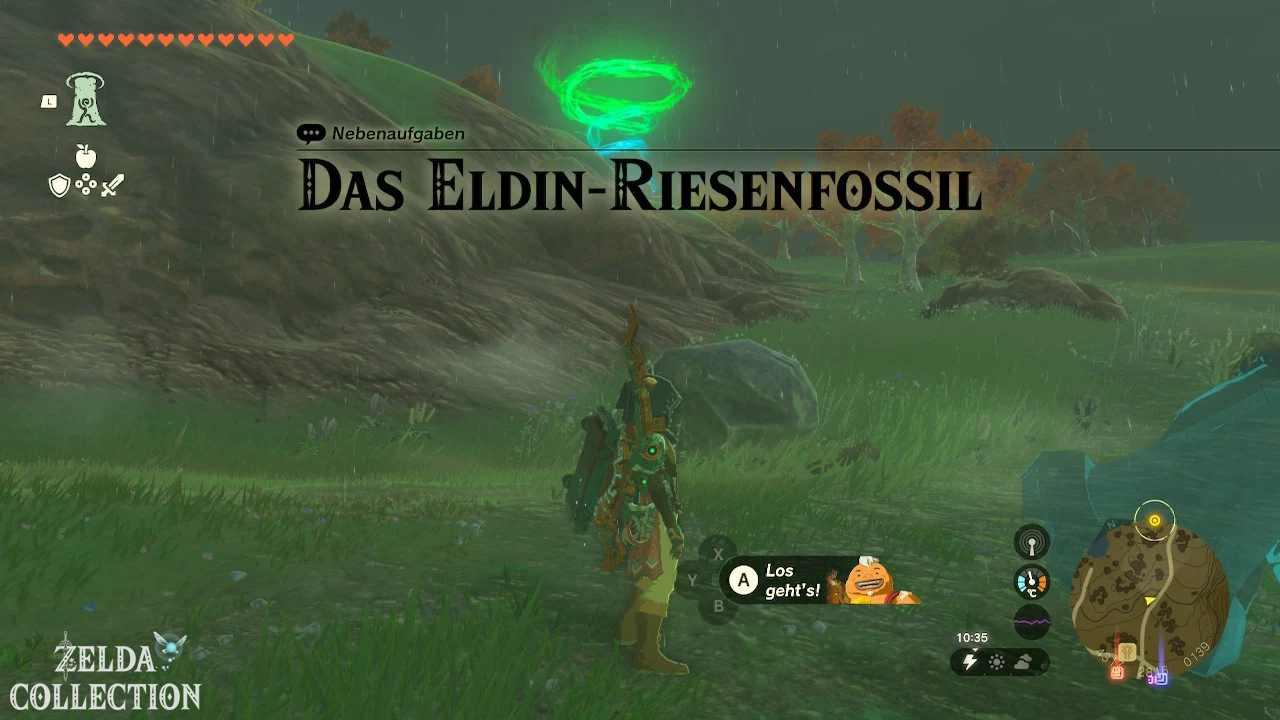
Enter the cave with the Eldin Great Skeleton. Find the missing bone eyeball, remove it from the rock and use the Ultrahand to place it in the empty eye socket of the large skull. Afterwards, talk to Loone.
Reward: 50 Rupees and start “The Hebra Great Skeleton”.
36. Your very own dream home
Start: At Rhondson in Tarrey Town.
Prerequisite: Complete “Mattison’s Departure”.
Buys a plot of land for 1,500 Rupees. You can then purchase up to 15 room modules on the Hudson Construction Site and connect them to a house with the Ultrahand. At least two rooms must be properly connected and completely within the property. After the construction inspection, speak to Rhondson.
Reward: Own house and Hudson Construction Fabric.
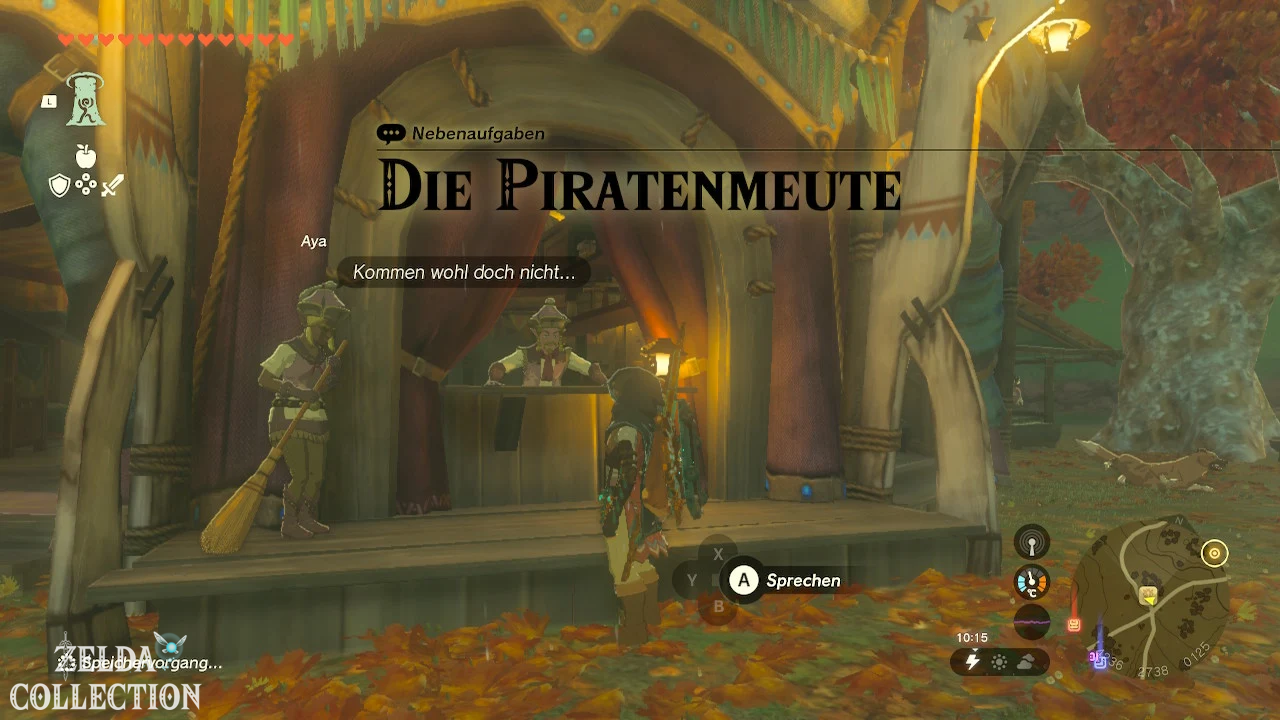
60. The Pirate Pack
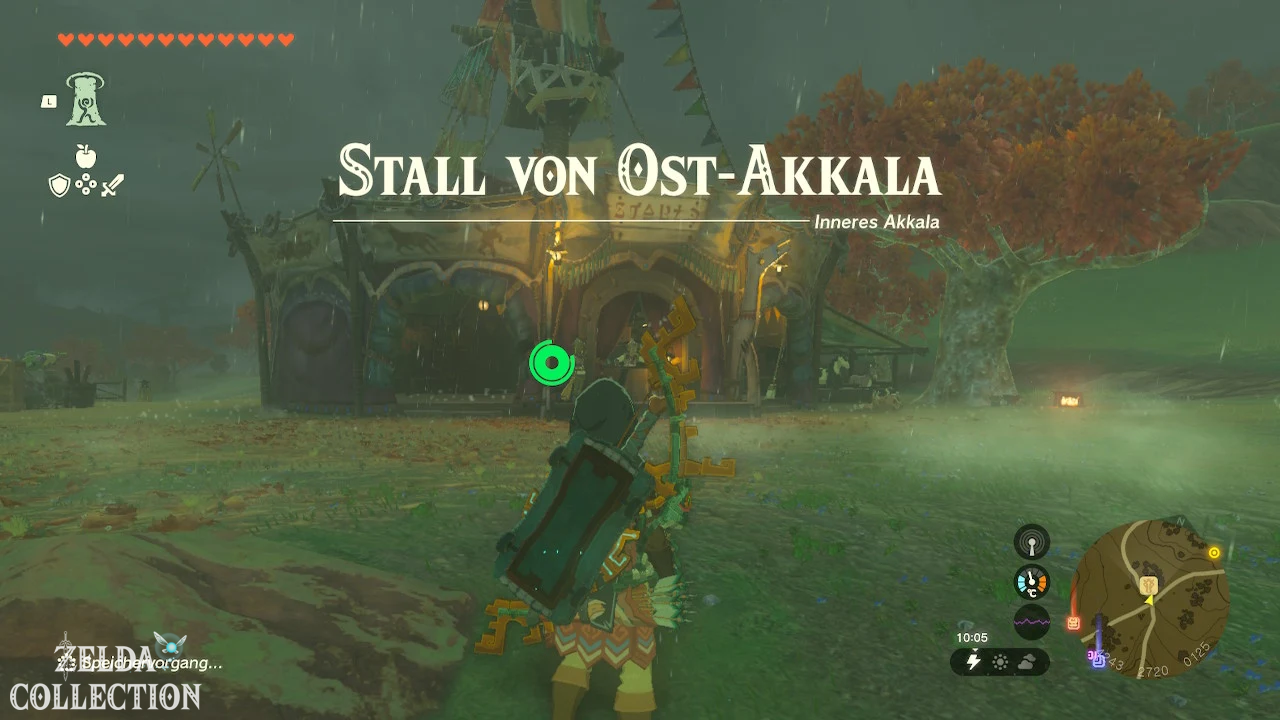
Start: With Aya at the East Akkala stable.
Requirement: None.
Ride or glide to North Akkala Beach and defeat the monsters on the three pirate ships. Use your own boat, freeze enemies and push them into the water. Report victory to Aya.
Reward: 100 Rupees.
64. The strongest weapon?!
Start: At Chabi at the East Akkala stable.
Requirement: None.
Obtain a Lynel Horn and connect it to any weapon using Fuse. Show Chabi the finished weapon. Color and thickness of the Lynels do not matter.
Reward: 50 Rupees.
109. Precise steering
Start: At Fernison on Hudson Construction Site.
Requirement: None.
Attach a Steering Stick to the prepared vehicle and drive through the marked test route. Stay within the area and reach the destination without leaving the vehicle.
Reward: 100 Rupees and unlock the Tarrey Town race.
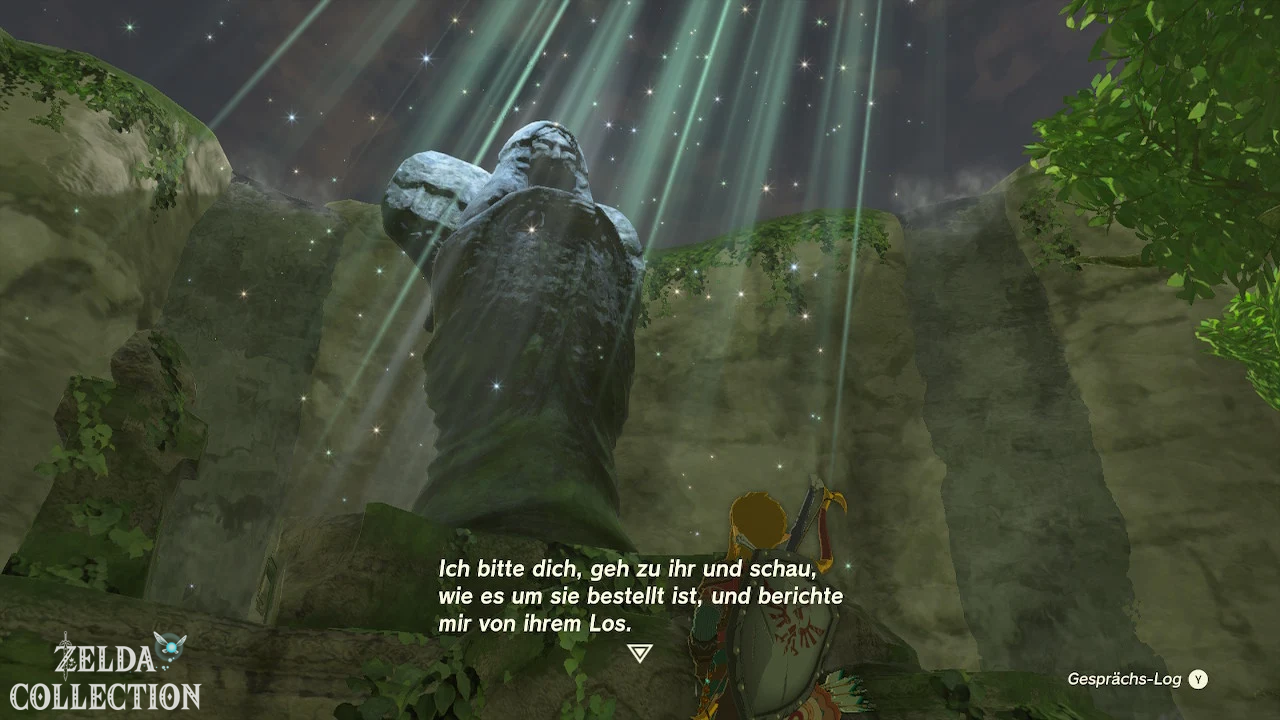
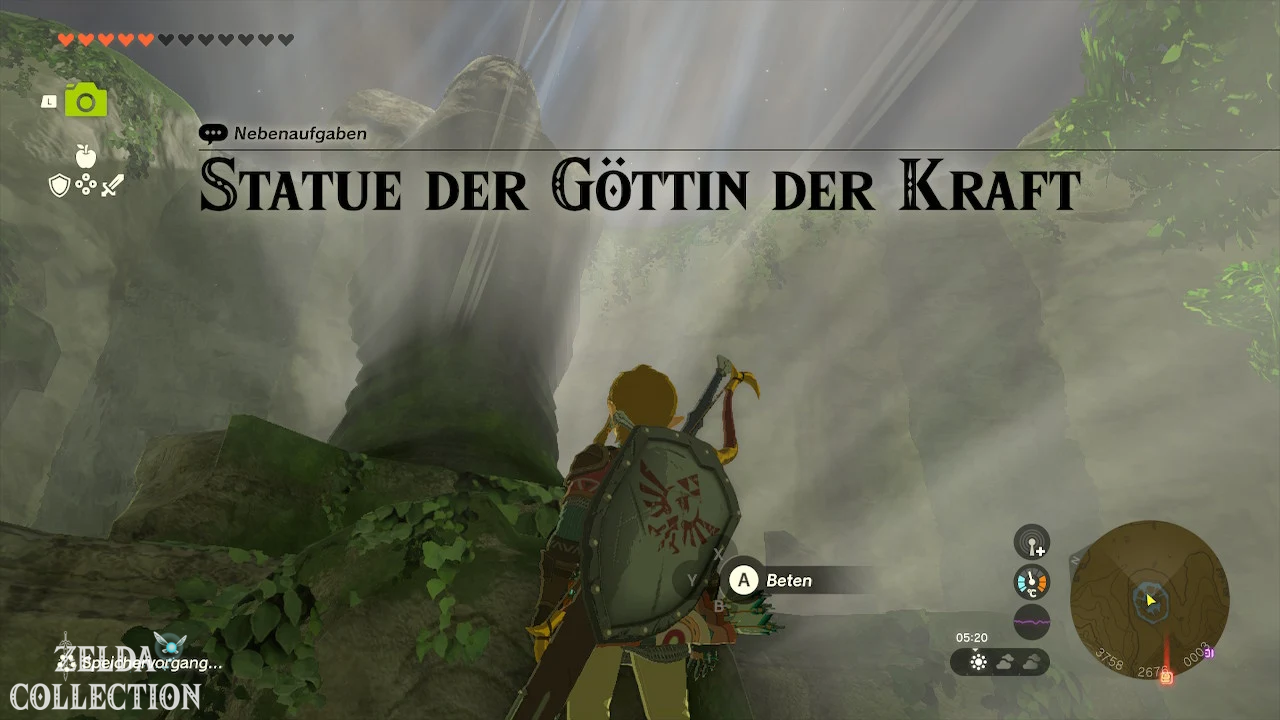
121. Statue of the Goddess of Power
Start: On the Spring of Power.
Requirement: None.
Dinraal Shoots an arrow at a claw and collects the falling material. Place the Dinraal’s Claw in the water in front of the goddess statue.
Reward: Rupee and progress to Mother Goddess Statue.
130. Participation in Tarrey Town Race
Start: At Fernison on Hudson Construction Site.
Prerequisite: Complete “Precise Steering”.
Build or use a vehicle and pass through all gates on the track within the time limit. A small four-wheeled vehicle with Steering Stick is easier to control than a fast aircraft.
Reward: Rupees; Racing remains available as a mini-game.
136. What’s in there?
Start: At Pulcho on Hudson Construction Site.
Requirement: None.
Throw five Zonai Spheres into the capsule dispenser or use the dispenser multiple times until different components appear. Then talk to Pulcho and explain the contents to him.
Reward: Zonai Devices.
Eldin
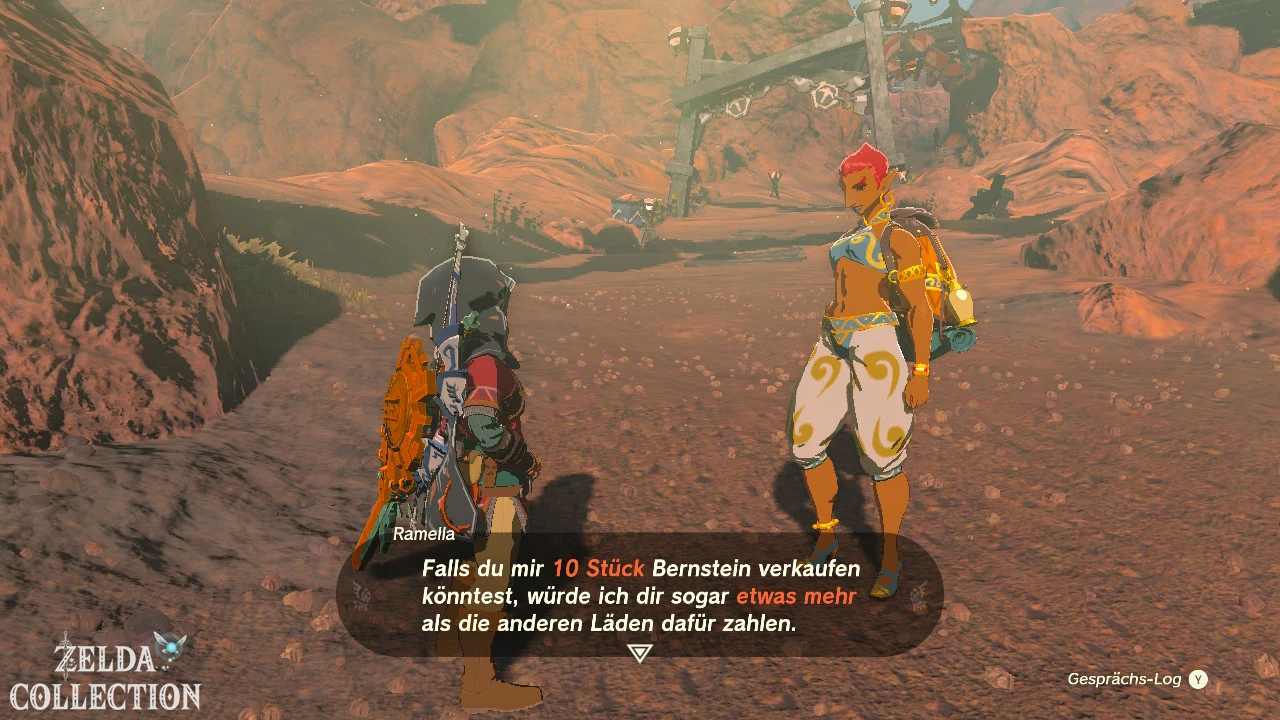
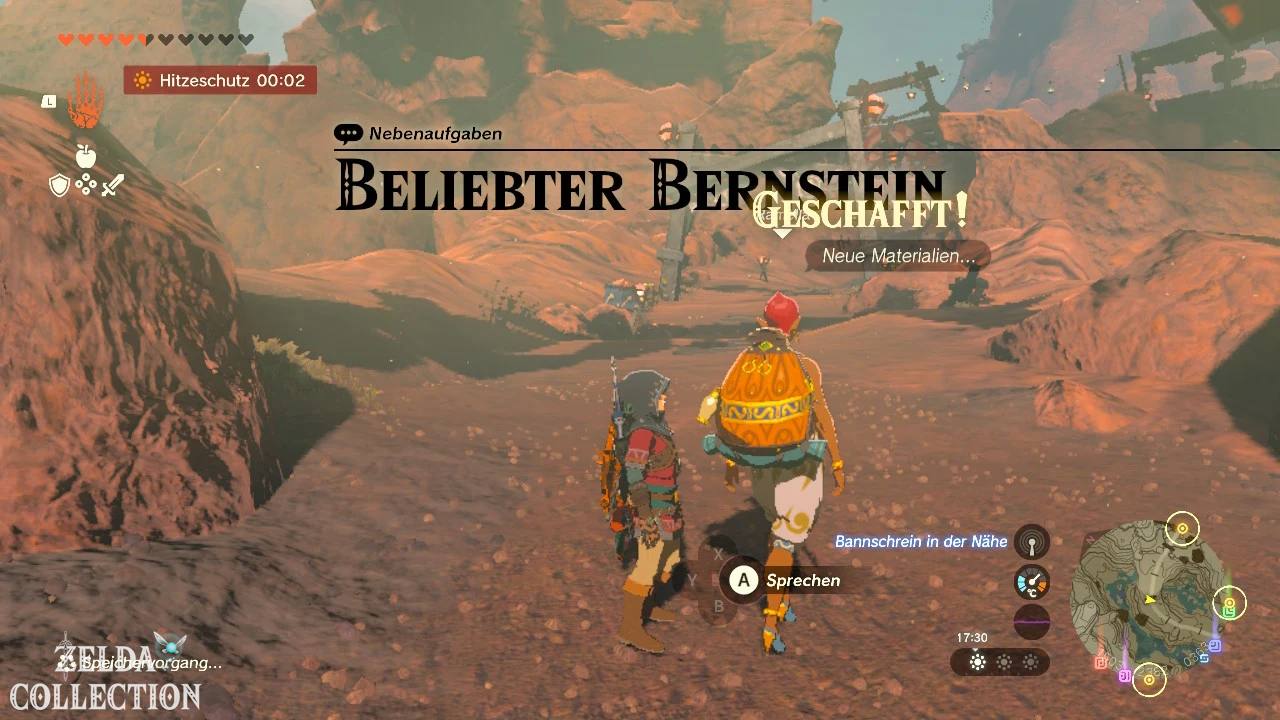
9. Popular amber
Start: At Ramella in Goron City.
Prerequisite: Speak with Bayge and Heehl or complete the Goron main quest.
Give ten ambers to Ramella. She pays more than a normal dealer. She then names a different type of gemstone, which she buys in a fixed quantity at an increased price. The first amber trade is enough to complete the quest.
Reward: 200 Rupees for 10 amber; Gem trading is unlocked.
12. The image in Foothill Stable
Start: Ozunda in Foothill Stable
Requirement: At least one regional main quest, Camera and stable membership.
Photographs the stone Daruk monument on the edge of Goron City. Position yourself so that the entire figure is visible and not just the head. Then show the photo to the stable owner and have it framed.
Reward: 1 stall point and a small reward.
23. The image in Woodland Stable
Start: Kish in Woodland Stable
Requirement: At least one regional main quest, Camera and Stable membership.
Photograph several Gorons bathing in a hot spring. The Goron Hot Springs near Goron City or the Hidden Rock Melt Spring is suitable for this. Then show the photo to the stable owner and have it framed.
Reward: 1 stall point and a small reward.
33. Lorenland has opened!
Start: At Bayge in the Southern Mine.
Prerequisite: Complete Fire Temple.
Put the cart on the rails, get in and start the beginners course. Hit at least five of the twelve targets with arrows within one minute. A quick-firing bow is enough; Keese Eyeballs help target in tight turns.
Reward: Rupees and unlocking “Fire freely with Loren!”.
41. The Aged Flint
Start: At Gomo in the restaurant Bedrock Bistro.
Requirement: “Eat up!” complete.
Give Gomo Flints in packages. He randomly checks whether there is any aged flint among them. You can initially offer 20, later 50 or 100 pieces; larger quantities only increase the number of tests. Repeat the process until he finds a ripened stone.
Reward: 1,000 Rupees.
44. The Treasure of the Echsal Lakes
Start: At Bludo in Goron City.
Prerequisite: Complete Fire Temple.
Find the two lizard-shaped lakes north of Goron City. The treasure lies in the cave between their heads. Destroy the blocked entrance and open the chest inside.
Reward: Vah Rudania Helmet.
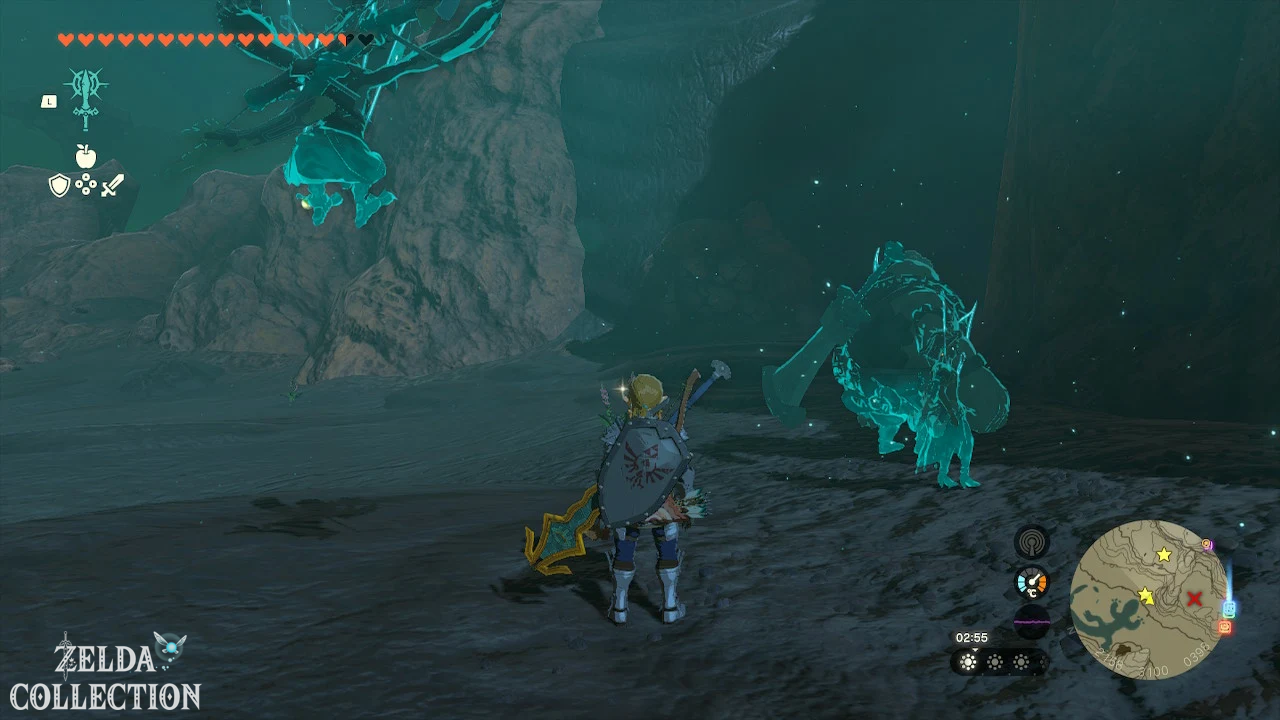
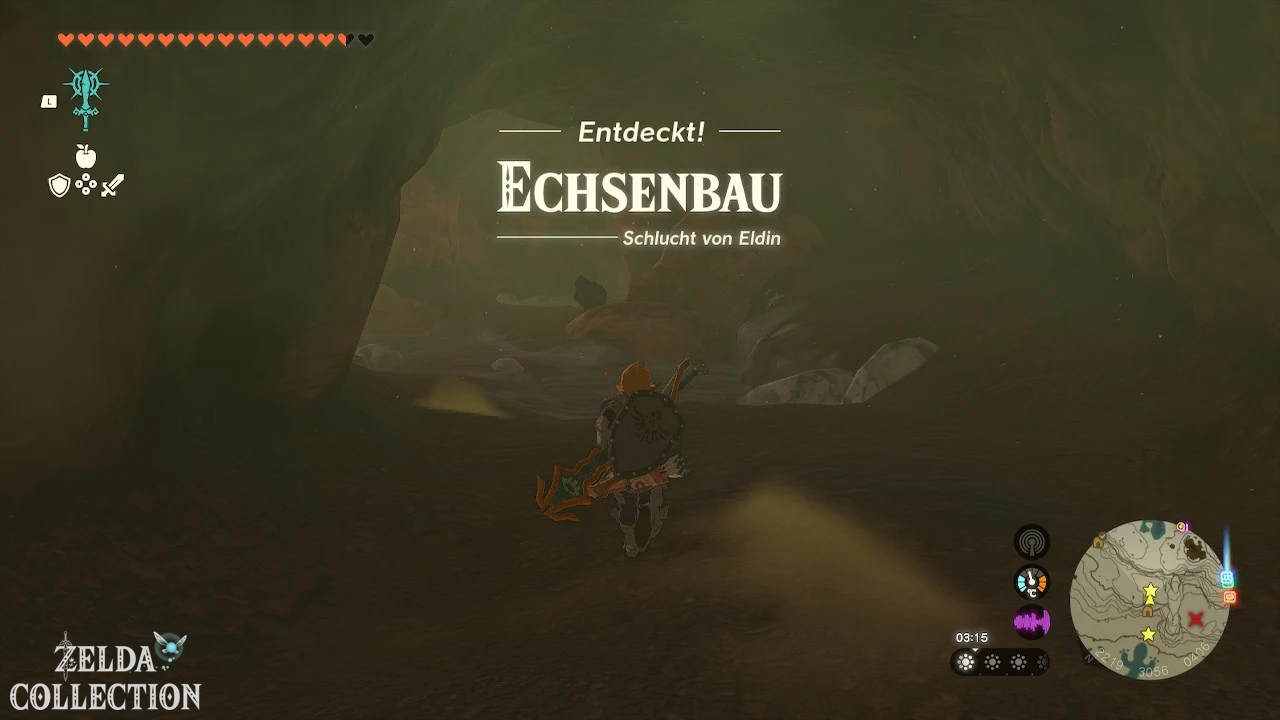
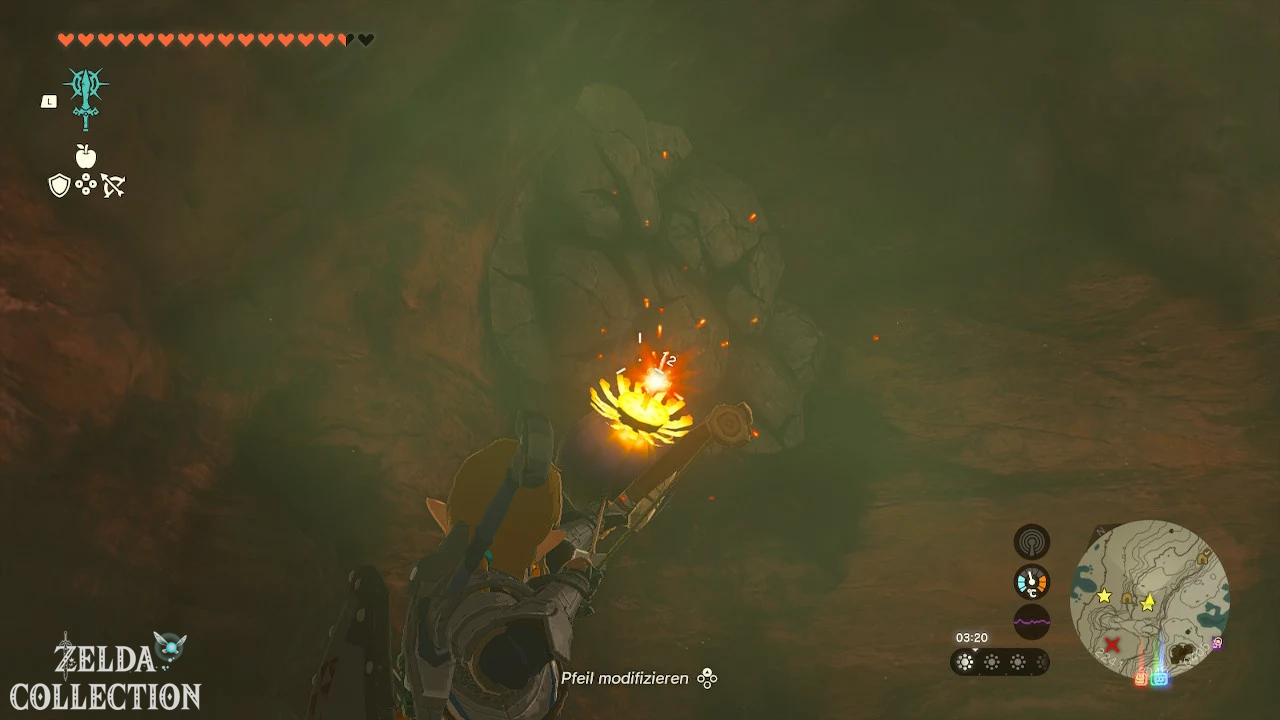
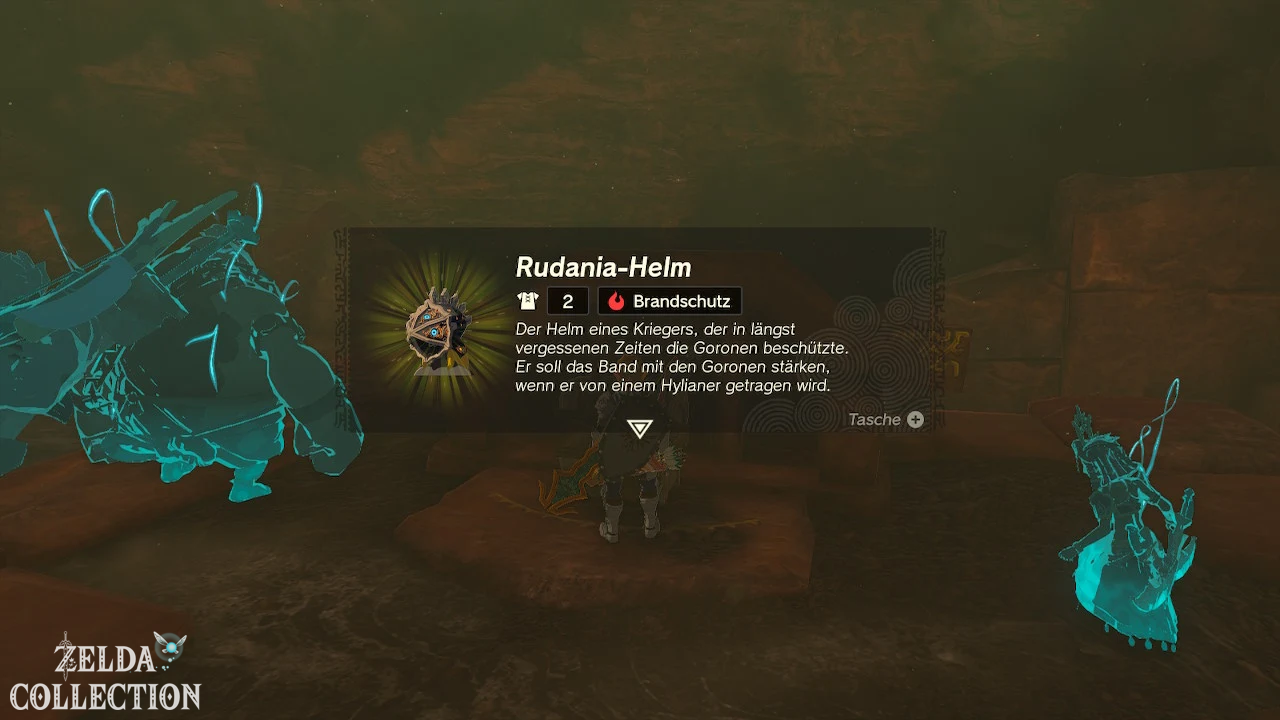
57. The Hunt for Misko’s Treasure
Start: At Domidak and Prissen in front of the Cephla Lake Cave.
Requirement: None.
Enter the cave with the many Treasure Chests. Feed the dog in front of the cave with Meat or apples several times until he leads you to the right chest. Open it and then read Misko’s letter, which unlocks more treasure manuscripts.
Reward: Flame Pants and access to further Misko quests.
63. The Soul of the Gorons
Start: At Fugo in Goron City.
Prerequisite: Complete Fire Temple.
Bring Fugo a rock splitter, three diamonds and five flints. You can find rock splitters in Eldin, in caves at Death Mountain or from Goron opponents. Fugo uses it to make the mountain splitter.
Reward: Mountain Cleaver.
66. The Search for Goropolis
Start: At Dugby in Goron City.
Prerequisite: Complete “Goropolis, City of Legends” and Fire Temple.
Repair the cart, put it on the rails and remove blocking rocks with Yunobo. Accompanies Dugby on the journey to the old city complex. On the way, activate the switches in the direction of travel.
Reward: Large Zonai Energy Crystal or Rupees.
82. Rock Roast, nothing else
Start: At Cooke in the restaurant Bedrock Bistro.
Prerequisite: Fire Temple and “Eat up!” complete.
Gets a Rock Roast from the West Passage and transports it to Cooke. You can carry it with the Ultrahand or put it on a vehicle. Place it in the designated bowl at the restaurant.
Reward: Large Zonai Energy Crystal or Rupees.
83. Fire with Loren!
Start: At Heehl in the Southern Mine.
Requirement: “Lorenland has opened!” complete.
Complete the rapid fire course and hit all seven targets within 1:20 minutes. Stay in the lorry and draw your bow before the curves. Bat eyes make it easier to hit, bomb arrows are unnecessarily risky because of their proximity to the lorry.
Reward: Rupees and activation of “Loren for full professionals”.
87. Gorons in the Moonlight
Start: At Tray in Goron City.
Requirement: Fire Temple and Camera.
Wait for the full moon and travel to Lake Darman. Photographs the round light that the moon casts on the ground between the two rock shapes. Tray shows the image.
Reward: 100 Rupees.
88. Goropolis, City of Legends
Start: At Dugby north of Goron City.
Requirement: None.
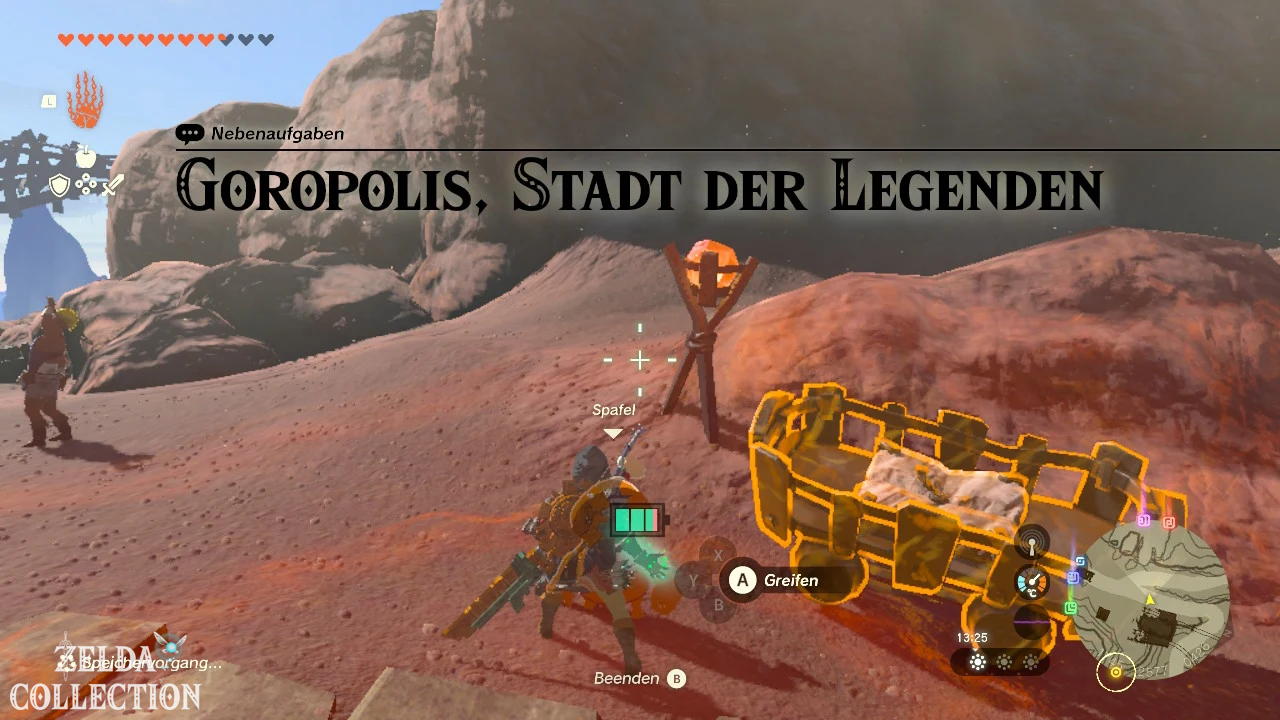
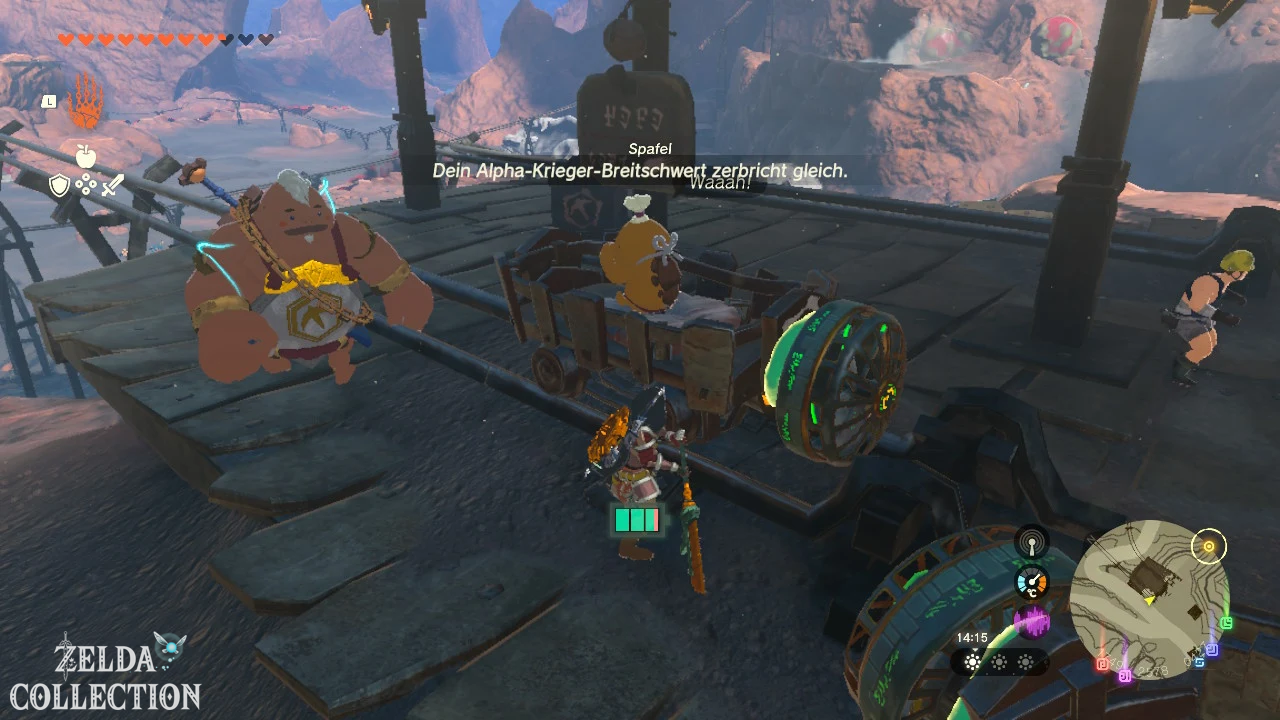
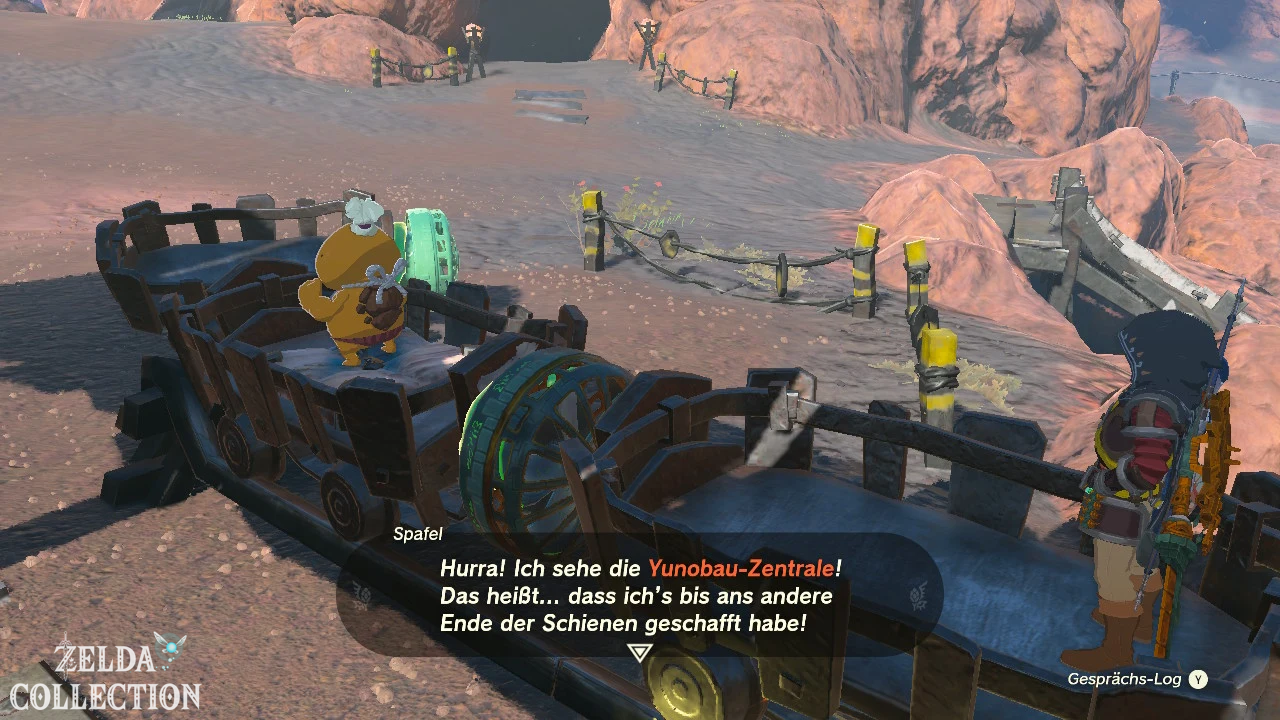
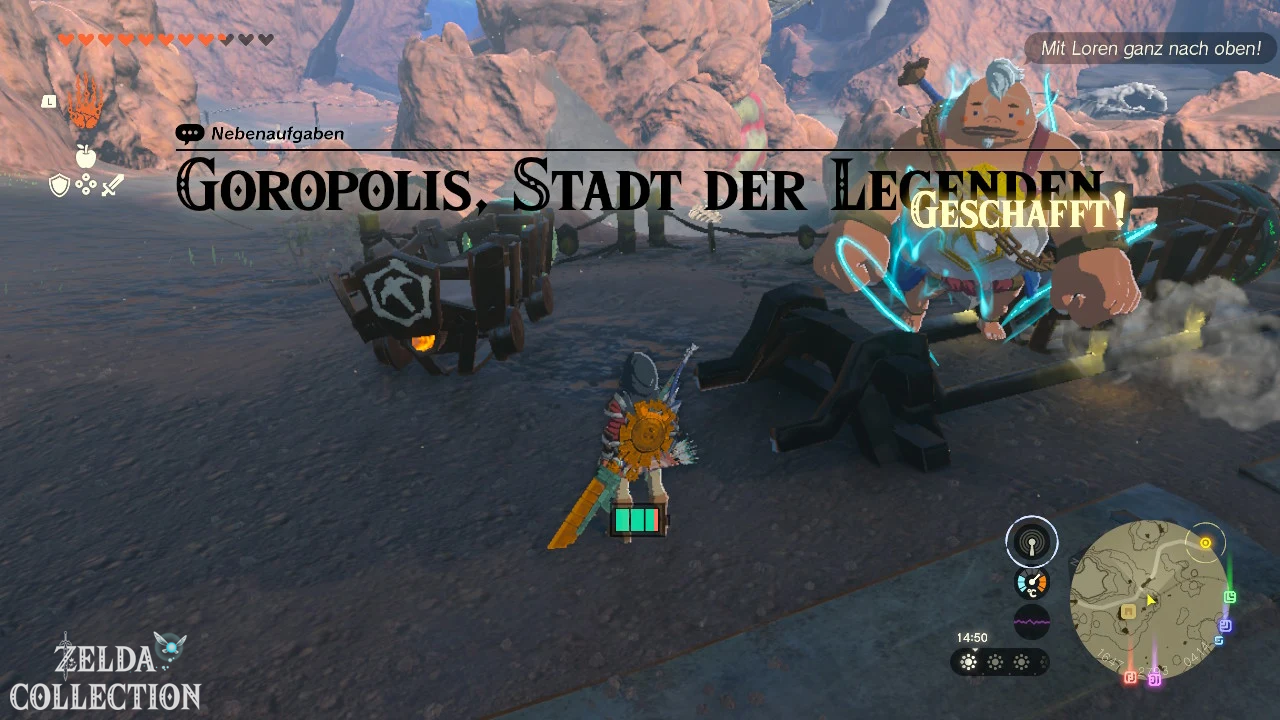
Repairs the cart at Dugby and puts it on the rails. Take him the short distance to the old ruins. Remove rocks and activate rail switches with arrows.
Reward: Rupees and unlock “The Search for Goropolis”.
97. Loren for complete professionals
Start: At Kabetta on Death Mountain.
Requirement: “Fire freely with Loren!” complete.
Meet Kabetta at the top of Death Mountain and put the cart on the rails. During the long descent you have to hit at least eight targets without getting out. Uses a fast-firing bow and bat-biter eyes to target distant balloons.
Reward: Goron Fabric and Rupees.
111. Misko’s Treasure: Awakening Series 1
Start: By Miskos letter in the Goronbi River Cave.
Requirement: None.
Travel to the Ancient Stone Pillars in Tabantha Frontier. Examine the tall southern pillar and move the stone lever embedded in it with the Ultrahand. This opens the entrance to the Ancient Columns Cave. In the treasury lies the awakening garment; then read the next stone tablet.
Reward: Awakening Robe and Reference to Part 2.
114. Misko’s Treasure: Grim Deity
Start: By Misko’s letter in the Cephla Lake Cave.
Prerequisite: Read letter from “The Hunt for Miskos Treasure”.
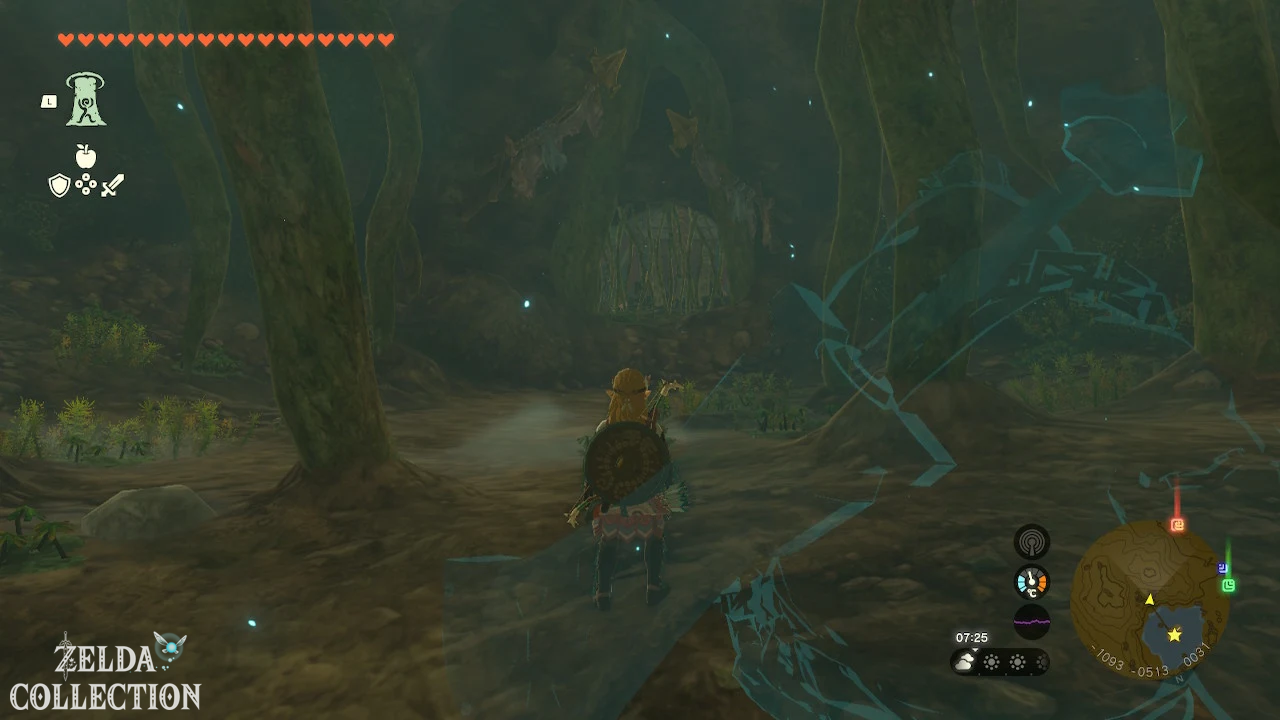
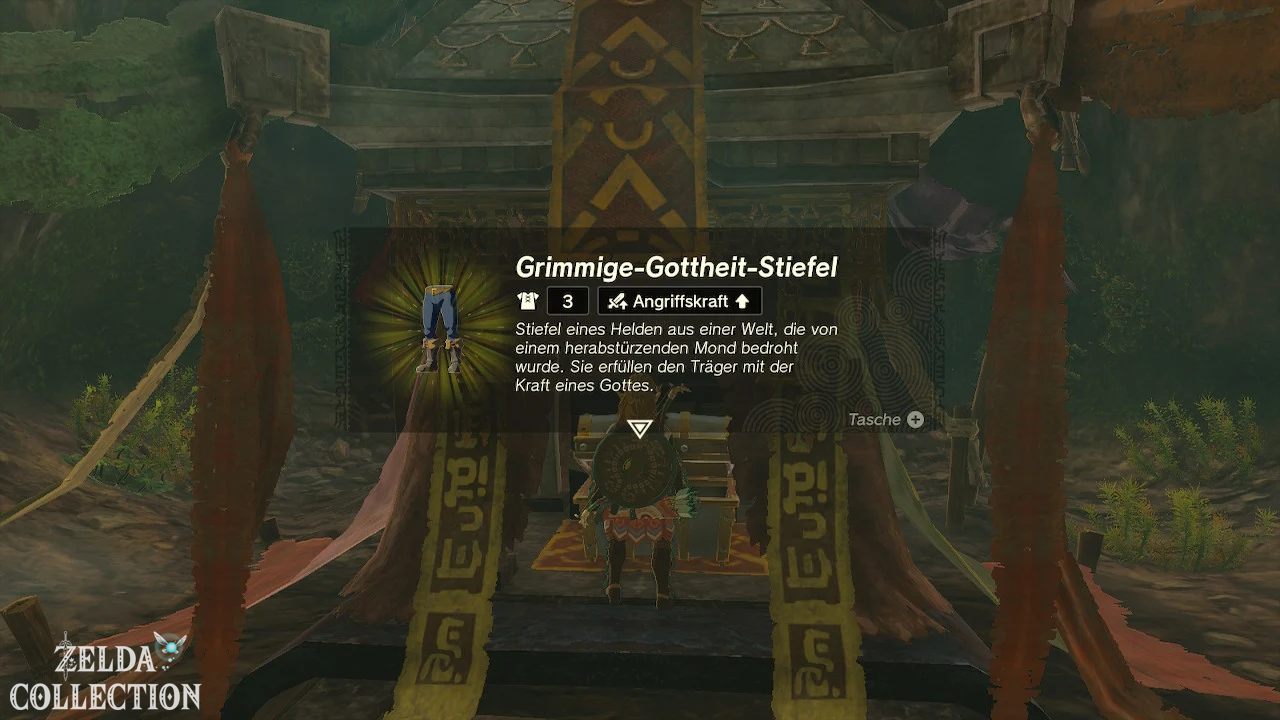
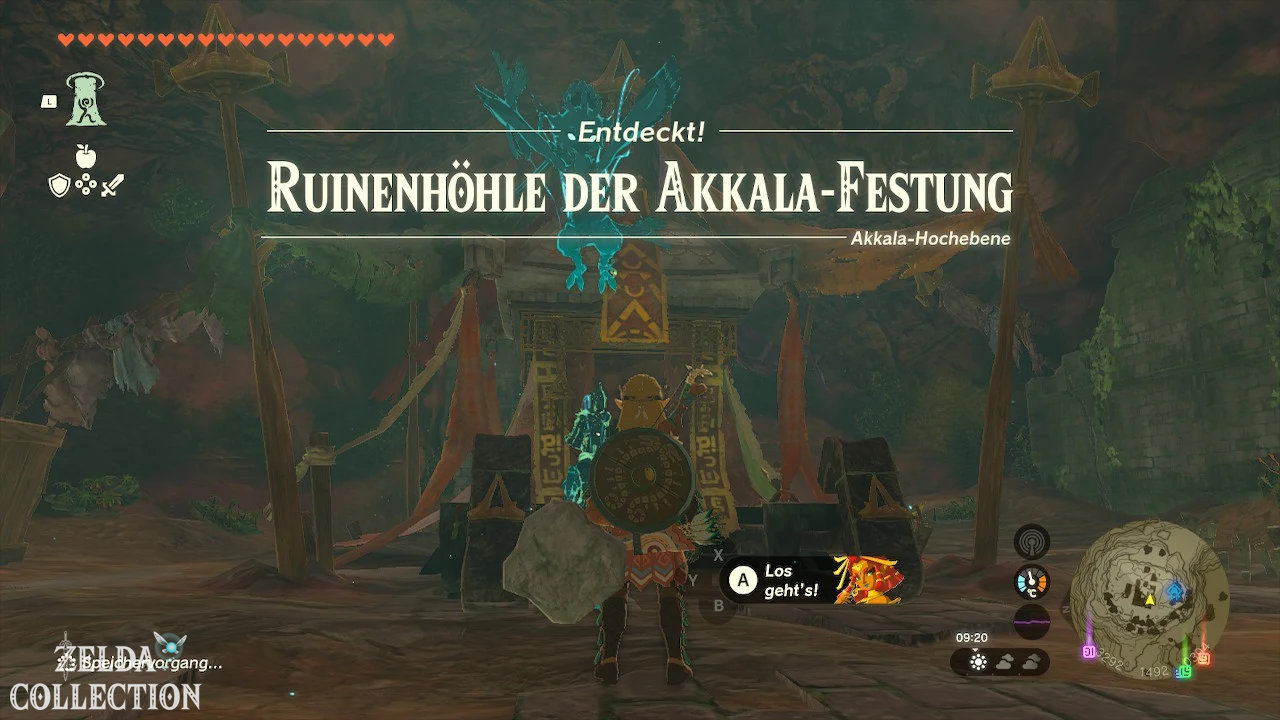
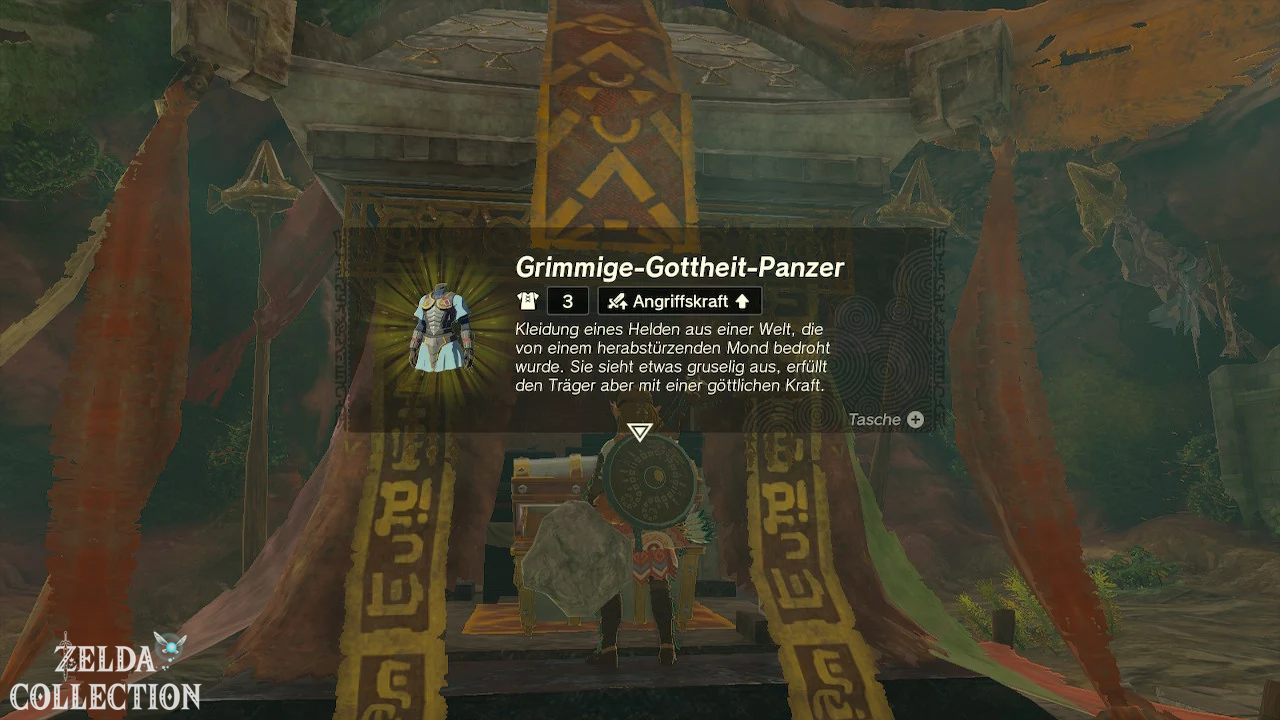
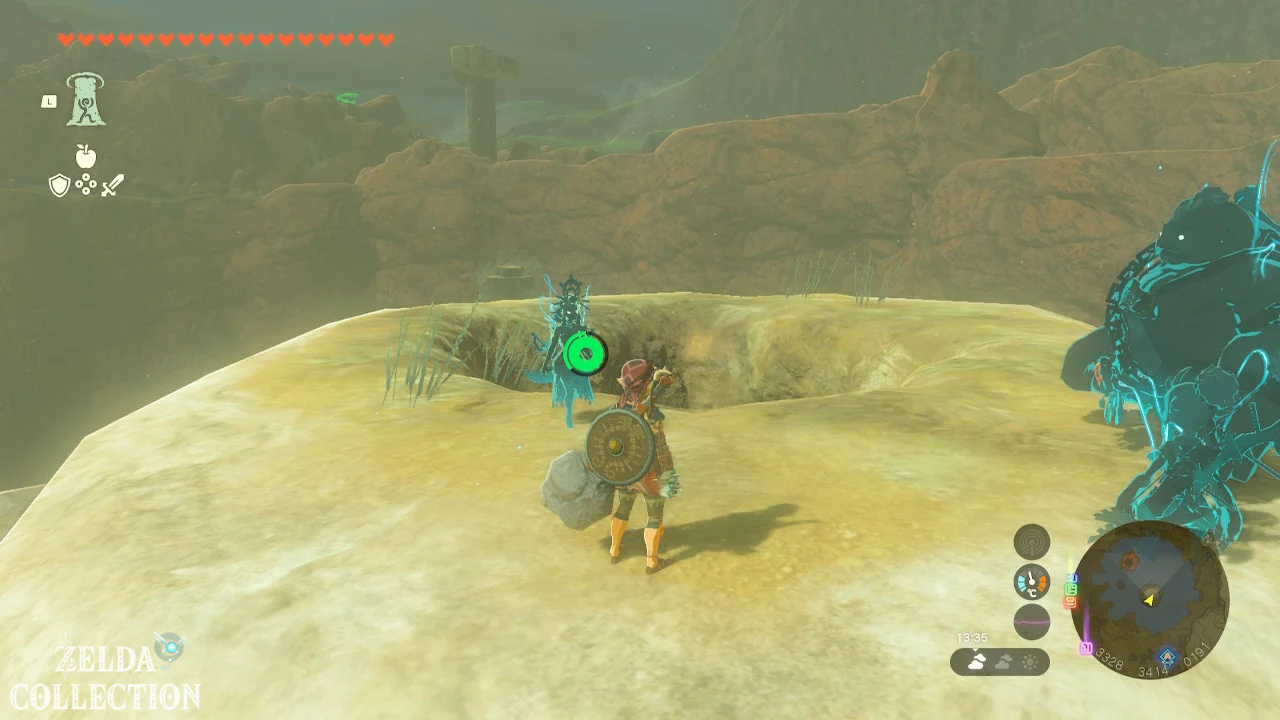
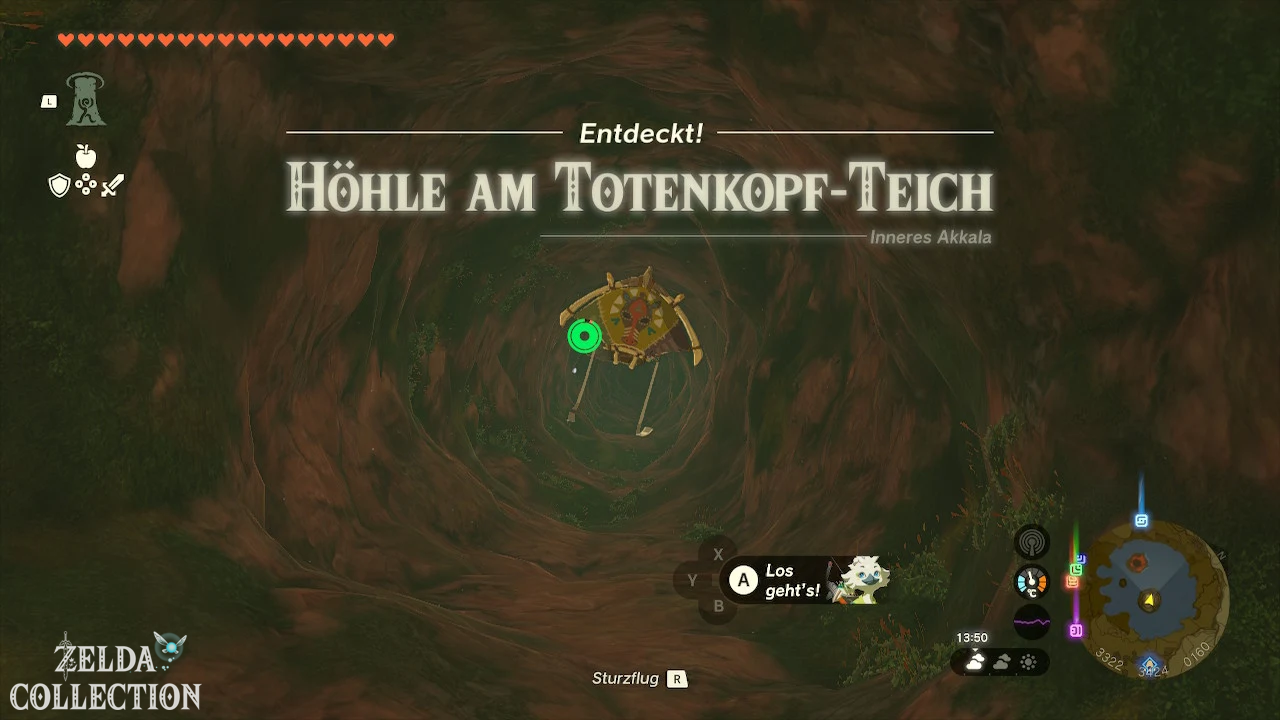
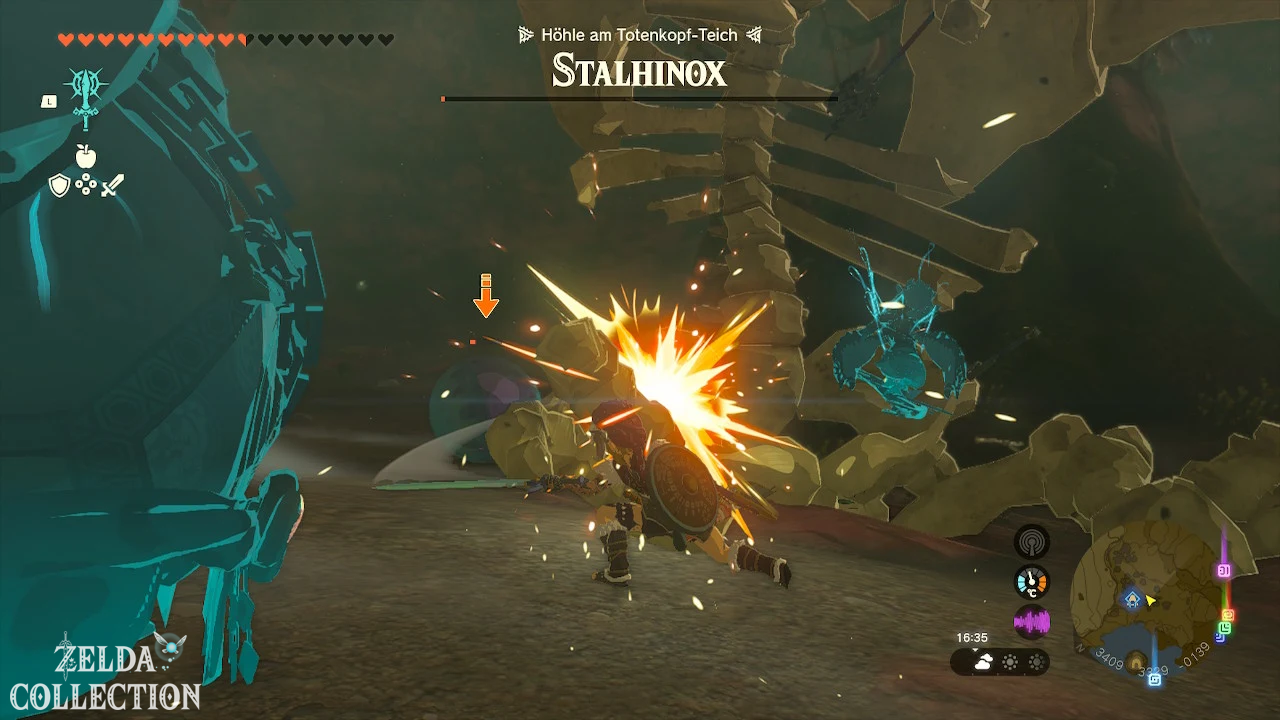
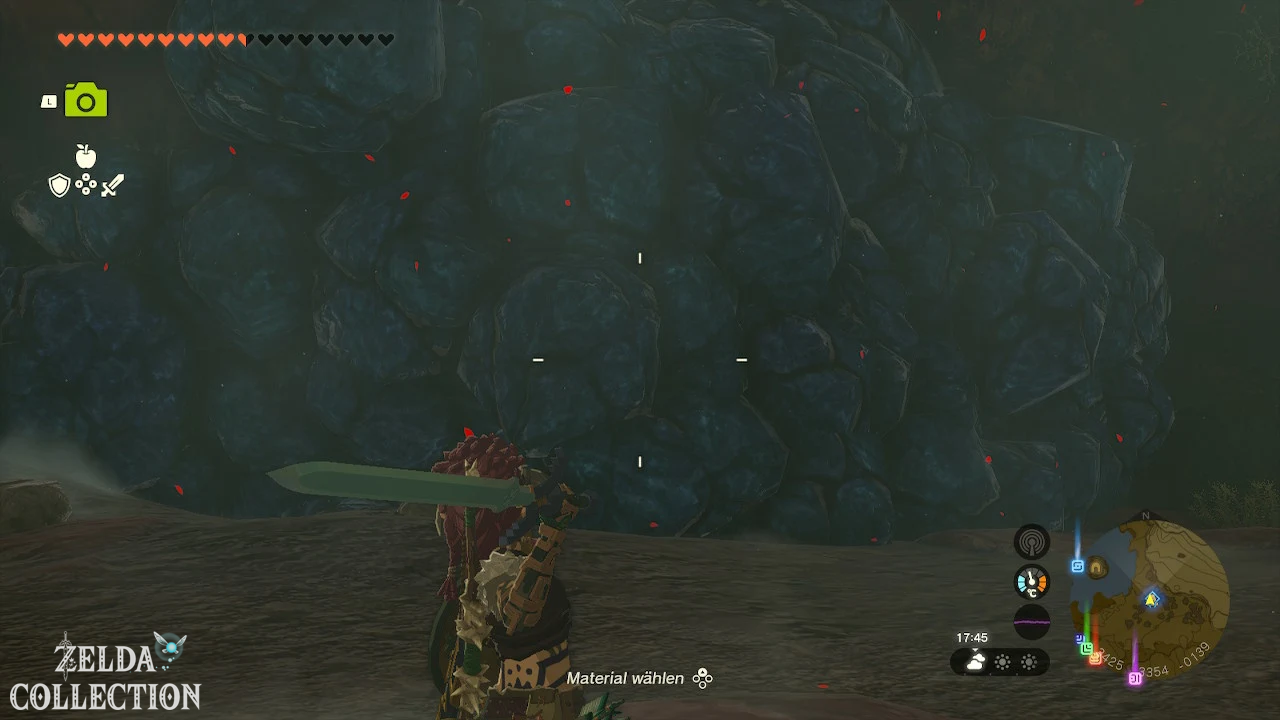
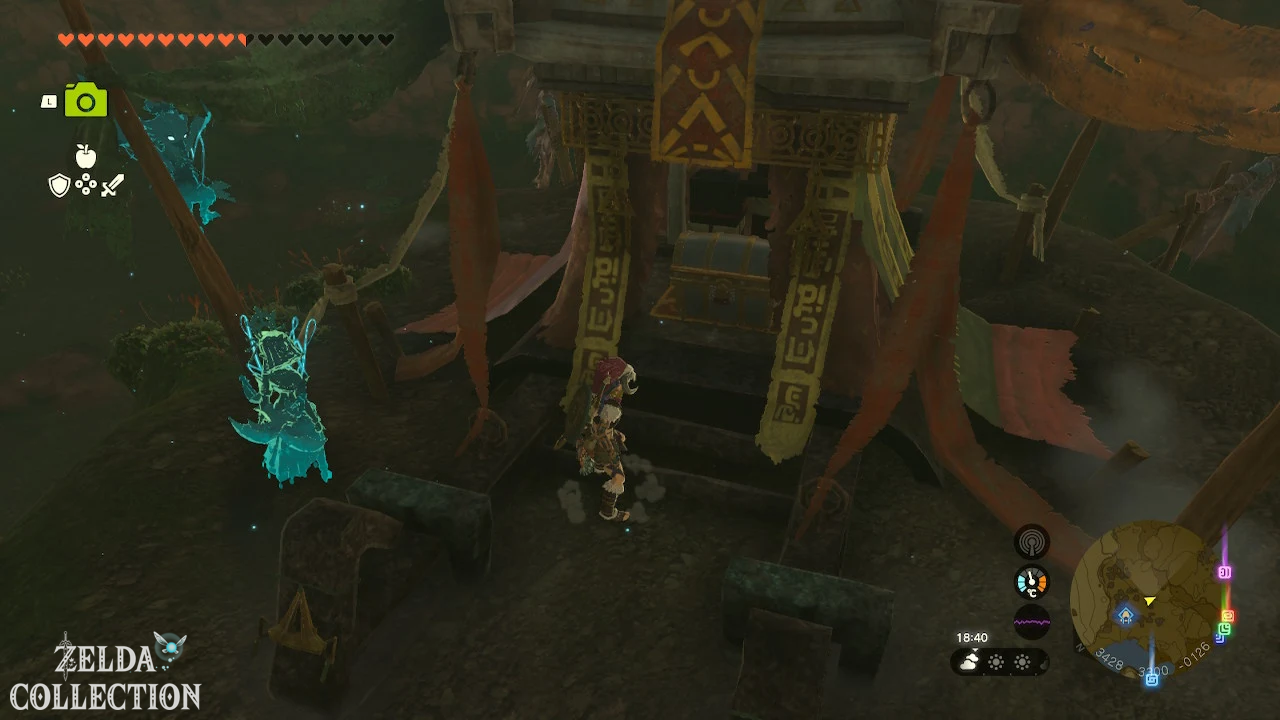
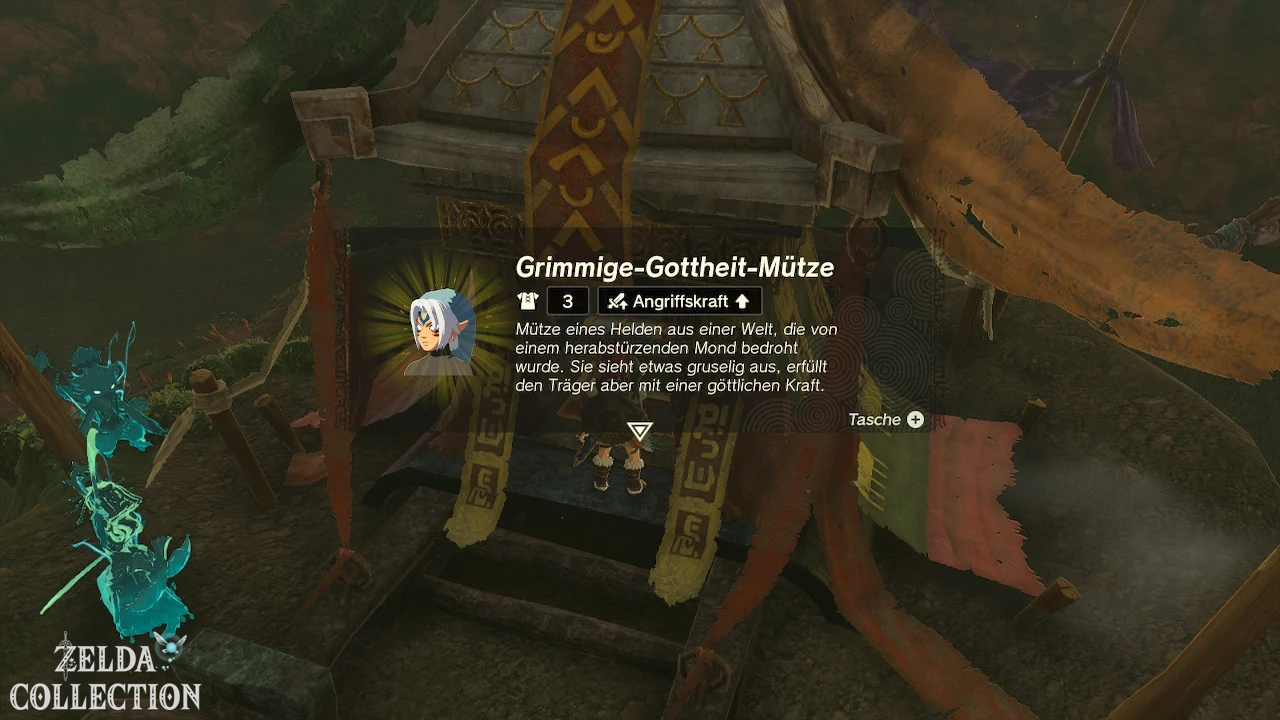
Find Grim Deity Mask, Armor, and Boots in the three marked caves. Then place all three pieces in front of the locked stone door in Cephla Lake Cave. The door opens to reveal the final chest.
Reward: Grim Deity Sword.
119. Eat up nicely!
Start: At Mezer in the restaurant Bedrock Bistro.
Requirement: None.
Gets a Rock Roast from the nearby West Passage and brings it to the restaurant with the Ultrahand. Put it in Mezer’s bowl. Be careful not to drop it into lava or deep crevices.
Reward: Large spicy meat dish and unlocks additional restaurant tasks.
133. Our treasure
Start: Near Domidak and Prissen west of the Forest Stable.
Requirement: None.
Follow the two treasure hunters to the cave and find a second entrance or a way past them. Open the chest at the back of the cave; you can outsmart them with a dog or an alternative entrance.
Reward: Small treasure reward and clue to Misko.
135. Hidden Rock Melt Spring
Start: At Kima in Goron City.
Requirement: None.
Follow the tunnel behind Goron City to the hidden hot spring. Destroys rock blockages and defeats enemies. Speak to Kima at the destination or return to him after discovering the source.
Reward: Silver ruby or healing in the spring.
139. Abandoned
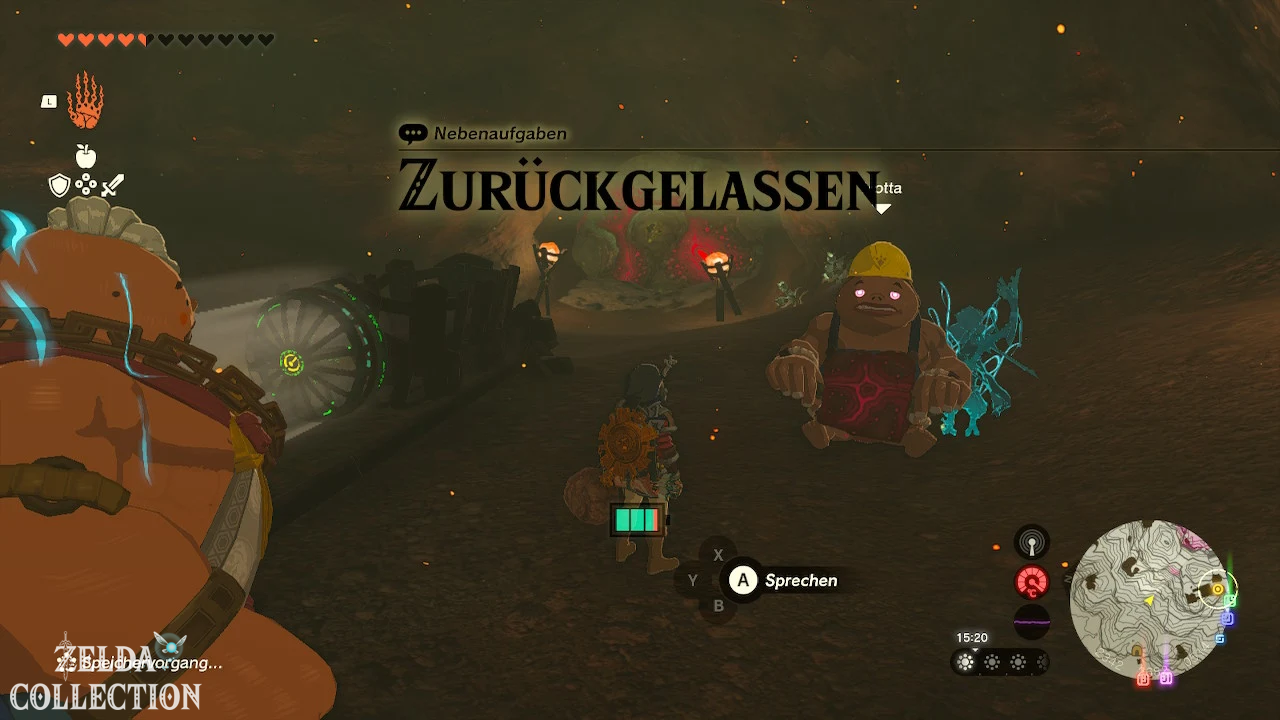
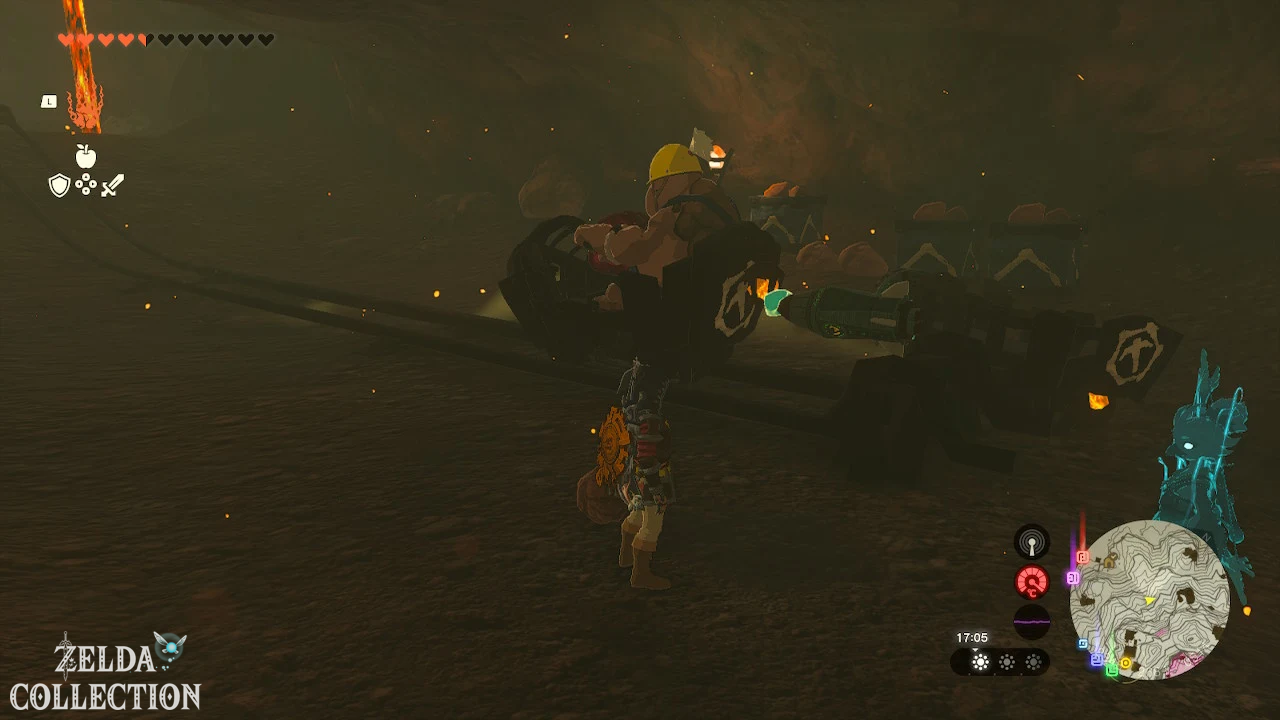
Start: At Mota in Death Mountain West Tunnel.
Requirement: None.
Put the cart on the rails, attach a fan and let Mota get on. Ride with him through the tunnel to the exit. Removes blockages with hammer weapons or Yunobo.
Reward: 20 Rupees and a Large Zonai Charge.
Necluda
3. Object lesson
Start: With Symin at Hateno School during class.
Requirement: Camera required; talk to Symin during the day.
Photograph the large painting of devastation in Kakariko Village. It hangs in the upper room of Paya’s house. Make sure that the name of the motif is displayed in the Camera. Return to school during class time and show Symin the recording.
Reward: Hylian Rice and unlocking Object Lesson 2.
4. Object lesson 2
Start: With Symin in the Hateno School.
Prerequisite: Complete “Object Lessons”.
Cooks a monster curry using Hylian Rice, Goron Spice, and Monster Extract. Rice and spices are sold in several shops, you can buy Monster Extract in the general store of Tarrey Town. Hand the dish to Symin during class.
Reward: Unlock Umes Field and “Umes Crops”.
6. On the trail of the chickens
Start: At Trissa in Kakariko Village.
Prerequisite: Complete “The Right Strategy”.
Bring ten bird eggs to Trissa. You can find them particularly easily in nests on roofs and trees in Kakariko Village and Hateno Village or in the Cucco Hideaway via Kakariko Village. Eggs that have already been collected count immediately.
Reward: 50 Rupees.
21. The image in Dueling Peaks Stable
Start: Tasseren in Dueling Peaks Stable
Requirement: At least one regional main quest, Camera and stable membership.
Photographs the sunrise on Tuft Mountain. Wait until just before 5 a.m. and take the picture from the stable or a nearby hill. Then show the photo to the stable owner and have it framed.
Reward: 1 stall point and a small reward.
49. The missing inn owner
Start: At Dai in the inn of Kakariko Village.
Requirement: None.
Find Ollie at the excavation site above the village. He sleeps on a stone slab. Place a Hearty Truffle in the bowl next to him or use a construction to bring the scent to his position. After waking up, he returns to the inn.
Reward: Small secret court and free first night.
51. Design with Chuchu
Start: At Sayge in the Kochi Dye Shop of Hateno Village.
Requirement: Paraglider and Camera required.
Photographs a live blue Chuchu so that its name appears in the image. Sayge shows the recording. You can then take photos of other animals and monsters for additional fabric samples.
Reward: Chuchu Fabric and activation of additional photo materials.
58. The Gloom misery
Start: At Lasli in Kakariko Village.
Requirement: None.
Cook a Sol-Veggie Porridge using Hylian Rice, Fresh Milk, Hyrule Vegetables, and Sundelions. Give it to Lasli for her grandmother. After that, the prices in the Kakariko Village armor shop will decrease.
Reward: Sunny Vegetable Risotto and cheaper armor prices.
62. The right strategy
Start: At Trissa in Kakariko Village.
Requirement: None.
Follow Trissa to one of the lower Ring Ruin and defeat the monsters inside. Watch out for enemies on the ceiling and in the side passages. Then talk to her again.
Reward: 20 Rupees and unlock “On the trail of the chickens”.
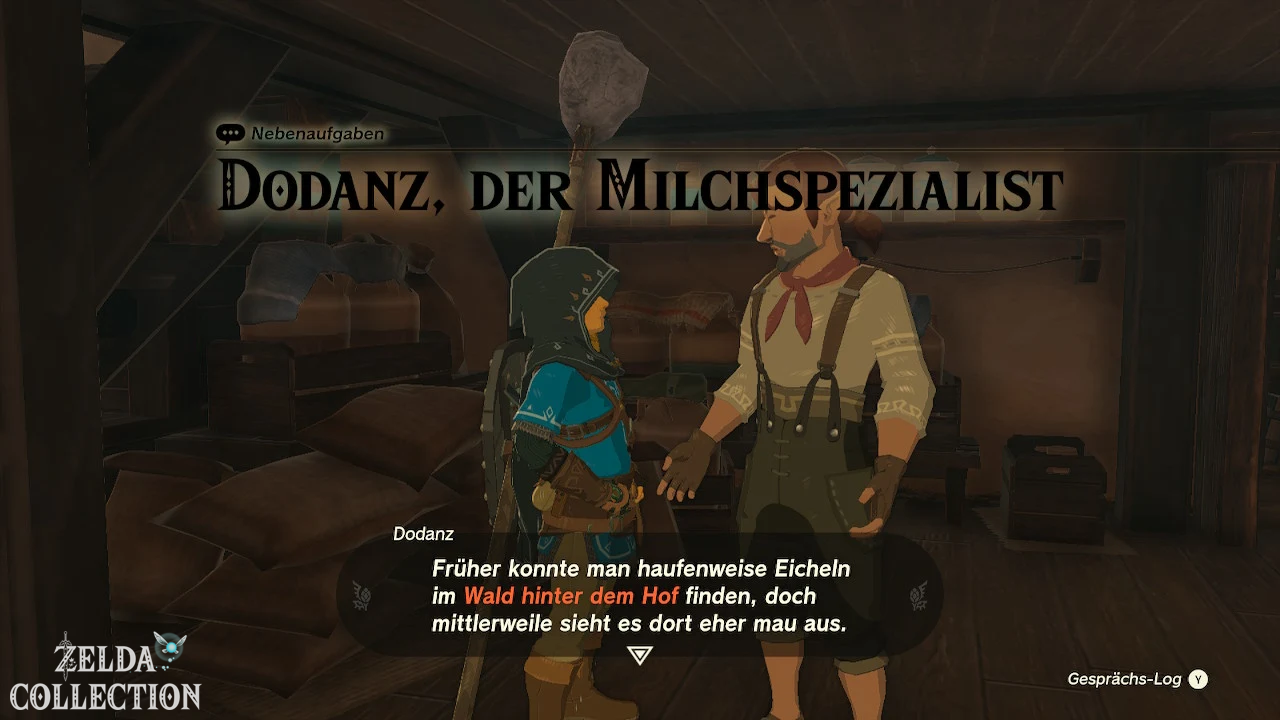
73. Dantz, the milk specialist
Start: At Dantz on the Hateno Village pasture.
Requirement: None.
Brings three acorns to Dantz. He then permanently exchanges three acorns for a bottle of fresh milk. Count existing acorns.
Reward: Fresh milk and permanent exchange.
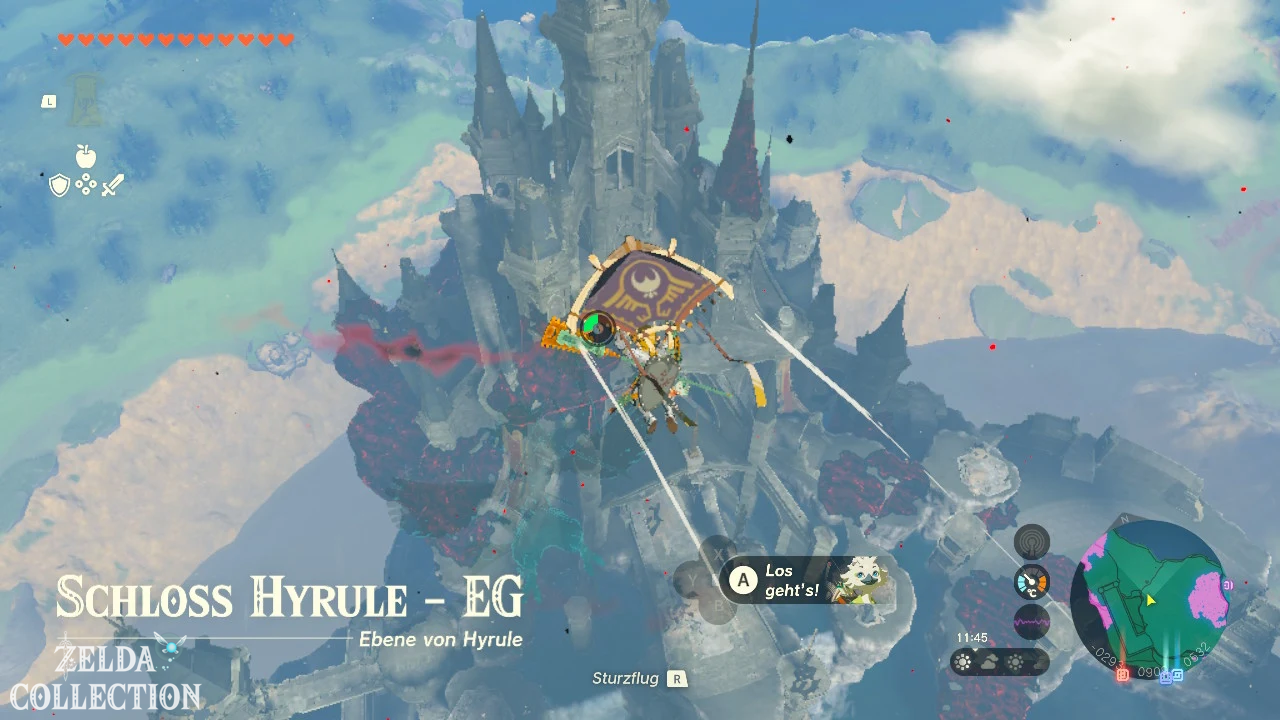
78. A new warrior’s robe
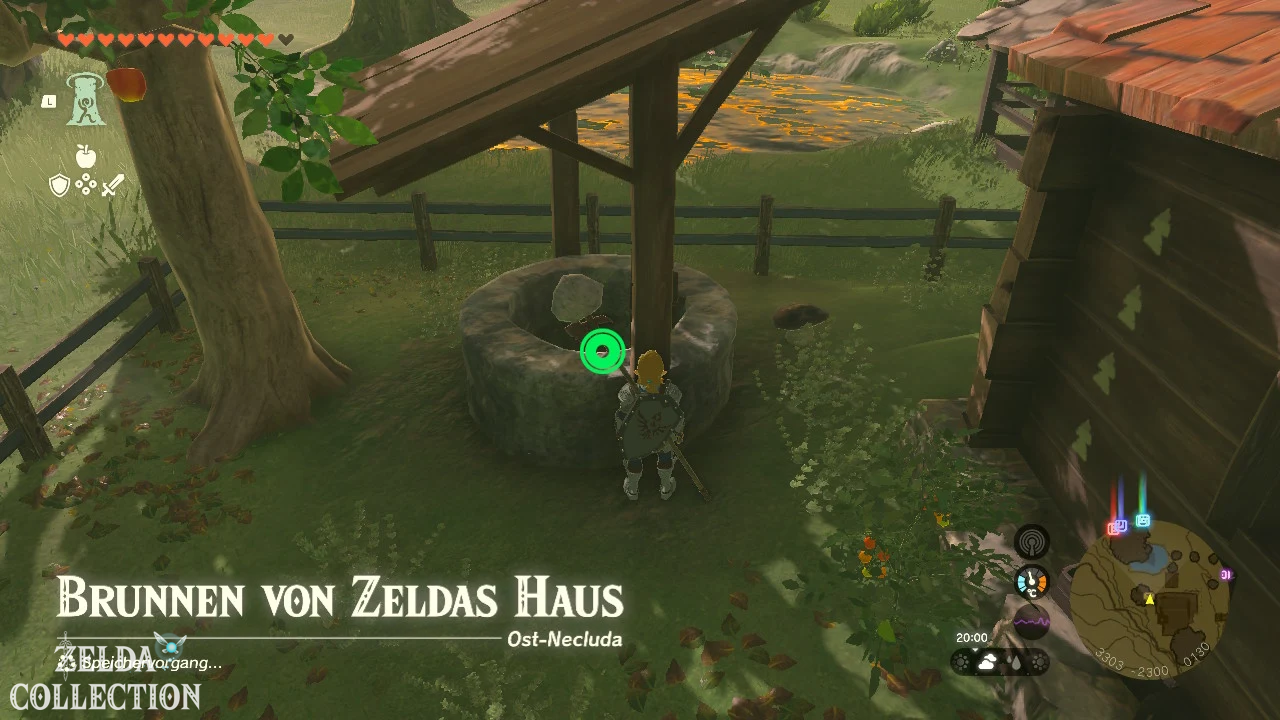
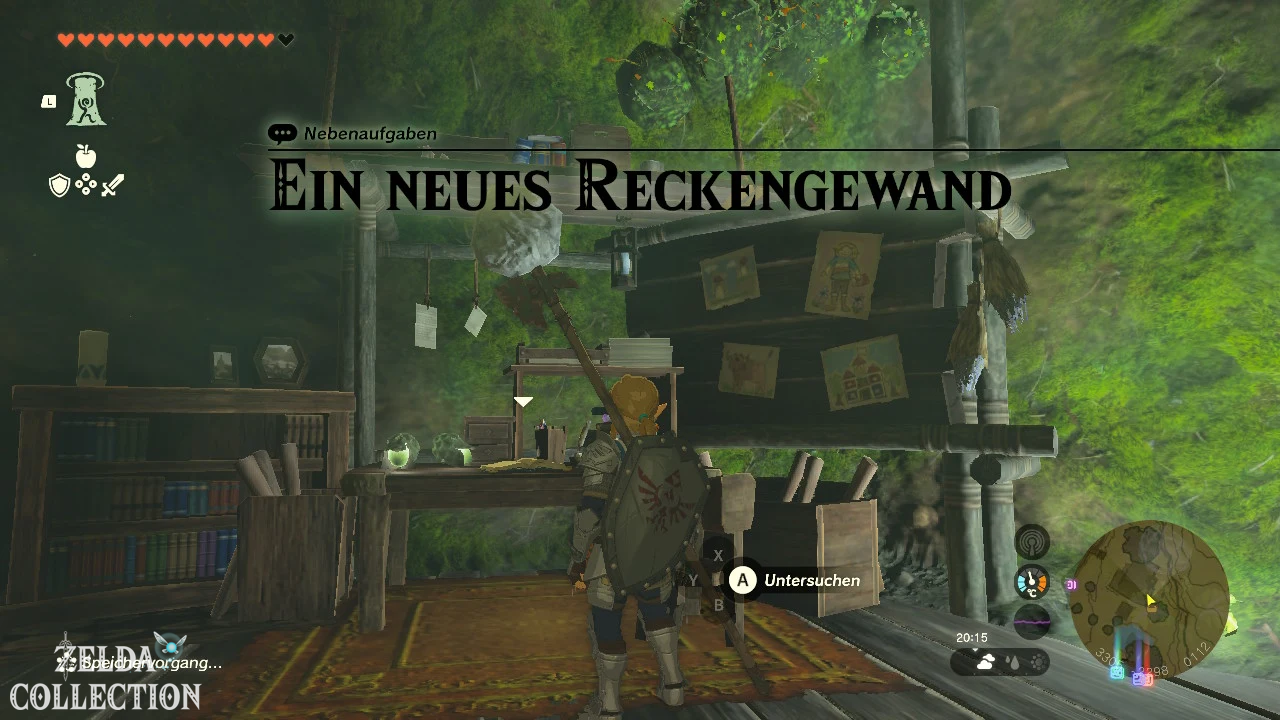
Start: By Zelda’s Diary in her house in Hateno Village.
Requirement: None.
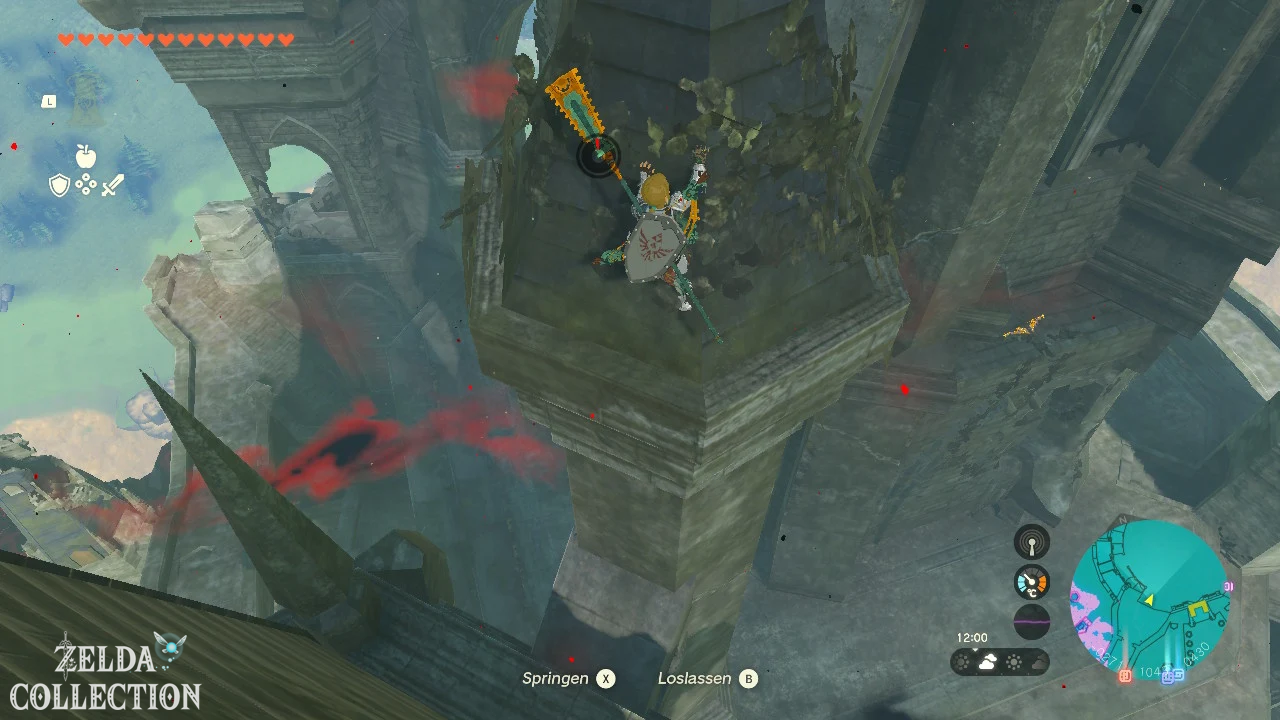
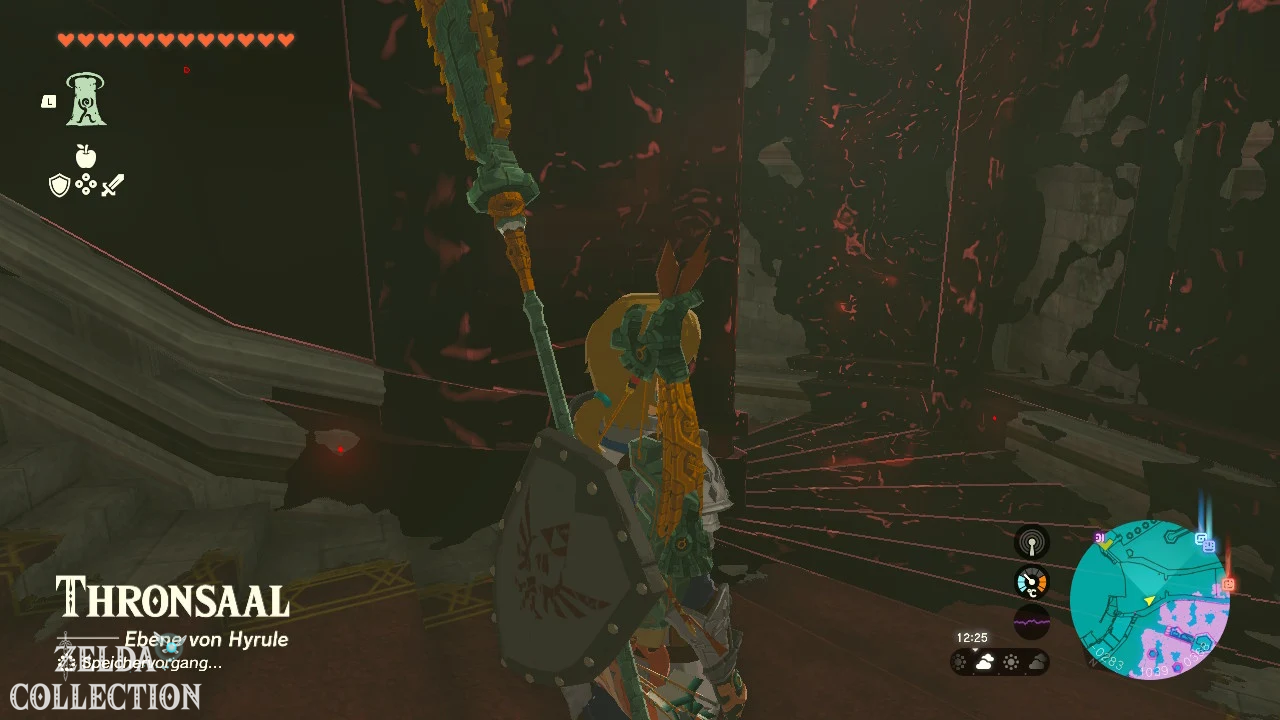
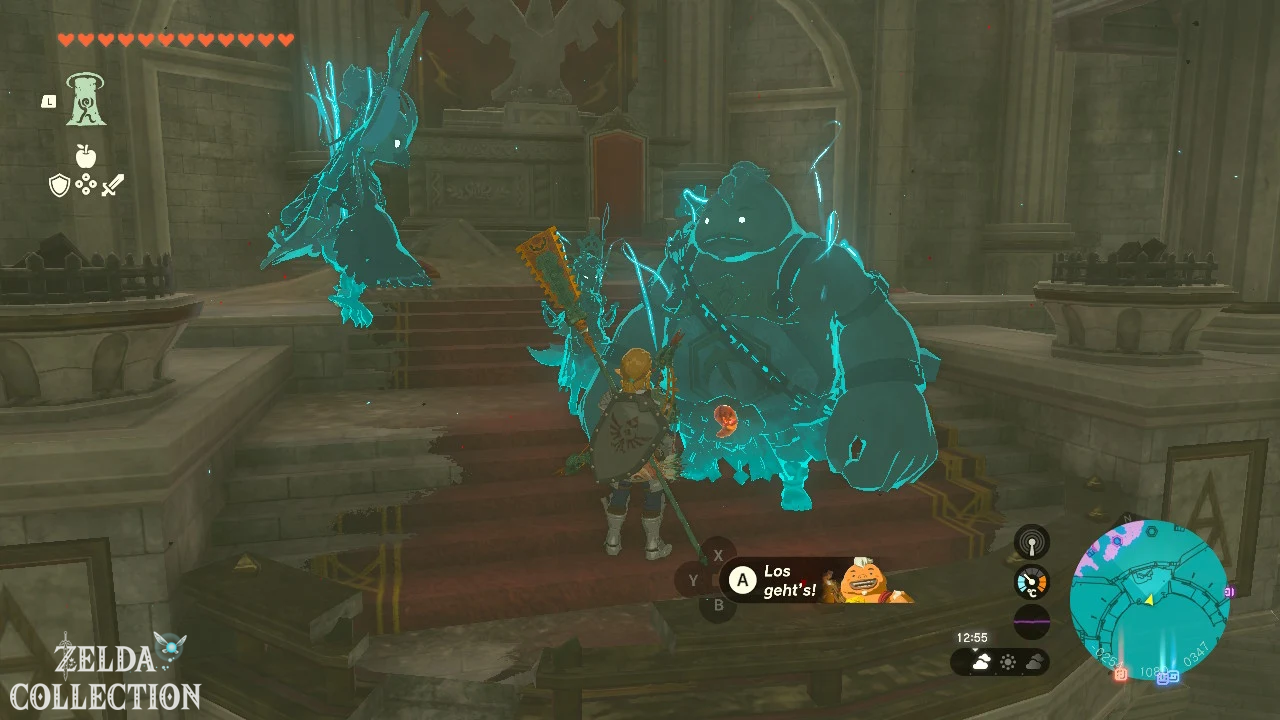
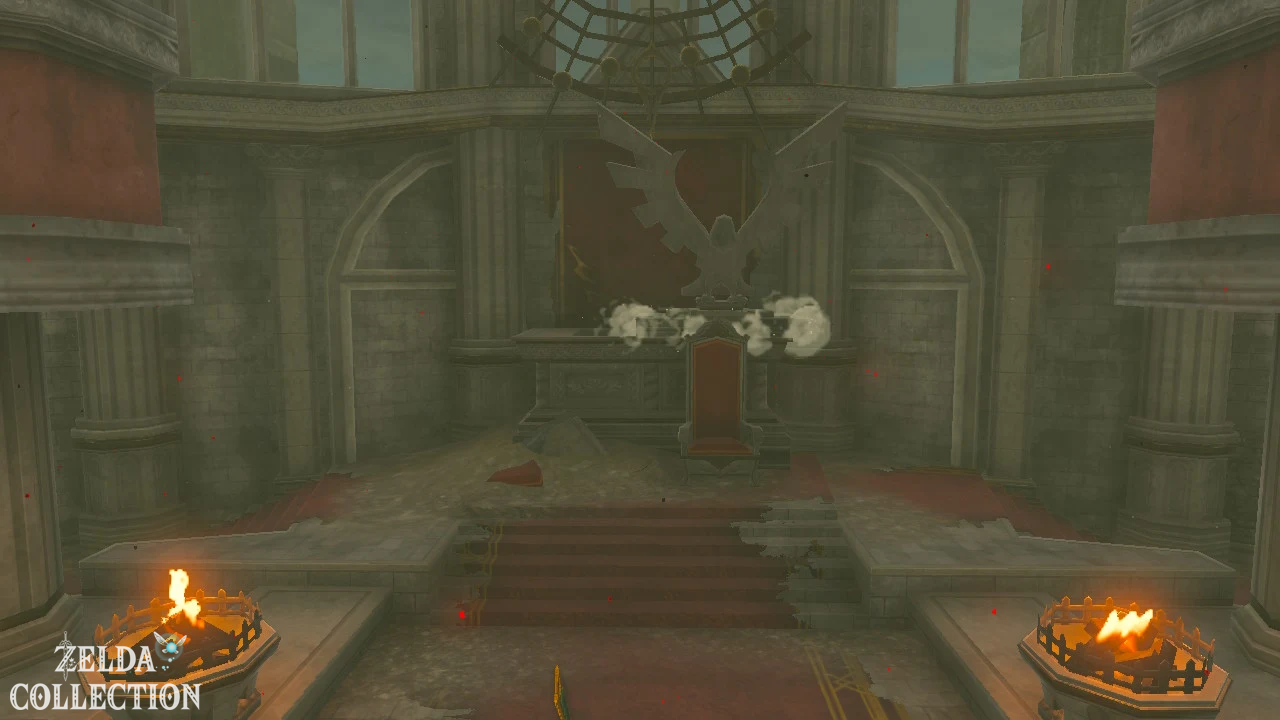
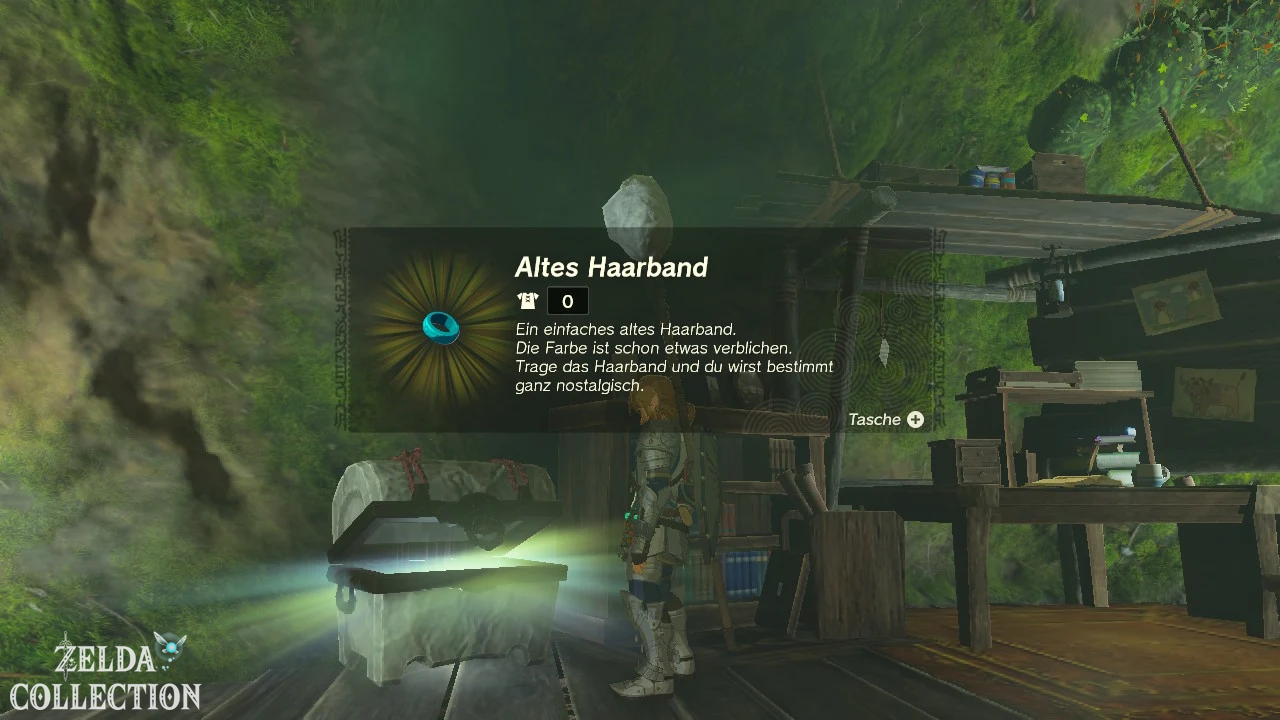
Read Zelda’s Diary and travel to Sanctum from Hyrule Castle. Light the two large braziers in front of the throne. A compartment with a Treasure Chest opens behind the throne.
Reward: New warrior robe.
81. A specialty from Hateno Village
Start: At Reede in Hateno Village.
Prerequisite: Complete “The Mayoral Election”.
Meet Reede in his field at night and defeat several waves of Stal monsters without completely destroying the crops. After each body, smash the skulls.
Reward: Sun squashes are grown in Hateno Village and sold in the general store.
92. Cry for help from the bottle
Start: Through the message in a bottle on Hateno Village beach.
Requirement: None.
Follow the bottle along the coast or read the message. Find Chumin in the Mapla Point Cave and destroy the rock blockades that trap him. Accompany him to the exit.
Reward: 100 Rupees.
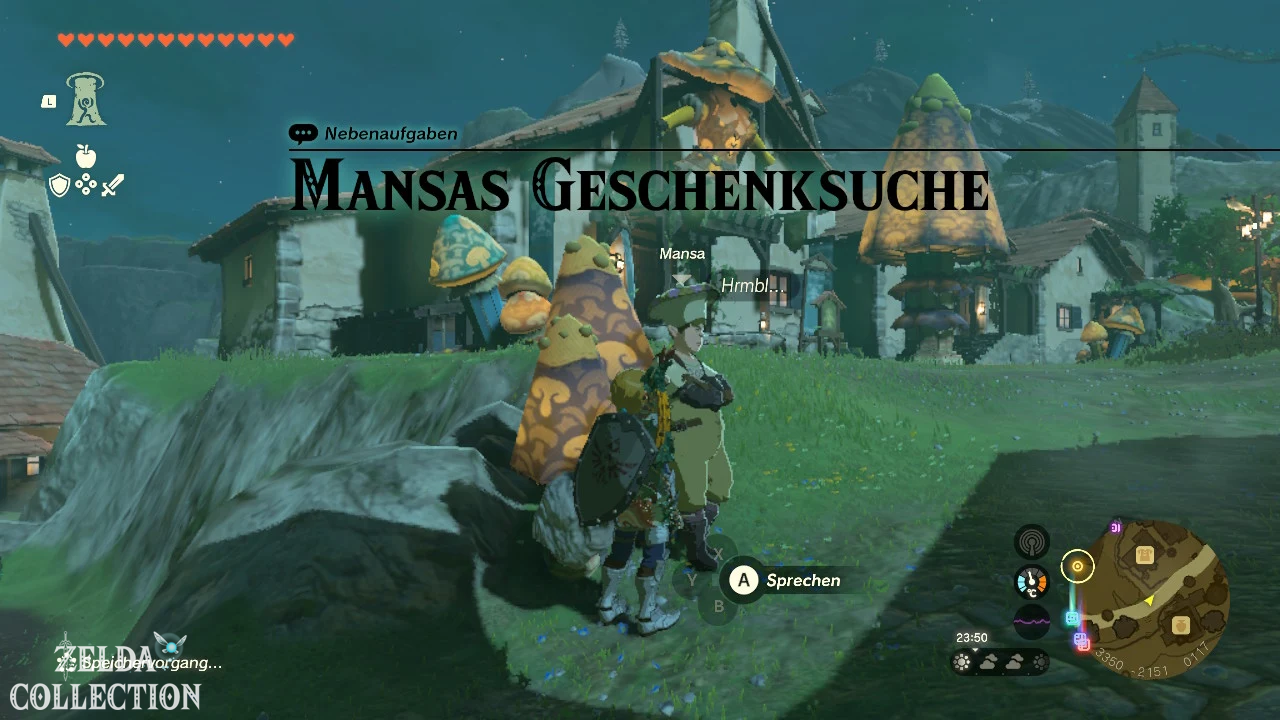
98. Mansas Gift Search
Start: At Manny in Hateno Village.
Requirement: None.
Brings ten Spur Toads to Manny. When it rains, they sit by ponds, in meadows and near the Hateno Village pasture. Beedle also sells individual copies.
Reward: 100 Rupees.
116. Misko’s Treasure: Pirate Manuscript
Start: At Domidak north of the stable on the mountain.
Prerequisite: Complete “The Hunt for Misko’s Treasure” and purchase the manuscript.
Searches for the Cape Cales Cliffbase Cave. Whistle in front of the sealed stone gate to open it, defeat the pirate monsters and open the chest on the ship.
Reward: Tingles tights.
117. Misko’s Treasure: Twin Manuscript
Start: At Domidak north of the stable on the mountain.
Prerequisite: Complete “The Hunt for Misko’s Treasure” and purchase the manuscript.
Visit both Twin Mountain Caves. Note the pattern of the stone statues in the north cave and place the stones accordingly on the marked spaces in the south cave.
Reward: Tingle’s shirt.
118. Travel into the past
Start: At Bugut in Kakariko Village.
Requirement: None.
Read the four accessible stone tablets at the bottom Ring Ruin. Use Ascend and climbing to reach the panels without entering the locked floating ruin. Bugut reports the content of all four texts.
Reward: 3 wings and 50 Rupees.
132. Umes crops
Start: At Uma on the Hateno School field.
Prerequisite: Complete “Object Lesson 2”.
Give Uma a supported crop, such as Hylian Tomato, Mighty Bananas, Endura Carrot, or Sun Delicacy. Wait two game days outside the village and collect the harvest. The field can then be replanted.
Reward: Own reusable growing field.
Faron
14. The image in Lakeside Stable
Start: Anly in Lakeside Stable
Requirement: At least one regional main quest, Camera and stable membership.
Photographs the Floria Falls in clear weather. A good location is at the Floria Bridge or on high ground west of the falls. Then show the photo to the stable owner and have it framed.
Reward: 1 stall point and a small reward.
16. The image in Highland Stable
Start: Padok in Highland Stable
Requirement: At least one regional main quest, Camera and Stable membership.
Photograph the giant gray horse in Taobab Grassland. You don’t have to tame the horse; take the picture from a safe distance. Then show the photo to the stable owner and have it framed.
Reward: 1 stall point and a small reward.
37. The expansion of Lurelin Village
Start: At Rozel in Lurelin Village.
Prerequisite: Complete “Lurelin Village’s Rebirth”.
Speak to Tali at Lurelin Village, Shabonne at the Sand Seal Race Course and Fernison at Hudson Construction Site. Fernison then demands that you beat Tali’s best time on Tarrey Town Race. Complete the vehicle course, then speak to Fernison again and finally return to Rozel in Lurelin Village.
Reward: Unlock Lurelin Village Water Race.
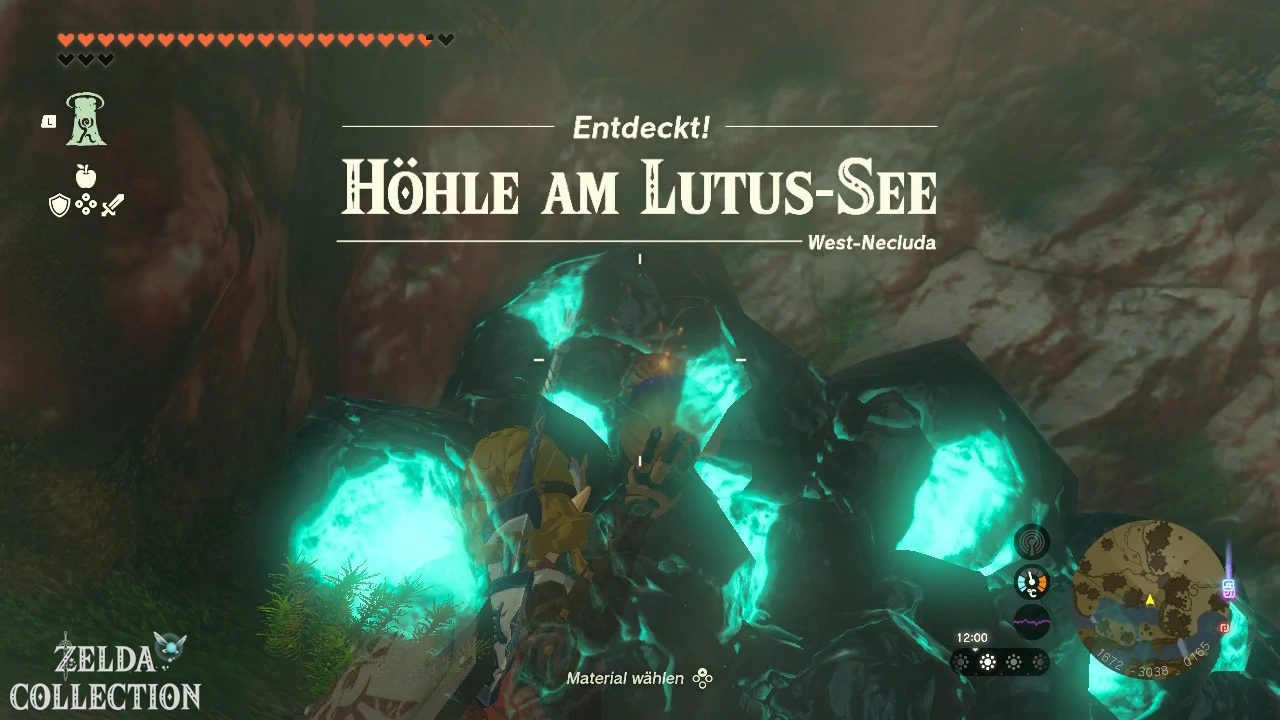
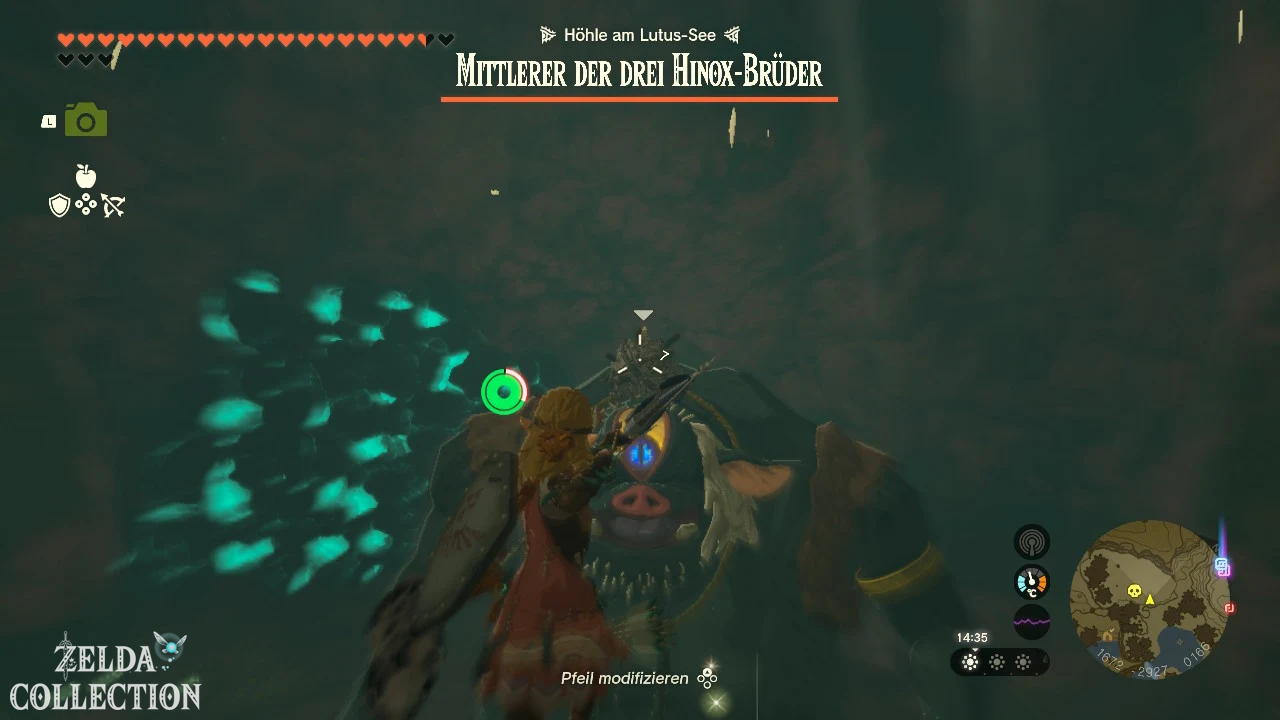
74. Three giant brothers in three caves
Start: At Kampo on Lakeside Stable.
Requirement: None.
Defeat the three Hinoxes in the caves at Lake Kolar, Lake Rodai, and Lake Rassla. Each cave has its own giant. After all three victories you return to Kampo.
Reward: 100 Rupees.
75. A boat in distress
Start: At Garini in Lurelin Village.
Prerequisite: Complete Lurelin Village’s Rebirth and Attack of the Pirates.
Find the drifted boat on the coast. Attach fans and a Steering Stick or pull it into the water with the Ultrahand. Take the boat to the dock at Lurelin Village and talk to Garini.
Reward: Unlock a merchant boat and regular goods.
107. Dad’s blue shirt
Start: At Zuta in Lurelin Village.
Prerequisite: Complete “Lurelin Village’s Rebirth”.
Fishes the blue lobster shirt out of the water in the bay. Build a raft or pull the sunken chest ashore with the Ultrahand. Give the shirt to Zuta or keep it after the conversation.
Reward: Blue Lobster Shirt.
110. Ralera’s dilemma
Start: At Ralera in Lurelin Village.
Prerequisite: Complete “Lurelin Village’s Rebirth”.
Cook a Seafood Curry with a Snapper, Hylian Rice and Goron Spice and give it to Ralera. Afterwards she feels much too hot because of the spiciness. Stand next to her, activate Tulin’s ability and send a gust of wind at Ralera. She then designs the new flag for Lurelin Village.
Reward: Lurelin Village Fabric and free meals.
123. Statue of the Goddess of Courage
Start: On the Spring of Courage.
Requirement: None.
Hit Farosh on a claw, collect the material and place it in the water in front of the statue. Farosh flies through the Faron Sky, among others.
Reward: Topaz and progress to Mother Goddess Statue.
125. Search for the pirate hideout
Start: At Goman on Eventide Island.
Requirement: None.
Defeat the pirate camps around the island and then enter the cave behind the large ship. Also clear out the monsters in the cave. Afterwards the mini-game will be unlocked on Eventide Island.
Reward: 100 Rupees and access to the Eventide Island mini-game.
Gerudo
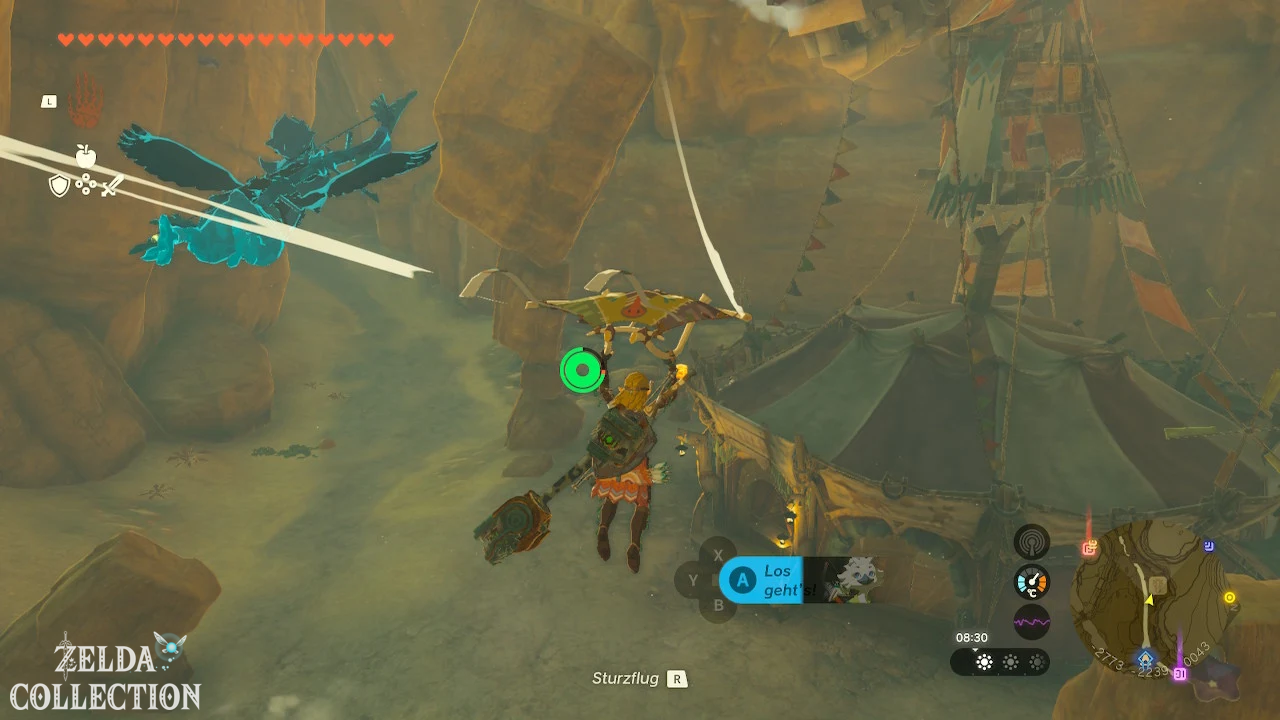
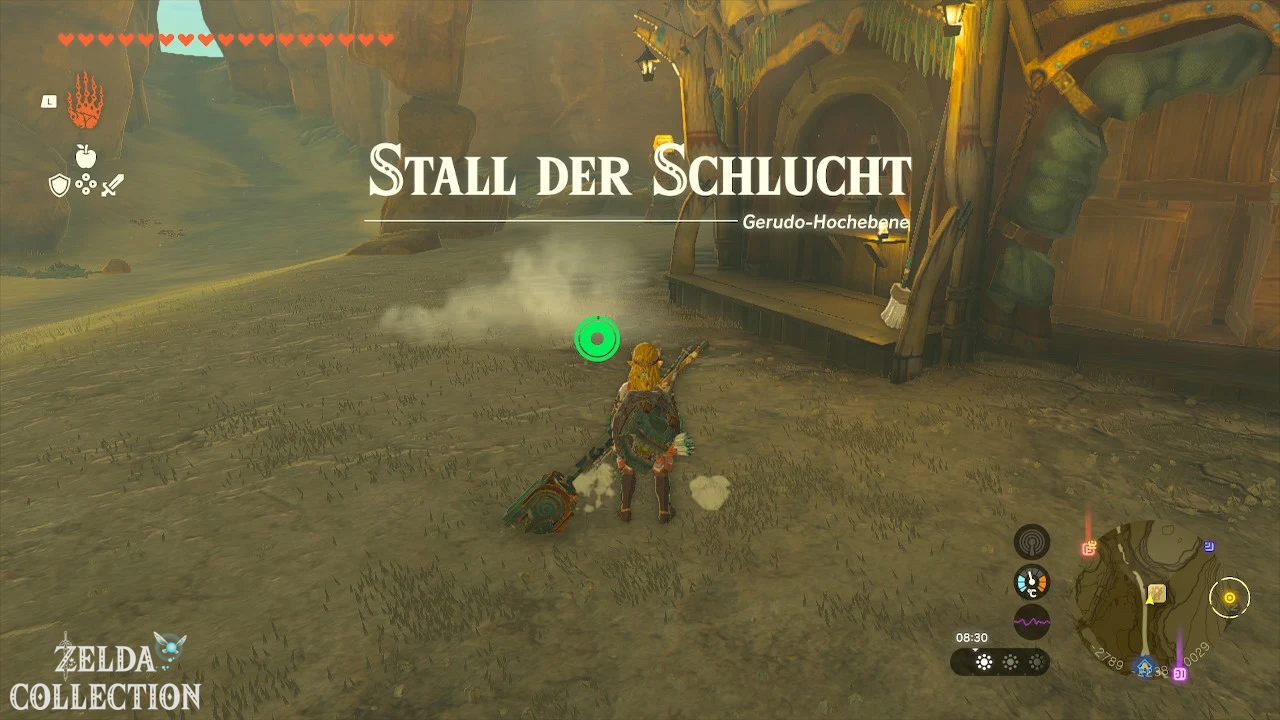
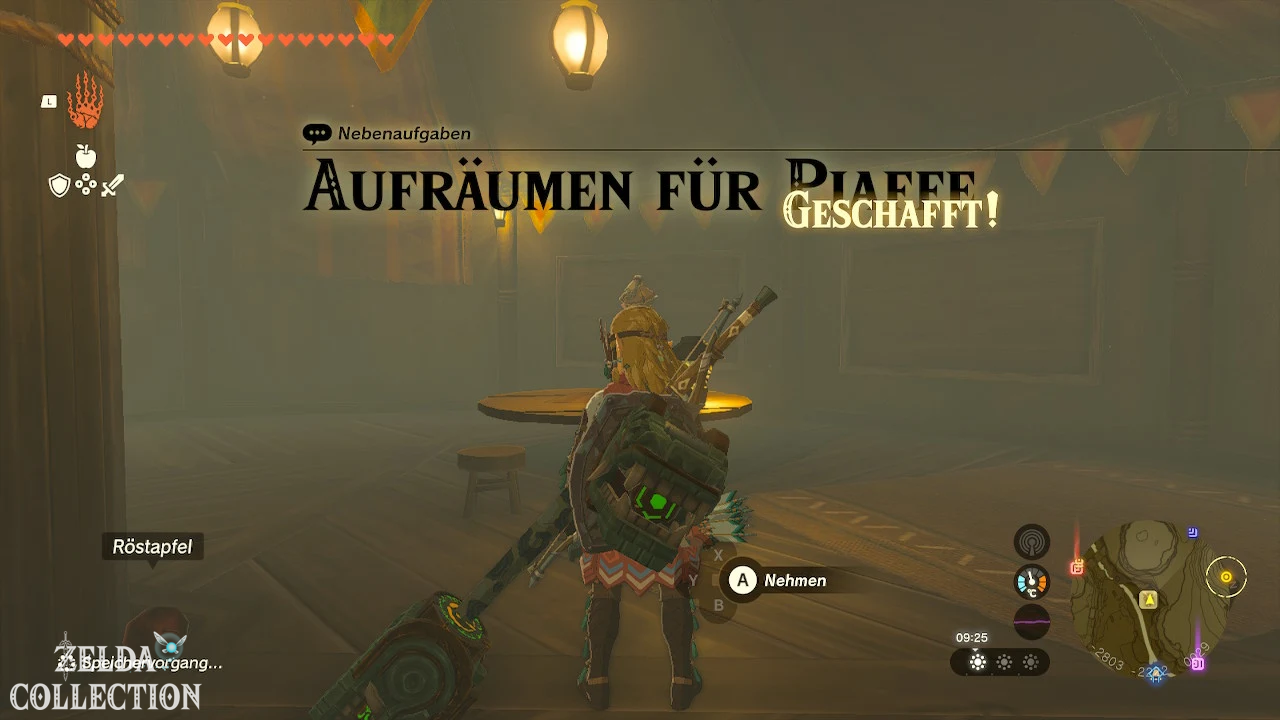
8. Clean up for piaffe
Start: At Piaffe in the abandoned stable of the Gerudo gorge.
Requirement: None.
Destroys or removes all wooden crates in the building. You can smash them with weapons, burn them with fire or throw them outside using Ultrahand. Once the ground is completely clear, talk to Piaffe.
Reward: 1 stall point and a Sleepover Ticket.
10. Take me to the ruins
Start: At Pokki at the sand seal rental in Gerudo Town.
Prerequisite: Complete “Riju of Gerudo Town”.
Rent a sand seal with Sled or build an all-terrain desert vehicle. Talk to Pokki and let her get in. Drive to the East Gerudo Ruins without falling off the vehicle. The target marker is east of the city by the statues facing each other.
Reward: 100 Rupees.
17. The image in Gerudo Canyon Stable 1
Start: At piaffe in Gerudo Canyon Stable.
Requirement: The remaining stable image tasks must be largely completed.
Photographs the Spectacle Rock in the Gerudo Highlands. Choose a location from which both ring-shaped openings are clearly visible and show Piaffe the picture.
Reward: 1 stall point and a small reward.
18. The image in Gerudo Canyon Stable 2
Start: At piaffe in Gerudo Canyon Stable.
Requirement: Complete “The image in Gerudo Canyon Stable 1”.
Photograph the massive forgotten sword on the Gerudo Summit. The handle and a large part of the blade must be visible in the picture. With that, return to piaffe.
Reward: 1 stable point and completion of the stable picture series.
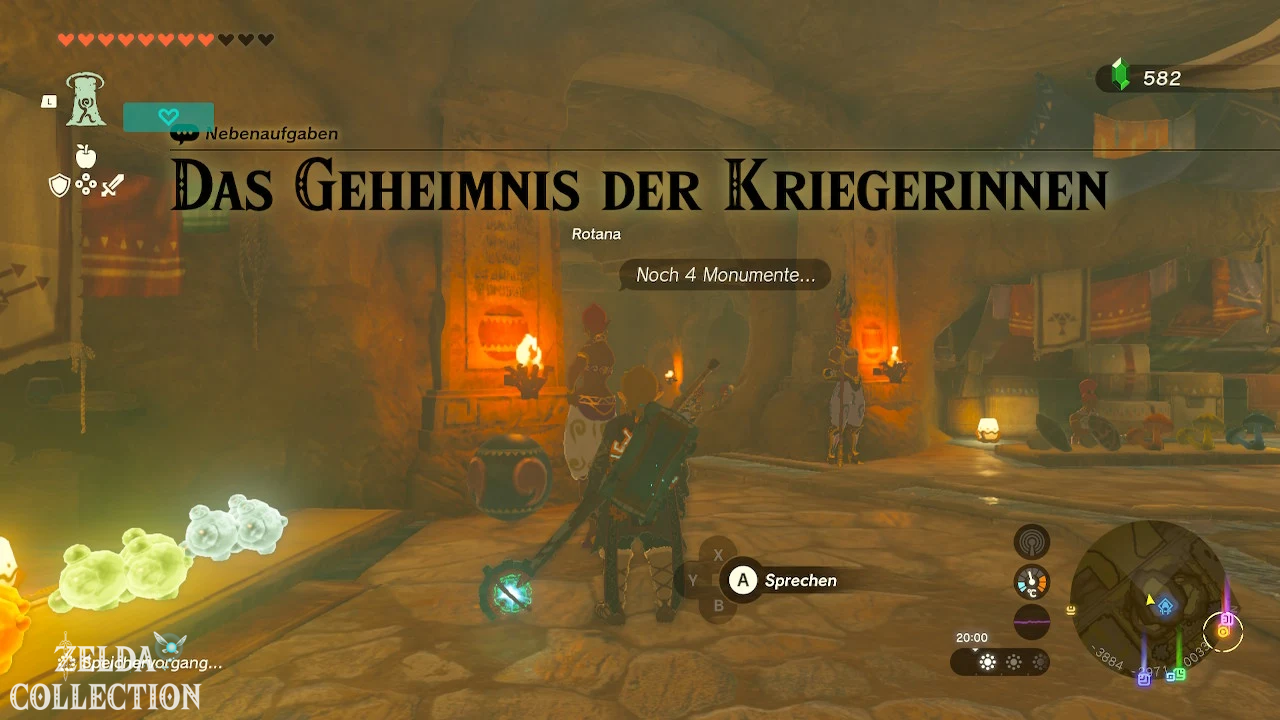
29. The Secret of the Warriors
Start: At Rotana in the Gerudo Shelter.
Requirement: Gerudo Town accessible.
Photograph the four monuments in the underground city. Some are behind training rooms or in side hallways. Make sure that the text or monument is recognized as a motif. Shows Rotana all four images.
Reward: 100 Rupees and unlock “The True Heroism”.
30. The Gerudo Great Skeleton
Start: At Loone on Gerudo Great Skeleton.
Prerequisite: Complete Eldin and Hebra Great Skeleton.
Find the missing bones of the young animal in the fossil room. Melts blocks of ice, removes the bones from the rock and attaches the spine and tail correctly to the small skeleton. Speak to Loone when the form is complete.
Reward: 50 Rupees and completing the fossil series.
31. The Gleeok Guts
Start: Near Malena south of the Gorge Stable.
Requirement: None.
Defeat any Gleeok and collect their heart. Fire, Ice, Thunder and Royal Grocks can drop the required materials. Bring the heart to Malena; Already existing Gleeok hearts count.
Reward: 300 Rupees.
35. The lost caravan member
Start: At Benja in the Kara Kara Bazaar.
Prerequisite: Follow the main quest until after defending the bazaar.
Looking for Ponthos in the Oasis Source. He fell into the cave through a sand whirlpool south of the bazaar. Jump into the whirlpool, follow the cave passage and return via the exit.
Reward: 100 Rupees.
46. The treasure in the Gerudo Desert
Start: At Riju in Gerudo Town.
Prerequisite: Complete Lightning Temple.
Follow the clue to the statues in the western desert area. Activate the underground switches or open the sandy cave at the West Gerudo Ruins. The chest is at the end of the ruins corridor.
Reward: Vah Naboris Helmet.
47. The pride of the Gerudo
Start: With Isha in the jewelry shop of Gerudo Town.
Prerequisite: Complete Lightning Temple and “The Missing Owner”.
Bring Isha a Gerudo Saber, a Gerudo Shield, four Diamonds, and ten Flints. You can find the saber and shield in the desert, in the Gerudo Shelter or from opponents. Isha uses it to make a treasure saber and a treasure shield.
Reward: Treasure Saber and Treasure Shield.
50. The true heroism
Start: At Rotana in Gerudo Town.
Prerequisite: Complete “The Secret of the Warriors”.
Collect the seven warrior balls and place them in the appropriate statues in the underground ruins. You only get a ball after Dalia’s plush test, one is at the desert caravan. Then follow the uncovered eighth statue to the treasury.
Reward: Diamond and access to the Gerudo Sanctum.
69. The missing owner
Start: With Cara in the jewelry shop of Gerudo Town.
Requirement: None.
Look for Isha at the Toruma Dunes west of the city. She is threatened by a Molduga. Lure the Molduga out of the sand with an object or a bomb, stun it with an explosion and defeat it. Afterwards, talk to Isha.
Reward: Diamond and unlock “The Pride of Gerudo”.
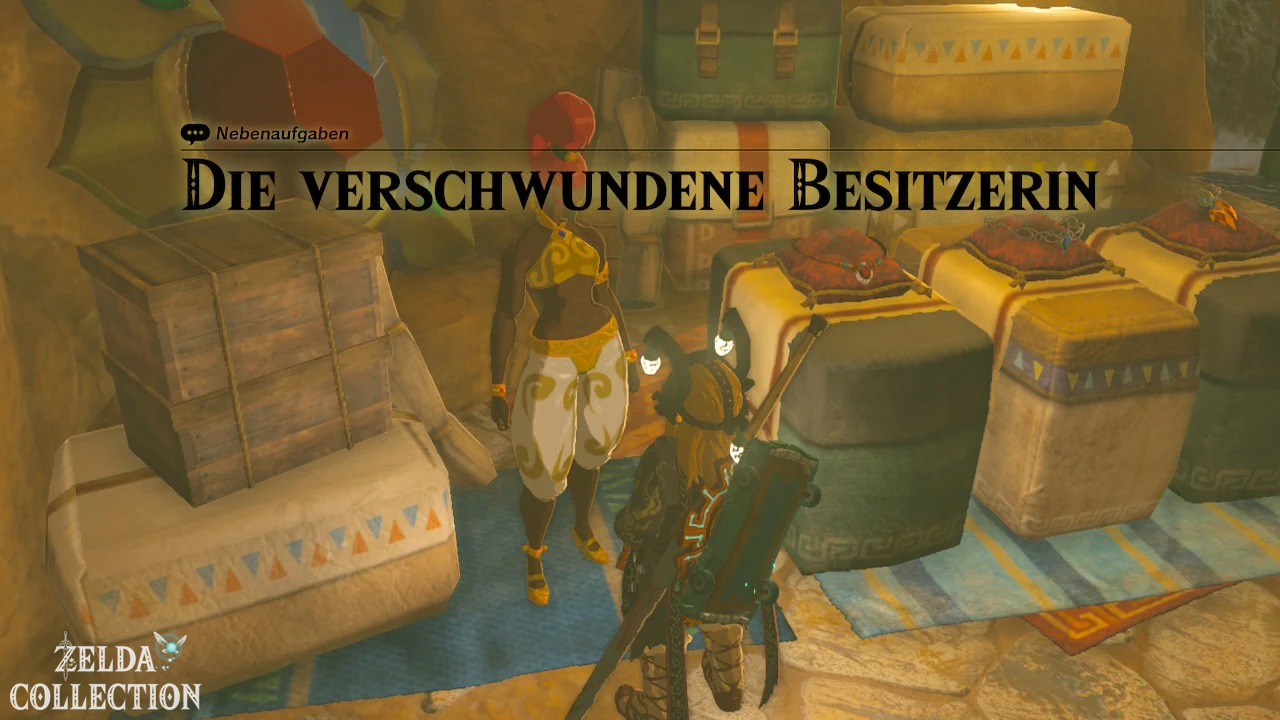
86. Separate in Gerudo Canyon
Start: At Quince at the entrance of the Gerudo gorge.
Requirement: None.
Find the three missing friends in the ravine. One is sitting on a ledge, one has been trapped by monsters and one is in a cave or camp. Talk to everyone and return to Quince.
Reward: 300 Rupees total.
93. Heat endurance competition
Start: At Rahdo on Mount Granajh.
Prerequisite: Complete “Cold Endurance Competition”.
Survives in extreme heat during the day until time runs out. Remove all heat resistant armor when Rahdo it demands, and instead uses lots of hearts as well as previously cooked healing effects. Additional yellow hearts increase the reserve.
Reward: 300 Rupees.
95. Cold Endurance Competition
Start: At Rahdo on Mount Granajh.
Requirement: None.
Survives at night without cold protection clothing until the end of the test. Maximize your hearts beforehand and use healing dishes during the task. Firearms and warming effects are only permitted if Rahdo’s rules do not exclude them.
Reward: 100 Rupees and unlock the heat competition.
96. Passionate decoration
Start: At Boraa in Kara Kara Bazaar.
Prerequisite: Follow the Gerudo main quest until after defending the bazaar.
Connects a Rupee to a weapon and reveals the fiery decorated equipment to Boraa. Other red materials do not count reliably; a genuine Rupee meets the desired passionate decoration.
Reward: Topaz or Rupees.
115. Misko’s Treasure: Warrior Woman Manuscript
Start: At Domidak north of the stable on the mountain.
Prerequisite: Complete “The Hunt for Misko’s Treasure” and purchase the manuscript.
Travel to Statue of the Eighth Heroine in Gerudo Highlands. Use the shield or the large mirror device to reflect sunlight onto the Sensor + and open access inside the statue.
Reward: Tingle’s Hood.
128. Dalia’s Challenge
Start: At Dalia in the Gerudo Shelter.
Prerequisite: Complete Lightning Temple.
Find all hidden sand seal plushies within the time limit. They lie behind crates, on roofs, in side passages and on raised platforms. Use Ascend and Ultrahand to reach the final hiding spots.
Reward: One of the Orbs for “The True Heroism”.
129. Thaw in the ice cellar
Start: At Anche at the ice cellar north of Gerudo Town.
Requirement: None.
Throw an Ice Fruit or White Chuchu Jelly into the pool of water to create an ice sheet. Pull them out of the water with the Ultrahand. If it is too big for the niche, carefully shrink it with a fire fruit or a heat source. Place the cut ice block in the marked niche and talk to Anche.
Reward: 50 Rupees.
131. Bye, brush balls!
Start: At Barles east of Morgana Mountain.
Requirement: None.
Removes all large brush balls from the marked area. Grab multiple balls at the same time with the Ultrahand, connect them and throw them over the edge or burn them.
Reward: 100 Rupees.
Hebra and Tabantha
1. Attack on the supplies
Start: At Huck to the Tabantha Village Ruins.
Prerequisite: Tulin must be awakened as a Sage of the Wind.
Follow Huck to the ruins and defeat the Kakudas carrying supply crates through the air. Shoot the flying monsters first, collect their dropped loot if necessary, and then kill the remaining monsters on the ground. Return to Huck after the last opponent.
Reward: Arrows and other supplies.
20. The image in Tabantha Bridge Stable
Start: Dabi in Tabantha Bridge Stable
Requirement: At least one regional main quest, Camera and stable membership.
Photographs the Ancient Stone Columns at sunrise. Wait by a fire until morning and take the picture from the east so that the warm light hits the pillars. Then show the photo to the stable owner and have it framed.
Reward: 1 stall point and a small reward.
22. The image in Snowfield Stable
Start: Varke im Snowfield Stable
Requirement: At least one regional main quest, Camera and stable membership.
Climb to Talonto Peak and photograph the bird-shaped snow surface below the mountain. The complete outline must be in the image. Then show the photo to the stable owner and have it framed.
Reward: 1 stall point and a small reward.
27. The legacy of the Rito
Start: Near Teba in the village of Rito.
Prerequisite: Complete Wind Temple.
Bring Teba a swallow bow, three diamonds and five bundles of wood. A swallow arch can be found at Flight Range or can be found by Orni warriors. Teba forges the eagle bow out of it; If it breaks, it can be remade.
Reward: Eagle Bow.
28. The conquered tent
Start: At Nat on Snowfield Stable.
Prerequisite: Complete “Bright Mushrooms in Dark Cave”.
Follow Nat and Meghyn to the cave where their tent has been invaded by monsters. Defeat all enemies in the main room and report to the two women.
Reward: Spicy Mushroom Dish and unlocking The Quest for Sanctuary.
32. The Hebra Great Skeleton
Start: At Loone on Hebra Great Skeleton.
Prerequisite: Complete “The Eldin Great Skeleton”.
Melt the ice blocks in the cave system and assemble the missing bones of the small fossil. One part lies in a block of ice, another behind brittle rock. Aligns bones so they lock into existing joints.
Reward: 50 Rupees and start “The Gerudo Great Skeleton”.
43. The Treasure of the Three Springs
Start: Near Tulin in the village of Rito.
Prerequisite: Complete Wind Temple.
Travels to North Biron Snowshelf Cave between Schutars, Minflas and Sherfin’s Secret Hot Spring. Melt the ice block at the entrance and let the strong updraft carry you inside. Destroy the crumbling rock walls to the south, northwest, and northeast to allow water from all three sources to flow into the central chamber. The rising water level opens the way to Treasure Chest.
Reward: Vah-Medoh Helmet.
53. The Ice Water Cave
Start: At Verla in the Talonto Peak Cave.
Requirement: None.
Collect ten Frostlings in the cave or other cold regions. The small mushrooms grow on icy walls and can also be collected beforehand. Give the ten copies to Verla.
Reward: Spicy dish or Rupees.
56. The suspension bridge of the Rito
Start: Near Gesane and Juannelle northwest of the Cloverleaf Courier.
Prerequisite: Complete Wind Temple and “The Unfinished Shelter”.
First talk to Scorpis in the Lookout Landing so that he sends Karson as a carpenter. Return to the destroyed bridge and deliver 20 bundles of wood. After construction, the direct route to the village is open again.
Reward: 100 Rupees and repaired suspension bridge.
59. The Mother Goddess Statue
Start: At the large goddess statue in the Forgotten Temple.
Prerequisite: Complete the three tasks of the Sources of Strength, Wisdom and Courage.
Return to the Forgotten Temple after the three dragon sacrifices. Examine the restored Mother Goddess Statue and collect its reward.
Reward: White Sword of Heaven.
65. The search for the sanctuary
Start: With Nat and Meghyn after “The Conquered Tent”.
Prerequisite: Complete previous mushroom quest.
Follow the two through the Sturnida Springs Cave. Look for the large mushroom sanctuary in the back area; the path leads over water, brittle rocks and a hidden side passage. Speak to Nat and Meghyn there.
Reward: Mushroom dish and rare mushrooms.
68. The locked door
Start: At Jogo to the Tabantha Village Ruins.
Requirement: None.
Defeat the Bokoblins around the house. Some are on the roof or hiding behind rubble. After the last opponent, Jogo can open the door.
Reward: Spicy dish.
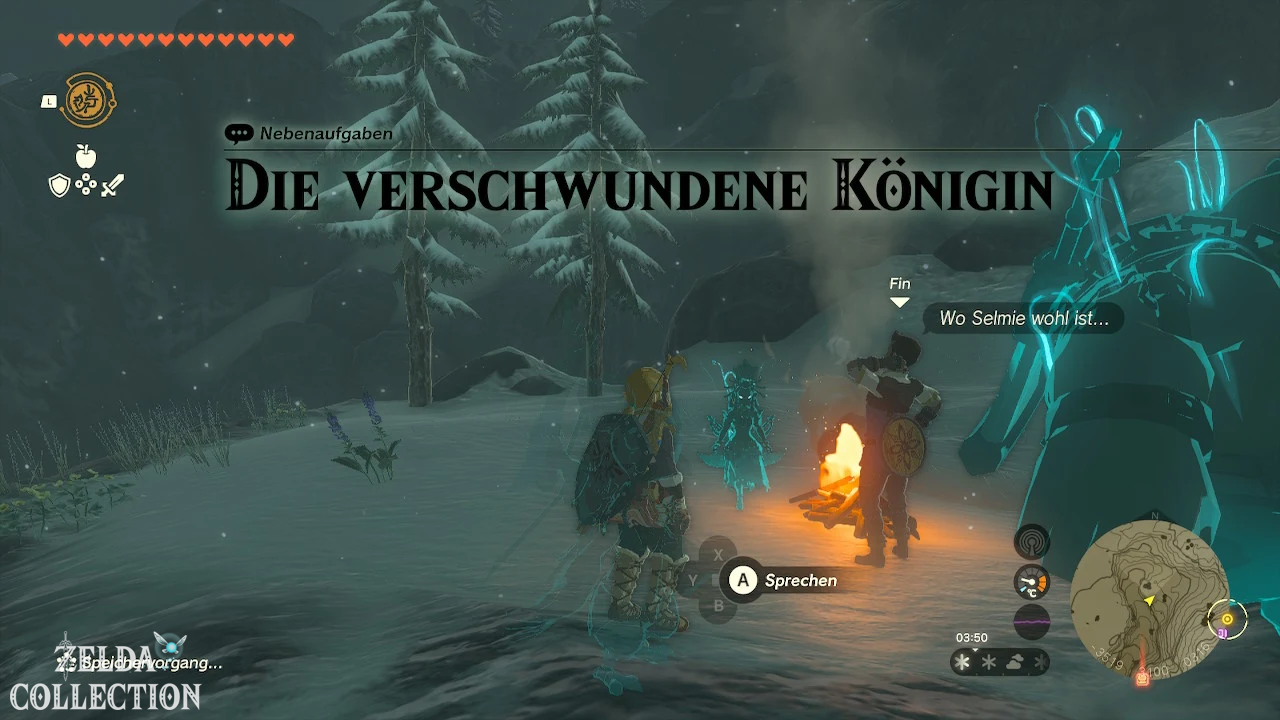
70. The Lost Queen
Start: With Selmie or her students at East Biron Snowshelf Cave.
Prerequisite: Complete Wind Temple.
Enter the cave and look for Selmie behind a buried passage. Destroy rocks, follow the shields and free them. Leave the cave together or talk to her again at the exit.
Reward: Strong shield and access to Selmie’s shield surfing course.
71. The Buried Cave
Start: At Mazli at the input of the Rospro Pass Cave.
Requirement: None.
Destroy the large rock blockade with Hammer Weapons, Bomb Flowers or Yunobo. Pay attention to several layers of rock. After opening the entrance, talk to Mazli again.
Reward: 20 Rupees.
76. A brand new flying course
Start: At Kaneli on Flight Range.
Prerequisite: Complete Wind Temple.
Jump into the course and fly through as many rings as possible with the Paraglider within the time limit. Use the updrafts and Tulin’s gust of wind without touching the ground. The minimum number required is sufficient to complete the quest.
Reward: Rupees; Mini-game remains available.
85. Genlis Home Cooked
Start: Near Genli in the village of Rito.
Prerequisite: Complete Wind Temple.
Bring Genli a Staminoka Bass. The fish live, among other places, in Lake Hyrule and in ponds on the plains. She cooks a dish out of it and gives you a portion.
Reward: Frost-Simmered Fruit.
89. Trading a Rito
Start: At Bedoli in the village of Rito.
Prerequisite: Complete Wind Temple.
Bedoli exchanges materials on a fixed chain. First bring glowing mushrooms or the requested regional goods. Afterwards you can continue to exchange certain ingredients for arrows.
Reward: Arrows and permanent barter.
91. Bright mushrooms in dark cave
Start: At Nat in the Tabantha Frontier.
Requirement: None.
Enter the Brightcap Cave and collect ten glow mushrooms. You don’t have to defeat all enemies. Bring the mushrooms to Nat and Meghyn at the entrance.
Reward: Spicy Mushroom Dish and unlock “The Captured Tent”.
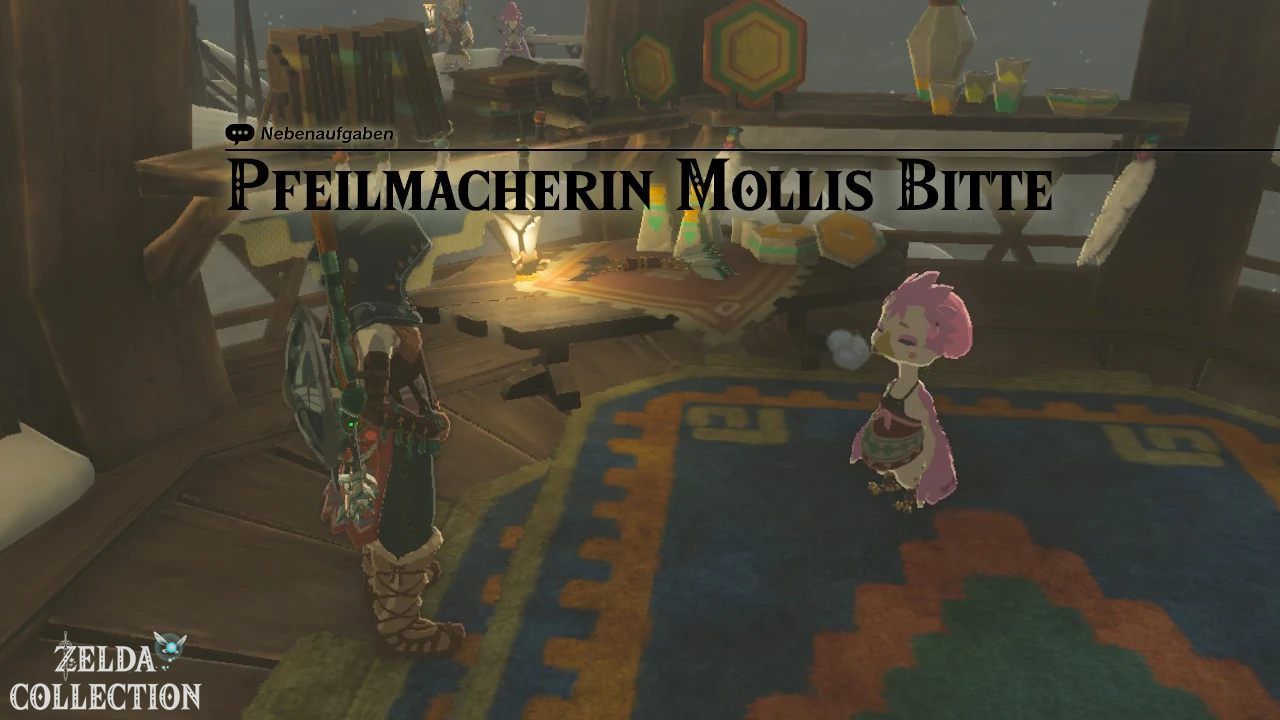
108. Arrowmaker Mollis Please
Start: At Molli in the village of Rito.
Prerequisite: Complete Wind Temple.
Give Molli an Ice Fruit. She then repeatedly exchanges Ice Fruit, White Chuchu Jelly or other cold materials for arrows.
Reward: 10 arrows and barter.
112. Misko’s Treasure: Awakening Series 2
Start: Through the letter after part 1.
Prerequisite: Complete Awakening Series 1.
Travels to Coliseum Ruins in the Hyrule Field. There are two warrior statues on the south side. Place a soldier’s two-handed sword in each of their hands or on the designated shelves. This opens the rock slab to the cave entrance. Open the chest with the Awakening Pants and read the next stone tablet.
Reward: Awakening Pants and reference to part 3.
sky and Depths
5. Antique daggers from the Depths
Start: For the Mining Construct in the Spirit Temple.
Prerequisite: “Instructions from Ancient Times” and complete the Spirit Temple.
After the boss fight, talk to Steward Construct at the temple. Exchange 50 Zonaite for an Ancient Dagger. The material is consumed during the Fuse attack and greatly increases the damage of a weapon or arrow.
Reward: 1 Ancient Blade; the exchange can be repeated.
38. The Diligent Pilgrim
Start: Automatically after the last shrine.
Prerequisite: Complete all 152 shrines.
After the 152nd Light of Blessing, a message with a destination appears in the time temple of Great Sky Island. Travel there and open the chest behind the goddess statue.
Reward: Heroic spirit from ancient times.
94. Lomei Labyrinth Island prophecy
Start: At the Lomei Labyrinth Island Labyrinth in North Akkala.
Requirement: None.
First traverse the maze on the surface and follow the trail of acorns. Then activate four terminals in the sky labyrinth and jump through the central shaft into the Depths. Defeat the construct there and open the chest.
Reward: Evil Spirit Circlet of Doom.
99. Northern Lomei Prophecy
Start: On Northern Lomei in Hebra.
Requirement: None.
Follow the trail on the surface to the central terminal. Then reach the sky labyrinth and activate the four marked terminals. Jump through the opening into the Depths, defeat the construct and open the chest.
Reward: Leggings of the Evil Spirit.
126. Southern Lomei Prophecy
Start: On the southern Lomei in the Gerudo Desert.
Requirement: None.
Solve the floor maze, activate four terminals in the sky maze and then jump into the Depths. Defeat the construct at the end and open the chest.
Reward: Evil Spirit Tank.