

On this page we give you an overview of all shrines in The Legend of Zelda: Tears of the Kingdom, which are located on the Mount Lanayru and in the associated airspace. In addition to the respective locations, we will explain in detail how to pass the tests, complete the two shrine tasks and reach all Treasure Chests.
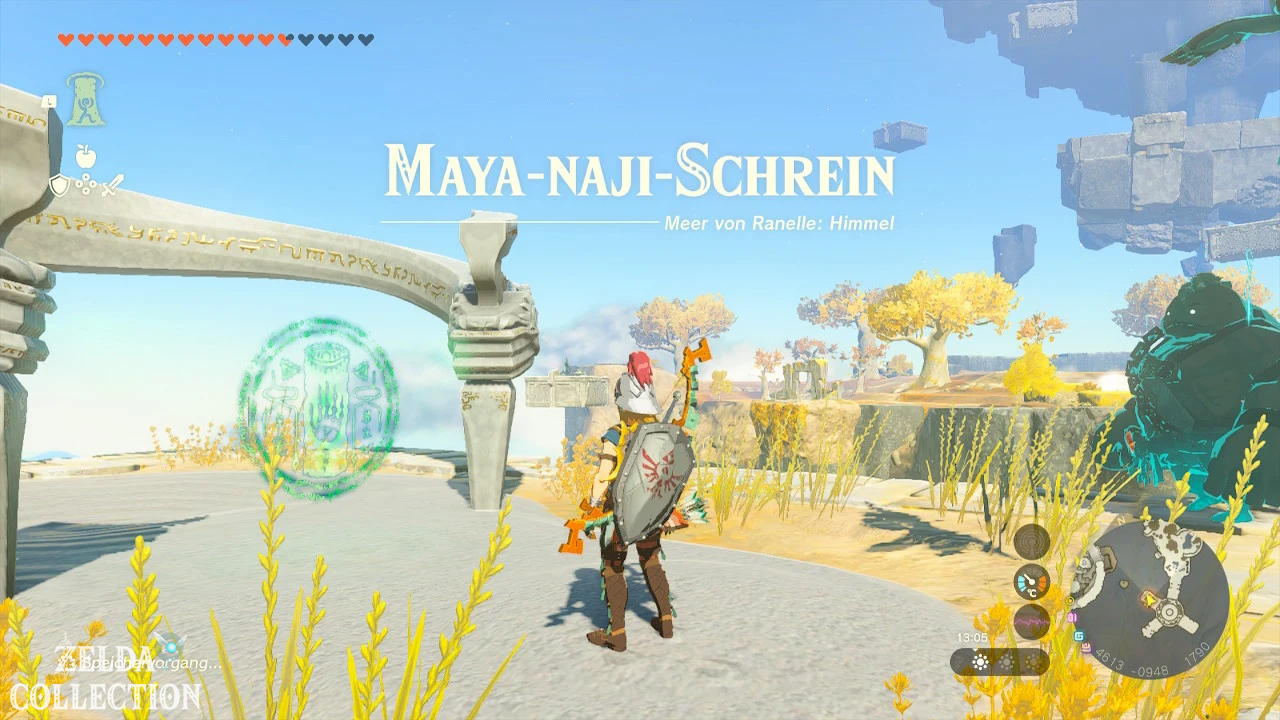
According to our regional division there are a total of three shrines in this region. The Jikais shrine and the Zakusu Shrine lie on the surface. The Mayanas Shrine On the other hand, you can find it at higher altitudes South Lanayru Sky Archipelago.
In the cold heights of the Mount Lanayru you need at least one level of cold protection. Equip a suitable piece of armor or prepare a warming dish. You can find an overview of other areas in our Tears of the Kingdom Walkthrough.
This area contains the following shrines:
- Jikais Shrine
- Mayanas Shrine – Shrine in South Lanayru Sky Archipelago
- Zakusu Shrine – The legend of the light wheels
Jikais Shrine
exam: breakout
Reward: Long Wand and a Light of Blessing
Location: Eastern slope of Mount Magoni
coordinates: approximately 4267, -1673, 0180
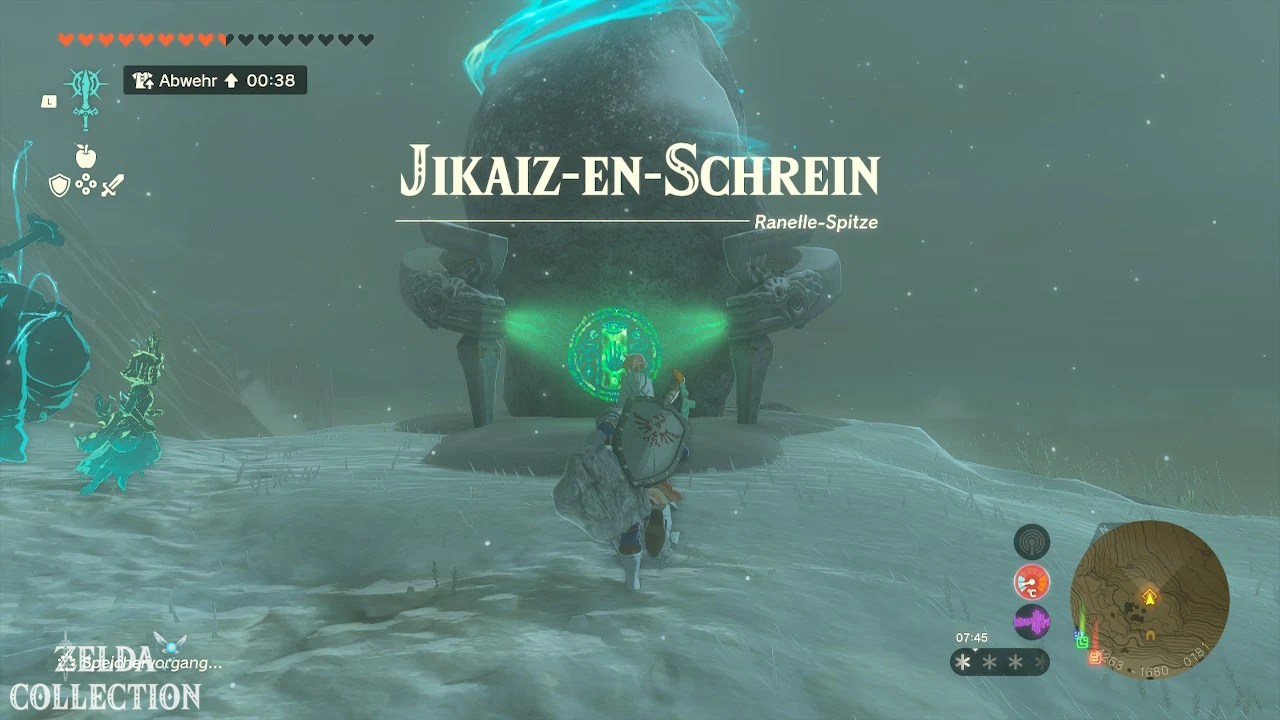
Find Jikais Shrine
The Jikais Shrine is located far to the east of the Mount Lanayru. It stands on a narrow ledge on the eastern edge of Mount Magoni above the Afrosmia Coast.
The easiest way to reach it is via the tower on the Mount Lanayru. Let the tower throw you into the air and then glide in a southeast direction. The shrine is significantly lower than the tower and can be easily seen while gliding.
Since the shrine is on a steep mountainside, the direct climb from the coast is much more difficult. Also make sure you have adequate protection from the cold.
Solve Jikais Shrine
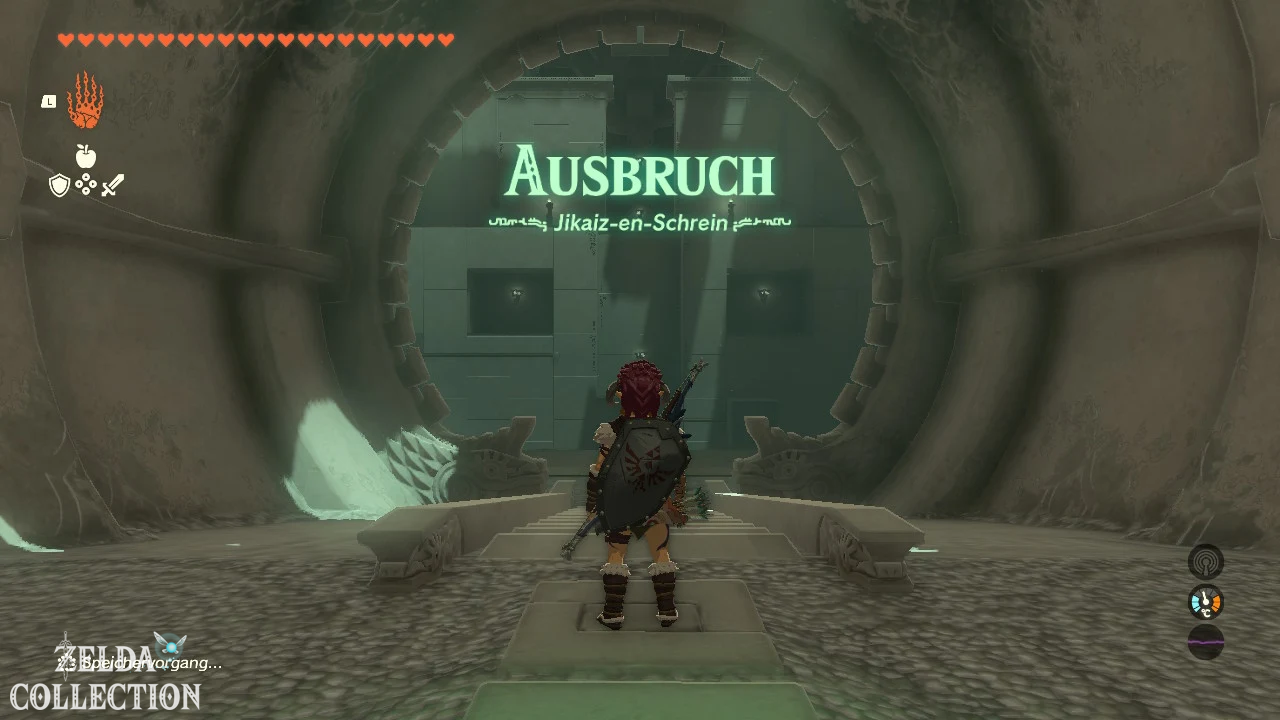
In the “Eruption” test you have to combine movable stone blocks and several wall openings. The most important ability is the Ascend.
Reach the first wall opening
In the first room there are several stone blocks that can be moved on fixed rails. You can also see several rectangular openings on the wall.
Start on the right side of the room. Move the bottom block so that it is below the top block. Then move the upper block a little over the lower one so that both surfaces overlap.
Stand under the bottom block and use the Ascend. From there you get to the block above and then into the first opening in the wall.
Slide out of the opening to the platform on the left. There, move the next stone block towards the higher wall niche. Stand underneath and use the Ascend again.
Once in the niche, use the Ascend again to get through the ceiling to the top level of the room.
Tip: The blocks do not have to be completely exactly on top of each other. It is crucial that there is a sufficiently large horizontal surface above the link for the Ascend.
Get the long wand from the Treasure Chest
After you leave the first large room, there is a platform above the path to the right with the Treasure Chest.
Stand directly under the raised surface and insert the Ascend. Then open the chest. Inside is a Long Wand.
The magic wand really works when you connect it to a gemstone. A Rupee produces fire, a sapphire produces ice, and a topaz produces electrical projectiles.
Overcome the hanging pillar
In the next area you will see a long pillar sticking down from the ceiling. There is also a movable stone slab on the floor.
Place the plate horizontally over the edge of the lower platform. It must protrude far enough above the abyss so that you can then position yourself below the hanging pillar.
Stand under the plate and use the Ascend. Then go to the protruding end and use the Ascend again under the long pillar. This will take you to the area above.
Escape from the wire cage
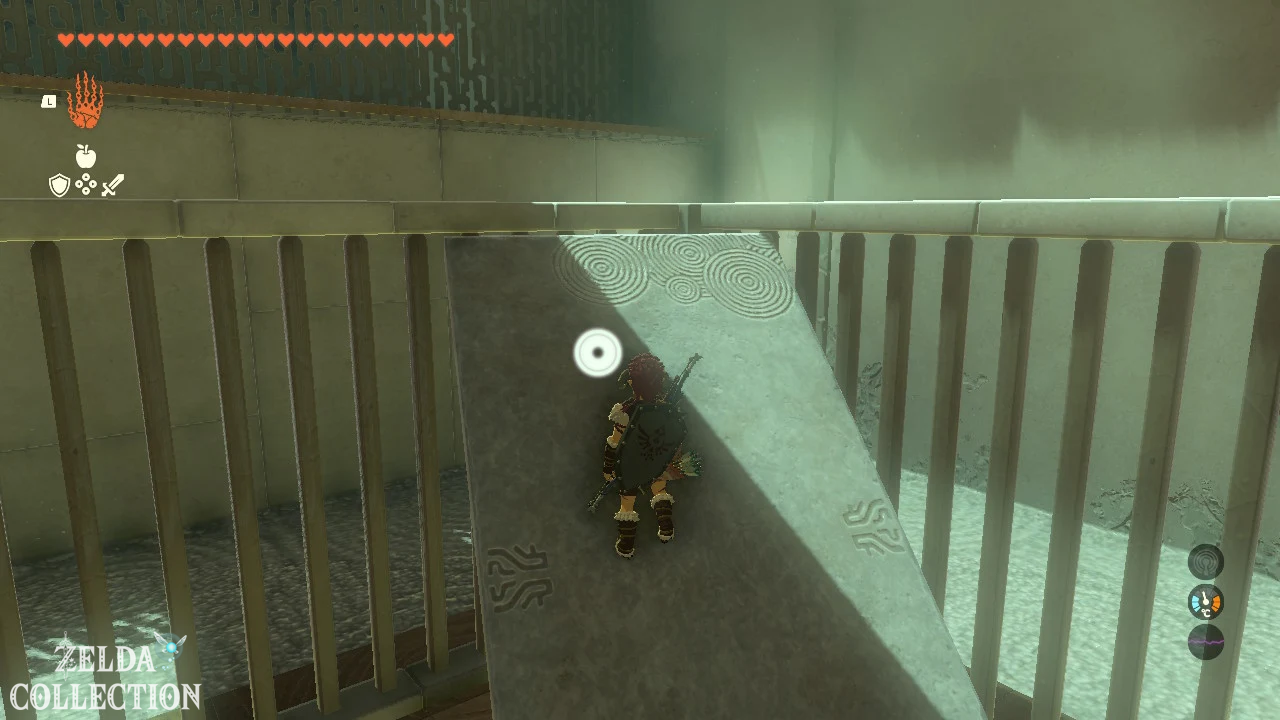
In the last room you will be surrounded by high bars. Just outside the cage lies another stone slab.
Grab the plate through the bars with the Ultrahand. Pull it toward you and place it horizontally across the top of the cage.
Stand under the plate and use the Ascend. Link penetrates the plate and gets to the roof of the cage.
Jump down the outside and follow the short path to the altar. There you will receive your Light of Blessing.
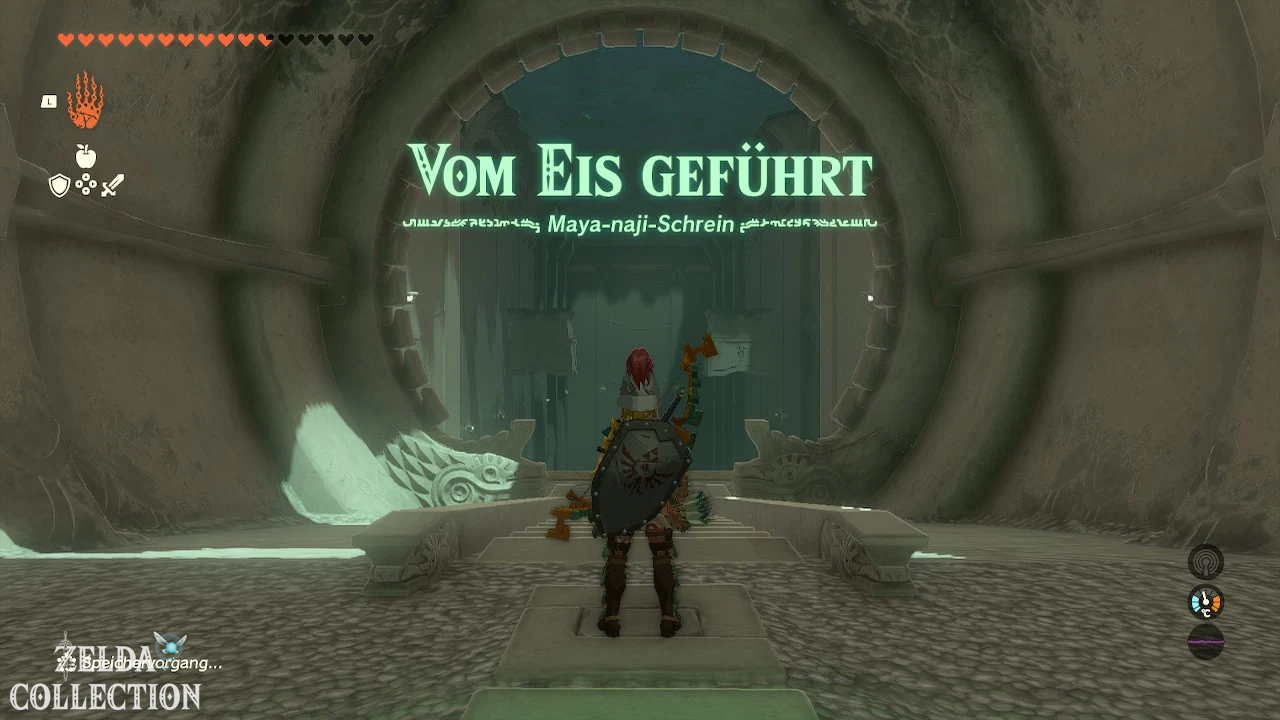
Mayanas Shrine
Shrine Task: Shrine in South Lanayru Sky Archipelago
Test: Guided from the ice
Reward: Massive Zonaite Shield and a Light of Blessing
Location: South Lanayru Sky Archipelago in heaven
coordinates: approximately 4613, -0947, 1804
Reach Mayanas Shrine
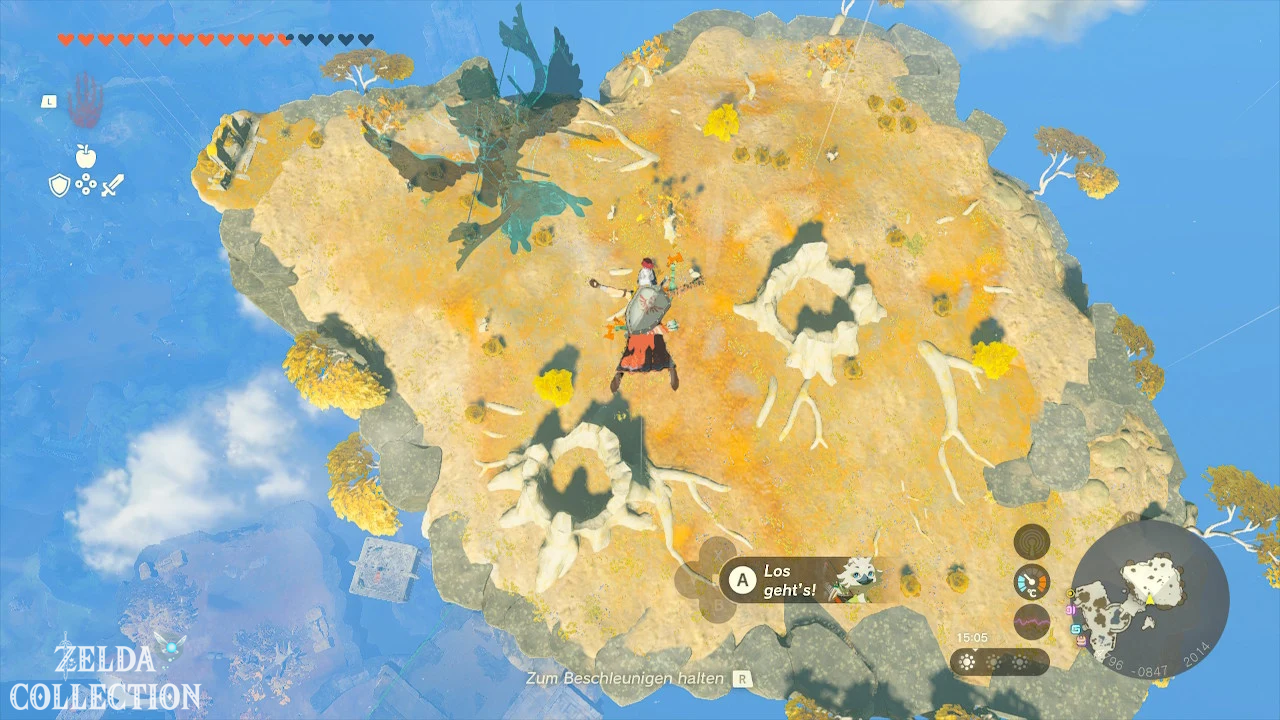
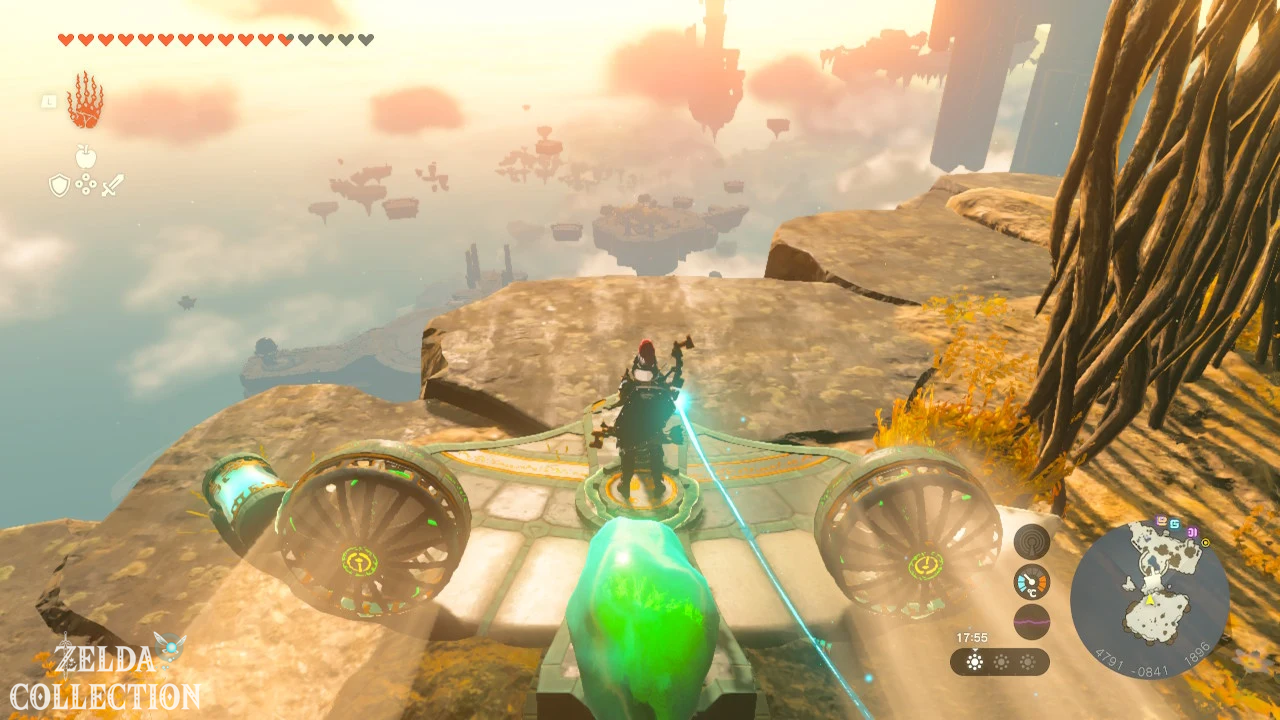
The Mayanas Shrine is located on a very high sky island in the South Lanayru Sky Archipelago. Located southeast of the Isle of Daring, it is one of the hardest to reach shrines in the region.
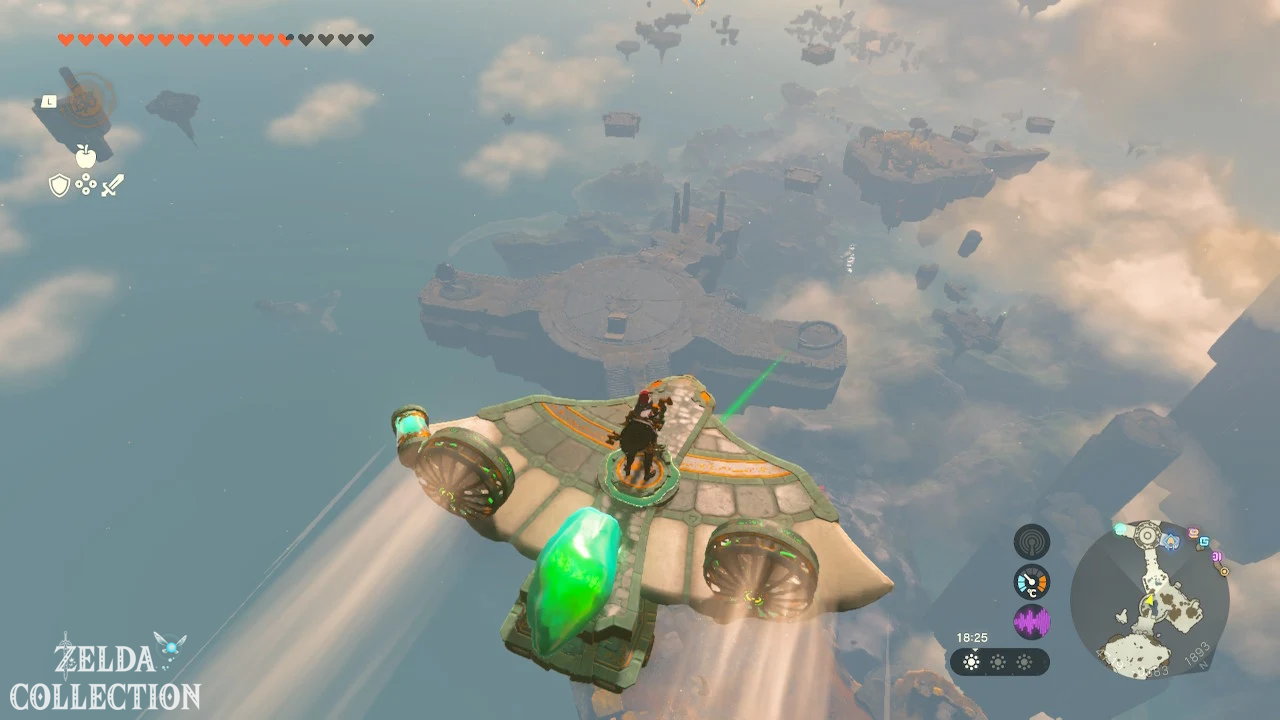
The tower on the Mount Lanayru is suitable as a starting point. Let yourself be thrown into the air and glide northeast or east to the first sky islands.
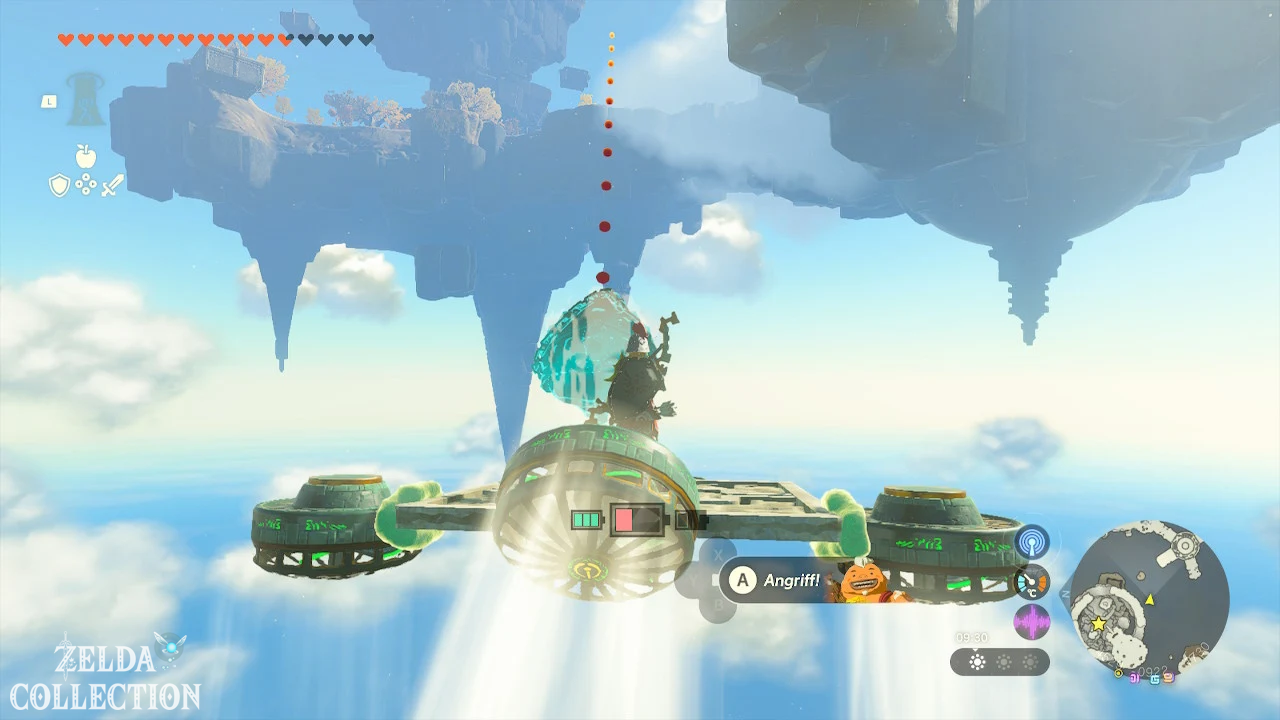
On the offshore islands you will find Zonai wings, fans, rockets and hover platforms. Use these components to gradually gain more height. Additional batteries or large Zonai Charges make the long journey much easier.
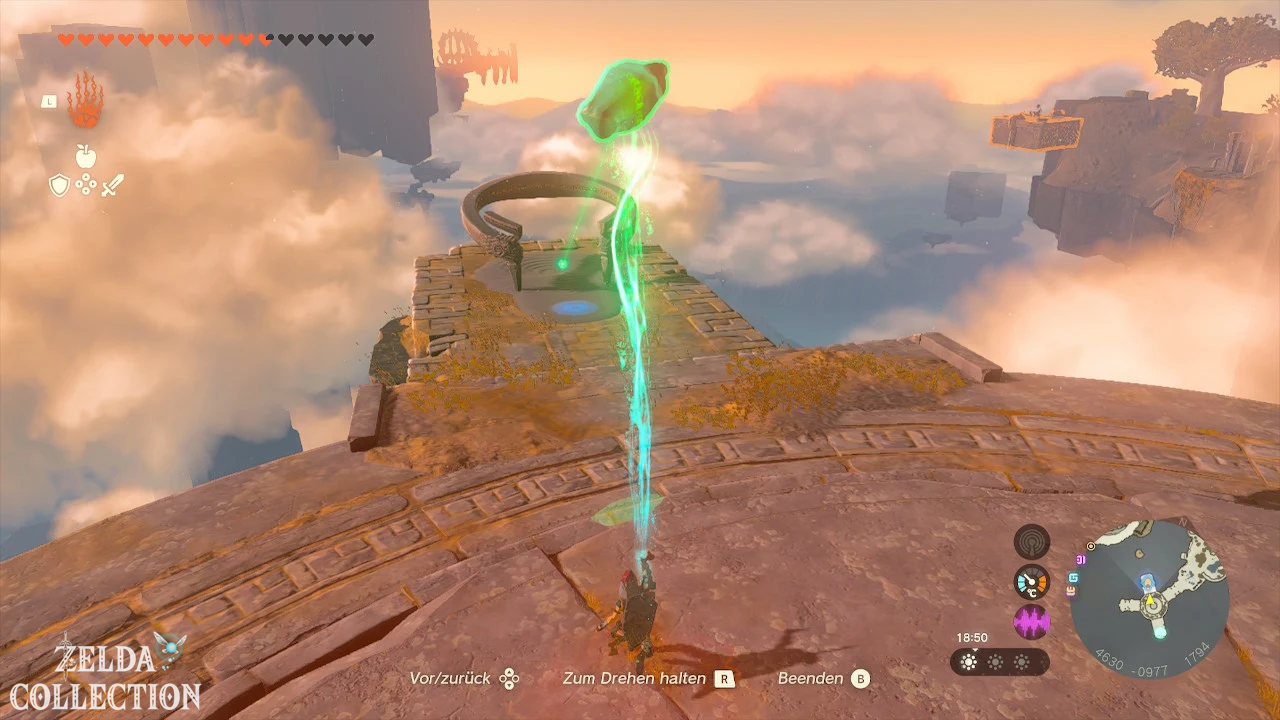
On the target island you initially only discover the incomplete shrine platform. Examine them to start the shrine quest “Shrine in South Lanayru Sky Archipelago”. A green beam of light will show you the location of the missing crystal on a higher island to the northeast.
Find the green crystal
Follow the beam of light to a floating platform. Use the Ascend to get onto the platform. A soldier construct is waiting for you there.
Defeat the construct and attach one or more missiles to the hover platform. Activate the rockets and let them carry you to the higher island.
Alternatively, you can connect a rocket to your shield. Hold up the shield to be shot vertically into the air, then glide to the target island.
On the upper island, dried vines block access to the crystal. Cut the first vines with a sharp weapon or burn them with a fire fruit.
Behind a second layer of vines you will find the green shrine crystal.
Bring
crystal to Mayanas Shrine
Near the crystal there is a Zonai grand piano, a sled, several fans, batteries and a control unit.
Use it to build a stable aircraft:
- Attach the Sled in the middle under the Zonai wing.
- Attach two fans symmetrically at the back.
- Place the control unit in the middle of the wing.
- Attach the batteries as evenly as possible on both sides.
- Place the green crystal in the center of the aircraft.
Align the vehicle with the green beam of light and fly back to the original shrine island. Only release the crystal after you have landed safely.
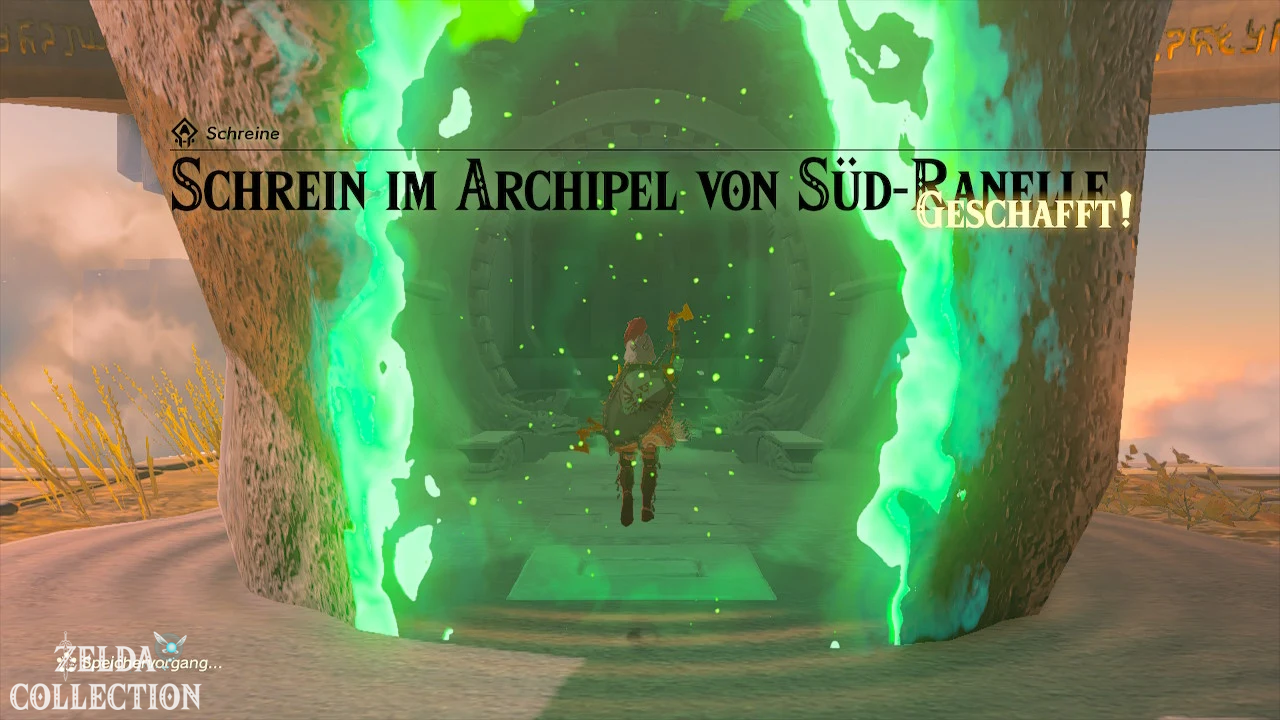
Carry it to the green socket of the shrine platform. As soon as you put it there, the complete Mayanas Shrine materializes.
Tip: Attach the crystal as close to the center of the wing as possible. If he sits far to the left or right, the aircraft can tip to the side during flight.
Solve Mayanas Shrine
In the “Guided by Ice” test, you have to create ice slabs and slide them along slanted paths onto target switches.
Hit first target switch
In the first room you will find several Ice Fruit and a Frost Emitter. Throw an Ice Fruit into the water or activate the Frost Emitter and direct its cold air stream towards the surface of the water.
After a short time, a square sheet of ice is created. Take it out of the water with the Ultrahand and lay it flat on the ground.
Attach one of the metal plates provided horizontally to the ice. The metal plate gives the structure additional weight and prevents the ice from getting stuck on the obstacles.
Place the construction on top of the sloping track. Aim it so that it slides over the spikes to the moving target switch.
Watch the target’s movement and release the ice sheet at the right moment. If the construction hits the switch, the gate to the altar area opens.
Find massive Zonaite shield
The Treasure Chest is located in an optional side room. A more difficult version of the ice puzzle awaits you there.
Create a square ice sheet again. This time, attach four smaller metal plates vertically to the four sides of the ice cream. Viewed from above, an open box shape emerges.
Place the finished construction in the middle of the sloping track. The vertical metal plates guide the ice between the spikes and ensure that it reaches the Floor Switch at the end of the track.
If the switch is hit, the grille in front of the Treasure Chest opens. Inside is a Solid Zonaite Shield.
Then return to the altar and collect the Light of Blessing.
Alternative: With the optional chest you can also position the metal plates on the track as side guide rails. However, the box shape is usually more reliable.
Zakusu Shrine
Shrine Quest: The Legend of the Wheels of Light
Exam: Bare Survival – Lifted
Reward: Gamma Elite Spear or Delta Elite Spear and a Light of Blessing
Location: Naydra snowfield, southwest of the tower on the Mount Lanayru
coordinates: approximately 3526, -1482, 0182
The legend of the light wheels begins
The Zakusu Shrine is initially not visible on the surface. To unlock it, you must complete the shrine quest “The Legend of the Wheels of Light.”
Head to Nazbi’s camp near the Fountain of Wisdom. Nazbi tells you about an old legend: You should glide from a source high in the sky to the mountain on earth, passing through all the wheels of light.
Then travel to the tower on the Mount Lanayru and let yourself be thrown into the sky. Glide to the southernmost island of the South Lanayru archipelago. On the small island there is a pool of water and a green Zonai symbol.
Examine the symbol. The first green light wheel then appears on the edge of the island.
All light wheels pass through
Equip a shield and stand at the start of the snowy ramp. Jump, hold ZL and press A while in the air to land on your shield.
Slide through the first light wheel. Directly behind it you fall from the sky island towards the Mount Lanayru.
Stay on the sign if possible. You can briefly open the Paraglider during the fall to correct your direction. However, close it again in good time so that you don’t become too slow.
After landing on the Naydra snowfield, more light wheels appear one after the other. Follow the green dots of light and slide through each ring before it disappears.
If you have crossed all the light wheels in time, the Zakusu Shrine will appear at the end of the route.
Tip: Use a simple shield for the task. When shield slides, the durability of the shield is reduced. However, there is less wear and tear on snow than on rocky ground.
Solve Zakusu Shrine
When you enter the shrine, your weapons, bows, shields and pieces of armor will be temporarily taken away. You must defeat several constructs using only the equipment you find within the trial or looted from enemies.
Collect basic equipment
At the entrance, pick up the large stick, branch, simple shield and bow. In the first area, a stone platform regularly moves down on a rail.
Use the Recall on the platform and jump onto it. She is now going back upstairs. On the upper level you will find several Fire Fruit.
Defeat the first construct and connect its horn or weapon to one of your wooden sticks. This gives you a significantly stronger melee weapon.
Reach higher levels
The stronger constructs are on the upper platforms. You can reach them in several ways:
- Use the Recall on the moving platform.
- Connect a rocket to your shield and hold the shield up.
- Light the waiting hot air balloon with a torch.
- Use the Ascend under a suitable platform.
On the upper levels you will find more rockets, Fire Fruit and a Flame Emitter. Attach the Flame Emitter to a stick to create an effective firearm.
Switch off constructs
Try to fight enemies one at a time. You can use the narrow platforms to your advantage. Hit a construct with multiple quick attacks, then push it over the edge.
You should attack enemies with bows with fire fruit arrows. The fire damage temporarily interrupts them and they cannot fire back immediately.
There are laser beams on one side of the arena. If you touch it, a time bomb will fall from the ceiling. Quickly move away from the explosion area or lure a construct there to be hit by the bomb.
The strongest elite construct is located on one of the highest platforms. Save your best captured weapon for this enemy. Missiles, Flame Emitter and explosive barrels can shorten the fight significantly.
Once you have defeated all constructs, you will receive your normal equipment back and the gate to the altar room will open.
Treasure Chest and Light of Blessing
In the Treasure Chest there is a Gamma Elite Spear or Delta Elite Spear depending on your previous game progress. For many Treasure Chests with construct weapons, the game adjusts the exact weapon level to your world progress.
Then examine the altar and take the Light of Blessing.
All shrines on the Mount Lanayru at a glance
| Shrine | level | exam or task | Location | Chest Reward |
|---|---|---|---|---|
| Jikais Shrine | surface | breakout | Walnot Mountain | Long Wand |
| Mayanas Shrine | Sky | Guided by the ice | South Lanayru Sky Archipelago | Solid Zonaite shield |
| Zakusu Shrine | surface | Naked Survival – Taken Off | Naydra snowfield | Gamma or Delta Elite Spear |