

On this page we give you an overview of all the shrines in The Legend of Zelda: Tears of the Kingdom, which are located in the swamp of Lanayru. In addition to the respective locations, we explain in detail how you can pass the exams and achieve all Treasure Chests.
There are a total of four shrines in the Lanayru swamp. The Jonsau Shrine and the Tukarok Shrine are located on the numerous islands and on the western edge of the wetland, respectively. The Morok Shrine stands on a low-floating island, while the Maoikes Shrine is hidden in a cave.
You can find an overview of other areas in our Tears of the Kingdom Walkthrough. When searching for individual shrines, our overview with all 152 shrines will also help you.
This area contains the following shrines:
Jonsau Shrine
Trial: Deep
Reward: Strong Construct Bow and a Light of Blessing
Location: On the southern edge of the island Mercay Island in the swamp of Lanayru
Coordinates: approximately 1744, 0018, 0025
Find Jonsau Shrine
Jonsau Shrine is located on Mercay Island, one of the larger islands in the northern area of the swamp of Lanayru. The shrine is located on the southern edge of the island and can be entered without a previous task.
The Sahasra Slope Skyview Tower is suitable as a starting point. Let yourself be thrown into the air there and glide towards the northwest. Alternatively, from Wetland Stable you can follow the road north and cross the shallow water between the islands.
Solve Jonsau Shrine
In the “Depth” test you use the strong buoyancy of various objects. If you push a buoyant ball or plate deep under water and then let it go, it will be thrown upwards with great force.
First ceiling switch meet
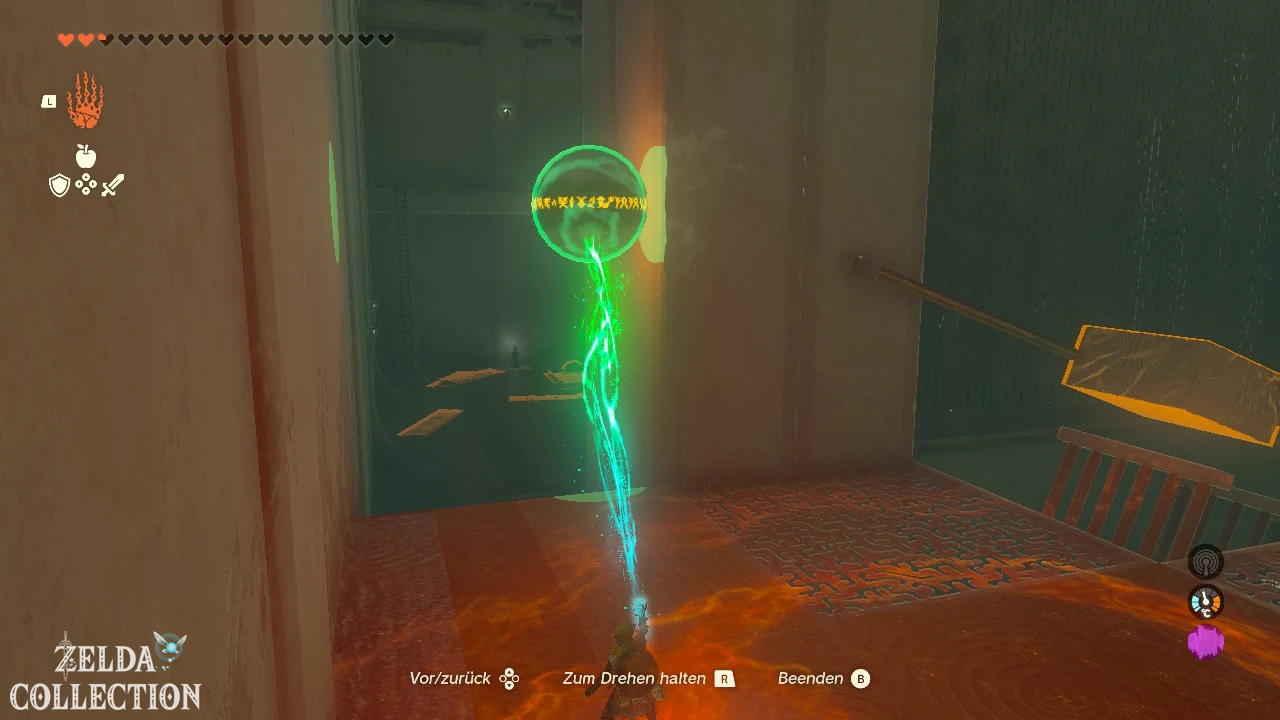
In the first room there is a large yellow ball in the water. A glowing target switch hangs on the ceiling above the pool.
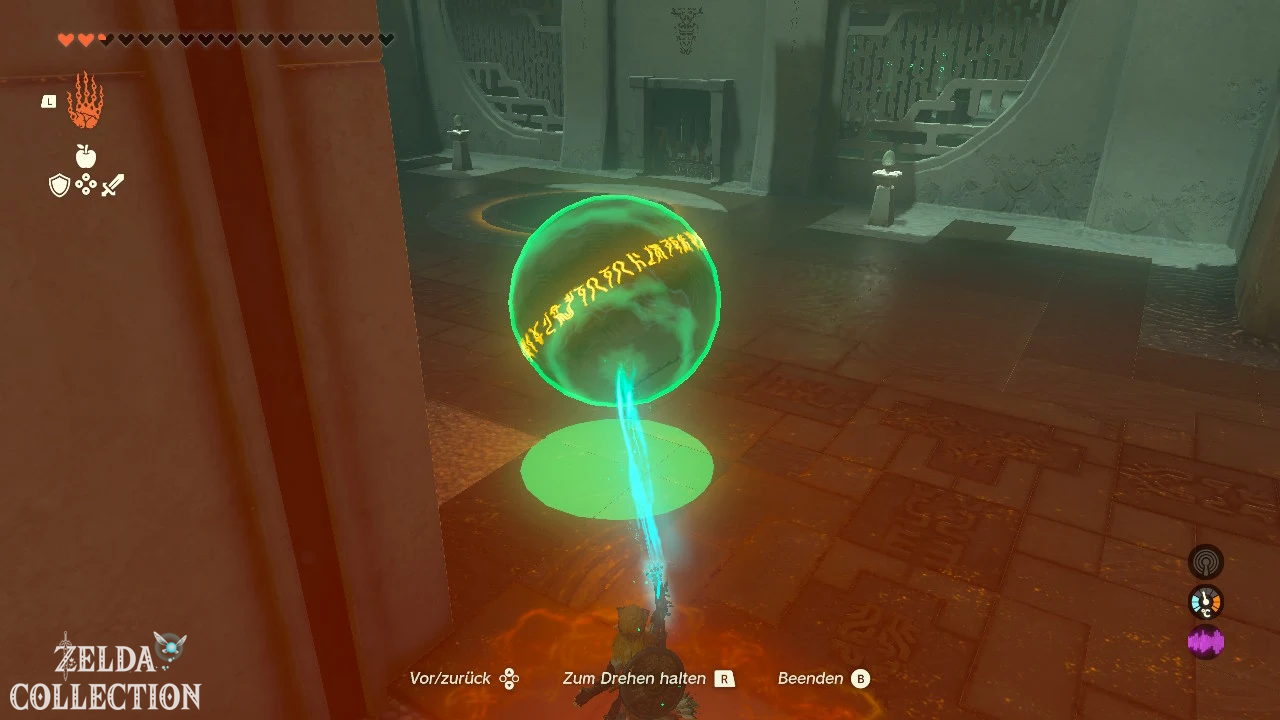
Grab the ball with the Ultrahand and position it directly under the switch. Push it as deep as possible under the surface of the water and then release it.
The ball shoots up due to its buoyancy and hits the target switch. The gate to the next room opens.
Get a strong construct bow out of the water
A Soldier Construct I is waiting in the next room. Defeat the enemy and then activate the Ultrahand. This will help you recognize the Treasure Chest, which is below the surface of the water.
Pull the chest out of the pool and place it on solid ground. Inside is a Strong Construct Bow.
Activate second ceiling switch
In the same room lies a rectangular, floating plate. Grab it with the Ultrahand and place it upright under the ceiling switch.
Push the plate as deep as possible into the water and release it. She is thrown upwards and hits the switch with her narrow side. This will open the next gate.
Tip: If the plate hits next to the switch, align it as straight as possible before diving under. The narrow side should point directly towards the ceiling.
Bring down moving platform
There is another large ball in the last room. A platform hangs over the water, blocked by a horizontal wooden board.
Position the ball underneath the wooden board. Push it deep into the water and let it go. The ball hits the board and knocks it out of its holder. This causes the platform to move down on its rail.
Use the platform to get to the top of
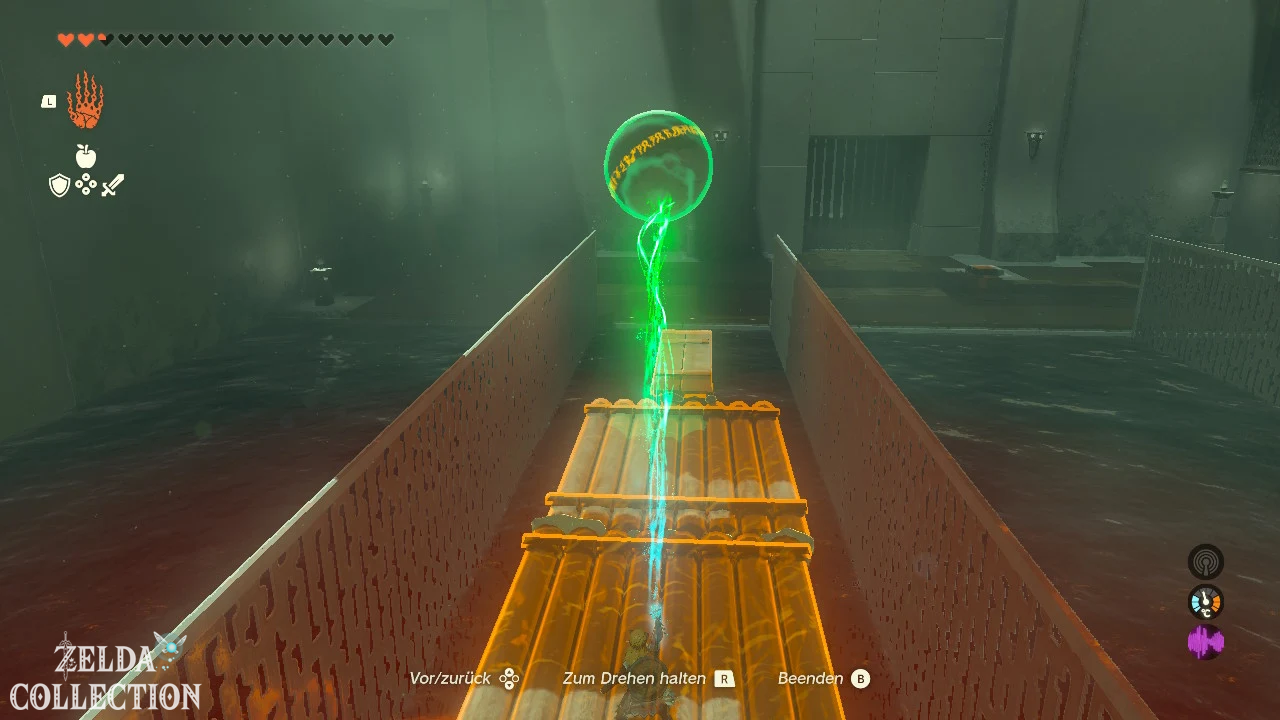
Attach the ball to the bottom of the lowered platform. Push the ball and the platform into the water as far as possible and then release it.
The buoyancy throws the structure upwards. Stand on the platform or use the Recall on it after it goes back down. Then go up and slide over the grid from the highest position.
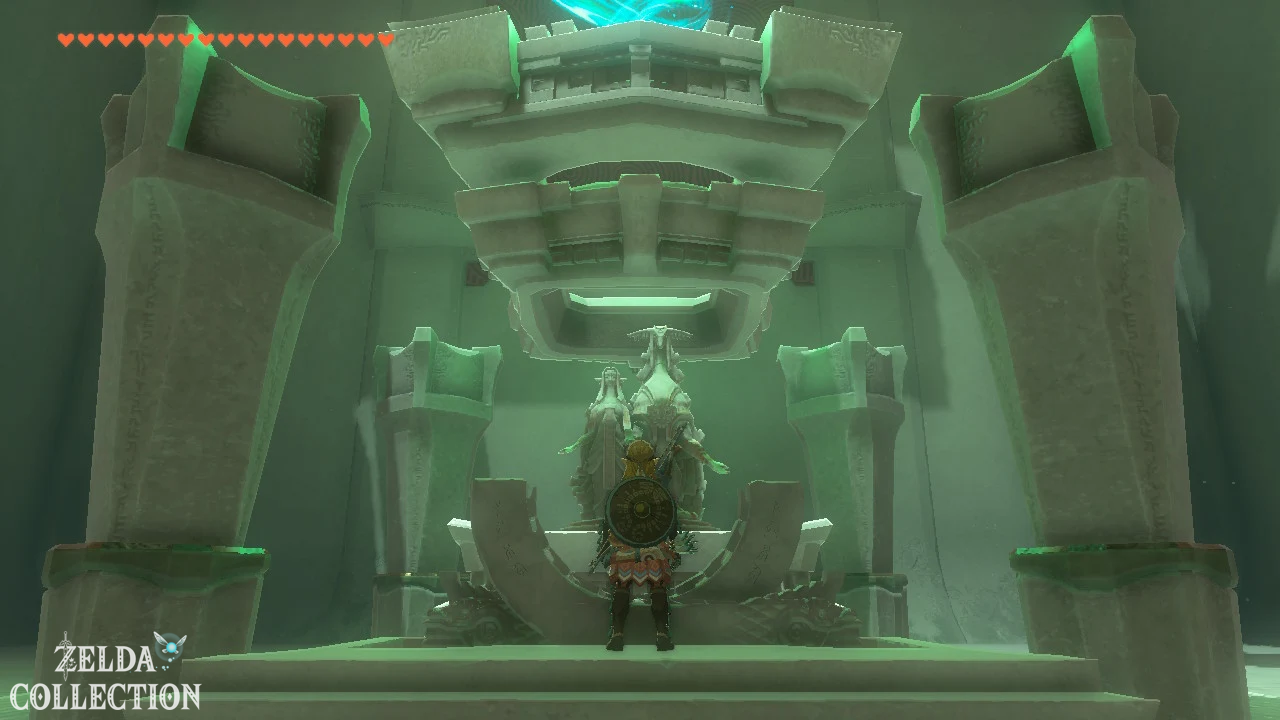
Follow the short path to the altar and collect the Light of Blessing.
Maoikes Shrine
Trial: Raurus Blessing
Reward: Diamond and a Light of Blessing
Location: Boné Pond East Cave, east of Skelt Pond
Coordinates: approximately 2276, 0147, 0092
Find Maoikes Shrine
The Maoikes Shrine is not visible on the surface. It is located at Boné Pond East Cave in the northeastern area of the Lanayru swamp.
Look east of Skelt Pool for a high hill with the giant skeleton of a monster on top. The opened skull forms one of the entrances to the cave.
The easiest way to reach the hill is via the Upland Zorana Skyview Tower. Launch yourself into the air and glide southwest. There is a larger monster camp on the hill that you can avoid from the air.
Enter
through the skull
Jump through the large opening in the skull and open your Paraglider as you fall. The Maoikes Shrine stands on a raised ledge right in the upper part of the cave.
If you land on the lower cave level, you have to pass several Bokoblins and a Boss Bokoblin. Then look for a suitable overhang and use the Ascend to get up to the shrine platform.
Tip: The entrance through the skull is significantly shorter than the lower cave entrances. You end up almost directly in front of the shrine.
Solve Maoikes Shrine
Discovering the hidden shrine is the real test. Rauru’s blessing awaits you inside and no further mystery awaits you.
Open the Treasure Chest immediately in front of the altar. Inside is a valuable diamond. Then go to the altar and receive the Light of Blessing.
More secrets in cave
Below the shrine there is a large monster lair. There you can free a captured traveler and mine several ore deposits.
There is also a Bubbulfrog hidden in a side area of the cave. If you want to completely close the cave, you should also examine the lower entrances to the Boné Pond.
Morok Shrine
Test: Light as a feather
Reward: Schleich-Elixir and a Light of Blessing
Location: On a low-floating island at Sahasra Slope
Coordinates: approximately 1182, -0779, 0134
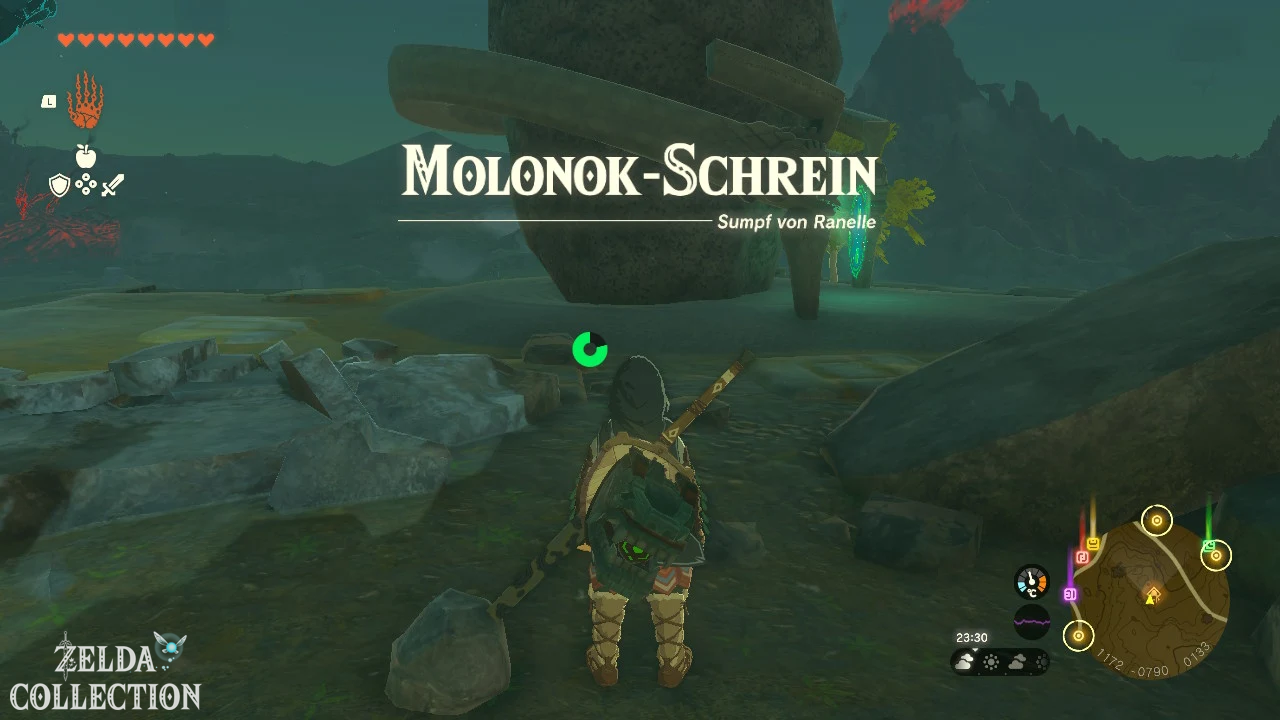
Find Morok Shrine
The Morok Shrine stands on a low-floating island south of the swamp of Lanayru. The island is located at Sahasra Slope and is connected to the ground via a long, downward-hanging tree root.
The easiest way to reach the shrine is via Sahasra Slope Skyview Tower. Launch yourself into the air and glide northwest to the floating island.
Alternatively, you can climb up the large tree root. However, the climb is long and requires a lot of stamina. A homemade hot air balloon or rocket on a shield shortens the route significantly.
Solve Morok Shrine
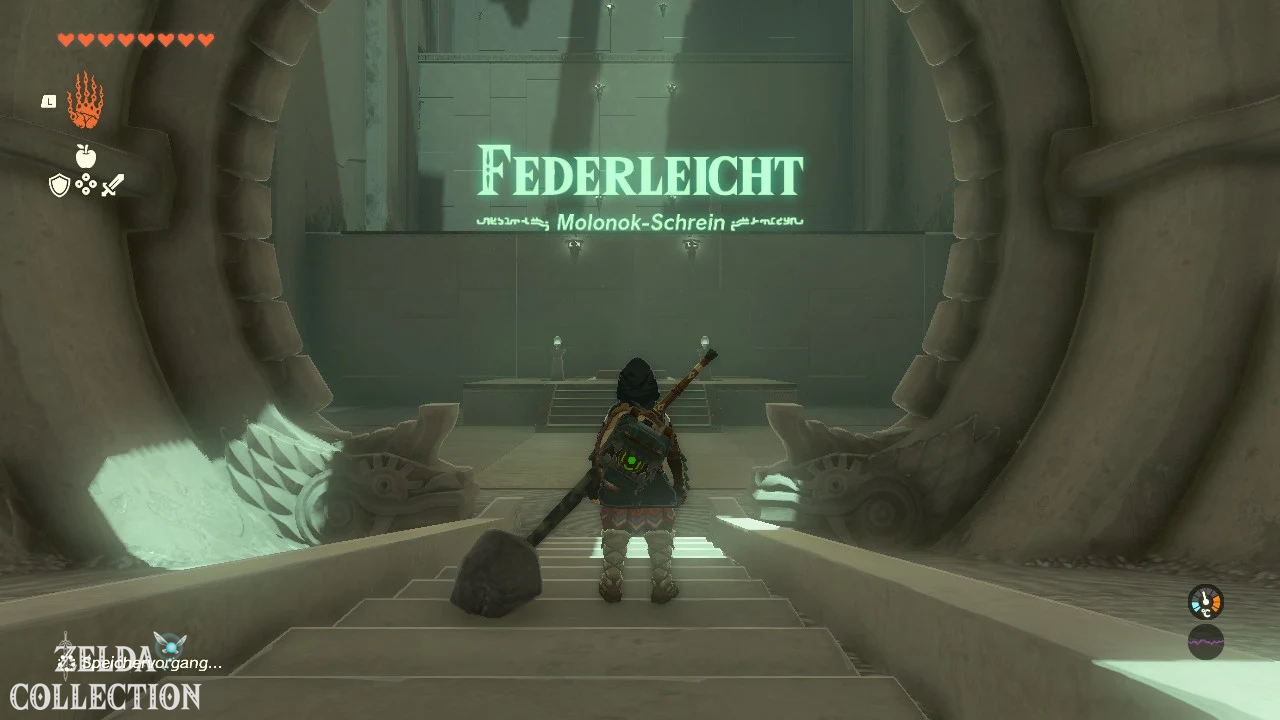
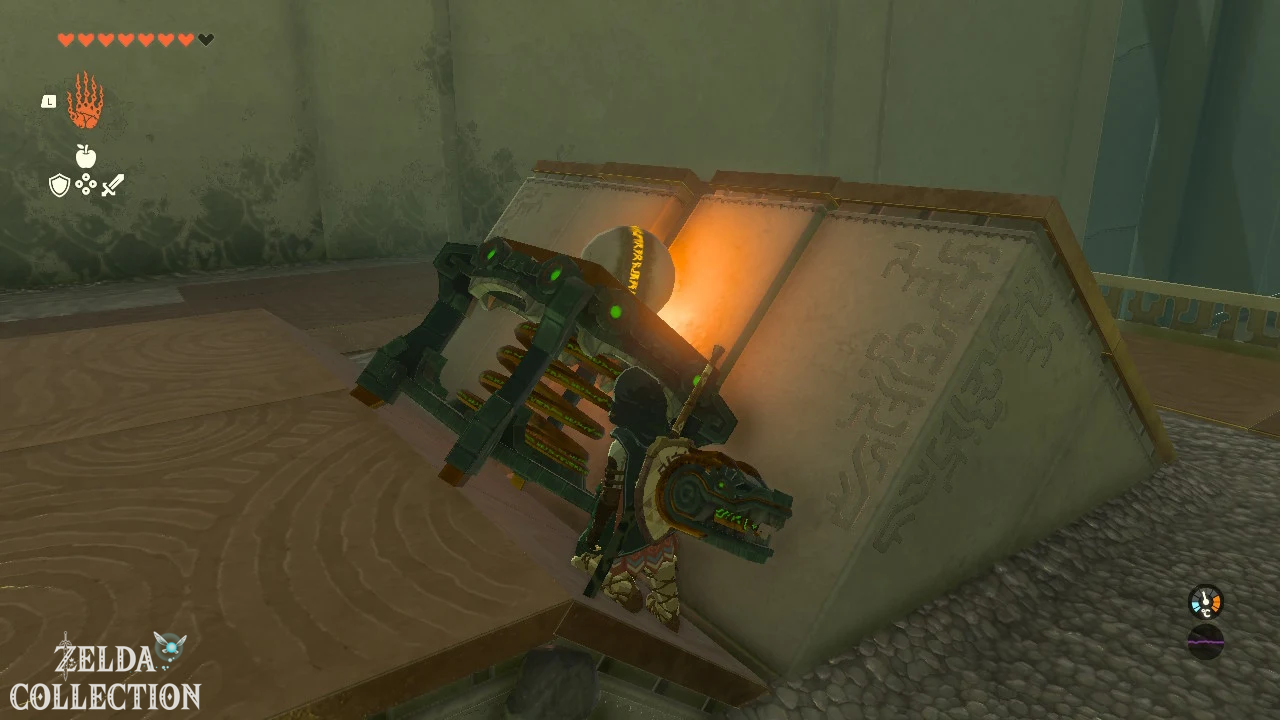
The “Featherlight” test revolves entirely around Zonai springs. These throw Link, bullets and other objects into the air with great force.
Reach First platform
Stand on the large slingshot plate directly behind the entrance. It will automatically take you to the first elevated level.
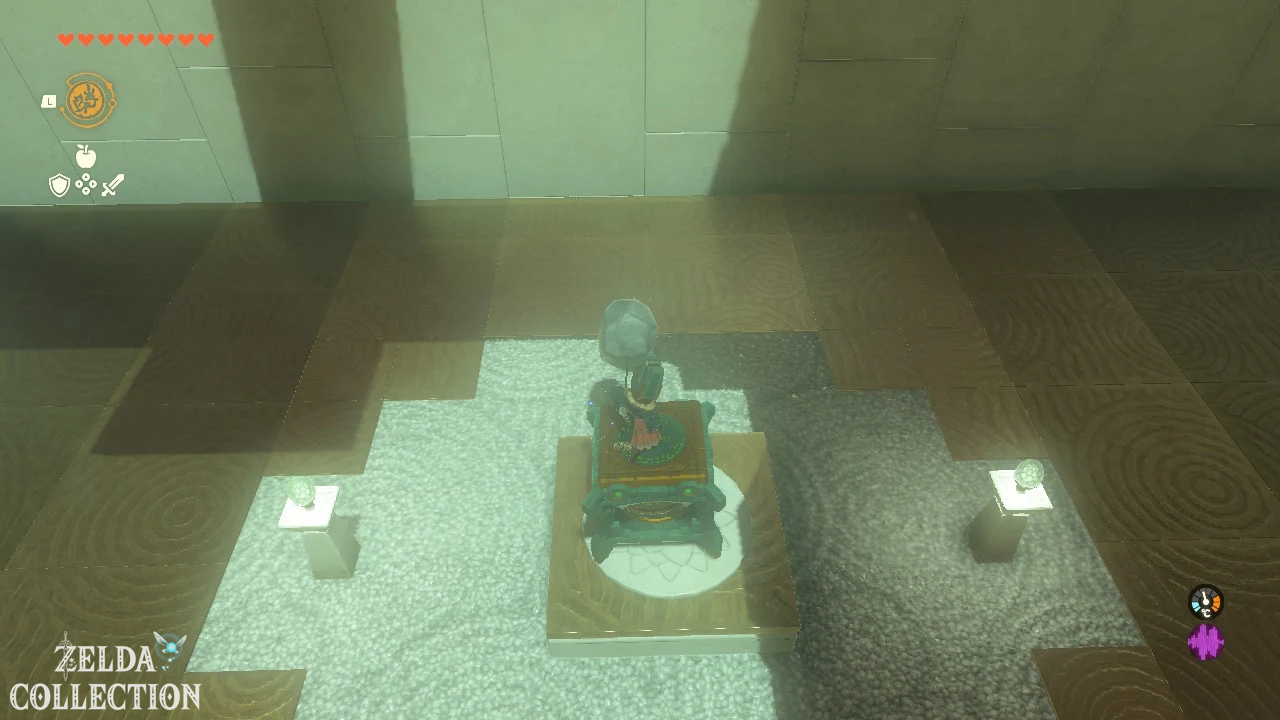
There is a single Spring. Stand on the spring and activate it with a punch. She throws you to the next higher platform.
Move the ball over the abyss
On the next level you will find another Spring. Stand on it and let yourself be thrown into the air. Open your Paraglider and glide right to the opposite platform.
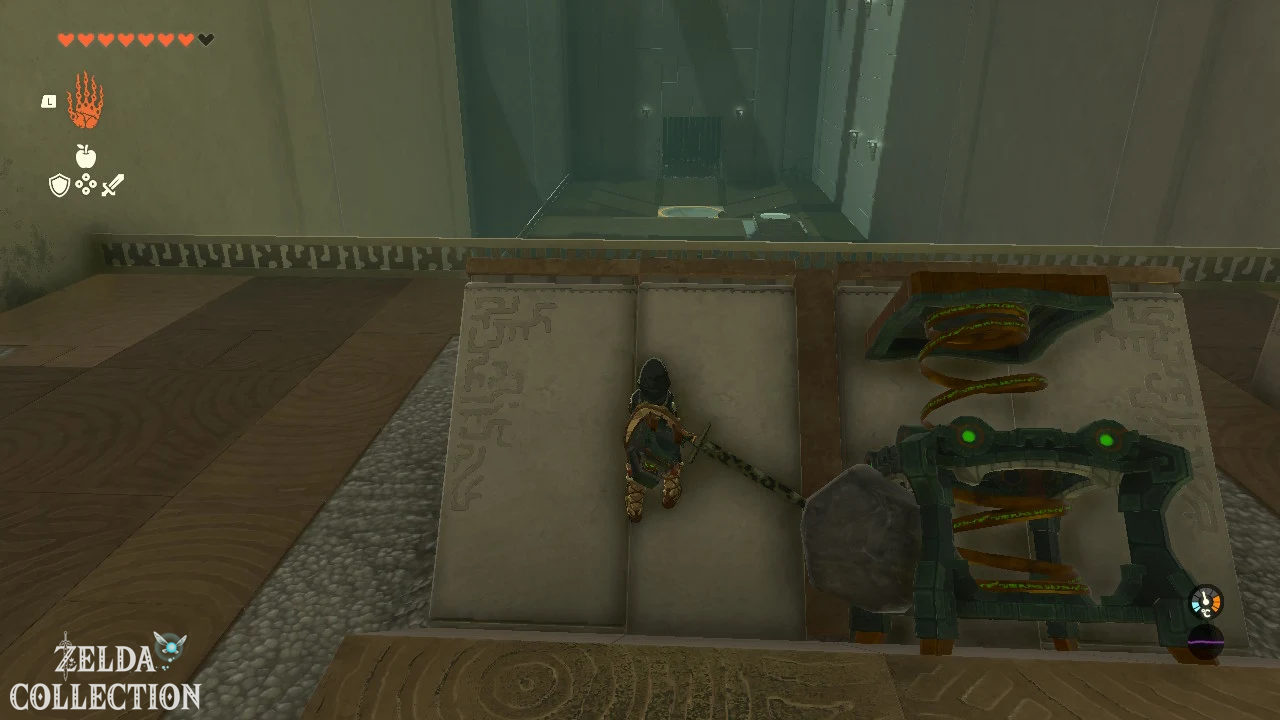
There is a large ball and another Spring. Place the spring in the middle of the slanted recess. Its top must face towards the round ball socket on the opposite side.
Place the ball loosely on the retracted spring. Do not connect the two items together. Then activate the Spring with an arrow or a weapon strike.
The ball is thrown over the abyss and lands in the depression. This opens the grille with two springs stacked on top of each other.
Tip: If the ball flies past the target, move the Spring only slightly. Even a small lateral deviation changes the trajectory significantly.
Treasure Chest with the Schleich Elixir achieve
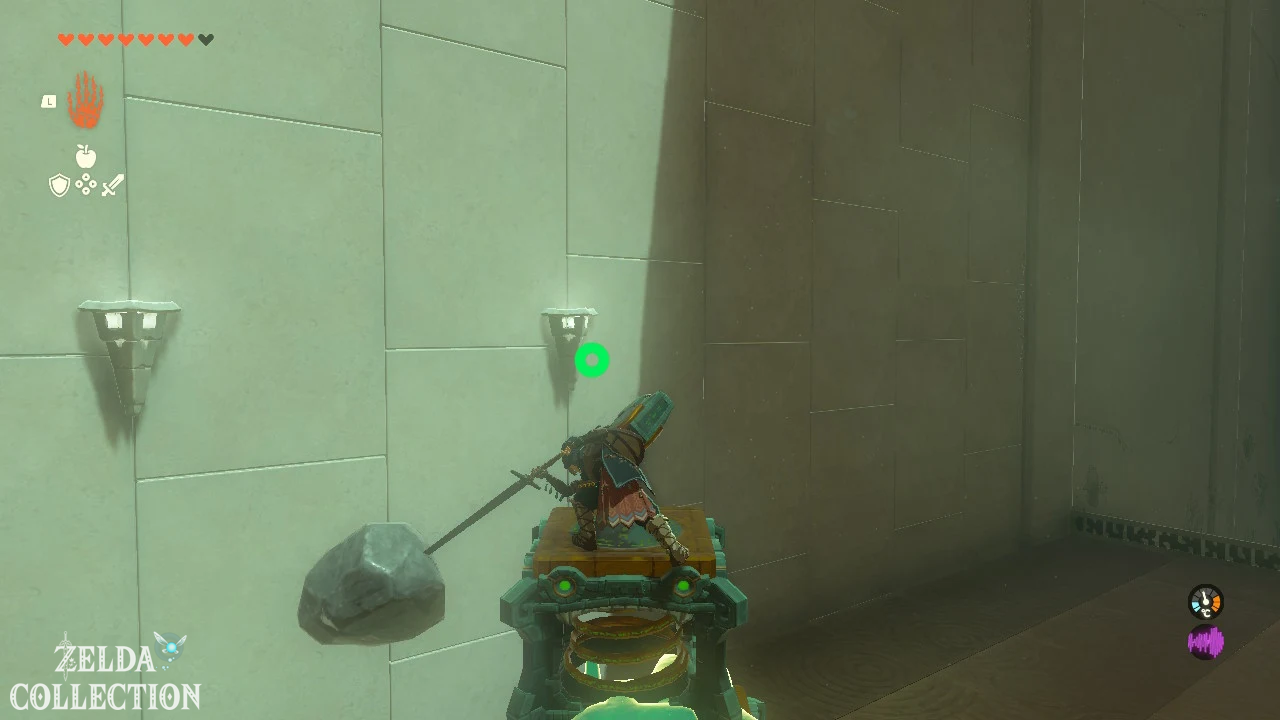
Get the previously used Spring to the platform with the ball socket. Deactivate all the springs and stack the two newly obtained springs on the single spring.
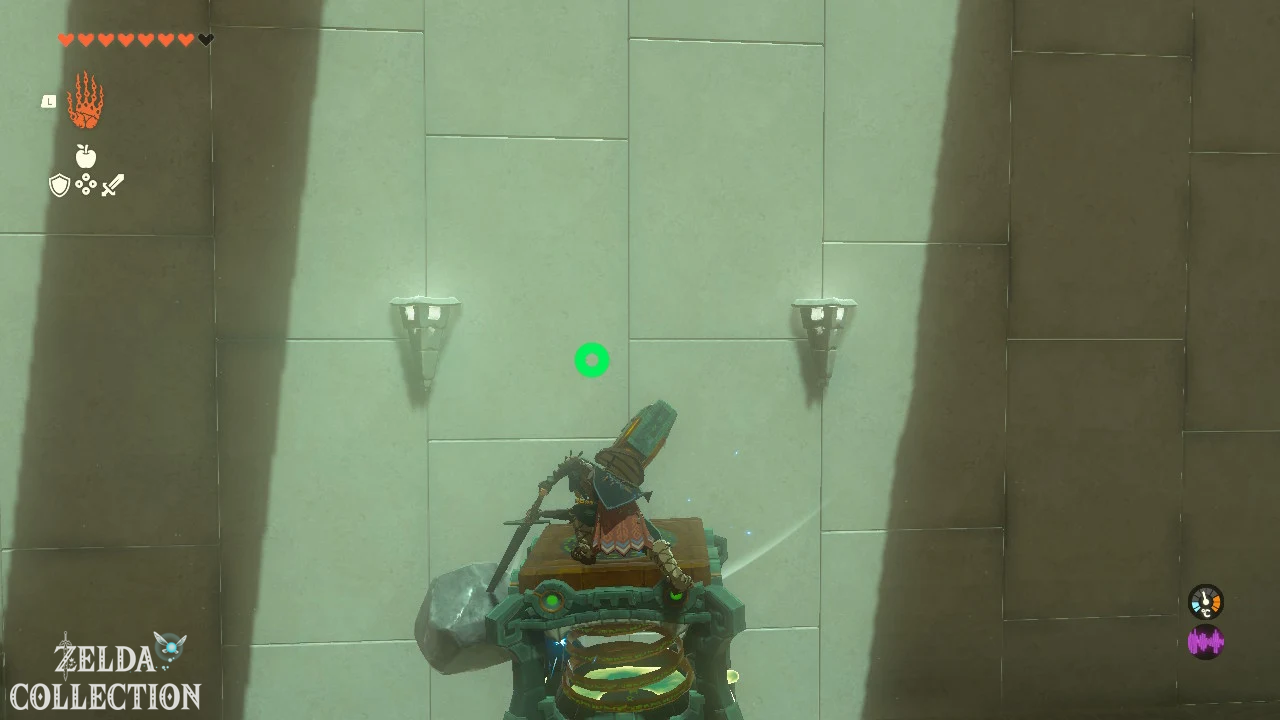
Make sure that all three springs are as straight as possible on top of each other. Climb to the top spring and activate the entire stack.
During the high jump you will pass a side ledge with a Treasure Chest. Open the Paraglider in time and land there. In the chest there is a Schleich-Elixir.
Jump up to the altar
Glide back to the bottom area and use the stack of three springs again. This time let yourself be launched to the top platform.
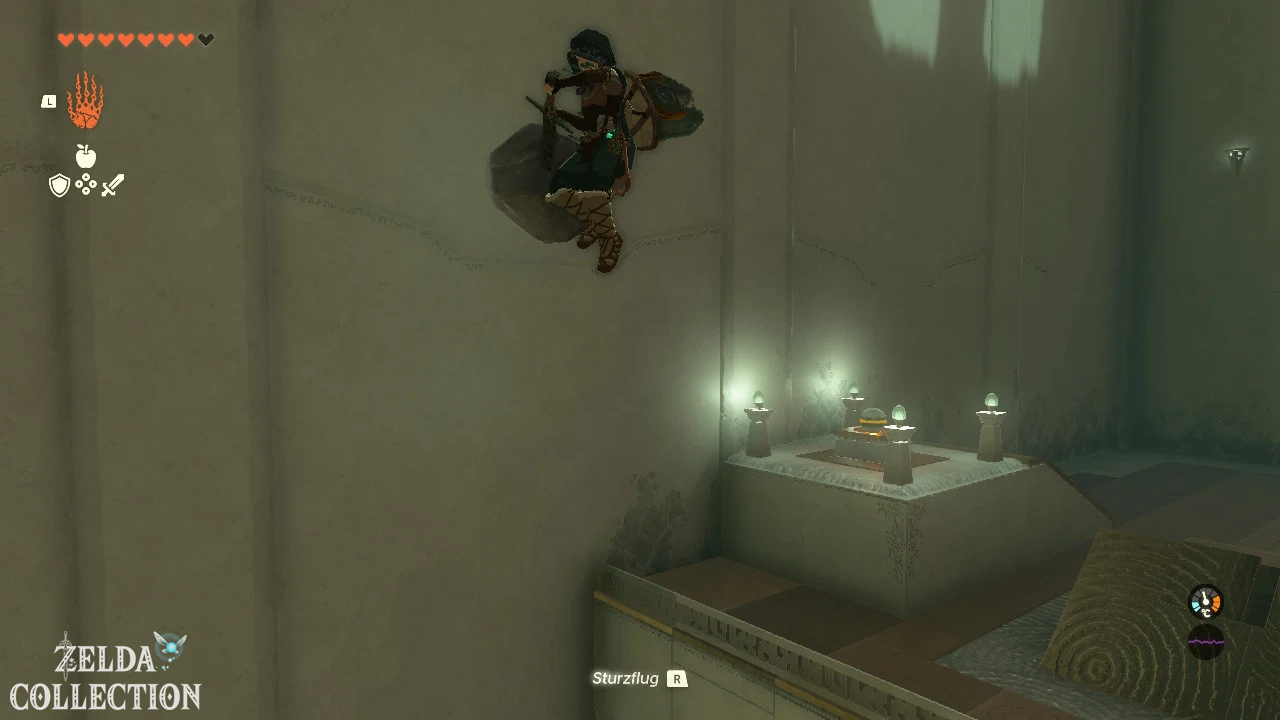
Open your Paraglider at the highest point, land at the altar and receive the Light of Blessing.
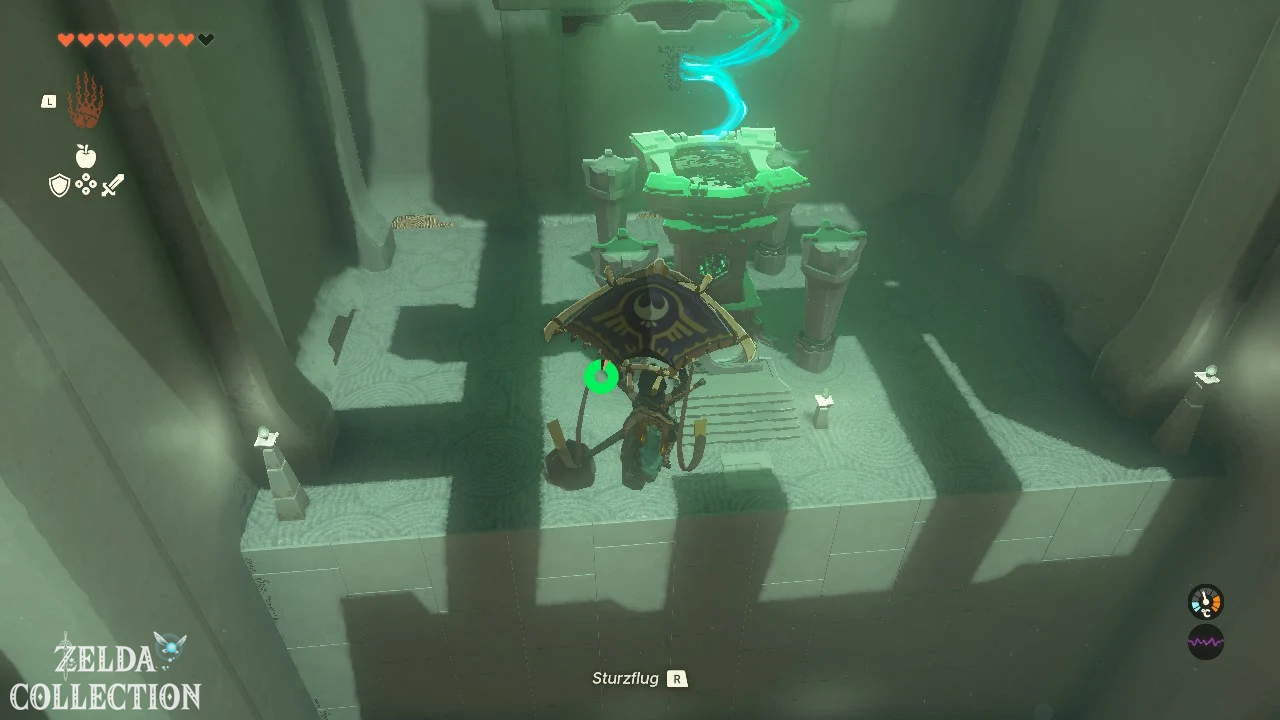
Tukarok Shrine
Trial: Forward Thrust
Reward: Strong Zonaite Sword and a Light of Blessing
Location: South of the Swamp Stable, near the Rebonae Bridge
Coordinates: approximately 0915, -0250, 0034
Find Tukarok Shrine
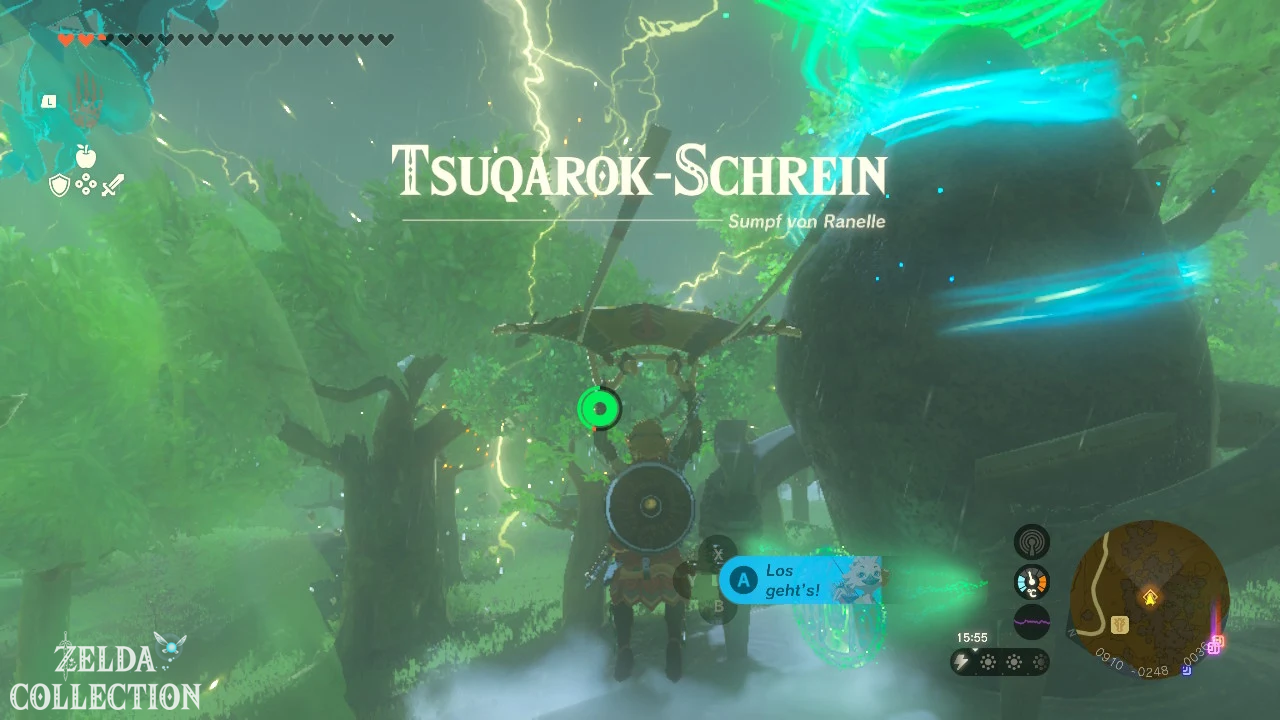
The Tukarok Shrine is located south of the Swamp Stable on the western edge of the Lanayru swamp. It stands in a small forest east of the Hylia River and near the Rebonae Bridge.
Follow the road south from Wetland Stable. The shrine is just a short distance off the path and can be entered without a prior task.
Solve Tukarok Shrine
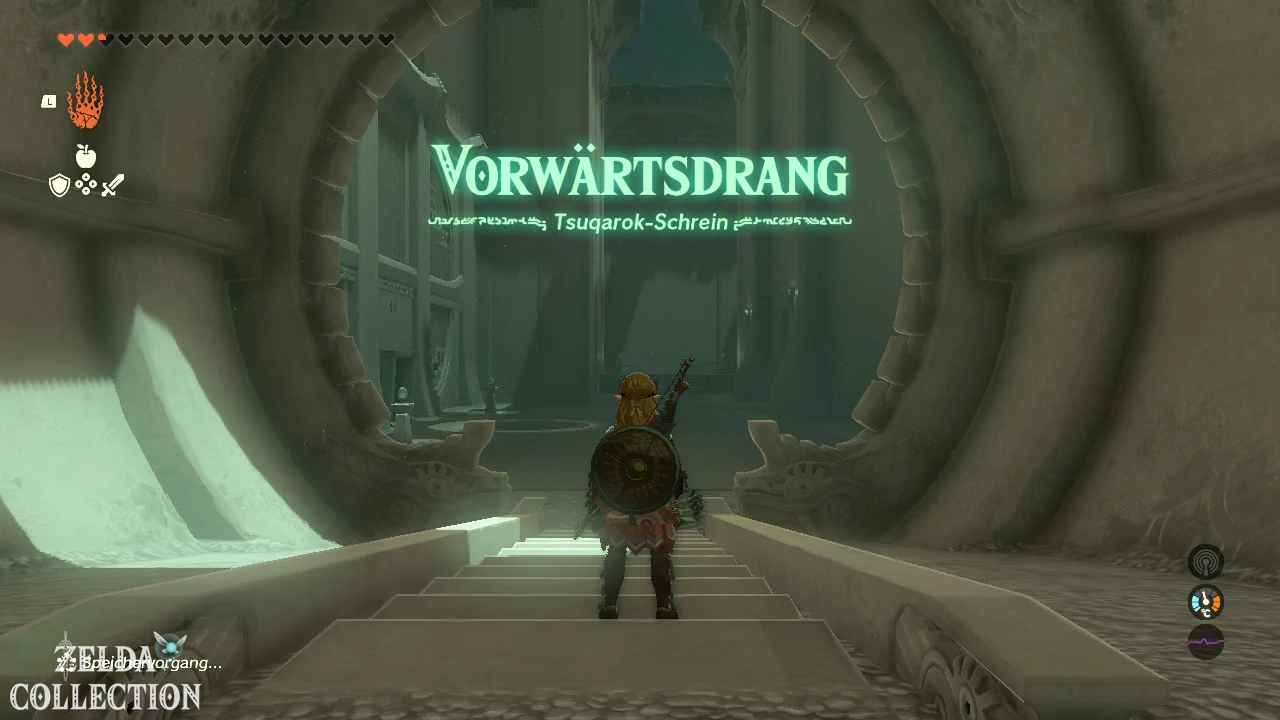
In the Forward Thrust test, you have to transport a large ball through three different areas. You use large Zonai wheels as vehicle propulsion, climbing mechanism and paddle wheel.
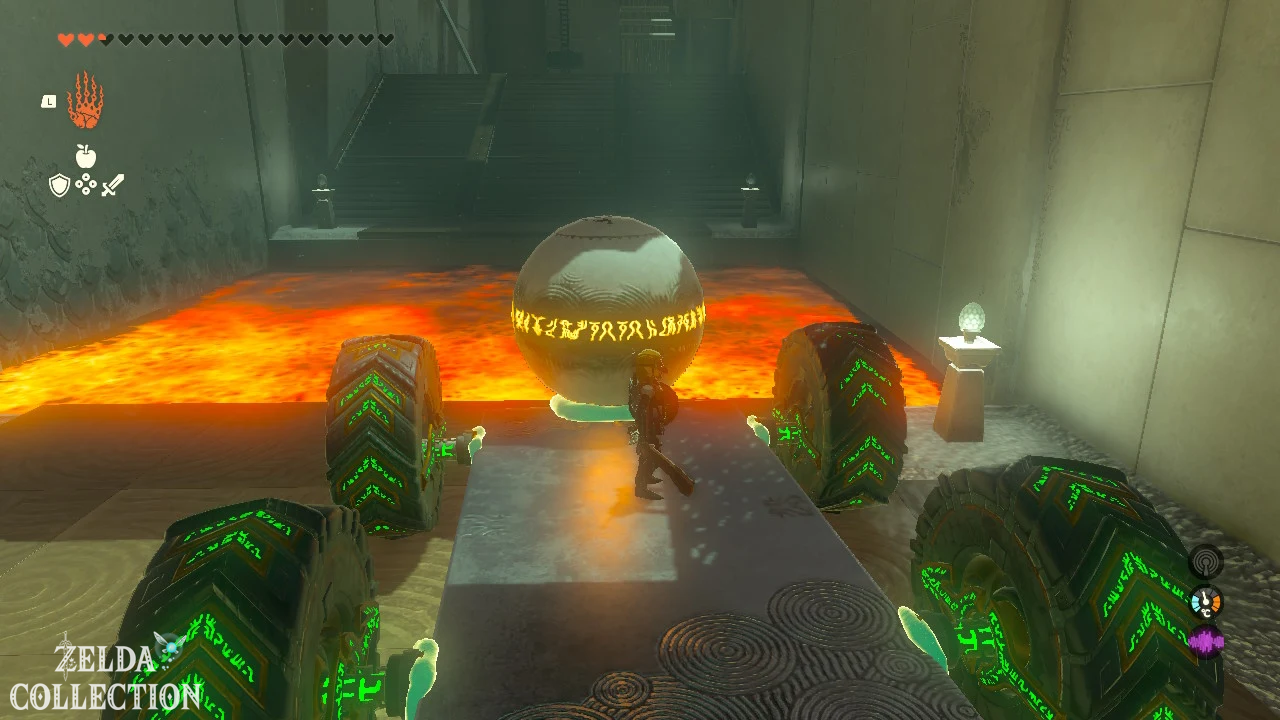
Transport the ball over the lava
After entering the shrine, run through the opened bars and climb down the ladder. There you will find the ball and a vehicle with four large wheels.
Attach the ball to the center of the vehicle. Stand on it and activate the wheels with one punch. The vehicle drives straight over the lava.
Deactivate the wheels on the opposite side and pick up the ball again with the Ultrahand.
Move ball up the slope
In the second area there is a large stone block that runs on a vertical rail. Attach the ball to the top of the block.
Attach one of the large wheels to the side of the block. The arrow on the Big Wheel must point towards the upper platform.
Then attach the long stone board across the axle of the wheel. When turning, the board acts like a large paddle and presses itself against the bars that protrude at an angle from the ground.
Activate the Big Wheel. The repeated movements of the paddle push the block up the rail bit by bit.
Climb the ladder to the upper level and release the ball from the block.
Alternative solution: You can move the block up with the Ultrahand, lower it again and then use the Recall. However, the combination of Big Wheel and paddle is the intended solution.
Retrieve strong Zonaite sword from the water
In the third area, the water flows strongly in the opposite direction. First activate the Ultrahand and look for the sunken Treasure Chest in the middle water channel.
Pull the chest out of the water and place it on the edge of the pool. Inside lies a Strong Zonaite Sword.
Build a paddlewheel boat
Attach the ball to the raft provided. Then add a large Big Wheel to each side.
Connect a narrow wooden board to each Big Wheel. The boards must be perpendicular to the direction of rotation and immersed in the water when rotating. This makes them work like the paddles of a paddlewheel boat.
Place the raft in the narrow middle water channel and activate the wheels. The rotating boards push the boat against the current to the opposite side.
Place the ball in the last socket
Remove the ball from the raft and carry it through the opened passage back to the entrance area.
Place it in the round recess there. The last gate opens and you can receive the Light of Blessing at the altar.
Tip: Use the narrow middle channel in the water room. There the paddles cannot hit the side walls as easily and the raft stays on course better.
All shrines in the swamp of Lanayru at a glance
| Shrine | exam | Location | Chest Reward |
|---|---|---|---|
| Jonsau Shrine | draft | Island Mercay Island | Strong Construct Bow |
| Maoikes Shrine | Raurus blessing | Boné Pond East Cave | Diamond |
| Morok Shrine | Light as a feather | Floating island on Sahasra Slope | Schleich-Elixir |
| Tukarok Shrine | Forward momentum | South of the Swamp Stable | Strong Zonaite sword |