

On this page we give you an overview of all the shrines in The Legend of Zelda: Tears of the Kingdom, which belong to the Hyrule Ridge in our regional classification. You will find out where to find the shrines, what rewards await you and how to successfully complete the respective trials.
For the Hyrule Ridge are included in our overview overall four shrines. The Makurukis Shrine lies open Mount Rhoam and teaches the targeted use of bows and arrows. The Taunhiy Shrine On the other hand, it is located on a sky island and only becomes visible after a dive test.
The Taki-ihaban Shrine in the Lindor’s Brow Cave and the Usazum Shrine on are much better hidden Satori Mountain. In both cases, reaching or unlocking the shrine is considered an actual test, which is why Rauru’s blessing awaits you inside.
You can find an overview of all areas in our Tears of the Kingdom Walkthrough. Our interactive map for Tears of the Kingdom will also help you find your way.
This area contains the following shrines:
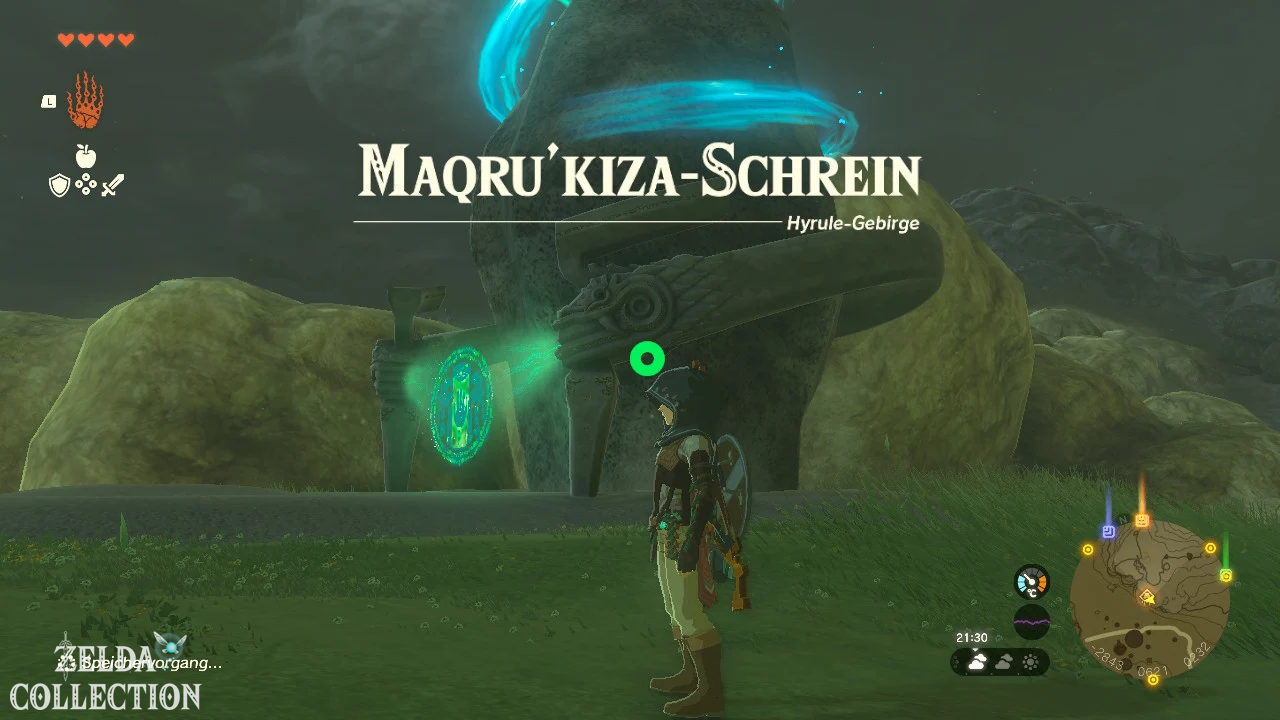
Makurukis Shrine
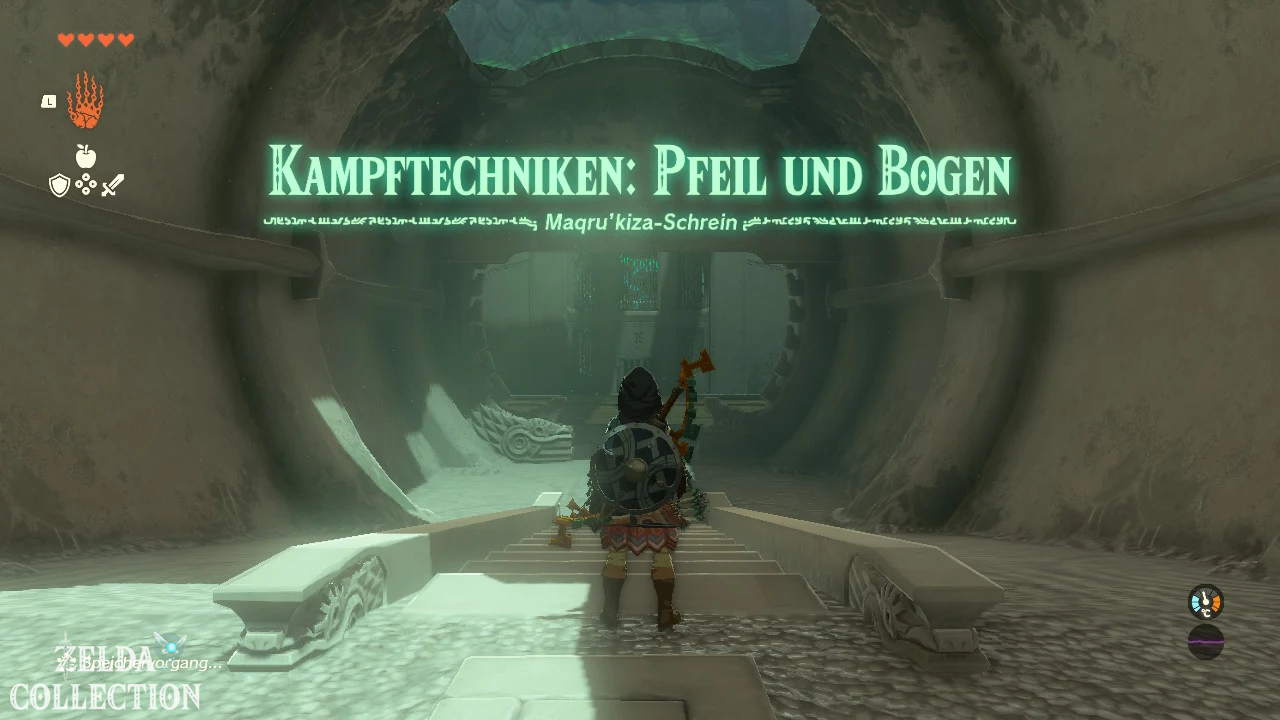
Exam: Combat Techniques – Bow and Arrow
Reward: Strong Construct Bow and Light of Blessing
Location: At the southwestern foot of Rhoam Mountain, northeast of Tabantha Bridge Stable
coordinates: approximately -2847, 0629, 0233
Find Makurukis Shrine
The Makurukis Shrine stands on an elevated area on the southwestern edge of Rhoam Mountain. It is located just a short distance northeast of Tabantha Bridge Stable.
Start at the stable and follow the rising terrain towards the northeast. Since the shrine is slightly above the stable, you have to climb part of the mountainside. Alternatively, you can let the Lindor’s Brow Skyview Tower throw you into the air and then glide southwest to the shrine.
Solve Makurukis Shrine
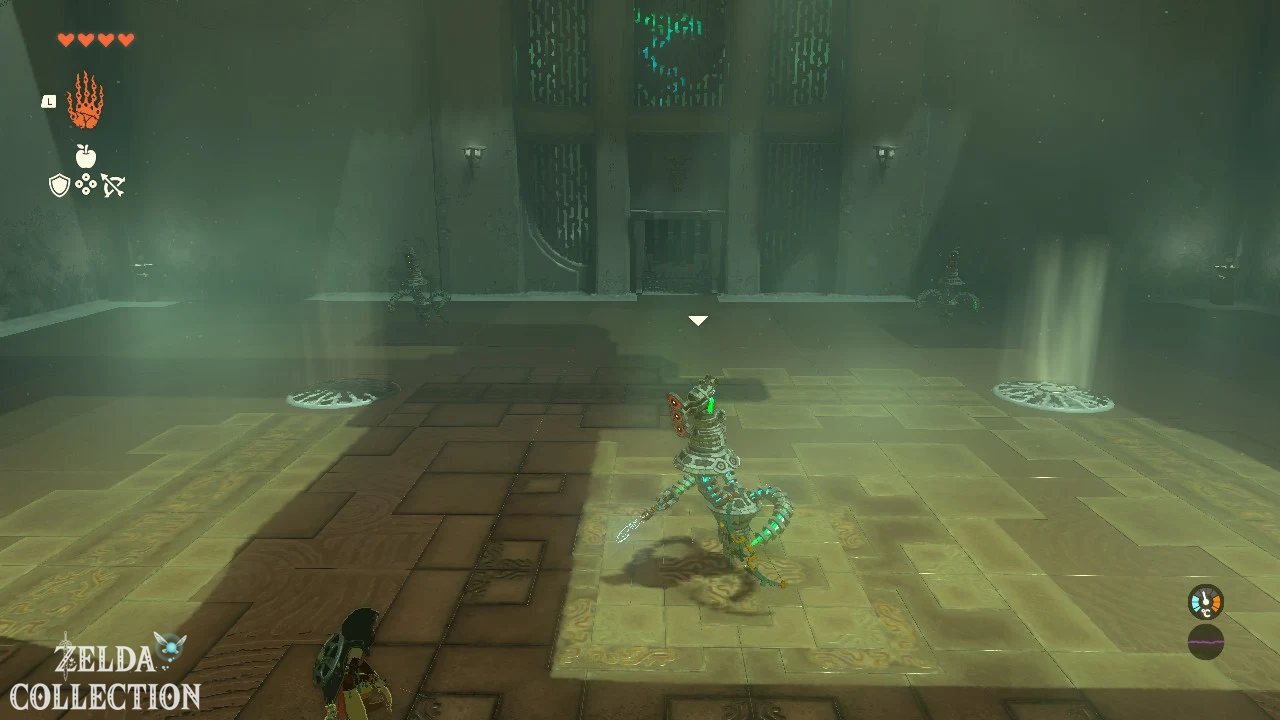
In the Makurukis Shrine you will learn to eliminate opponents with targeted hits to the head. Body or limb hits are not counted during this test.
There is a construct bow and ten wooden arrows in the entrance area. Axyl up both and then go into the battle arena.
Get the first head hit
First you face a single elite construct. Draw your bow and aim at the glowing area on the opponent’s head. As soon as your arrow hits the head, the second part of the test begins.
If you find it difficult to aim accurately, you can use one of the side platforms:
- Stand under one of the raised platforms.
- Use the Ascend to go up.
- Jump down from the platform.
- Draw your bow as you fall.
While you are in the air, the time when aiming runs significantly slower. This will make it easier for you to hit the construct’s head. However, note that slow-motion aiming consumes stamina.
Defeat Three constructs
After the first successful headshot, two more constructs appear. Now you have to defeat a total of three enemies with headshots.
Stay moving as much as possible, as the constructs will attack you with both melee weapons and arrows. Use the side platforms and slow-motion aiming again if you can’t reliably hit the heads from the ground.
Each successful head hit eliminates one of the constructs. As soon as all three enemies are defeated, the gate to the altar room opens.
Treasure Chest and Light of Blessing
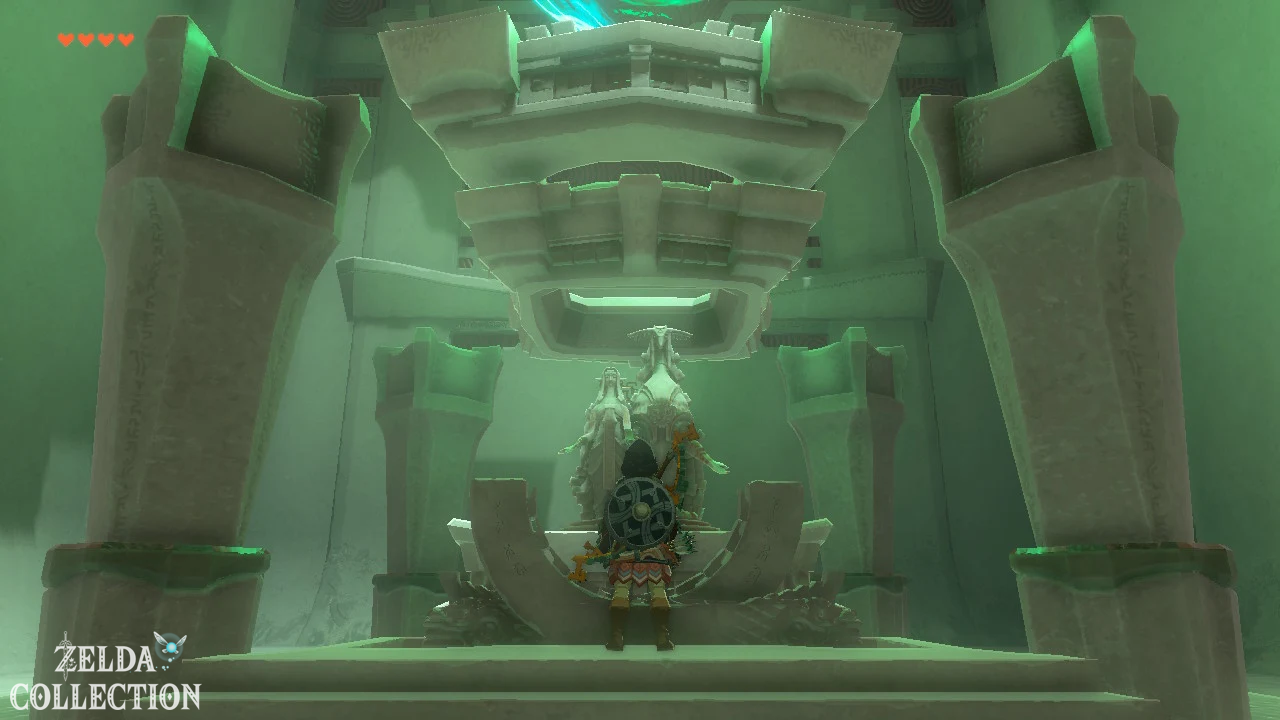
Open the Treasure Chest in the last area. Inside is a Strong Construct Bow. Afterwards, interact with the altar and receive the Light of Blessing.
Tip: Do not use your own particularly valuable arrow materials during the test. The wooden arrows provided are sufficient, as only the position of the hit is important.
Taki-ihaban Shrine
Exam: Raurus blessing
Reward: Large Zonai Charge and Light of Blessing
Location: Lindor’s Brow Cave, east of Lindor’s Brow Skyview Tower
coordinates: approximately -1830, 1195, 0171
Find Taki-ihaban Shrine
The Taki-ihaban Shrine is not directly visible on the normal surface map because it is located deep within the Lindor’s Brow Cave. The cave entrance is on the east side of the mountain under a rocky overhang.
From the Lindor’s Brow Skyview Tower you can move towards the southeast or glide down a short distance. Look for a large opening or cut in the rock. The entrance leads steeply downwards.
If possible, take enough Brightbloom Seed with you. In the deeper areas of the cave it becomes significantly darker, and the additional lighting makes orientation easier.
Passing Gloom Spawn
Follow the cave passage leading downwards. Finally you reach a large central room. A Gloom Spawn appears there, whose hands track Link and can cause major damage if they make contact.
You don’t necessarily have to defeat the Gloom Spawn to reach the shrine. The Taki-ihaban Shrine is located elevated at the edge of the room. Once the hands appear, you can climb up one of the rock walls and hold onto an elevated position.
The Gloom hands cannot climb steep walls as far as they want. Therefore, move above the floor along the edge of the room and climb or slide to the platform with the shrine.
Tip: If you want to defeat the Gloom Spawn, area attacks are particularly suitable. Bomb flowers combined with arrows can hit multiple hands at the same time. However, the fight is not necessary to unlock the shrine.
Solve Taki-ihaban Shrine
Reaching the shrine is the real challenge. There is therefore no further puzzle or combat test inside.
Run along the short path and open it Treasure Chest. There is one in there Large Zonai Charge. Afterwards you can go to the altar Rauru’s blessing or that Light of Blessing receive.
Bubbulfrog in the Lindor’s Brow Cave
If you want to completely close the cave, you shouldn’t leave immediately. There is also a Bubbulfrog living in the cave. Defeat him to get the Bubbul Gem.
You can find all other underground Locations in our overview of the caves in Tears of the Kingdom.
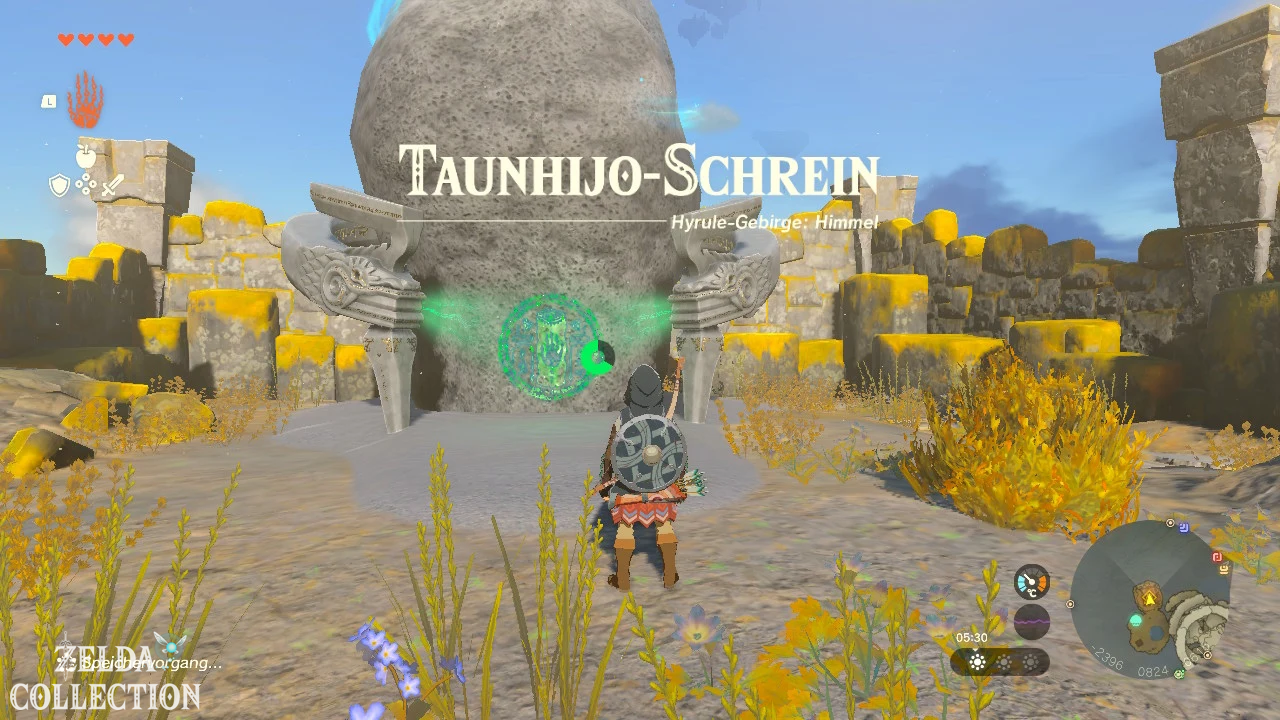
Taunhiy Shrine
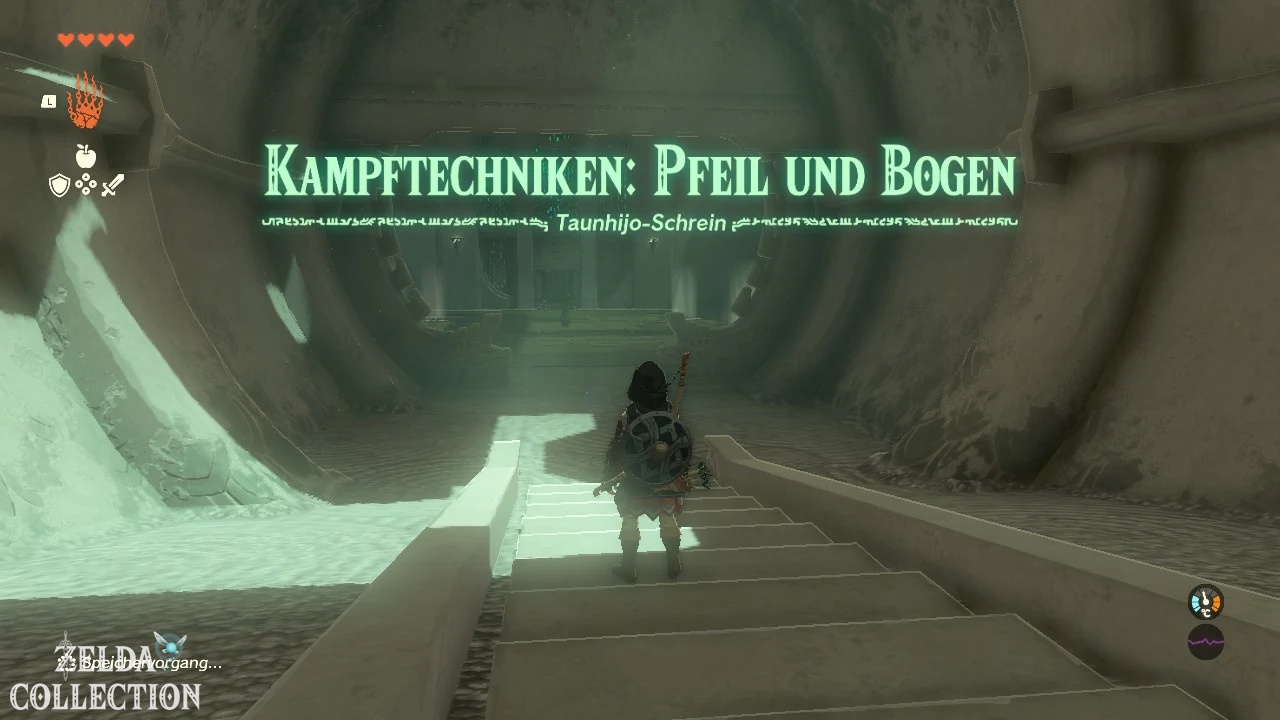
Exam: Combat Techniques – Bow and Arrow
Reward: Strong Construct Bow and Light of Blessing
Location: Isle of Valor in the sky above the Hyrule Ridge
coordinates: approximately -2402, 0825, 0615
Reach Island of Valor
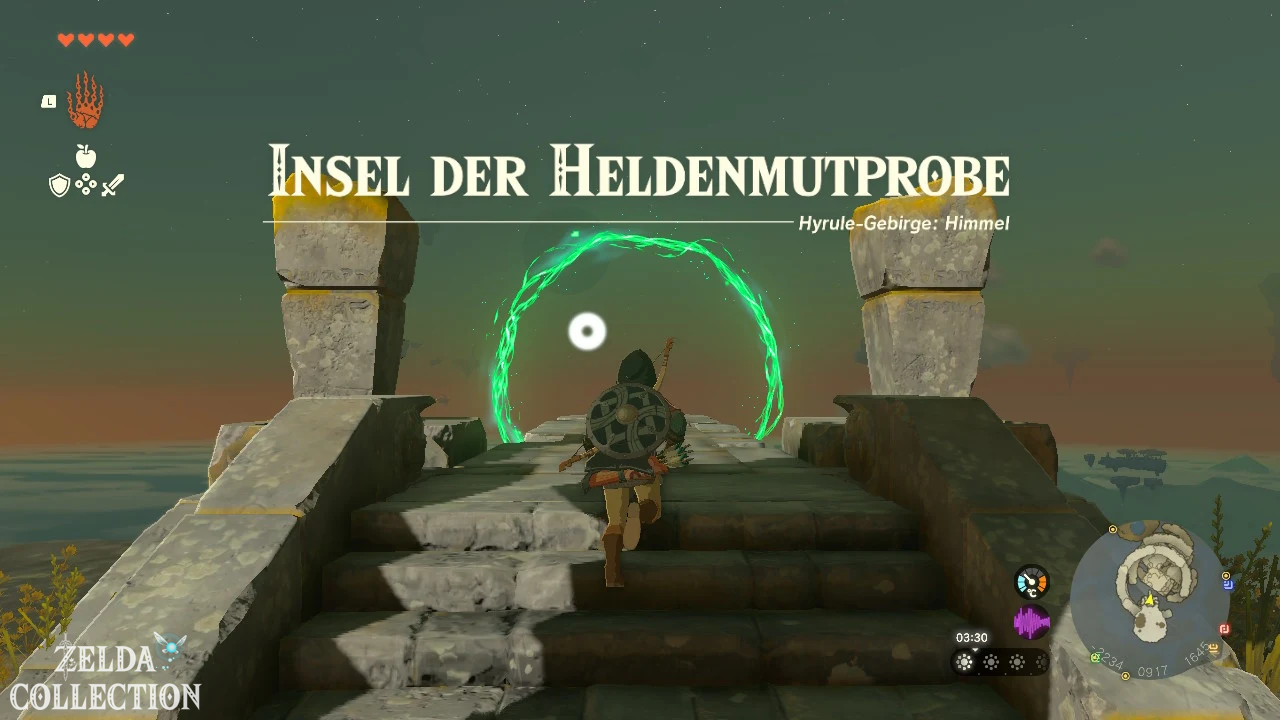
The Taunhiy Shrine is located on the lowest level of the Island of Valor. This large system, consisting of several sky islands one above the other, hovers west above the Hyrule Ridge.
The easiest way to reach the island is via the Lindor’s Brow Skyview Tower:
- Let the tower throw you into the sky.
- Turn southwest in the air.
- Glide to the island group that can be seen from afar.
- If possible, land on one of the upper platforms.
Depending on your stamina, you will need staminan elixir or a dish that restores your stamina for the long glide. Alternatively, you can bridge the distance with a suitable Zonai vehicle.
Taunhiy Shrine Unlock
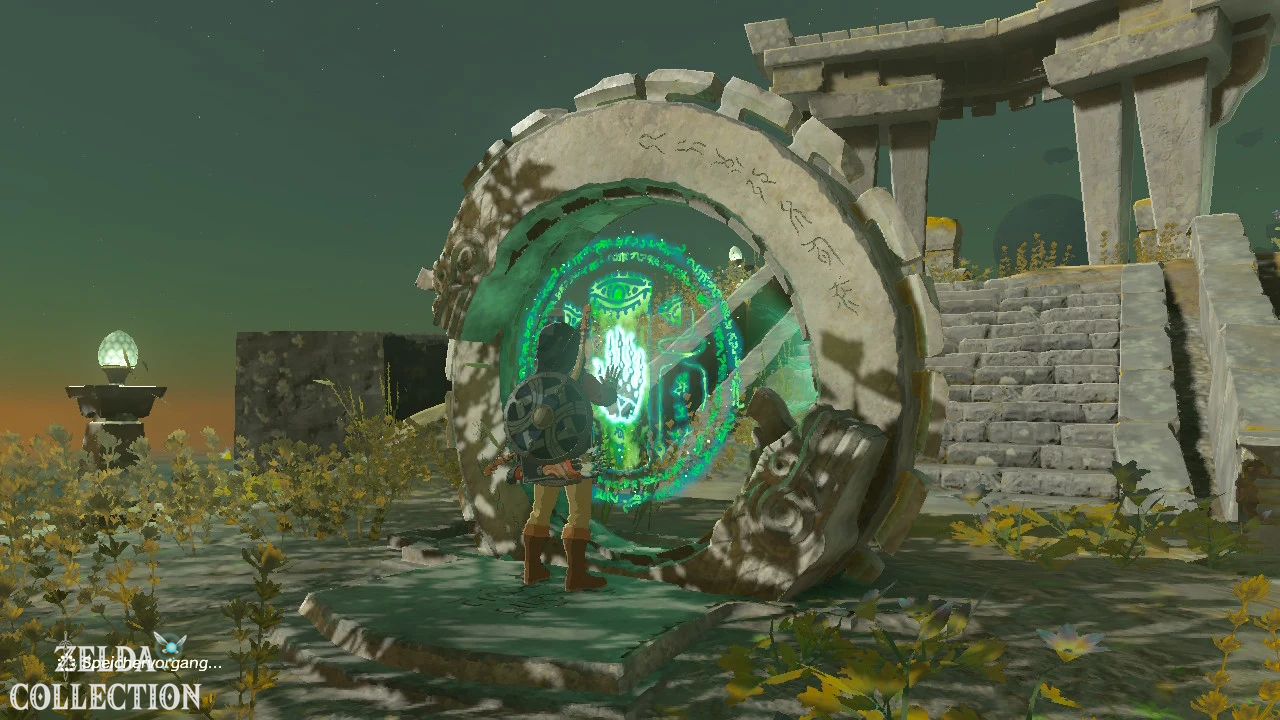
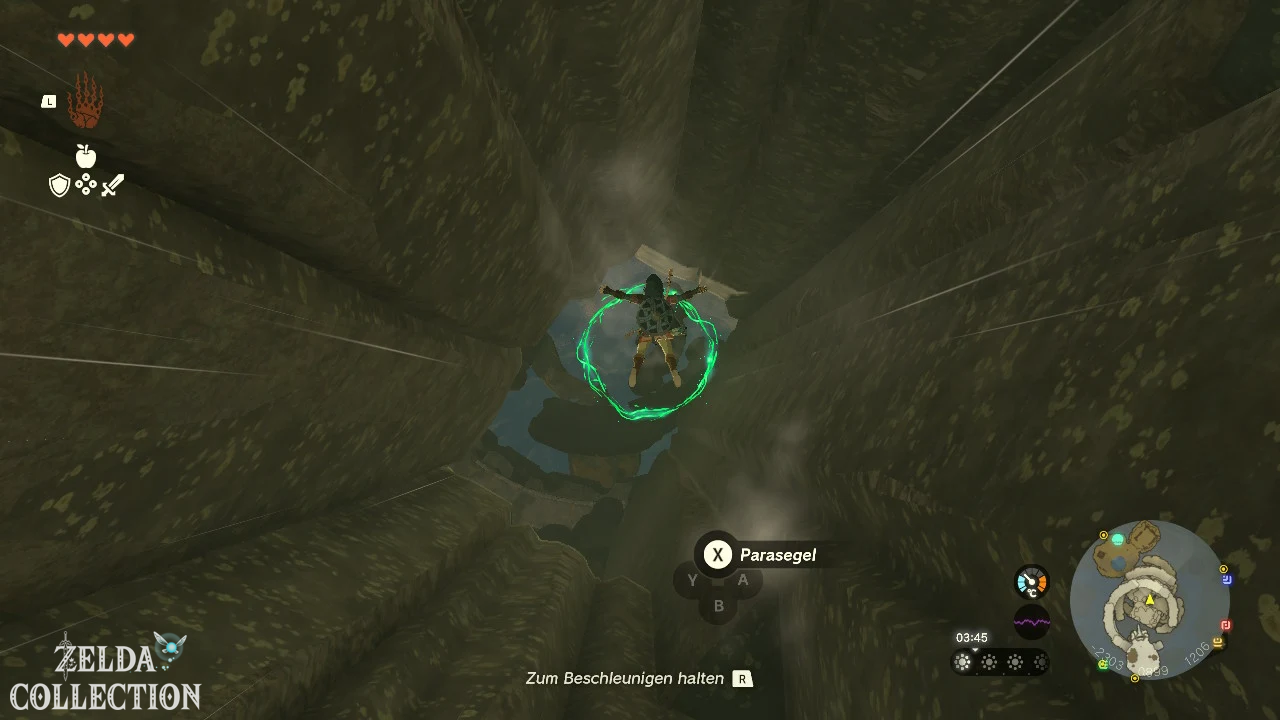
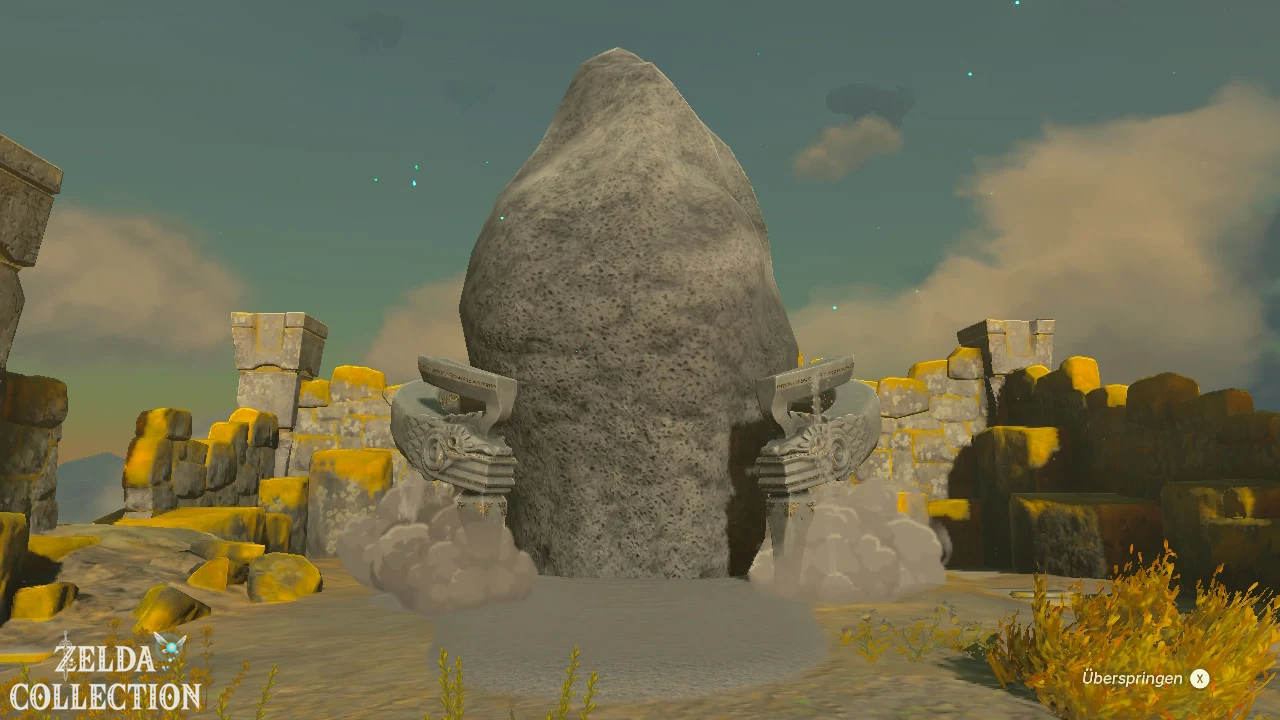
The shrine is not initially visible when you arrive. You must first complete a practice run of the dive ceremony.
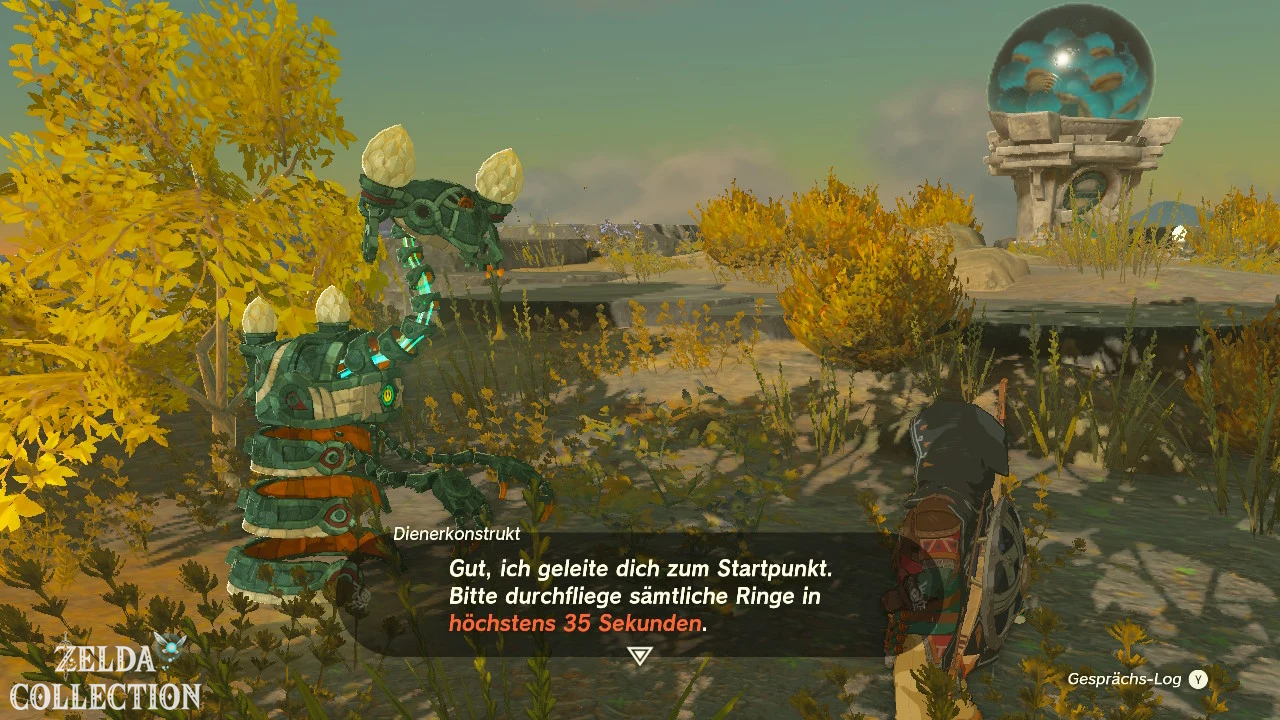
If you first reach the lowest level of the island, talk to the Steward Construct there. It explains the test to you and transports you to the top platform. If you land directly on the top island, you can examine the device there immediately.
On the top platform, do the following:
- Examine the large green stone ring.
- Jump from the platform into the depths.
- Fly or dash through all the glowing rings.
- Land in the pool of water on the bottom level.
There is no time limit for the trial run. Just make sure not to miss any of the glowing rings. If you have crossed all the rings in the correct order, the Taunhiy Shrine will appear next to the water basin.
Solve Taunhiy Shrine
The Taunhiy Shrine is also about the use of bows and arrows. However, unlike the Makurukis Shrine, you have to hit the enemies here while you are in the air.
In the entrance area you will find a bow and several arrows. Axyl up the equipment and go to the air stream in the middle of the arena.
Hit first enemy from the air
- Stand in the updraft.
- Jump up and open the Paraglider if necessary.
- Draw your bow in the air.
- Aim at the construct and shoot an arrow.
Aiming is slowed in the air, giving you enough time to lock on to the enemy. Unlike the Makurukis Shrine, no headshot is required. The only important thing is that you shoot the arrow while Link is not on the ground.
Switch off further constructs
After the first hit, two more constructs appear. Use the updraft again, draw your bow in the air and hit the two opponents one after the other.
The constructs also attack you with bows and melee weapons. So don’t stay on the ground for too long. Jump into the airstream again and again and use the slowed time to place your shots safely.
Every construct is defeated after a valid hit. As soon as you have eliminated all three enemies, the gate to the altar room opens.
Treasure Chest and Light of Blessing
In the Treasure Chest at the end of the shrine there is a Strong Construct Bow. Then open the altar and receive your Light of Blessing.
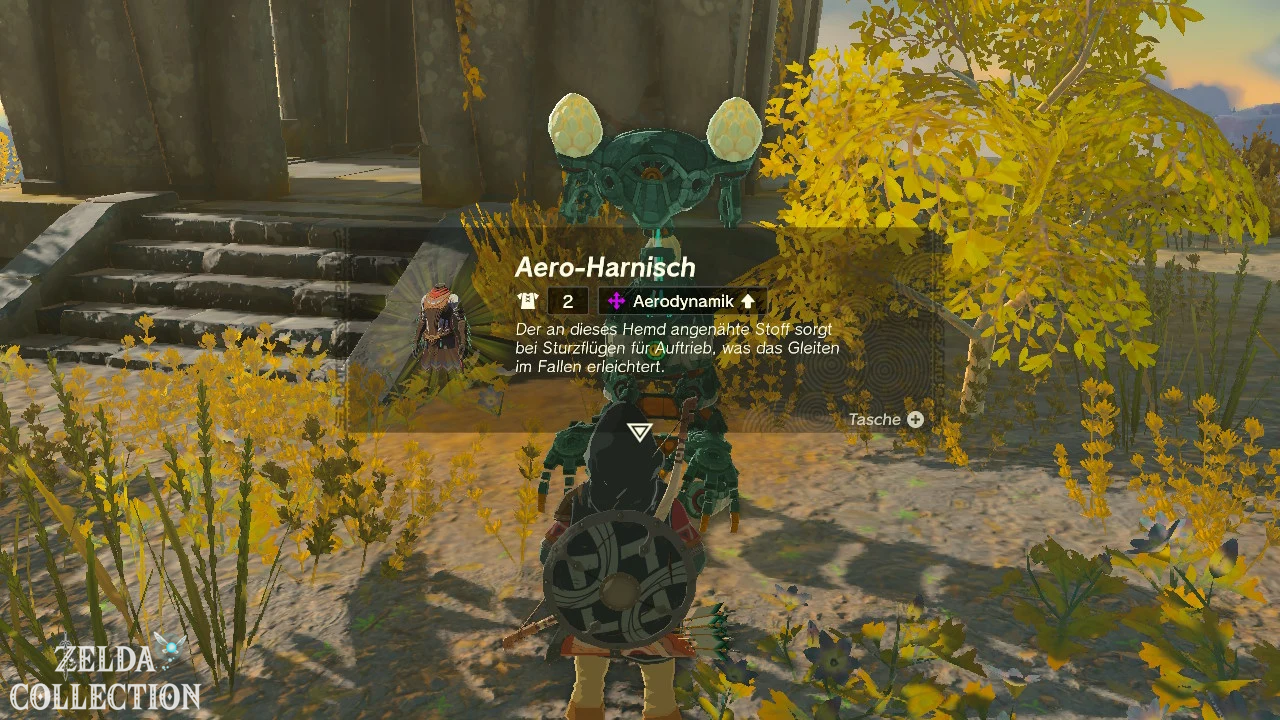
Additional reward: After making the shrine visible, you can restart the swooping ceremony at Steward Construct. If you get through all the rings in less than 35 seconds, you will receive the Aero Harness. You can find more Locations in our overview of all armor in Tears of the Kingdom.
Usazum Shrine
Exam: Raurus blessing
Shrine Task: Shrine on Satori Mountain
Reward: Strong Zonaite Lance and Light of Blessing
Location: Southeastern edge of Satori Mountain, near Satori Mountain Foothill Cave
coordinates: approximately -2139, -0874, 0108
Find Usazum Shrine
The Usazum Shrine is located on the southeastern edge of Satori Mountain towards Dalite Forest. When you reach Location for the first time, there is initially only the incomplete shrine version.
Examine the socket. This begins the shrine task “Shrine on Satori Mountain”. A green beam of light appears, showing you the direction of the missing crystal.
The beam heads northwest to nearby Satori Mountain Foothill Cave.
Find crystal in the Satori Mountain Foothill Cave
Enter the cave and follow the green beam of light. The corridor forms a large circular route. After a short time you will notice that the direction of the light beam is constantly changing. The crystal is not lying on the ground, but is being carried by an opponent.
This enemy is a Hinox that patrols the large cave room. The green crystal hangs on his neck.
Defeat Hinox
A Hinox’s most sensitive point is its large eye. Shoot an arrow directly into it to cause the enemy to fall to the ground, dazed. Immediately run to him and attack his legs or body with your strongest melee weapon.
As soon as the Hinox stands up again, put some distance between you and shoot the eye again. Repeat this process until the enemy is defeated.
Tip: The fight will be much easier if you bring a strong bow and enough arrows. The Hinox can always be incapacitated for a few seconds by hitting the eye.
Bring crystal to shrine
After the victory, the green shrine crystal remains on the ground. Axyl it up with the Ultrahand and follow the green beam of light back to the cave entrance.
The crystal is large, but can be easily worn with the Ultrahand. Outside the cave you just have to transport it the short way downhill or across the meadow to the shrine socket.
Place the crystal in the socket. The Usazum Shrine is now fully crafted and the shrine task “Shrine on Satori Mountain” is completed.
Solve Usazum Shrine
The fight against the Hinox and the transport of the crystal were the real test. Inside the shrine Rauru’s blessing awaits you.
Run straight ahead and open the Treasure Chest. Inside is a Strong Zonaite lance. You can then accept the Light of Blessing at the altar.
More secrets in cave
If you want to fully explore the cave, you will find the Hinox as well as a Bubbulfrog as well as various ore deposits and other materials. Defeat the Bubbulfrog to collect a Bubbul Gem.
You can find more Locations of this type in our overview of the caves in Tears of the Kingdom.
The four shrines in Hyrule Ridge in comparison
The shrines in this region differ significantly from each other. Two teach fighting techniques with the bow, while for the other two the journey to the shrine is the actual test.
| Shrine | exam | Location | Chest Reward |
|---|---|---|---|
| Makurukis Shrine | Combat Techniques – Bow and Arrow | Mount Rhoam | Strong Construct Bow |
| Taki-ihaban Shrine | Raurus blessing | Lindor’s Brow Cave | Large Zonai Charge |
| Taunhiy Shrine | Combat Techniques – Bow and Arrow | Isle of Valor | Strong Construct Bow |
| Usazum Shrine | Raurus blessing | Satori Mountain | Strong Zonaite lance |
More shrines in The Legend of Zelda: Tears of the Kingdom
After completing the four shrines of the Hyrule Mountains, you can continue your search in the adjacent areas: