

On this page we give you an overview of all the shrines in The Legend of Zelda: Tears of the Kingdom, which are located on the Death Mountain. In addition to the Location, we will explain in detail how to pass the exam and achieve the hidden Treasure Chest.
On the Death Mountain is located exactly according to our territorial division a shrine. The Sitsum Shrine is near the summit and is usually encountered during the main quest surrounding Yunobo and Goron City.
You can find an overview of all regions in our Tears of the Kingdom Walkthrough. We also cover all the shrines in the adjacent volcanic region on the pages Shrine in the Eldin Canyon and the Shrines in the mountains of Eldin.
The following shrine is located on Death Mountain:
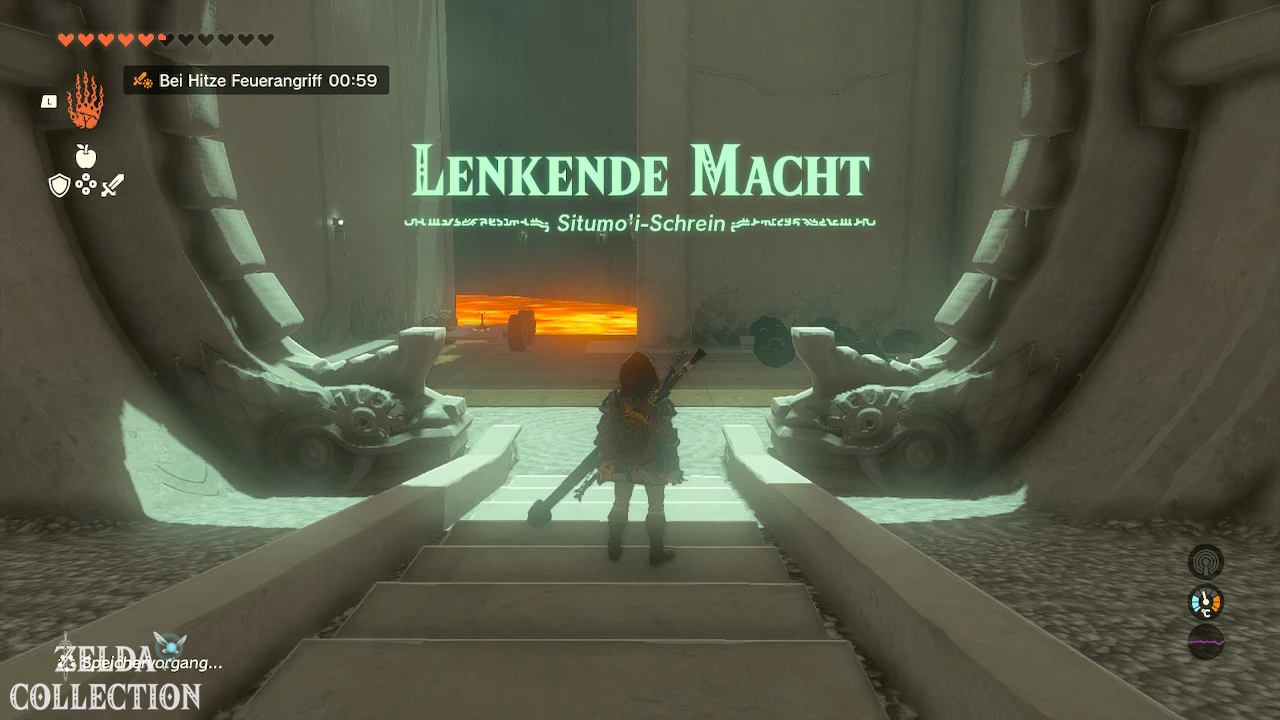
Sitsum Shrine
Trial: Guiding Power
Reward: Powerful Construct Sheet and a Light of Blessing
Location: Near the summit of Death Mountain, below the last lorry station
Coordinates: approximately 2369, 2595, 0790
Find Sitsum Shrine
The Sitsum Shrine is located high on Death Mountain, east of Goron City and just a short distance below the summit. It stands below the last station of the Lorenweg, which leads up the mountain.
The easiest way to reach the shrine is during the main quest surrounding Yunobo. Follow Goron City from the lorry routes up the Death Mountain. At the individual stations you occasionally have to move the cart onto a different track, remove obstacles or defeat opponents.
After the last long lorry ride you reach a station near the summit. The shrine is located slightly below the tracks and is easily visible from the platform. Glide down to him with the Paraglider.
Alternatively, you can climb up the mountainside or move towards Death Mountain from Eldin Canyon Skyview Tower. However, the climb is significantly longer than the planned journey with the lorries.
Tip: Be sure to activate the shrine as soon as you reach it. It then serves as a handy fast travel point near the summit of Death Mountain.
Source comparison for Location: The position at Death Mountain, the coordinates and access via the last lorry station are confirmed by several German and English-language maps and walkthroughs.
Solve Sitsum Shrine
In the “Guiding Power” exam you will learn how to use the Zonai control system. You first drive a vehicle through lava and later build a controllable aircraft from a Zonai wing.
Drive the vehicle through the lava
There is a vehicle with four wheels and a control unit right behind the entrance. Stand on the platform and examine the controls to start driving.
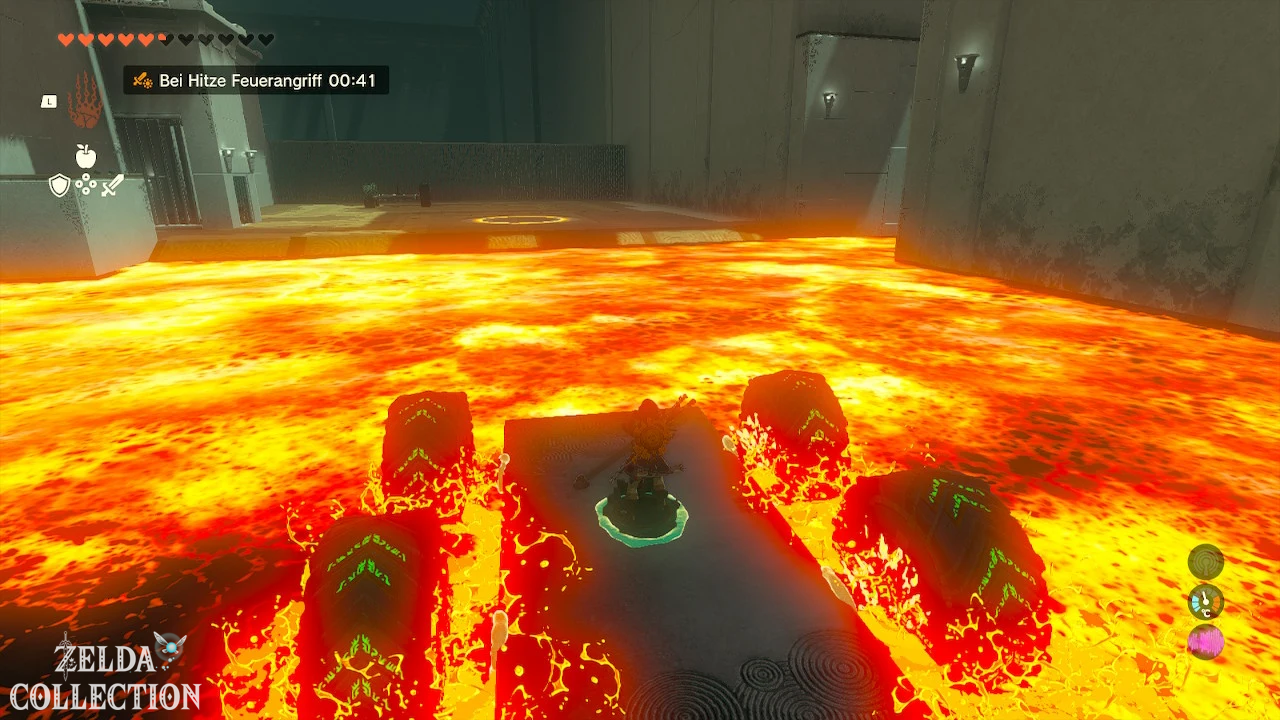
Drive the vehicle over the lava. The large wheels can move on the hot surface without the vehicle sinking. First follow the open path until you reach an intersection or a wider platform.
Just before the solid area, turn right into the narrow lava passage. At the end of this corridor there is a large ball on a small ledge.
Safely transport ball
Grab the ball with the Ultrahand and attach it to the center of your vehicle. Make sure that it does not block the wheels or the control unit.
Get back on the controls and carefully drive backwards through the narrow passage. You can steer the vehicle normally, but you should only make small corrections because of the narrow walls.
Return to the intersection and ride the short ramp onto the fixed platform. Use the Ultrahand to remove the ball from the vehicle and place it in the round recess in the floor.
The ball activates the mechanism and opens the grille to the optional Treasure Chest.
Source comparison for the ball puzzle: The right side passage, attaching the ball to the vehicle and the ball recess are consistently described in several step-by-step solutions.
Obtain Mighty Construct Bow
Go through the opened grate and open the Treasure Chest. Inside is a Powerful Construct Bow with an attack power of 24.
The construct bow is particularly suitable for fighting opponents in the following area. However, you can also skip the chest and go straight to the actual trial.
Tip: If you want to see the chest symbol next to the shrine name on the world map, you must open the optional Treasure Chest.
Get to the next platform
Leave the area with the Treasure Chest and climb up the short ladder. From there you can glide with the Paraglider to the next platform.
A soldier construct is waiting there. Defeat it in melee combat or with your bow. You can also try to run past the enemy, but they may interfere with you building the aircraft.
Build controllable aircraft
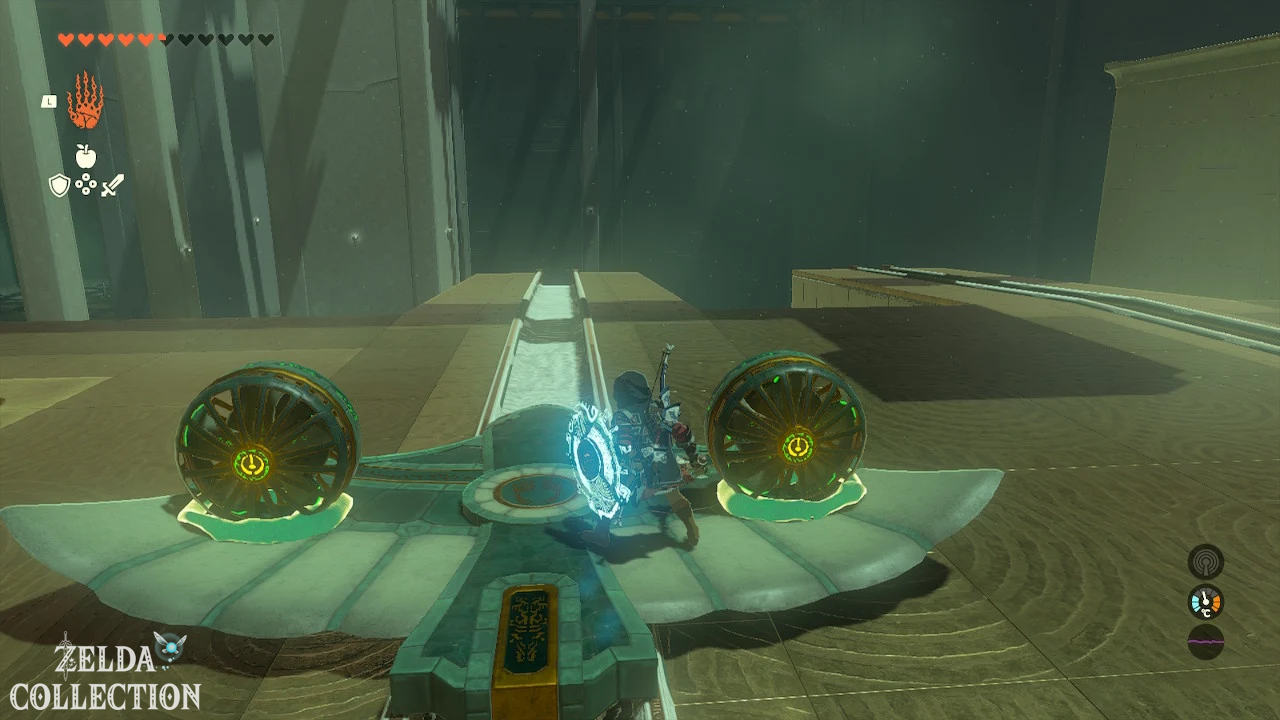
In the back of the platform you will find several small vehicles and Zonai wings lying on launch rails.
Use the Ultrahand to remove the control unit from one of the ground vehicles. Then attach it to the mark in the middle of a Zonai wing.
The fans already attached to the blade provide the necessary drive. You do not need to add any additional Zonai Devices.
- Place the control unit in the middle of the Zonai wing.
- Stand on the controls.
- Activate the aircraft.
- First keep the wing straight.
- Steer left behind the big pillar.
Fly between the pillars to the altar
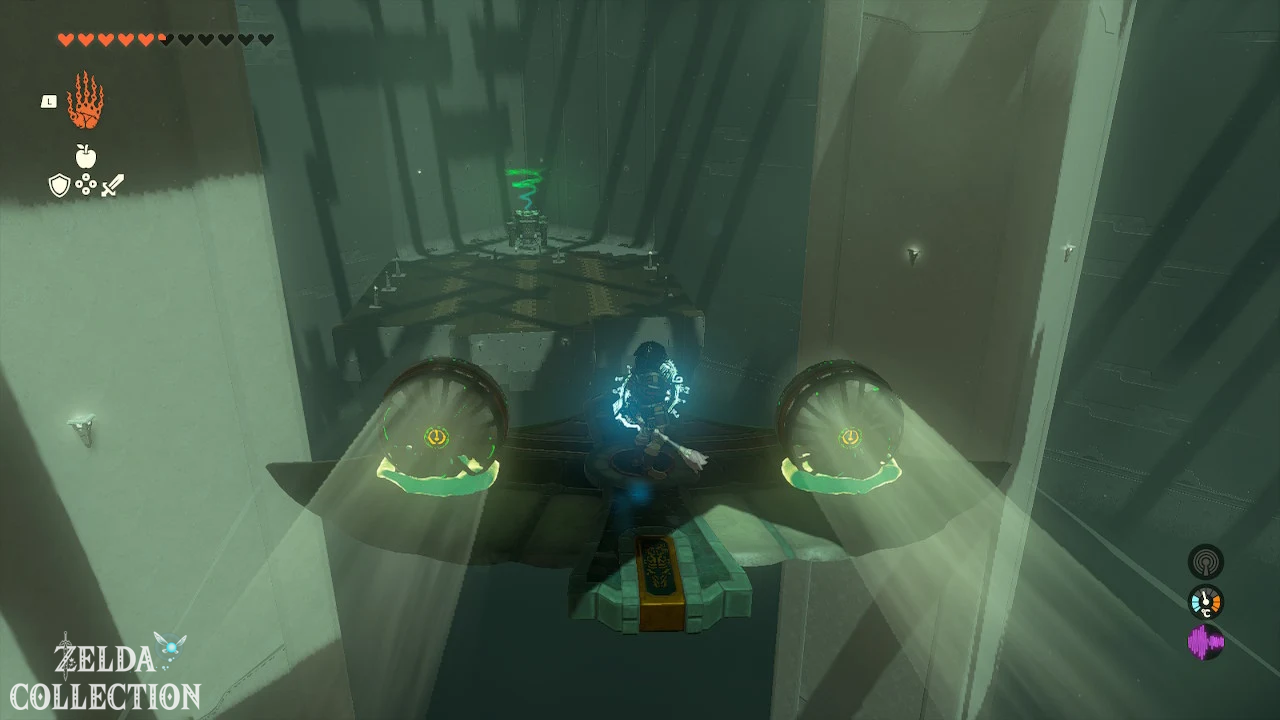
The target area is in the back left corner of the large room. There are several thick stone pillars between you and the altar.
First fly straight ahead and keep enough distance from the first obstacles. Once you have passed the large central pillar, turn left.
Steer the wing towards the platform with the altar. You don’t have to land completely clean. Once you are above solid ground, you can jump from the controls and glide to the platform using the Paraglider.
Examine the altar there and take the Light of Blessing. This completes the Sitsum Shrine.
Tip: Steer carefully. Quick movements on the control unit can cause the Zonai wing to tip sharply to the side and crash between the columns.
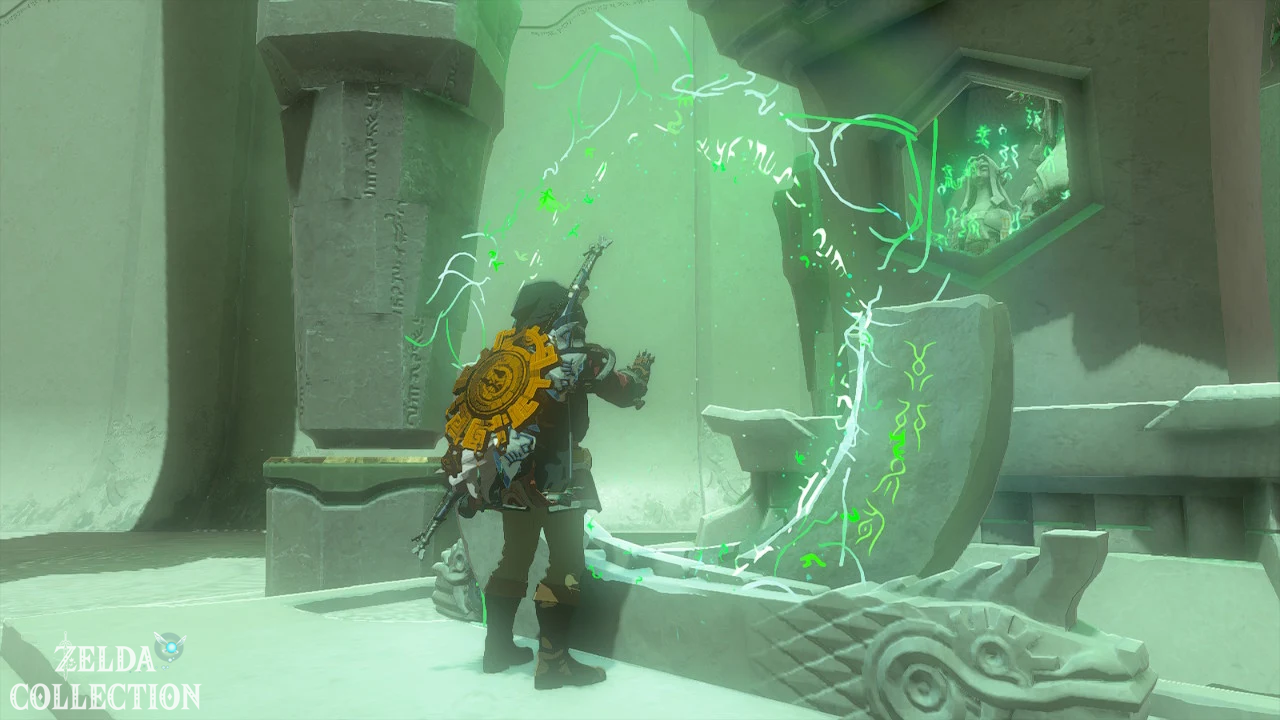
Sitsum Shrine at a glance
| Shrine | exam | Location | coordinates | Chest Reward |
|---|---|---|---|---|
| Sitsum Shrine | Steering power | Death Mountain, below the last lorry station | 2369, 2595, 0790 | Powerful Construct Bow |