

The main quest “Guidance from Ages Past” in The Legend of Zelda: Tears of the Kingdom starts after completing the Thunderhead Isles and the Dragonhead Island. Ahead is the quest “Secret of the Ring Ruin“, which must be completed using the intended solution path.
Behind the large door on the Dragonhead Island we find a mysterious Zonai relic that, when activated, emits a green beam of light towards the surface. We also hear a mysterious voice saying: “Please take this to the place where the light leads you.” Our next target is in the Tobio’s Hollow below the Dragonhead Island.
The long main quest first takes us to Depths with the Zonai relic. There we have to recover the two arms and legs of a construct in four factories, put together Mineru’s new body and then control it to the Spirit Temple. At the end the boss Seized Construct, scourge of the Spirit Temple, awaits.
Navigation
- Transport Zonai Relic to Constructorium
- Reach the constructorium
- Build Minerus Body
- Factory: Left Leg
- Factory: Left Arm
- Factory: Right Arm
- Factory: Right Leg
- Control Minerus construct
- construct to Spirit Temple bring
- Boss: Seized Construct
- Complete instructions from ancient times
Transport Zonai Relic to Constructorium
Axyl up the Zonai relic with the Ultrahand and follow the newly opened path out of the chamber. You reach a small flying platform with a Wing, two fans and a Steering Stick. Attach the two fans to the back of the glider, place the Steering Stick in the middle and attach the Zonai relic as far forward as possible. Make sure that the green light beam is not blocked by the Wing or a fan.
Places the finished Wing on the starting device, rises and activates the fans. Follow the green beam north or northwest to the surface. The beam ends at a ruin surrounded by water in Tobio’s Hollow. If the Wing loses its energy or disappears along the way, you can carry the relic with the Ultrahand or build a new aircraft from your Zonai Devices.
Land as directly as possible at the ruins and detach the Zonai relic from the Wing. Carry it to the stone pedestal where the green beam of light is pointing. Place the relic in the appropriate slot. A cutscene starts and opens a hidden entrance into the Depths.
Bring the relic into the Depths
Axyl up the relic again with the Ultrahand and follow the opened corridor. At the end you will reach a large elevator. Place the Zonai Relic on the pedestal in the middle of the platform. The elevator activates and descends deep into the Depths with Link and the relic.
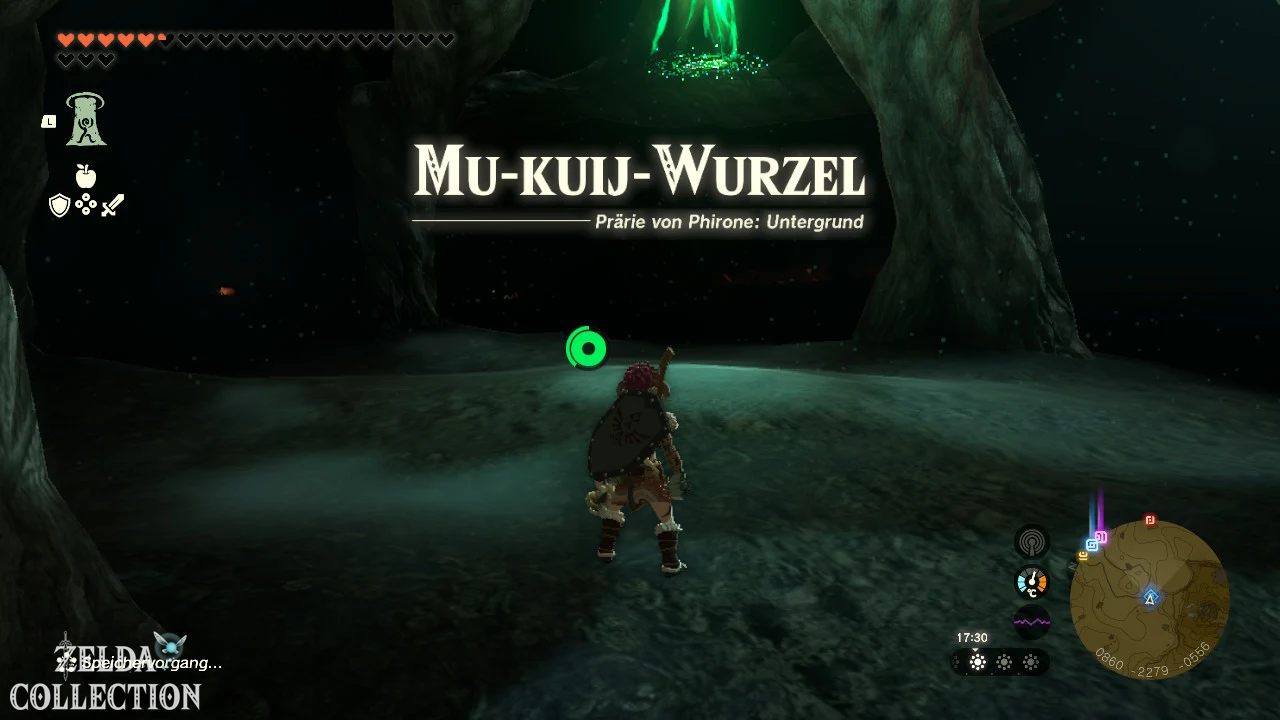
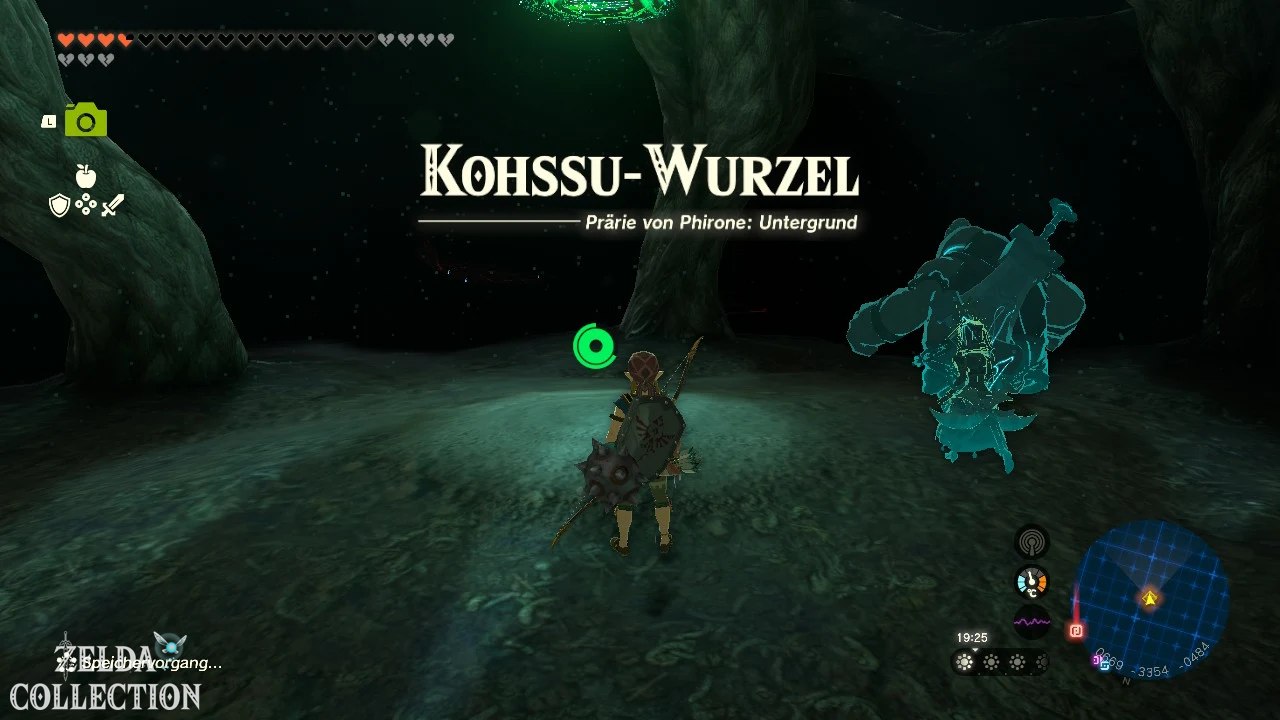
After arriving, you should first turn around and activate the glow root in the immediate vicinity. This will make the entire area around the constructorium visible. You can find an overview of other glowing roots in our underground map with all roots.
Reach the constructorium
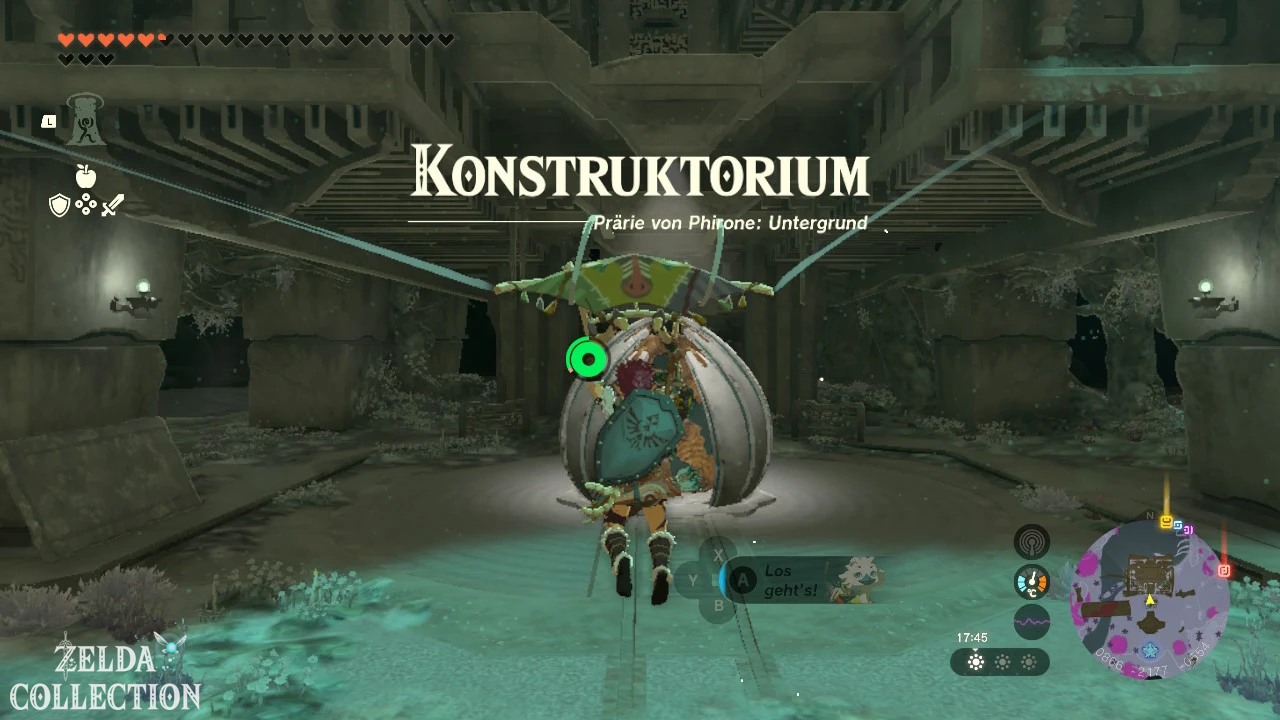
Axyl up the Zonai relic again and follow its green beam of light to the large building in front of the elevator. In the center of the constructorium there is a stone form in which the hull of a huge Zonai construct can already be seen. Place the relic in the head slot.
The mysterious voice now turns out to be Mineru. She is the Sage of the Spirit and the older sister of King Rauru. Mineru’s original body no longer exists, so she needs a new vessel for her spirit. The torso of the construct is already there, but both arms and both legs are missing.
The four components are located in separate factories around the constructorium. Their entrances can be identified by large green lights. You can basically complete the factories in any order. To make the circular route as short as possible, we start in the southeast with the left leg and then move across the southwest and northwest to the factory in the northeast.
Minerus body build
Each factory follows the same basic principle: activate the green Zonai terminal at the entrance, and a sealed box with a body part will appear. The entrance will then be closed and you have to transport the box through the respective factory. Bring each component to the constructorium and place it in the glowing slot on Mineru’s body.
- Left Leg Factory in Southeast
- Southwest Left Arm Factory
- Northwest Right Arm Factory
- Northeast Right Leg Factory
The names depend on Mineru’s body and can initially seem confusing when looking at the construction. It is therefore better to orientate yourself on the cardinal points and the green lights. Also, avoid fast travel while transporting a component crate, as the crate will not be teleported with Link.
Factory: Left Leg
The Left Leg Factory is located southeast of the Constructorium. Follow the green light and enter the building. Activates the Zonai Terminal, causing the crate with the left leg to appear and the entrance gate to close.
Bring the box up with your left leg
Axyl up the box with the Ultrahand and place it on the rocket elevator. Also climb onto the platform and activate the rockets with one hit. Once at the top you will discover a large movable stone bridge that can be used as a ramp.
Turn the large crank with the Ultrahand until the bridge points diagonally upwards towards the opposite platform. The ramp must not be too flat, otherwise the box will hit the wall. An angle of approximately 45 to 60 degrees is sufficient.
Place the crate at the bottom of the ramp and attach at least one rocket to it. The jump is more reliable with two rockets. Aim the rockets straight ahead, save for safety and activate the construction. The box should be thrown over the ramp to the opposite level.
Bring left leg to constructorium
Reach the upper level with the Ascend or climb up to a suitable location. Axyl up the box again with the Ultrahand and transport it outside through the opening. You can also reach a Treasure Chest behind laser beams in a side area, but it is not required for the quest.
Outside the factory you can carry the box or put it on a glider or a small Cart. Attach a fan and a Steering Stick to it and head back to the constructorium. Place the box in front of the glowing recess. The packaging dissolves and the left leg can be rotated and inserted with the Ultrahand.
Factory: Left Arm
The factory for the left arm is located southwest of the Constructorium and can be reached on foot without major detours. Climb the ramp to the illuminated entrance and activate the Zonai terminal. The box with the left arm appears and the way back is blocked.
Open the first gate
On the left there is a gate connected to two large wheels. Activate the wheels with one punch to make the gate rise. Push the box through and go to the other side yourself. If the gate closes too early, you can use the Ultrahand to lift it and then use the Recall to temporarily keep it open.
Drive the crate over the lava
Behind the gate you will reach a room full of lava. Remove the two large wheels from the gate and attach them to the side of the box. The arrows on both wheels must point in the same direction of travel. Additionally place the Steering Stick provided on the top of the box. Get on and drive the improvised vehicle across the wide lava pool.
In the next section the path between the walls is narrower. Remove the wheels and attach them to the short sides of the box to allow the vehicle to fit through the narrow passage. Alternatively, you can hold the box with the Ultrahand as far over the lava as possible, put it down and pull it back towards you after sliding over.
Open the chain gate
On the other side another gate blocks the way. A chain with a stone block hangs next to it. Attach one of the large wheels to the gate and to the end of the chain so that the chain wraps around the Big Wheel when it turns. Activates the Big Wheel. The chain is rolled up and pulls the gate up.
The combination of Ultrahand and Recall also works here as an alternative: lift the gate as far as possible, let it go, immediately activate the Recall and transport the box through the resulting opening.
Return left arm across the river
Behind the gate you will reach an underground river. Attach a fan to the back of the box and place a Steering Stick on it. Place the box in the water, rise up and activate the fan. The river leads directly back to the constructorium. Insert your left arm into the corresponding recess.
Factory: Right Arm
The right arm factory is located northwest of the Constructorium. The direct access is partially surrounded by Gloom. You can glide over the rocks and ruins north of the factory or position yourself below the entrance and use the Ascend. Follow the green light again and activate the Zonai terminal inside.
Send box over the conveyor belt
To the right of the terminal there is a conveyor belt made of small wheels. Place the box on the conveyor belt and activate the wheels. The package is automatically transported upstairs. Run after him along the side path.
Cross the electrified rail
In the next room you have to transport the box over a narrow electrified carrier. Do not touch the wearer directly, as Link will suffer damage and may be knocked to the ground. Take two small wheels from the conveyor belt and attach them to opposite sides of the box. The wheels should grip the carrier while keeping the crate balanced.
Carefully place the box lengthwise on the carrier and activate the wheels. An even easier alternative is to attach a fan from the inventory to the back of the crate and let it slide over the support. If the package falls into the abyss, you can often retrieve it with the Recall.
Retract right arm
Cross the abyss and climb up the ladder. Take the box and bring it to the exit. Attach two or four small wheels and a Steering Stick to the crate and transform it into a vehicle. Ride down the ramp and back to the constructorium. There you insert your right arm into Minerus’ body.
Factory: Right Leg
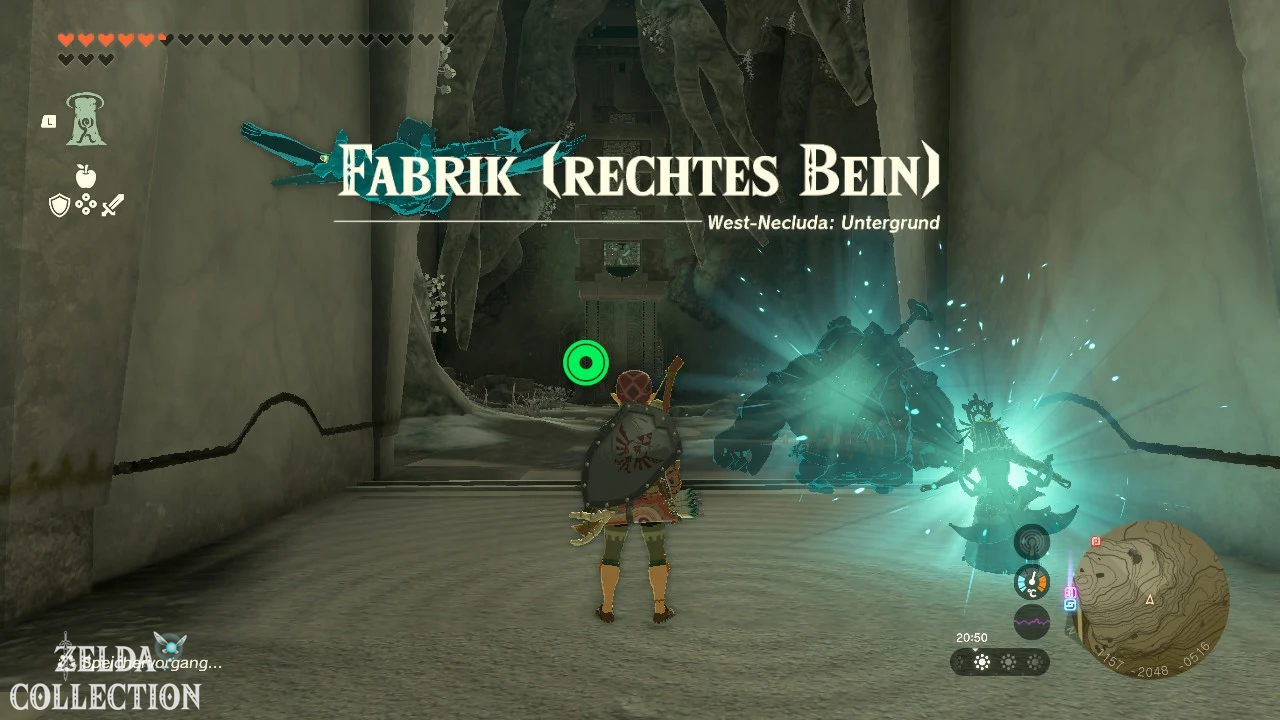
The right leg factory is located northeast and well above the constructorium. Run across the large bones and ruins towards the green light. If possible, also activate the glowroot to the north. From there you can easily glide over to the entrance to the factory.
Enter the building and activate the terminal. The box with the right leg appears. Place it on one of the fan elevators, climb onto it and hit the fan. The elevator takes you to the upper area.
Move box along rail
In the next room there is a long rail running over a chasm. Use the U-shaped components provided as hooks. Attach the box to the hook so that it hangs below or to the side of the rail and does not drag on the ceiling. Then attach a fan to the back of the structure.
Lifts the structure with the Ultrahand and hangs the hook over the rail. Checks whether the opening of the hook completely covers the rail. Activate the fan so that the box moves to the opposite side. Link can ride along with the package or use the Ascend at the end of the room.
Transport right leg with a Wing
Axyl up the box on the other side and take the next elevator up. At the exit there is a launch pad for Wing. Place a Wing on the rail and attach the box in the middle or at the back if possible. Attach at least one fan and if possible a Steering Stick.
Stand on the Wing, activate the fan and fly towards the constructorium. Switch the fan off again in good time so that you don’t overshoot the target. Insert the right leg into the last free recess.
Minerus body is completely
Once both legs and both arms have been inserted, the body comes together completely. Minerus’ spirit takes over the construct and can now accompany Link. In contrast to the other sages, Mineru doesn’t just appear as a small ghost: Link can ride directly on her construct and control it himself.
Controls and equipment from Minerus construct
Approach the construct and press the indicated button to ascend. With ZL you block enemy attacks. Using the Fuse function, both arms and the back can be equipped with weapons, materials or Zonai Devices. To do this, hold down the button that appears and select the left arm, the right arm or the back.
- Spike balls and rocks increase melee damage.
- Cannons are suitable for stunning enemies and destroying rock walls.
- Frost Emitter freezes normal enemies.
- Stun guns can disarm opponents.
- Fans on the back increase Minerus’ movement speed.
- Rockets on the back allow a short jump upwards.
The attached items only have a limited durability and disappear after several uses. However, there are numerous spare parts available in the armories along the following path. While Link sits on the construct, he can also safely walk across smaller areas of gloom.
construct for Spirit Temple control
Mineru marks the Spirit Temple southeast of the Constructorium on the map. Climb onto the construct and follow the target marker. The path also serves as an introduction to Mineru’s abilities. In several illuminated armory rooms you will find spiked balls, rocks, cannons, Frost Emitter, fans and other Zonai Devices.
A spiked ball or large rock on one arm and a cannon on the other are recommended for the path. Additionally attaches a fan to the back. This allows you to run faster, destroy rock barriers and attack enemies from a greater distance.
opponents and Gloom overcome
On the way you will encounter various Bokoblins, Moblins, Horriblins and constructs. Depending on your game progress, black or silver enemies may also appear. In larger groups, stay on Mineru’s construct, block the attacks and throw the enemies back with heavy blows.
You can dismount at any time and fight with Link’s normal weapons. Mineru follows you independently and attacks nearby enemies. The cannon is particularly useful against Horriblins and other elevated targets. With a Frost Emitter you can freeze strong opponents and then throw them away with a heavy blow.
Hinox and rock barriers
You may encounter a Hinox on the route. The fight is not mandatory and can be bypassed. If you want to defeat him, you can also use Link’s bow from the construct. Shoot the Hinox in the eye and attack him as soon as he falls to the ground, stunned.
Several paths are blocked by large rock walls. Smash them with a spiked ball, rock, or cannon on Minerus’ arm. Normal Zonai weapons wear out relatively quickly, which is why a cannon is the best choice for the longer rock barriers.
Get to the entrance of the Spirit Temple
On the way, activate the flare south of the constructorium and continue following the objective marker. Shortly before the Spirit Temple you reach a final armory. The path to the entrance has collapsed and is too steep for the structure.
Take one of the rockets provided and attach it to Minerus’ back. Stand with the construct directly in front of the high ledge and activate the rocket. Mineru is thrown upwards and lands in front of the entrance to the Spirit Temple.
Follow the path to the large owl statue and examine it while sitting on Mineru’s construct. The Zonai relic activates the mechanism and opens an elevator. Ride it down and follow the only path to the arena covered by Gloom. The boss fight begins here.
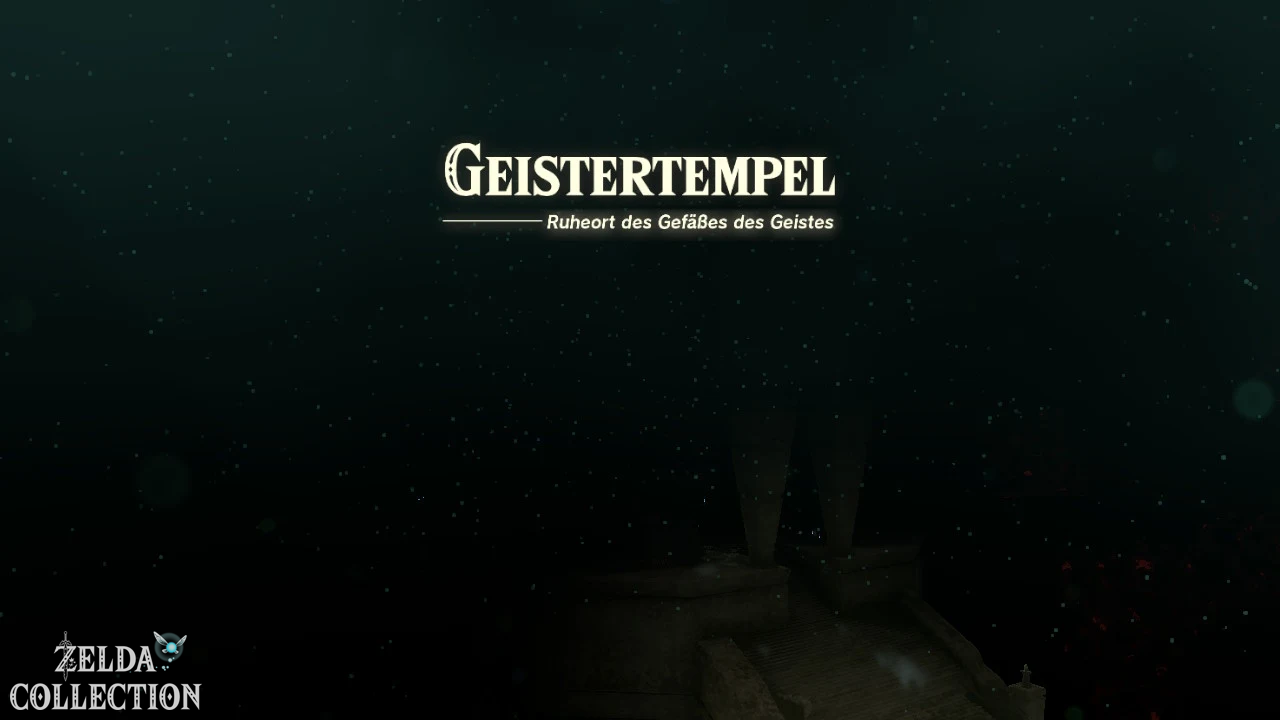
Boss: Seized Construct, Scourge of the Spirit Temple
The Stolen Construct is the vessel originally intended for Mineru, which was taken over by Ganondorf’s Gloom. The fight takes place in a square arena, the floor of which is covered by Gloom. The outer boundary consists of electrified or barbed wire walls.
Preparing for the boss fight
Photograph the Stolen Construct before the victory for the Hyrule Compendium, as this temple boss does not appear as a normal enemy in the Depths after the fight like the four other temple bosses. Missing pictures can be purchased later, but you can only take your own photo during this encounter.
Attaches a spiked ball to one arm and a cannon to the other. A fan on your back is particularly helpful in the second phase. There are more Zonai Devices and weapons in the arena in case your equipment breaks during the fight.
Boss strategy: Hit the electric wall
Normal hits drain very little energy from the Stolen Construct. The decisive damage occurs when you throw the boss against the electrified boundaries of the arena. Block his attacks, stagger him with several hits and then push him to the edge with heavy blows.
You usually need three consecutive hits to knock the boss back far enough. A spiked ball increases the power of the strike and makes it easier to push back. If the Stolen Construct is thrown against the wall, it suffers a strong electrical discharge and loses a significantly larger portion of its health.
First phase
Hold ZL as soon as the construct raises its arms and starts a melee attack. After a blocked blow, there is a short window of time for your counterattack. Strike several times and try to move the opponent straight towards a wall.
If the Stolen Construct raises both arms and produces long yellow electric whips, you should dodge sideways and keep your distance. These attacks have a long range and are less reliable to block. Wait until the opponent has made his last blow and then attack.
If the construct charges its cannon, you can run sideways and block at the same time. Having your own cannon is particularly useful: a direct hit interrupts many attacks, stuns the boss and gives you enough time to switch to melee combat.
Second phase
After approximately half of its health is used up, the Stolen Construct begins to fly. It attaches a fan to its back, moves faster through the arena, and attacks more often with cannons or electric weapons.
Keep moving and use the fan on Minerus’ back to shorten the distance. Shoot the flying enemy with the cannon. A direct hit will cause him to stagger or force him to land. You can also use Link’s bow while riding and hit the construct with normal or electric arrows.
As soon as the boss is on the ground, immediately drive to him and attack with the spike ball. Aim your punches so that he is pushed towards the nearest wall. After the electrical discharge, the opponent often loses one of his weapons. You can pick these up and attach them directly to Minerus’ arms.
Repeats the combination of cannon hit, melee strikes and electric wall collision. Don’t try to win the entire fight with normal punches alone, as these only deal minimal damage and will make the fight take an unnecessarily long time.
Complete instructions from ancient times
After defeating the Stolen Construct, a Heart Container will appear. Be sure to take it and then approach the Secret Stone. Several cutscenes follow in which Mineru reports on her past, the Imprisoning War and the events surrounding Zelda and the Master Sword.
Mineru takes her Secret Stone and gives Link the Vow of Mineru, Sage of Spirit. In the future, you can summon or deactivate Minerus’ construct via the important items menu. This completes the main quest “Instructions from Ancient Times”.
Then return to the Lookout Landing and report to Purah about Mineru and the events in the Spirit Temple. This will complete the parent quest “Find the Fifth Sage”. The main story then continues with “Trail of the Master Sword” continue.
Further solutions:
Secret of the Ring Ruins – walkthrough
Find the fifth wise man – walkthrough
Underground map with all roots
Trail of the Master Sword
Tears of the Kingdom – walkthrough