

On this page we give you an overview of all shrines in The Legend of Zelda: Tears of the Kingdom, which are located in the Akkala Sea and the associated airspace. In addition to the respective locations, we explain in detail how to pass the tests, reach the hidden Treasure Chests and unlock the two remote sky shrines.
Our territorial division includes a total of: five shrines for the Akkala Sea. The Gemimik Shrine, the Igashuk Shrine and the Rasiwak Shrine lie on the surface. The Gikaku Shrine and the Mogisari Shrine can be found on sky islands high above the coast.
You can find a complete overview in our Tears of the Kingdom Walkthrough. If you need help with orientation, you can also use our interactive map with all shrines.
This area contains the following shrines:
Gemimik Shrine
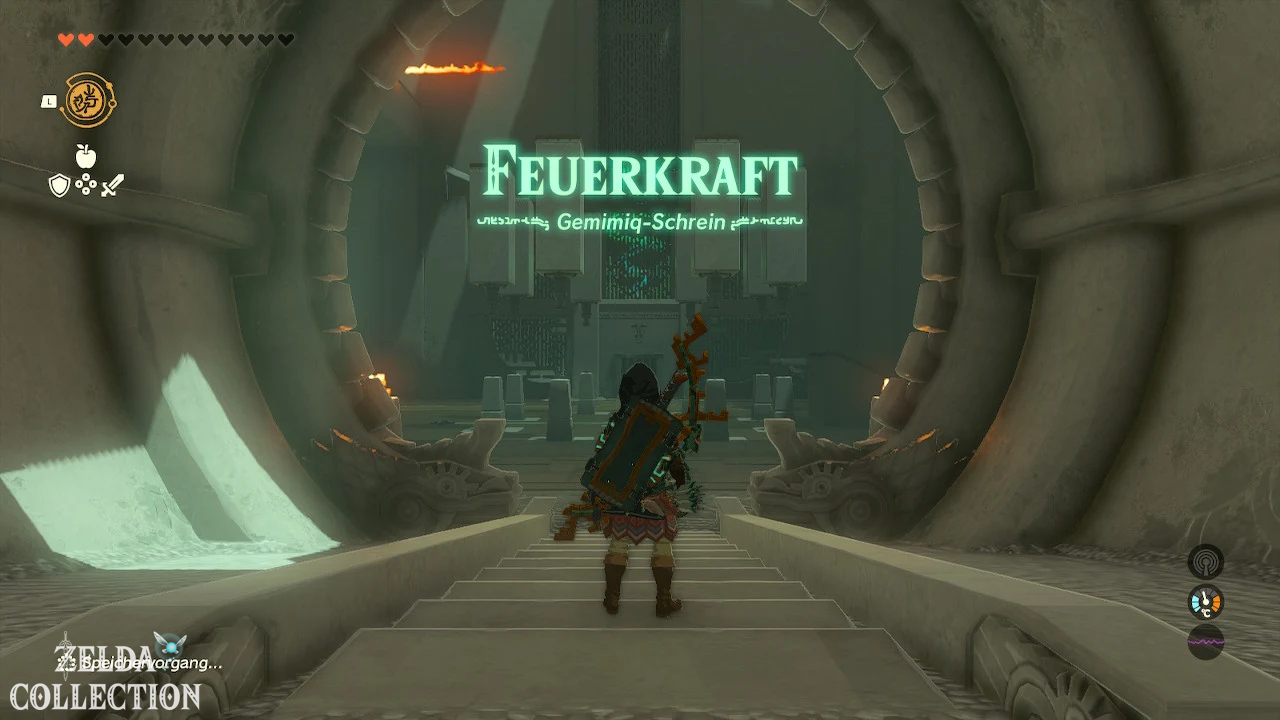
Trial: Firepower
Reward: Massive Zonaite Shield and a Light of Blessing
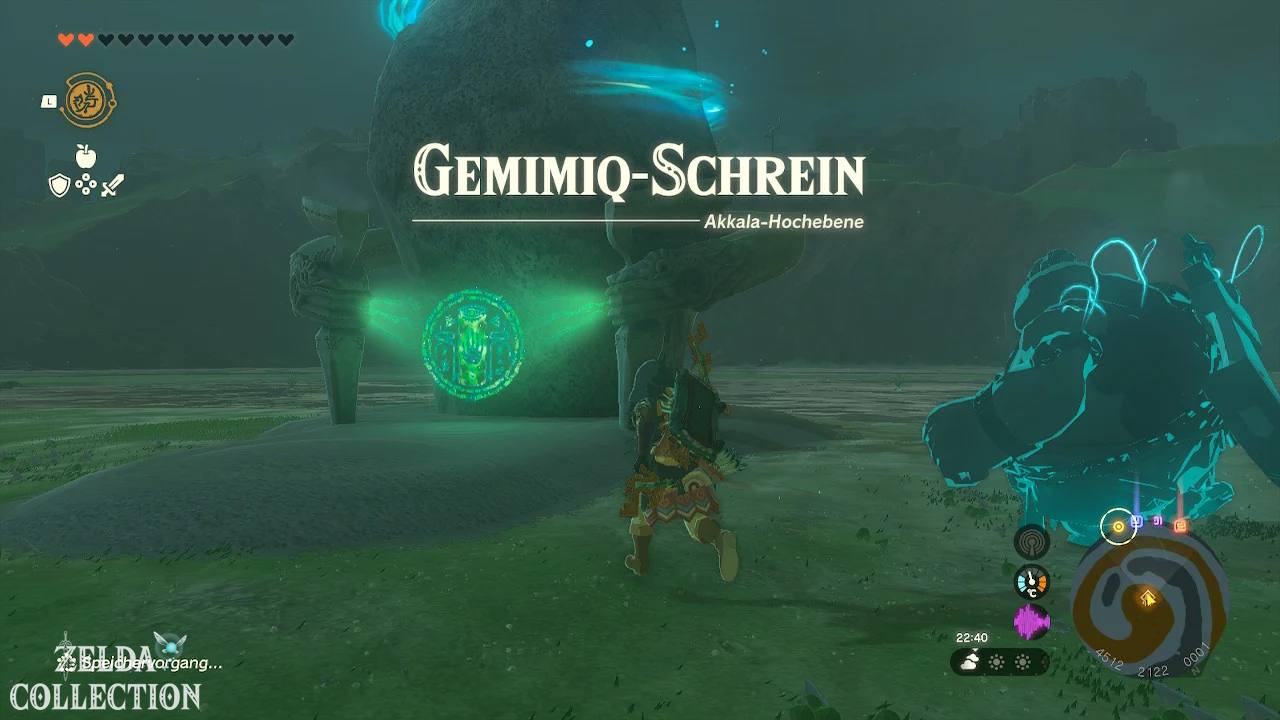
Location: At the center of the Rist Peninsula
Coordinates: about 4513, 2116, 0001
Find Gemimik Shrine
The Gemimik Shrine is located on the striking, spiral-shaped Rist Peninsula in the Akkala Sea. The shrine is almost exactly in the center of the spiral.
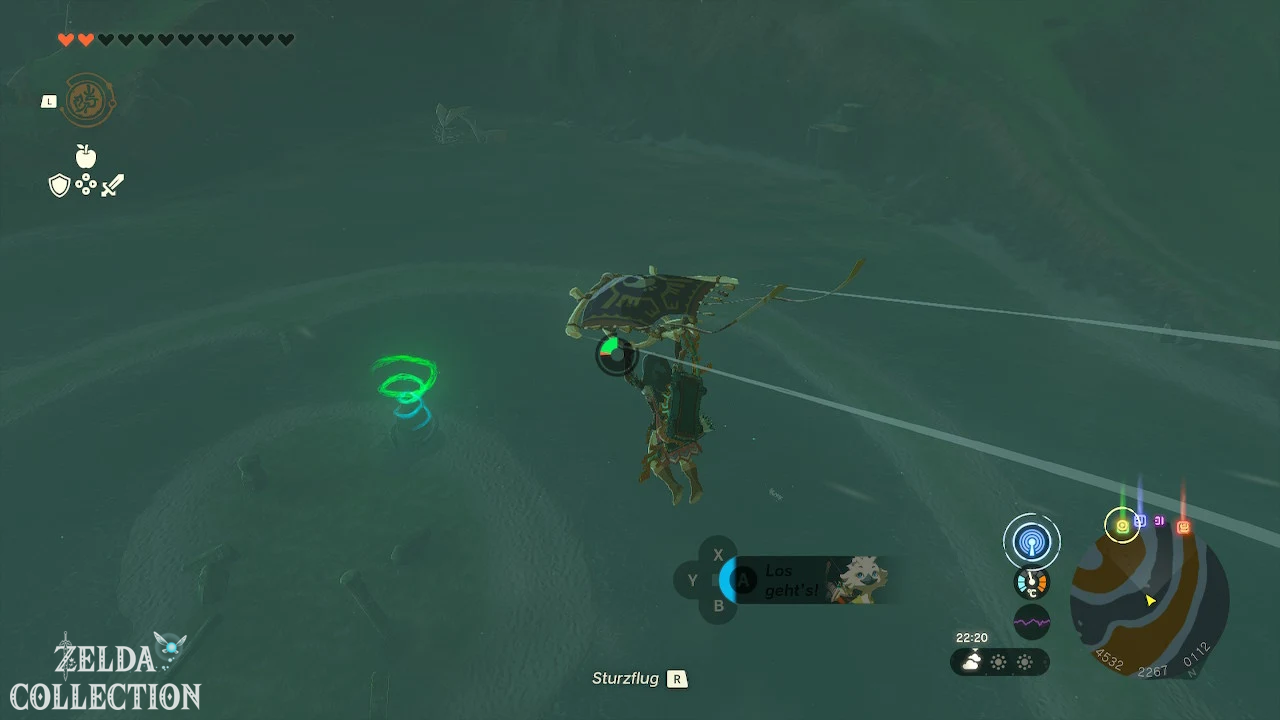
The Ulri Mountain Skyview Tower is suitable as a starting point. Let yourself be thrown into the air there and glide east. The snail-shaped peninsula can be clearly seen from a great height.
Depending on your endurance, you can cover a large part of the route with the Paraglider. Otherwise, land on the coast and follow the spiral path to the center of the peninsula.
Solve Gemimik Shrine
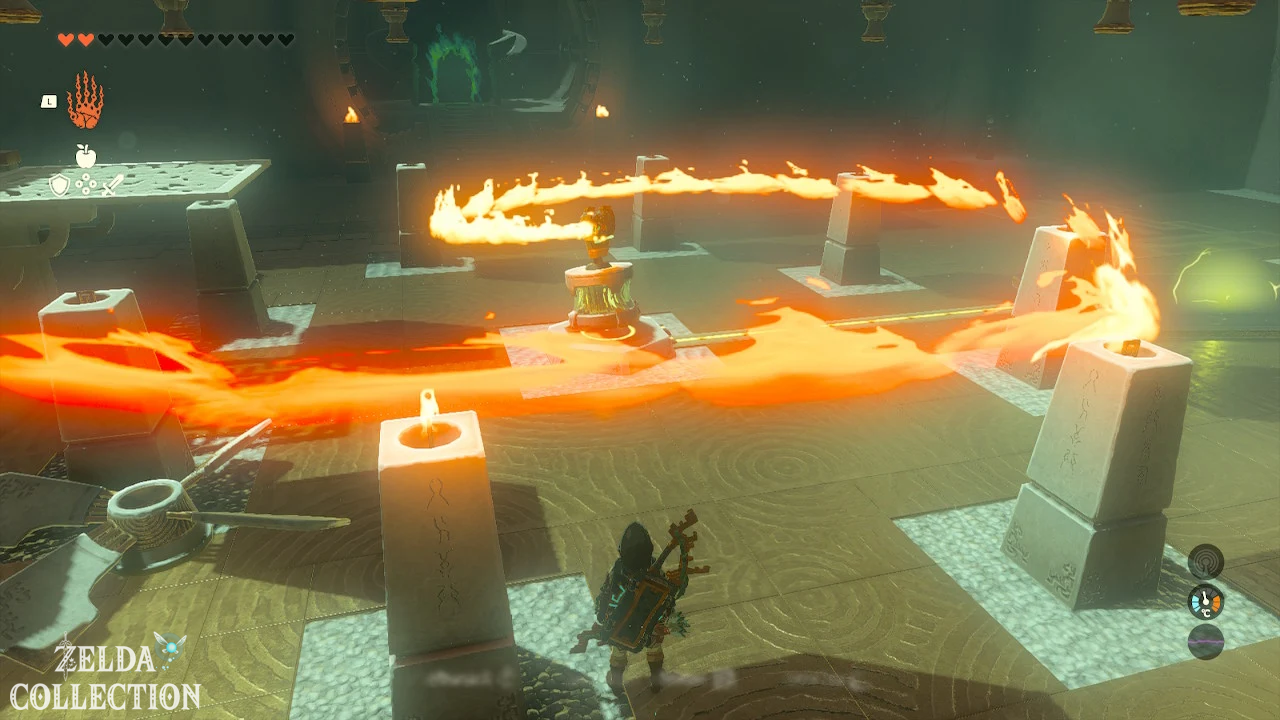
In the Gemimik Shrine you have to supply a large propeller with energy and then attach a Flame Emitter to it. The goal is to light all the torches in the room almost simultaneously.
connect propeller to motor
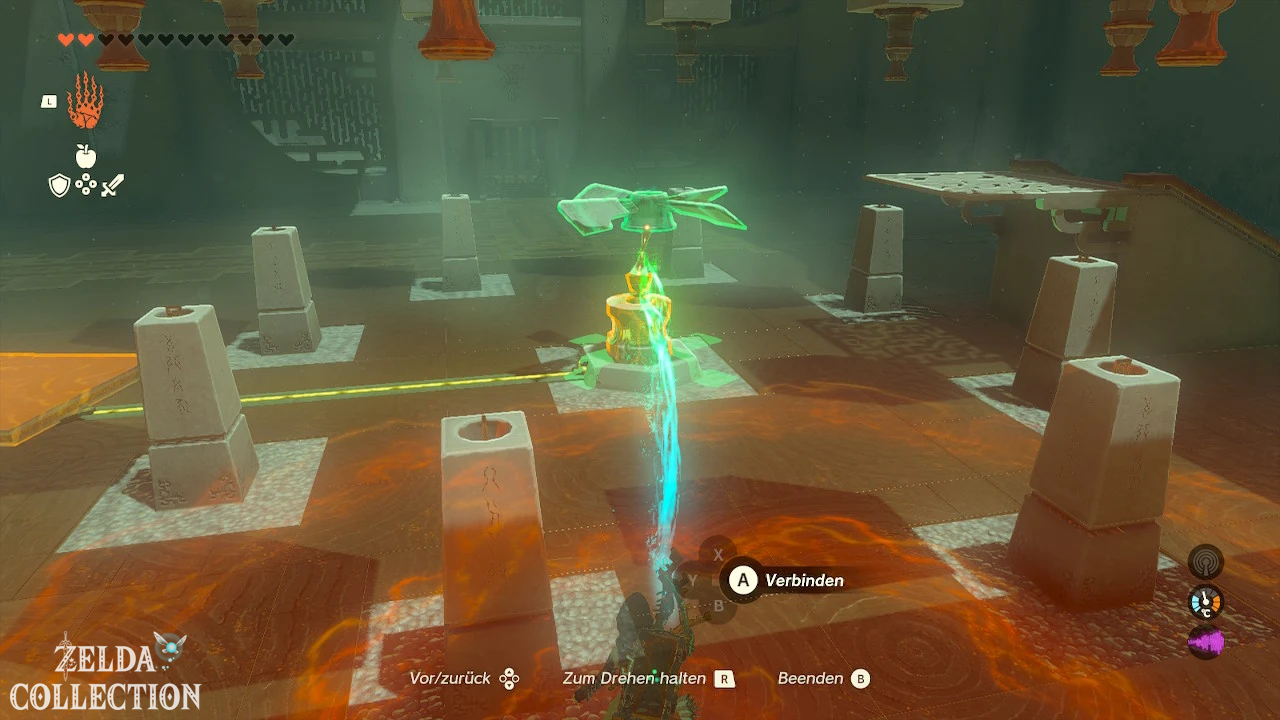
Go down the stairs and pick up the large propeller on the right with the Ultrahand. Attach it horizontally to the rotating mechanism in the middle of the room.
There is a broken electrical line on the opposite side. Axyl up the large metal plate and place it over the two floor contacts so that it touches both at the same time.
The metal plate closes the circuit. The engine begins to rotate and sets the propeller in motion. This creates a strong updraft in the middle of the room.
Find massive Zonaite shield
Jump from the small ramp into the updraft and open the Paraglider. Let yourself be carried as far up as possible and glide to the raised ledge with the Treasure Chest.
If you don’t get the lead on the first try, you can let the updraft hit you again. Alternatively, use the Ultrahand to lift the metal plate below the projection, let it fall again and then use the Recall on it. Stand on the returning plate and use the Ascend at the highest point.
In the Treasure Chest you will find a massive Zonaite shield.
Flame Emitter get
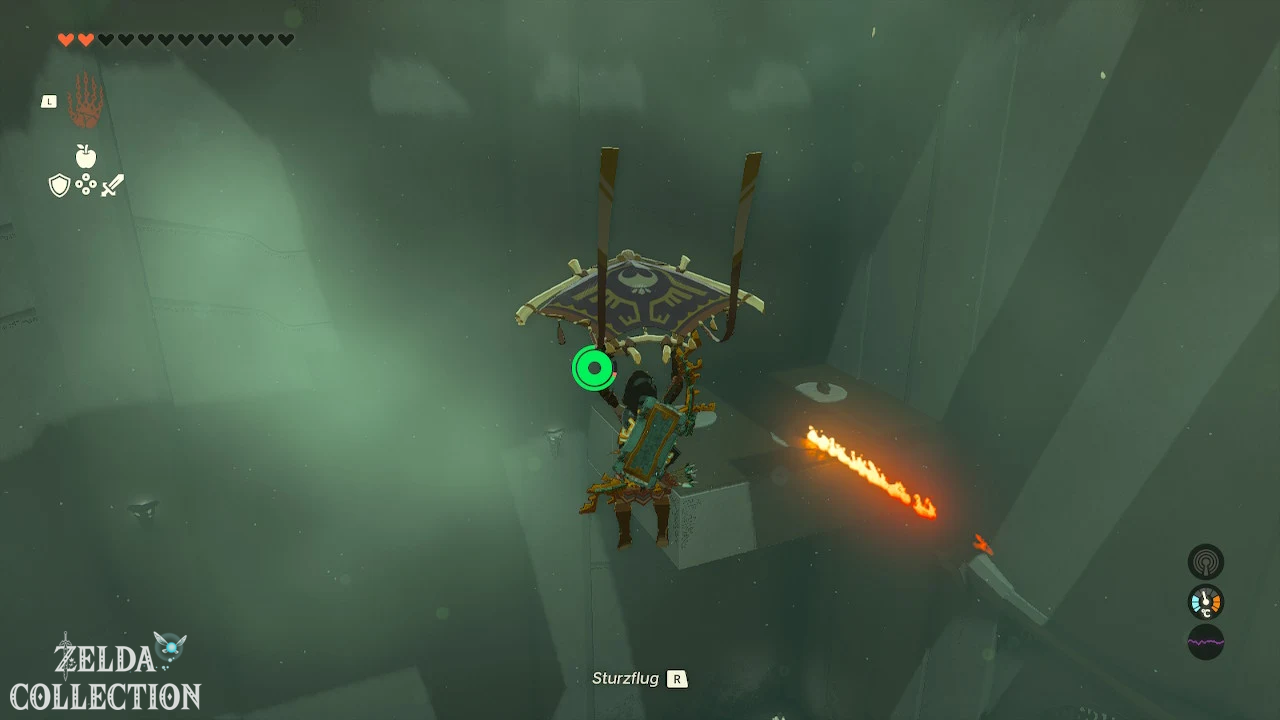
Return to the updraft and this time glide to the raised platform containing several Flame Emitter. Deactivate a switched-on Flame Emitter with one hit and then pick it up with the Ultrahand.
Drop the Zonai component onto the lower level and slide behind it. Briefly removes the metal plate from the contacts to stop the propeller.
Light all torches at the same time
Attaches the Flame Emitter to the side of the propeller. The opening of the flamethrower must point horizontally outwards so that the jet of fire reaches all the pillars when it rotates.
Then places the metal plate back over the two contacts. The engine and propeller start moving. The Flame Emitter now rotates in a circle and lights all eight torches one after the other.
As soon as all the flames are burning, the gate to the altar opens. Go through and take the Light of Blessing.
Tip: Attach the Flame Emitter as close as possible to the center of the propeller. If it is too far out or the fire jet points upwards, not all of the torches may be reached.
Gikaku Shrine
Shrine Task: Shrine on Quarry Island
Trial: Raurus Blessing
Reward: Ruby and a Light of Blessing
Location: Quarry Island in the sky above Akkala Sea
Coordinates: approximately 4506, 2166, 1155
Reach Quarry Island
The Gikaku Shrine is located on the lowest level of the Quarry Island. This is a group of small sky islands east of the tower on Ulri Mountain.
Let yourself be thrown from the tower into the sky and glide in an easterly direction. Depending on your available stamina, you have to land on one of the offshore sky islands and use a Zonai aircraft there.
On the lower island you will initially only find the incomplete shrine platform. Examine them to see a green beam of light showing the location of the missing crystal.
Solve Shrine on Quarry Island
The green crystal lies on a small island covered in glowstones far above the shrine. To reach him, you have to activate the large slingshot devices on Quarry Island.
Switch on spin
On the lower island, look for the green Zonai terminal near the shrine and activate it. This puts the large sling blocks on the individual islands into operation.
Return to the first slingshot. You can change the firing direction with the large stone cross or the crank in the middle. Align the device with the next higher island.
Stand on the moving block. The slingshot catapults you into the air. Open the Paraglider at the highest point and land on the next island.
Climb up to Luminous Stone Island
Repeat the process on the second island. Turn the slingshot towards the next platform and let yourself be transported up again.
The higher you go, the lower the gravity becomes. This means you can glide significantly further and have more time to correct your landing.
On the highest small island you will find the green crystal you are looking for between numerous luminous stone deposits.
Bring crystal to shrine
Axyl up the crystal with the Ultrahand and carry it to the edge of the island. The green beam of light continues to show you which of the lower islands the shrine is on.
Carefully let the crystal fall down towards the shrine island. Then jump after him and follow his fall with the Paraglider.
Land at the crystal, pick it up again with the Ultrahand and carry it to the shrine platform. As soon as you put it there, the complete Gikaku Shrine is created.
Obtain Rauru’s blessing
There are no further tests waiting for you in the shrine itself. Opens the Treasure Chest directly behind the entrance. Inside is a Ruby.
Then go to the altar and receive the Light of Blessing.
Tip: Don’t throw the crystal uncontrollably over the edge. Align yourself with the green beam of light beforehand so that it doesn’t land on a distant island or in the sea.
Igashuk Shrine
Challenge: Lomei Labyrinth Island Cross
Trial: Raurus Blessing
Reward: Large Zonai Charge and a Light of Blessing
Location: In the Lomei Labyrinth Island in front of the North Akkala Beach
Coordinates: approximately 4655, 3714, 0131
Reach Lomei Labyrinth Island
The Igashuk Shrine is located in the center of the great labyrinth, which lies in the far northeast of Hyrule in the Akkala Sea. The so-called Lomei Labyrinth Island can already be clearly seen from the cliffs behind the Akkala Ancient Tech Lab.
A good starting point is the Jochi-iu Shrine. From there follow the road north to Akkala Ancient Tech Lab. Then go behind the building and slide off the cliff to the southern entrance to the labyrinth.
You need enough stamina for gliding. Alternatively, you can build a simple flying machine or a boat.
Path through the Lomei Labyrinth Island
Examine the researcher’s notes left behind at the entrance. He marked his path through the maze with acorns and bird nuts.
Follow this trail through the flooded corridors. Since many areas are only slightly under water, you can walk most of the way. However, in some places you have to swim short distances.
You will find more recordings along the way. They confirm that you are still on the right path. If possible, don’t stray away from the trail from Nuts, as numerous side paths end in dead ends.
At one point a large metal block blocks your passage. Axyl it up with the Ultrahand and push it to the side. Then follow the acorns and bird nuts again.
The trail eventually leads to a ladder or an elevated platform in the center of the labyrinth. Climb up and follow the short path to Igashuk Shrine.
Abbreviation: Experienced players can bypass several labyrinth passages with the Ascend. For example, tree trunks or raised wall projections can be used as a starting point. However, the marked route is the safest route provided.
Solve Igashuk Shrine
Crossing the Lomei Labyrinth Island is the actual test. You don’t have to solve any further puzzles inside the shrine.
Opens the Treasure Chest right in front of you. Inside is a Large Zonai Charge. You can then accept the Light of Blessing at the altar.
There is also a Zonai terminal opposite the shrine. If you activate it, the task surrounding the Lomei Labyrinth Island prophecy and the labyrinth in the sky begins.
Mogisari Shrine
Trial: Exuberance to Jump
Reward: Solid Zonaite Shield and a Light of Blessing
Location: In front of the entrance to the Lomei Labyrinth Island in the sky
Coordinates: approximately 4655, 3500, 1010
Reach Mogisari Shrine
The Mogisari Shrine stands in front of the entrance to the Sky Labyrinth in the far northeast of the map. Due to its great height and distance, it is one of the most difficult shrines in the game to reach.
Let the Ulri Mountain Skyview Tower throw you into the air and first glide to the North Akkala Sky Archipelago. On the islands there you will find components for a Zonai aircraft.
Attaches fans and, if necessary, additional batteries to a wing and then flies northeast to the clearly visible sky labyrinth.
If you have already unlocked the Gikaku Shrine, you can alternatively use the slingshots on the quarry island to gain additional height. The sky labyrinth is easier to reach from one of the upper islands.
Solve Mogisari Shrine
Mogisari Shrine has significantly reduced gravity. You have to drive a Zonai vehicle over lava, abysses, laser barriers and several large jumps.
Select vehicle
Jump down to the two waiting vehicles. Take one of the vehicles that is aimed at one of the ramps and activate the control unit.
Accelerate up the ramp and align the vehicle so that you land on the middle platform between the first two jumps.
Driving over the lava
Continue over the next ramp and cross the lava flow. Then stay as far left as possible.
On the right there are several constructs that, among other things, shoot fire and Ice Arrows. You don’t necessarily have to defeat them as long as you drive past them quickly.
laser barriers overcome
In the following section, several laser beams block the way. Stay on your vehicle and drive through as straight as possible. The vehicle partially protects you from the rays and prevents you from falling into the depths.
Also pay attention to the constructs that shoot you with electric arrows. Continue to stay left and head towards the area with the crumbling stone walls.
Find massive Zonaite shield
Drive the vehicle directly into one of the crumbling walls. The stones shatter from the impact, revealing a hidden Treasure Chest.
Get out and open the chest. Inside is a Solid Zonaite Shield.
Overcome the final abyss
then continue driving along the route. At the end you will reach a particularly large jump and another vehicle.
Attach the four ready missiles as straight as possible to the back of the vehicle. Make sure all rockets are pointing in the same direction.
Centers the vehicle on the ramp and activates the control unit. The rockets accelerate you over the last big abyss.
Jump off on the opposite side and follow the path to the altar. There you will receive the Light of Blessing.
Tip: Due to the low gravity, your vehicle stays in the air for an unusually long time after a jump. Therefore, steer carefully, as strong movements can quickly lead to a crooked landing.
Rasiwak Shrine
Trial: Buoyancy
Reward: Large Wand and a Light of Blessing
Location: At North Akkala Beach
Coordinates: approximately 4664, 3263, 0002
Find Rasiwak Shrine
The Rasiwak Shrine is located on the beach in the extreme northeast of Akkala. It is located south of Lomei Labyrinth Island and below the high cliffs at Akkala Ancient Tech Lab.
Travel to Jochi-iu Shrine or Akkala Ancient Tech Lab and follow the coast northeast. Alternatively, you can let the Ulri Mountain Skyview Tower launch you into the air and glide down to the beach.
Solve Rasiwak Shrine
In the “buoyancy” test you use large yellow floats. They float to the surface of the water and can push up boards, platforms and self-made vehicles.
Cross first water basin
In the first room, a stone slab hangs on a rope over the water. Cut the rope with an arrow so that the plate falls into the pool.
Take the yellow float and attach it to the plate. The buoyancy of the floating body keeps the structure on the surface.
Jump onto the floating platform and use it as a bridge or raft to reach the raised level on the other side.
Lift hinge plate
In the second section, a large plate is connected to the floor via a hinge. Pull the plate with the Ultrahand down towards you.
Get the yellow float from the previous room and attach it to the bottom of the hinge plate. Then let go of the plate.
The float rises to the surface of the water and pushes the plate upwards. This creates a steep ramp that you can walk over to the next platform.
Alternative: You can first move the plate up with the Ultrahand and then use the Recall on it. However, the solution with the floating body corresponds to the actual theme of the shrine.
Find Large Wand
In the last room on the left there is a Treasure Chest hanging on a rope. Shoot the rope with an arrow.
The chest falls down and can be pulled out of the water or from the surface below using the Ultrahand. Open it and take the Great Wand.
Build a floating boat
For the last section you have a large stone slab, two yellow floats and a fan at your disposal.
Attaches the two floats to the bottom or opposite sides of the plate. Attach the fan to the back with the airflow facing backwards.
Places the construction in the water, rises and activates the fan. The self-built boat takes you to the opposite side.
Open output
Axyl up the stone slab or the entire vehicle with the Ultrahand and place it on the large Floor Switch. The weight holds the switch down and opens the final gate.
Go to the altar and receive the Light of Blessing.
All shrines in the Akkala Sea at a glance
| Shrine | level | exam | Location | Chest Reward |
|---|---|---|---|---|
| Gemimik Shrine | surface | Firepower | Rist Peninsula | Solid Zonaite shield |
| Gikaku Shrine | Sky | Raurus blessing | Quarry Island | Ruby |
| Igashuk Shrine | surface | Raurus blessing | Lomei Labyrinth Island | Large Zonai Charge |
| Mogisari Shrine | Sky | cockiness to jump | Lomei Sky Labyrinth | Solid Zonaite shield |
| Rasiwak Shrine | surface | buoyancy | North Akkala Beach | Large Wand |
More shrines in Akkala
If you have completed all five shrines in Akkala Sea, you can continue your search in the adjacent areas: