

On this page we give you an overview of all shrines in The Legend of Zelda: Tears of the Kingdom, which are located in the Akkala Highlands and the associated airspace.
- Domizuin Shrine
- Gatanisis Shrine
- Jochi-ihiga Shrine – Stone for sale
- Natak Shrine – Shrine in Sokkala Sky Archipelago
- Rasitakiwak Shrine
- Sinatanika Shrine
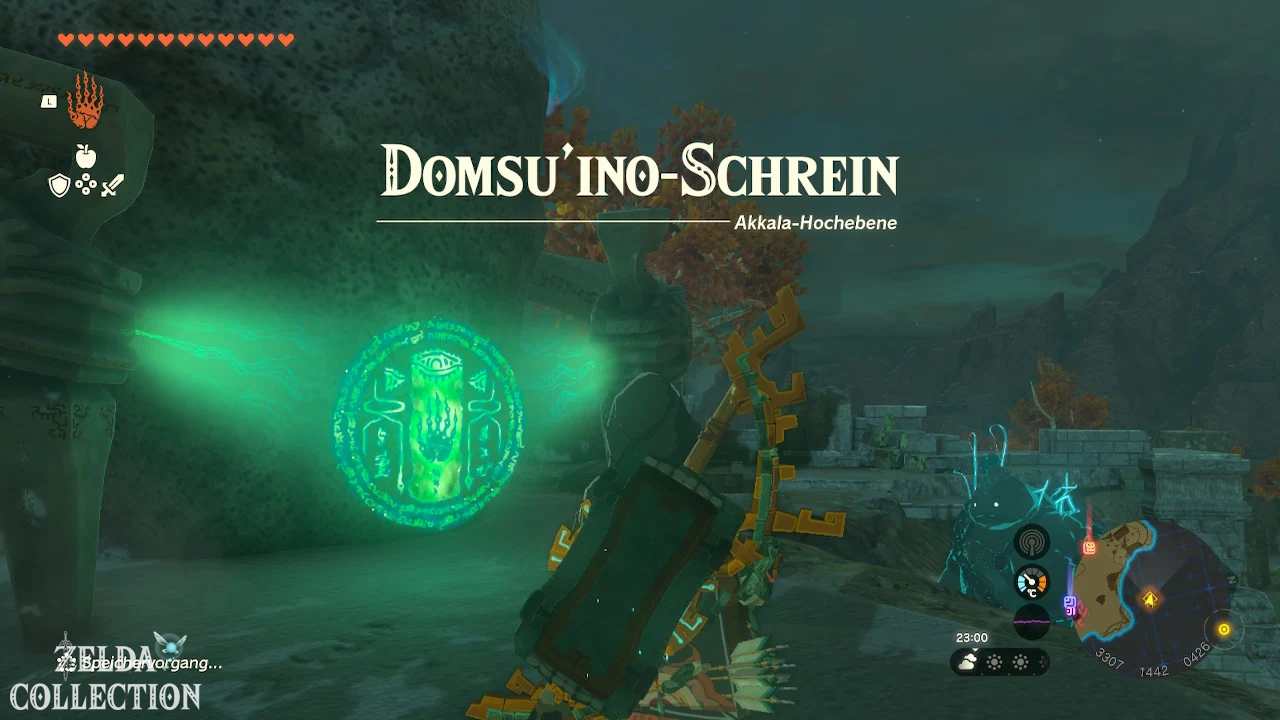
Domizuin Shrine
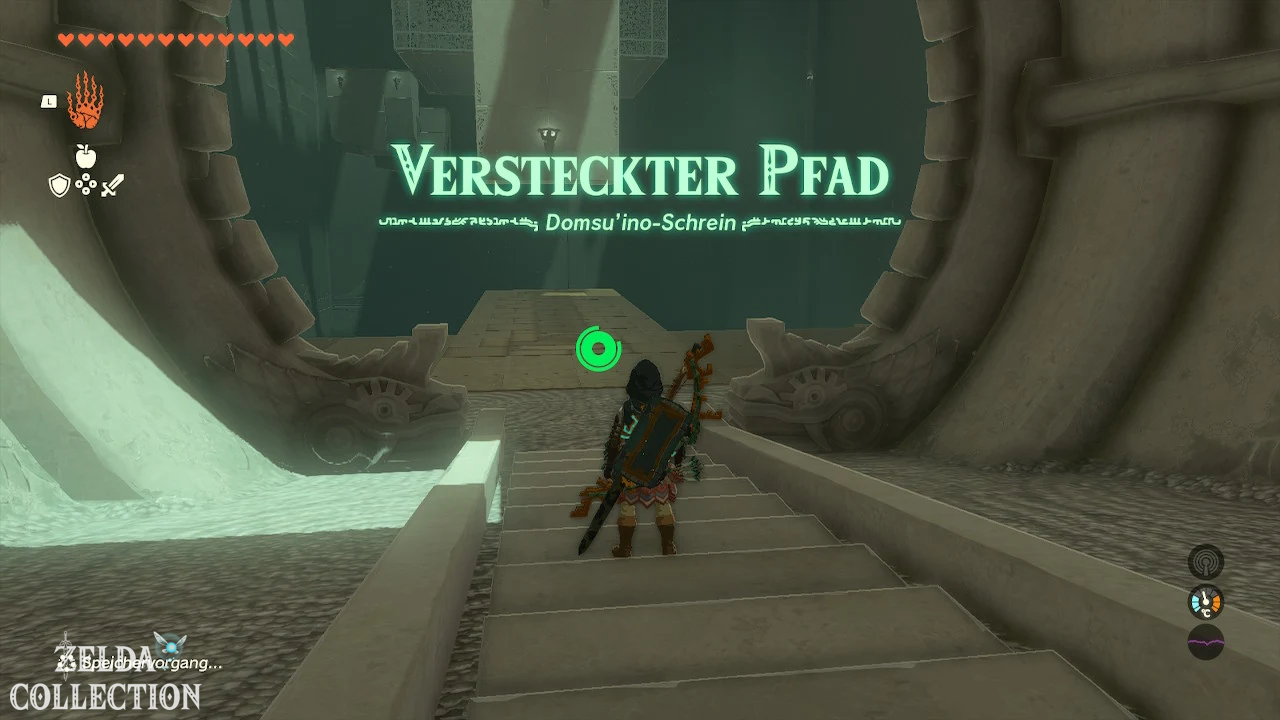
Trial: Hidden Path
Rewards: Zonai Charge, 10 Wooden Arrows, Sturdy Zonaite Shield and a Light of Blessing
Location: Akkala Citadel Ruins
Coordinates: approximately 3305, 1443, 0426
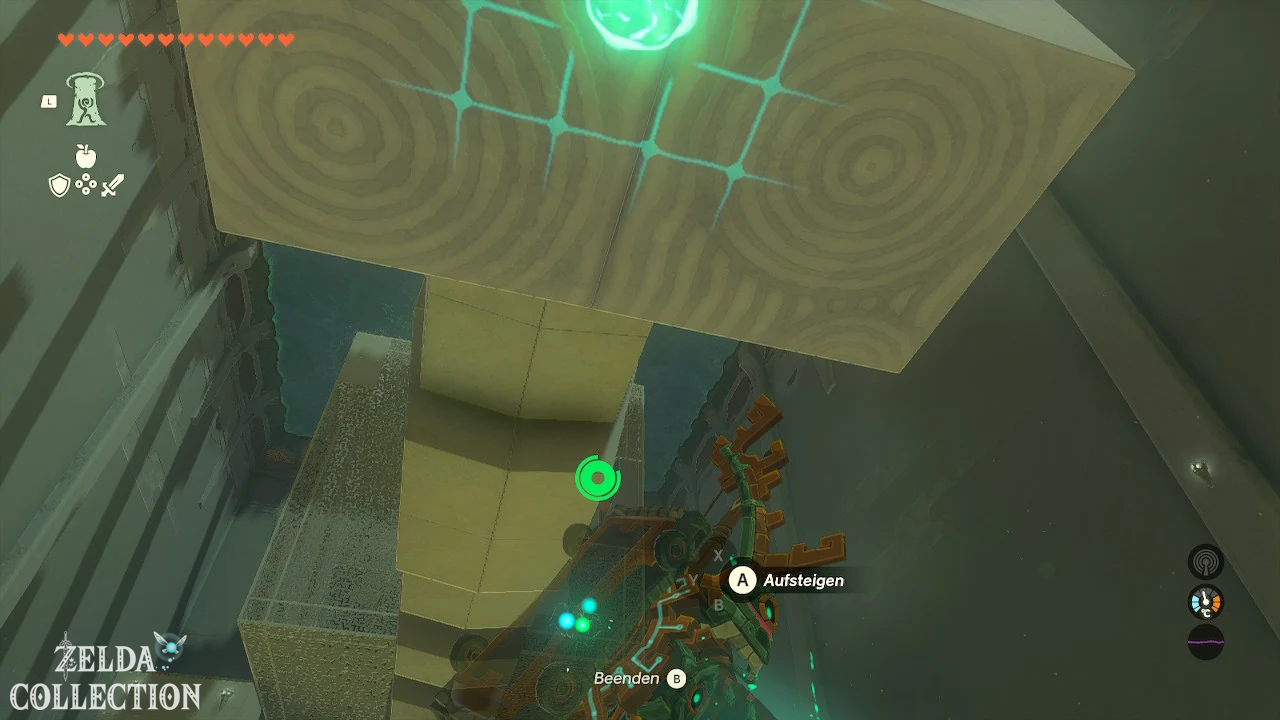
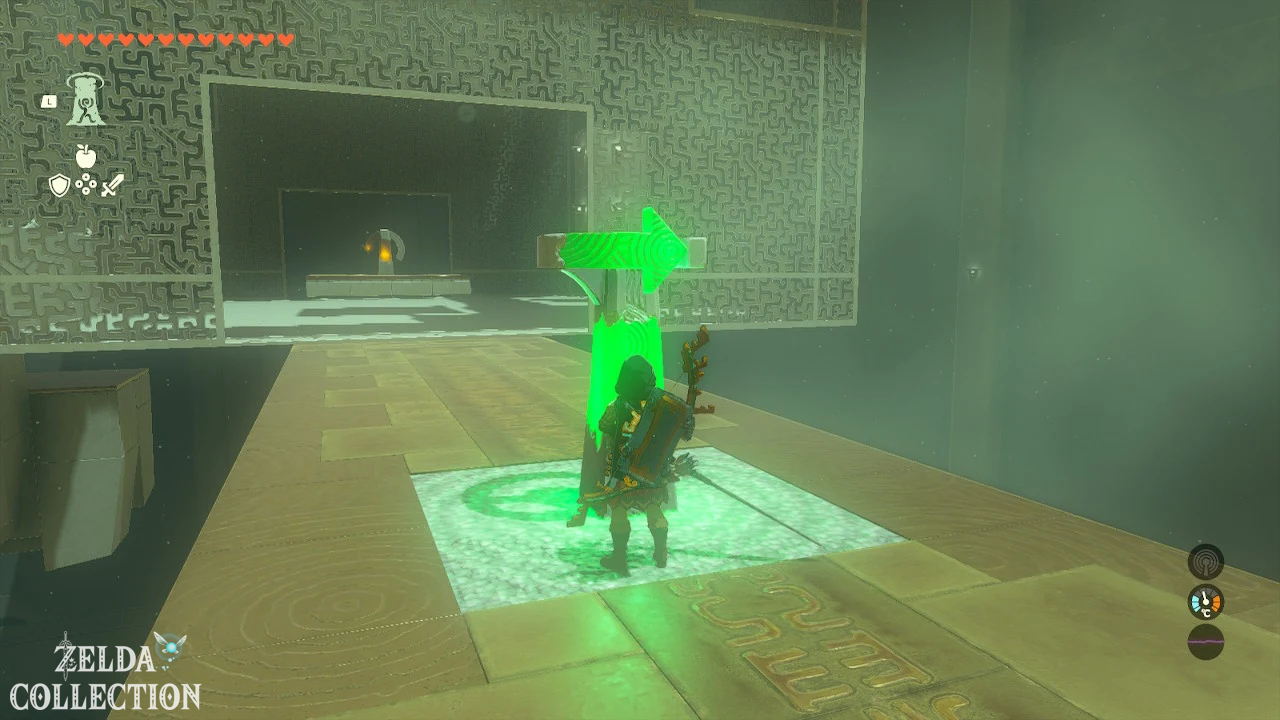
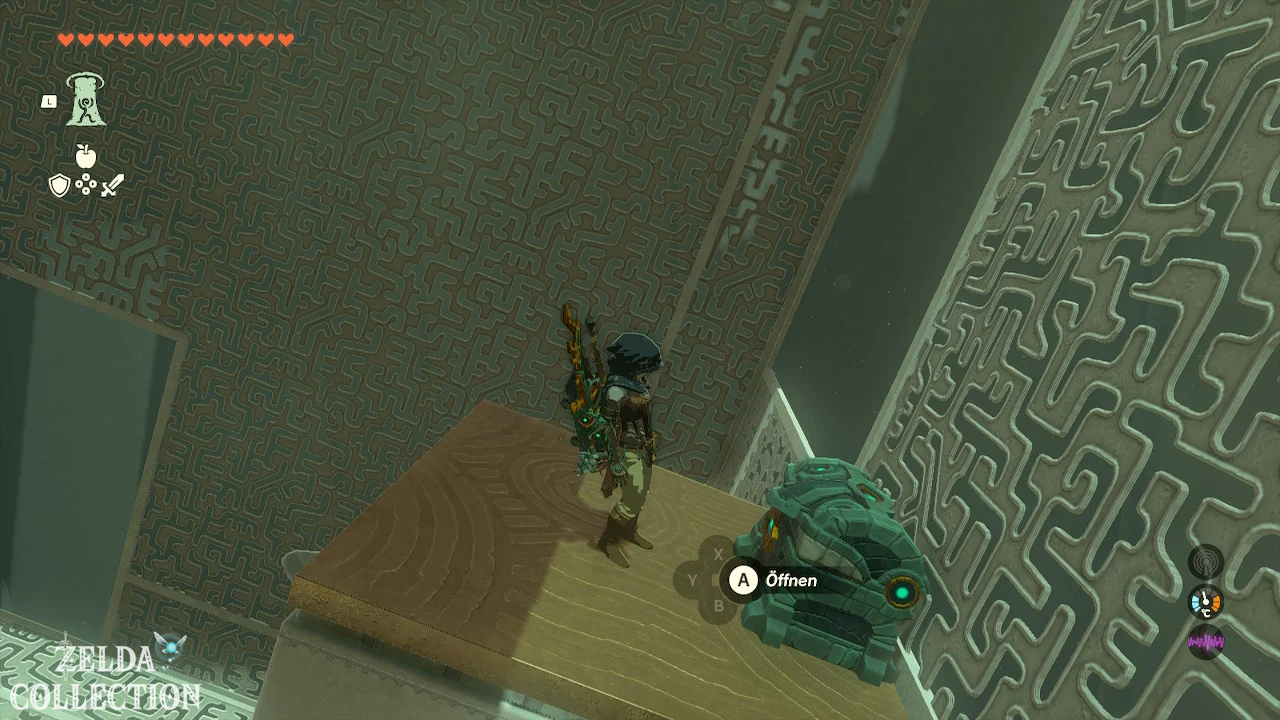
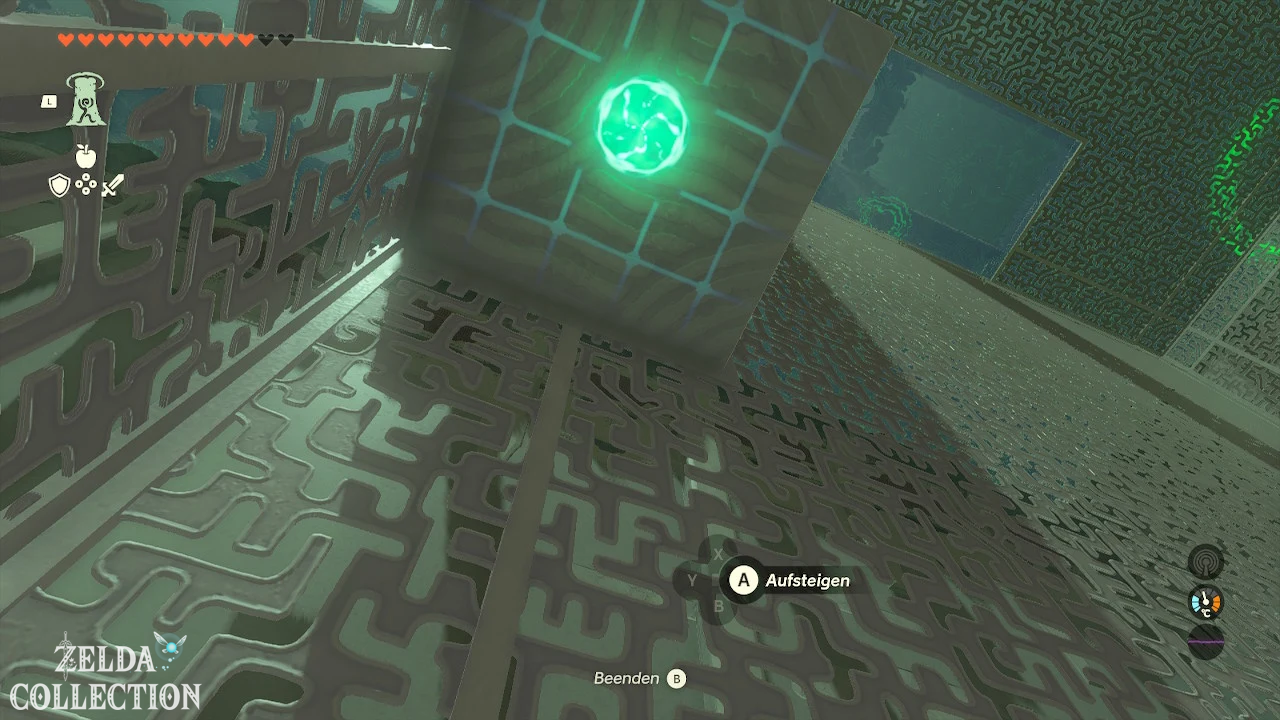
After entering, use the Ascend to get onto the rotating cube. The outer Crystal Switch rotates the entire cube; the switch inside changes its orientation again.
For the first chest, turn the cube once and enter it. Inside, press the switch again and follow the opened corridor to the Zonai Charge. You can reach another chest with ten wooden arrows via Ascend from the underside of a platform.
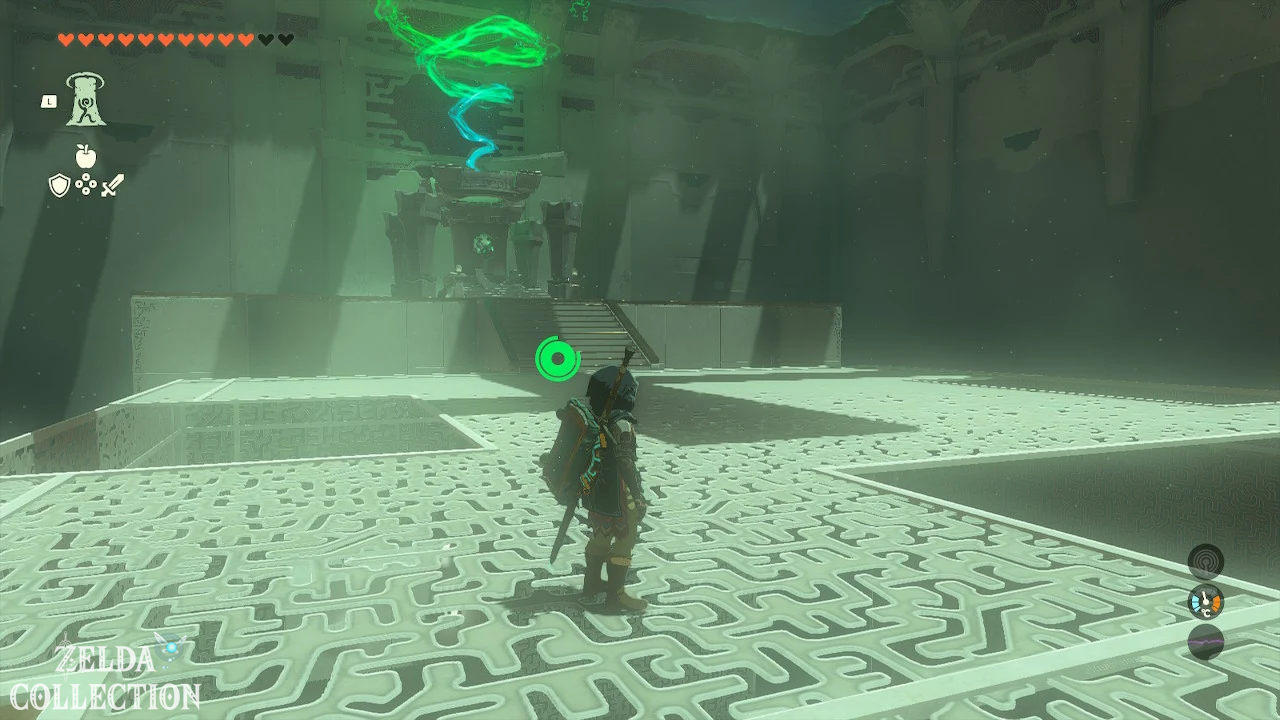
For the Stable Zonaite Shield, you must rotate the cube so that the chest is above an accessible interior surface. Stand underneath and use the Ascend. Finally, align the cube so that you can get to its roof and from there to the altar.
Gatanisis Shrine
Trial: Back and forth
Reward: 5 bomb flowers and a Light of Blessing
Location: Cliffs between Ulri Bay and Knuckles Island
Coordinates: approximately 4497, 0830, 0095
In the shrine, a ball periodically falls onto a springy platform. Wait until the ball reaches about the middle of the platform and activate the Recall on the platform. She moves back up and throws the ball at the aiming switch on the ceiling.
Then stand under the aiming device and use the Ascend. On the upper level you will find the chest with five bomb flowers. Then jump into the airstream and glide to the altar.
Jochi-ihiga Shrine
Shrine Task: Sell Stone
Exam: Raurus Blessing
Reward: Diamond and a Light of Blessing
Location: Below the waterfall southeast of Tarrey Town
Coordinates: approximately 3809, 1219, 0090
In Tarrey Town, talk to Hagie, who wants to sell you the green crystal for 100 Rupees. Decline the offer. After Ruli’s interference, the price drops to 50 Rupees.
Transport the crystal across the tracks and lake to the incomplete shrine platform. You can attach it to a cart and build a boat out of wooden panels and fans for the final section.
Place the crystal in the setting. In the resulting shrine, all you have to do is open the chest with the diamond and pick up the Light of Blessing.
Natak Shrine
Shrine Task: Shrine in Sokkala Sky Archipelago
Exam: Raurus Blessing
Reward: Fitness Elixir and a Light of Blessing
Location: Sokkala Sky Archipelago
Coordinates: approximately 3663, 1478, 1157
Reach the cross-shaped shrine island from Ulri Mountain Skyview Tower and examine the incomplete platform. The beam of light points to a large floating ball.
Turn the launcher onto the ball and let yourself be thrown through its opening. Inside, move the small ball control so that the outside opening points towards the shrine island.
Place the green crystal on the Spring and shoot it to the shrine island. Then catapult yourself out and carry the crystal to the platform. The fitness Elixir is waiting in the shrine.
Rasitakiwak Shrine
Trial: Bare Survival – Motorized
Reward: Short Wand and a Light of Blessing
Location: Southwest of Tarrey Town
Coordinates: approximately 4166, 1323, 0229
After entering, your equipment will be removed. Collect stick, thick stick, bow and arrows. Use the small vehicle to reach the center of the arena.
There is a larger vehicle marked Spikes. Gradually attach Flame Emitter, stun guns, Frost Emitter or cannons to it. Drive through the arena and roll over the constructs as the Zonai weapons automatically attack.
Defeat remaining enemies with the captured weapons. After the last construct, you will receive your equipment back and can take the Short Wand from the chest.
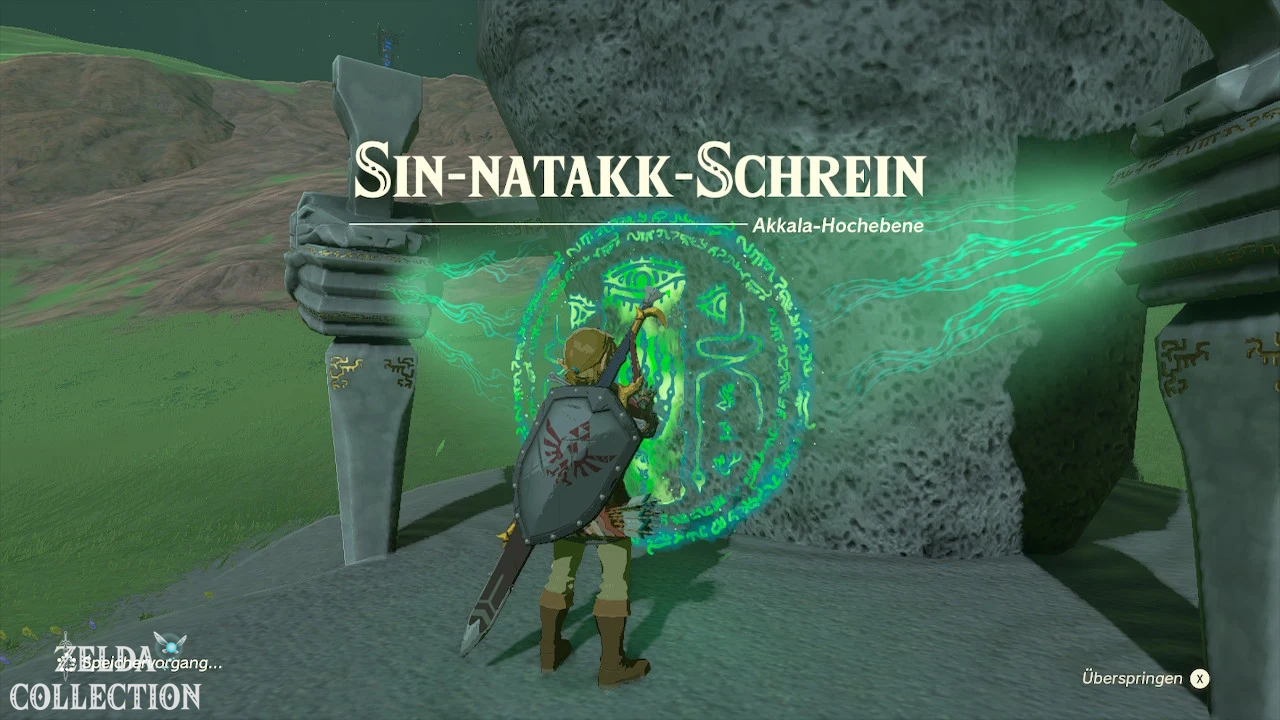
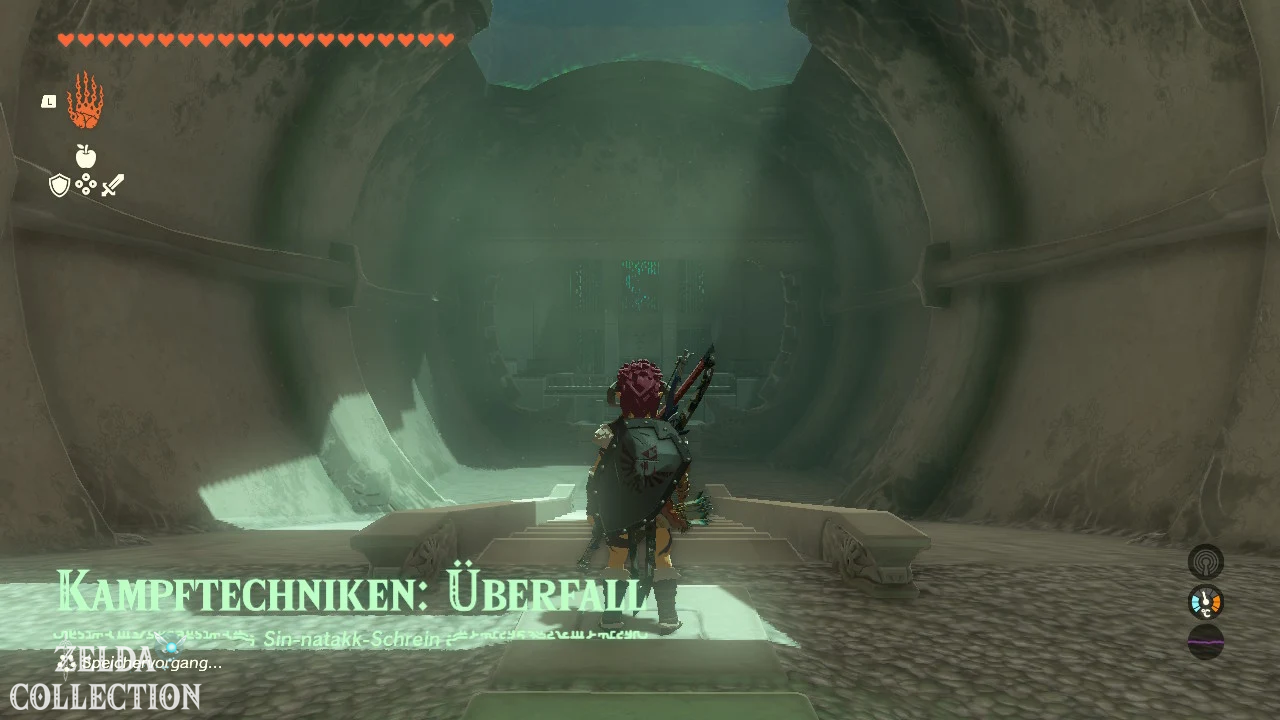
Sinatanika Shrine
Trial: Combat Techniques – Raid
Reward: Stealth Elixir and a Light of Blessing
Location: East Akkala Plains
Coordinates: approximately 3842, 2300, 0048
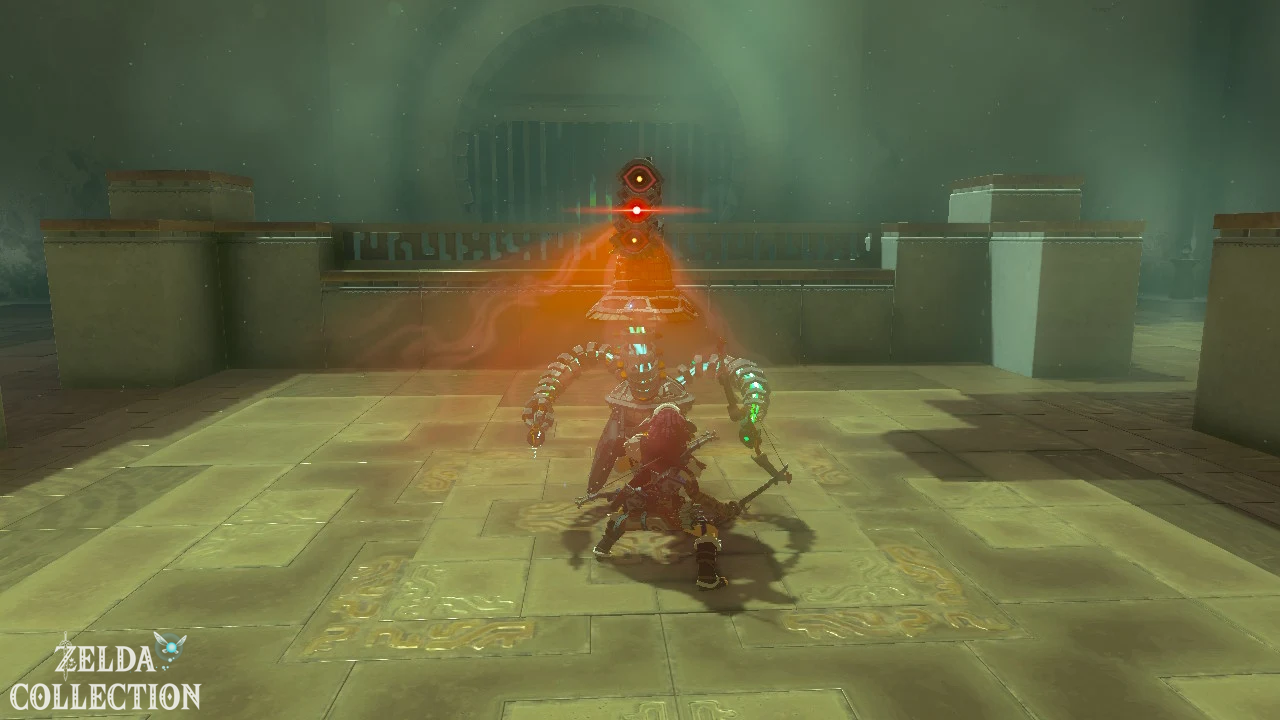
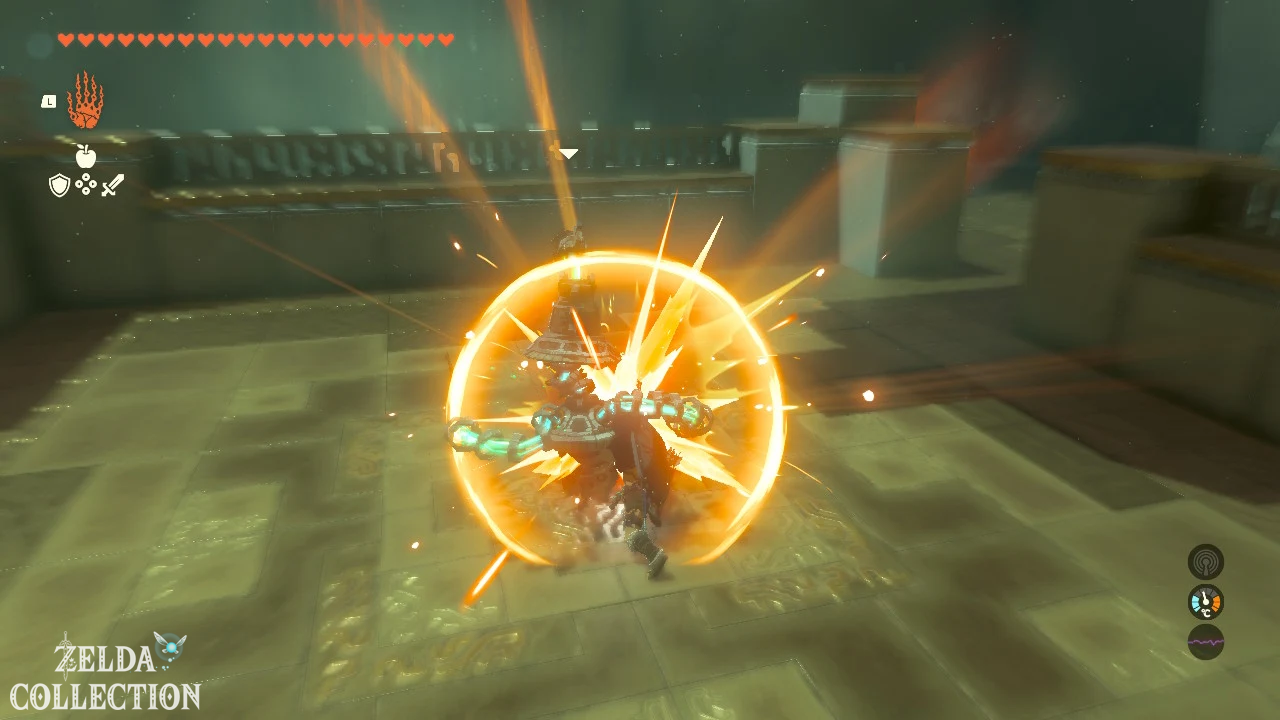
Crouch and sneak up on the first construct from behind. As soon as the screen appears, use the attack button to perform a sneak attack.
In the second section, the construct patrols the arena. Stay behind the walls, watch its route and only approach when its back is turned. If it spots you, the section begins again.
After the second successful sneak attack, the gate opens. There is a Schleich Elixir in the chest.
All shrines in the Akkala Highlands at a glance
| Shrine | exam | Reward |
|---|---|---|
| Domizuin | Hidden path | Three Treasure Chests |
| Gatanisis | Back and forth | 5 bomb flowers |
| Jochi-ihiga | Raurus blessing | Diamond |
| Natak | Raurus blessing | Fitness Elixir |
| Rasitakiwak | Naked Survival – Motorized | Short wand |
| Sinatanika | Combat Techniques – Raid | Schleich-Elixir |