

On this page we give you an overview of all shrines in the Tabantha Frontier and the associated airspace. Two shrines are located on distant sky islands, and several more are hidden in caves or craters.
- Ga-ahisas Shrine
- Ganos Shrine
- Gatakis Shrine
- Gasas Shrine
- Ikatak Shrine
- Iun-orok Shrine
- Mayausiy Shrine
- Nouda Shrine
- Oromuwak Shrine
- Turakawak Shrine
Ga-ahisas Shrine
Trial: Raurus Blessing
Reward: Star Fragment and a Light of Blessing
Location: Island of light in the sky west of the Tabanta Borderland
Coordinates: approximately -3596, 0962, 1699
Reach the Island of Light from Lindor’s Brow Skyview Tower or via the surrounding Sky Islands. Activate the green terminal to drain the water and reveal a strong beam of light.
Destroy the rocks at the illuminated cave entrance. Align the mirrors one after the other so that the beam of light is directed deeper and deeper into the island. Defeat the construct, reflect the light onto the orange target switch and follow the spiral staircase down.
The shrine is in a side cave. Inside you get the Star Fragment and the Light of Blessing.
Ganos Shrine
Shrine task: Shrine in the archipelago of Tabantha
Exam: Raurus Blessing
Reward: Diamond and a Light of Blessing
Coordinates: approximately -3367, 0468, 1695
Examine the incomplete shrine platform. The green crystal is attached to a Flux Construct III on a lower island.
Pull the glowing control cube with the Ultrahand out of the opponent and attack him until the block construct is defeated. Then attach the crystal to the waiting aircraft. Add fans and batteries and fly back to Shrine Island.
Place the crystal in the setting. The shrine contains a diamond and no further testing.
Gatakis Shrine
Trial: Ride the Wind
Reward: Strong Construct Bow and a Light of Blessing
Location: Village of Rito
Coordinates: approximately -3652, 1806, 0168
Jump into the first stream of air and slide through the laser barriers. Then drop through the opening in the rotating Big Wheel and use a weapon to break the thin sheet of ice beneath you.
In the large lower room you float between several platforms with constructs. The Treasure Chest with the Strong Construct Bow is on a side platform.
Then look for the square opening between two walls. Glide through and let the last updraft carry you to the altar.
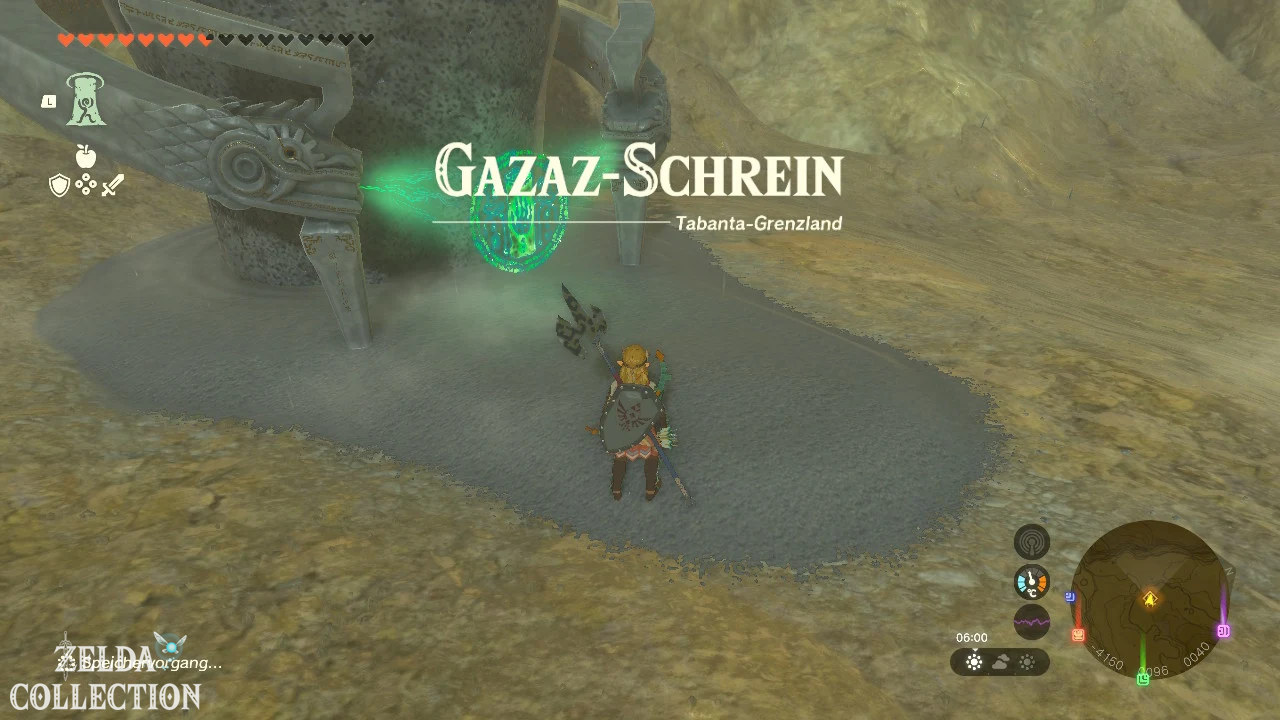
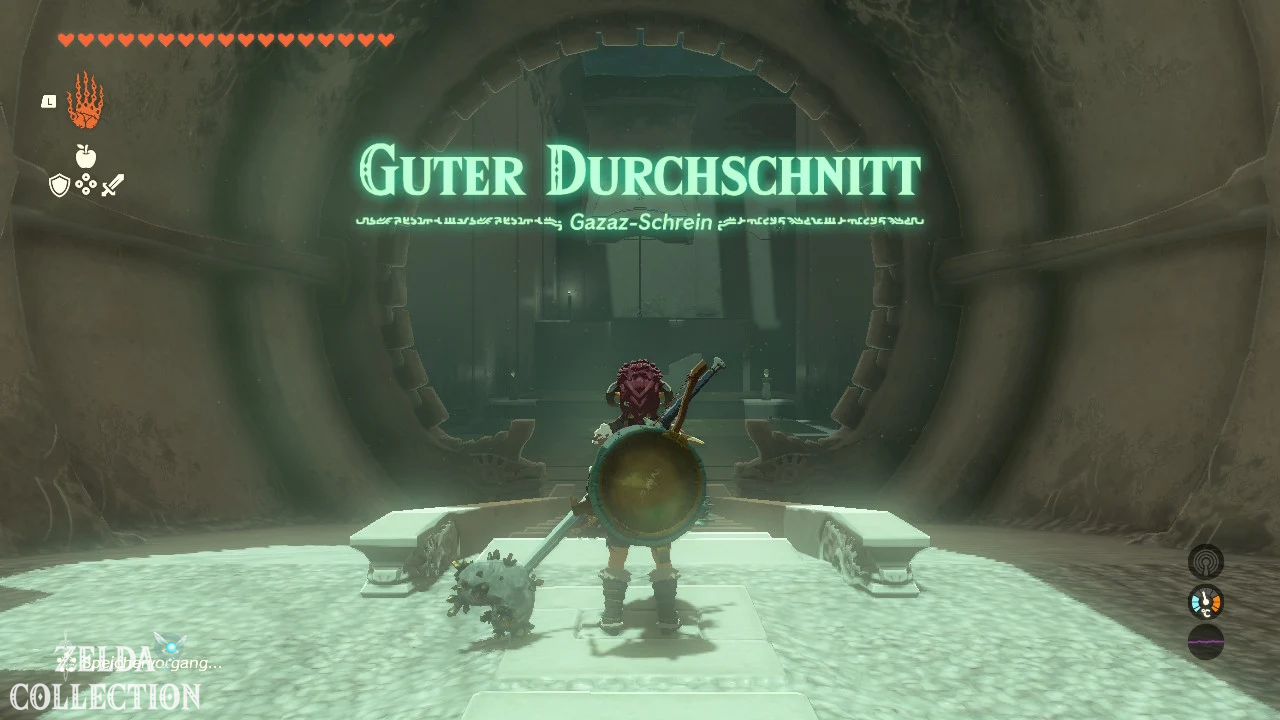
Gasas Shrine
Test: Good average
Reward: Large Zonai Charge and a Light of Blessing
coordinates: approximately -4153, 0098, 0054
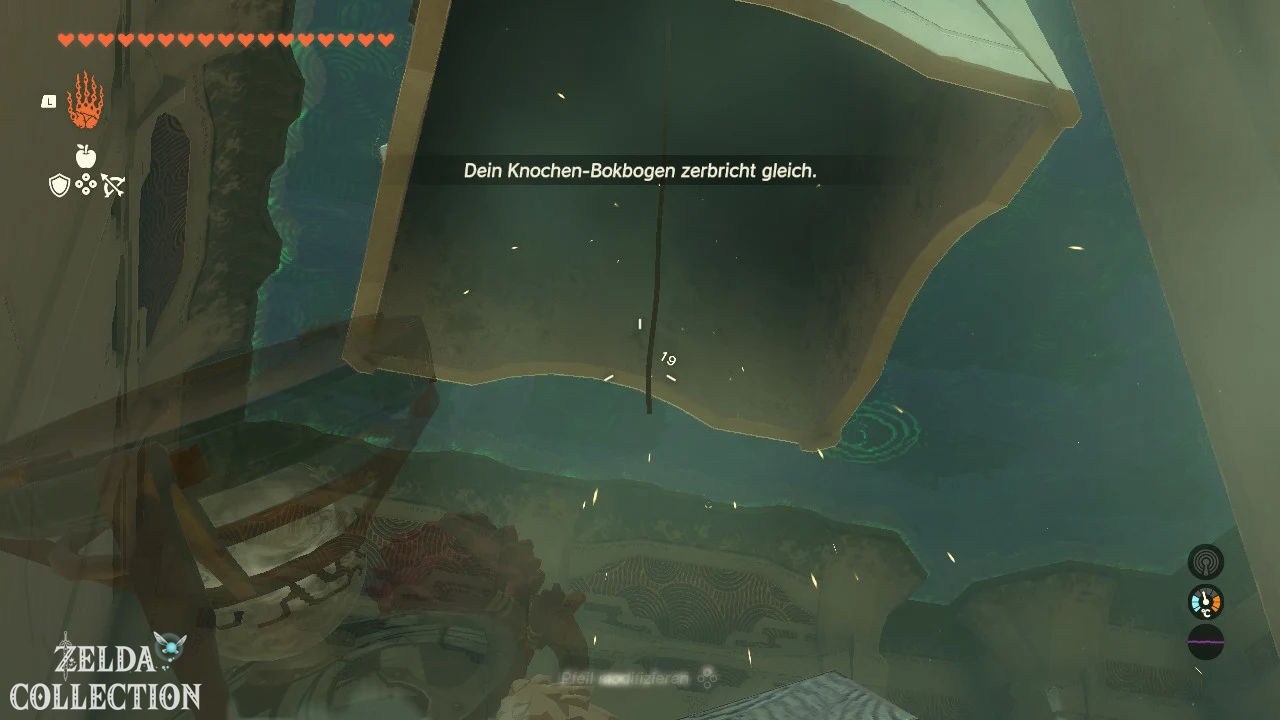
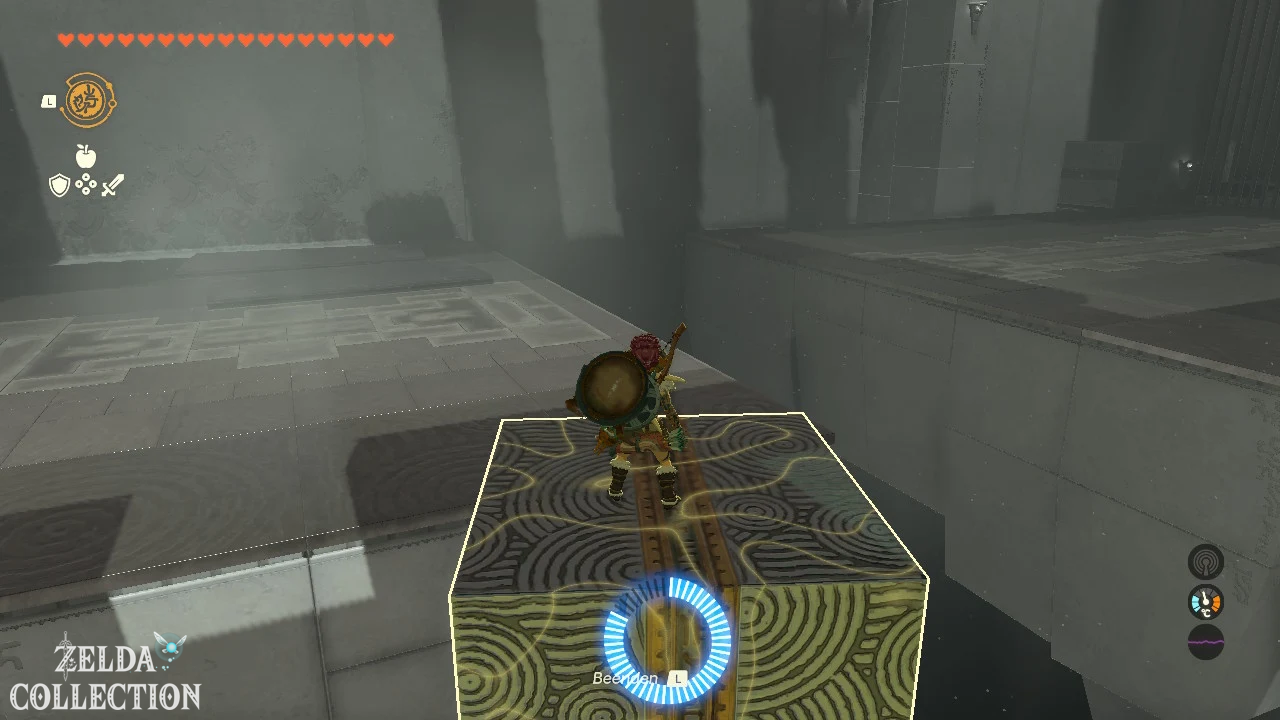
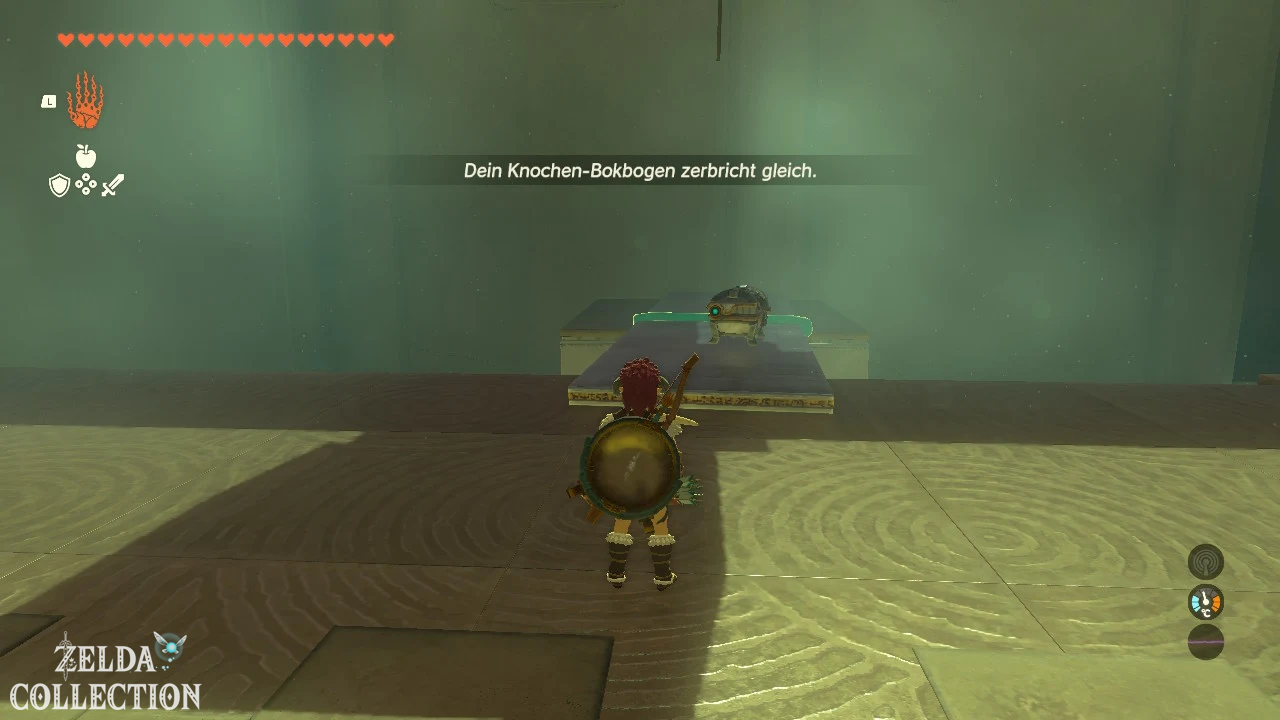
Cut the rope on the first cube and use it as a step. Lift it once under the ledge, put it back and activate the Recall while standing on it.
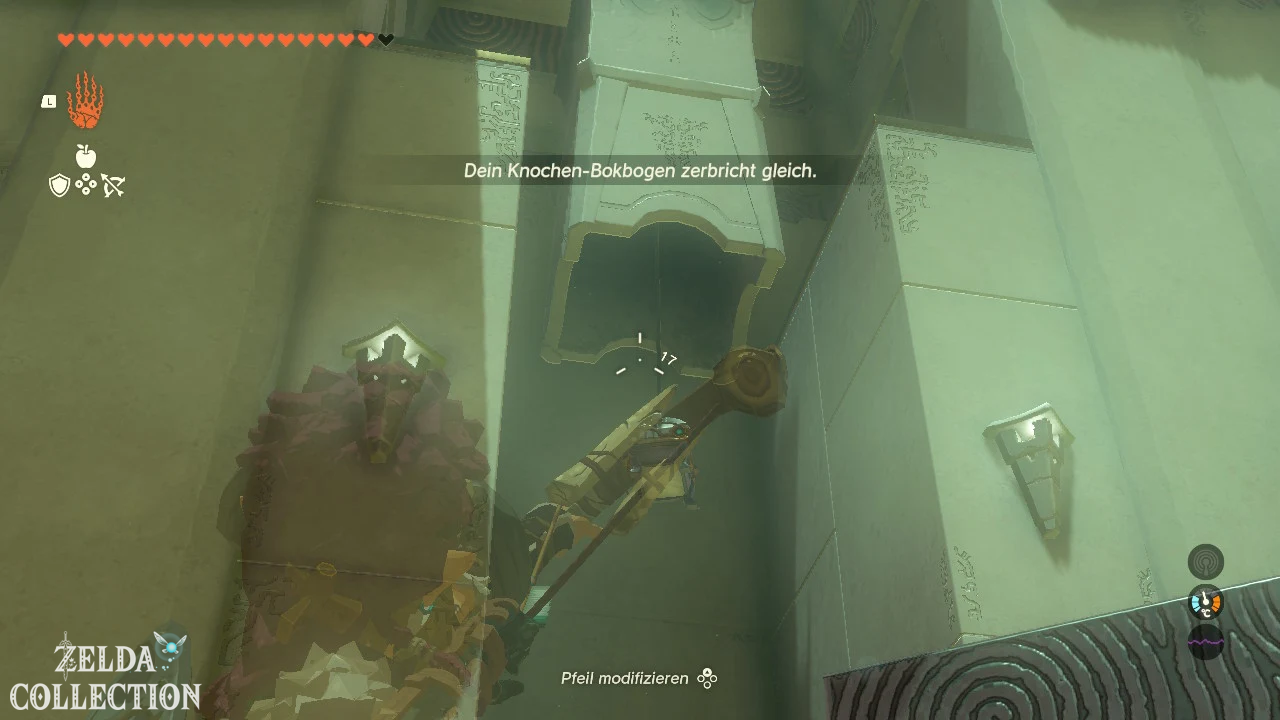
In the next room, connect two metal plates to form a long bridge. For the first hanging chest, first move it up with the Ultrahand, let it swing back and activate the Recall before cutting the rope.
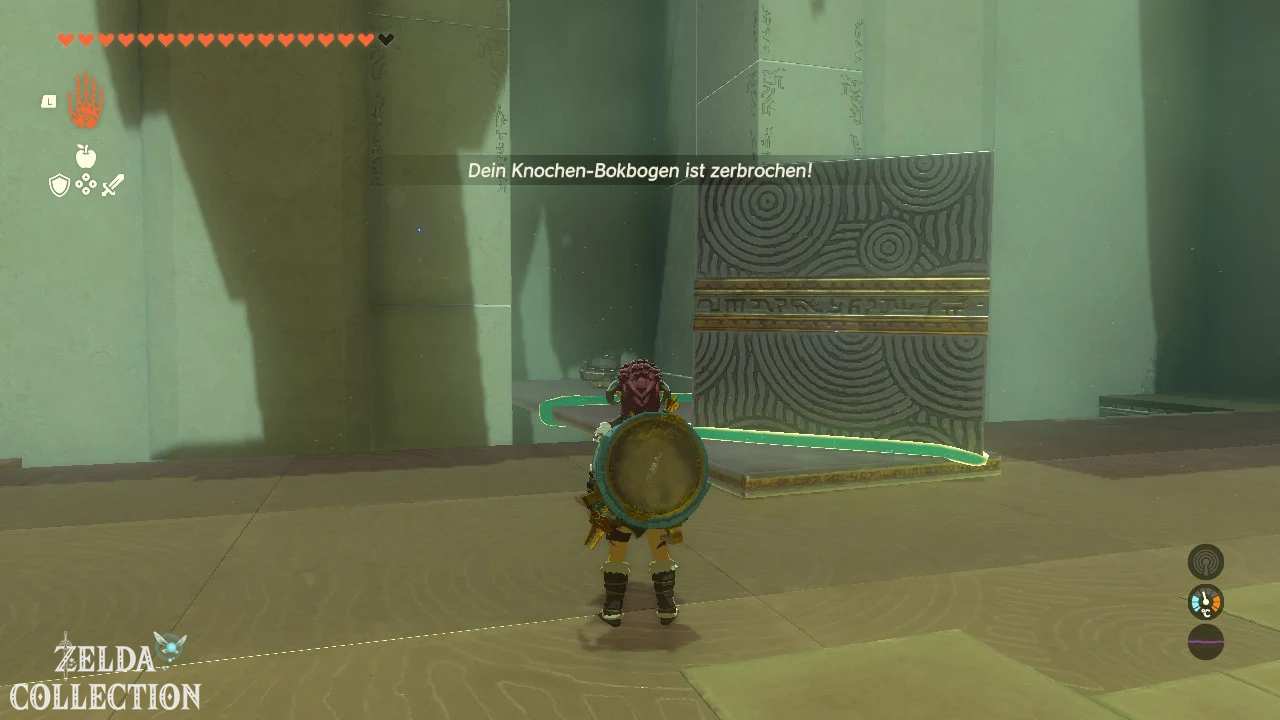
For the Small Key, attach a cube to the end of the metal bridge and place the other side in the wall opening. Cut the rope on the key chest so that it falls onto the bridge. Open the door and place the ball in the hole.
Ikatak Shrine
Shrine Quest: Gissa Crater Shrine
Trial: Raurus Blessing
Reward: Big Battery and a Light of Blessing
Coordinates: approximately -3950, 1138, 0112
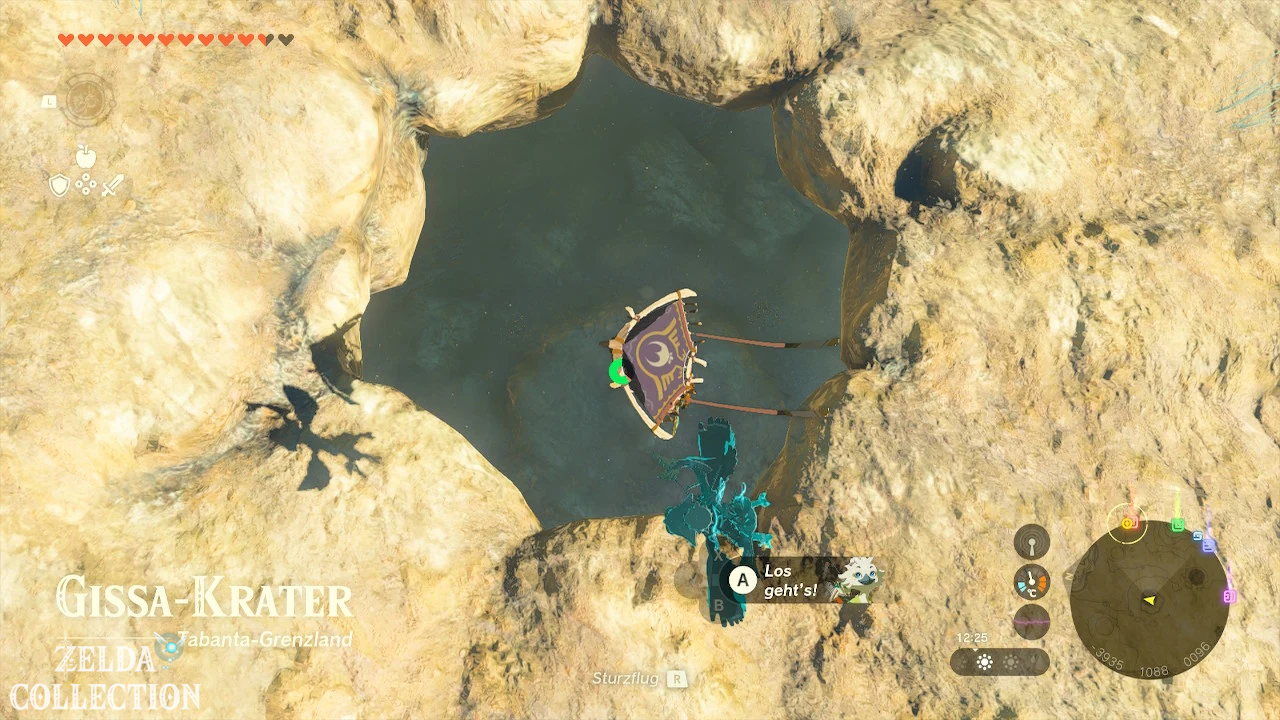
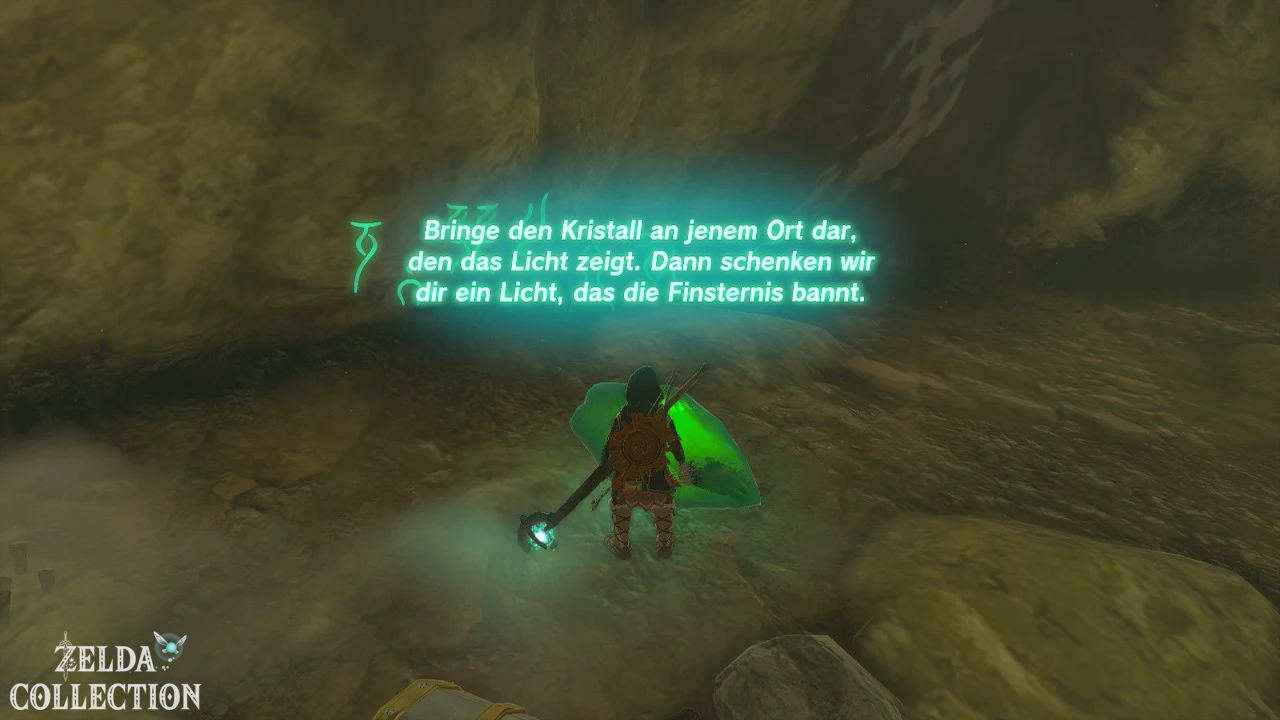
Examine the platform at Gisa Crater and follow the beam of light into the cave. Defeat the Ice Likes at the green crystal.
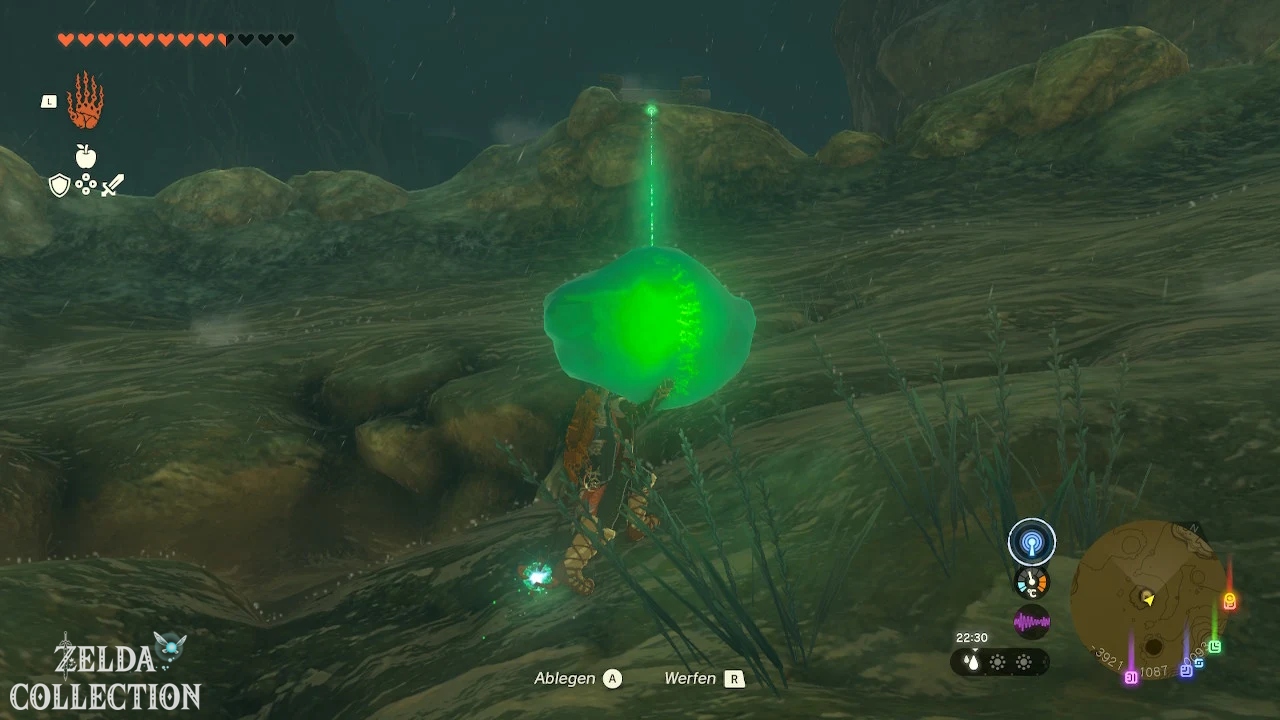
Attach two rockets vertically to the crystal. If necessary, place a chest or plate underneath so the rockets point straight up. Activate it and shoot the crystal through the opening of the crater.
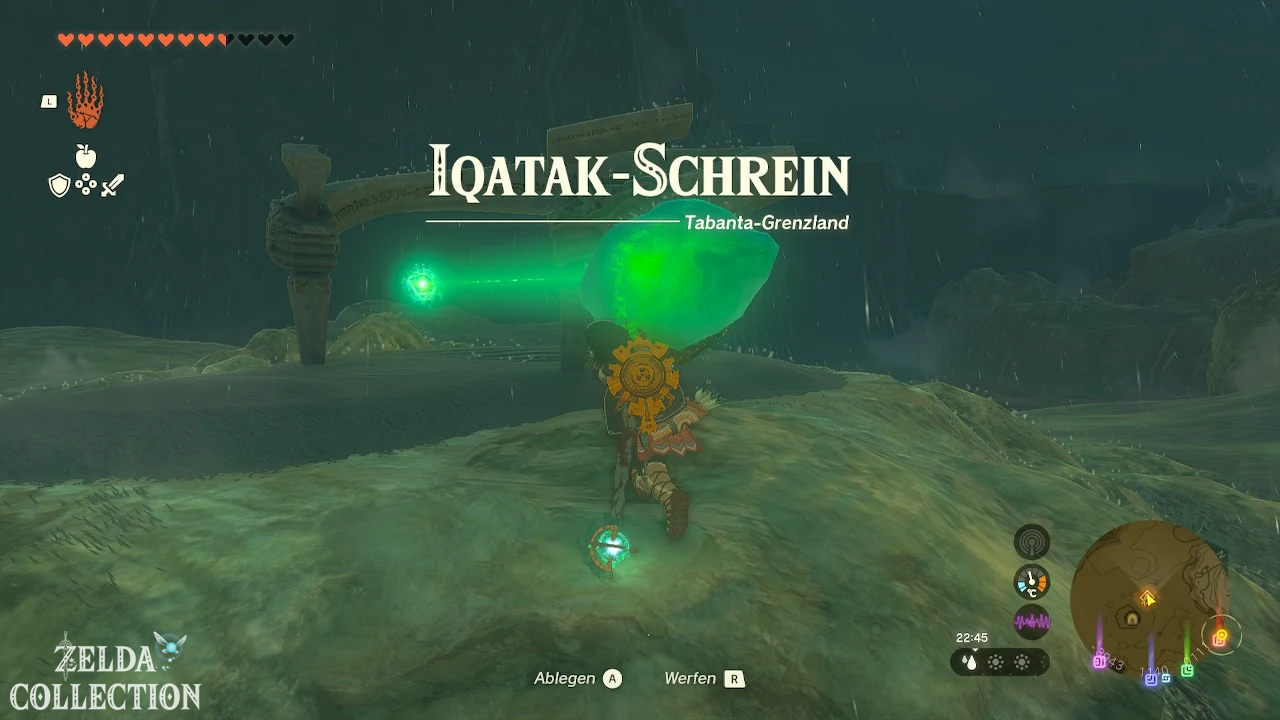
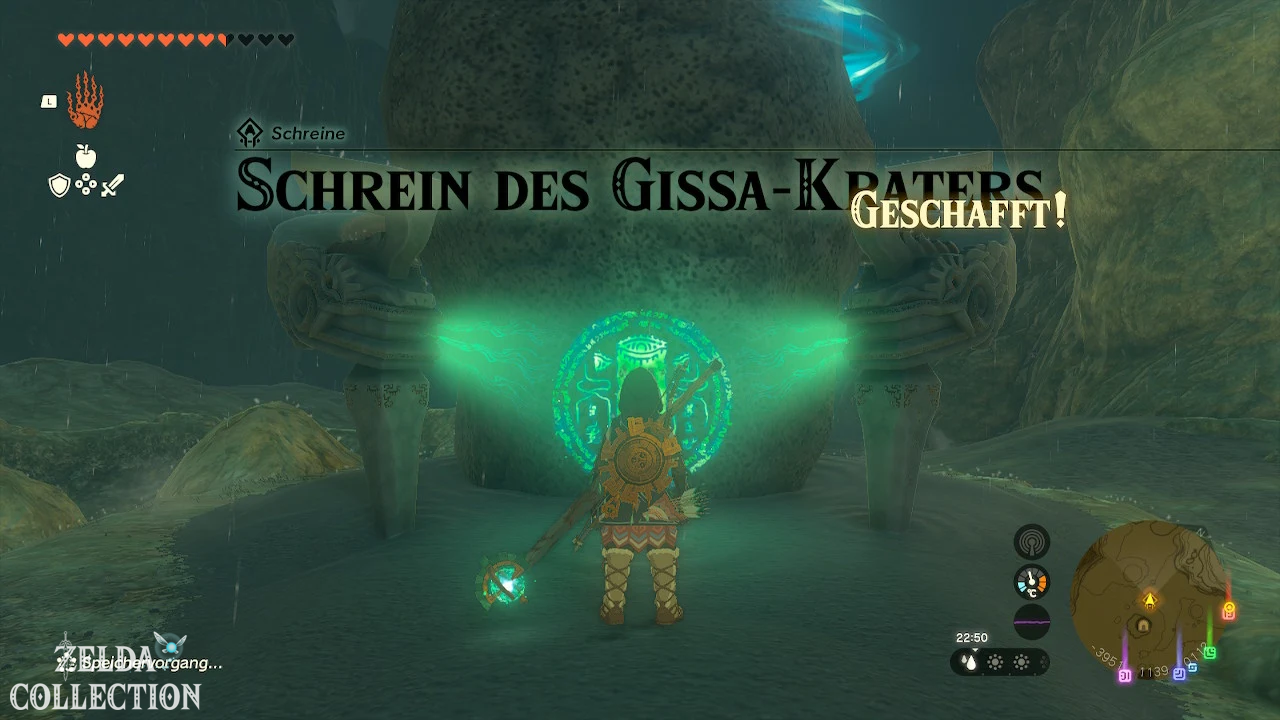
Use the Ascend or climb out of the cave, carry the crystal to the shrine and open the chest there with the Big Battery.
Iun-orok Shrine
Trial: Large or Small
Reward: 10 wooden arrows and a Light of Blessing
Location: Tanagar Gorge West Cave
Coordinates: approximately -3538, 0850, -0133
In the first room, let the single ball roll down the ramp so that it hits the target.
In the second room, connect both balls together and place them on the sharply tapered double rail. The connected structure rolls straight against the switch.
For the chest, attach the small ball to the middle one and hang the construction on the raised chest. Use the Ascend under the ball.
In the last room, connect all three balls into a staggered shape. Let it fall onto the slanted track at a slight angle so that the smallest ball swings when it hits the target on the side.
Mayausiy Shrine
Test: Combination Gift
Reward: Large Zonai Charge and a Light of Blessing
Location: Forgotten Temple
Coordinates: approximately -1169, 2602, -0083
In the first room, assemble the scattered stone shapes into a closed cuboid. The finished form disappears and opens the way.
After fighting the constructs, use the next parts to build a staircase or an elevated body that will take you to Treasure Chest.
In the last room all the pieces have to be connected to form a large cube. Start by rotating the shapes on the ground until their recesses fit together. Once the cube is complete, the gate opens.
Nouda Shrine
Trial: Bare Survival – Beta
Reward: Maxi-Elixir and a Light of Blessing
Location: Kopeeki Drift Cave
Coordinates: approximately -2318, 2201, 0173
At the cave entrance, create several floating ice slabs using Ice Fruit or an ice synthesis weapon and use them to cross the lake.
Your equipment will be removed in the shrine. Collect the weapons at the ready and lure the constructs out of their positions one by one. Use Ice Fruit to freeze enemies and connect their horns to your weapons.
Reach the tower with the Ascend and defeat the archers there. After the last enemy, the chest opens with the Maxi-Elixir.
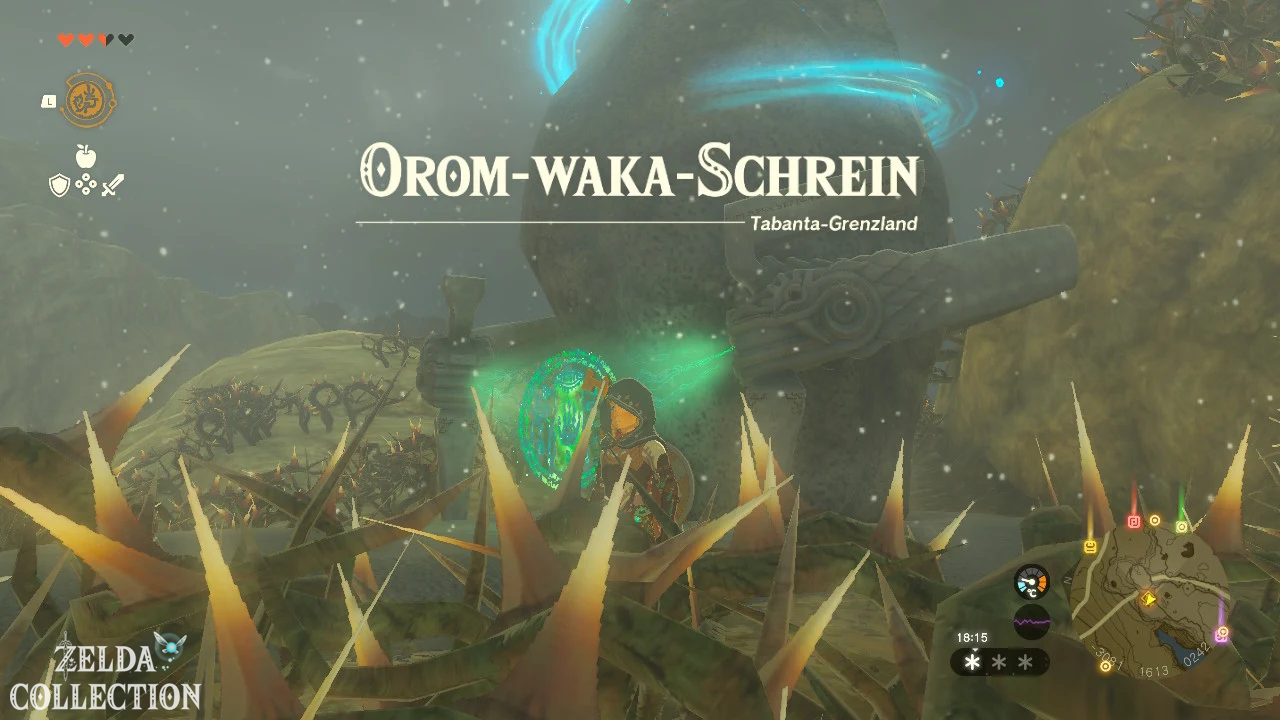
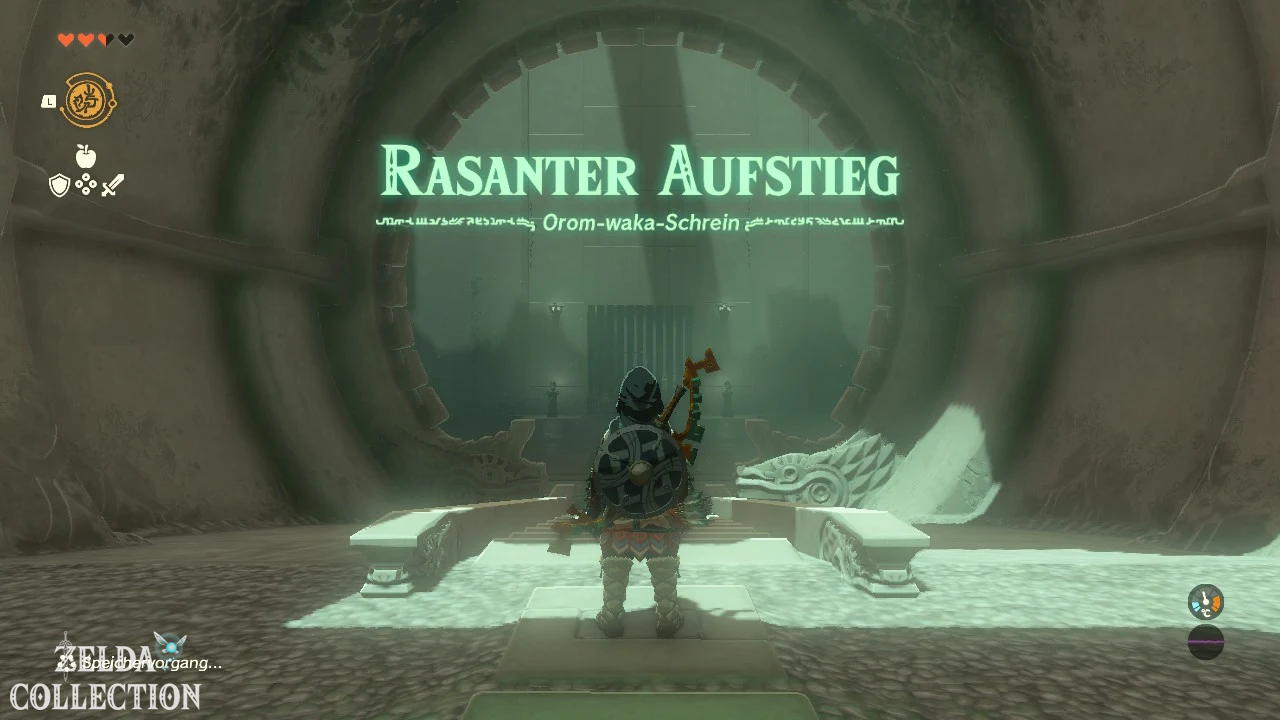
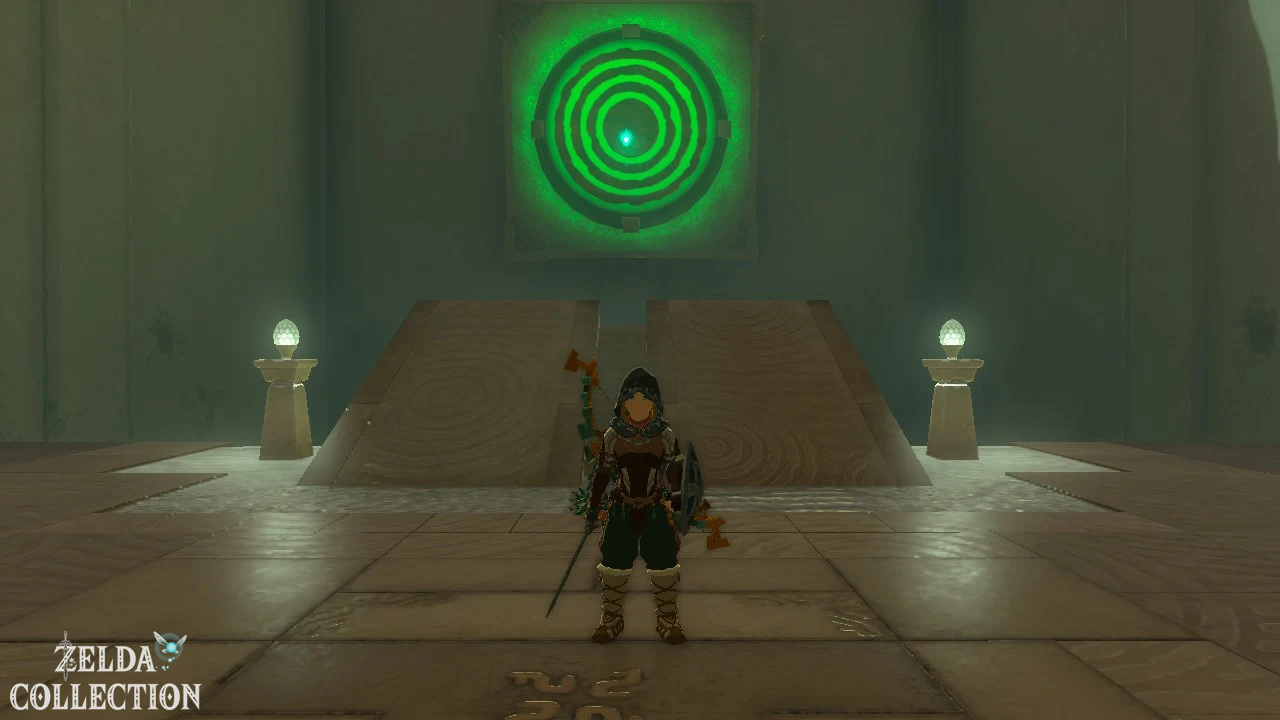
Oromuwak Shrine
Test: Rapid climb
Reward: Rupee and a Light of Blessing
Coordinates: approximately -3079, 1617, 0256
In the first room, place a rocket in the middle gutter and aim it at the target. After activation, the gate opens.
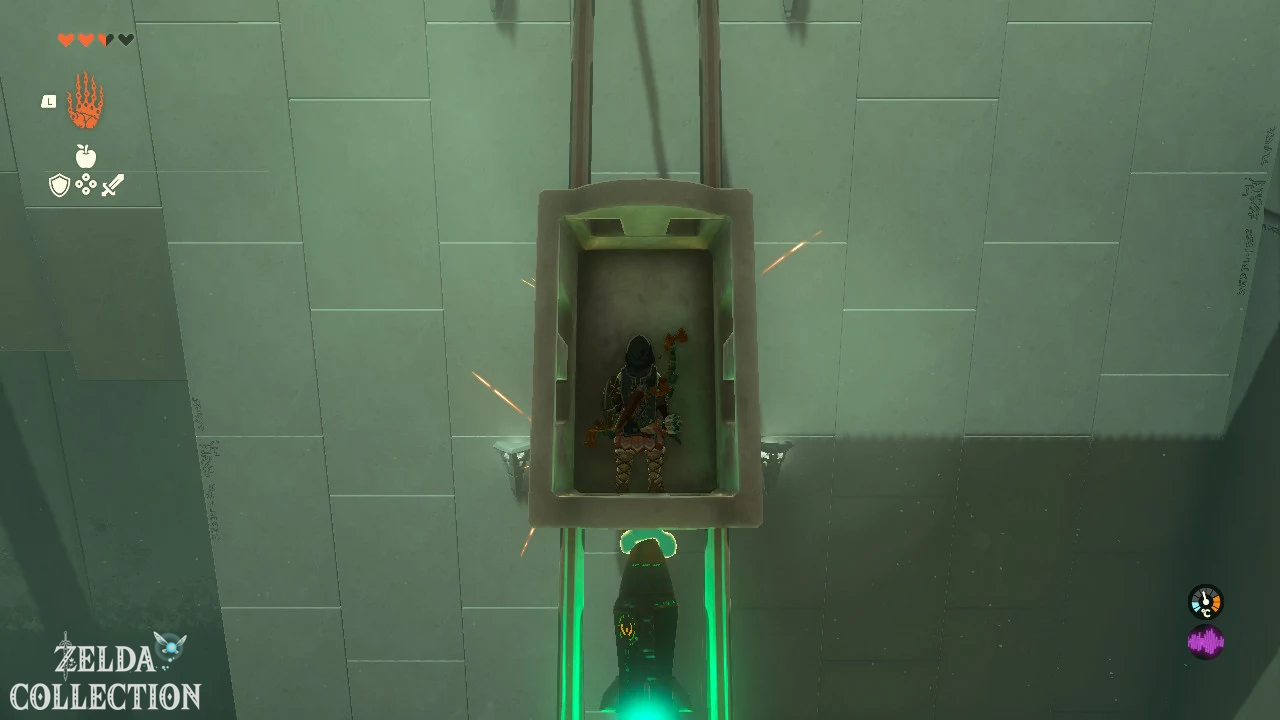
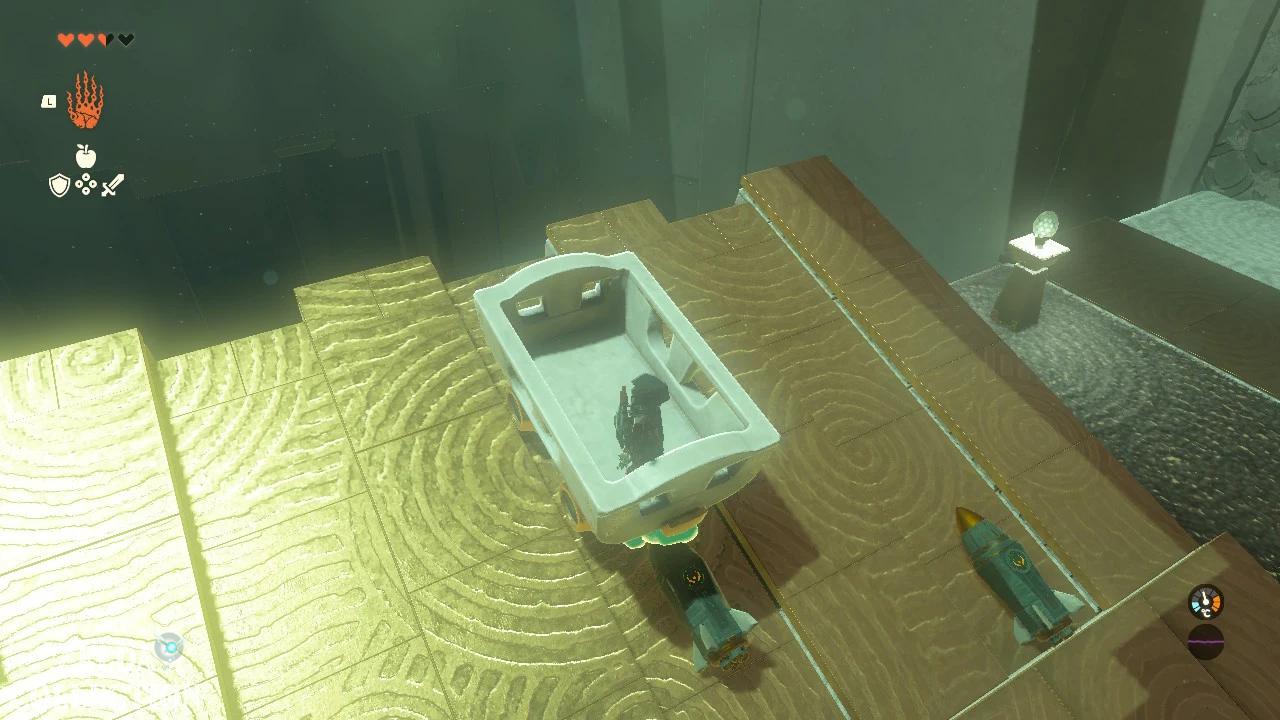
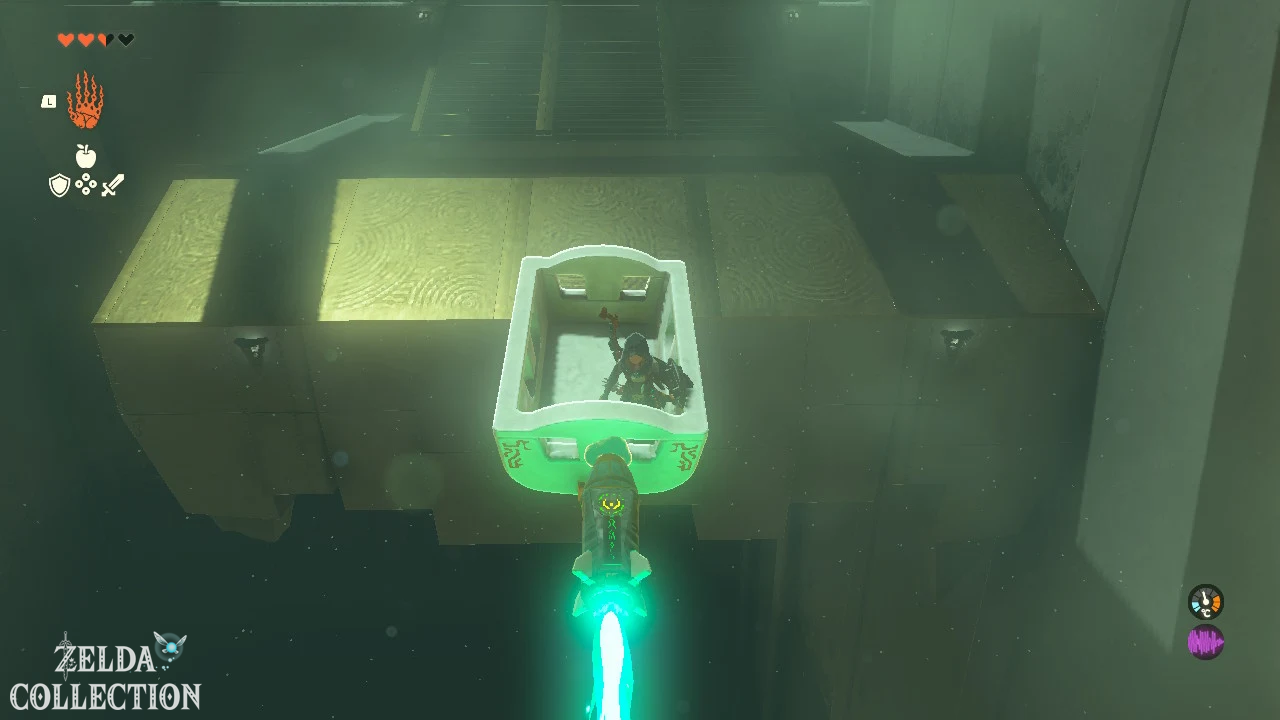
In the second area, attach two rockets to the cart and ride up the steep rail. For the Treasure Chest, place a cart in the right corner, attach a rocket vertically to it and let it shoot you onto the raised platform.
Finally, place a cart on the sloping ramp, attach a rocket to the back and let yourself be catapulted to the altar.
Turakawak Shrine
Test: Launch
Reward: Short wand and a Light of Blessing
Location: Southern shore of Lake Illumeni
Coordinates: approximately -3496, -0197, 0066
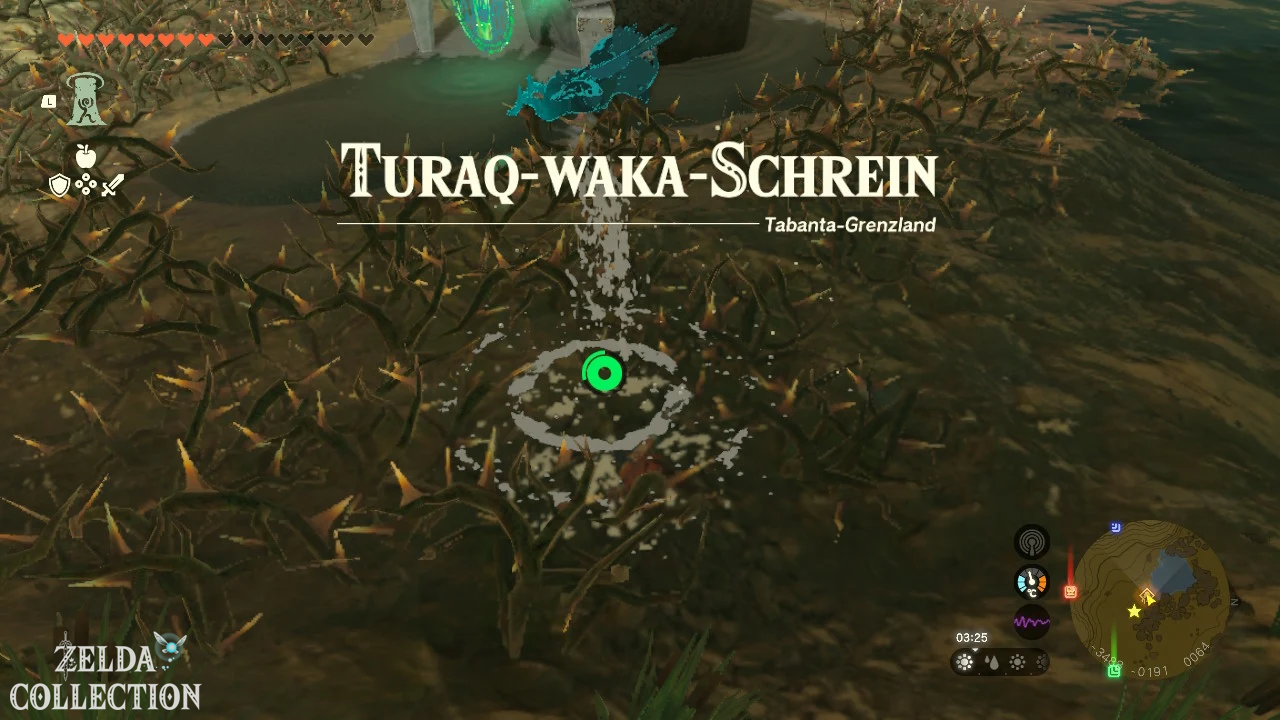
The shrine is surrounded by thorns. Place a wooden board over it or burn the thorns in dry weather.
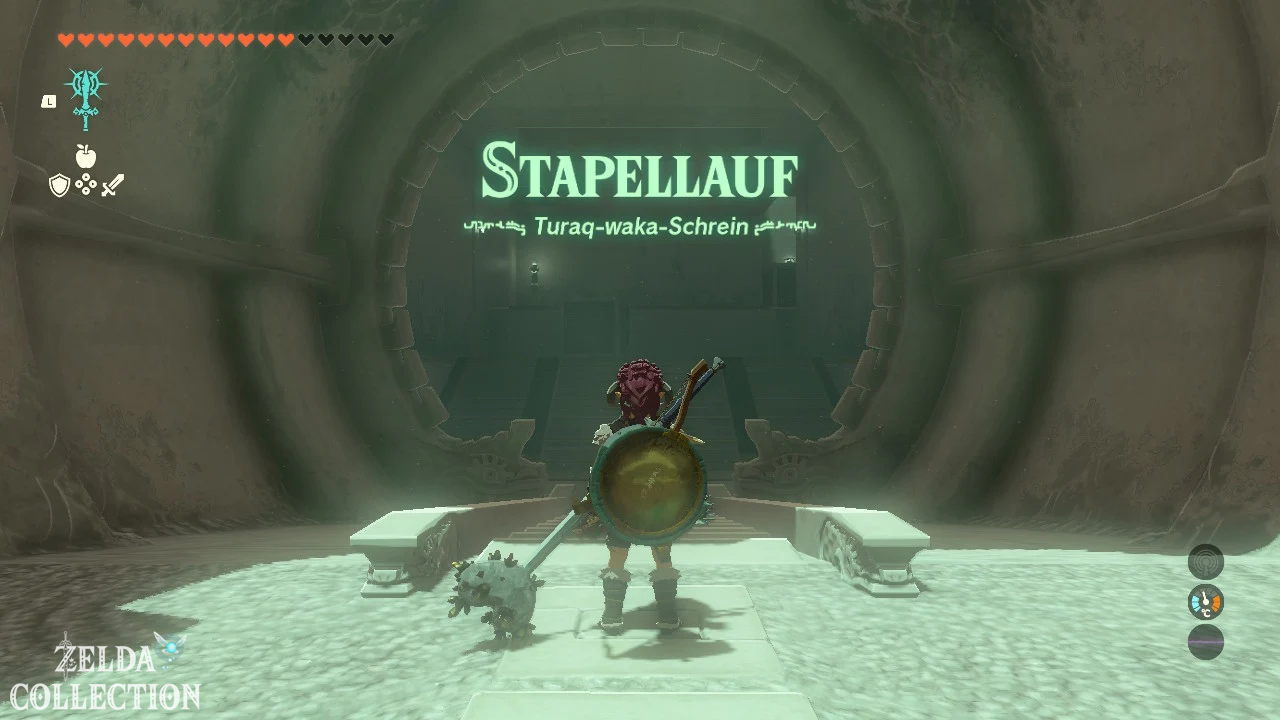
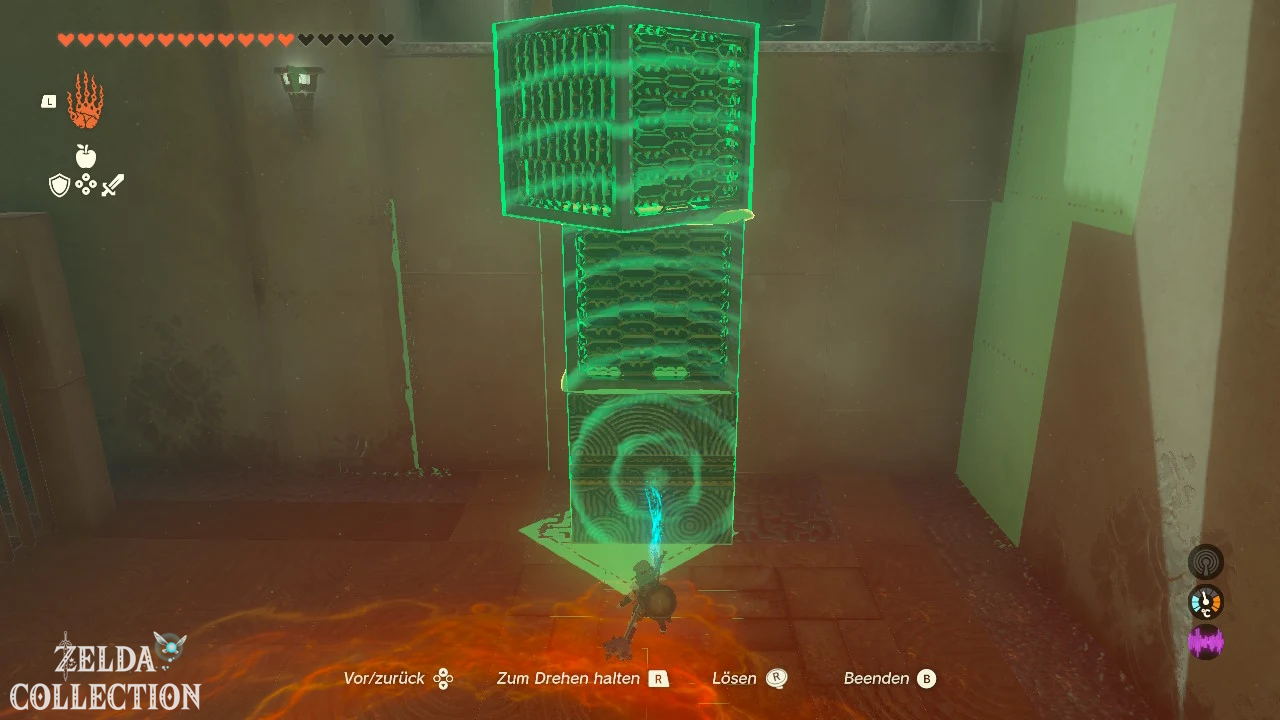
In the first room, place the cube on the edge and climb to the higher level. Then stack both cubes next to the ladder.
For the chest, use the Ascend through the platform above the cage. In the last section, attach the two smaller cubes to the top of the large stone block and push the entire stack to the high edge.
Climb over the cage and cube to the altar.
All shrines in the Tabantha Frontier at a glance
| Shrine | level | Reward |
|---|---|---|
| Ga-ahisas | Sky | Star Fragment |
| Ganos | Sky | Diamond |
| Gatakis | surface | Strong Construct Bow |
| Gasas | surface | Large Zonai Charge |
| Ikatak | Cave | Big Battery |
| Iun-orok | Cave | 10 wooden arrows |
| Mayausiy | Underground | Large Zonai Charge |
| Nouda | Cave | Maxi Elixir |
| Oromuwak | surface | Rupee |
| Turakawak | surface | Short wand |