

In the Gerudo Highlands and in the associated airspace are located according to our classification eleven shrines. For the mountains you need protection from the cold, while on the sky islands you should plan for sufficient stamina and additional Zonai energy.
- Kitawak Shrine
- Mayamats Shrine
- Mayasiar Shrine
- Motsusis Shrine
- Otutsum Shrine
- Rakakudaj Shrine
- Rakashog Shrine
- Rotsumamu Shrine
- Siyamotsus Shrine
- Turakamik Shrine
- Suariwak Shrine
Kitawak Shrine
Exam: Creative Wayfinding
Reward: 10 wooden arrows and a Light of Blessing
coordinates: approximately -1530, -2929, 0334
Attach the first stone slab to the top of the raised bridge. The weight lowers them. Take the plate on the other side again and attach it horizontally to the rotating gear to get to the chest.
In the following section you extend the seesaw with a plate and build a ramp from a second plate. At the end you attach the plate to the catapult device, stand on the end and shoot the switch with an arrow.
Mayamats Shrine
Test: ball path
Reward: Large Zonai Charge and a Light of Blessing
coordinates: approximately -4637, -1514, 0452
Use the updraft on the left and the Ascend to reach the large ball. You can also use it to climb up to the side Treasure Chest.
Place the large ball in the Y-shaped wall opening and use the Ascend under it. On the upper level, a small ball rolls along a track. Hold the large ball underneath so that the two connect.
Bring the connected balls back to the exit, detach the small ball and place it in the floor recess.
Mayasiar Shrine
Exam: Raurus blessing
Reward: Star Shard Staff and a Light of Blessing
Location: Stargaze Island in Gerudo Sky
coordinates: approximately -3485, 0320, 1932
Reach the large celestial sphere using rocket platforms. Inside there is a central device with three beams of light.
Rotate the central platform and align the outer mirrors so that the beam of light travels from mirror to mirror and finally hits the orange aiming switch. A second possible alignment opens a chamber with a will of the sages.
After the correct mirror combination, the shrine will appear. The Star Shard Staff awaits inside.
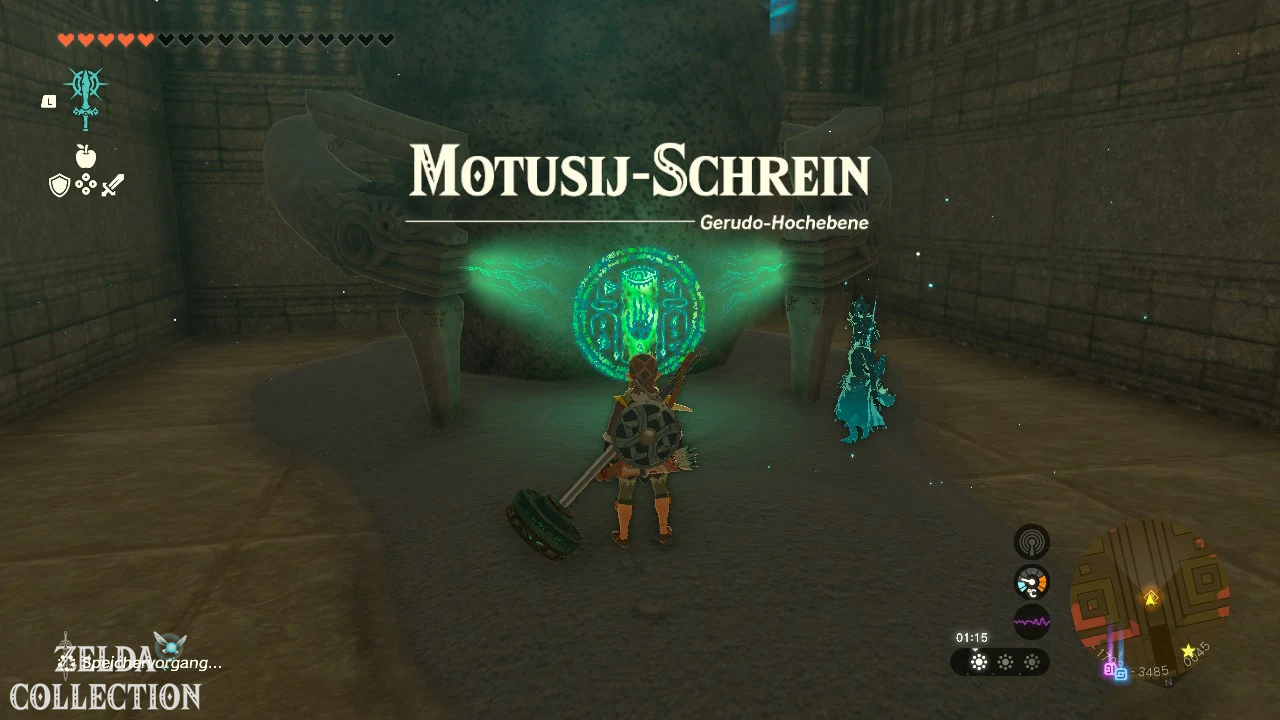
Motsusis Shrine
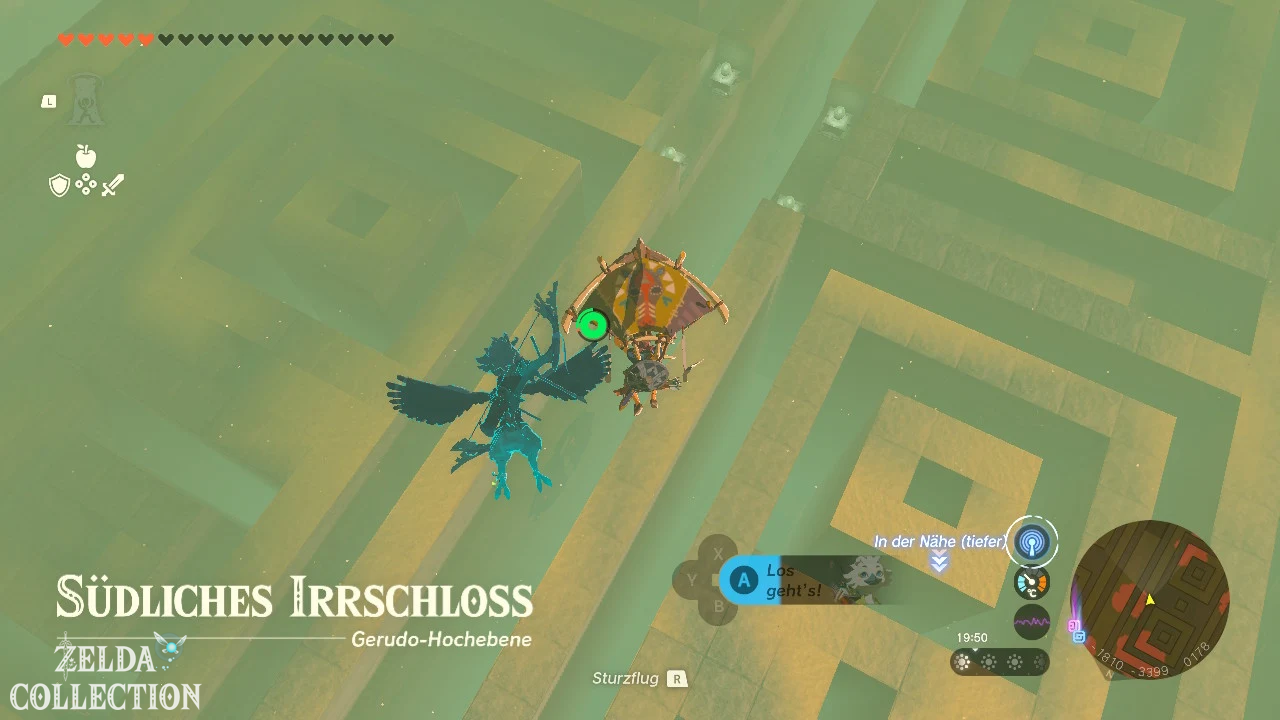
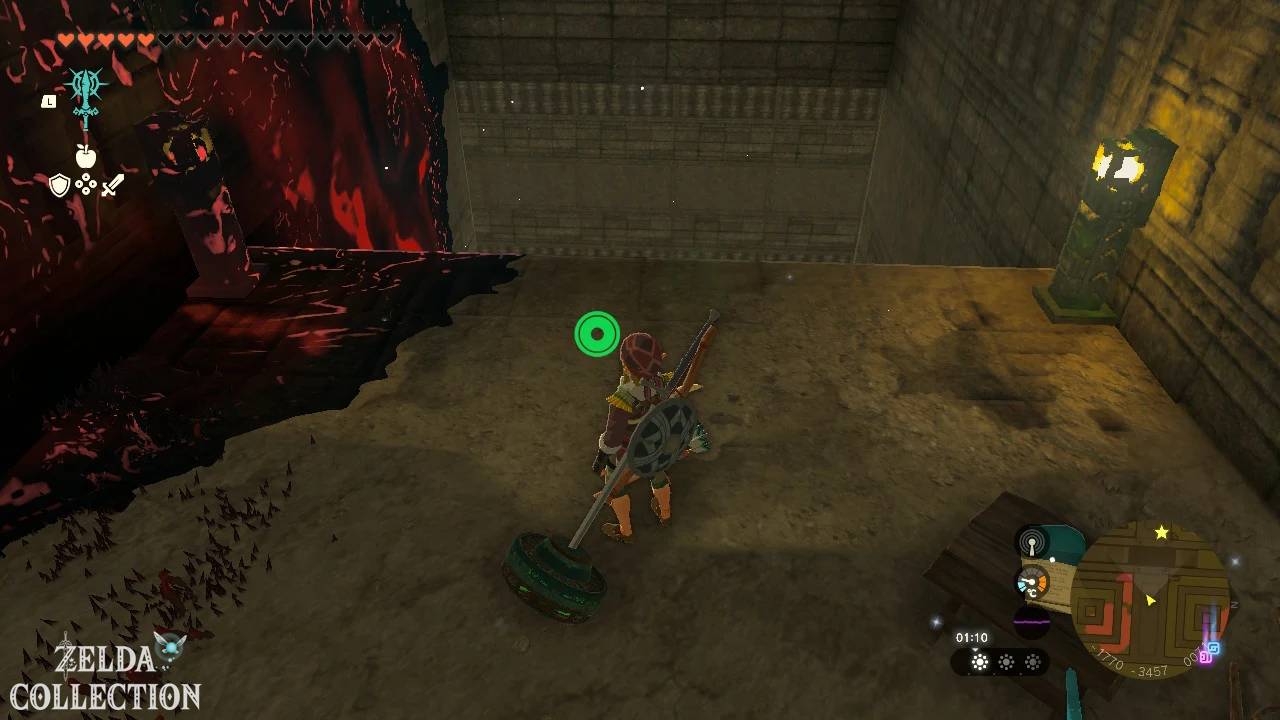
Challenge: South Lomei Labyrinth
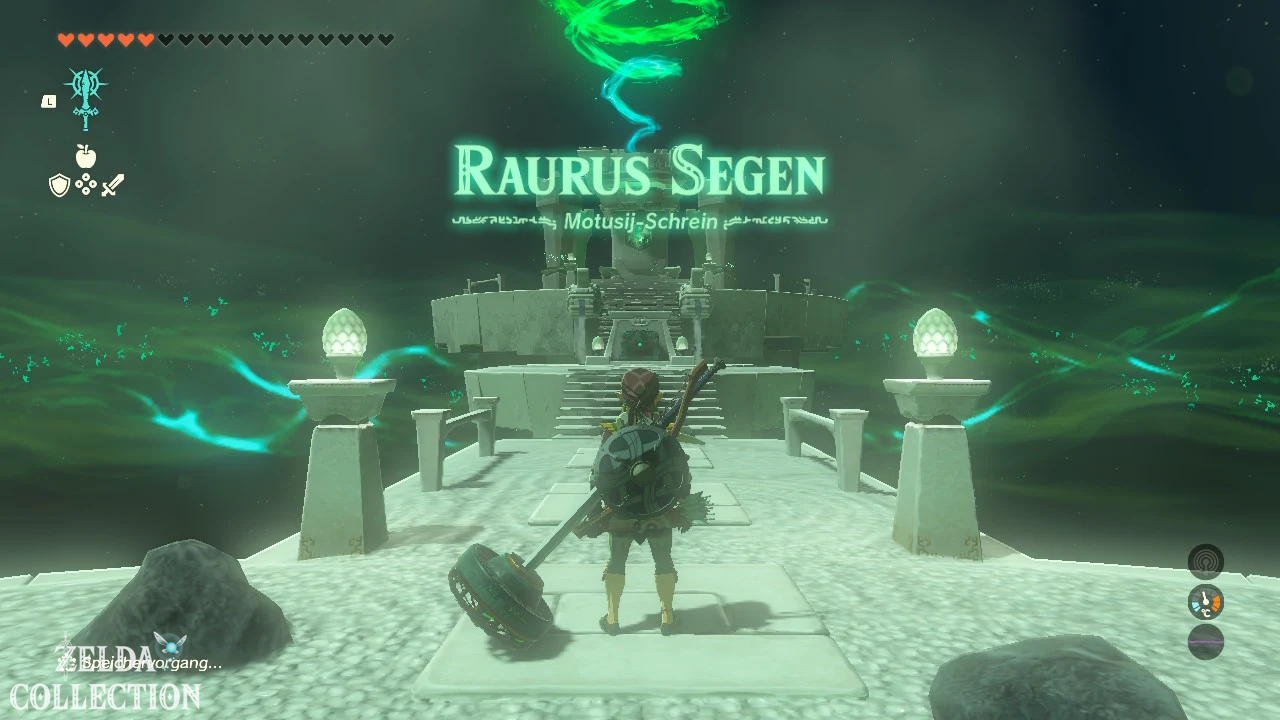
exam: Raurus blessing
Reward: Large Zonai Charge and a Light of Blessing
coordinates: approximately -1795, -3485, 0045
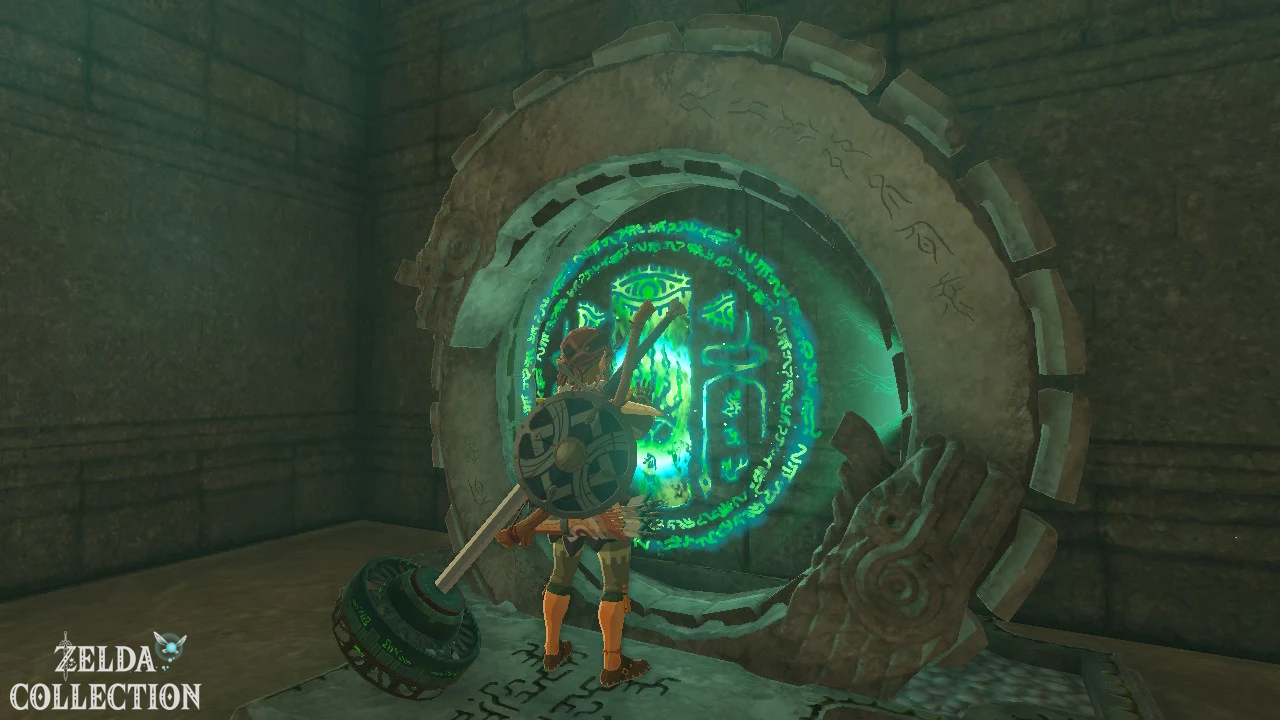
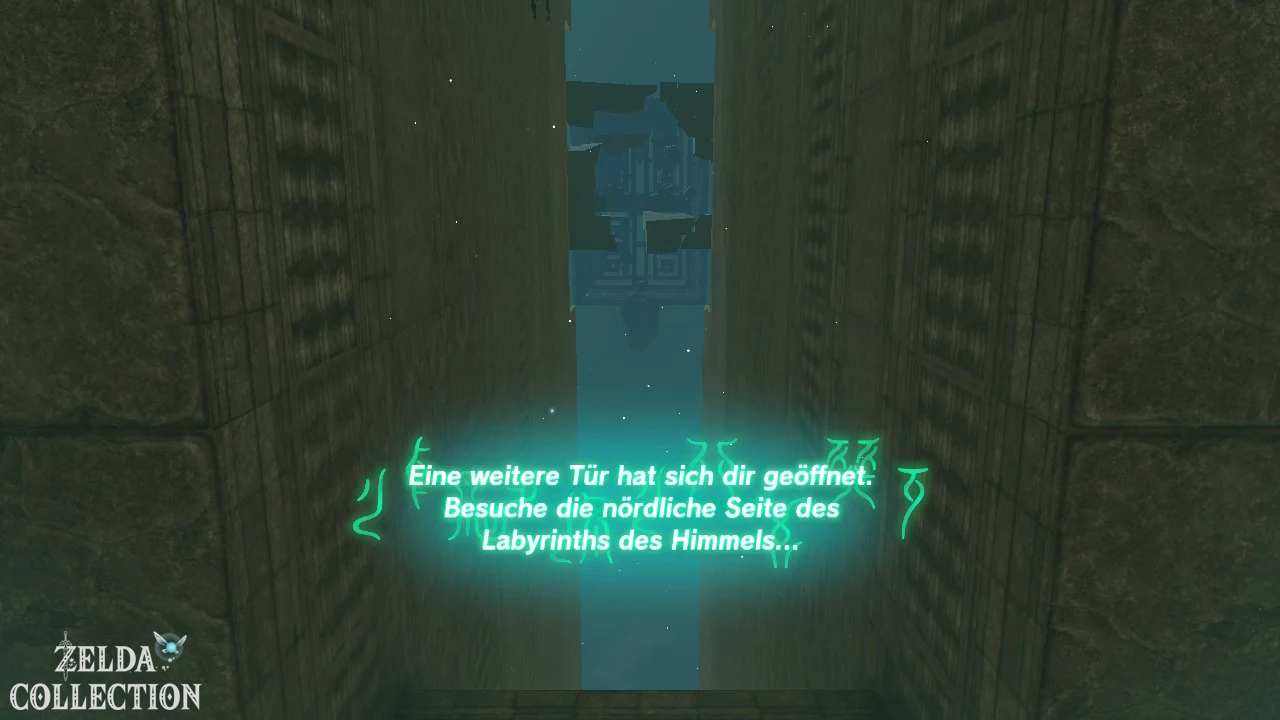
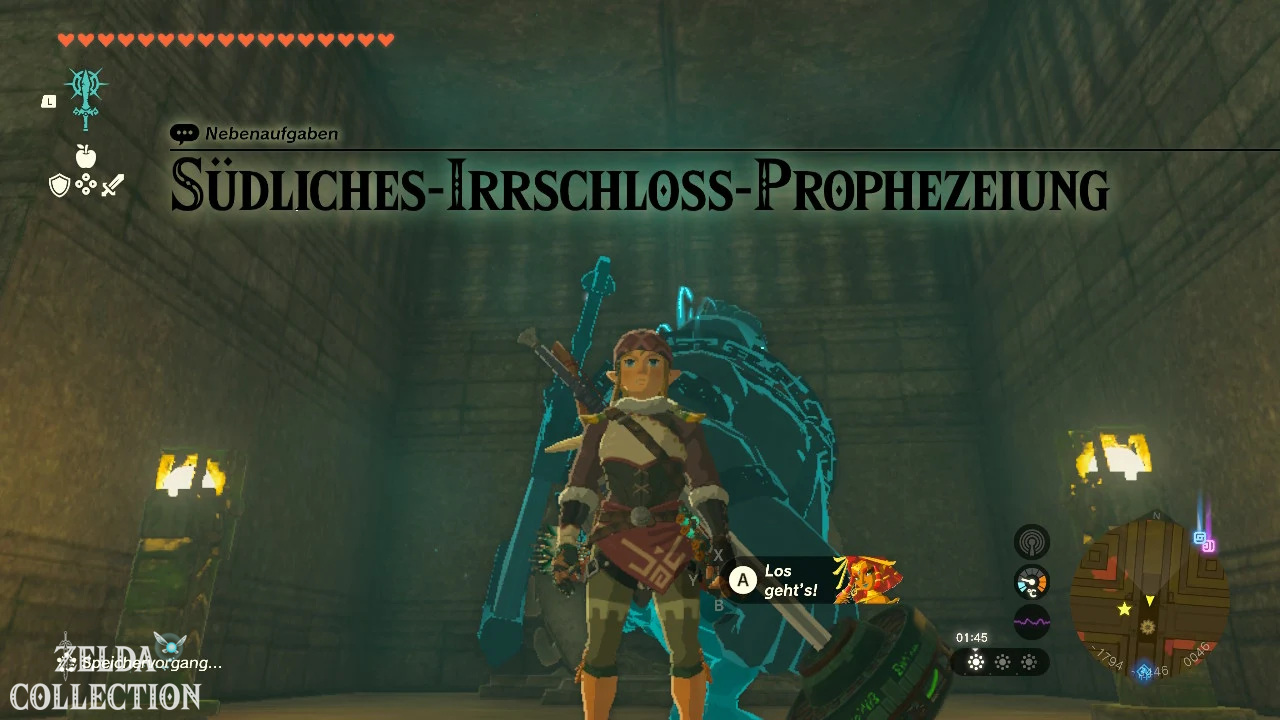
Enter the South Lomei through the northern and eastern entrances respectively and follow the laid out acorns and researcher’s notes.
The markings lead to the center over several levels. There you activate the shrine and receive the Large Zonai Charge without further check.
Otutsum Shrine
Exam: Raurus blessing
Reward: Topaz and a Light of Blessing
Location: Risoka Snowfield
coordinates: approximately -4468, -0670, 0509
The Otutsum Shrine is freely accessible in the western snowfield. Glide northwest from Gerudo Highlands Skyview Tower, avoiding the Ice Gleeok in the area.
Since the dangerous path through the snowy area is already considered a test, you can open the topaz directly in the shrine.
Rakakudaj Shrine
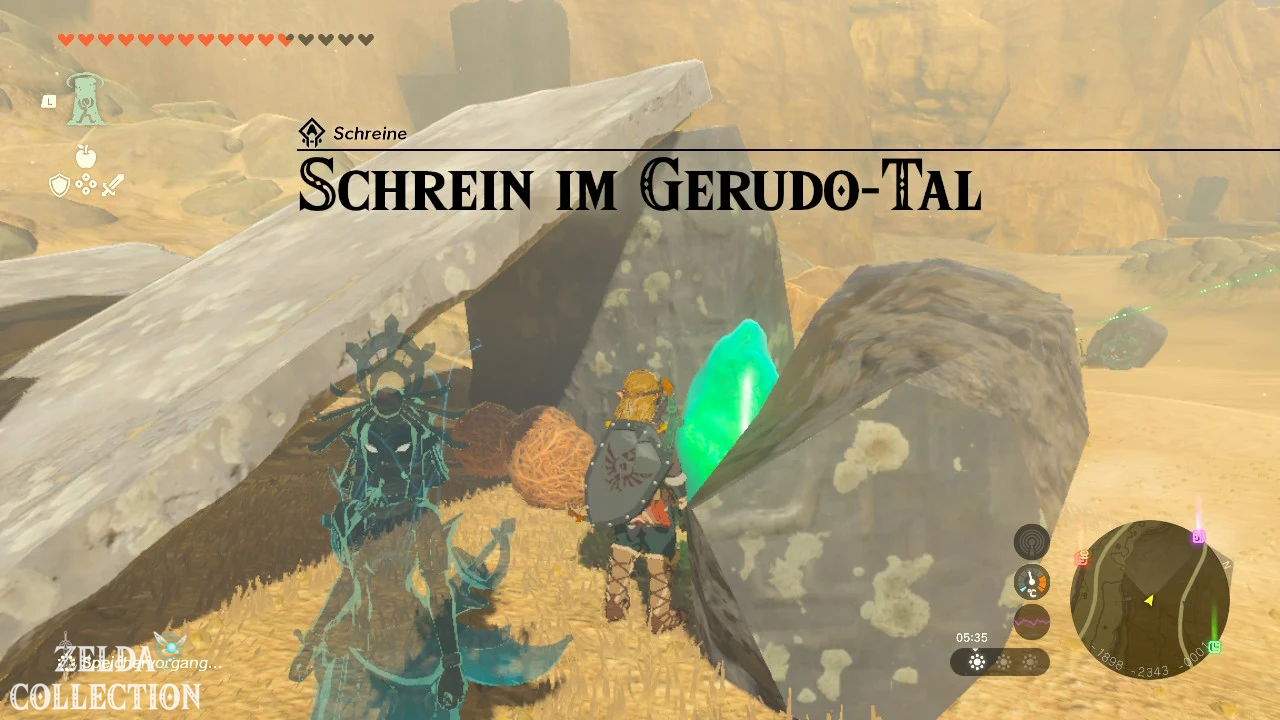
Shrine Task: Shrine in Gerudo Canyon
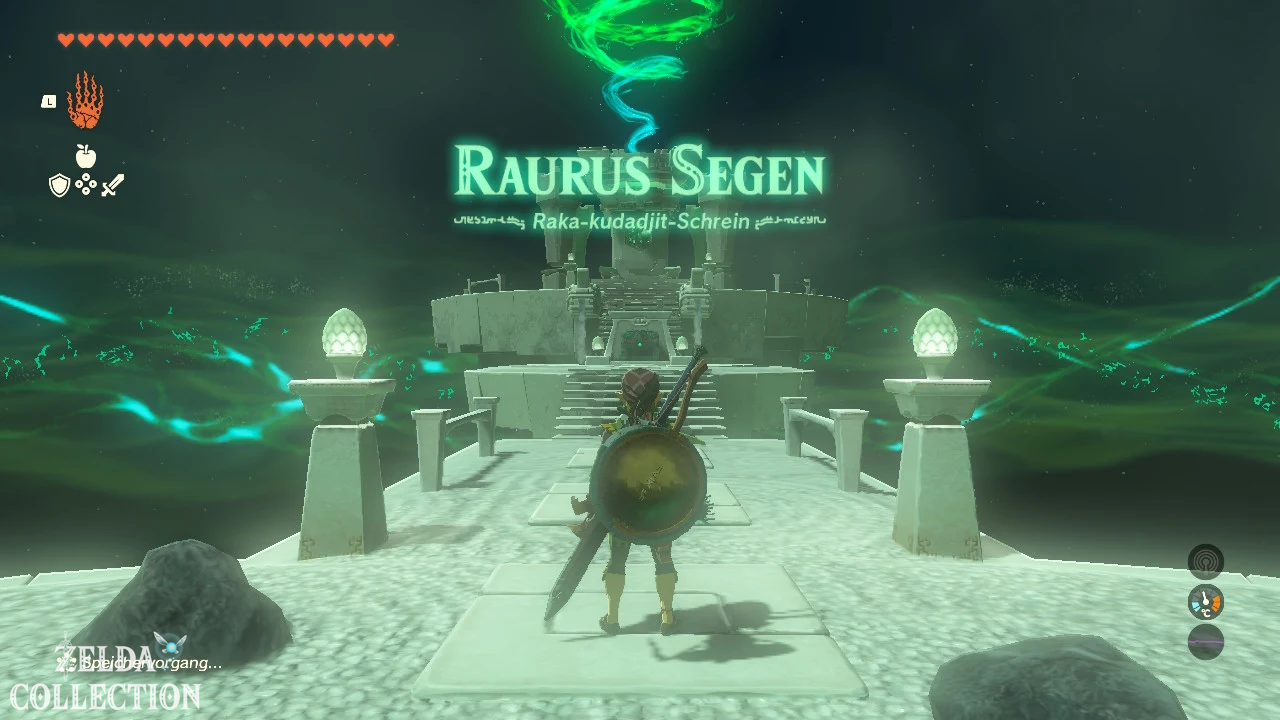
exam: Raurus blessing
Reward: Mighty Zonaite Greatsword and a Light of Blessing
coordinates: approximately -2037, -1853, 0078
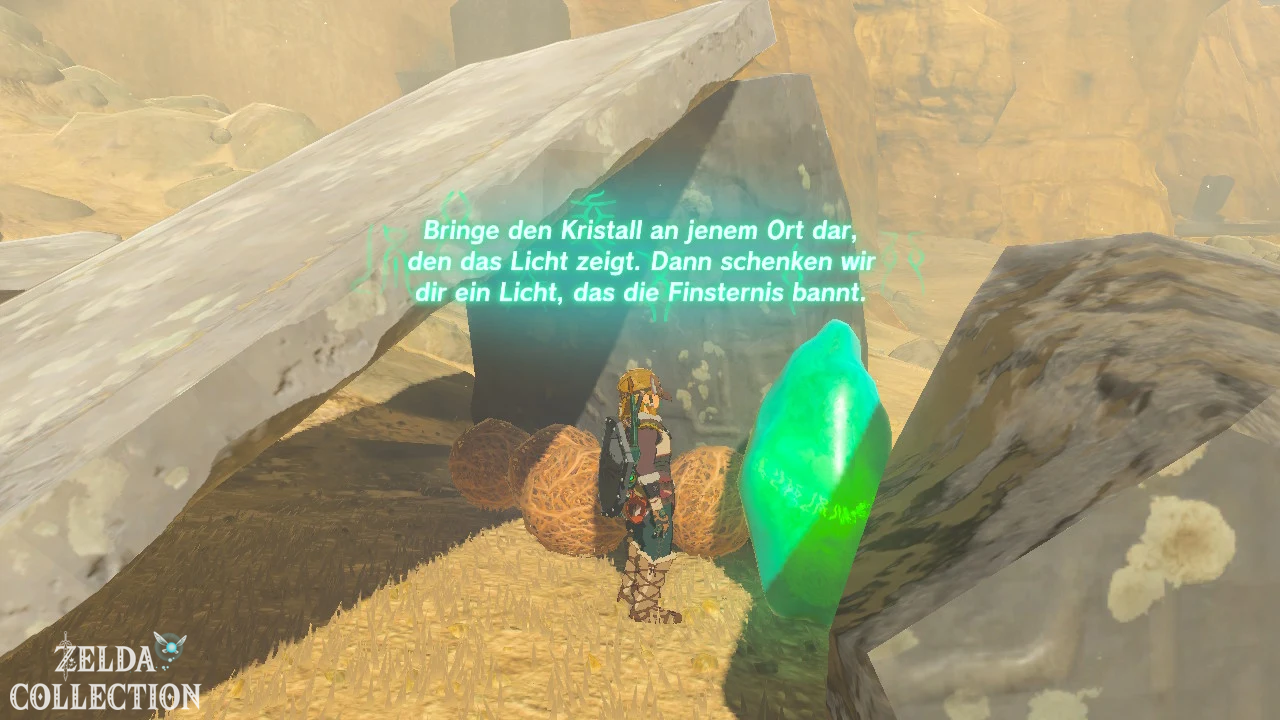
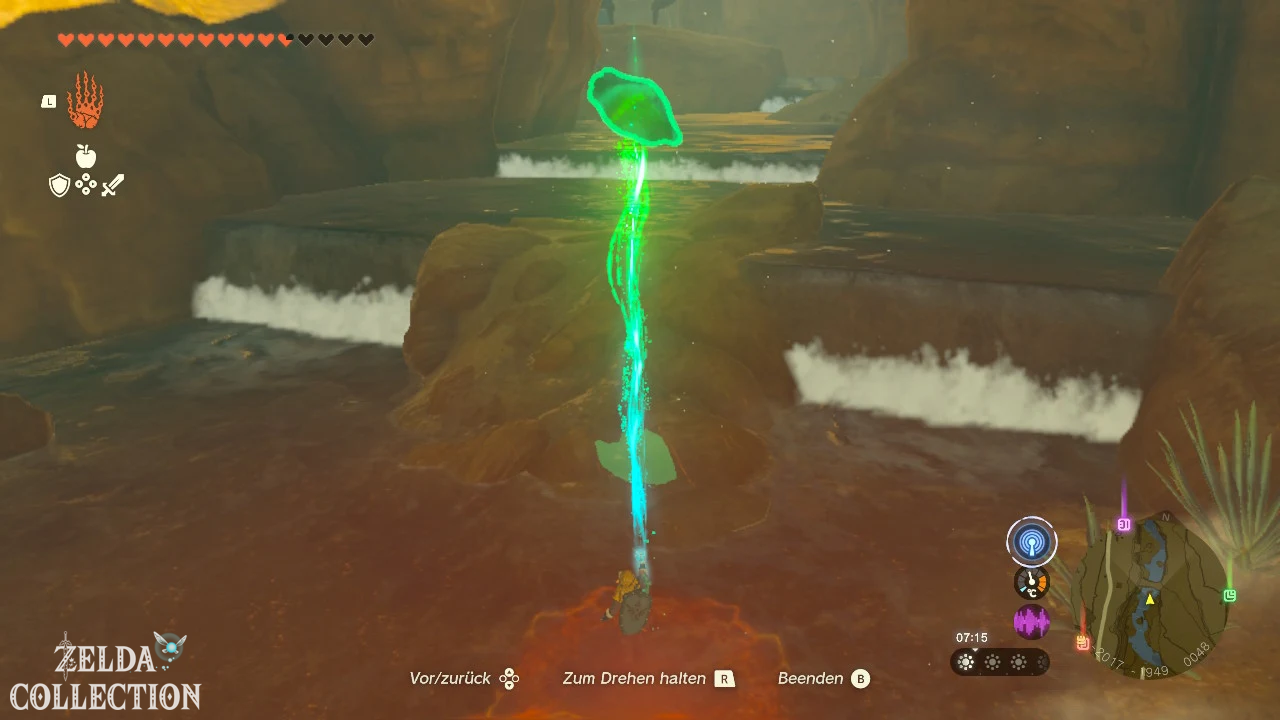
Examine the shrine platform and follow the beam of light to the crystal. Build an off-road vehicle from the vehicle parts provided.
Attach the crystal to the center of the vehicle and drive up the winding path through the Gerudo Canyon. Additional large wheels or a fan can help on steep sections.
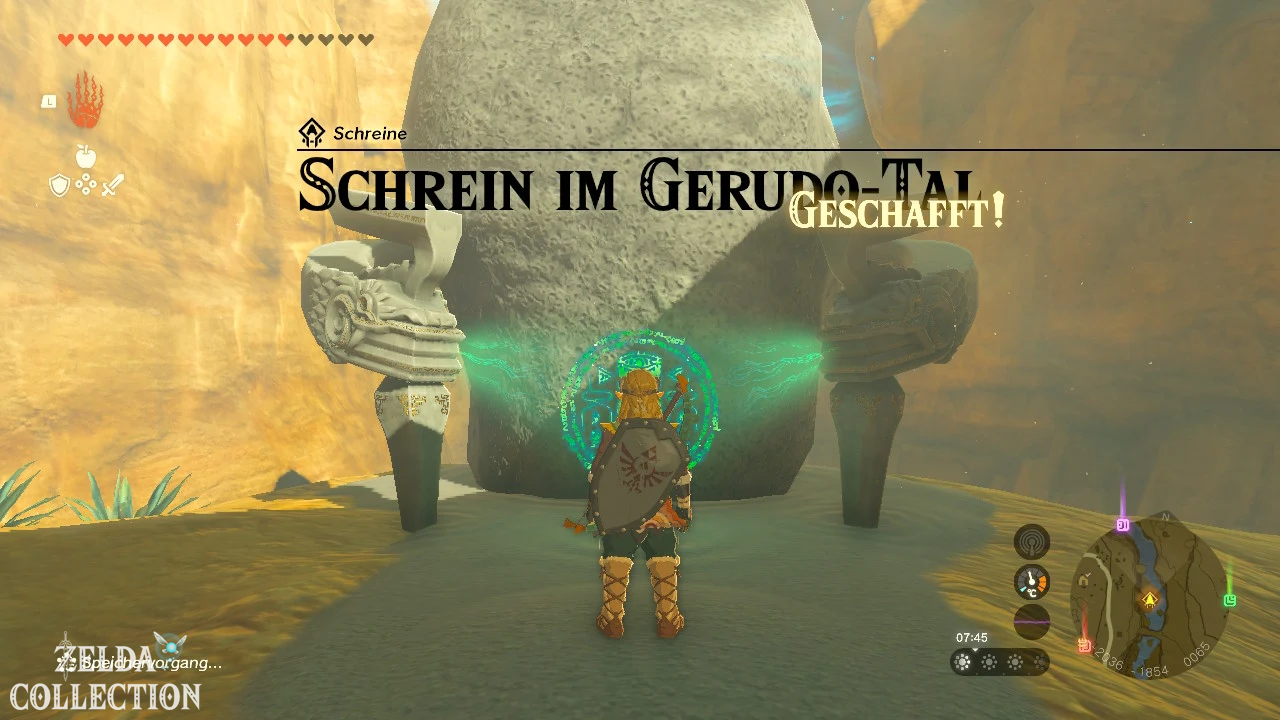
Place the crystal in the socket and open the Mighty Zonaite Greatsword in the shrine.
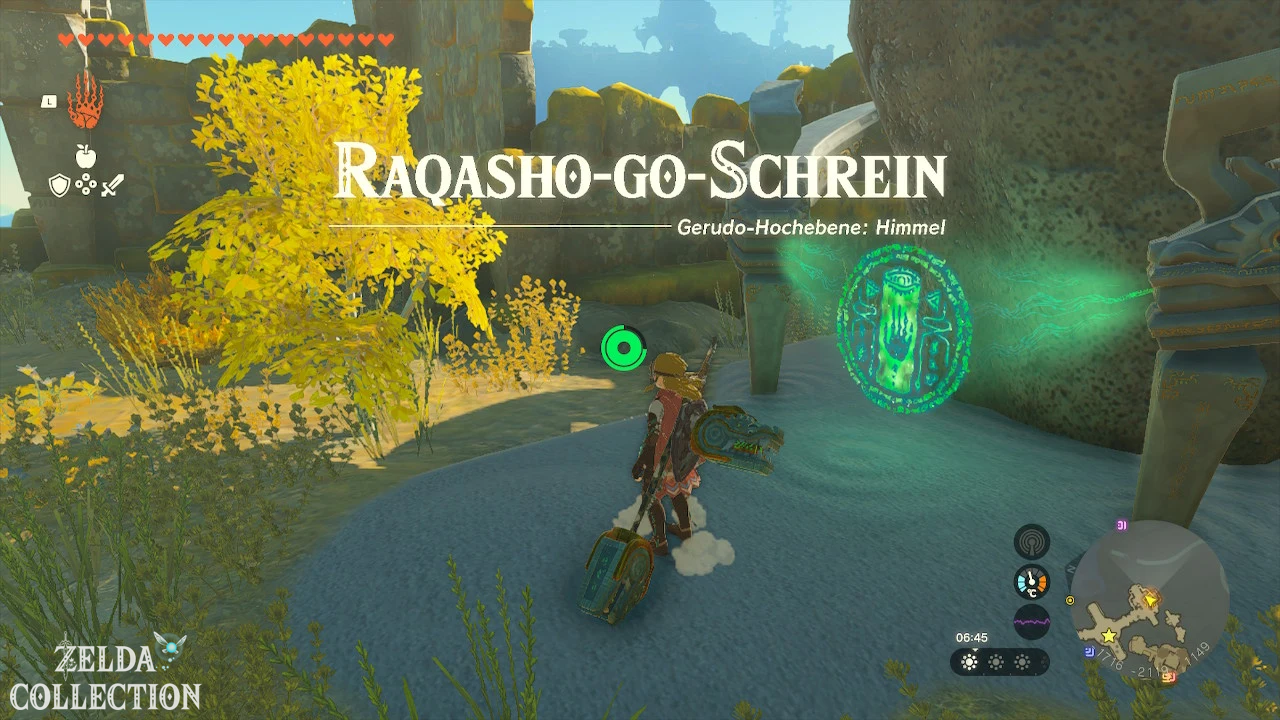
Rakashog Shrine
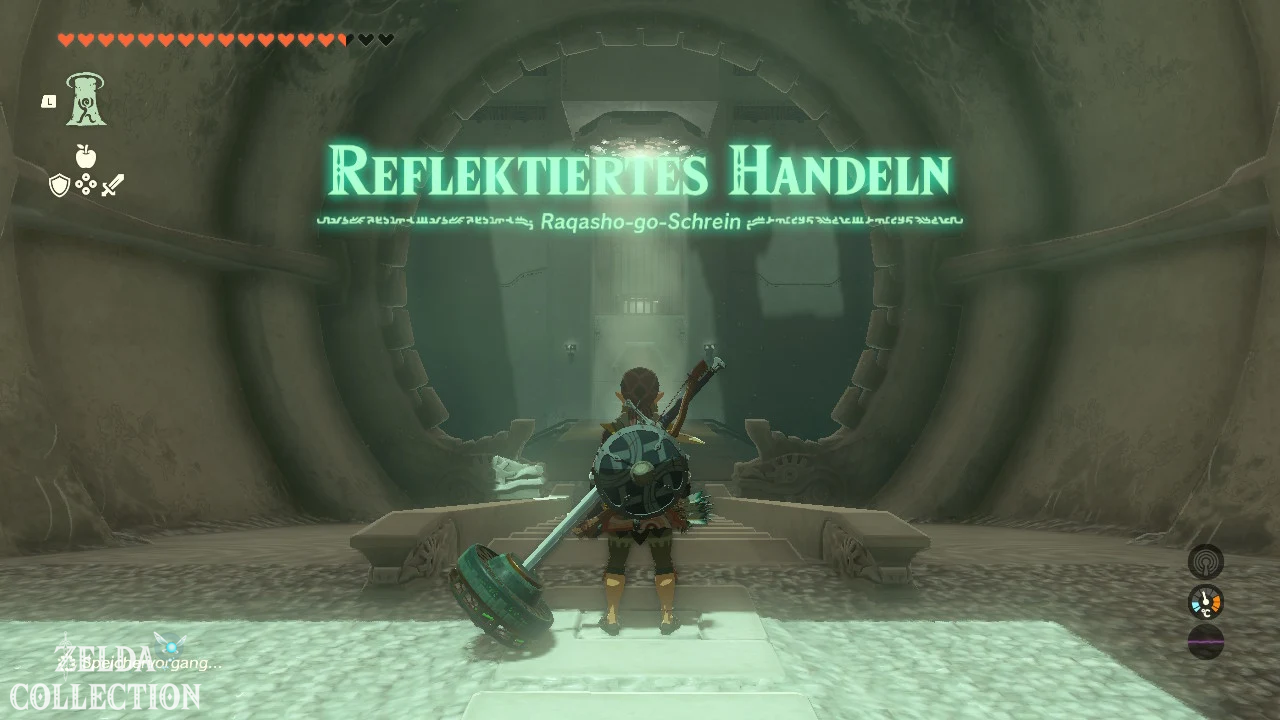
Exam: Reflective Action
Reward: Large Zonai Charge and a Light of Blessing
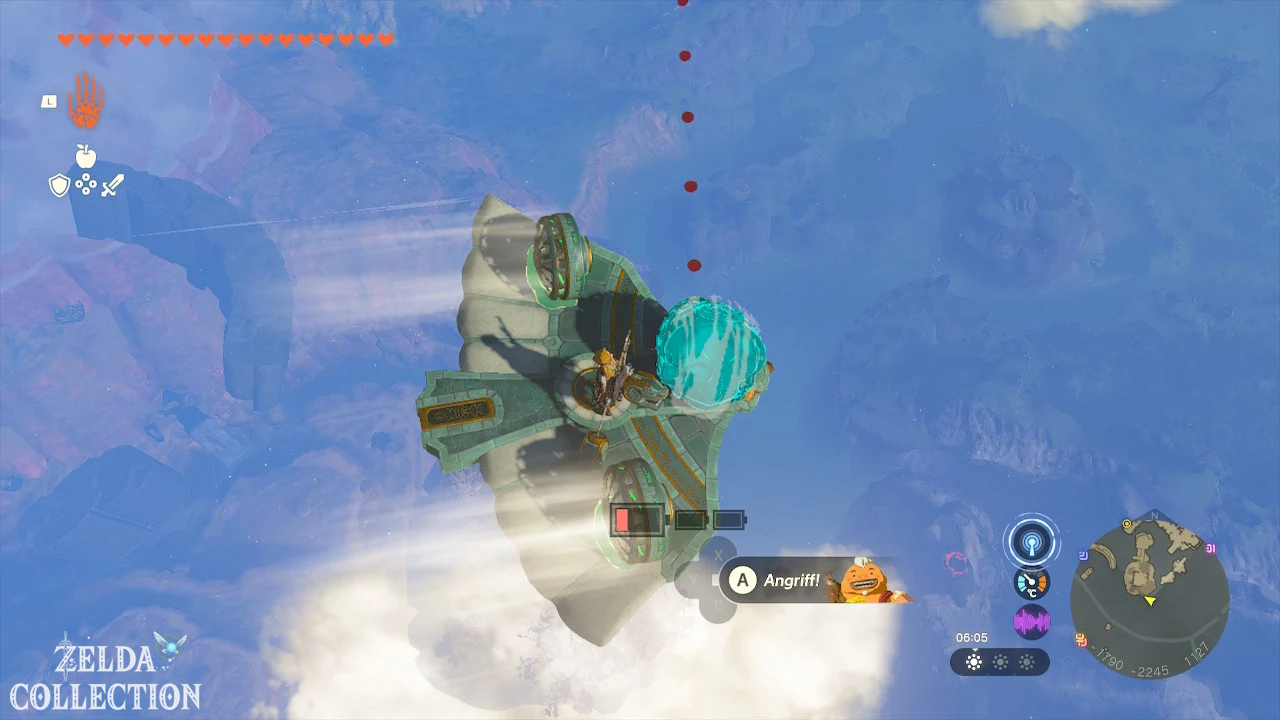
Location: East Gerudo Sky Archipelago
coordinates: approximately -1715, -2119, 1162
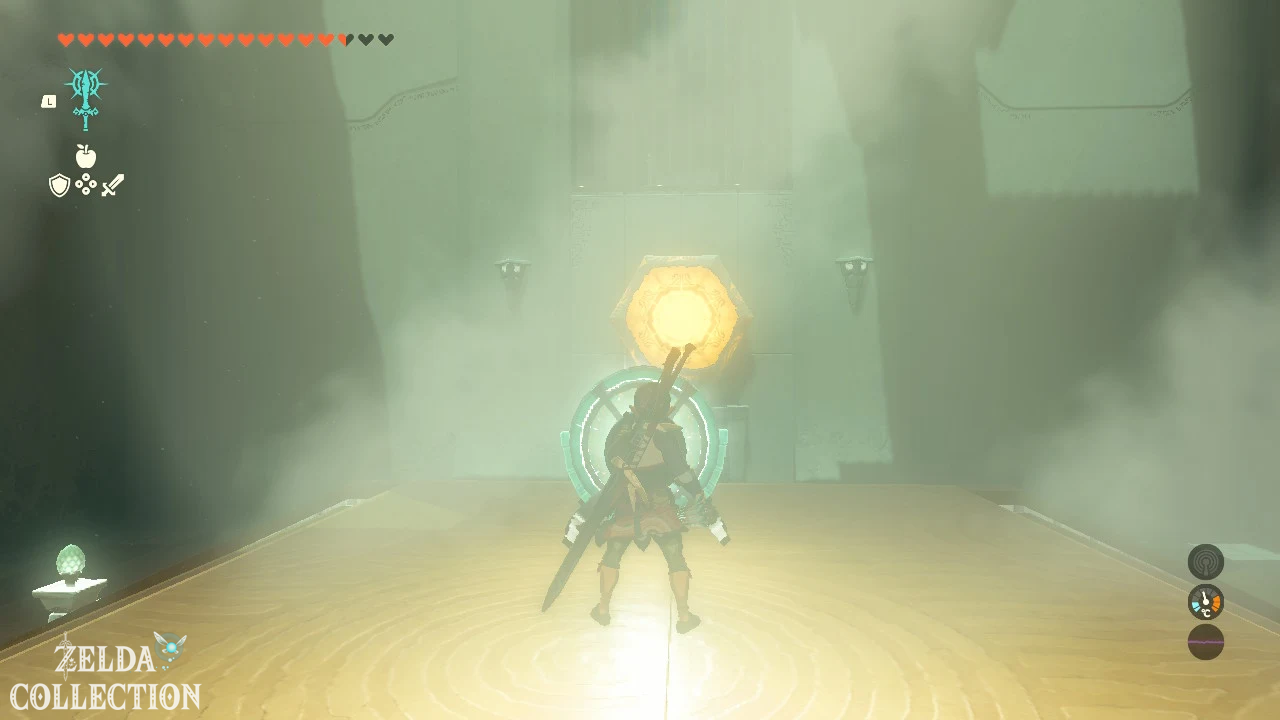
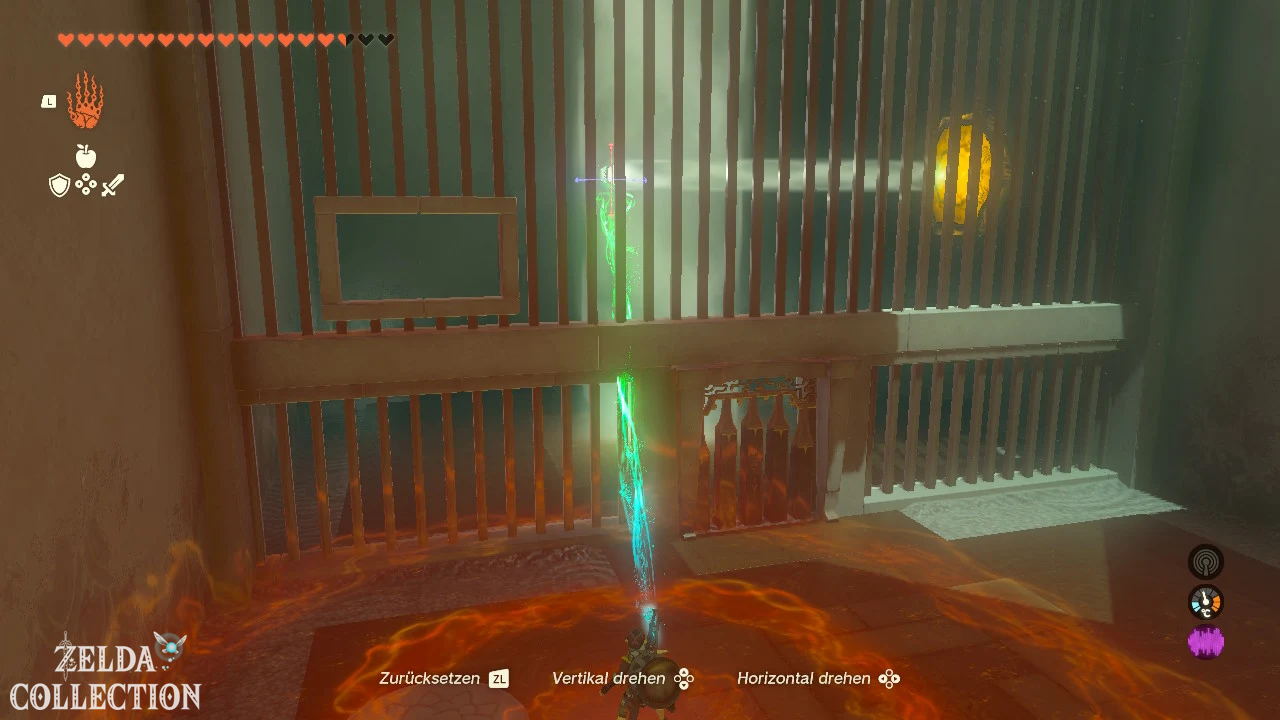
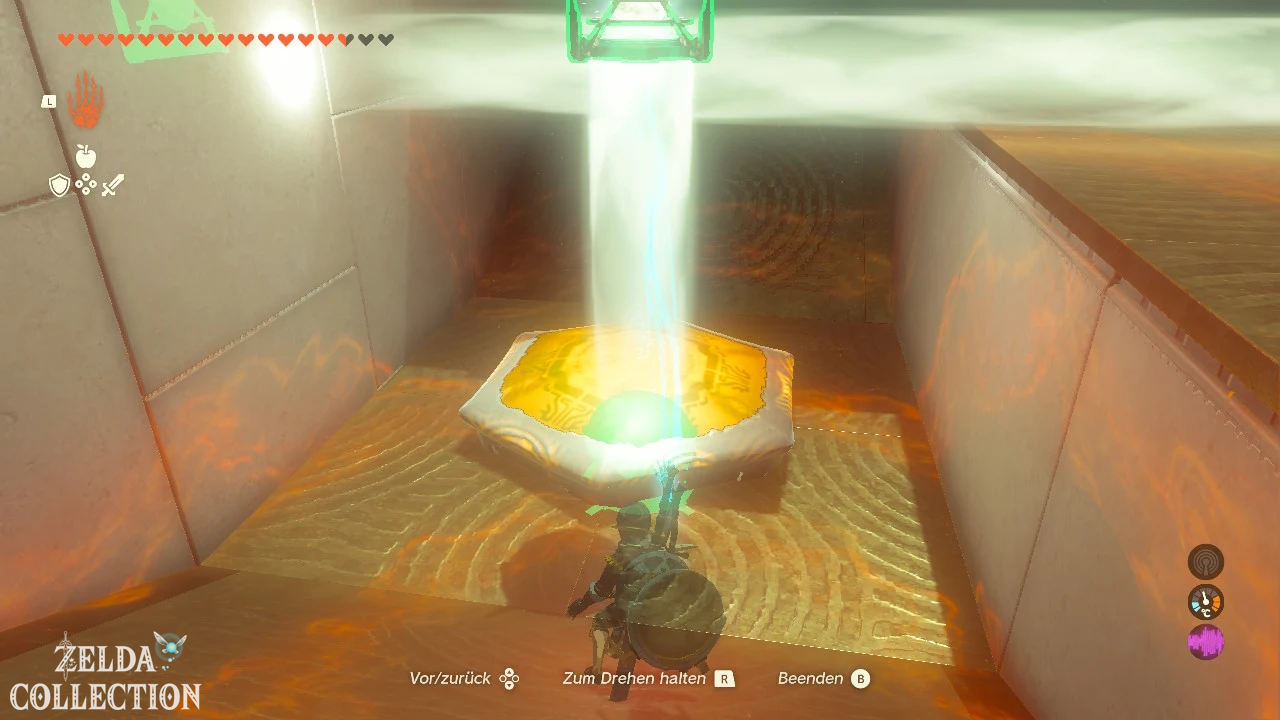
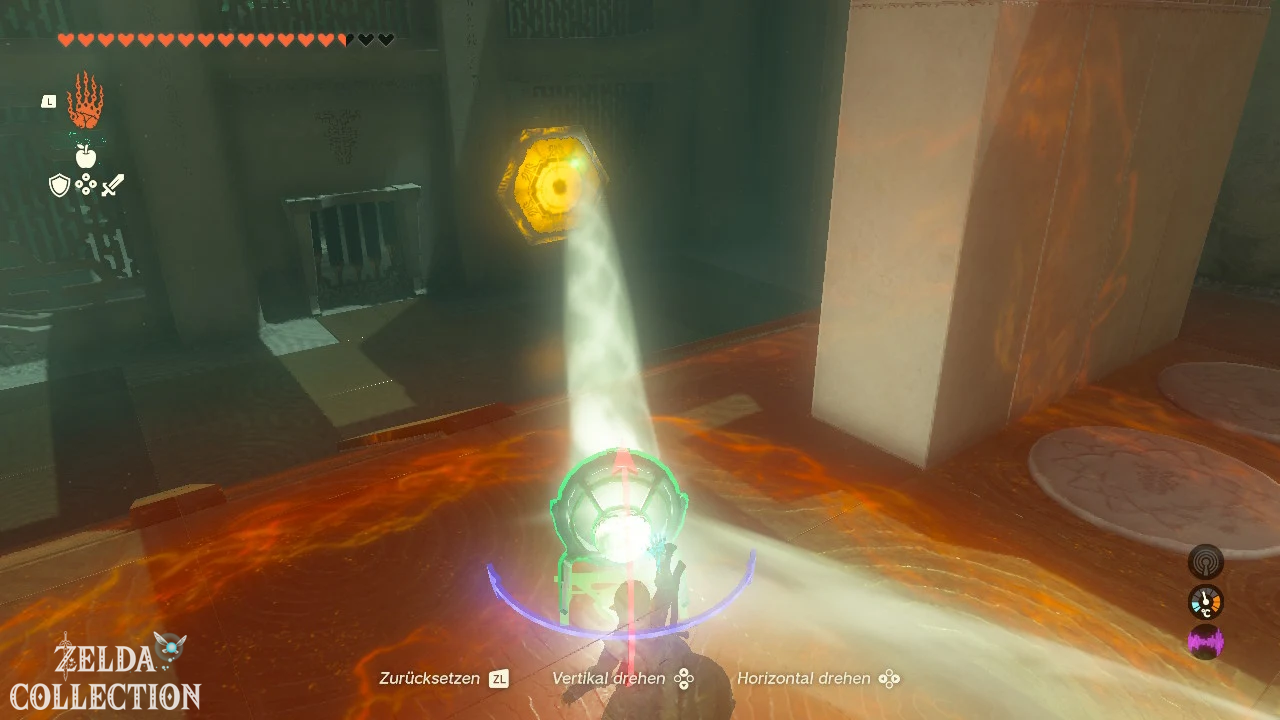
Aim the first mirror at the light receiver above the gate. In the second room, guide the mirror through the bars and reflect the light onto the switch on the side.
In the following area, use a mirror to activate the moving platform. Ride up and use another mirror to direct the beam to the next target.
For the chest, aim a mirror at the switch above the side door. In the last room, two mirrors are needed: the first directs the light behind the column, the second to the exit switch.
Rotsumamu Shrine
Test: In balance
Reward: Large Zonaite and a Light of Blessing
coordinates: approximately -3406, -1364, 0335
Cross the first seesaw and in the second section attach the metal barrel to one end to raise the other side.
For the Treasure Chest, attach a long stone plate horizontally to the rocker and use it as an extended bridge.
In the last section, attach the plate lengthwise to the end of the seesaw and place the stone cube on the very outside. Move the counterweights toward the center until the long side rises toward the altar.
Siyamotsus Shrine
Check: Sudden extinction
Reward: Construct Sheet and a Light of Blessing
Location: Top level of the Southern Sky Labyrinth
coordinates: approximately -1795, -3295, 1024
When you enter, the stairs with the chest move down. Axyl up the Fire Fruit and shoot the four extinguished fire bowls on the vertical wall.
Once all four flames are lit, the chest will shift and reveal a catapult plate. Stand on it and let yourself be thrown towards the altar.
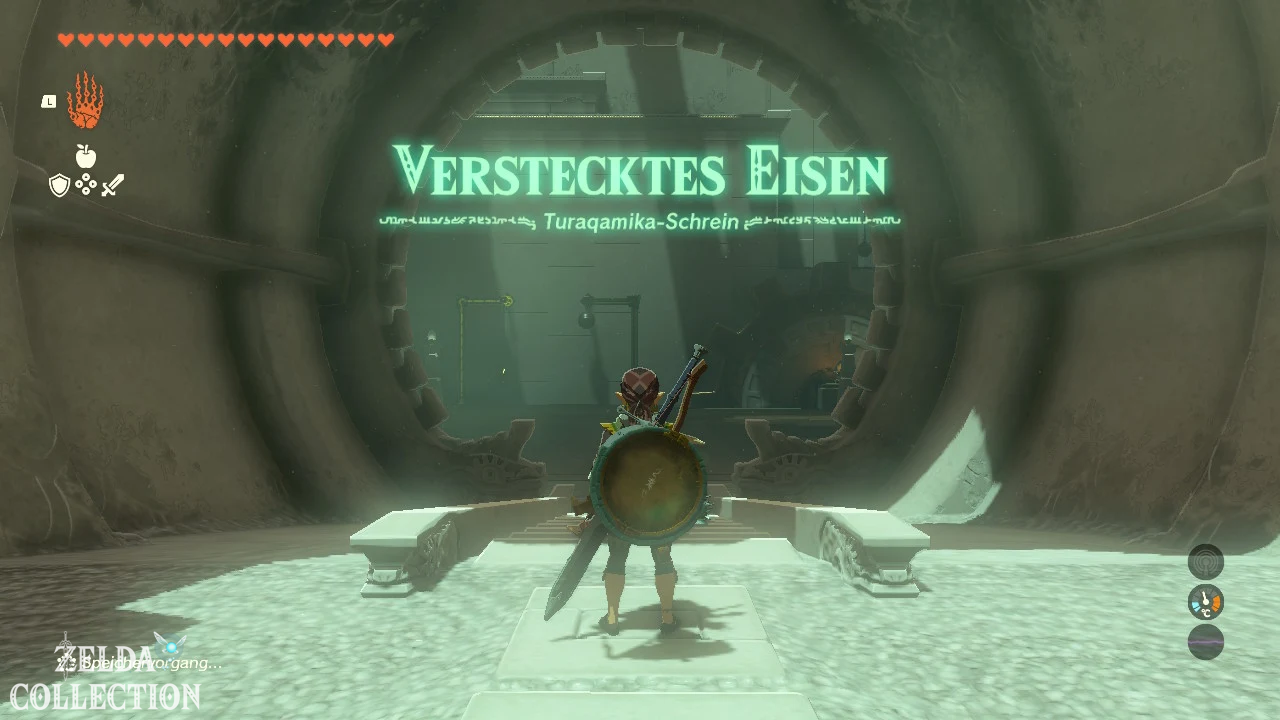
Turakamik Shrine
Test: Hidden Iron
Reward: Zonaite Stable Shield and a Light of Blessing
coordinates: approximately -2657, -2237, 0081
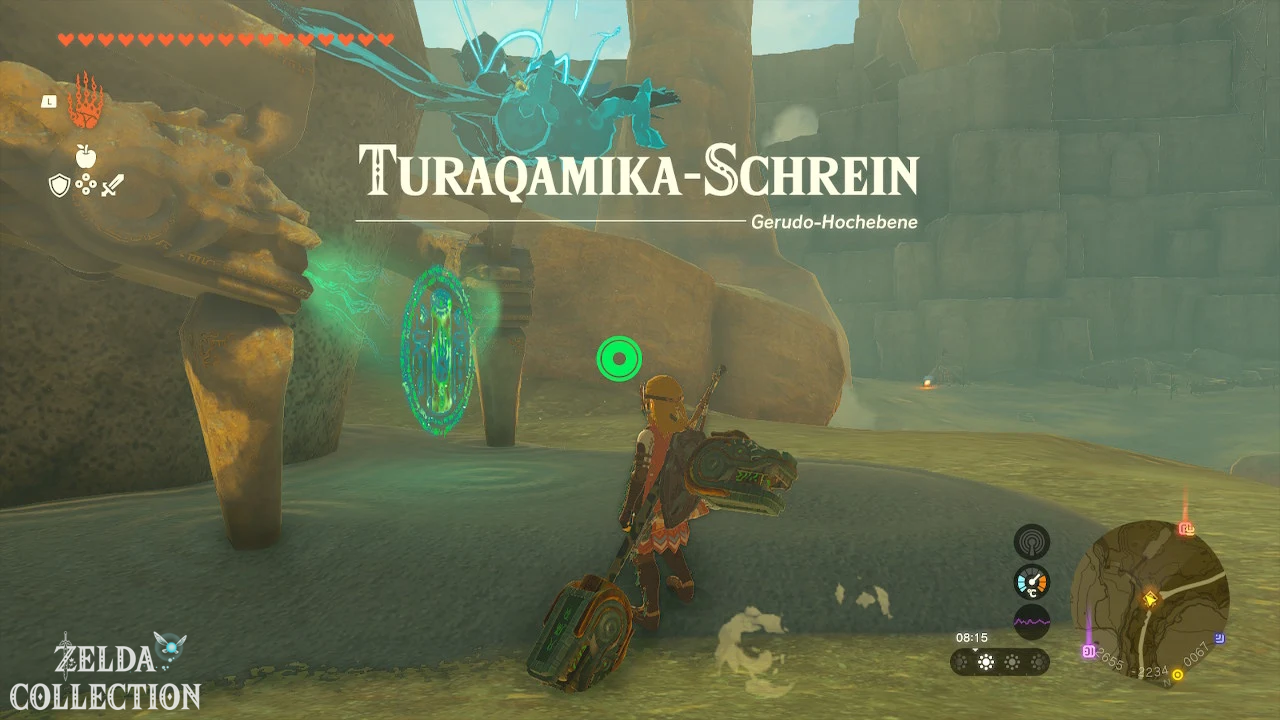
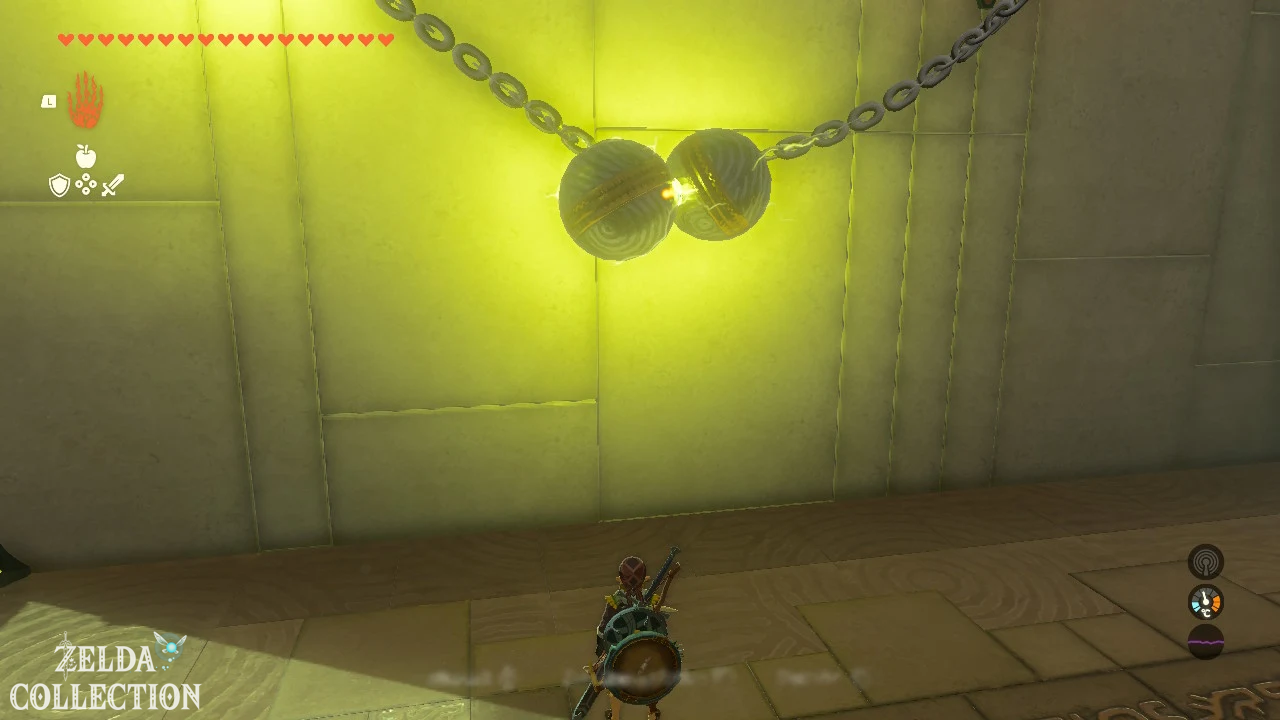
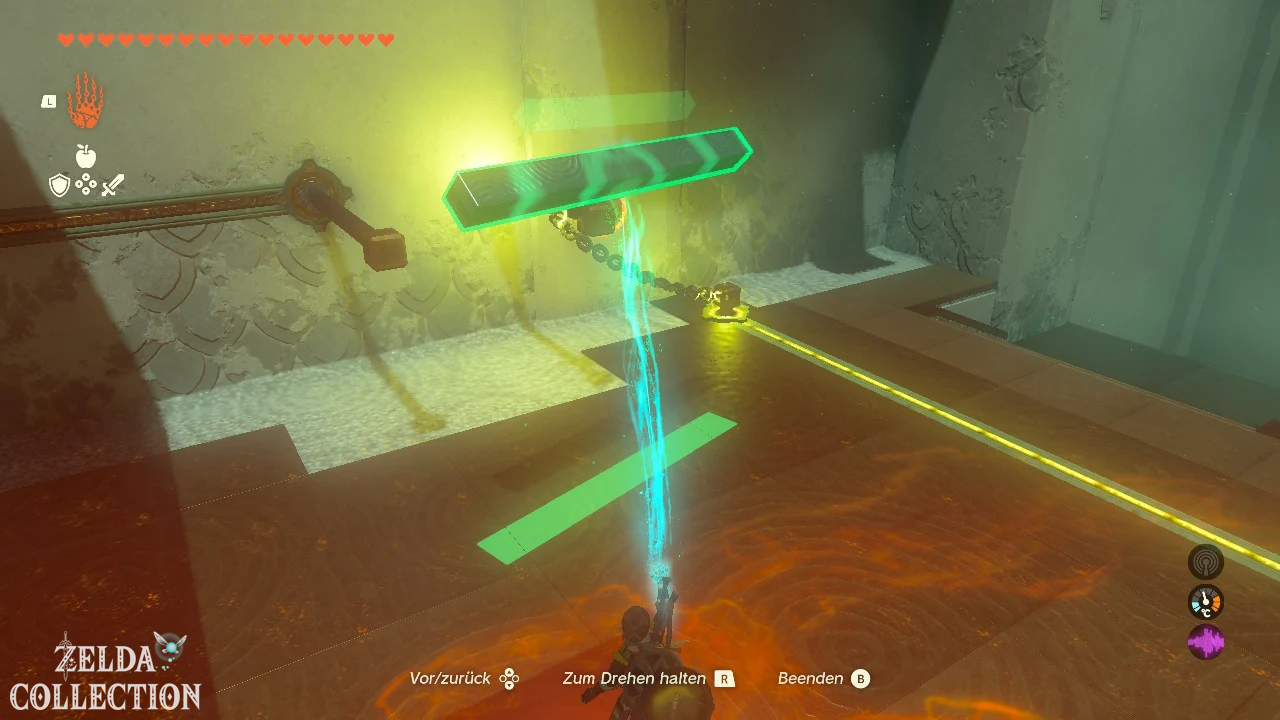
Connect the two hanging metal balls together to complete the circuit. Use the rotating gear as an elevator.
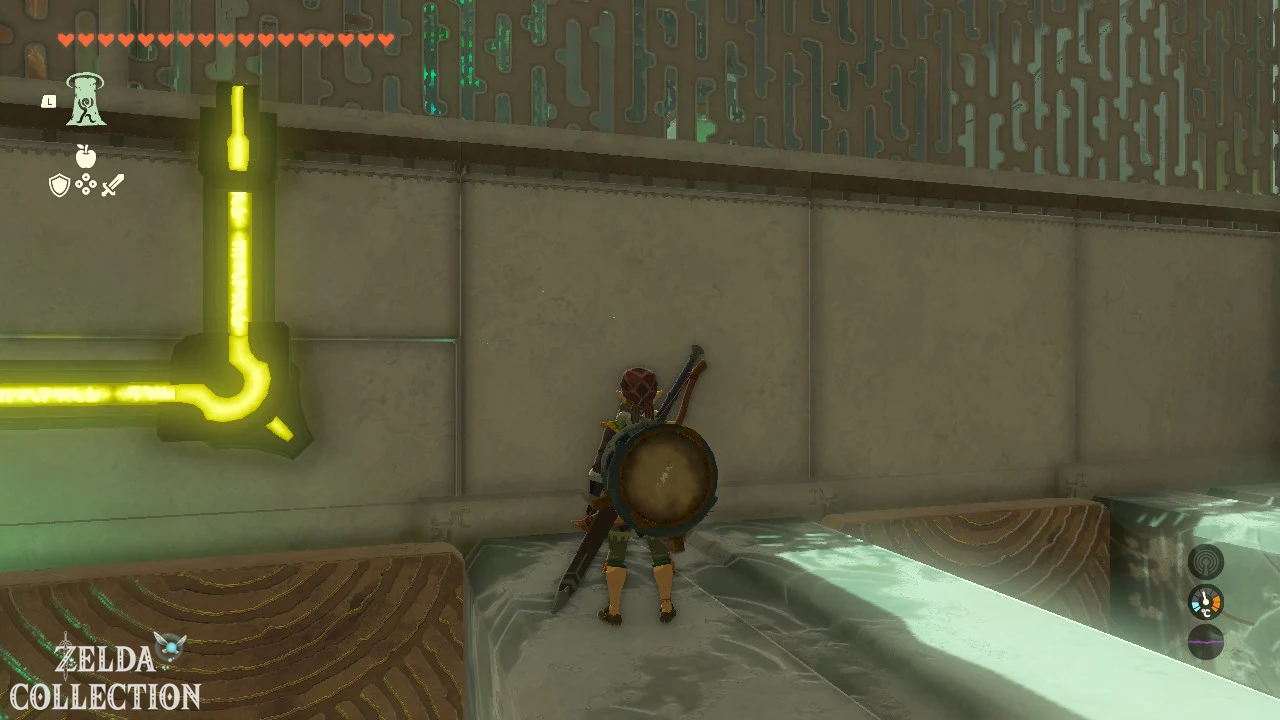
In the next area, swing one ball and move the second one so that both touch briefly. Use the Ascend under the extended metal blocks.
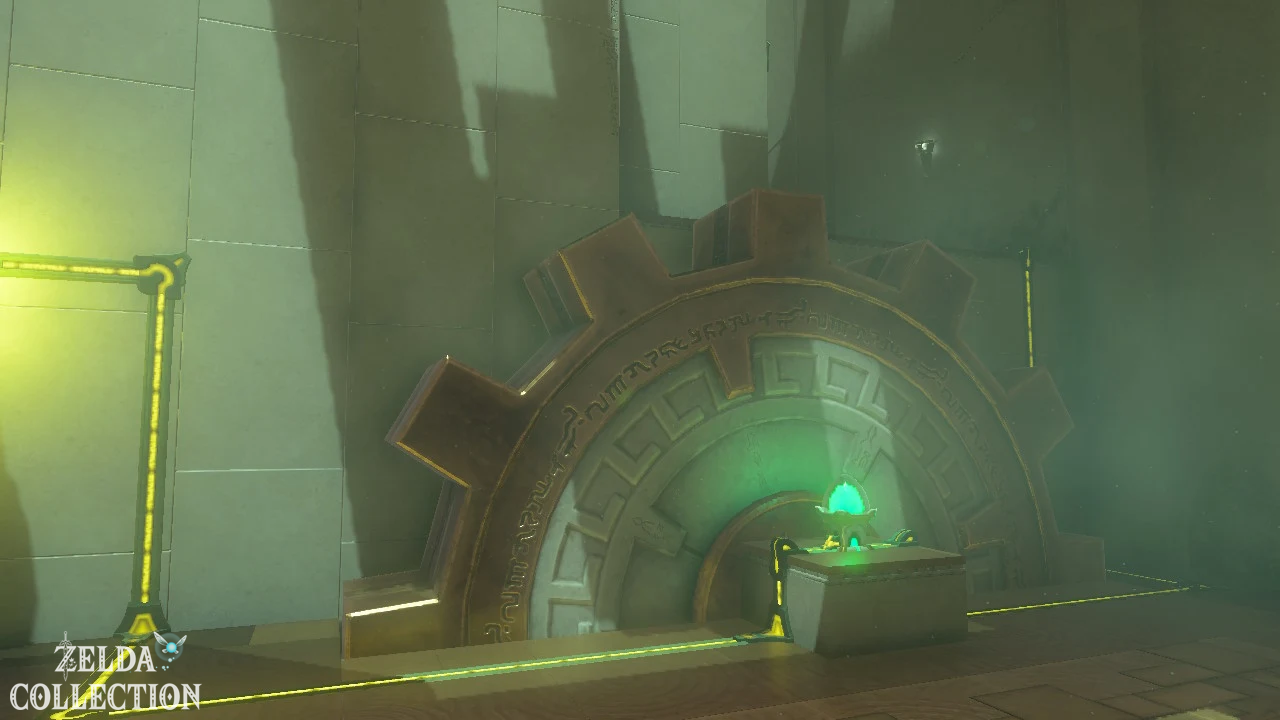
For the chest, place the Recall on the gear. Then remove the metal axle and place it over the two contacts. Attach the power ball to the end of the axle to open the exit gate.
Suariwak Shrine
Shrine Task: The Yiga Officer Exam
exam: Raurus blessing
Reward: Big Battery and a Light of Blessing
coordinates: approximately -2524, -1770, 0145
Equip the full Yiga set and enter the Yiga officer’s station. The officer tasks you with finding five frog statues in the Gerudo canyon.
Place a Mighty Bananas in the bowl provided at each marked statue. Some statues lie in caves or on hard-to-reach rock ledges.
Return to the officer. After passing the test, he opens the room with the shrine. Inside you get the Big Battery.
All shrines in the Gerudo Highlands at a glance
| Shrine | level | Reward |
|---|---|---|
| Kitawak | surface | 10 wooden arrows |
| Mayamats | surface | Large Zonai Charge |
| Mayan skiara | Sky | Star Shard Staff |
| Motsusis | surface | Large Zonai Charge |
| Otutsum | surface | Topaz |
| Rakakudaj | surface | Mighty Zonaite Greatsword |
| Rakashog | Sky | Large Zonai Charge |
| Rotsumamu | surface | Large Zonaite |
| Siyamotsus | Sky | Construct Sheet |
| Turakamik | surface | Stable Zonaite shield |
| Suariwak | Cave | Big Battery |