

According to our territorial division, the Hebra Mountains are in total 15 shrines. Five of them are in heaven. You need strong protection against the cold for almost the entire region.
- Eutoum Shrine
- Ijo-o Shrine
- Kahatanaum Shrine
- Mayaotaki Shrine
- Mayaumekis Shrine
- Orochium Shrine
- Oshozan-u Shrine
- Otak Shrine
- Rutafu-um Shrine
- Sisuran Shrine
- Taninoud Shrine
- Tauyosipun Shrine
- Tenbez Shrine
- Wao-os Shrine
- Sahirow Shrine
Eutoum Shrine
Exam: Bare Survival – Sneaked
Reward: Sapphire and a Light of Blessing
Location: Secret source of Goflam
coordinates: approximately -3507, 3570, 0400
Collect the simple weapons at the entrance and sneak up to the first construct as unnoticed as possible. Use the spiked plates with the Ultrahand to push enemies against walls or throw them off balance.
After each fight, take over the weapons and horns of the constructs. If you don’t attract all opponents at the same time, the arena can be safely cleared section by section. After the last enemy, the chest with the sapphire opens.
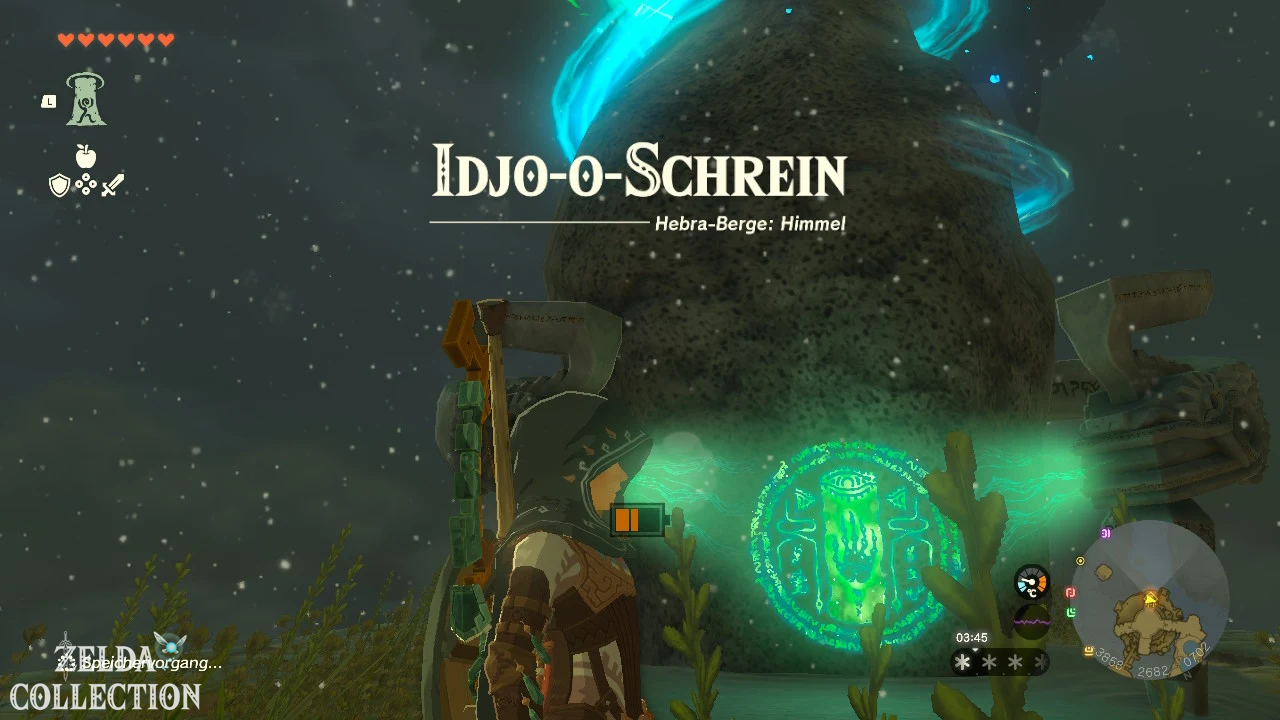
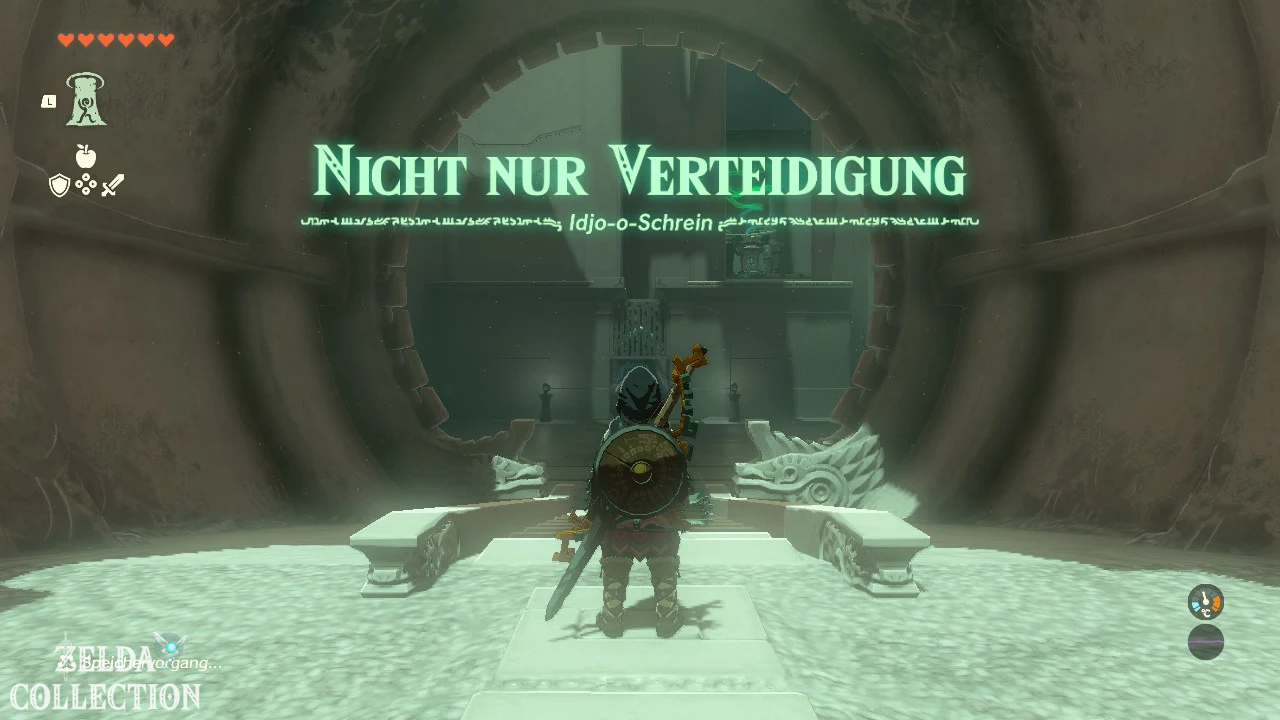
Ijo-o Shrine
Exam: Not just defense
Reward: 5 wooden arrows and a Light of Blessing
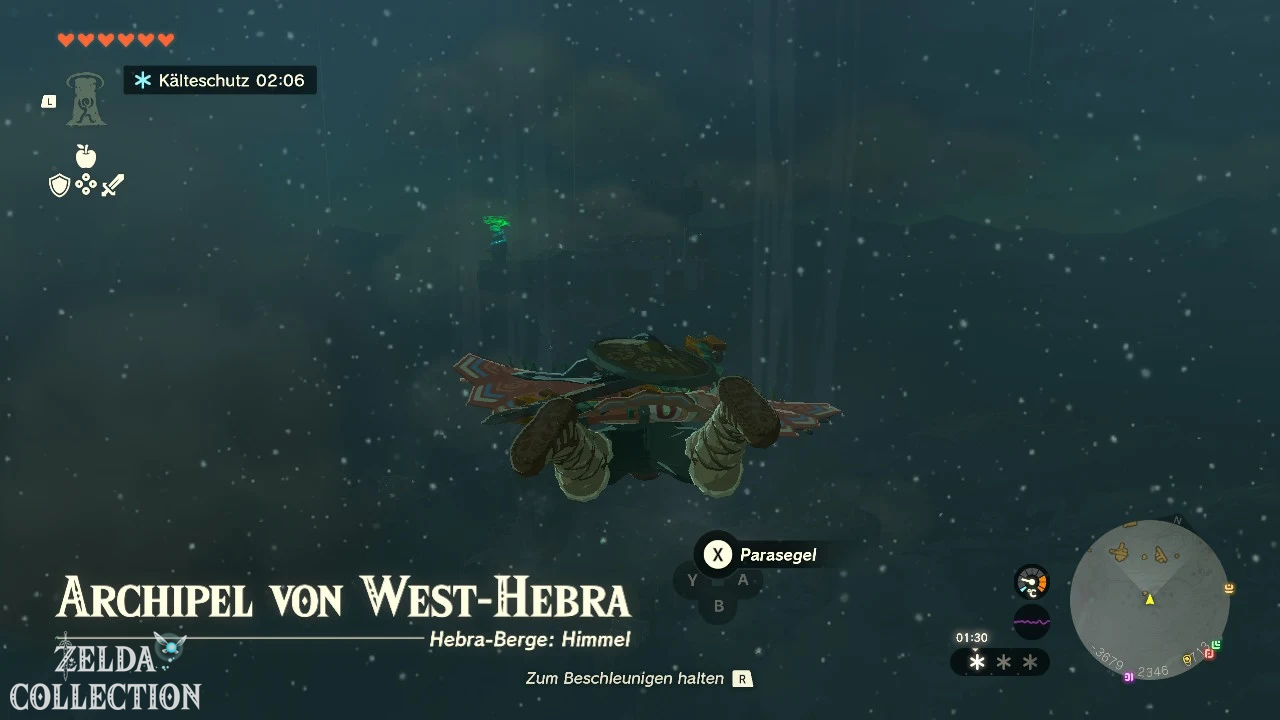
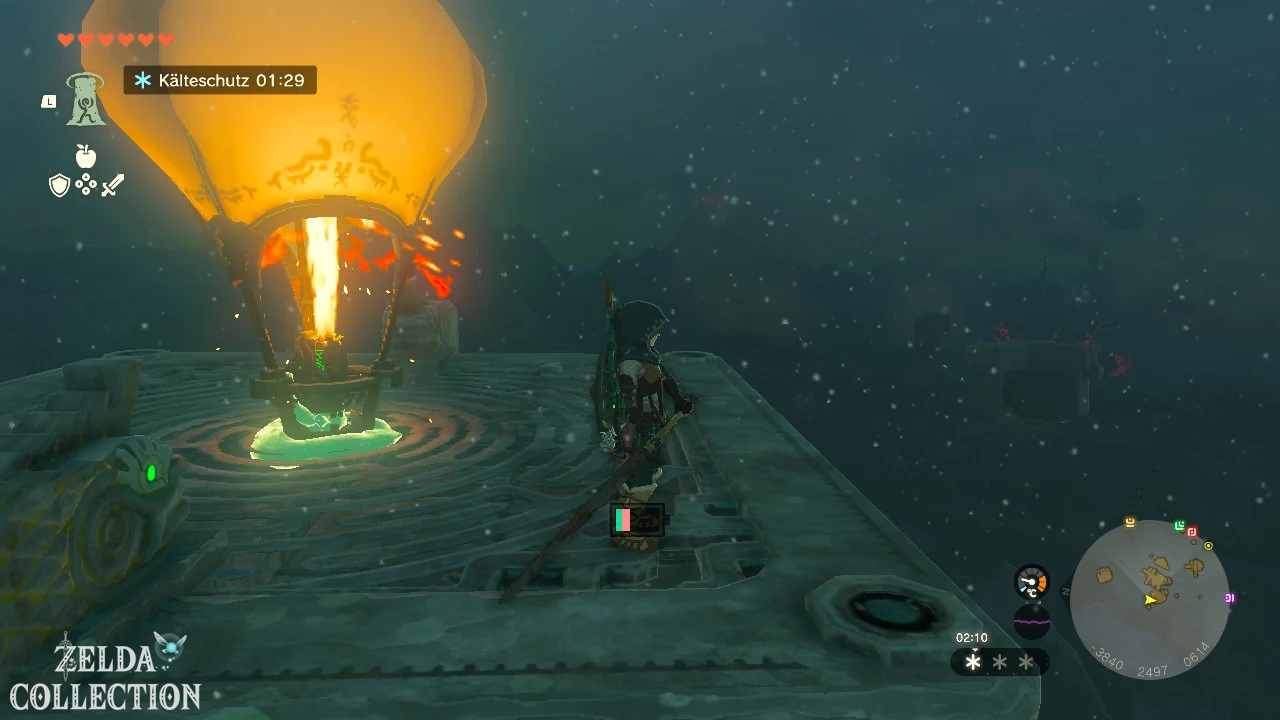
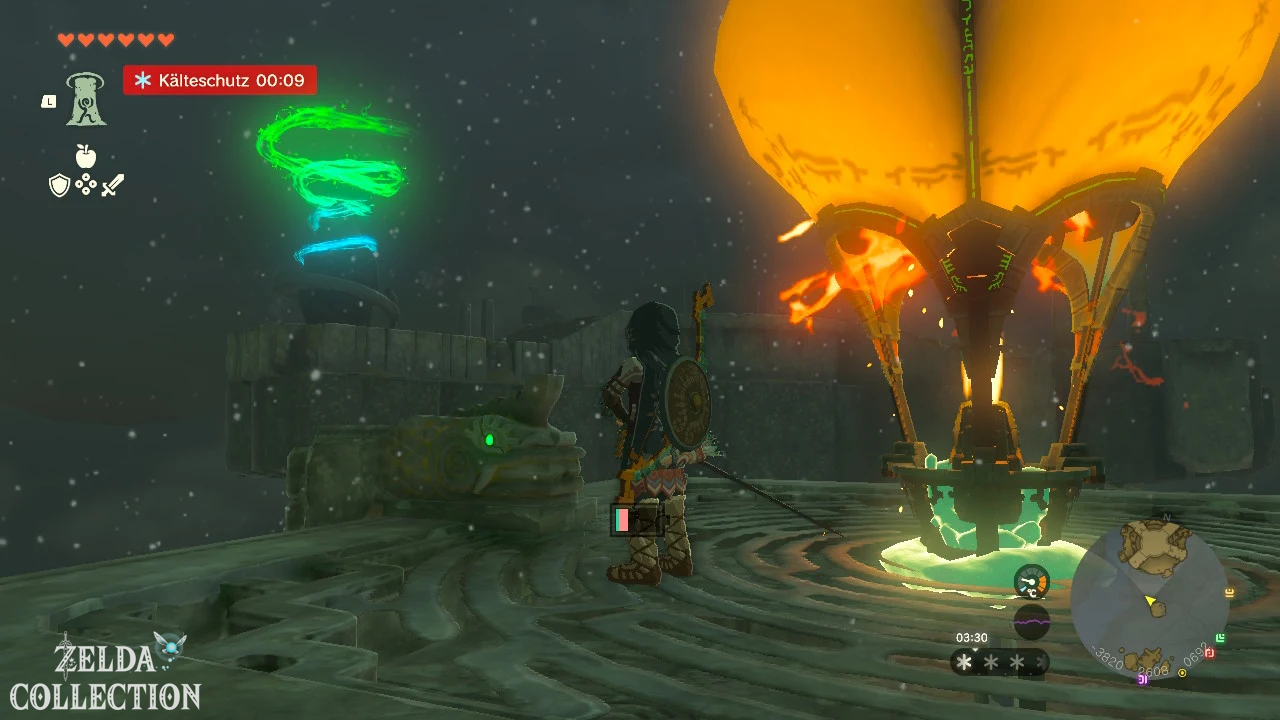
Location: West Hebra Sky Archipelago
coordinates: approximately -3861, 2682, 0716
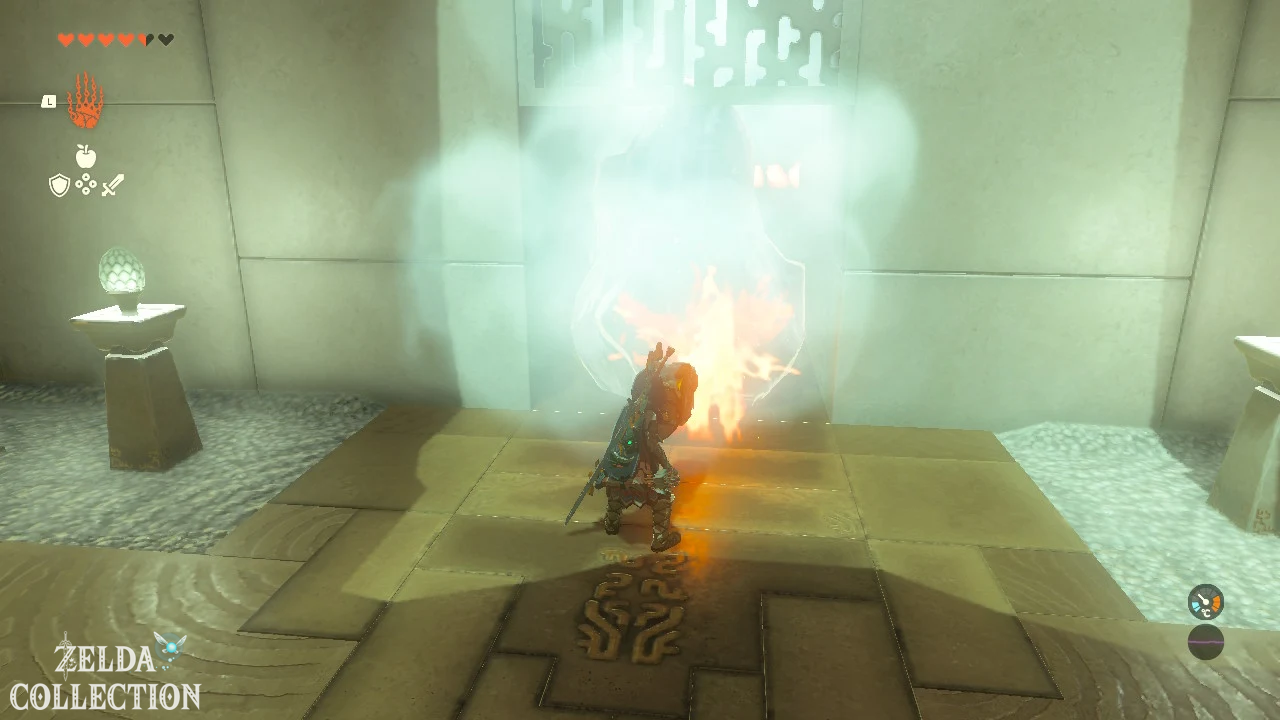
Defeat the first construct and take its Flame Emitter shield. Hold the shield in front of the ice wall until it melts. Behind another area of ice is the chest with five wooden arrows.
Defeat the next construct and use its stone plate shield to block the fire beams in the side passage.
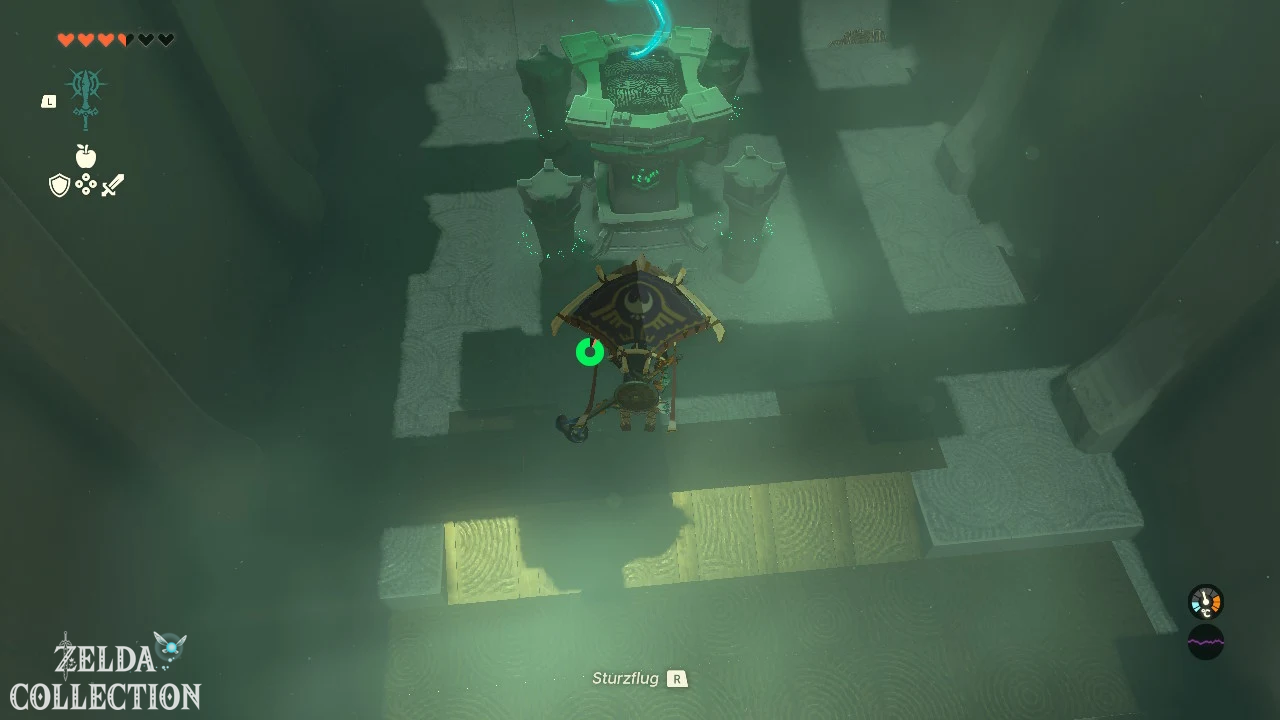
Attach a rocket to a shield in the final area. Hold up the shield to be shot to the upper level and glide to the altar.
Kahatanaum Shrine
Exam: Raurus blessing
Reward: Large Zonai Charge and a Light of Blessing
Location: Chain of Rising Islands
coordinates: approximately -3295, 3430, 1347
The Kahatanaum Shrine is on the intended path to the Wind Temple. You reach it during the main quest with Tulin, after crossing several trampoline ships and floating ruins.
There is no test in the shrine. Open the chest with the Large Zonai Charge and activate the altar.
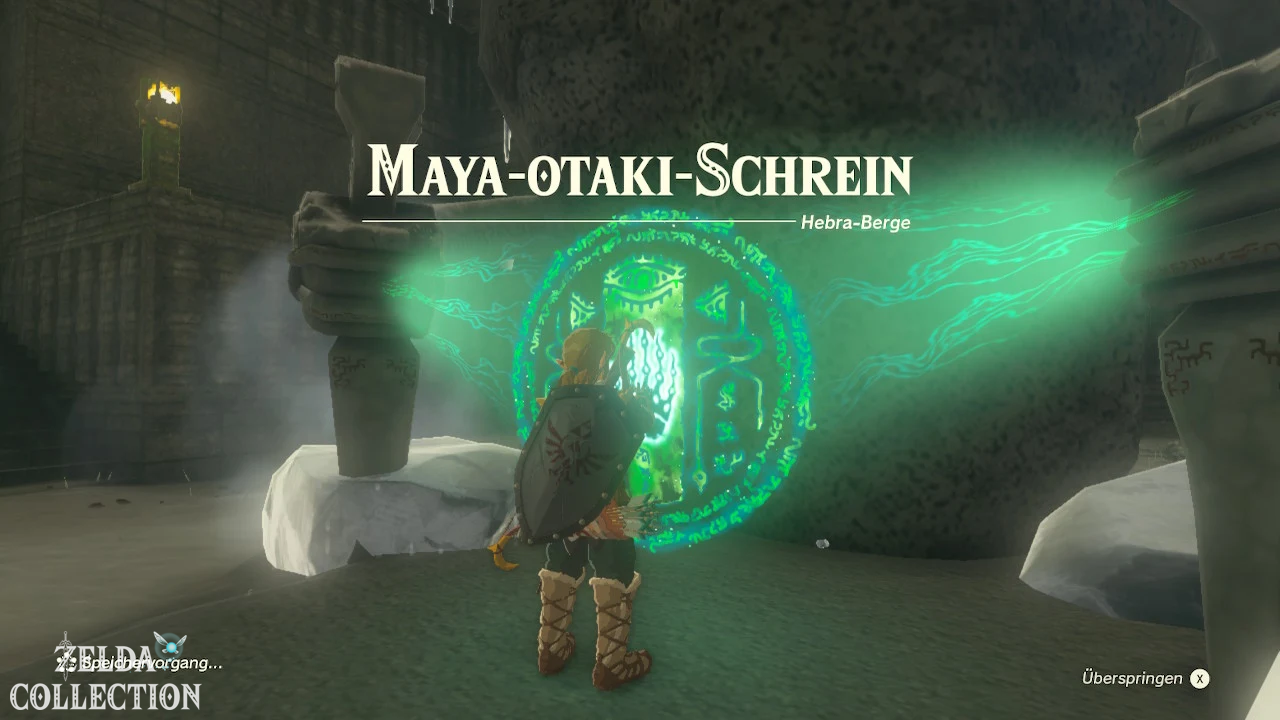
Mayaotaki Shrine
Challenge: North Lomei Labyrinth
exam: Raurus blessing
Reward: Diamond and a Light of Blessing
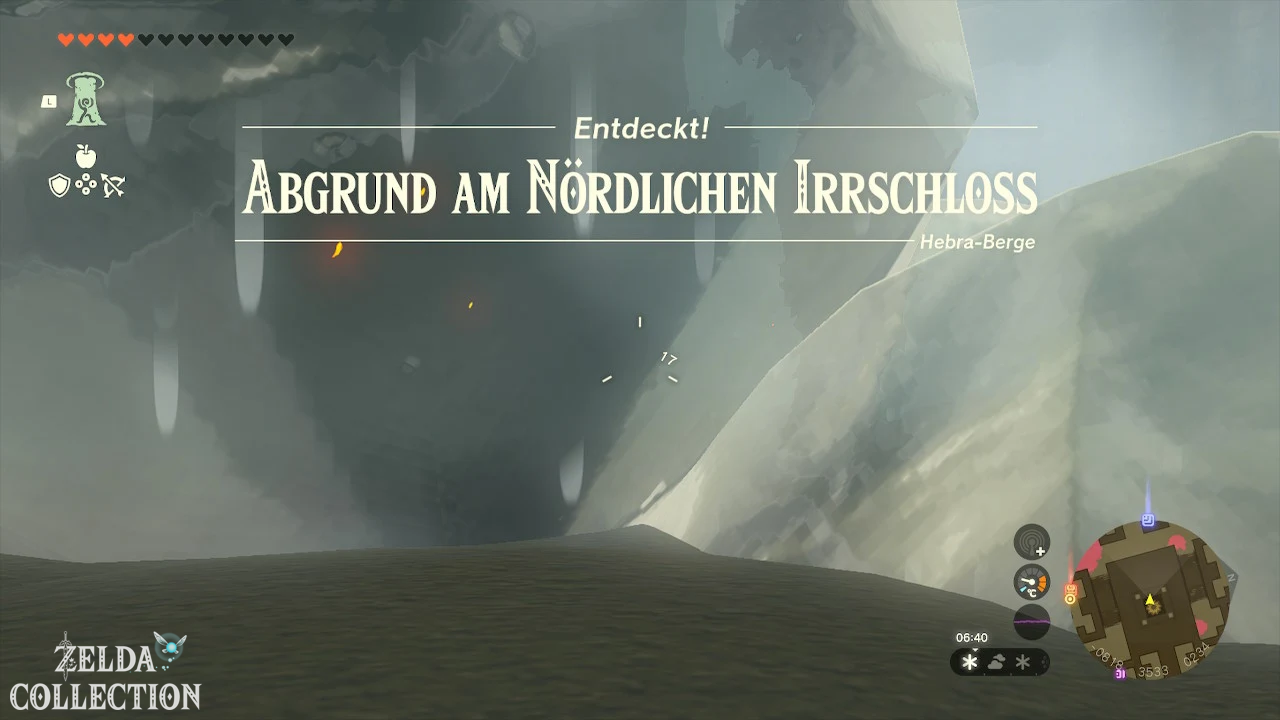
coordinates: approximately -0823, 3535, 0235
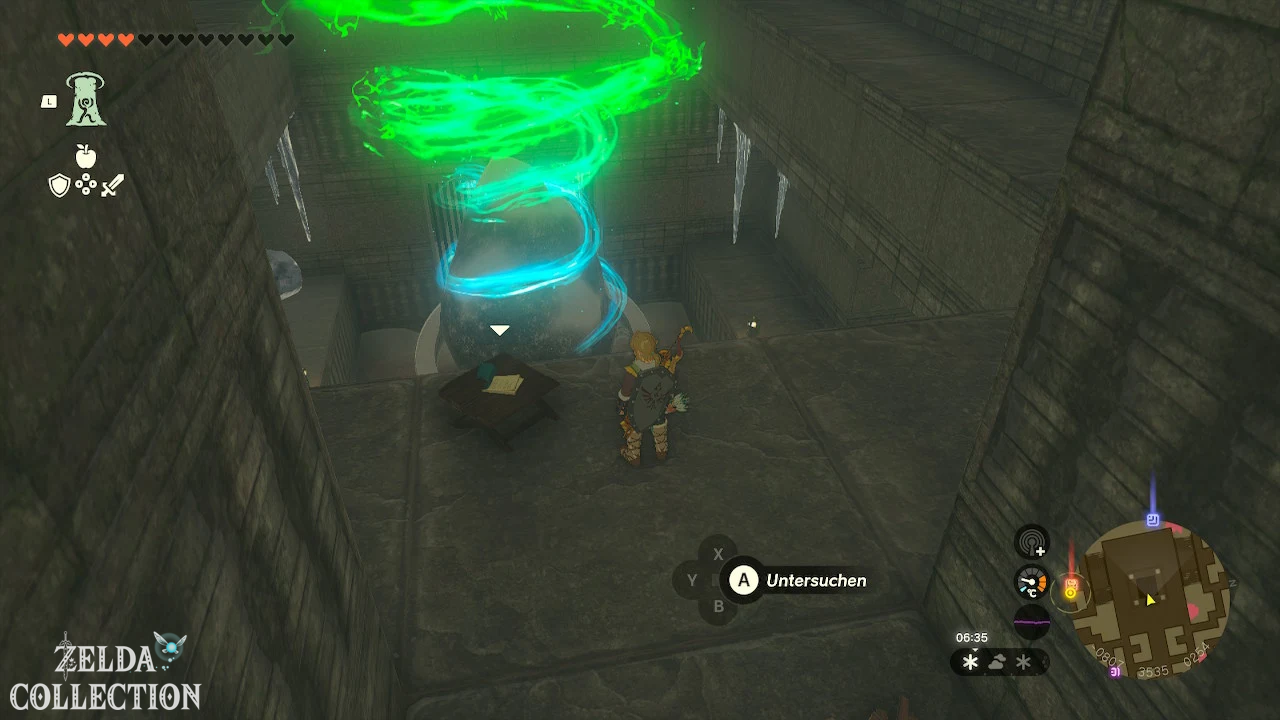
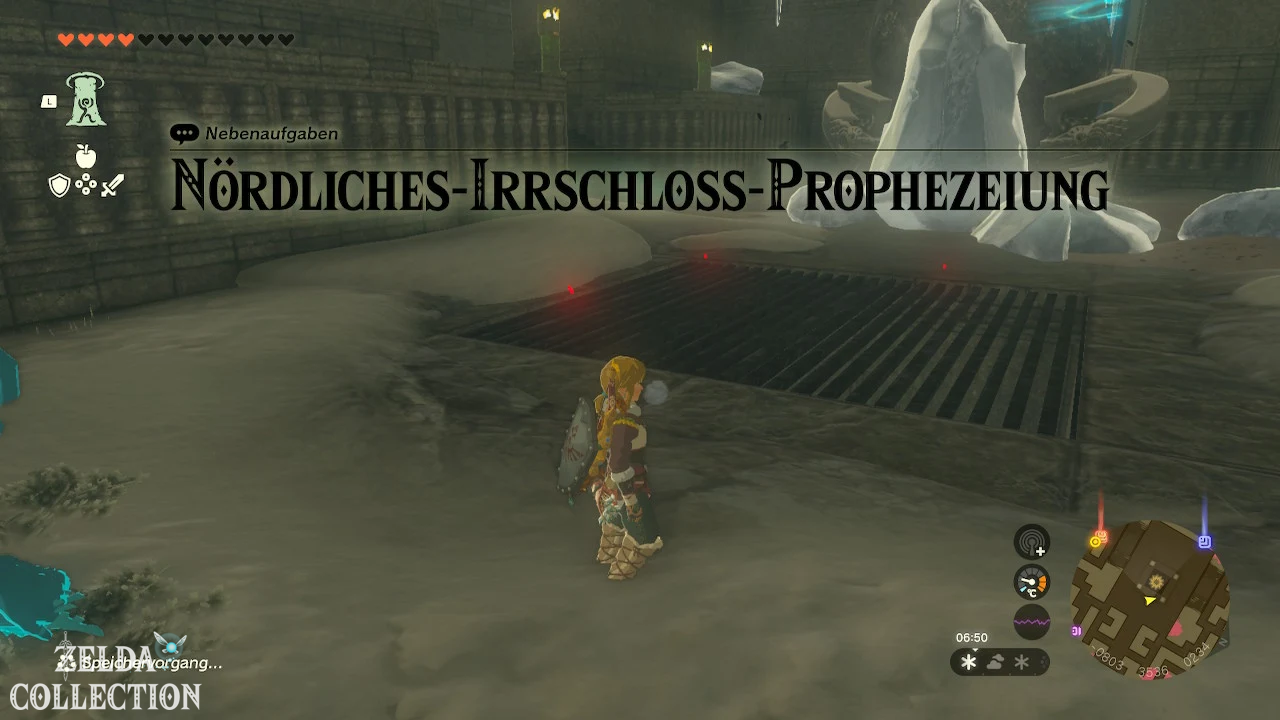
Enter the Northern Lomei through the southern entrance. Follow the researcher’s tracks and the pine cones laid out through the labyrinth. Several fire pits serve as additional route markers.
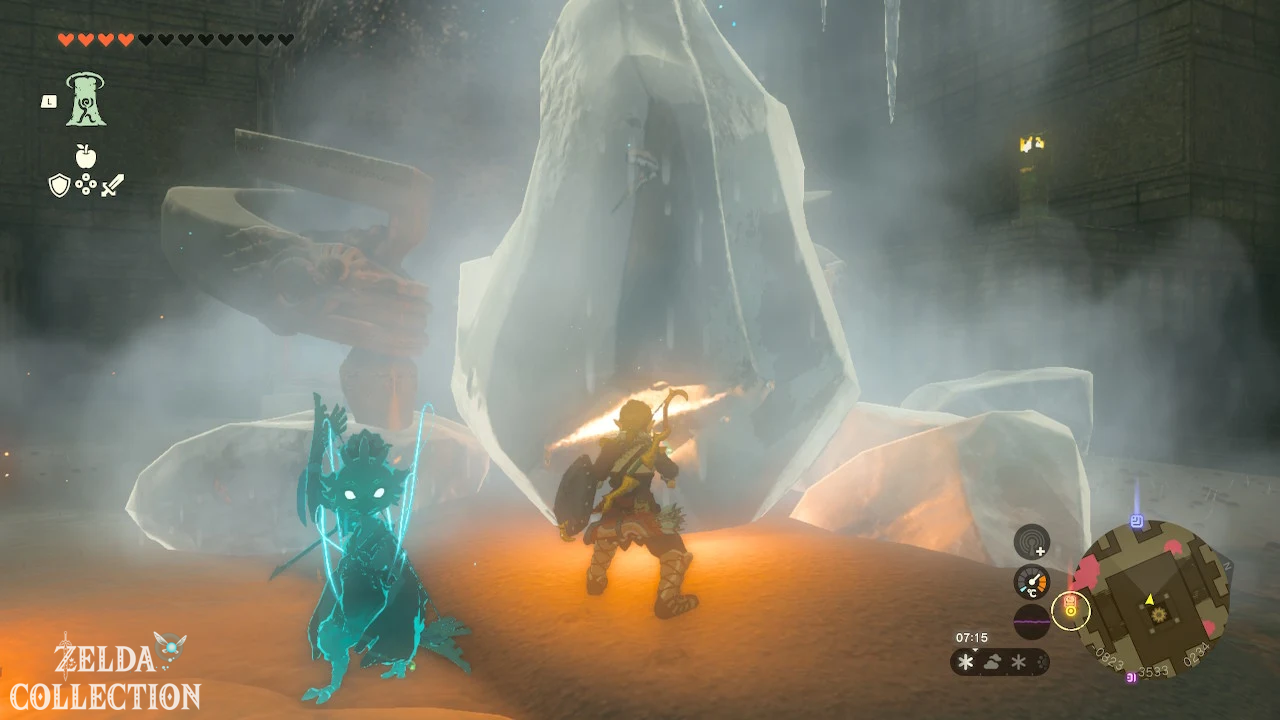
In the center you have to melt the ice in front of the shrine using Fire Fruit, a campfire or a firearm. You will then receive the diamond directly in the shrine.
Mayaumekis Shrine
Exam: Key point
Reward: 10 wooden arrows and a Light of Blessing
Location: Chain of Rising Islands
coordinates: approximately -2948, 3051, 0910
To start, shoot through the grate at the yellow switch. Use the sails of the flying ships as trampolines and glide from ship to ship.
The Treasure Chest with ten wooden arrows lies on a side platform that you can reach via one of the ship’s sails.
Before the last room, jump through the bars and shoot at another switch. This will open the floor hatch. Let the ship below throw you into the room.
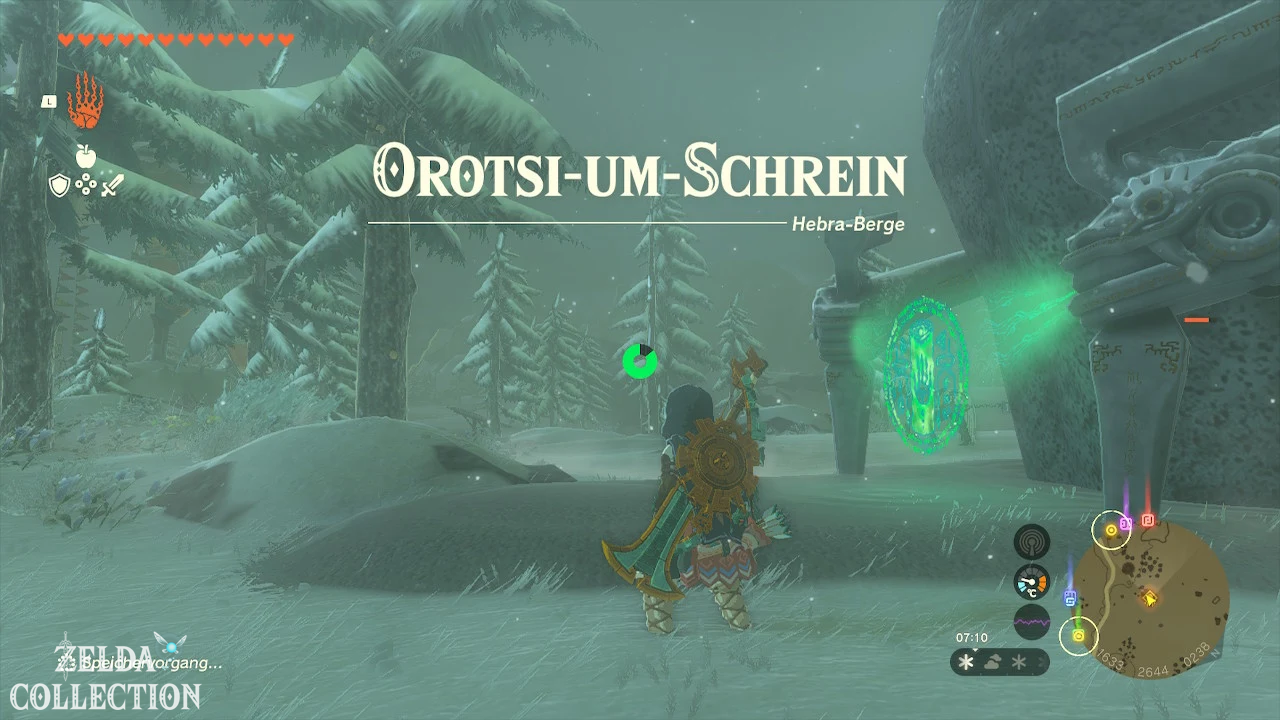
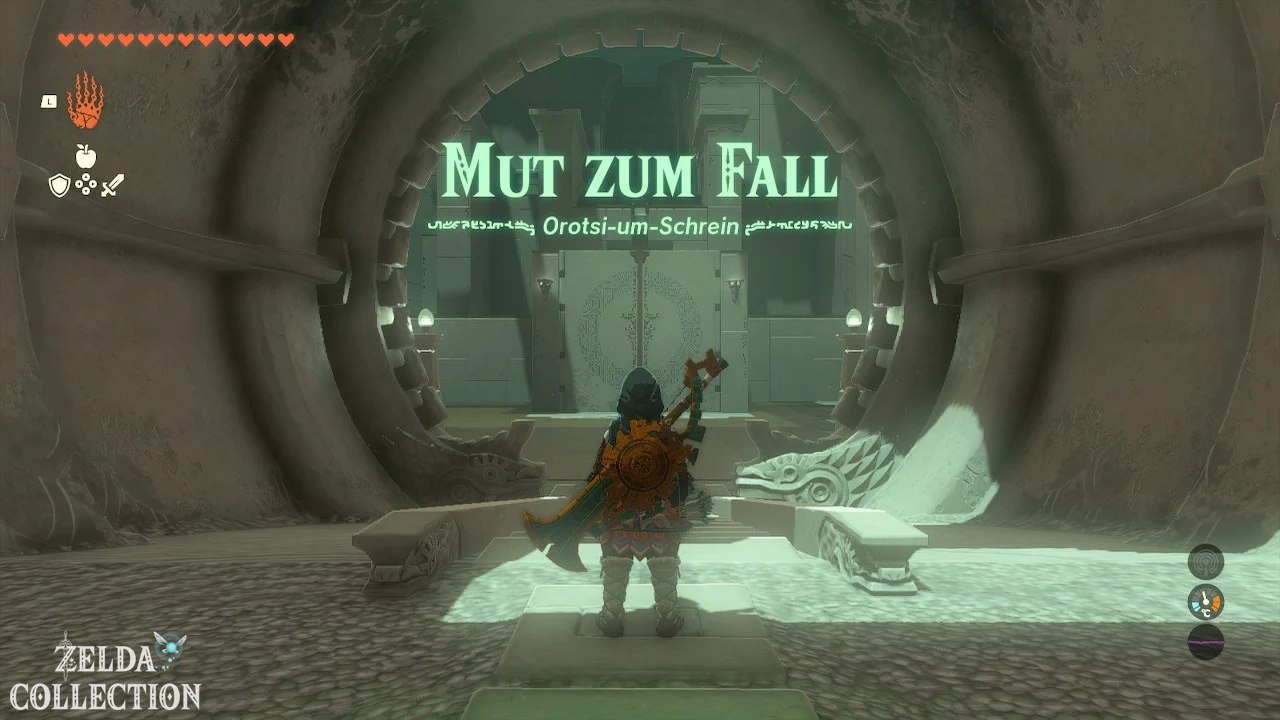
Orochium Shrine
Exam: Courage to fall
Reward: 5 wooden arrows and a Light of Blessing
coordinates: approximately -1635, 2640, 0239
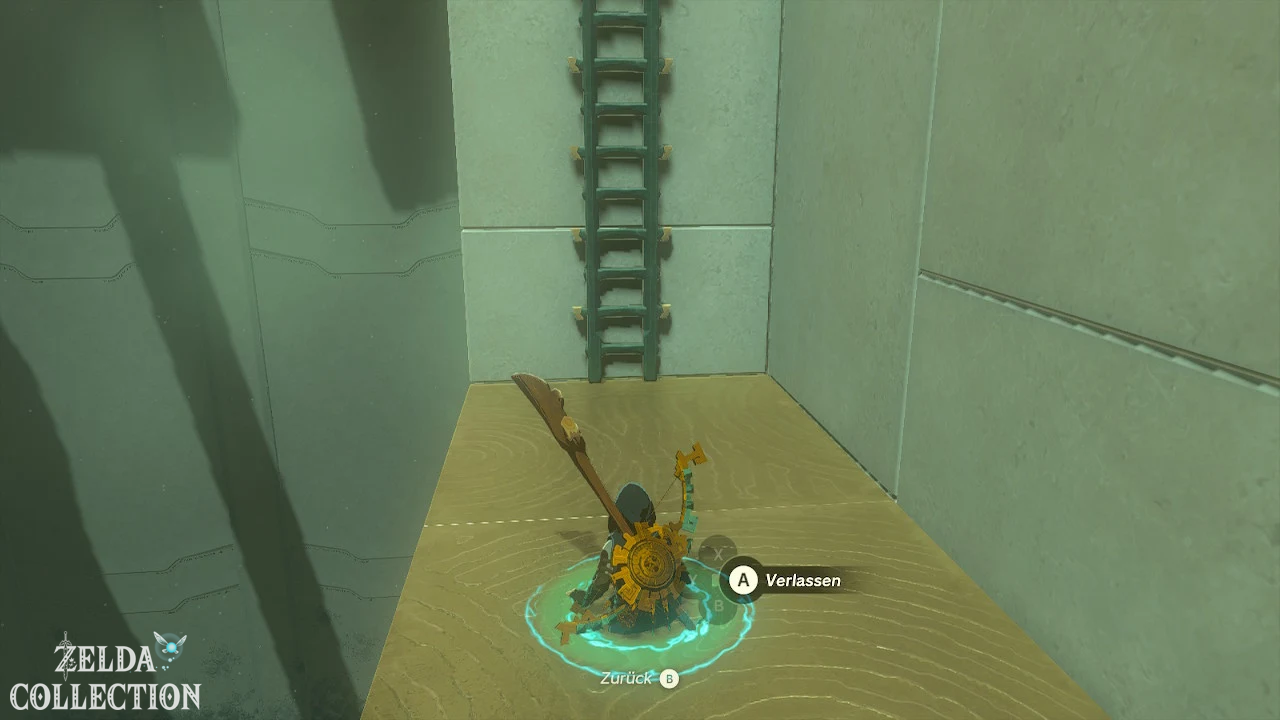
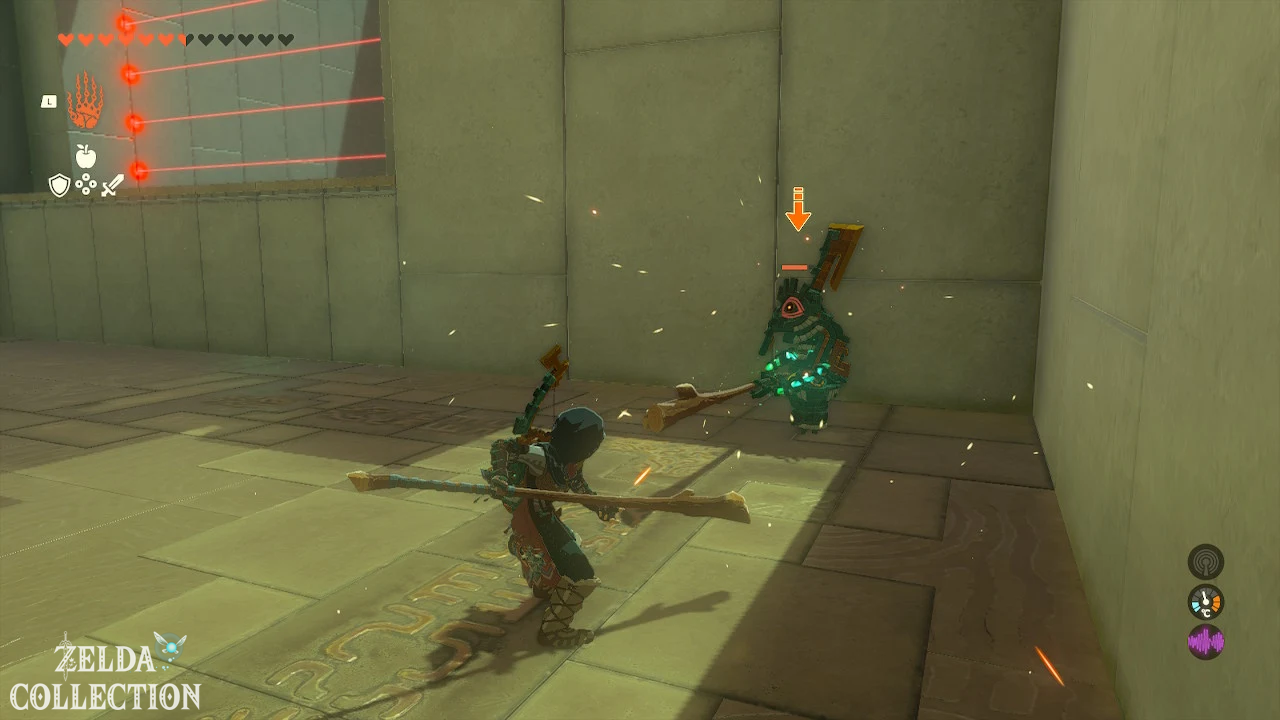
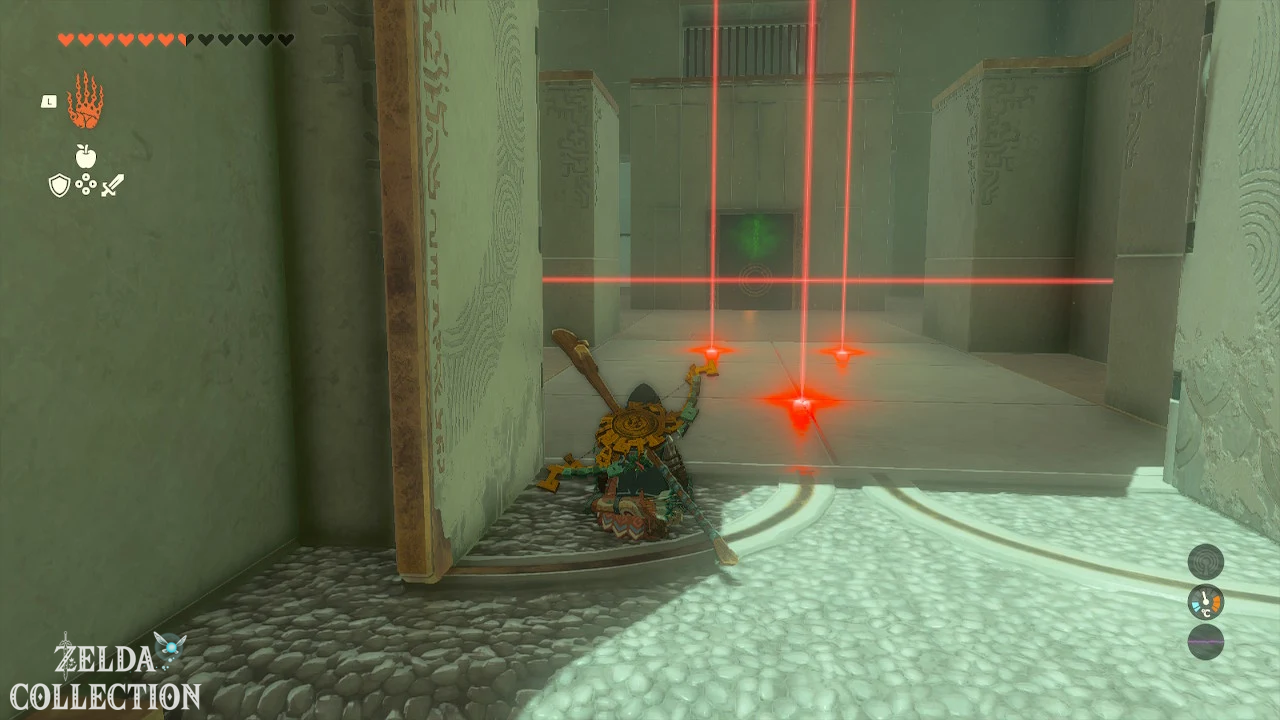
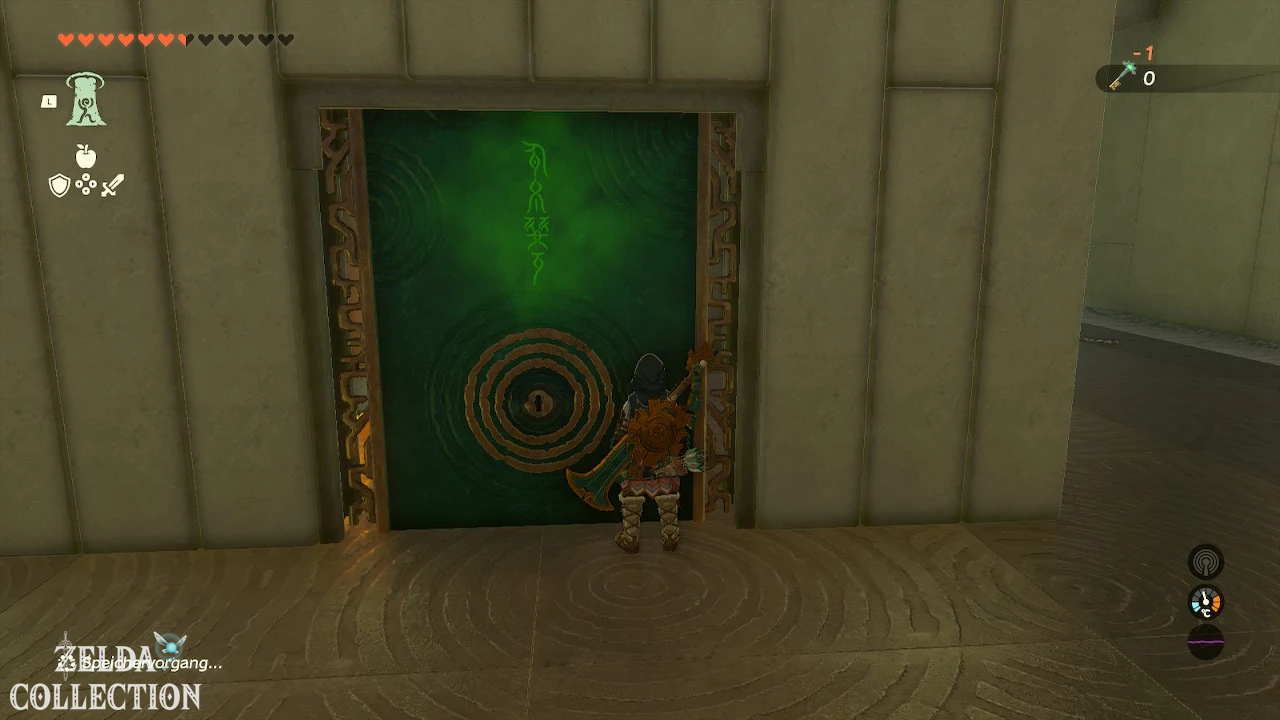
Open the first gate and avoid the lasers. On the left you can reach the upper level using Ascend. Follow the narrow passage and slide to the construct with the chest.
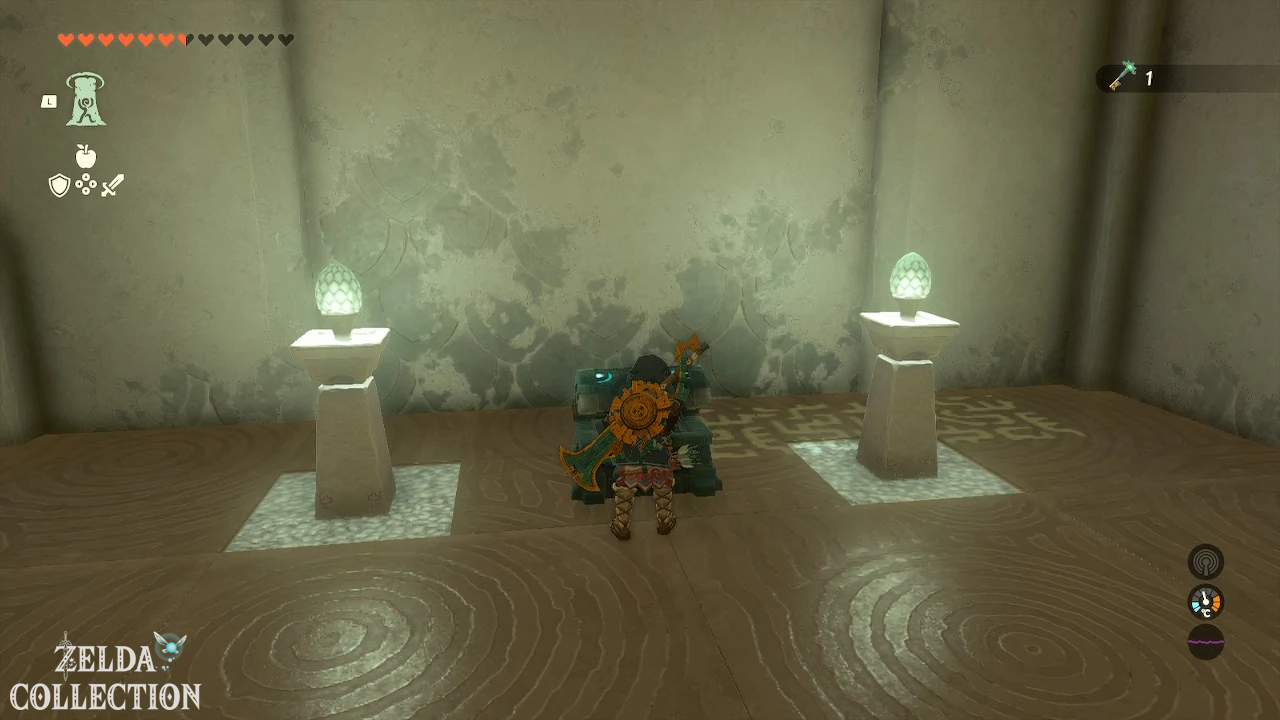
Afterwards, intentionally run through the lasers in the lower section. The floor opens and you fall into a secret room. Avoid the beams there and get the Small Key.
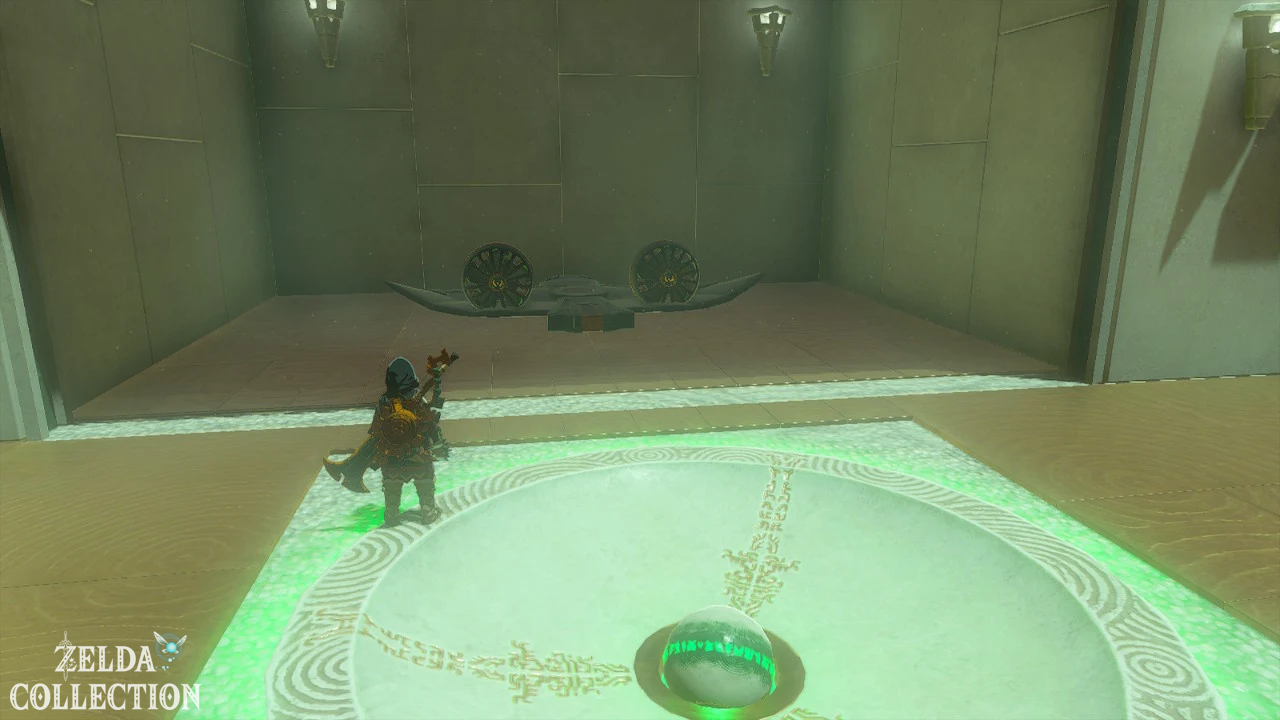
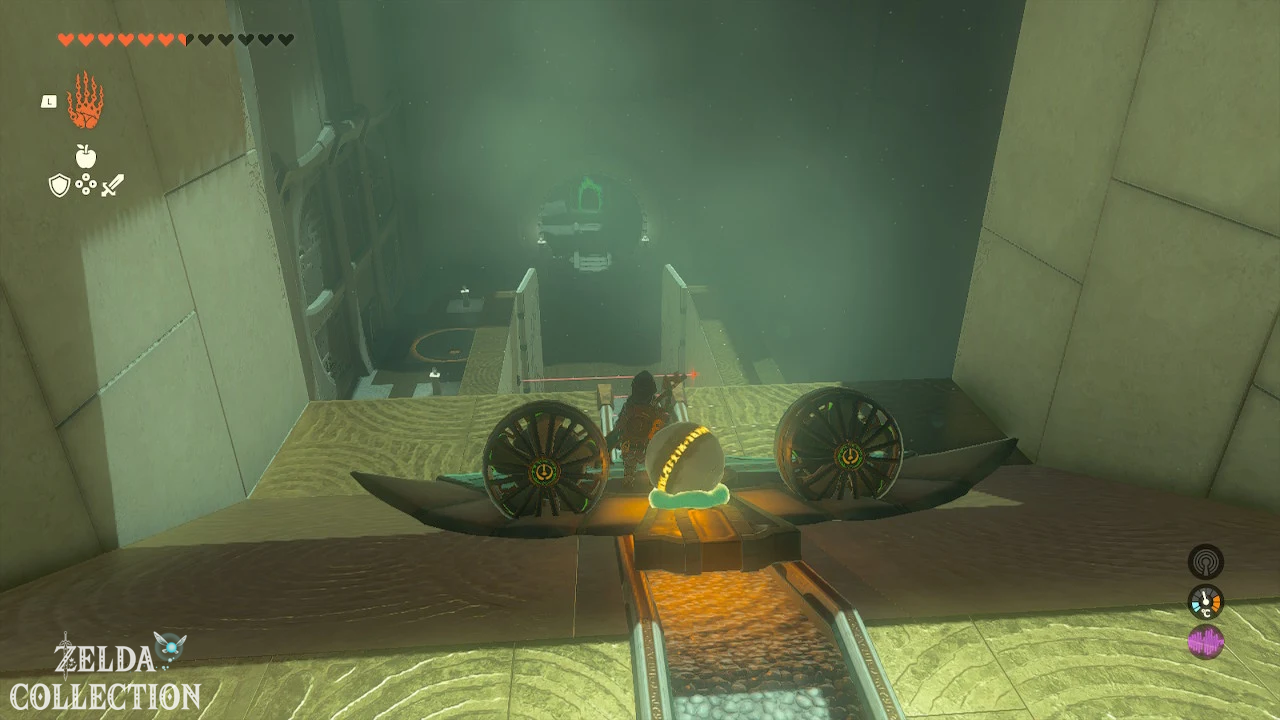
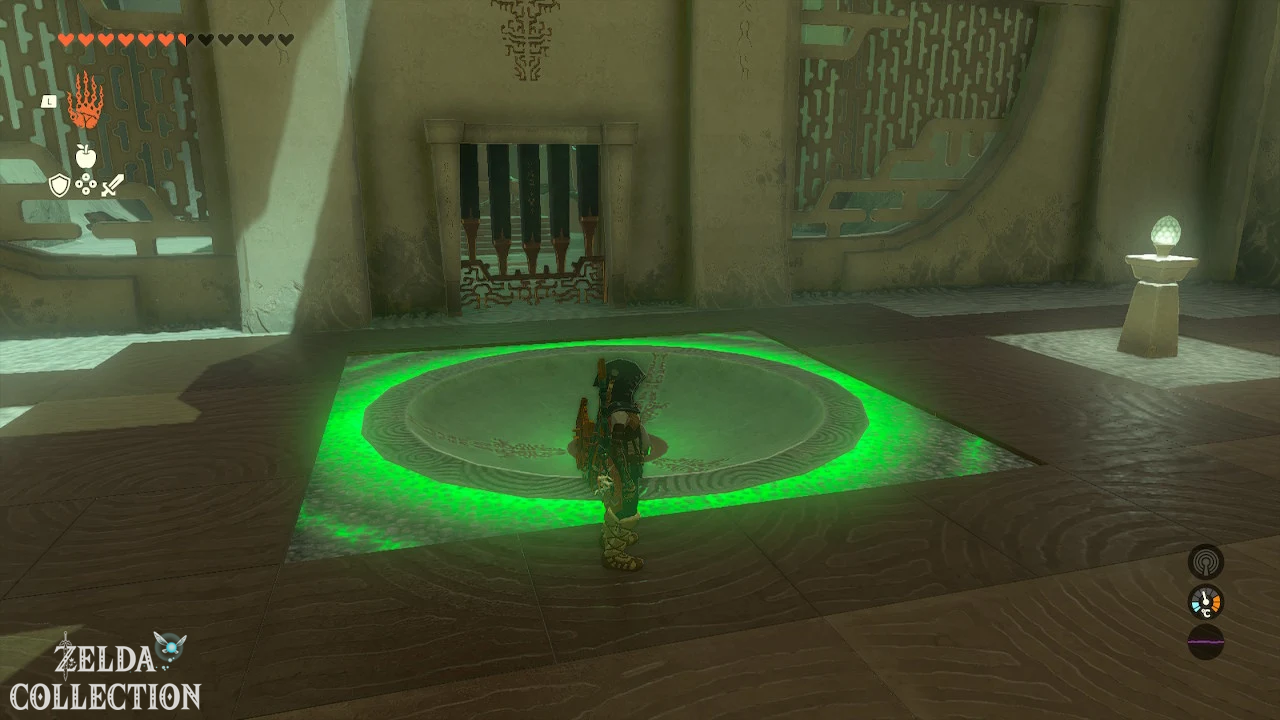
Open the cage with the ball, ride it up the green platform and place it in the first socket. Attach the ball to the released aircraft, move over the rail and place it in the final recess.
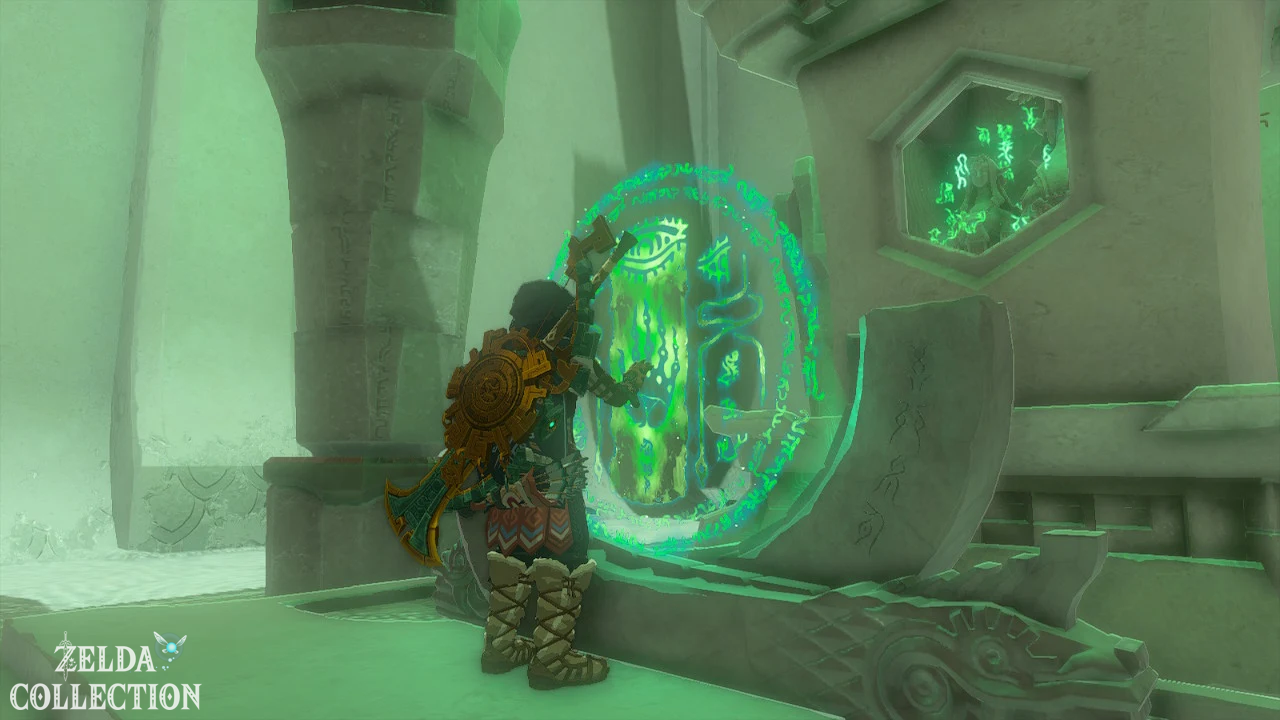
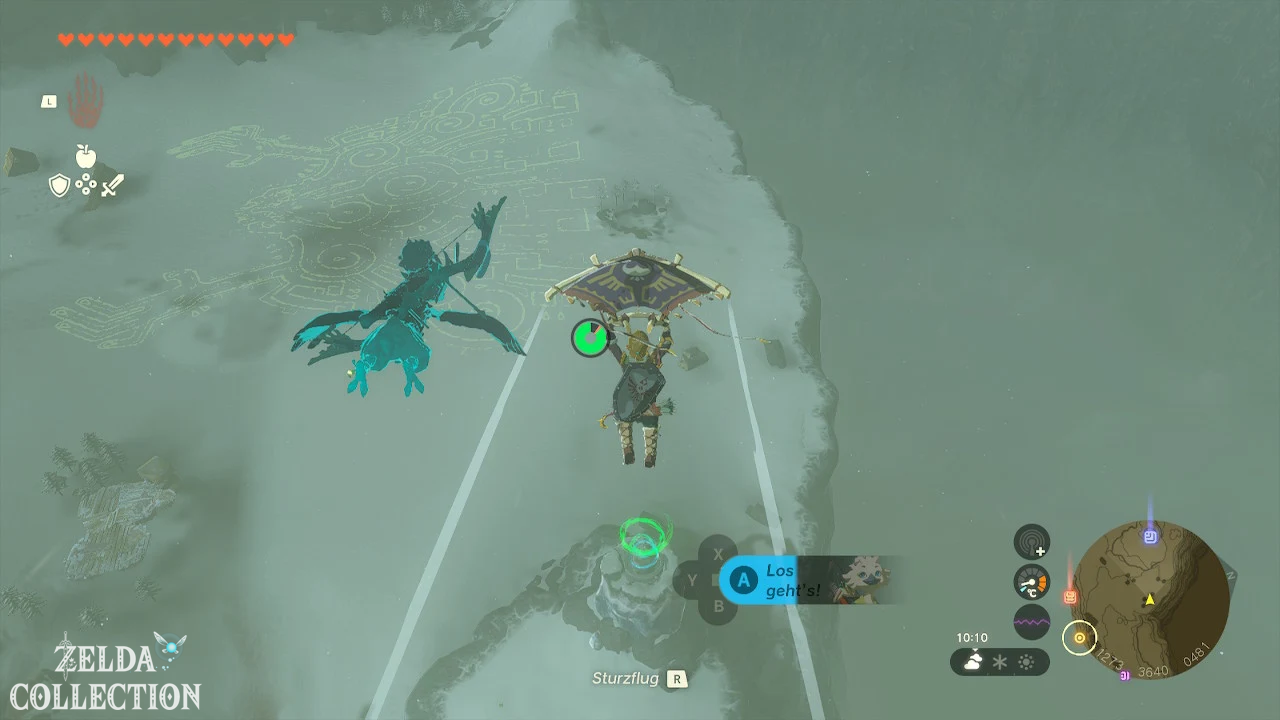
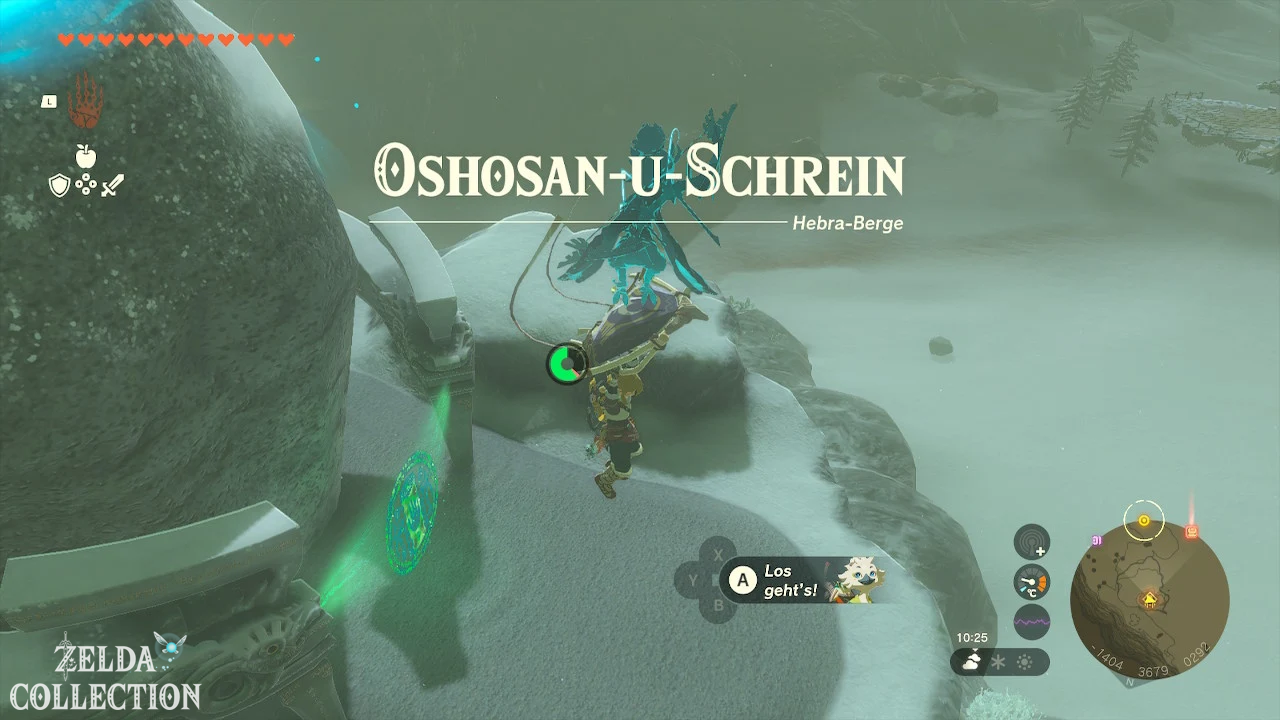
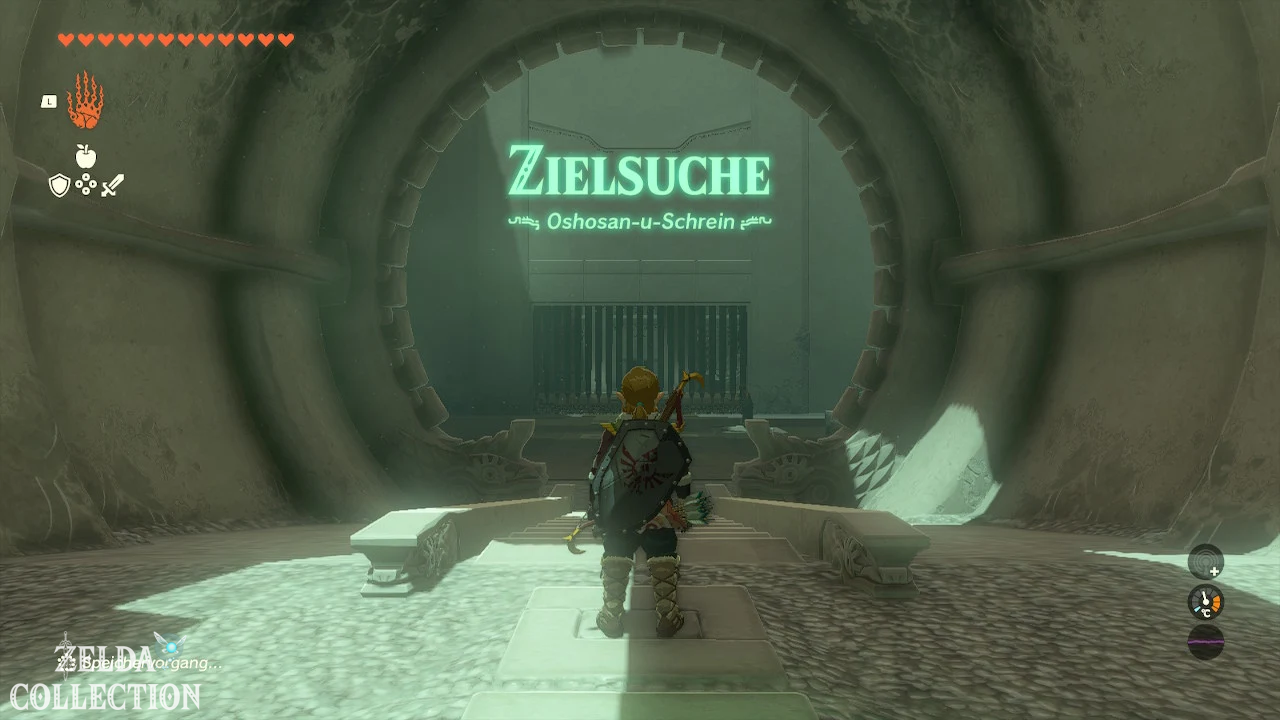
Oshozan-u Shrine
Exam: Target Search
Reward: Zonaite Bow and a Light of Blessing
coordinates: approximately -1404, 3678, 0301
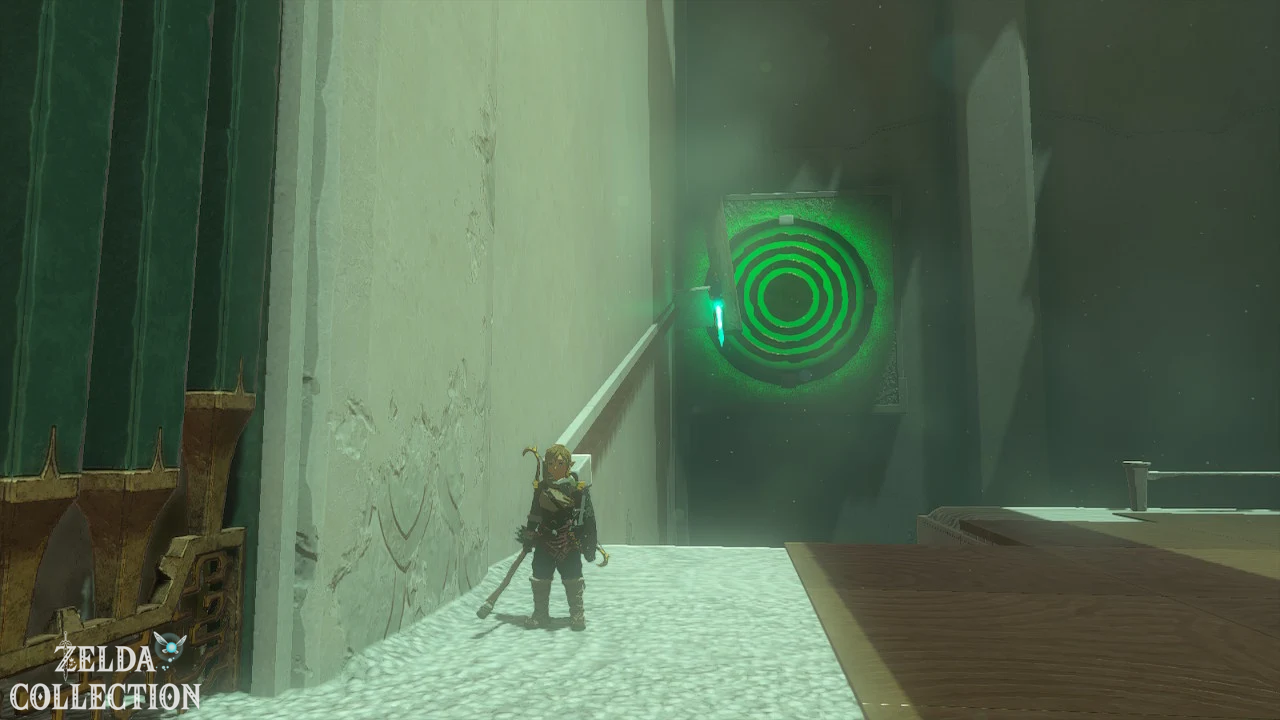
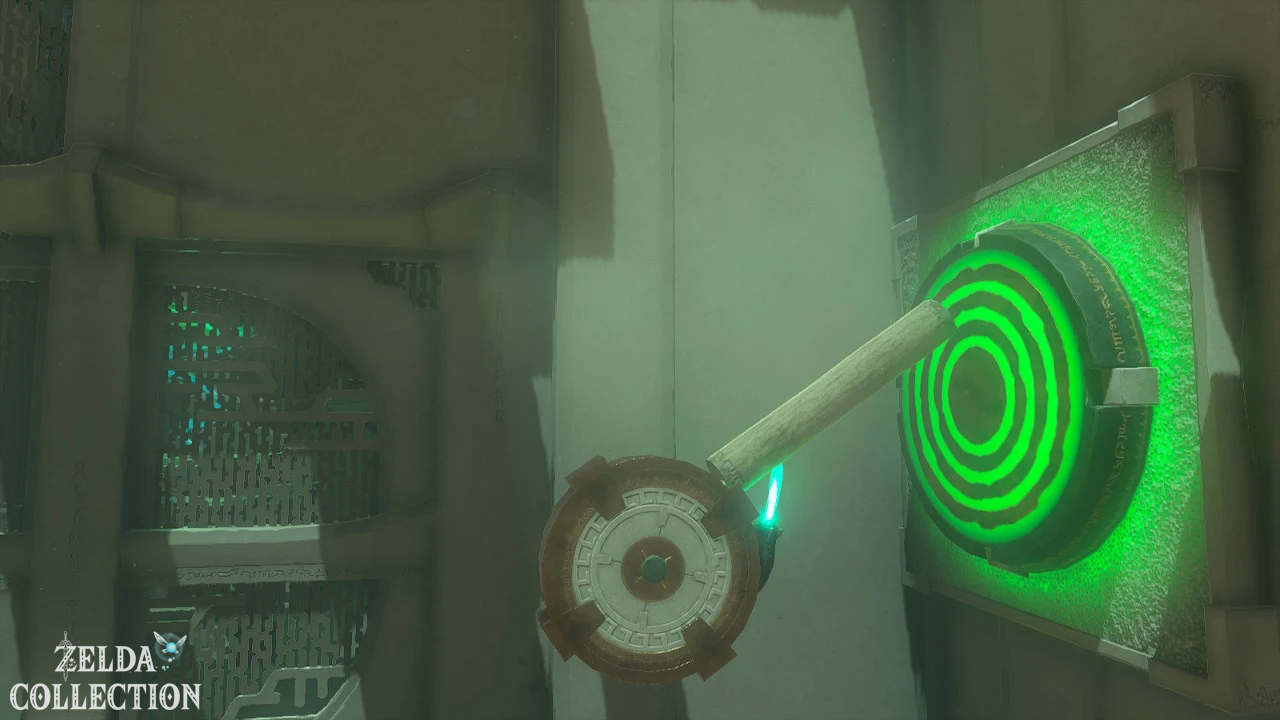
Attach a rocket to the moving cube and a tree trunk to the side of it. Aim the log at the target and activate the rocket.
In the next room, connect two trunks into an L shape and attach them to the rotating Big Wheel. A rocket provides the rotational movement necessary for the trunk to hit the switch.
Then place the long trunk vertically against the side wall and climb to the chest with the Zonaite bow. The path to the altar is then clear.
Otak Shrine
Test: Naked Survival – Feint
Reward: Powerful Construct Bow and a Light of Blessing
Location: Cave at Icefall Foothills
coordinates: approximately -4391, 3714, 0212
In the cave, melt the ice blocks and drop into the lower chamber. The shrine is behind a smaller block of ice on the wall.
First build a hammer weapon out of sticks and rocks in the shrine. Lure the melee fighters under the large stone slab and destroy its support, causing the slab to fall onto the constructs.
Defeat the remaining archers with the captured weapons. You will then receive the Powerful Construct Sheet.
Rutafu-um Shrine
Shrine Task: Shrine in the northwest cave
exam: Raurus blessing
Reward: Topaz and a Light of Blessing
coordinates: approximately -2998, 3105, 0514
In the northwest cave, follow the green beam of light to an icy pool of water. The crystal is under water.
Create an ice slab with an Ice Fruit and extend your access by connecting multiple icicles or sticks together. Use the Ultrahand to pull the crystal to the surface.
Alternatively, create several floating ice sheets and approach the crystal directly. Take him to the platform and open the chest with the topaz in the shrine.
Sisuran Shrine
Shrine Quest: Shrine in the Hebra Mountains
exam: Raurus blessing
Reward: Sapphire and a Light of Blessing
coordinates: approximately -2556, 3354, 0245
The green crystal is in the ore chunk on an ice-Stone Talus. Shoot a fire fruit at his body so you can climb up safely.
Attack the ore chunk with a hammer weapon and jump down as soon as the Stone Talus tries to shake you off. After the victory, the crystal comes off.
Carry him to the shrine and open the chest with the sapphire there.
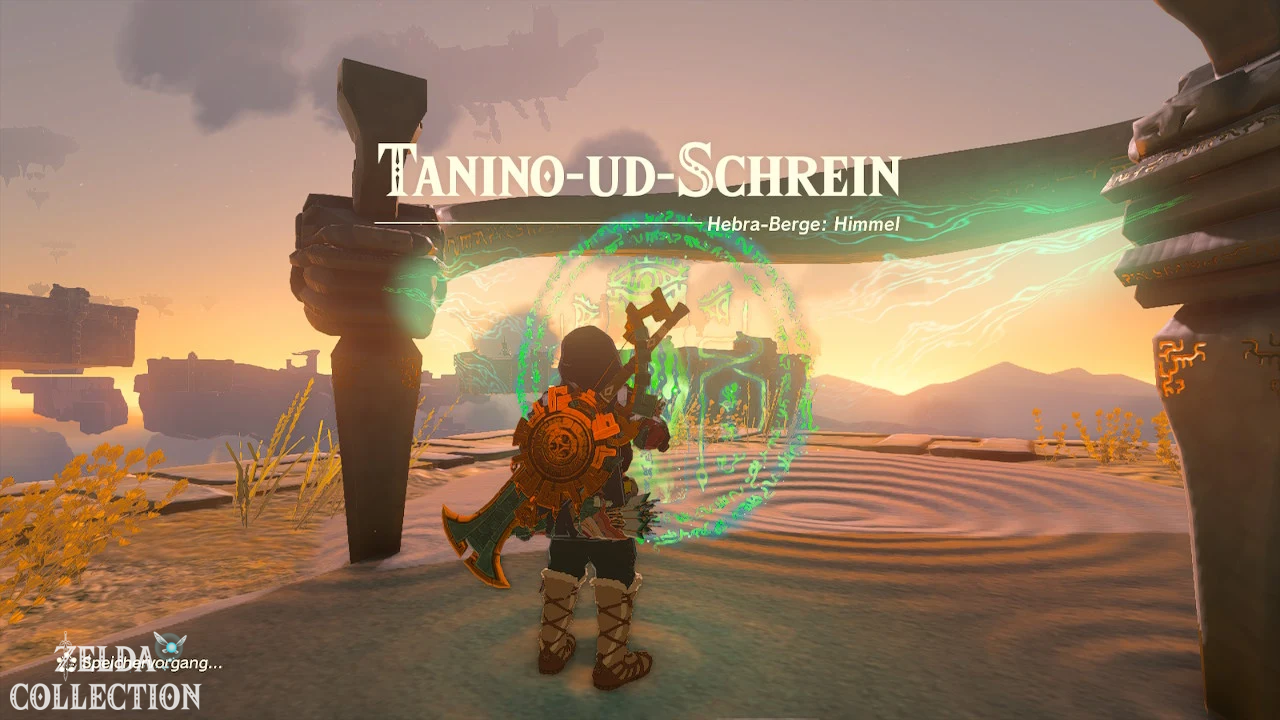
Taninoud Shrine
Shrine Task: Shrine in East Hebra Sky Archipelago
exam: Raurus blessing
Reward: 5 wooden arrows and a Light of Blessing
coordinates: approximately -1801, 3406, 0949
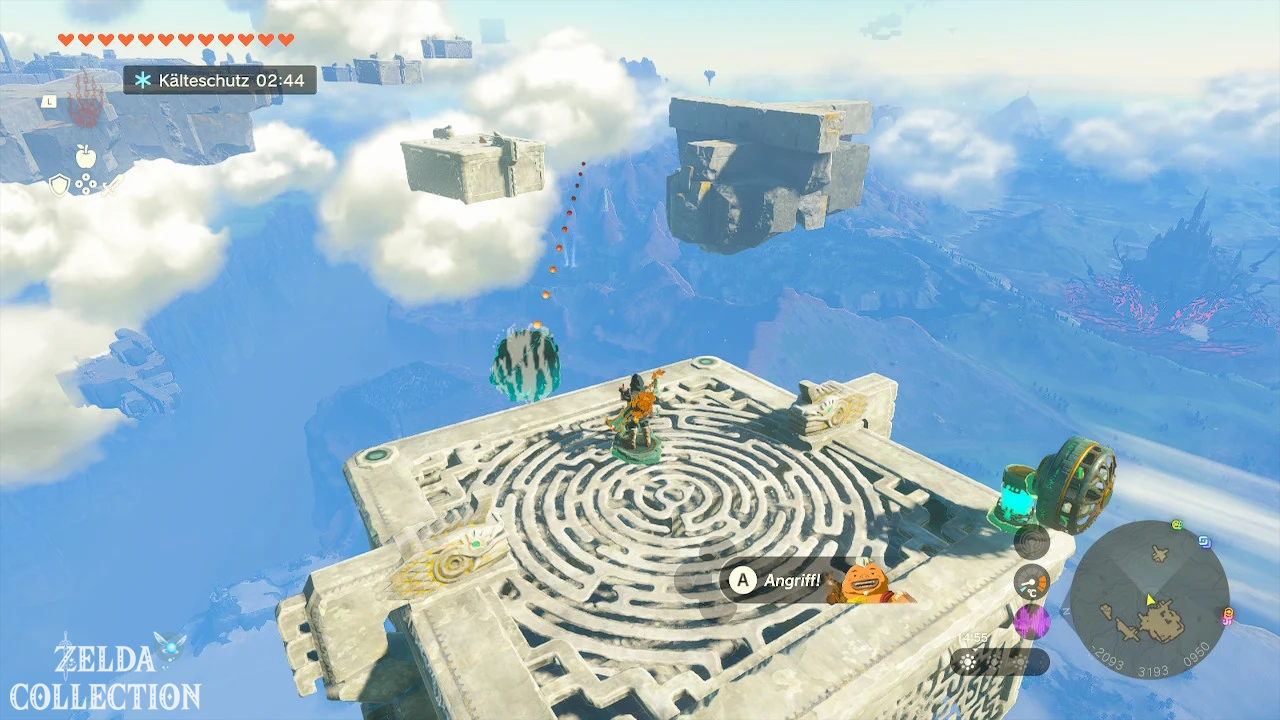
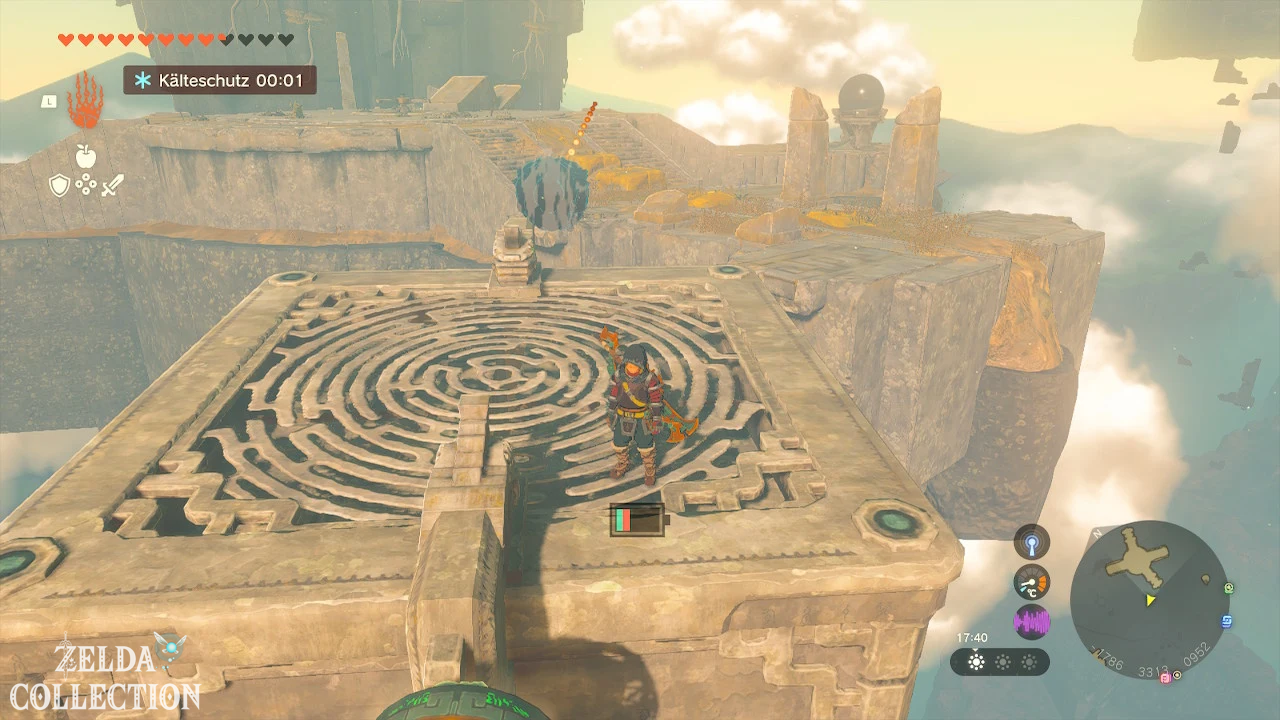
Examine the shrine platform on the cross-shaped island. The crystal is located in a cave within a large floating island.
Use the Ascend through the bottom of the island and burn the vines inside. Attach the crystal to the aircraft, add fans, batteries and a control unit.
Open the vine-blocked exit and fly back to Shrine Island. There are five wooden arrows in the shrine.
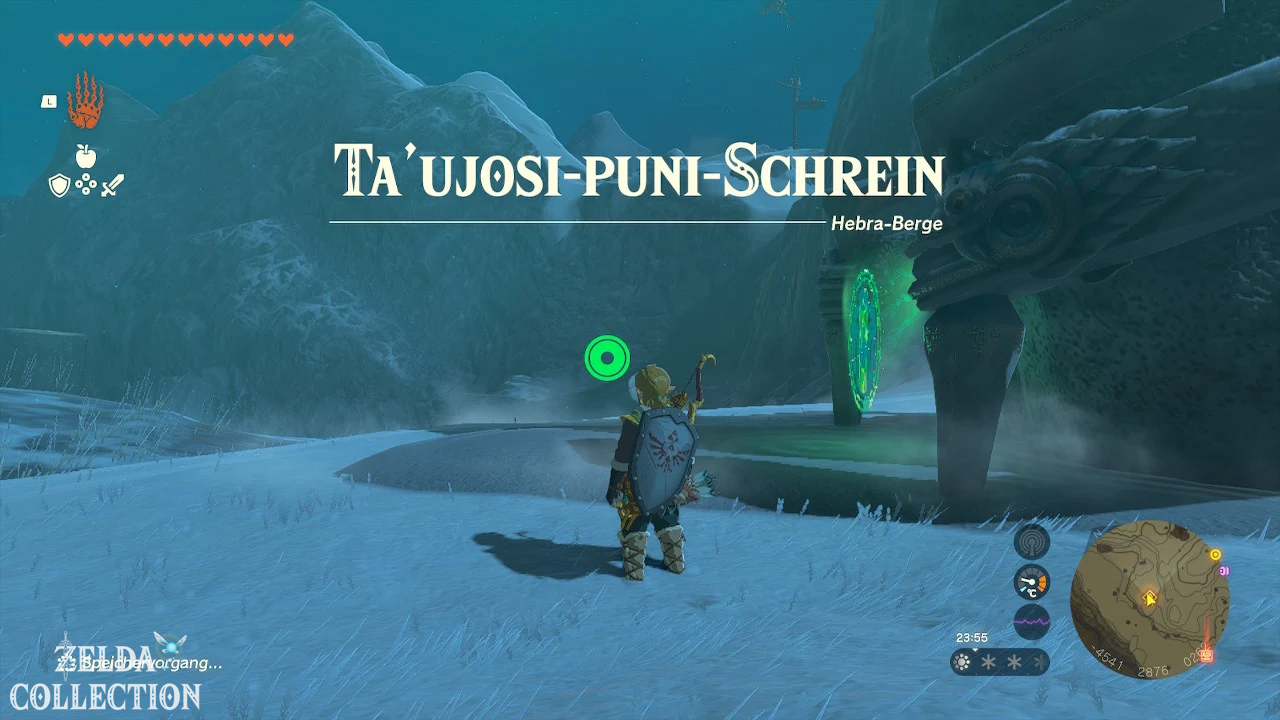
Tauyosipun Shrine
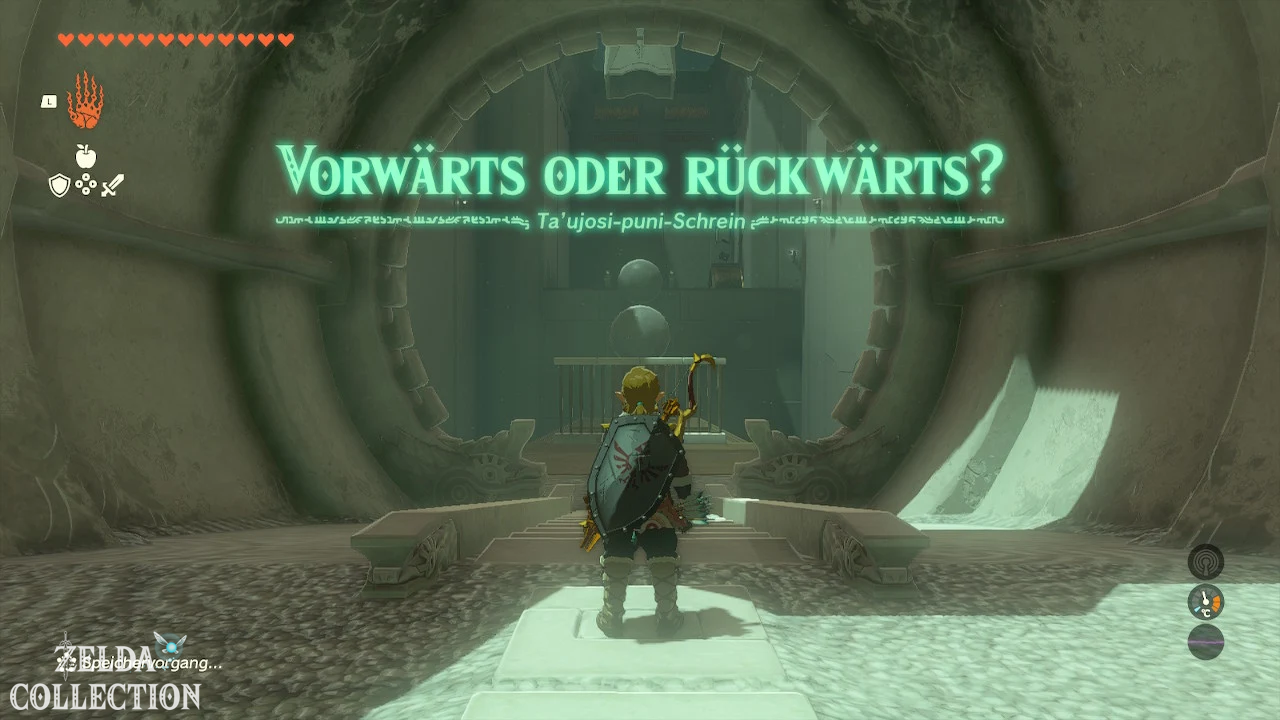
Exam: Forward or backward?
Reward: Powerful Construct Bow and a Light of Blessing
coordinates: approximately -4539, 2881, 0262
Use the Recall on the rolling balls and run up against the direction of their movement. Afterwards, reverse the large Big Wheel to reach the falling chest.
In the next room, stop a ball with the Floor Switch. Place the rune ball behind it and activate the Recall on the normal ball to push the rune ball into the socket.
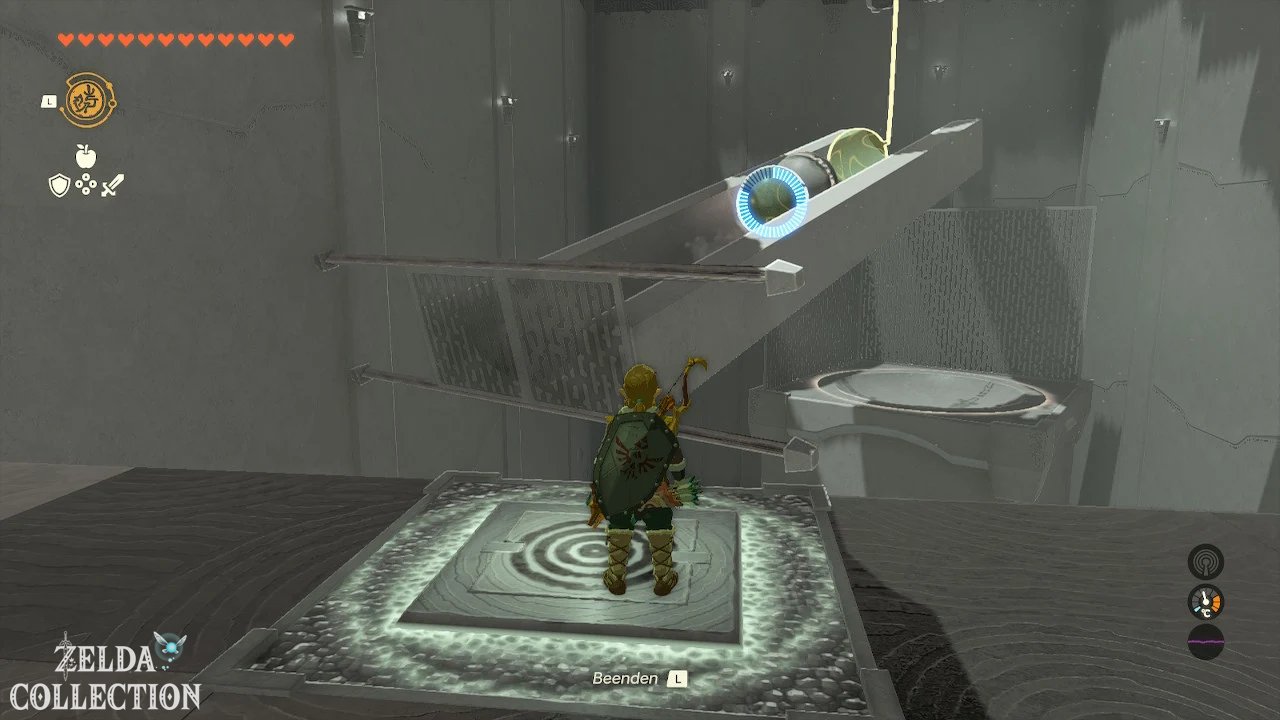
In the last room, place the ball in the movable bowl. As soon as the bowl is above the recess, insert the Recall onto the ball. It falls into the receiver and opens the gate.
Tenbez Shrine
Test: Falling speed
Reward: Large Zonai Charge and a Light of Blessing
Location: Northern Sky Labyrinth
coordinates: approximately -0968, 3535, 1011
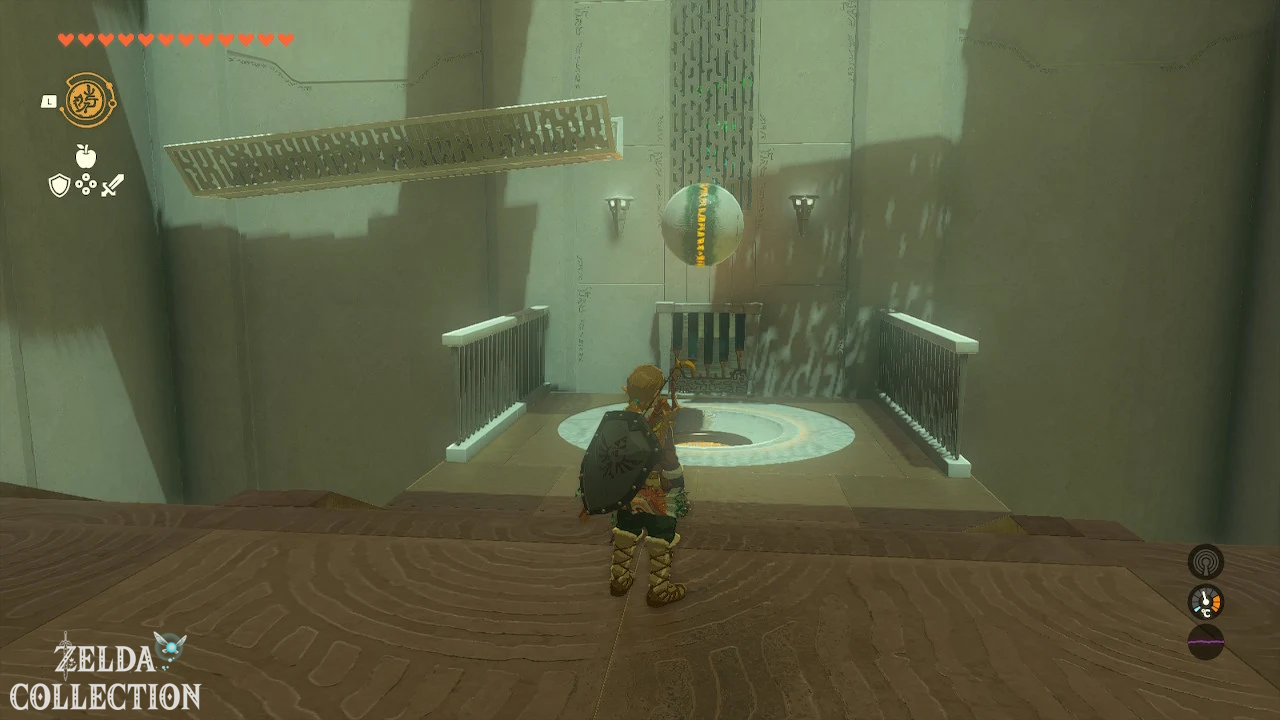
In the first room, wait for the ball to jump onto the right catapult plate and press the switch at the right moment. The ball flies against the target switch.
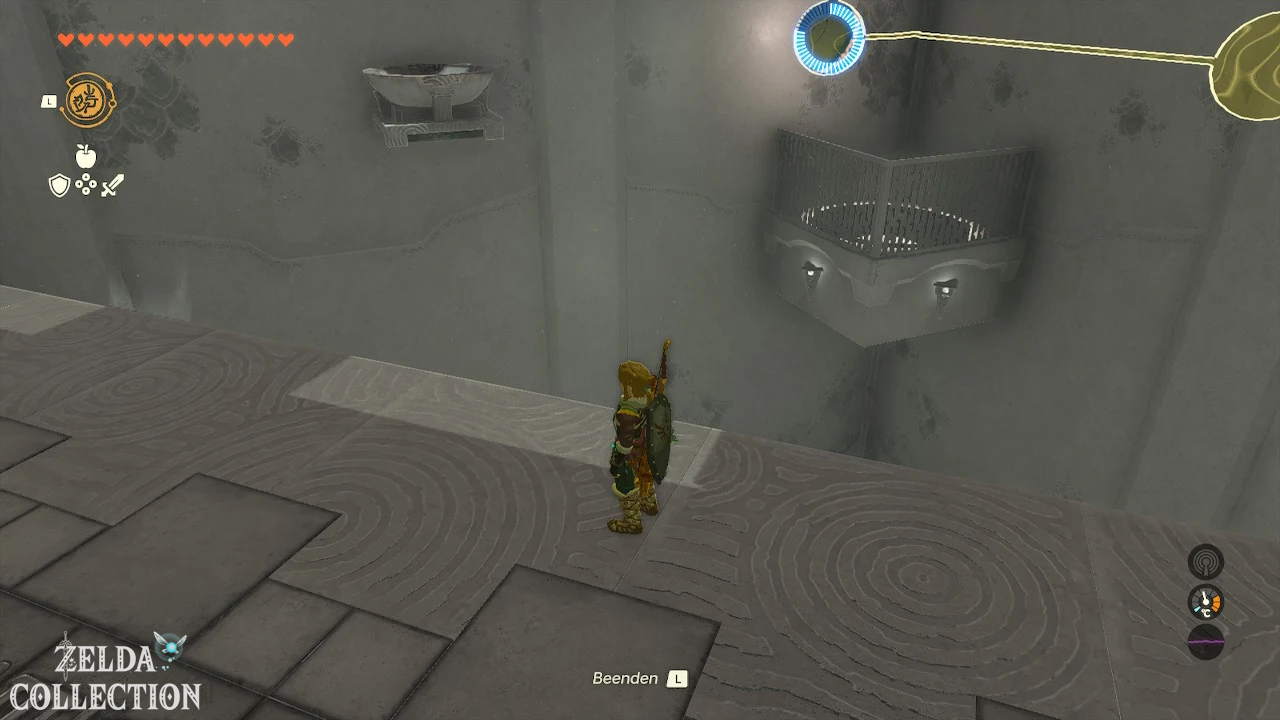
Then let yourself be shot from the left catapult plate into the next room. For the Treasure Chest you jump out through the opening again and slide into the wall niche on the side.
In the last room, wait until the ball is thrown from the upper catapult plate. Activate the switch so that she falls into the walled receiver.
Wao-os Shrine
Shrine task: White bird shows the way
Test: Leverage
Reward: Sharp-Elixir and a Light of Blessing
coordinates: approximately -4059, 1990, 0183
The cave is northwest of Orni Village. The “White Bird” is a snow-covered rock formation that you can see from the village in the morning.
In the shrine, attach the bowl to the rocker and place the ball in it. Lift the cube and drop it to the other end to send the ball hitting the first target.
For the second goal, extend the lever with the wooden plate. Finally, you place yourself on the catapult and let yourself be thrown towards the chest or the altar.
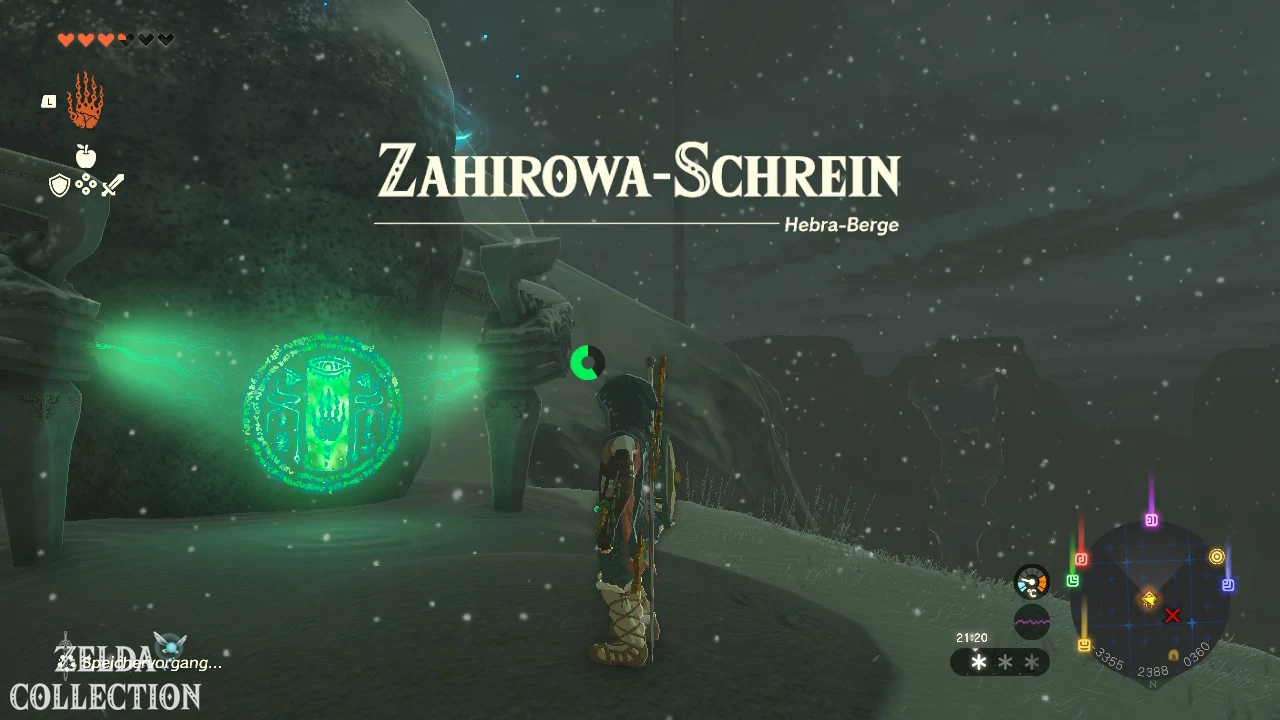
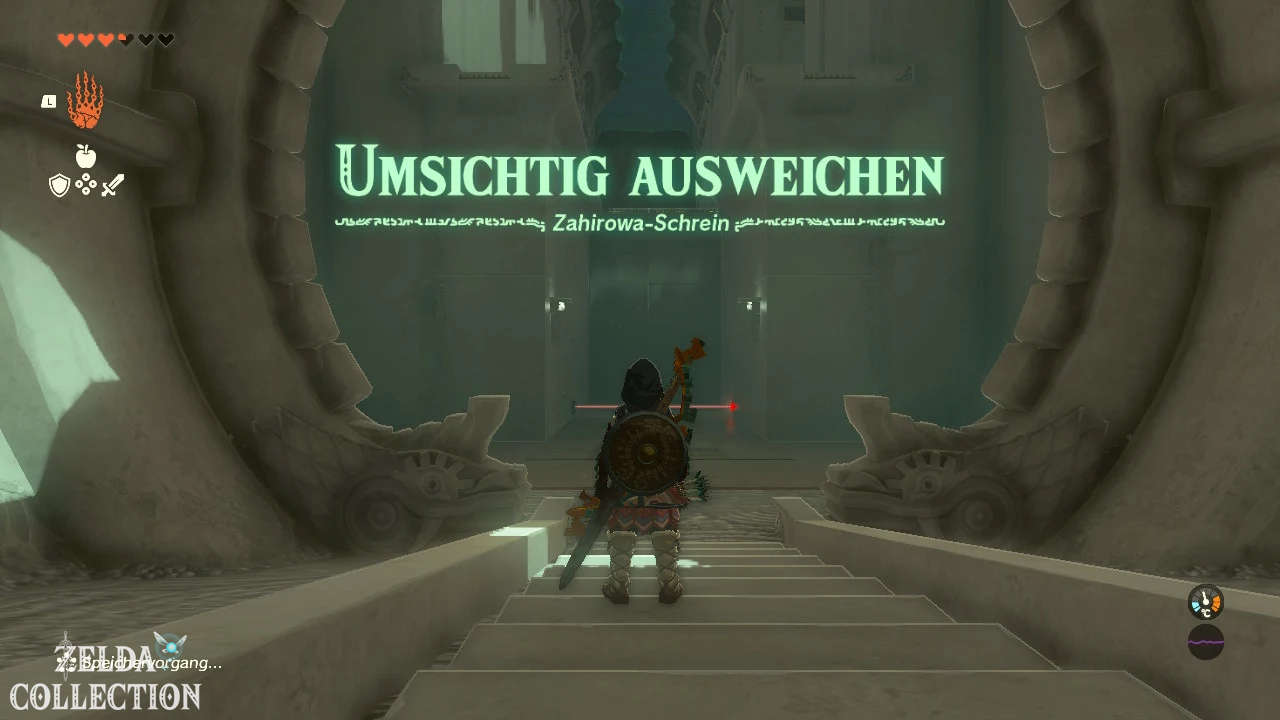
Sahirow Shrine
Test: Carefully avoid
Reward: Sharp-Elixir and a Light of Blessing
coordinates: approximately -3354, 2386, 0374
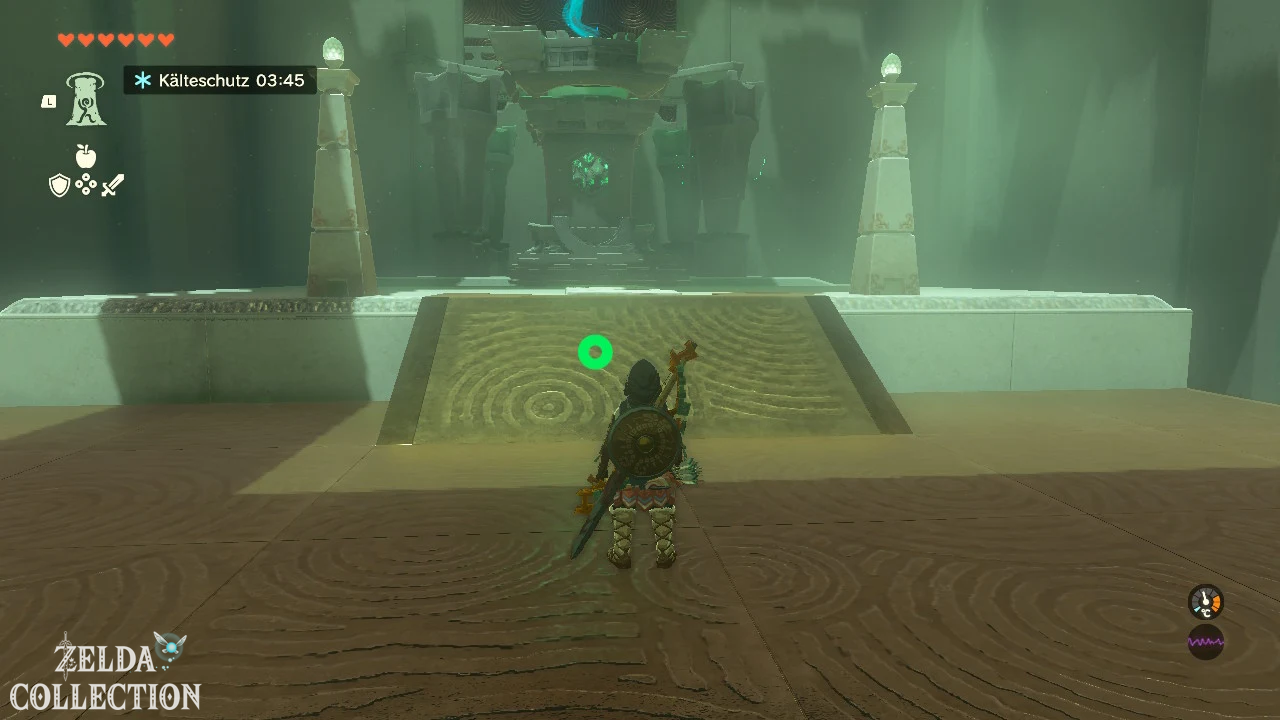
Duck under the first horizontal lasers and jump over the deep beams. Use the Ascend under the moving platform.
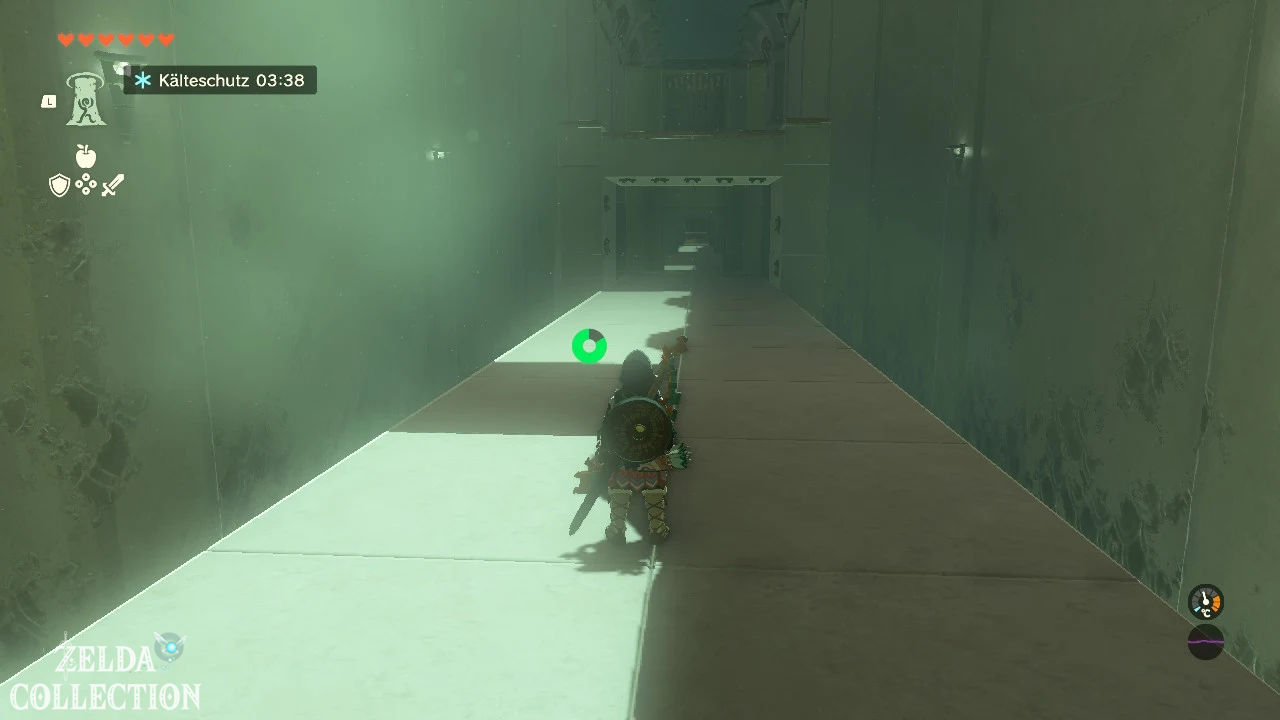
For the Treasure Chest you push the metal cube into the laser. The blocked beam opens the side gate.
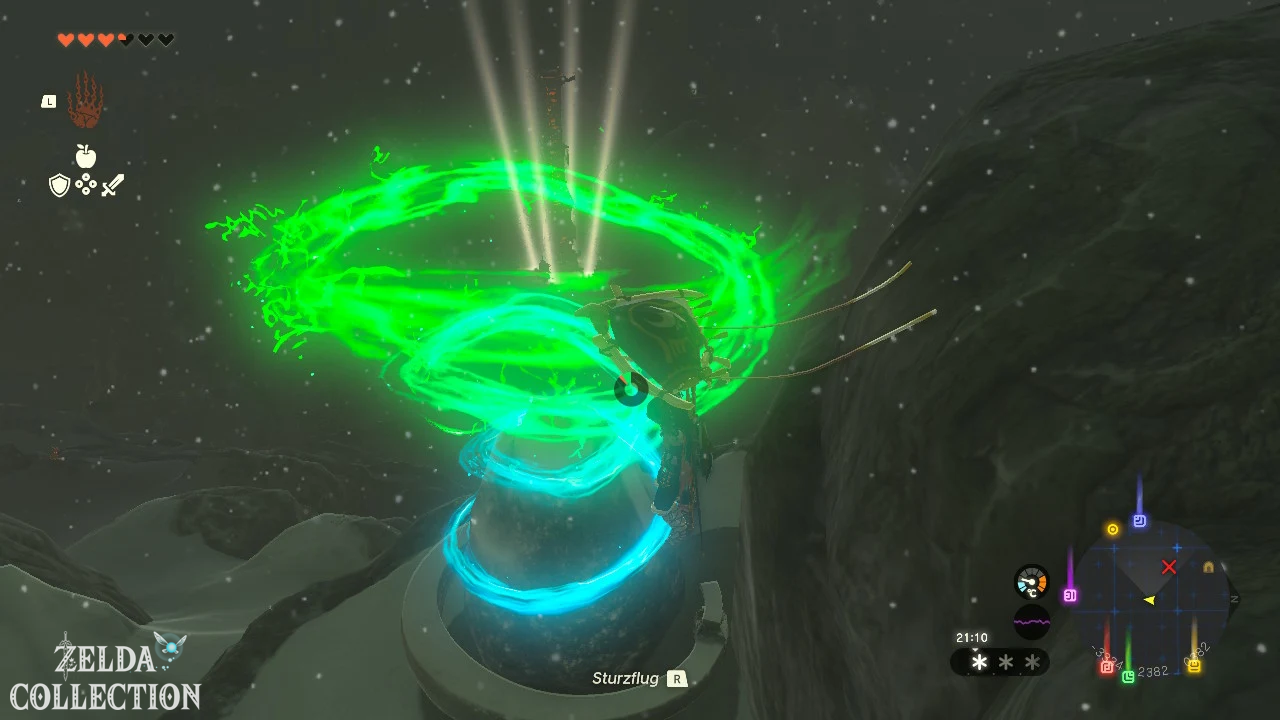
A large laser grid moves across the bridge in front of the exit. Wait for it to move towards the altar, use the Ascend through the top frame and jump down the other side.
All shrines in the Hebra Mountains at a glance
| Shrine | level | Reward |
|---|---|---|
| Ejut-Uma | surface | Sapphire |
| Ijo-o | Sky | 5 wooden arrows |
| Kahatanaum | Sky | Large Zonai Charge |
| Mayaotaki | surface | Diamond |
| Mayaumekis | Sky | 10 wooden arrows |
| Orochium | surface | 5 wooden arrows |
| Oshozan-u | surface | Zonaite-Arch |
| Otak | Cave | Powerful Construct Bow |
| Rutafu-um | Cave | Topaz |
| Sisuran | surface | Sapphire |
| Taninoud | Sky | 5 wooden arrows |
| Tauyosipun | surface | Powerful Construct Bow |
| Tenbez | Sky | Large Zonai Charge |
| Wao-os | Cave | Sharp-Elixir |
| Sahirow | surface | Sharp-Elixir |