

On this page we give you an overview of all the shrines in The Legend of Zelda: Tears of the Kingdom that are located inside Hyrule. In addition to the respective locations, we explain in detail how you can pass the tests and reach the hidden Treasure Chests.
According to our regional division, there are a total of seven shrines in the interior of Hyrule. You can reach several of them shortly after your arrival at Lookout Landing. The Serutabomac Shrine, on the other hand, is located on the floating island of Hyrule Castle and is much more difficult to access.
You can find an overview of all areas, shrines and tasks in our Tears of the Kingdom Walkthrough.
This area contains the following shrines:
- Jiosin Shrine
- Ishodag Shrine
- Kyononis Shrine
- Yamiyo Shrine
- Sepapa Shrine
- Serutabomac Shrine
- Susuyai Shrine
Jiosin Shrine
Exam: Shape Puzzle
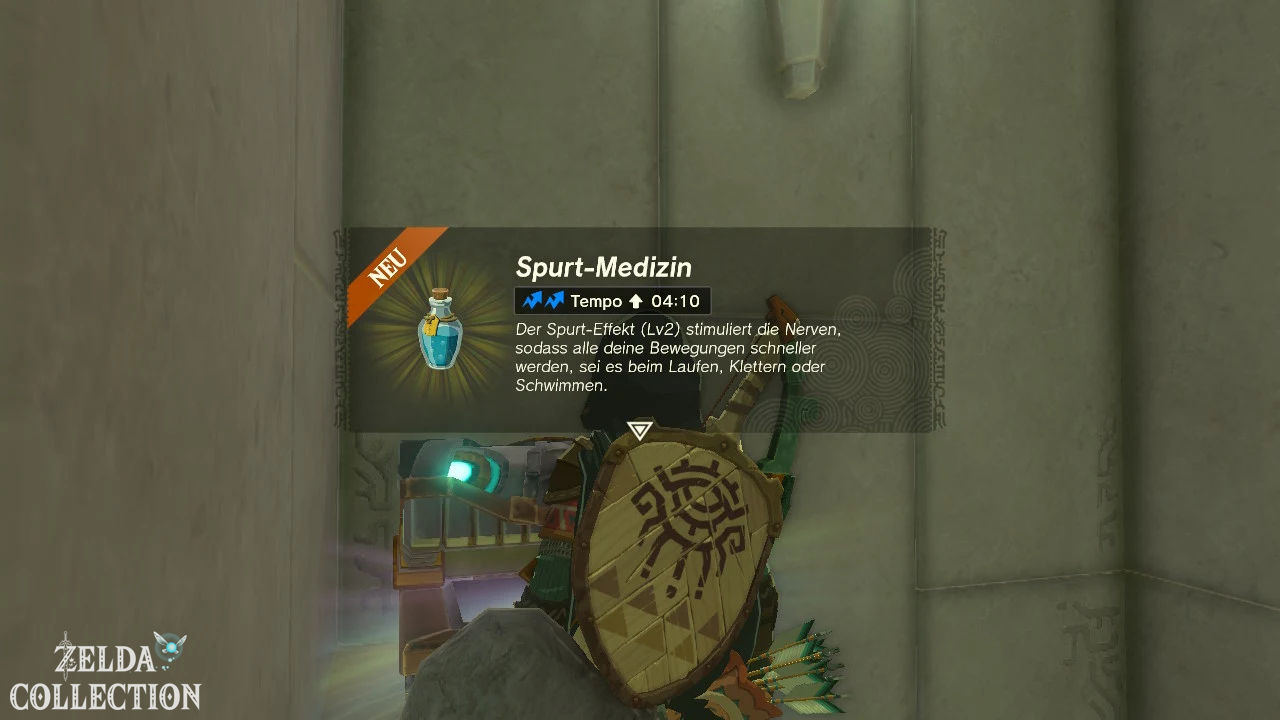
Reward: Spurt-Elixir and a Light of Blessing
Location: Windvane Meadow, south of Lookout Landing
Coordinates: approximately -0241, -0371, 0027
Find Jiosin Shrine
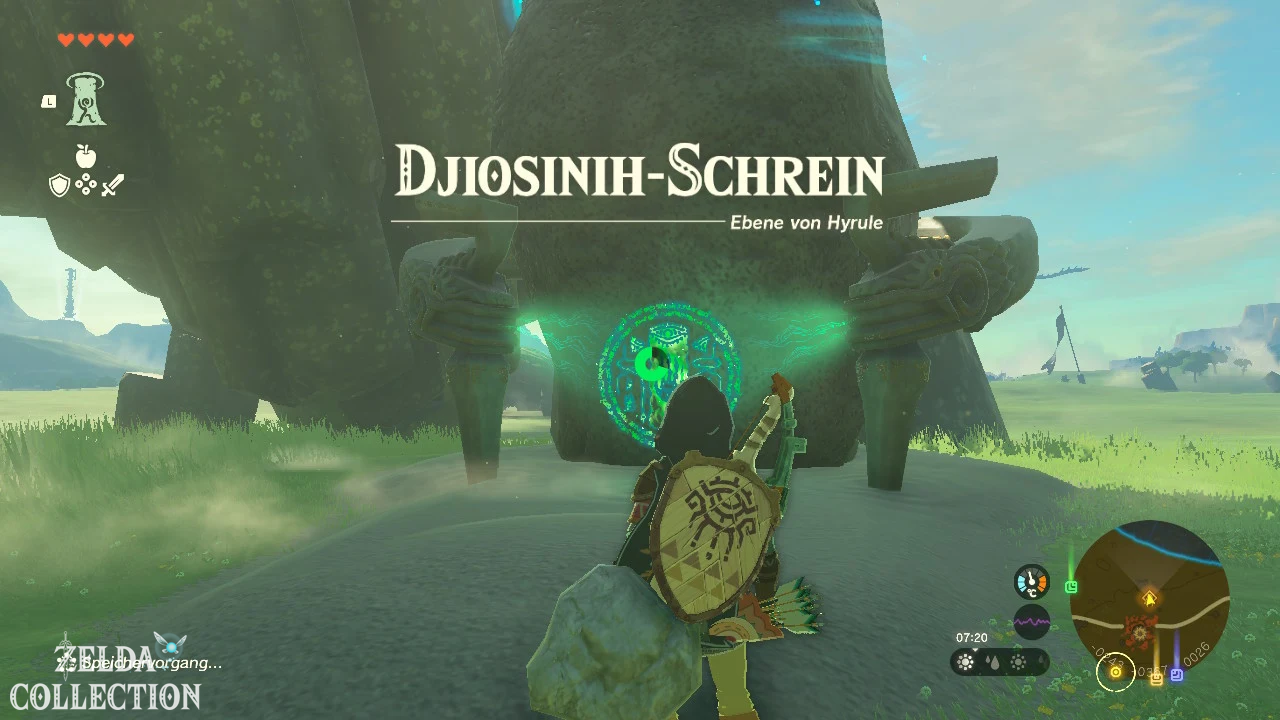
The Jiosin Shrine is located immediately south of the Lookout Landing on the Windvane Meadow. He stands right next to the large Hyrule Field Chasm, to which Robbie also leads you during the main task “The People in the Depths”.
Leave the Lookout Landing through the southern gate and follow the road towards the Hyrule Garrison Ruins. The shrine, glowing green, can be seen from a distance.
Solve Jiosin Shrine
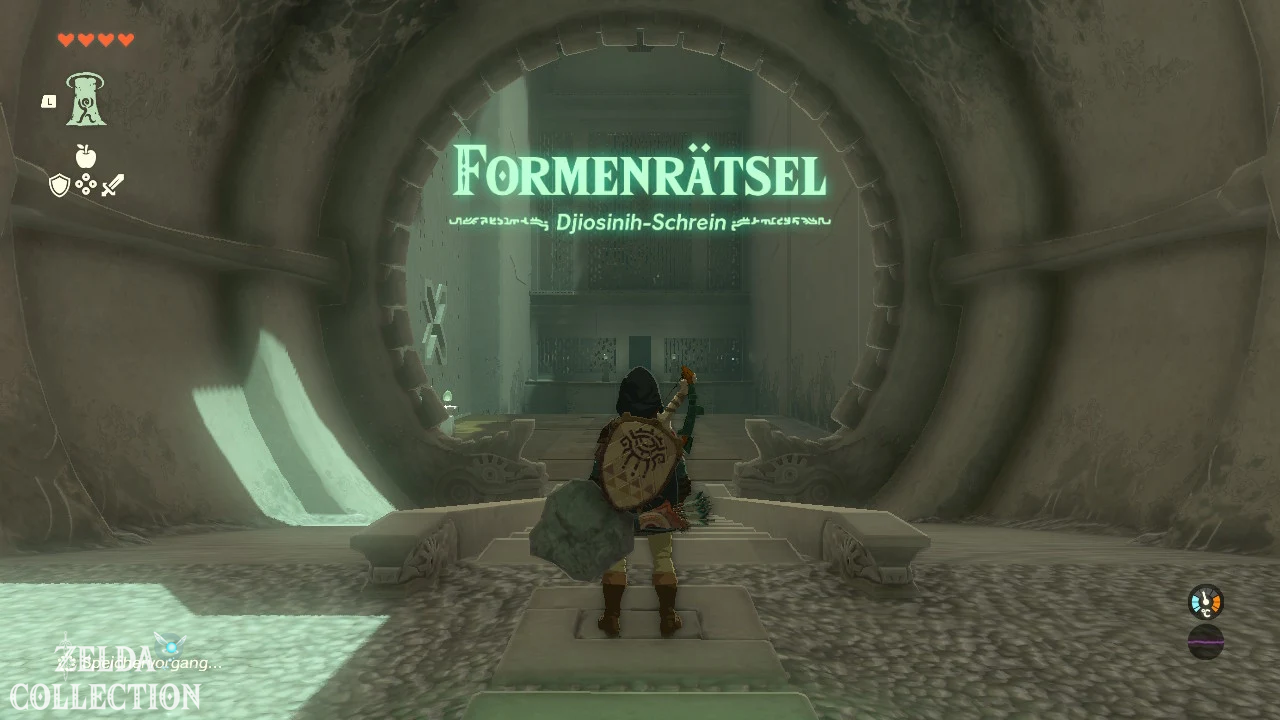
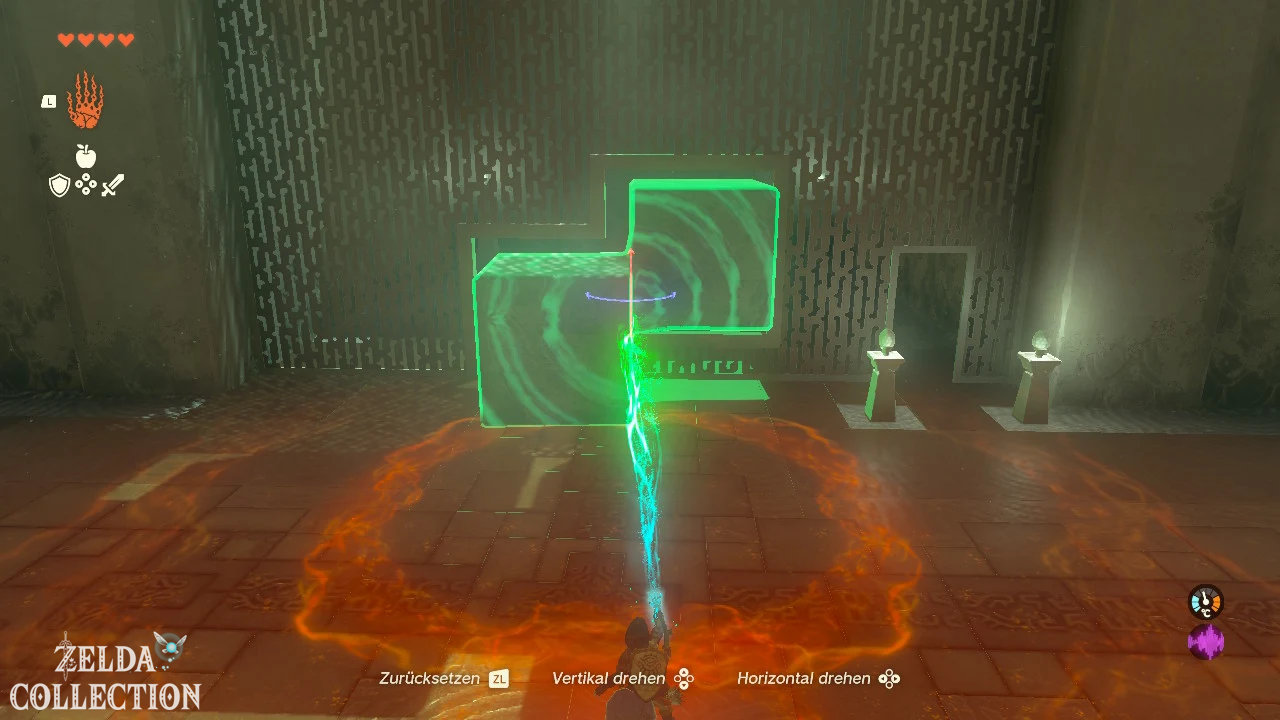
In the Jiosin Shrine you have to turn several connected stone bodies and move them through appropriately shaped wall openings. Then you use the same bodies as bridges and stairs.
Move the X-shaped plates through the opening
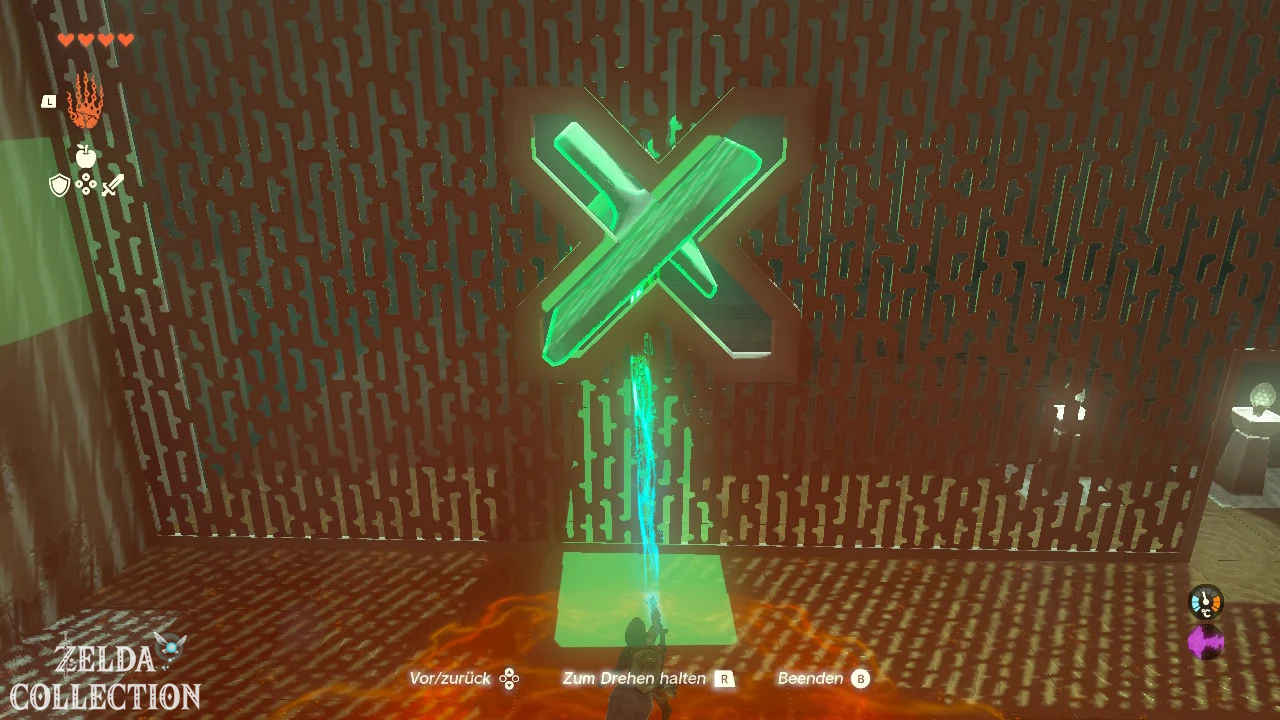
In the first large room, enter the passage on the left. There you will find three stone slabs nested together, which together form an unusual X-shape.
Grab the entire structure with the Ultrahand and carry it to the X-shaped opening. Rotate the panels so that the narrow sides line up exactly with the recesses in the wall. You have to tilt the structure sideways and rotate it around its own axis at the same time.
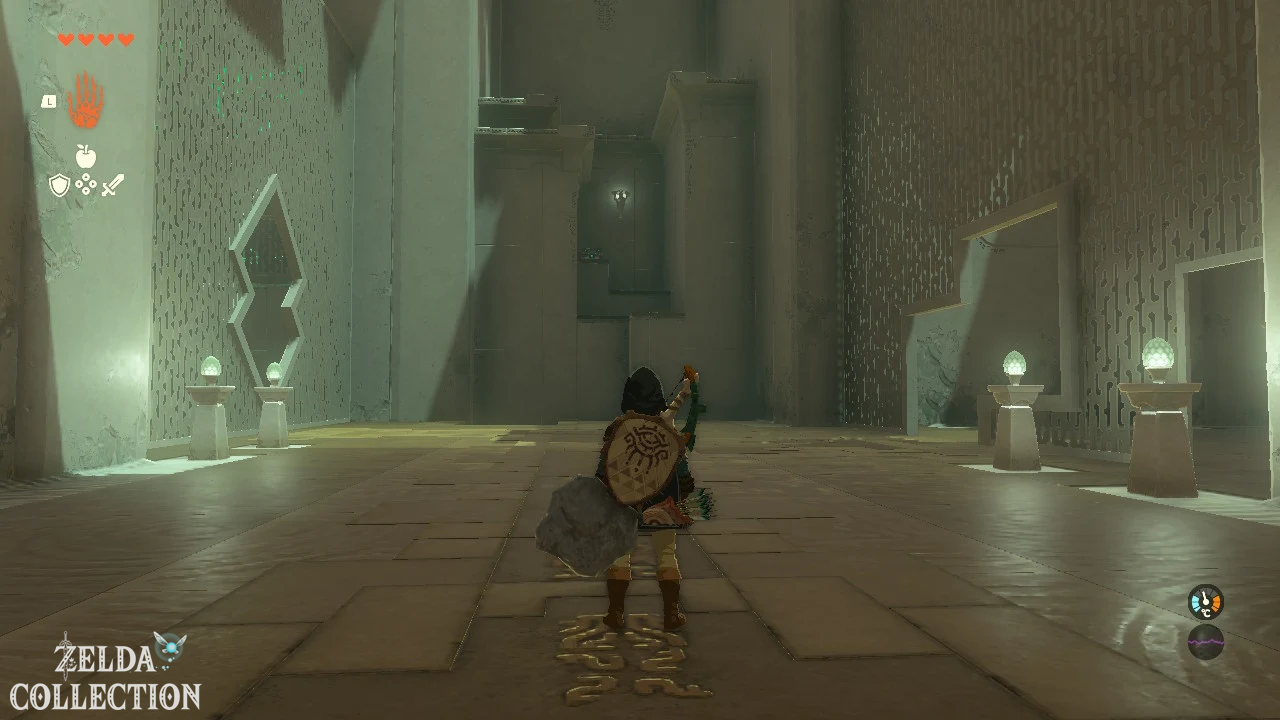
As soon as the plates are in the main room, place them over the abyss. Align the wide surface as horizontally as possible so that you can use the structure as a bridge. At the end there will be a small gap that you have to jump over.
Get
Spurt-Elixir from the Treasure Chest
In the next area there are two separate rooms on the left and right. Enter the right room first. There are two stone cubes connected to each other.
Use the Ultrahand to lift the cubes and rotate them so they fit through the unusually shaped wall opening. Then move it to the middle area.
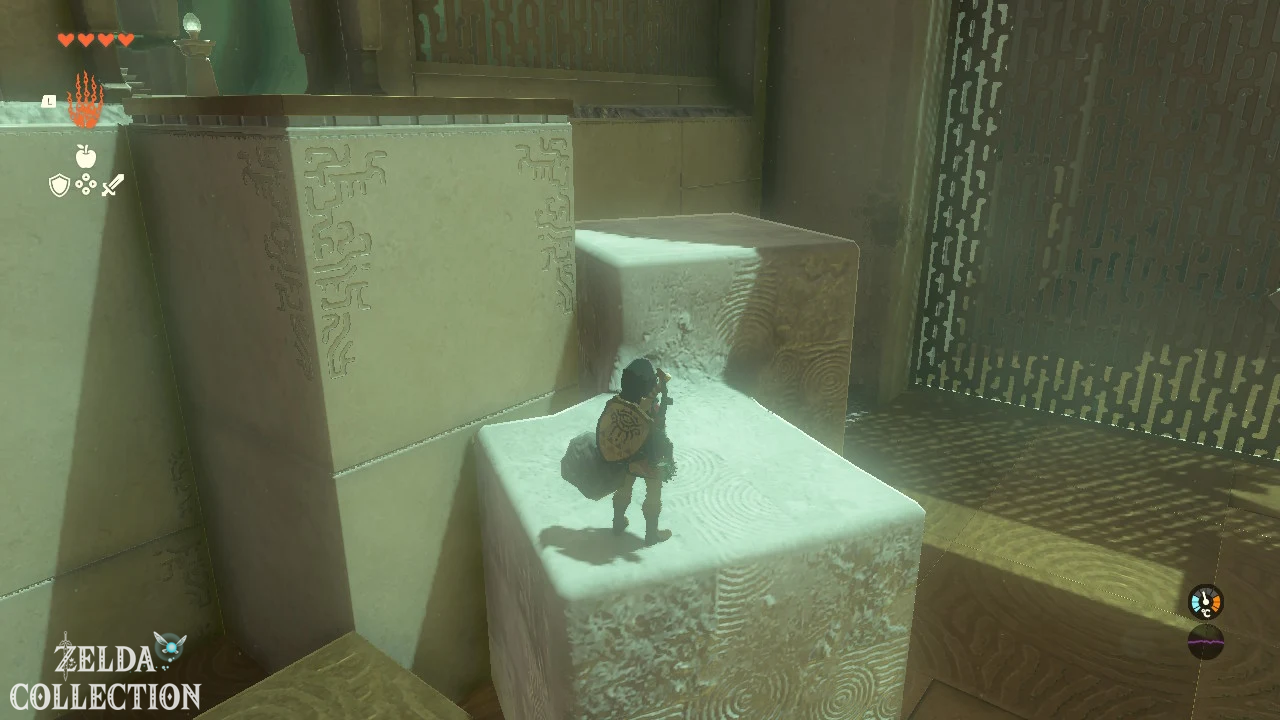
For the Treasure Chest, turn the structure so that one of the cubes lies flat on the ground and the second cube forms a raised step. Position the dice below the ledge with the chest. Climb up over both cubes and open the chest. Inside is a Spurt-Elixir.
Reaching the Altar
Axyl up the two cubes again with the Ultrahand and transport them through the opening into the left room. The easiest way to do this is to position yourself exactly opposite the opening and align the flat side of the structure towards you.
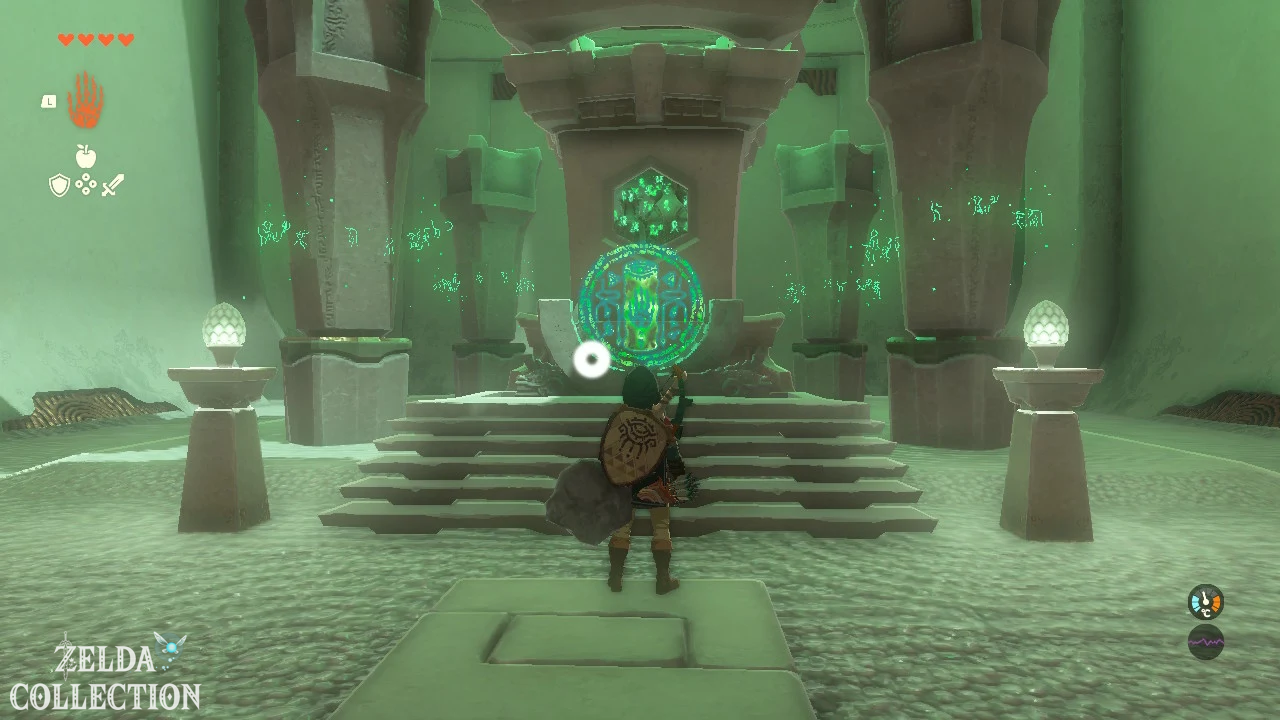
Turn the cubes in the left room again to form a small staircase. The bottom cube should be on the ground while the top one reaches up to the raised ledge. Climb up over the construction and follow the path to the altar. There you will receive your Light of Blessing.
Tip: Keep the Ultrahand activated while moving the stone bodies through the openings. This will make it easier for you to see which edge the structure is still stuck on.
Source comparison: Location, coordinates, shape puzzles and spurt-Elixir were checked with the existing ZeldaCollection page as well as several German and English walkthroughs.
Ishodag Shrine
Test: Wind Power
Reward: Opal and a Light of Blessing
Location: Quarry Ruins, west of the Hyrule Castle Town Ruins
Coordinates: approximately -0879, 0423, 0049
Find Ishodag Shrine
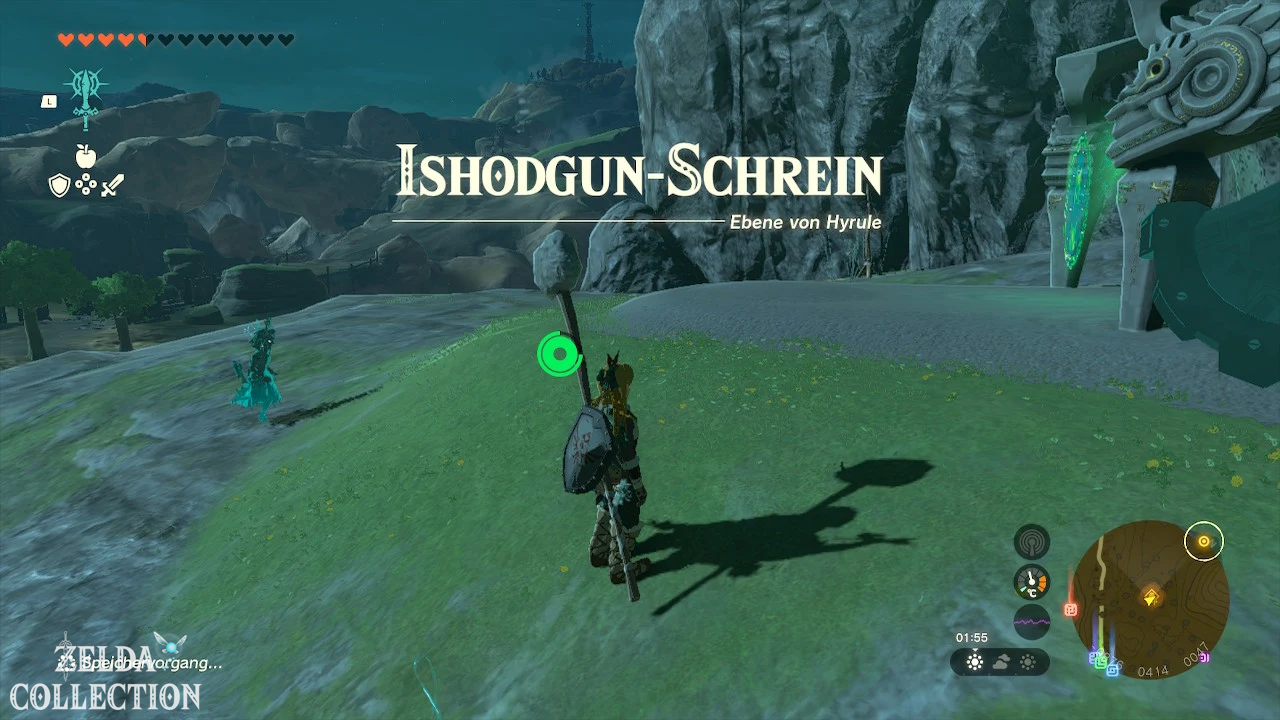
The Ishodag Shrine is located west of the Lookout Landing in the Old Quarry area. It stands on an elevated rock formation and is therefore not directly accessible from the road.
Follow the path west from Lookout Landing and then climb up the rock. Several small ledges offer you the opportunity to restore your stamina during the climb.
Solve Ishodag Shrine
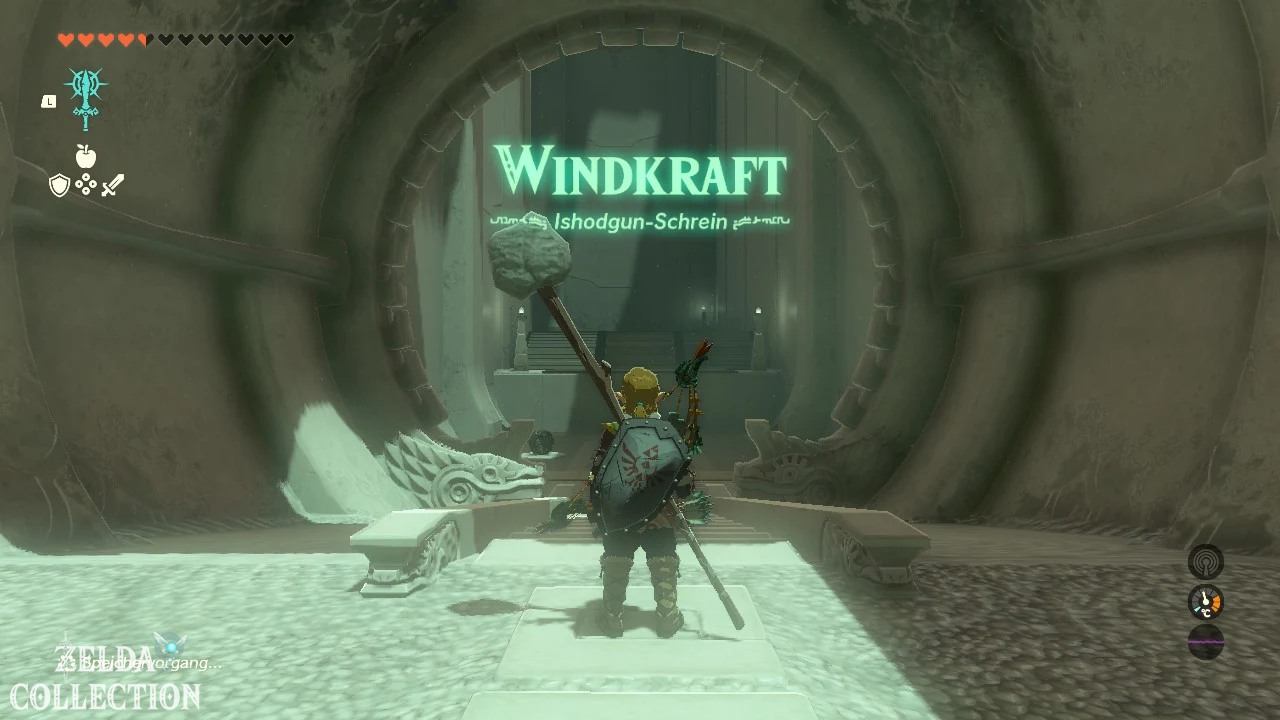
In the Ishodag Shrine you will learn about the different possible uses of Zonai fans. You use them as a lift, boat propulsion and as an elevator drive.
Slide up with the fan
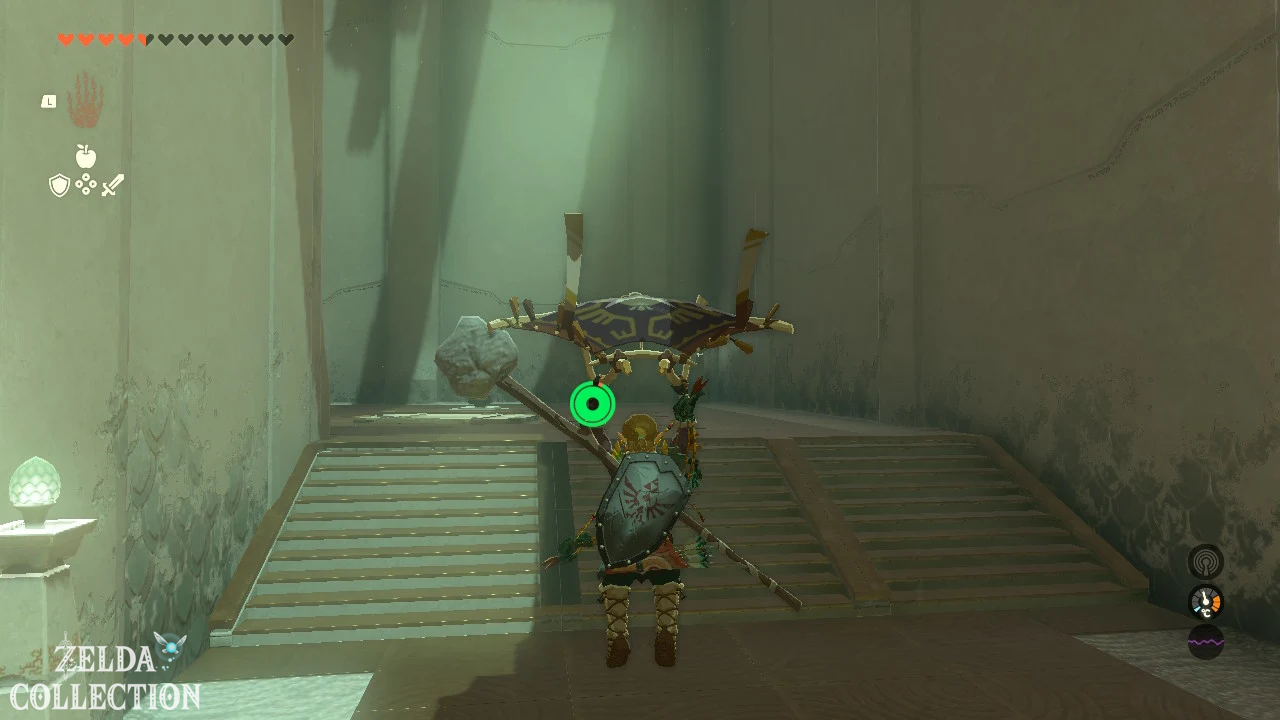
There is a fan directly behind the entrance. Axyl it up with the Ultrahand and place it on the floor with the airflow facing upwards.
Activate the fan with one blow, jump into the updraft and open your Paraglider. Let yourself be carried onto the raised platform.
Note: You need the Paraglider for this shrine. You will receive it during the main tasks on Lookout Landing.
Building a fan boat
In the next section you have to cross a pool of water. Take the wooden board provided and attach the fan to the middle of the back edge. The airflow must point away from the board.
Place the finished boat in the water, stand on it and activate the fan. The board now moves to the opposite bank.
Get opal from the Treasure Chest
On the right side of the next area there is an inclined or vertical platform with a Treasure Chest. Attaches a fan to the side of the platform and directs the airflow to push the platform into a horizontal position.
Activate the fan and stand under the platform. Use the Ascend as soon as the surface is horizontal above you. Open the Treasure Chest above and take the Opal.
Use the fan elevator
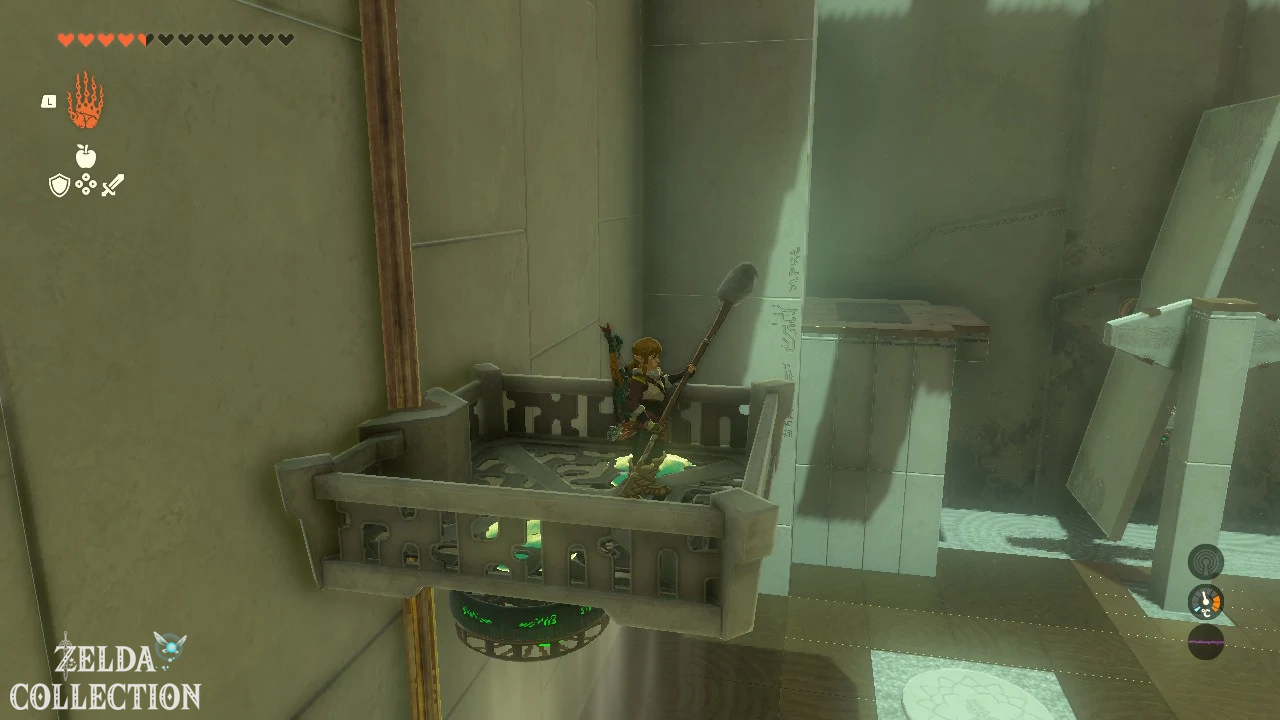
Take both fans and attach them to the bottom of the large metal platform. The air flows must point downwards and be distributed as evenly as possible.
Activates both fans. If the platform goes up before you can get on, use the Recall on it. Let it go back to the ground, stand on it and then finish the Recall. The fans will now carry you to the upper level.
Get off the platform and follow the path to the altar to get the Light of Blessing.
Source comparison: The fan puzzles, the construction of the raft, the chest platform and the opal were cross-checked using German and English language solutions.
Kyononis Shrine
Trial: Combat Techniques
Reward: Zonaite Sword and a Light of Blessing
Location: Central square of the Hyrule Castle Town Ruins
Coordinates: approximately -0205, 0451, 0021
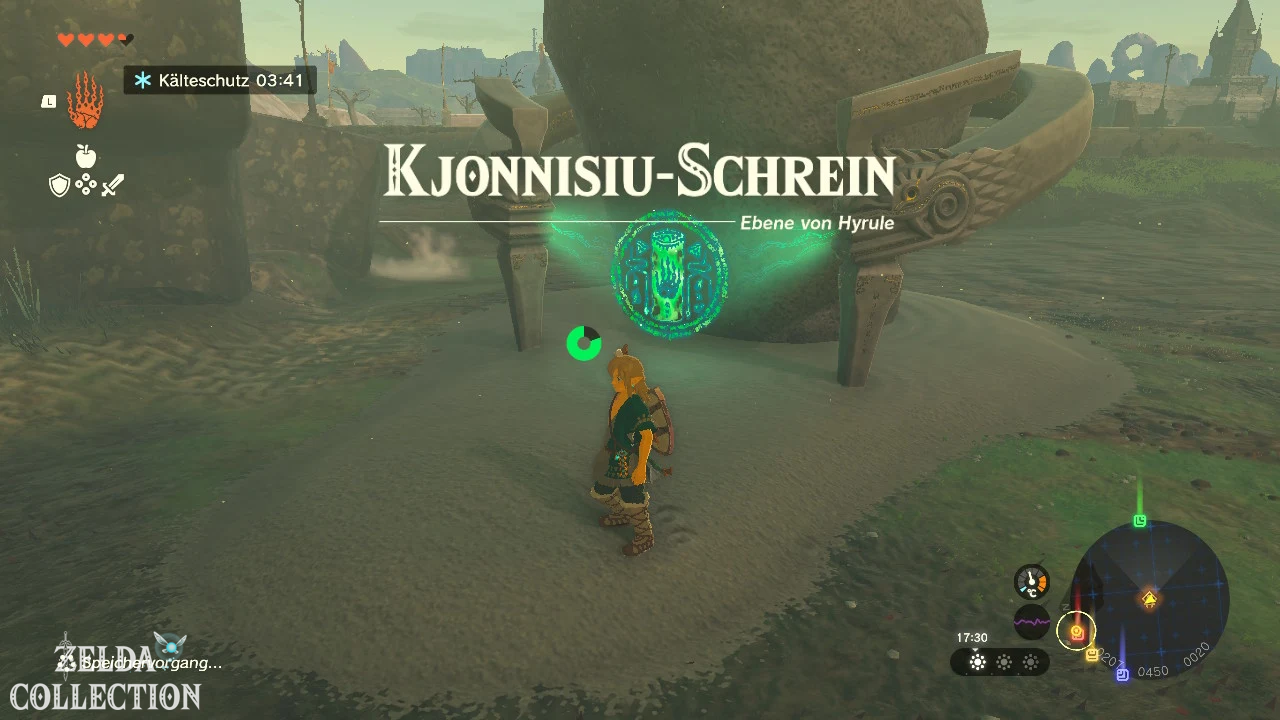
Find Kyononis Shrine
The Kyononis Shrine is located directly north of the Lookout Landing on the former central square of the Hyrule Castle Town Ruins. Just follow the road towards Hyrule Castle. The shrine stands clearly visible among the dilapidated buildings.
Solve Kyononis Shrine
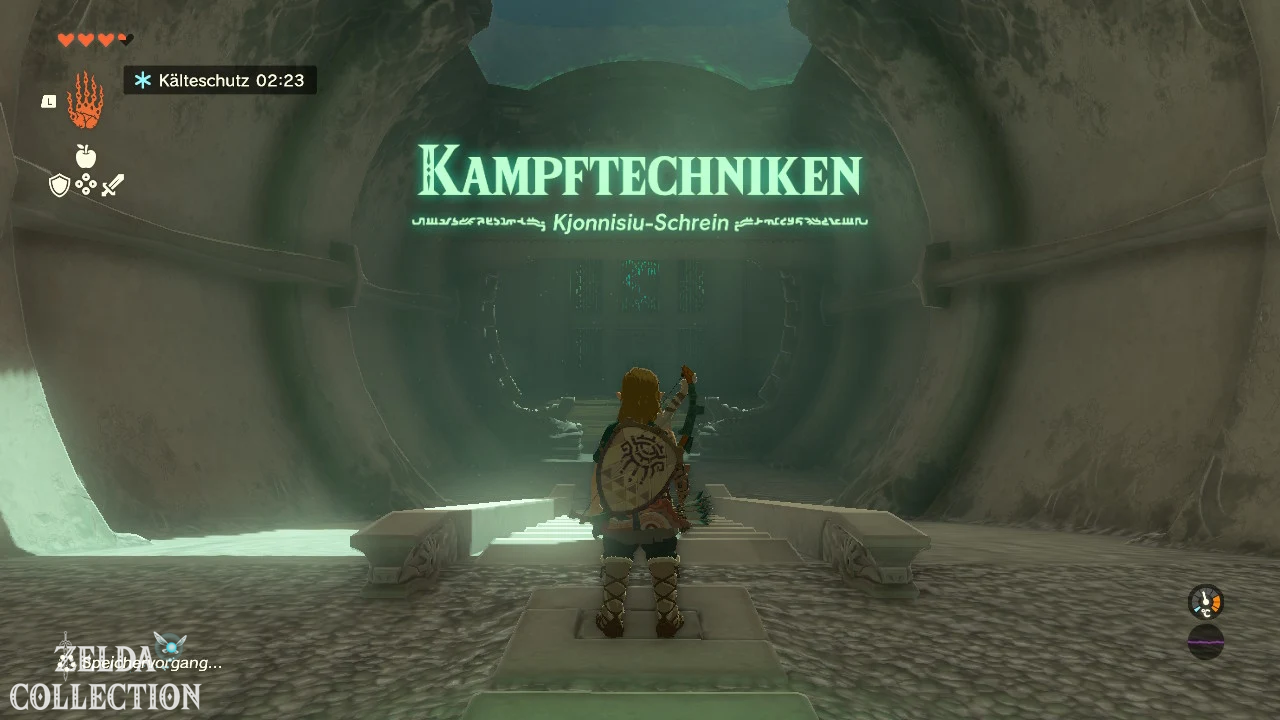
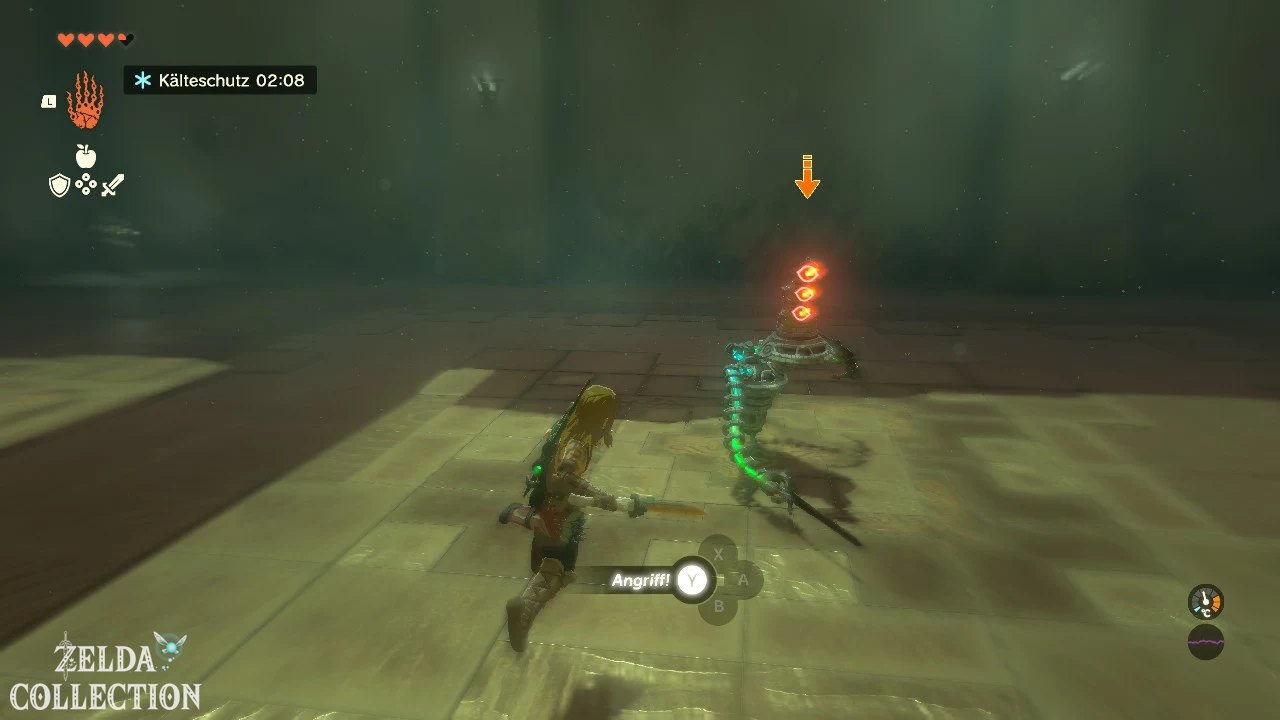
The Kyononis Shrine is combat training. You have to demonstrate various evasion and attack techniques against a construct. Normal attacks only count after you have successfully executed the required technique.
Dodge sideways
Targets the construct with ZL. Wait for a side attack and jump left or right at the last moment. If the timing is correct, slow motion starts and you can carry out a counterattack.
Dodge with a backflip
During the next attack you have to continue to hold down ZL and jump backwards at the right moment. Then perform several attacks during slow motion.
Parry an attack
Equip the shield at the ready and hold down ZL. Press the A button immediately before the enemy hits. A successful shield strike knocks the attack back and unbalances the construct.
Perform a charged attack
Hold down the attack button until your stamina meter fills up. Then release the button to perform the required charged attack.
If you have successfully demonstrated all four fighting techniques, the test is considered passed. In the last room, open the Treasure Chest with the Zonaite sword and then take the Light of Blessing.
Tip: When doing evasive exercises, wait until the construct has clearly started its attack. If you jump too early, the slowed counterattack phase will not trigger.
Source Matching: Location, coordinates, combat technique order and chest reward have been matched against multiple shrine databases and walkthroughs.
Yamiyo Shrine
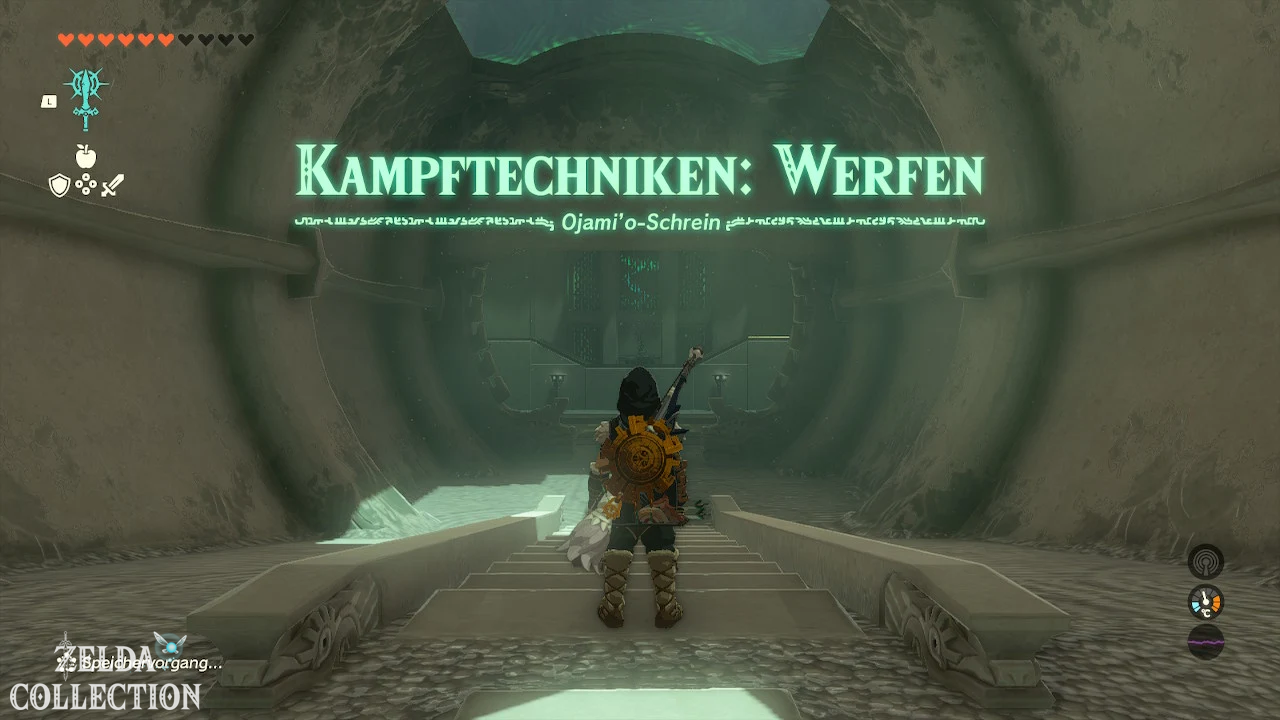
Trial: Combat Techniques: Throwing
Reward: 3 Thunder Flowers and a Light of Blessing
Location: Romani Plains, at the big cherry tree
Coordinates: approximately 0333, 0470, 0029
Find Yamiyo Shrine
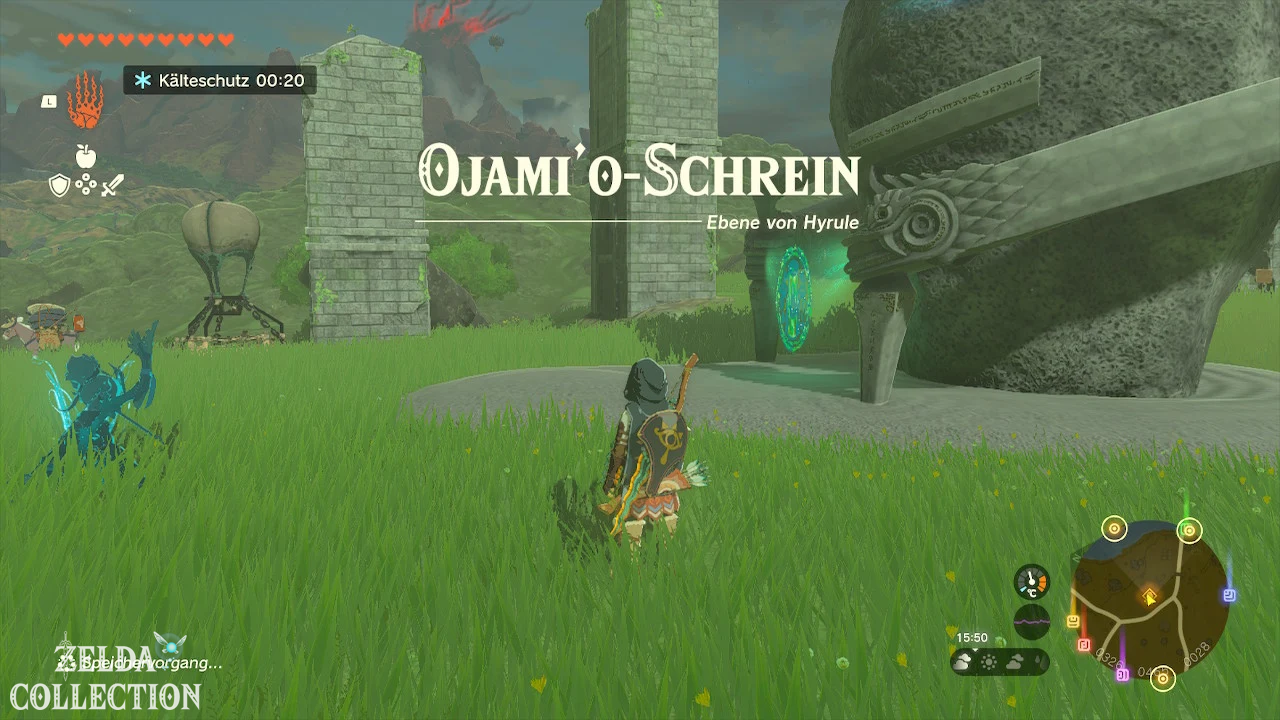
The Yamiyo Shrine is located east of the Hyrule Castle Town Ruins in the Romani Plain. It stands right next to the eye-catching cherry tree southwest of Hyrule Castle.
From Kyononis Shrine you can follow the path to the east. The cherry tree and the green glow of the shrine are visible from a distance.
Solve Yamiyo Shrine
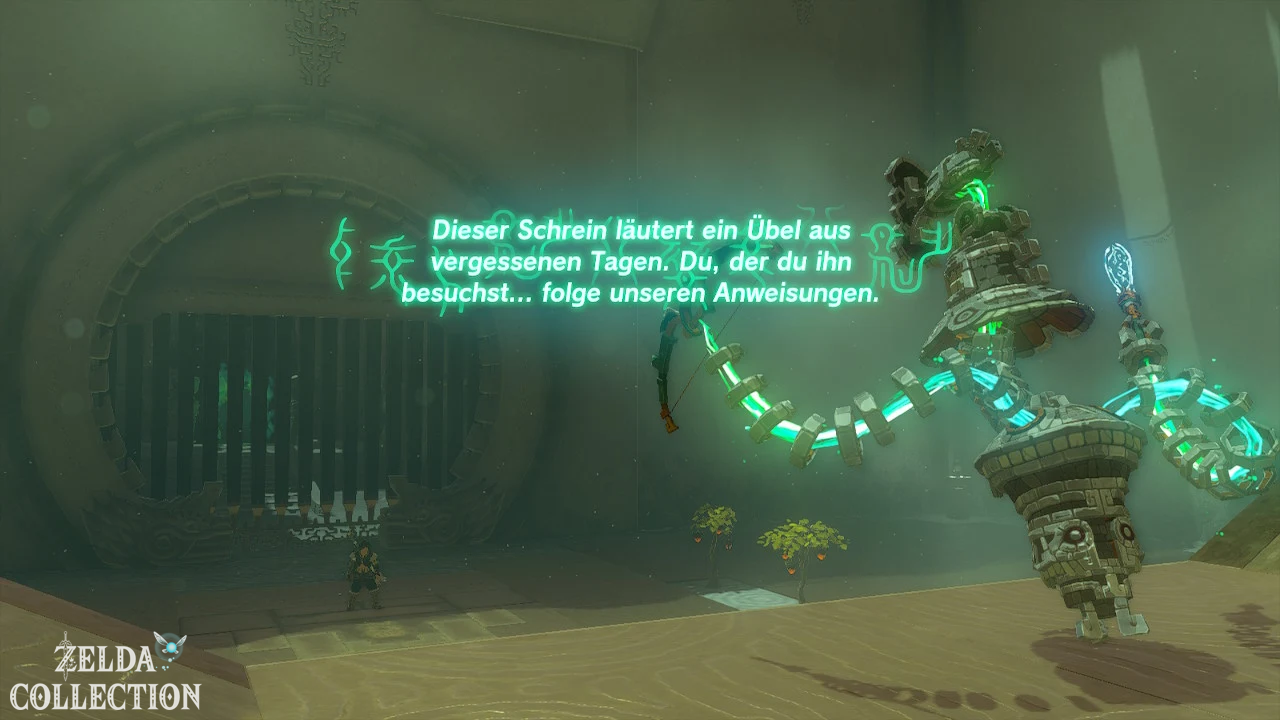
In Yamiyo Shrine you learn to throw materials directly at opponents. Ordinary weapon attacks and arrows are not counted during training.
First collect several Fire Fruit that grow in the entrance area. Then hold down the R button as if you were throwing a weapon. Meanwhile, press the control pad up and select a fire fruit.
Aim at the construct and release the R button. The first hit is made against the standing opponent.
After the first successful throw, the construct begins to move and attacks you with its bow. Wait until it stops briefly or prepares an attack. Then throw a second fire fruit at the opponent.
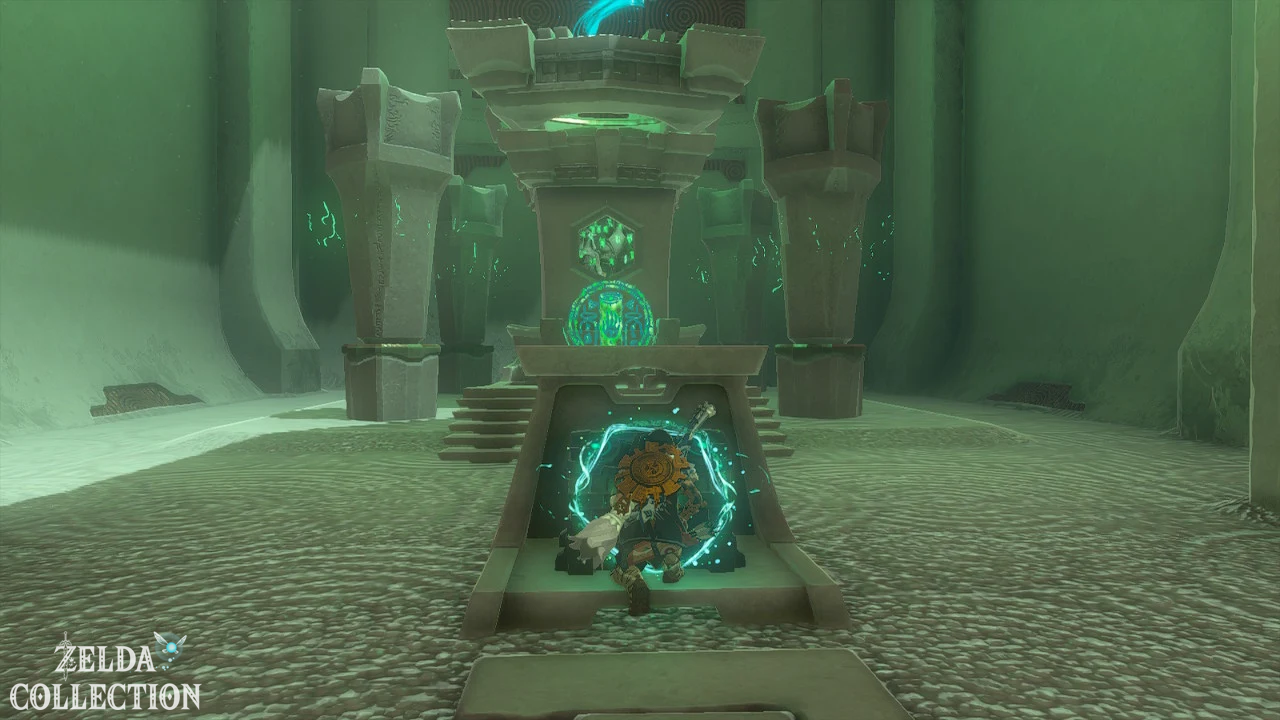
After the second hit the test is completed. Open the chest with the three Bomb Flowers and then take the Light of Blessing.
Tip: You have to throw the Fire Fruit directly. If you attach them to arrows, the shrine will not recognize the attack as a required throwing technique.
Source Matching: The German test name, Fire Fruit mechanic, two required hits, and three Thunder Flowers have been confirmed across multiple sources.
Sepapa Shrine
Trial: Reverse
Reward: Strong Construct Bow and a Light of Blessing
Location: Hyrule Forest Park, near the moat
Coordinates: approximately 0222, 1085, 0028
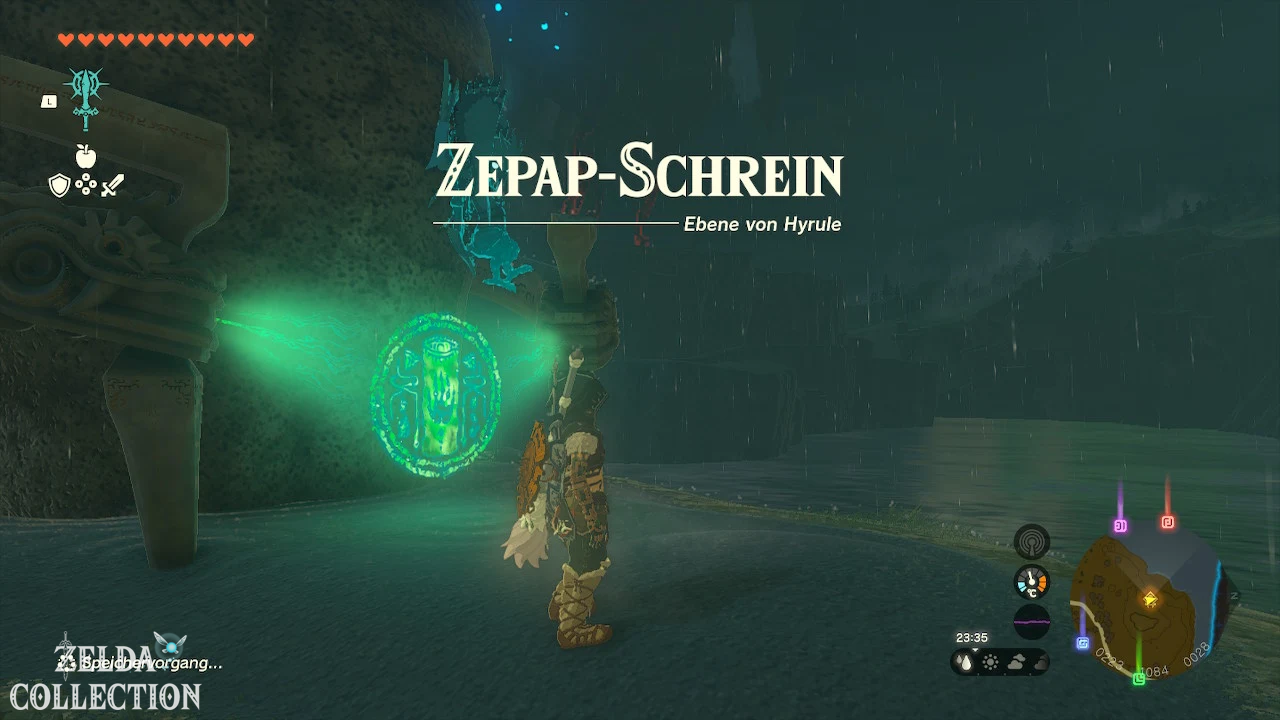
Find Sepapa Shrine
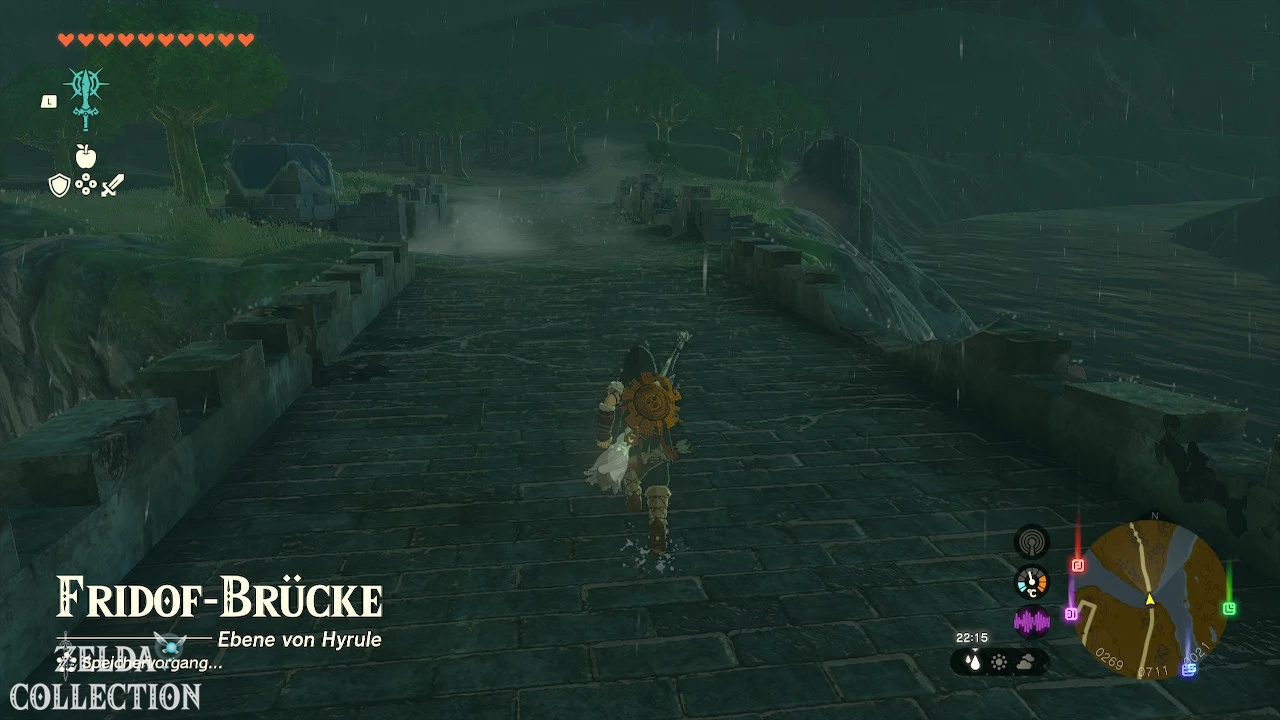
The Sepapa Shrine is located at Hyrule Forest Park on the east side of the Hyrule Moat. You can reach it by walking north from the Lookout Landing or the Hyrule Castle Town Ruins and then along the eastern bank of the moat.
Solve Sepapa Shrine
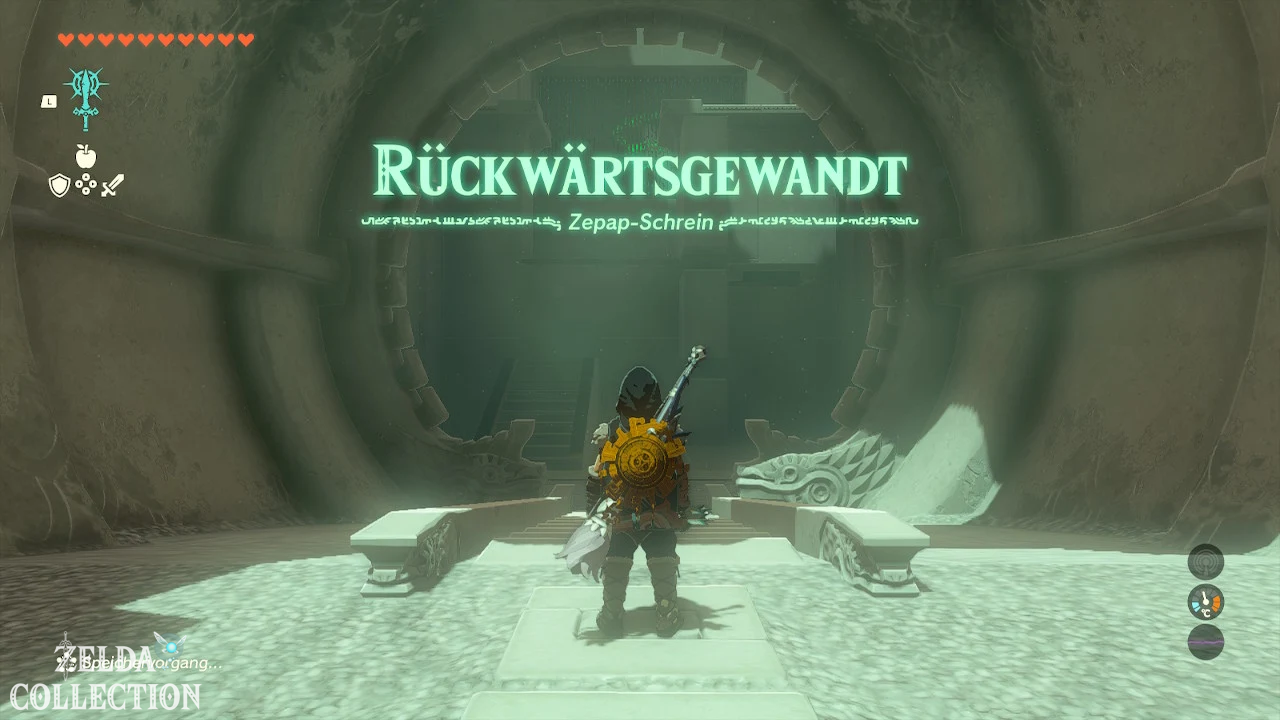
The “Backwards Facing” test deals with the Recall. You have to let moving platforms, a raft and a ball travel backwards along their previous paths.
Retrieve the moving platform
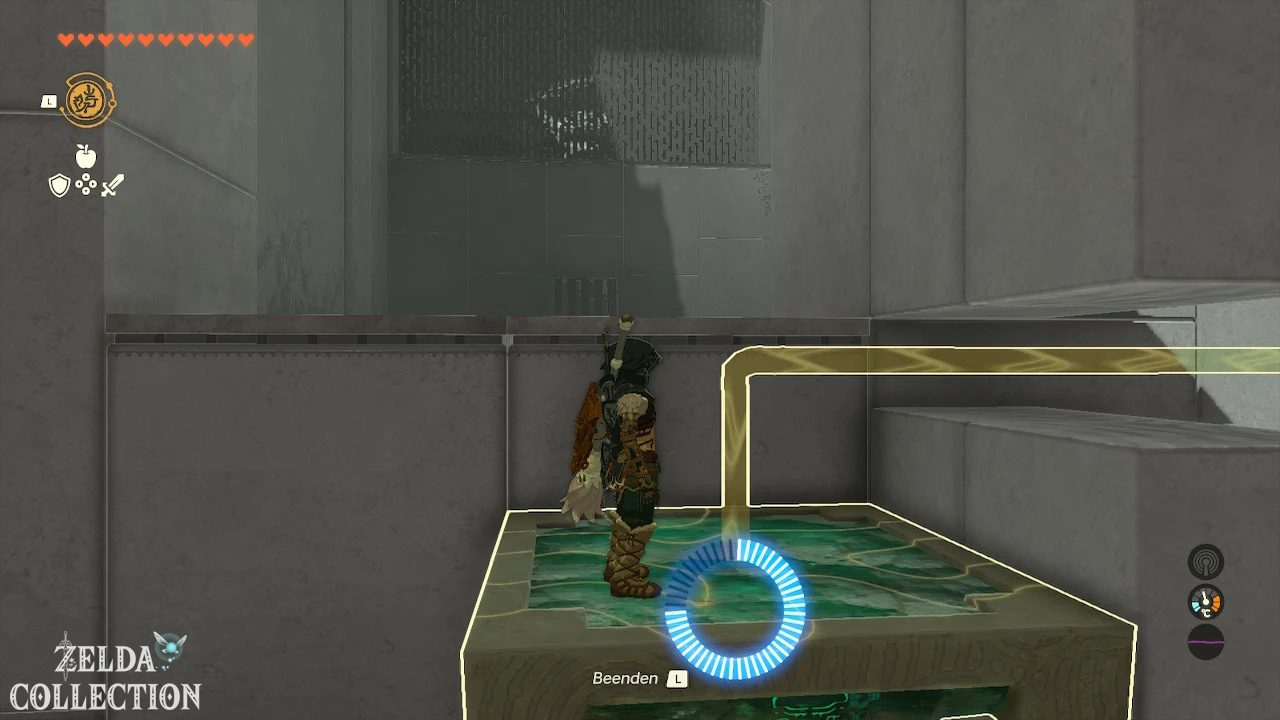
In the first area, a platform regularly drives past you and then disappears behind a wall. Wait for the platform to pass and then activate the Recall.
Jump onto the returning platform. It now moves in the opposite direction to its original direction of movement and takes you through the opening to the upper level.
The two fire pits ignite
In the following room you will find a pool of water, several wooden rafts passing by and a torch. Axyl up the torch and jump onto one of the rafts.
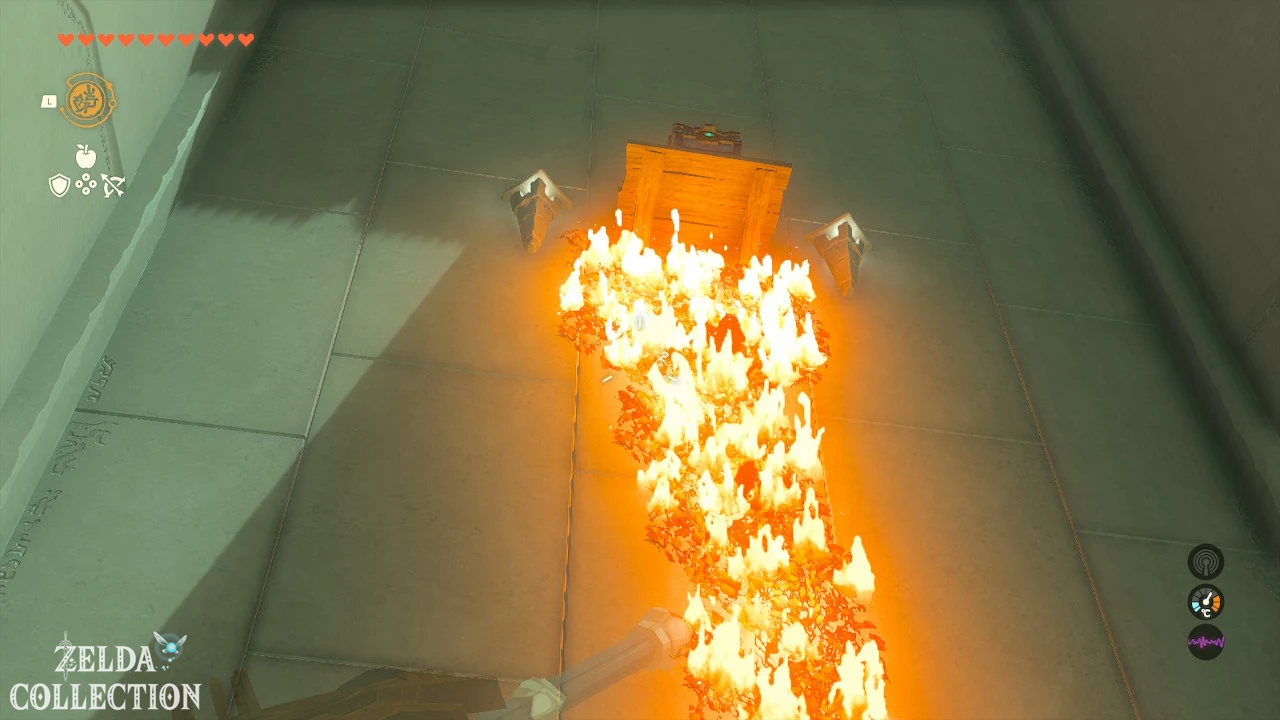
During the journey you will pass several fire pits in the water. Hold the torch into one of the flames to light it. Use it to burn the dry tendrils on the wall on the opposite side.
Find Strong Construct Bow
The burning tendrils destroy the wooden holder of a Treasure Chest. Once the chest has fallen down, you can open it and take out the Strong Construct Sheet.
Then wait until another raft is near you and use the Recall on it. Jump onto the raft as it goes back and light your torch again as it passes.
At the starting point, light the two fire pits to the left and right of the locked gate. If both are ignited, the door opens.
Return the ball through both switches
In the last area there are two ball switches, each of which opens one of two gates one behind the other.
Take the ball on the upper level and first briefly place it in the upper ball switch. Take it out again and then let it roll over the ramp into the lower ball switch. This causes the game to record the required movement path.
Go through the first gate that opens. Then activate the Recall on the ball. She rolls her way backwards up the ramp and returns to the top switch. Meanwhile, the second gate opens.
Go through the second passage before the Recall ends and follow the path to the altar.
Tip: Leave the ball in each switch for a short moment. This means that the respective gate remains open longer on the later Recall.
Source Matching: Location, platform, torch puzzle, chest reward and the order of the two ball switches were checked using several detailed solutions.
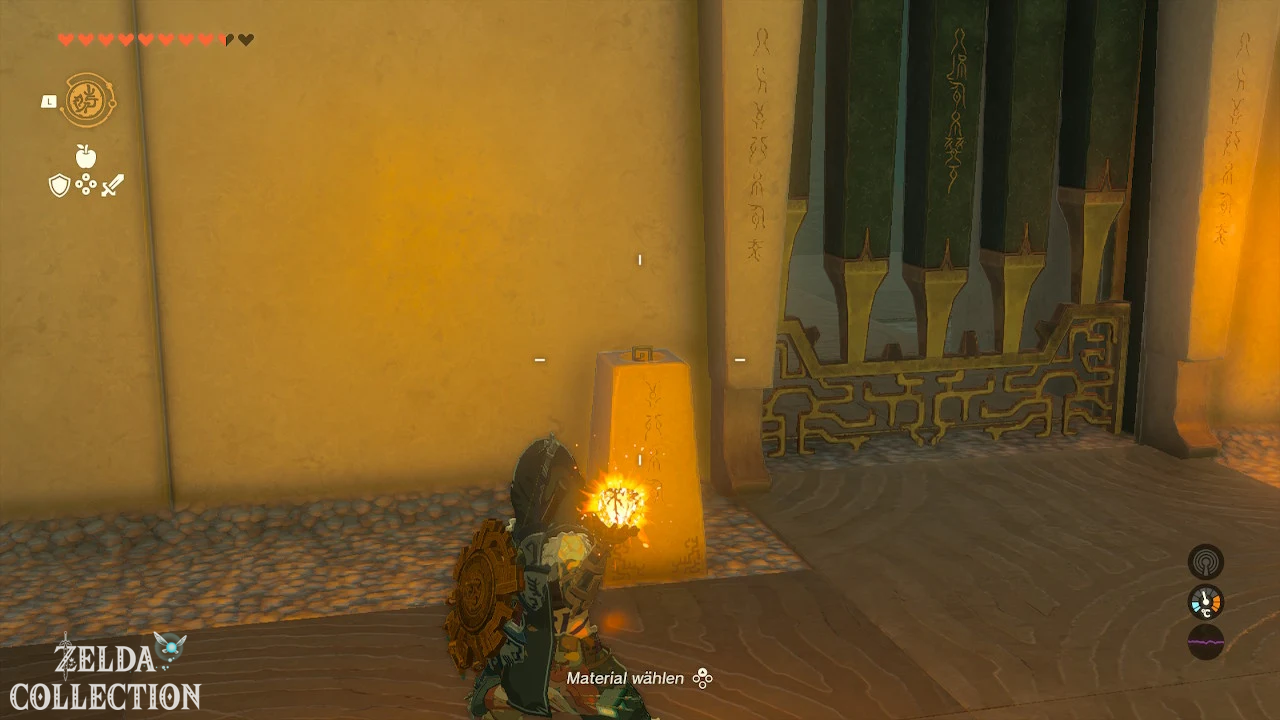
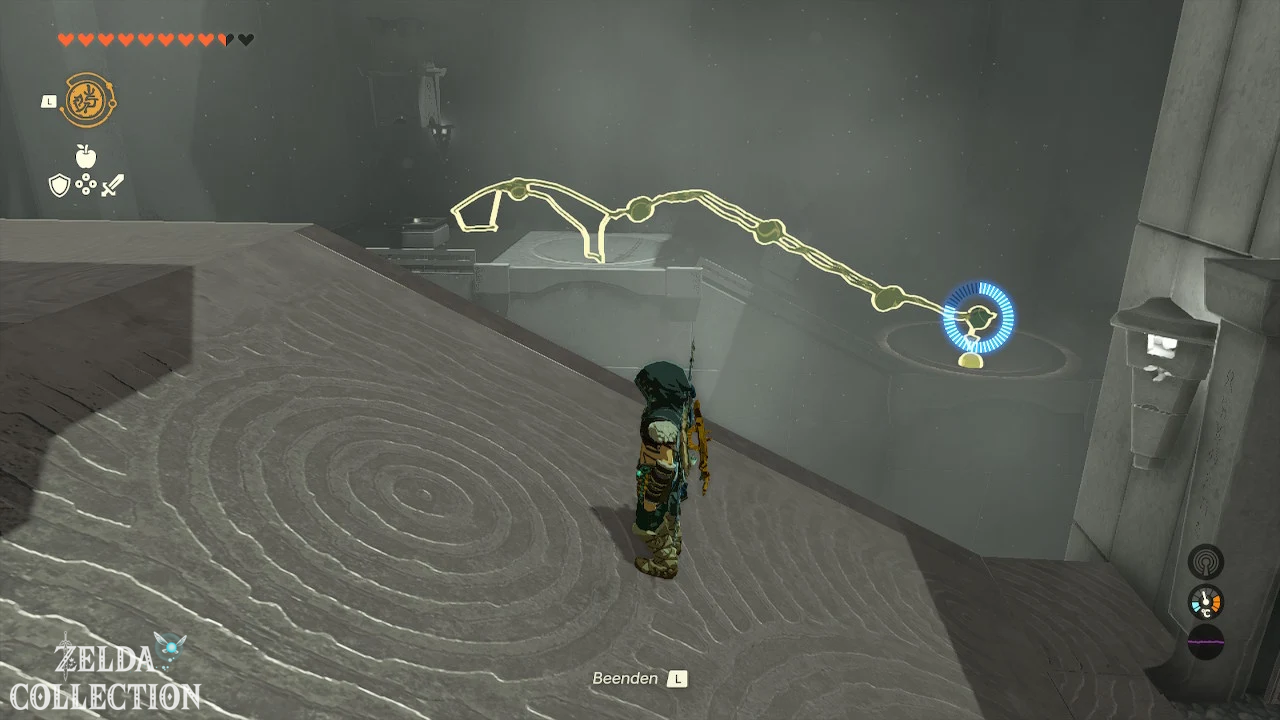
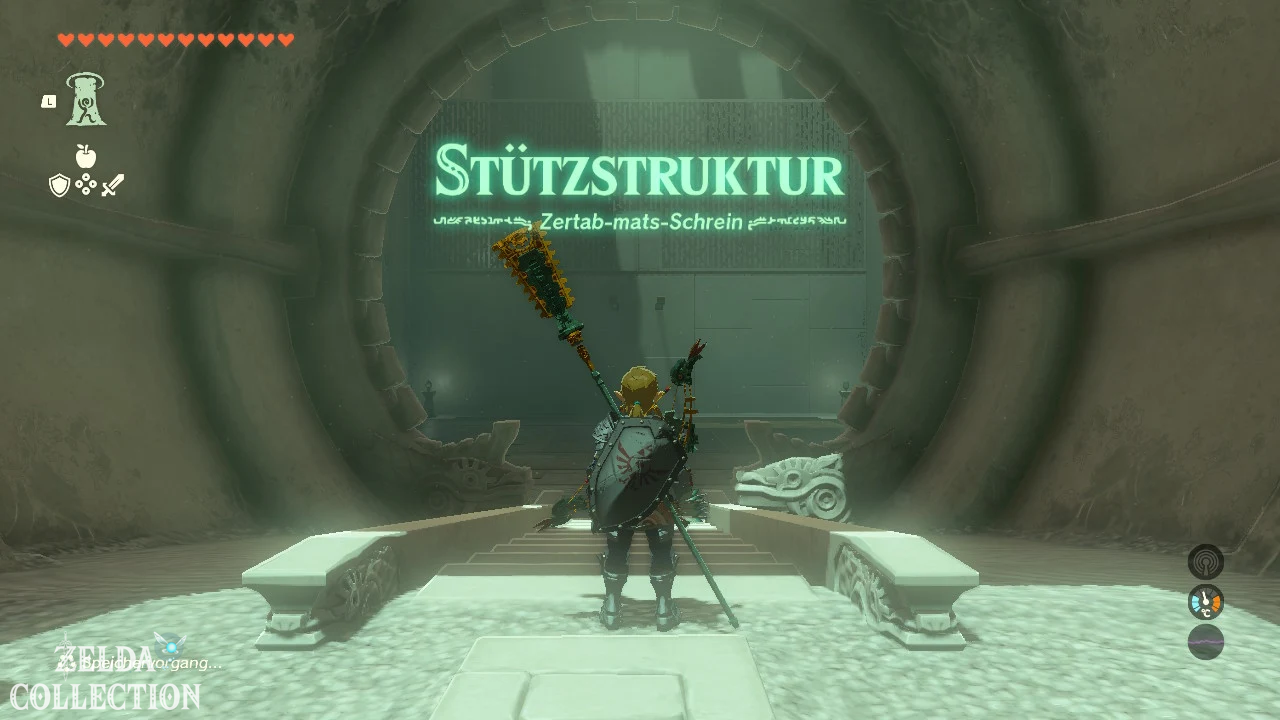
Serutabomac Shrine
Trial: Support Structure
Reward: Short Wand and a Light of Blessing
Location: Northeast exterior of Hyrule Castle, level U1
Coordinates: approximately -0179, 1170, 0294
Find Serutabomac Shrine
The Serutabomac Shrine is not located on the ground below the castle, but on the northeastern outside of the floating castle island. On the castle map it is approximately at level U1.
You can let yourself be thrown into the air from the tower at Lookout Landing and, with enough stamina, glide towards the castle. Alternatively, you can reach the higher areas using a Zonai hot air balloon or via the waterfalls if you already have the Zora armor.
Head northeast on the outer castle ledges. The shrine stands on a relatively narrow platform at the outer foundation.
Solve Serutabomac Shrine
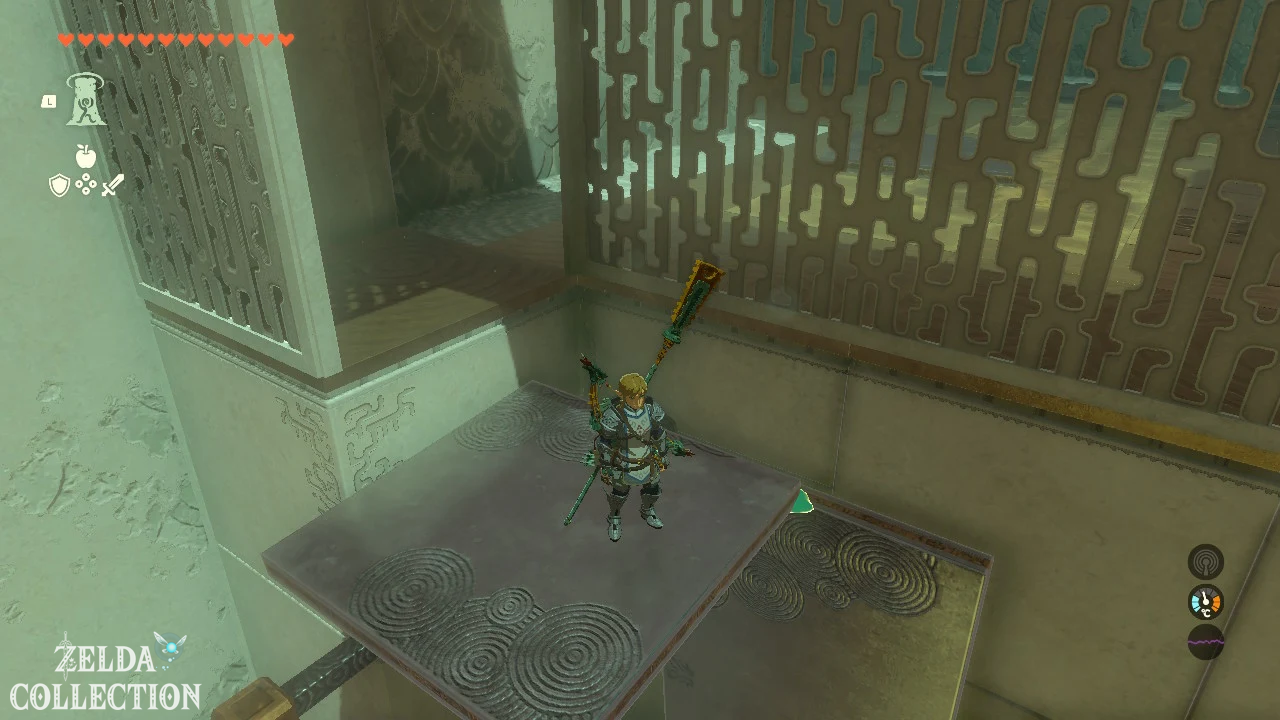
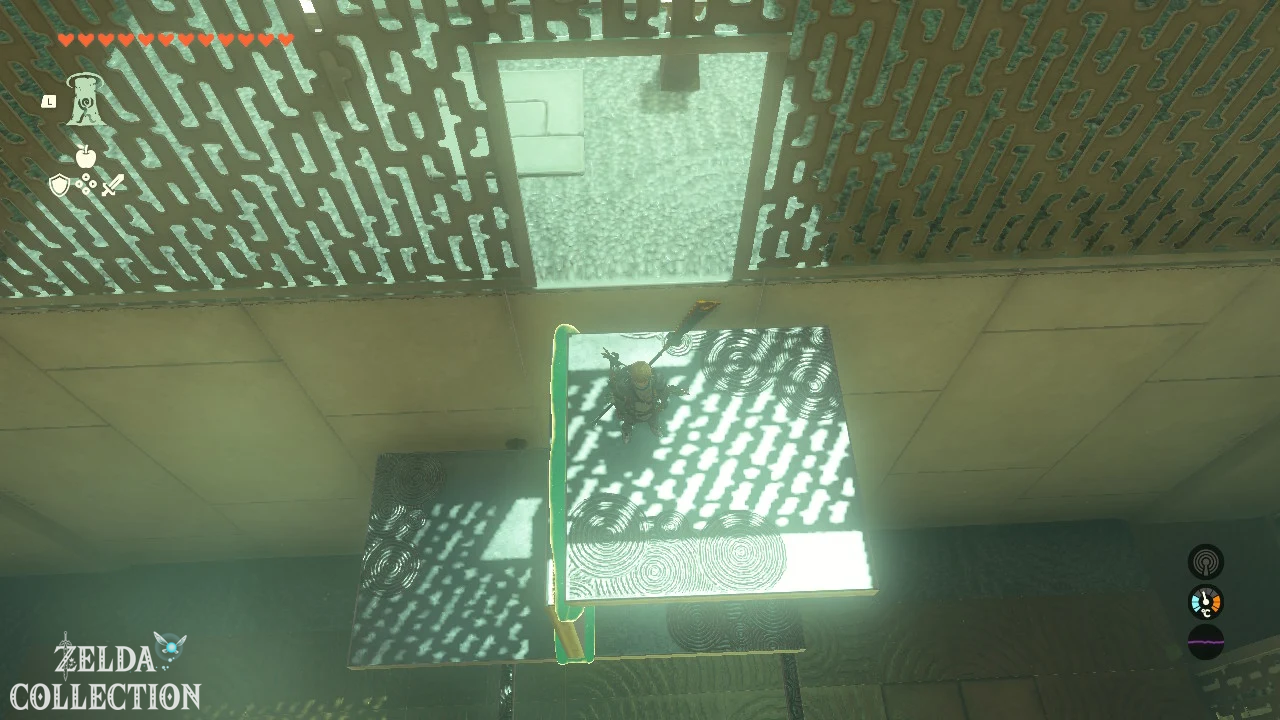
In the Serutabomac Shrine you have to connect metal plates together so that they remain on narrow rails and rods. With the Ascend you then move up through the constructions.
Place the first metal plate on the rails
In the first room, lift the square metal plate and place it horizontally on the two raised bars. Position it so that there is enough space above you.
Stand under the plate and use the Ascend to get to the upper level.
Build a side support
In the second area you will find a long and a smaller metal plate. Attach the small plate at a right angle to one end of the long plate.
Places the small plate on the single rail so that the long plate extends to the side and is supported by the support. Stand underneath and use the Ascend again.
Get Short Wand from chest
In the third area there are three metal plates and a field of spikes. Connect the long plate to the two shorter plates to form a capital “I” when viewed from the side. The two small plates should face each other.
Places the construction across the spike field. The laterally protruding plates stabilize the structure and prevent the long plate between the spikes from falling down.
Stand under the construction and use the Ascend. From above you can reach the lead with the Treasure Chest. Inside lies a Short Wand.
Build the final support structure
Then separates the three plates from each other again. Lay the long plate horizontally as the bottom base. Attach a small plate vertically in the middle and the second small plate horizontally at the top.
From the side, the structure should again look like a capital “I”, but this time with the long plate as the bottom foot.
Places the long bottom plate on the two rails. Uses the Ascend first through the bottom plate and then through the top plate. From there you reach the altar and receive the Light of Blessing.
Tip: Make sure that the small plates are attached as precisely as possible in the middle of the long plate. A crooked structure can tip to the side when placed on the rails.
Source Matching: Location on Hyrule Castle, coordinates, all support structures and the Short Wand were compared to multiple maps and step-by-step solutions.
Enter
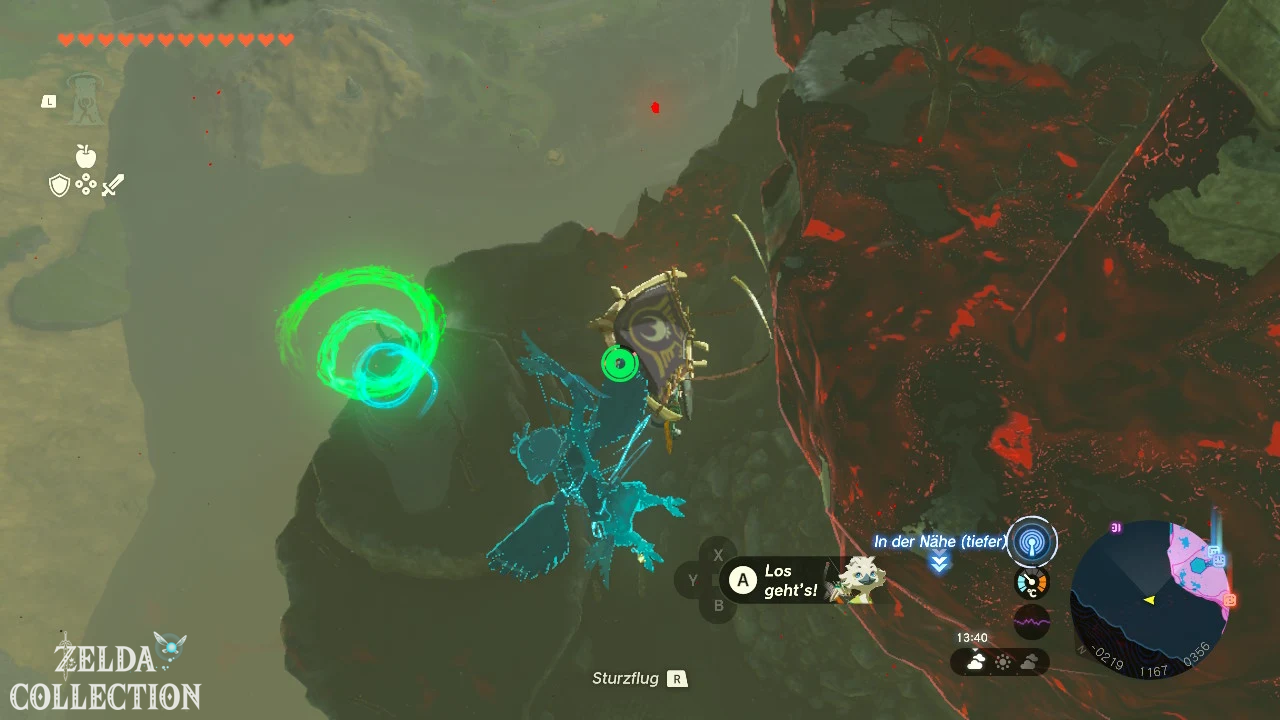
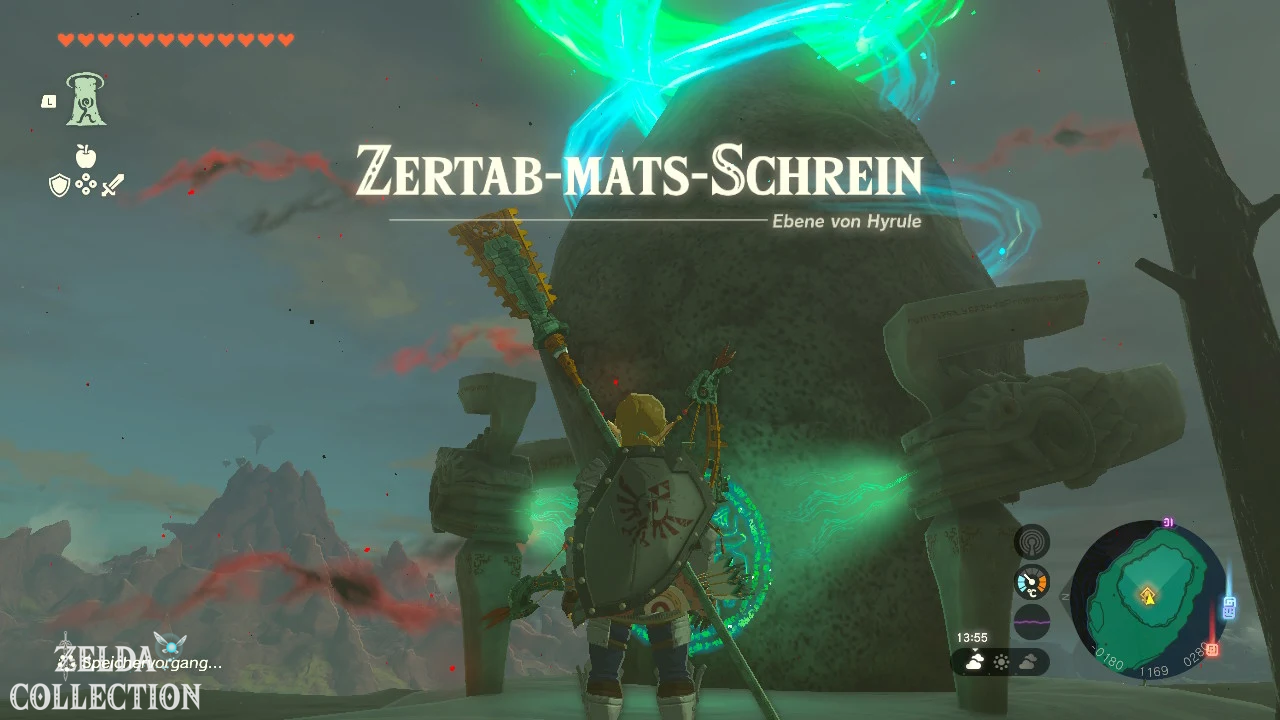
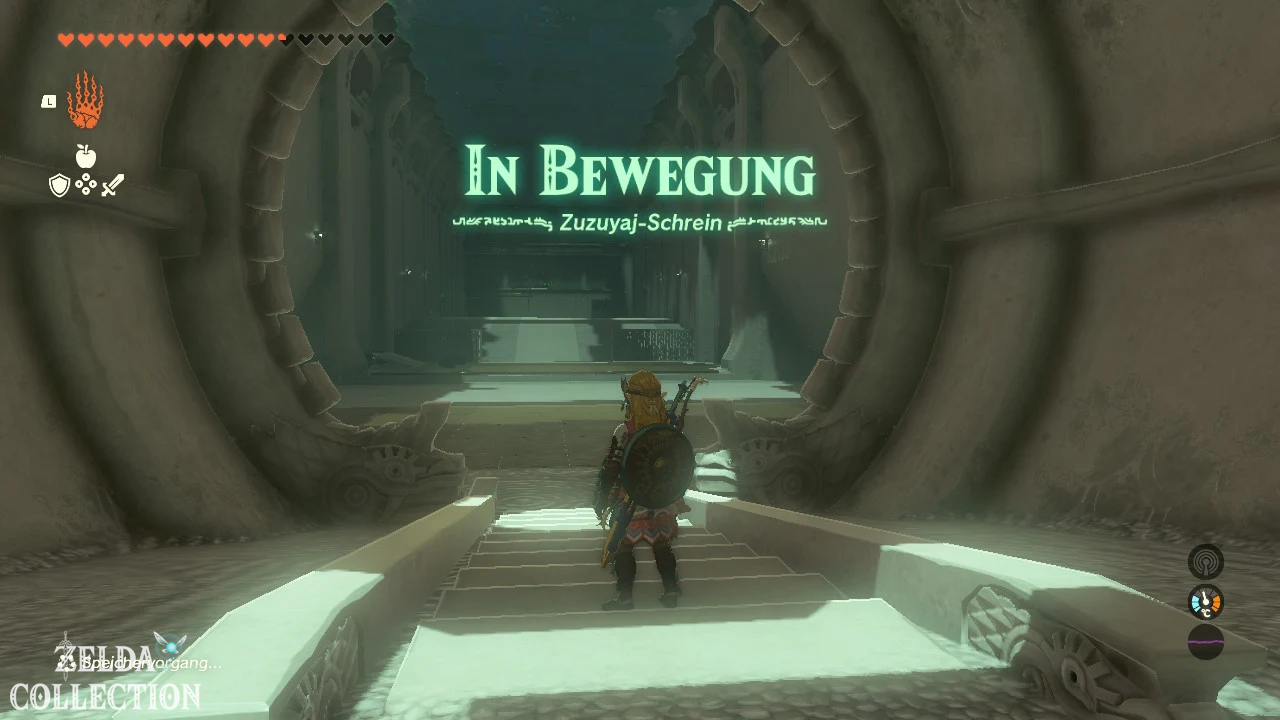
Susuyai Shrine
Trial: In motion
Reward: 5 wooden arrows and a Light of Blessing
Location: Hyrule Garrison Ruins
Coordinates: approximately -0785, -0434, 0018
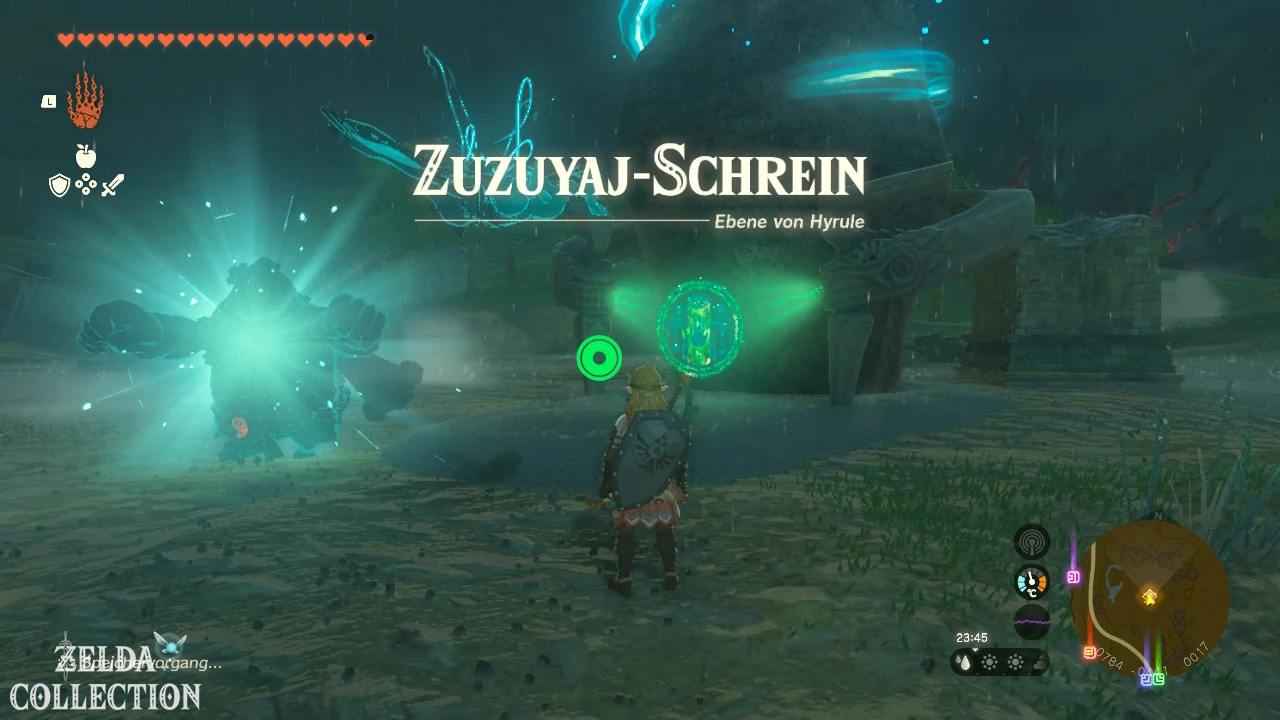
Find Susuyai Shrine
The Susuyai Shrine is located southwest of the Lookout Landing in the Hyrule Garrison Ruins. It stands roughly where the Plains Tower was in Breath of the Wild.
From Lookout Landing, follow the road south and then head southwest. The shrine stands in an open area between the ruins.
Solve Susuyai Shrine
The “On the Move” exam introduces you to the use of the small Zonai wheels. You build a vehicle, keep a gate moving and use a Big Wheel to drive a cable car.
Remove
Treasure Chest from vehicle
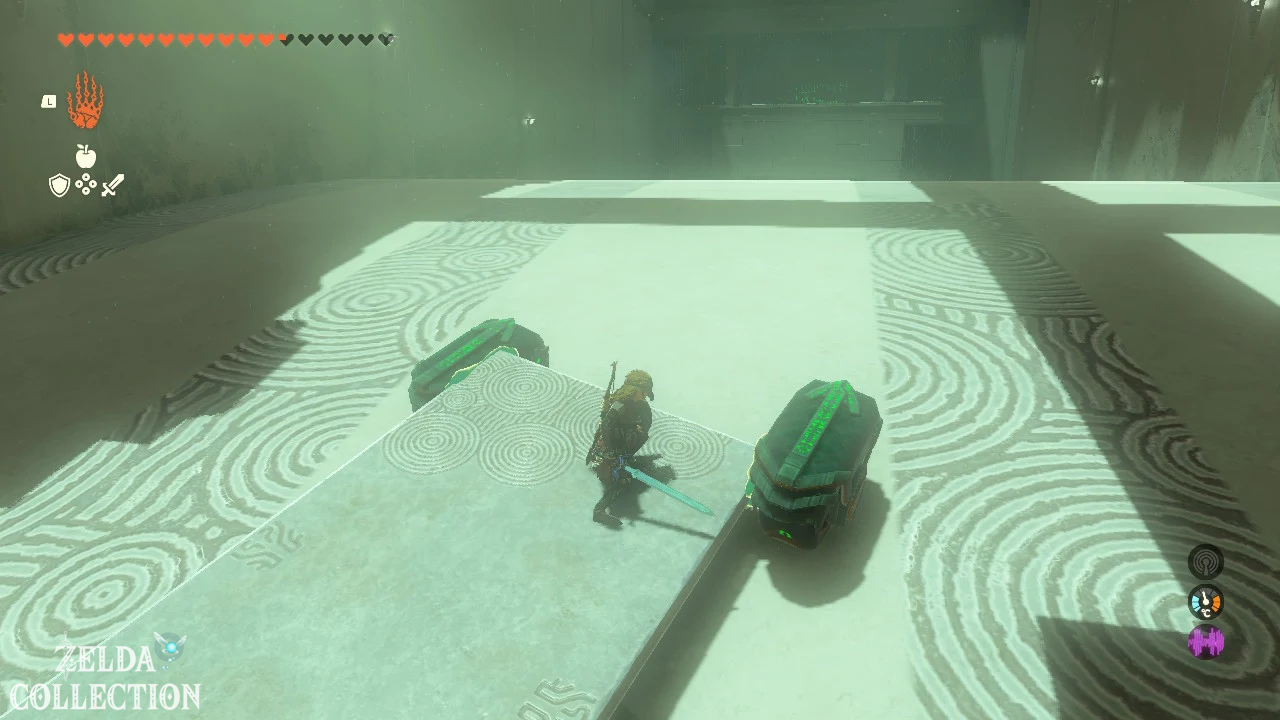
In the first area, three small vehicles drive regularly across the room. A Treasure Chest is attached to the middle vehicle.
Grabs the vehicle with the Ultrahand and pulls it out of its lane. Then detach the Treasure Chest from the vehicle and place it on the ground. Inside there are five wooden arrows.
Cross the treadmill
In the next section you will find a stone slab and several small wheels. Attach two wheels to each of the two long sides of the plate. All wheels must point in the same direction of travel.
Places the finished vehicle in front of the wide, opposing belt and activates the wheels. The speed of the vehicle is enough to get you safely to the other side.
Alternatively, you can cross the treadmill with a quick sprint. However, building the vehicle is the intended solution.
Keep the gate open
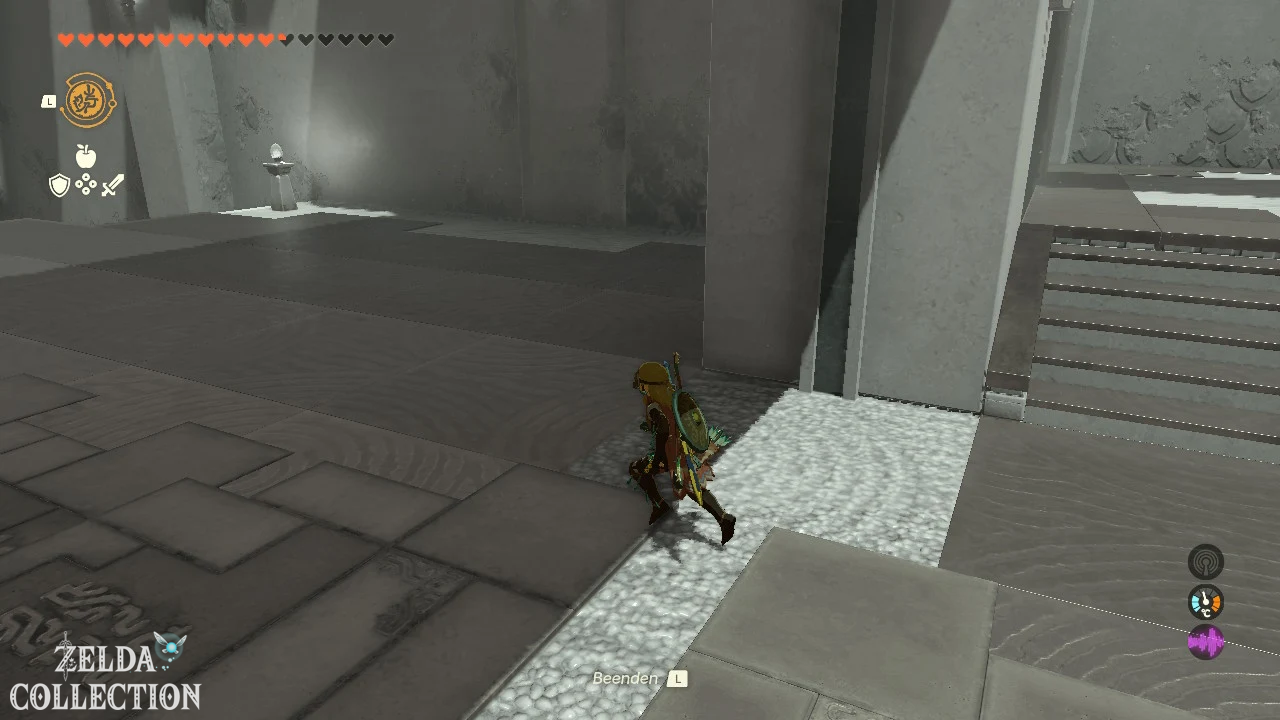
There is a large turnstile in front of the next gate. Move it several complete revolutions with the Ultrahand. However, as soon as you let go, the gate closes again.
Activates the Recall on the turnstile. It now repeats your previously executed movement and keeps the gate open long enough. Run through it as the cross rotates backwards.
Alternatively, you can attach one of the small wheels to the turnstile and activate it. The Big Wheel then moves the mechanism permanently.
Take the gondola over the abyss
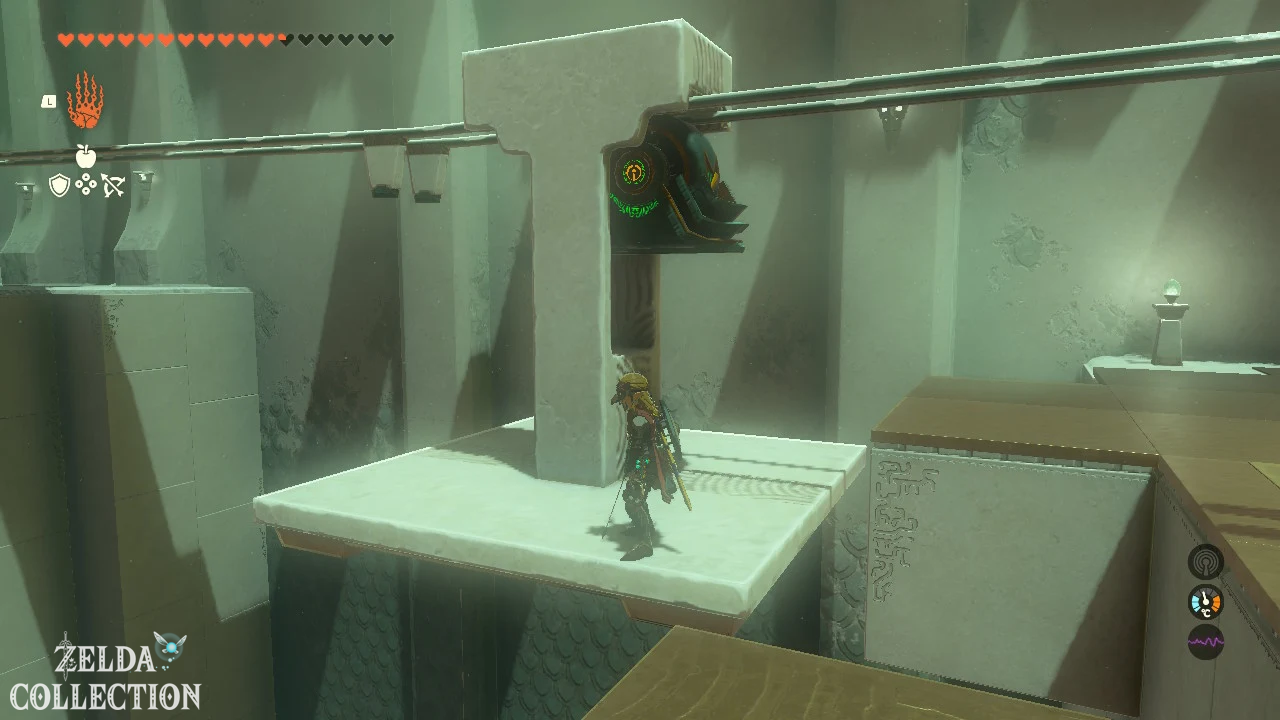
In the final room there is a gondola hanging on a single rail. Attach a small Big Wheel to the top of the gondola so that the tire presses directly on or against the rail.
Make sure that the Big Wheel runs towards the opposite platform. Activate it with one hit and quickly get into the gondola.
The Big Wheel pulls the gondola over the abyss. Jump off on the other side and take the Light of Blessing at the altar.
Tip: If the gondola goes in the wrong direction, you don’t have to completely rebuild the Big Wheel. Loosen it with the Ultrahand, rotate it 180 degrees and reattach it.
Source Matching: Location, Testing, Vehicle with Treasure Chest, Treadmill, Turnstile and Gondola Mechanism were verified using various wikis and walkthroughs.
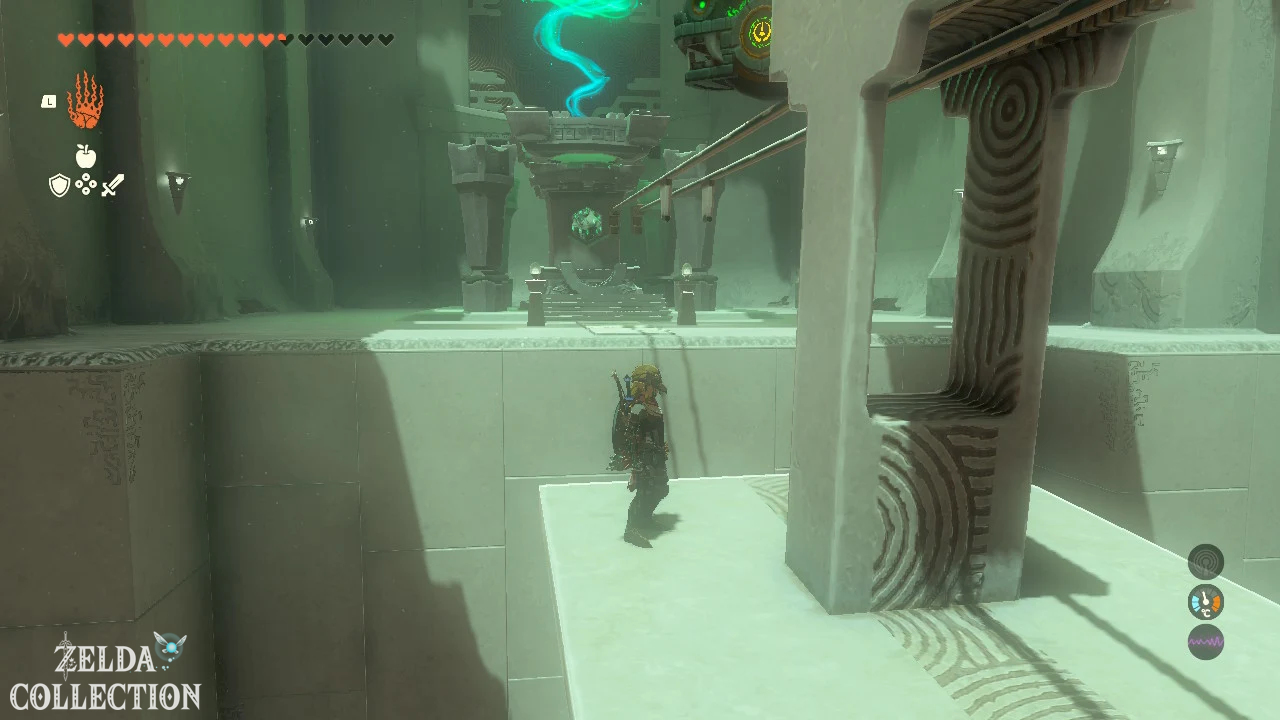
All shrines in Hyrule at a glance
| Shrine | exam | Location | Chest Reward |
|---|---|---|---|
| Jiosin Shrine | shape puzzle | Windvane Meadow | Spurt-Elixir |
| Ishodag Shrine | wind power | Quarry Ruins | Opal |
| Kyononis Shrine | fighting techniques | Hyrule Castle Town Ruins | Zonaite sword |
| Yamiyo Shrine | Fighting Techniques: Throwing | Romani Plains | 3 Thunder Flowers |
| Sepapa Shrine | Reverse facing | Hyrule Forest Park | Strong Construct Bow |
| Serutabomac Shrine | Support structure | Hyrule Castle | Short wand |
| Susuyai Shrine | In motion | Hyrule Garrison Ruins | 5 wooden arrows |
More shrines in The Legend of Zelda: Tears of the Kingdom
Once you have completed all seven shrines inside Hyrule, you can continue your search in the adjacent areas: