

The main quest “To the Kingdom of Hyrule!” starts at the end of Great Sky Island. Beforehand, you must have completed the four shrines Ukouh, In-isa, Gutanbac and Nachoyah and exchanged the four blessing lights at the statue of the goddess for a Heart Container.
With four hearts you can open the heavy door behind the statue in the Temple of Time. Then cross the destroyed bridge by dropping onto the lower platforms and using the Ascend several times through the ruins above.
At the end you will reach a glowing The Altar. Investigate it and follow the events surrounding Zelda and the Decayed Master Sword. Zelda asks Link to find her and the main quest “To the Kingdom of Hyrule!” is entered in the diary. The quest log specifically asks you to return from the Sky Island to the surface.
Jump to Hyrule from the Great Sky Island
From the altar, follow the only possible path to the edge of the island. Below you you can see the Hyrule Kingdom and several large bodies of water.
Jump from the edge and use the left stick to control Link as he falls. Hold down the R button to enter a faster dive. Link puts his arms to his body and gains significant speed.
Since you don’t yet have a Paraglider, you absolutely have to land in sufficiently deep water. Aim for the large pond south of the scouting post. A collision with earth, rocks or a flat bank would be fatal from this height.
Tip: End the accelerated dive in time by releasing the R button. This makes it easier for you to correct Link’s trajectory before landing.
After landing, swim to the shore. As soon as Link leaves the water, the words “Hyrule Kingdom” appear. This begins the freely explorable main part of the game.
Explore the Hyrule Kingdom
The yellow marker for the main quest points to a point northwest of your landing site. There is the Lookout Landing, the first larger and peaceful settlement you visit on the surface.
You don’t have to follow the main quest immediately. From this moment on you can freely explore large parts of Hyrule’s, fight enemies, collect materials, discover caves and activate shrines.
The direct route to Lookout Landing is still highly recommended. Through the following main quest steps you will obtain the Paraglider, activate the Skyview Towers and unlock several important features for further exploration. Nintendo also recommends following the main quest at Lookout Landing first, as it makes the Paraglider accessible early on and other central functions accessible later.
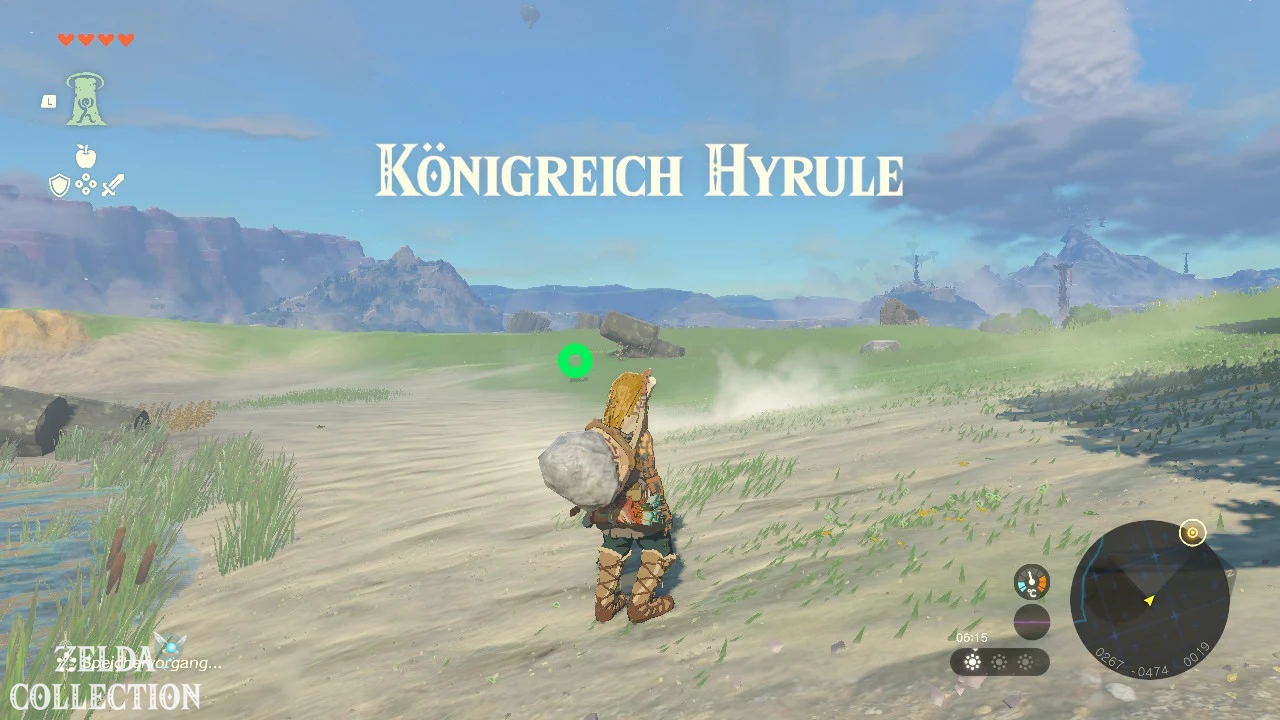
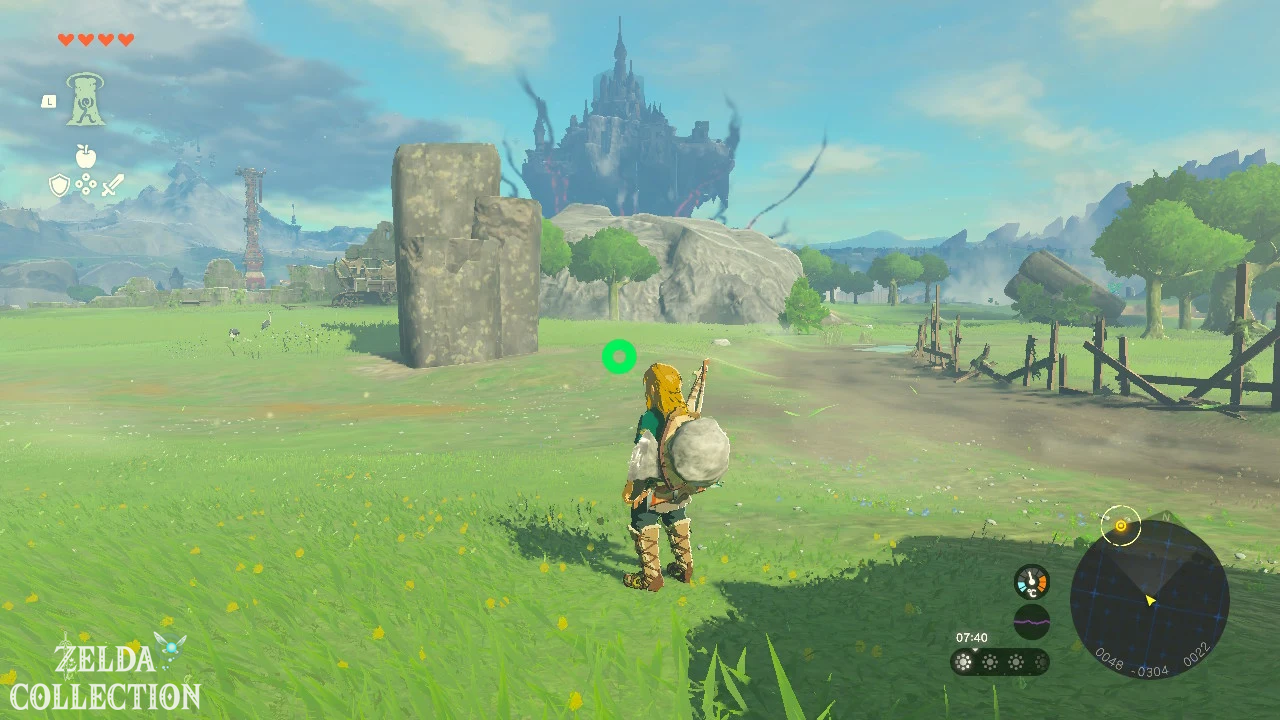
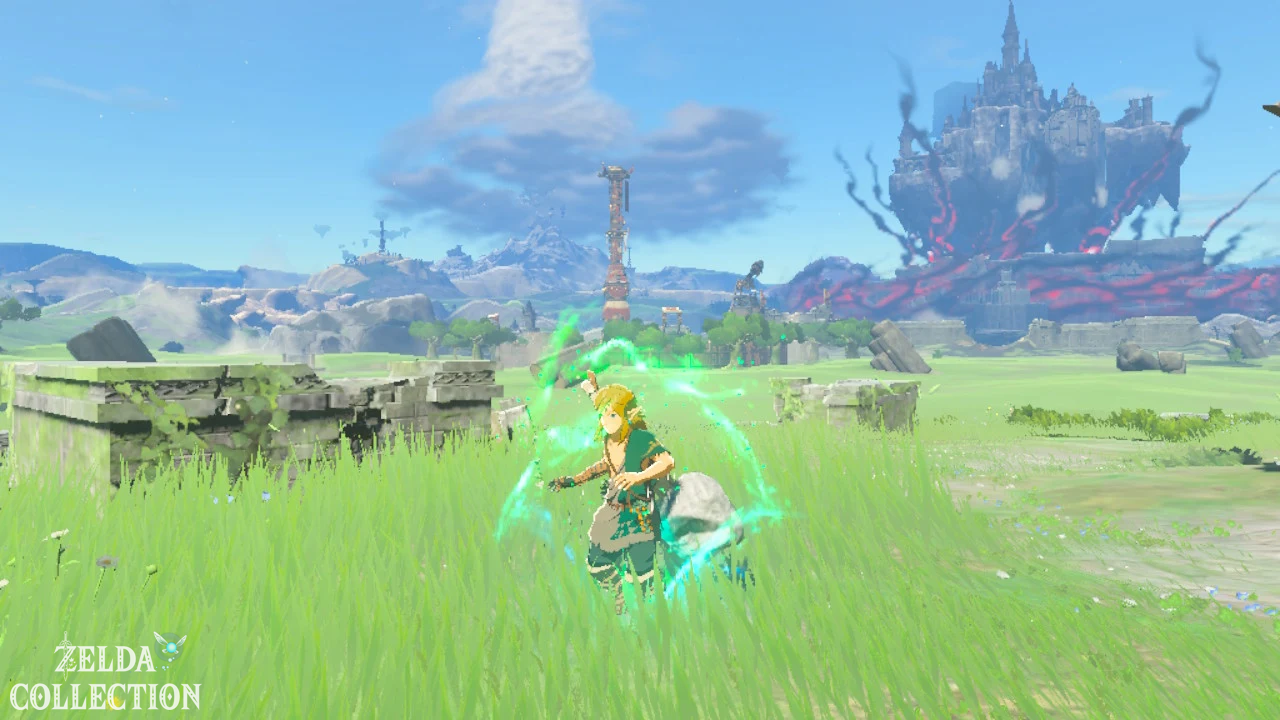
First materials on the surface
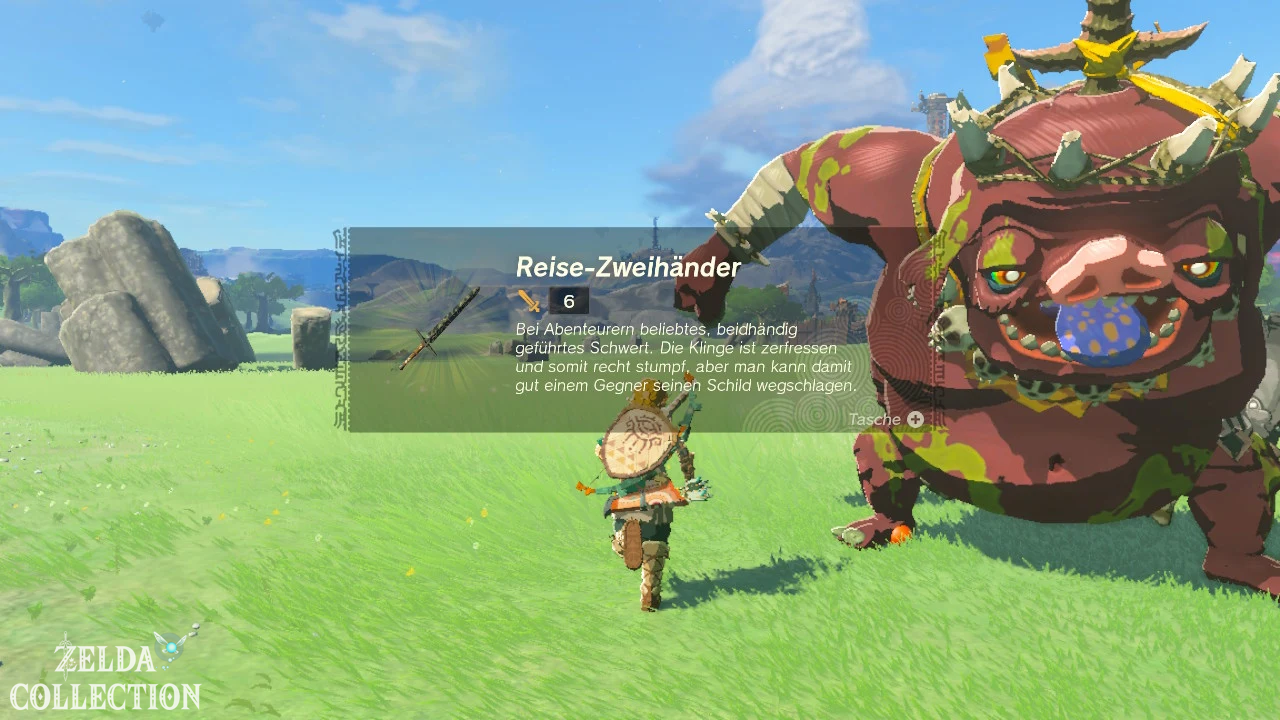
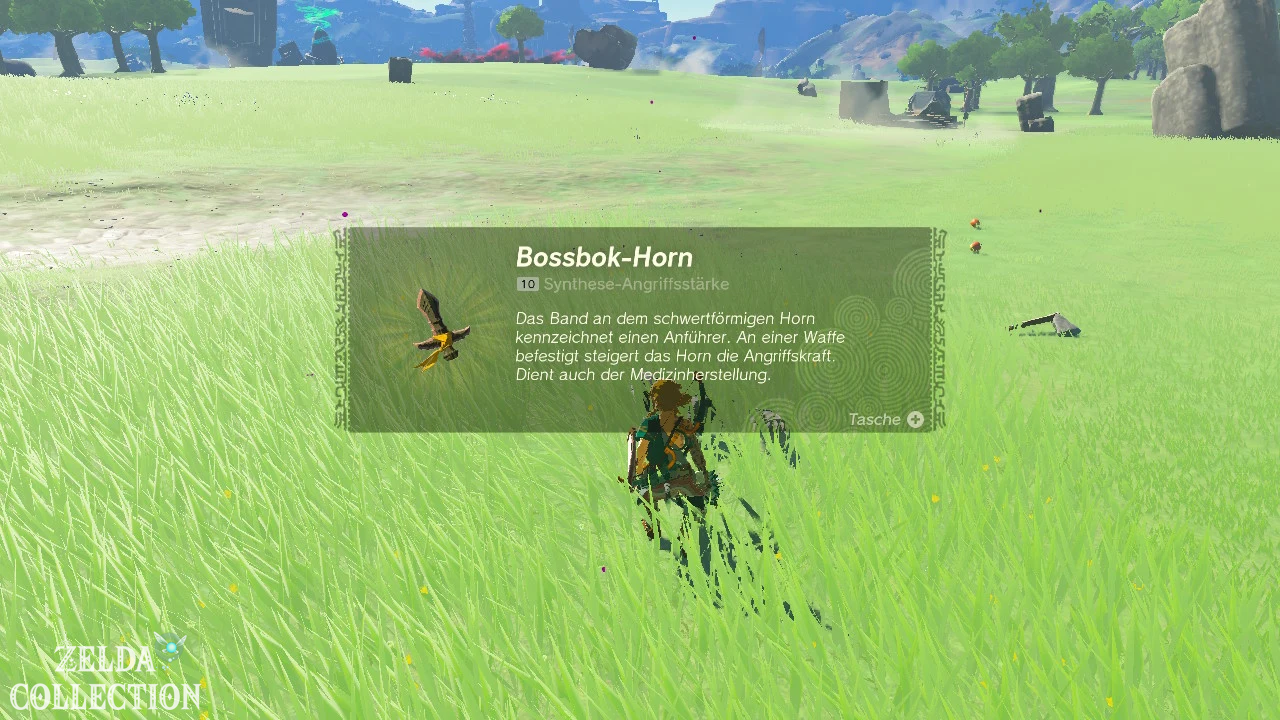
Collect apples, Skyshrooms, herbs and weapons lying around along the way. Your equipment from the Great Sky Island is probably already heavily worn out.
In the ruins and small camps around the street you will find, among other things:
- branches and Wooden Sticks,
- rusted swords and halberds,
- wooden shields,
- Arrows in boxes and barrels,
- Hylian mushrooms and herbs,
- monster parts for the Fuse.
Combines weak rusted weapons with rocks, horns, or other suitable materials. A synthesized weapon does not last indefinitely, but it causes significantly more damage than the basic, unenhanced weapon.
Should you already fight against strong opponents?
With only four hearts and simple armor you are still very vulnerable. Only attack larger groups of monsters if you have enough food and several spare weapons.
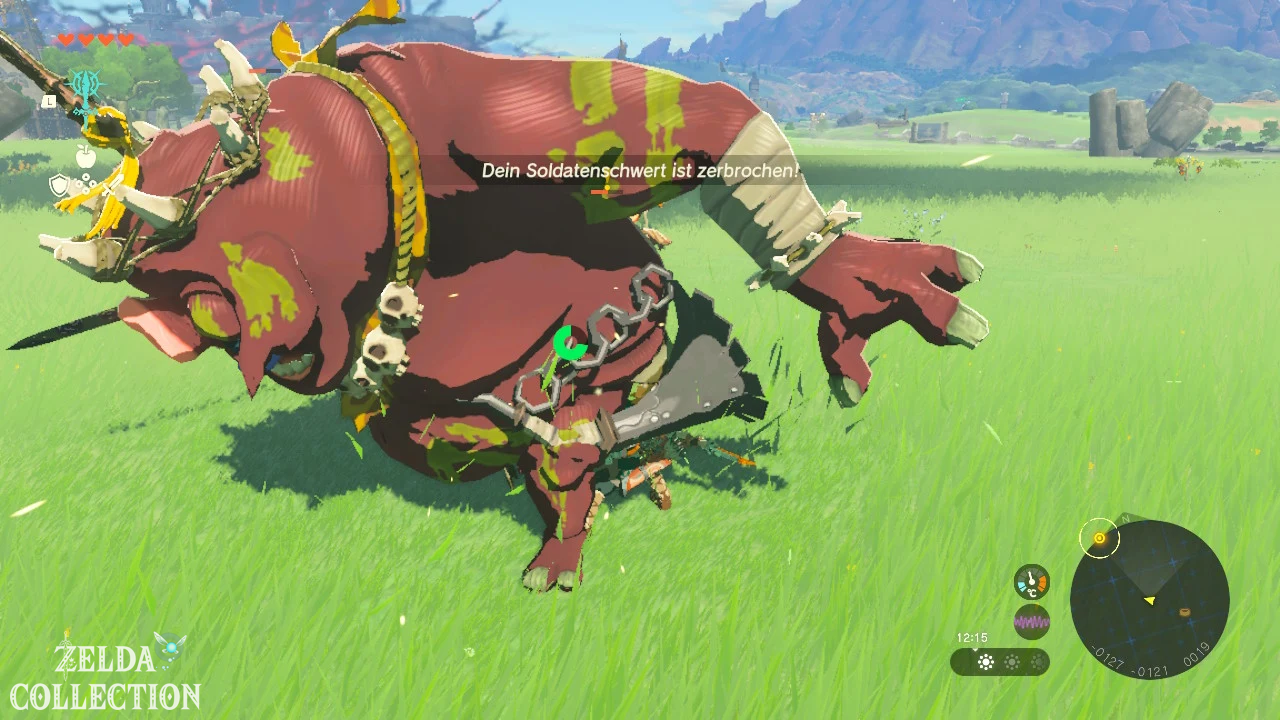
You should especially avoid boss bokoblins, black opponents or large monsters for the time being. The simple red Bokoblins and slimes along the road, on the other hand, are good for further practicing the combat system and the Fuse.
Find the Lookout Landing
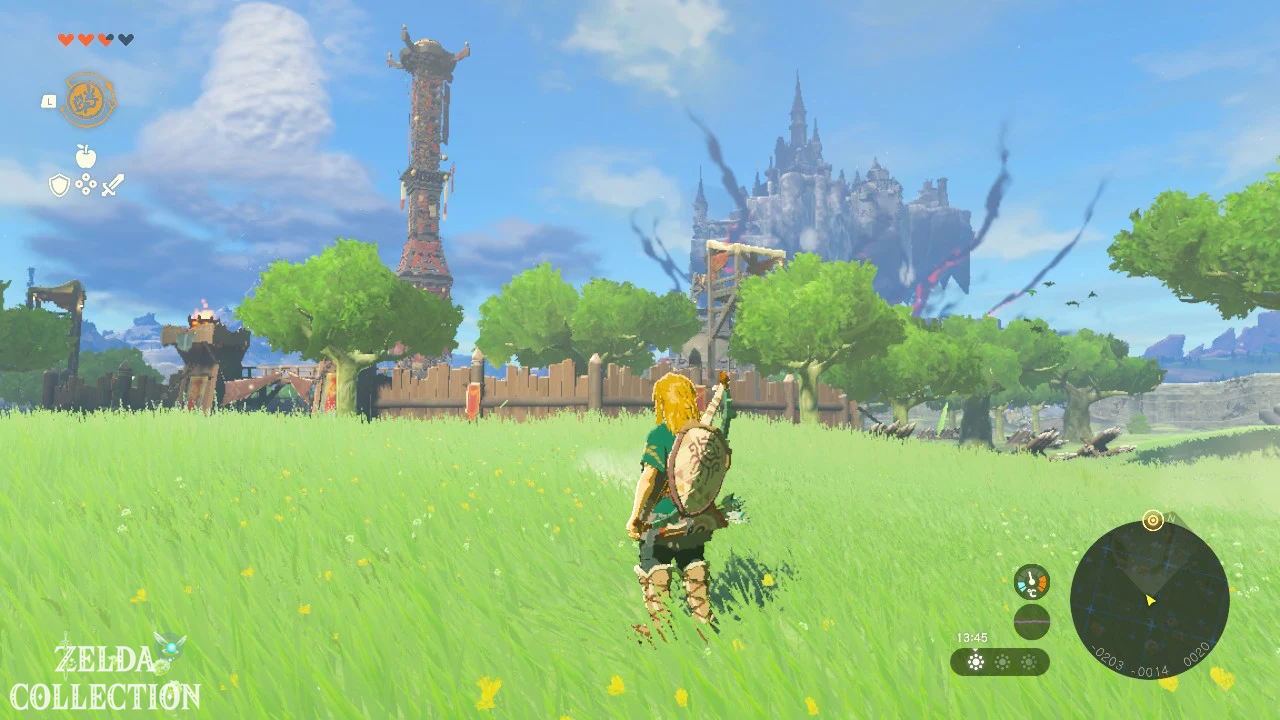
The Lookout Landing is located south of the floating Hyrule Castle and can be seen from a great distance. Orient yourself by the tall building with the large telescope and the Skyview Tower next to it.
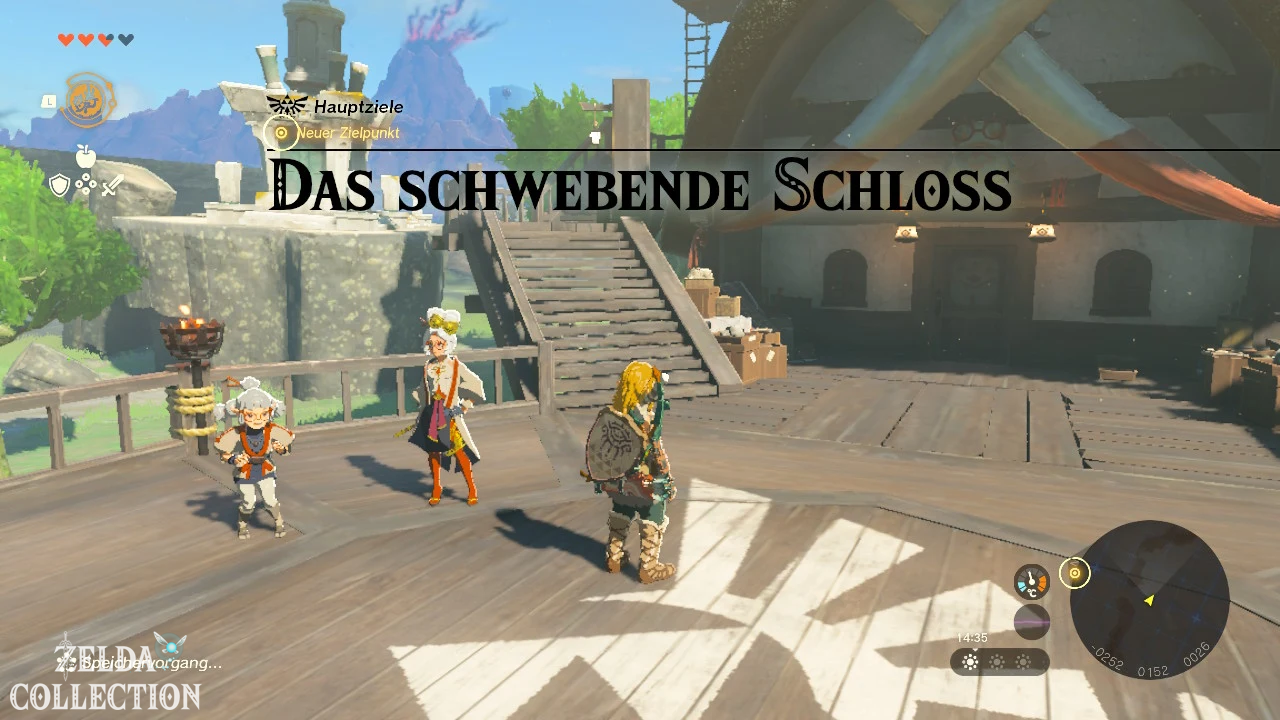
Follow the yellow marker through the open gate. The Lookout Landing is located approximately at coordinates -0254, 0153, 0026. It was set up according to Upheaval as a central base for the search for Zelda and research on the changes in Hyrule.
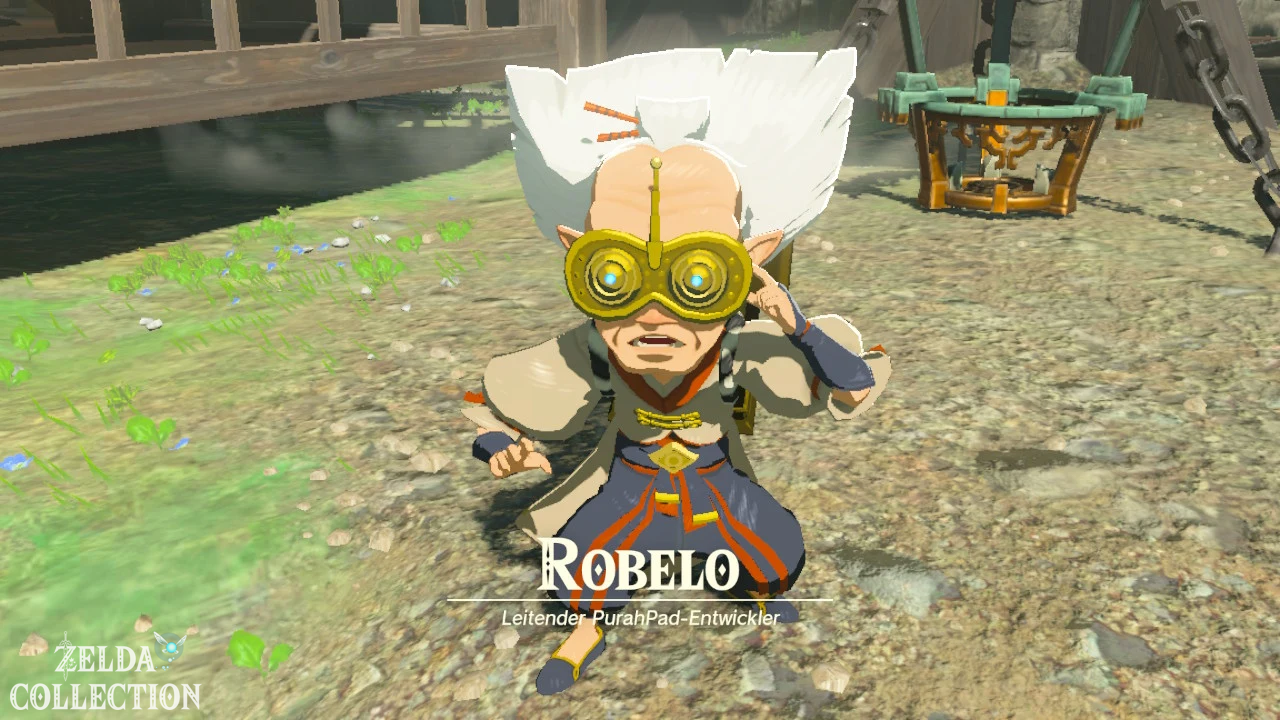
Talk to Mondi
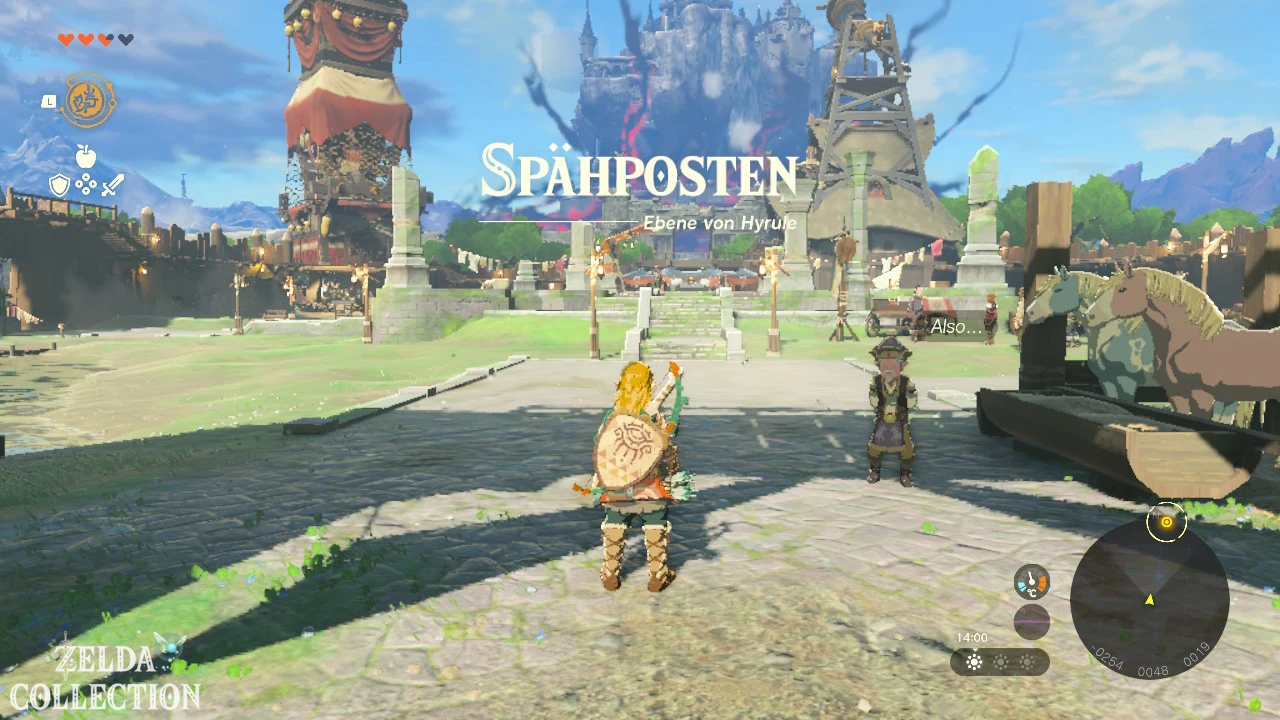
Speak to the gate guard at the entrance Mondi. He recognizes Link and is surprised to see him alive after his long disappearance.
Mondi explains that Director Purah is coordinating the search for Link and Princess Zelda. You can find them in the eye-catching research laboratory on the northern side of the scout post.
What’s in the Lookout Landing?
Before you visit Purah, you can look around the settlement. Some functions will only be fully unlocked during the next main quest steps, but you can already find:
- dealers and supply points,
- multiple cooking zones,
- Weapons and materials,
- Residents with hints and tasks,
- the tower at Lookout Landing,
- a locked emergency shelter under the central square.
The Lookout Landing serves as a central point of contact throughout the adventure. Return here regularly to speak with Purah, Josha, Robbie and other important figures.
Purah in the research laboratory meet
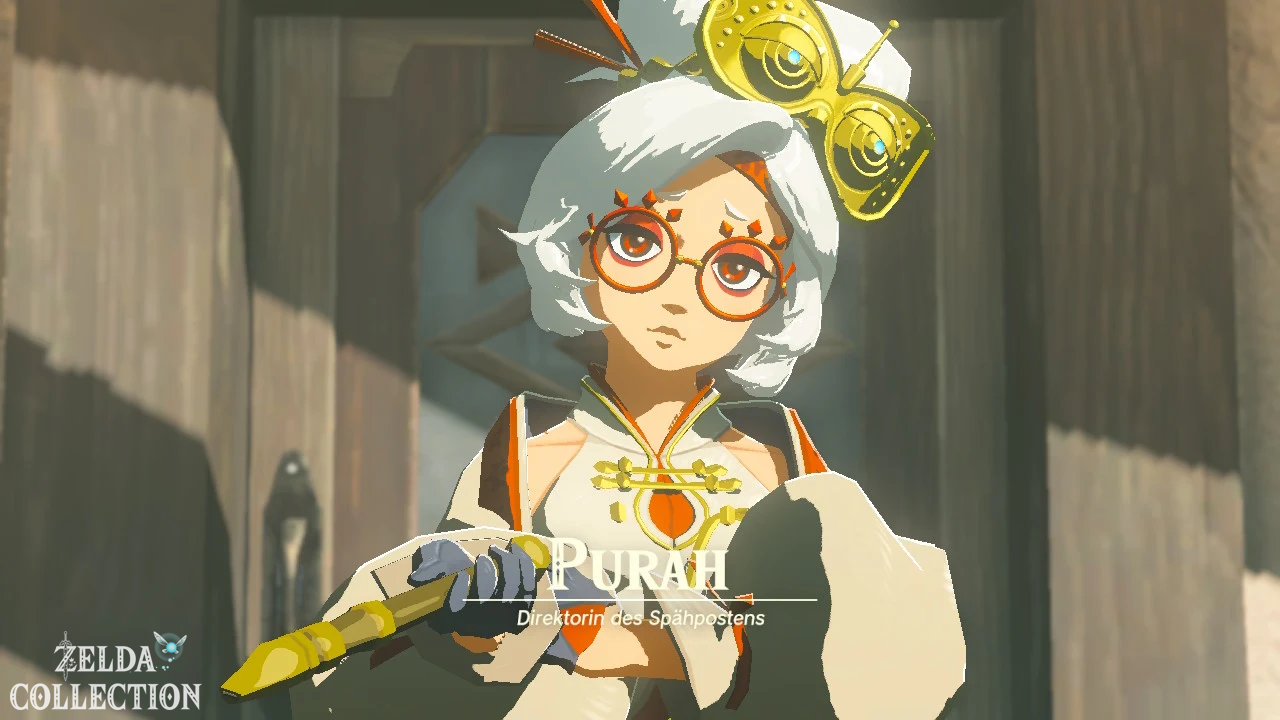
Climb the stairs or ladders on the tall research building. Purah is located on the upper platform of the large telescope.
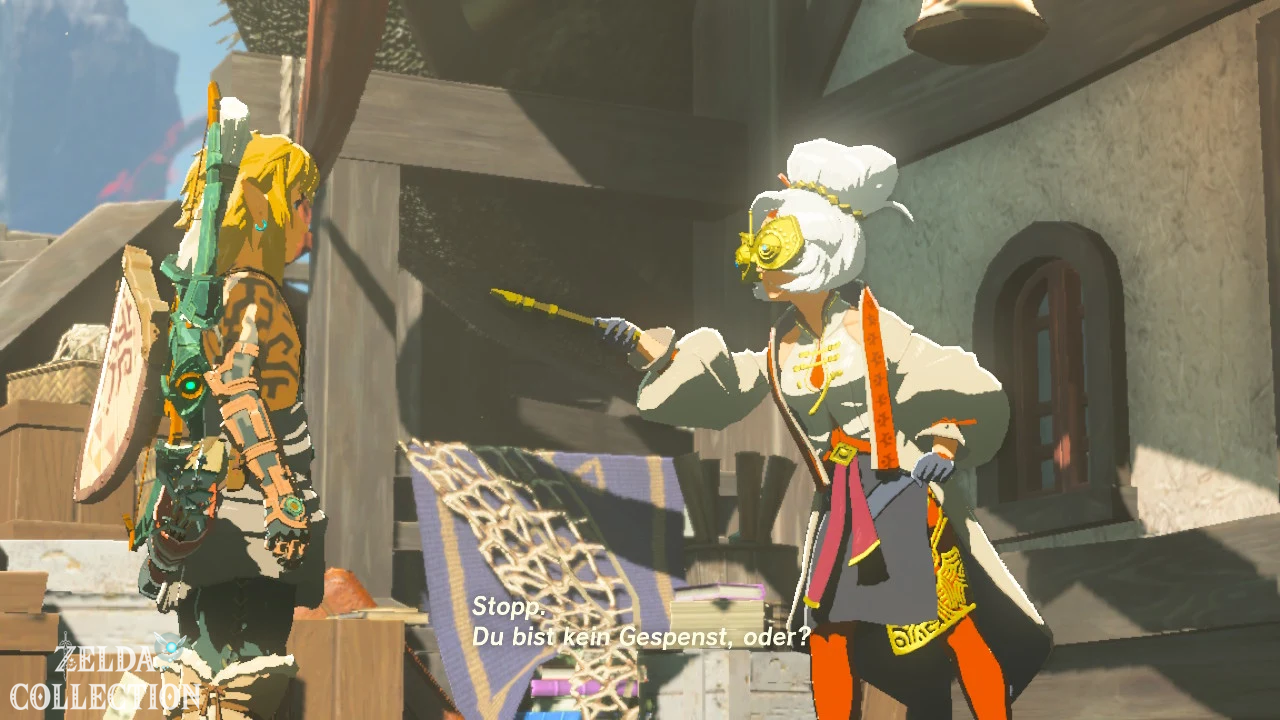
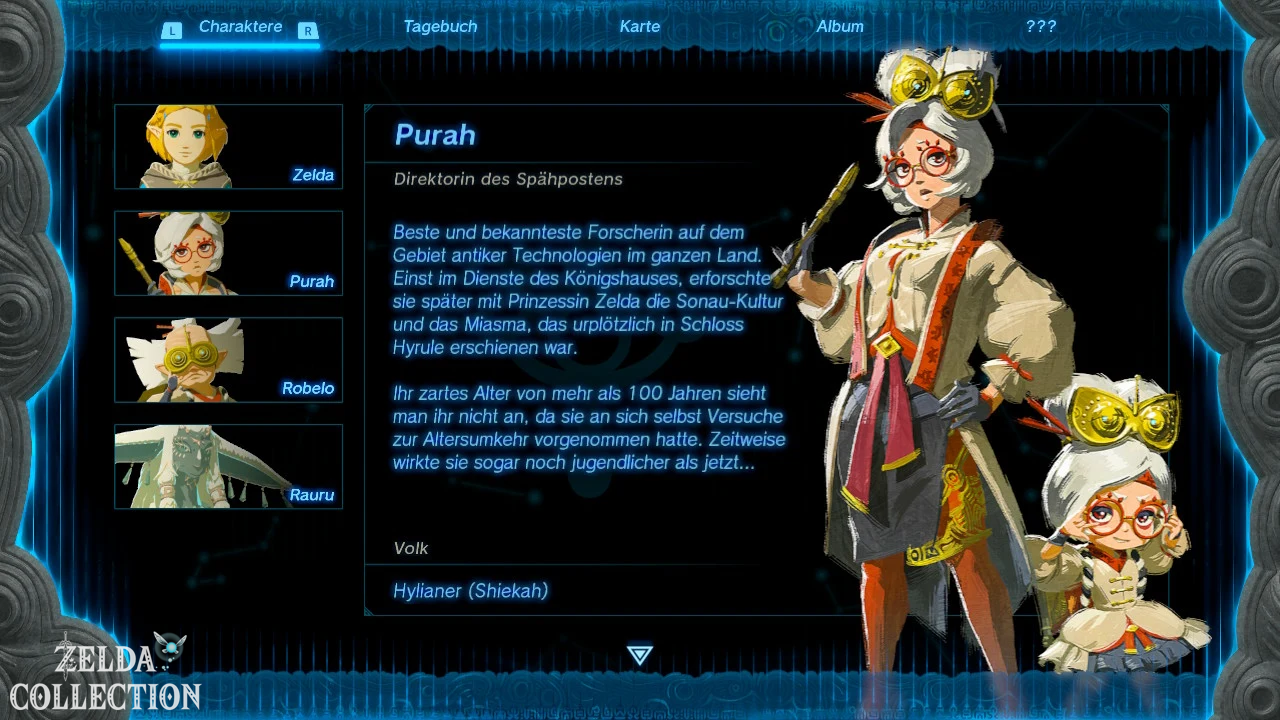
Talk to Josha and Purah. Purah is relieved to see Link alive, but immediately wants to know what happened under Hyrule Castle.
Link reports about the mummy, the Gloom, Zelda’s fall into the depths and his awakening on the sky island. Purah suspects that these events are related to the Upheaval and the rising of the castle.
The main quest ends with the conversation “To the Kingdom of Hyrule!”. Purah then asks Link to join the search party at Hyrule Castle. This begins the main quest “Crisis at Hyrule Castle”.
Important: “Crisis at Hyrule Castle” is a long-term main quest. The following visit to Hoz and activation of the Skyview Tower only completes the first section. The quest remains in the diary for a long time and is not fully completed until much later.
The floating lock: Hoz on the search party find
Purah reports that there is a search party below the floating castle. Troop leader Hoz is leading the search and may have new clues about Princess Zelda.
Leave the research lab and look north. The Hyrule Castle floating far above the ground cannot be missed.
You don’t need to get into the actual flying castle at this point. Your target is just the search party in the ruins and gatehouses on the ground.
Prepare before departure
Cook some dishes, fill up your hearts and take several weapons, a shield and if possible a bow. The path to Hoz is not particularly dangerous, but you can encounter Bokoblins, slimes and other enemies in the ruins.
Particularly recommended are:
- at least two melee weapons,
- a shield for the combat lesson in Kyononis Shrine,
- a bow with some arrows,
- several simple healing dishes,
- a hammer weapon for crates and ore deposits.
Through the Hyrule Castle Town Ruins
Leave the Lookout Landing through the northern gate below the research laboratory. Alternatively, you can jump over the barrier next to Purah’s platform.
Follow the road through the ruined remains of Hyrule City. Along the way you will find numerous dilapidated buildings, crates, barrels and weapon racks.
Particularly examines the partially preserved houses on the roadsides. There you can find rusted weapons, bows, shields, arrows and various ingredients.
Read monster defense notes
There are several monster defense notes in the ruins. One of them comes from troop leader Hoz and provides further information about the search parties and the dangerous situation around Hyrule Castle.
The documents are not required for the main quest, but give you additional background on the Upheaval and the organization of the royal troops.
Activate Kyononis Shrine
On the eastern side of the central square is the Kyononis Shrine. Be sure to activate it, even if you don’t want to take the test immediately.
The shrine is located approximately at coordinates -0205, 0451, 0021. It later serves as a convenient fast travel point between Hyrule Castle and the Lookout Landing.
Since the shrine explains basic combat techniques, it is recommended to complete it directly.
Kyononis Shrine
Exam: Combat Techniques
Reward: Zonaite Sword and a Light of Blessing
Location: Central square of Hyrule Castle Town Ruins
coordinates: approximately -0205, 0451, 0021
The Kyononis Shrine consists of a large fighting space. A training construct explains four important techniques one after the other:
- Sideways jump and aggressiveness,
- Backflip and aggressiveness,
- perfect block,
- charged attack.
You must perform each technique correctly. Common attacks do not count as progress during that lesson.
Dodge vertical attacks sideways
Target the construct with the ZL button. Wait for it to raise its weapon for a vertical slash from top to bottom.
Shortly before the hit, press the left stick to the left or right and at the same time press the X button. Link performs a side jump.
If the dodge occurs at the last moment, time slows down. During this slow motion, press the Y button several times to perform a Attack.
Correct key: Evasive jumps are carried out with X – not with B. Hold down ZL and enter the desired direction at the same time.
Dodge horizontal attacks with a backflip
In the second lesson, the construct swings its weapon horizontally. Jumping sideways might still put you in the weapon’s path.
Hold down ZL, pull the left stick back and press X at the last moment. Link performs a backflip.
With perfect timing, time slows down again. Press Y to follow up with another attack.
Execute perfect block
Equip a shield and raise it with ZL. Wait until the construct’s attack almost reaches Link.
Press the A button immediately before the hit. Link repulses the enemy’s attack with his shield. Blue sparks indicate the parade was successful.
The construct falters briefly. Use this moment for several normal attacks.
Timing Aid: Don’t just watch the weapon. The construct’s eye glows prominently immediately before many attacks. This moment is suitable as additional orientation.
Use Charged Attack
For the last lesson, hold down the Y button. Link charges a particularly powerful attack depending on the type of weapon equipped.
Release Y once the attack is fully charged. With a one-handed sword, Link performs an all-round swing. Two-handed weapons produce a sustained spinning attack, while spears produce a rapid series of stabs.
Charging consumes stamina. Make sure to execute the attack in time before the green stamina circle is completely depleted.
Training Construct Defeat
After completing all exercises, you can defeat the construct with normal attacks. Then collect his equipment and materials.
Depending on the opponent’s progress and equipment, you can receive, among other things:
- a Rusted Sword,
- a construct sheet,
- a construct horn,
- a Zonai Charge.
The actual shrine chest is in the final room. It contains a Zonaite sword. Then go to the altar and receive the Light of Blessing. The German Shrine Guide also lists the Zonaite Sword as a chest reward.
From the central square to the castle gate
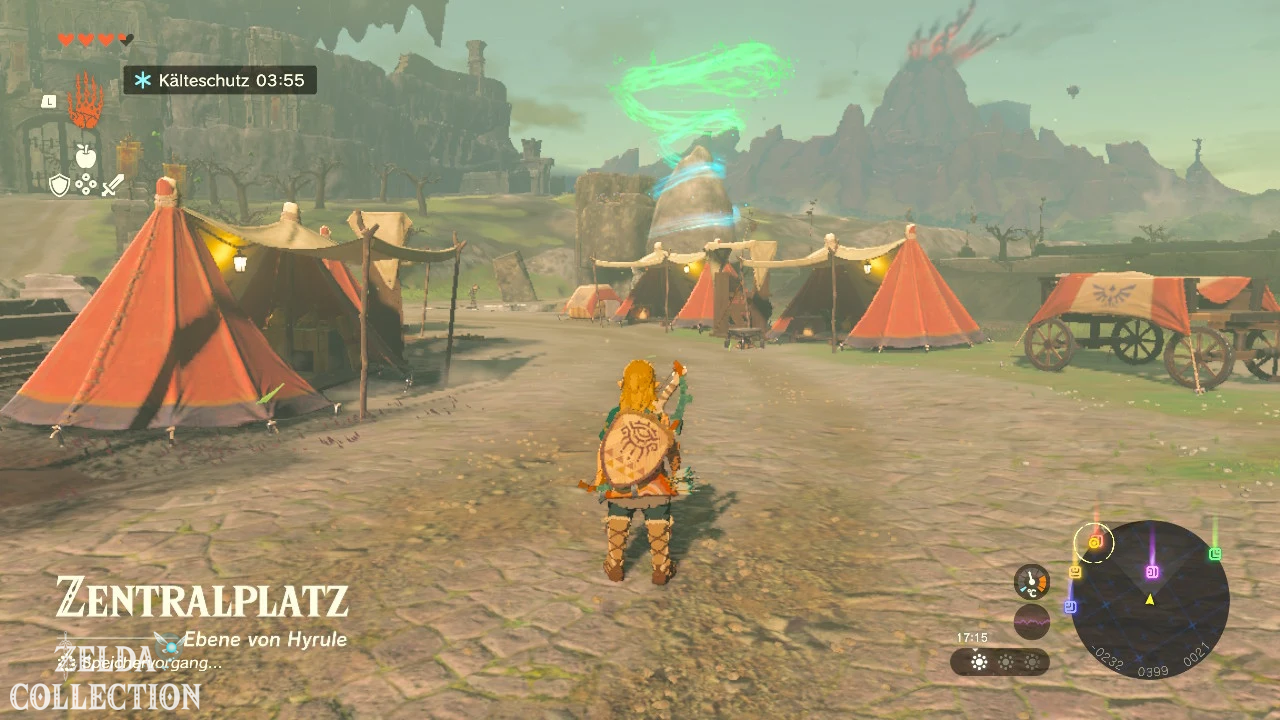
Leave the Kyononis Shrine and follow the wide path north. Speak to Wenni along the way. He explains to you that troop leader Hoz should be at the gate of the Third Wall.
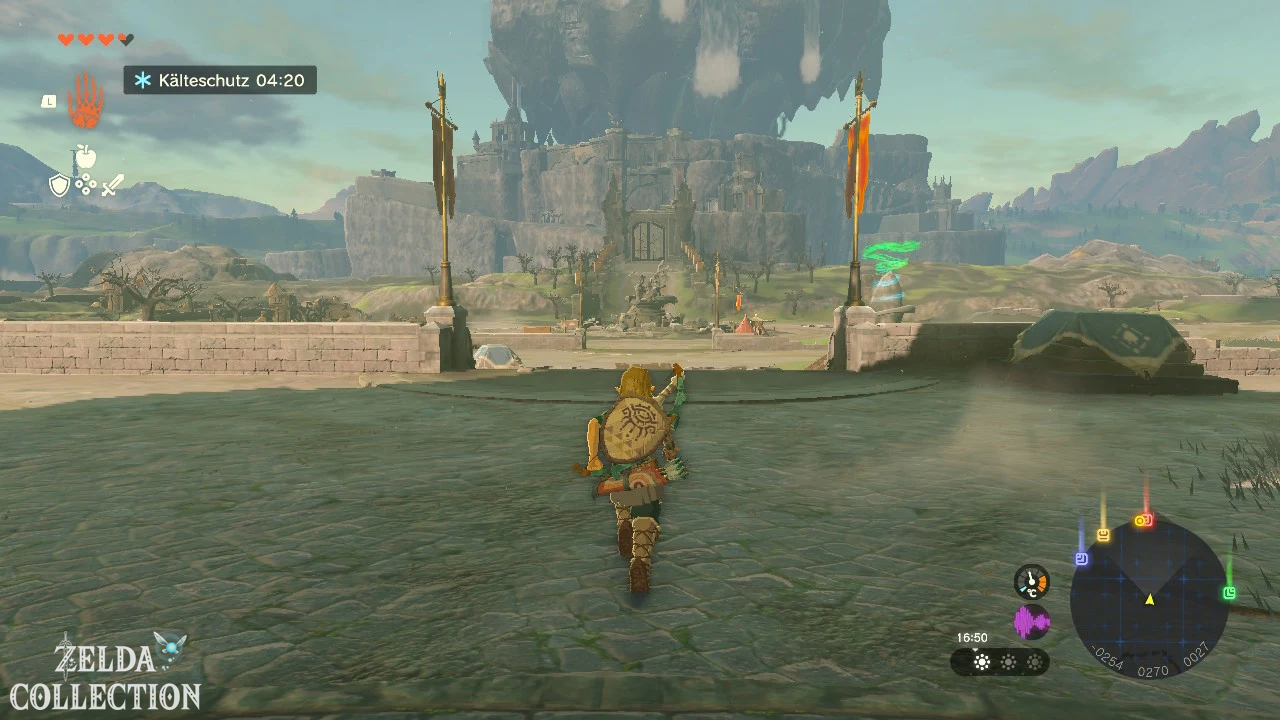
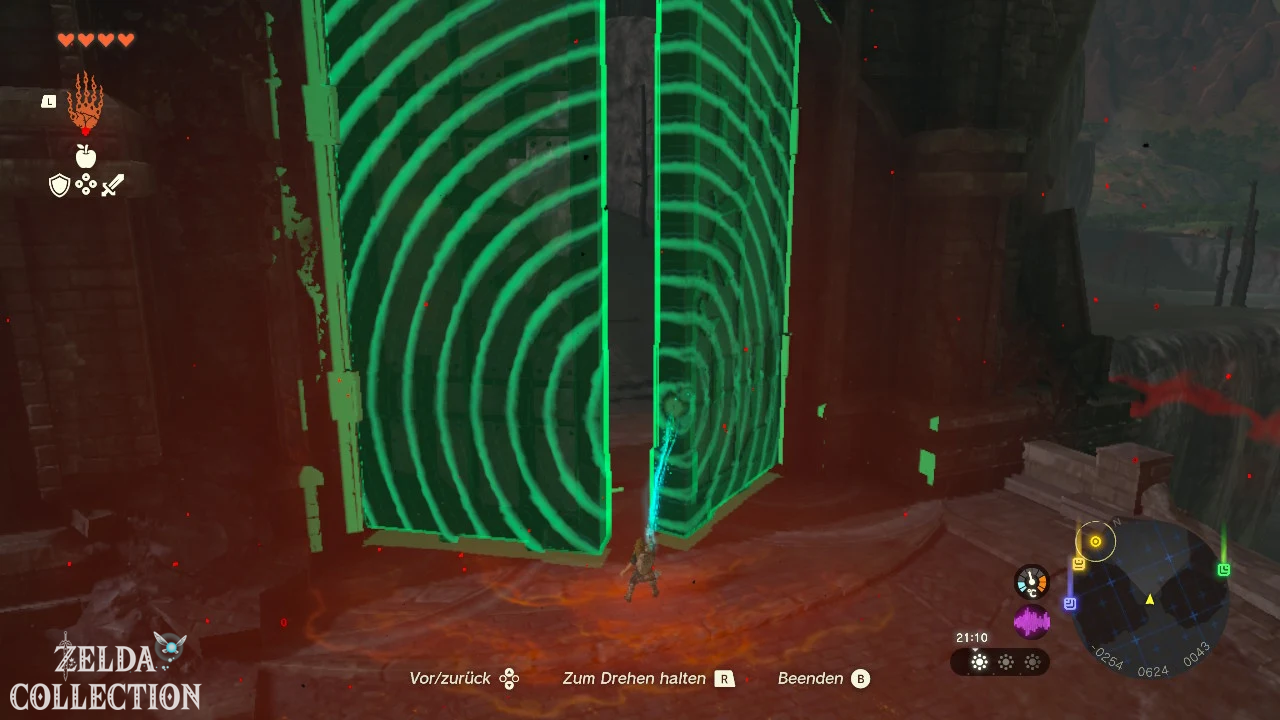
When you arrive at the large castle gate you notice that it cannot be opened in the normal way. You don’t have to move the gate with the Ultrahand.
Pass the closed gate
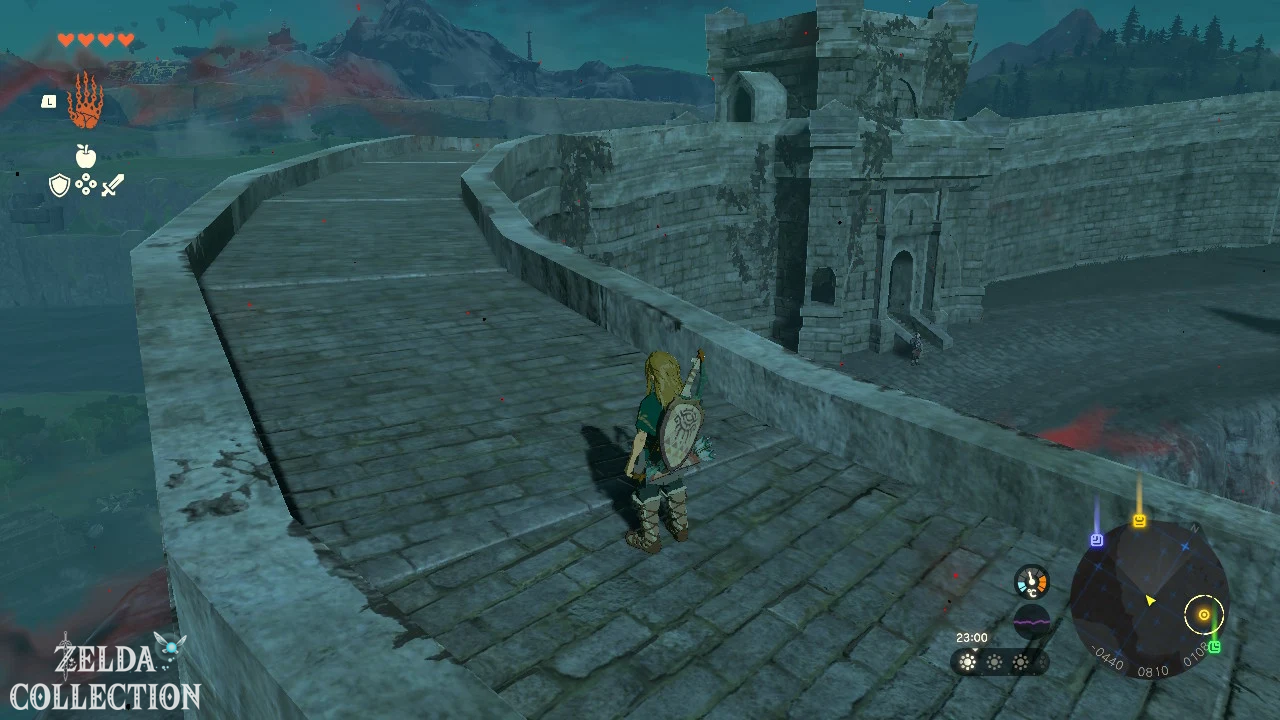
Go to the wall on the right and climb over the ledges on the side. The wall is not particularly high, but you should still watch the stamina wheel.
Drop down onto the path on the other side. There you will meet Raseno, who will point out the tense situation around the castle.
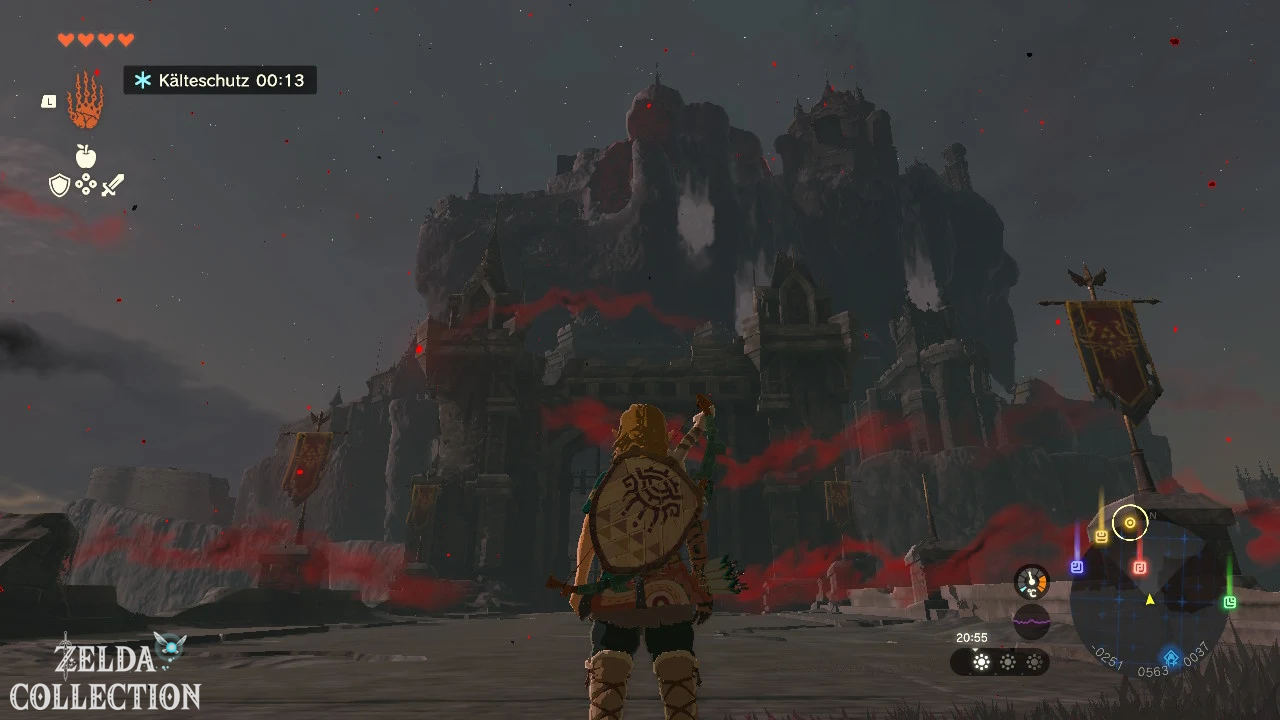
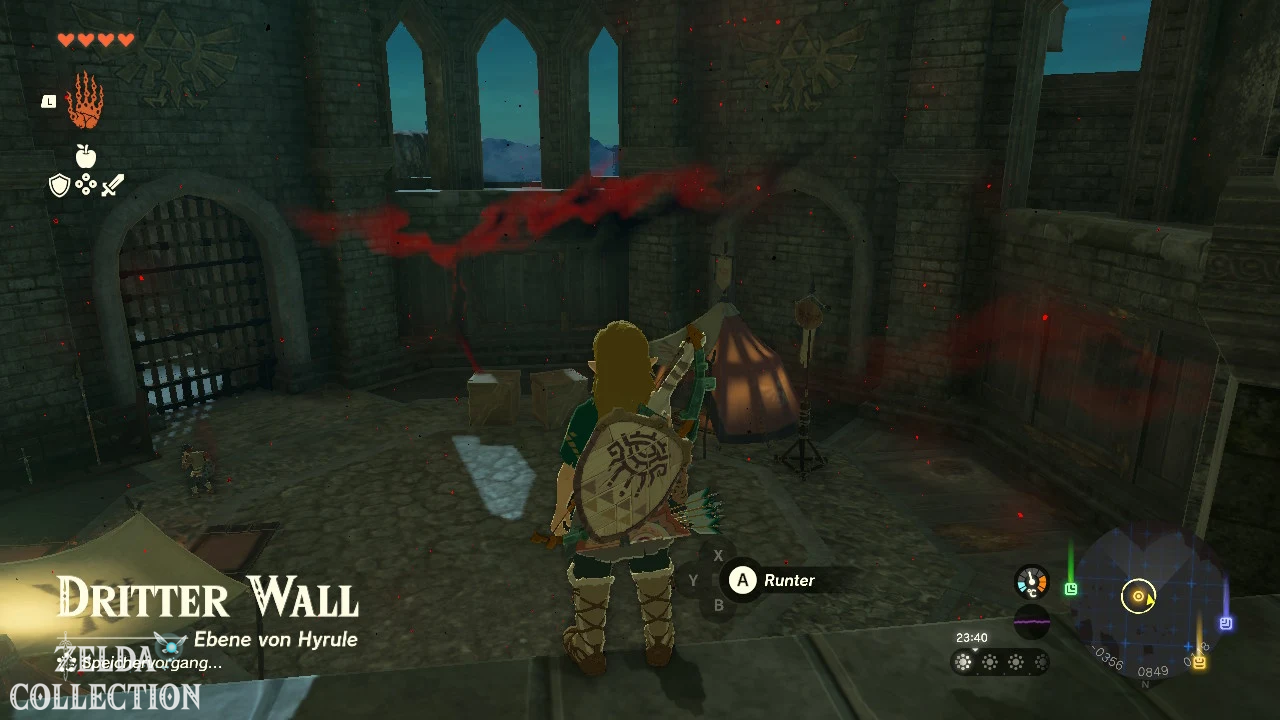
Continue following the ascending path. There is a guarded entrance on the right.
Area with exemption
Talk to Sharce in front of the entrance. He explains to you that the area in question may only be entered with special permission.
You will not receive approval at this time. The blocked access is not necessary for the current order. Instead, continue following the path up.
Browse optional rooms
On the left on the path is Yutas. Search the room behind him for weapons, shields, arrows, and other items.
Further up you will meet Wingo at the gate of the third wall. Inside the gatehouse you will find further equipment and a cooking area.
Use the opportunity to replace damaged weapons and replenish your food supplies.
Find Hoz on the gate of the third wall
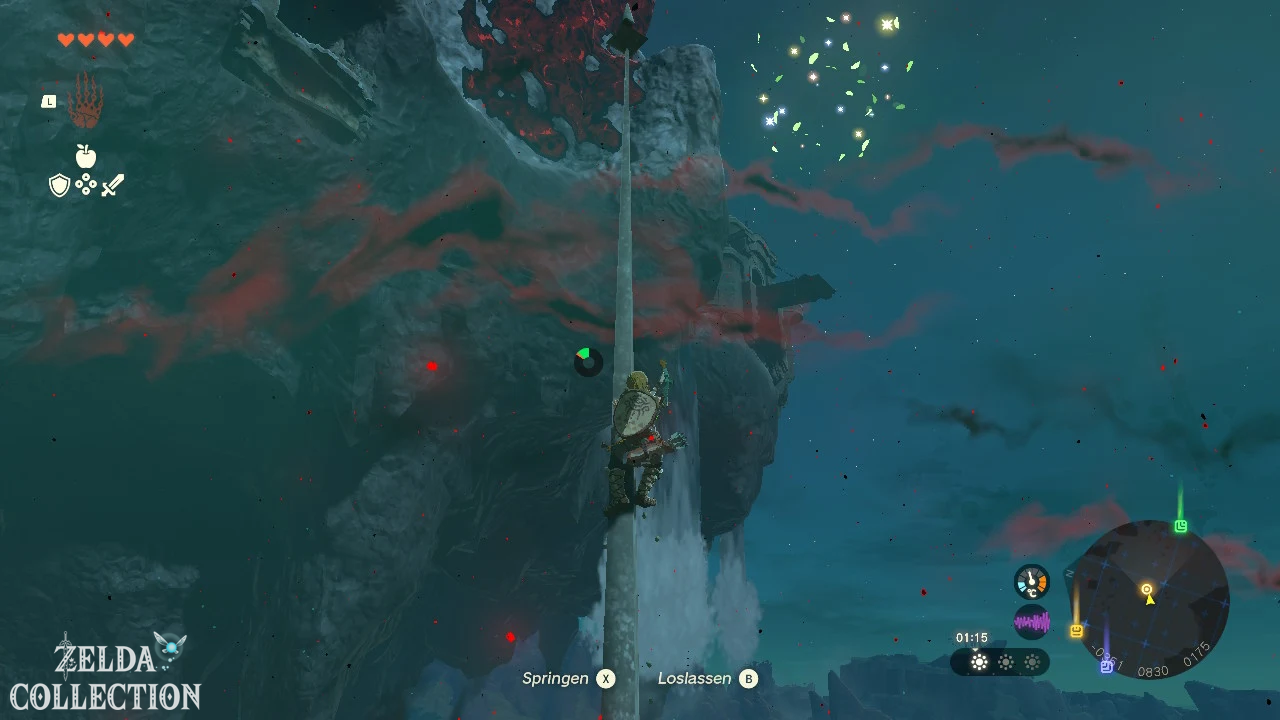
Go to the left of Wingo on the outside of the building. Behind the material depot you can climb up the wall and the wooden scaffolding.
Alternatively, you can get to the upper level via several ledges and the Ascend. As you do this, keep an eye out for overhanging ceilings that Link can climb through.
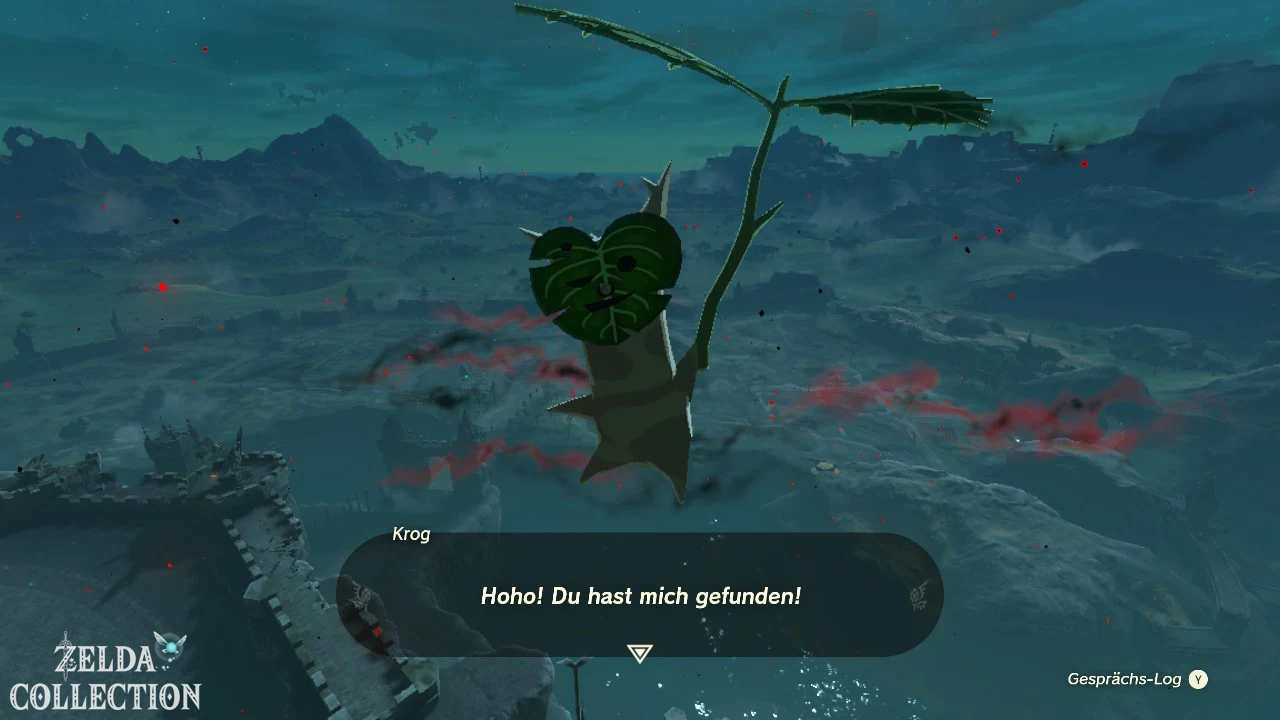
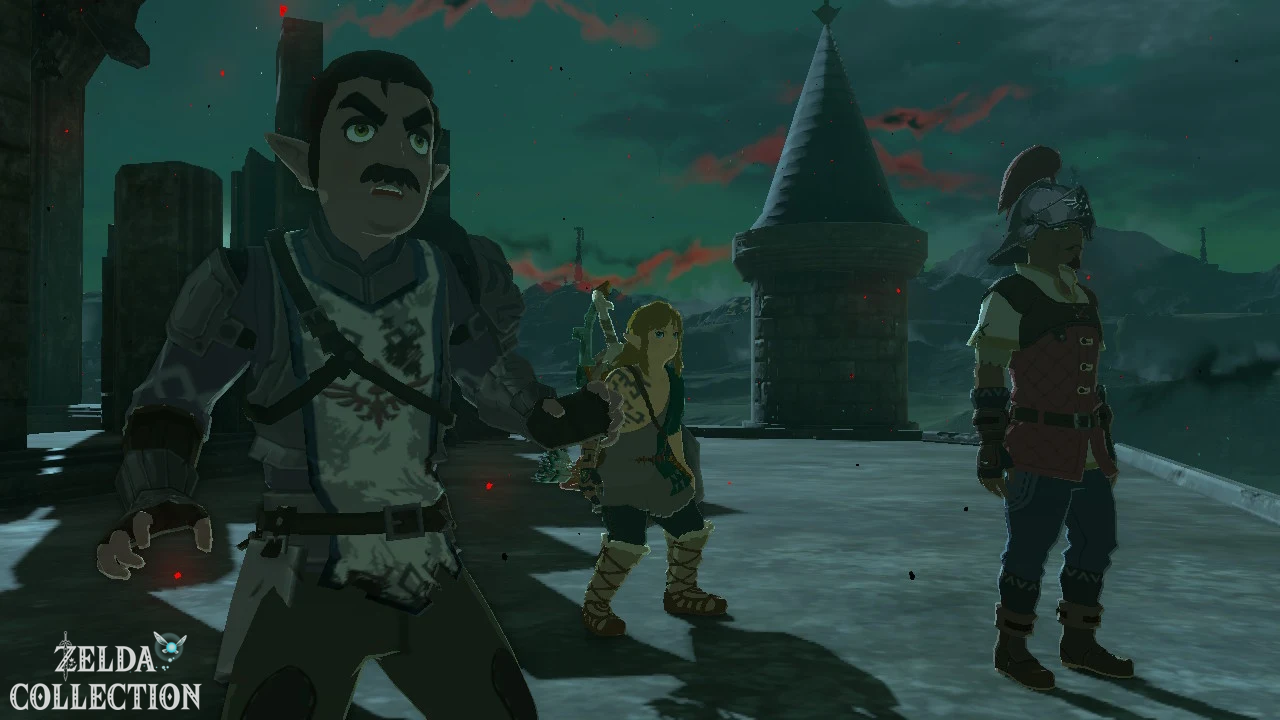
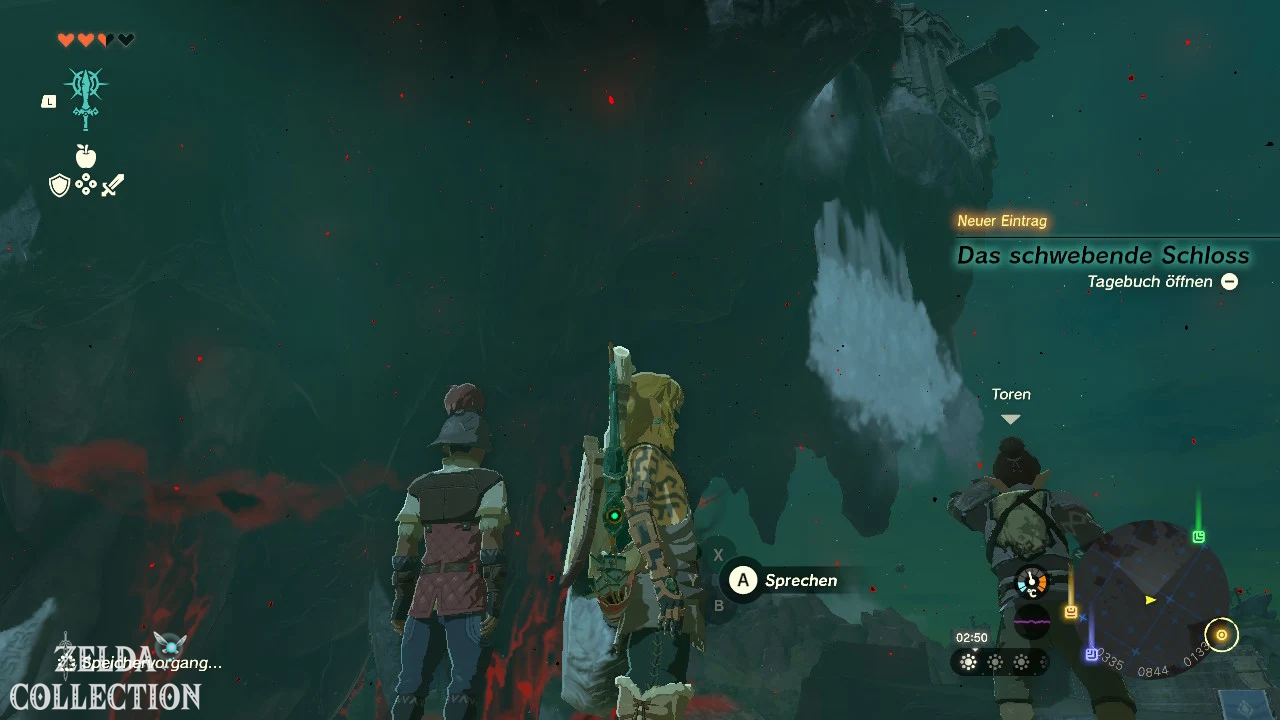
On the roof are Hoz and his colleague Toren. Both look towards the floating castle.
Hoz is located on the upper part of the first large gatehouse. Other walkthroughs also lead from the outside of the building to the roof, as it can be easily missed from the lower path.
Princess Zelda appears
Speak to Hoz. During the conversation, the search party notices a figure in the floating castle.
Princess Zelda appears in the distance for a brief moment. Before Link and the soldiers can reach her, she dissolves into a bright light and disappears.
Hoz and his men are just as perplexed as Link. The apparition provides no clear clue as to where the real princess is.
The quest journal now asks you to return to Lookout Landing and report to Purah. The German quest text also describes that Zelda disappears in bright light after the encounter.
Return to Lookout Landing
You can walk back the same way. However, fast travel to the Kyononis Shrine is significantly faster.
- Opens the map with the minus key.
- Selects the Kyononis Shrine in the central square.
- Confirms fast travel.
- Then run south to Lookout Landing.
Open and visit
Return to the research lab and speak to Purah. Link reports Zelda’s’s mysterious appearance and subsequent disappearance.
Purah wants to gather more information and asks Link to wait until the next morning.
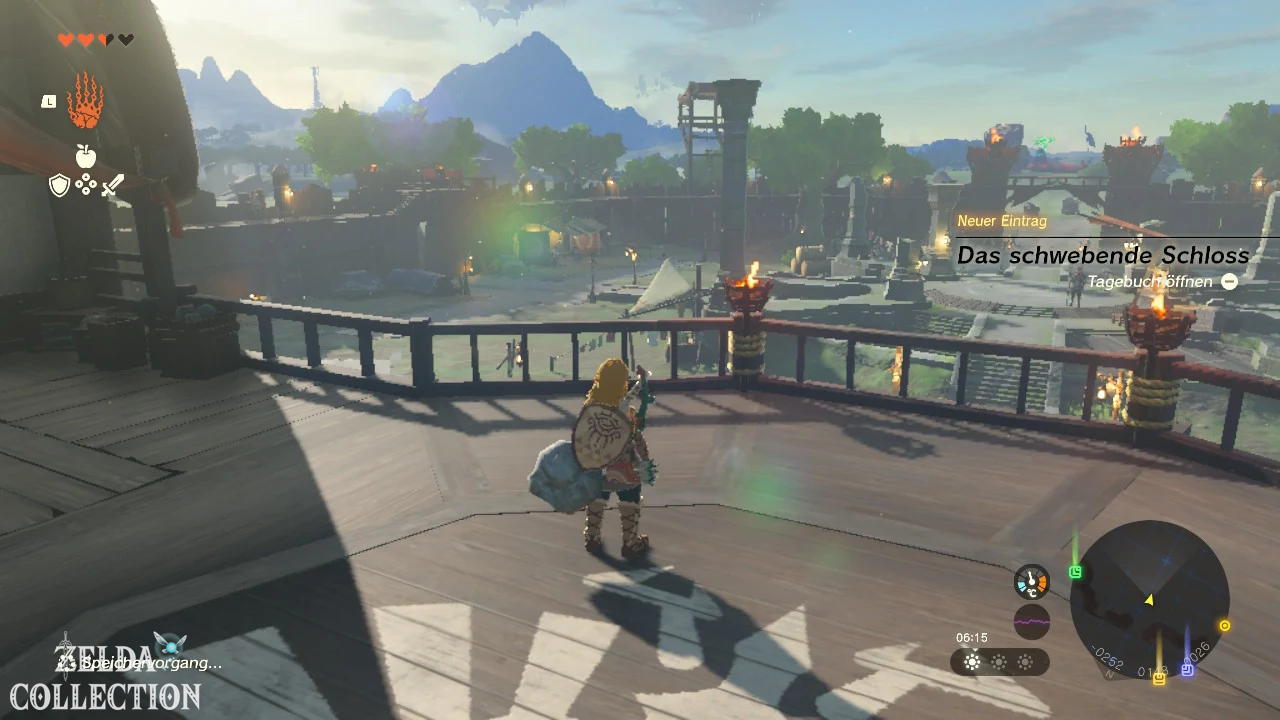
Wait until morning
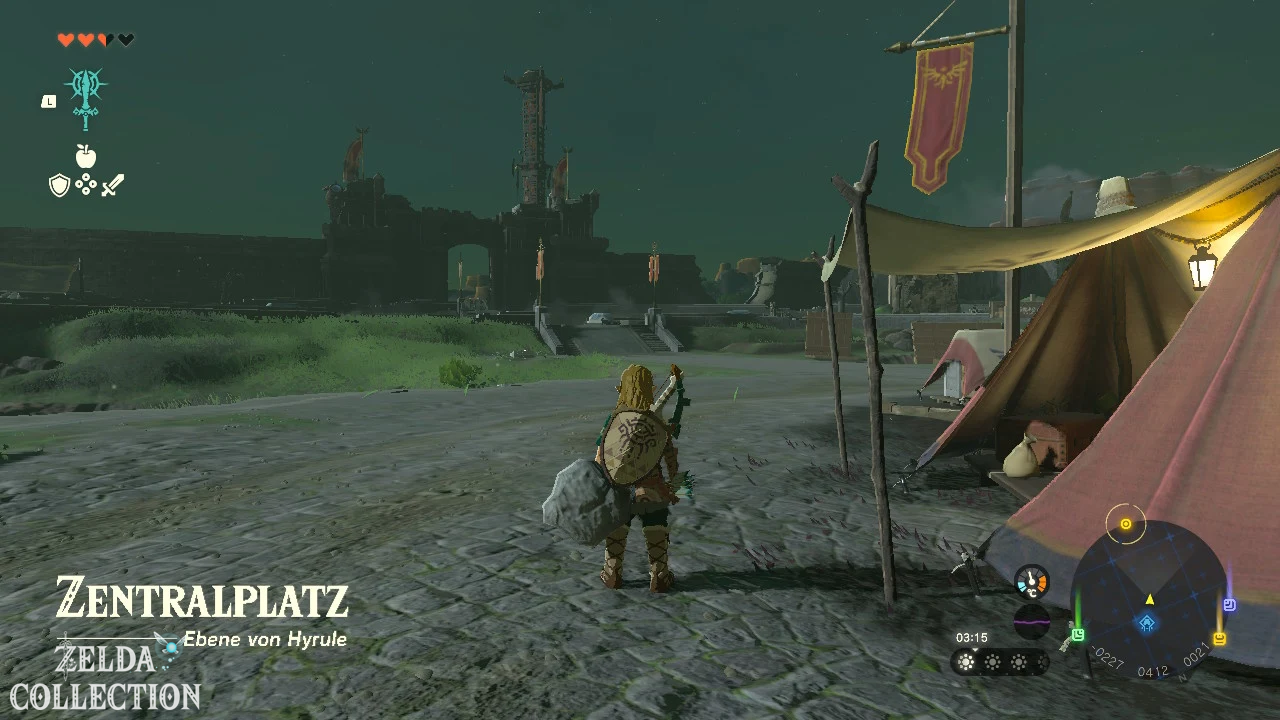
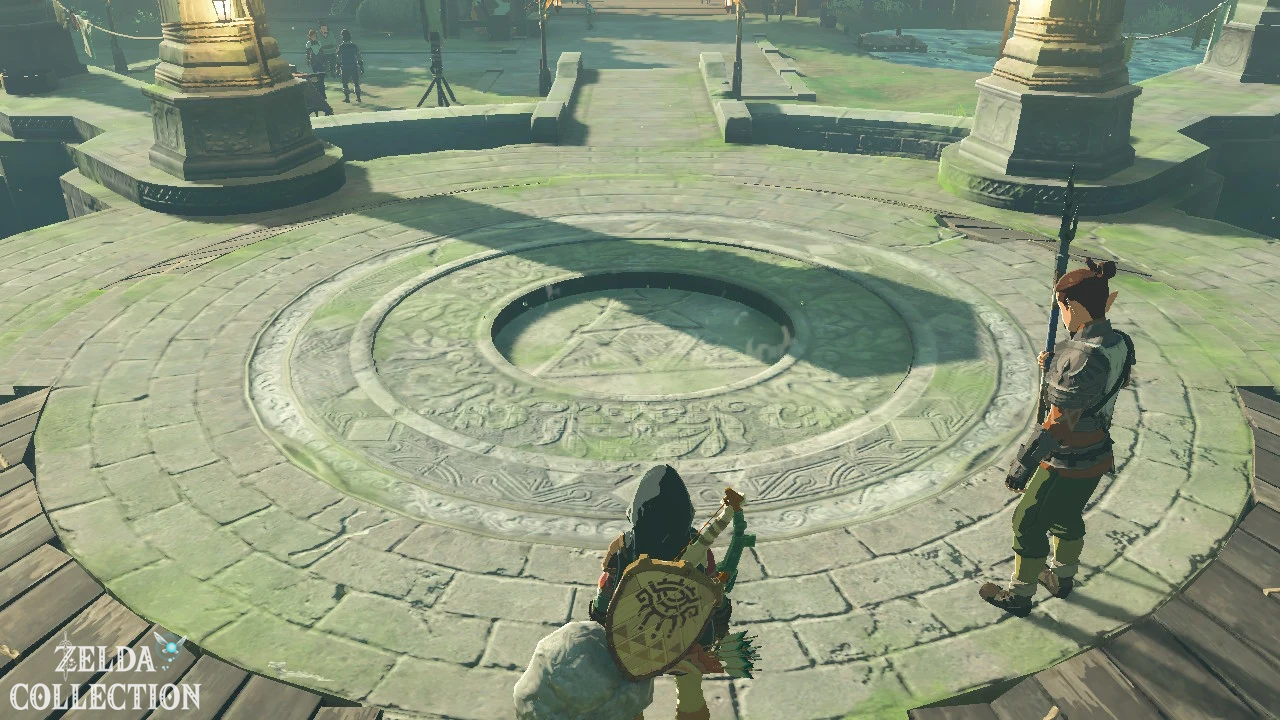
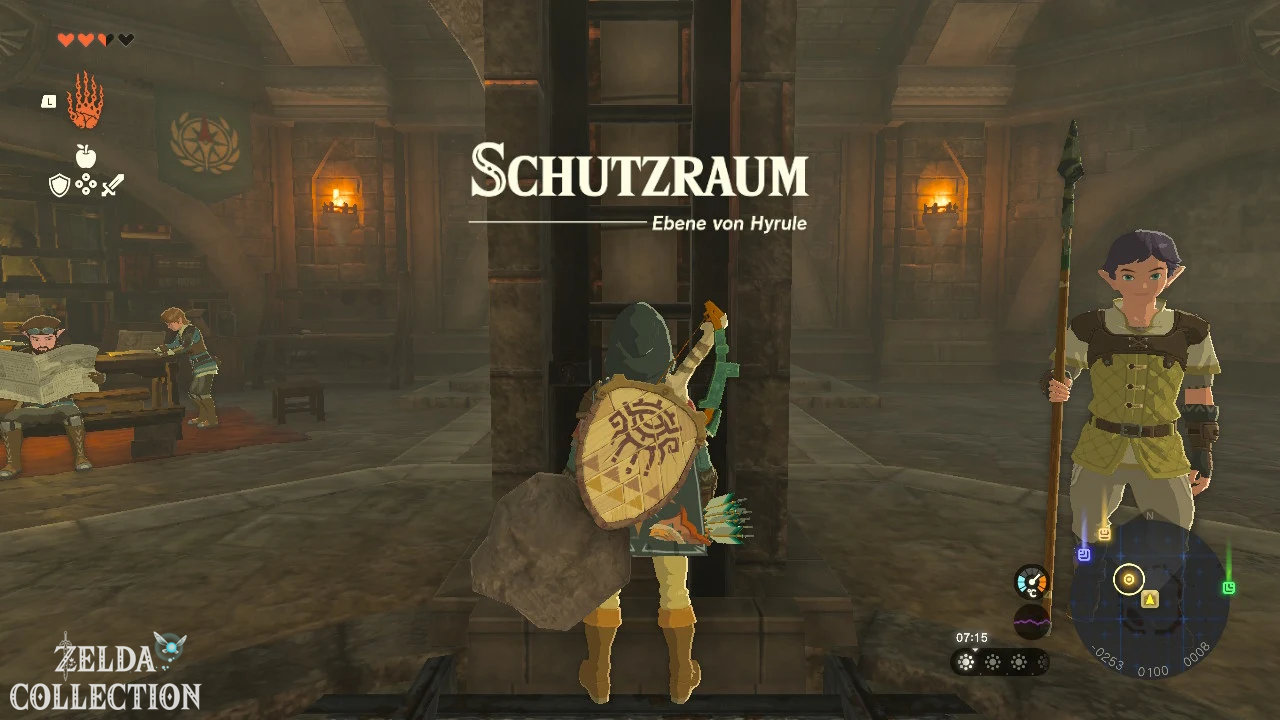
Go to the central spot of the scout post and talk to the guard in charge. The underground emergency shelter is now open.
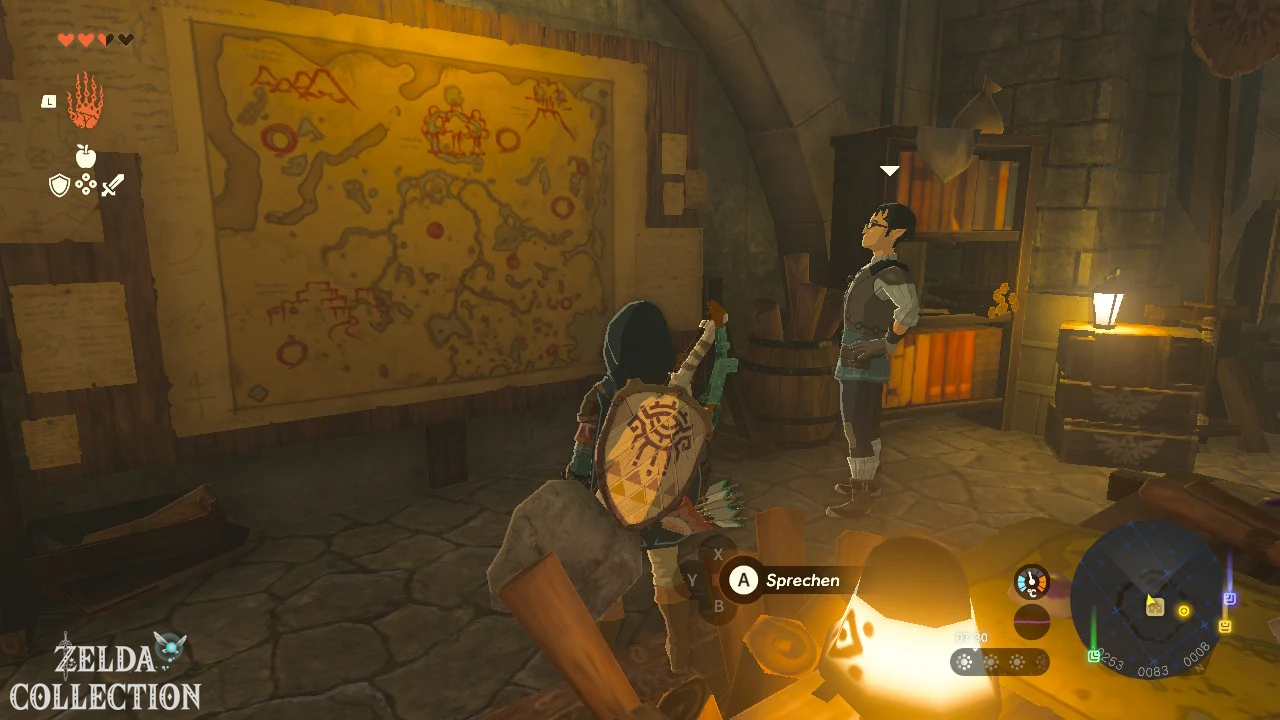
Climb down the ladder. In the emergency shelter you will find:
- free beds,
- a hotplate,
- several residents and soldiers,
- Weapons and materials,
- later more access and functions.
Lie down in bed and choose “See you in the morning”. The next step of the main quest will become available after this. The overnight stay procedure before activating the tower is also described in complete quest solutions.
Activate tower on Lookout Landing
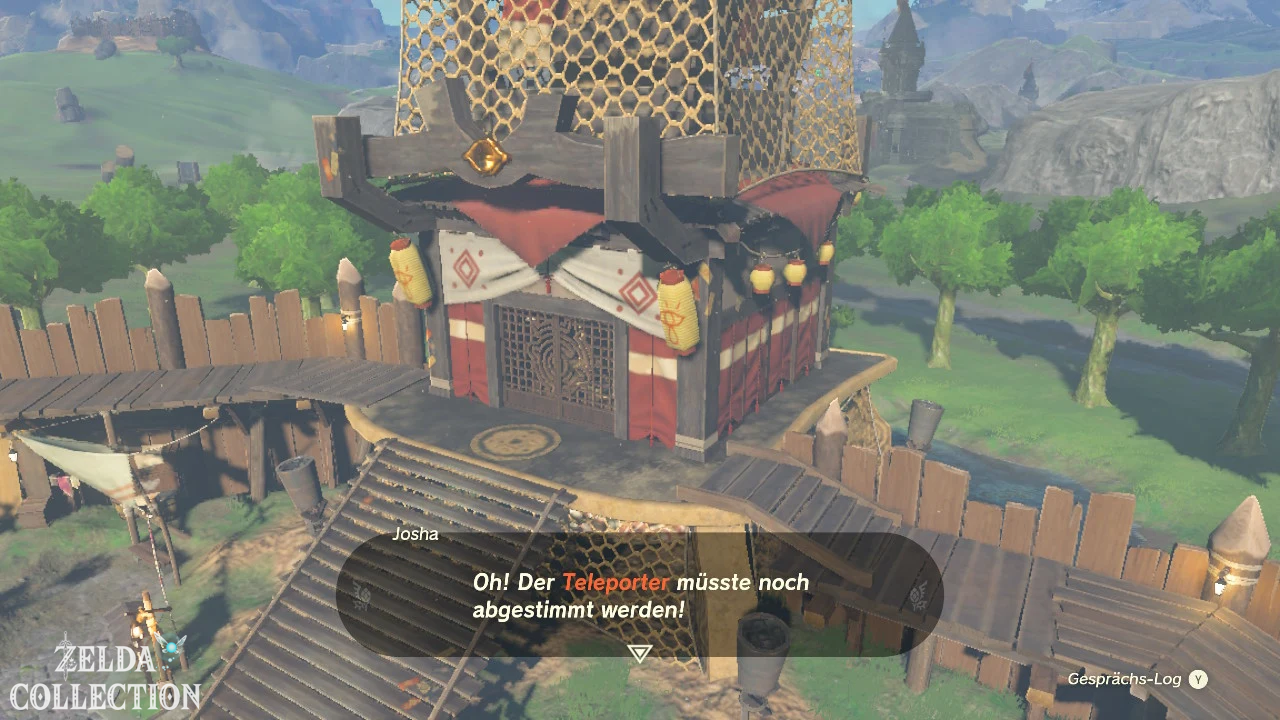
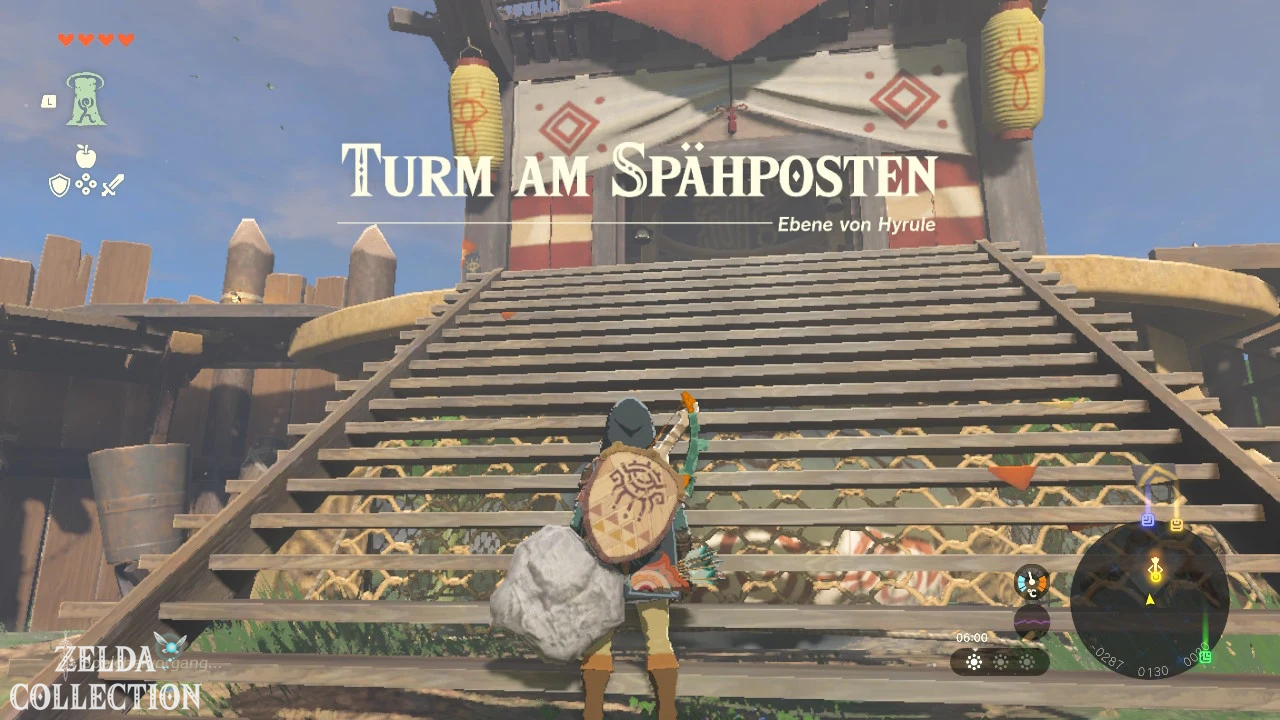
Leave the shelter and go to the tall tower at Lookout Landing on the northwest side of the settlement.
Purah and Josha are already waiting inside. The other Skyview Towers in the country were not yet operational. After Josha’s activation, the facilities in Hyrule are turned on.
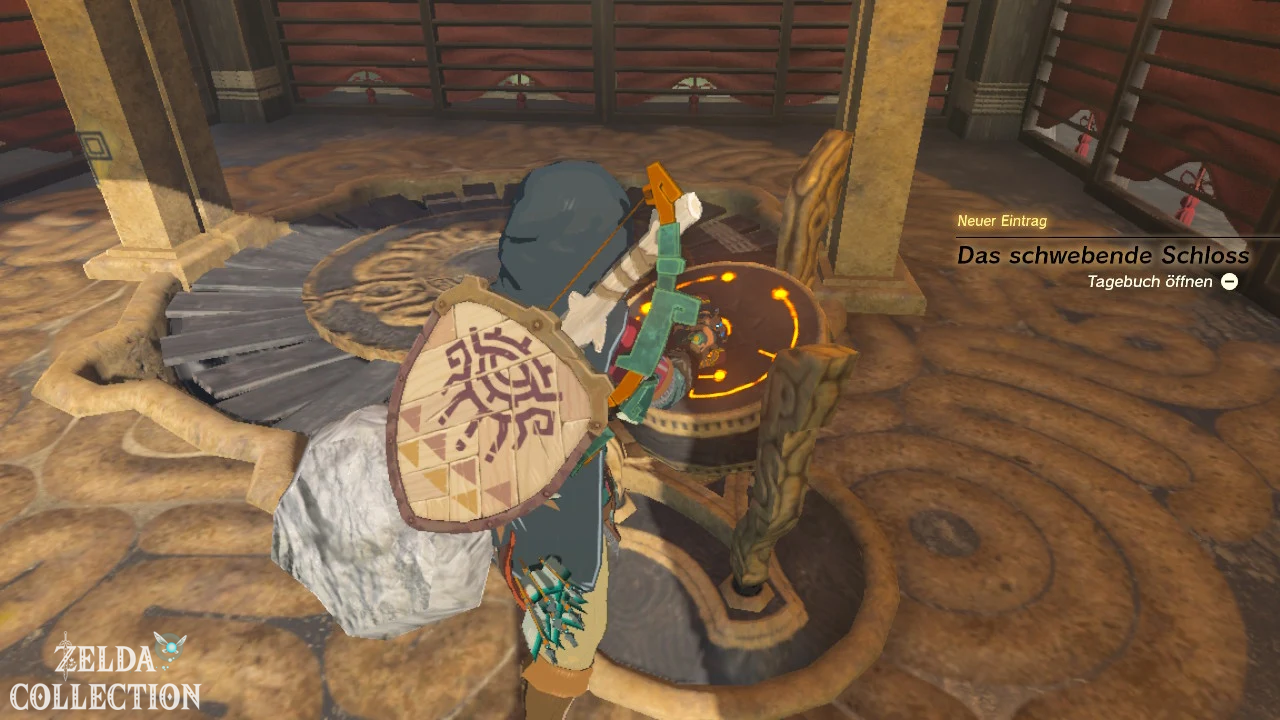
First examine the device at the entrance to the tower. This causes the Purah Pad to register the tower and unlock the location as a fast travel point.
The tower at Lookout Landing is the first Skyview Tower that you activate during the regular course of action. Mapping towers each register a portion of the surface and sky maps and then serve as fast travel points.
Obtain The Paraglider
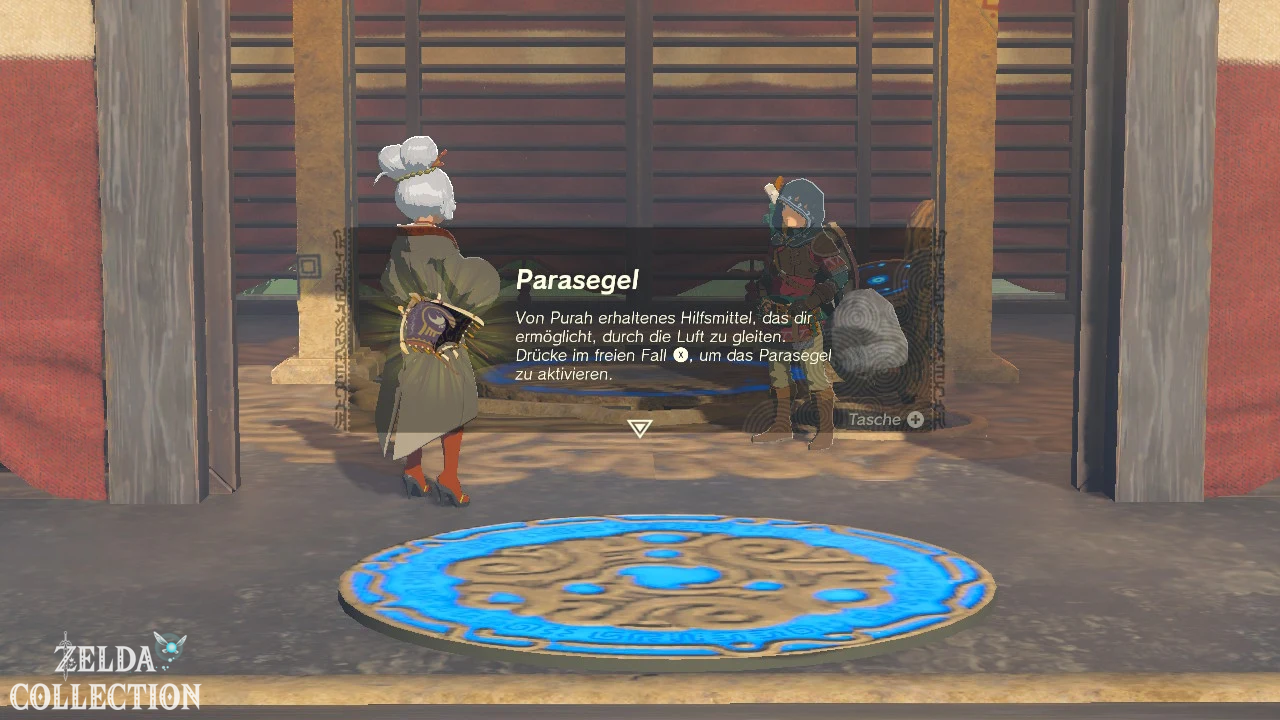
Speak to Purah again in the tower. Before Link is launched into the air for mapping, she presents him with the Paraglider.
With the Paraglider you can glide during a fall, bridge long distances and control your landing. Using it consumes stamina.
You must get the Paraglider as part of this early section of the main quest “Crisis at Hyrule Castle”. To do this, you must first speak to Purah at Lookout Landing, visit Hoz and then return to Purah.
Open Paraglider: Press the X button during a fall. With B you let yourself fall down again or stop gliding.
Stamina while gliding
As long as the Paraglider is open, the green stamina wheel empties. If it is completely used up, Link can no longer hold the sail and falls.
Opens and closes the Paraglider specifically during long descents. First, let yourself fall and only open the sail when you need to correct the direction of flight or slow down the landing.
Take to the air with the Skyview Tower
Stand on the round platform in the center of the tower. Activate the device when you are ready.
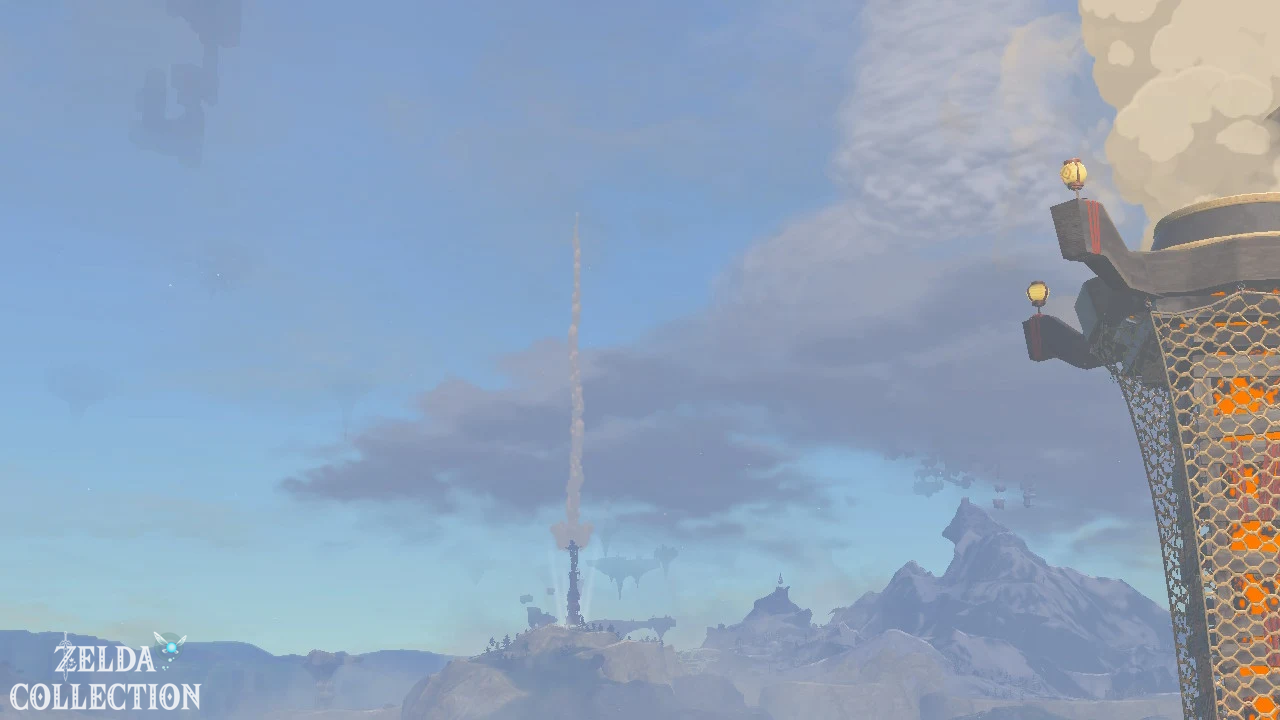
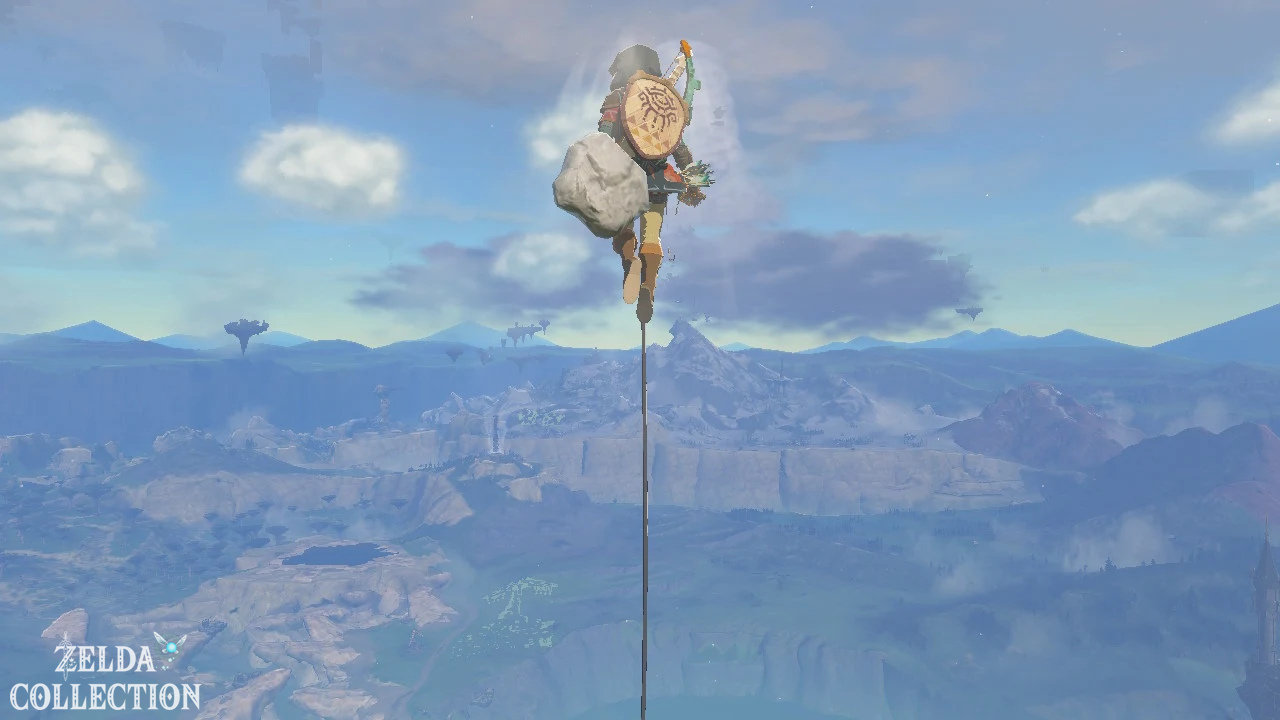
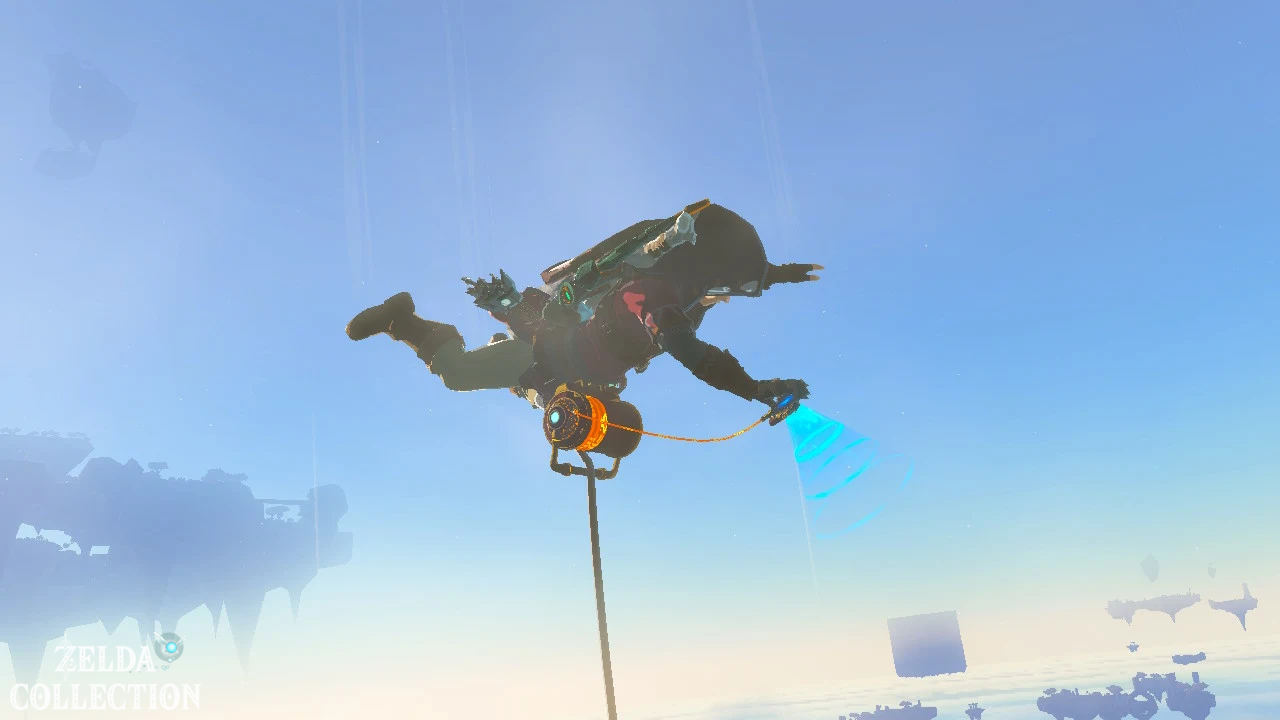
The tower holds Link and shoots him at high speed through the upper opening into the sky. During the ascent, the Purah Pad scans the surroundings.
You will receive the card data for:
- the inner Hyrule on the surface,
- the corresponding sky area,
- several visible landscape features.
After the scan is complete, Link continues to fall through the air. Take the opportunity to look around and mark the first distant towers, shrines or sky islands.
Slide safely back to the Lookout Landing
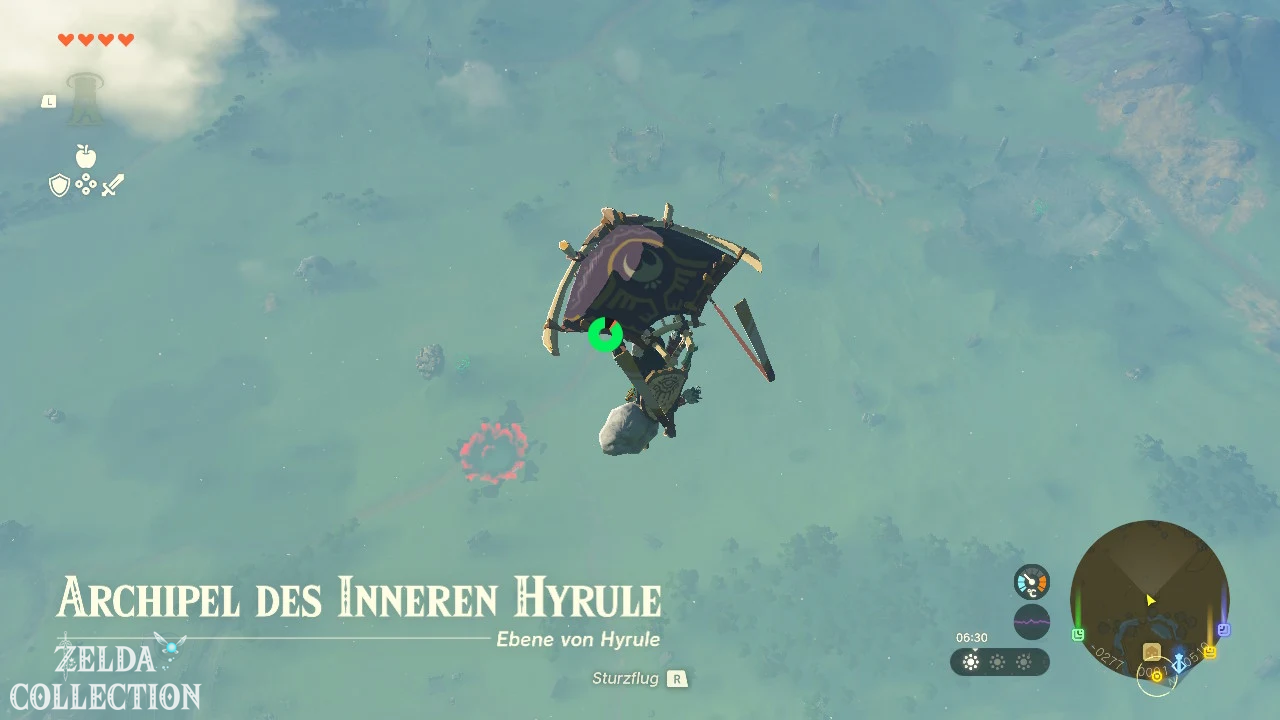
First, let yourself fall a bit. Then press X to open the Paraglider.
Heads to Lookout Landing and lands near Purah. You don’t have to sit right next to her; Any safe landing spot within the settlement will suffice.
The tower turns out to be a launch device that catapults Link high into the air and at the same time stores the region’s map information in the Purah Pad.
Talk to Purah again
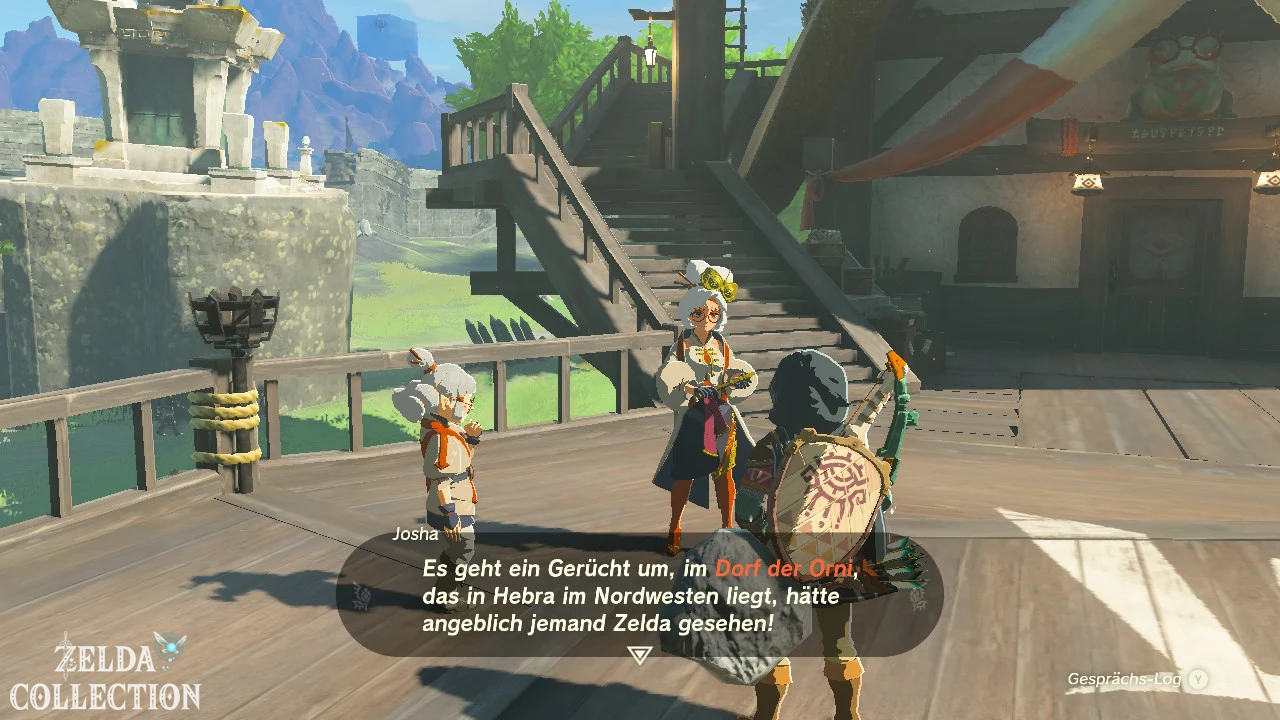
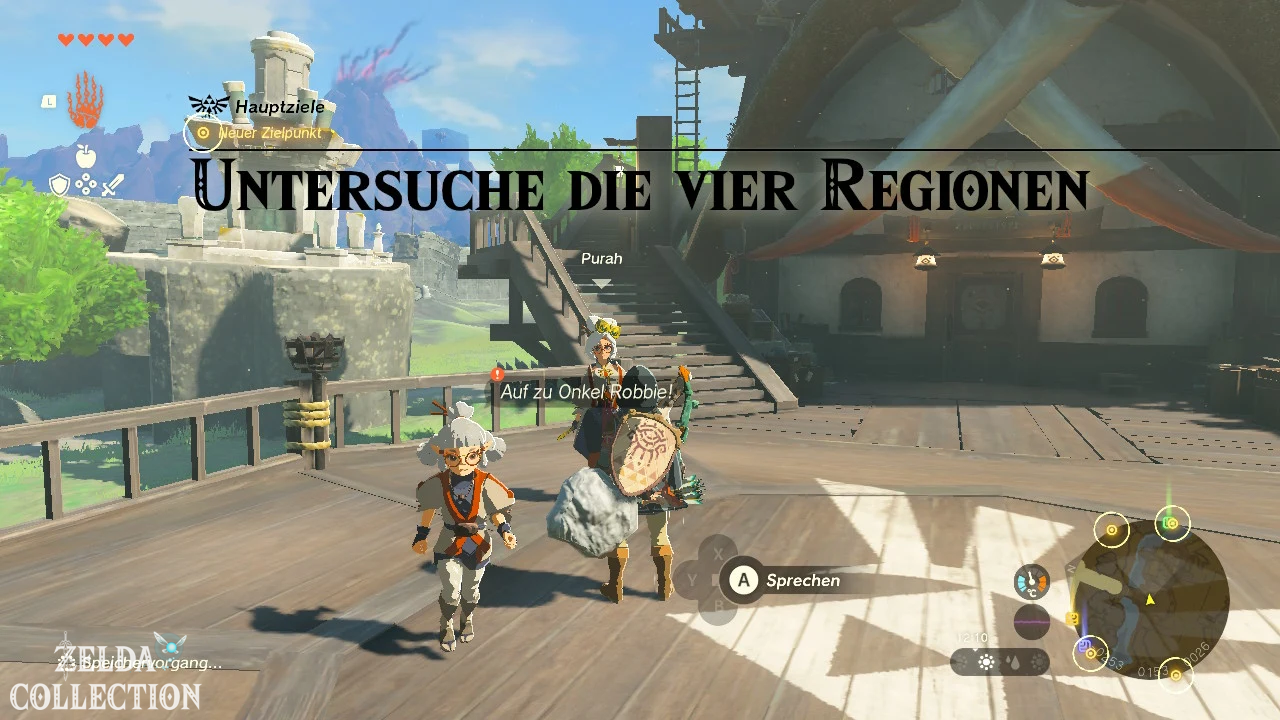
After landing, talk to Purah again. It marks several regions on the map where unusual phenomena have been observed since Upheaval.
This begins the new main quest “Regional Phenomena”.
You should visit the following areas:
- Hebra in the northwest: Princess Zelda was spotted near the Rito village.
- Eldin in the northeast: Strange incidents occur around Goron City.
- Lanayru in the east: The area of Zora is affected by an unusual mud.
- Gerudo in the southwest: A sandstorm and other phenomena threaten the desert region.
The four regions and their cardinal points are also explicitly mentioned in the German quest protocol. Josha particularly points to Hebra as a sighting Zelda’s was reported in the village of Rito.
Which region should you visit first?
You can basically examine the four regions in any order. The main quest does not prescribe a fixed route.
However, for the first round we recommend Hebra in the northwest. The path to the Rito village passes through several useful locations, and the ability unlocked there makes exploring the game world much easier.
A sensible order is:
- Hebra: Village of Rito
- Eldin: Goron City
- Lanayru: Village of Zora
- Gerudo: Gerudo Town
This order is only a recommendation. You can also travel to Lanayru, Eldin or Gerudo first and switch between regions at any time.
Before you leave: Explore the Lookout Landing thoroughly, accept tasks and restock your supplies. The Paraglider and tower on Lookout Landing now make more distant shrines and sky islands much easier to reach.
Quest progress at a glance
| Section | Target | Result |
|---|---|---|
| To the Kingdom of Hyrule! | Jump from the sky island and Purah hit | Quest completed |
| The floating lock | Hoz find | Zelda appears and disappears |
| The floating lock | Return to Purah | Mapping towers activate |
| tower at Lookout Landing | Map region | Paraglider and map received |
| Examine the four regions | Hebra, Eldin, Lanayru and Gerudo visit | New long-term main quest |