

On this page we give you an overview of all the shrines in The Legend of Zelda: Tears of the Kingdom, which are located in the prairie of Faron and the associated sky area. In addition to the respective locations, we explain in detail how to pass the tests, complete shrine tasks and achieve all Treasure Chests.
According to our regional division, there are a total of six shrines in this region. The En-oma Shrine, Ishokin Shrine, Jiukoum Shrine and Utsushok Shrine lie on or below the surface. The Joku-usin Shrine and the Joku-u Shrine, on the other hand, can be found on the Thunderhead Isles and the Dragon Head Island in the sky above Faron.
You can find an overview of all areas in our Tears of the Kingdom Walkthrough. When searching for individual shrines, our overview with all 152 shrines will also help you.
This area contains the following shrines:
- Joku-usin Shrine
- Joku-u Shrine
- En-oma Shrine – Shrine in Lake Hylia
- Ishokin Shrine – On High Horse
- Jiukoum Shrine
- Utsushok Shrine
Joku-usin Shrine
Test: Naked survival – under power
Reward: electrical Elixir and a Light of Blessing
Location: Thunderclap Islands in the sky above the plains of Faron
Coordinates: approximately 1075, -3348, 0786
Find Joku-usin Shrine
The Joku-usin Shrine is located within an enclosed stone structure on the Rolling Isles. The archipelago lies high above the southern prairie of Faron and is initially surrounded by a dense storm cloud.
The easiest way to reach the shrine is after you have completed the main task surrounding the Secret of the Ring Ruins. As the task progresses, a large part of the dense clouds disappear and the individual islands become more visible on the map. In principle, the shrine can also be reached beforehand, but orientation in the storm is much more difficult.
Let the Popla Foothills Skyview Tower launch you into the air and glide south to the Thunderhead Isles. Then follow the islands towards the southeast. On the way you will have to use electric launchers, rail vehicles and the Ascend.
Shortly before the shrine you will reach an island with wooden panels, fans and a rail. Build a T-shaped platform with the vertical plate running between or under the rail. Attach a fan to the back and move the construction over the rail.
Below the shrine room there is a suitable ceiling for the Ascend. Activate the ability while driving or immediately after reaching the platform to get into the closed room with the Joku-usin Shrine.
Solve Joku-usin Shrine
When you enter the shrine, your weapons, bows, shields and other equipment will be temporarily confiscated. First collect the simple weapons at the entrance.
There are several constructs on metal platforms in the arena. The central theme of the test is how to conduct electricity across these metal surfaces.
Defeat first construct
First, carefully move forward and defeat the single construct that attacks you with a bow. Then pick up his weapon and arrows.
You will find several electric fruits nearby. Combine a Shock Fruit with an arrow and shoot at the metal plate on which one of the constructs stands. The electricity spreads across the entire area and energizes the opponent.
Switch off constructs on the metal surfaces
Repeats the process on the next platform. If possible, wait until several constructs are standing on a contiguous metal surface at the same time. This means that a single electric attack can target multiple enemies.
In the back area you will also find a Zonai stun gun. Connects it to a wooden stick or other weapon. This allows you to directly energize constructs and knock their weapons out of their hands at the same time.
Another option is to attach the stun gun to a sign. Hold your shield up as soon as an enemy approaches. If he touches the switched on stun gun, he will be paralyzed for a short time and can then be attacked safely.
Defeat stronger construct
The strongest opponent is at the back of the arena. Lure him onto a metal plate and throw a Shock Fruit onto the ground. As long as he is immobile, you can land multiple hits with your strongest captured weapon.
Once all constructs have been defeated, you will receive your equipment back. The gate to the chancel opens. In the Treasure Chest you will find a electric Elixir. You can then receive the Light of Blessing.
Tip: Use the electric fruits on large metal surfaces if possible. If you throw it directly at an opponent, usually only that one construct will be hit.
Joku-u Shrine
Trial: Raurus Blessing
Reward: Diamond and a Light of Blessing
Location: Inside Dragon Head Island
Coordinates: approximately 1375, -3340, 0429
Find Joku-u Shrine
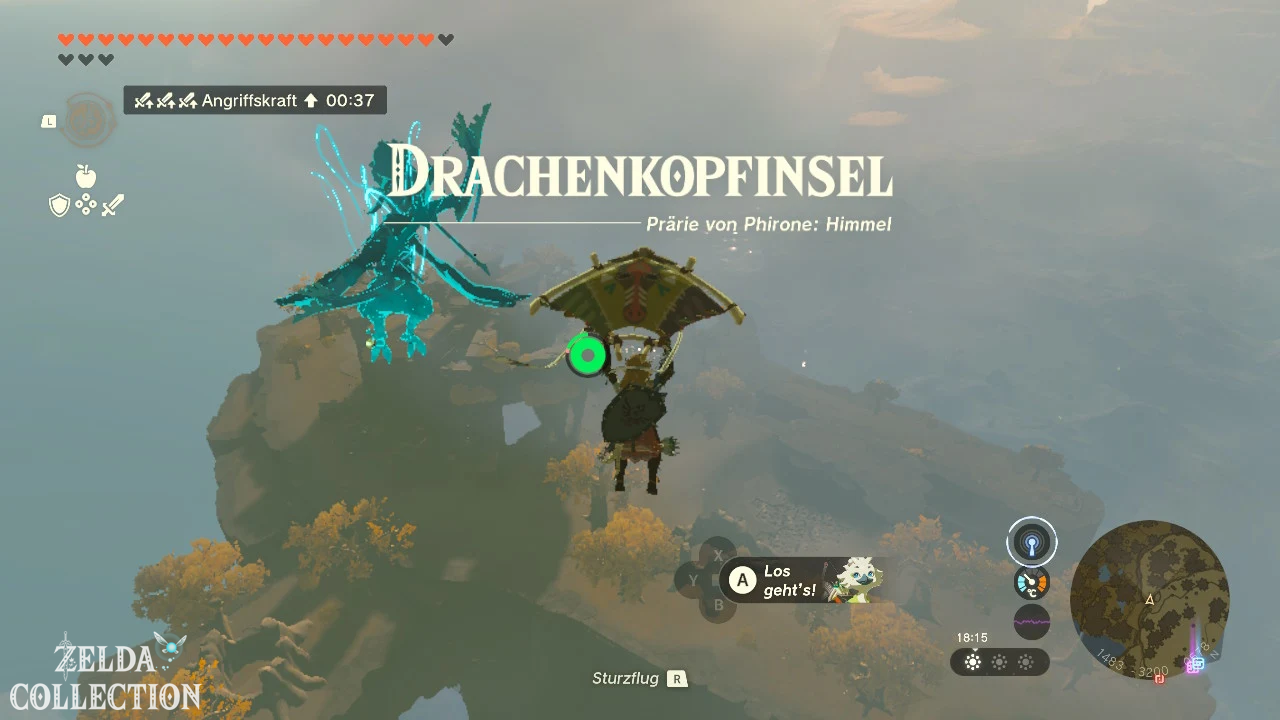
The Joku-u Shrine is located on Dragon’s Head Island at the southeastern end of the Rolling Isles. The island plays an important role later in the main story.
The easiest way to reach them is to take the designated route via the Thunderhead Isles. Follow the sky islands further and further southeast and use the electric launchers, rail vehicles and updrafts.
At the end of the path you will reach a glowing jump point. Examine it and let yourself be thrown to Dragon Head Island.
The island is shaped like a large dragon head. Jump through the opening in the upper area or through one of the large eyes into the inside of the head. Opens the Paraglider in good time during the fall.
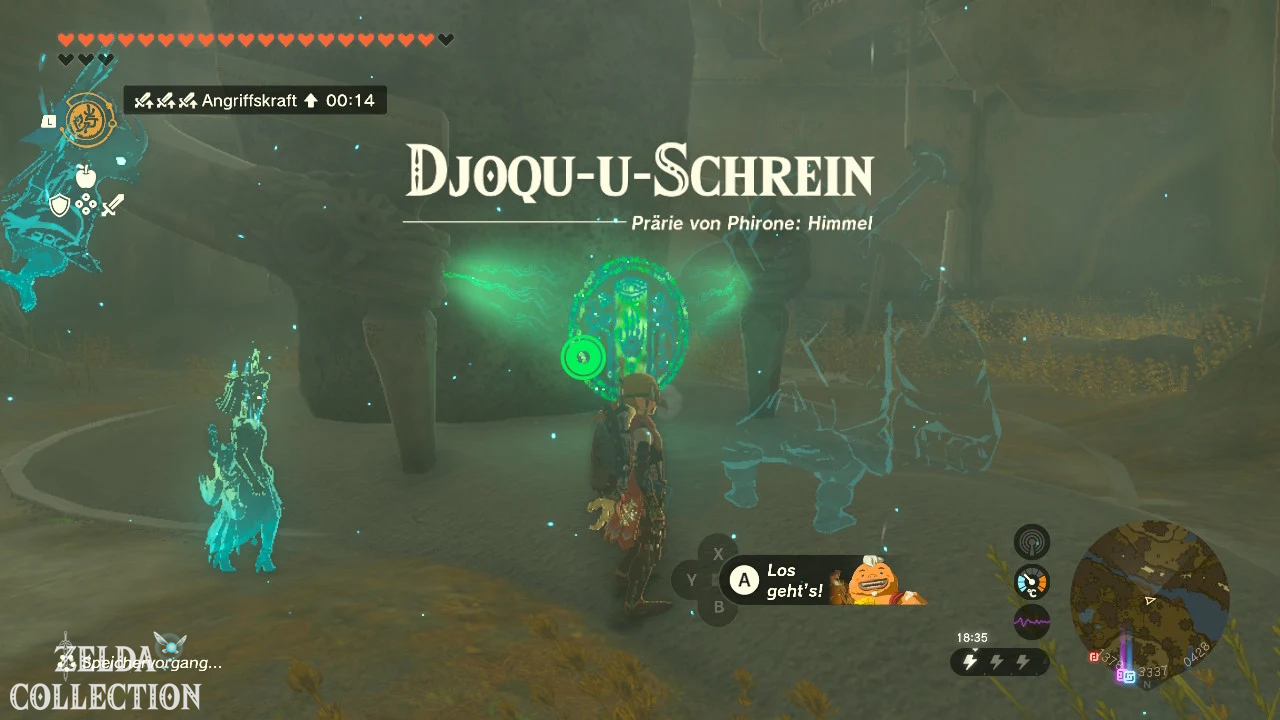
You end up in a closed room where the Joku-u Shrine is located. Activate the shrine immediately so that you can easily reach Dragon Head Island via fast travel in the future.
Solve Joku-u Shrine
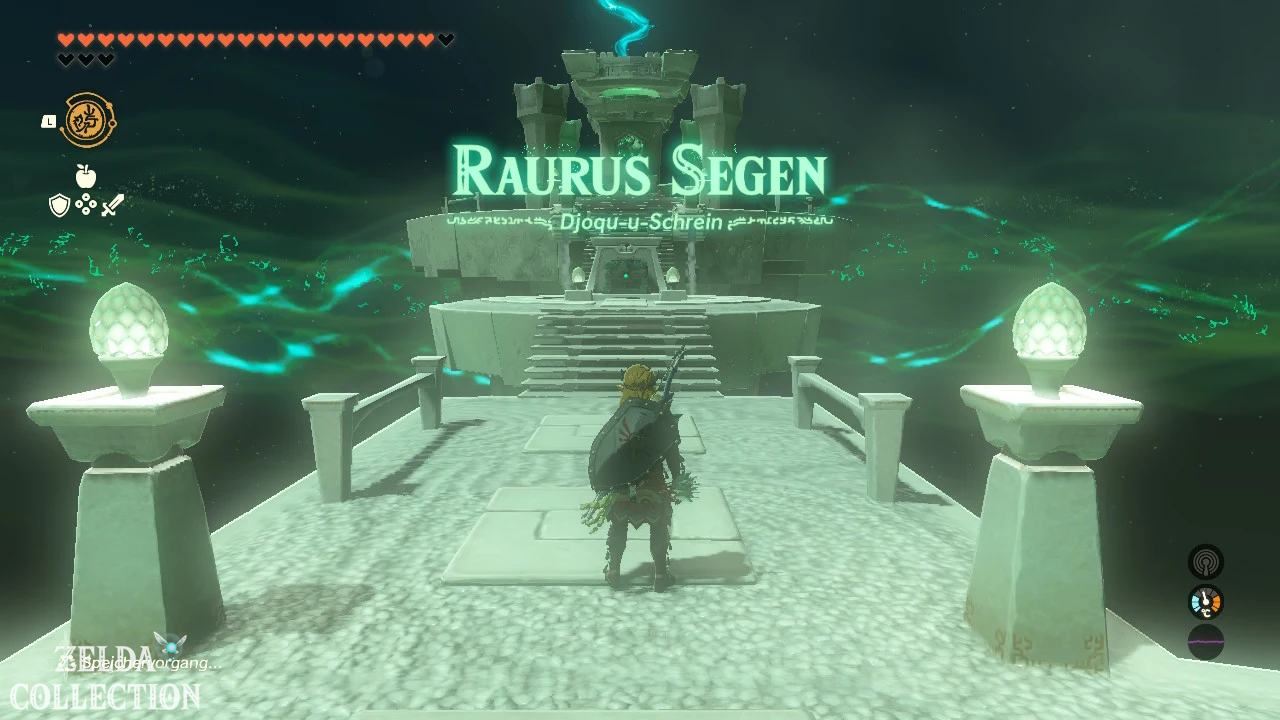
Since the long journey across the Thunderhead Isles is the real test, Rauru’s blessing awaits you inside.
Run straight ahead and open the Treasure Chest. Inside is a diamond. You can then pick up the Light of Blessing at the altar.
Behind the shrine, paths blocked by vines lead deeper into Dragon Head Island. The main task surrounding the fifth wise man continues there. You need at least ten hearts to unlock one of the locked doors.
Tip: Be sure to activate the shrine before further exploring the island. This means you don’t have to make the long journey across the Thunderhead Isles again.
En-oma Shrine
Shrine task: The shrine in Lake Hylia
Exam: Raurus blessing
Reward: Mighty Zonaite Sword and a Light of Blessing
Location: Whirlpool Cave under the Lake Hylia
coordinates: approximately 0104, -2517, -0087
Find En-oma Shrine
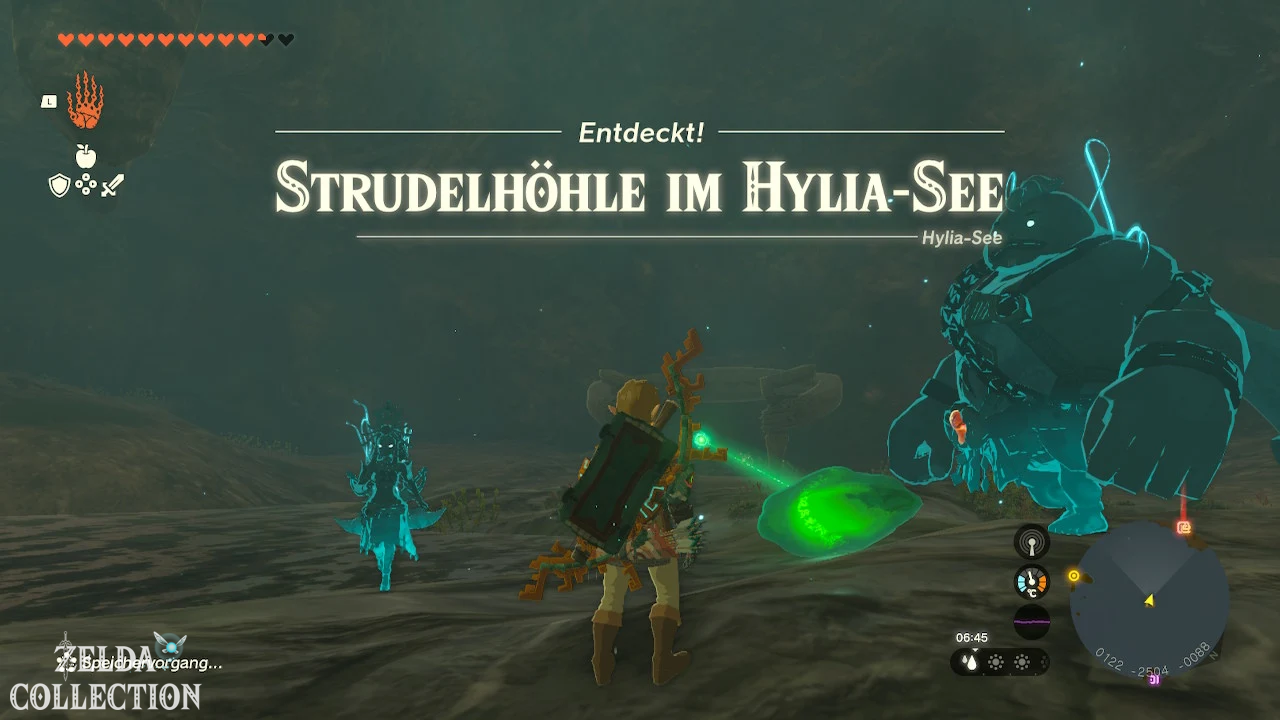
The En-oma Shrine is not located on an island or on the shore of Lake Hylia, but in a cave directly under the lake.
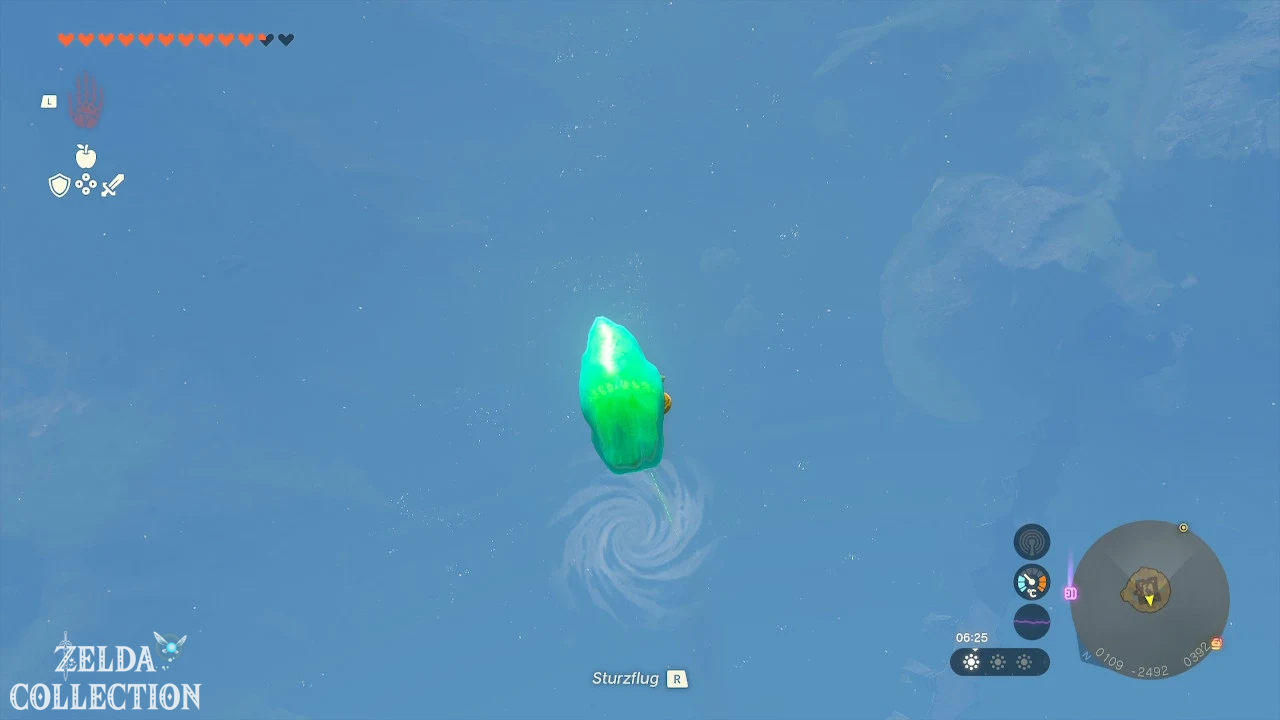
Head to the east side of Bridge of Hylia. There you will see a large whirlpool in the water. Jump into the whirlpool and let yourself be pulled down. You fall safely into the whirlpool cave in Lake Hylia.
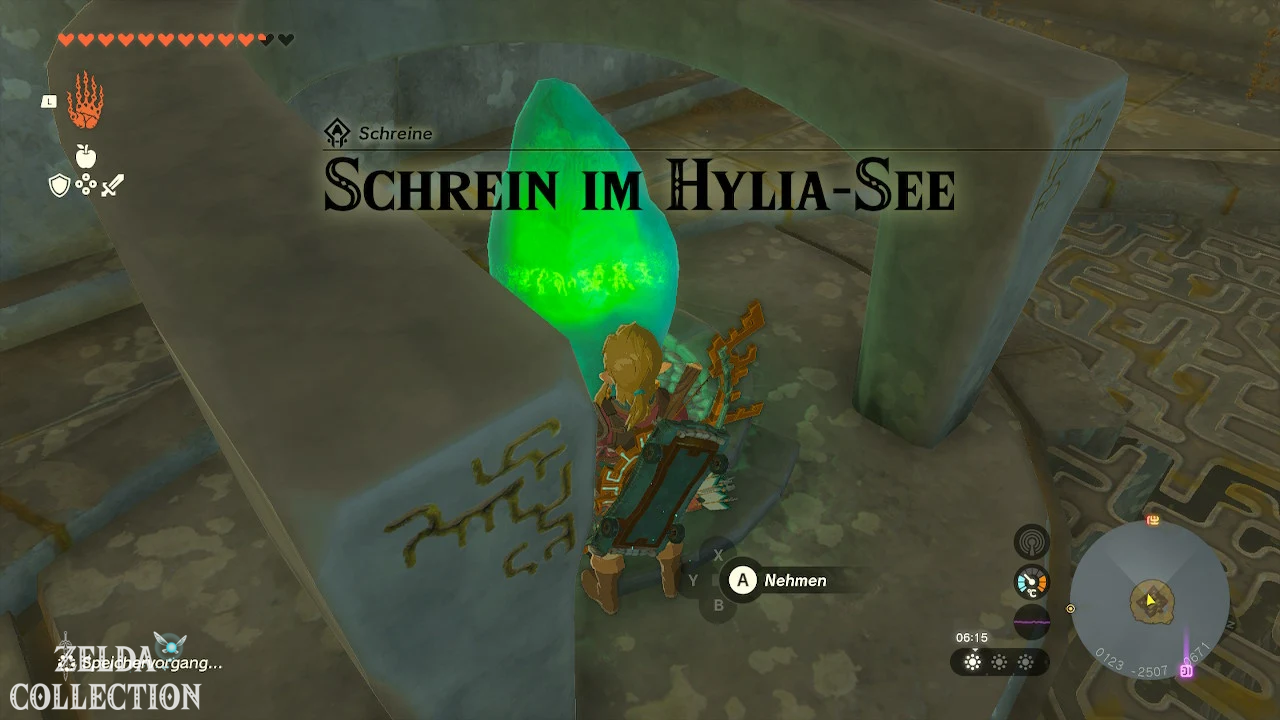
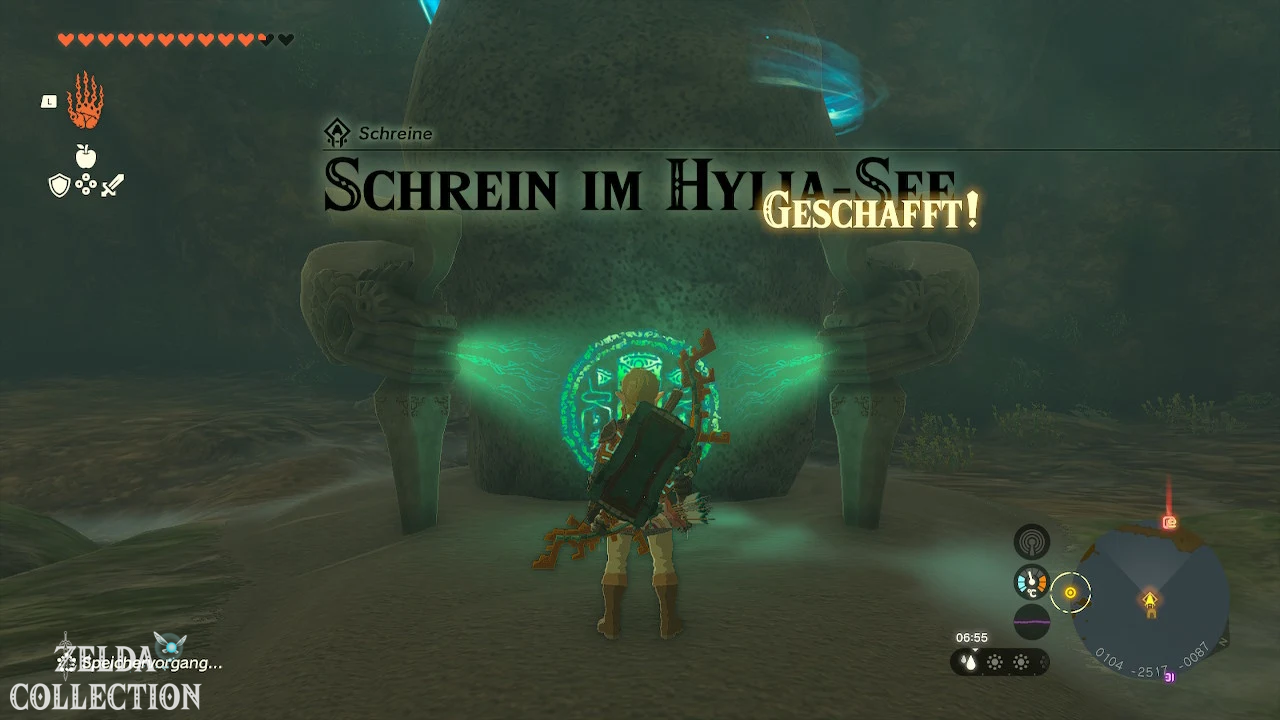
Swim to land and follow the short cave path. There you will discover the incomplete shrine platform. Examine them to start the shrine quest “The Shrine in Lake Hylia”. A green beam of light points vertically upward toward the missing crystal.
Find crystal in the archipelago of Faron
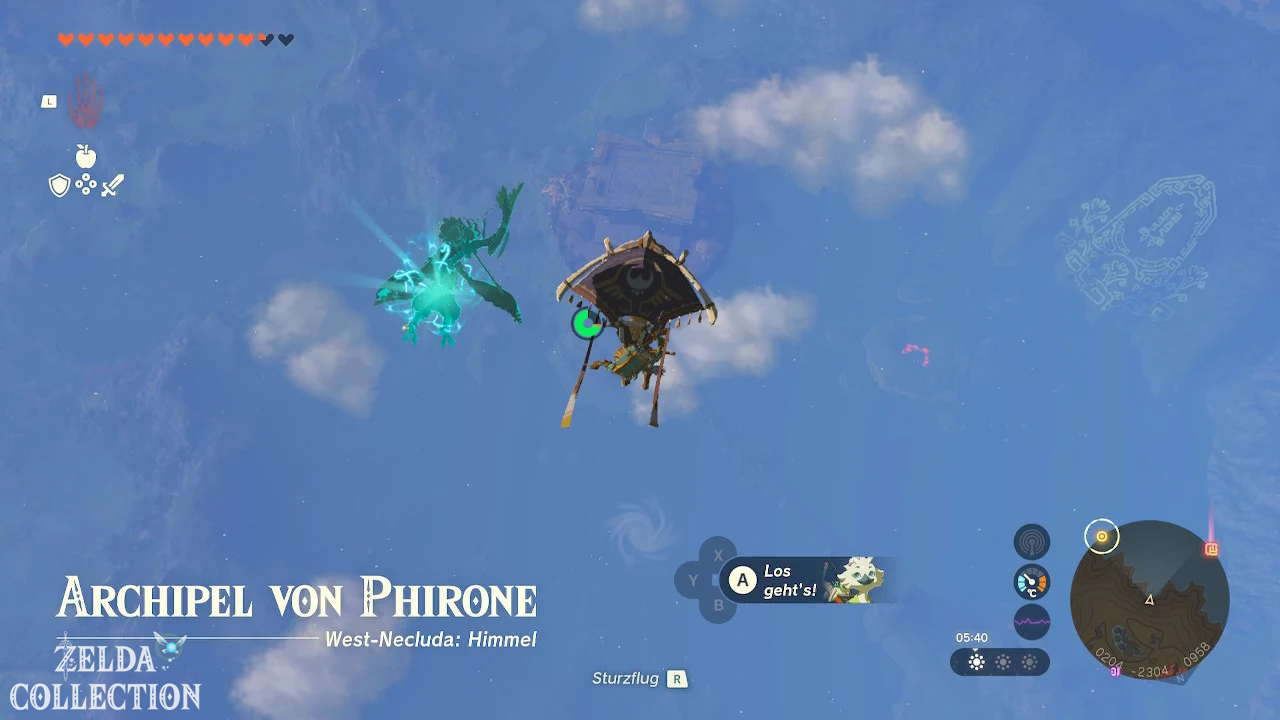
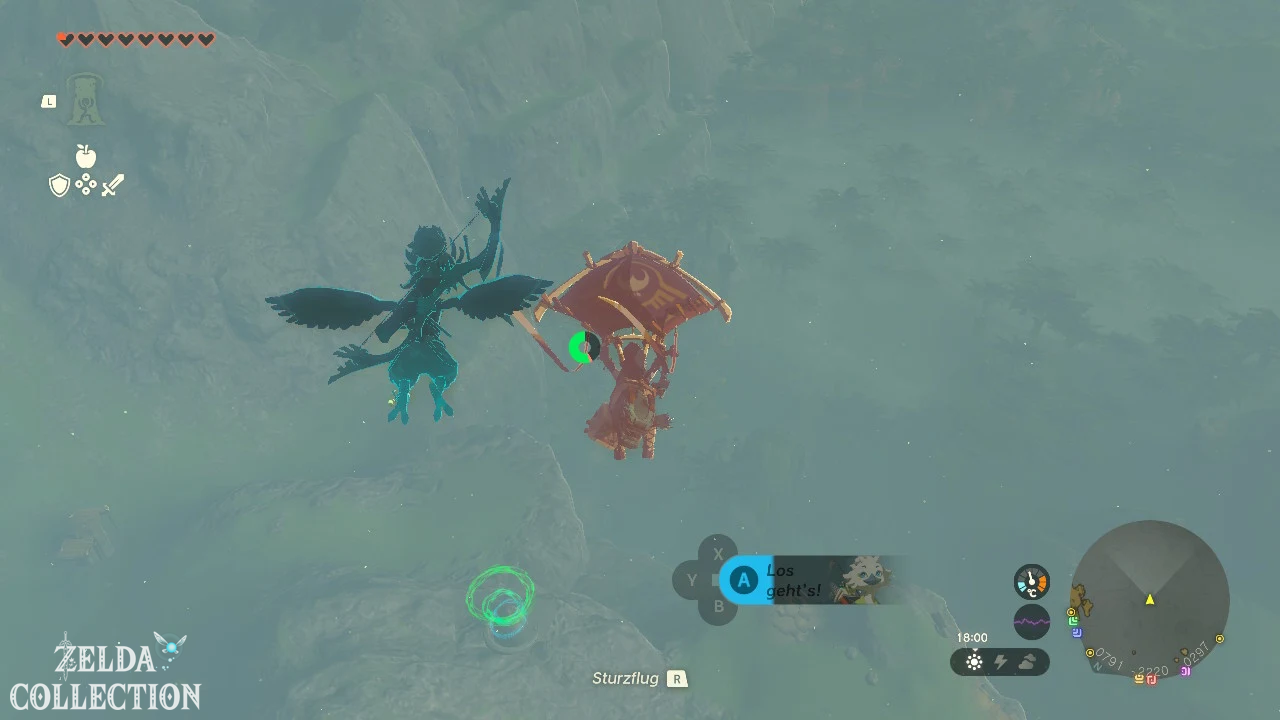
The crystal you need is on a small sky island directly above the whirlpool. Travel to the Popla Foothills Skyview Tower and be thrown into the air.
Glides southwest to the archipelago of Faron. Tulin’s gust of wind and sufficient stamina make the flight easier. Alternatively, you can use a Zonai aircraft or take off from the Great Sky Island.
On the target island, the green crystal is in a small, partially closed structure. Axyl him up with the Ultrahand and carry him to the large opening in the middle of the island.
Move crystal through the vortex
Drop the crystal through the opening. He falls straight into the whirlpool of Lake Hylia. Jump right after and track the crystal as it falls.
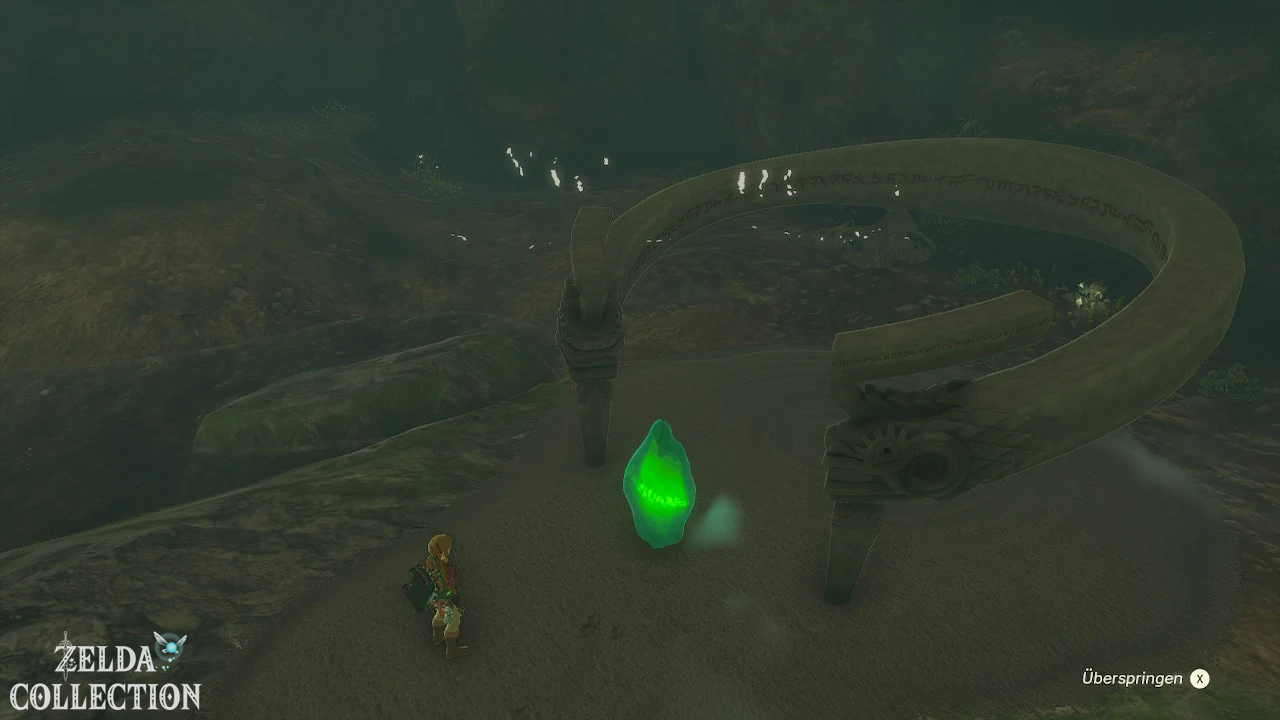
The whirlpool pulls both you and the crystal into the underground cave. Axyl him up again with the Ultrahand and carry him the last few meters to the shrine platform.
As soon as you place the crystal in the green socket, the complete En-oma Shrine is created.
Obtain Rauru’s blessing
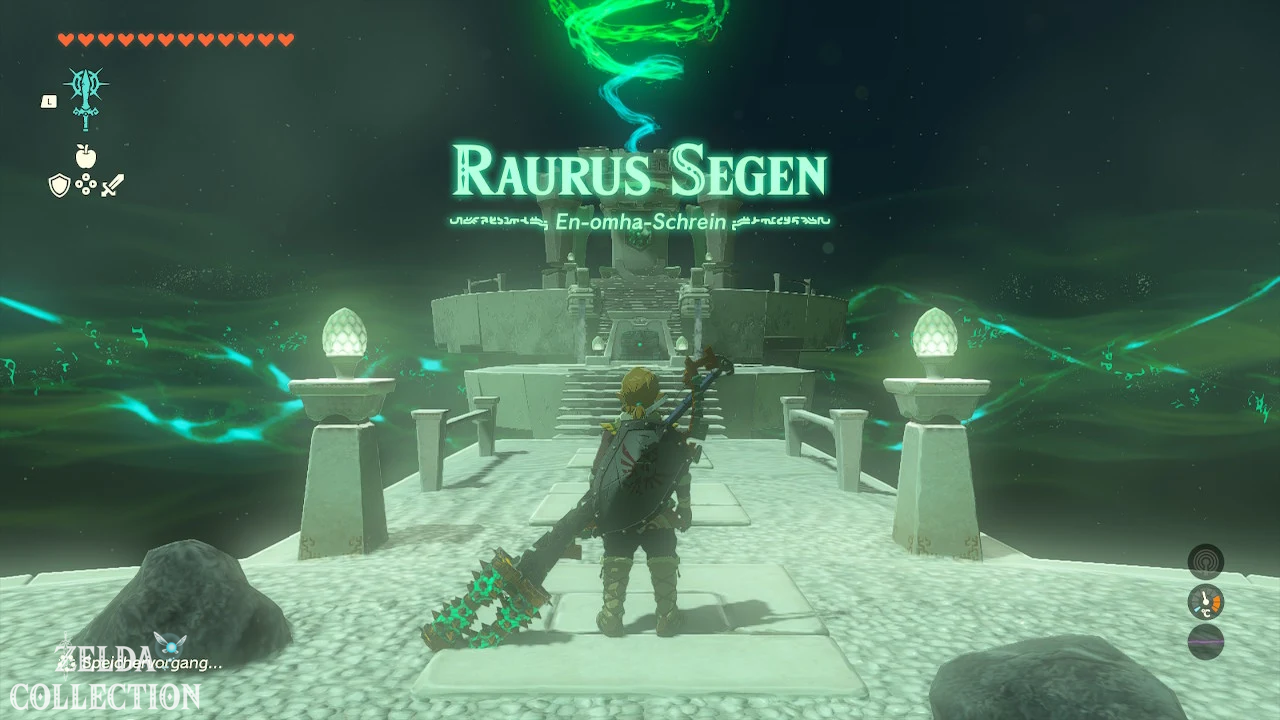
No further puzzle awaits you inside. Open the Treasure Chest with the Mighty Zonaite Sword and then accept the Light of Blessing at the altar.
Tip: First activate the incomplete shrine platform in the cave. The green beam of light then makes it easier for you to find the right island in the sky.
Ishokin Shrine
Shrine Task: On a High Horse
Trial: Raurus Blessing
Reward: Topaz and a Light of Blessing
Location: South of Soka Ridge, west of Nesuppo Forest
Coordinates: approximately -0565, -3524, 0129
Find Ishokin Shrine
The incomplete platform of Ishokin Shrine lies in the southern part of the plains of Faron. You can find them west of Nesuppo Forest and south of Soka Ridge.
Near the platform is the traveler Baddek with the missing green crystal. Speak to him. He only wants to give out the crystal if you show him a particularly large horse. This begins the “On a High Horse” shrine task.
Find giant mold
Travel to Highland Stable and talk to the people in the stable. You learn that a huge white stallion was seen near the Horse God’s Lake.
Follow the road southeast and cross Horse God Bridge. Behind the bridge you will meet two horse watchers. The giant gray horse you are looking for is a little further at the end of the valley.
Sneak up to the animal from behind. Wear clothing that is as quiet as possible or take a Schleich Elixir. As soon as the message appears, jump on the horse’s back and calm it down repeatedly.
Taming requires a lot of stamina. Therefore, take endurance Elixir or appropriate dishes with you. If you don’t have enough stamina, you can use a dish from your inventory while taming.
Bring giant mold to Baddek
The giant gray horse is very strong, but is initially slow to control. Ride with him back over the Horse God Bridge and to the Highland Stable.
You can register the horse there. This is not absolutely necessary for the shrine task, but it makes later transport easier and prevents you from having to capture the animal again.
Then ride to Baddek’s location. Stand with the giant gray horse directly in front of him and talk to him again. He recognizes the big horse and gives you the green crystal.
Transport crystal to shrine
The shrine is located just a short distance south of Baddek’s camp. Axyl up the crystal with the Ultrahand and follow the green beam of light.
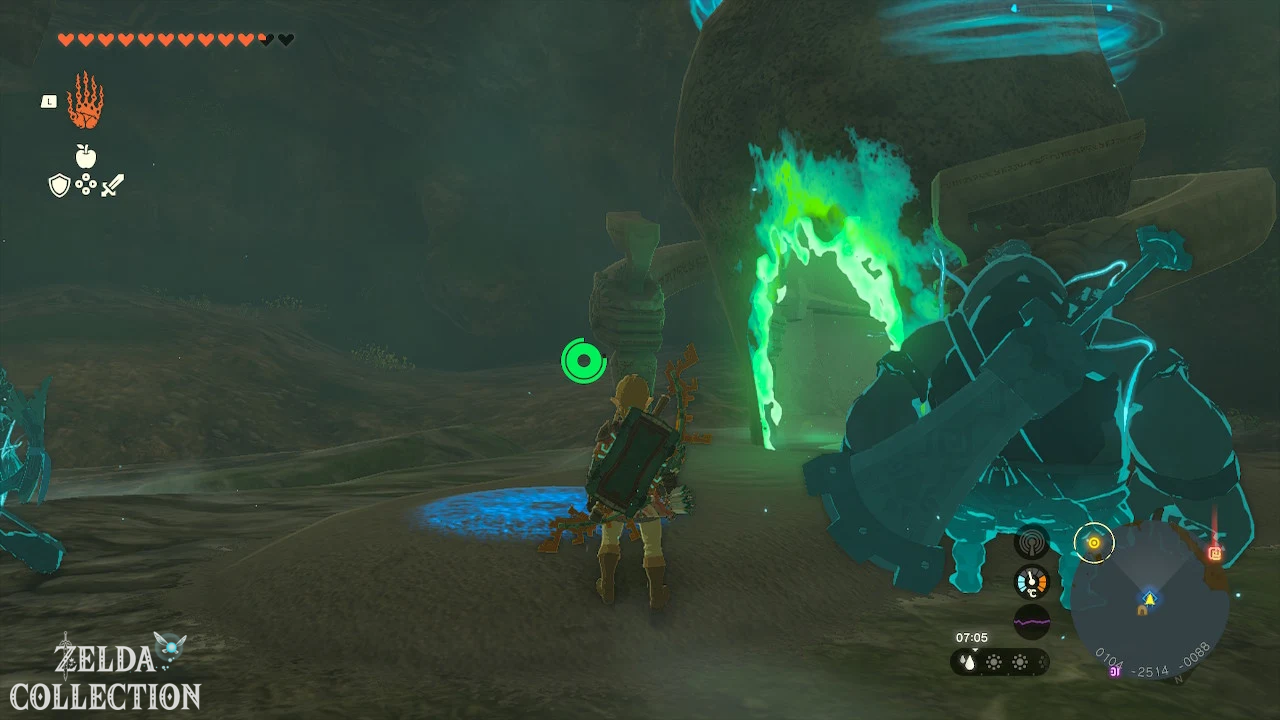
Place the crystal in the socket provided. The Ishokin Shrine appears and the shrine task is completed.
Obtain Rauru’s blessing
Enter the shrine and open the Treasure Chest. Inside is a topaz. You can then pick up the Light of Blessing at the altar.
Tip: Saves the game immediately before sneaking up. If you accidentally scare the giant mold away, you can quickly repeat the experiment.
Jiukoum Shrine
Test: Exact fit
Reward: Adhesive Elixir and a Light of Blessing
Location: North of the Source of Courage, southeast of the tower in the Popla Foothills
Coordinates: approximately 0867, -2279, 0141
Find Jiukoum Shrine
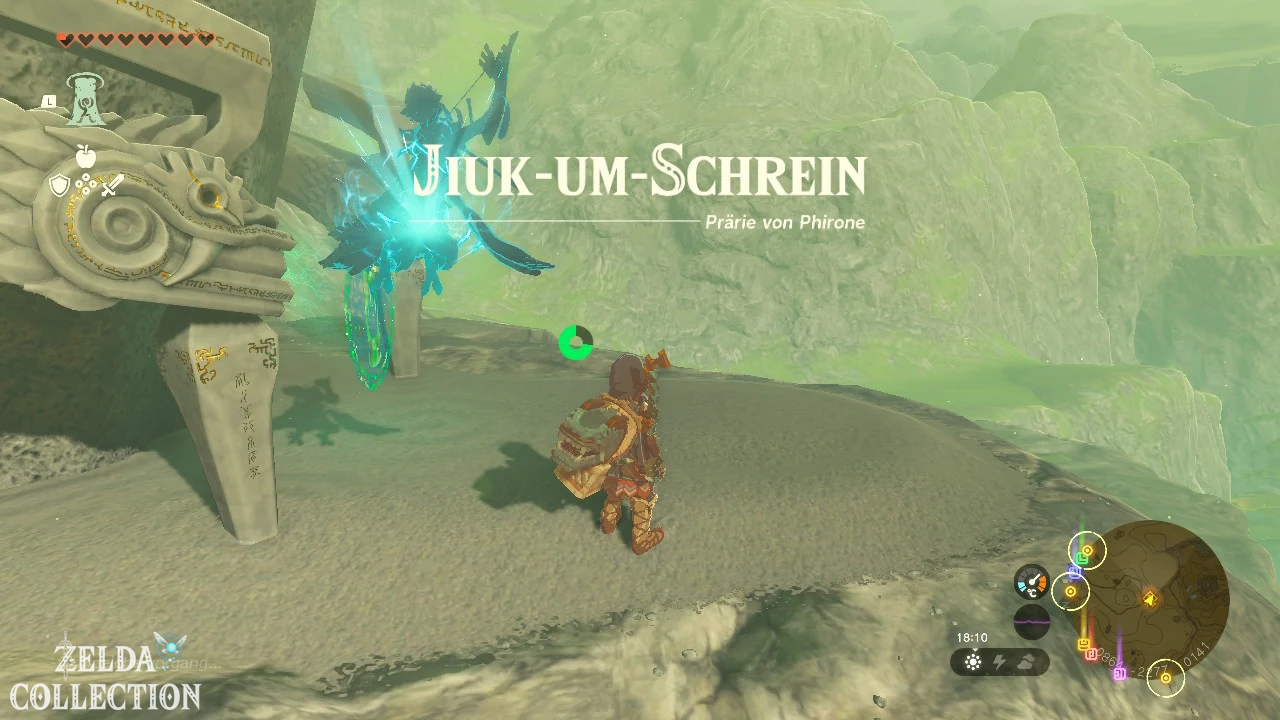
The Jiukoum Shrine stands on an elevated rocky area north of the Spring of Courage. It is located southeast of Popla Foothills Skyview Tower and can be easily seen from the air.
Let the tower throw you into the air and glide in a southeast direction. Since the shrine is on a hill, gliding is much easier than climbing from the valley below.
Solve Jiukoum Shrine
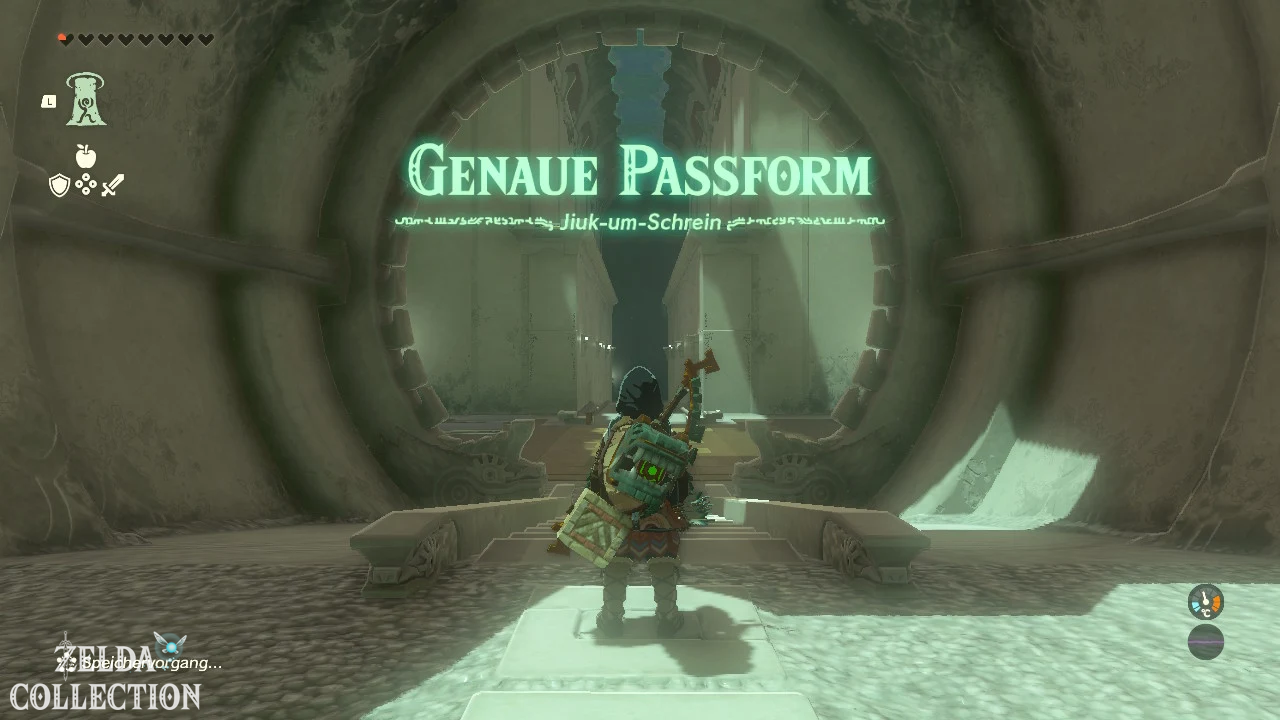
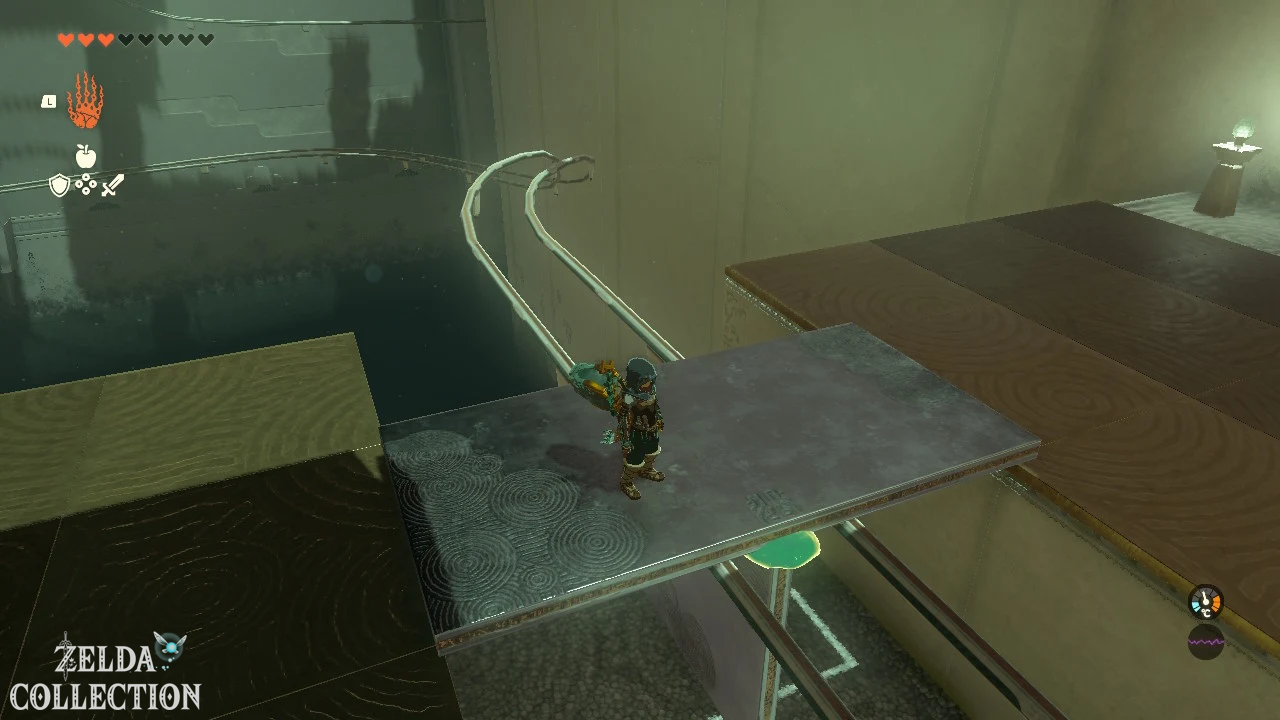
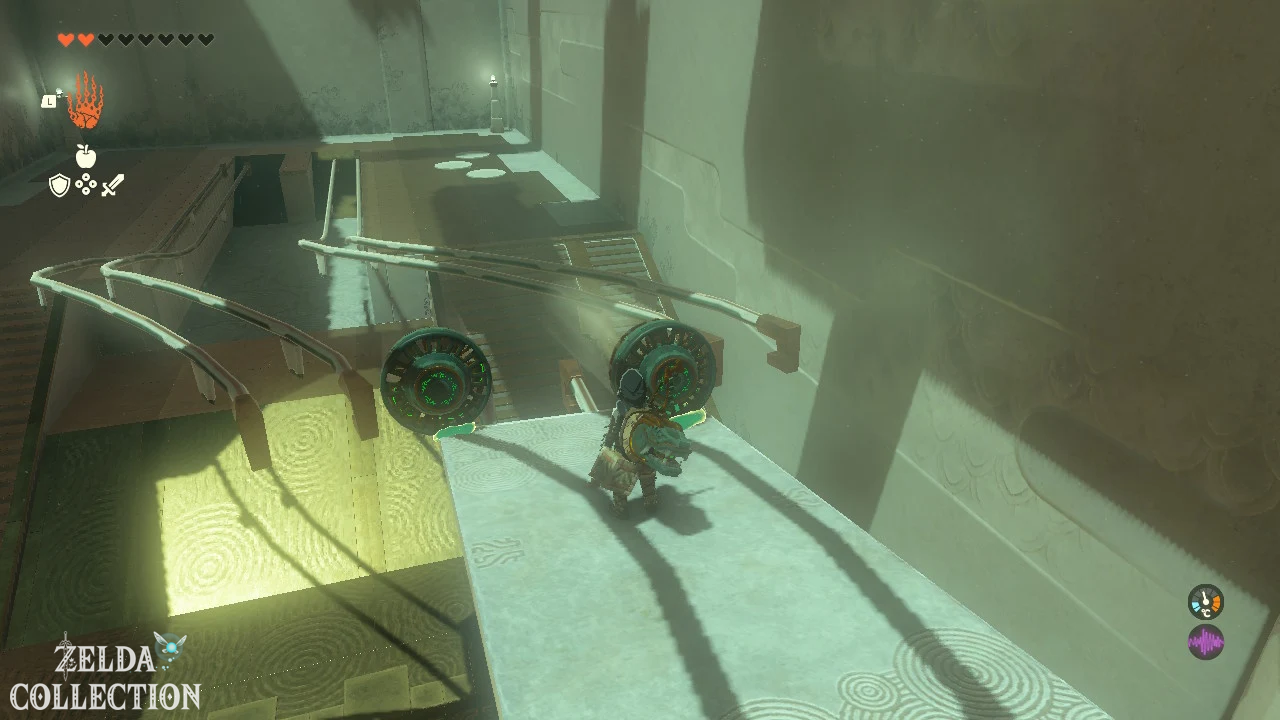
In the “Exact Fit” test, you build several vehicles that slide on rails over deep chasms. The structures must be shaped in such a way that they do not tip to the side or fall when the rails are changed.
First rails cross
There are two square metal plates in the first room. Connects them at the edges to form a long rectangular platform.
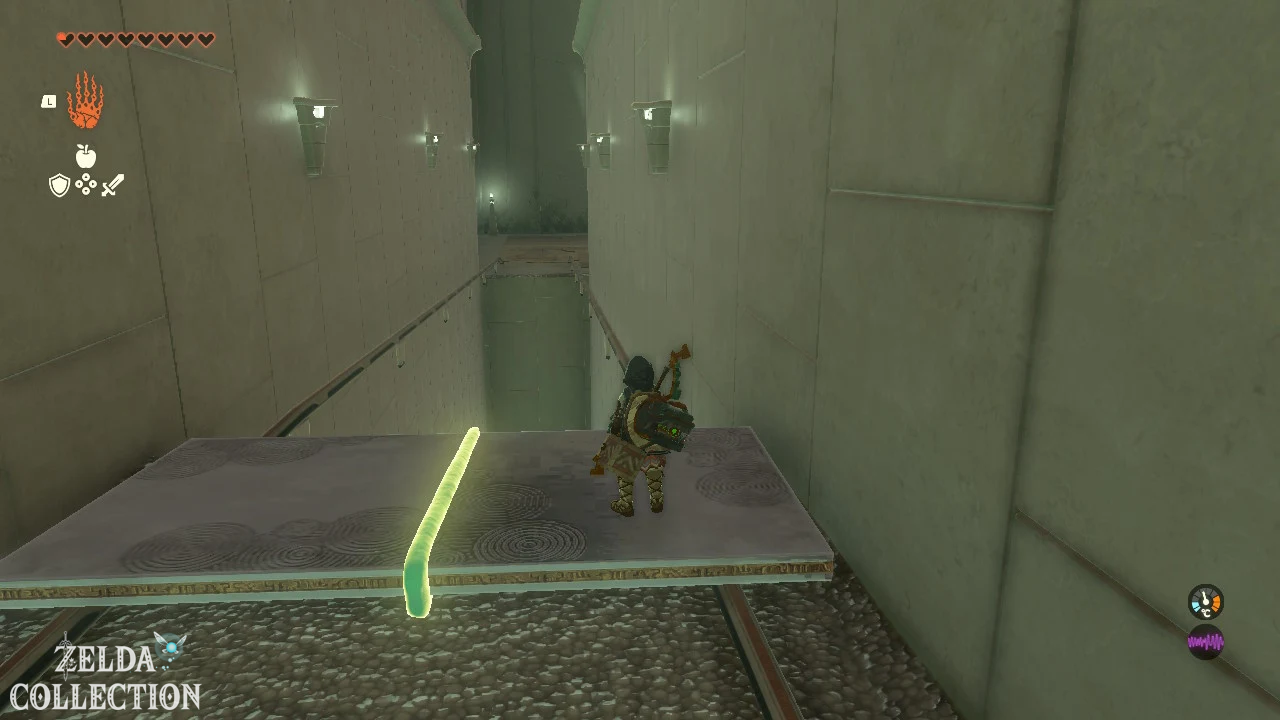
Place the construction horizontally on the two parallel rails and stand on it. Due to the gradient, the platform automatically slides to the opposite side.
Get
detention Elixir from the Treasure Chest
In the next area, the Treasure Chest is elevated in a niche on the left side. Connect several of the existing metal plates into a long ramp and lean it against the ledge.
Run up the ramp and open the chest. Inside there is a adhesive Elixir, which reduces slipping when climbing wet walls.
Alternatively, you can place a horizontal platform under the niche and use the Ascend.
Build stable rail platform
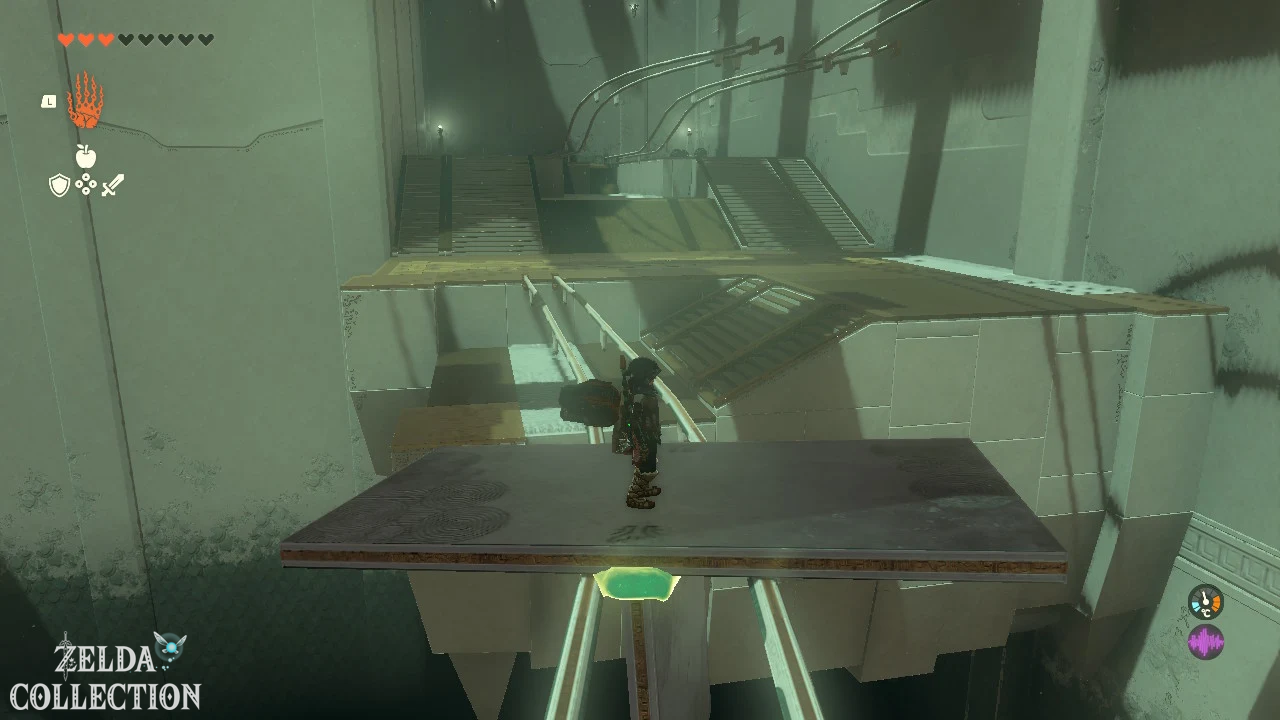
A flat plate is no longer sufficient for the next section. She would spin on the single rail and fall into the abyss.
Place the long plate horizontally on the floor. Connects three shorter plates into a U-shaped bracket and attaches it to the center of the bottom of the long plate.
The rail must run through the open interior of the “U”. The two side plates prevent the construction from tipping to the left or right.
Places the vehicle on the rail and climbs on. You reach the next section through the gradient.
Build last rail vehicle
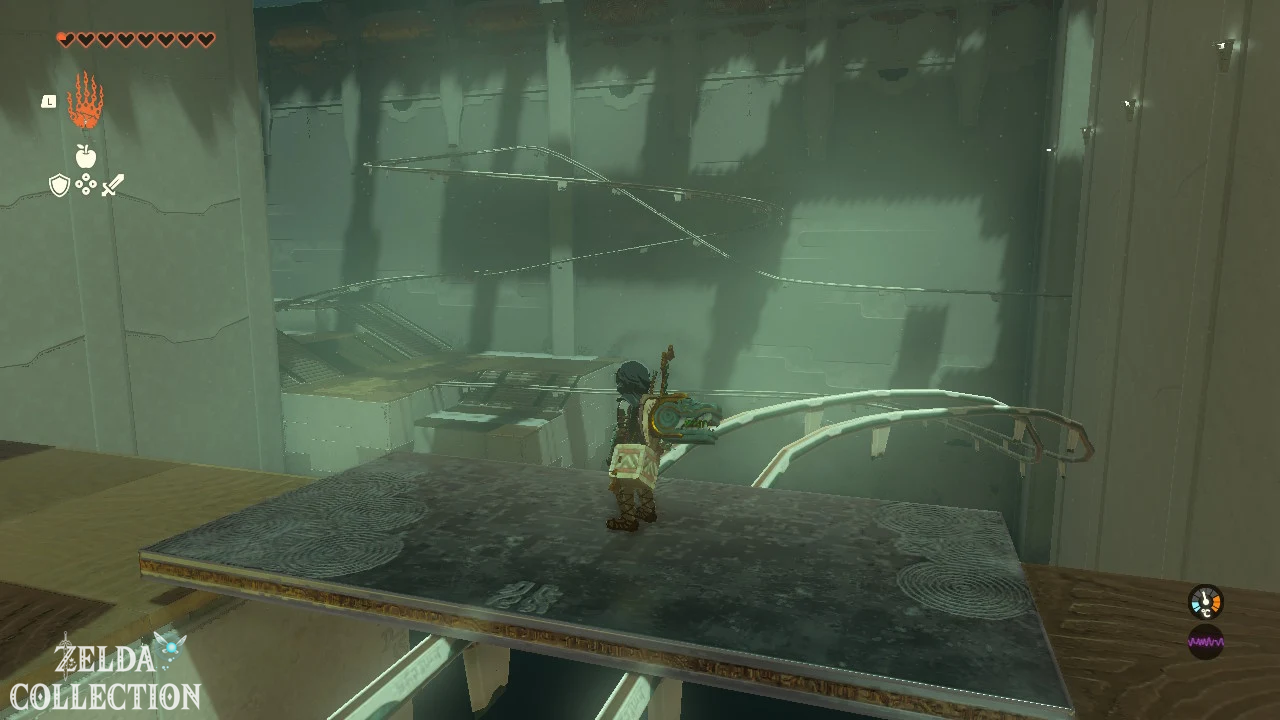
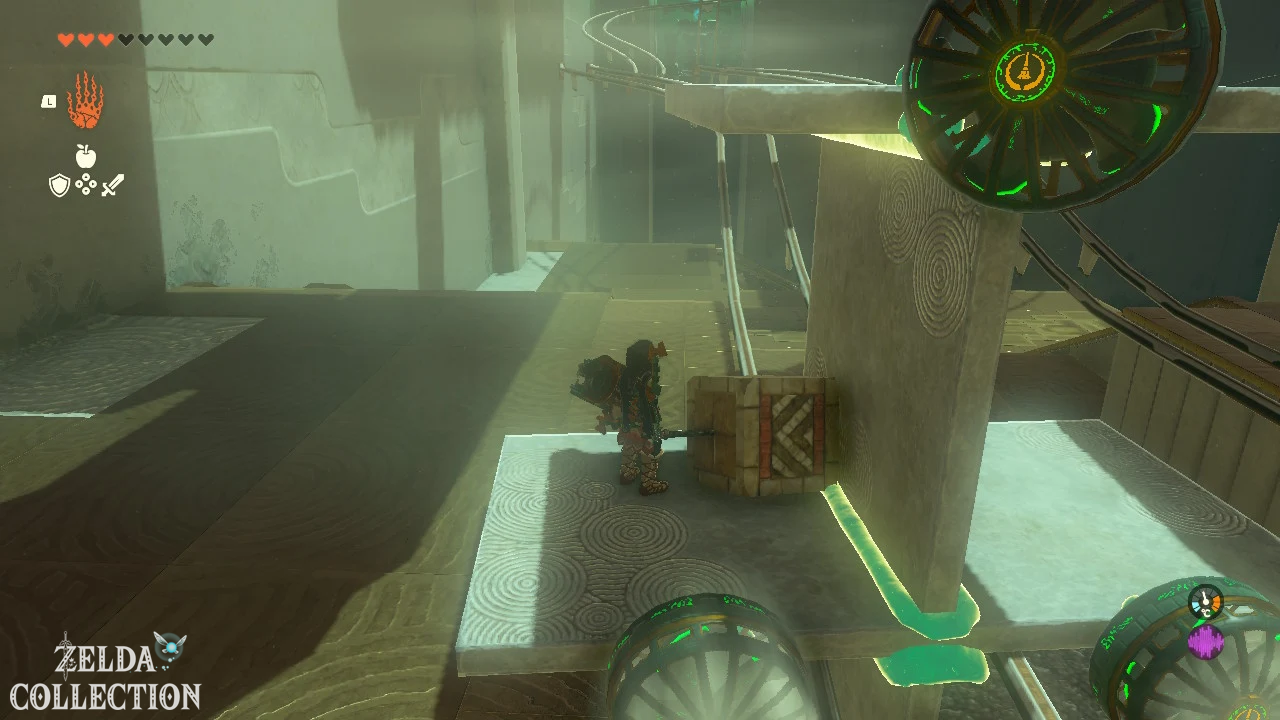
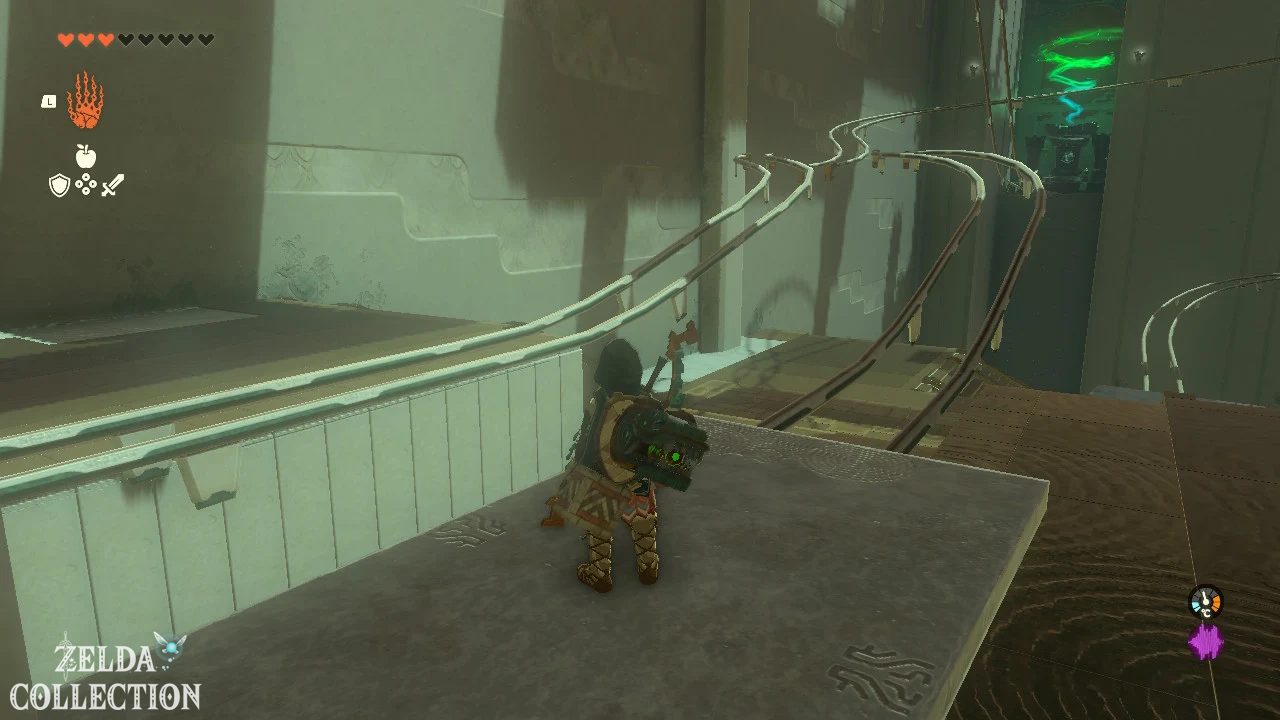
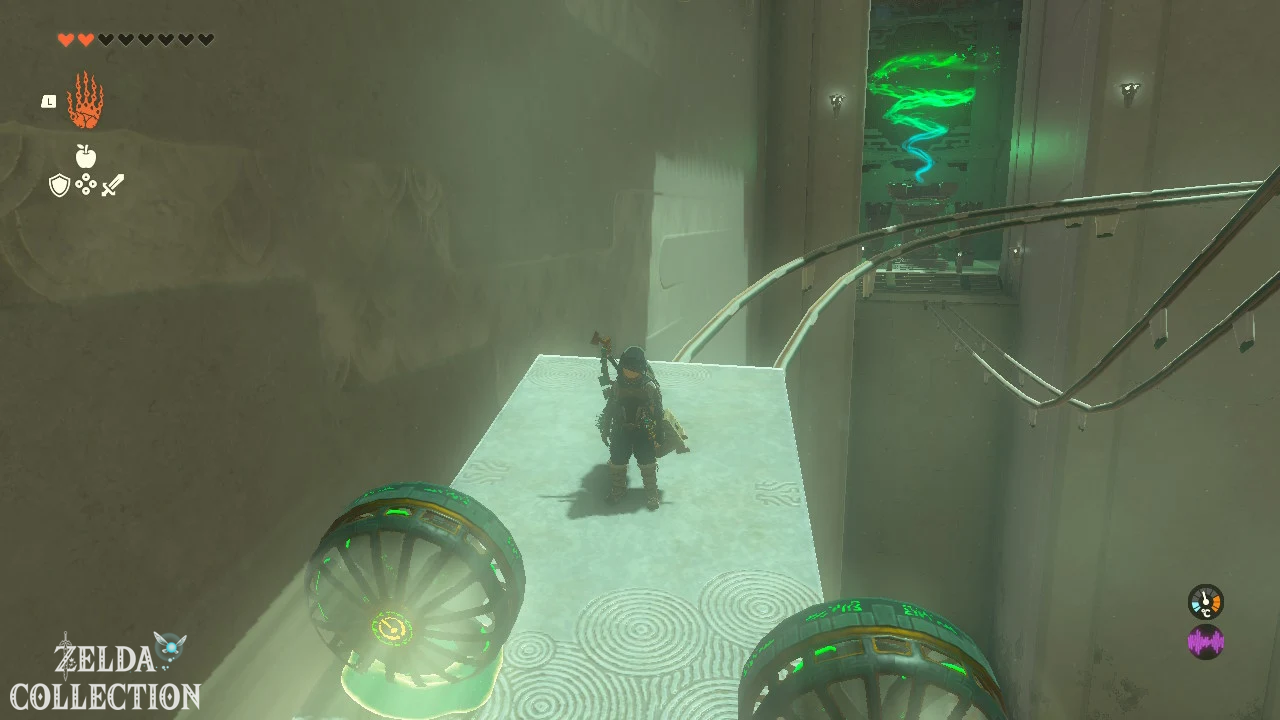
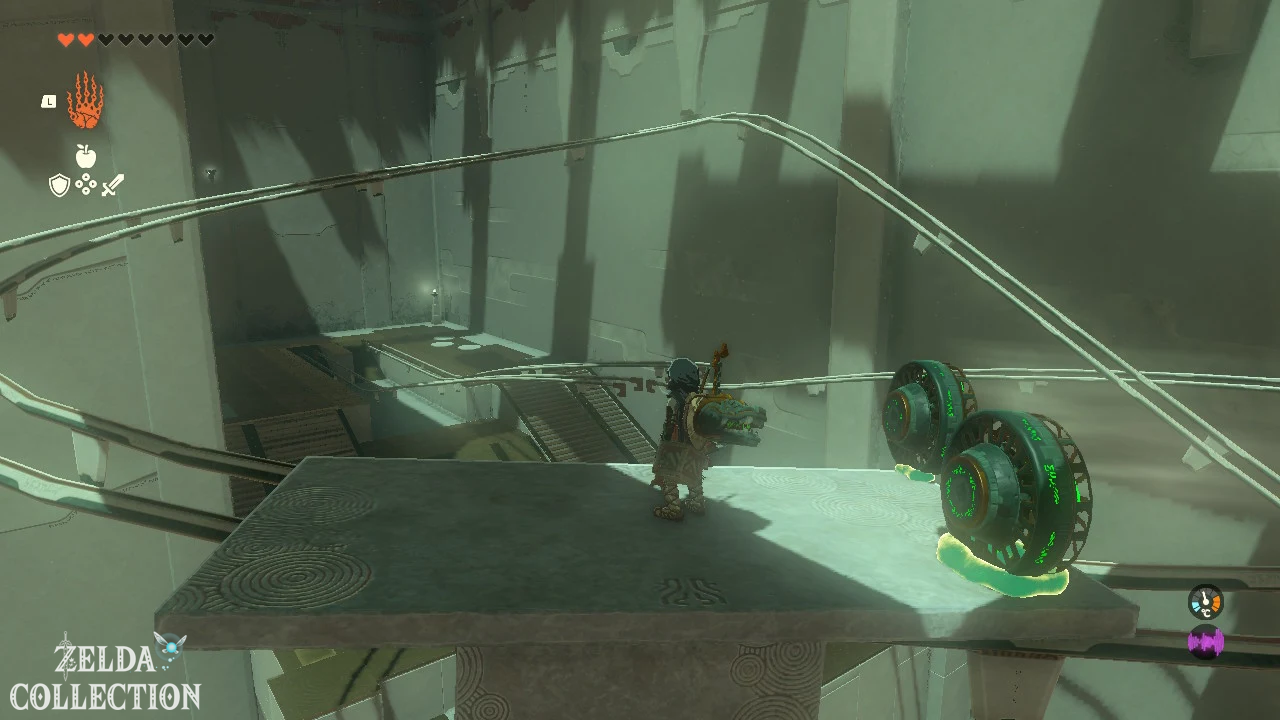
In the last room you first have to ride on two parallel tracks. However, after part of the route these merge into a single middle rail.
Again builds a long platform with a U or E shaped bracket at the bottom. The middle free space must be large enough so that the individual rail can later run between the vertical plates.
Attaches three fans evenly to the back. Directs all airflows in the same direction.
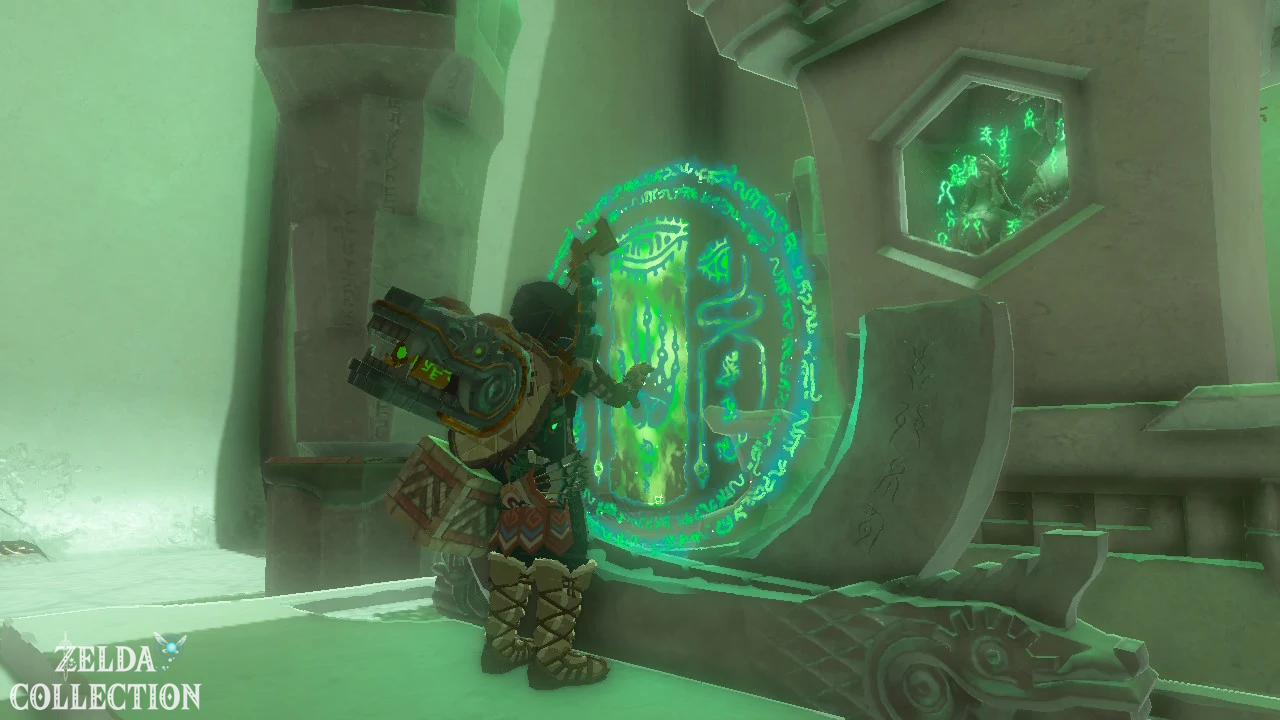
Places the construction on the two rails, rises and activates the fans. The vehicle first travels over the double route. At the transition, the single rail slides through the middle bracket and guides you safely to the altar.
Tip: If the vertical plates touch the rails too much, the fans may not have enough power. Leave some space between the rail and the bracket.
Utsushok Shrine
Test: Vertical and horizontal
Reward: Schleich-Elixir and a Light of Blessing
Location: Northeast of Highland Stable
Coordinates: approximately 0669, -3358, 0072
Find Utsushok Shrine
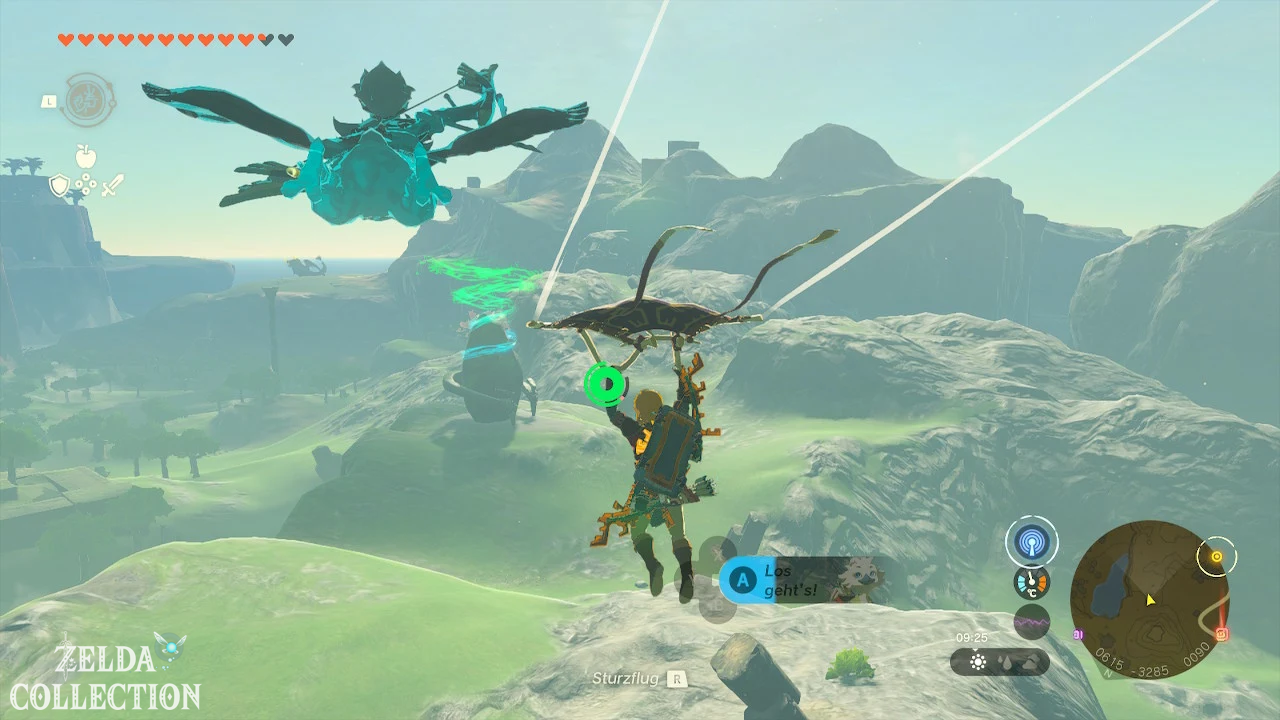
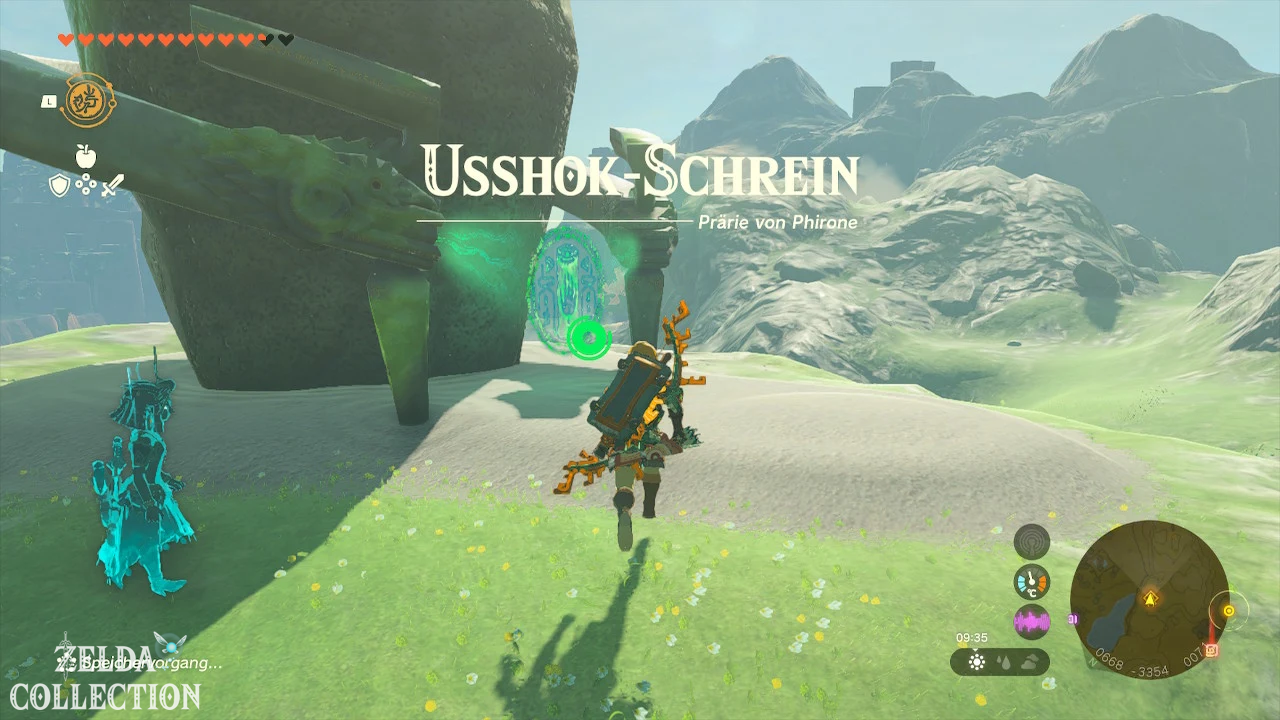
The Utsushok Shrine is located in the southern plains of Faron. It lies northeast of Highland Stable between the Fural Plain and the Guchini Plain.
From the stable, follow the road to the north or northeast. The shrine stands on a low rocky area and can be entered without any special requirements.
Solve Utsushok Shrine
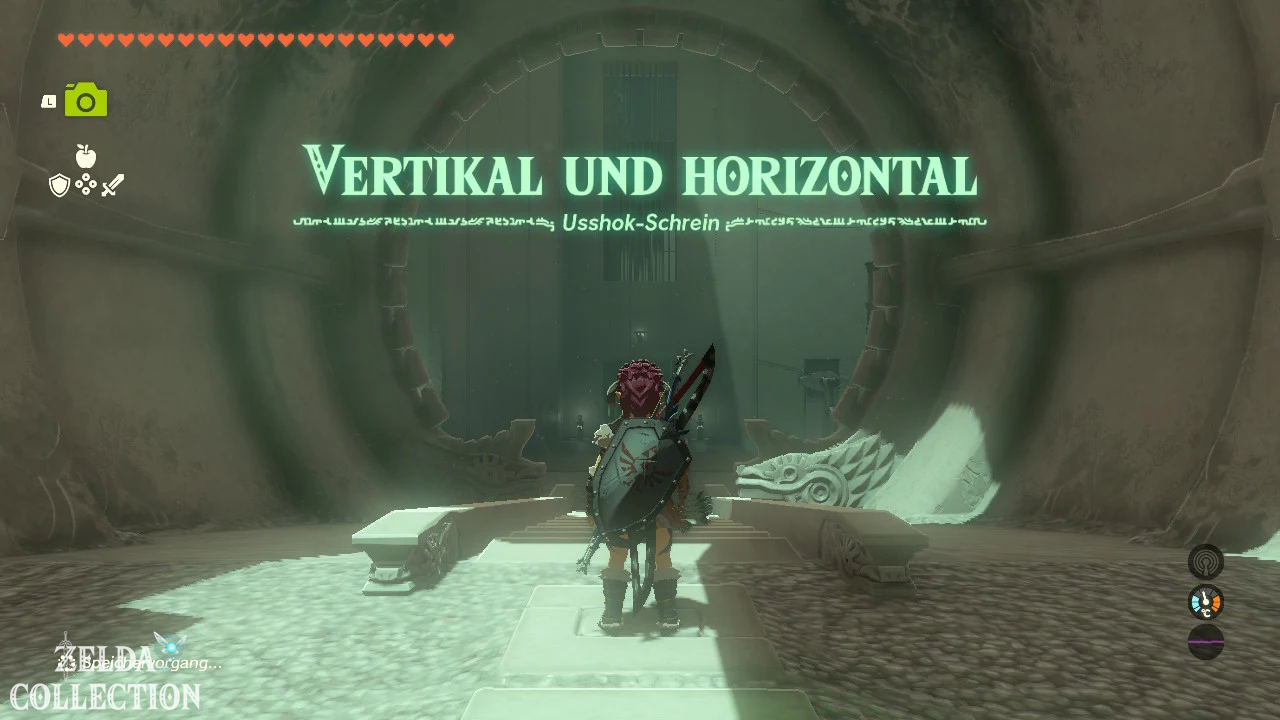
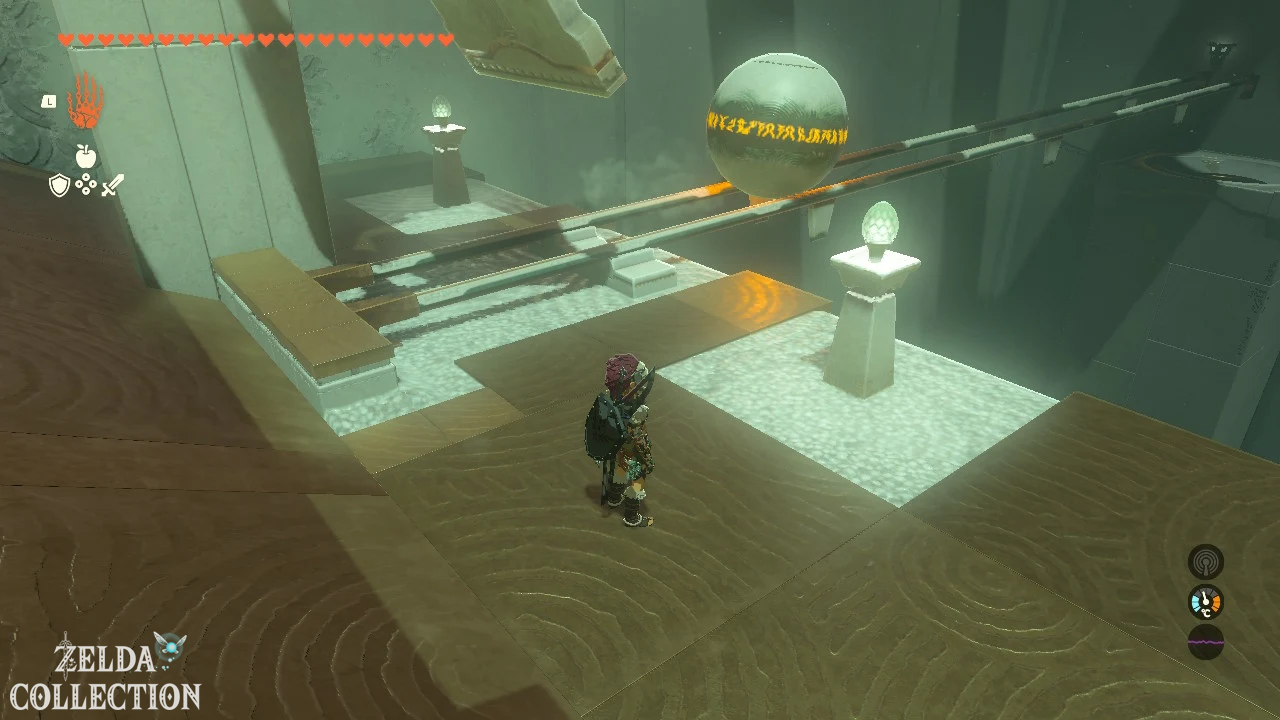
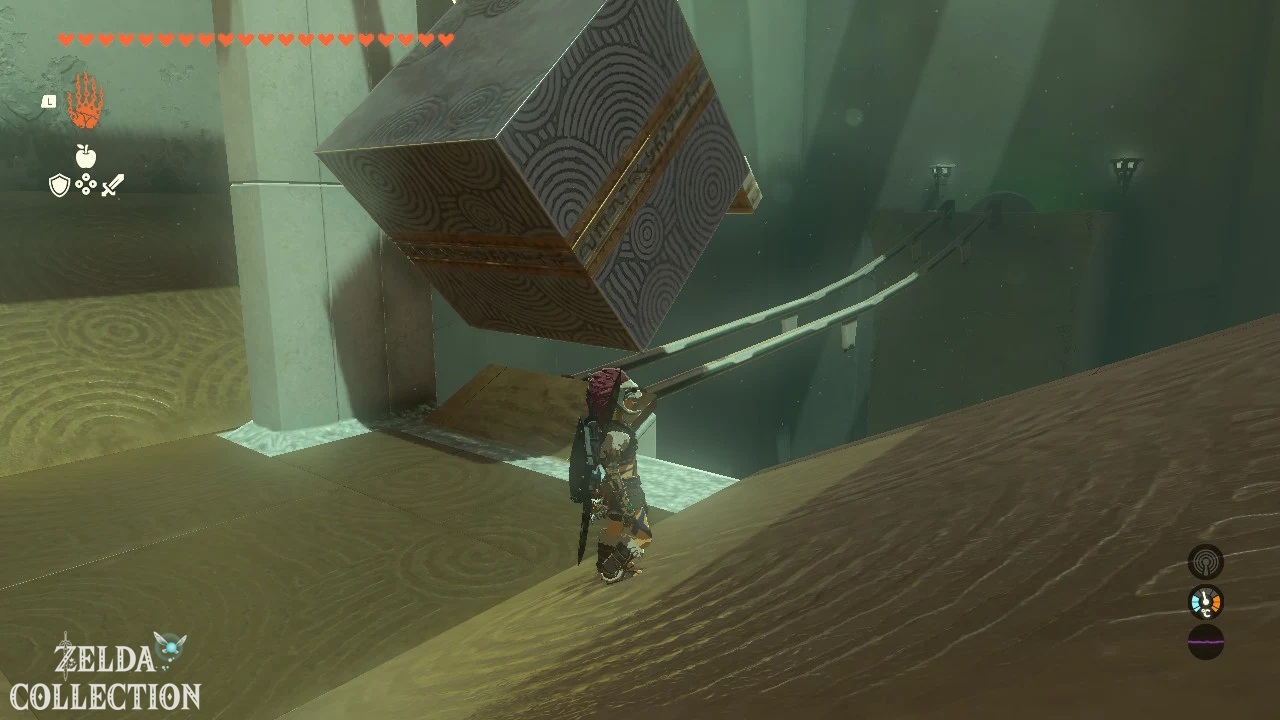
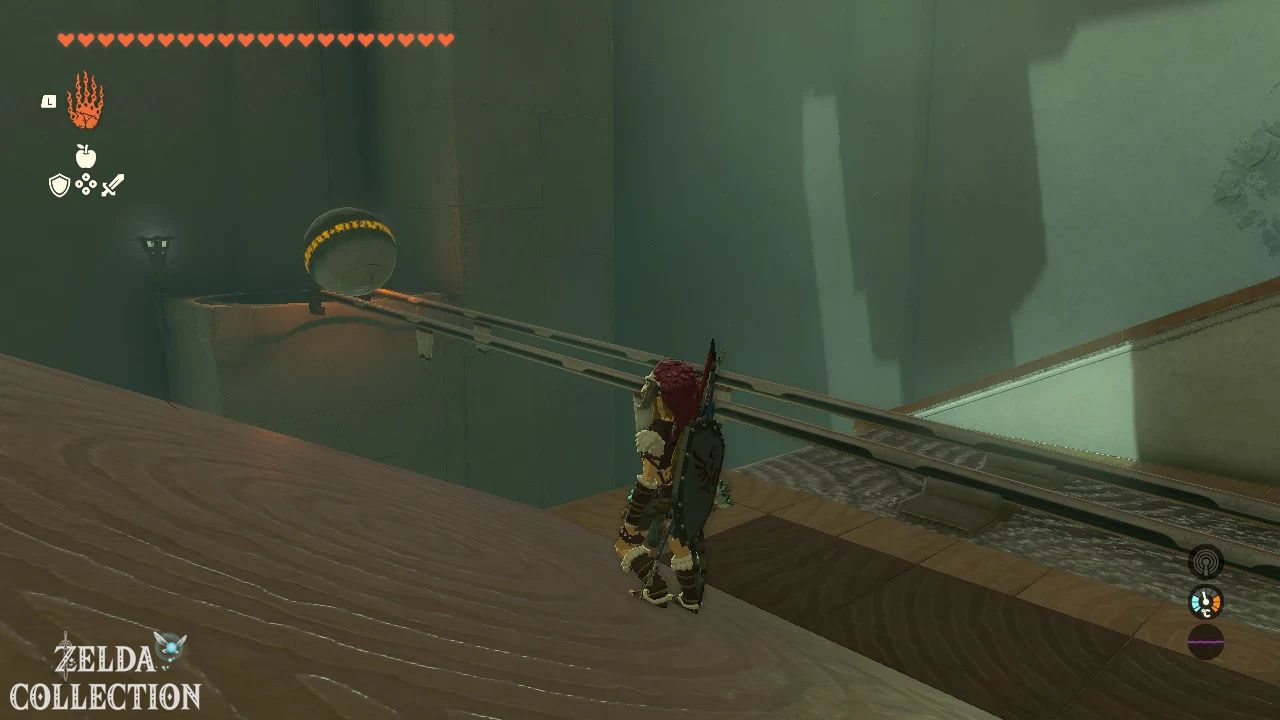
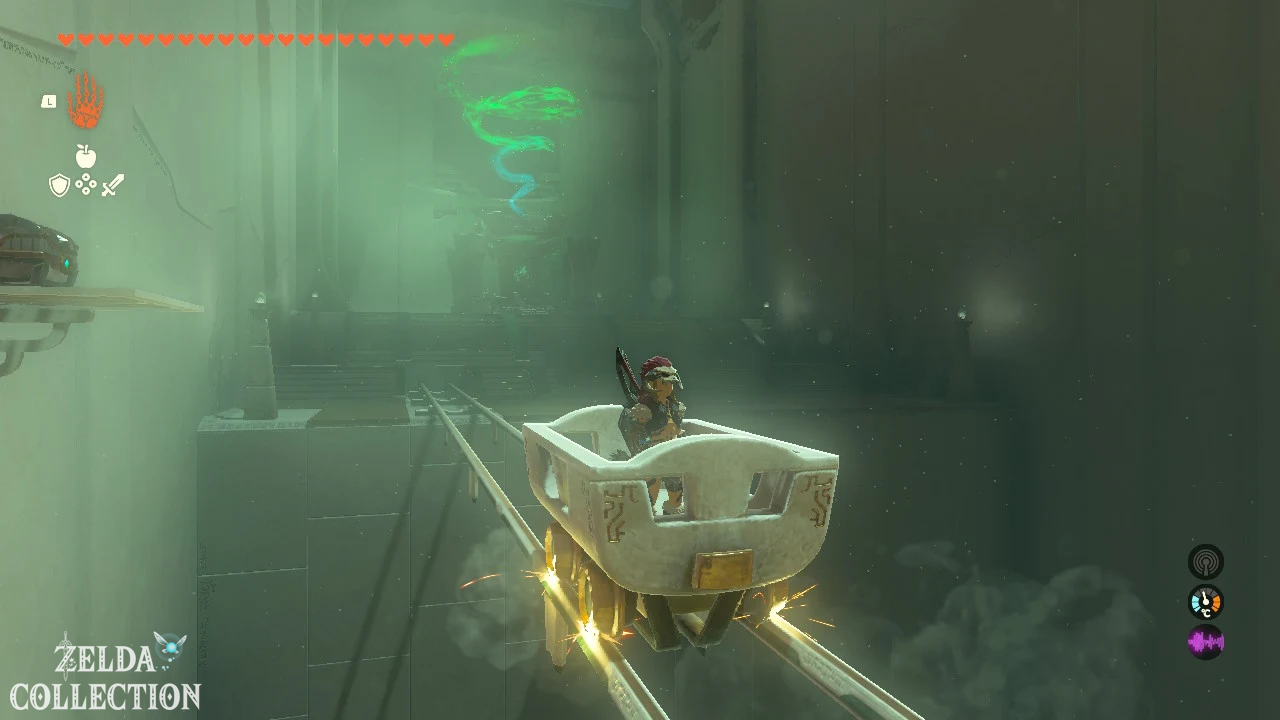
In the “Vertical and Horizontal” test you use swinging paddles to transport balls and finally a cart over rails.
First ball hits
Grabs the large paddle behind the ball with the Ultrahand. Pull it up and back as far as possible.
Then let go of the paddle. It swings forward, hits the ball and sends it over the rail into the round recess. The first gate opens.
Use metal cube as weight
In the second room, the power of the paddle alone is not enough. Take the metal cube from the ground and attach it to the back of the paddle.
Do not put the cube at the bottom, otherwise the paddle can get caught on the ground when you pull it back. Attach it slightly elevated and as centrally as possible.
Pulls the weighted paddle far back and up. Release it to send the ball with extra force up the rising rail and into the receiver.
Unlock Lore
In the third room you will find a long metal plate. Attach it lengthwise to the back of the paddle. The extended structure must reach the ball in front of you.
Pull back the paddle and release it. The plate hits the ball and sends it over the rail into the receiver. This releases a cart on the adjacent rail.
Treasure Chest grab
while driving
Removes the metal plate from the paddle and attaches it to the right side. It must be able to hit the back of the cart as it swings forward.
Get into the lorry. Grab the paddle out of the cart with the Ultrahand, pull it back as far as possible and then let it go.
The paddle hits the cart and accelerates it over the rail. While driving you will pass an elevated Treasure Chest on the left side.
Activate the Ultrahand in time and grab the chest as you drive past. Hold on to it until the cart reaches the end platform. Open it there and take the Schleich-Elixir.
If you missed the chest, you can have the cart driven back with the Recall and make another attempt.
Reach The Altar
Get back into the lore if you left it for the Treasure Chest. Use the extended paddle again to hit the cart over the rail.
At the end of the route you get out and follow the short path to the altar. There you will receive the Light of Blessing.
Tip: Activates the Ultrahand shortly before the Treasure Chest. This highlights it in color and makes it easier to capture while driving quickly.
All shrines in the prairie of Faron at a glance
| Shrine | level | exam | Location | Chest Reward |
|---|---|---|---|---|
| Joku-usin Shrine | Sky | Naked survival – under power | Thunderhead Isles | Electric Elixir |
| Joku-u Shrine | Sky | Raurus blessing | Dragon Head Island | Diamond |
| En-oma Shrine | Underground | Raurus blessing | Whirlpool cave in Lake Hylia | Mighty Zonaite sword |
| Ishokin Shrine | surface | Raurus blessing | South of Soka Ridge | Topaz |
| Jiukoum Shrine | surface | Exact fit | North of the Spring of Courage | adhesive-Elixir |
| Utsushok Shrine | surface | Vertical and horizontal | For Highland Stable | Schleich-Elixir |
More shrines in Faron and Necluda
Once you have completed all the shrines in the prairie of Faron, you can continue your search in the adjacent areas: