

The main quest “Camera Work in the Depths” leads Link specifically into the huge Depths of Hyrule for the first time. You meet Robbie there, activate your first Lightroots and switch on the Camera and the Hyrule Compendium on the Purah Pad free.
However, you have not yet received the Autobuild, which is often associated with this mission. To do this, you have to complete the follow-up quest “The A Mystery in the Depths” later. This only becomes available after you have completed “The People in Depths” and at least one of the four regional phenomena.
Important distinction: “The people in the Depths” unlocks the Camera and the Hyrule Compendium. “The A Mystery in the Depths” leads to Autobuild, the first fight against Kohga and several blueprints.
Requirements and Rewards
| Quest | Prerequisite | Key Rewards |
|---|---|---|
| The people in the Depths | tower activated on Lookout Landing and Paraglider received | Camera, Hyrule Compendium and 5 Zonaite |
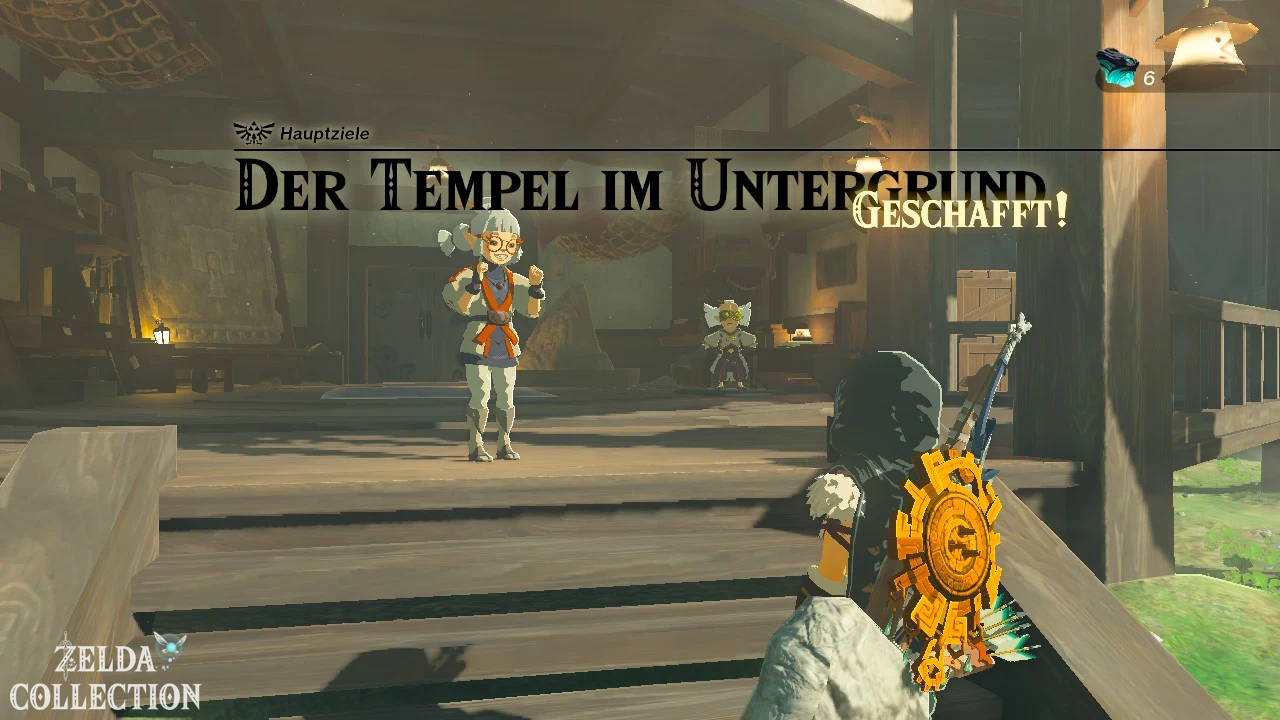
| The temple in Depths | Camera Work in the Depths as well as at least one regional phenomenon completed | Autobuild, Blueprint Stone Slabs and Large Zonaite |
The first quest begins after the early section of “Crisis at Hyrule Castle” once you have activated the Skyview Tower at Lookout Landing. The second quest, on the other hand, only appears after further progress in the plot.
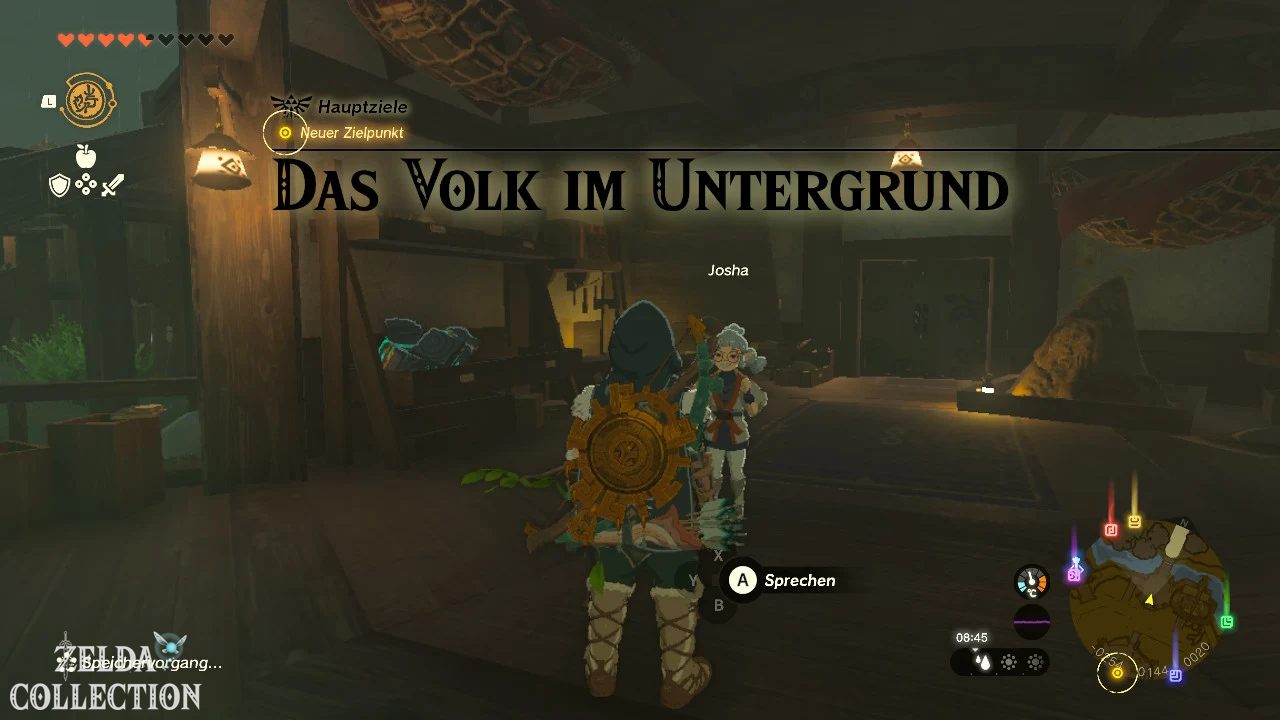
The people in the Depths
Start quest in Lookout Landing
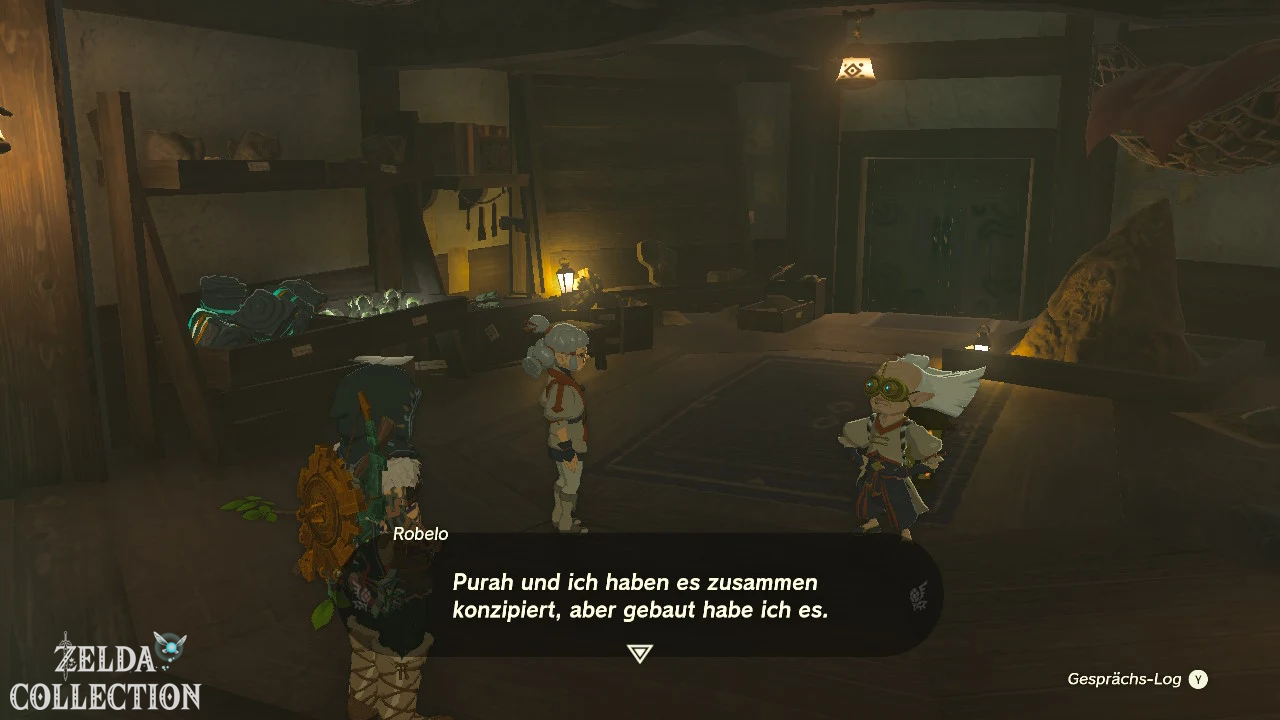
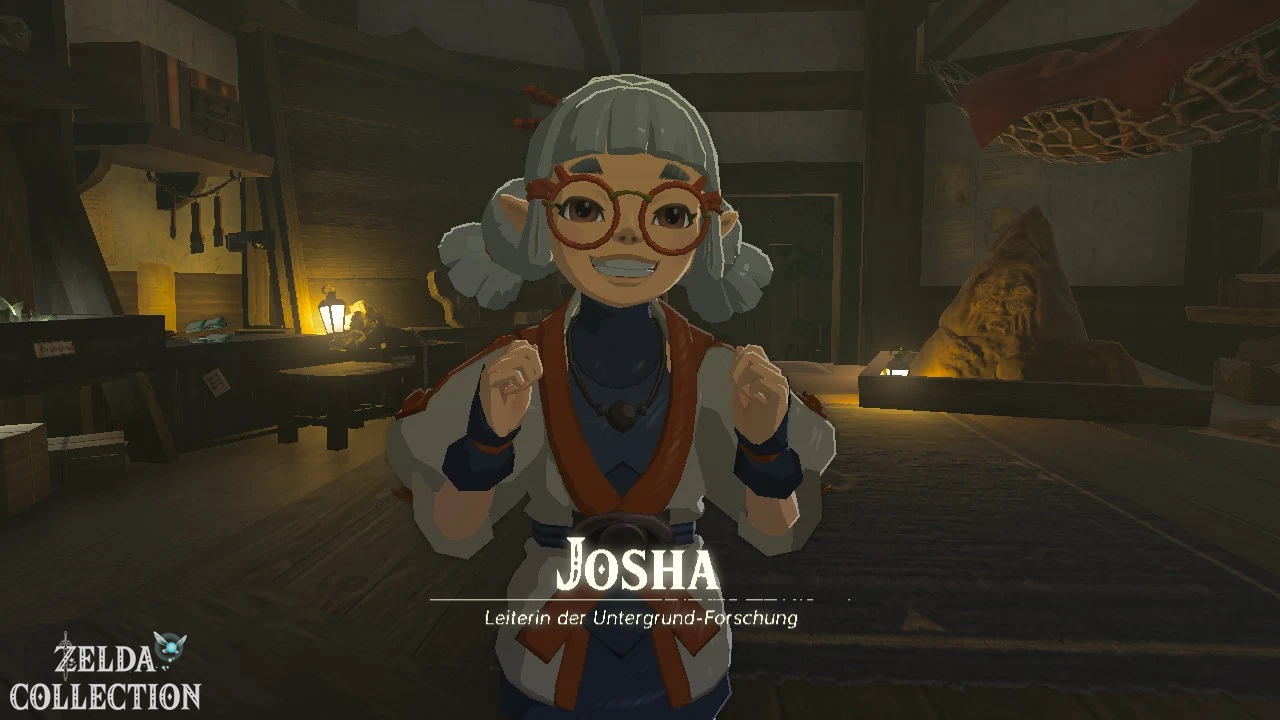
Return to Lookout Landing after activating the Skyview Tower. Josha and her uncle Robbie are on the ground floor of the research building below Purah’s laboratory.
Josha examines a stone fragment showing a human-like figure with two legs and a raised arm. She suspects that the image shows a people who used to live in Depths Hyrule.
Robbie would like to check the theory on site. Since Josha is still too young for the dangerous expedition, he sets off himself to the abyss south of the scout post. Link should follow him and, if necessary, take a photo of the figure he is looking for.
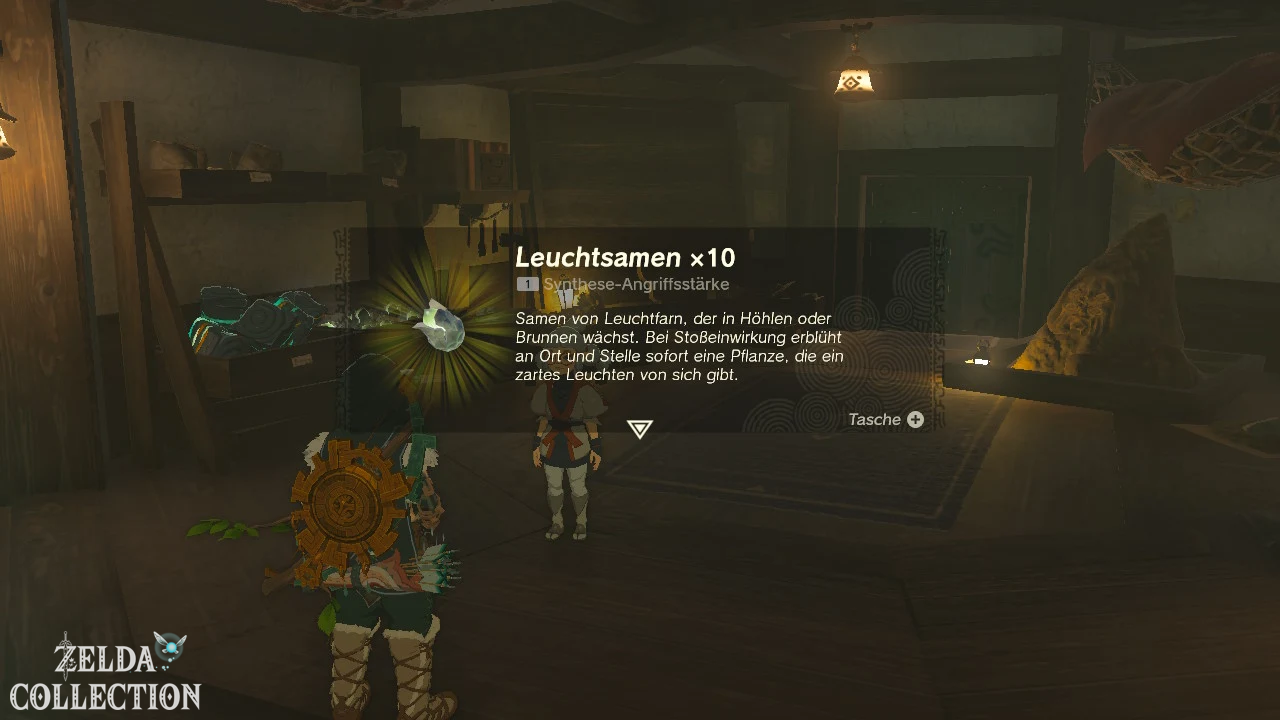
Josha gives you starting equipment:
- 10 Brightbloom Seed
- 5 wooden arrows
This begins the main goal “Camera Work in the Depths”. The items and the mission to visit the southern abyss are documented directly in the German quest process.
Preparation for the first underground visit
The Brightbloom Seed handed over by Josha are generally sufficient for the direct route to Robbie. If you want to look around without time pressure, you should pack additional equipment:
- 20 to 30 more Brightbloom Seed
- at least 15 wooden arrows
- several simple healing dishes
- two to three melee weapons
- a hammer weapon for sonanium deposits
- a bow and a shield
- optional dishes to heal gloom damage
Brightbloom Seed do not necessarily have to be attached to arrows. Hold R to throw, open the material menu with the top directional button and select a Brightbloom Seed. This allows you to throw the seeds directly and save your arrows. For long distances, a Brightbloom Seed arrow still remains more practical.
Find Hyrule Field Chasm
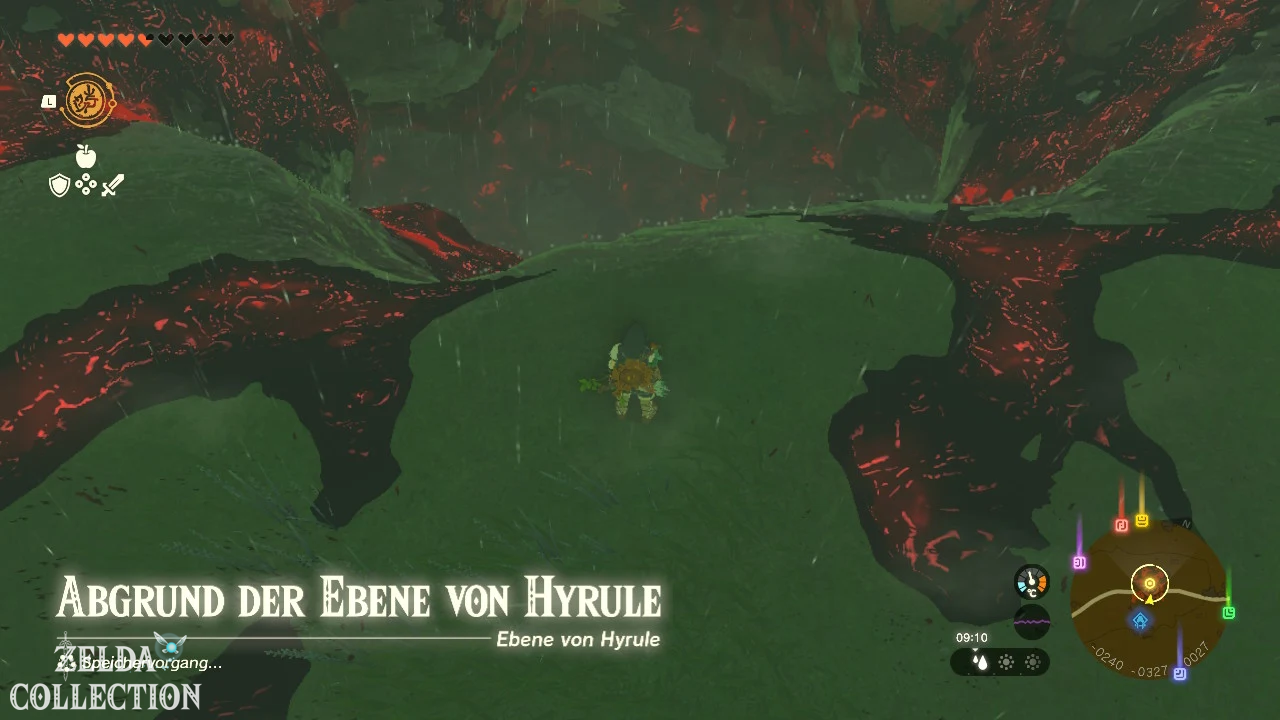
Leave the Lookout Landing through the southern gate and follow the road towards Hyrule Field. The entrance you are looking for is near the Jiosin Shrine and can be seen from a distance as a huge red-black hole.
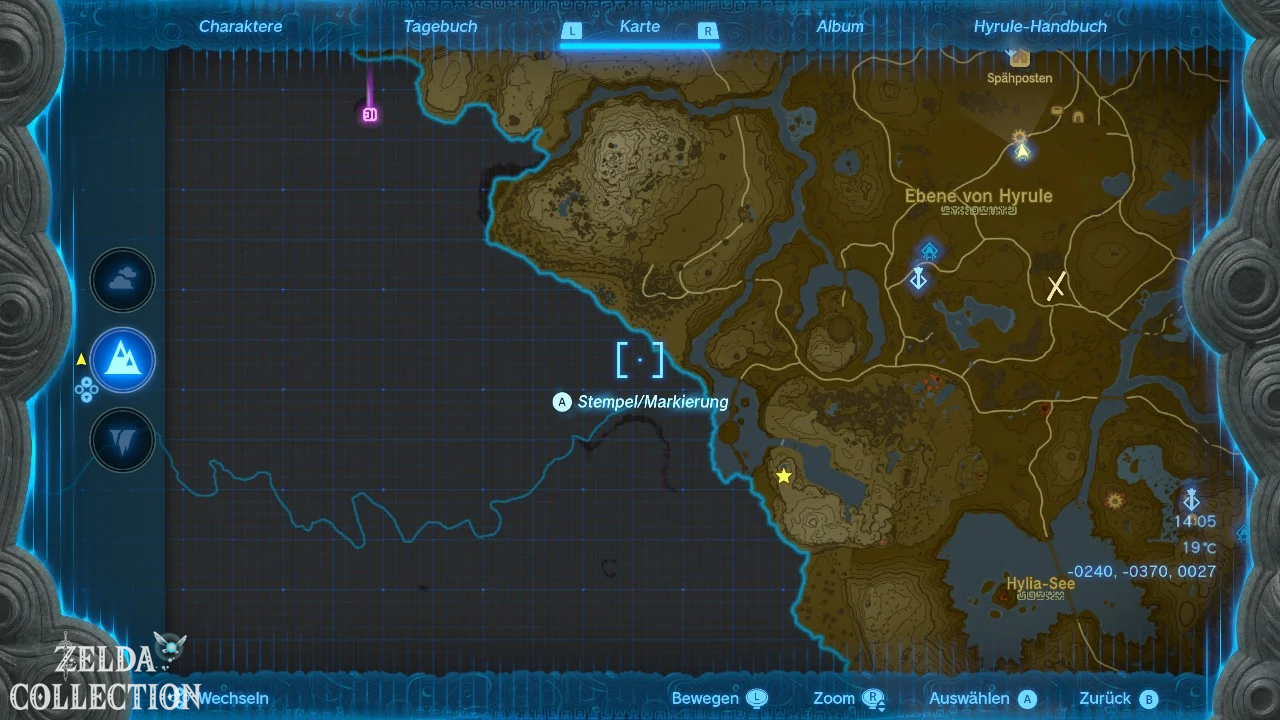
The Hyrule Field Chasm is located approximately at the coordinates -0253, -0300, 0018. Activate the nearby Jiosin Shrine so you can quickly travel back to that part of the surface later.
Members of the research team stand at the edge of the abyss. Robbie has already descended.
Be careful on the edge: The red-black areas around the abyss are made of Gloom. One touch temporarily damages Link’s maximum available hearts.
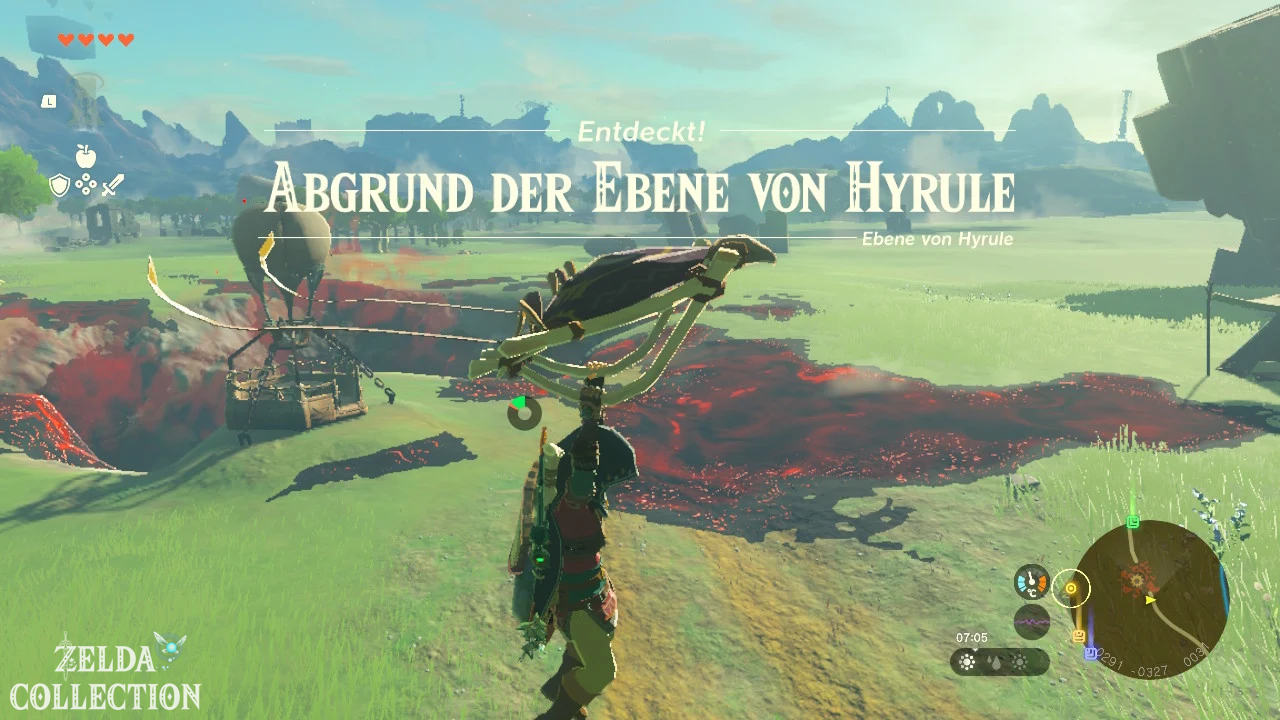
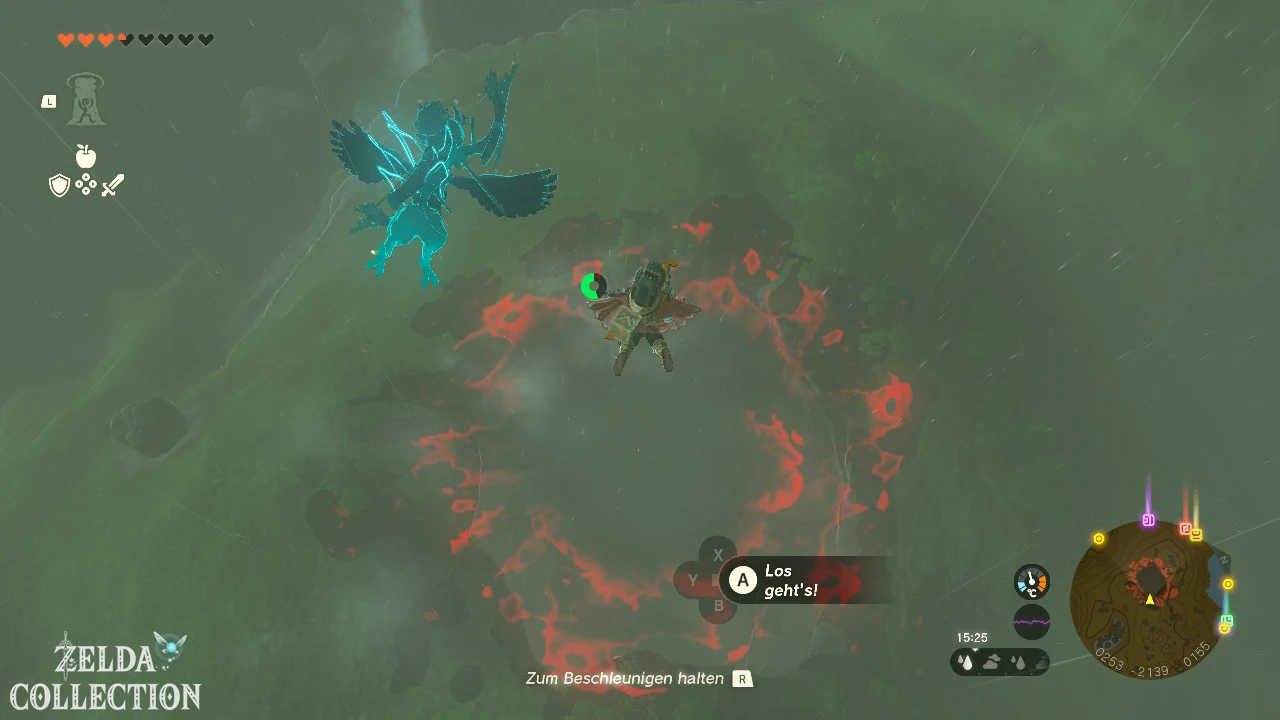
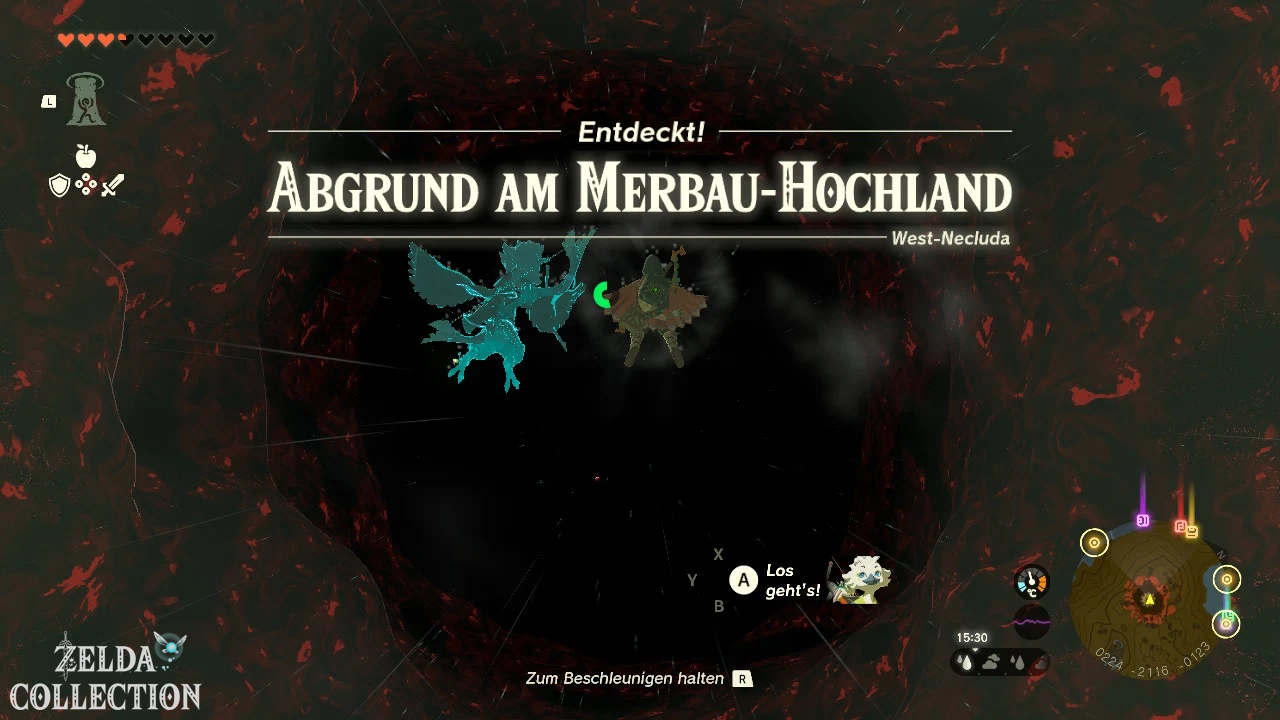
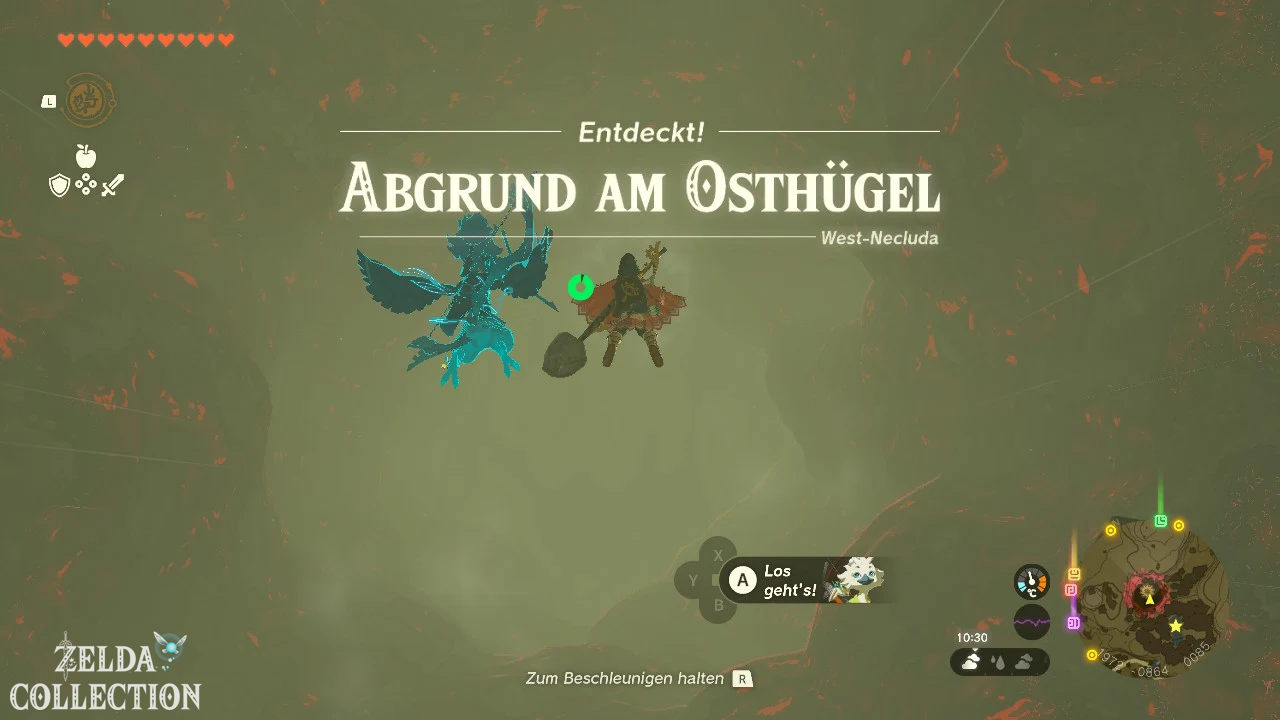
Jump into the abyss
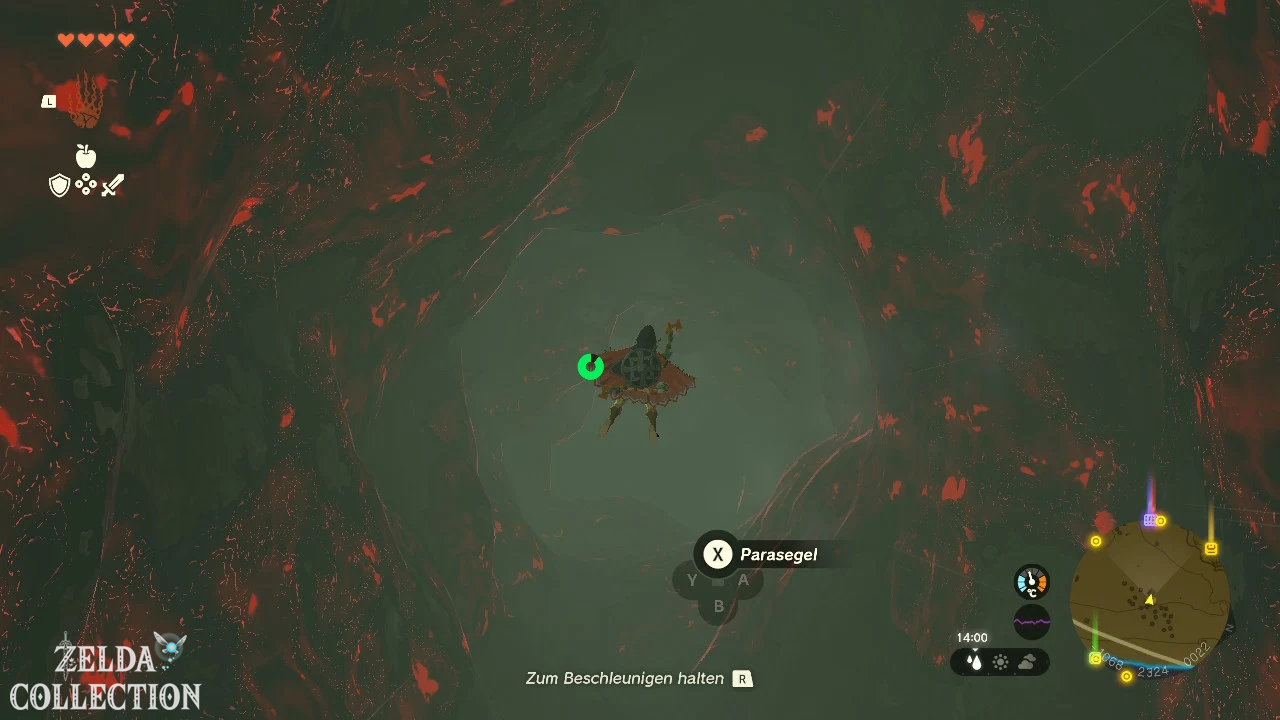
Jump into the middle of the abyss and stay away from the gloom-covered walls. Shortly before the ground, open the Paraglider with X and land on a safe surface.
Don’t open the sail too early. The fall is very long and can completely deplete Link’s stamina. First let yourself fall freely and only slow down in the lower part of the shaft.
On the ground you will meet Ponnick. He was supposed to accompany Robbie, but lost sight of him in the darkness. Robbie appears to have headed west.
Basics of the subsurface
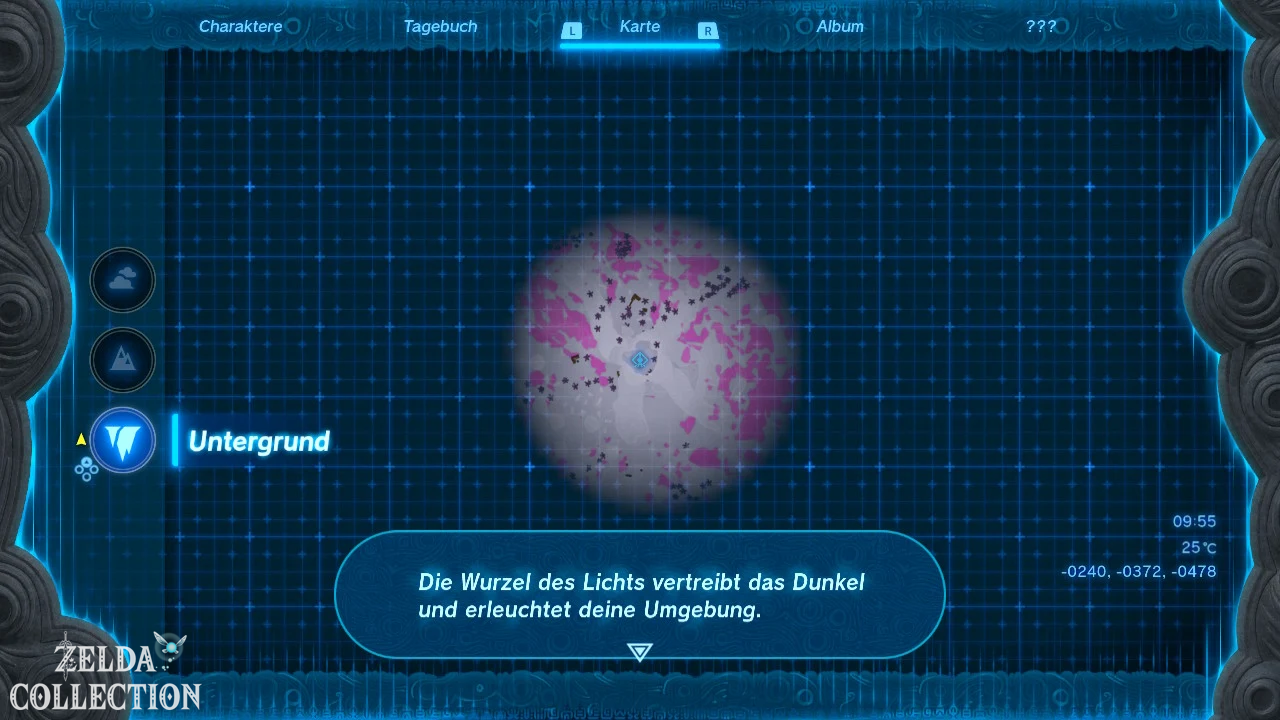
The Depths has its own card, which is initially almost completely hidden. There is neither daylight nor ordinary shrines. The huge Lightroots serve as orientation.
Examines a root on its underside to activate it. This means:
- the surrounding area is permanently illuminated,
- the corresponding map section becomes visible,
- creates a new fast travel point,
- will restore hearts blocked by Gloom.
Interestingly, many of the surface shrines have a root beneath them. The names of the roots correspond to the names of the associated shrines spelled backwards. The first root on this route is under the Jiosin Shrine.
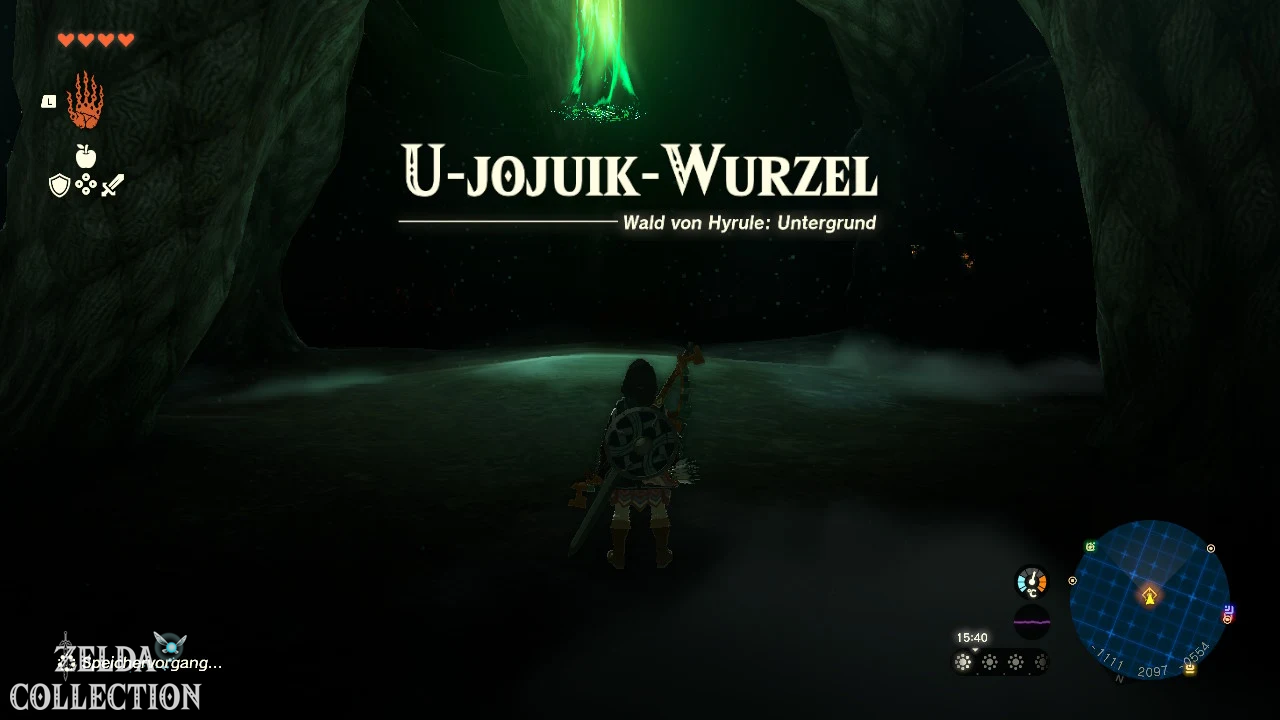
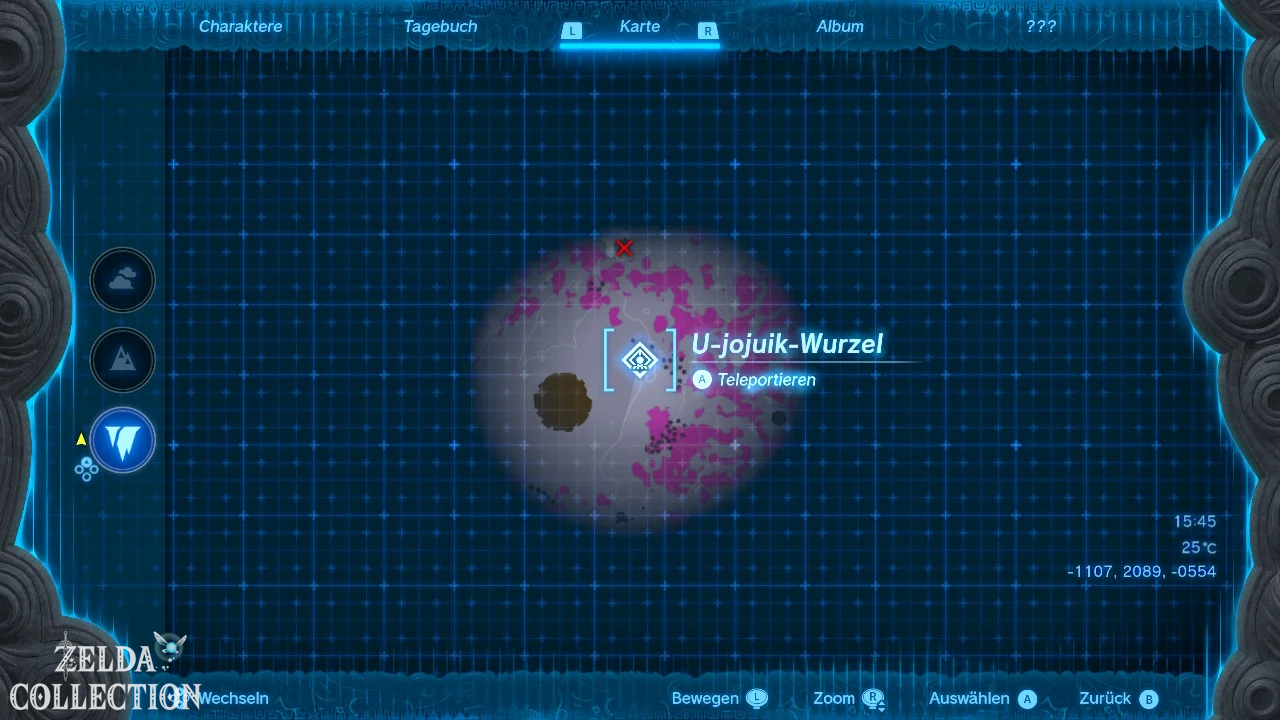
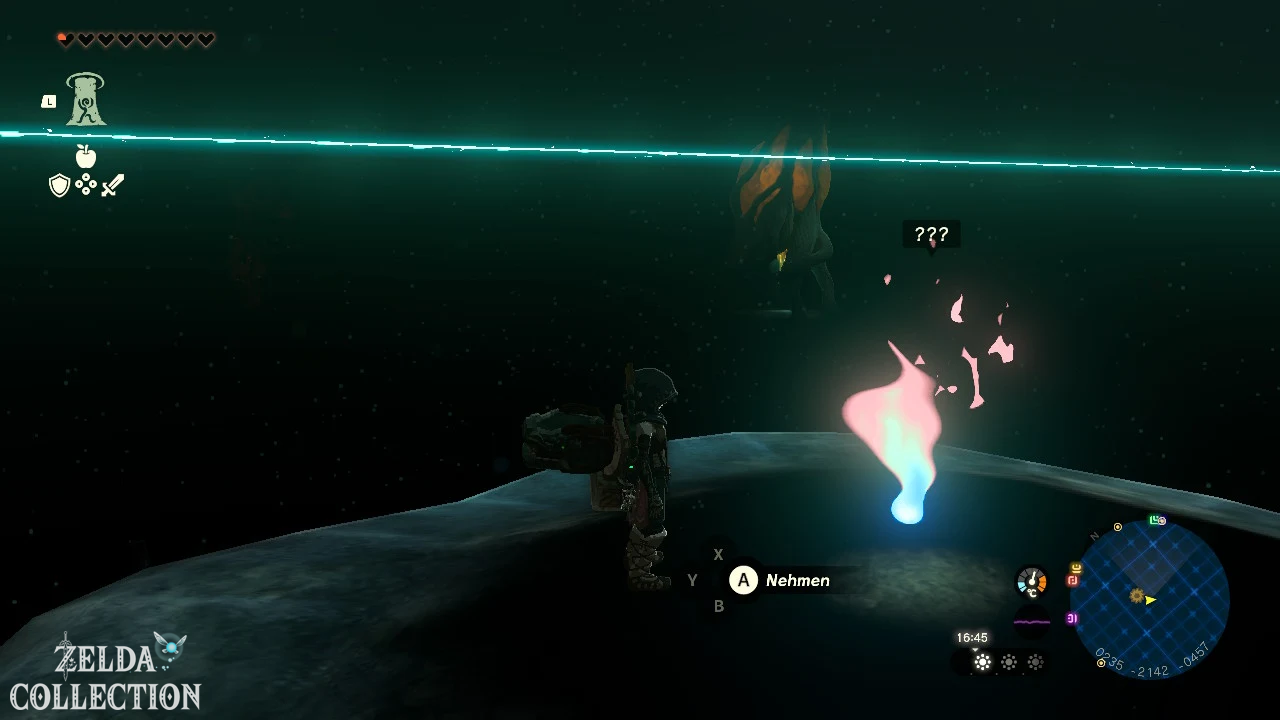
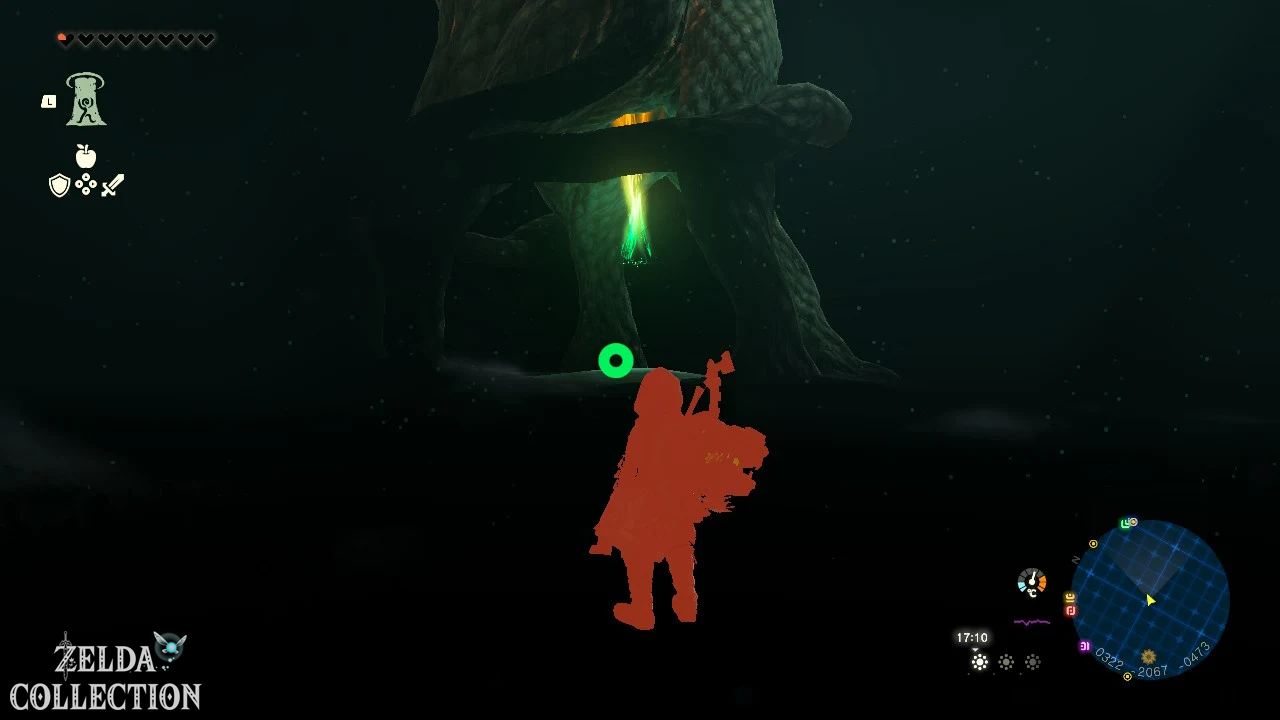
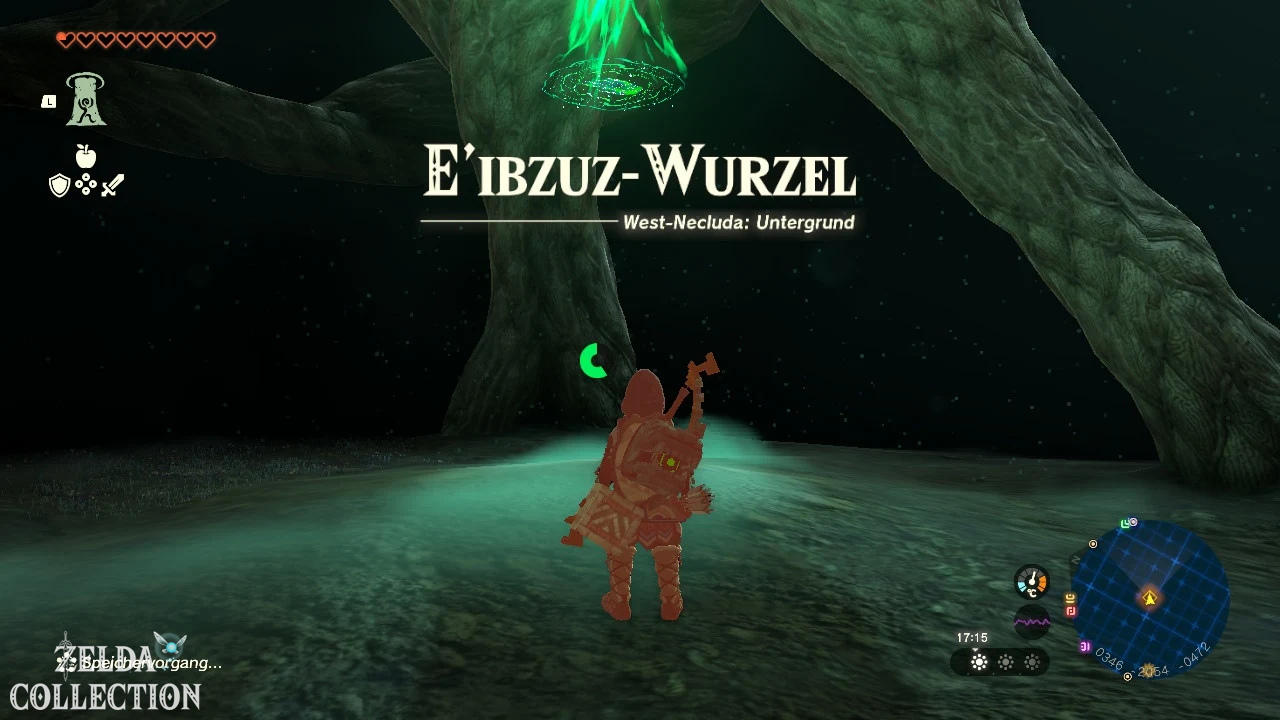
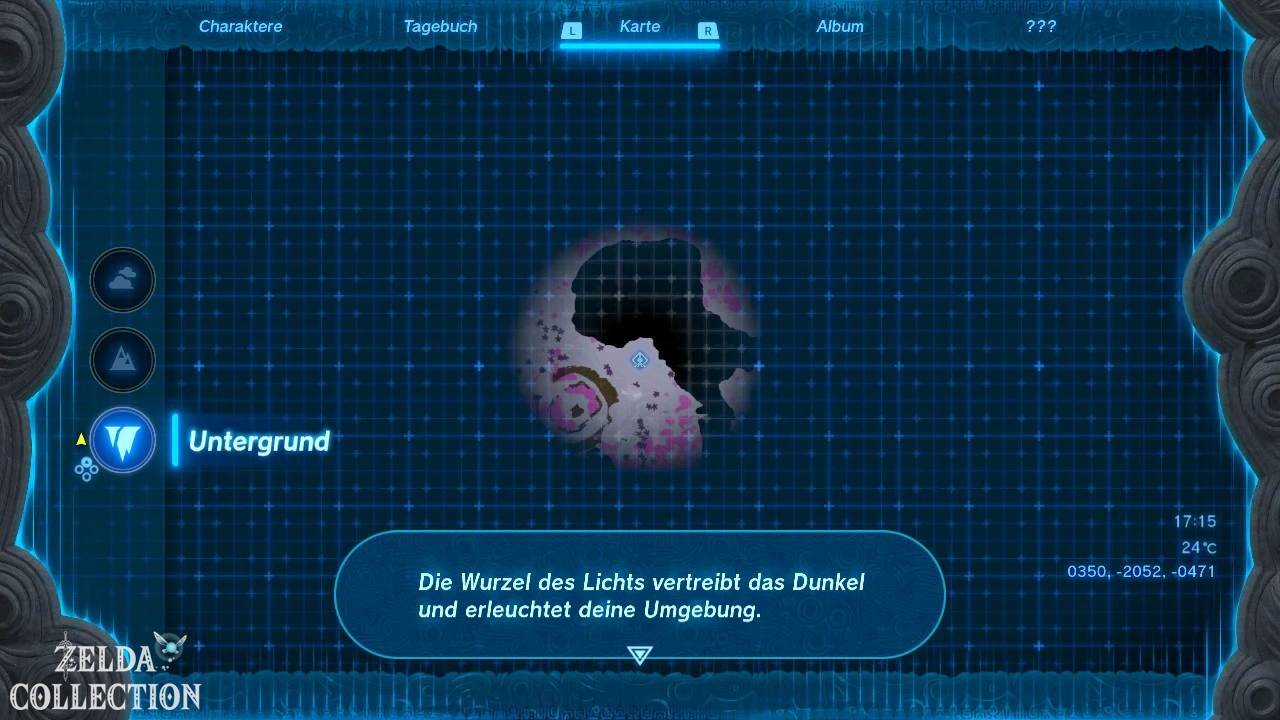
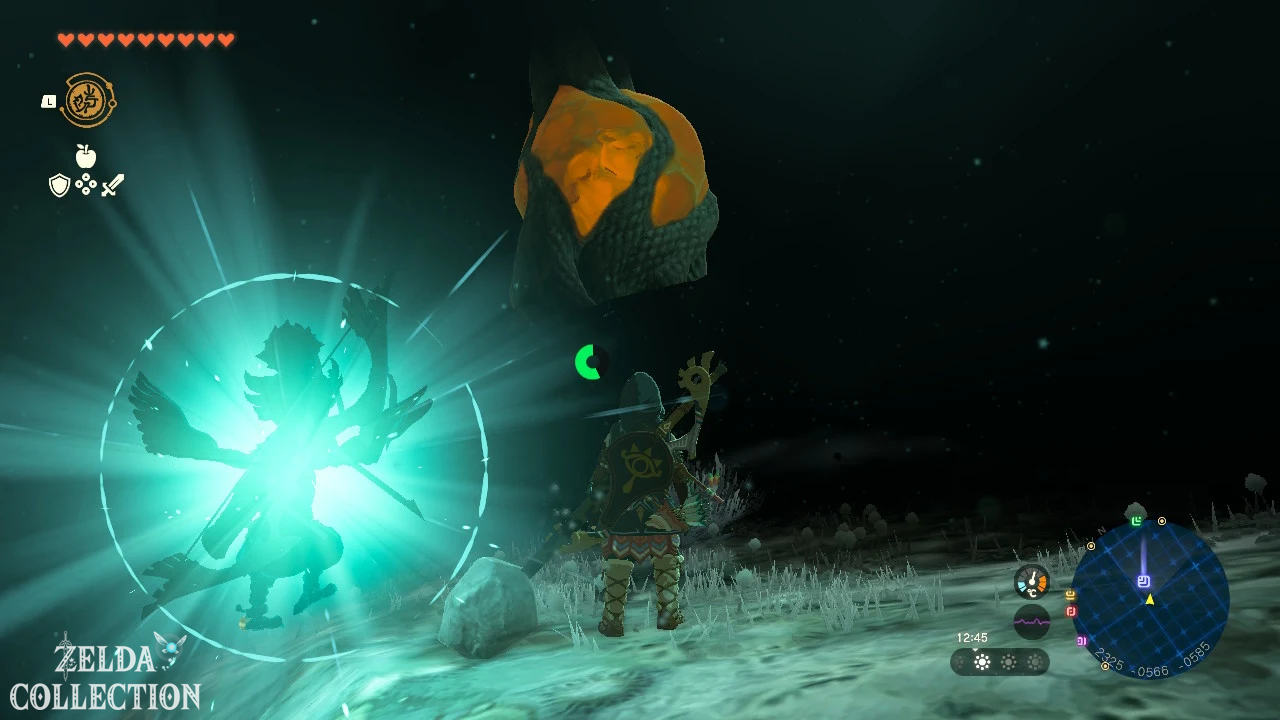
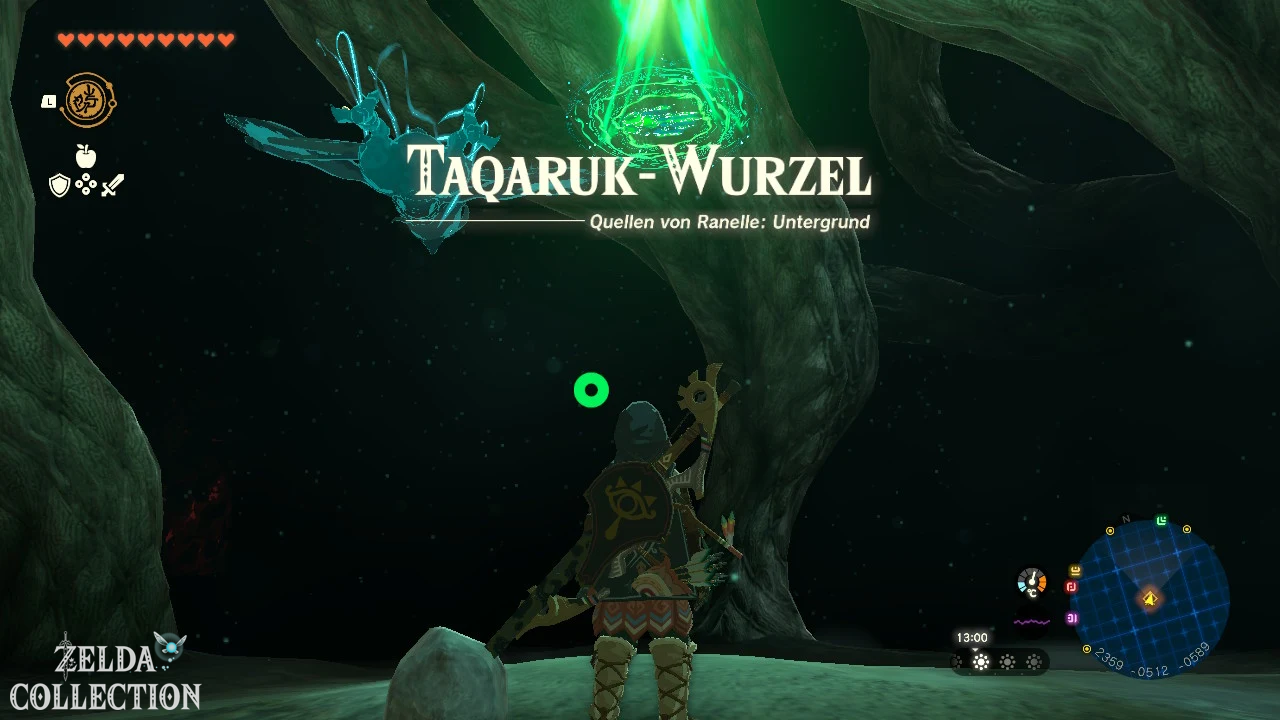
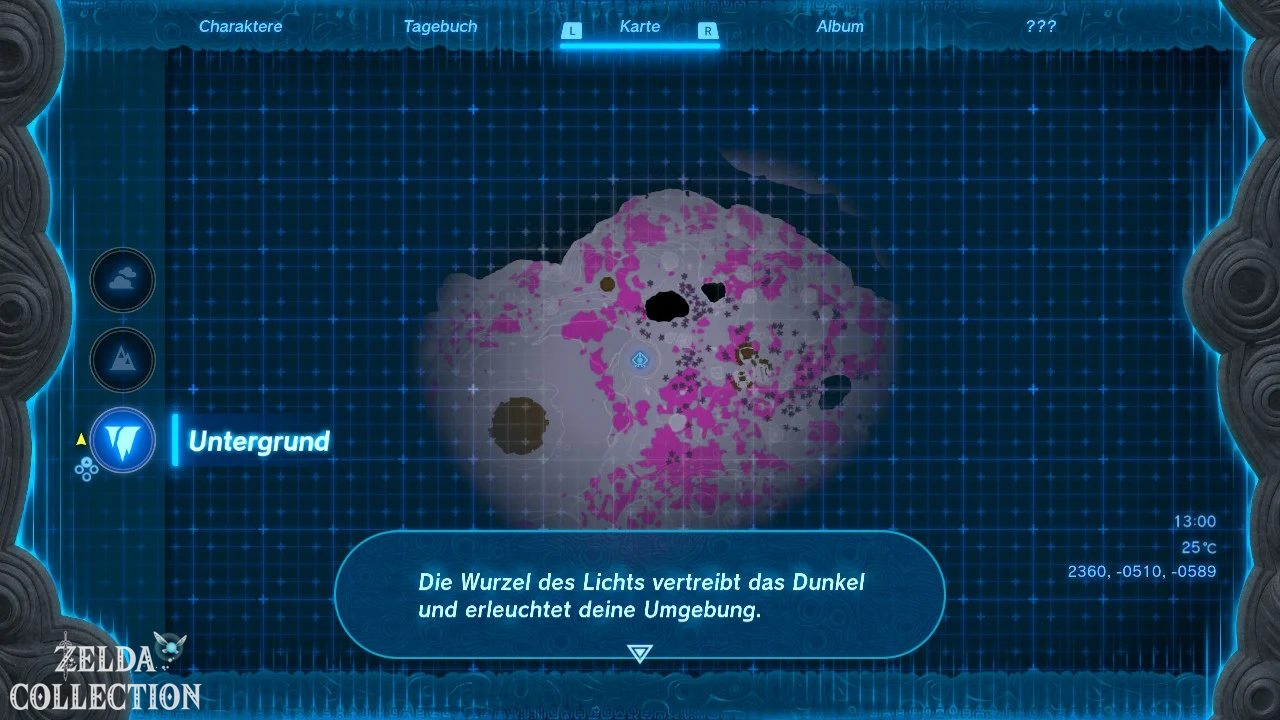
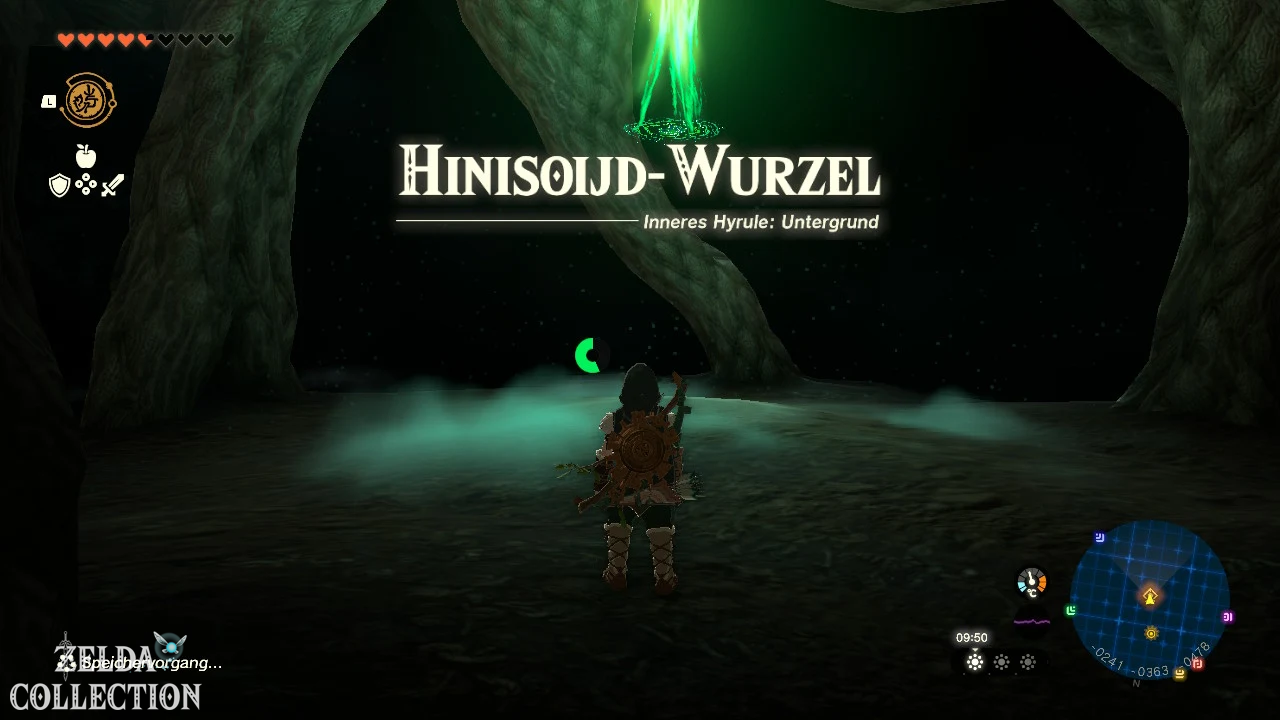
Activate Nisoij Lightroot
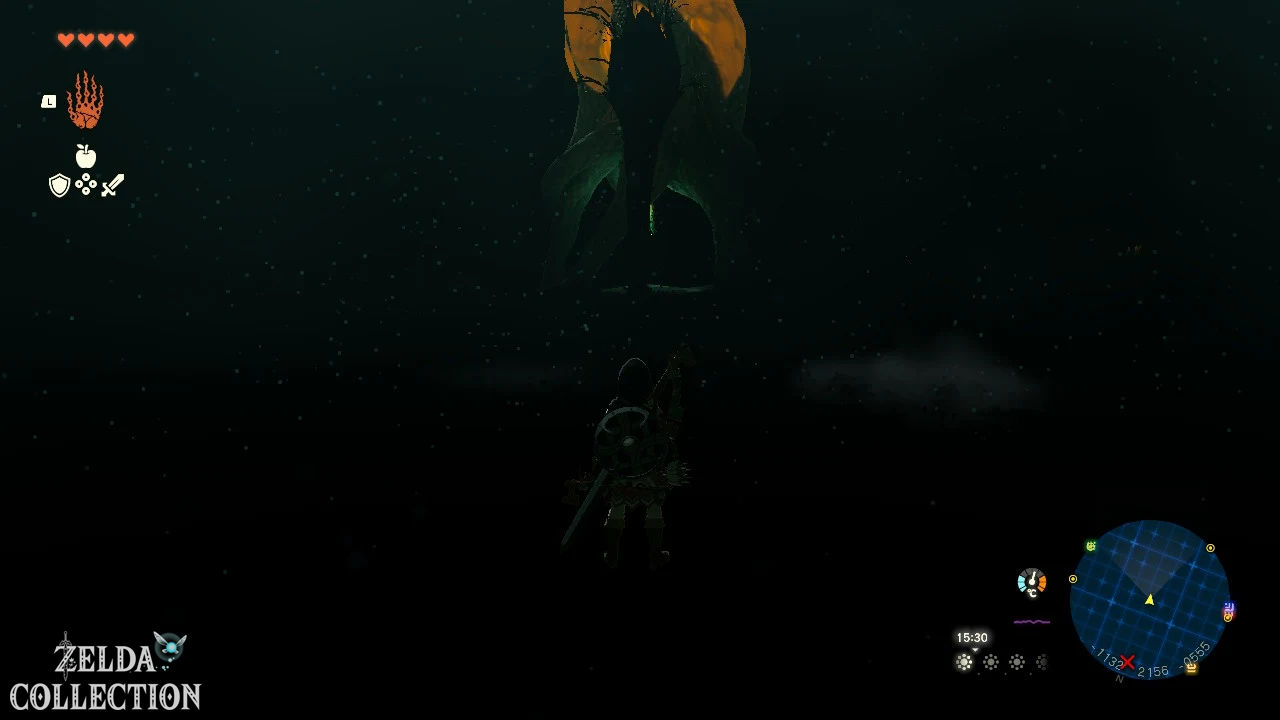
Looking from the landing pad towards the large orange plant. It is easy to see even in the dark.
The Nisoij Lightroot is located approximately at the coordinates -0240, -0372, -0478. Run to it over safe areas and examine the glowing area on its underside.
After activation you will recognize the nature of the environment for the first time. Search nearby:
- Brightbloom Seed and Giant Brightbloom Seed,
- Zonaite deposit,
- Wisps,
- forfeited weapons,
- Notes from Robbie.
Robbie’s notes follow
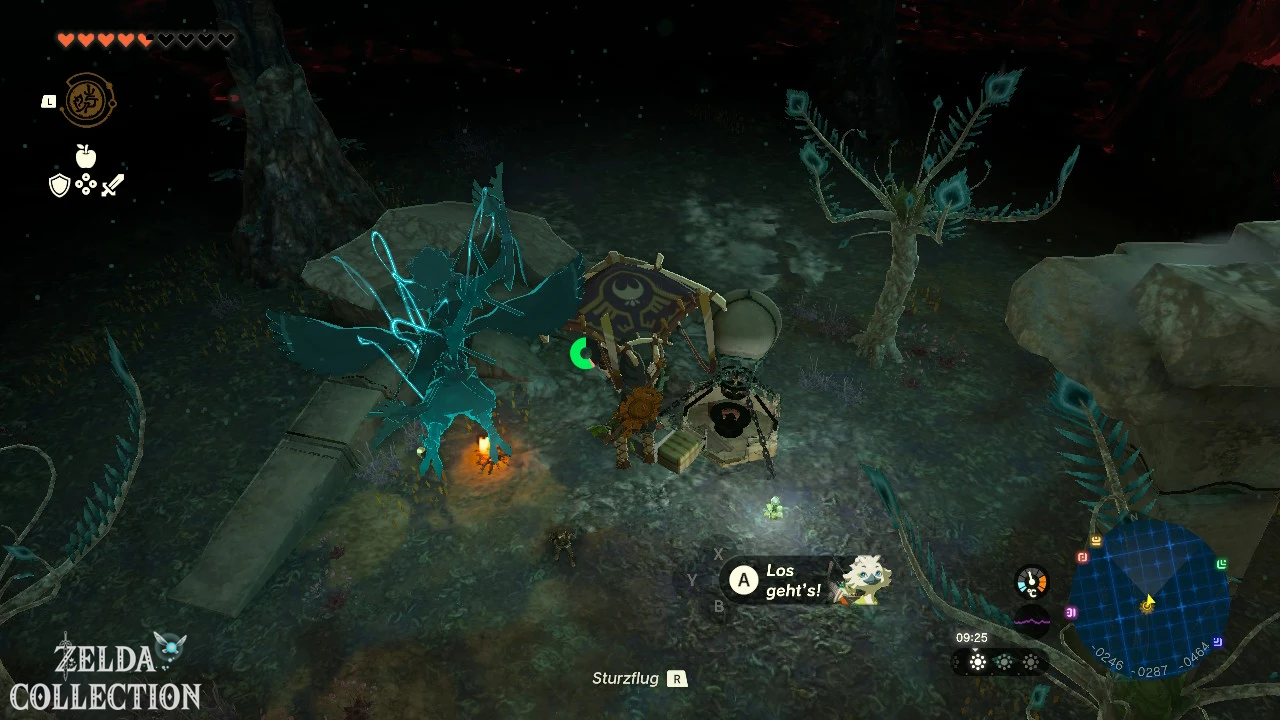
First run from the Nisoij Lightroot southwest to the small campfire. There is a note on a table in which Robbie describes the darkness and his further path.
From this camp continue west. Robbie left campfires, notes and Brightbloom Seed at several stopovers. These markings create a safe corridor through the darkness.
Always light the path before walking over unknown ground. In the Depths safe rocky areas, deep abysses and large gloom fields alternate.
Enemy on the way
Stalbokblins and gloom-covered Bokoblins can appear between the two roots. Stalk enemies collapse after being hit, but will get back up as long as you don’t destroy their skull.
Break apart the bodies and then quickly destroy the rolling skulls. Alternatively, you can bypass the enemies as this quest does not require combat.
Escape route: If several enemies are chasing you, continue to the next root. If you move far enough away from their camp, most enemies will stop pursuing you.
Find Iayusus Lightroot and Robbie
Follow the campfires and notes further west. The second large root is visible from a distance as an orange point of light.
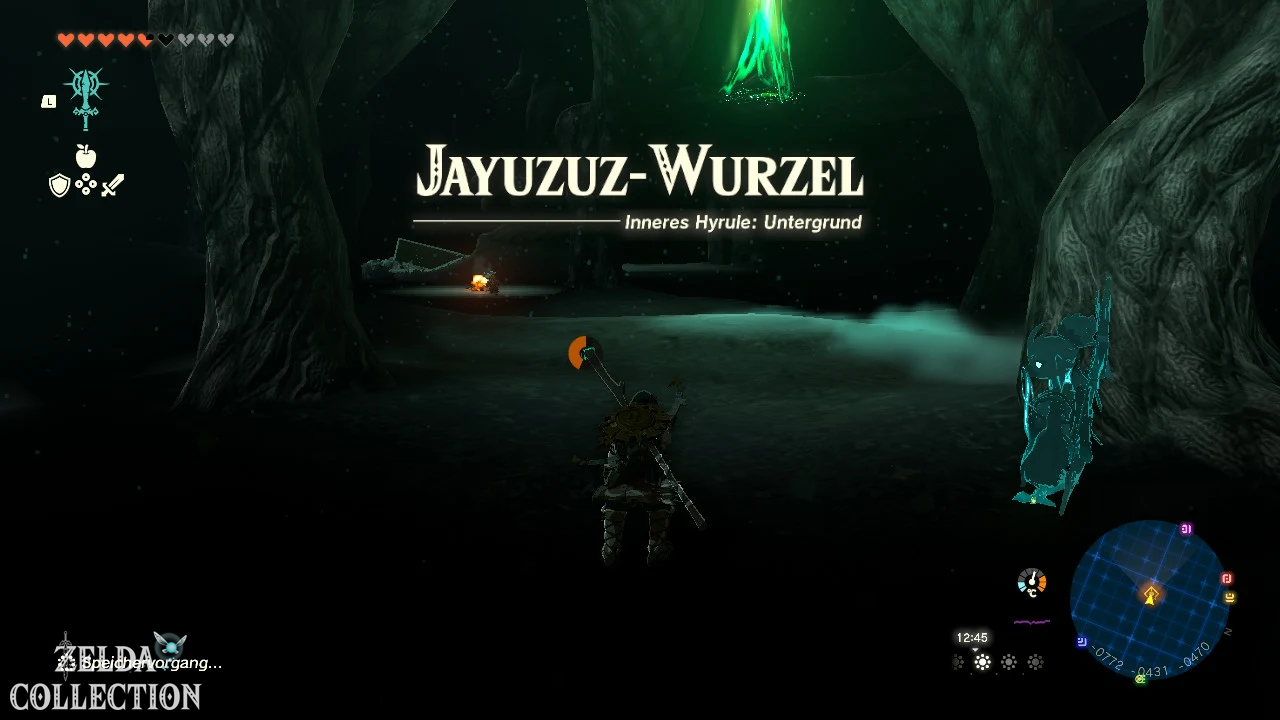
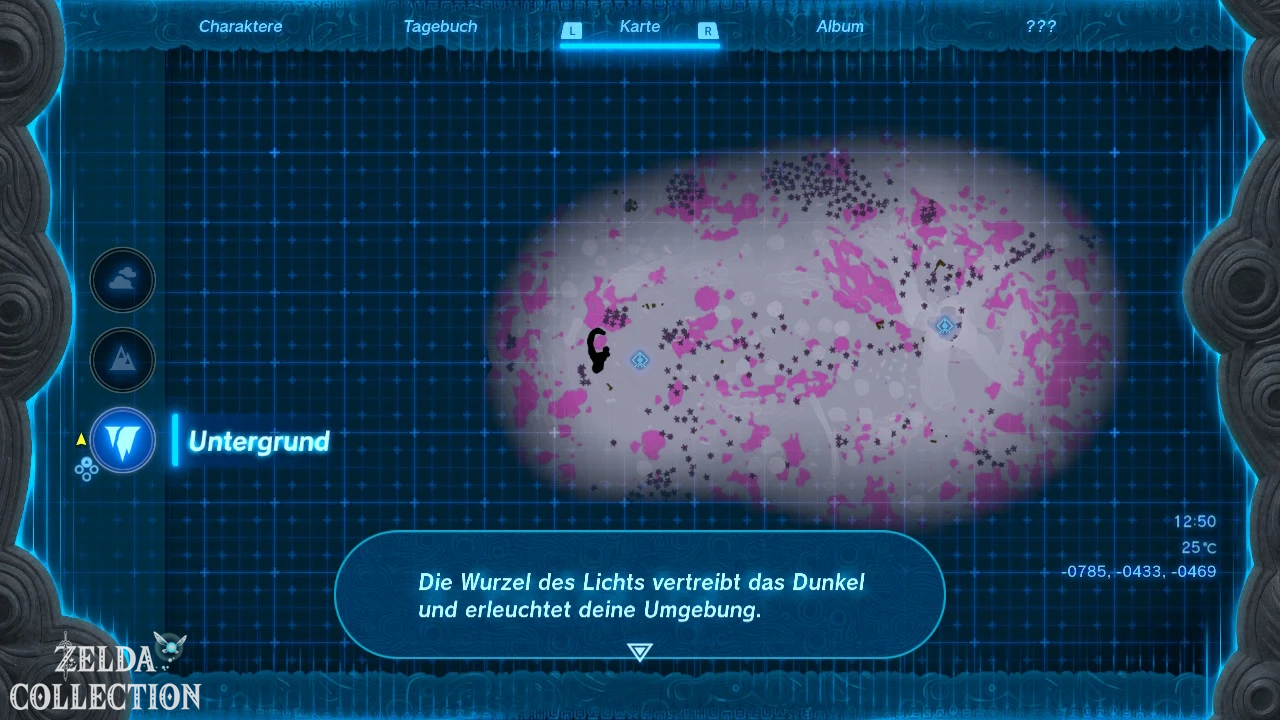
The Iayusus Lightroot is located approximately at the coordinates -0785, -0433, -0469. Activate it first before talking to Robbie. This will illuminate the entire area around the statue and unlock an important fast travel point.
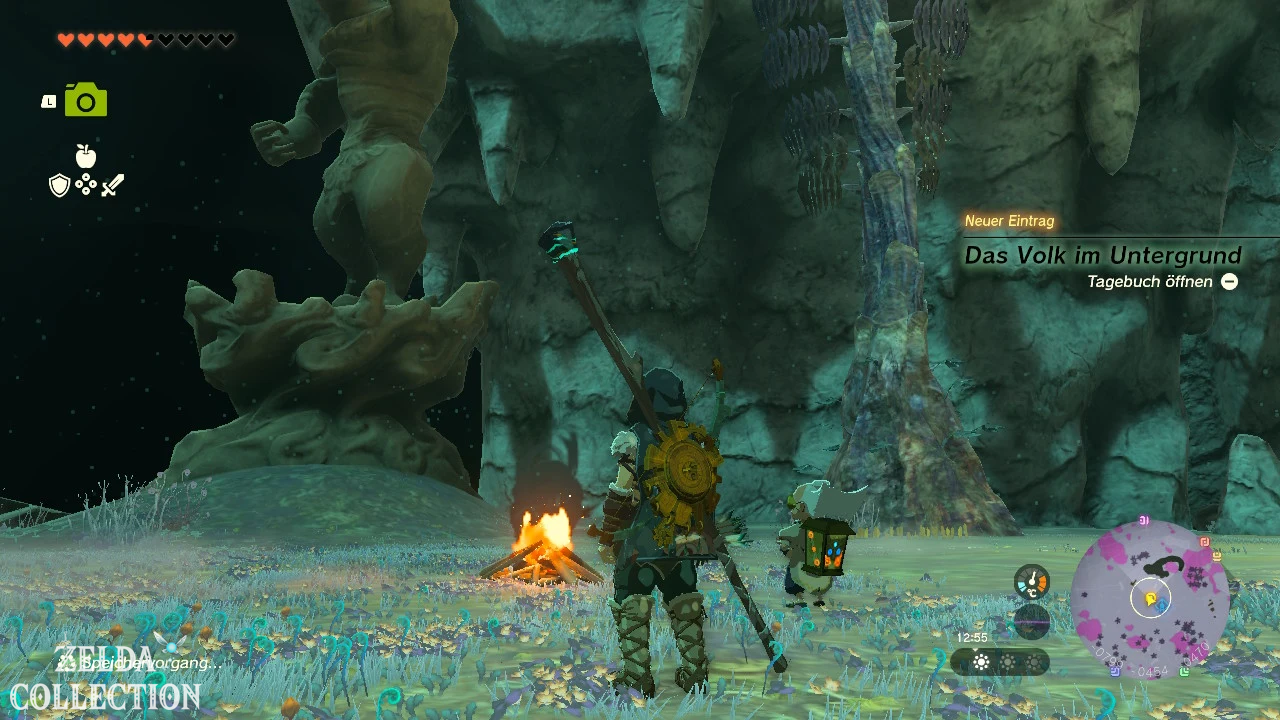
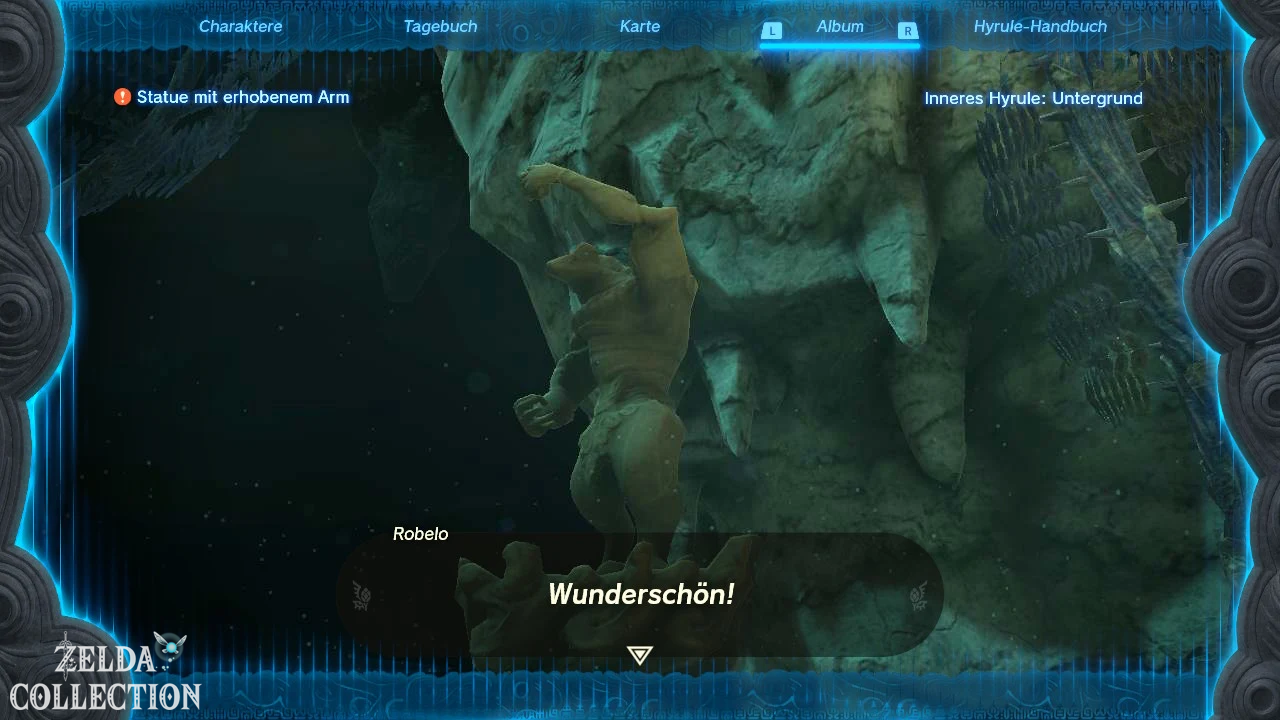
Robbie is waiting at a campfire not far from the root. The large statue he was looking for stands next to him with his arm raised.
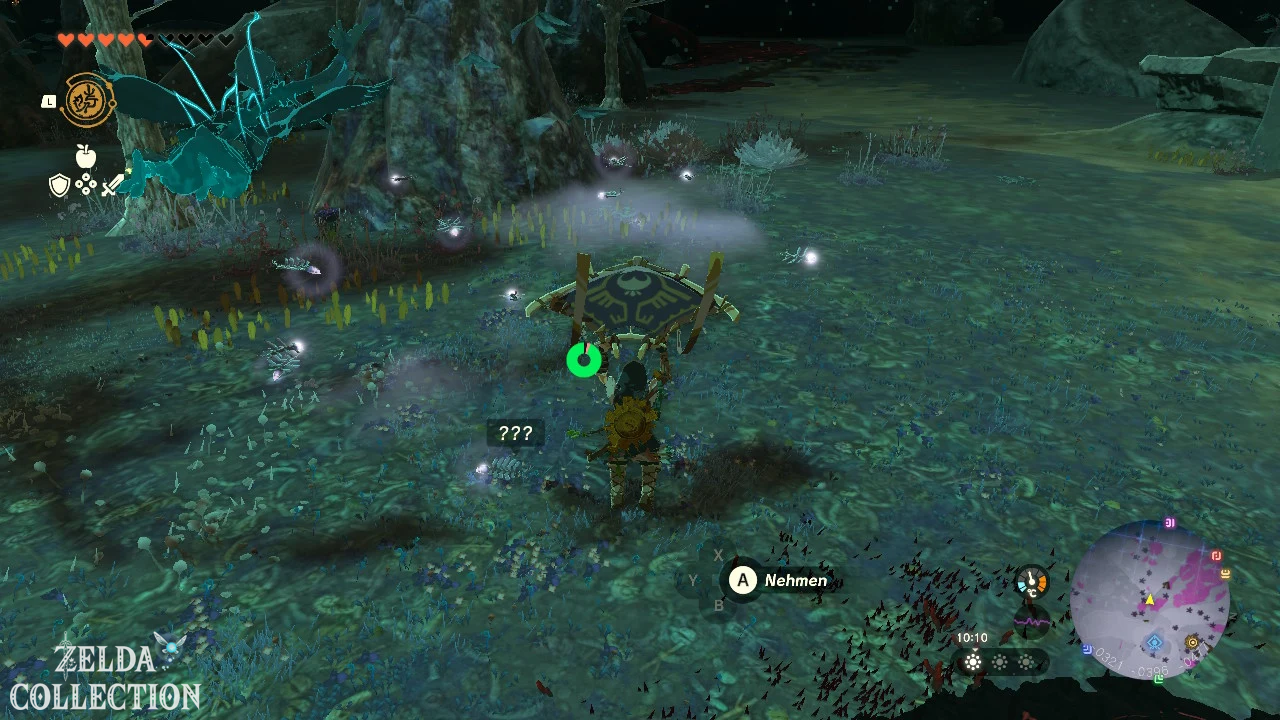
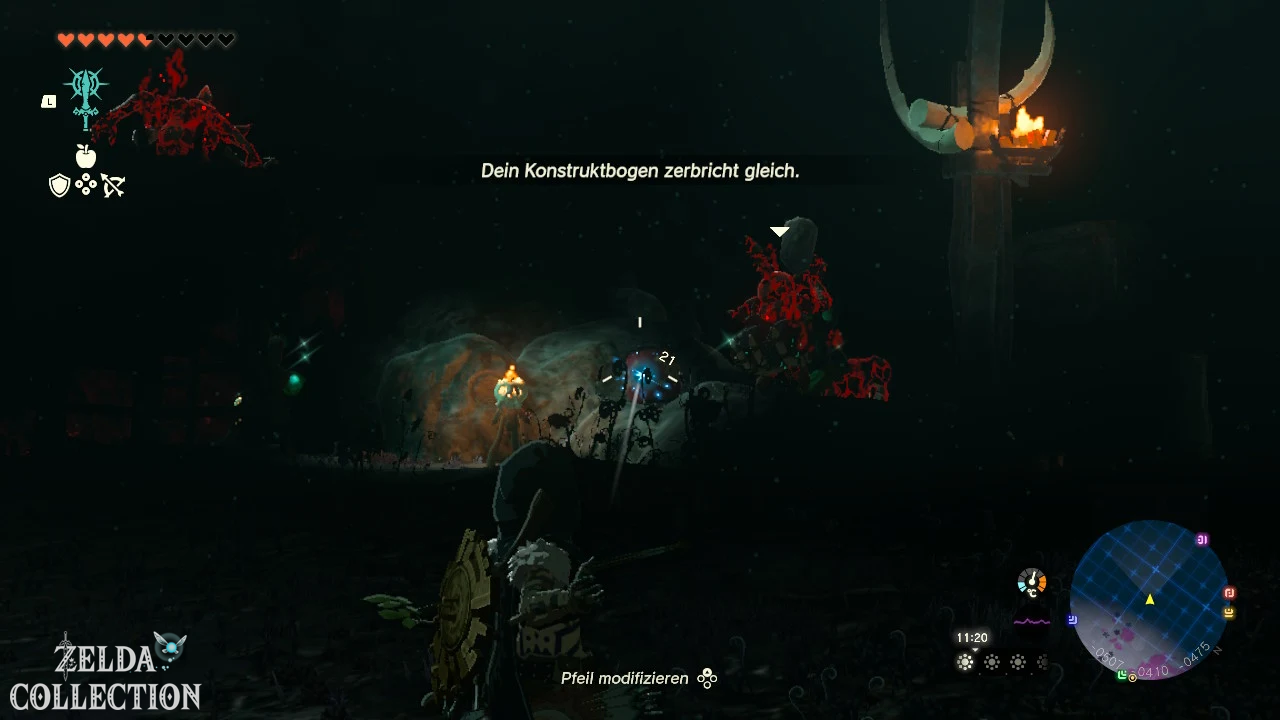
Camera and Hyrule Compendium unlock
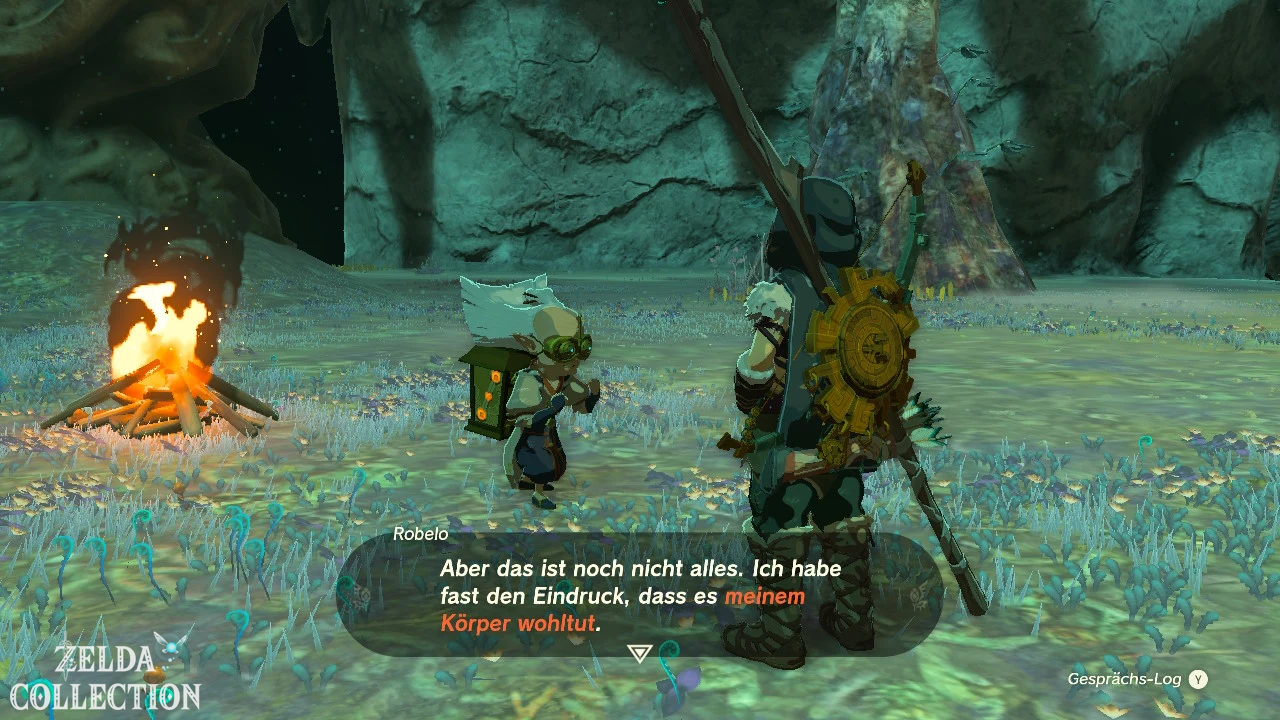
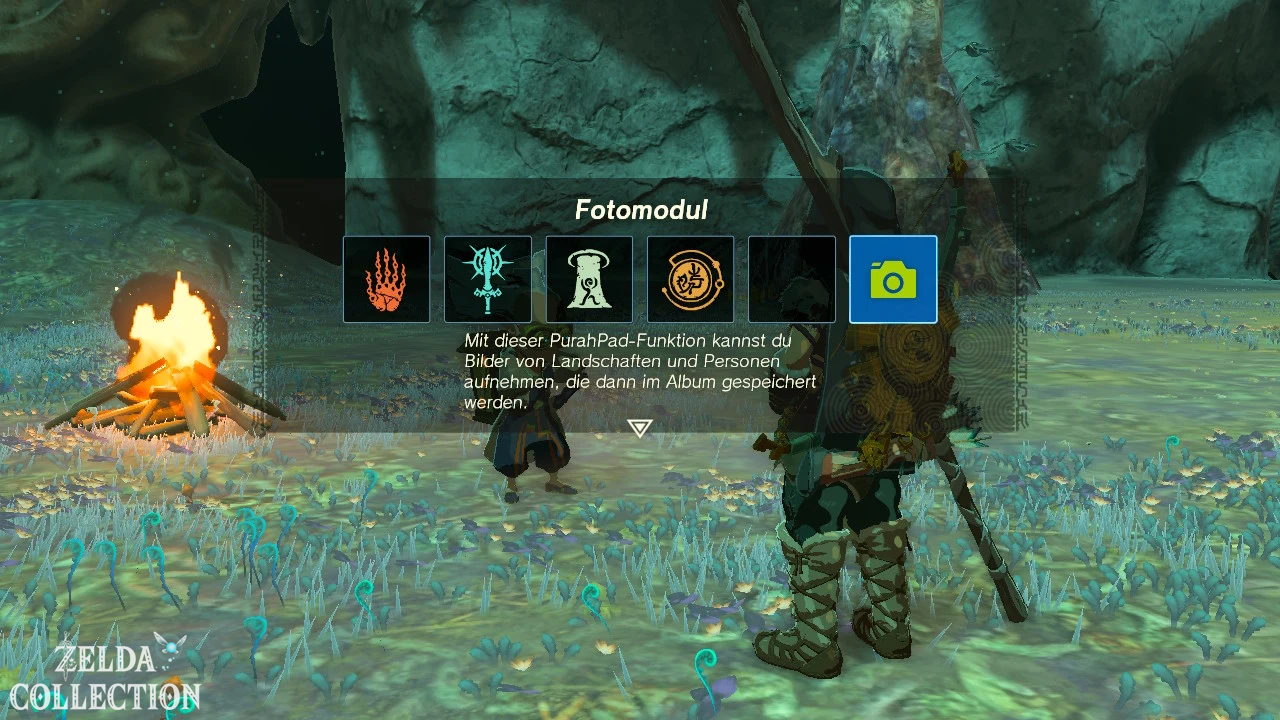
Speak to Robbie. He makes some adjustments to the Purah Pad and unlocks two new features:
- Camera: With this you can photograph people, monsters, animals, weapons, materials and places.
- Hyrule Compendium: Recognized motifs are stored in a database with names and information.
Both functions will be activated together during this conversation.
Photograph mysterious statue
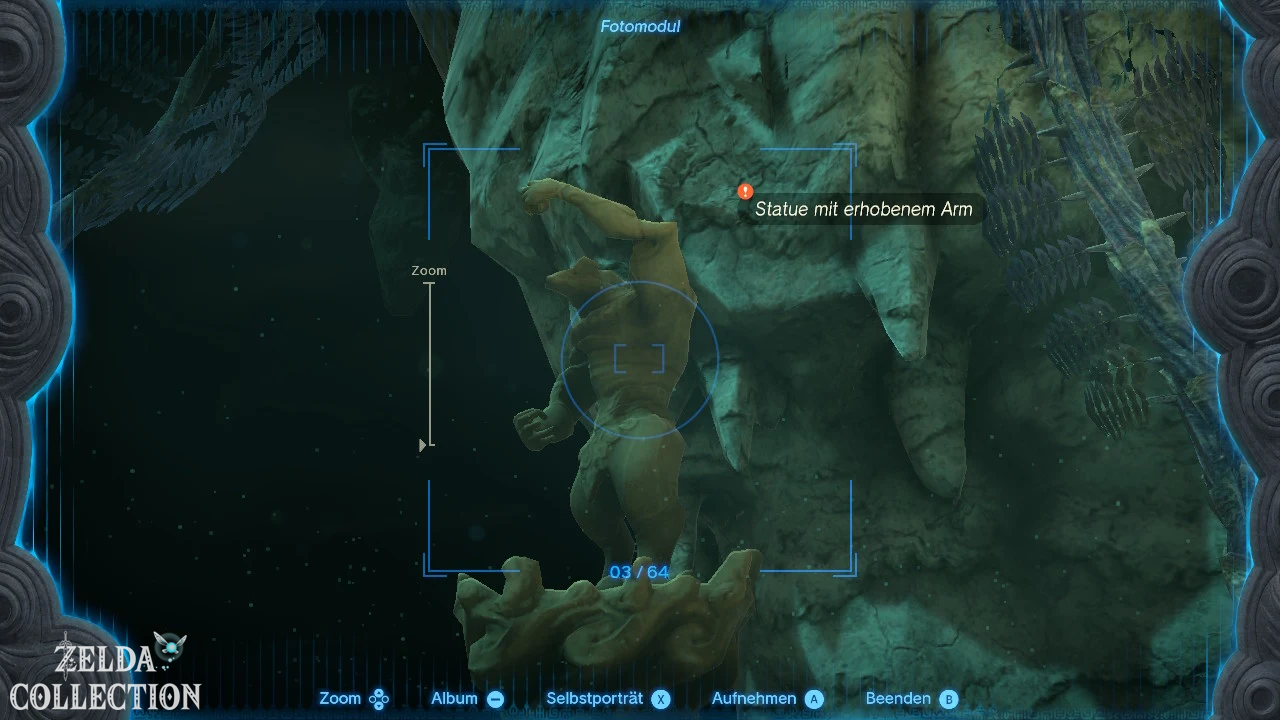
Hold L and select the photo module in the skill wheel. Aim the camera at the large statue with two legs and a raised arm.
Make sure that the entire figure can be seen in the image. As soon as the Purah Pad recognizes the correct subject, a mark or the name of the photographed object appears.
Press A to take the picture. The photo then shows Robbie. He confirms that the statue corresponds to the image on Josha’s fragment.
Photo will not be recognized: Take a few steps back and frame the entire statue including the head, legs and raised arm.
Return to Lookout Landing
Robbie initially stays at the statue and asks you to bring the photo to Josha. Open the underground map and travel to the tower at Lookout Landing or a nearby shrine.
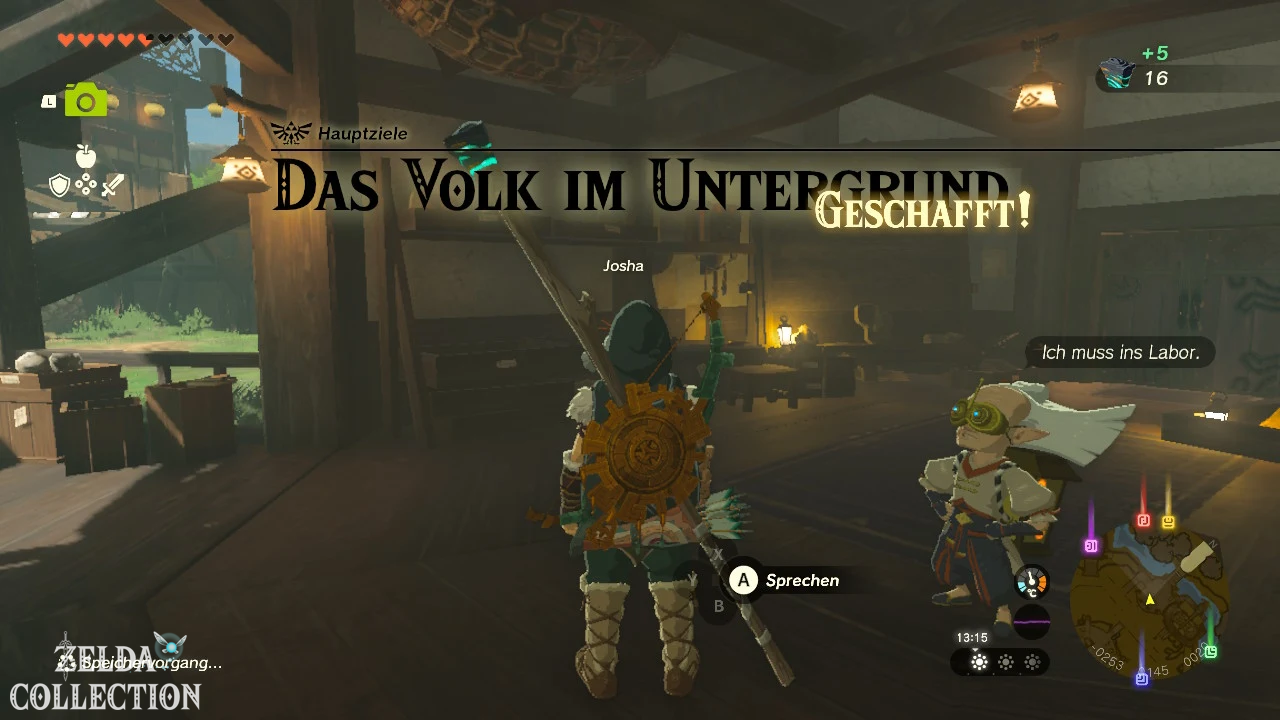
Speak to Josha in the research building and show her the photo. The recording confirms your suspicion that the Depths was previously used or inhabited by an unknown people.
As a reward you will receive 5 Zonaite. This concludes “The People in Depths”.
What else does the quest unlock?
The Camera is not only required for the Hyrule Compendium. Numerous later Side Quests, Purah Pad improvements and collection tasks require you to be able to photograph certain subjects.
“The People in Depths” is also a prerequisite for the later main quest “The A Mystery in the Depths”. You will not automatically receive the Autobuild immediately after returning to Josha.
The temple in Depths: Autobuild unlock
When does the follow-up quest appear?
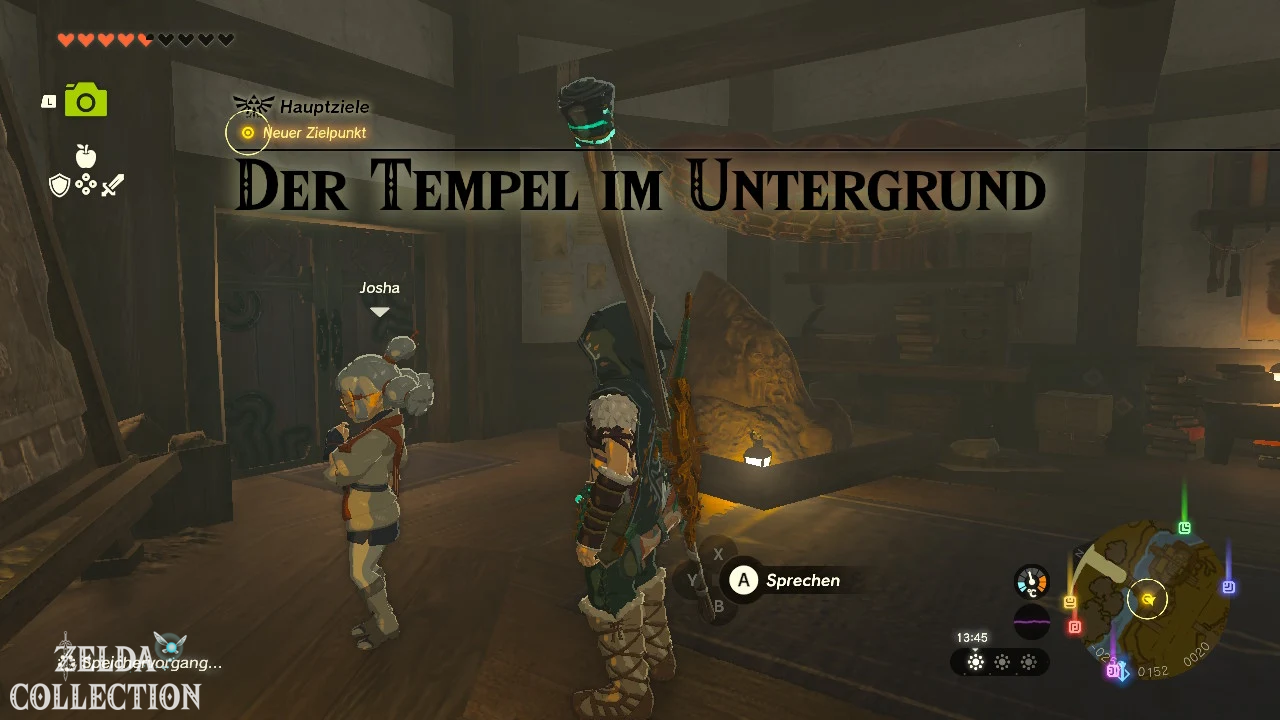
After completing “The People in Depths”, Josha continues to work on their fragments. The follow-up quest will be unlocked as soon as you have also completed at least one of the four regional phenomena.
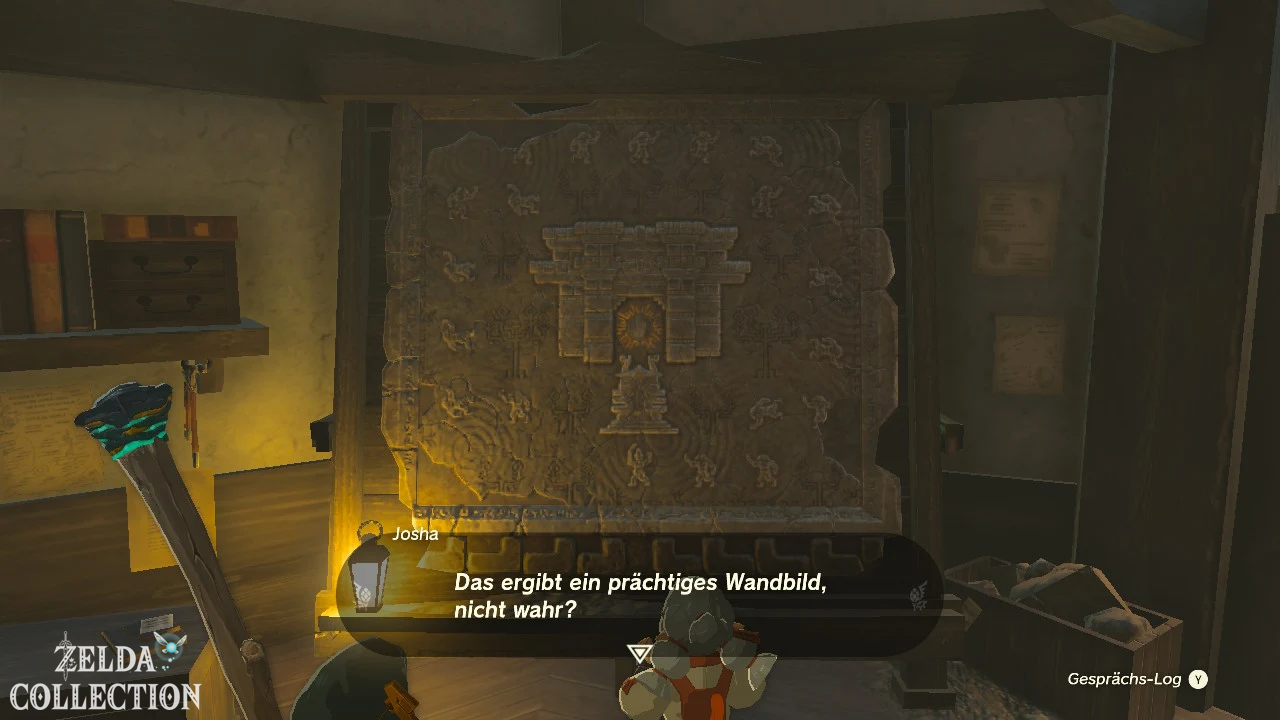
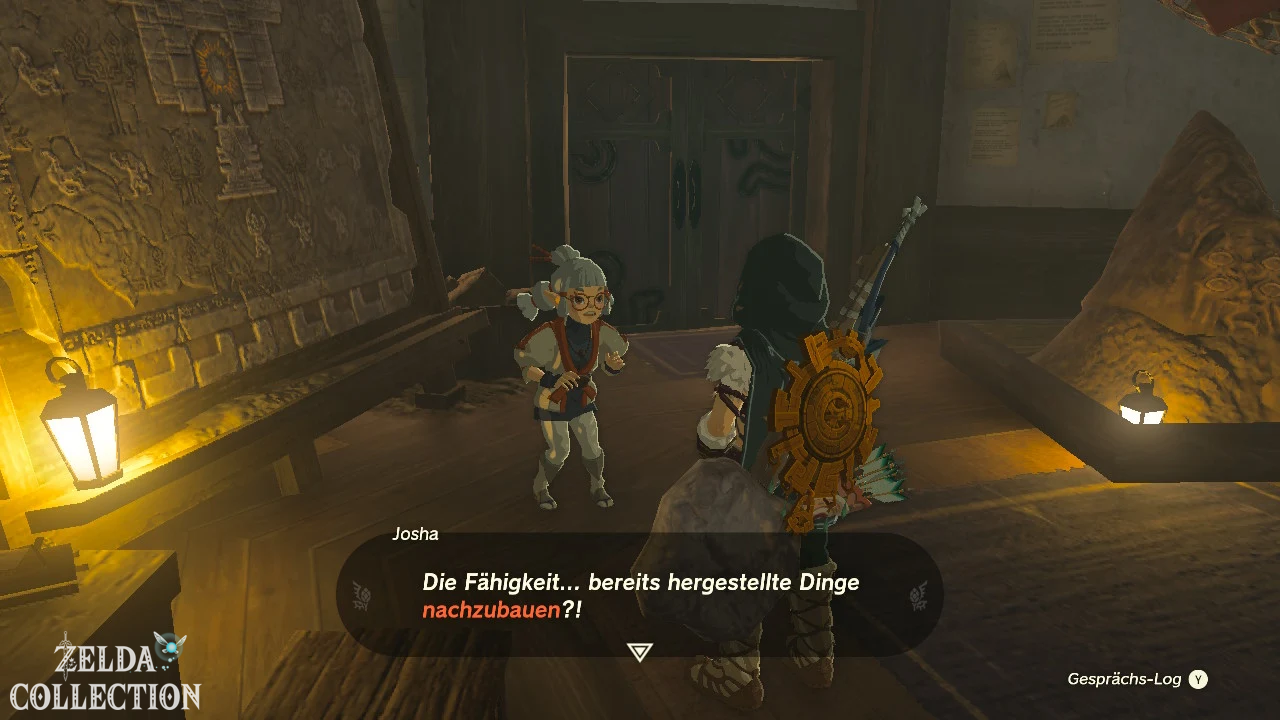
Then return to Lookout Landing and speak to Josha again on the ground floor of the research building. She put together a large mural from several fragments.
The picture shows a series of similar statues. All figures look towards a temple-like building in which Josha suspects a special Zonai power.
Josha appoints Link as their research partner and presents him with:
- 10 wooden arrows
- 10 Giant Brightbloom Seed
This begins “The A Mystery in the Depths”.
Return to Iayusus Lightroot
Fast travel to Iayusus Lightroot, where you previously found Robbie and the first statue.
Examine the statue more closely. Their raised arm is less important than the direction they are facing: the figure is looking at the next statue. From there you can see the following figure.
A total of 22 statues form a long chain that leads from Iayusus Lightroot south to the Abandoned Central Mine.
statues through the Depths follow
Always follows the line of sight of the last statue. The figures are far enough apart that you occasionally have to shoot a Brightbloom Seed arrow in the suspected direction.
The proposed route essentially leads south. On the way you pass:
- multiple camps with gloom-covered enemies,
- two more Lightroots,
- numerous sonanium deposits,
- an area with a Frox,
- several larger gloom fields.
Activates every root you pass. It makes orientation easier and shortens the time needed to try again if Link is defeated. In particular, the Nihcayam and Nogukoyk roots are located on the planned route.
Pass Frox
Part of the statue route leads near a large Frox. The opponent can suck in Link, swallow him and deal great damage with jump attacks.
You don’t have to defeat him for the quest. Give his position a wide berth and be careful not to lose sight of the next statue.
If you want to fight, shoot bomb flowers into the Frox’s open mouth. As soon as it lies stunned on the ground, attack the ore deposits on its back.
Abandoned Central Mine Reach
The final statue looks out over a huge illuminated structure. This is the Abandoned Central Mine below the Forgotten Plateau.
The central area of the mine is located approximately at coordinates -0822, -1941, -0523. Between the last statue and the mine there is a depression with enemies. If possible, glide directly onto the central platform with the Paraglider.
Abbreviation for Autobuild
Would you like to visit the mine again later or do you know her?Location already, is that North Abyss on Great Plateau the shortest route. It is approximately at the coordinates -0665, -1510, -0051 and drop you comparatively close to the central mine.
Another route leads over the West Abyss at Mount Hylia. Below you can use an elevator and several cart routes. This route is interesting, but longer than the approach via the northern abyss.
Recommended for the first pass: Follow the statues from Iayusus Lightroot. This is the only way you can experience the quest as Josha’s mural suggests it.
Autobuild obtained in the mine
Go to the center of the facility. There are two alleged members of the Zonai research team standing next to a deactivated Steward Construct.
Examine the green seal. Left’s arm activates the construct, which recognizes him as the carrier of Rauru’s arm and transfers him the Autobuild.
The ability then appears in the ability wheel. You can use it to automatically recreate previously built constructions. The Autobuild first uses components that are nearby. Missing parts will be replaced with green replicas against Zonaite.
Try
Autobuild
The two researchers ask for a demonstration. There are two vehicles next to them:
- One vehicle is only missing a Big Wheel.
- The second vehicle lies completely disassembled on the ground.
Attaches the missing Big Wheel to the first vehicle with the Ultrahand. The Autobuild automatically saves the design in history.
Then go to the dismantled vehicle, open the skill wheel and select the Autobuild. Marks the vehicle template you just saved and confirms the build.
The scattered components are automatically dragged to the correct positions and connected to each other.
The fake researchers
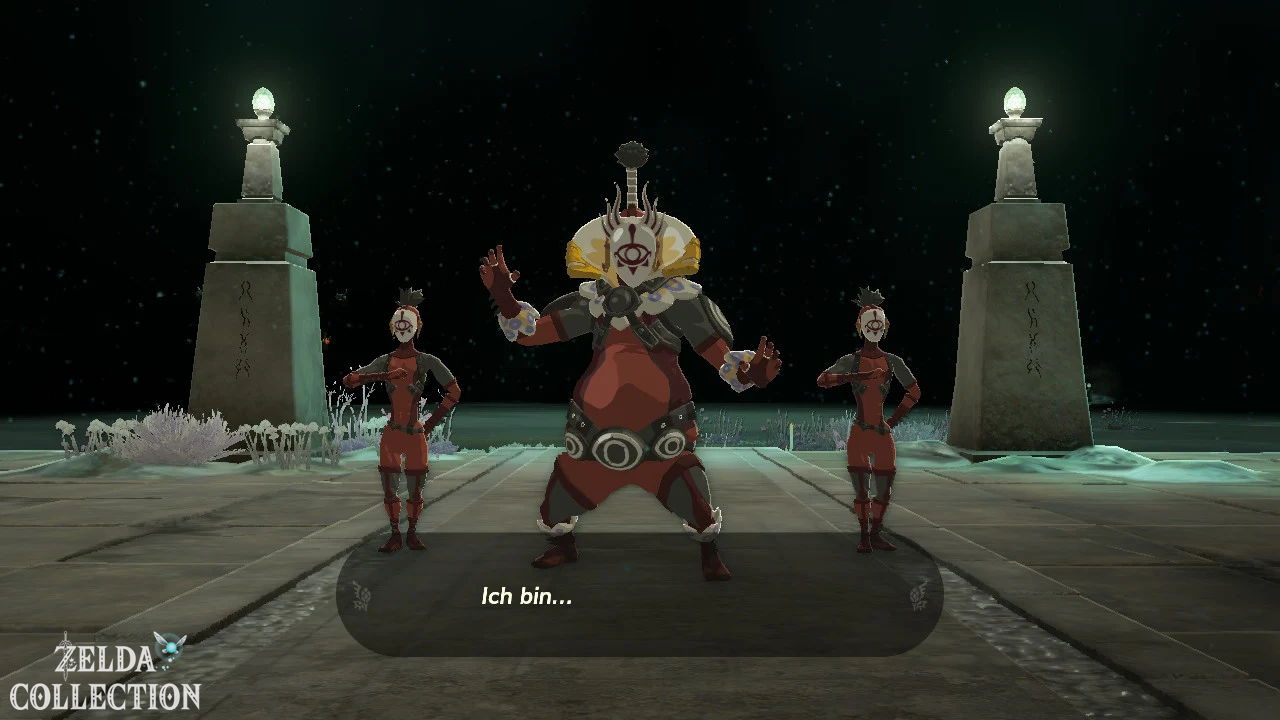
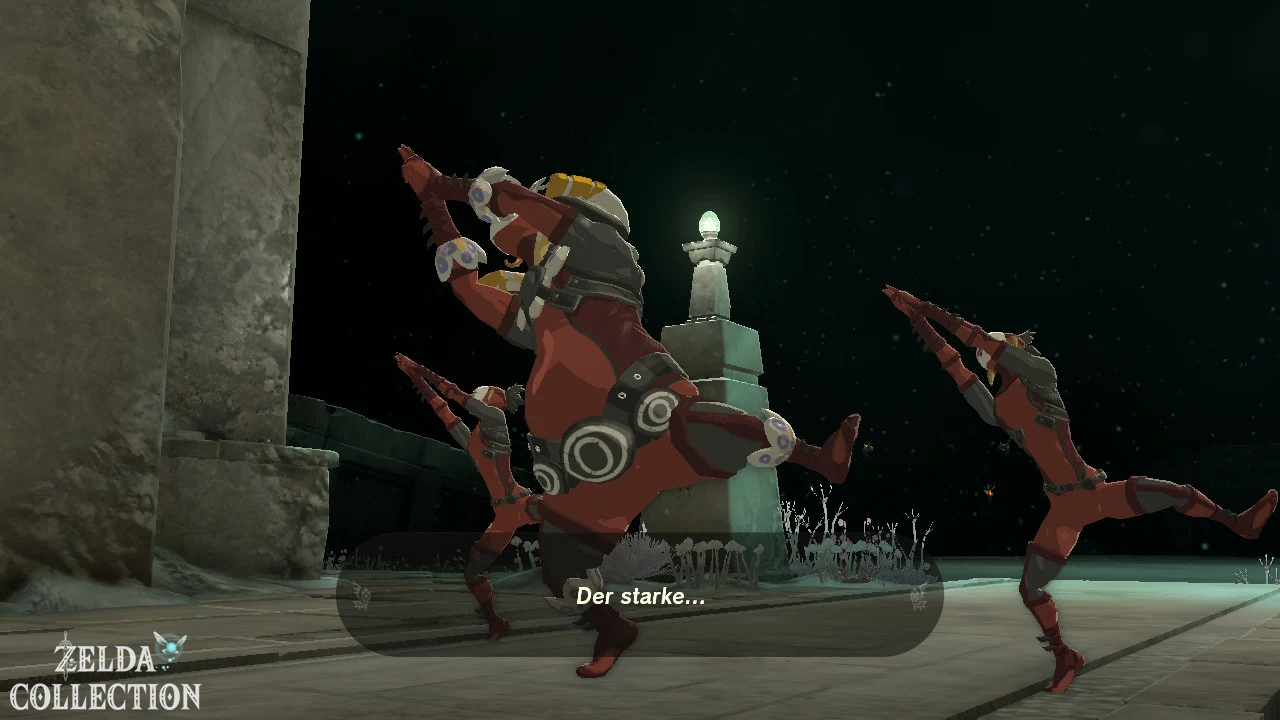
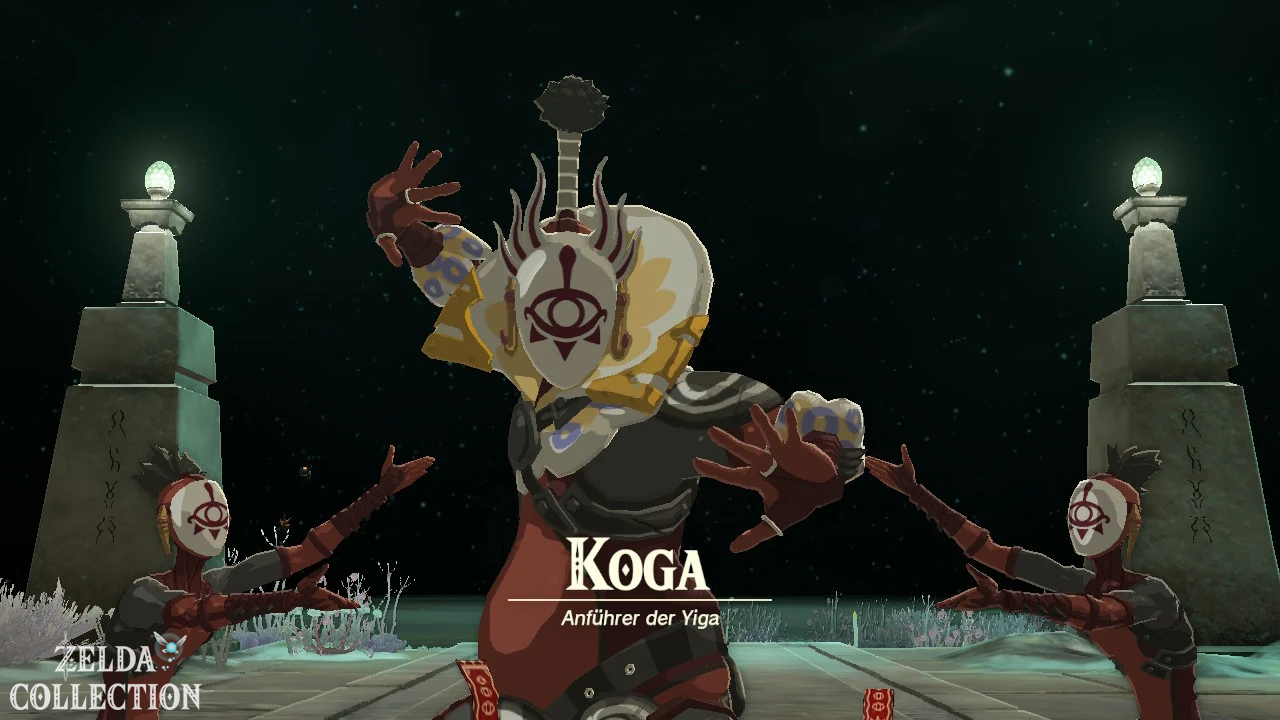
After the demonstration, the two supposed researchers give up their disguise. They belong to the Yiga gang and wanted to find out whether the Autobuild actually works.
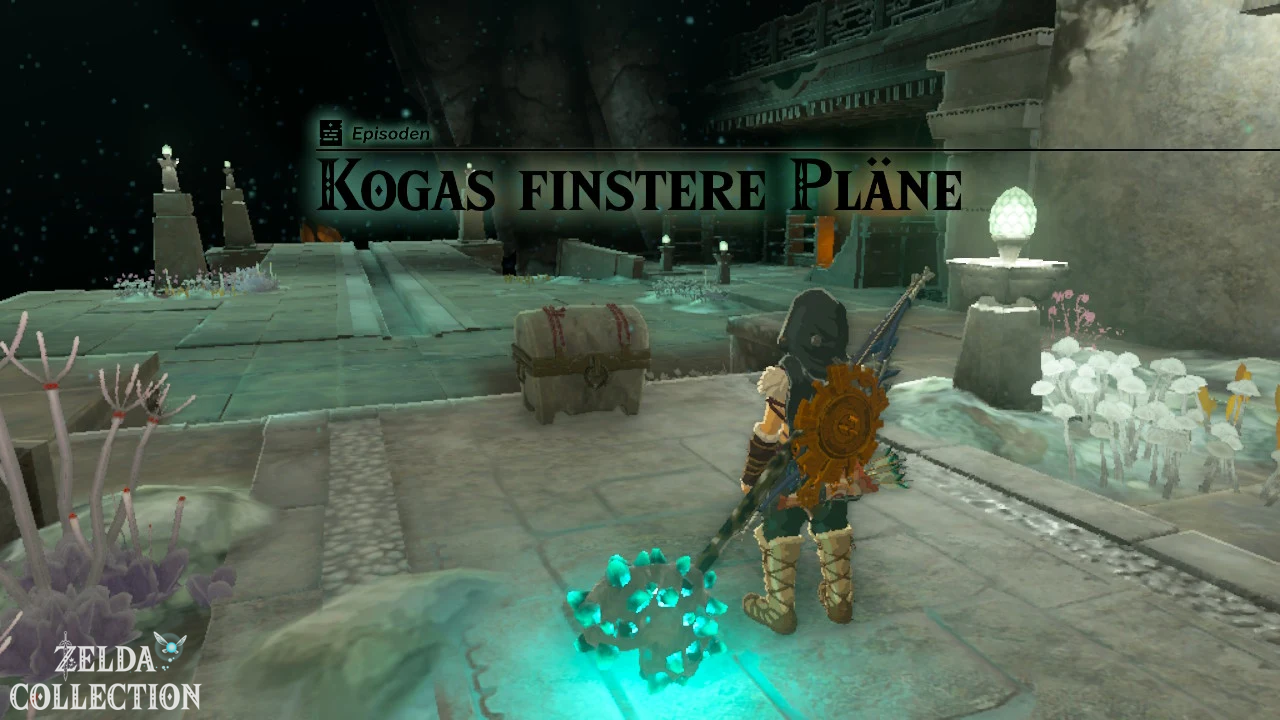
Shortly afterwards their leader Master Kohga appears. He recognizes Link and blames him for his fall into the Depths. This begins the first battle of the “Kohga’s Dark Plans” quest series.
Defeat Master Kohga
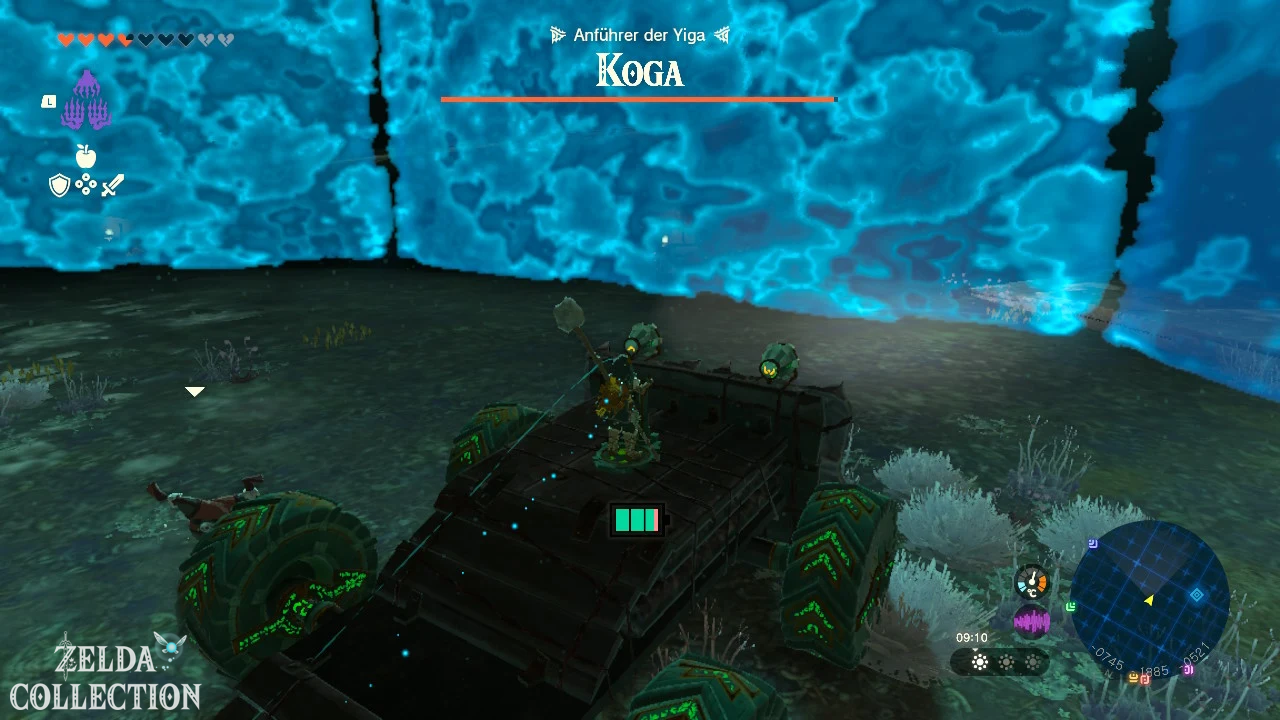
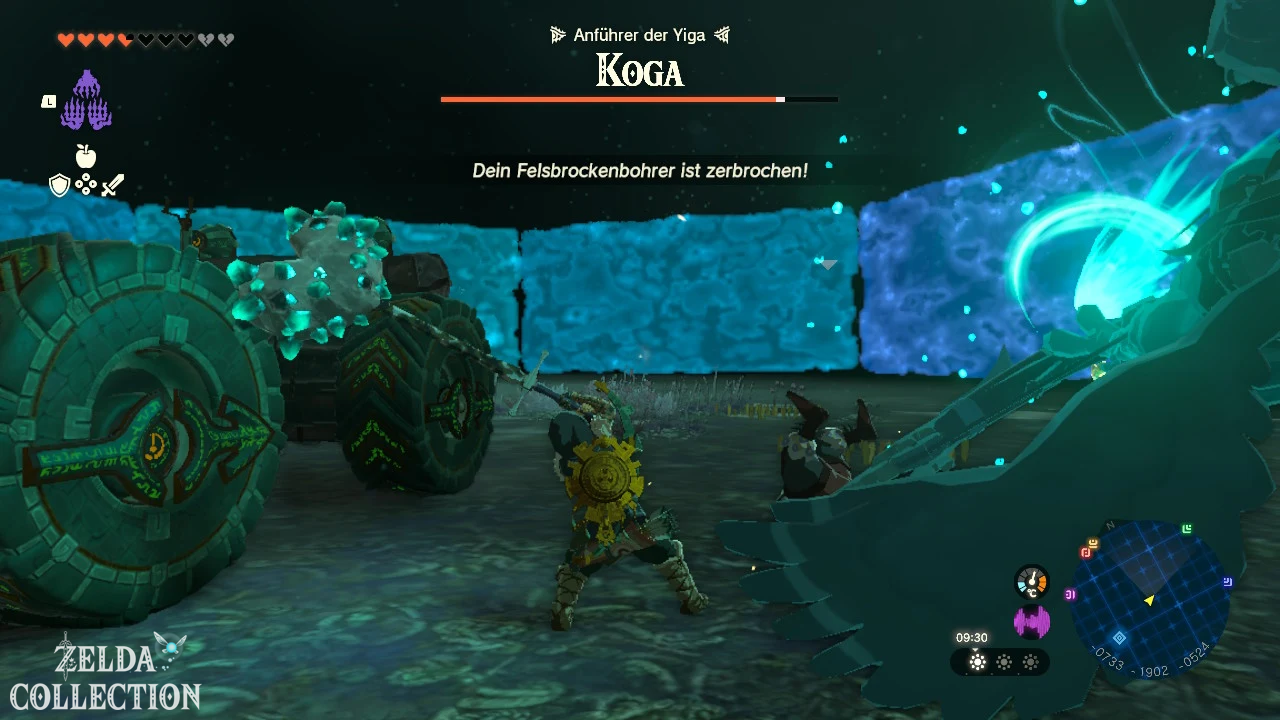
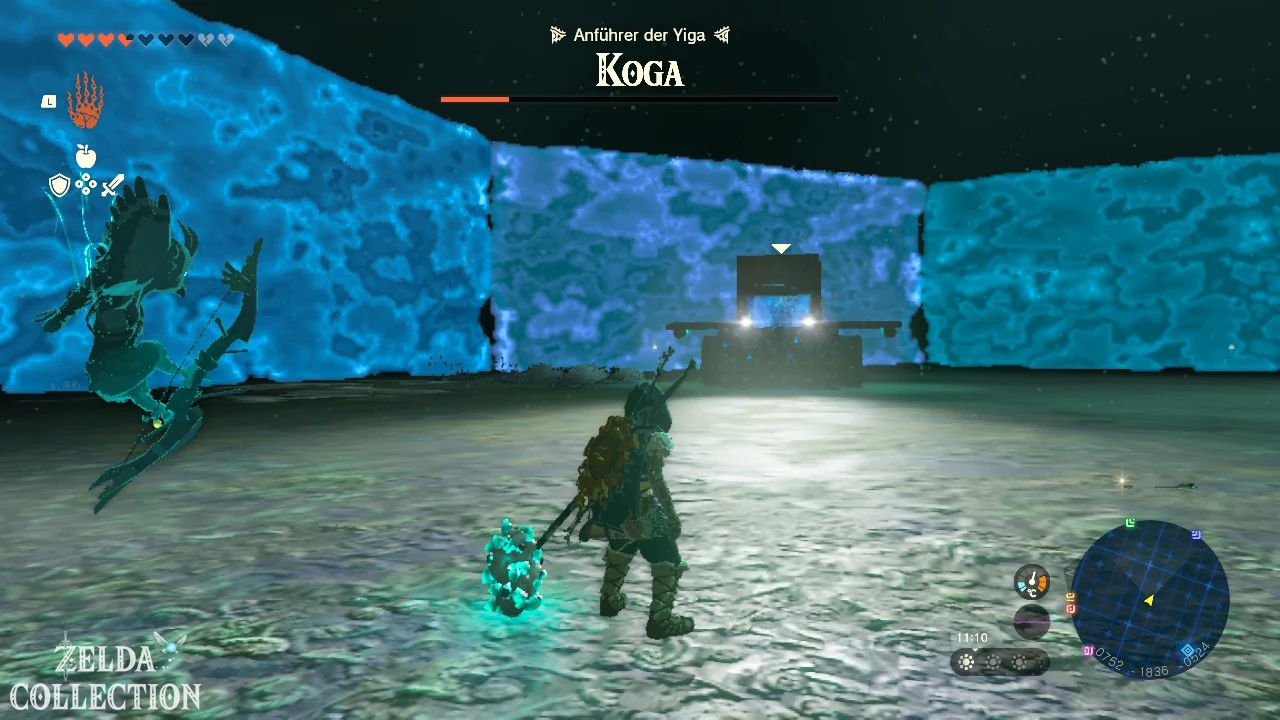
Kohga drives around the arena in a large four-wheeled vehicle during the fight. Your goal is to knock him out of the driver’s seat and then attack in close combat.
First phase of combat
Keep your distance and watch its direction of travel. Shoot Kohga with an arrow as soon as it comes directly towards you or passes to the side.
The following are particularly effective:
- Arrows with bat-biter eyes tracking the target,
- Large Radius Bomb Flower Arrows,
- Shock Fruit arrows that can briefly incapacitate him.
If Kohga is hit, he falls from the vehicle and remains dazed for a few seconds. Run to him and attack with your strongest melee weapon.
Second phase of combat
After several hits, Kohga builds an improved version of his vehicle. Protective plates make attacks from the front more difficult.
Dodge his ram and attack from the side or behind. You can also let the vehicle hit you and get up immediately; Kohga often drives on and turns his back on you.
Alternatively, you can use a rocket on a shield, a Spring or your own Zonai vehicle to get over the protective plates.
Safest strategy: Use Keese Eyeballs on arrows. The homing projectiles can hit Kohga even if you only have a clear view of his head for a short time.
Post-battle rewards
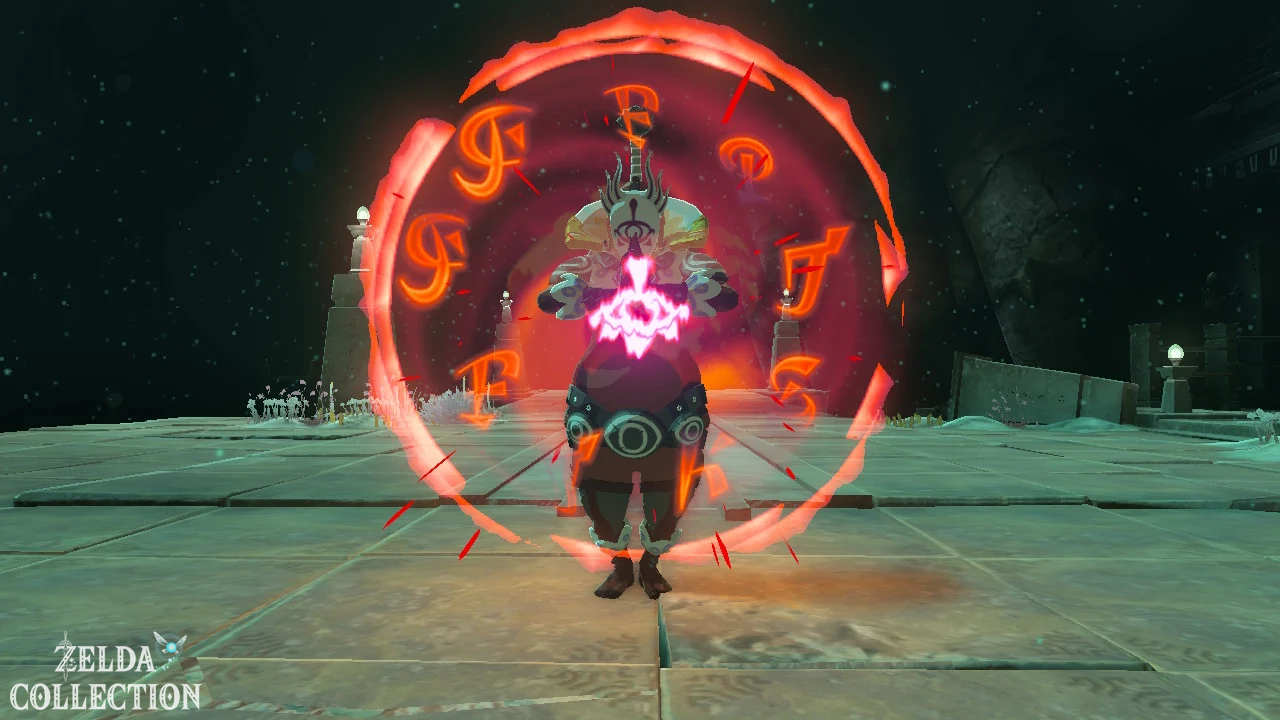
After his defeat, Kohga flees and announces his revenge. This begins the multi-part episode “Master Kohga of the Yiga Clan”.
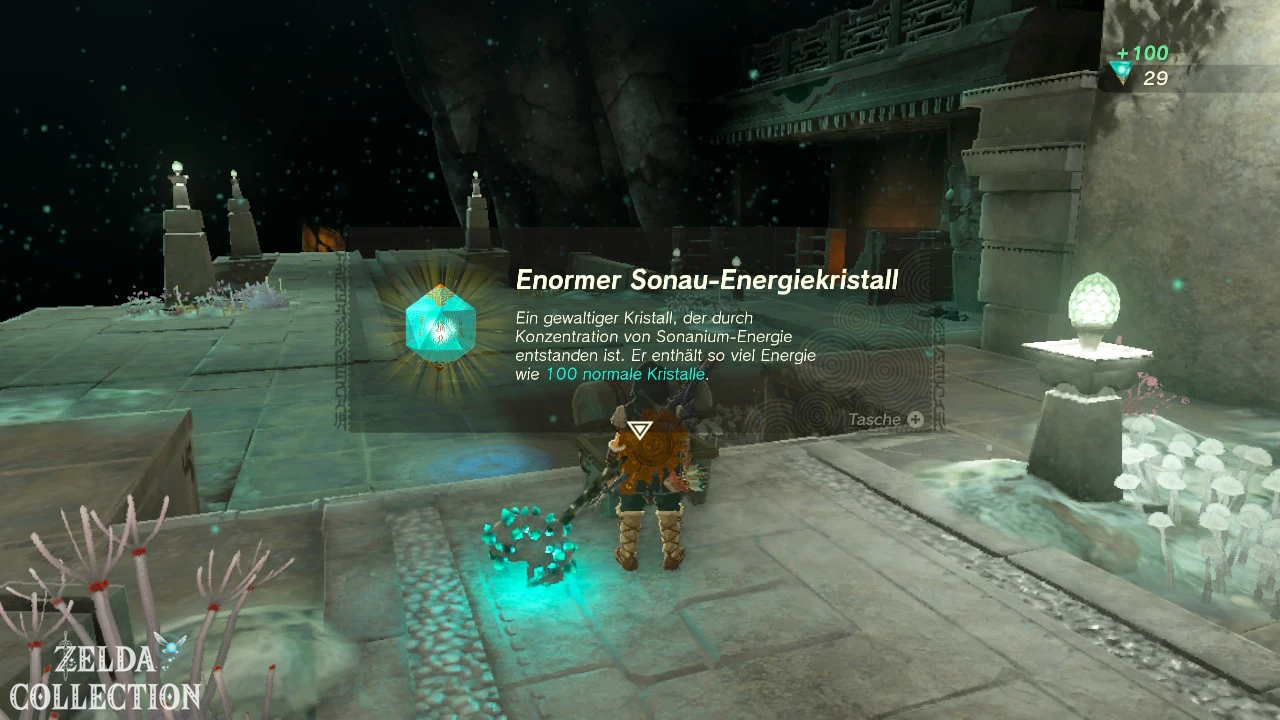
Opens the published Treasure Chest. It contains one Enormous Zonai Energy Crystal, which is equivalent to 100 ordinary energy crystals and is enough for a full battery expansion.
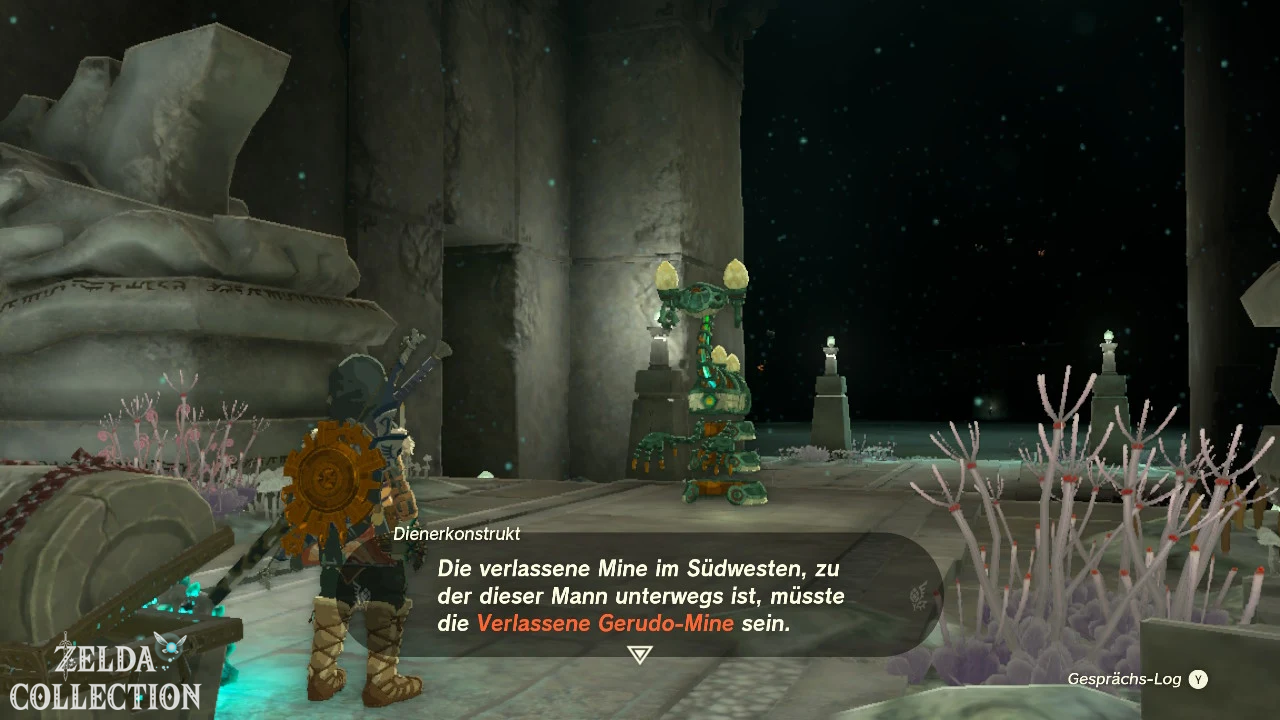
Then talk to the servant constructs:
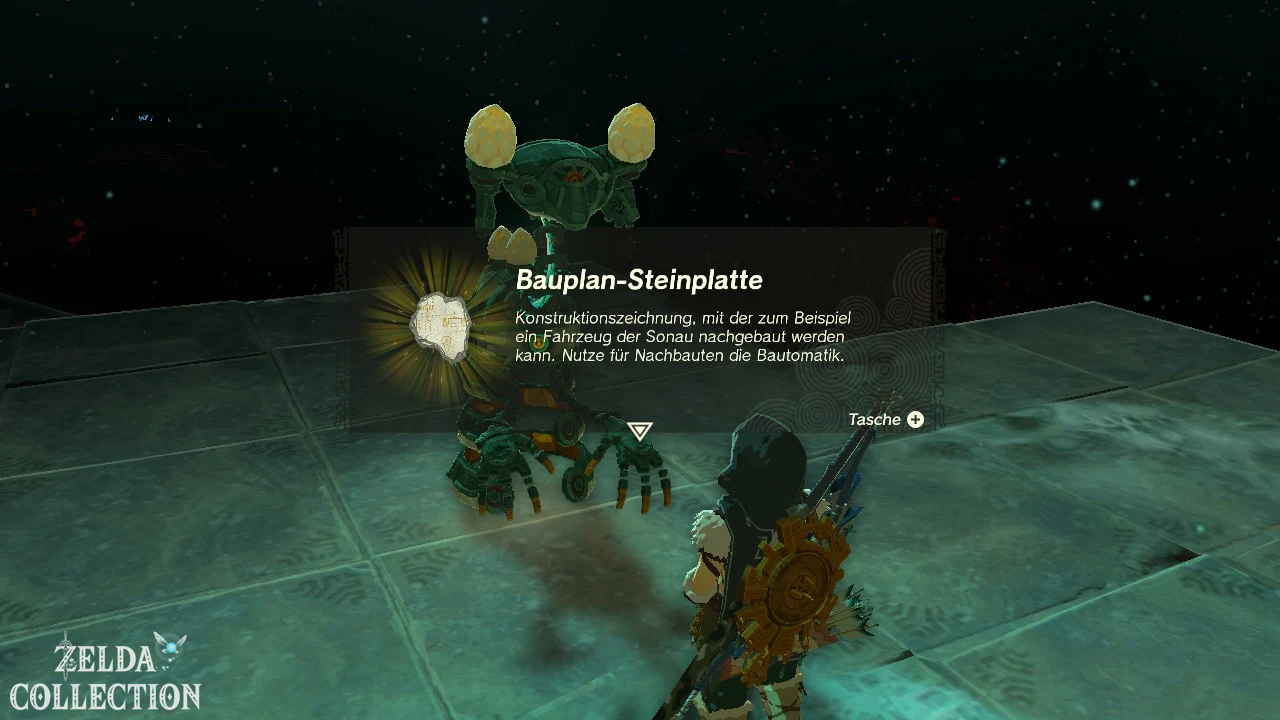
- A construct gives you a Schema Stone for a glider vehicle.
- The mine’s Forge Construct is activated.
- A fast travel point in the Central Mine will be unlocked.
The rewards and blueprint for the glider vehicle are confirmed in both the quest solutions and the Central Mine data.
Return to Josha
Travel to Lookout Landing and report to Josha about the Central Mine, the Autobuild, and the Blueprint Stone Slabs.
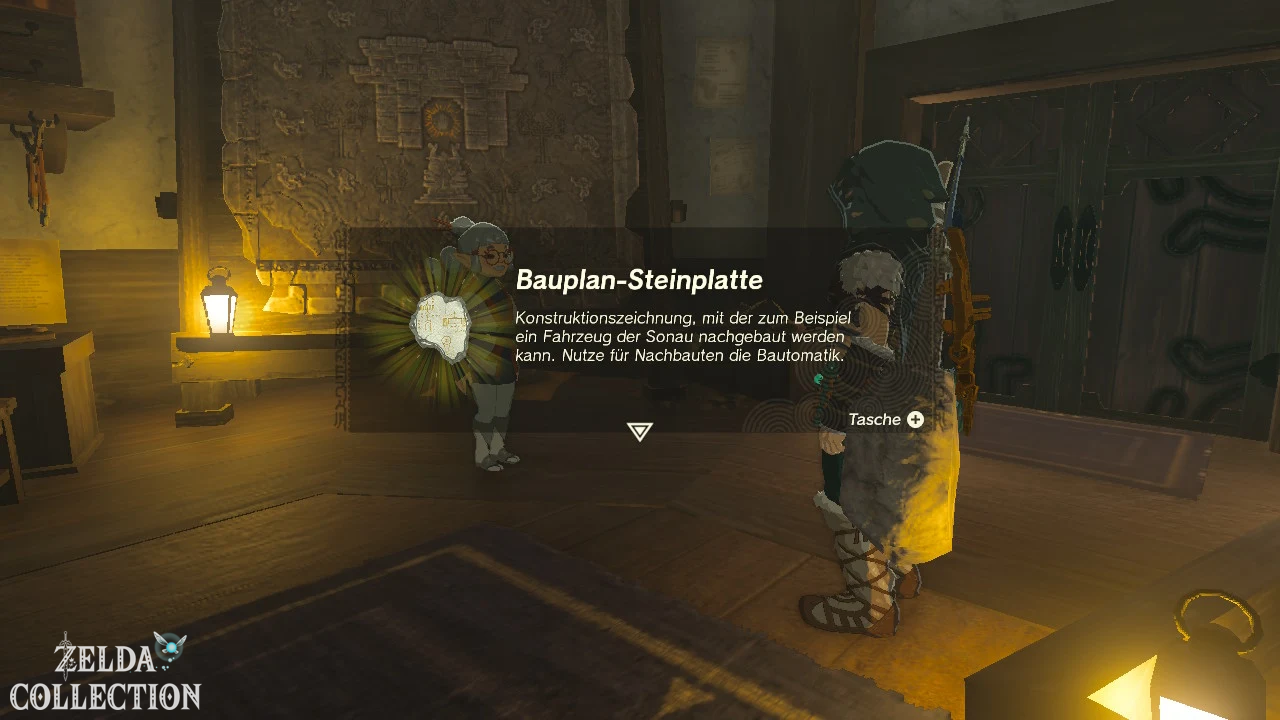
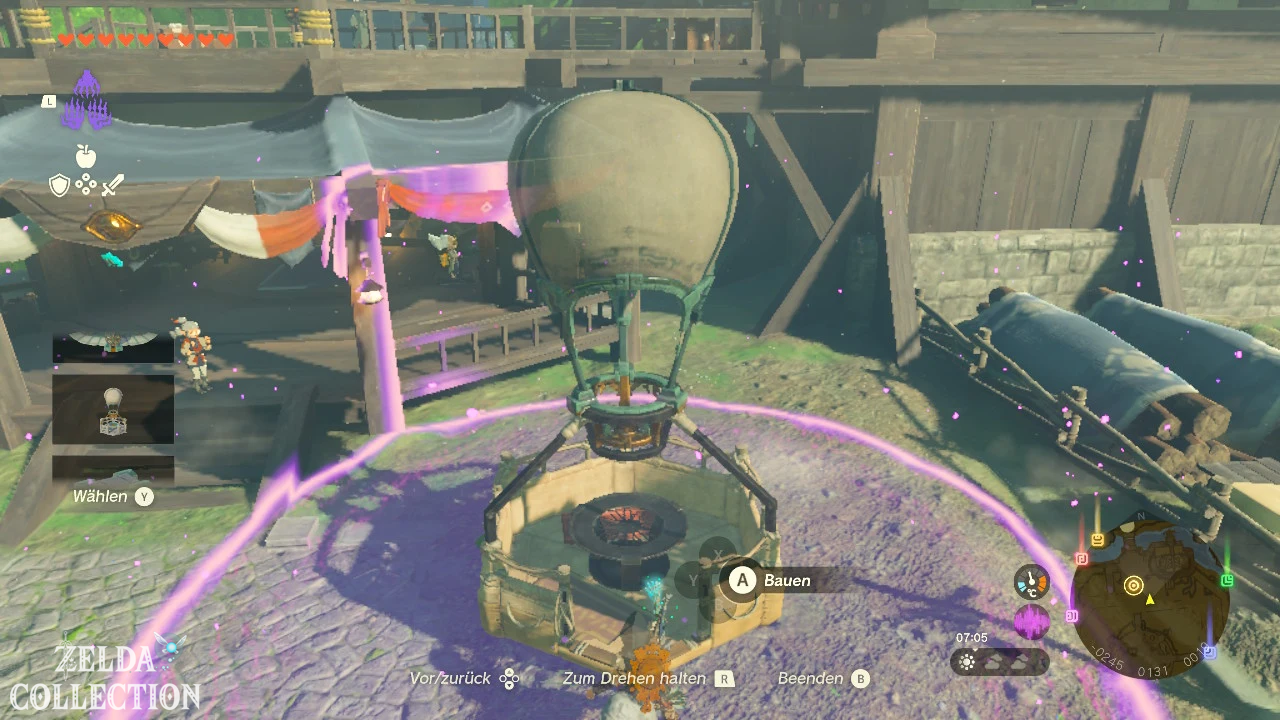
Josha remembers finding such a stone slab himself. She gives you the blueprint for a hot air balloon.
The pieces of Robbie’s damaged balloon lie next to the research building. Select the Autobuild and use the new template to fully reassemble the vehicle.
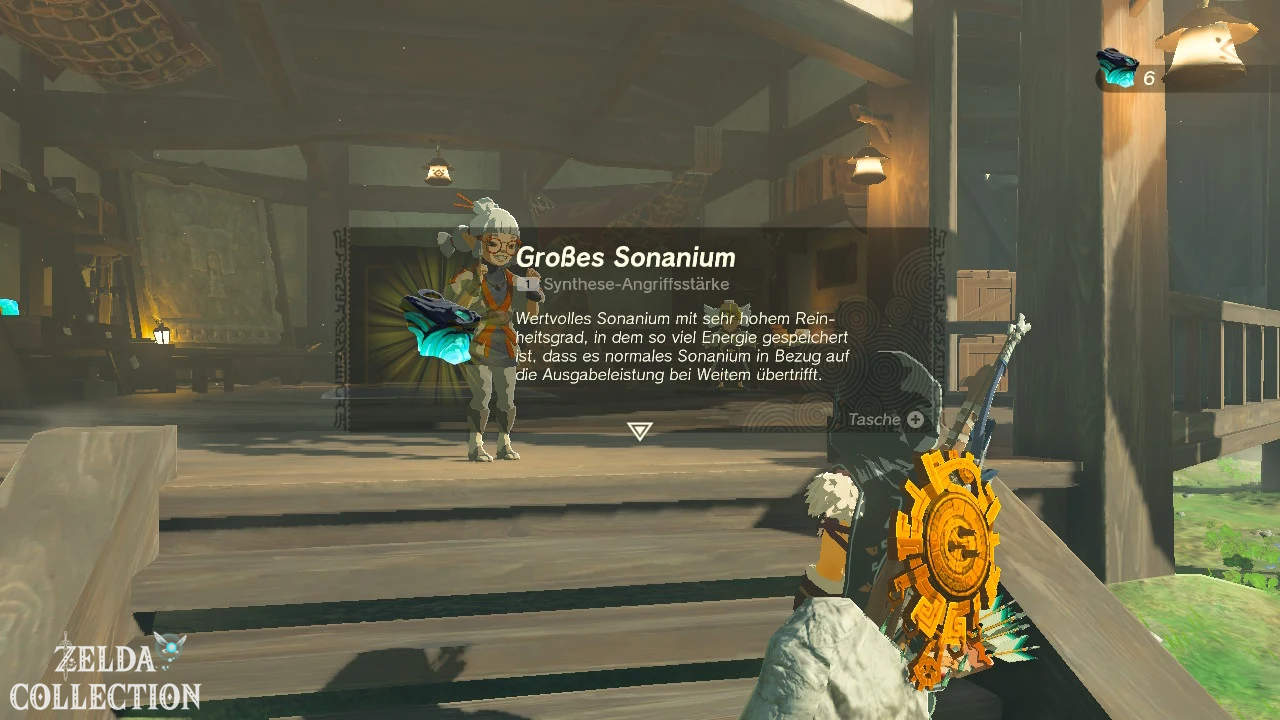
The repair finally convinces Josha and Robbie of the new capability. As a final reward you will receive a piece of Large Zonaite.
What does the Autobuild bring?
The Autobuild is one of the most useful abilities in the game. Among other things, it can:
- restore last built Ultrahand constructions,
- save frequently used designs as favorites,
- use official blueprints from blueprint stone slabs,
- Store Yiga blueprints from warehouses in Depths,
- replace missing components with Zonaite.
Practical examples include Wing, carts, boats, hot air balloons and transport vehicles. Especially in the Depths, the ability saves a lot of time because you don’t have to align each component again by hand.
Tips for dealing with the Autobuild
- Uses existing components: If the required parts are nearby, the Autobuild uses them free of charge.
- Zonaite save: Unpack Zonai Devices from capsules before confirming the build. This reduces the cost of sonanium.
- Save favorites: Marks particularly reliable vehicles so that they do not disappear from the history.
- Installing control units: Vehicles without a control unit are difficult to control.
- Distribute weight: Attaches batteries, fans and charge as symmetrically as possible.
- Green spare parts note: Spare parts produced by the Autobuild are part of the construction and are not suitable for permanent collection of individual Zonai Devices.
Quest completion and further unlocks
After the balloon repair, “The A Mystery in the Depths” is fully completed. Robbie can later continue his research in Hateno Village, allowing further improvements to the Purah Pad.
In Depths you can also follow the quest series “Kohga’s Dark Plans” and discover more abandoned mines. Additional Blueprint Stone Slabs, Enormous Zonai Energy Crystals and battles against Kohga await there.
All important Locations at a glance
| Location | Approximate coordinates | meaning |
|---|---|---|
| Hyrule Field Chasm | -0253, -0300, 0018 | Entrance for “The People in Depths” |
| Nisoij Lightroot | -0240, -0372, -0478 | First root of the quest |
| Iayusus Lightroot | -0785, -0433, -0469 | Robbie, Camera and enigmatic statue |
| Abandoned Central Mine | -0822, -1941, -0523 | Autobuild and first fight against Kohga |
| North Abyss at Great Plateau | -0665, -1510, -0051 | Shortest later route to the central mine |