

In the diary of The Legend of Zelda: Tears of the Kingdom there is exactly 60 episodes . They are more extensive than usual Side Quests and often consist of several steps or related quest chains.
No episode can be missed permanently. However, some only appear after a regional main quest, after unlocking the photo module, after obtaining the Autobuild, or after completing a previous episode. The following solution shows the starting point, crucial steps and the most important reward for each of the 60 episodes.
The order in the table corresponds to the alphabetical sorting in the German diary. Within the game you can solve many episodes in a different order.
Navigation
- All 60 episodes
- Important Quest Chains
- Find missing episodes
- Best Rewards
- Checklist of all 60 episodes
- Walkthroughs 1 to 60
All 60 episodes at a glance
Important Quest Chains
Lucky Clover Gazette and toad set
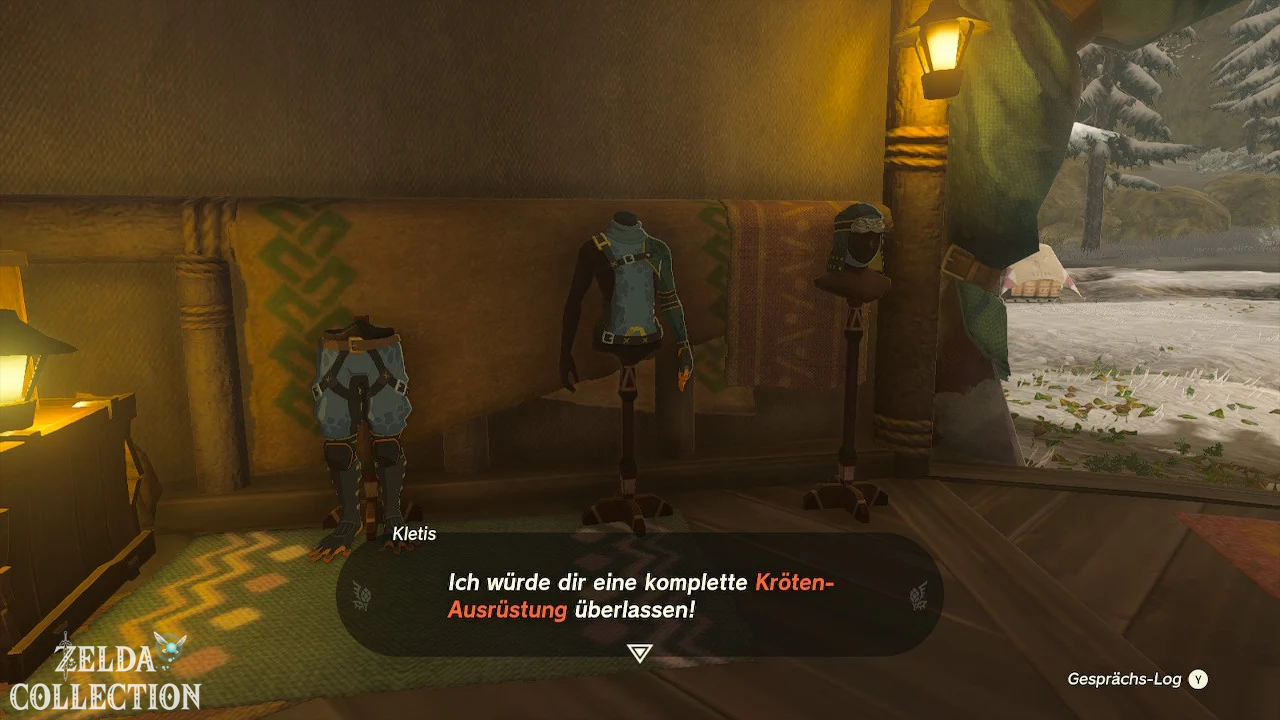
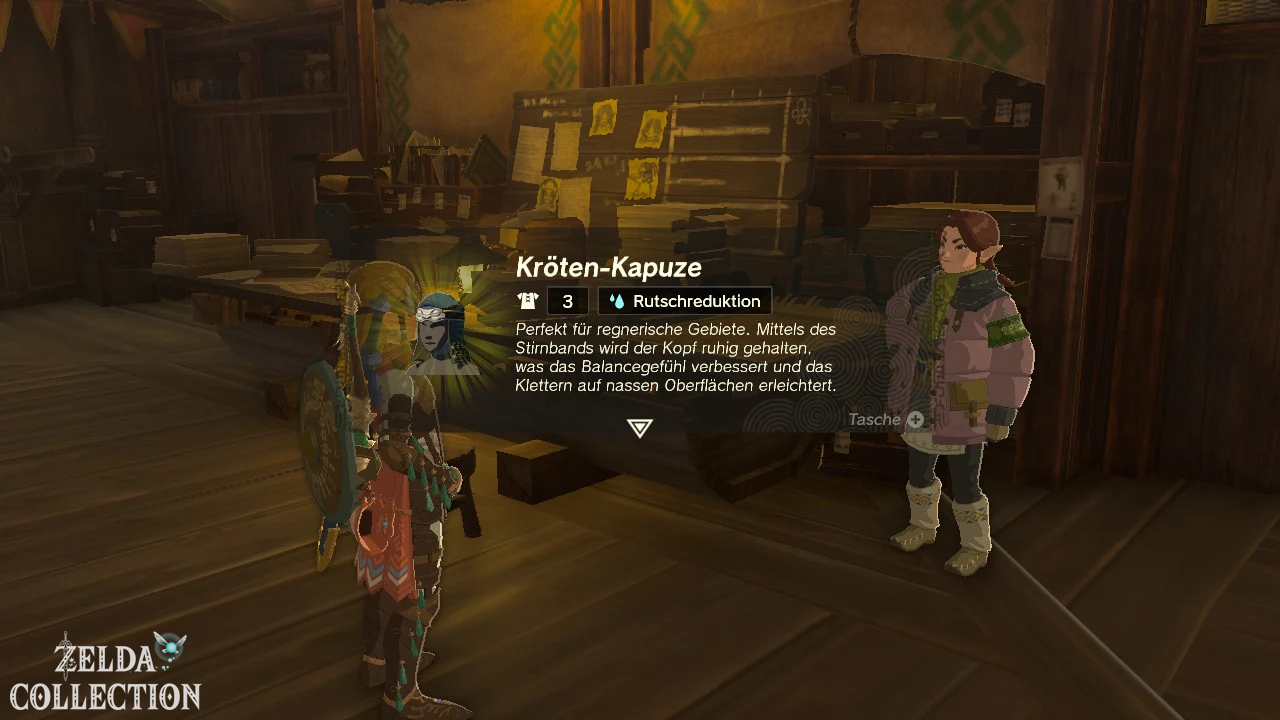
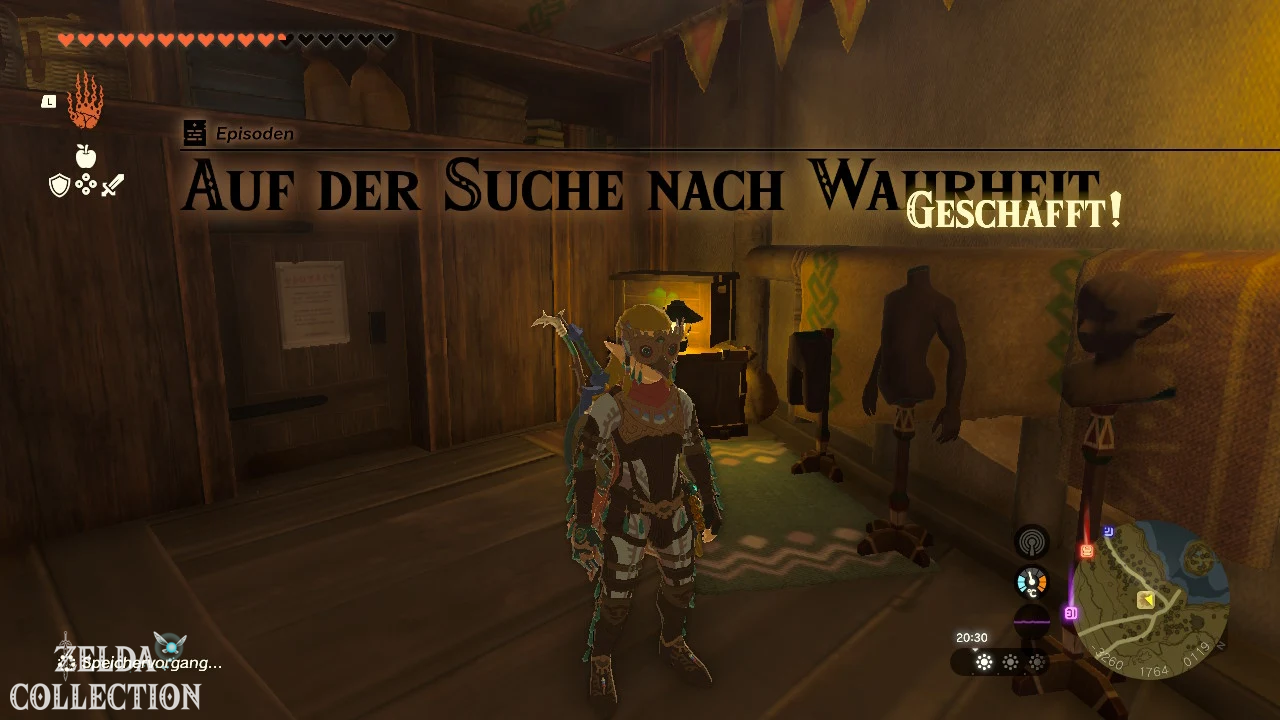
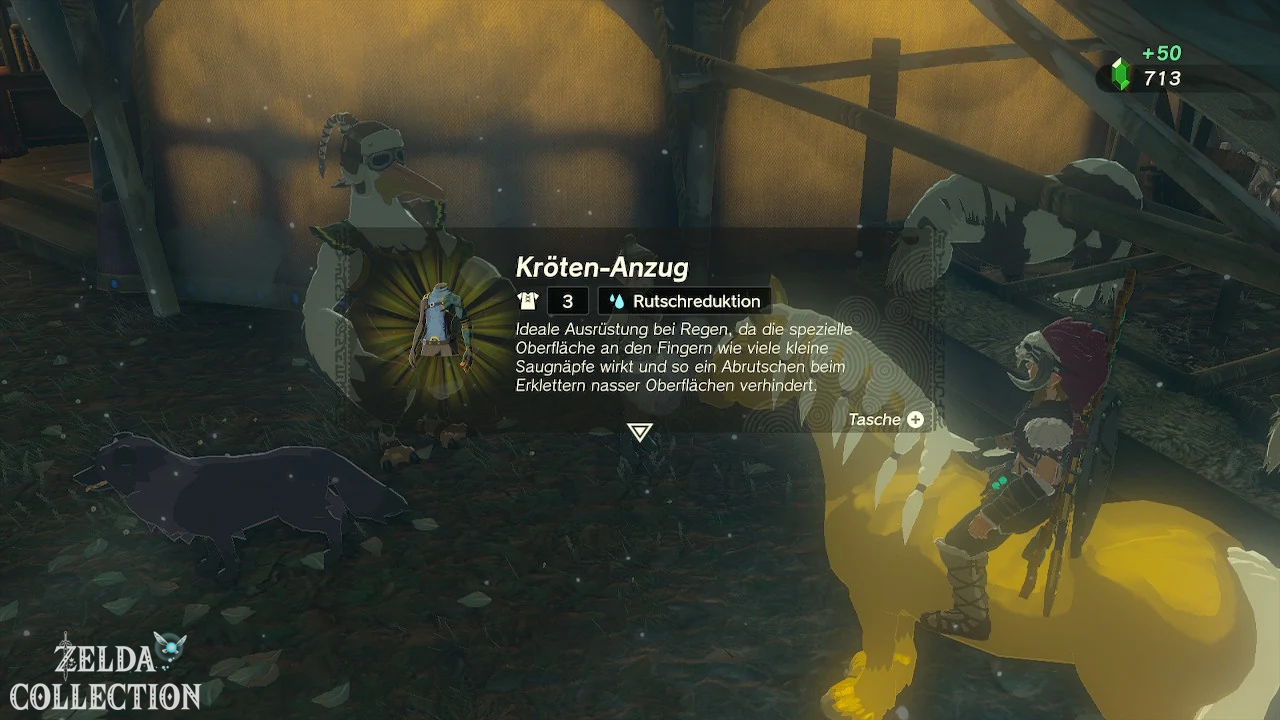
“In Search of Truth” includes twelve additional stable episodes. After four researches you get the toad suit, after nine you get the toad boots and after returning to Traysi you get the toad hood after all twelve tasks. The complete stable solution can be found at Potential Princess Sightings!.
Great Fairies and stable musicians
The first fairy opens with “A Serenade for the Great Fairy”. For the three remaining fairies you first have to bring Pyper, Beetz and Eustus back to the music group. Only then can “A Serenade for Great Fairy Kaysa”, “A Serenade for Great Fairy Cotera” and “A Serenade for Great Fairy Mija” be completed. The quest chain is described in detail in our guide to the Great Fairies.
Hateno Village and the mayoral election
To choose “Cece or Reede?”, “Cece’s Secret”, “Reede’s Secret” and “A New Village Treat!” be done. The cheese episode “A Letter for Koyin” is again a prerequisite for the new village treat. Our page for Hateno Village provides a regional overview.
Purah Pad and Research Institute
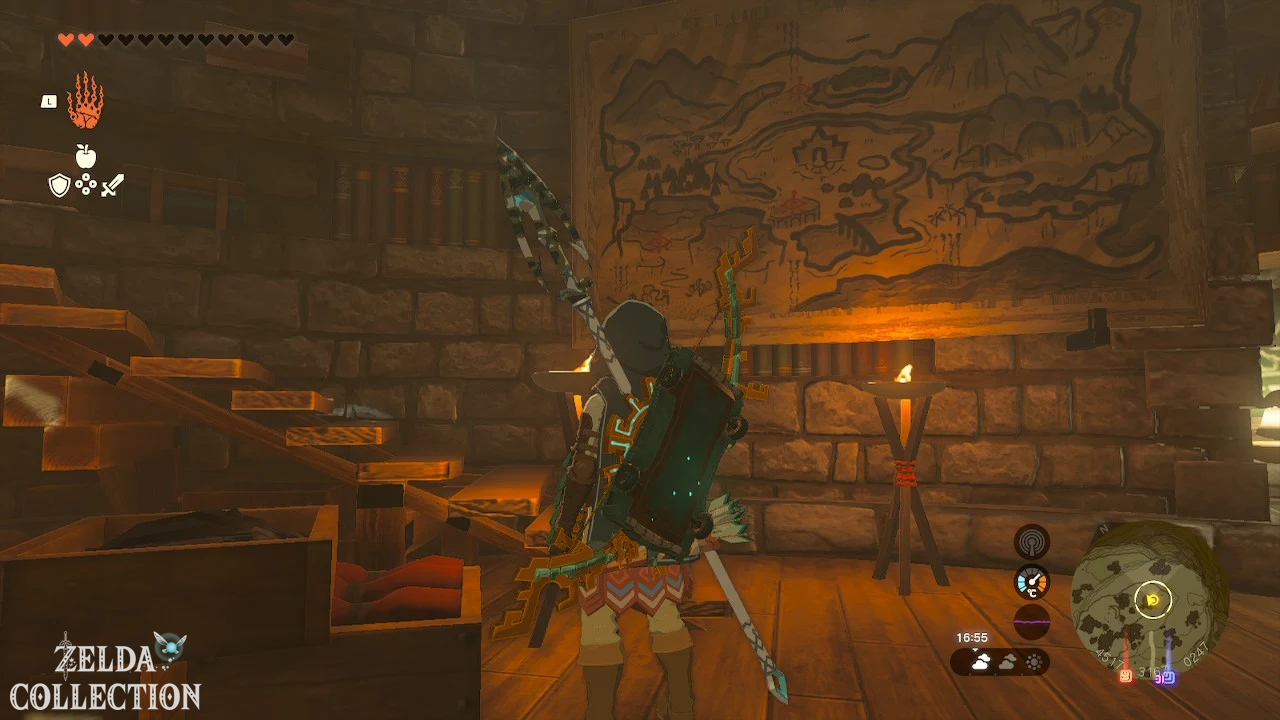
After “Research Institute in Hateno Village” “The Path of the Hero”, “The Tinkerer Travel Medallion” and “A Sensor + of Superlatives” become available. The Sensor ++ then unlocks “Your Hyrule Compendium”.
Thyphlo Ruins
The four puzzles require the powers of Tulin, Yunobo, Sidon and Riju. Complete “Where Dragons Watch,” “Between Two Dragons,” “Audience of the Six Dragons,” and “The Long Dragon Guardian” to complete “Investigate the Thyphlo Ruins.”
Lurelin Village, Koltin and Yiga
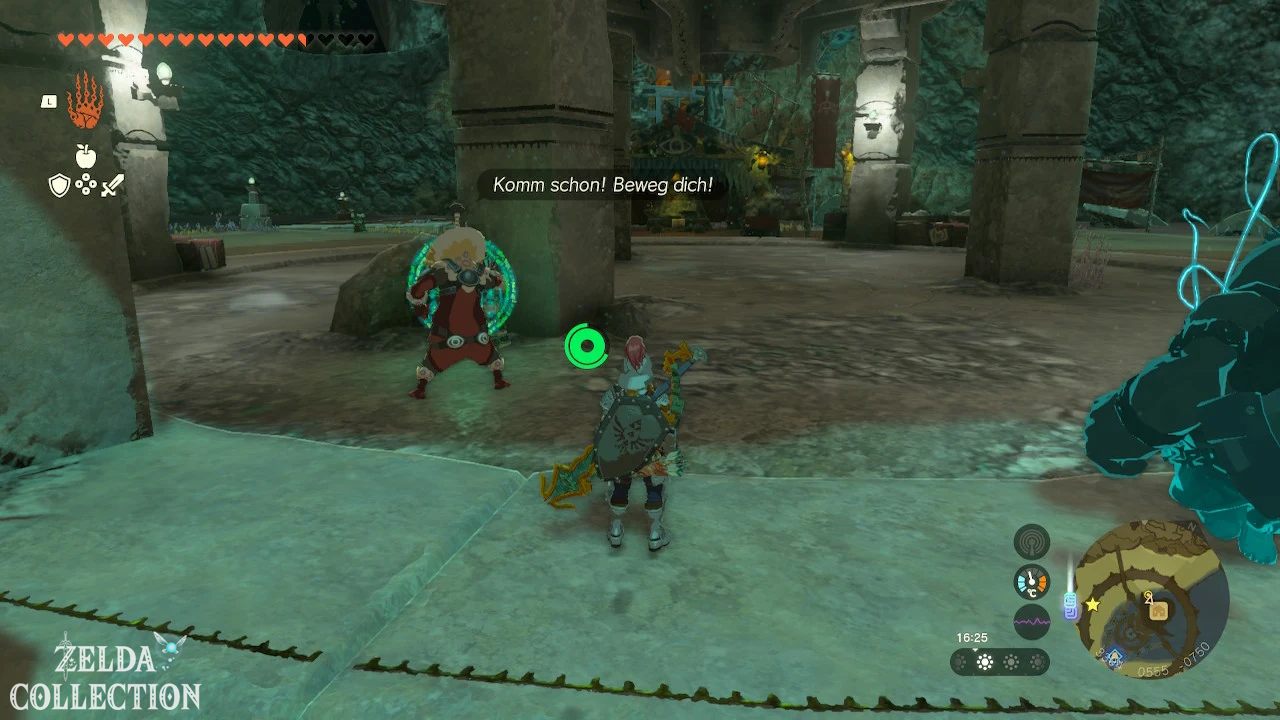
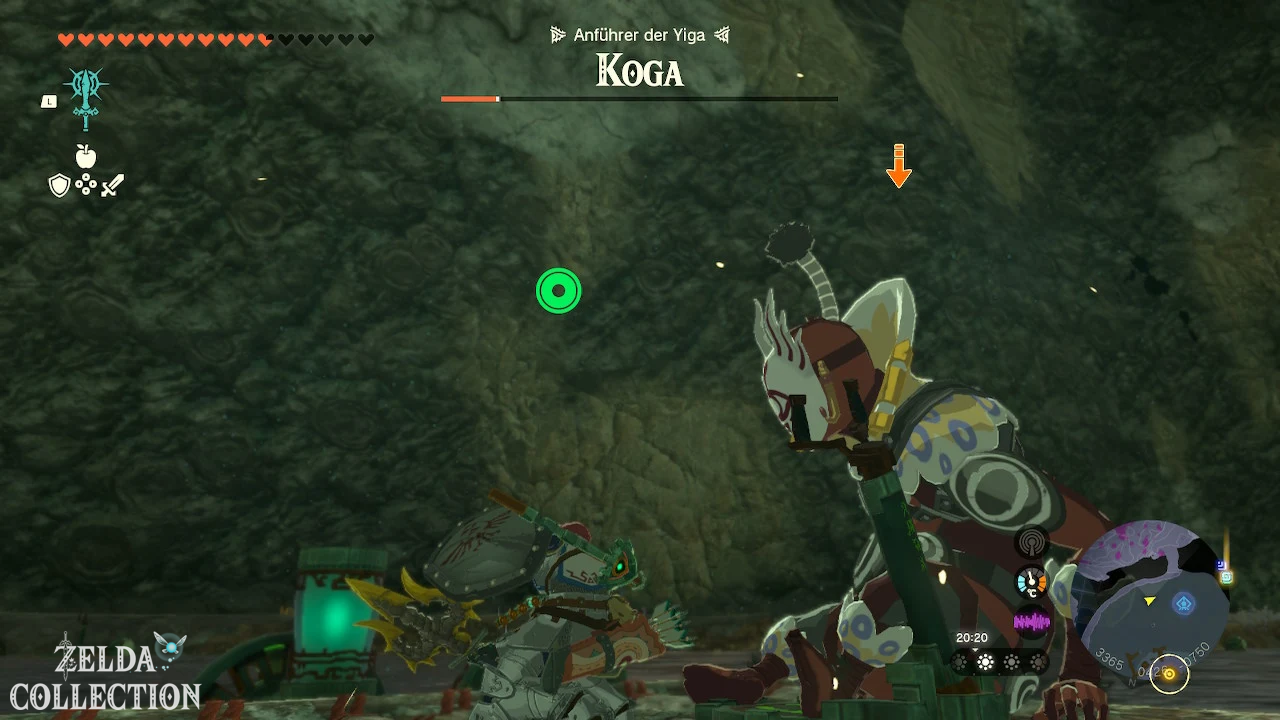
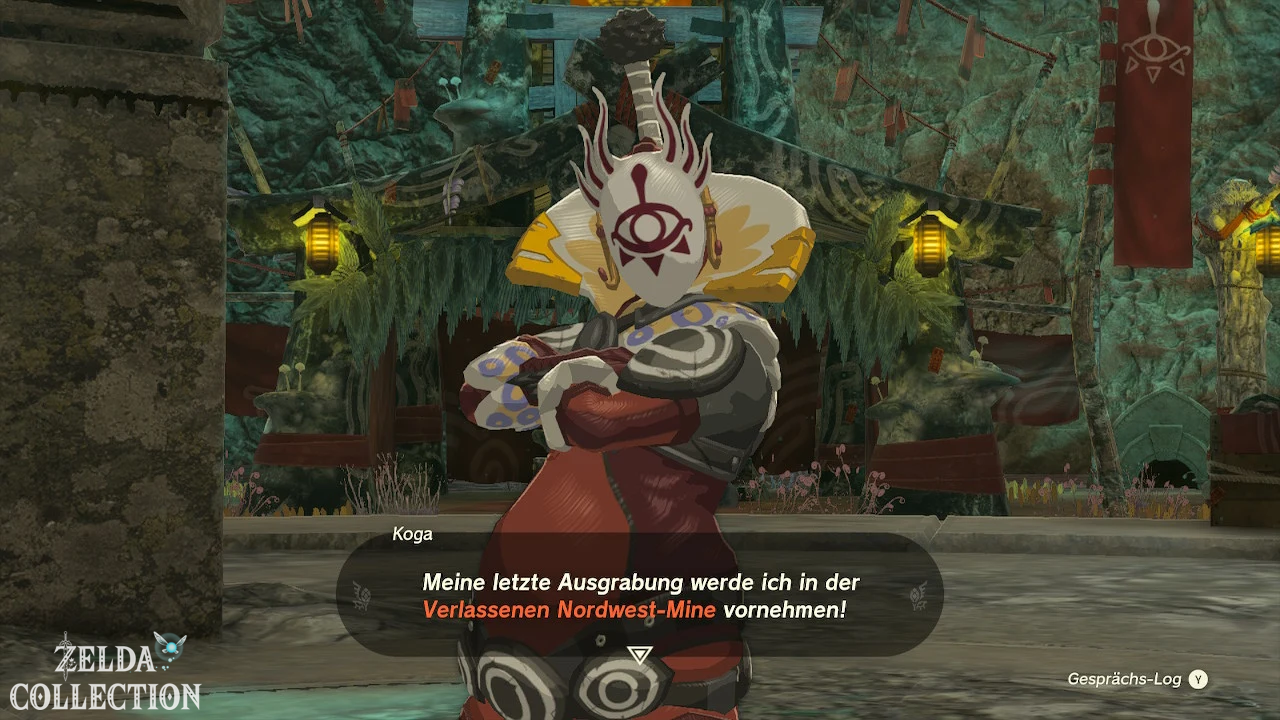
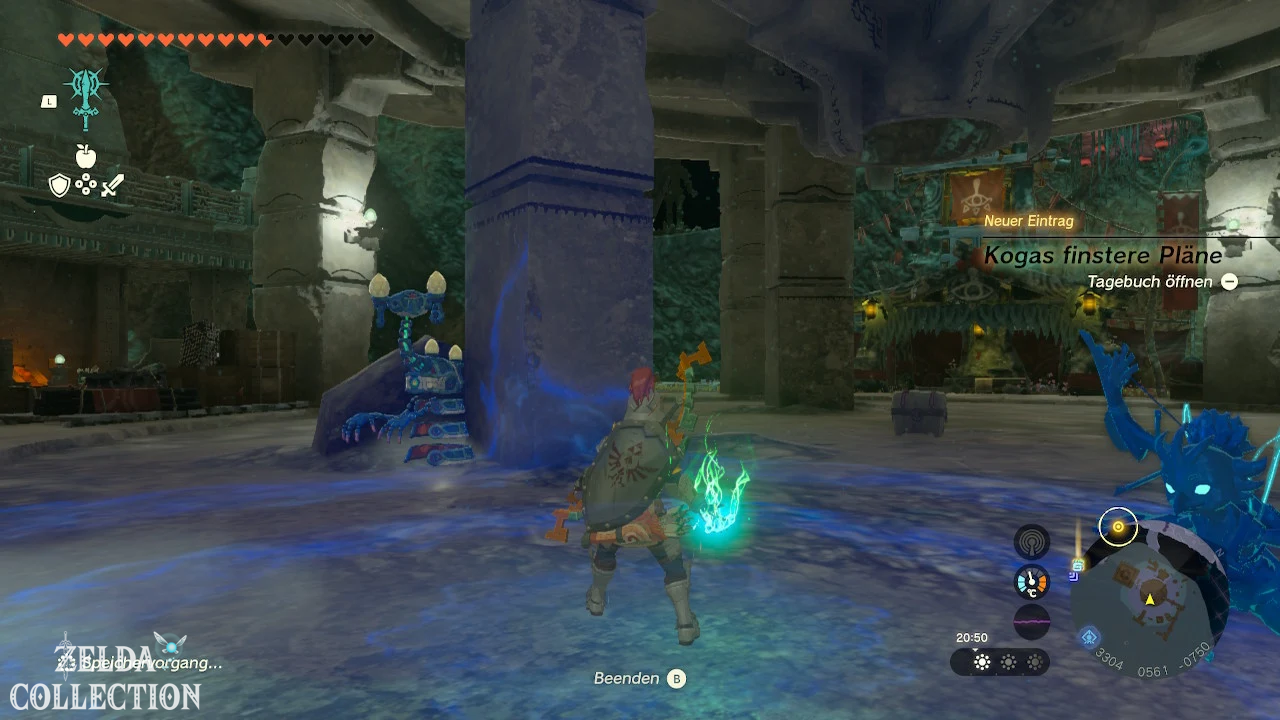
“Lurelin Village’s Rebirth” follows directly after “A Village Full of Monsters”. For Koltin, the series begins with “Find the Bubbulfrog Signum” and leads to “Where is Koltin?” and the five monster statues. The Yiga series combines “Zum Yiga Clan Hideout Gang”, “The Yiga Officer Exam” and Kohga’s sinister plans.
Find missing episodes
Opens the diary and sorts the episodes by region. A missing entry is often due to a requirement that has not yet been met. In particular, check that you have awakened at least one Sage, obtained the Camera and the Autobuild, started In Search of Truth at Lucky Clover Gazette, and opened the first Great Fairy.
Many episodes only appear after a previous task: the mayoral election requires four Hateno Village episodes, the Deubran puzzles each require a specific sage, the monster statues “Where is Koltin?” and the Purah Pad upgrades the Research Institute in Hateno Village.
Our interactive map is also helpful. Sets your own card stamps for completed episodes.
Best Rewards of Episodes
| Reward | episode or quest chain |
|---|---|
| Complete toad set | In Search of Truth and twelve stable episodes |
| Four Great Fairies | Four serenades and three musician rescues |
| Three Teleport Medallions | The Tinkerer Travel Medallion |
| Path of the Hero and Sensor ++ | Robelos Purah Pad Quest Chain |
| cardiac or Stamina Vessel | A call from the depths |
| Twilight two-handed sword | Examine the Thyphlo Ruins |
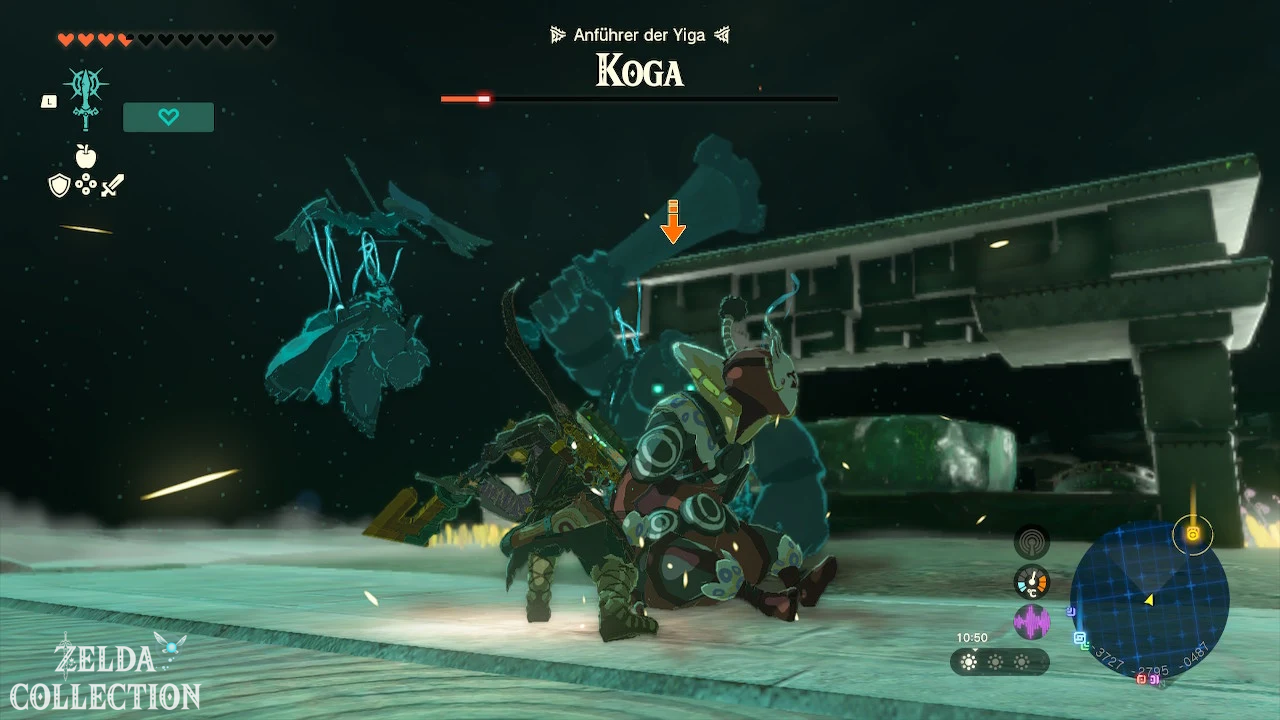
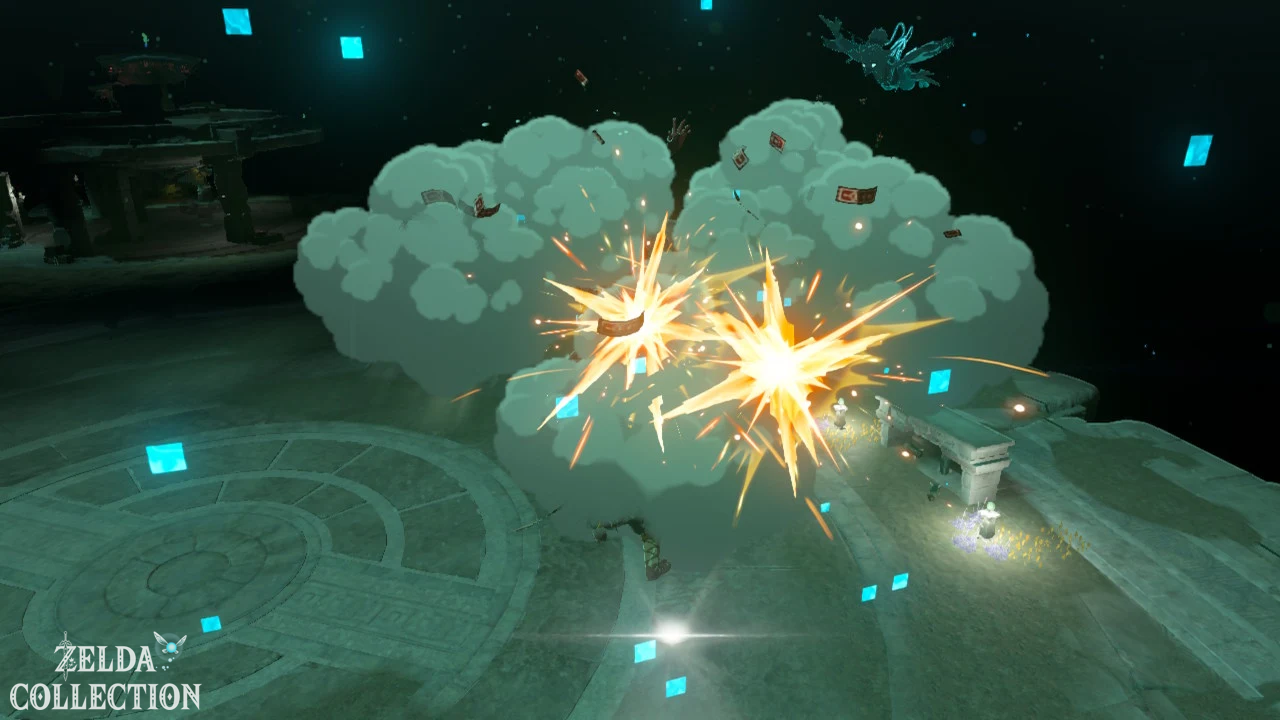
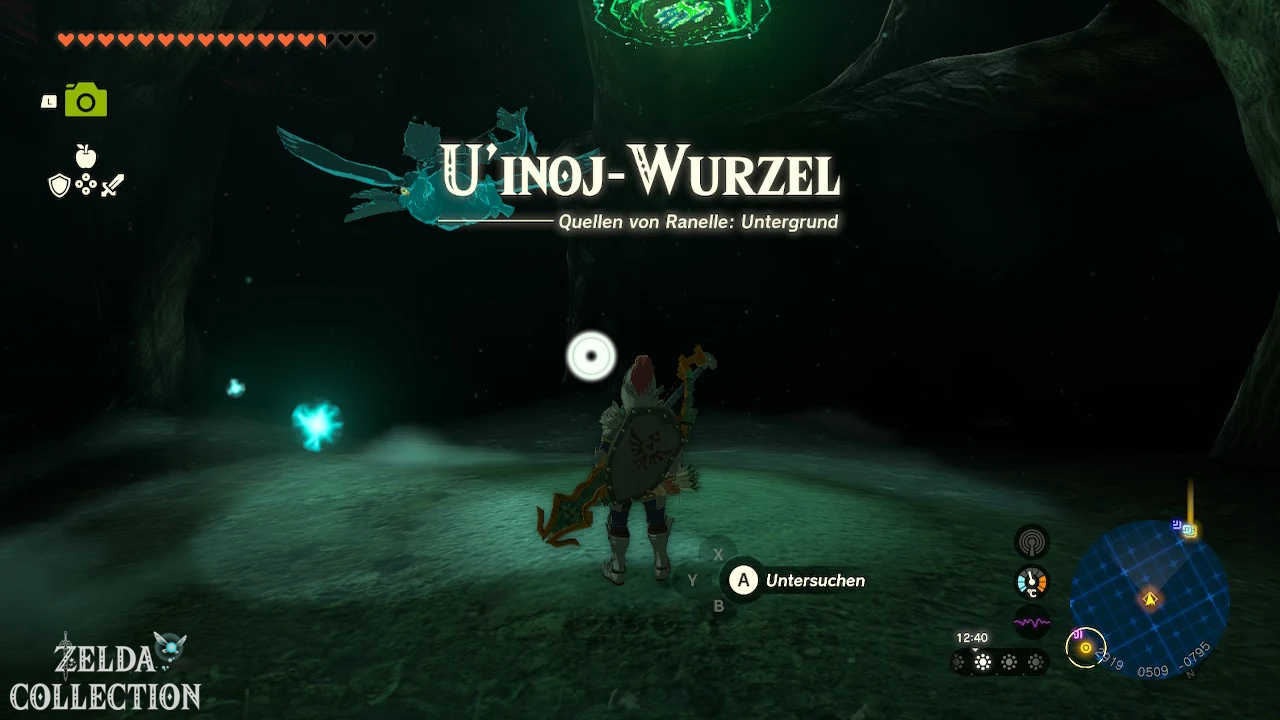
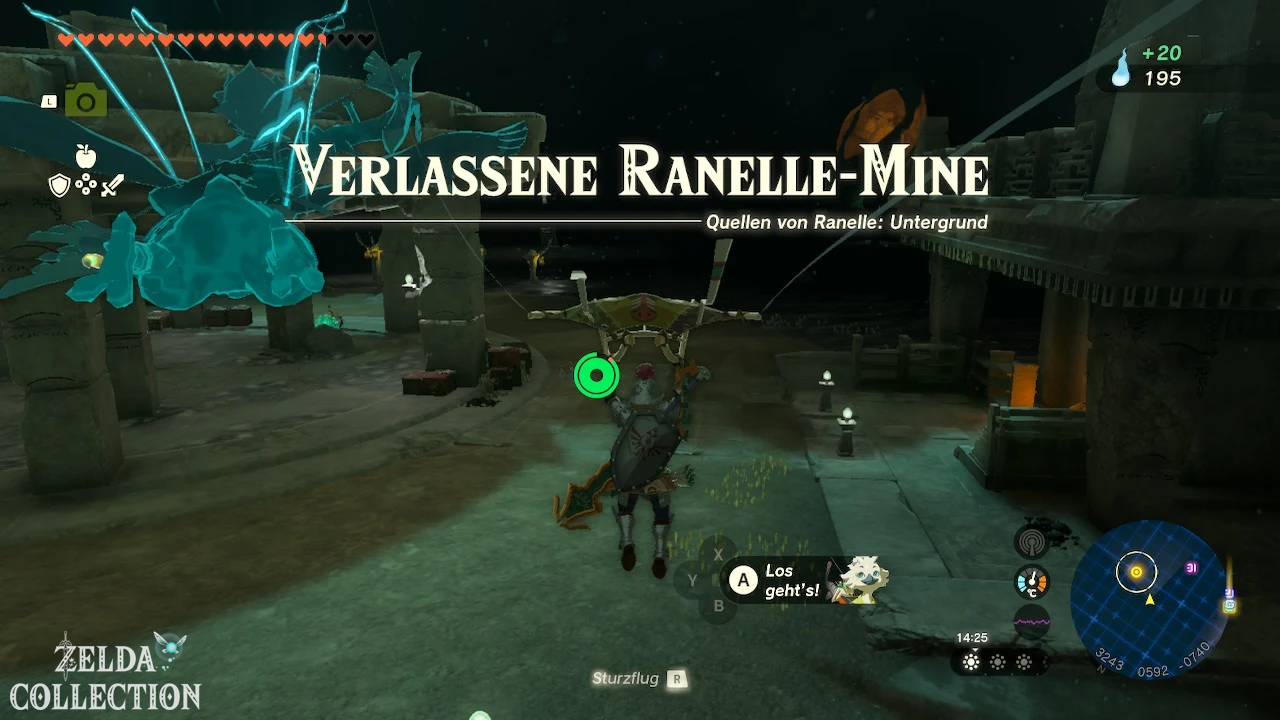
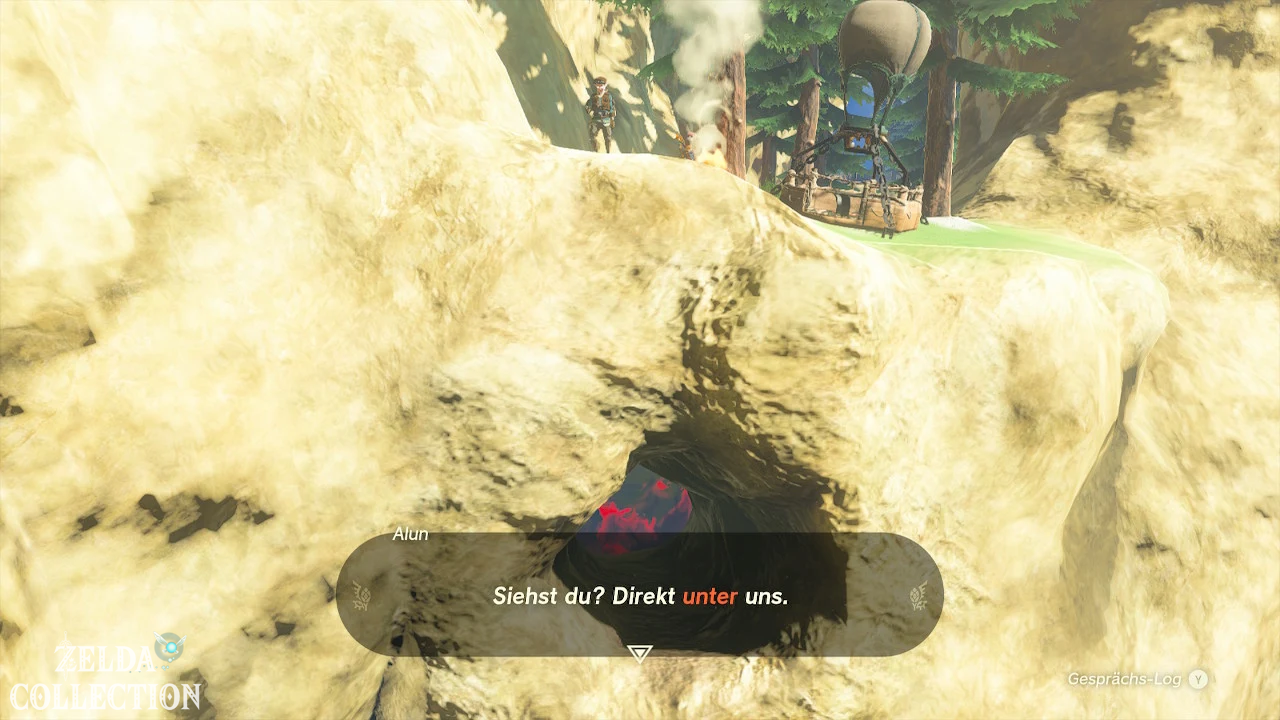
| Golden horse and royal bridle | Zelda’s golden horse |
| Free quotes in Lurelin Village | Lurelin Village’s rebirth |
| Zonai and research materials | The Great Sky Island and message from ancient times |
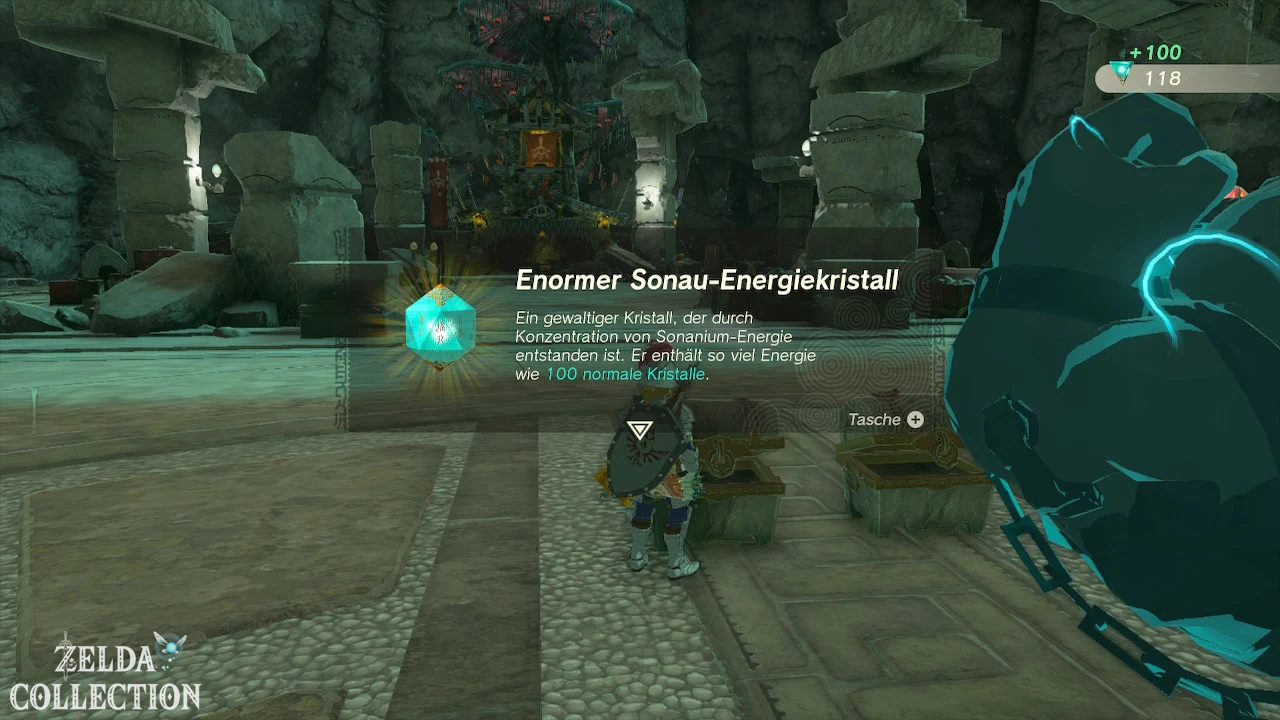
| Enormous Zonai Energy Crystals and Blueprints | Kohga’s sinister plans |
Checklist of all 60 episodes
Walkthroughs of all 60 episodes
1. Lurelin Village’s rebirth
Quest chain: Lurelin Village
Start: Lurelin Village, after “A Village Full of Monsters” by Addison and the Village Chief.
solution
Bring Addison first 15 normal logs and 20 portions Hylian Rice. Palm tree trunks do not count towards the first delivery of materials. Normal trees can be found in abundance on the slopes north and west of the village; Hylian Rice grows in shallow water in Necluda or is sold from traders.
After that, five buildings need to be repaired. At the inn you pull all the rubble out of the water with the Ultrahand. At the restaurant, at the village chief’s house and at Armen’s house, a palm tree trunk that is as straight as possible is inserted vertically through the roof opening into the holder provided. At the treasure shop, a palm tree trunk belongs in the round planter on the upper floor.
A celebration takes place after every five repairs. From now on you can use Lurelin Village’s facilities free of charge, including the inn, restaurant and treasure shop.
Reward: Free offers in Lurelin Village and several individual rewards during reconstruction.
2. Audience with the Six Dragons
Quest chain: Thyphlo Ruins
Start: At Kazul in the Thyphlo Ruins after Sidon became the Sage of Water.
solution
Read the matching stone tablet in Kazul’s camp. We are looking for a place with six stone dragon heads. It is located in the northwestern part of Thyphlo Ruins. Place Link in the middle of the six heads, summon Sidon and activate his water shield.
You don’t have to make an attack. Once Link is surrounded by Sidon’s water bubble and stands properly between the six dragons, a hidden chamber opens. Open the chest and then return to Kazul.
Reward: 5 Opals.
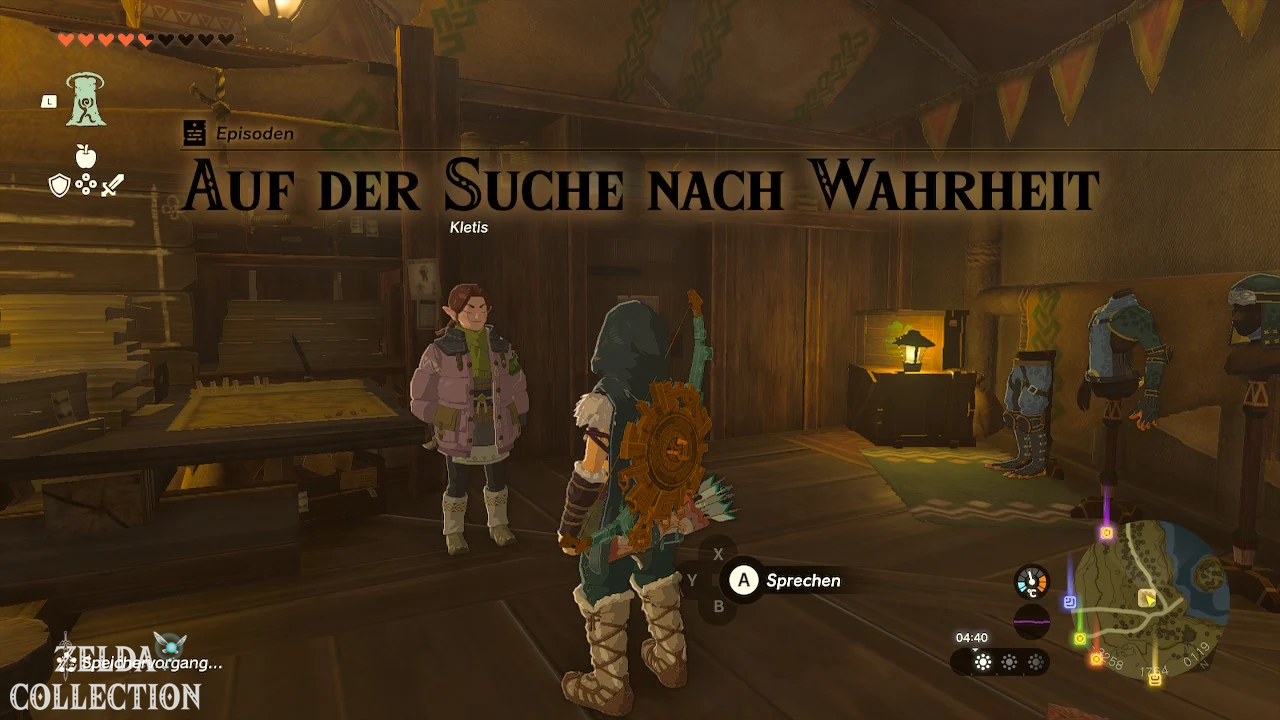
3. In Search of Truth
Quest chain: Lucky Clover Gazette
Start: At Traysi in the Lucky Clover Gazette east of the village of Rito.
solution
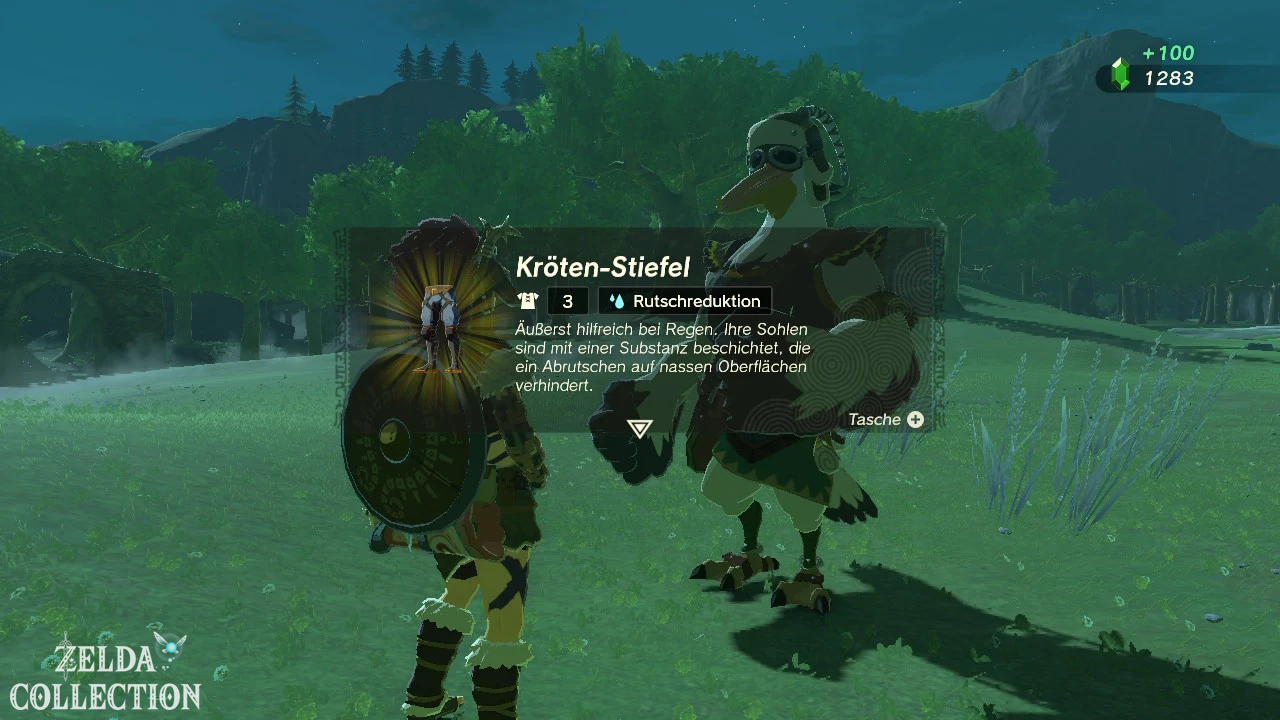
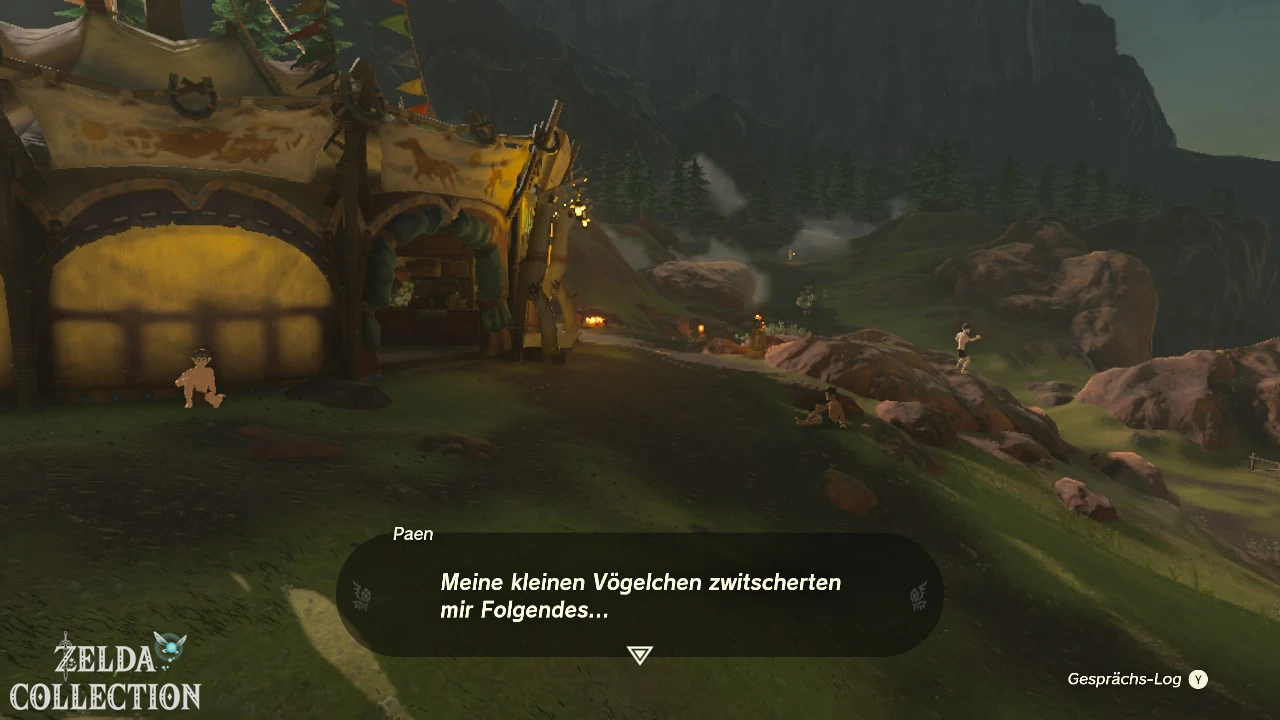
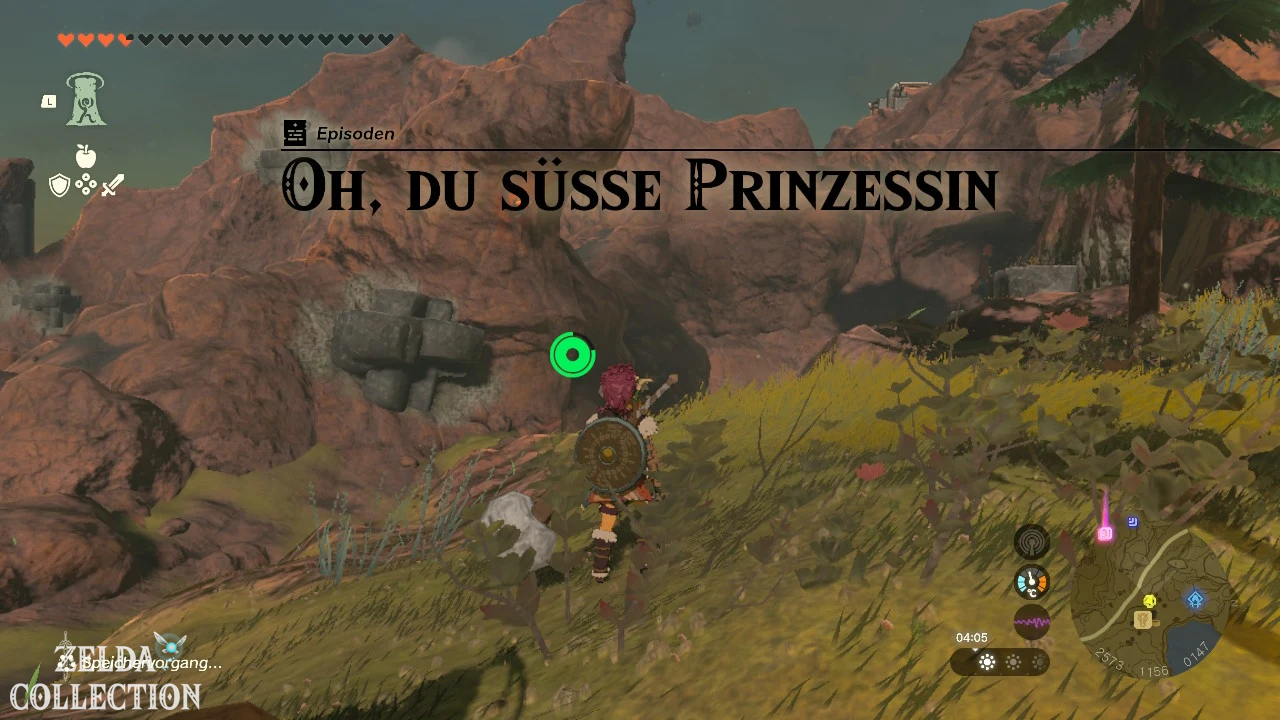
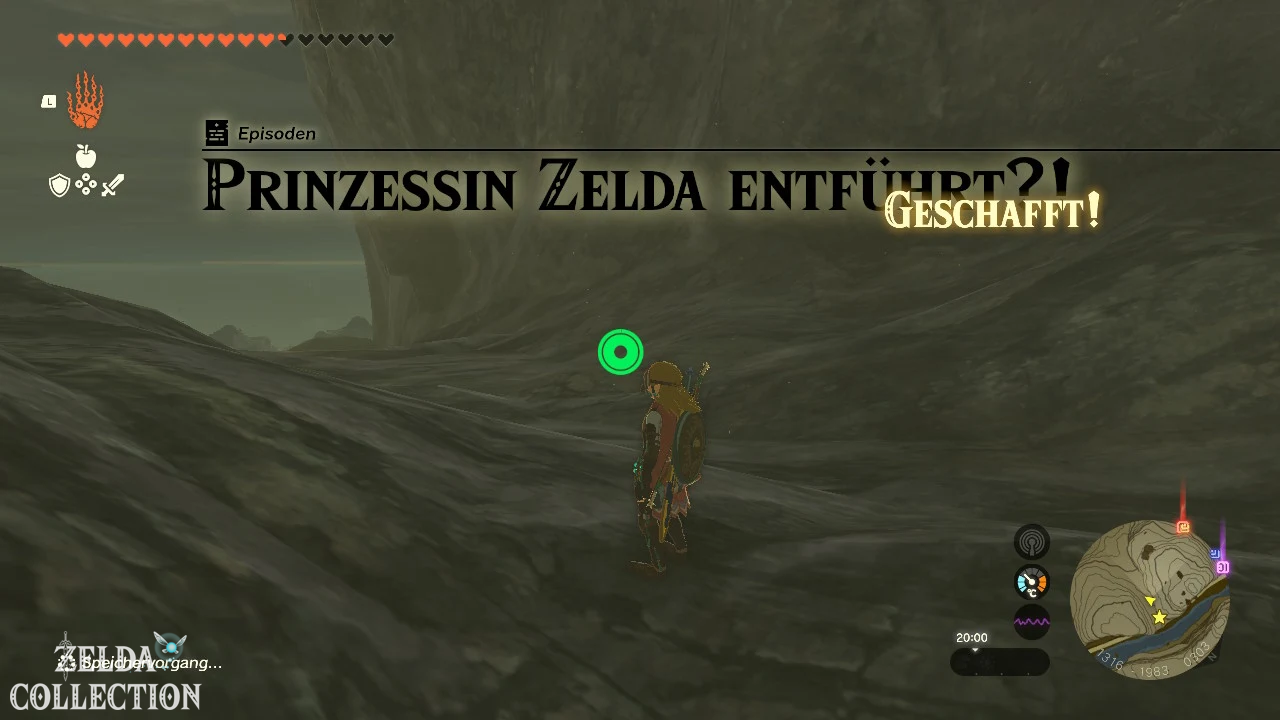
After Traysi, talk to Penn outside. He then appears at twelve stables. Solve the episodes “A Serenade for the Great Fairy”, “An eerie voice”, “Zelda’s Golden Horse”, “Princess on the Monster”, “The Sealed Source”, “The One Who Seeks Help”, “The Sorrow of the Goats”, “The Chicken Oracle”, “Oh, You Sweet Princess”, “Missing Garden Tools”, “Missing Foodie” and “Princess Zelda kidnapped?!”.
The order is free. After the twelfth research, return to Traysi. A detailed Walkthrough of all twelve stables can be found on the internal page Potential Princess Sightings!.
Reward: 1,410 Rupees, Lucky Clover Gazette Fabric as well as Toad Suit, Toad Boots and Toad Hood.
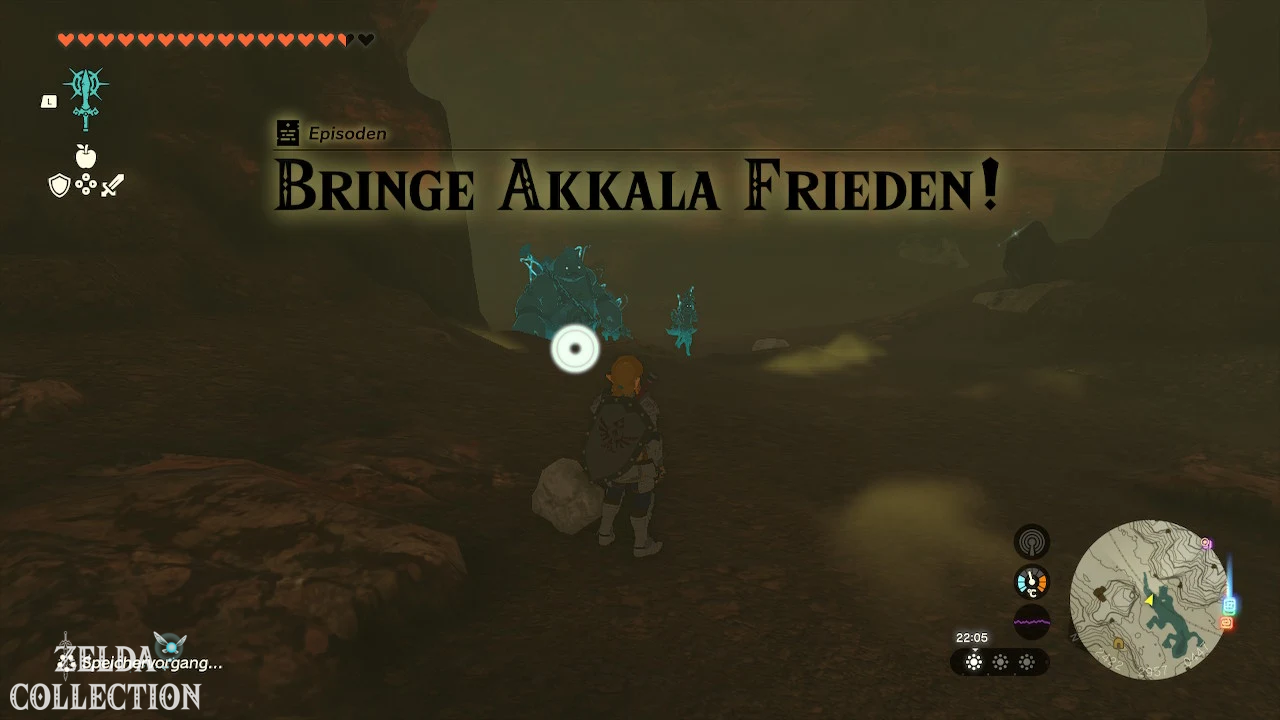
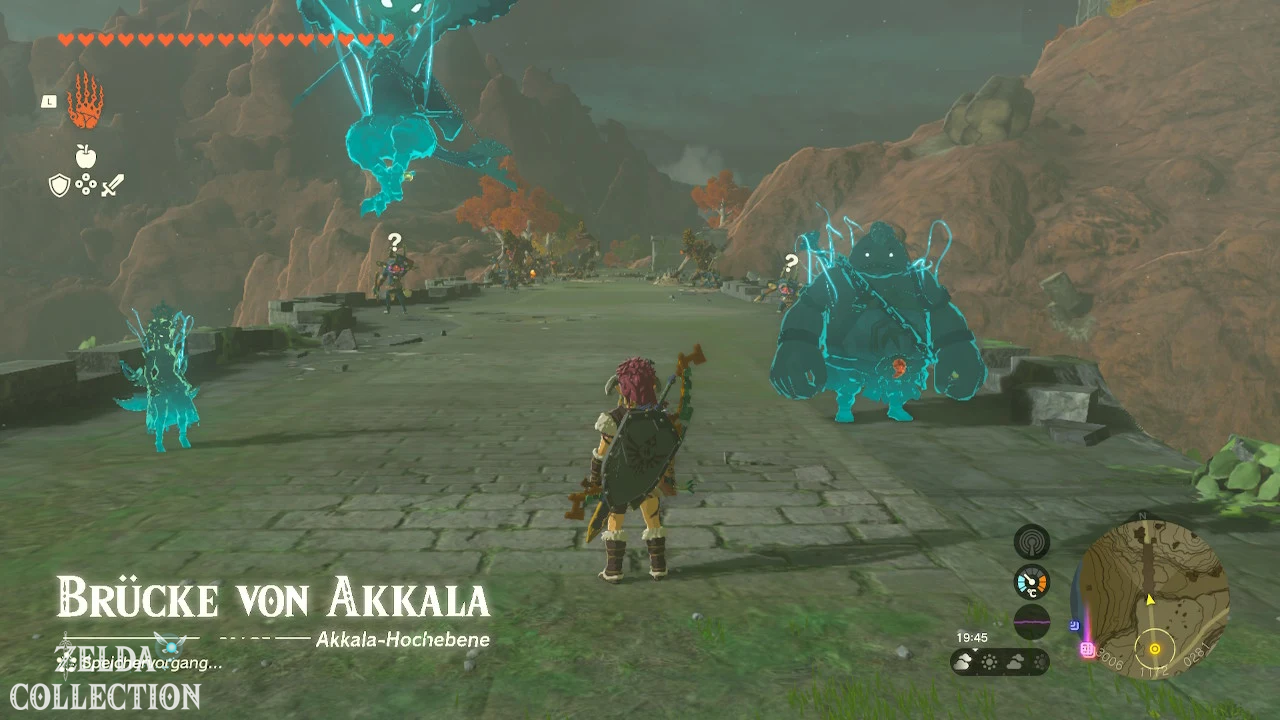
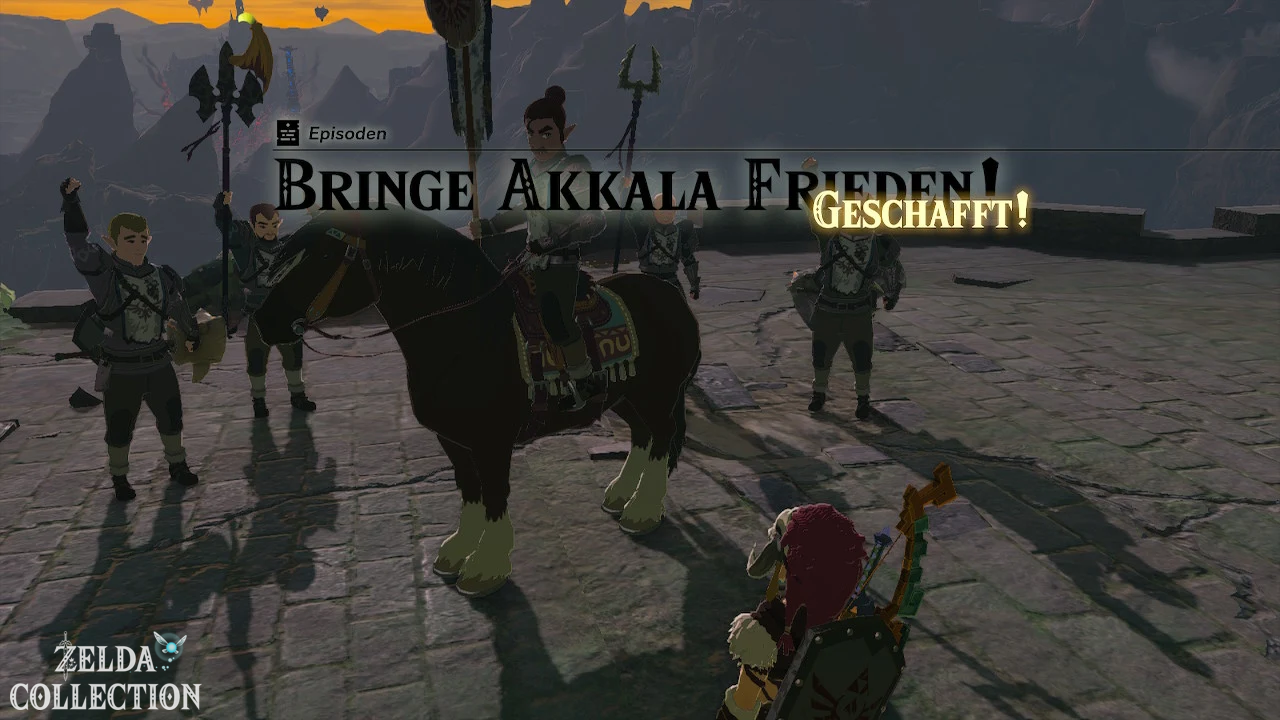
4. Bring peace to Akkala!
Quest Chain: Monster Weir
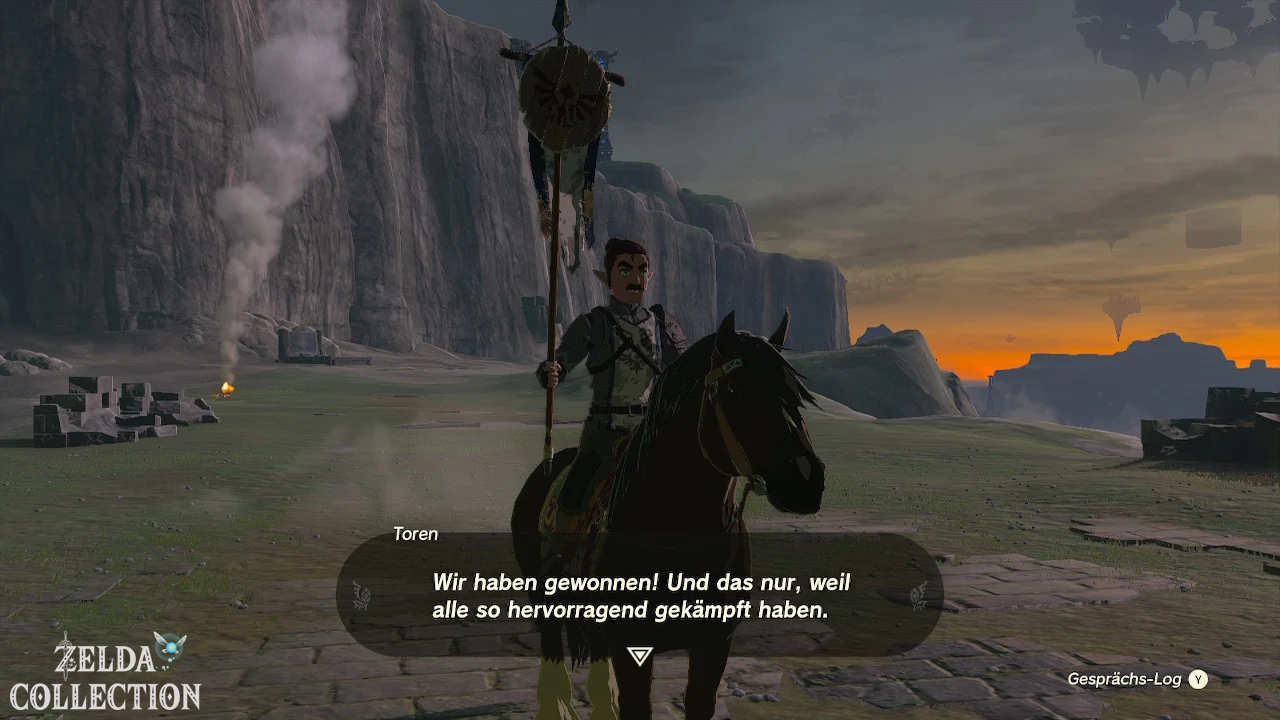
Start: At Toren’s Monster Defense at Akkala Crossing, after “Bring Eldin Peace!”
solution
Meet Toren’s squad at the Akkala Crossing in the northeast Hyrule’s. Follow the soldiers to the occupied bridge and talk to Toren again to start the attack.
Defeat all monsters on and near the bridge. Use bomb arrows or area attacks against close ones Bokoblins and kills archers early. The allied soldiers distract many enemies, but cannot end the battle without a link.
Reward: 100 Rupees; At the end of the last monster defense episode, the material of the monster defense is also added.
5. Bring peace to the plain!
Quest Chain: Monster Weir
Start: At Hoz’s monster defense south of the scout post in the Hyrule Field.
solution
Speak to Hoz and follow his squad to the nearby monster camp. As soon as the soldiers have taken a position, the joint attack begins.
Focus on ranged fighters first and on the Boss Bokoblin if he is already rushing towards Link with his group. Smoke Mushrooms allow for surprise attacks, while Bomb Flowers and Sage Powers hit multiple enemies at once. The episode ends when the red group bar has been completely emptied.
Reward: 100 Rupees and unlock the subsequent Necluda mission.
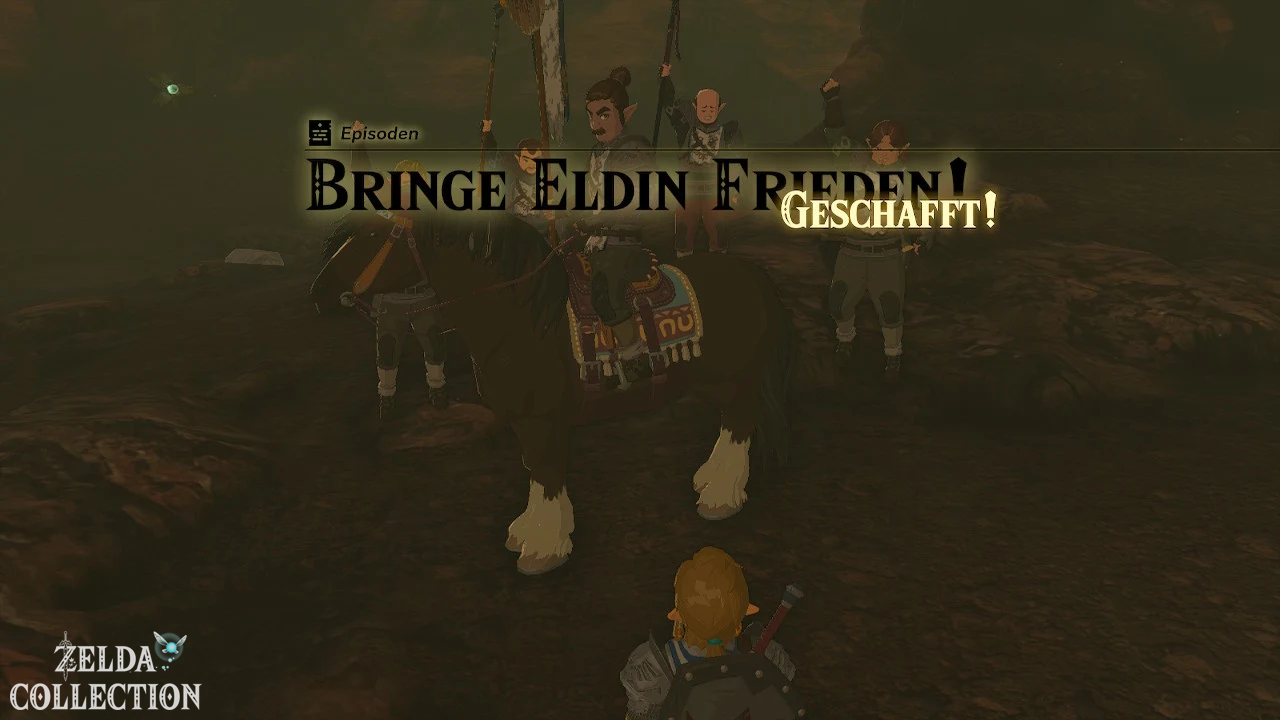
6. Bring Eldin Peace!
Quest Chain: Monster Weir
Start: At Toren’s Monster Weir in the Eldin Gorge.
solution
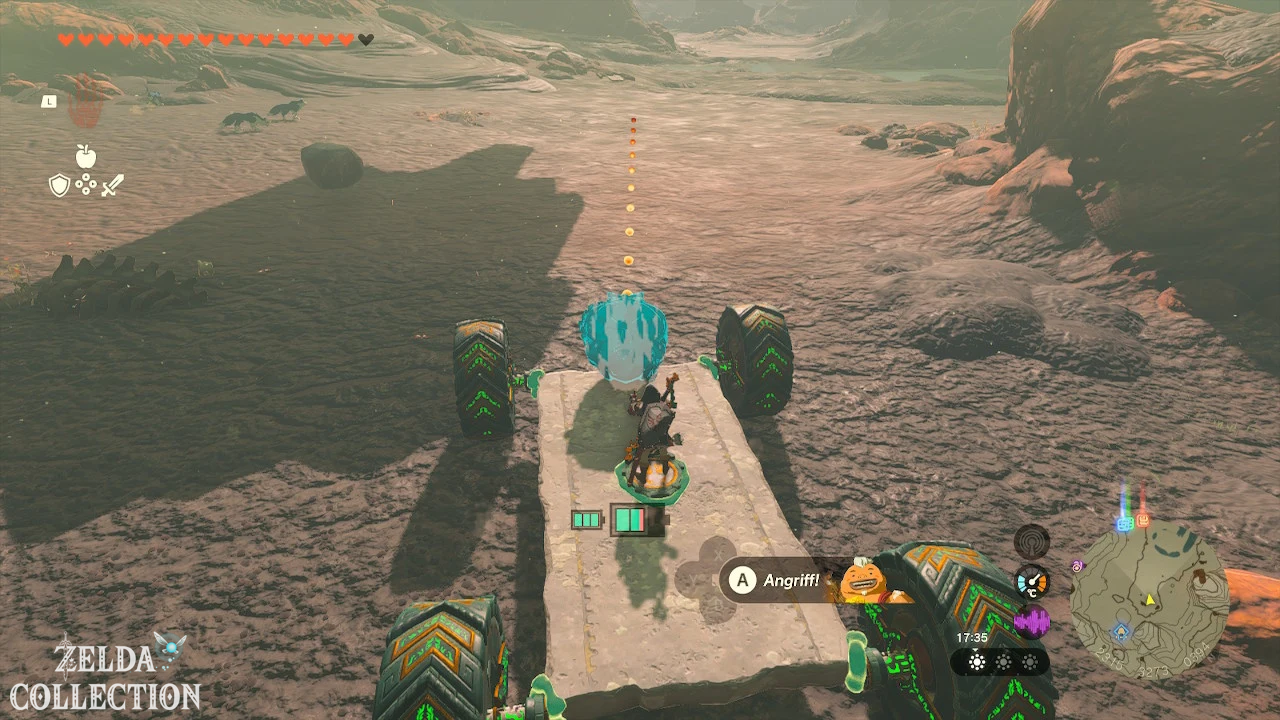
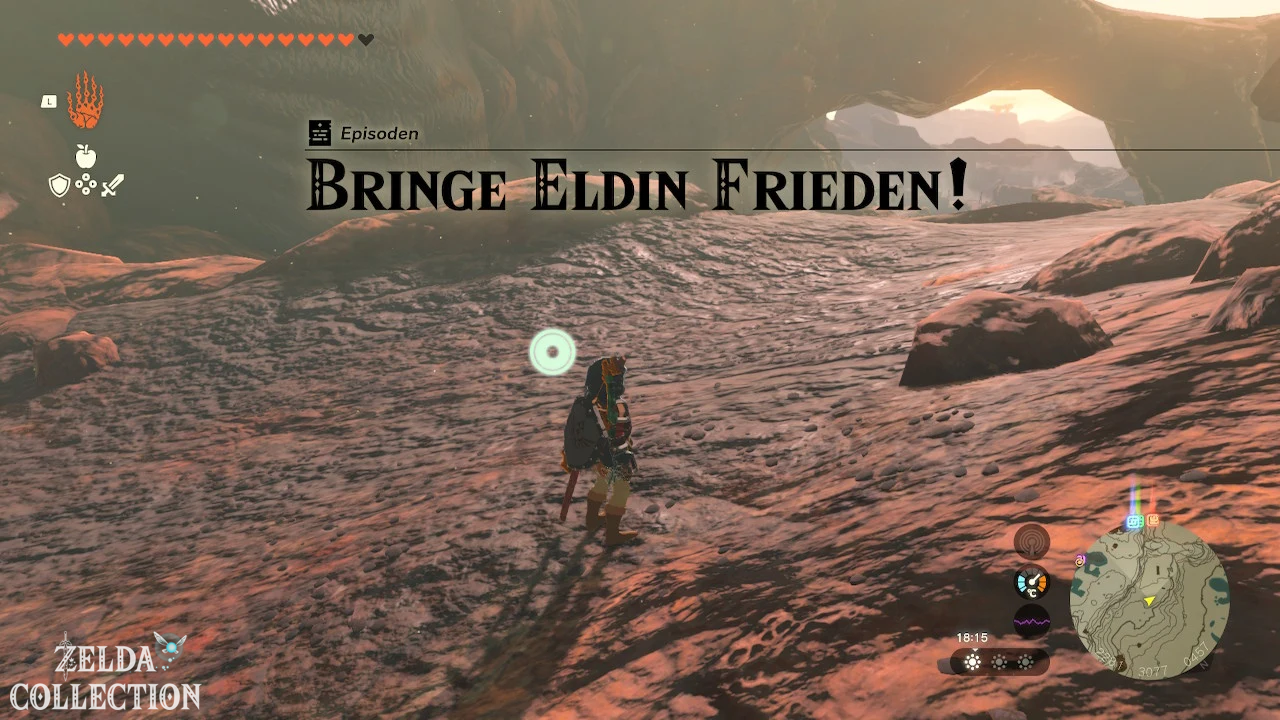
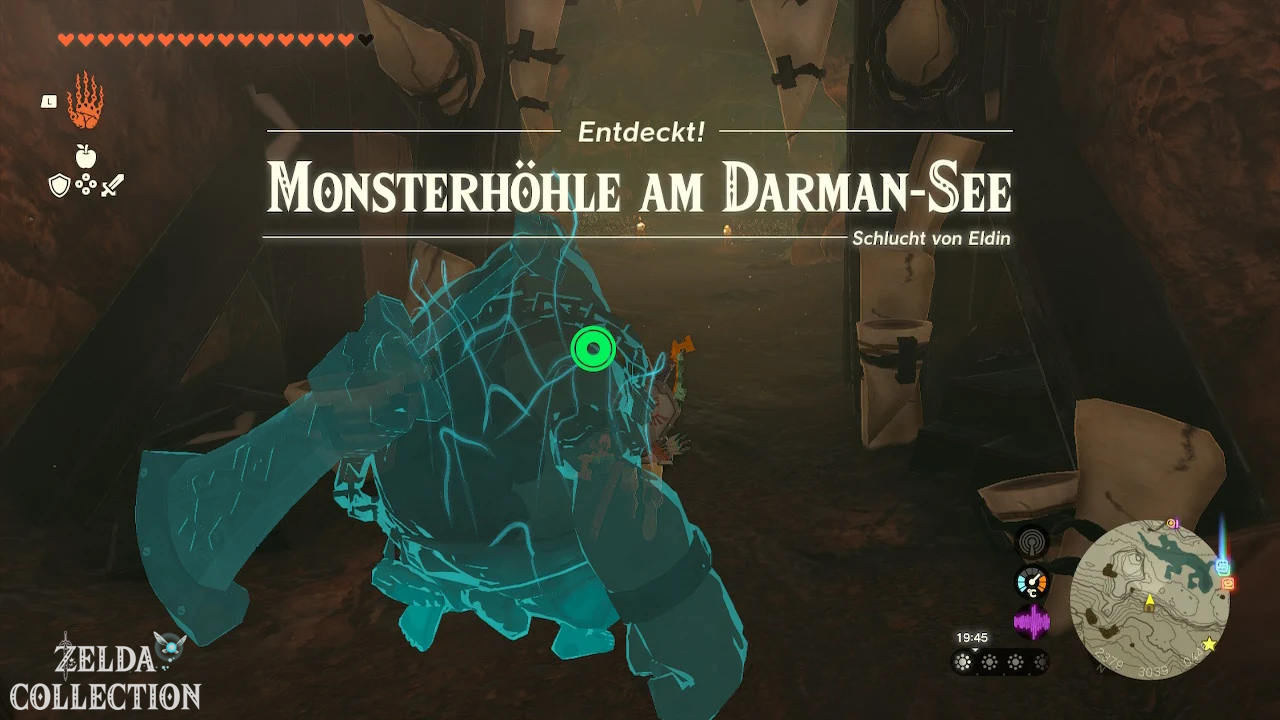
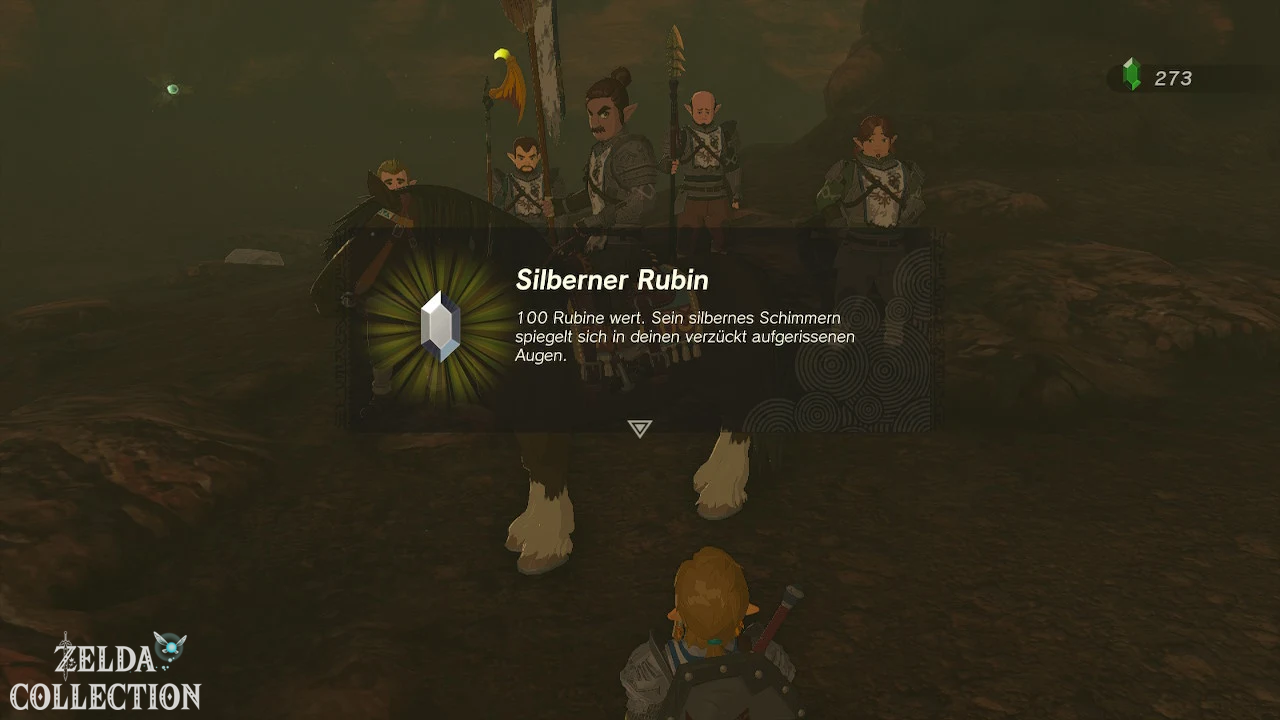
Find Toren’s party on the road through the Eldin canyon and accompany him to the fortified monster camp. Speak to Toren again at the rally point.
Several Bokoblins and Moblins are waiting in the warehouse. Use the height for headshots and throw enemies off platforms with heavy attacks. Yunobo’s roll attack is particularly useful in the rocky region. After the victory, Toren announces the mission in Akkala.
Reward: 100 Rupees and unlock “Bring Peace to Akkala!”
7. Bring peace Hebra!
Quest Chain: Monster Weir
Start: At Flaxel’s monster defense in the south Tabantha Tundra, after “Bring Faron Peace!”.
solution
Take level 2 cold protection with you. At the monster fort, a large metal ball blocks access. Grab it with the Ultrahand and pull it out of the opening so that Flaxel’s squad can enter.
Follow the soldiers into the fort and defeat all the monsters. Take out the archers on the walls first and use fire against ice enemies. The episode ends after the last monster.
Reward: 100 Rupees; At the end of the last monster defense episode, the material of the monster defense is also added.
8. Bring Necluda Peace!
Quest Chain: Monster Weir
Start: At Hoz’s Monster Defense in Necluda, after “Bring Peace to the Plains!”
solution
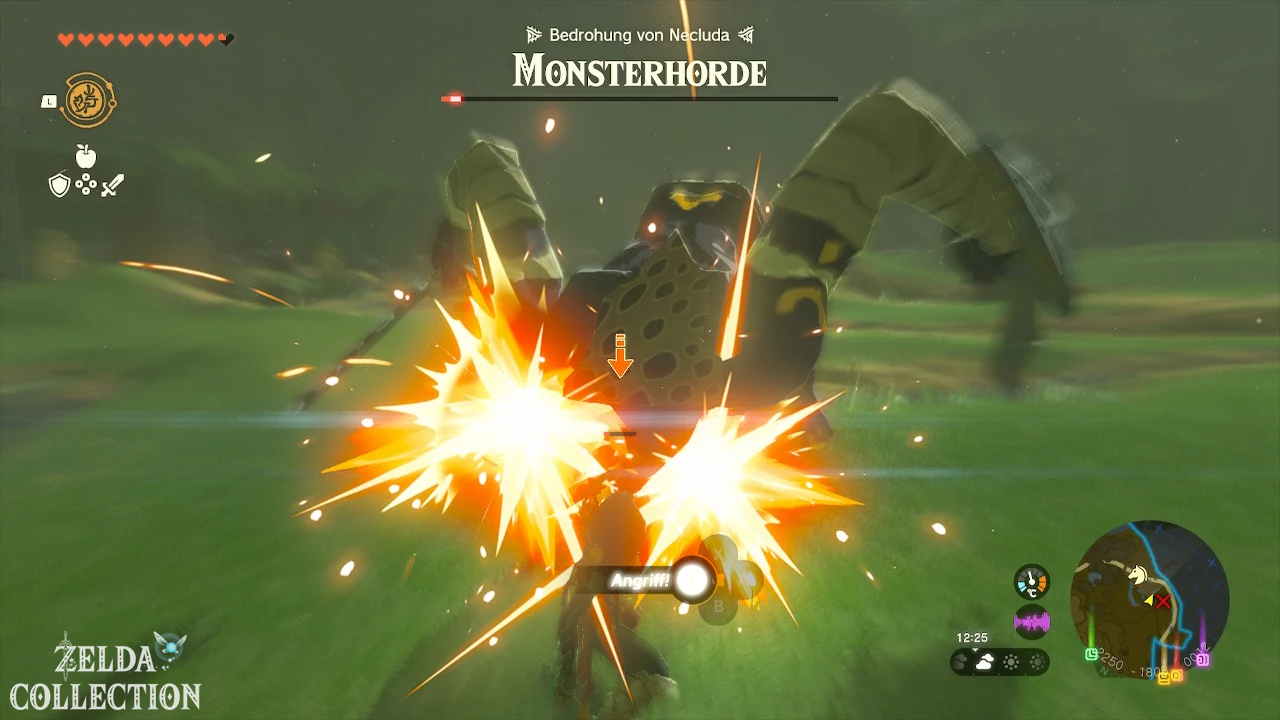
Meet Hoz’s squad on the way towards Hateno Village or Fort Hateno Village and follow him to the monster base. Speak to Hoz at the rally point to start the attack.
The warehouse has several levels. Kill elevated archers with arrows or climb onto the platforms using Ascend. Freeze strong Moblins or distract them with Puffshrooms. As soon as all enemies have fallen, Hoz will report automatically.
Reward: 100 Rupees.
9. Bring peace Faron!
Quest Chain: Monster Weir
Start: At Flaxel’s monster weir on the Menoat River in Faron.
solution
The monsters have occupied a ship and destroyed the access bridge. Connects the boards and beams provided with the Ultrahand to form a stable bridge between the shore and the ship.
As soon as the path is clear, Flaxel’s squad starts moving. Enter the ship and defeat all monsters on the deck and in the deeper areas. Push enemies into the water or use bomb arrows against groups. After the victory, the unit moves on to Hebra.
Reward: 100 Rupees and unlock “Bring Hebra Peace!”.
10. The Chicken Oracle
Quest chain: Lucky Clover Gazette
Start: At Penn at the South Akkala Stable after “In Search of Truth” is started.
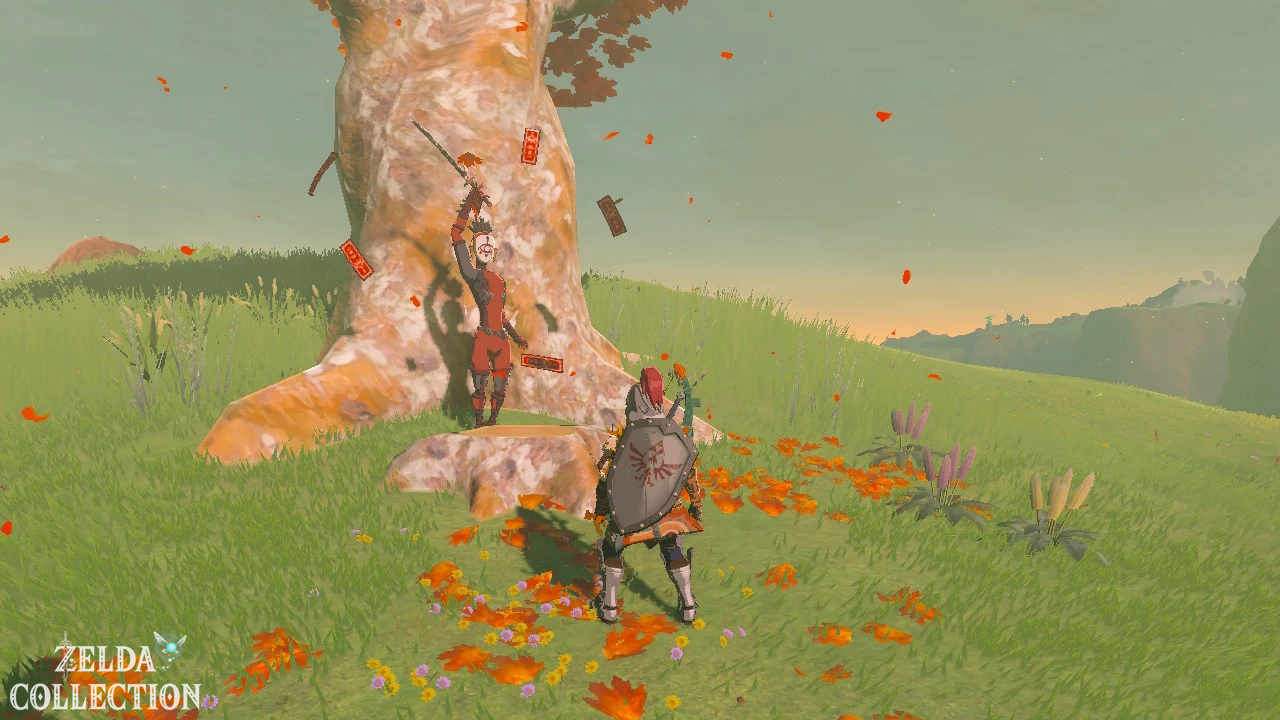
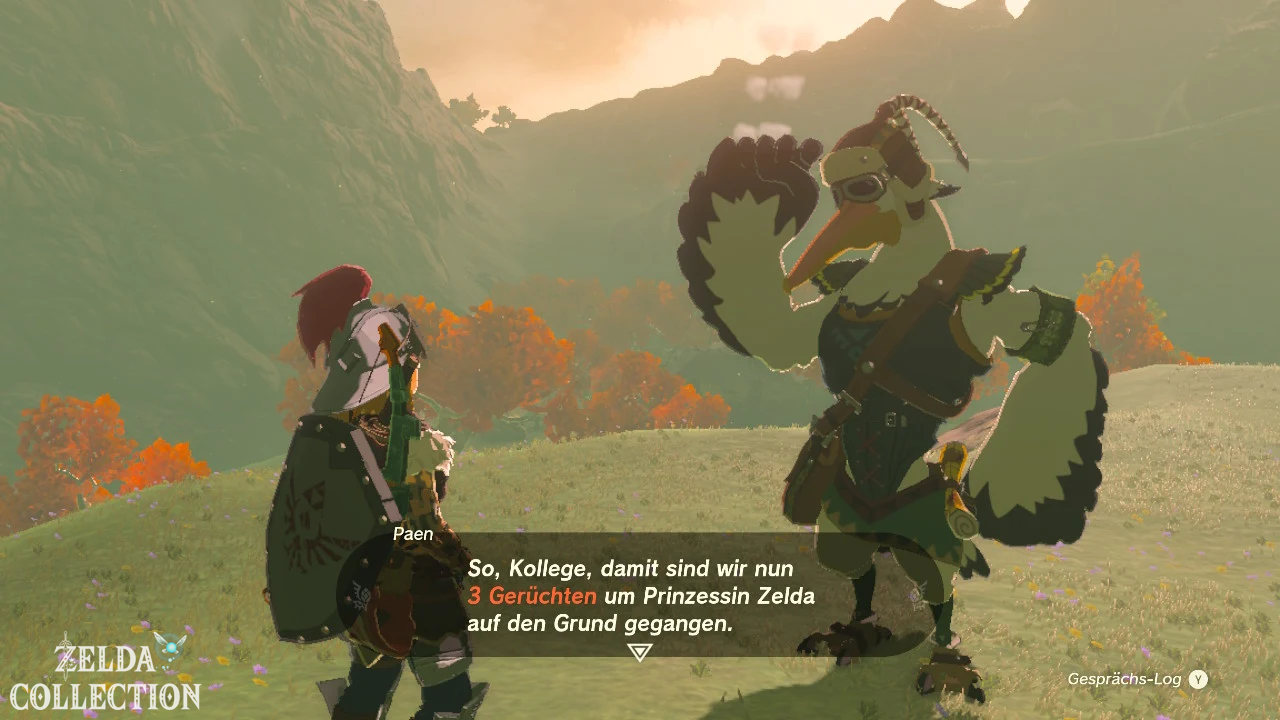
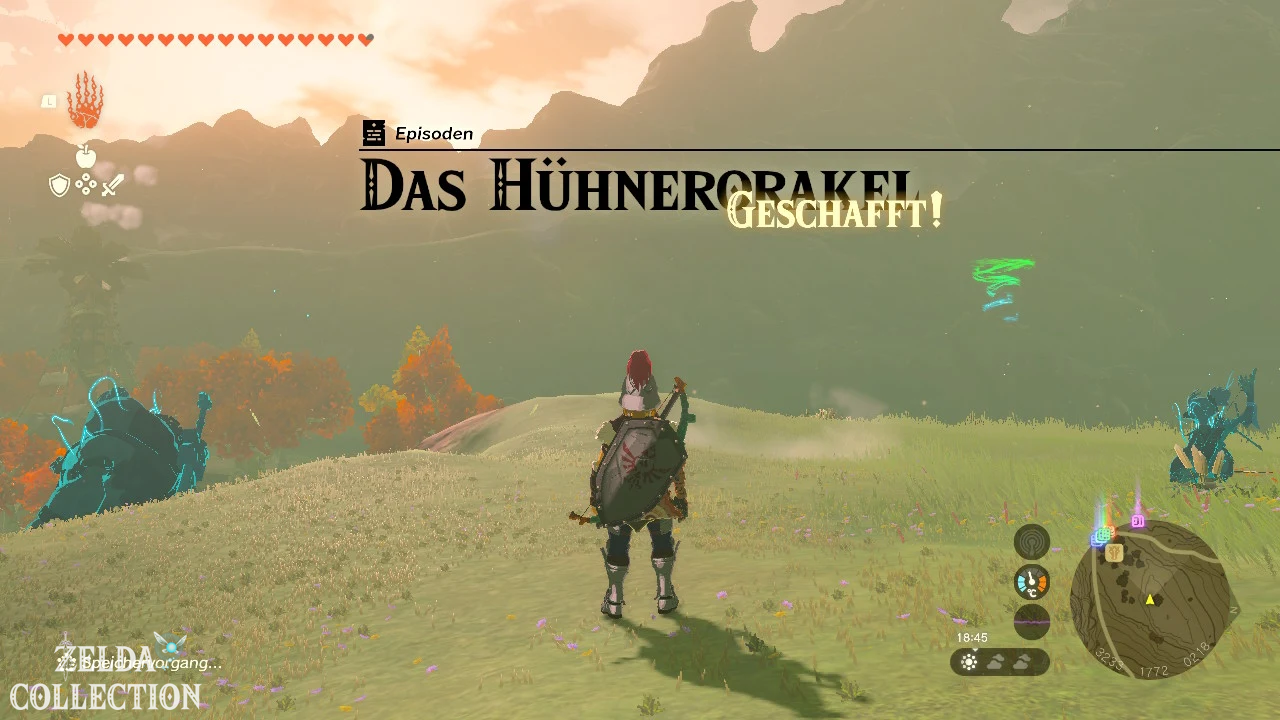
solution
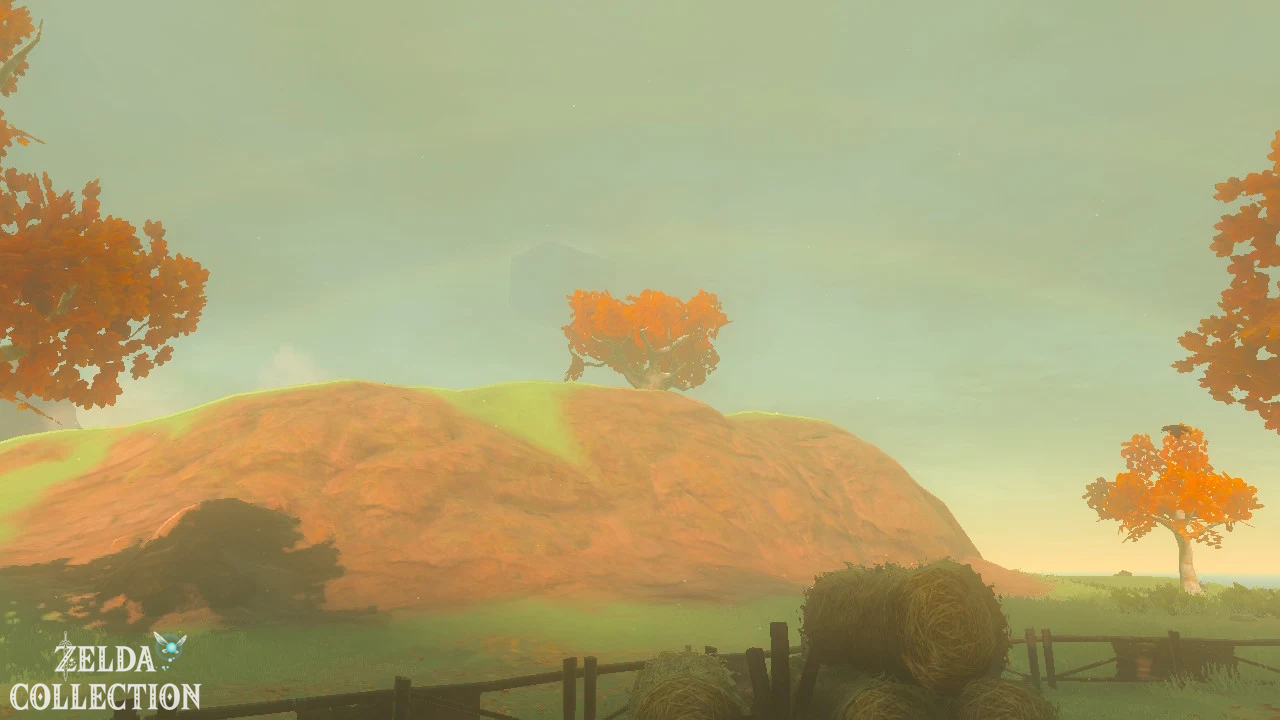
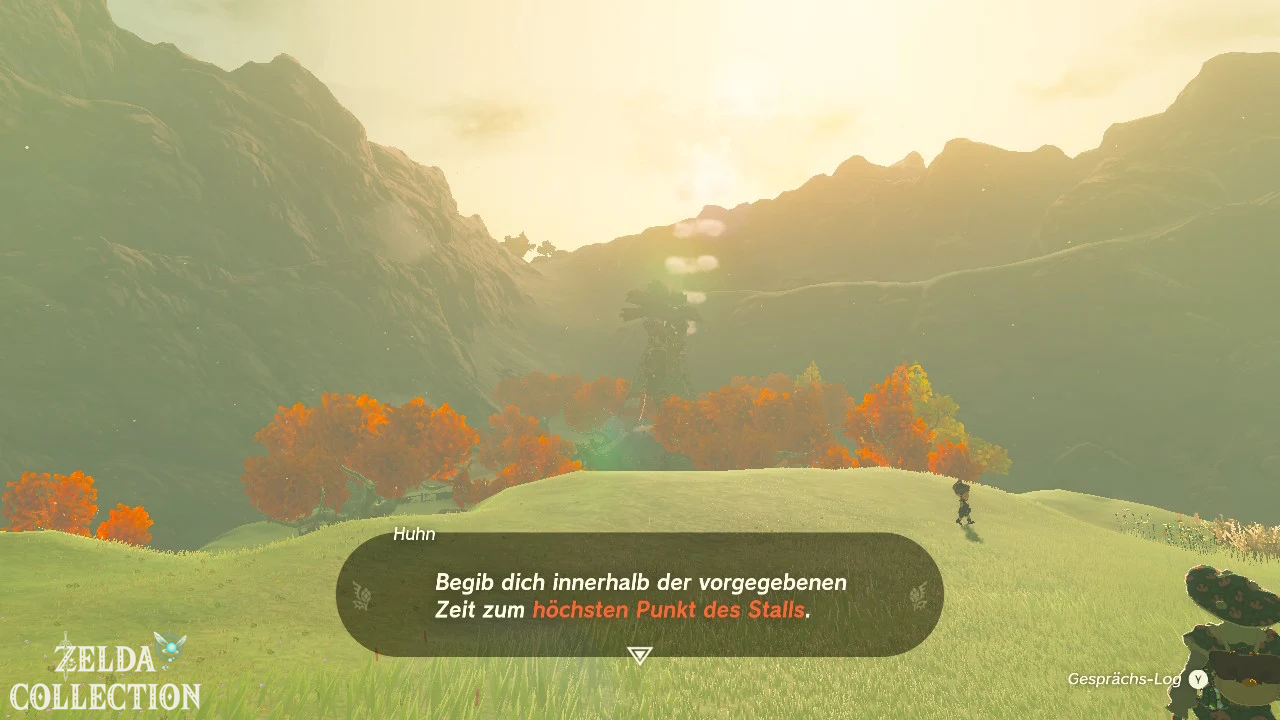
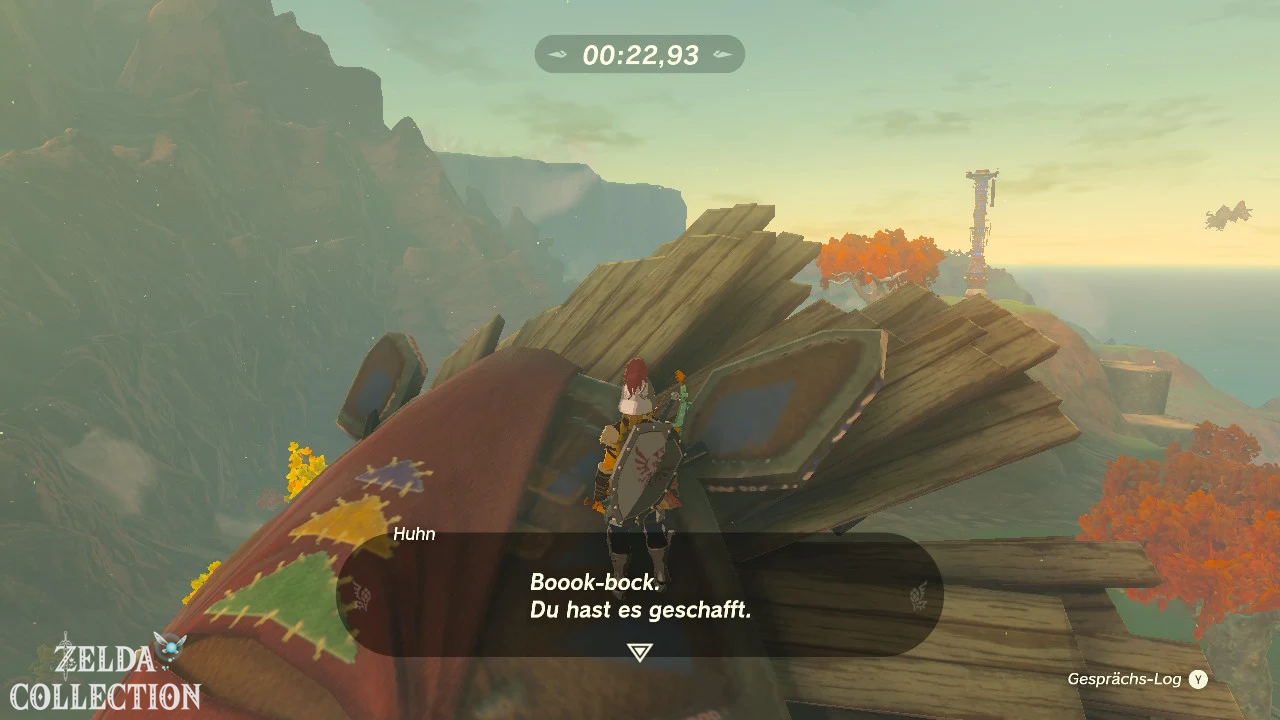
Talk to the flashy chicken on the hill by the coop. In the first test you have to reach the highest point of the stable roof within 45 seconds. Climb straight up a side wall or use a Rocket Shield.
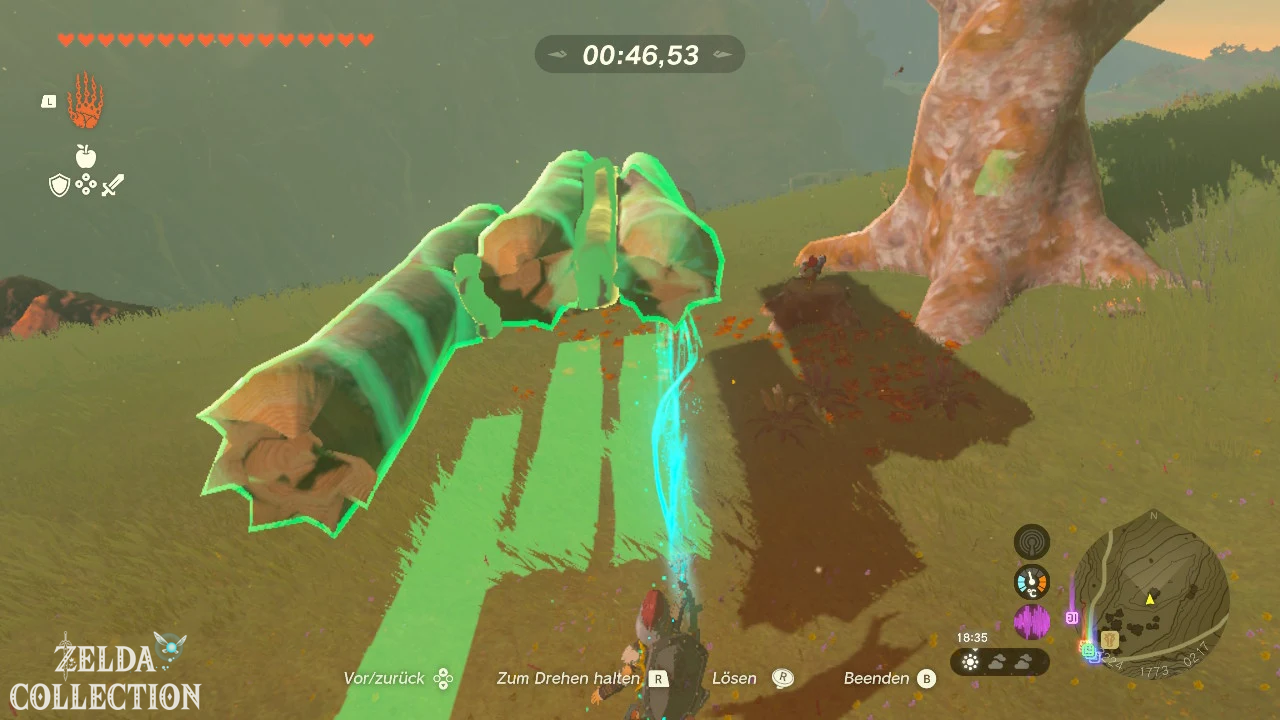
For the second test, cut down three nearby trees, turn them into logs, connect all three to the Ultrahand and bring the package to the chicken within 90 seconds. The oracle then turns out to be a trap set by the Yiga gang. Defeat the attackers.
Reward: Tiered reward for the Lucky Clover Gazette quest line.
11. Your Hyrule Compendium
Quest Chain: Purah Pad
Start: At Robbie in the research institute of Hateno Village, according to “A Sensor + of superlatives”.
solution
Speak to Robbie on the device for the Hyrule Compendium. He explains that he sells his own images of creatures, monsters, materials, weapons and treasures.
Buys at least one missing image. After that, the episode is complete and you can purchase additional normal entries at any time. Particularly rare elite and boss pictures are only offered after defeating Ganondorf’s or when the game is saved with a star.
Reward: Permanent access to Robbie’s Image Sale.
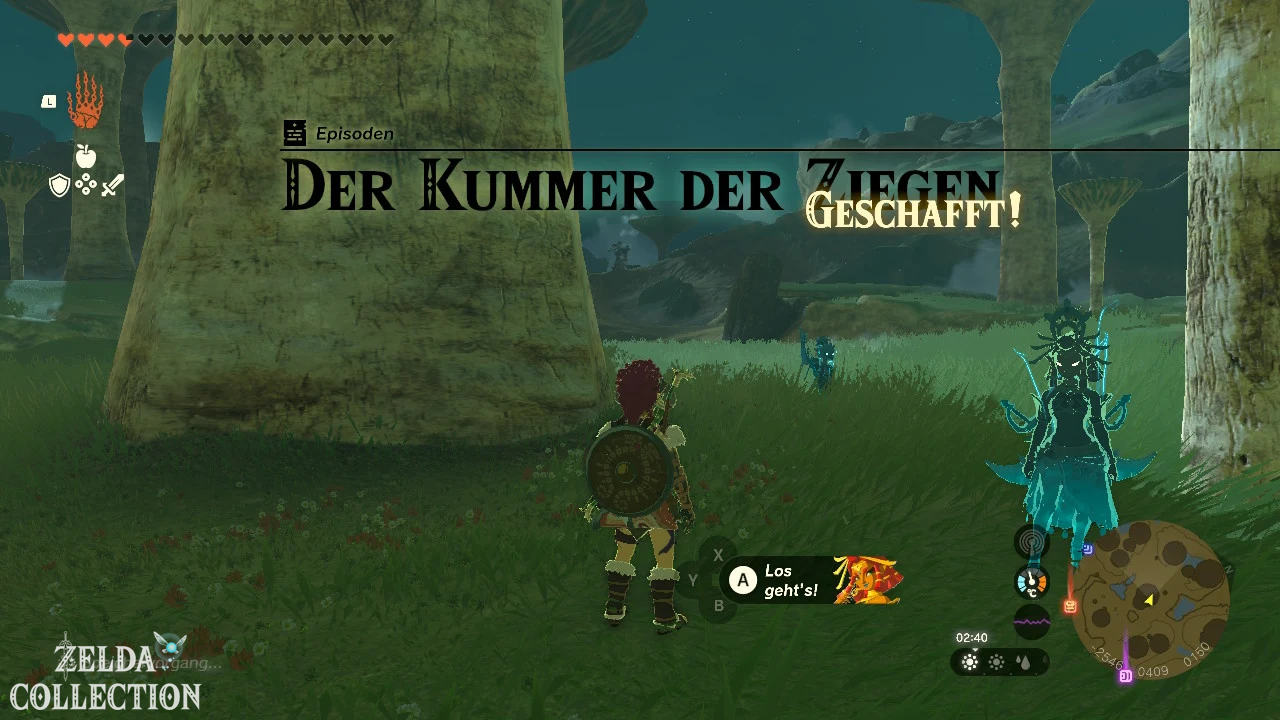
12. The Sorrow of the Goats
Quest chain: Lucky Clover Gazette
Start: At Penn on Tabantha Bridge Stable.
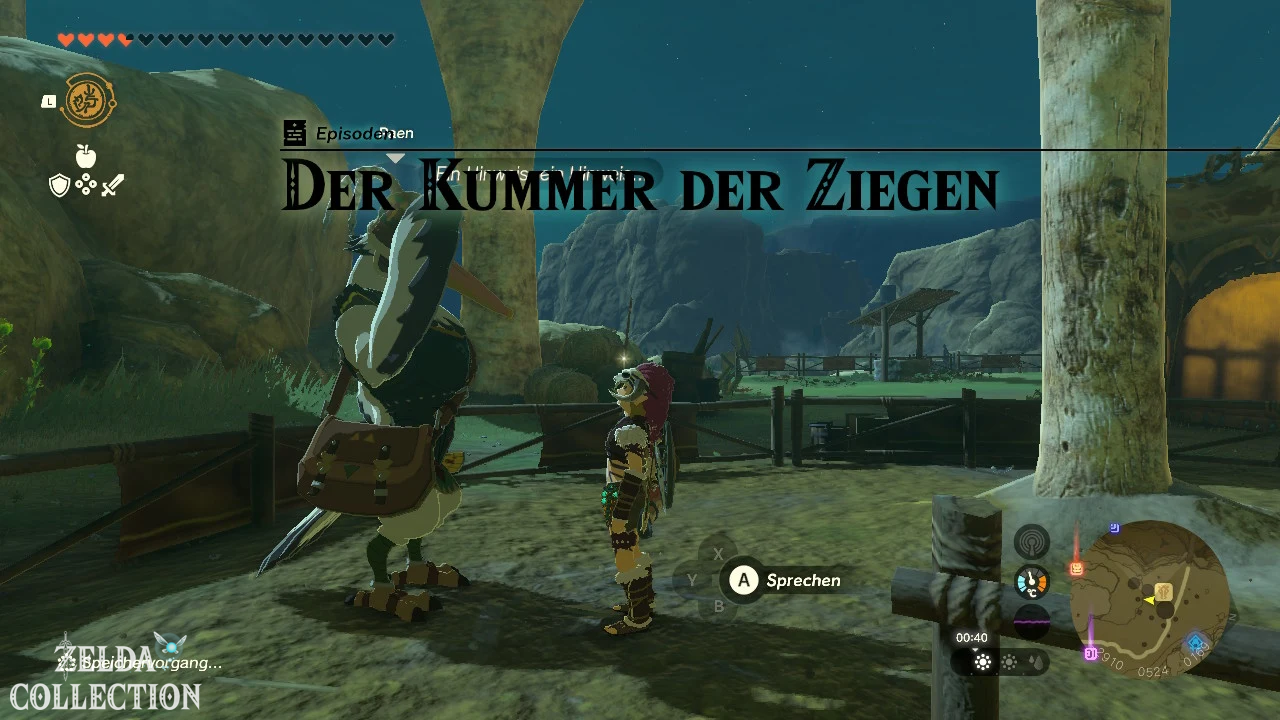
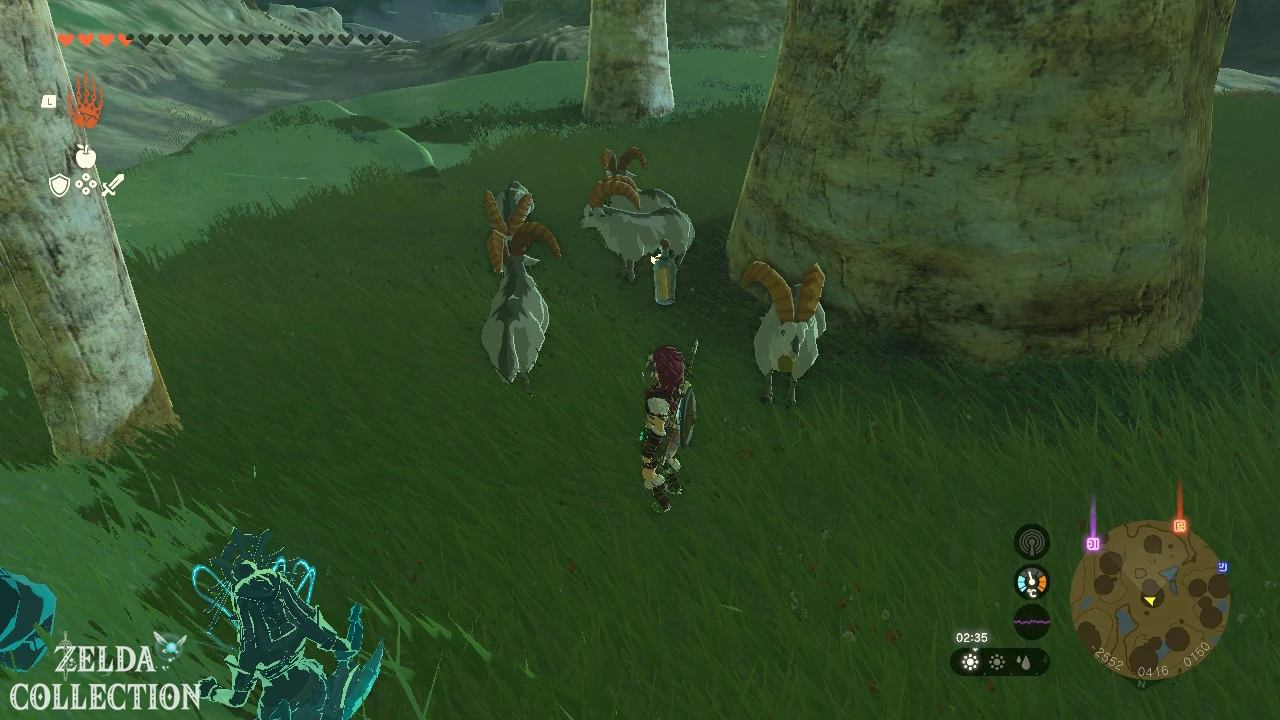
solution
Investigate the empty goat enclosure. A track from Hylian Pine Cone leads from the stable to the east or northeast. Activates the Ultrahand to make the small pick-up items in the grass glow more clearly.
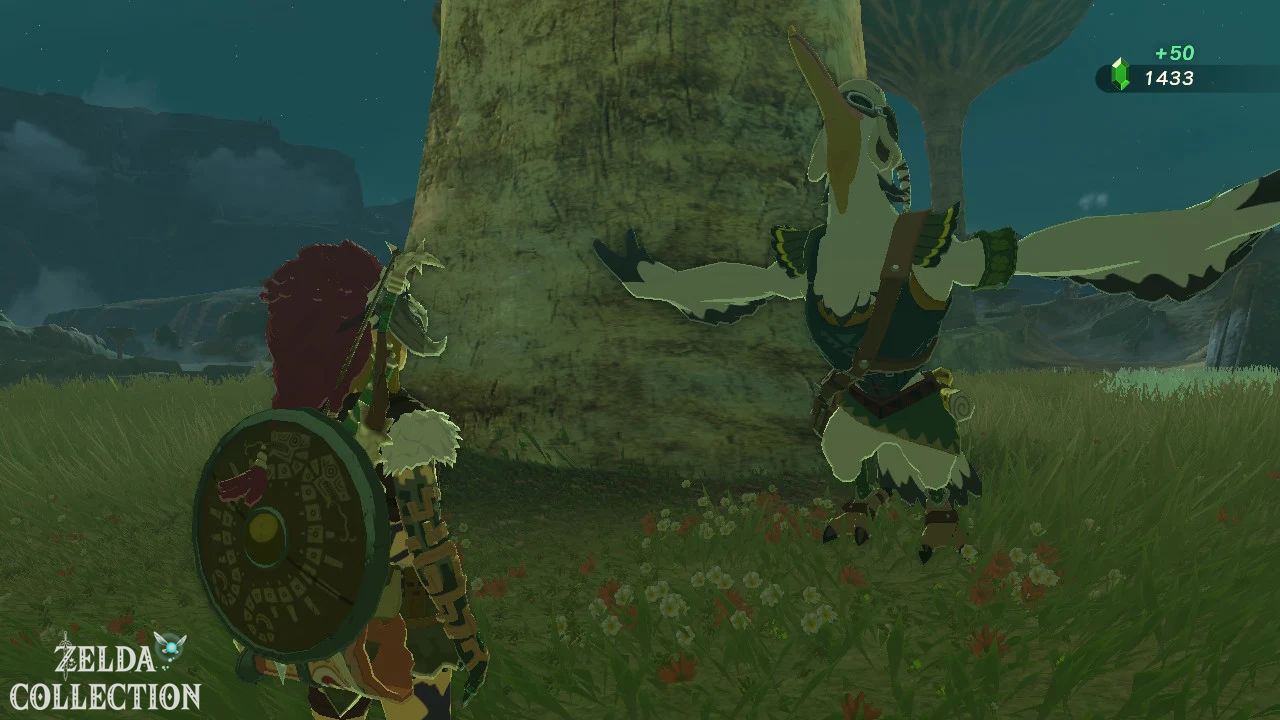
Follow the trail to a large tree in the Seres area. The entire herd is there. Examines the bottle containing the original feeding instructions between the goats; then the zookeeper and Penn appear.
Reward: Tiered reward for the Lucky Clover Gazette quest line.
13. The Long Dragon Guardian
Quest chain: Thyphlo Ruins
Start: At Kazul in the Thyphlo Ruins after Riju becomes the Sage of Lightning.
solution
Read the stone tablet with the reference to the long dragon guarding the Death Mountain. In the southeastern part of the ruins, find the long, curved dragon statue and follow its body to the tip of its tail.
Stand on the stone slab at the end, activate Riju’s ability and wait until her yellow area of effect covers the spot. Shoot an arrow at the marked plate or directly in front of you to cause lightning to strike. A treasury opens.
Reward: 3 topazes.
14. The Hero’s Path
Quest Chain: Purah Pad
Start: At Robbie in the research institute of Hateno Village, after “Research institute in Hateno Village”.
solution
For calibration, Robbie requires data from 15 discovered shrines. It is enough to have activated the shrines; they do not necessarily have to be completed.
If you have already discovered 15 shrines, the function will be activated immediately. Otherwise, return to Robbie after activating more shrines. The Hero’s Path shows Link’s movements over the past hours of play on the map and makes it easier to search for areas that have not yet been visited.
Reward: Hero’s Path map feature.
15. The Tinkerer Travel Medallion
Quest Chain: Purah Pad
Start: At Robbie in the research institute of Hateno Village, after “Research institute in Hateno Village”.
solution
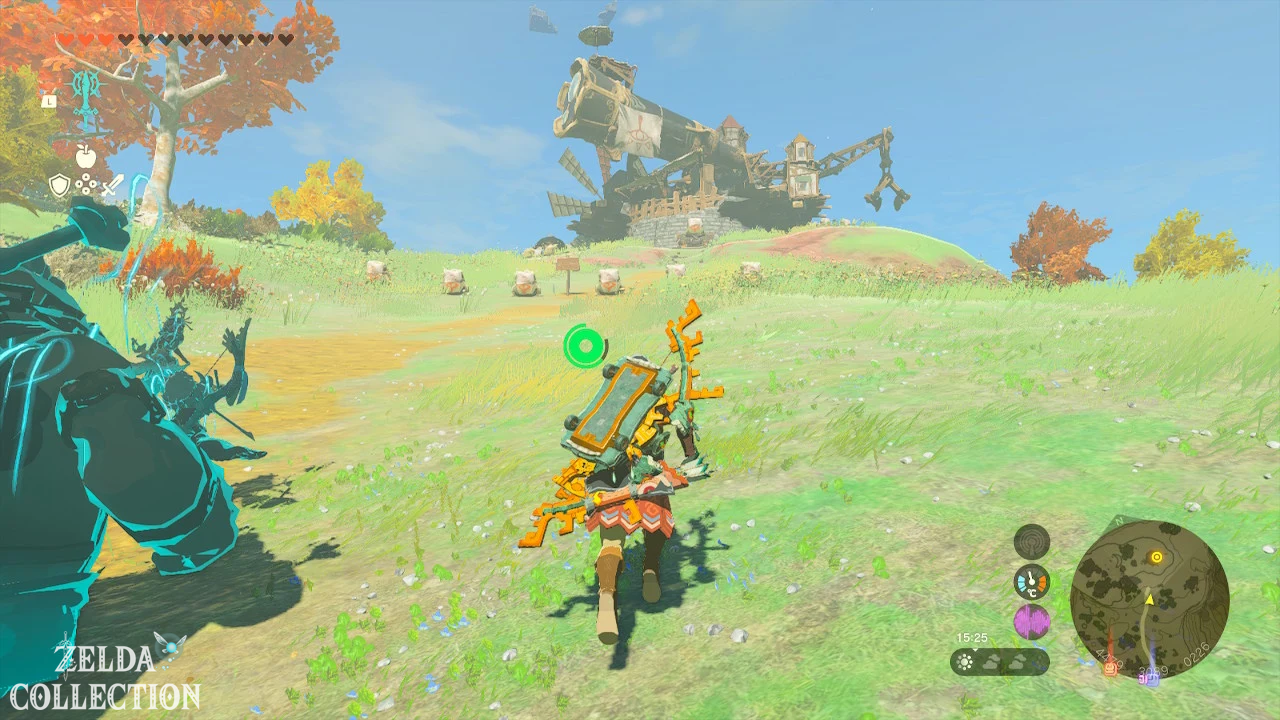
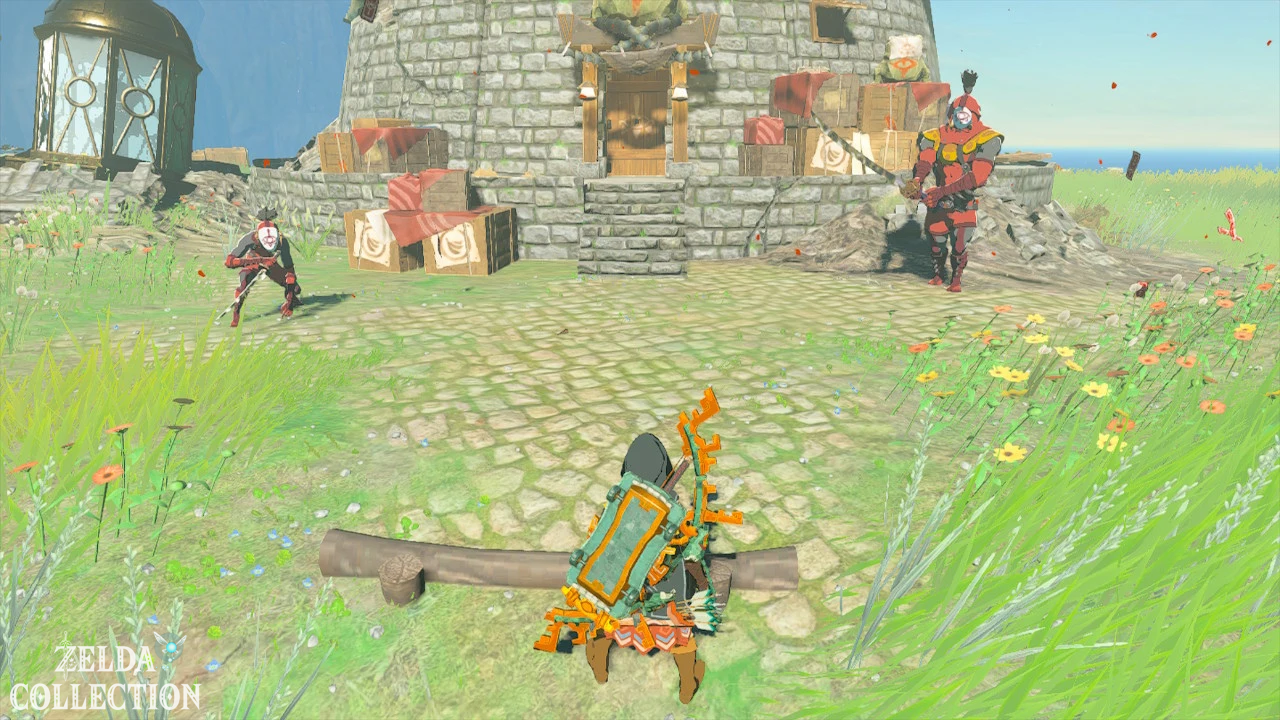
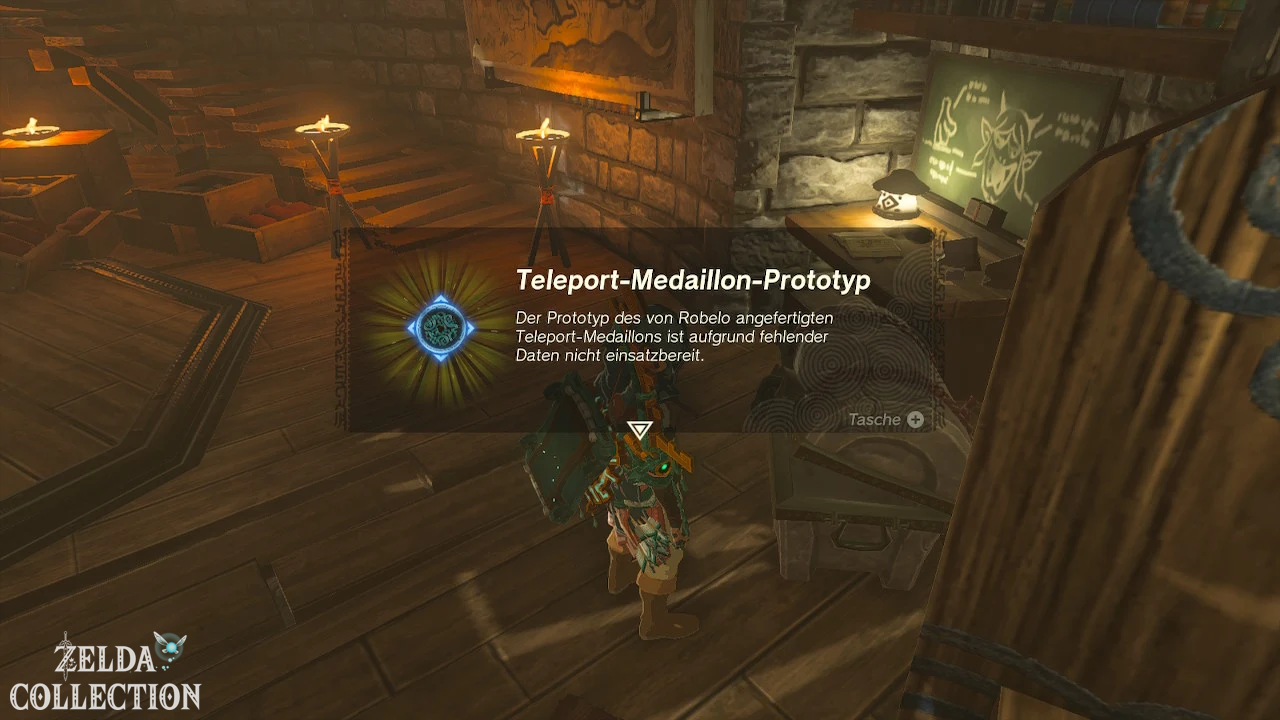
Travel to Akkala Ancient Tech Lab in the far northeast. Defeat the Yiga in front of the building, enter the laboratory and open the chest with the prototype teleport medallion. Take him to Robbie.
The first medallion will be activated immediately. For a second one you must have revealed ten map regions through cartography towers, for the third all 15 regions. After reaching the respective number, speak to Robbie again.
Reward: Up to three freely placeable teleport medallions.
16. The mayoral election
Quest chain: Hateno Village
Start: Automatically in Hateno Village after “Cece or Reede?”, “Cece’s Secret”, “Reede’s Secret” and “A New Village Treat!” were completed.
solution
When the weather is clear, talk to Sophie outside Cece’s shop during the day. The election does not begin in the rain or at night; wait by a fire or sleep until the next convenient time.
Look at the election and subsequent reconciliation. Reede remains mayor, but will work with Cece in the future. Then visit Cece in the store and accept her gift.
Reward: Cece hat and completion of the Hateno Village election questline.
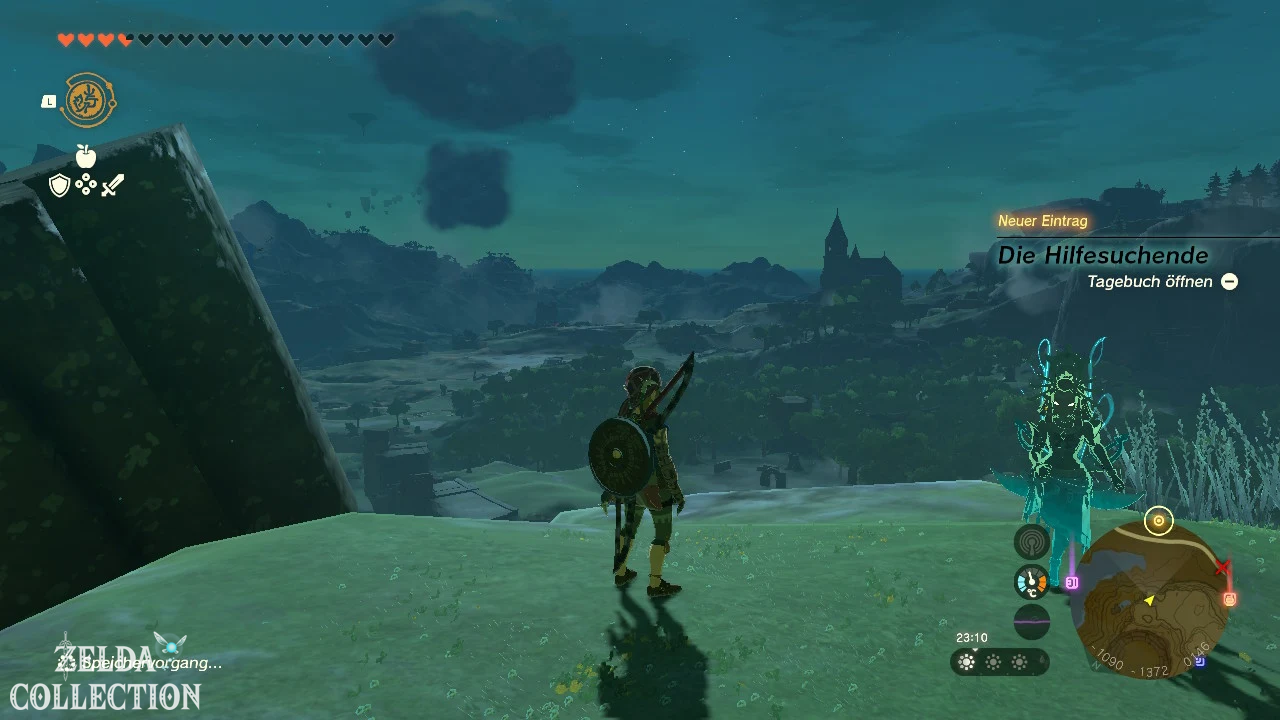
17. The one seeking help
Quest chain: Lucky Clover Gazette
Start: At Penn on Outskirt Stable.
solution
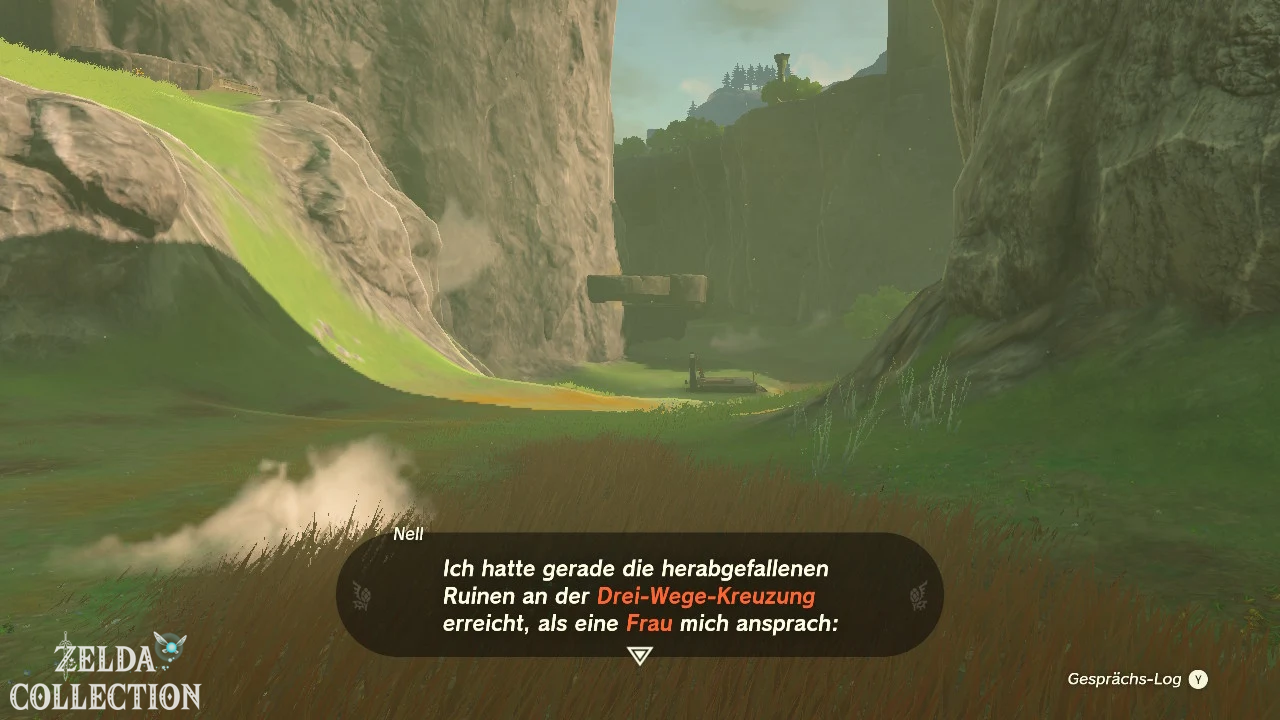
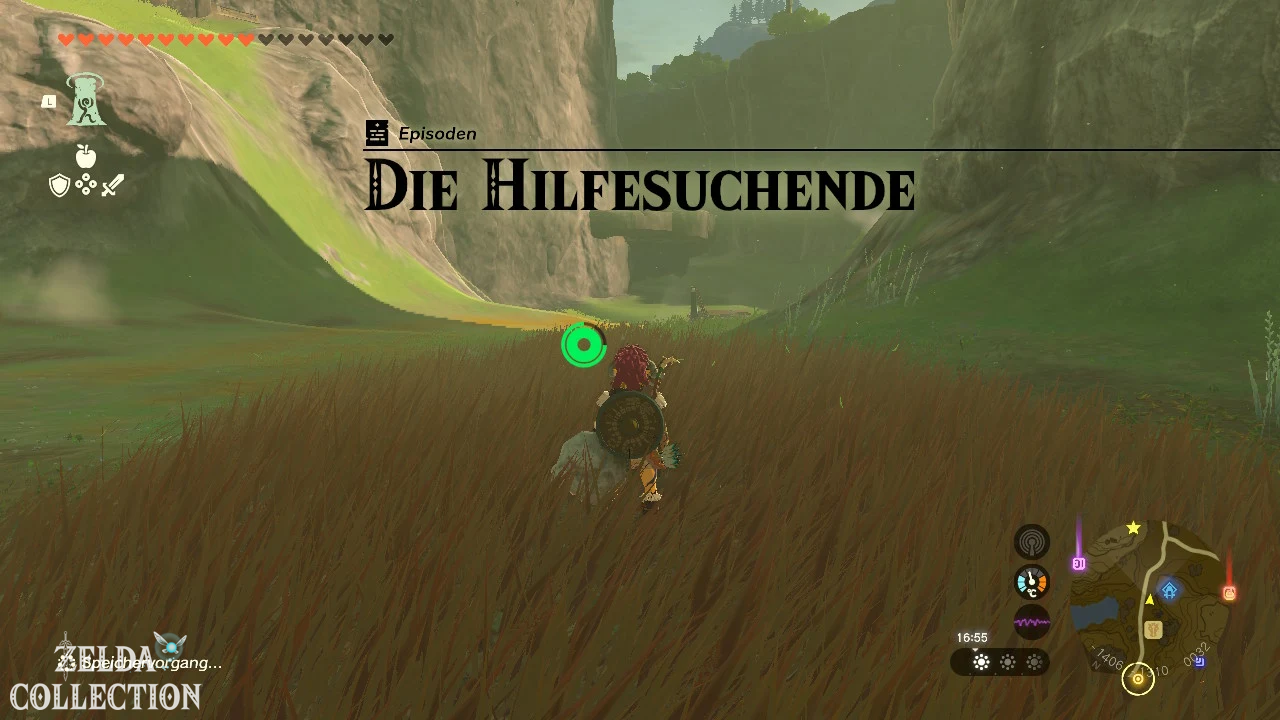
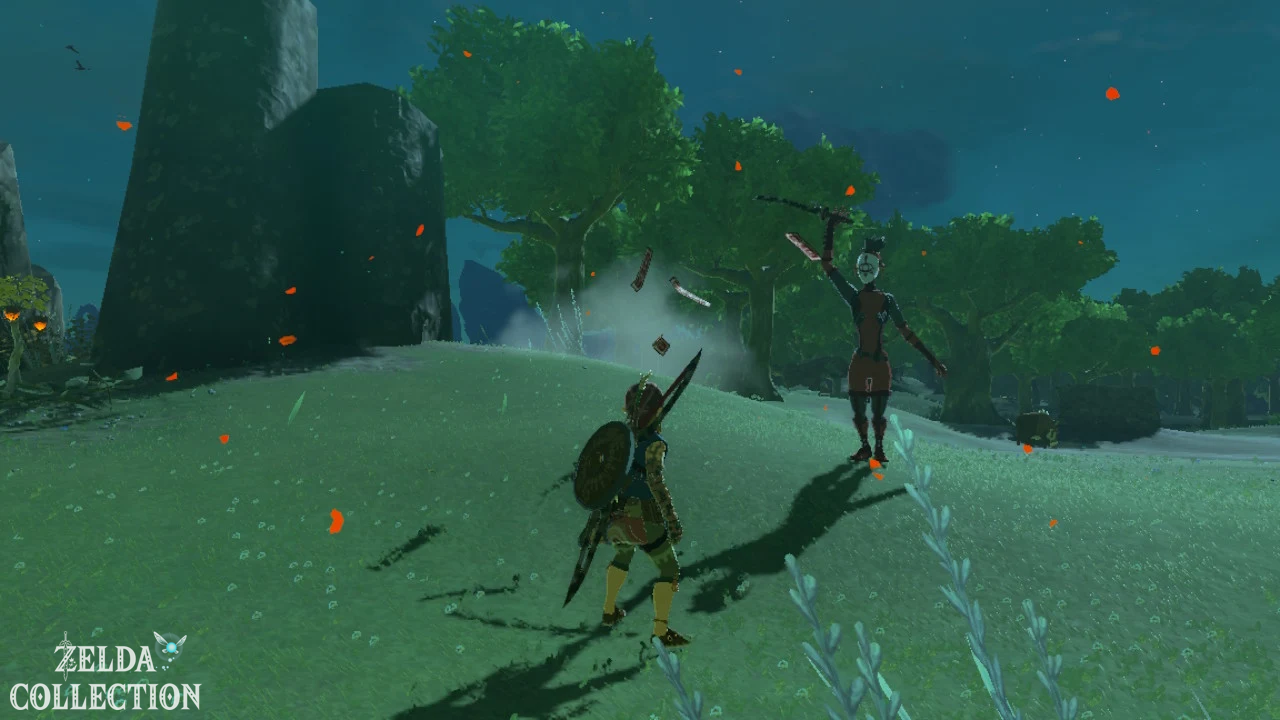
Follows the woman who claims to need help for a friend. She changes the meeting point several times; each new location is marked on the map. Take a horse or use fast travel points to shorten the path.
At the last meeting point, the story turns out to be a Yiga trap. Defeat the disguised woman and her companions. Watch out for teleporting attacks and the red markings of larger wind blades.
Reward: Tiered reward for the Lucky Clover Gazette quest line.
18. The rescue of the horn player
Quest chain: Great Fairies
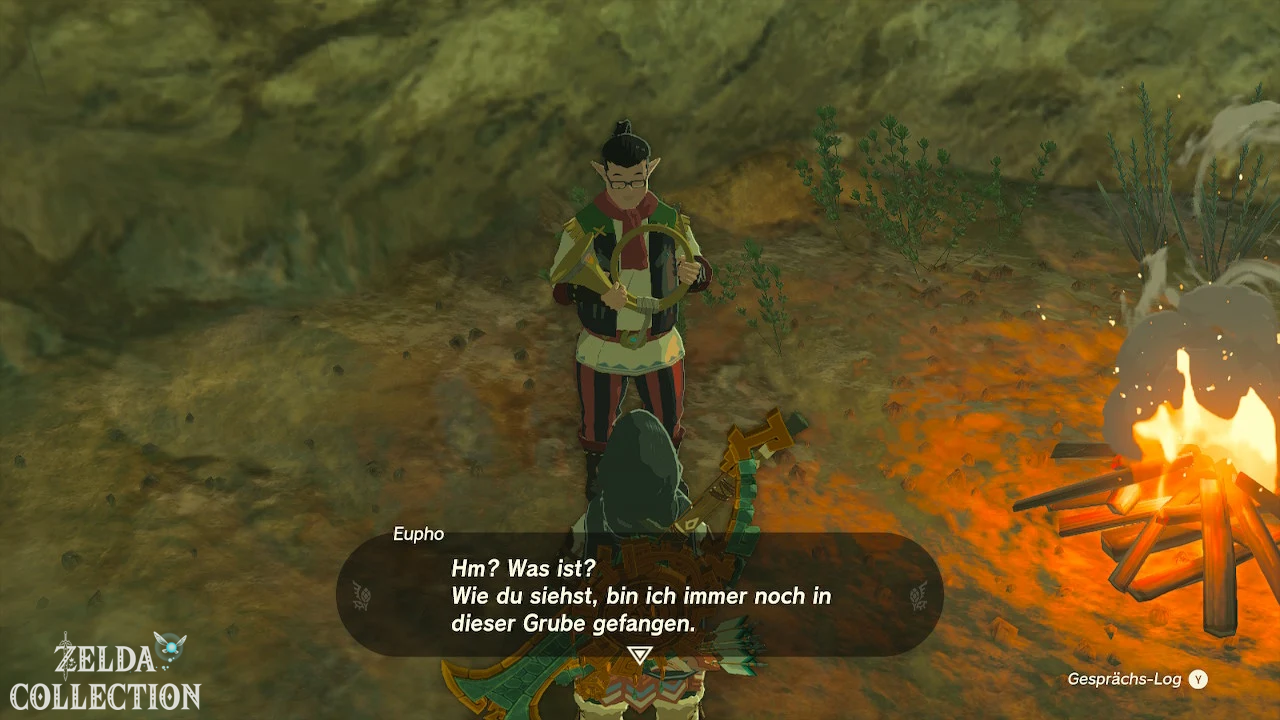
Start: Near Eustus in a hole in the ground in Tabantha Frontier, south of Tabantha Great Bridge.
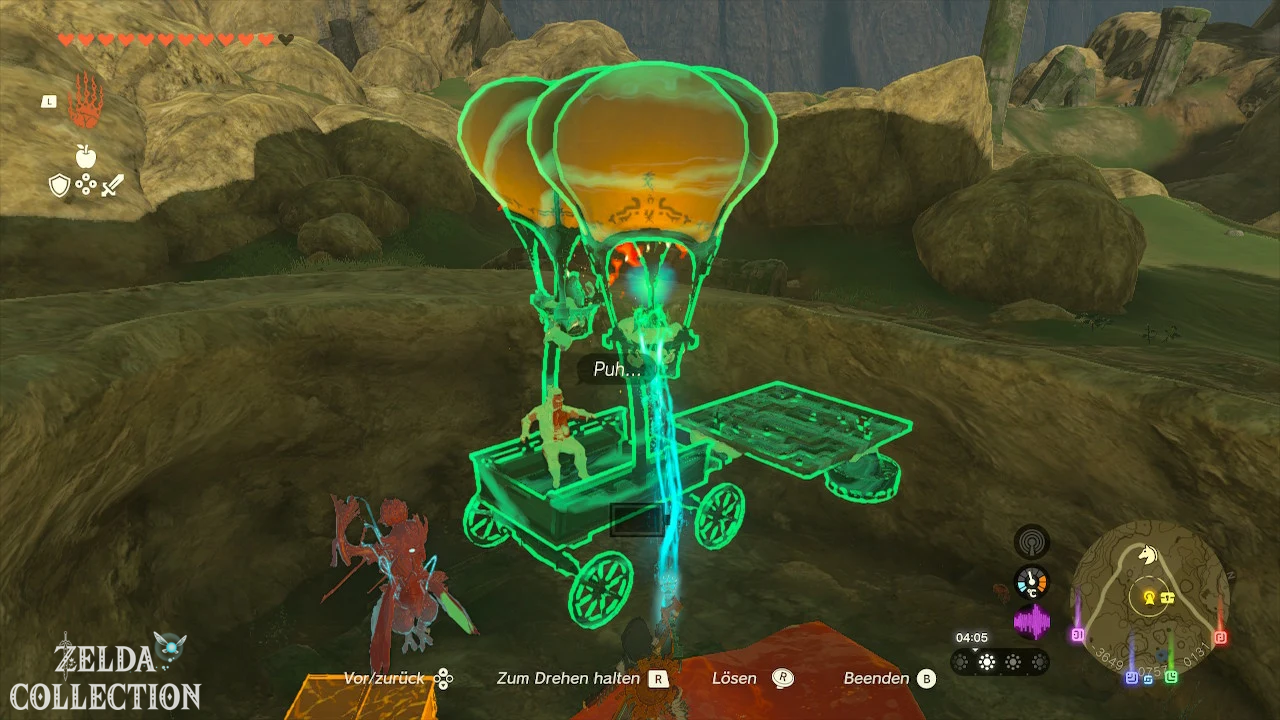
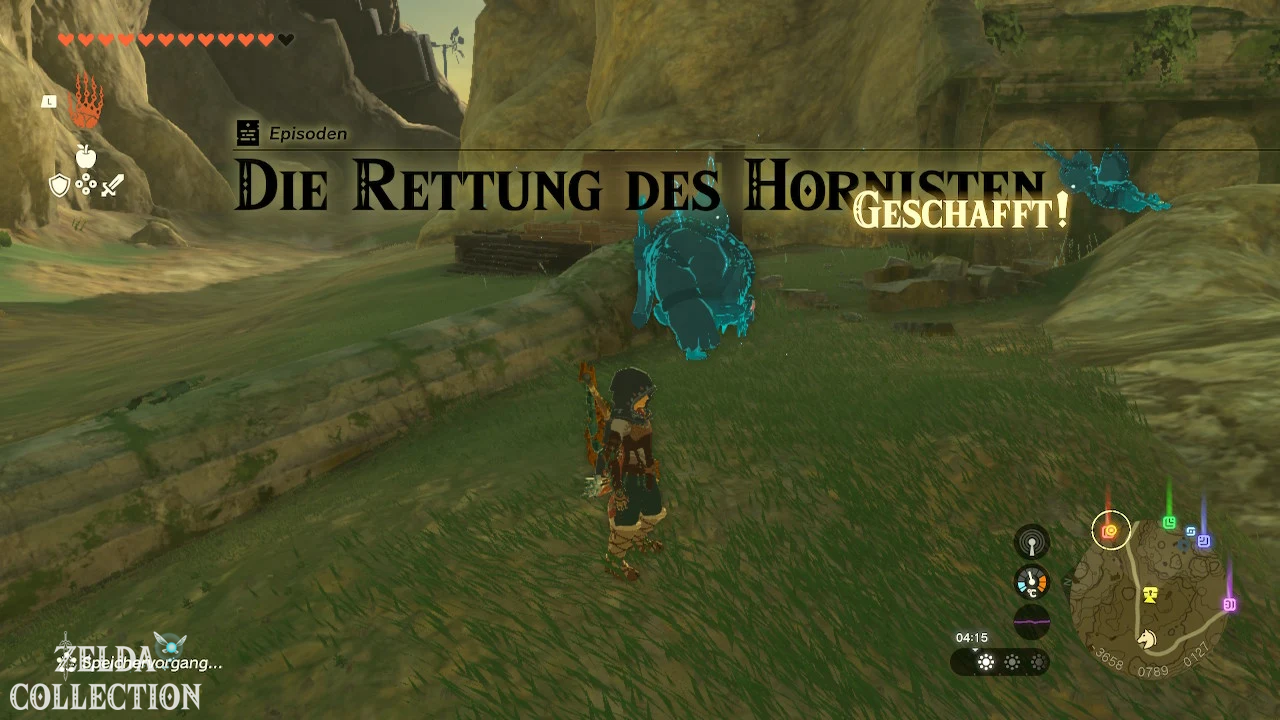
solution
Eustus only wants to leave the hole with his car. Place the large metal platform horizontally over the cart, attach two balloons and Flame Emitter to it, and securely connect the cart to the platform.
Activates the Flame Emitter so that the balloons lift the structure vertically. Make sure the car doesn’t hit the rock walls. As soon as Eustus and the wagon are above the edge of the hole, the structure comes loose and the episode ends.
Reward: 3 Stamina Honeys; Eustus returns to the stable musicians.
19. The voice from the wall
Quest Chain: Demon Statue
Start: With Jerrin in the Emergency Shelter of the scout post after a hole has appeared in the wall.
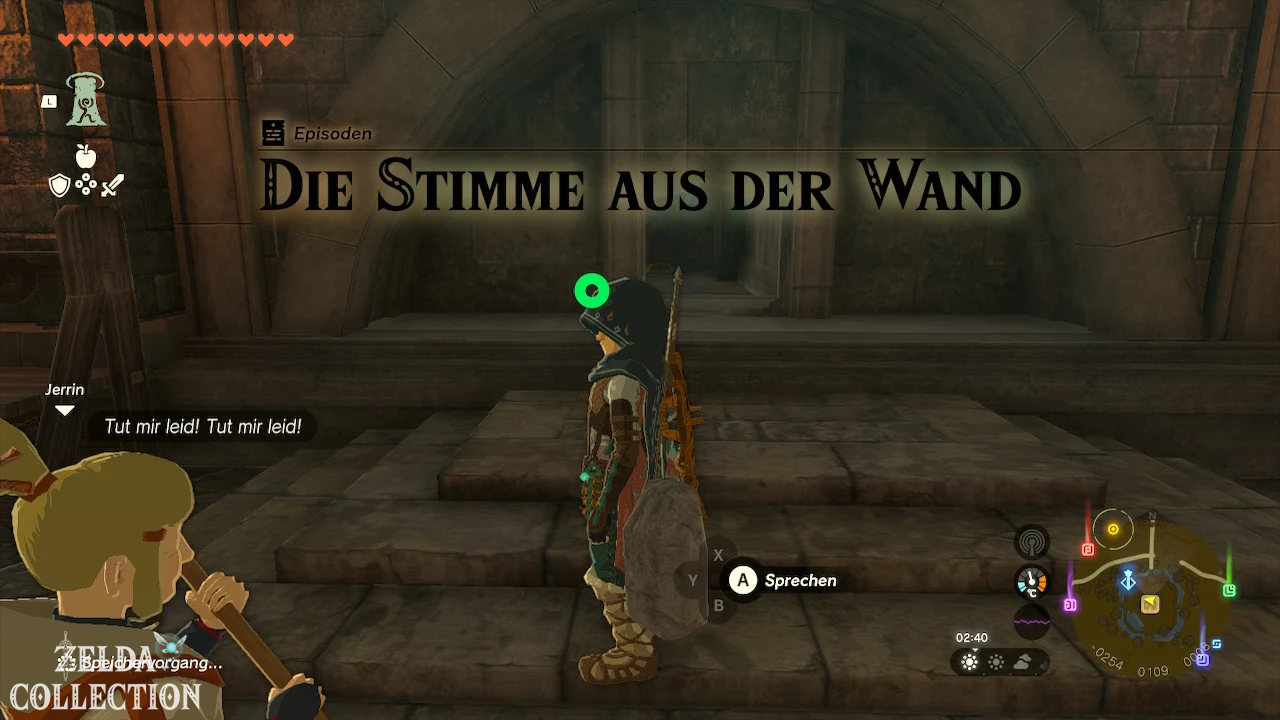
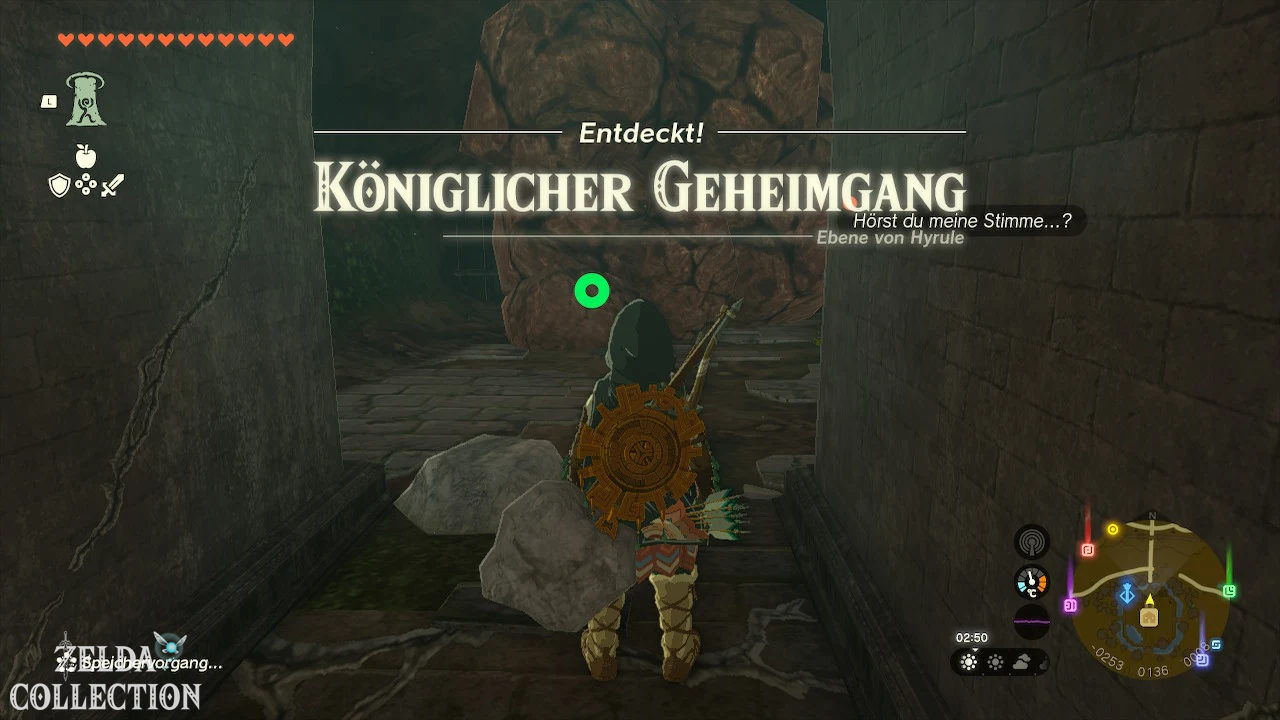
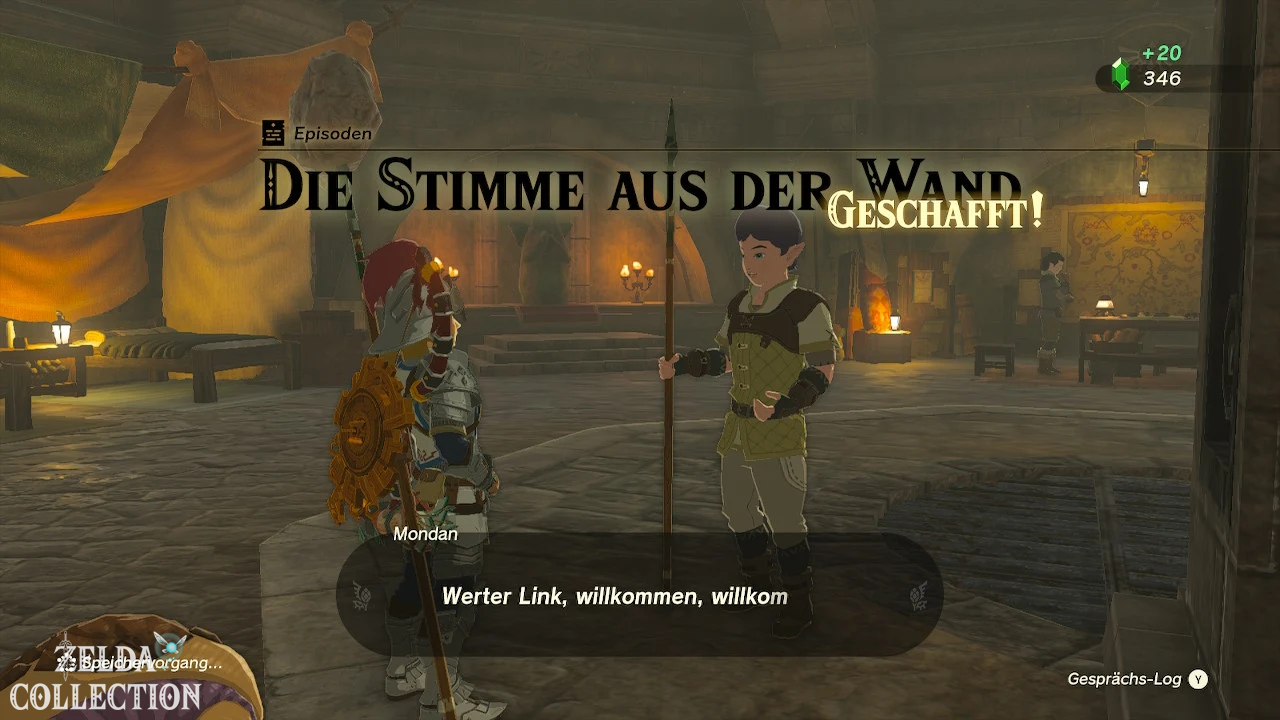
solution
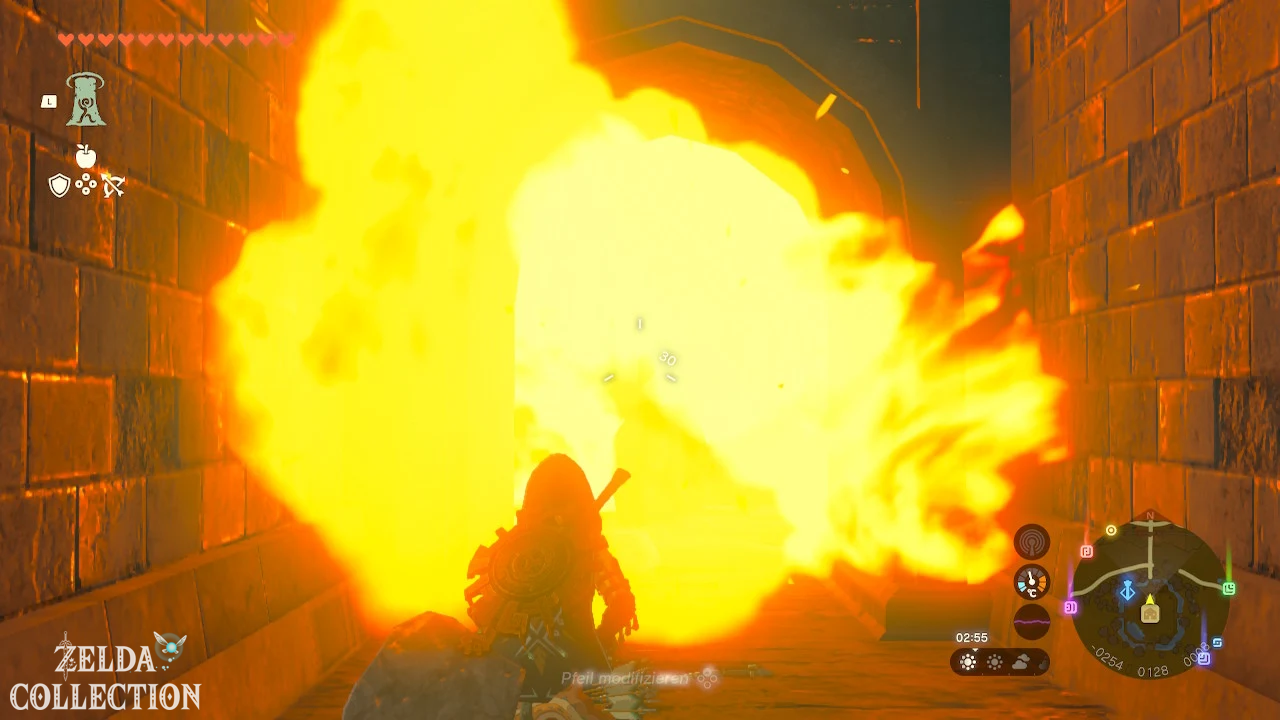
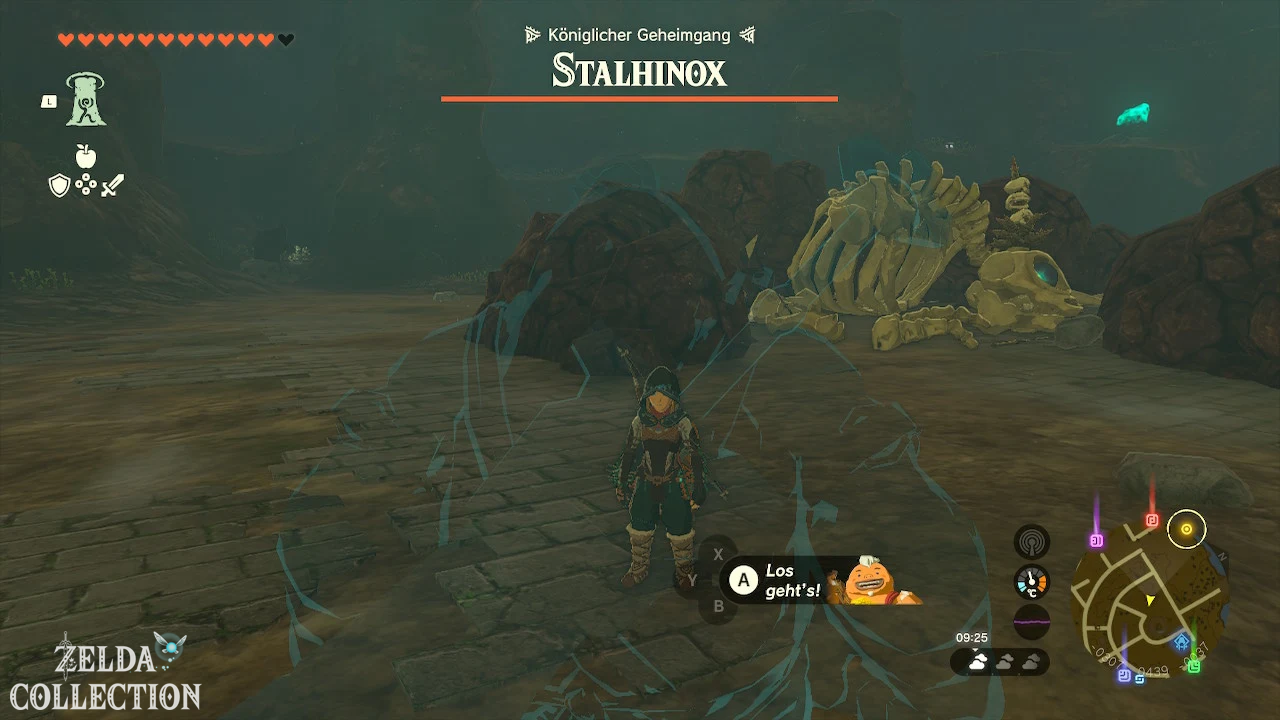
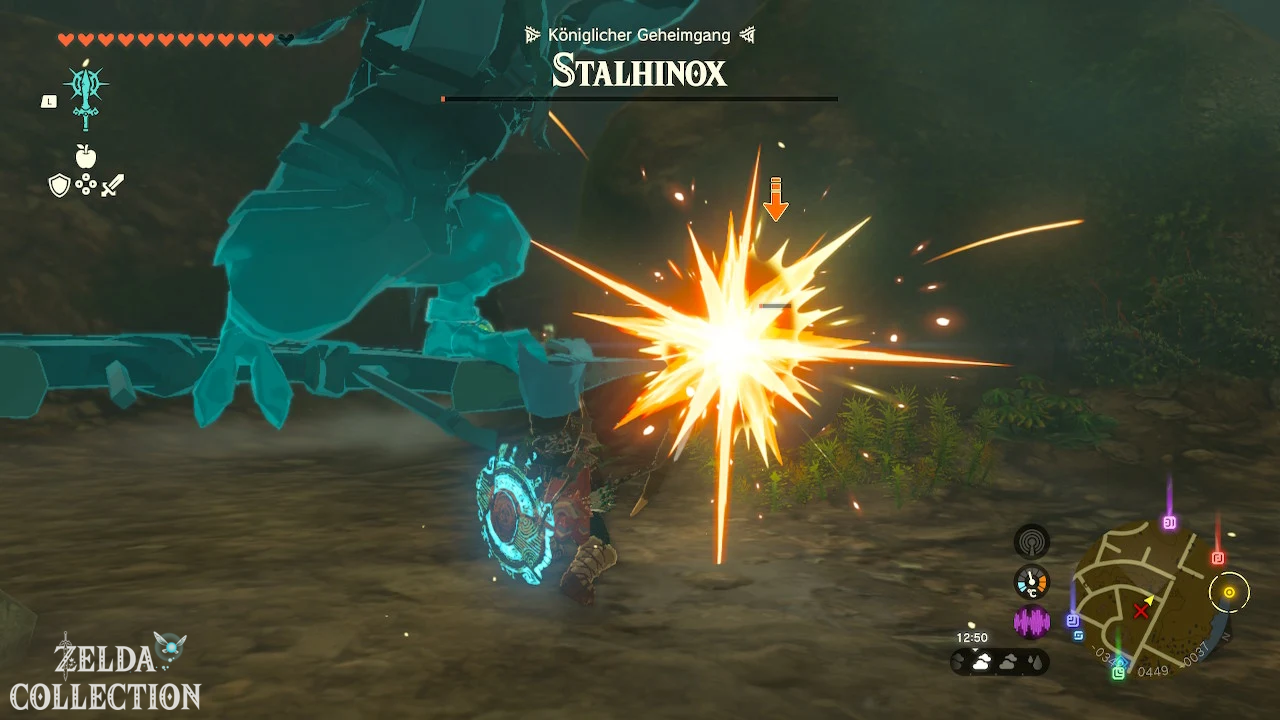
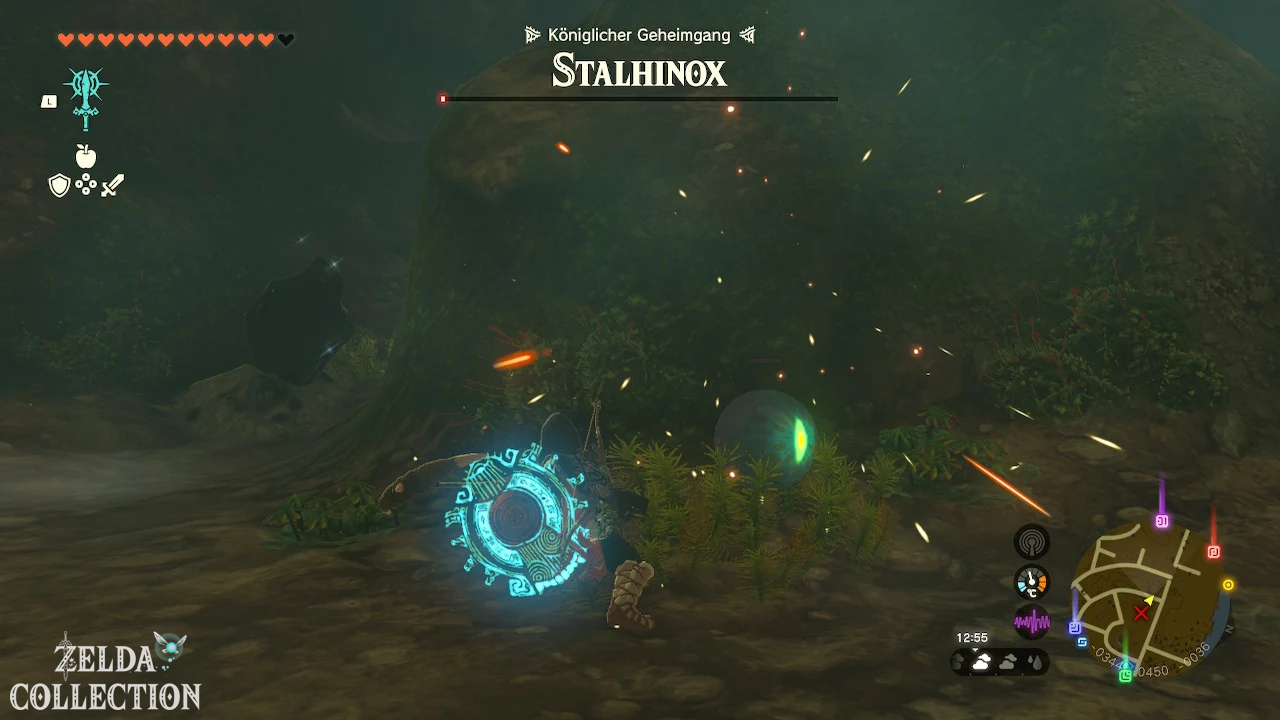
Talk to Jerrin and follow the voice through the damaged wall. Destroy the brittle rock in the secret passage under the Lookout Landing until you reach a small chamber with a horned statue.
The statue first takes a heart or Stamina Vessel from Link. Speak to her again to have her return the essence and explain her trading system. Then return to Jerrin.
Reward: Access to the Horned Statue and unlock Pact with the Demon.
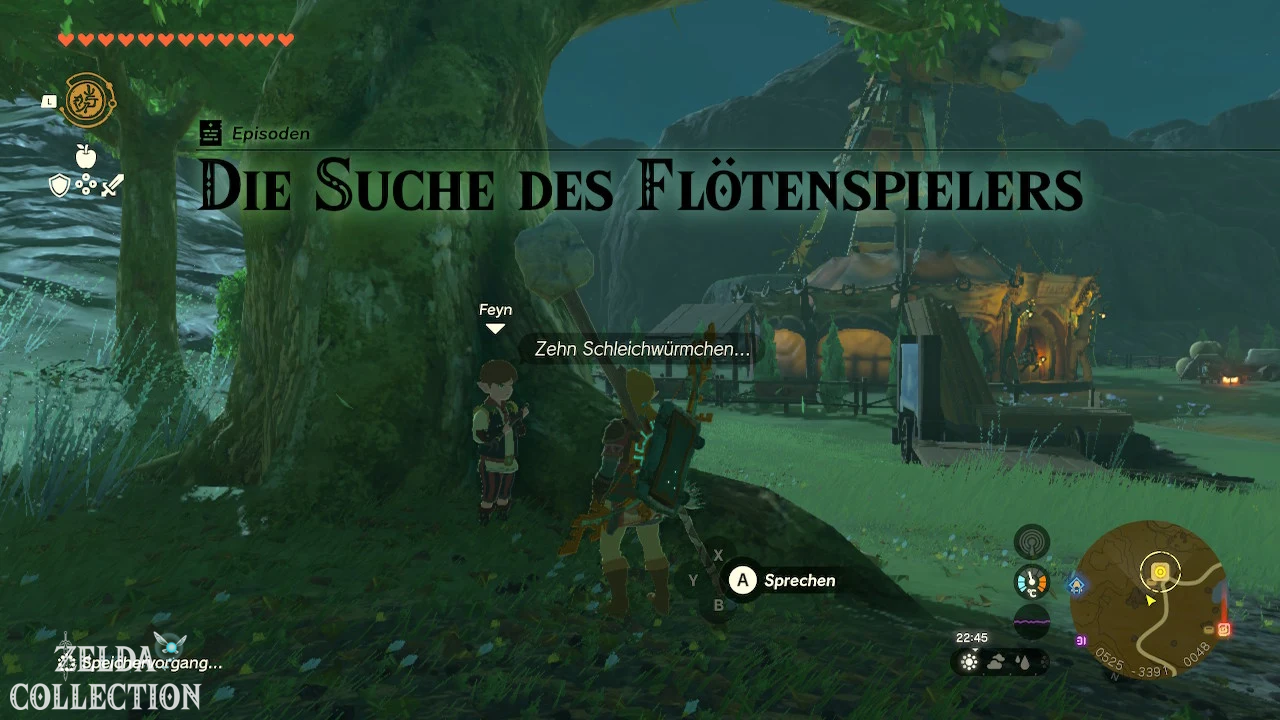
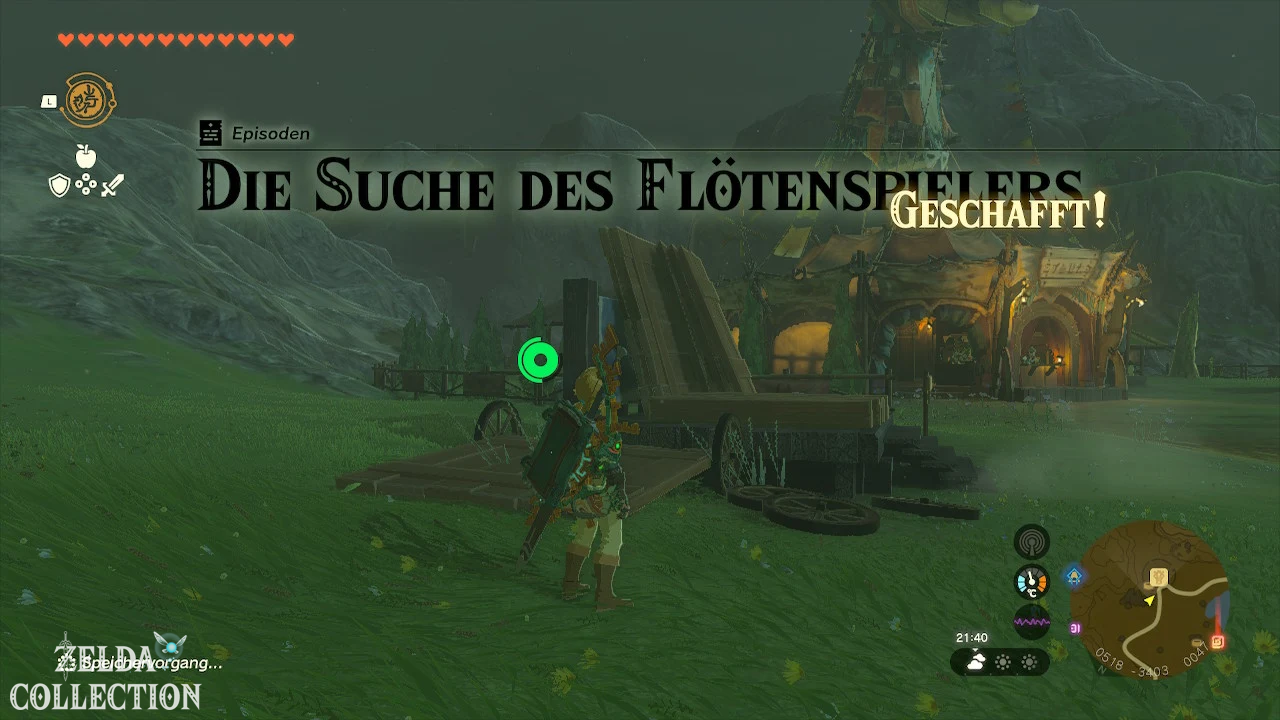
20. The Flute Player’s Search
Quest chain: Great Fairies
Start: At Pyper on a tree near the Highland Stable.
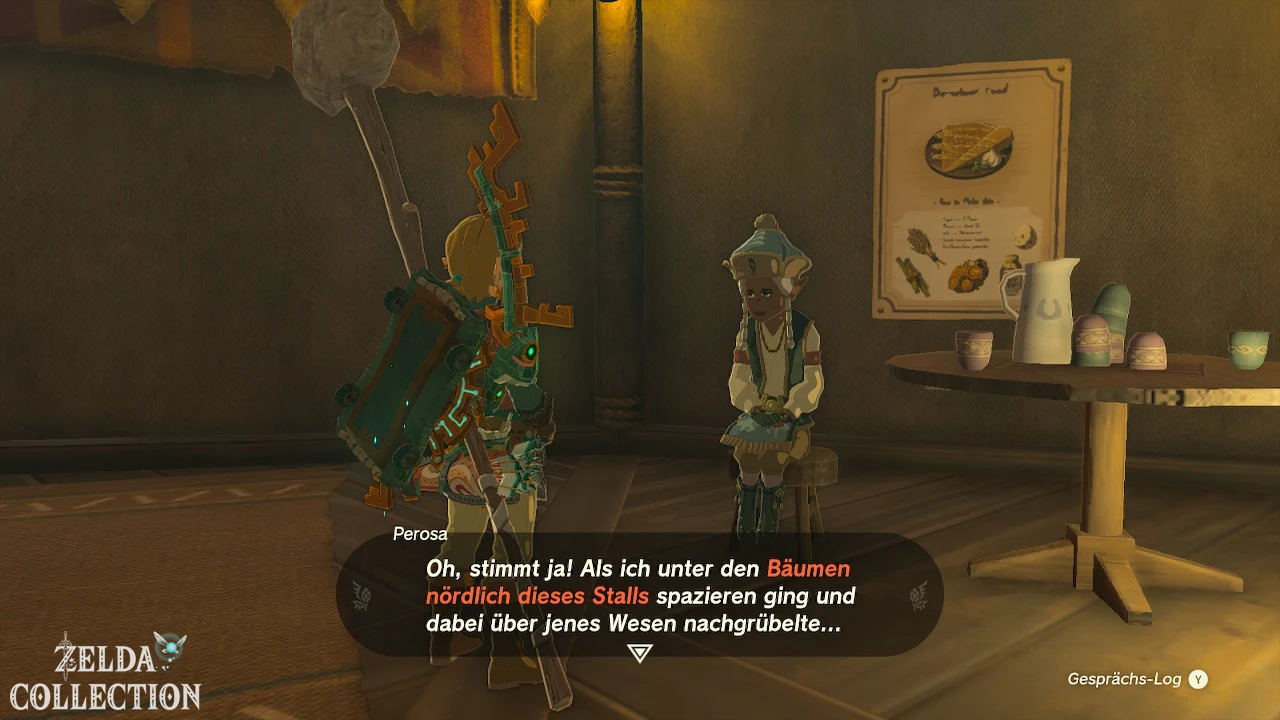
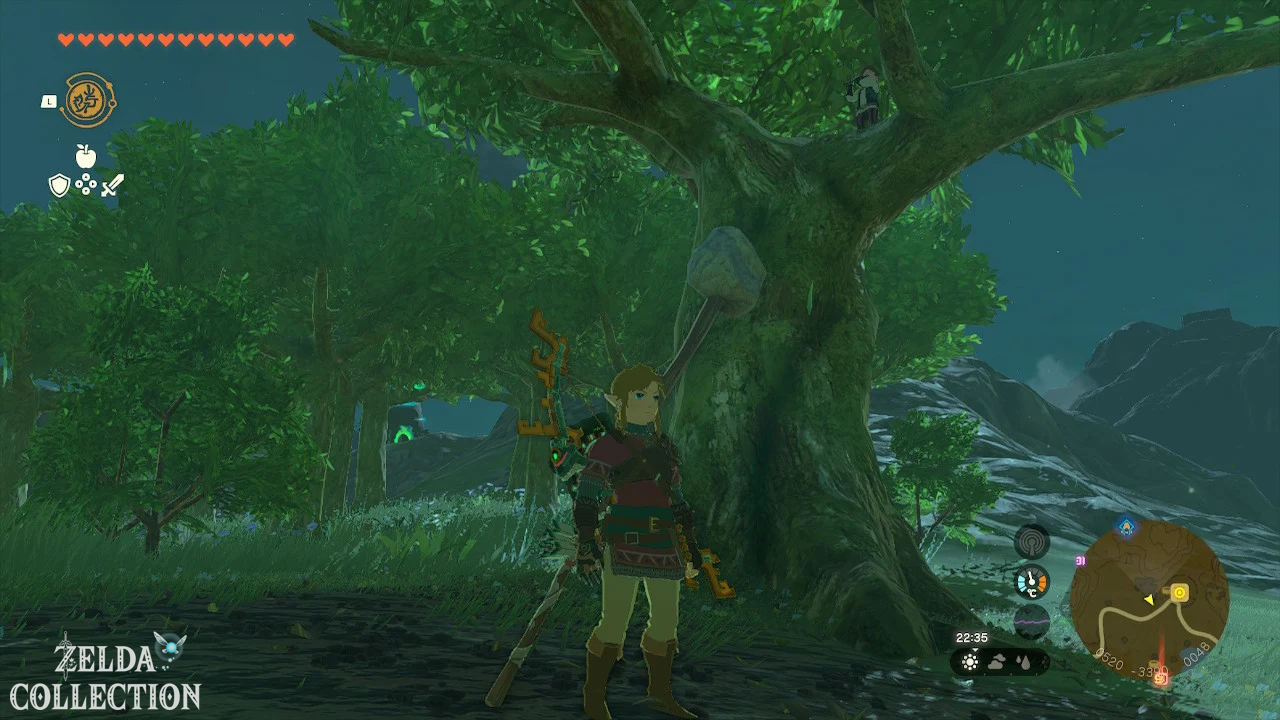
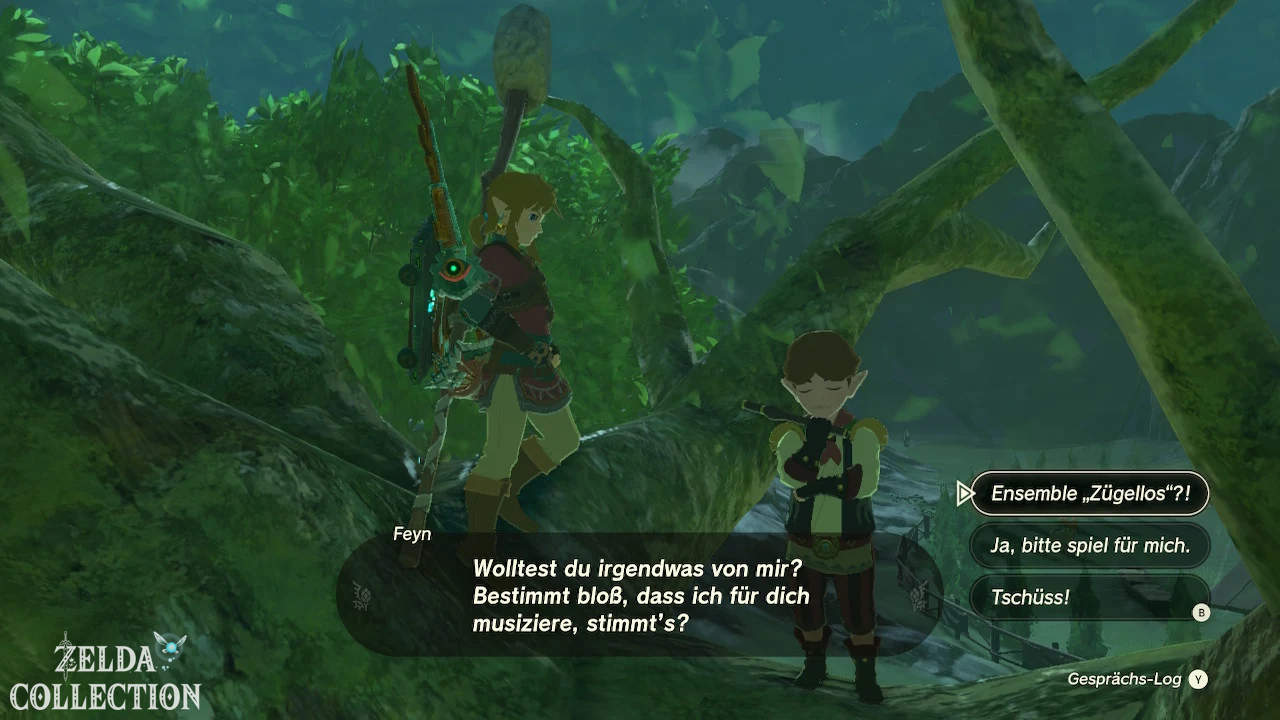
solution
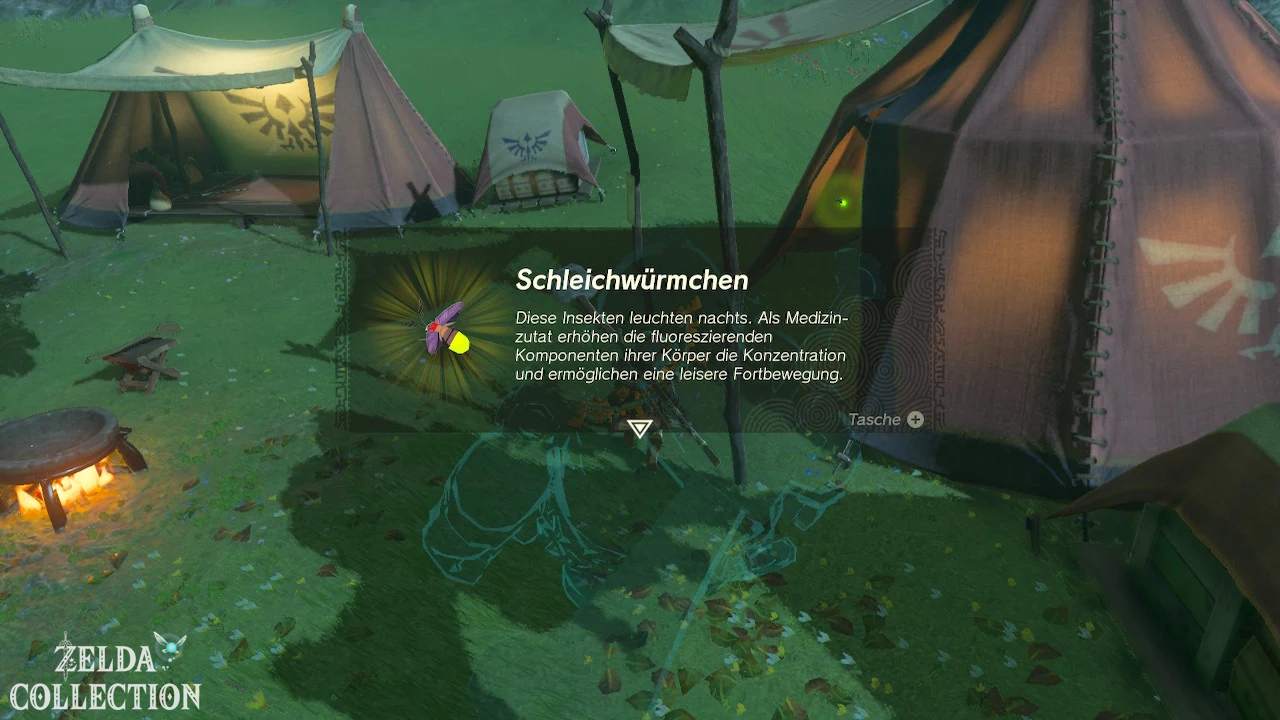
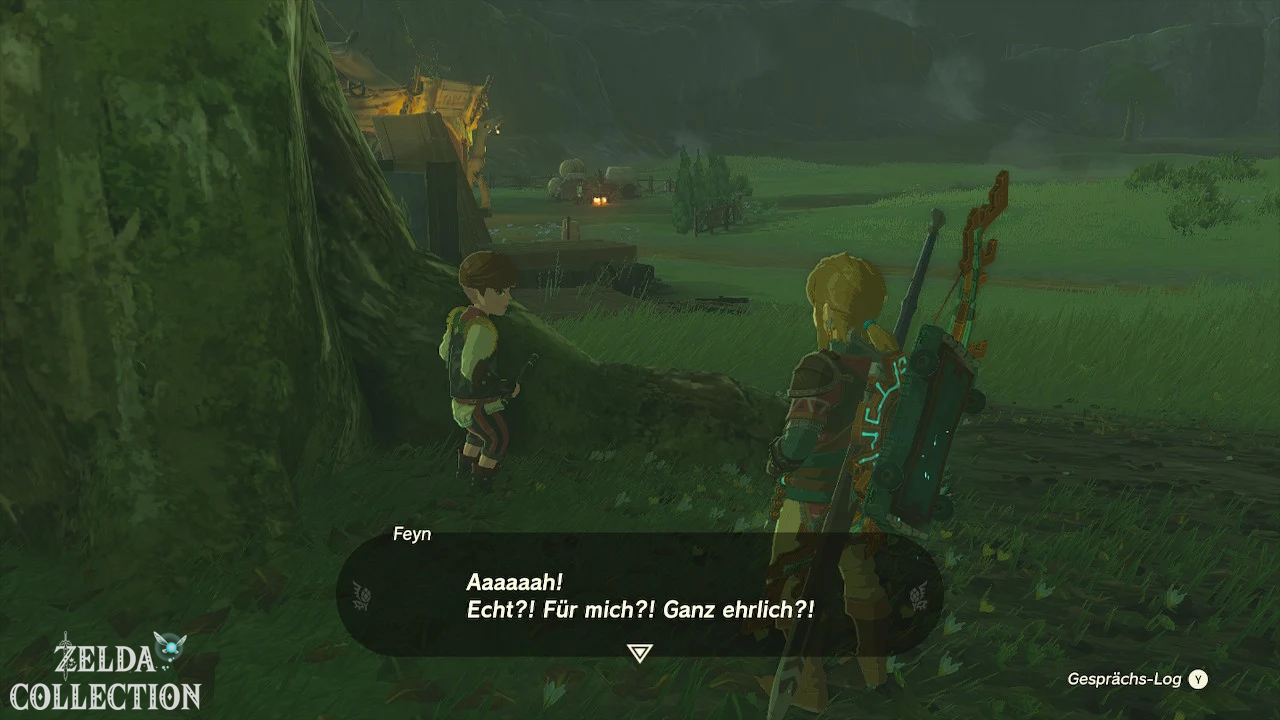
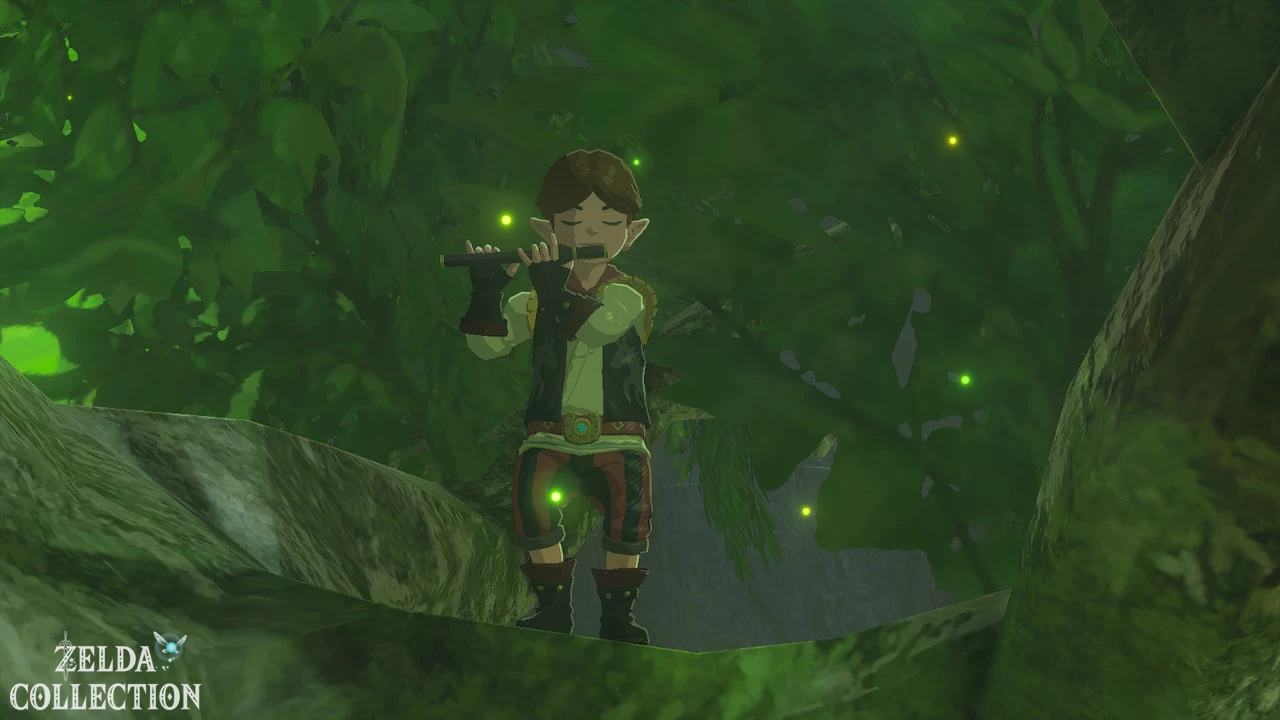
Bring Pyper 10 Fireflies of Twilight. You can catch them at night in the forest north of the stable or purchase them from traders. Approach crouched so that the fireflies don’t flee.
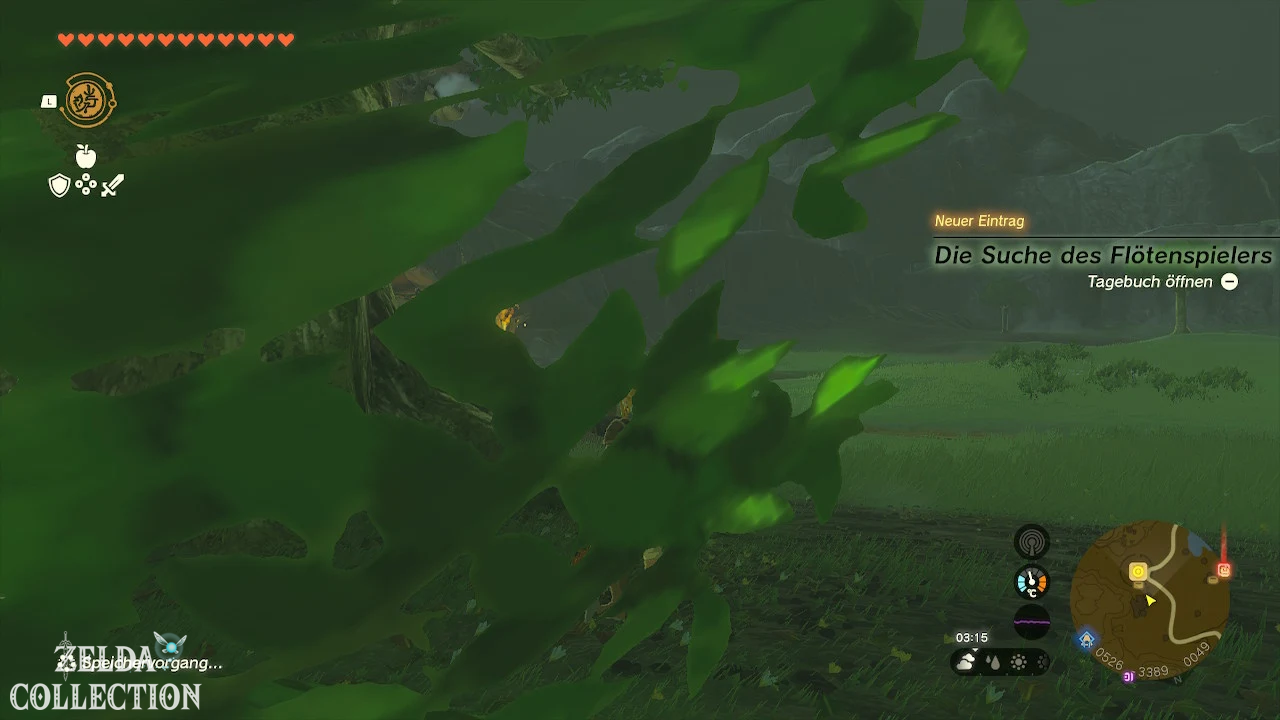
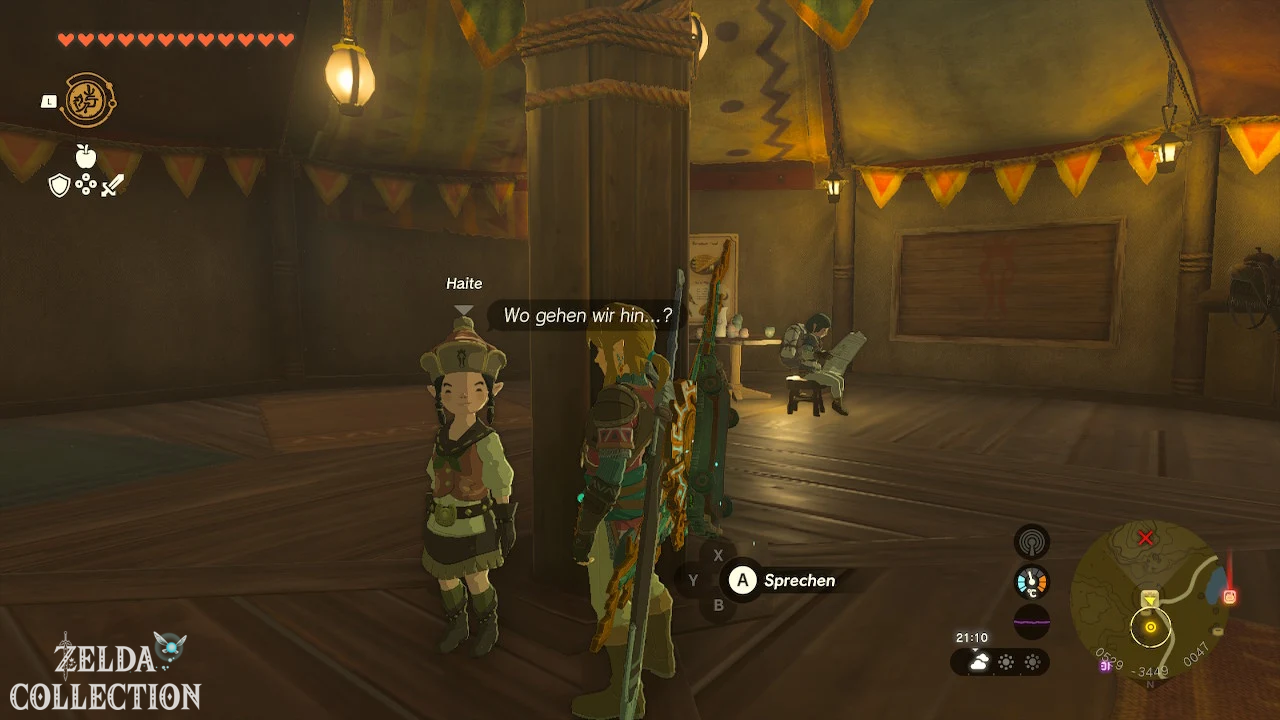
After the handover, Pyper asks to take Haite to the tree at night. Wait until after sunset, talk to Haite in the stable and lead her to Pyper. His flute and the fireflies make the tree light up.
Reward: Pyper returns to the stable musicians; Prerequisite for “A Serenade for Great Fairy Kaysa”.
21. The Great Sky Island
Quest chain: Heaven
Start: At Steward Construct on the roof of the Great Sky Island Time Temple after the Zora Armor is available.
solution
The exam starts at 7:00 a.m. and ends at 7:00 p.m. You must light three marked fires and return to the temple roof without entering any part of the Sky Island proper. Only the roof of the Time Temple is permitted as a floor.
Take advantage of the newly appearing small islands and their waterfalls. With the Zora armor you can swim up the falls. From there, glide to the three fires south of Ukouh Shrine, north of Nachoyah Shrine and north of Gutanbac Shrine. Light each fire with a fire arrow and return in time.
Reward: Zonai Fabric for the Paraglider.
22. The Sealed Source
Quest chain: Lucky Clover Gazette
Start: At Penn at the former stable of the Gerudo gorge.
solution
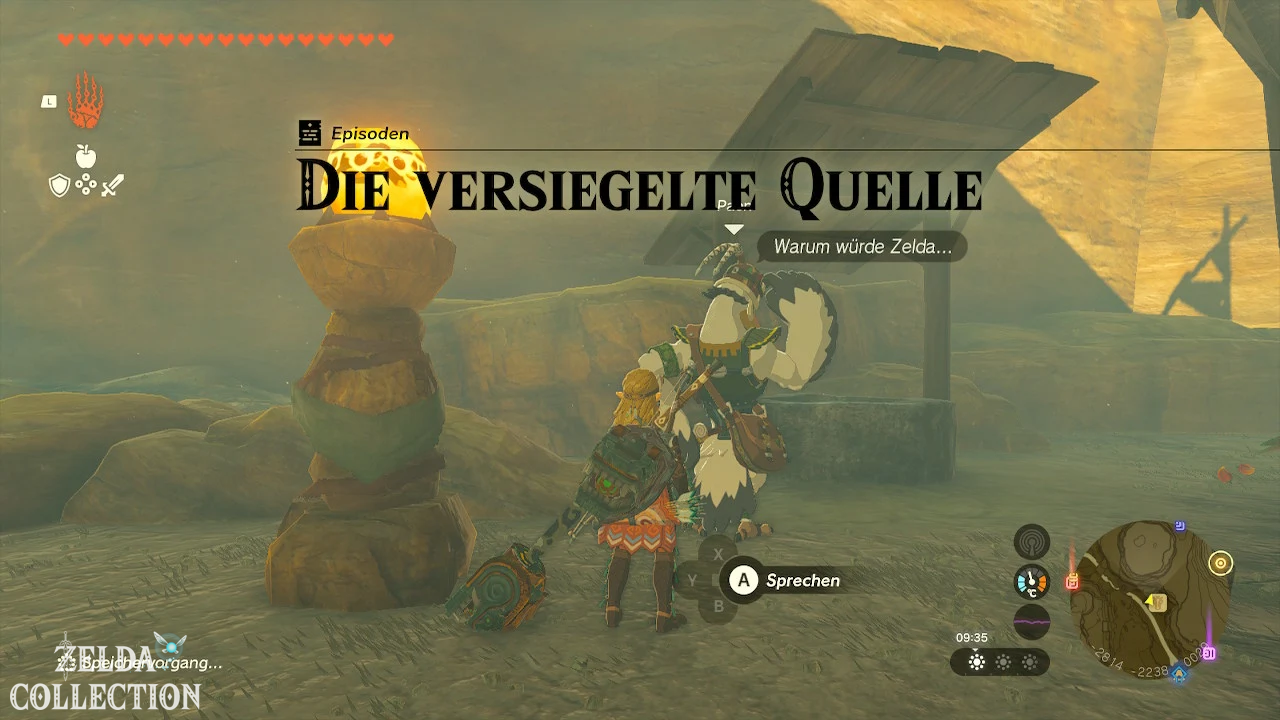
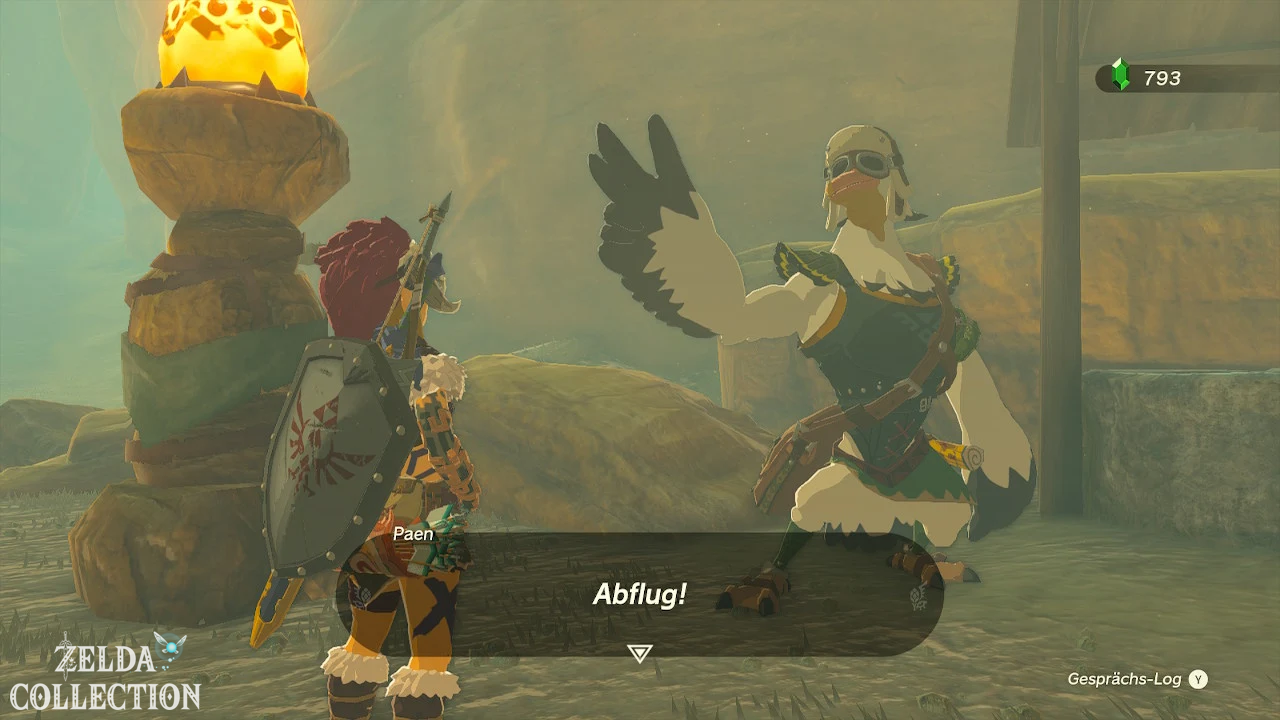
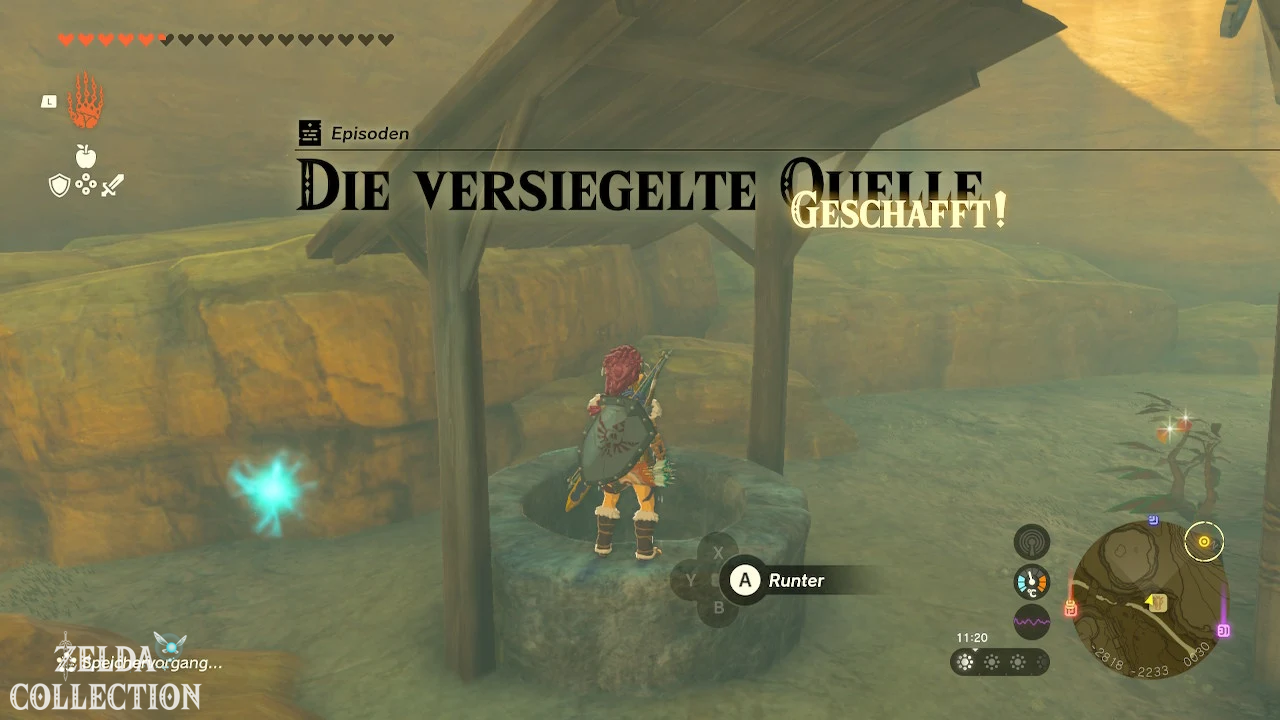
Jump into the well in front of the stable. Destroy the rock wall inside and enter the cave behind it.
Defeat all Lizalfos and the Like Like. With Like Like you wait until he opens his mouth, hit the visible weak point with an arrow and attack the tongue that has fallen out. After the last monster, Penn appears; Zelda had the well closed to protect the travelers.
Reward: Tiered reward for the Lucky Clover Gazette quest line.
23. The Yiga Officer Examination
Quest chain: Yiga
Start: At the officer in the Yiga Swordmaster Station while Link is wearing the full Yiga set.
solution
Take at least five Mighty Bananas. In the Gerudo Canyon, five frog statues are marked with Yiga symbols. Place exactly one Mighty Bananas in front of each statue as an offering.
The quest markers lead you to the statues on rock faces, in small niches and on raised plateaus. Once all five victims are down, return to the Swordmaster Station.
Reward: A wind splitter or a high-quality Yiga blade and a Rupee; Access to the sword master exam.
24. A letter for Koyin
Quest chain: Hateno Village
Start: At Koyin at the Hateno Village Willow pond.
solution
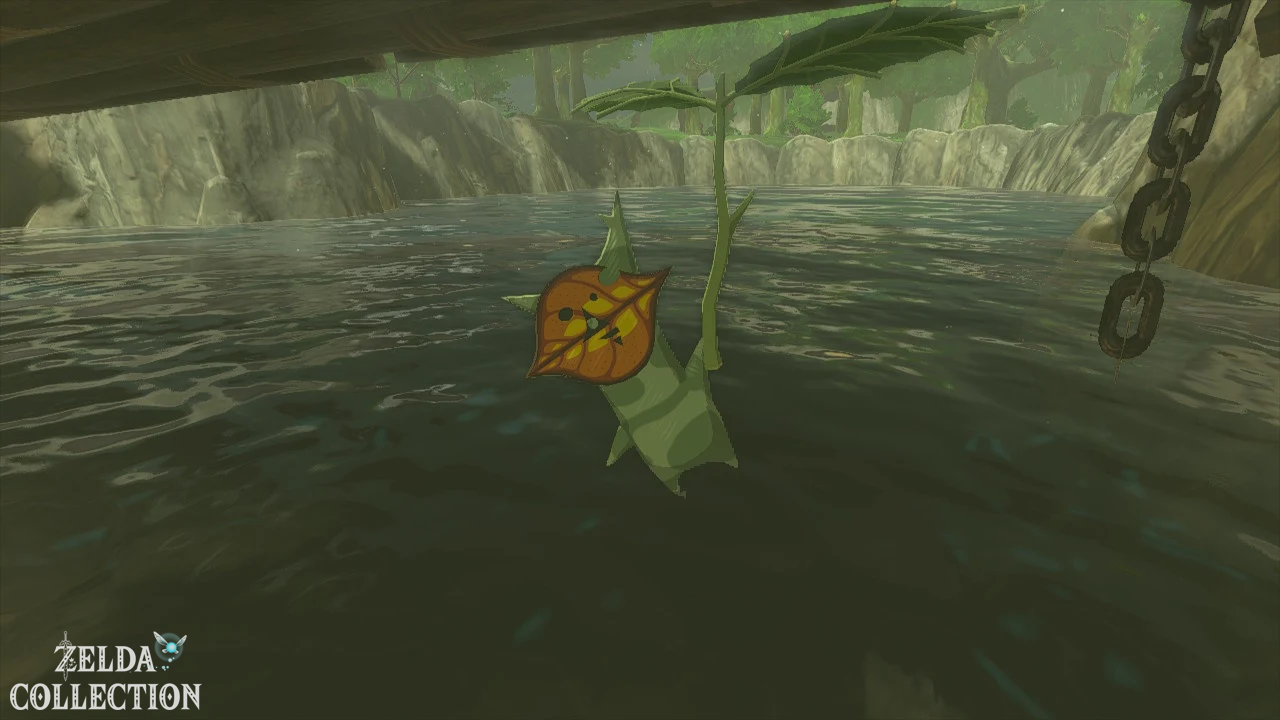
Koyin’s message in a bottle floats in the middle of the pond. Build a small raft out of boards and fans or connect several logs to form a bridge. Grab the bottle with the Ultrahand and bring it to the shore.
After reading, Koyin asks you to come to her house later. There she makes Hateno Village cheese based on her great-grandfather’s recipe. In the future she will swap fresh milk for cheese.
Reward: Hateno Village Cheese and Permanent Cheese Exchange.
25. A village full of monsters
Quest chain: Lurelin Village
Start: At Rozel and Addison on the cliff west of Lurelin Village.
solution
Prepare for a long battle against the monster defense throughout the village. Enemies are in houses, on the beach and on the pirate ship in the bay. Take out archers first and use the explosive barrels on the ship.
When the red group bar is almost empty but no enemy remains visible, look for the last monster in the village well. After the complete victory, Rozel and Addison return.
Reward: Unlock “Lurelin Village’s New Birth”.
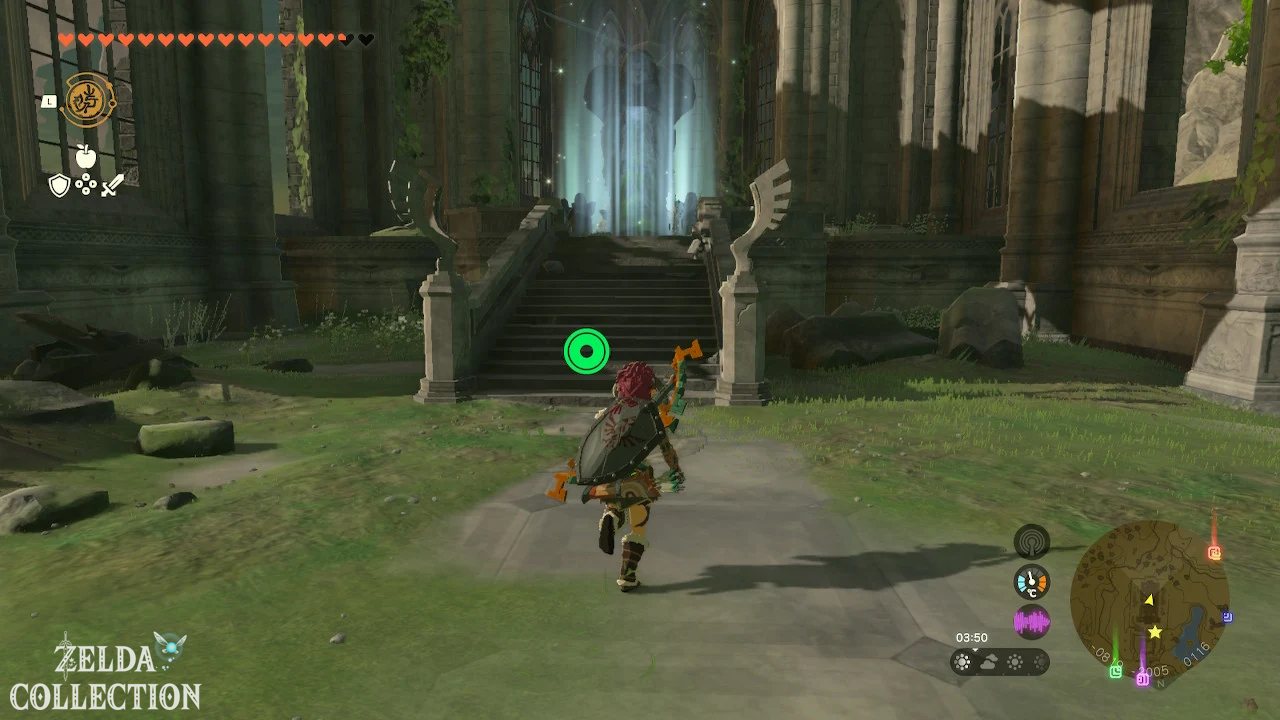
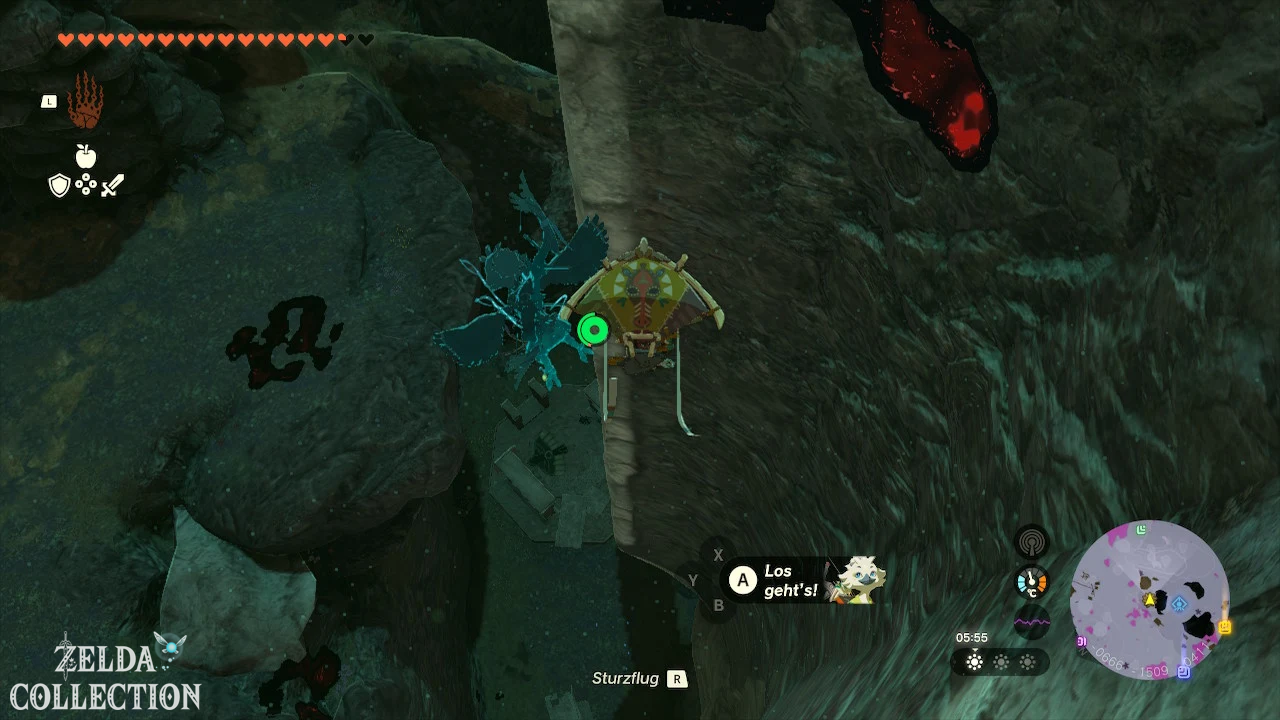
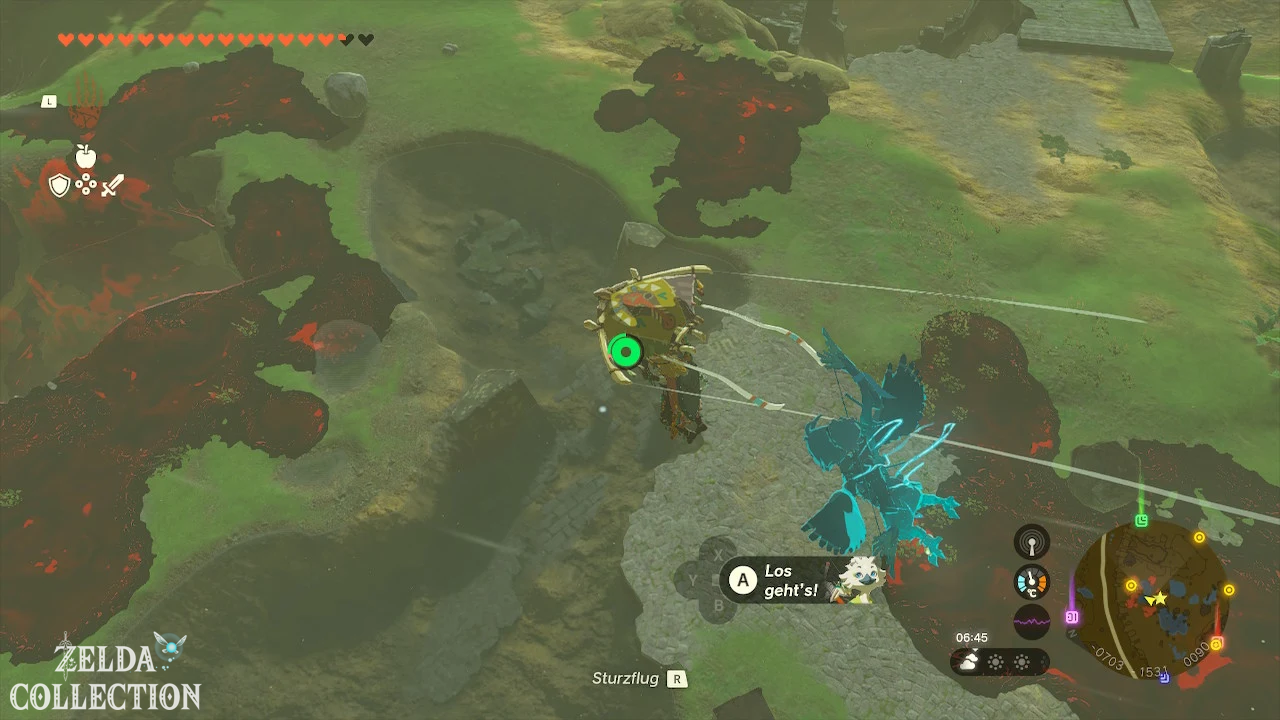
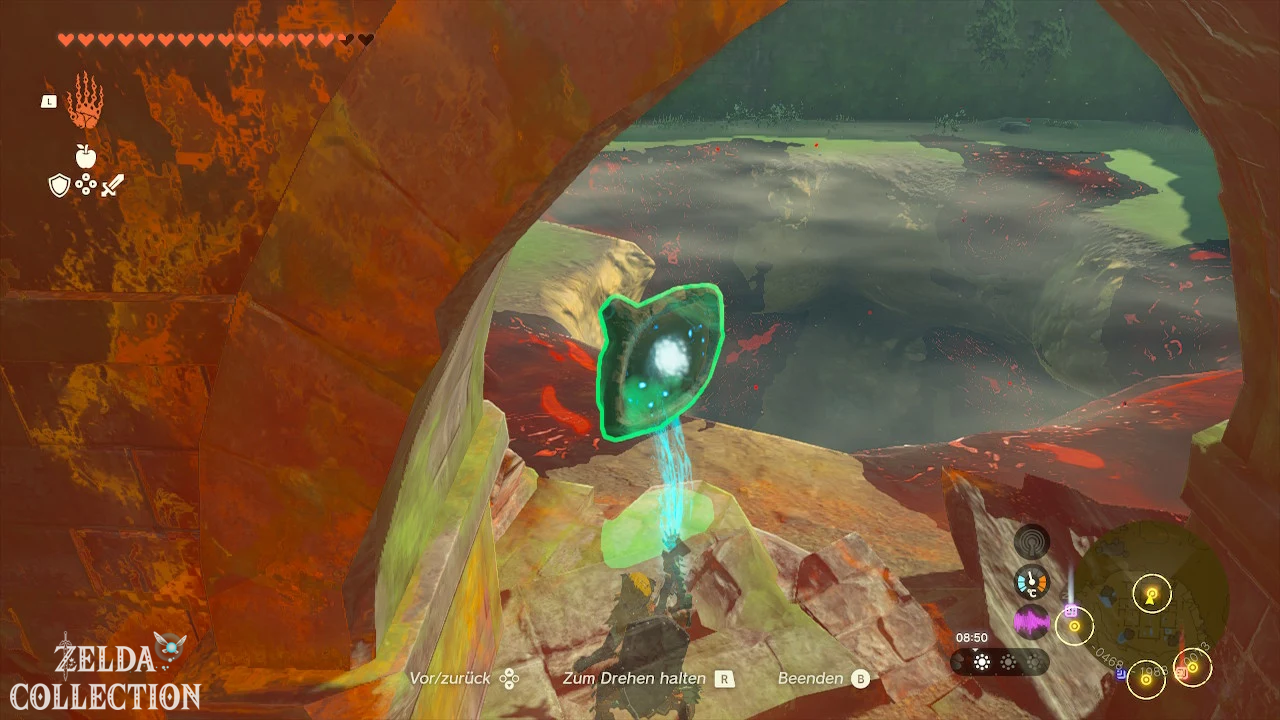
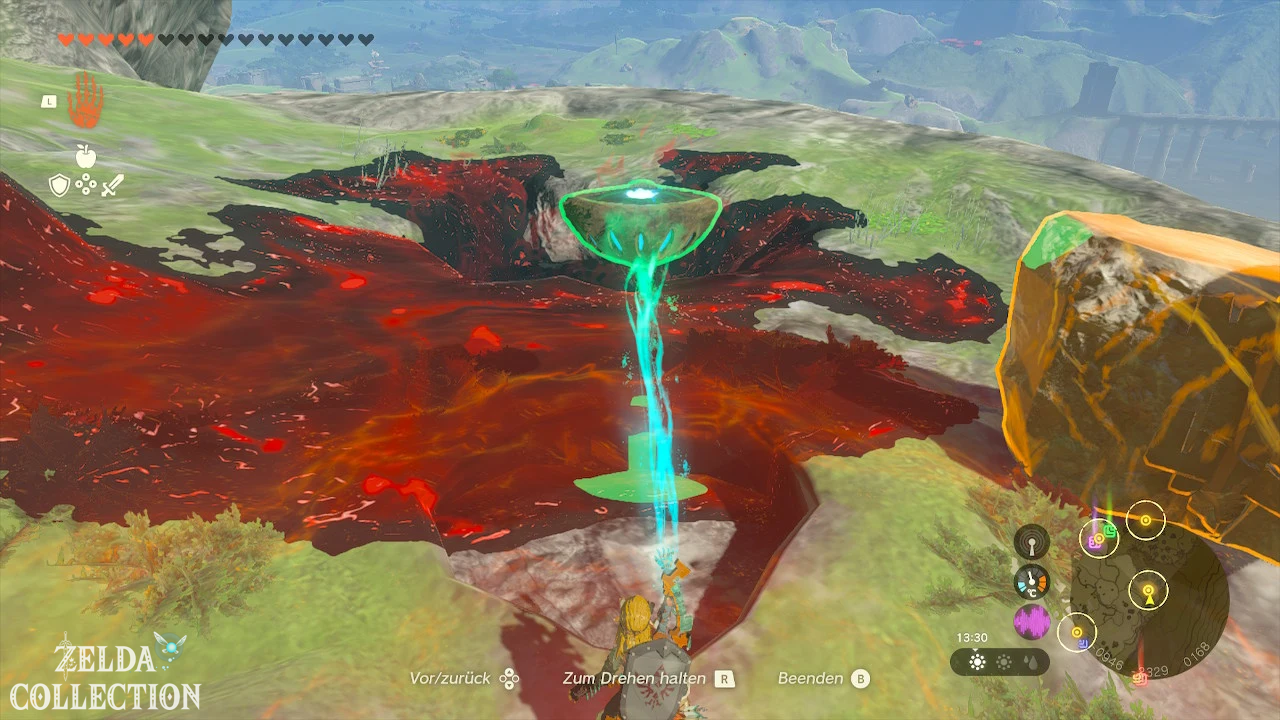
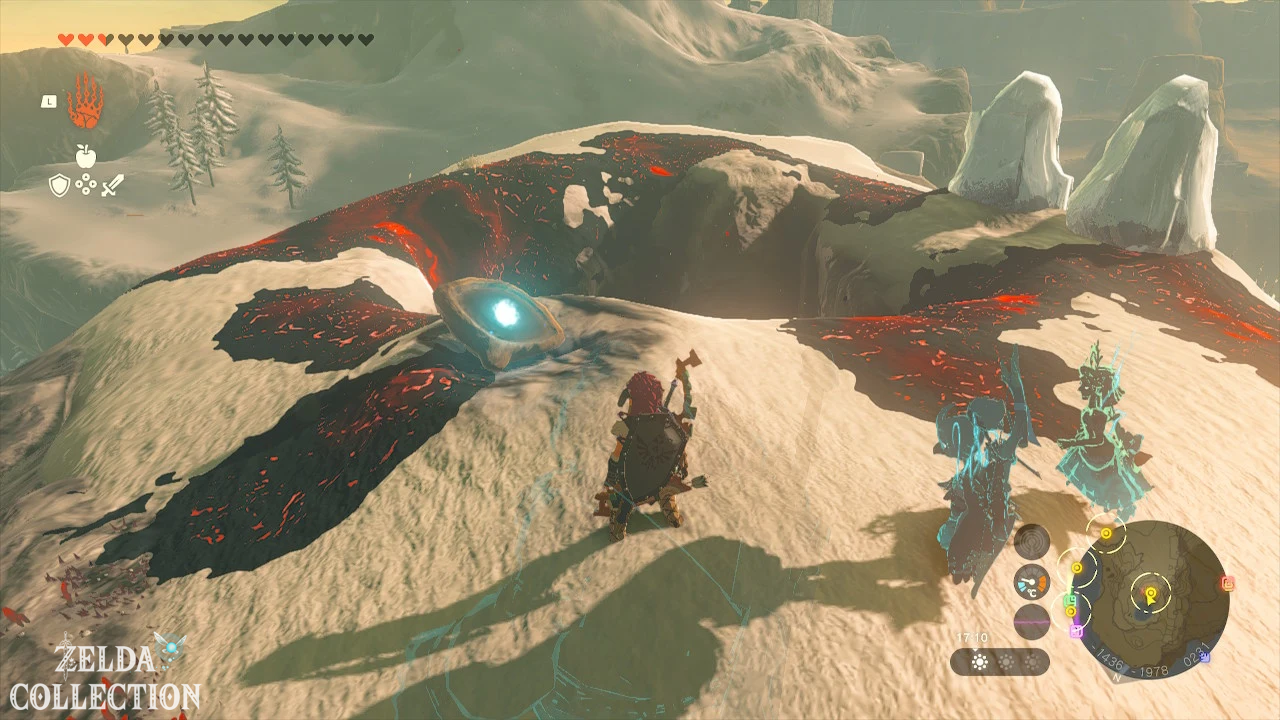
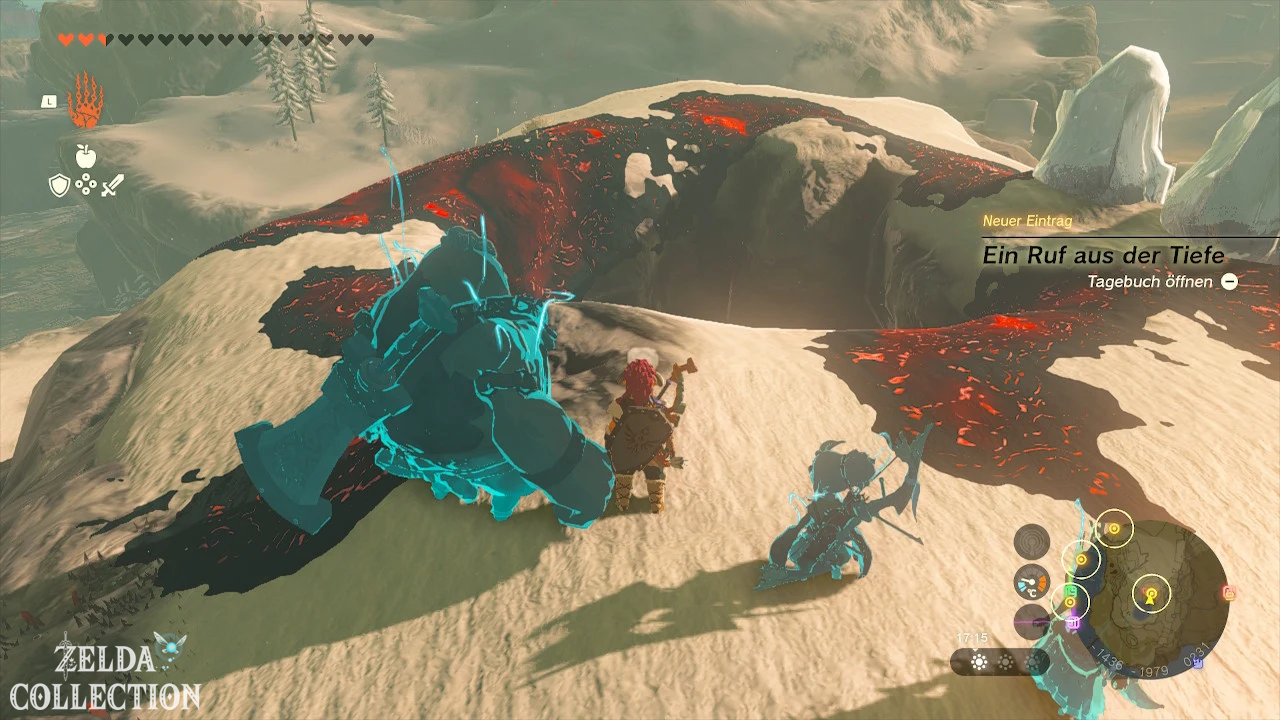
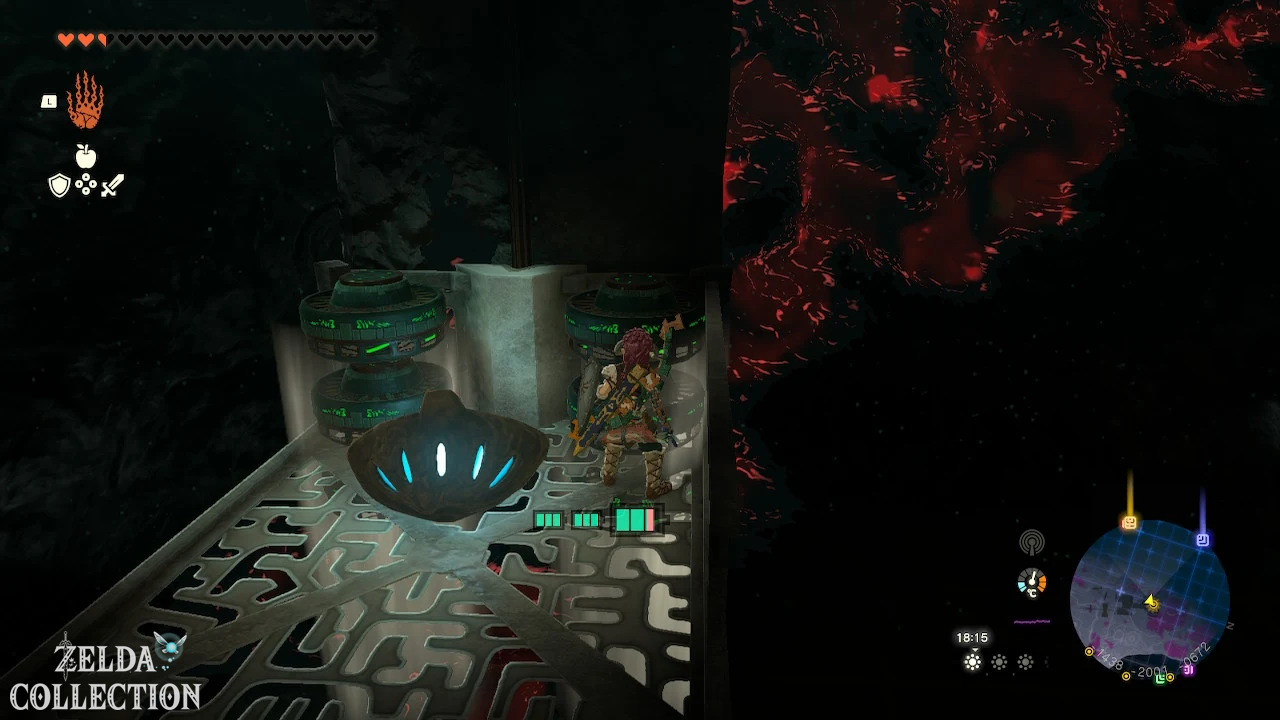
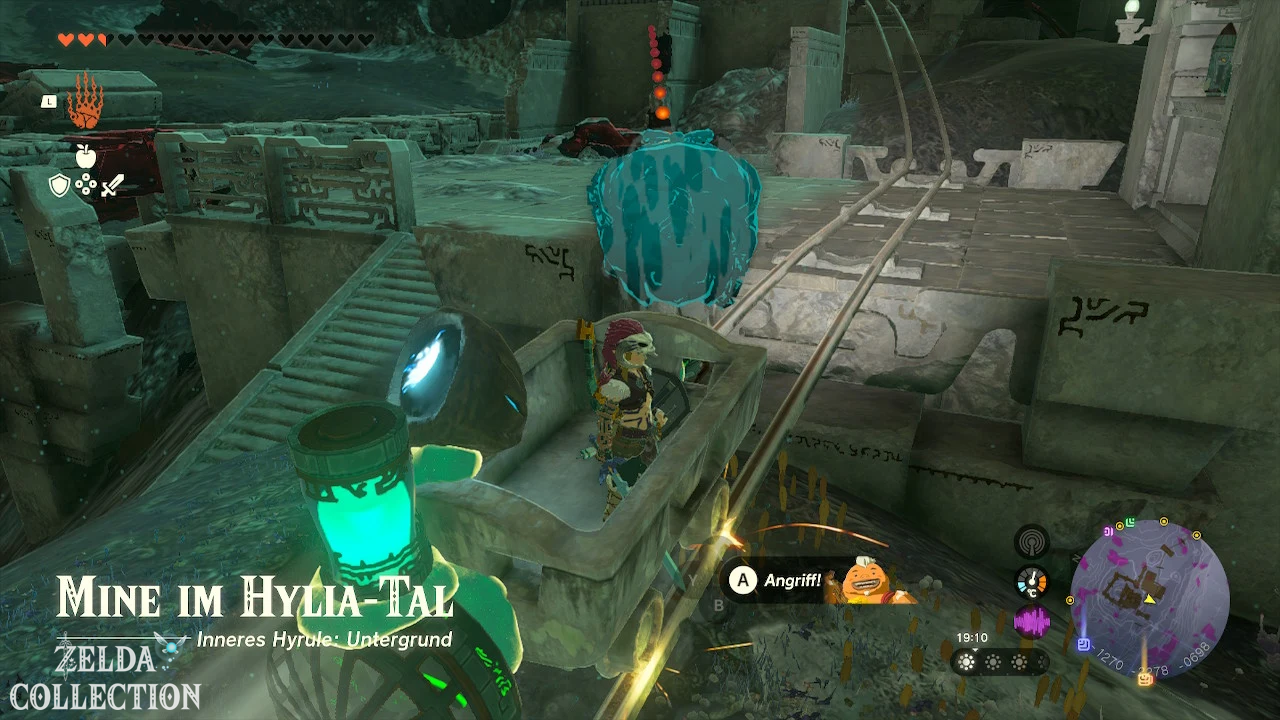
26. A call from the depths
Quest chain: Great Plateau
Start: At the ruins of the Time Temple on Great Plateau after removing the rock blockade at the northern gate.
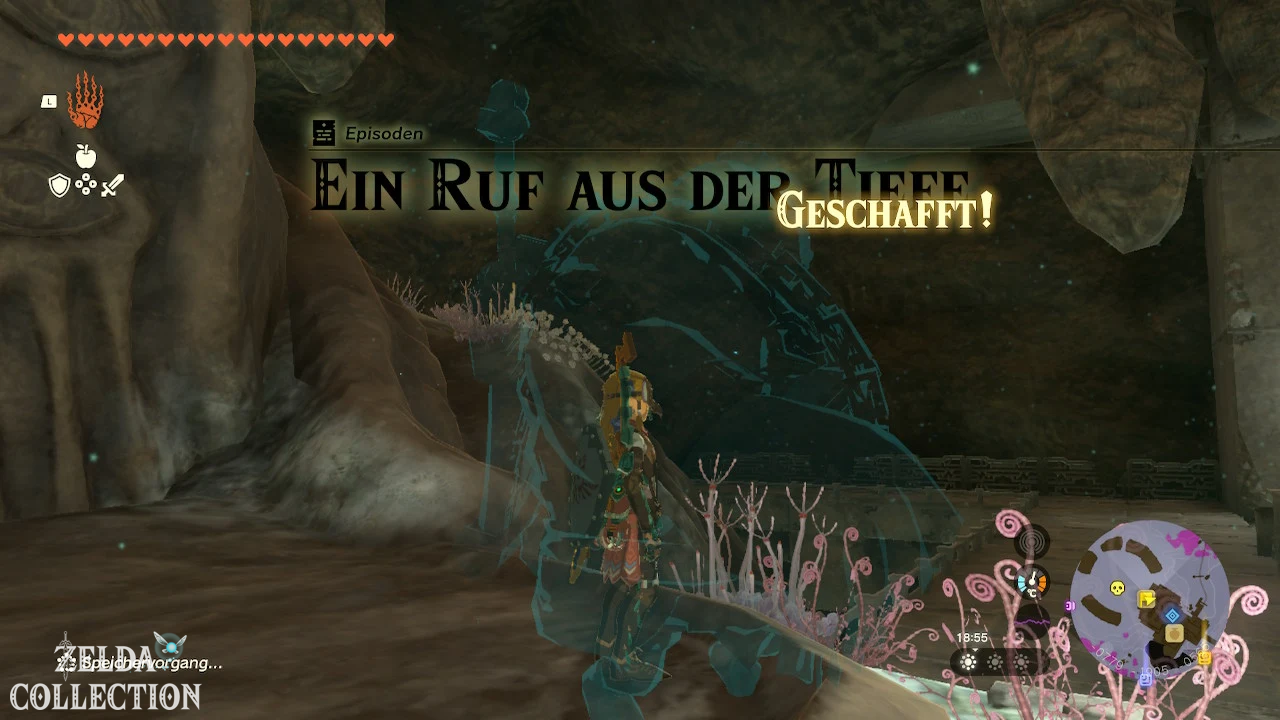
solution
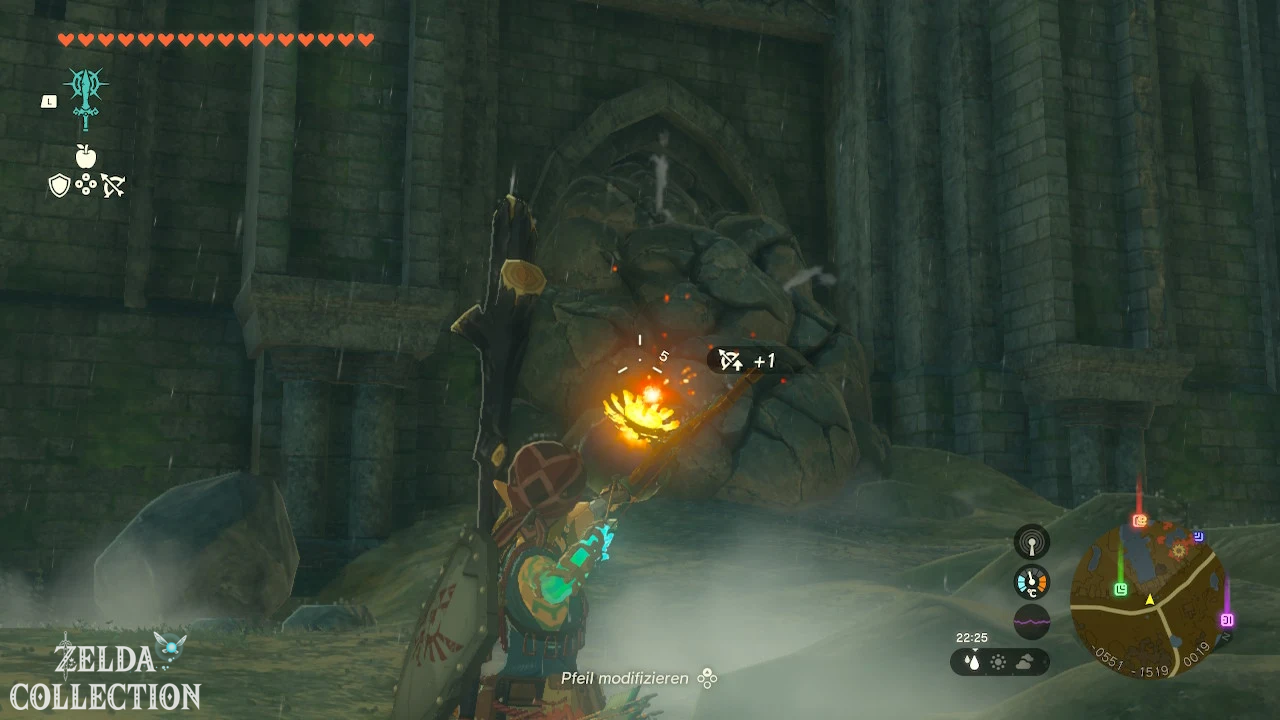
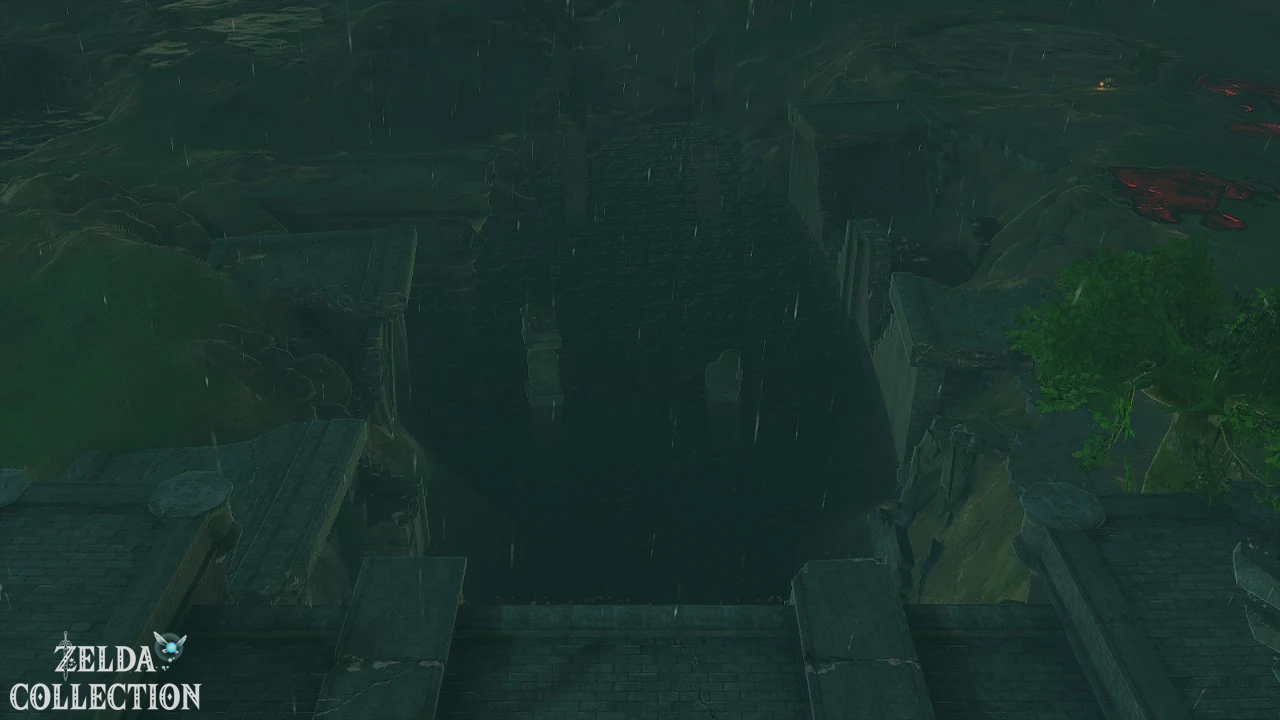
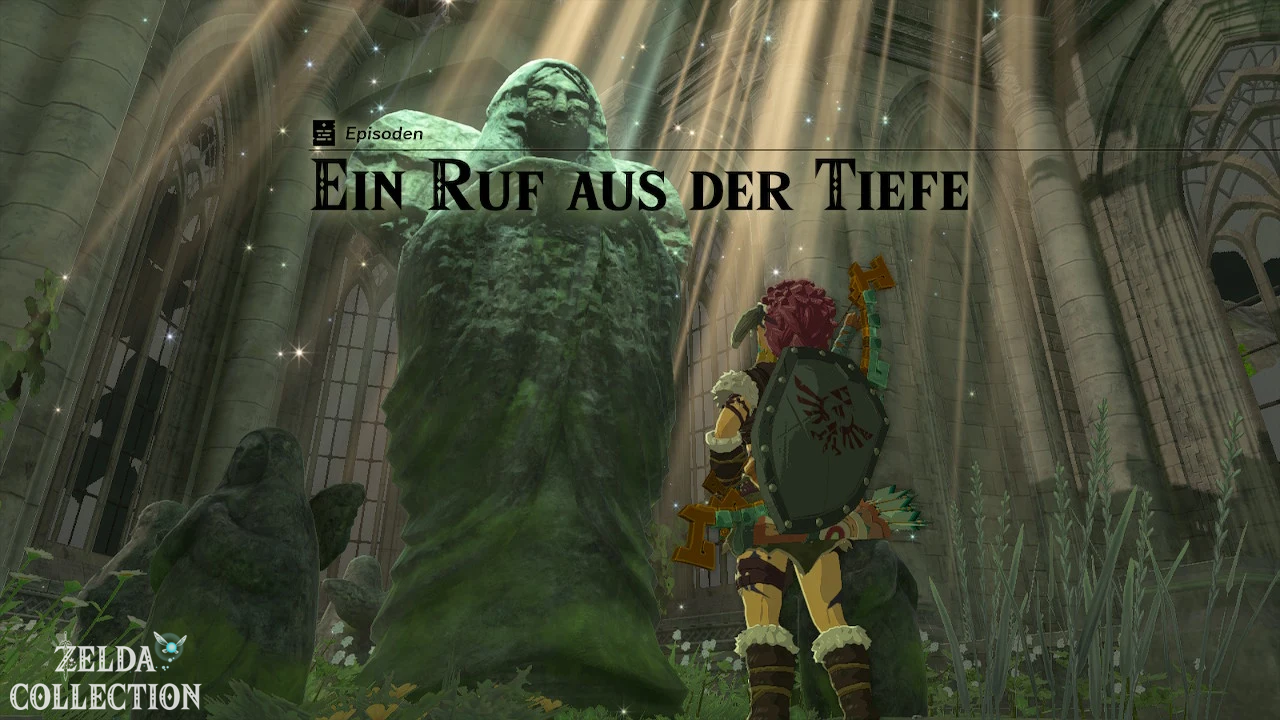
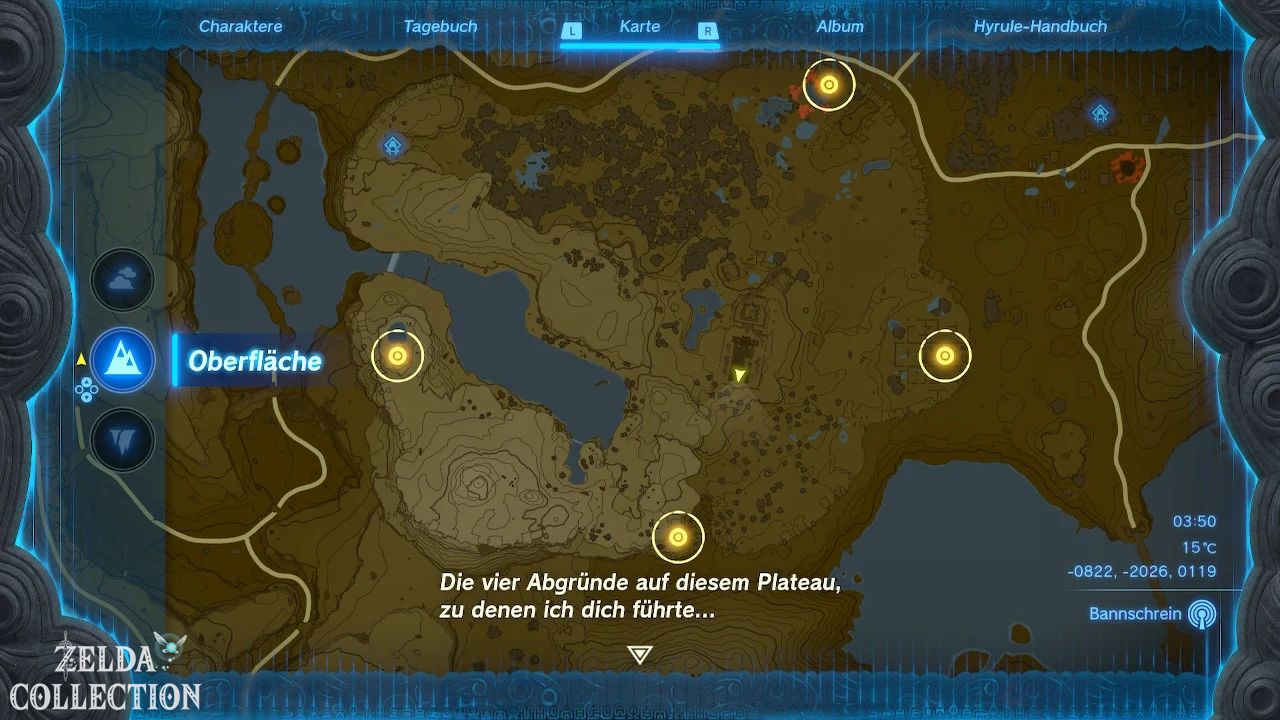
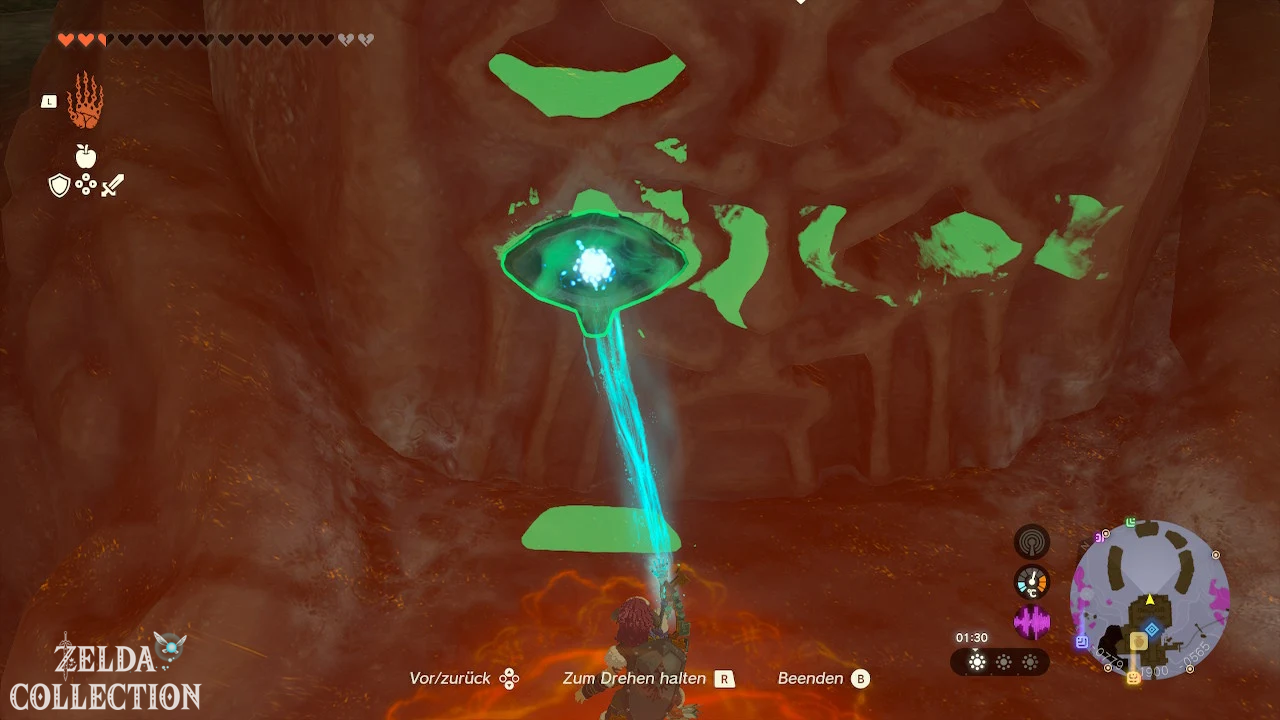
First destroy the rocks at the foot of the northern plateau so that the dammed water can drain away. Then examine the goddess statue in the Time Temple. A voice points out four stone eyes at the four chasms of the plateau.
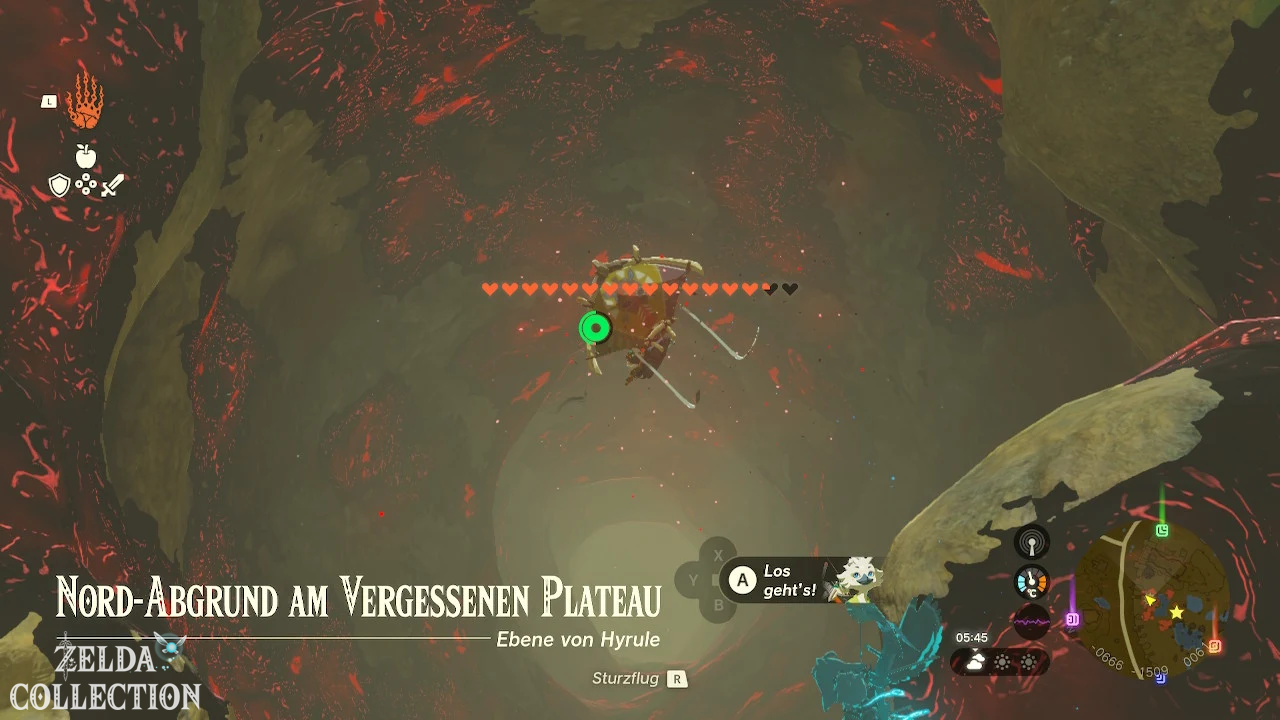
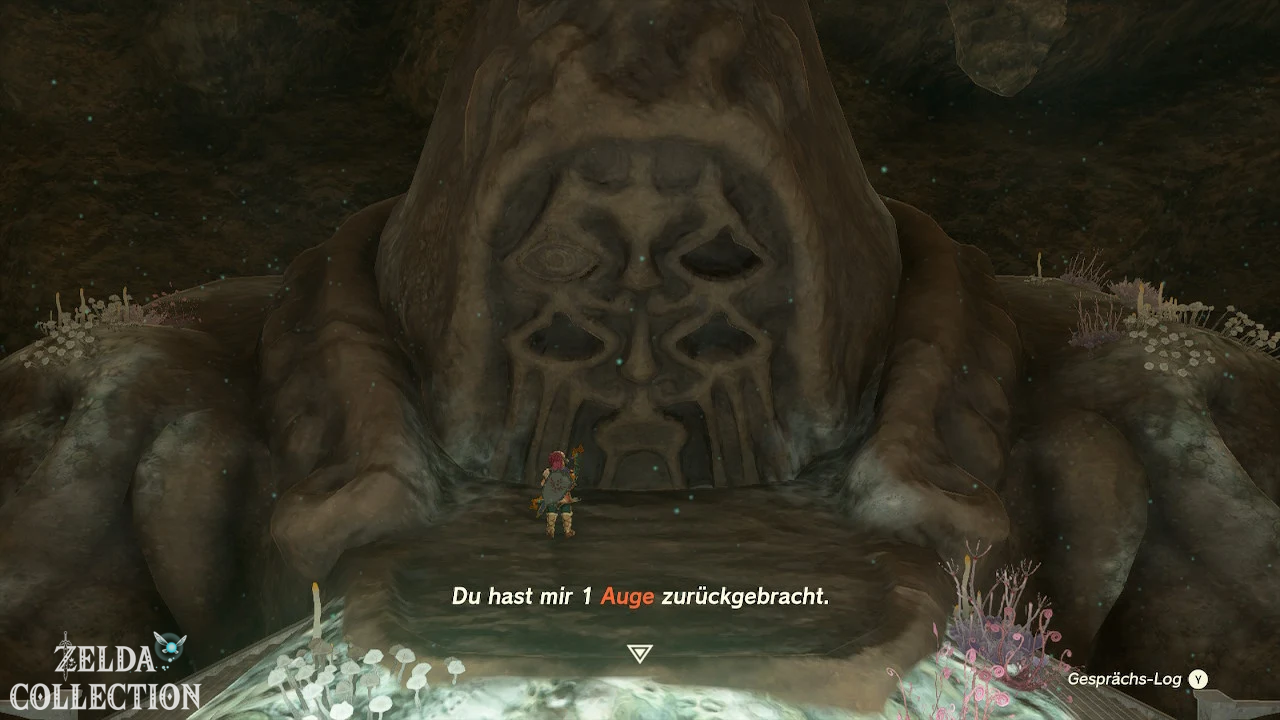
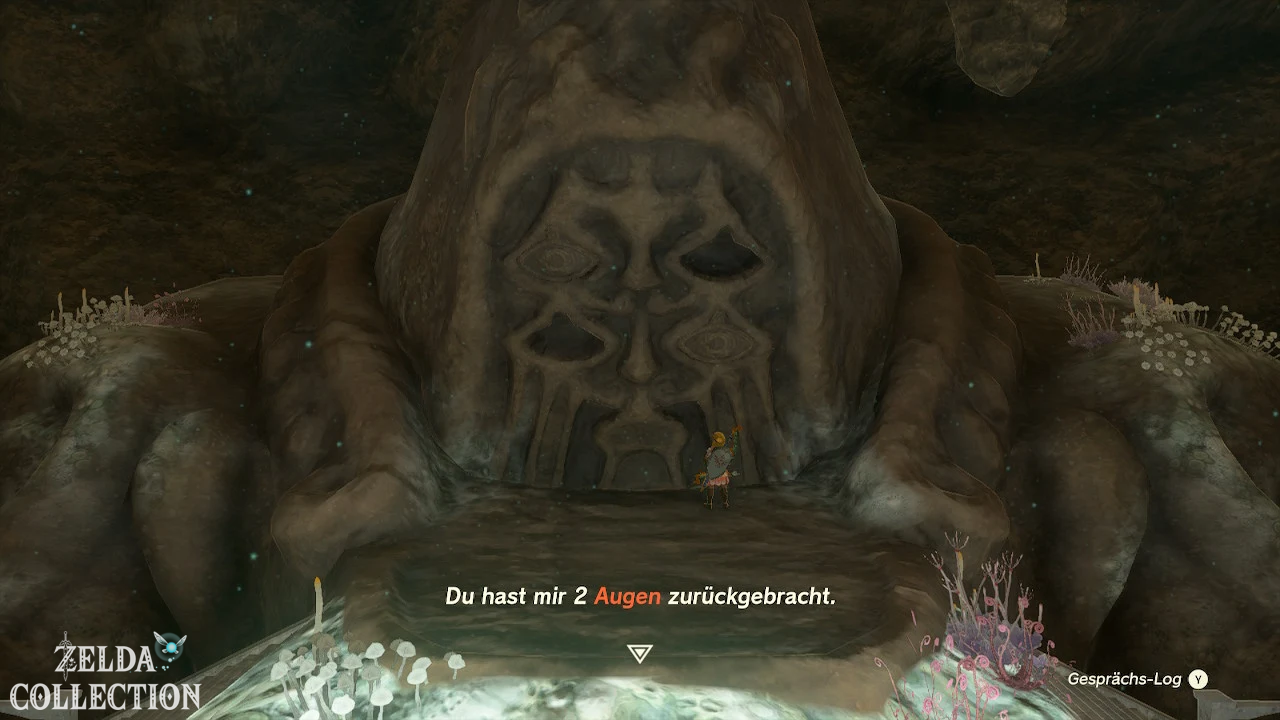
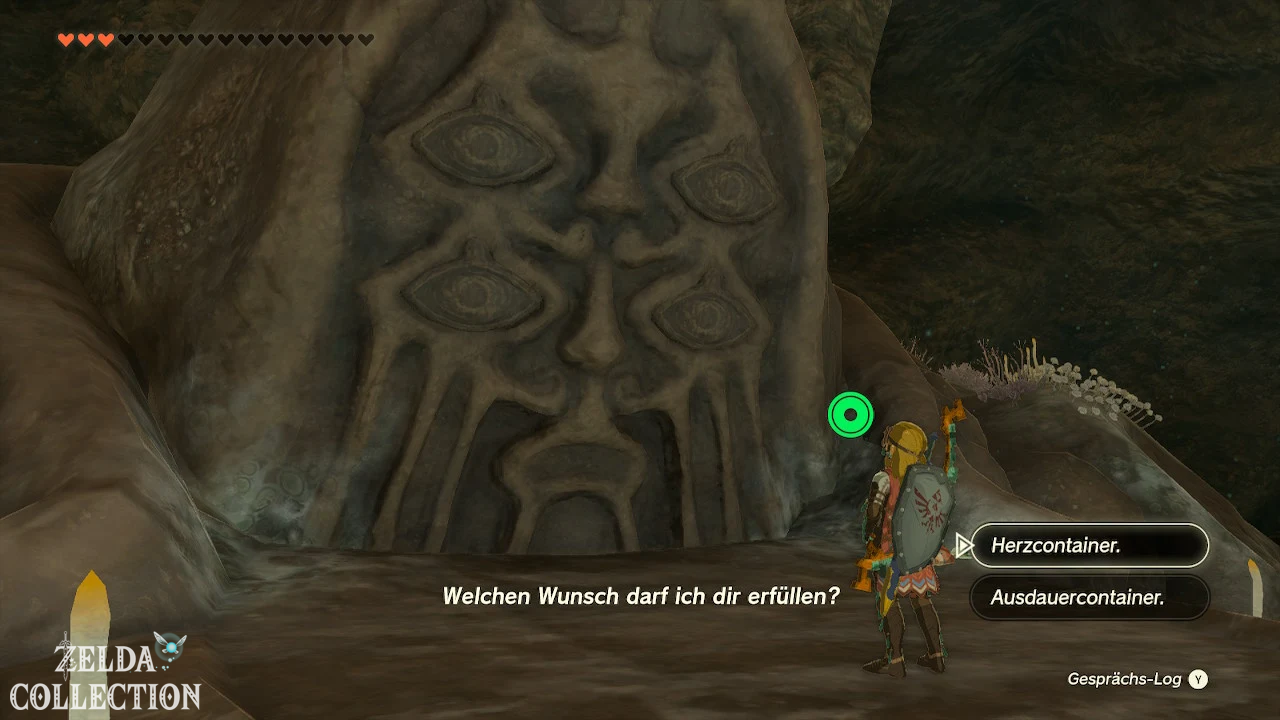
Cast each eye into the abyss immediately adjacent. Jump after it and transport it with carts, elevators and the Ultrahand to the large Bargainer Statue below the time temple at the Abandoned Central Mine. Place all four eyes in the empty sockets.
Reward: Either a Heart Container or a Stamina Vessel; Activation of the Bargainer Statue shop.
27. A Sensor + of superlatives
Quest Chain: Purah Pad
Start: At Robbie in the research institute of Hateno Village.
solution
Robbie requires data from five different monster types. Photograph five different enemies with the Camera so that their names are registered in the Hyrule Compendium.
Ordinary monsters like Bokoblin, Lizalfos, Chuchu, Keese and construct are sufficient. If you already have five monster pictures, you can Robbie Install the upgrade immediately.
Reward: Sensor ++, which can be used to track down any registered manual entry.
28. A new village treat!
Quest chain: Hateno Village
Start: At Reede in front of his house in Hateno Village after the choice questline has started.
solution
Reede searches for a forgotten ingredient from the village’s history. First, complete “A Letter for Koyin” to unlock Hateno Village Cheese.
Then bring a piece of Hateno Village cheese to Reede. From this he develops a new specialty with which he wants to combine tradition and Cece’s modern ideas.
Reward: 100 Rupees and requirement for “The Mayoral Election”.
29. A scary voice
Quest chain: Lucky Clover Gazette
Start: At Penn on Highland Stable.
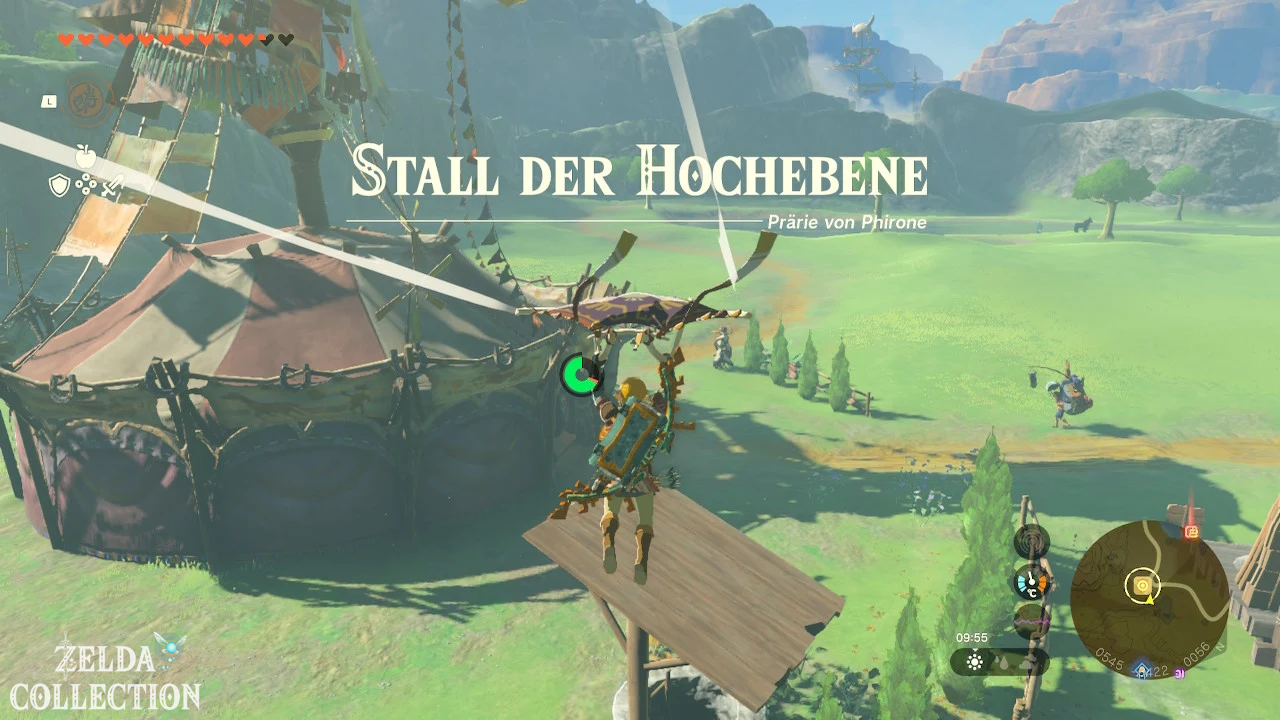
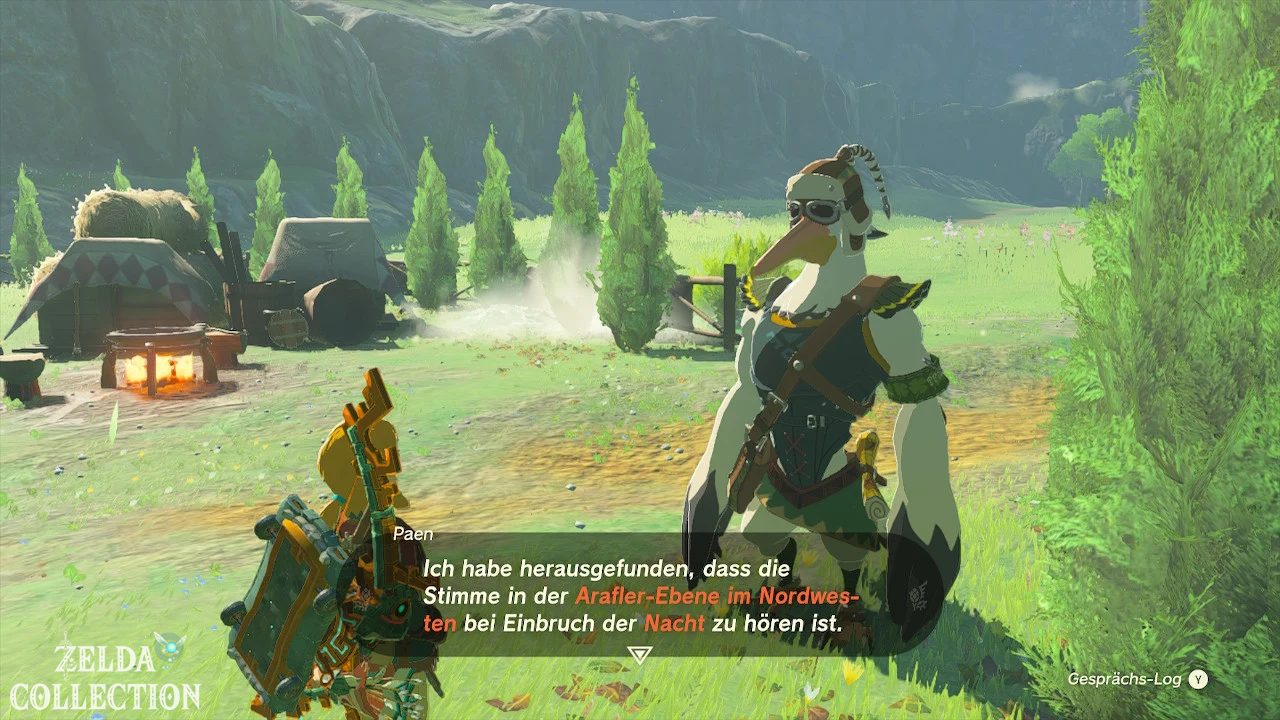
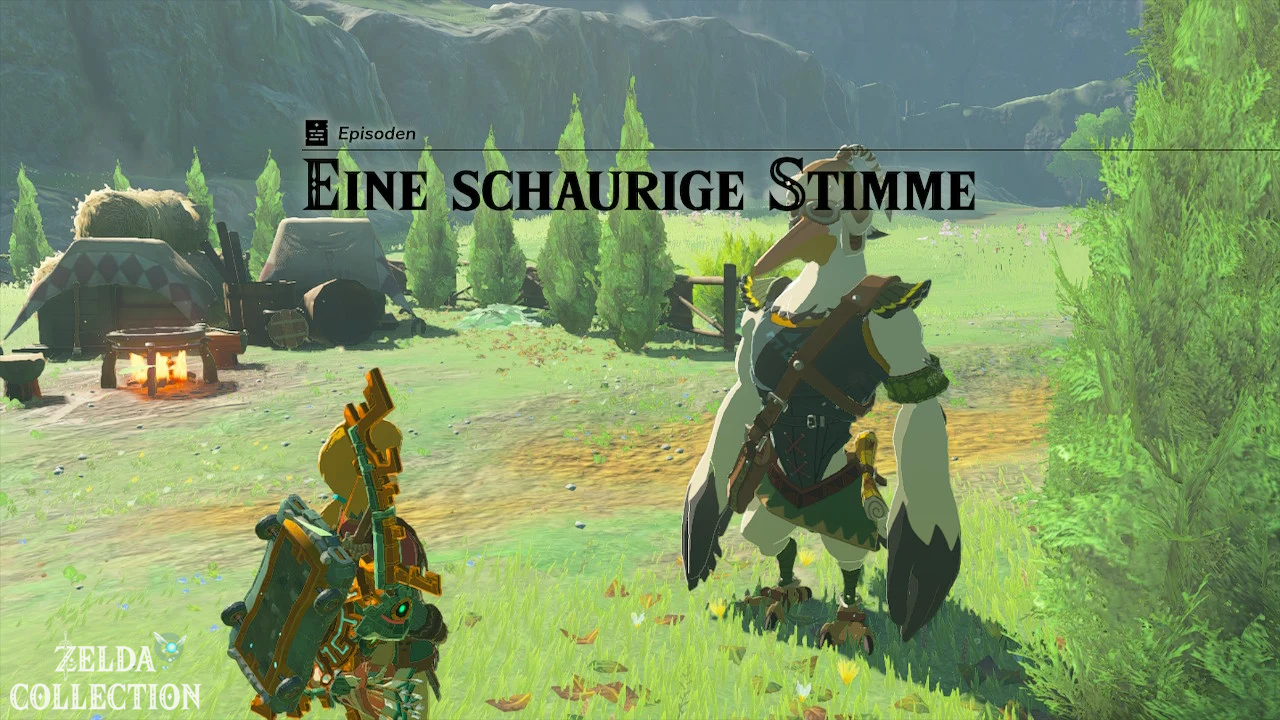
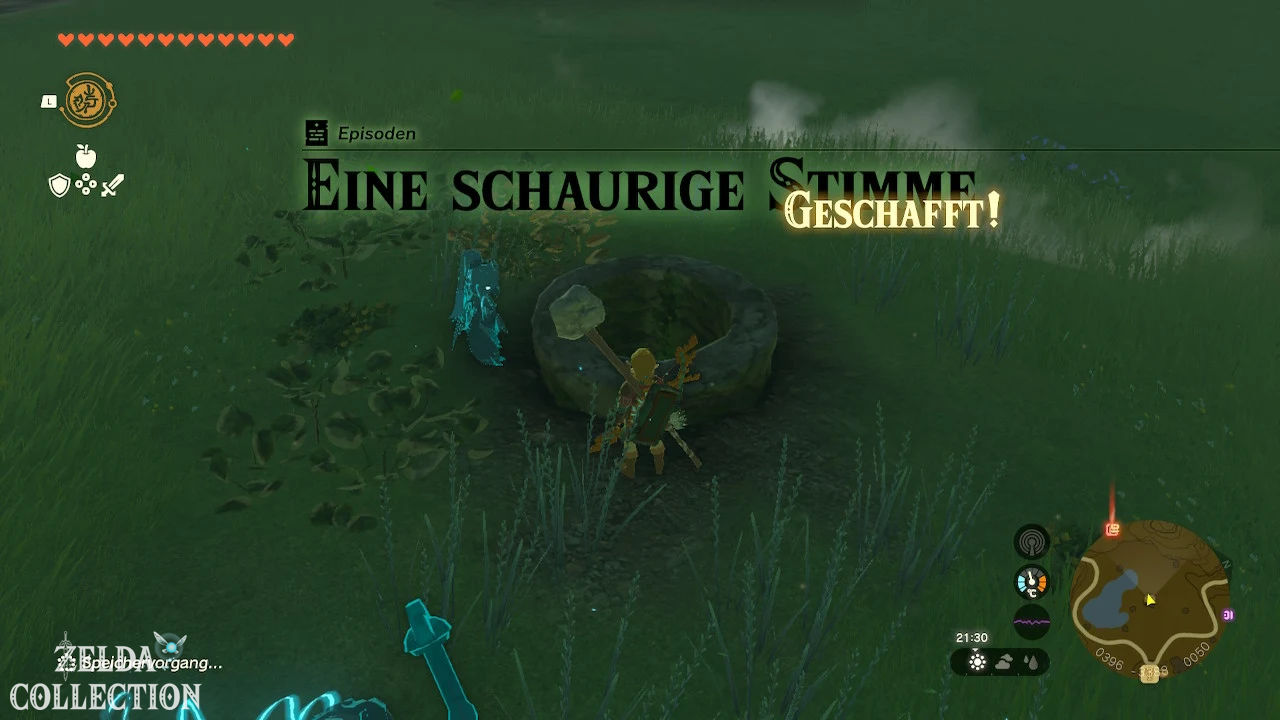
solution
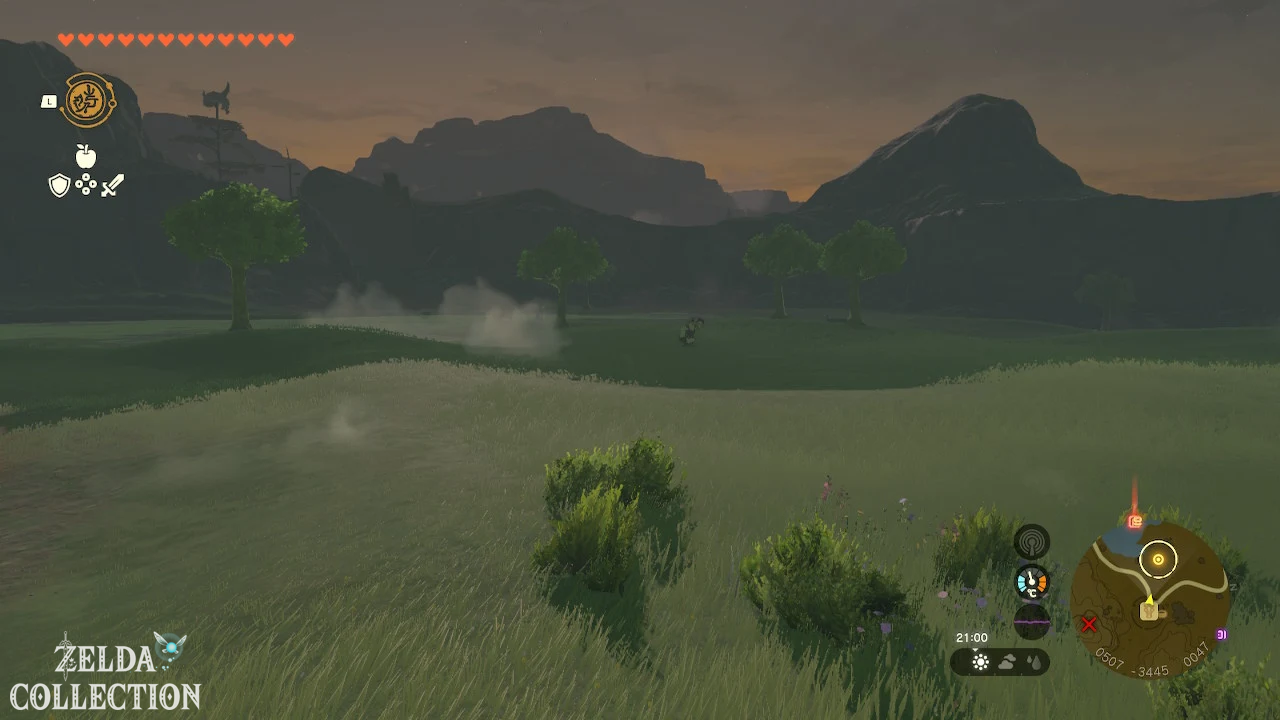
Wait until night and talk to Penn again. Follow him to the level northwest of the stable until you hear the eerie voice.
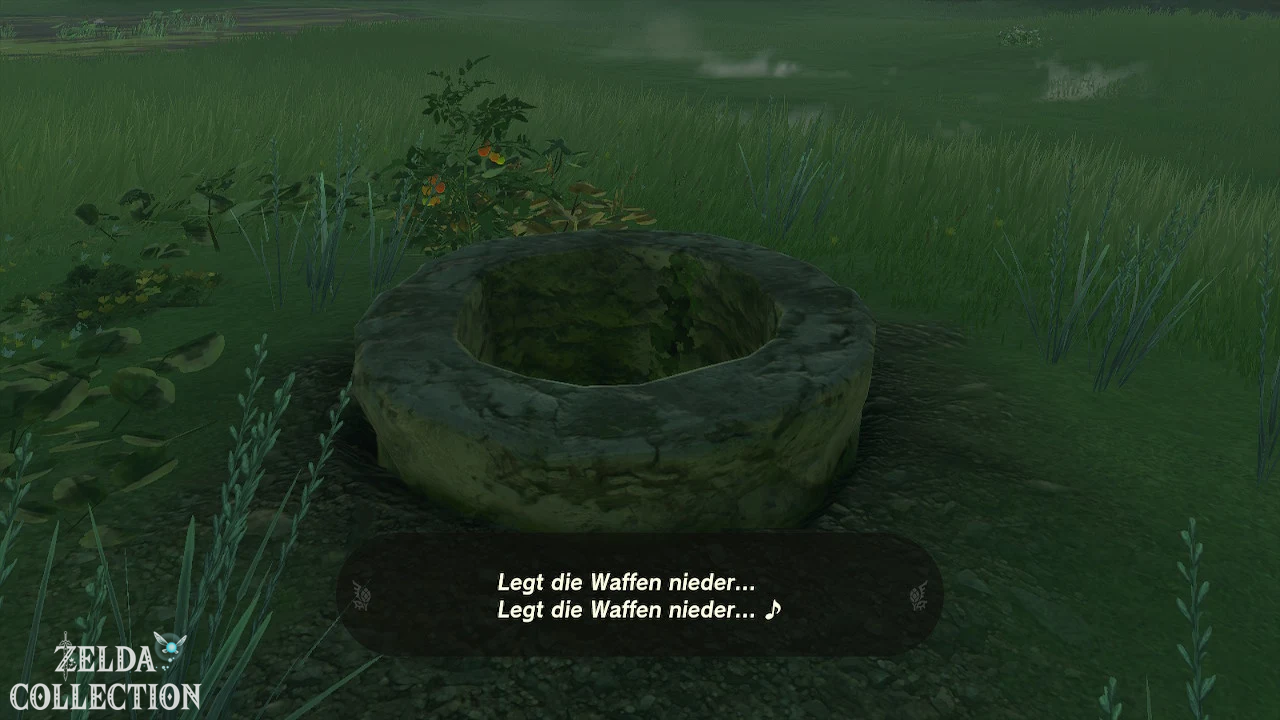
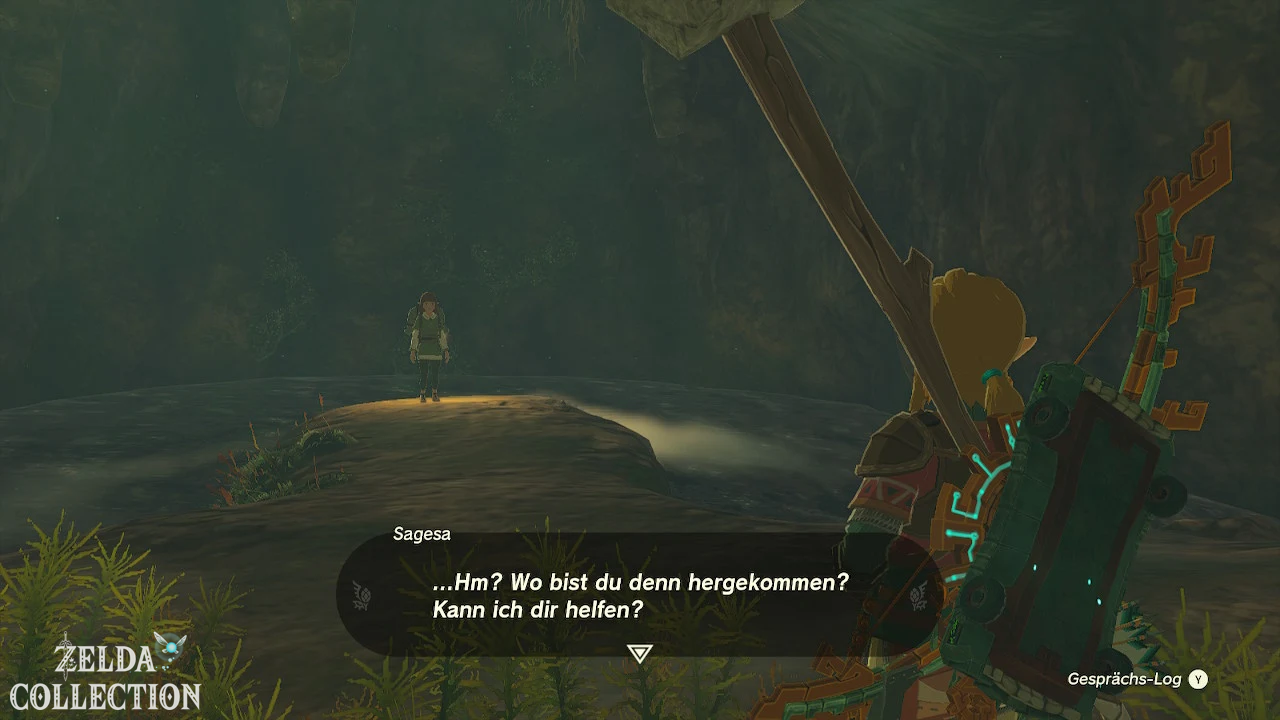
Find the well at Lake Haran and jump in. Sagessa sings there; her voice was distorted by the well and mistaken for Zelda’s voice. Talk to her and then talk to Penn again.
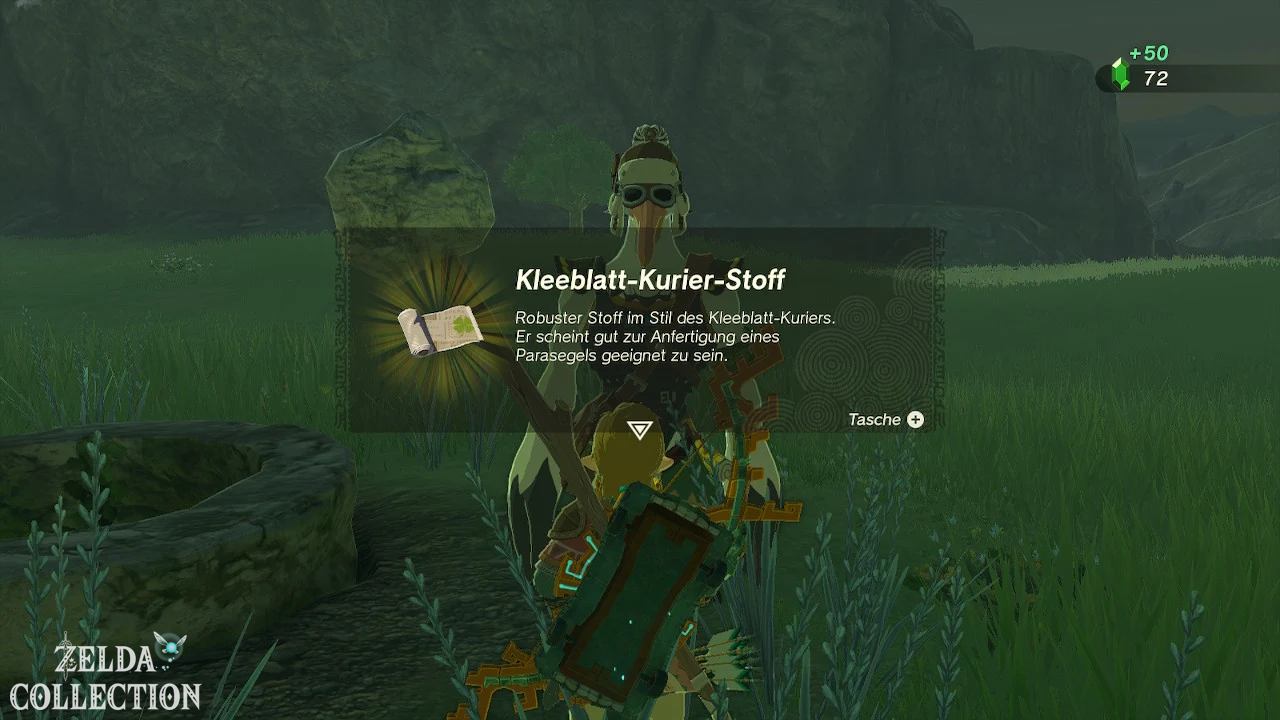
Reward: Tiered reward for the Lucky Clover Gazette quest line.
30. A serenade for Great Fairy Kaysa
Quest chain: Great Fairies
Start: At Mastro on Outskirt Stable after completing the first Great Fairy and “The Flute Player’s Quest”.
solution
After Pyper returns to the group, the musicians need an all-terrain vehicle because debris is blocking the normal route. Attaches your car to a wide platform with four large wheels and a control stick.
Talk to Mastro, let everyone get in and slowly drive the marked path to the fairy bud. Keep the platform level and avoid sharp turns.
Reward: Great Fairy Great Fairy Kaysa will be unlocked; 100Rupees.
31. A serenade for Great Fairy Cotera
Quest chain: Great Fairies
Start: At Mastro on Dueling Peaks Stable after completing Honeyed Delight.
solution
Meet the musicians by the river. Attach your car to the middle of a wide raft and attach two fans and a control stick. The car must not touch the water.
Have the group board and head to the opposite fairy bud. Drive slowly against the current and correct early so that the raft doesn’t get stuck on the bank.
Reward: Great Fairy Great Fairy Cotera will be unlocked; 100Rupees.
32. A serenade for the Great Fairy
Quest chain: Great Fairies
Start: At Penn and the stable musicians at Woodland Stable.
solution
Attach the two wheels provided to the rear axle of the broken car. Takes a registered horse with a harness out of the stable and connects the drawbar of the cart to the harness.
Let the musicians get in and drive carefully up the hill to the bud. After the serenade, the first Great Fairy appears and can now improve armor.
Reward: First Great Fairy unlocks; Lucky Clover Gazette reward.
33. A serenade for Great Fairy Mija
Quest chain: Great Fairies
Start: At Mastro on Snowfield Stable after “Rescuing the Bugler” is completed.
solution
The musicians need protection from the snowstorm. Attach a large board as a roof over the car, making sure it completely covers the occupants.
Harness a horse with a harness to the cart and drive slowly to the fairy bud on the mountainside. Avoid steep side slopes as the cart tips over easily.
Reward: Great Fairy Great Fairy Mija is unlocked; 100Rupees.
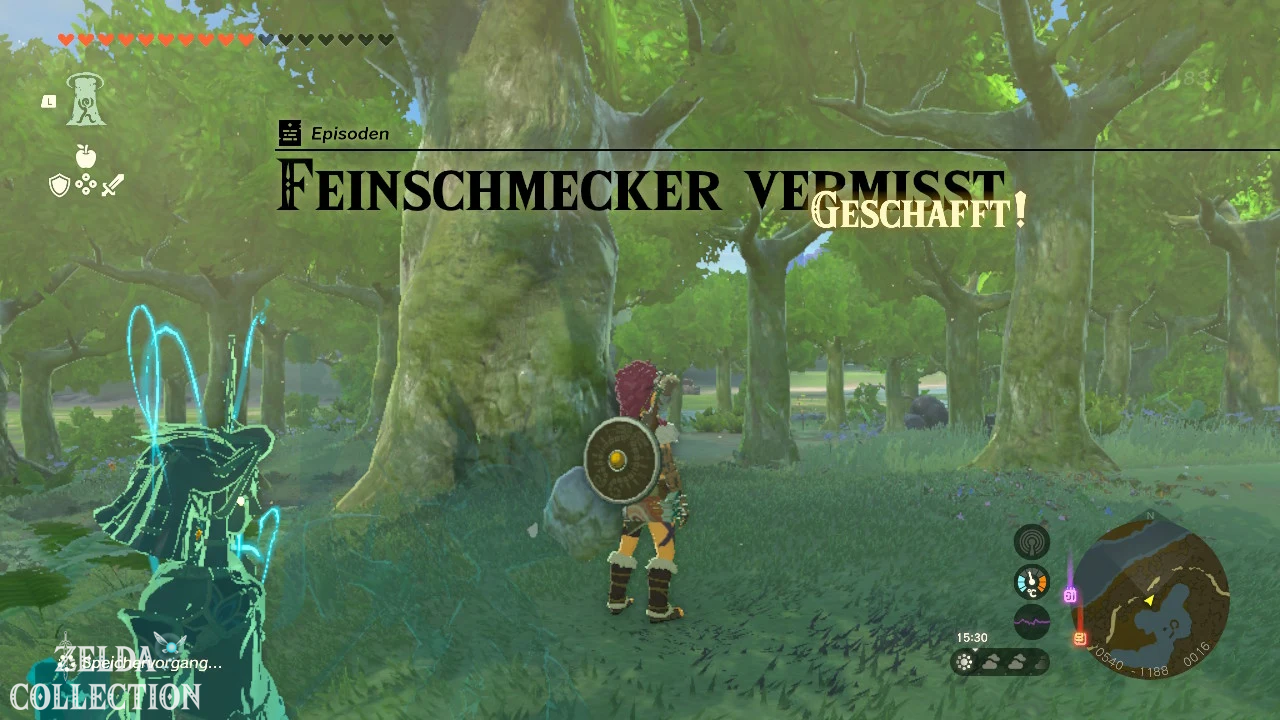
34. Foodie misses
Quest chain: Lucky Clover Gazette
Start: At Penn on Riverside Stable.
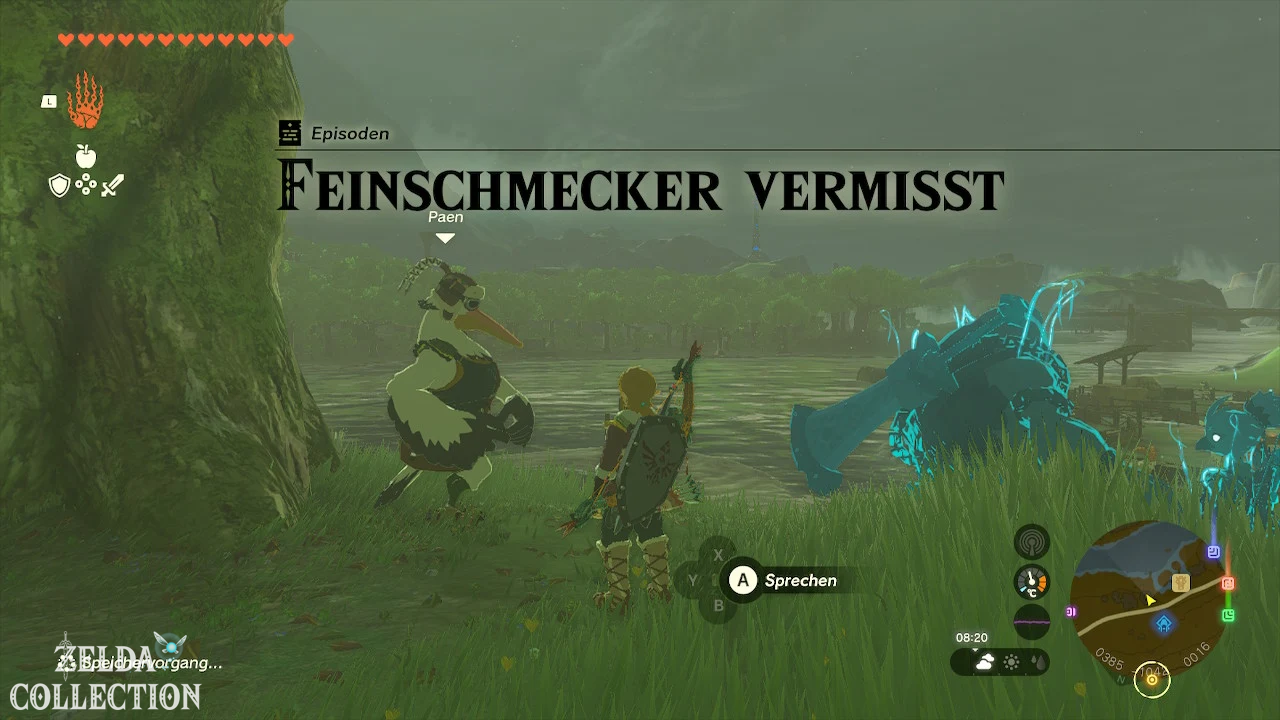
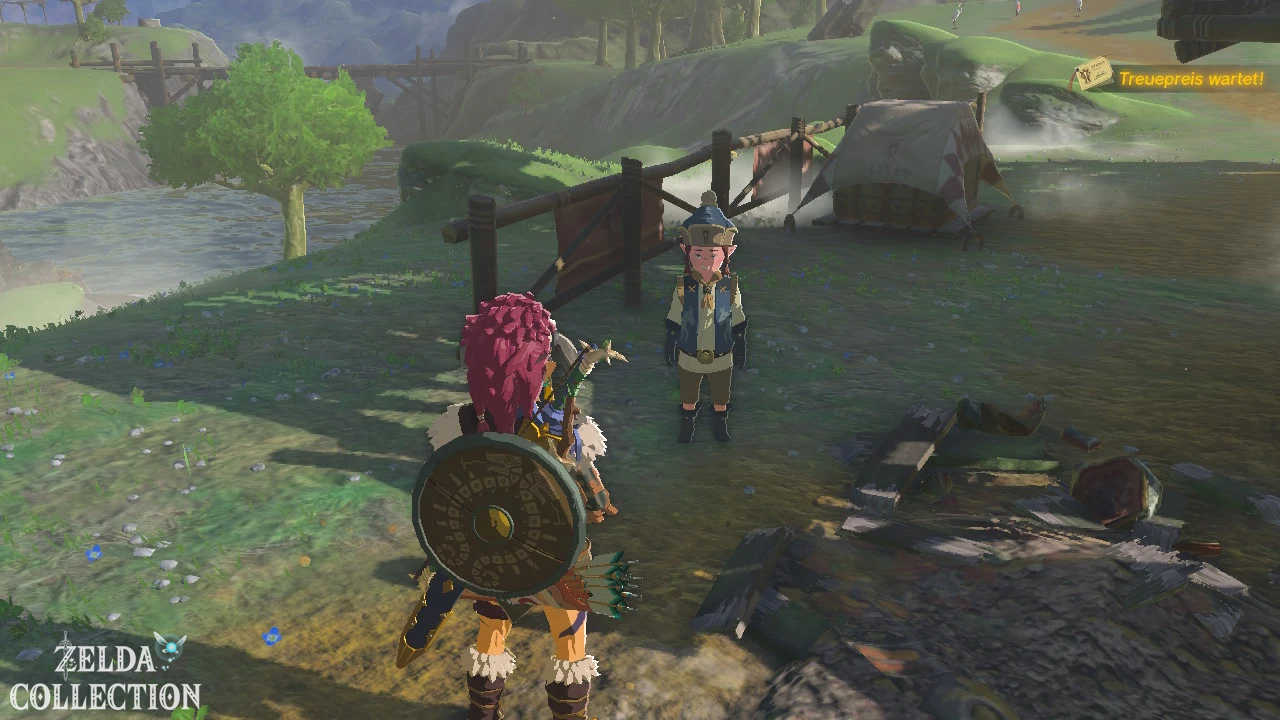
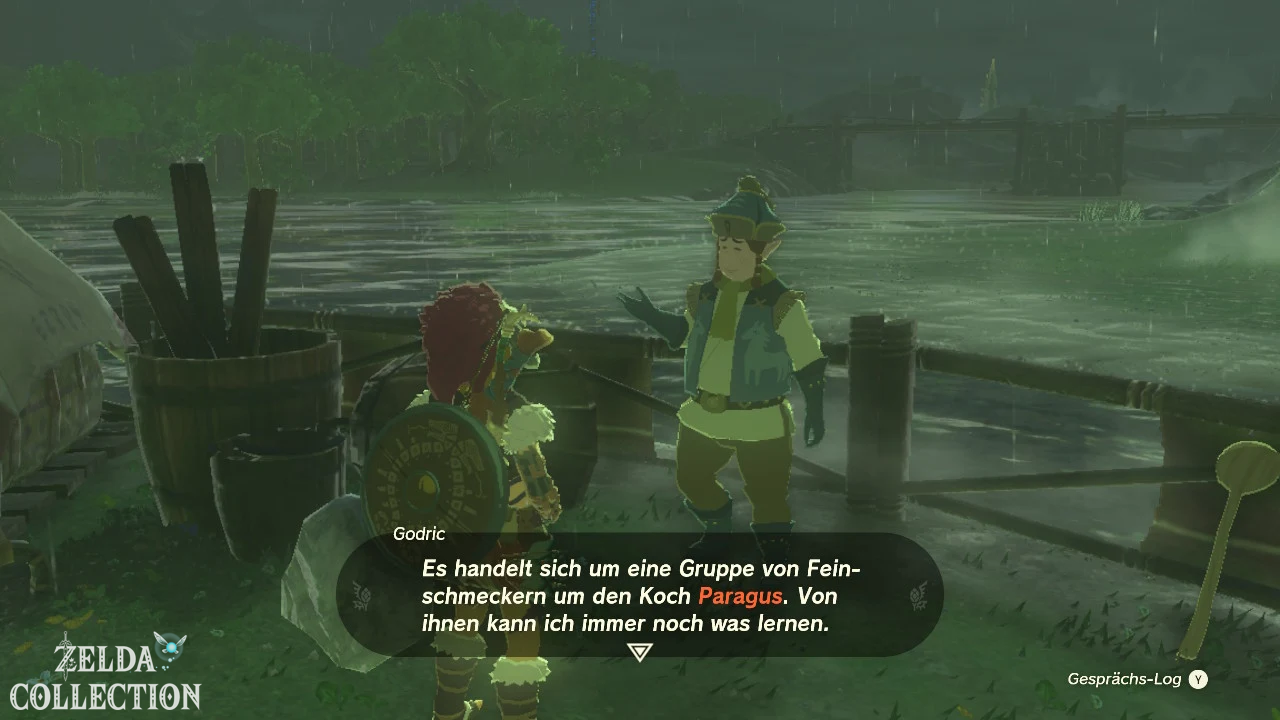
solution
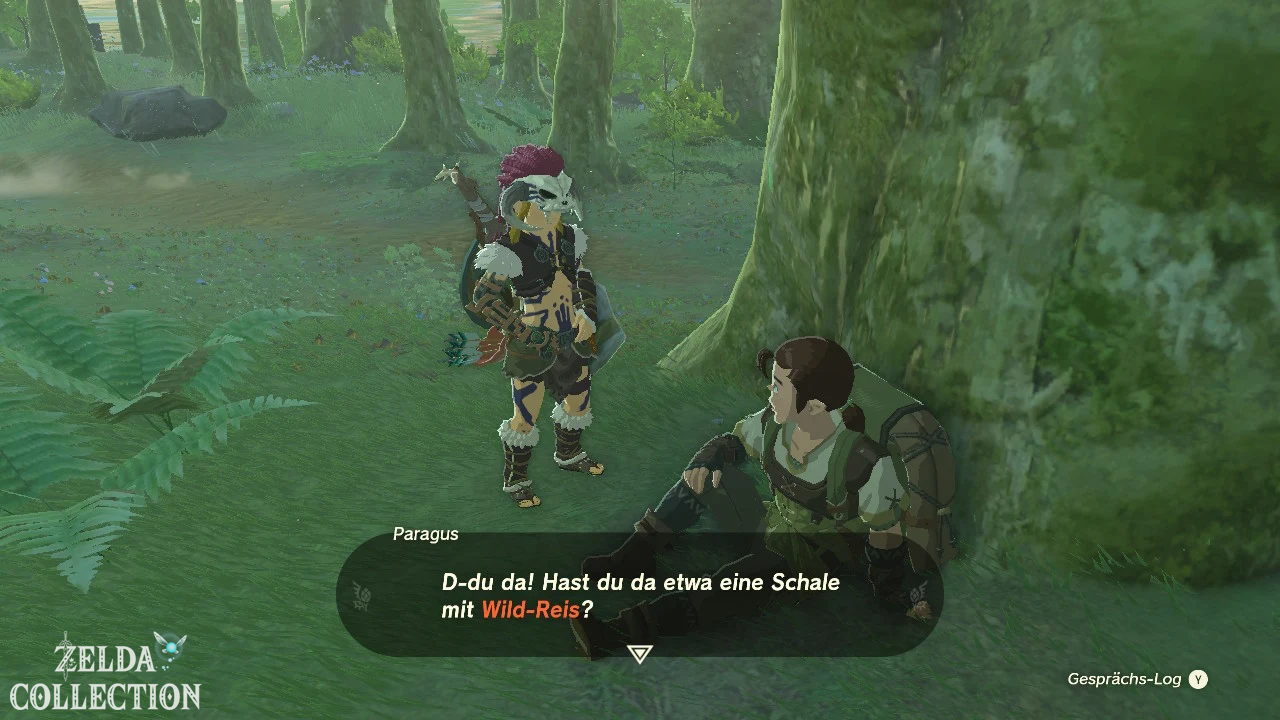
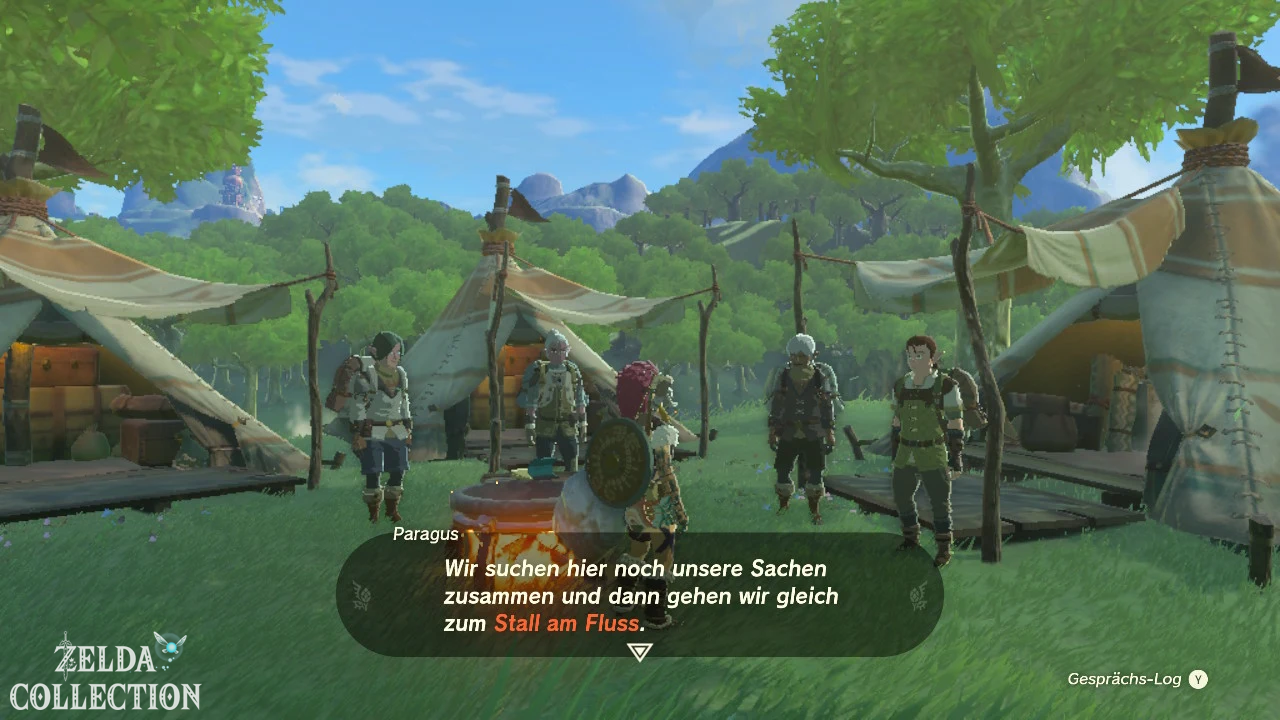
Speak to the cook behind the stable and follow the road over the Owlan Bridge to a camp in the forest. The missing gourmets lie exhausted on the floor.
Cook a rice and meat bowl at the campfire using a piece of game, Hylian Rice and rock salt. Give the dish to the gourmet at the tree.
Reward: Tiered reward for the Lucky Clover Gazette quest line.
35. Research Institute in Hateno Village
Quest Chain: Purah Pad
Start: At Robbie in Lookout Landing after “The A Mystery in the Depths” or Autobuild has been completed and at least one regional phenomenon has been solved.
solution
Repair Robbie’s hot air balloon with the Autobuild or assemble the missing components manually. After the demonstration, Robbie travels to the research institute in Hateno Village.
Meet him there. He installs the shrine Sensor + and asks you to follow the signal down the slope. Enter the cave in Retsam Forest and activate the Maya-hisik Shrine. Then return to Robbie.
Reward: Shrine-Sensor + and unlock the three Purah Pad upgrades.
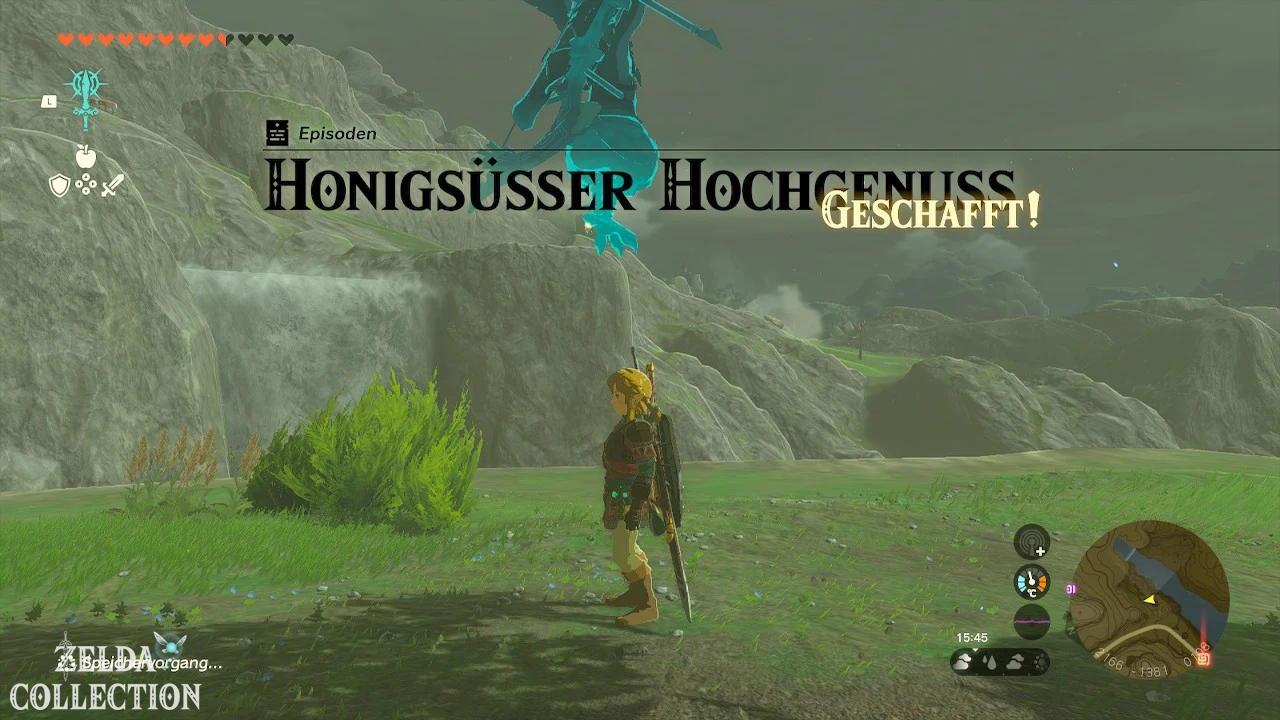
36. Honey-sweet delight
Quest chain: Great Fairies
Start: Near Beetz south of Kakariko Village on the road near Bonooru’s location.
solution
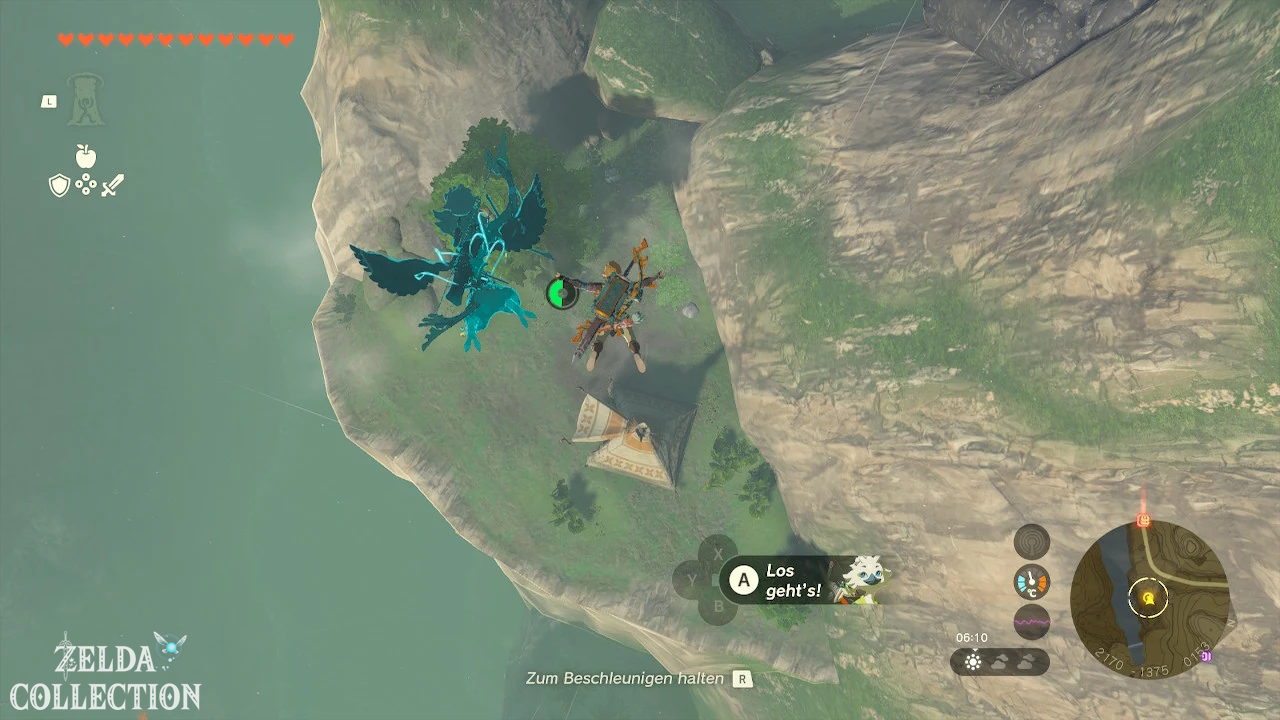
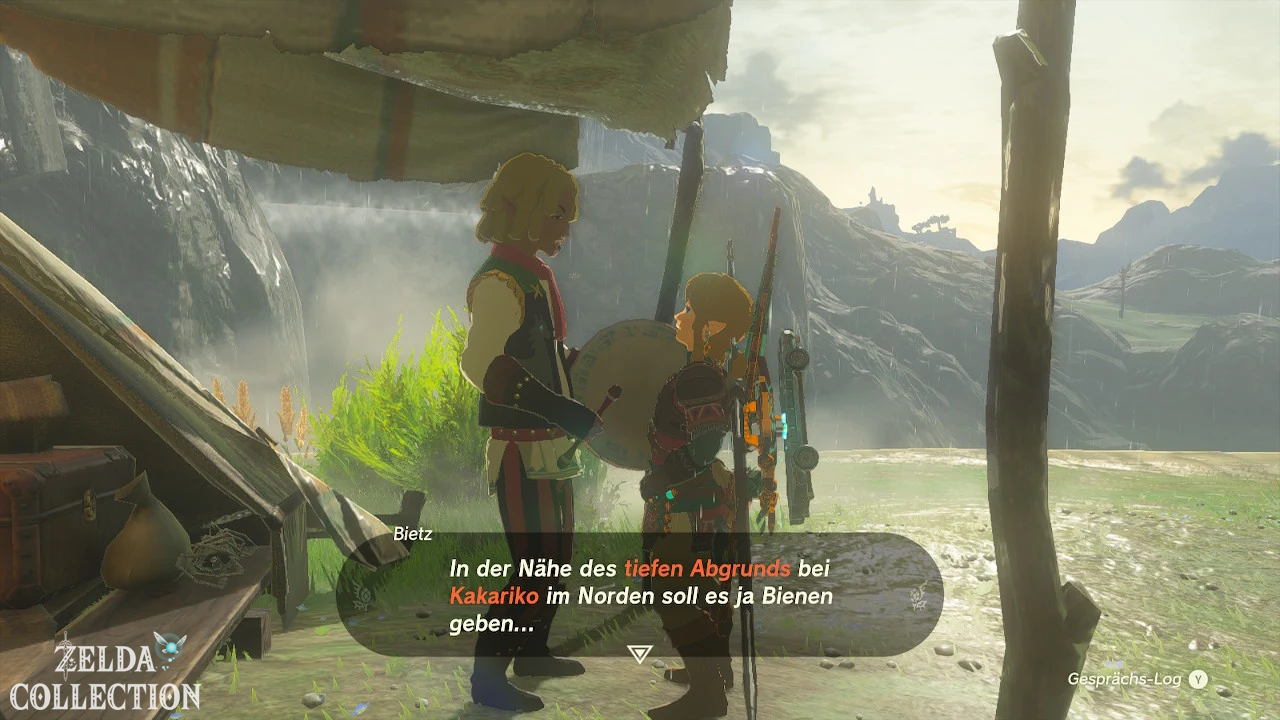
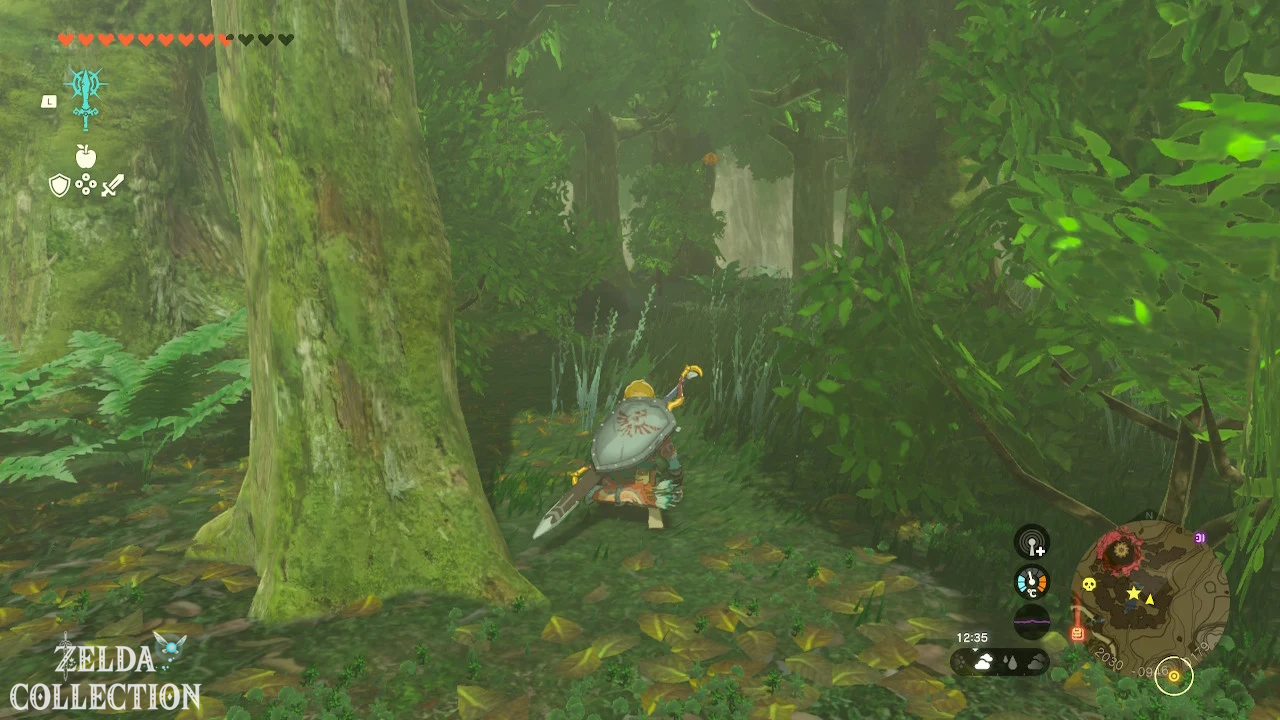
Bring Beetz 3 endurance honeys. You can find bee nests particularly often in the trees around the abyss Kakariko Village. Shoot the nests from a safe distance and defeat the swarm of bees.
After the handover, Beetz prepares his honey pancake and returns to the stable musicians as a drummer.
Reward: Beetz rejoins the group; Prerequisite for “A Serenade for Great Fairy Cotera”.
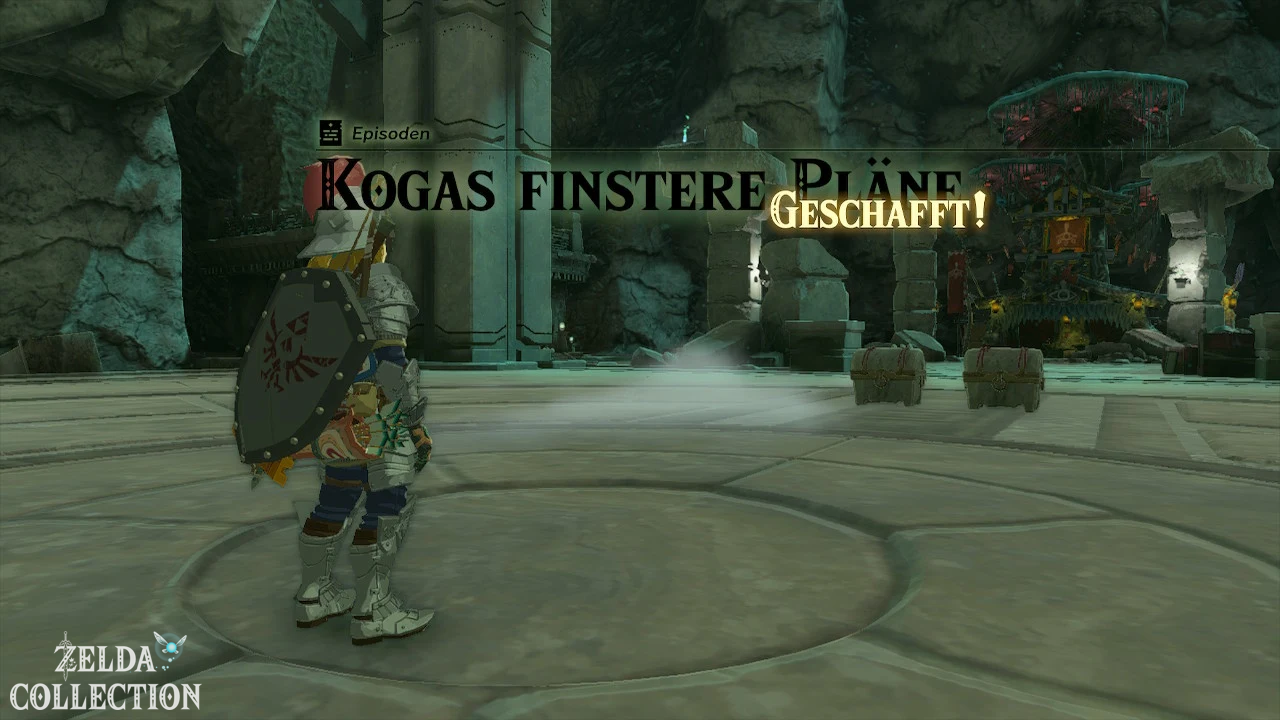
37. Kohga’s sinister plans
Quest chain: Yiga
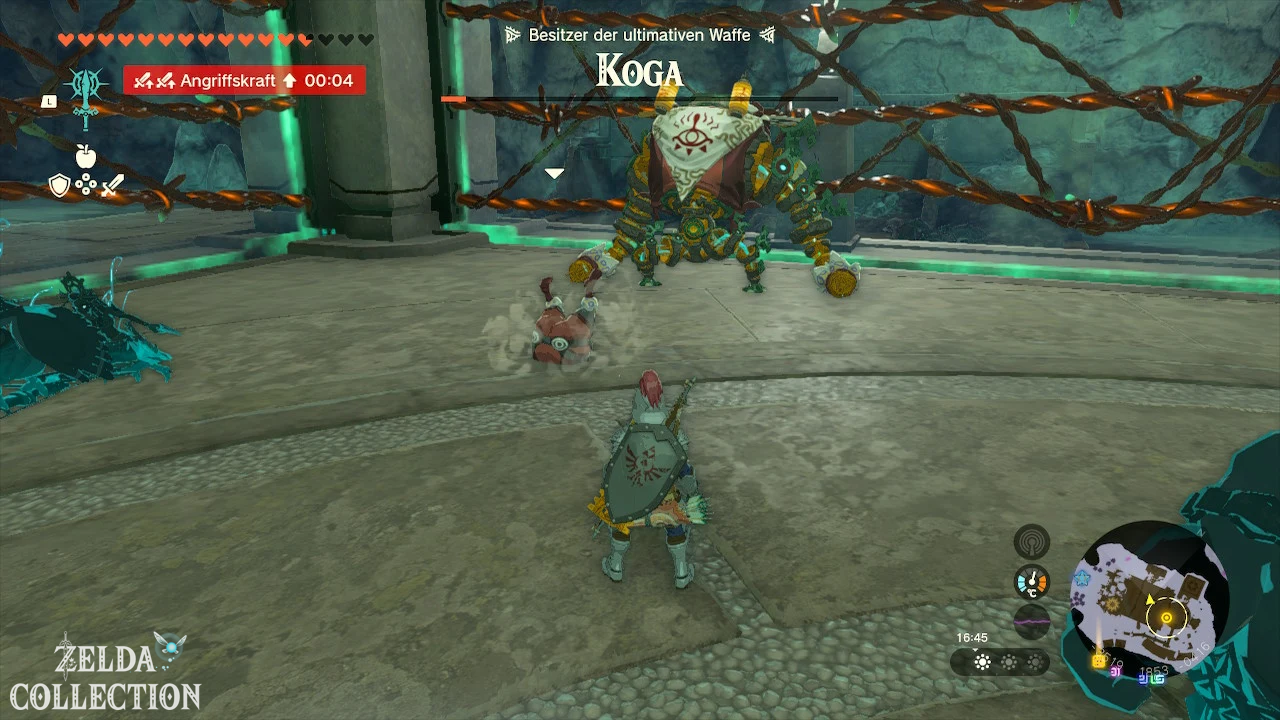
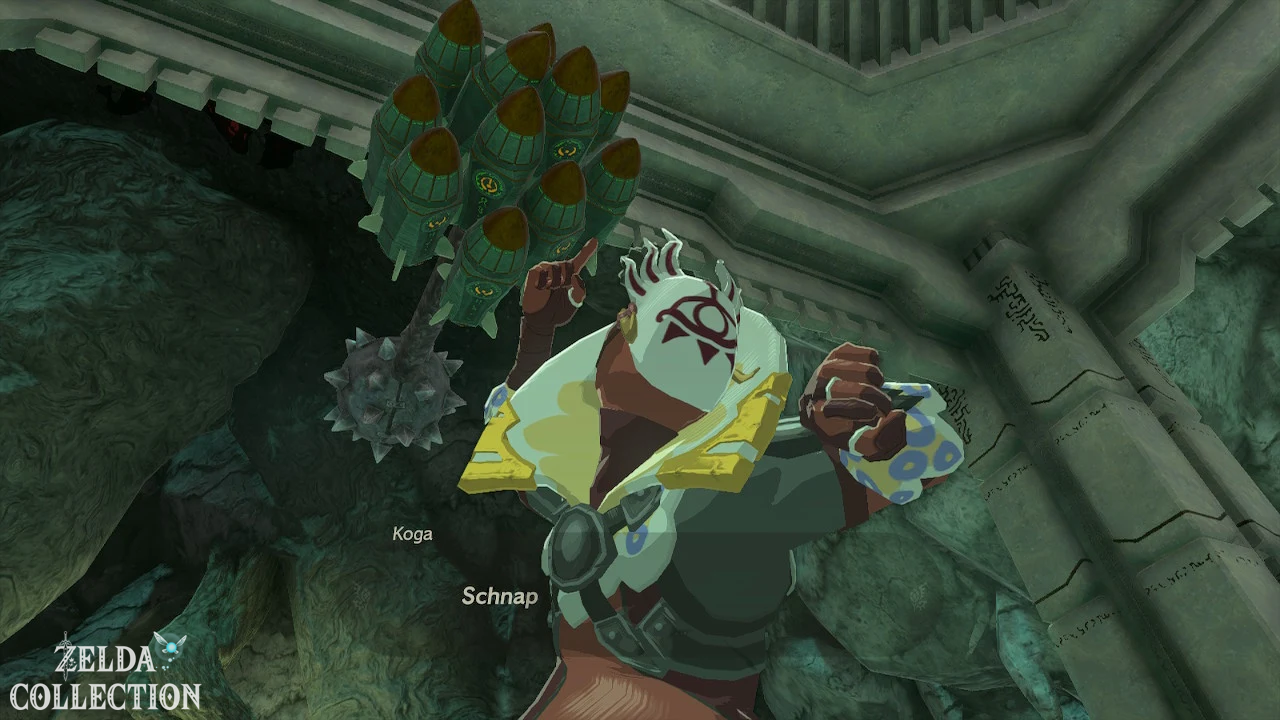
Start: After obtaining the Autobuild and the first fight against Kohga in the Abandoned Central Mine.
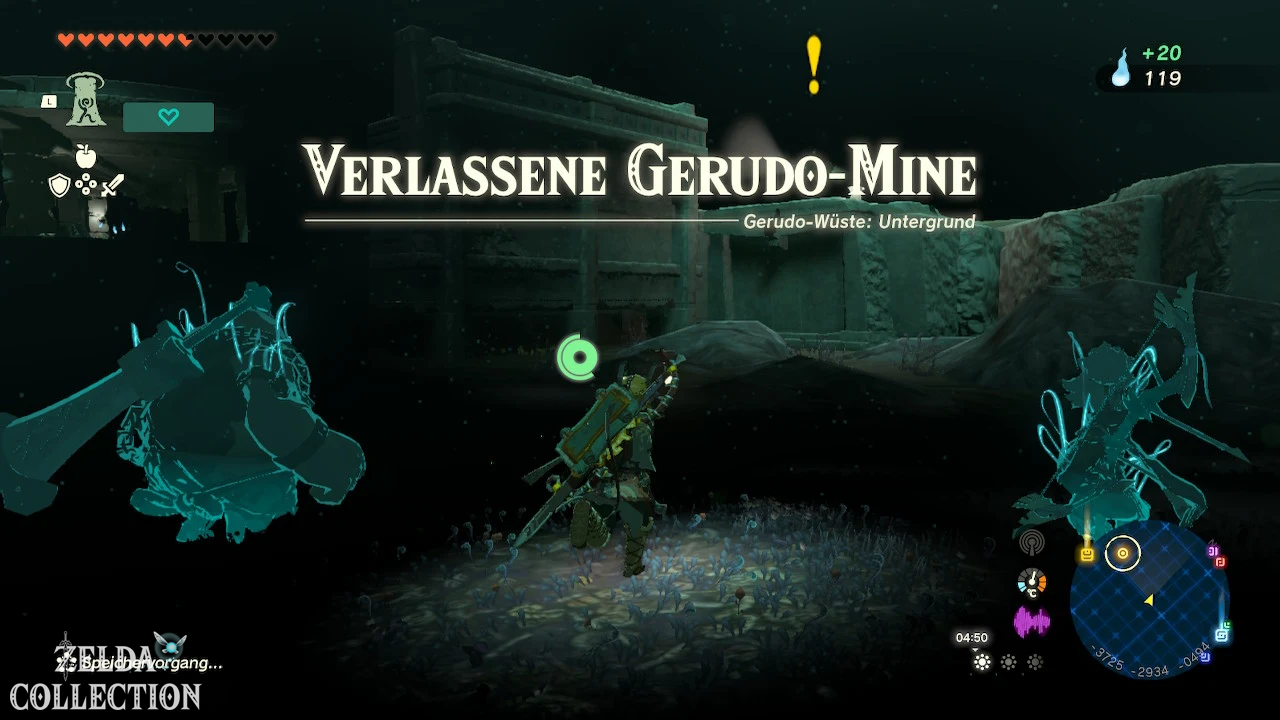
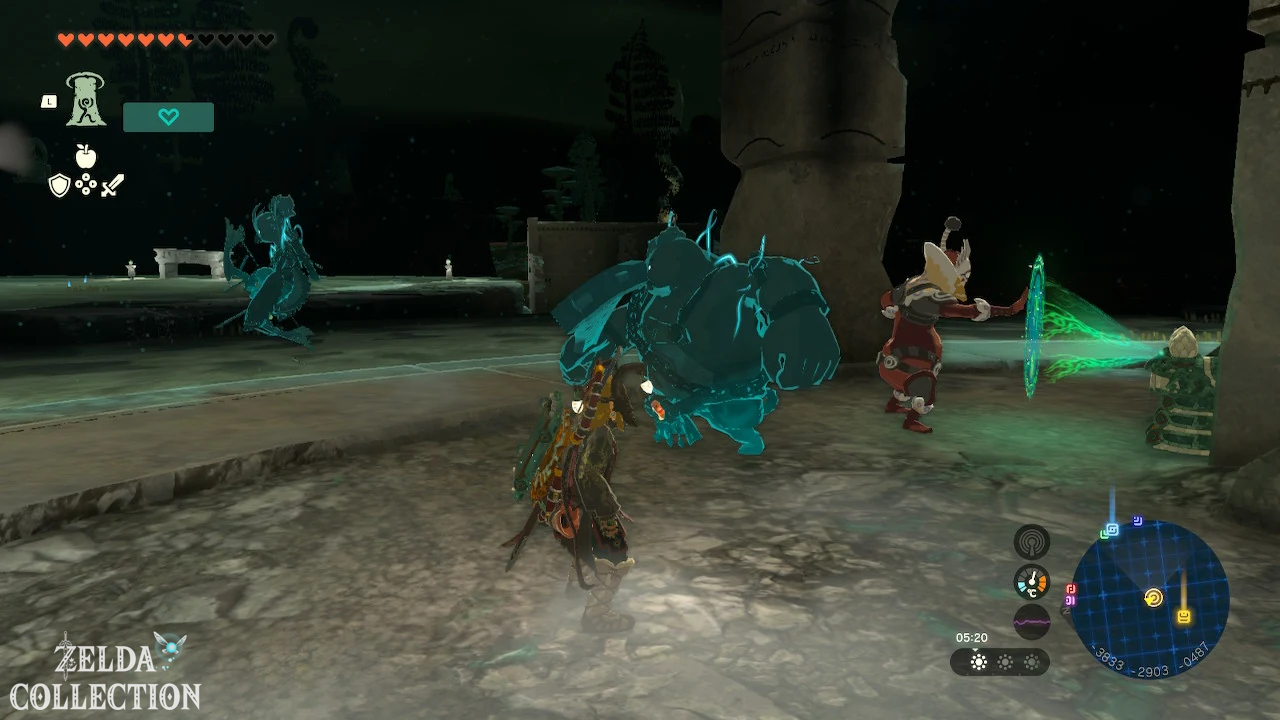
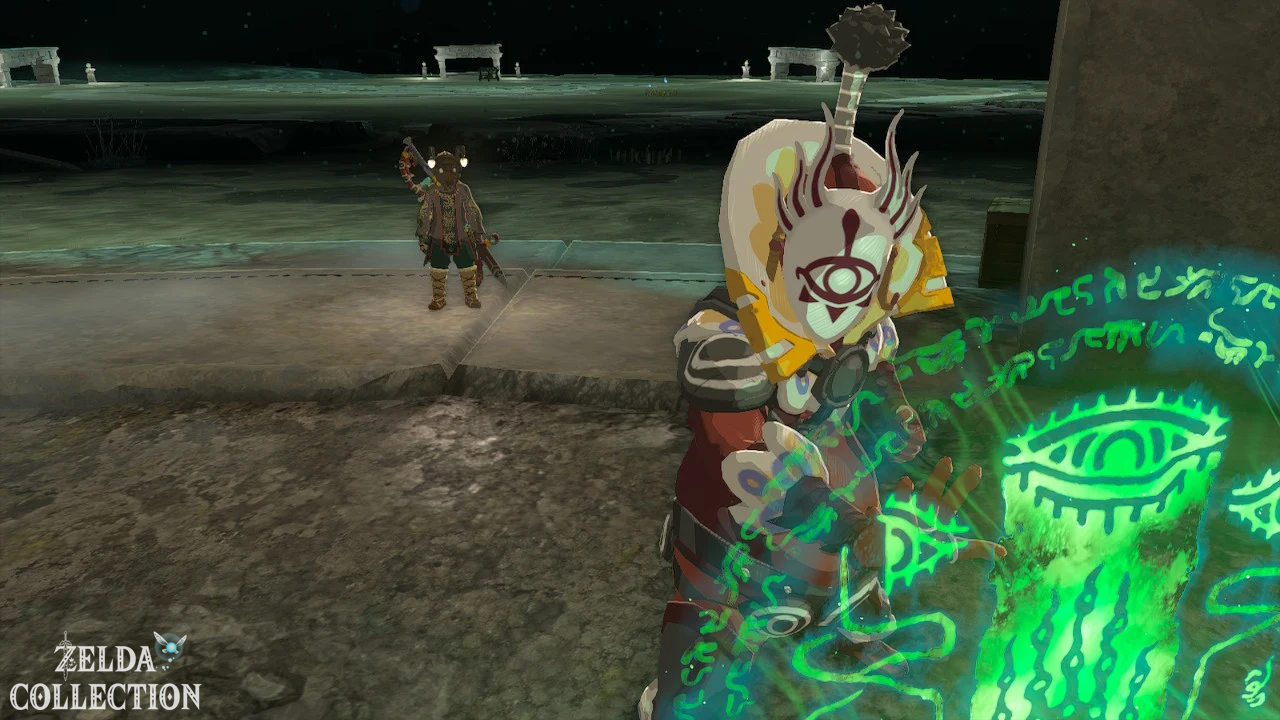
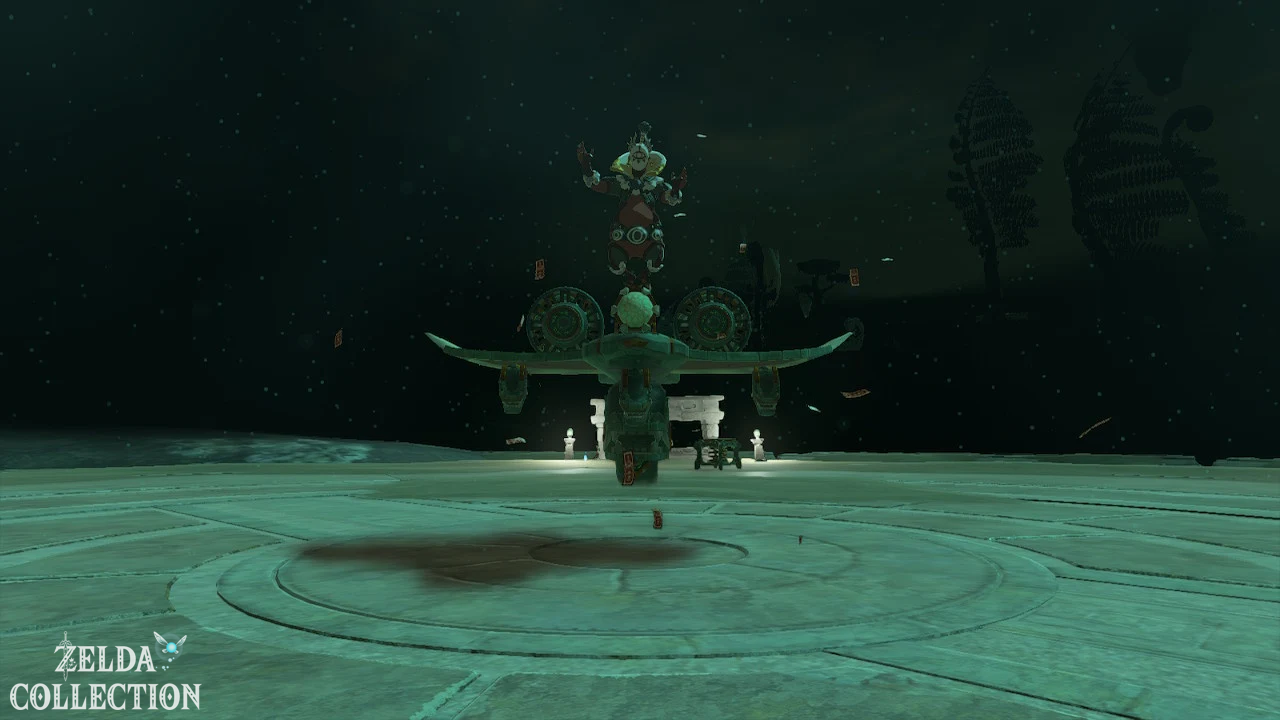
solution
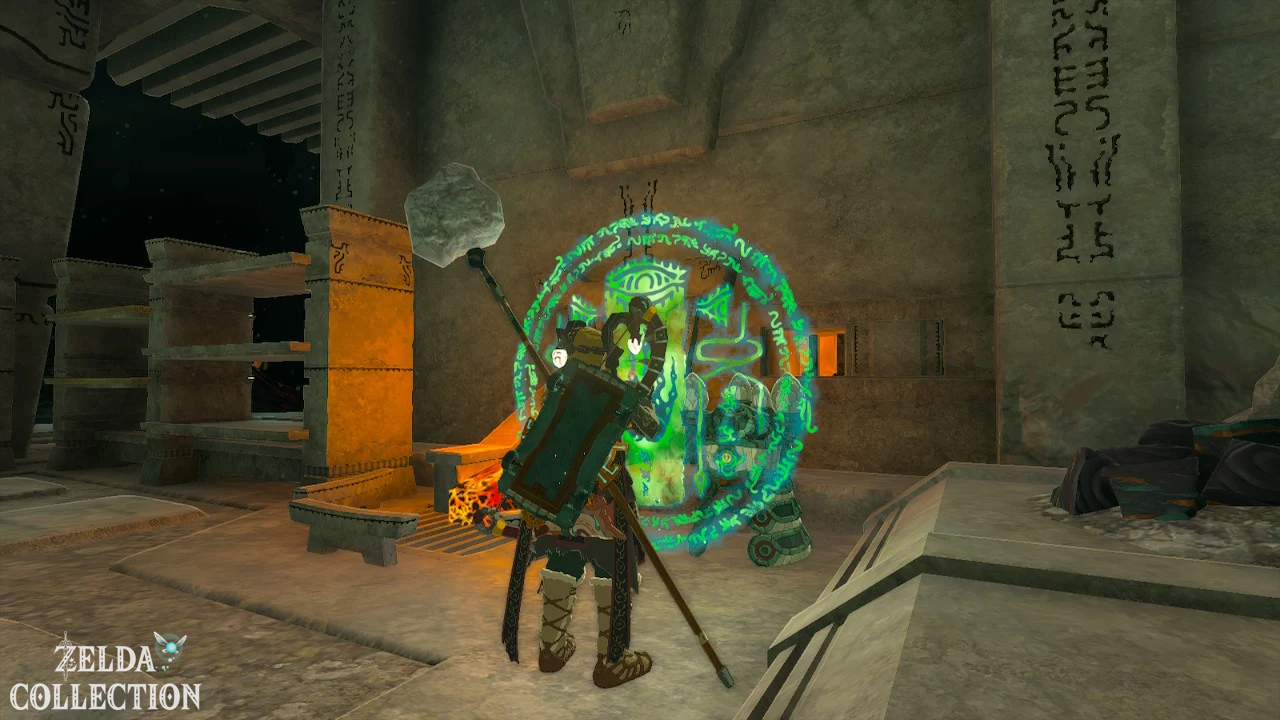
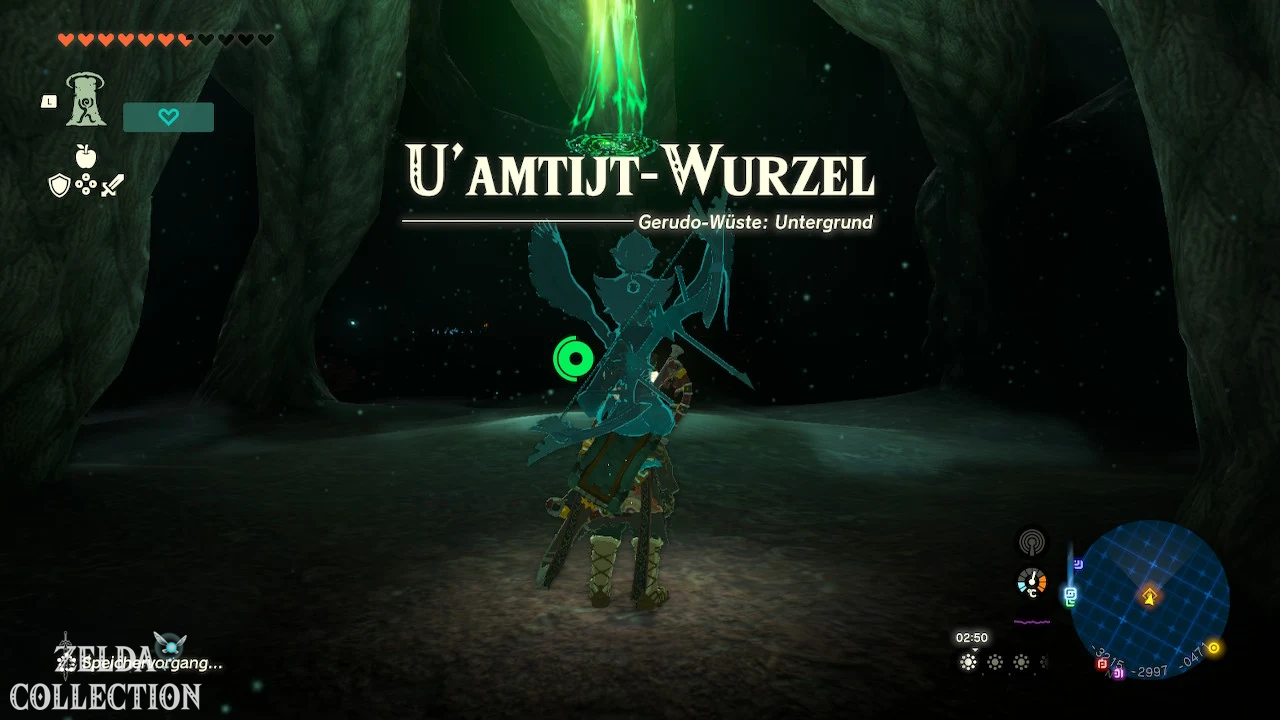
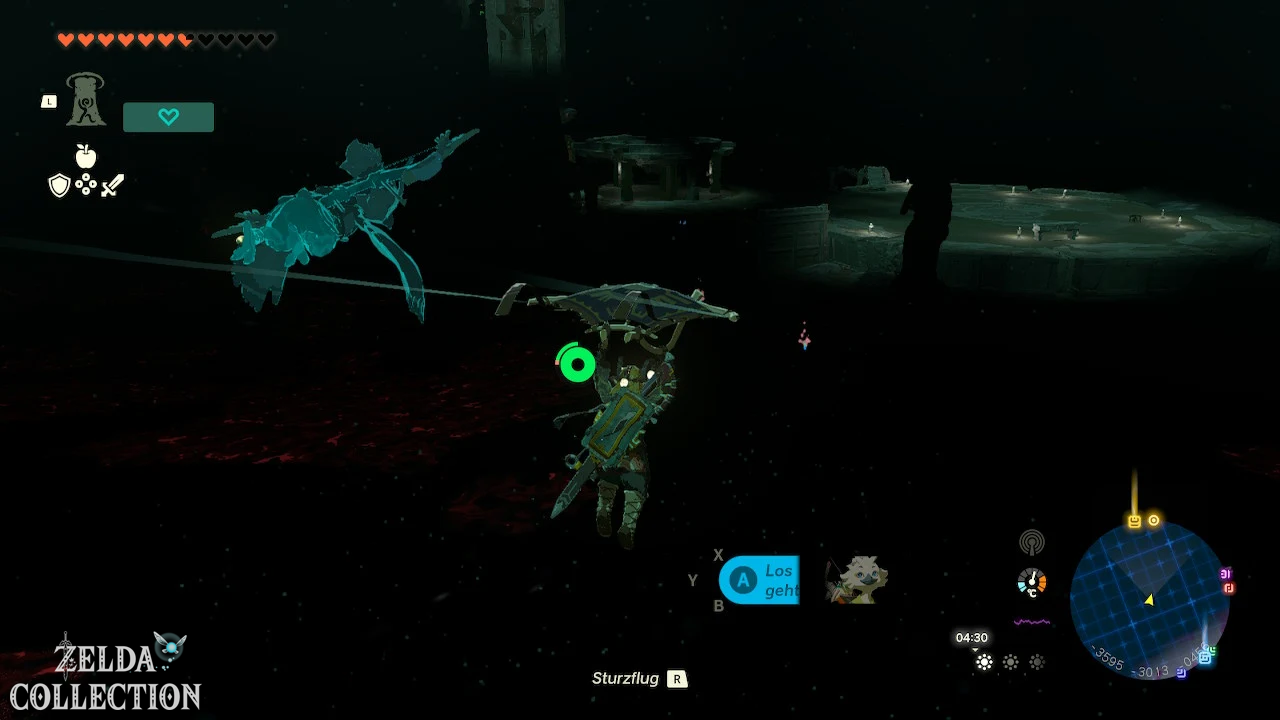
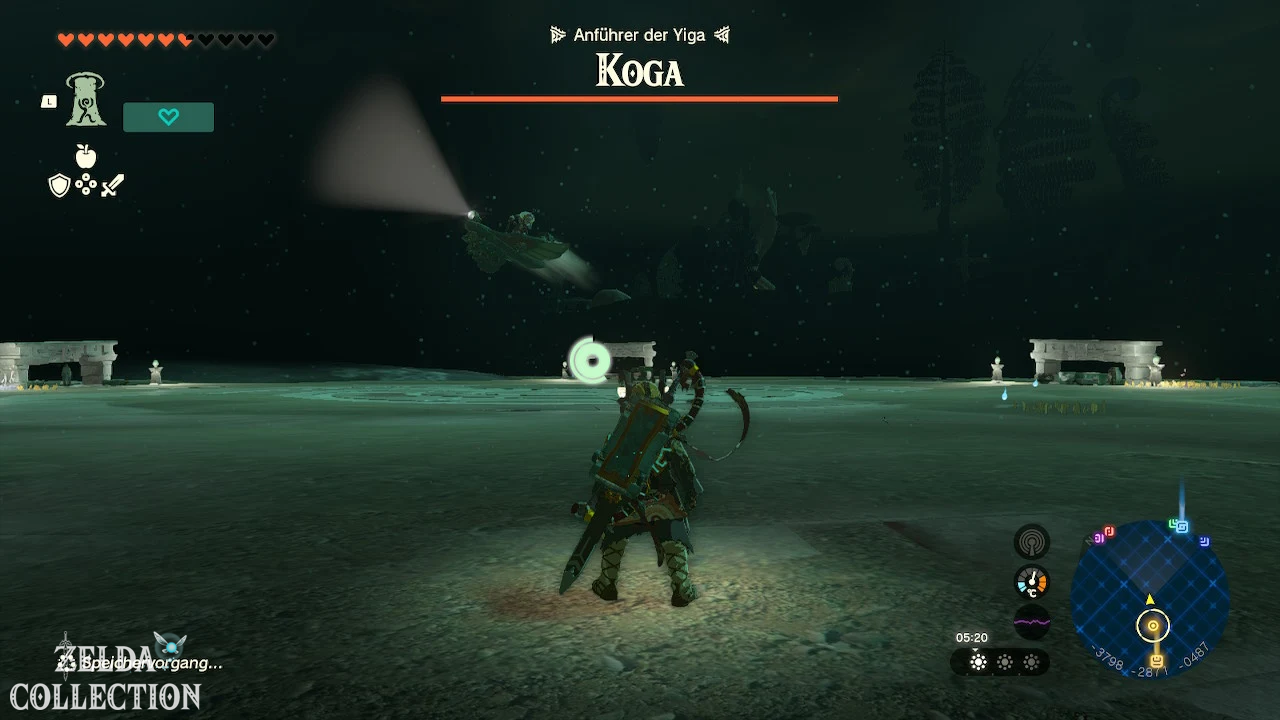
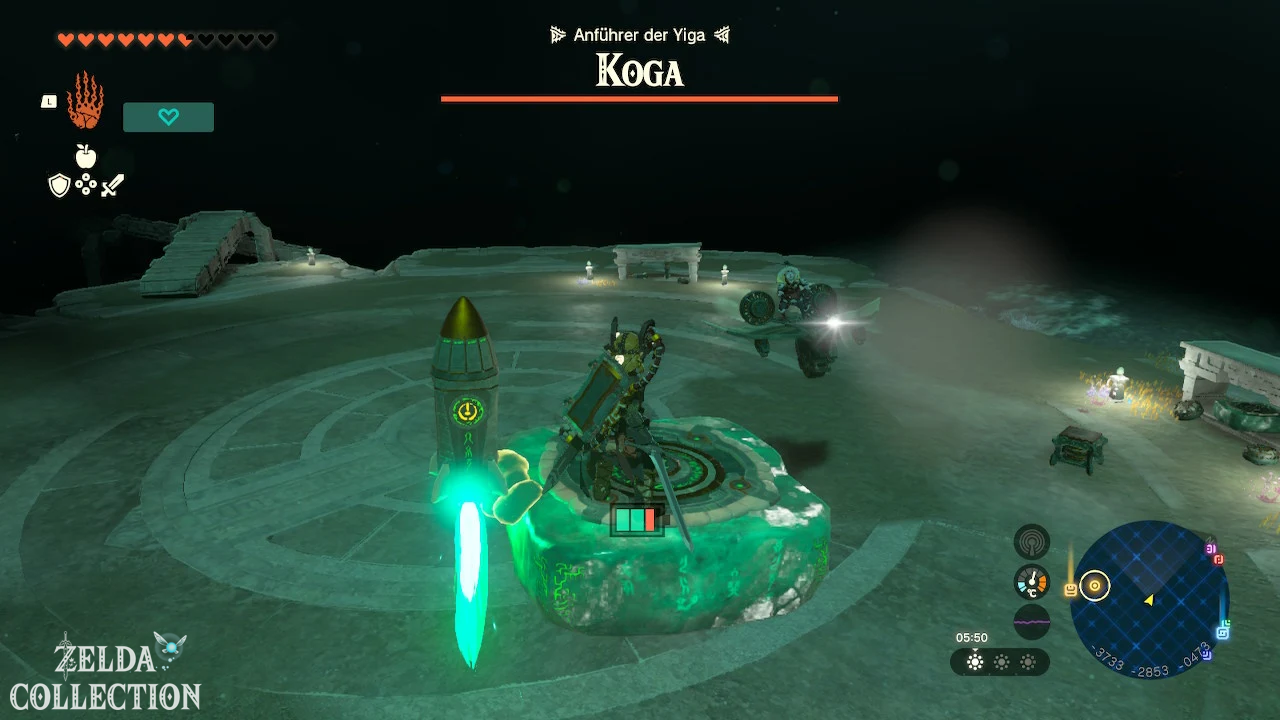
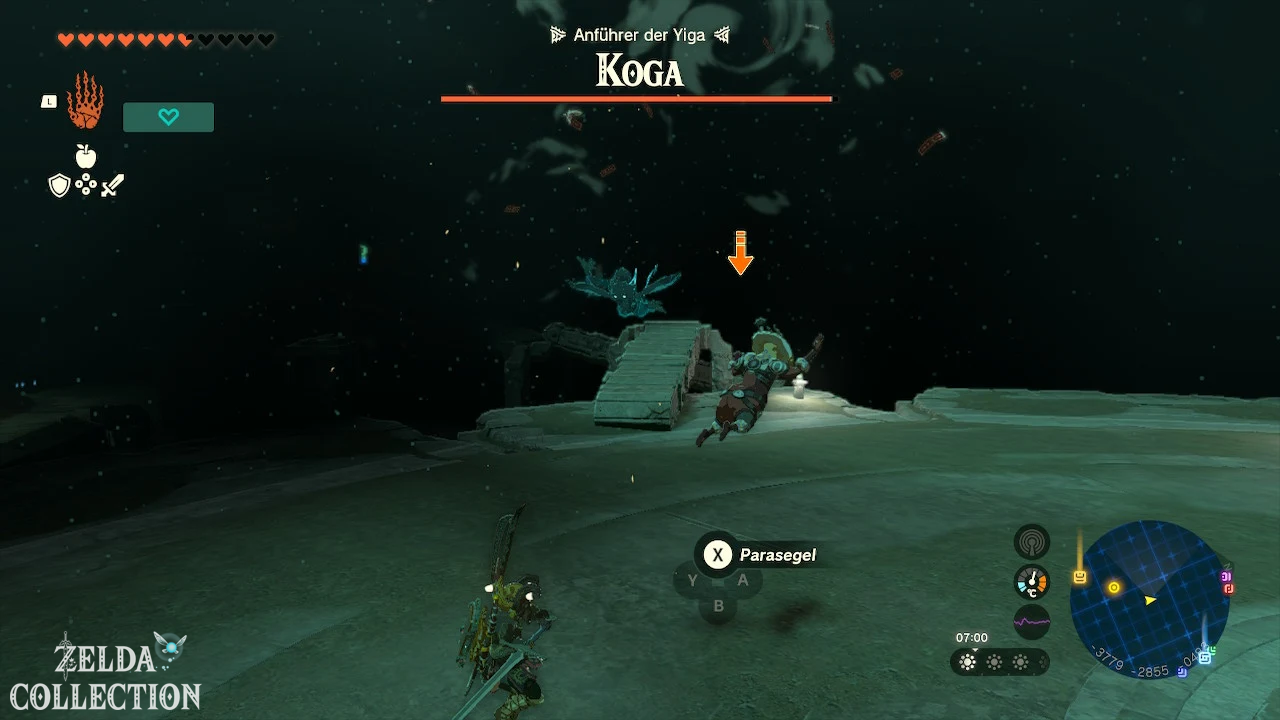
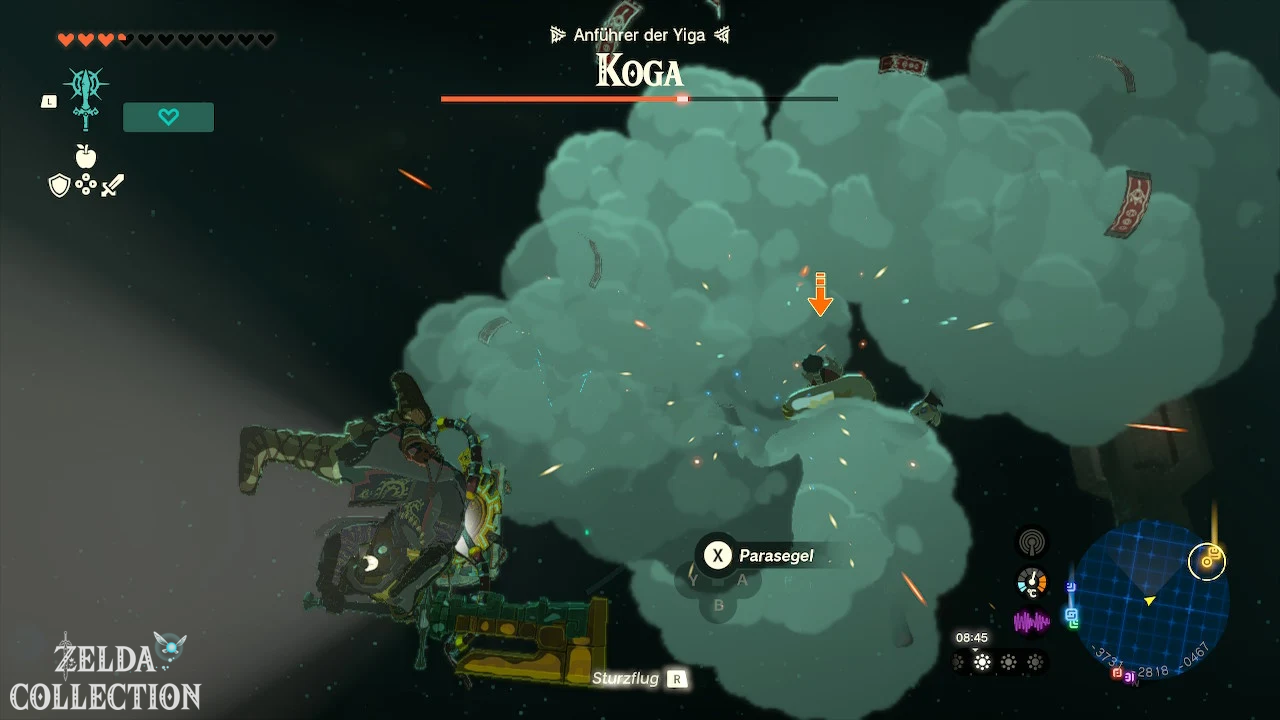
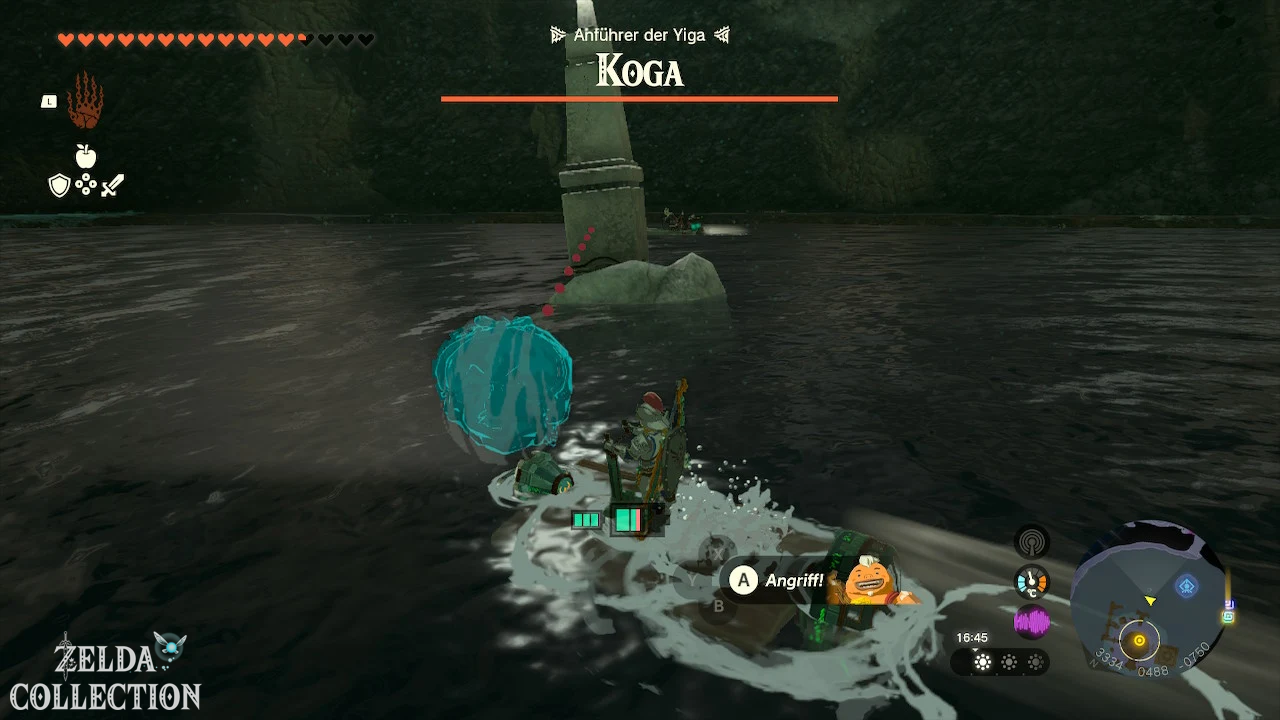
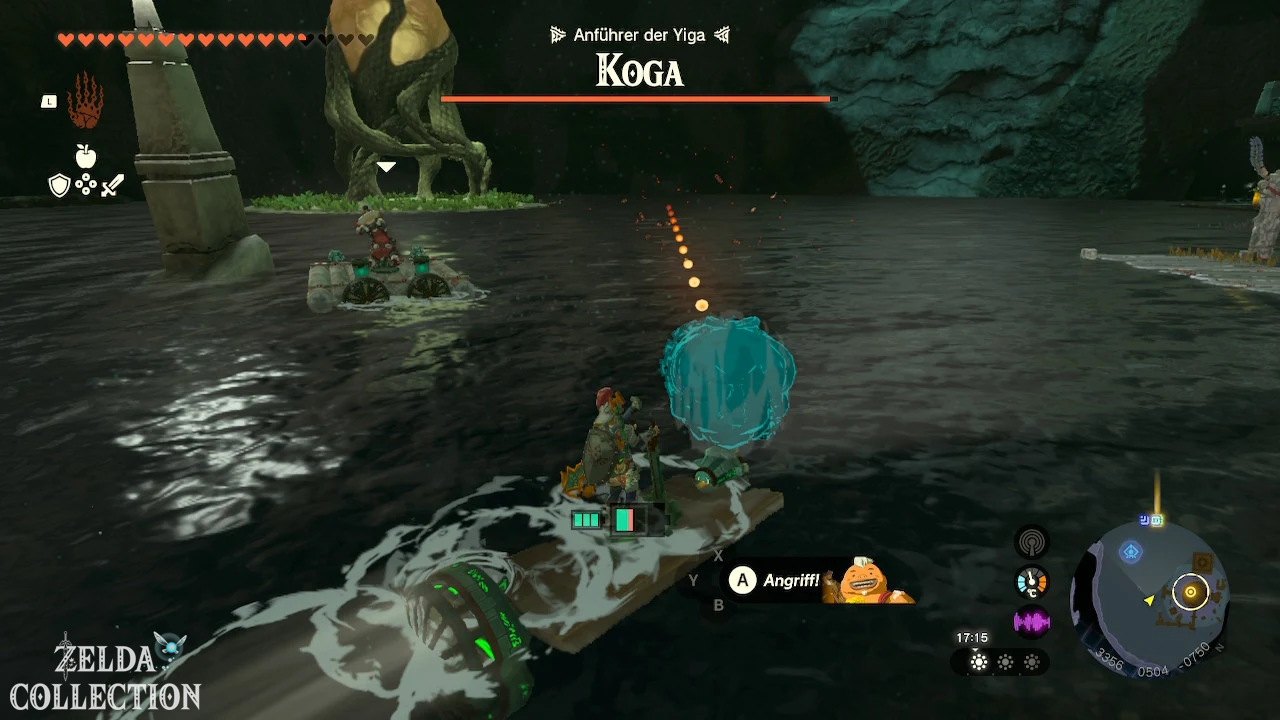
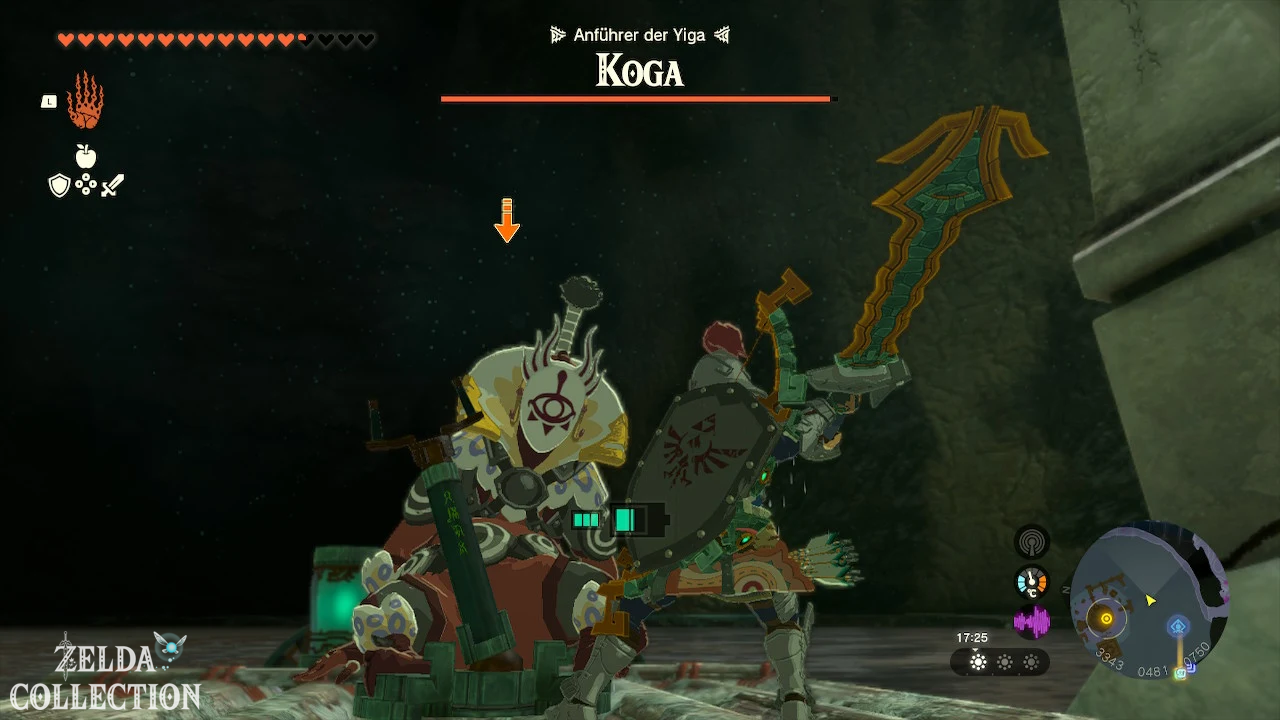
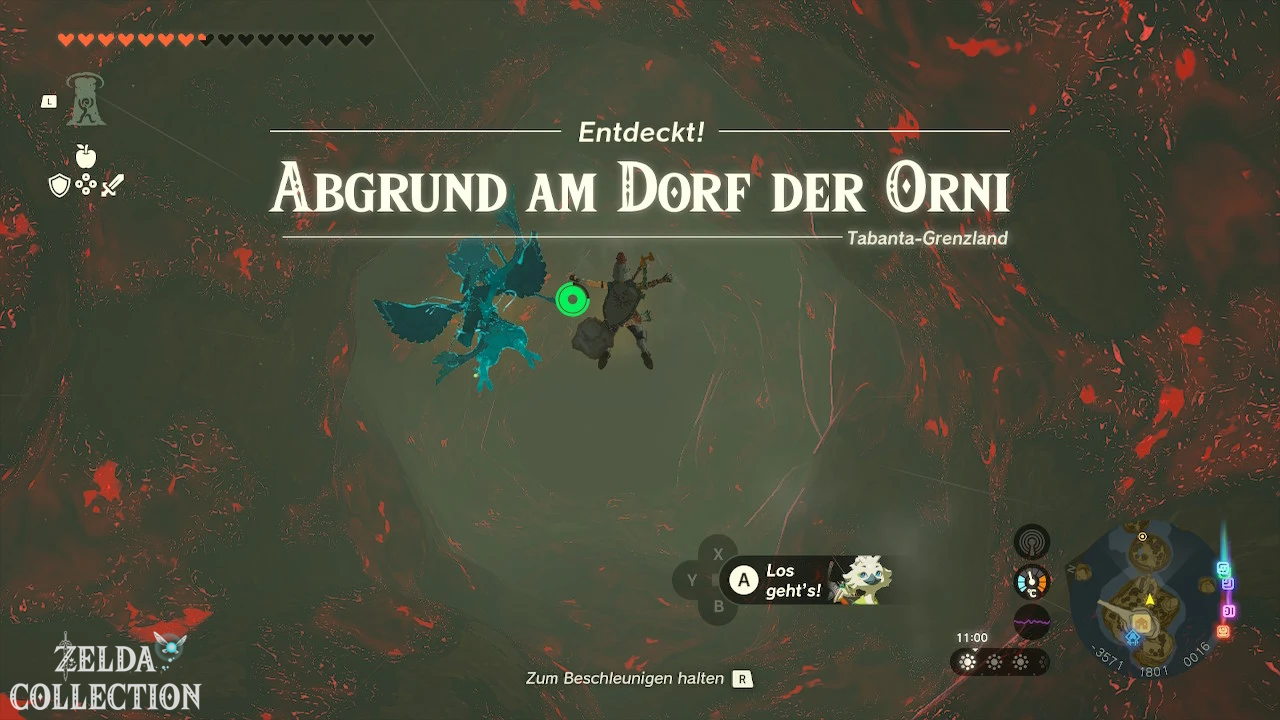
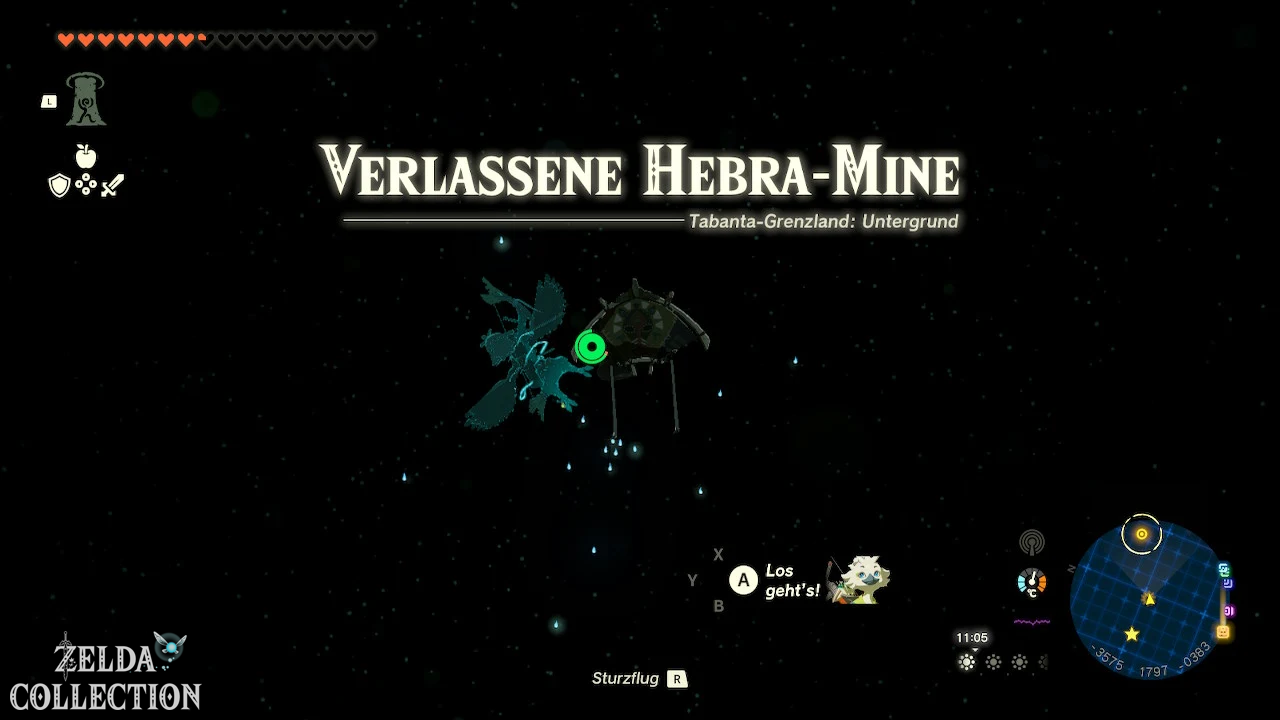
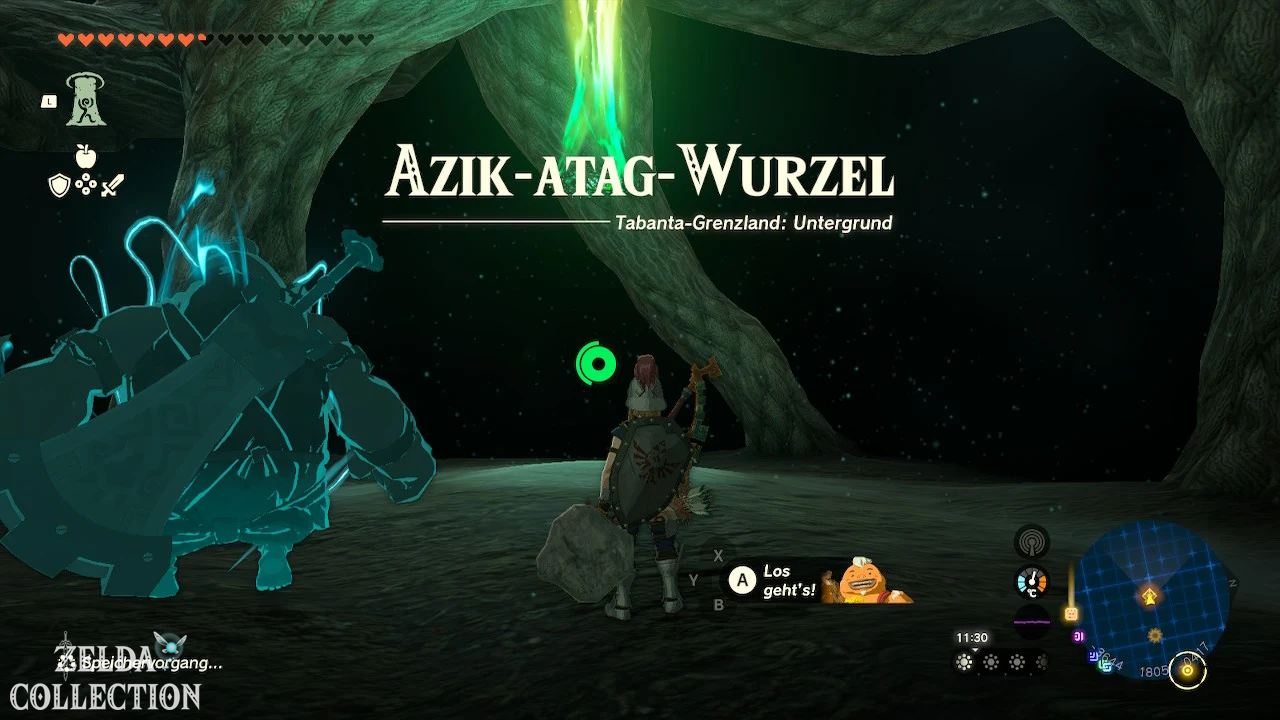
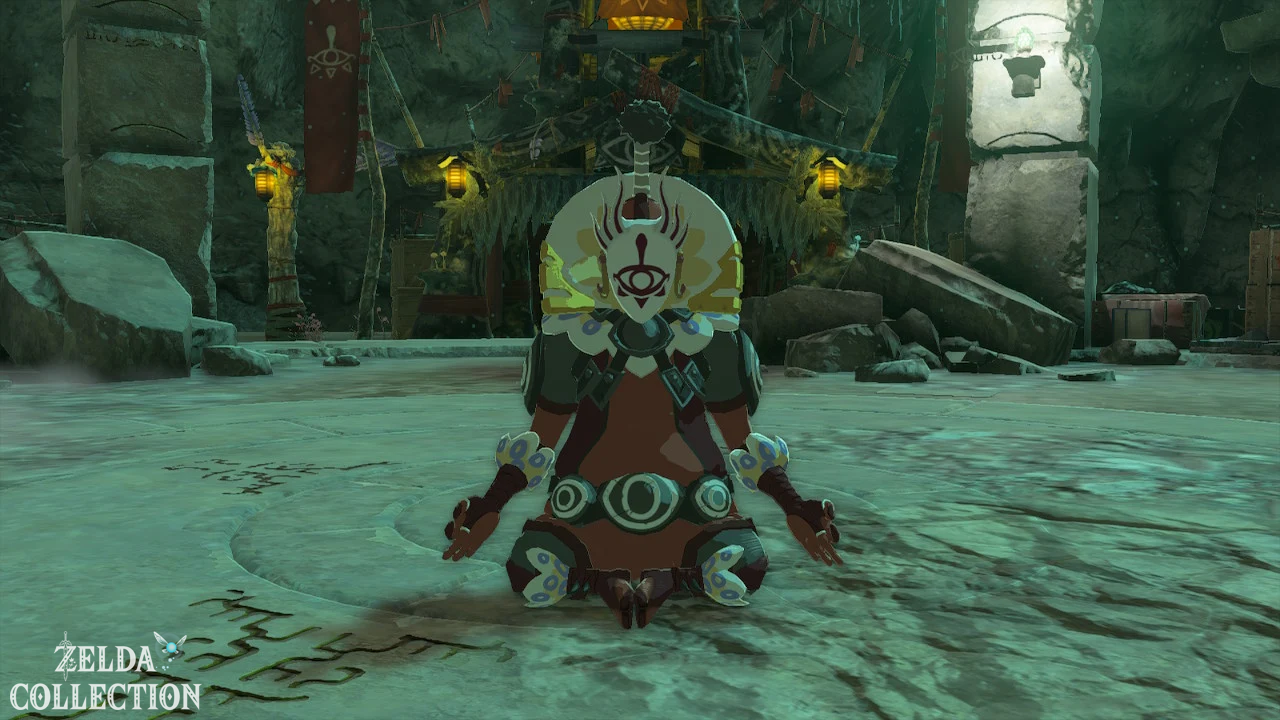
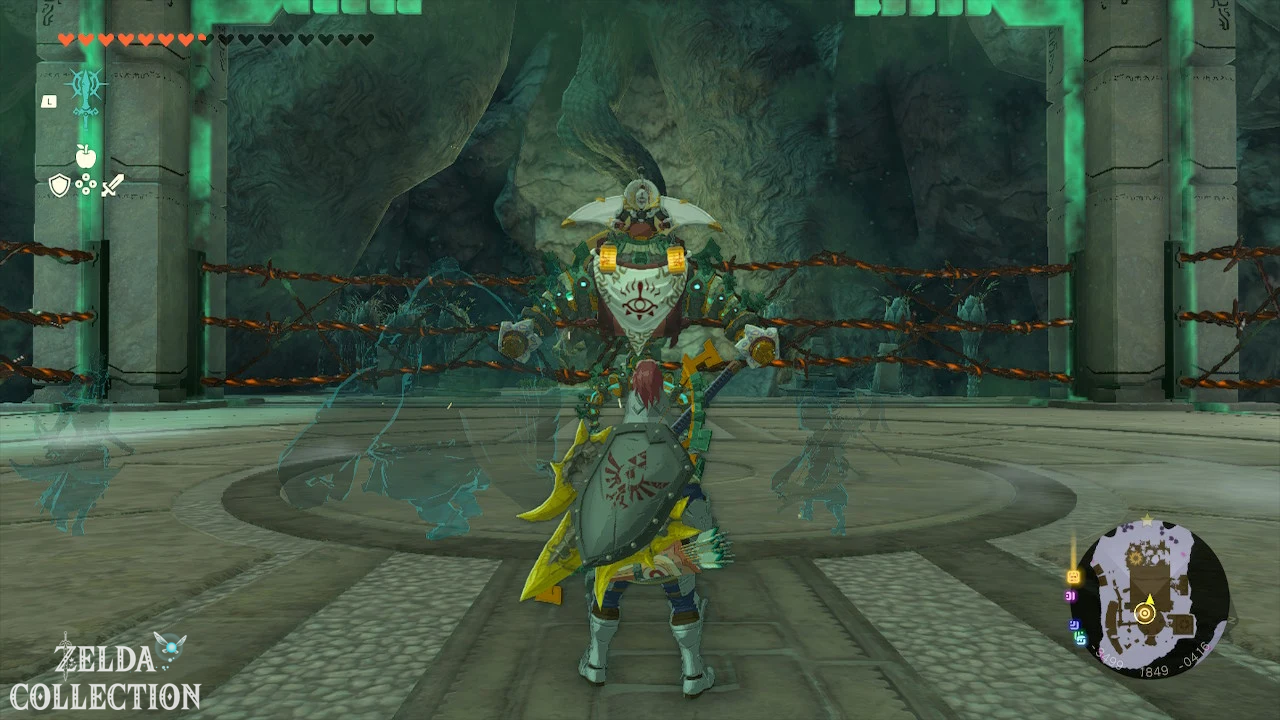
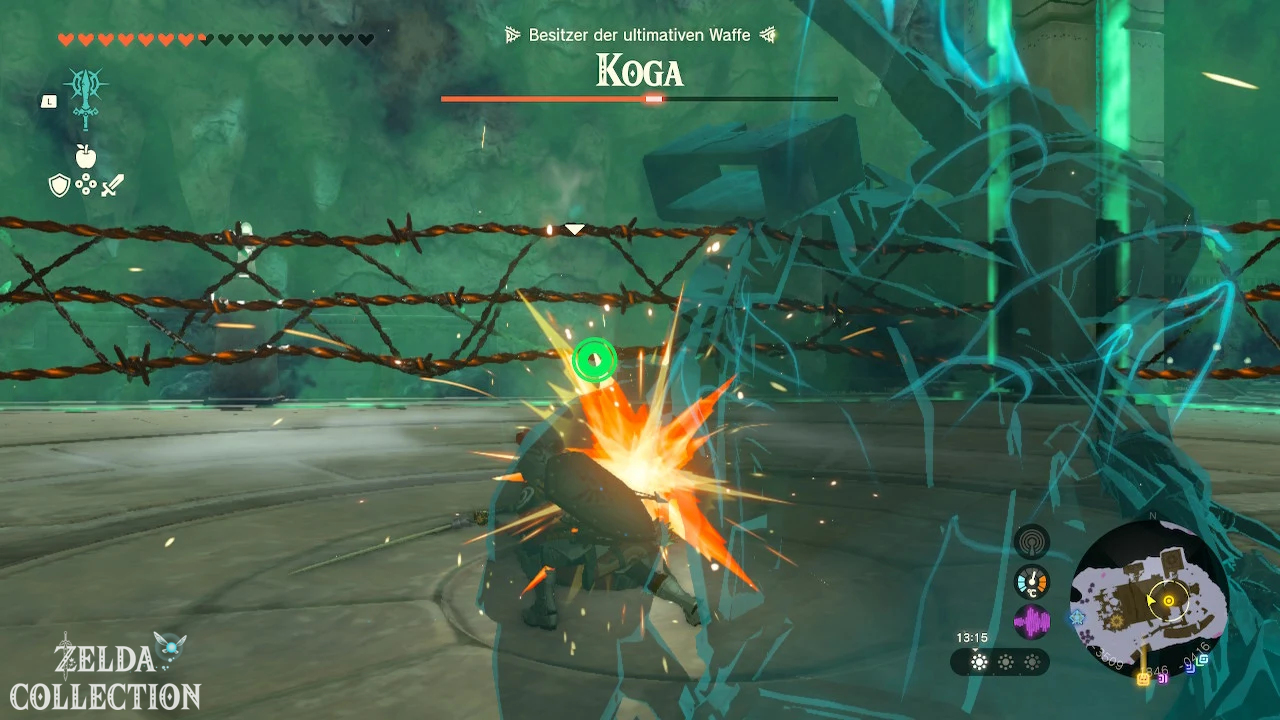
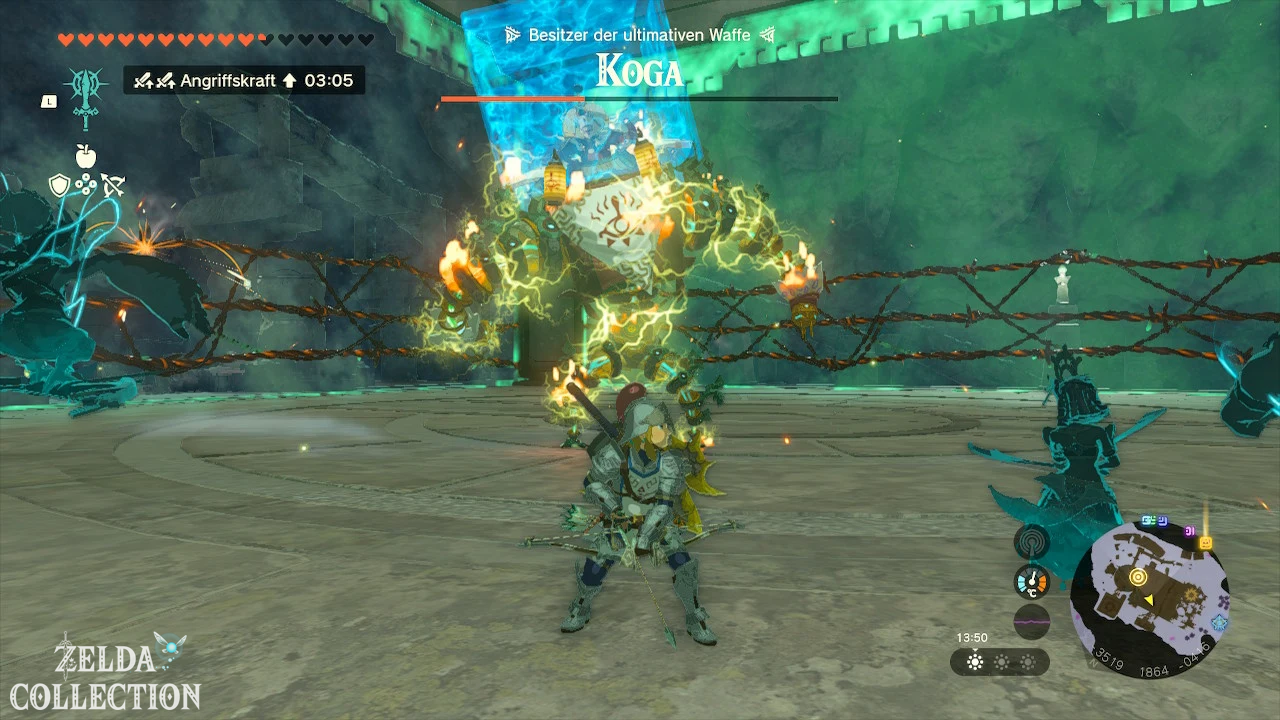
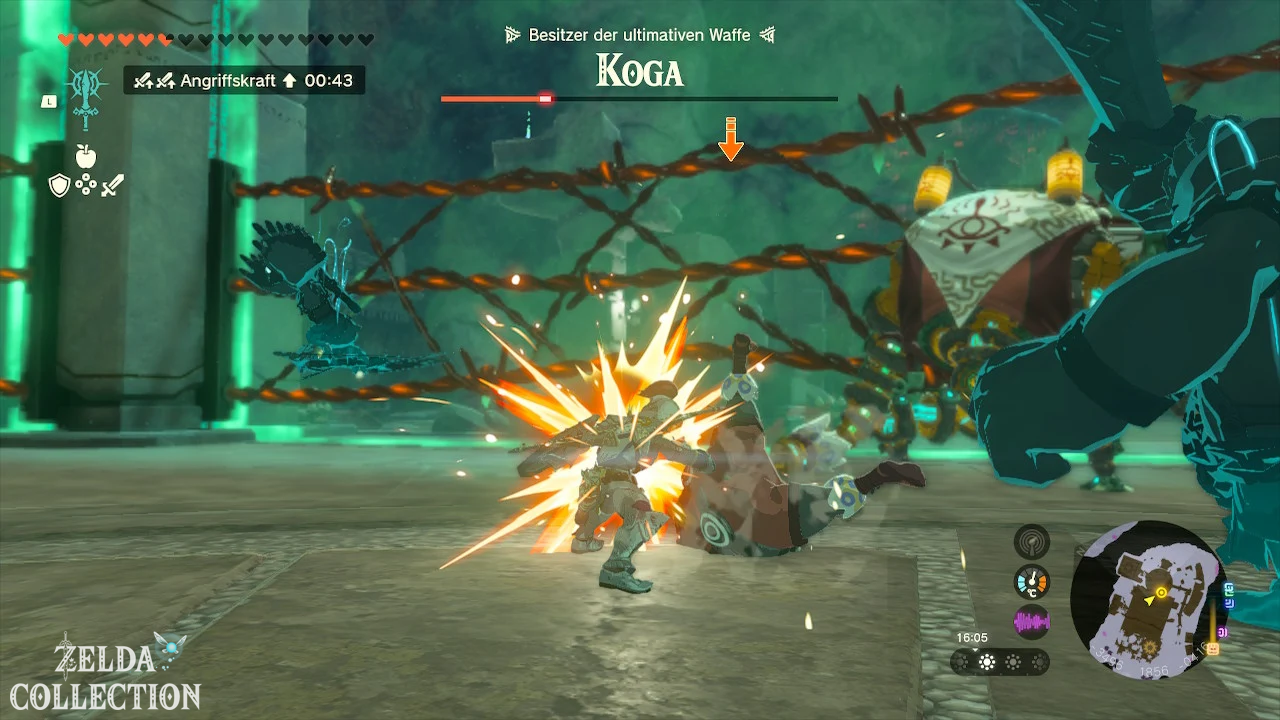
Track Kohga to Abandoned Gerudo Mine, Abandoned Abandoned Lanayru Mine, and Abandoned Hebra Mine in sequence. In Gerudo you shoot him from his Wing, in Lanayru you stun him on his boat or send his bomb back with the Recall.
You can only reach the Hebra mine through the hidden abyss at the foot of the Rito village. In the final battle, you drive Kohga’s large construct against the electric edge of the arena and send explosive balls back via Recall. The walkthrough can be found at Master Kohga of the Yiga Clan.
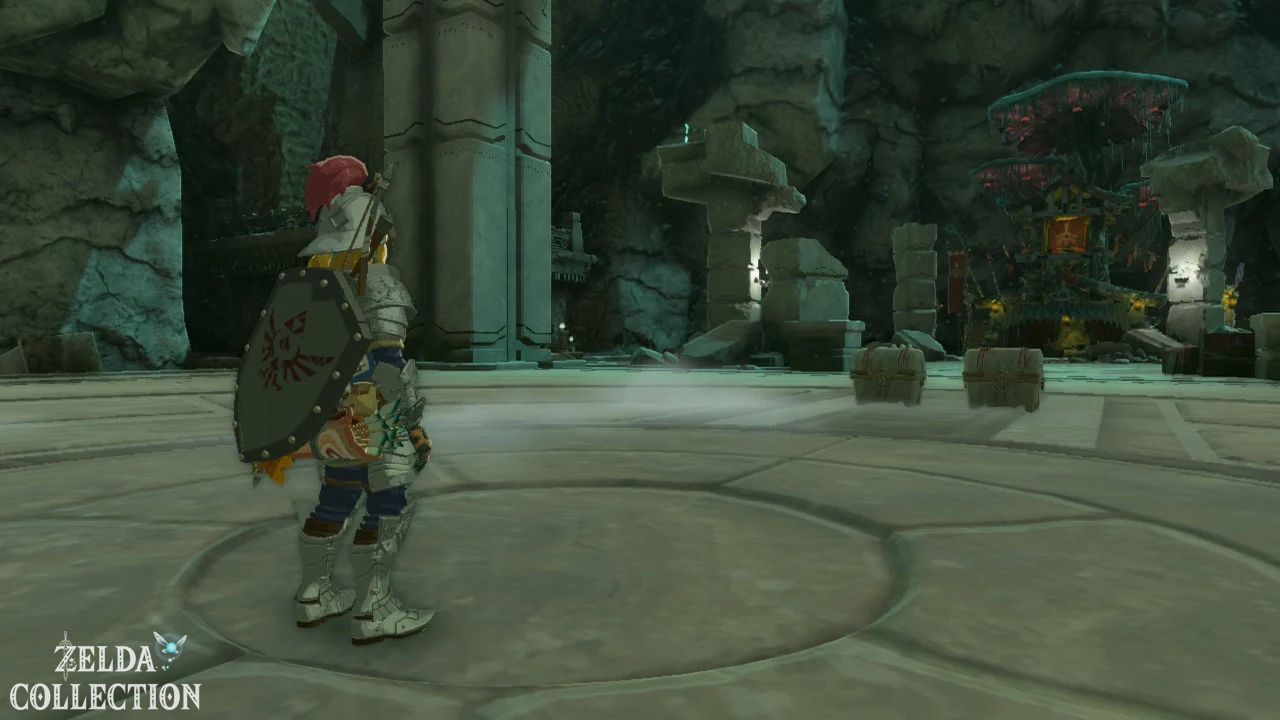
Reward: Four Enormous Zonai Energy Crystals, several blueprints, a diamond and the clue to Ganondorf’s lair.
38. Hestu in trouble
Quest chain: Koroks
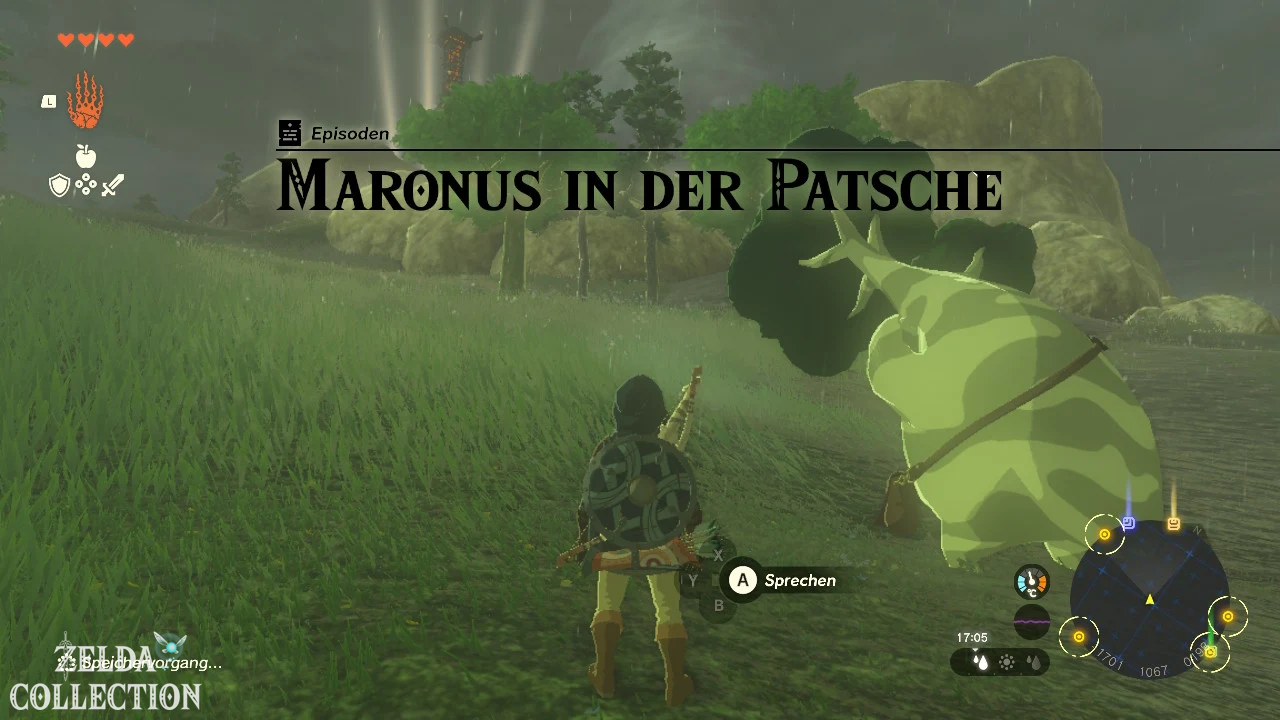
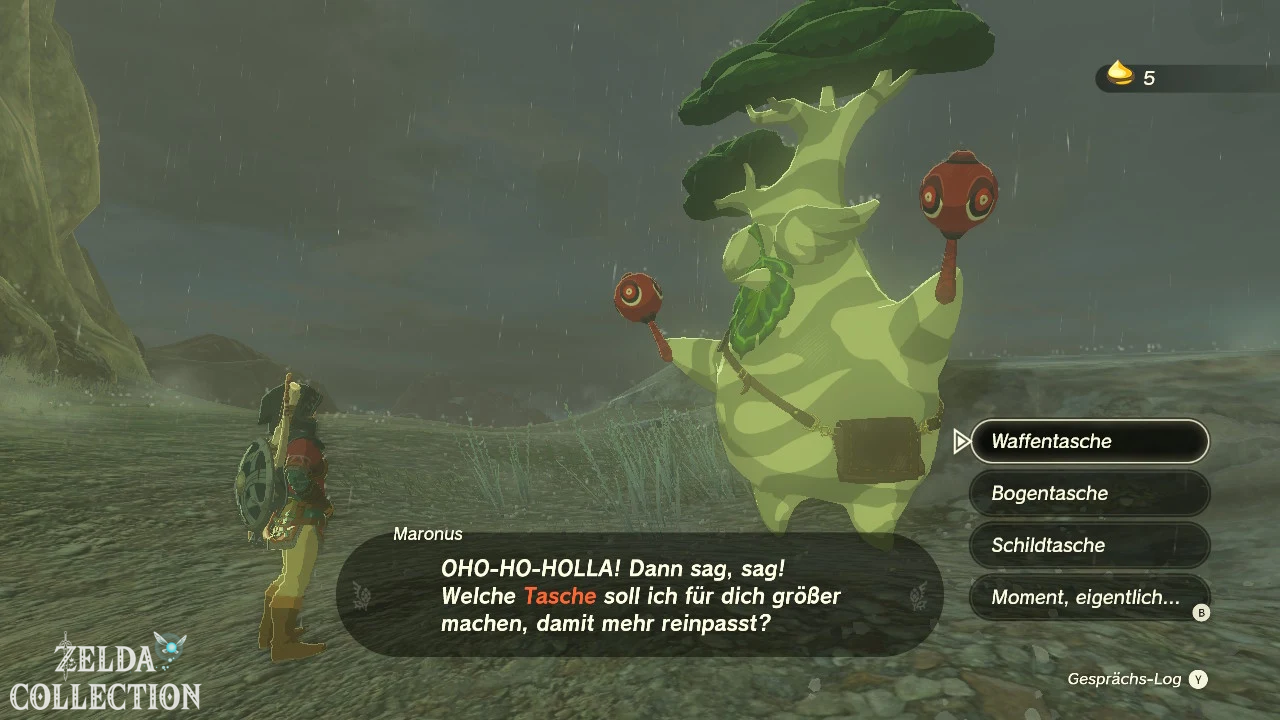
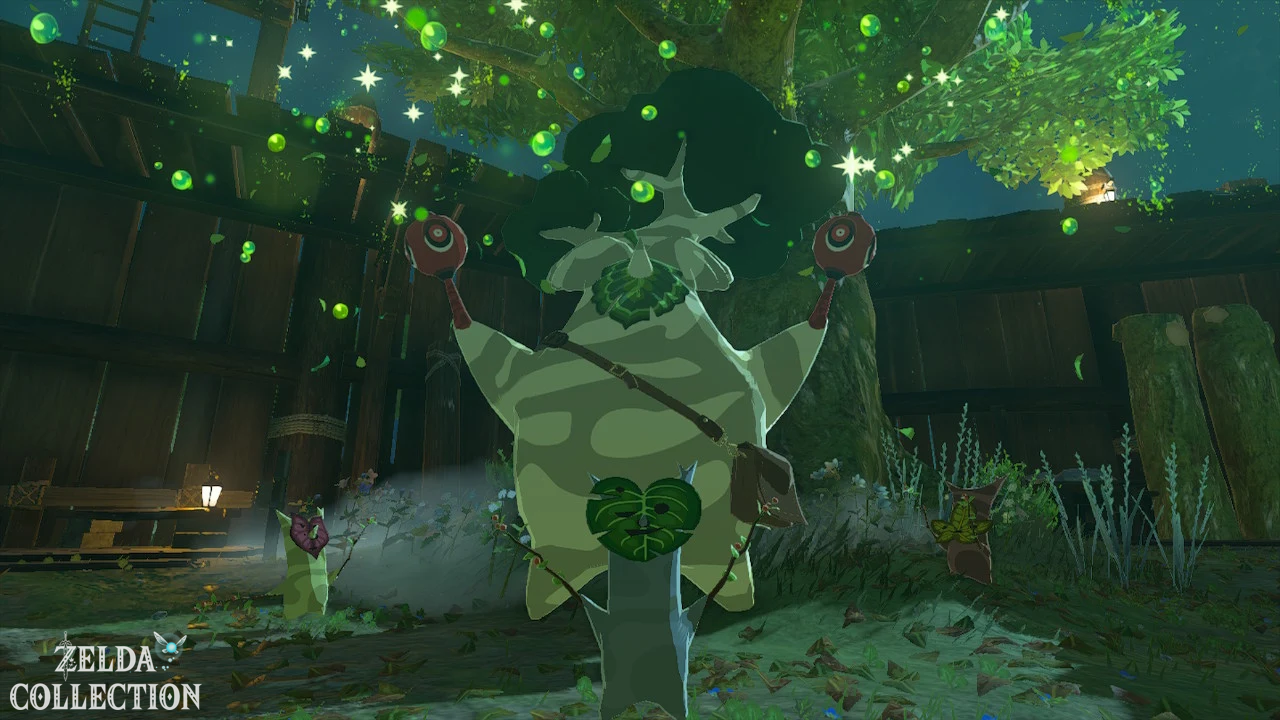
Start: At Hestu at the foot of Tilio Mountain or later in the Lookout Landing or Korok Forest.
solution
At the first meeting, Hestu points to two supposed trees. Approach and defeat the two walking trees. Then talk to him again.
Give Hestu at least one Korok Seed and choose whether to enlarge the weapon, bow or shield bag. This ends the episode. He is carrying out another expansion at the first location before moving.
Reward: First inventory expansion and permanent ability to trade in Korok Seed.
39. Mattison’s Departure
Quest chain: Tarrey Town
Start: At Hudson and Rhondson in Tarrey Town.
solution
Follow Mattison first to her Gerudo language lesson and help with the question for Grandma Monari. Then she wants to take the rail to the construction site, but can’t pay Hagie’s fee.
Place a large wooden plaque in front of Hagie so that he can see it Mattison is covered. She drives to the construction site. Talk to me there Hudson and brings him 10 Sundelions, so that the farewell balloon can be colored yellow. Then watch Mattison’s Farewell.
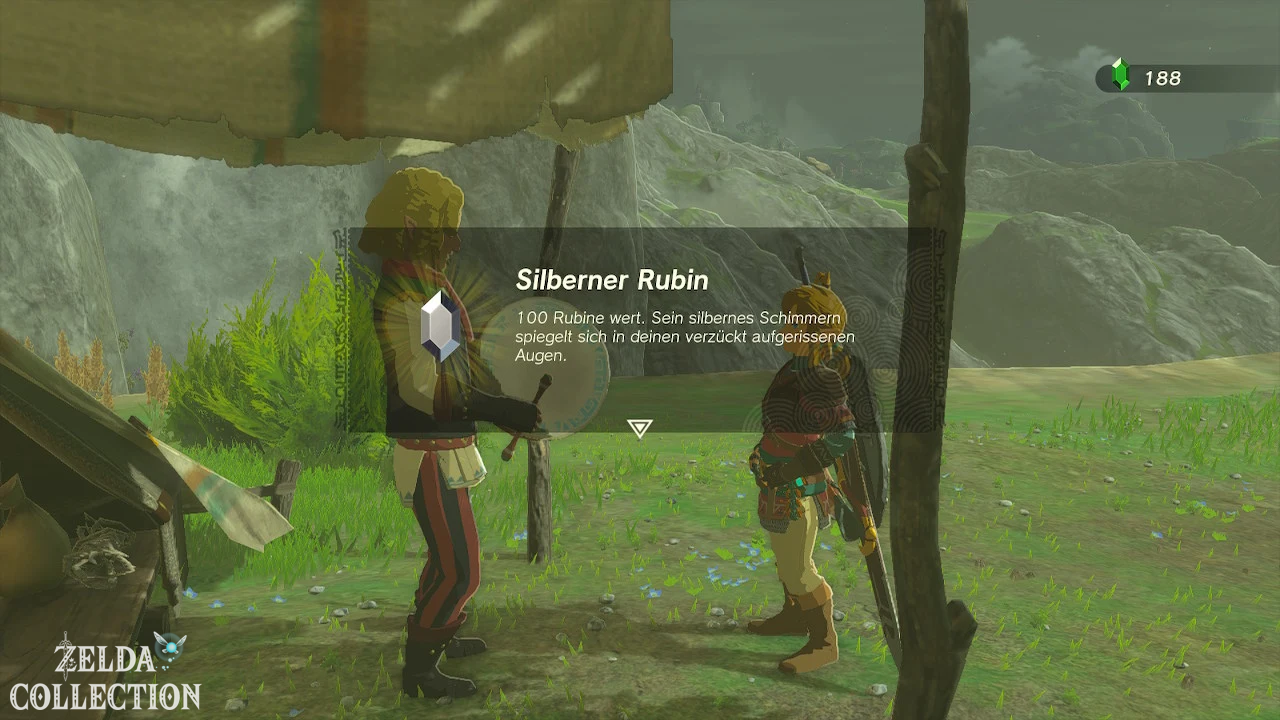
Reward: 2 Silver Rubies; Unlocking the house building side task in Tarrey Town.
40. My little monster collection
Quest Chain: Monster Statues
Start: At Kilton and Hudson in Tarrey Town after “Where’s Koltin?” was completed.
solution
Photographs a Bokoblin so that the image is registered in the Hyrule Compendium. Shows the picture Kilton. Hudson builds a statue out of it.
Grabs the finished statue with the Ultrahand and places it on the small exhibition area. Then talk to Kilton again.
Reward: Unlocks the second monster collection episode and first monster statue.
41. My Little Monster Collection 2
Quest Chain: Monster Statues
Start: After “My Little Monster Collection” at Kilton.
solution
Photographs a Horriblin in a cave. Make sure his name appears when taking photos; a picture of a silhouette that is too far away is not enough.
Show Kilton the picture, wait for Hudson’s statue and place it on the exhibition space.
Reward: Horriblin statue and unlock part 3.
42. My Little Monster Collection 3
Quest Chain: Monster Statues
Start: After part 2 at Kilton.
solution
Photographs a Battle Talus. Such an opponent consists of a Stone Talus with a Bokoblin bearing on its back. Keep your distance and take the photo before the fight begins.
Shows the picture to Kilton and places the large statue on the stage. Rotate it with the Ultrahand so that it is completely within the exhibition area.
Reward: Battle Talus statue and unlock part 4.
43. My little monster collection 4
Quest Chain: Monster Statues
Start: After part 3 at Kilton.
solution
Photographs a Frox in the Depths. The entire monster does not need to be visible for registration; the name displayed confirms a valid image.
Show Kilton the photo and place the Frox statue on the stage. Because of their size, you should place older statues closer to the edge.
Reward: Frox statue and unlock part 5.
44. My little monster collection 5
Quest Chain: Monster Statues
Start: After part 4 at Kilton.
solution
Photographs a King’s Gleeok. For example, one is on a very high sky island above the western Hebra area; others are in remote regions of the sky and in the Depths.
You don’t have to defeat the King’s Grock. Land at a safe distance, photograph him with zoom and teleport away. Show the picture to Kilton and place the statue.
Reward: King Grock Statue and Completion of the Monster Collection Series.
45. Message from ancient times
Quest Chain: Zonai Research
Start: At Wortz in Lookout Landing after at least one sage has been awakened and the stone tablet has landed in the pond.
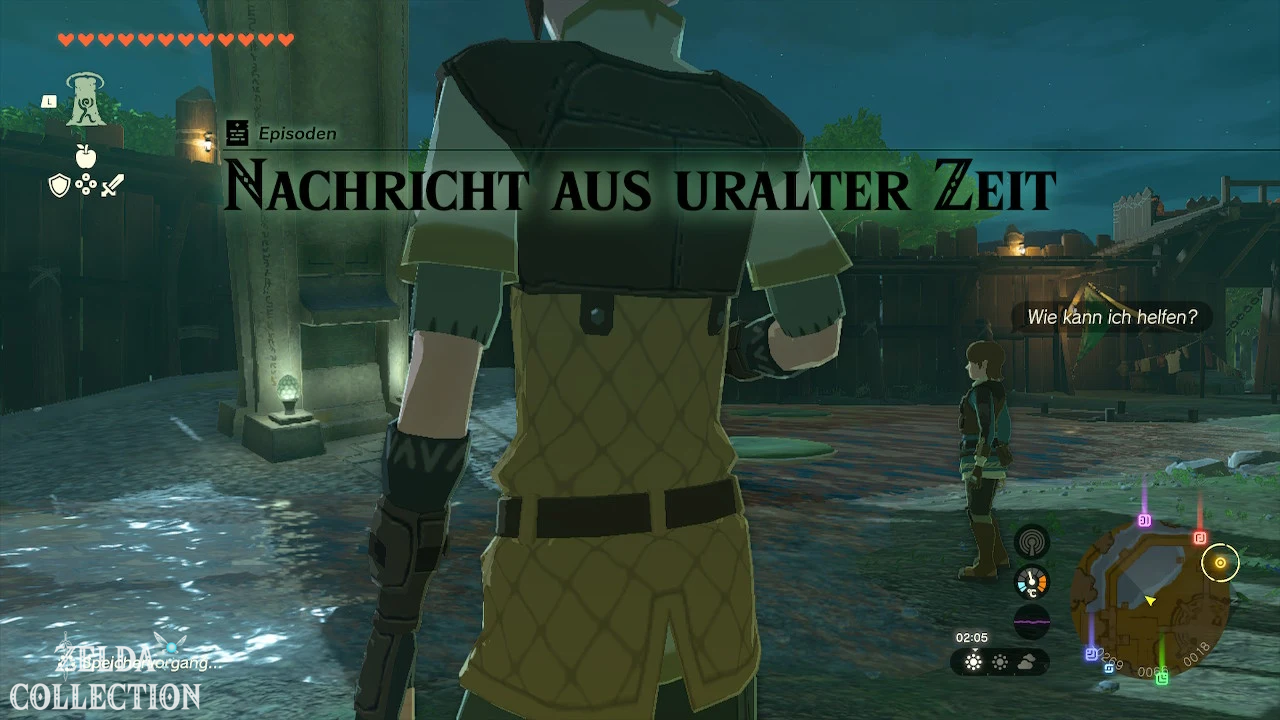
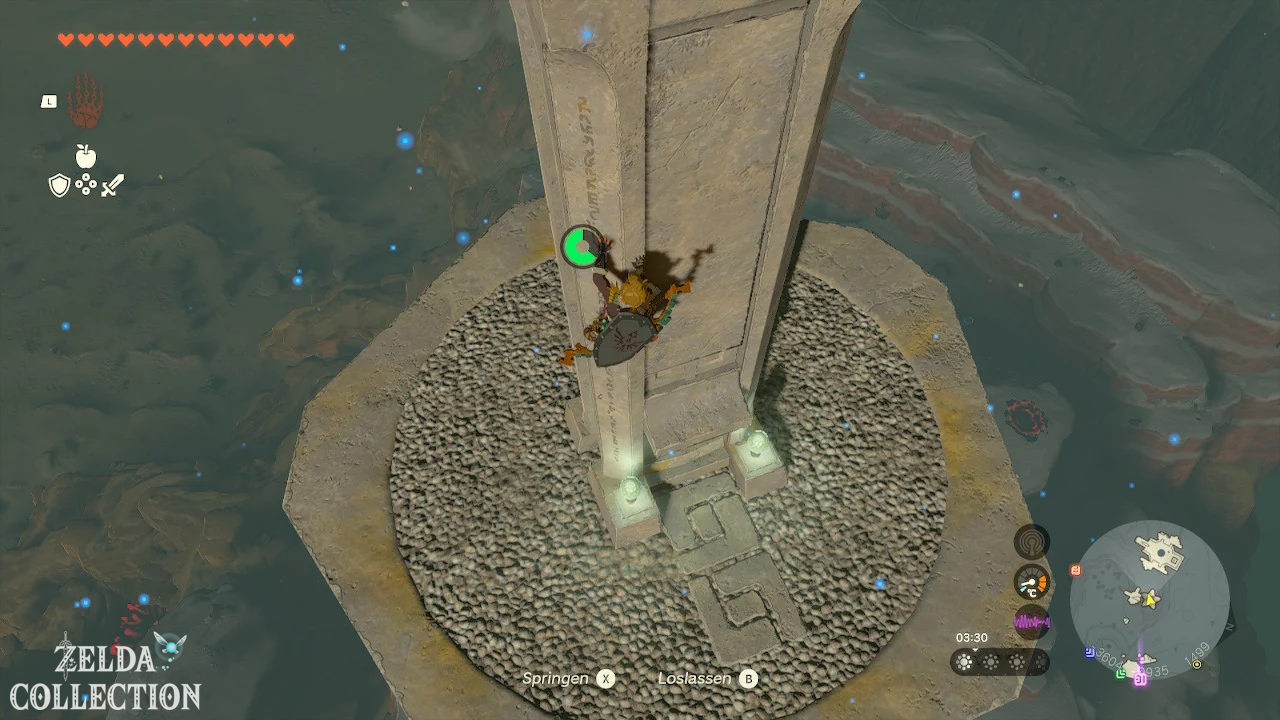
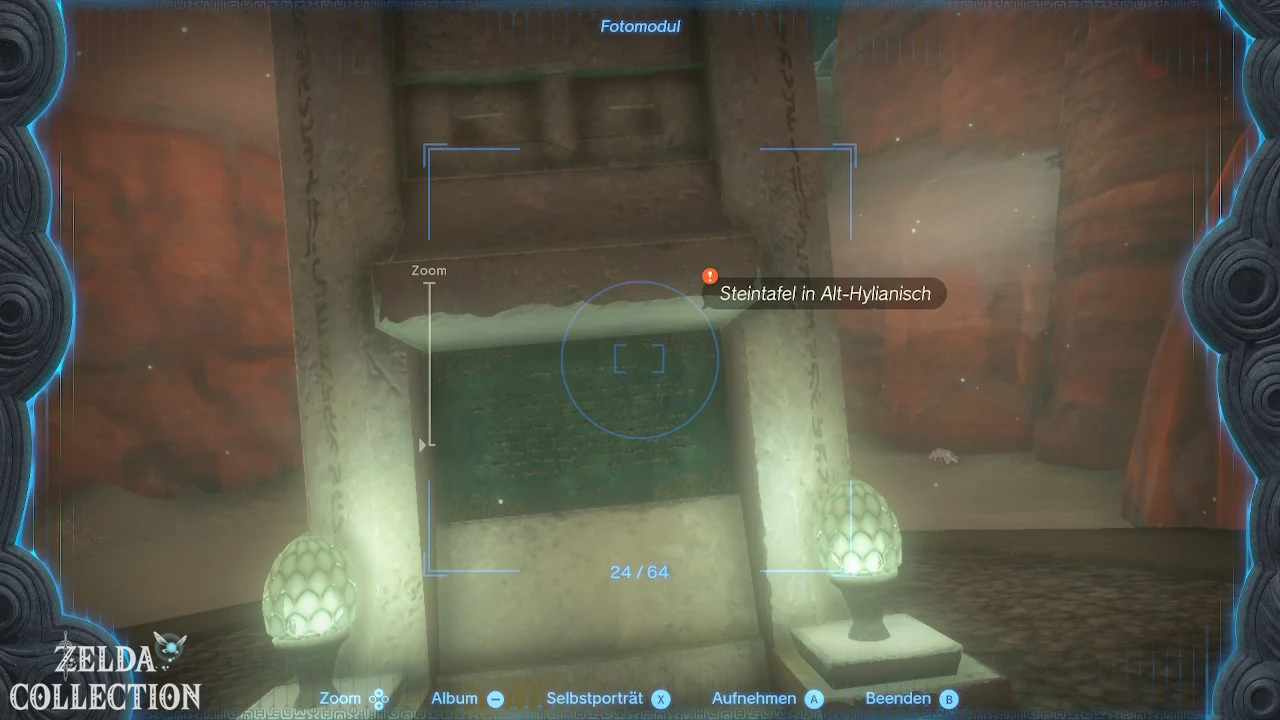
solution
First talk to Wortz at the fallen stone and later in Kakariko Village. In addition to the board already examined, there is 12 more star islands with old text panels in the sky.
Photographs each board completely and shows the images Wortz. Many star islands are very high; launch from cartography towers, sky shrines or use Zonai aircraft. Wortz pays for each new image individually.
Reward: 100 Rupees per panel and at the end the material from the Zonai research team.
46. Oh, you sweet princess
Quest chain: Lucky Clover Gazette
Start: At Penn on Foothill Stable.
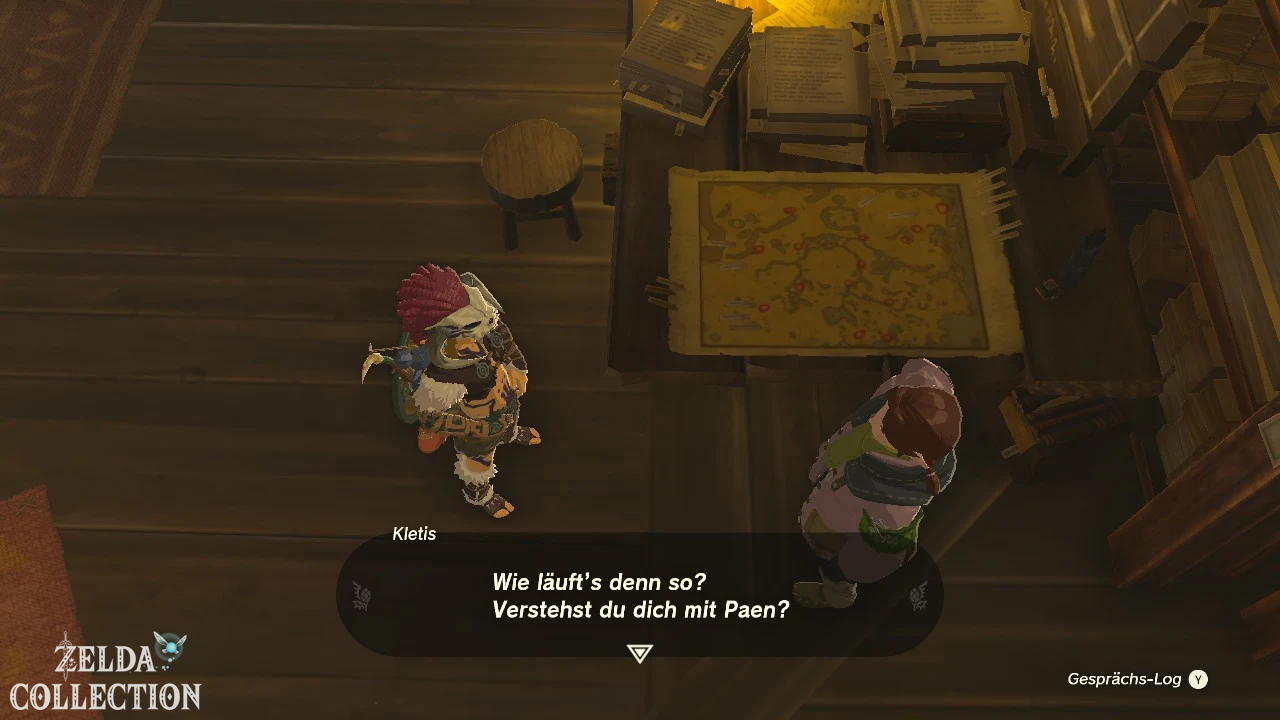
solution
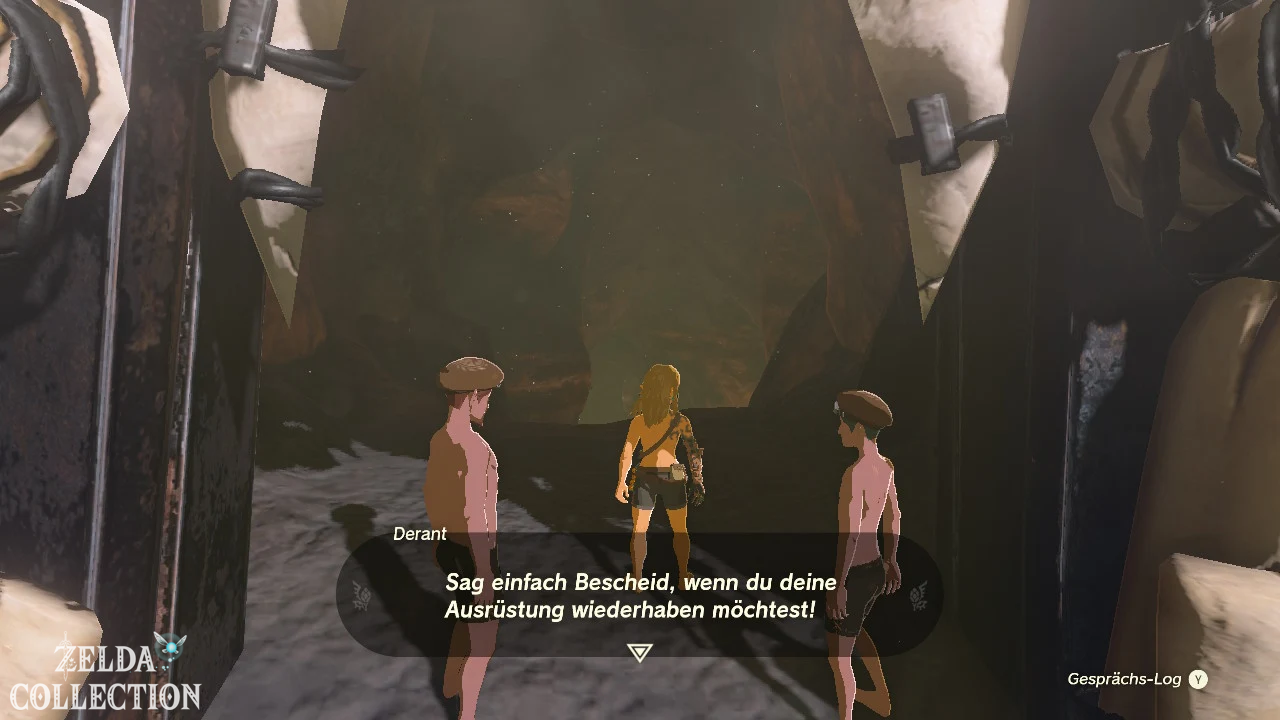
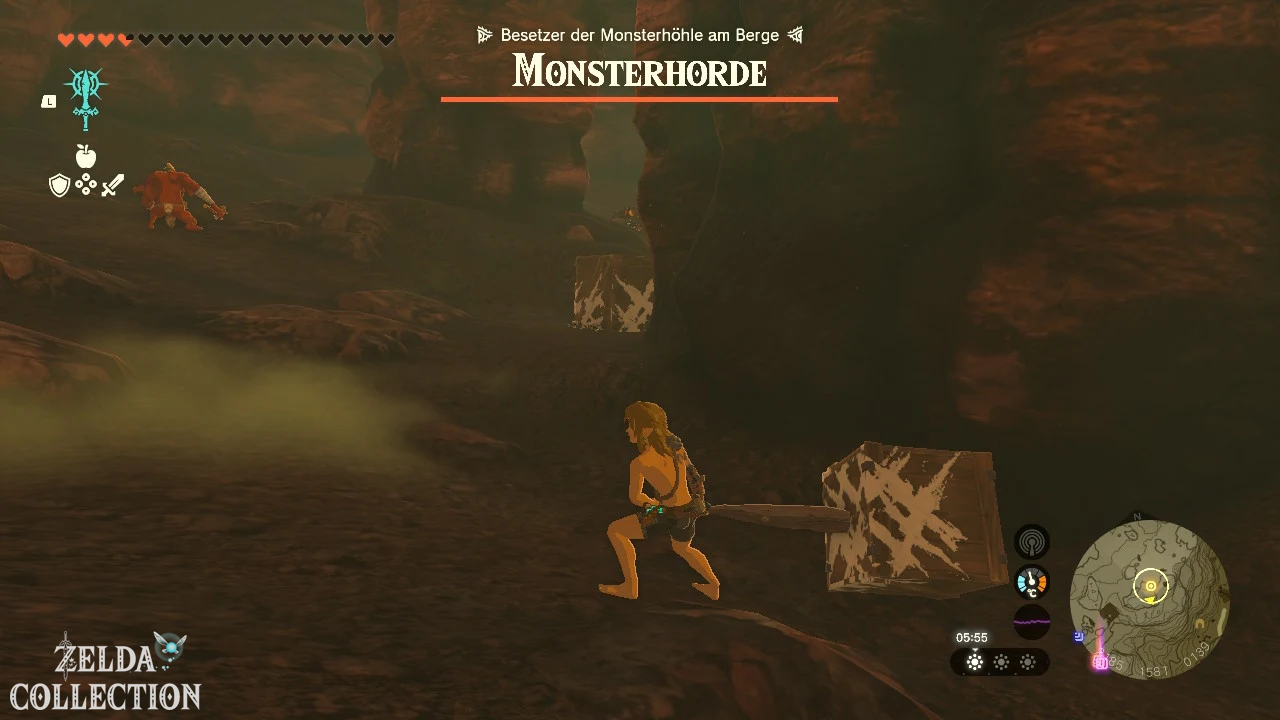
Follow the researchers to the monster cave. When the test starts, Link temporarily removes his clothing and his own equipment.
First collect all the weapons, arrows and materials in the cave. Connect sticks to rocks to destroy armored enemies and use elevated positions for headshots. Defeat all monsters and leave the cave. The alleged instruction Zelda’s was based on a Successor “Son”.
Reward: Tiered reward for the Lucky Clover Gazette quest line.
47. Pact with the demon
Quest Chain: Demon Statue
Start: At the horned statue under the Lookout Landing, after “The Voice from the Wall”.
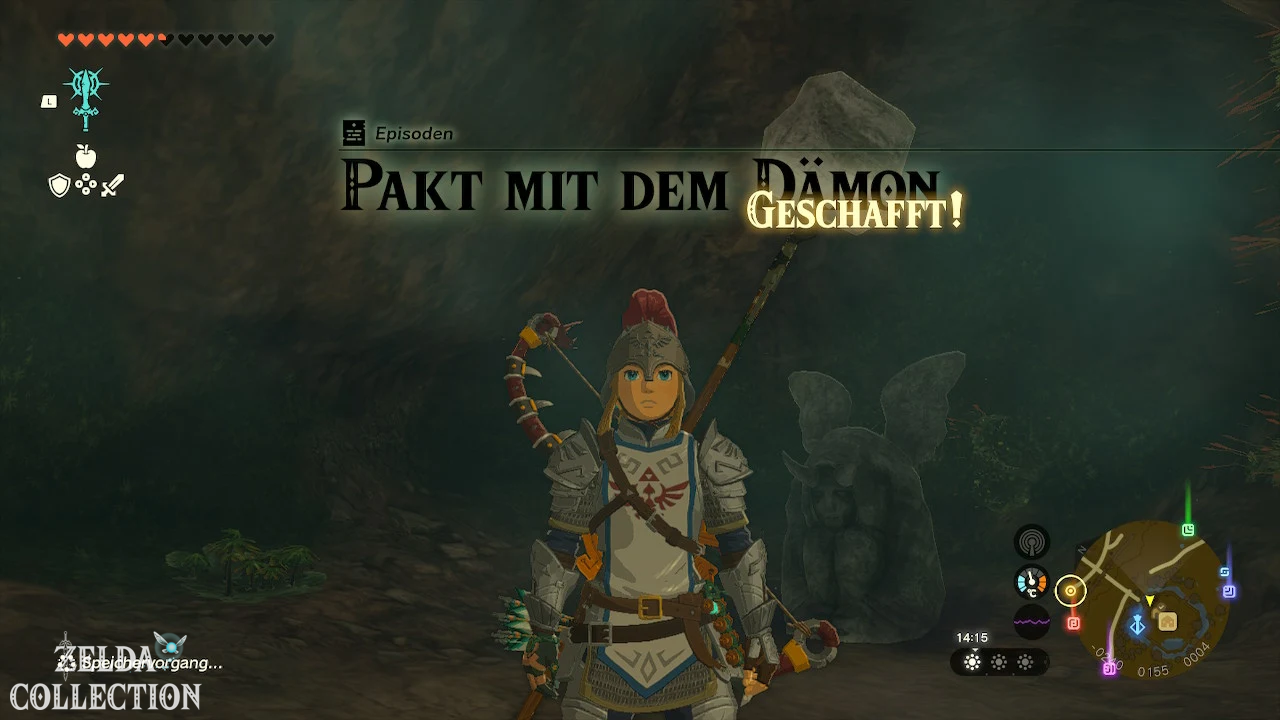
solution
The statue explains its trade: You can sell a heart or Stamina Vessel for 100 Rupees and buy back an essence for 120 Rupees.
Sells any container and then buys back either the same or the different type. This will allow you to redistribute between hearts and stamina in the future for a net fee of 20 Rupees.
Reward: Permanent exchange of heart and stamina containers.
48. Princess on the monster
Quest chain: Lucky Clover Gazette
Start: At Penn at the new Maritta stable.
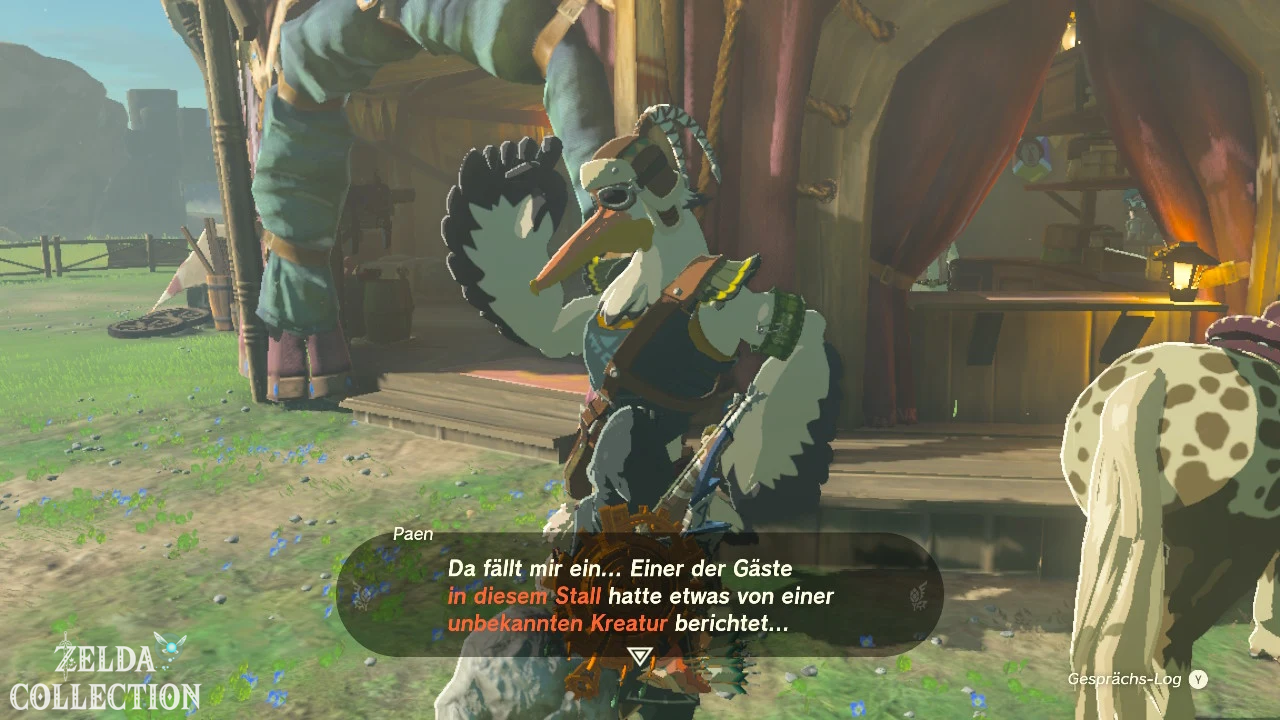
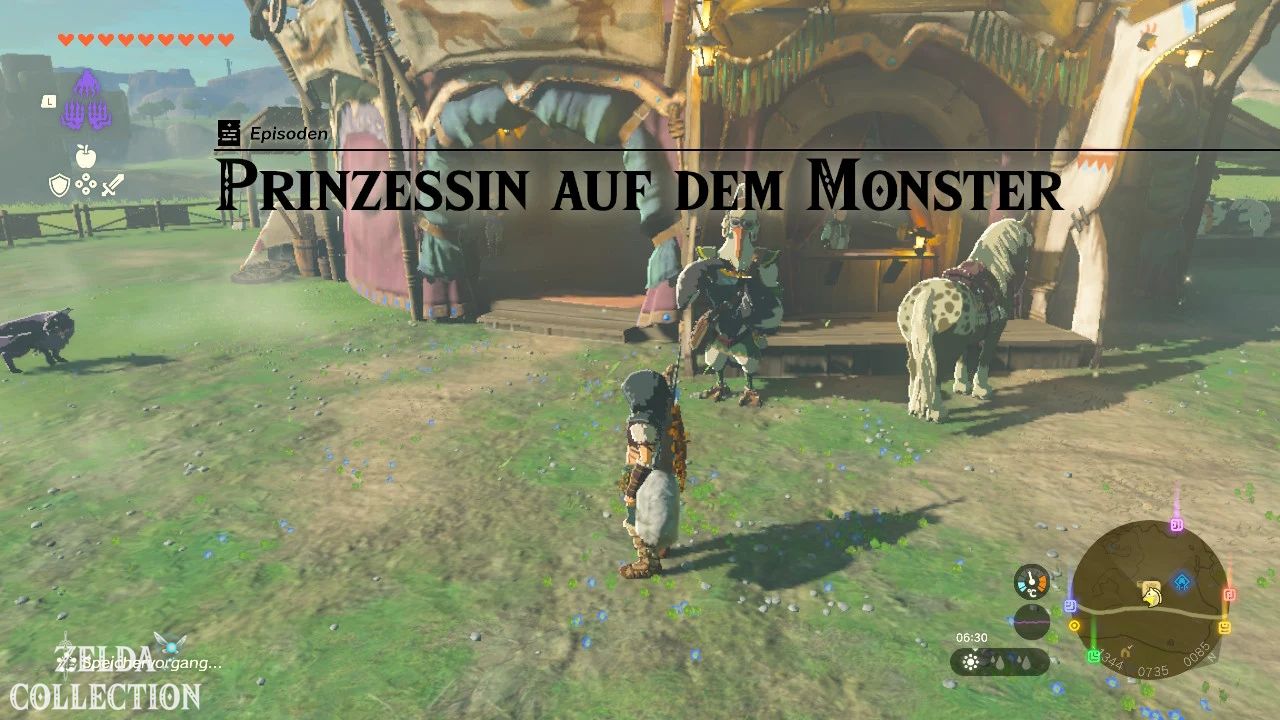
solution
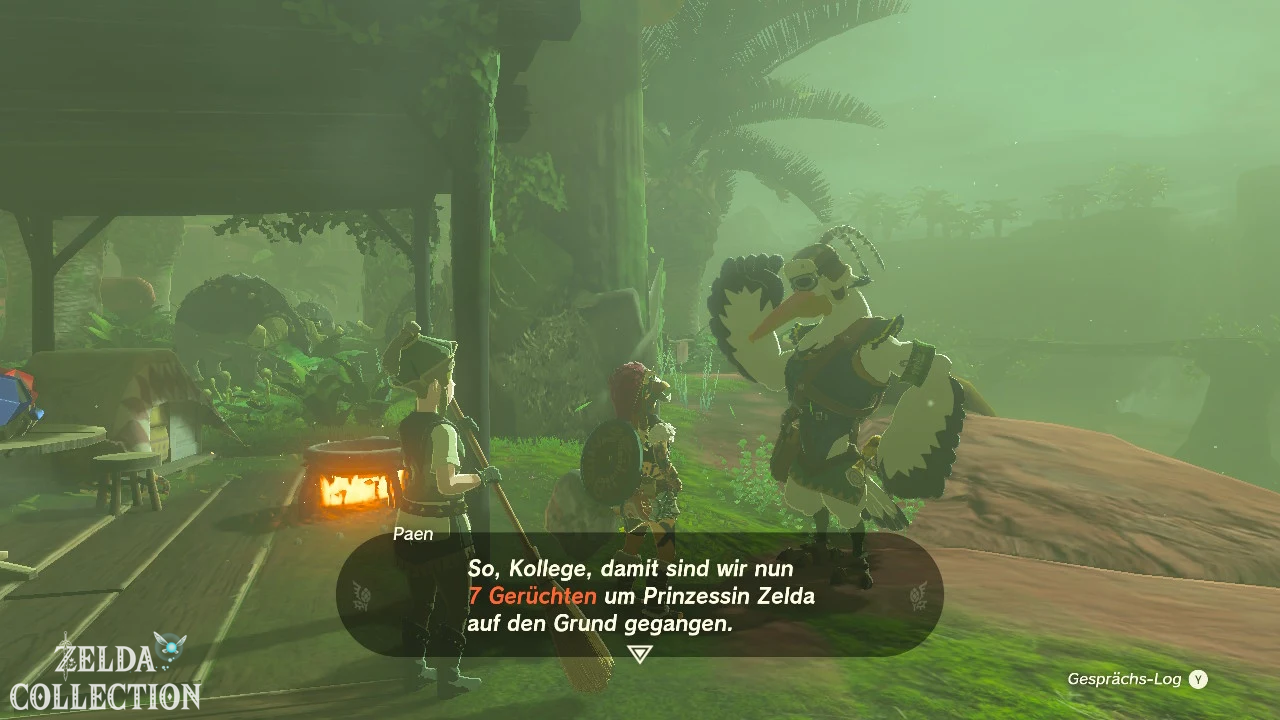
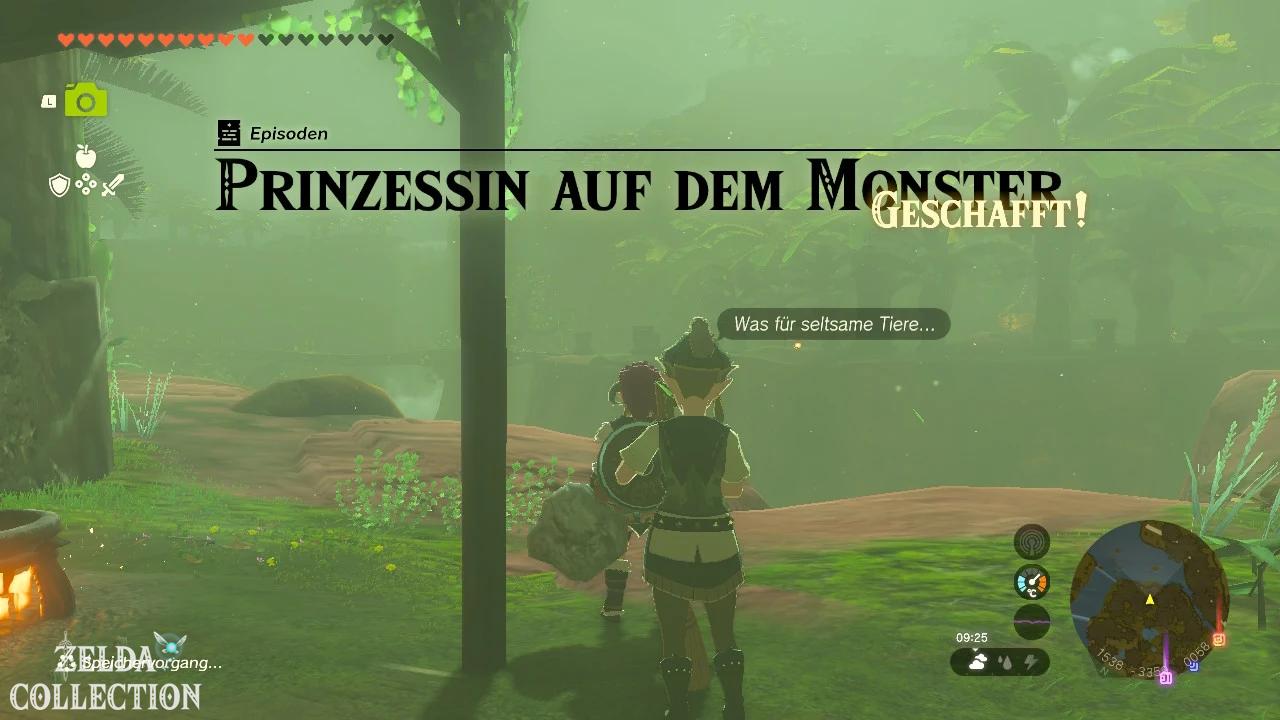
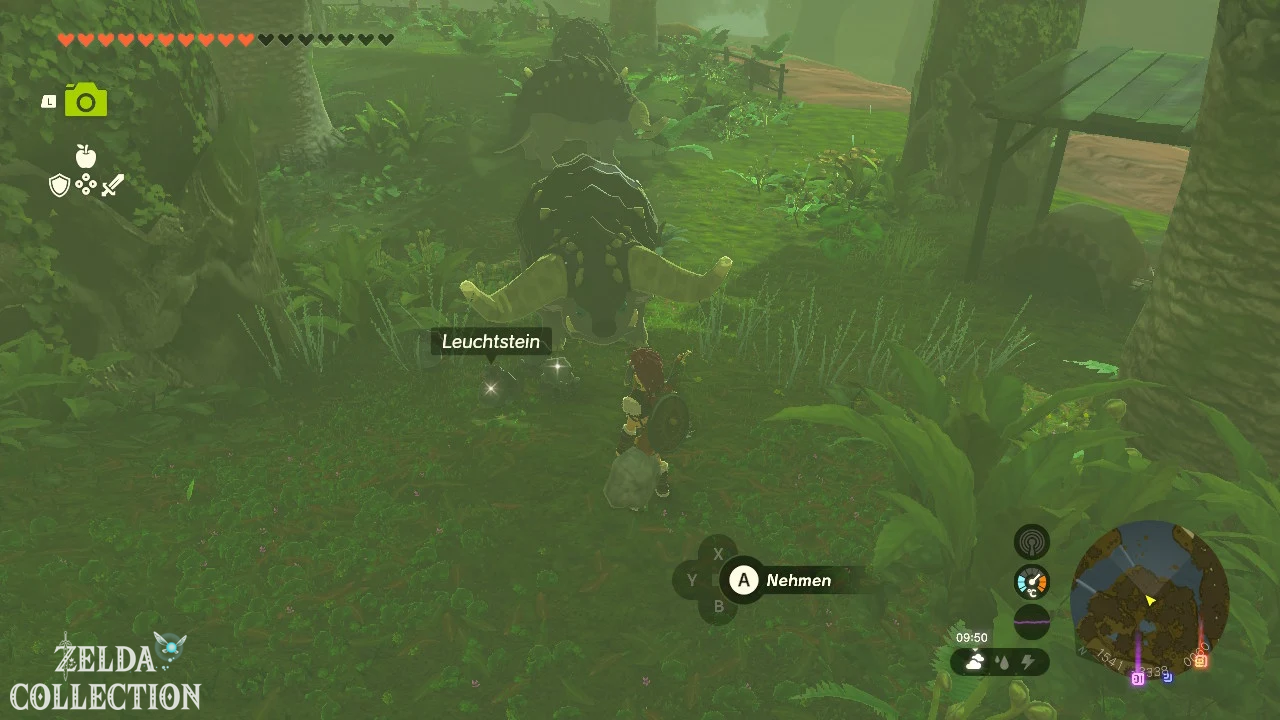
The clue leads to a subtropical region in the south. Travel to Lakeside Stable and find the fenced research area in Bronas Forest north of the stable.
Speak to Cima at the peaceful Dondons there. She explains that Zelda researched and cared for the animals. A fight is not necessary.
Reward: Tiered reward for the Lucky Clover Gazette quest line.
49. Princess Zelda kidnapped?!
Quest chain: Lucky Clover Gazette
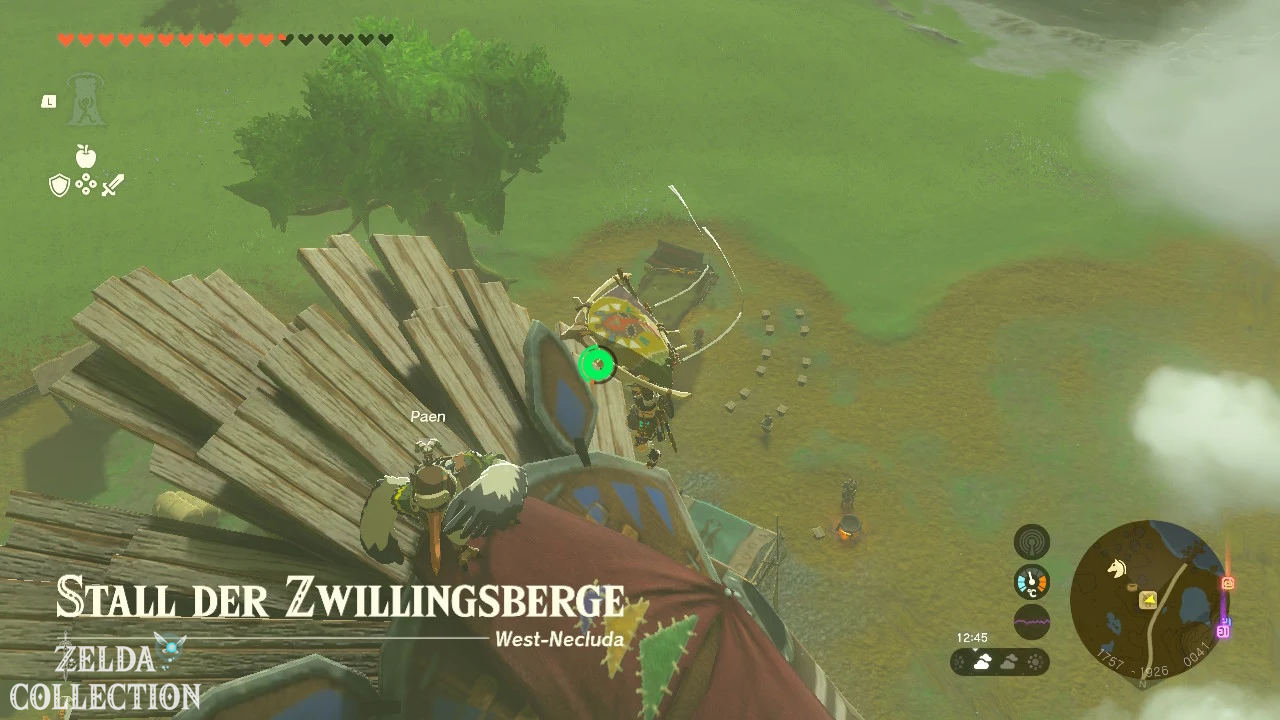
Start: At Penn on the roof of the Dueling Peaks stable.
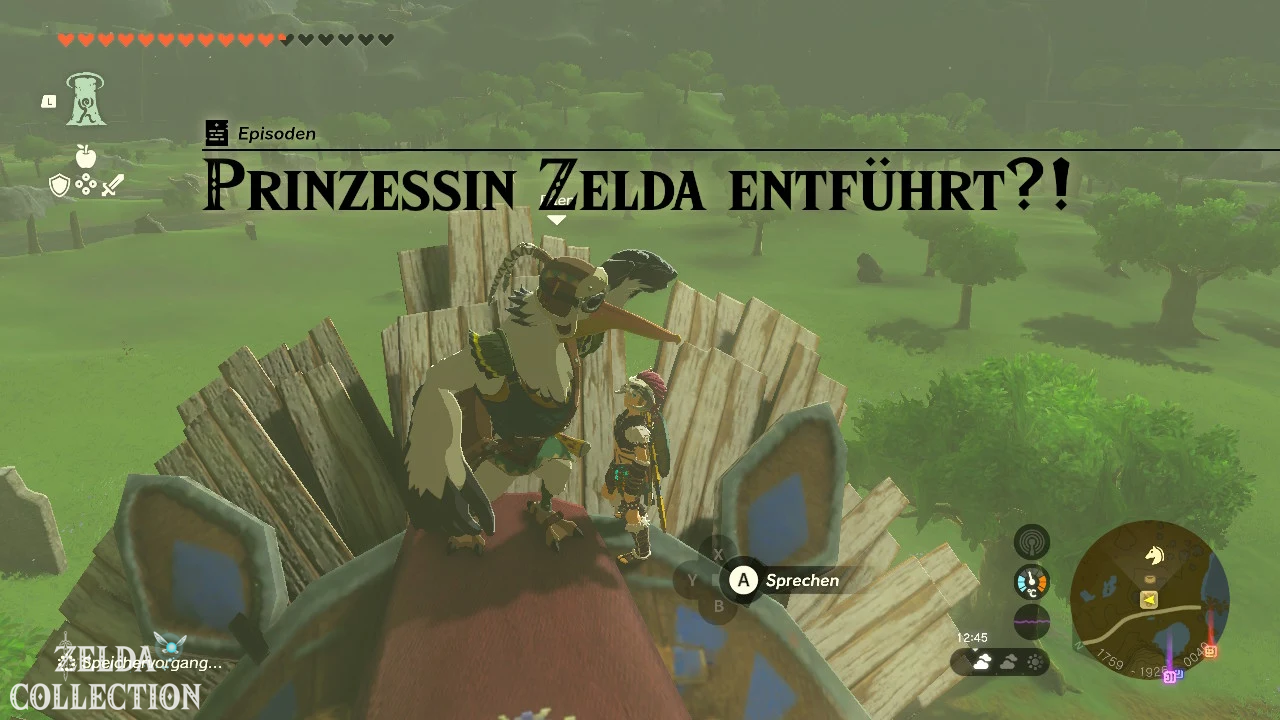
solution
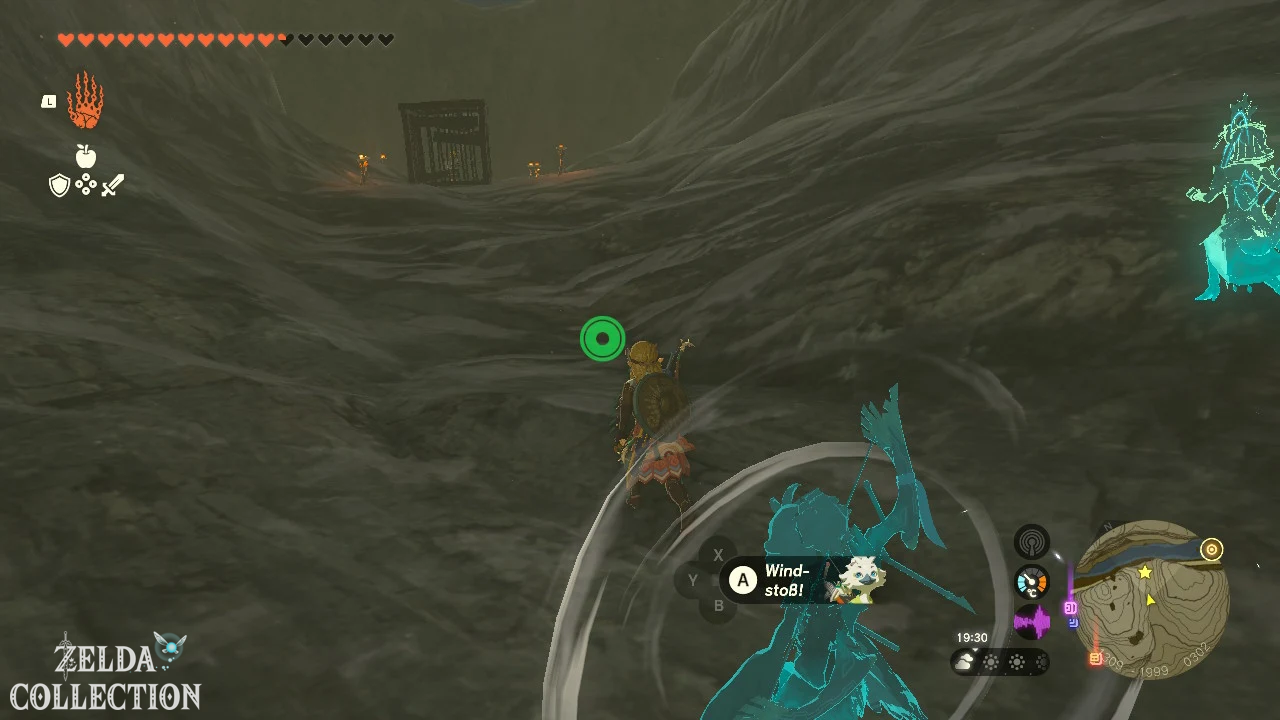
Climb the southern Twin Mountains. On a plateau near the notched center is a supposed Zelda in a cage.
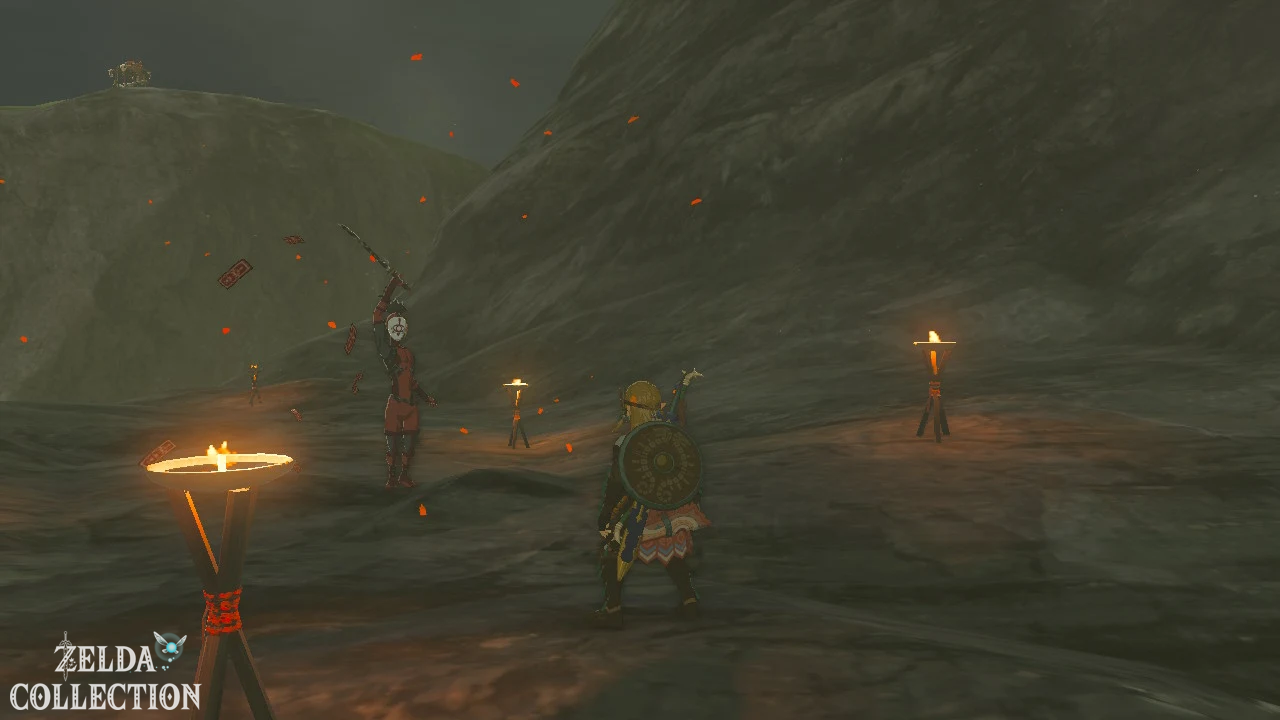
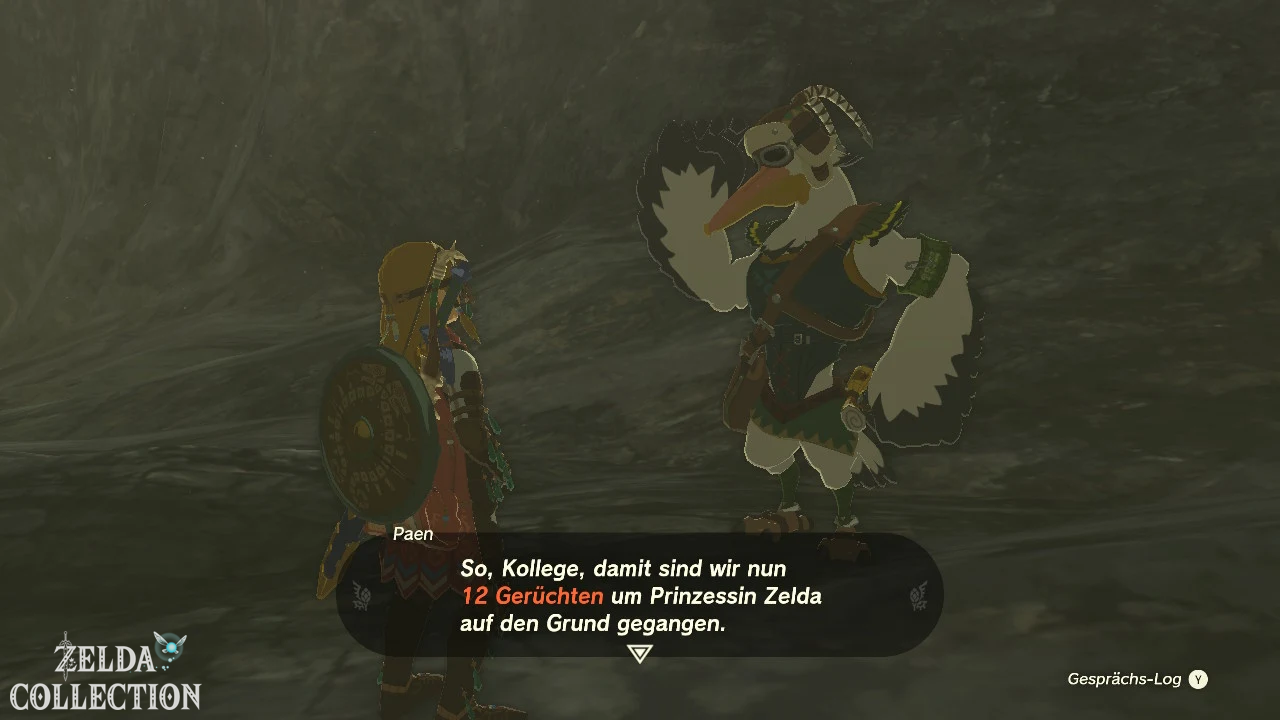
Raises the cage with the Ultrahand. The prisoner turns out to be Yiga and calls several fighters. Defeat the Yiga; Penn then appears on the plateau.
Reward: Tiered reward for the Lucky Clover Gazette quest line.
50. Reede’s Secret
Quest chain: Hateno Village
Start: At Clavia in front of Reede’s house in Hateno Village.
solution
Clavia wants to know what Reede is doing in his locked shed. Wait until the day when he is not there and jump into the well behind the house.
Follow the underground passage under the shed and use the Ascend. Read Reede’s notes on the development of a new vegetable variety and return to Clavia.
Reward: 10 Hylian Tomatoes and prerequisite for “The Mayoral Election”.
51. Cece or Reede?
Quest chain: Hateno Village
Start: At Cece in their store in Hateno Village.
solution
Cece will give you eight Hyrule Mushrooms. Distribute them to eight adult residents not wearing Cece clothing. Children, travelers, candidate families and Shiekah researchers do not count.
Suitable recipients include Dantz, Koyin, Leop, Tamana, Medda, Tockk, Uma and Worten. Then talk to Cece again.
Reward: Large Hearty Truffle; the three additional Hateno Village election episodes become available.
52. Cece’s Secret
Quest chain: Hateno Village
Start: At Sophie’s in front of Cece’s shop in Hateno Village.
solution
Waits late at night and watches Cece as she leaves the store. Follow her at a distance and hide behind houses as soon as she turns around.
Cece enters the silo opposite the store. Climb the building and watch them through the upper window. She secretly eats vegetables from Hateno Village. Tell Sophie about it.
Reward: 10 armories and prerequisite for “The Mayoral Election”.
53. Find the Bubbulfrog signum
Quest chain: Koltin
Start: At Koltin and Kilton near the Pico Pond cave in Eldin.
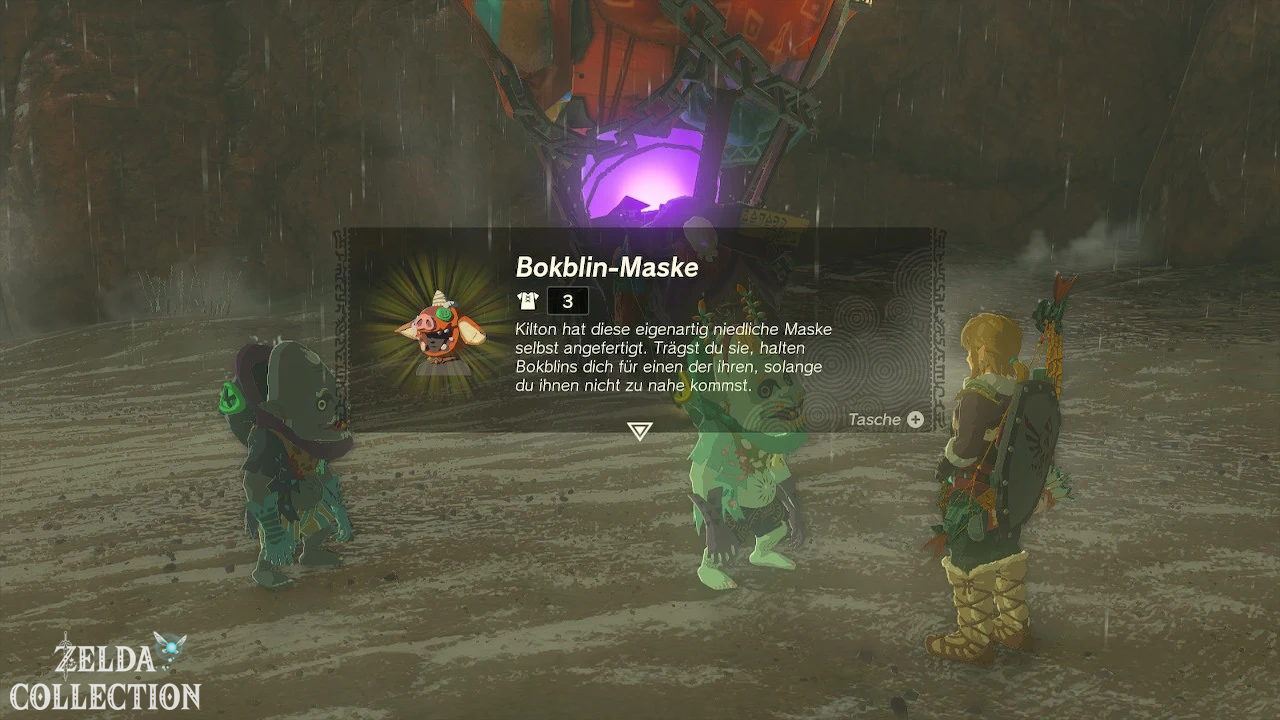
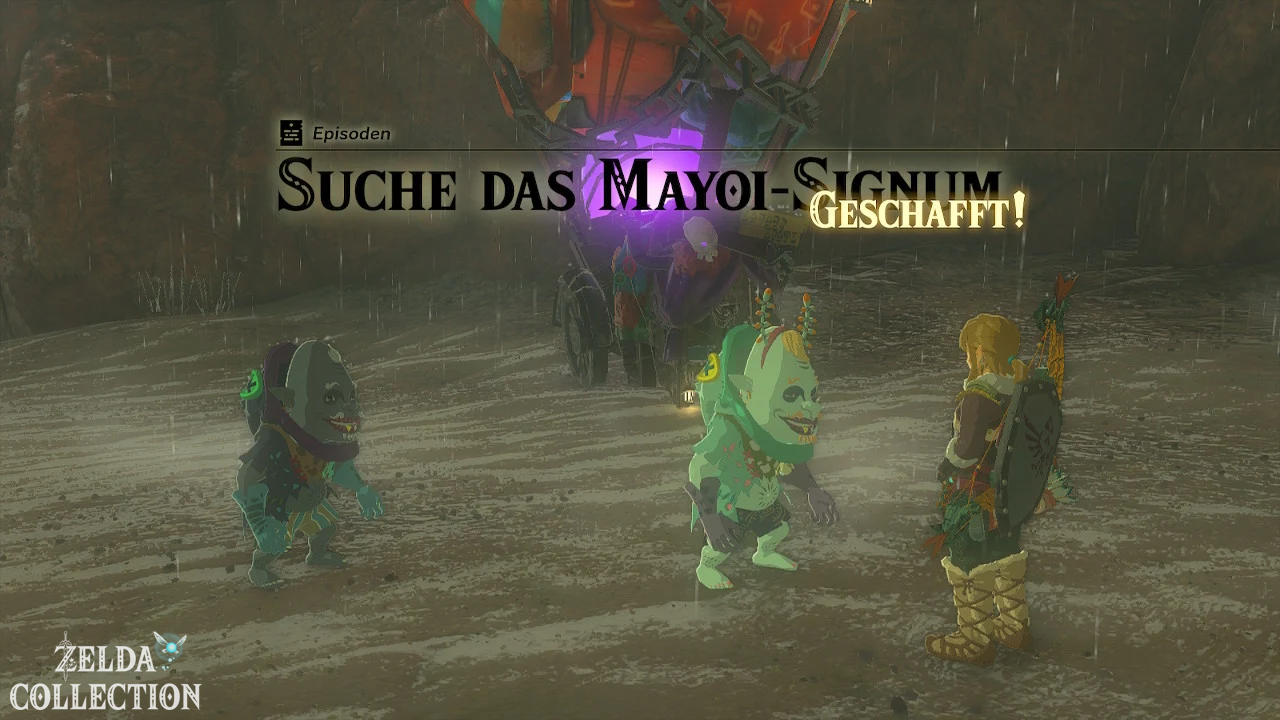
solution
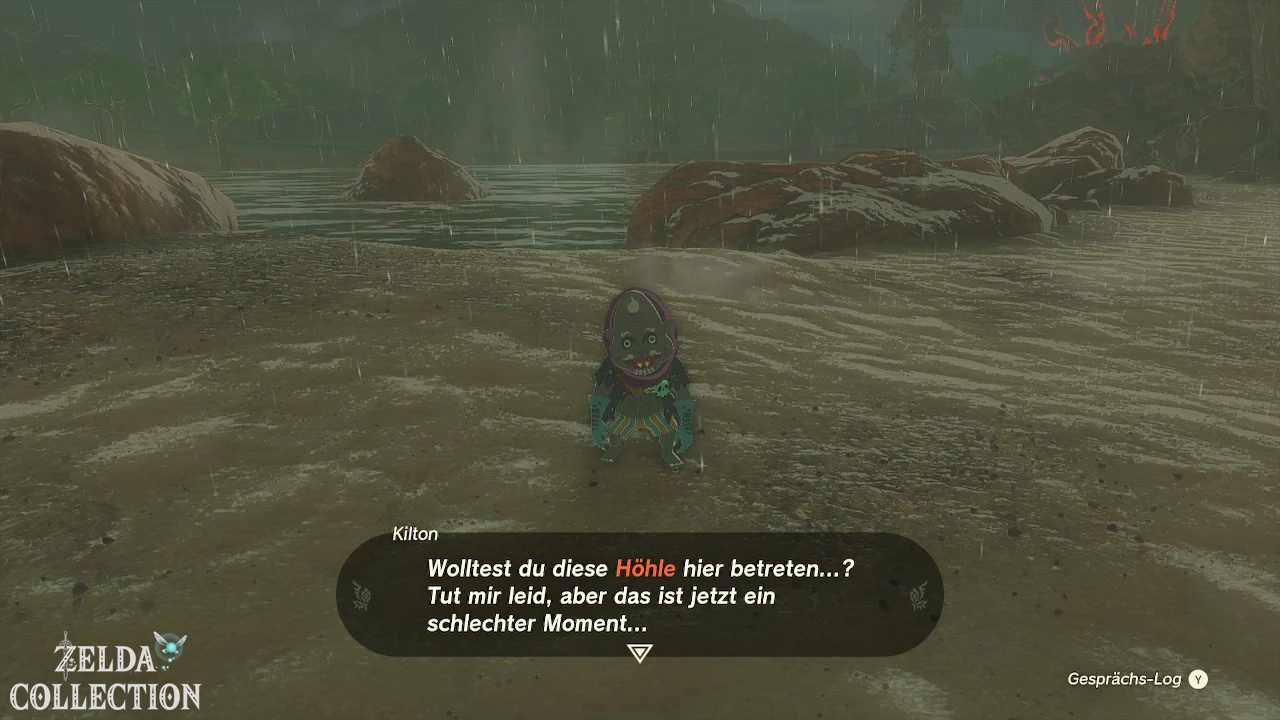
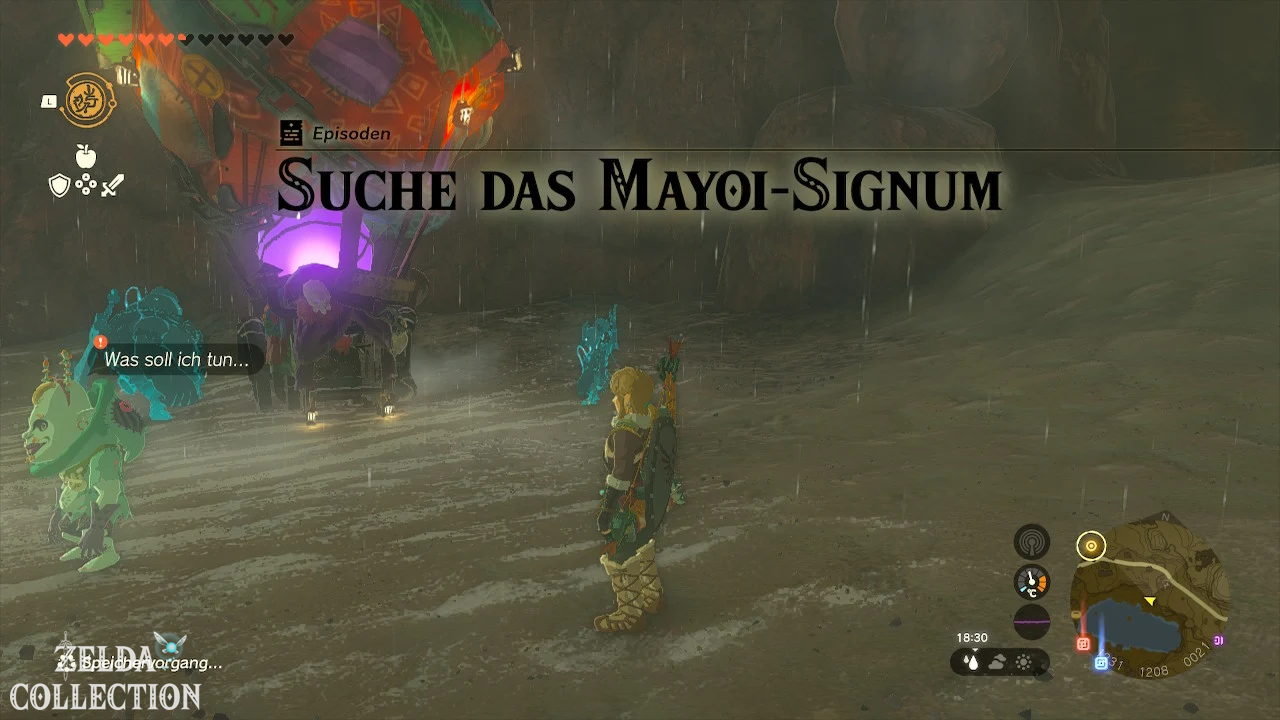
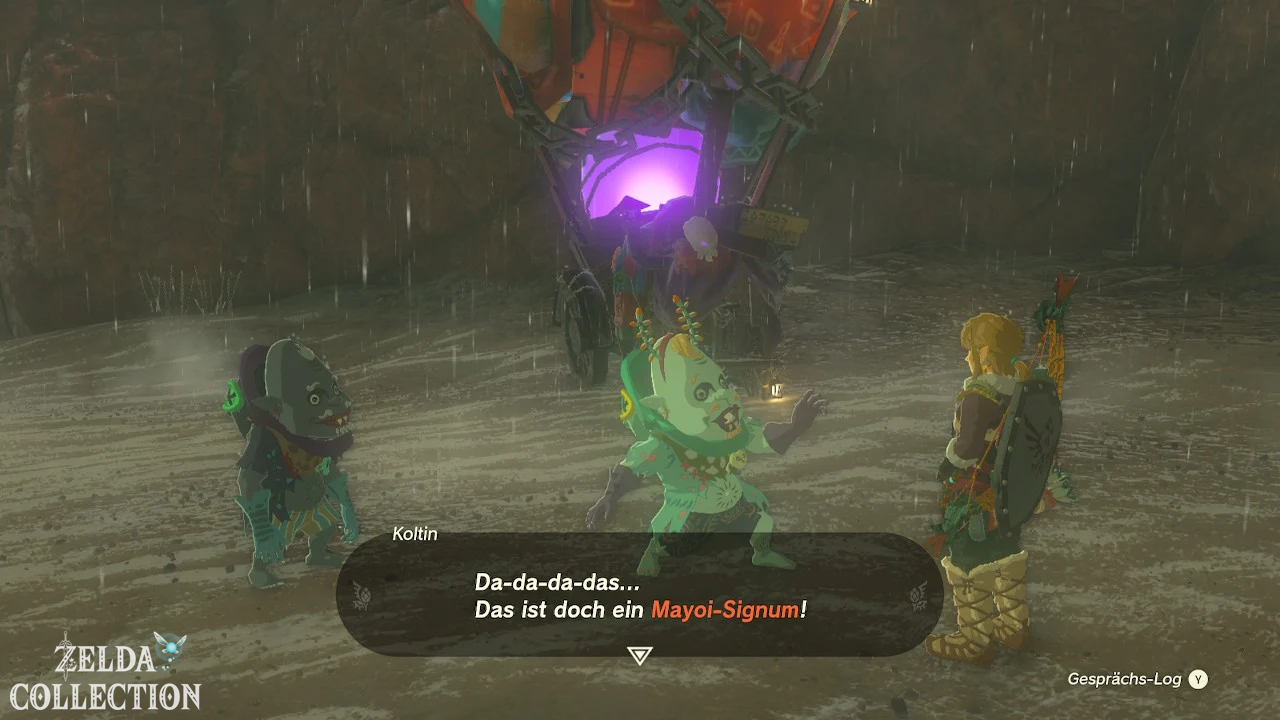
Enter the nearby cave and defeat the blue and white Bubbulfrog with arrows. Collect the Bubbul Gem and give a copy to Koltin.
After the trade, Koltin drives through Hyrule with his flashy Stand. The episode ends after the first sign.
Reward: Bokoblin mask and unlock Where’s Koltin?
54. Examine the Thyphlo Ruins
Quest chain: Thyphlo Ruins
Start: At Kazul in the Thyphlo Ruins; the walkthrough requires all four regional ways.
solution
Read the four stone tablets at Kazul’s camp and solve the corresponding episodes: Tulin at the owl, Yunobo between the two dragons, Sidon at the six dragons and Riju at the end of the long dragon.
After all four puzzles, talk to Kazul again. A hidden chamber beneath the central ruin opens. Follow the hallway and open the large chest.
Reward: Twilight Greatsword and the gems of the four sub-puzzles.
55. Missing Garden Tools
Quest chain: Lucky Clover Gazette
Start: At Penn on Wetland Stable.
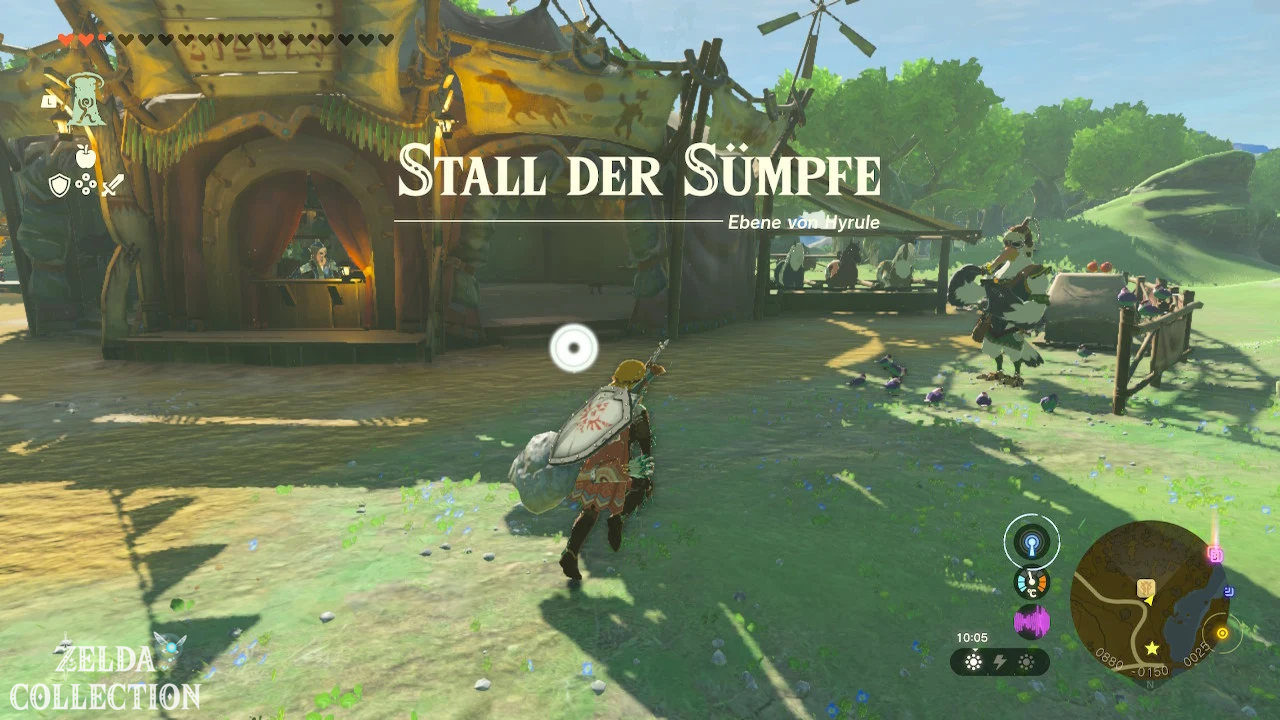
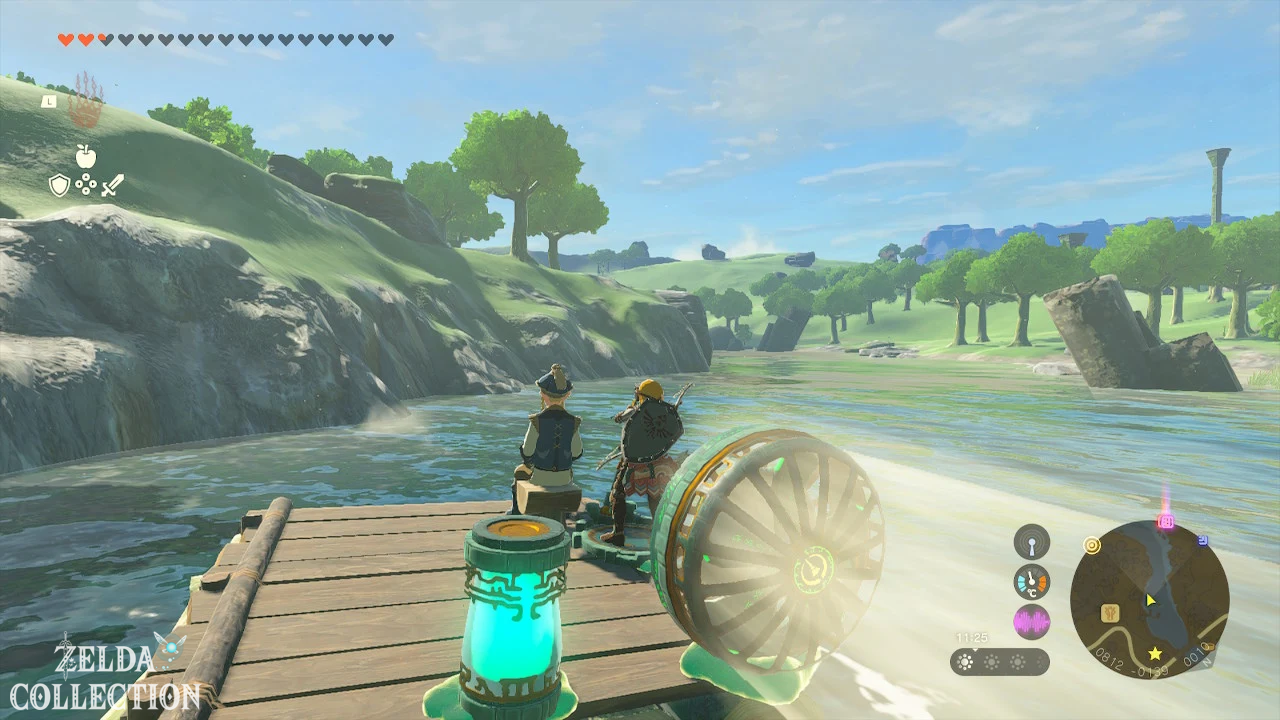
solution
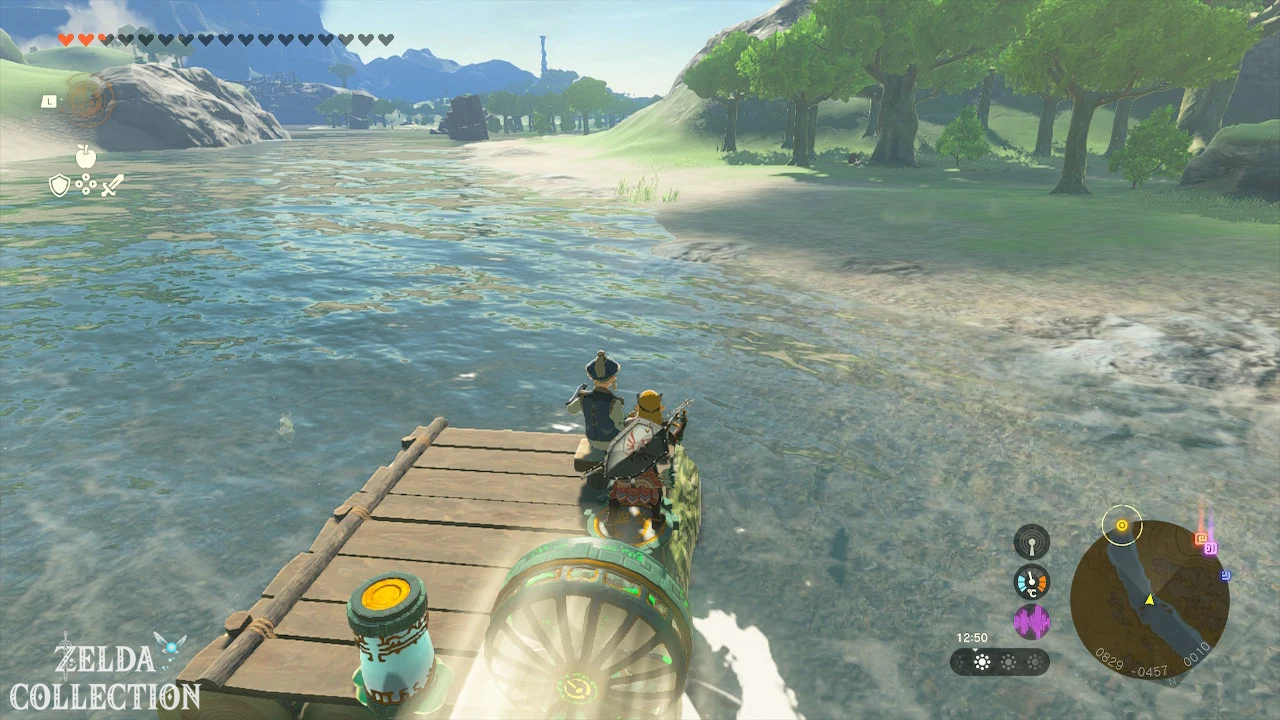
Speak to Izra on the riverbank west of the stable. Climb together onto the tethered raft and cut the rope.
Let the current carry you to the Floret Sandbar or attach a fan and control stick. Upon arrival, speak to Magda. Zelda had borrowed the tools for the shared garden.
Reward: Tiered reward for the Lucky Clover Gazette quest line.
56. Where Dragons Watch
Quest chain: Thyphlo Ruins
Start: With Kazul in the Thyphlo Ruins after Tulin becomes the Sage of the Wind.
solution
Look for the stone owl in the southeast or eastern part of the ruins, which is surrounded by several dragon heads.
Stand directly in front of the owl and activate Tulin’s Gust of Wind in its direction. This will open the hidden treasury.
Reward: 3 Sapphires.
57. Where is Koltin?
Quest chain: Koltin
Start: After “Search the Bubbulfrog signum” at Kilton in Tarrey Town.
solution
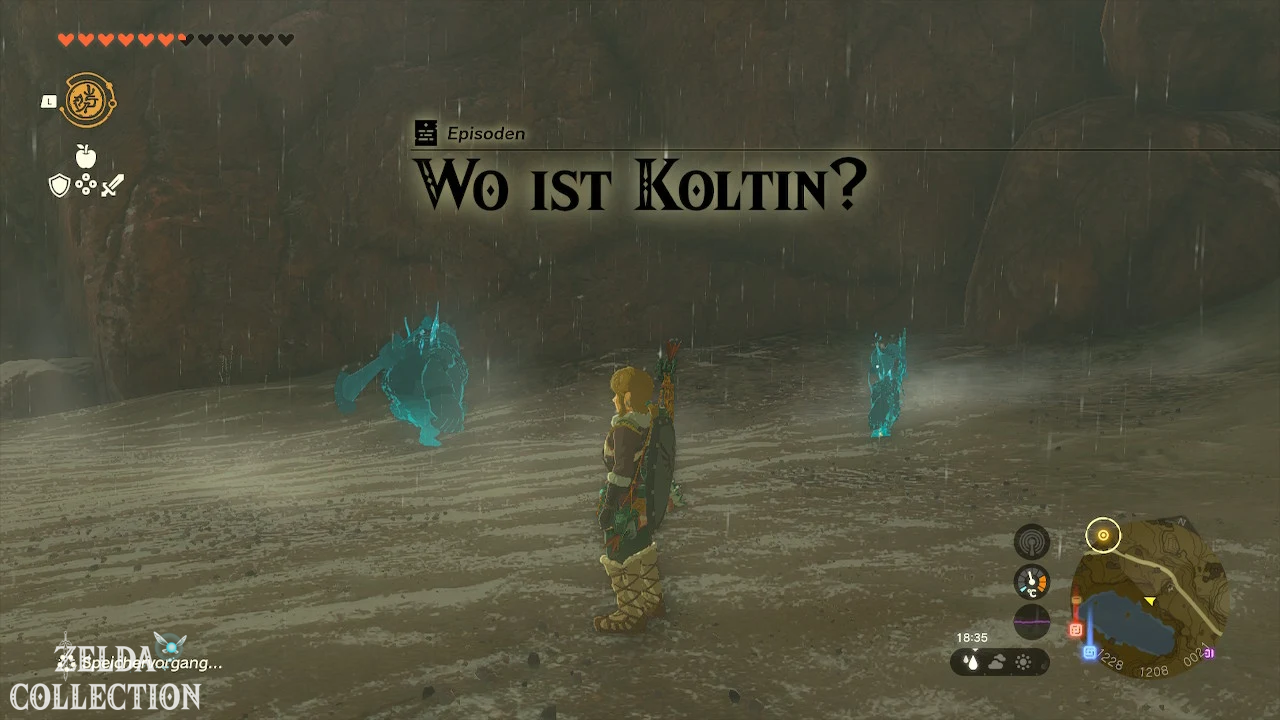
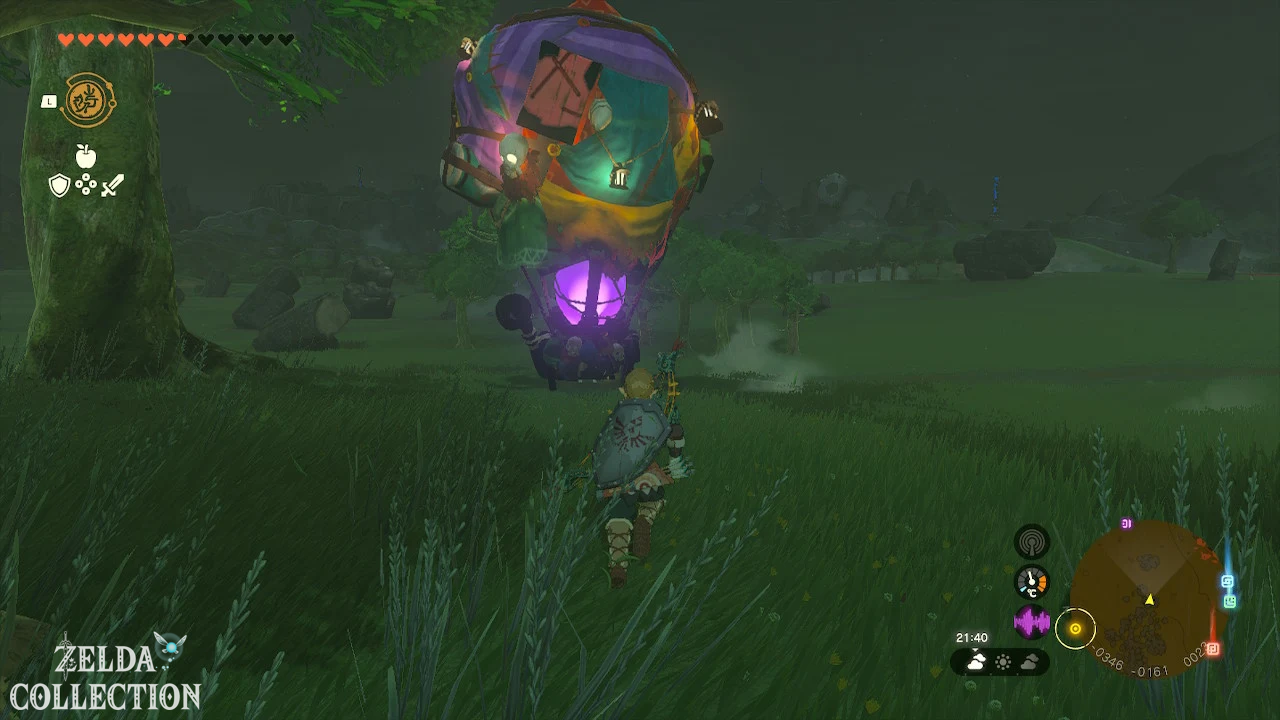
Speak to Kilton. He explains that Koltin’s Stand was seen at night northwest of Tarrey Town.
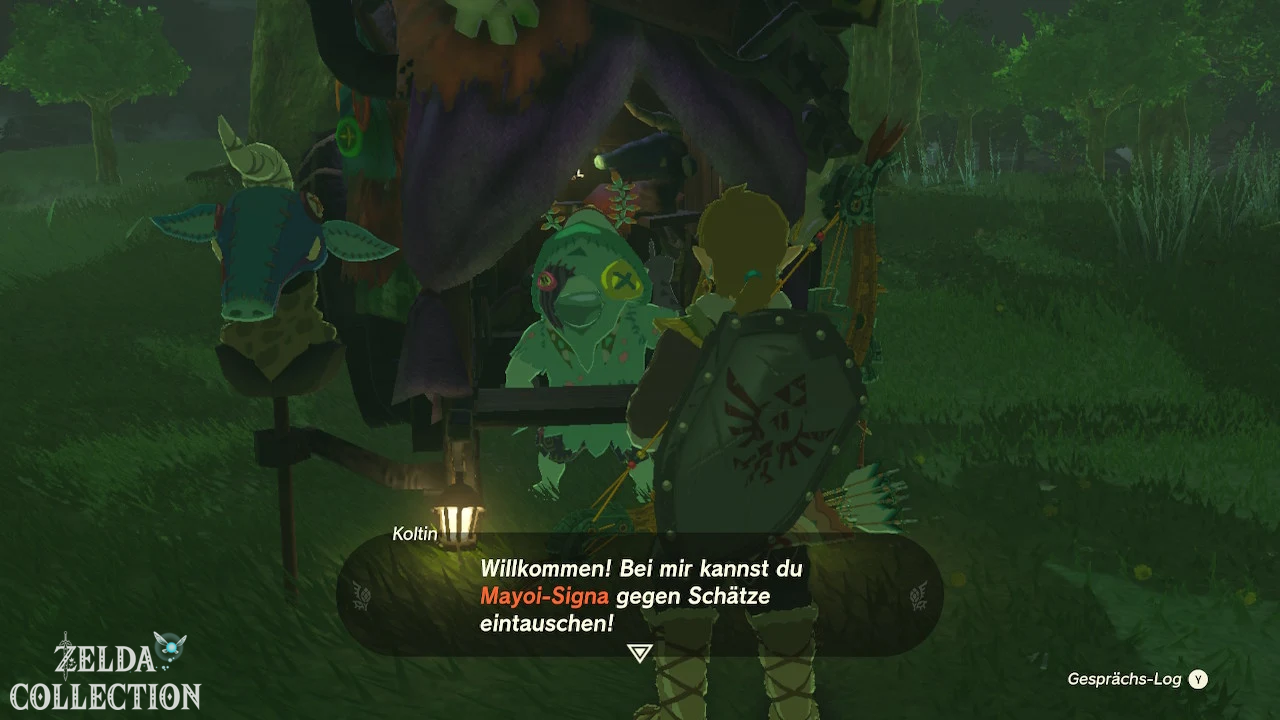
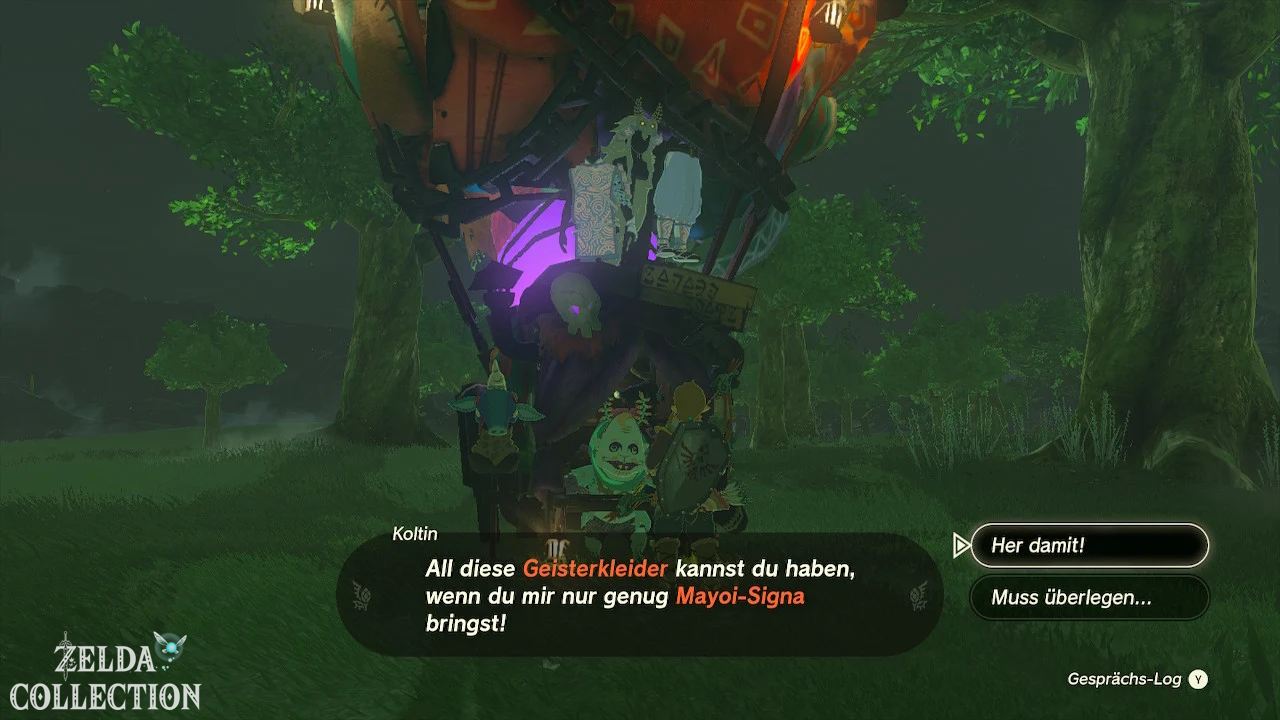
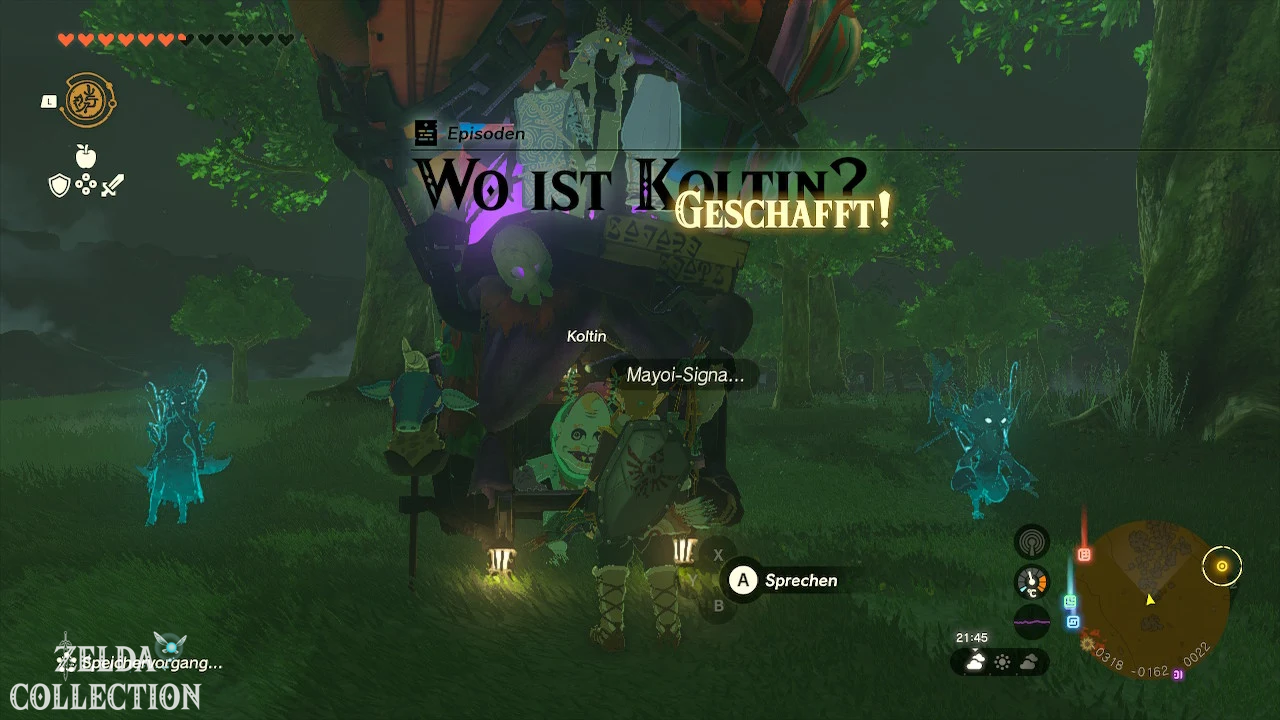
Wait until night and look for the illuminated balloon stand on the hill northwest of town. Speak to Koltin. He then appears at several fixed locations in Hyrule at night and exchanges Bubbulfrog-Signa for masks, monster parts and the spirit set.
Reward: Permanent access to Koltin’s Exchange Shop.
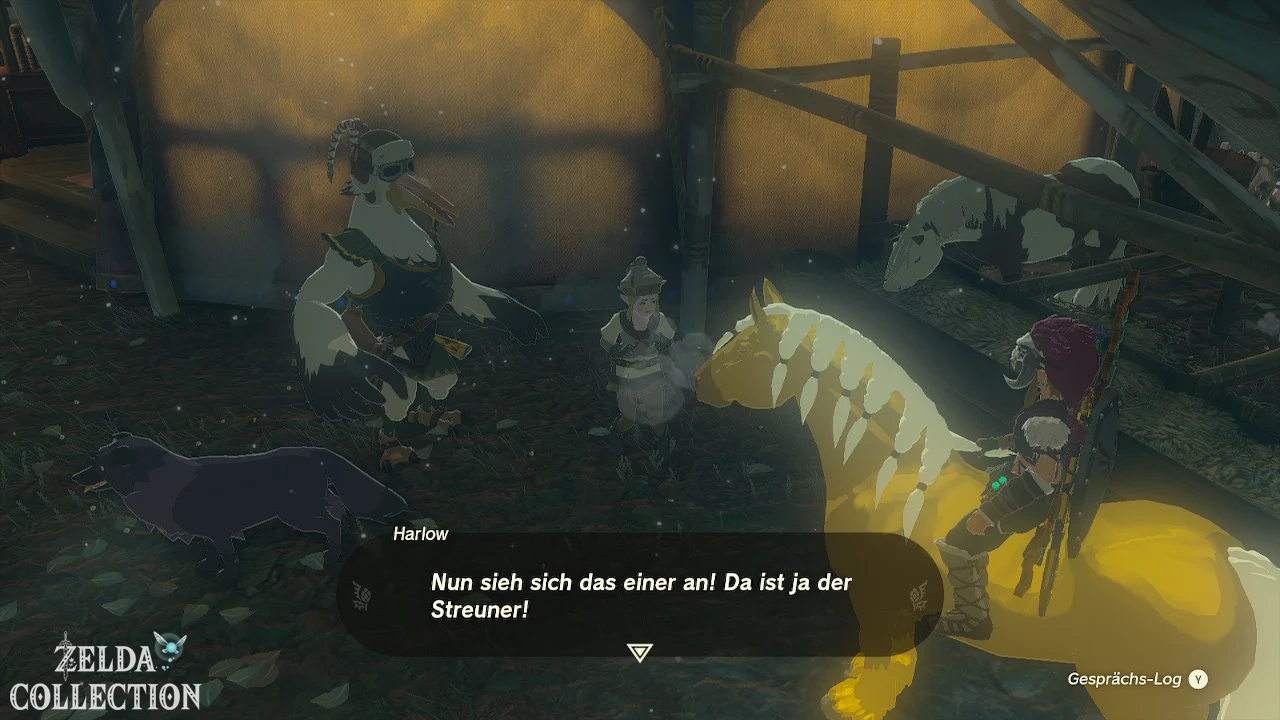
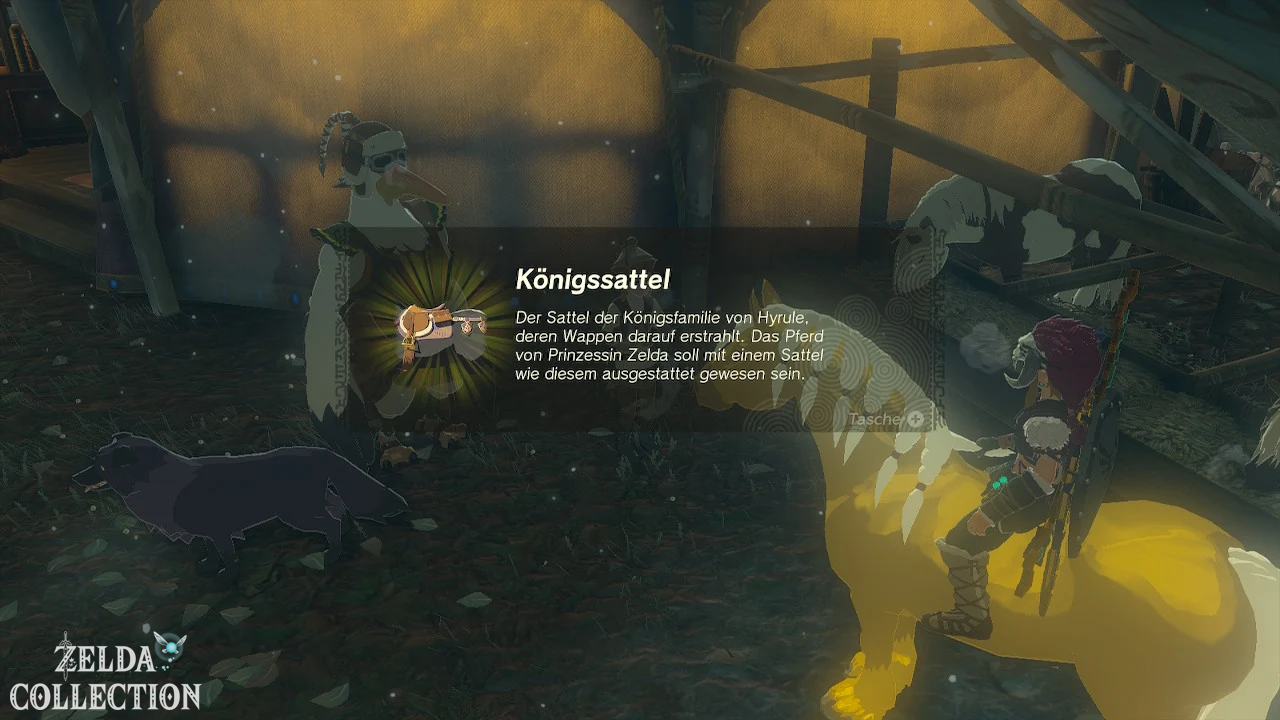
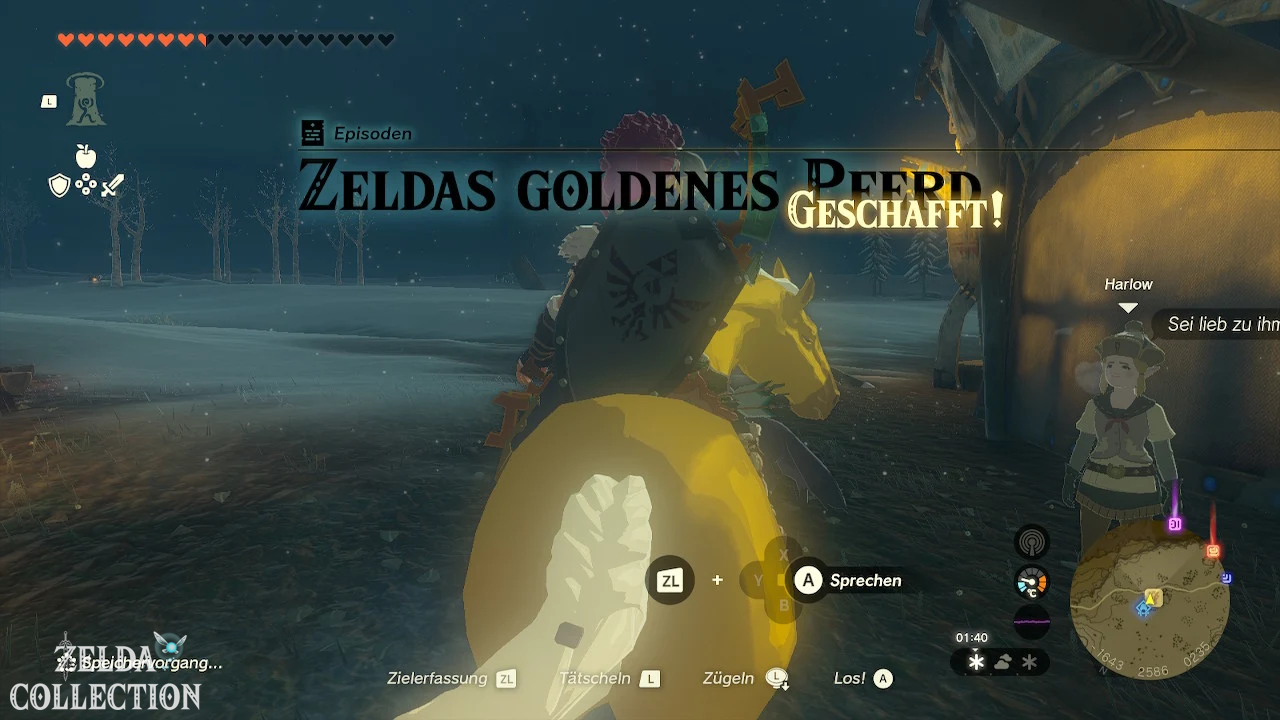
58. Zelda’s golden horse
Quest chain: Lucky Clover Gazette
Start: At Penn and Harlow on Snowfield Stable.
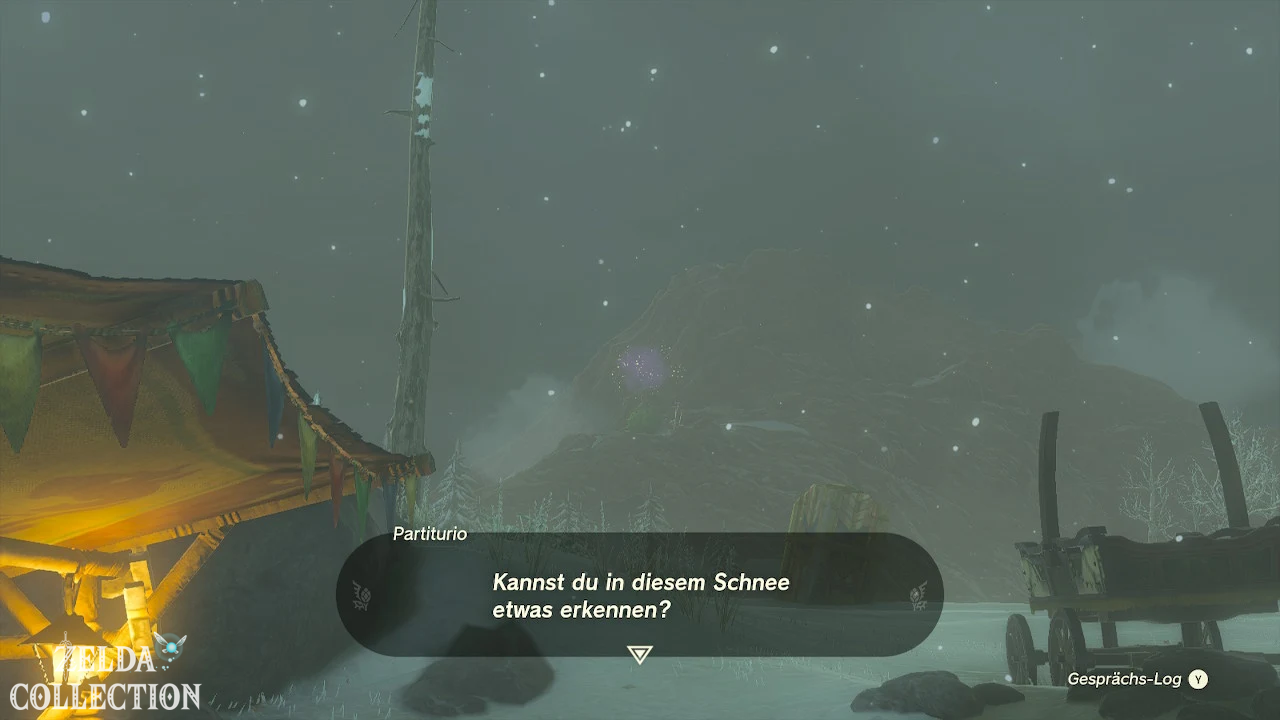
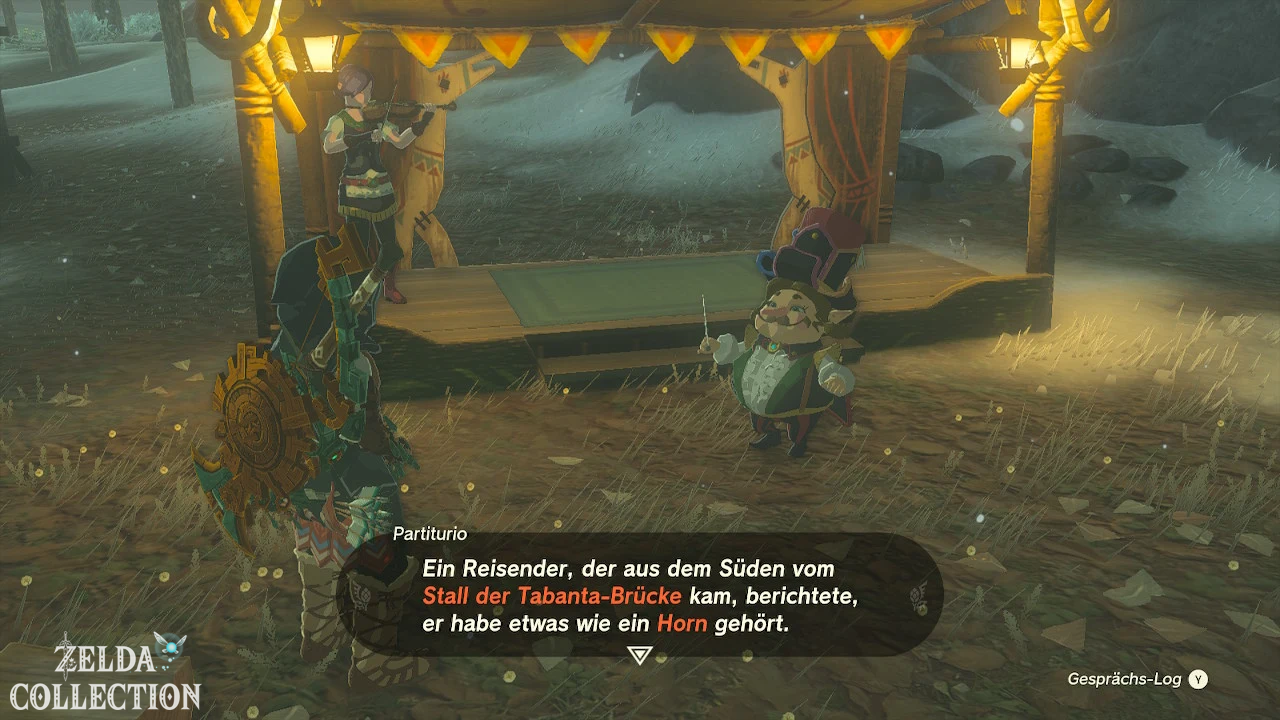
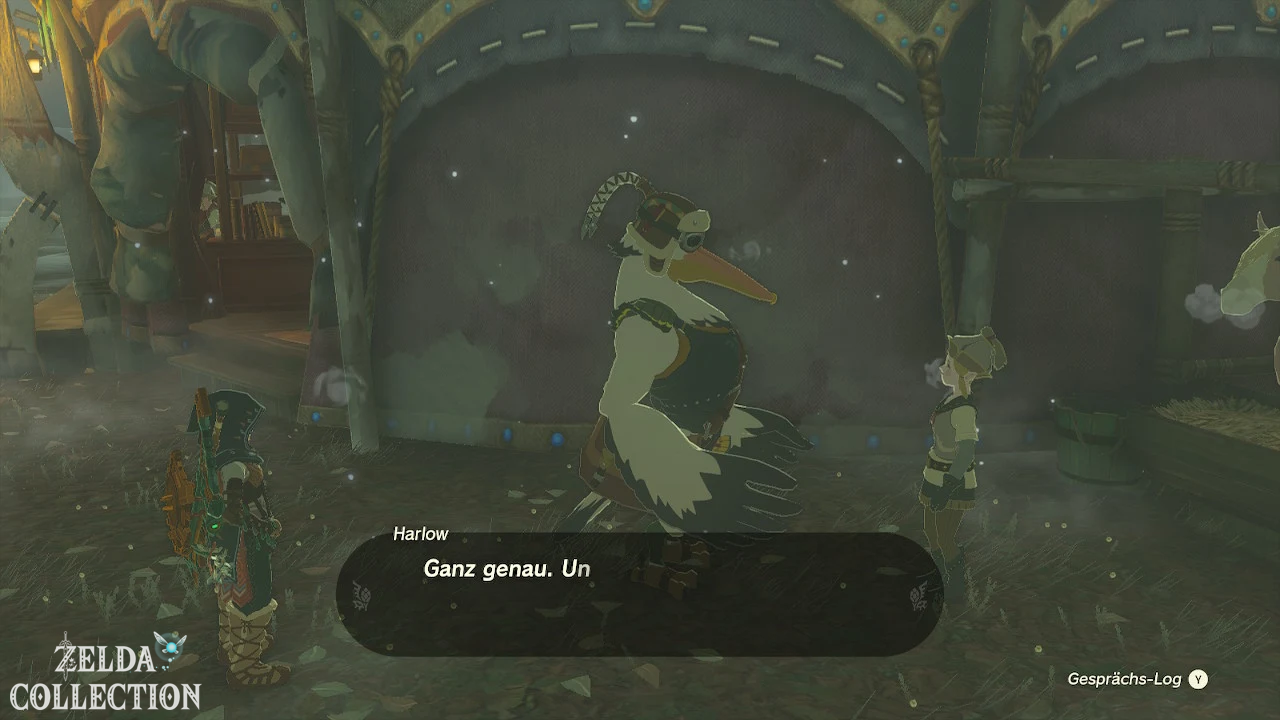
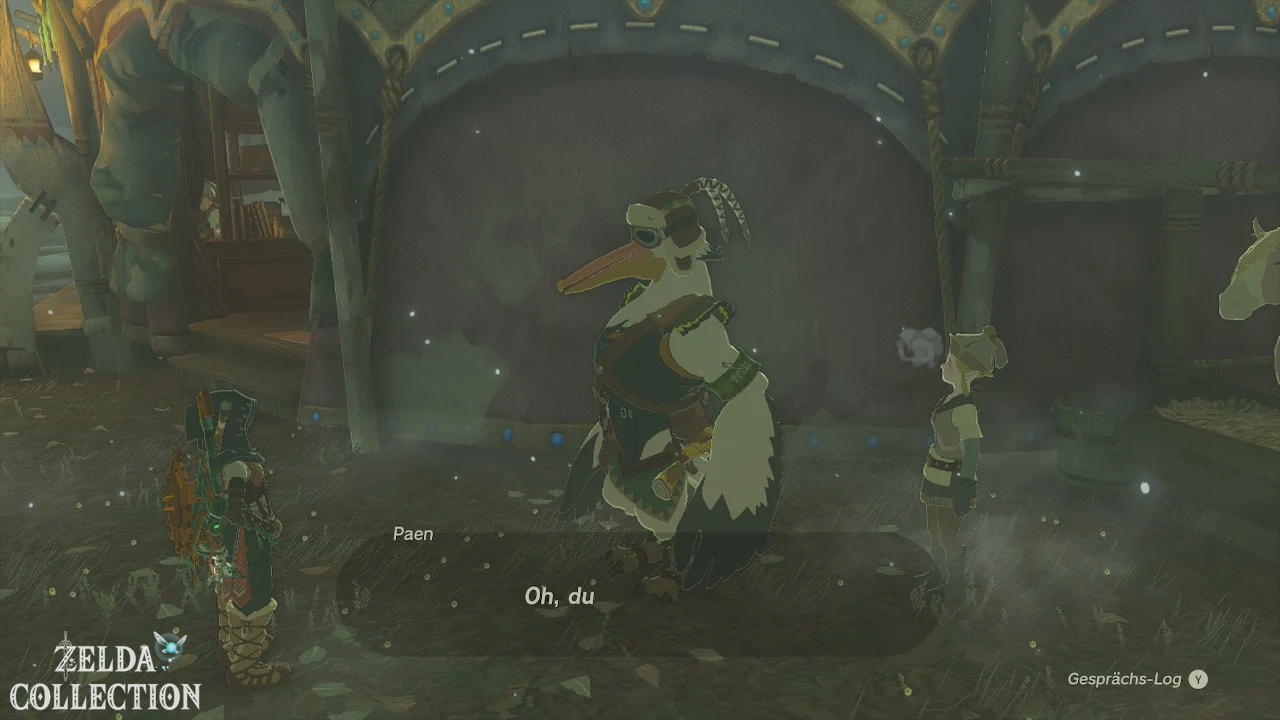
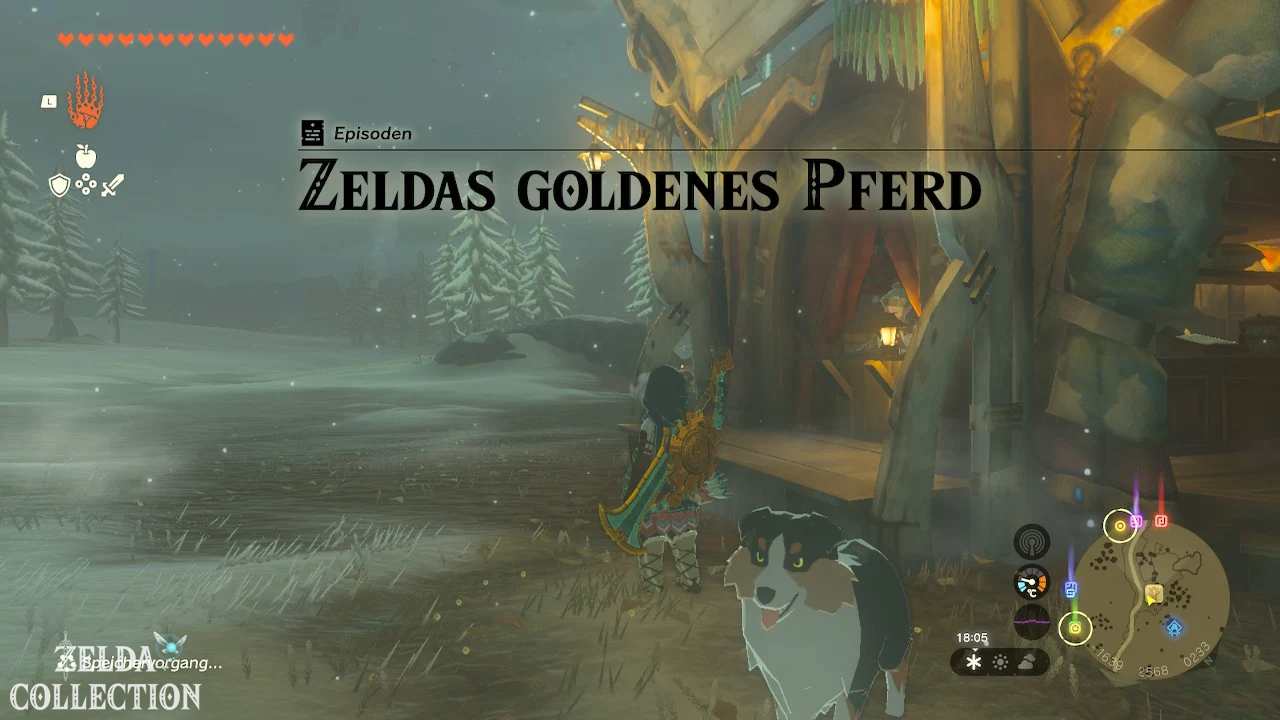
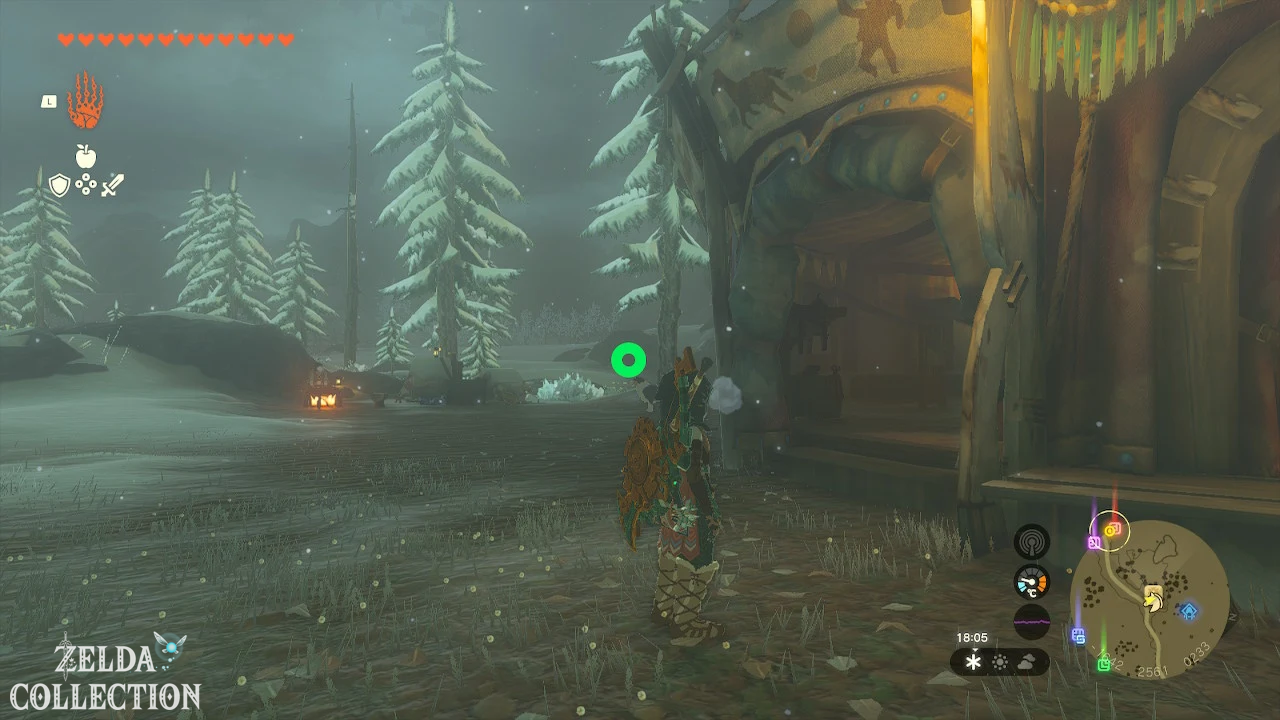
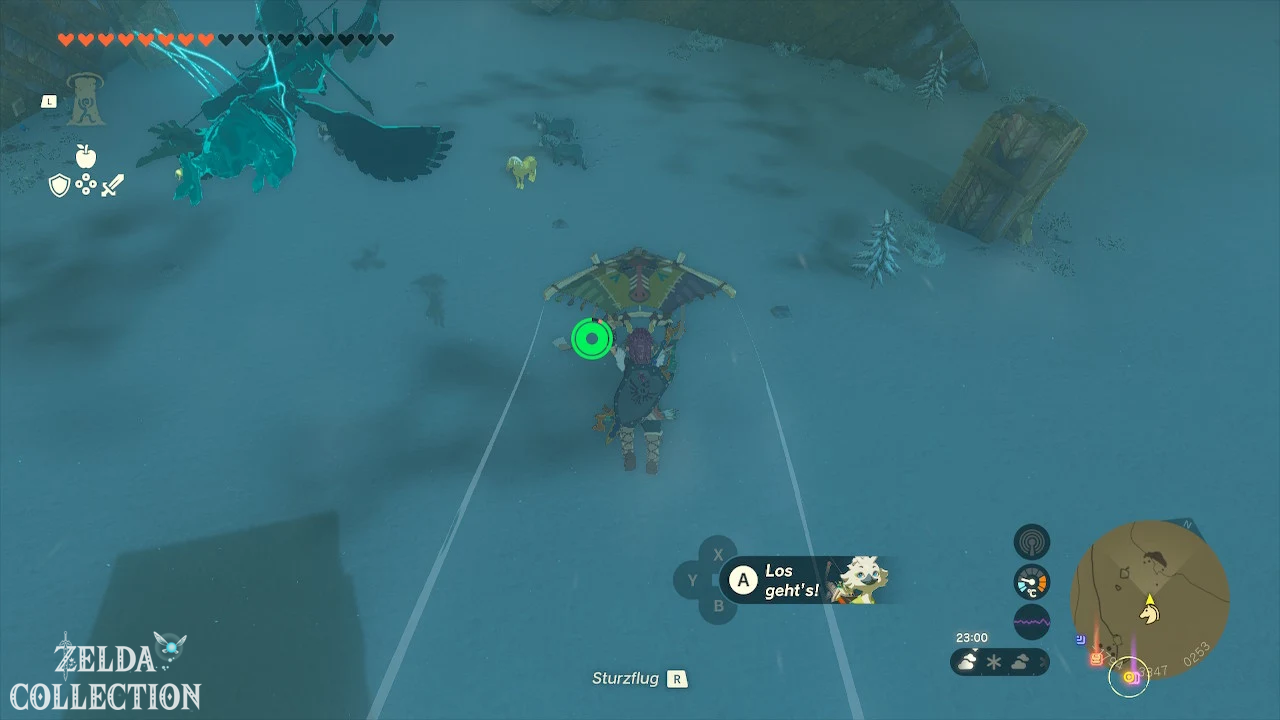
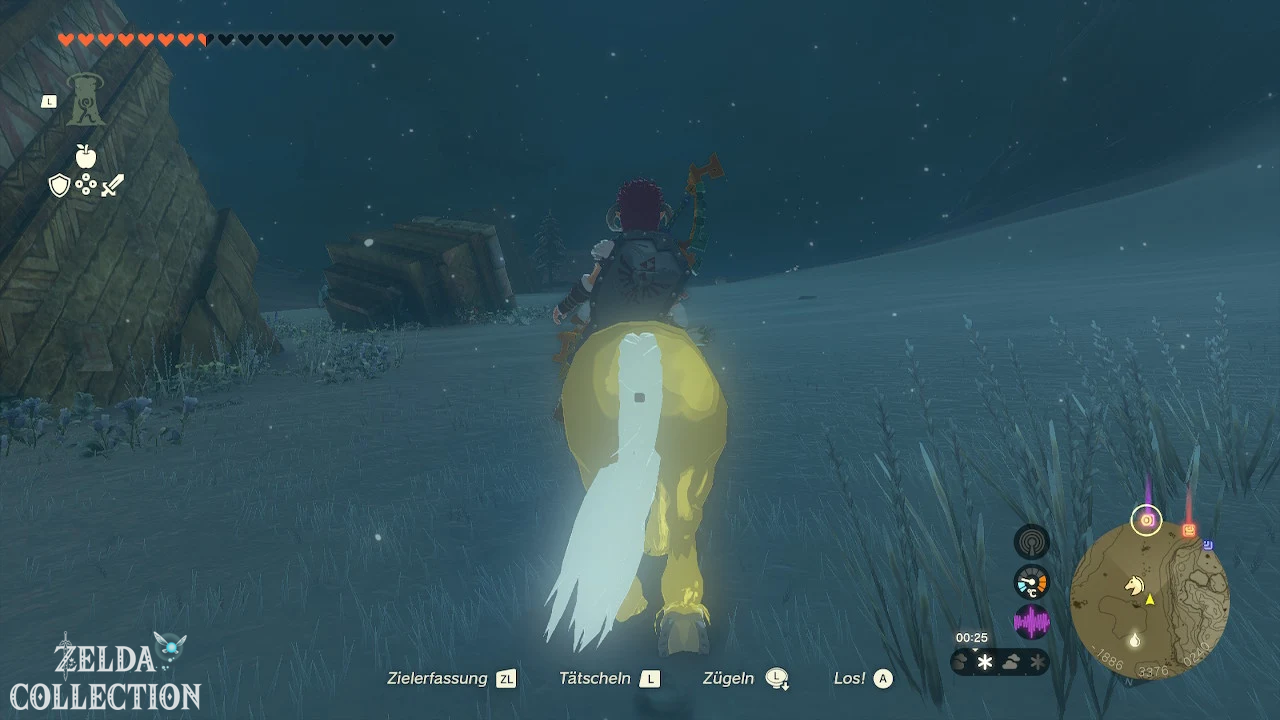
solution
Take level 2 cold protection and stamina dishes with you. Look north of the stable in Tabantha Tundra for the clearly glowing golden horse. Widely bypasses the Frost Gleeok.
Approach crouched from behind, mount and calm the horse repeatedly. Take it back to the stable and register it.
Reward: Golden Horse, Royal Saddle, Royal Bridle and Lucky Clover Gazette Reward.
59. To the Yiga Clan Hideout band
Quest chain: Yiga
Start: At Mimos in front of the main Yiga hideout in the Gerudo highlands.
solution
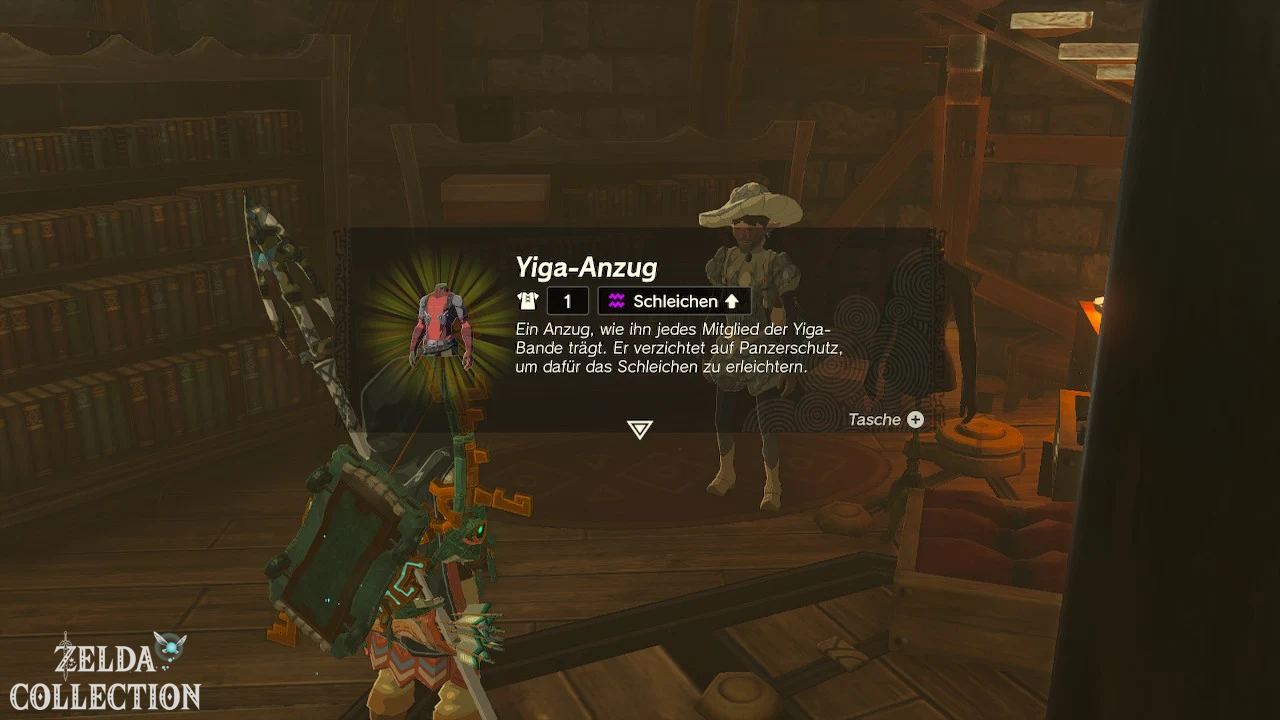
Collects the full Yiga set. The Yiga Armor is in the Akkala Ancient Tech Lab, the Yiga Mask is in the fortified hut on the Great Plateau, and the Yiga Pants are in the Yiga Branch in Aldor Highlands north of the New Maritta Stable.
At each location, defeat the Yiga guard and talk to the captured person. Then put all three pieces on and talk to the door guard at the main hideout.
Reward: Free access to the Yiga-A Place of Shelter and unlocking further Yiga tasks.
60. Between two dragons
Quest chain: Thyphlo Ruins
Start: At Kazul in the Thyphlo Ruins after Yunobo becomes the Sage of Fire.
solution
Find the long corridor between two facing stone dragons in the western part of the ruins.
Stand at the head of the corridor, activate Yunobo and let him roll completely between the two dragons to the end of the tail. If his fireball hits the intended path, the treasure chamber opens.
Reward: 3 Rupees.
Source control
Quest number, quest givers, starting regions, dependencies and target texts have been compared to Zelda Wiki, Zelda Dungeon, Kiranico, Zeldapendium, Nintendo Life, PowerPyx, Game8, Gamer Guides, Polygon, GameSpot, IGN, Thonky, GameWith, Shacknews, Eurogamer and several full video walkthroughs. The wording was rewritten for ZeldaCollection and was not taken from the sources.