

The Master Sword is one of the most famous weapons in video game history and of course cannot be missing from The Legend of Zelda: Tears of the Kingdom. At the beginning of the game, Link already has the legendary blade, but during the events of Hyrule Castle it is severely damaged by Ganondorf’s Gloom.
During the tutorial, Link sends the eaten Master Sword through time to Princess Zelda. You can find out where the blade ends up and how it is restored via the main quests “Impa and the Geoglyphs” and “The Tears of the Dragon”.
Spoiler warning: The dragon tears tell a central part of the plot. The guide gives the shapes of the geoglyphs, the names of the memories and the Location of the Master Sword. However, the actual content of the cutscenes is only described to the extent necessary for the solution.
Important correction: You don’t necessarily have to complete Tears of the Dragon to get the Master Sword. The quest series shows you the intended path and, after the last reminder, offers a particularly good opportunity to reach the Light Dragon. If you already know your whereabouts, you can retrieve the blade much sooner.

Navigation
- Master Sword and dragon tears at a glance
- Three ways to Master Sword
- Impa and the geoglyphs start
- Impas hot air balloon repair
- Find map in Forgotten Temple
- Detecting dragon tears in geoglyphs
- Best order of memories
- All twelve dragon tears at a glance
- 1. Where am I?
- 2. An unknown world
- 3. Minerus Council
- 4. The attack of the Gerudo
- 5. Feigned loyalty
- 6. Zelda and Sonia
- 7. Sonia’s death
- 8. The Birth of the Demon King
- 9. The Oath of the Wise
- 10. Royal Duty
- 11. The Time Traveling Sword
- 12. The Tears of the Dragon
- White dragons find and reach
- Prepare two stamina wheels
- Master Sword
- Alternative over the Great Deku Tree
- Features of Master Sword
- Fuse with the Master Sword
- All Dragon Tears Memories
- Checklist of all twelve tears
Pull out
Master Sword and dragon tears at a glance
| Question | Answer |
|---|---|
| How many geoglyphs are there? | Eleven geoglyphs on the surface Hyrule’s |
| How many dragon tears are there? | Twelve; the last one appears only after the eleven geoglyphs |
| Trail of the Master Sword | In the head of the Light Dragon |
| How much stamina is needed? | Two fully and permanently unlocked stamina wheels |
| Do endurance dishes count? | No; yellow bonus stamina does not replace permanently unlocked stamina |
| Do all dragon tears need to be found? | No, but they lead to the Light Dragon and explain the history of the sword |
| Can the Master Sword break? | No; it temporarily loses its energy and regenerates |
| Can the Master Sword be synthesized? | Yes, with weapons, materials and monster parts |
Three ways to Master Sword
The Master Sword can be found in three different ways. Regardless of which path you choose, Link will need two full green stamina circles to pull out.
Way 1: Find all dragon tears
Find the eleven geoglyphs and then examine the twelfth dragon’s tear on the Rist Peninsula. After the last reminder, the Light Dragon appears nearby and flies at an easily accessible altitude for a short time.
This is the narrative path intended. He fully explains what happened to Zelda and the damaged Master Sword.
Way 2: Save the Great Deku Tree
Reach the Korok Forest through the Depths and free the Great Deku Tree from the Gloom. He then marks the current location of the Light Dragon on the map. This starts the main quest “Recovering the Hero’s Sword”.
This path is especially helpful if you missed the opportunity after the twelfth dragon’s tear. The Great Deku Tree also lowers the Light Dragon’s normal flight path until the Master Sword is recovered.
Way 3: Find the Light Dragon at random
The Light Dragon flies over Hyrule from the start of the game. If you happen to spot him and reach his back, you can pull out the Master Sword immediately as long as Link has two full stamina circles.
However, without marking the Deku Tree and before completing the Dragon Tears, the dragon flies very high. This makes it difficult to reach from many cartography towers and normal sky islands.
“Impa and the Geoglyphs” start
The quest chain begins north of the New Maritta Stable in the Northern Hyrule Plains. The stable is located northwest of the scout post behind the Carok Bridge. If possible, activate the Sinakawak Shrine at the stable as a fast travel point.
Follow the road north from the stable. At approximately -1615, 0558, 0032 you will meet Cado, who will send you to Impa. She examines the massive geoglyph in the field, but cannot see its full shape from the ground.
Speak to Impa. She reports on the mysterious geoglyphs that have appeared throughout Hyrule since Upheaval. She then asks Link to repair her damaged hot air balloon.
Impas hot air balloon repair
The balloon basket is next to Impa, while the balloon envelope is on the ground nearby. Grab the case with the Ultrahand and attach it to the center of the basket.
Talk to Impa again and get into the basket. Light the fire under the balloon envelope with a torch, fire fruit, or firearm. The balloon rises into the air with Link and Impa.
Examine the geoglyph with the binoculars. The pattern shows King Rauru. There are several tear-shaped markings within the motif. Only one of them is completely filled in and contains the real dragon’s tear.
Jump out of the balloon, open the Paraglider and land in the filled eye of the geoglyph. Investigate the small greenish patch of water at approximately -1413, 0966, 0124.
After the memory, “Impa and the Geoglyphs” is completed and the overarching main quest “The Tears of the Dragon” begins.
You can find a separate solution for this entry on our page for “Impa and the geoglyphs”.
Map of the geoglyphs in the Forgotten Temple
After the first Dragon Tear, Impa travels to the Forgotten Temple in the Tanagar Canyon. The temple is located southeast of the Snow Lands Stable and north of the Tabanta Borderlands.
Do not attempt to enter the temple from above through the buried ceiling. The correct entrance is at the bottom of the ravine on the southeast side of the building. Slide into the large opening and follow the long interior north.
Several Bokoblins and other monsters await you on the way. You can fight them or go around the sides of the temple. Activates the Mayausiy Shrine inside as a fast travel point.
Follow the temple to the farthest chamber. Impa and Cado are waiting there. On the walls you can see eleven illustrations showing the order of the dragon’s tears. There is also a large map of Hyrule on the ground with the locations of all eleven geoglyphs.
Opens the Camera and photographs the soil map. The image will be a practical guide later if you want to search for the geoglyphs without an external map.
Detect dragon tears in the geoglyphs
Each geoglyph contains several tear-shaped symbols. Almost all of them consist only of a light border. The real Dragon’s Tear is found in the only symbol that is completely filled with light color.
View the geoglyph from a cartography tower, sky island, or high mountain. Mark the filled tear with the binoculars and then slide directly there.
On the ground you can see the site as a small, round area of water with a greenish shimmer. Examine them using the A button to start the associated memory.
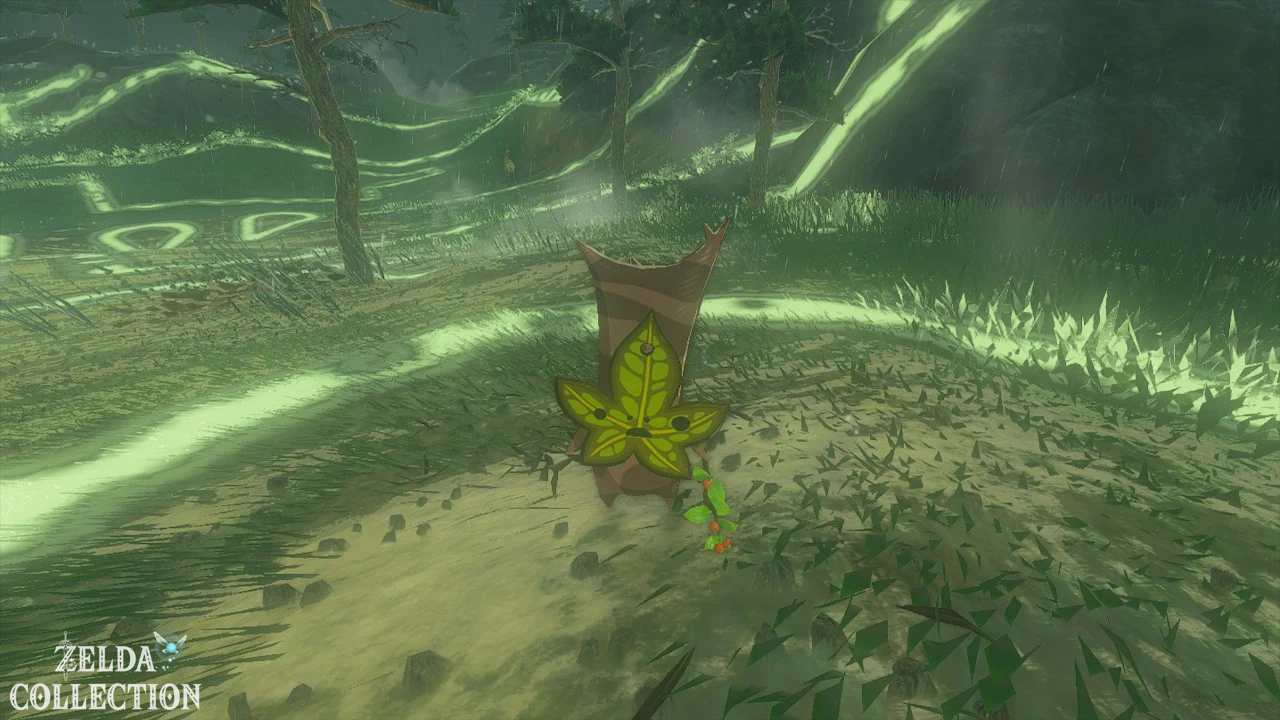
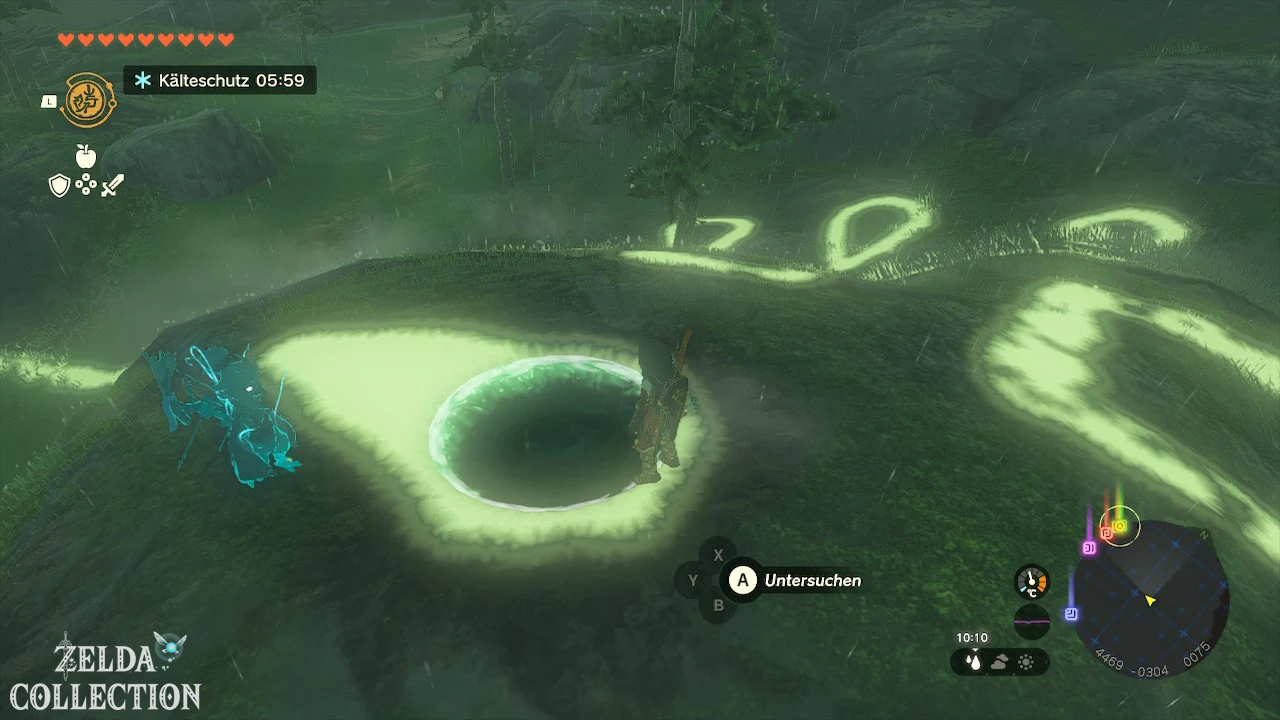
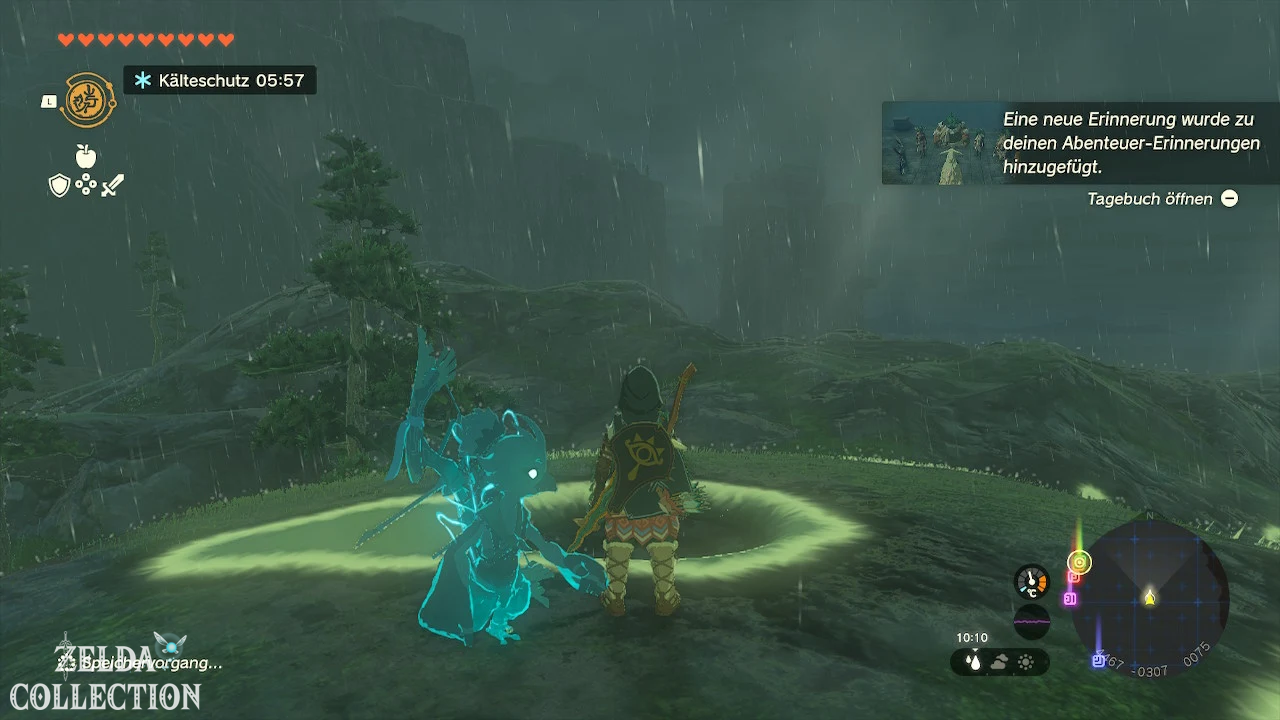
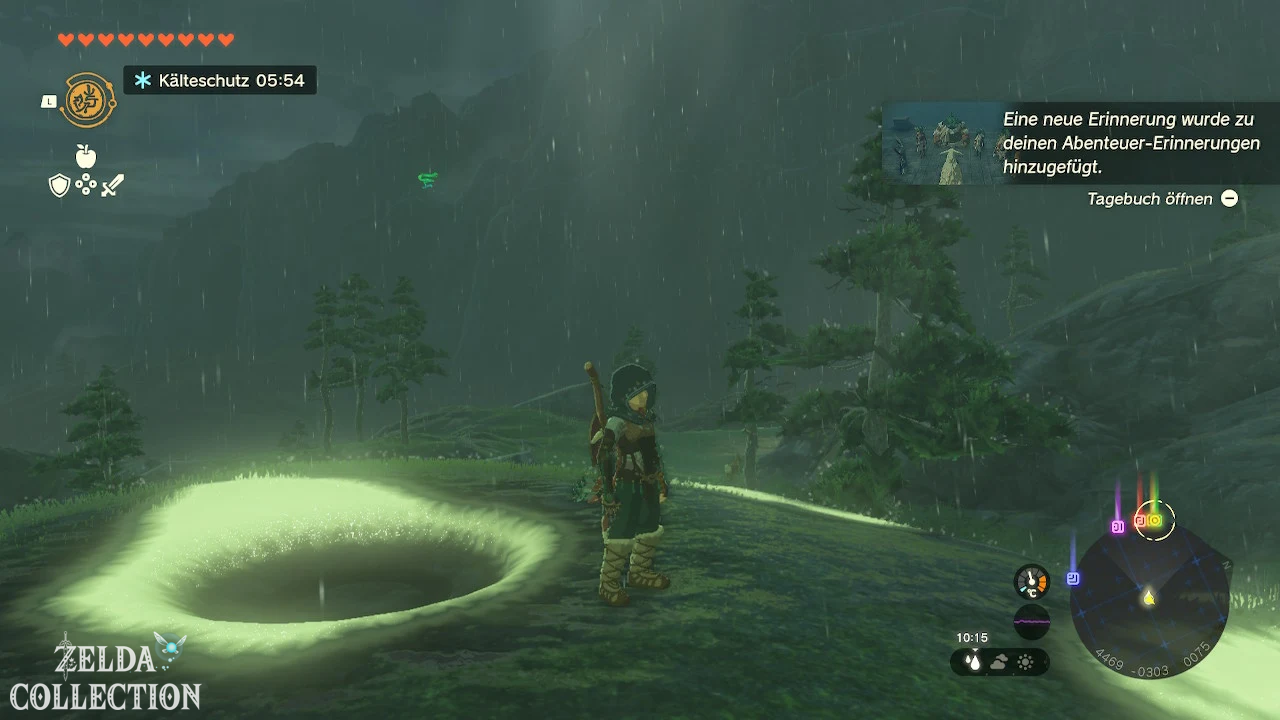
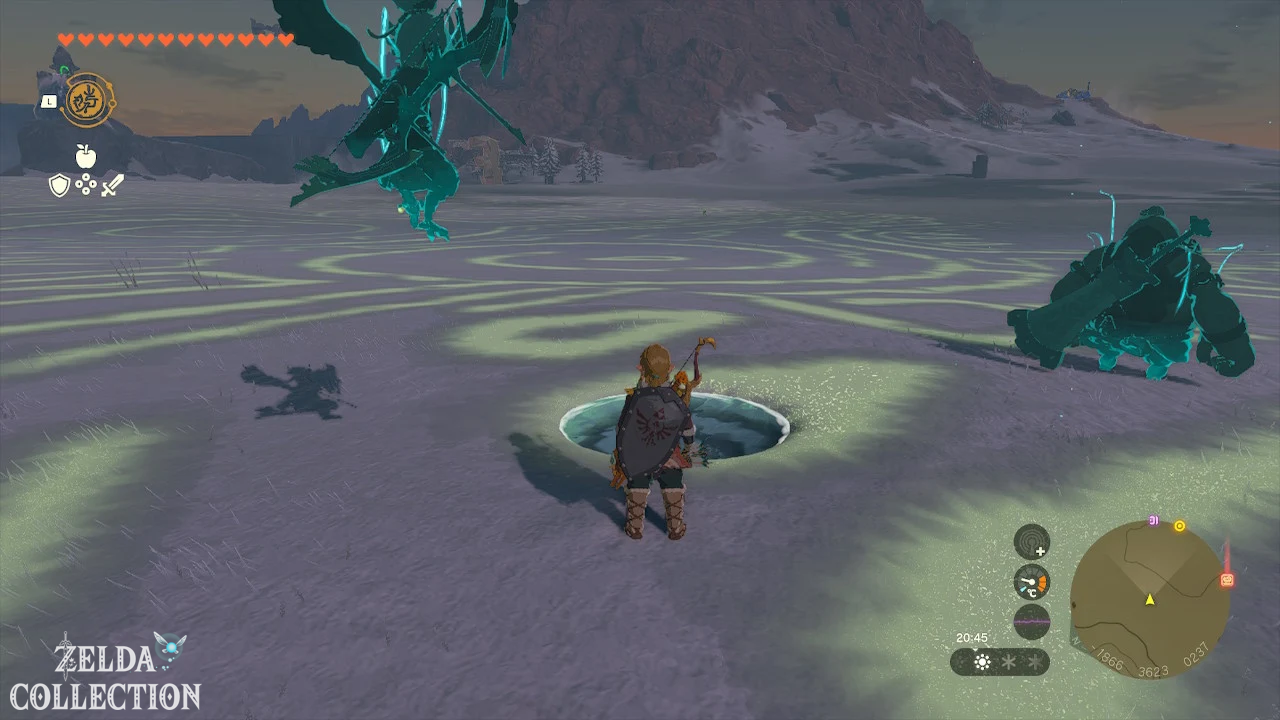
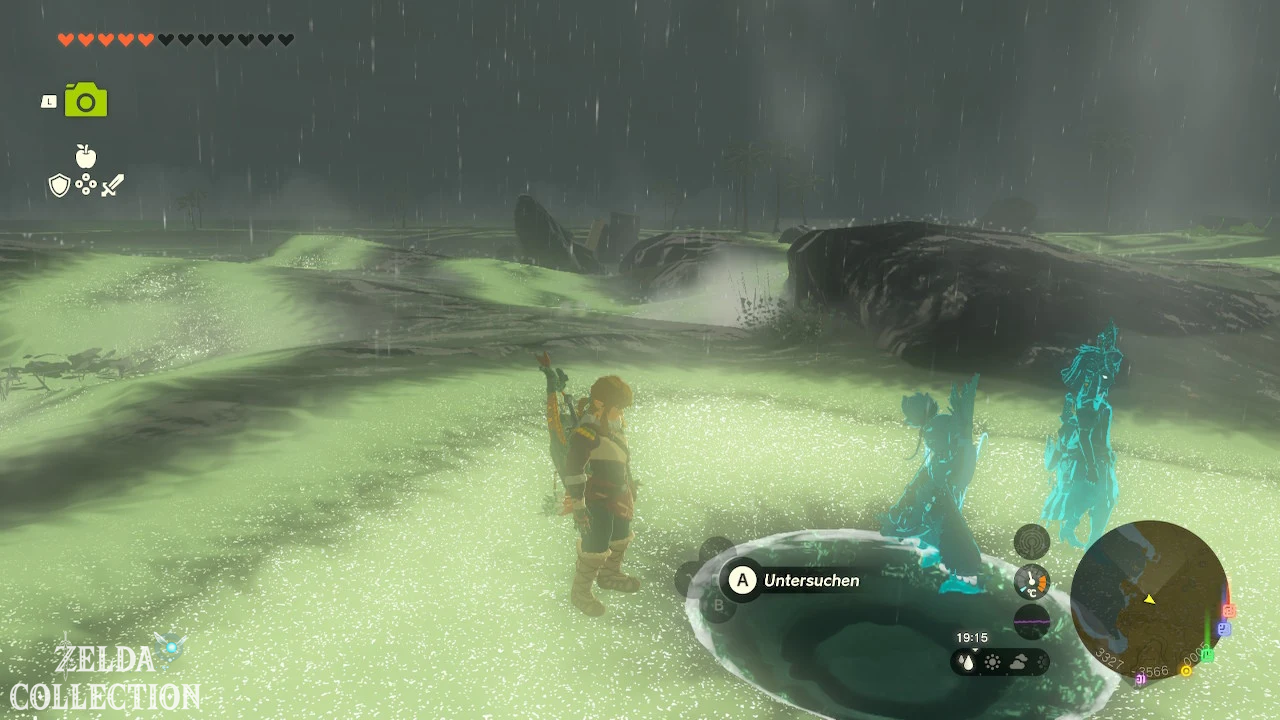
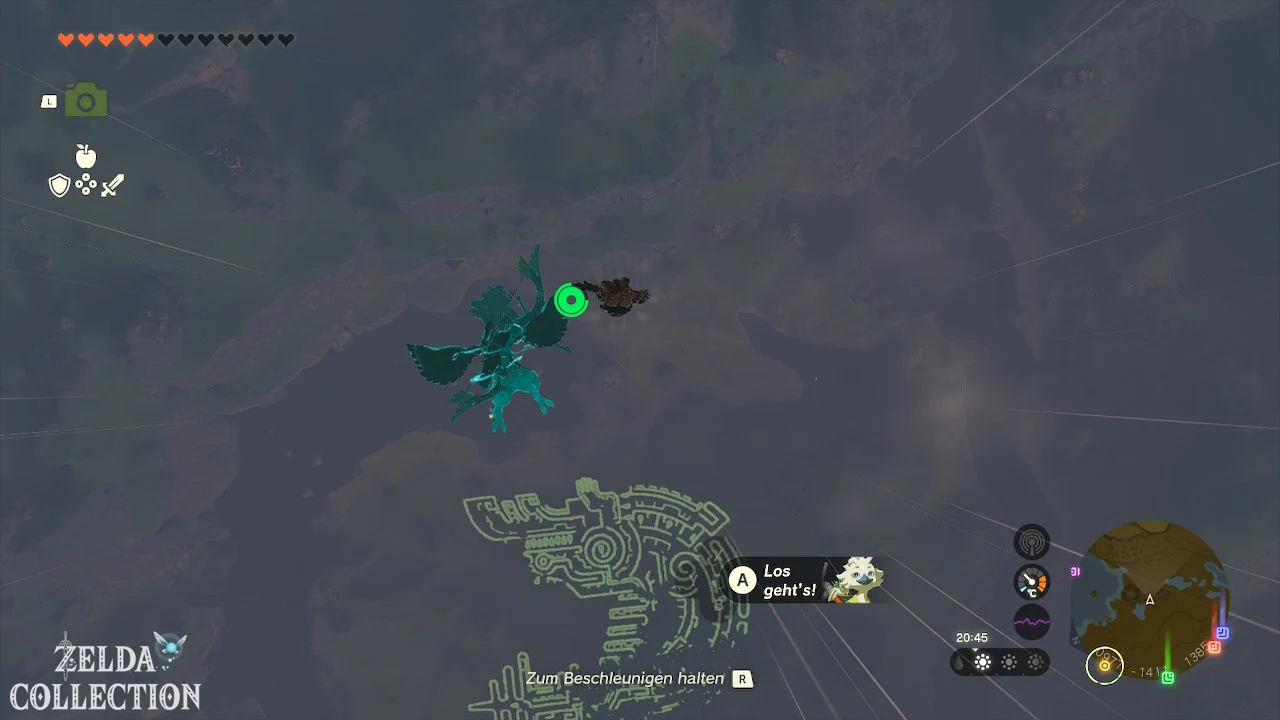
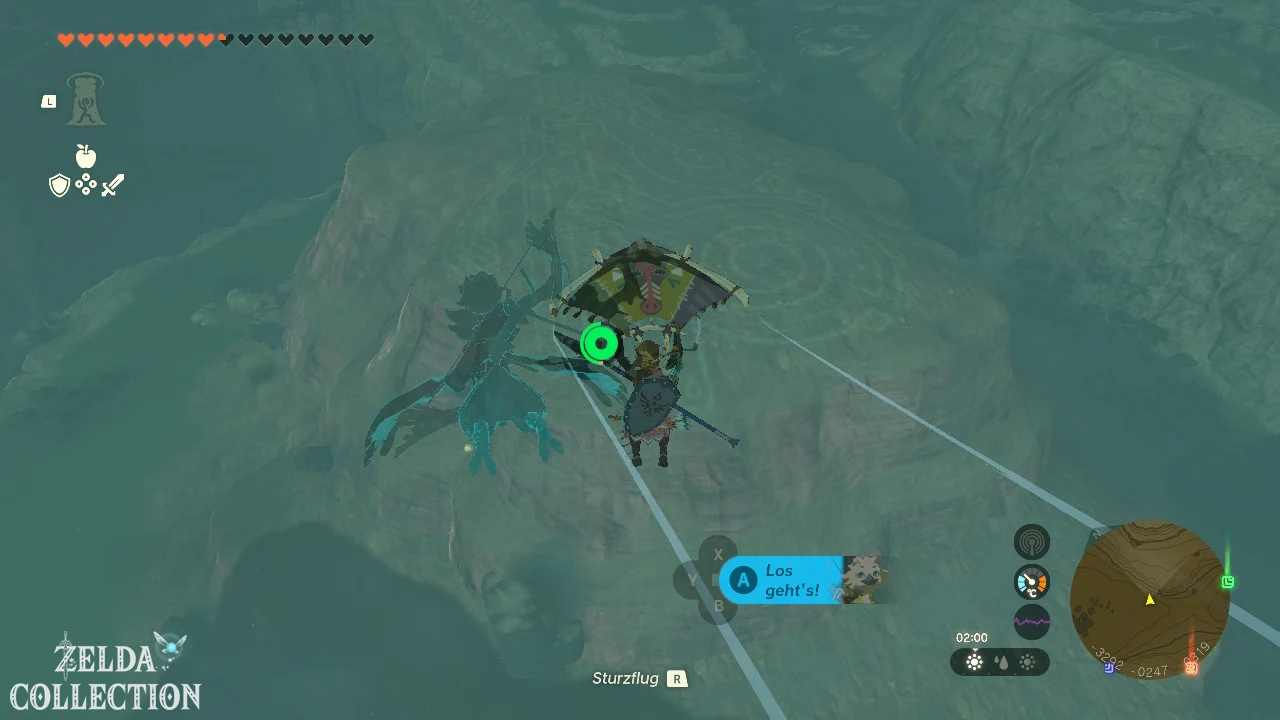
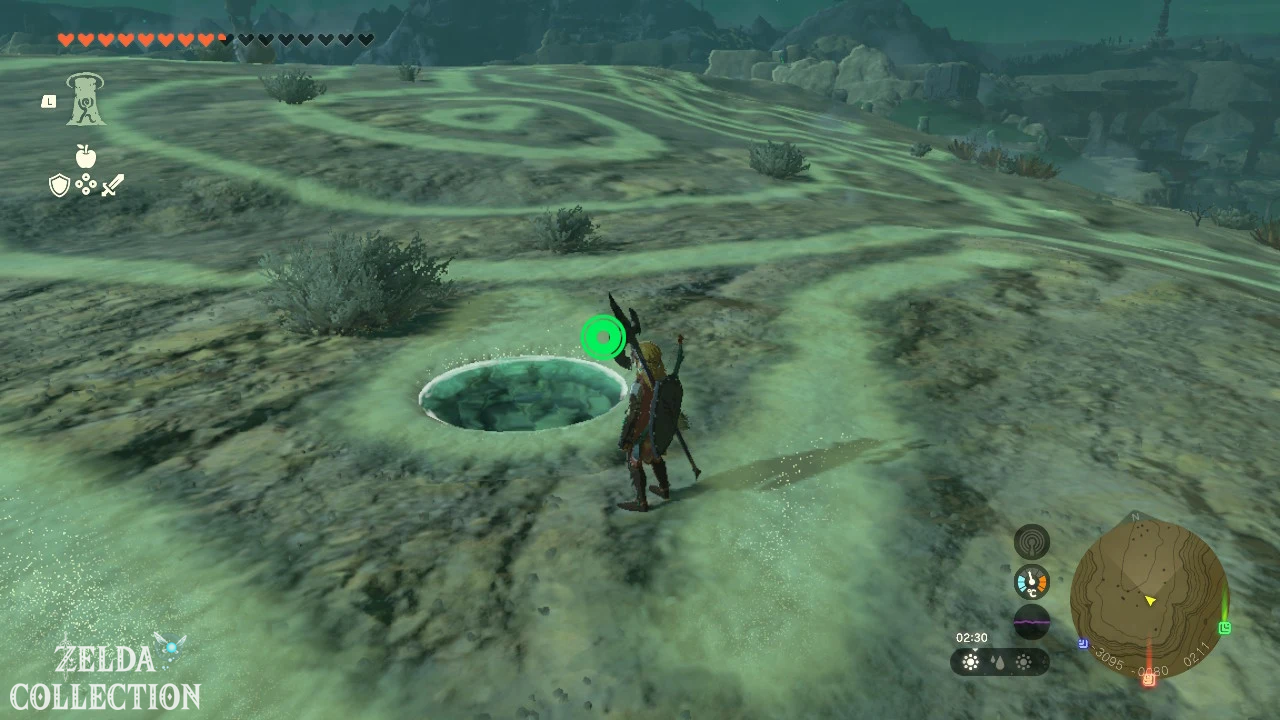
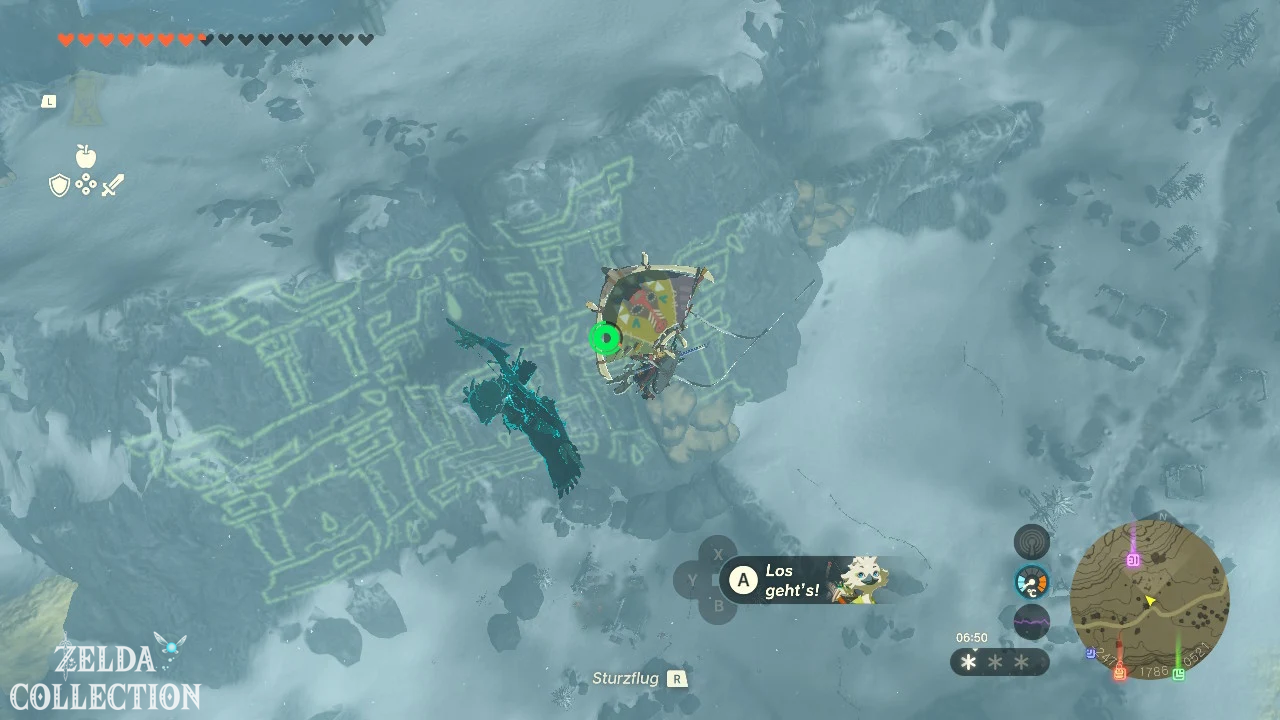
Geoglyph is barely visible up close
The lines of the geoglyphs are difficult to see on the ground. Teleport to a nearby cartography tower and let yourself be shot into the air again. Use the binoculars during the dive and place a colored marker on the real tear.
Tear has already been found
An examined dragon’s tear disappears as an interactive water surface. However, the geoglyph remains permanently on the surface and visible on the map. In the diary you can check under “Memories” which scenes have already been unlocked.
Find dragon tears in the correct order
The eleven geoglyphs can be examined in any order. However, the memories build directly on each other. If you want to anticipate as little of later events as possible, you should follow the order of the murals in the Forgotten Temple.
The following numbering corresponds to the chronological order of the Dragon Tears Memories:
- Rauru – Where am I?
- Old Hyrule Castle – An Unknown World
- Purah Pad – Minerus Council
- Molduga – The attack of the Gerudo
- Kneeling Ganondorf – Feigned Loyalty
- Queen Sonia – Zelda and Sonia
- Gerudo Knife – Sonia’s Death
- Demon King – The Birth of the Demon King
- Secret Stone – The Oath of the Wise
- Tombstone – Royal Duty
- Master Sword – The time traveling sword
- Last Tear – Tears of the Dragon
The geographically fastest route looks different. For understanding the story, the order mentioned above is still much more recommended.
All twelve dragon tears at a glance
| No. | geoglyph and region | coordinates | reminder |
|---|---|---|---|
| 1 | Rauru – North Hyrule Plain | -1413, 0966, 0124 | Where am I? |
| 2 | Lock – Tabantha Hills | -2551, 1889, 0319 | An unknown world |
| 3 | Purah Pad – Eldin Canyon | 1828, 0738, 0089 | Minerus Council |
| 4 | Molduga – West Necluda | 0695, -1309, 0053 | The attack of the Gerudo |
| 5 | Ganondorf – Gerudo Highlands | -3178, -1700, 0419 | Feigned loyalty |
| 6 | Sonia – Illumeni Plateau | -3096, -0077, 0211 | Zelda and Sonia |
| 7 | Gerudo knife – Cape Cresia | 3326, -3566, 0005 | Sonia’s death |
| 8 | Demon King – Tabantha Tundra | -1864, 3622, 0237 | The birth of the Demon King |
| 9 | Secret Stone – Talus Plateau | 4468, -0305, 0075 | The Oath of the Wise |
| 10 | Gravestone – Mount Faloraa | -0649, -2683, 0068 | Royal Duty |
| 11 | Master Sword – Eldin Mountains | 0892, 2951, 0362 | The time traveling sword |
| 12 | Rist Peninsula | 4535, 2144, 0002 | The Tears of the Dragon |
1. Dragon Tear: Where am I?
Region: North Hyrule Plain
Geoglyph: King Rauru
Coordinates: -1413, 0966, 0124
Nearest shrine: Sinakawak Shrine
This dragon’s tear is part of the main quest “Impa and the Geoglyphs”. Travel to the New Maritta Stable and head north to the Great Rauru Geoglyph.
The real tear is located in the eye on the north or upper side of the figure. After the balloon flight with Impa you can glide straight there.
Examines the water surface to recall the memory “Where am I?” to unlock.
2. Dragon’s Tear: An Unknown World
Region: Tabantha Hills
Geoglyph: Original Hyrule Castle
Coordinates: -2551, 1889, 0319
Nearest tower: Lindor’s Brow Skyview Tower
The geoglyph is located east of the Rito village and north of the road between Tabantha Great Bridge and Lucky Clover Gazette. Let the Lindor’s Brow Skyview Tower launch you into the air and glide to the northwest.
The motif shows a large castle. The real teardrop is located in the upper, middle area of the building, directly above the grand entrance.
Investigate them for the memory “An Unknown World”.
3. Dragon’s Tear: Mineru’s Council
Region: Eldin Canyon
Geoglyph: Purah Pad
Coordinates: 1828, 0738, 0089
Nearest tower: Eldin Canyon Skyview Tower
The geoglyph is located south of the cartography tower between the road to Goron City and the road to the Zora’s Domain. Let yourself be shot up from the tower and look south.
The pattern shows a Purah Pad. The Dragon’s Tear is located in the upper middle area of the device. Mark them with binoculars during the glide.
The water surface unlocks the memory “Minerus Rat”.
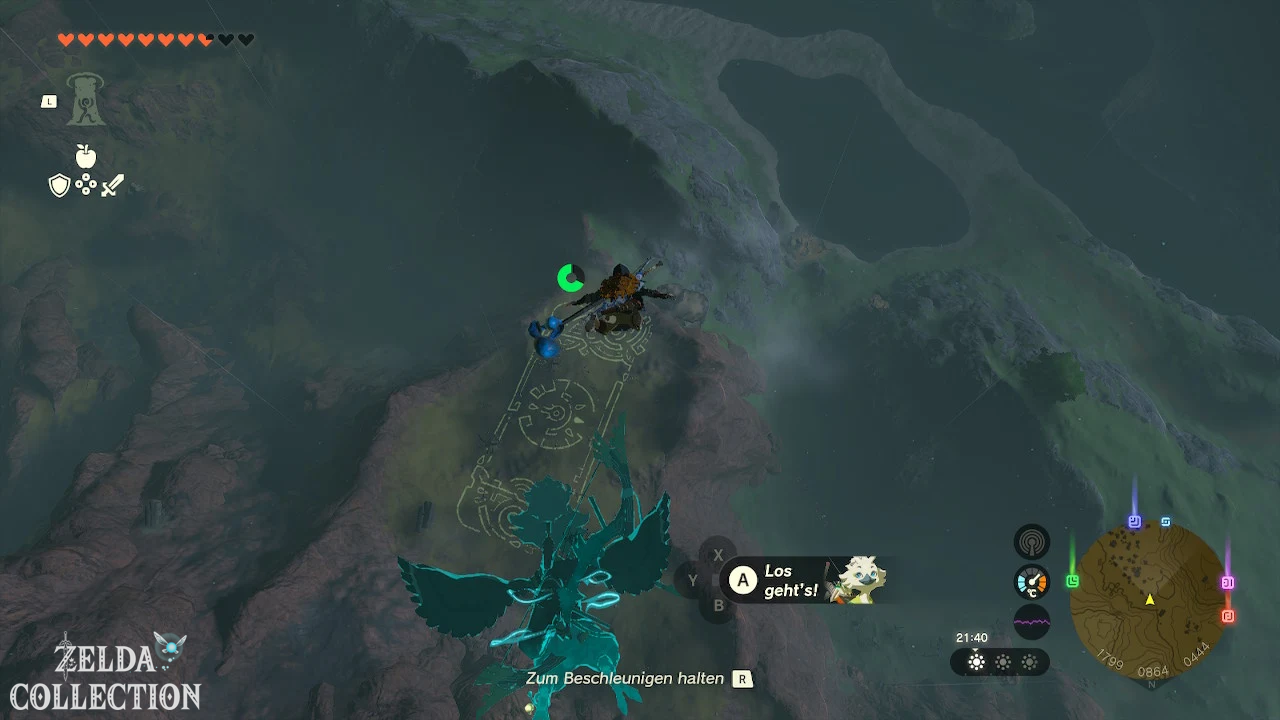
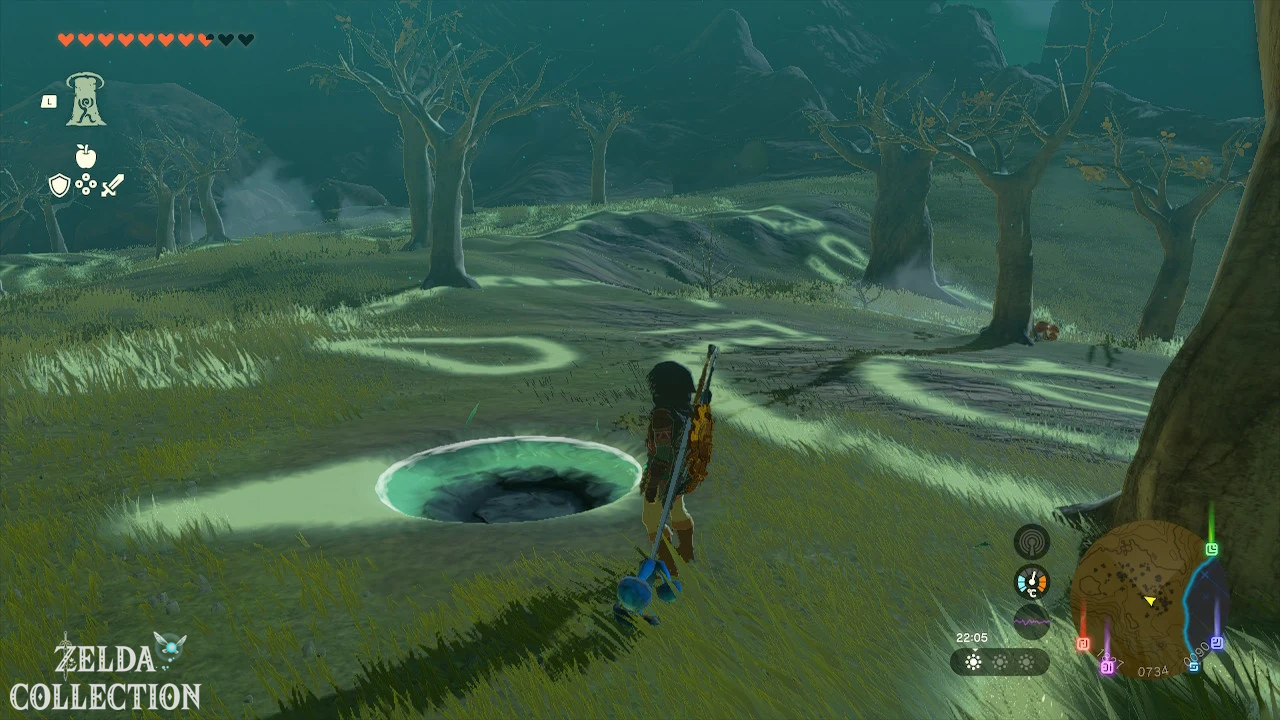
4. Dragon’s Tear: The Attack of the Gerudo
Region: West Necluda
Geoglyph: Molduga
Coordinates: 0695, -1309, 0053
Nearest location: Riverside Stable
The geoglyph is located east of the river stable on a large forested peninsula between the Hylia River and Squabble River. You can glide there from the Sahasra Slope Skyview Tower or the Popla Foothills Skyview Tower.
The geoglyph cannot be fully seen from the air because of the trees. The real teardrop is on the upper left part of the Molduga motif where the tail bends to the side.
Investigate them for the memory “The Attack of the Gerudo”.
5. Dragon’s Tear: Feigned Loyalty
Region: Gerudo Highlands
Geoglyph: Kneeling Ganondorf
Coordinates: -3178, -1700, 0419
Nearest tower: Gerudo Highlands Skyview Tower
The motif is located on the steep rock face of the Sapphia’s Table. Let the Gerudo Highlands Skyview Tower launch you into the air and glide southeast.
Since the geoglyph is located on a mountainside, it is difficult to see from the ground. The Dragon Tear is located on Ganondorf’s Shoulder.
Land on the narrow ledge and examine the water surface for “Feigned Loyalty”.
6. Dragon’s Tear: Zelda and Sonia
Region: Illumeni Plateau
Geoglyph: Queen Sonia
Coordinates: -3096, -0077, 0211
Nearest location: Tabantha Bridge Stable
The geoglyph is located on the Illumeni Plateau, northwest of the Gerudo highlands and west of the Tabantha Great Bridge stable. The easiest approach starts at Gerudo Highlands Skyview Tower.
The pattern shows Queen Sonia. The real dragon’s tear is located in the lower part of her hair on the right side of the subject.
Investigate the location to obtain the memory “Zelda and Sonia”.
7. Dragon’s Tear: Sonia’s Death
Region: Cape Cresia
Geoglyph: Gerudo knife
Coordinates: 3326, -3566, 0005
Nearest tower: Rabella Wetlands Skyview Tower
The geoglyph is located on the southeastern coast of Faron, east of Lurelin Village. Let the Rabella Wetlands Skyview Tower shoot you up and glide far to the southeast.
The motif shows a long Gerudo knife. The real dragon’s tear is located at the left end of the crossguard or the handle guard.
Examine her for the memory “Sonia’s Death”.
8. Dragon’s Tear: The Birth of the Demon King
Region: Northern Tabantha Tundra
Geoglyph: Demon King Ganondorf
Coordinates: -1864, 3622, 0237
Nearest tower: Tower in the Hebra Highlands
Take level 2 cold protection with you. The geoglyph lies in the far north of the Tabanta snowfield. From the tower in Hebra Highlands you can glide northeast.
The huge motif shows the Demon King. The dragon’s tear is on the left side above his outstretched arm.
The body of water contains the memory “The Birth of the Demon King”.
9. Dragon’s Tear: The Oath of the Wise
Region: Talus plateau in Lanayru
Geoglyph: Secret Stone
Coordinates: 4468, -0305, 0075
Next tower: Tower on the Mount Lanayru
The geoglyph is located far to the east Hyrule’s southeast of the Zora’s Domain. Let yourself be shot into the air from the tower on the Mount Lanayru and glide east or northeast.
The pattern shows a Secret Stone. The real Dragon’s Tear is located on a small raised hill on the right side of the geoglyph.
Examine them for the memory “The Oath of the Wise”.
10. Dragon’s Tear: Royal Duty
Region: Southwest coast of Lake Hylia
Geoglyph: Tombstone with flowers
Coordinates: -0649, -2683, 0068
Next tower: Popla Foothills Skyview Tower
The geoglyph is located on the rock face of Kappore Mountain west of Lake Hylia. Starts at Popla Foothills Skyview Tower and glides southwest.
The motif shows a gravestone surrounded by several flowers. The real tear is in the left flower.
Examine them for the memory “Royal Duty”.
11. Dragon’s Tear: The Time Traveling Sword
Region: Eldin Mountains
Geoglyph: Master Sword
Coordinates: 0892, 2951, 0362
Next tower: Tower at the Thyphlo Ruins
The massive Master Sword motif lies on a rocky peak north of the Sikukuu Shrine. Let yourself be launched into the air from the tower at Thyphlo Ruins and glide to the southeast.
The Dragon Tear is near the tip of the blade. Since the Location is located on an elevated rocky ridge, you can see it very clearly from the air.
Examine the tear for the memory “The Time Traveling Sword”.
12. Dragon’s Tear: The Tears of the Dragon
Region: Rist Peninsula in Akkala
Geoglyph: None
Coordinates: 4535, 2144, 0002
Nearest shrine: Gemimik Shrine
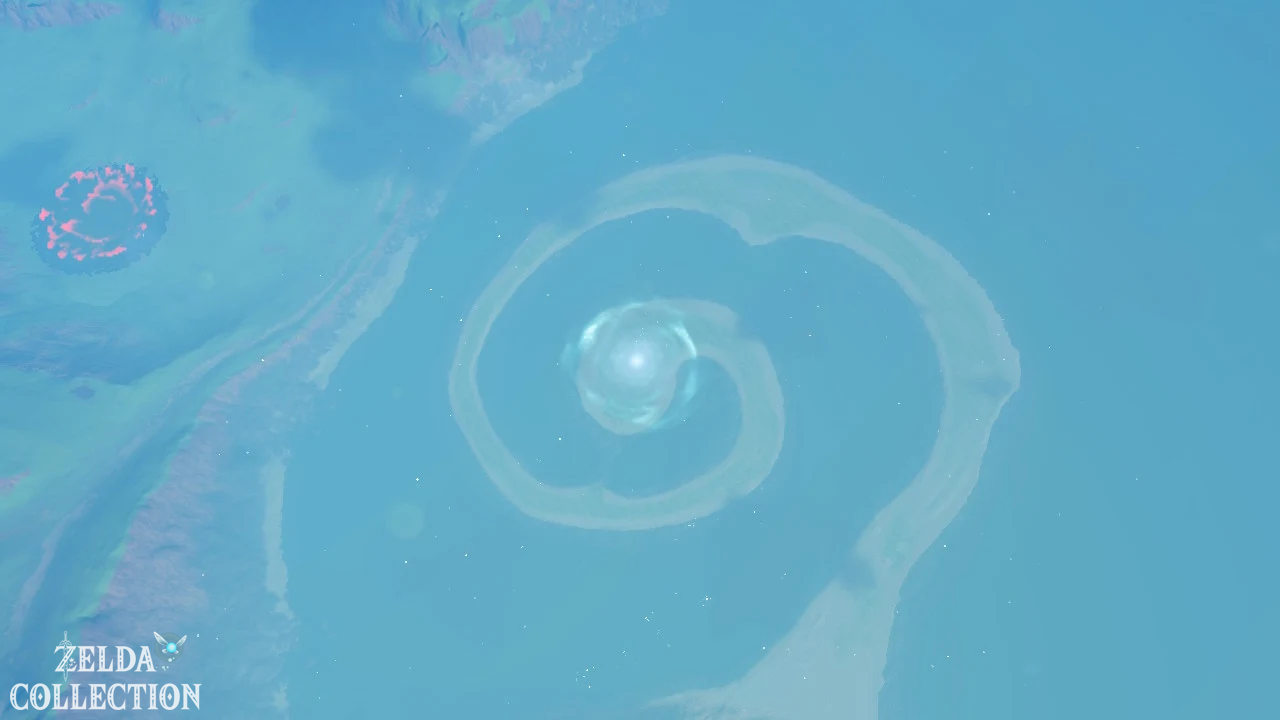
After you have examined all eleven geoglyphs, a short cutscene will automatically start. A final dragon’s tear falls on Rist Peninsula, the spiral headland in eastern Akkala.
Teleport to Gemimik Shrine in the center of the peninsula or travel by road from Akkala Highlands. The teardrop is in the center of the spiral coast and is shown as a yellow objective marker.
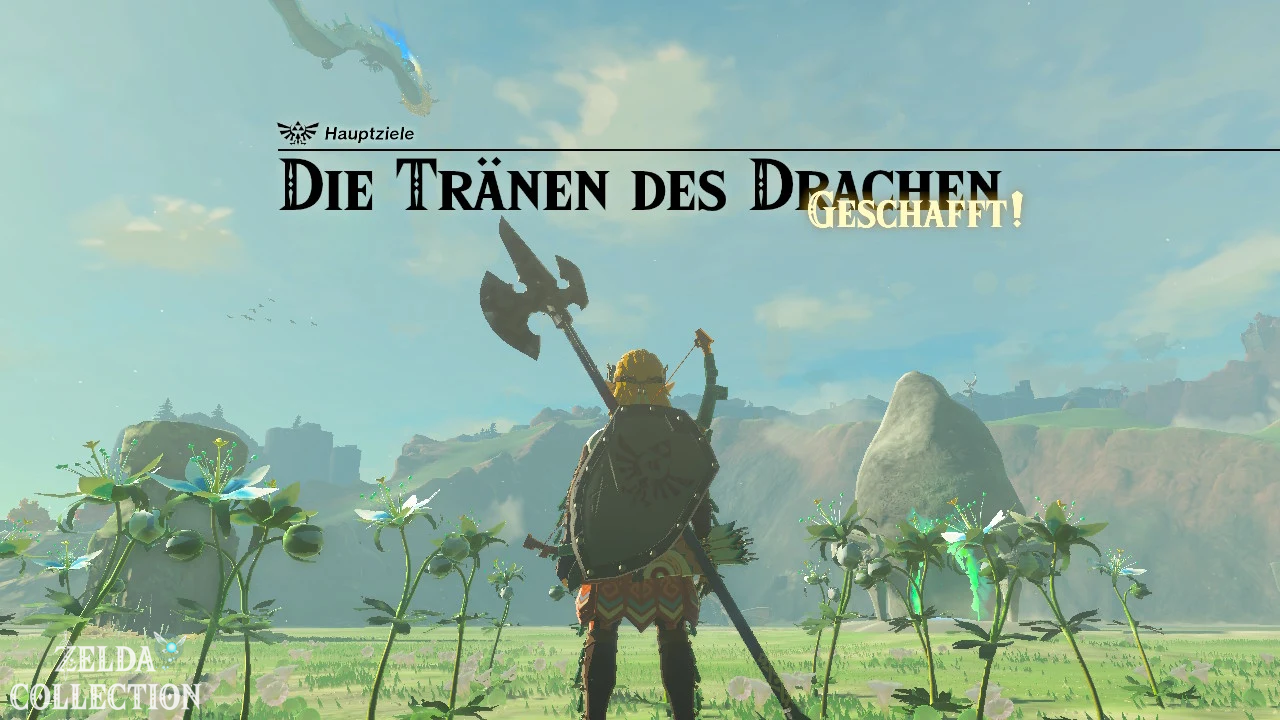
Examines the water surface. The memory “The Tears of the Dragon” completes the main quest and reveals the designated Master Sword Location.
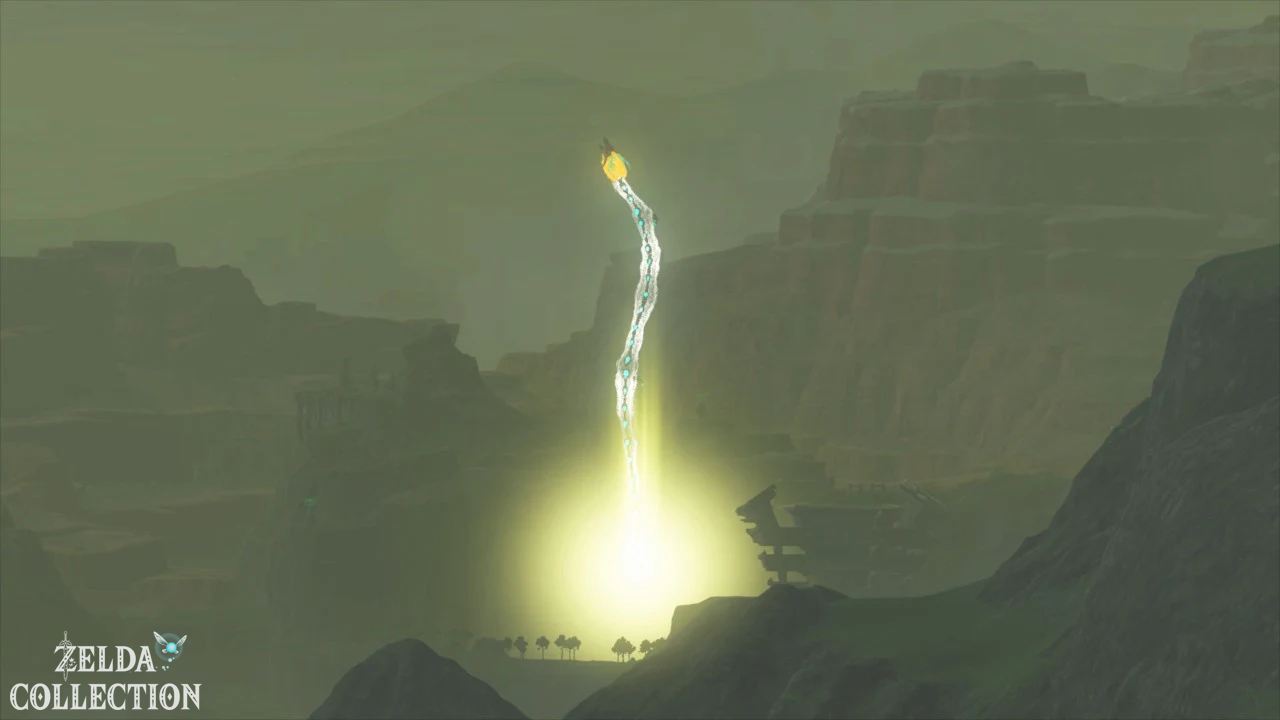
The Light Dragon already existed before. It is not created by memory. However, after the cutscene, he appears nearby and temporarily flies low enough to be relatively easy to reach.
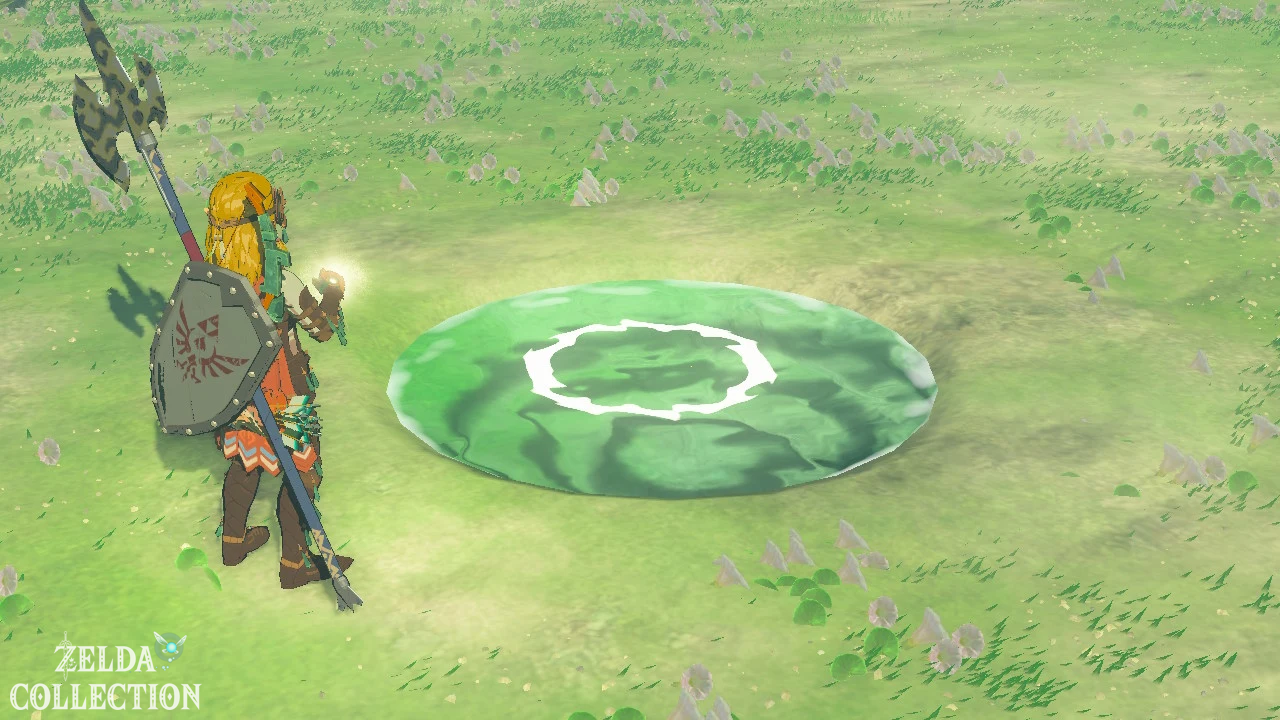
Reach White dragons find and
The Light Dragon flies a large route around all of Hyrule. Unlike Dinraal, Naydra and Farosh, it never descends into the Depths. His full round takes a long time, so you shouldn’t just wait for him at a single point.
Immediately after the twelfth dragon tear, he flies near the Rist Peninsula. Take advantage of this opportunity as soon as possible.
From Ulri Mountain Skyview Tower Start
Teleport to Ulri Mountain Skyview Tower and let yourself be shot into the sky. Find the Light Dragon as it ascends and glide onto its back using Tulin’s Gust of Wind.
If the dragon is too far away, land on a sky island and use an air motorcycle, a Wing with fans, or multiple Rocket Shields.
Jumping off a sky island
The Light Dragon flies past many sky islands and cartography towers. Open the sky map, look for his glowing figure and teleport to a shrine that is in front of him on the route.
Jump off, open the Paraglider and use Tulin’s Gust of Wind. The updrafts on the dragon’s body carry Link upwards as you approach him.
Land on the Light Dragon
You can safely stand on the back and head of the Light Dragon. Unlike Dinraal, Naydra and Farosh, Link does not require any heat, cold or electrical protection.
Lands behind the head if possible. Collect splinters from the spines along the way and then run forward to Master Sword.
Opportunity missed after the last tear
If you haven’t reached the Light Dragon after the twelfth reminder, the Master Sword is not lost. Free the Great Deku Tree in the Korok Forest. It permanently marks the dragon’s current position on the map and lowers its flight path.
You can find the directions in our guide to the Lost Woods and the forest of the Koroks.
Prepare two stamina wheels
To pull out the Master Sword, Link needs two full green stamina wheels. Yellow bonus stamina from dishes or a bed does not count.
Link starts the game with a stamina circle. For the second circle you need five additional Stamina Vessel. Each container costs four blessing lights. From the normal starting value, you have to complete at least 20 shrines.
| Expansion | Required Lights of Blessing | Required shrines |
|---|---|---|
| 1 endurance segment | 4 | 4 |
| 2 endurance segments | 8 | 8 |
| 3 endurance segments | 12 | 12 |
| 4 endurance segments | 16 | 16 |
| Complete second circle | 20 | 20 |
Exchange the blessing lights at a statue of the goddess for Stamina Vessel. Statues can be found in the Emergency Shelter of the scouting post, in the time temple on the Great Sky Island and in the larger villages Hyrule’s.
Too many Heart Container selected
If you have almost exclusively improved hearts so far, you can use the horned statue under the Lookout Landing. It exchanges heart and Stamina Vessel with each other for a small fee.
The statue is unlocked through the episodes “The Voice from the Wall” and “Demon Pact”.
Master Sword draw from the Light Dragon
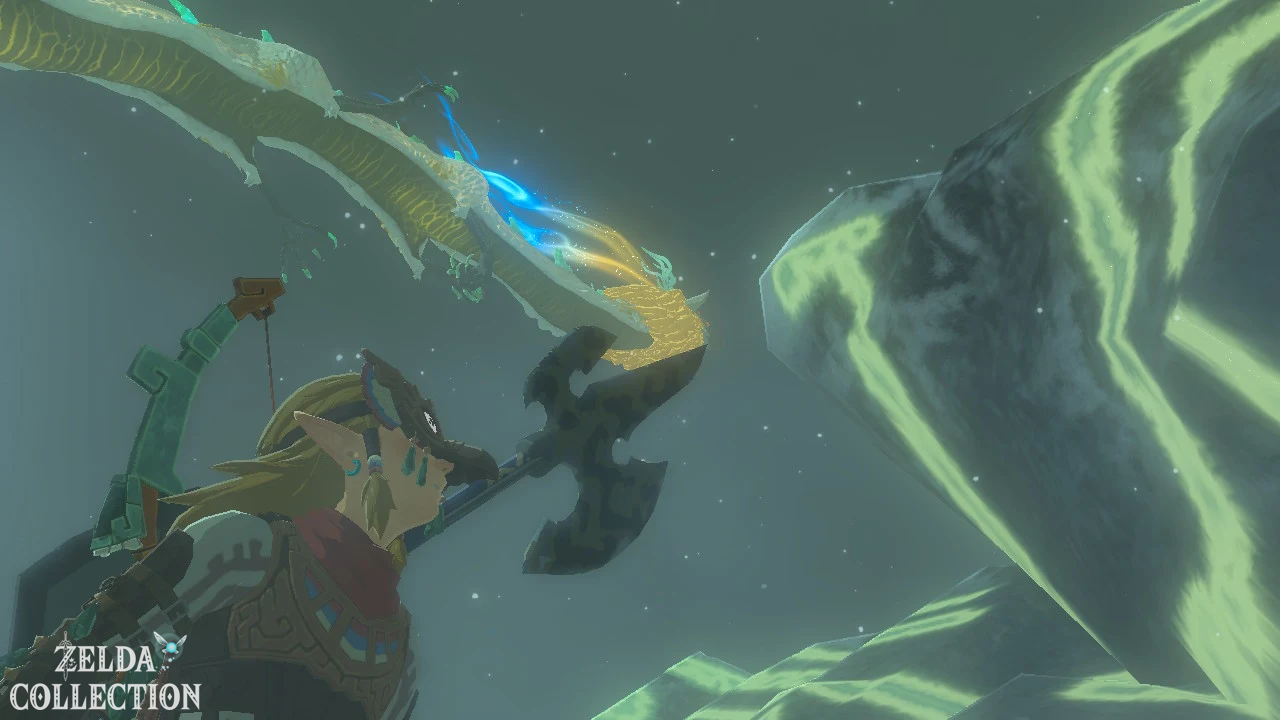
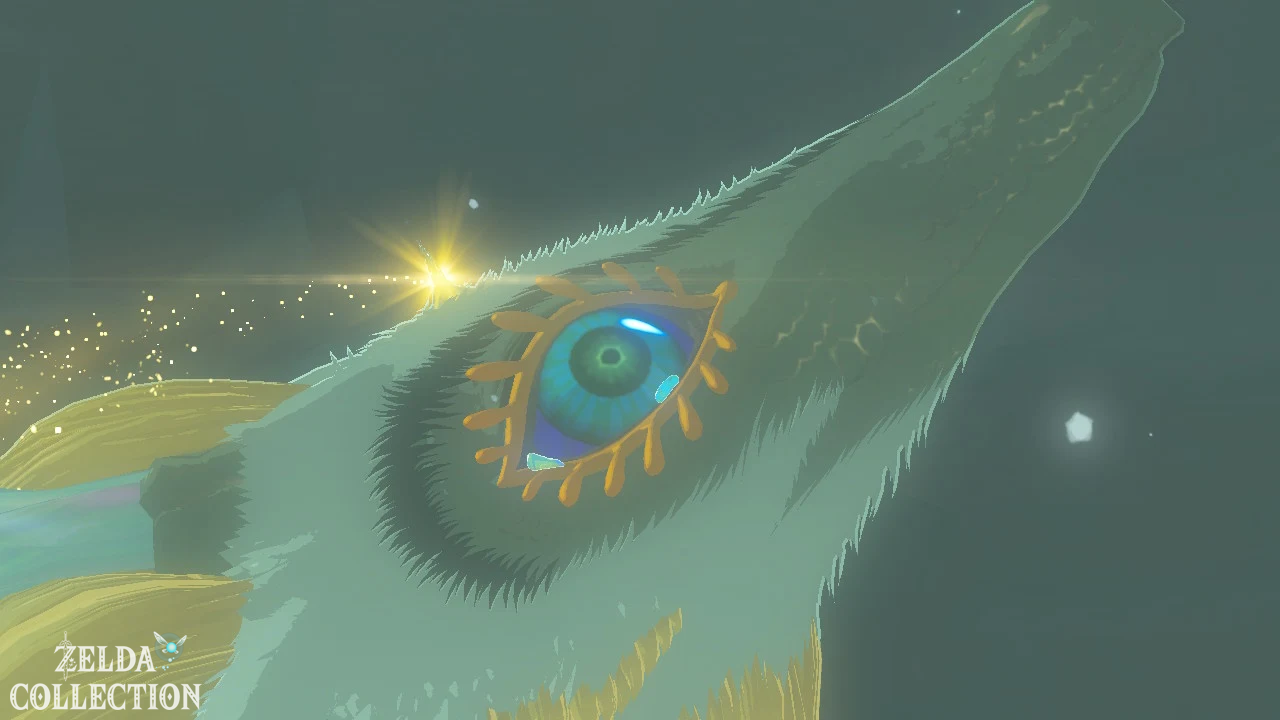
Run on the Light Dragon’s back to the head. The Master Sword is stuck between his eyes. Approach the handle and press the button that appears.
Holds the button down during the entire sequence. The Light Dragon attempts to shake off Link and Link’s stamina is completely drained. Two complete Circular Design are exactly enough.
If you don’t have enough lasting stamina, the attempt will be aborted. The Light Dragon takes no damage and the sword stays in place. You can return later with more stamina.
After successfully pulling it out, a longer cutscene starts. The fully restored Master Sword will then be permanently in Link’s weapon inventory.
If you have already received the main quest “Recovering the Hero’s Sword” from Great Deku Tree, it will be completed after pulling it out.
Find Alternative: Master Sword via the Great Deku Tree
The Great Deku Tree is located in the Korok Forest. The Lost Woods cannot be traversed from the surface in the normal way. You have to get into the forest via Depths.
Jump into the abyss in Minsh Forest or near the Great Forest of Hyrule. In Depths, follow the direction of the Korok forest and use one of the large stone Ascend towers below the center.
In the forest it turns out that the big one Great Deku Tree is infected by the Gloom. Jump through the chasm within and first defeat the Gloom Hands and then Phantom Ganon.
Then talk to Great Deku Tree again. He shows Link a reminder and marks the Master Sword’s moving location on the map.
Since the marker follows the Light Dragon, this is the most reliable way to find the dragon again later.
Features of the Master Sword
The Master Sword’s attack value is not displayed as a number in the normal inventory. The blade is already a strong and reliable weapon without Fuse.
Near Gloom enemies, Phantom Ganon and Ganondorf, the sword begins to glow. In this state it deals more damage and is particularly suitable for the Depths and the final section of the game.
Can the Master Sword break?
The Master Sword cannot be permanently destroyed. After prolonged use, it loses its energy and cannot be equipped temporarily.
After about ten minutes of real playing time, the blade is fully charged again. Pause menus and other situations where the game is paused can delay regeneration.
The sword remains in the inventory during the recharge time and does not require a free weapon slot to return.
Insert sword beam
When hearts are fully filled, the Master Sword can fire an energy beam. Equip the blade, hold down the throw button and release it.
The beam does not consume arrows, but does drain the sword’s energy and durability. It is useful for activating distant switches and defeating weak enemies.
Fuse with the Master Sword
The Master Sword can be linked to materials, monster parts and weapons like other melee weapons. The Fuse increases damage and transfers additional properties to the blade.
Suitable synthetic materials
- Silver Lynel Horns for very high damage
- Gleeok horns for sustained elemental attacks
- Silver Bokoblin, Moblin and Lizalfos horns
- High quality construct horns
- Rocks and Talus Hearts for destroying ore and armor
- Gemstones for large-scale elemental effects
The material is not constantly visible on the normal sword. When swinging, its shape appears as a green glowing projection on the blade.
When the Master Sword completely loses its energy, the current synthesis material also disappears. After regeneration you can attach a new material.
Which materials are worthwhile?
Do not use particularly rare materials for normal exploration if you primarily use the sword to break crates or ore. For boss fights and strong underground opponents, Lynel, Gleeok and high-quality construct horns are worthwhile.
An elemental horn is often more practical than a gemstone. Gleeok horns create an elemental effect with every hit, without the need to recharge the weapon after a few hits.
All Dragon Tears Memories
The eleven geoglyphs and the last dragon tear unlock a total of twelve memories. There are also additional scenes in the full memories menu that automatically appear during the main story.
| Dragon Tear | reminder | Activation |
|---|---|---|
| 1 | Where am I? | Rauru geoglyph at the New Stable of Maritta |
| 2 | An unknown world | Castle geoglyph on Tabanta Hills |
| 3 | Minerus Council | Purah Pad geoglyph in Eldin |
| 4 | The attack of the Gerudo | Molduga geoglyph in West Necluda |
| 5 | Feigned loyalty | Ganondorf geoglyph in the Gerudo Highlands |
| 6 | Zelda and Sonia | Sonia geoglyph on the Illumeni Plateau |
| 7 | Sonia’s death | knife geoglyph on the Cape Cresia |
| 8 | The birth of the Demon King | Geoglyph in the northern Tabantha Tundra |
| 9 | The Oath of the Wise | Secret Stone geoglyph in Lanayru |
| 10 | Royal Duty | Gravestone geoglyph at Lake Hylia |
| 11 | The time traveling sword | Master Sword Geoglyph in the mountains of Eldin |
| 12 | The Tears of the Dragon | Last tear on the Rist Peninsula |
Missing memories despite all the dragon tears
The Dragon Tears do not fill the entire memory menu. Additional memories are unlocked through main quests such as “Crisis at Hyrule Castle”, the search for the fifth sage, the Great Deku Tree and obtaining the Master Sword.
Empty fields in the reminder menu do not automatically mean that you are still missing a geoglyph.
Checklist of all twelve dragon tears
| Completed | No. | Location | coordinates |
|---|---|---|---|
| ☐ | 1 | North Hyrule Plain | -1413, 0966, 0124 |
| ☐ | 2 | Tabantha Hills | -2551, 1889, 0319 |
| ☐ | 3 | Eldin Canyon | 1828, 0738, 0089 |
| ☐ | 4 | West Necluda | 0695, -1309, 0053 |
| ☐ | 5 | Gerudo Highlands | -3178, -1700, 0419 |
| ☐ | 6 | Illumeni Plateau | -3096, -0077, 0211 |
| ☐ | 7 | Cape Cresia | 3326, -3566, 0005 |
| ☐ | 8 | Northern Tabantha Tundra | -1864, 3622, 0237 |
| ☐ | 9 | Talus Plateau | 4468, -0305, 0075 |
| ☐ | 10 | Mount Faloraa on Lake Hylia | -0649, -2683, 0068 |
| ☐ | 11 | Eldin Mountains | 0892, 2951, 0362 |
| ☐ | 12 | Rist Peninsula | 4535, 2144, 0002 |