

The Path to the Gerudos in The Legend of Zelda: Tears of the Kingdom is an important section of the main quest
“Regional Phenomena”.
For this task you should investigate the four mysterious phenomena in Hebra, Eldin, Lanayru and the Gerudo Desert. Gerudo Town is located far to the southwest Hyrule’s and is the furthest of the four target regions from central Lookout Landing.
This Walkthrough shows both a longer route over the streets and through the Gerudo Canyon as well as a much faster route over the Skyview Tower and the sky. Afterwards we accompany Link completely through the main quest “Riju of Gerudo Town”, the defense of the desert city, the mystery of the red pillars, the Lightning Temple and both fights against the Queen Gibdo, Thunder Temple Scourge.
Preparation for the Gerudo Desert
The Gerudo Desert requires a little more preparation than many other regions. It is very hot during the day, while the temperature drops sharply at night. You also need enough elemental materials for the numerous Gibdos.
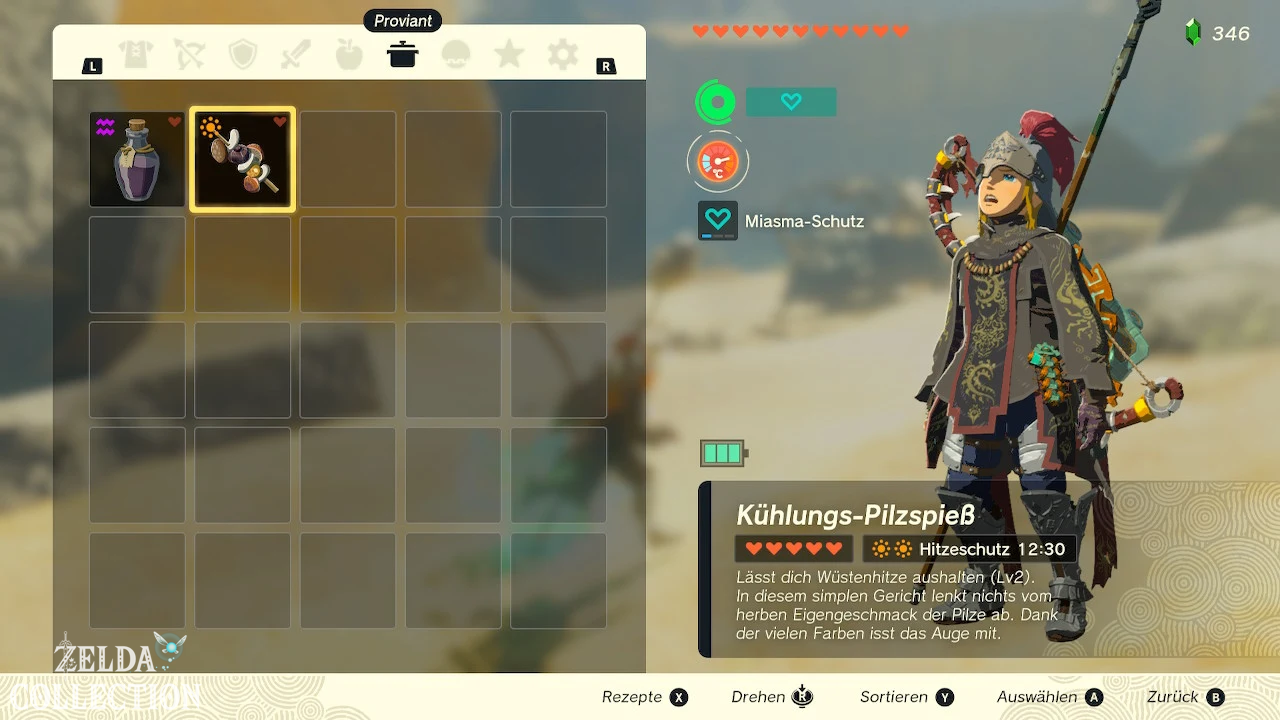
Recommended equipment
- At least two usable sheets
- About 40 to 60 arrows
- Fire Fruit, Ice Fruit or Electric Fruit
- Red, White or Yellow Chuchu Jelly
- Some bomb flowers
- A blunt weapon for smashing rocky floors
- Dishes or armor against heat
- dishes or armor against cold
- healing dishes and at least one endurance dish
1. The long way from Lookout Landing through that Gerudo Canyon
The classic path begins at Lookout Landing and leads across the plains of Hyrule to the southwest. A horse or a self-made vehicle
shortens the long distance significantly.
- Leave the Lookout Landing in a southerly direction.
- Follow the road past the tower of the Hyrule Field.
- Passes the Old Umschlagplatz or the Outskirt Stable.
- Crosses the Digdogg Suspension Bridge.
- Continue following the road towards Gerudo Canyon.
At the entrance to the valley you will meet the traveler Naia. She checks whether Link is prepared for the region’s extreme temperatures
.
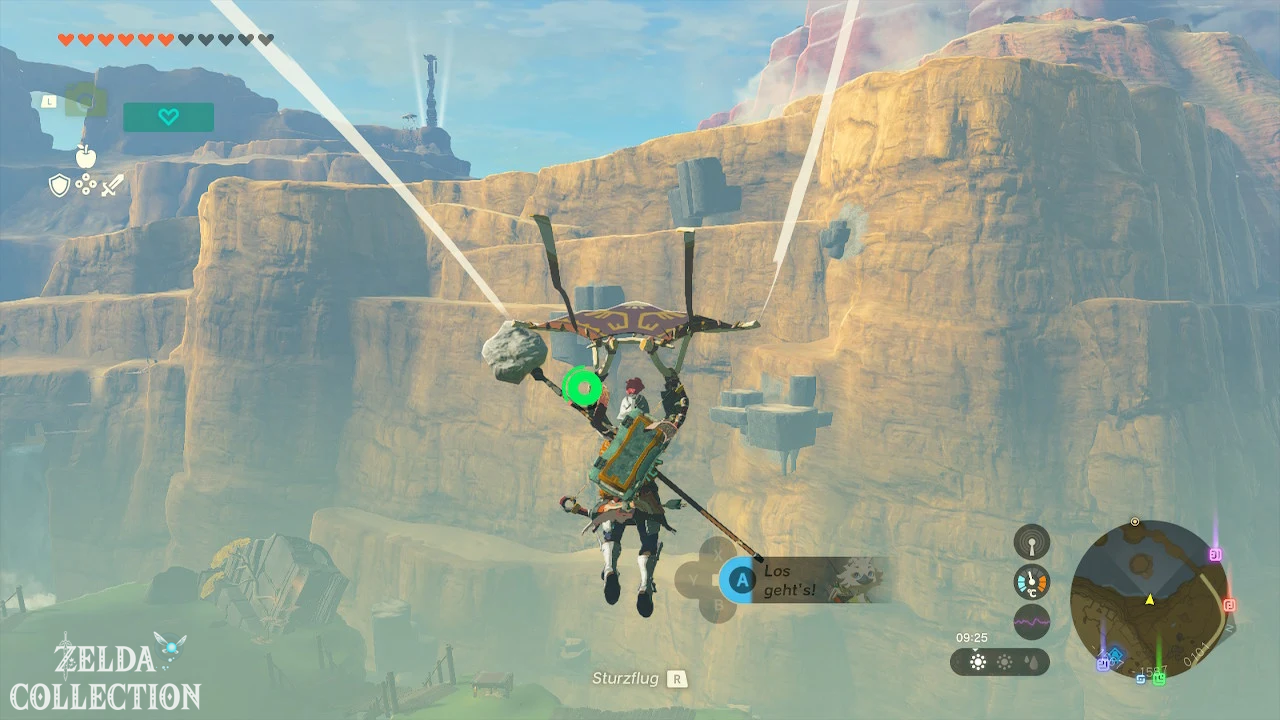
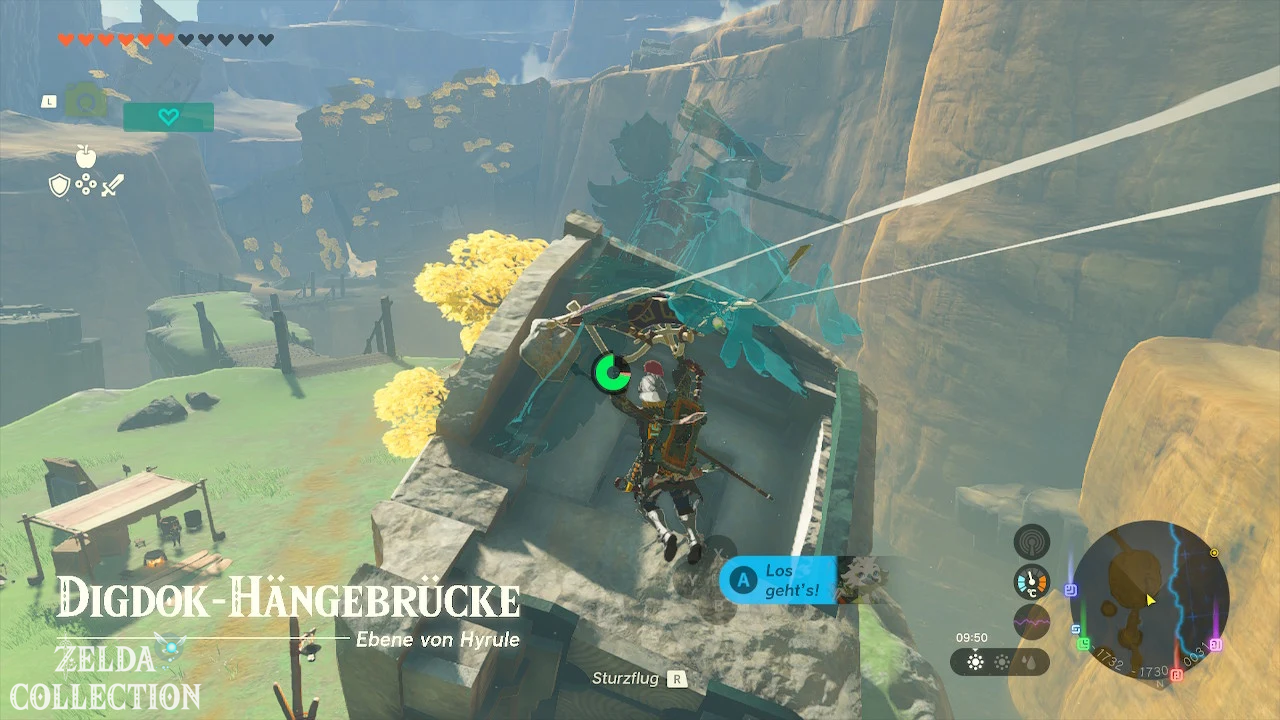
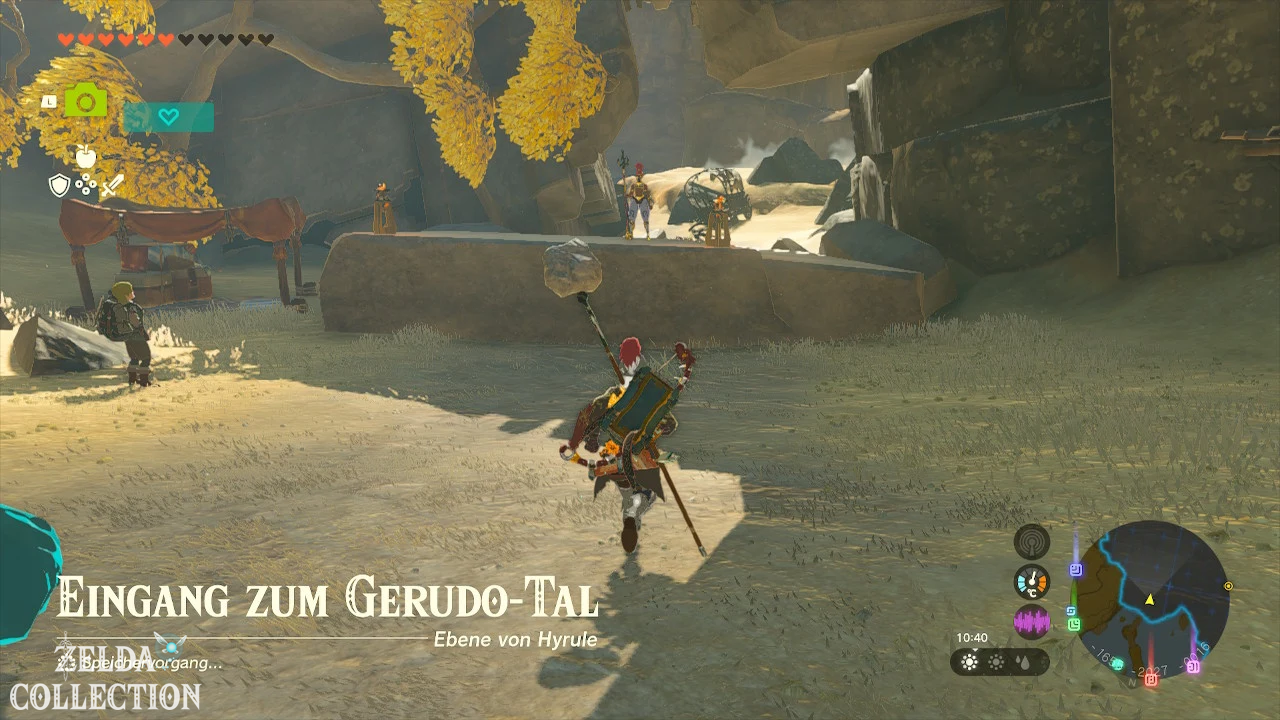
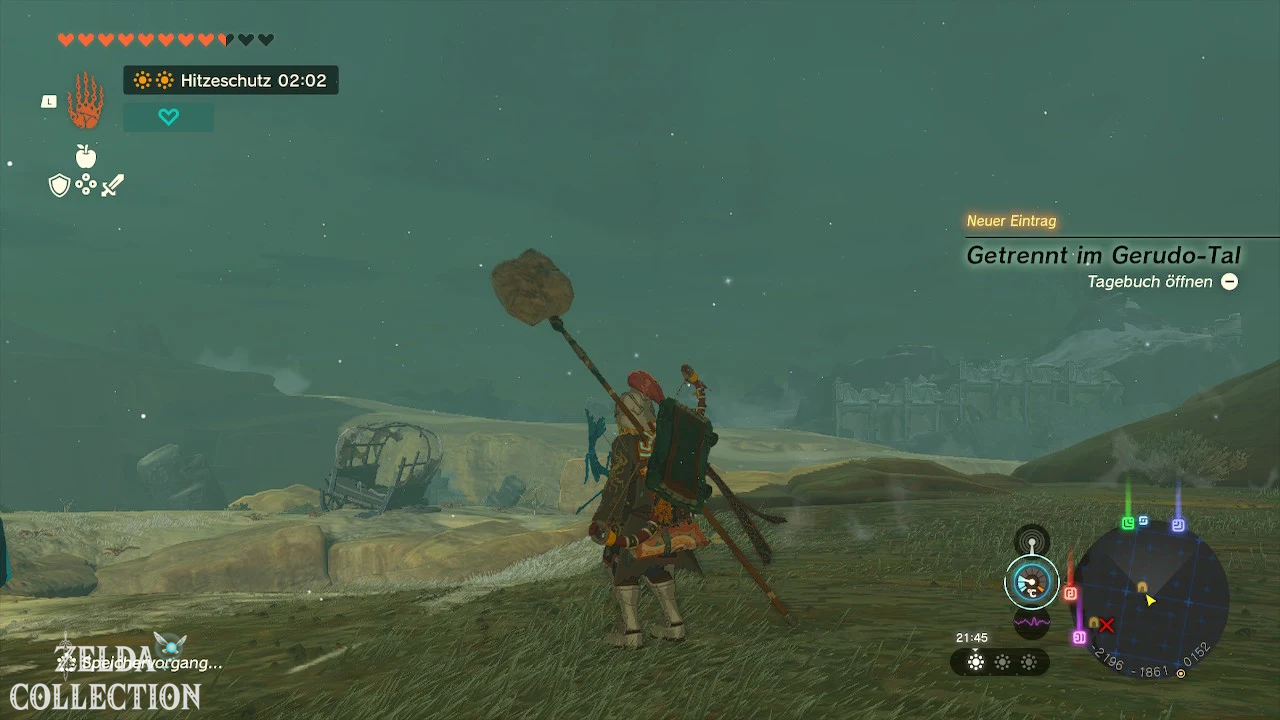
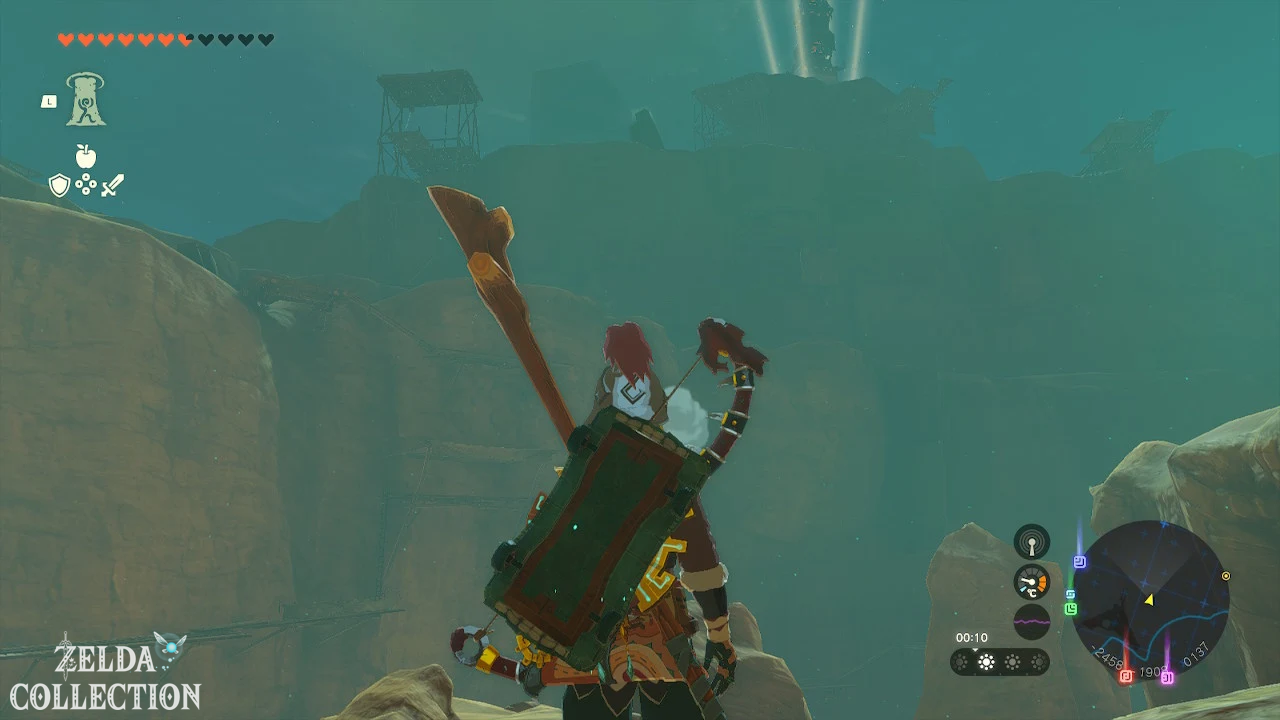
The correct answers to Naia’s questions
- In cold weather: Stay near a fire
- In the heat: Find a shady spot
- As a cooling ingredient: Chillshroom
- If there are strong temperature fluctuations: Go into a cave
After the conversation you can follow the road through the gorge. There are several caves, material depots and smaller enemy groups along the way. Since temperatures change depending on the time of day, you should adjust your armor or meal regularly.
Activate Gerudo Canyon Skyview Tower
The Gerudo Canyon Skyview Tower is elevated above the gorge. The direct climb over the steep rock faces can take a lot of endurance. Use falling skystones with the Recall, the Ascend under suitable ledges or a Zonai construction.
Be sure to activate the tower. It covers a large part of the region and then enables the significantly faster flight route to Kara Kara Bazaar and Gerudo Town.
2. The short way across heaven
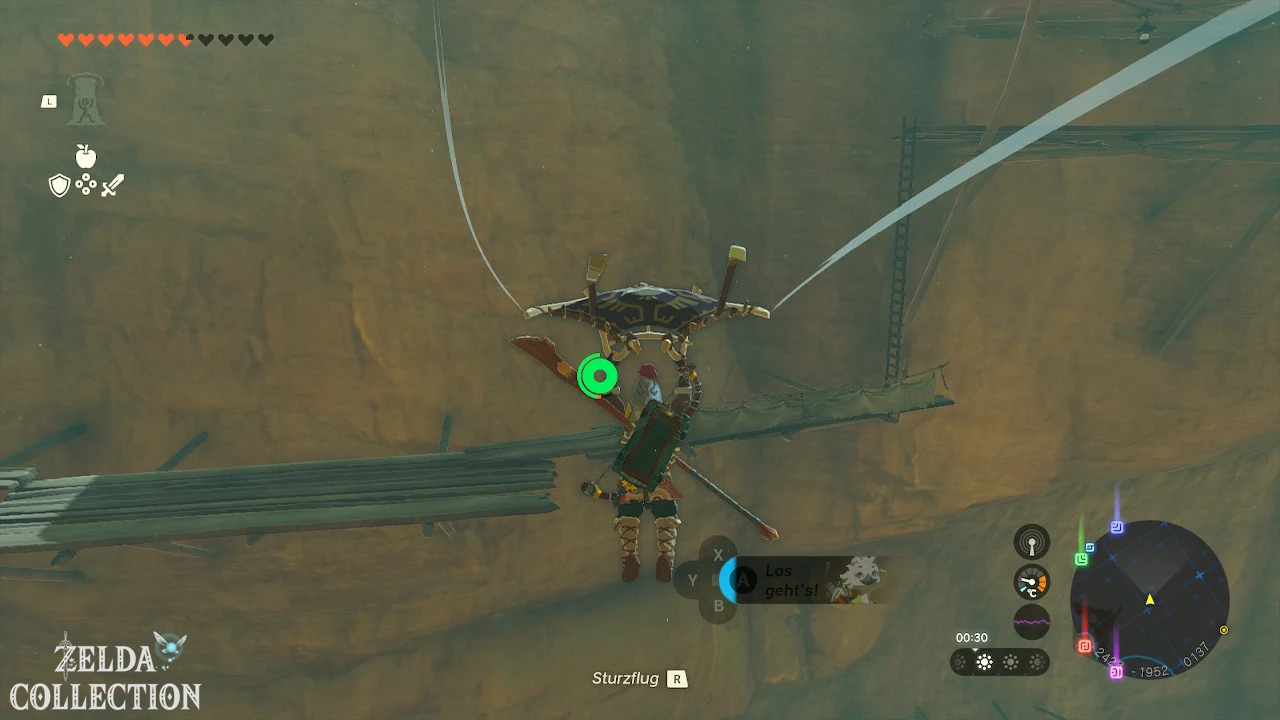
If you have already activated the Gerudo Canyon Skyview Tower, you can skip a large part of the road.
- Teleports you to Gerudo Canyon Skyview Tower.
- Let Link shoot into the sky.
- Orient yourself to the west or southwest.
- First slides to Kara Kara Bazaar.
- Land at the green glowing Mayatat Shrine.
With an improved stamina bar, a stamina dish or the Oath of Tulin you can glide significantly further towards Gerudo Town. It still makes sense to land on the Kara Kara Bazaar first. The shrine there is required as a fast travel point during the Gerudo main quest.
3. Kara Kara Bazaar and Mayatat Shrine
The Kara Kara Bazaar is the last safe resting place before the big sandstorm. Upon arrival, immediately activate the
Mayatat Shrine.
You don’t have to complete the shrine immediately. Simply touching the entrance is enough to register it as a quick travel destination.
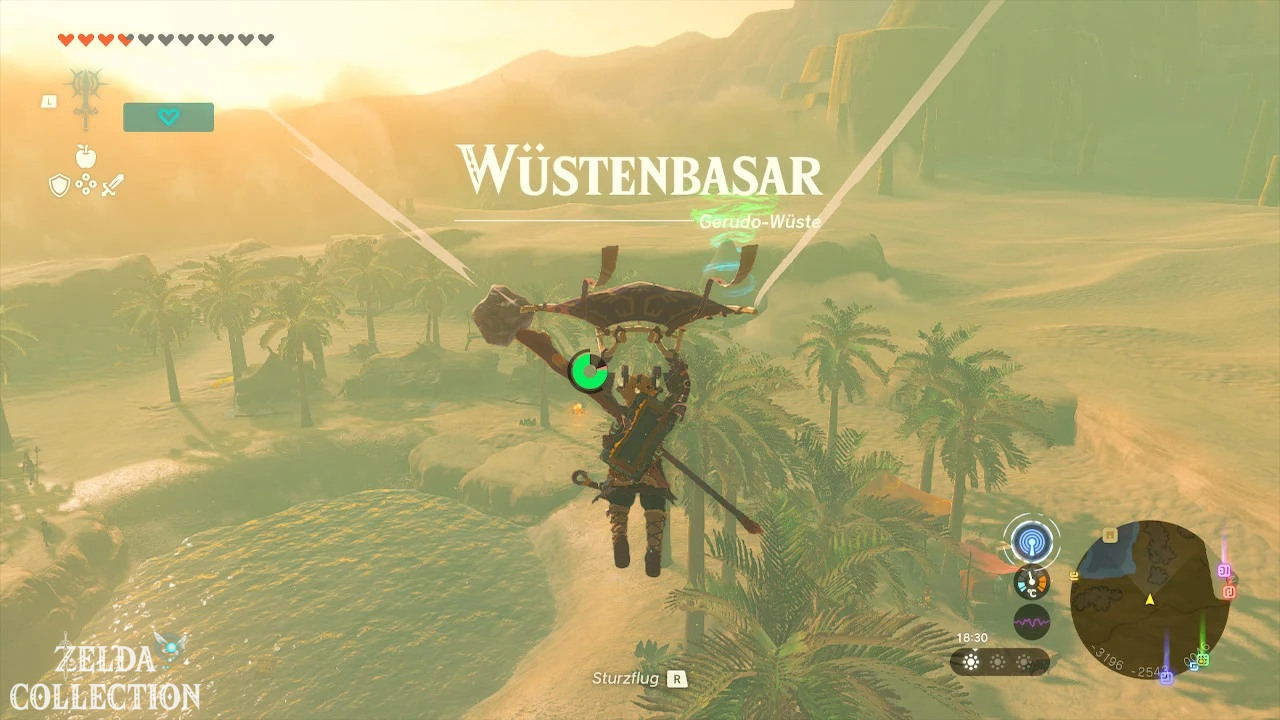
stocks in Kara Kara Bazaar
Before you move on, you should stock up on the following things:
- arrows
- Heat Protection Food
- Elemental Fruits
- medicinal dishes
- if necessary the desert headband against heat
On the tall building of the bazaar you can aim for the general direction of Gerudo Town. The city lies southwest of the bazaar.
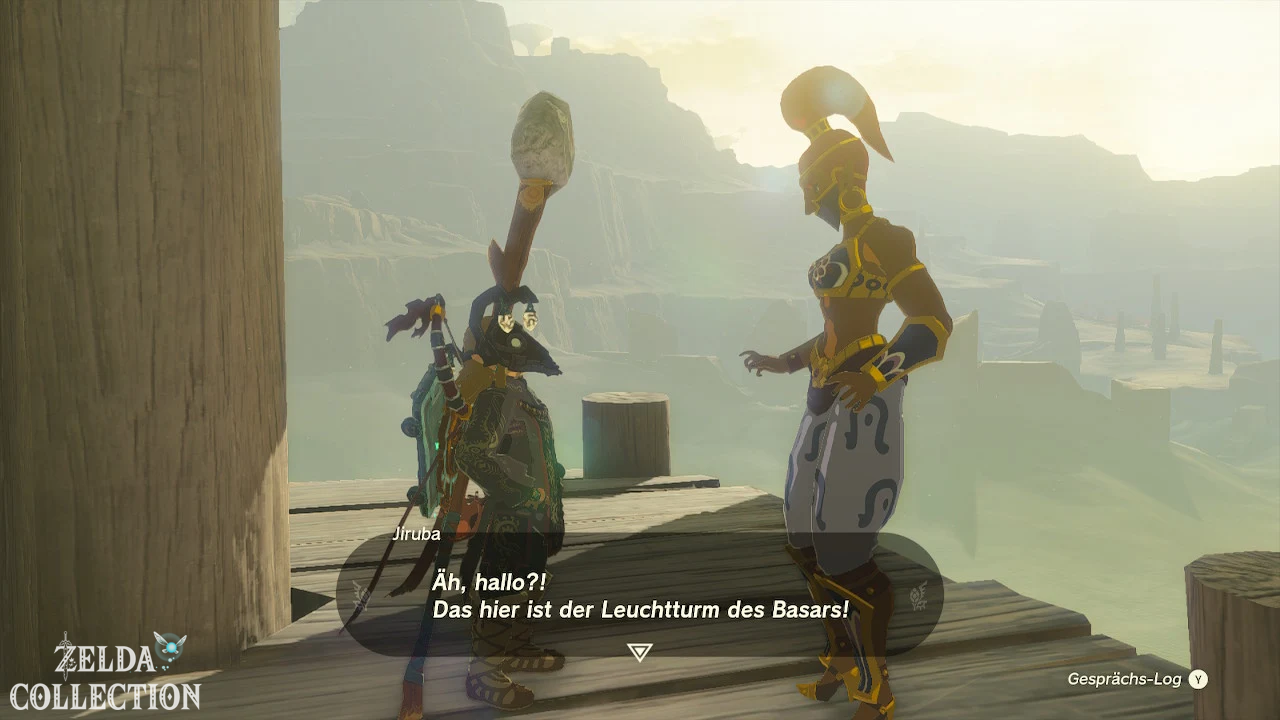
Reach 4. Cross the sandstorm and
Gerudo Town
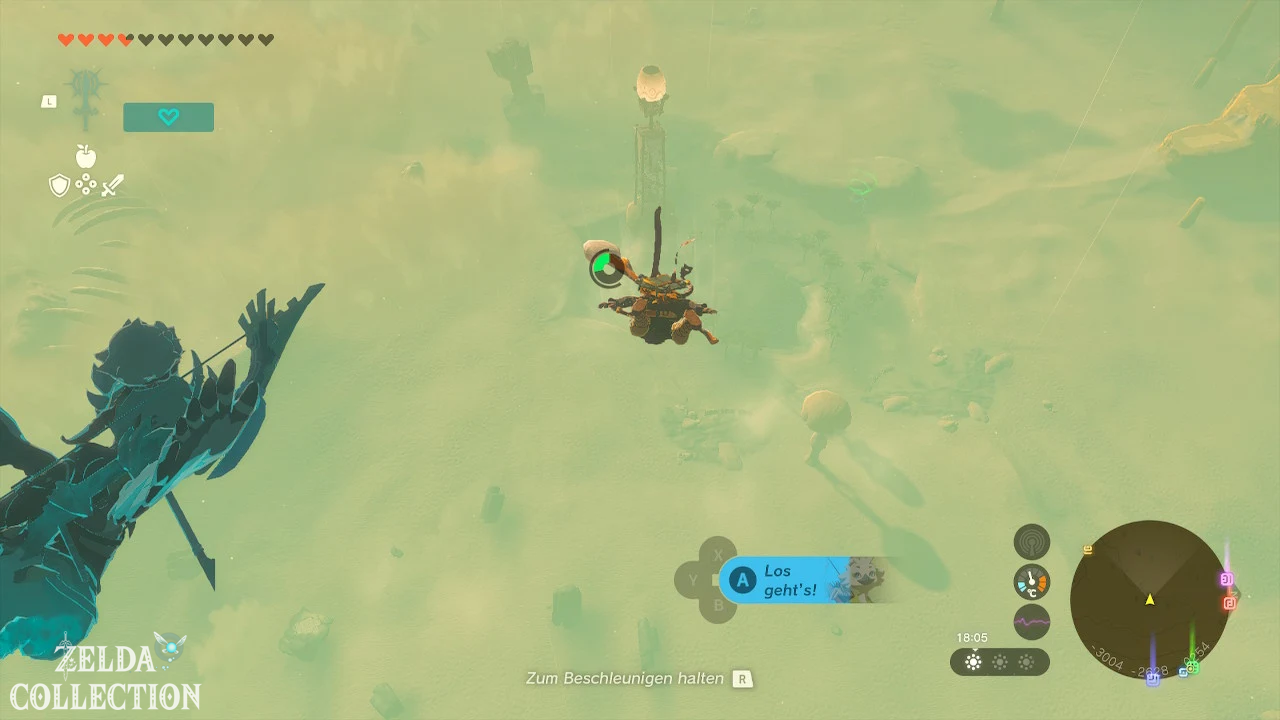
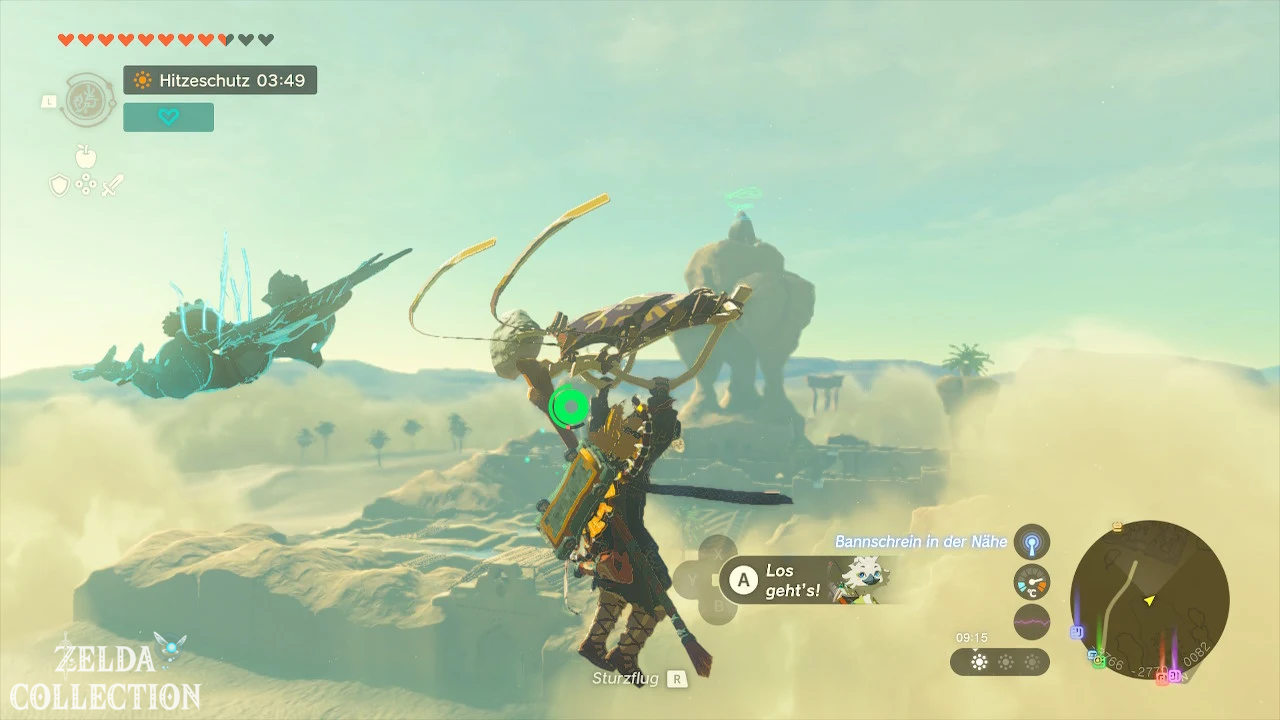
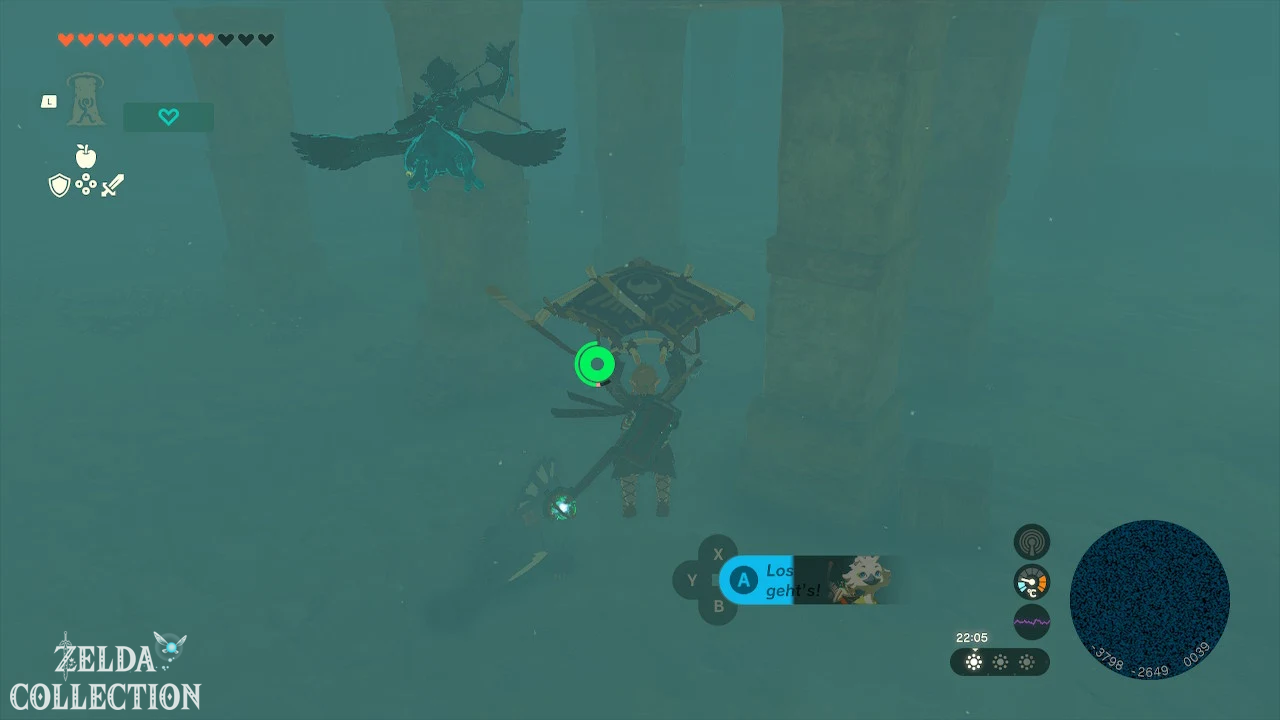
As soon as you enter the sandstorm, the map and minimap largely fail. The visibility drops significantly and several gibdos and quicksand holes lurk on the ground.
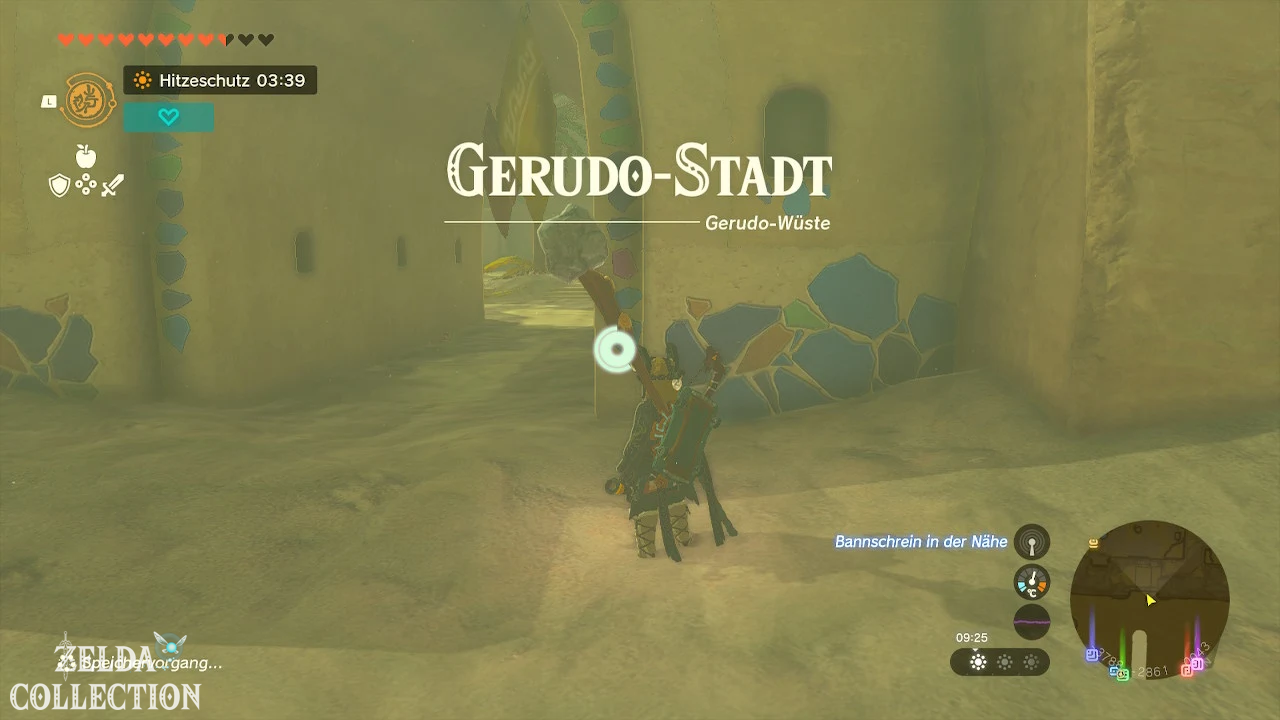
Route over ground
Aligns Link to the southwest before entering the storm. Then continue running as straight as possible. Avoid unnecessary fights as the Gerudo main quest only really unfolds after you arrive in the city.
Device Link is too far off course, looking for one of the strong updrafts in the desert area. Open the Paraglider and let yourself be carried over the sand clouds. Above the storm, visibility and orientation temporarily work again.
Faster route via the updrafts
- Use the large updraft at the edge of the Desert Bazaar.
- Opens the Paraglider at the highest point.
- Glides in a southwest direction.
- Look for more rising columns of air.
- Changes from updraft to updraft until Gerudo Town becomes visible.
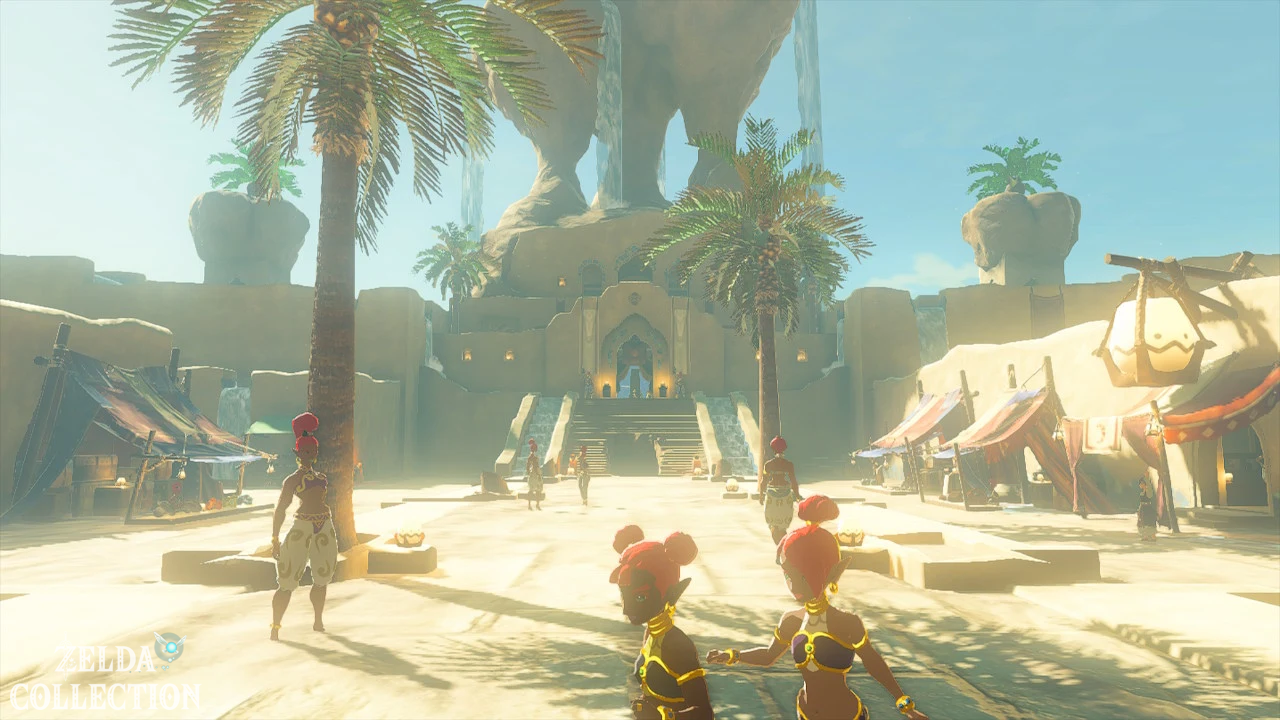
In Gerudo Town When you arrive, you will notice that the above ground ones
Streets are almost completely deserted. This is what several Gibdos believe
between the buildings.
5. How to get to the underground city
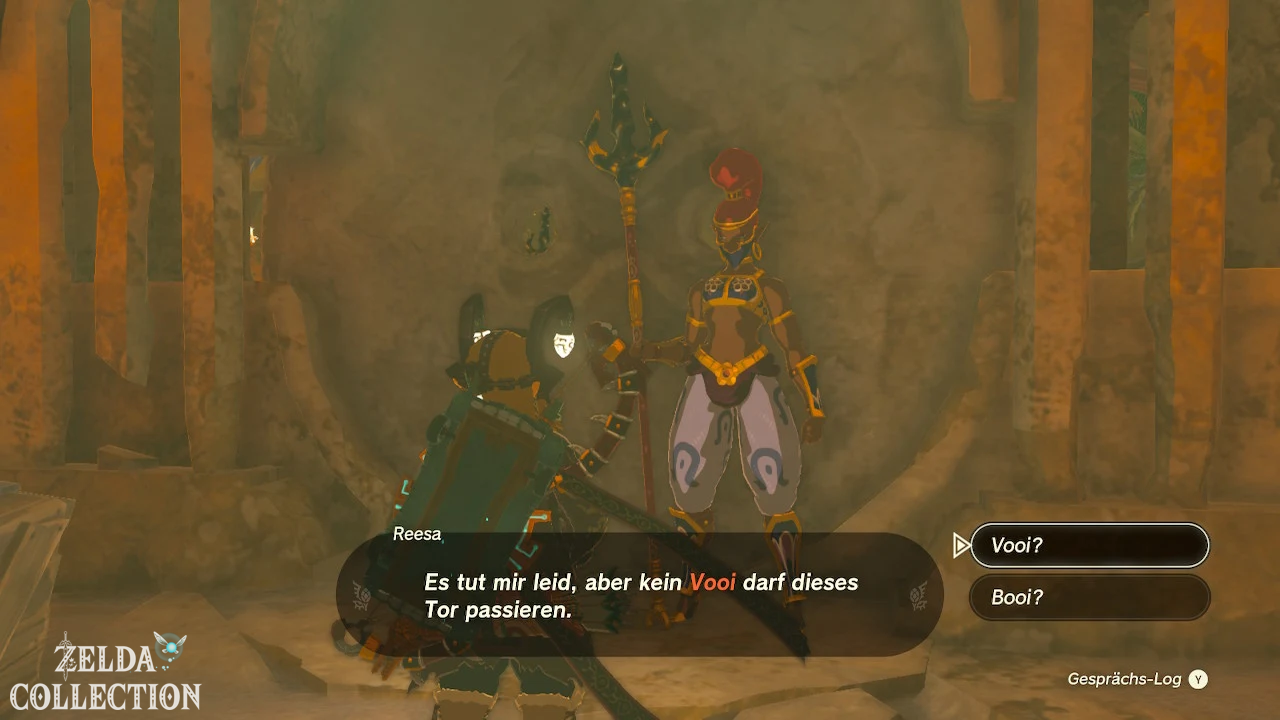
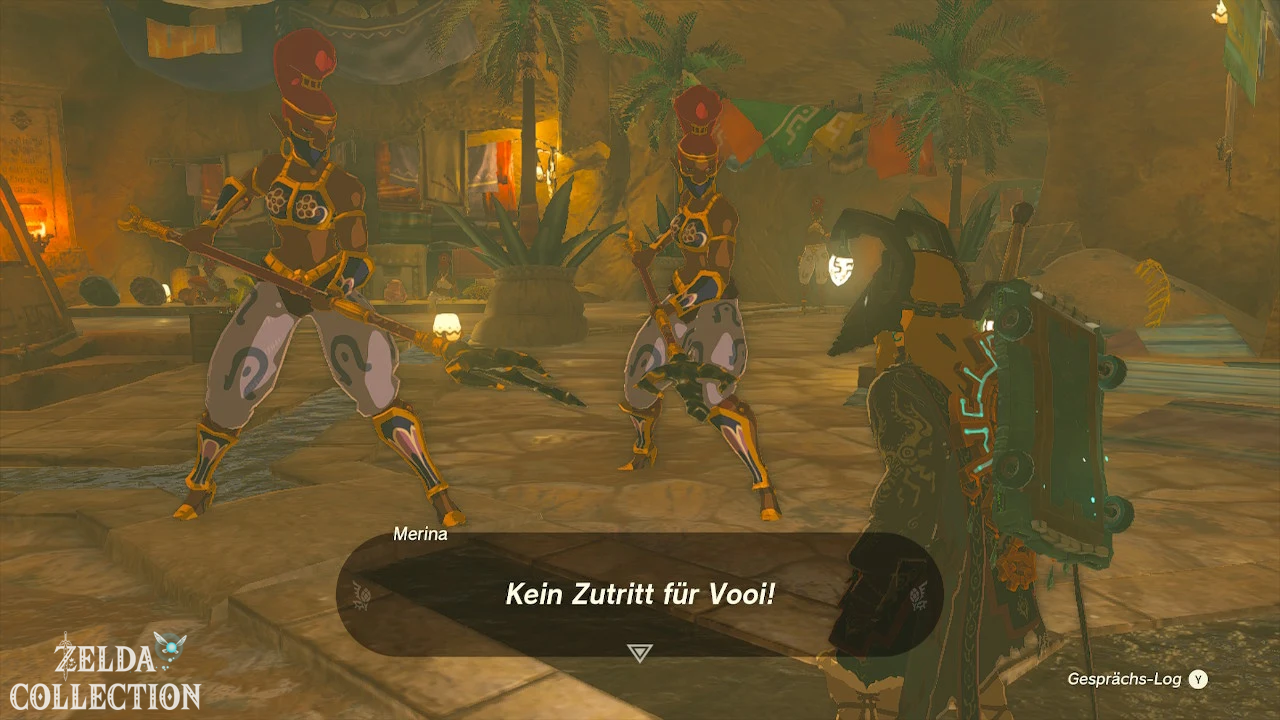
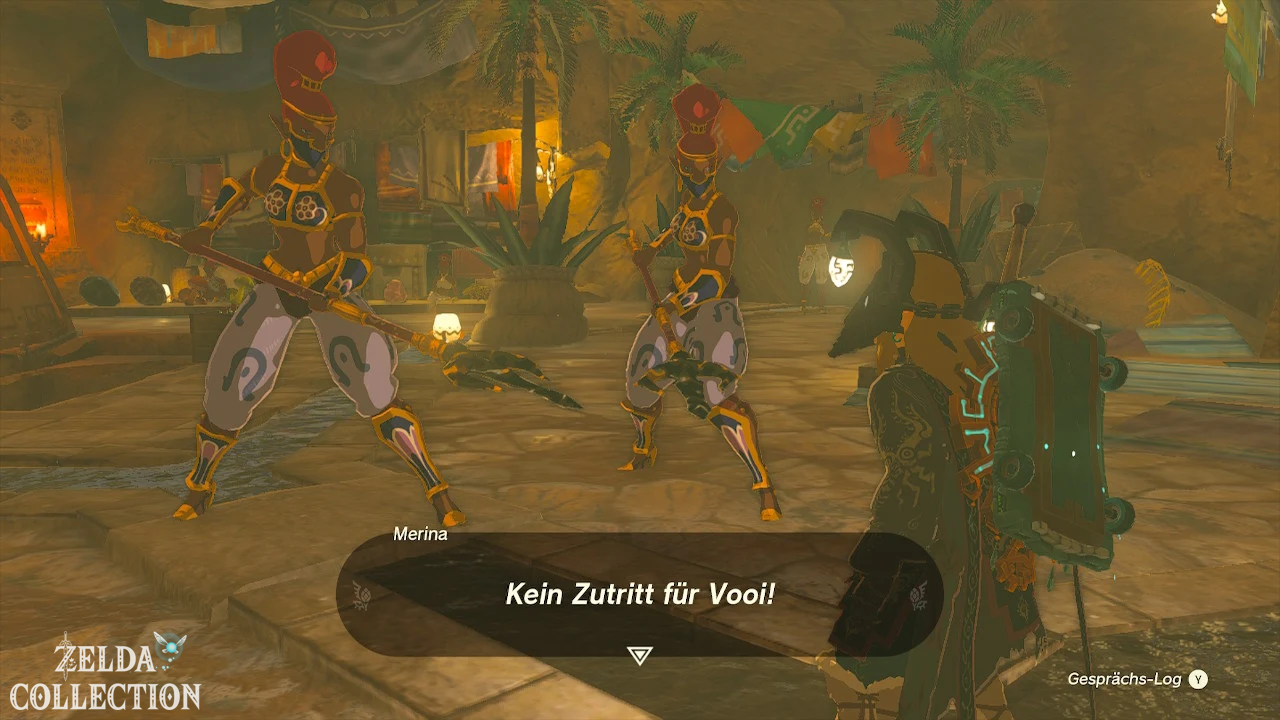
The normal entrance below the palace is initially blocked by a
Gerudo guard. Link is not allowed to simply enter the property as Voe
.
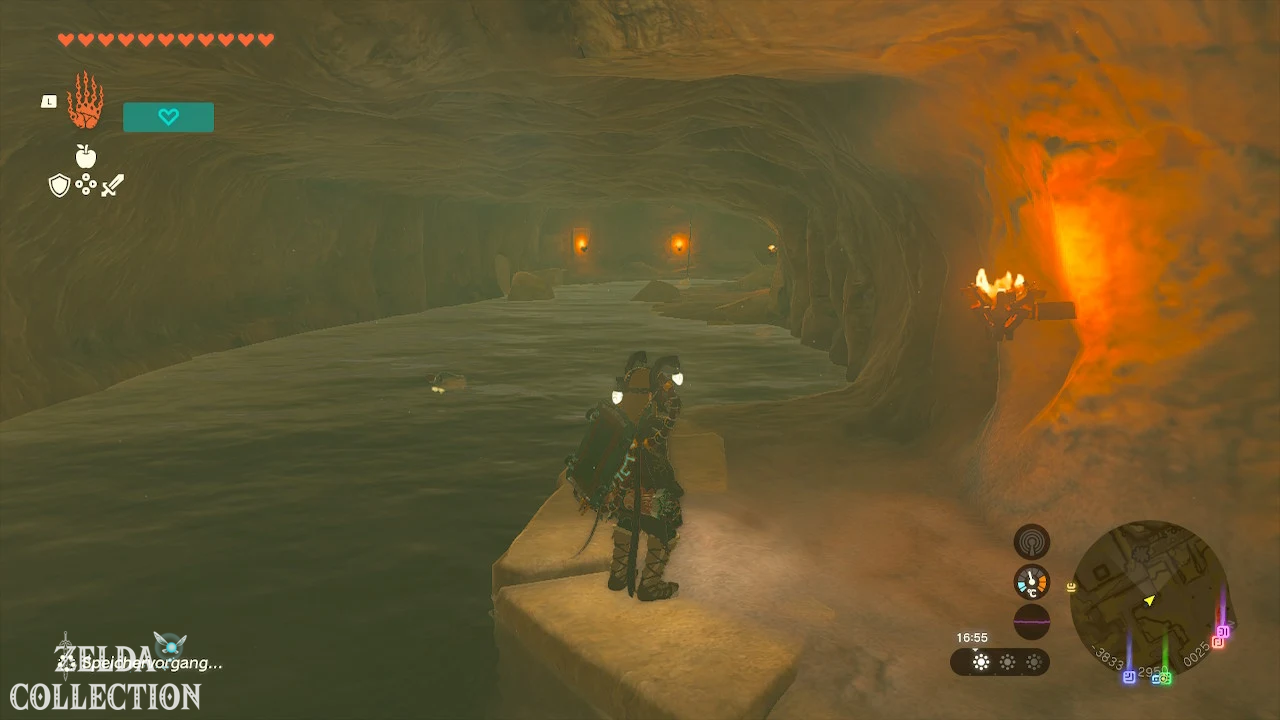
The easiest way is through the Sanctum:
- Climb the large stairs to the palace.
- Enters the Sanctum.
- Go behind the empty throne.
- Look for the decorated box or cover with a sand seal head.
- Moves the cover with the Ultrahand.
- Jump down through the uncovered opening.
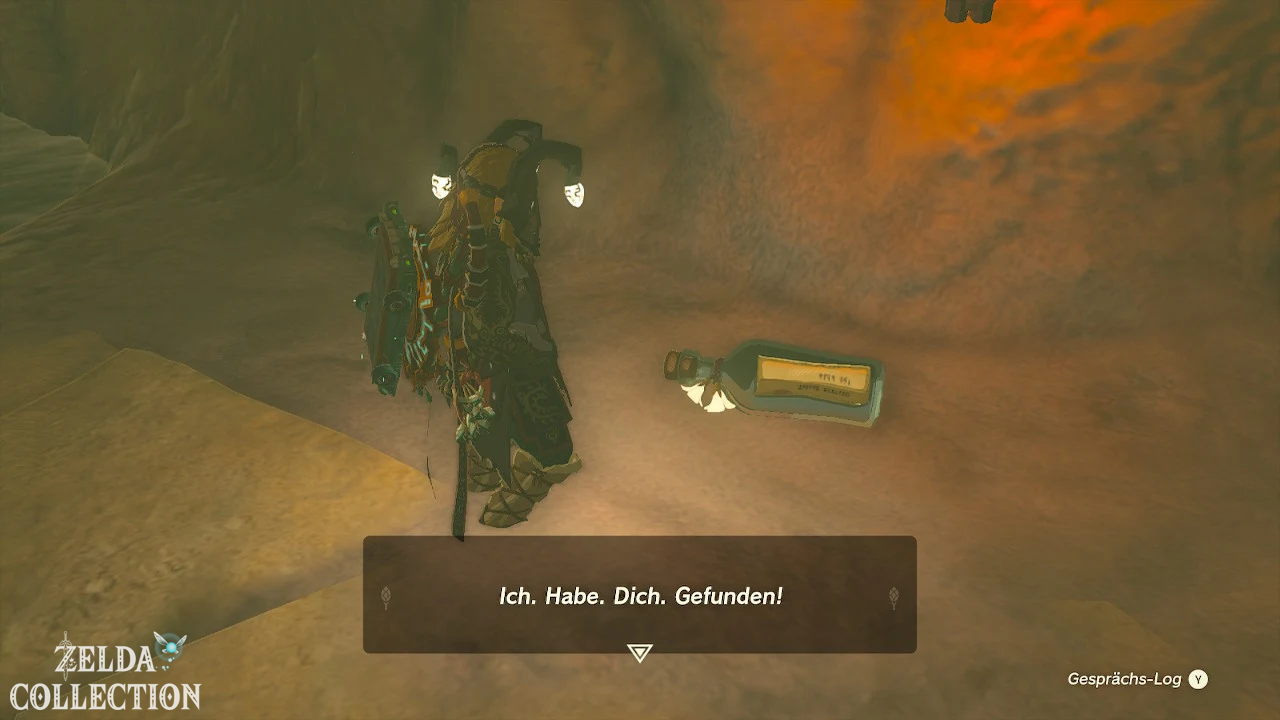
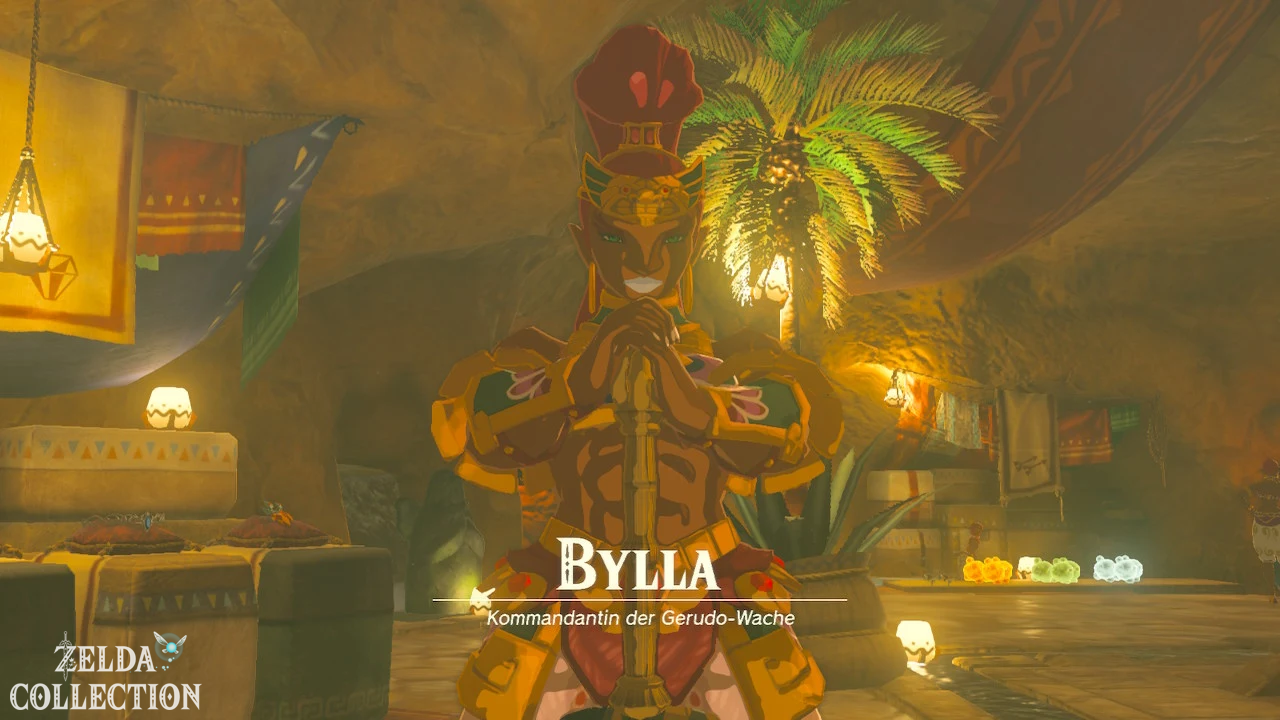
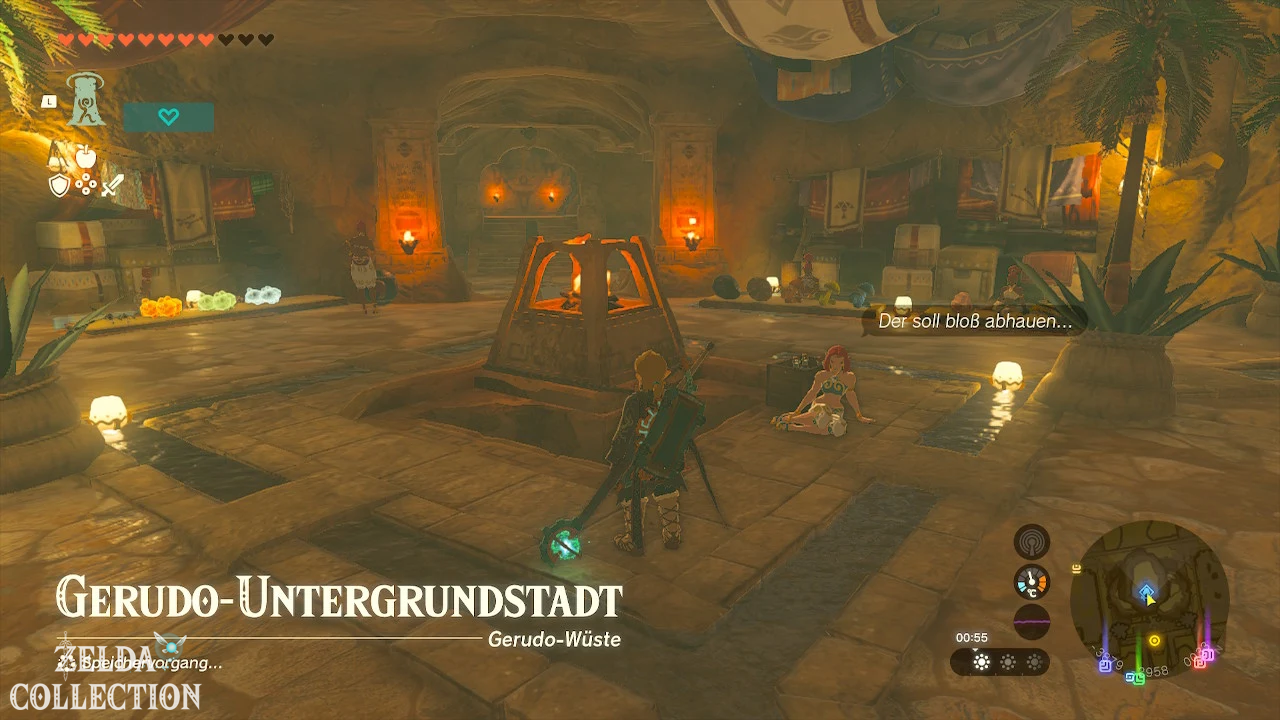
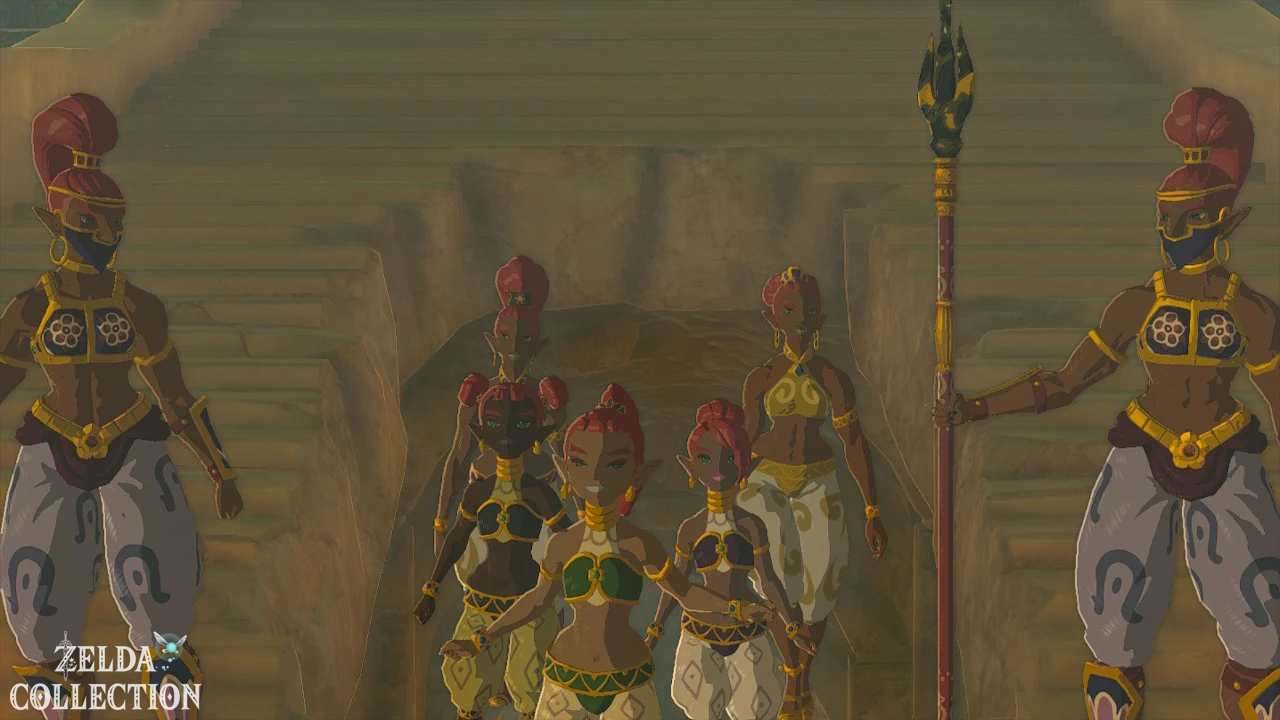
Link ends up in the Gerudo-Accommodation. The guards react first
alarmed, but captain Buliara recognizes link based on
Riju’s description.
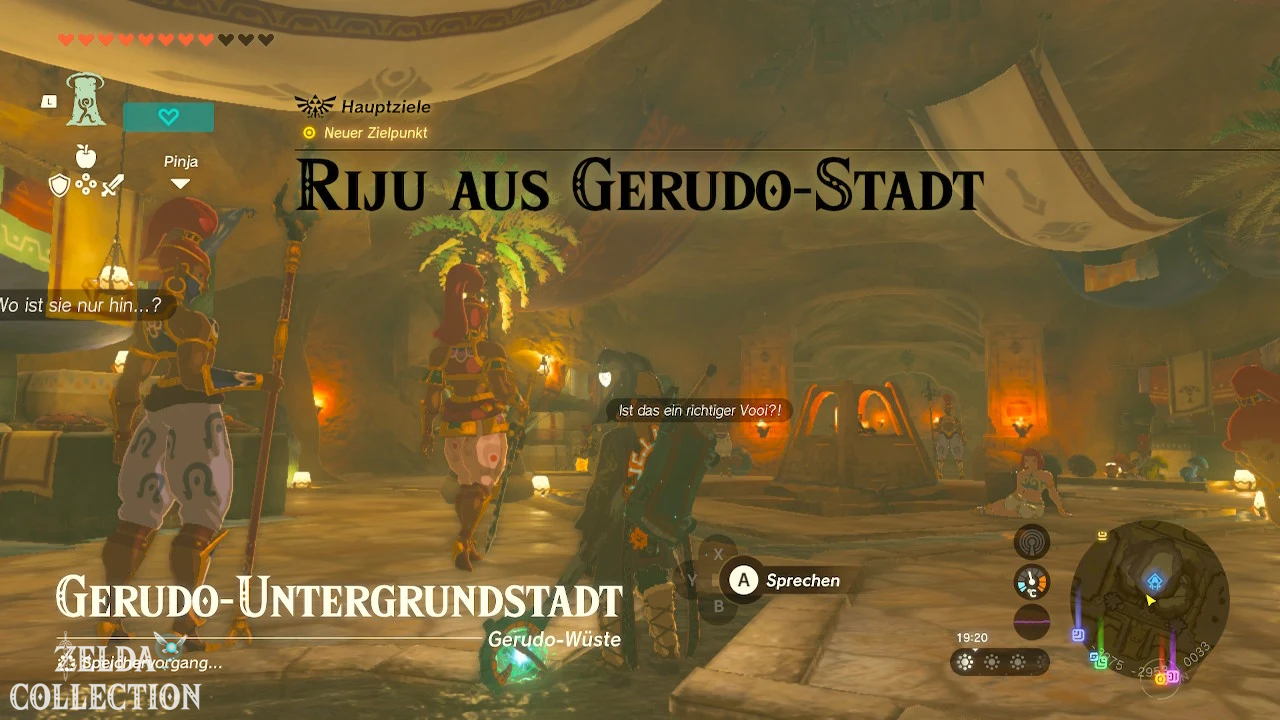
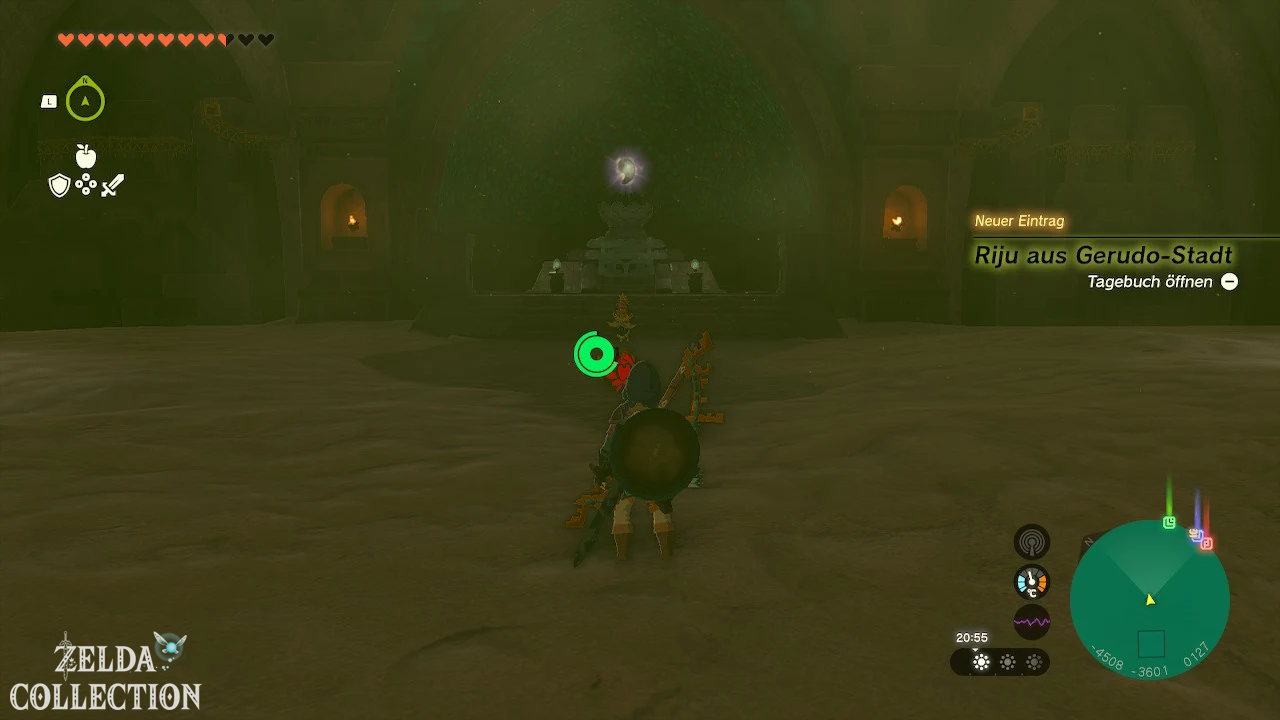
This starts the main quest
“Riju of Gerudo Town”. Buliara explains that Riju is training in the
ruins north of the city.
Activate Soryotanog Shrine
Before you leave the city, you should activate the
Soryotanog Shrine on the palace roof. Use
inside the palace or underground city with the Ascend and
climb the rest of the way up.
The shrine is the main fast travel point during the Gerudo city defense, the
pillar puzzle, and the search for the Lightning Temple.
6. Find Riju in the North Gerudo Ruins
Exit Gerudo Town through the northern exit. The
North Gerudo Ruins are located just a short distance north of
or northwest of the city.
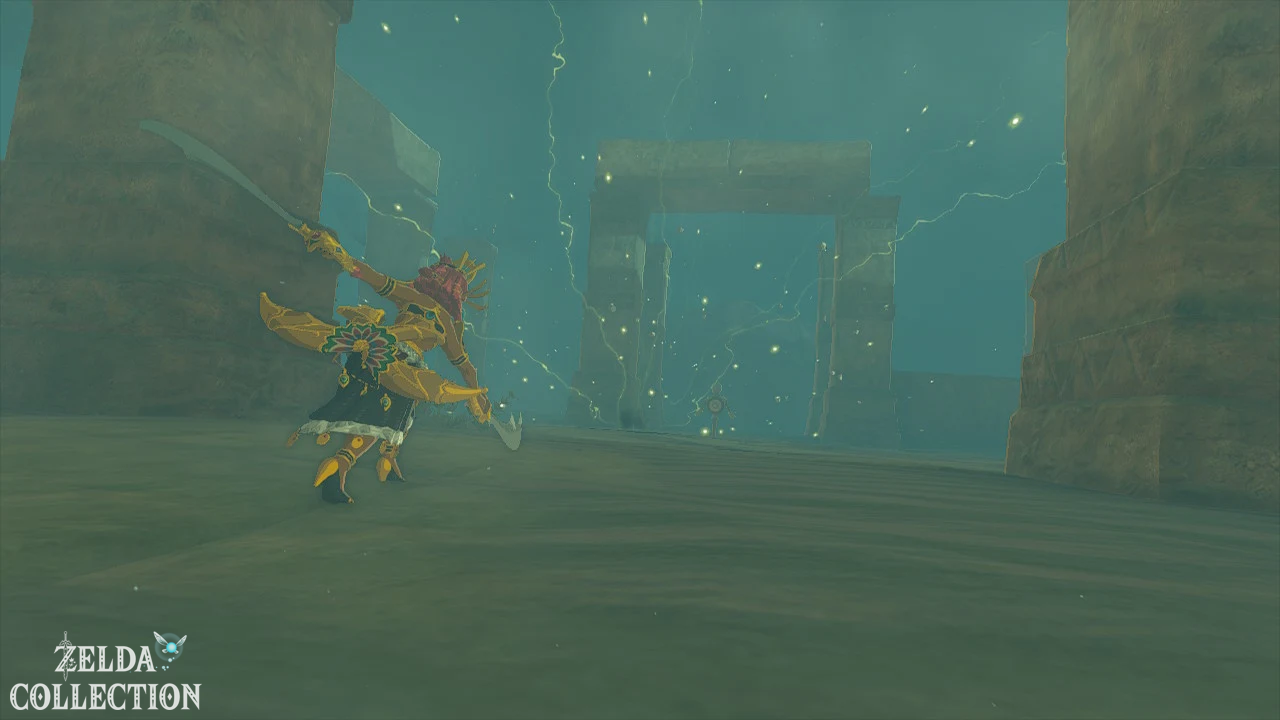
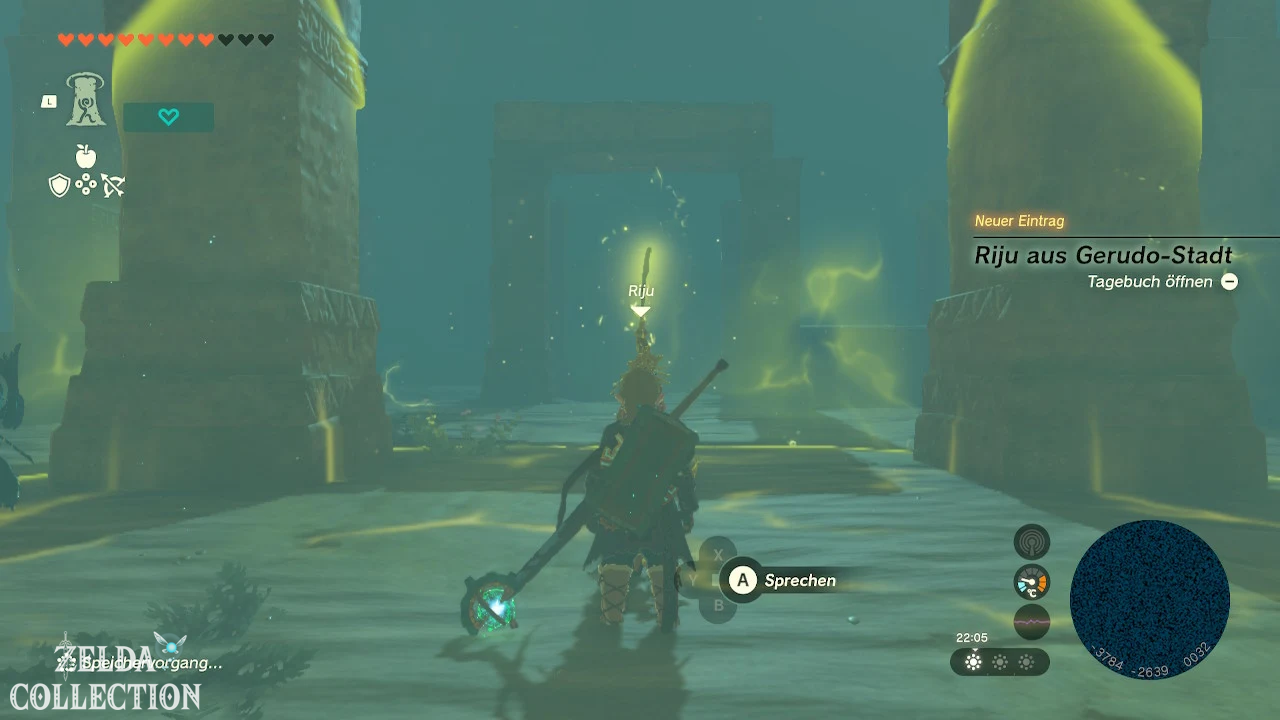
Riju trains her newly awakened thunder power there. Speak to her to begin a
short exercise.
7. Use Riju’s thunder power correctly
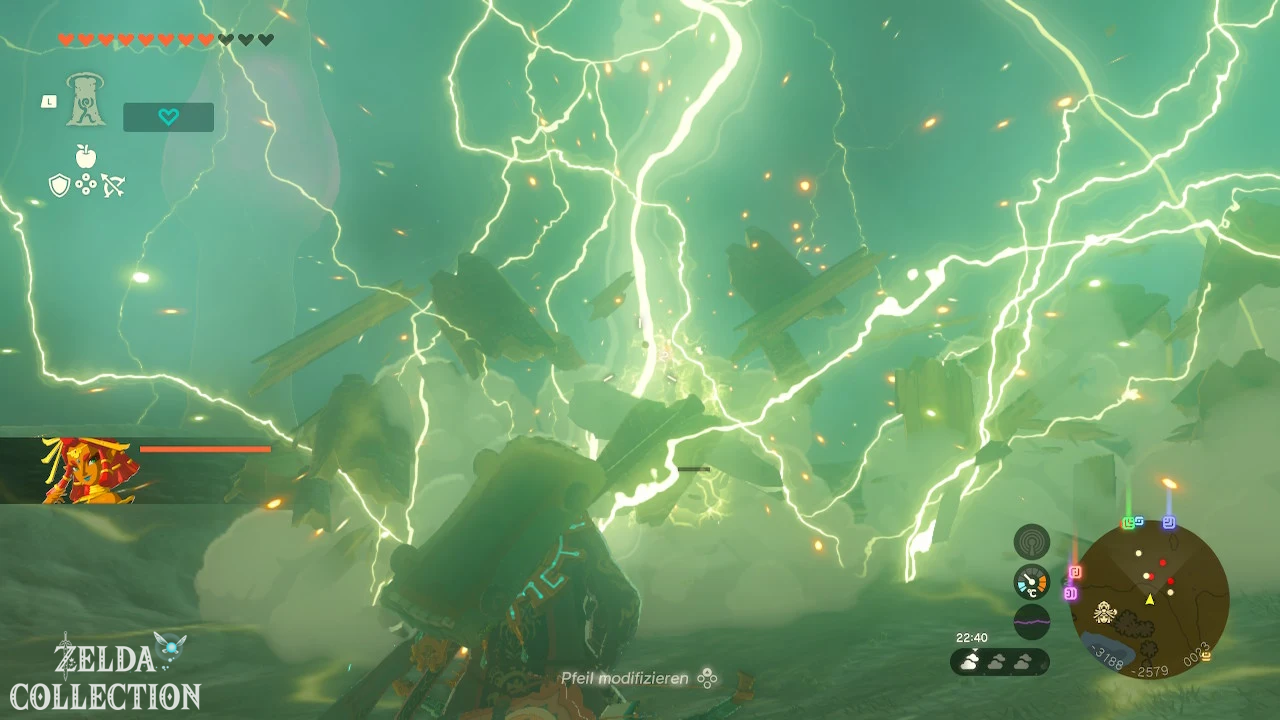
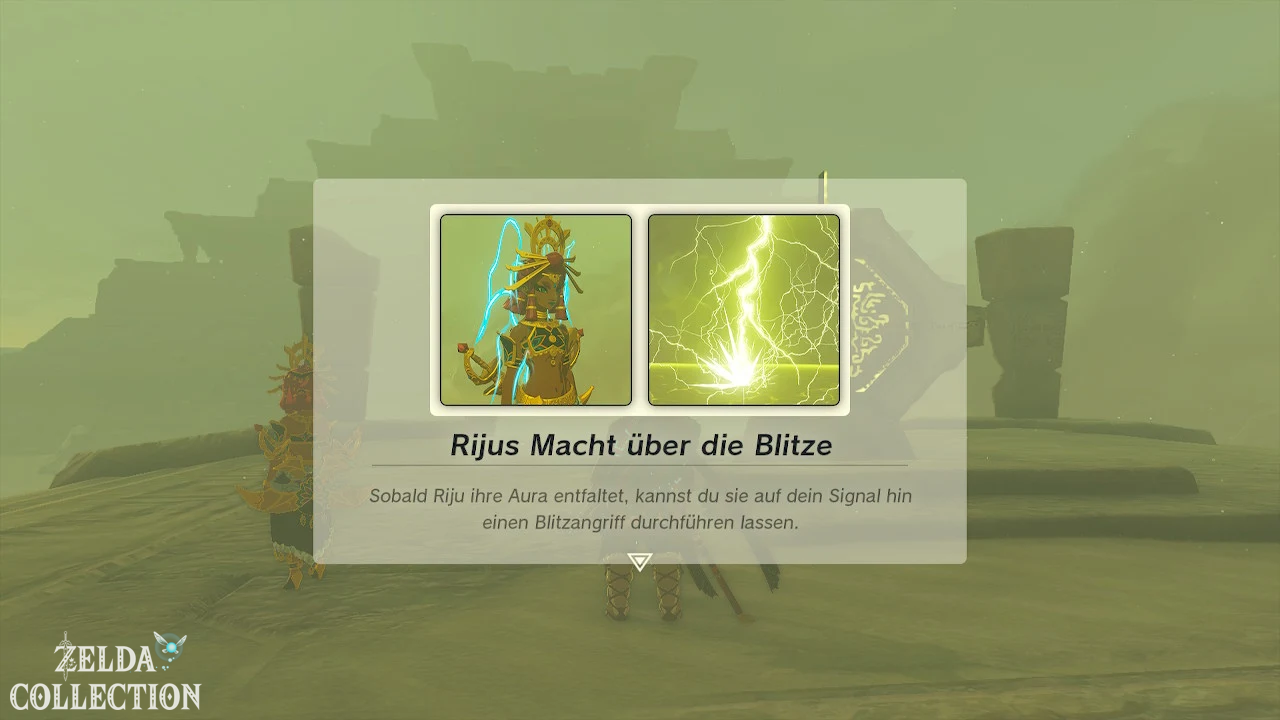
Activate Riju using the displayed action button. From her spreads
then a yellowish energy circle appears.
- Enables Riju.
- Wait until the thunder circle has spread to the target.
- Draws the bow.
- Shoots an arrow at the target or in its immediate vicinity.
- Lightning strikes at the point of impact of the arrow.
The first training shot hits a fixed target. On the second attempt
you don’t have to shoot directly at the target, but rather at a suitable spot
within Riju’s area of effect.
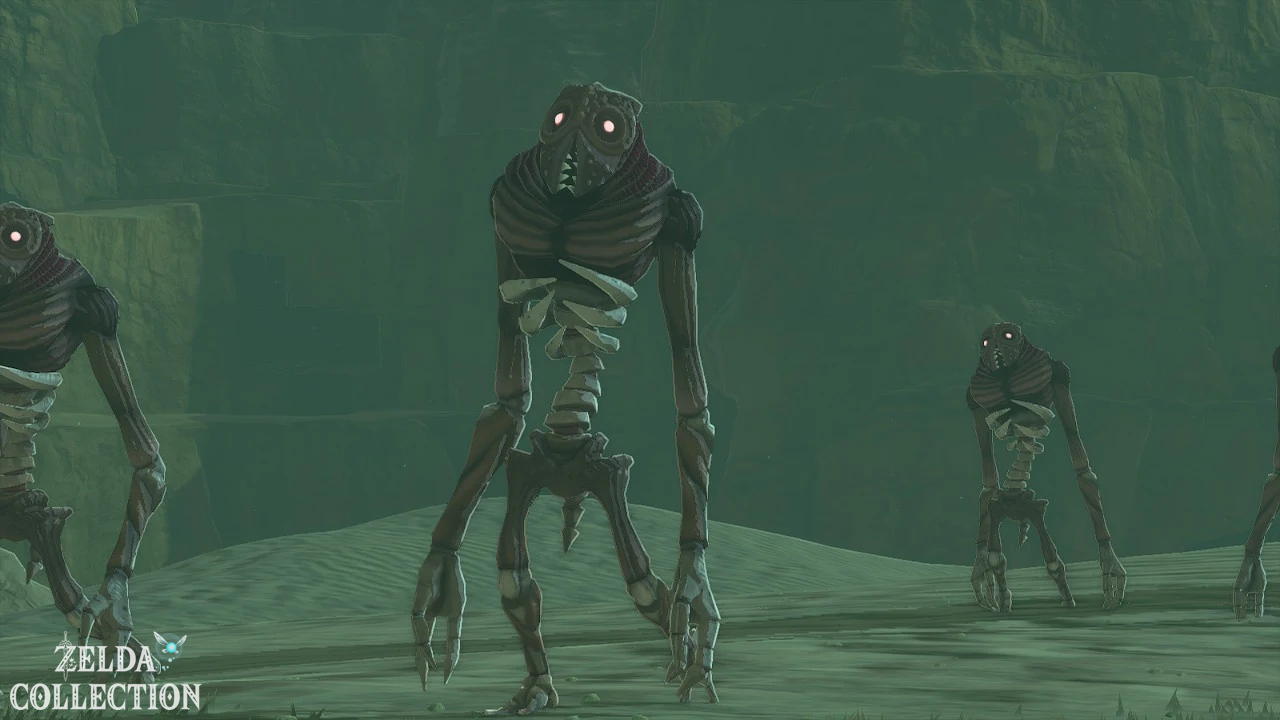
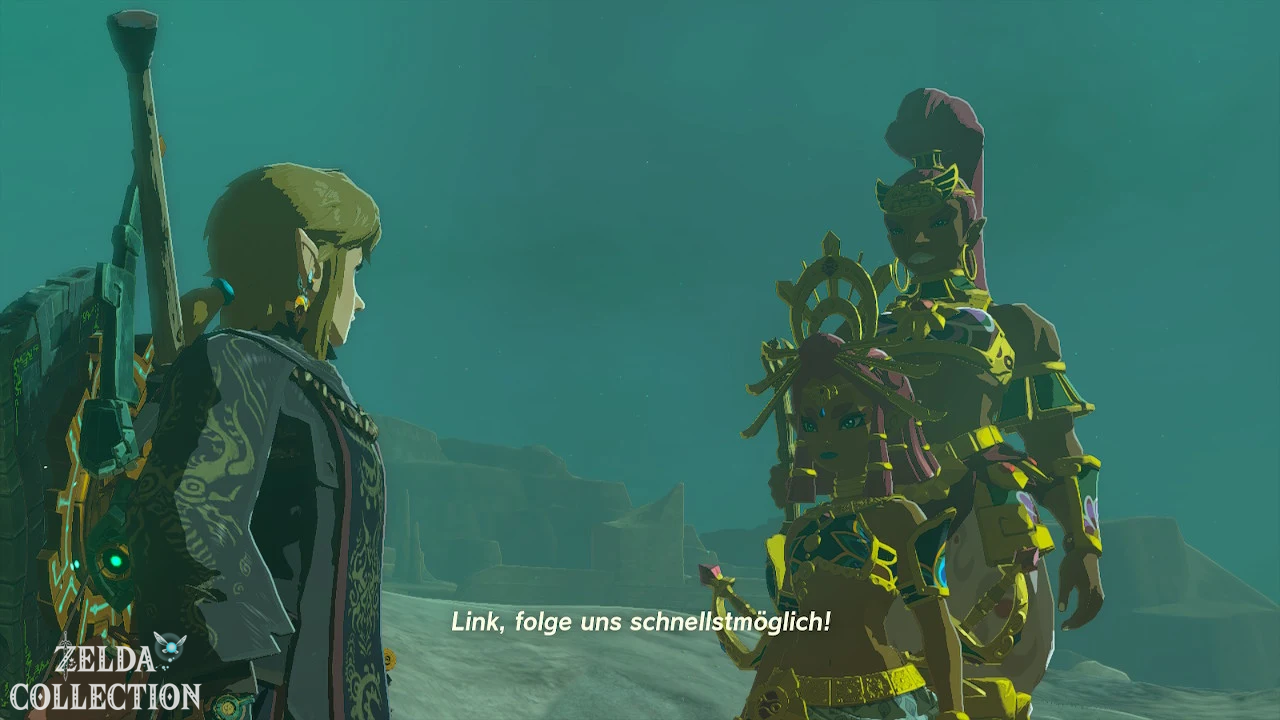
Shortly after the exercise, a Gerudo warrior arrives at the ruins. The
Kara Kara Bazaar is attacked by Gibdos.
8. Defend the Kara Kara Bazaar
Teleports you to the previously activated Mayatat Shrine. Riju also reaches the
Bazaar and supports Link in the fight.
In this first defense you should, above all, deal with Rijus
Practicing thunder power. Wait until your energy field is as large as possible
Reach the enemy group and then shoot an arrow at the ground
between the gibdos.
Watch out for Riju’s energy bar. If she is attacked by too many Gibdos at the same time
harassed and her energy completely used up, she has to
Defense sequence to be repeated.
Destroy the first Gibdo nest
After several waves of opponents, Riju points out the mushroom-shaped structure
where new gibdos constantly appear.
- Activates Riju’s Thunder Power.
- Wait until the yellow circle reaches the nest.
- Observe the purple core in the middle.
- Only fires when the core is clearly pulsating and open.
The lightning destroys the sensitive core. After the victory you should return to
Gerudo Town.
9. Prepare the Gerudo city defense
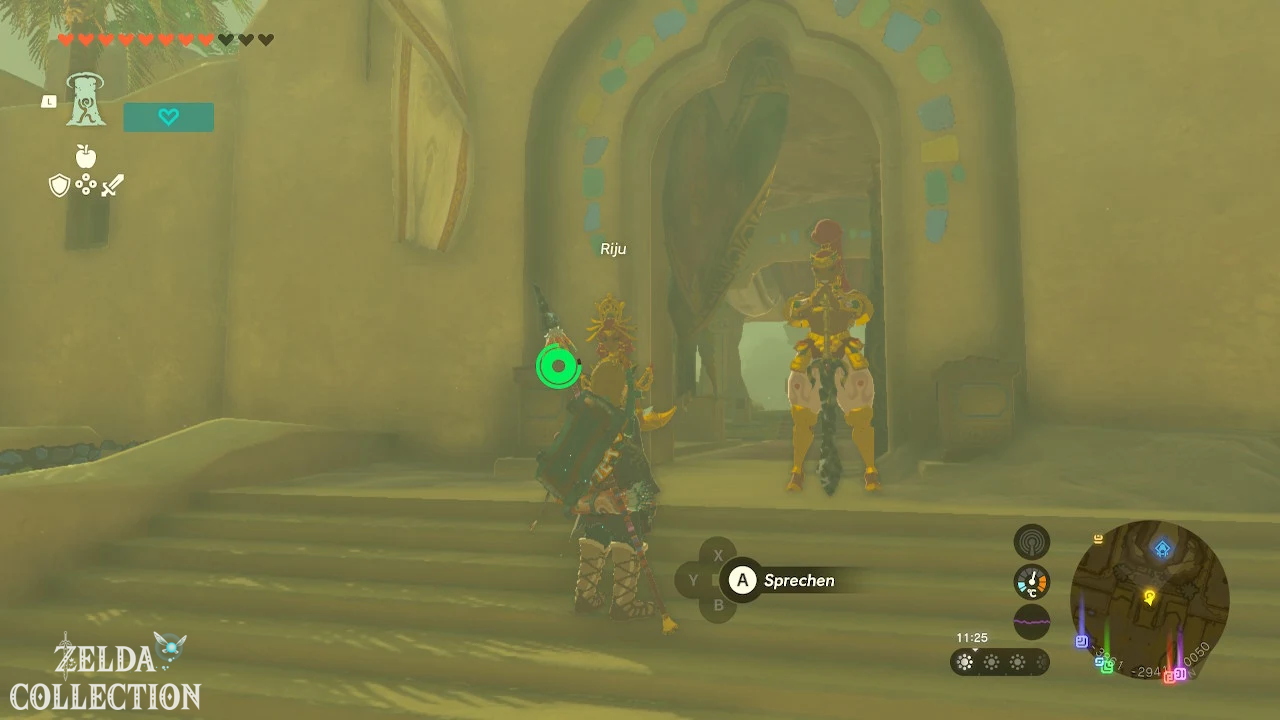
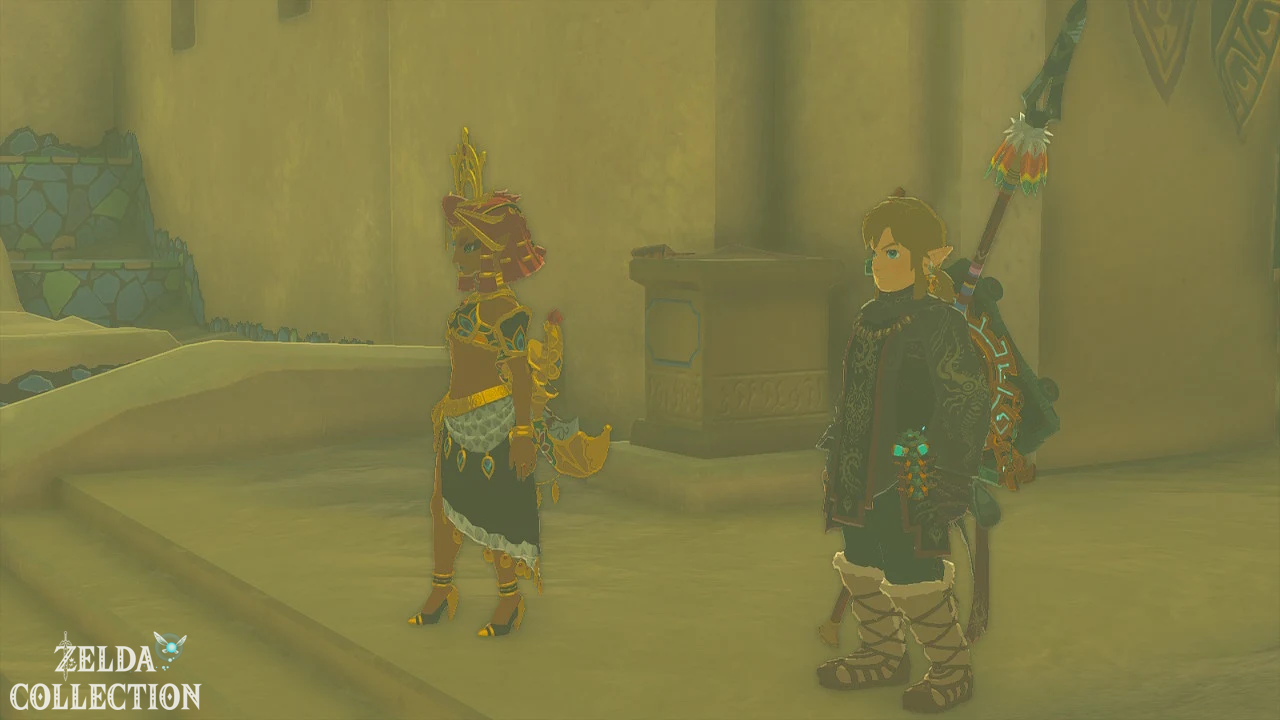
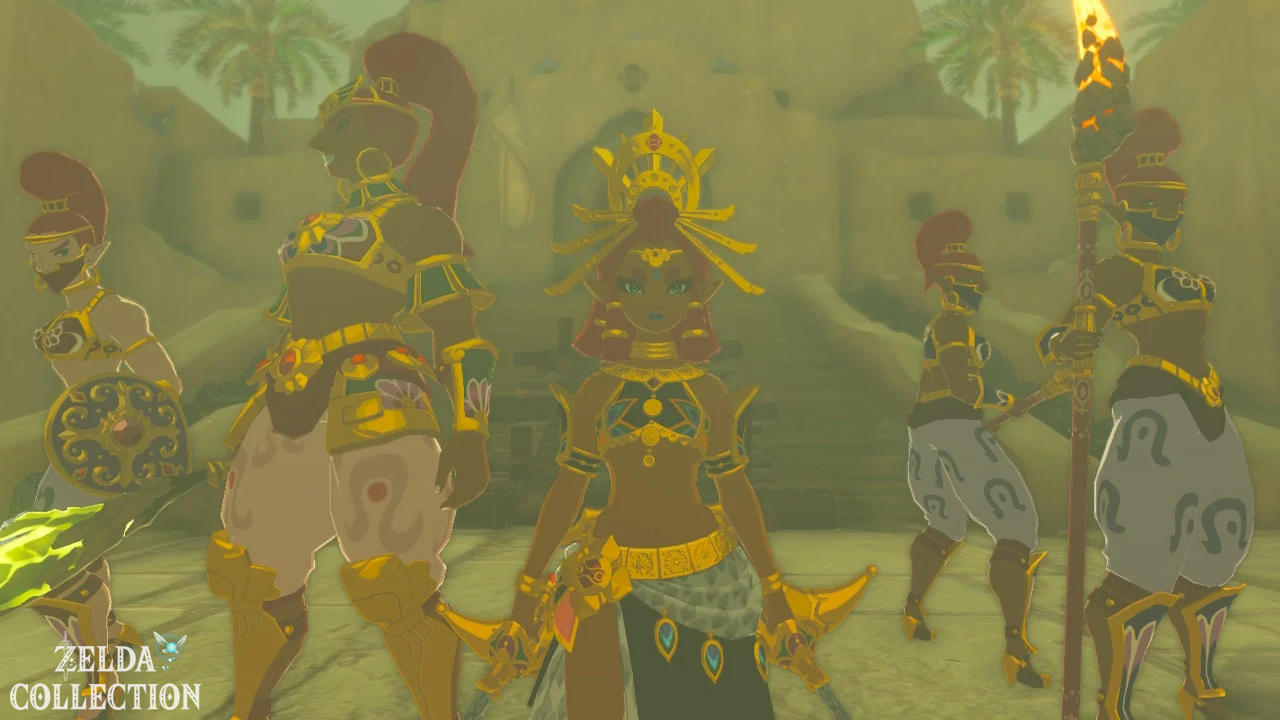
Speak to Riju in Gerudo Town. Before the battle begins, you can position
defenses and troops.
Collect supplies
Open the crates provided and take arrows, weapons,
healing materials and other combat materials. Since all nests require
arrows, you should go into the
battle with at least 25 to 30 arrows.
Set up barricades and troops
Speak to Teake to distribute the barricades. You can also
determine which Gerudo units secure the individual city entrances
.
A reliable list is:
- Female spearmen at the northern gate
- Female swordsmen at one of the side gates
- Ranged fighters at an entrance with a clear view
- At least one barricade at every high-risk entrance
The exact division is not mandatory. Your most important
The task is to quickly destroy the three nests before the
Reach opponent Riju.
10. Defend Gerudo Town and destroy the three Gibdo nests
After the battle begins, three Gibdo nests will appear:
- at the northern entrance,
- at the eastern entrance,
- at the western entrance.
The endangered areas and larger ones are shown on the minimap
Enemy gatherings marked.
Recommended tactic
- Activates Riju on the way to the first nest.
- Don’t run after every single Gibdo.
- Shoot the purple core as soon as the nest pulses.
- Return immediately towards the city center.
- Help Riju if she is surrounded by enemies.
- Then go to the next nest.
Common Gibdos can also be weakened with Fire Fruits, Ice Fruits,
Electric Fruits, Chuchu Jelly or Zonai Flamethrowers
. However, the three nests require Riju’s lightning attack.
Once all three nests and the remaining enemies have been eliminated, the game ends
Battle. Riju suspects that the appearance of the Gibdos is linked to an ancient one
Tradition in the palace is related.
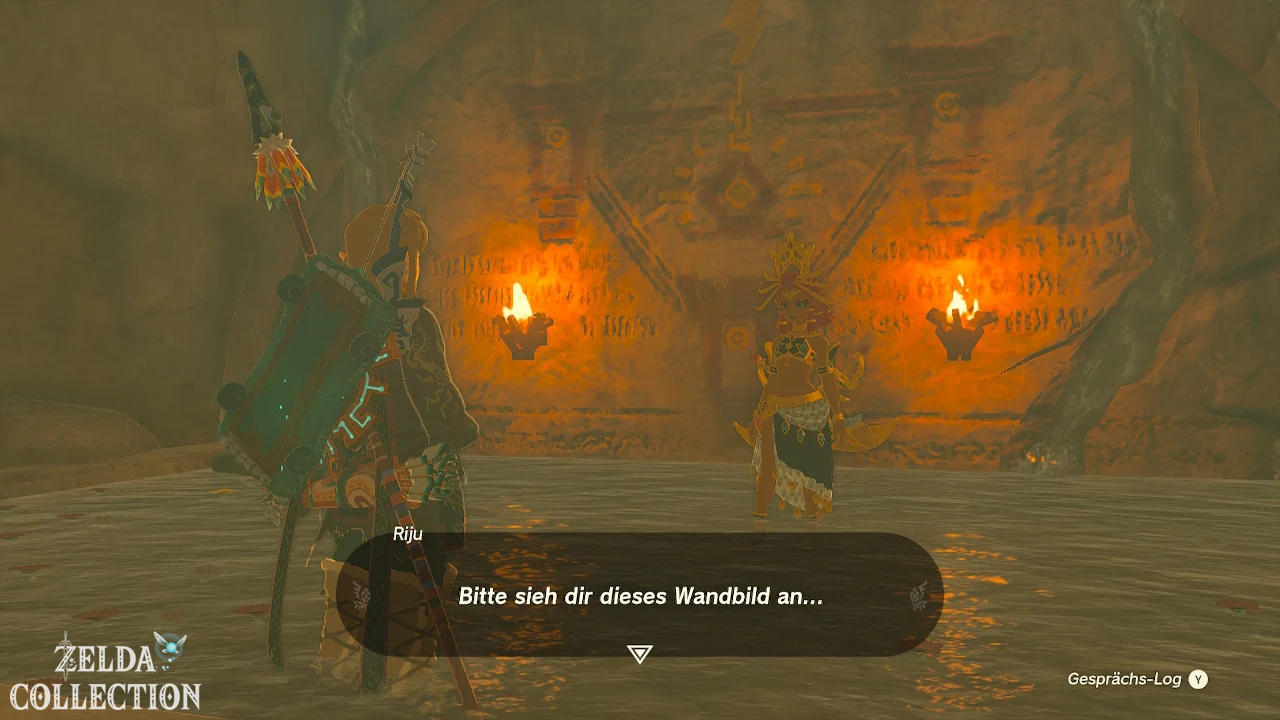
11. Solve the mystery of the mural
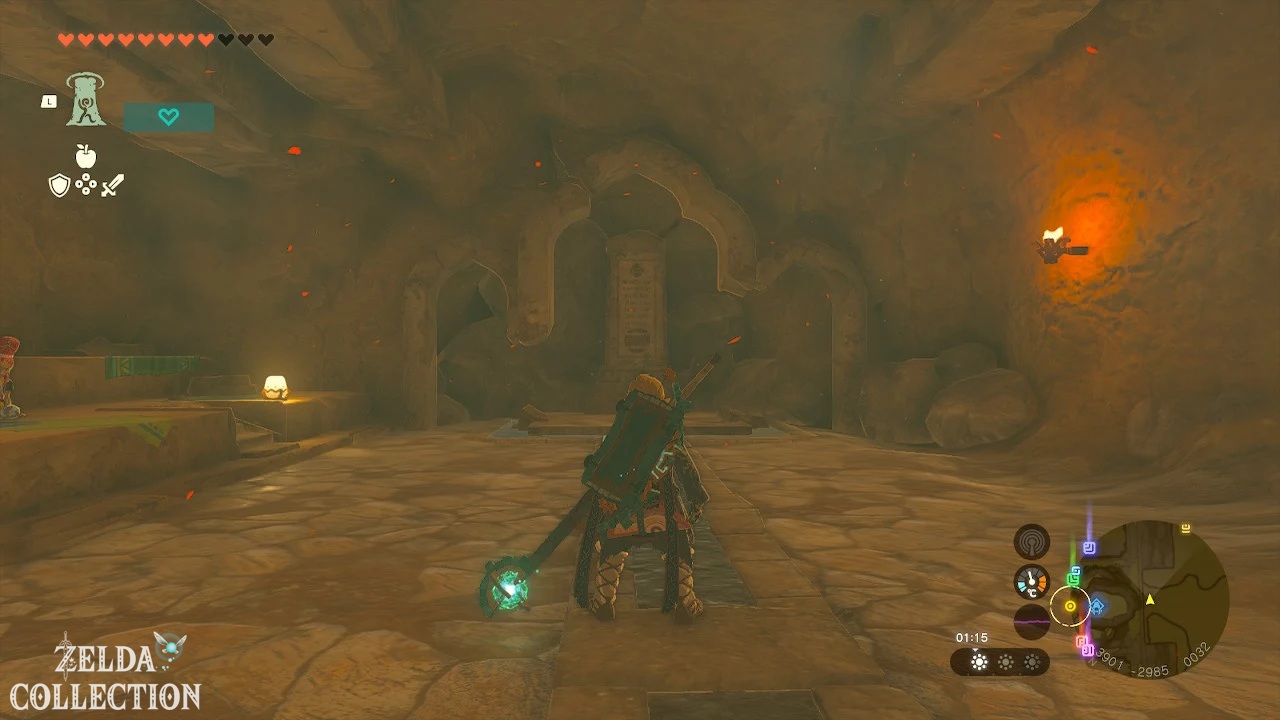
Follow Riju back to the Gerudo Shelter. In the back of the
accommodation she looks at an old mural.
Stands back to back with the throne and looks over the wide sea of sand
to the red pillars. Unite the pillars in the light to make the Thunderstone
appear and open the path.
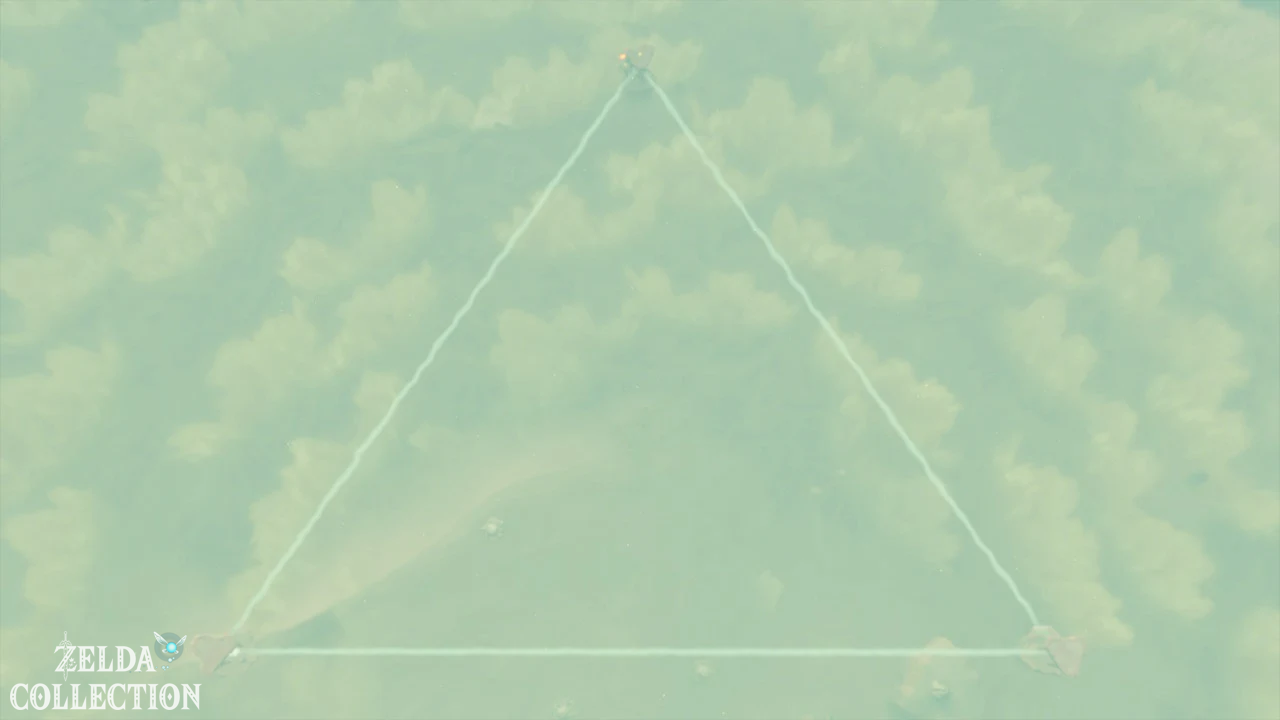
This refers to three column systems that are far apart from each other in the
Gerudo Desert. A closed triangle of light
must be created between their mirrors.
First red column
- Teleport to Soryotanog Shrine.
- Stand on the roof behind the Sanctum.
- Look in the direction the back of the throne faces.
- Glides to the first clearly visible column system.
There is a cracked floor in the center of the facility. Smash him with a
hammer weapon or a bomb flower. A beam of light shoots up,
hits the mirror and shows you the way to the second pillar.
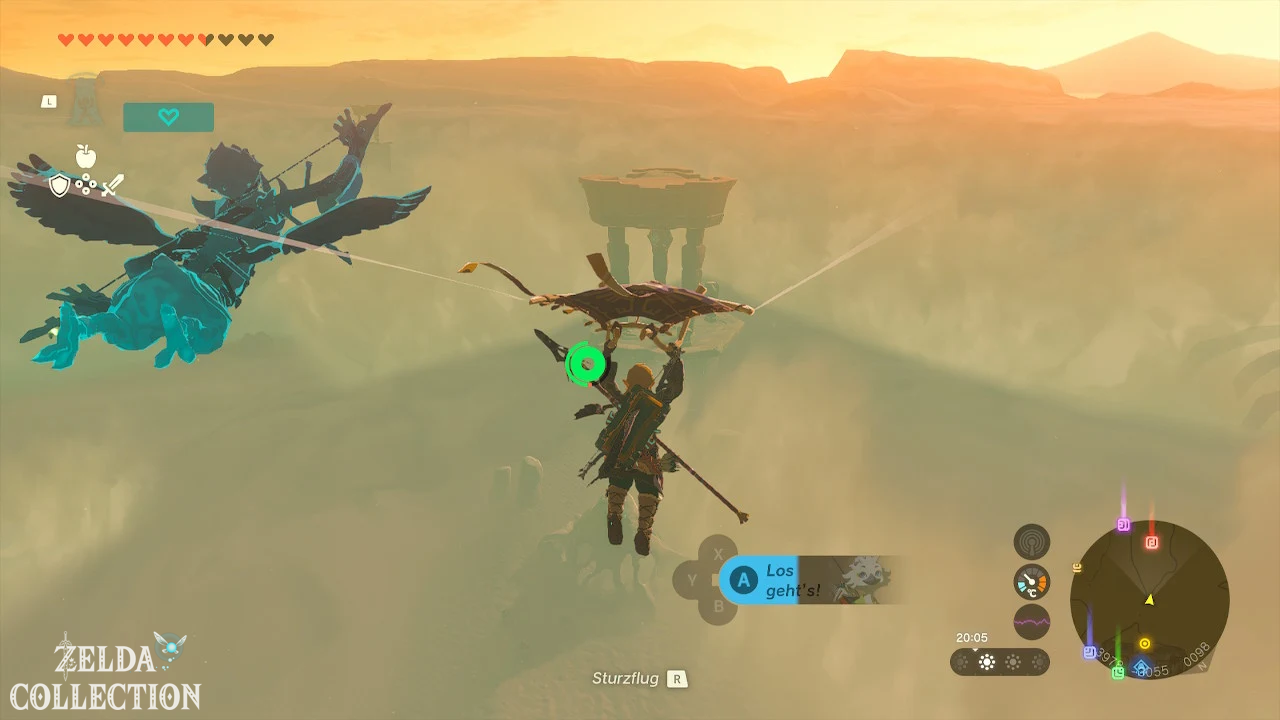
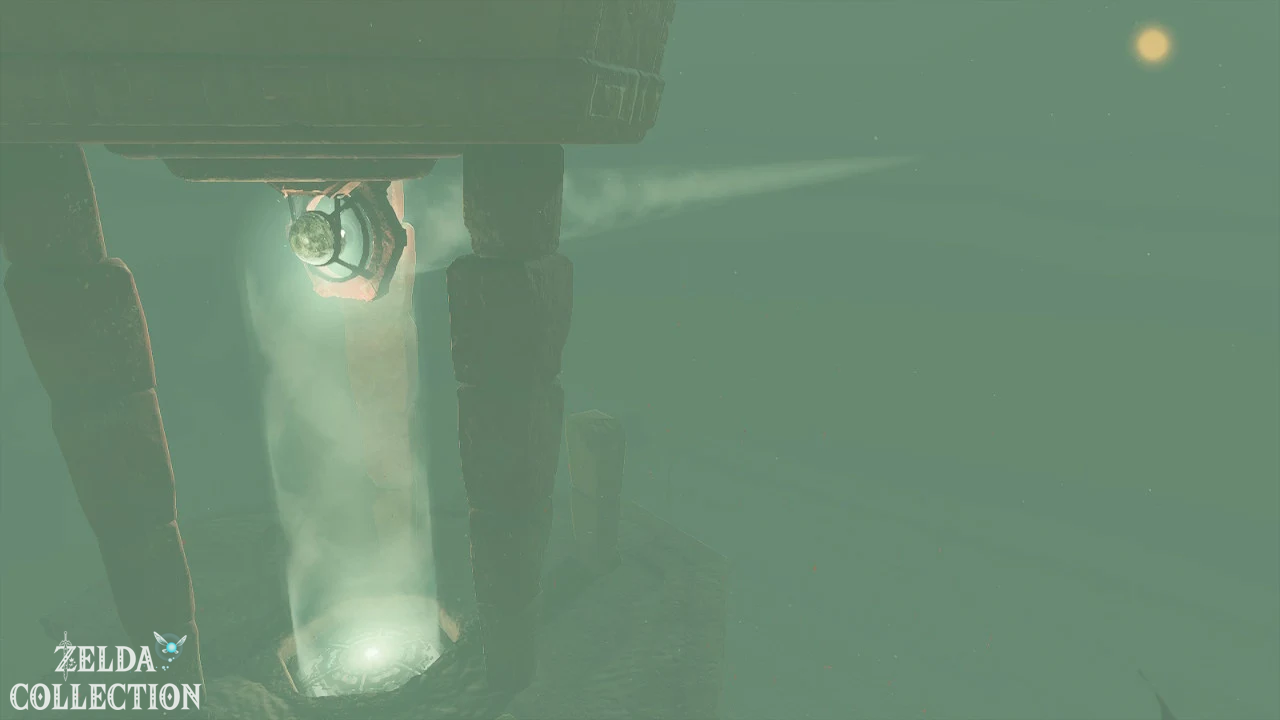
Second red column
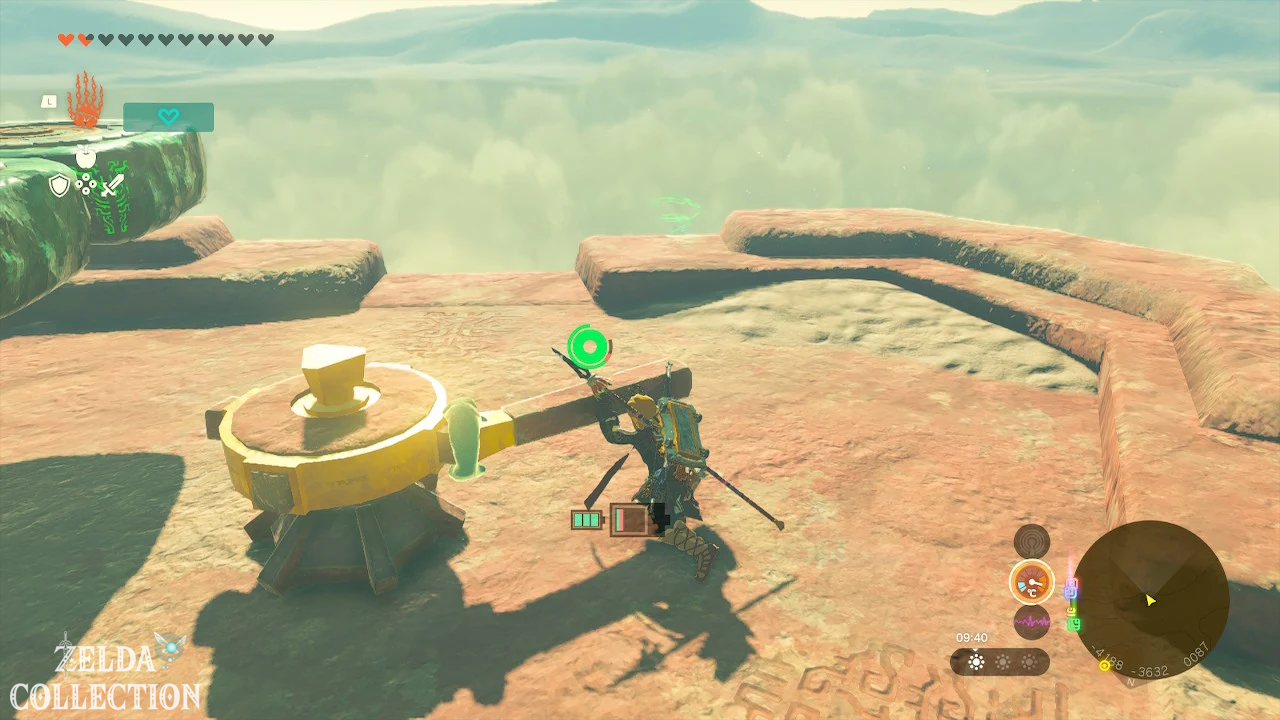
Follow the beam of light to the west. Near the second pillar system
is a lower tower with a large rotating mechanism.
- Climbs or slides to the rotating mechanism.
- Grabs the Big Wheel with the Ultrahand.
- Rotates it counterclockwise.
- Watch the mirror platform rise from the sand.
- Stops as soon as the light beam hits the mirror of the third system.
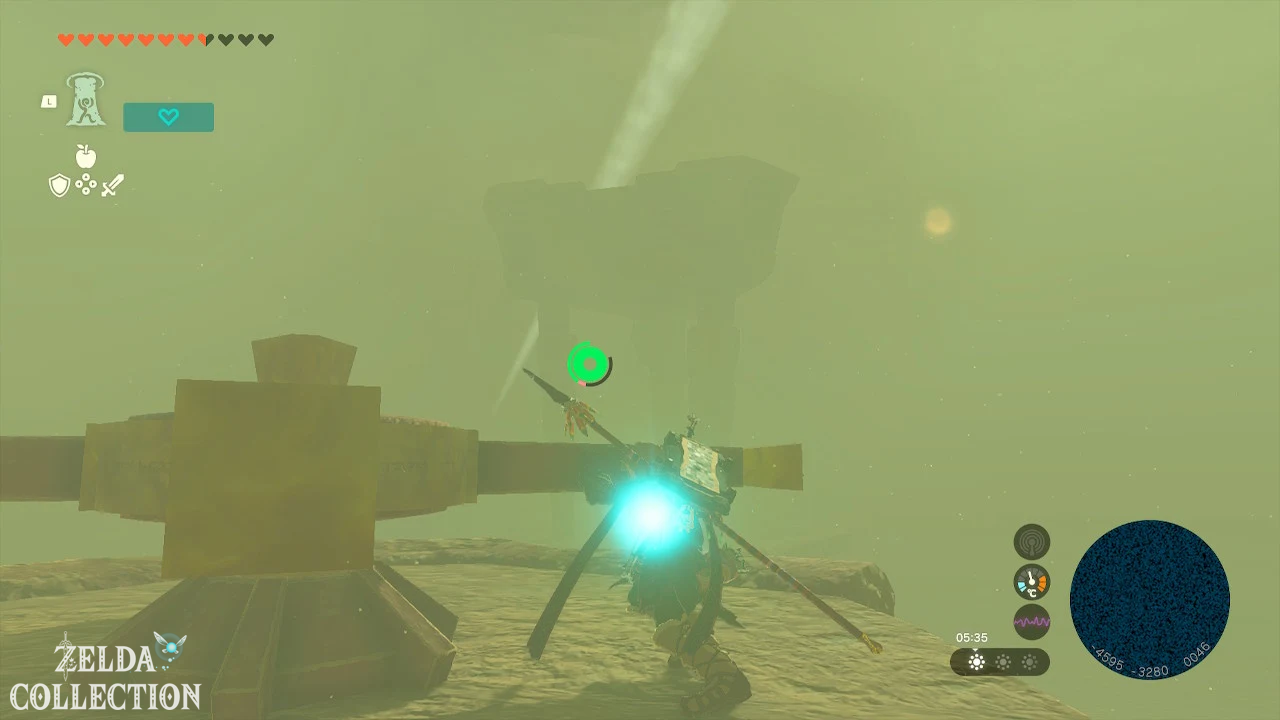
Third red column
Follow the new beam of light to the third facility. Here, too, there is
a fragile floor in the middle.
Below there are two floating platforms and several wooden poles. You have to transport these
materials to the upper level.
- Attaches multiple wooden poles to a floating platform.
- Enables the platform.
- Lift it as high as possible with the Ultrahand.
- Places the second hover platform as an intermediate stage.
- Use the Ascend to get to the top yourself.
- Pull the first platform and its poles further up.
- Removes the rods again.
- Used to repair the incomplete rotary lever.
- Rotates the mirror until the beam points back to the first column.
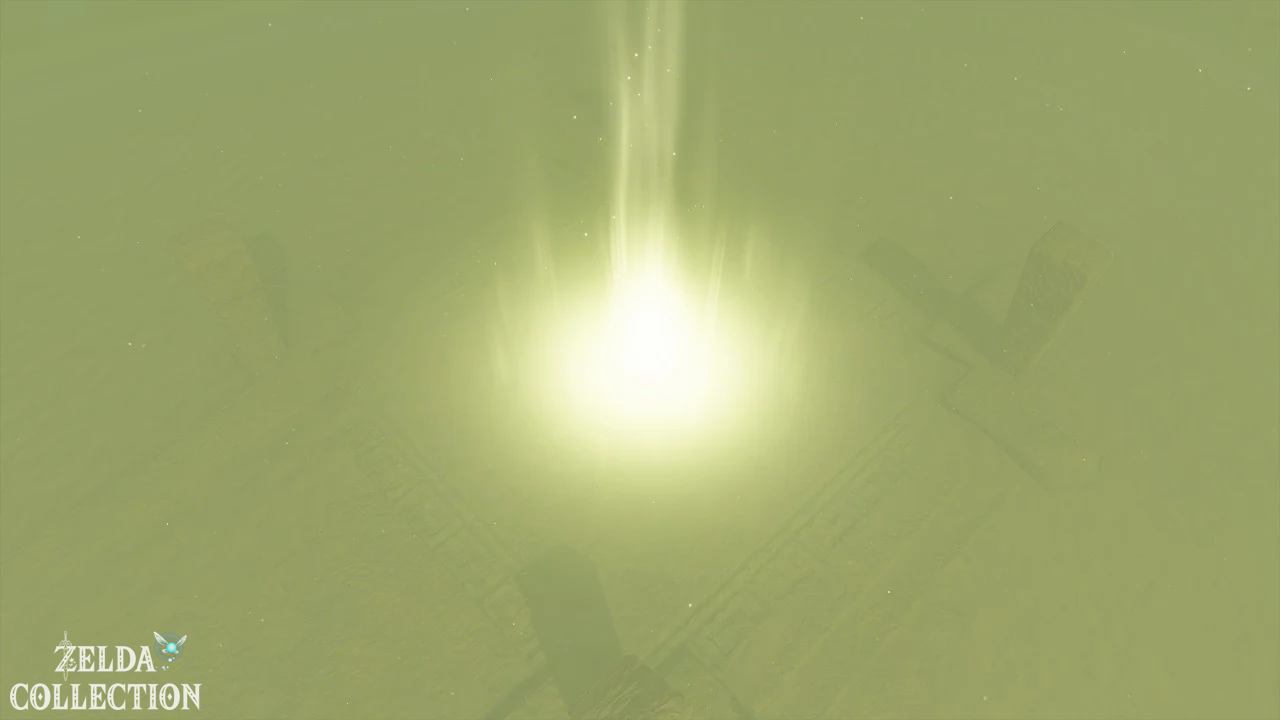
As soon as all three light rays form a triangle, an old thunderstone rises in its
center.
Activate the Thunderstone
Move to the center of the triangle of light. Riju also arrives there
.
- Speak to Riju.
- Wait until your thunder circle reaches the stone.
- Shoots an arrow at the marked area.
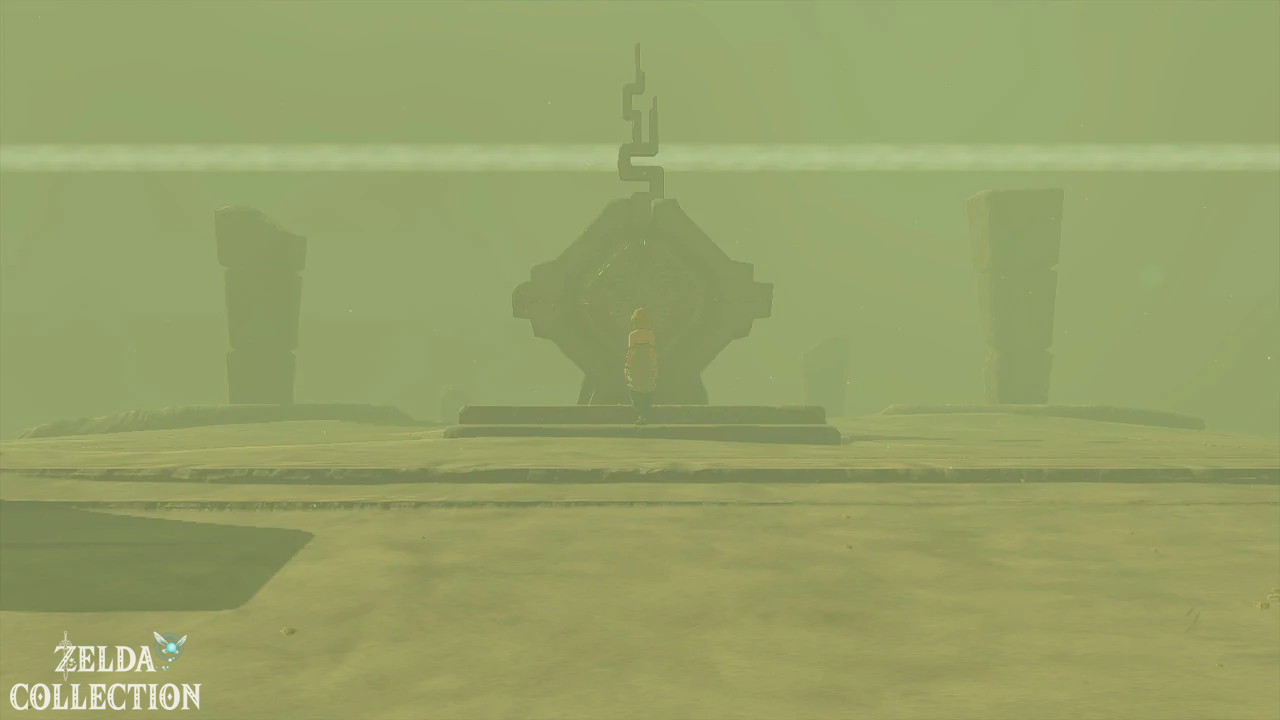
After the lightning strike, the
Lightning Temple rises from the sand.
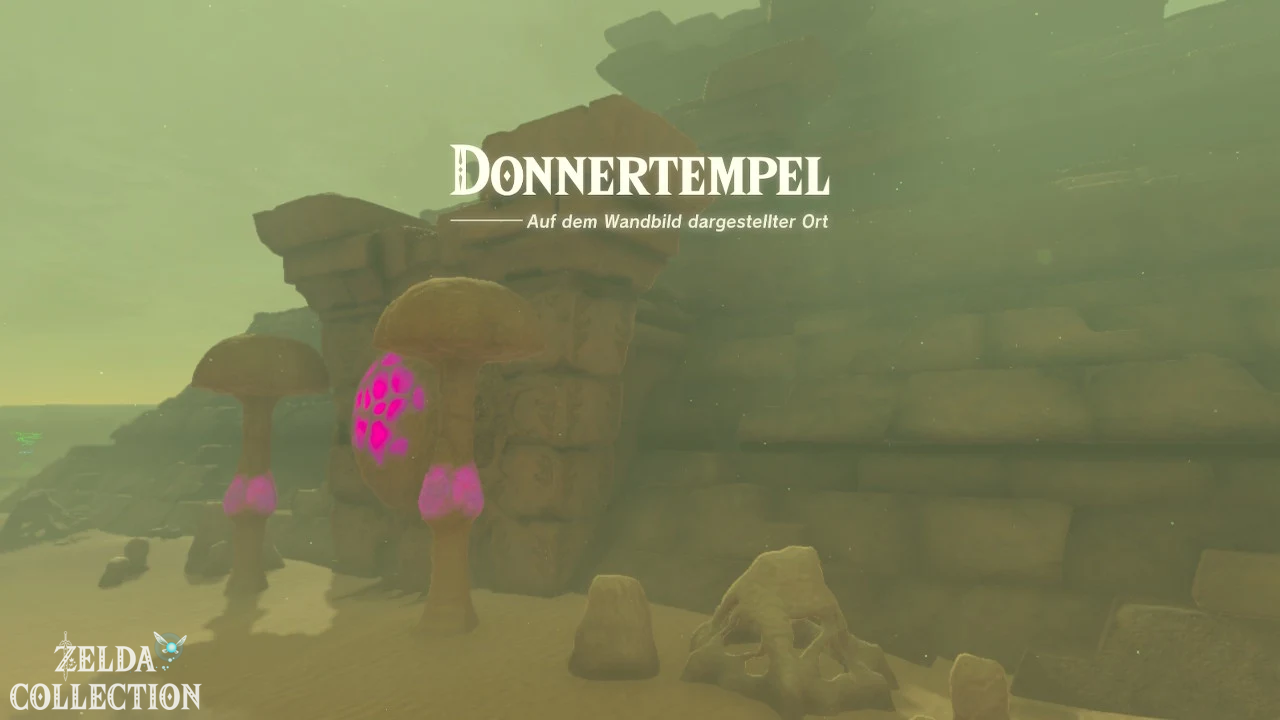
12th Boss: Queen Gibdo in front of the Lightning Temple
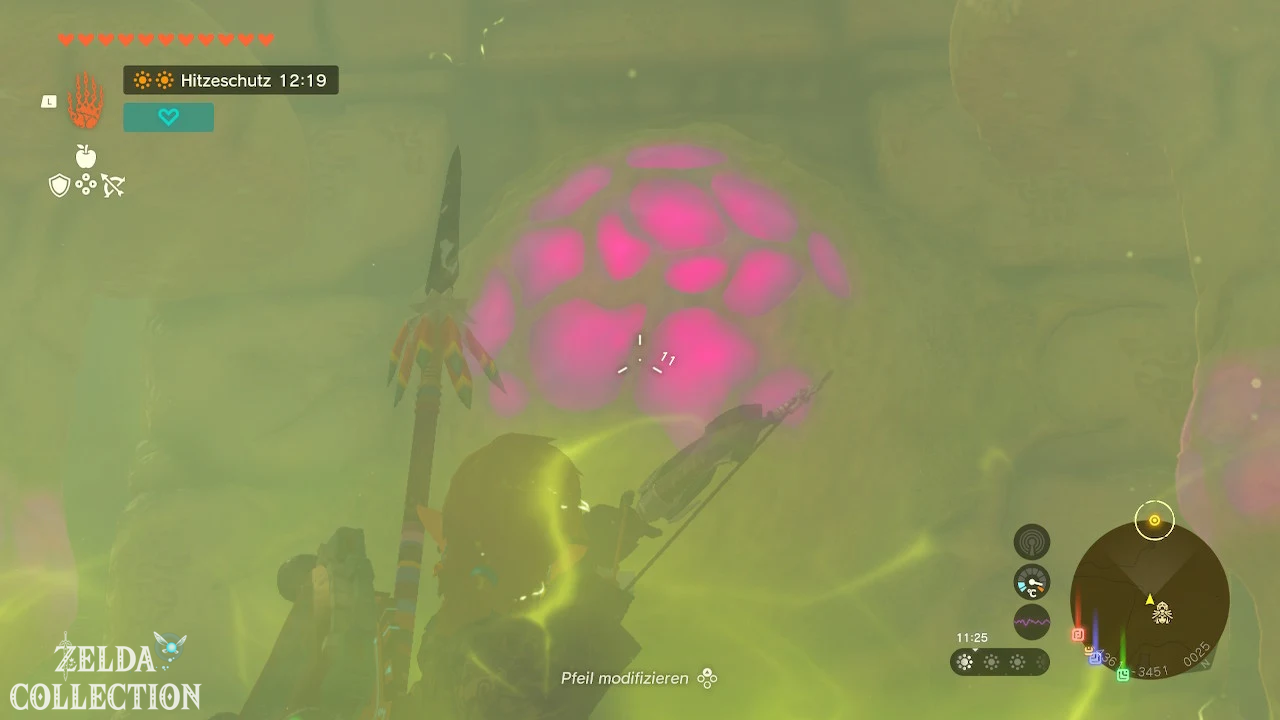
Approach the entrance and destroy the purple pulsating structure with
Riju’s lightning. The
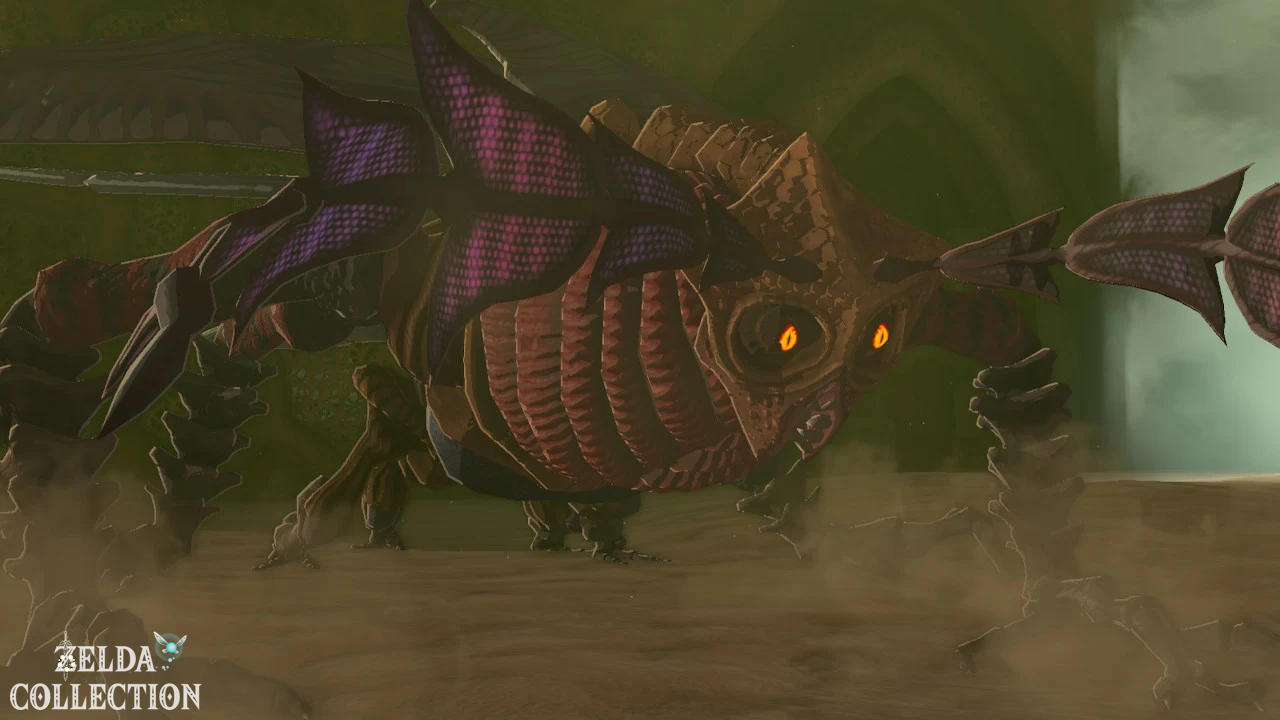
Queen Gibdo, Scourge of the Thunder Temple then appears.
This first fight is a shortened encounter. All you have to do is weaken the queen
enough for her to retreat to the temple.
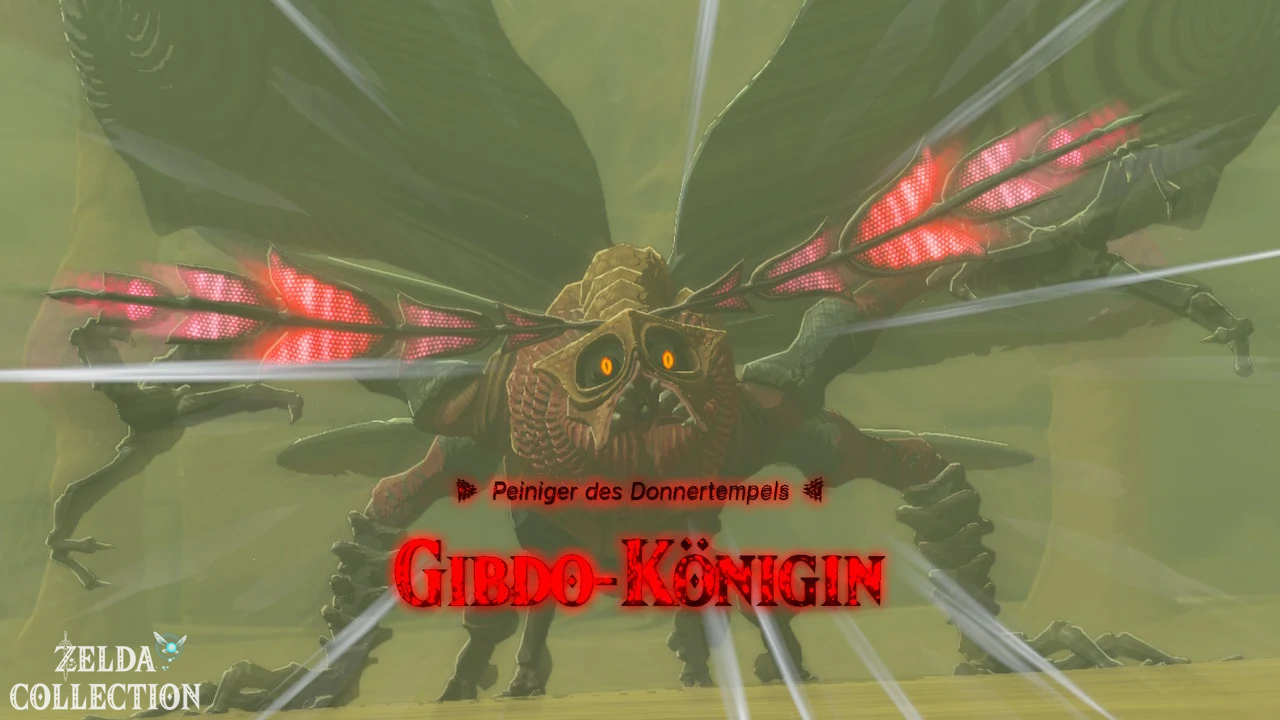
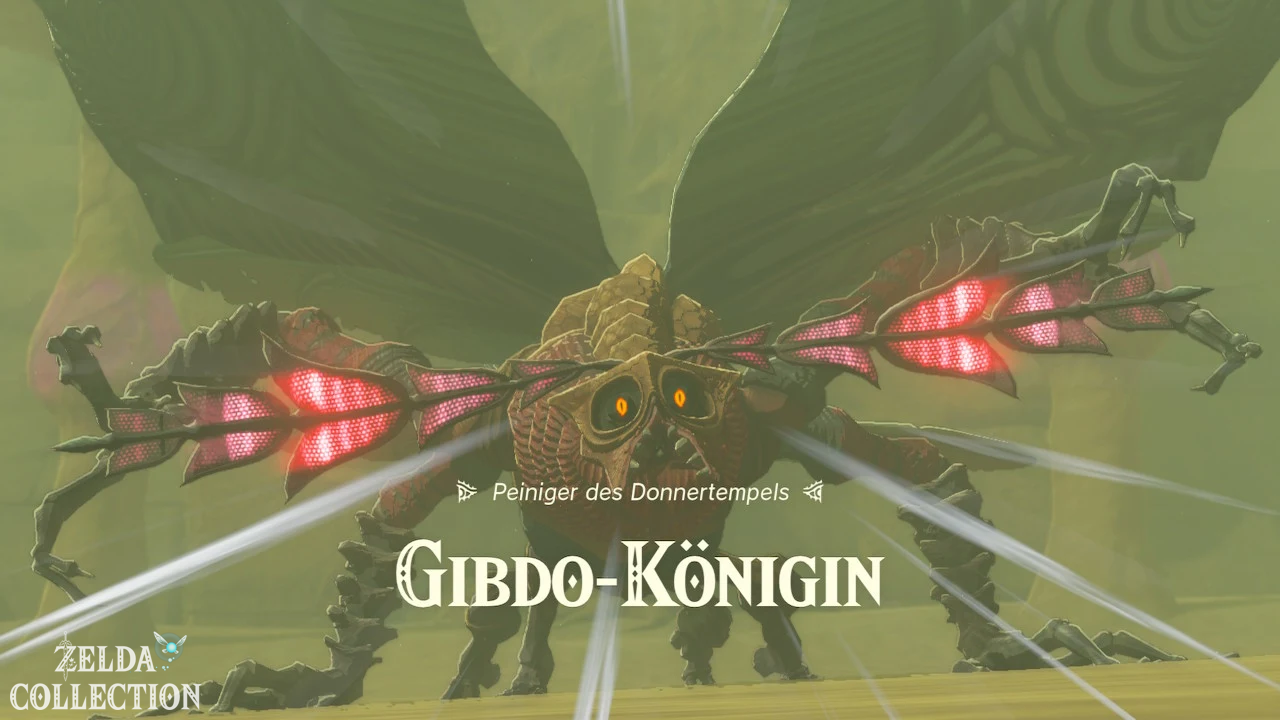
Queen Gibdo
attacks
- Sandblast: A concentrated sand attack pursues Link.
Run sideways or block with a sturdy shield. - Sand Vortex: The Queen creates multiple tornadoes.
Runs between the vertebrae. - Charge: She rushes towards
Link with her claws outstretched. Dodge sideways. - Stomp: If she stands up, you should immediately
distance yourself.
Remove the armor
- Activates Riju’s Thunder Power.
- Keep moving until the area of effect reaches the queen.
- Shoots an arrow at her body.
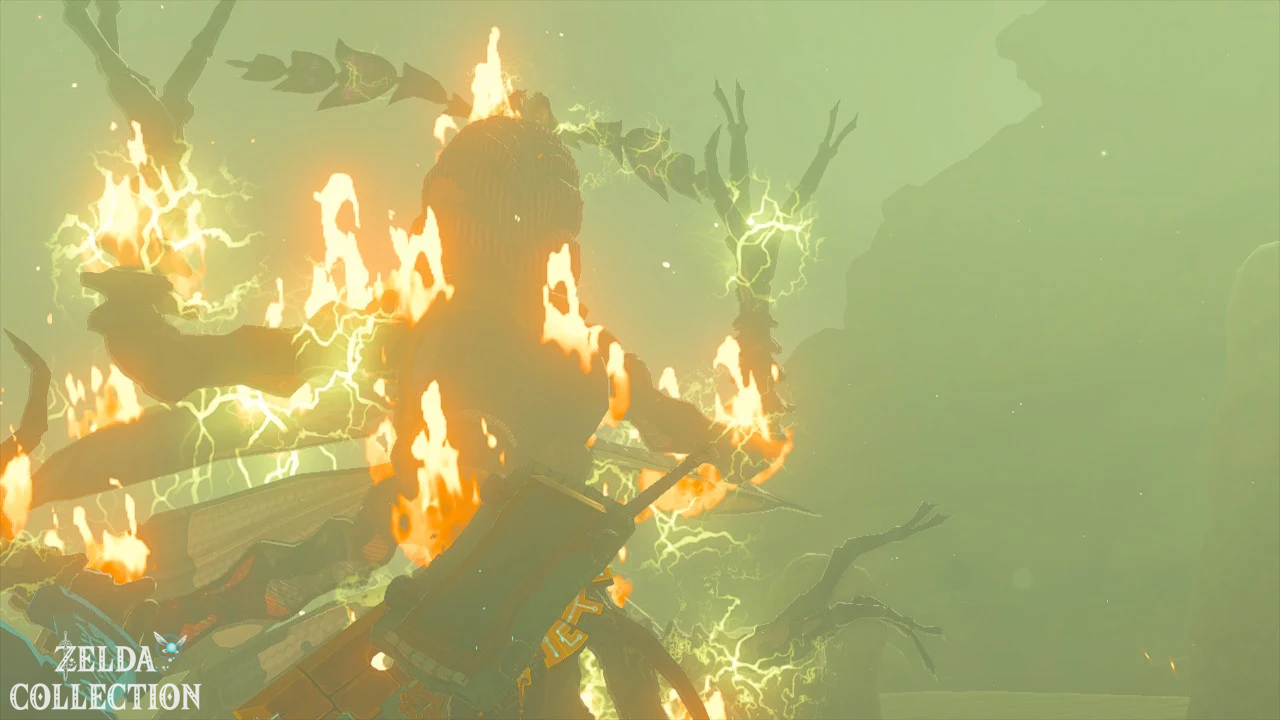
- The lightning removes her dark protective covering.
- Attacks the now whitish body with melee weapons.
Fire and electric attacks can also weaken her shell. A
second lightning hit during her vulnerable phase can knock her to the ground
and create a longer attack window.
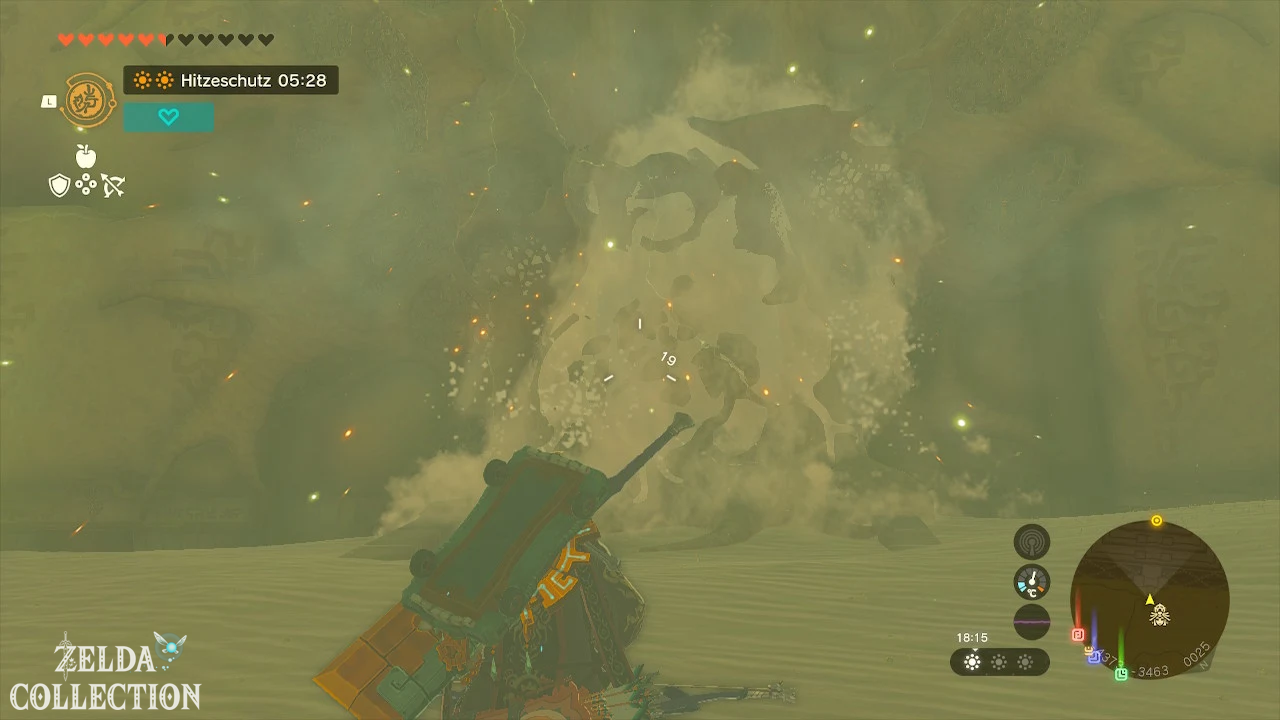
After sufficient damage, the Queen Gibdo flees into the temple.
Then destroy the structure above the entrance and, if necessary, the
both side gibdo nests with Riju’s lightning.
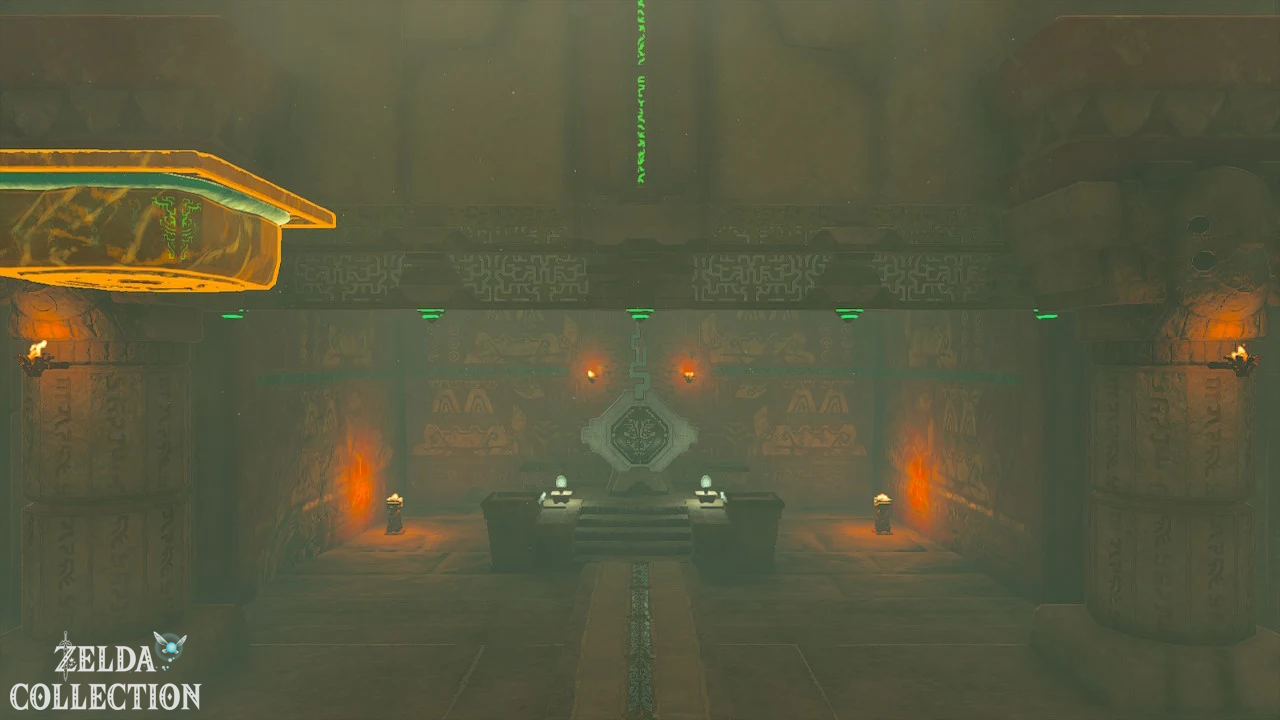
13. Enter the Lightning Temple
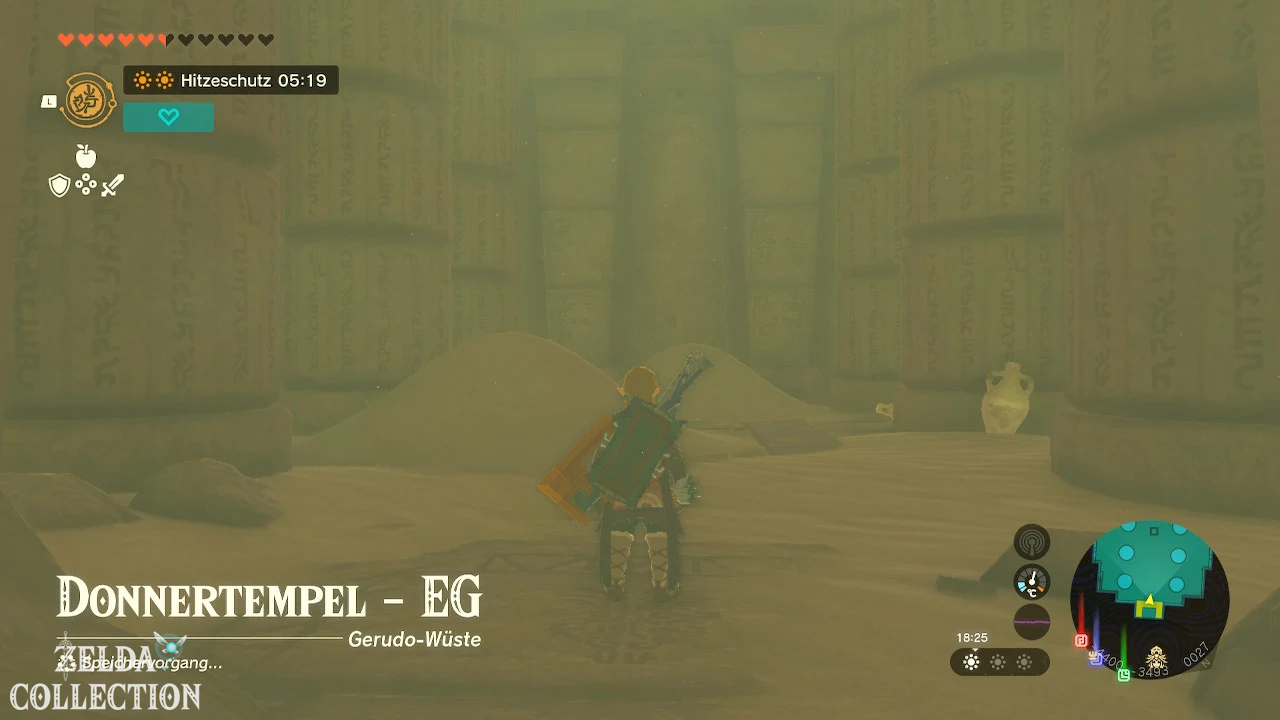
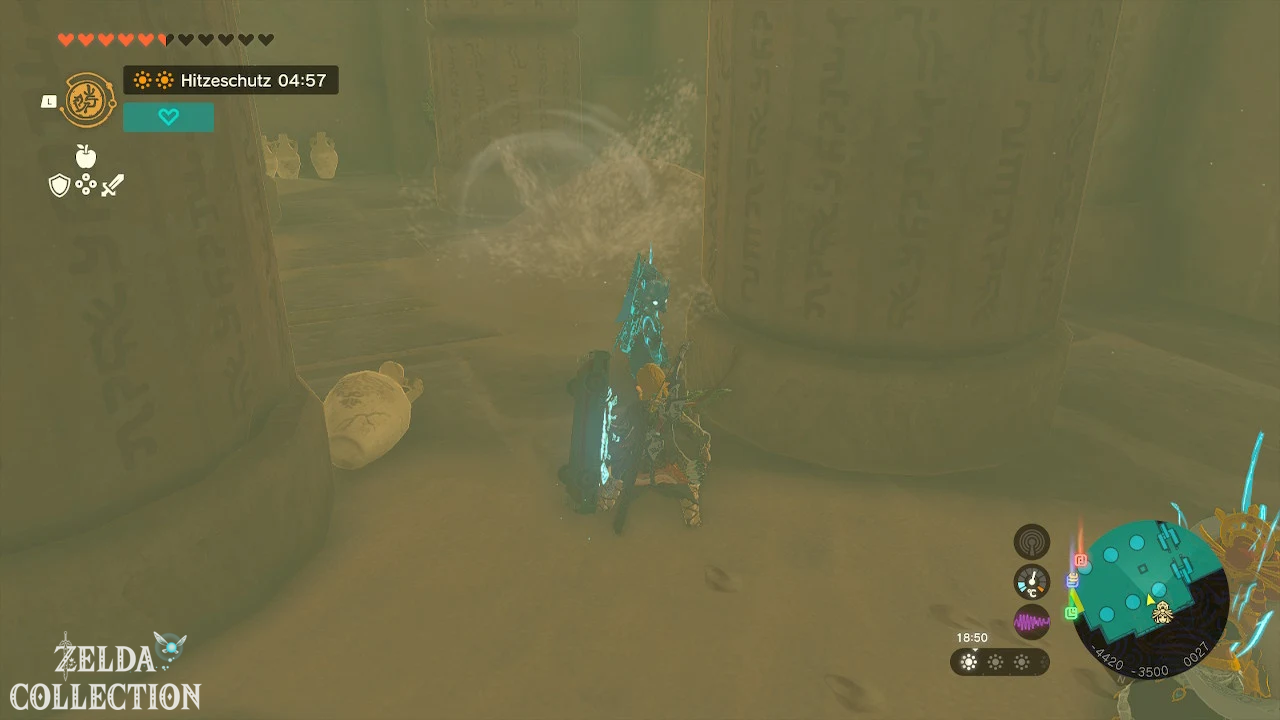
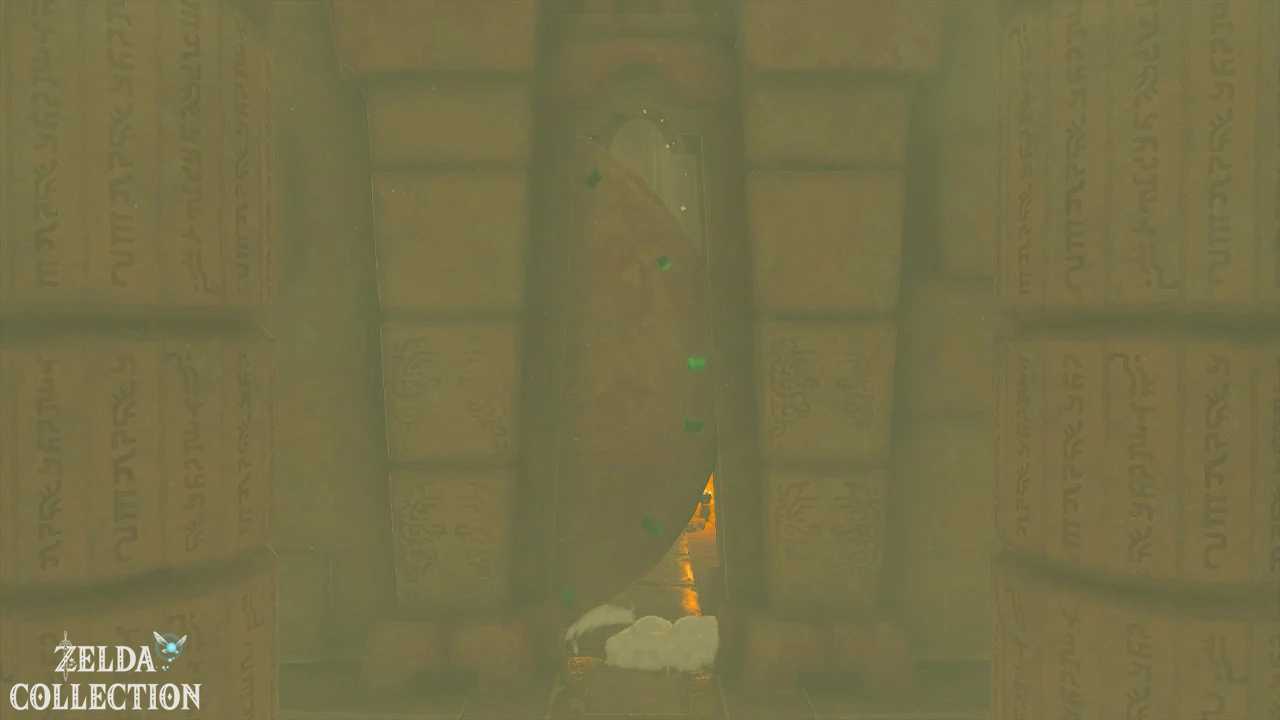
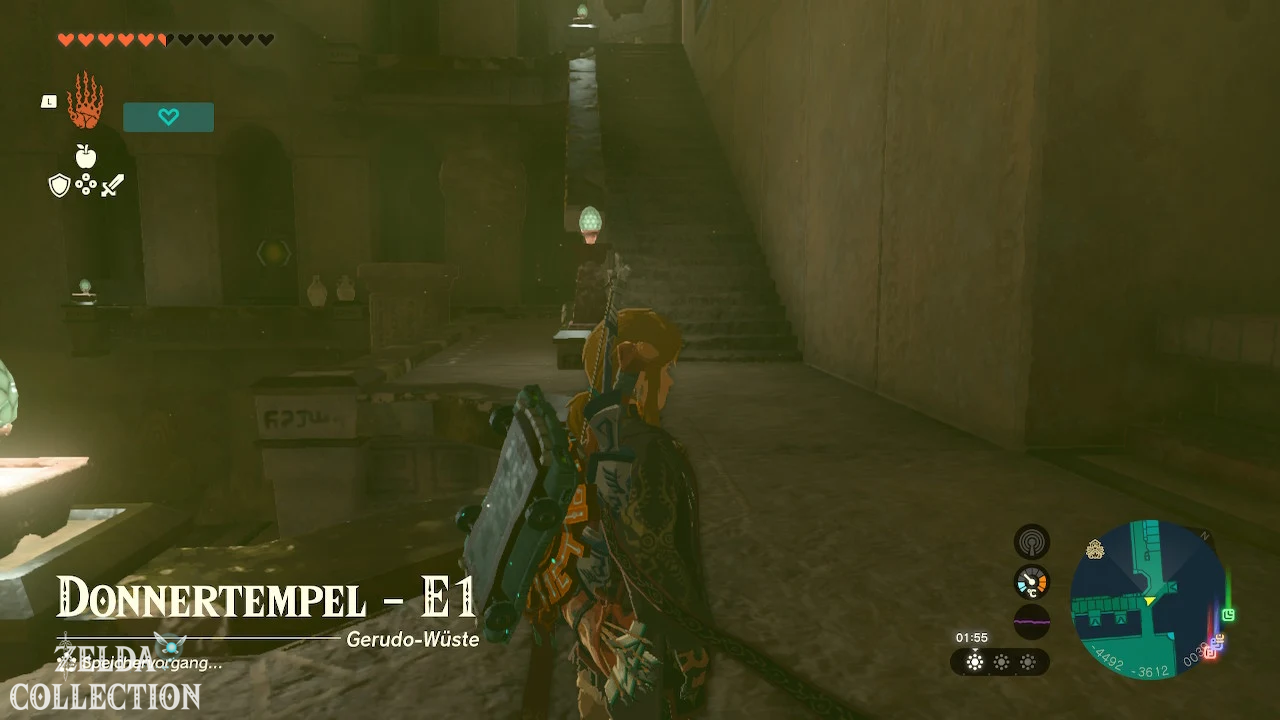
The Lightning Temple has a basement, a ground floor and several
narrow upper floors. Many floors consist only of individual floors
rooms, platforms or corridors.
In the entrance area there is a leaf fan or a suitable
weapon for generating wind. Use them to blow away piles of sand.
If you have completed the
Wind Temple
,
you can also use Tulin’s ability for it.
Basement B1
Follow the hallway down. At the damaged bridge you can drop
to the side and open a chest in a niche with a
large Zonai Charge.
Return to the bridge with the Ascend. In the next area
remove the stone blocks with the Ultrahand. In a
burial chamber behind it you will find a chest with a topaz.
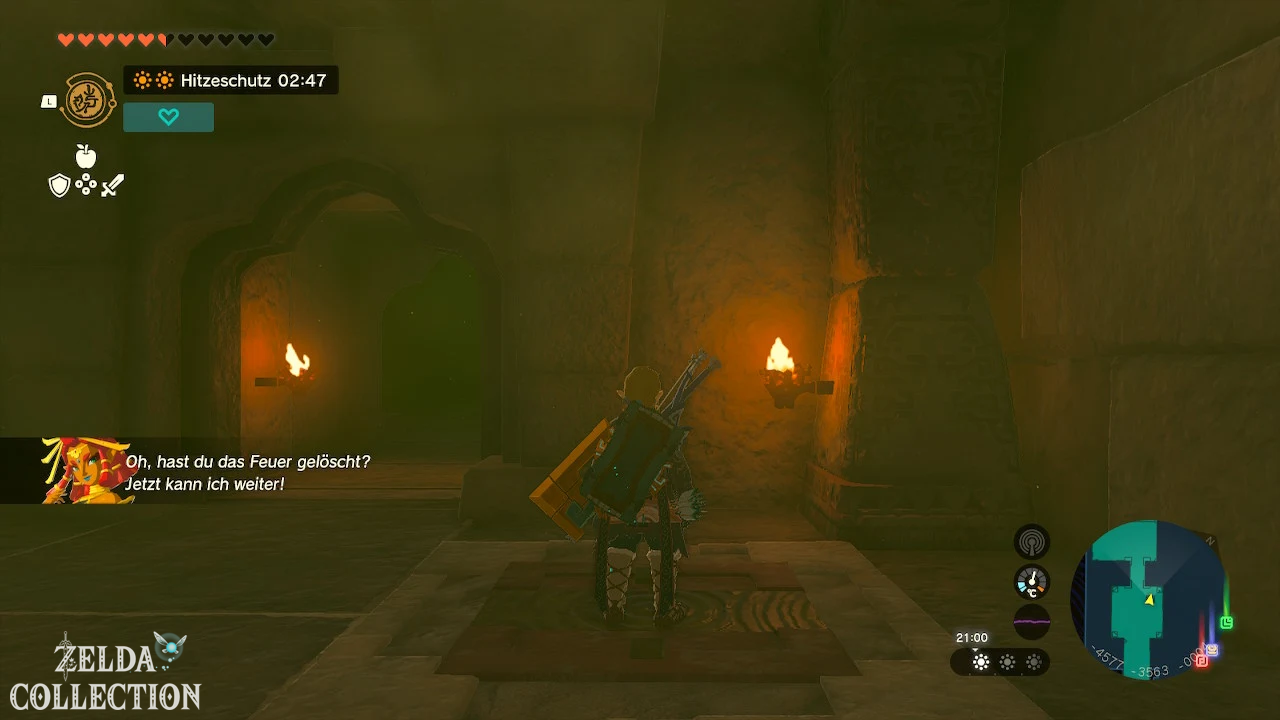
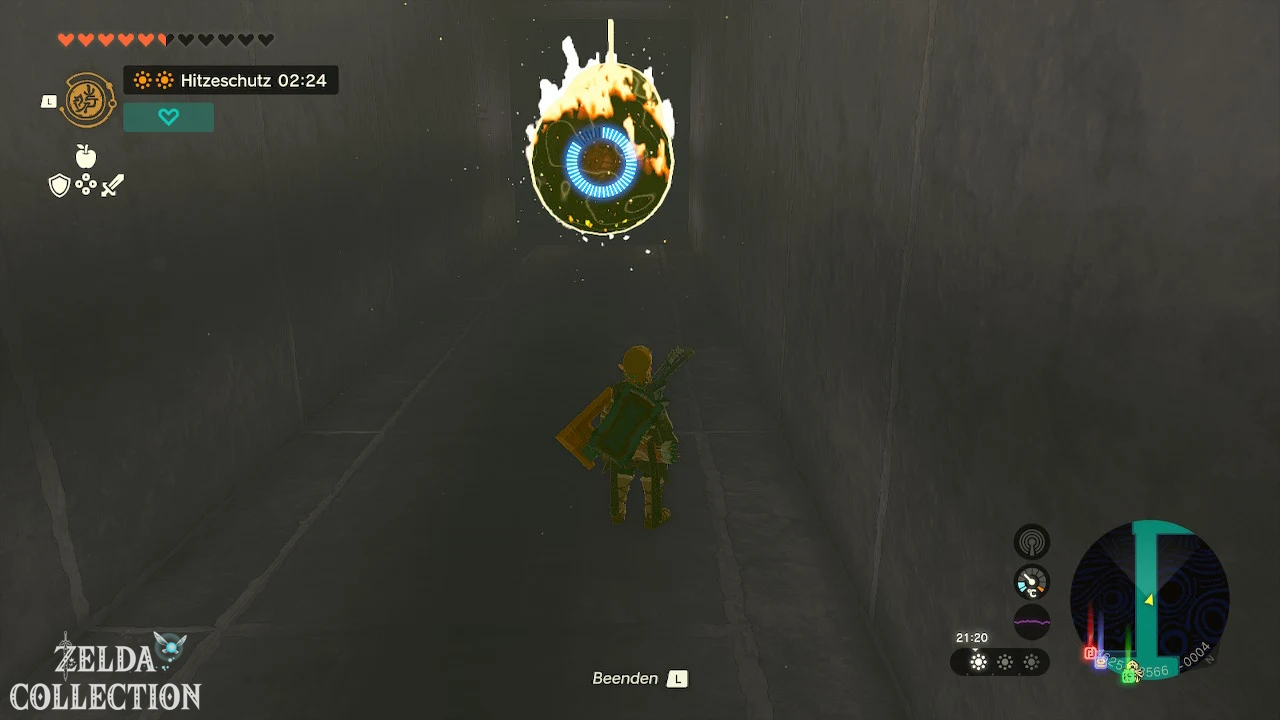
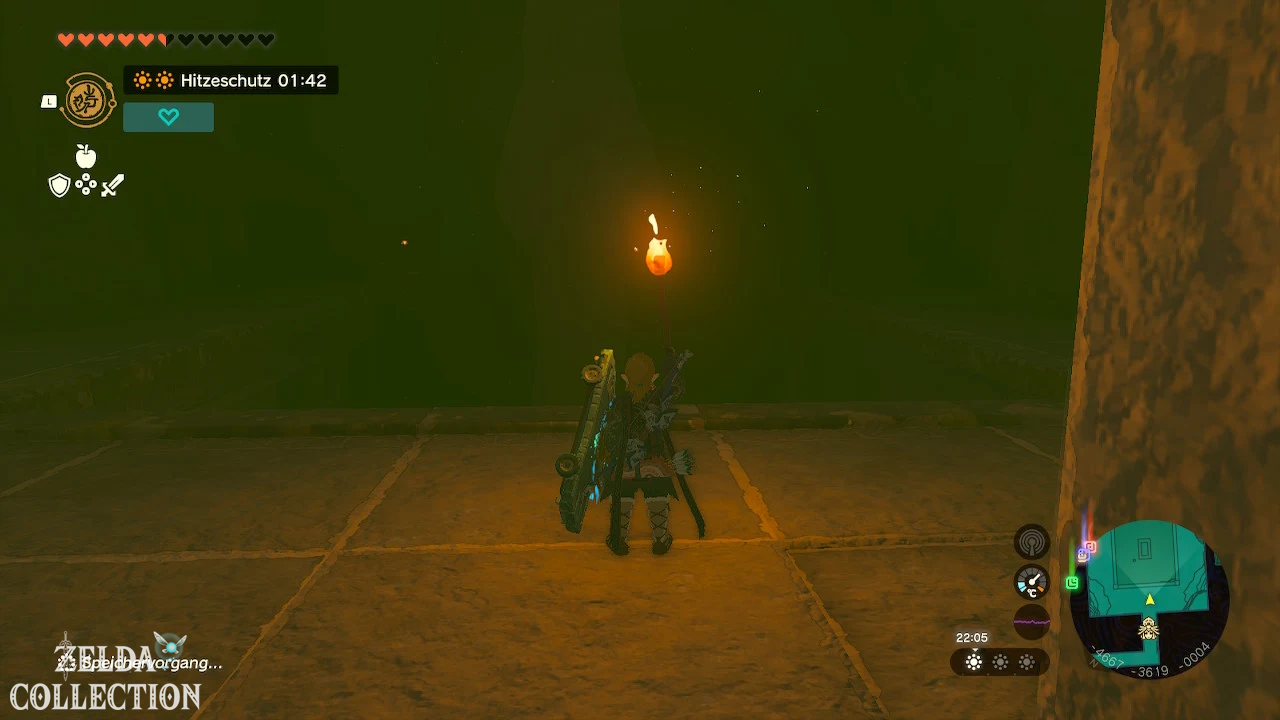
Traps in Temple
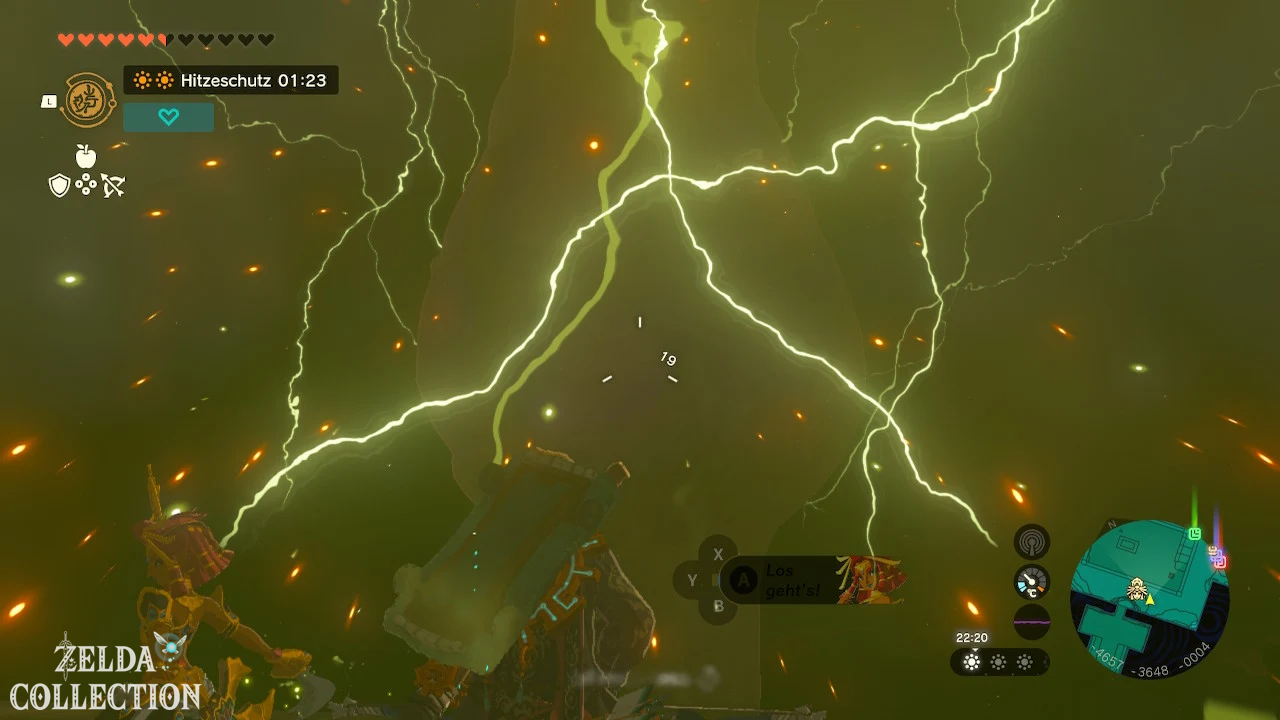
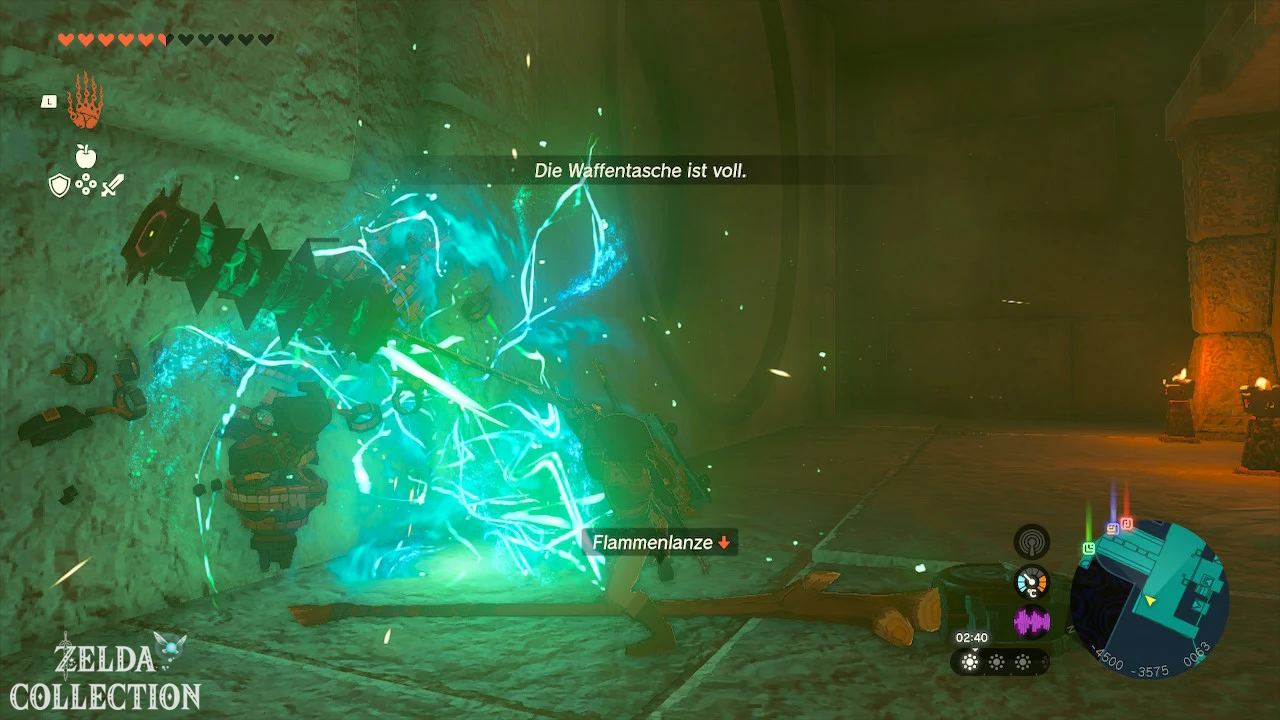
Watch out for collapsing floor panels, flames escaping from the side
movable walls. Wait by the flames until the beam stops briefly and
then run to the next safe niche.
Opens existing Floor Switch so Riju can follow you through the trap rooms
.
14. The Room of Ascension achieve
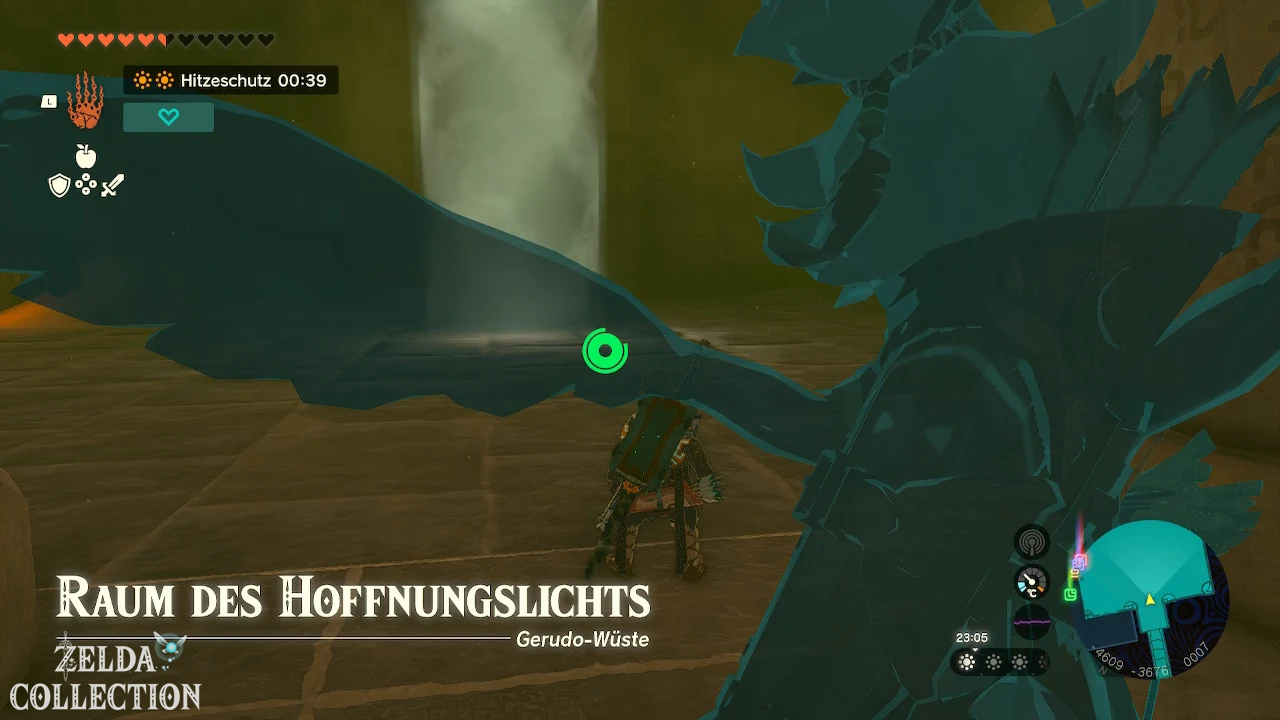
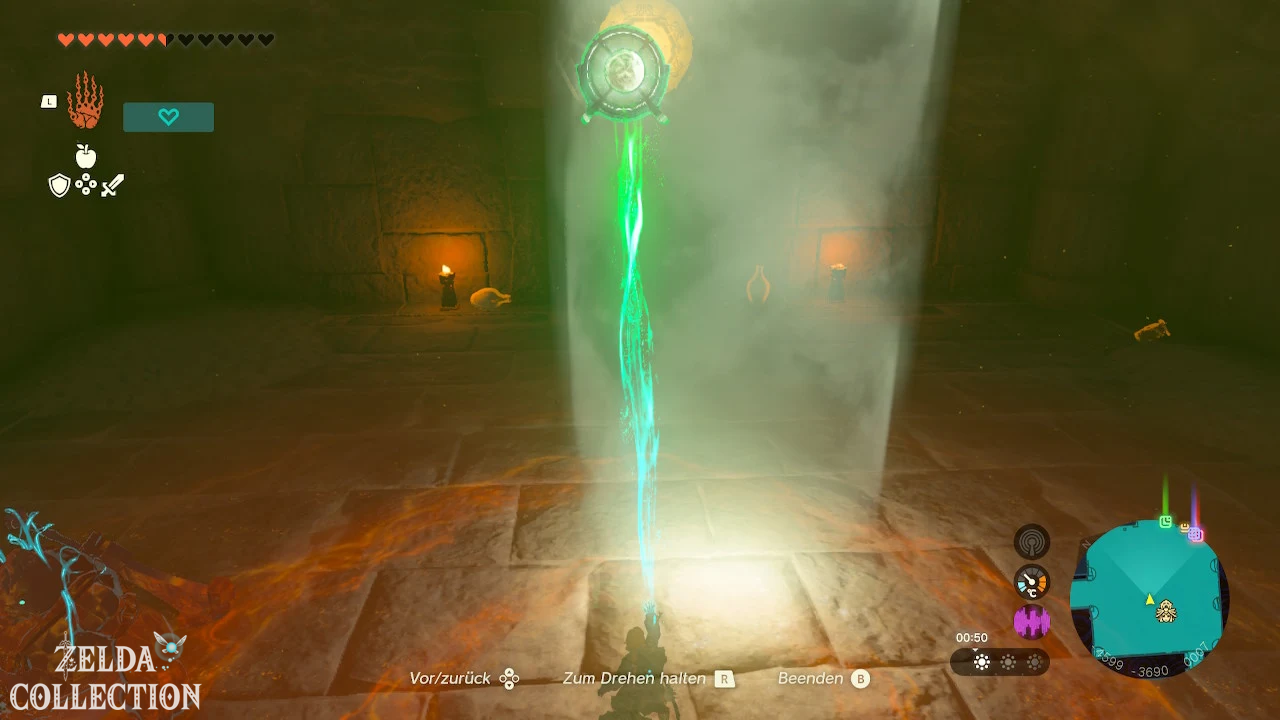
In the Room of Hopeful Light, a bright beam of light falls from above
onto the floor.
- Removes sand with the leaf fan.
- Take the exposed mirror with the Ultrahand.
- Hold it in the beam of light.
- Directs the reflected light to the green reacting Sensor + above the door.
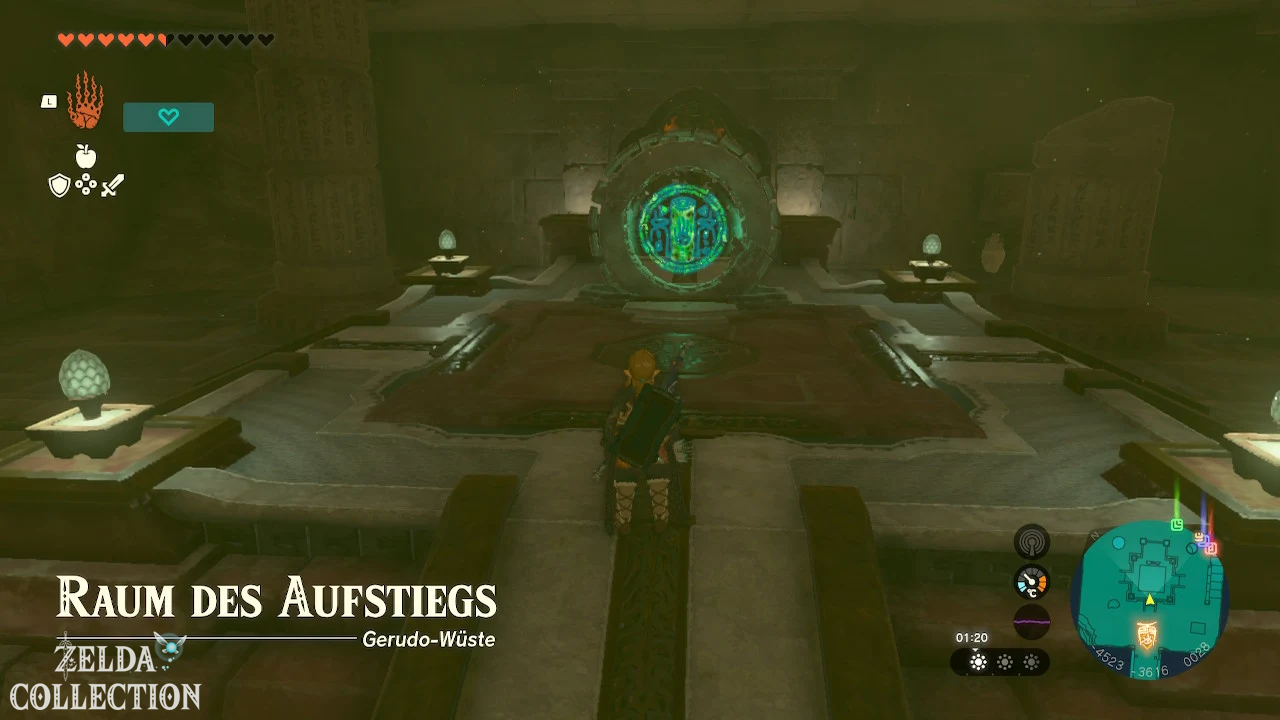
As soon as the Sensor + lights up completely green, the path to the
central room of ascension opens.
Activates the Zonai terminal there. The Lightning Temple is registered as a
fast travel point. At the same time you will find out that the central
elevator requires four energy storage devices.
Expose permanent updraft
At the floor of the central room there is a stone slab above a
air shaft. Remove them with the Ultrahand. The exposed updraft
will then take you to the upper floors at any time.
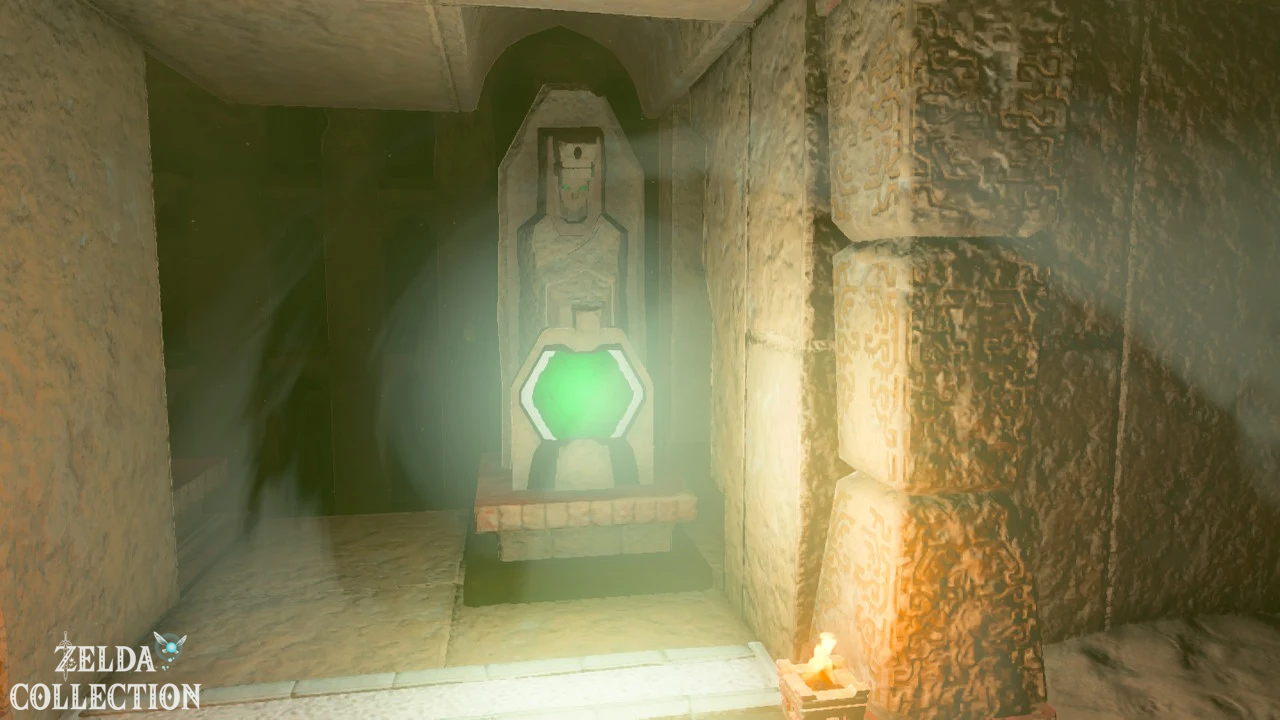
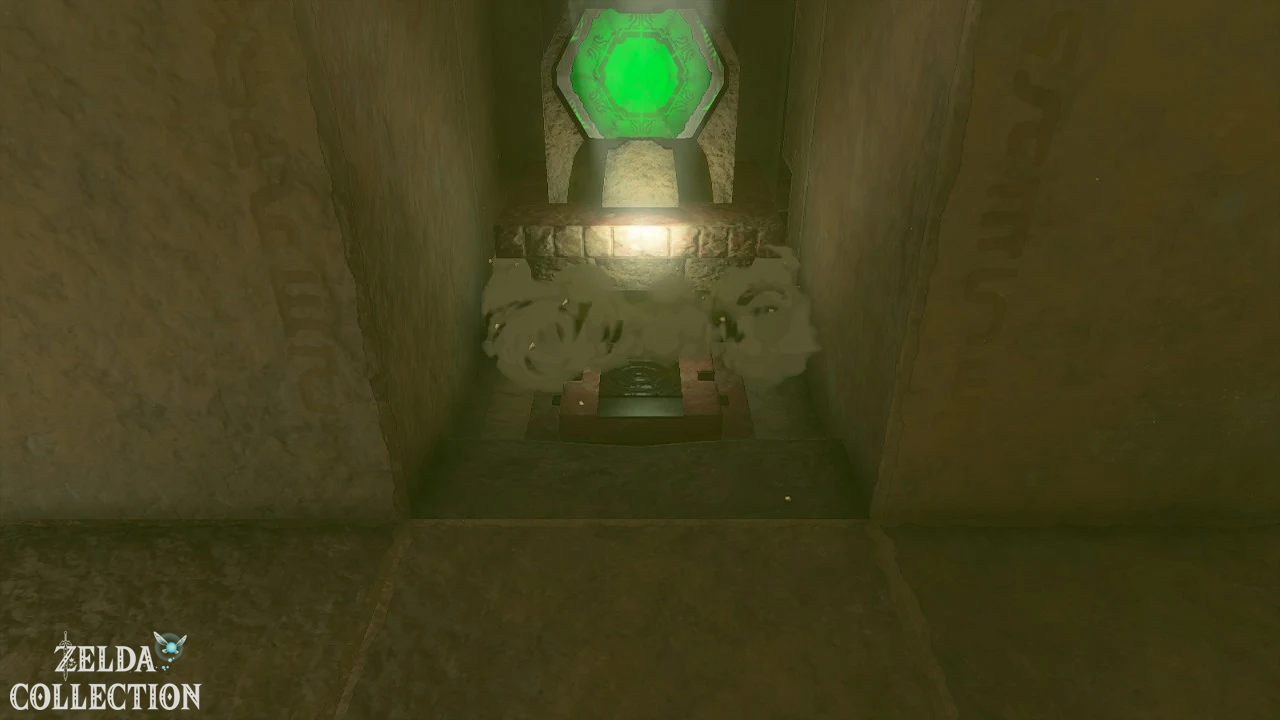
15. Energy storage 1 – ground floor
The first storage is located directly in the central room and is without
larger light puzzle accessible.
- Imagine the Zonai terminal.
- Look to the northeast or right side of the room.
- Removes the two large sandstone blocks with the Ultrahand.
- Go through the opening together with Riju.
- Activates Riju’s Thunder Power.
- Shoots an arrow at the energy storage.
The first of four memories is being charged.
16. Energy storage 2 – space of presented light
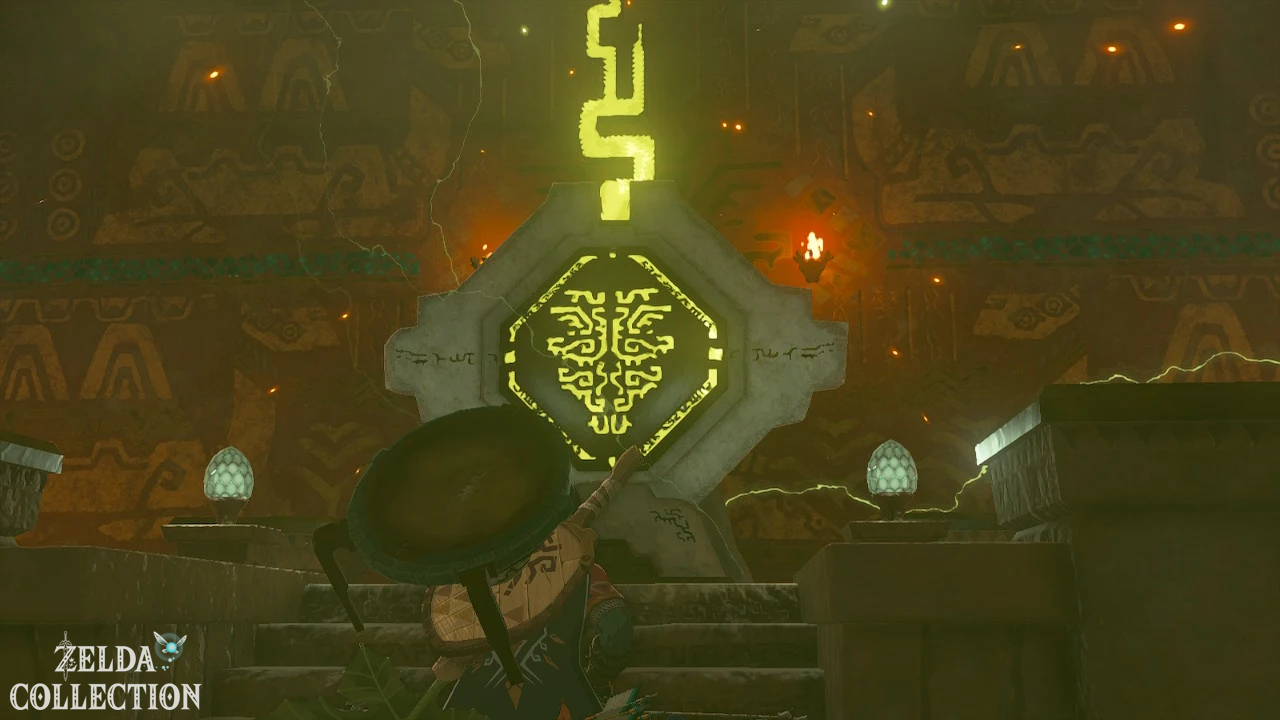
Use the updraft and climb to around E4 or E5. In
You can see a strong beam of light in an opening in the wall. Behind it lies the
Natural light space.
Direct the light into the main room
- Climb through the opening in the wall.
- Place the stone block upright in the room.
- Take the mirror from the wall niche.
- Fix it on the stone block.
- Adjusts the mirror so that the light shines through the opening.
Leave the room and push the mirror statues in the central shaft.
Directs the beam first over the main room and then downwards
onto the Sensor + of a statue on E2.
As soon as the Sensor + lights up green, access to the
room of presented light opens.
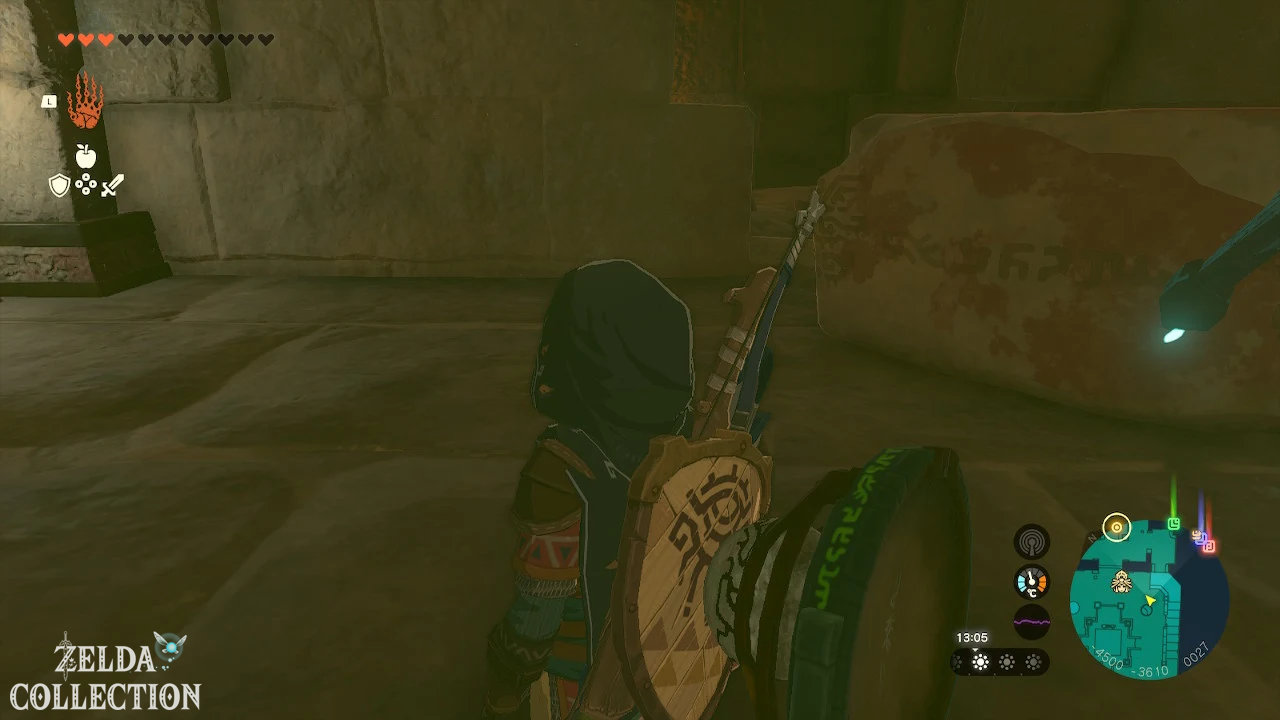
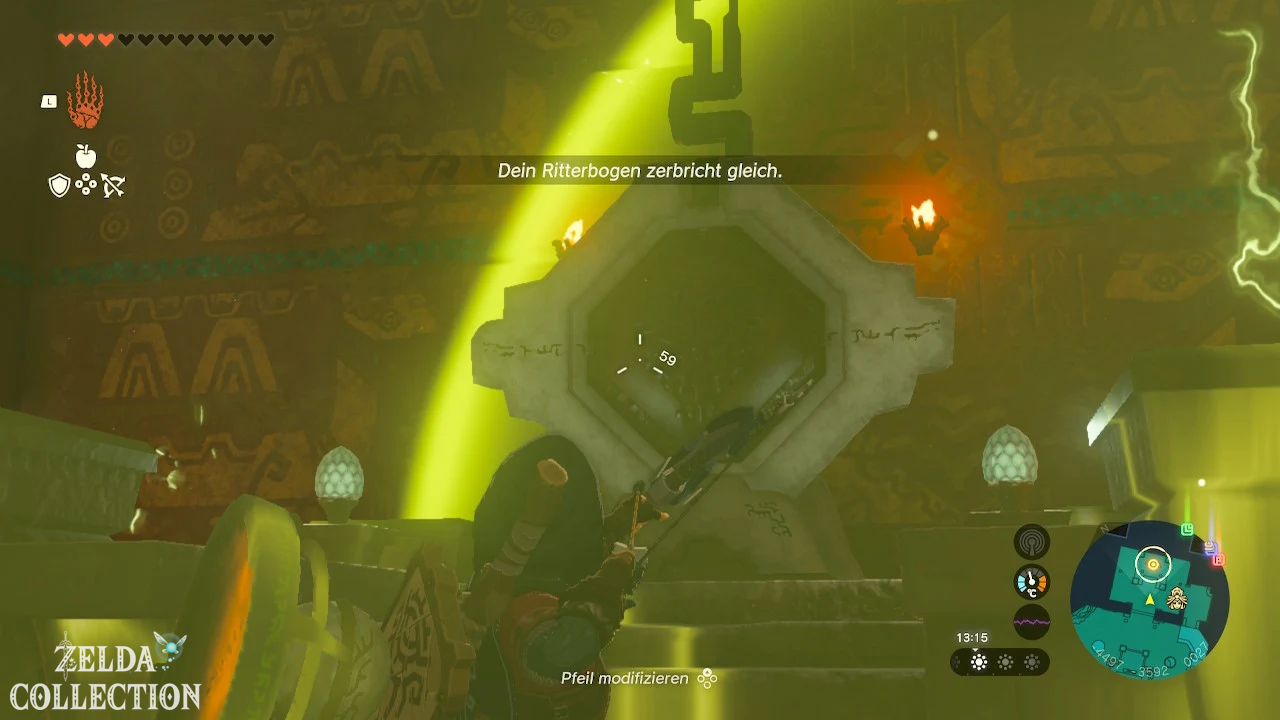
Eliminate enemies and Gibdo nest
Several constructs and gibdos attack in the room. First, destroy the
Gibdo Nest with Riju’s Thunder Power. Then defeat the weakened Gibdos
and the constructs.
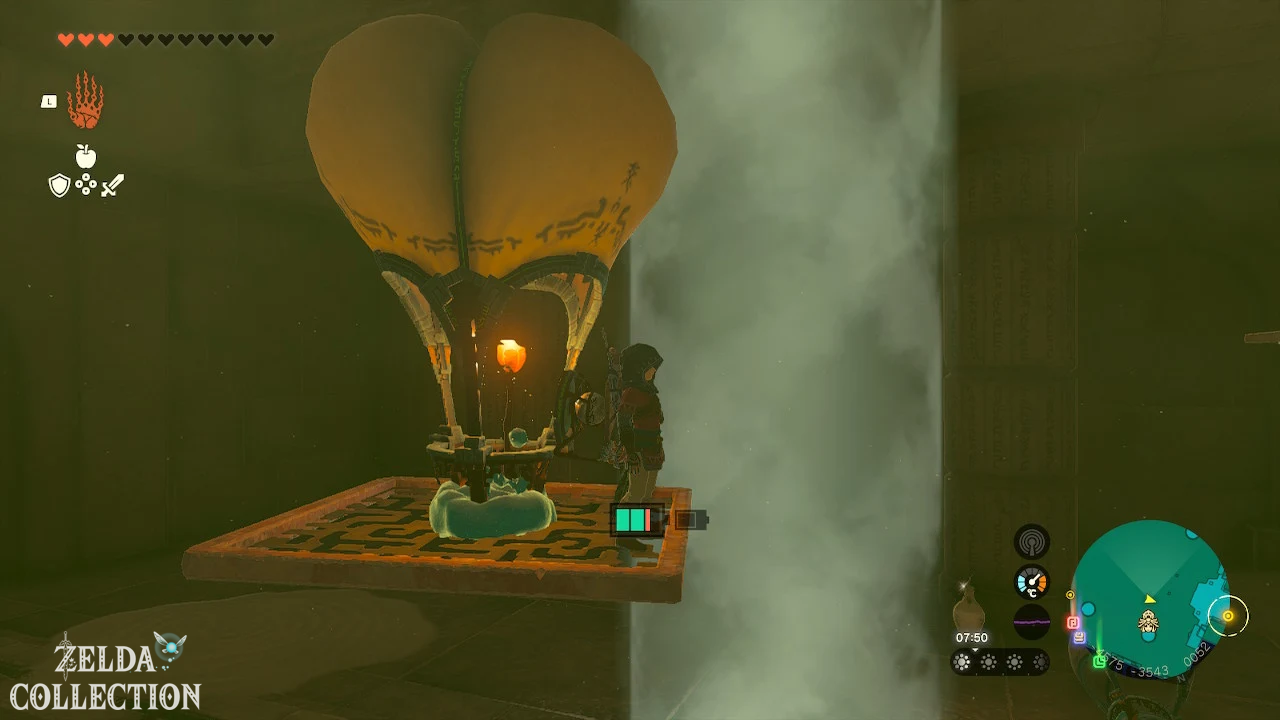
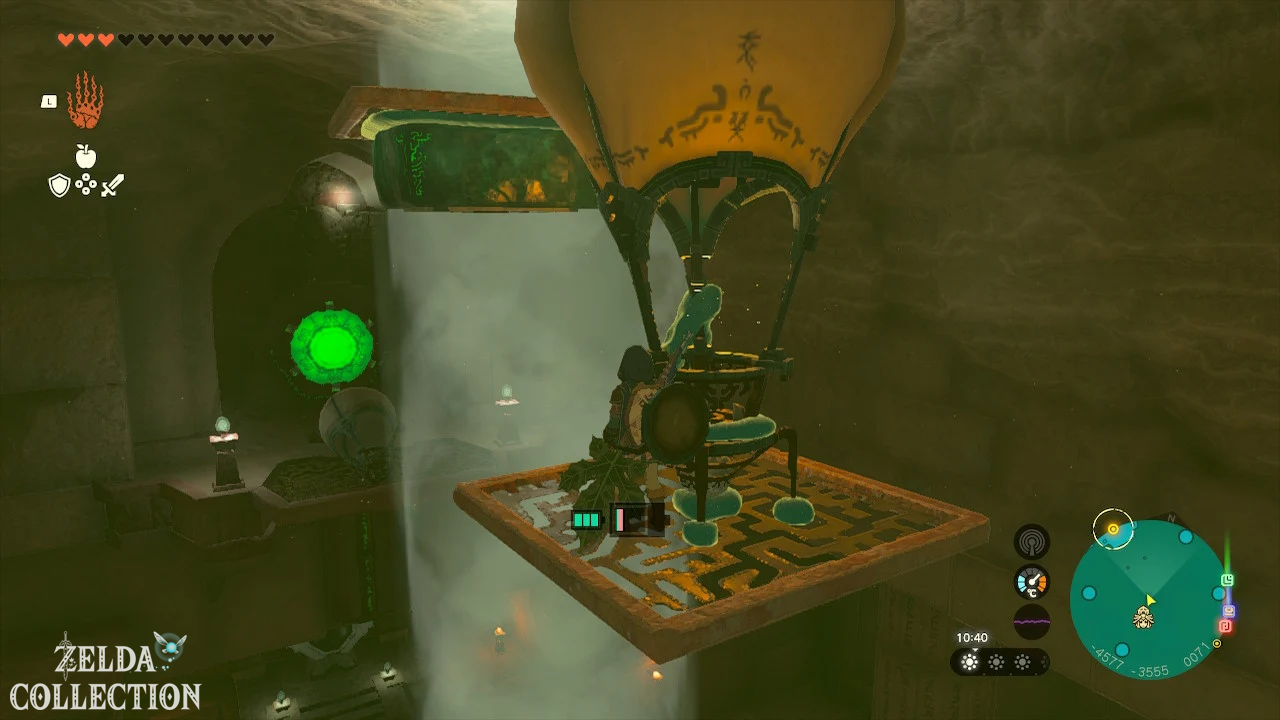
Raise the mirror with the balloon
- Take the grid platform.
- Attach a hot air balloon to it.
- Attaches a mirror to the front.
- Places the construction above the light beam.
- Lights a torch or wooden weapon.
- Stand under the balloon so that the warm air lifts it.
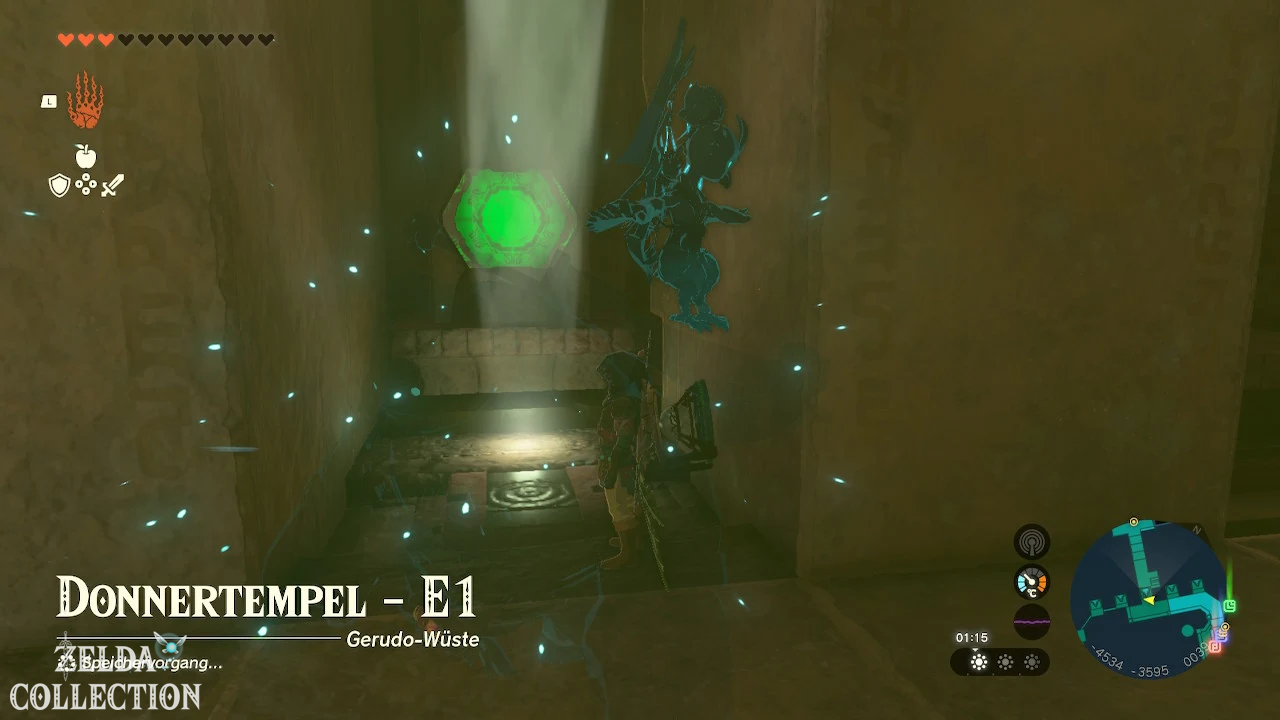
The mirror rises and directs the beam onto the light sensor. The
door to the energy storage opens. Jump down and activate the
second save with Riju.
17. Energy storage 3 – the fire shaft
Return to the upper mirror statues using the updraft. Changes their
position so that the light beam hits the high Sensor + on the
opposite side.
- Pushes the first statue out of the previous beam path.
- Clear the sand from the opposite statue.
- Pushes it to the end of its guide rail.
- Aligns the nearest mirror to the high Sensor +.
Climb with the updraft to the now open access to E5 or E6
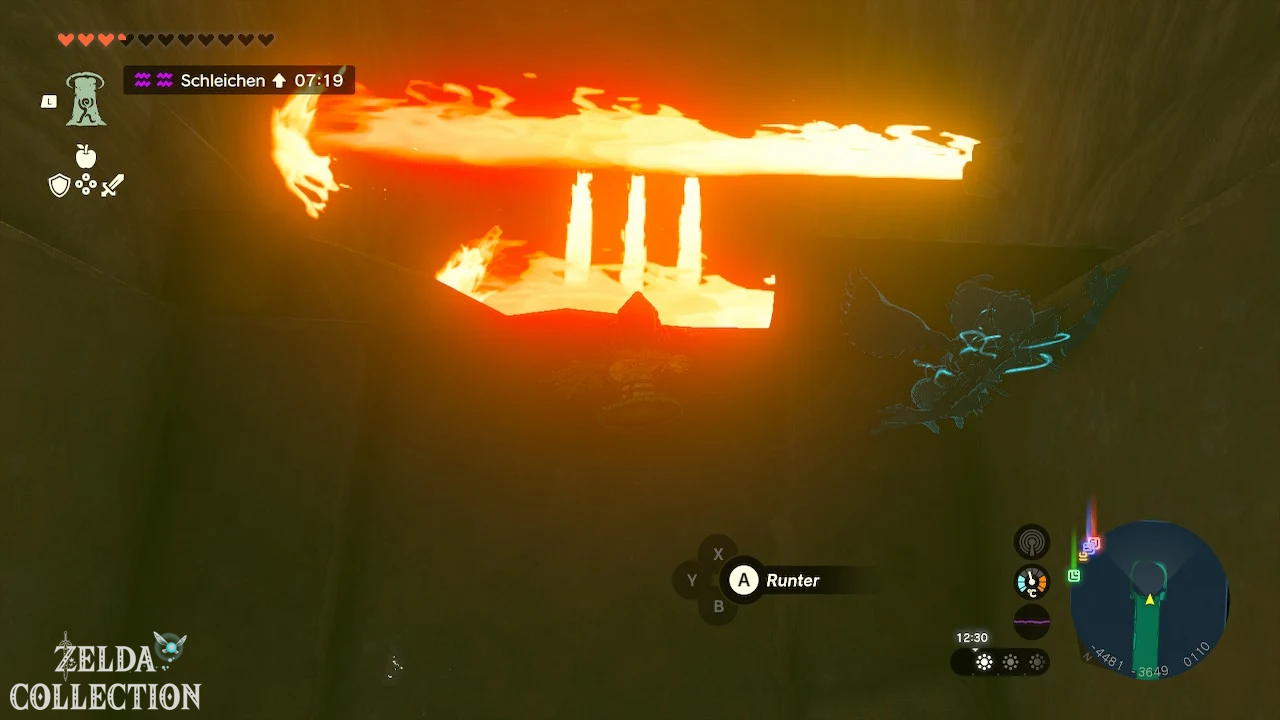
. Enter the corridor and stand at the edge of the vertical
fire shaft.
Slide through the fire shaft
Slowly lower yourself down with the Paraglider. Move
between the flame jets and only close the Paraglider briefly in order to
fall past a fire nozzle more quickly.
Riju cannot follow you through the shaft at first. Press the Floor Switch at the bottom
end so that the door opens and it comes back to you
.
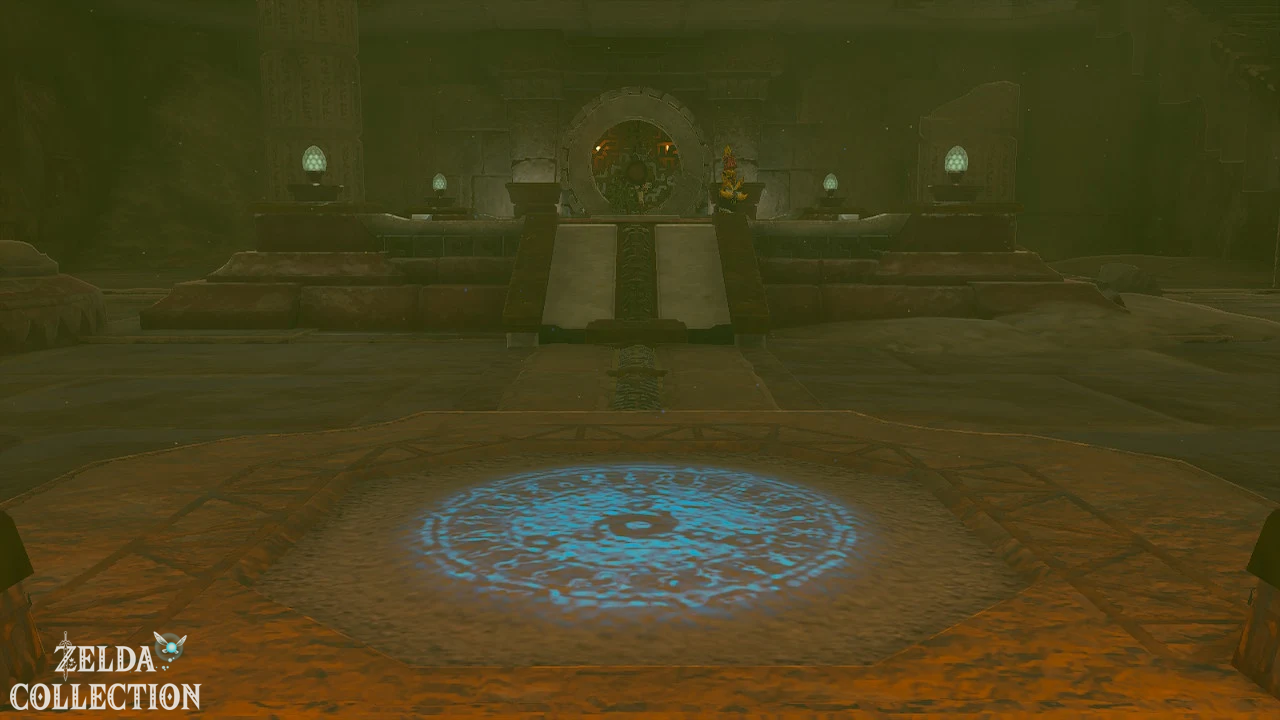
Defeat the two constructs and then activate the third
energy storage with Riju’s lightning.
18. Energy storage 4 – space of light and shadow
Travel back to the ground floor and use the updraft to E3 or
E4. Slide into the narrow opening on the north side of the central room.
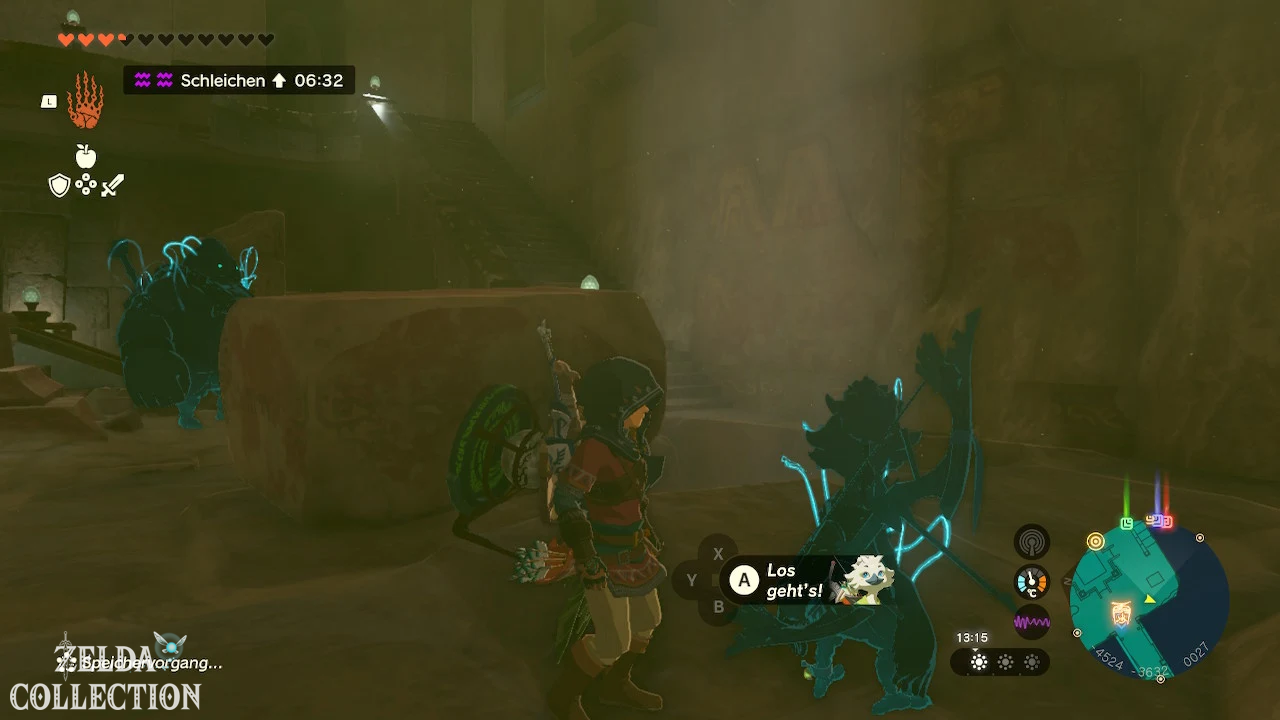
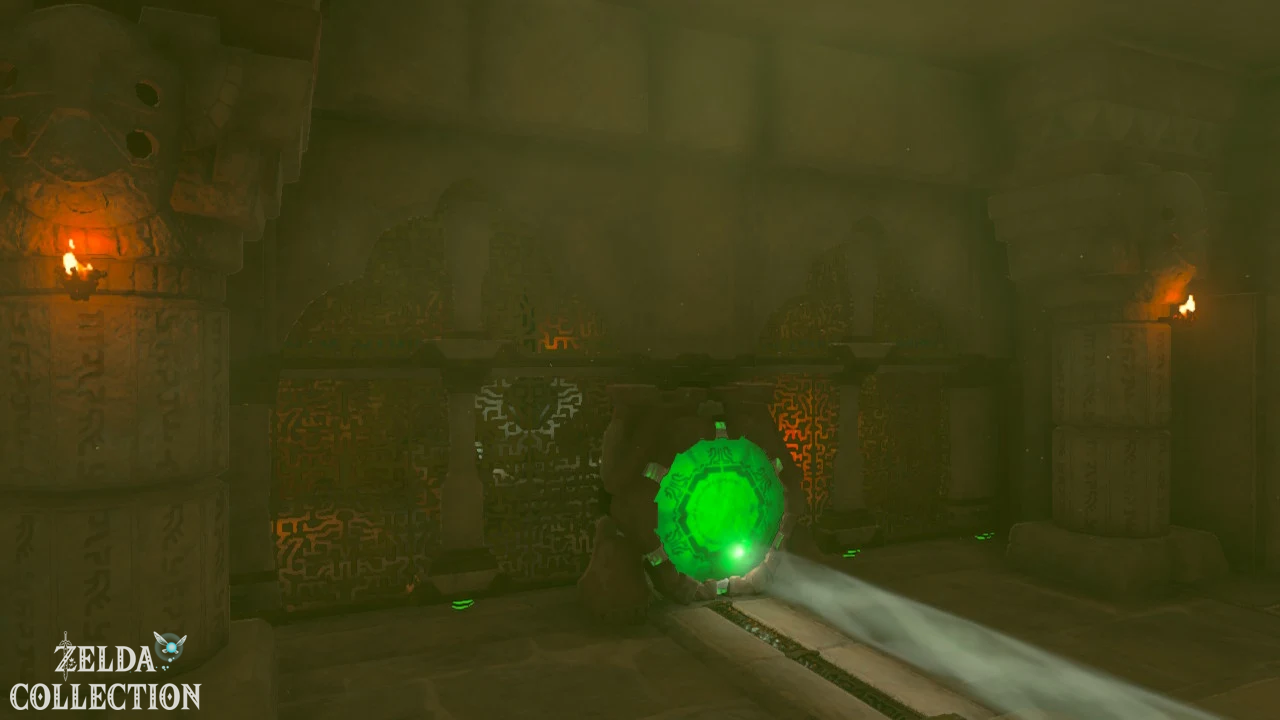
Align the rotating disks
Follows the aisle up to two rotating stone disks with narrow
recesses.
- First goes through the windows.
- Remove the stone blocks in front of the light source at the end of the corridor.
- Turn to the discs.
- Uses the Recall on one of the disks.
- Stops the Recall as soon as both openings are exactly above each other.
The light now falls through both recesses into the central temple room
and opens another entrance.
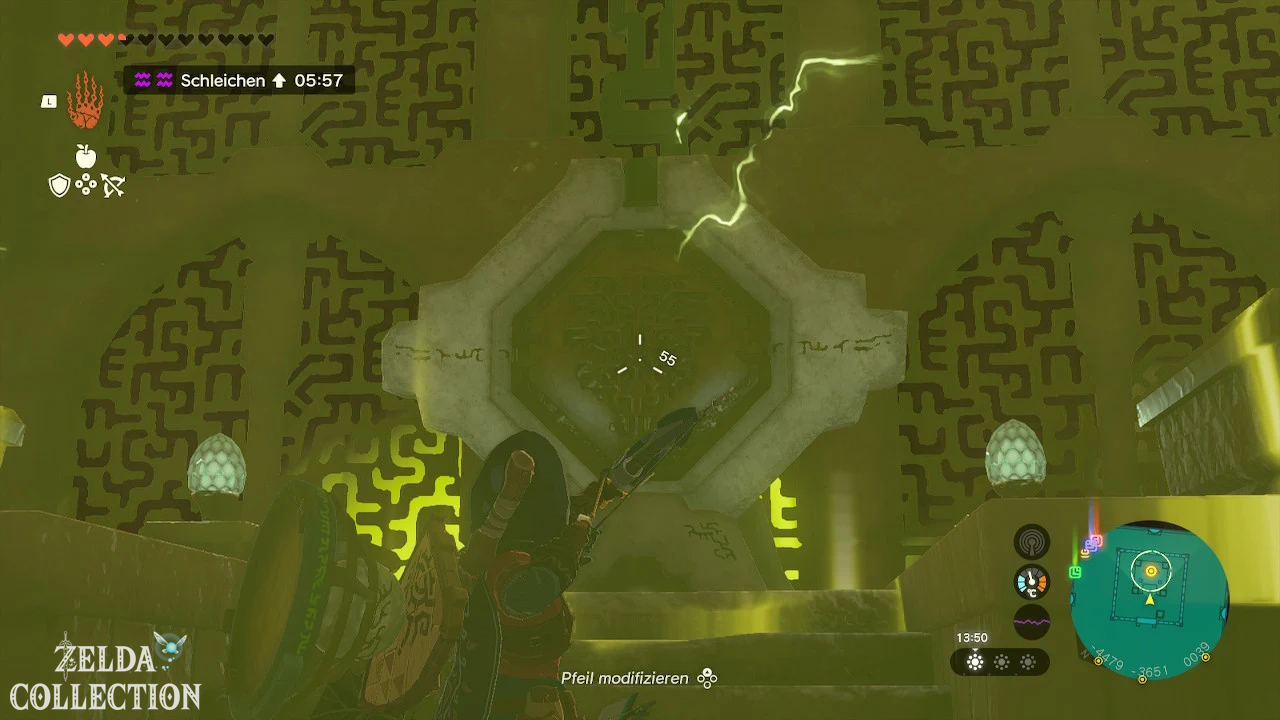
The pinch traps stop
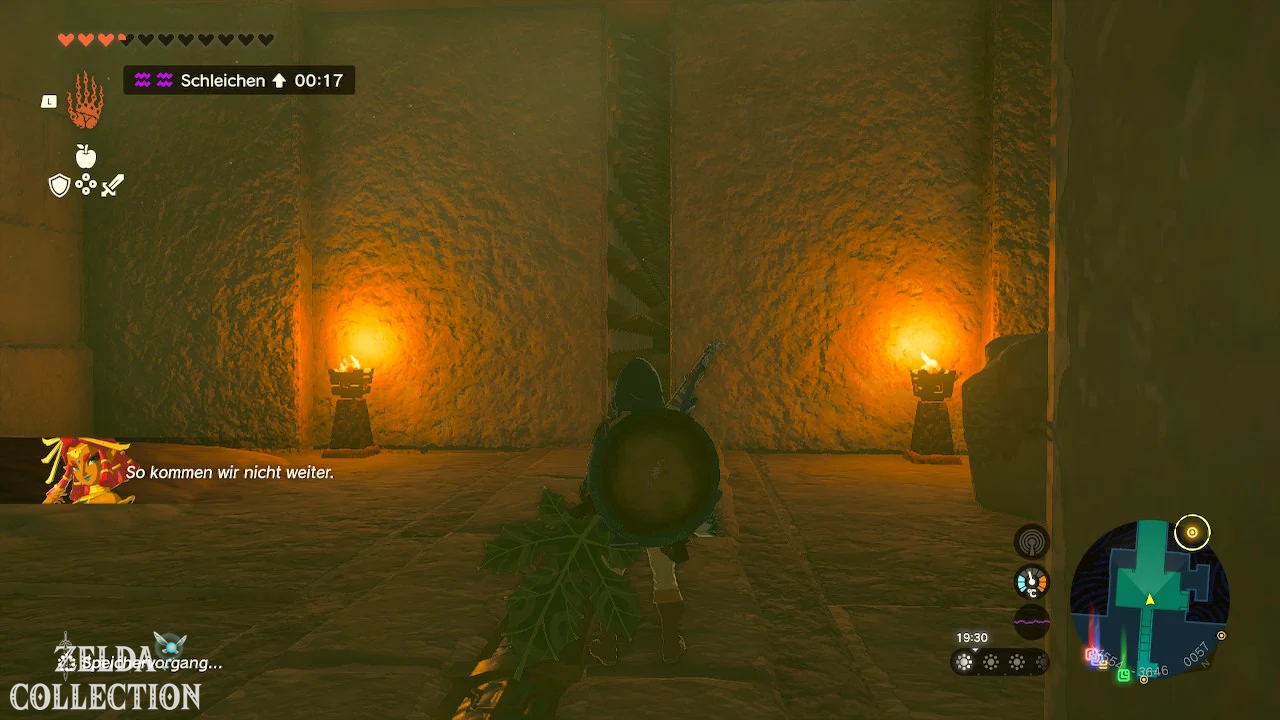
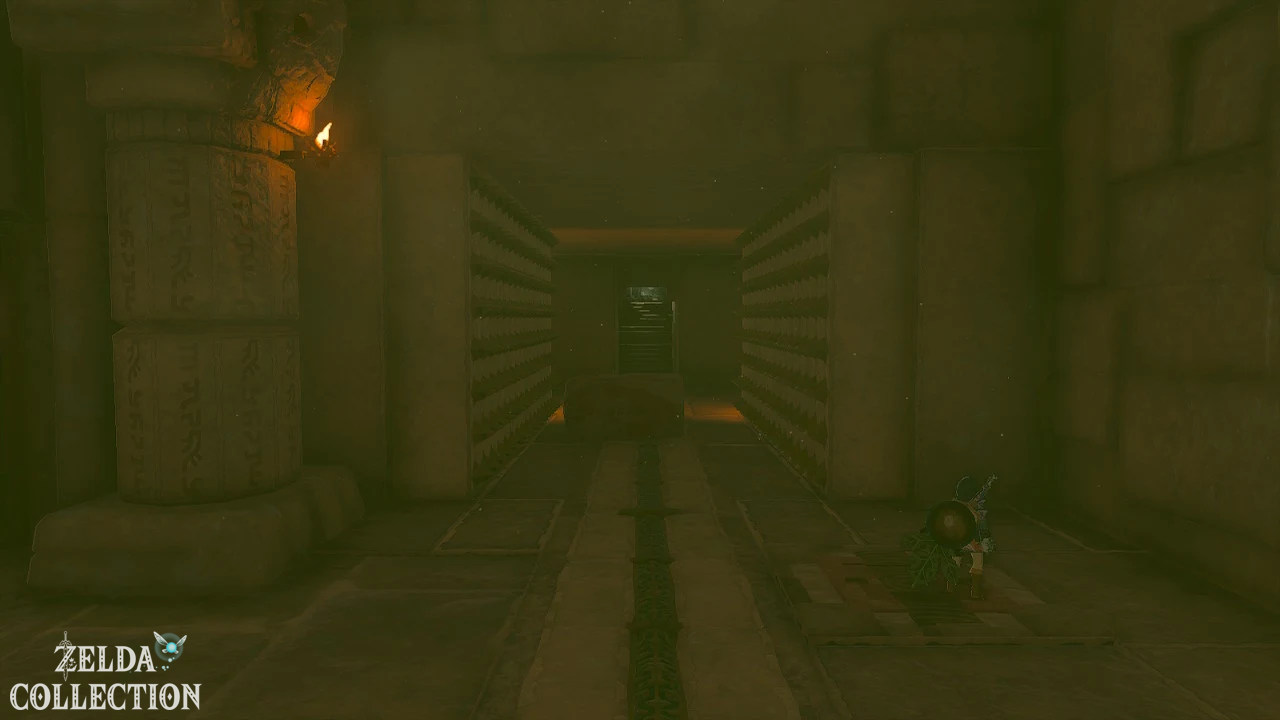
Slide to the opened entrance and climb the stairs. In the next
section, several moving walls and spiked ceilings await.
- Clamps a sandstone block between the side crush walls.
- Run through the blocked trap.
- Activate the Floor Switch so Riju can follow.
- Clamp another block under the descending spiked ceiling.
- Runs into the space of light and shadow.
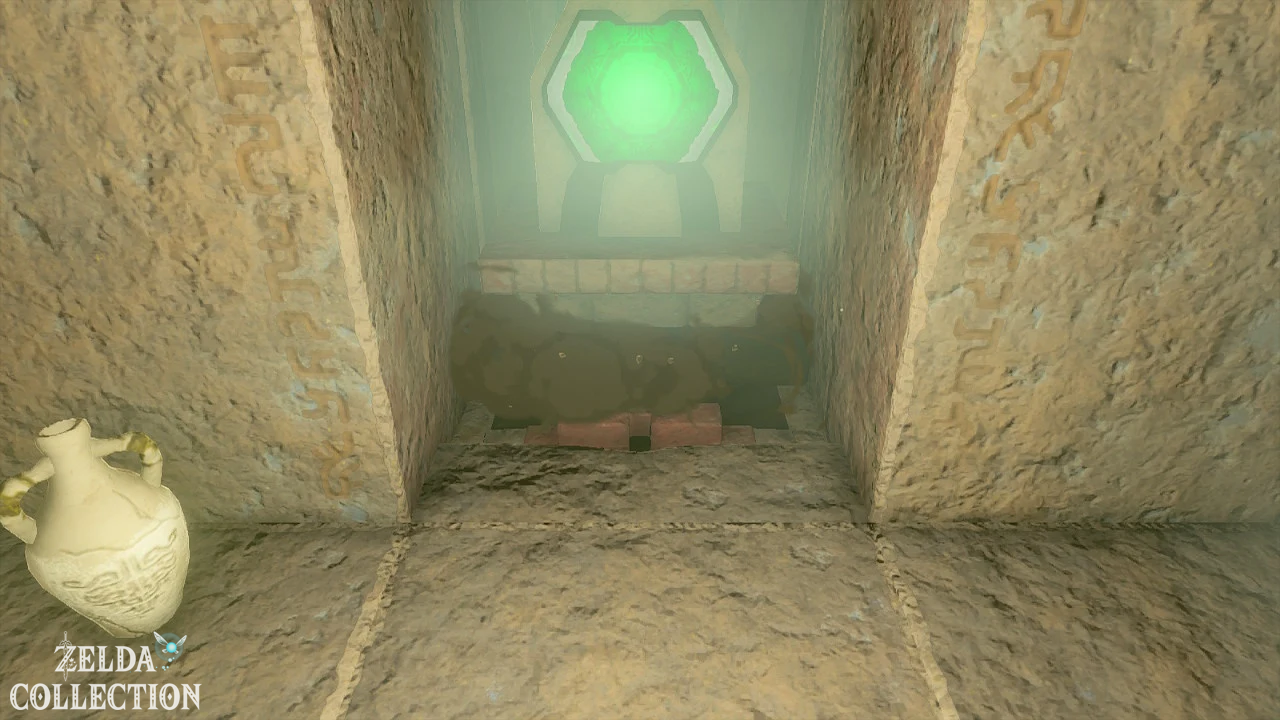
Stop the rotating room
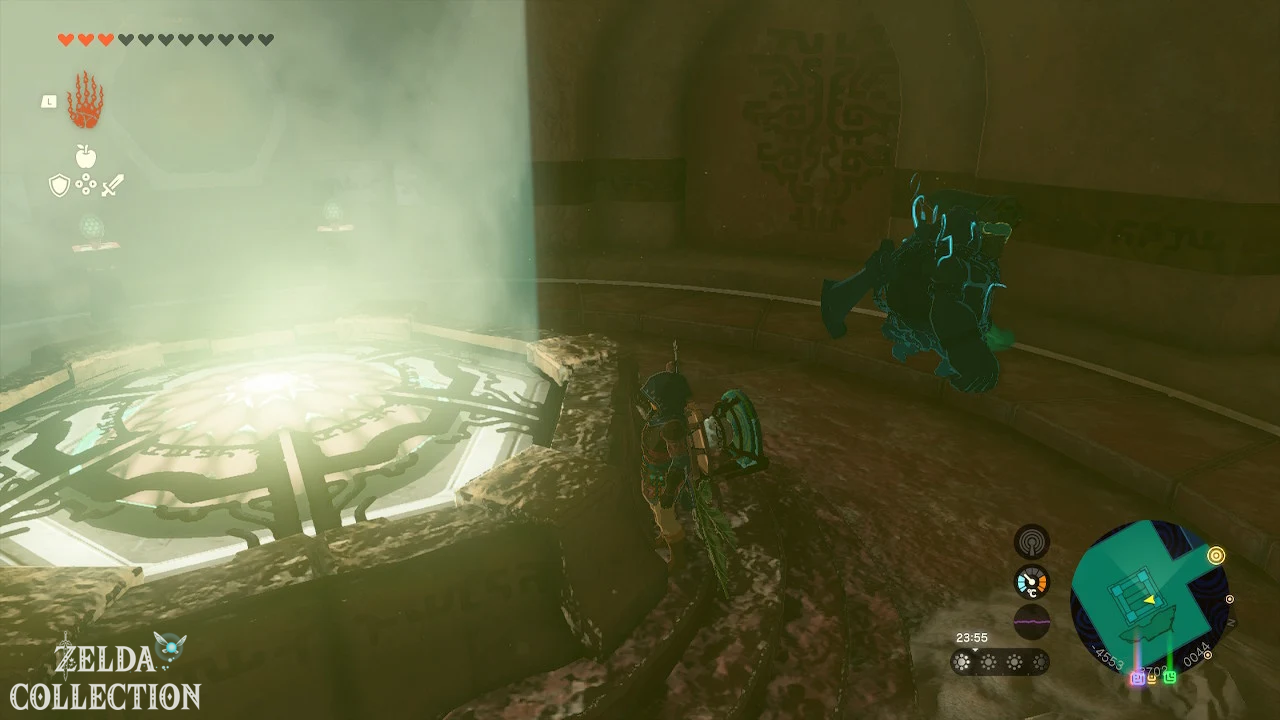
Defeat the construct and jump through the opening next to the central
light source into the rotating chamber below.
There is a mirror, two Zonai posts and a constantly rotating
interior.
- Lifts the mirror out of the sand.
- Places him in the beam of light.
- Waits until the reflected beam points to the green sensor area.
- At this moment, stick a Zonai post into the wall.
- The pole blocks the rotation.
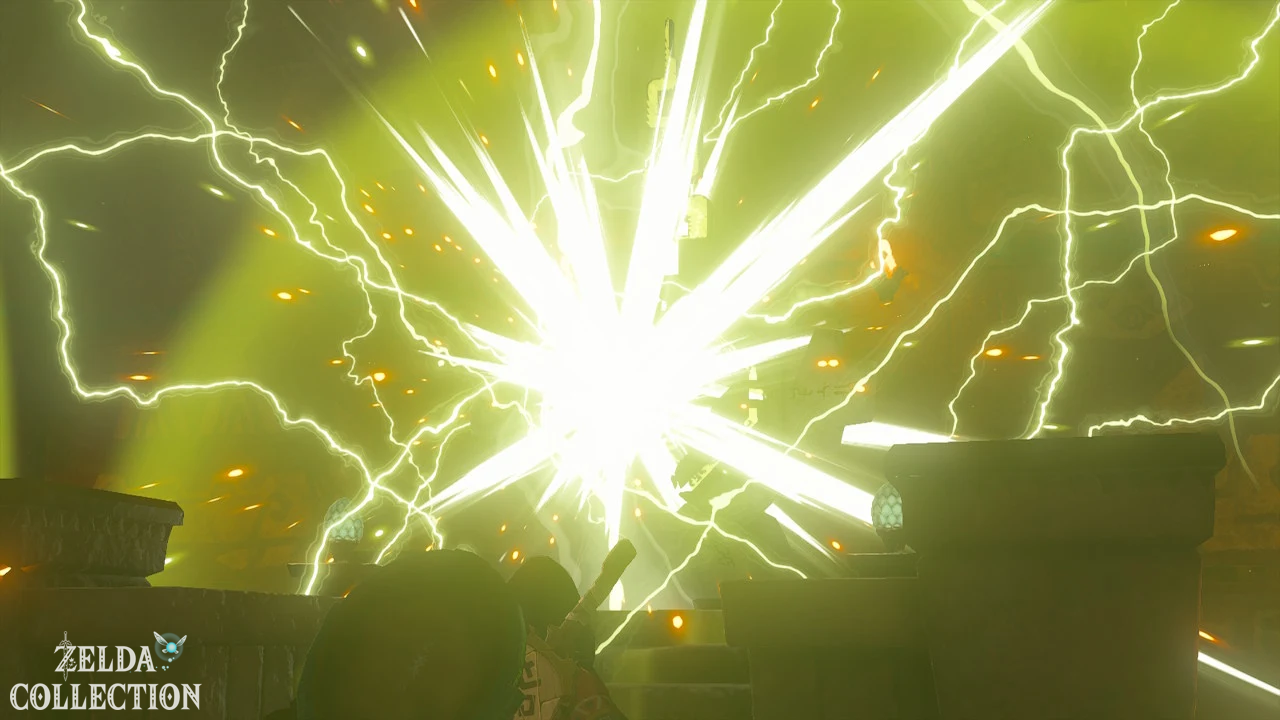
The permanently aligned light beam opens the last entrance. Use
the Ascend, return to Riju and activate the fourth
energy storage.
19. All Treasure Chests in and on Lightning Temple
There are six firmly documented
Treasure Chests on or in the Lightning Temple. Two of them are located outside or in
sand piles on the temple, four are in the interior.
| No. | Contents | Location |
|---|---|---|
| 1 | 3 mirrors | In a pile of sand on the top of the temple |
| 2 | Flame Emitter | In the sand pile to the right of the temple entrance |
| 3 | Diamond | In a locked room on E3; accessible from the stair area below with the Ascend |
| 4 | Large Zonai Charge | In the second side niche on the damaged bridge on B1 |
| 5 | Topaz | Behind sliding stone blocks in the burial chamber on B1 |
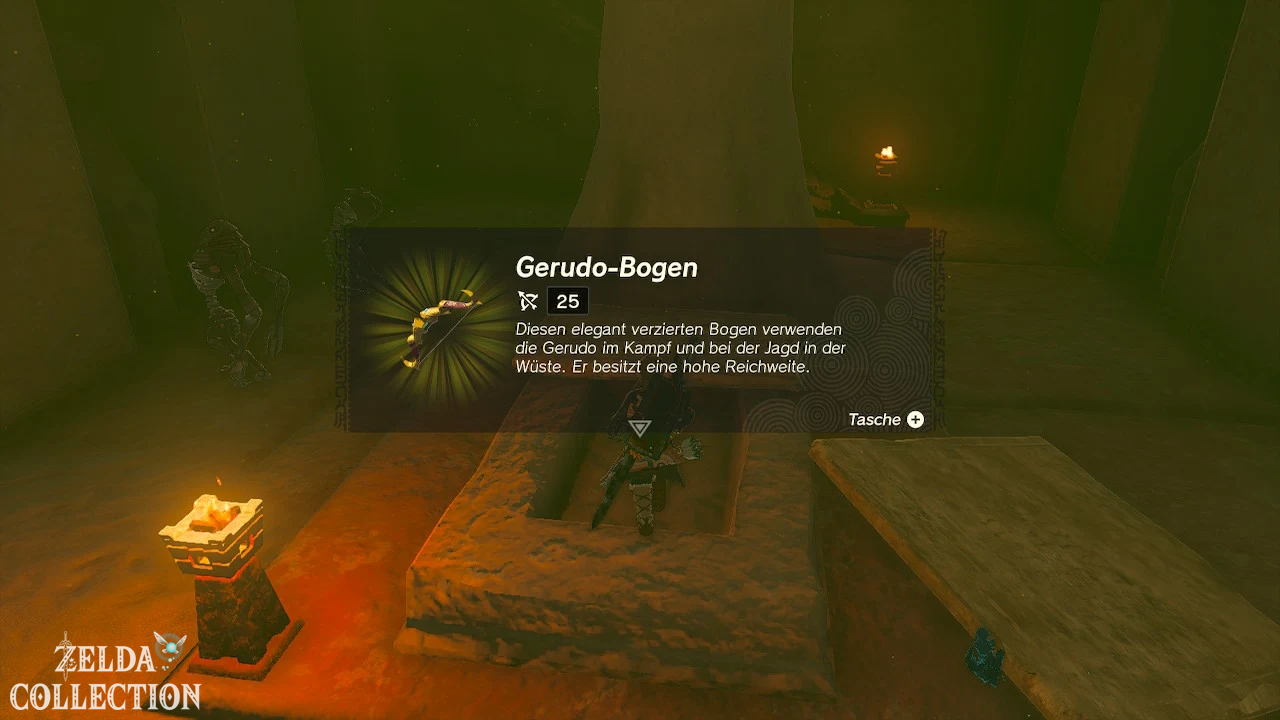
| 6 | Strong Construct Bow | On the rubble in the southwest side room of the Hopeful Light Room |
20. Activate the elevator to the boss room
After charging all four energy storage devices, return to the Zonai Terminal in the
Room of Ascension.
Prepare thoroughly before activation:
- Fully heal link
- Equip at least one intact bow
- Prepare arrows and elemental materials
- Put bomb flowers in the quick selection
- Equip a strong melee weapon
- Save manually
- if necessary eat an attack or defense dish
Activate the terminal and use the now functional elevator. He
takes Link and Riju to the top room of the Thunder Temple.
Destroy the large Gibdo structure there with Riju’s Thunder Power. The
Queen Gibdo appears for the second and decisive battle.
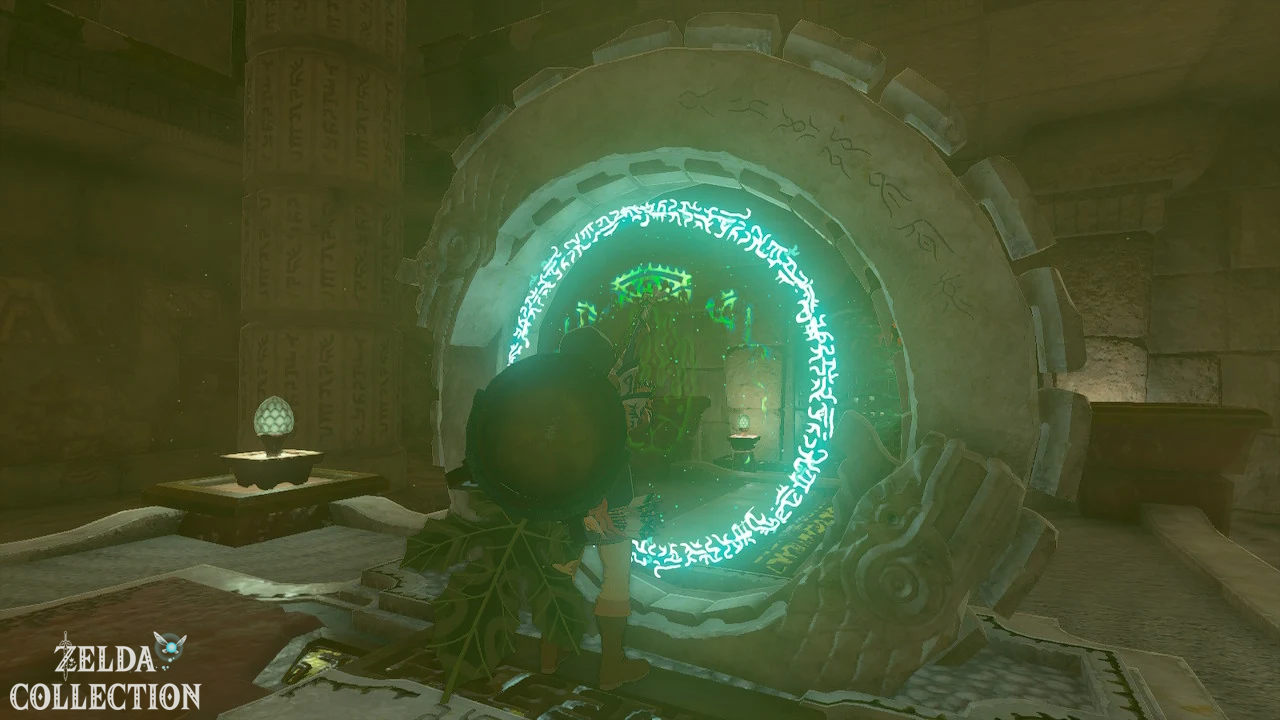
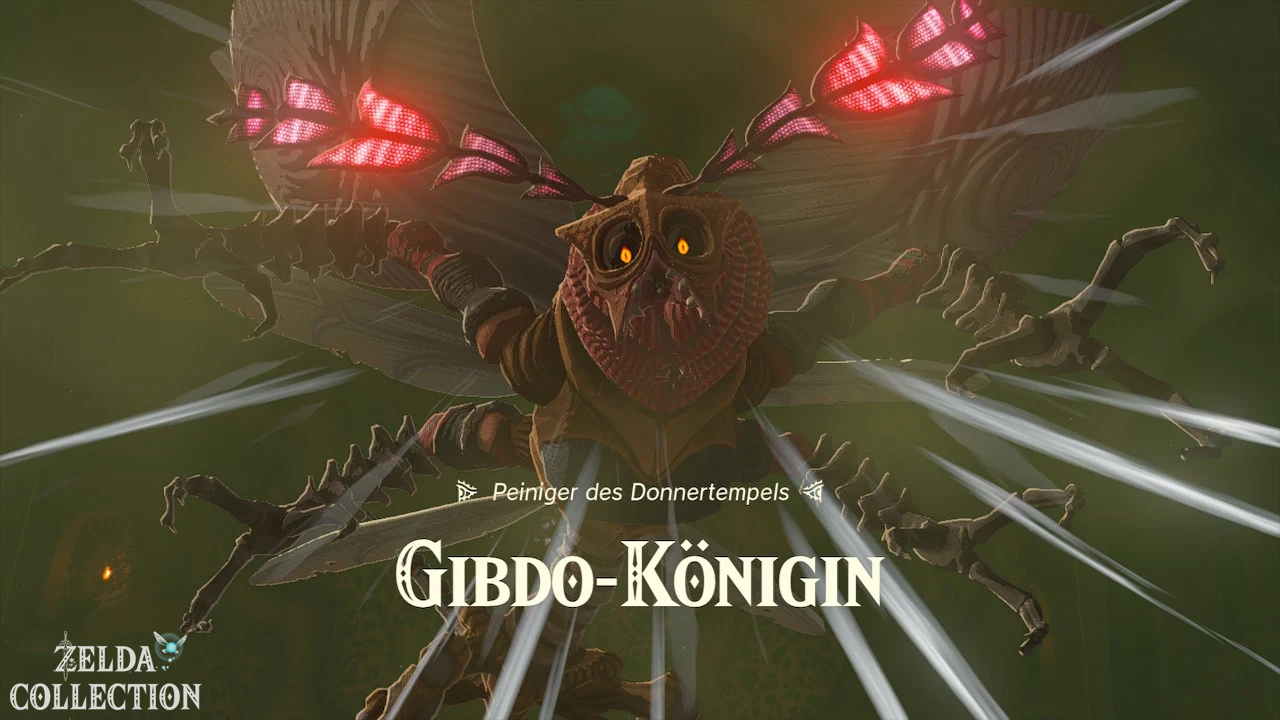
21. Boss: Queen Gibdo – second fight
The second fight consists of two phases. During the first half
uses the Queen Gibdo essentially the same attacks as before
Temple. In the second phase there are four active Gibdo nests and
Continuously appearing enemies are added.
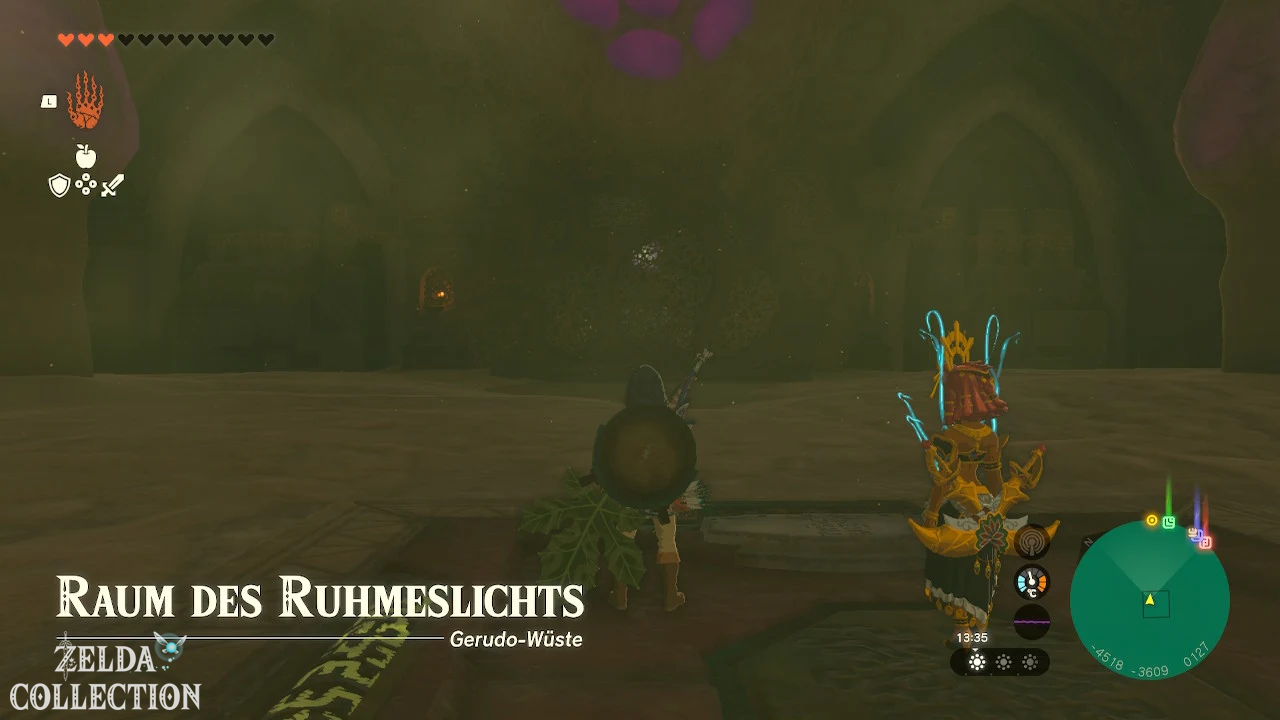
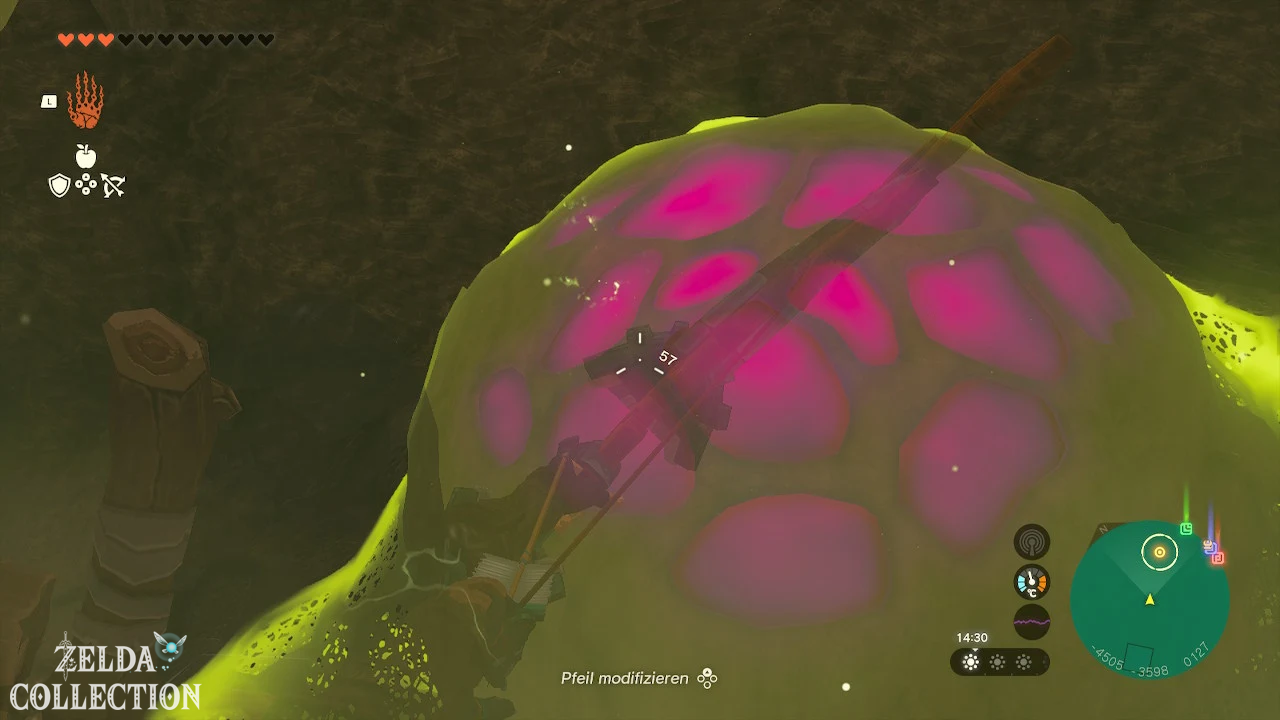
Phase 1 – Remove protective layer
- Activates Riju’s Thunder Power.
- Keep moving until the area of effect reaches the queen.
- Shoots an arrow at her body.
- Dodge her sand whirls and the sand jet sideways.
- Attack the whitened body with the strongest weapon.
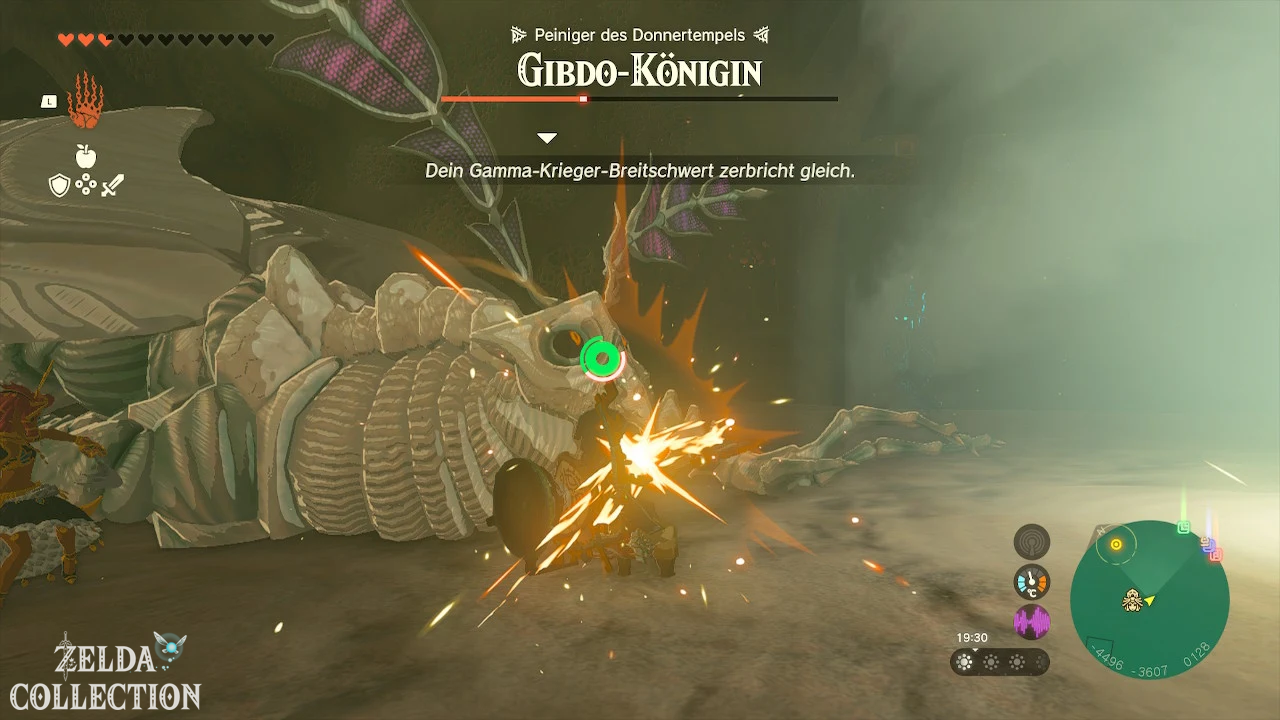
A second lightning hit during the vulnerable phase can knock the queen
to the ground. Use this moment for charged attacks or quick
punch sequences.
Be careful not to stop right in front of her head. Her
charge attack and sand blast deal significant damage.
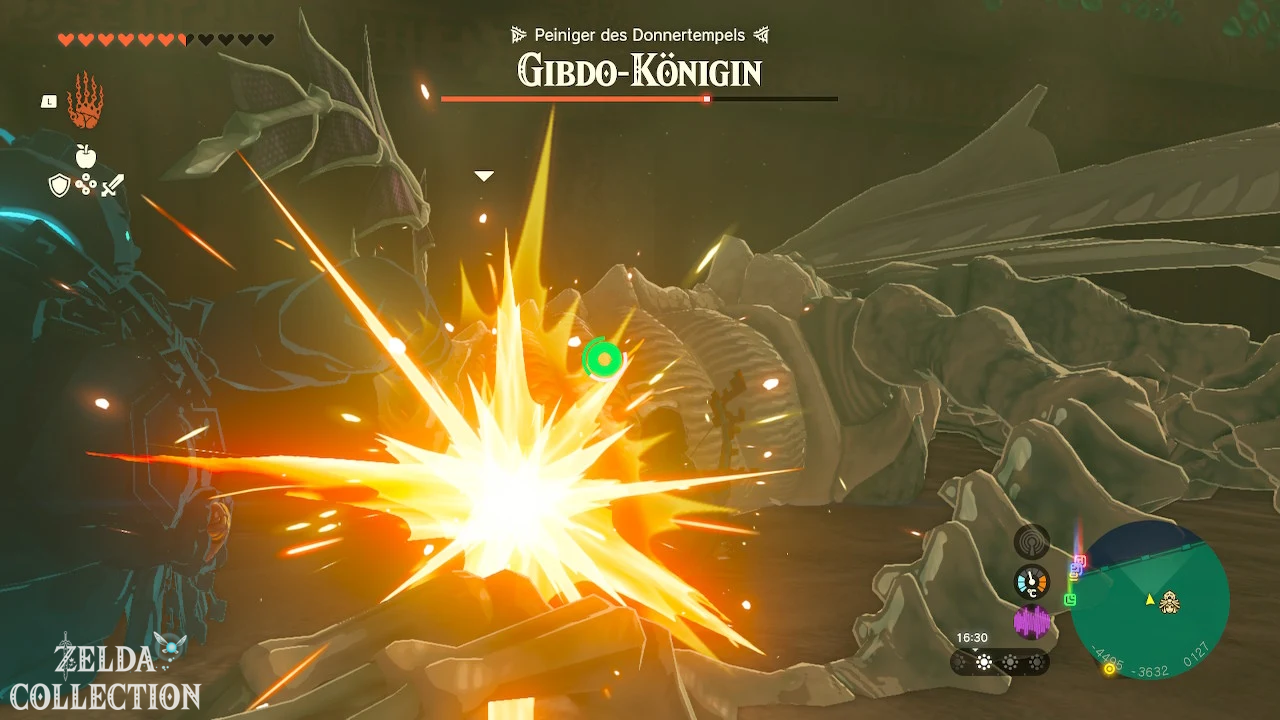
Phase 2 – the four Gibdo nests
At approximately half her health, the queen activates four
nests at the edges of the arena. From them
ordinary gibdos and flying gibdos continually appear.
Focus on the nests first. The longer they stay active,
the more confusing the fight becomes.
- Activates Riju on the way to the next nest.
- Waits until the area of effect reaches its purple core.
- Shoots the core during the pulsating phase.
- Immediately dodge the queen’s sandblast.
- Moves to the next nest.
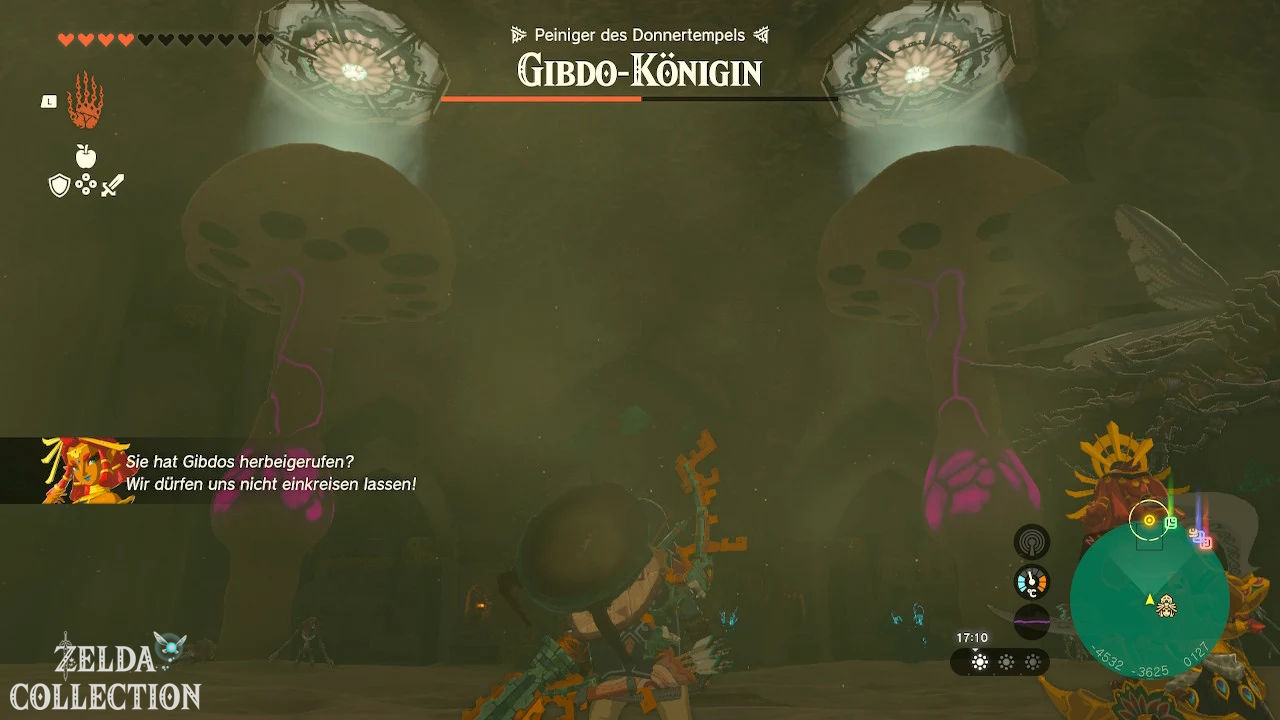
Each destroyed nest opens a light shaft in the ceiling. Gibdos, the
If you come into the bright light, you will immediately be severely weakened or destroyed.
The light fields are therefore safe areas against many of the smaller ones
Opponent.
Deal with the enemy waves
- Lures Gibdos into the beams of light.
- Uses Bomb Flowers against larger groups.
- Weaken flying Gibdos with elemental arrows.
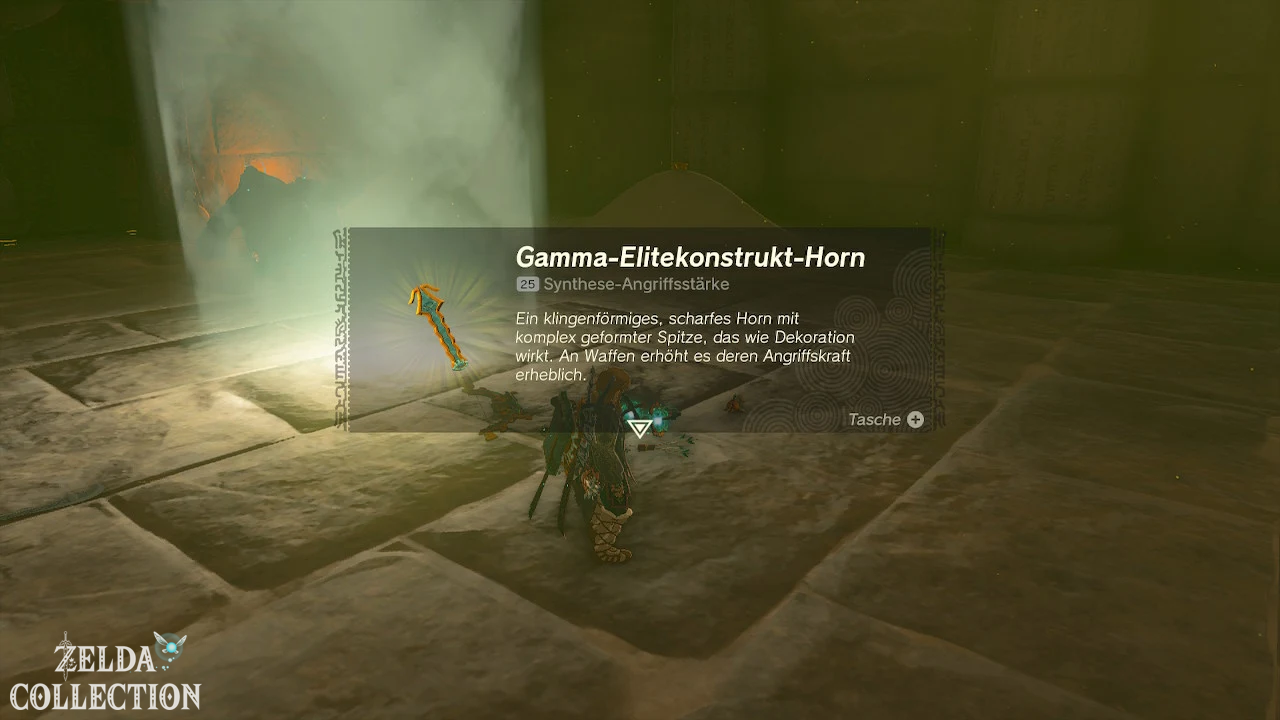
- Collect dropped Gibdo bones.
- Combines Gibdo Bones with arrows for high one-time damage.
Gibdo Bones have a high attack value, but break after
one use. They are therefore particularly suitable as
arrow material.
Defeat the queen for good
As soon as at least two or better all four nests have been destroyed, you can
concentrate completely on the Queen Gibdo again.
- Removes her dark shell with Riju or an elemental attack.
- Hit her again with Riju’s lightning to knock her down.
- Runs to her head or body.
- Attack with your strongest melee weapon.
- Backs away as soon as she stands up again.
Repeat this process until your health is completely used up
. This means that the Queen Gibdo is finally defeated.
22. Complete Thunder Temple
After the fight, a Heart Container will appear. Be sure to collect it
before speaking to Riju.
In the following cutscenes, Riju learns more about her ancestor
and takes over the Secret Stone of the Sages of Thunder.
Link and Riju will then automatically return to Gerudo Town.
The sandstorm disappears, the Gibdo invasion ends and the residents
can move into the above-ground city again.
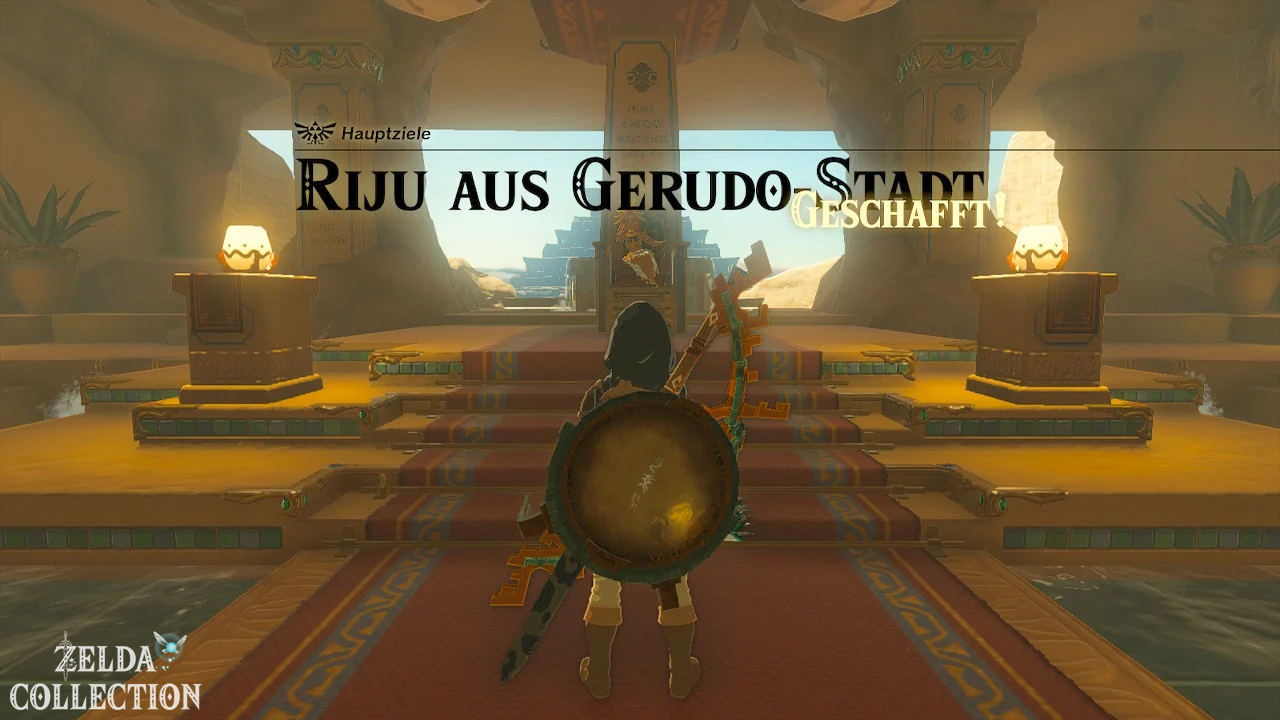
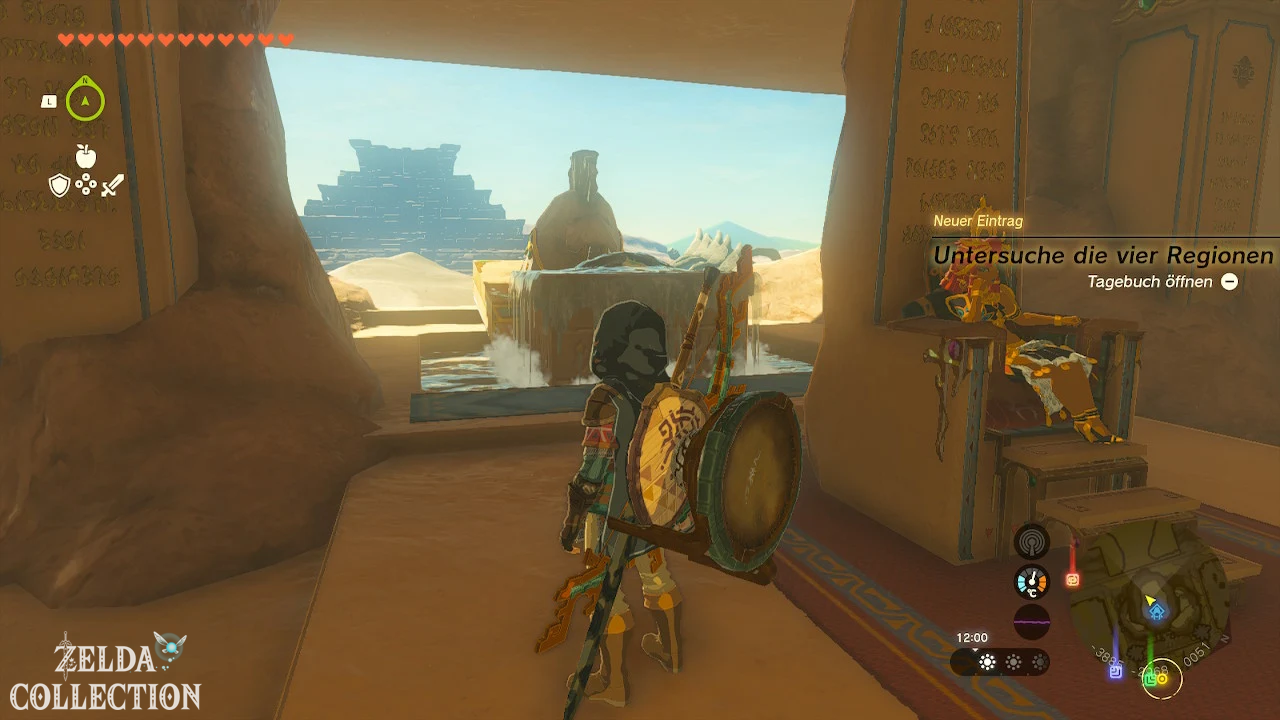
Vow of Riju, Sage of Lightning
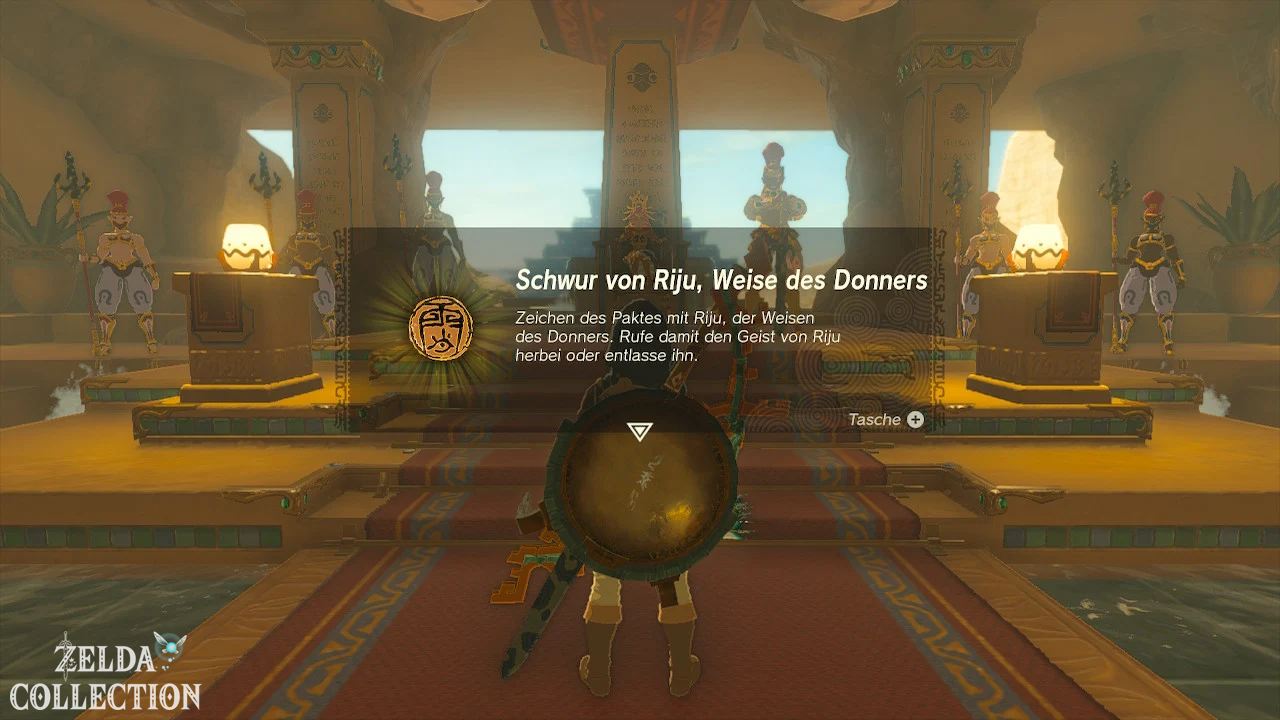
As a permanent reward you will receive the Vow of Riju, Sage of Lightning.
You can summon or send Riju’s avatar away from the important items menu. Once activated, her thunder field expands around Link. An arrow fired within this field triggers a powerful lightning strike.
Riju’s ability is particularly suitable for:
- large enemy groups,
- Enemies with elemental weakness,
- Gibdos,
- Ore deposits and rock blockages,
- strong individual opponents with a large hit area.
More walkthroughs for Tears of the Kingdom
- To the Kingdom of Hyrule
- Activate all Skyview Towers
- Tulin of Rito Village and the Wind Temple
- Yunobo of Goron City and the Fire Temple
- Sidon of the Zora and Water Temple
- Interactive Map for Tears of the Kingdom
- The floating lock
Once you have completed the remaining three regional phenomena with Riju, return to Purah in the Lookout Landing. The main story then continues with the quest “Crisis at Hyrule Castle”.