

In the Gerudo Desert are in total eight shrines. While the sandstorm is active, the map and minimap only work to a limited extent. Therefore, orientate yourself on the coordinates and striking ruins.
- Irasak Shrine
- Karahatag Shrine
- Kudanisar Shrine
- Mayatat Shrine
- Miryotanog Shrine
- Siwakama Shrine
- Soryotanog Shrine
- Chichim Shrine
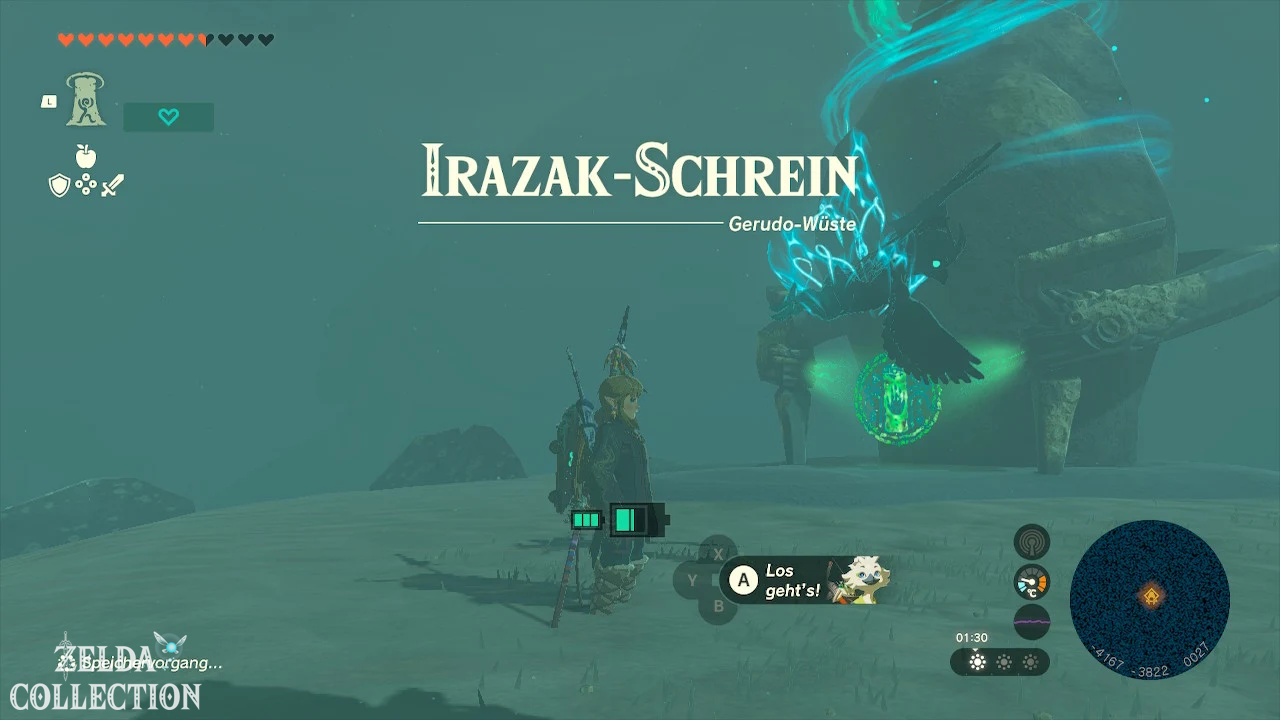
Irasak Shrine
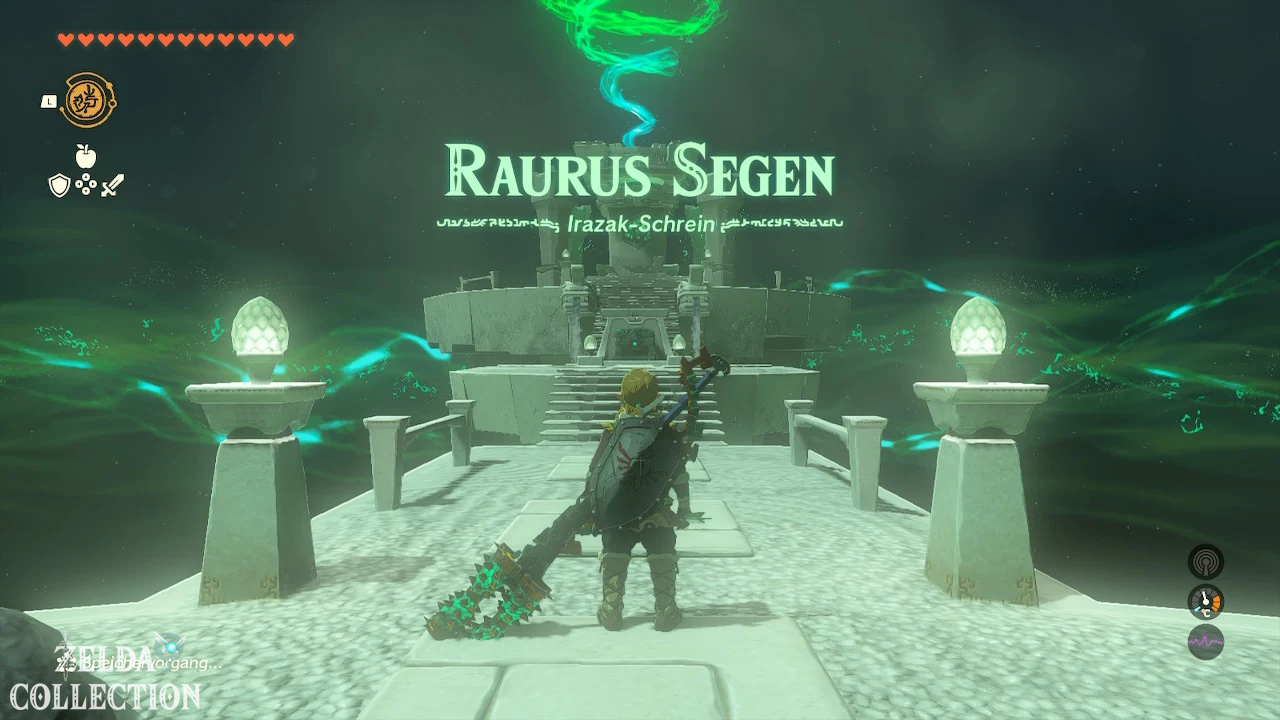
Trial: Raurus Blessing
Reward: Large Zonai Charge and a Light of Blessing
Location: South of the execution site
Coordinates: approximately -4159, -3824, 0028
The Irasak Shrine is freely accessible between the execution site and the Southern Oasis. During the sandstorm, the easiest way to reach it is with a sand seal Sled or via a marker on the map.
There is no test inside. Open the chest with the Large Zonai Charge and activate the altar.
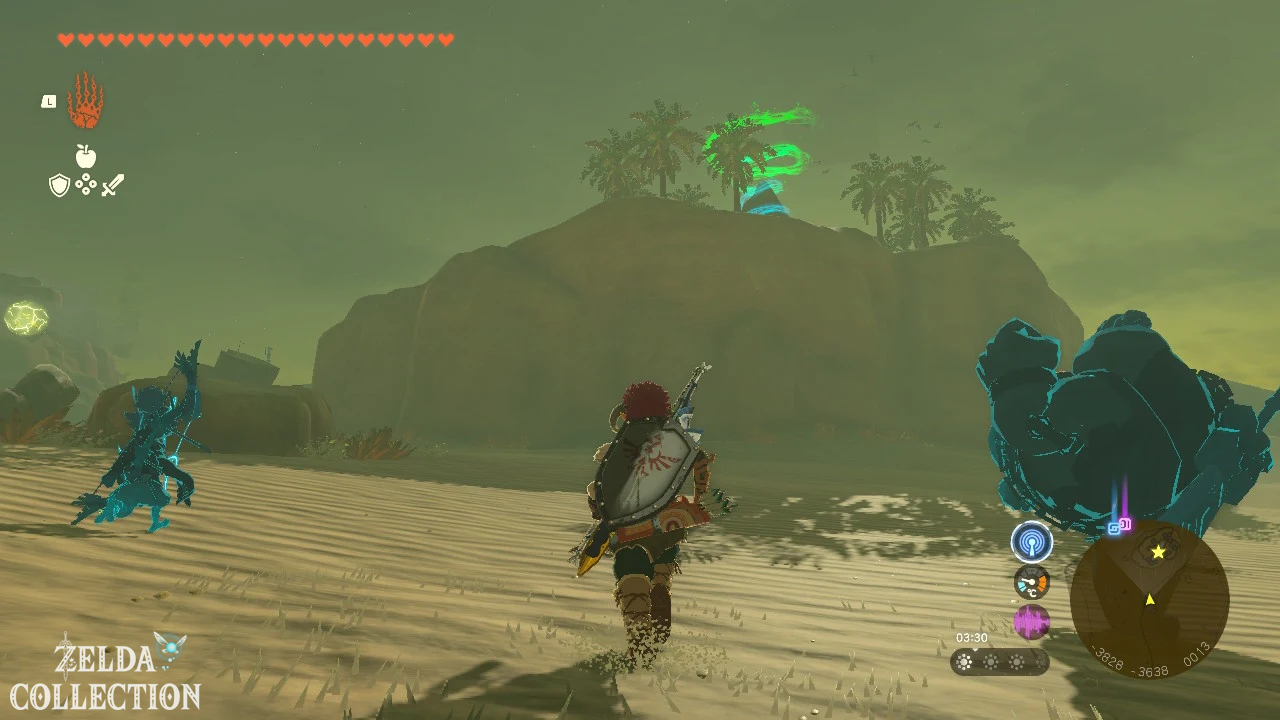
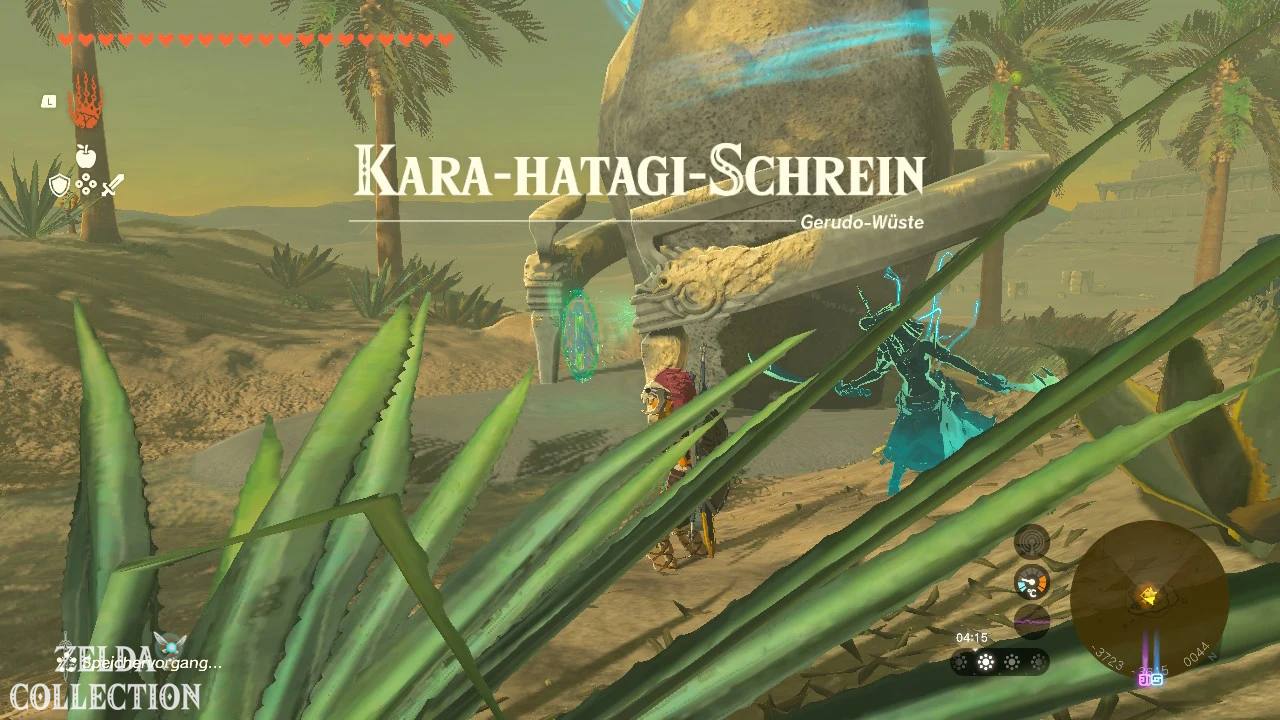
Karahatag Shrine
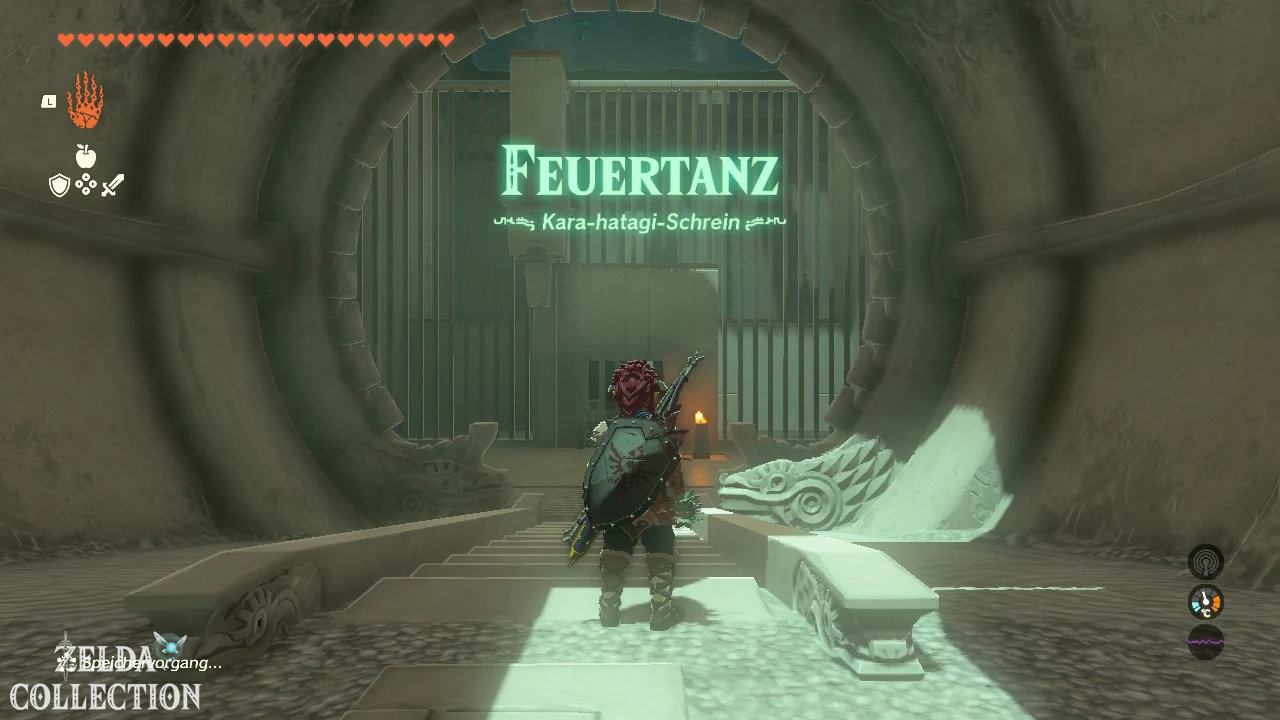
Trial: Fire Dance
Reward: Powerful Construct Bow and a Light of Blessing
coordinates: approximately -3726, -3625, 0043
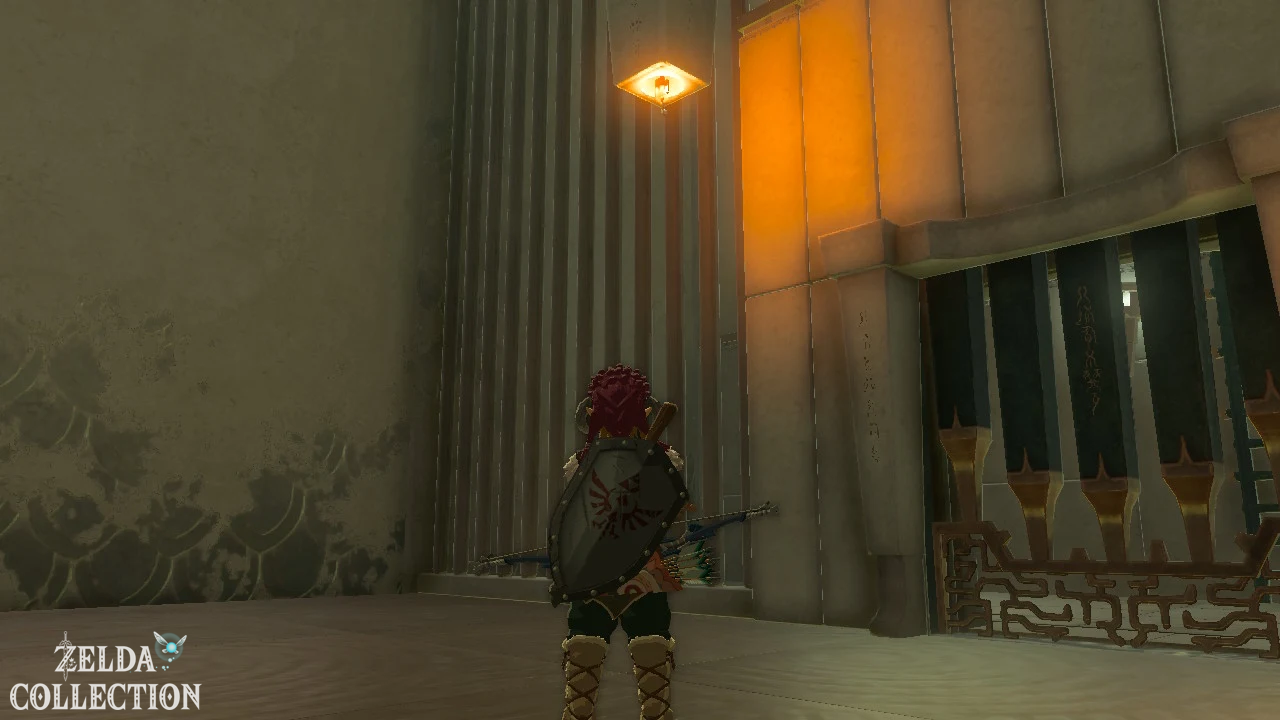
Light the torch at the entrance and throw it through the opening in the hanging fire bowl. This will open the first gate.
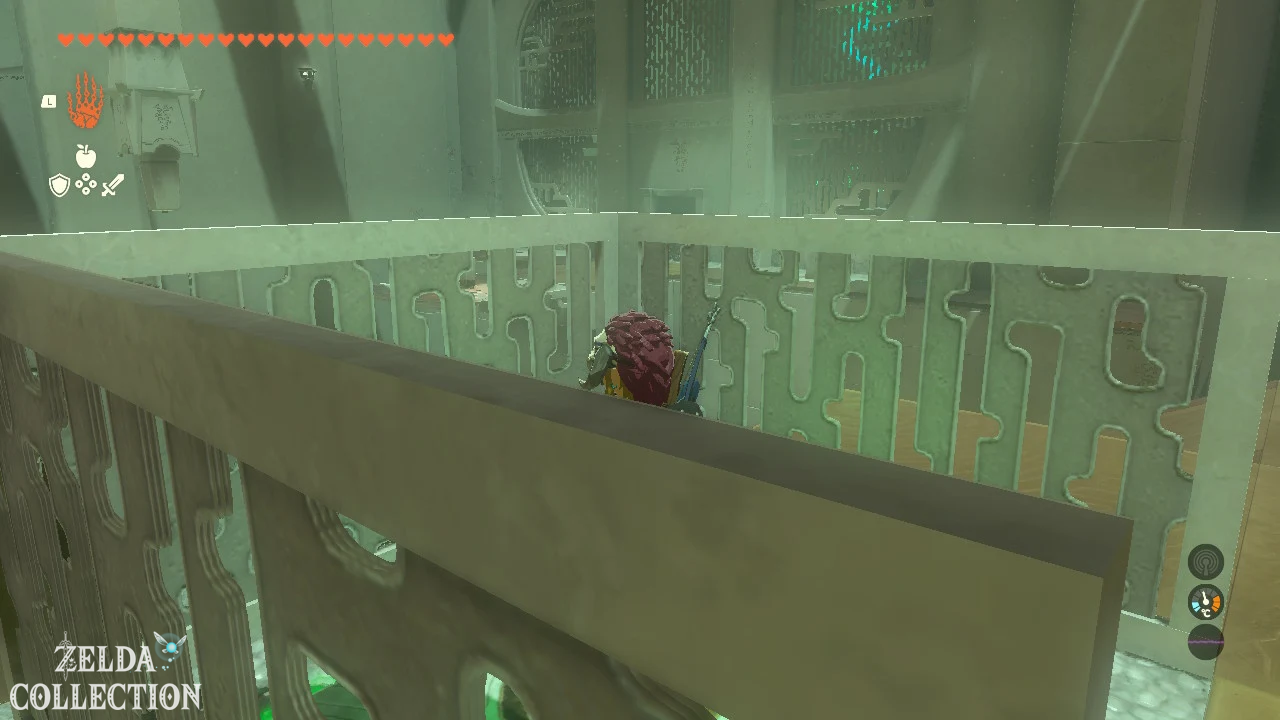
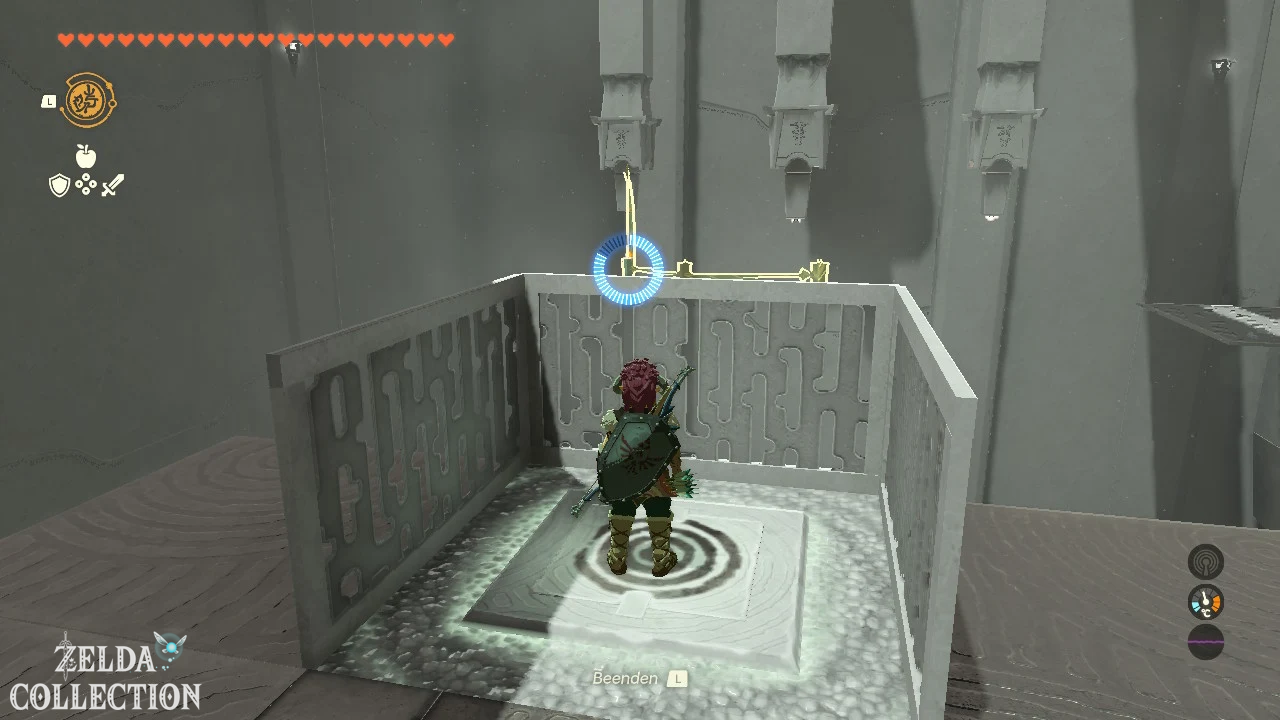
In the main room, climb up to the right. Slide backwards into the hidden chamber with the Treasure Chest and then use the Ascend.
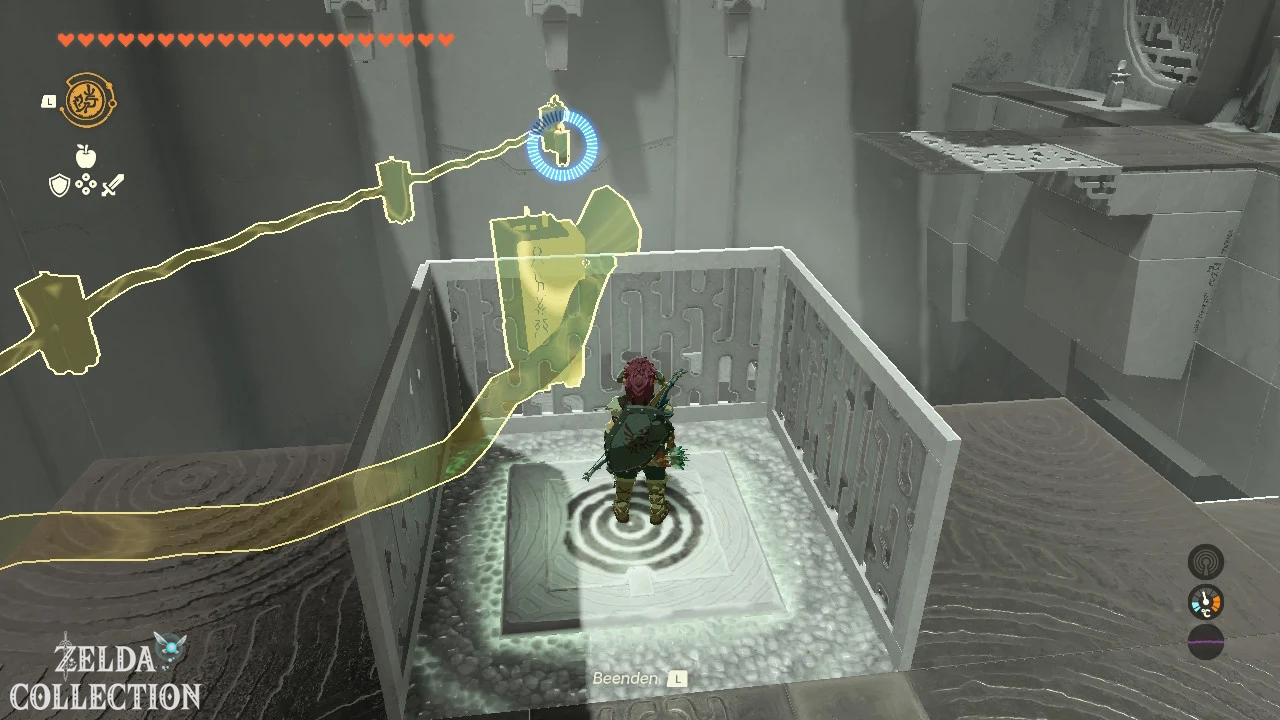
Place the burning pillar under the three marked positions of the moving platform one at a time. Step on the Floor Switch so that the platform drops and the wicks are exposed. Activate the Recall on the fire pillar while standing on the switch. Repeat for all three wicks.
Kudanisar Shrine
Trial: Bridged Sand
Rewards: Spurt-Elixir, 10 wooden arrows and one Light of Blessing
Coordinates: approximately -4168, -2140, 0050
Place the long boards on the flowing quicksand and use them as bridges. In the second section, place a board at an angle on the bars to reach the raised platform.
Activate the switch to send the ball flying upwards. Activate the Recall on the sphere and grab it with the Ultrahand as it moves back. Place them in the well.
For the first chest, drive a sand glider under the hanging chest and shoot the rope through. You can reach the second chest by first moving a Wing up with the Ultrahand and then activating the Recall on it.
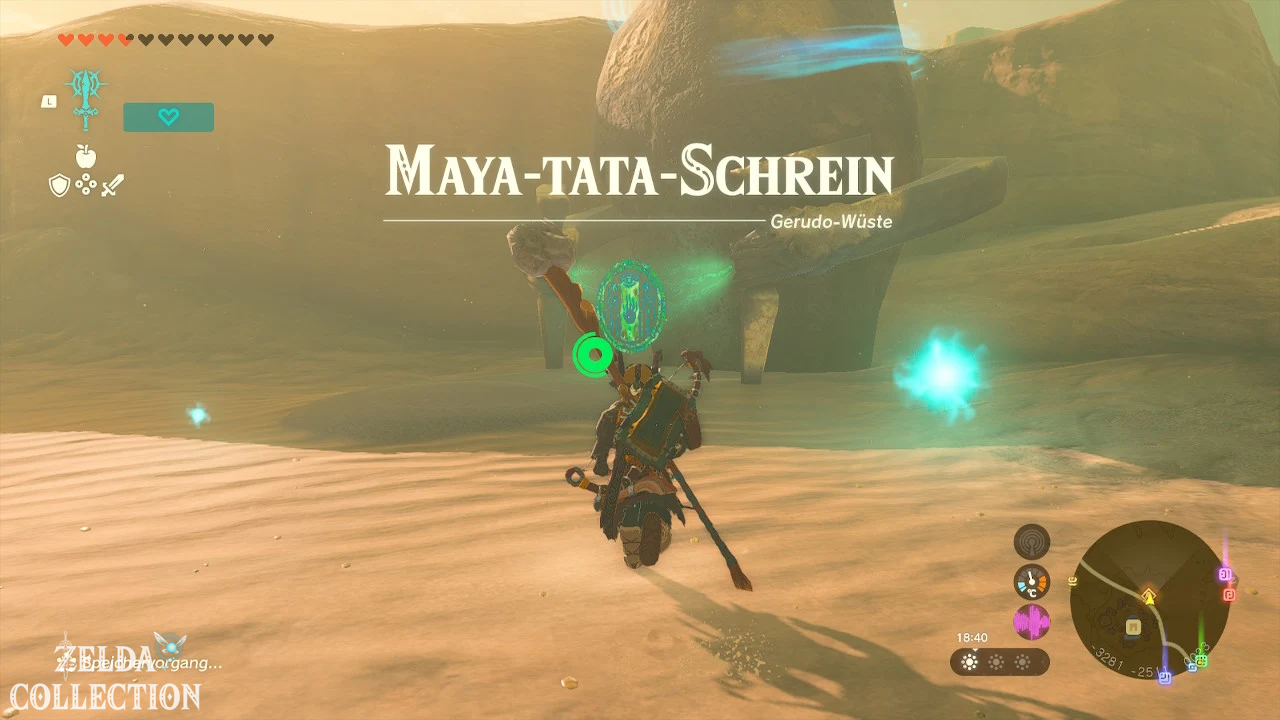
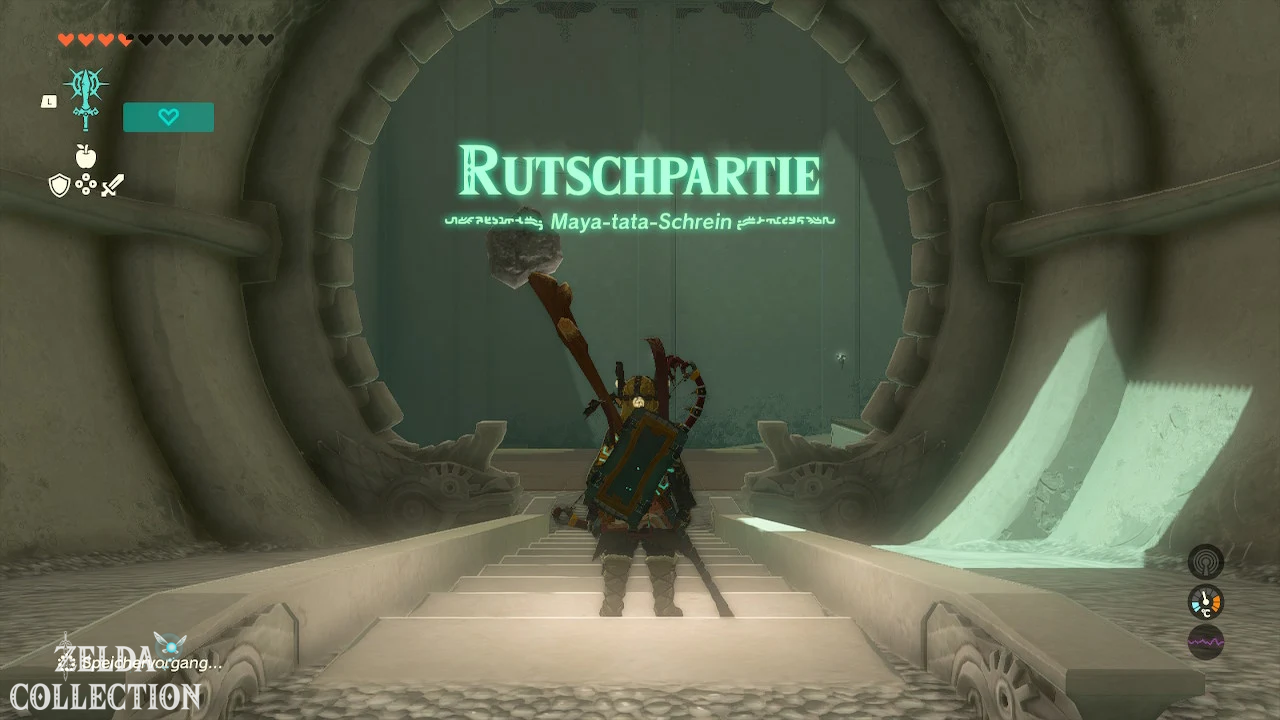
Mayatat Shrine
Test: Slide
Reward: 10 wooden arrows and a Light of Blessing
coordinates: approximately -3290, -2512, 0024
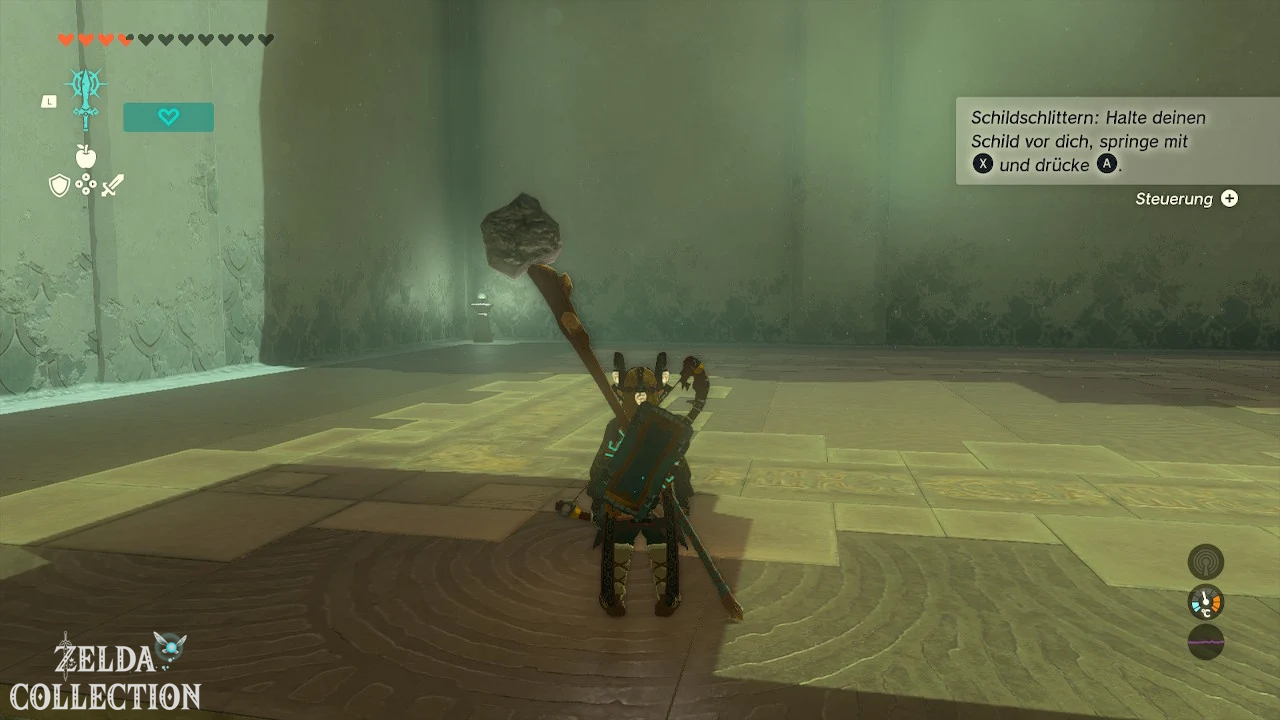
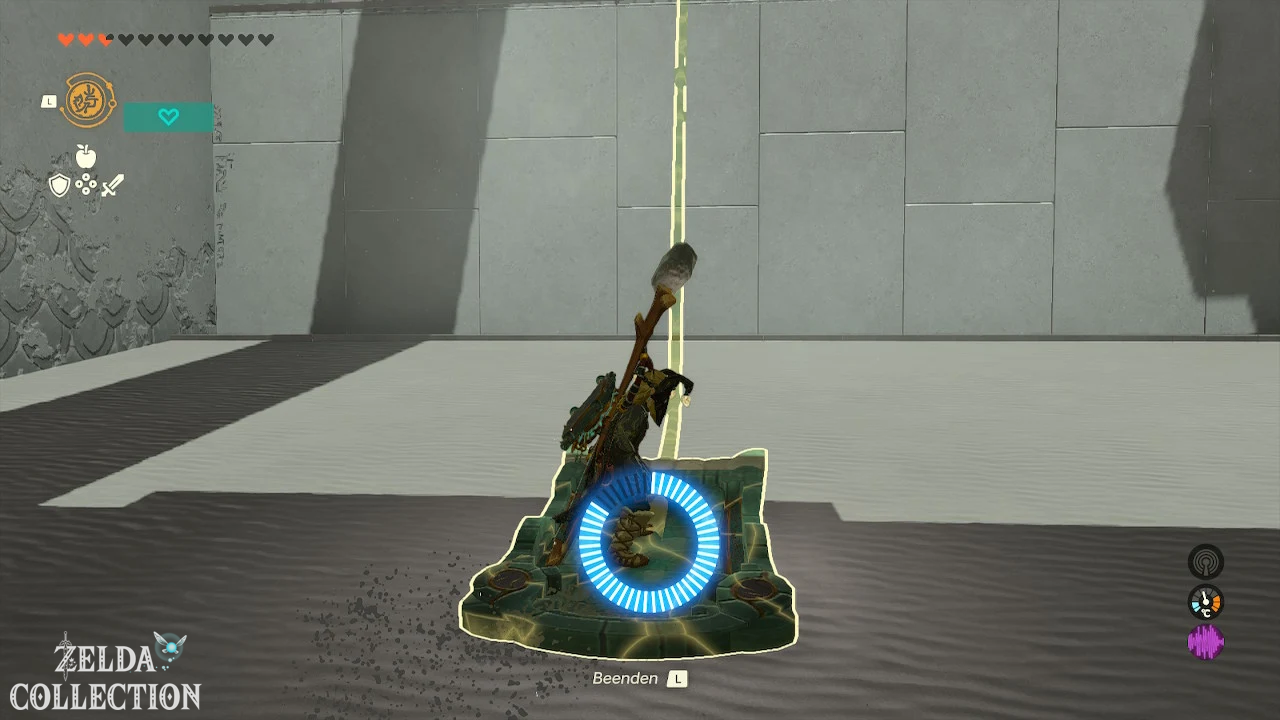
In the first area, wait for a sled to slide down the quicksand. Activate the Recall and ride it back to the upper level.
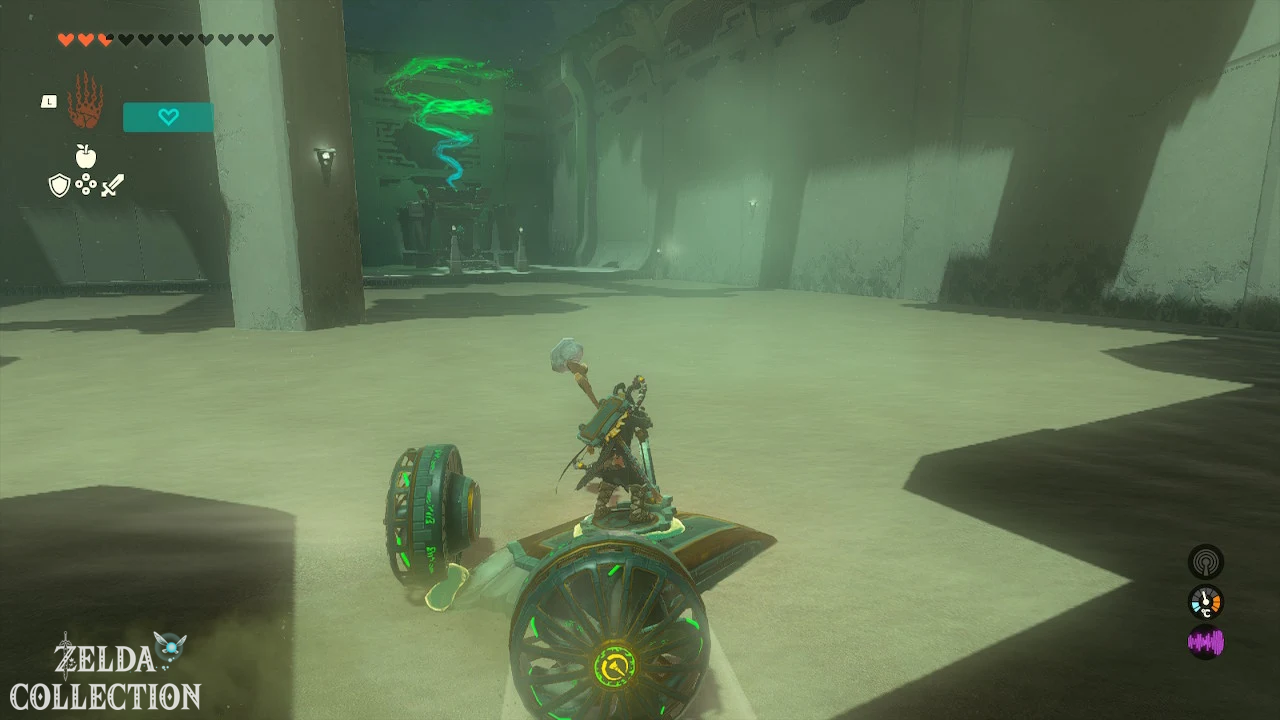
Then build a sand vehicle from the sled, fan and control unit. Head left to the raised stairs and open the chest with the ten wooden arrows.
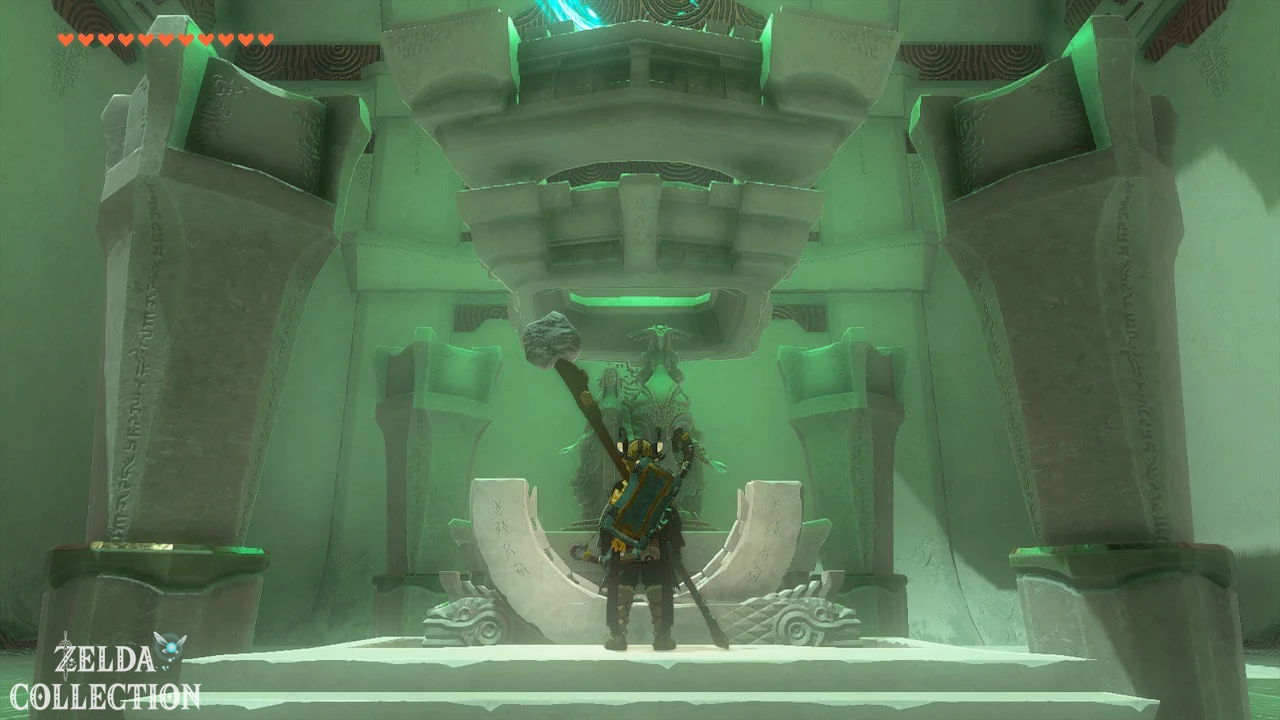
Glide across the gap to the next vehicle, assemble it the same way and drive to the altar.
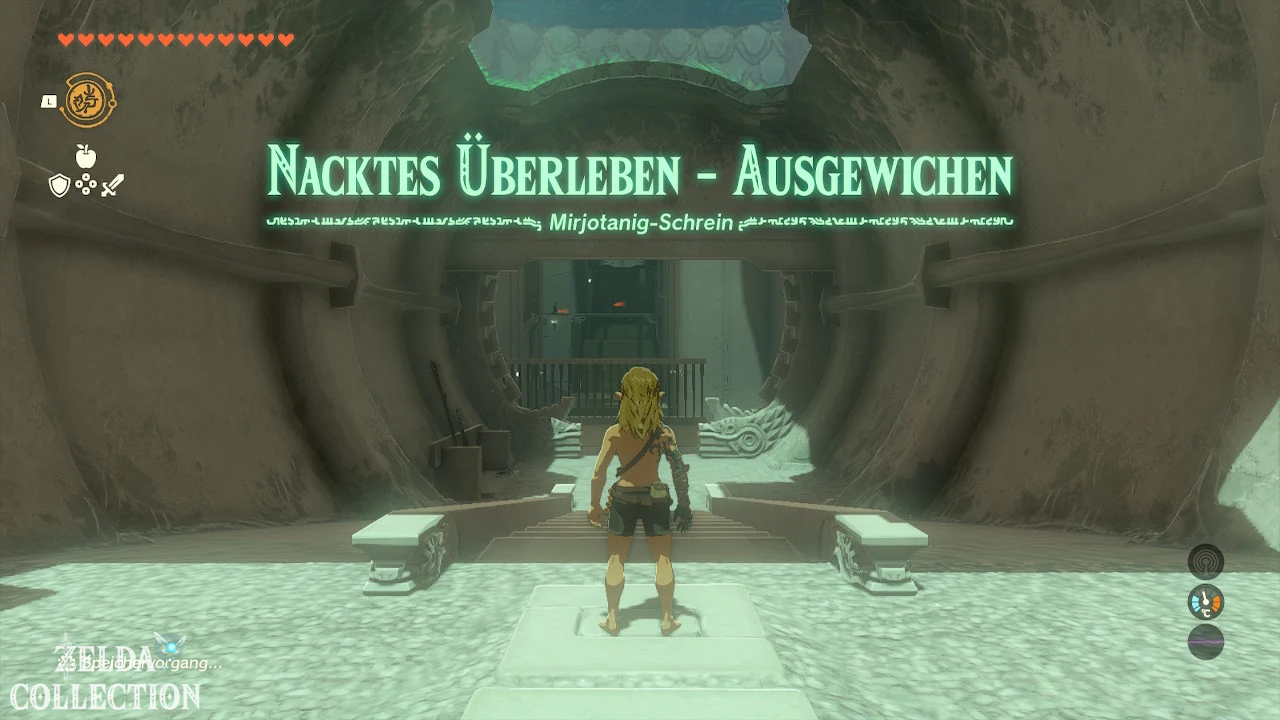
Miryotanog Shrine
Trial: Bare Survival – Evaded
Reward: Captain’s Blade and a Light of Blessing
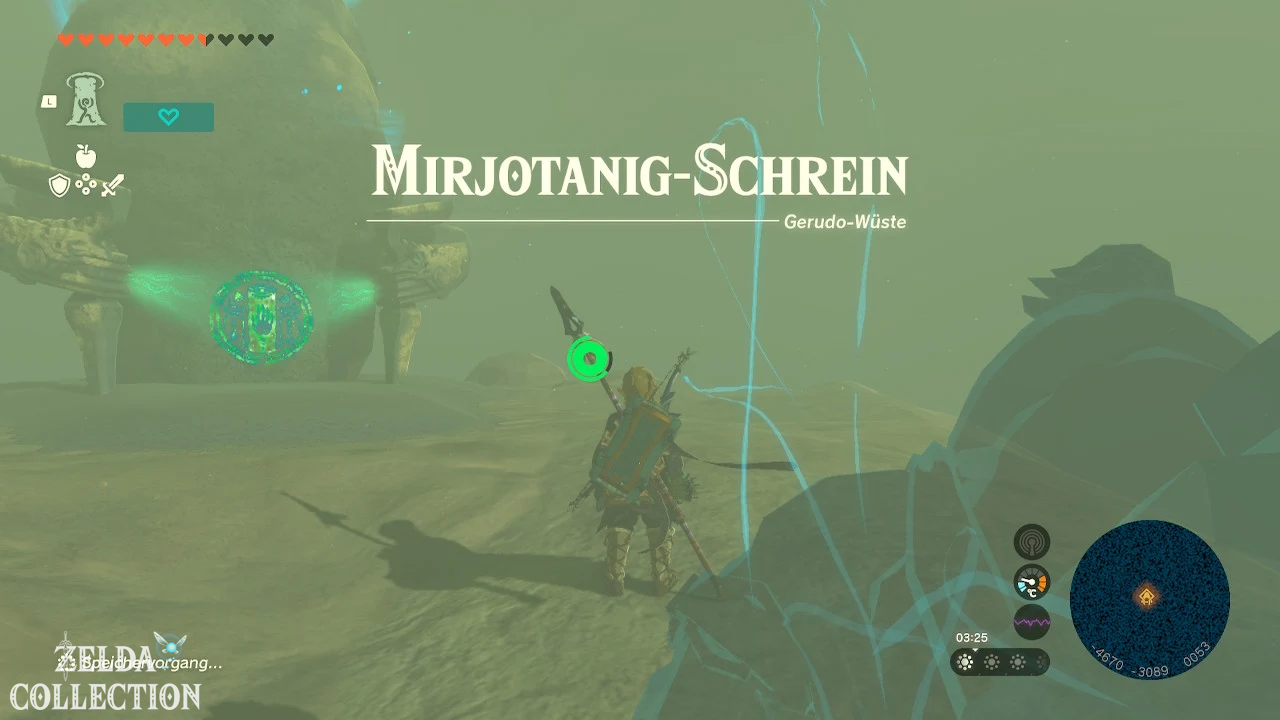
coordinates: approximately -4679, -3087, 0054
After entering, your equipment will be removed. First run past the laser traps and lure the melee fighters into the middle area.
Pass through a laser there and immediately dodge to the side. The trap drops heavy metal balls from the ceiling, crushing the constructs.
Repeat the process until only a few enemies remain. Defeat them with the captured weapons and then open the chest. The exact level of the Captain’s Blade may depend on world progress.
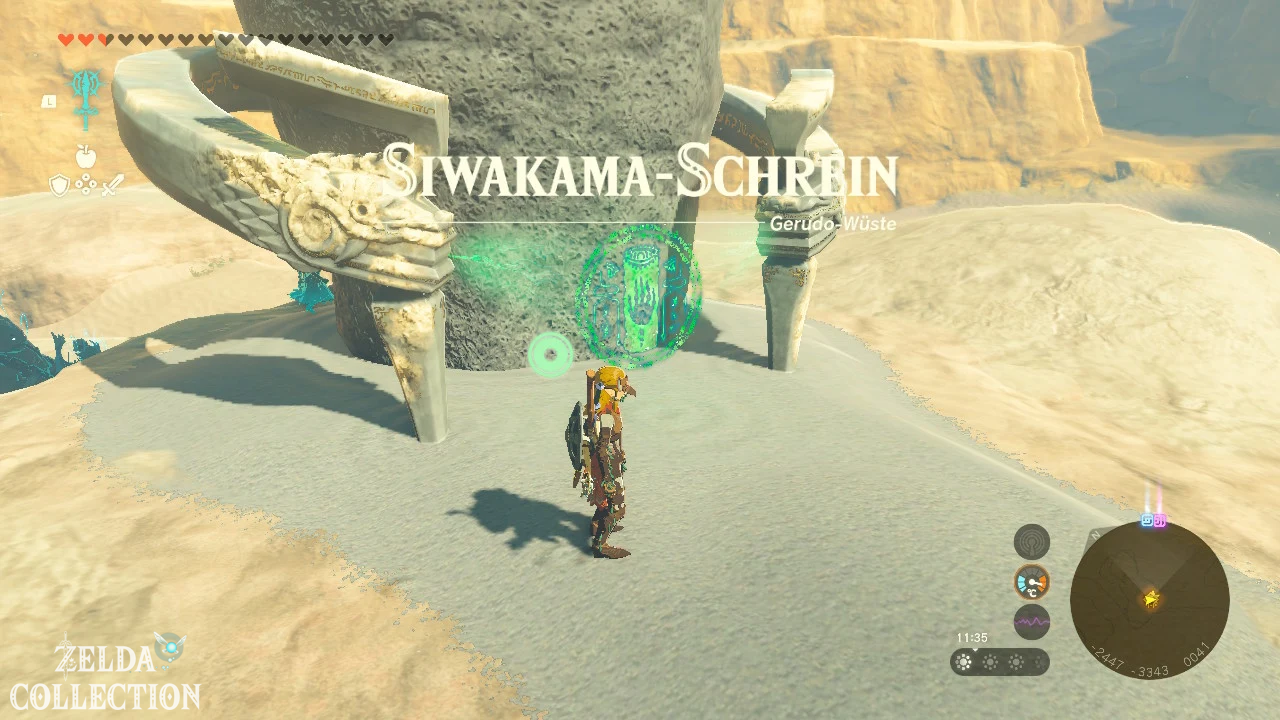
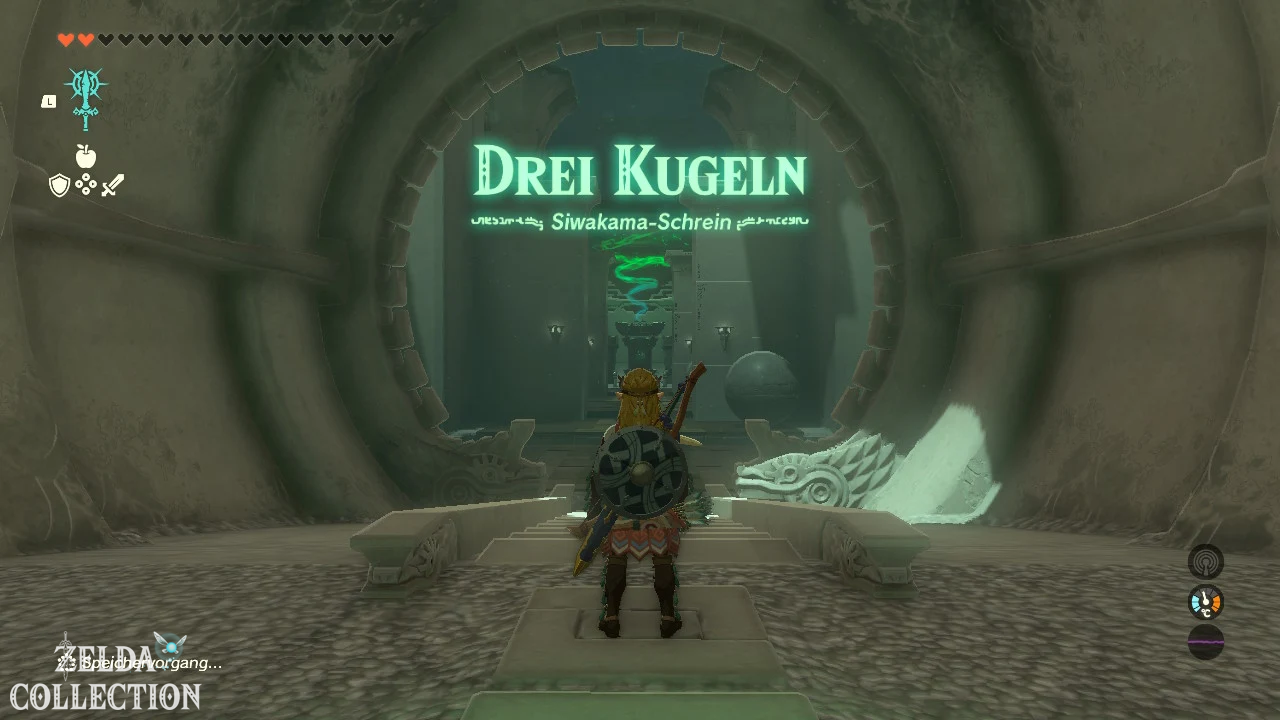
Siwakama Shrine
Trial: Three balls
Reward: 5 bomb flowers and a Light of Blessing
coordinates: approximately -2445, -3345, 0041
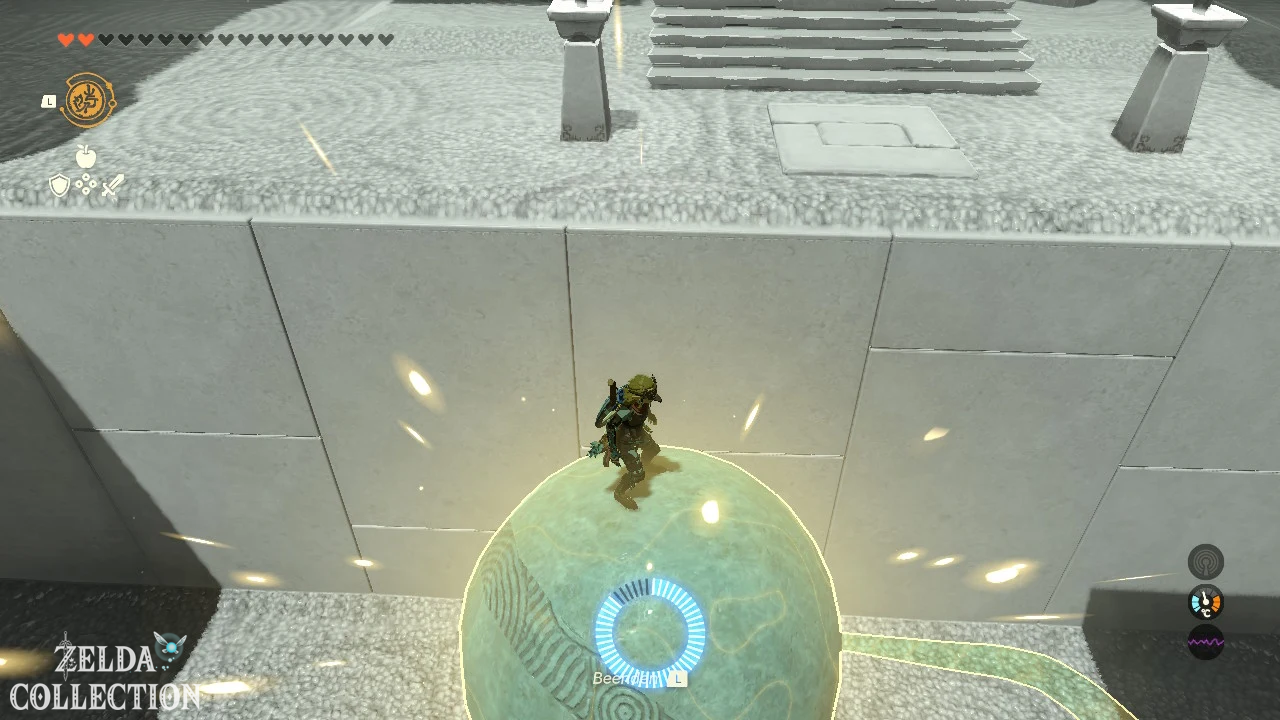
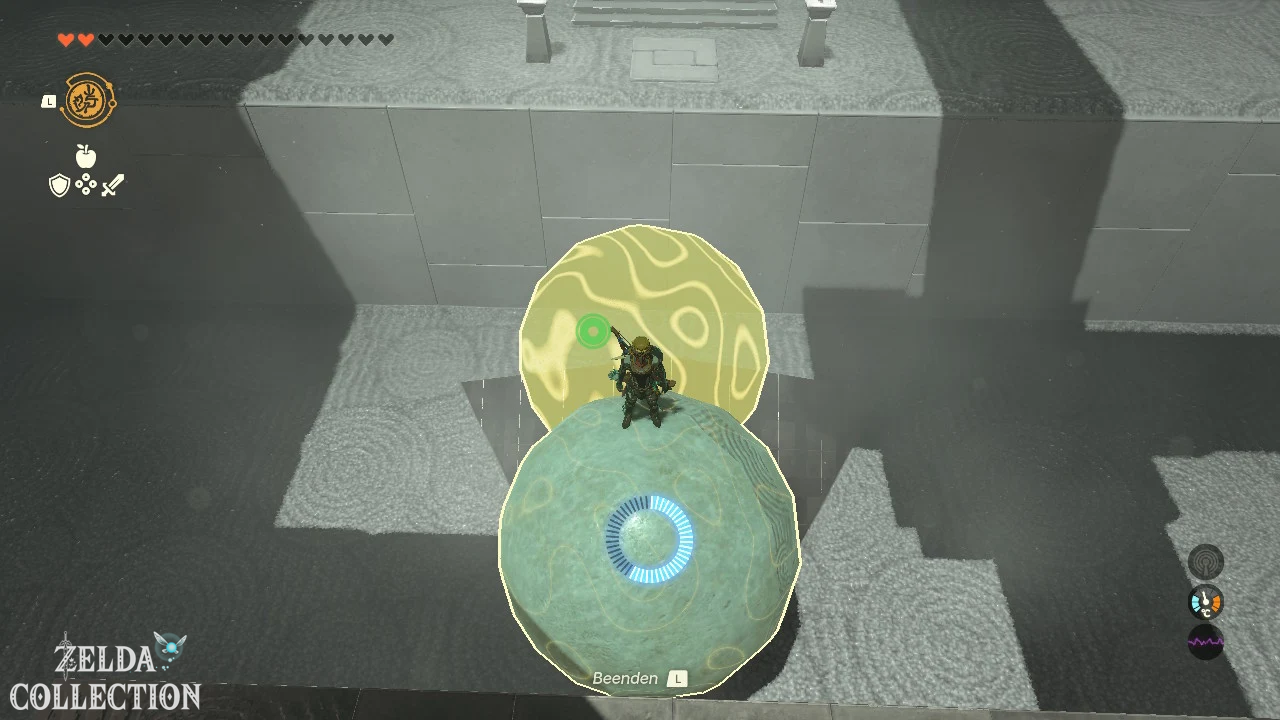
Use the Ultrahand to move the first large ball over the abyss and back again. Stand on the sphere and activate the Recall to travel to the other side.
In the second room, go down to the right and destroy the crumbling wall behind the ball. The chest with five bomb flowers is there.
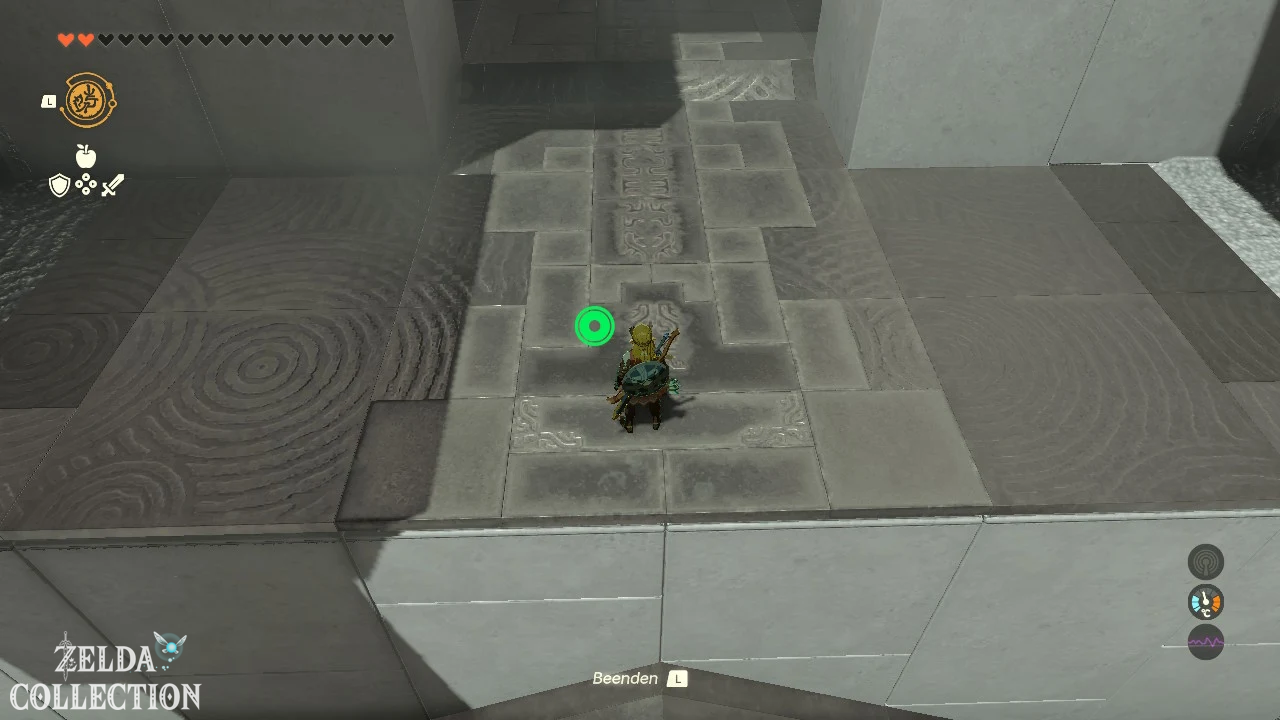
Then use the recorded movement of a ball again to cross the final chasm. Repeat the principle in the third section and reach the altar.
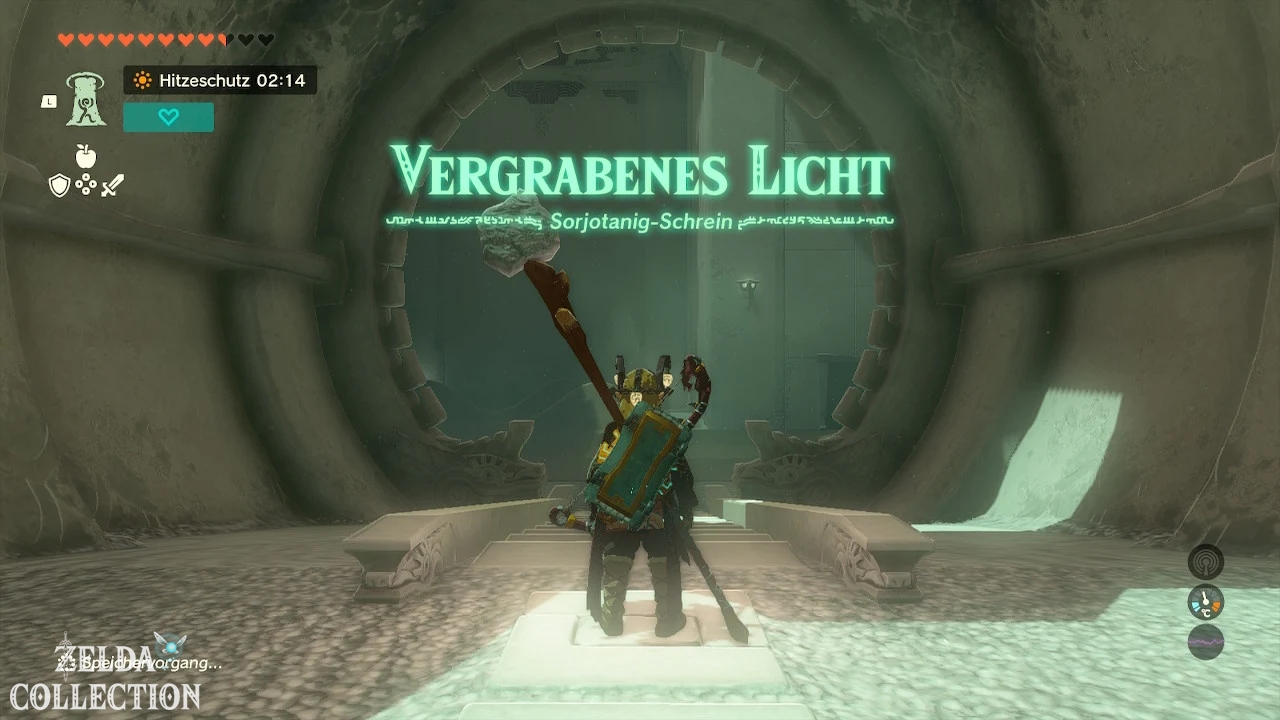
Soryotanog Shrine
Trial: Buried Light
Reward: 10 wooden arrows and a Light of Blessing
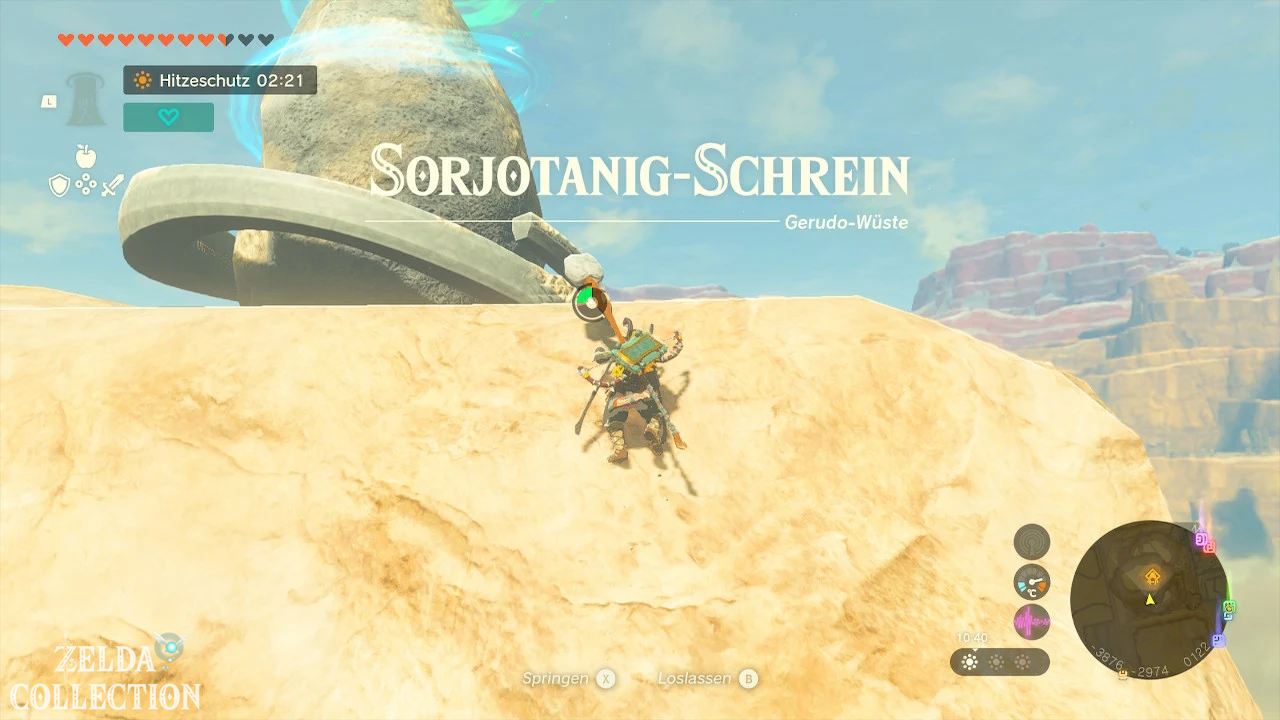
Location: On the roof of Gerudo Town
Coordinates: approximately -3883, -2963, 0123
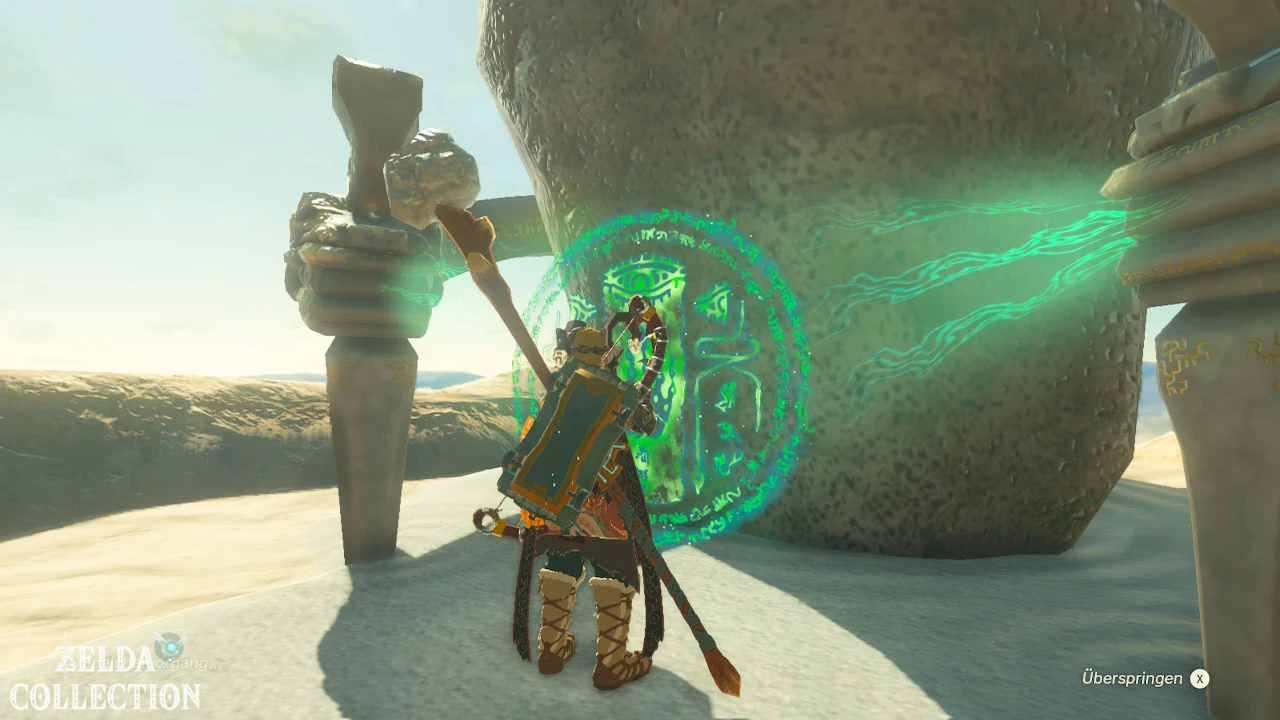
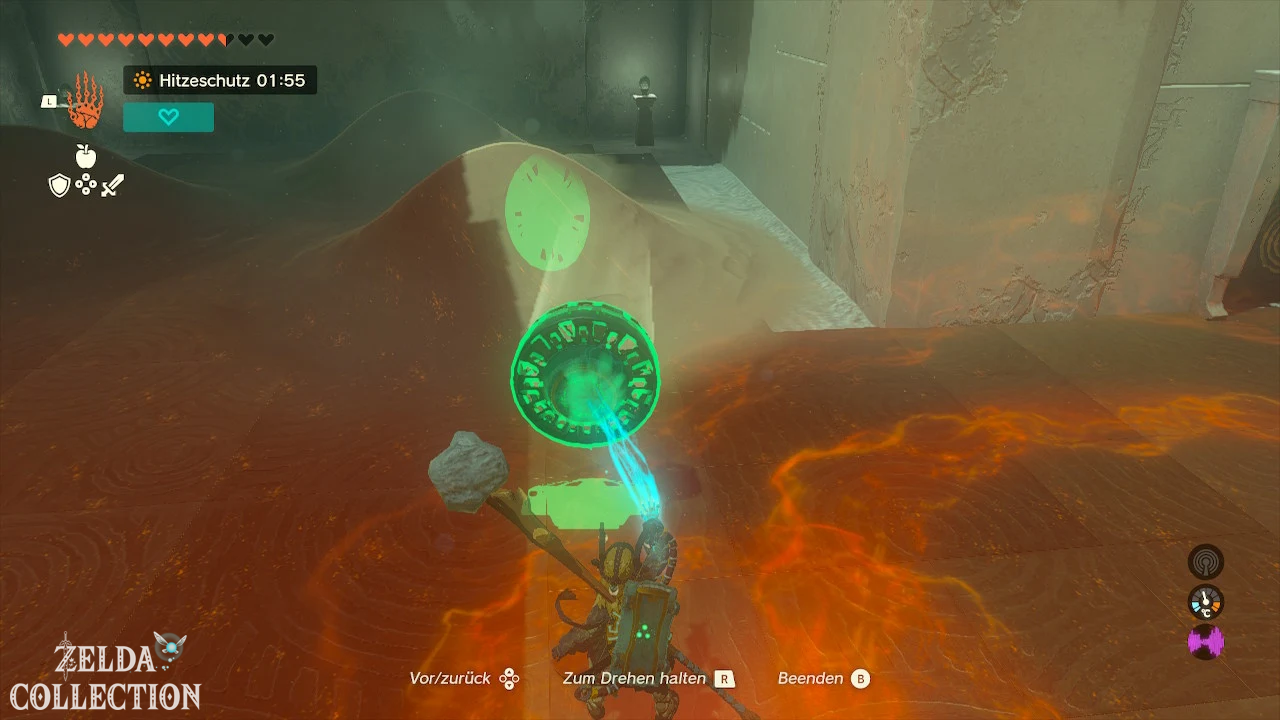
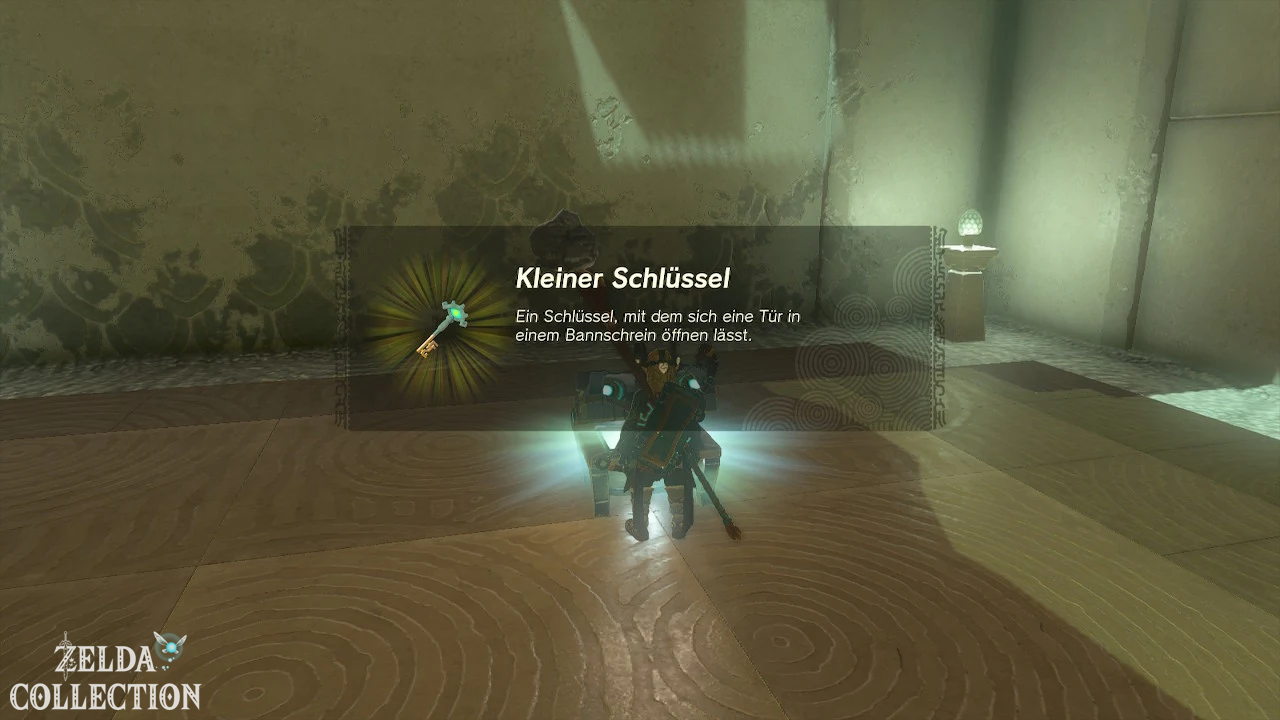
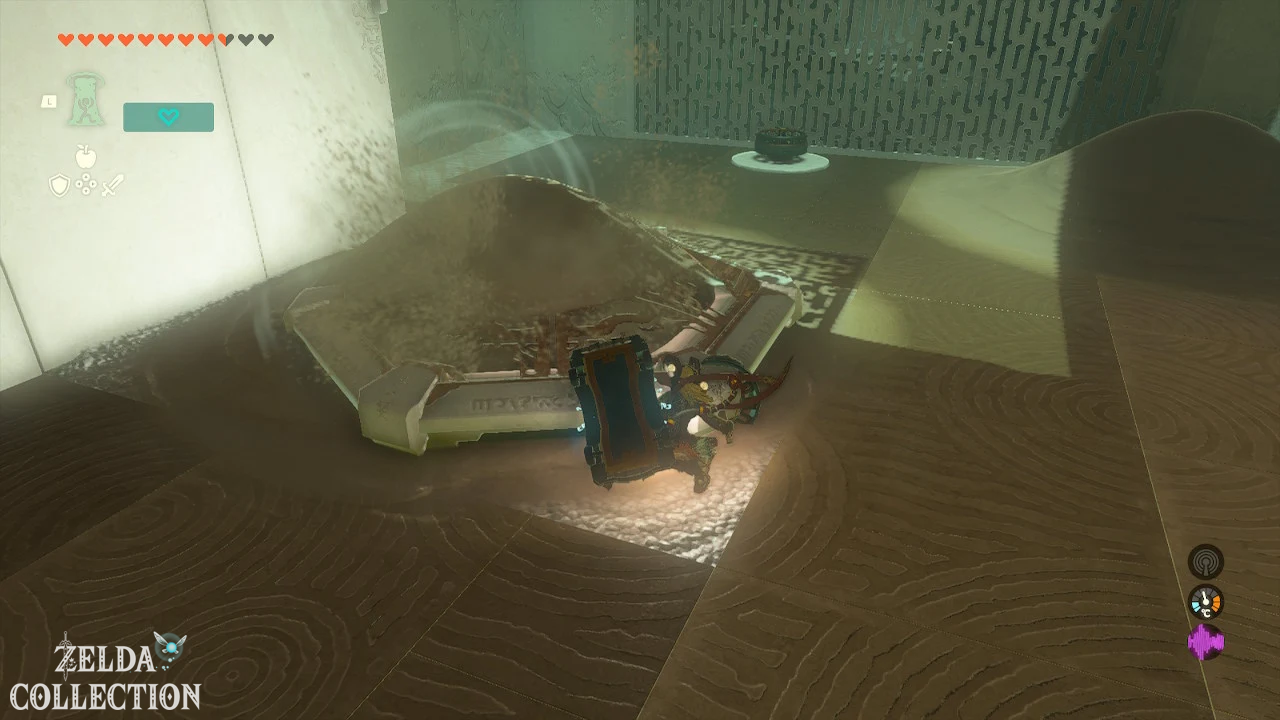
Use the fan to blow away the pile of sand on the left. Take the Small Key and open the door.
In the next room, blow away the sand in the right corner and crawl through the revealed passage. Defeat the construct, use a fan as a boost and remove the sand from the gear. This will open the chamber with the chest.
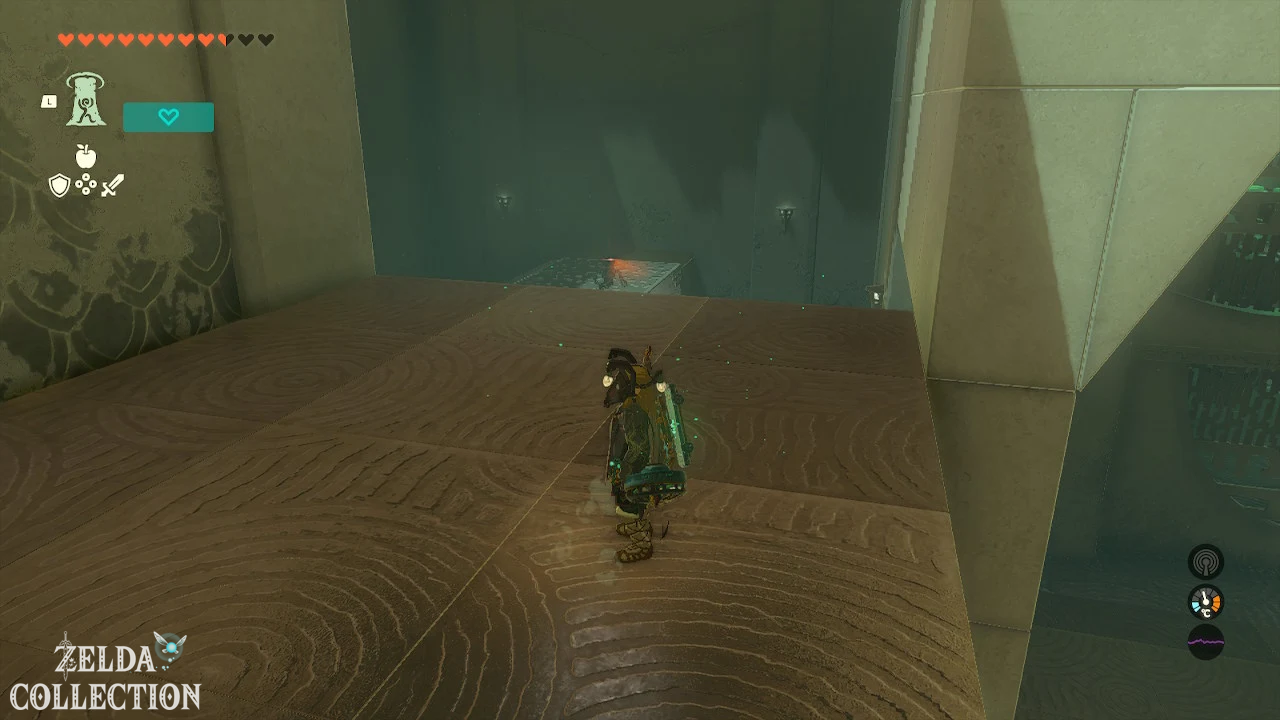
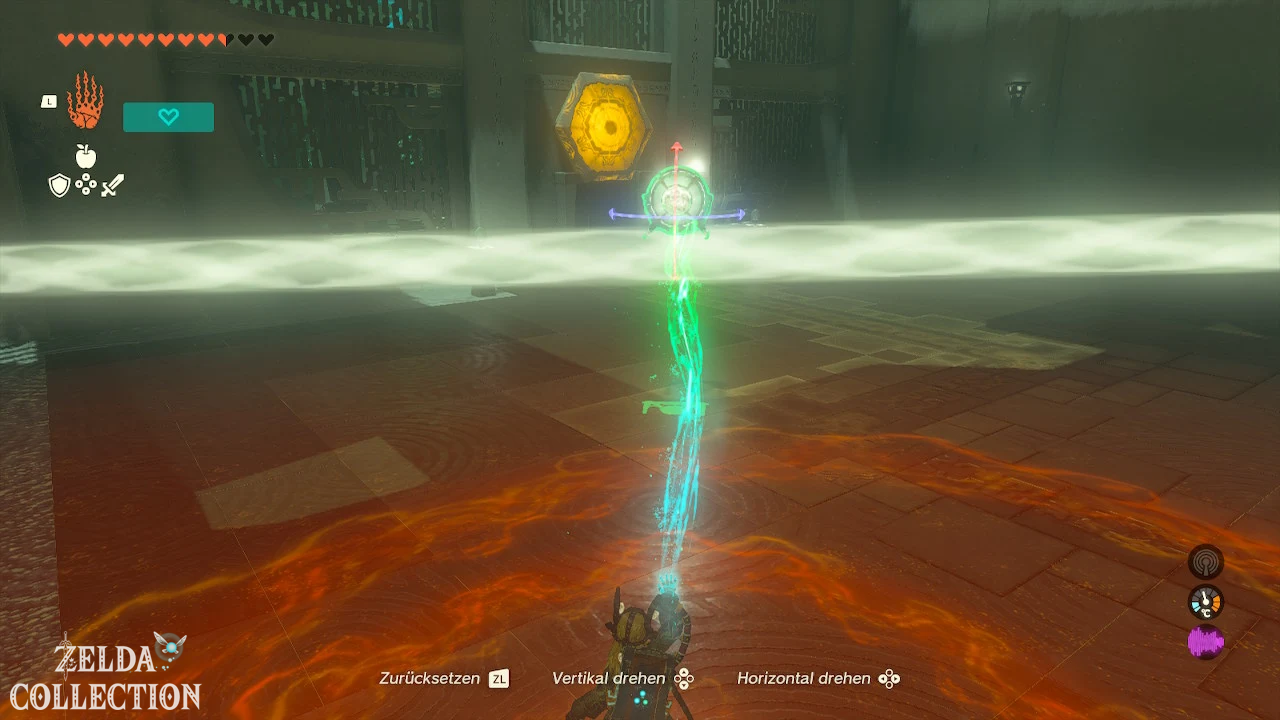
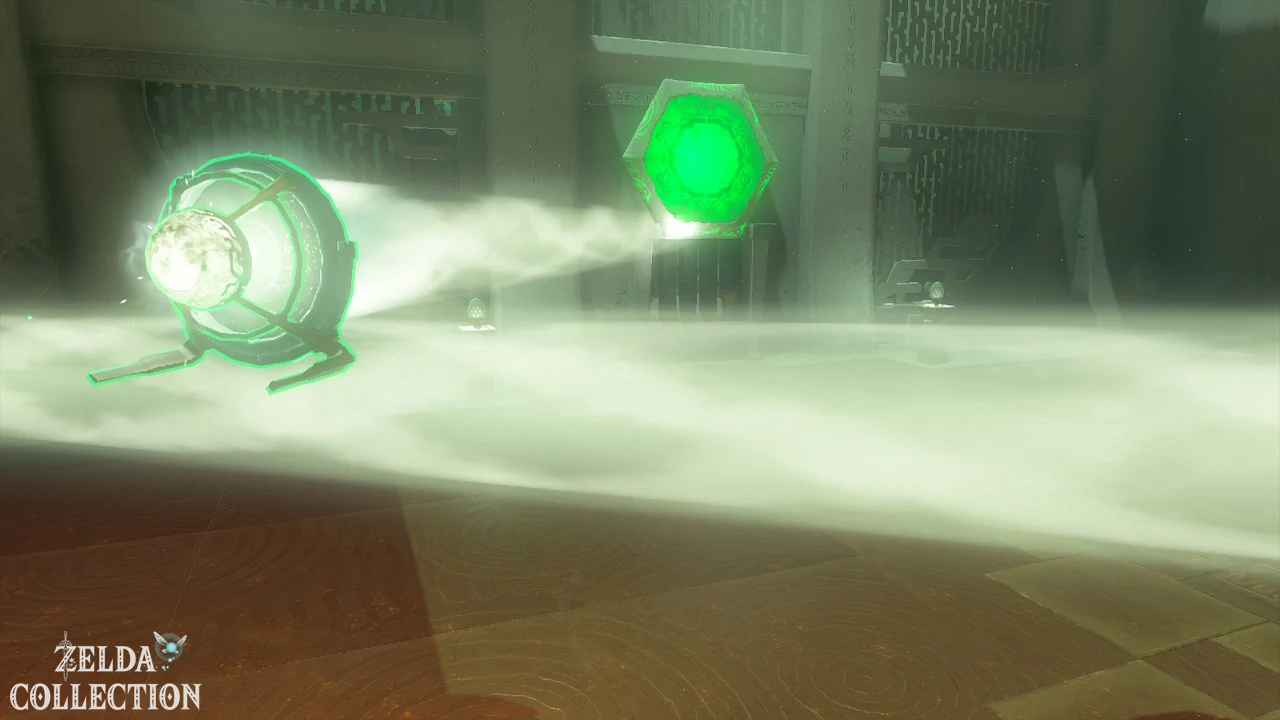
In the last section you uncover a beam of light and several mirrors. Aim the first mirror through the grate to the main room and the second mirror at the objective switch above the exit.
Chichim Shrine
Challenge: Ancient Prison Ruins
Trial: Raurus Blessing
Reward: Mighty Zonaite lance and a Light of Blessing
Coordinates: approximately -3211, -3007, -0037
Let the quicksand pull you west of the Palu Wastes into Ancient Prison Ruins. Pull the first lever and follow the opened cell doors.
Go past the statue with a sword and shield on the right and pull another lever. Crawl through the low opening, follow the collapsed passageways and use the Ascend under the last grate.
In front of the shrine you can remove floor tiles and reach an additional chest. The Chichim Shrine itself contains Rauru’s Blessing and the Mighty Zonaite Lance.
All shrines in the Gerudo Desert at a glance
| Shrine | exam | Reward |
|---|---|---|
| Irasak | Raurus blessing | Large Zonai Charge |
| Karahatag | Fire Dance | Powerful Construct Bow |
| Kudanisar | Bridged Sand | Spurt-Elixir and 10 wooden arrows |
| Maya Tata | sliding section | 10 wooden arrows |
| Miryotanog | Bare Survival – Dodged | Captain’s Blade |
| Siwakama | Three balls | 5 bomb flowers |
| Soryotanog | Buried light | 10 wooden arrows |
| Chichim | Raurus blessing | Powerful Zonaite lance |