

The Thunder Helmet has been retrieved from the Yiga’s lair and Riju has ordered Link to attack Vah Naboris at the end of the last chapter. This begins the last titan of our route. Because we previously freed Vah Ruta, Vah Medoh, and Vah Rudania, we have Mipha’s Grace, Revali’s Gale, and Daruk’s Protection at our disposal. Together with the Master Sword, this makes the game’s most difficult titan fight much more enjoyable.
Vah Naboris still demands more attention than the previous titans. Inside, three large sections of the camel’s body can be rotated independently, electrical wires need to be connected, and several important chests are located in places that can no longer be reached after completing the dungeon. In total there are nine Treasure Chests in Vah Naboris. We’ll take every single one of them before we defeat Thunderblight Ganon.
To the lookout southeast of Gerudo Town
Leave Gerudo Town through one of the southern gates and move to the lookout southeast of the city. A sand seal is the most convenient option for this. If you haven’t rented one, you can carefully approach a wild sand seal outside the city, mount it and let it pull you along.
When you arrive at the lookout, you first go into the small building. Optional – Treasure Chest: Inside is a chest with a Gerudo Bow. Although this bow only has an attack power of 14, it offers a long range and a zoom function when aiming. If the entry is still missing from the Hyrule Manual, take a photo of it before picking it up. There is also a bed in the lookout where Link can sleep for free. Anyone who has still lost hearts can fully recover here before the attack.
Then climb the long ladder to the wooden viewing platform. Riju is already waiting there. She explains the plan and hands you over 20 bomb arrows. Vah Naboris’s feet are surrounded by Ganon’s doom and can only be sufficiently damaged with these explosive arrows.
A double-shot bow from the Yiga hideout is particularly practical for the attack. Since it fires two projectiles at the same time, one shot per foot is usually sufficient for a clean hit, although only one bomb dart from the inventory is used. Revali’s eagle bow also works excellently, but is actually too valuable for this short section. A normal bow will also do; then each foot requires two hits.
Attack Vah Naboris – stay in Riju’s protective circle
After the cutscene, Link and Riju head towards Vah Naboris on their sand seals. The Thunder Helm creates a large greenish protective area around Riju. As long as Link is within this circle, the Titan’s lightning cannot harm him.
Does not attempt to continuously drive ahead at top speed. Riju hält ein relativ gleichmäßiges Tempo. If Link continually accelerates, he will leave her protection and then have to brake again. Stay slightly behind or to the side of her and focus on changing distance only when you need a clear line of fire at one foot of Naboris.
Once the Titan prepares a lightning bolt, a target marker will appear around Link. By now you must be completely within Riju’s protective circle. Wait for the impact and then accelerate back into a favorable position.
Vah Naboris’s four feet glow distinctly purple. Every foot needed two bomb arrow hits with an ordinary bow. Don’t aim at the upper legs, but directly at the glowing lower areas. You don’t have to destroy all the feet in a specific order while driving. Concentrate on the page that is easily accessible at the moment and then move on to the next destination.
With a double-shot bow, both projectiles hit almost simultaneously and a single well-placed shot can completely destroy a foot. This saves ammo and shortens the time away from Riju’s immediate position.
If all four feet are switched off, the Divine Beast collapses and Link takes the opportunity to get onto its back.
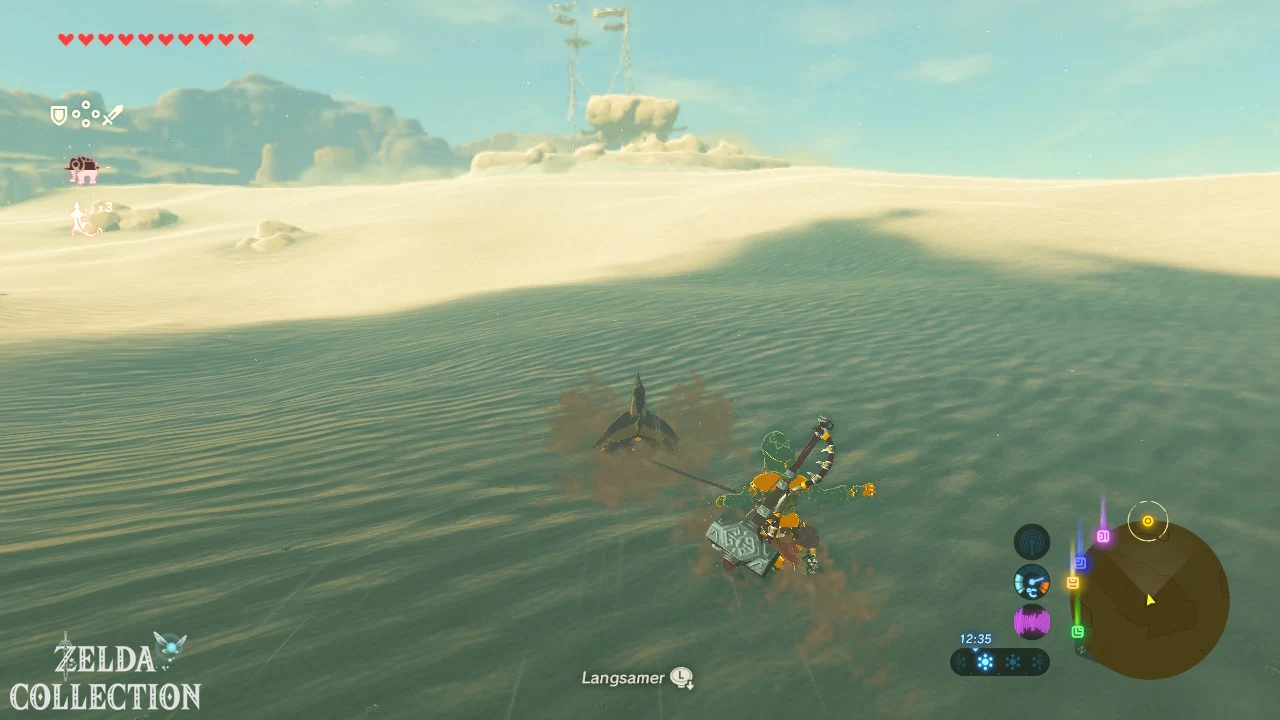
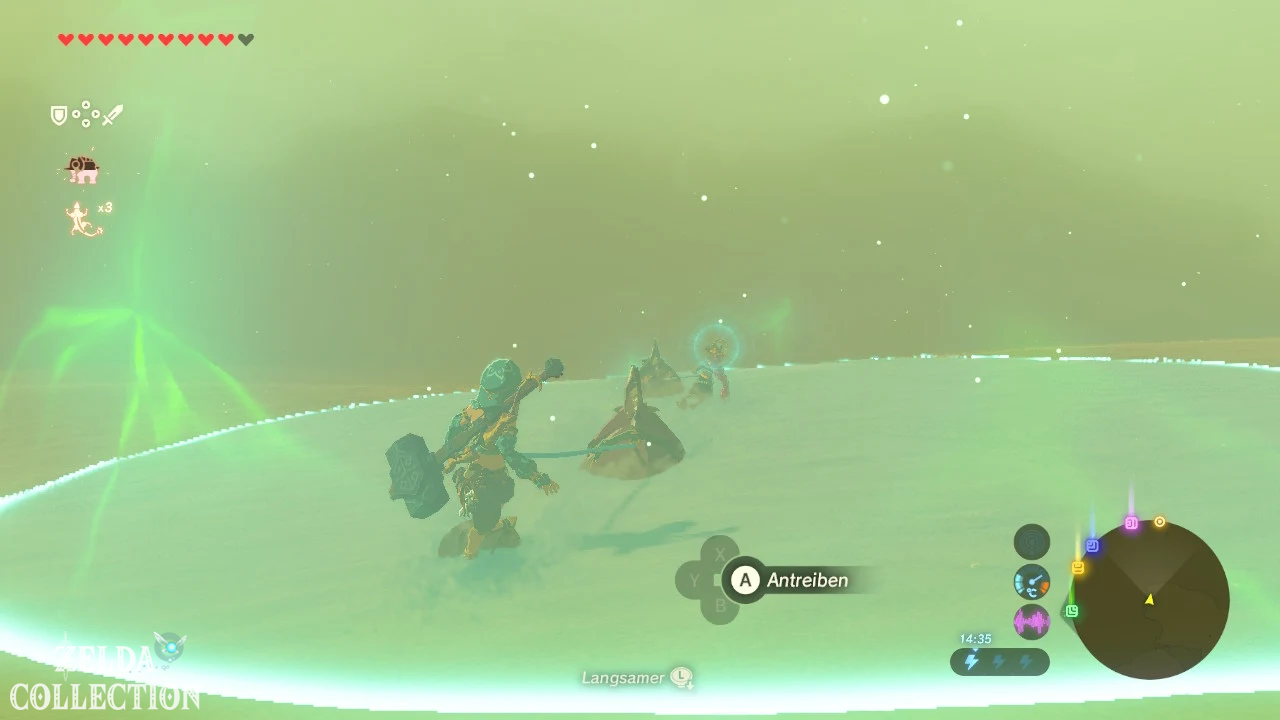
Vah Naboris enter
After landing, first activate the Sheikah point. This will register Vah Naboris as a teleport target. A nano guard is waiting inside. Defeat him and collect the ancient materials and his weapon if necessary.
Follow the passage up and destroy the glowing eye of the Ooze of Hatred. This causes the black mass to disappear and access to the large main body of Naboris becomes available.
The central room consists of three huge ring segments one behind the other. You can’t move them yet. Our first target is the map terminal in the back area towards the tail.
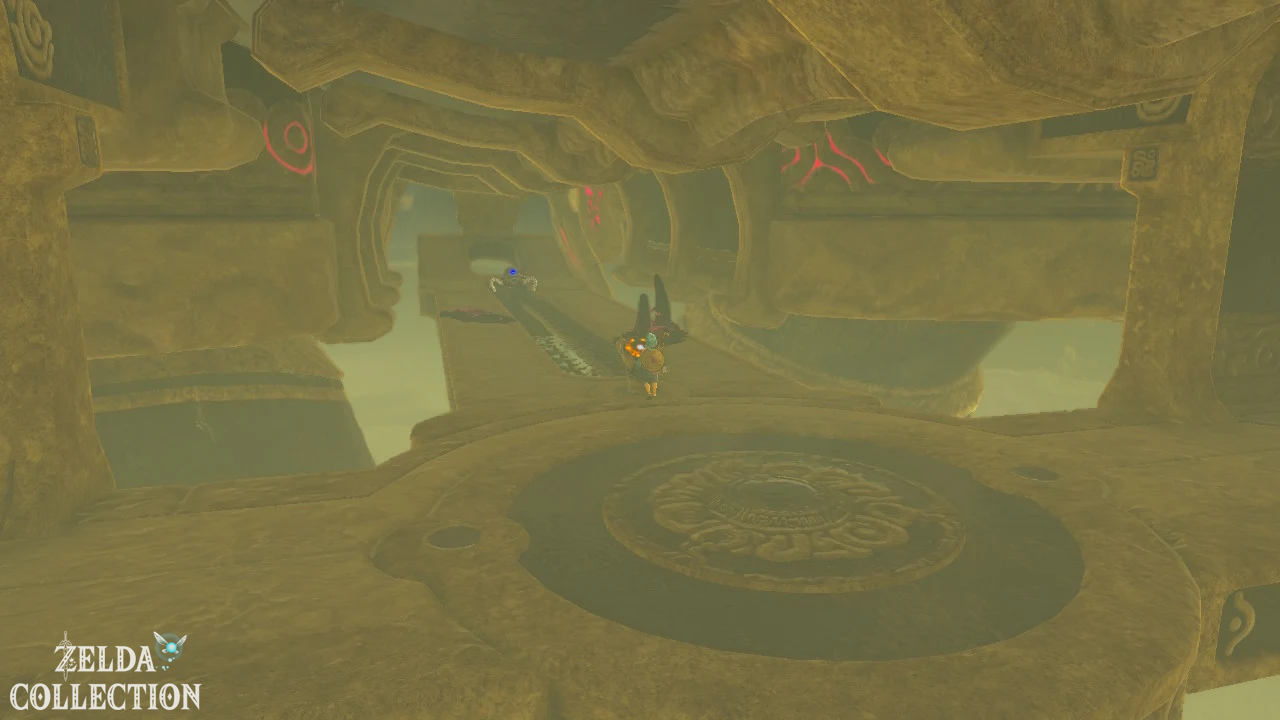
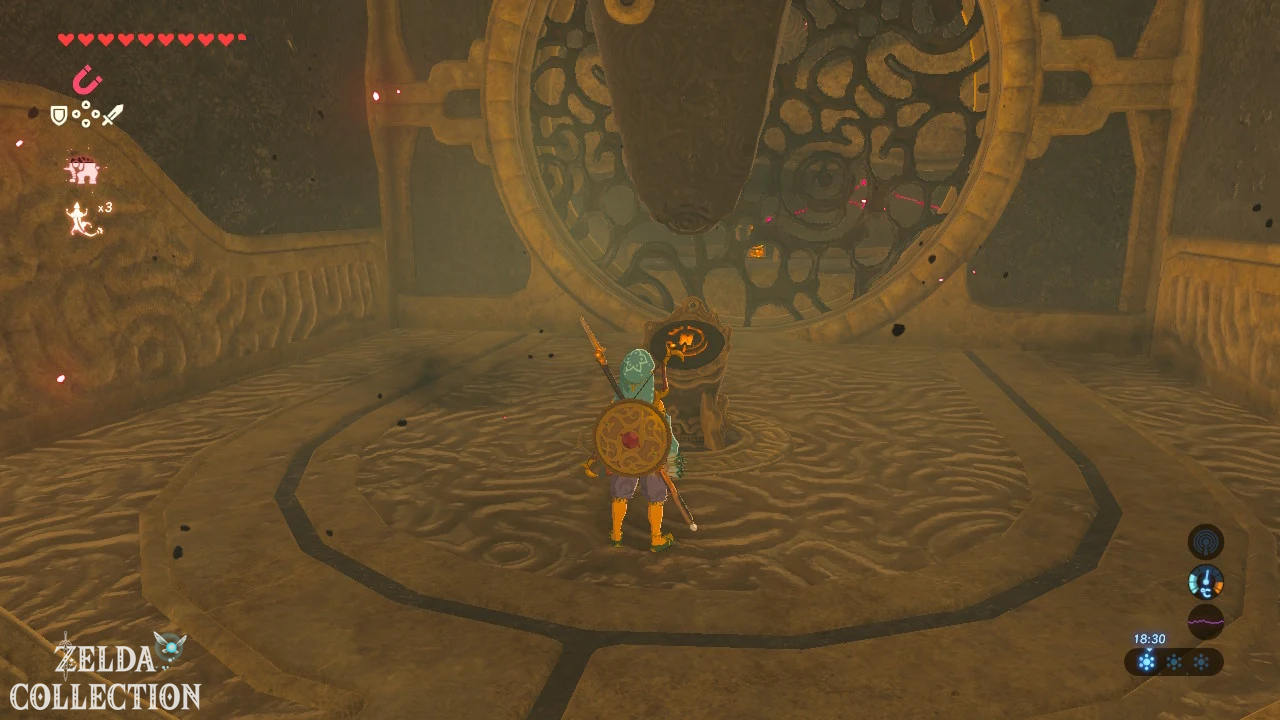
Treasure Chest 1: Ancient Core at the tail
Optional – be sure to collect it before completing: Even before we activate the map, we get one of the most easily missed chests in the entire dungeon. In the back area of Naboris, a metal chest hangs on a rope outside of the body. Inside is a Ancient Core.
Doesn’t just shoot the rope straight through. Otherwise the chest would fall into the depths. First freeze them with the stasis module. Then shoot the rope with an arrow and immediately switch to the magnetic module. As soon as the stasis ends, grab the falling metal chest with the magnetic module and pull it onto the platform.
Alternatively, you can make the chest swing with the magnetic module beforehand and cut the rope just as it swings towards you. However, the combination of stasis and magnetic module is much more reliable.
Open the chest and take the Ancient Core with you. This find is significantly more valuable than ordinary guard parts, especially for later antique equipment.
Vah Naboris Divine Beast Map
Goes back into the main body and to the rear ring segment. On the right side there is a sloping ramp leading up. Follow her to the card terminal and use the Sheikah stone.
The five terminals and the special controls of Vah Naboris appear on the map. The three large ring segments in the titan’s body can be rotated independently in 90 degree increments. Each segment also has an electrical line. When these lines are properly aligned, energy flows throughout the body and sets various mechanisms in motion.
For the following solution we will focus on the head and tail. The front ring is at the head of Naboris, the rear ring is at the tail and in between is the middle ring.
Treasure Chest 2: Ancient Spring
Before we activate the first terminals, we clear the easily accessible outer rooms. From the map room, return to the main control and use one of the round side openings on the body. Another Nano Guardian is waiting outside.
On one of the opposite walls you can see a clearly cracked area. Blow them up with a remote bomb. Behind or opposite the opened passage there is another fragile wall that cannot be easily reached on foot. Throw a round bomb over and detonate it near the wall.
The second breakthrough reveals a platform with a metal chest. Pull them towards you with the magnetic module. Inside lies a antique feather.
Treasure Chest 3: Five bomb arrows
Stay on the outside of Naboris and follow the narrow path further towards the hip or the back of the leg. There is another chest in a small side chamber. Inside you will find 5 bomb arrows.
Axyl them up even if there are still bomb arrows left from the attack on Naboris. They are not absolutely necessary for Thunderblight Ganon, but are extremely useful later in the desert and against stronger opponents.
First terminal in the rear ring
Returns to the main body. One of the terminals is located in a small chamber in the rear ring segment. In the initial state, the chamber is twisted so that you cannot enter it or use the terminal.
On the map, rotate the back ring 180 degrees until the round opening of the small chamber lines up with a side exit of the fixed outdoor area. Go through the round passage into the chamber. The terminal is now on the side.
Opens the map again and rotates only the back ring by another 90 degrees. Since Link is rotated within the chamber, the floor realigns and the terminal then stands upright in front of you.
Activates the first terminal. Then turn the ring back so that you can leave the chamber again through the side passage.
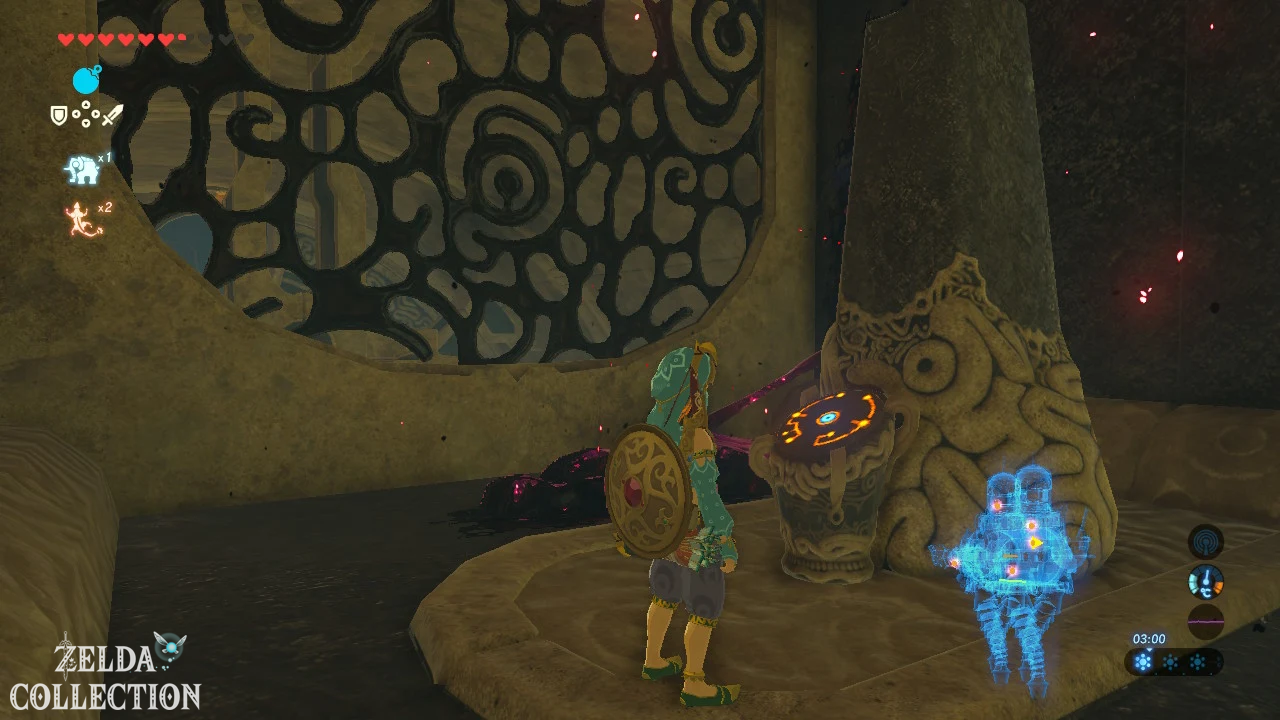
Second terminal in the front ring
The second terminal is also located in the main body, this time in the front ring segment. It rests on a structure that initially appears unreachable at the wrong angle.
Go to the lower floor area of the front ring and look at the grid bars attached to it. Rotate the front ring so that one of the platforms comes down to Link. Climb on it and then turn the same ring one more step. The platform takes Link up.
Under a U-shaped scaffolding or near the target there is a glowing eye in the mud of hate. Shoot it down. This causes the black mass to disappear and the path to the terminal becomes clear.
Follow the grid walkway around the structure and activate the second terminal.
Treasure Chests 4 and 5: Ancient Shaft and knight’s bow
Above the central master control there are two opposing platforms belonging to the middle ring. Both have a Treasure Chest on them. One side is initially blocked by the mud of hatred. Rotate the middle ring so that the corresponding eye becomes visible and destroy it with an arrow.
Then climbs over a ramp to an elevated position on an adjacent ring segment. Turn the middle ring so that the first chest platform is to the side or slightly below you, and slide over.
In the first chest there is a antique axle.
Stay on the platform and use the rotation of the middle ring to transport you to the opposite side. As you rotate, move Link along the safe area in small steps to avoid slipping. As soon as the second platform is in an accessible position, open the next chest there. It contains a knight’s bow.
We have already collected five of the nine chests.
Connect the power line through Vah Naboris
Next we need power in the front part of the Titan. Open the map and rotate all three body rings so that their glowing pathways run continuously along the top of the camel.
When all three sections are in place, the pipe turns green and a large round disc at the front end of the main body begins to rotate. There are several openings in this disk through which we can get into Naboris’s neck.
Treasure Chest 6: Knight’s shield in the neck
Before we activate the next terminal, we get the treasure inside the neck. Wait at the rotating disk until you pass one of the large openings at the level of the upper passage and let it carry you up.
Goes into the long throat passage. Several lasers move through the passage there. Observe their rhythm and continue running in the safe spaces. A direct sprint also works, but is unnecessarily risky. Daruk’s Protection can catch a mistake.
At the far end of the corridor is a chest with a Knight’s Shield. Be sure to take him with you. Then it goes back to the rotating disk.
Third terminal in the head of Vah Naboris
Let yourself be carried up to the top by an opening in the rotating disk and leave your body through the upper passage. There is a large turnstile in front of you. This moves two separate electrical contacts on the sides of the neck.
First turn the cross in one direction until the first contact is exactly on its power line and lights up blue or green. Then turn in the opposite direction until the second contact is also connected.
Once both sides are powered simultaneously, Vah Naboris straightens his previously lowered neck and head. At the same time an elevator is activated.
Take the elevator up. The third terminal is waiting there. Activate it and then go back down.
Treasure Chest 7: Ancient Gear on the tail
Now let’s go to the back of the titan. Return to the main body and work your way up the back ring. There is a passage leading to the tail. Four movable metal contacts form an interrupted circuit.
Activates the magnetic module. Move the top two metal pieces toward the body and the bottom contacts toward the tail until the electrical line is completely closed. Once electricity flows to the rear end, Vah Naboris’ entire tail stands erect.
Before we use it as an elevator, we get the next missable chest. Break the circuit again by either moving one of the contacts or turning the rear ring so that the line is disconnected. The tail lowers.
Goes or slides carefully onto the inner side of the lowered tail. There is a stone chest on a lower ledge. Inside lies a Ancient Gear.
Then return to the back of the tail. Place Link behind the large vertical structure, which will later serve as a bridge when it is raised. Now restore the circuit. The tail flips up and takes Link with it. At the top, the construction forms a transition to the rear hump.
goes into the rear hump
Run across the newly formed bridge and destroy the Eye of the Ooze of Hatred. Enter the hump and shoot the next visible eye. This will reveal the paths and elevator inside.
The round elevator travels through several levels. While driving, don’t just look up, but also at the side ledges. Right here are two important items for the next puzzles.
Treasure Chest 8: Ancient Screw
There is a metal chest on a side ledge between the lower and middle levels. Ride the elevator up so far that you can reach her with the magnet module and pull her towards you.
The chest contains a Ancient Screw.
On the opposite side there is an electrically charged ball. Get them down with the magnetic module and place them on the lower level first. We’ll need this ball later for the final terminal.
Fourth terminal in the front hump
Climb the ladder in the back hump to the upper level. There is another turnstile there. Rotate it until the electrical connection on the lower mechanism is closed. This will cause a platform to begin moving back and forth between the two humps of Vah Naboris.
Get on the moving platform and ride to the front hump. A nano guard is waiting there. Defeat him and then look under or next to the elevator for an Eye of the Ooze of Hatred. An arrow removes corruption.
This makes the fourth terminal accessible. Activates it.
Treasure Chest 9: Topaz
Before we open the final terminal room, let’s get the ninth and final Treasure Chest from Vah Naboris. Take the elevator in the front hump to the top level. There you will find a second electrically charged ball.
In this upper area you can also reach the movable platform between the humps. Drive it to the opposite side or to the upper level of the rear hump. The last Treasure Chest is there.
Open it and take the Topaz with you.
All nine unique chests from Vah Naboris have been collected: Ancient Core, ancient feather, five bomb arrows, ancient axle, knight’s bow, knight’s shield, ancient gear, ancient screw and topaz. After the boss, we no longer have to worry about missing treasure.
Fifth terminal with two energy balls
Take the electric ball from the front hump with the magnetic module and take the elevator all the way down. On the lower level a door leads into the space between the two humps. If it is still closed, lift the ball with the magnetic module and hold it to the electrical contact above the door. The electricity opens the grid.
There are two nano guards waiting in the next room. Eliminate them first. The last terminal lies behind another grille. To the left and right of this gate are two round bases for energy balls.
Places the ball from the front hump on one of the bases. For the second one we need the ball that we already got from the projection in the back hump. Go through the now cleared transition to the other hump, get the ball that was placed there with the magnetic module and bring it into the middle room.
Places it on the second base. Both circuits are closed at the same time and the gate moves up. Behind it you activate the fifth and final terminal.
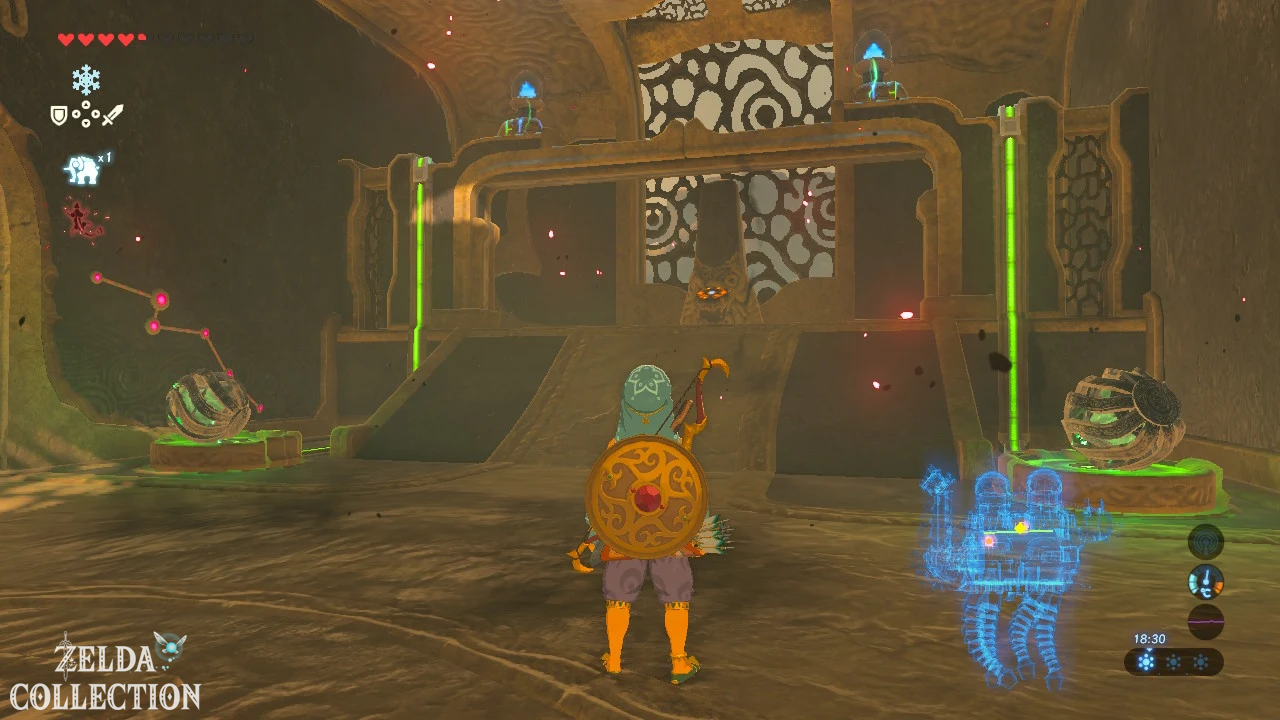
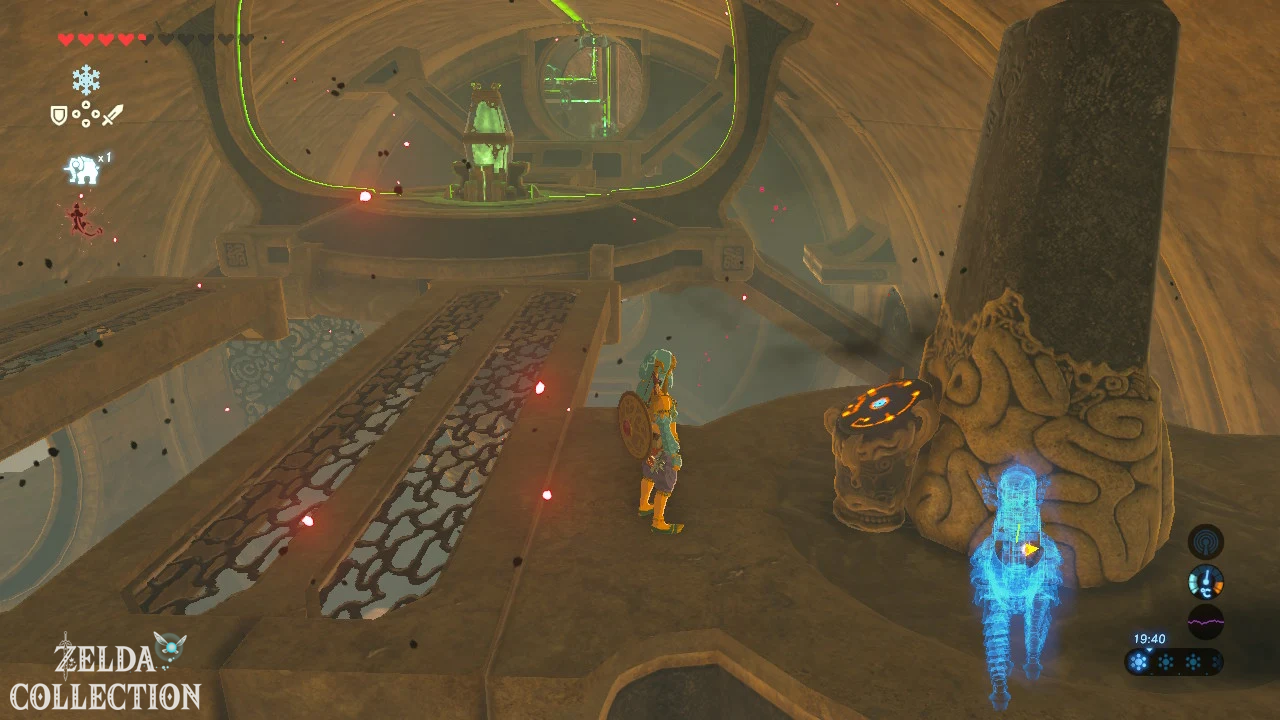
Preparation for Thunderblight Ganon
Now all that is missing is the main control in the center of the camel. Rotate the center ring so that the platform with the main controls is horizontal and easily accessible.
Before you activate it, Link heals fully and equips your strongest equipment. Because Vah Naboris is the fourth Titan to be freed in our route, the upcoming battle will be tougher than an early encounter. Link now has three other warrior abilities and the Master Sword.
Daruk’s Protection is particularly valuable because it can automatically intercept a poorly timed block against the extremely fast melee attacks. Mipha’s Grace serves as additional life insurance.
If you have chosen the topaz earrings under “Edle Stones”, you can put them on now. They increase protection against electricity. Electro-medicine or corresponding dishes are also helpful. If you already have the complete and sufficiently improved insulation set, things are even easier. However, we no longer need to make our own detour for this armor on our route.
Optional – Hyrule Compendium: Also have the Camera Rune ready. Thunderblight Ganon is a unique boss. His picture can be purchased later via Symin, but if you want to take a photo of your Hyrule Compendium yourself, you should take a photo immediately after the fight begins.
Enables the main control. Ganon’s Doom gathers over the arena, forming Urbosa’s tormentor: Thunderblight Ganon.
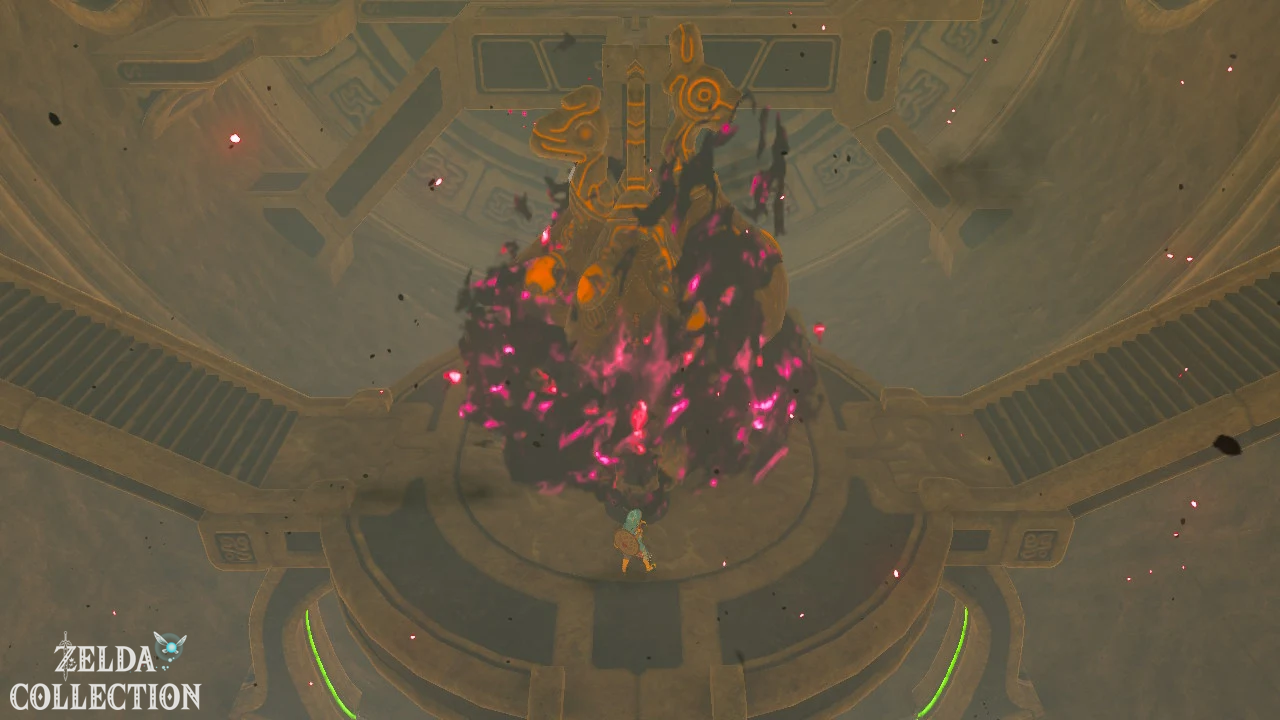
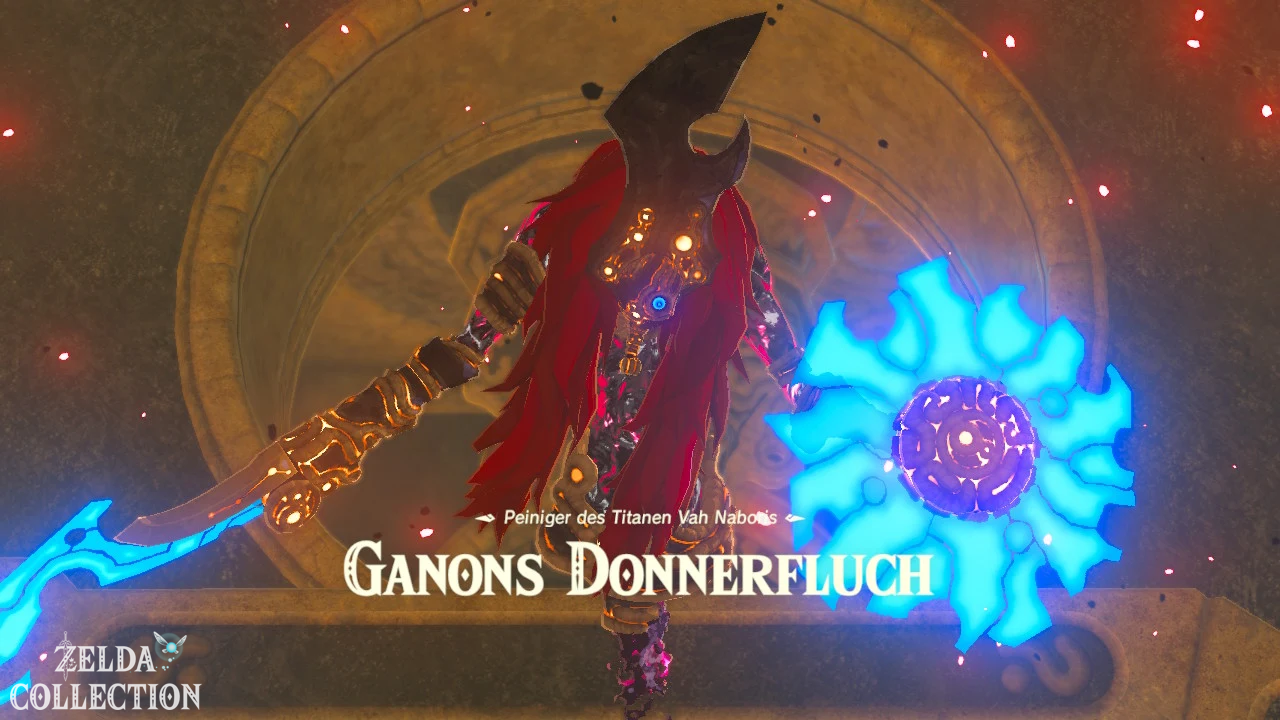
Thunderblight Ganon – Phase 1
Thunderblight Ganon is much faster than previous curses. He doesn’t just teleport directly to Link, but shoots through the arena in several lightning-like zigzag movements and then strikes with his weapon.
Don’t try to chase him with your bow during these moves. Hold ZL, align Link with the boss and watch the final sprint. Immediately before the blade hits Link, perform a backflip. If you time it well, a slow-motion counterattack will start in which you can land several hits.
If you have problems with perfect dodging, you can also play the first part defensively. Hold up a shield. A normal attack initially bounces off it and Thunderblight Ganon stays directly in front of Link for a moment. Hit his small shield several times. After several hits, his guard collapses and the boss staggers.
Immediately run after it and continue attacking. The Master Sword is ideal for this. Its proximity to Ganon’s Doom makes it particularly effective during this fight.
In between, Thunderblight Ganon hovers at a distance and fires several electric bullets. Move sideways or sprint out of their trajectory. If you are hit, Link can be briefly paralyzed and drop equipped metal objects. Don’t pick up dropped weapons and shields until the immediate attack is over.
Repeats block, perfect dodge or shield break until approximately half of health is gone.
Thunderblight Ganon – Metal Stakes in Phase 2
At the beginning of the second phase, Thunderblight Ganon retreats far upwards. Shortly afterwards, several long metal poles fall to the ground around Link. First, move away from them. A few moments later, electricity strikes and charges the poles.
This is exactly where the solution lies. Immediately activate the magnetic module, grab one of the metal poles and lift it into the air. Bring him as close to Thunderblight Ganon as possible.
When the next lightning strikes, the electricity jumps over the metal pole to the boss. His protection collapses and he falls to the ground. Release the stake, sprint towards it and attack with your strongest melee weapon.
Do not attempt to shoot Thunderblight Ganon out of the air with arrows during this sequence. The metal post is the intended and by far most reliable solution.
Thunderblight Ganon – electrified weapon
After the Stake Phase, Thunderblight Ganon resumes his fast attack pattern from Phase 1, but this time charges his weapon with electricity. This makes a hit much more dangerous because Link can also be shocked and drop equipment.
Daruk’s Protection is extremely useful at this point. As long as a charge is still available, he automatically intercepts a direct attack. After that, you should use perfect evasive maneuvers if possible.
If you see electric sparks on Ganon’s weapon, a backflip at the right moment is safer than an ordinary block with a metal shield. If you don’t know the timing, you can alternatively keep your distance and sit out the electrified phase. The effect does not last permanently.
Once the electricity has disappeared, you can block again in the classic way, break the boss’s shield with several melee hits and then cause damage.
Towards the end of the battle, Thunderblight Ganon also uses a red aiming beam and prepares an energy shot similar to a Guardian. Run behind a massive pillar, sprint across the line of fire, or reflect the beam with a perfectly timed shield block. Daruk’s Protection can catch an error here too.
Stay patient. Thunderblight Ganon punishes frantic attacking more than the other Titan bosses. Wait for his quick melee attacks, use the short open phases and only then attack.
With the last hit, Thunderblight Ganon disintegrates.
Heart Container and final check before completion
After the fight, a Heart Container will appear. Be sure to take him in.
Don’t just go to the main control without thinking. Once activated, Vah Naboris can no longer be entered. If you followed this solution, all nine Treasure Chests should already be open. If you are missing one of the items mentioned, go to the relevant location again.
Only when the Heart Container has been collected and the dungeon has been completely processed do you activate the main control.
Get Urbosa’s Fury
Urbosa’s spirit is freed. After the cutscene, she gives Link her warrior ability Urbosa’s Fury.
Hold down the attack button for a charged attack. A large electrical area of influence is formed around Link. If you let go of the button, a powerful bolt of lightning strikes all enemies within the area. The attack causes high damage and additionally paralyzes many enemies.
Urbosa’s Fury has three charges. Once they are all used up, the ability begins to recharge. The normal charging time is twelve minutes. As with the other warrior abilities, Urbosa’s Fury can be deactivated in the inventory.
The ability is particularly excellent against larger groups of opponents, Hinoxe, Lynels and other strong opponents. She can also use her stun to incapacitate enemies long enough to land multiple free hits.
[DLC] In the second DLC, the ability can later be improved to Urbosa’s Fury+. This significantly reduces the charging time. Since all four Titans have to be freed, this requirement has now been fulfilled for the first time with the completion of Vah Naboris. We still start the ballad of the Champions at the designated point on our route.
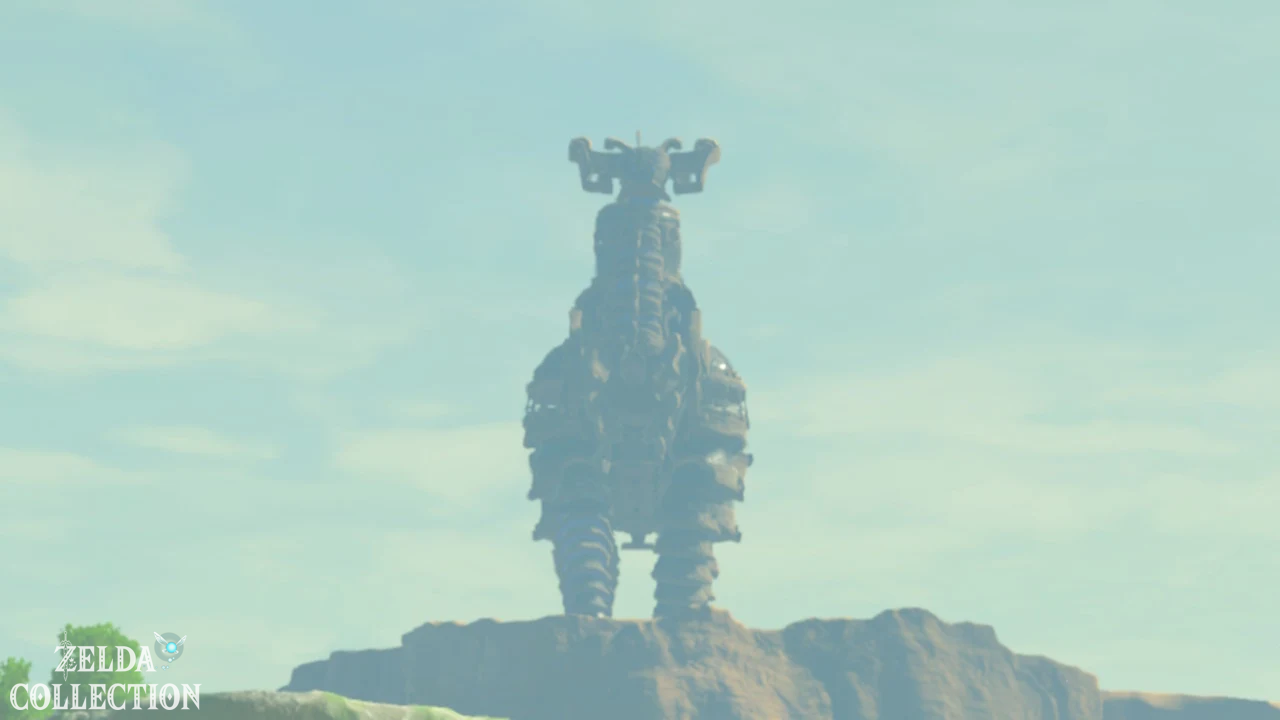
Vah Naboris then takes a position on the Spectacle Rock and directs his energy beam at Hyrule Castle. This means that all four titans are now ready to face the Calamity Ganon.
Return to Riju to Gerudo Town
Link will be dropped back into the Gerudo region after the cutscene. Teleport to Daqo Chisay Shrine in front of Gerudo Town or travel back the normal way.
Remember to put on women’s veil, women’s robe and women’s trousers again in front of the city gate. Even after the liberation of Vah Naboris, the ban on male visitors still applies.
Go into the palace and talk to Riju in the throne room. She thanks him for freeing the Titan and allows Link to take two of the Gerudo’s most valuable treasures.
Treasure saber and treasure shield from Urbosa
Behind Riju’s throne are two Treasure Chests. Open both. You will receive the Treasure Saber and the Treasure Shield, Urbosa’s personal weapons.
Optional – Hyrule Compendium: Photograph both pieces of equipment immediately. Although they can be remade after destruction, a photo immediately after receipt is the easiest opportunity for the corresponding manual entries.
The Treasure Saber has an attack power of 32 and unusually high durability for a one-handed weapon. The treasure shield offers a shield strength of 48 and is also very robust. Both objects are made of metal and therefore conduct electricity. You should not leave them equipped during a thunderstorm.
You don’t have to store the warrior weapons unused for fear of permanent loss. If the treasure saber breaks, Buliara can make a new one in Gerudo Town. For this you need a Gerudo Scimitar, a diamond and five flints. For a new treasure shield you need a Gerudo shield, a diamond and five fire stones.
If you have already fully furnished Link’s house in Hateno Village, you can of course also display the treasure saber and treasure shield there. However, to complete the game it is enough to have received the weapons once; they do not have to remain unused permanently.
After Vah Naboris: New tasks in Gerudo Town
With the liberation of Vah Naboris, several things change in the region. In Gerudo Town, new Side Quests become available and Riju is now ready to give Link the Thunder Helmet – but only after he solves the Gerudo’s problems.
We have already completed “Precious Stones” on our route. The Molduga Heart has also already been accepted as a task. Newly available titles include “The Environmental Polluter” and “The Search for Barta”. At the same time, after freeing the titan, the sand seal race south of Gerudo Town can be completed in its entirety, which can unlock another shrine.
That’s exactly why we’re not leaving the Gerudo region just yet. In the next chapter we will continue to systematically clear up the desert: Thunder Helm, Great Fairy Tera, Barta, Molduga, sand seal races, open shrine tasks as well as the sensibly located Koroks and armor items will be connected to form a coherent route. You can already find information about the four fairy sources in the ZeldaCollection guide for the Great Fairies.
The main part of the Titan quest is now completed. Vah Ruta, Vah Medoh, Vah Rudania and Vah Naboris are now together on Link’s side.