

After “Zelda’s Legacy”, Link finally has the Camera Rune, the Sheikah Sensor+ and access to the main target “Memorial Photos”. Before we head to the village of Zora and thus to the first titan, it is worth taking a detailed tour of Necluda. Nowhere else can we collect so many permanent improvements at once with comparatively little risk at this point: We complete the shrines around the Dueling Peaks, get one of the twelve memories from the Zelda’s album and get the warrior’s robe in return, complete several shrine tasks in East Necluda and collect with climbing headscarf, climbing boots and Climbing gloves, the complete climbing set. This armor in particular makes the rest of the game much more pleasant because Link climbs rock faces much faster.
The region is also a great place to test out the Sheikah Slate features unlocked at the Hateno Village Institute. As you go, take photos of rare weapons, animals, plants and enemies for the Hyrule Handbook and switch the Sheikah Sensor+ to the materials you need at the moment. If you want to look up specific shrines, you can also find the special pages on ZeldaCollection for the shrines at the Dueling Peaks Tower and the shrines at the Hateno Tower.
Main goal “Souvenir photos” – A dry place
Let’s start with one of the twelve memories, because the first location found brings an extremely valuable reward. Open Zelda’s album and look for the photo in which Link and Zelda are taking shelter from the rain under a large tree. Two small stone statues can be seen in the background and the Hylia Bridge in the distance. The recording location is in West Necluda on the Baumer Hills, west of the Adeya Ruins and east of the Hylia River.
The most convenient way is to teleport to the Bosh Kala Shrine near the Prologia Bridge. Cross the river and move southeast towards Lake Adeya. There is a noticeably large tree on the grassy hills. Right next to it are two small stone statues arranged almost like a pair. Approach the glowing spot under the tree and examine it. Link remembers a conversation with Zelda, who seeks shelter from the rain under the tree and thinks about the path in life that was given to her by the royal family.
With this you have activated the first memory of the main goal “Souvenir photos”. We continue to collect the remaining pictures where their Locations naturally coincide with our trip. If necessary, you can also find all positions collected in our guide to the memories in Breath of the Wild.
Axyl up the warrior’s robe from Impa
After the memory, teleport to Ta’loh Naeg Shrine and go down to Impa. As soon as Link has recovered at least one of the twelve photo memories, she gives him the warrior’s robe that Princess Zelda had kept for him a hundred years ago.
The robe already has a very good defense value when unleveled and has a unique additional function: If Link wears the warrior robe, their current life points are displayed above opponents. This allows you to assess much better whether a weapon is sufficient for the fight or whether a particularly strong opponent is beyond your capabilities.
Improve the warrior’s robe at Cotura once you have the necessary materials. At high levels, it is one of the strongest individual pieces of armor in the game. You can find an overview of all clothing items on ZeldaCollection under armor and Locations.
Climb the twin mountains
Teleports you to Ree Dahee Shrine in the gorge between the Dueling Peaks. From here we begin the climb to the two peaks. Put on your winter doublet because the temperature drops significantly at higher altitudes. The climbing headscarf made of Ree Dahee also accelerates the ascent.
First climb the southern twin mountain. Watch out for wide ledges where Link can stand and fully regenerate his stamina. Don’t try to climb every meter of altitude with climbing jumps; they consume a disproportionate amount of stamina. A normal steady climb is much safer with Link’s current bar.
Near the summit is the Shee Vaneer Shrine. Activate it, but enter it knowing that its puzzle is directly connected to the shrine on the mountain opposite.
Shee Vaneer Shrine – Double Memory
In the shrine you will see a field of 25 wells, arranged in five rows with five places each. There is exactly one ball in each row. The shrine’s clue explains that the two trials on the Dueling Peaks reveal their solution to each other: the starting position in Shee Vaneer is the solution for Shee Venath and vice versa.
first takes the elevator to the raised platform and photographs the entire ball arrangement with the Camera Rune. This means you don’t have to write anything down on paper. Also jump from the platform around the back of the pillar and open the hidden Treasure Chest there with a high quality weapon.
Then go back to the altar area, but don’t change any spheres yet. Leave the shrine and climb to the highest point of the southern peak.
Optional: Two Koroks on the southern twin mountain
[Optional – required for 100%] Below or northwest of the highest peak lies a single small stone on a ledge. Lift it and you will find a Korok. There are also two small sacrificial statues at the very top of the southern peak. There is already an apple in front of one, the second bowl is empty. Also put an apple in it and another Korok appears.
These seeds practically don’t cost any additional travel because we have to climb to the top for the twin shrine anyway.
Glide to Shee Venath Shrine
From the southern summit you can see the slightly lower northern twin mountain directly opposite. Jump off the edge and open the Paraglider. The distance between the two peaks can be easily overcome if you start with full stamina. Land near the Shee Venath Shrine and activate it.
Here too, you first use the elevator and photograph the starting position of the five balls. Also, don’t forget the Treasure Chest behind the raised pillar. Only then will we solve the puzzle.
Solve Shee Venath correctly
Stand in front of the sphere field so that the locked door to the priest is behind the grid. Look at the rows from top to bottom from the door. For Shee Venath, the five balls must be in the columns 2 – 4 – 1 – 3 – 5. Each number indicates the position from the left within the respective row.
Picks up the balls one by one and moves them accordingly. As soon as the fifth ball is in the correct position, the gate opens. Take the Spirit Orb with you and leave the shrine.
Optional: Koroks on the northern twin mountain
[Optional – required for 100%] Climb from the shrine to the highest point of the northern peak. There is a Korok sitting under a small stone. To the east of it there are several large boulders on a slope. Further down, two trees stand next to each other like a gate. Roll one of the rocks down the slope so that it passes right through the trees. If successful, another Korok appears.
If the rock loses its direction, you can freeze it briefly with Stasis and correct it with targeted blows.
Complete Shee Vaneer
Now teleports you directly back to the Shee Vaneer Shrine. You have saved the starting position from Shee Venath in your photo. For a direct solution, stand again facing the locked altar door and arrange the five rows from top to bottom in the columns 5 – 1 – 2 – 4 – 2.
As soon as all the balls are in the correct position, the gate opens here too. Accept the Spirit Orb. This completes the two twin shrines without you having to climb to the two peaks again later.
Toto Sah Shrine in the Hickori Forests
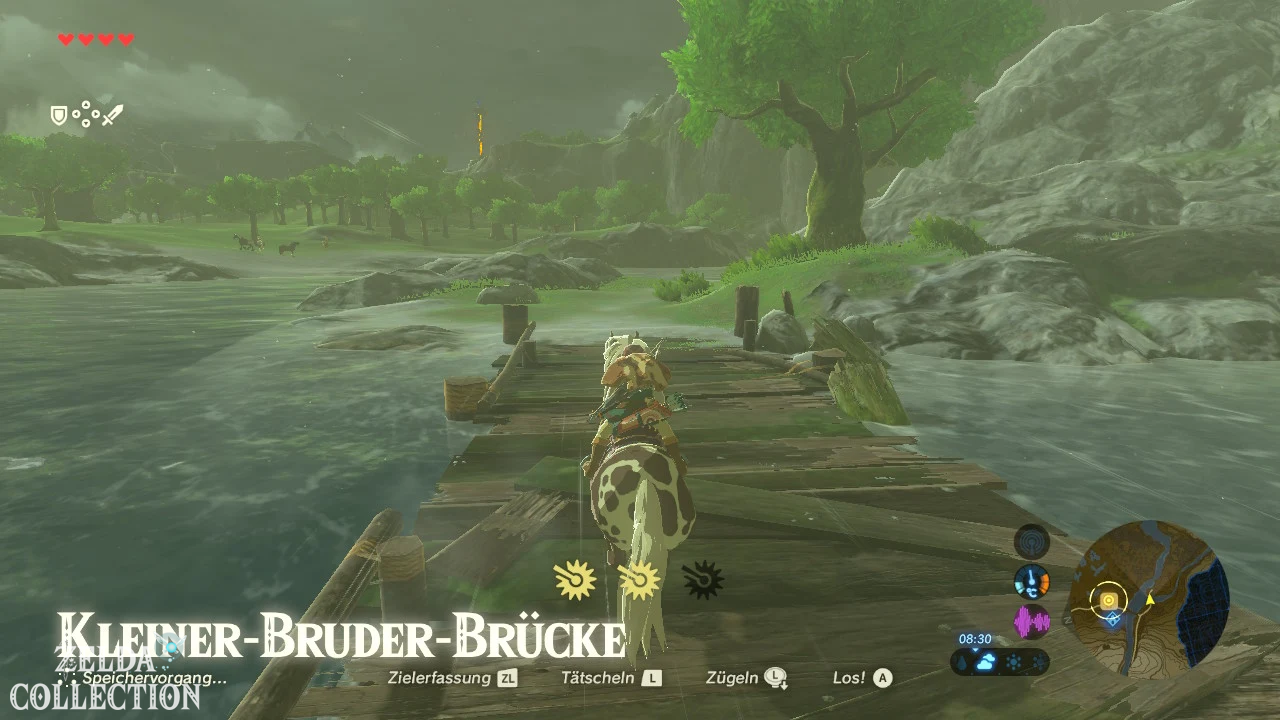
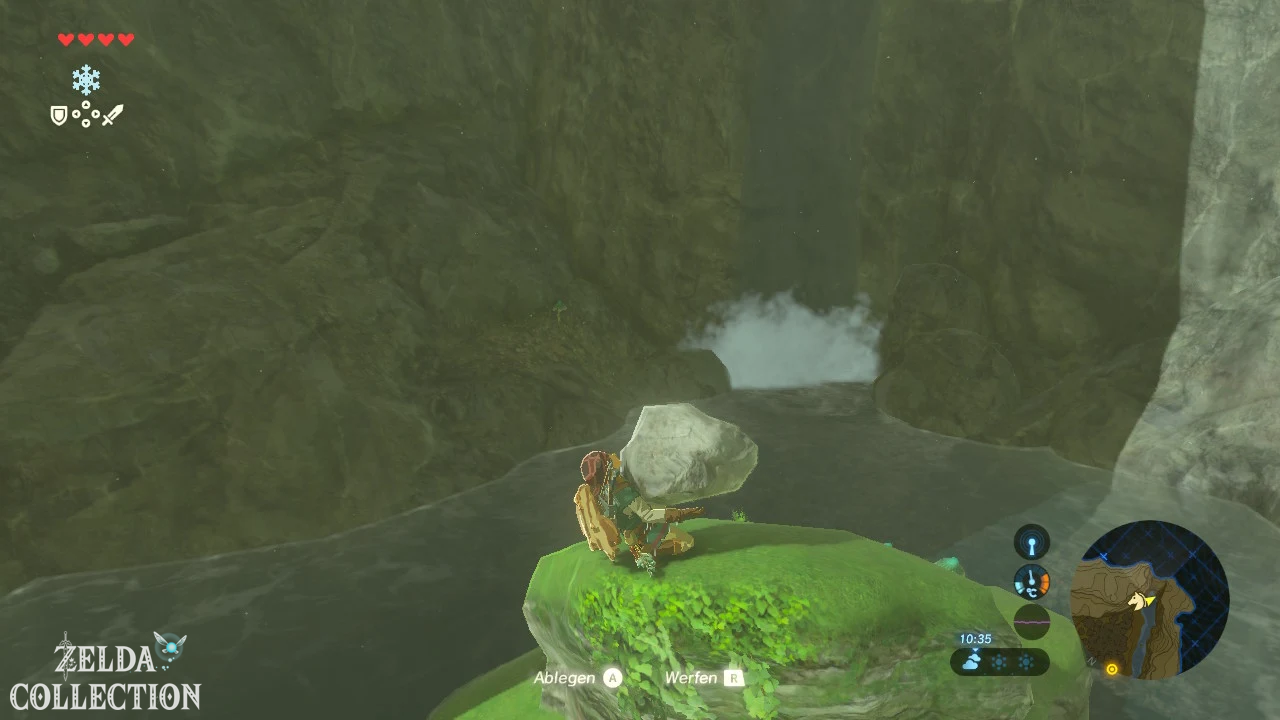
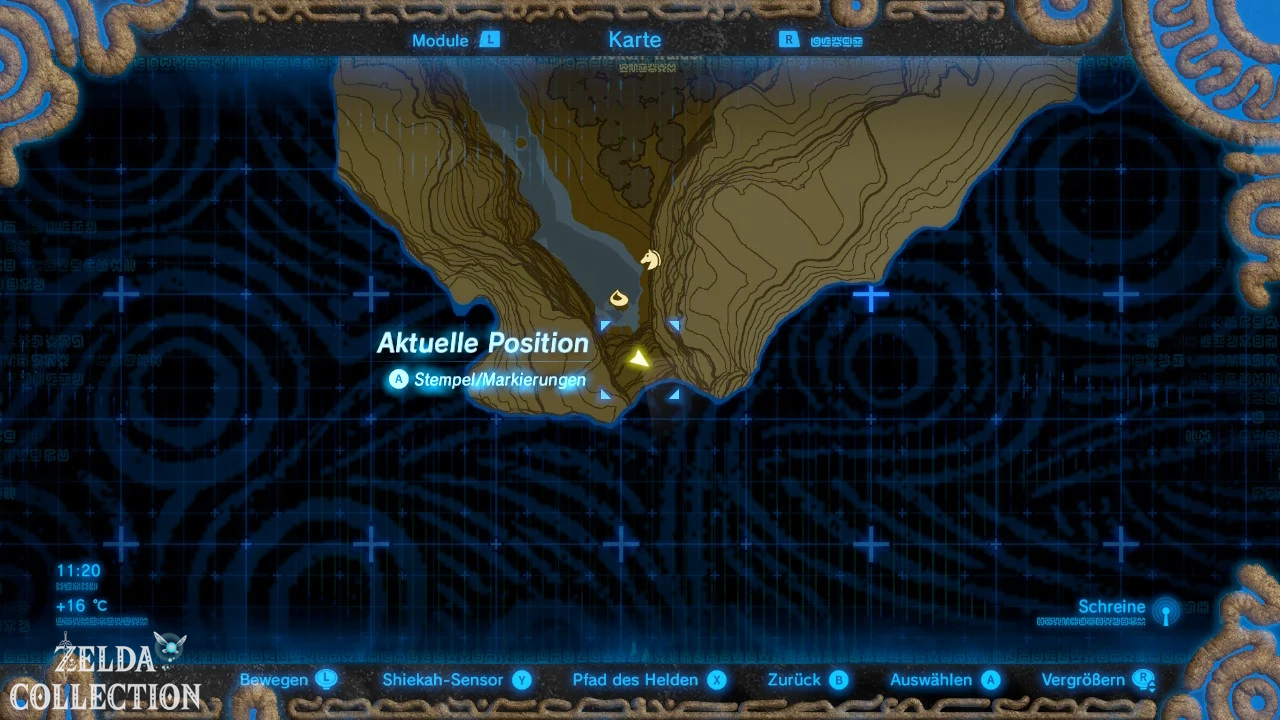
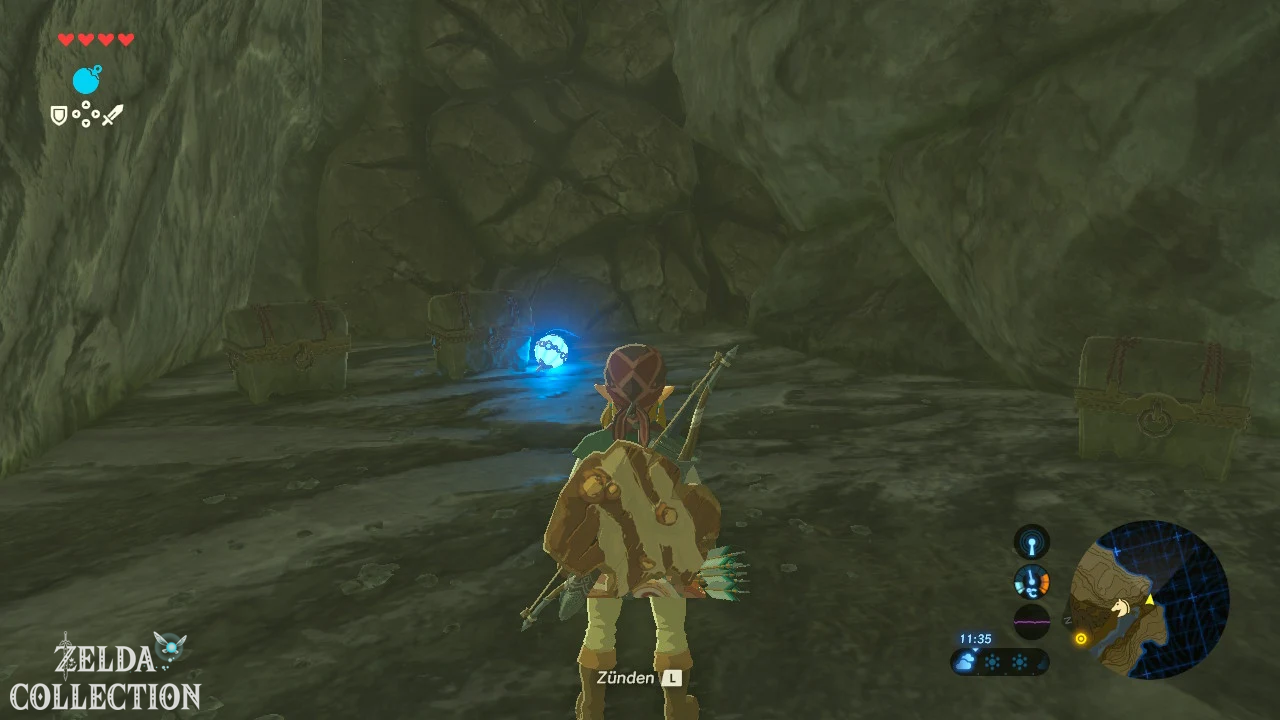
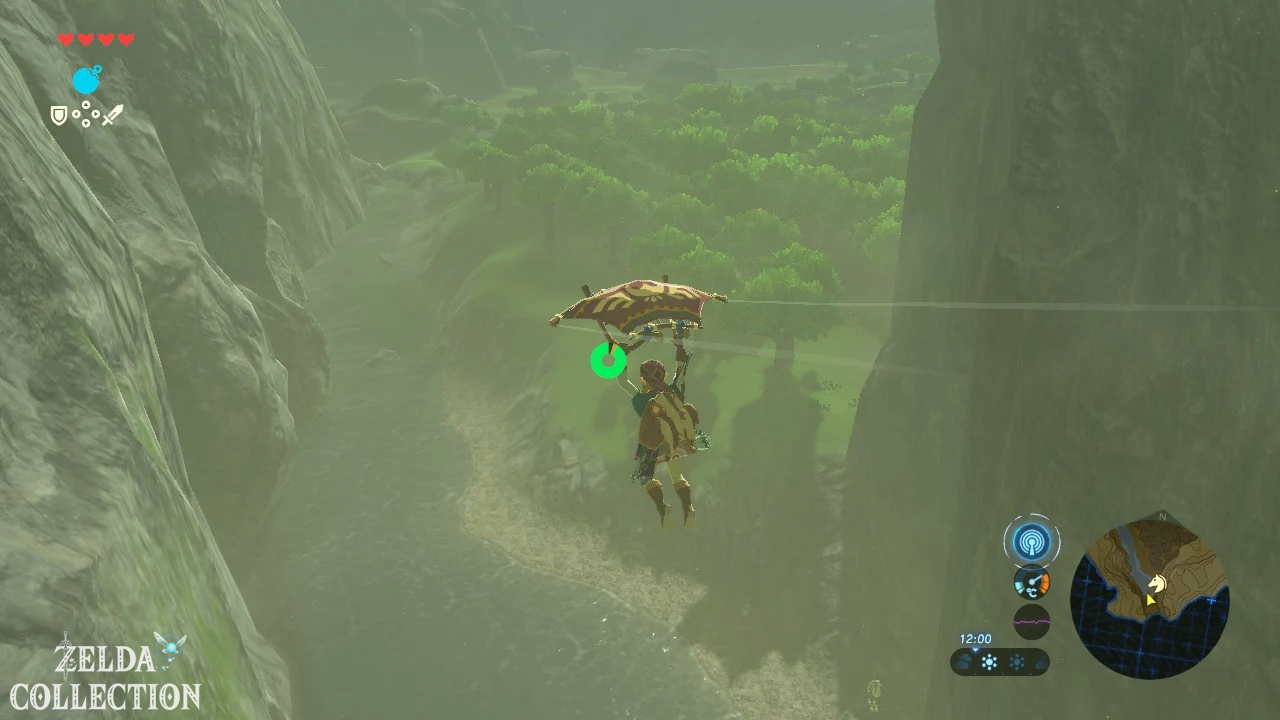
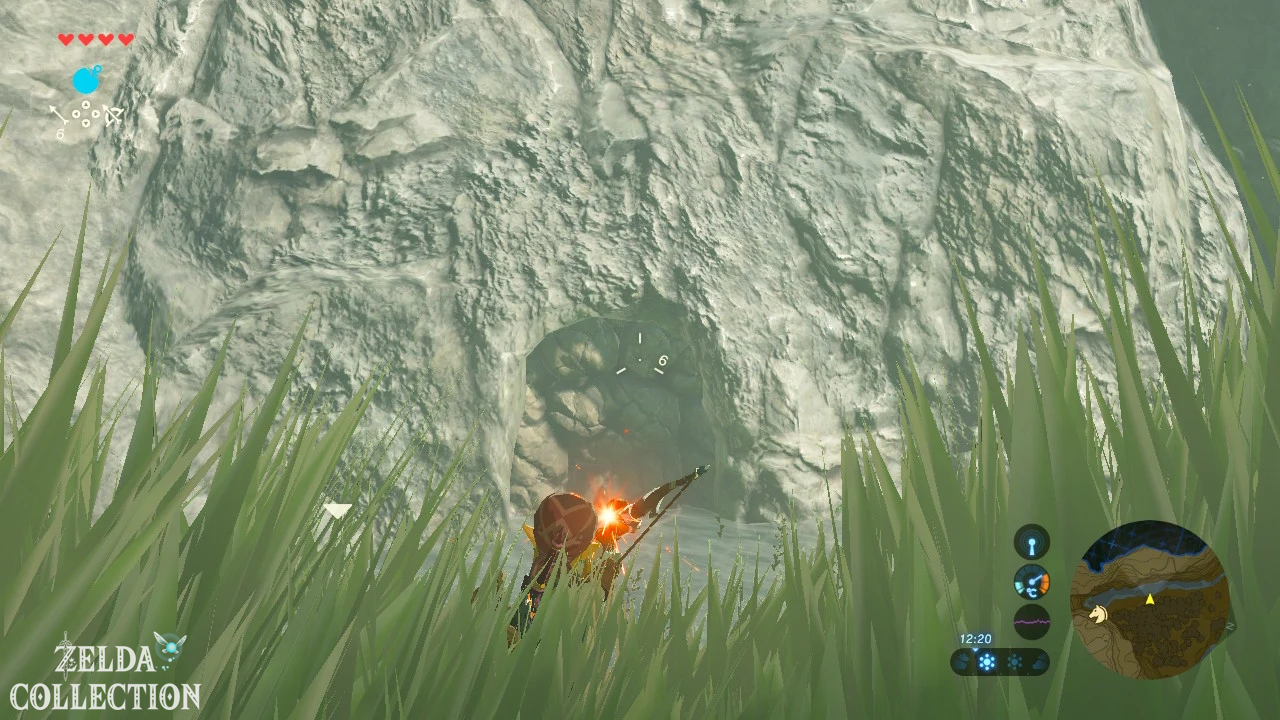
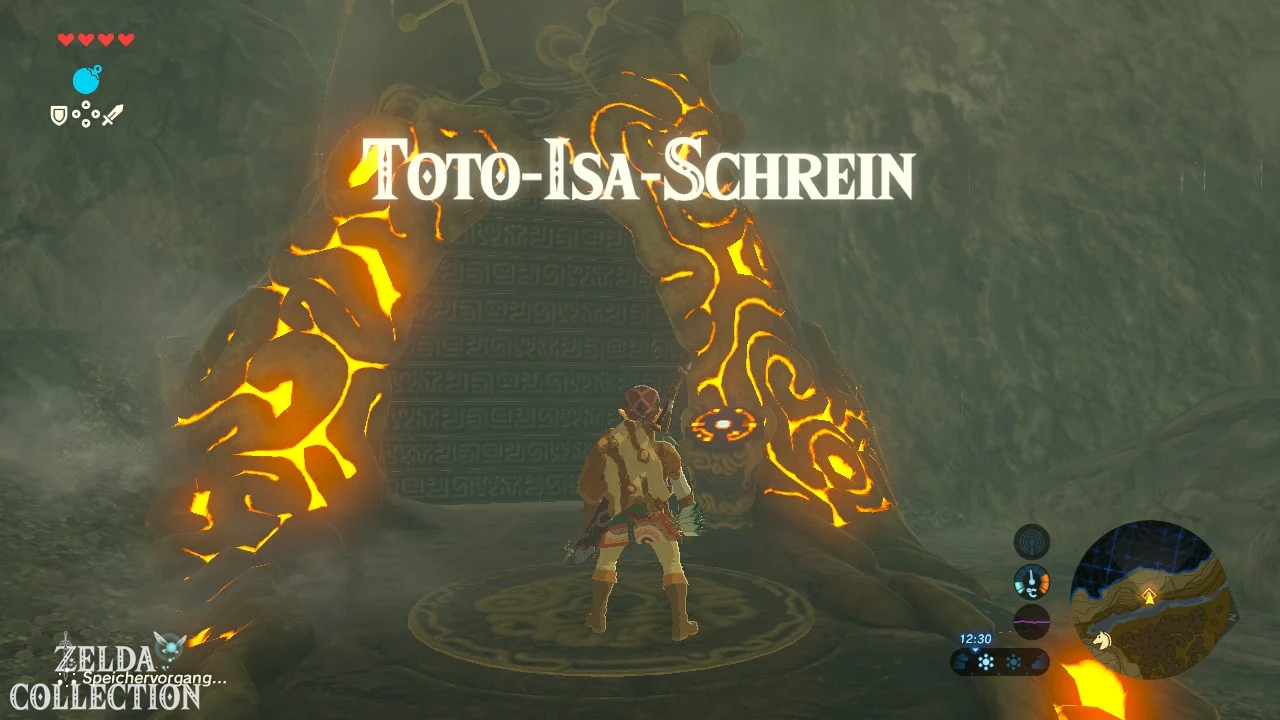
Teleport you to the Dueling Peaks Stable or Ha Dahamar Shrine and from there travel southwest to the Hickori Forests. The Toto Sah Shrine lies on the opposite side of a small stream behind a crumbling rock face. Throw a bomb as close to the rocks as possible and blow the entrance clear. If the distance from the shore is not enough, you can roll a round bomb into the water and detonate it at the right moment.
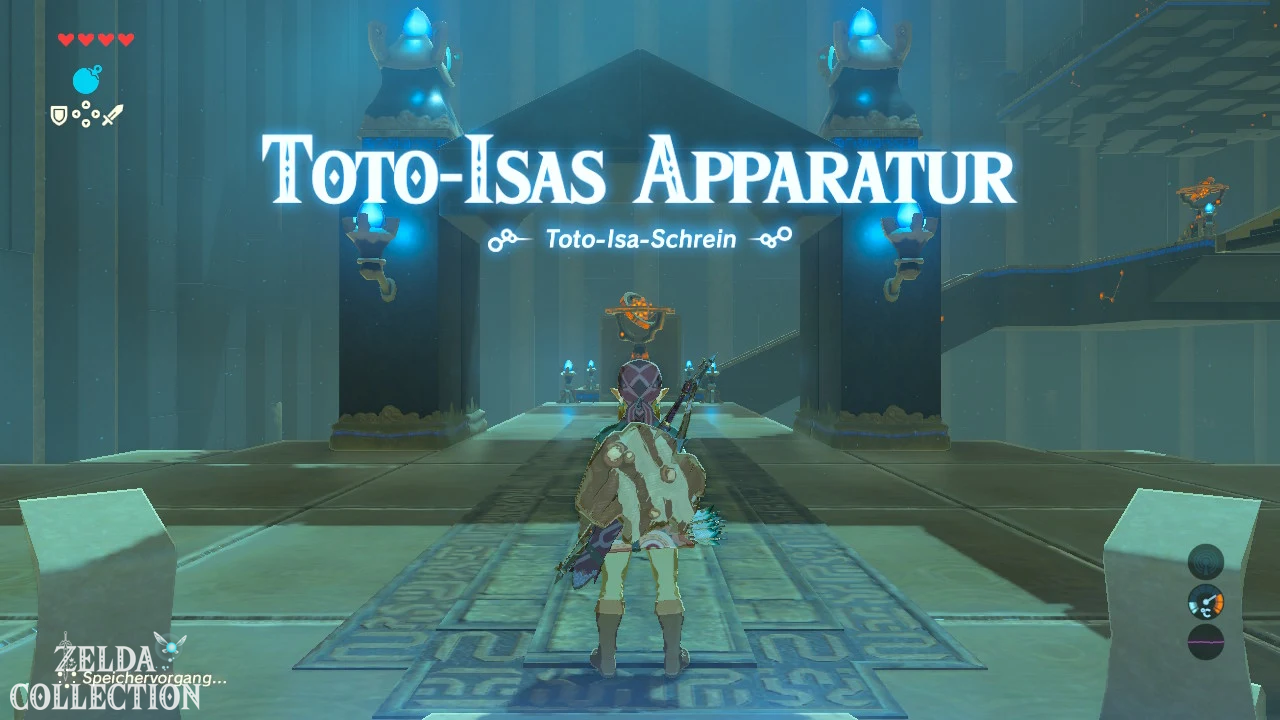
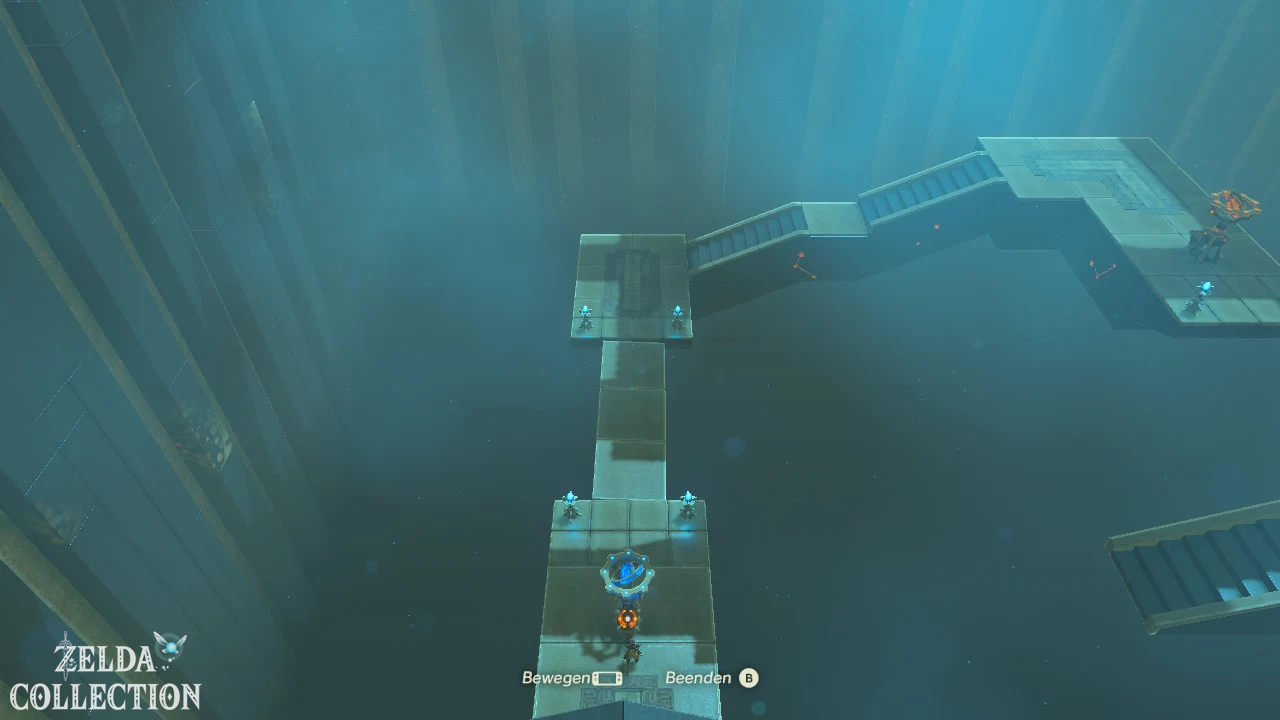
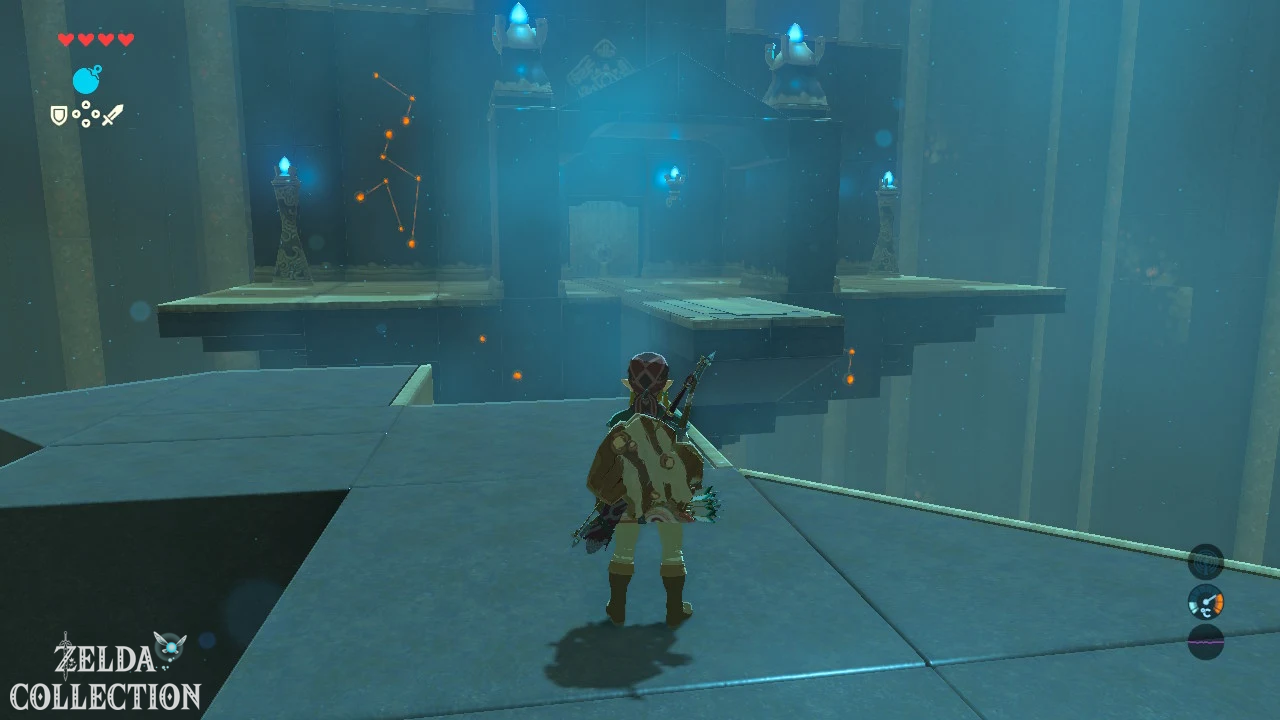
The Toto Sah Shrine consists entirely of apparatuses that are rotated using the controller’s motion controls. With the first mechanism, you align the large platform like a bridge between Link and the other side. Before you go over, turn the construction so far that its underside is visible. There is a Treasure Chest with a Goshin shield.
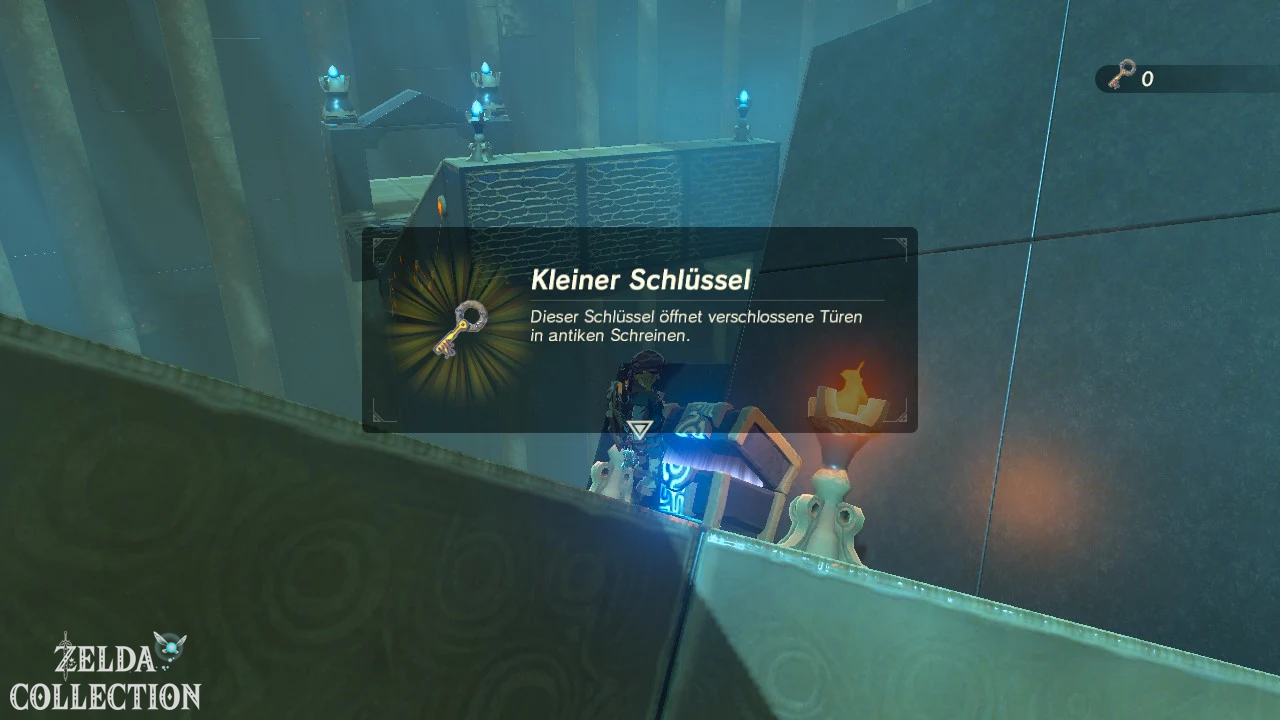
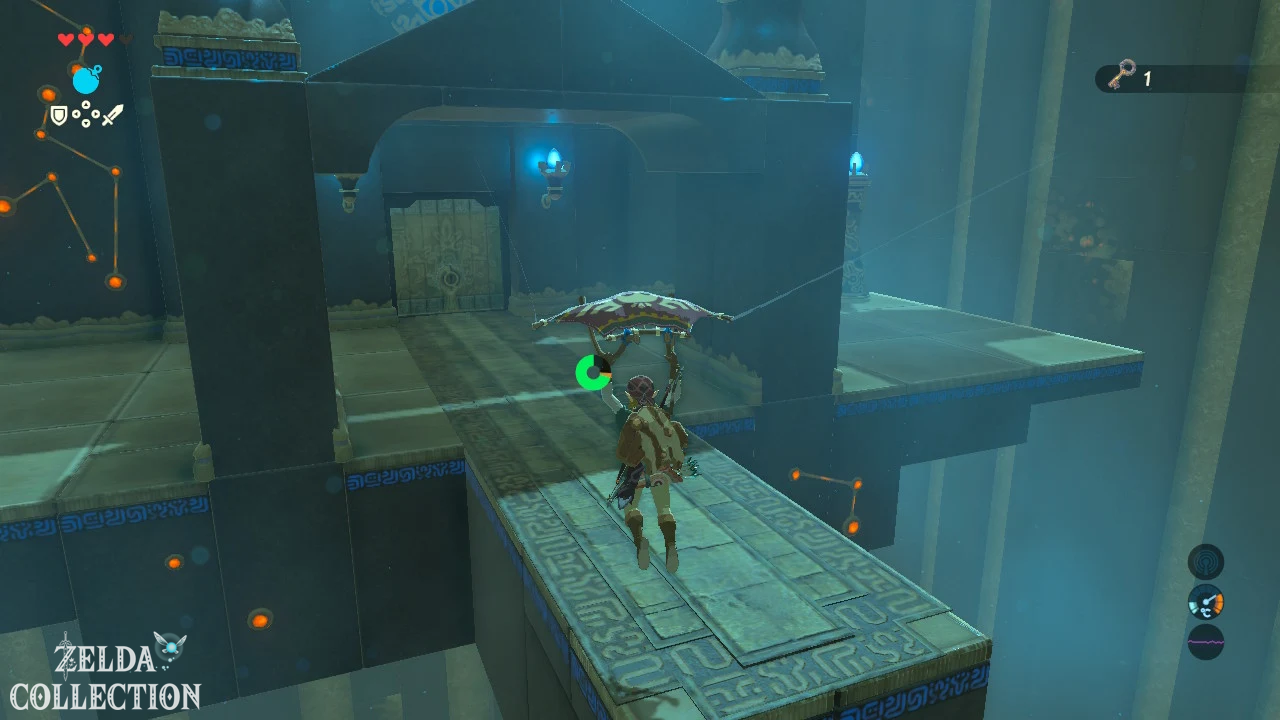
With the second apparatus you have to align three staircase parts to form a continuous staircase. Rotate the middle segment so that all steps are on the same axis and climb up. The final major mechanism is more complicated. First rotate it completely until a hidden Treasure Chest becomes visible on one of the sides. Inside is the Small Keys. Then align the structure so that the sliding stairs on the right side form a path to the upper platform. Open the locked door and get your Spirit Orb.
Shrine task “Please do not enter!”
The last missing shrine from this western tower region is located on the Flower Sandbar in the Hylia River, north of the Dueling Peaks Tower. Teleport to the tower and glide north to the small island. There you will meet Magda, who has planted the entire area around the shrine with flowers.
This begins the shrine task “Please do not enter!”. The name is to be understood literally: Link is not allowed to touch any of the flowers. Follow the narrow, clear path through the plant labyrinth and carefully remove slimes with bombs or arrows if they block your path. If you step on the beds, Magda Link will reset. After several violations, she finally loses patience and even causes damage.
Simply stick to the free strips of earth and reach the Hila Rao Shrine in the center. As soon as you stand at the entrance, “Please do not enter!” as completed.
Hila Rao Shrine – Follow the stream
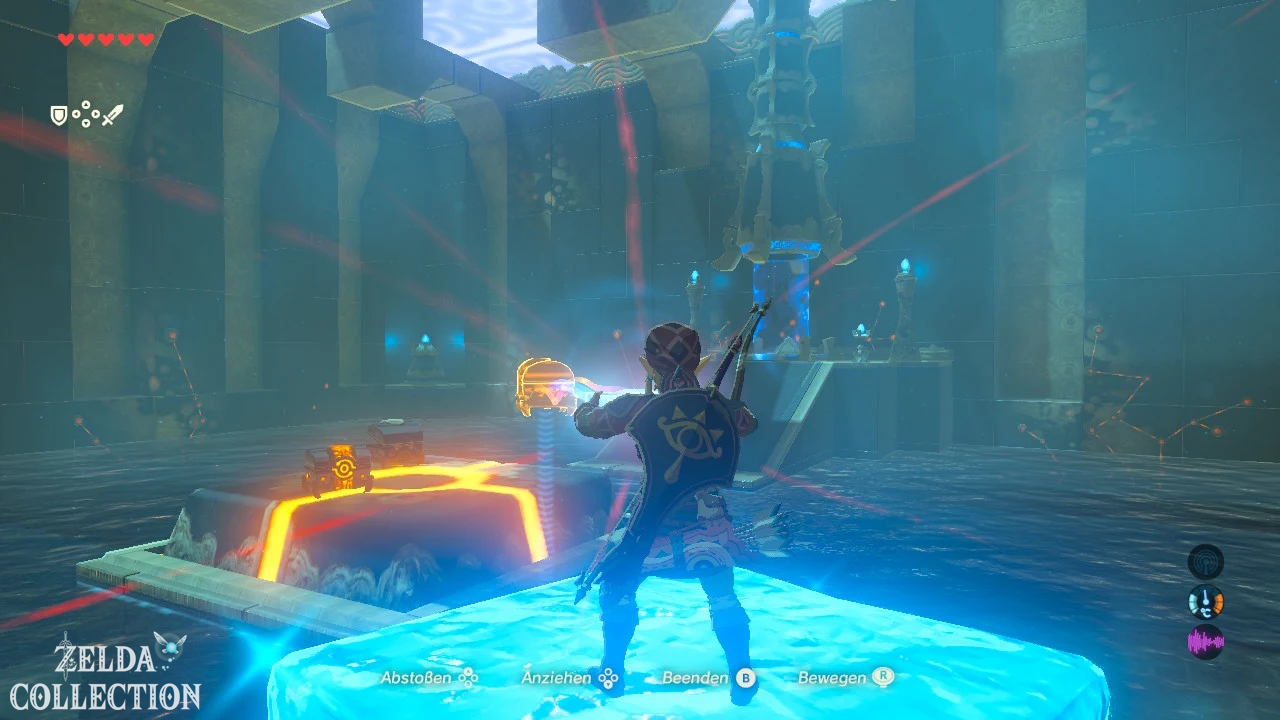
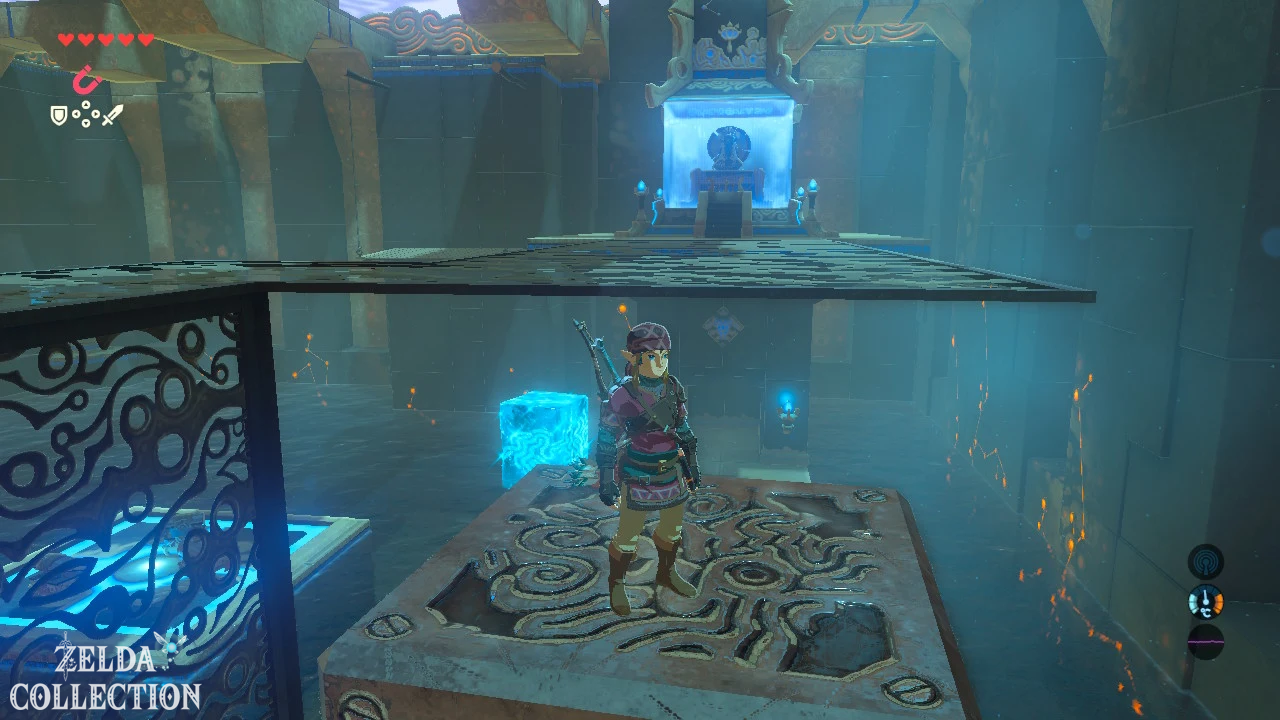
In the first area, several wooden rafts float through the current. Jump from one to the next and reach the opposite side. In the water there is a metal Treasure Chest with a Opal, which you can pull out with the magnetic module.
In the second area, water circulates through a closed channel. Another Treasure Chest is floating in it. Use the Cryo Module to create a block of ice directly under the chest and lift it out of the water. There are five Ice Arrows.
The exit is blocked by a crumbling wall. Bomb barrels float by in the water. Wait until one is near the rock wall and shoot it or detonate it with your own bomb. After the explosion, the path to the priest is clear. With Hila Rao, all nine shrines in the Dueling Peaks Tower region are now complete.
Shrine Quest “The Cursed Statue”
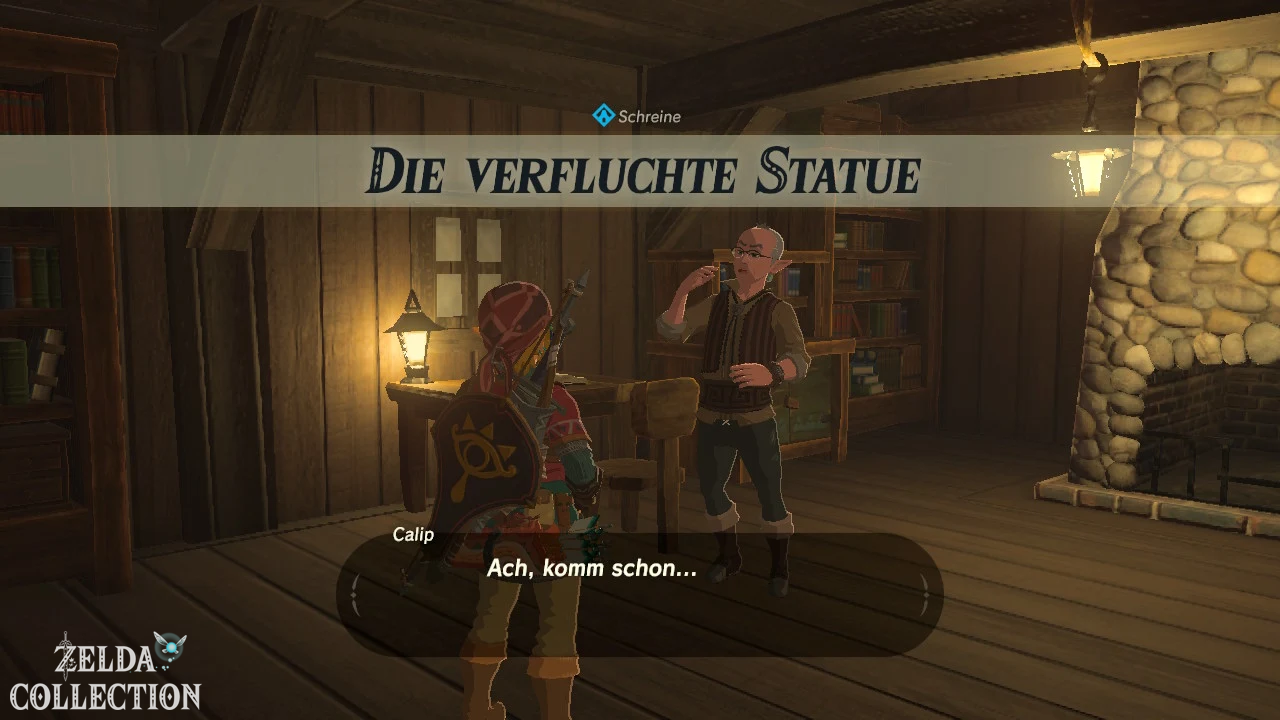
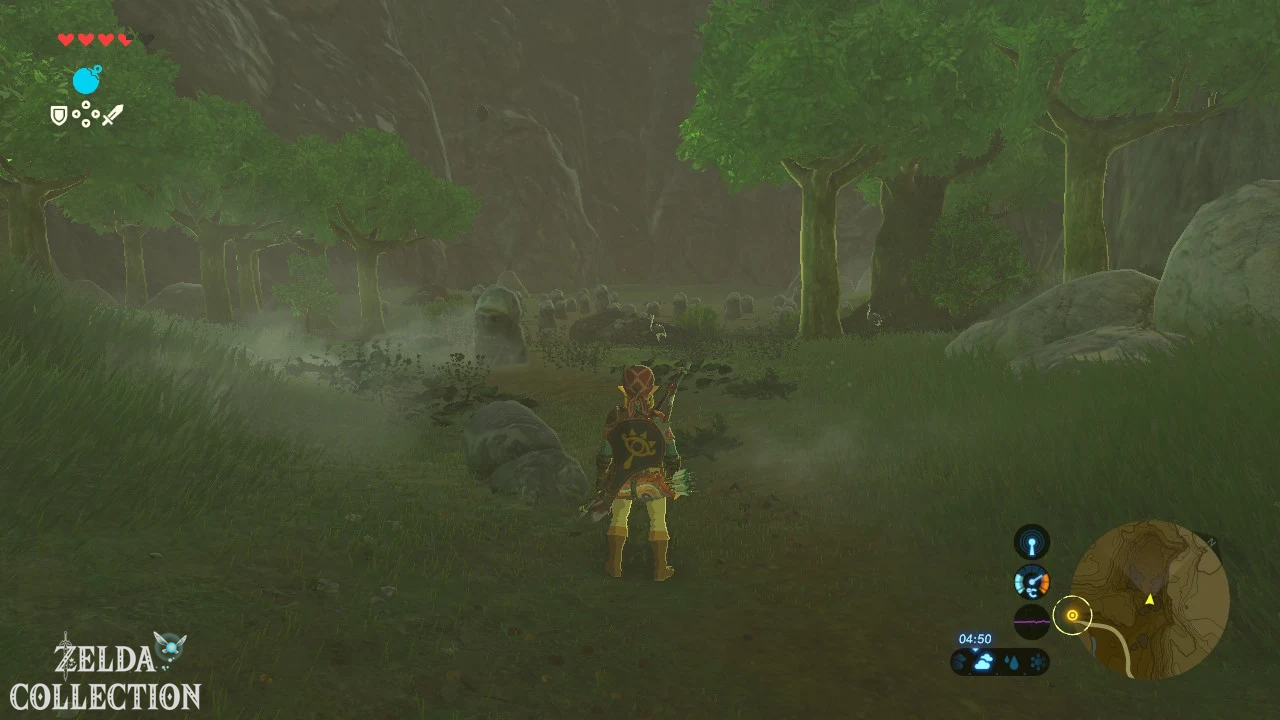
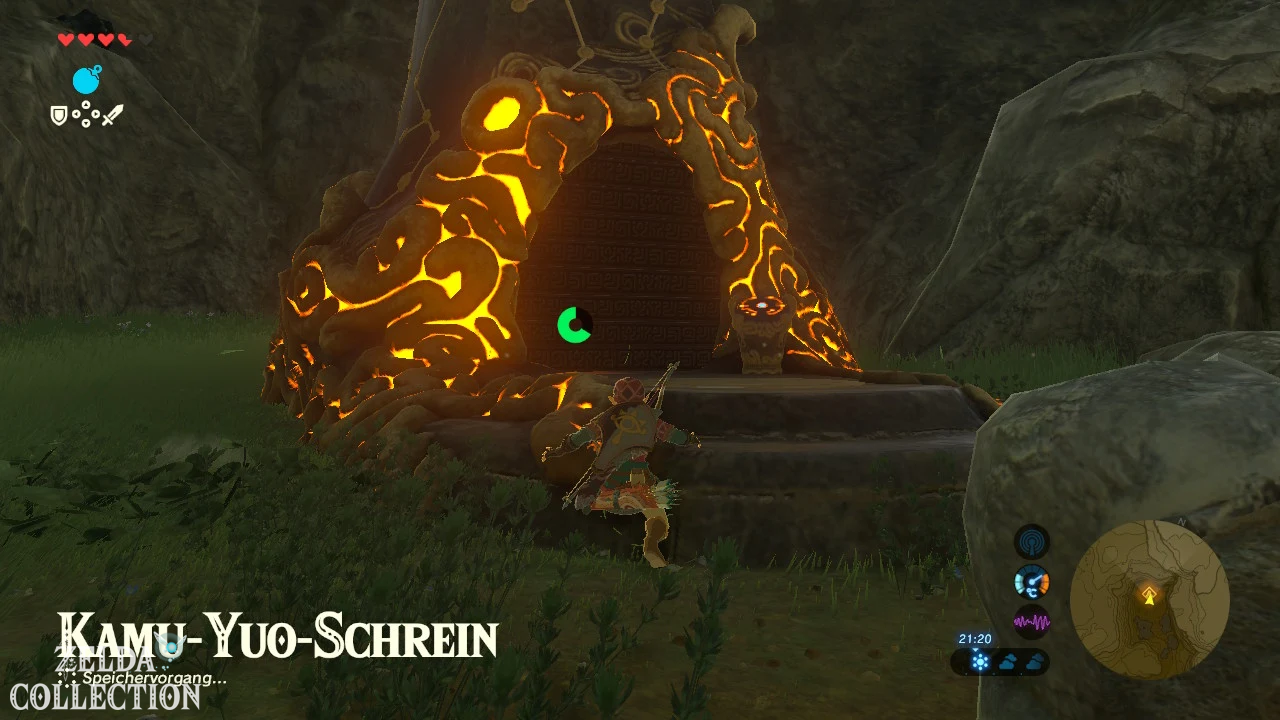
Teleport to Hateno Tower and glide to the road north of Hateno Village Fortress. In a valley surrounded by rock walls there are numerous human-like stone statues. The self-proclaimed archaeologist Calip works there. Speak to him and treat him respectfully as a magister so that he can tell you about an old inscription. This begins the shrine task “The Cursed Statue”.
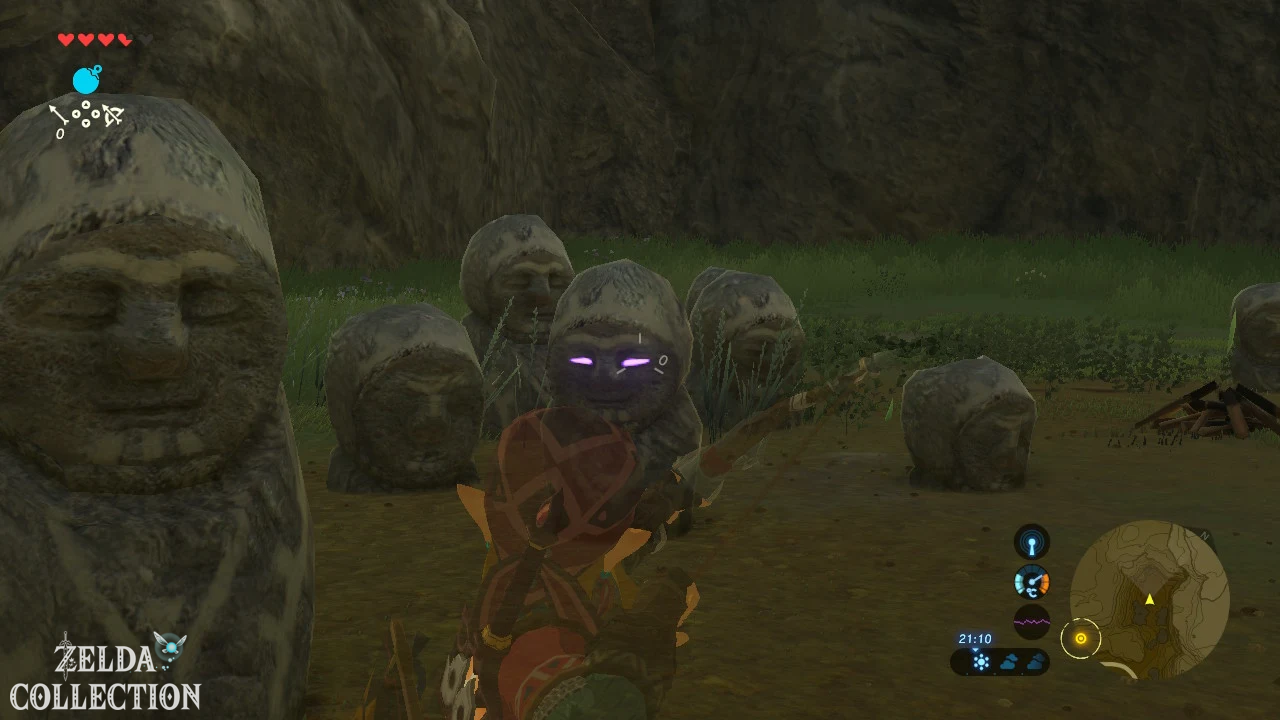
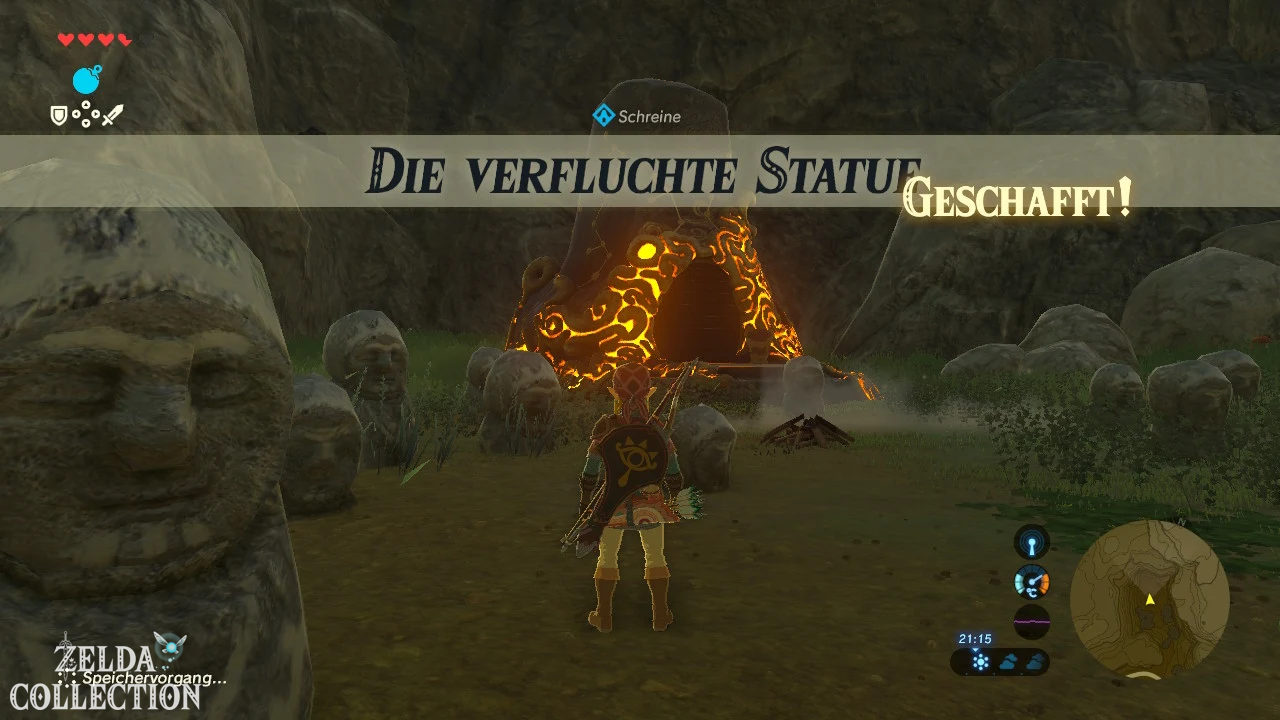
Wait until at least 9 p.m.. One of the many statues suddenly begins to stand out from the darkness with purple glowing eyes. Shoot an arrow directly between the glowing eyes. The statue shatters and the Kam Urog Shrine rises from the ground.
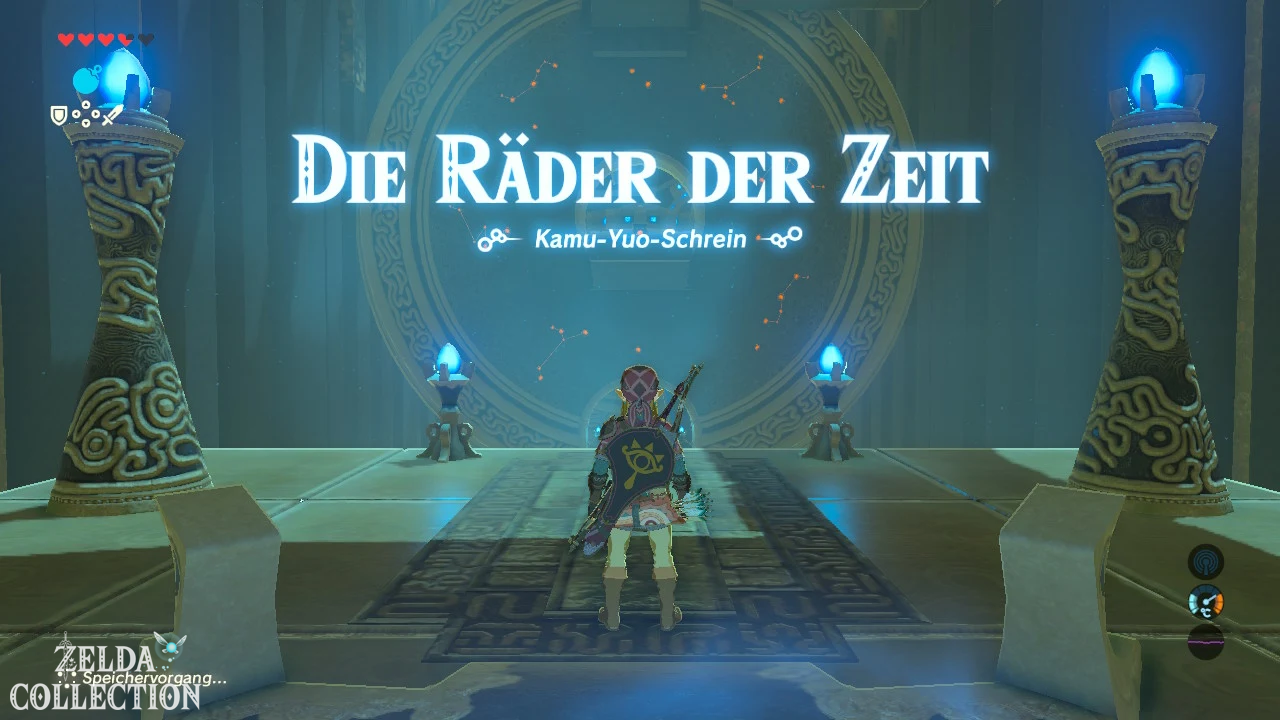
Kam Urog Shrine – The Wheels of Time
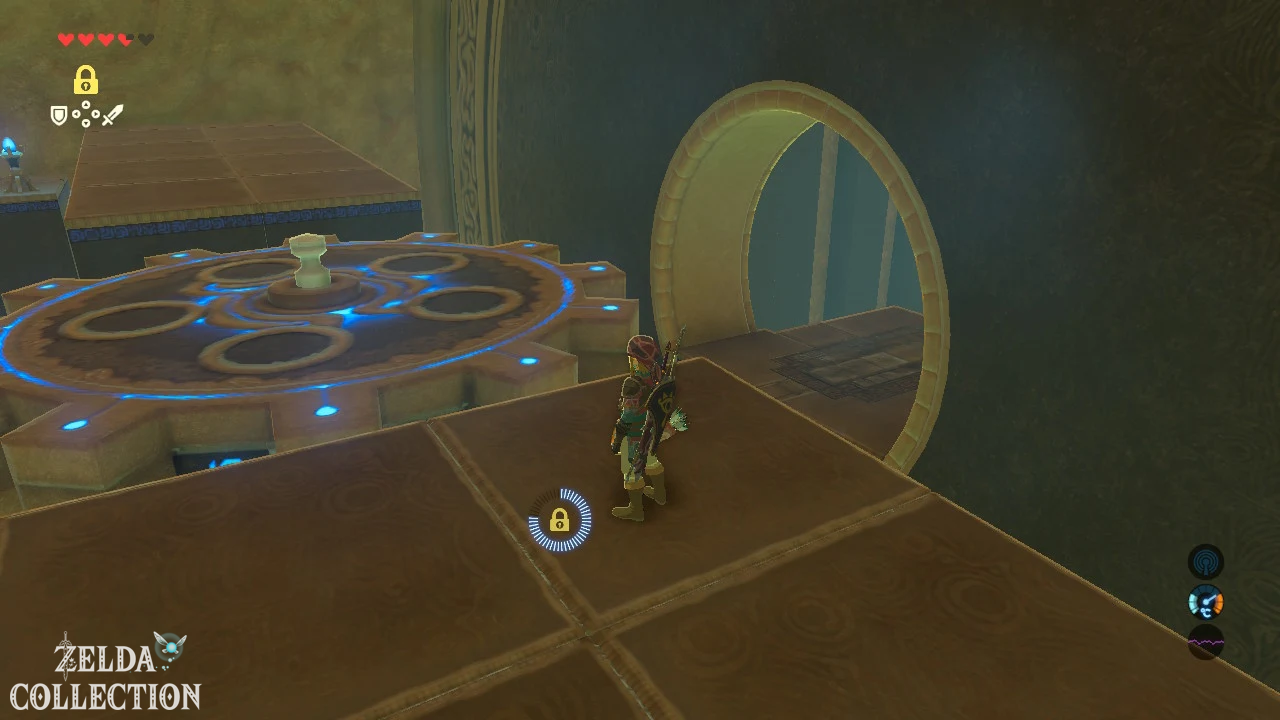
The Kam Urog Shrine consists of a massive rotating structure. Jump onto one of the passing platforms and let yourself be carried upwards. Stasis allows you to briefly stop individual rotating elements and thus safely move to the next level.
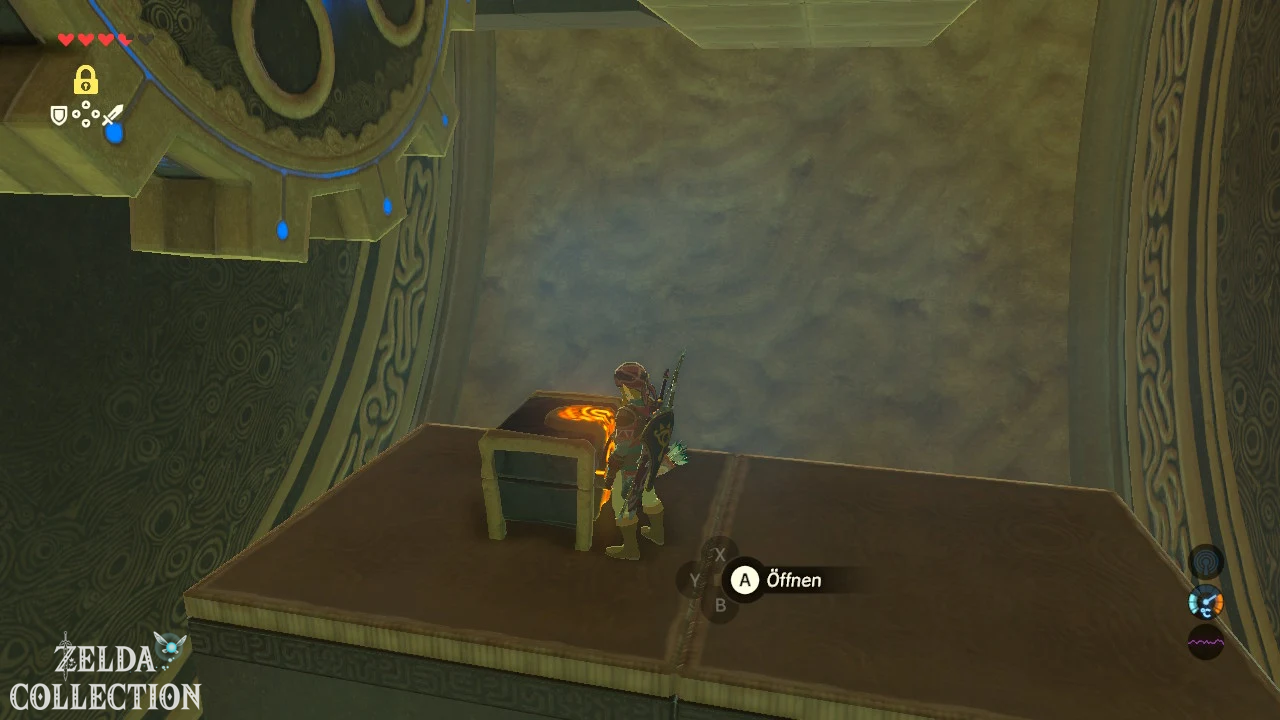
Inside there are two Treasure Chests. One lies on a stationary platform, the other sits on a smaller rotating block. Wait until the respective surface comes into range, freeze the mechanism with stasis and jump or glide over it. The chests contain a Opal and a Soldier’s Lance.
For the last section, let one of the large platforms carry you as far up as possible. Freeze the wheel at the right moment and jump to the platform with the priest. Take the Spirit Orb with you.
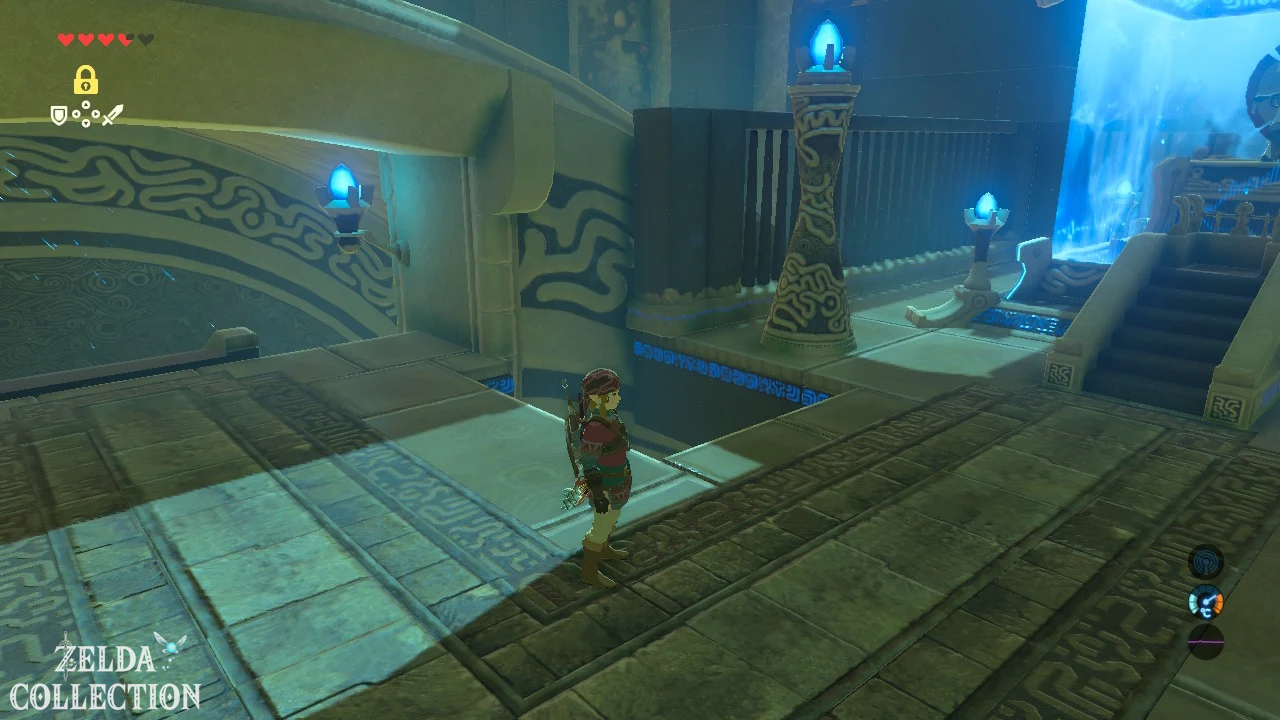
Dow Na’eh Shrine behind the waterfall
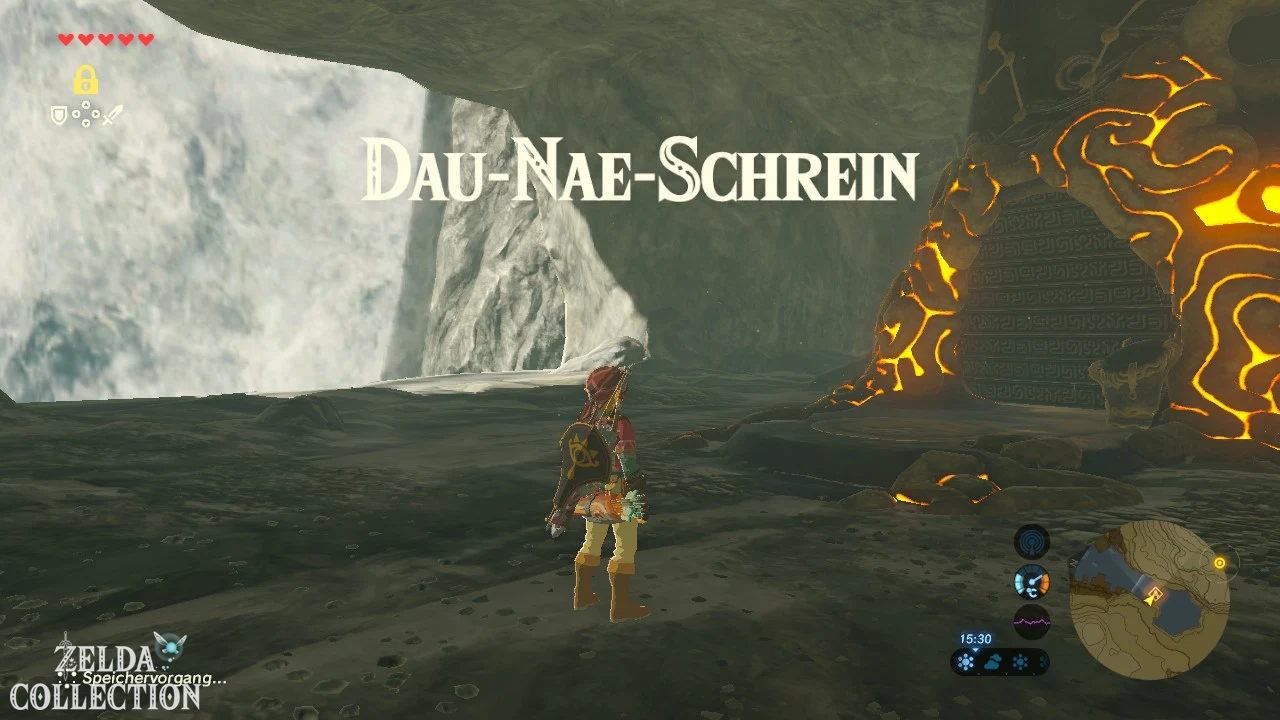
From Calips Valley the journey continues towards Lanayru Street. There is a large waterfall between the Phalian Highlands and Seelig Mountain. The shrine is not visibly located outdoors, but in a cave behind or immediately next to the waterfall. Go west along the water and look for the side cave entrance so that Link doesn’t have to swim against the current.
The Dow Na’eh Shrine is all about three metal Treasure Chests. One lies in the water, one hangs on ropes on a wooden platform and the third regularly moves up and down on a platform. Pull out the underwater chest with the magnetic module. Shoot through the two ropes on the hanging chest so that it falls down. With the third one, wait for the right moment and bring it to you with Magnesis.
The three chests contain opal, amber and a Zora sword. Then place all three metal chests together on the large Floor Switch. The weight activates the mechanism and releases a large metal block. Place this on the moving platform and use it as a raised step to reach the priest’s area. This will give you another Spirit Orb.
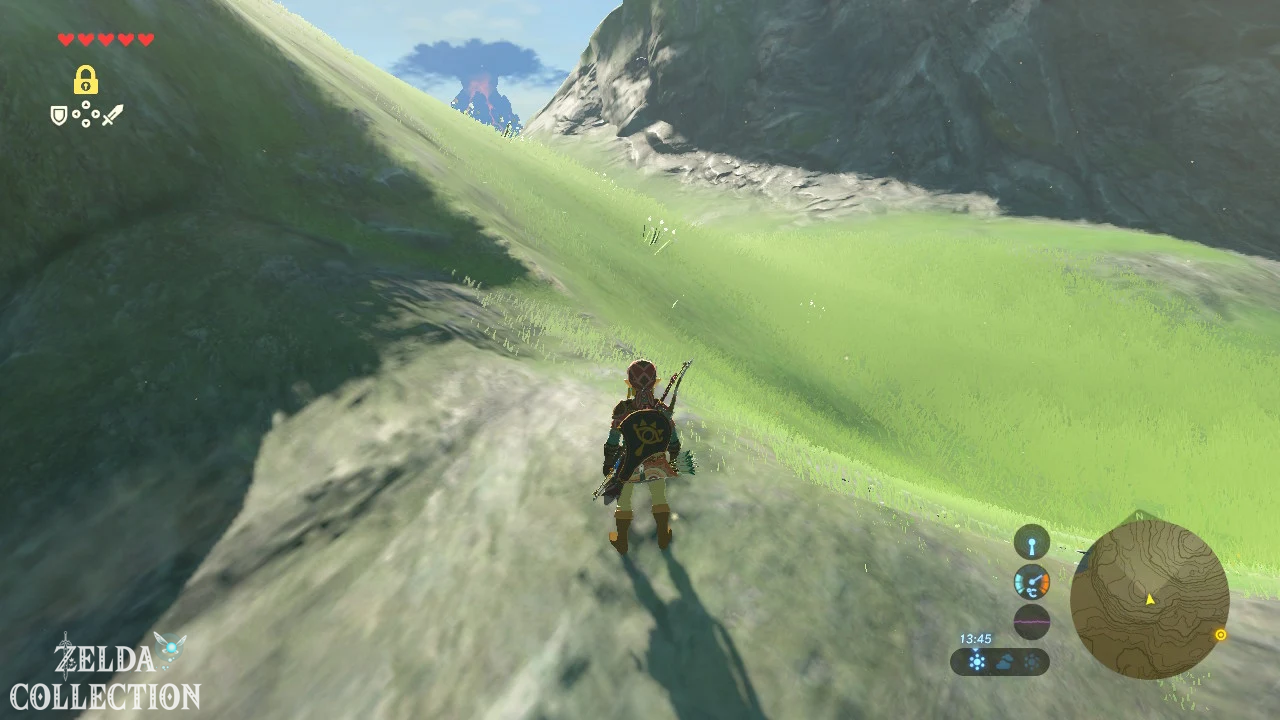
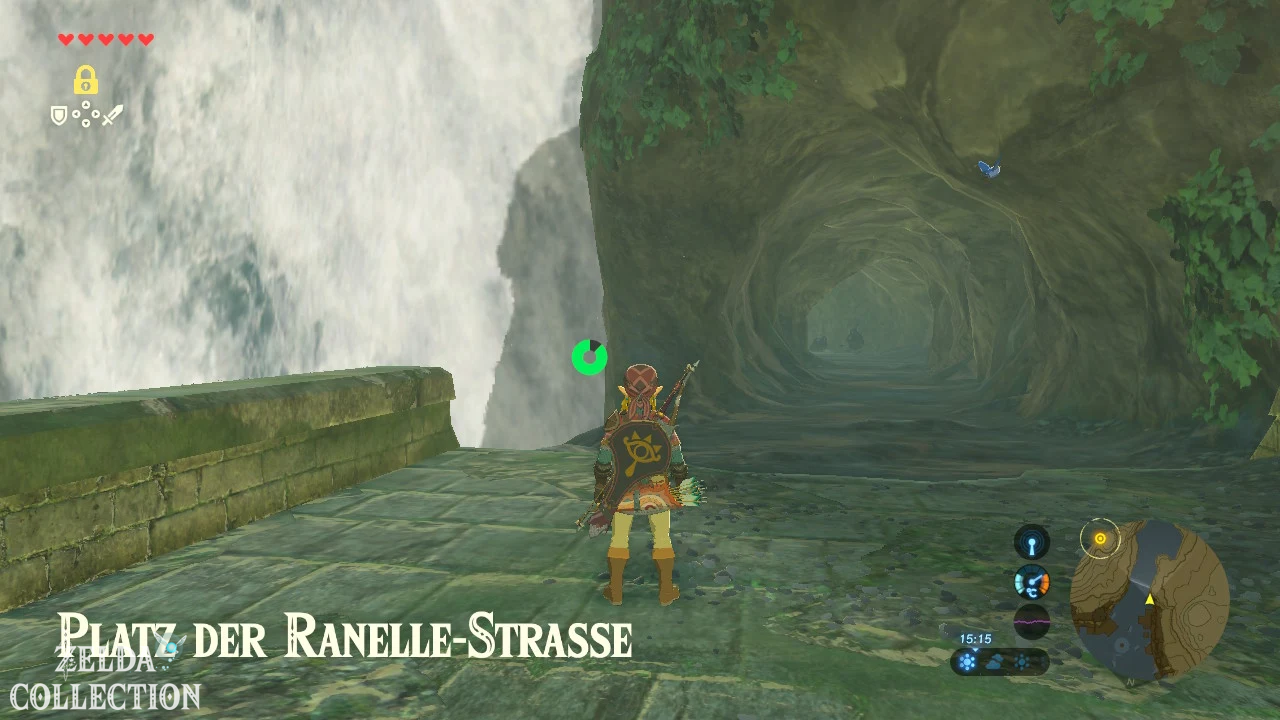
Main Target “Souvenir Photos” – Lanayru Street East Gate
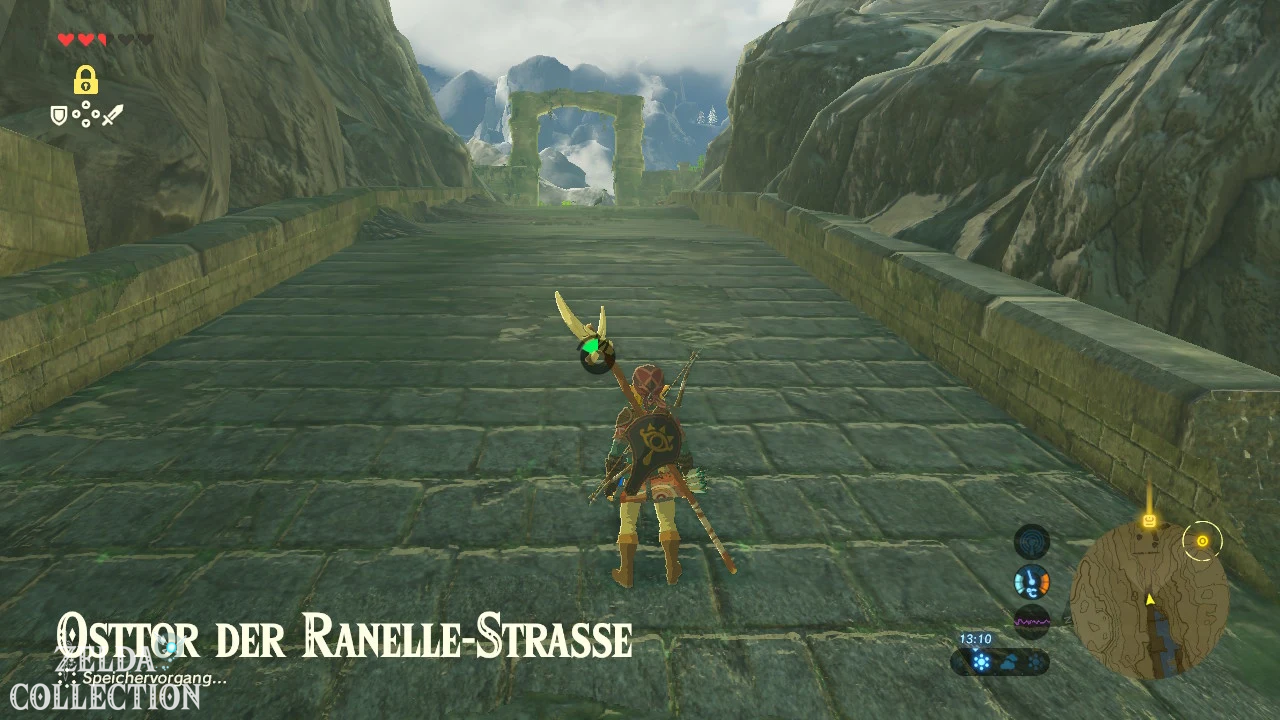
Follows historic Lanayru Street further east. It leads through a long landscape of ruins and ends at a huge stone gate. This is exactly where one of Zelda’s album photos was taken. The glowing memorial point is located right at East Gate of Lanayru Street.
Examine it and Link remembers the moment Zelda and the Champions learn of the Calamity Ganon outbreak. This scene is one of the most important memories of the main story and takes place immediately before the cataclysm that destroyed Hyrule.
Stronger enemies may appear in the area. Don’t fight a Lynel just because it happens to be in the wider region. Such a fight is possible with the current equipment, but it costs an unnecessary amount of weapons and healing dishes.
Shrine Quest “The Crowned Beast”
Northwest of Lanayru Street lies the green Folbluth Plains. There, Kass stands next to a glowing orange platform and plays an old song. Speak to him and you will receive the shrine task “The Crowned Beast”. The text describes an animal with a crown made of bones – meaning a male deer with antlers.
Deer are much more shy than horses. Therefore, if possible, equip parts of the stealth set or eat a dish with a stealth bonus. Crouch down and slowly approach a mountain deer from behind. As soon as A appears, jump on his back and press L repeatedly until he calms down.
Ride the deer to the orange platform near Kass and stand with him right in the middle. The ground reacts and the Mezza Lo Shrine rises.
Mezza Lo Shrine – Three Wisdoms
At the center of the shrine, a platform moves between four positions. A Crystal Switch controls their rotation. There is also a laser behind a metal block that can also hit the crystal.
First use the magnetic module and place the large metal block on the Floor Switch behind the grille. This opens the door to the priest permanently. Then hit the Crystal Switch repeatedly until the central platform is near you. Place a remote bomb next to the crystal without detonating it and climb onto the platform.
Uses stasis on the laser mechanism and removes or positions the metal block so that the laser hits the crystal after the stasis expires. The platform continues to rotate. At the first stopover you open the Treasure Chest with a electric sword. Then stay on the moving platform and use the laser or an arrow to activate the Crystal Switch again. For the last step, you detonate the previously placed bomb from a distance. The platform turns to the open altar door and you can collect the Spirit Orb.
Shrine Quest “Secret of the Three Cedars”
The next stage starts again in Hateno Village. Clavia had already told you about three cedars on the mountains. Teleport to the Hateno Village Institute and look northeast towards Madorna Mountain. There the three striking trees are almost in a straight line. The shrine task “Secret of the Three Cedars” describes that you should follow this line further towards the coast.
For the higher mountain regions, a single level of cold protection is not sufficient everywhere. Wear the winter doublet and also eat a spicy dish or alternatively use a dish with stronger protection against the cold. Chilies and other materials grow along the way, but you better prepare yourself in Hateno Village.
Climb up to the three cedars and align yourself so that they are in a line one behind the other. Continue following this line southeast towards the Armosia Coast. Below the snow zone you will reach a small flat area with several trees. You can see a collection of brittle stones on the rock wall. Blow them away with a bomb. Behind it lies the Tahno O’ah Shrine.
Tahno O’ah Shrine – Climbing Boots
The real test was to find the hidden entrance. There is no further puzzle chamber waiting inside. Open the large Treasure Chest and you get the climbing boots. Just like the climbing bandana, they increase Link’s climbing speed.
Then gets the Spirit Orb. With the headscarf and boots, you now own two thirds of the climbing set. The third part is waiting on the coast.
Side Quest “Prankster with sheep”
[Optional] Teleport to Hateno Village and talk to the shepherdess Koyin in her farm between the village and the research institute. She says that monsters stole her sheep and took them to Hateno Beach. This starts the Side Quest “Prankster with Sheep”.
Follow the path towards the coast. A larger group Bokoblins and Moblins has settled on the beach with the stolen sheep. Use bombs, arrows and the height differences in the environment so that you are not surrounded by the entire group at the same time. Blue and black enemies in particular can withstand significantly more hits than the monsters of the Great Plateau.
Once all enemies have been defeated, the guarded storage chest will open. Then return to Koyin. As a thank you you will receive ten bottles of milk. Milk is used for several dishes and later Side Quests used, which is why the reward can be stored well.
Chaas Qeta Shrine on Hateno Village Island
[Optional – challenging but very rewarding] South of Hateno Bay lies the small Hateno Village Island far out in the sea. The Chaas Qeta shrine is located on it. You can cross over with a raft and Korok fan or Paraglider as far as possible from a high coastal rock or the Cape of Sheds and swim the rest.
Prepare well beforehand: The shrine contains a A Major Test of Strength against a Guardian Scout IV. Fill your hearts, take several healing dishes with you and equip high-quality weapons, bow and shield. Electric weapons or electric arrows are particularly helpful because they paralyze the guard briefly.
A Major Test of Strength against Guardian Scout IV
The Guardian wields several ancient weapons at the same time and has significantly more health points than the training opponents you have seen so far. Keep him in focus with ZL and wait for his melee attacks. You respond to horizontal strikes with a backflip or side jump, and vertical attacks with an evasive maneuver in the appropriate direction. Perfect timing triggers a Flurry Rush, dealing massive damage with powerful weapons.
When the guard extends his weapons to the sides and begins to spin rapidly, move away. In many tests of strength you can use pillars as obstacles; the guard crashes into it and is then briefly dazed. During its later laser phase, a stream of air rises. Opens the Paraglider, gains altitude and shoots arrows at his eye in flight to interrupt him.
When health is very low, the Guardian charges a powerful concentrated laser. Now attack aggressively or shoot in the eye before firing the shot. After the victory, you can collect his high-quality guard weapons. Photograph at least one of these for the Hyrule Compendium before reorganizing the inventory.
climbing gloves and complete climbing set
Behind the defeated guard is a Treasure Chest with the climbing gloves. Together with the climbing headscarf made of Ree Dahee and the climbing boots made of Tahno O’ah, the entire climbing set is complete.
Each of the three parts accelerates Link’s normal climbing speed. If you later improve all three parts at least twice at Great Fairies, the set bonus will also be activated and climbing jumps will use less stamina. For towers, mountains, cliff faces, and many Korok puzzles, this combination is some of the most useful armor in the entire game.
The Locations of all armor pieces can also be found in our guide to the armor in Breath of the Wild.
Spirit Orb Exchange
After the numerous shrines in this chapter, you should have several complete groups of four at Spirit Orb. Teleport to Kakariko Village or Hateno Village and pray at a goddess statue. Invest at least a portion of characters in Stamina. The full climbing set becomes even more valuable with a larger stamina bar and the upcoming journey through Lanayru contains many rock walls, rivers and long sliding passages.
hearts also remain important, especially since the Master Sword later requires 13 permanent Heart Container. With the number of shrines we complete on this route, you can improve both stats regularly without having to commit to just one direction early on.
Head to Lanayru Tower and Zora
Village
From Kakariko Village the road leads north or northeast into the area of Lanayru. Activate the main objective “Free the Divine Beasts” in the quest menu. Our first target is the marker to the east: the people of Zora and the water titan Vah Ruta.
On the way there you will meet Zora, who are looking for a Hylian and ask Link to meet Prince Sidon. The path becomes increasingly rainy and climbing becomes much more difficult. This is exactly where the additional shrines, the larger stamina bar, the warrior’s robe and the complete climbing set really pay off for the first time.
In the next chapter we activate the Lanayru Tower, meet Prince Sidon and begin the long climb to the village of the Zora. In addition to the main goal “Free the Divine Beasts”, we integrate shrines, Koroks and valuable materials along the entire Zora Street.